ARDUINO 101 | BAR GRAPH LED
by HertzandMadden in Circuits > Arduino
378 Views, 2 Favorites, 0 Comments
ARDUINO 101 | BAR GRAPH LED
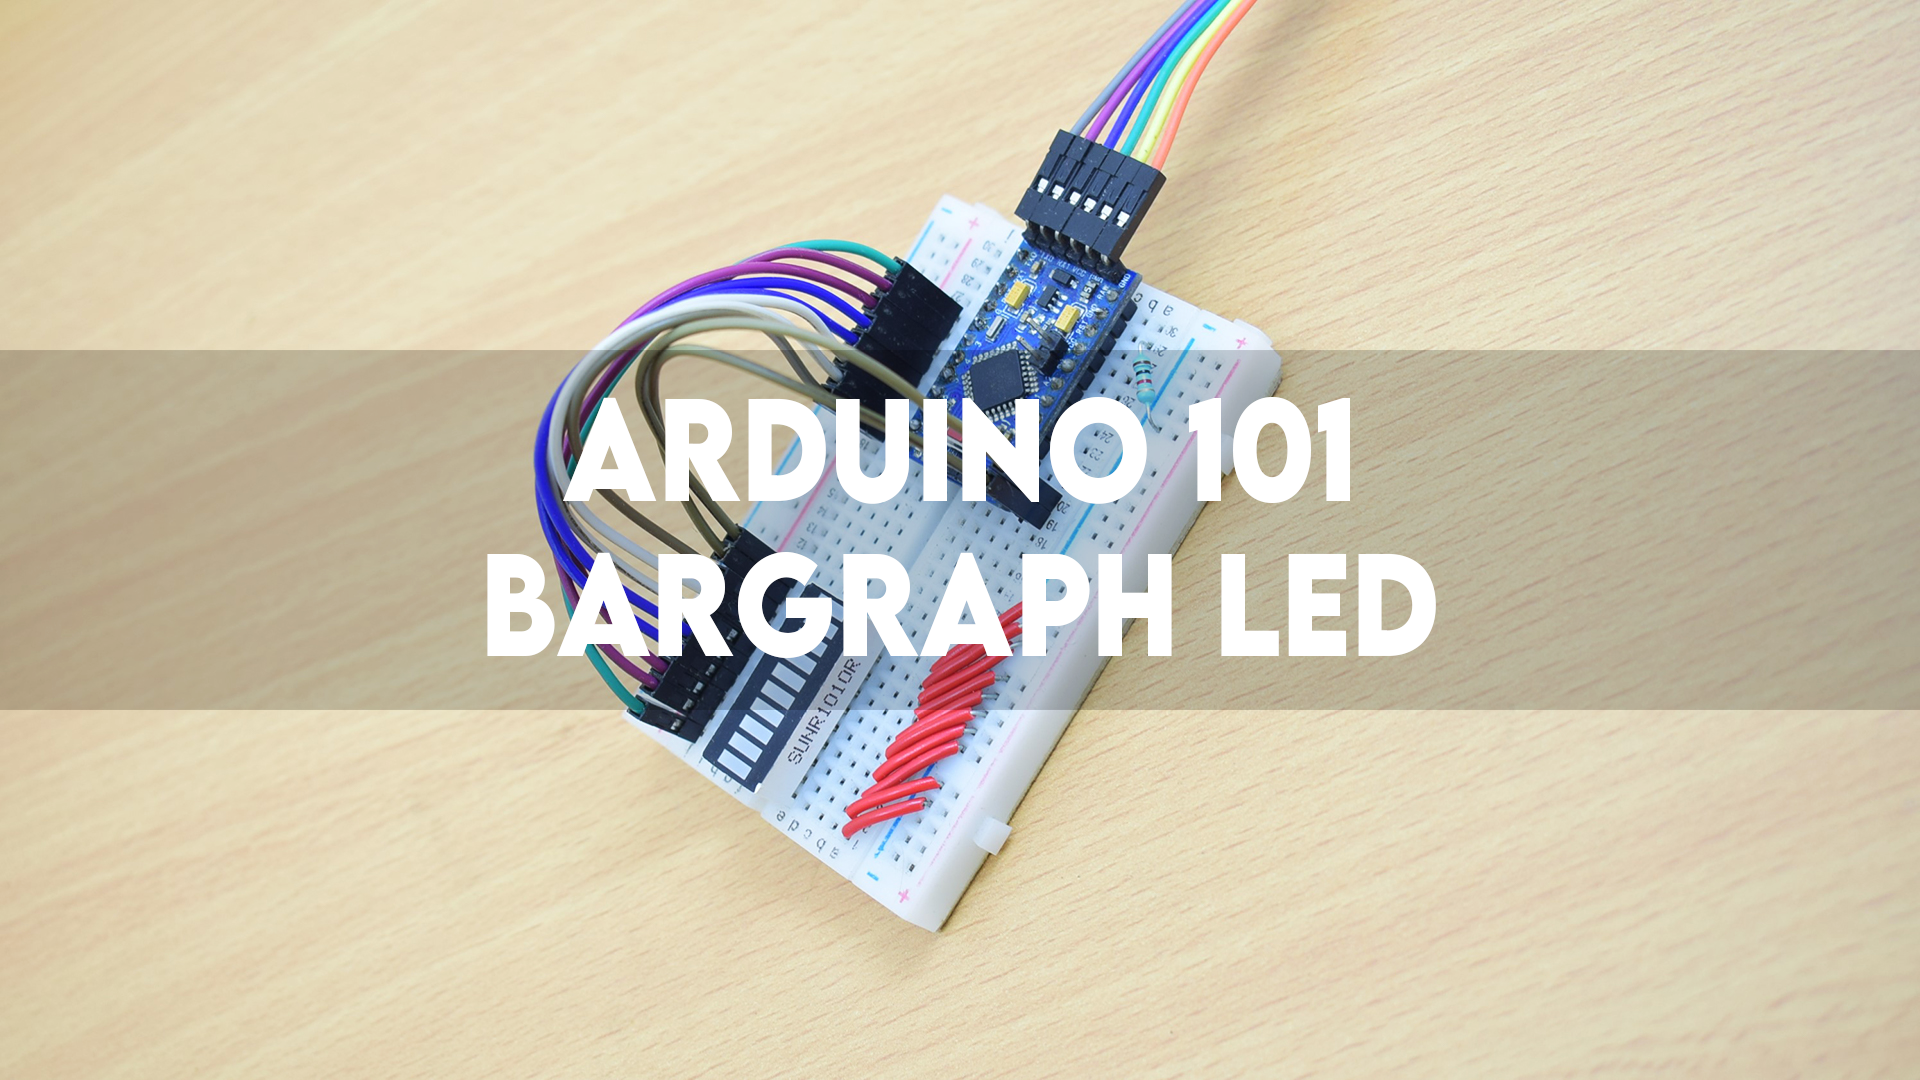
This Instructable will guide you through the process of setting up a 10-LED bar graph with an Arduino ProMini.
Supplies
CONNECTIONS
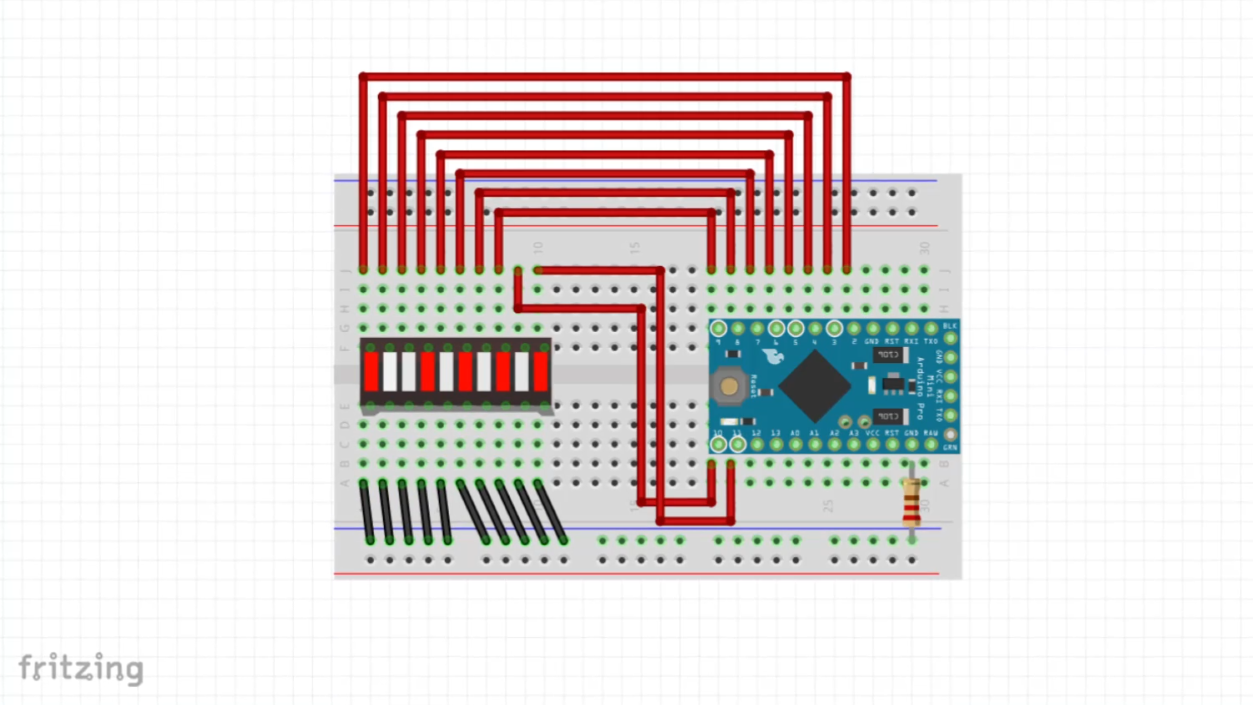IC.png)
Connect a 1K ohm resistor between Arduino's GND and the -ve rail of the breadboard.
LED PIN 1 -> DIGITAL PIN 11
LED PIN 2 -> DIGITAL PIN 10
LED PIN 3 -> DIGITAL PIN 9
LED PIN 4 -> DIGITAL PIN 8
LED PIN 5 -> DIGITAL PIN 7
LED PIN 6 -> DIGITAL PIN 6
LED PIN 7 -> DIGITAL PIN 5
LED PIN 8 -> DIGITAL PIN 4
LED PIN 9 -> DIGITAL PIN 3
LED PIN 10 -> DIGITAL PIN 2
PROGRAMMING
1) Download the code.
2) Open it using your Arduino IDE.
3) Verify the code.
4) Select the right board and communication port.
5) Upload the code.
Downloads
TESTING
* SKIP TO 1:22 *
Have fun!