ARDUINO 101 | 7-SEGMENT LED DISPLAY
by HertzandMadden in Circuits > Arduino
194 Views, 1 Favorites, 0 Comments
ARDUINO 101 | 7-SEGMENT LED DISPLAY
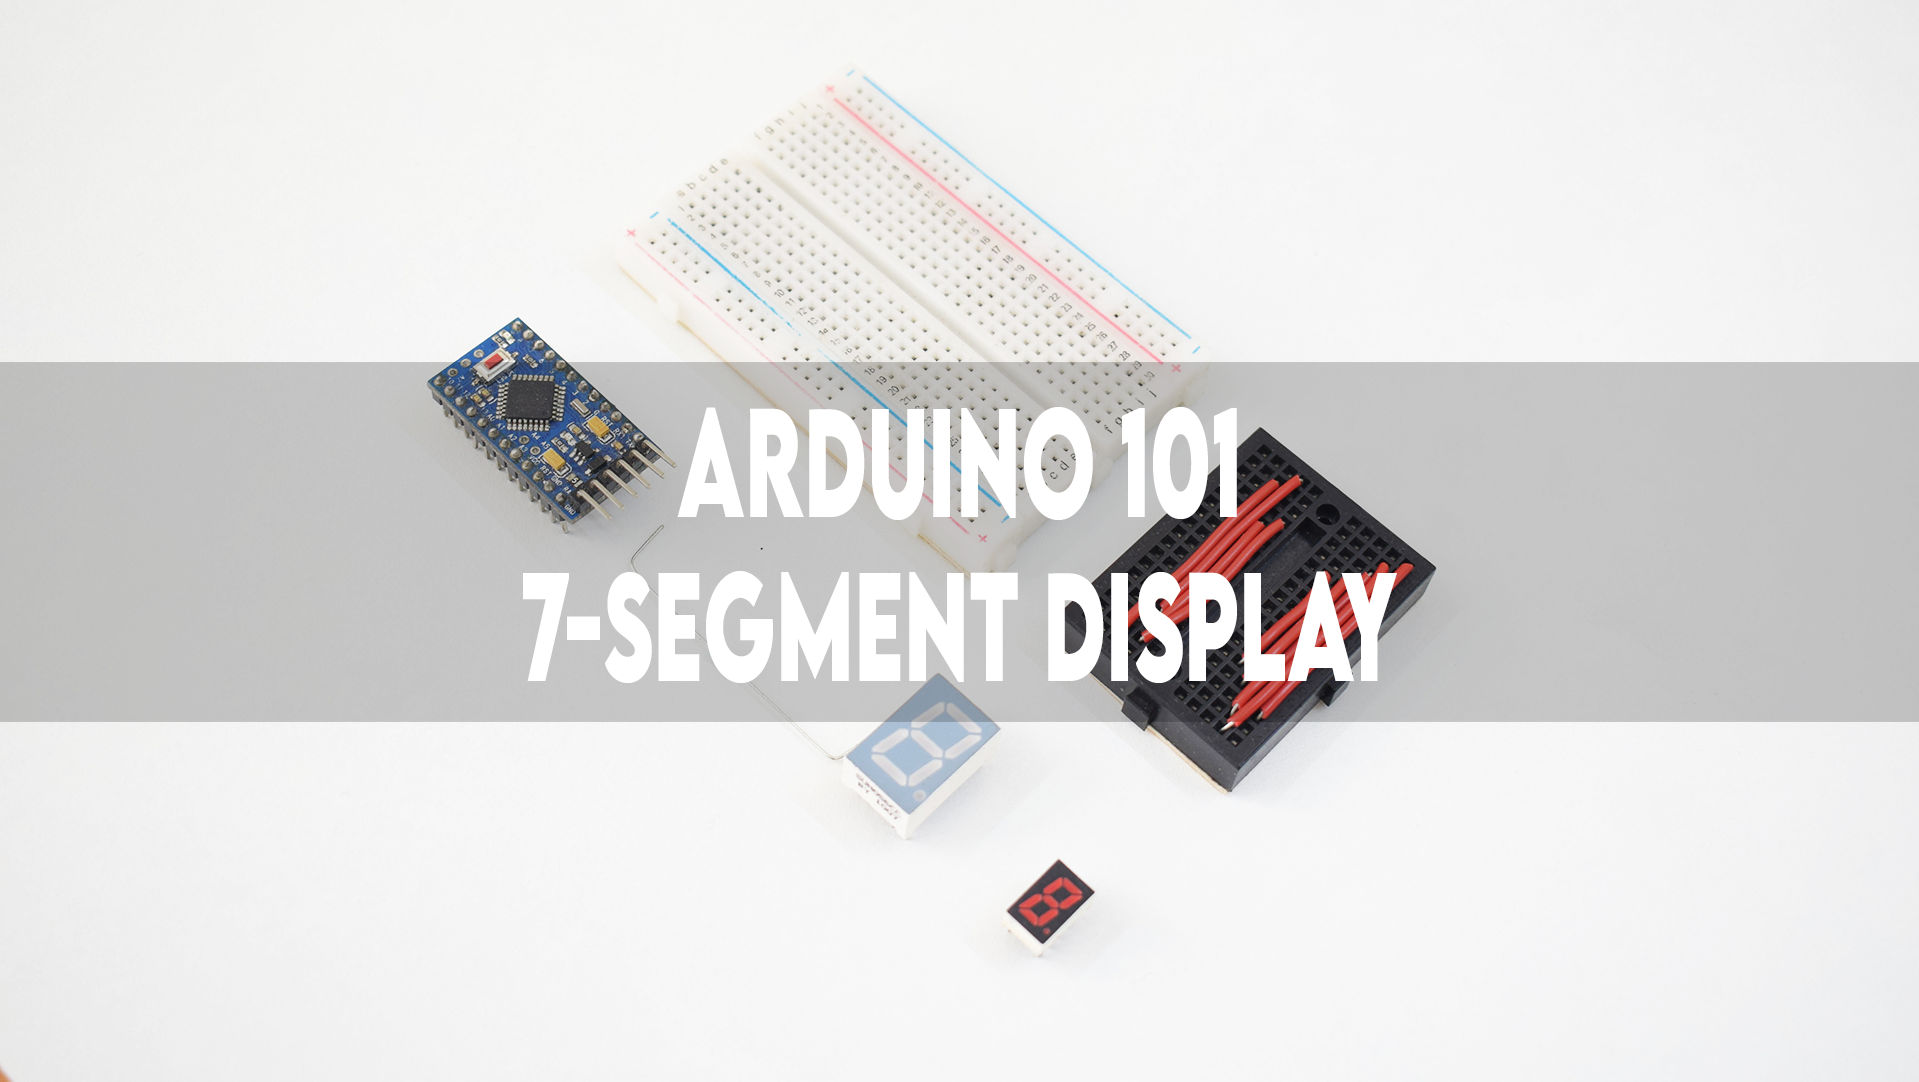
This Instructable will guide you through the process of controlling a 7-segment LED display with an Arduino ProMini.
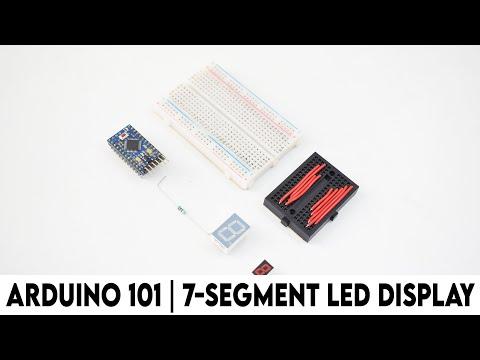
Supplies
1) Arduino ProMini: Click here.
2) 7-Segment LED display common anode: Click here.
3) 7-Segment LED display common cathode: Click here.
4) FT232RL: Click here.
5) Mini breadboard: Click here.
6) Half-Sized breadboard: Click here.
7) Jumper wires: Click here.
8) 1K ohm resistor: Click here.
CONNECTIONS
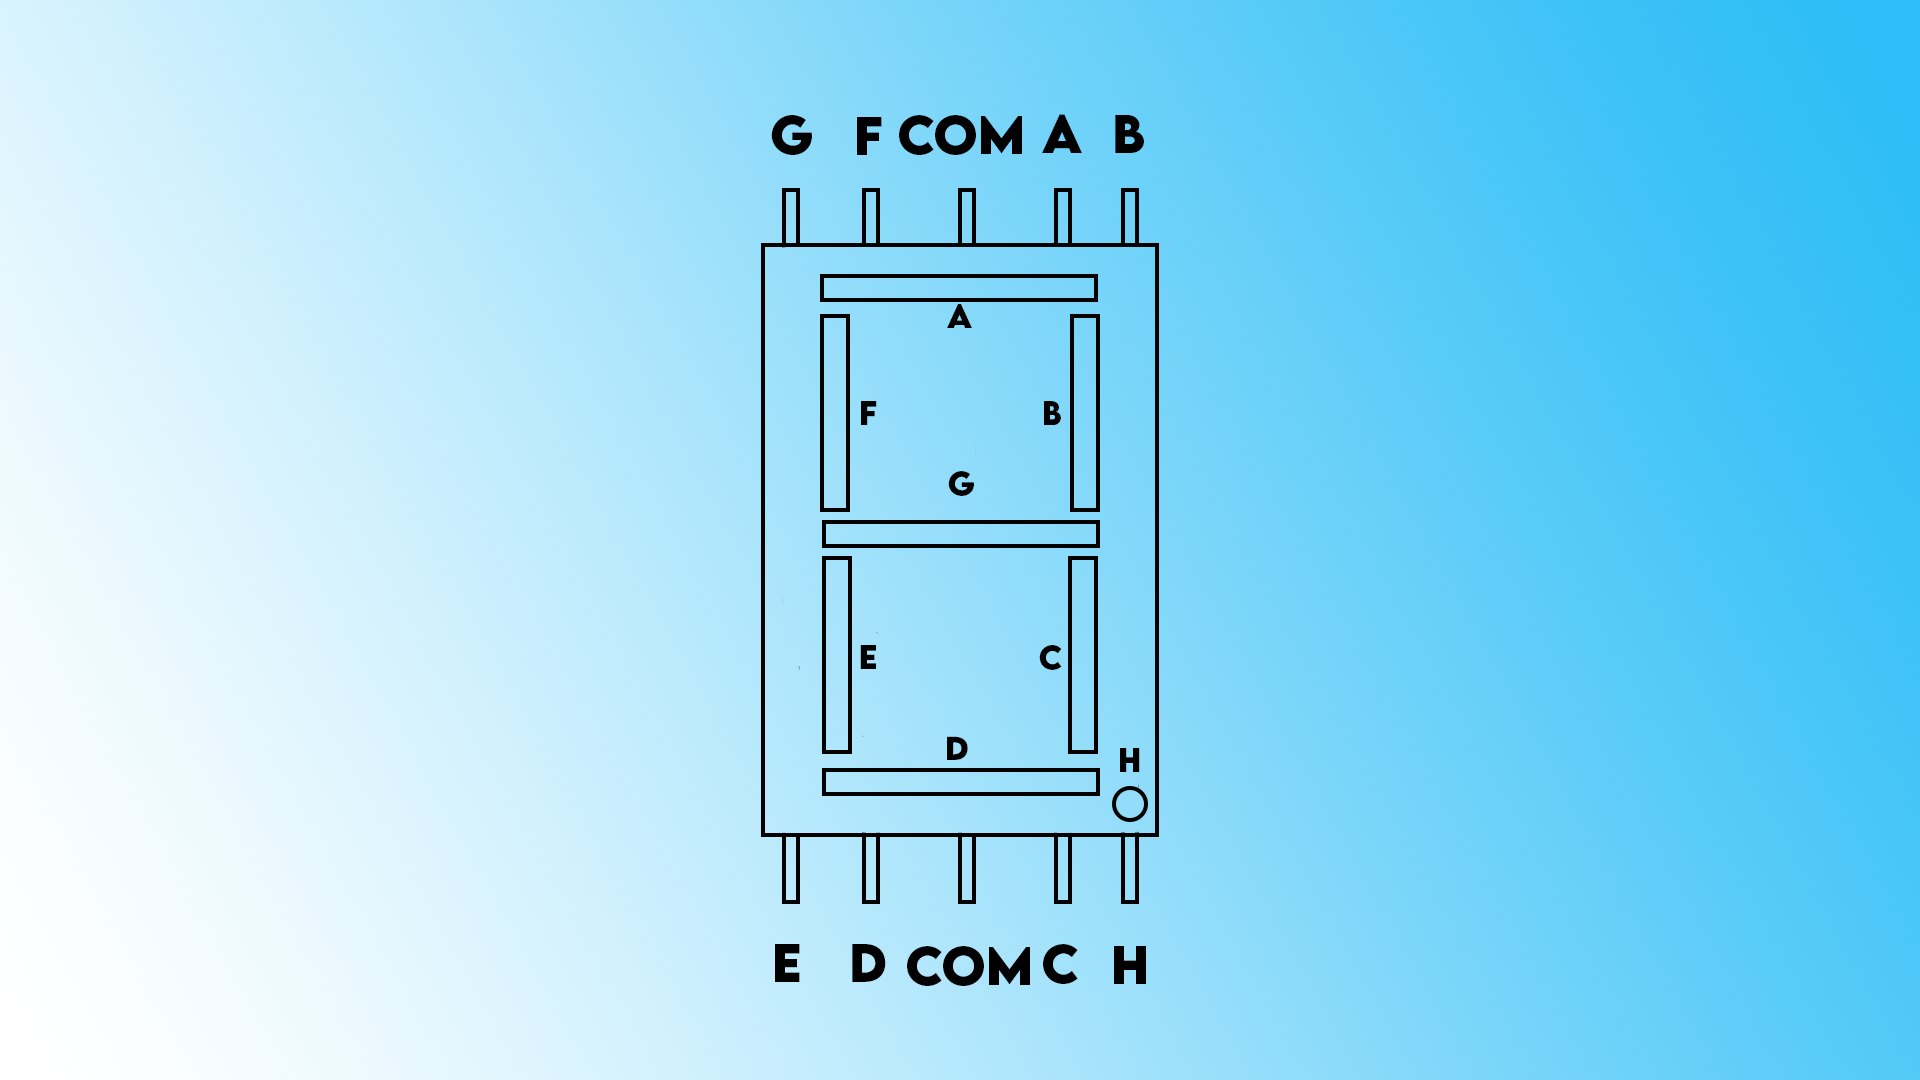
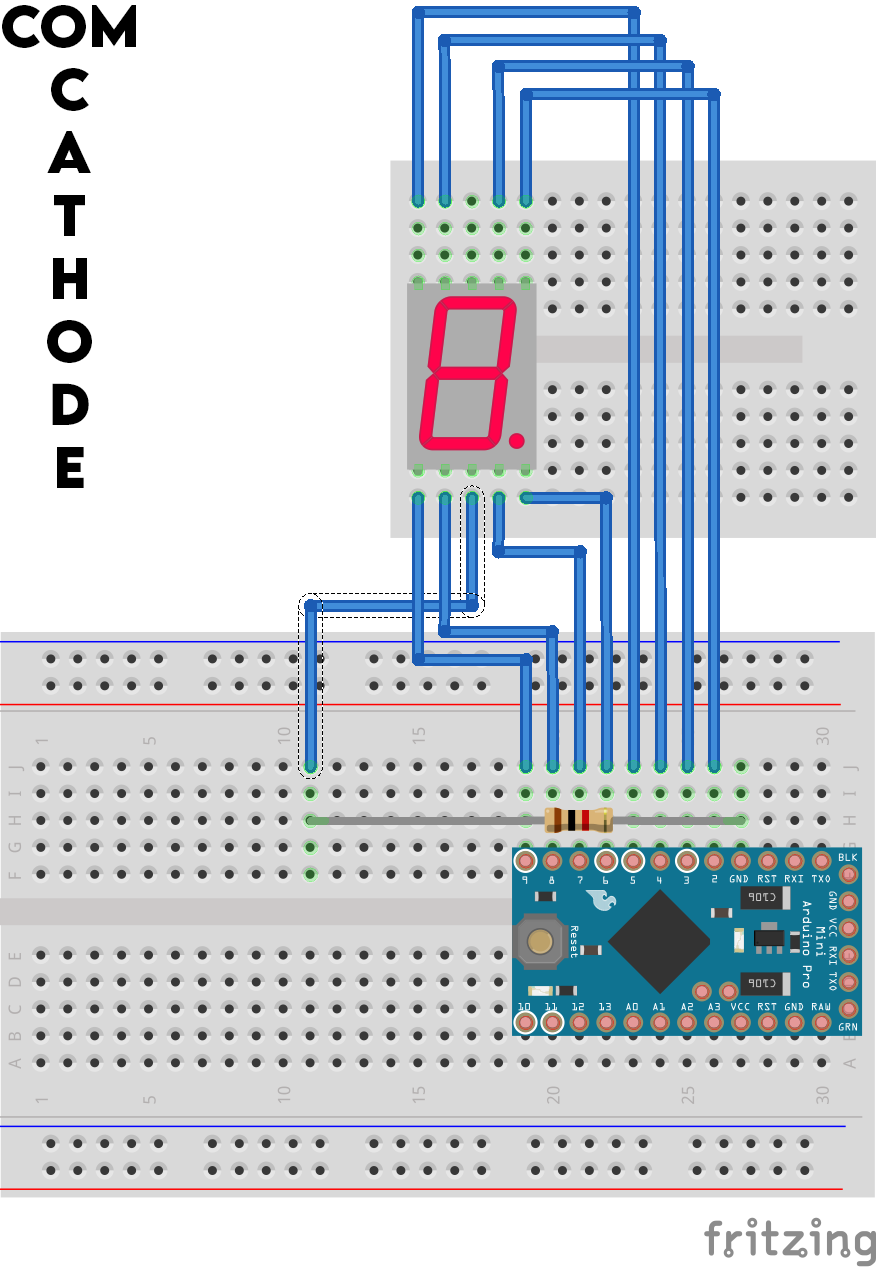
1) FOR A COMMON CATHODE 7-SEGMENT LED DISPLAY:
"A" -> DP 3
"B" -> DP 2
"C" -> DP 7
"D" -> DP 8
"E" -> DP 9
"F" -> DP 4
"G" -> DP 5
"H" -> DP 6
COM -> GND
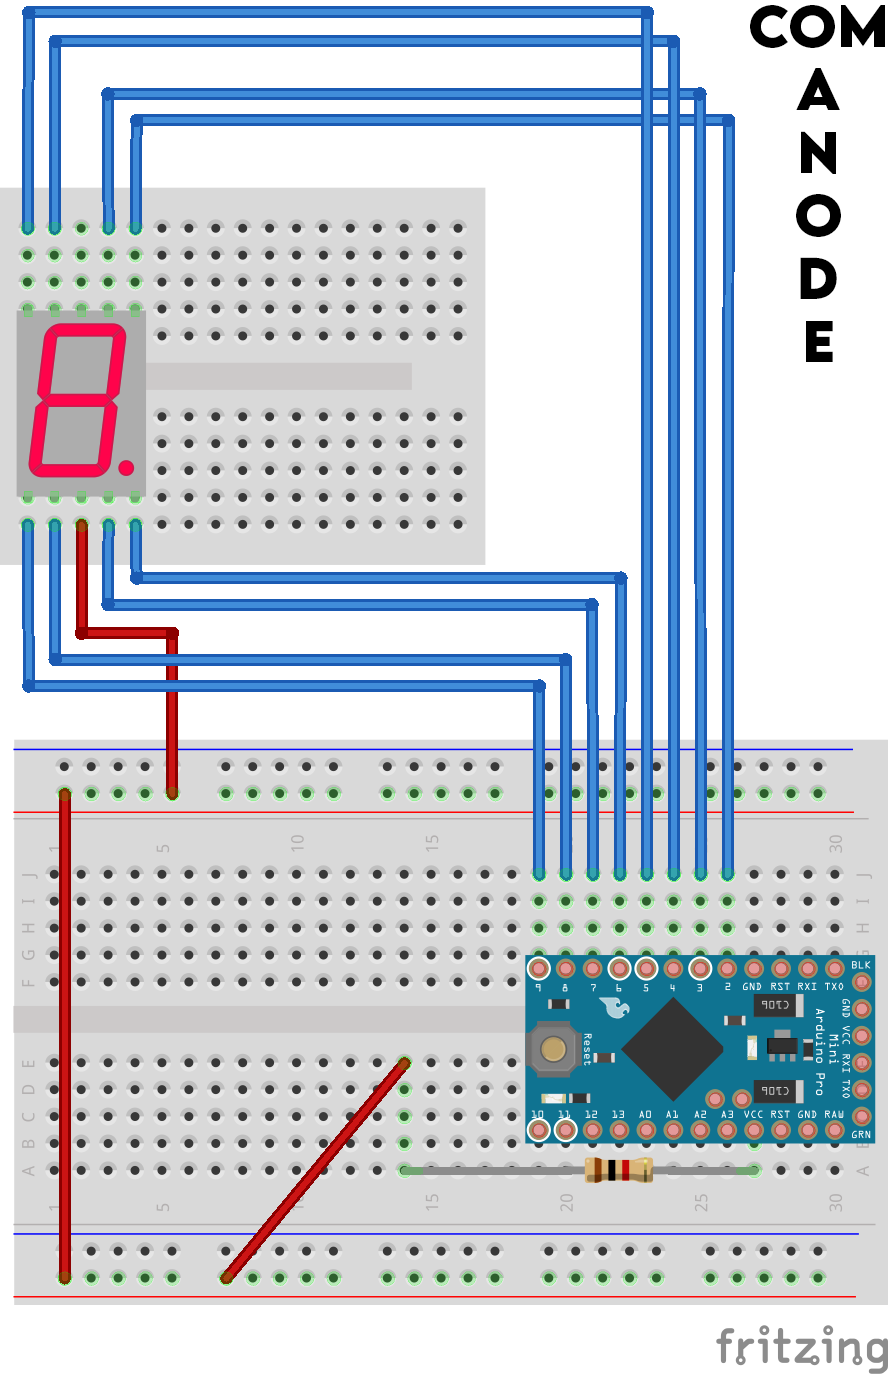
2) FOR A COMMON ANODE 7-SEGMENT LED DISPLAY:
"A" -> DP 3
"B" -> DP 2
"C" -> DP 7
"D" -> DP 8
"E" -> DP 9
"F" -> DP 4
"G" -> DP 5
"H" -> DP 6
COM -> VCC
PROGRAMMING
1) Download the code based on your version of the display.
2) Verify the same.
3) Select the right communication port and board.
4) Upload the code.
TESTING
*SKIP TO 3:13*
Sit back and watch the display do its thing. :D