A.I Central Command Hub

Hello and Welcome.
Today we will be building a Central Command Hub (C.C.H) to house a custom A.I (Which we will be learning how to build as well). The A.I part of this project is ongoing so be sure to stay tuned for updates.
To get started you will need:
(x1) MOVI Shield
(x1) Arduino Mega or Uno (I recommend using a Mega because it has more I/O pins)
(x1) Speaker (Must be wired/ have Aux cord)
(x1) 16 Pixel Neopixel Ring (I used this to light up and add cool led animations to the eye in the middle)
(x1) Small Power Bar (3 outlets should do)
(x1) Breadboard (I recommend using a long breadboard)
(x1) 16x8 LCD Screen
The STL Files for the box which can be found on my Thingiverse page.
Optional:
(5v) Cooling fans (Highly recommended if you plan to run your A.I for long periods of time)
(5v) Relays
Arduino Nano's (These can be used for a variety of things such as essential competes for an RC transmitter and receiver)
(Arduino Compatible) RC Transmitter and Receiver Modules (I plan use them to wirelessly turn things on/off (such as my robots, robot arms and various LEDs) or have them wirelessly activate relays so the relays can the things on/off (such as 120v lamp and other high voltage stuff).
The sky's the limit here because you can add anything you want to your A.I system as long as its Arduino compatible and you know how to program it and how it works.
Assembly
.png)
.png)
.png)
.png)
.png)
.png)
.png)
.png)
.png)
.png)
.png)

.png)
.png)
.png)
.png)
.png)
.png)
.png)
.png)


.png)
.png)
.png)
.png)
.png)
.png)
.png)
.png)

.png)

 Assembly 2.png)
 Assembly 4.png)
 Assembly 5.png)
 Assembly 1.png)
 Assembly 3.png)


.png)
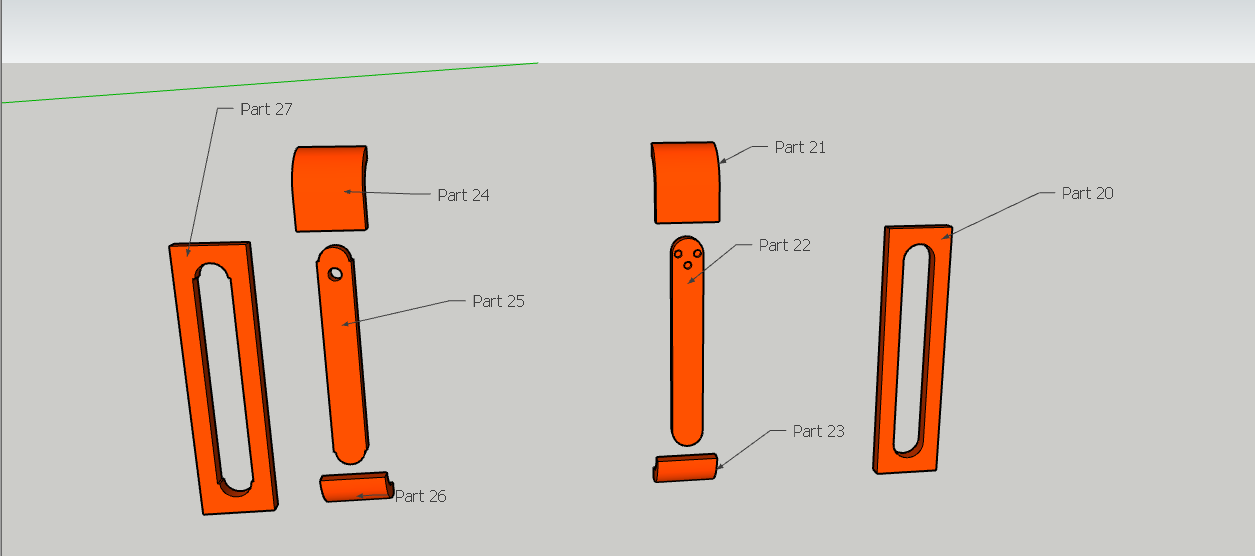
The assembly of the box is pretty straight forward just reference the images above an you should be fine. If for some reason you can't view all the images you can go to the Thingiverse page and download the C.C.H V.1.5.zip file which contains all the assembly pictures along with all the STL files and a working draft of the code (which you can use to get familiar with).
The completed box dimensions are:
Length: 320mm
Width: 230mm
Height: 290mm
Eye Assembly
The eye assembly is very simple as well. I only printed the Outer Ring.stl (gray piece) and the Front Ring.stl (gold piece). I cut out a diffuser (white piece) to fit in the Outer Ring and glued my 16 bit Neopixel Ring to the diffuser. I then Inserted the diffused Neopxiel into the Outer Ring and glued the Front Ring to the diffuser and the Outer Ring.
Eye Wiring (V.1)


For this version of the eye, I wired my Neopixel to an Arduino Nano, and wired the Nano to a Relay. I then have the Movi Shield turn on/off the relay (through voice commands) which in turn, turns on/off the Nano which runs the Neopixel code.
the reason why I did it this way instead of wiring direct to the MOVI Shield (In simple terms, the MOVI Shield is basically a voice activated relay) because the delay functions within the eye code put everything to a hard stop, in turn causing the MOVI Shield to not respond to any of my commands. Since I don't know how to use the millis functions yet (I have to look into that when I have more time) I went with the relay. This solved my problems and the MOVI Shield now responds and runs my commands.
The Code (V.1)
.png)
.png)
.png)
This is the code you get when you go to the Thingiverse page and download the C.C.H V.1.5.zip file which contains everything. As I mentioned before this is my working rough draft because I have to find the time to sit down and program all the features that I want to have for my A.I System (When I do this I will post an Instructable with the updated code, and an explanation of what it does/it's features). Luckily, you can use this code to get familiar with how the MOVI Shield is programmed and works.
Now I wanted to break down certain sections of the code so you can get a better understanding of how it works.
I want to start with this part because this is the part where you teach your A.I the commands you will ask it.
recognizer.callSign("Baxter"); // Train callsign Arduino (may take 20 seconds)
recognizer.addSentence(F("Turn on")); //1
recognizer.addSentence(F("Go Dark")); //2
recognizer.addSentence(F("Run system check")); //3
recognizer.addSentence(F("Goodbye")); //4
recognizer.addSentence(F("Are you a robot")); //5
recognizer.train();
The recognizer.callSign is what tells the Movi shield that what you're going to input between the quotations(""); (In my case, "Baxter") will be the name of your A.I (It's call sign). It's like Amazon's Alexa (Alexa being the call sign/the A.I's name) except here you can change the name of your A.I to what ever you want.
The recognizer.addSentence is what tells the Movi shield that what you're going to input between the quotations(F(""));(In my case, "Turn On") will be a command that you will give it. The //1 at the end let's you and the Movi Shield know what command number it is. This is important because when you create the action for the command, you must reference the command number (which in this case would be 1). If you want to create more commands just copy and paste your first command (Example: recognizer.addSentence(F("Turn on")); //1) and change the command in between the quotations (F("")); to another command that you want. Then you must change the //1 at the end to a //2 because it is your second sentence. (Example:recognizer.addSentence(F("Go Dark")); //2)
Once you have finished creating all your commands you must addrecognizer.train();at the end. This tells the Movi Shield to update and learn the new things you inputted (such as the new commands, and a new name).
Now let's break down the command execution/response part of the code.
if (res == 1) {
recognizer.say("Hello commander. How may I be of service?");
digitalWrite(EYE_RELAY_PIN, LOW); //Turns on Eye (N.C)
recognizer.ask();
}
if (res == 2) {
recognizer.say("Goodnight commander");
digitalWrite(EYE_RELAY_PIN, HIGH); //Turns off Eye (N.C)
}
if (res == 3) {
recognizer.say("Systems operating at full capacity");
}
if (res ==4) {
recognizer.say("Goodbye");
}
if (res ==5) { recognizer.say("Pish posh");
}
As I mentioned before we need to reference the command sentence number so the Movi Shield/ our A.I knows what command it wants us to execute. That's were if (res == 1) plays an important role. This uses an if statement to determine if we say command //1 then it will recognize and locate sentence number 1 and execute the action that you labeled to be equal to sentence 1 (res == 1). Then it will execute what ever you programed it to do. This part recognizer.say tells the Movi Shield that you want it to say whatever you put in-between the quotations ("");(Example: ("Hello commander. How may I be of service?"); Your A.I will now say Hello Commander. How may I be of service when you say command number 1).
If you want your A.I to turn on an Led or a Relay when you say command number 1. Then you add the standard digitalWritefunction. I useddigitalWrite(EYE_RELAY_PIN, LOW); //Turns on Eye (N.C)Because I have a relay that I want to turn on/off. I then addedrecognizer.ask();before I ended this command by adding the } because the recognizer.ask();function allows the A.I to remain actively listening instead of waiting for the callsign. I added this because my A.I askes me a question ("How may I be of service?") and therecognizer.ask(); function allows my A.I to bypass the callsign activation and be ready to execute my next command without me saying "Baxter" followed by my desired command. You don't have to add this but I like it. Also, don't add to many of the recognizer.ask(); functions because it may cause some issues with you A.I such as: It won't respond when you say a command, or it won't acknowledge you when you say the callsign. I recommend having only one of the recognizer.ask(); functions. (You might be lucky and get away with having more than one but if you run into any issues at least you'll know what to look for).
For the rest of your command actions/executions do the same just be sure to reference the right command numbers.
Troubleshooting:
If your having some issues with you A.I such as: It won't respond when you say a command, or it won't acknowledge you when you say the callsign it could be because you are using delays (they stop everything cold in its tracks which means it also stops the Movi Shield) or you have too many recognizer.ask(); functions. (As I mentioned before you could get away with using delays in certain parts or multiple recognizer.ask(); functions, but if you run into non-responsive Movi Shield issues you have an idea what could be causing the problem).
I also noticed that if your Movi is hooked up to a 9v power supply with a display (so you can see the changes in Amps and voltage) when you say a command or its callsign the amps should increase because it drawing more current. (I believe it jumps up to around 0.18A Don't take my word on that exact number because I don't remember the exact number and yours can vary). But be sure to look for that jump when troubleshooting to make sure it hears/recognizes you/your commands. If the Movi shield responds and works properly your all good. If the Movi Shield is non-responsive and you see that jump, it means the Movi Shield hears/recognizes you/your commands but something is wrong with your code that prevents it from being responsive.
I hope that helps and you now have a clearer understanding of how the Movi Shield works.
Stay Tuned for the Future
When I get around to full programming BAXTER (my A.I) I plan to have him remotely turn on/off my animatronic robots, some animatronic arms that are preprogramed to do things, add an alarm, clock, and timer and much more. If you end up beating me to the chase please go ahead and share your work. I would love to see/hear what features you programed into your A.I and what you plan to use it for.
So stay tuned for updates.
UPDATE - 04/23/21
V2 is here!