AI Anti-Deforestation

Question, is the weather getting MORE EXTREME? The answer is YES! And one of the reason is EXCESSIVE DEFORESTATION! After discussing, my team decided to make an AI server to detect any illegal deforestation. This project also aim to achieve SDG 15 (Life On Land).
Supplies
For this project, as we couldn't get any appropriate hardware, so we will focus on the AI software. In short, all we need is a PC.
yolov5 server source: https://github.com/ultralytics/yolov5
Image Labelling Tool: https://app.roboflow.com/
Collect Images
For the first step, we collected approximately 100 images as raw data.
Annotating Your Images
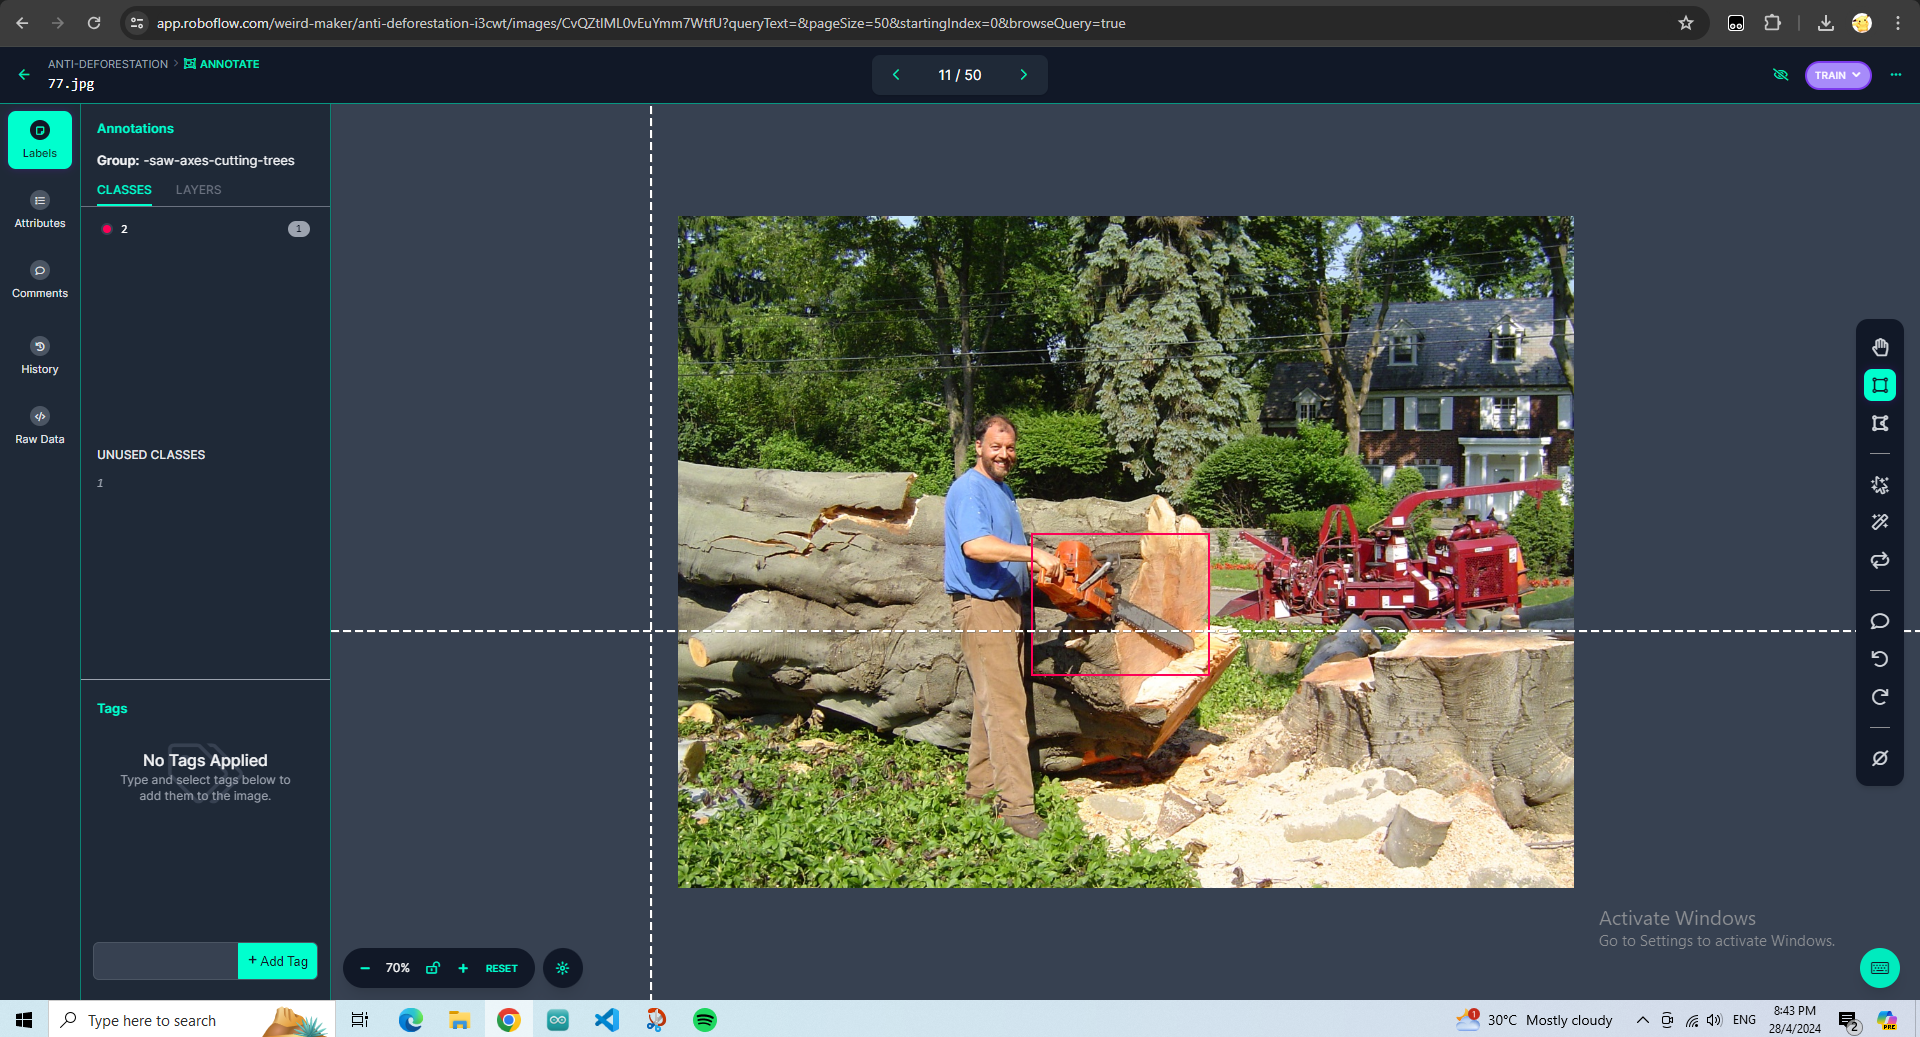
As we mentioned earlier, we are using Roboflow for labelling images.
For the labelling process, check out this video: https://youtu.be/GePsVcmAruc?si=di9-uhDhbx7qvT78
Export Your Datasheet
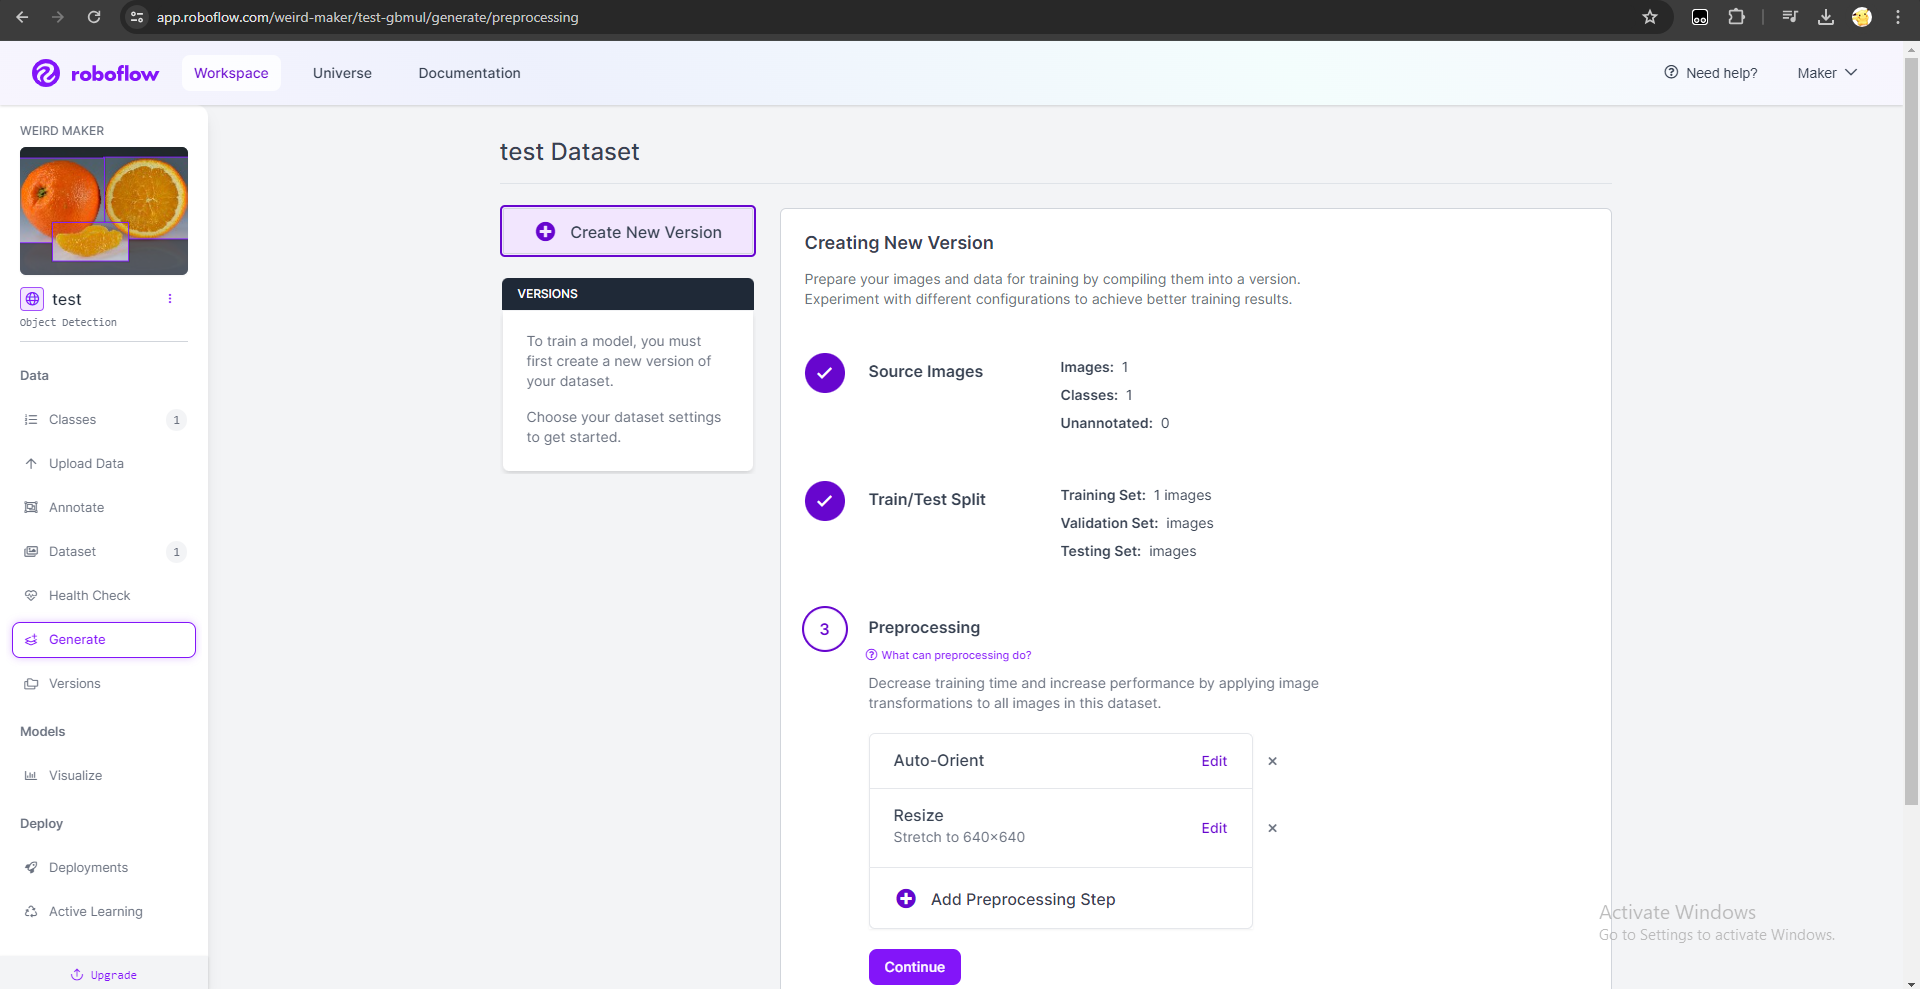
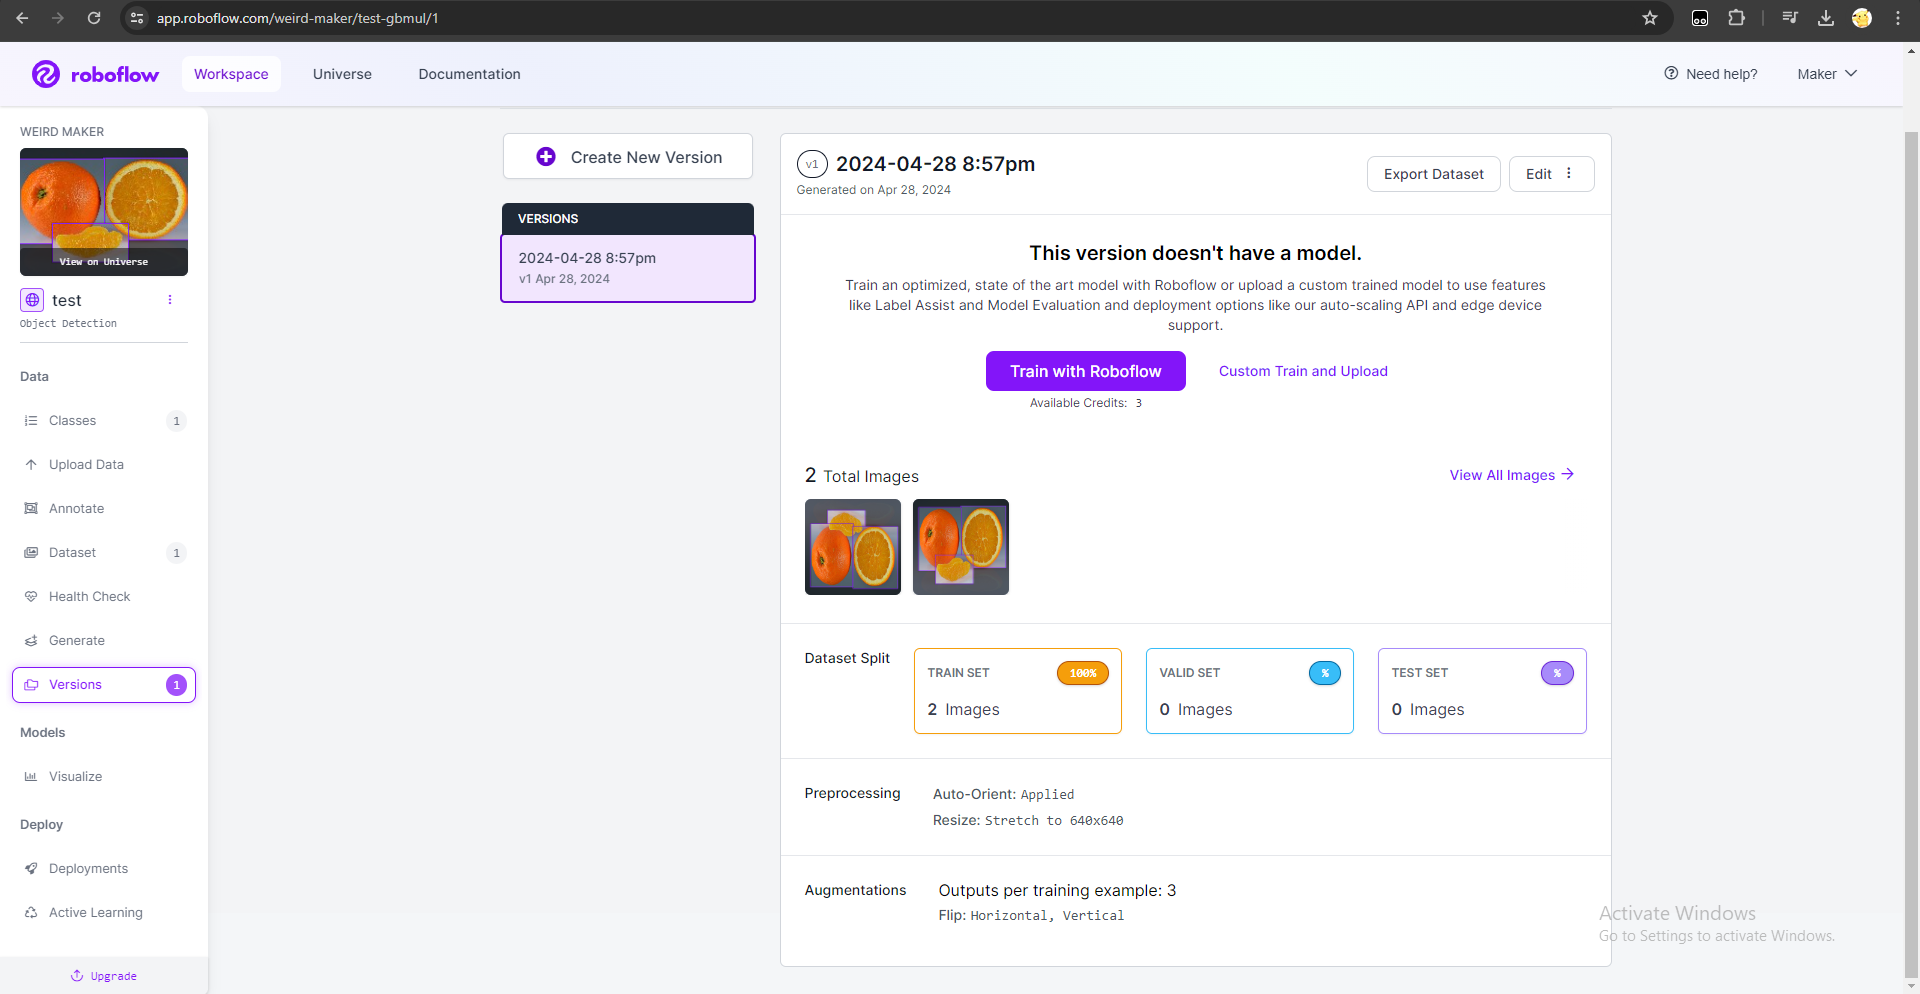
After annotating the images, click "Save & Continue", and choose "Split Images Between Train/Valid/Test", then click "Continue". After a few seconds, a page as the first picture is shown. For the Pre-processing option, just click "Continue" unless you would like to resize the images, or add other pre-processing step. For the Augmentation option, you may add some augmentation steps. In this case, I added 10 augmentation steps. Then, we proceeded by clicking "Continue" and click "Create" for last step. It take some time and eventually you will see the page as shown in the second picture. Click "Export Datasheet", select "YOLO v5 PyTorch" and select "download zip to my computer".
Tutorial Link: https://youtu.be/a3SBRtILjPI?si=ybEK0j3KV3NUUvGI&t=197
Prepare Your AI Server

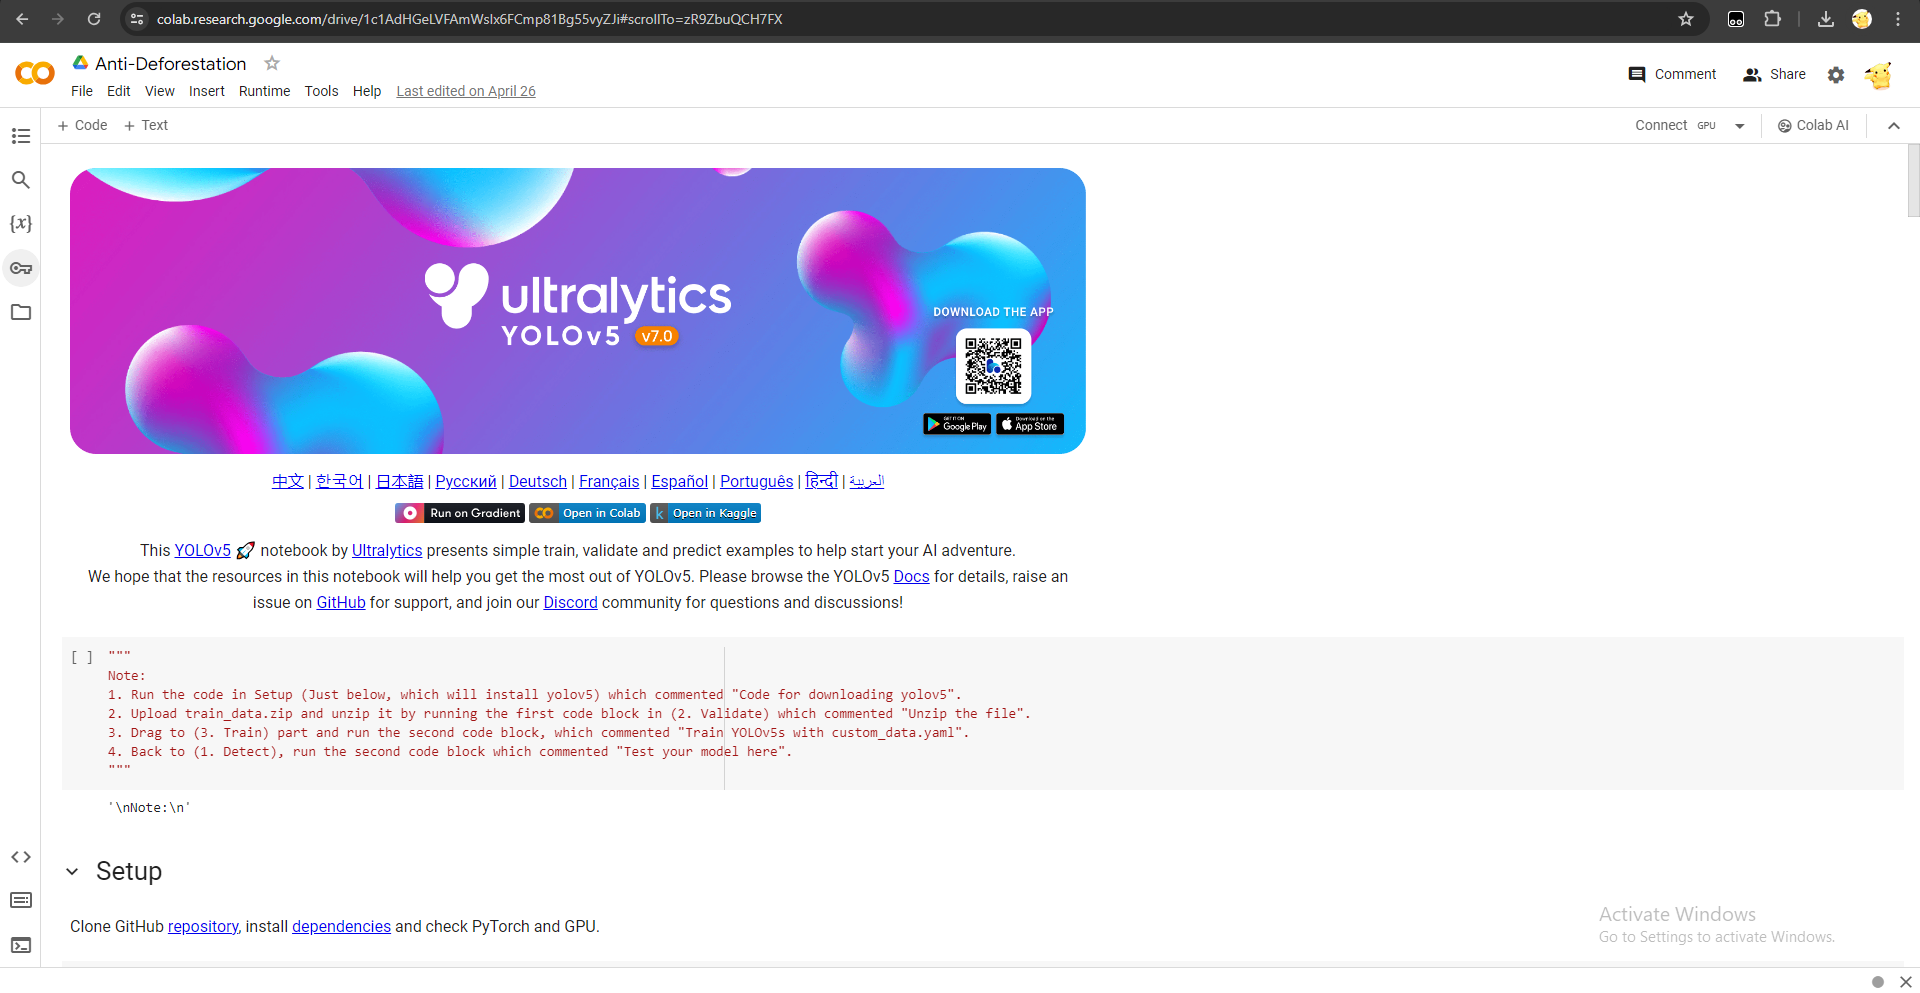

To get the yolov5 server, visit https://github.com/ultralytics/yolov5. Scroll down and search for something shown in picture 1. Then, click "Open in Colab", a yolov5 clone page will appear (picture 2).
Next, click Connect GPU as shown in picture 3.
Running the Server
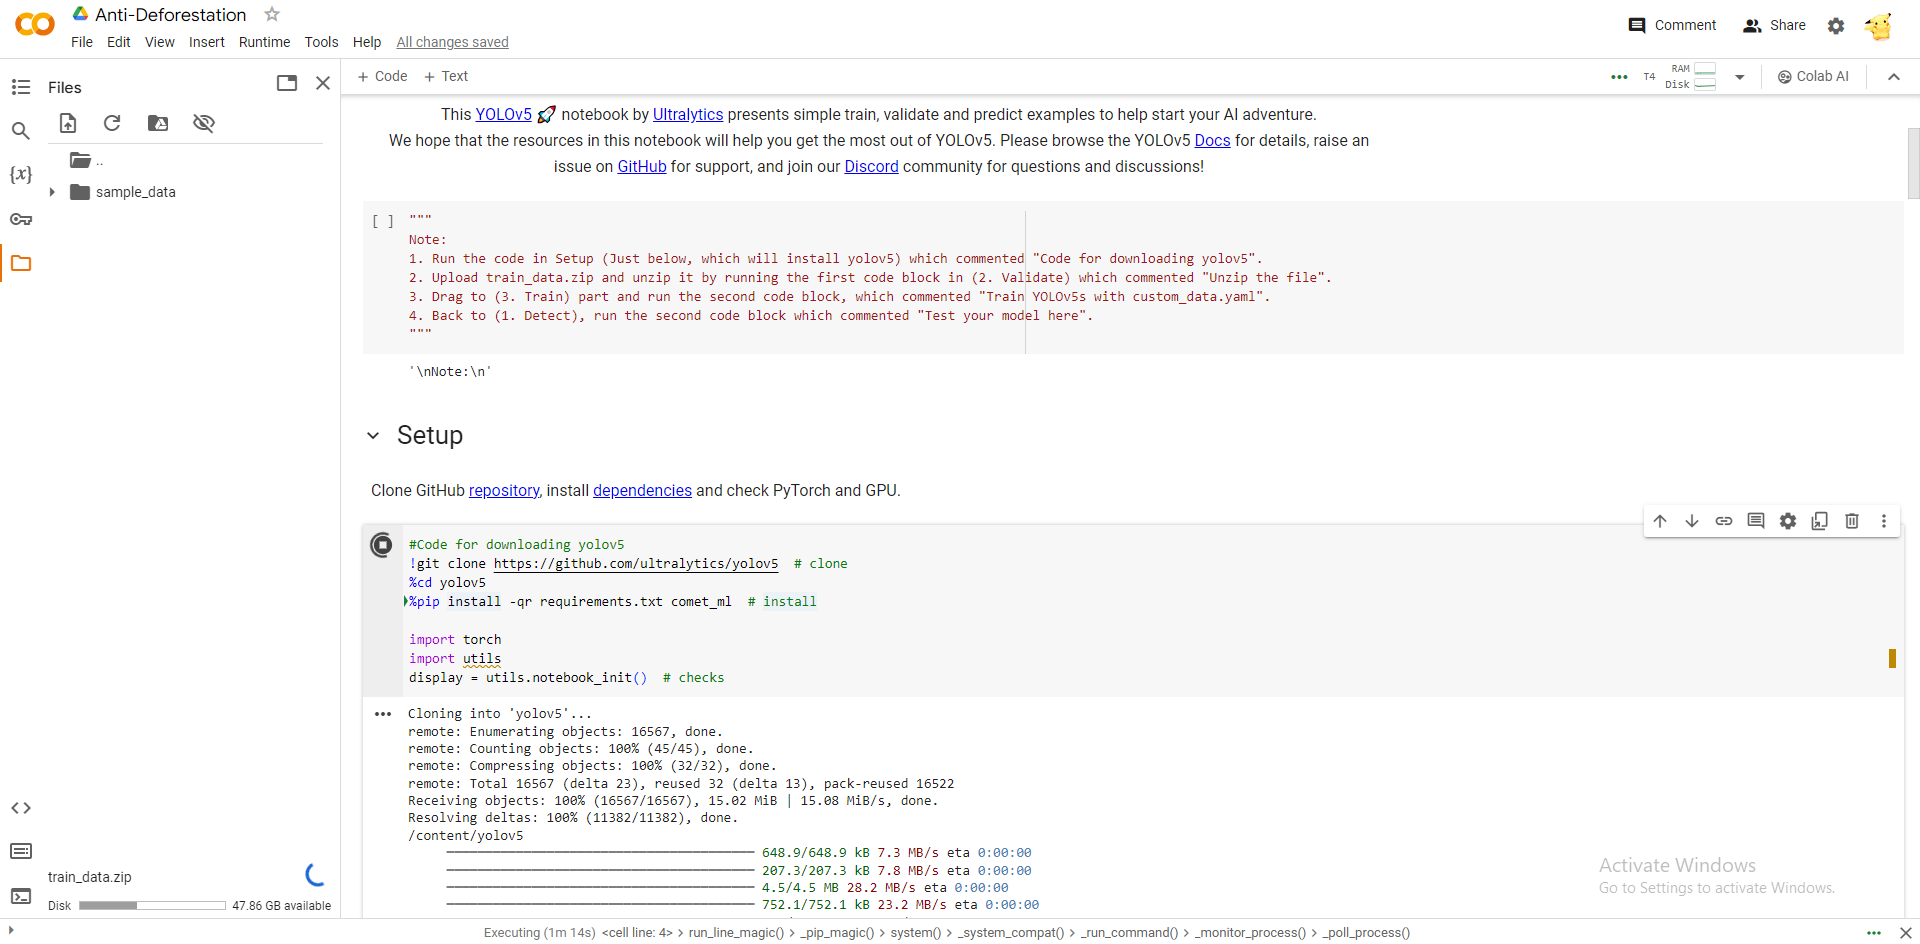
- Scroll down and search for "Setup" part, and execute the code. While waiting to clone yolov5 folder, you may upload the zip file which you have downloaded from Roboflow. (picture 1)
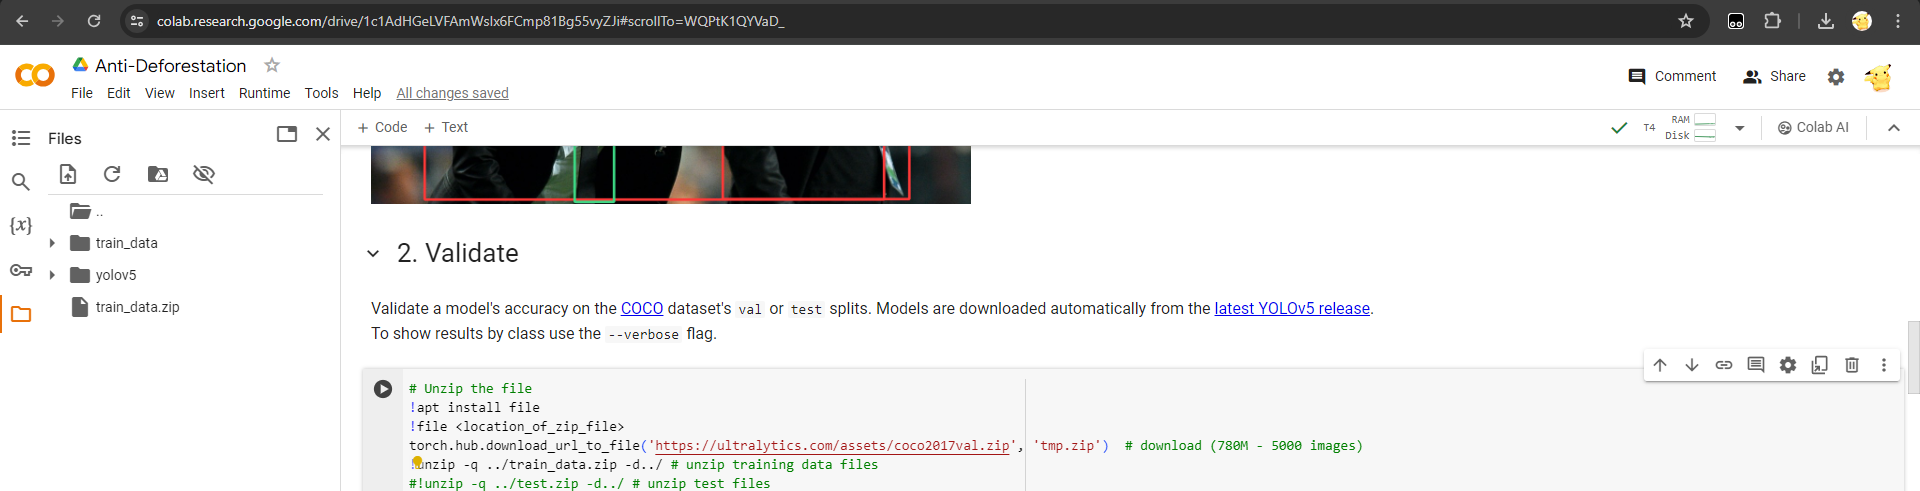
- After the zip file is uploaded, scroll to "Validate" part and search for a code cell which contain "!unzip -q ..." and change the default zip file name to the file name which you have uploaded (you can rename it if the file name is too long before uploading). (picture 2)
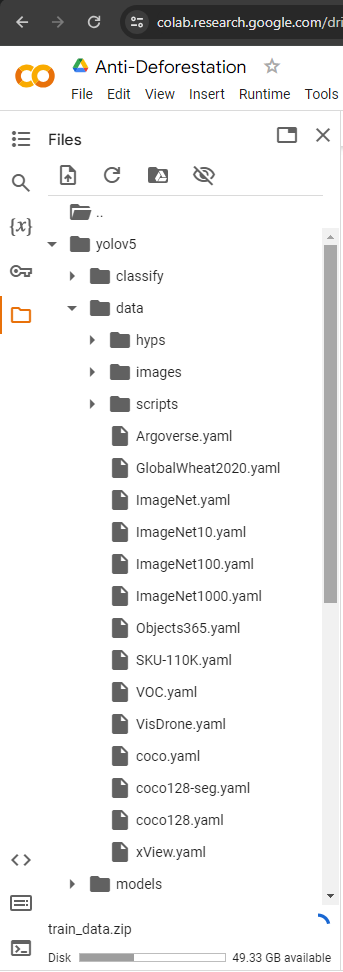
- Then, locate for the file coco128.yaml (yolov5 => data, shown in picture 3) and download it. Copy the code in the attached data.txt and paste it in coco128.yaml and rename (e.g. data.yaml). Then, upload data.yaml to the path where you download the yaml file.
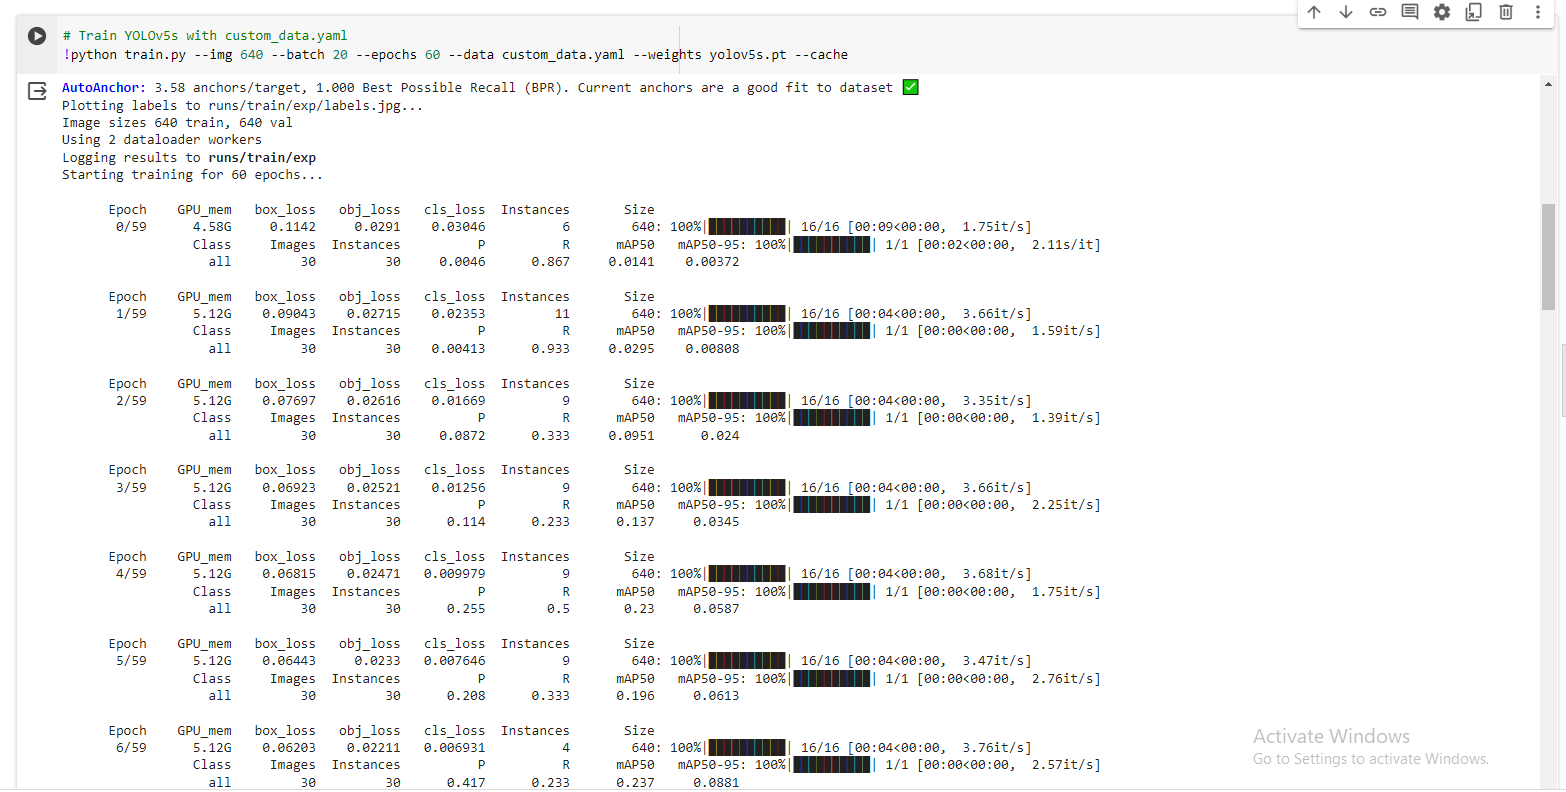
- Scroll to "Train" part and execute the code cell which is shown in (picture 4). (the result should be similar to the picture shown)
Downloads
Test Your AI Model

To test your AI model: https://youtu.be/GRtgLlwxpc4?si=1FQ6-TeORk4yqI3j&t=981
That's all for the AI training process! Thanks.