AHS Vinyl Sticker (Photoshop)
Find the image you would like to make out of vinyl.
Copy the image to your clipboard.
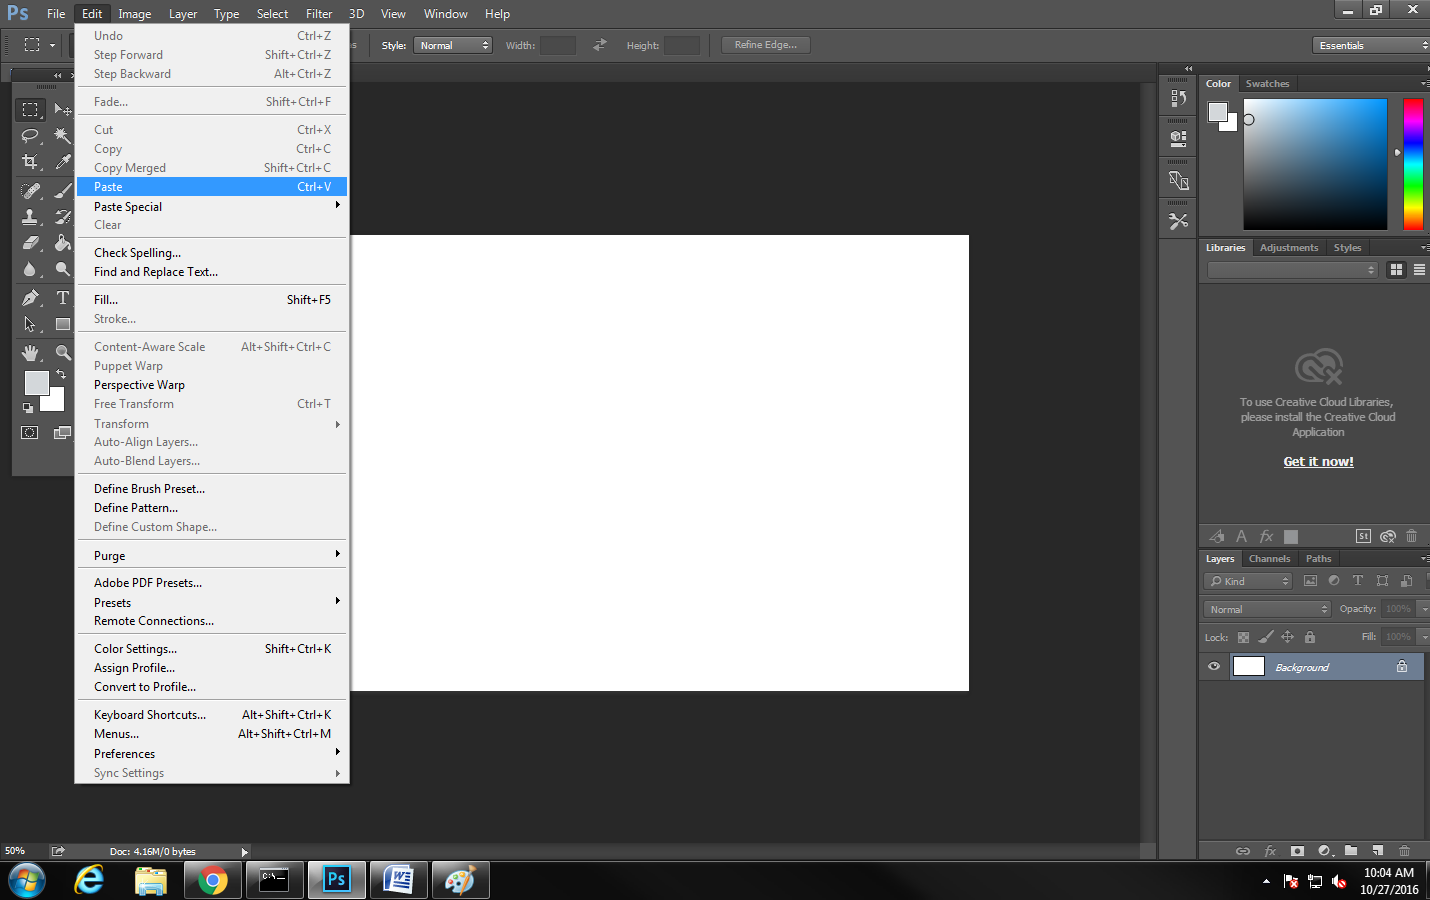
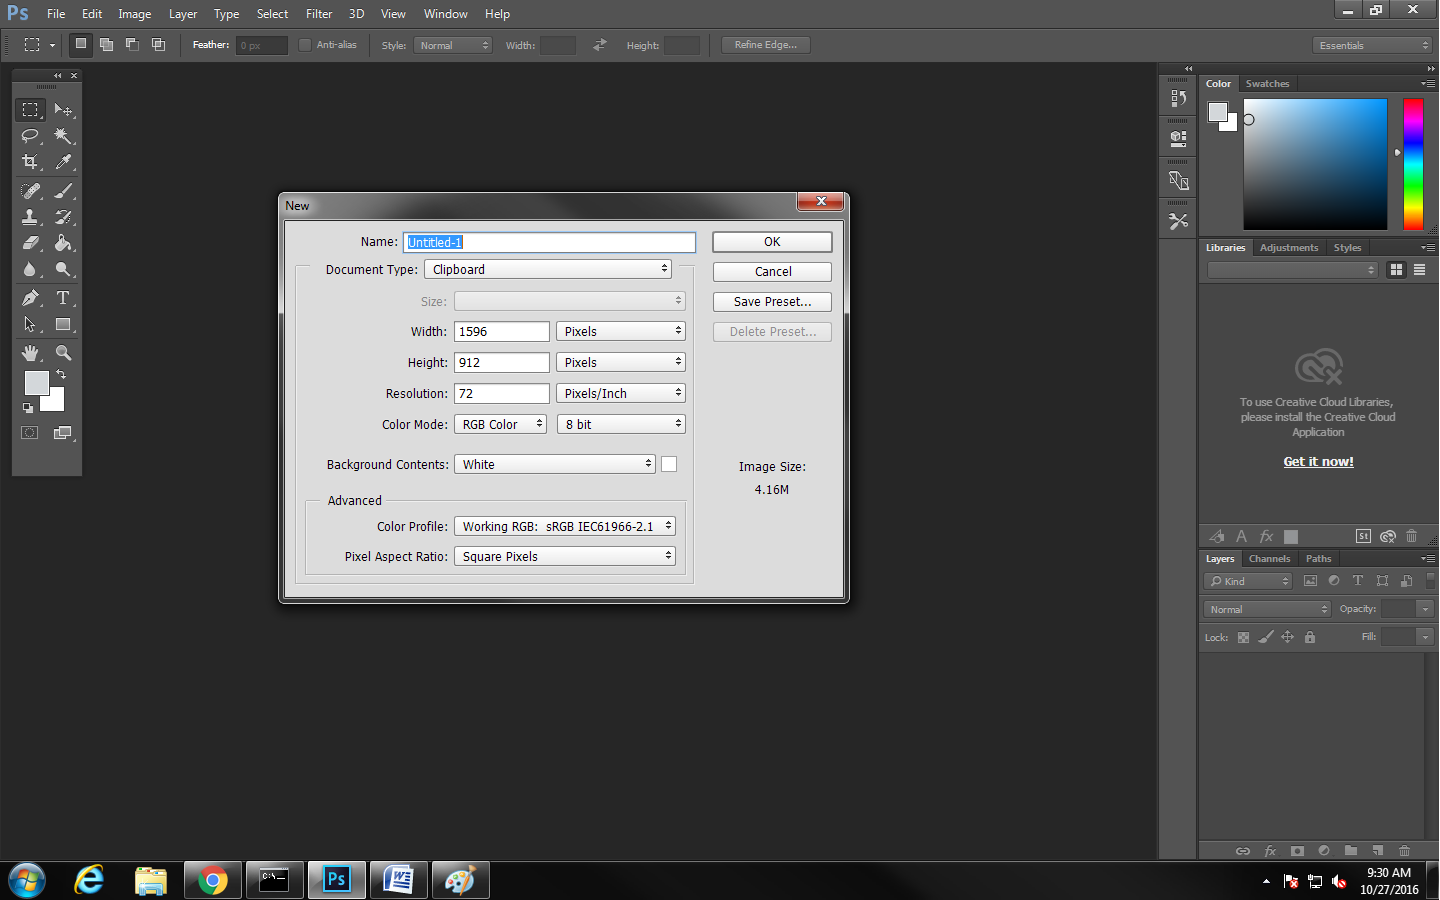
In Photoshop, go to File: New, and click OK.
Then paste your image, and make the Background layer invisible (by selecting the little eye by the layer).
If your desired image is copied to your clipboard, Photoshop will auto fill pixel sizing to fit the image
*Important* Through this whole process, only one layer should be visible and selected at a time.
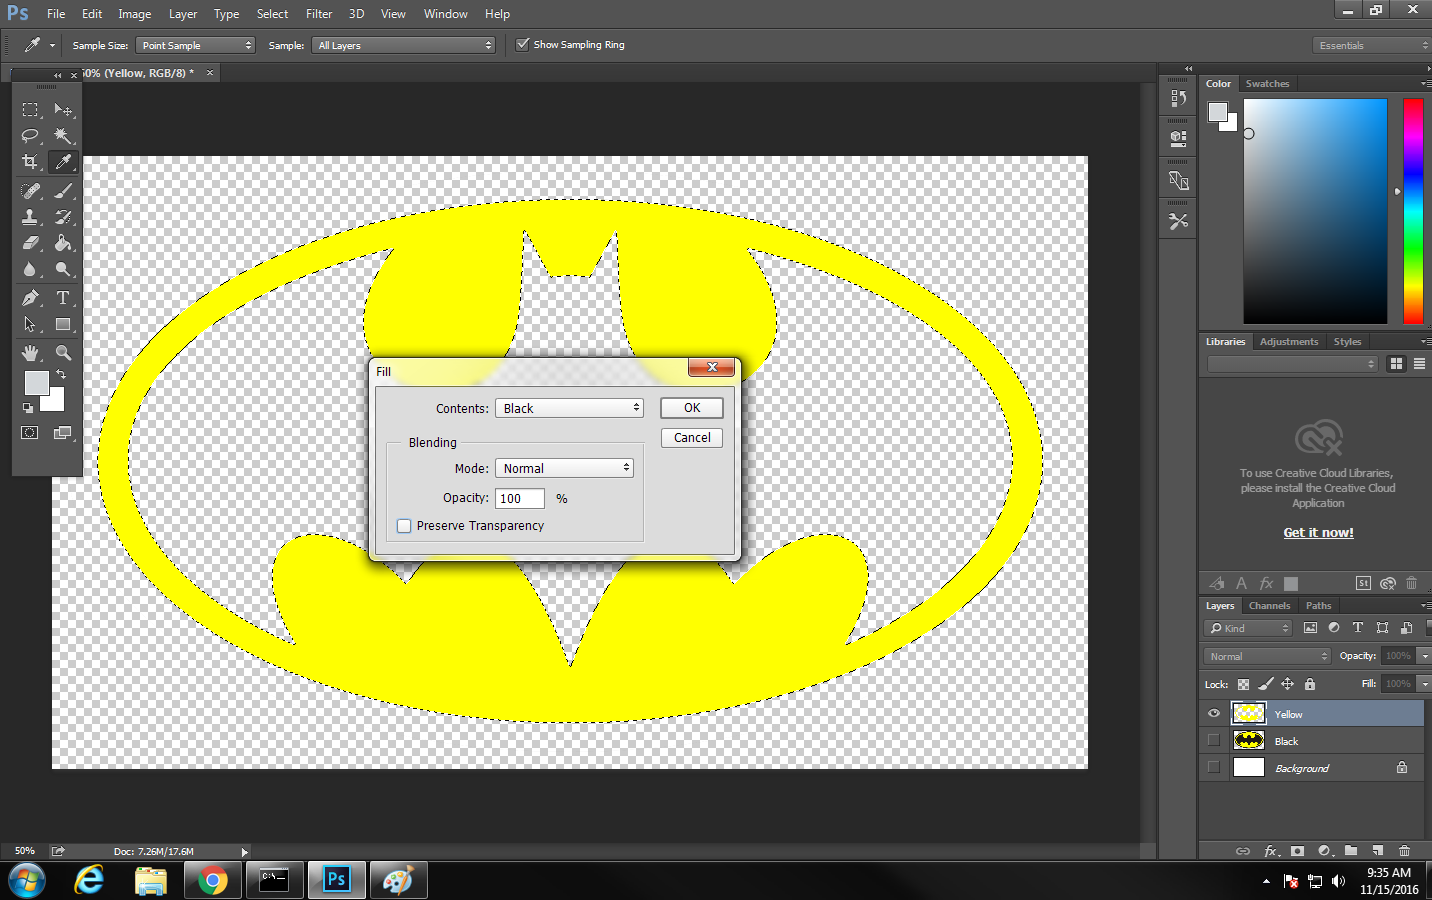
AHS Vinyl Sticker (Photoshop) Step 2
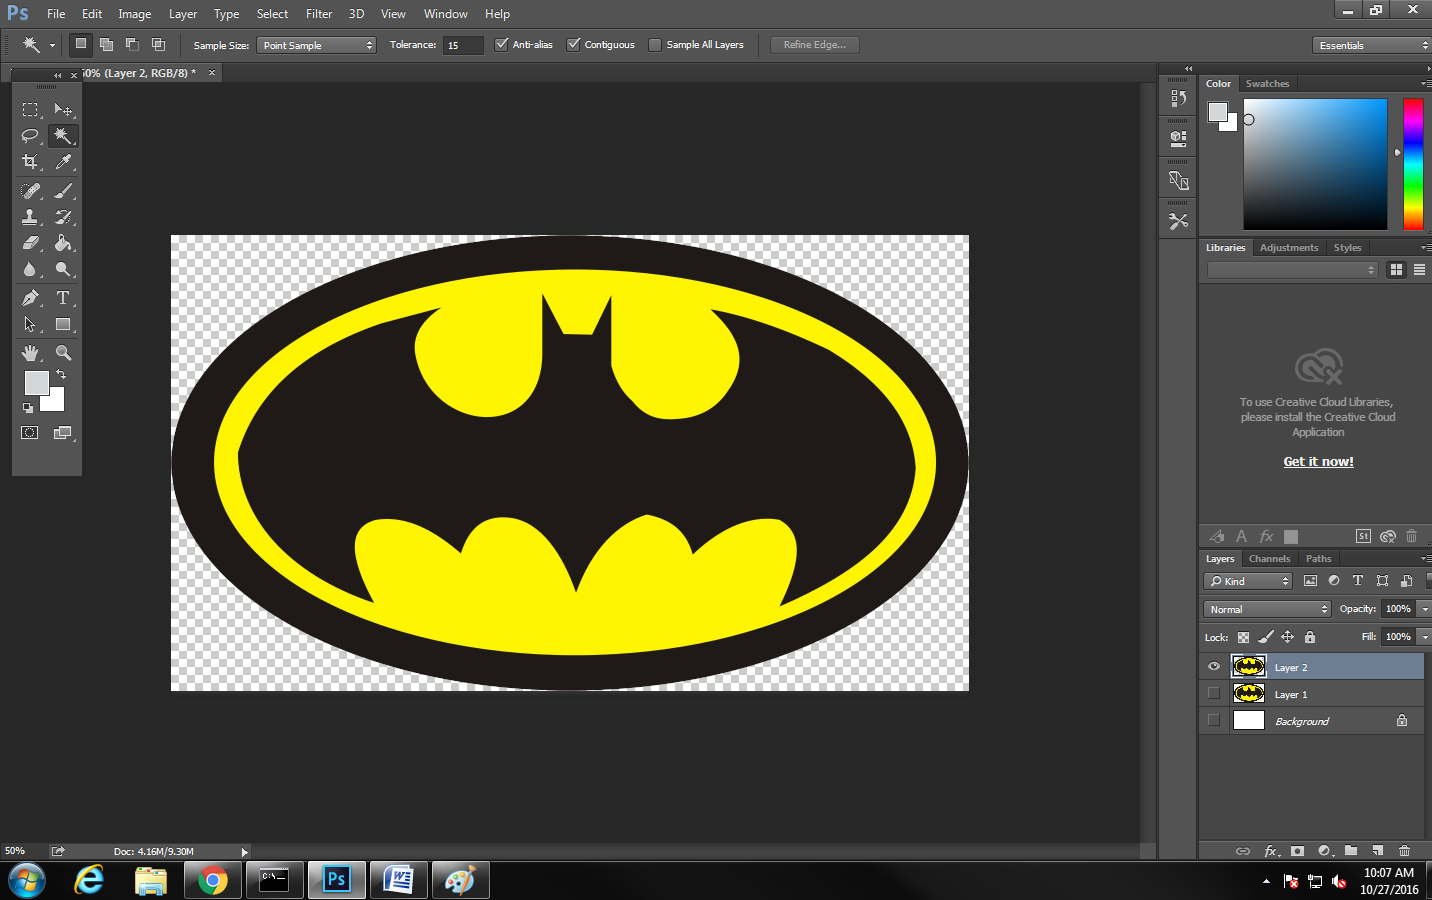
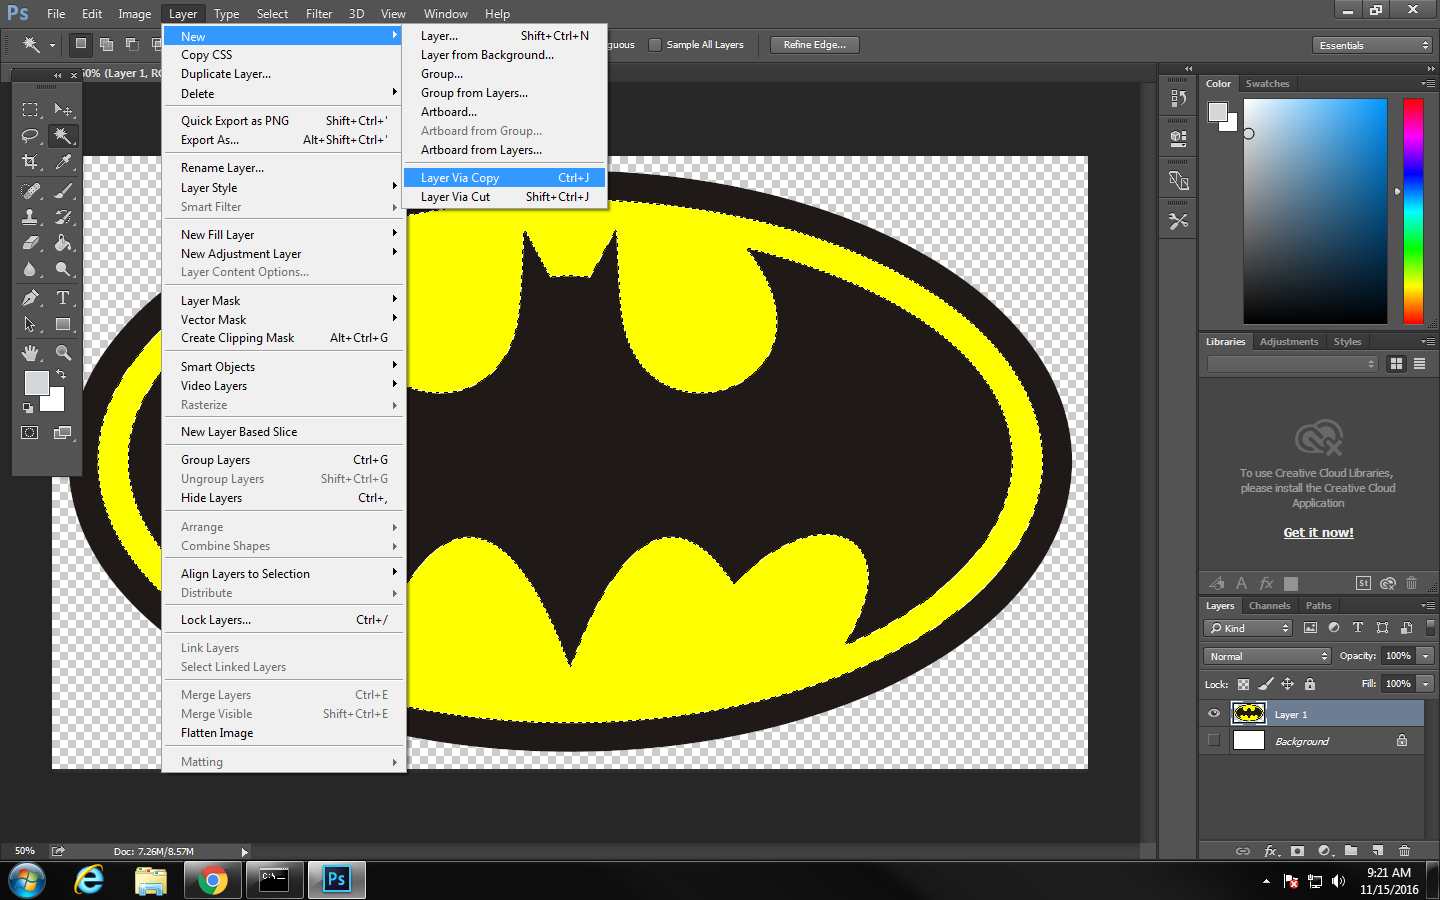
At this point select everything that you don't want in your sticker and delete it.
Selection should be primarily done with the magic wand tool (Hidden behind the Quick selection tool).
You may have to play with the Tolerance at the top to get the desired selection at the pixel level.
The lasso tool can be used to select patches of unselected area.
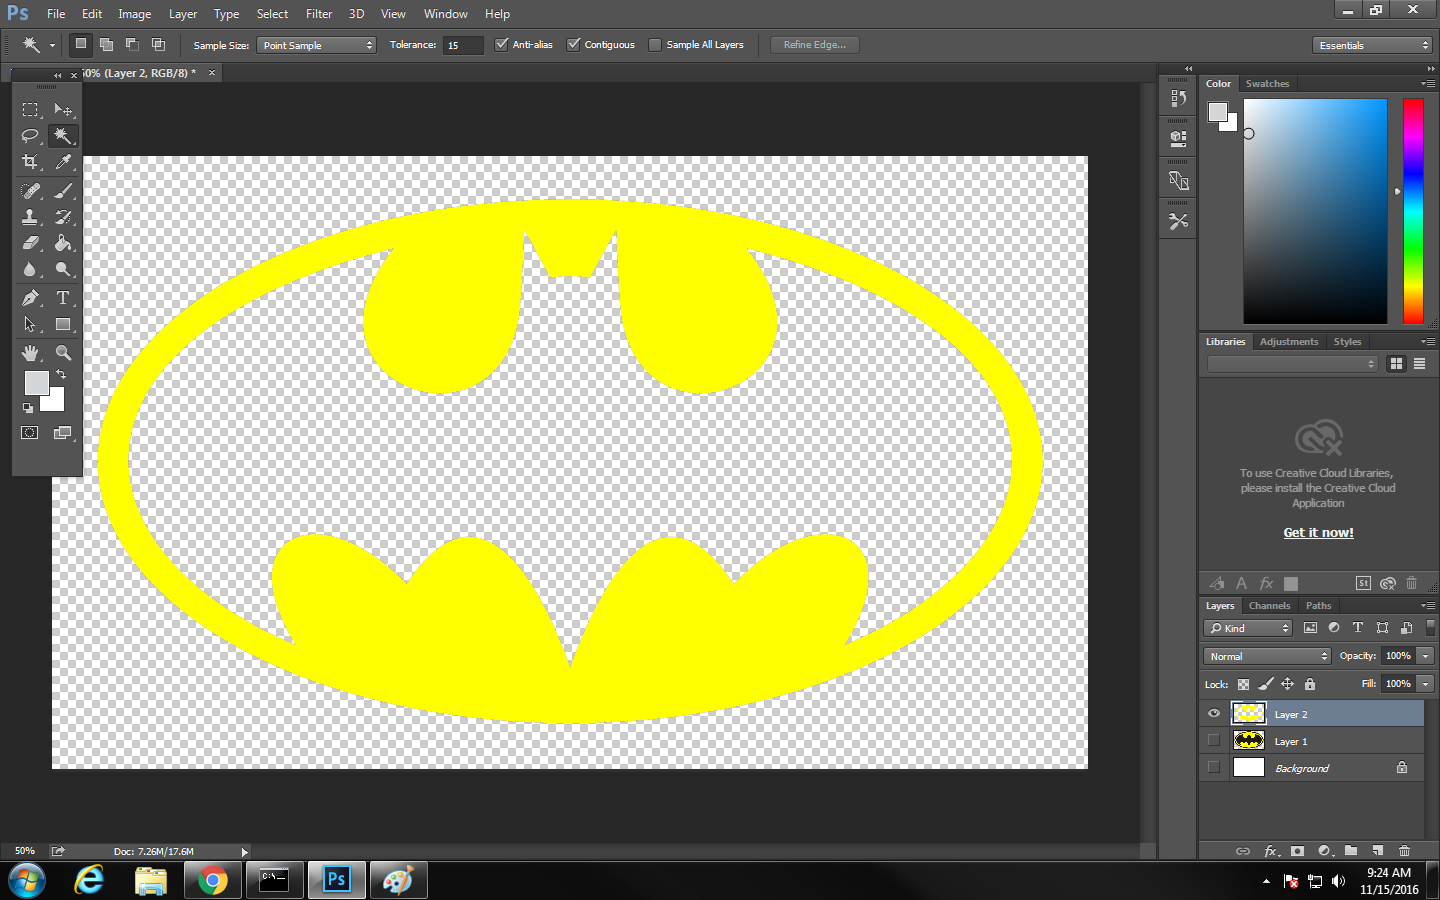
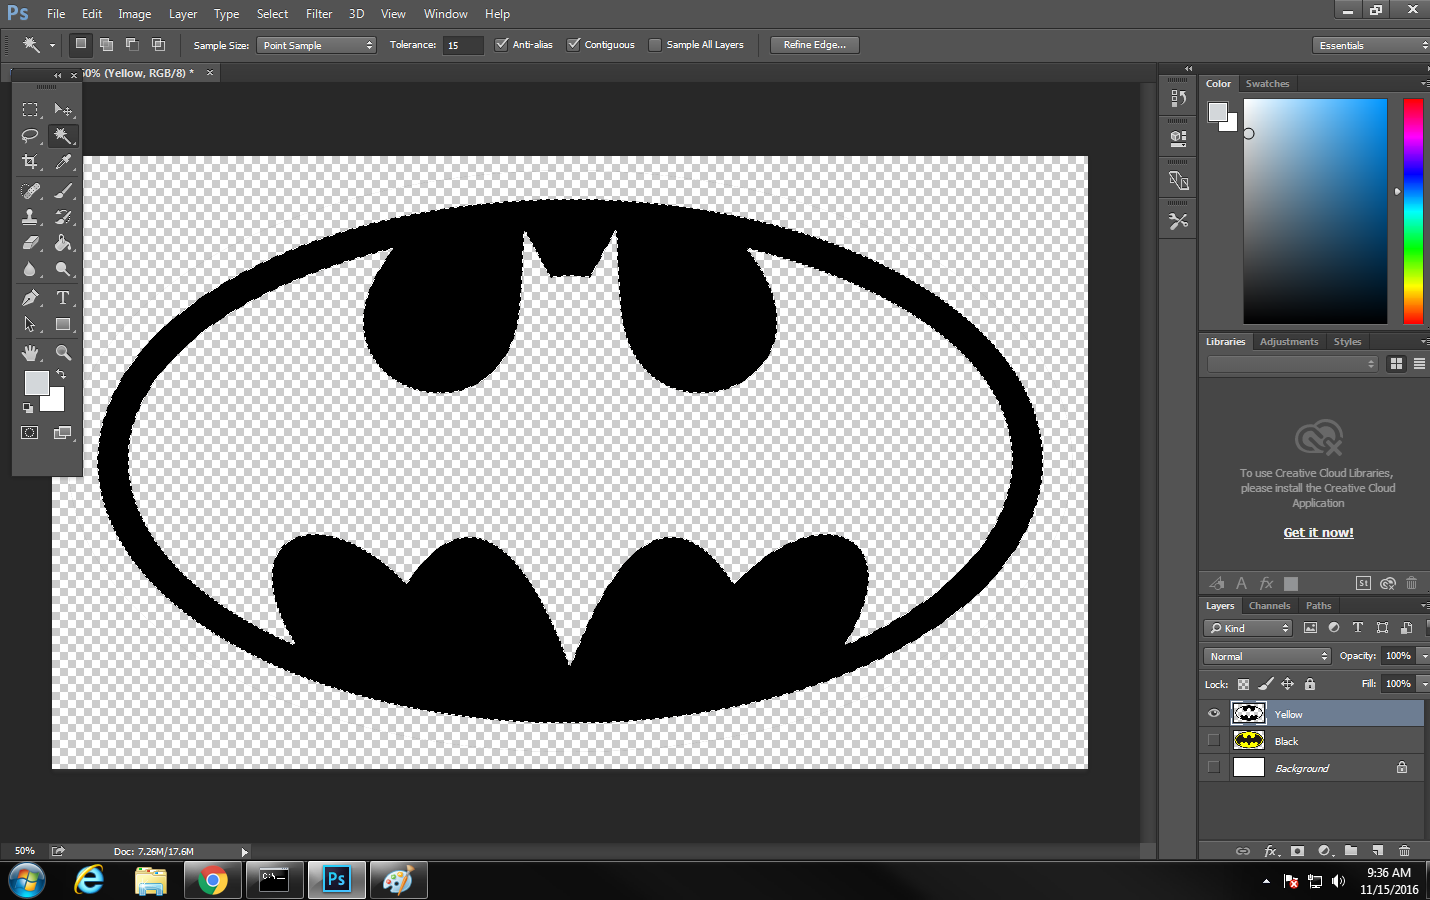
On a piece of paper, create a diagram of how you wold like to build your sticker.
Starting with the outermost layer and working towards layers that contain no new layers.
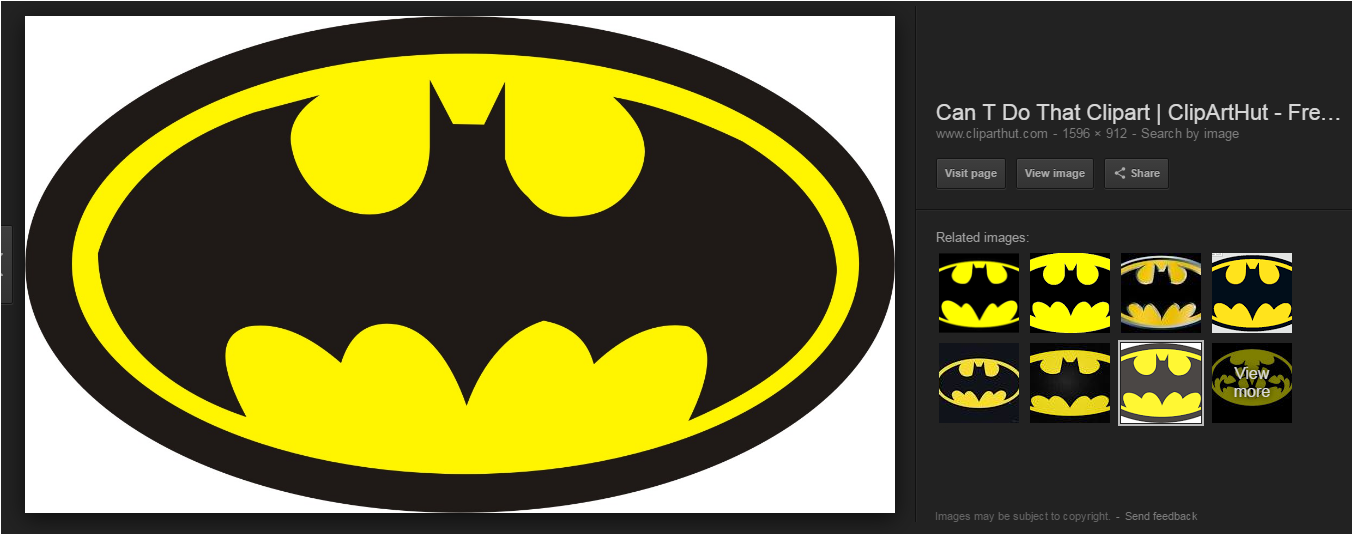
*example* The batman logo contains two layers. The black layer, and the yellow layer, which contains part of the black layer.
The current layer contains all layers and will be your first layer.
Now select everything except what you want to show through from the first layer and the transparent background.
*Tip* To select everything you want, select everything that you don't want using the magic wand tool, and press Shift + Ctrl + I, to invert the selection.
With everything selected, go to Later: New: Layer via copy.
Repeat until all layers are created.
AHS Vinyl Sticker (Photoshop) Step 3
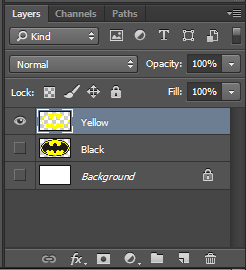
Name every layer as the desired color of the layer.
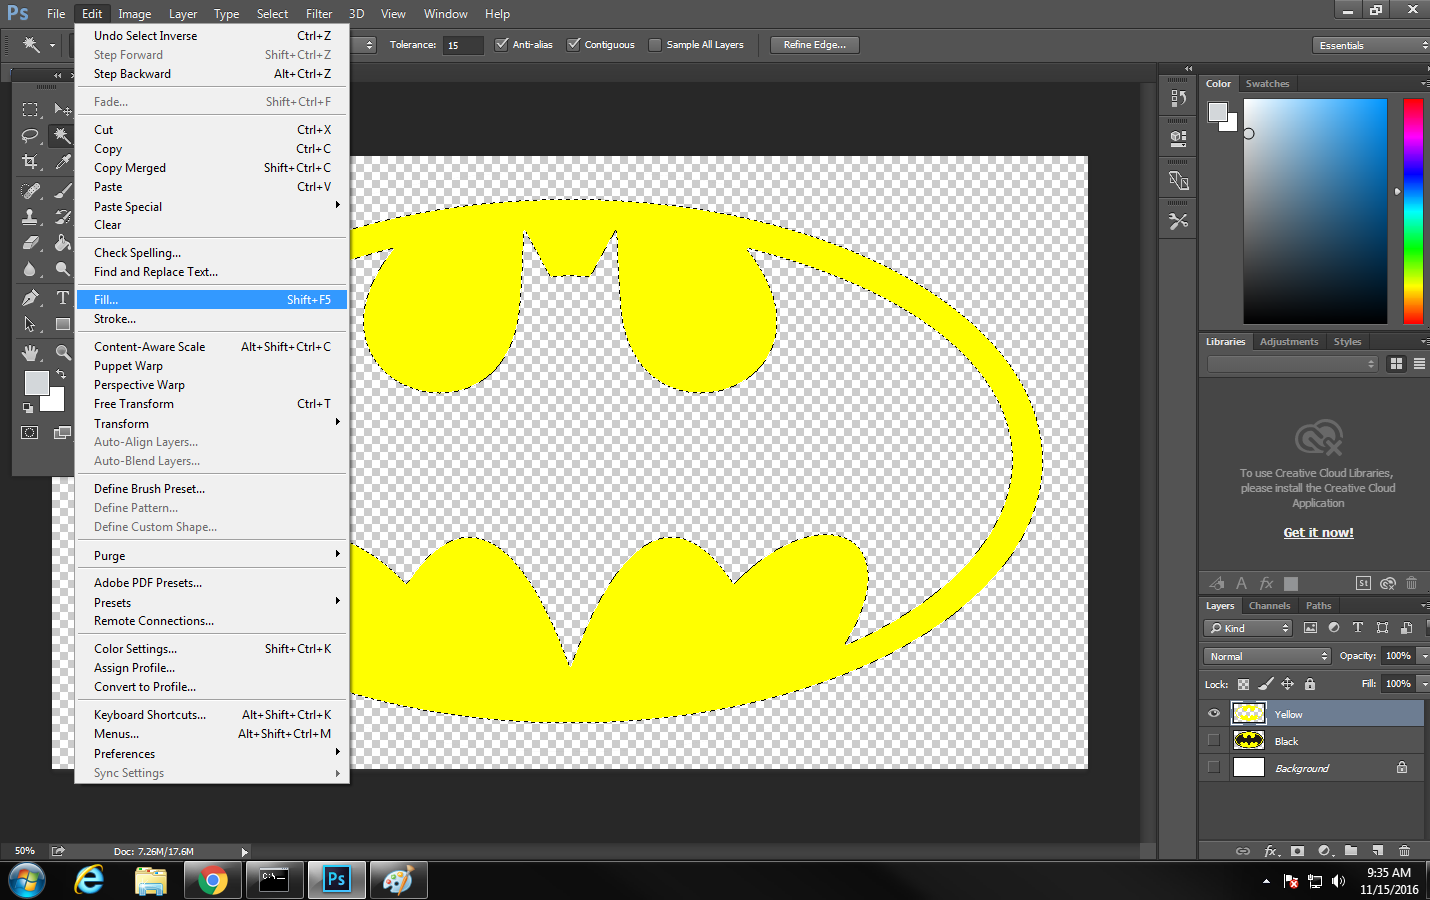
One layer at a time, select everything.
*Tip* First select the transparent background, and invert the selection.
Then go to Edit: Fill.
A pop up should come up and input the following settings.
Settings: Contents. Black, Mode. Normal, Opacity. 100%, and do not Preserve Transparency
Then press OK
Everything should be black.
AHS Vinyl Sticker (Photoshop) Extra Step
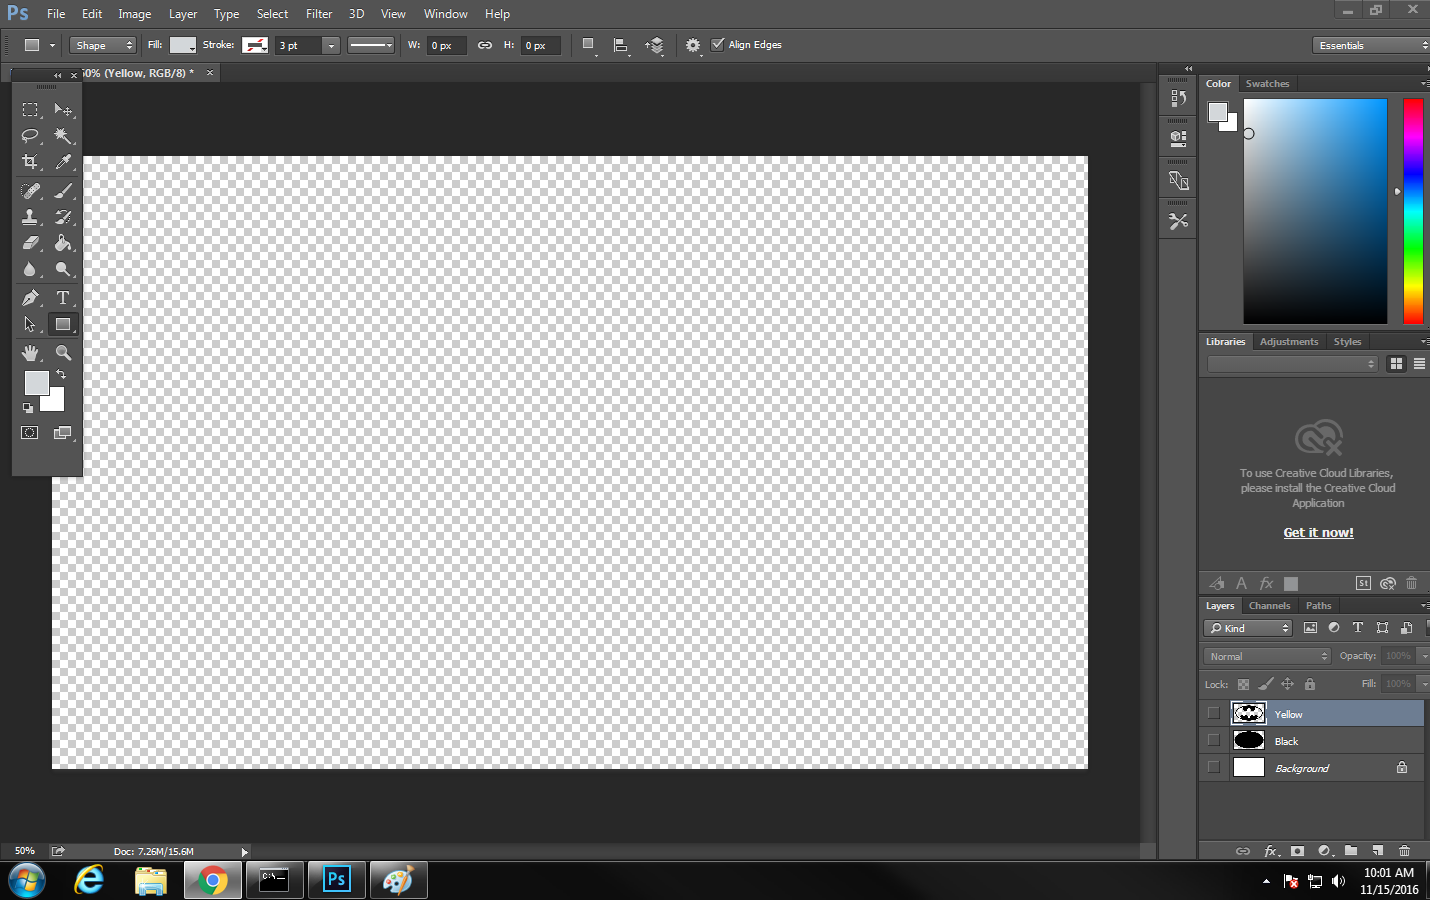
This step is to add Registration marks.
Start with no visible layers.
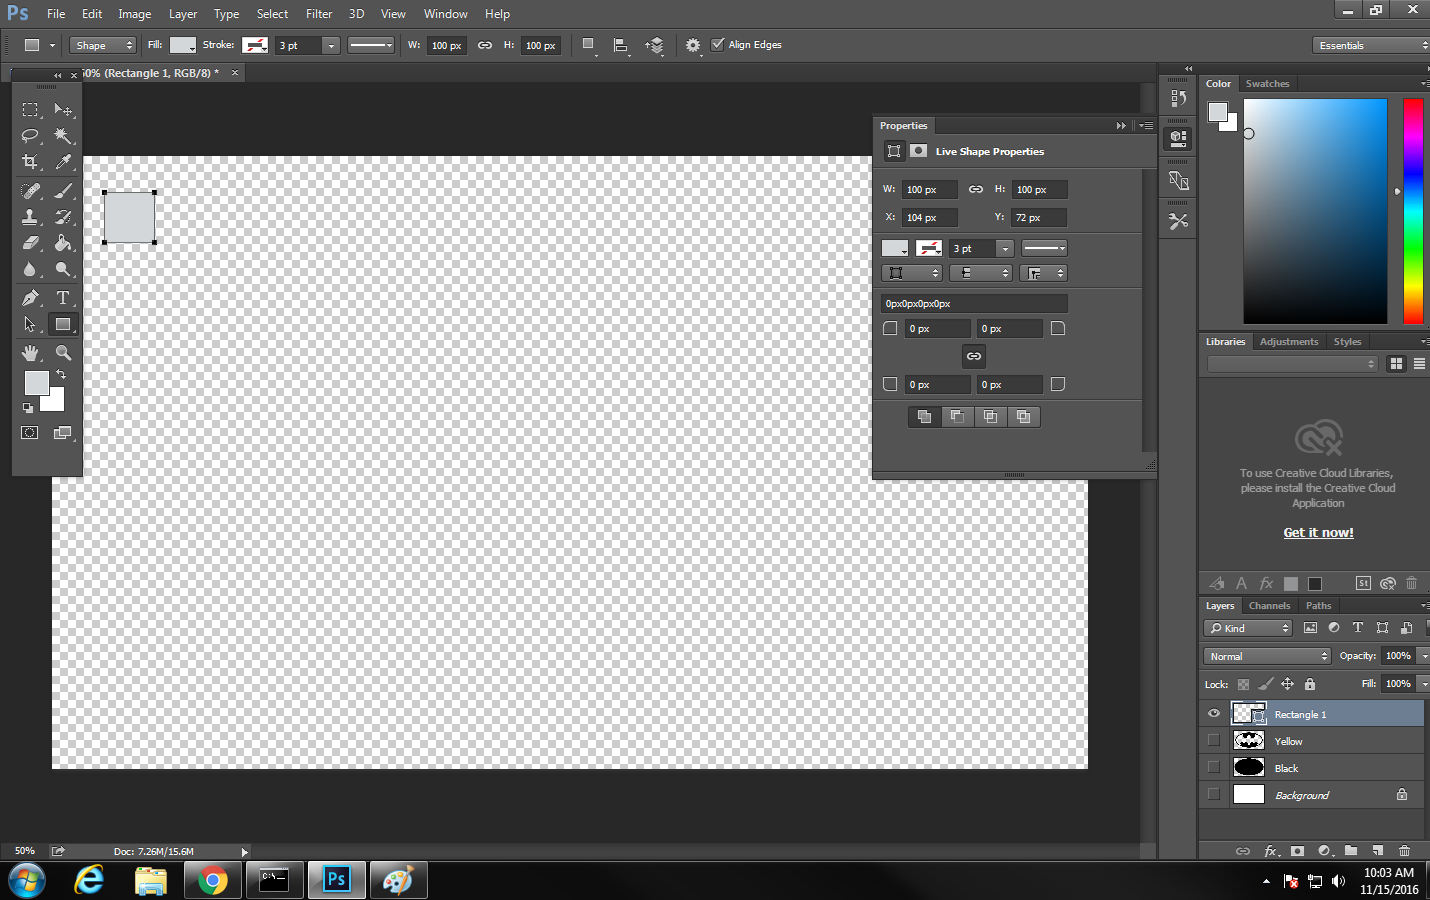
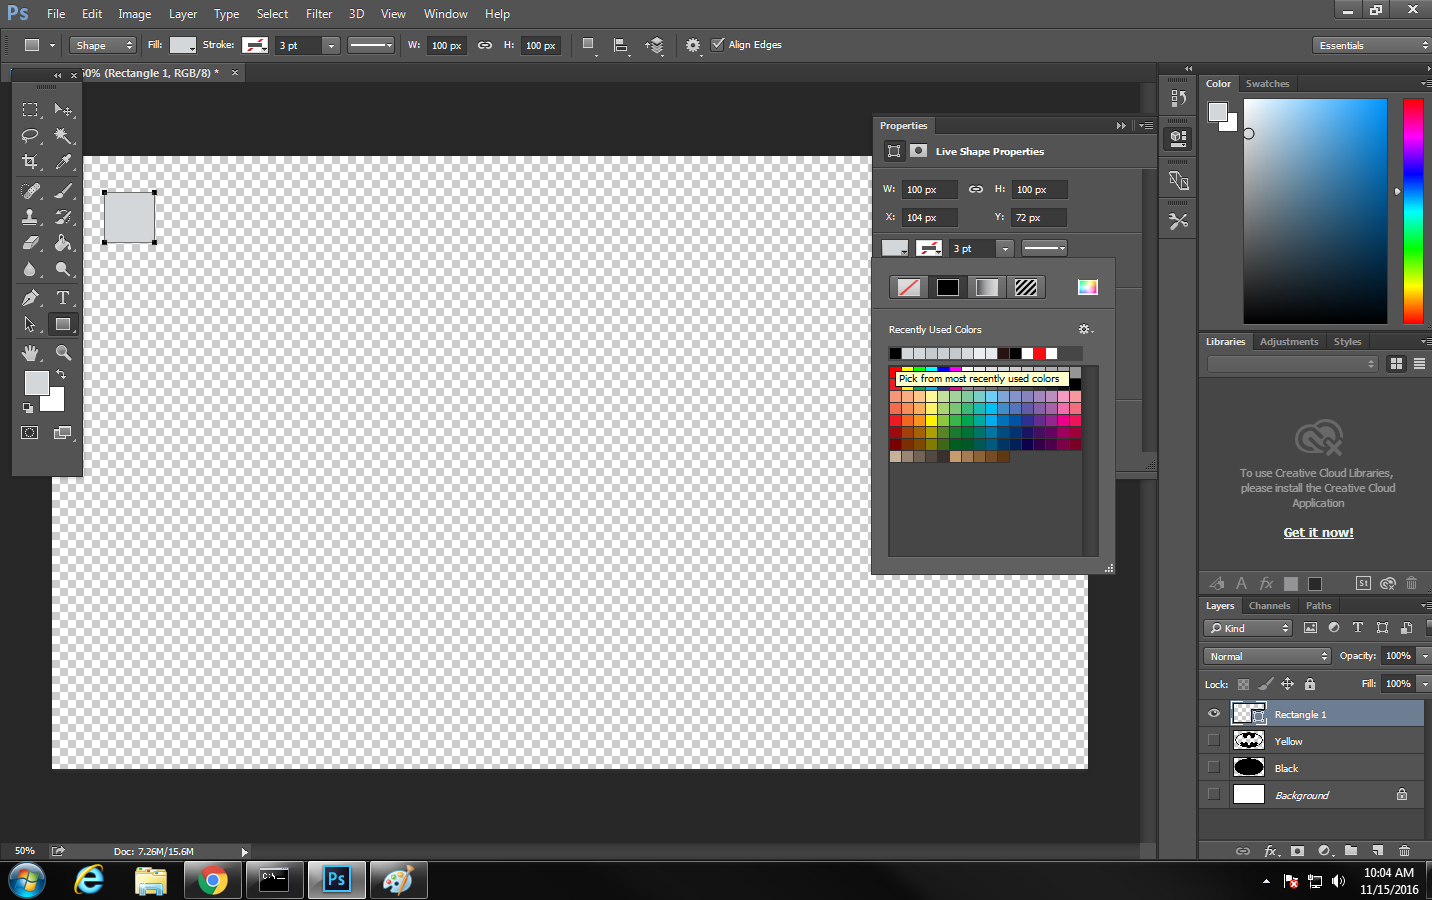
Select the Rectangle tool, and place a Rectangle in one corner.
Then make the rectangle solid black.
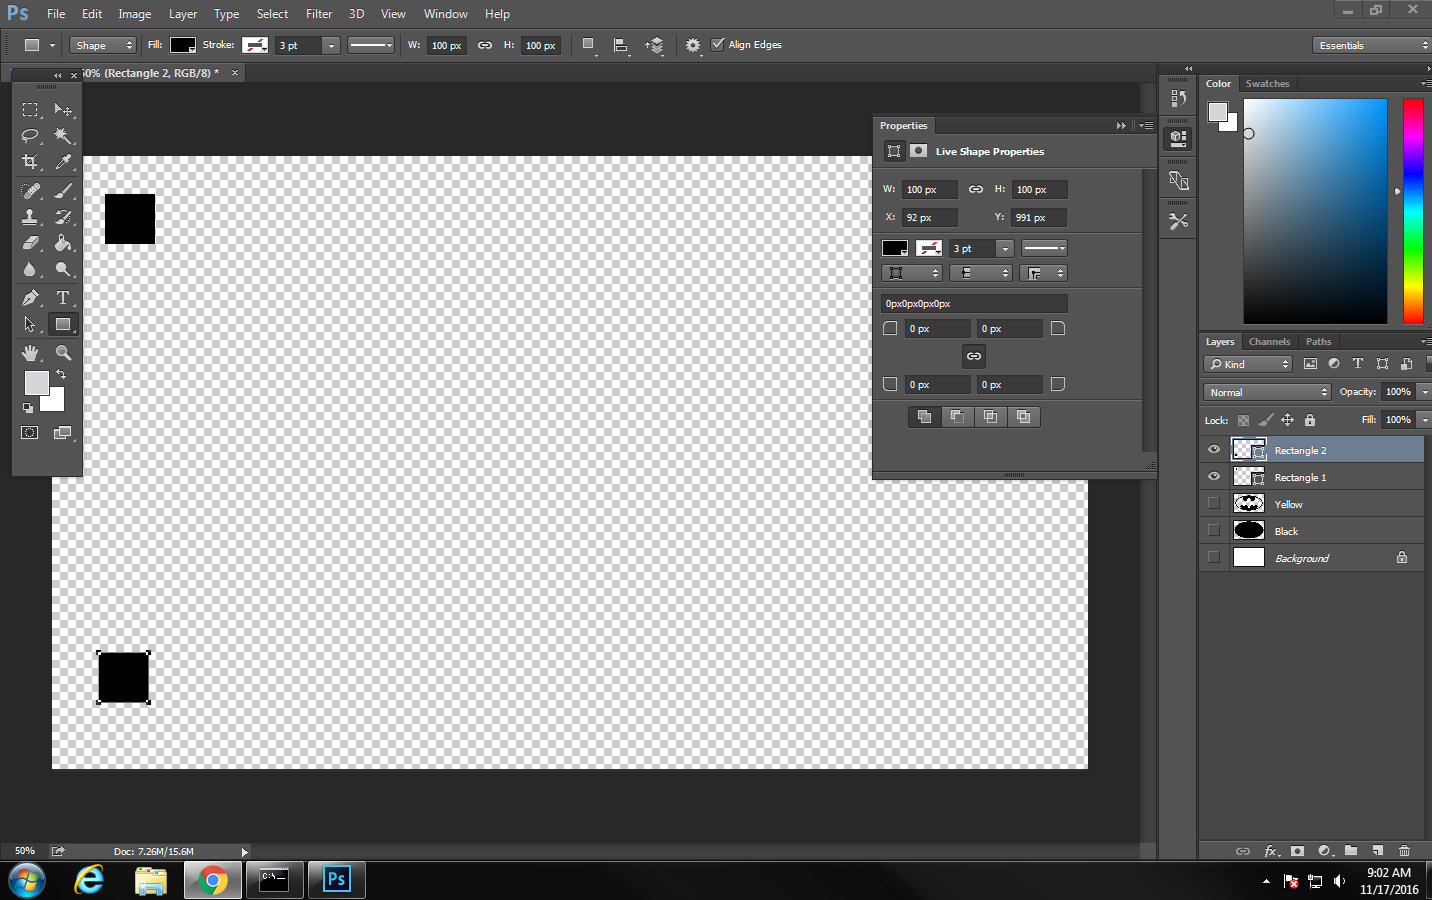
Make another rectangle in a different layer.
The placement does not have to be exact. Registration marks are only used to align layers inside of one another.
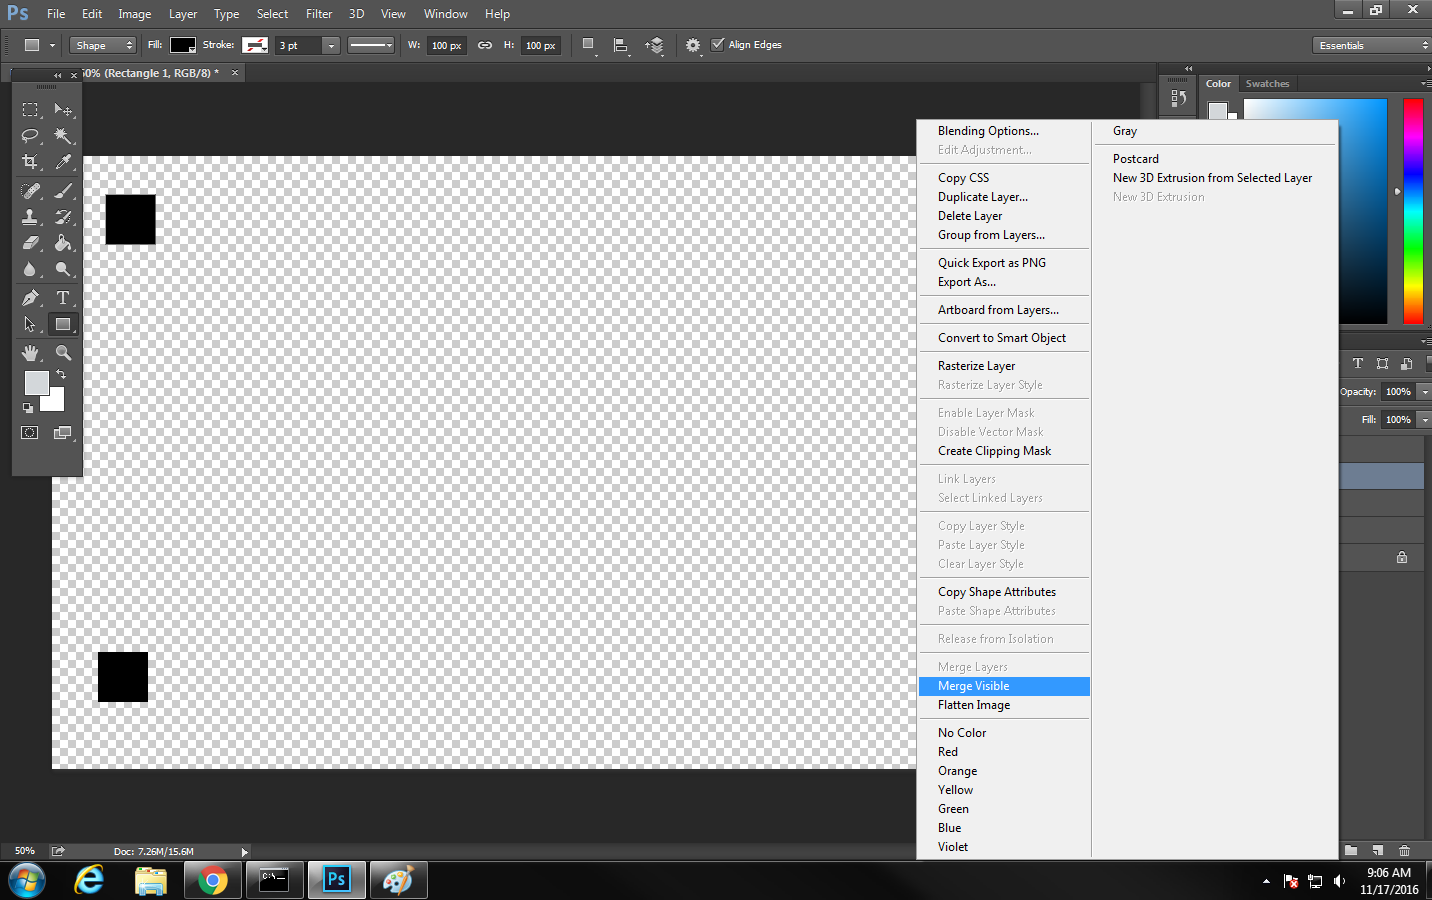
The two new rectangles exist on different layers, so to correct this, with the two layers visible, right click on one of the layers and select Merge Visible.
AHS Vinyl Sticker (Photoshop) Step 4
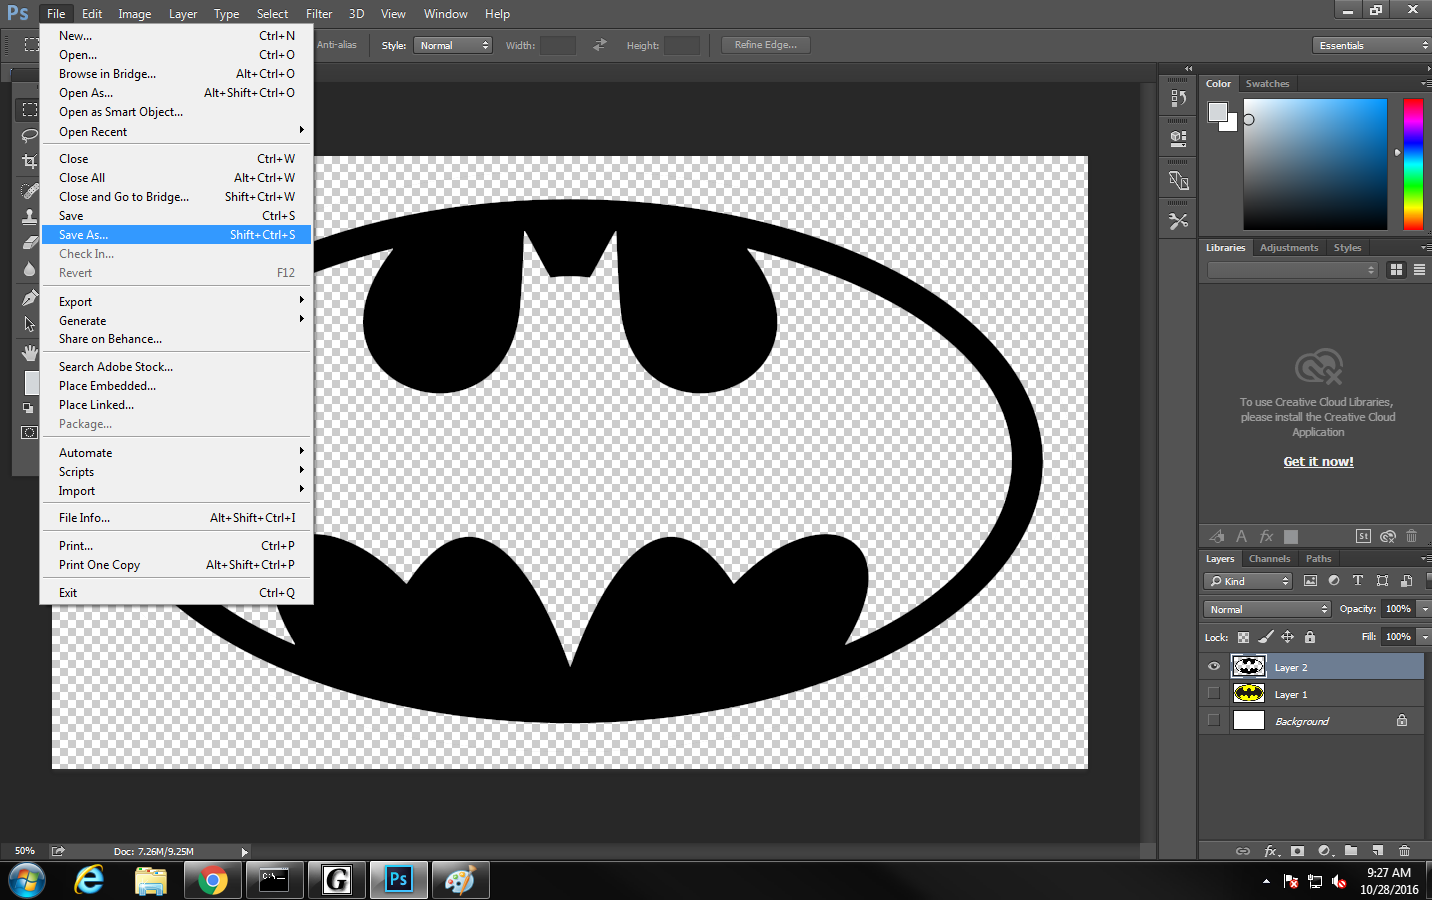
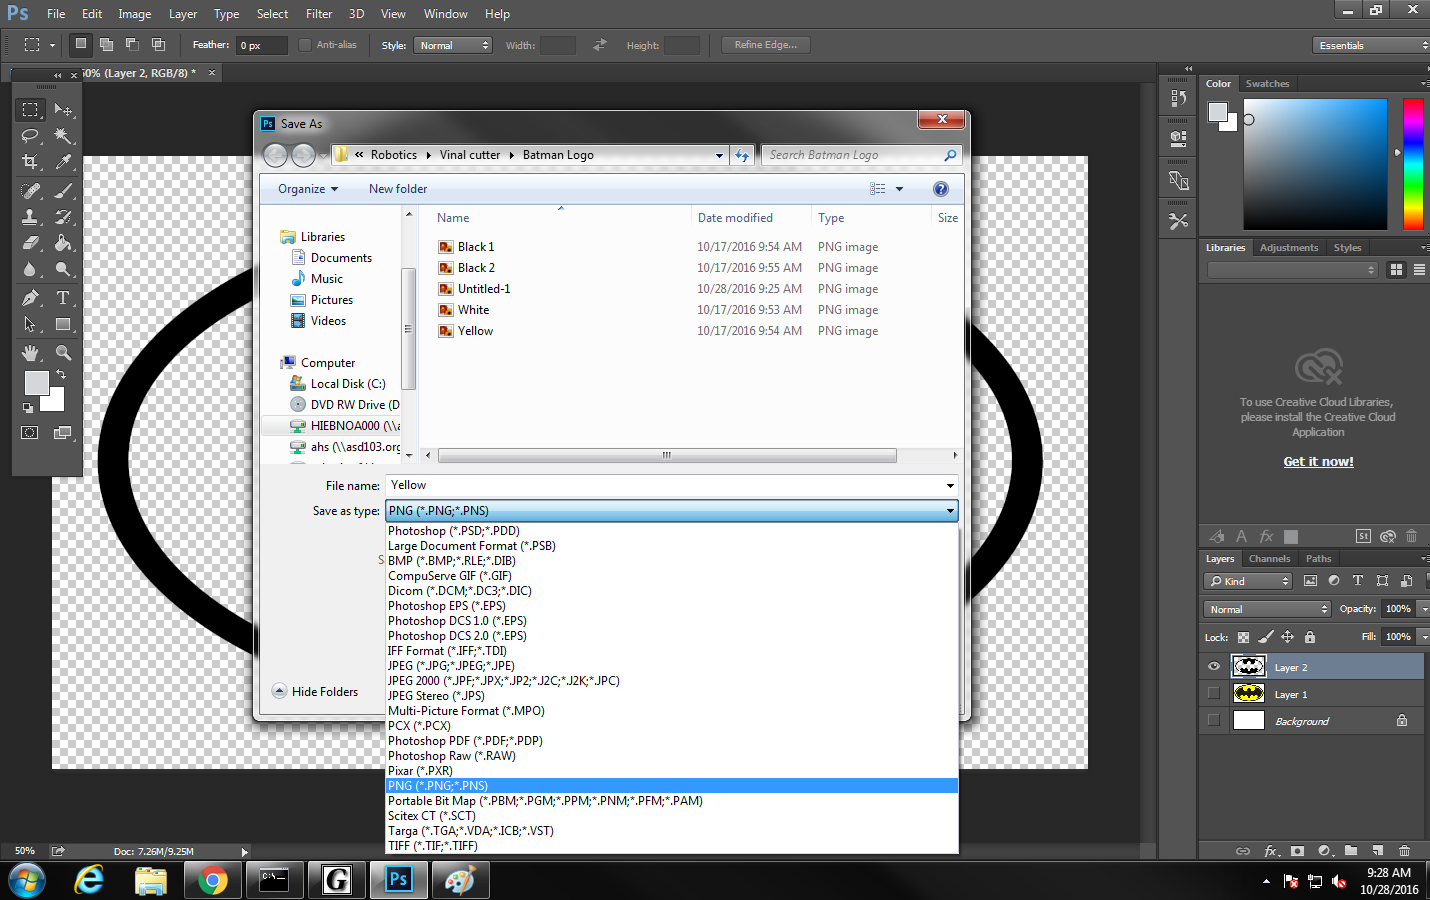
With only one layer showing at a time, go to file: Save as, and save each layer to a folder.
The file should be a PNG and should be named to the color of the layer.
Save the Images to a removable flash drive and move it to the vinyl cutter computer.
*Note* If registration marks are desired, leave the layer with the rectangles visible while saving images.
AHS Vinyl Sticker (Photoshop) Step 5
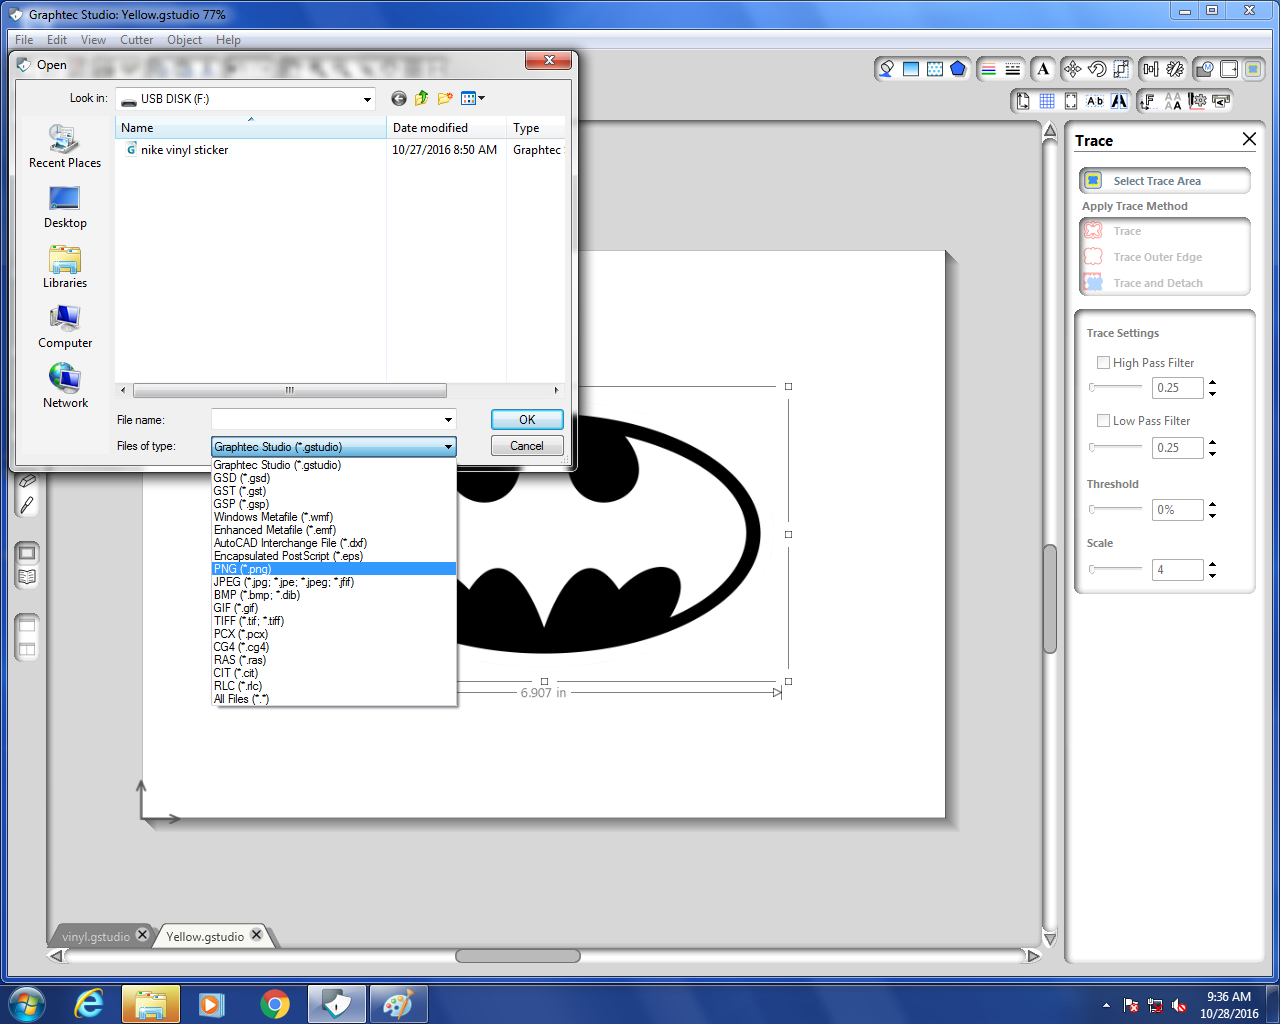
Open the image in Graphtech studio, the file is a PNG, and that will need to be specified.
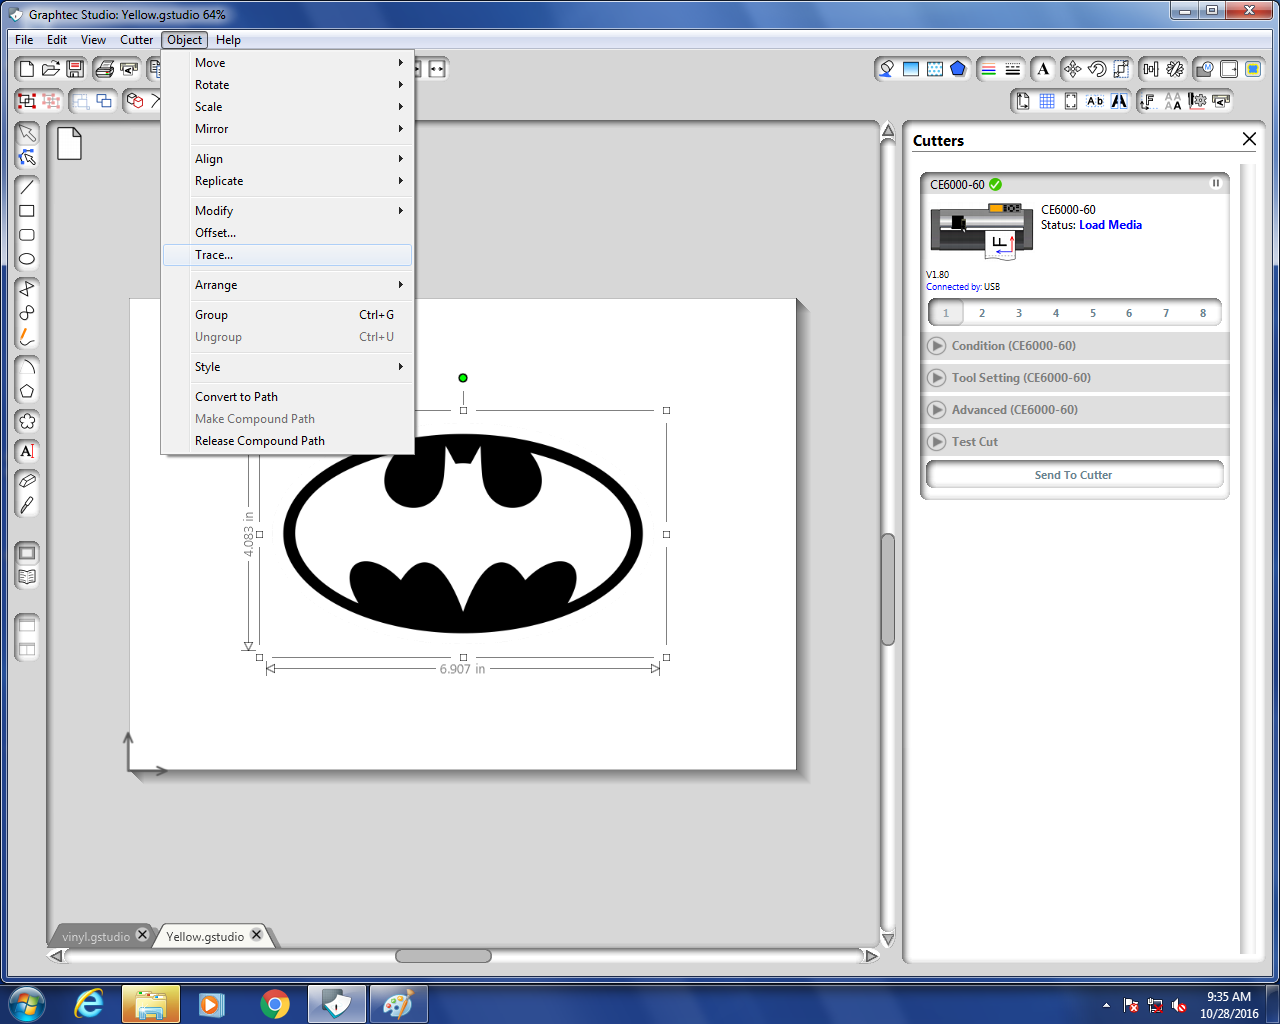
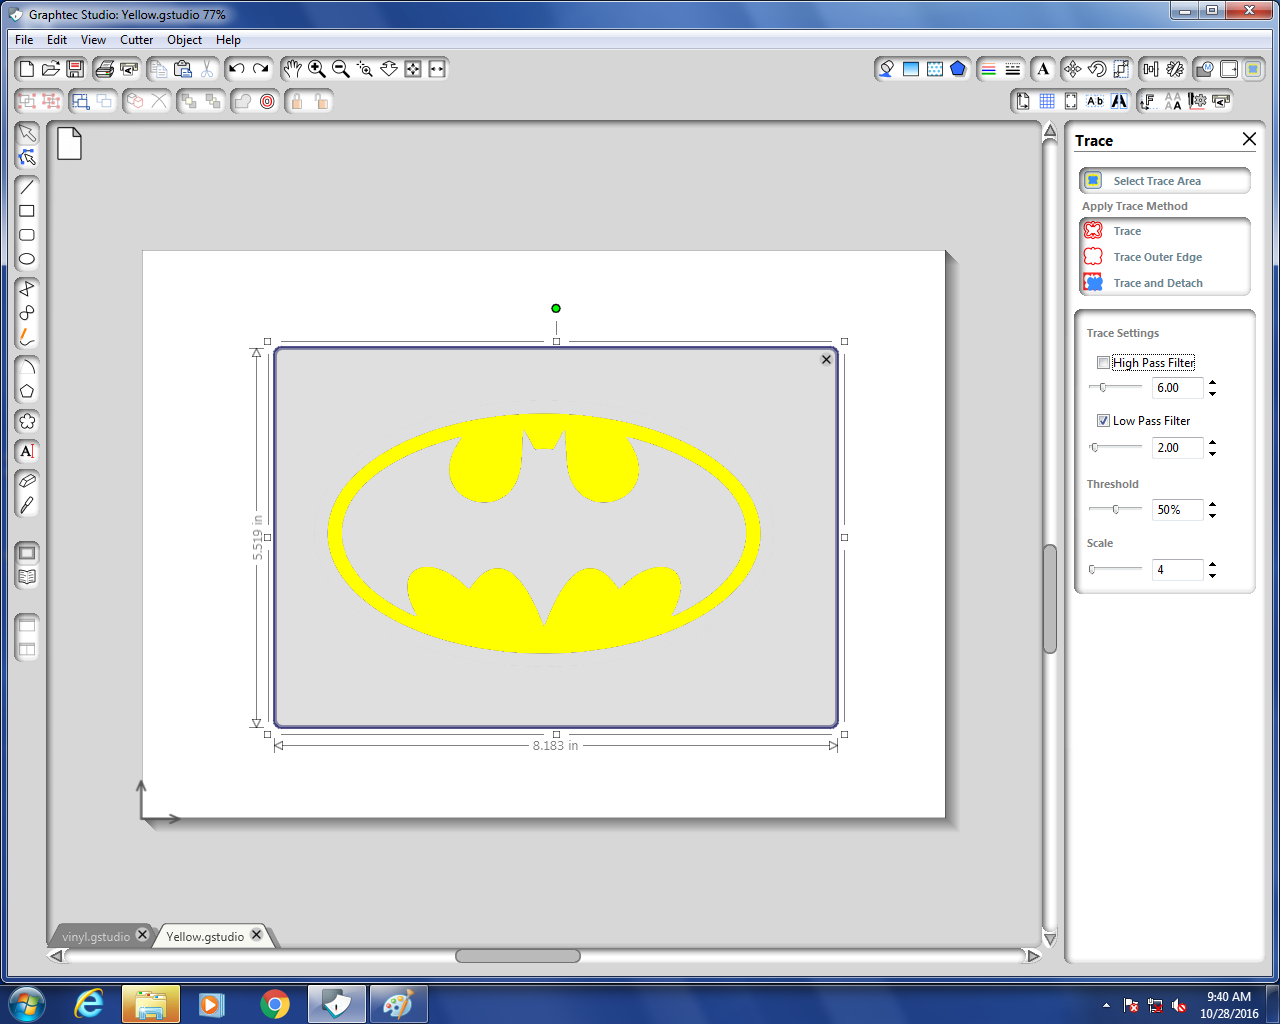
Go to Object: Trace.
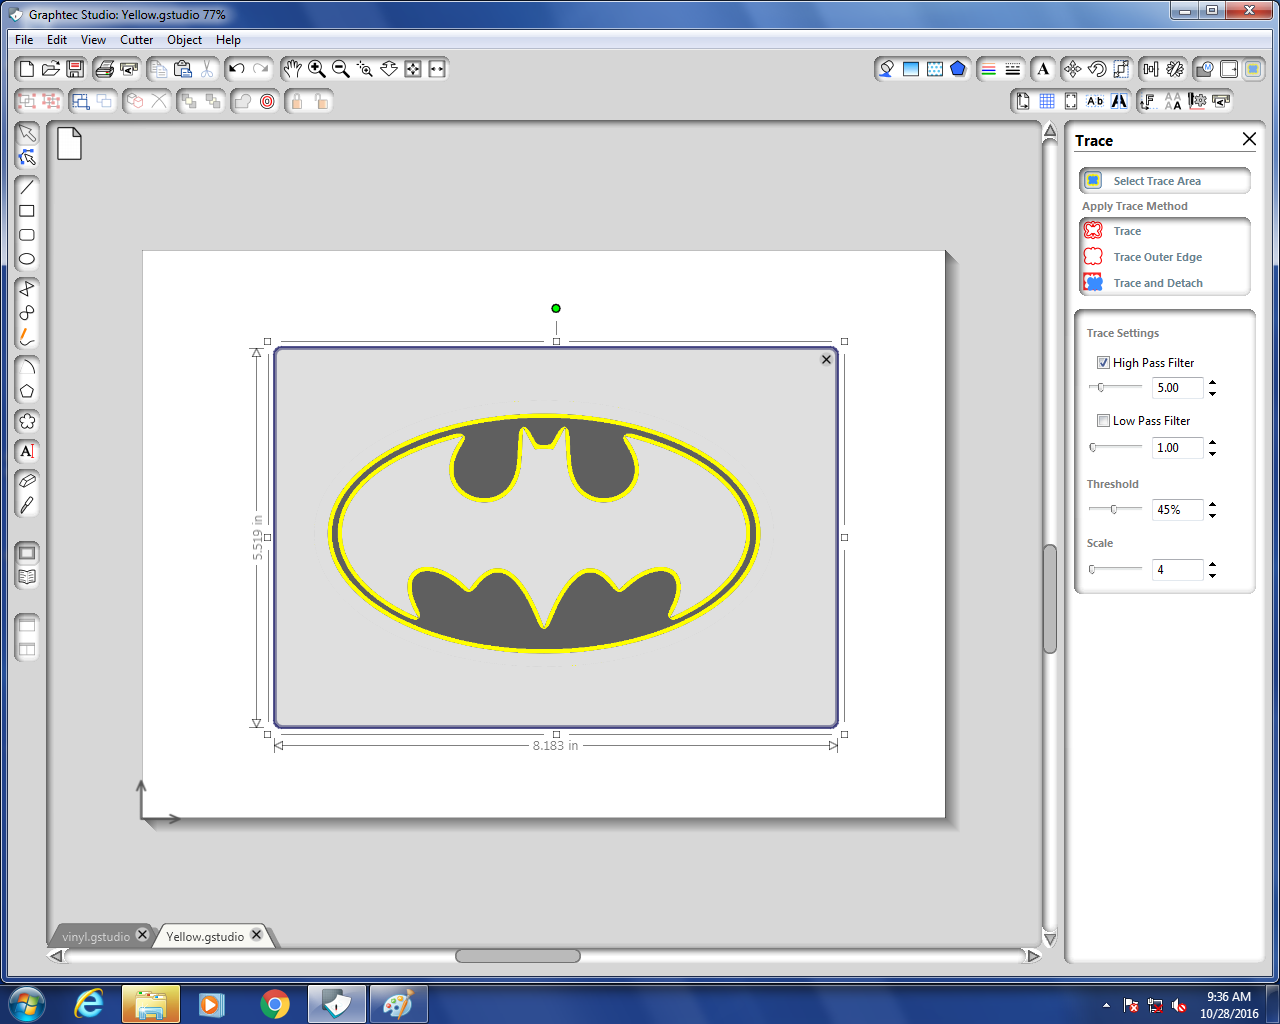
Select trace area, and select the entire image.
Then deselect the High Pass Filter, and select the Low Pass Filter
Everything should be Yellow and should only cover the black shape.
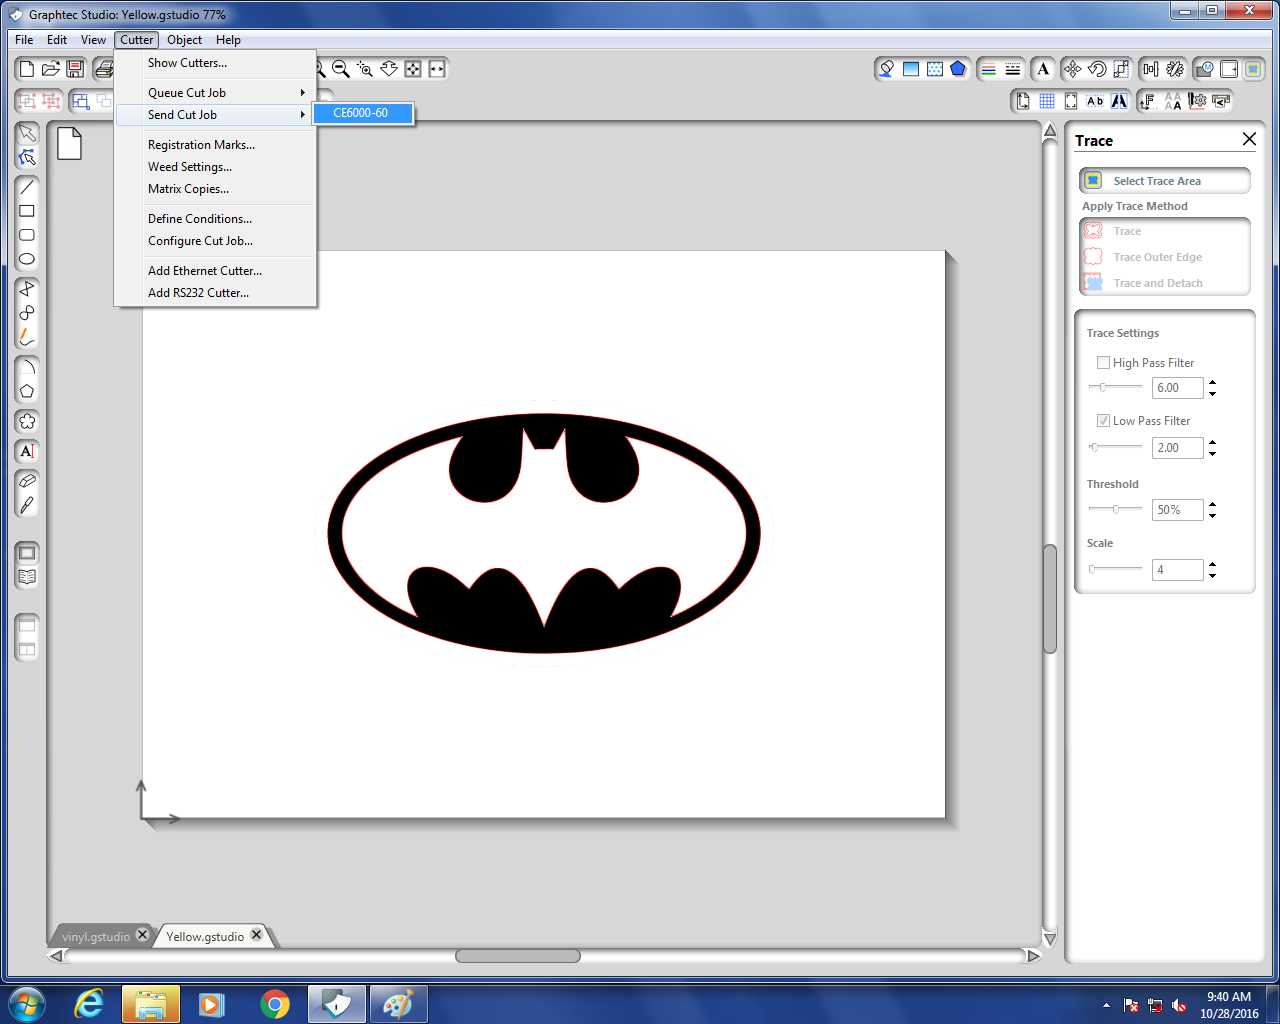
Then select Trace, there should be a read line around everything everything.
Then, with media in vinyl cutter, go to Cutter: Send Cut Job.