AHS Shopbot
In this Instructable you will learn the basics of using the machine as well as working on your first Shopbot project.
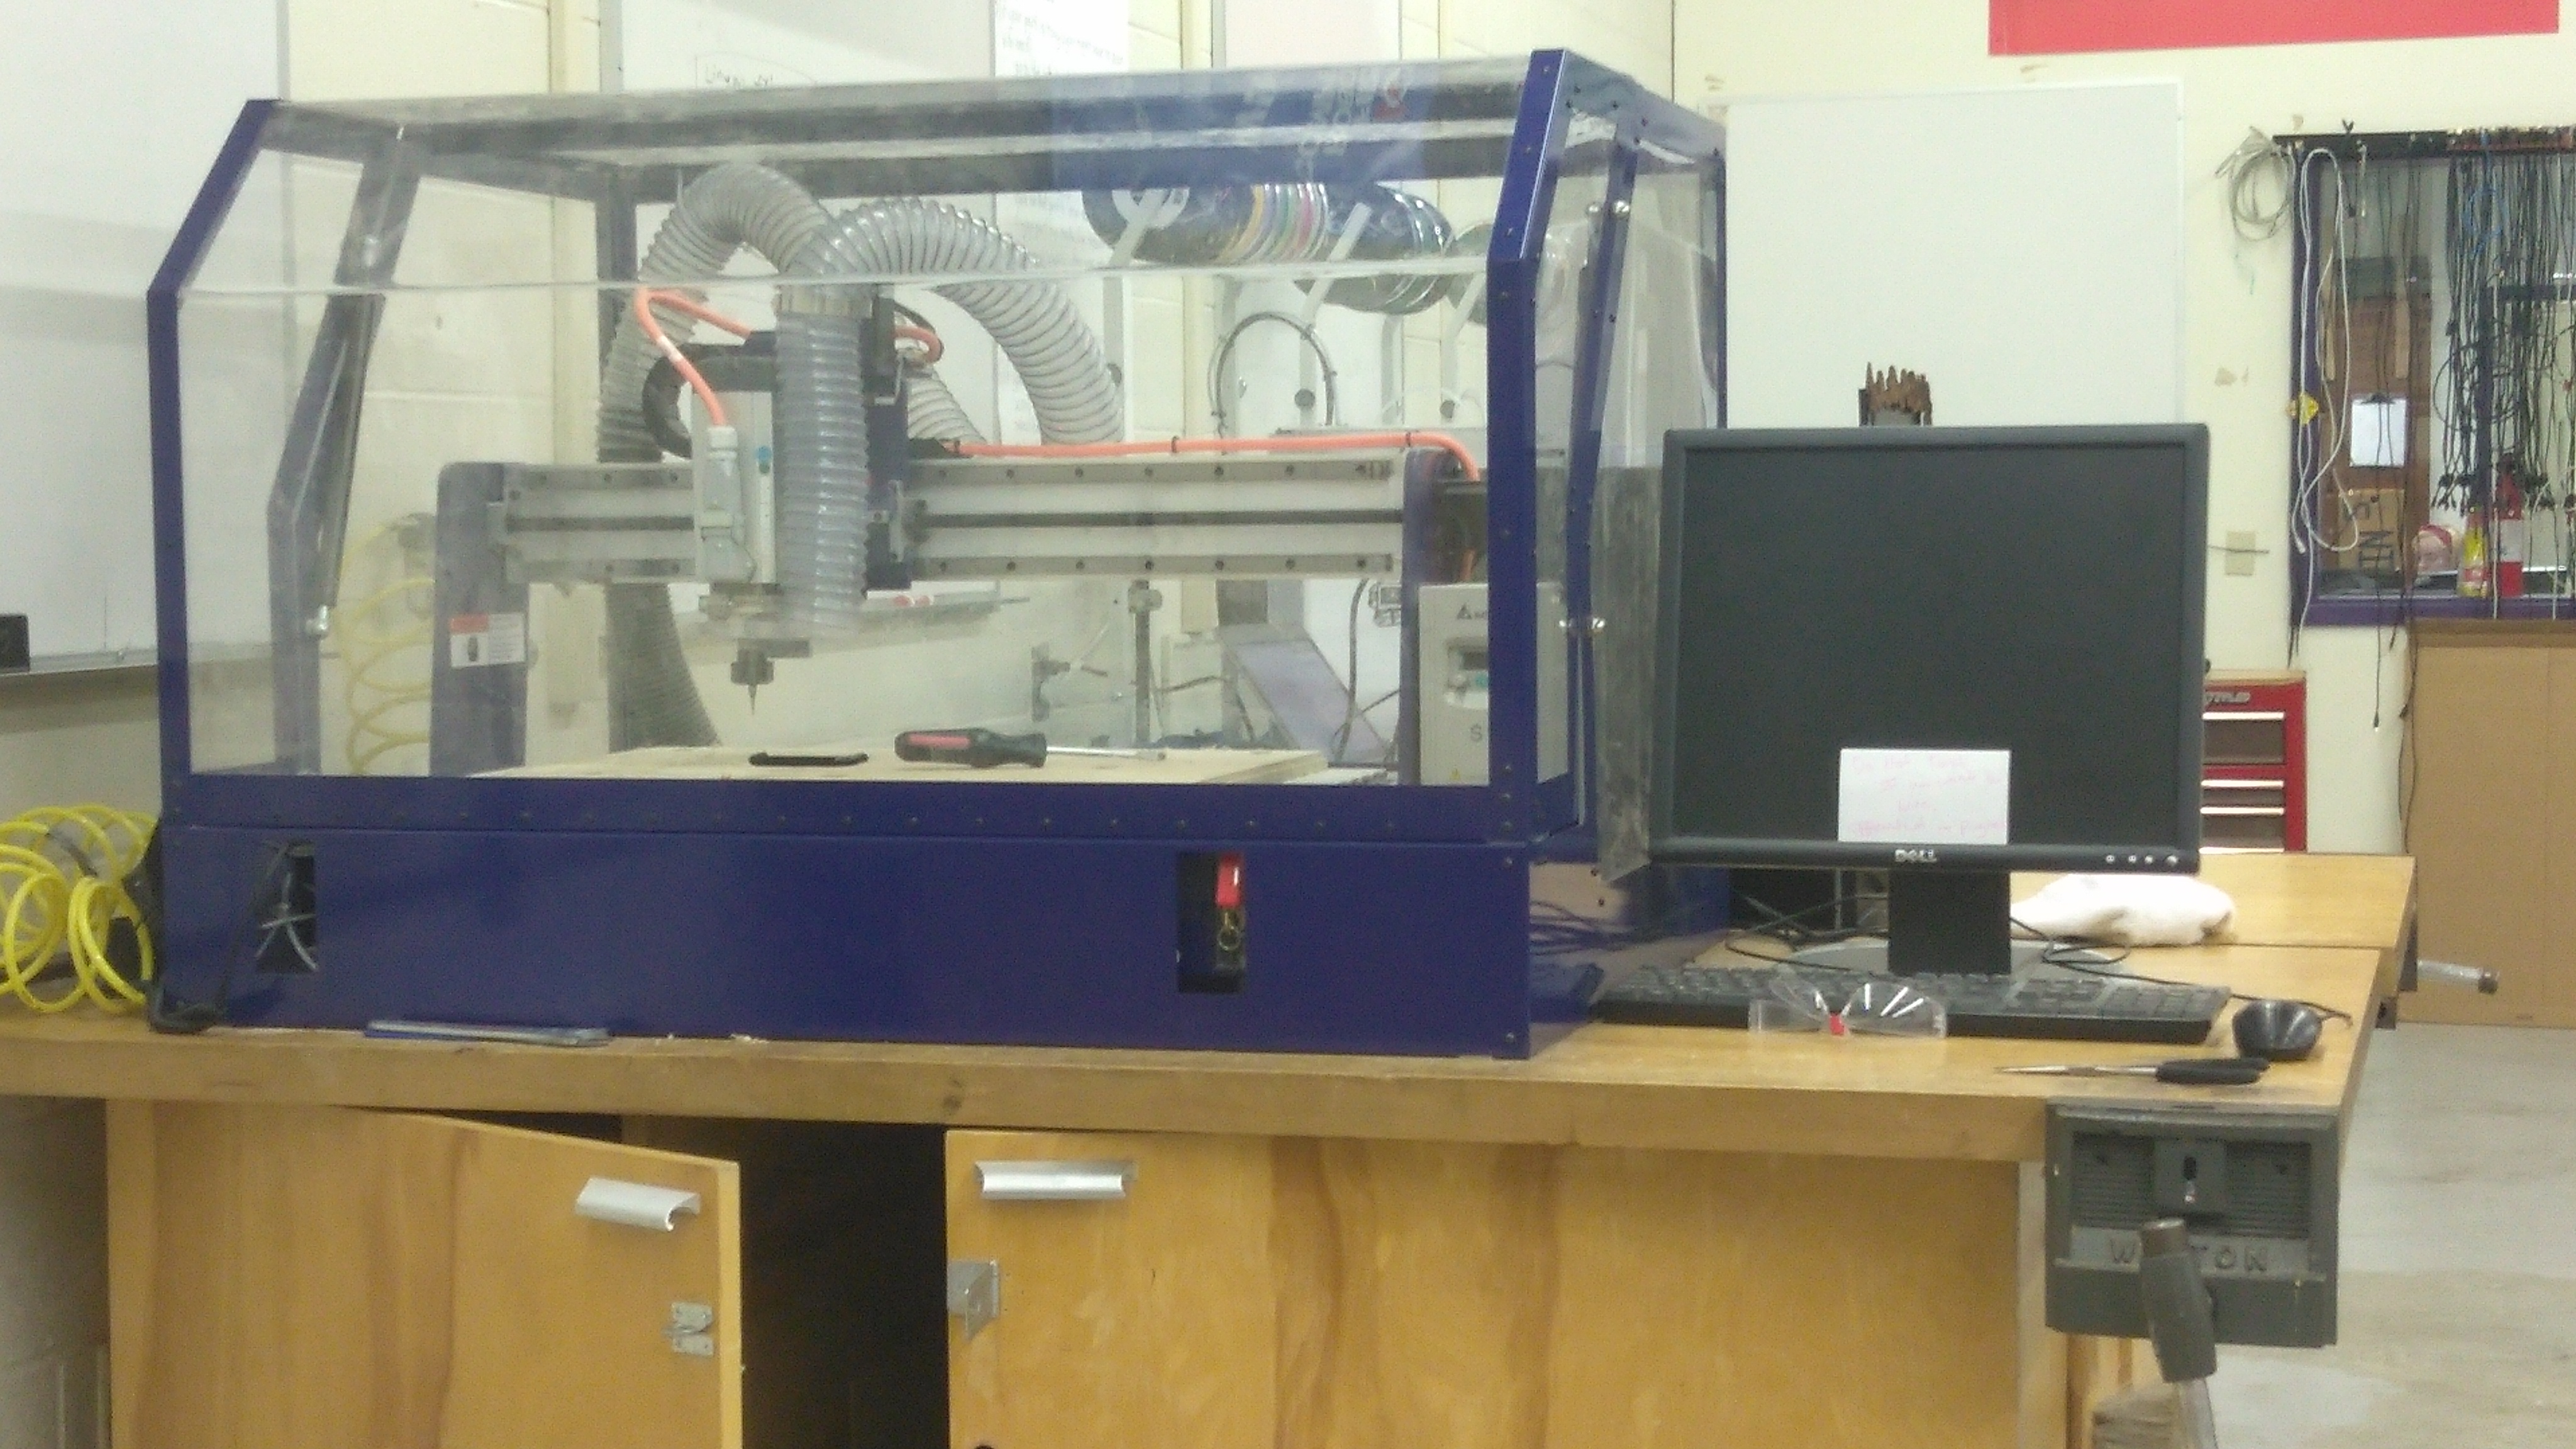
Getting to Know the Machine
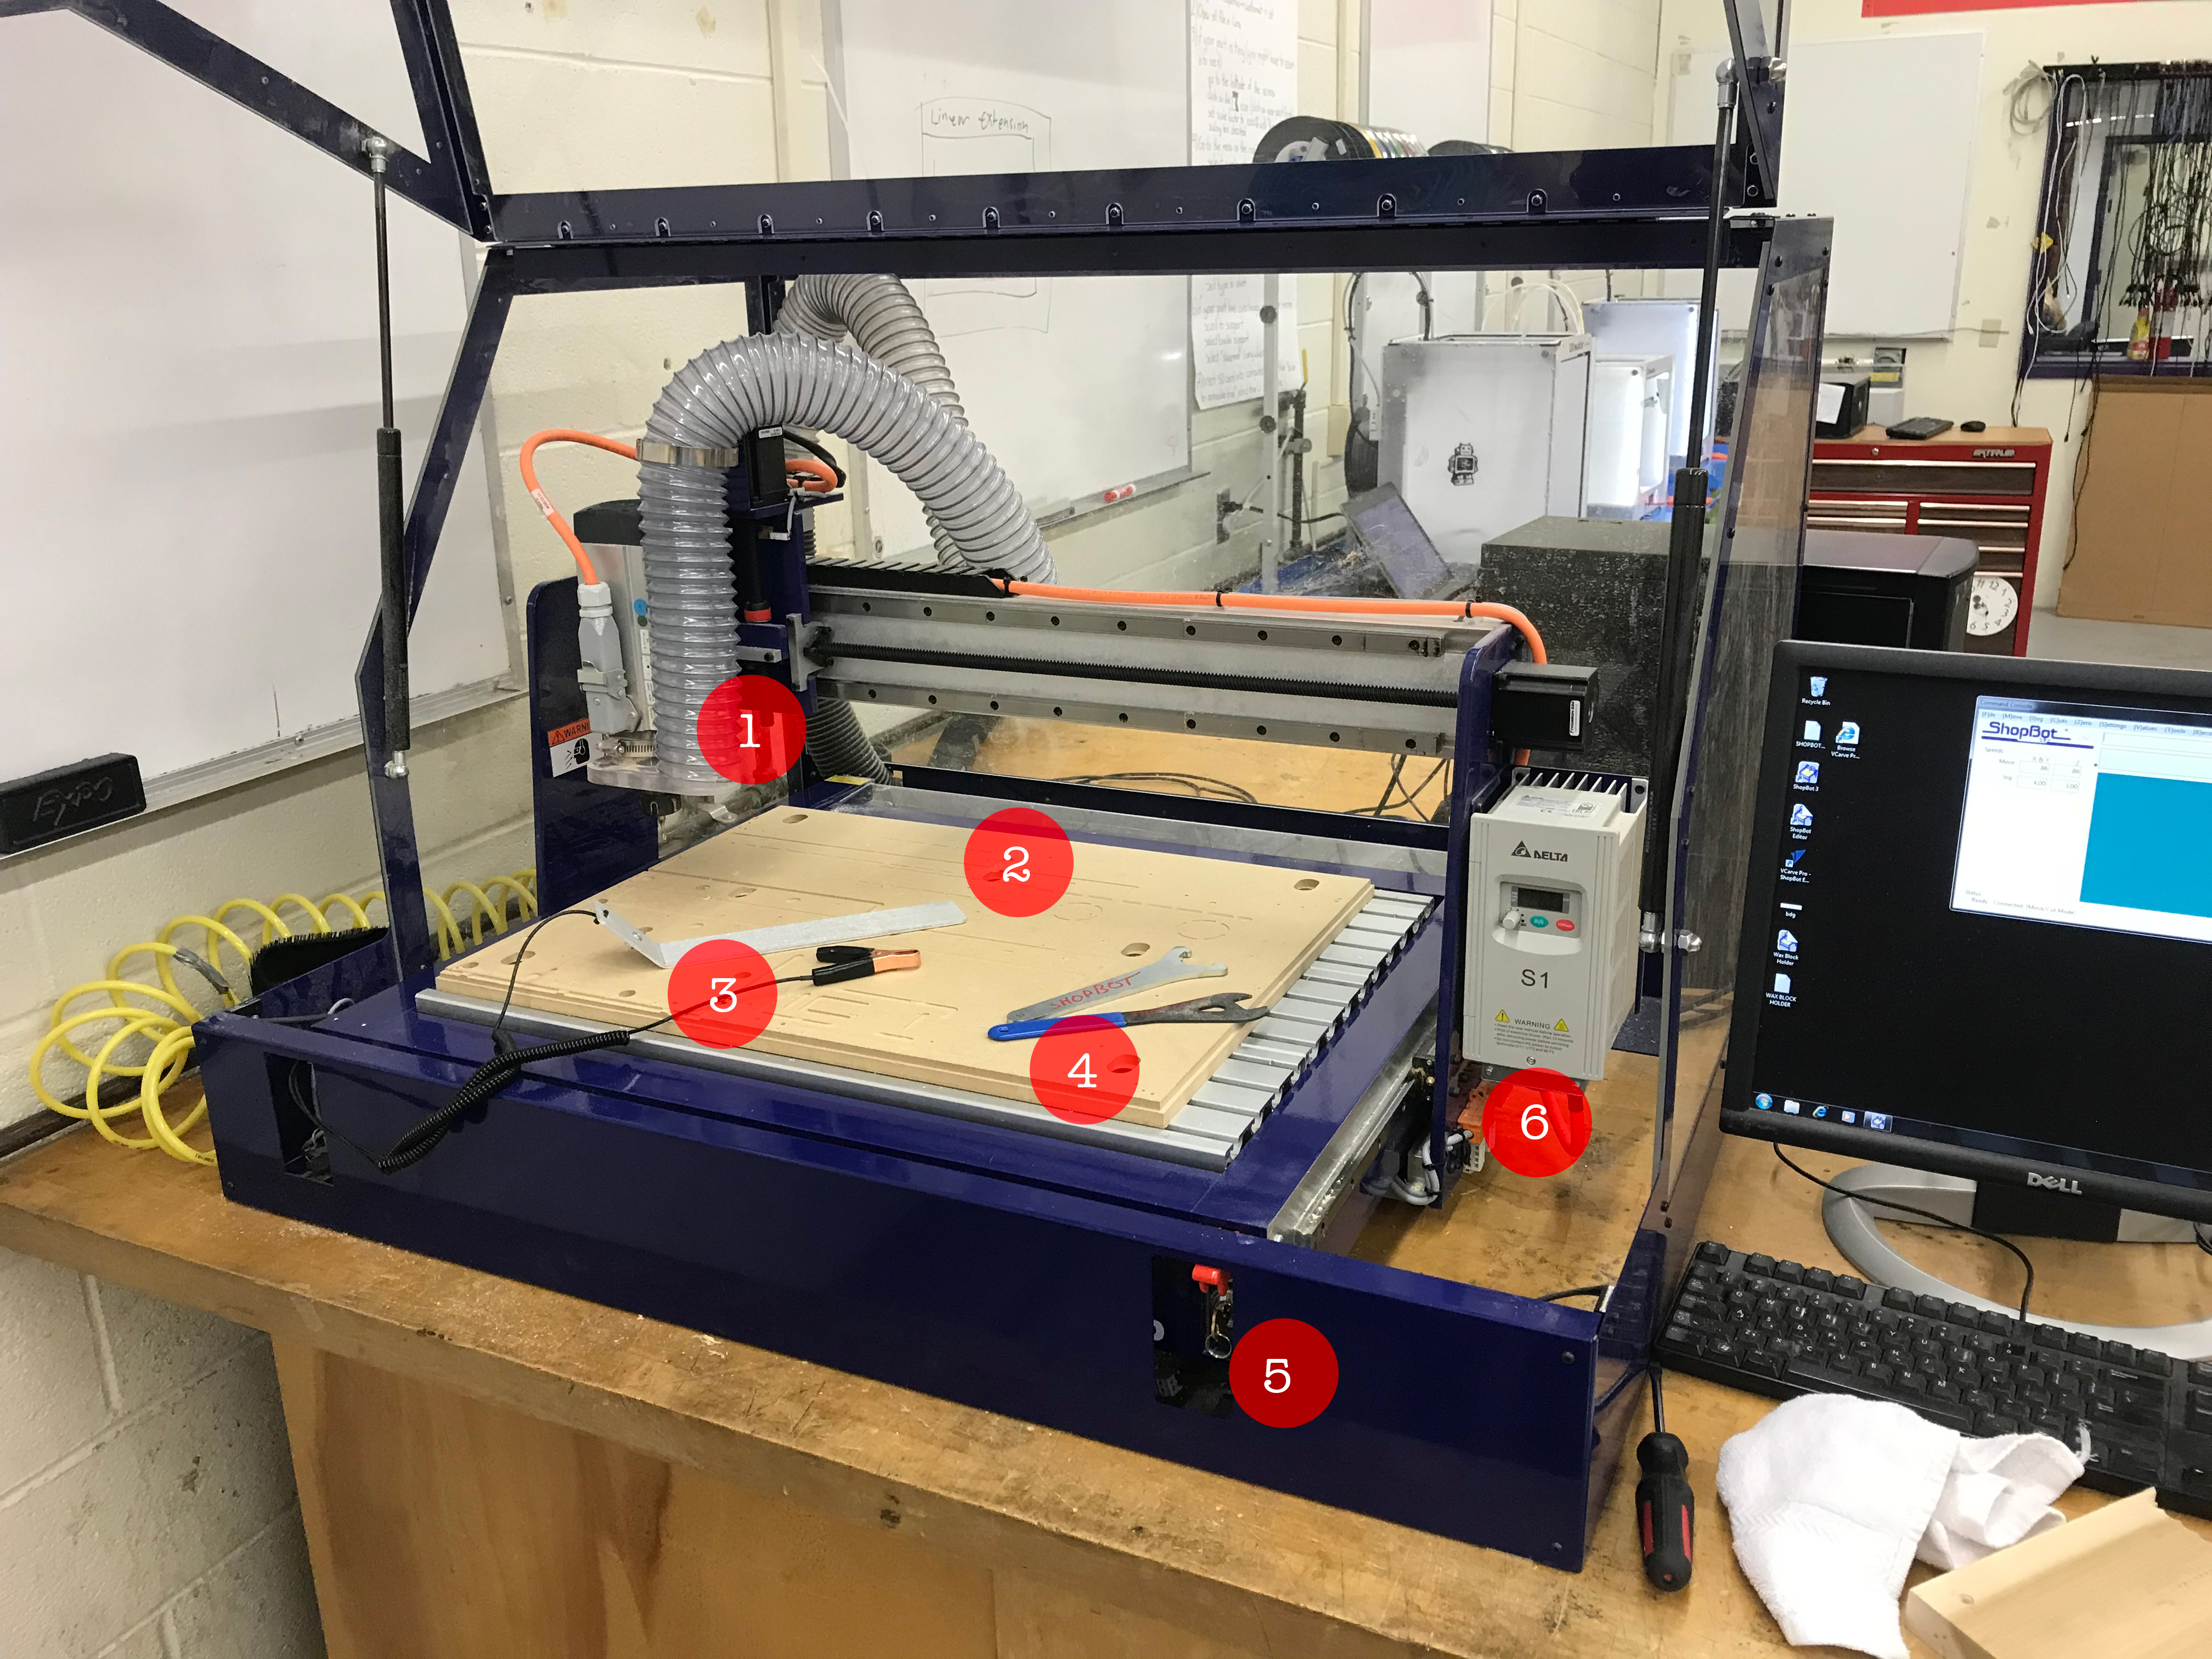
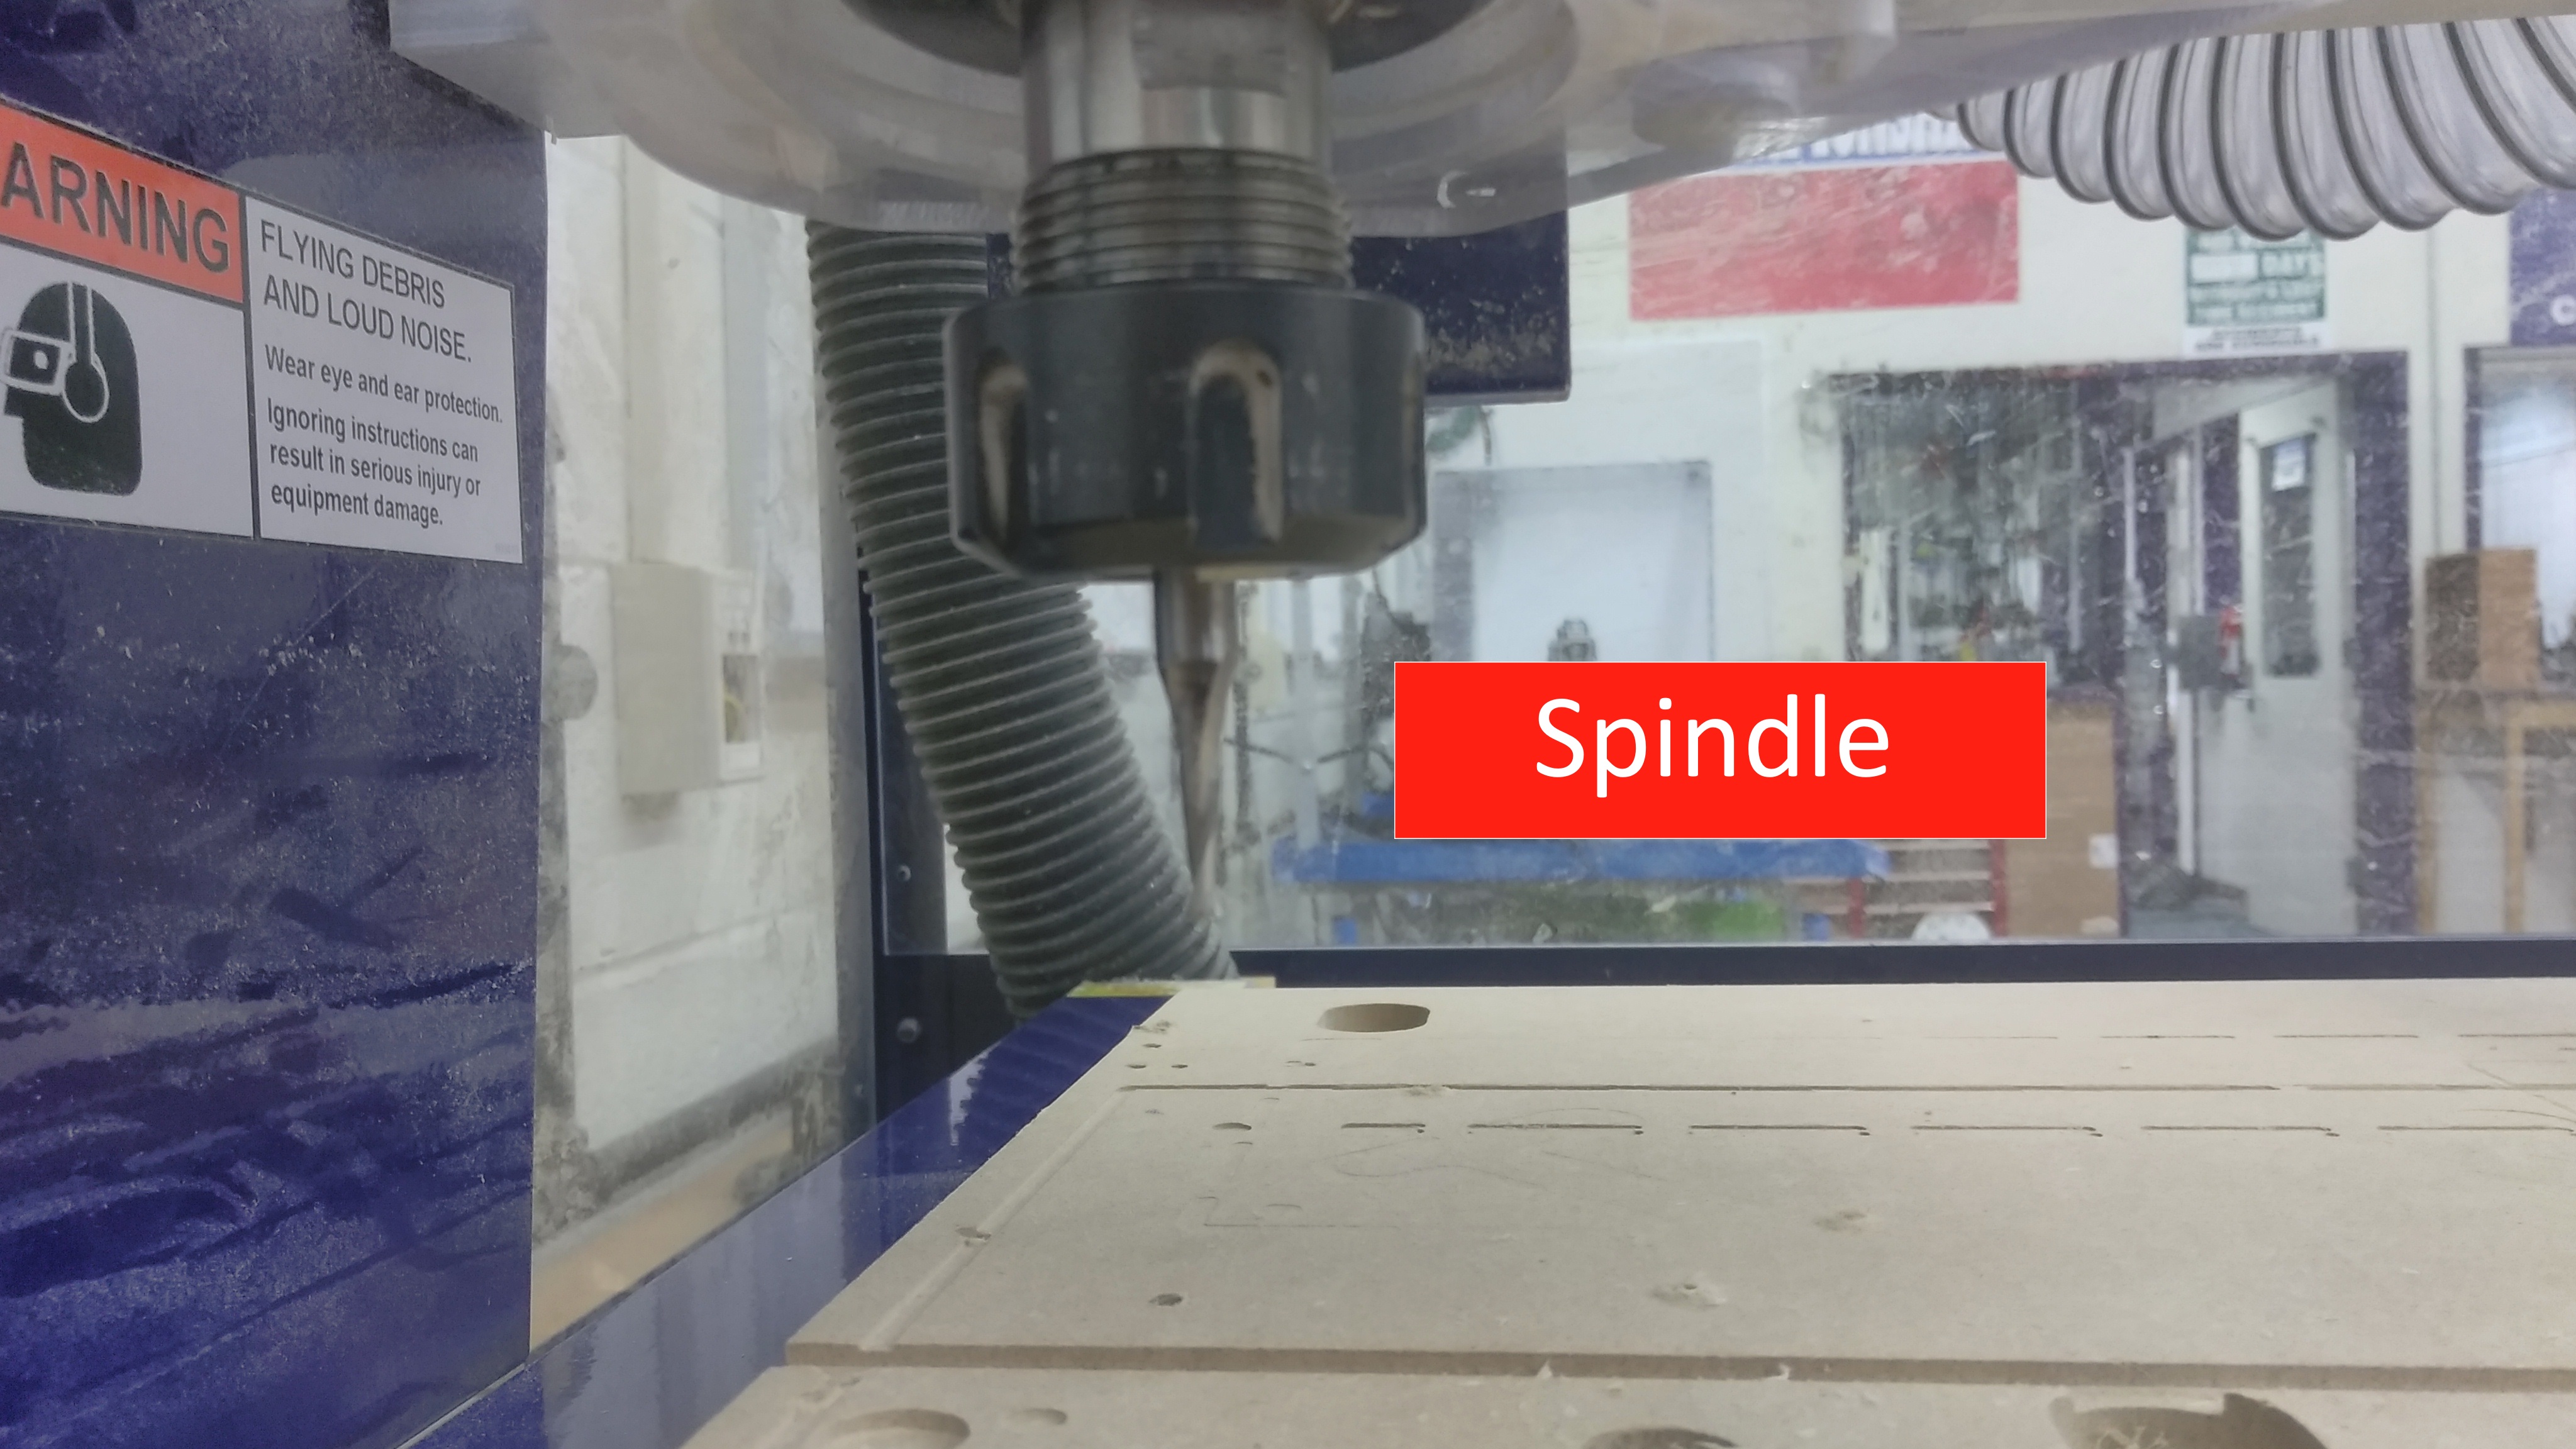
1. Spindle - Spins the bit at a high rpm to cut through materials.
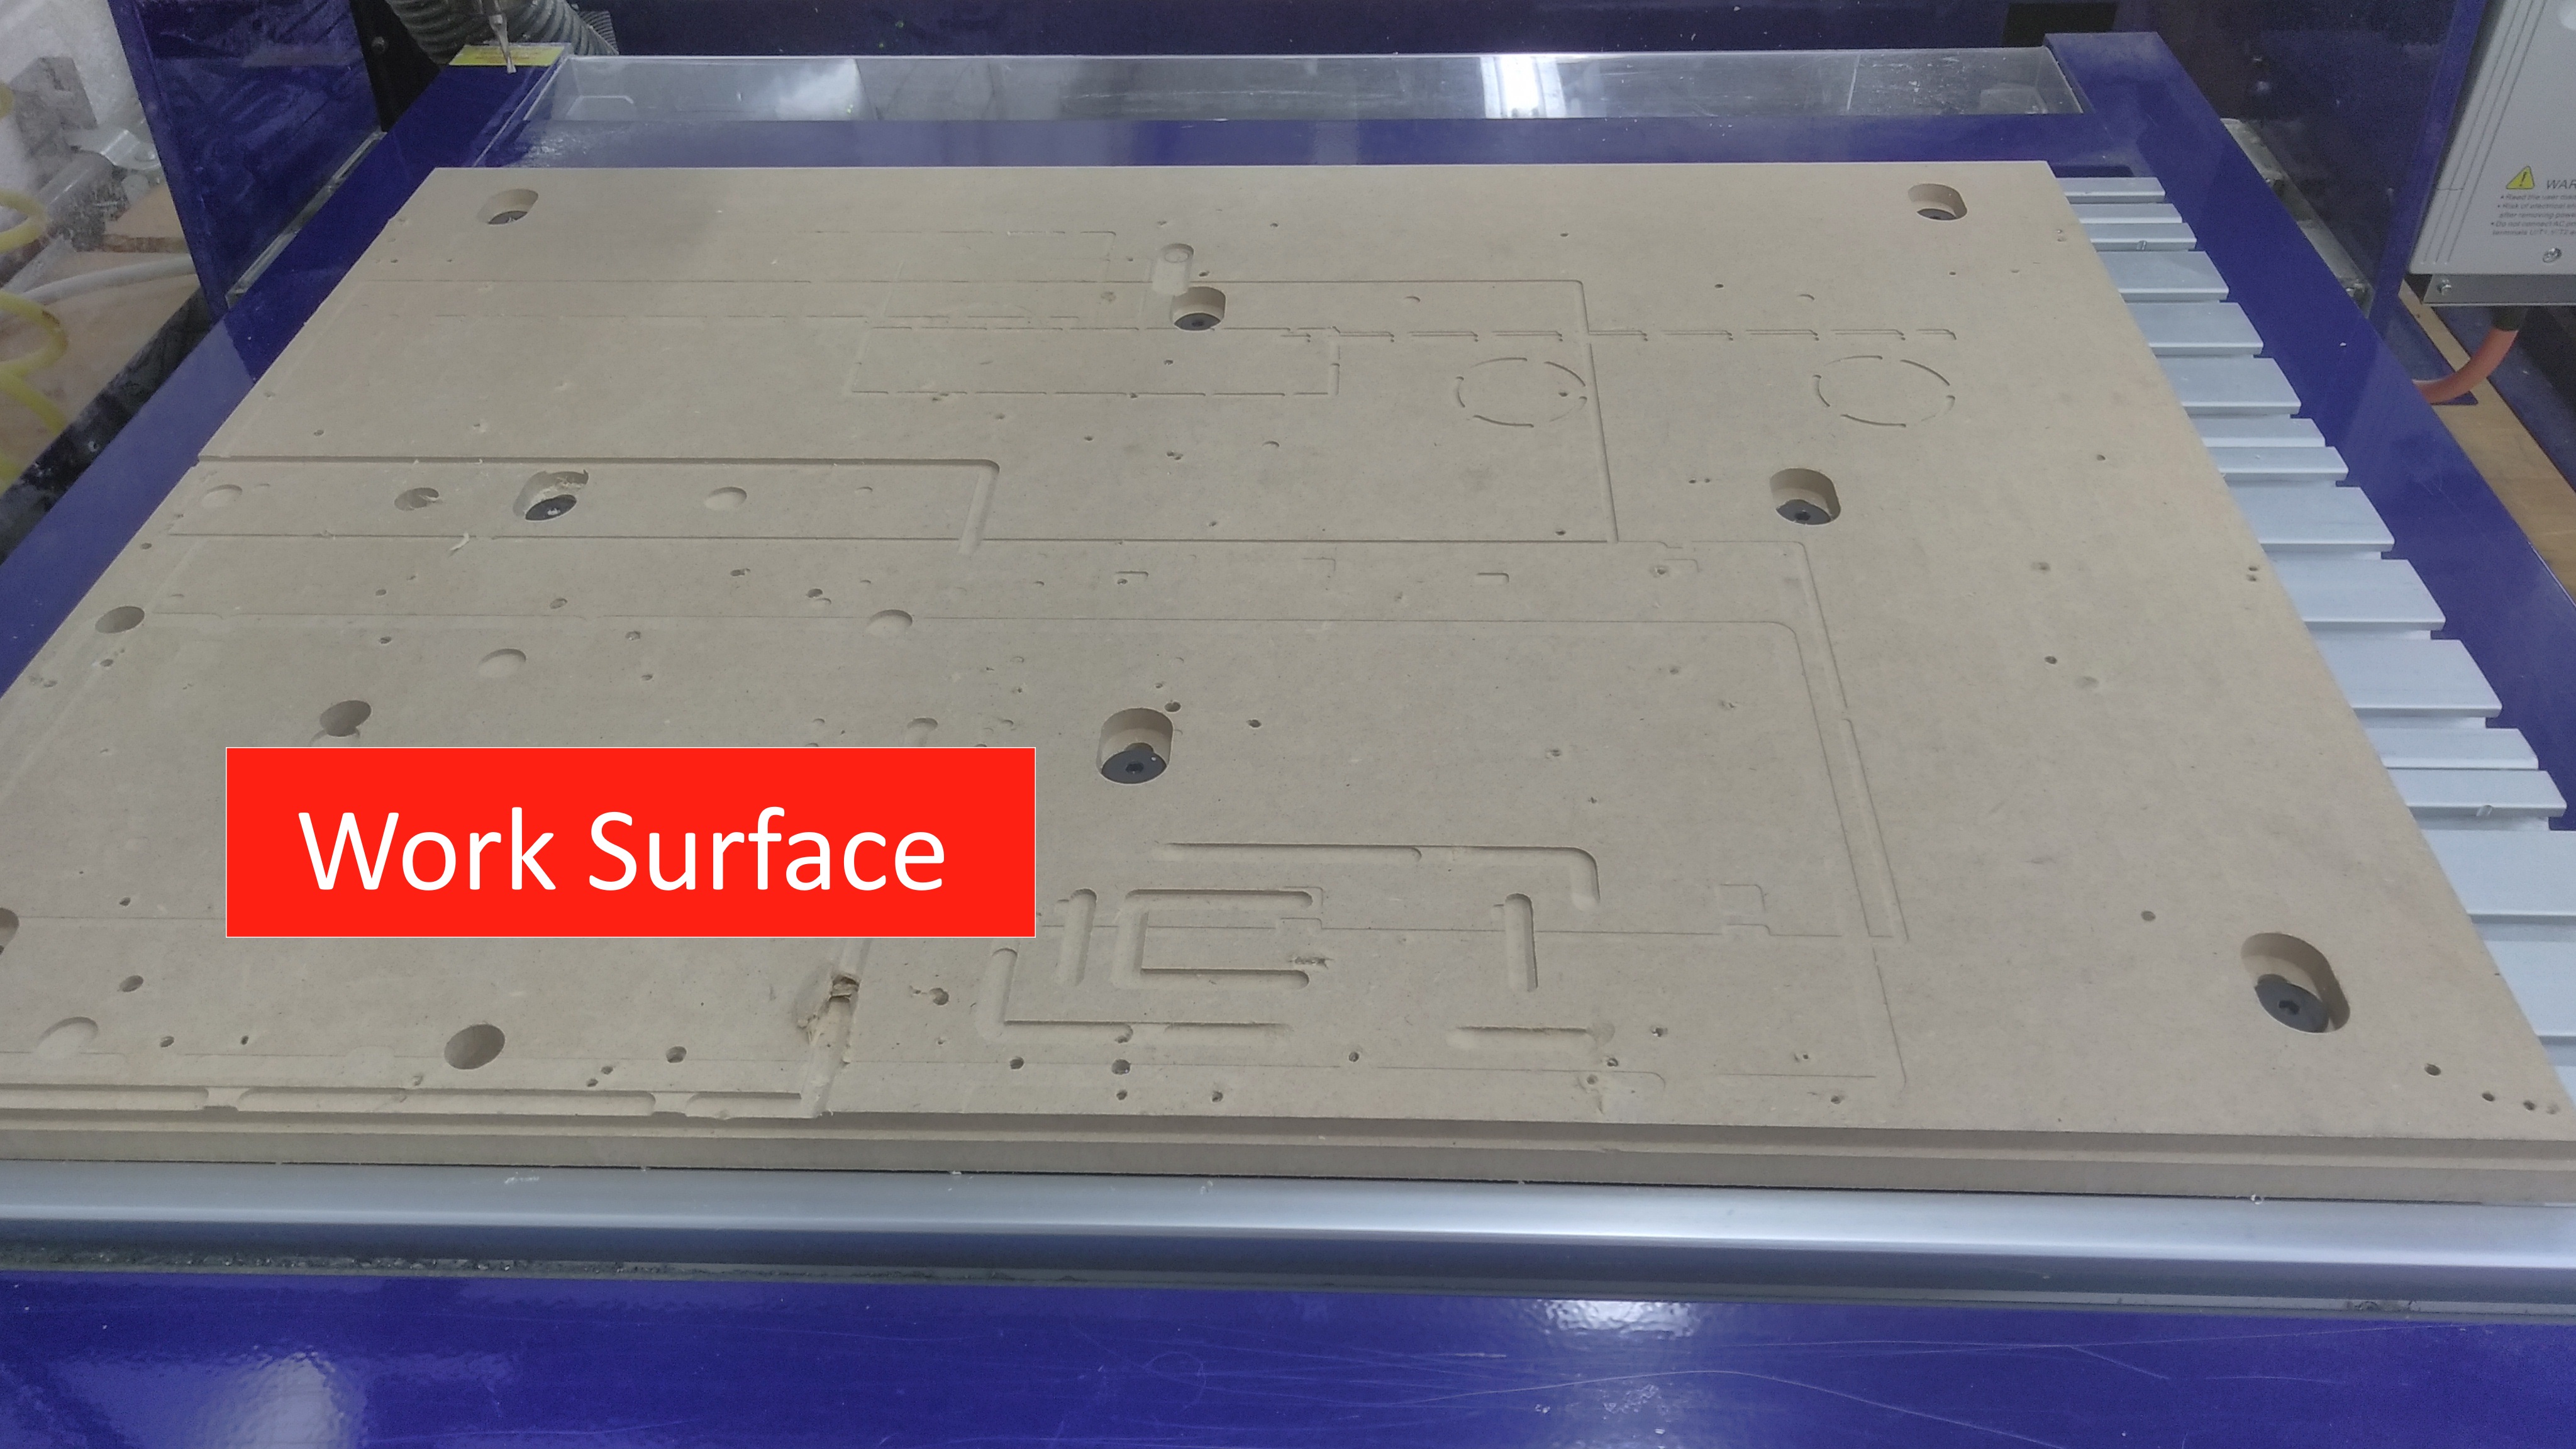
2. Work Surface- The surface on which your piece is attached to be cut.
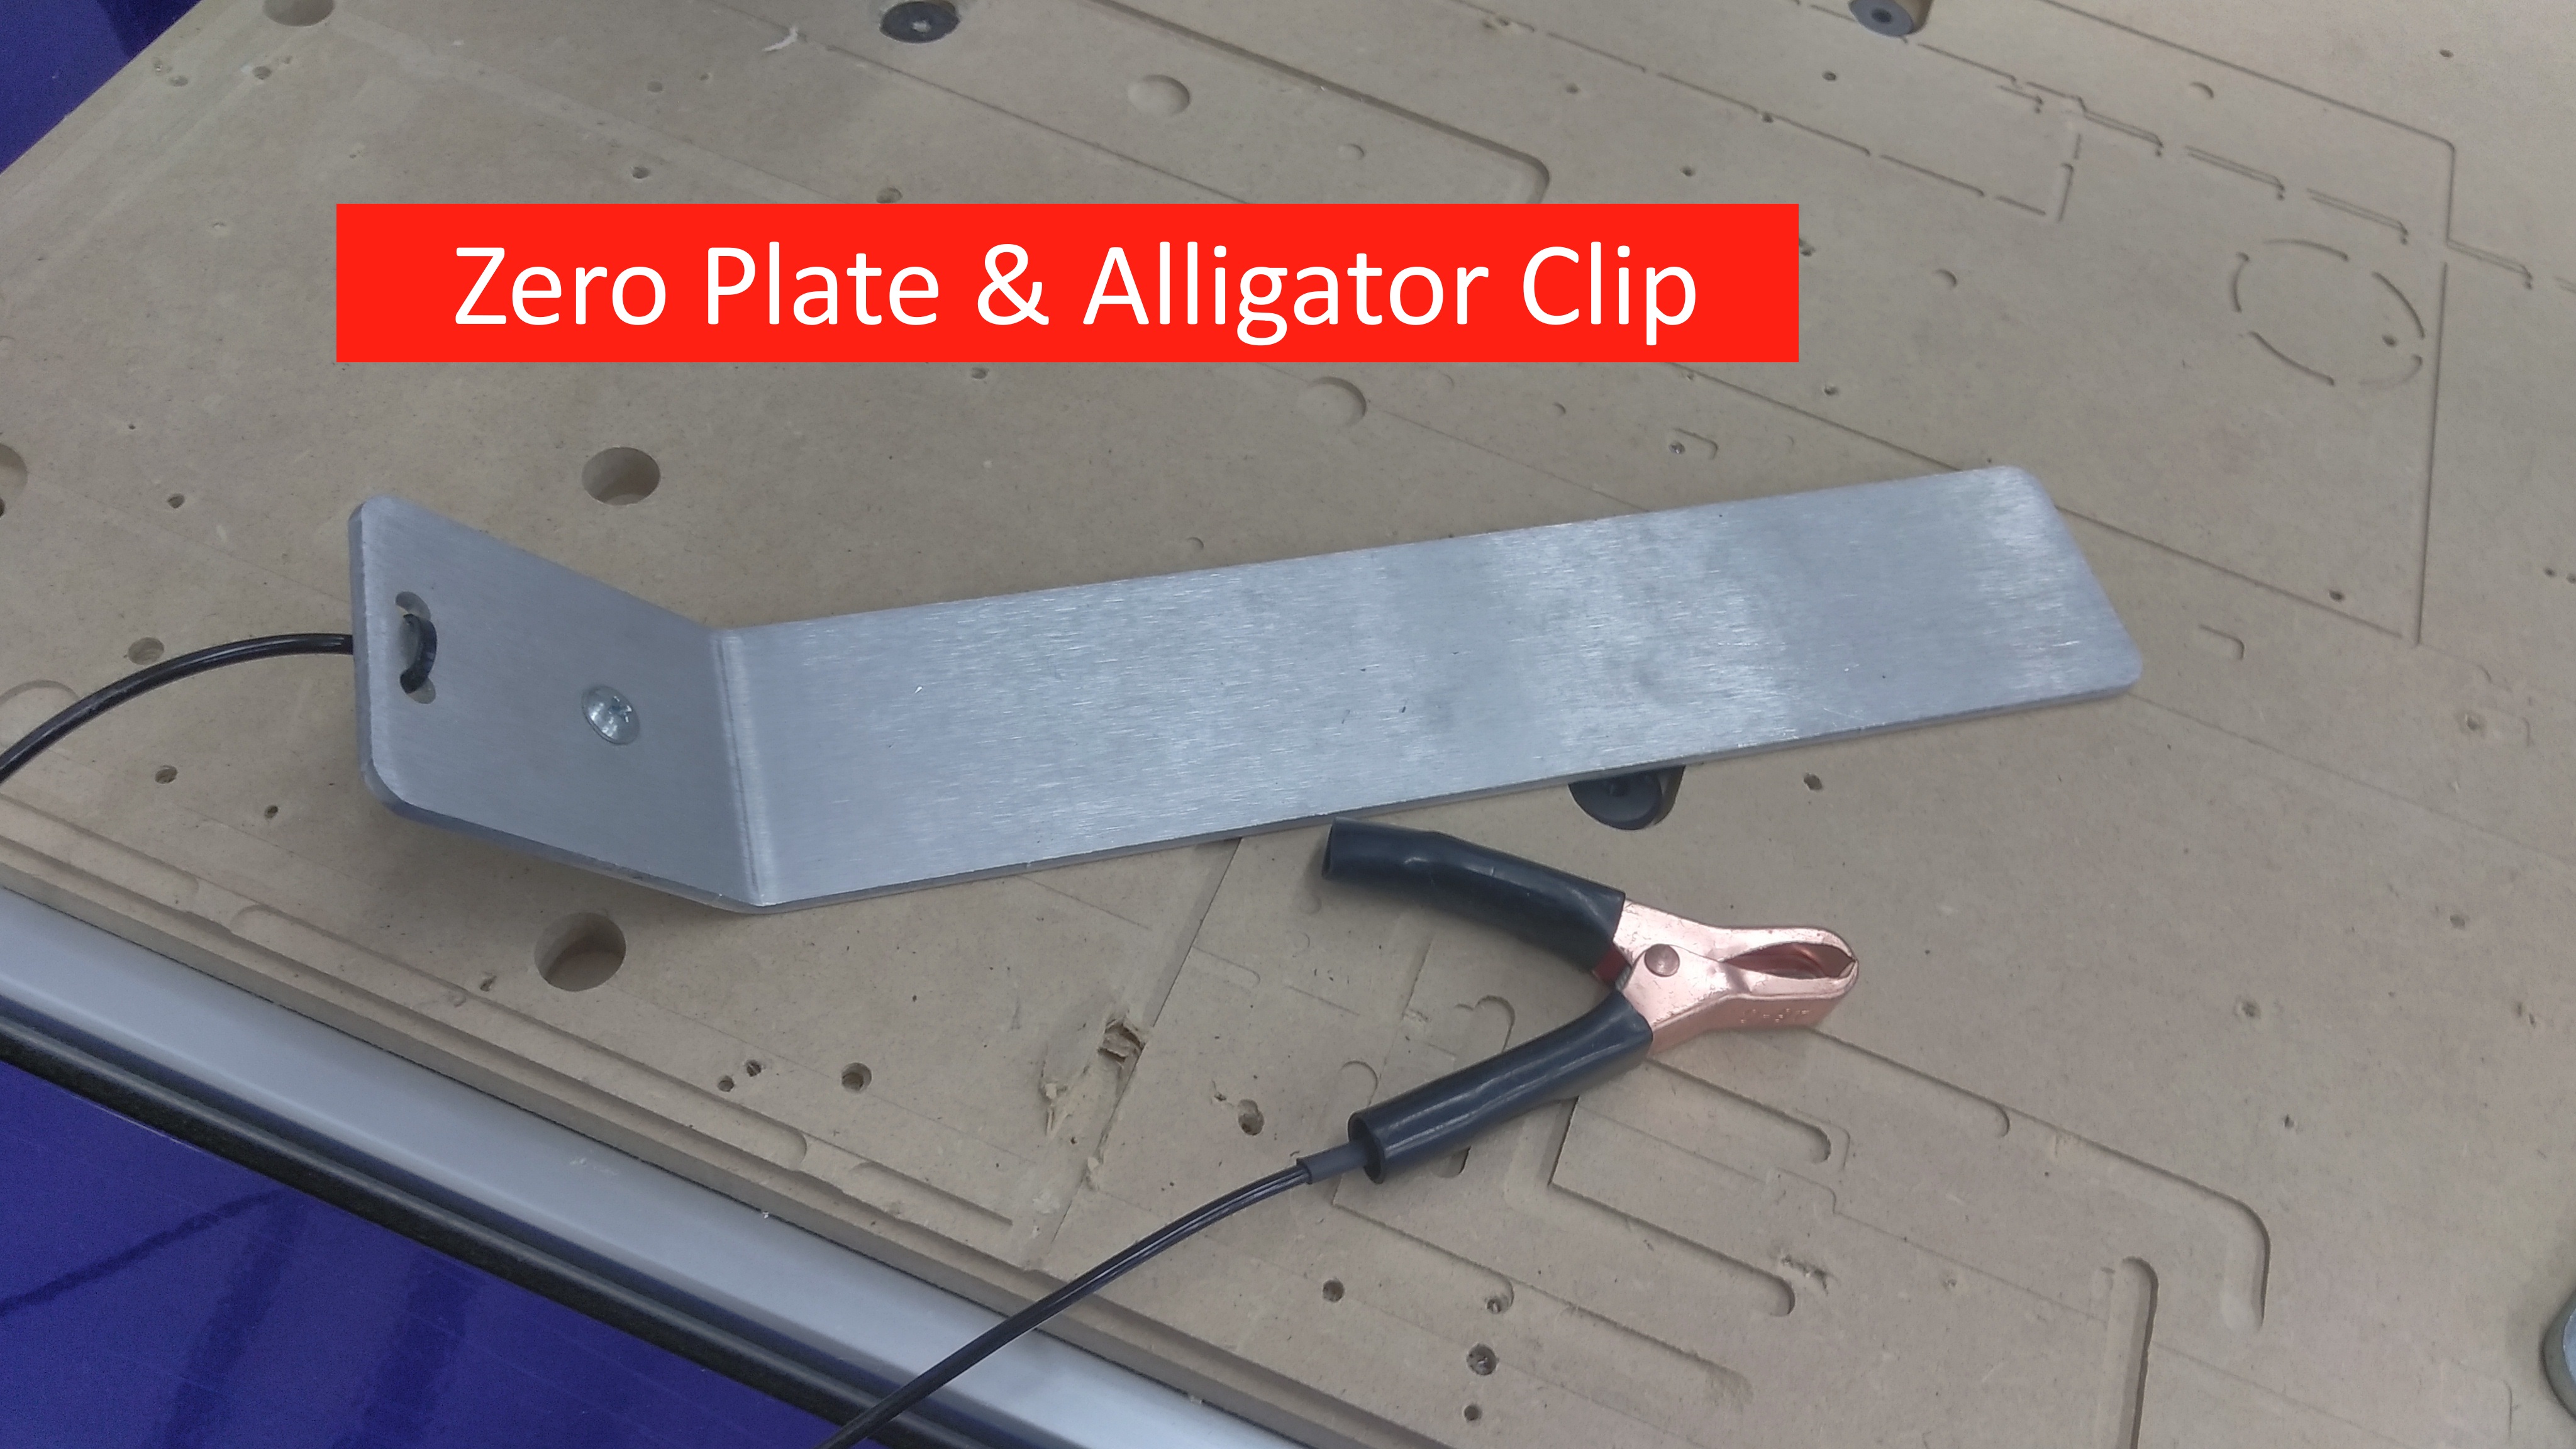
3. Zero plate and alligator clip- Used to zero the Z- axis.
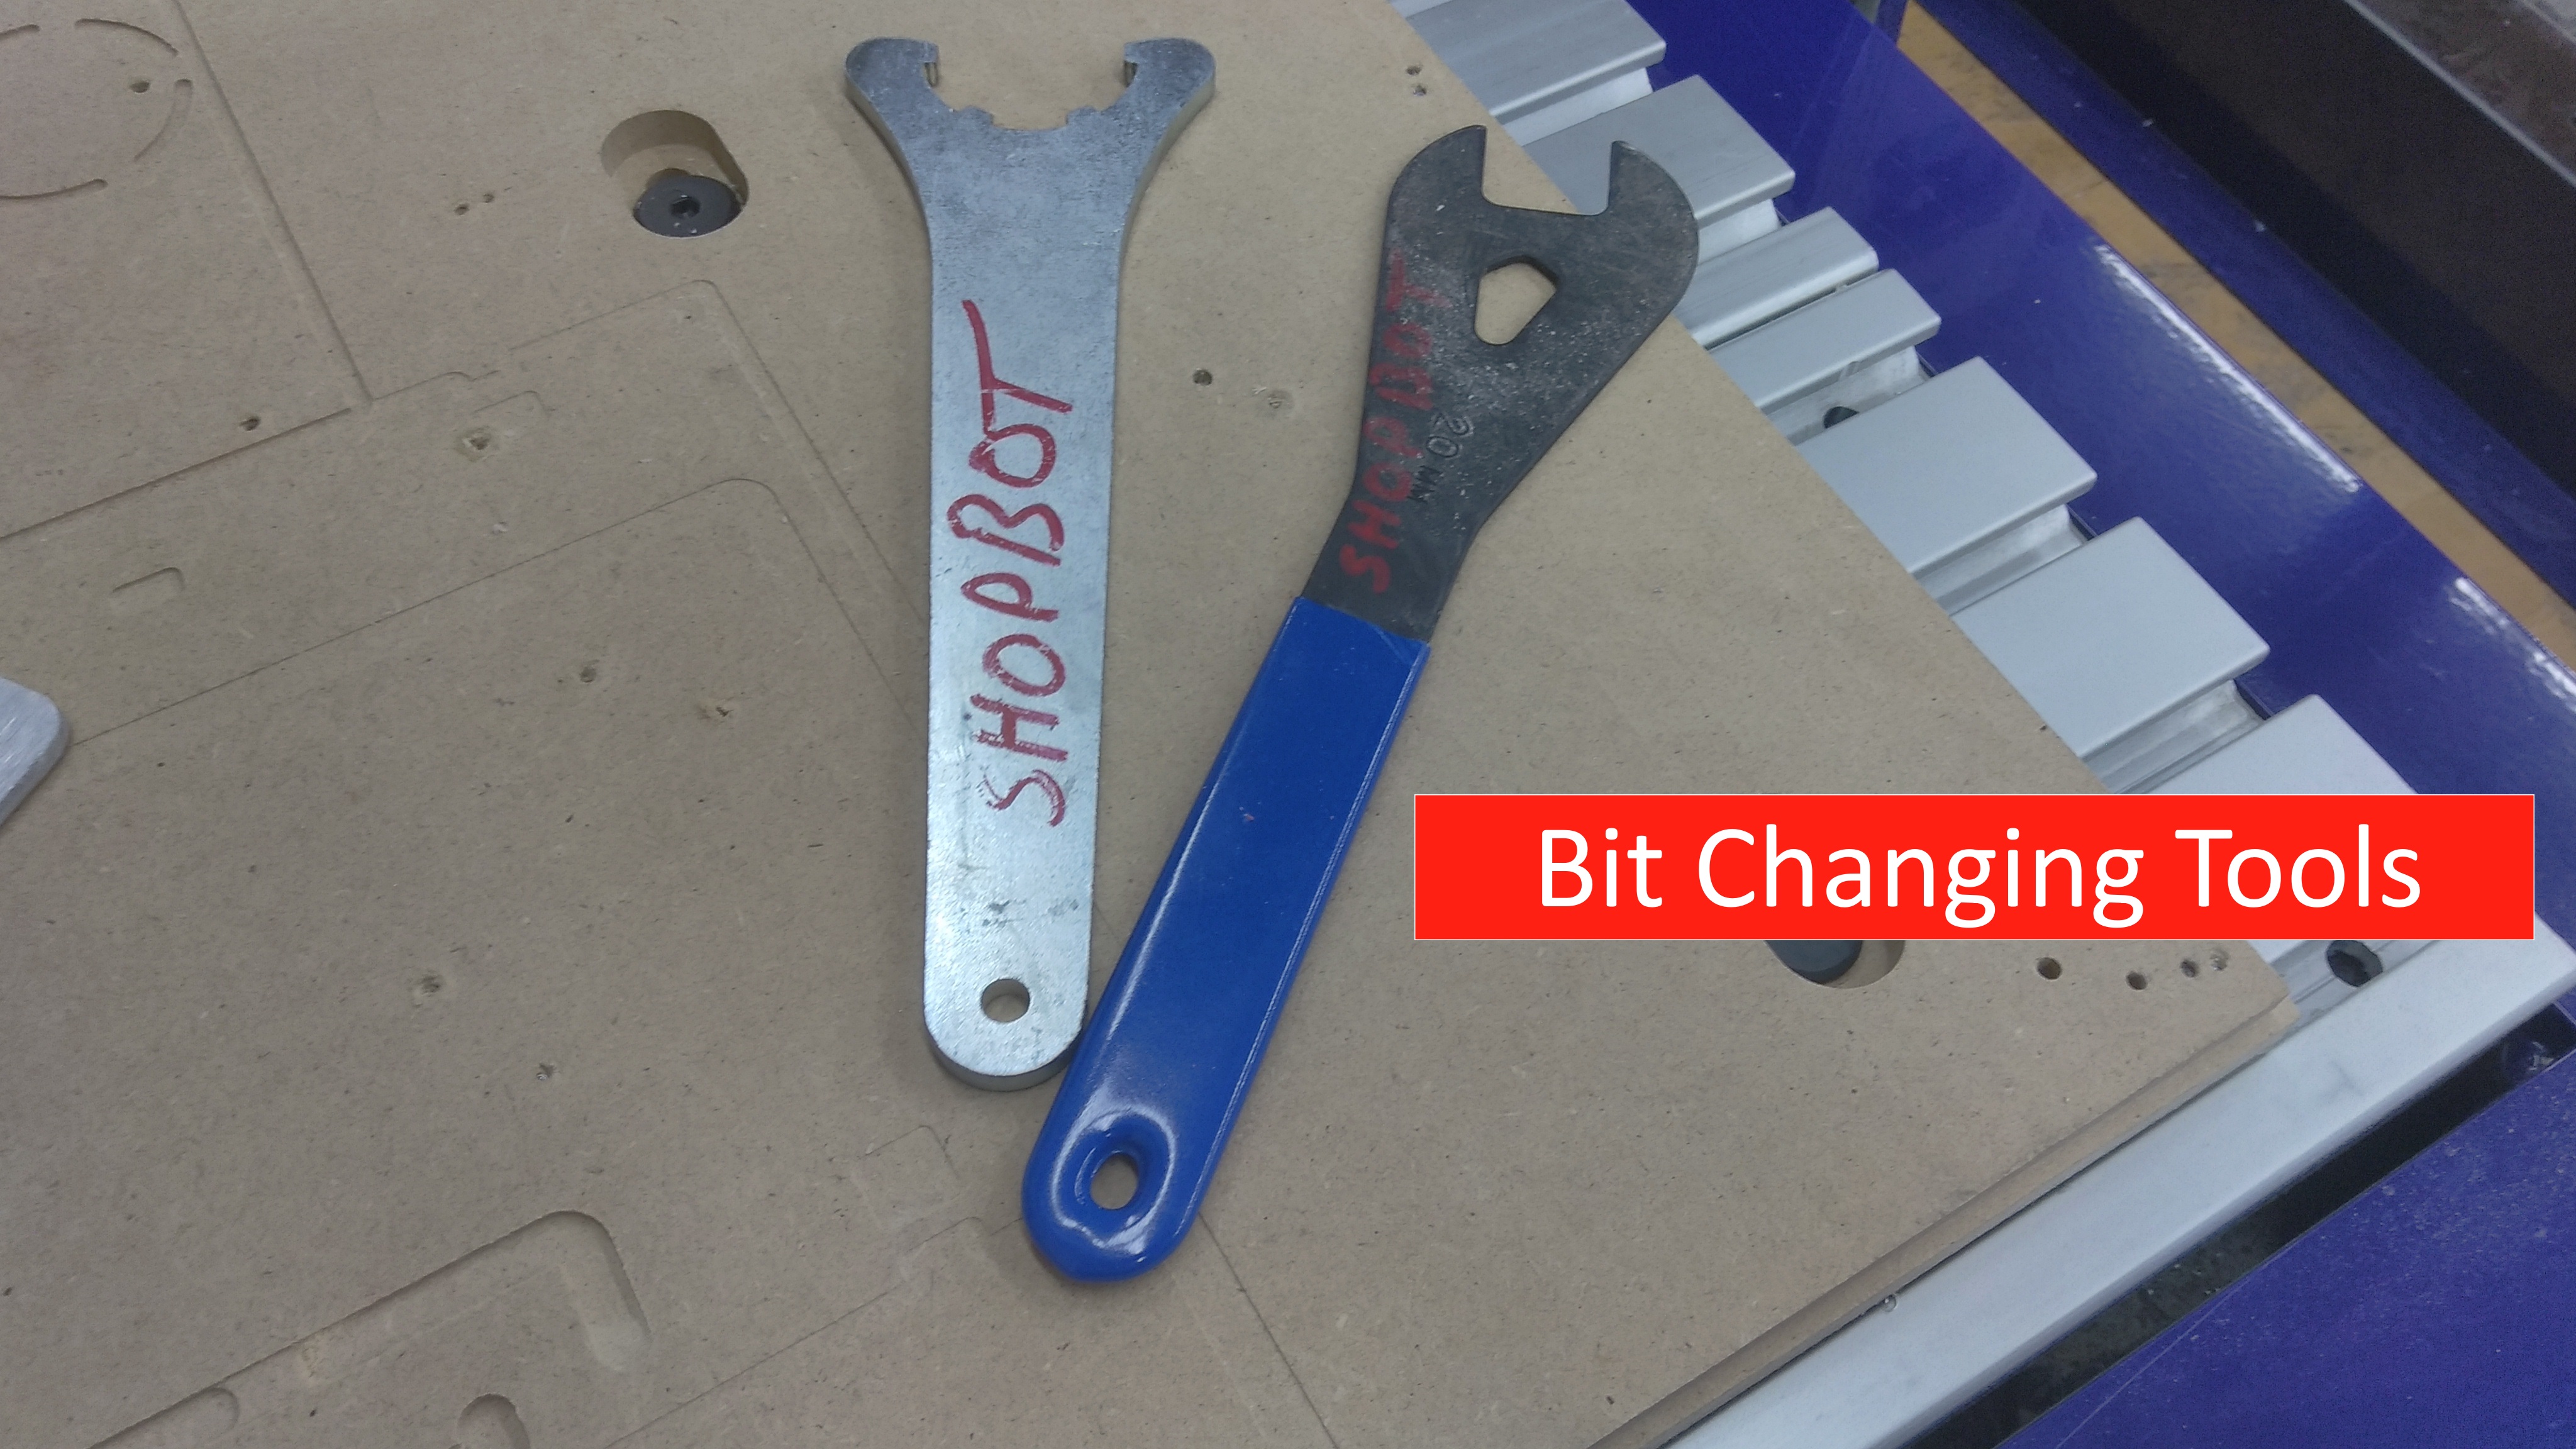
4. Bit changing tools- Used to change the bit currently in the machine.
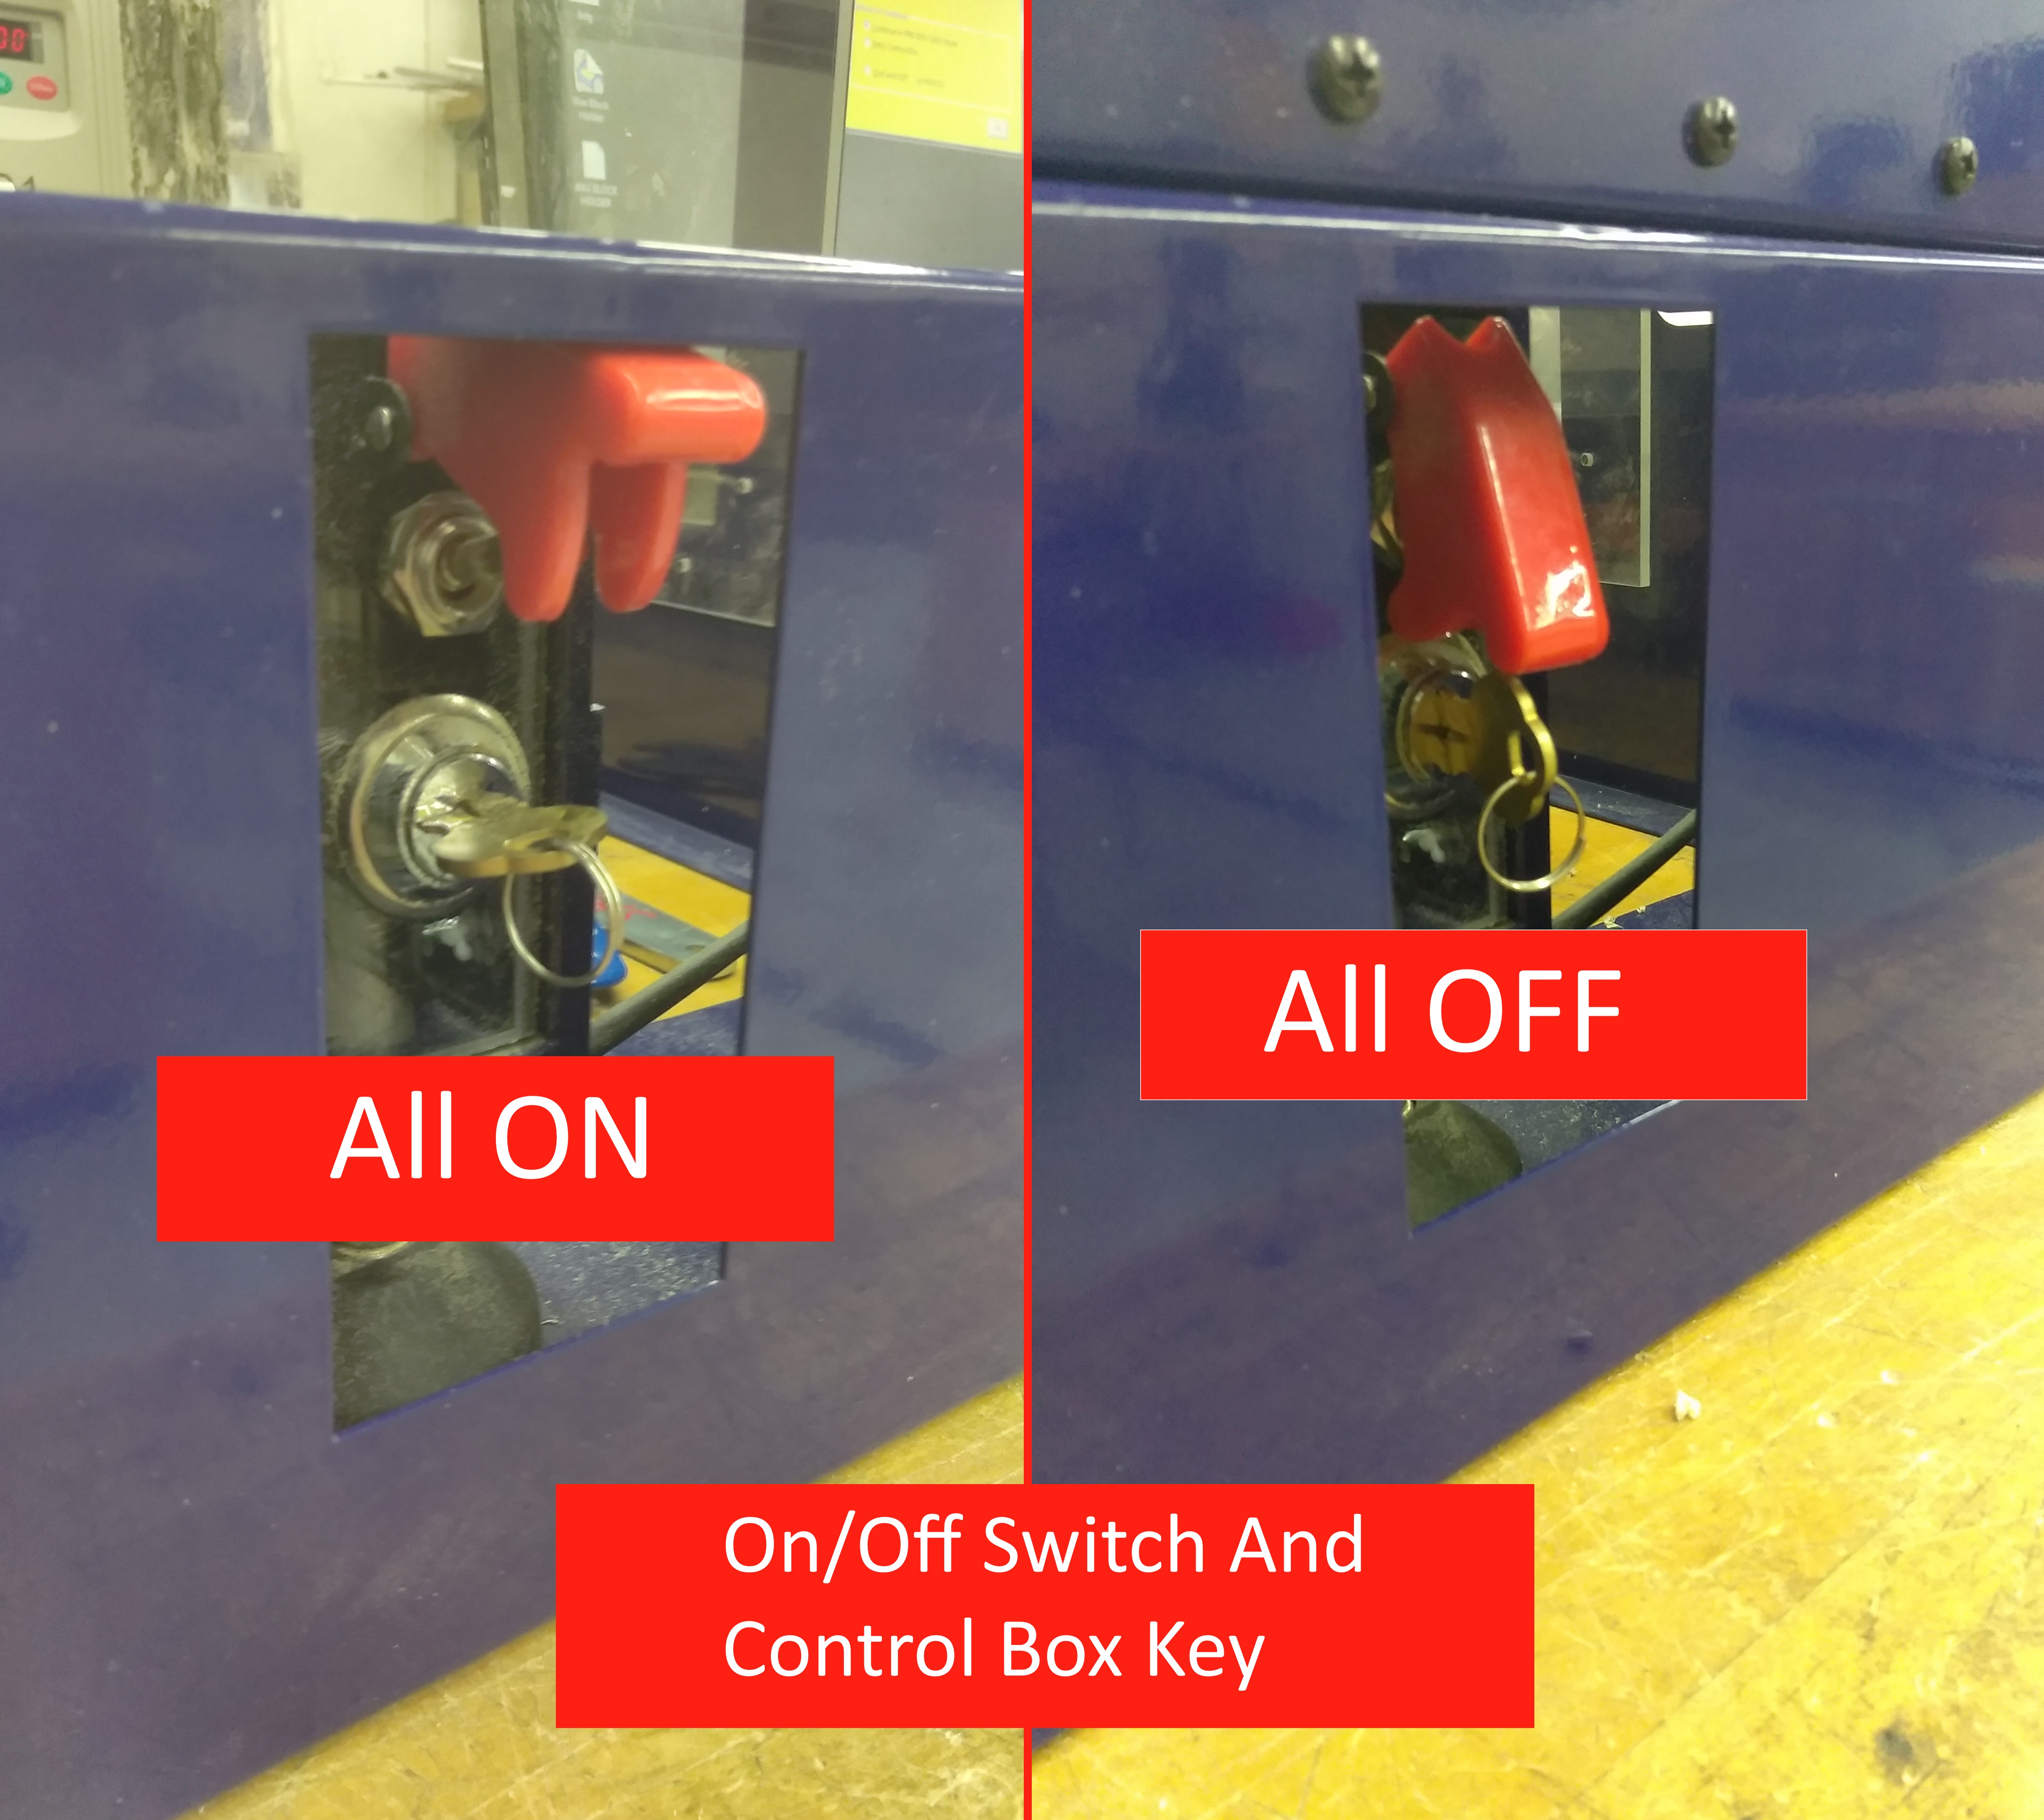
5. On/Off Switch and Control Box Key- Used to power the machine off and on, and to turn on the control box
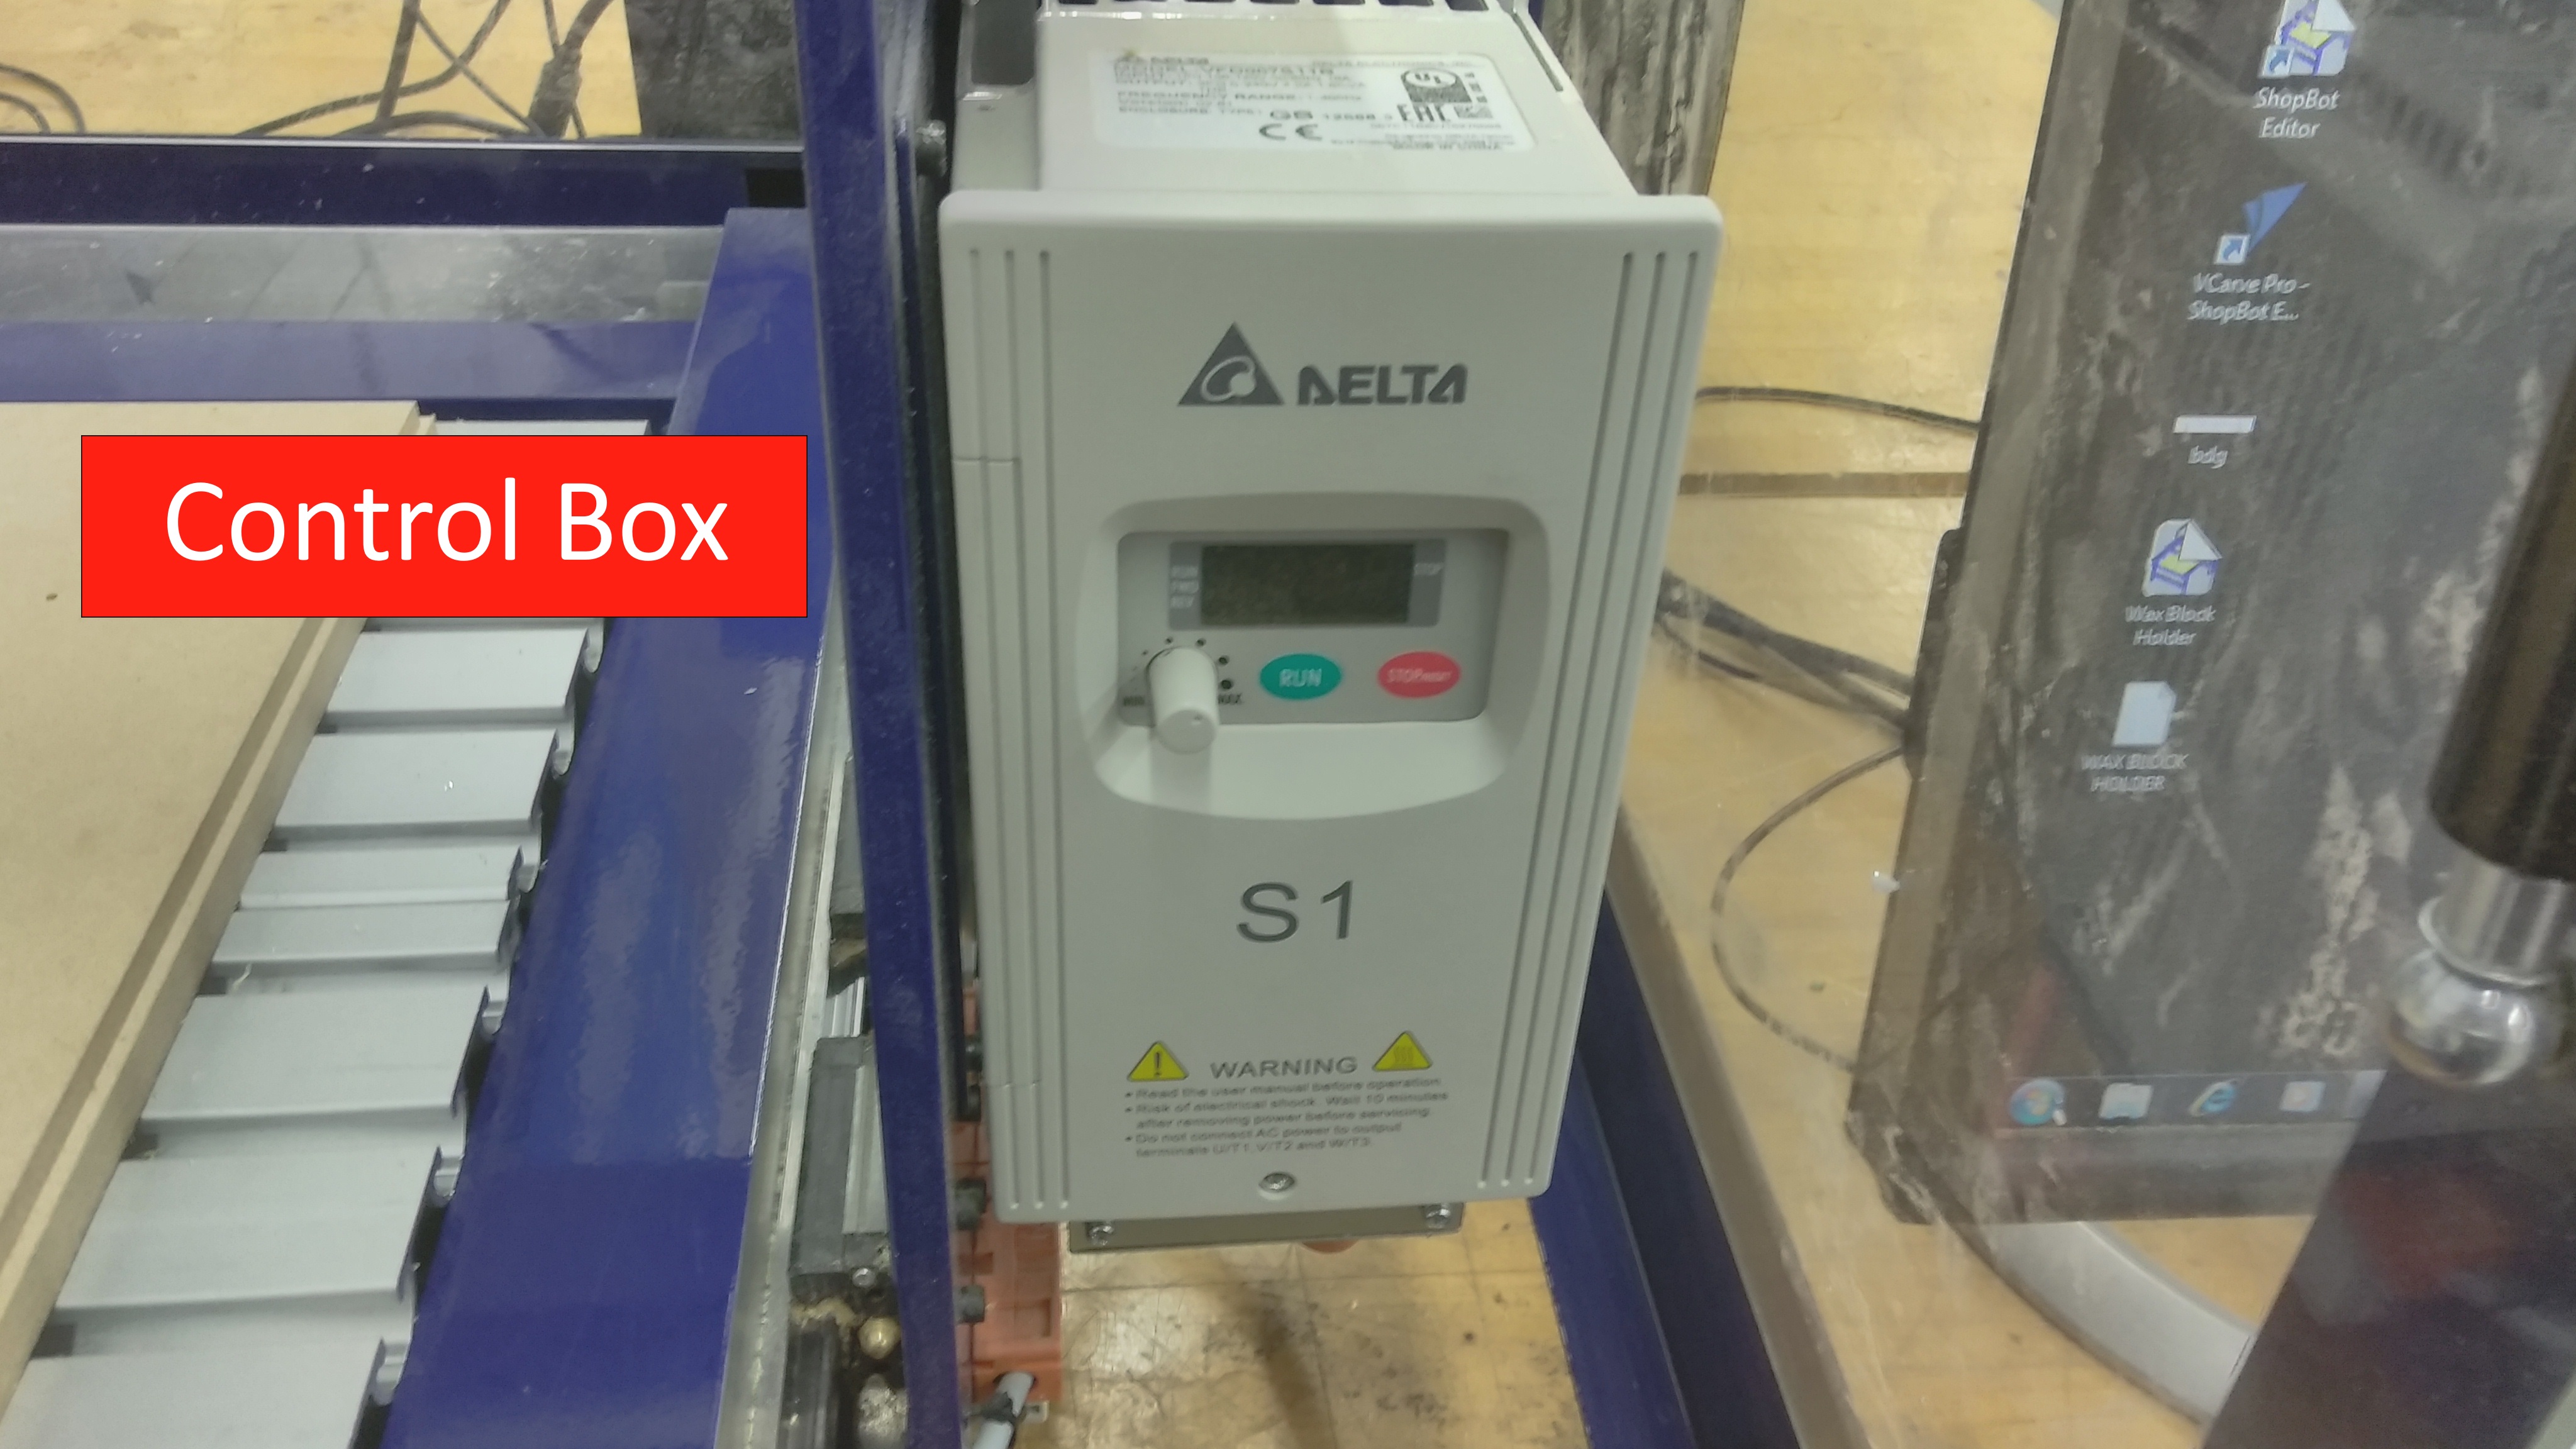
6.Control Box- Used to set the speed of the spindle on the machine.
The First Shopbot Project (CAD and CAM)
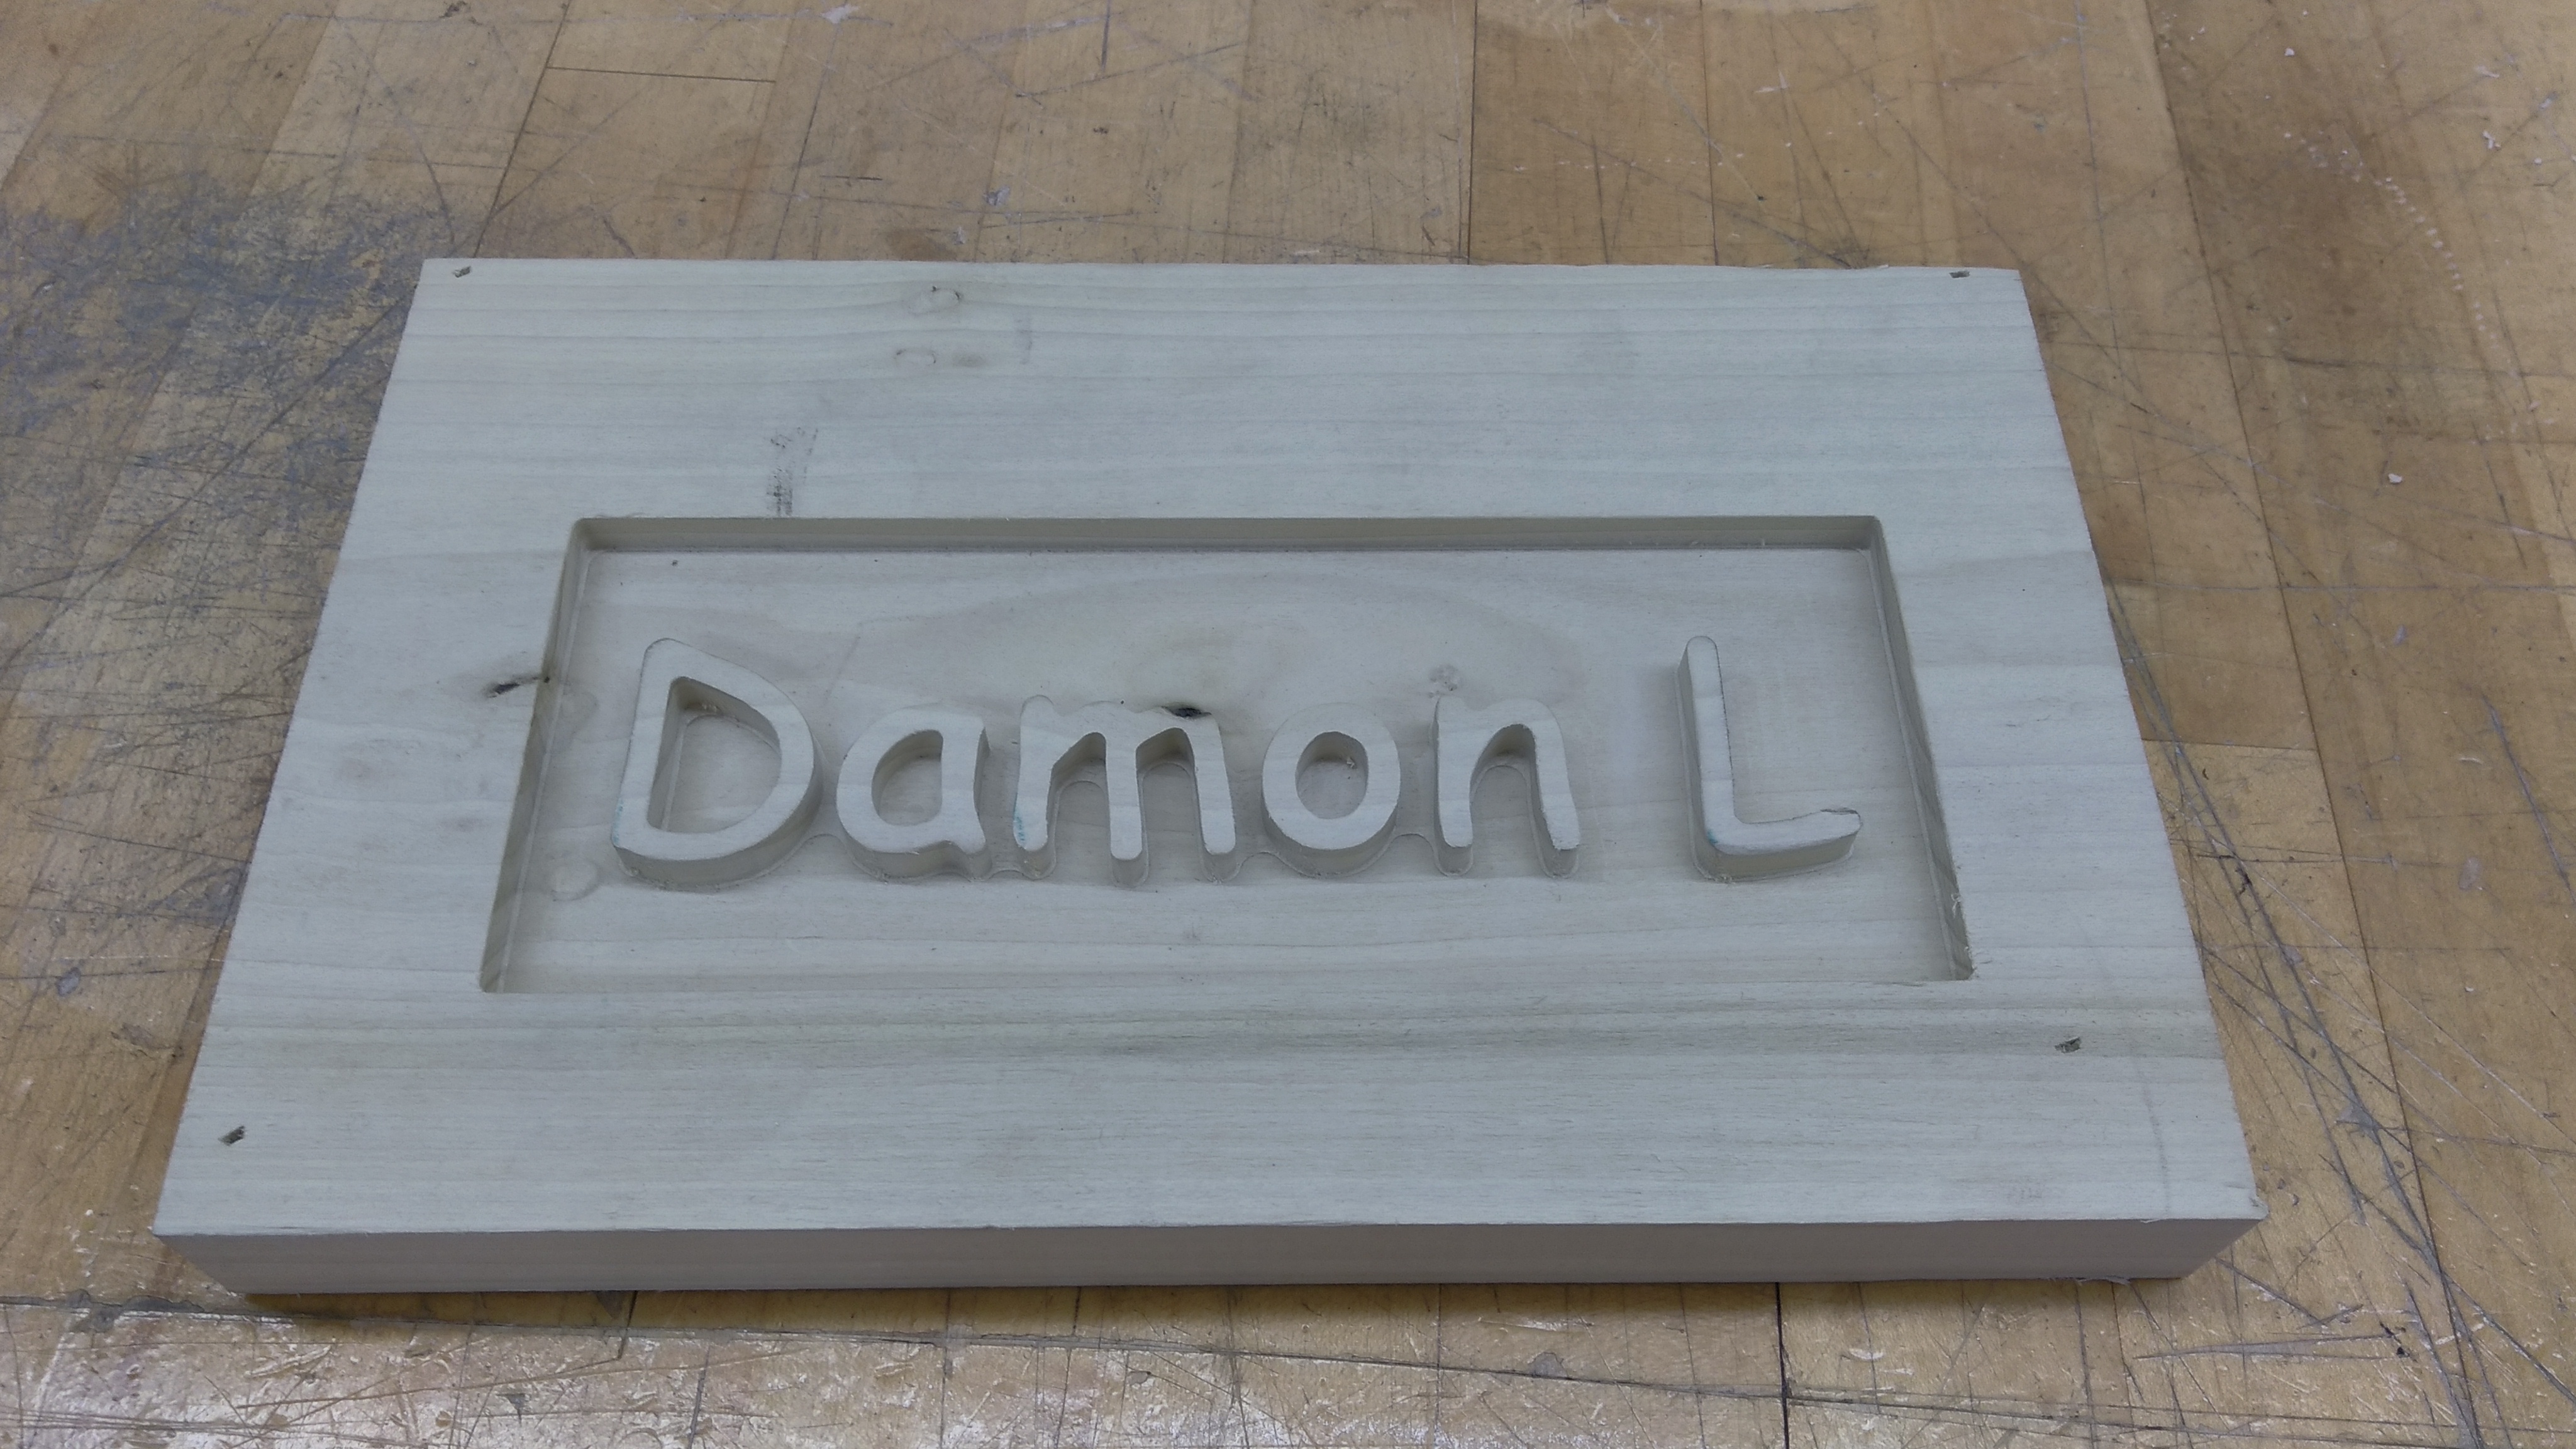
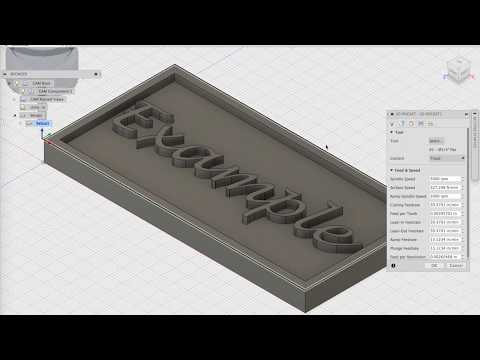
In this project you will be creating a nameplate with raised text as shown in the example picture.
The border on this nameplate is not complete, that is why it is wider on some sides.
The CAD and CAM can be done by following the video tutorial.
Warming Up the Spindle
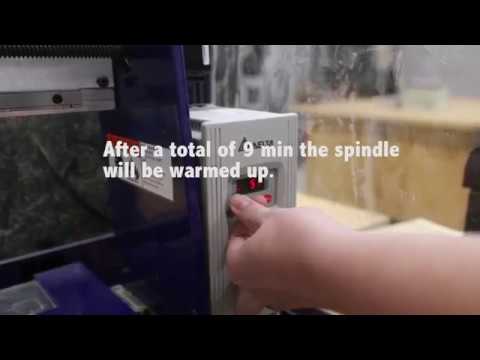
Every time you turn on the machine after not being used for a while, you MUST warm up the spindle. Warming it extends the life of the spindle and keeps it in good shape.
The video above shows how you can go about warming up the Shopbot spindle.
Attaching Your Piece to the Work Surface
Before you can begin cutting your project, you must make sure that the piece of wood is securely fastened to the Work Surface of the Shopbot.
There are a few ways that a piece can be attached to the work surface.
Driving a screw through the piece into the work surface is not always the best way. If your piece is thin, the screw could puncture the metal under the work surface, causing permanent damage to the machine.
Before attaching your piece, consult Mr Furin to see which method will be best.
Zeroing Axes

Zeroing axes is essential for getting your cuts in the right place on your piece. Zeroing tells the computer where the corner of your material is. The corner of the piece was defined in Fusion 360 during the setup part of CAM.
To zero the shopbot's axes, follow video above..
Changing the Cutter
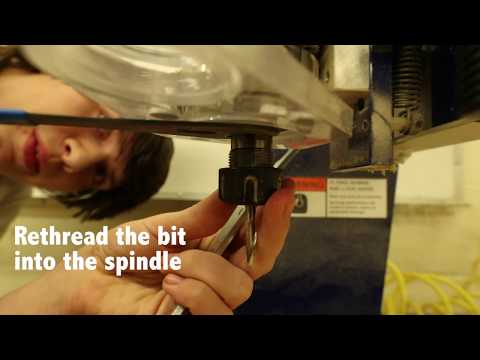
Changing the cutter in the Shopbot is essential when it comes to machining more complex things, or pieces that require small areas to be cut that a big cutter simply cannot access. To do this, watch the video above.
Loading a Part File Into Shopbot 3
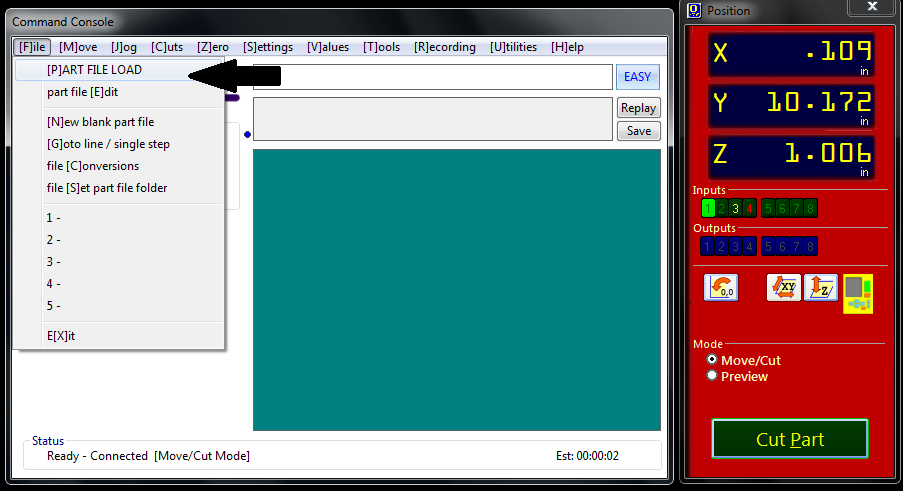
In order to cut anything on the Shopbot, you first need to insert a CAD model of the piece. We created this earlier in Fusion 360.
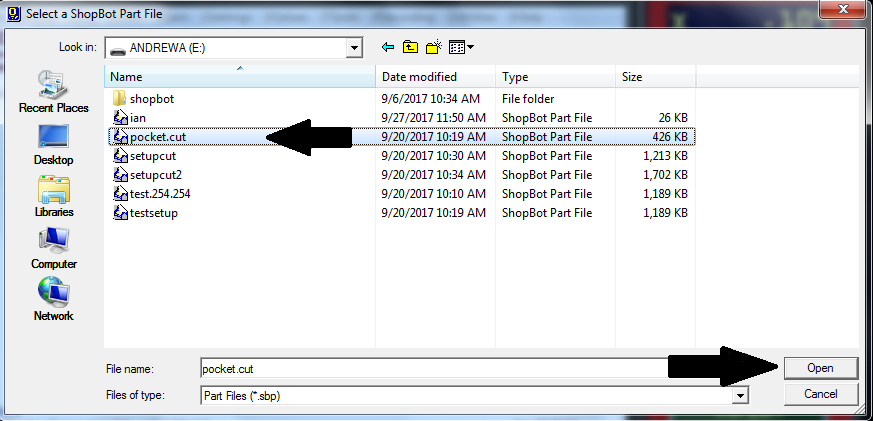
To put your part file into the Shopbot, save your model onto a flash drive, and plug the flash drive into the computer behind the Shopbot.
Make sure that the control box is set to 200 so that the spindle moves at the correct speed.
Shopbot 3 will ask you that the right tool is in the spindle. and that the Z axis is zeroed. Make sure that you check both of these to assure that your part will come out exactly as you intended.