A Clever Way to Access the USB Ports on Your IMac (+ Video)
by projectsugru in Circuits > Apple
46482 Views, 171 Favorites, 0 Comments
A Clever Way to Access the USB Ports on Your IMac (+ Video)


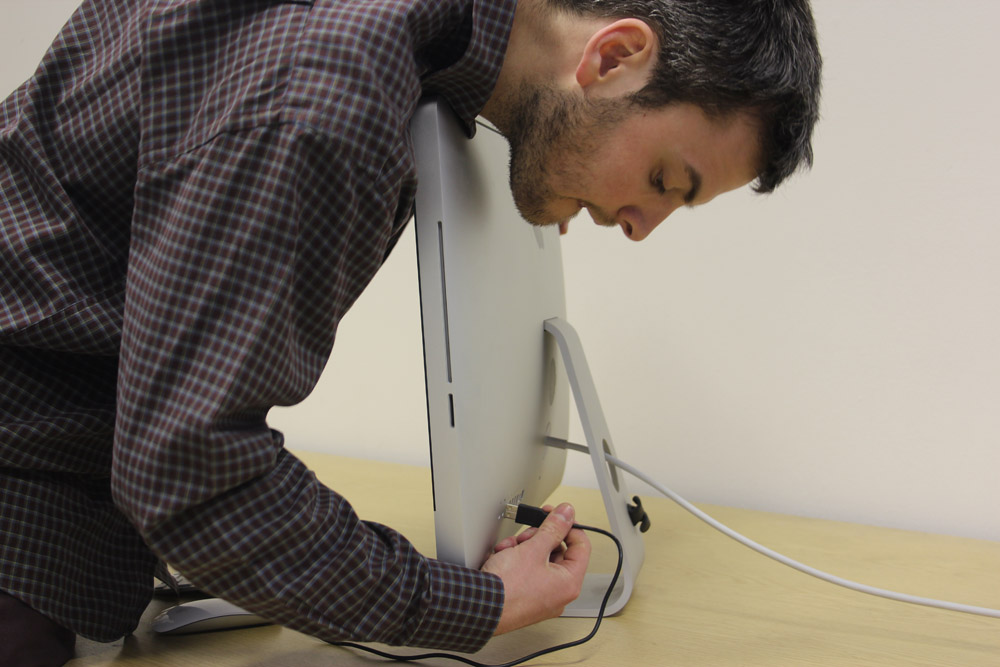
This is an evolution on our last Instructable where we tried to solve the problem of accessing the USB ports on an iMac.
People raised some interesting points about how "ugly" the solution was and then criggie suggested using magnets and we thought, hey, that's an awesome idea, so we tested it and loved it :)
Here is a simple Instructable on how you can make this too.
This is a smart idea that is a total pleasure to use, I imagine that you can have loads of quick access ports dotted around the back of your machine now, the possibilities are endless.
WHAT YOU NEED:
1. sugru - one mini pack is enough to make 3 of these
2. Neodymium magnets (we got these ones from ebay but you could probably use slightly smaller ones)
3. USB extension cable (male to female)
4. scissors
5. tissue paper
OPPOSITES ATTRACT - Label Your Magnets


I think everyone knows how magnets work, but it's pretty easy to mount these incorrectly and for this project not to work for you, so, here comes some obvious but useful tips.
With magnets, OPPOSITES ATTRACT, this is the key thing to remember so we recommend that you label your magnets.
Allow your magnets to attract, (if you are using Neodymium then be careful, they are powerful)
Label the sides, we marked ours with plus and minus signs.
With magnets, OPPOSITES ATTRACT, this is the key thing to remember so we recommend that you label your magnets.
Allow your magnets to attract, (if you are using Neodymium then be careful, they are powerful)
Label the sides, we marked ours with plus and minus signs.
Prepare the Magnets


One mini pack is enough to do about 3 sets of these or you could do this with some spare sugru form another project...
1: Break the sugru into 3 equal pieces.
2: break one of these pieces in half.
3: shape these pieces into small cones.
4: Press the pointed end onto the sides of each magnet;
One piece onto the plus side of one magnet.
The other piece onto the minus side of the second magnet.
1: Break the sugru into 3 equal pieces.
2: break one of these pieces in half.
3: shape these pieces into small cones.
4: Press the pointed end onto the sides of each magnet;
One piece onto the plus side of one magnet.
The other piece onto the minus side of the second magnet.
Apply Magnet to Computer


Press the pointed end of the sugru pyramid into the place where you want your cable to sit.
Press the sugru that spreads out around the magnet to help ensure a strong bond.
Press the sugru that spreads out around the magnet to help ensure a strong bond.
Apply Magnet to USB


Press the remaining magnet into the base of the USB extension lead.
Again press the sugru that spreads out in around the magnet.
Leave to cure overnight.
Again press the sugru that spreads out in around the magnet.
Leave to cure overnight.
Enjoy the Good Life


Once cured, plug in the cable and connect the two magnets.
Now you have an easy to find USB extension that is kept out the way.
Enjoy :)
Now you have an easy to find USB extension that is kept out the way.
Enjoy :)