A Step by Step Guide to Get Started With STM32 Black Pill and STM Cube IDE to Blink On- Board LED Using HAL Programming
by vanshika4566_be23 in Circuits > Electronics
405 Views, 0 Favorites, 0 Comments
A Step by Step Guide to Get Started With STM32 Black Pill and STM Cube IDE to Blink On- Board LED Using HAL Programming
STM32CubeIDE is an all-in-one multi-OS development tool, which is part of the STM32Cube
software ecosystem. STM32CubeIDE is an advanced C/C++ development platform with peripheral
configuration, code generation, code compilation, and debug features for STM32 microcontrollers
and microprocessors.
Supplies
A device equipped with STM32CubeIDE and STM32CubeProgrammer
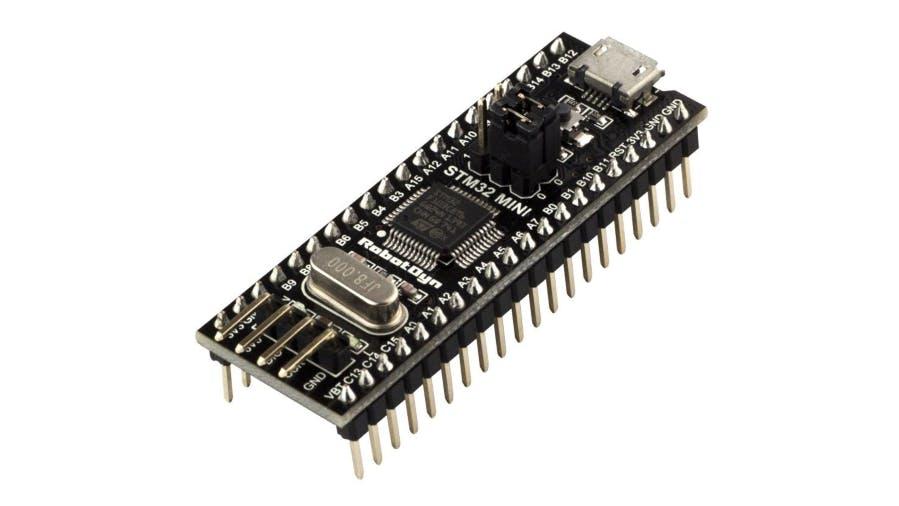
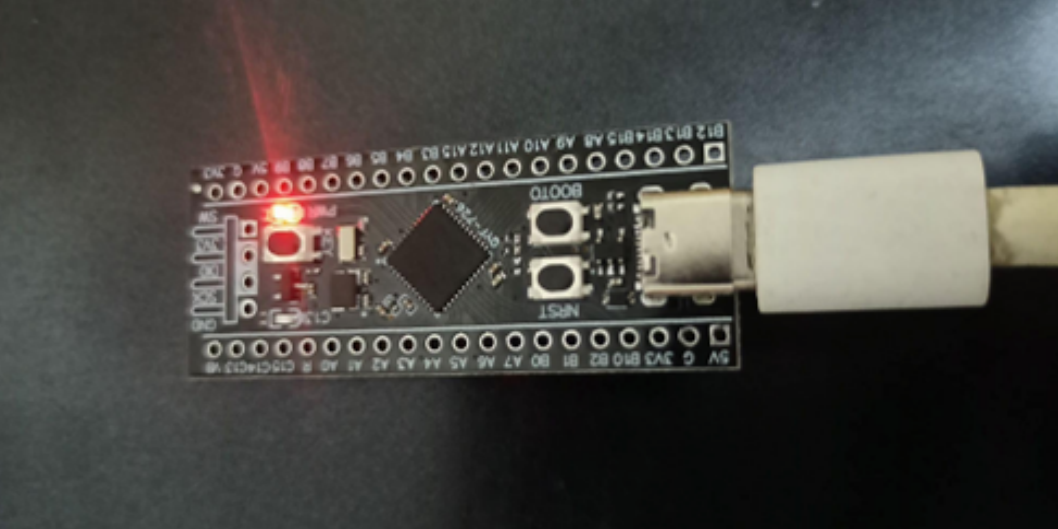
An STM32 Black Pill board
A USB cable
Download, Install and Setup STM32 Cube IDE
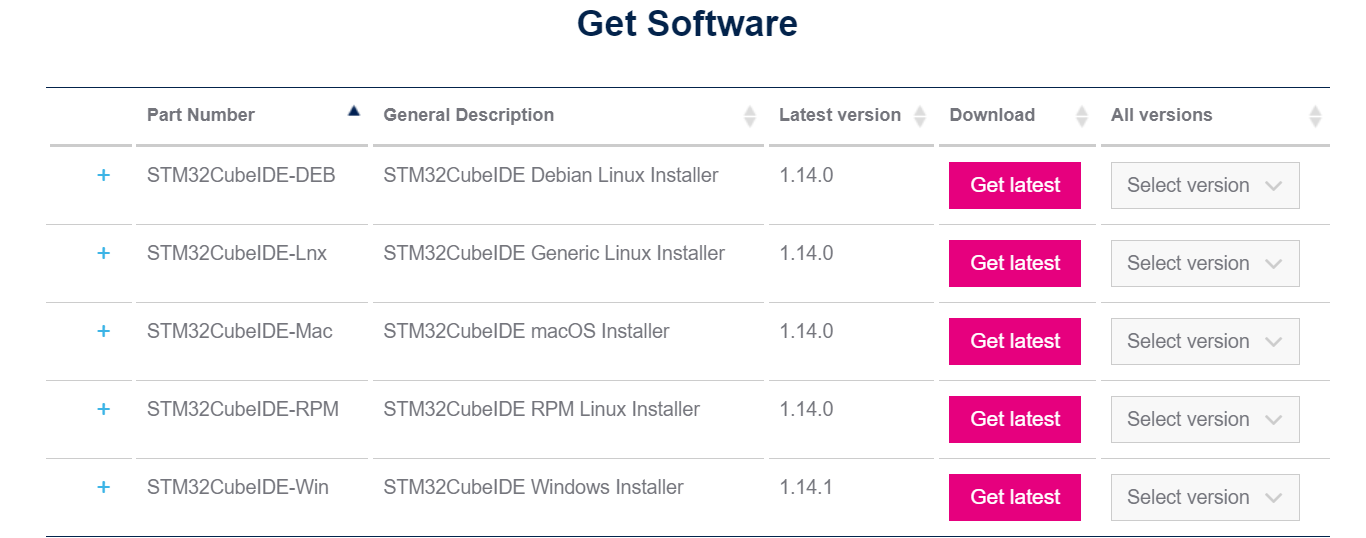
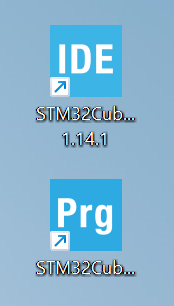
· Download STM32 cube IDE and STM32 cube programmer zip files
. Extract all zip files and complete installation steps
Making On-board LED Blinking Project in STM32 Cube IDE
.png)
.png)
.png)
.png)
.png)
.png)
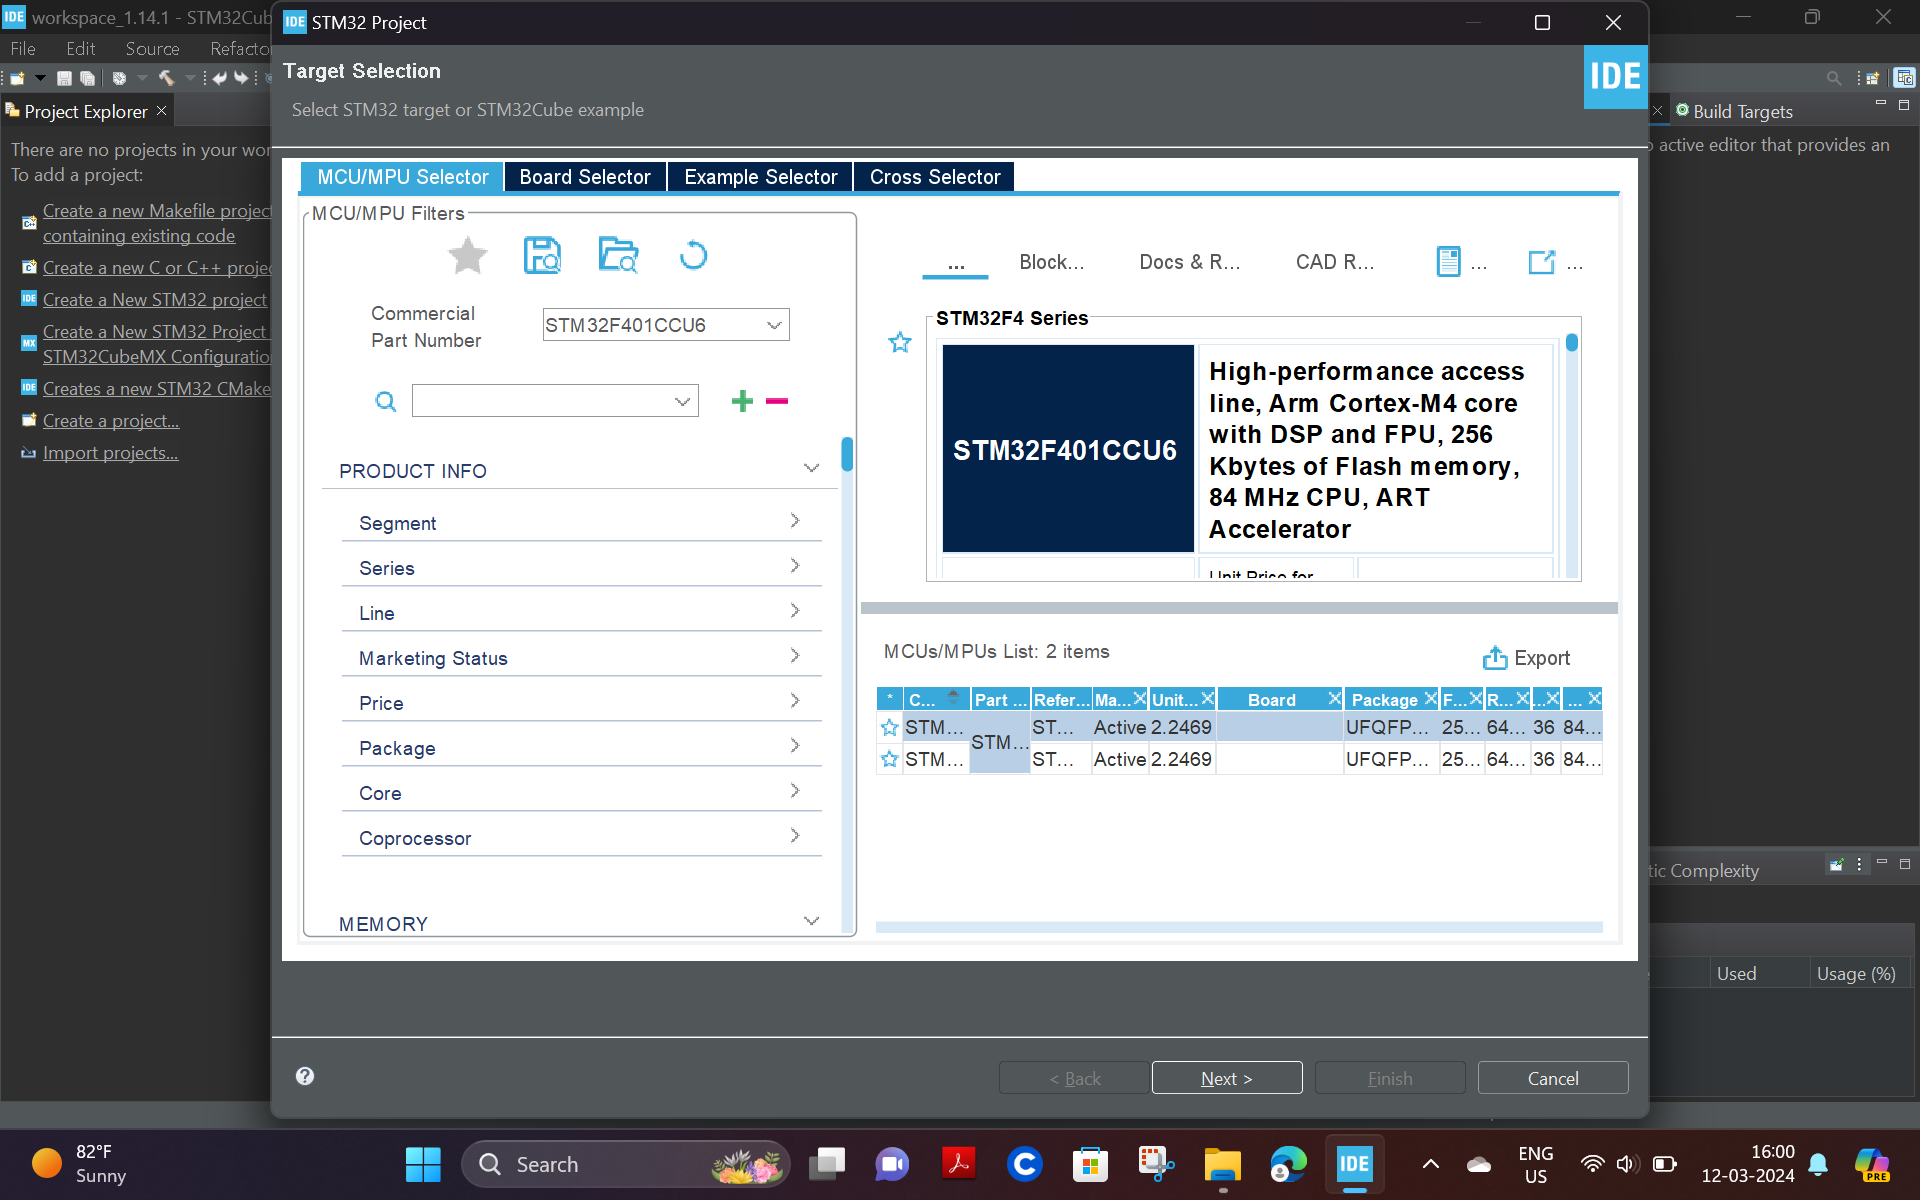
· Open STM32 cube IDE >>Login
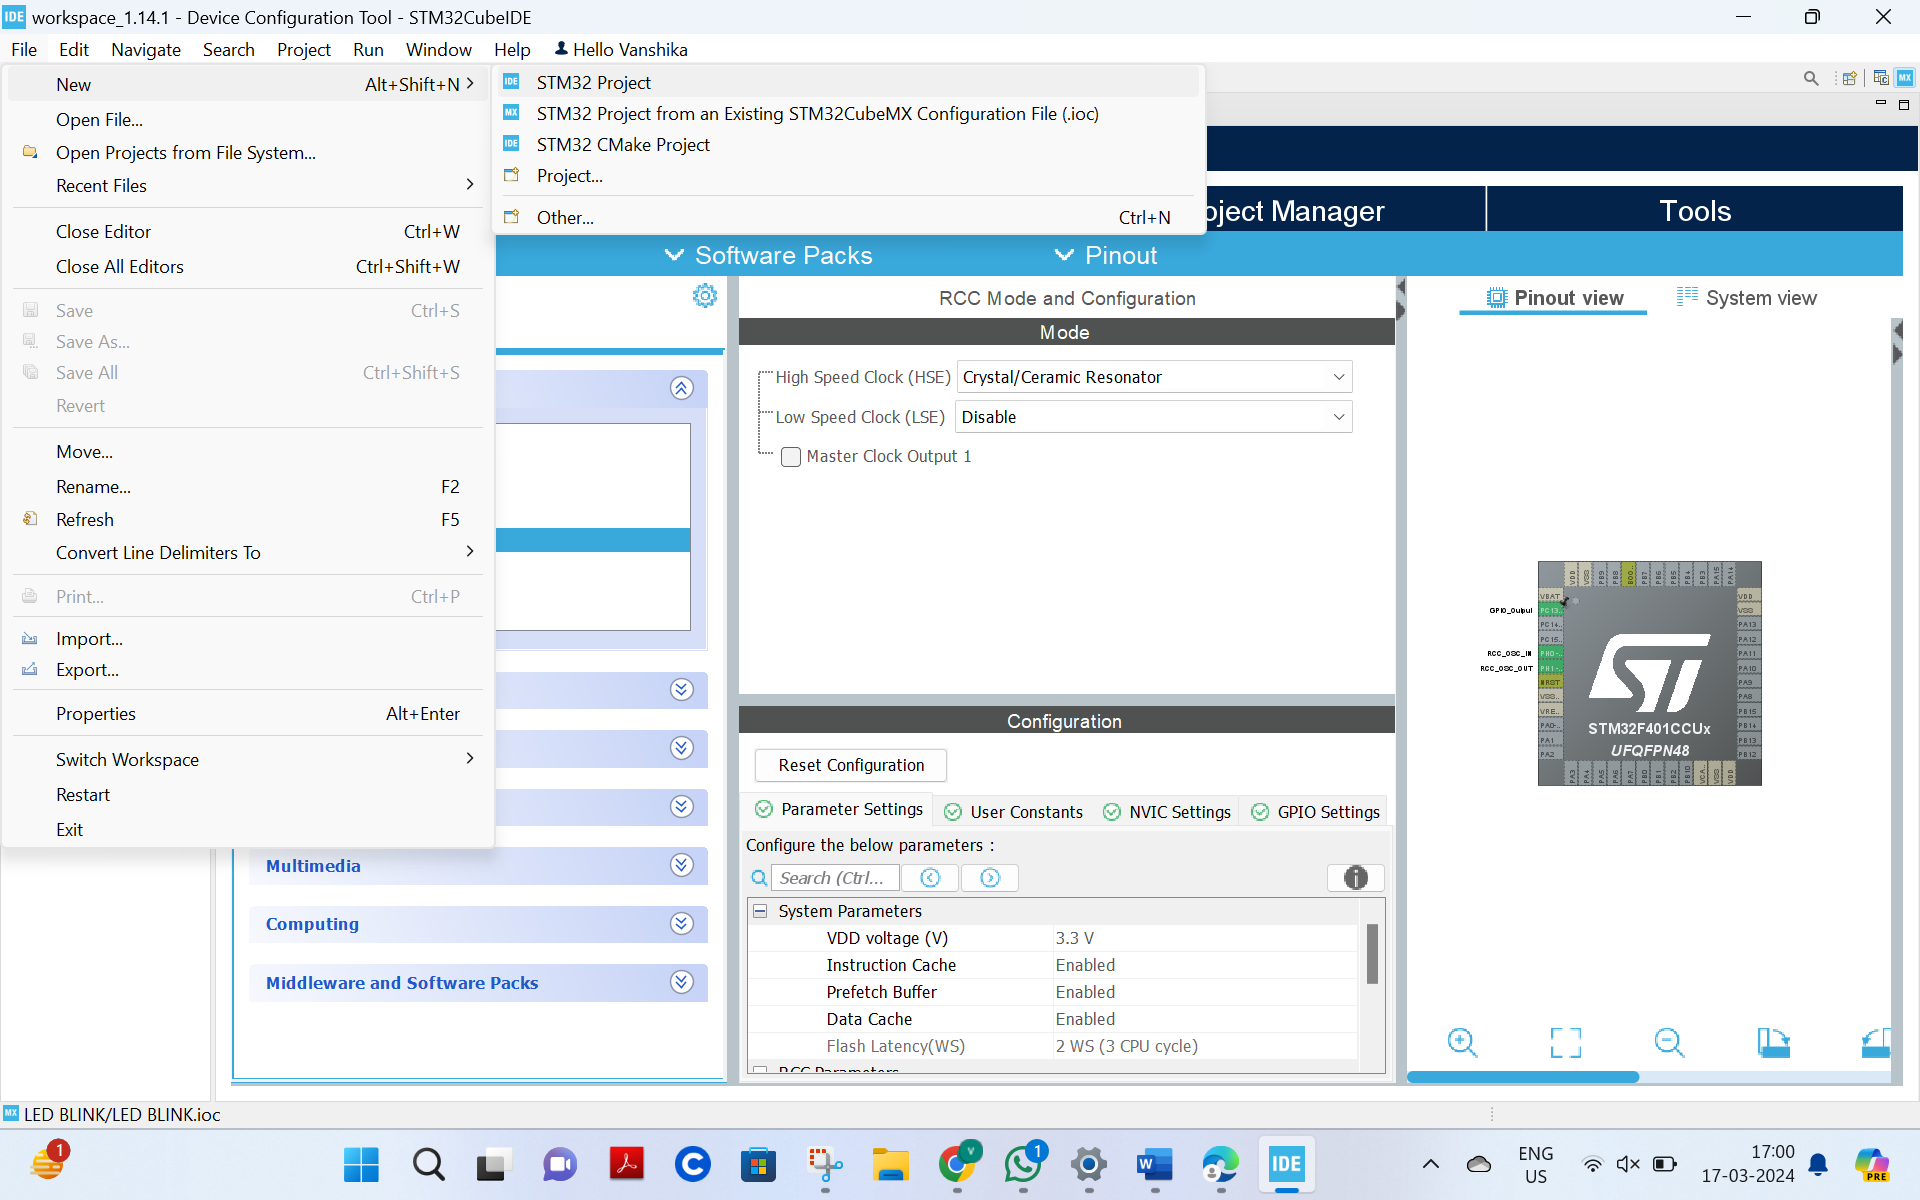
· Go to New >> STM32 Project
· Enter part number as STM32F401CCU6
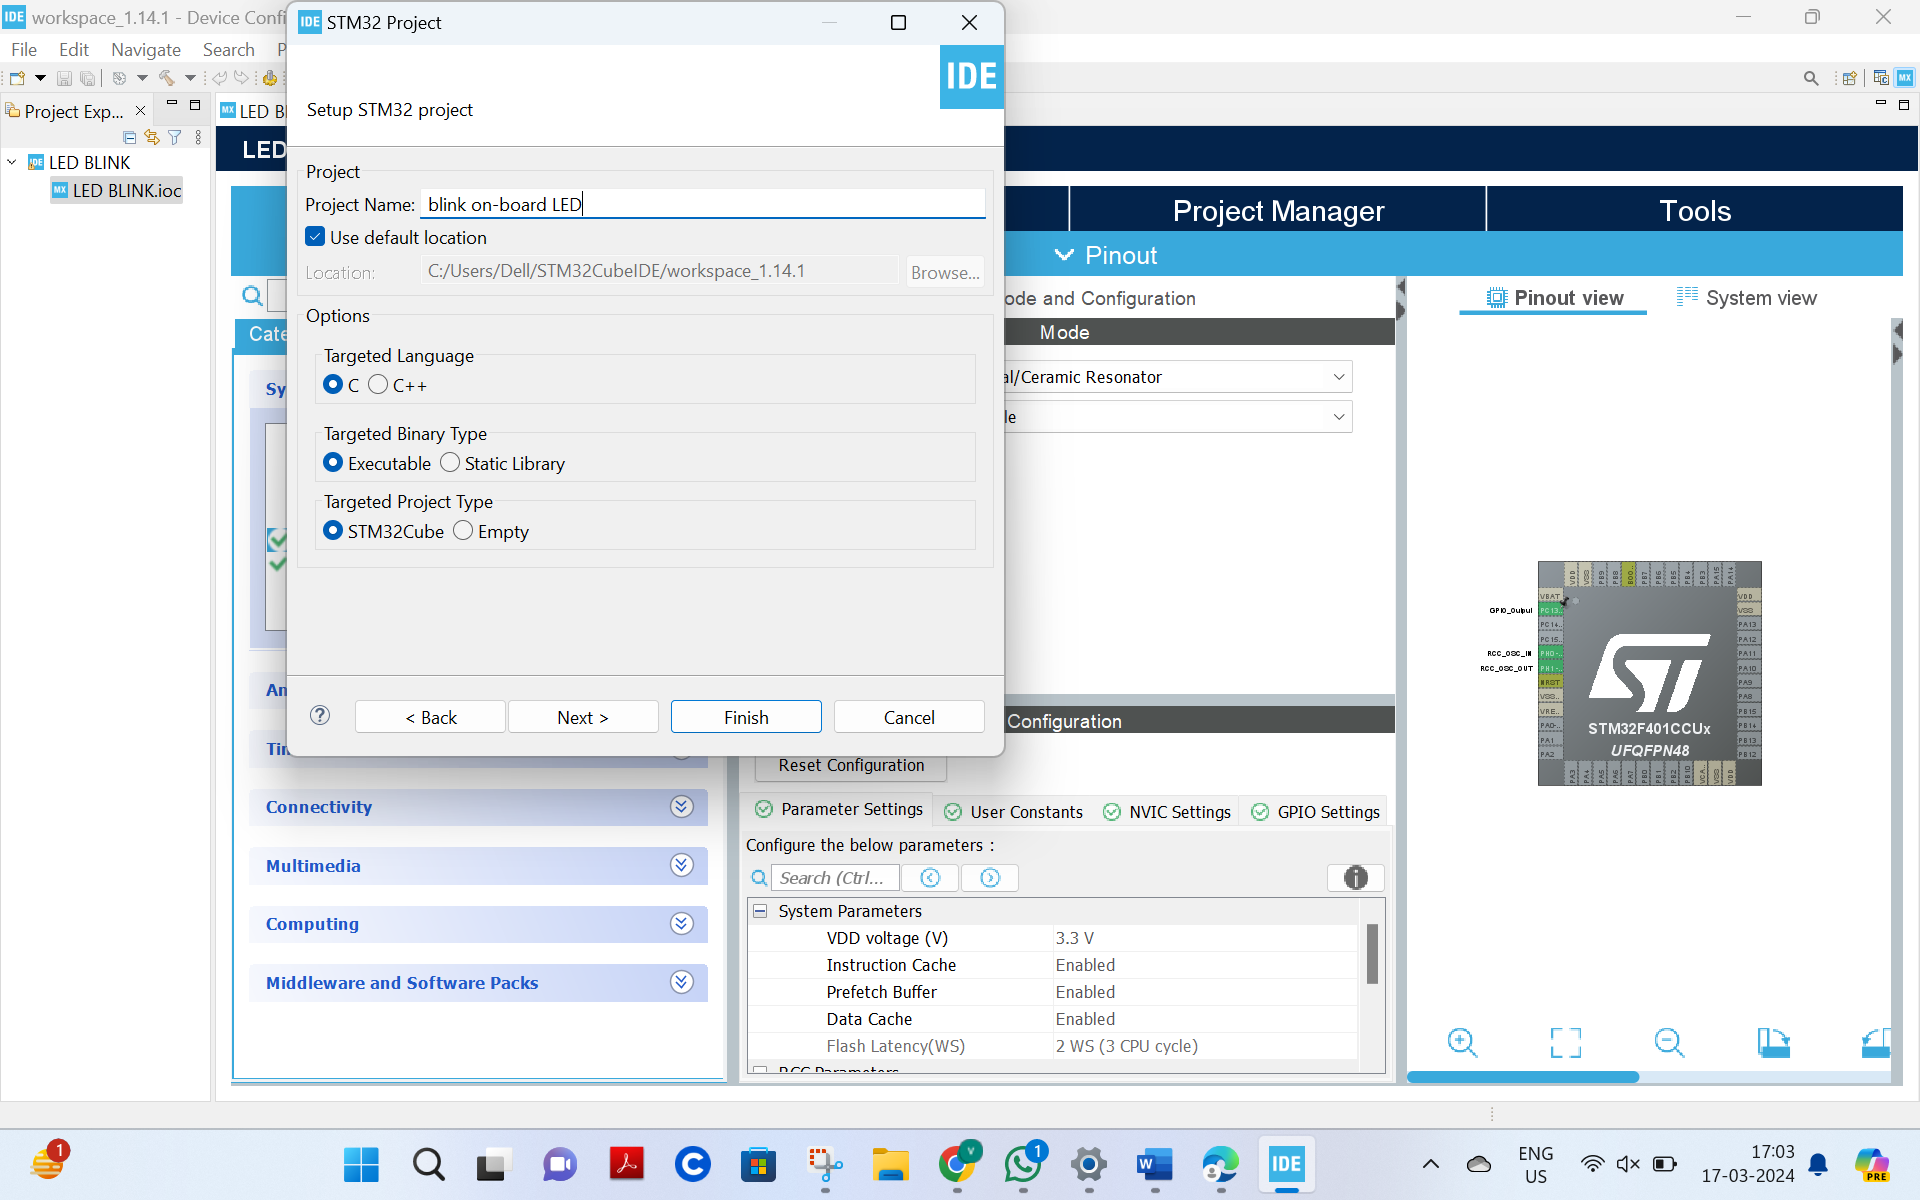
· Name the project>> Next >> Finish
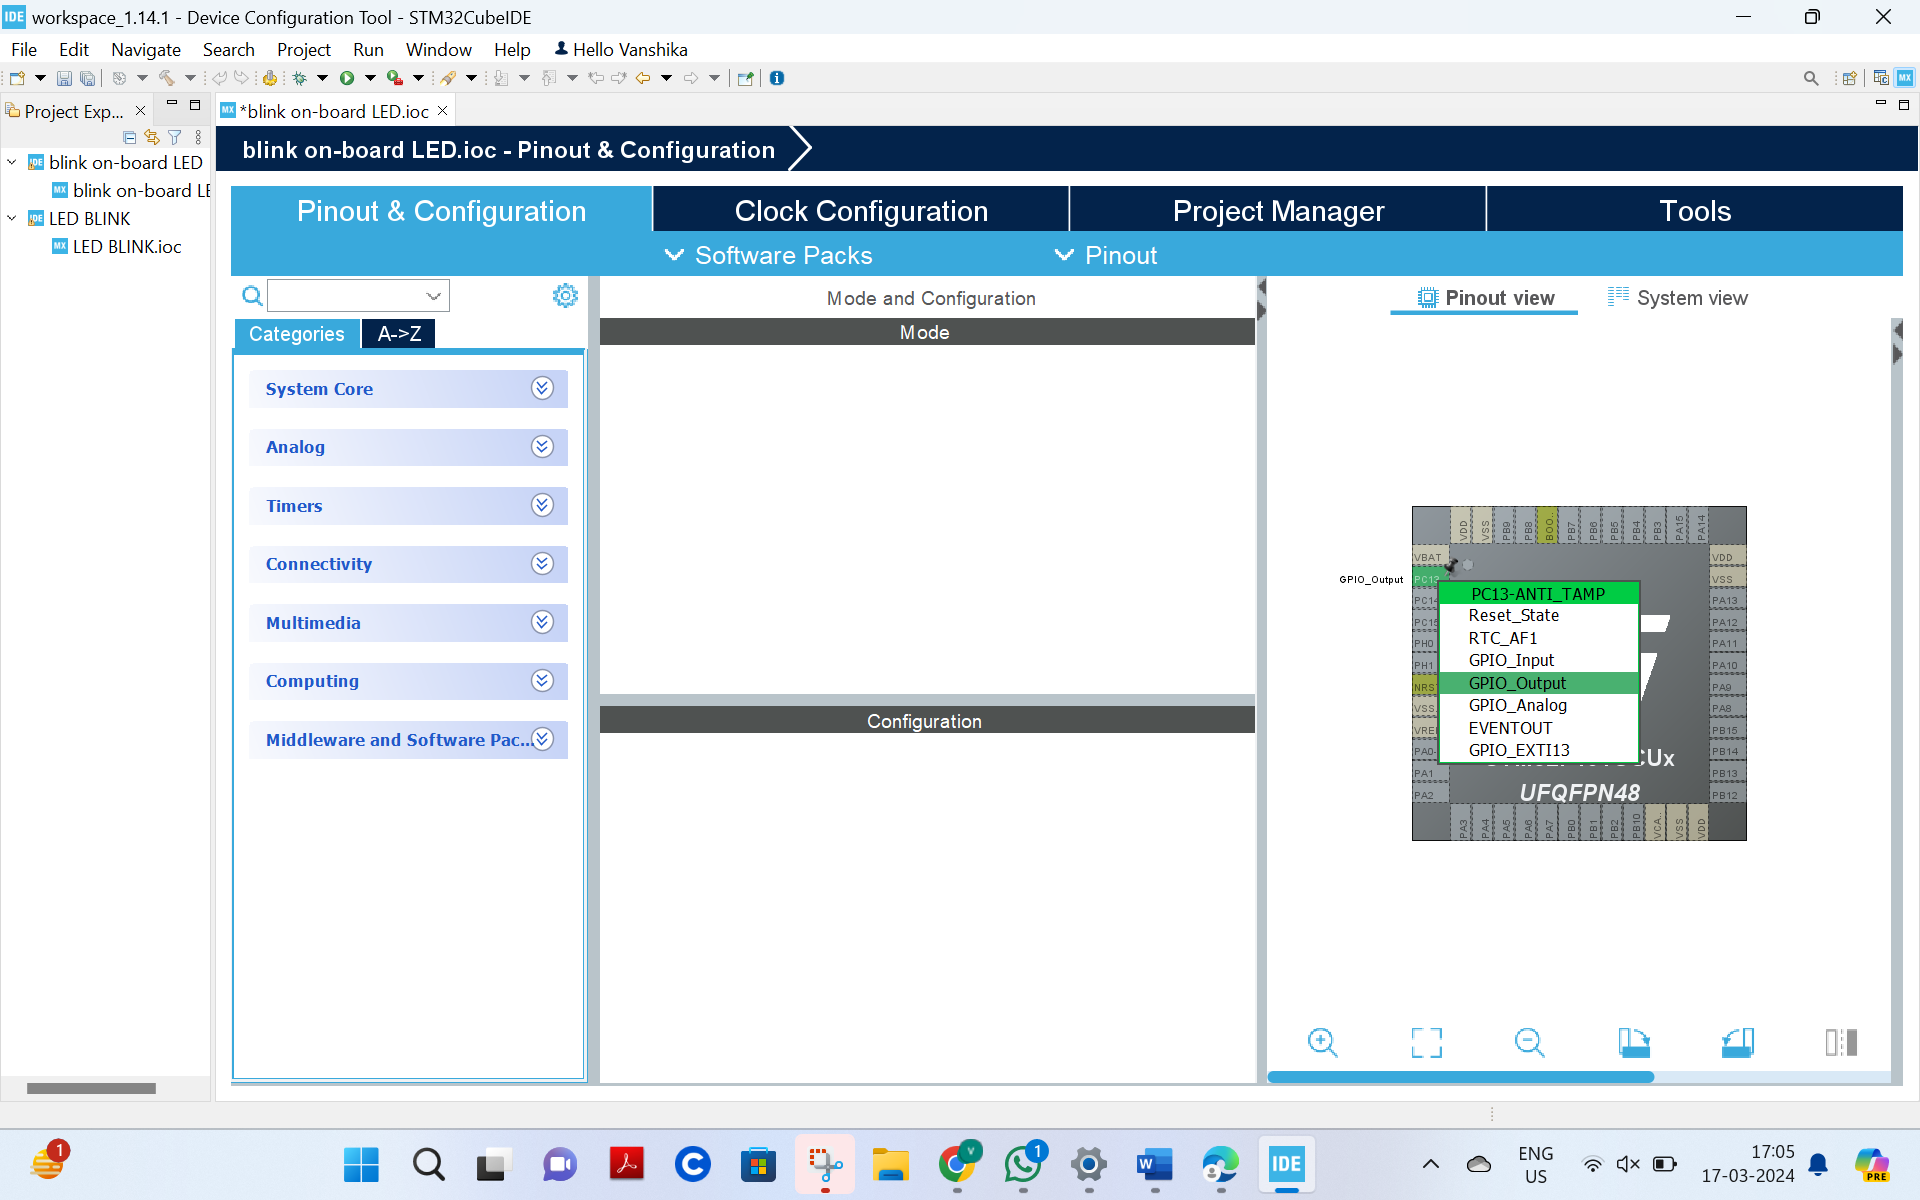
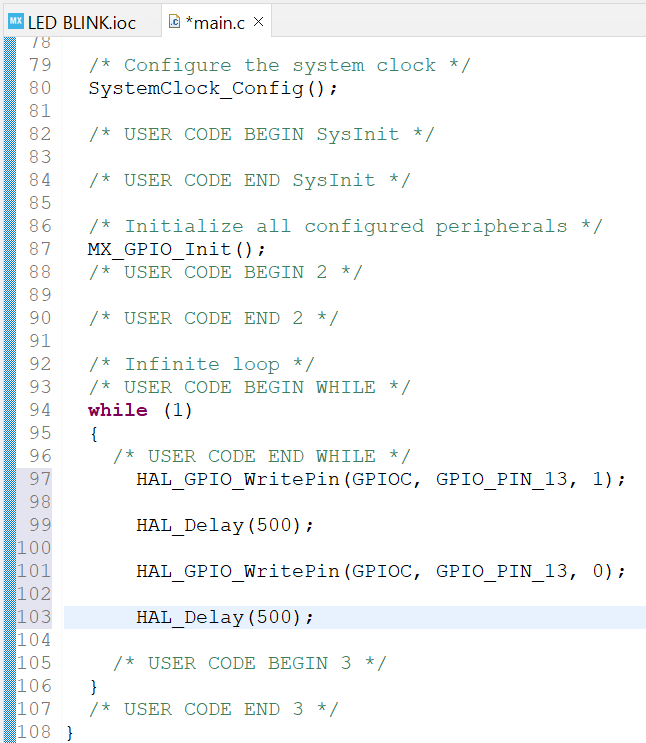
· Select Port C pin 13 and either write 1 or 0 with some delay/toggle
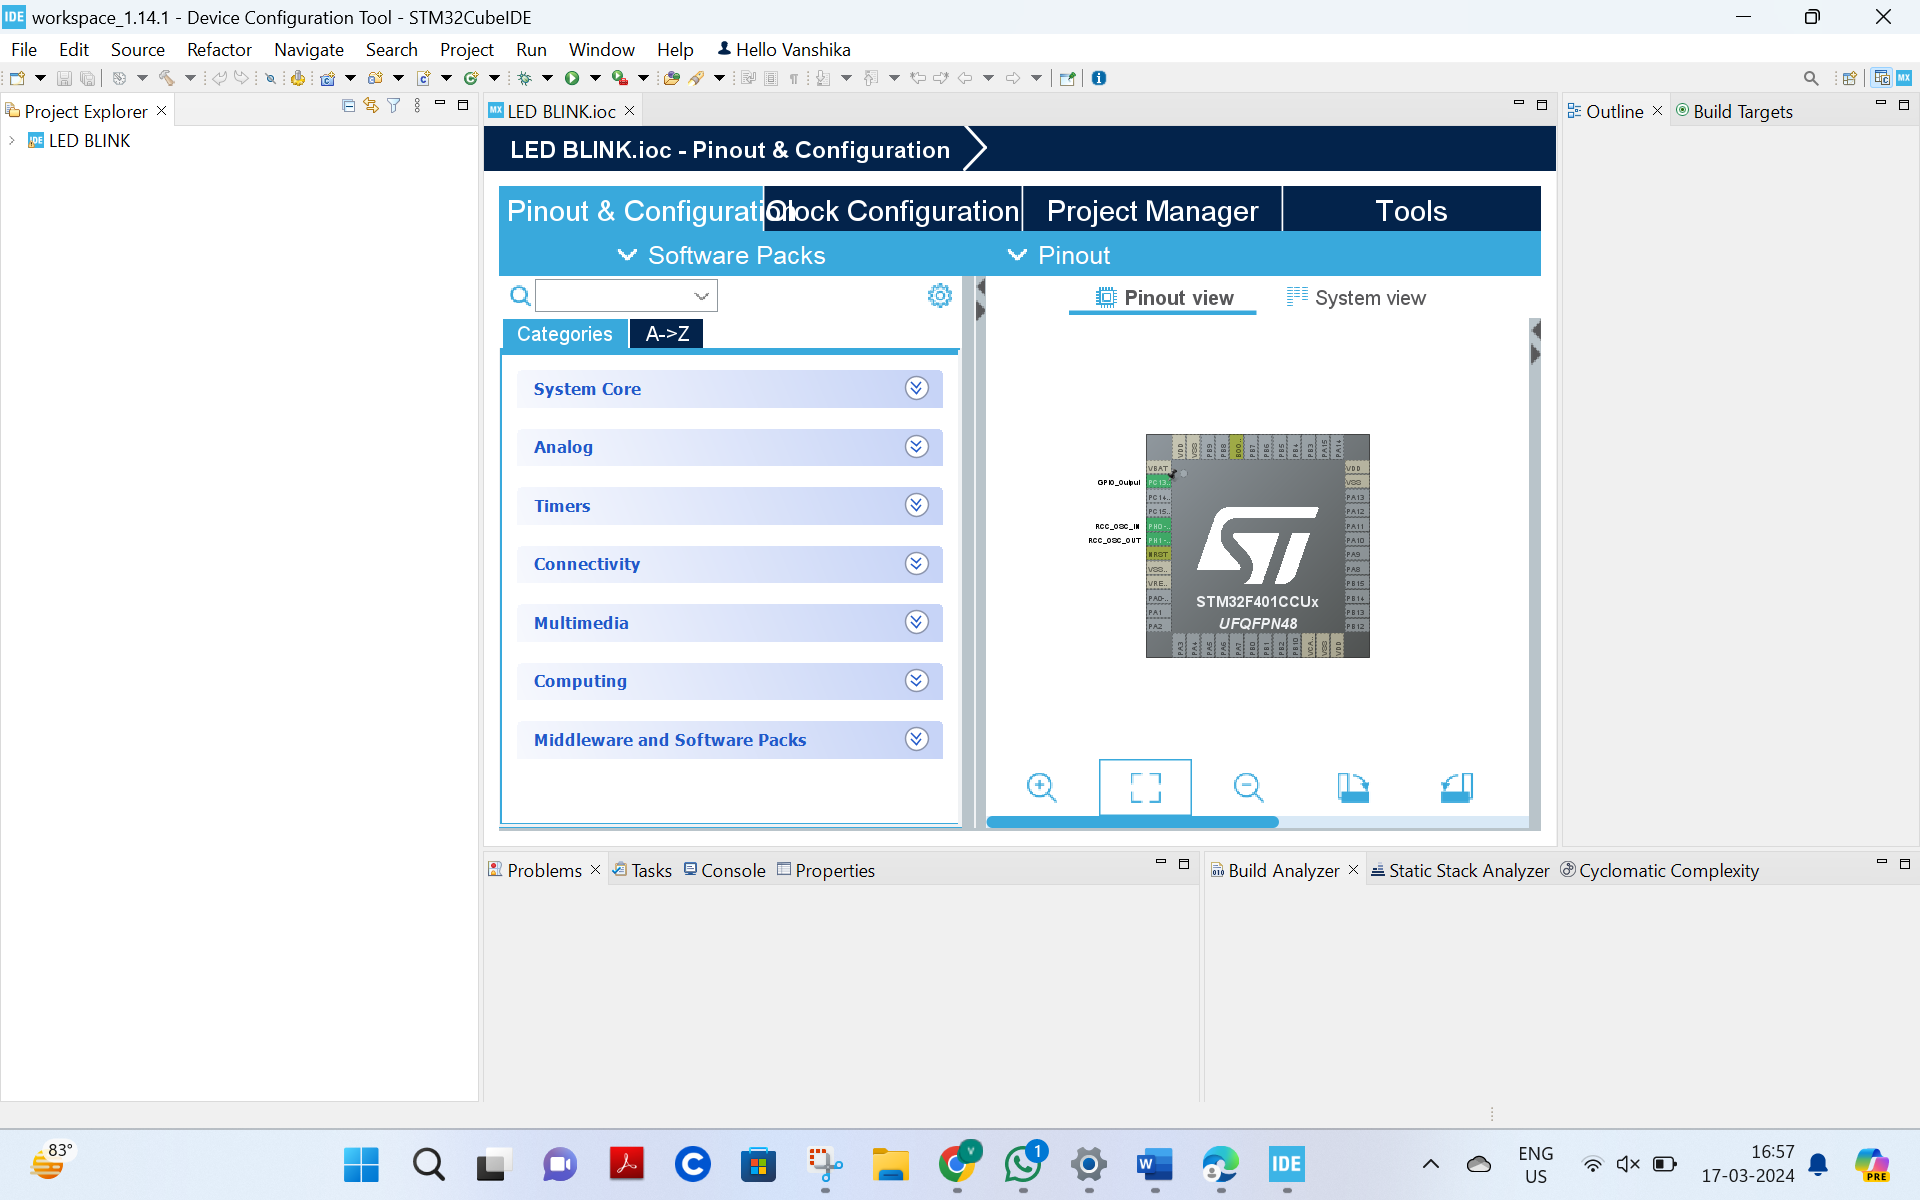
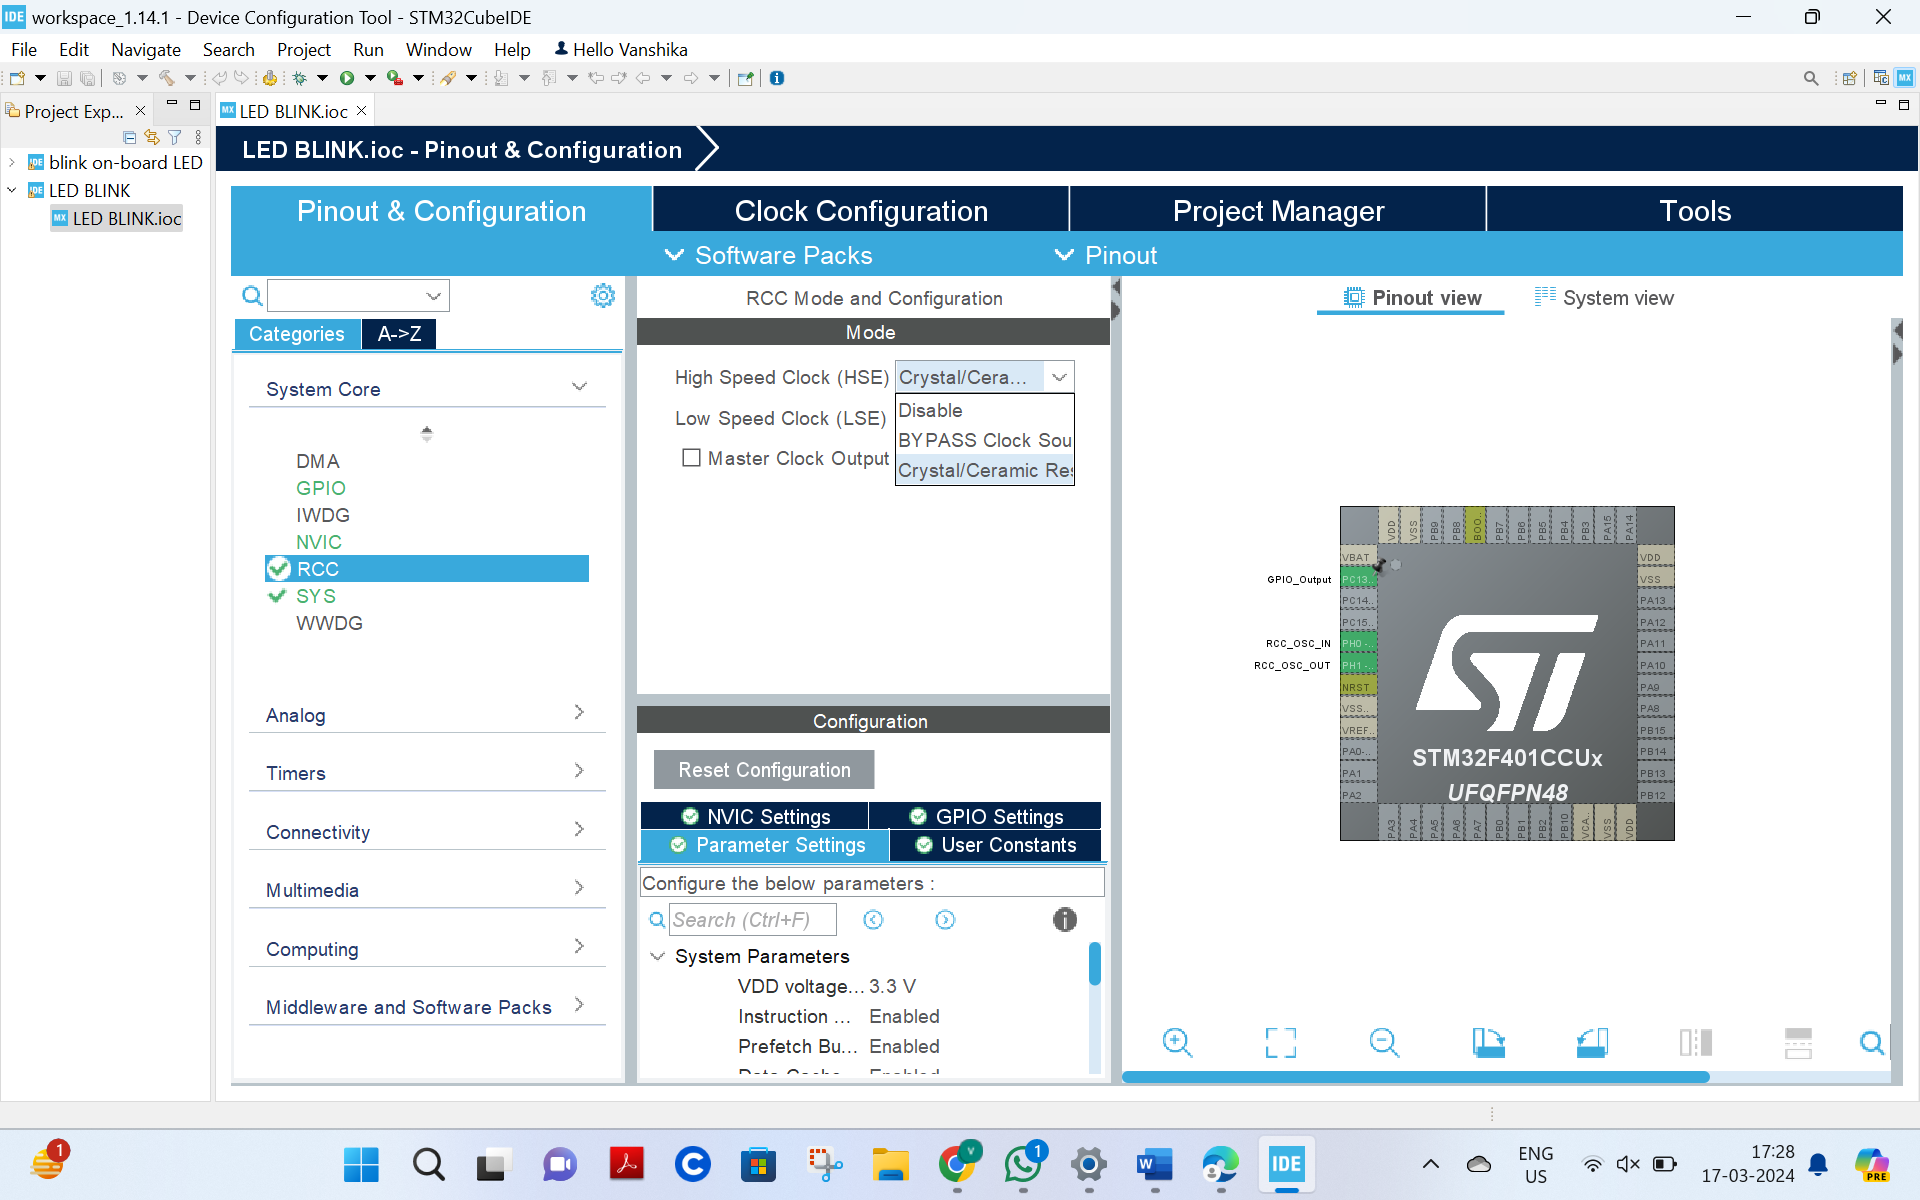
· Now go to System view >> Pinout view >> GPIO_output >> system core >>RCC
· In RCC select ‘Crystal ceramic’ in Highspeed drop down column
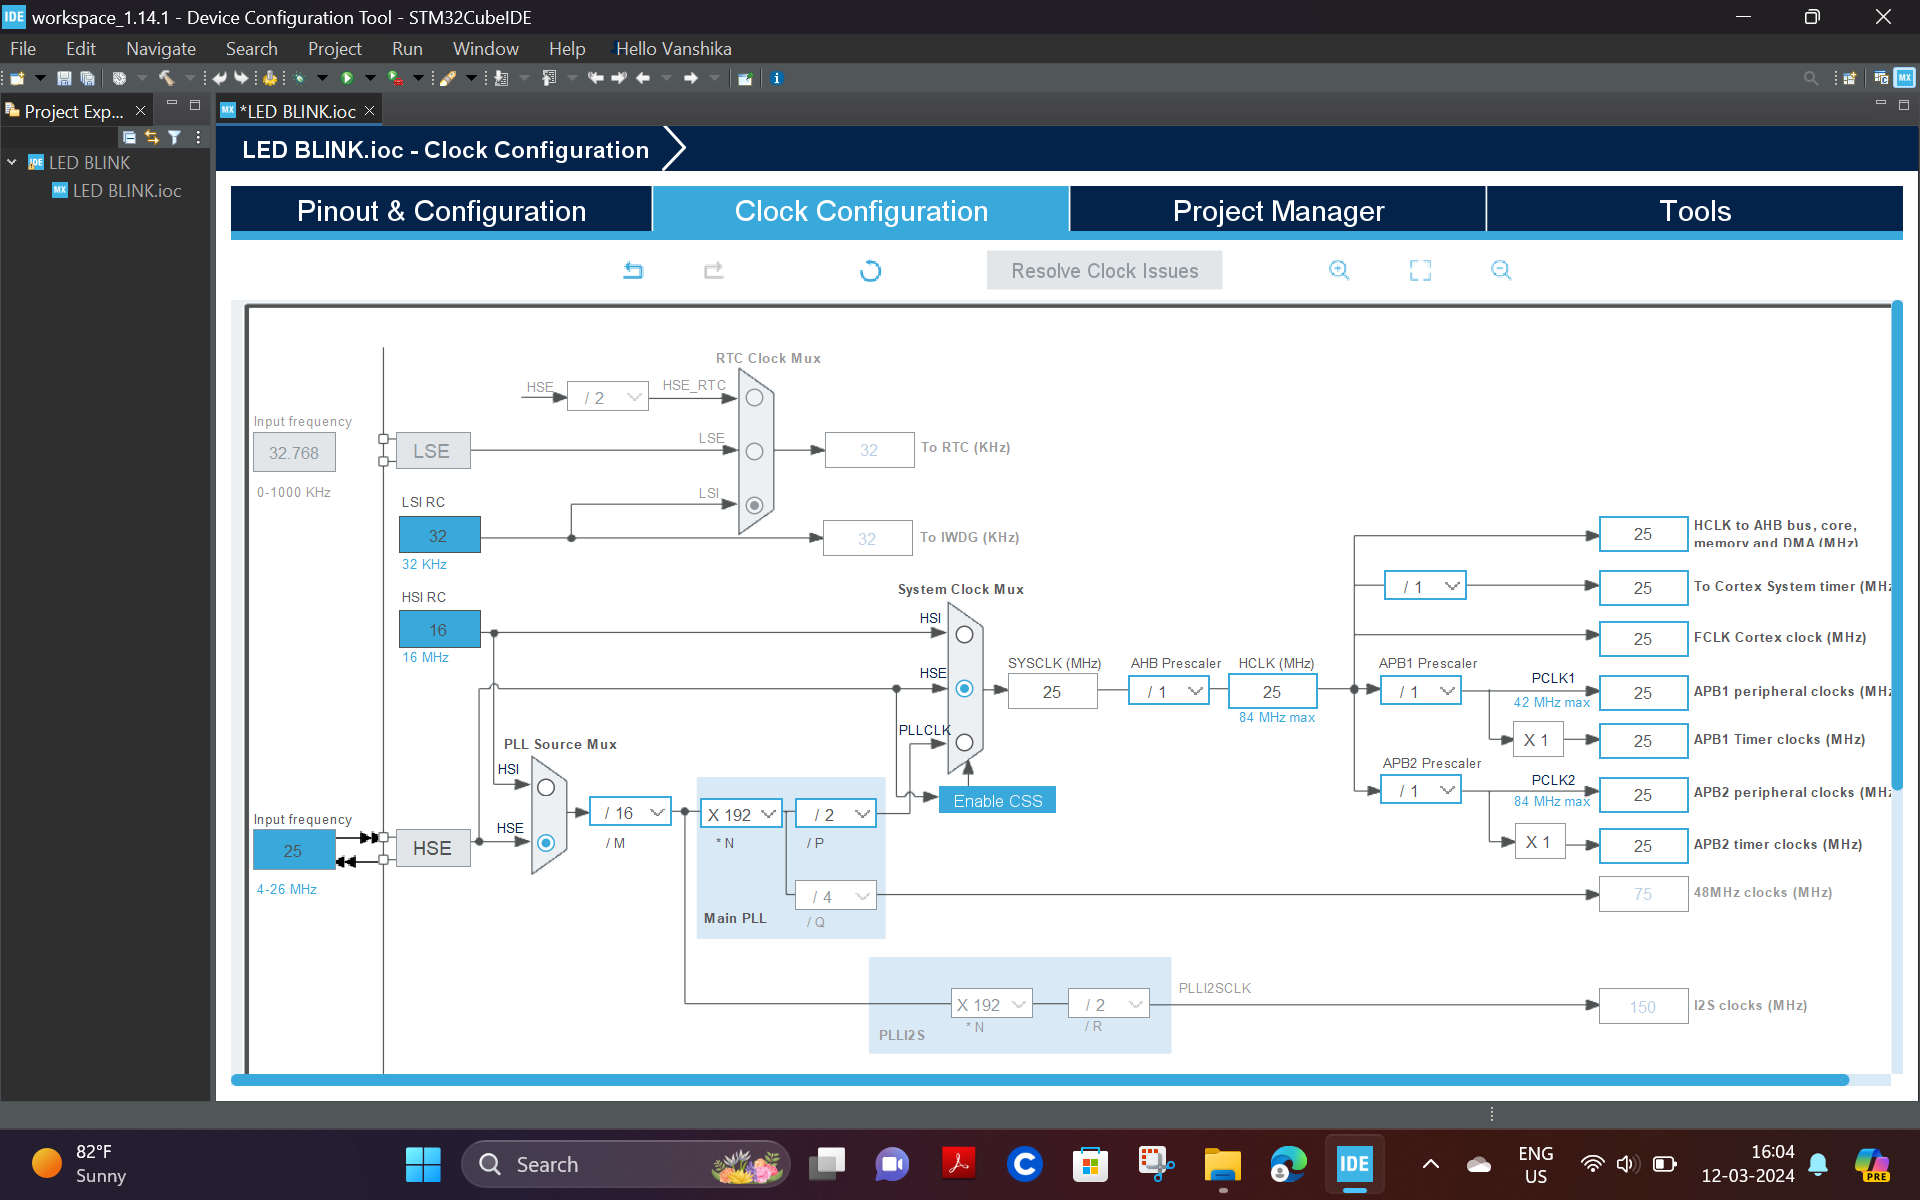
· Now, click on clock configuration >>HSE >>PLL CLK
· Now, select resolve clock issues from the top in the centre
· From the taskbar, select the option indicated below
· Now, go to Properties >> Settings >> MCU Post Build output
· Now, check the following boxes:
* Convert to intex Hex file
* Show size info
* Generate list file
· Click on Apply
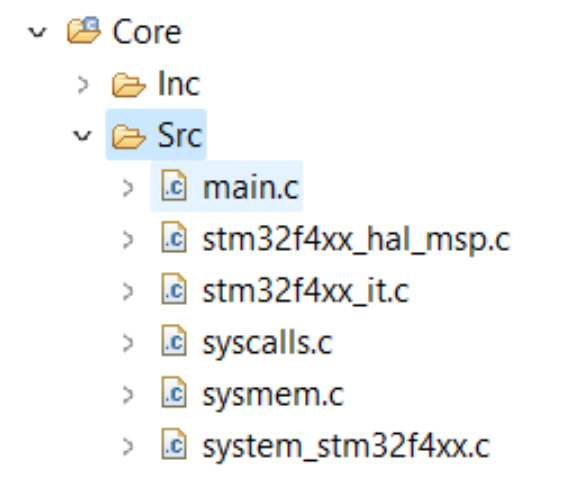
· Now, go to ‘Core’ option on the left-hand side, then, go to ‘Src' >> ‘Main.c’
· Henceforth, write the code for blinking on-board LED in while loop