Engineering a 2D Printed Logo Into a 3D Object
by cpbinstructables in Workshop > 3D Printing
129088 Views, 127 Favorites, 0 Comments
Engineering a 2D Printed Logo Into a 3D Object
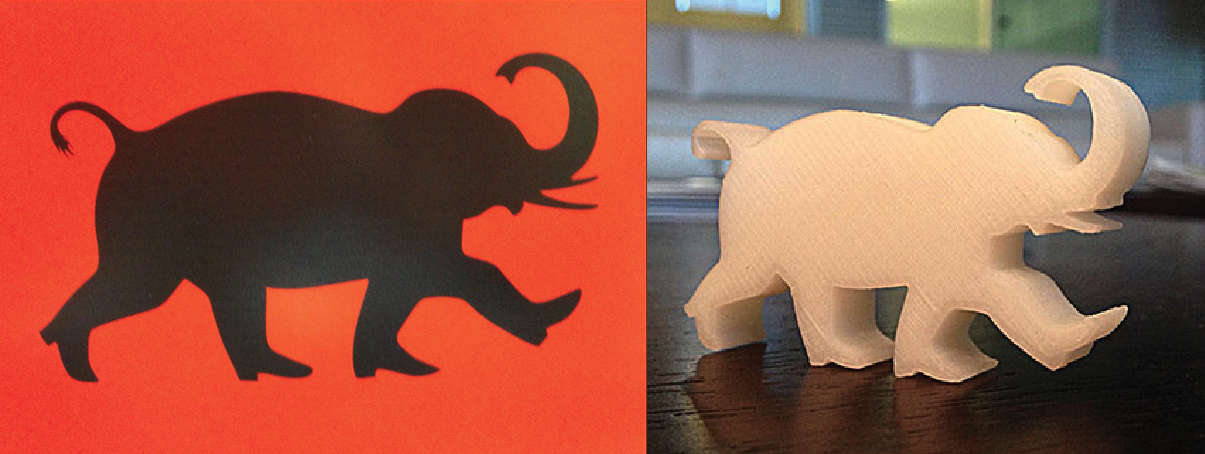
This project describes how to turn an image of a logo into a printable 3D object
Tools: Adobe Photoshop, Illustrator, Autodesk 123D Design
No drawing required!
Instructions Courtesy of Rick Valdez
Tools: Adobe Photoshop, Illustrator, Autodesk 123D Design
No drawing required!
Instructions Courtesy of Rick Valdez
Open Original Image in Adobe Photoshop
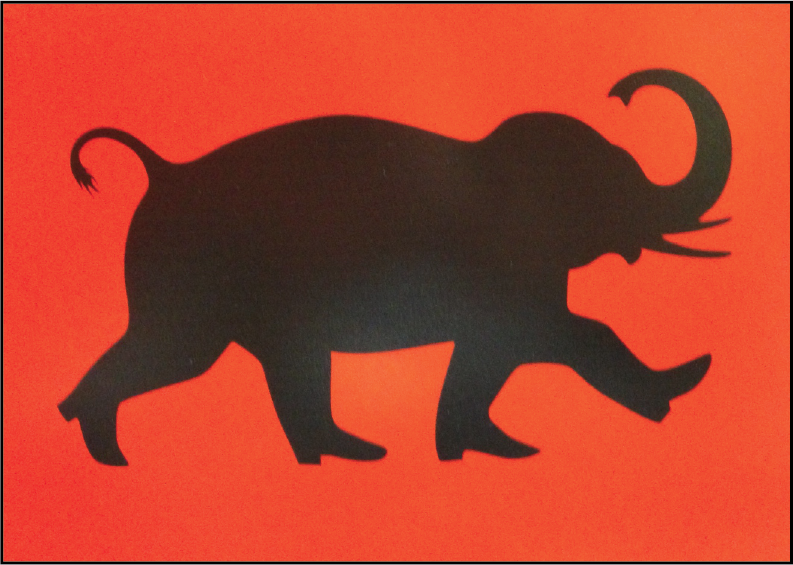
Open image of logo in Adobe Photoshop
Adjust Levels
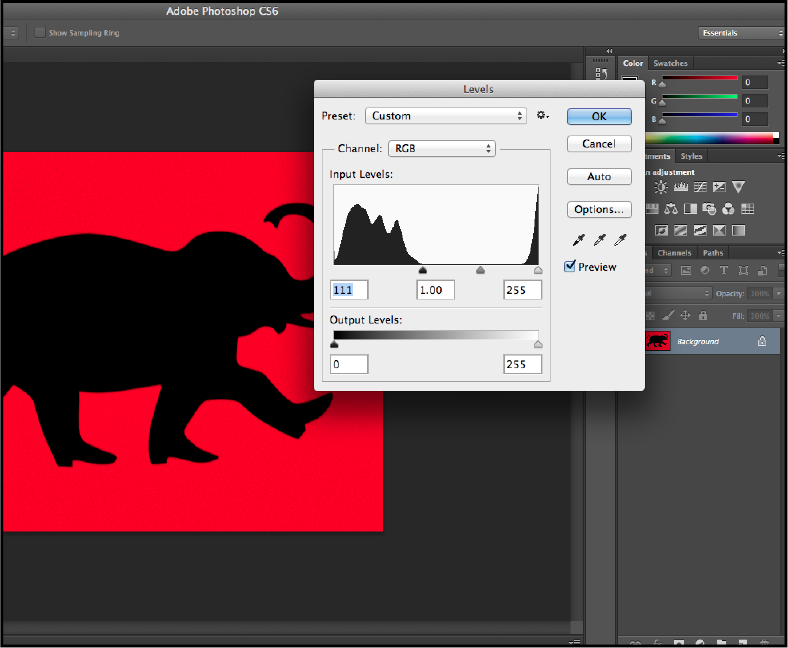
A. Open the Levels dialog box (Command-L)
B. Slide the left arrow in the histogram to the right to increase contrast
B. Slide the left arrow in the histogram to the right to increase contrast
Select Outer Area of Image
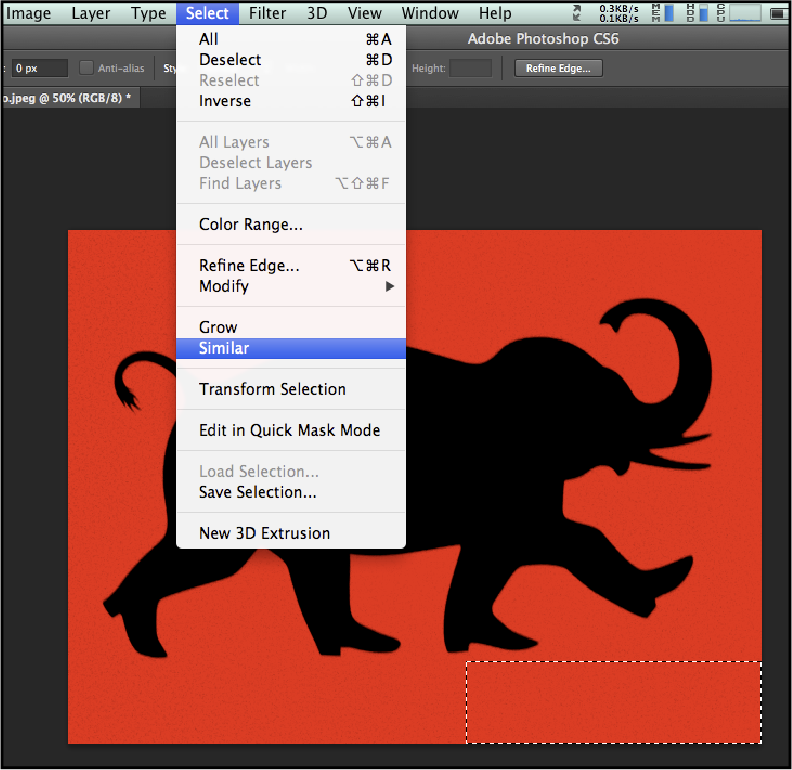
A. Select a square of the outer area
B. Choose “Similar” from the Select menu
B. Choose “Similar” from the Select menu
Clear the Background
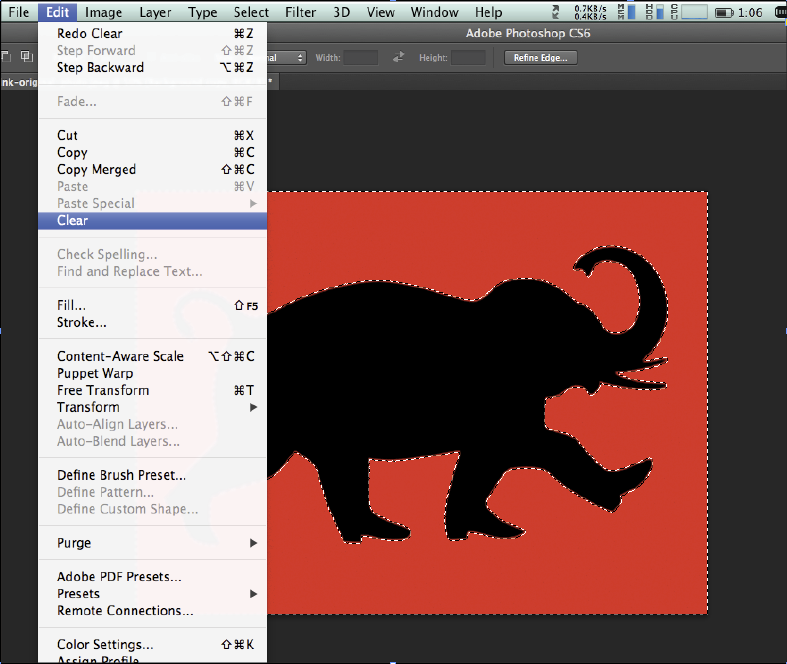
Select “Clear” from the Edit menu
Save Image As PSD
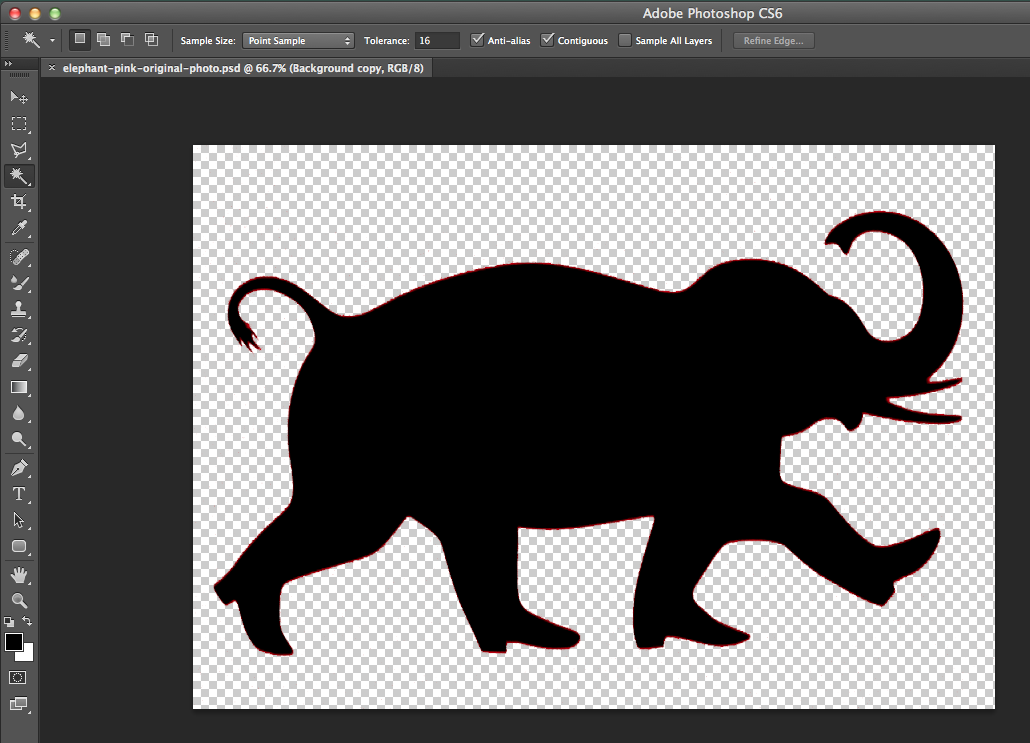
Save the image without the background as a Photoshop file
Open File in Adobe Illustrator
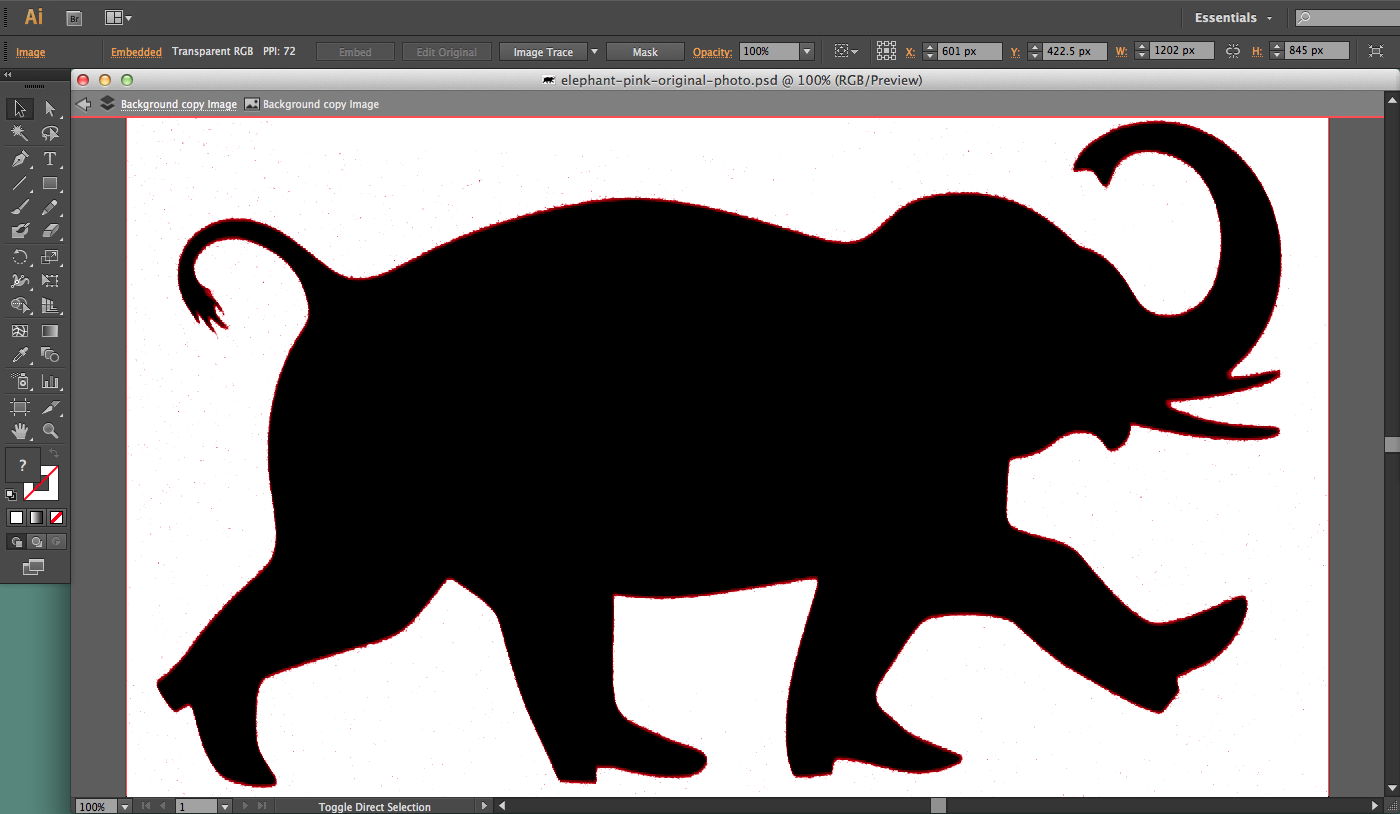
Open the Photoshop PSD file in Adobe Illustrator
Use Image Trace to Create Outline
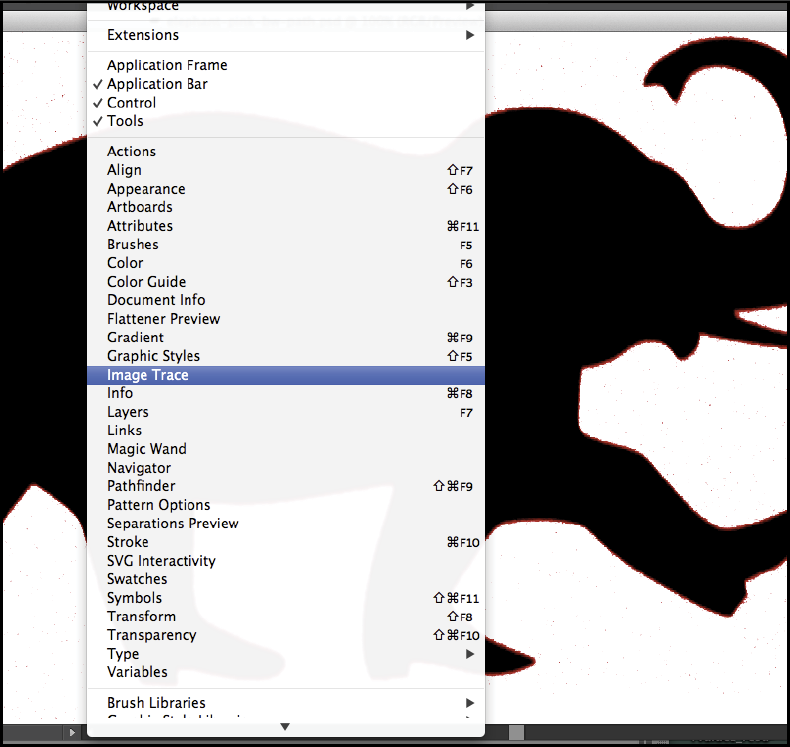
A. Using the Magic Wand Tool, click on the image of the elephant
B. Select “Image Trace” from the Windows menu
B. Select “Image Trace” from the Windows menu
Activate Image Trace
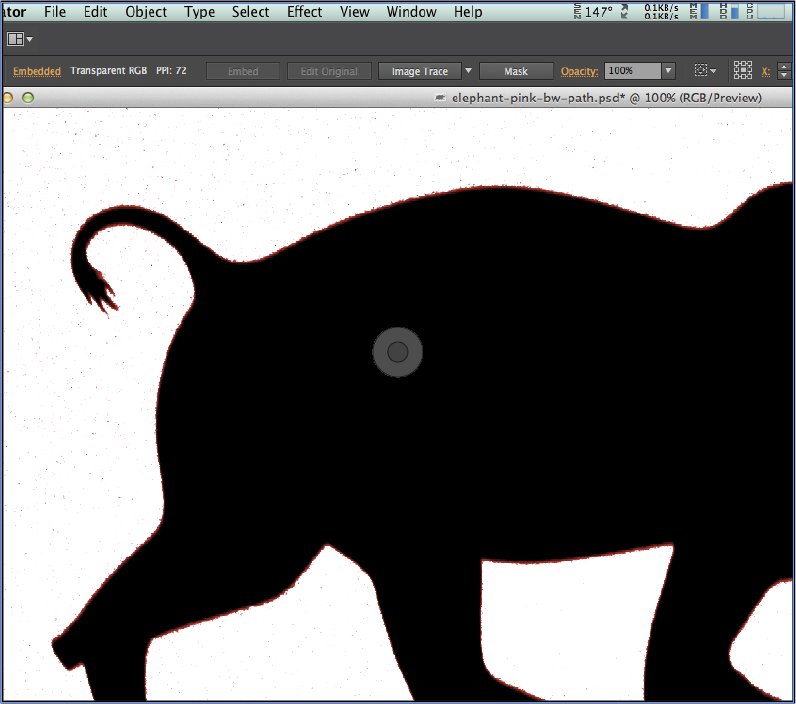
Click the “Image Trace” button
Expand to Add Bezier Curve
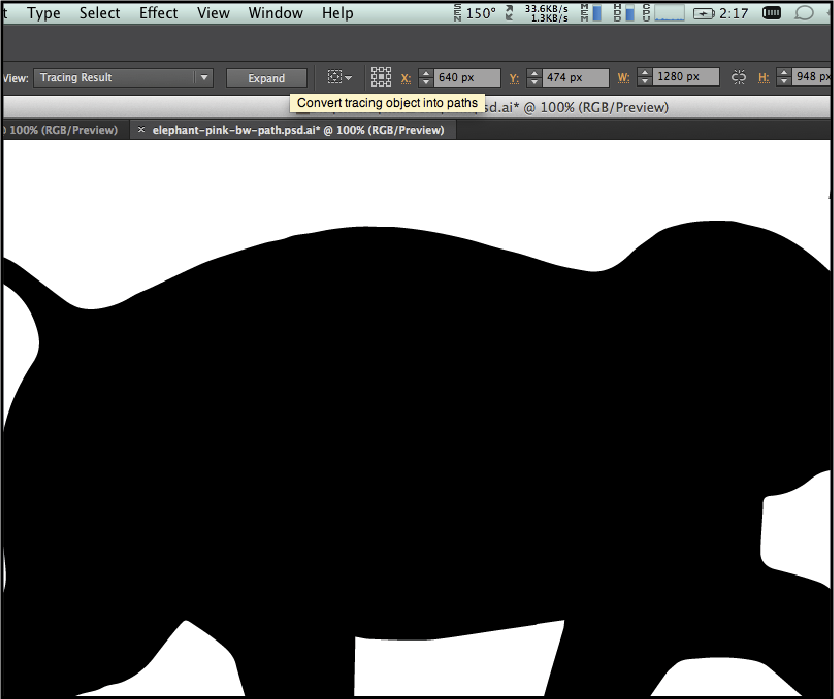
Click the “Expand” button
Stroke Bezier Curve
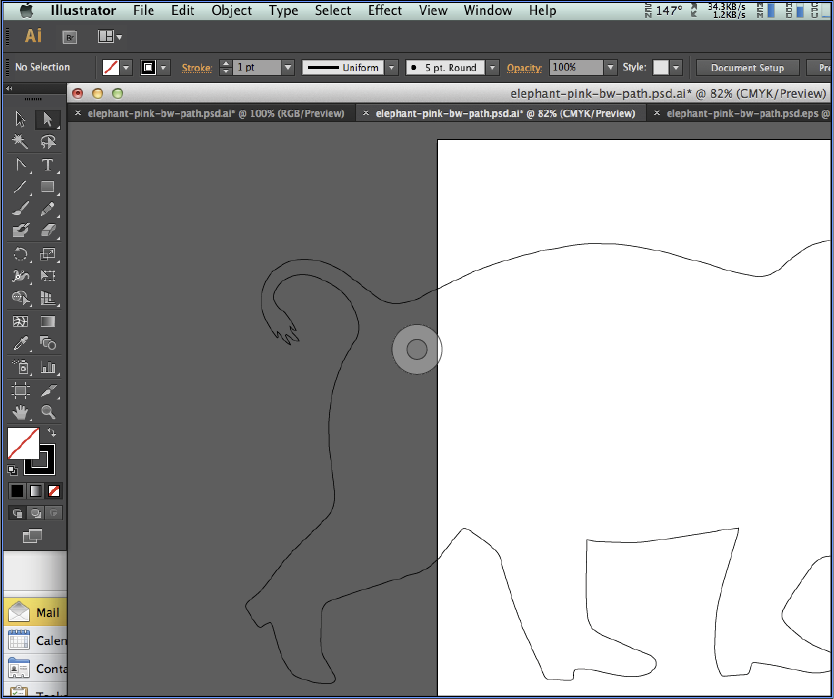
A. IMPORTANT: Add 1 pt. stroke
B. Choose zero Fill to check
B. Choose zero Fill to check
Isolate the Logo
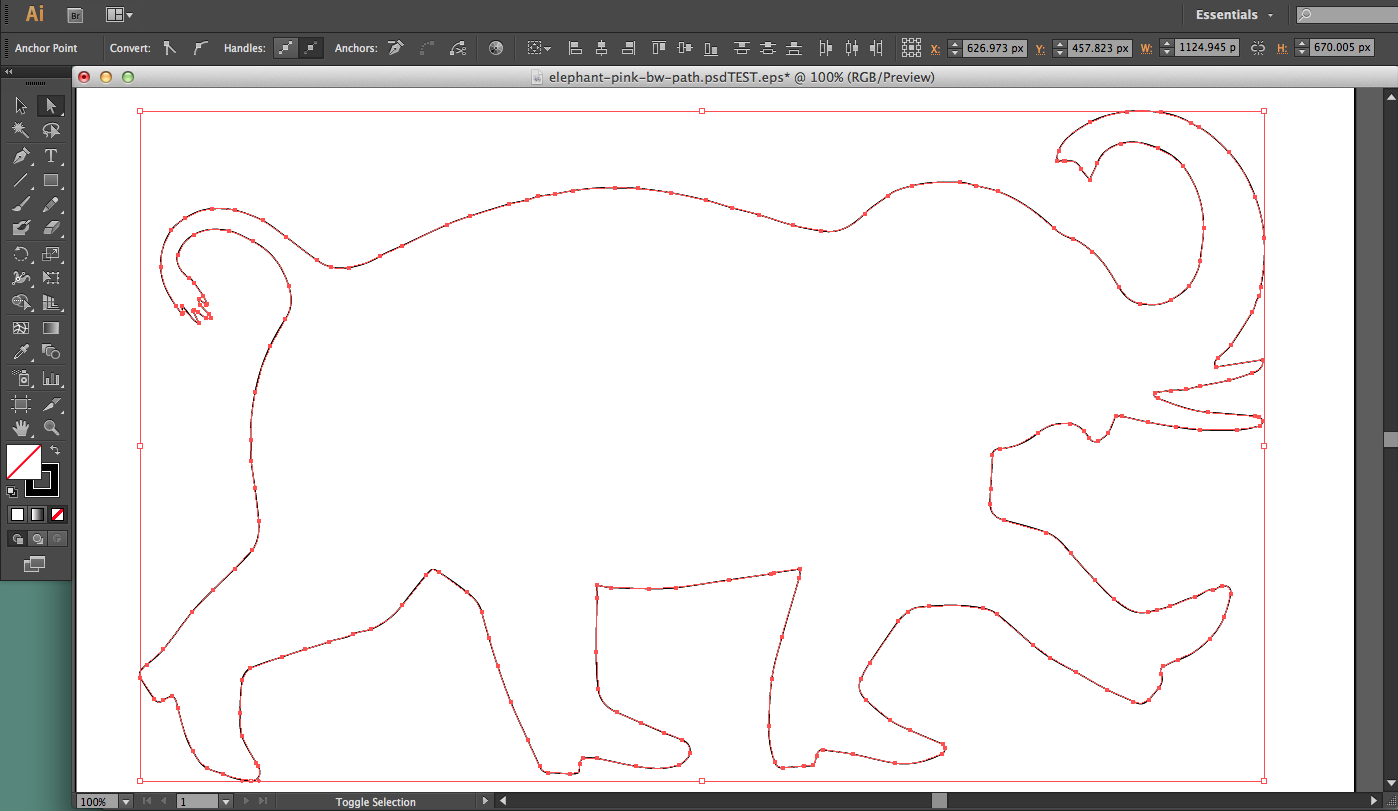
A. Select the white arrow Direct Selection Tool
B. Surround the logo with the tool to highlight all the points
C. Copy the logo to the Clipboard (command-C)
B. Surround the logo with the tool to highlight all the points
C. Copy the logo to the Clipboard (command-C)
Paste Clean Logo Into New Document
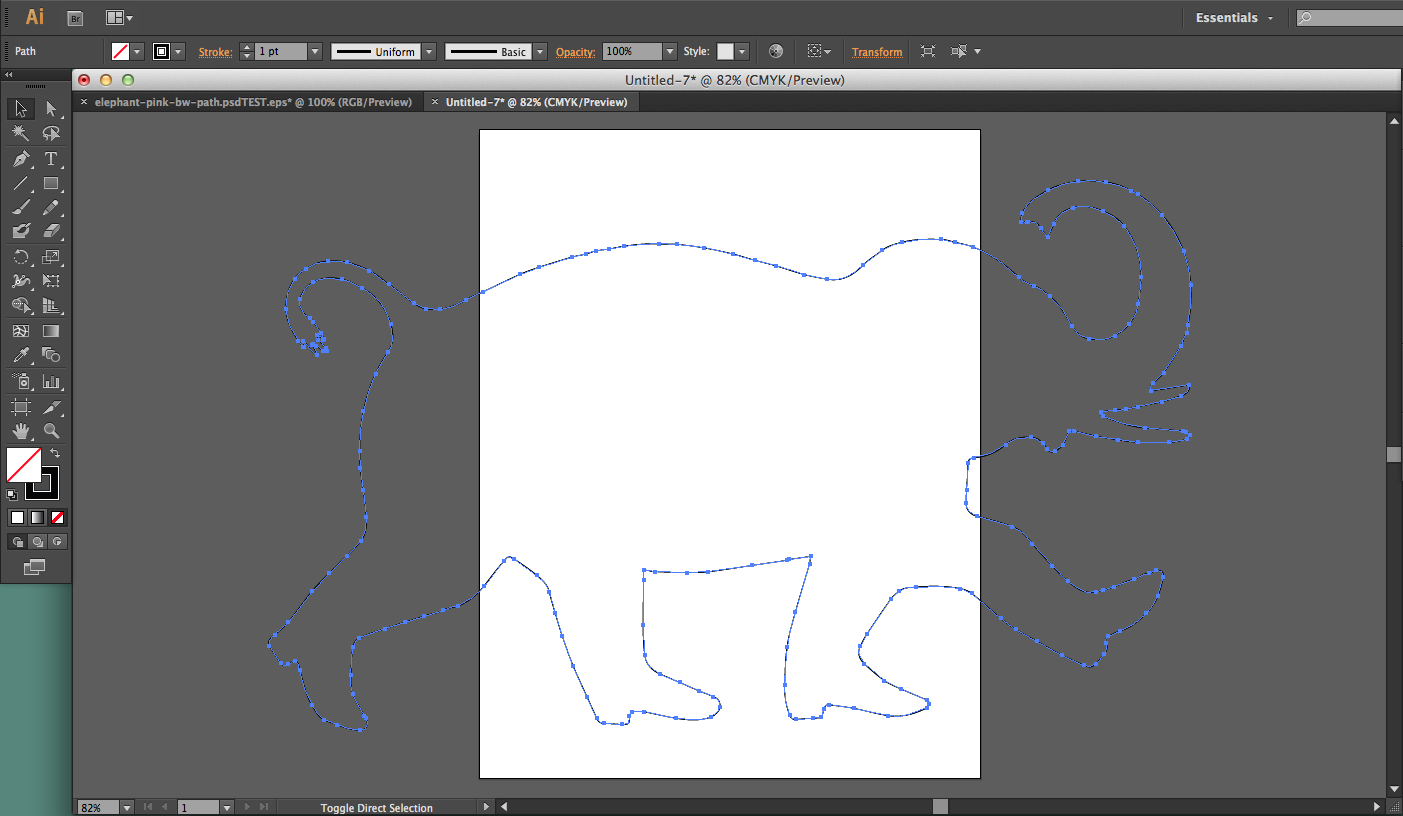
A. Open a new document
B. Paste the logo into the new document. Ensure that the bounding box only includes the logo.
B. Paste the logo into the new document. Ensure that the bounding box only includes the logo.
Save for Export
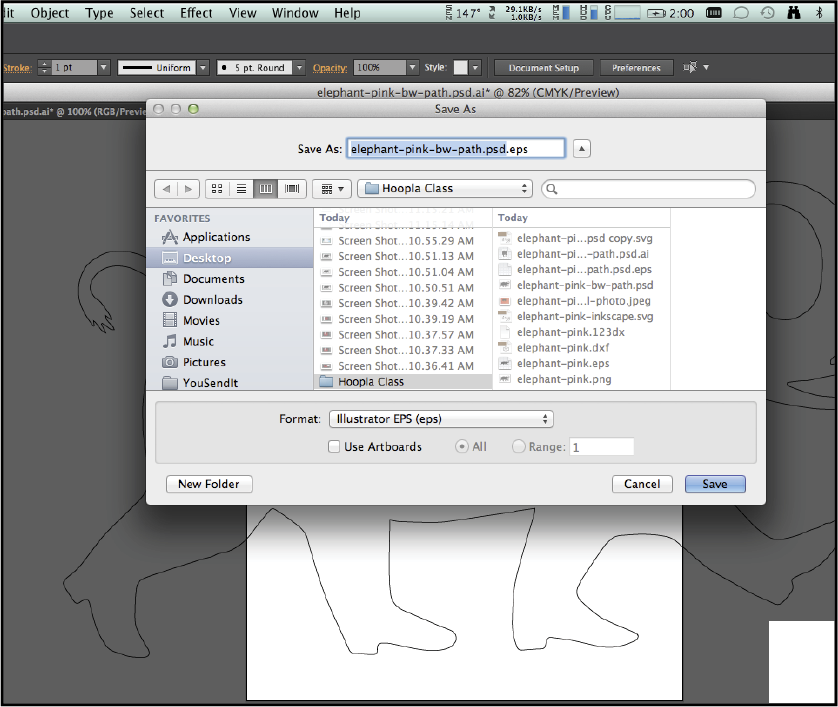
Save a copy as Format: Illustrator EPS
Launch 123D Design Online
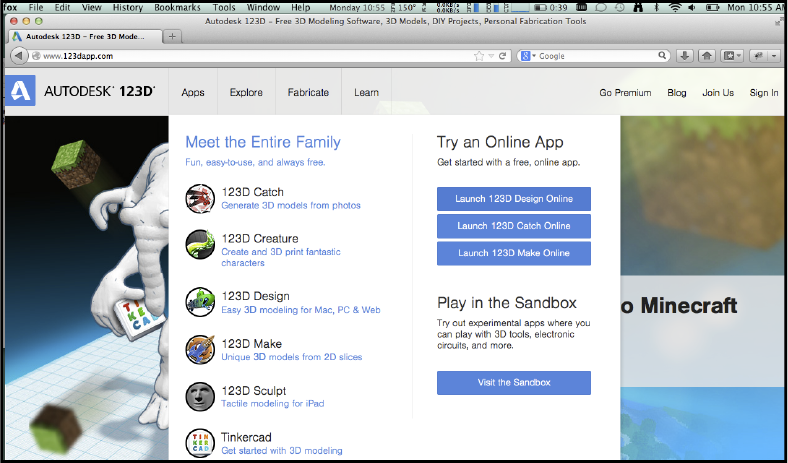
A. Launch Autodesk’s 123DApp.com
B. Select “Launch 123D Design Online”
B. Select “Launch 123D Design Online”
Import EPS
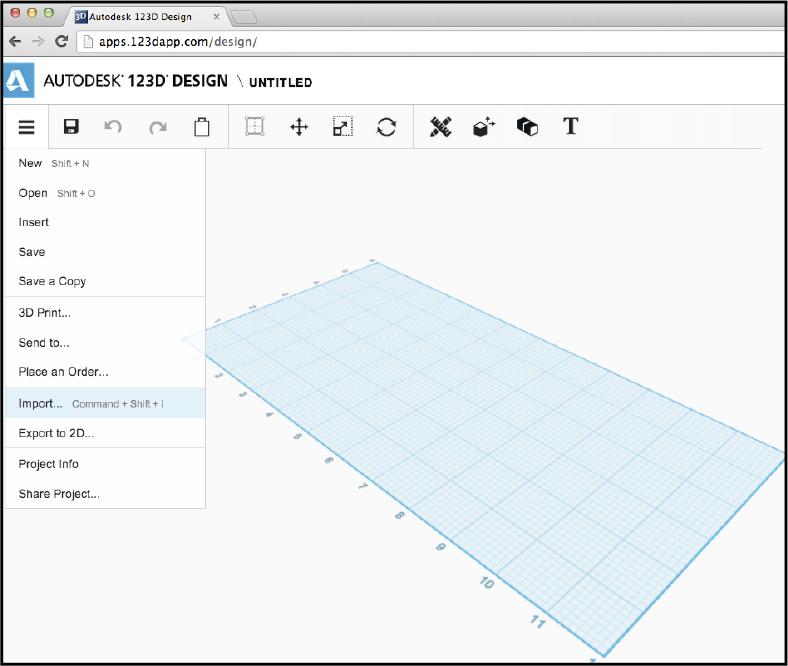
Select “Import...” from the File menu
Image Placement
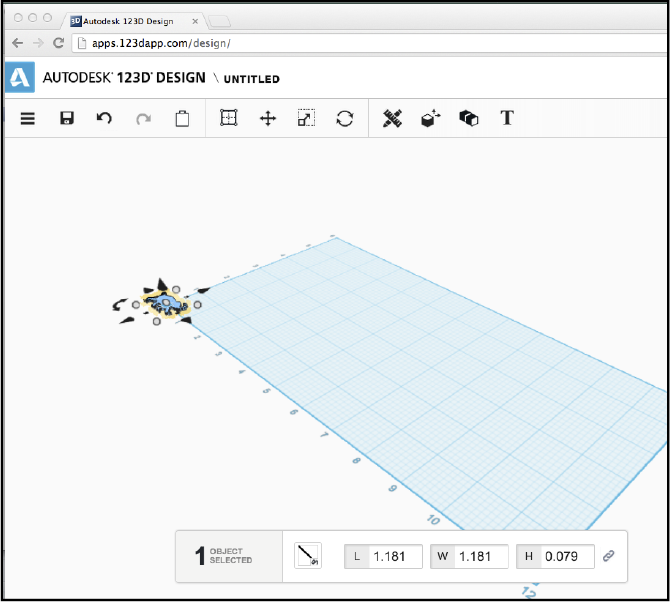
The image is placed
Selecting Press/Pull Menu
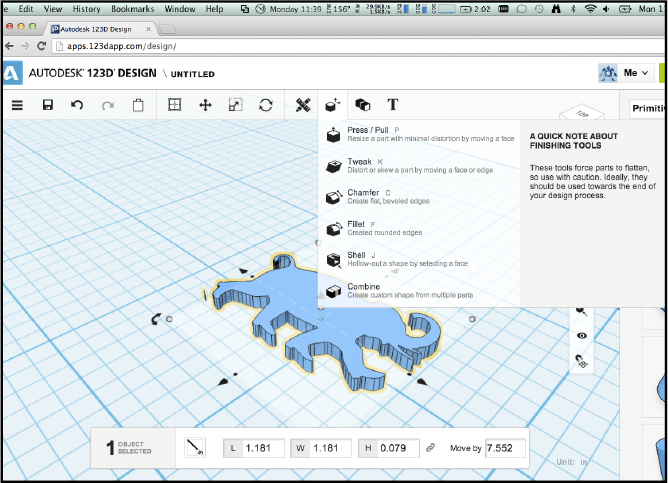
A. Move the model and magnify in
B. Select “Press/Pull” from under Finishing Tools
B. Select “Press/Pull” from under Finishing Tools
Extrude Model
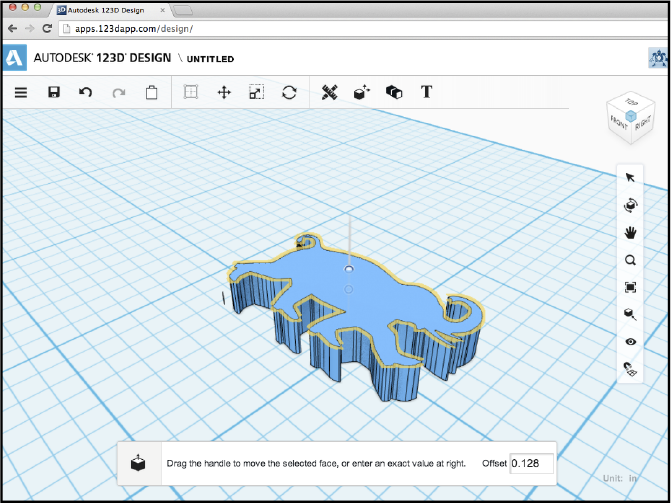
Pull the controls to add dimension to the EPS file.
Save File to Autodesk Cloud
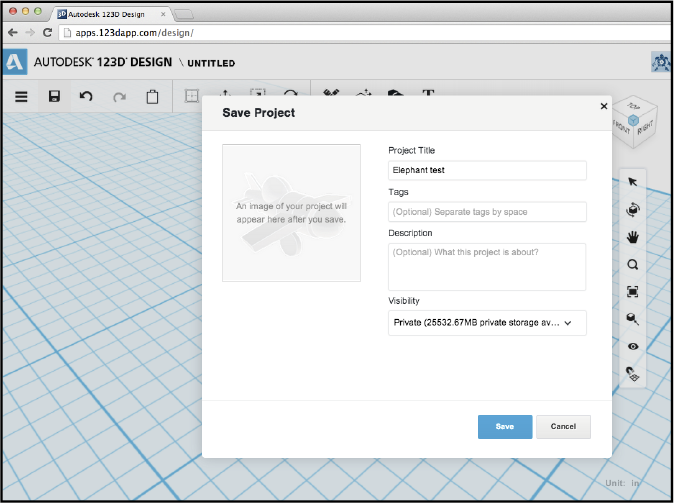
Save Project to Private storage
( Requires free Autodesk account )
( Requires free Autodesk account )
Open in Autodesk 123D Design APP
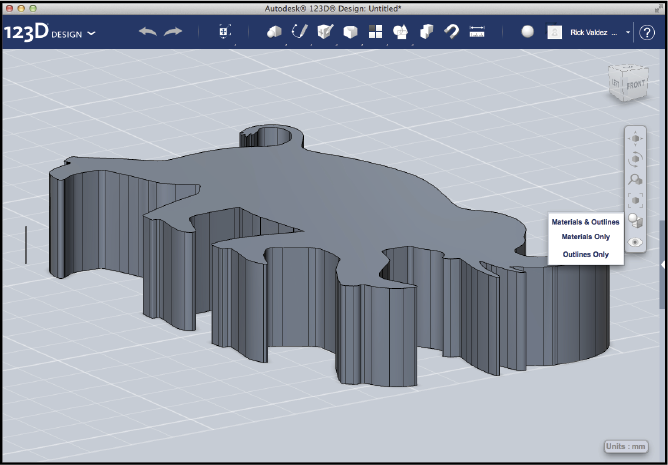
A. Open the Autodesk 123D Design App ( Free application )
B. Show as “Materials and Outlines”
B. Show as “Materials and Outlines”
Save As STL for Printing
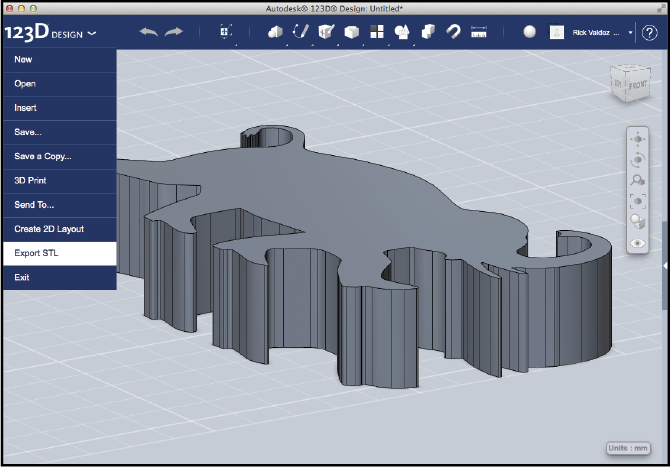
Export as STL file
Note: Imported models have many data points. Expect slow response times.
Note: Imported models have many data points. Expect slow response times.
Send to Printer
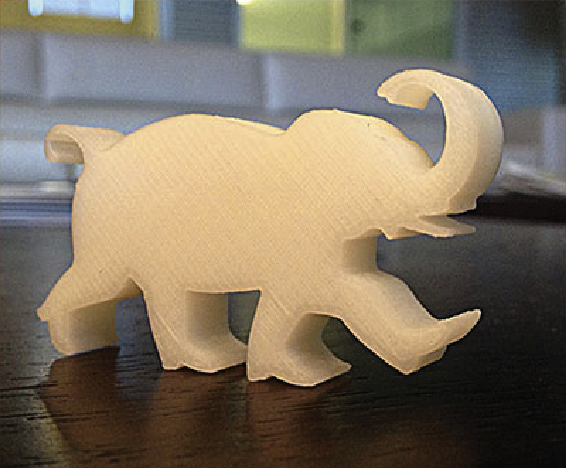
Provide STL File to 3D Service Bureau or print on your own printer