A Mini Cardboard Symphony - Ft. Makey Makey
by zainab_m_a in Circuits > Audio
325 Views, 0 Favorites, 0 Comments
A Mini Cardboard Symphony - Ft. Makey Makey

We were told to make a smaller version of the Symphony Hall Mat to perfect our critical-thinking skills. In our prototype, we chose to mimic the look of the mat with different decorations.
Supplies
Tools:
- Chip Board 11 x 10
- Tin Foil
- Copper Tape
- 8-9 inch wires x8
- Cardboard foam x1
- Markers
- Tape (any kind works, however, don't use Scotch Tape)
- Cutting board x1
- Box Cutter x1
- Matboard xx2
- Screwdriver
Cut All Materials
Begin cutting all the pieces of cardboard to their respective sizes (the dimensions are your preference). In our model:
- We cut the foil into eight 3x3 pieces.
- We cut the cardboard foam into four 4x4 pieces.
- We cut the mat board* "frames" into four 3x3 pieces.
- We cut the chipboard into four 3x3 pieces.
*(poke a hole in the centre and cut out the middle portion of the cardboard).
Taping and Holes
Now, with all your pieces, tape the corresponding materials together:
- Tape one piece of tin foil onto one piece of chipboard. (Repeat this four times)
- Tape one piece of tin foil onto one piece of foam board. (Repeat this four times)
- Poke holes with a screwdriver for your respective wires. (Each foam board will have two holes, each chipboard will have one hole).
Wires
You have to thread your 8-inch one of your wires.
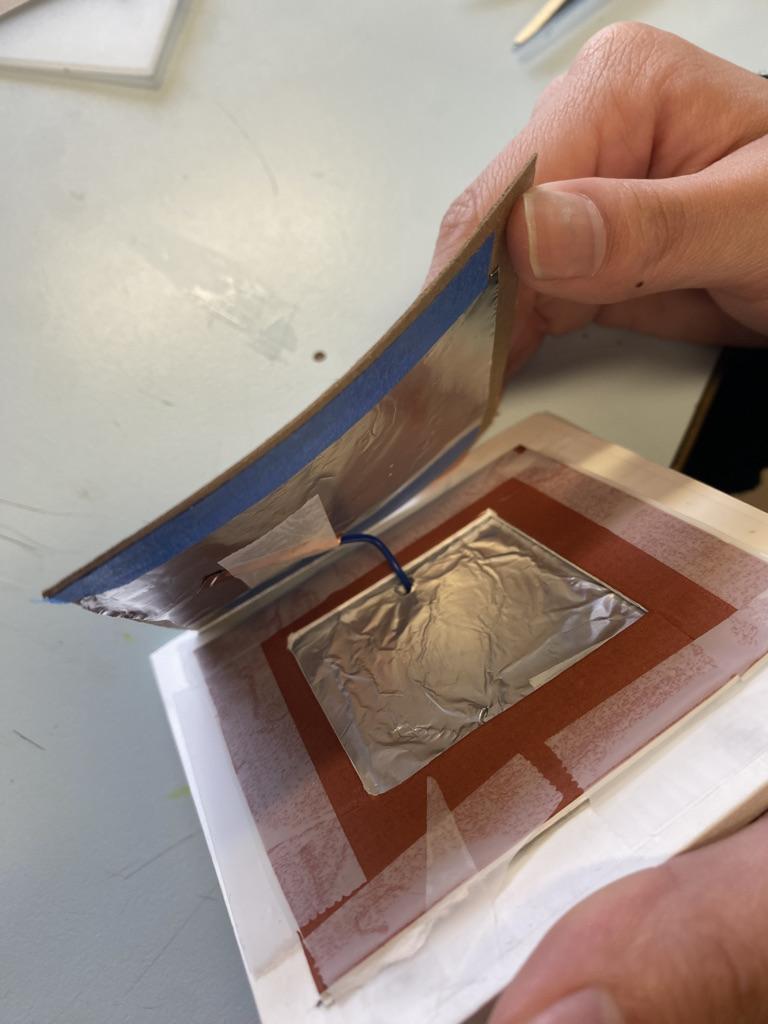
Use the copper tape to attach them to the foil after pushing them through holes in the foam. Make sure to attach them under the chipboard rim so they wouldn't touch the foil on the other side.
More clear instructions:
- We had two groups of wires (green and blue).
- First, we poked two holes through the bottom layer of foil (one on each side).
- Then, we fed the green wire through one of the holes and attached it to the foil using copper tape.
- Then, we fed the blue wire through the other hole and taped it to the top layer of foil (the button portion).
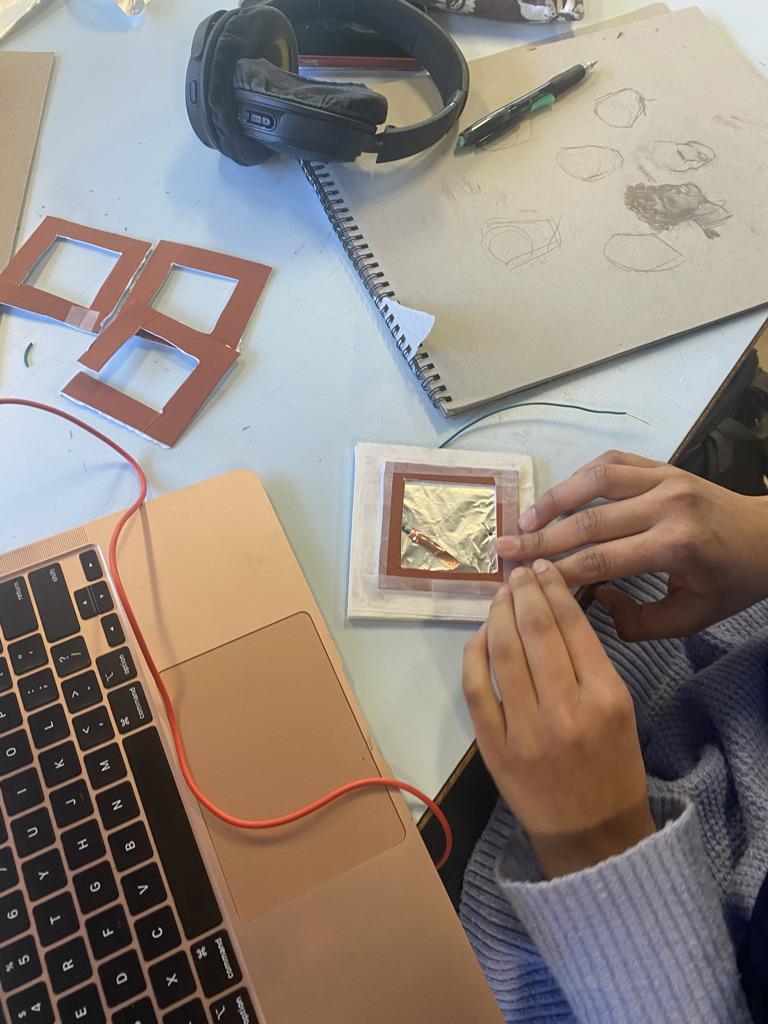
Taping the Frame!
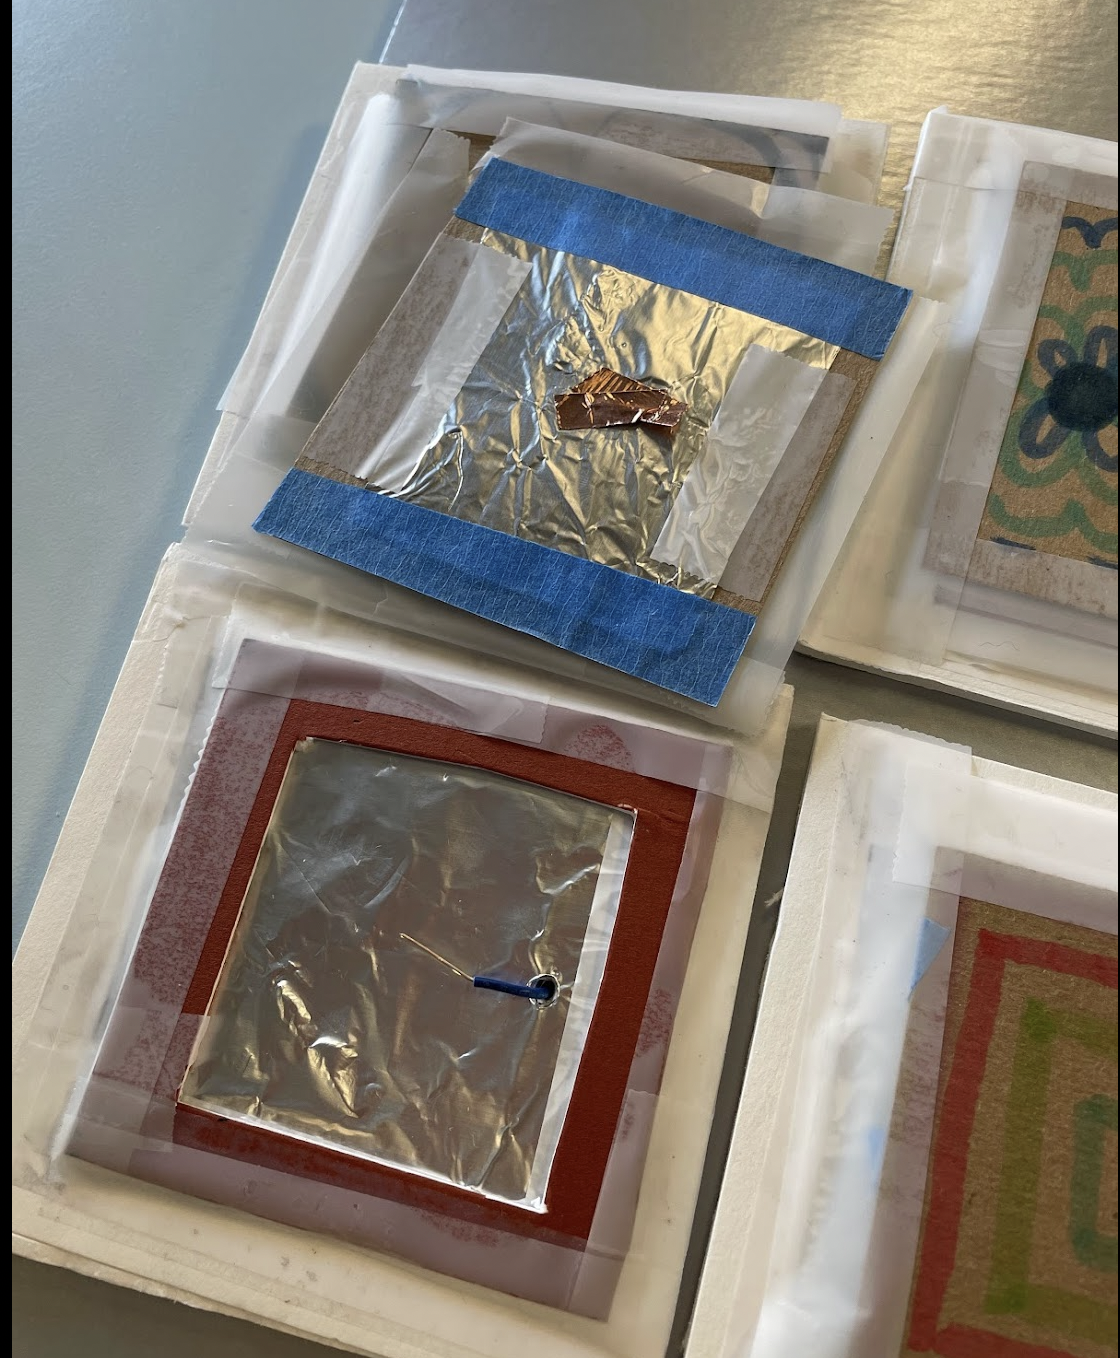
- Once all the wire threading is done: tape the matboard frame on each foam board. (Repeat this four times)
Setting Up Scratch
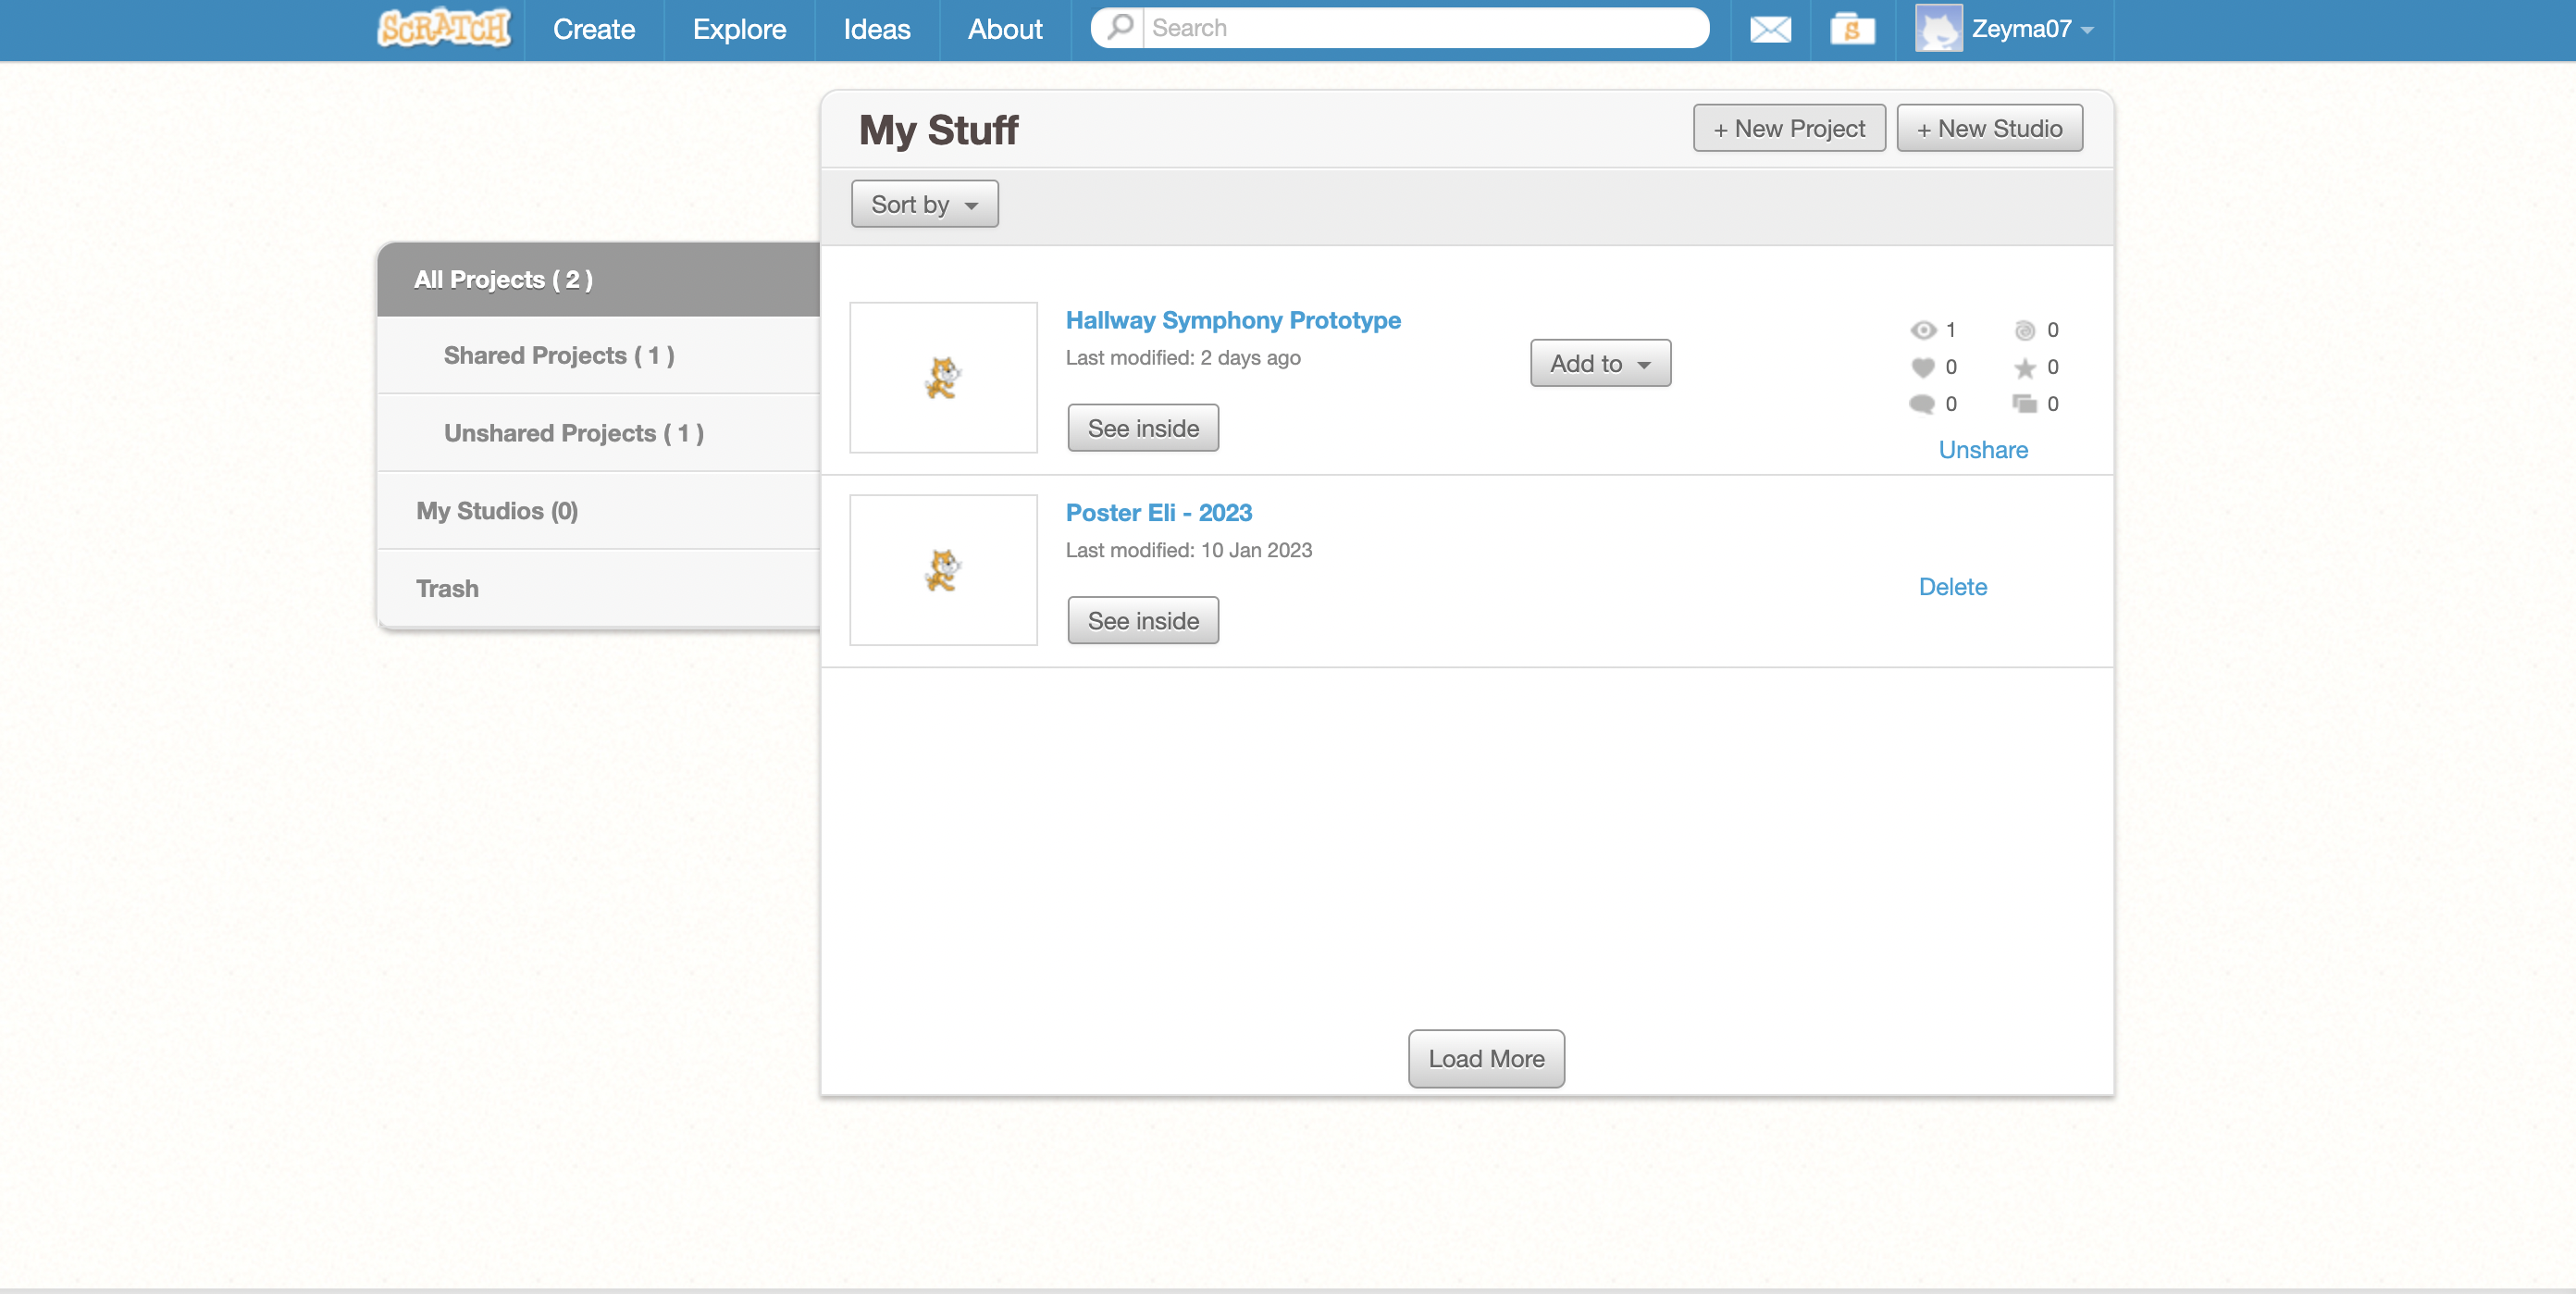
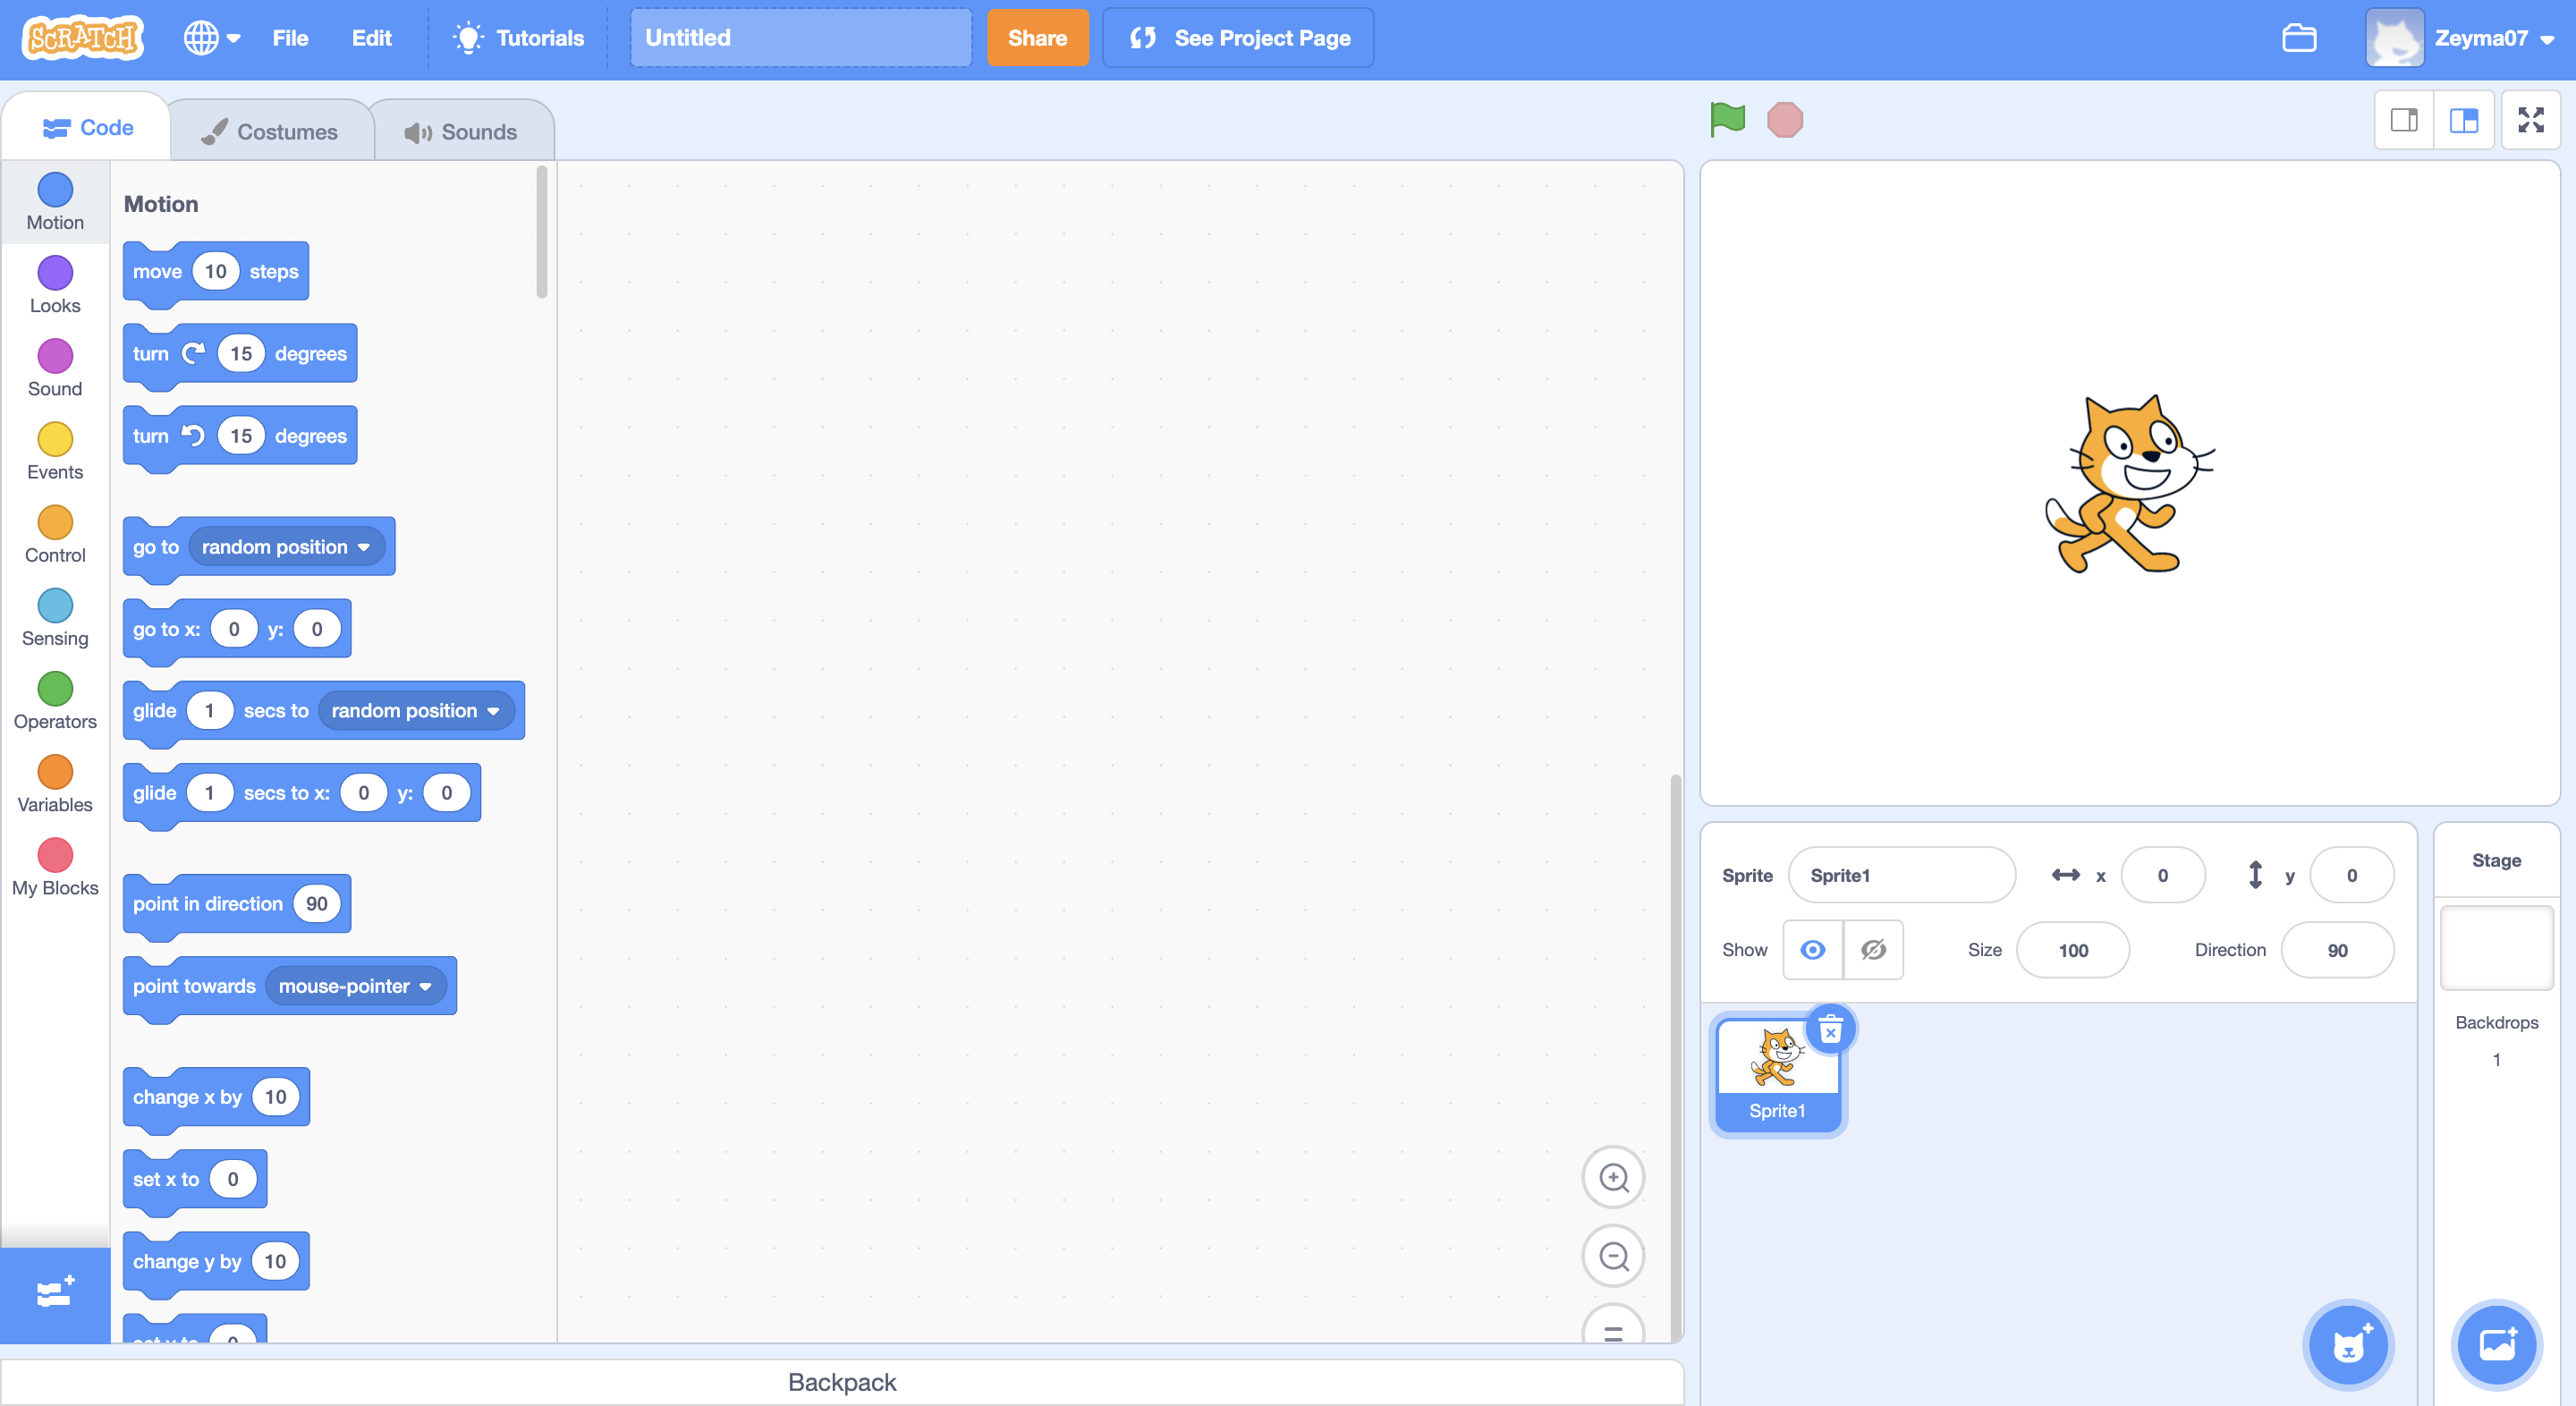
- Log-in to or Sign Up for a Scratch account.
- Click on your icon on the top right side of the Home Page.
- Click on the "My stuff" page.
- Click on "New Project"
- And begin programming sounds for your Symphony Prototype!
Decorating the Chip Boards
Tape the chipboards to the frame. The chipboards are going to be the surfaces that everyone can see. So, decorate them with the following:
- Markers
- Pencils
- Stickers
- However, do not wet the chipboard so refrain from paint, water colour etc.
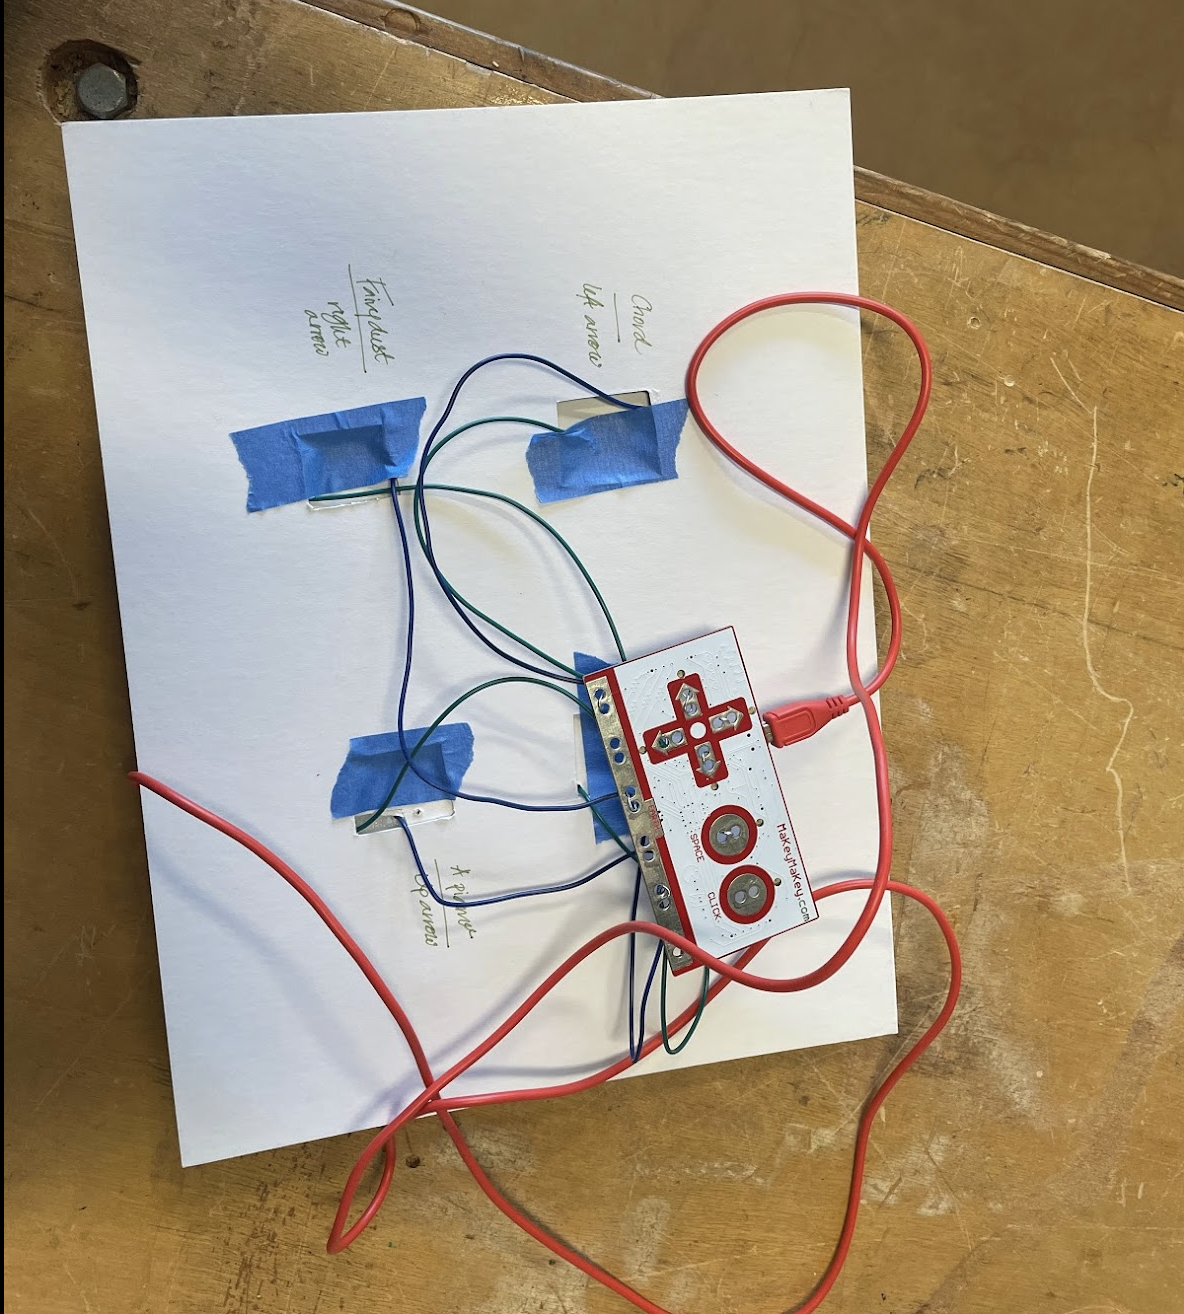
Setting Up Makey-Makey
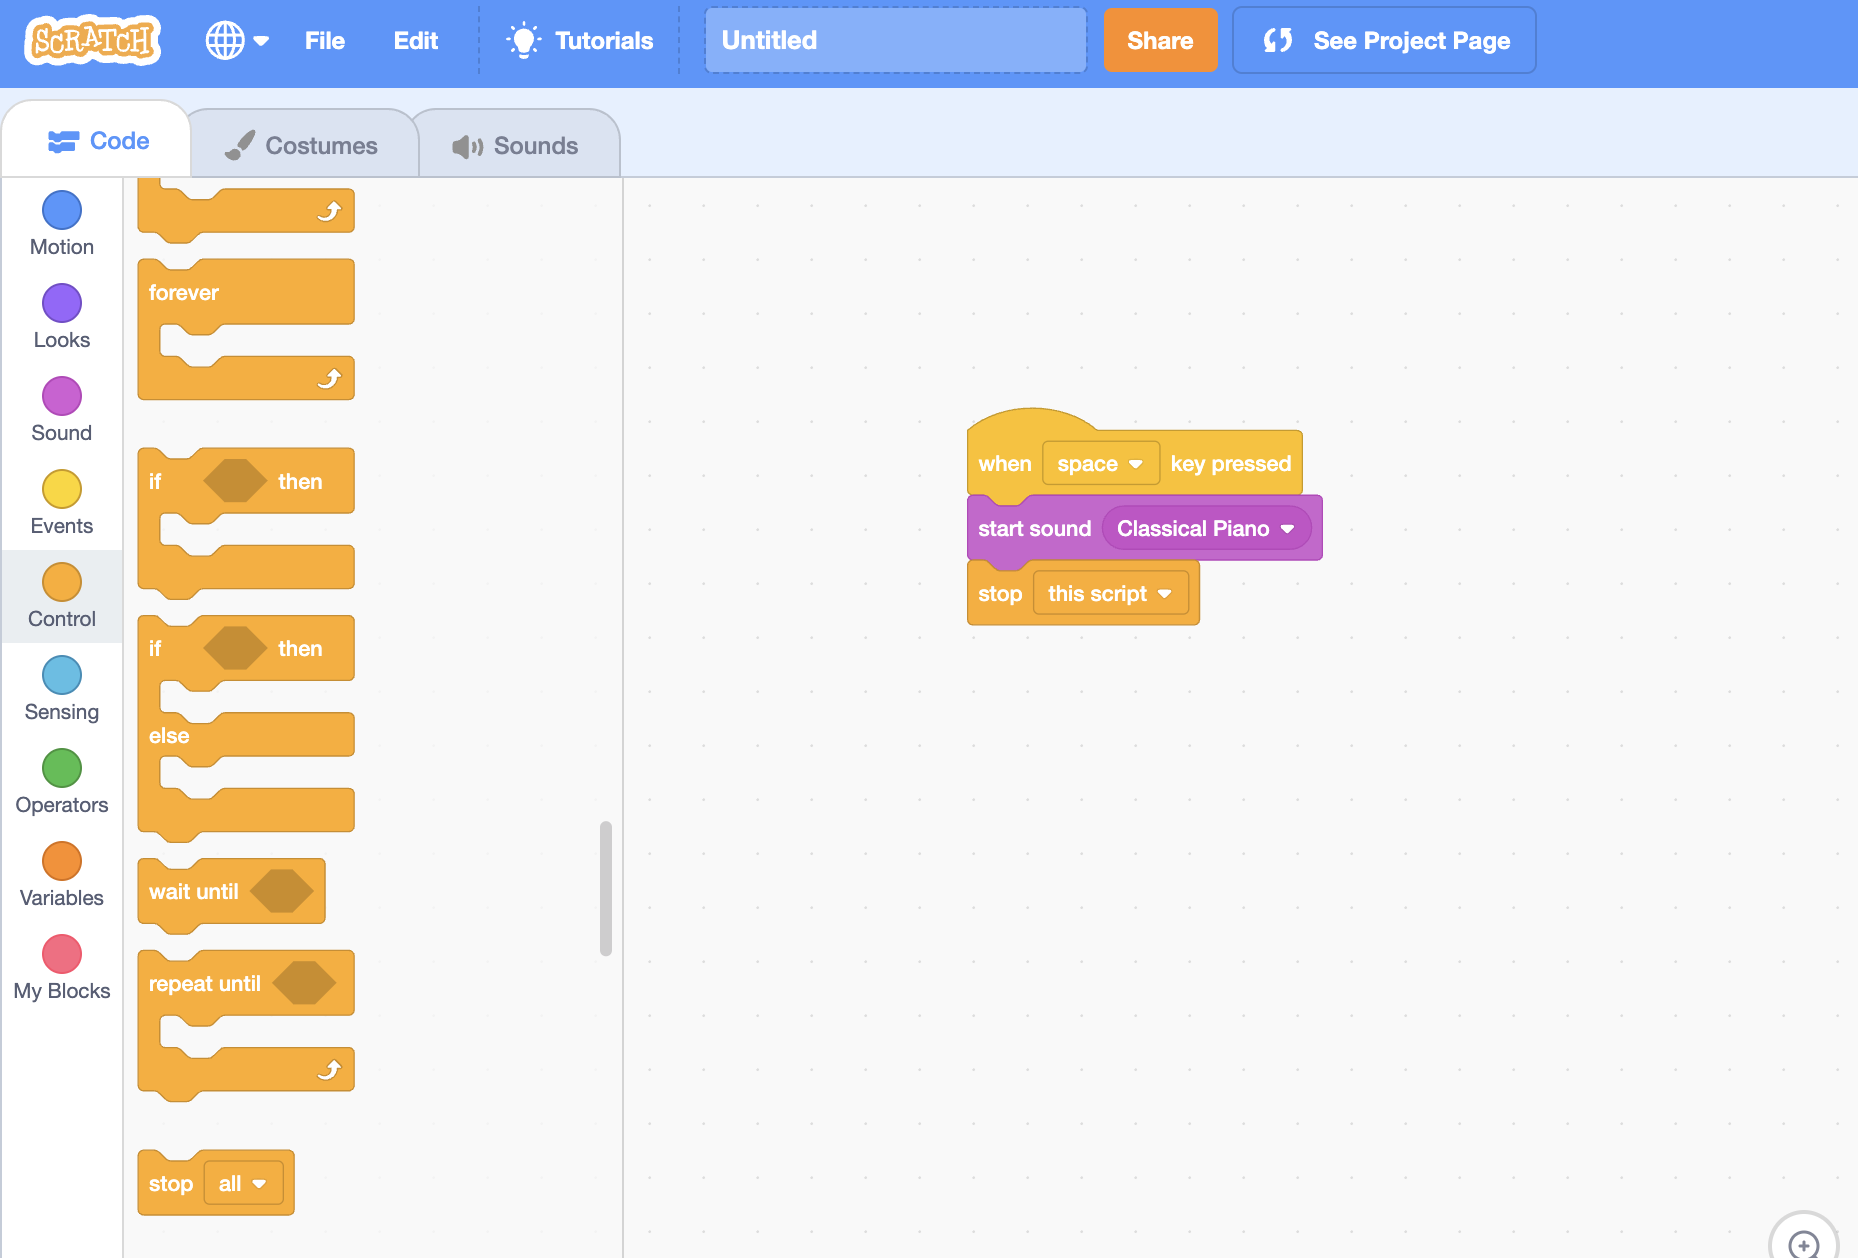
Plug the Makey-Makey's USB into your computer.
- Hook up the wires in its respective place (consult the Scratch program!)
- For example, on the Makey-Makey itself, you will find an hole labelled "space" that allows you to connect your wire.
- Continue this process of coordination and linking-up with the rest of your taped up squares.
Putting It All Together
Now you have a decorated chipboard taped with the foamboard, whose wires are connected to the corresponding Makey-Makey holes. Make sure your program is perfected, and start pressing the chipboard--which should play its corresponding sounds.