A Drop of Love Automata
by mechatheart in Workshop > Laser Cutting
45608 Views, 251 Favorites, 0 Comments
A Drop of Love Automata
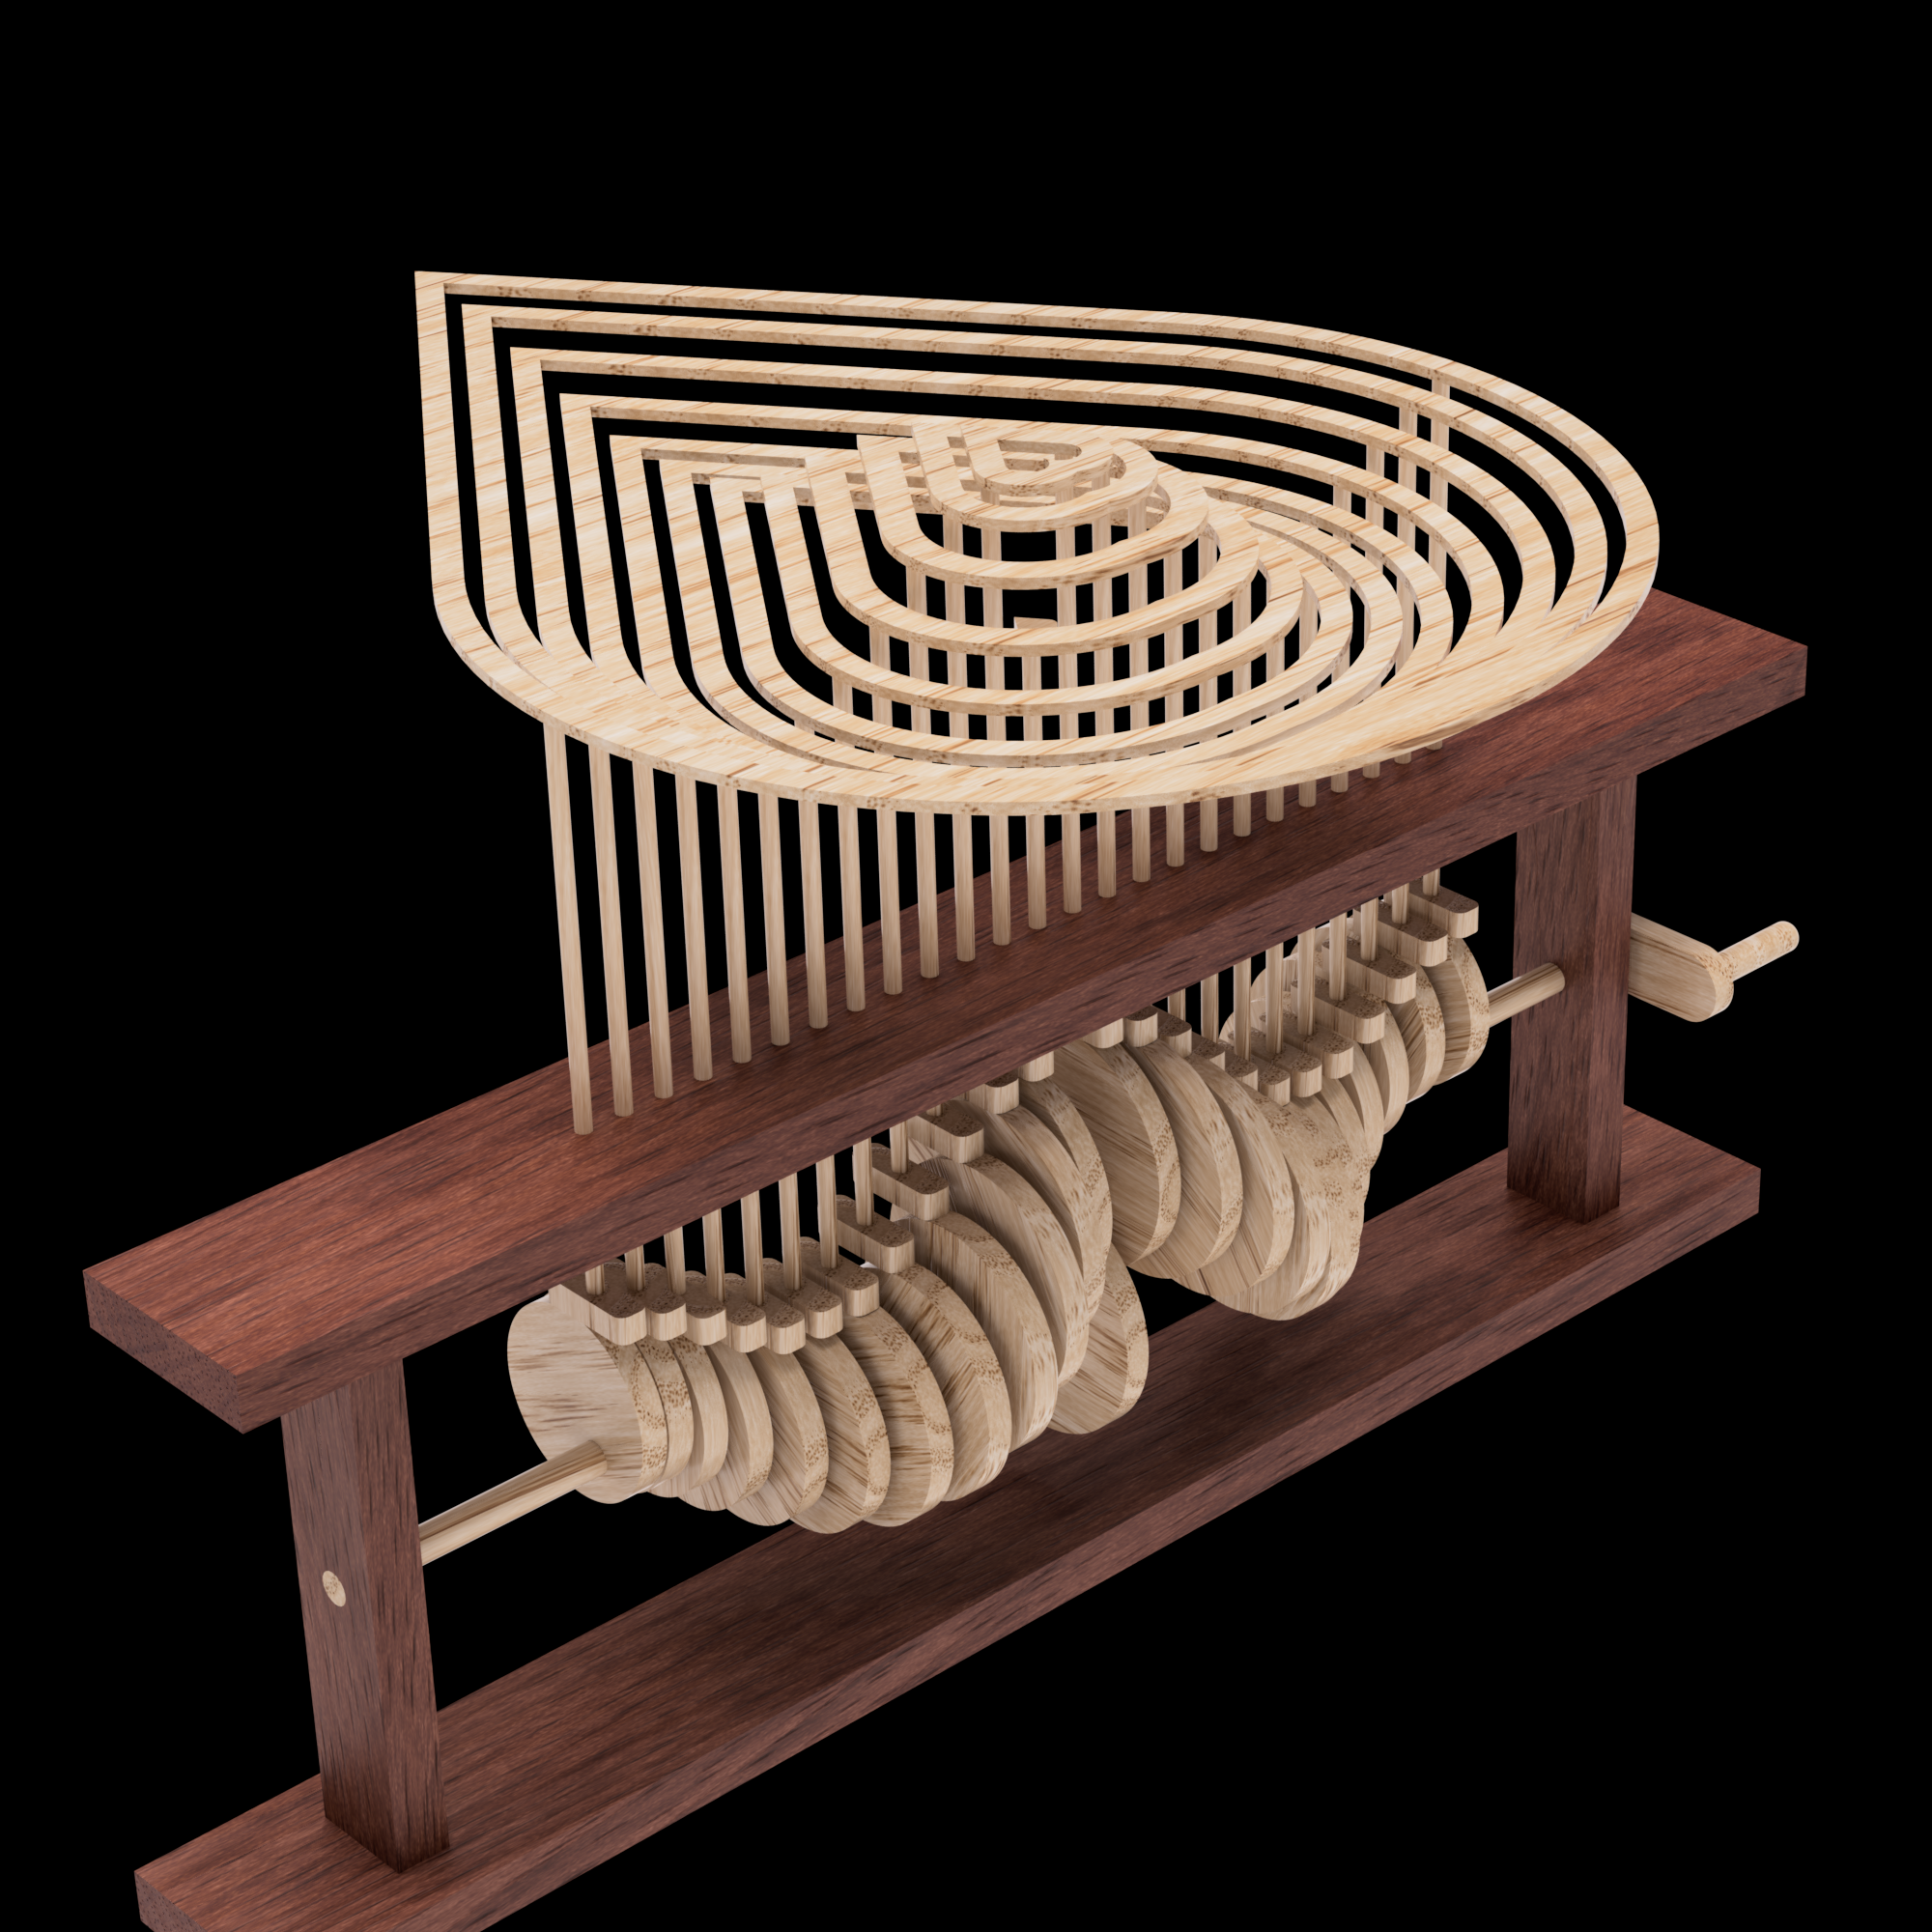
This project is an idea that I bumped into while designing automata Toys in Fusion 360. It symbolizes the fact that a drop of love is enough to cause the ripples of love all around.
Name a kid who is not interested in playing with toys. I am an engineer whose interest in toys is still alive. Now more into making them. I am also a human being who believes that unconditional love is the key to world peace.
Water droplet automata is a popular toy depicting the ripple effect of a drop. A new automata toy by replacing the circular shape of ripples with the shape of a heart has been conceived. This comes with a great message.
A drop of love and forgiveness can create the same ripples around them and make the world a better place to live.
The whole idea has been brought to shape using Fusion 360 software.
This toy can also be constructed in the following ways. ( I haven't done it)
1) Using Cardboard
2) By 3d printing
3) Through laser cutting
Introduction to Parts
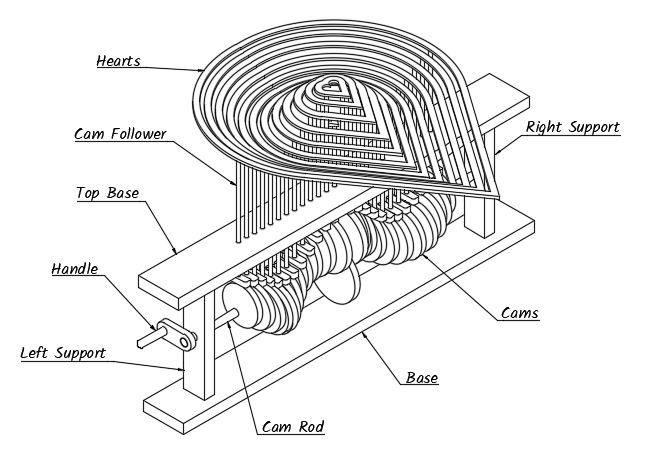
This automaton, pretty much like any other consists of crank, handle, cams and followers and the final support to deliver the idea.
Introduction to Fusion 360
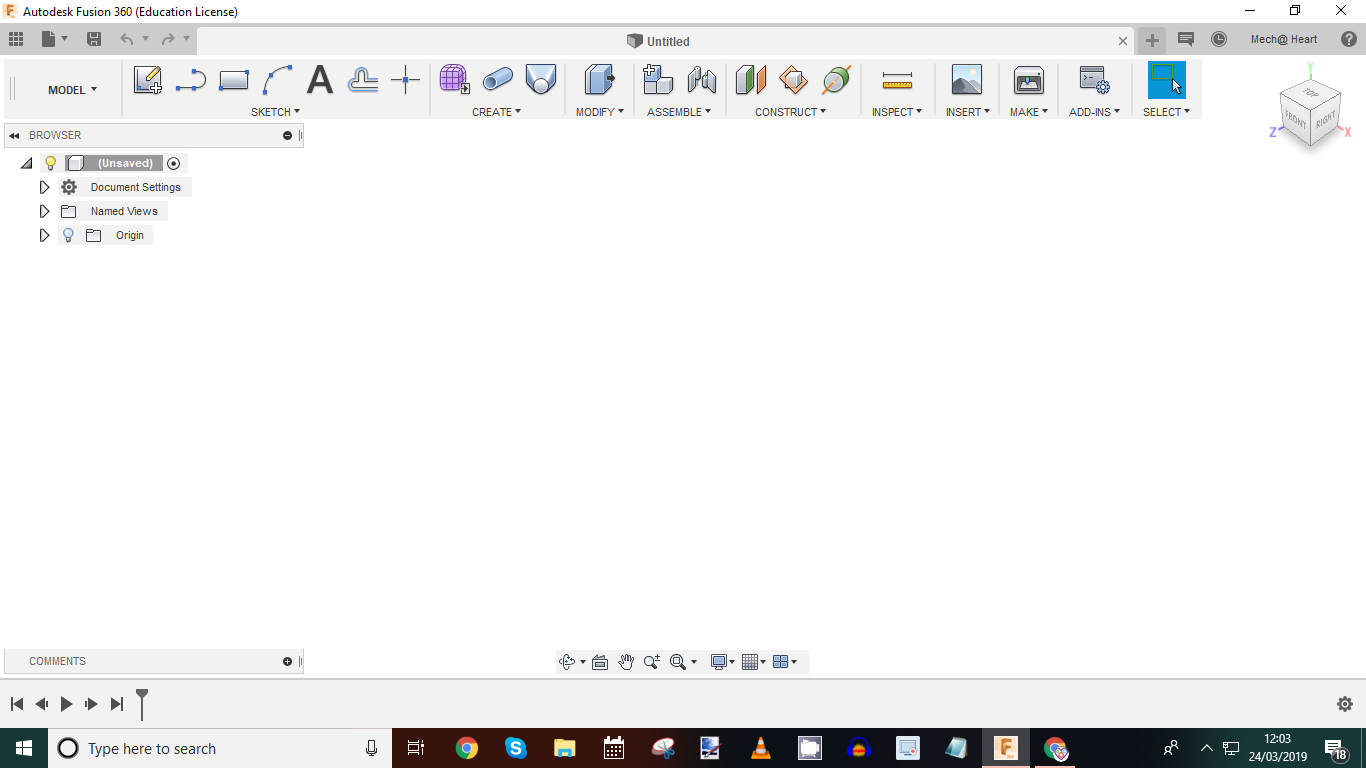
This instructable assumes that the user has basic knowledge in any CAD software. Fusion 360 is a CAD software from Autodesk which is very easy to use and collaborate. It comes with a free education license. If you are new to this, you can download it here.
https://www.autodesk.com/products/fusion-360/stude...
I also have made a basic course in Udemy to learn Fusion 360.
https://www.udemy.com/learn-autodesk-fusion-360-pa...
After you download Fusion 360, you will able to see the above image.
Create a New Project
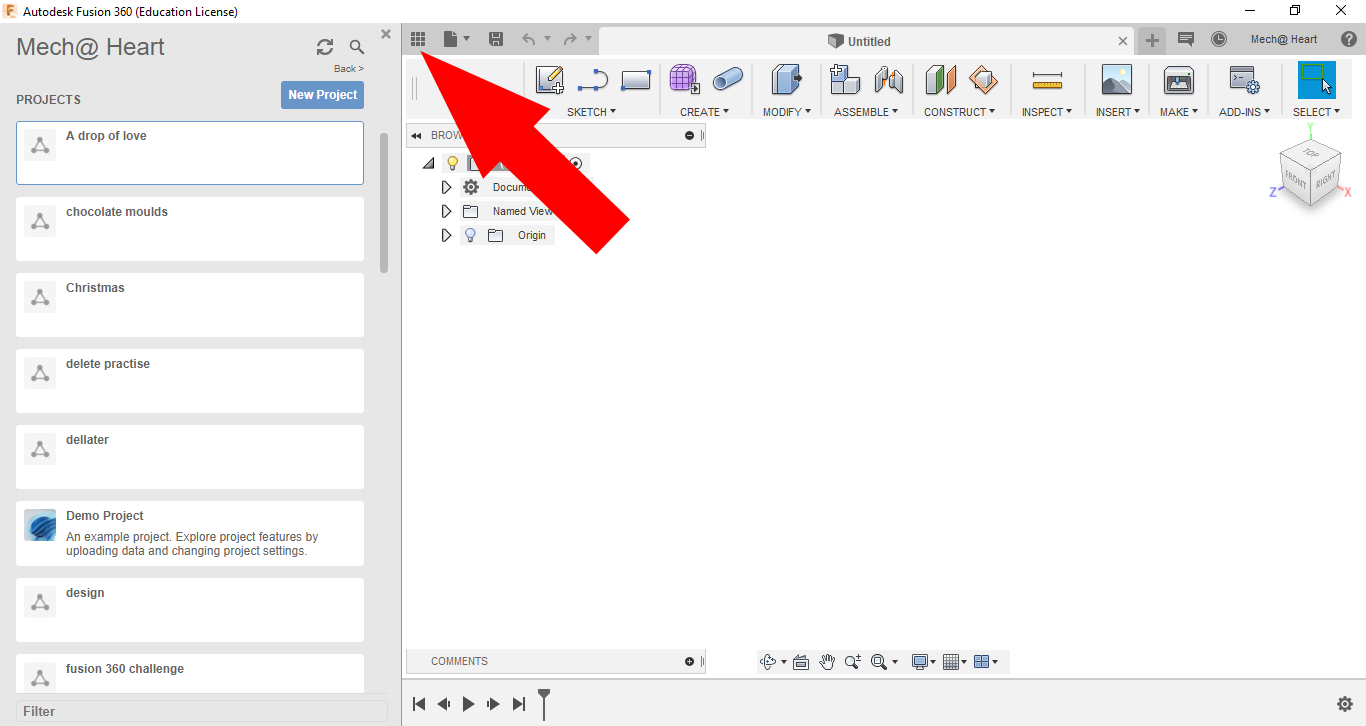
Click on data panel and create a new project by name A drop of love.
Creating Parts
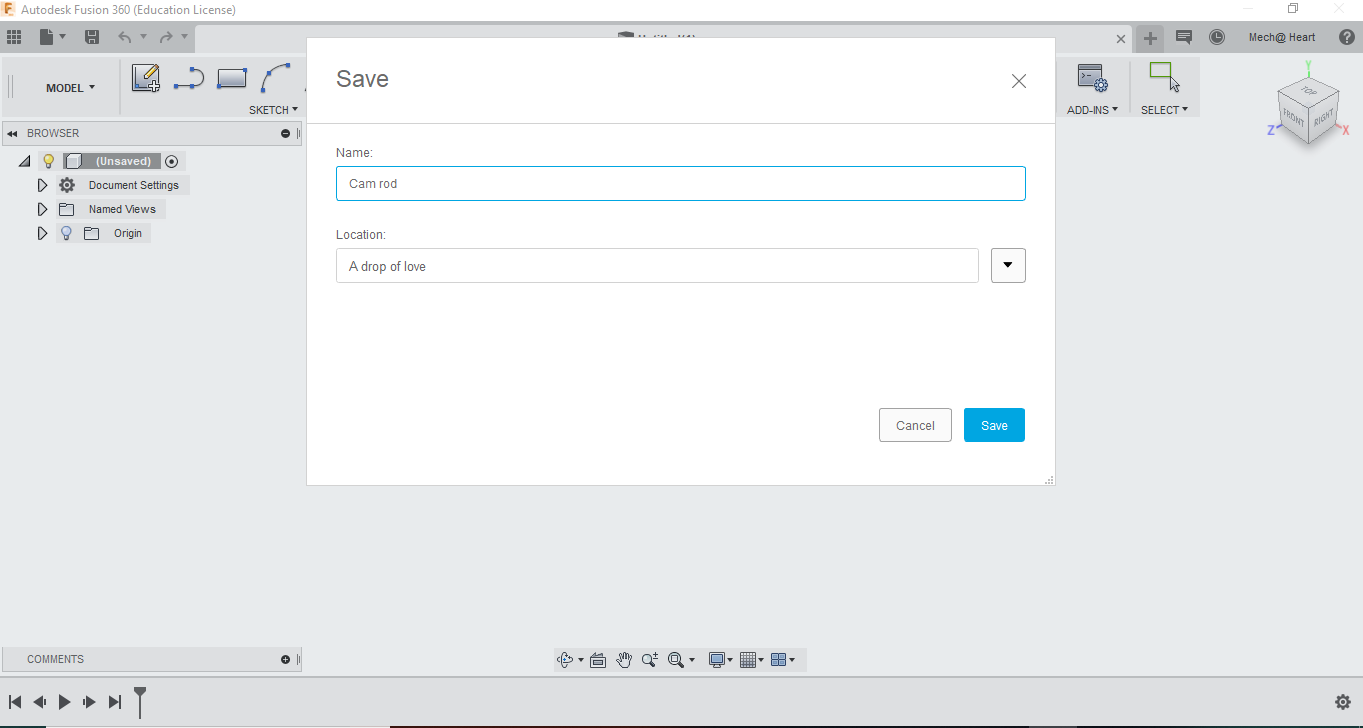
Close the data panel. Click on File --> New Design. We get the workspace for creating our parts. Save this file as Cam rod. This part is saved in your "A drop of love" project folder.
Create Cam Rod
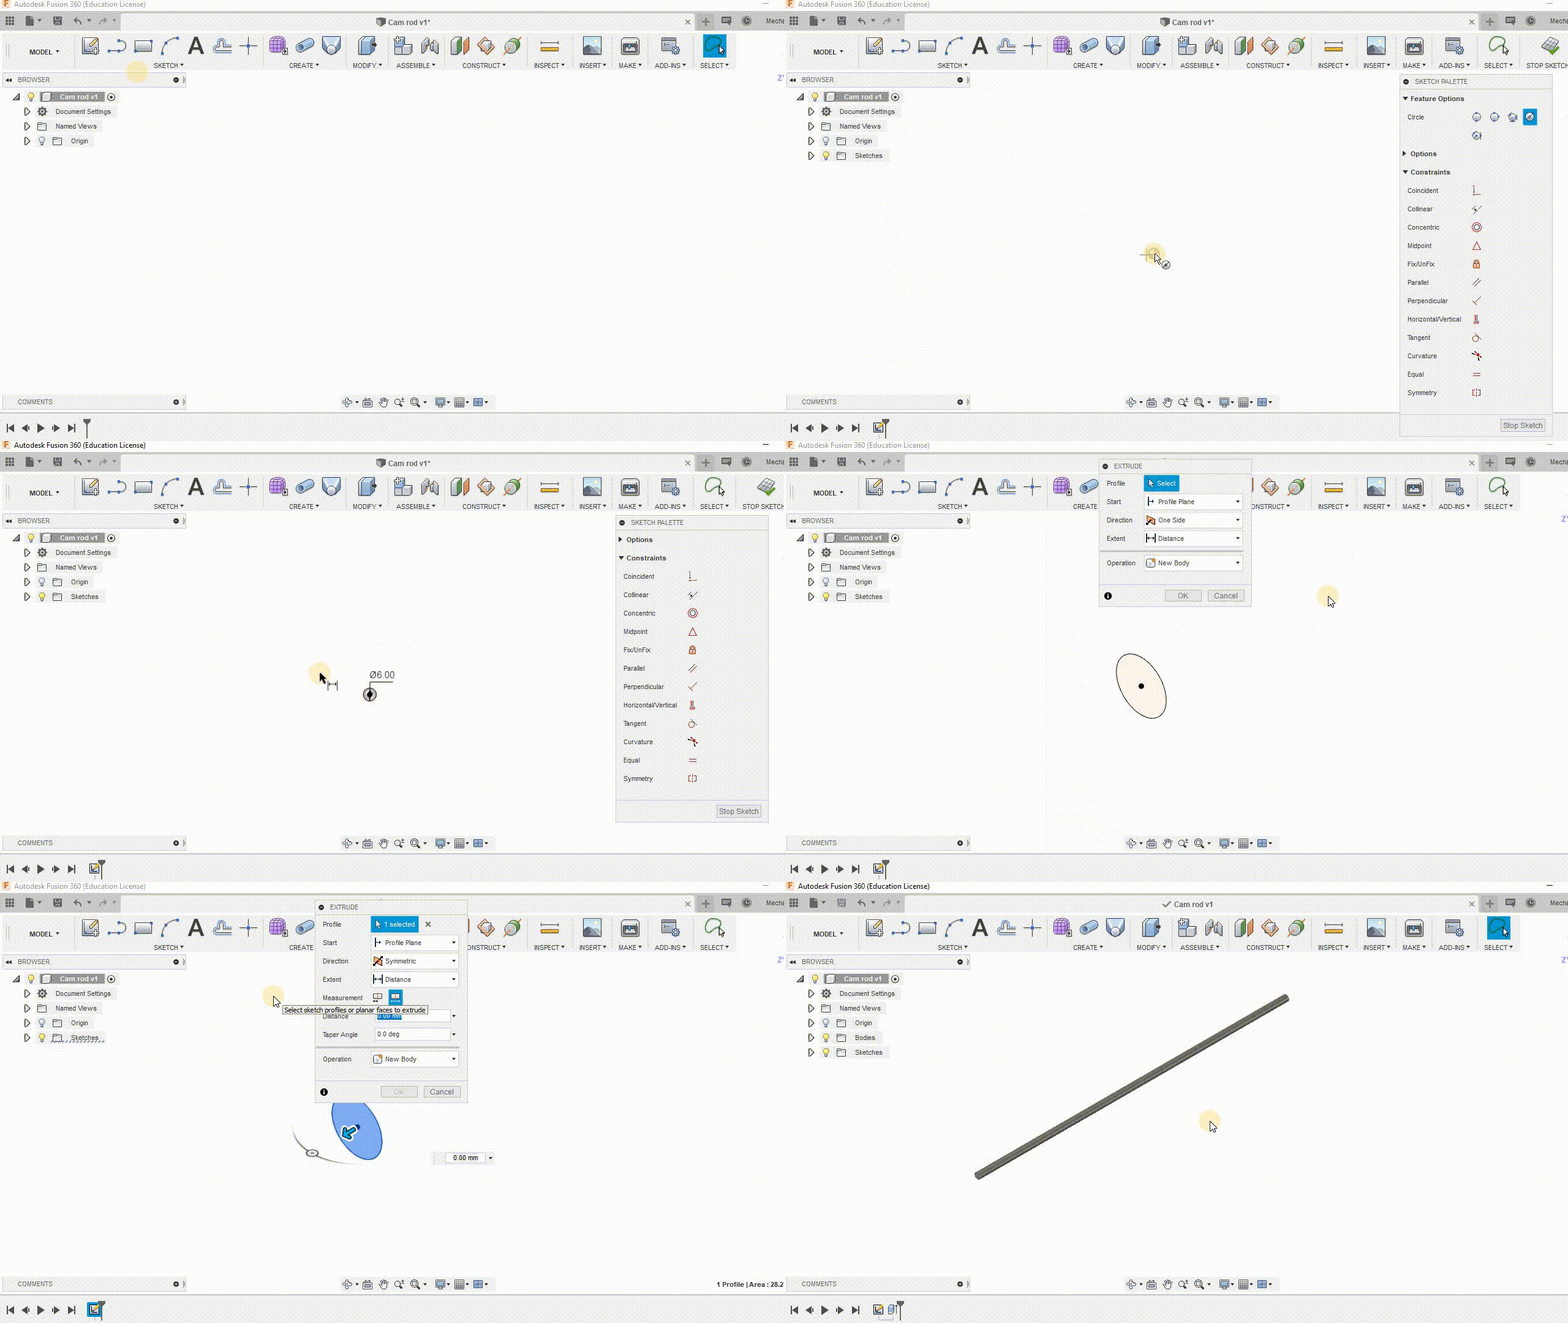
Go to sketch and create a circle of diameter 3 mm and extrude it to 300mm. Make a note to extrude it symmetrically for ease of assembly.
Create Cams
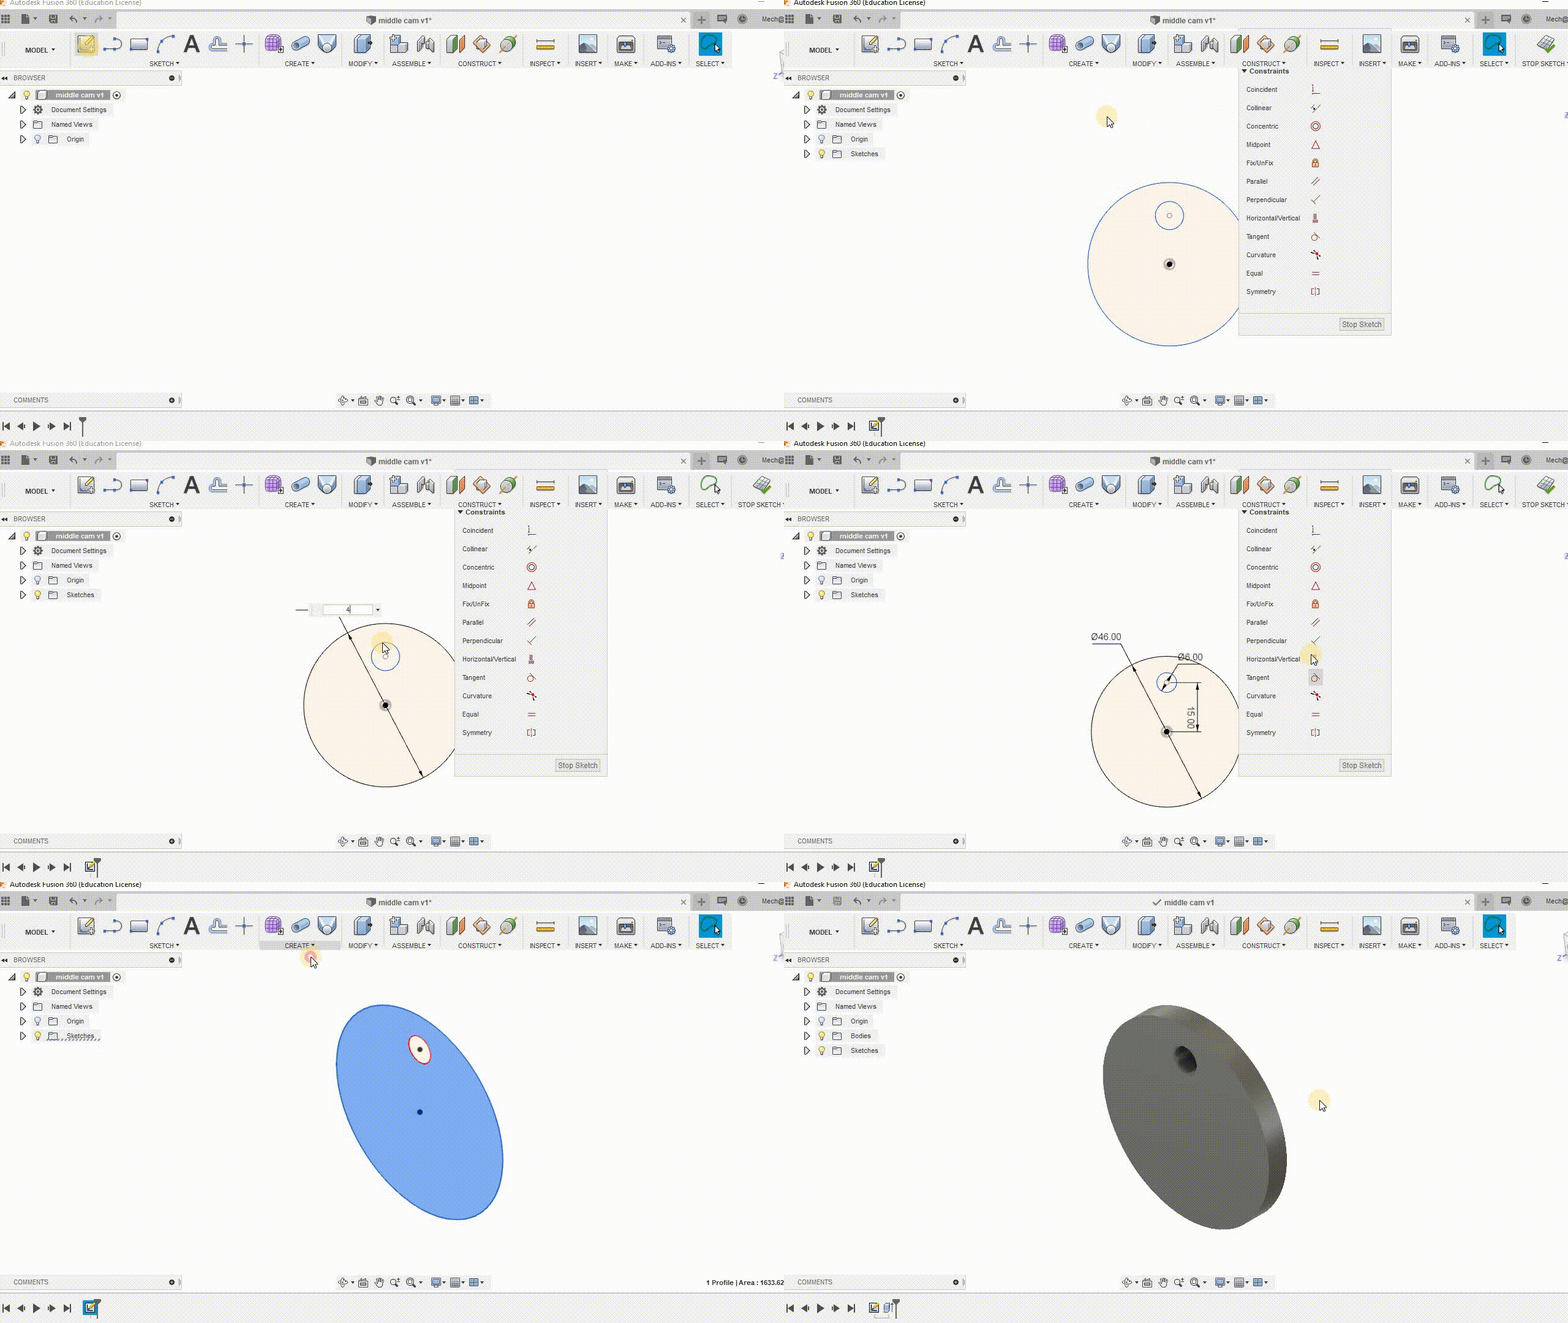
Create another file as shown in step 3 and name it as "middle cam". Draw two circles and dimension them as shown in the figure.
Now save the same file as cam46
Creating More Cams
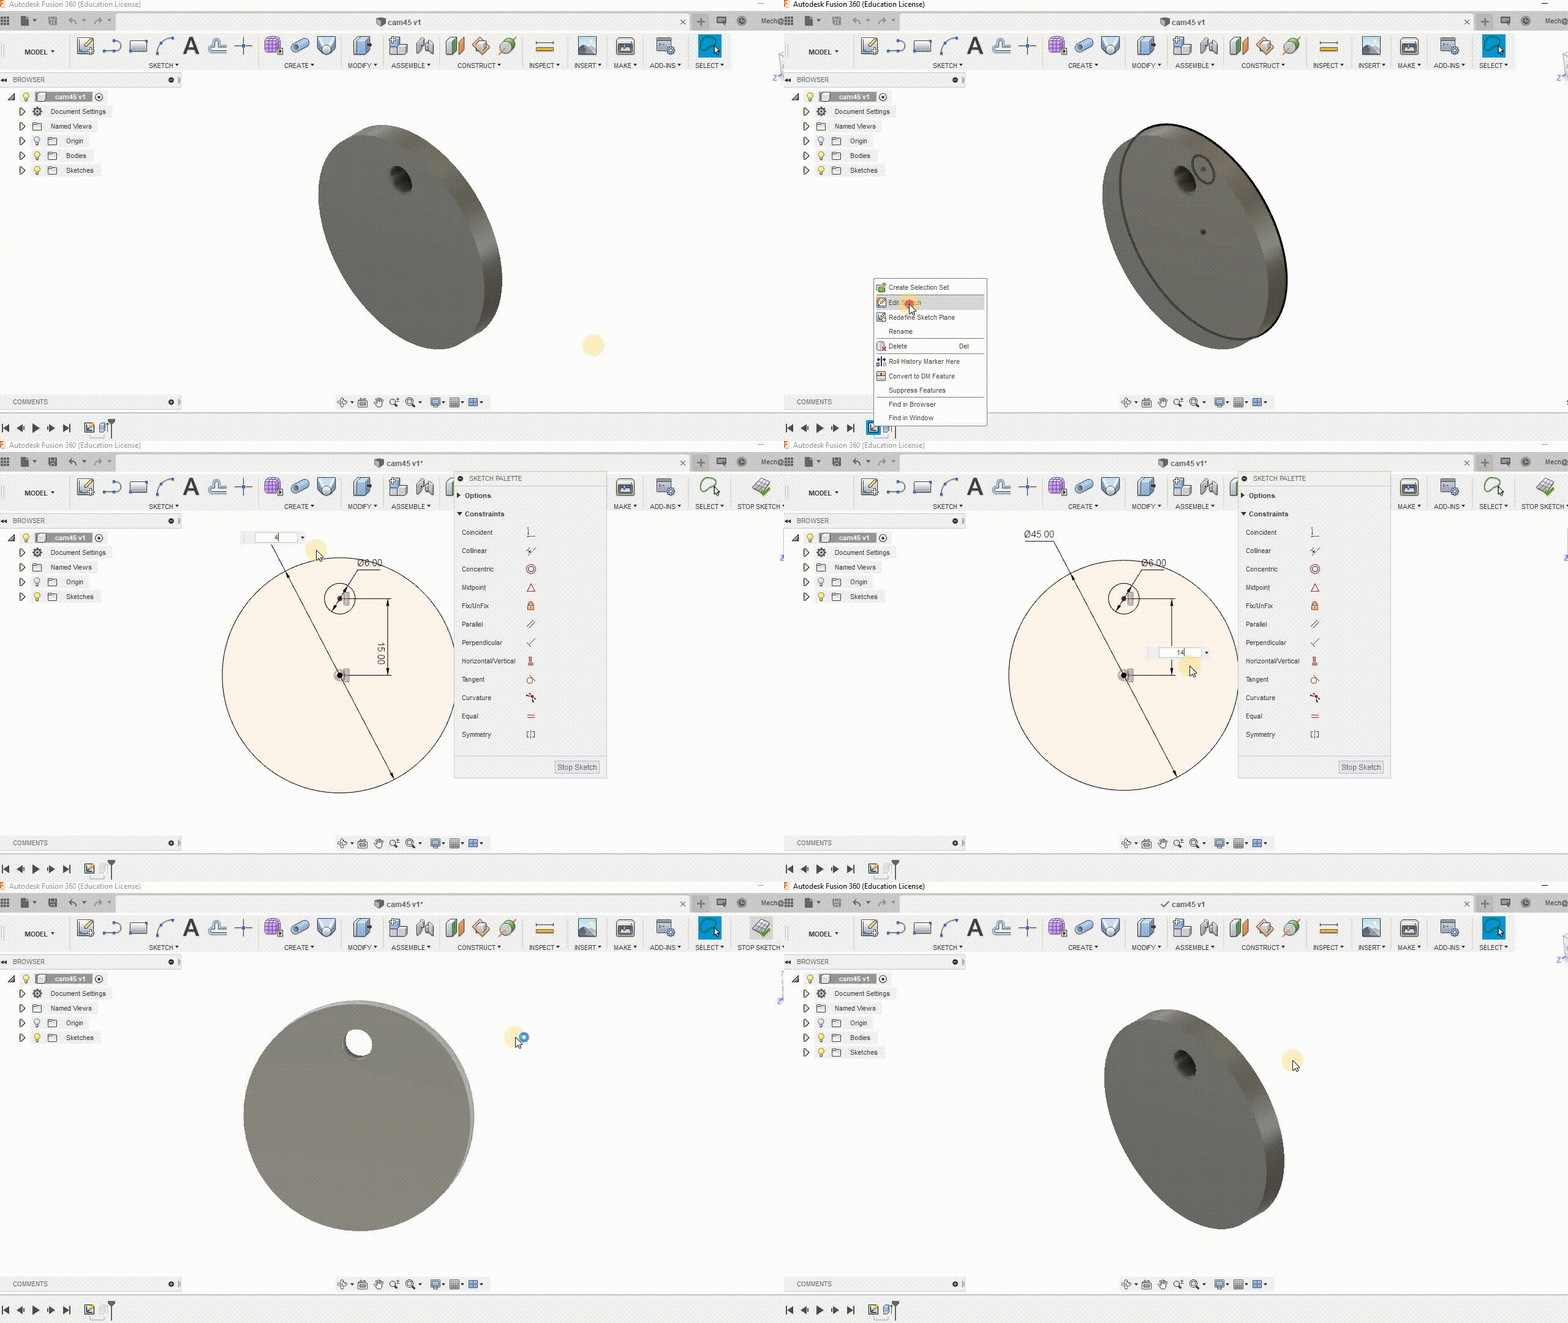
Save the same file as cam45
Now edit the sketch and change the radius of the larger circle to 45mm and the distance between centers to 14.5mm as shown in the figure.
Similarly, save the file as cam44 and change the dimension of the larger circle to 44mm and center distance to 14mm.
Create more cams with similar changes up to cam35.
i.e.,
cam43 - larger circle diameter 43 mm - distance between centers 13.5 mm
cam42 - larger circle diameter 42 mm - distance between centers 13 mm
cam41 - larger circle diameter 41 mm - distance between centers 12.5 mm
cam40 - larger circle diameter 40 mm - distance between centers 12 mm
cam39 - larger circle diameter 39 mm - distance between centers 11.5 mm
cam38 - larger circle diameter 38 mm - distance between centers 11 mm
cam37 - larger circle diameter 37 mm - distance between centers 10.5 mm
cam36 - larger circle diameter 36 mm - distance between centers 10 mm
cam35 - larger circle diameter 35 mm - distance between centers 9.5 mm
.All the cams are neede two in number excpet middle cam.
Create Cam Follower
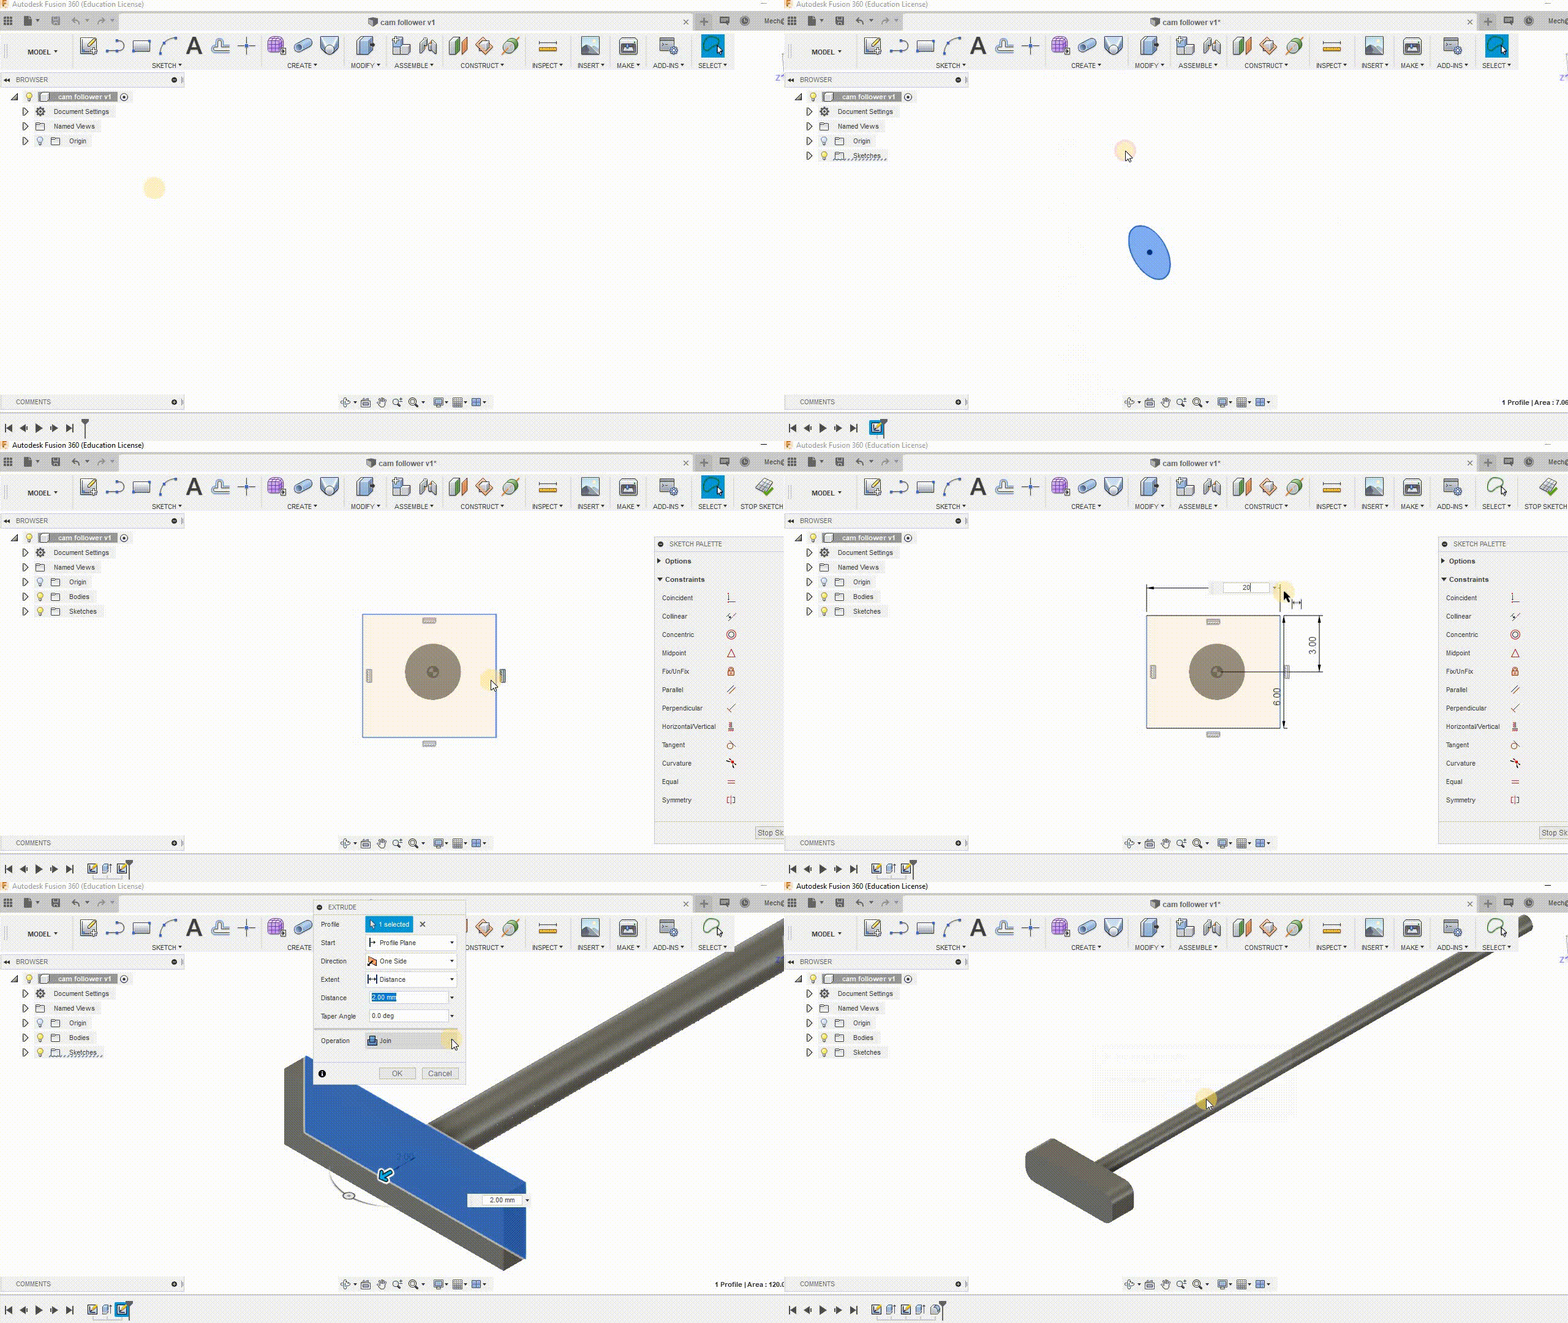
Click on the new design and save as Cam Follower
Go to sketch and create a circle with diameter 3 mm and extrude it to 100 mm.
Take the face of the circle as sketching plane and draw a rectangle of 20 mm by 6 mm as shown in the figure. Optionally you can add a fillet.
25 cam followers are needed for making a physical model.
Creating Hearts
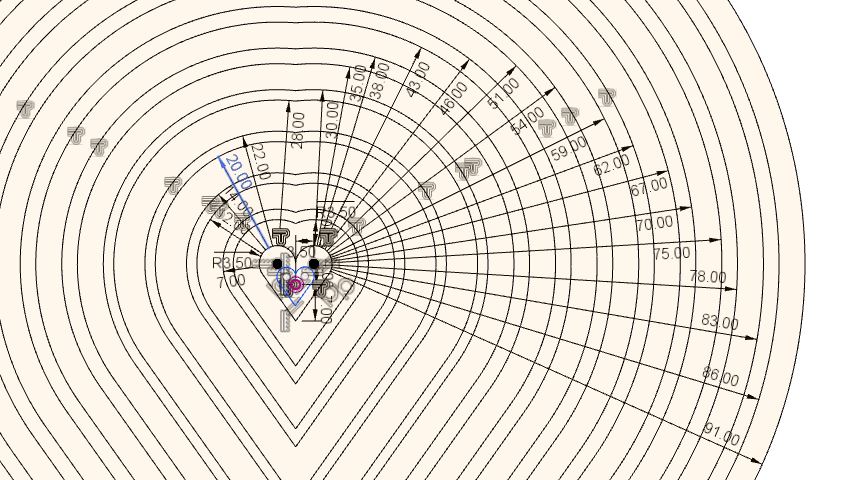
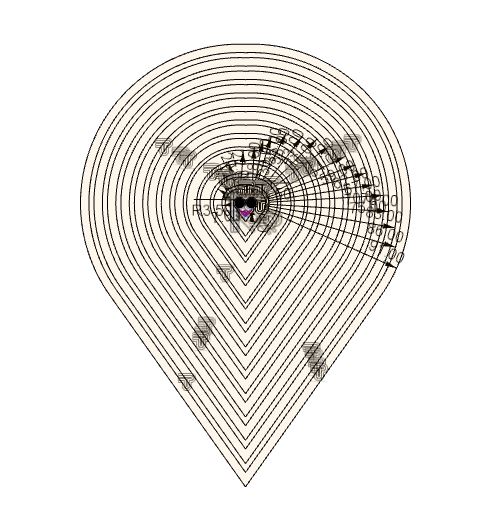
Download the heart.dxf file. If you are making a hard copy of the automata, please refer to other two images for getting dimensions
Downloads
Creating Hearts in Fusion 360
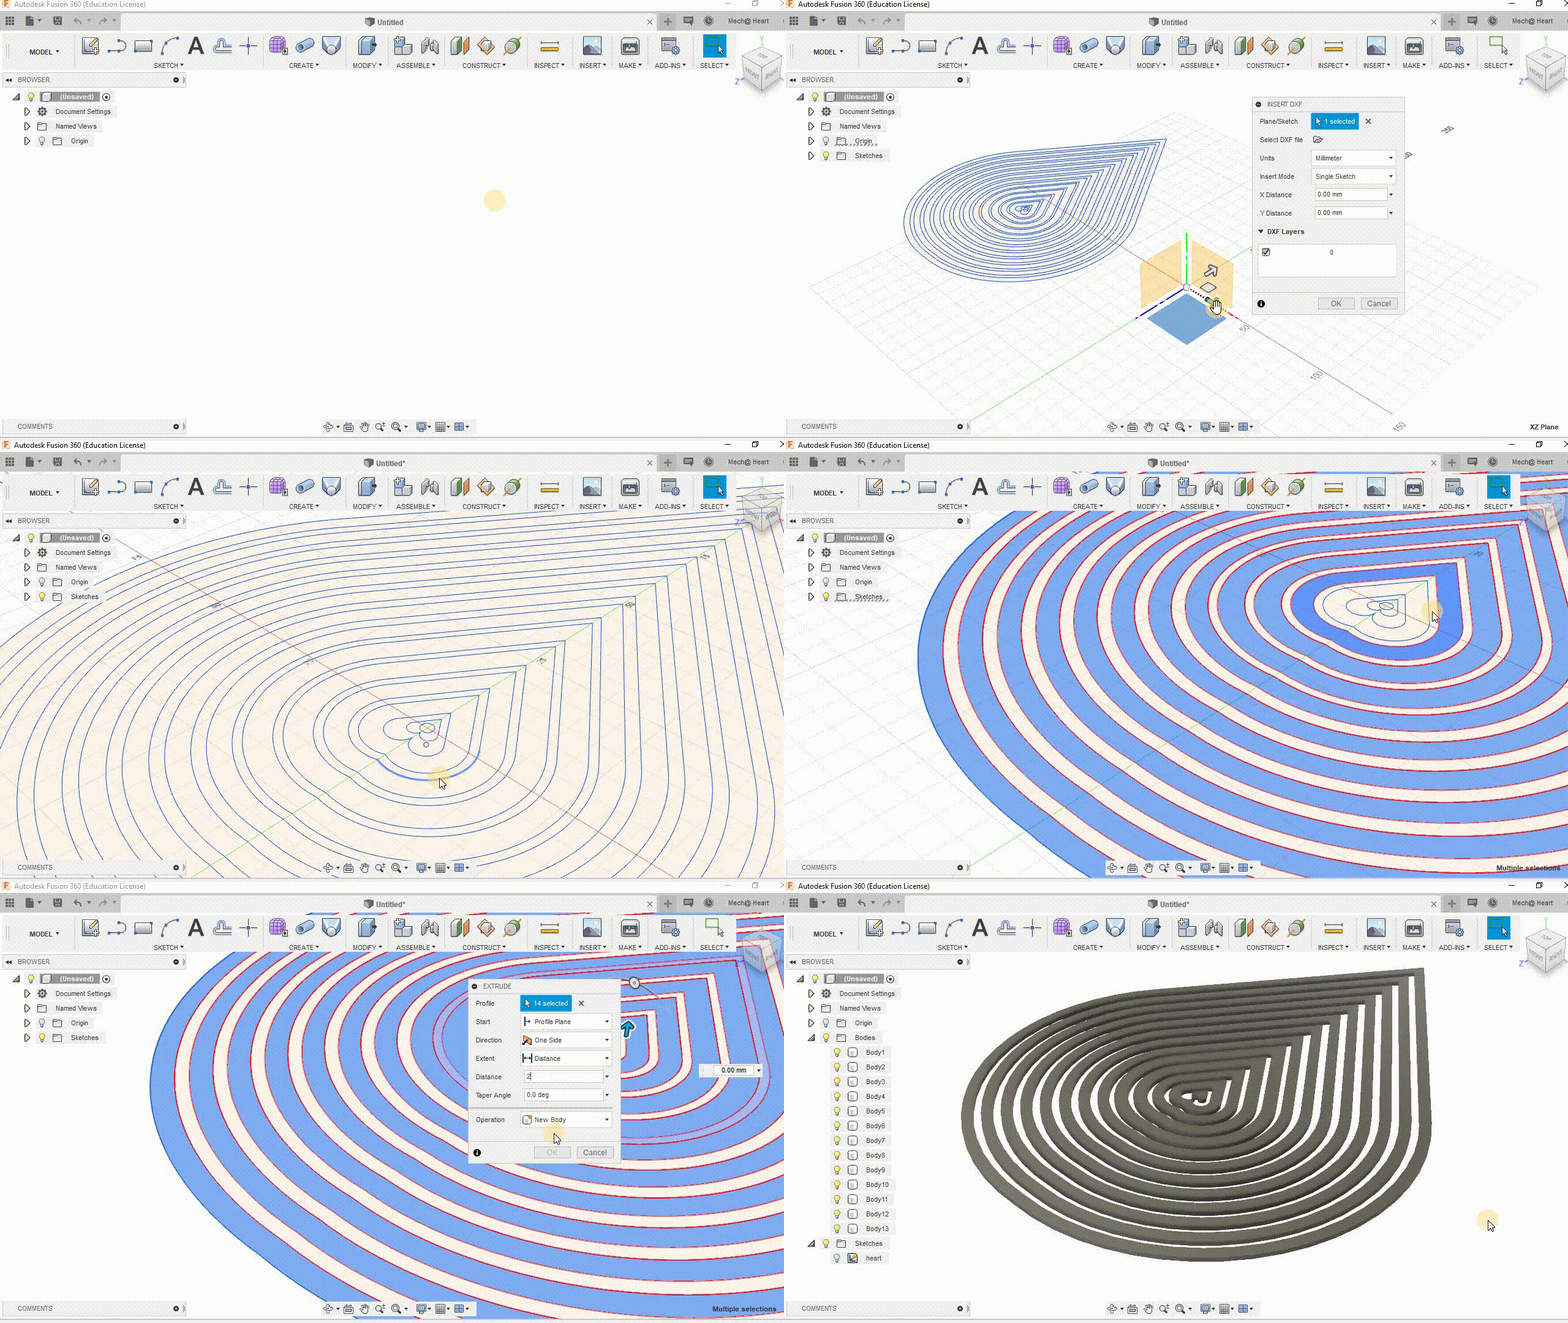
The procedure to insert dxf and extrude it is explained in the video.
Create the Support System
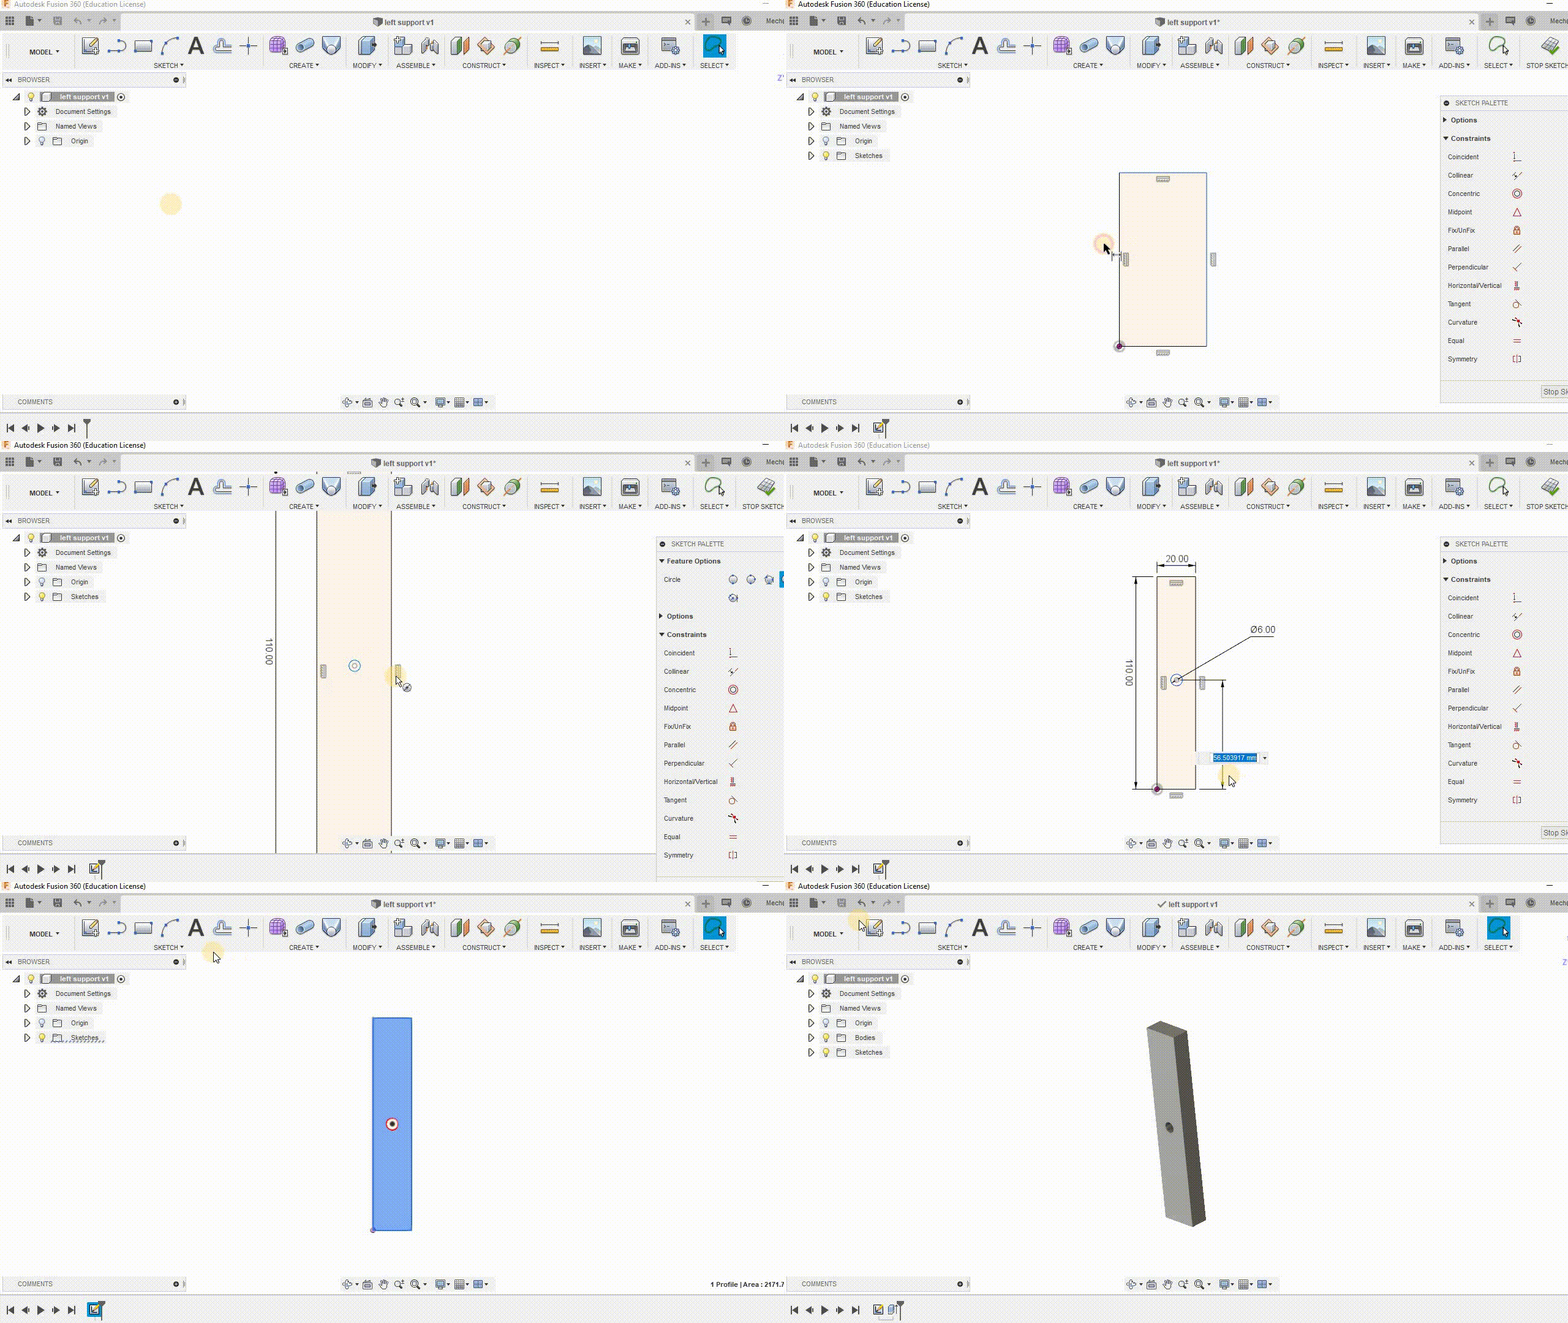
Now we are going to create the stand on which the automata will operate.
Create left support. Save it as right support as both are identical.
Create Base
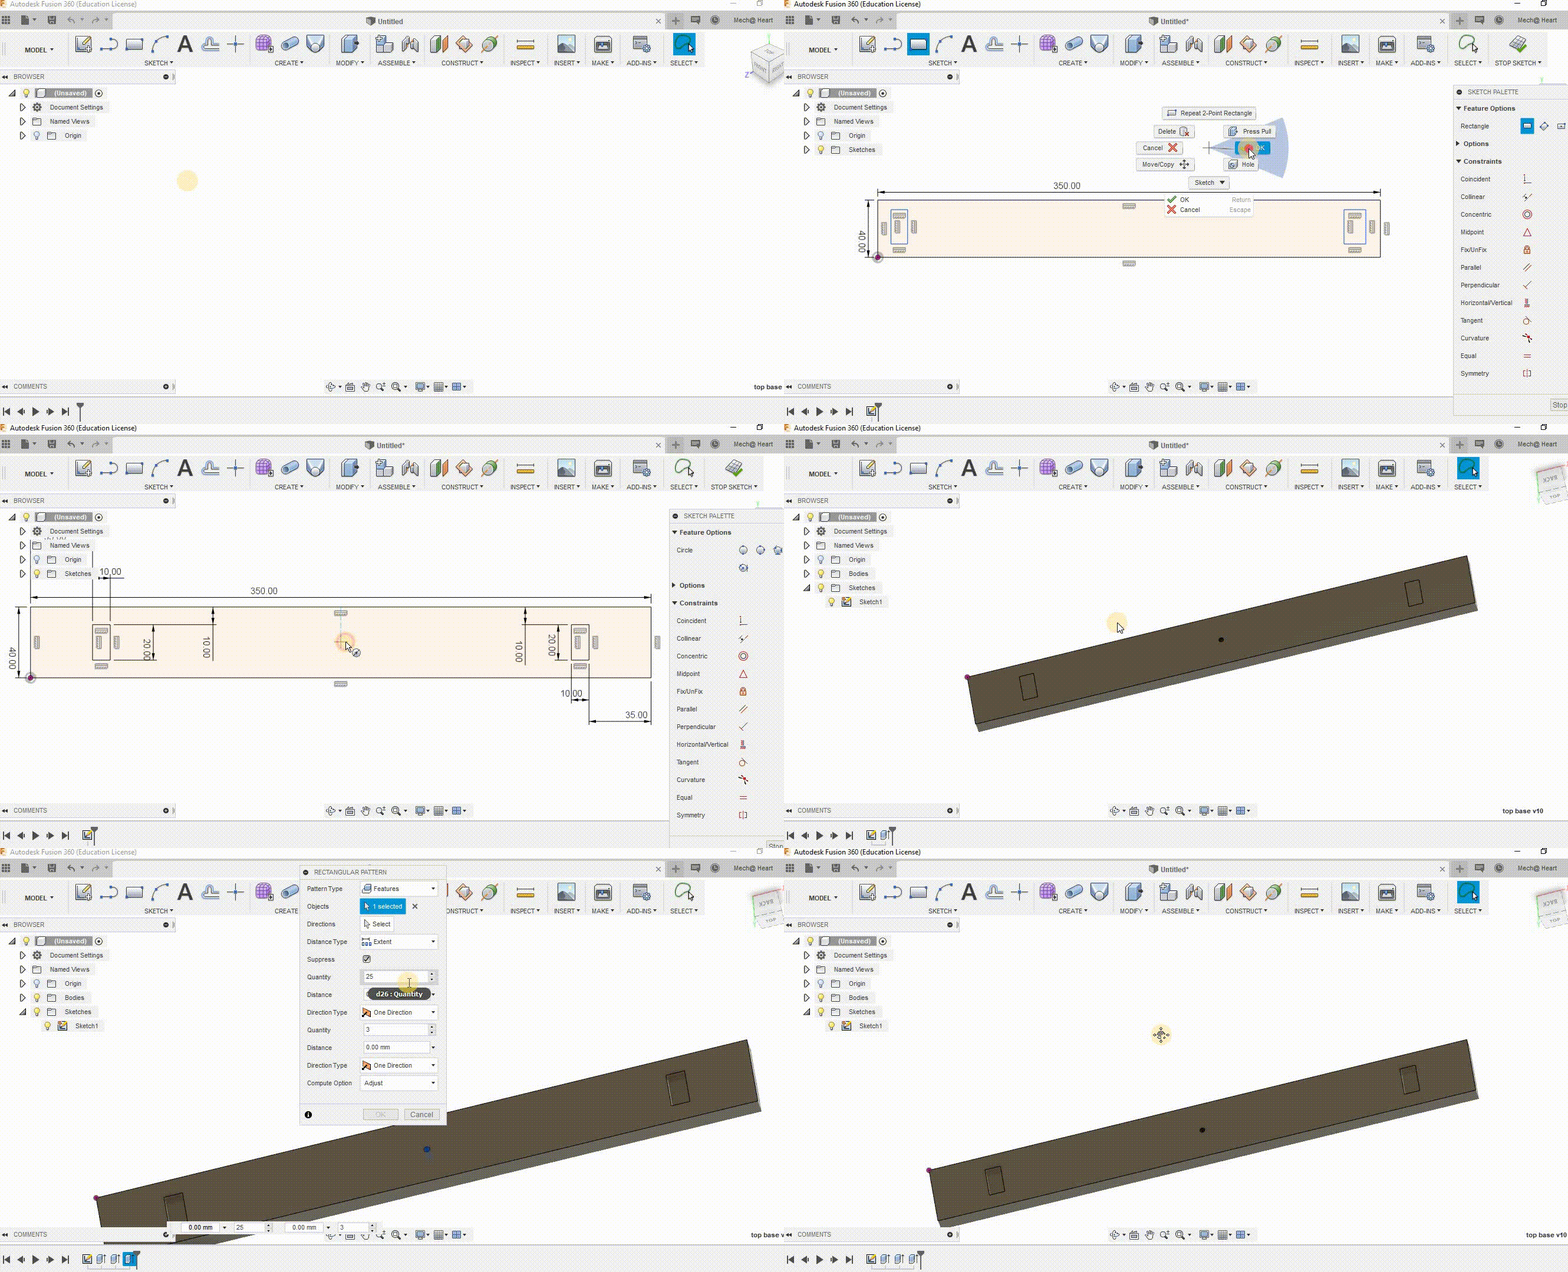
Save the above-created file as Base.
Create Top Base
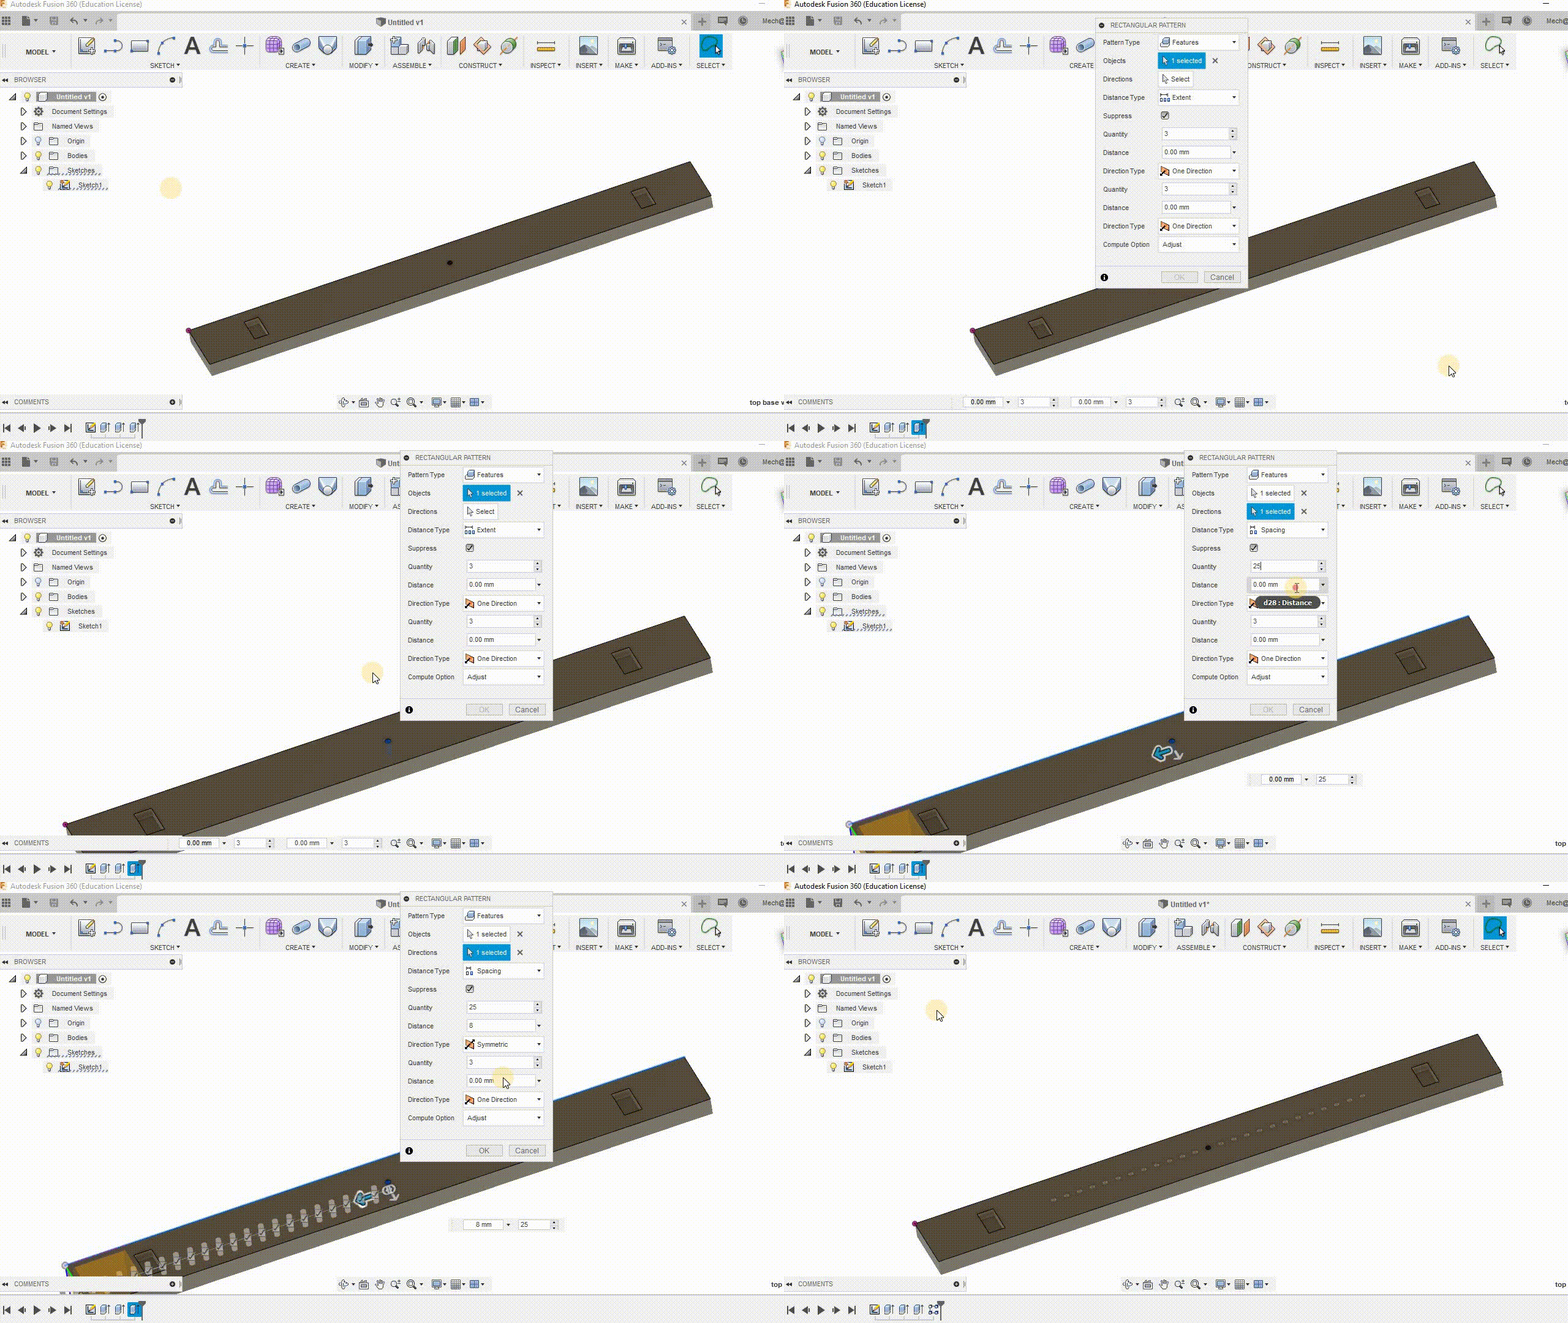
Save the base as top base. We have to add holes to accommodate the cam rods. Add them as shown in the figure.
Create Handle
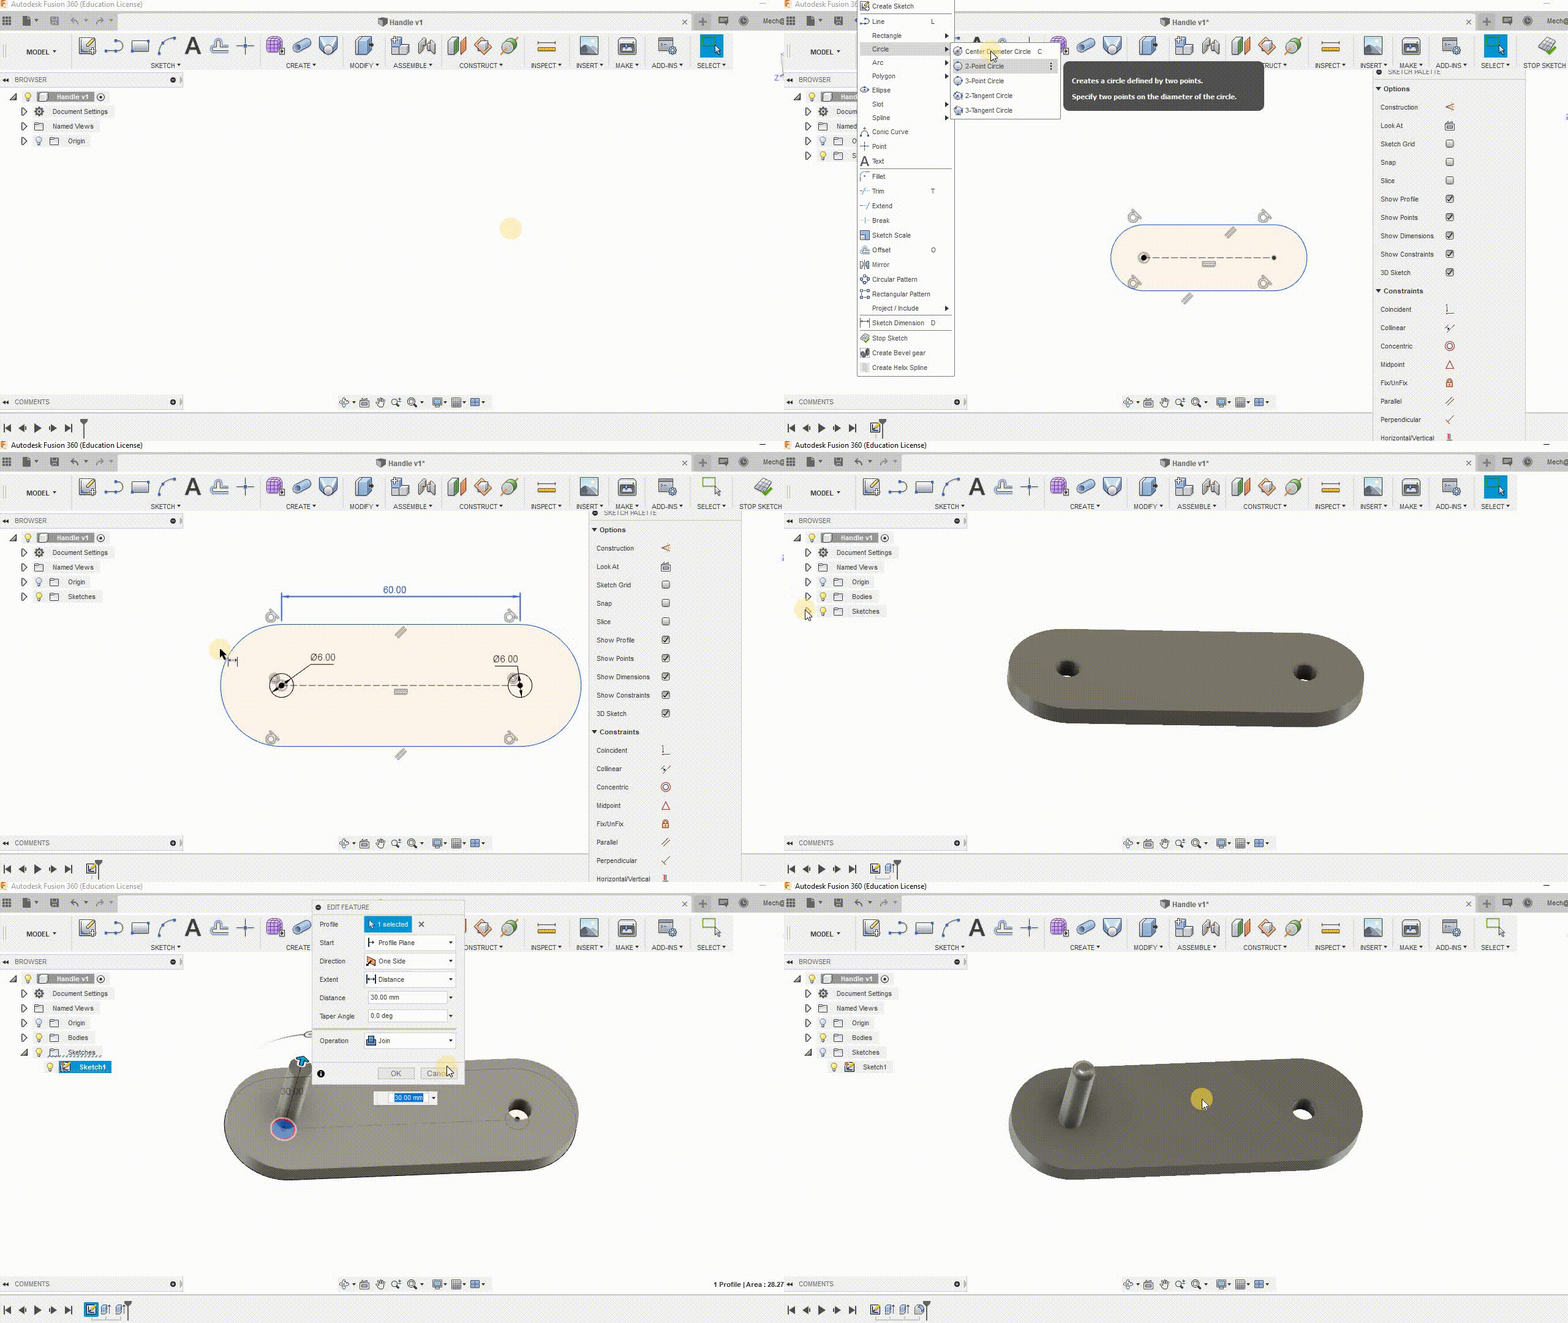
Now, create a handle using which we can rotate the crank.
(Shortcut key for dimensioning is D in Fusion 360)
Add Colors
Click A for appearances and add desired colors to all the parts. I have added wooden colors.
Cam Assembly
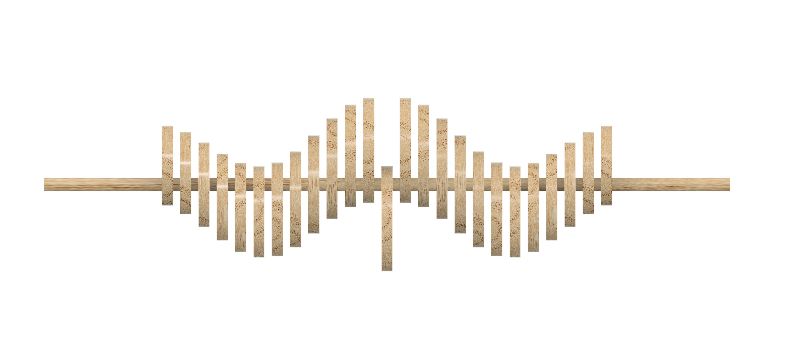
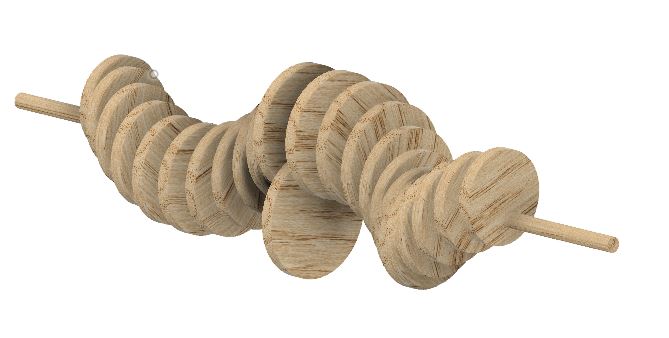
This is the most interesting part.
The cams have to be inserted into the cam rod. The middle cam has to go first. Place it in the middle and stick it. Two cam46 should go on either side and paste them in such a way that they both are parallel to each other, but their alignment to middle cam is around 180 degrees. After pasting these, go on adding other cams in decreasing sizes on either side at an alignment of 30 degrees from the previous cam. Though this might be difficult to achieve practically, a small tilt from the previous cam might be sufficient to show the wave effect.
Final Assembly
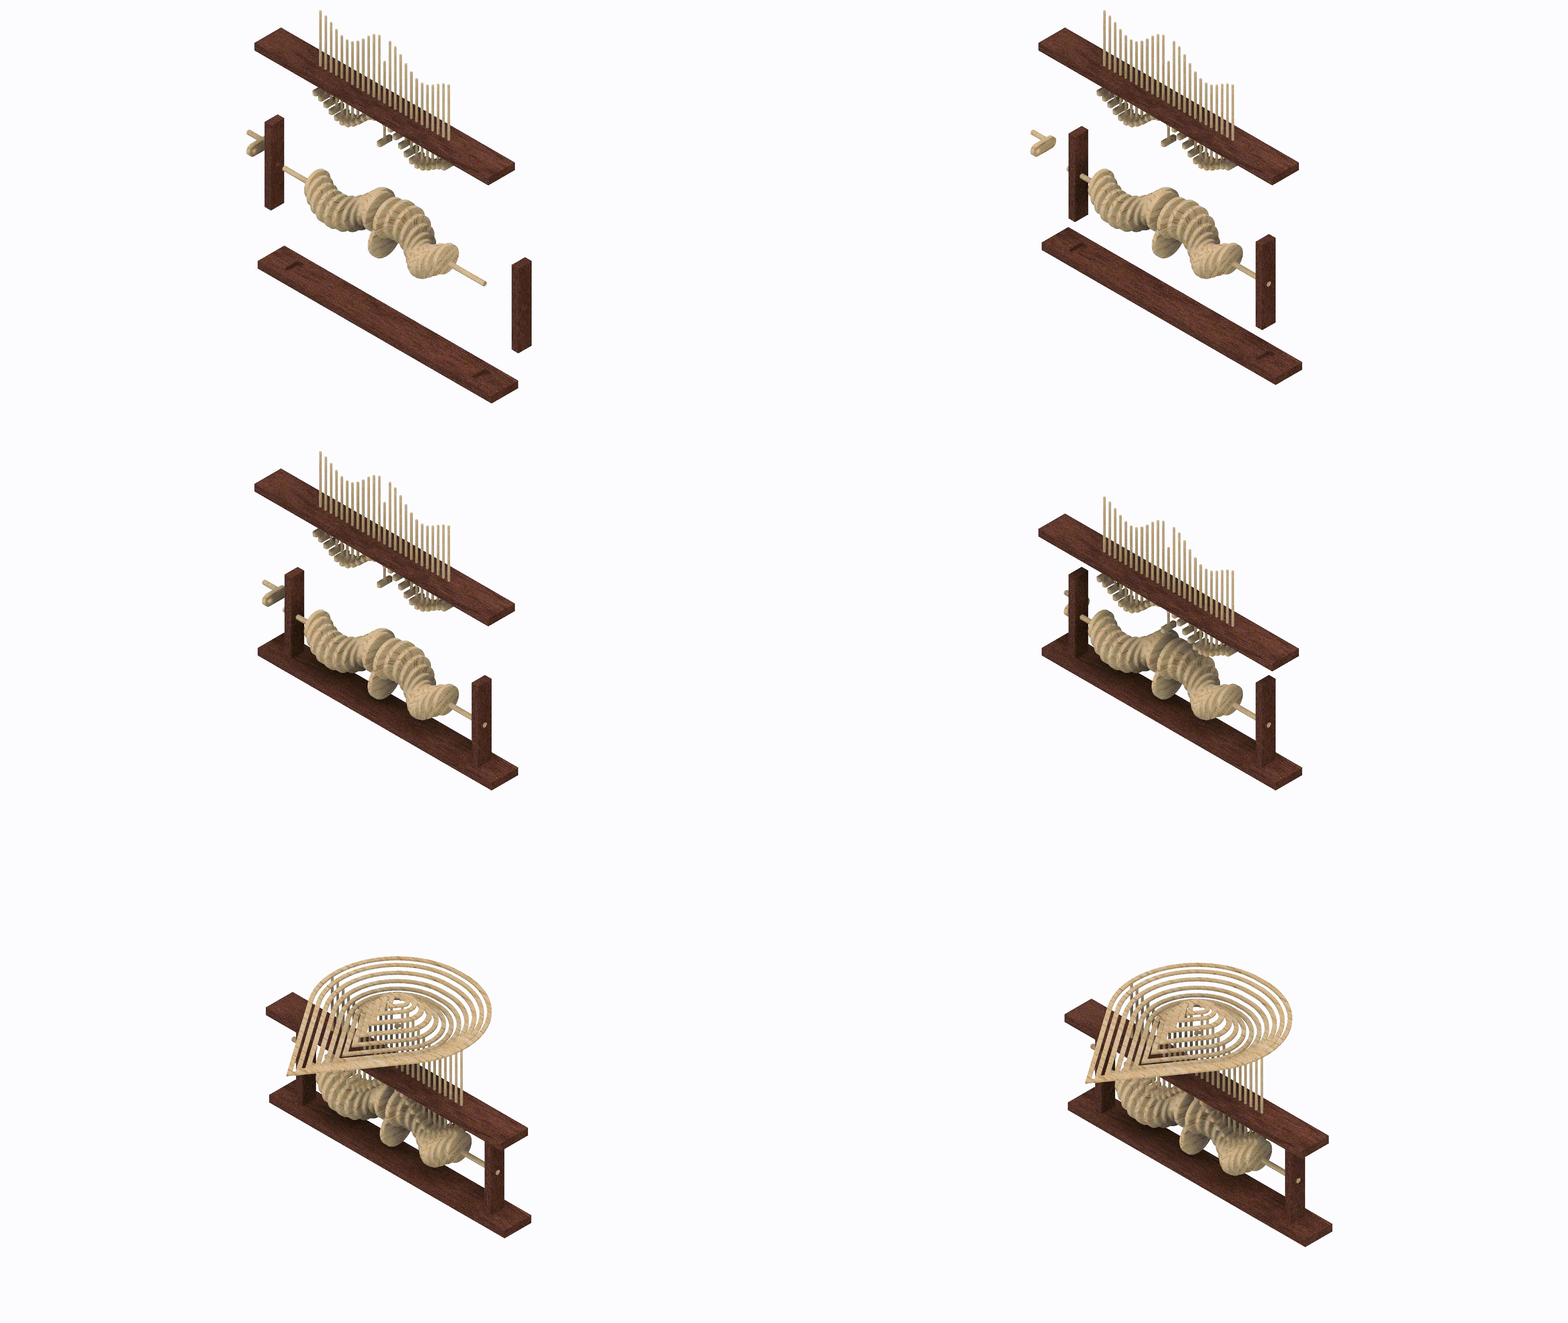.gif)
Watch the video for understanding the steps for remaining assembly. Stick the hearts after completing the assembly. The cam followers are freely suspended via the top base onto each cam. While making a physical model, enough recess should be allowed for free movement of cam follower from the holes of the top base.
Acknowledgements
The following video was helpful in getting the basic dimensions, though some were changed.
https://www.youtube.com/watch?v=XYdF-B0r_V0
Points to Mention
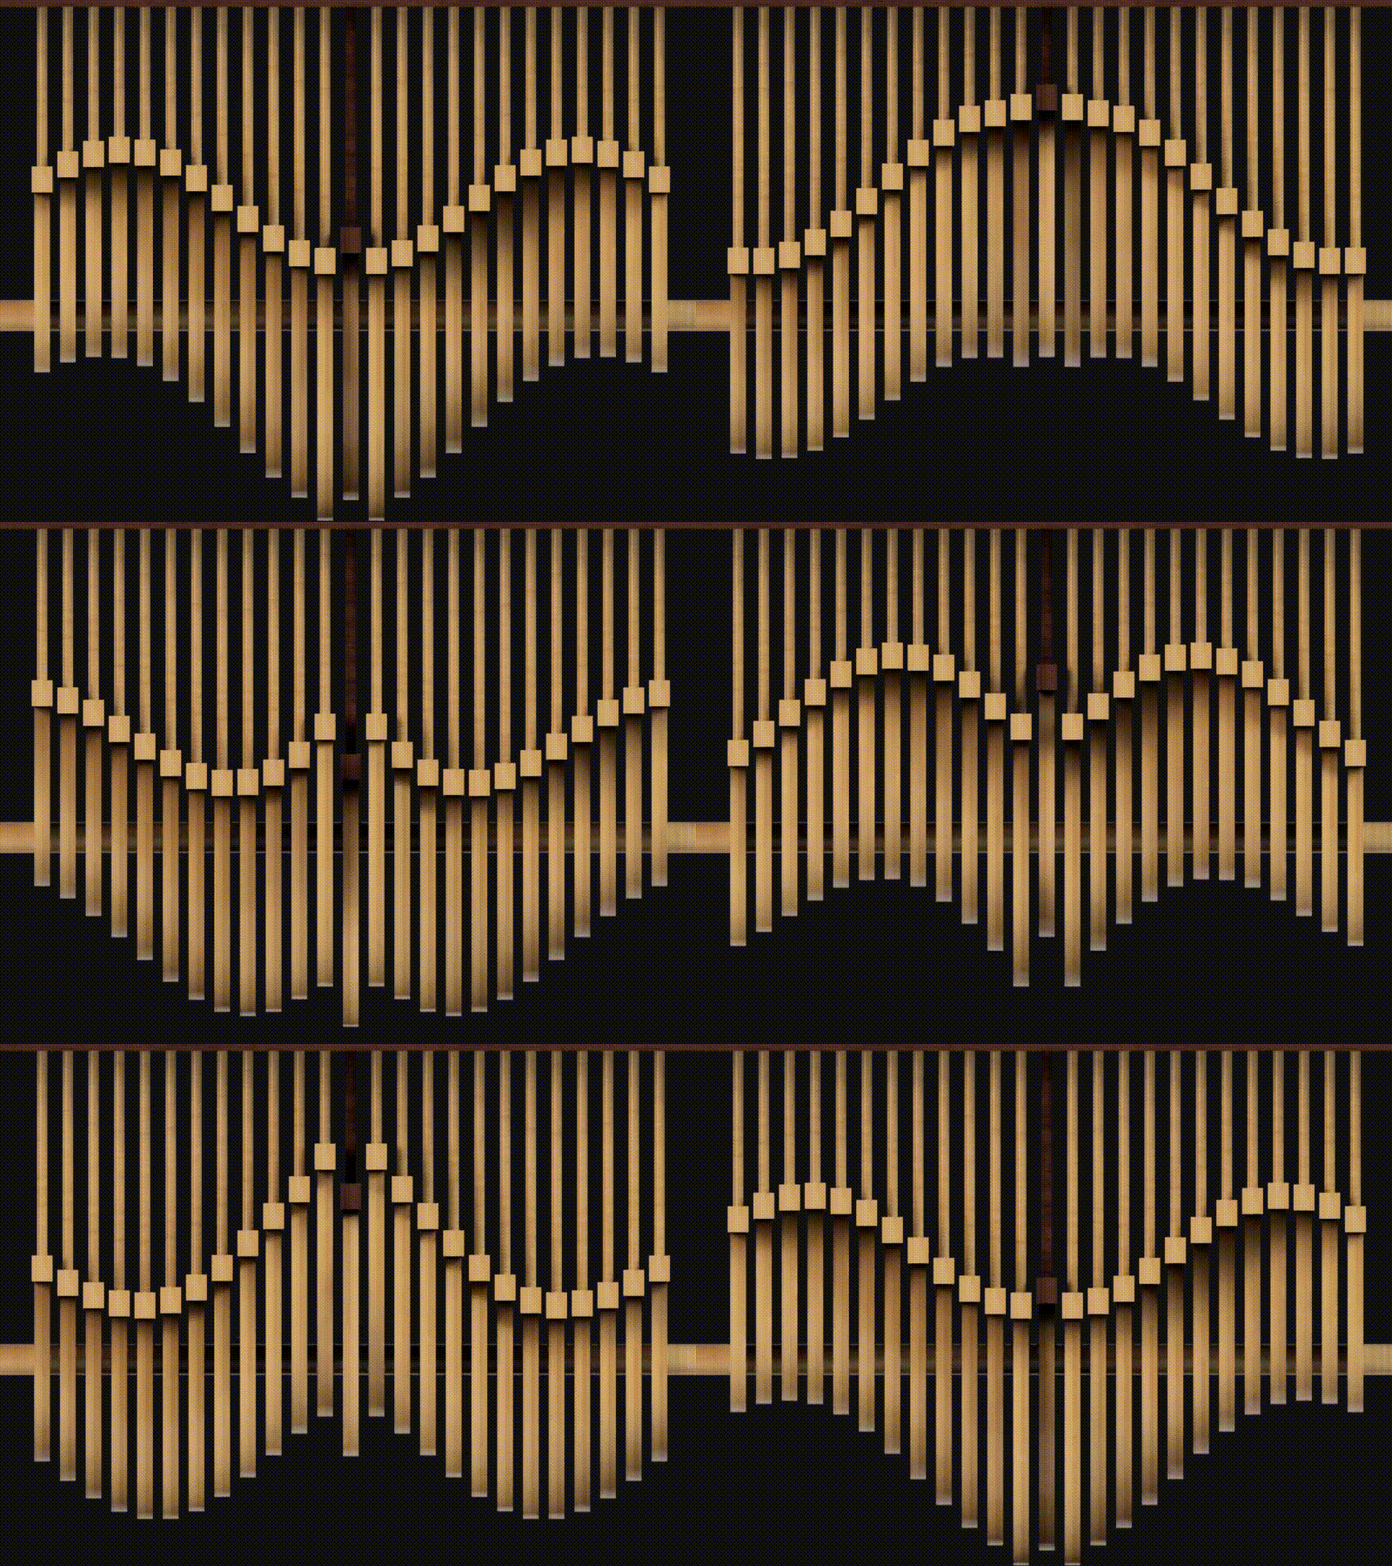
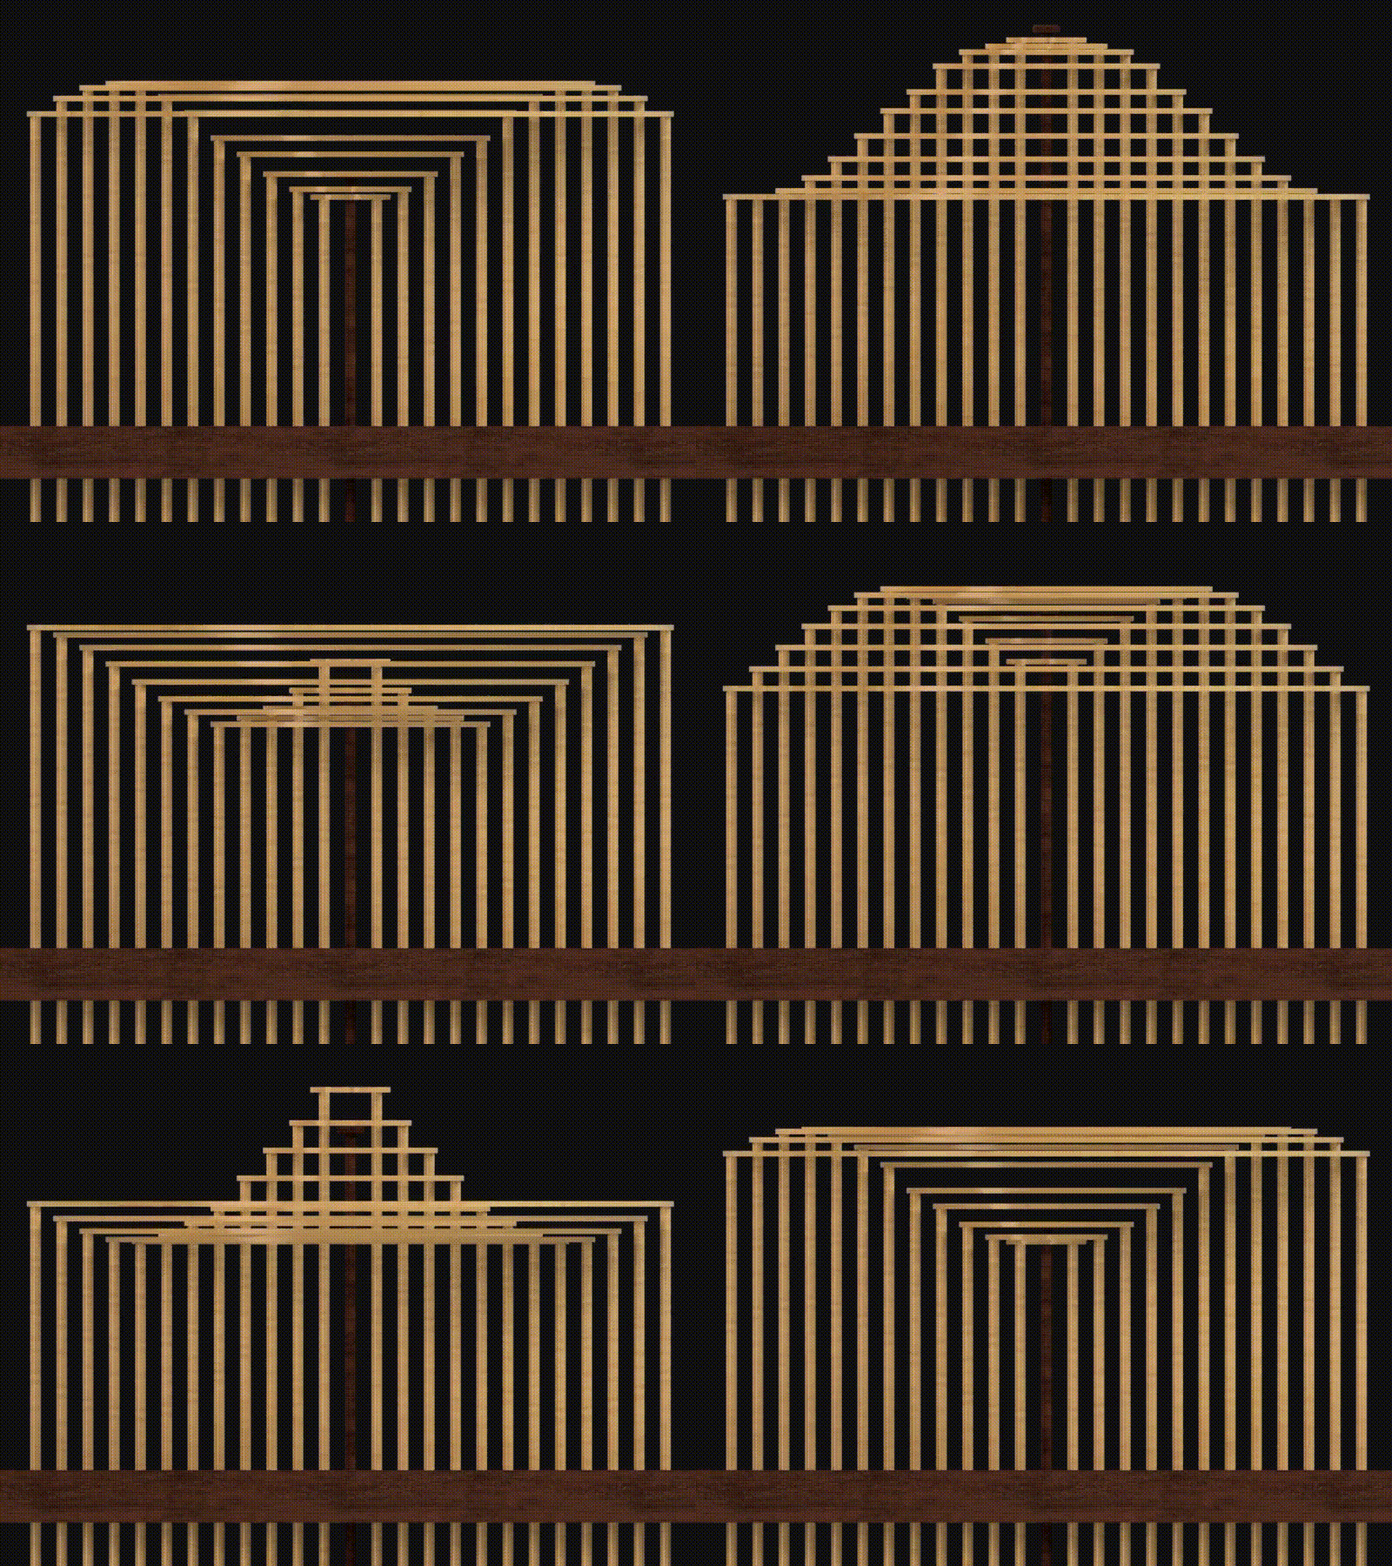
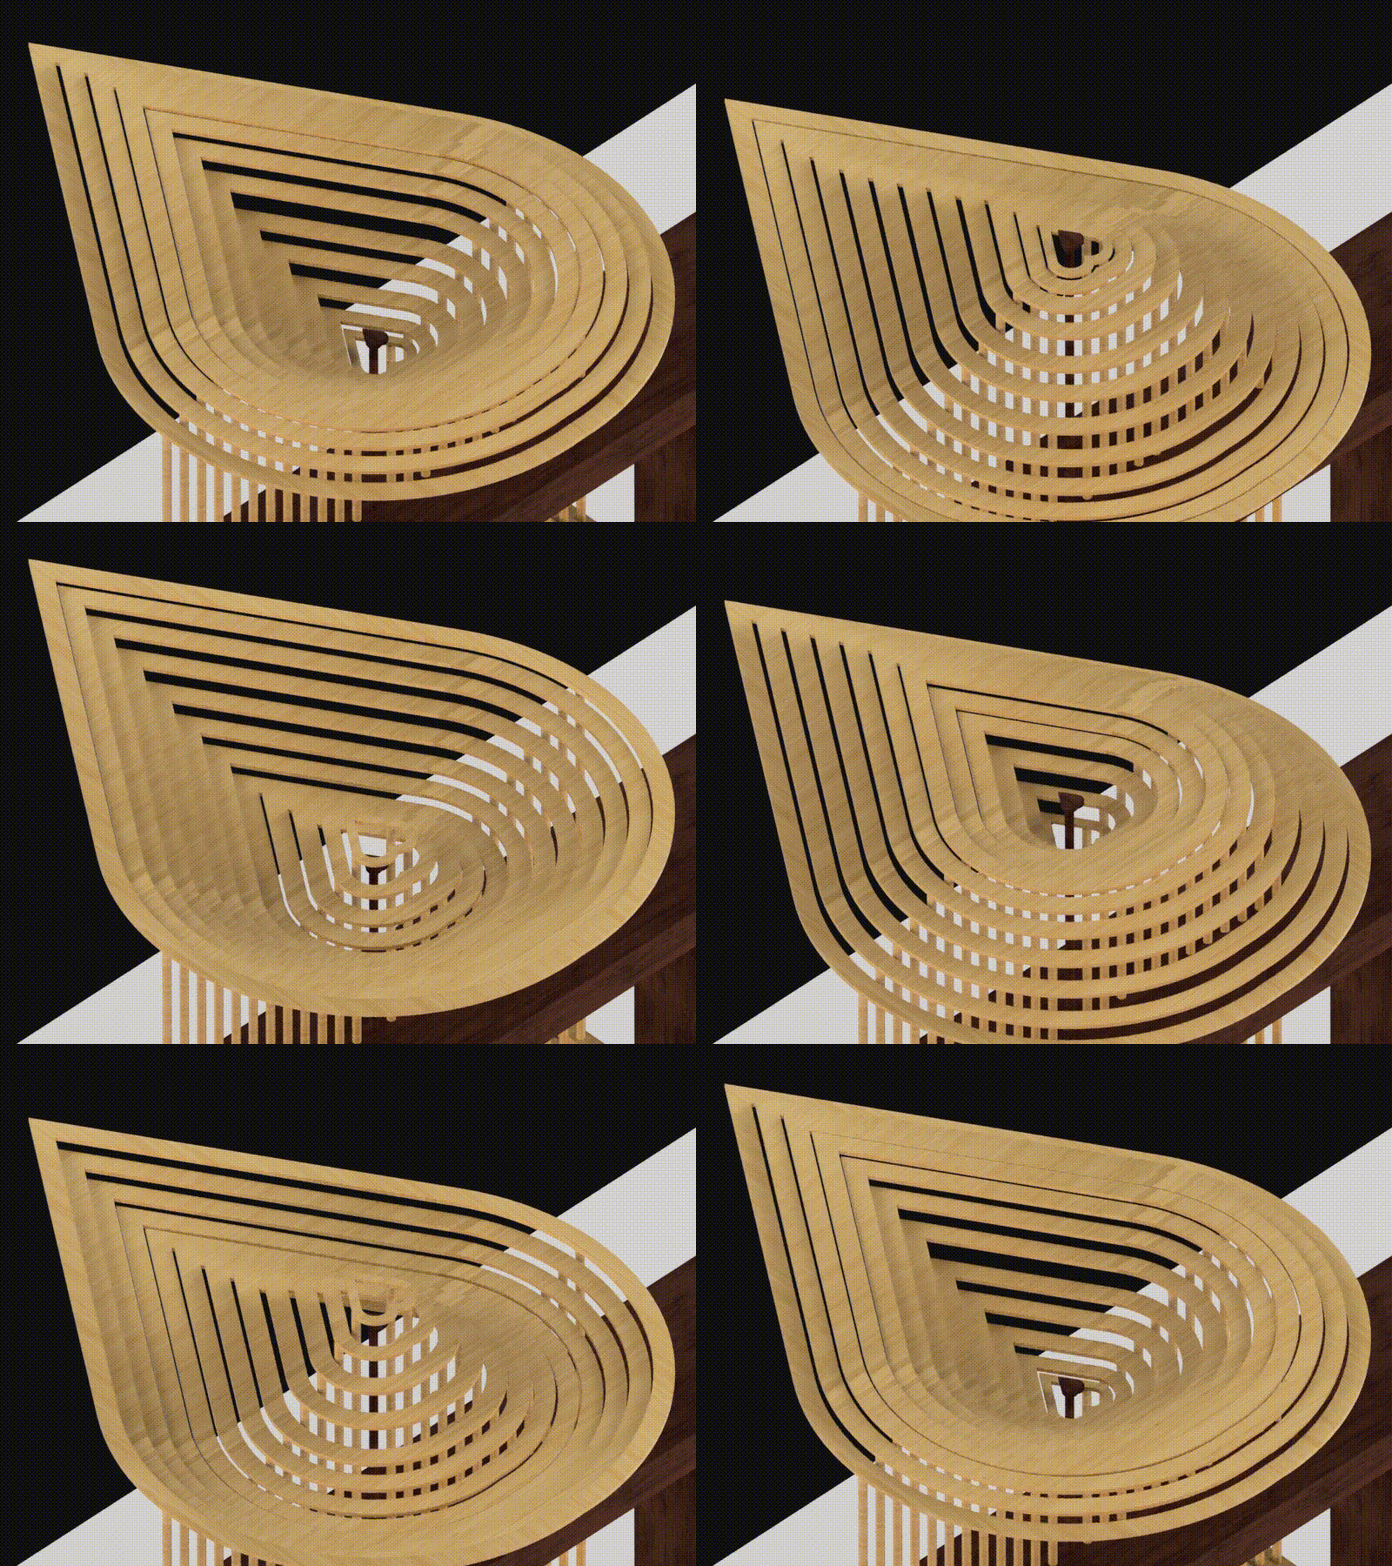
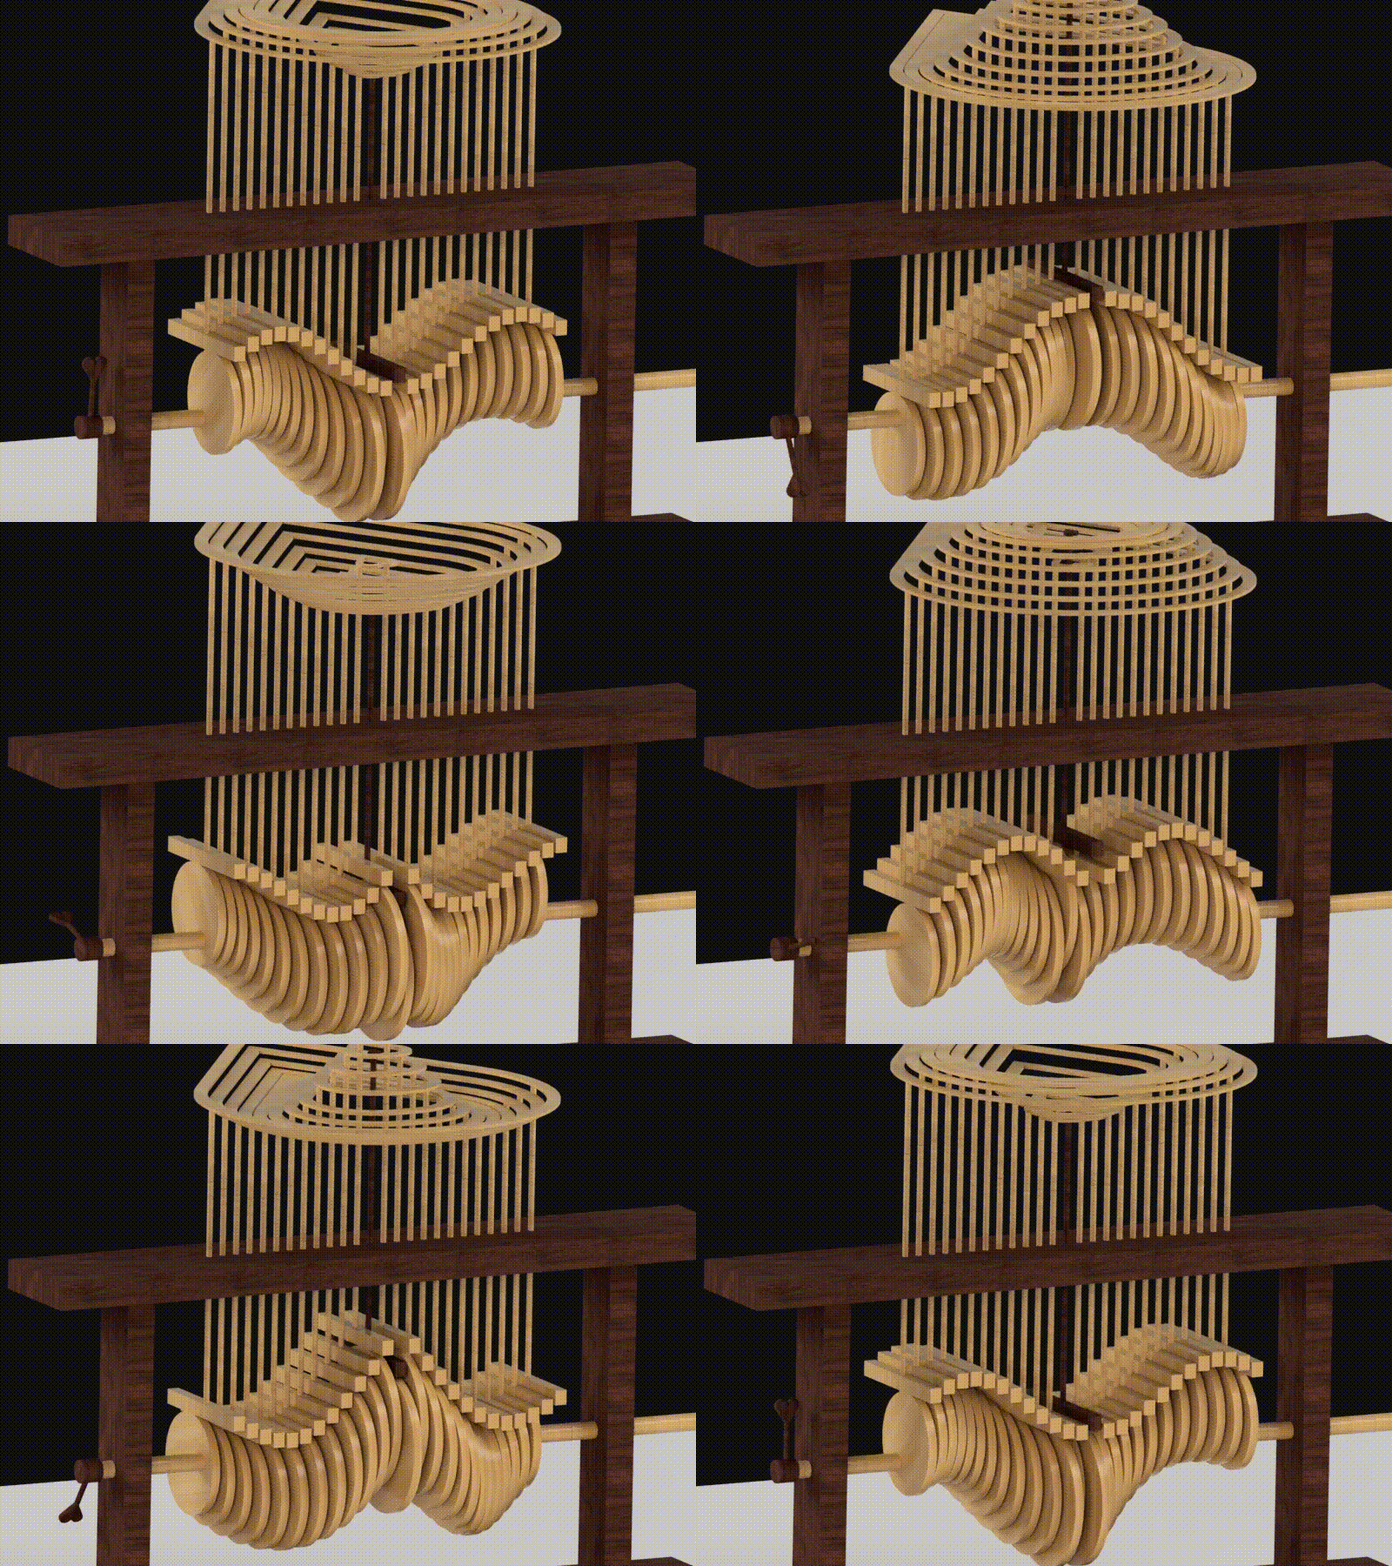
The above animation has been created in Fusion 360 using a different approach for design. I have not constructed the physical model of it. But, I am sure it will look good and pass the message of love.