A Complete Beginner's Guide to Raw Files and Raw Processing
by blinkyblinky in Circuits > Cameras
161109 Views, 201 Favorites, 0 Comments
A Complete Beginner's Guide to Raw Files and Raw Processing
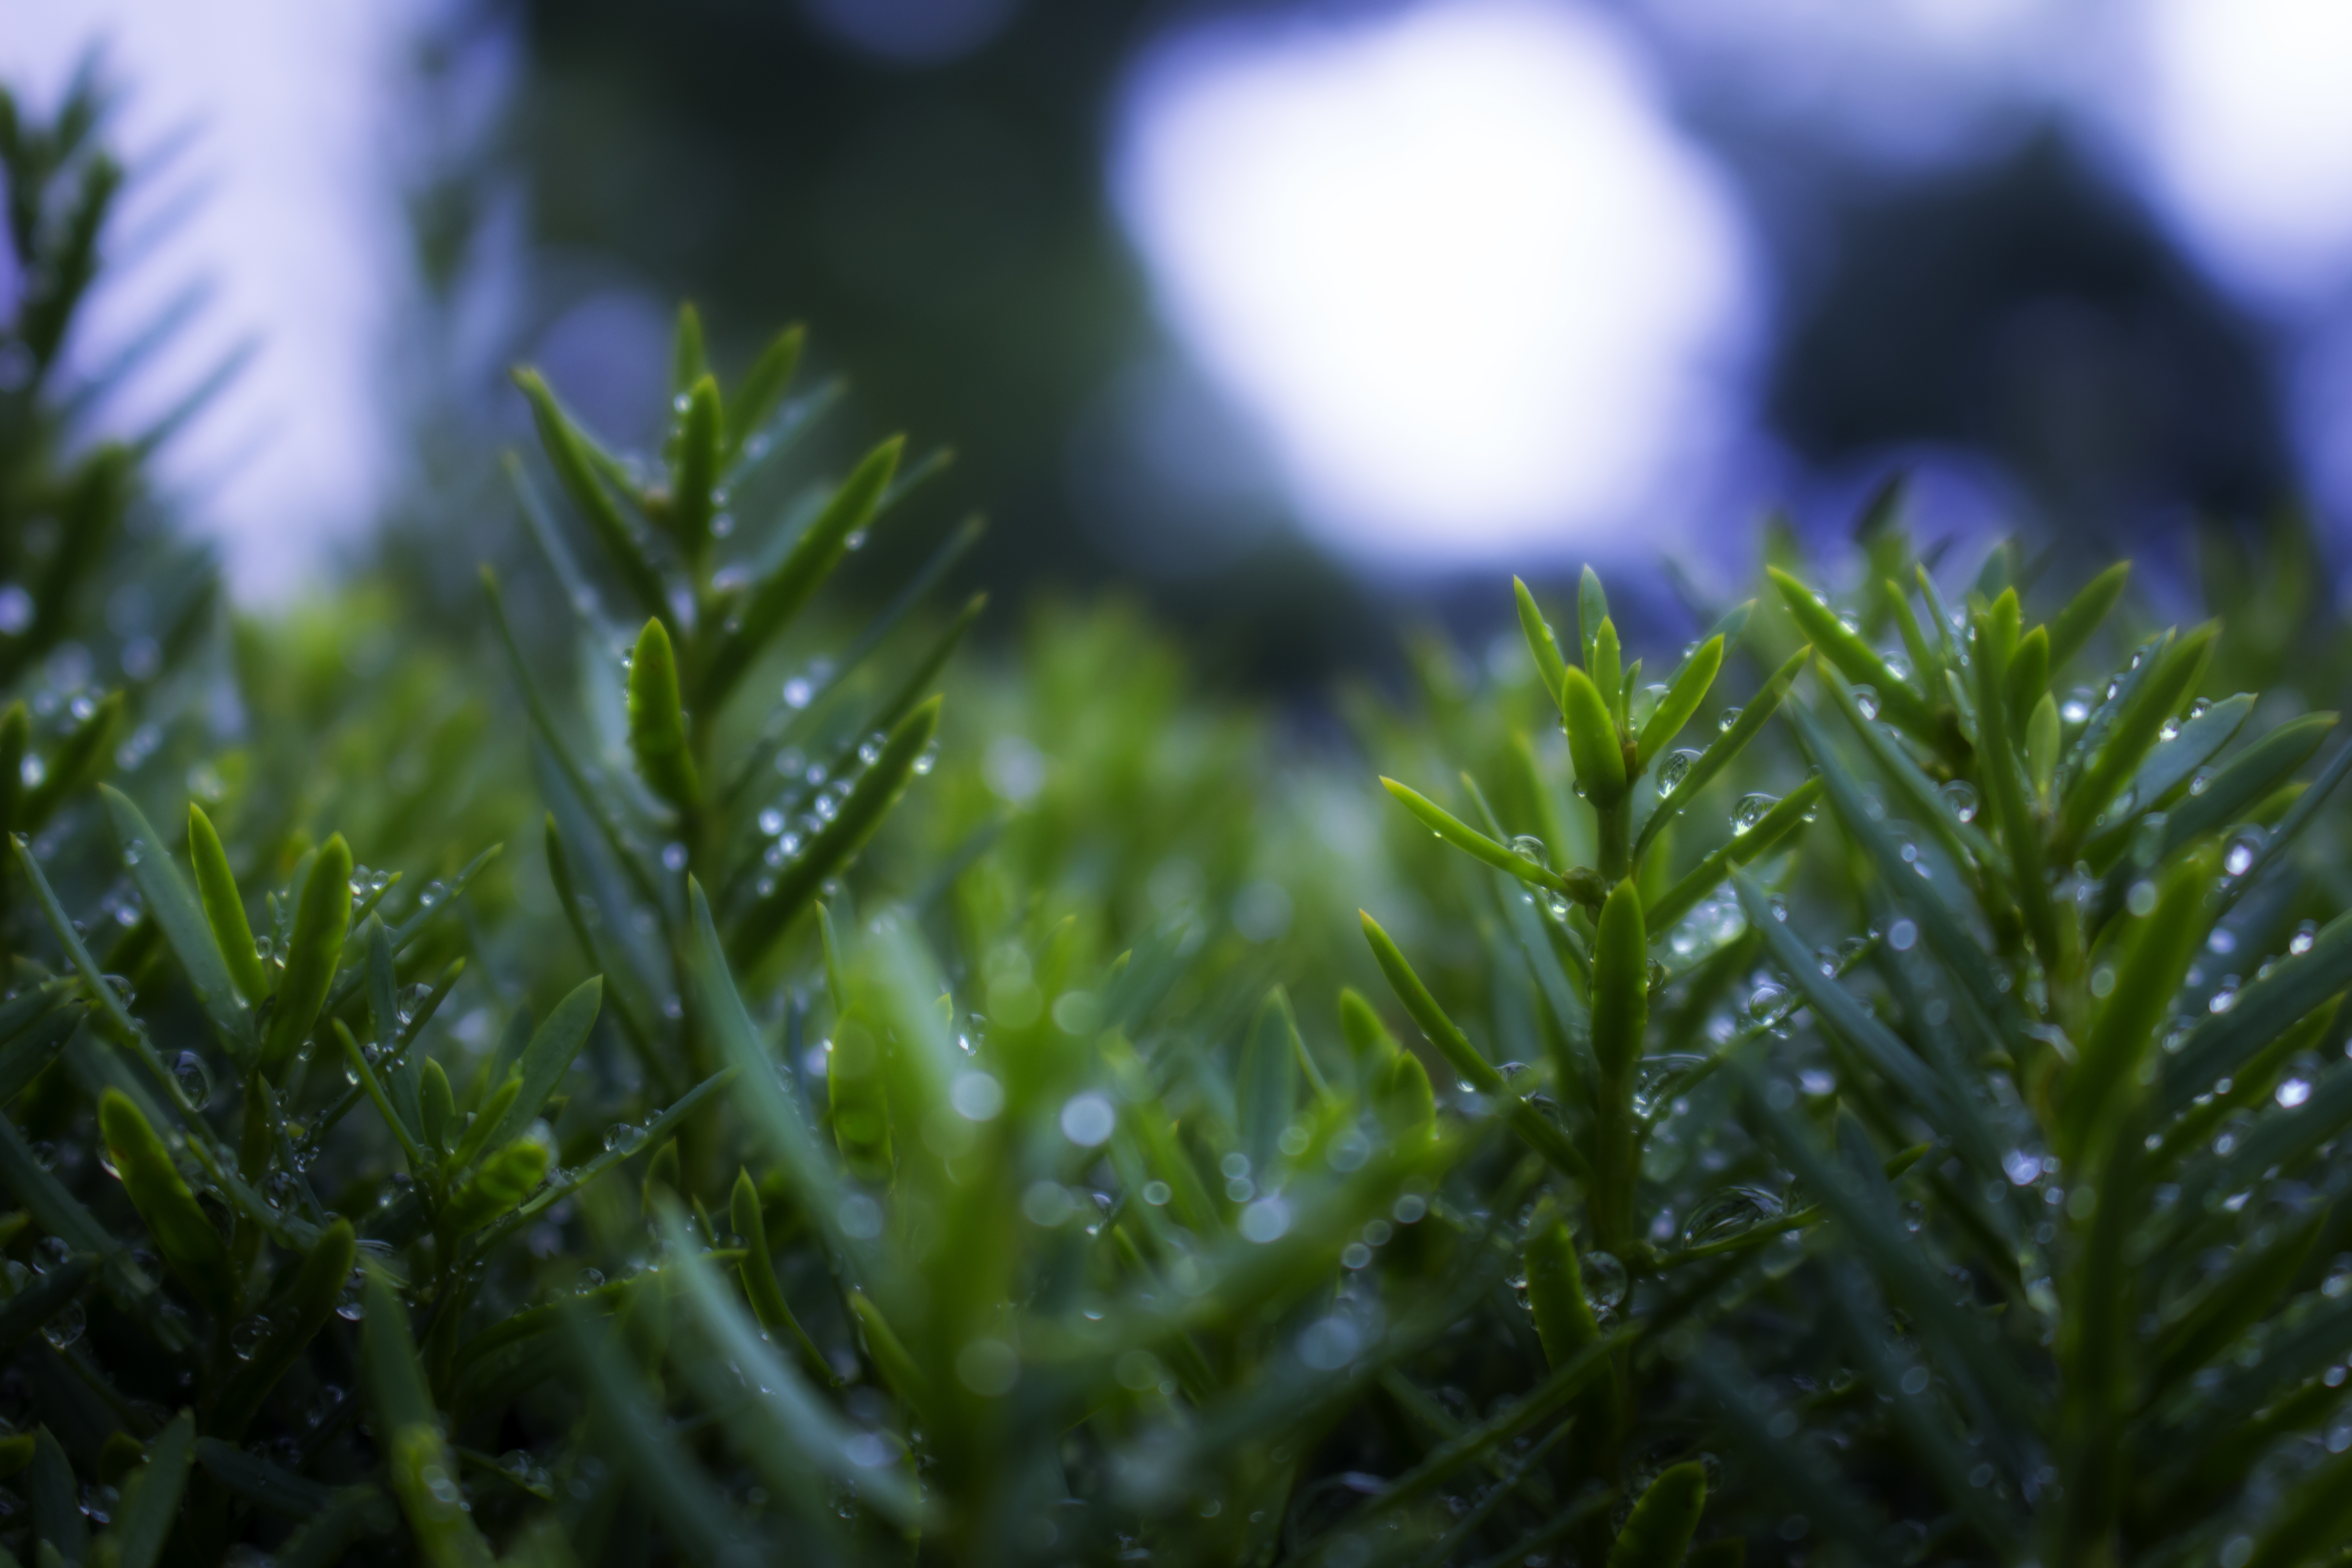

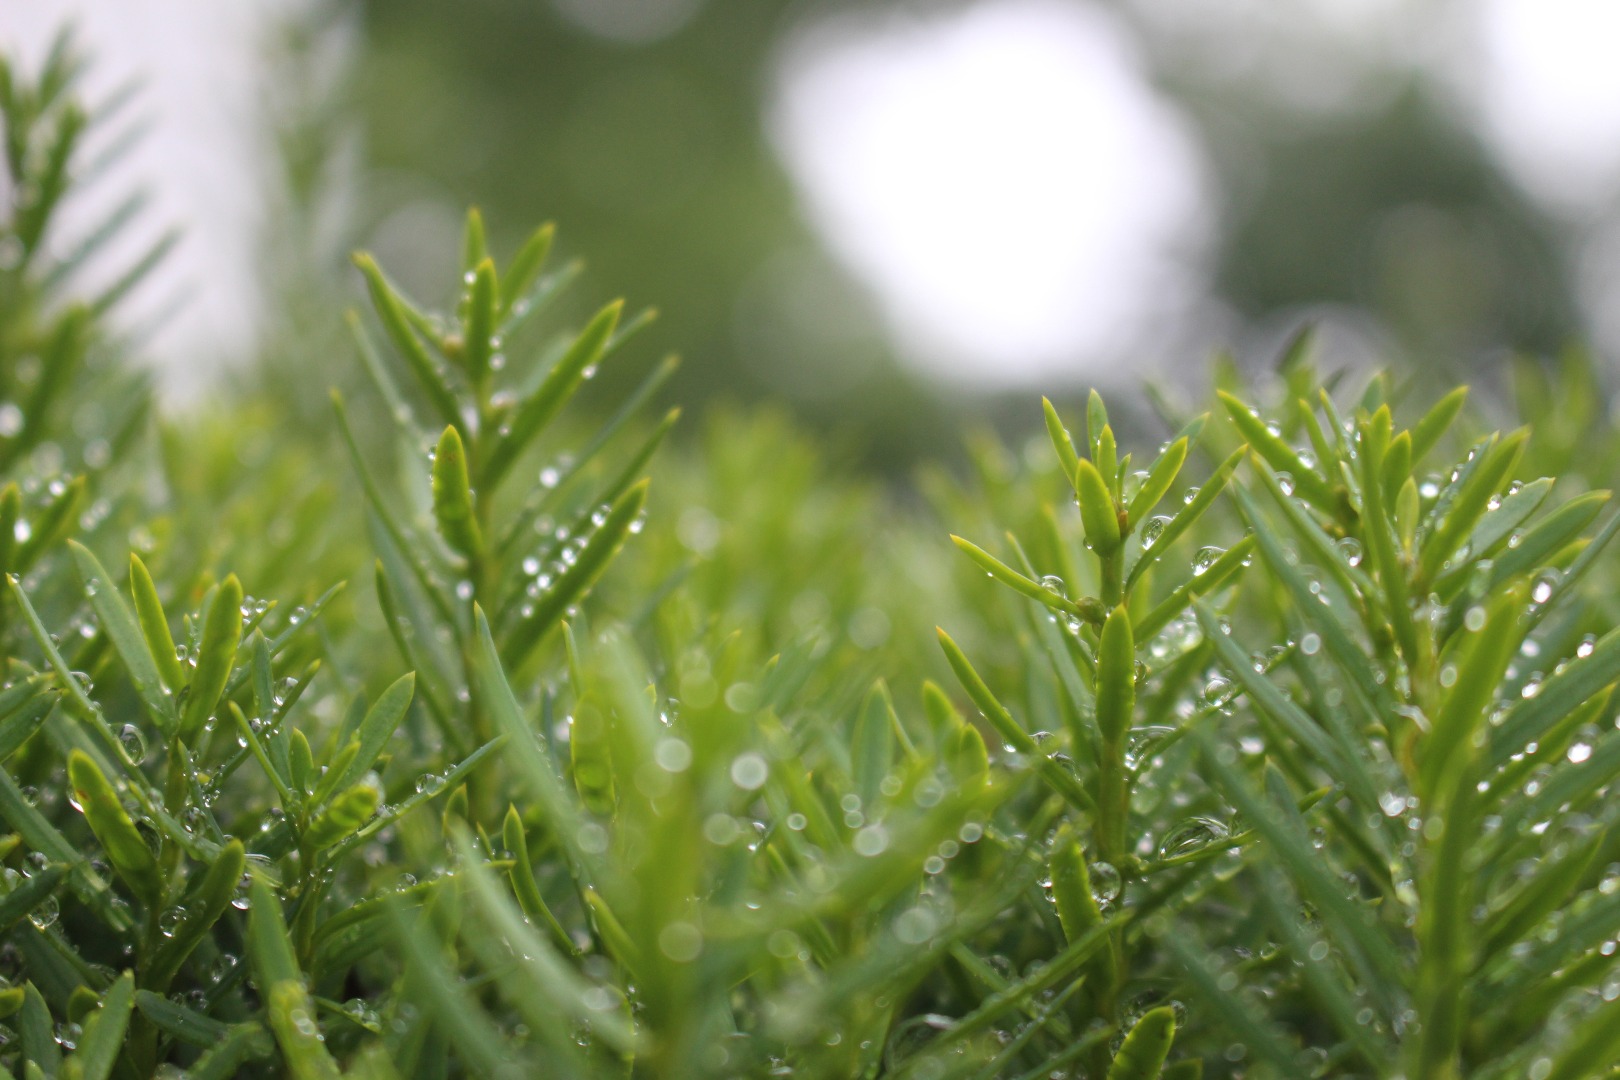
One of the first things I learned about in photography was about a file type known as a Raw file. Often times when someone begins in photography, he or she doesn't realize the potential of Raw files. At first I didn't see the use for raw files, they seemed to offer nothing that I truly needed that I couldn't get with a jpeg. Also, my raw files were 2-3 times larger than my standard jpegs; my jpegs ranged anywhere from 5-8 MB while raw files ranged anywhere from 18-22 MB. However, I soon learned that I was quite mistaken: raw files offered much more than jpegs offered and a whole new world opened up to the extent that often times during a shoot I only shoot in raw.
What's the Big Deal About Raw Files Anyway?
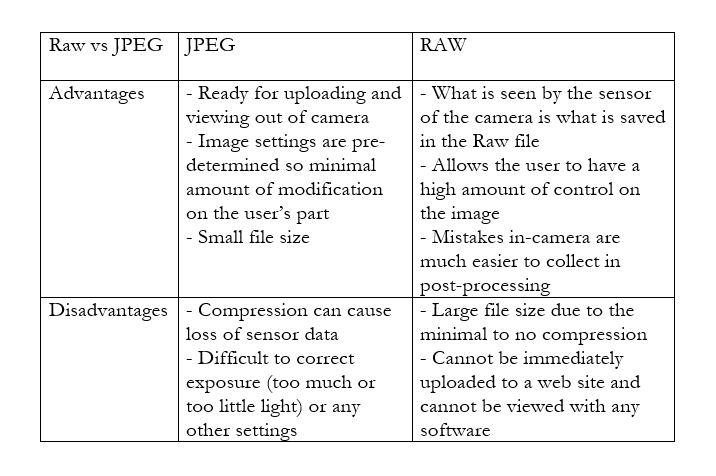
Well, in order to understand the significance about Raw files, we have to look at some definitions:
What is a JPEG file? A JPEG file is a digital image that has been through a lossy compression. Once you frame up your shot on your camera and hit the shutter, the light floods the sensor of the camera in order to record the image onto your memory card. In that time, the camera quickly collects all the light information, analyzes things such as the white balance* and the temperature of the light** and quickly compresses it into a reasonably sized file, most of the time, a JPEG. Even if you've set up the entire shot in full manual mode and set up everything yourself, the JPEG processing still needs to make some decisions as it compresses all the information striking the sensor into one little file.
What is a Raw file? A RAW image file is a file from the image sensor of a camera that contains minimally processed data; in other words, what a raw file captures is exactly what the sensor on the camera sees, no compression applied which is why raw files are so much larger than JPEG files.
Okay, so now that you know what JPEGs and Raw files are, here is why a Raw is superior to a JPEG: The problem with JPEG files is that the decisions that are made during compression sometimes affect the picture in an adverse way; part of the reason why what you see in the viewfinder or screen of the camera isn't always the same as what you see afterward on your computer. With Raw, you get all the information from the camera and have complete control of the settings. If something was too dark in the image, the information would be lost in the JPEG, but in the Raw file, it could be recovered. That being said, Raw files have the disadvantage of not being able to be ready straight out of camera; they need to go through a processing program such as Adobe Camera Raw or Adobe Lightroom.
*You may or may not have noticed that when examining shots after taking them, the images can come out with an orange, blue, yellow tint even though the fact that to the naked eye the scene looked quite normal. The reason for this strange tint is because different lights have different temperature to them - a different tint or color. White Balance is a corrective setting that can be done in camera that are used in order to get the coloring in the picture as accurate as possible.
**The easiest way to explain light temperature is to think about different types of lightbulbs; if you have ever been to a hardware store and seen the various light bulbs, you may notice that the "white" light they output is different - some are more to a yellow side while others more to a blue side. That is the temperature of the light.
Equipment Needed
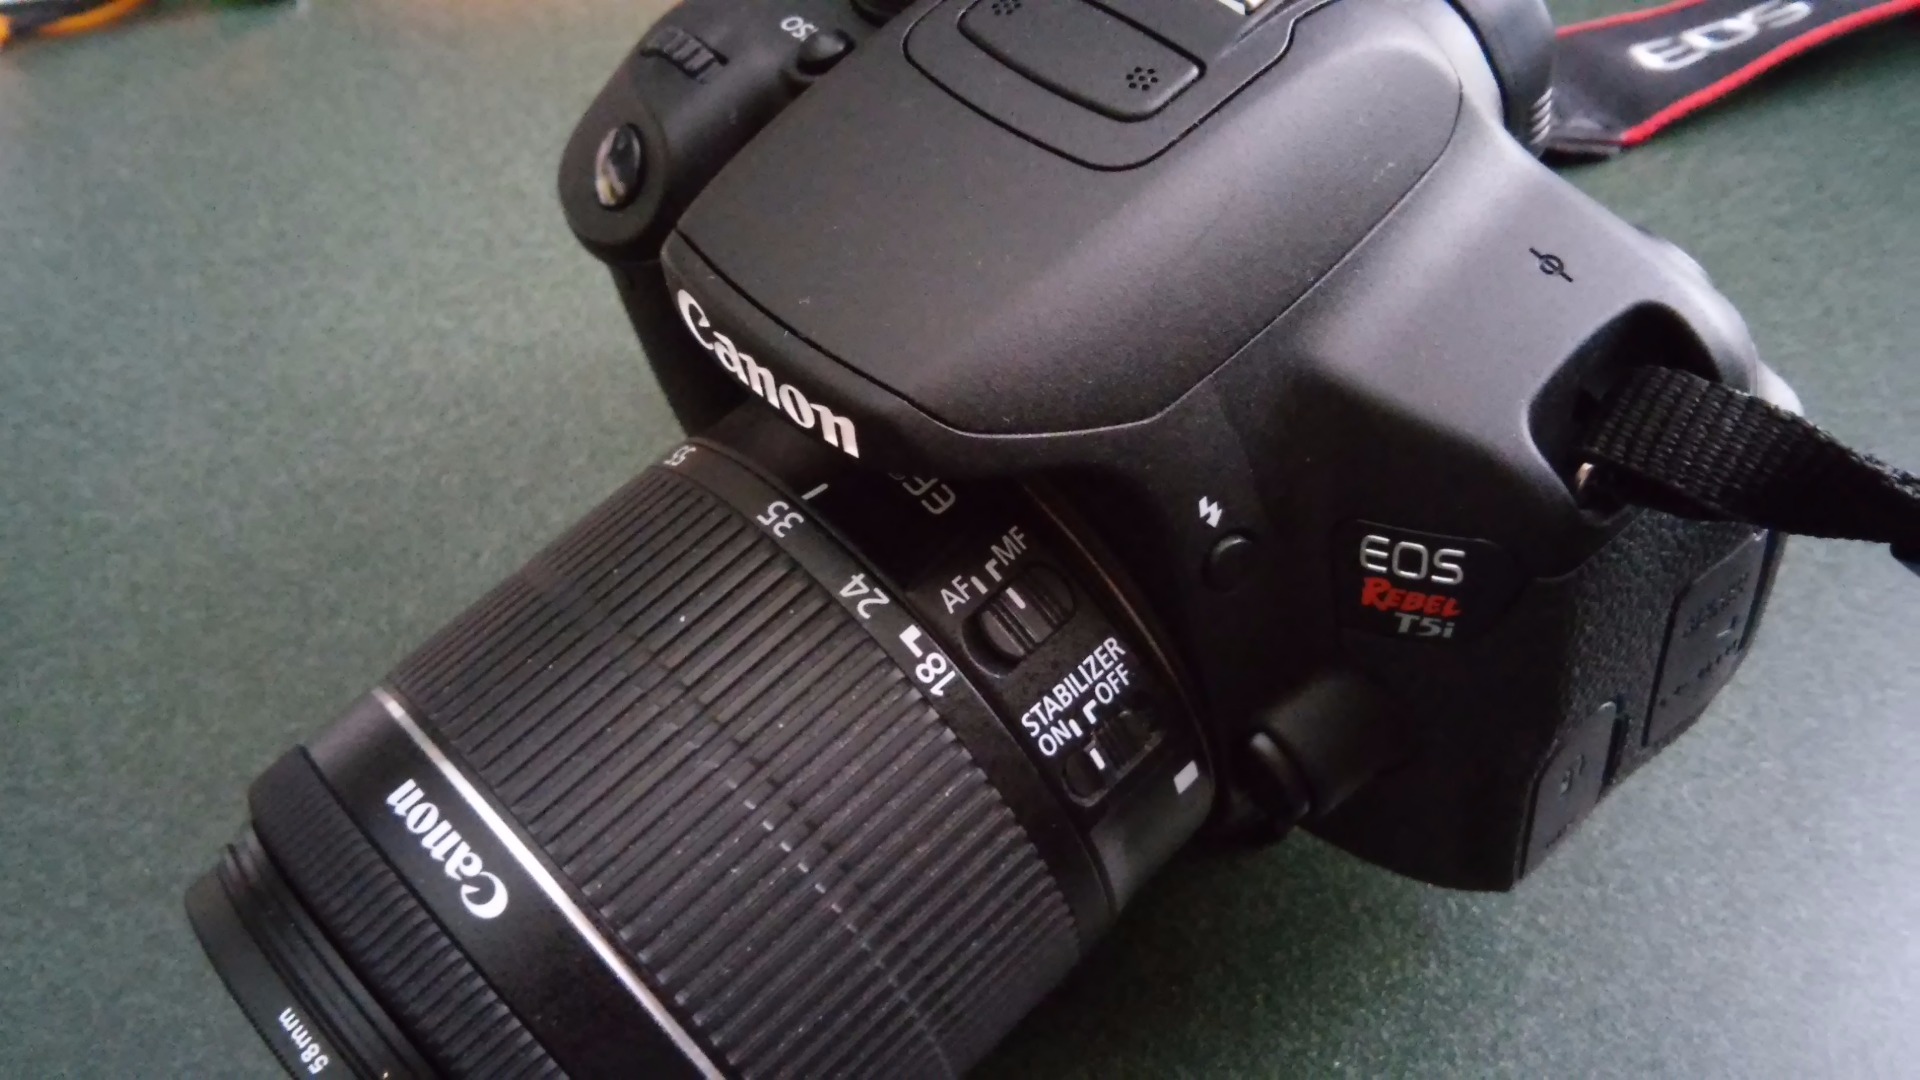
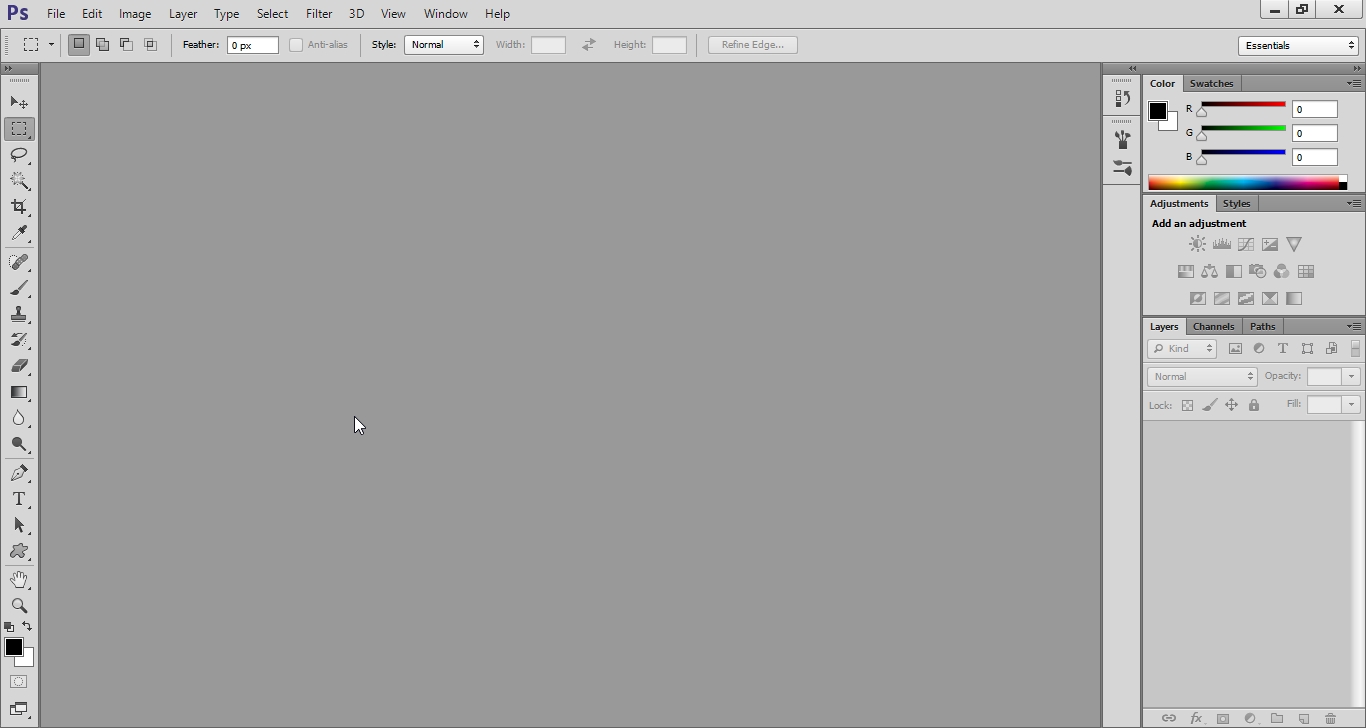
Okay, so now you know what a Raw file is and its advantages, so how do you go about shooting and processing a Raw file?
Well, to begin with you need some equipment:
A digital camera - there are tons of cameras out there that shoot raw - the Canon Rebel t5i (EOS 700D) is my camera of choice but any other Raw shooting camera should be fine just as long as it is compatible with your Raw software
Adobe Photoshop (Adobe Camera Raw is included) or Adobe Lightroom (can edit Raw by default) - You can also use any software that supports Raw; for the purposes of this guide, I will be using Adobe Camera Raw in Photoshop CS6
Set Up Your Camera to Take Raw
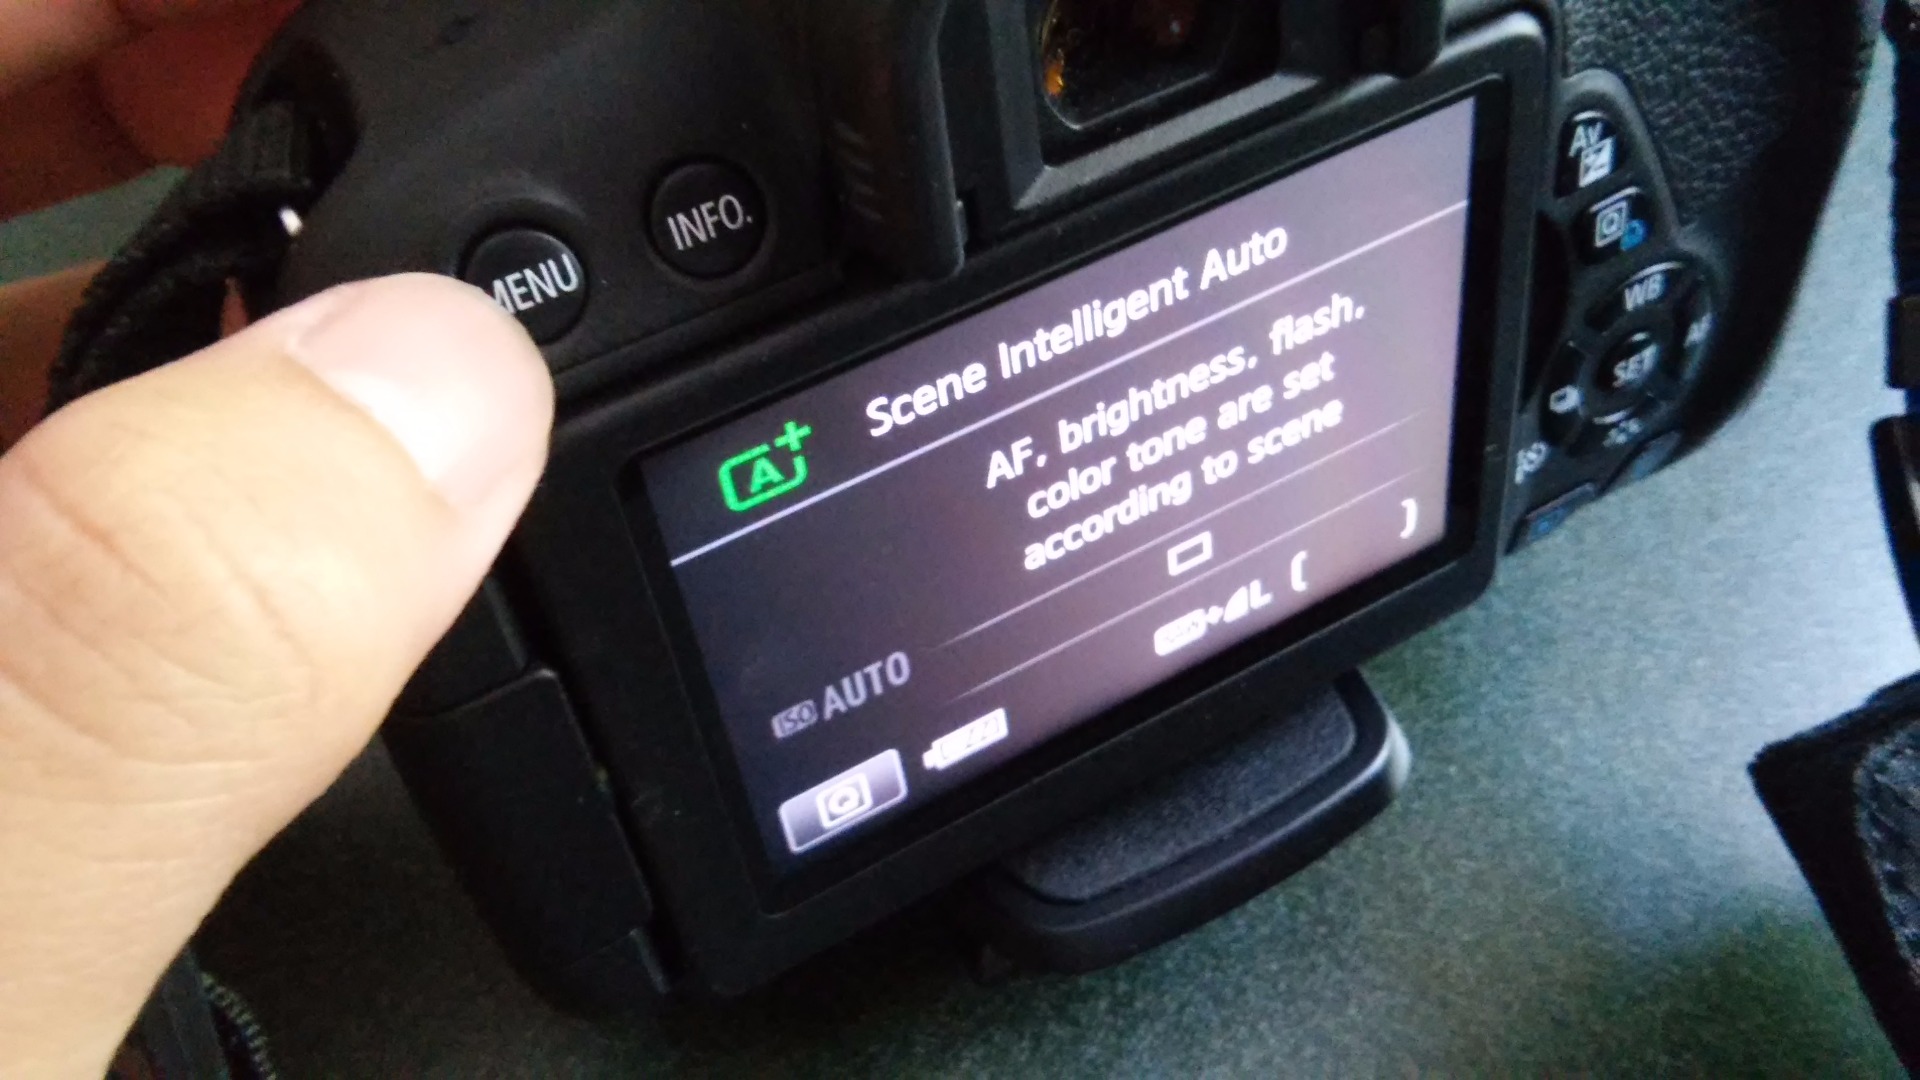
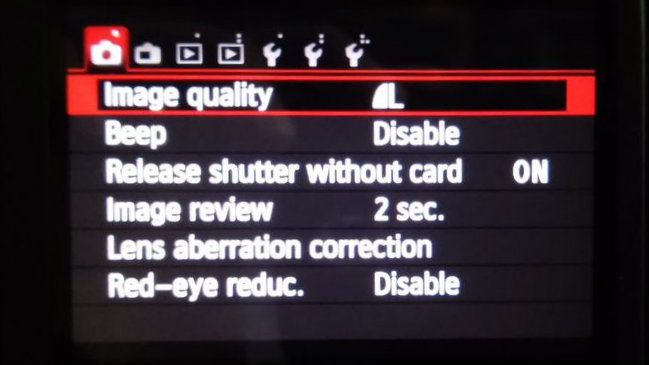
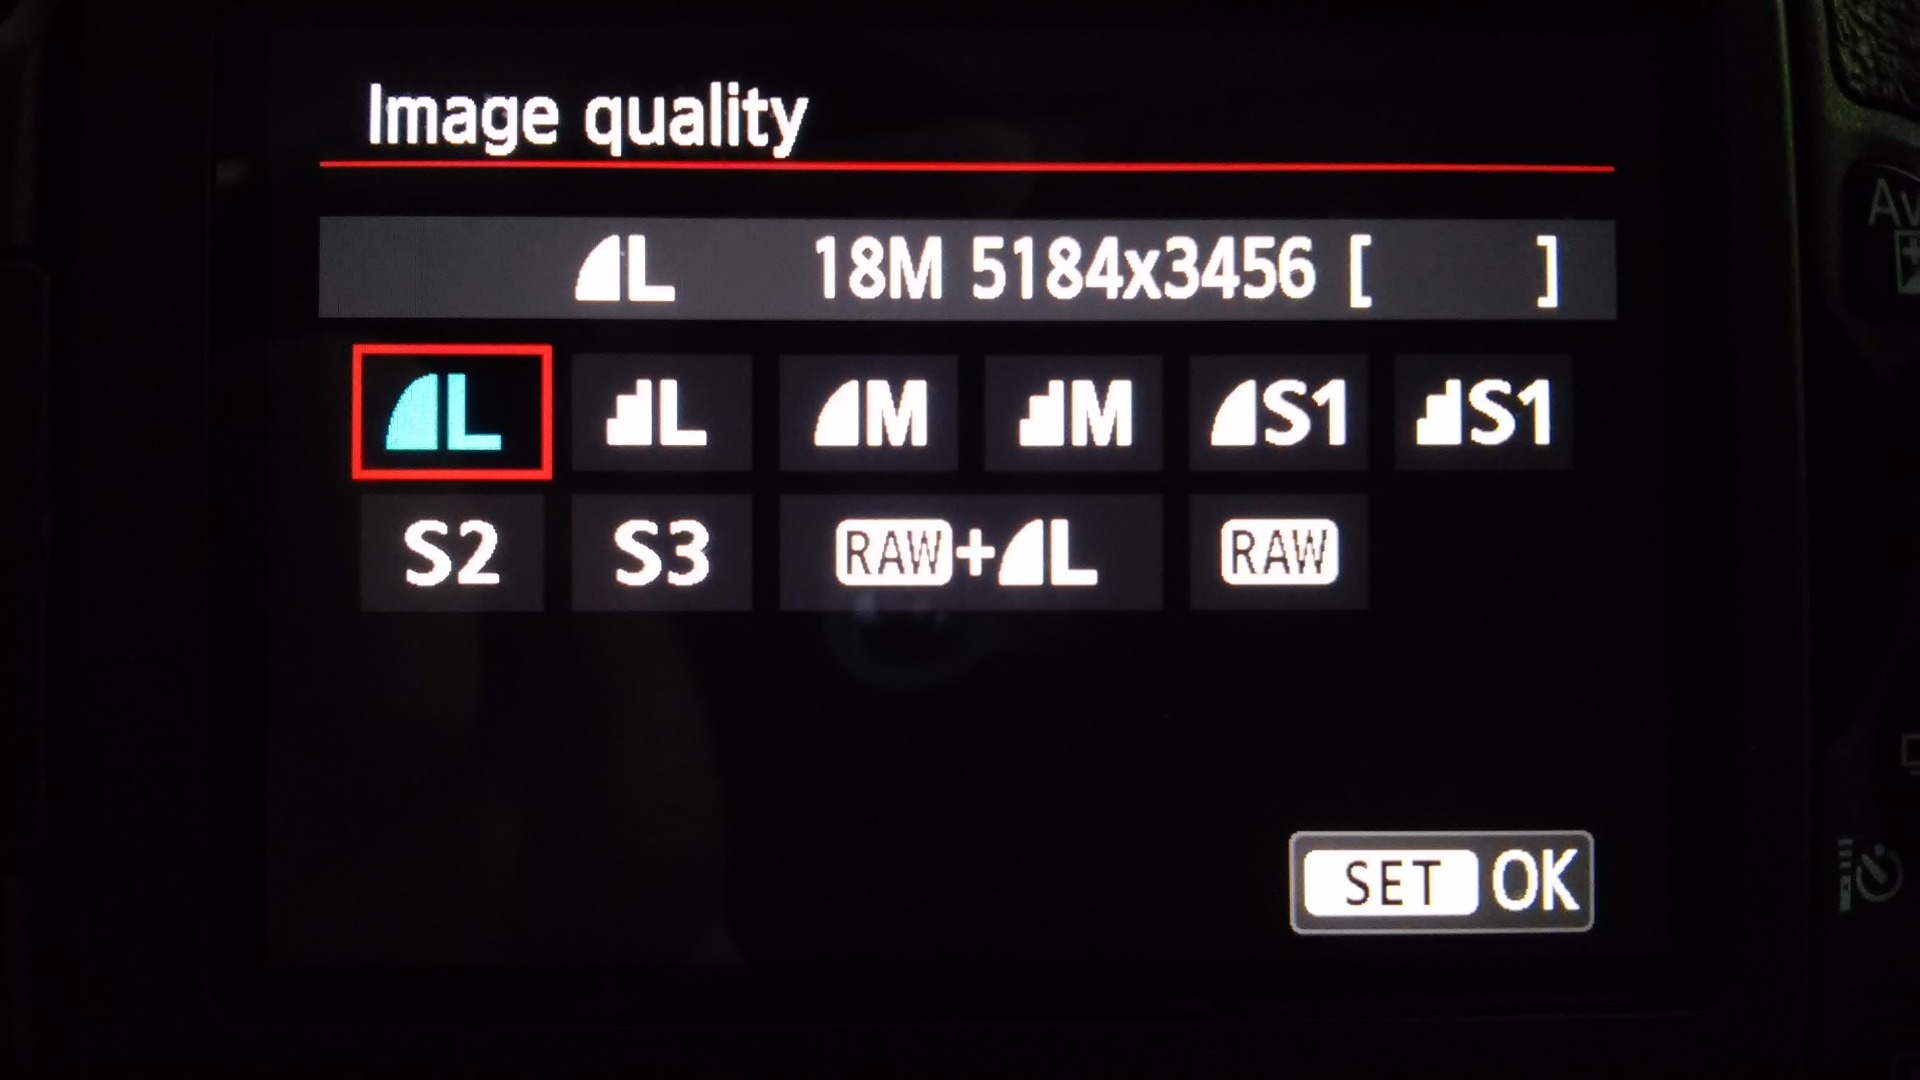
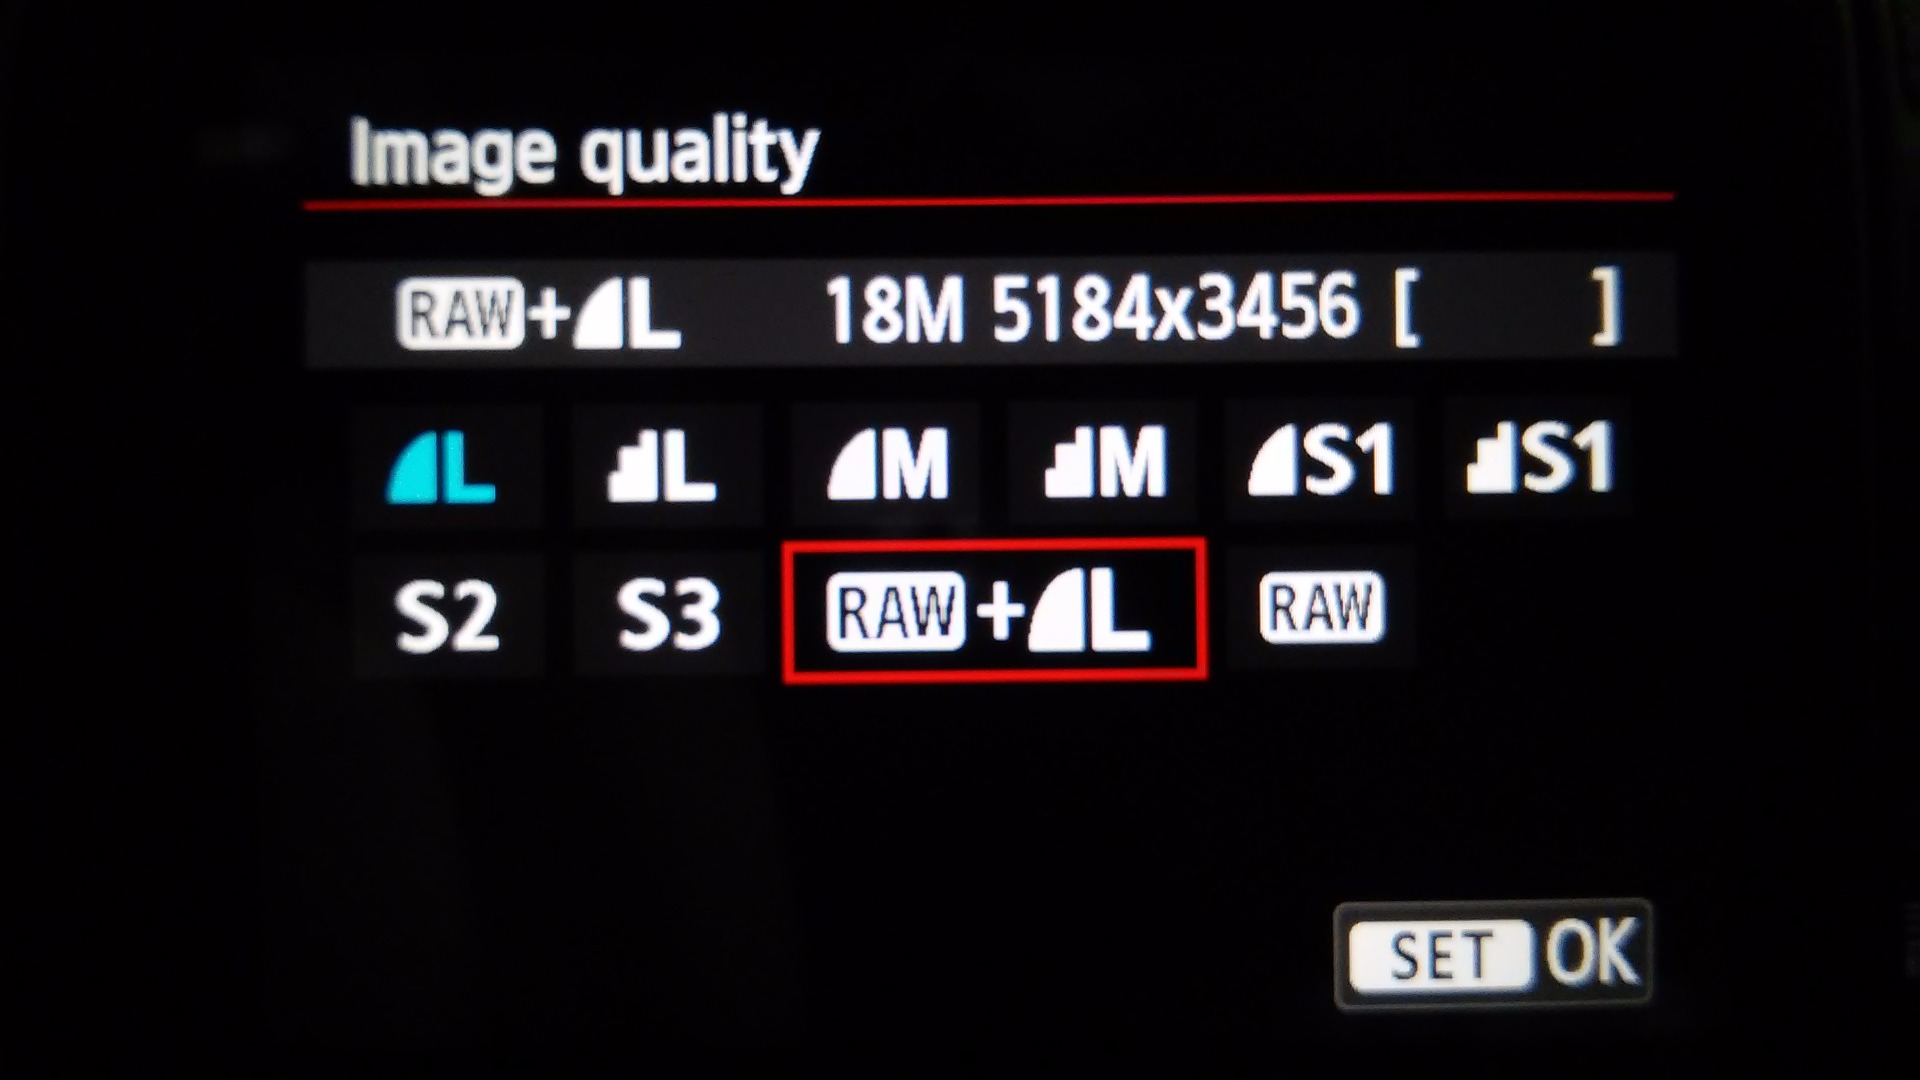
I will be talking about how to do this on a Canon since that is what I own: Find the Menu button, navigate to the Image Quality and click on the option that says RAW or RAW + L (Raw + JPEG)
Now, you're ready to shoot!
Go Out and Take Pictures!
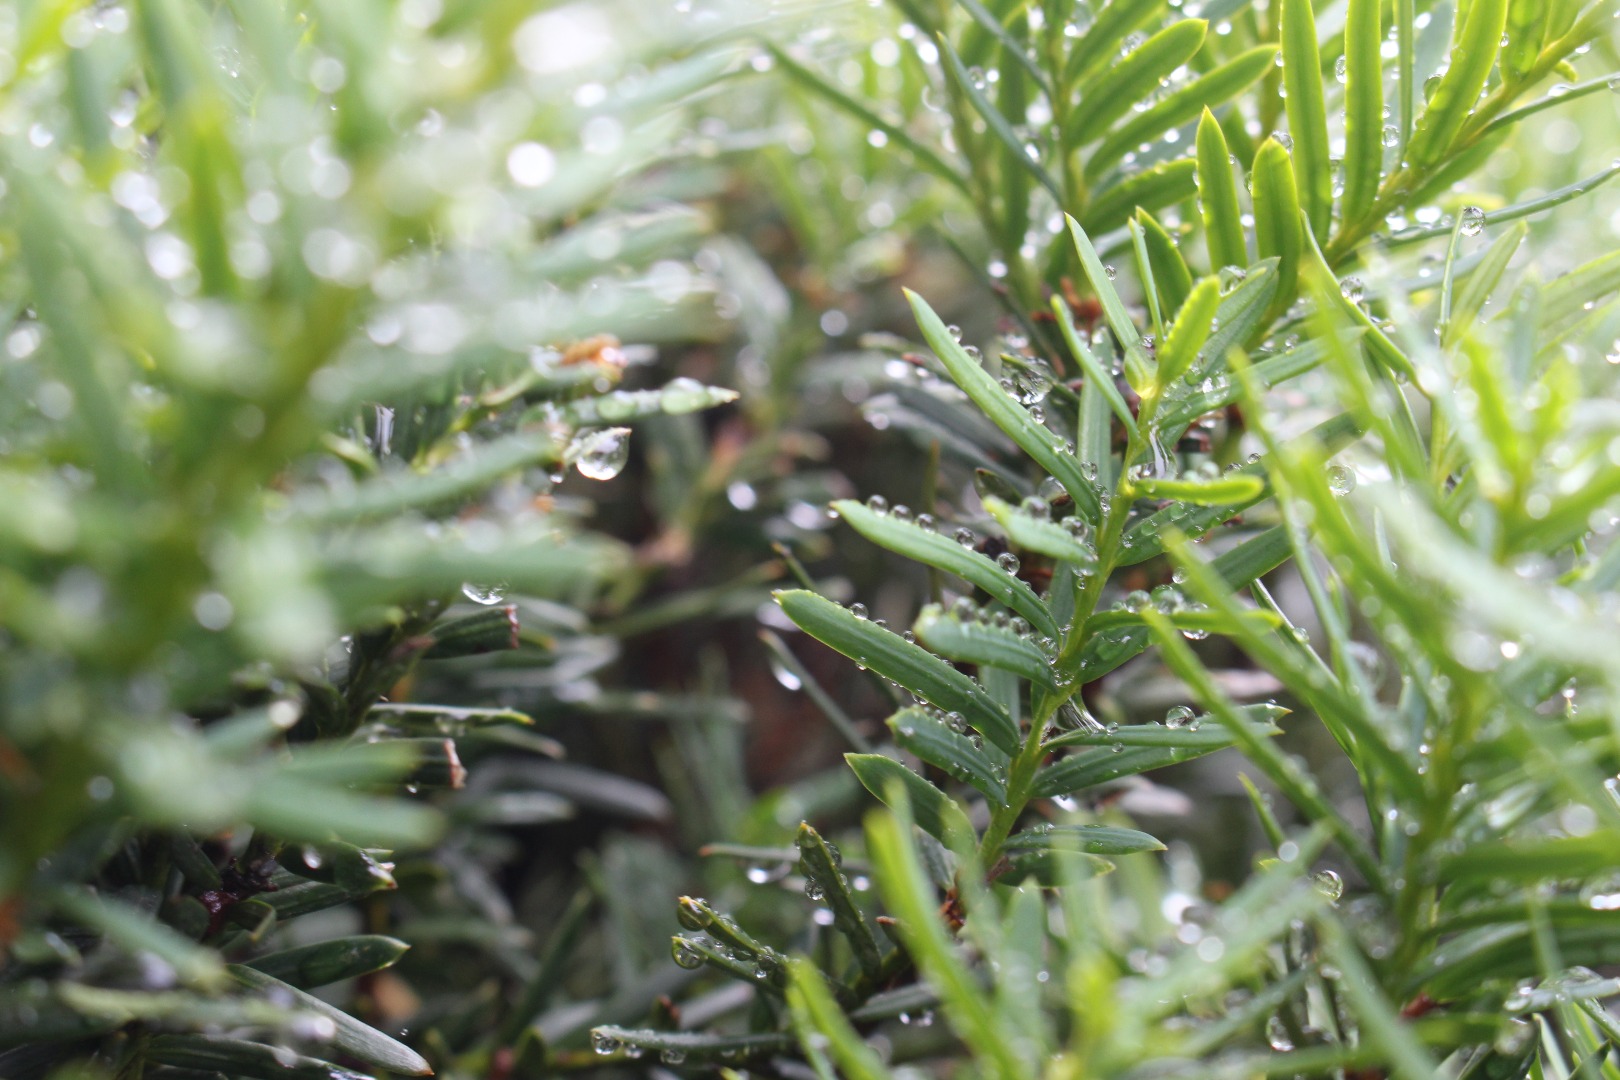
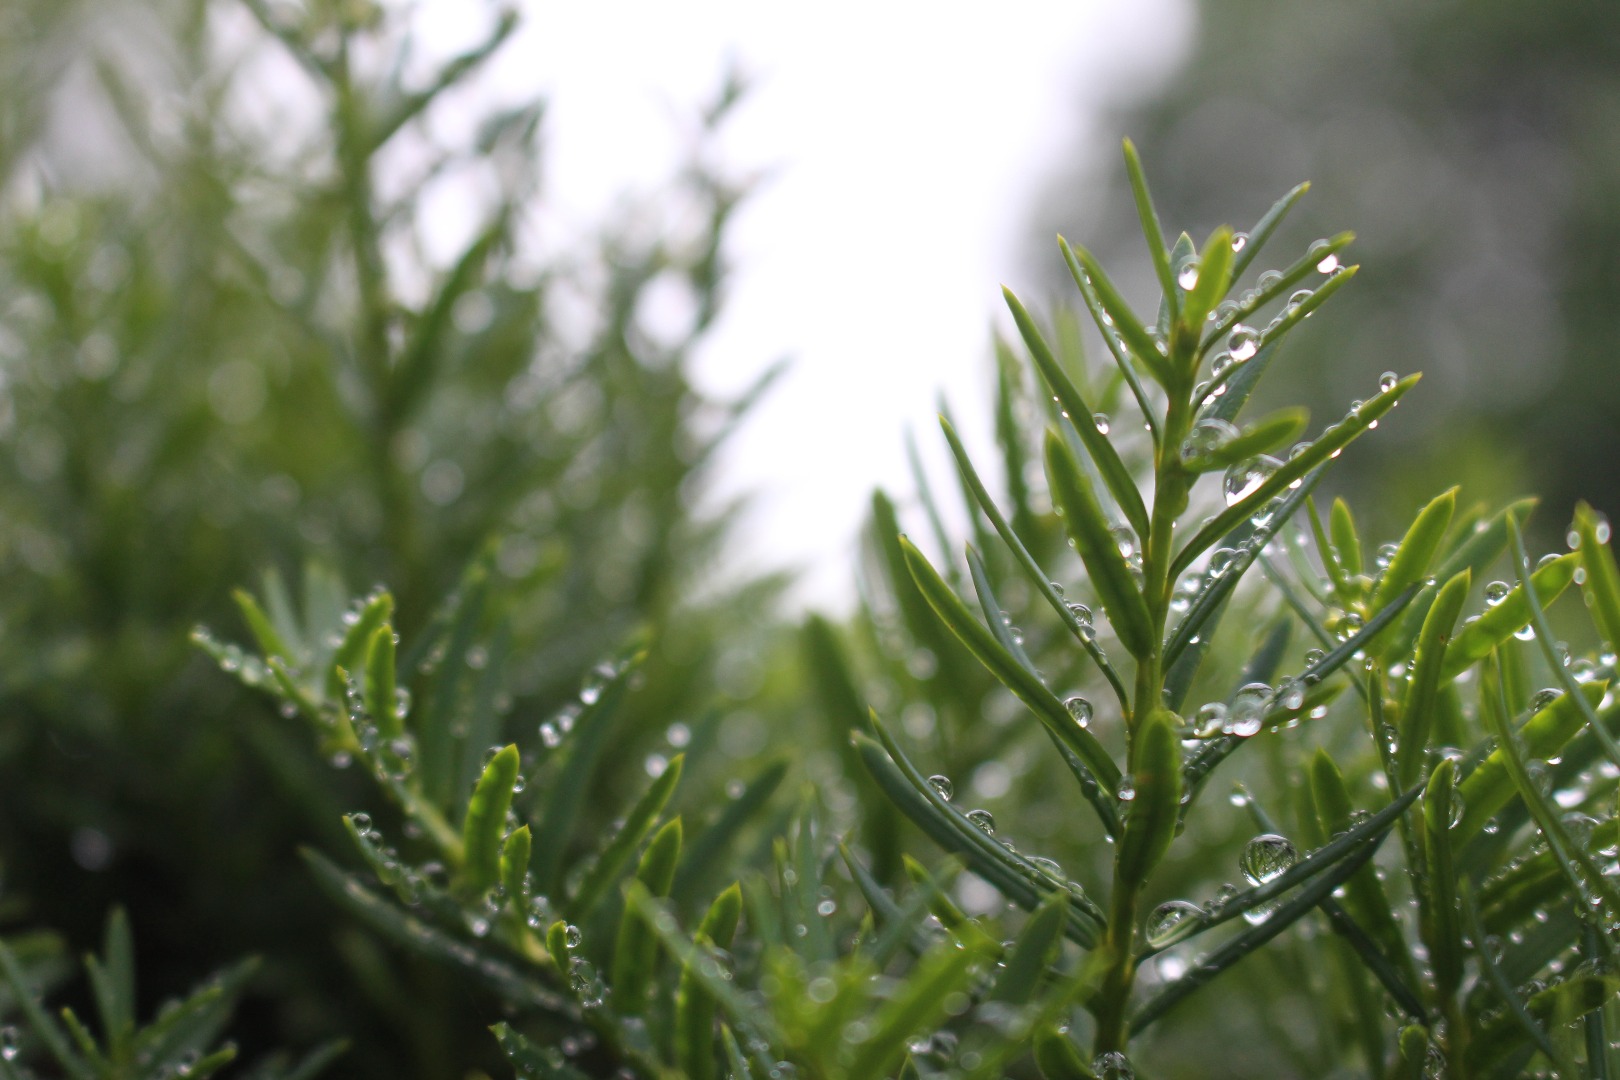
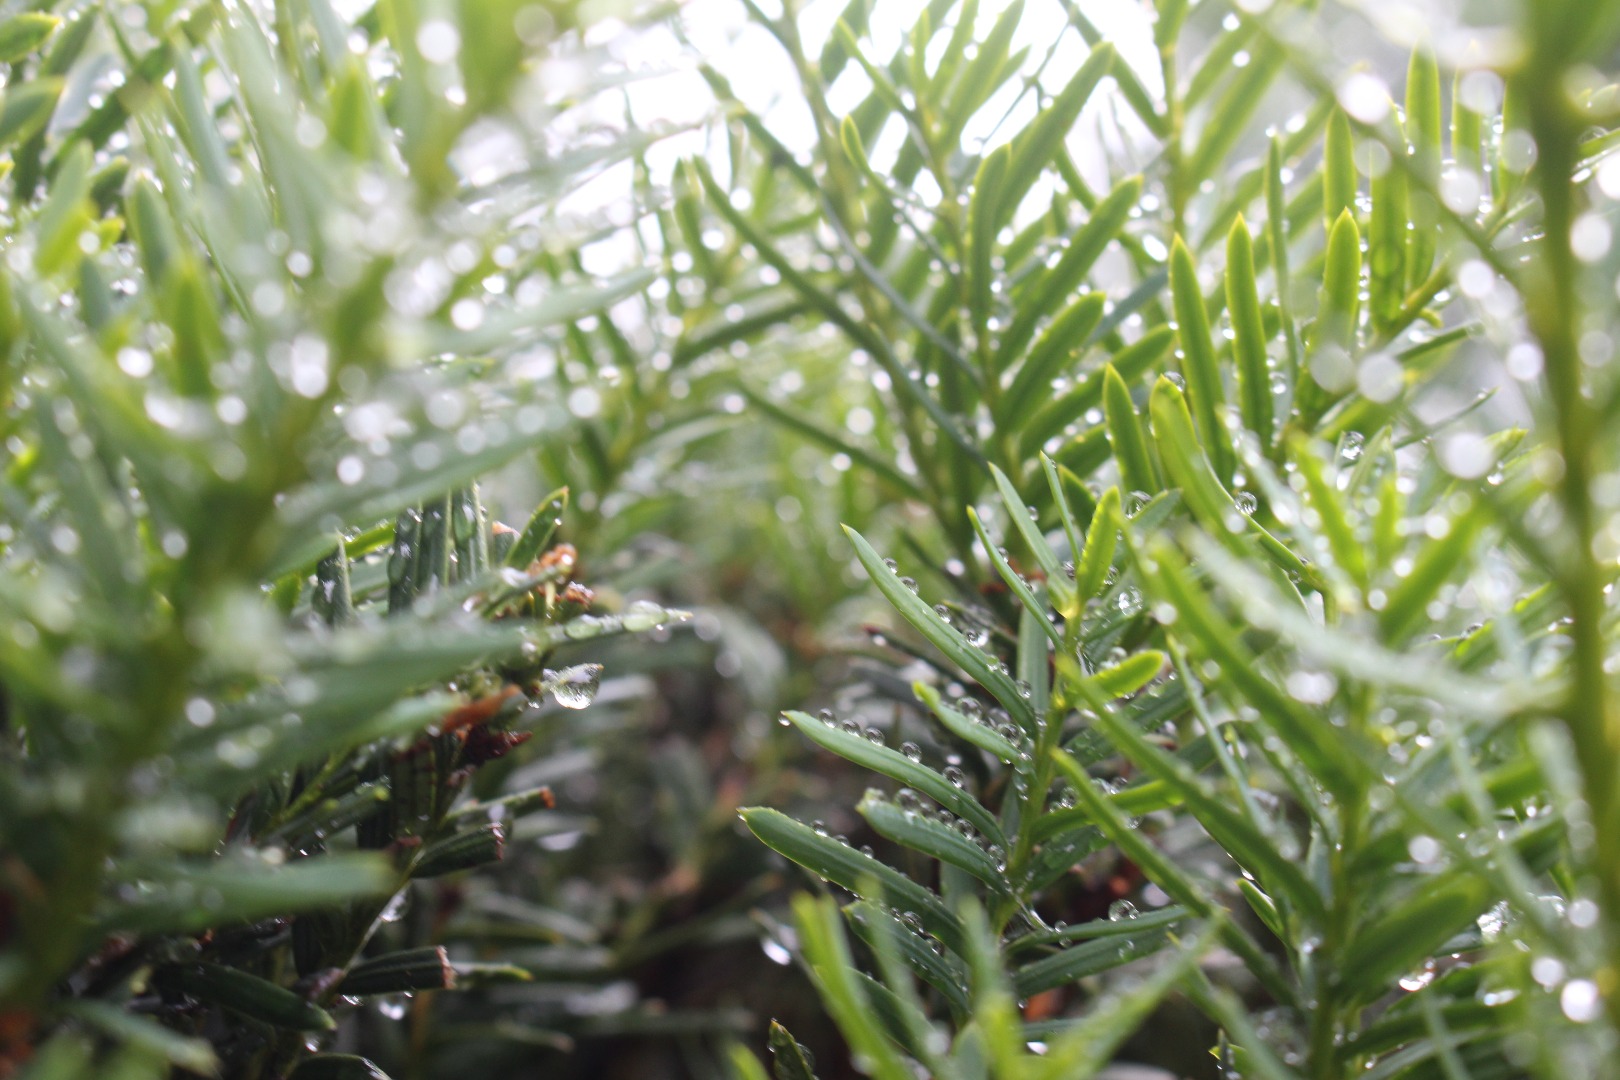
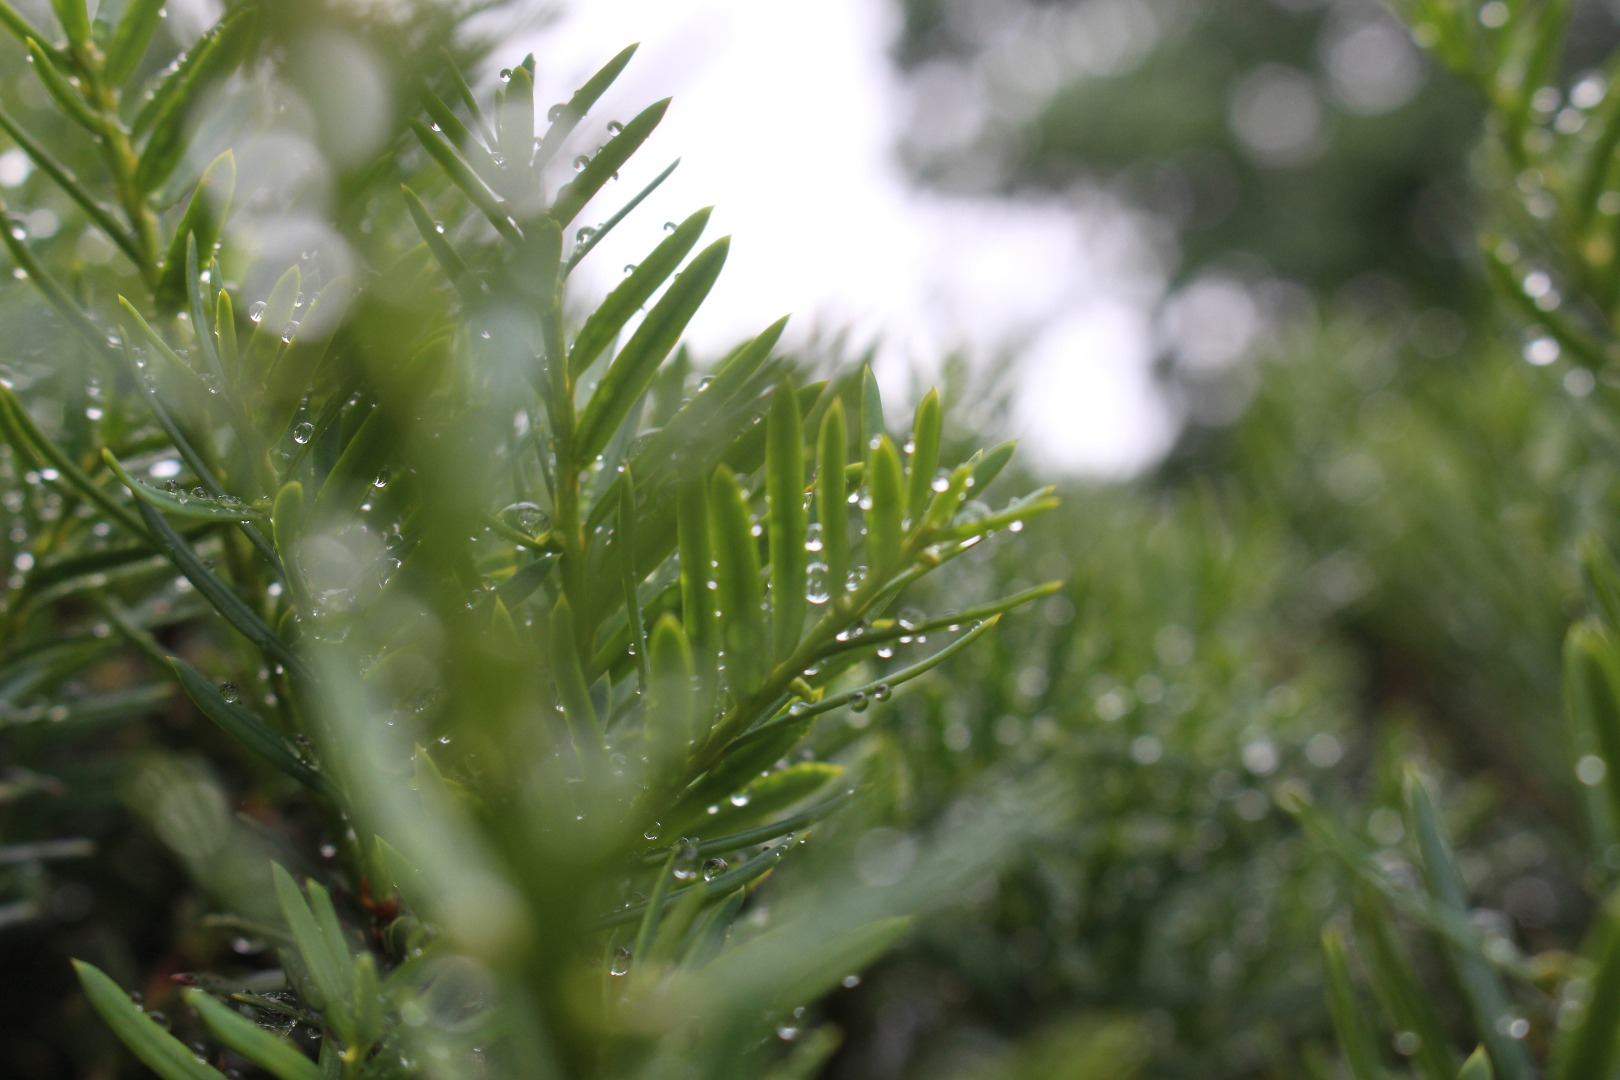
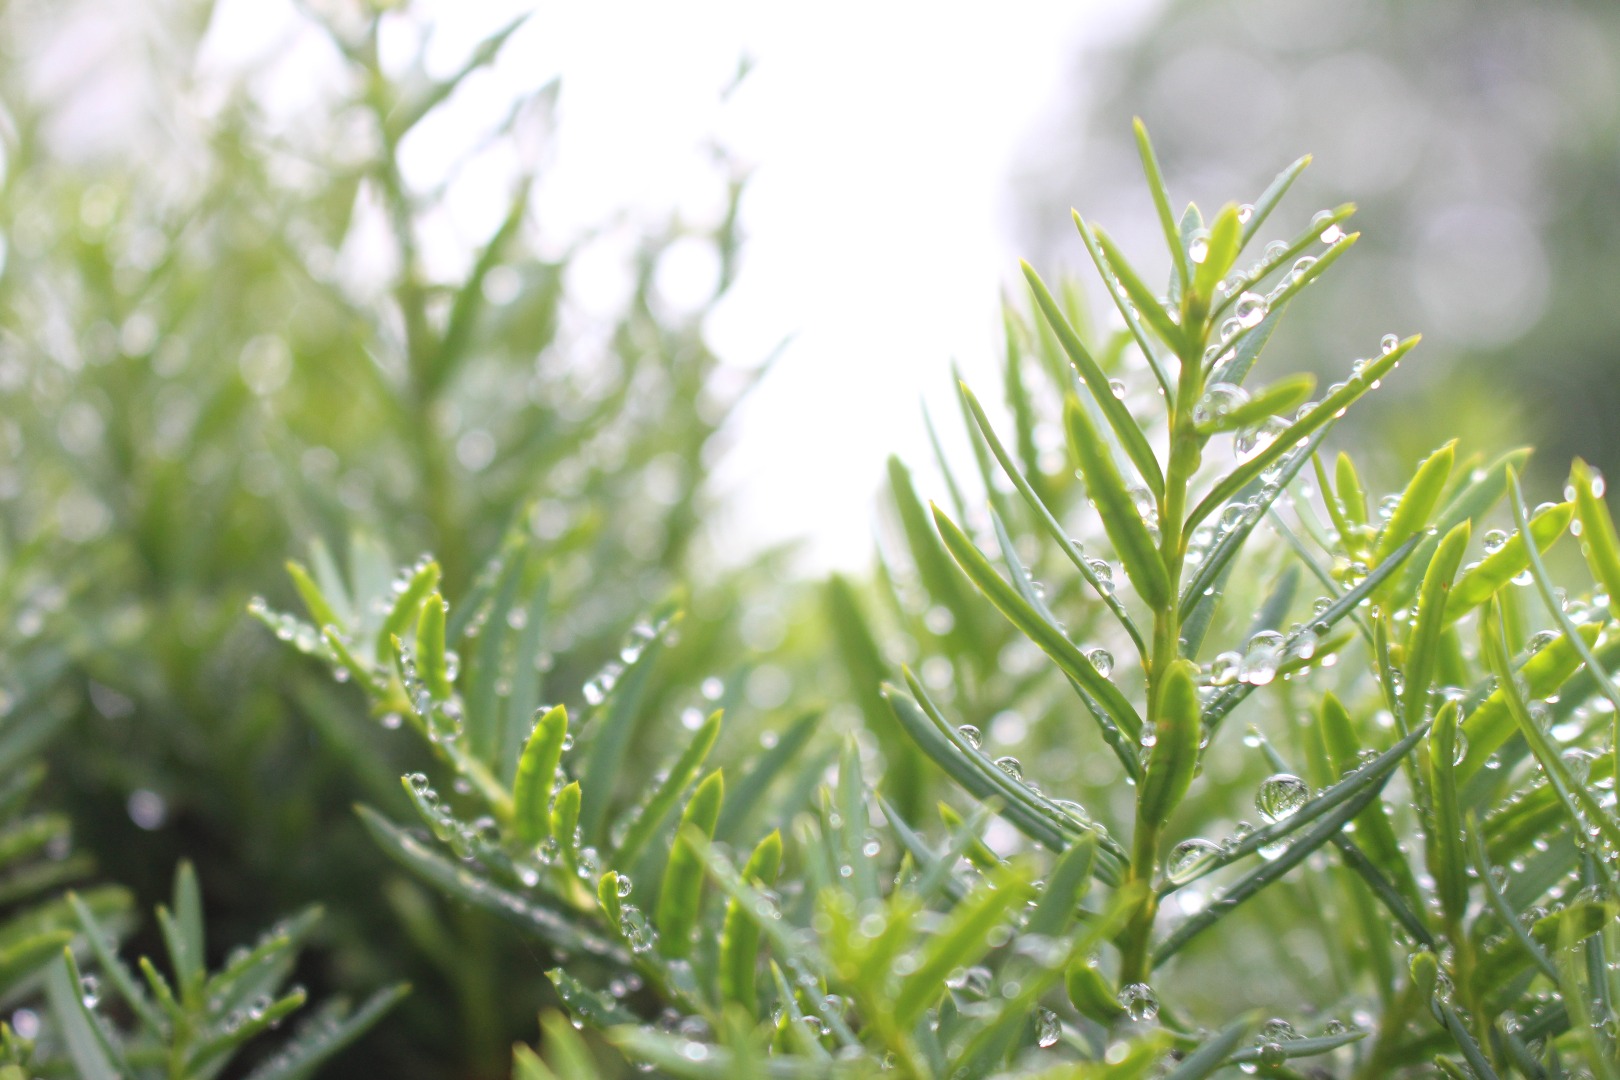
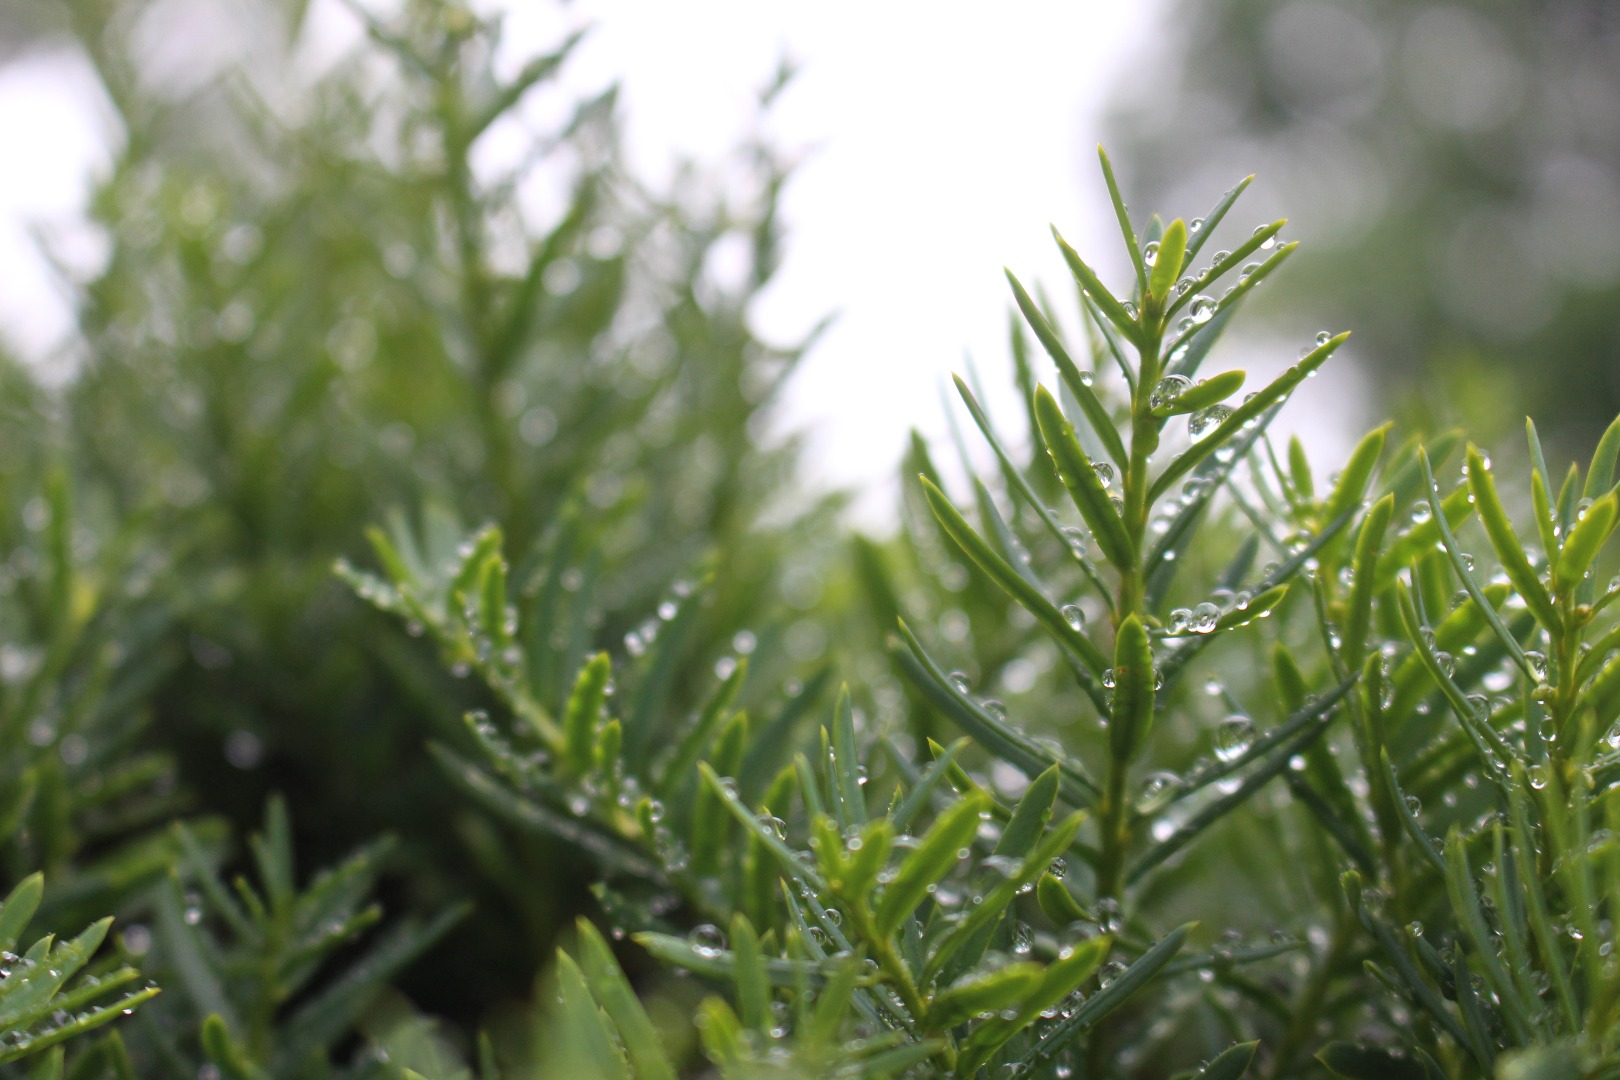
This is the step that I think is the most fun: you get to go out and find subjects to shoot (take pictures of, that is). There are plenty of shots that you can take and plenty of ways you can take them to make them look great...enough that could fit a whole other guide; just remember to take your time in framing up the shot and don't rush to get a picture. I went out and took about 20 pics before finding one that I liked, which is the one that I used for the Instructable.
In case you want to get started editing an image, but don't want to/are unable to get out to take a picture; I have attached the .CR2 (Canon RAW format) picture (unedited) from the title step.
Downloads
Bring Into Adobe Camera Raw
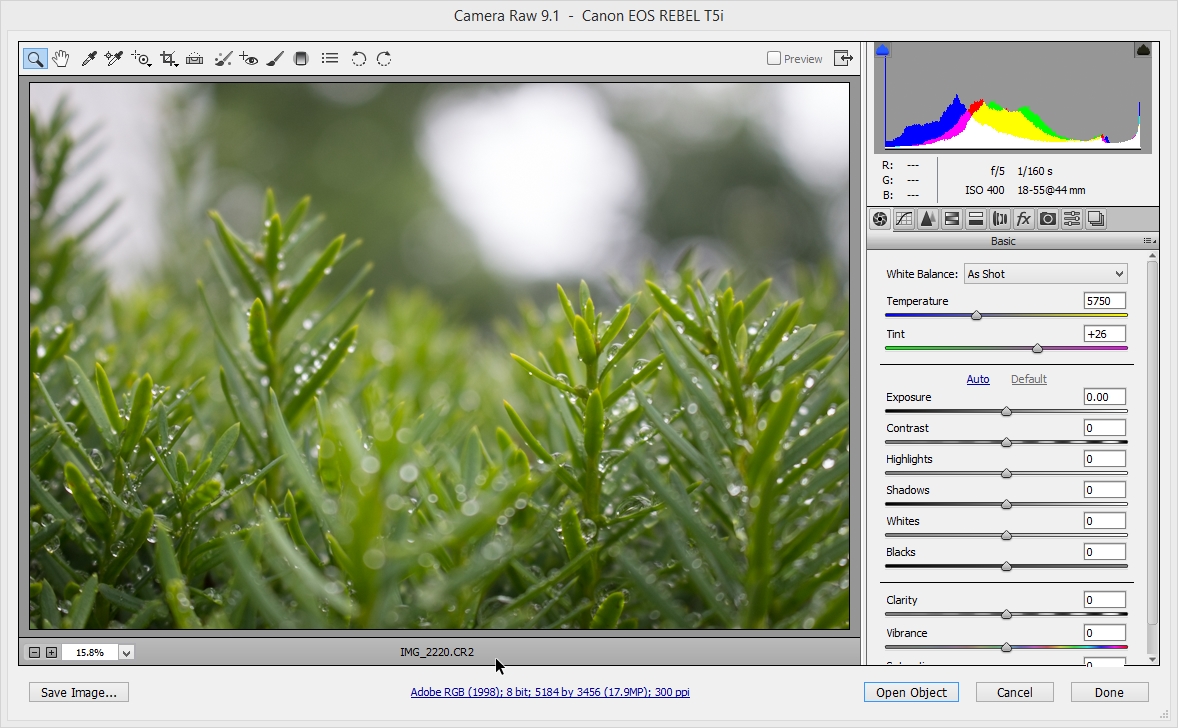
Although you could do almost all the things that I will talk about in Adobe Lightroom, I will be using Adobe Camera Raw in the rest of this Instructable:
Go to File > Open and navigate to your Raw file...you may get an error and this is because the Adobe Camera Raw that ships with Photoshop CS6 does not support the raw files from newer cameras; luckily, you can easily download an upgrade package here. Extract the zip file and the run the application, restart Photoshop and you should be running the new version of Adobe Camera Raw.
Once imported into Camera Raw, you are ready to start editing!
Making Modifications - Part 1

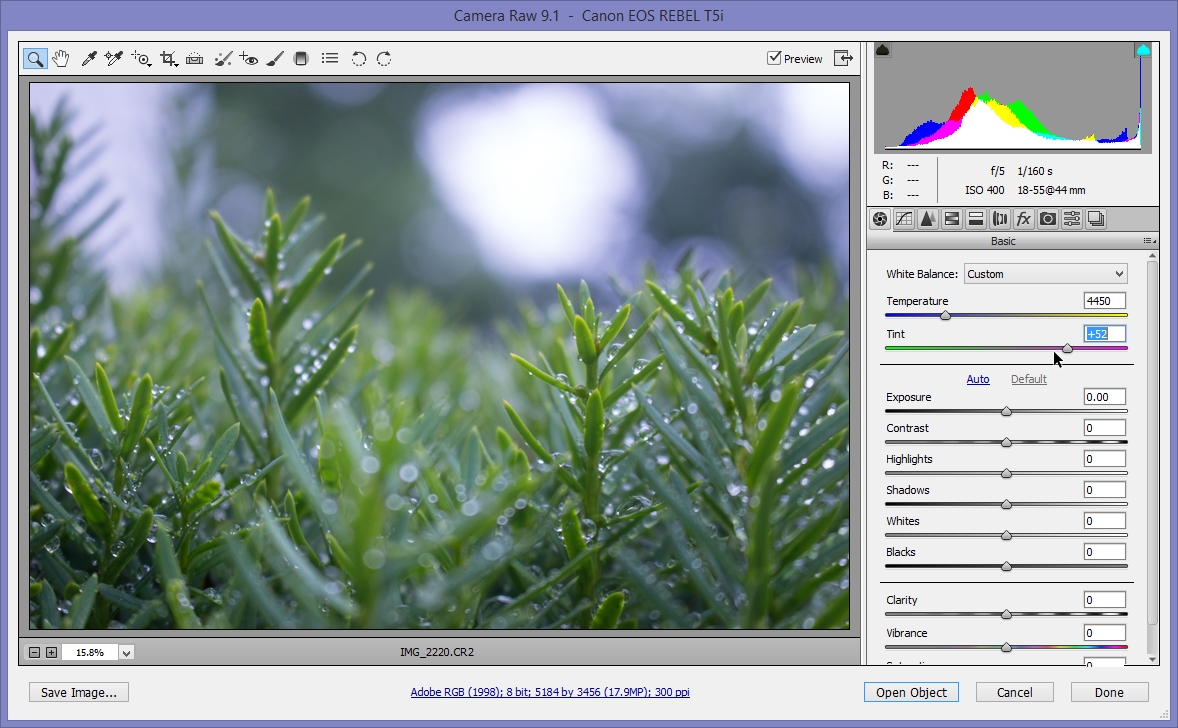

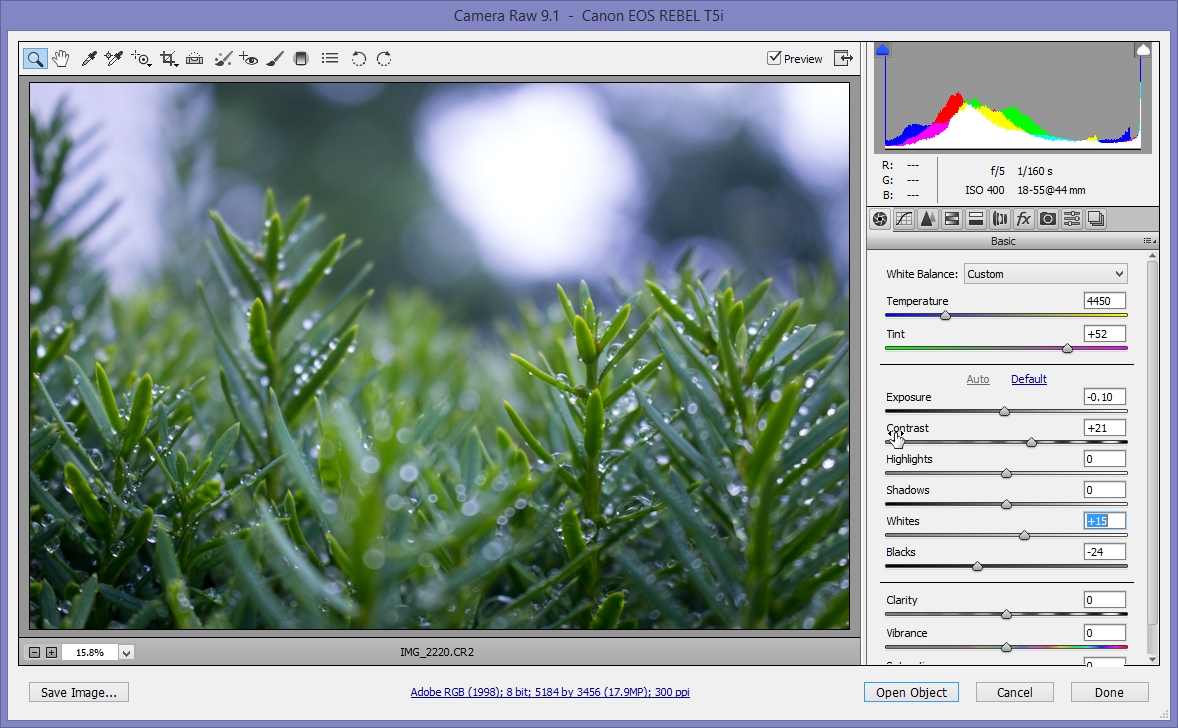
Time to edit the picture(s)! This step is the most difficult to teach: everybody has different tastes and sees pictures differently so it is hard to say what you may want.
The way I usually start is by changing the temperature/tint if needed. I took this picture on a somewhat overcast day and so, the picture had a kind of yellow tint to it; I felt that the picture would look a bit better if it was a bit more on the blue side so I just bumped up the tint so it fit my taste.
Usually I go through each slider dialing it up and down to fit my taste; in order to help you get an idea of what each slider does, below are some definitions:
Exposure: How bright your image is; the higher the number, the brighter your image - the cool part is if you overexposed your image (too bright ) in-camera, it would be a lost cause with a JPEG but with Raw, it can still be recovered...even if the whole screen is white...
Contrast: How much variance there is between the highlights and shadows (light and dark). Contrast makes the bright parts of the image brighter and the dark parts darker.
Highlights: This slider is usually used to decrease the highlights; in photography, if your highlights are blown out, it means that some parts of the picture are too bright and detail in those areas is not visible and lost - sort of, it is lost to the eye, but it is still part of the Raw file, so by decreasing this slider, you can make the too bright parts less bright.
Shadows: This slider is usually increased and used to recover areas that are too dark and detail has been "lost." Once again, the area can be fixed by increasing the slider and making the shadows lighter.
Whites: This slider adjusts how white the "white" in your picture is: the higher you dial the slider, the closer to pure white the white objects in your picture will be, lowering this value moves the white objects in the image closer to gray.
Blacks: This slider adjusts how black the black objects in your image are; increasing this slider will make the black objects in the image closer to gray, while decreasing the slider (moving it to the left) will make the black objects increasingly black.
In order to save yourself some time playing with each slider, you can just hit the 'Auto' button and it should modify the image for you - however, be careful as the automatic process can sometime make the image look terrible; in that case, just hit 'Default' to revert to the original settings - this is one of the awesome things about Photoshop - many and most of the changes are non-destructive and the original image can be recovered.
Making Modifications - Part 2

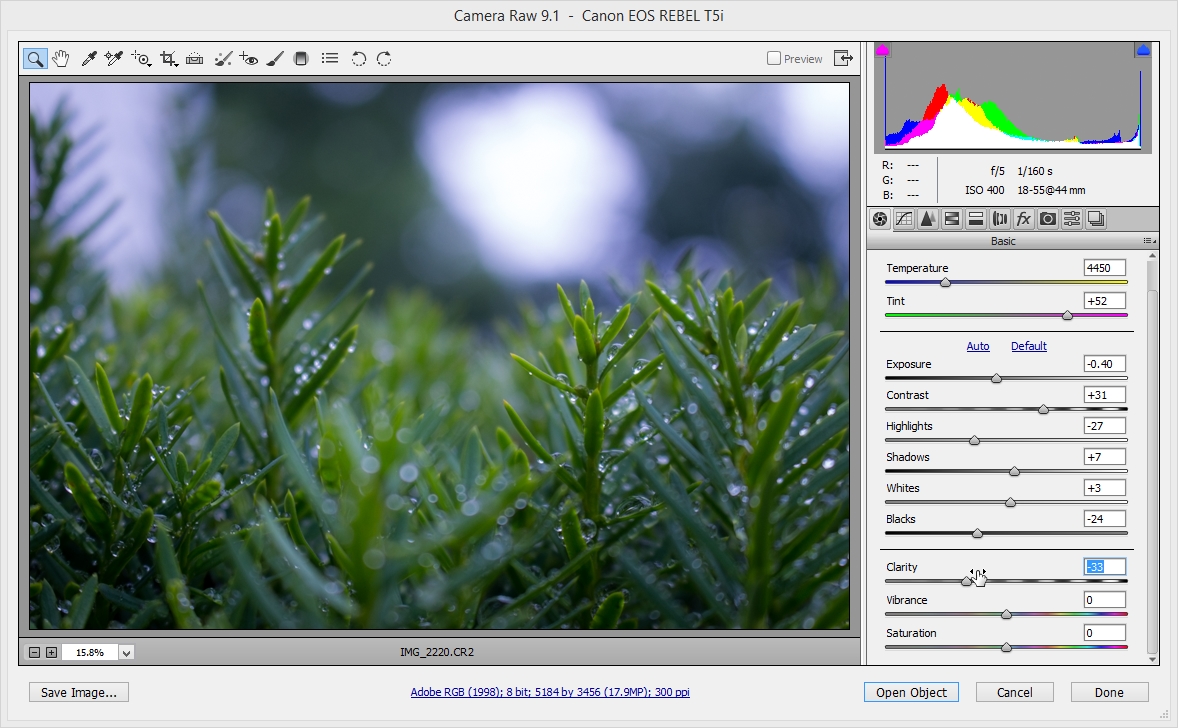
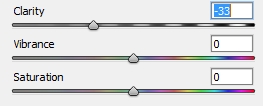
So , we've gone over the top few sliders, let's move on to the bottom few sliders...
Clarity: Why are you my clarity? Clarity is quite a useful slider: if you want to sharpen your images, a hint of clarity will do the trick quite well, if you want a grungy effect then add a lot of clarity; on the other hand, if you want to add a soft glow to the picture, then dial down the clarity, but as with anything, use in moderation - too little or too much clarity may have an adverse effect on the overall image.
Vibrance and Saturation: These sliders are used to boost the color of the image and make them "pop" more; this is often useful with Raw files since they can be flat and colorless out of camera; I thought the colors on this image looked fitting for this image but on other images you may want to bump this up - on the other hand, if you want to make a black and white image, you would dial down these two sliders down to to their minimum and then do some more work from there.
Making Modifications - Part 3


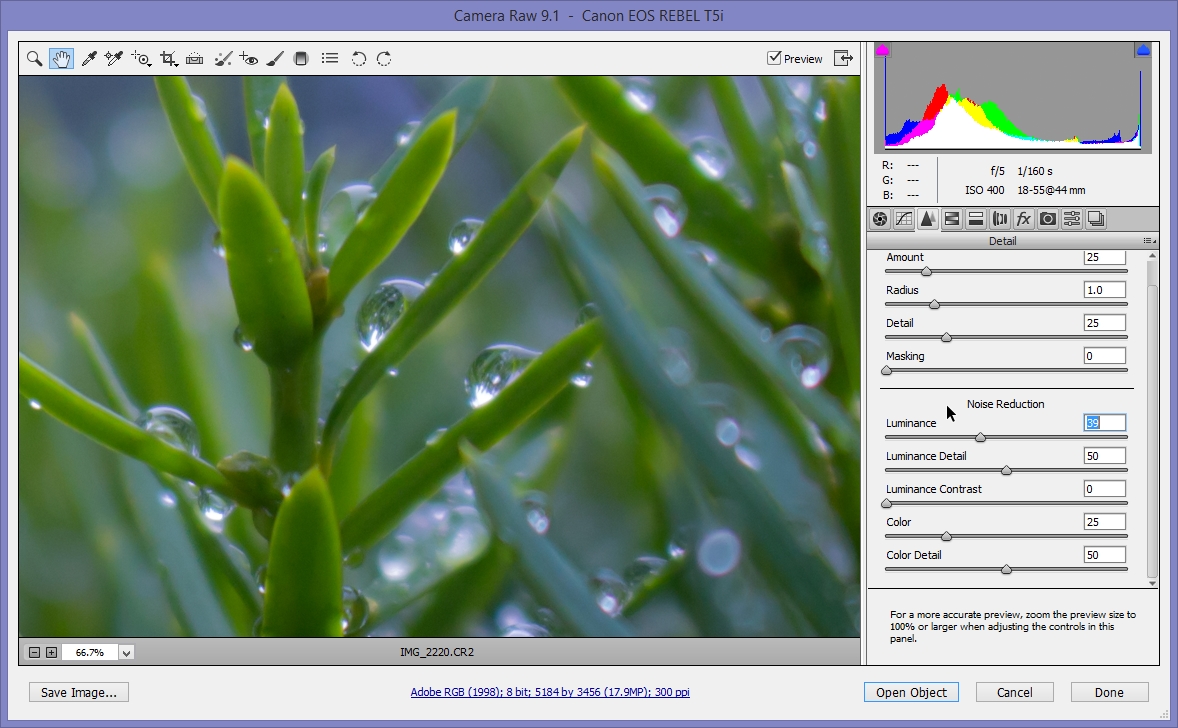

Now look at the top row of icons just above "Basic" and click on the two mountains (refer to images). This will bring you to the Detail tab; this is where you can sharpen the image or smoothen out the image:
Sharpening: By default Adobe Camera Raw puts in 25 on the sharpening dial; I generally don't mess with this slider and just leave it be; this may correct some slight motion blur but it's best to avoid this because it works by adding noise to the image.
Luminance: This is one of my favorite sliders; it reduces noise. It makes the picture much less grainy especially if you took the image on a high ISO.* Increasing this slider does something similar to what decreasing the clarity slider does except in this case, you are reducing the amount of noise in the picture and making things smoother instead of giving objects a somewhat soft glow. Use this slider carefully: I try not to add more than about 30-40 on the luminance slider when working with images of people because it can make people look unrealistic and strange. For this picture though, I was going for a very soft look and there were no skin tones/textures to worry about, so I put it up to 100 to get a very smooth, soft look.
*ISO - the level of sensitivity that you camera has to light. When shooting in dark situations, often times you need to hold the camera sensor open for a longer time (increase shutter speed) in order to allow it to get in a reasonable amount of light on the camera's sensor. However, in doing so, if the camera shakes or is subject to motion, the image may not come out crystal clear but instead, shaky. In order to reduce this, the ISO, or sensitivity to light can be raised. When the ISO is raised, the camera is more sensitive to light, and therefore, the sensor can be kept open for a shorter period of time which decreases the chance that the camera captures any motion blur. Well, then what is the problem with it, you may ask: well, increasing the ISO also increases the amount of noise on the final image and often times, the noise is very noticeable if the ISO is high. Although, RAW files allow use to minimize this noise, it is also very useful to get everything working in-camera first. However, sometimes you can't avoid it: for example, if you don't have a tripod and you want to shoot something at night, then you might be forced to bump up your ISO to get the shot.
Making Modifications - Part 4
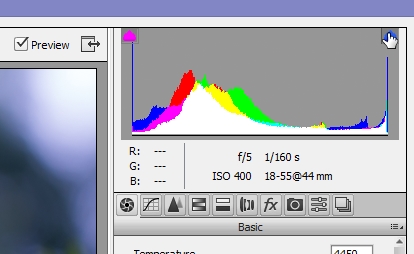
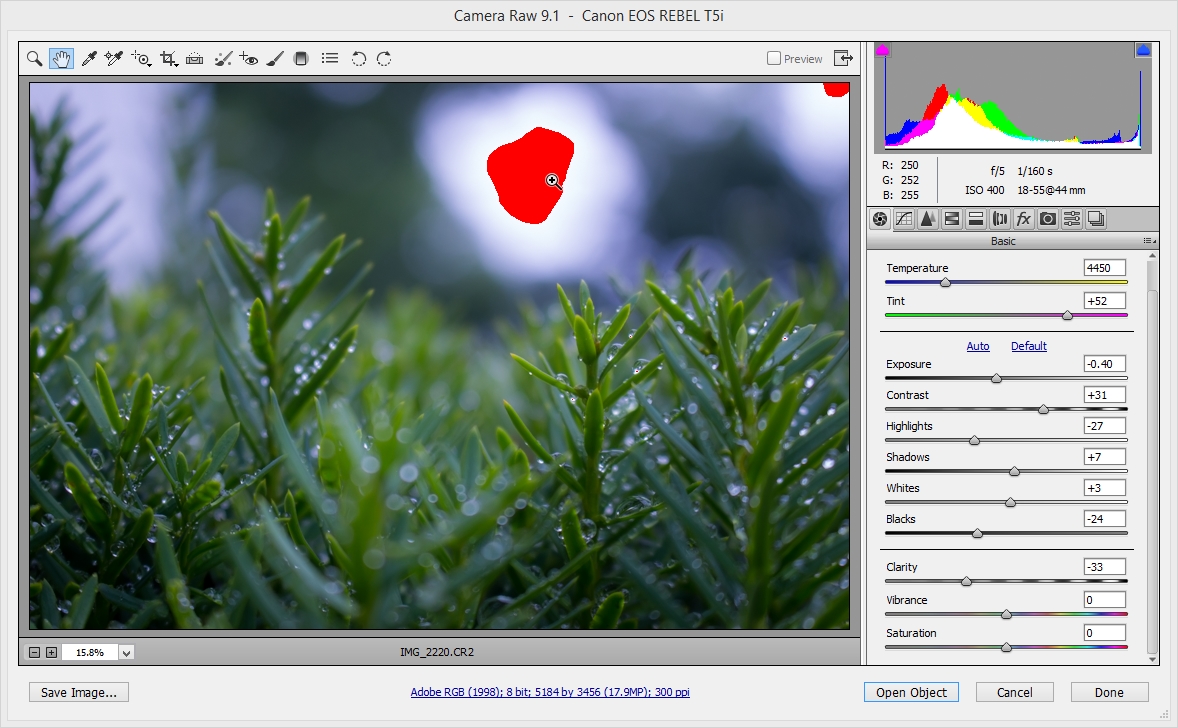
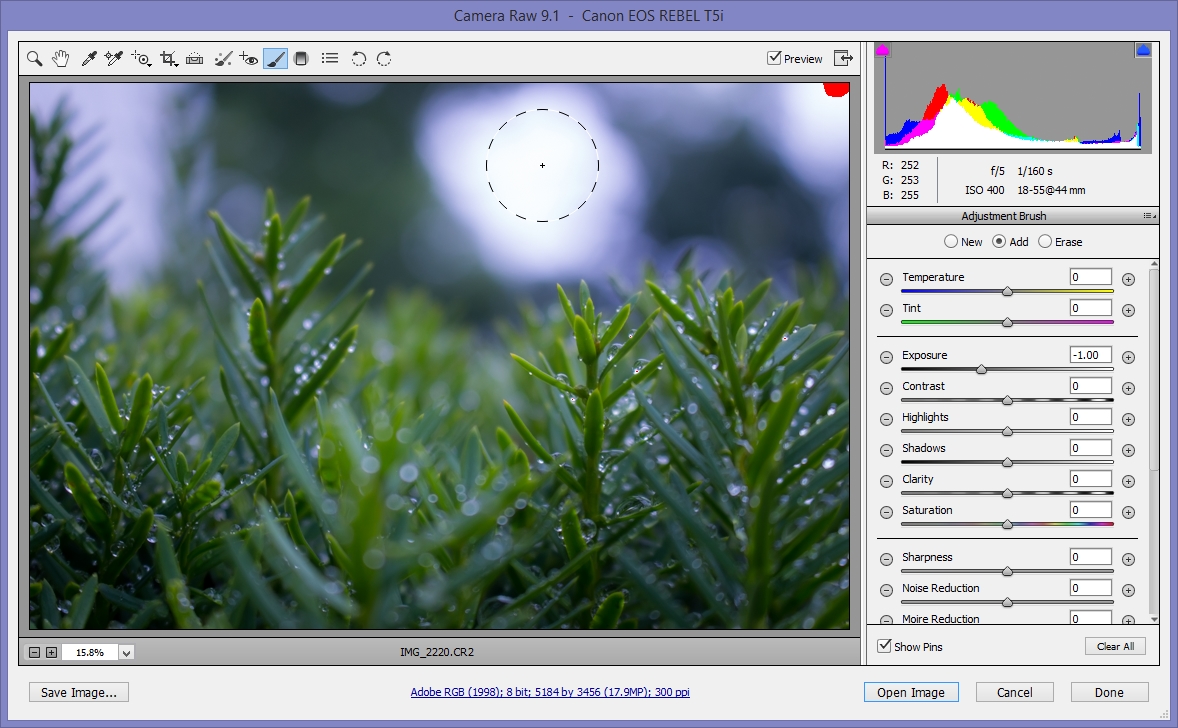


Alright, so now that we have properly colored and exposed the image and made it very soft and smooth, it appears that there is a section that is a little too bright. In order to check this, we can use the histogram.
Gasp! Use the histogram!? Never! Well, actually, the histogram is very useful and can tell a lot about your image so it would be worth it to learn how to use it and make it part of your workflow. However, for the purposes of this Instructable, we are only interested in the little button at the top right hand corner of the histogram.
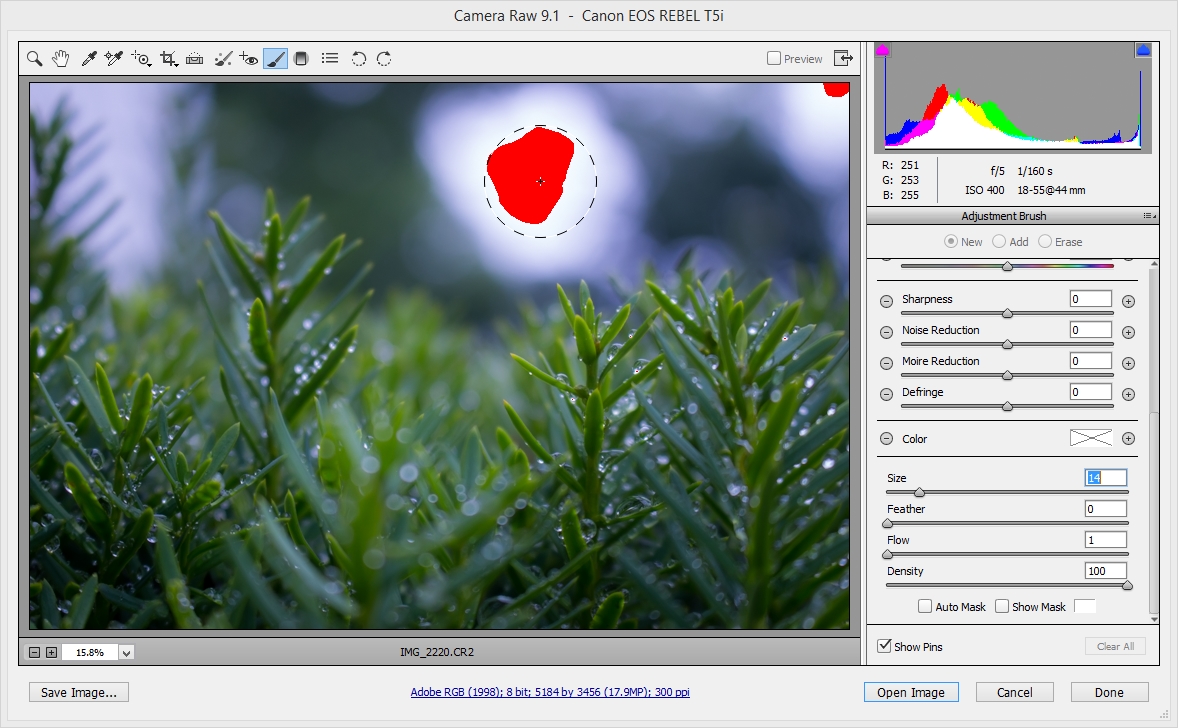
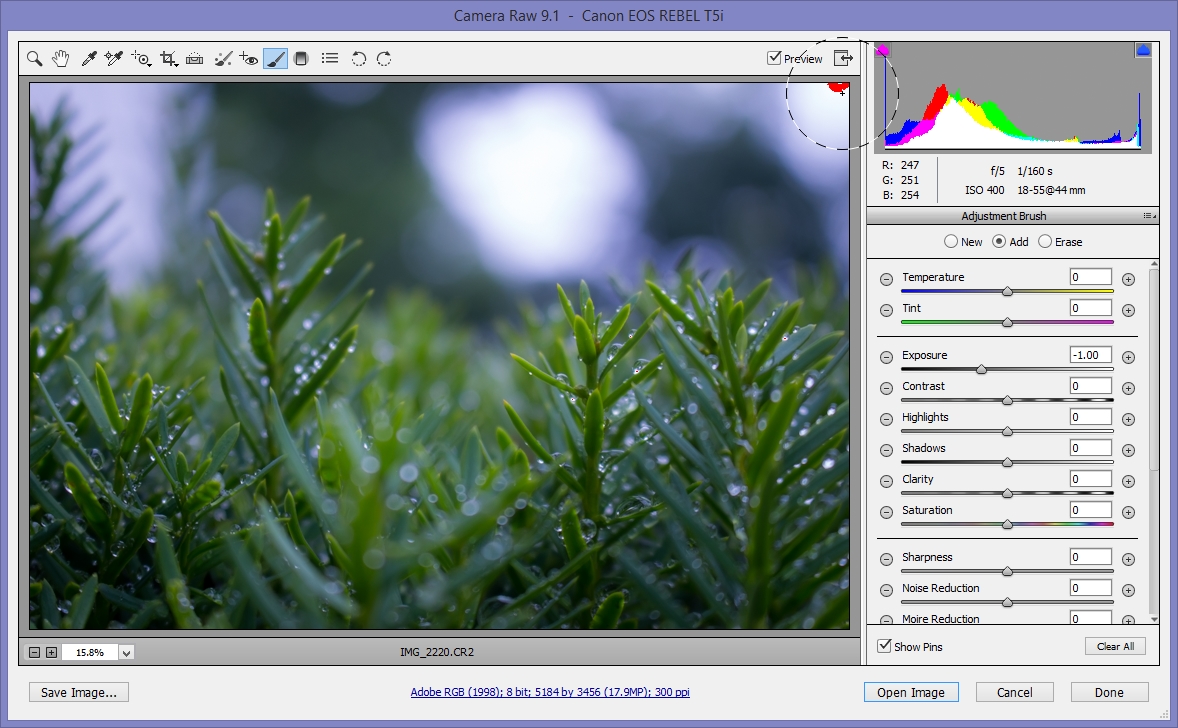
Once you click on it, some parts of the image will turn red (assuming you are using this image - if not, then you might not see any red, in that case, you are fine). These red bits show where the highlights are blown out - basically where the image is so bright that the detail there is not visible. In order to correct this, we will use the Adjustment Brush. The Adjustment Brush is a way to make local changes as opposed to global changes - the changes that you make only affect the areas you want.
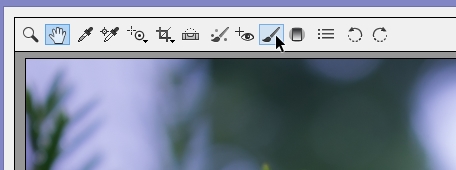
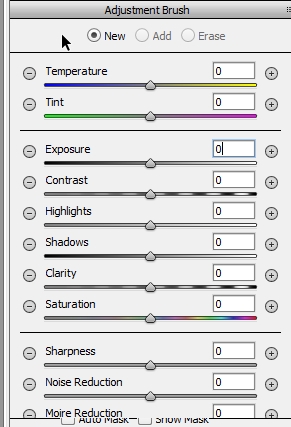
In order to get the Adjustment Brush, click on the little paintbrush in the top menu. Then you will get a menu with all the same possible changes as you had from earlier, except it will say Adjustment Brush and have options for New, Add or Erase. Since you haven't used the Adjustment Brush yet, you will use the New option. Use the left and right bracket keys: [ and ] to adjust the size to about the same size as the red area and put your feather* at 0.
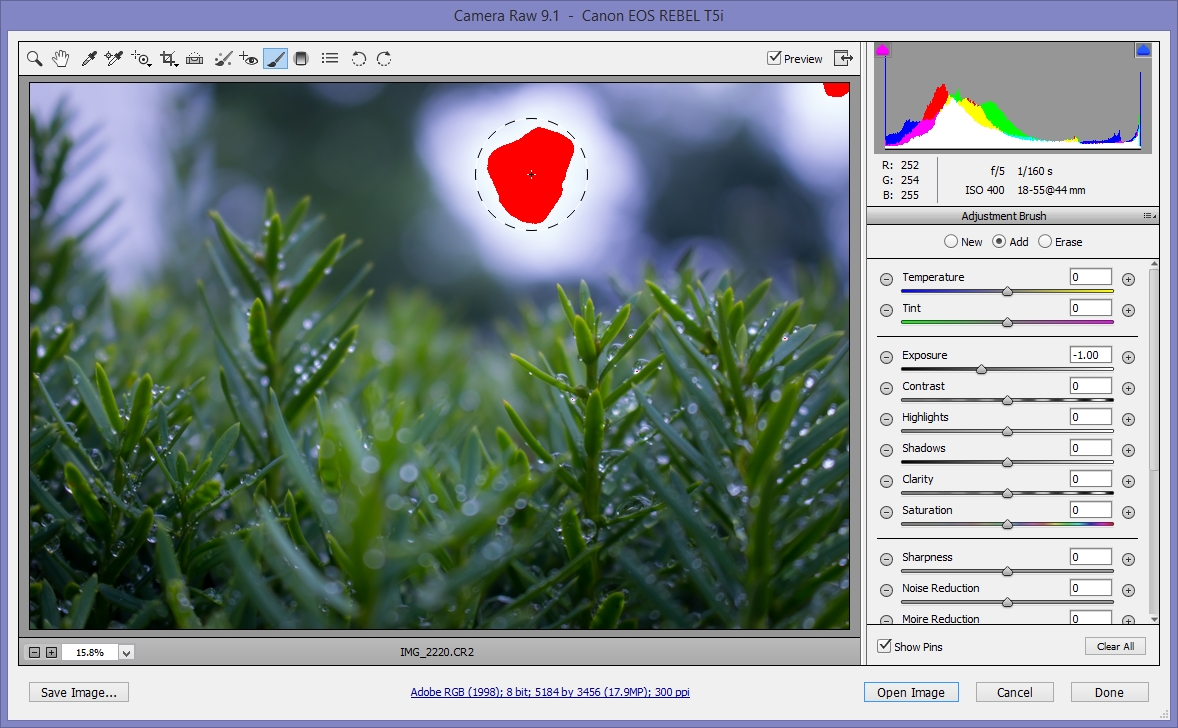
Then, adjust the exposure; I dialed it to -1; too much negative and it might look unnatural and make the image too dark in that area. Then start to paint the image over the red areas and they should start to disappear. In order to see where you painted over, you can hover over the magnifying glass with your cursor and it will show where you painted. When all the spots are gone, you can go back to the magnifying glass or hand tool and it will go back to the default menu.
Now you can click on Open Image/Object at the bottom of the window and open up the image into Photoshop.
*Feather is the hardness of the brush around the edges - a feathered brush produces an edge that goes from solid paint/adjustment out to less and eventually to 0. The greater the feather percentage, the longer the transition from solid to nothing.
Bringing It All Together - Inside Photoshop
 _.jpg)
 _.jpg)
 _.jpg)
 _.jpg)
 _.jpg)
.jpg)
So now you're done! You've successfully edited a RAW image file and can now save your work! You can also add anything that you like inside Photoshop:
I will add this bonus thing you can do once inside Photoshop that will make the picture look a little bit better and add a bit more artistic effect to your image.
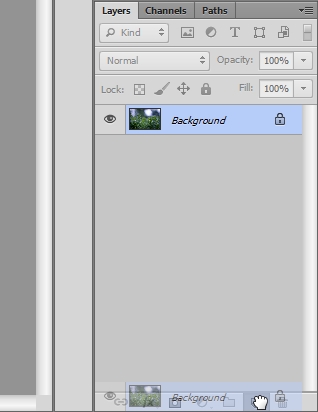
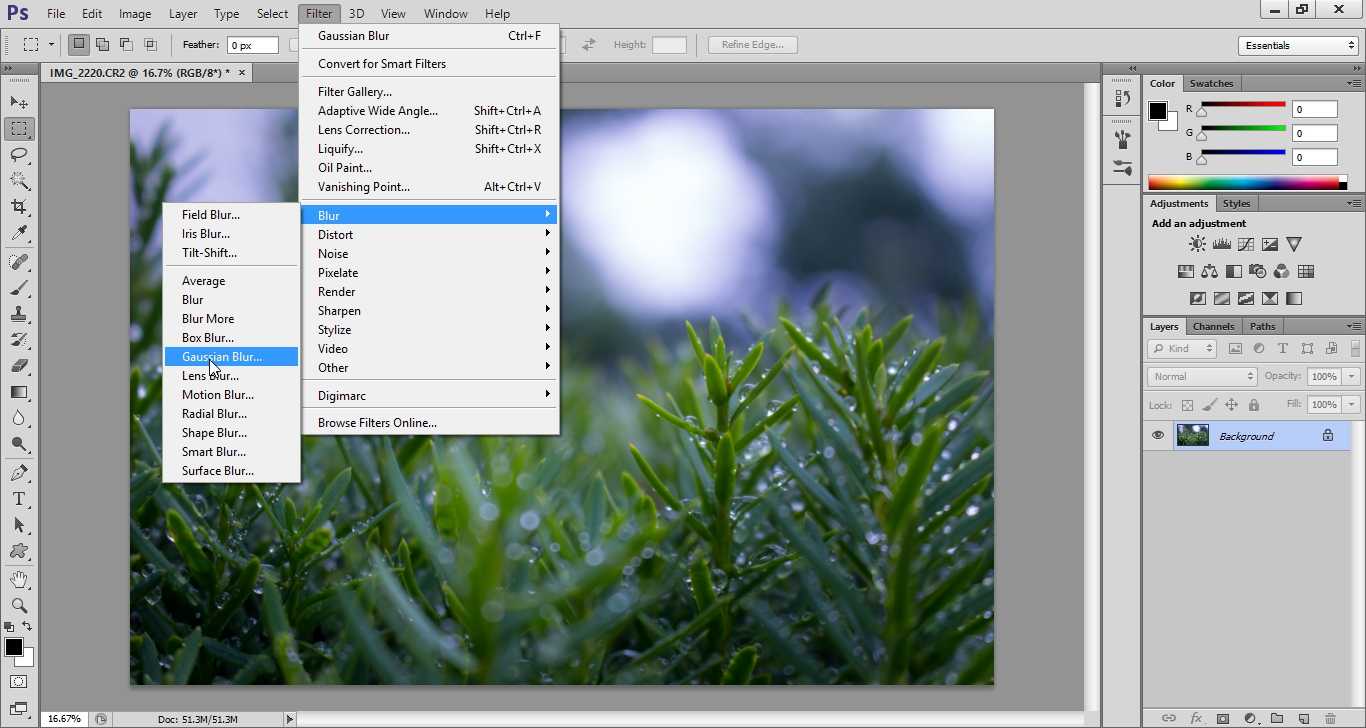
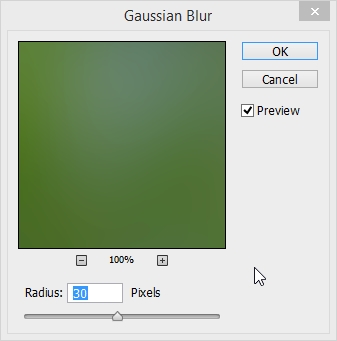
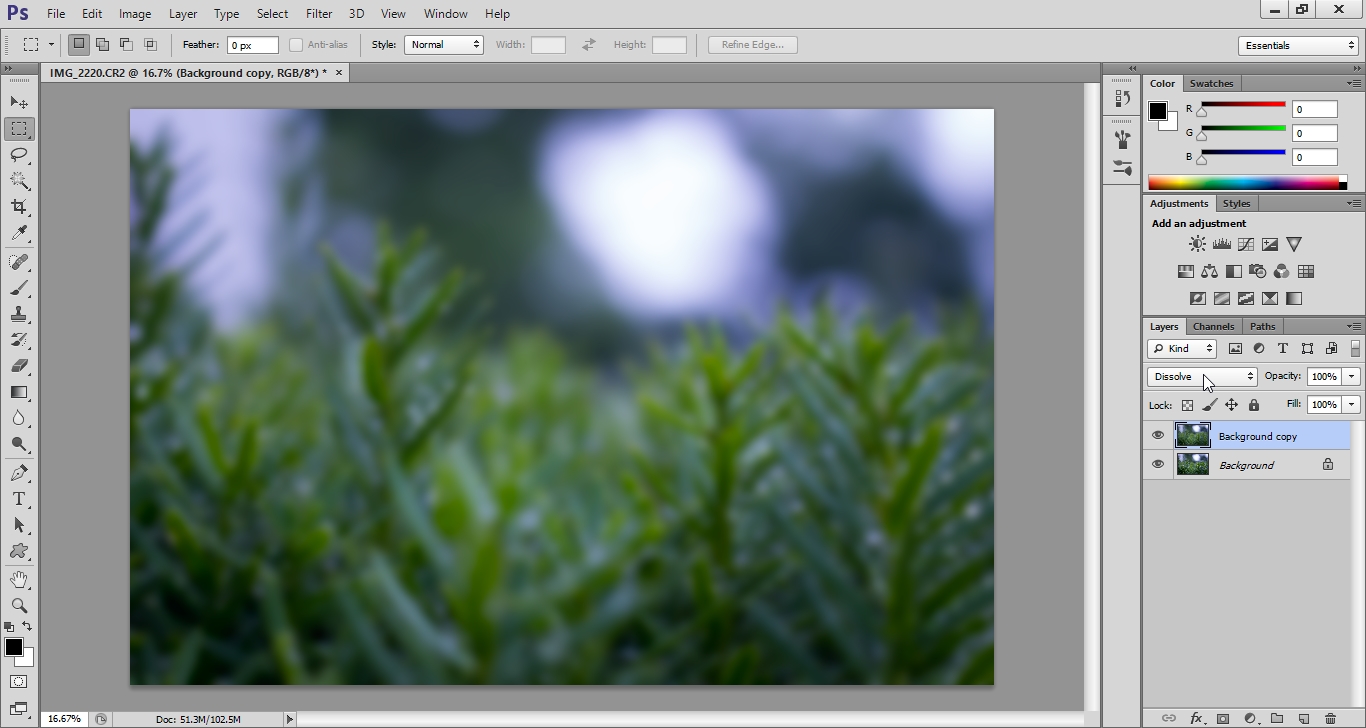
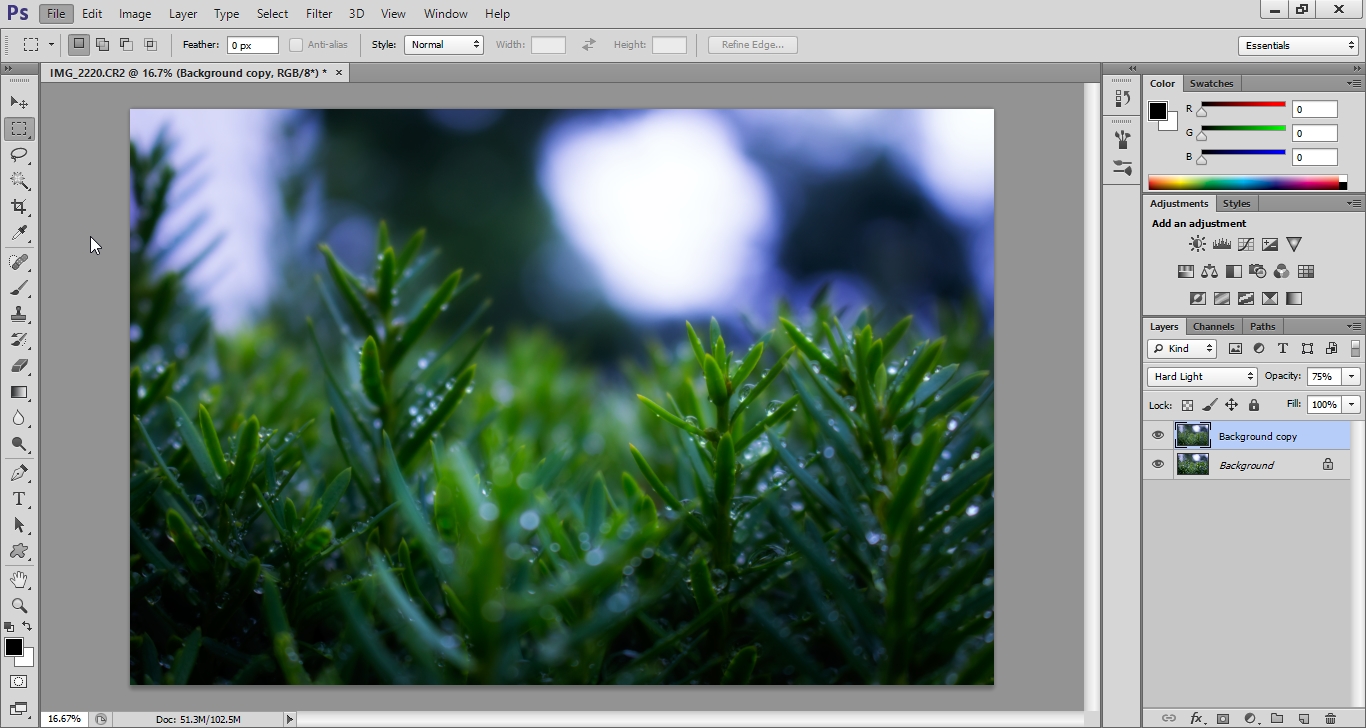
Inside Photoshop, duplicate the background layer by dragging the background layer to the little paper icon. With the background copy layer go to the menu: Filter > Blur > Gaussian Blur. Enter in 30 pixels on the slider and hit OK. Now, you need to change the blending mode of the two layers in order to achieve the best image. Click on the drop down menu that says Normal and choose the second option, Dissolve: use the scroll wheel to scroll over the menu and it will change the blending mode. Scroll through the options to find one that you like: for this image I chose Hard Light, which gave a nice artistic feeling to the image. However, it did seem a tad bit too strong so I lowered the opacity of the background copy layer to 75% so as to decrease the effect.
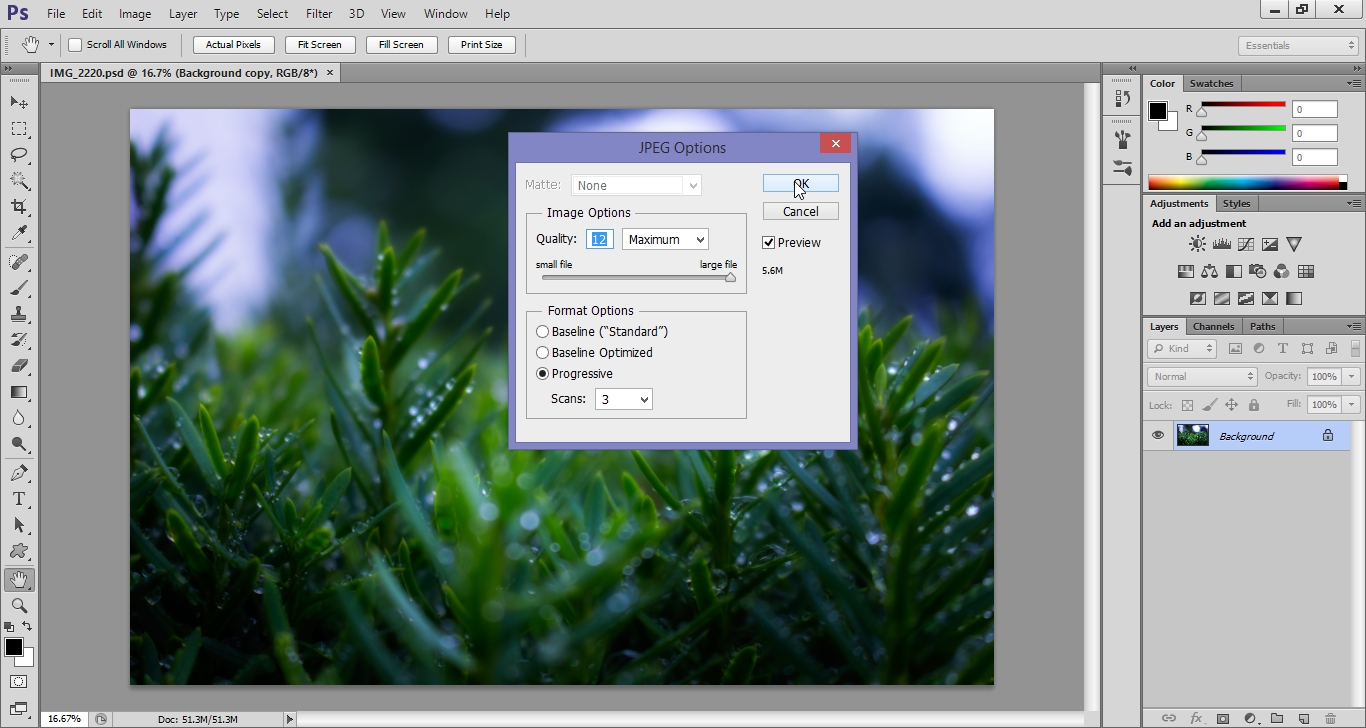
Be sure to save your image as a .psd file (default Photoshop extension) and if you would like to show this image to others, you can now save it as a JPEG file. When prompted, I like to change to maximum quality; however, this does mean that it does take up more space on your computer in exchange for the higher quality.
Done!

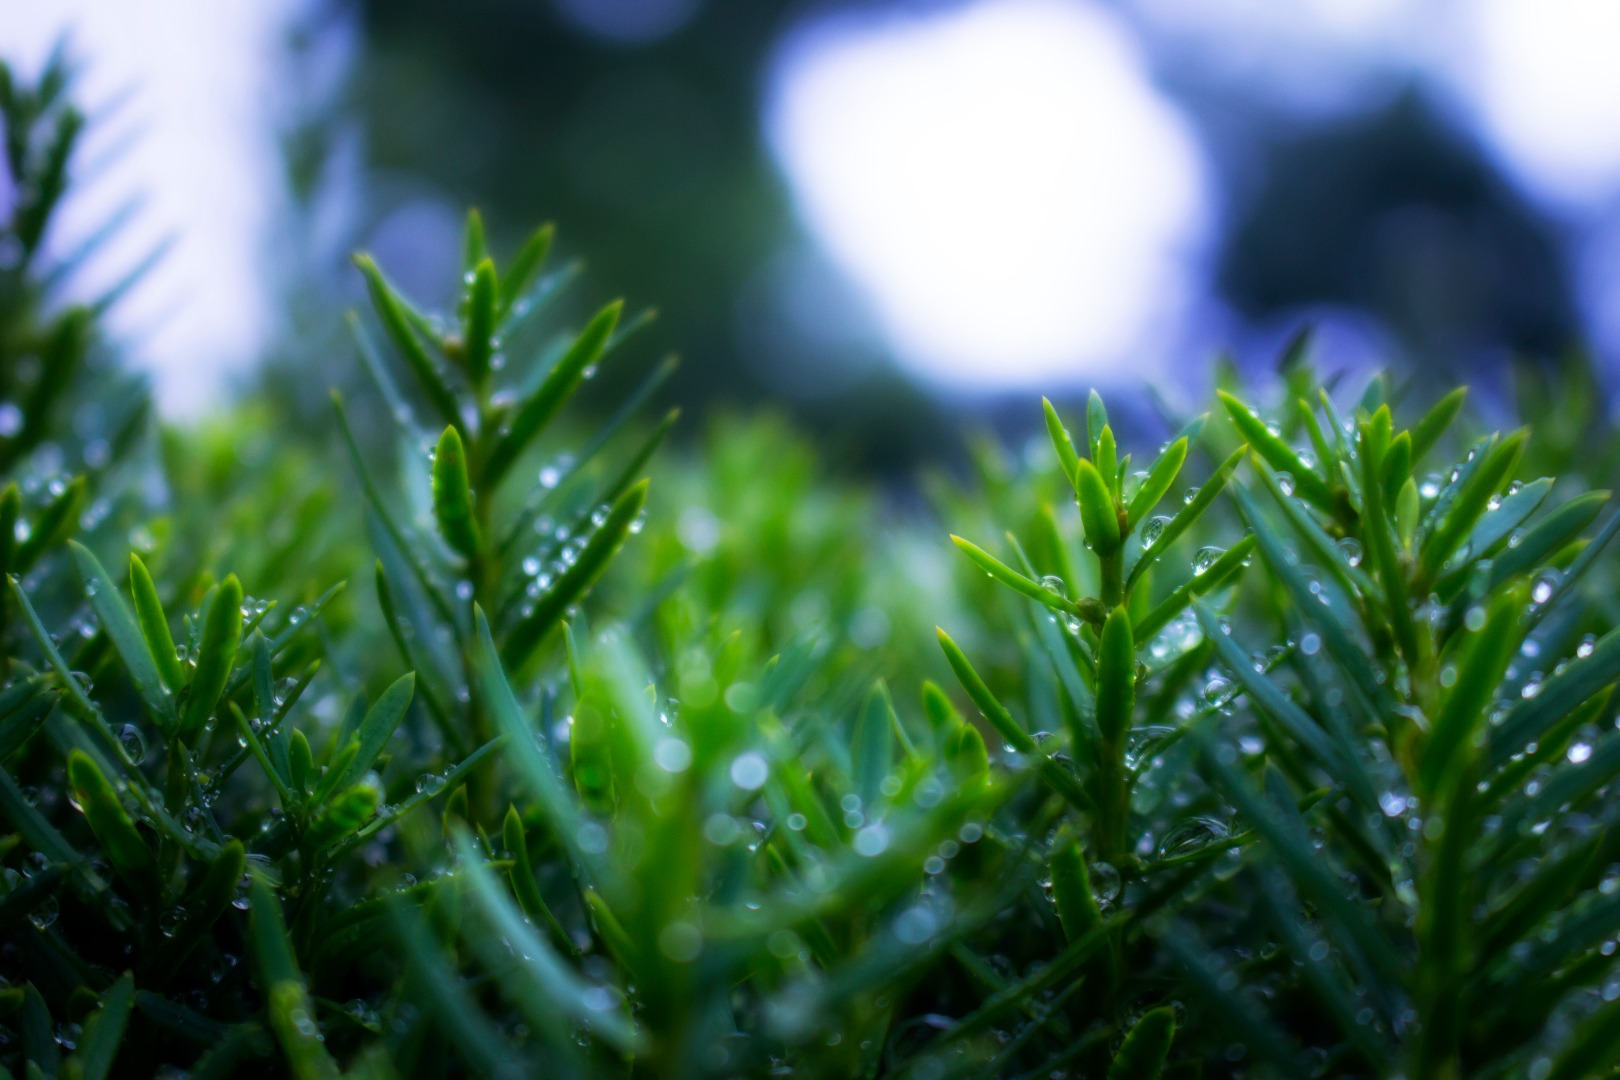
That's it! You have officially processed a RAW image file. You can now go out and shoot in RAW and process the image when you get home.
Of course, there is still plenty that you can do after the processing discussed in the Instructable: in the second image, which I made after writing the Instructable, I added some saturation to make the colors pop a bit more.
This article may be a bit subjective since every person may have a slightly different view on how an image should look: each person may want the image to turn out differently and so, in order to make the image turn out the way you want it to you will need to play around with the sliders and do some trial and error.
If you have any questions or comments, feel free to leave a message below.