A 3D Toy Model of "Bubu" Using Photogrammetry Technique
by VeriMaggieee in Workshop > 3D Printing
461 Views, 0 Favorites, 0 Comments
A 3D Toy Model of "Bubu" Using Photogrammetry Technique
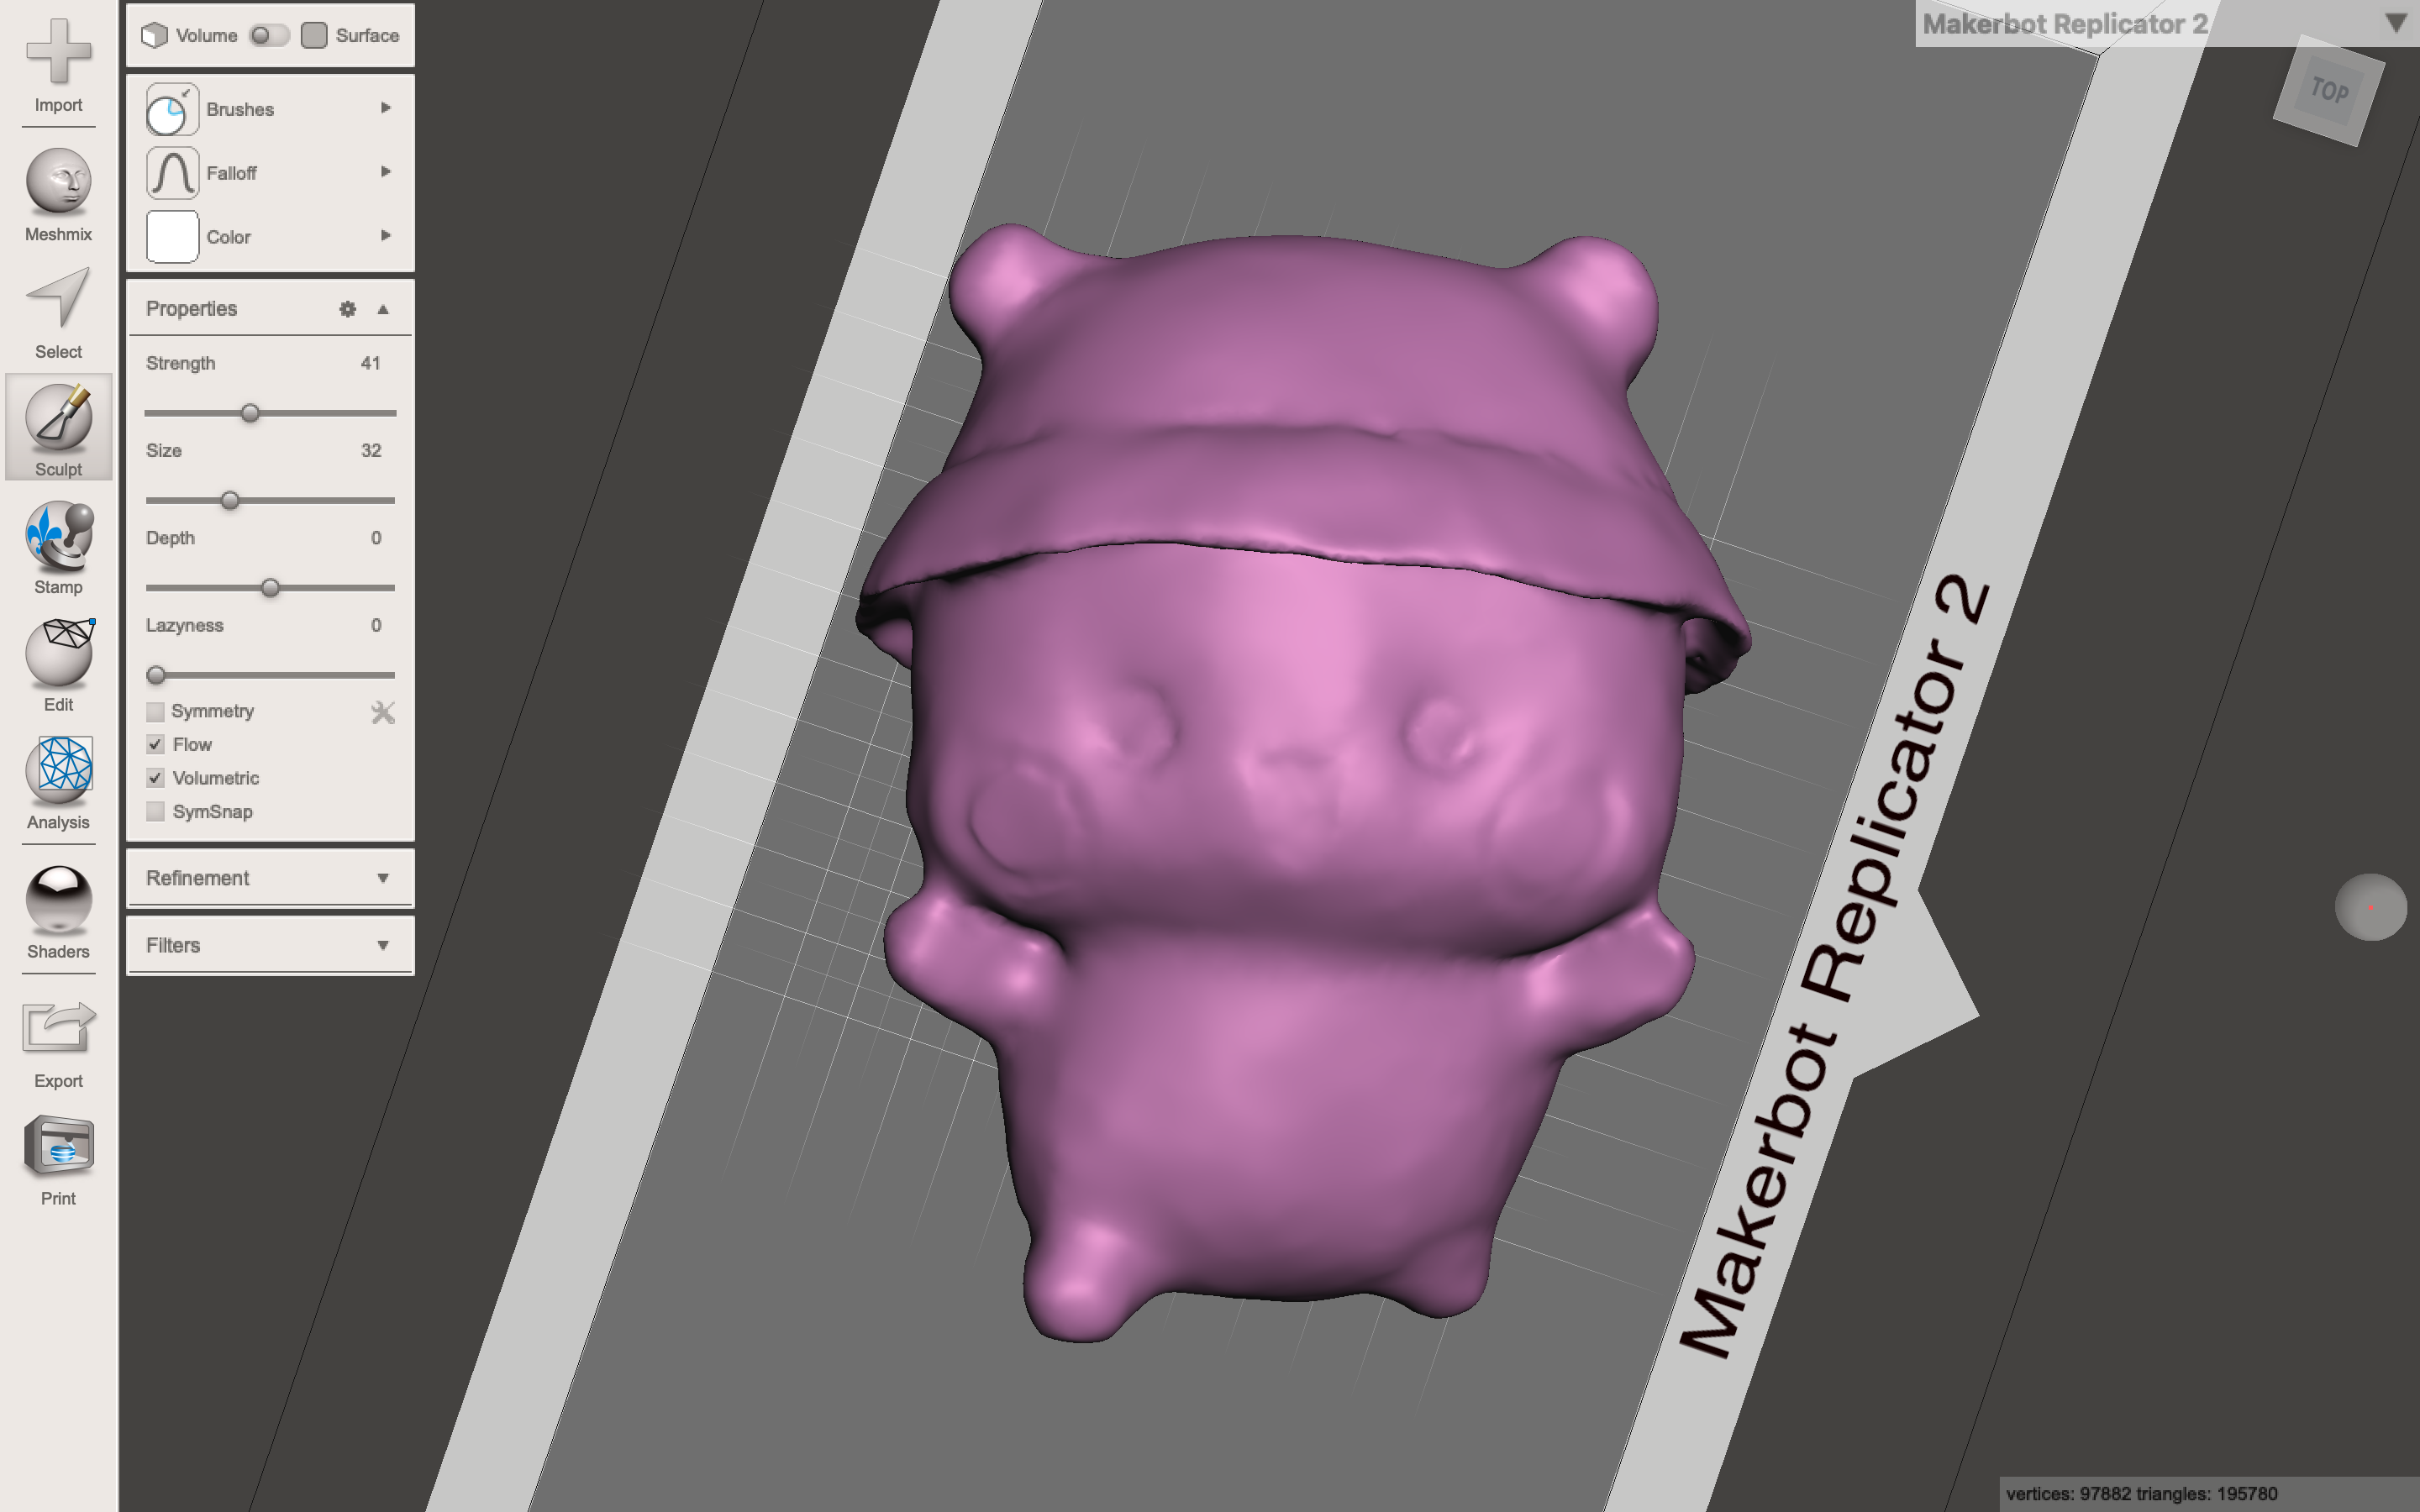
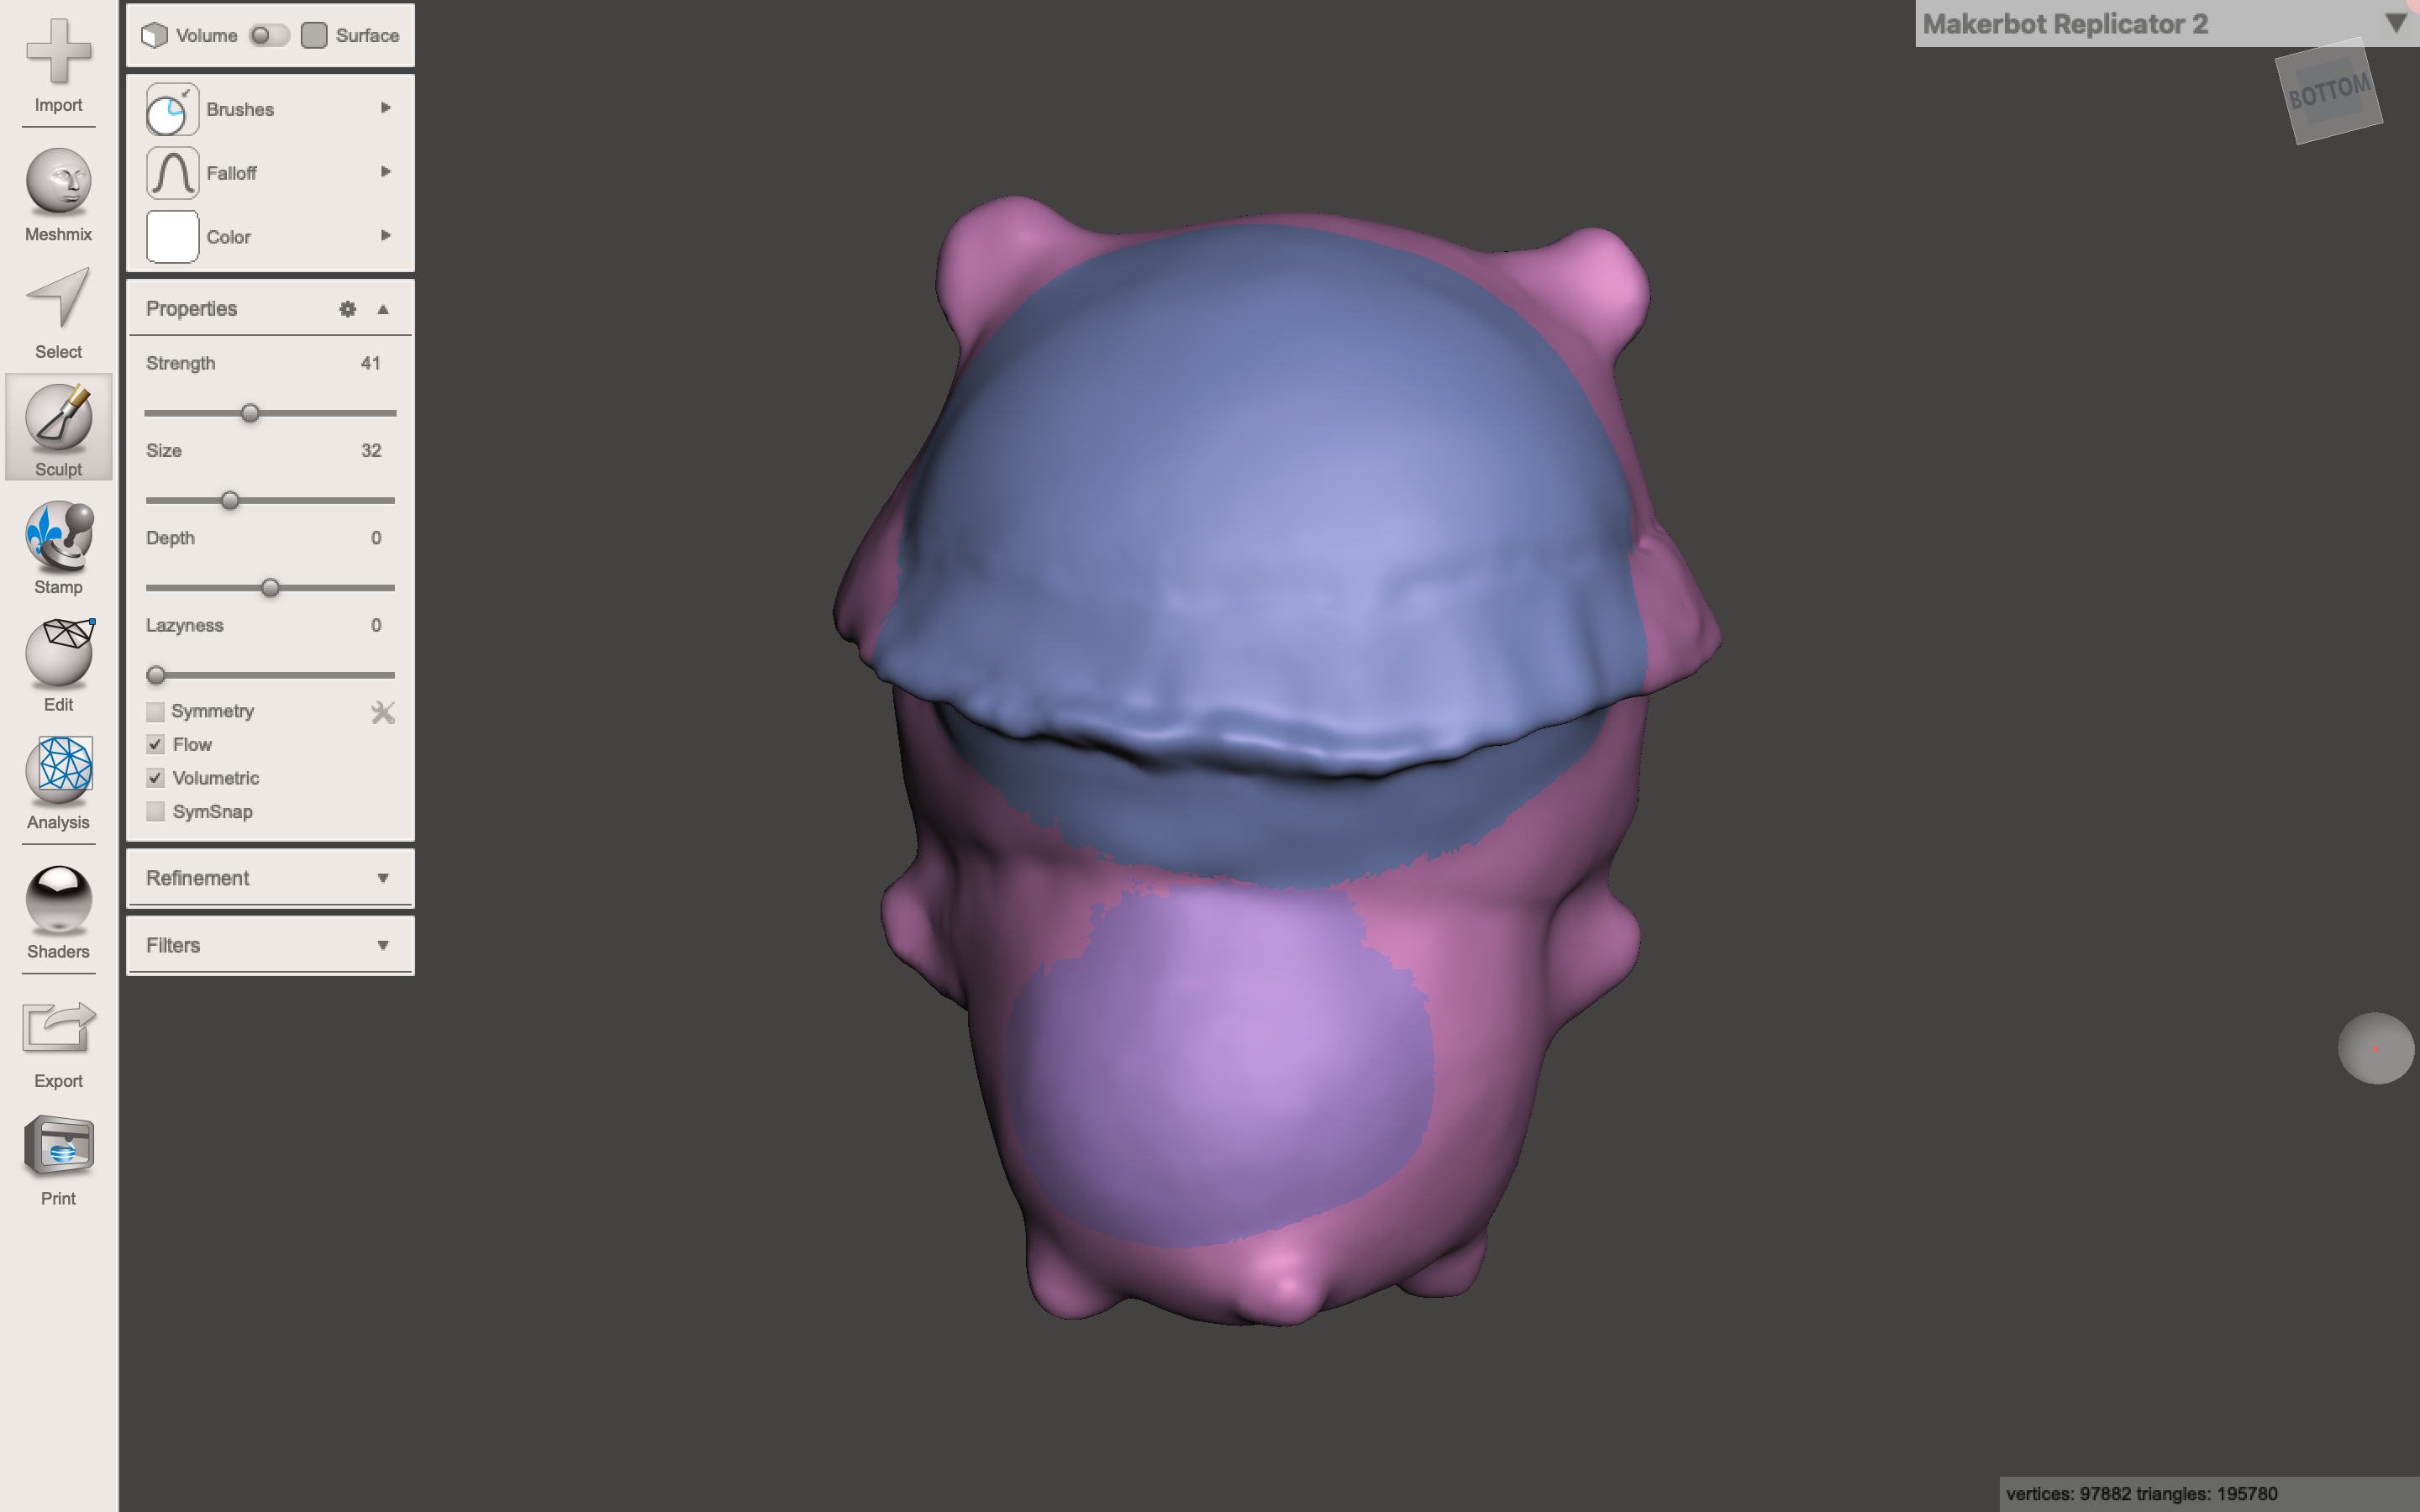
Since the 3D scanner in our lab has some hardware problems, we have to use the Photogrammetry Technique, taking pictures of the object from different angles to get a "scanned" object. We then need to modify it in Meshmixer to make it a complete model. The above photos are screenshots of the model I made, a toy called "Bubu". You can download the .stl file if you want to check it or for other usages!
Downloads
Supplies
- Applications: Meshroom (only for windows), Meshmixer
- Objects to be taken photos of
- A device with a good-quality camera (DSLR highly recommended)
Choosing the Right Objects to Scan
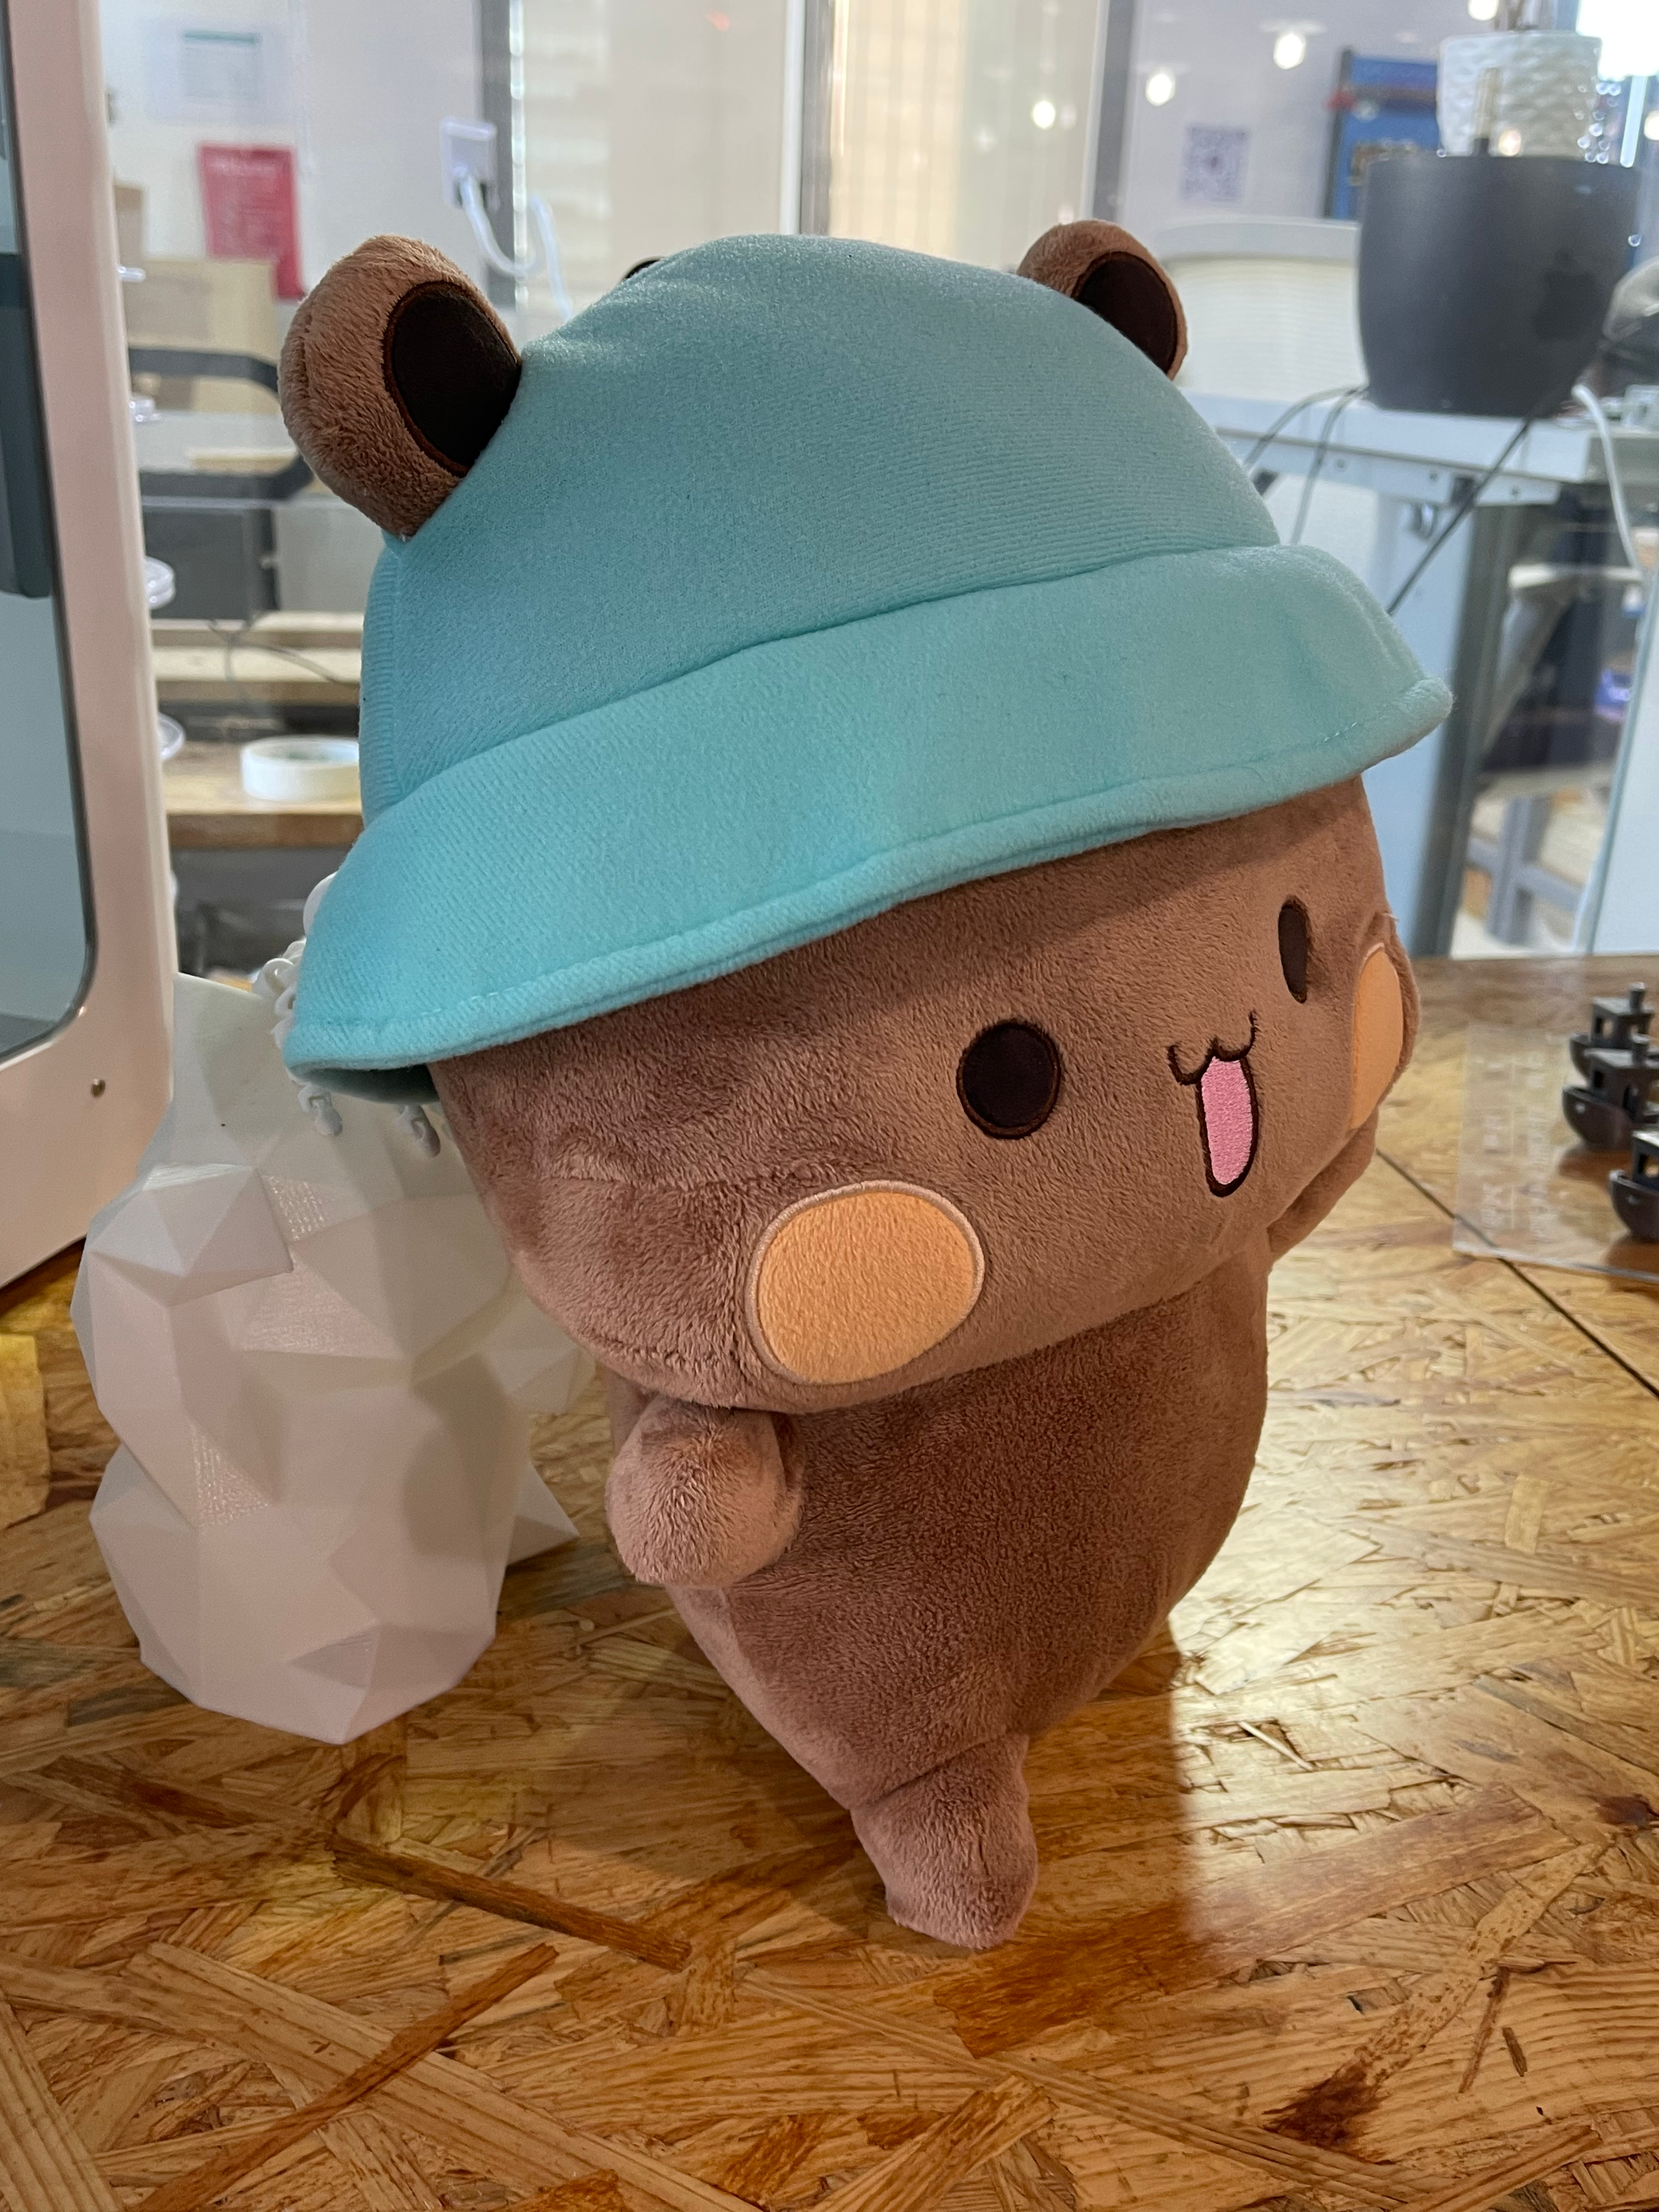
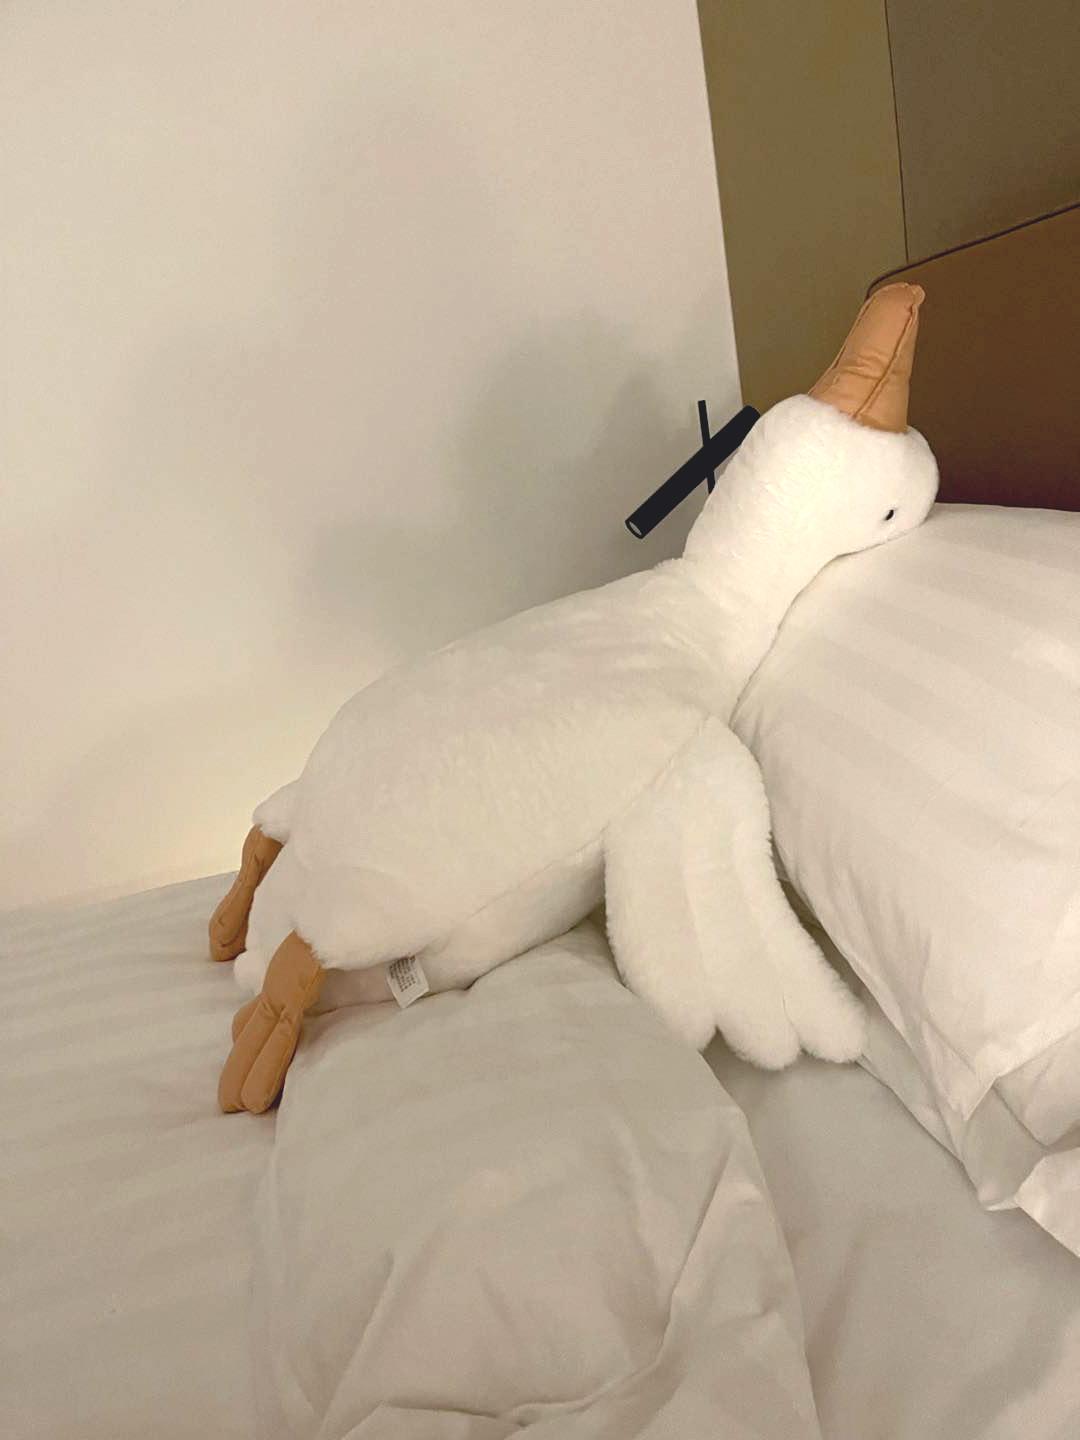
Because reflective objects are not good for both 3D scanning, some details will be lost by the digital camera, I chose two toys with fluffy textures, a bear called "Bubu" and a goose that "has nothing to love in life".
Taking Photos With My Phone
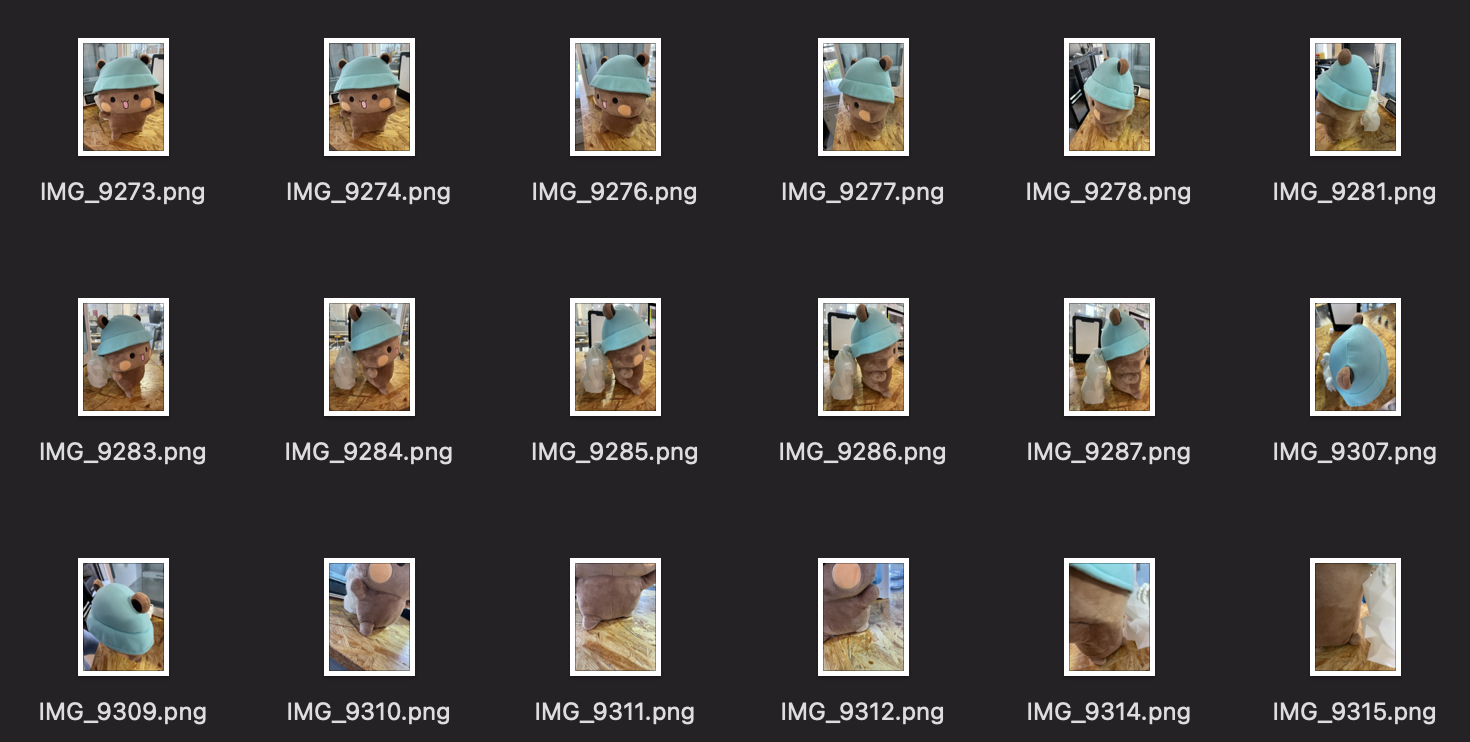
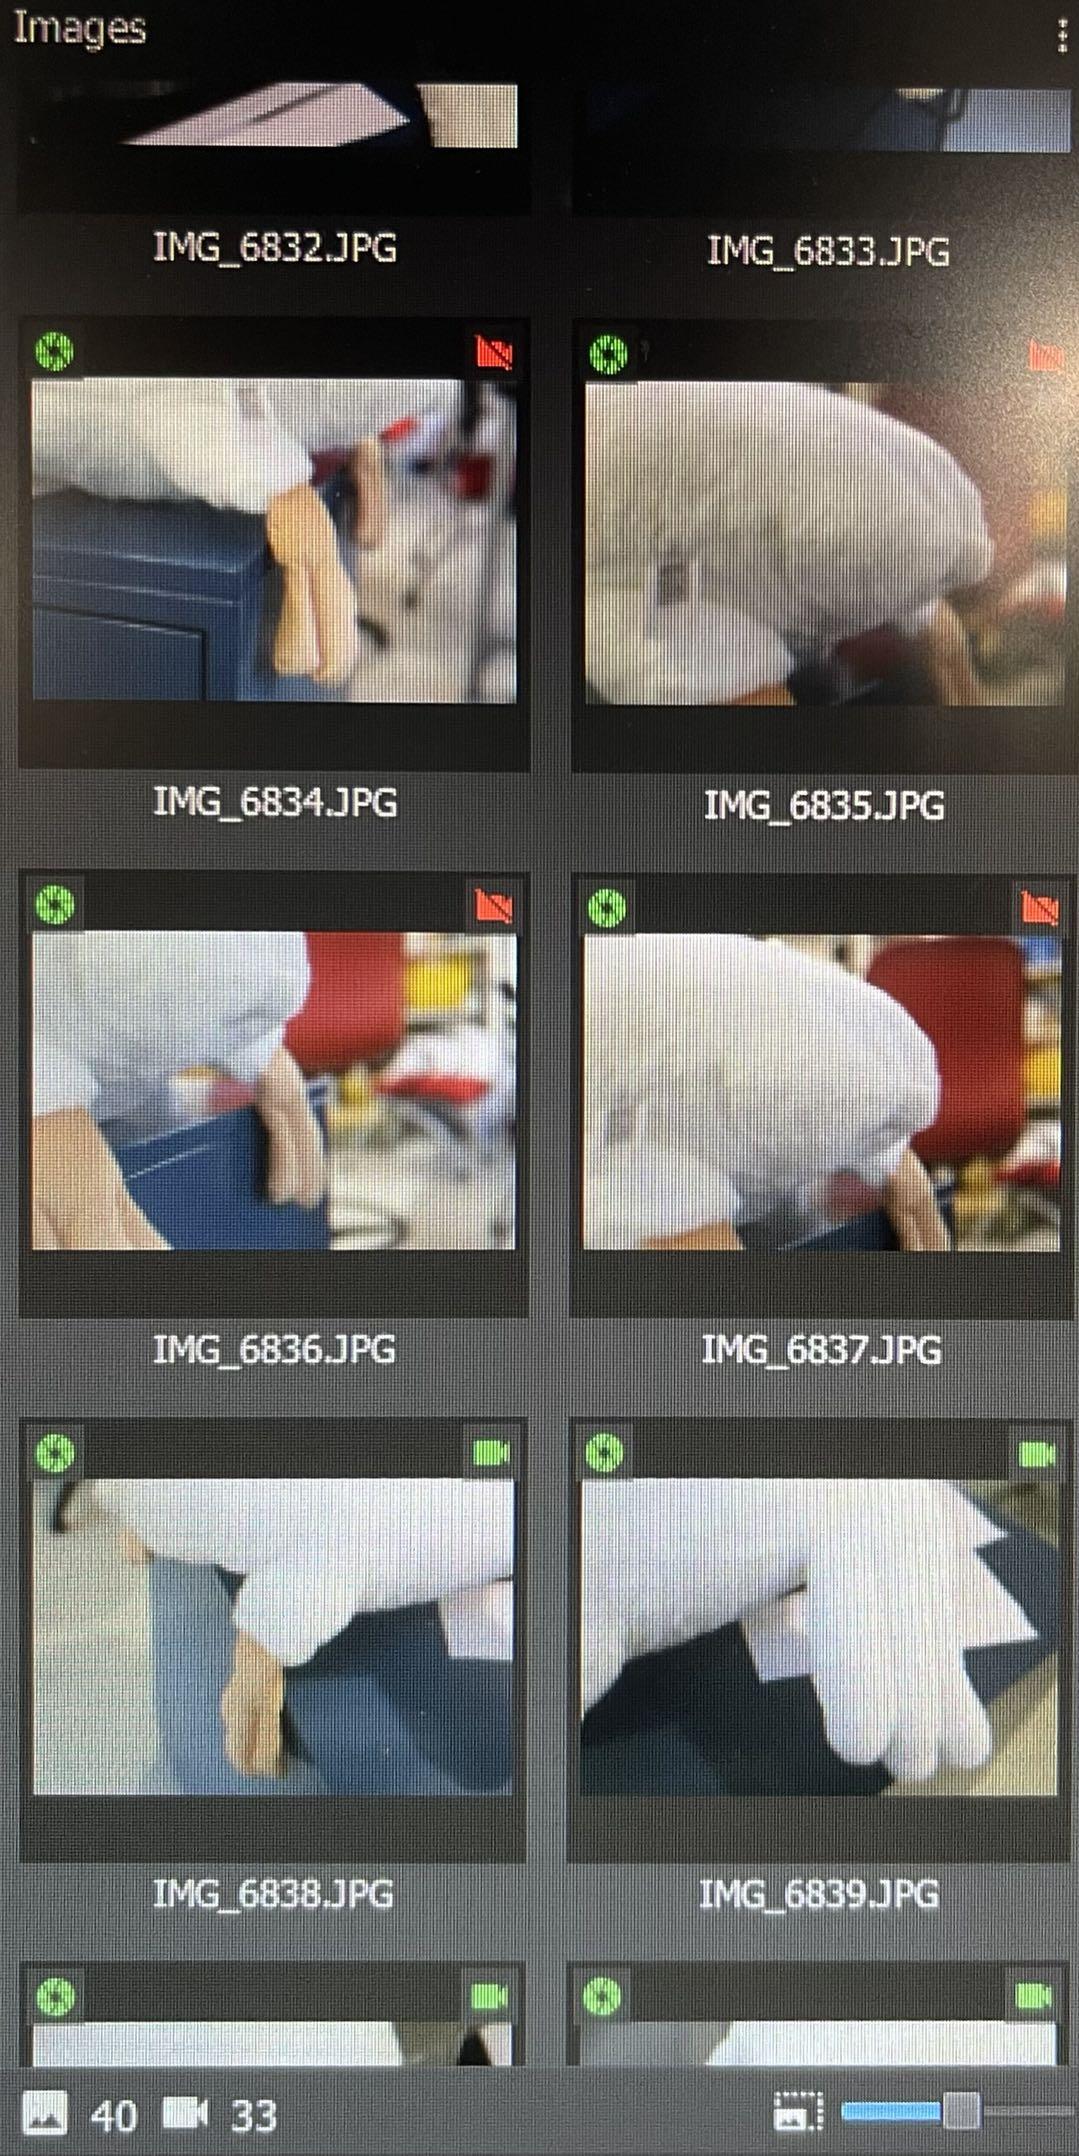
At first, I tried to take pictures with my iPhone12 Pro Max instead of professional photographic equipment. However, among the 26 photos I took for the bear Bubu, there are only 7 photos usable in the application Meshroom. And a similar situation also happened for the goose.
I thought the resolution of the photo is quite high, so maybe the reason is one of the following:
- The size or the texture of the objects I chose may not be suitable for Photogrammetry Technique
- I shoot the photos too far away or too close so the object cannot be recognized
- Maybe I didn't take enough photos of the detail
I wanted to see if it would work with more photos of the details, but I carelessly moved the toys away from where it was placed at.
Taking Photos With DSLR and Generating .obj File in Meshroom
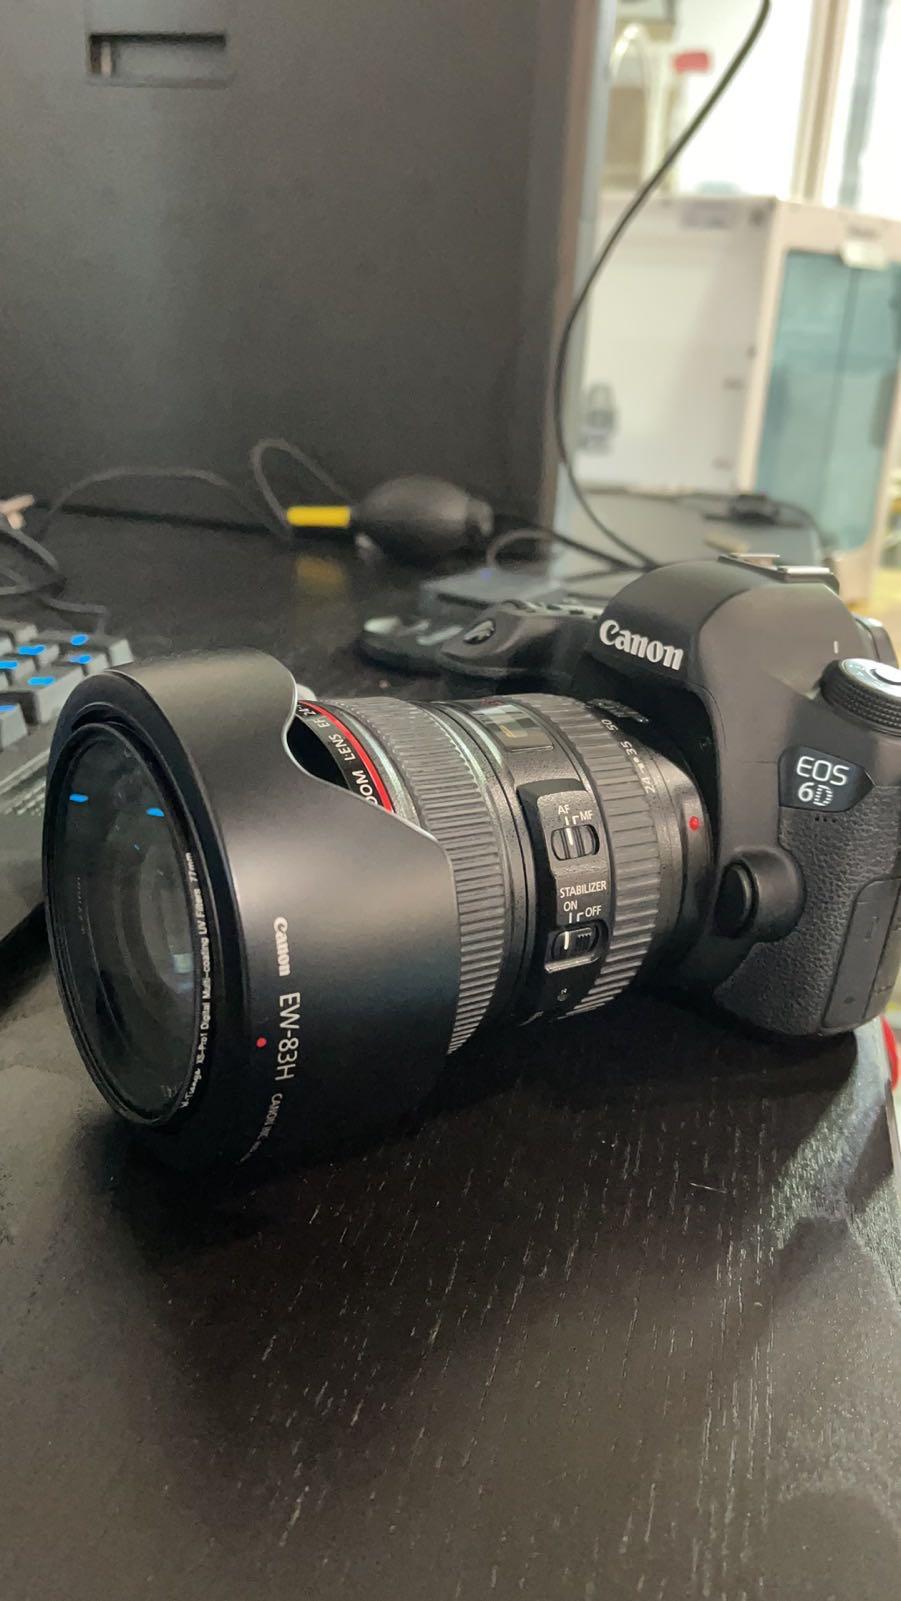
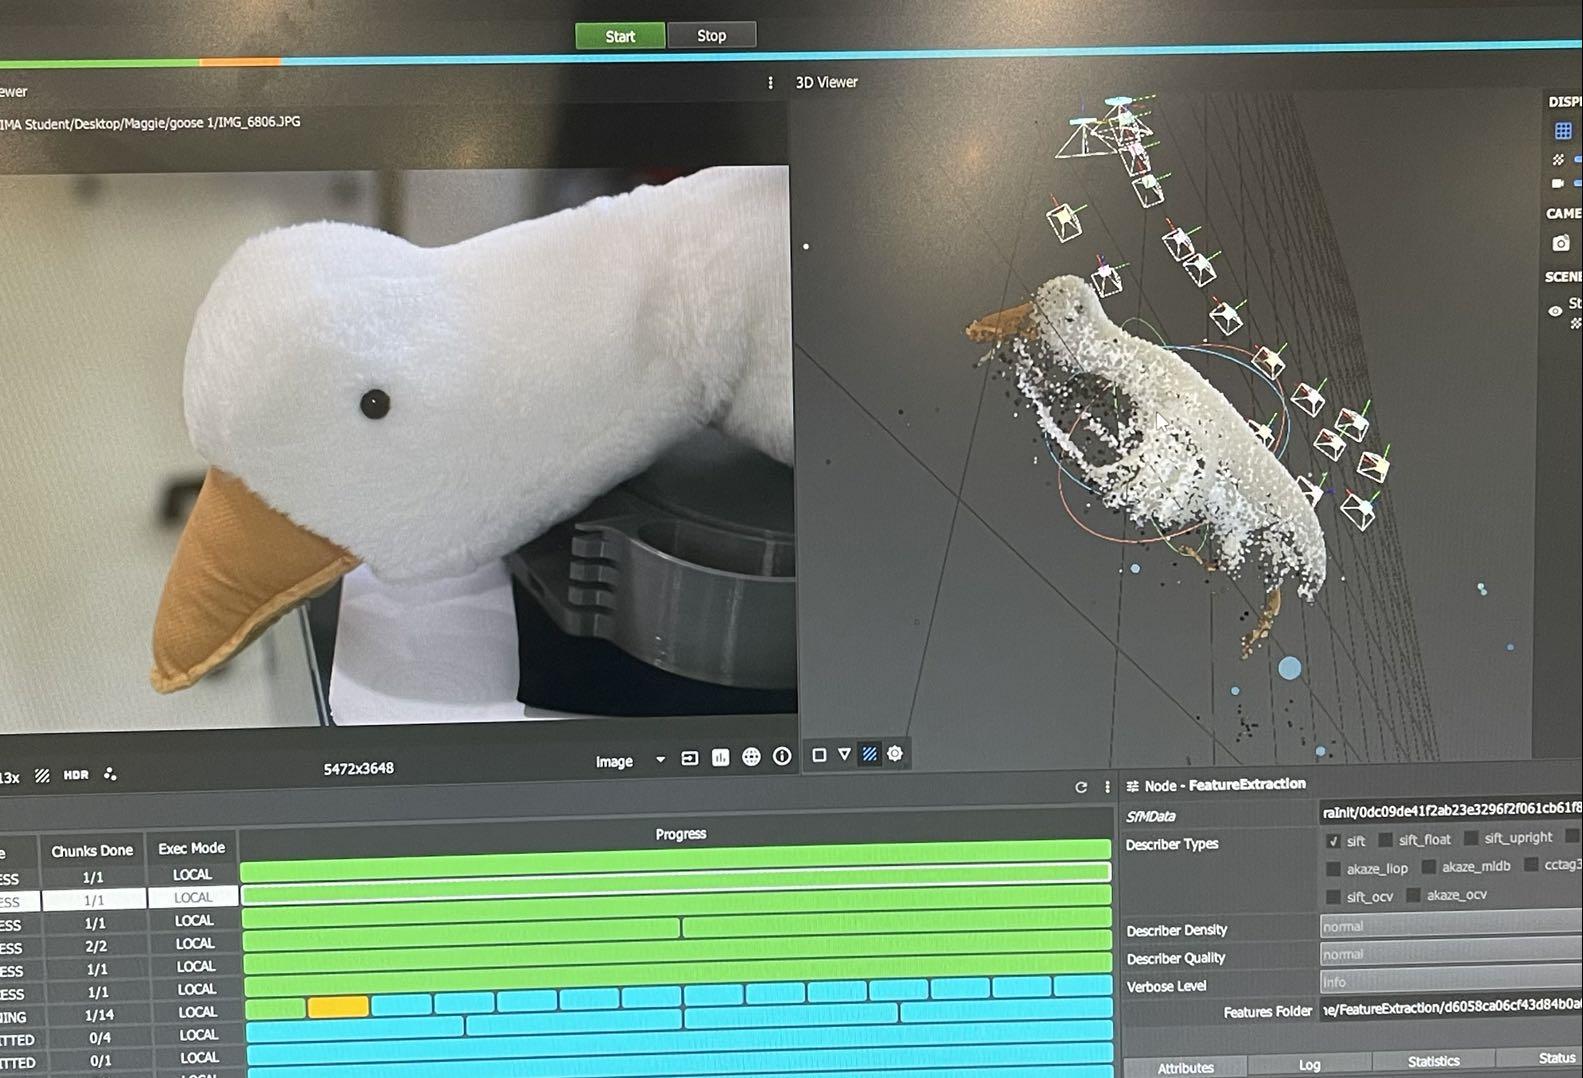
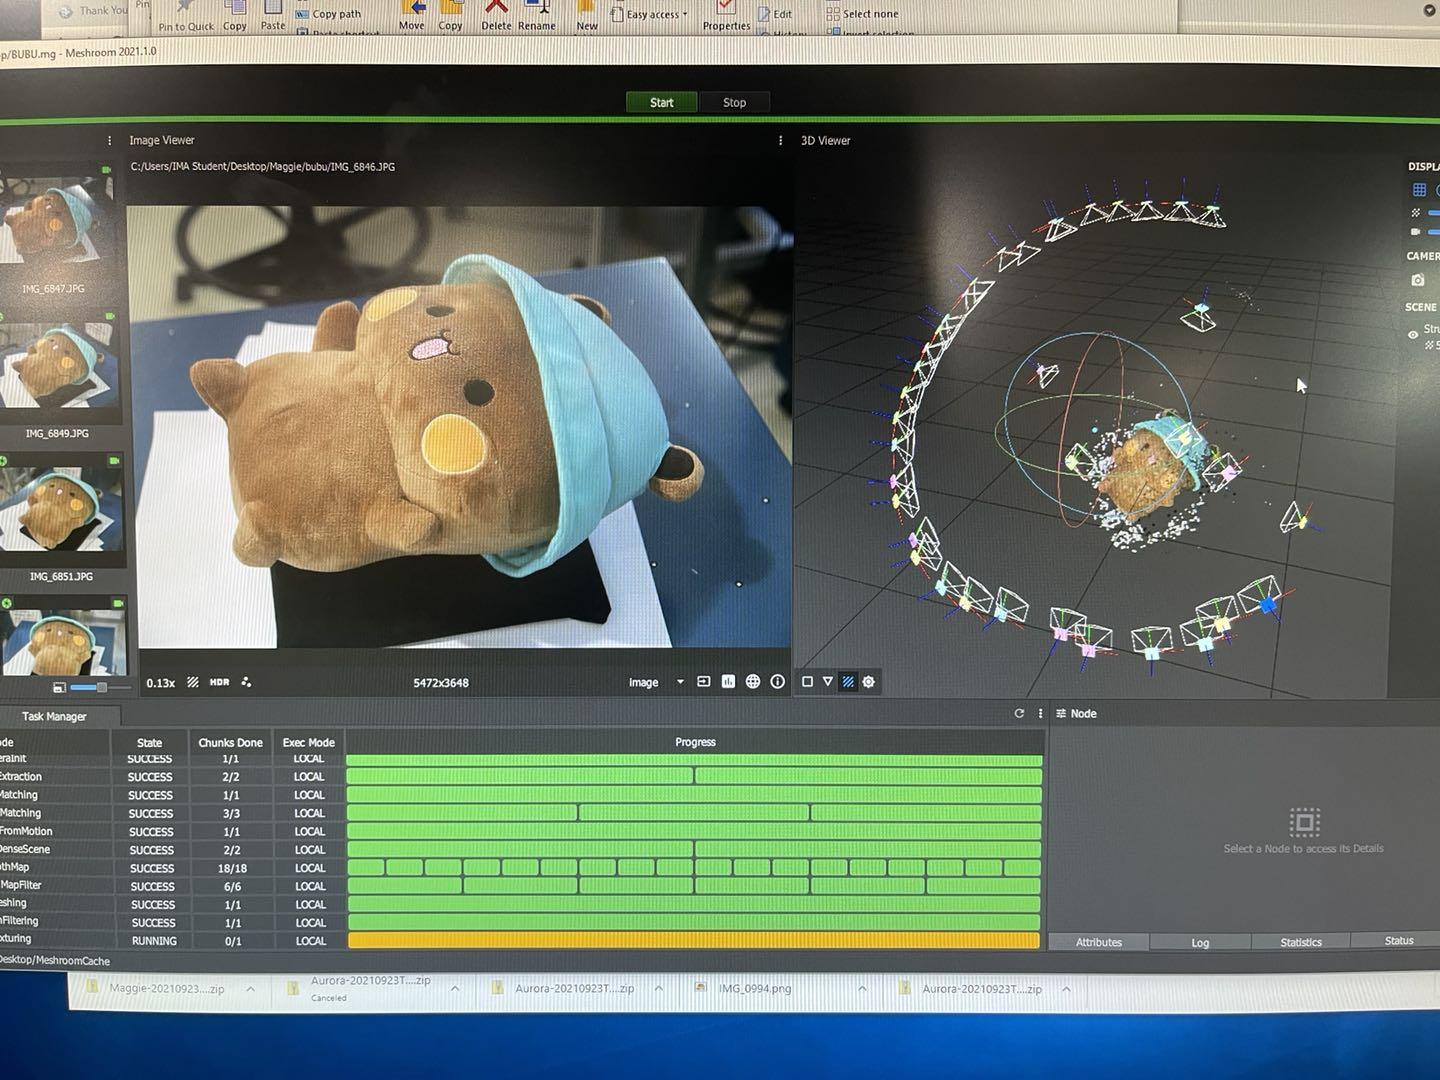
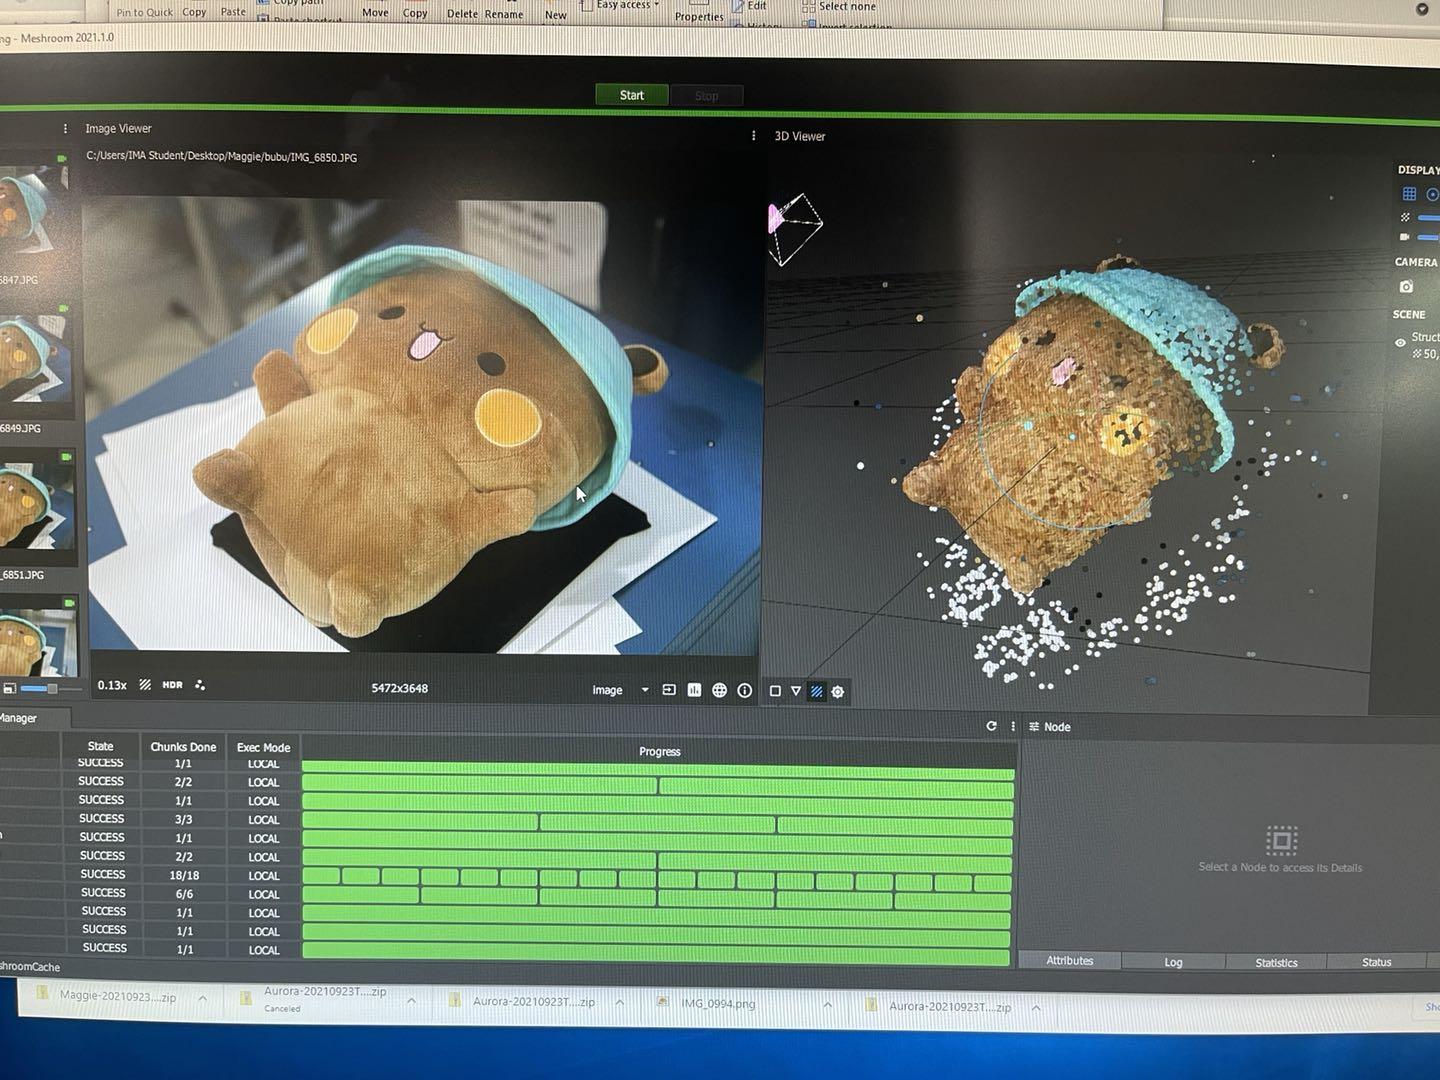
I didn't want to struggle with my iPhone anymore, so I decide to take Prof. Garcia's advice and use the DSLR instead. I borrowed a Canon EOS 6D from the equipment room and took a lot of photos from different angles. You can see from fig. 4 that I really walked around the toy really well and continuously took photos. Then the generated object and the camera preview in the application formed a good satellite shape / a Jupyter shape.
I finally chose Bubu instead of the goose because there are 54 usable photos for Bubu and the details of Bubu are kept really well, so I'm thinking maybe it would be more convenient for me to manipulate it in the application later.
Surprising Finding
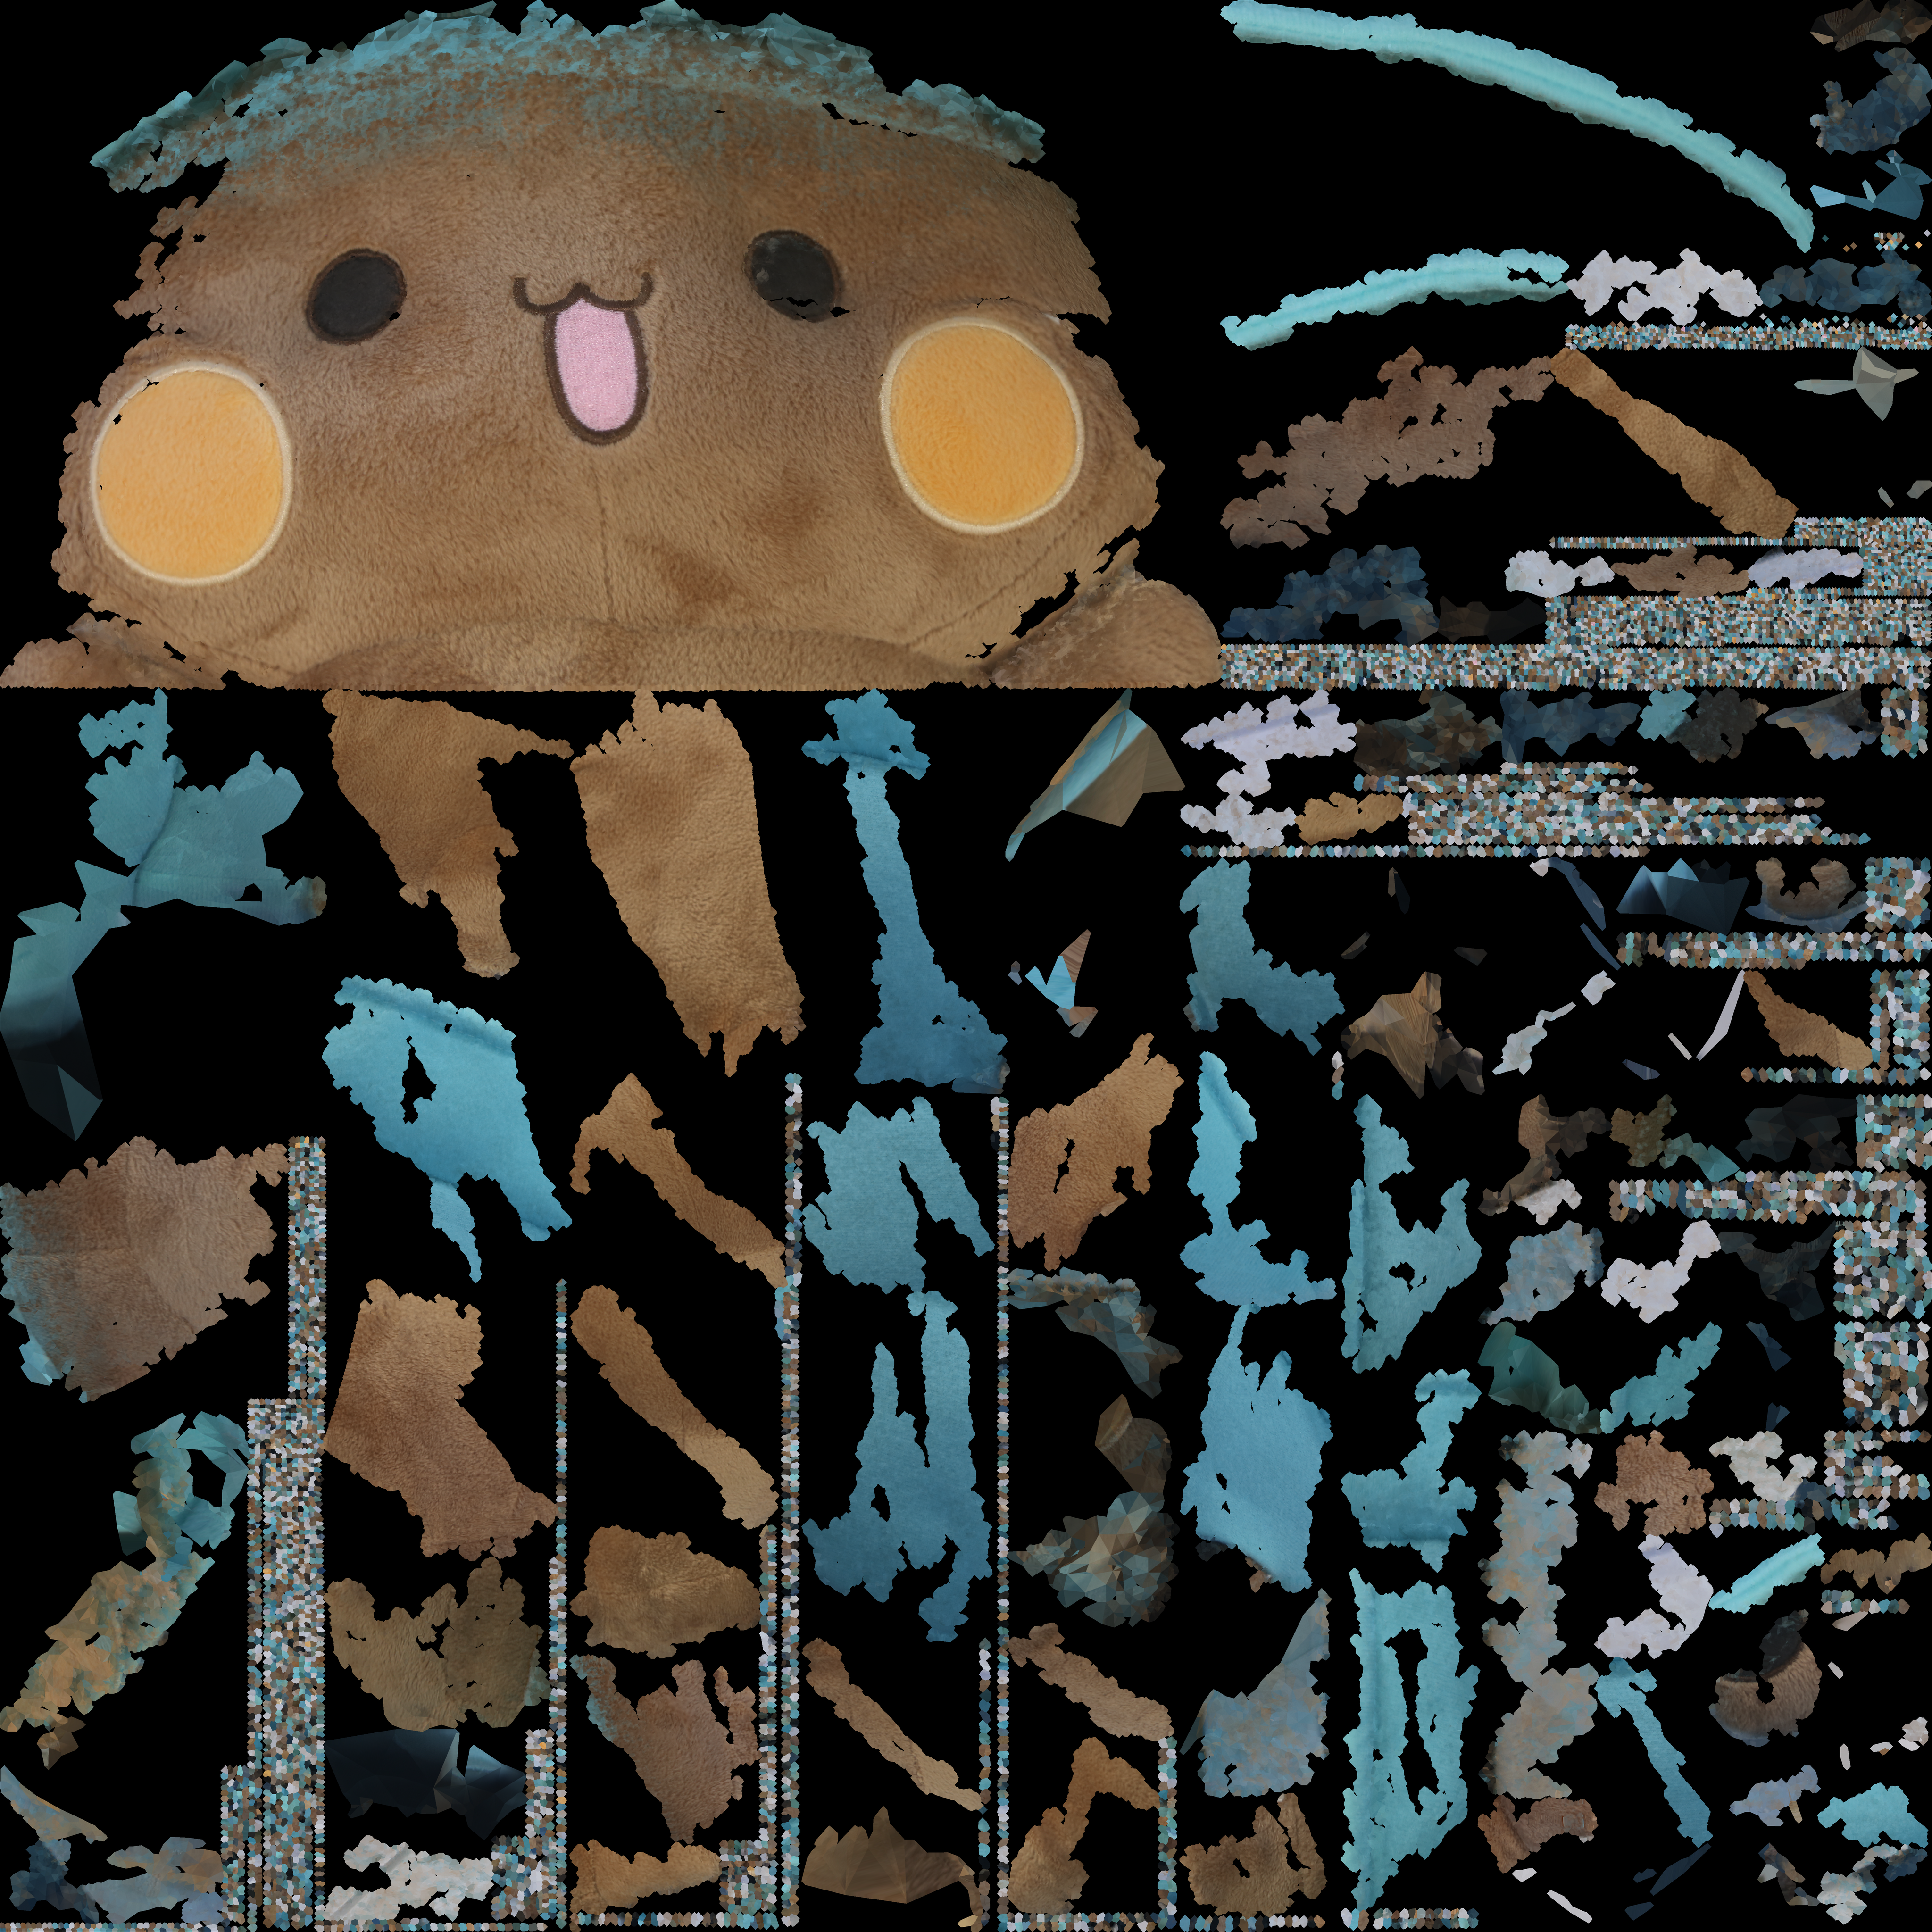
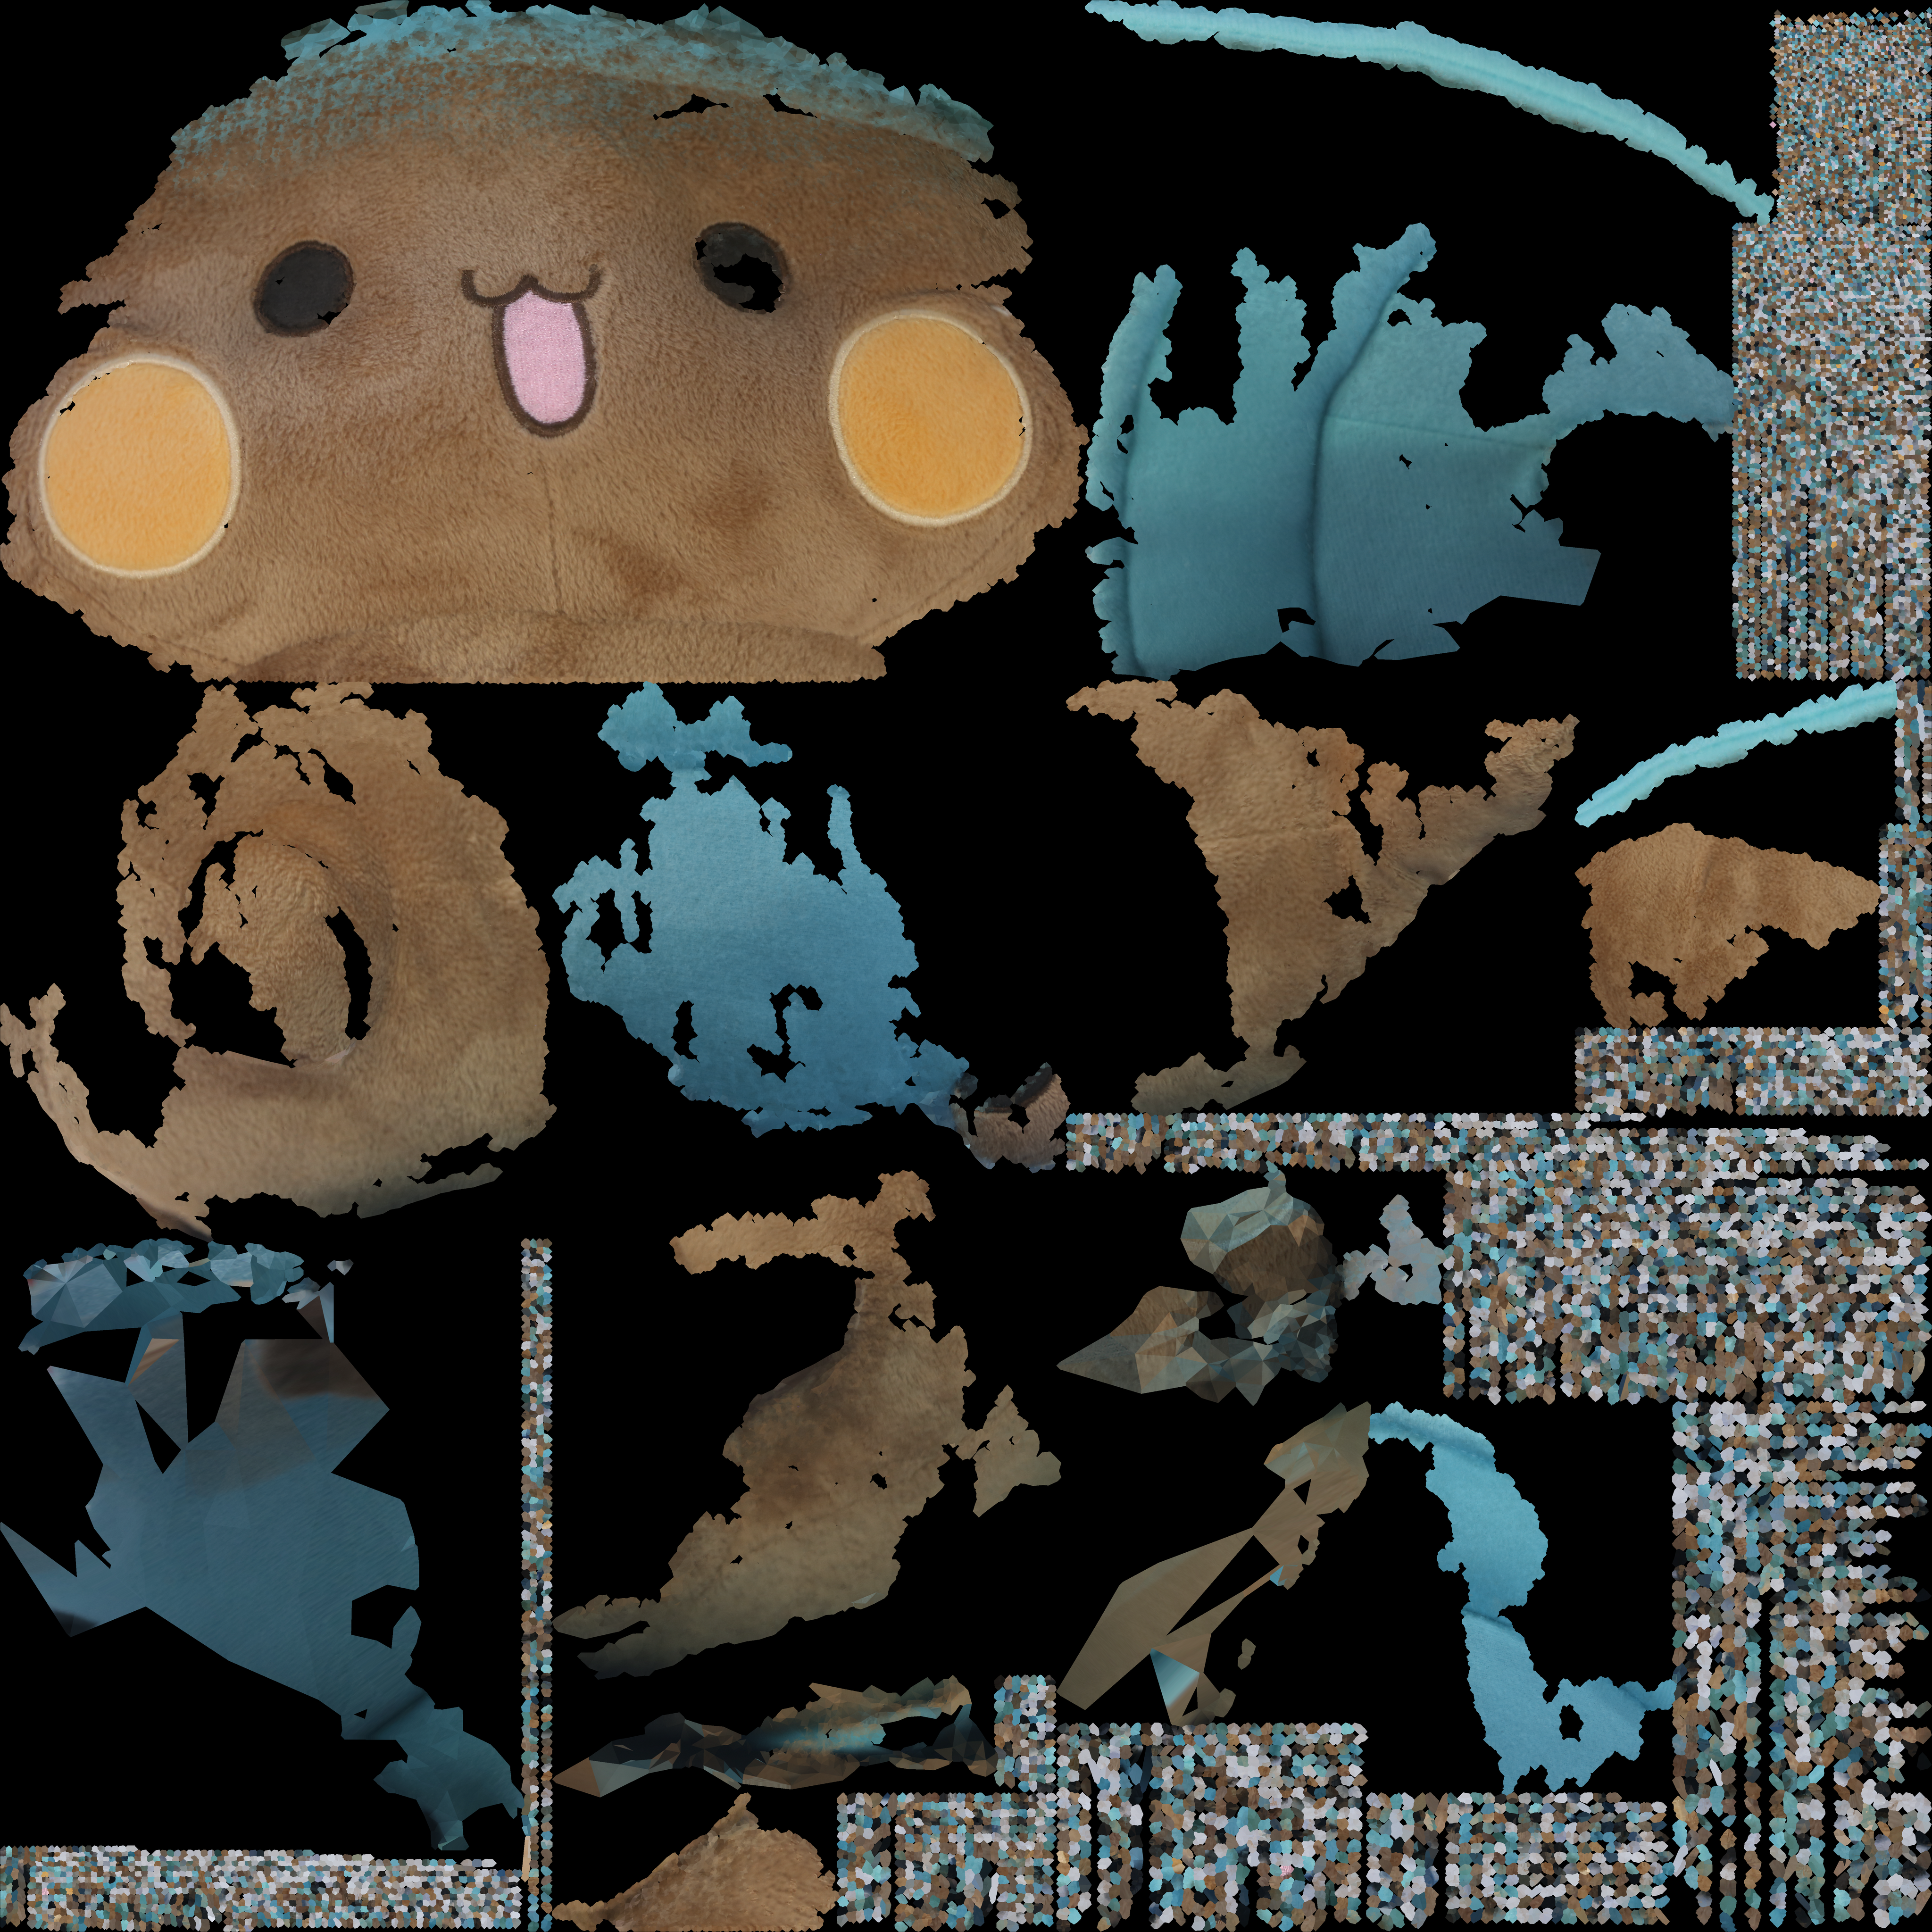
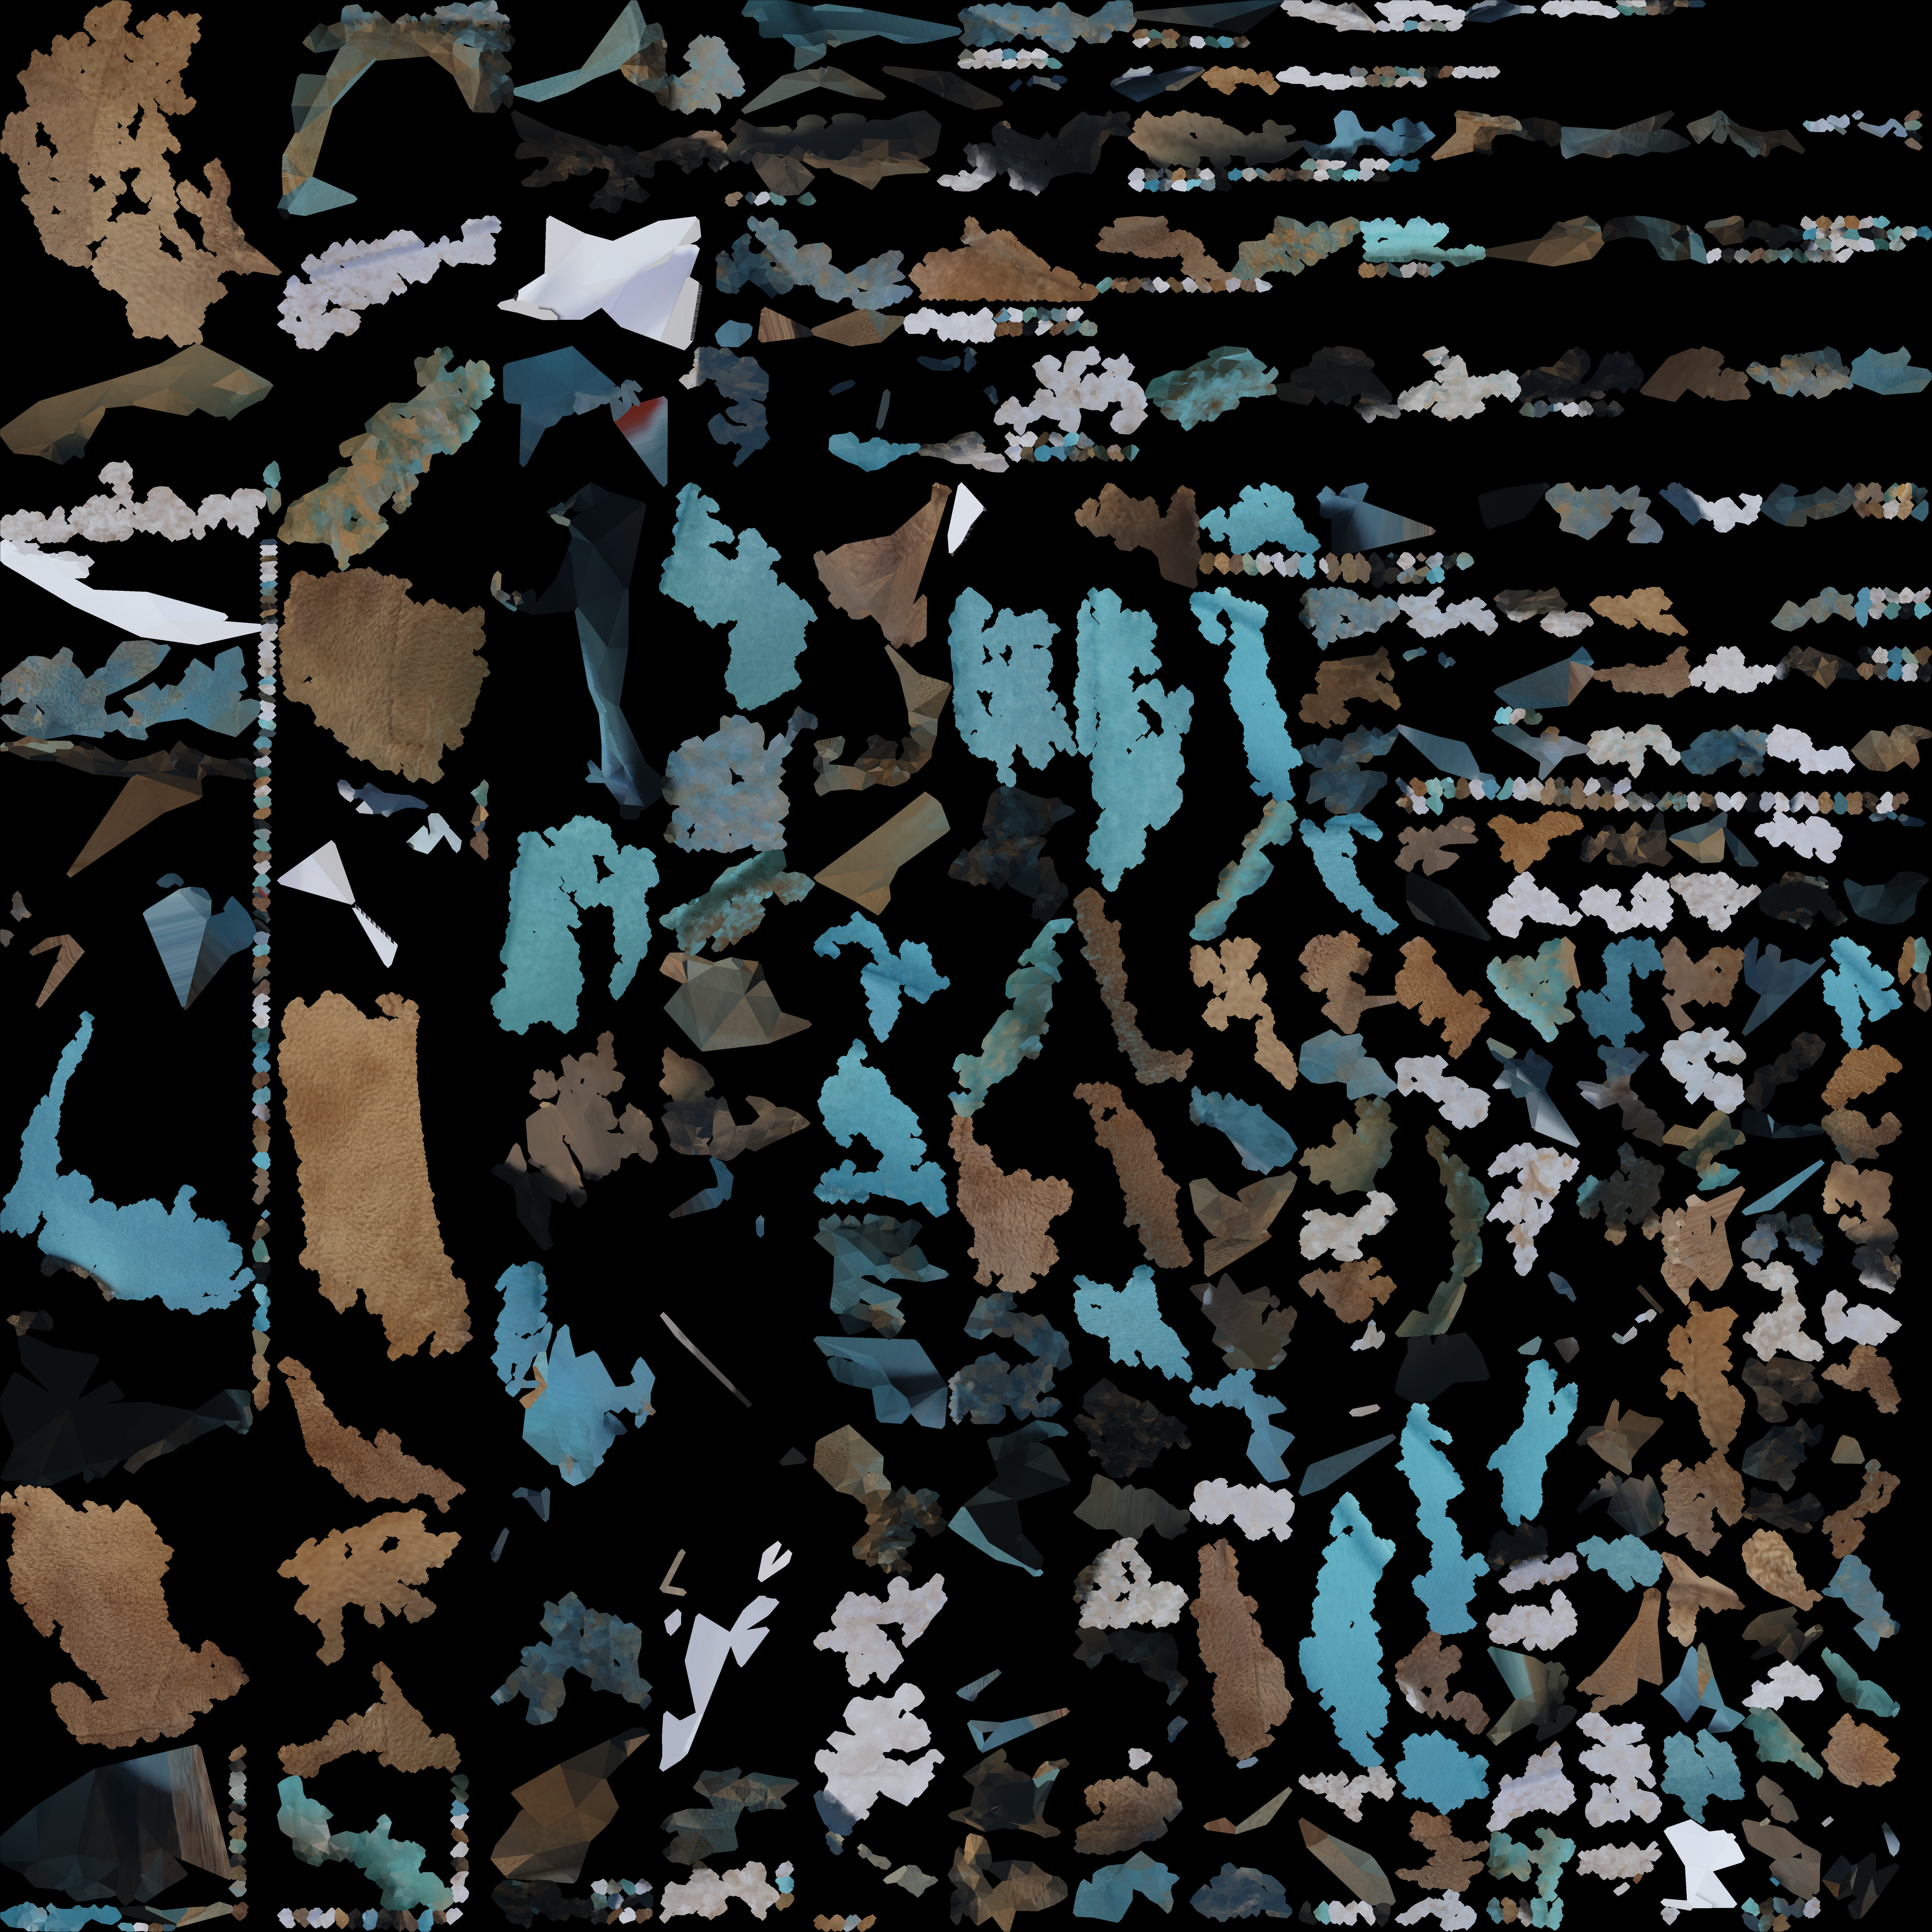
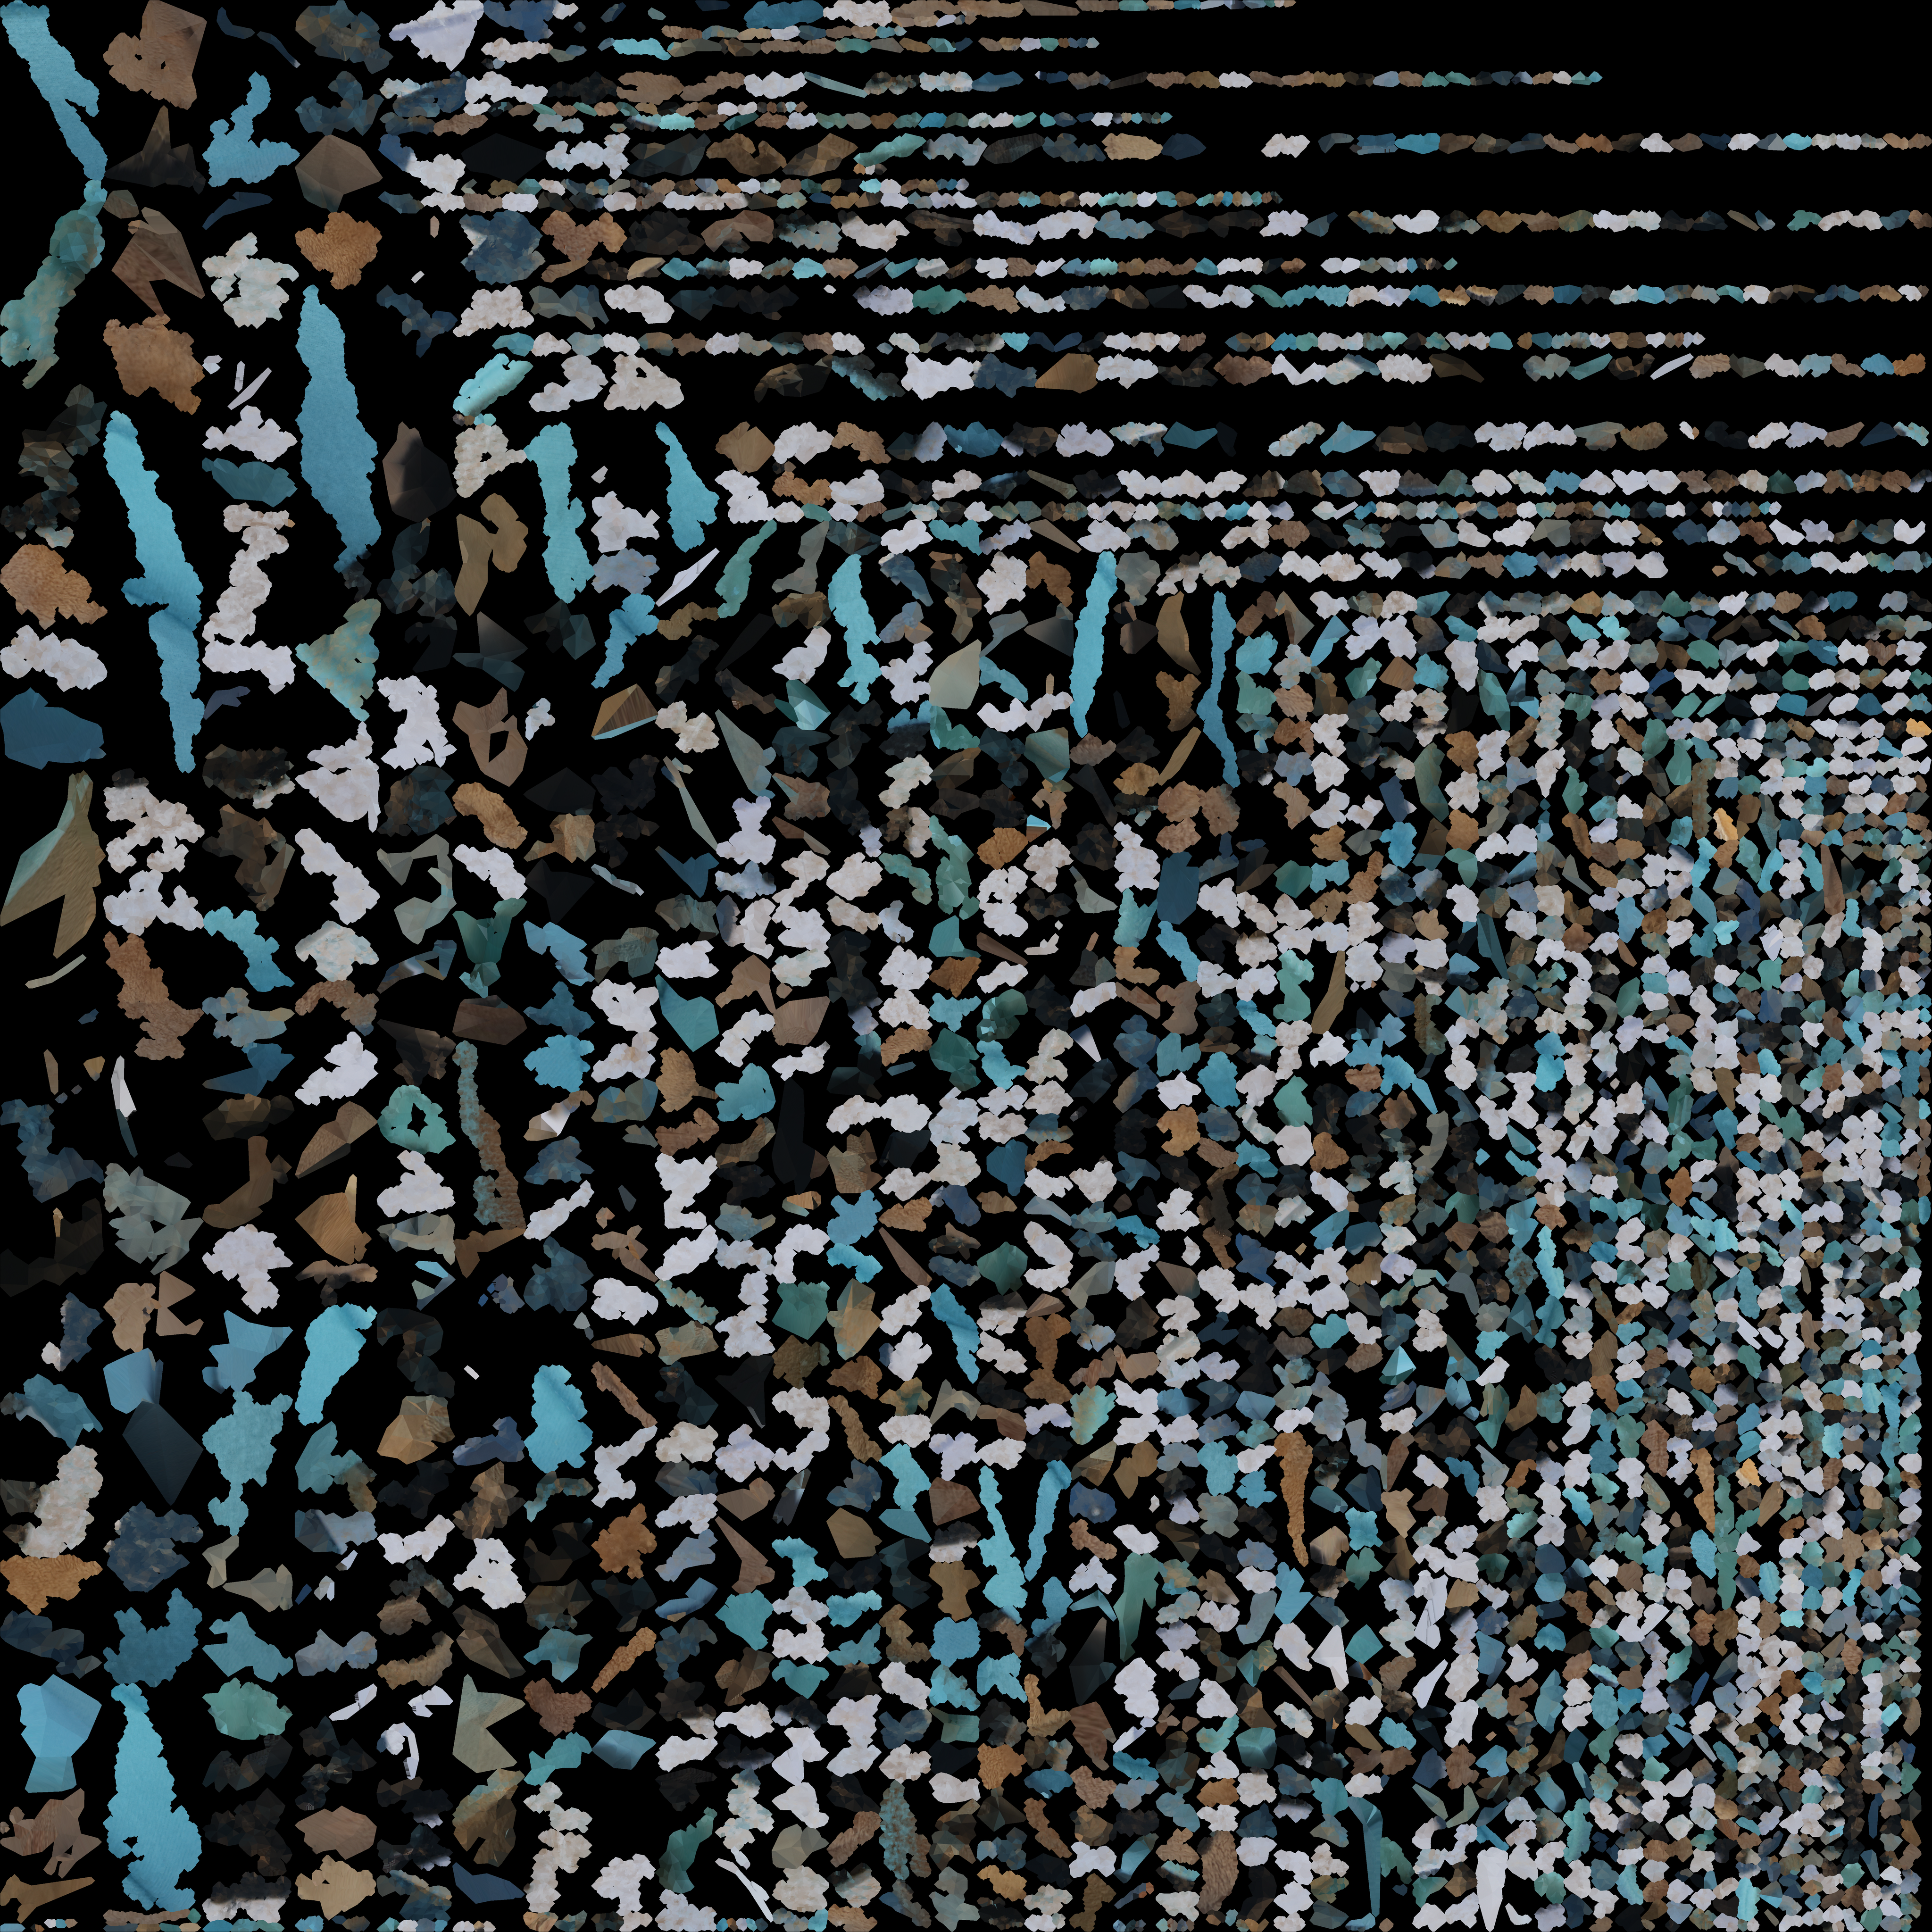
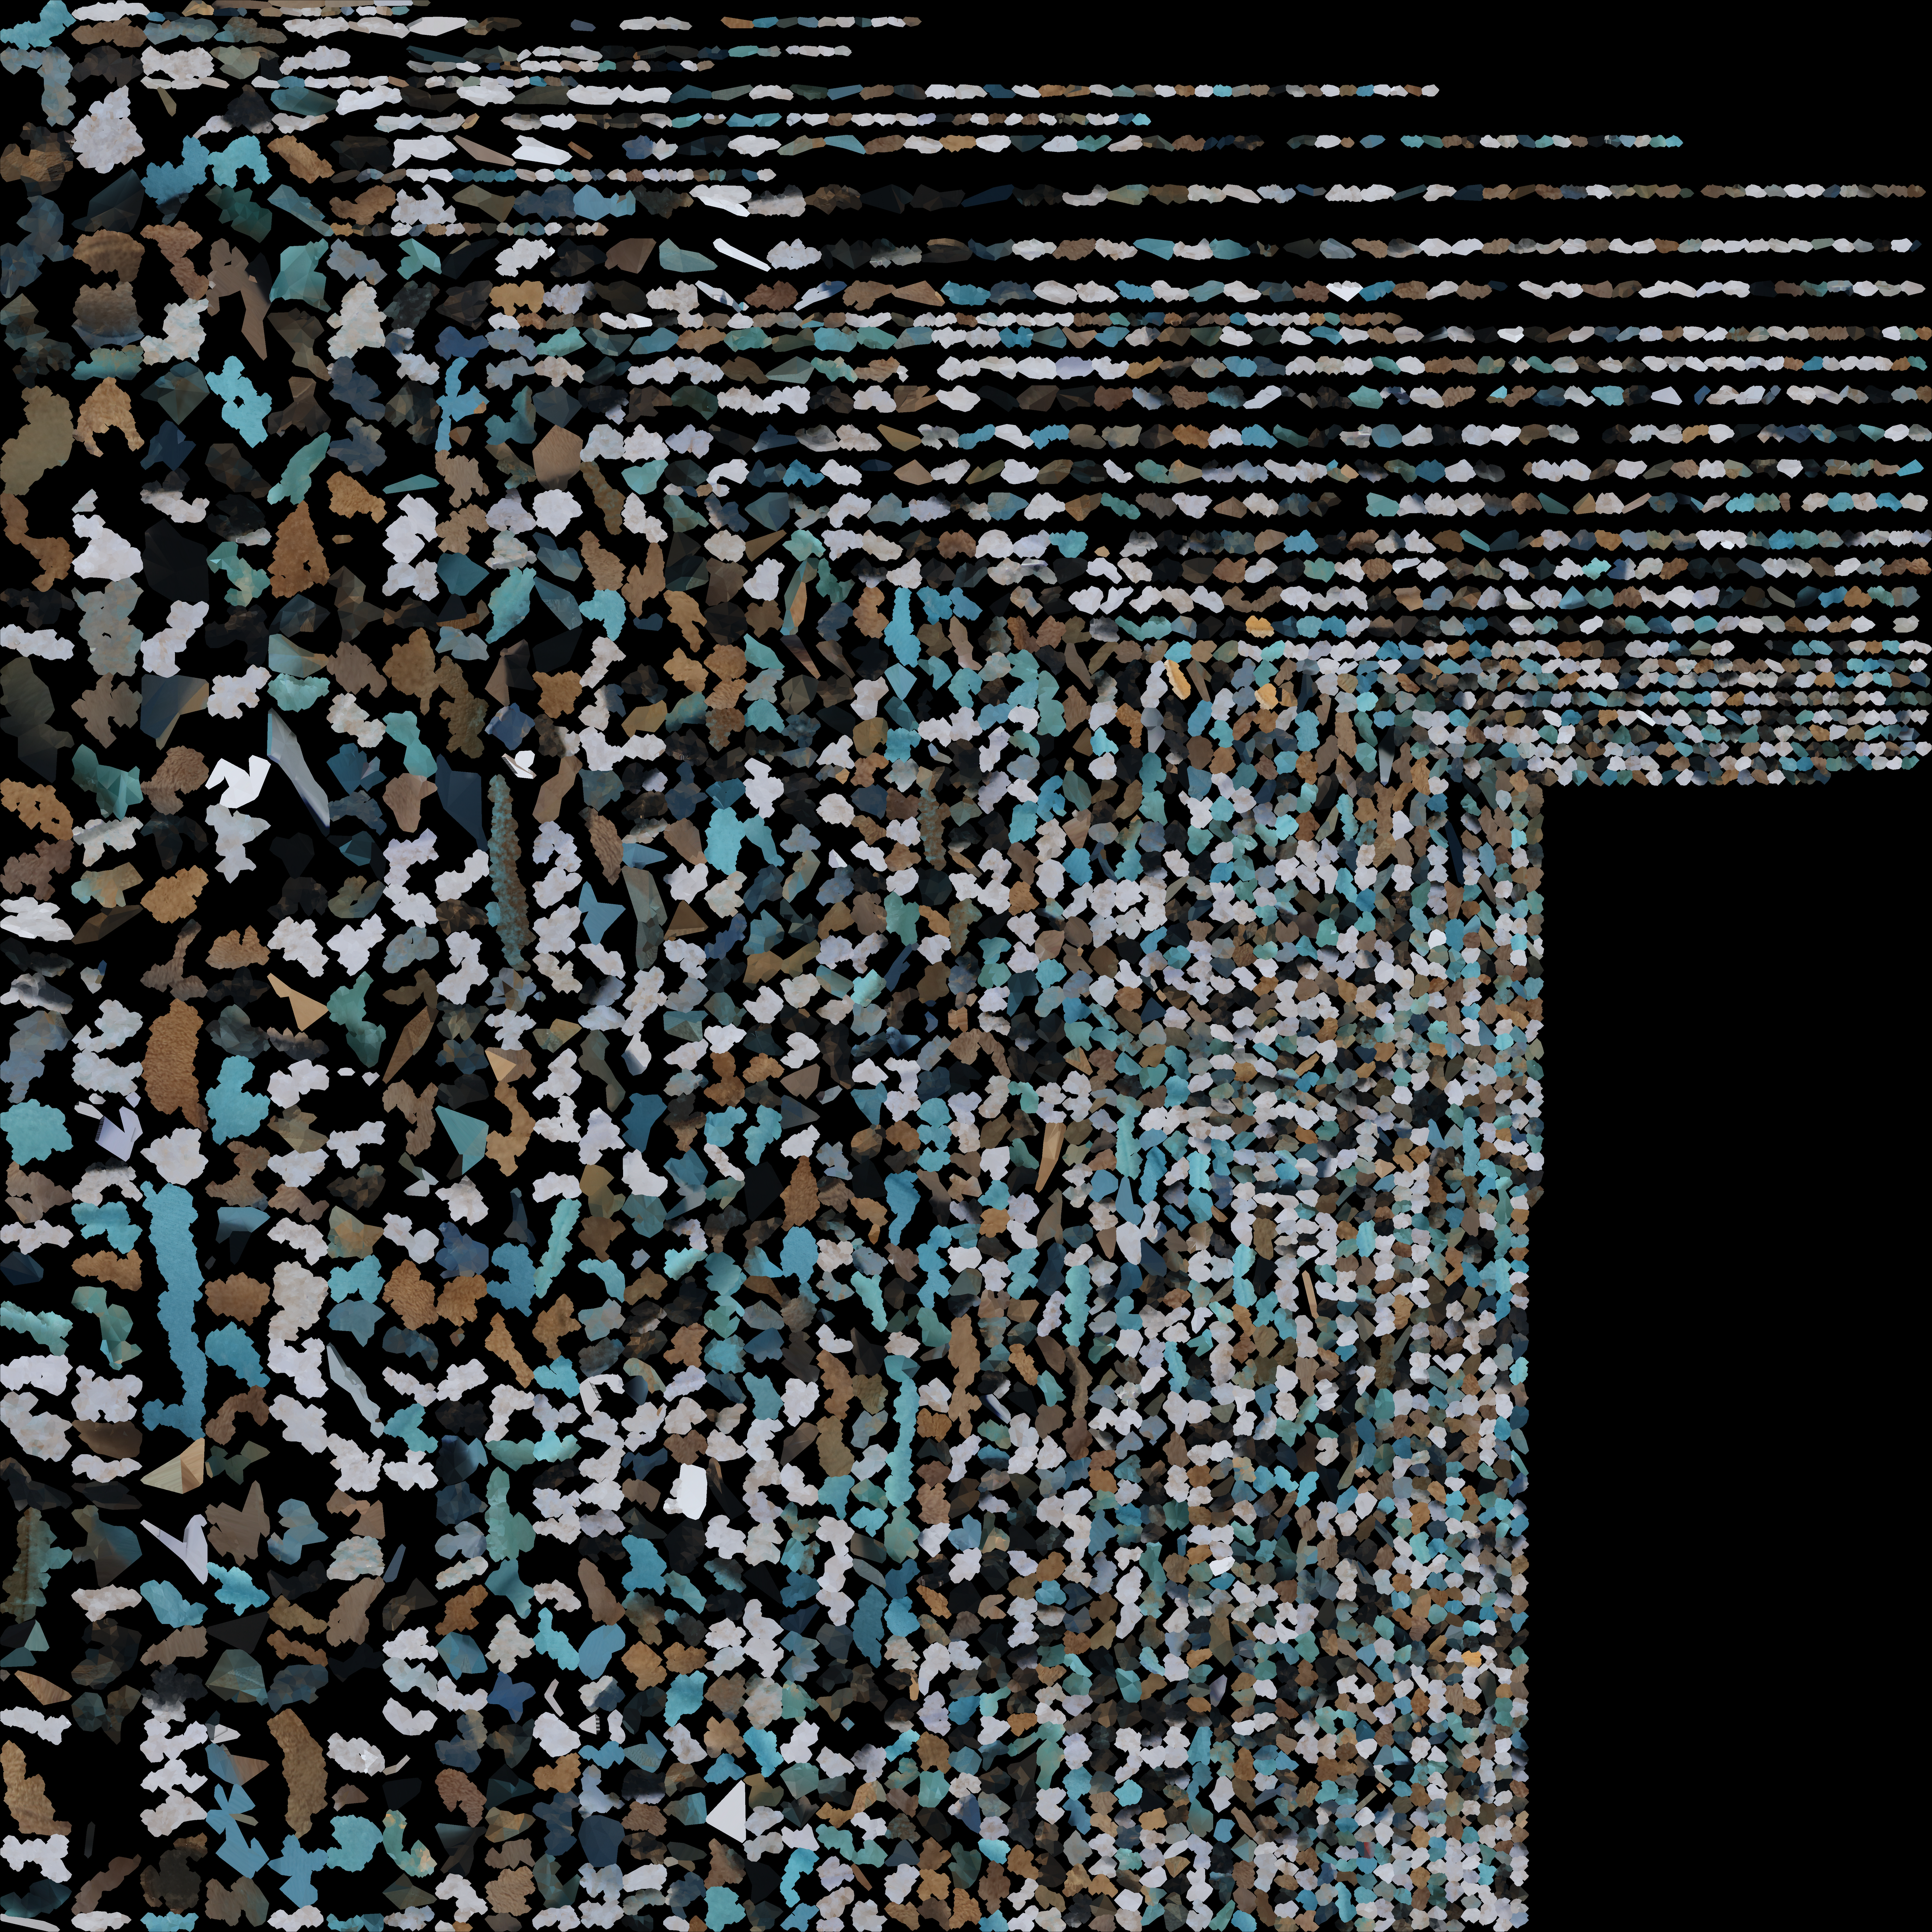
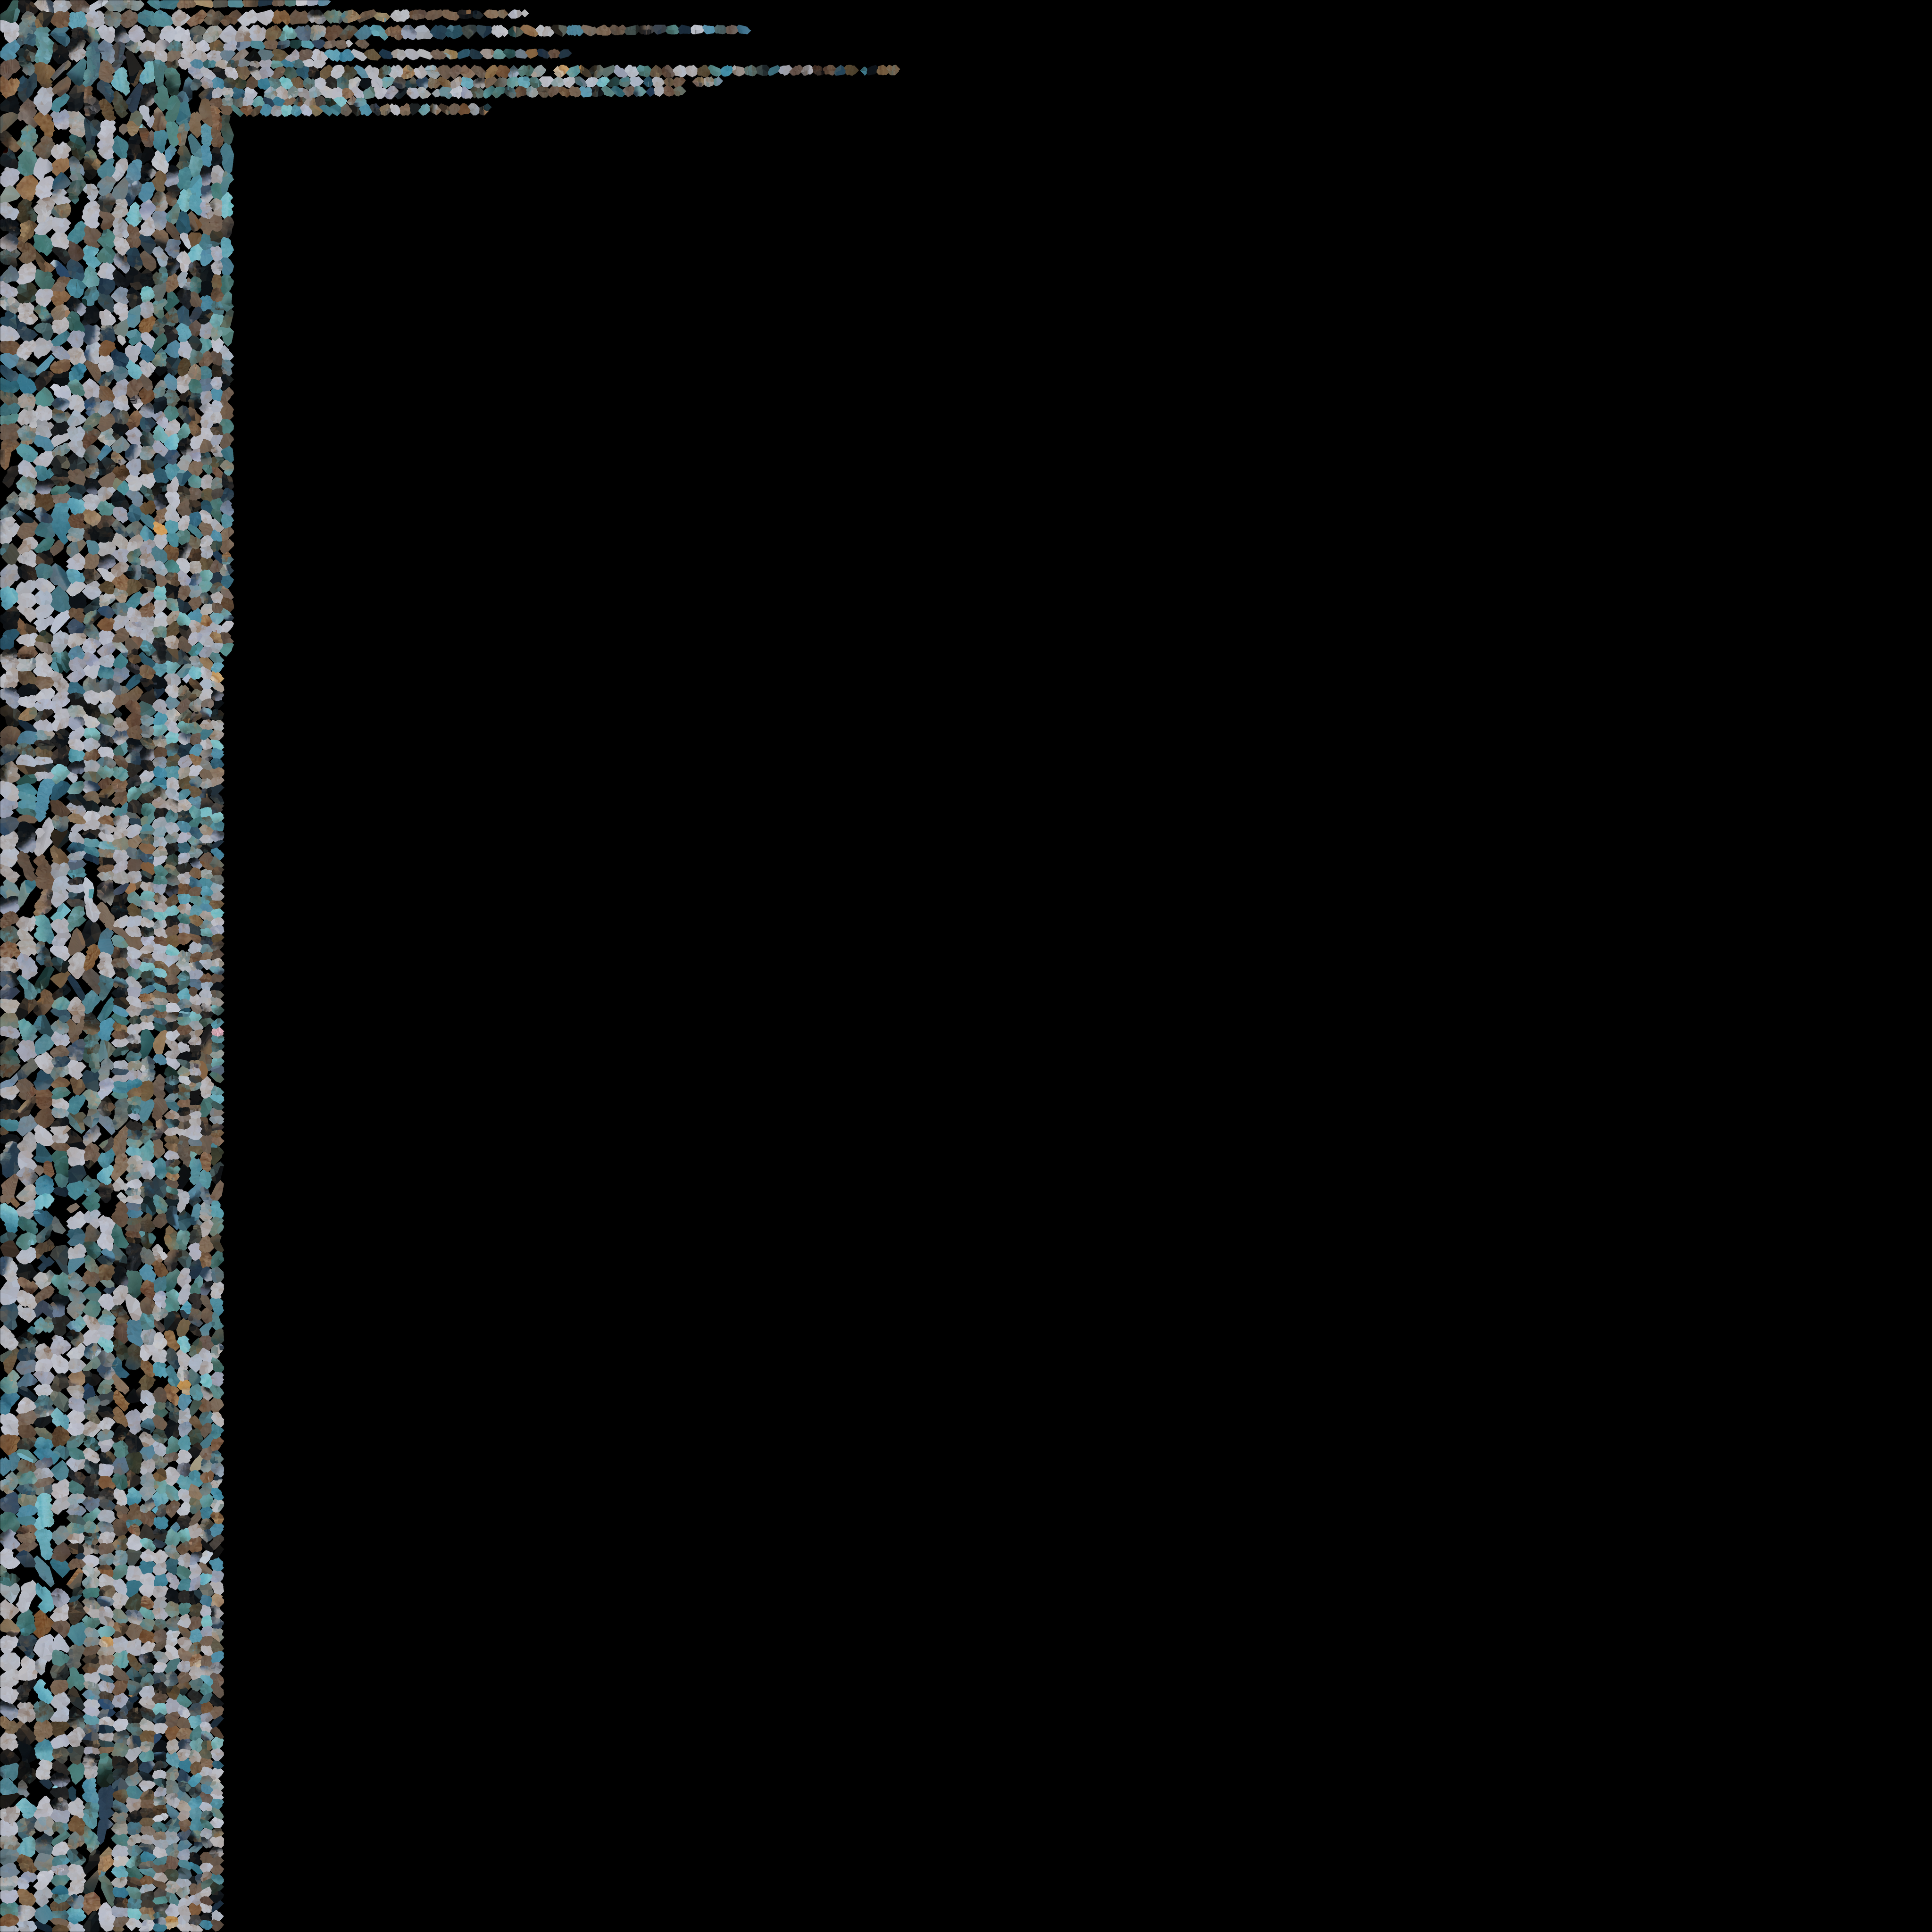
I run the mesh-forming process on two different Windows computers and it's interesting that the generated texture images, as well as the models, are slightly different. I checked the source code of the application and found out that the reasons behind it may be the random numbers introduced in the process of "feature extraction" and "image matching".
Rough Processing
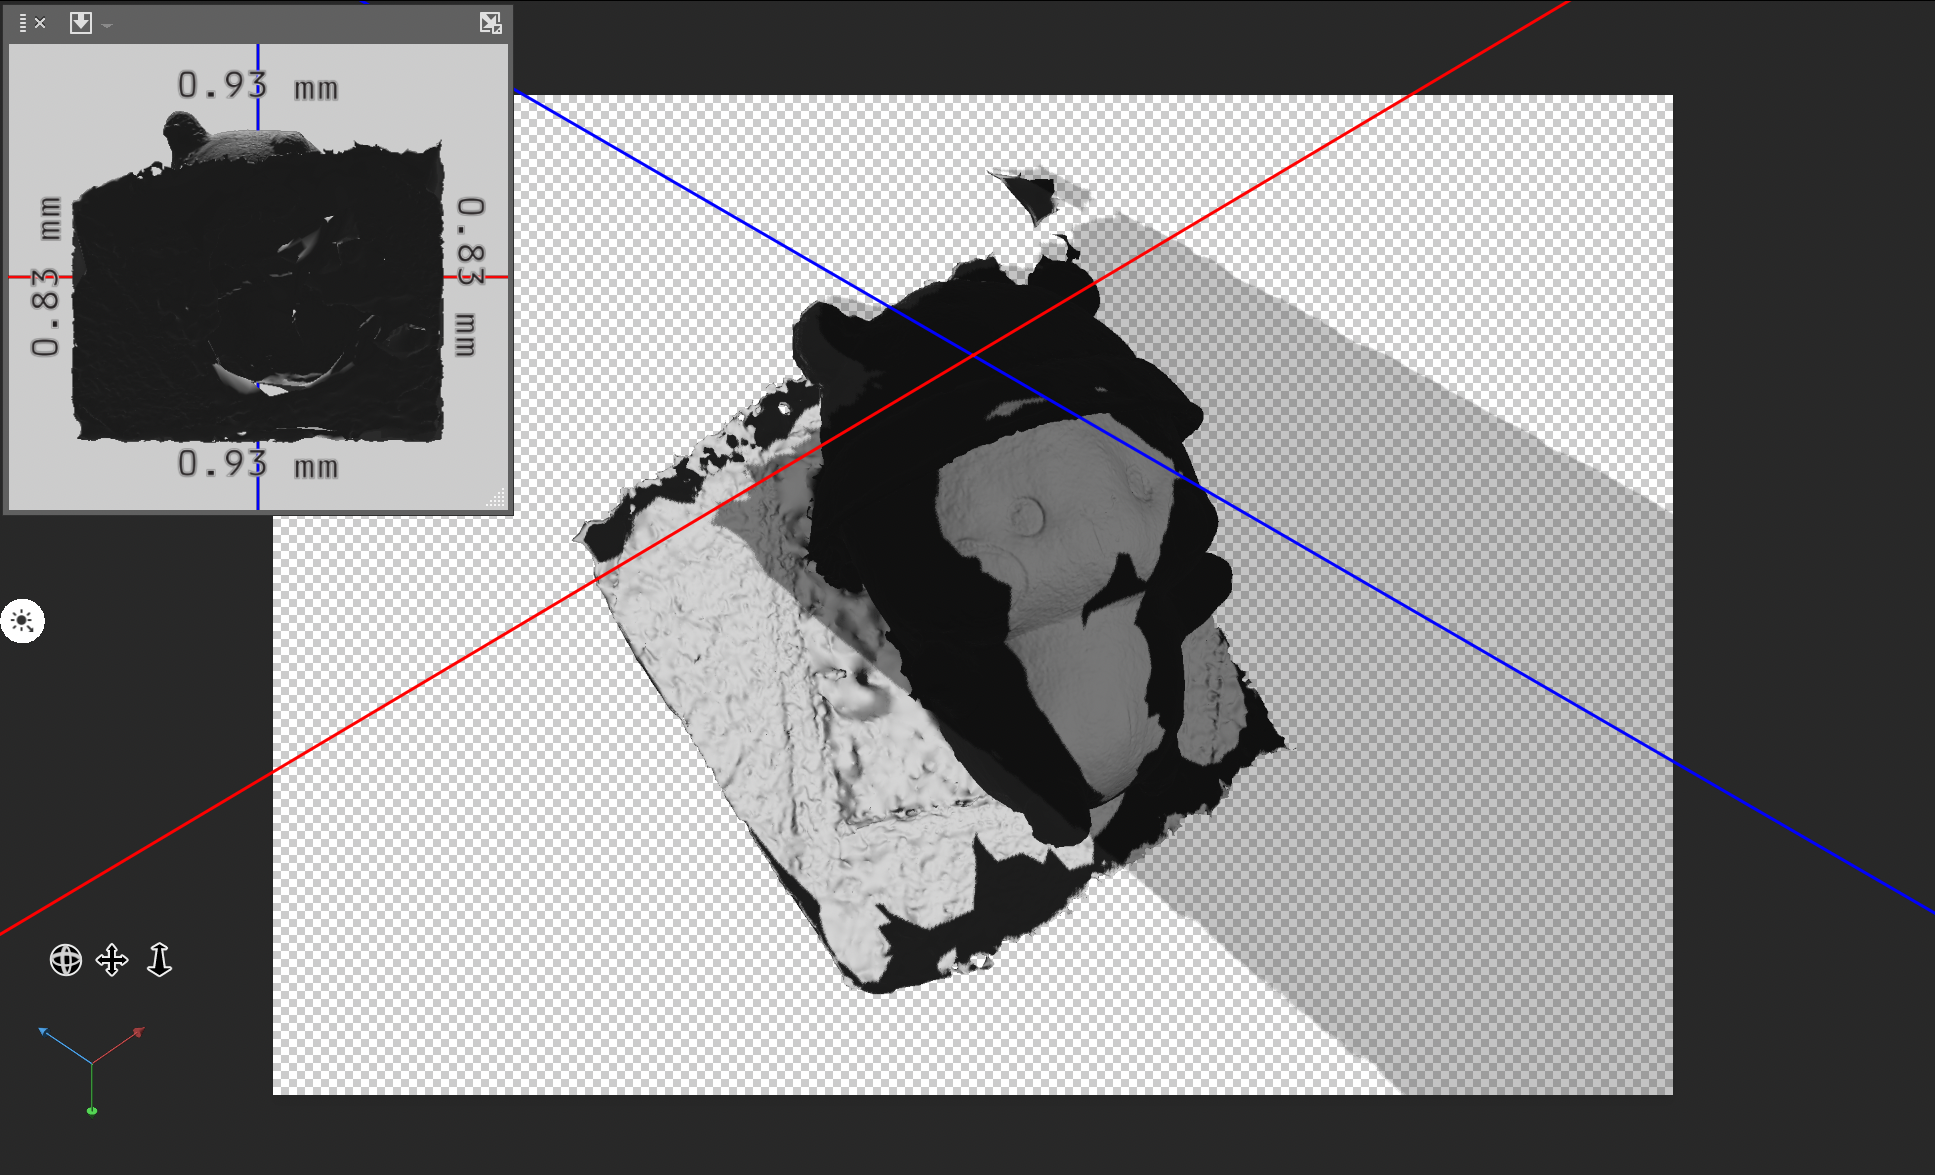
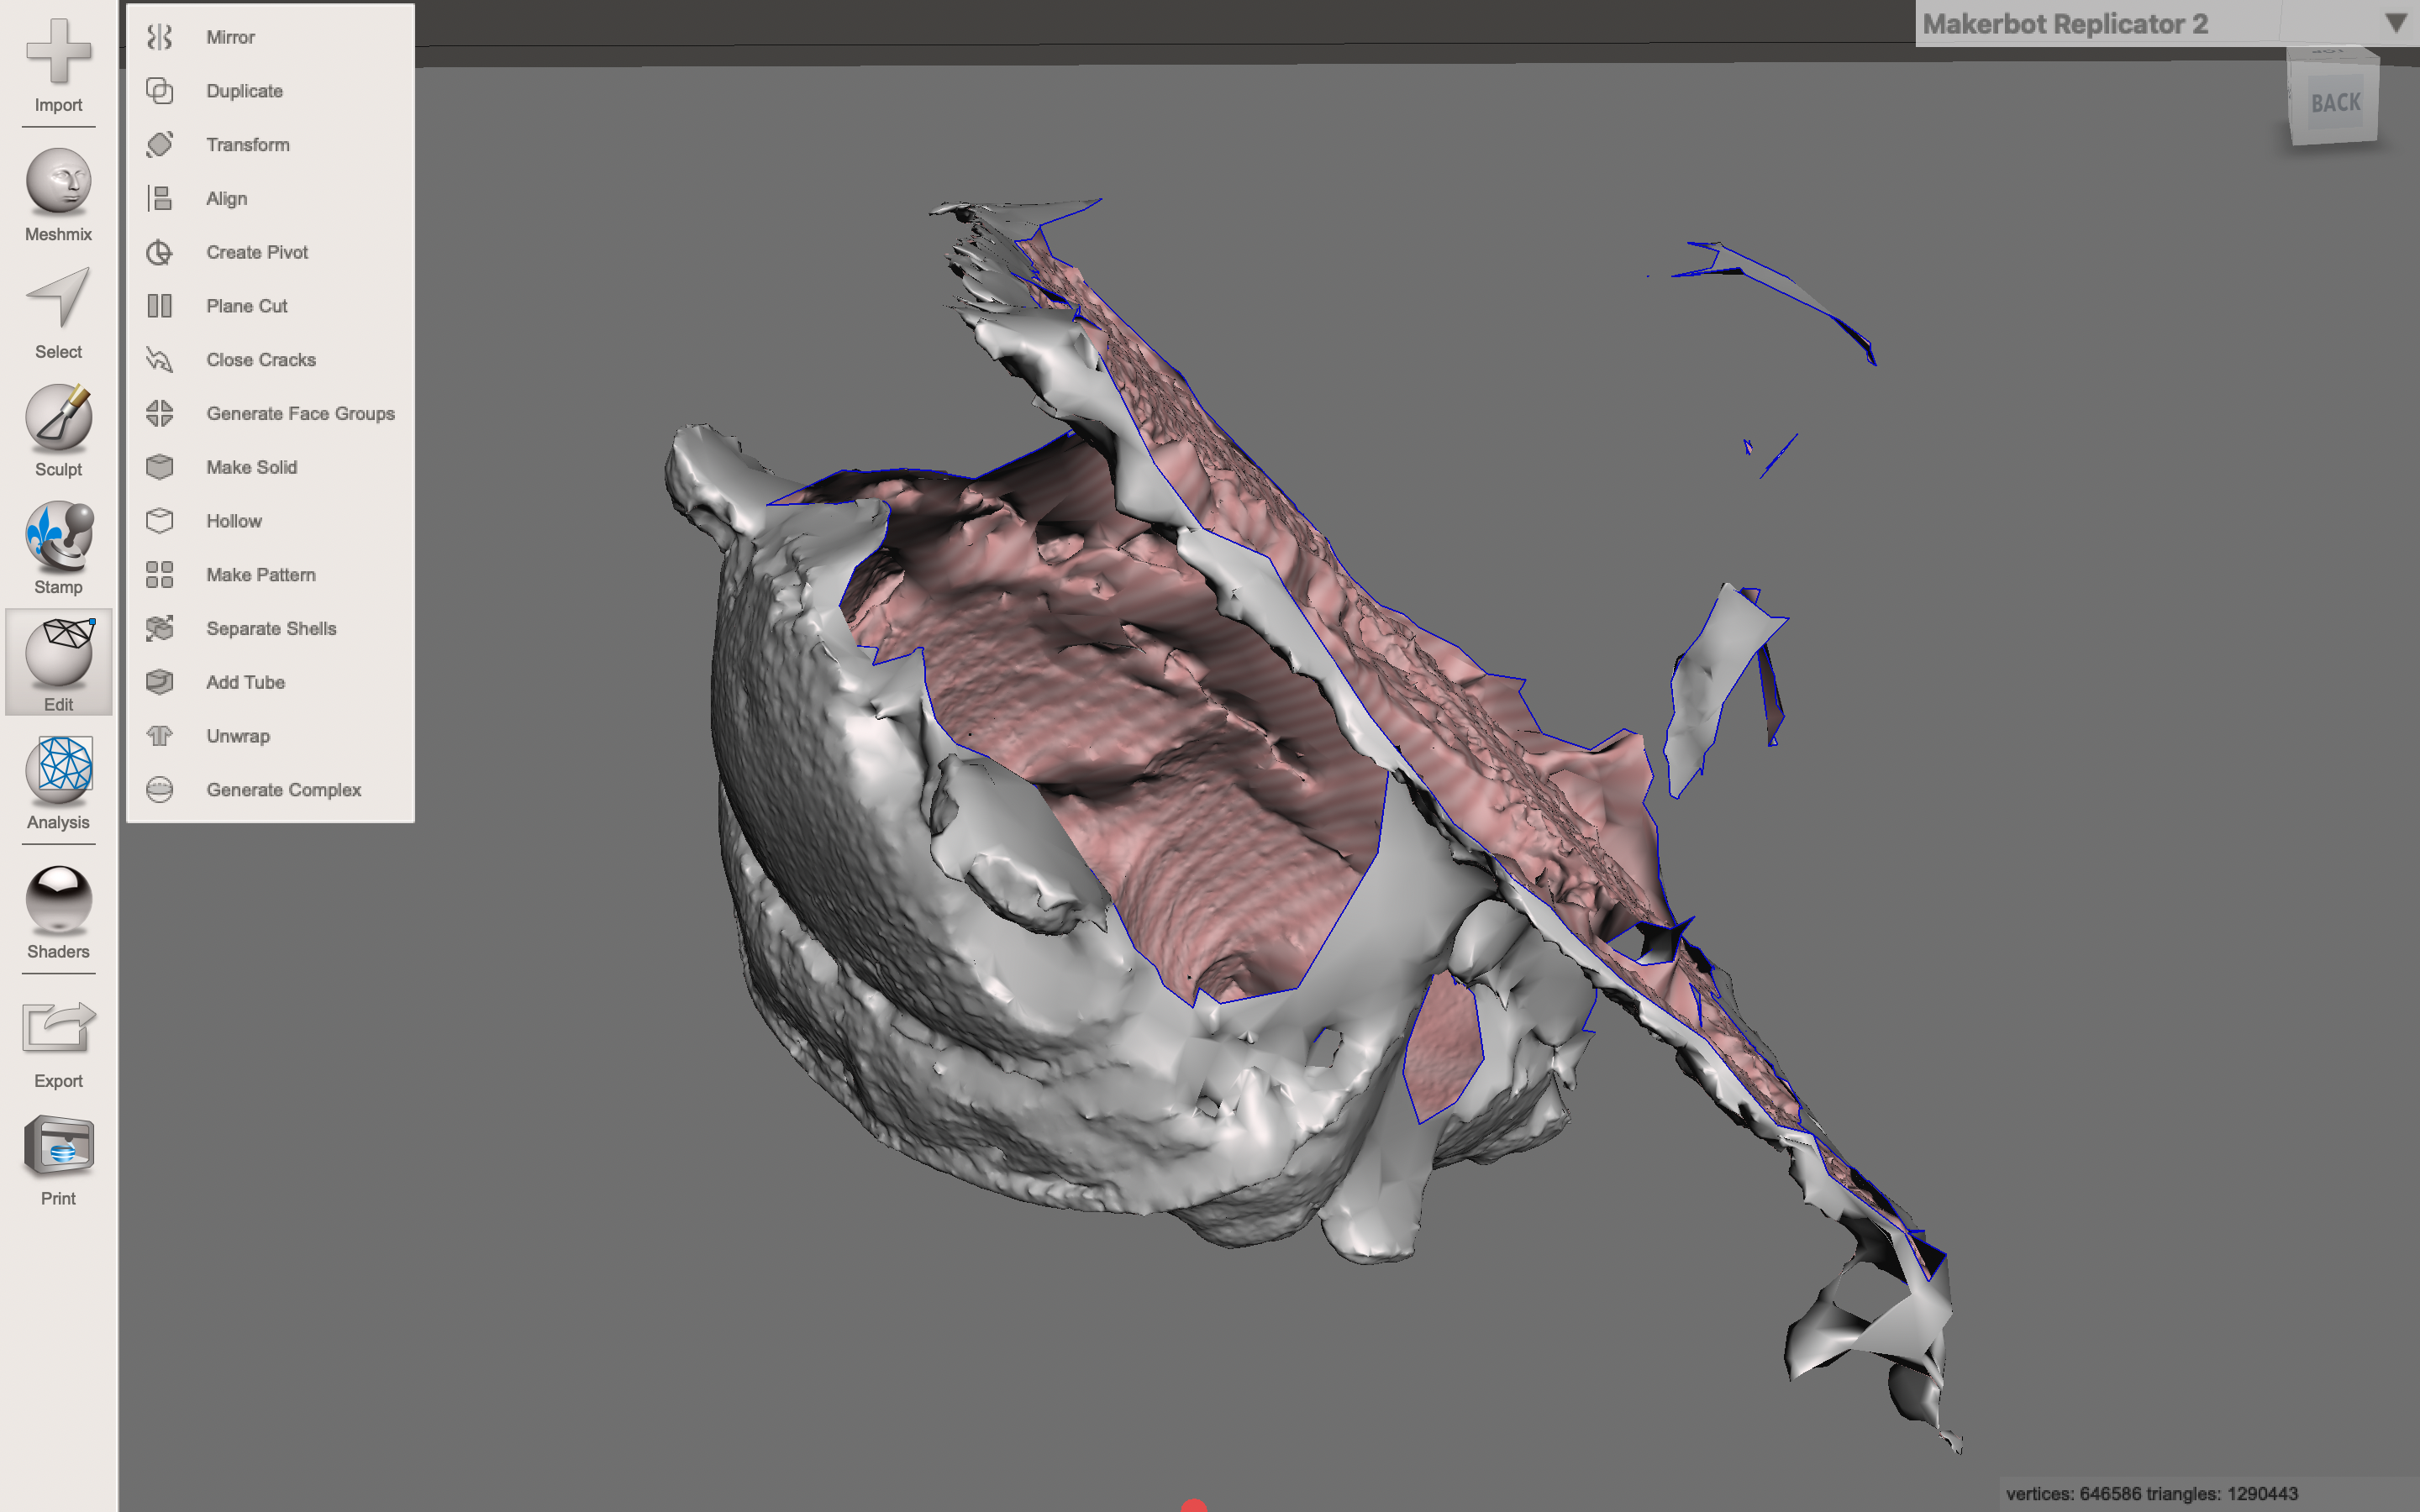
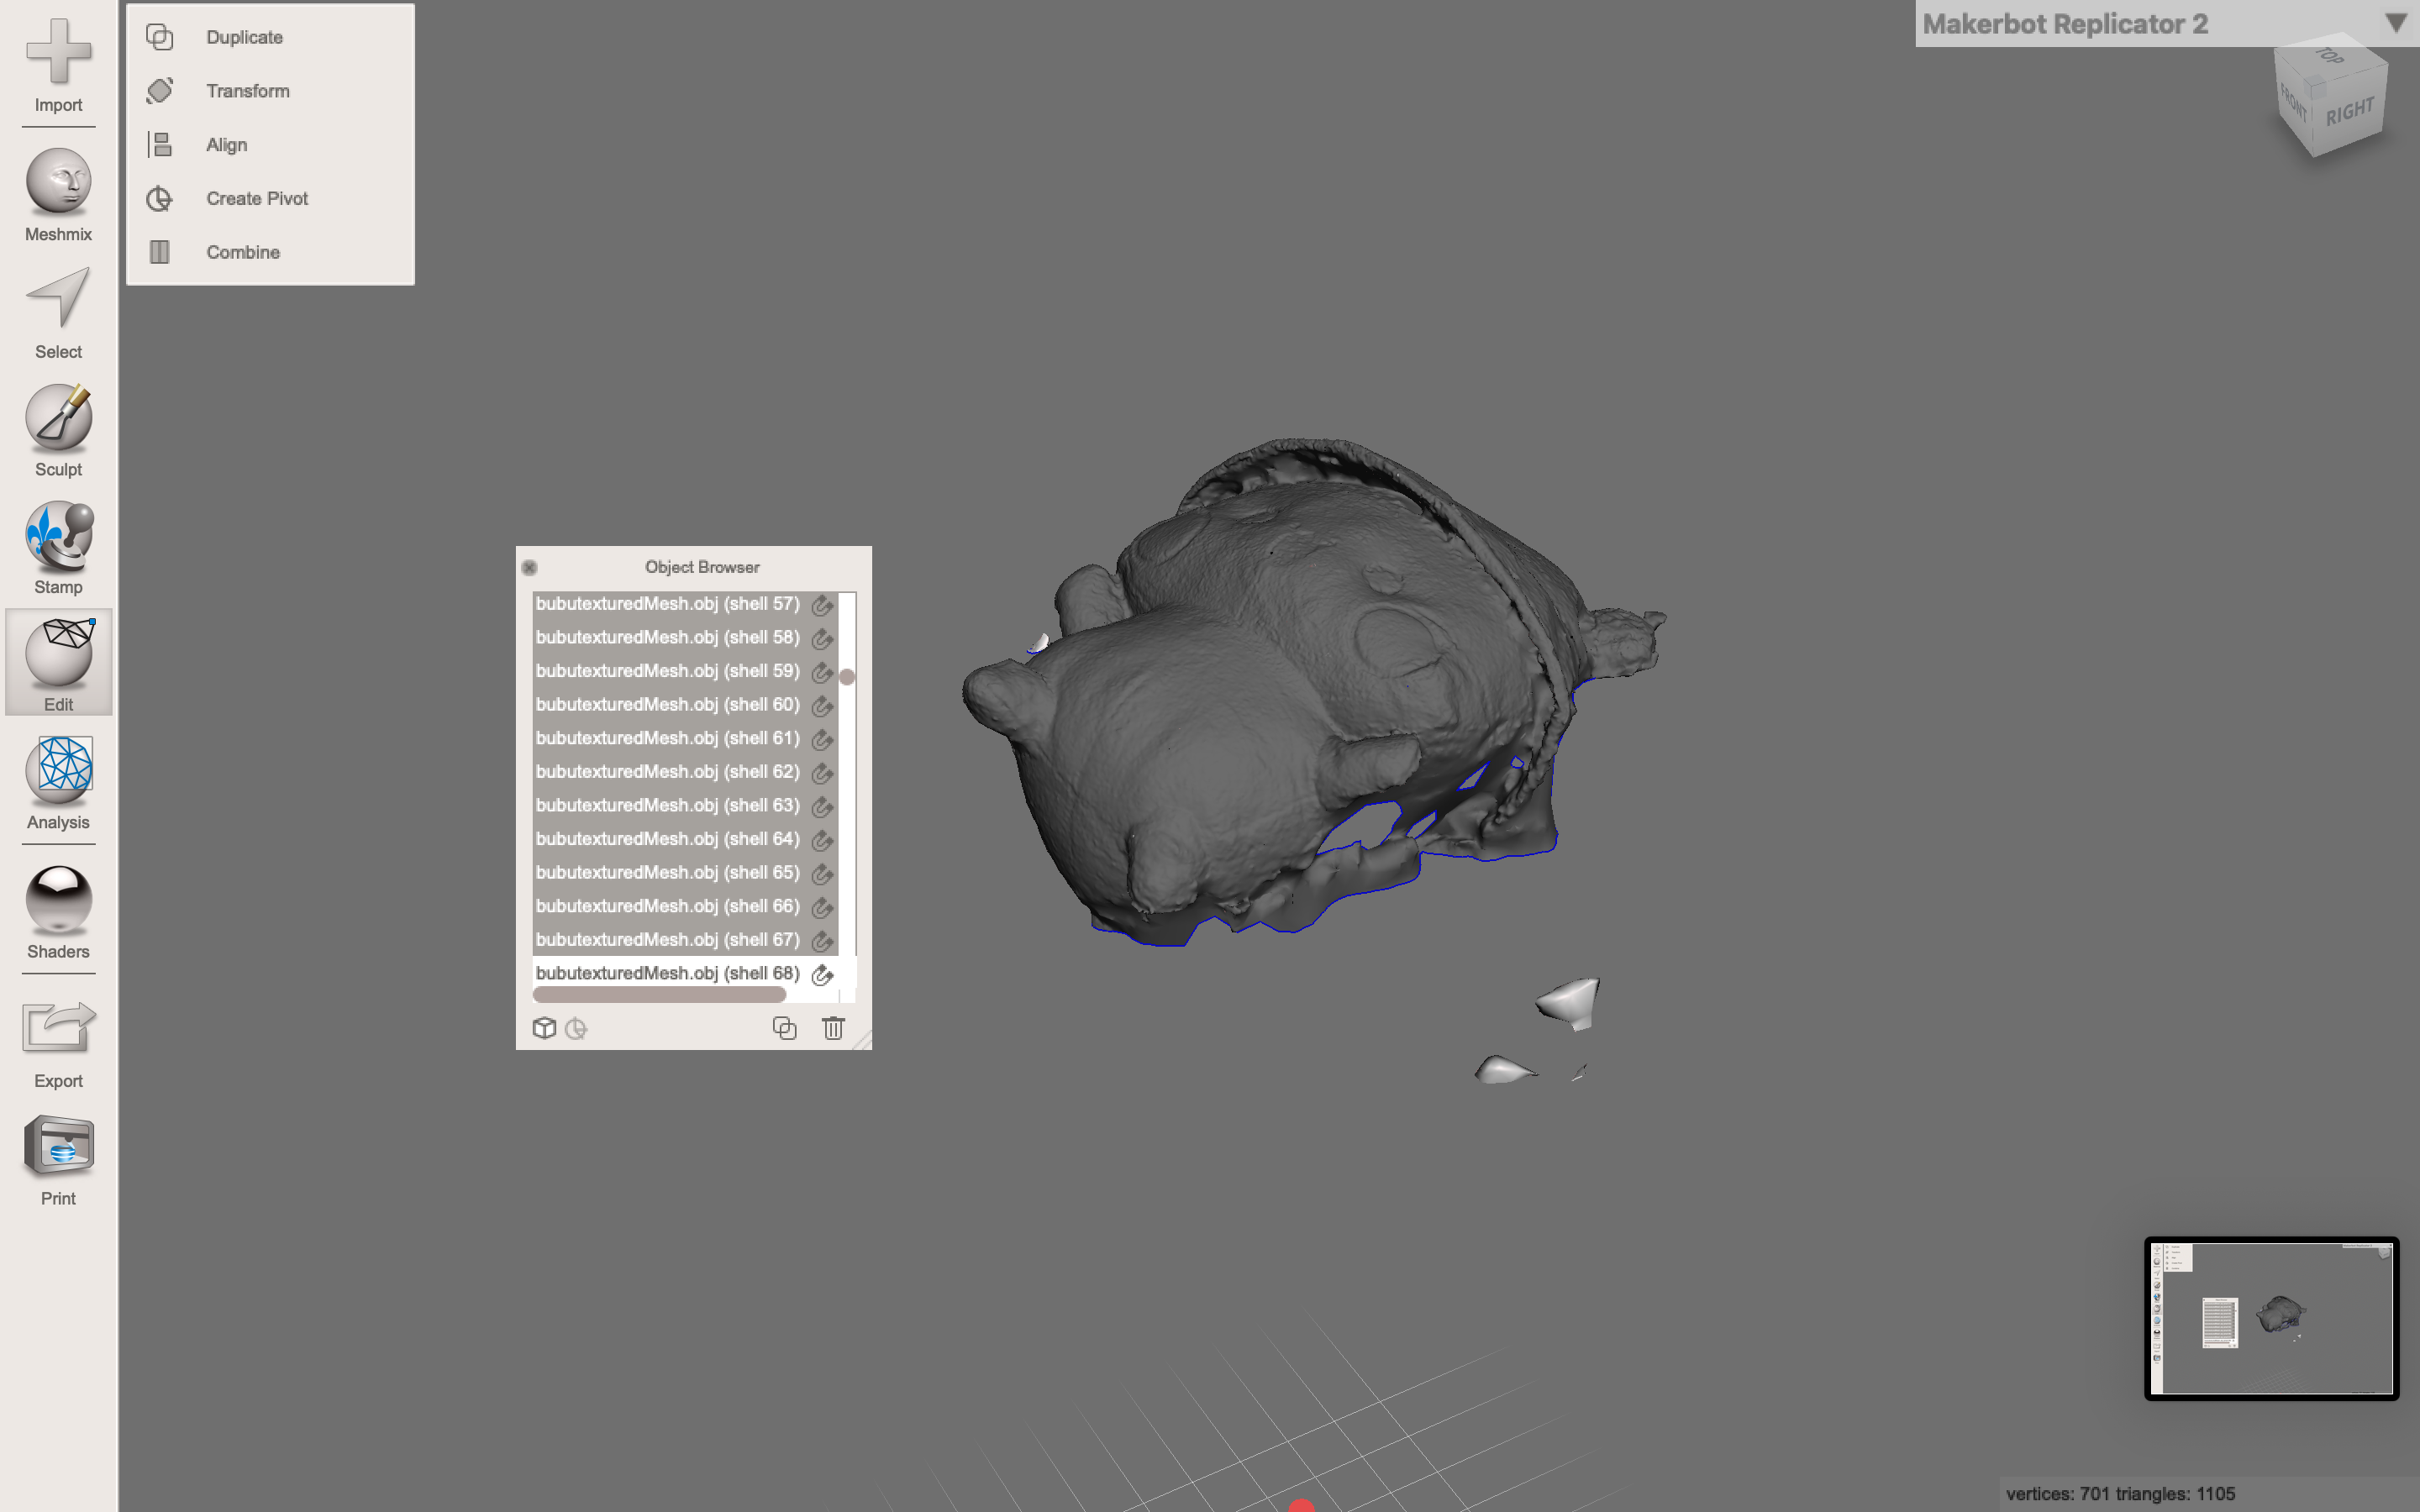
To roughly process it, I transformed it to a suitable position and I used "Plane cut" to remove the unnecessary plane that I put my toy onto. Then I used the tool "Separate shells" to remove the unnecessary fragments of it and around it. Finally, I chose "Analysis - units/dimensions" to resize the model to be at a reasonable size.
Bringing All the Meshes Together
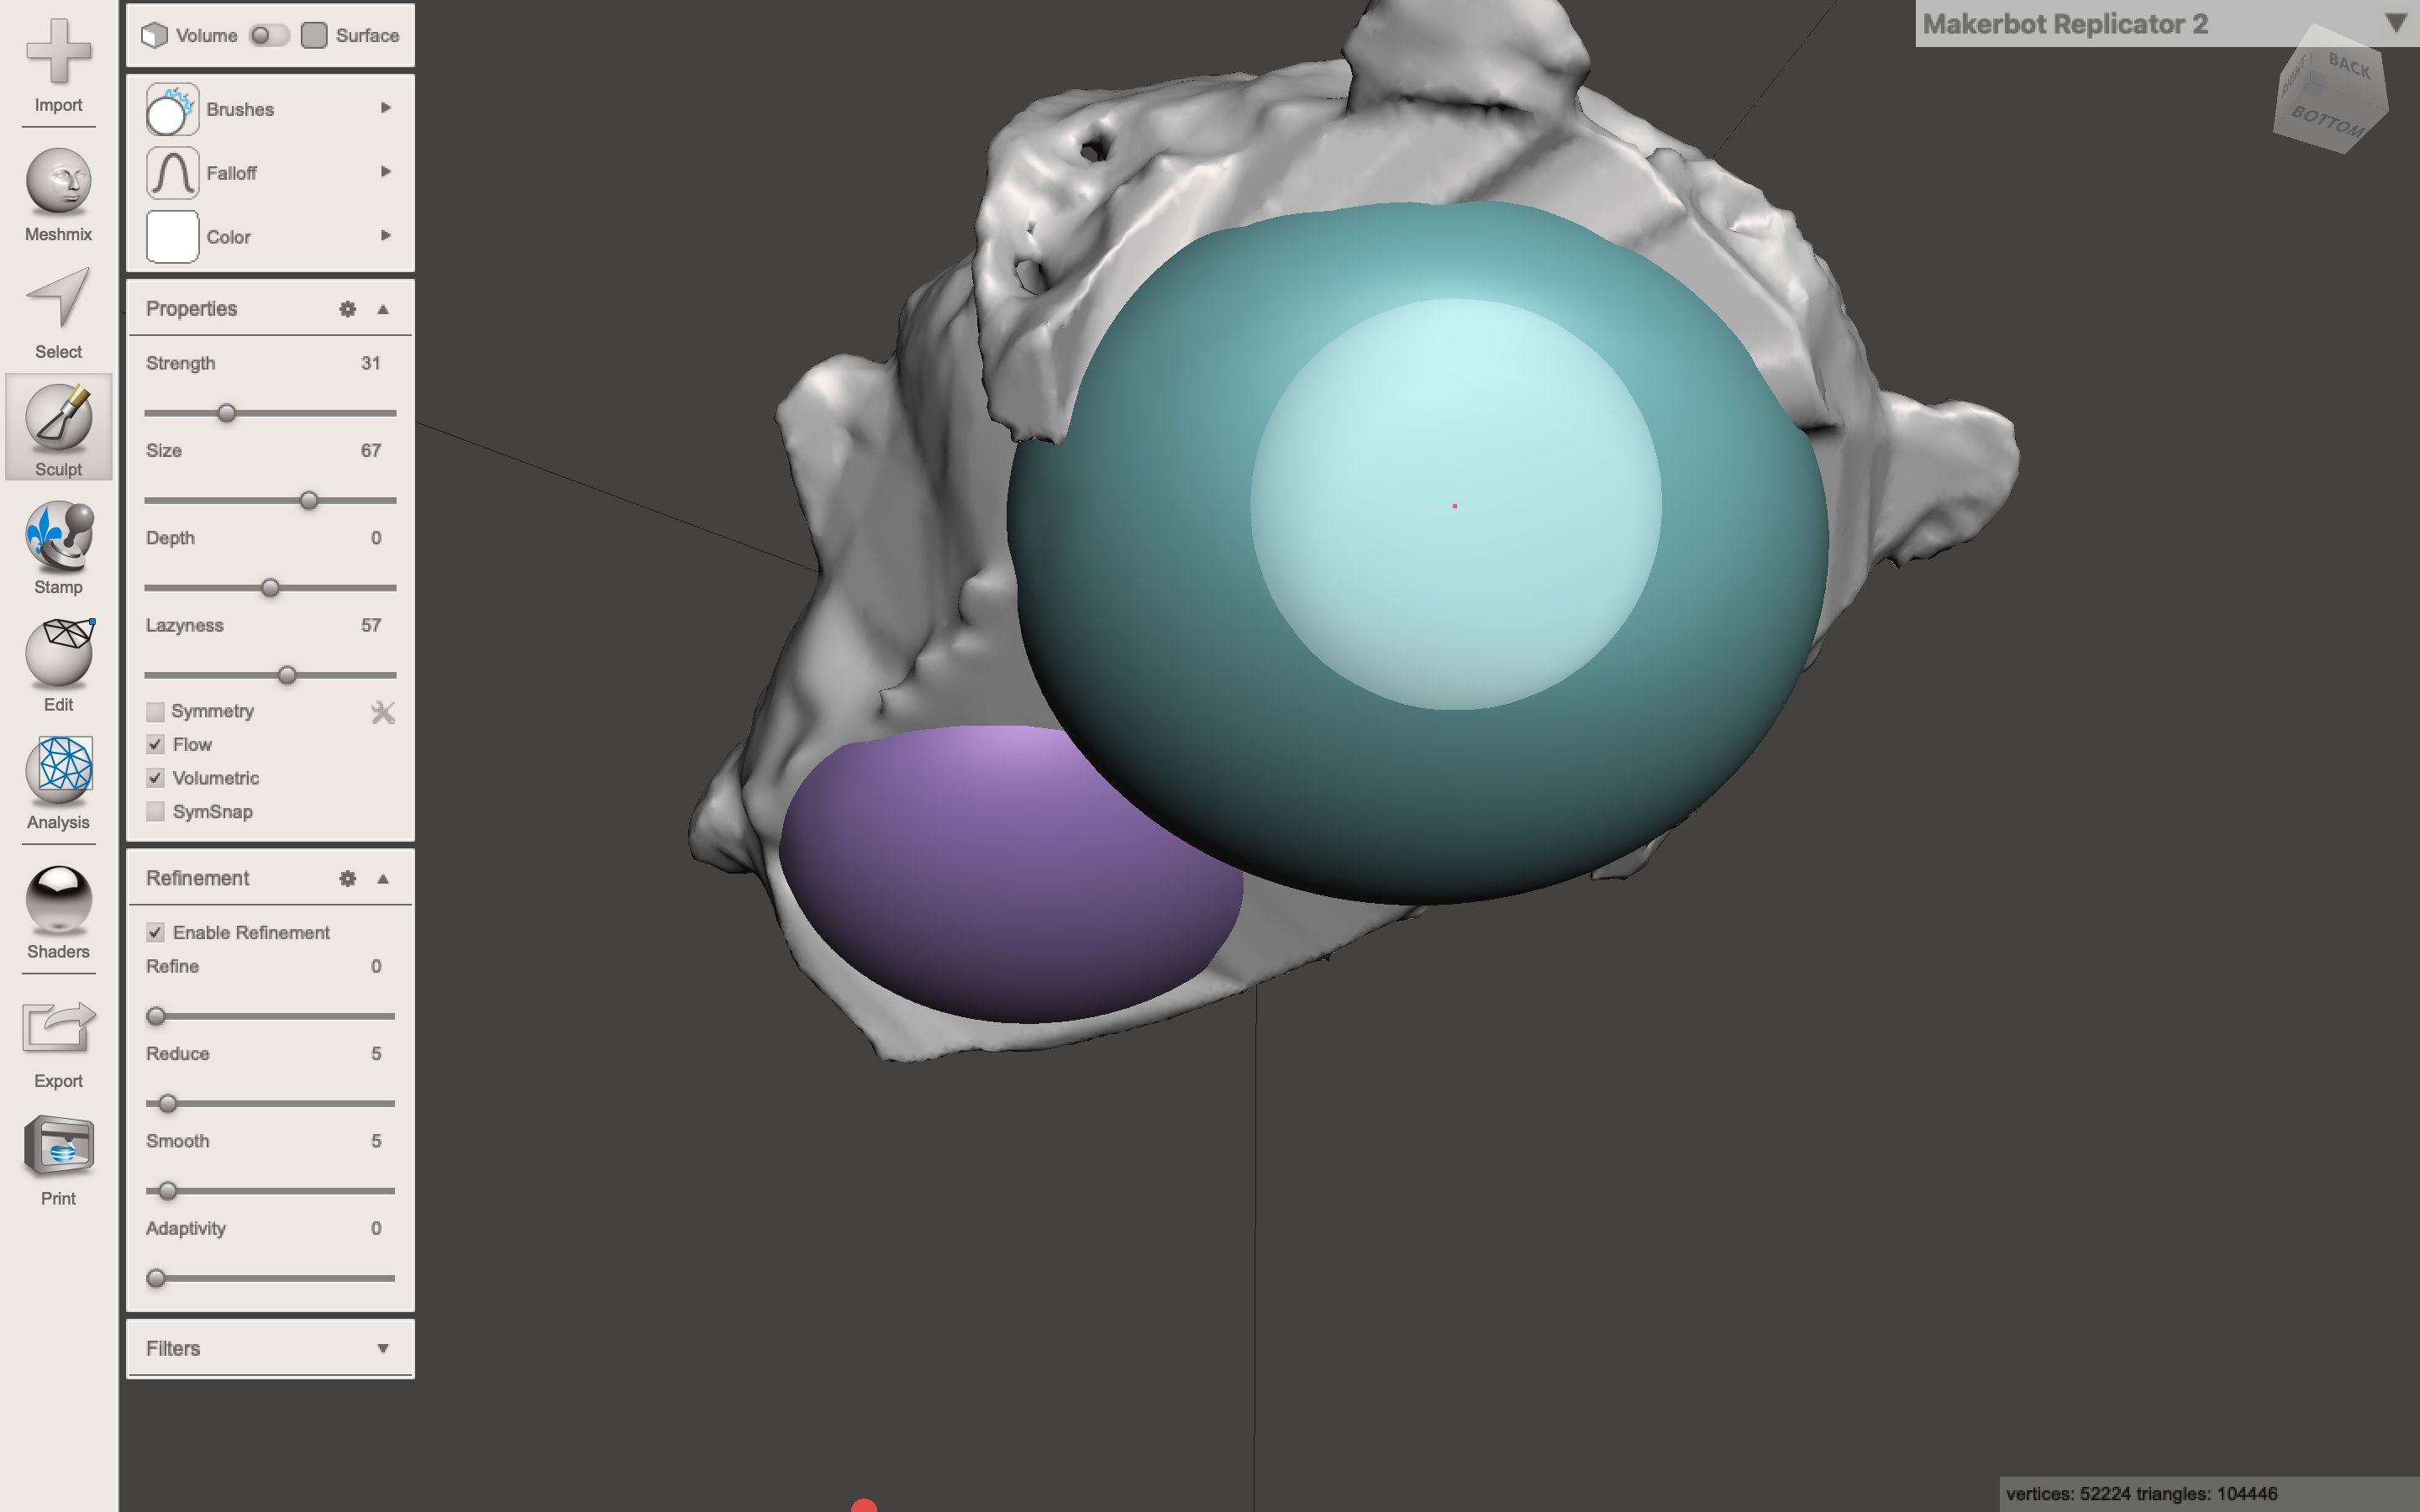
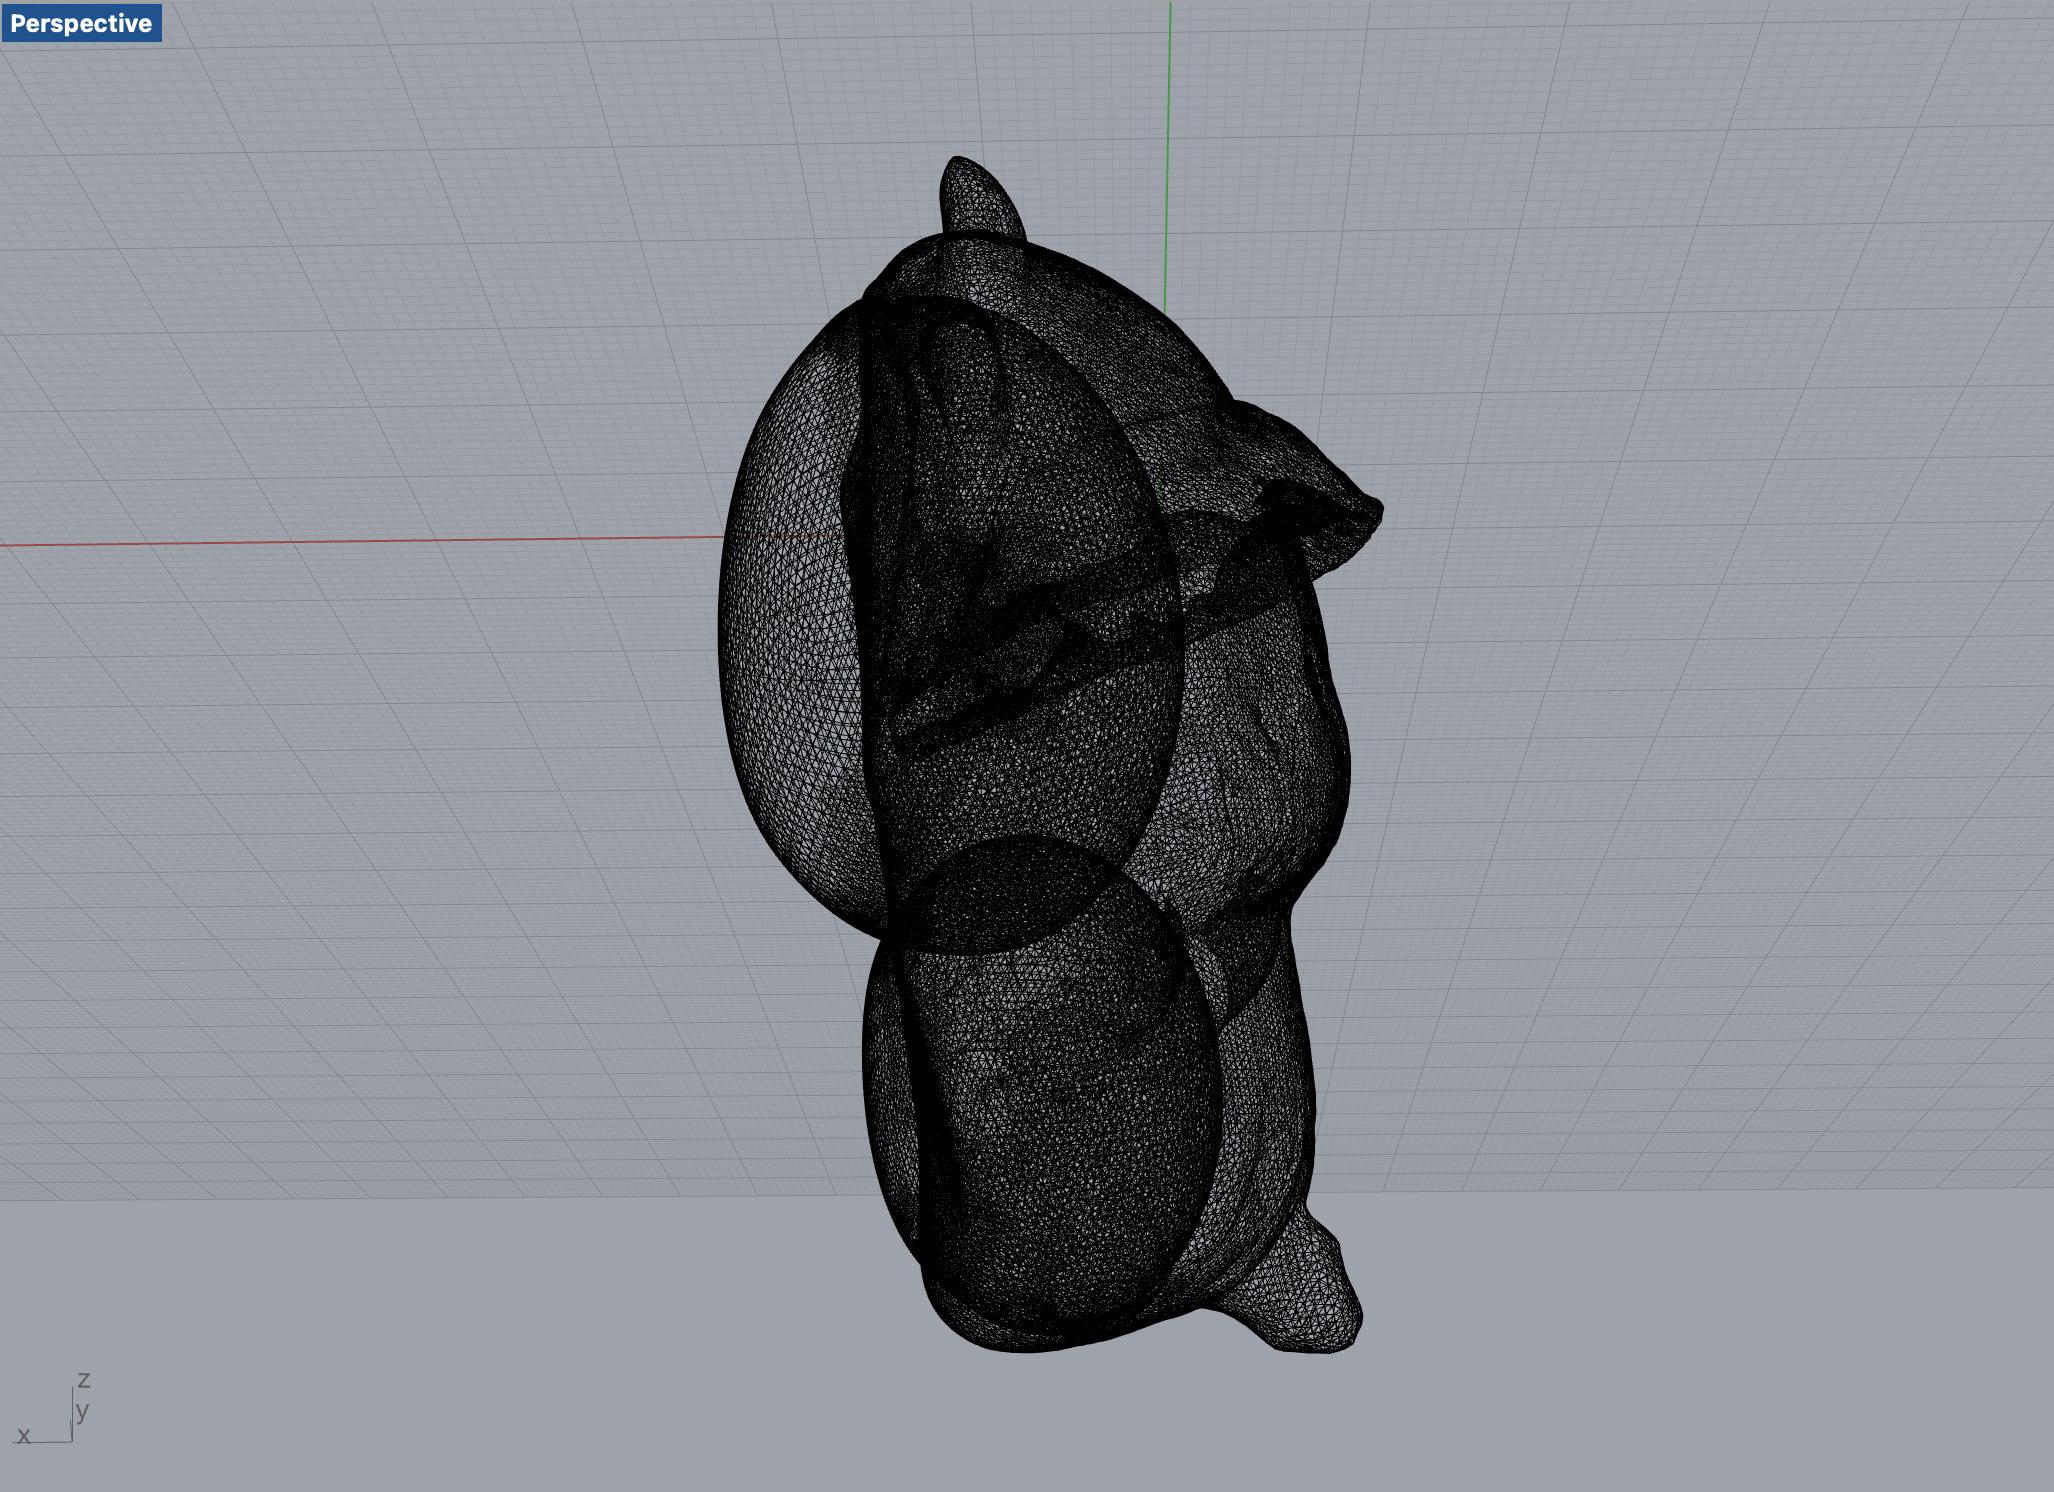
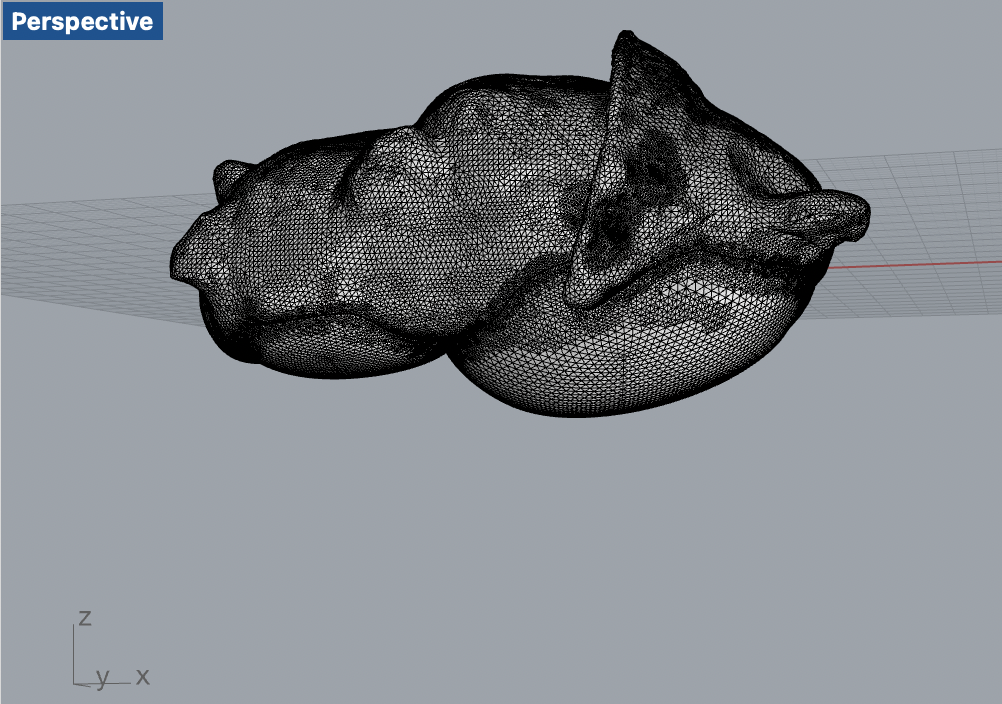
Then for making the back of Bubu, I added two spheres. Instead of combining them together (the objects would overlap as shown in fig.2 ), I used Boolean Union so that all the outside facets are linked together and, at the same time, all the internal ones are deleted.
Adding the Brim of His Hat
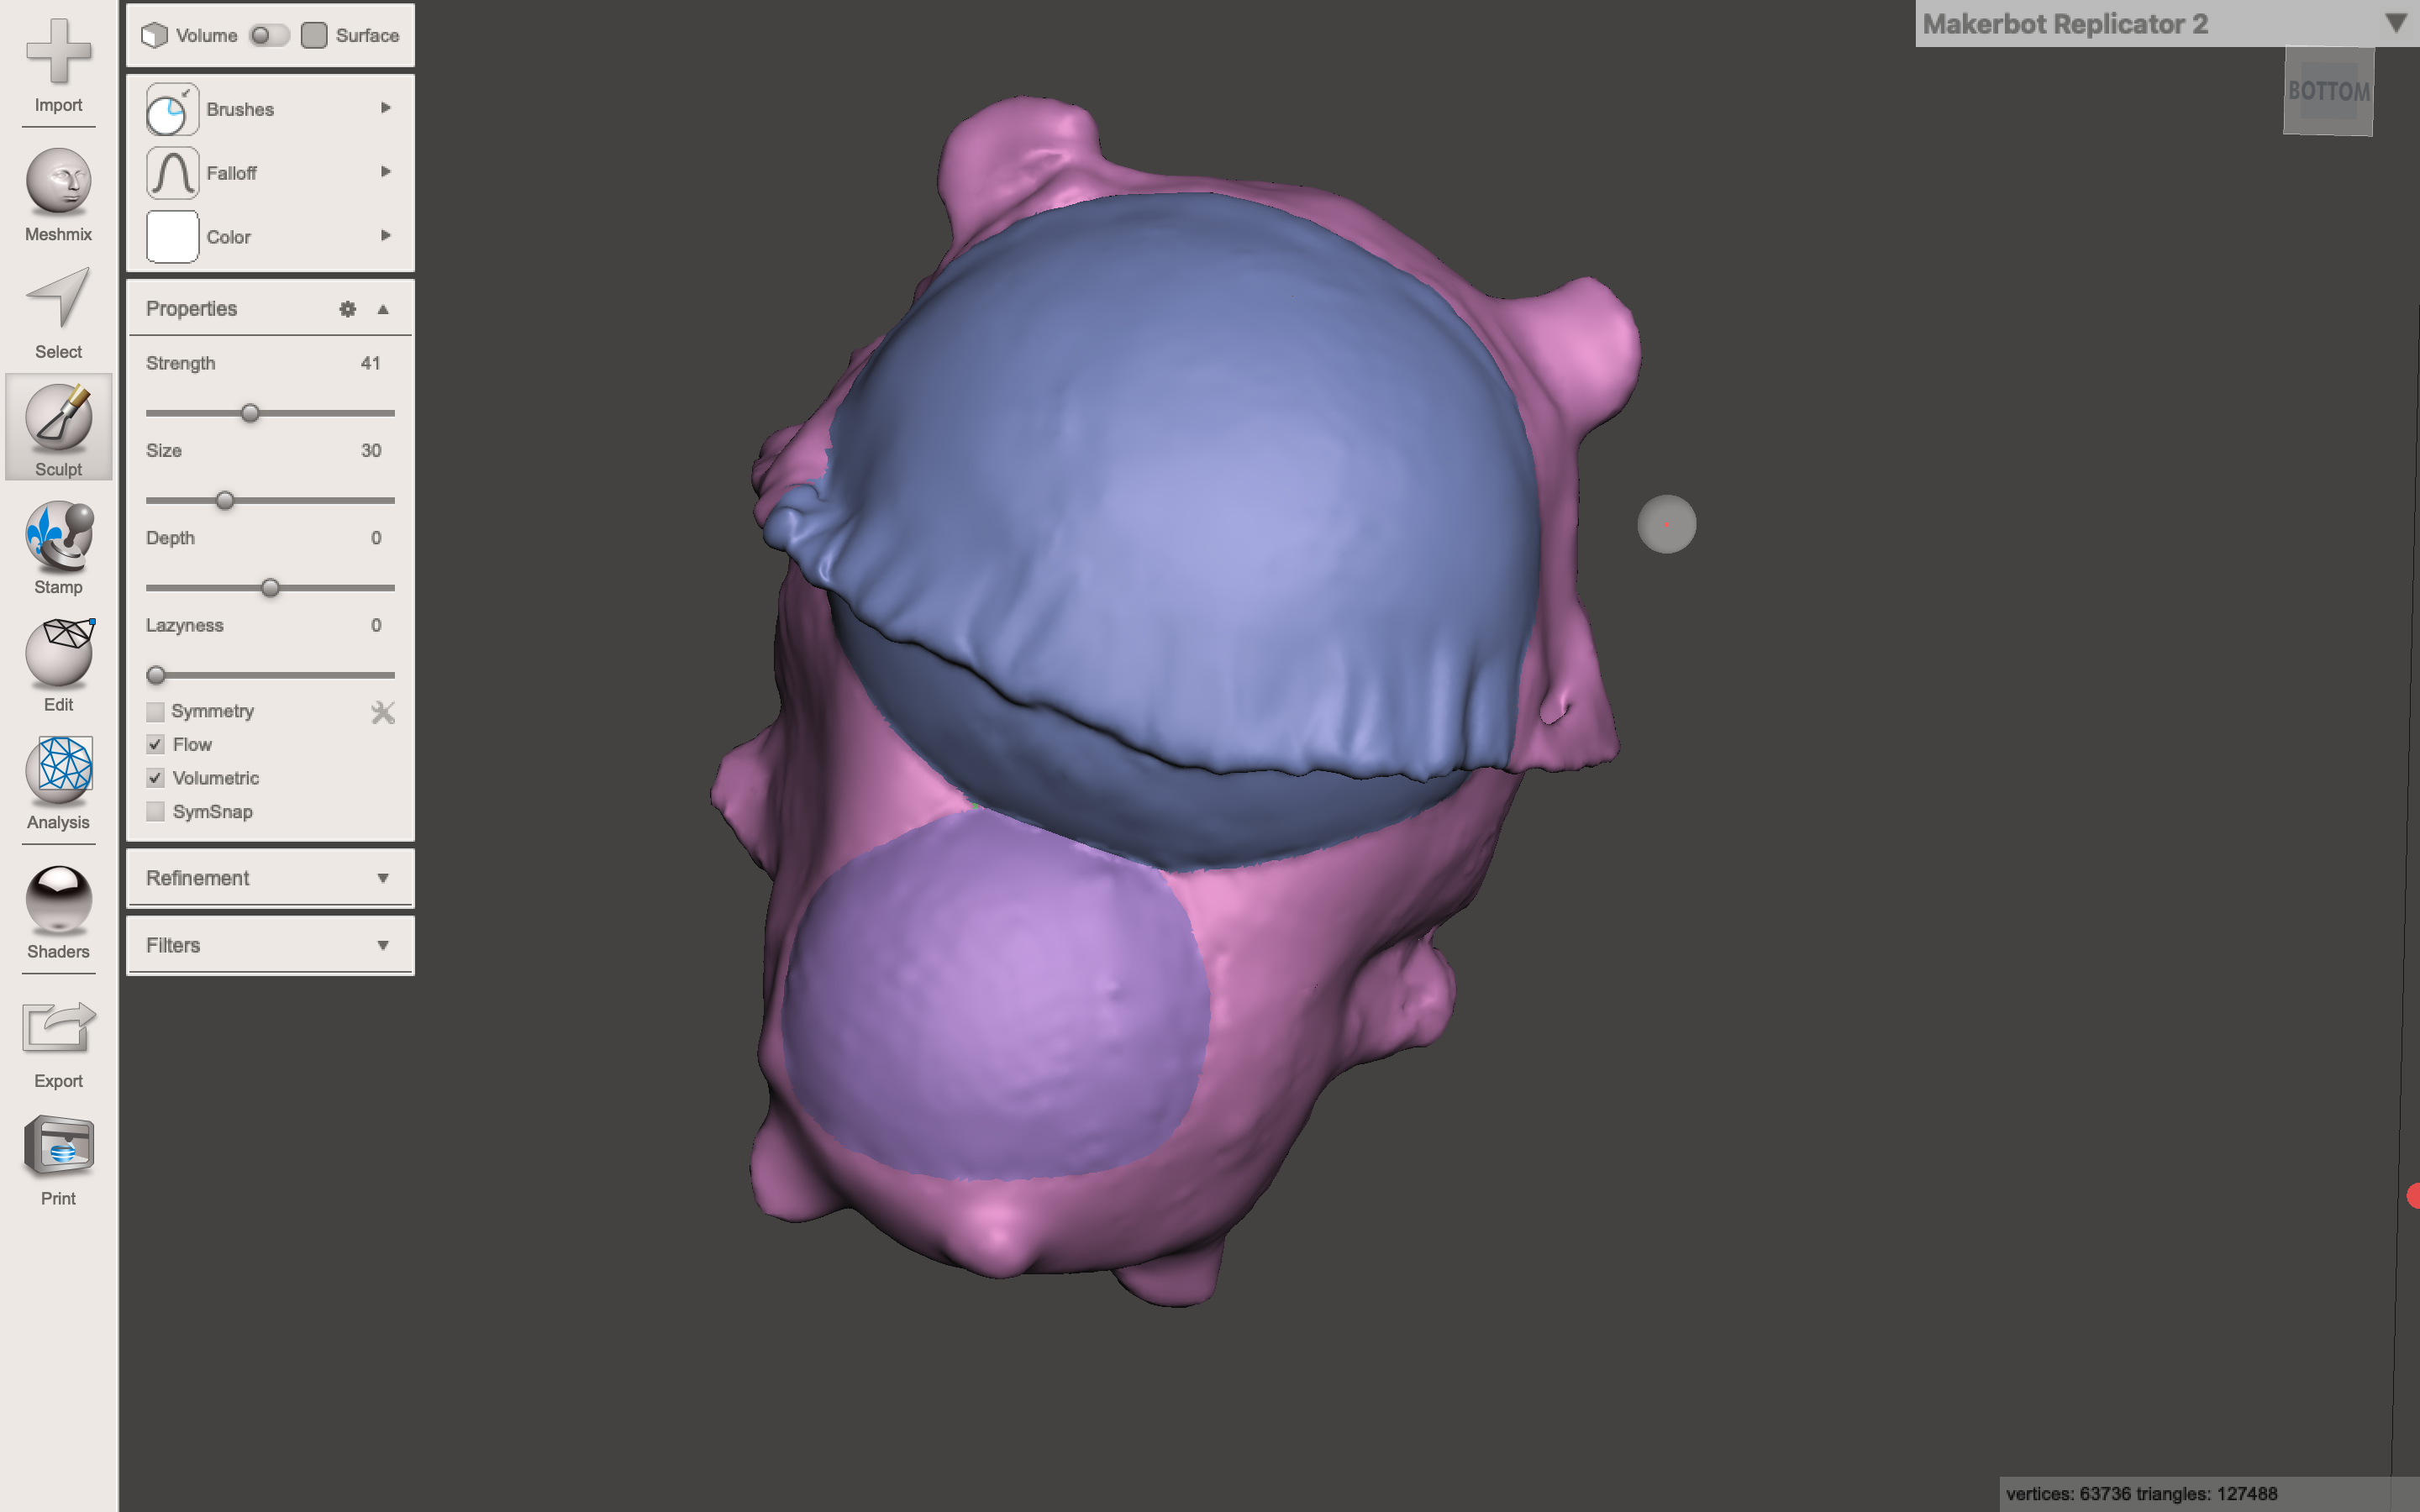
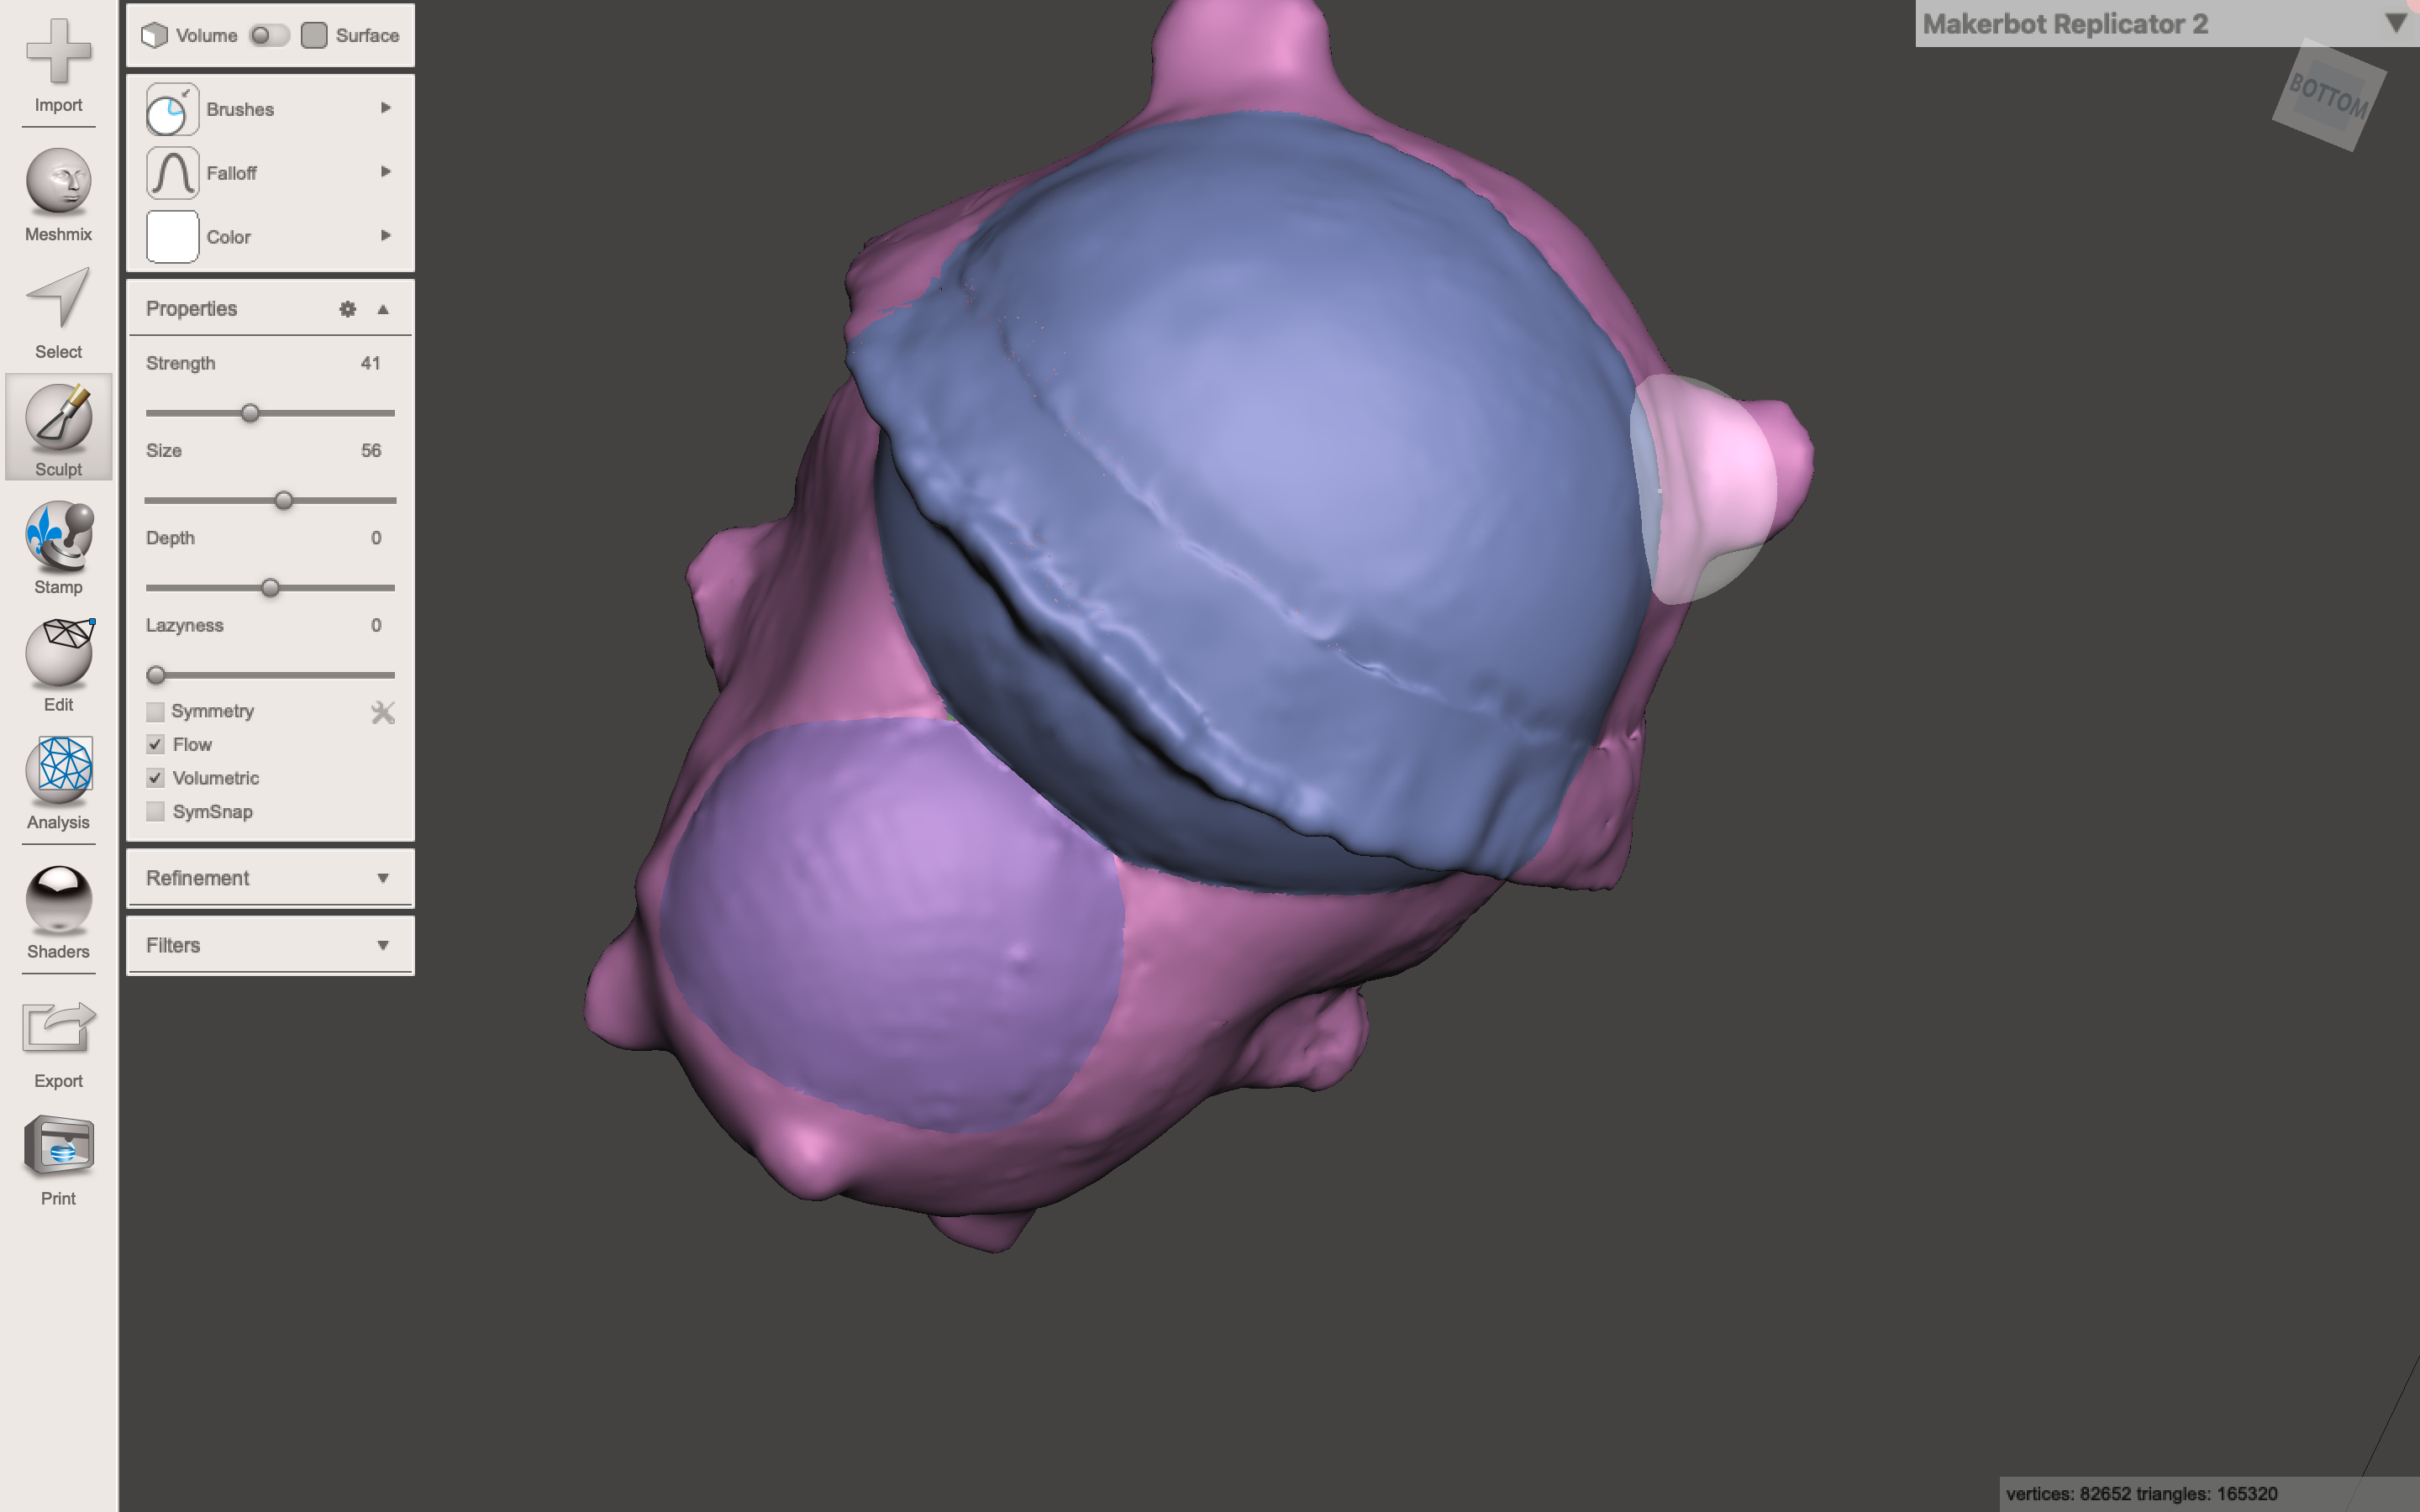
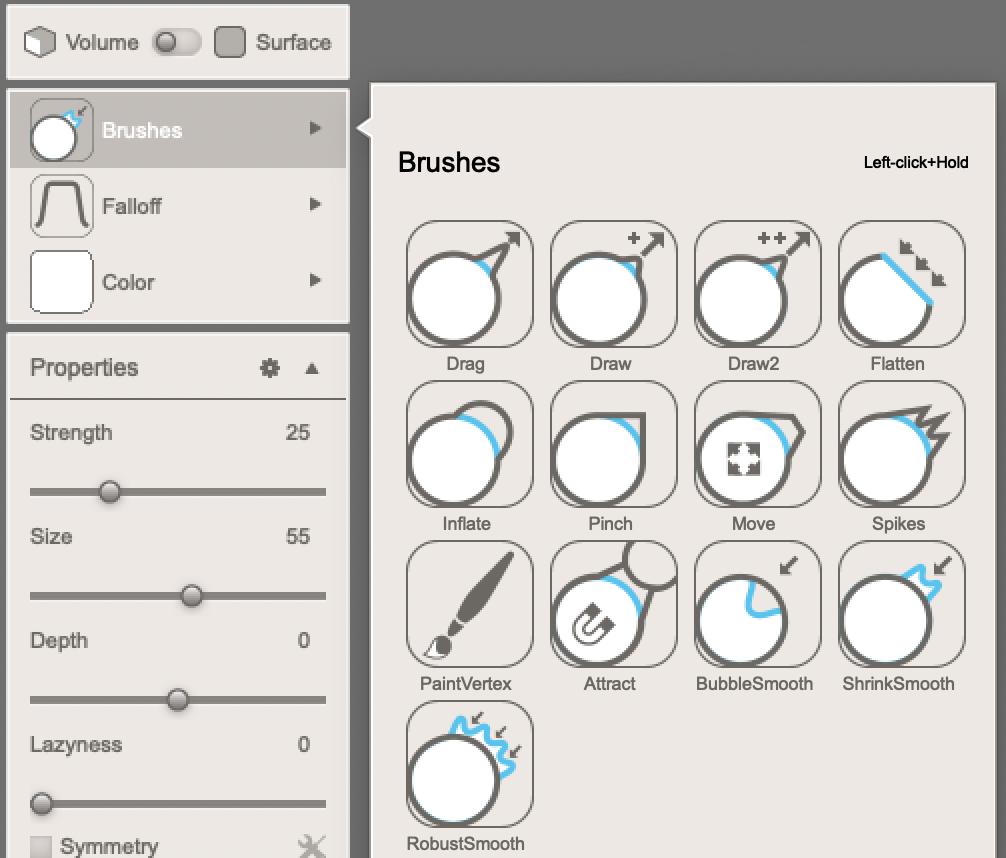
After adding the spheres and smoothen the linking part a little bit, I added the brim of Bubu's hat by using the sculpting tool "drag" and "shrink smooth". It makes the front side as well as the backside of the toy more consistent.
Smoothing the Junctions
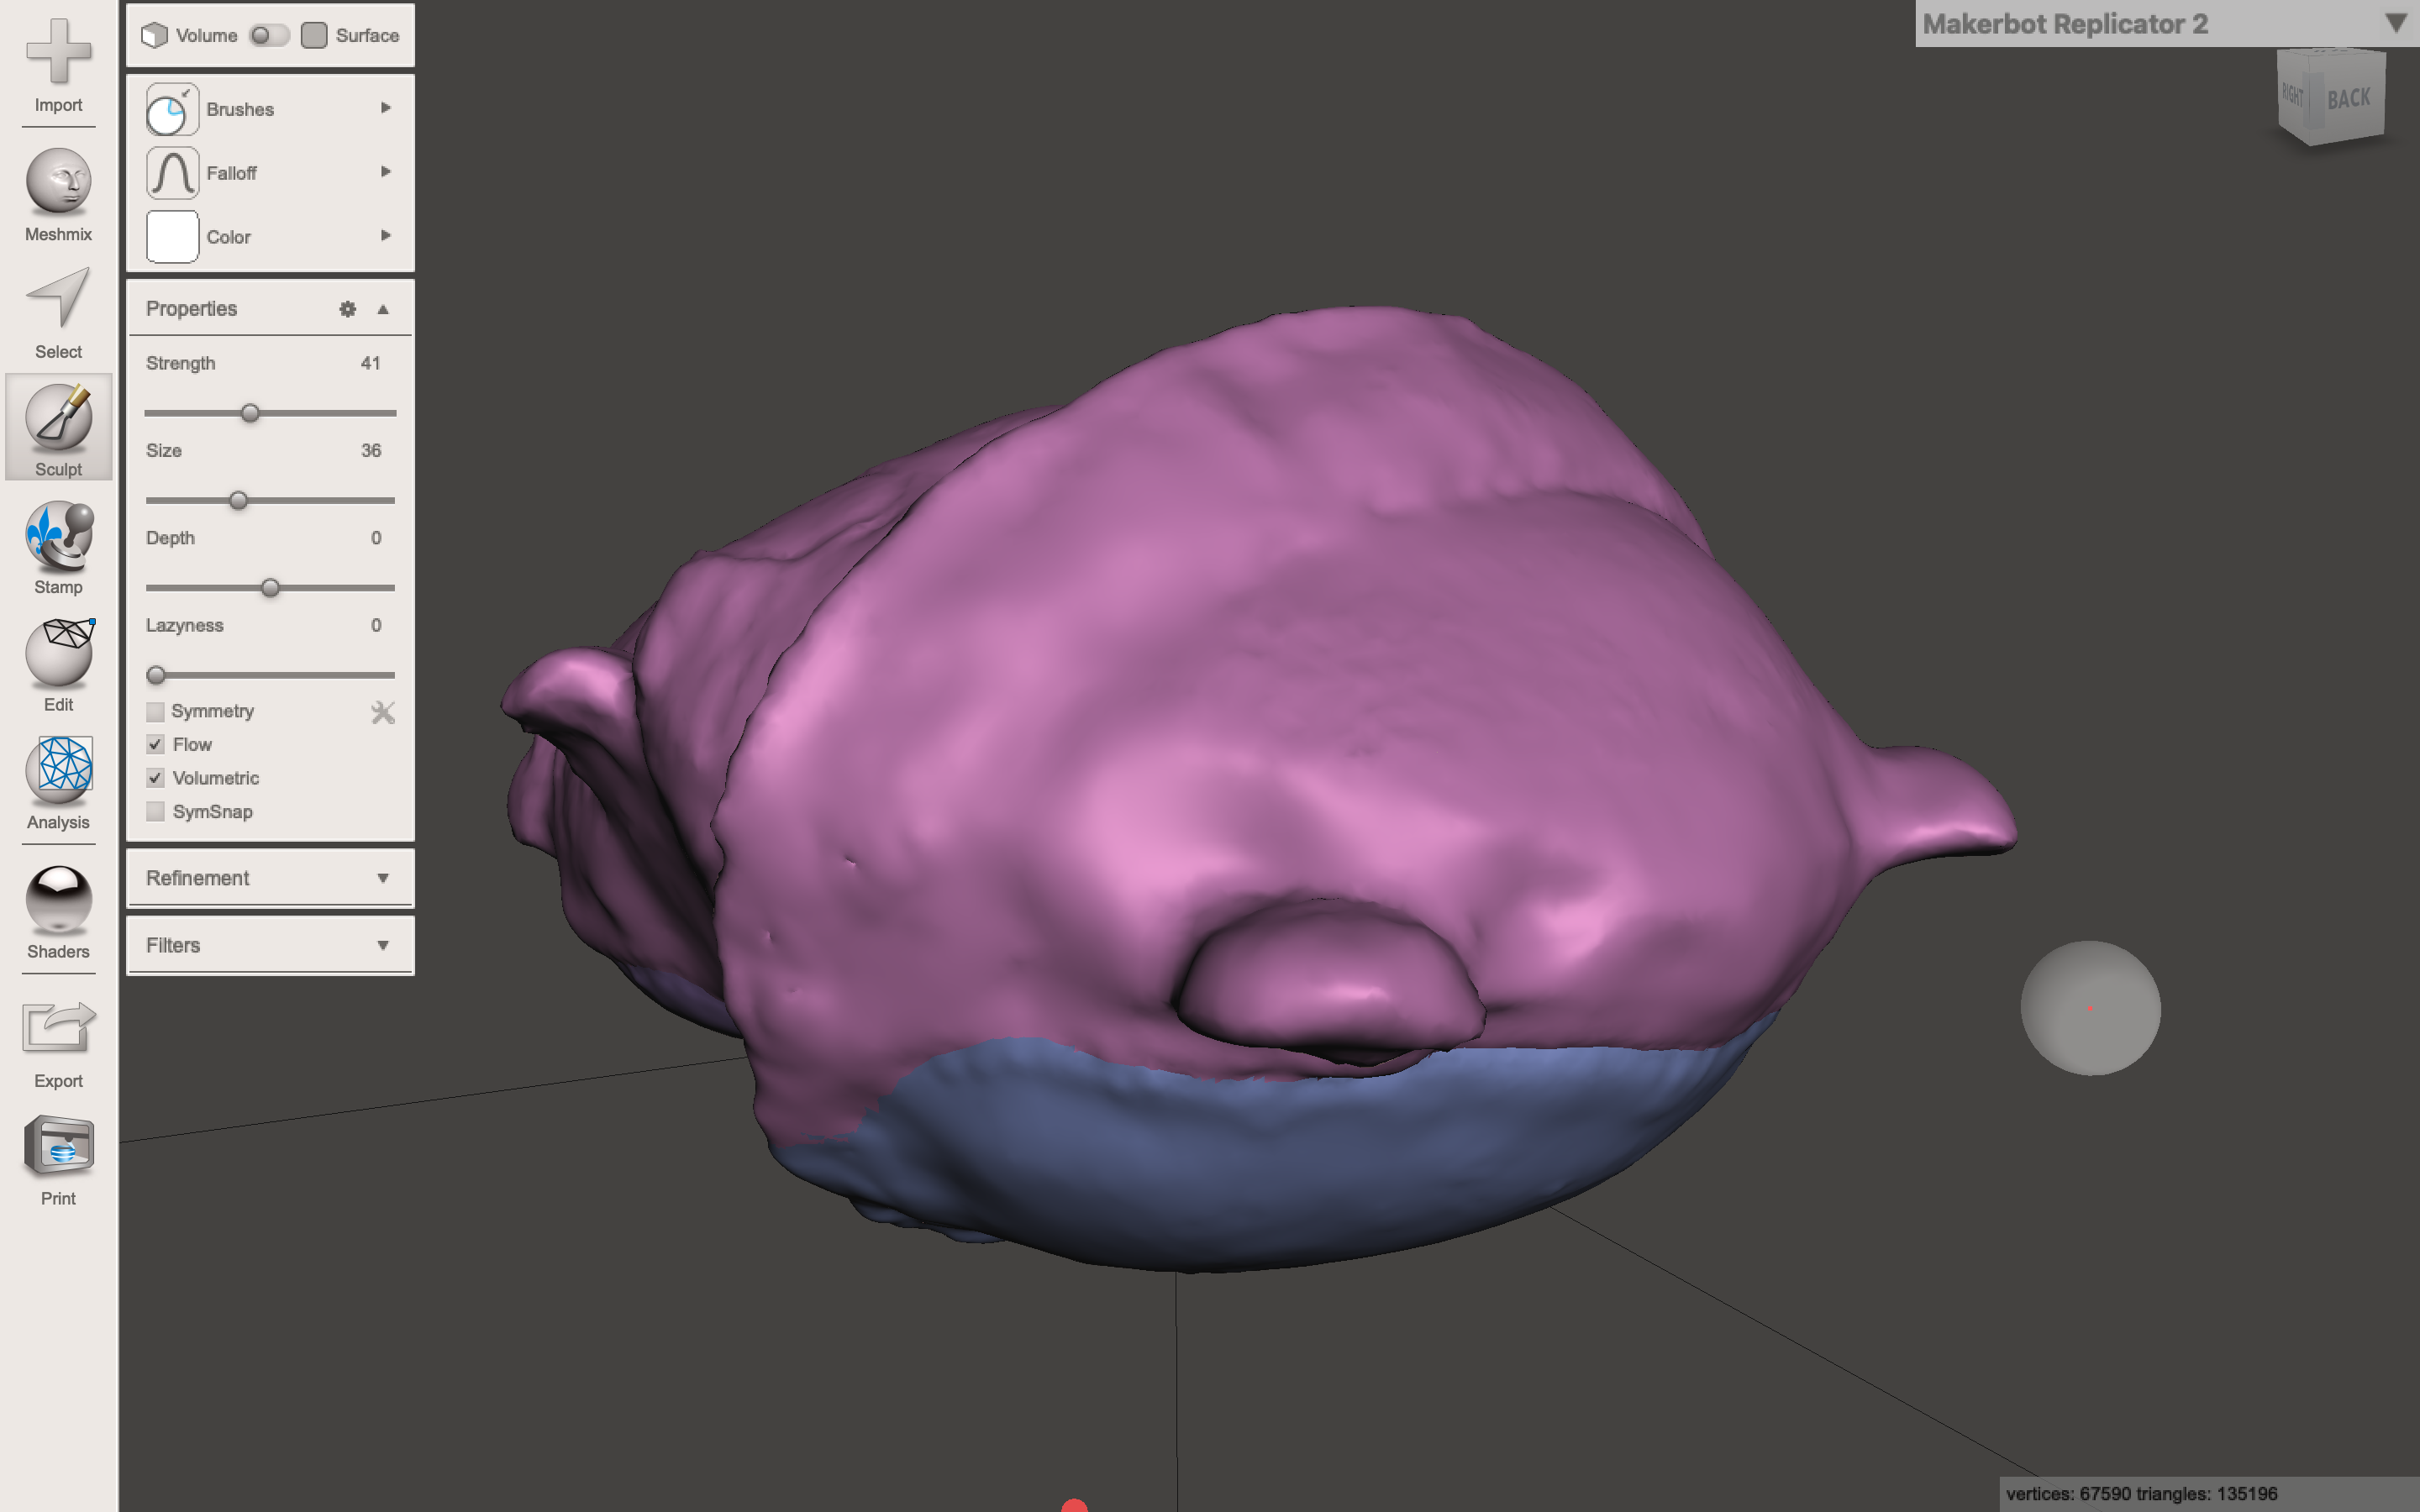
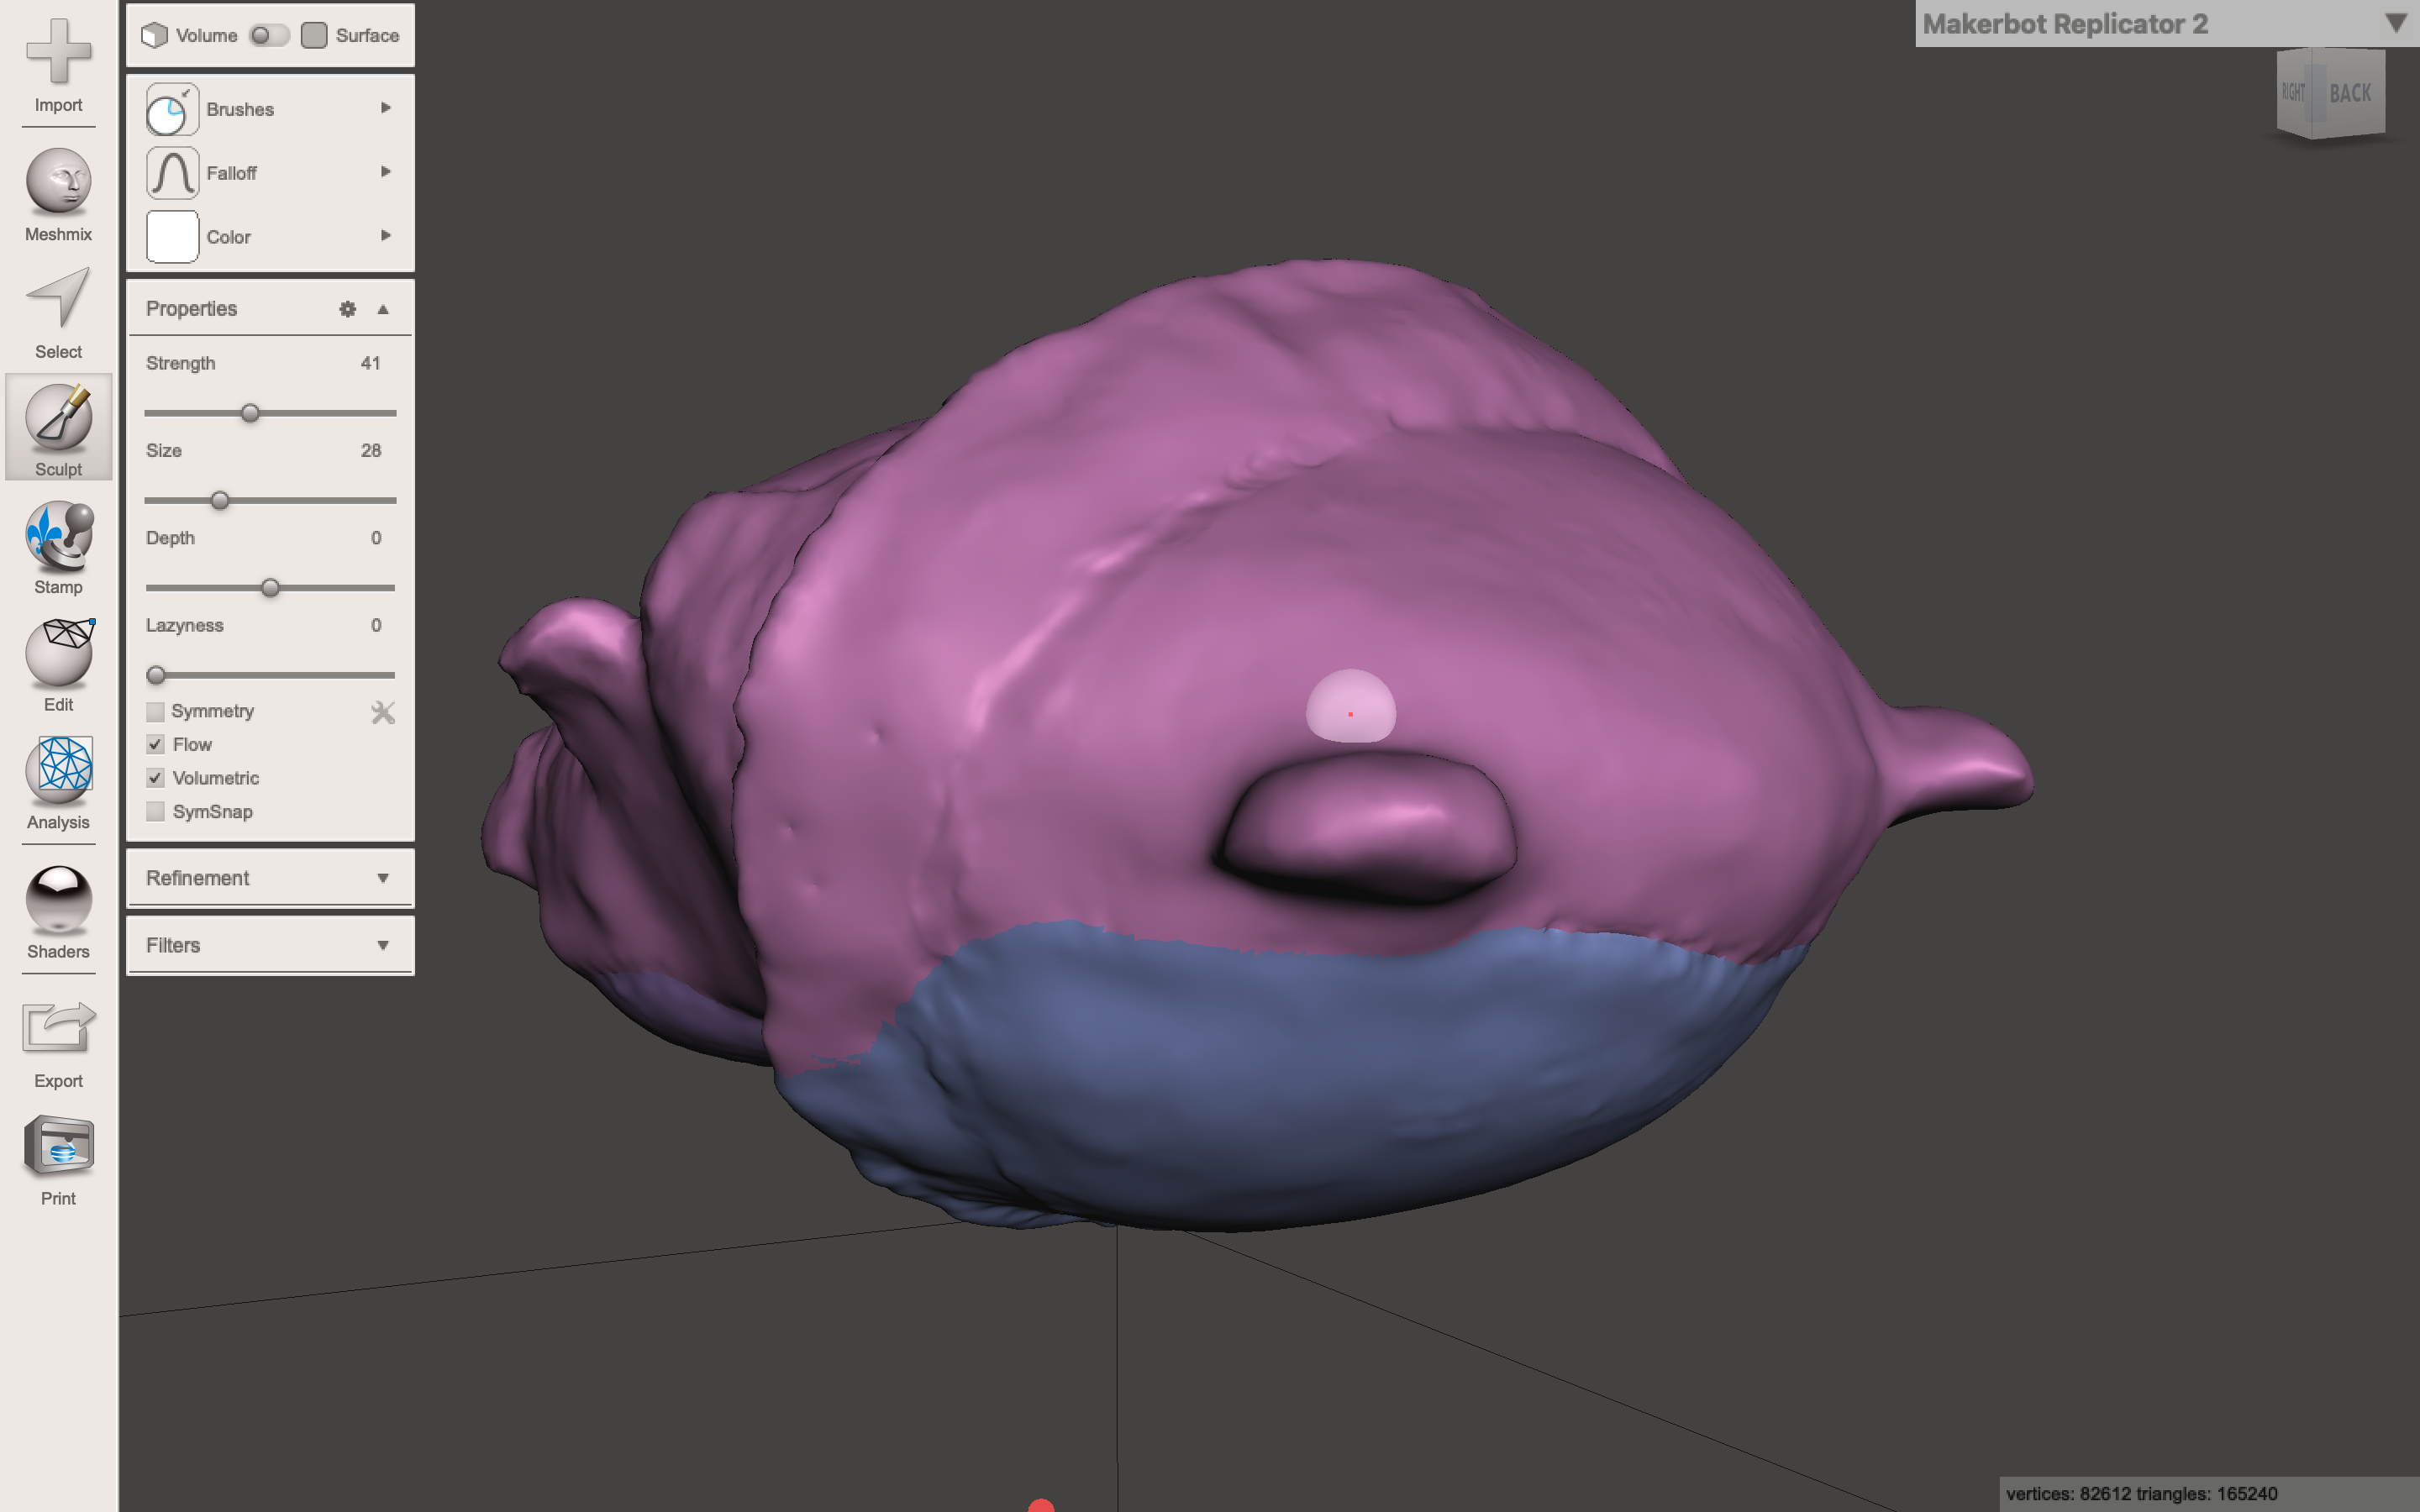
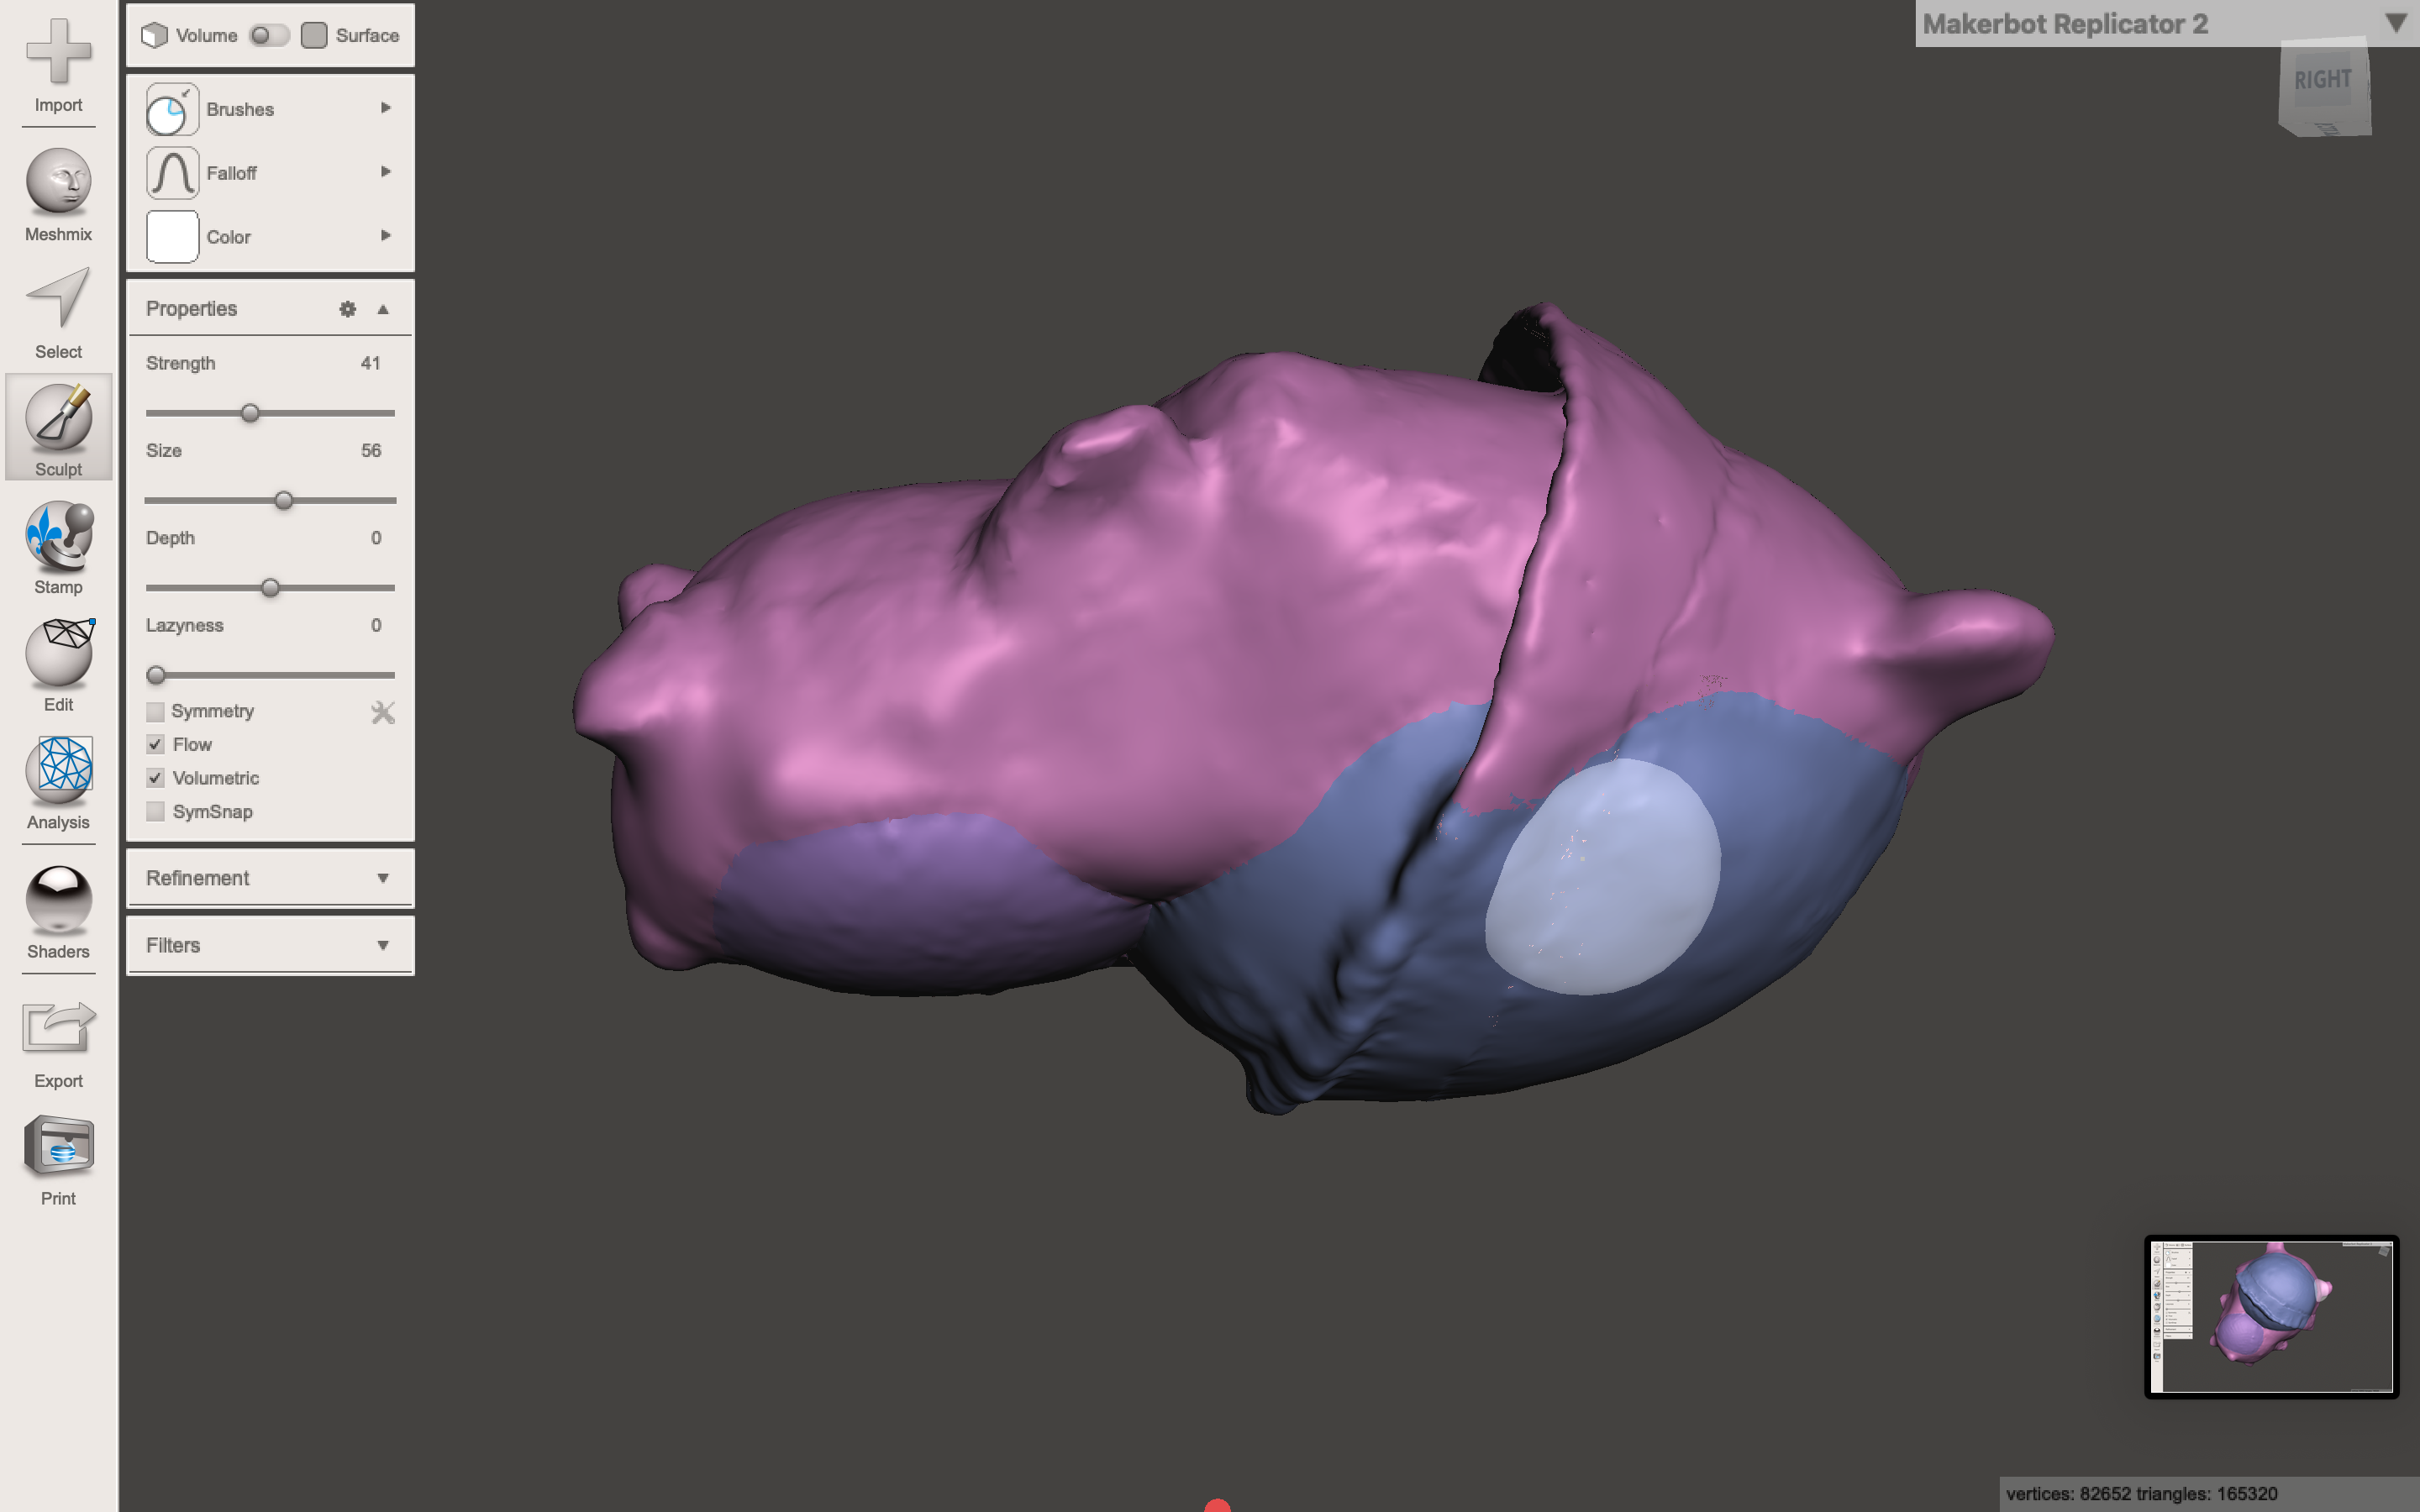
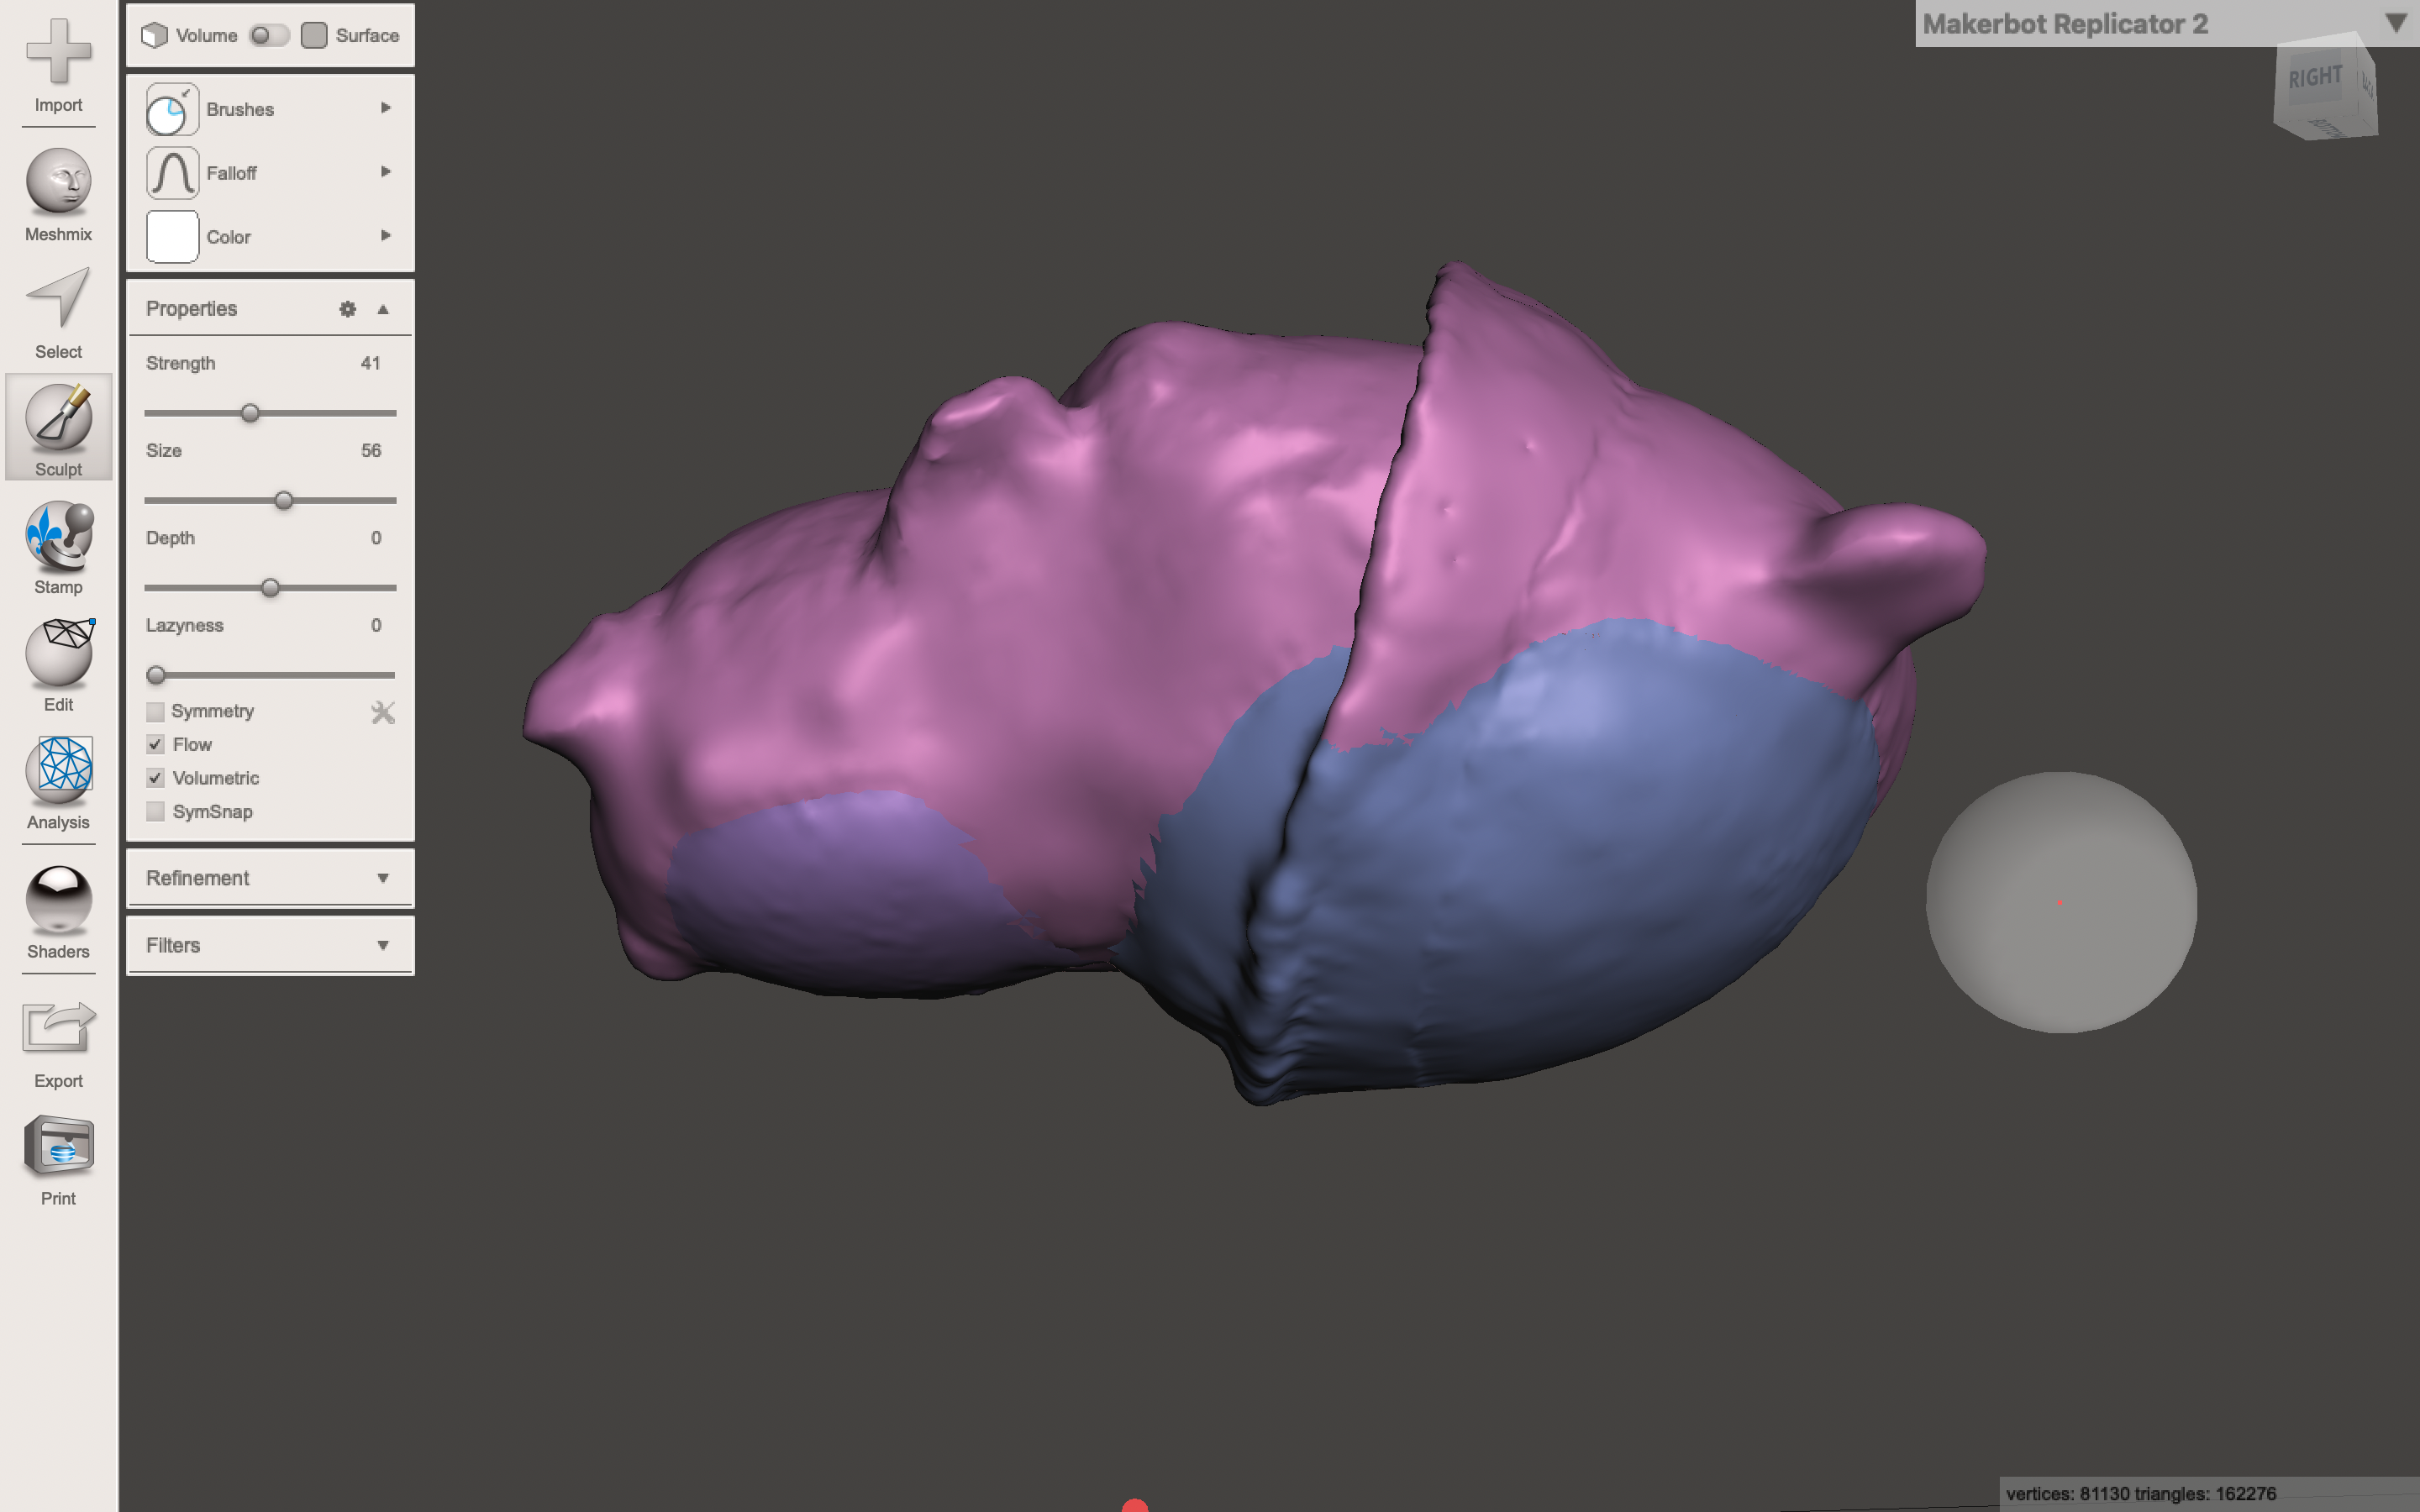
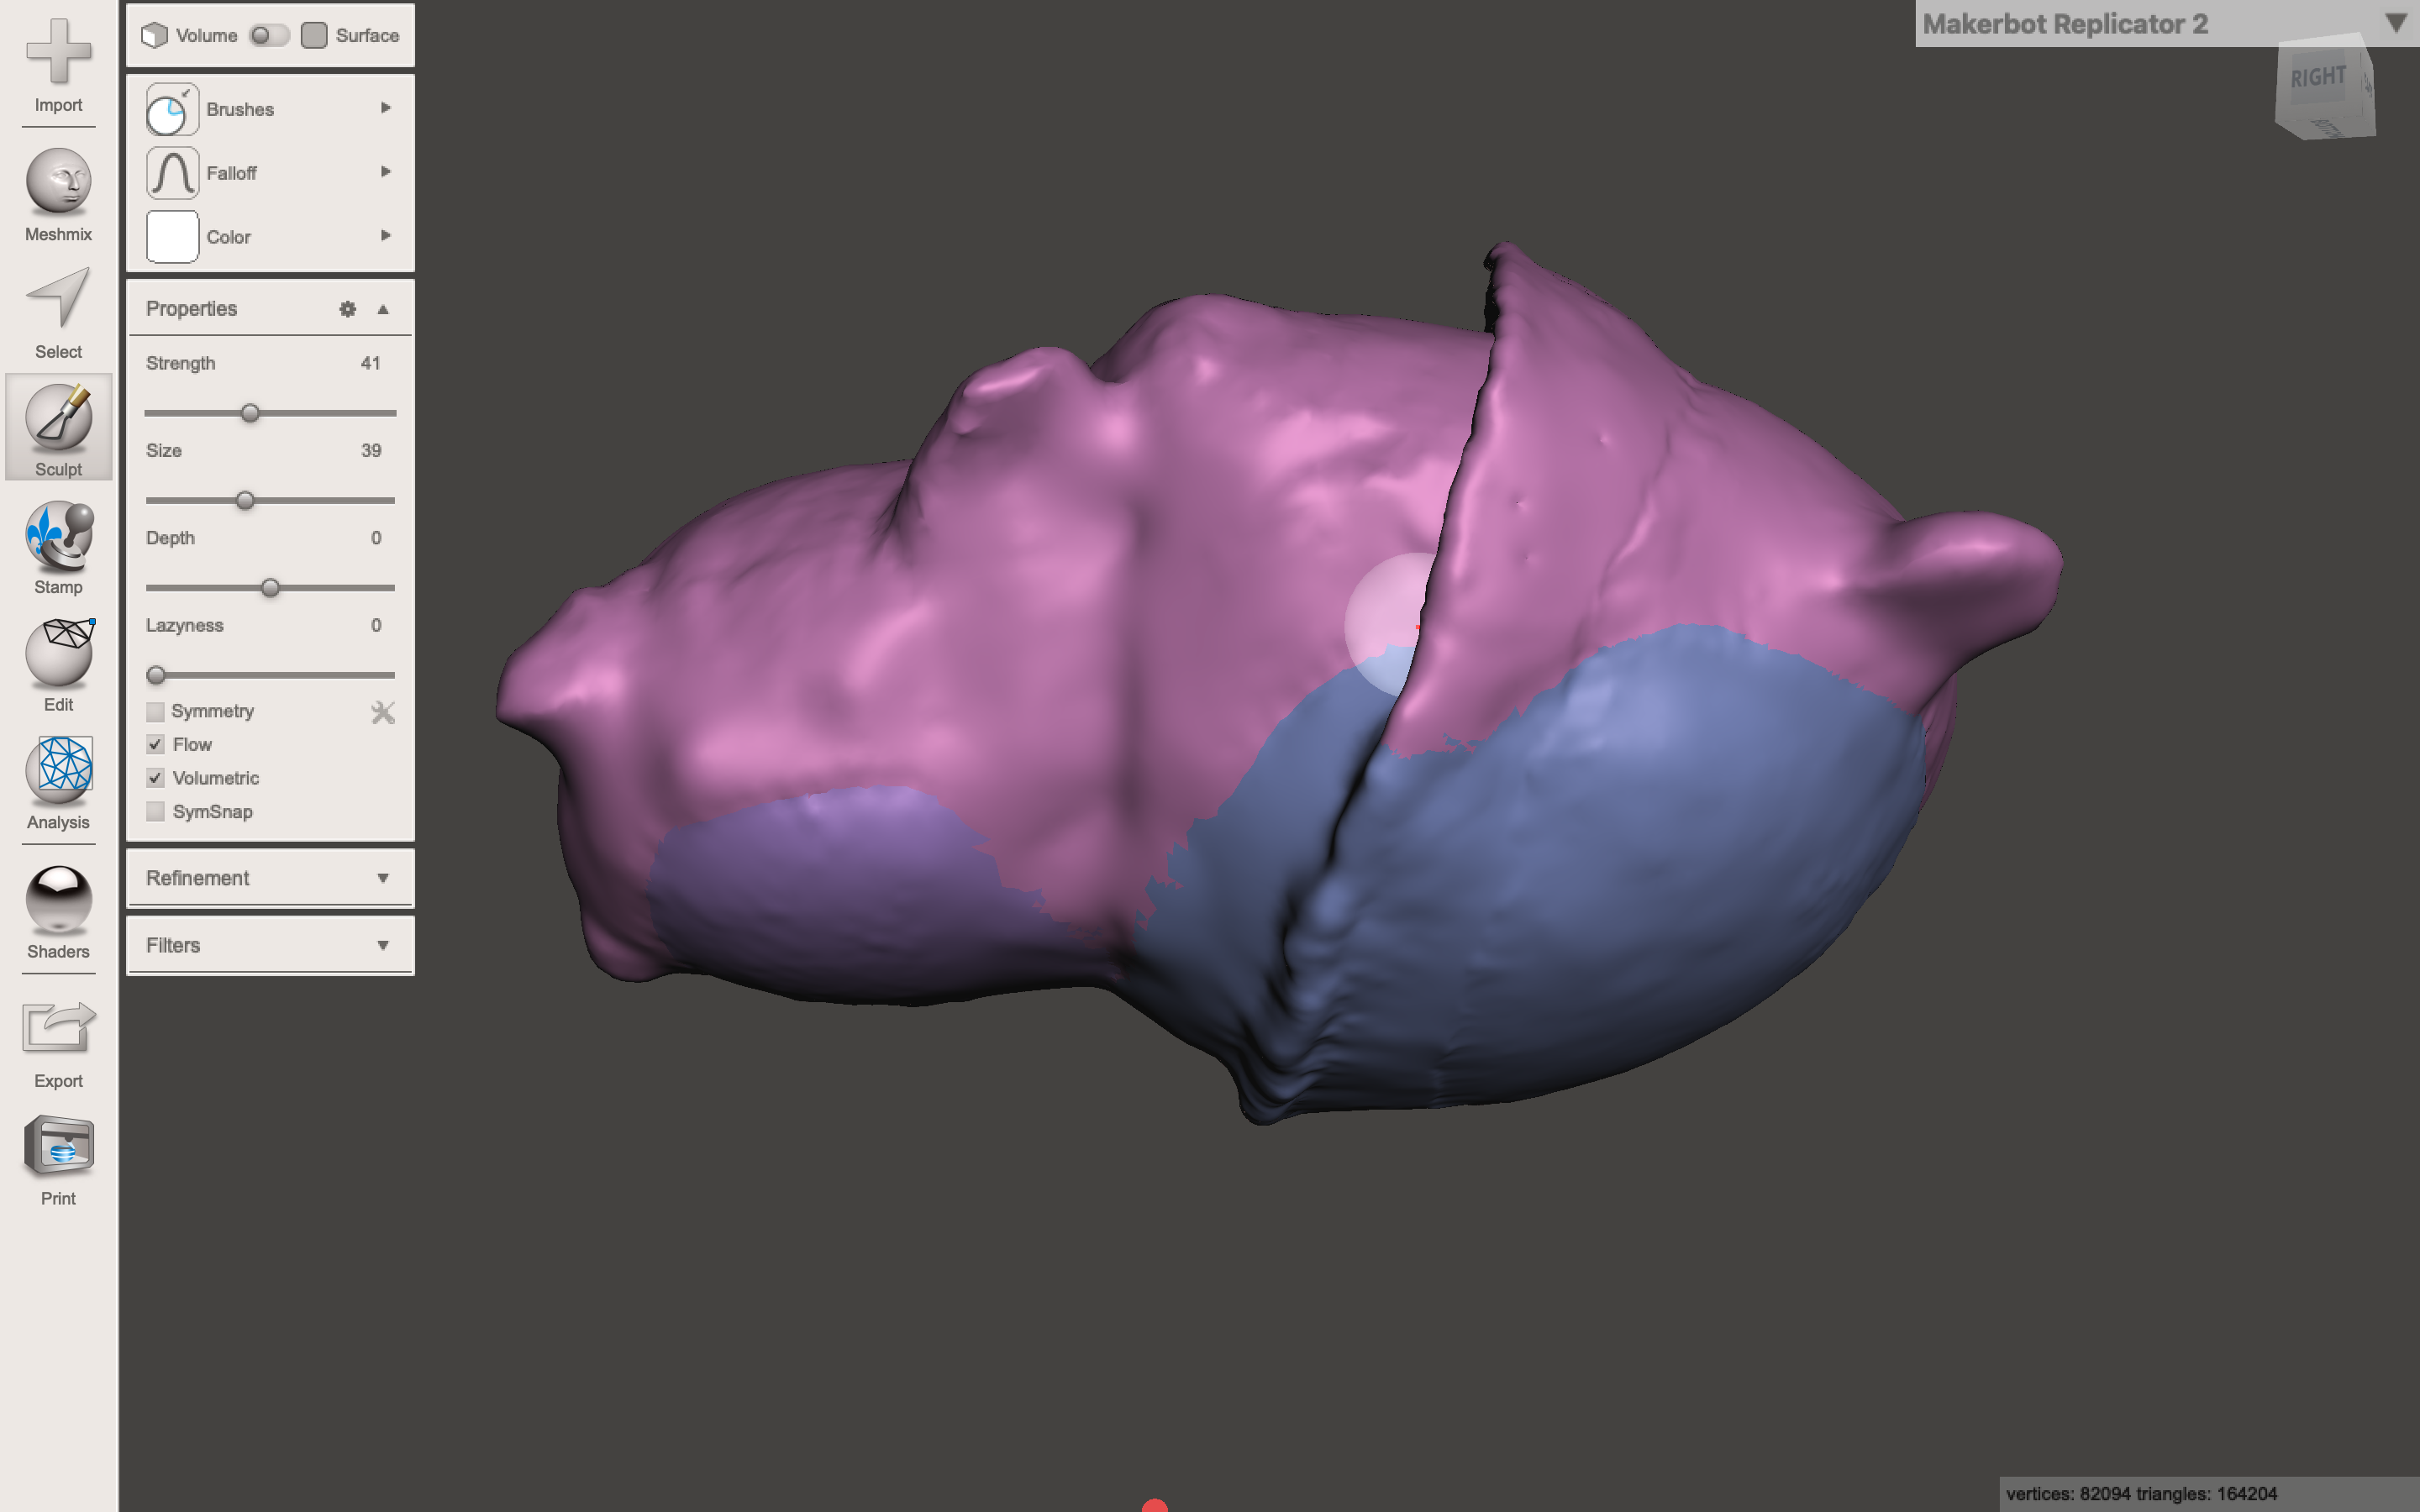
I also improved the junction between Bubu's hat and ears, as well as the junction between its head and body. By using the "inflate" and "flatten" brush, I made the junction more defined.
Enhancing the Features
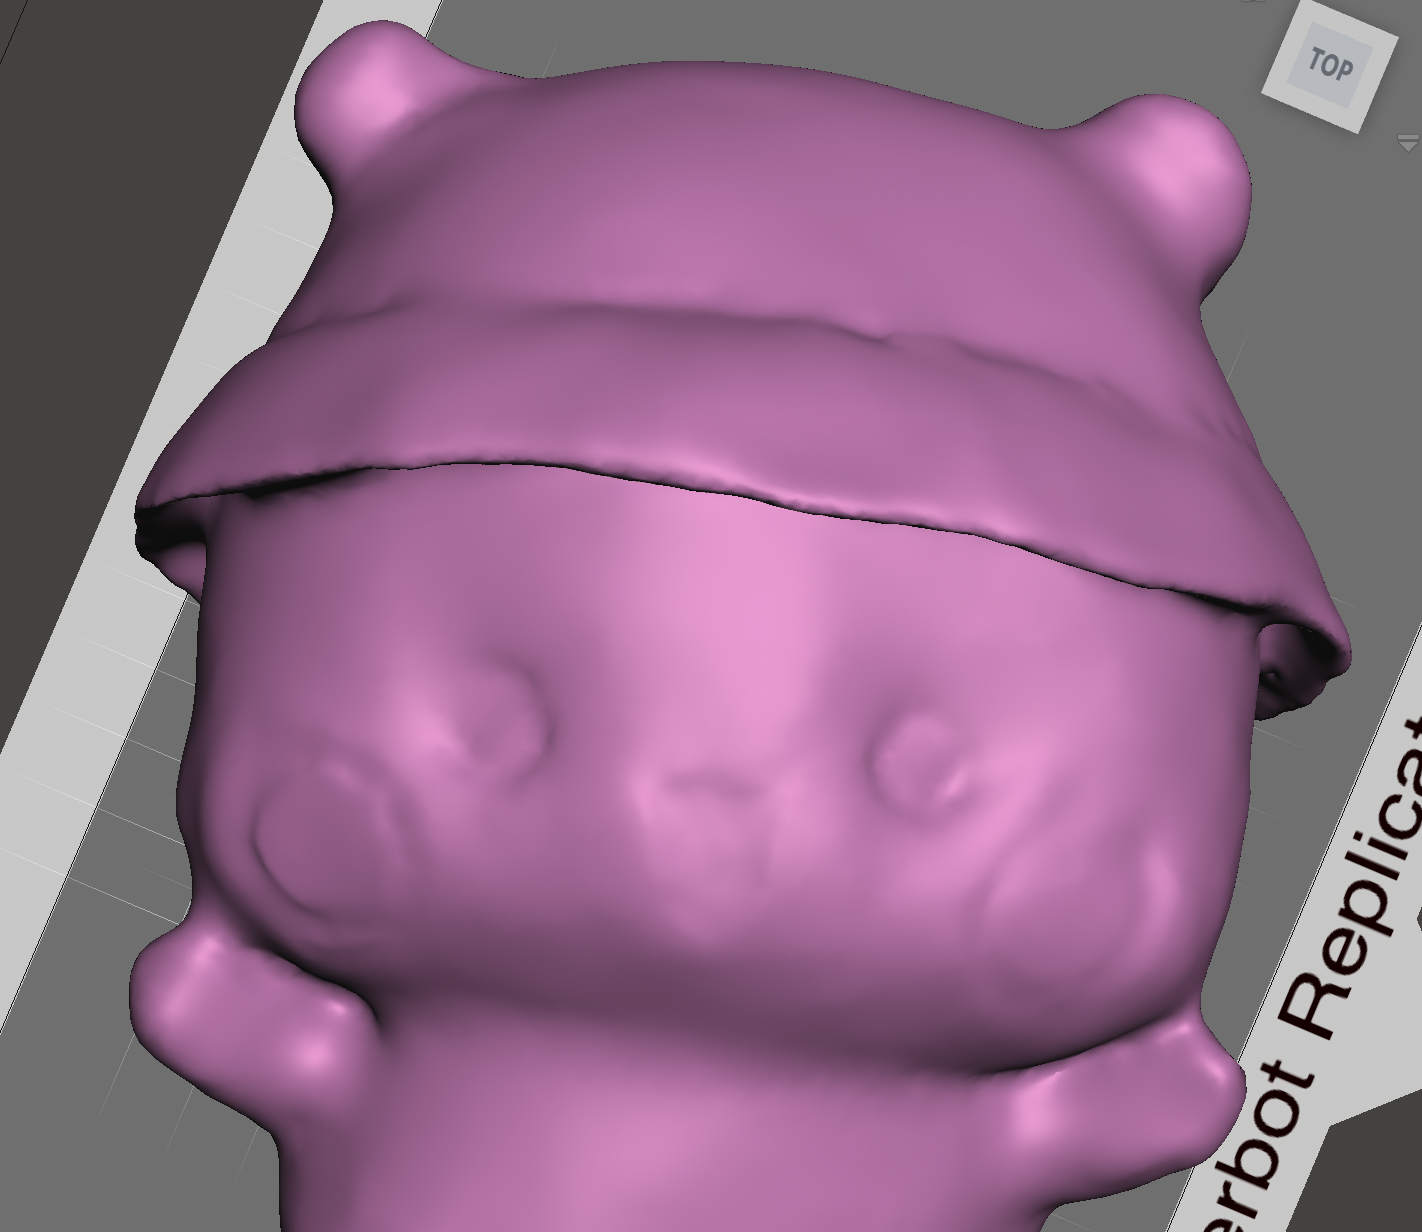
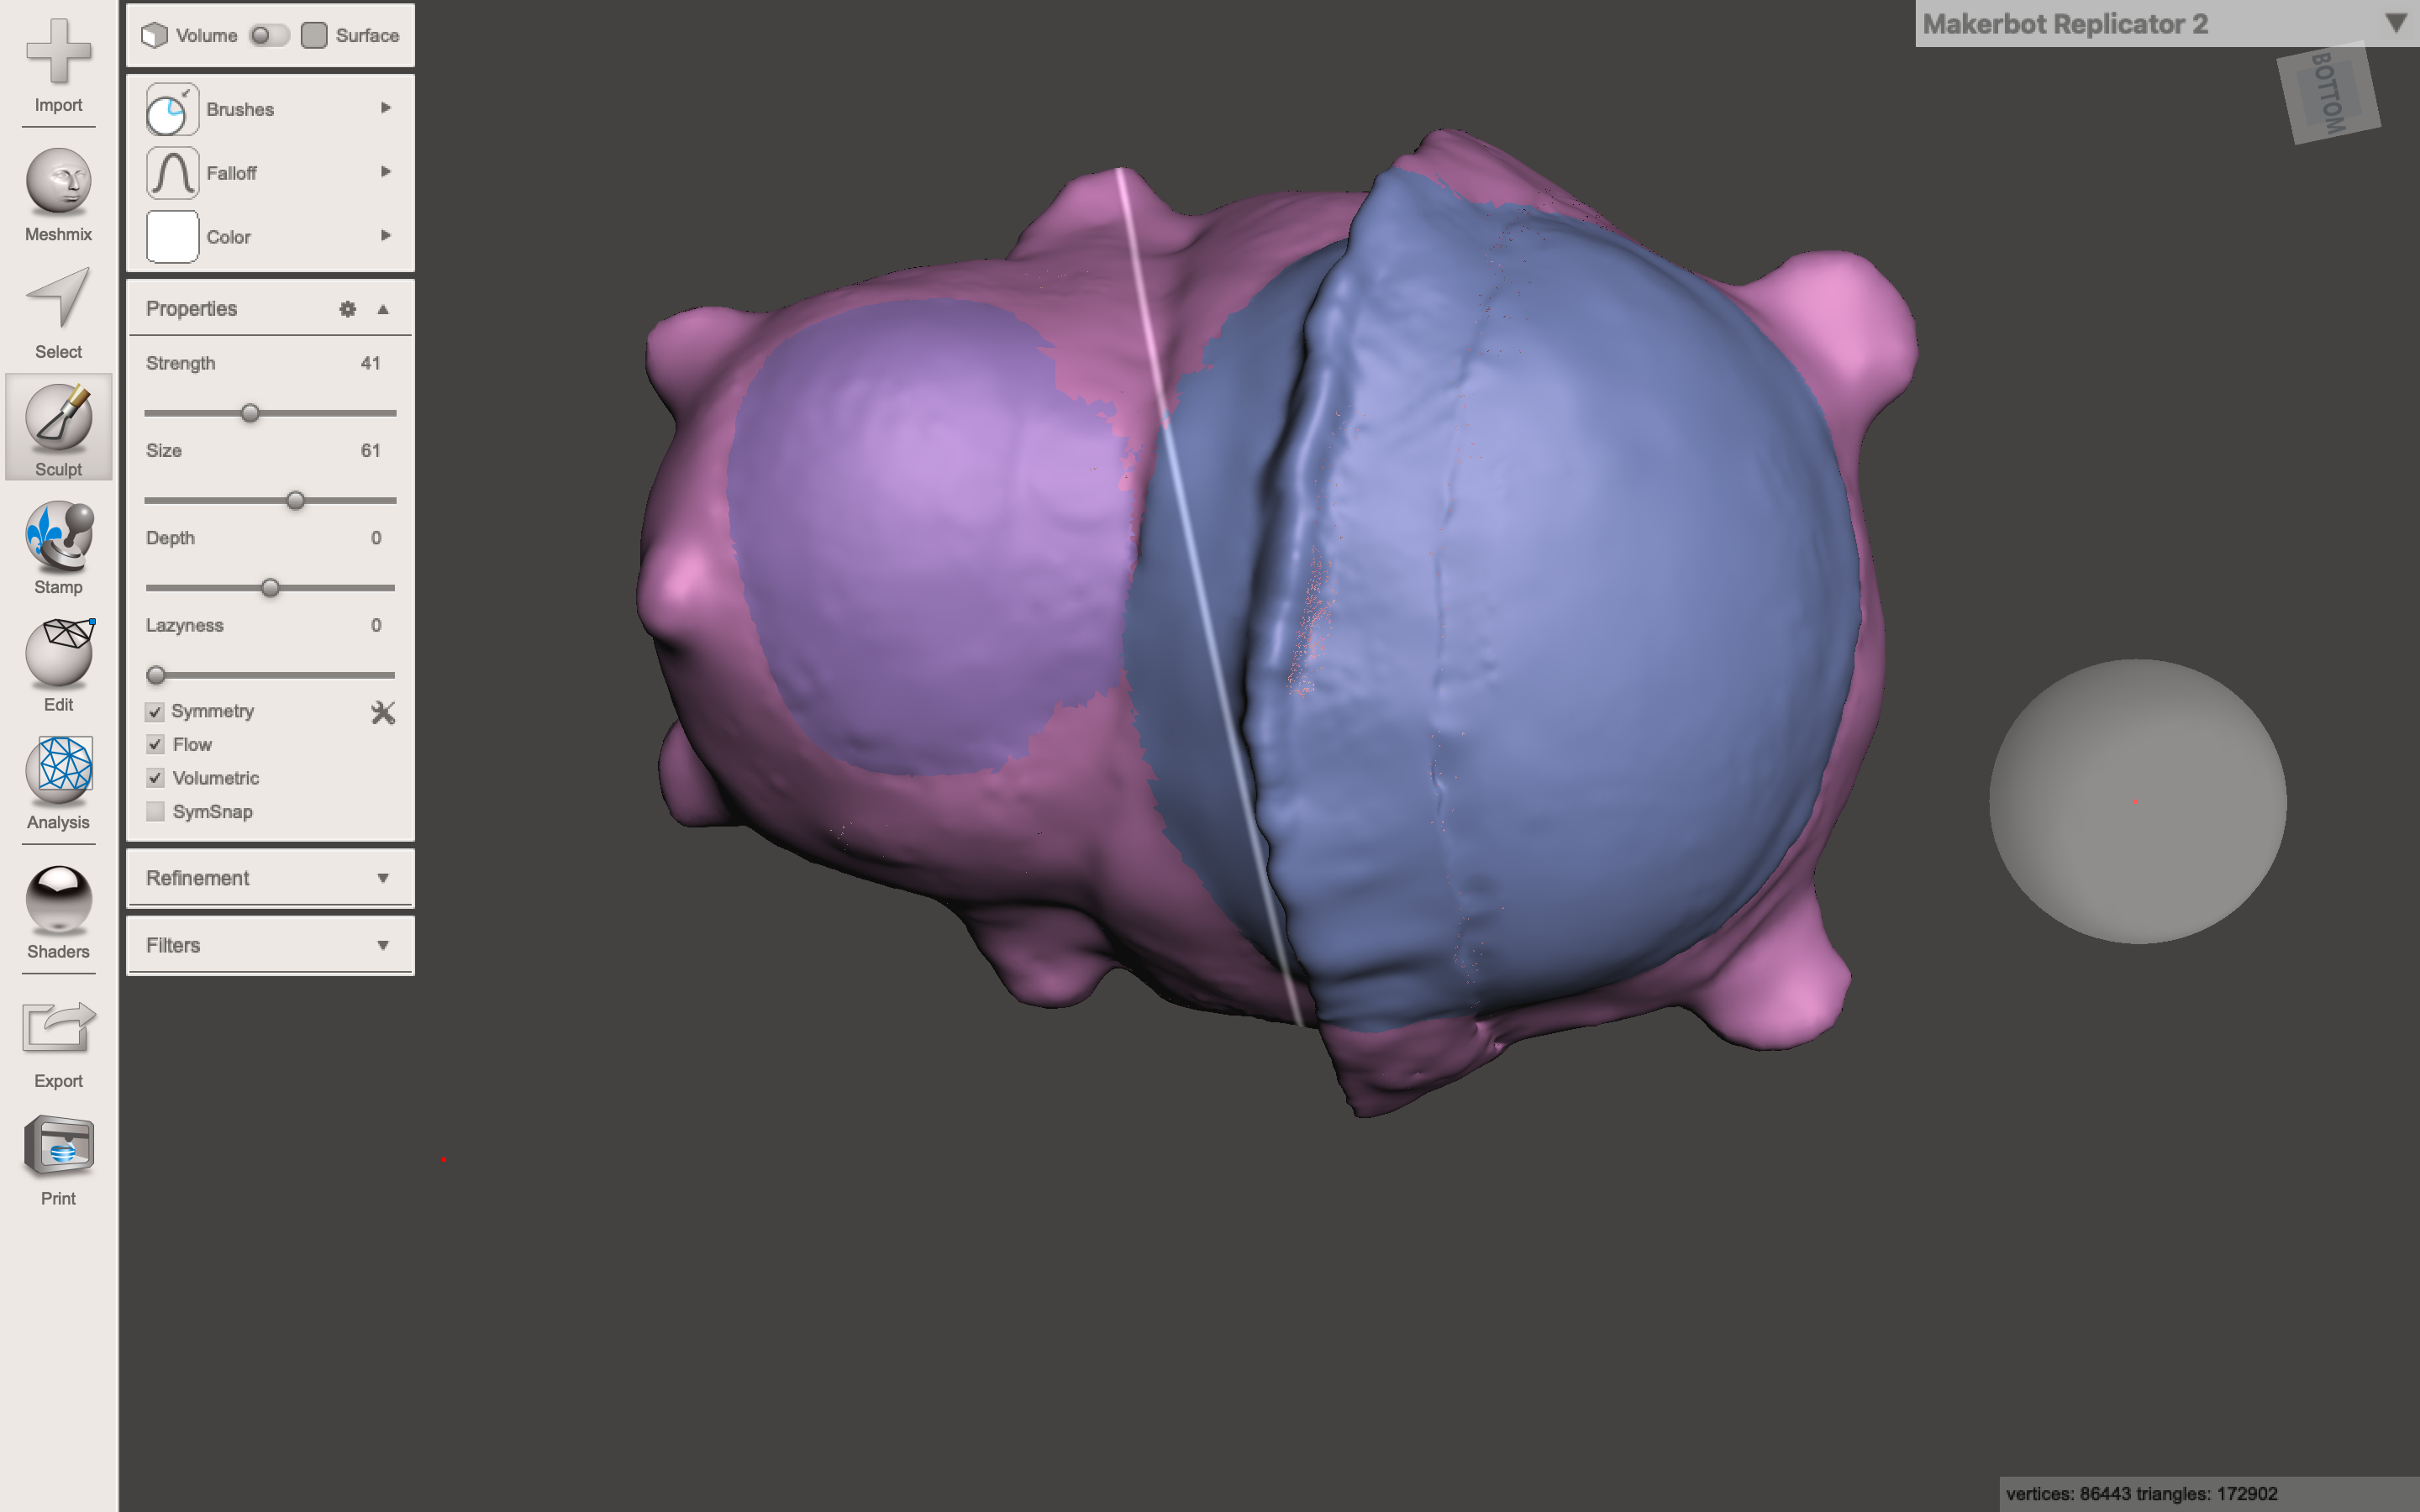
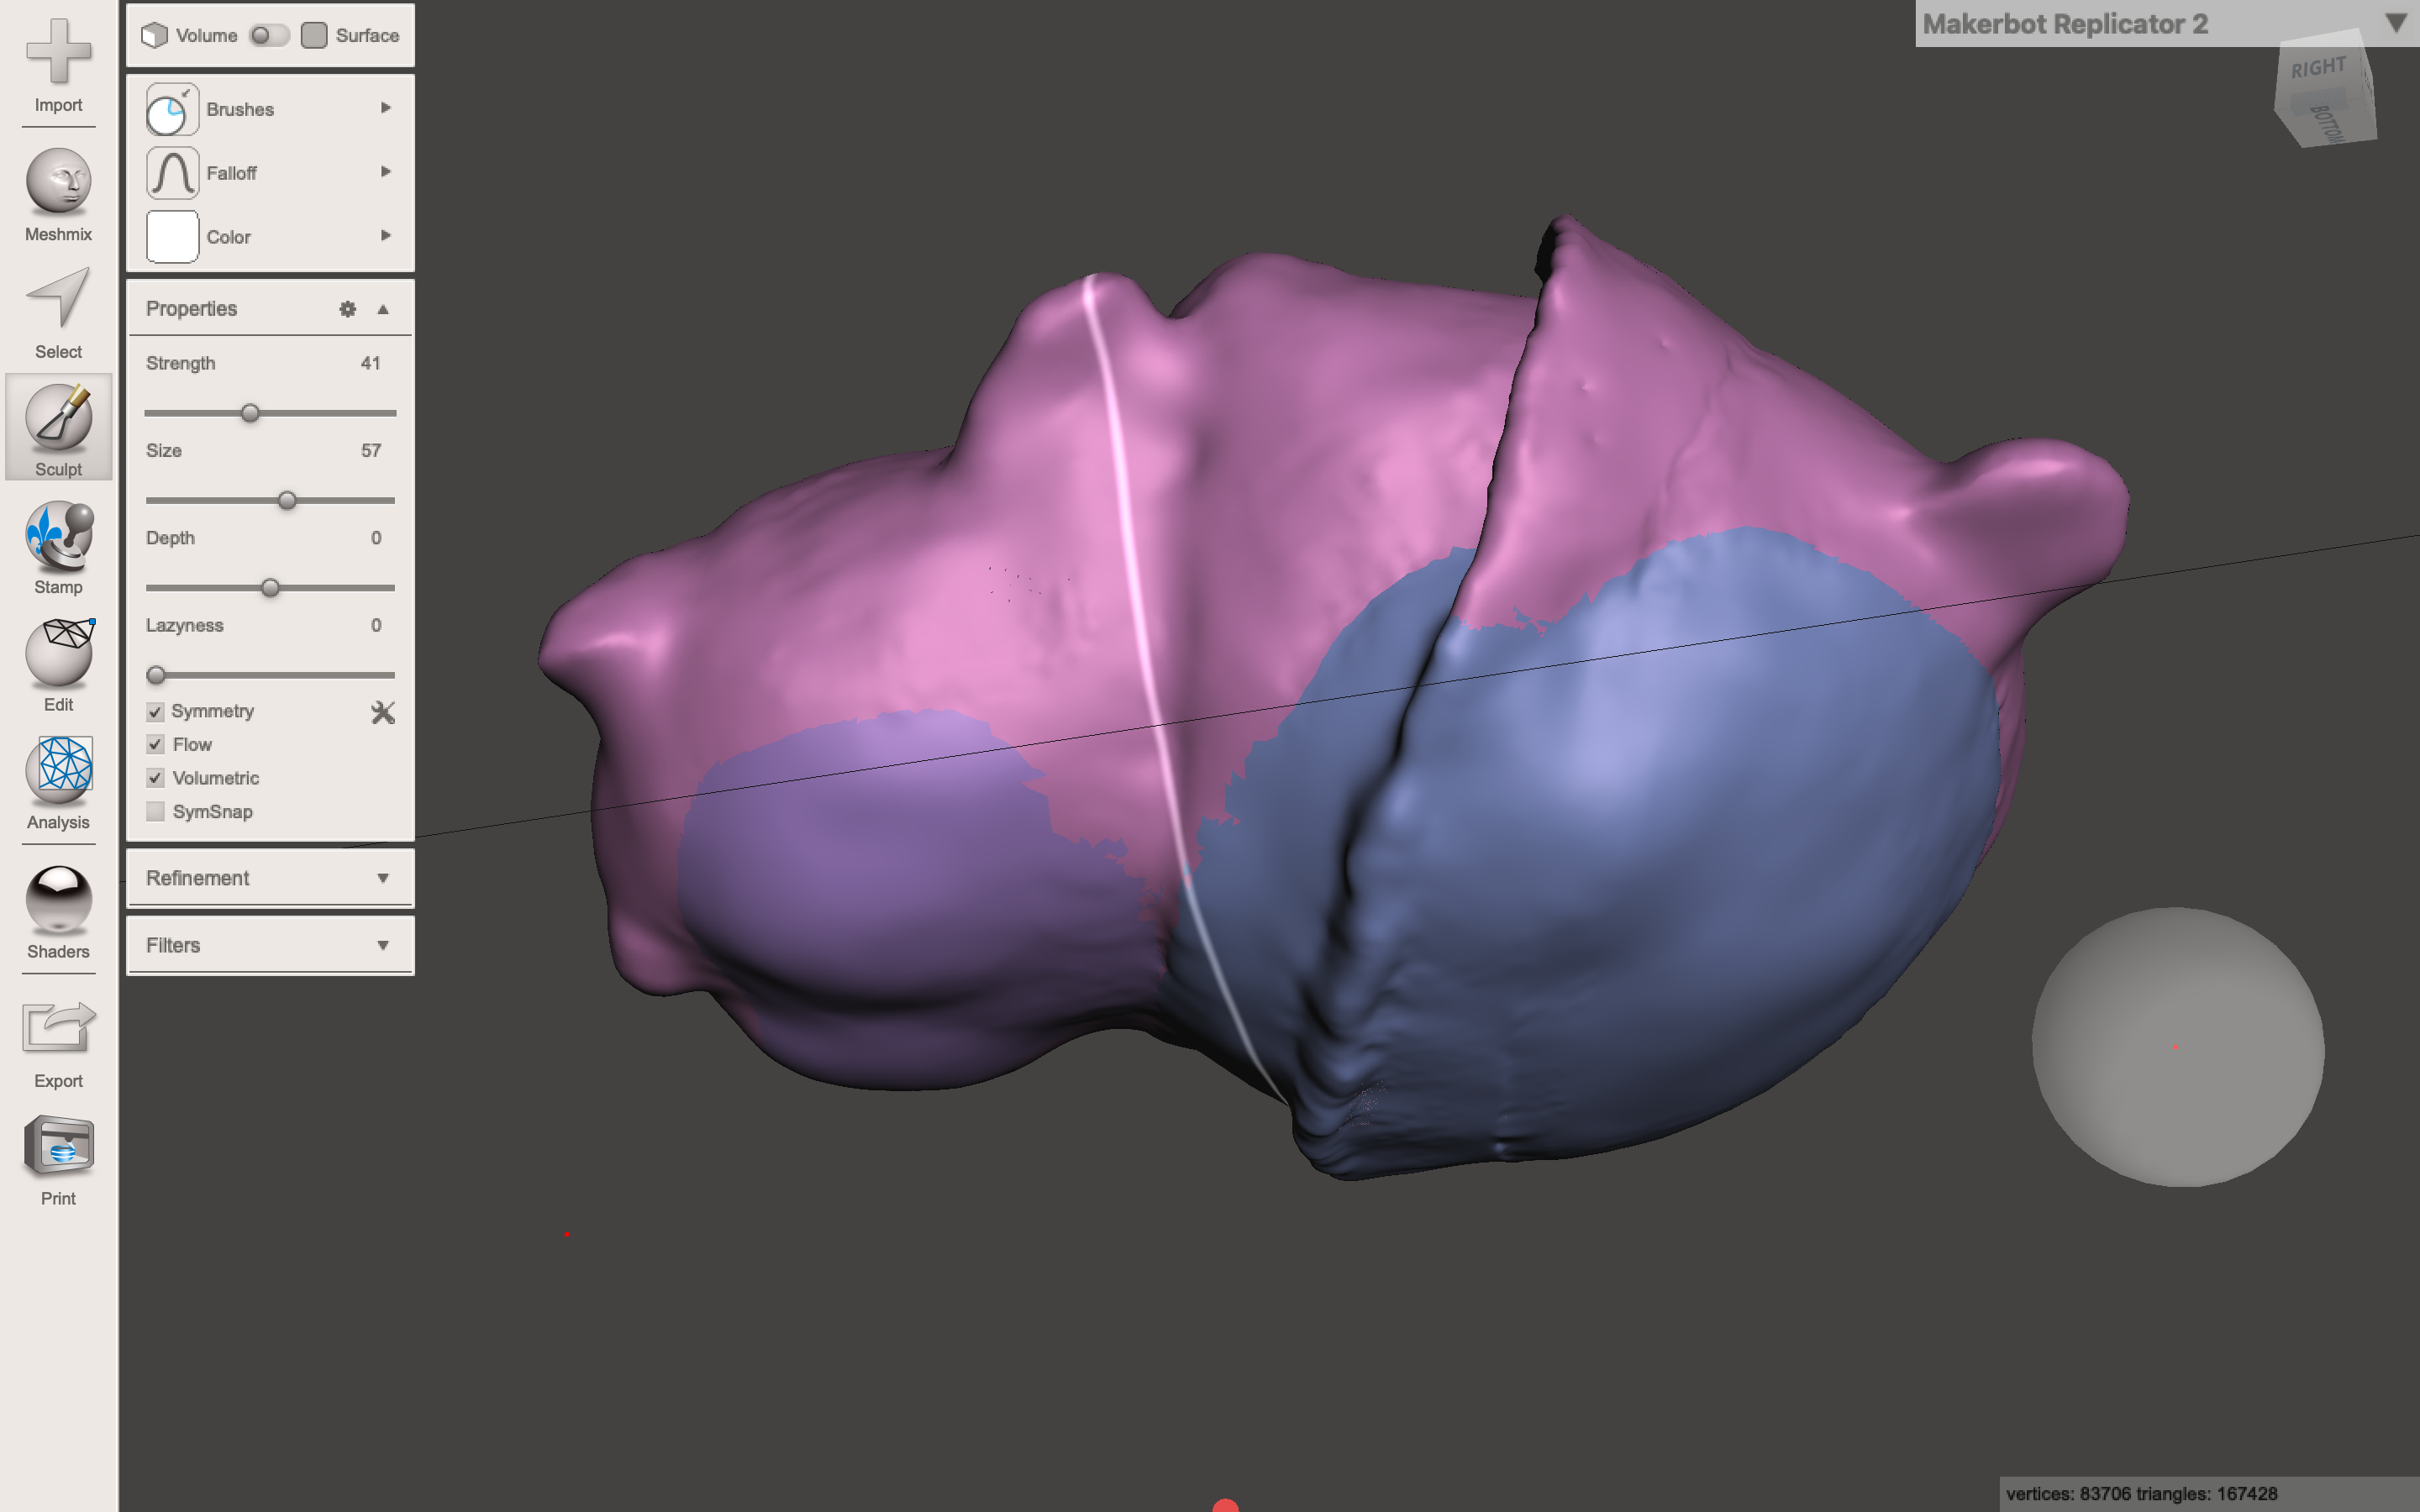
I enhanced Bubu's facial expressions to make the smiling face more distinct and tried adding a cute butt to it (just for fun). Figure 2 is the one without a butt and figure 3 Is the one with the butt. At last, I chose to stick with the decent way, the one without a butt.
Adding Textures or Smoothing It?
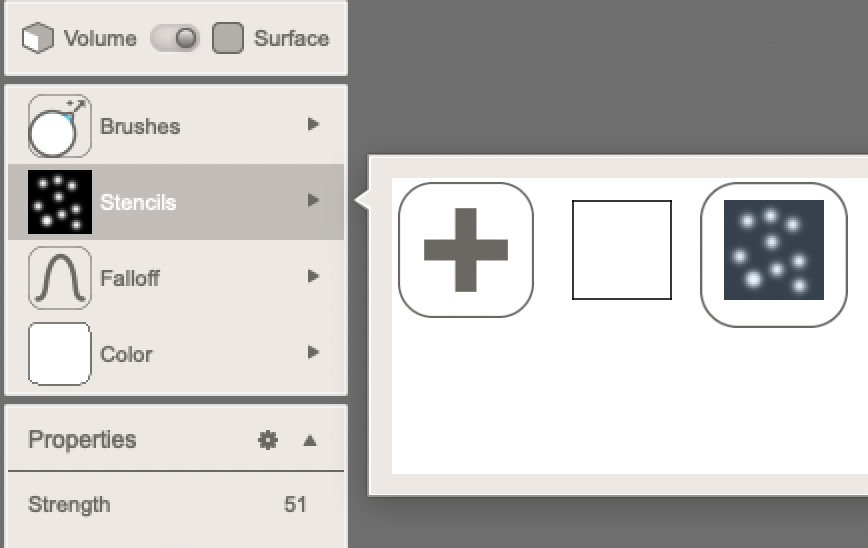
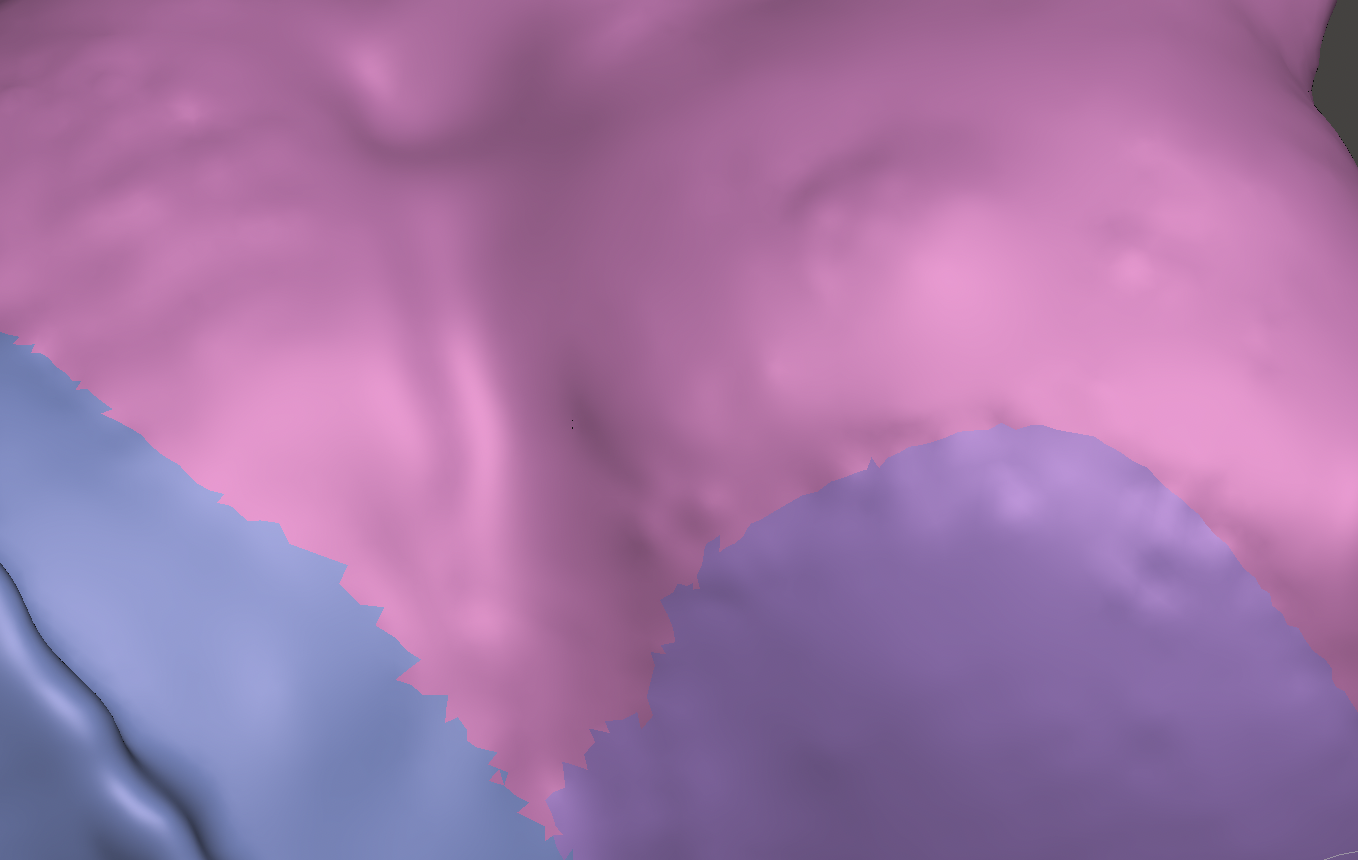
Since the front side of the toy is scanned, and the backside is sculpted with spheres, the toy doesn't look good. Therefore I changed the mode from volume to surface and used the stencil and brush to try to add rough or fluffy texture to it. However, the result is not satisfying, so I directly smoothed all over Bubu to make it more like a complete model instead of a semi-finished one.
Reflections
- It's better to make the object standing instead of making it lying down. The less the contact surface, the better the results.
- it takes time for the photo-taking process as well as the model sculpting process, just be patient.
- Just devote yourself to try different things, no matter if it is a butt or a texture.