A 3D Print Ready Jack O' Lantern in Solidworks
by PaulMakesThings in Living > Halloween
4474 Views, 5 Favorites, 0 Comments
A 3D Print Ready Jack O' Lantern in Solidworks
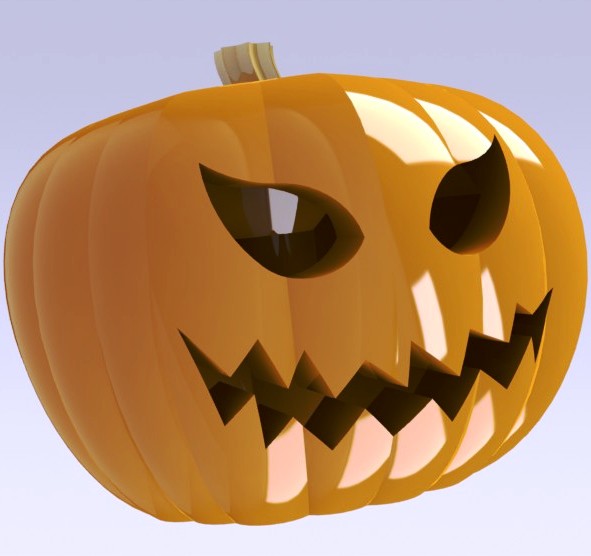
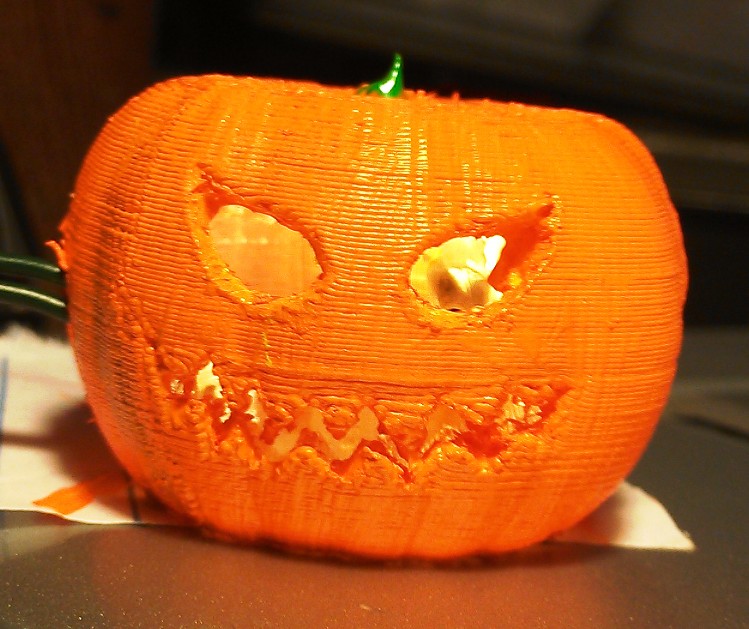
For the Jack o' Lantern Challenge I thought I could show some techniques for modeling more organic shapes in SolidWorks. Since this is a decorative item, I'll also cover some aspects of design for 3D printing. I'll start with a pumpkin, and then go from there to make it into something more decorative.
Since Solidworks, and other parametric modelers like ProE and AutoCad Inventor are designed with engineering and manufacturing in mind, they are designed with precision and specification in mind, but this doesn't mean they can't handle free forms, and in fact it can be very useful to mix free form design with specifics.
Since Solidworks, and other parametric modelers like ProE and AutoCad Inventor are designed with engineering and manufacturing in mind, they are designed with precision and specification in mind, but this doesn't mean they can't handle free forms, and in fact it can be very useful to mix free form design with specifics.
Making a Pumpkin
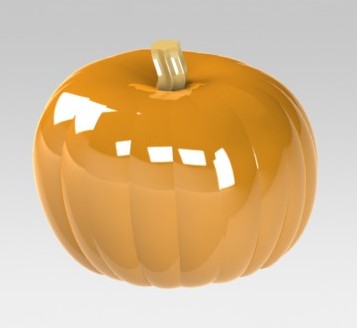
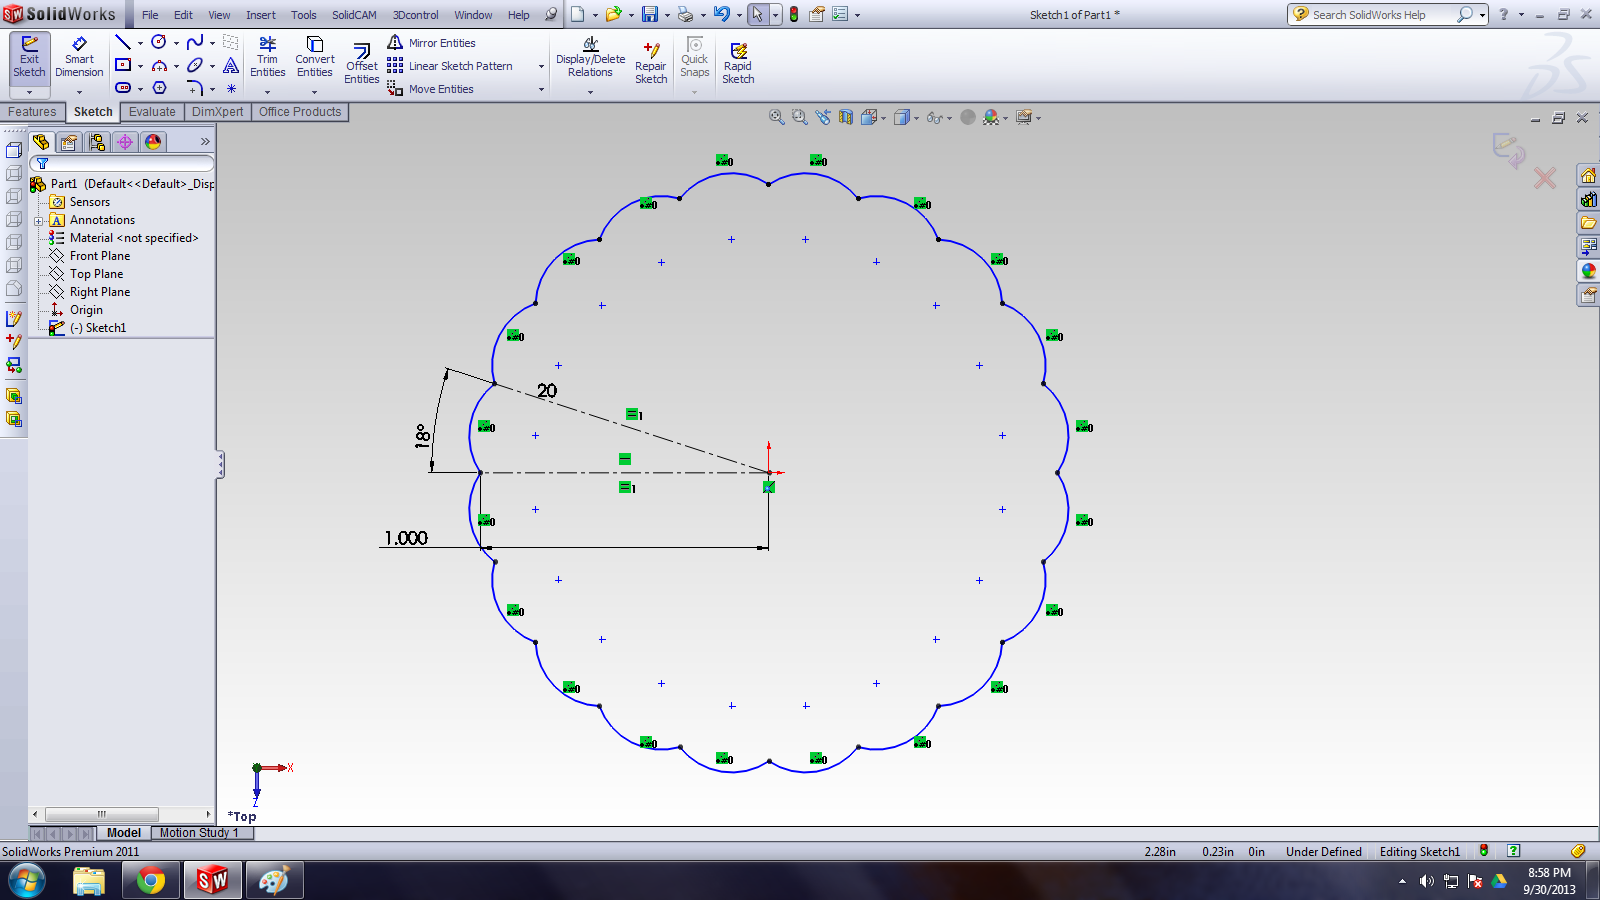
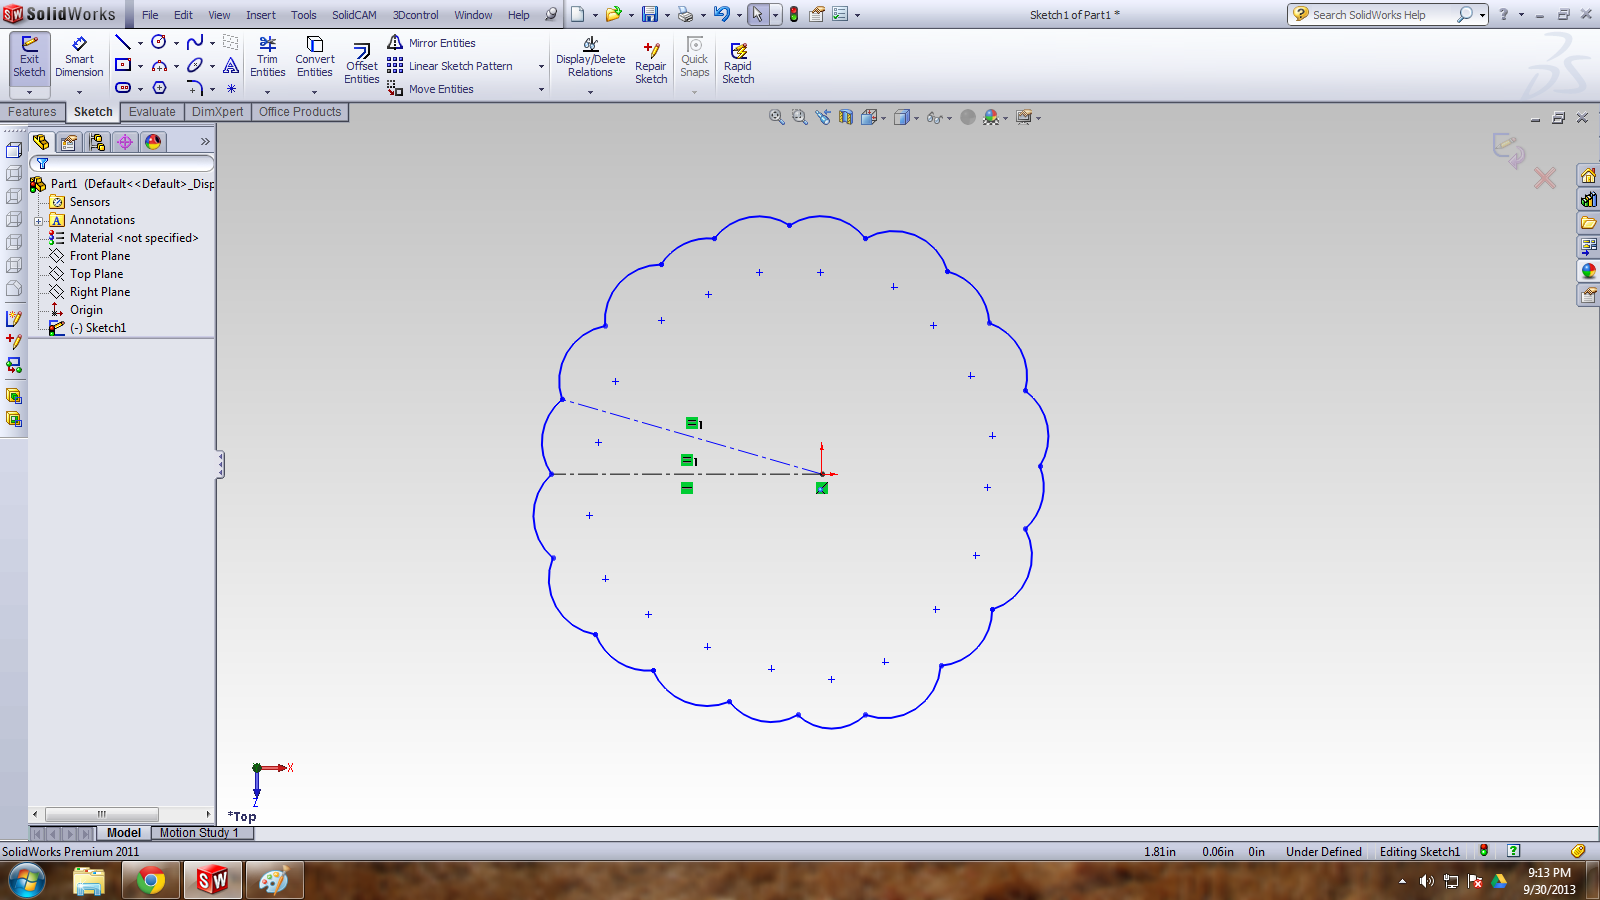
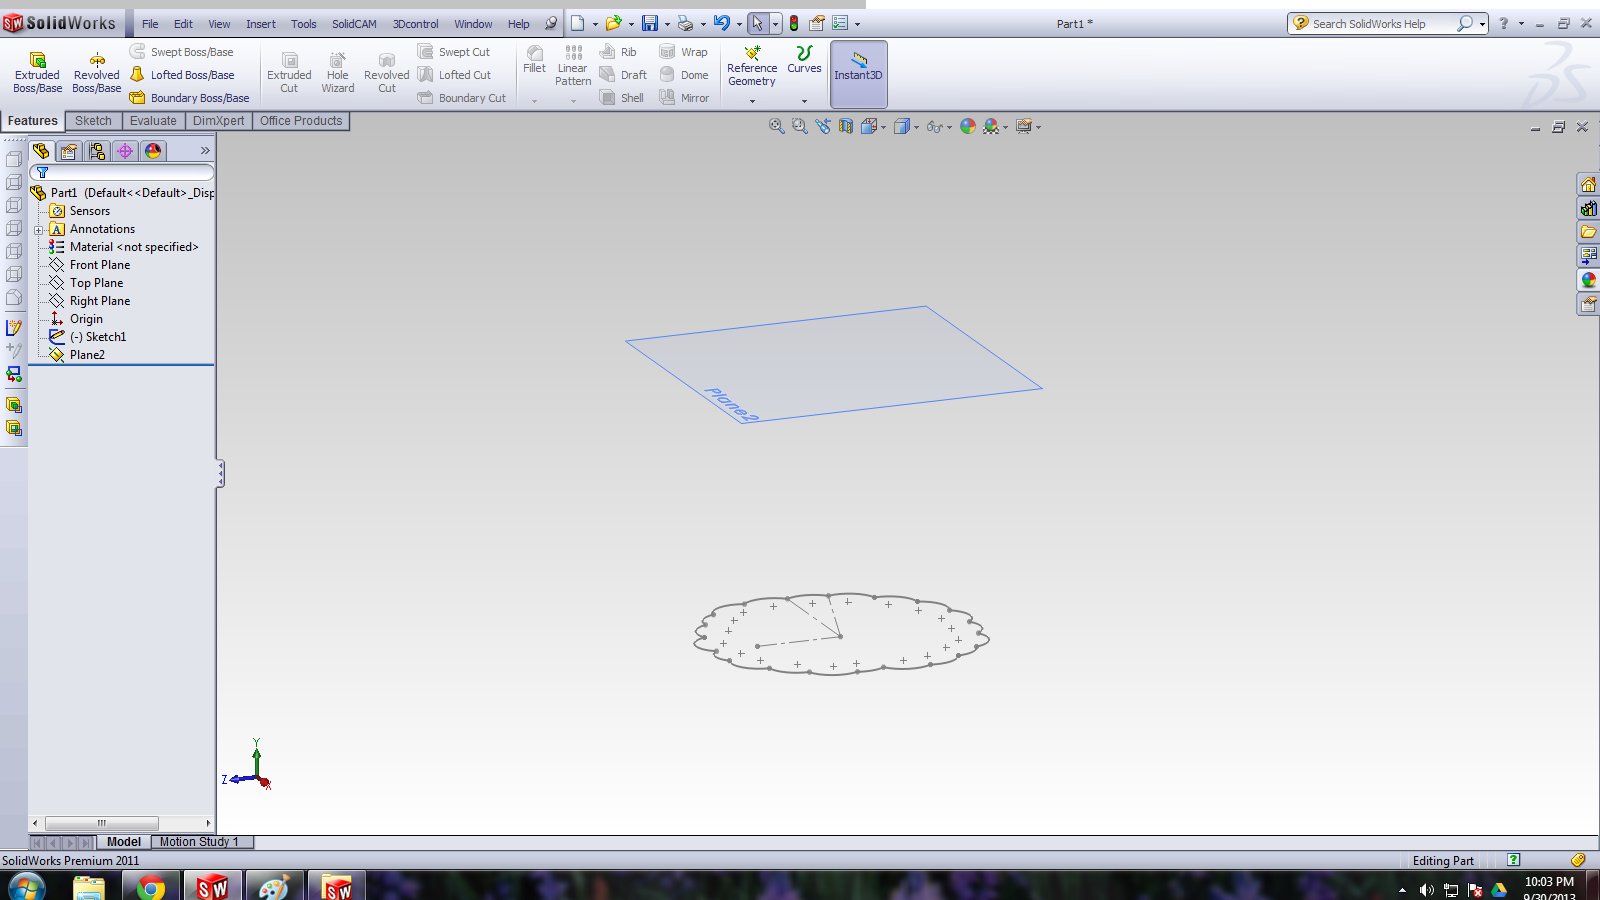
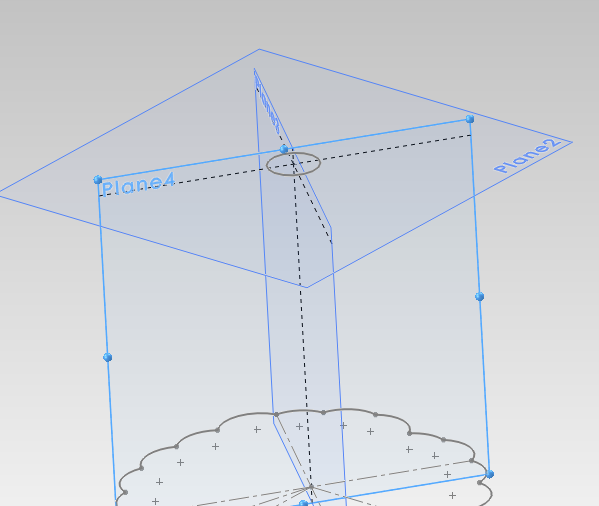
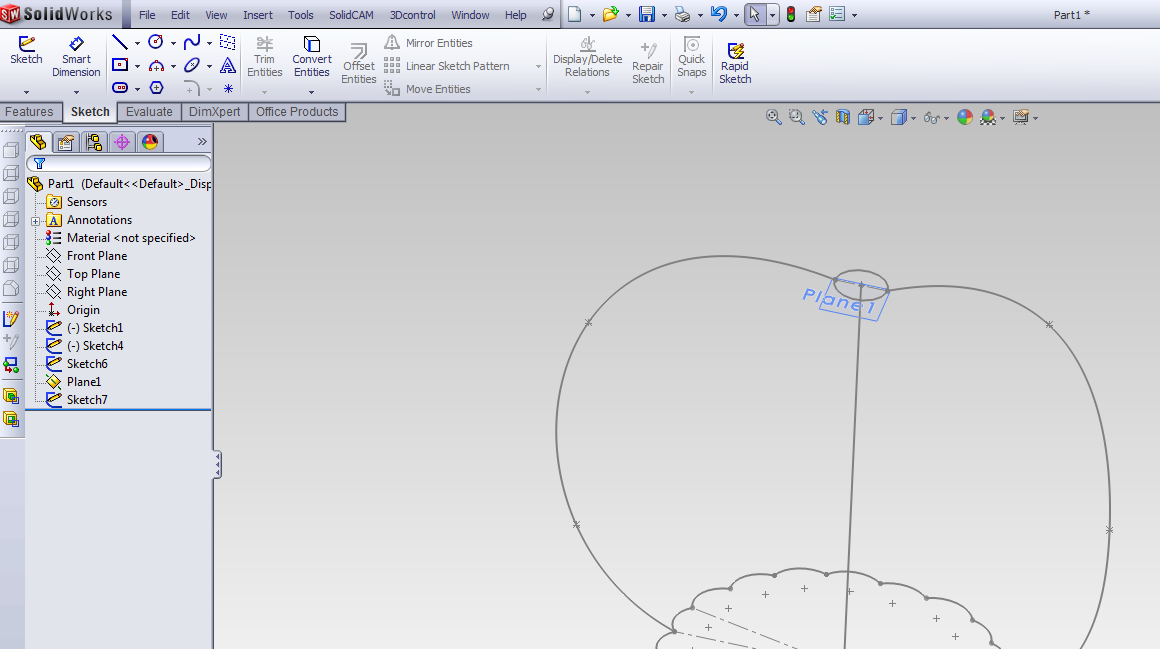
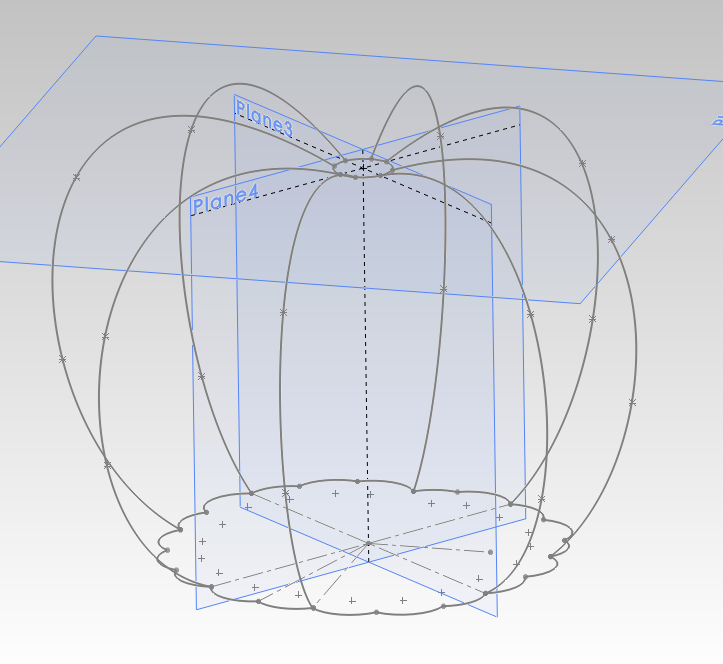
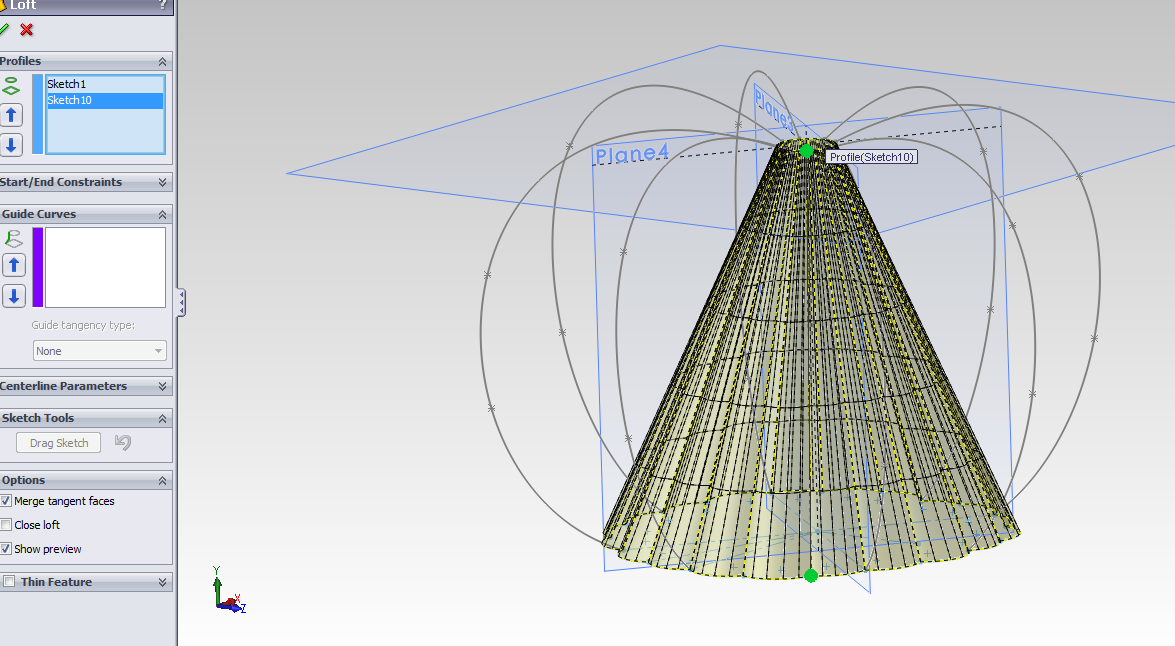
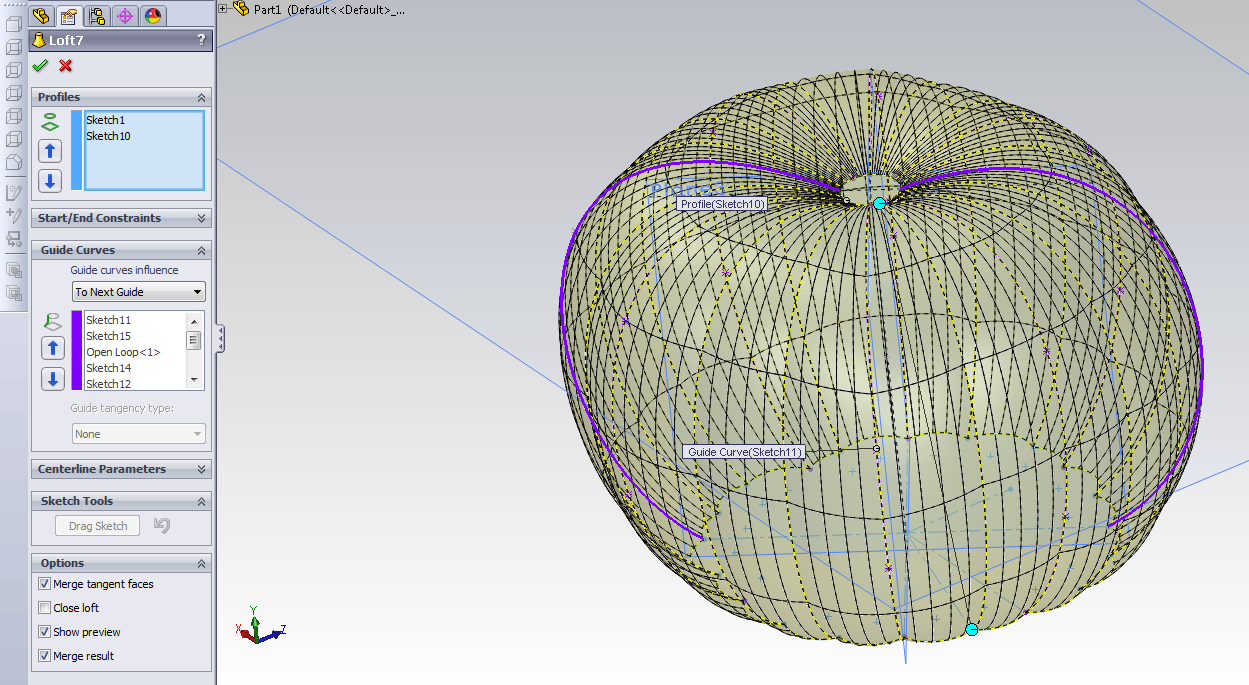
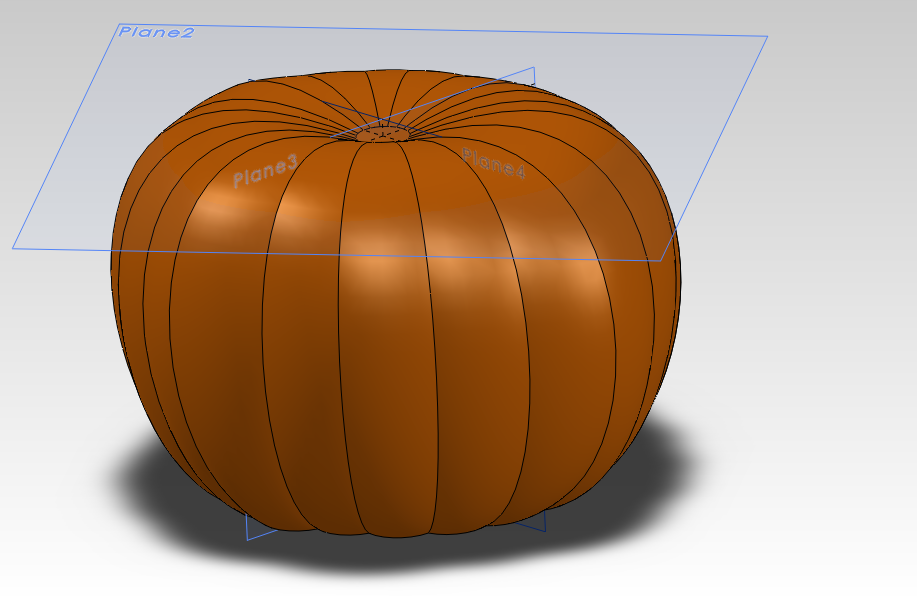
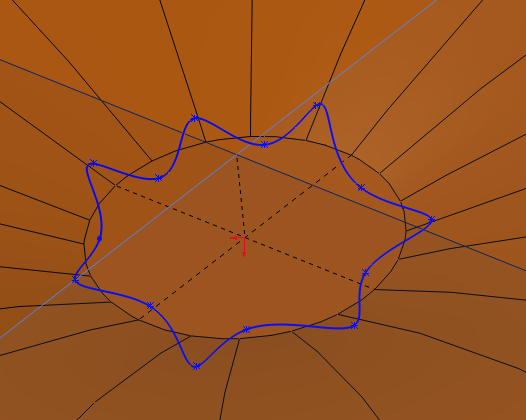
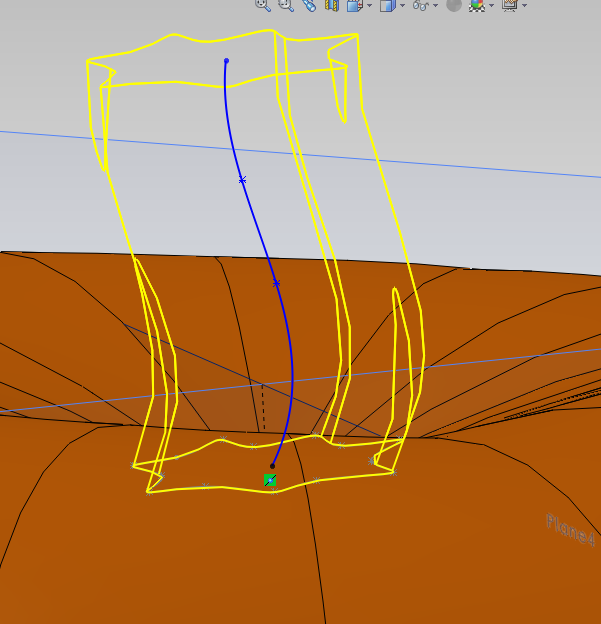
To start with, lets make the body of a pumkin. I don't want to just make a sphere with grooves in it, but something a little more irregular, and pumpkin-like. We still want to get this in the general ball park of a 3D printable size, so I'll put a guide shape in for reference.
There are a few ways you could create a slightly irregular round shape. You could do a revolve and then distort it. You could create several offset planes, draw regular curves on them and then sweep from one to the next, or you could create a profile of the shape and then sweep it nearly in a circle along a path.
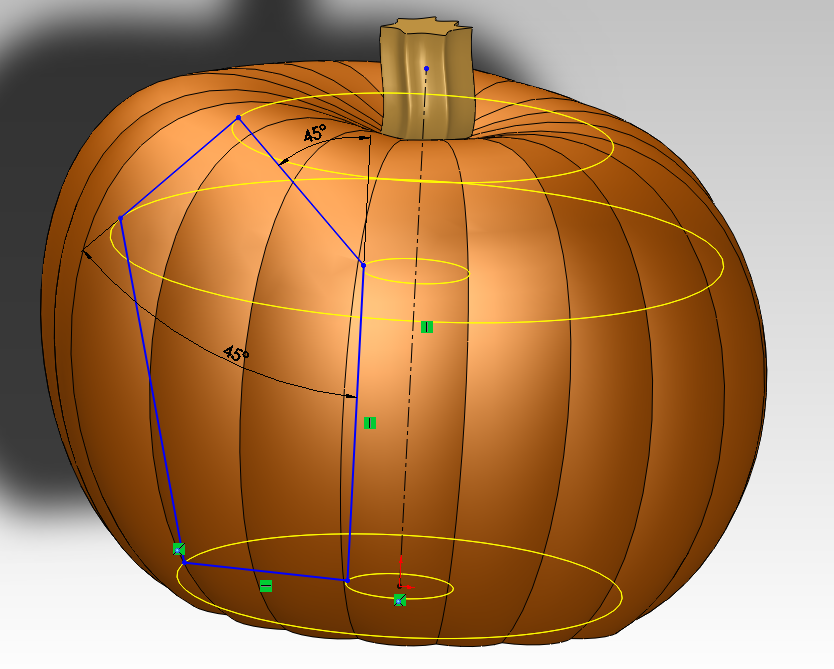
Since I want this shape to be nearly regular like a nice little pie pumpkin, and the grooves should flow from top to bottom, I'm going to create a profile of it from above, and make several planes with guide curves. For details, see the embedded notes by hovering over the pictures.
For 3D printing
The only concern for this step is to keep the sides from slanting out too steeply, so when creating the spines try to keep them more vertical than 45º
Making It a Jack O' Lantern
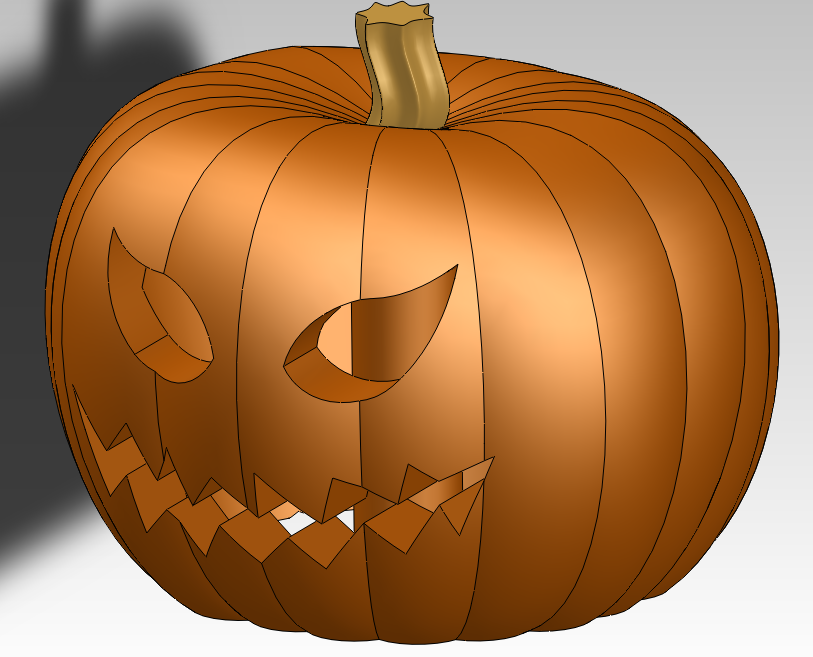
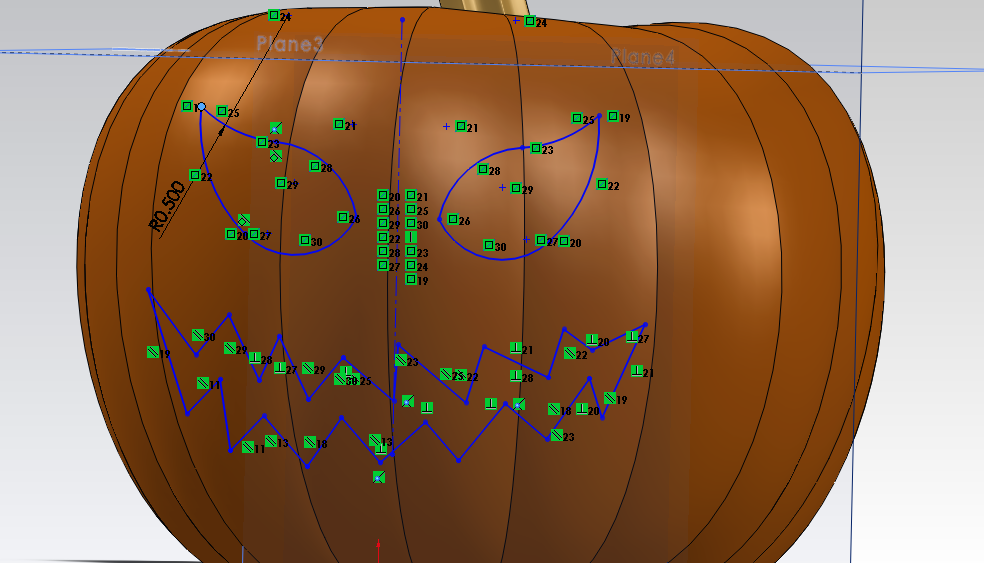
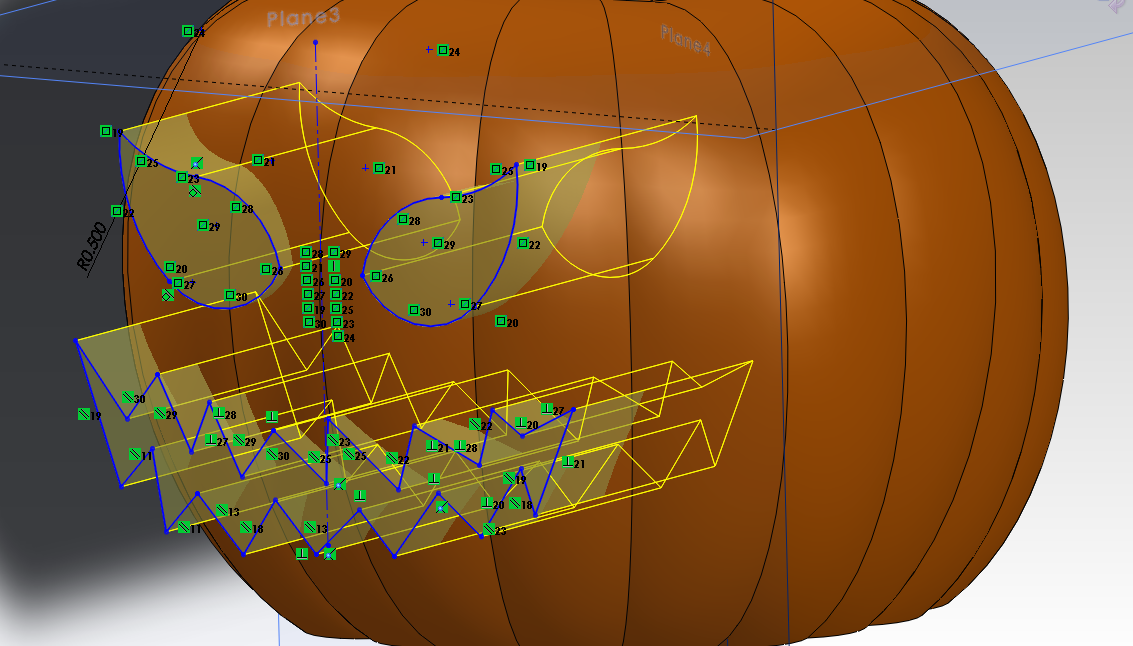
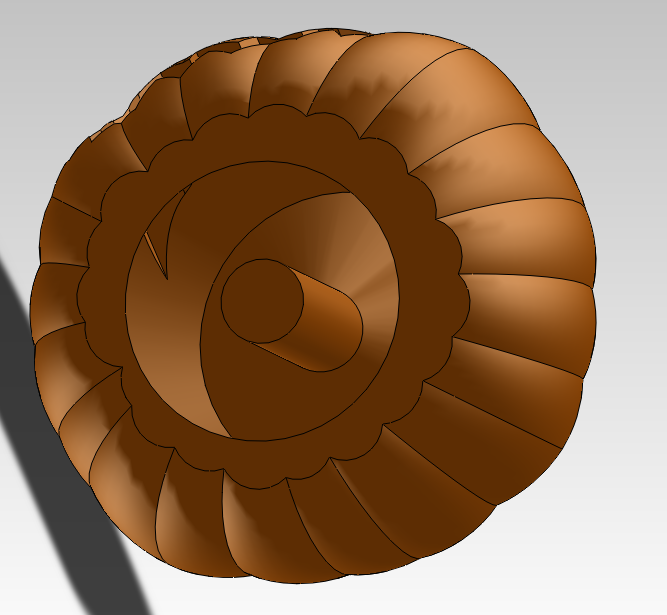
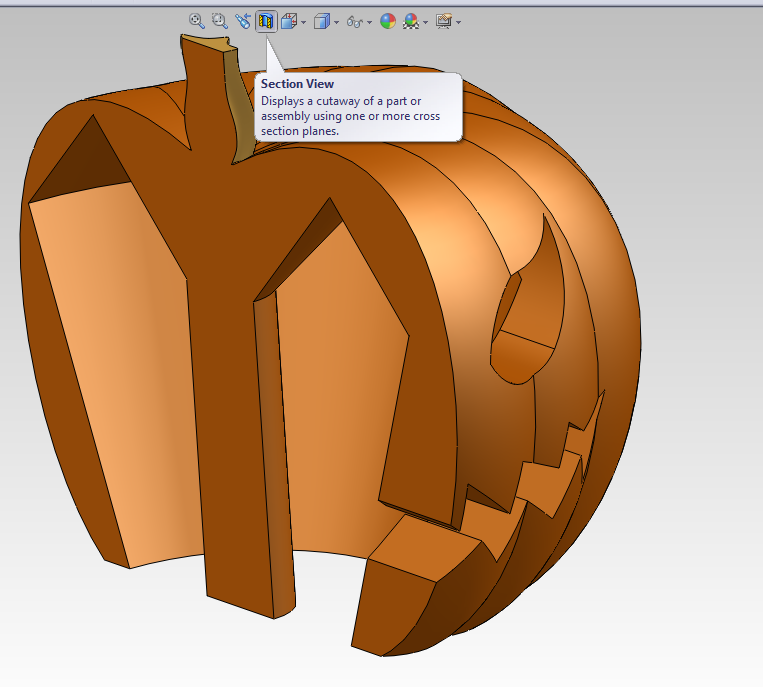
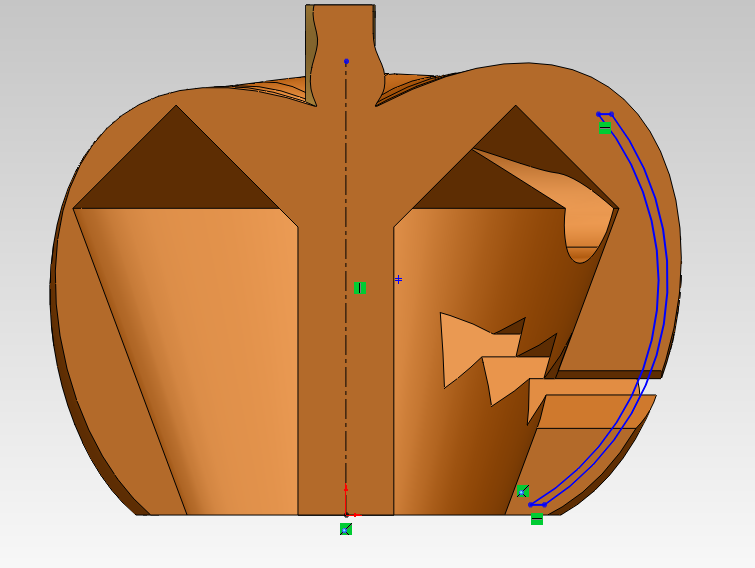
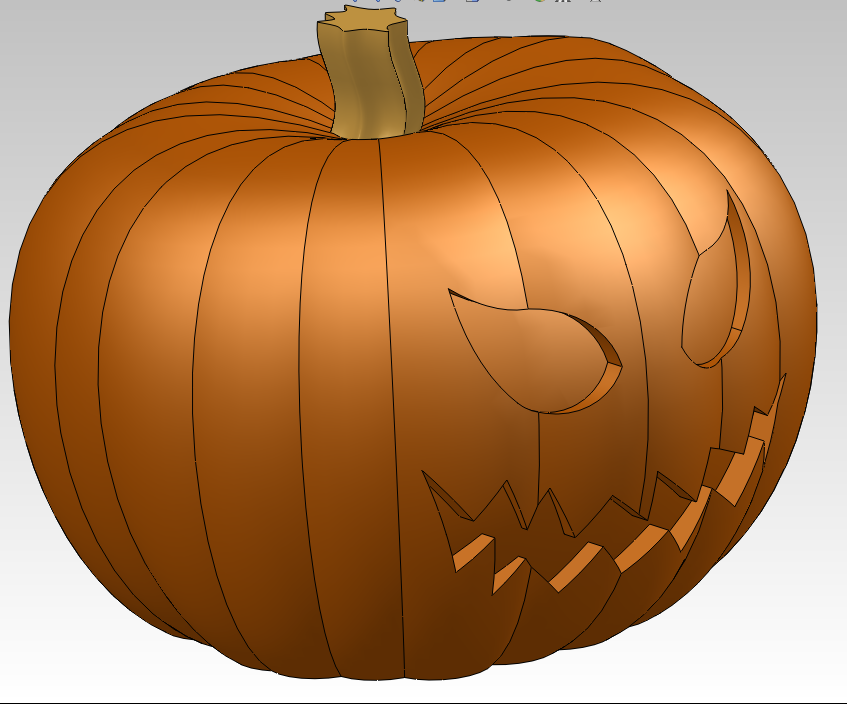
In this step I'm going to add a face with a cut extrude. I hollow out the inside with a cut revolve and leave a pillar in the middle, then show how to add a thin screen in the eyes and mouth if you want to go for a translucent effect. Next I'll cover some variants we can make from the same model.
Make It a Light String
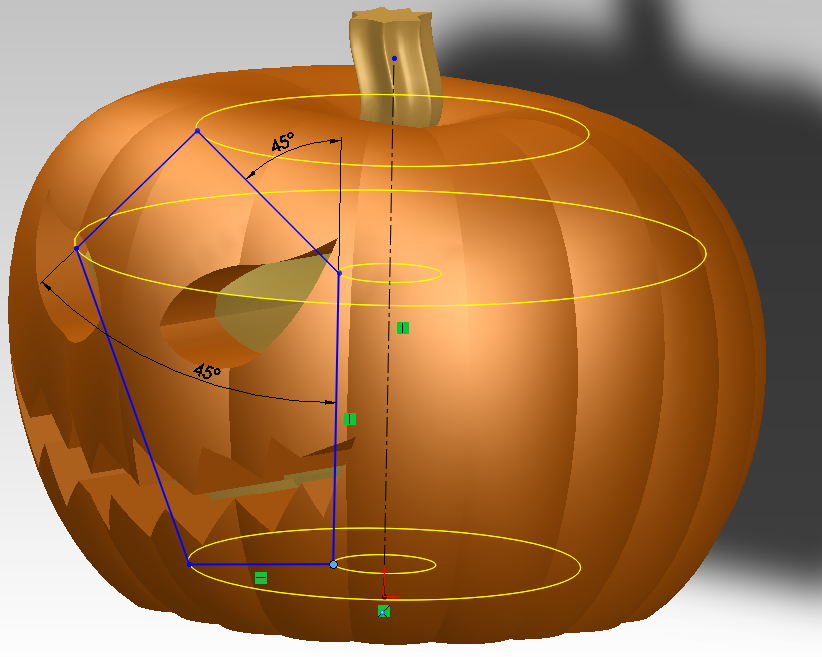
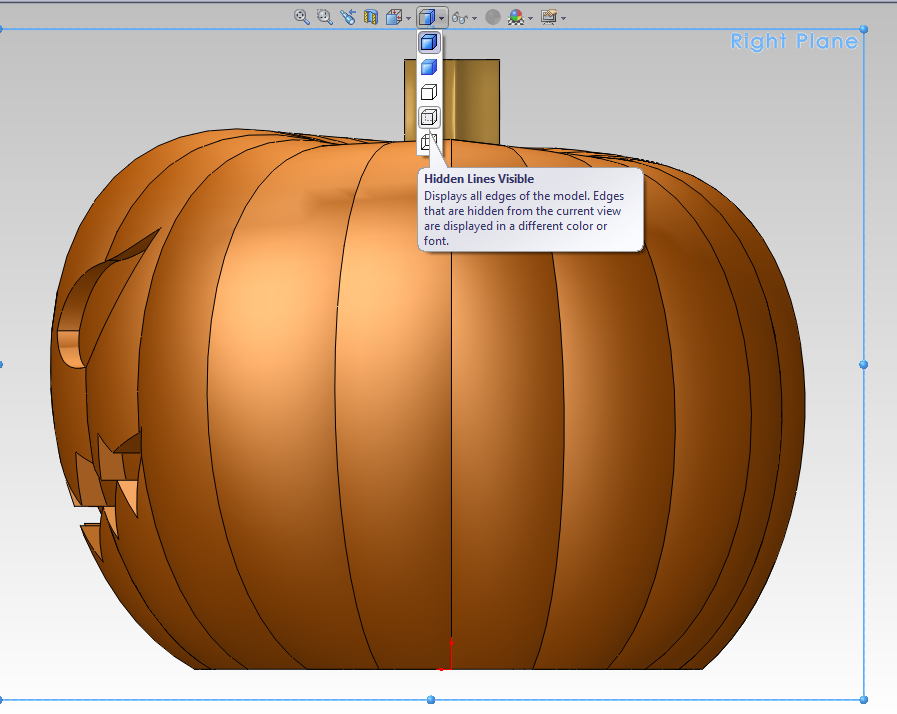
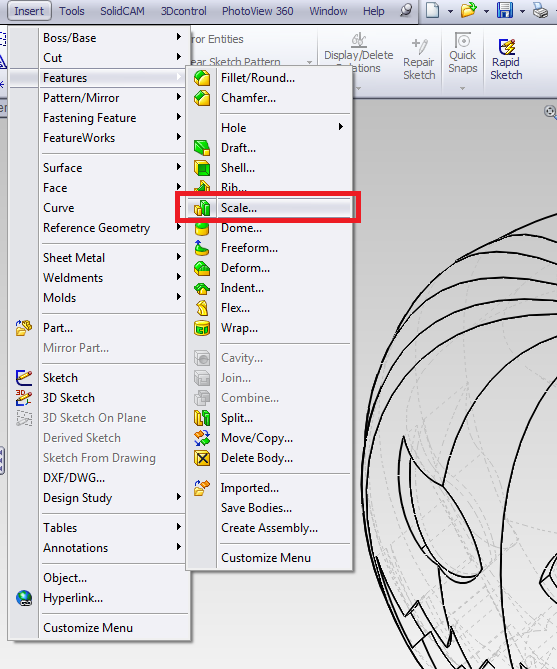
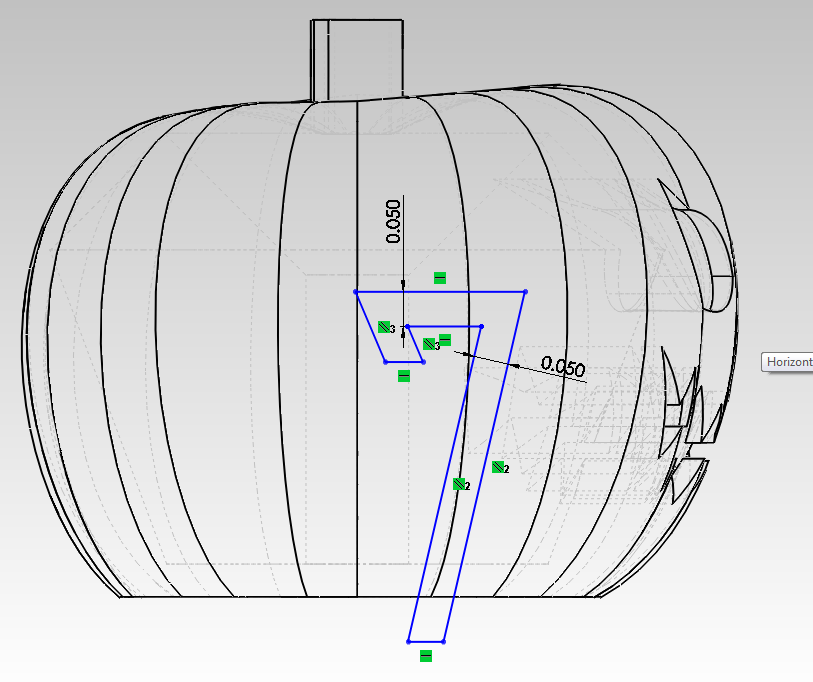
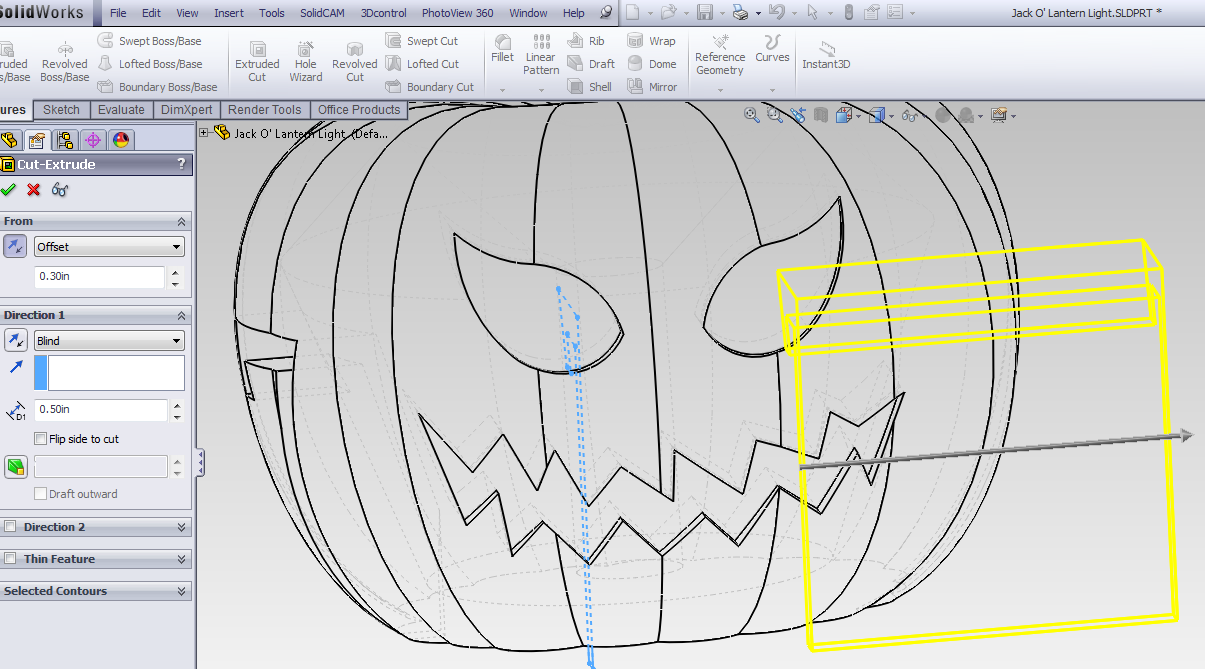
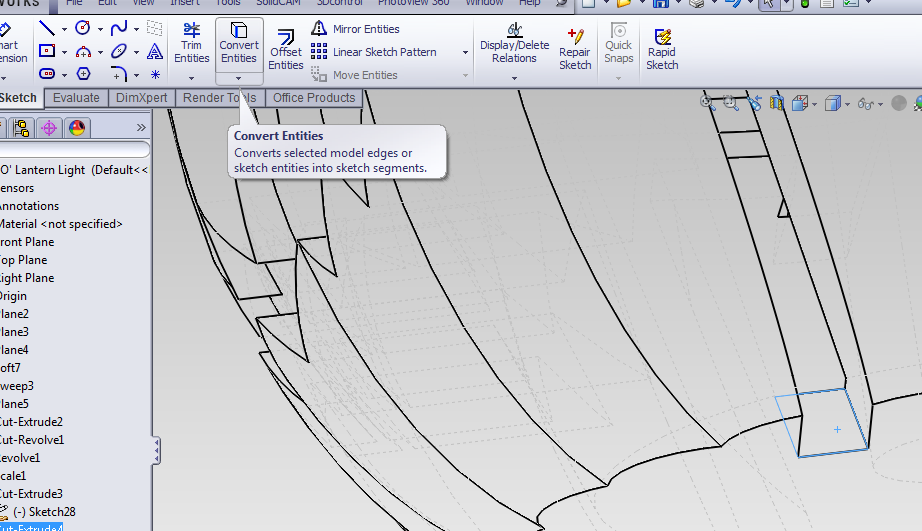
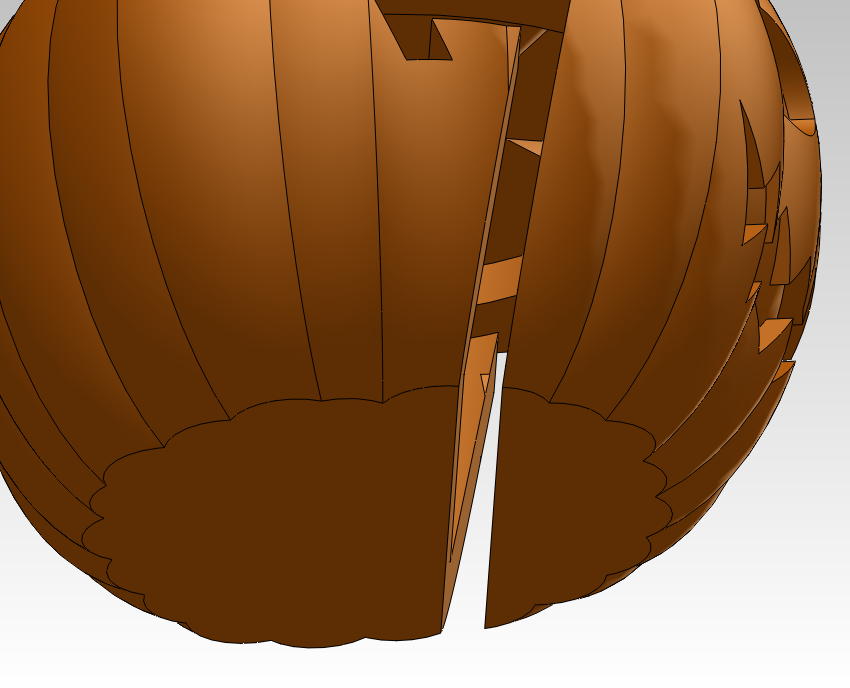
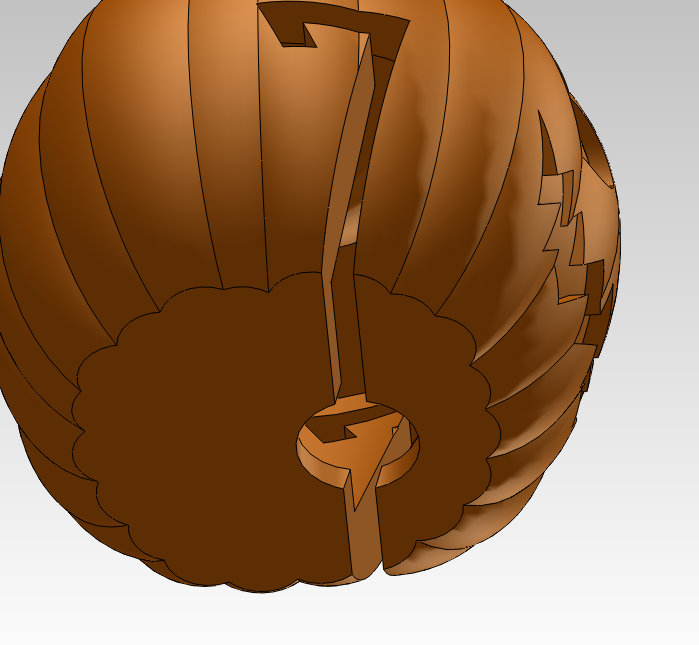
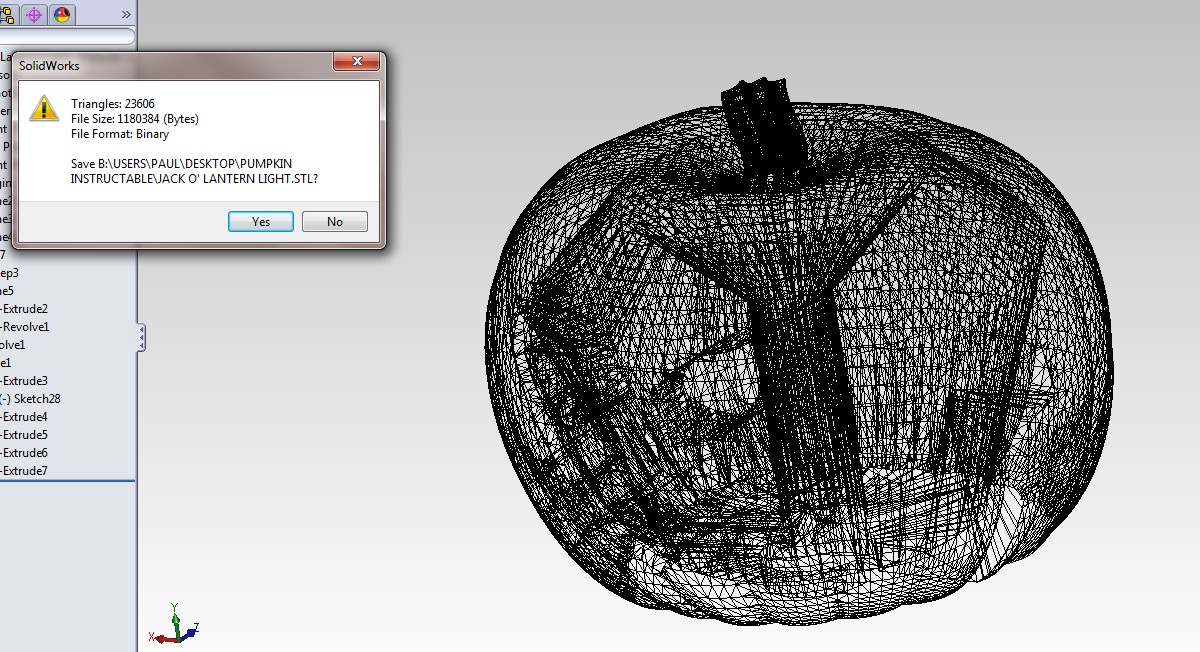
First, click Save As, select save as copy, and give it a different name, if you want to keep your base model, which I do. Open your copy before you start editing!
I called my copy Jack O' Lantern Light, since this one will be on a light string.
I called my copy Jack O' Lantern Light, since this one will be on a light string.
Make It Real

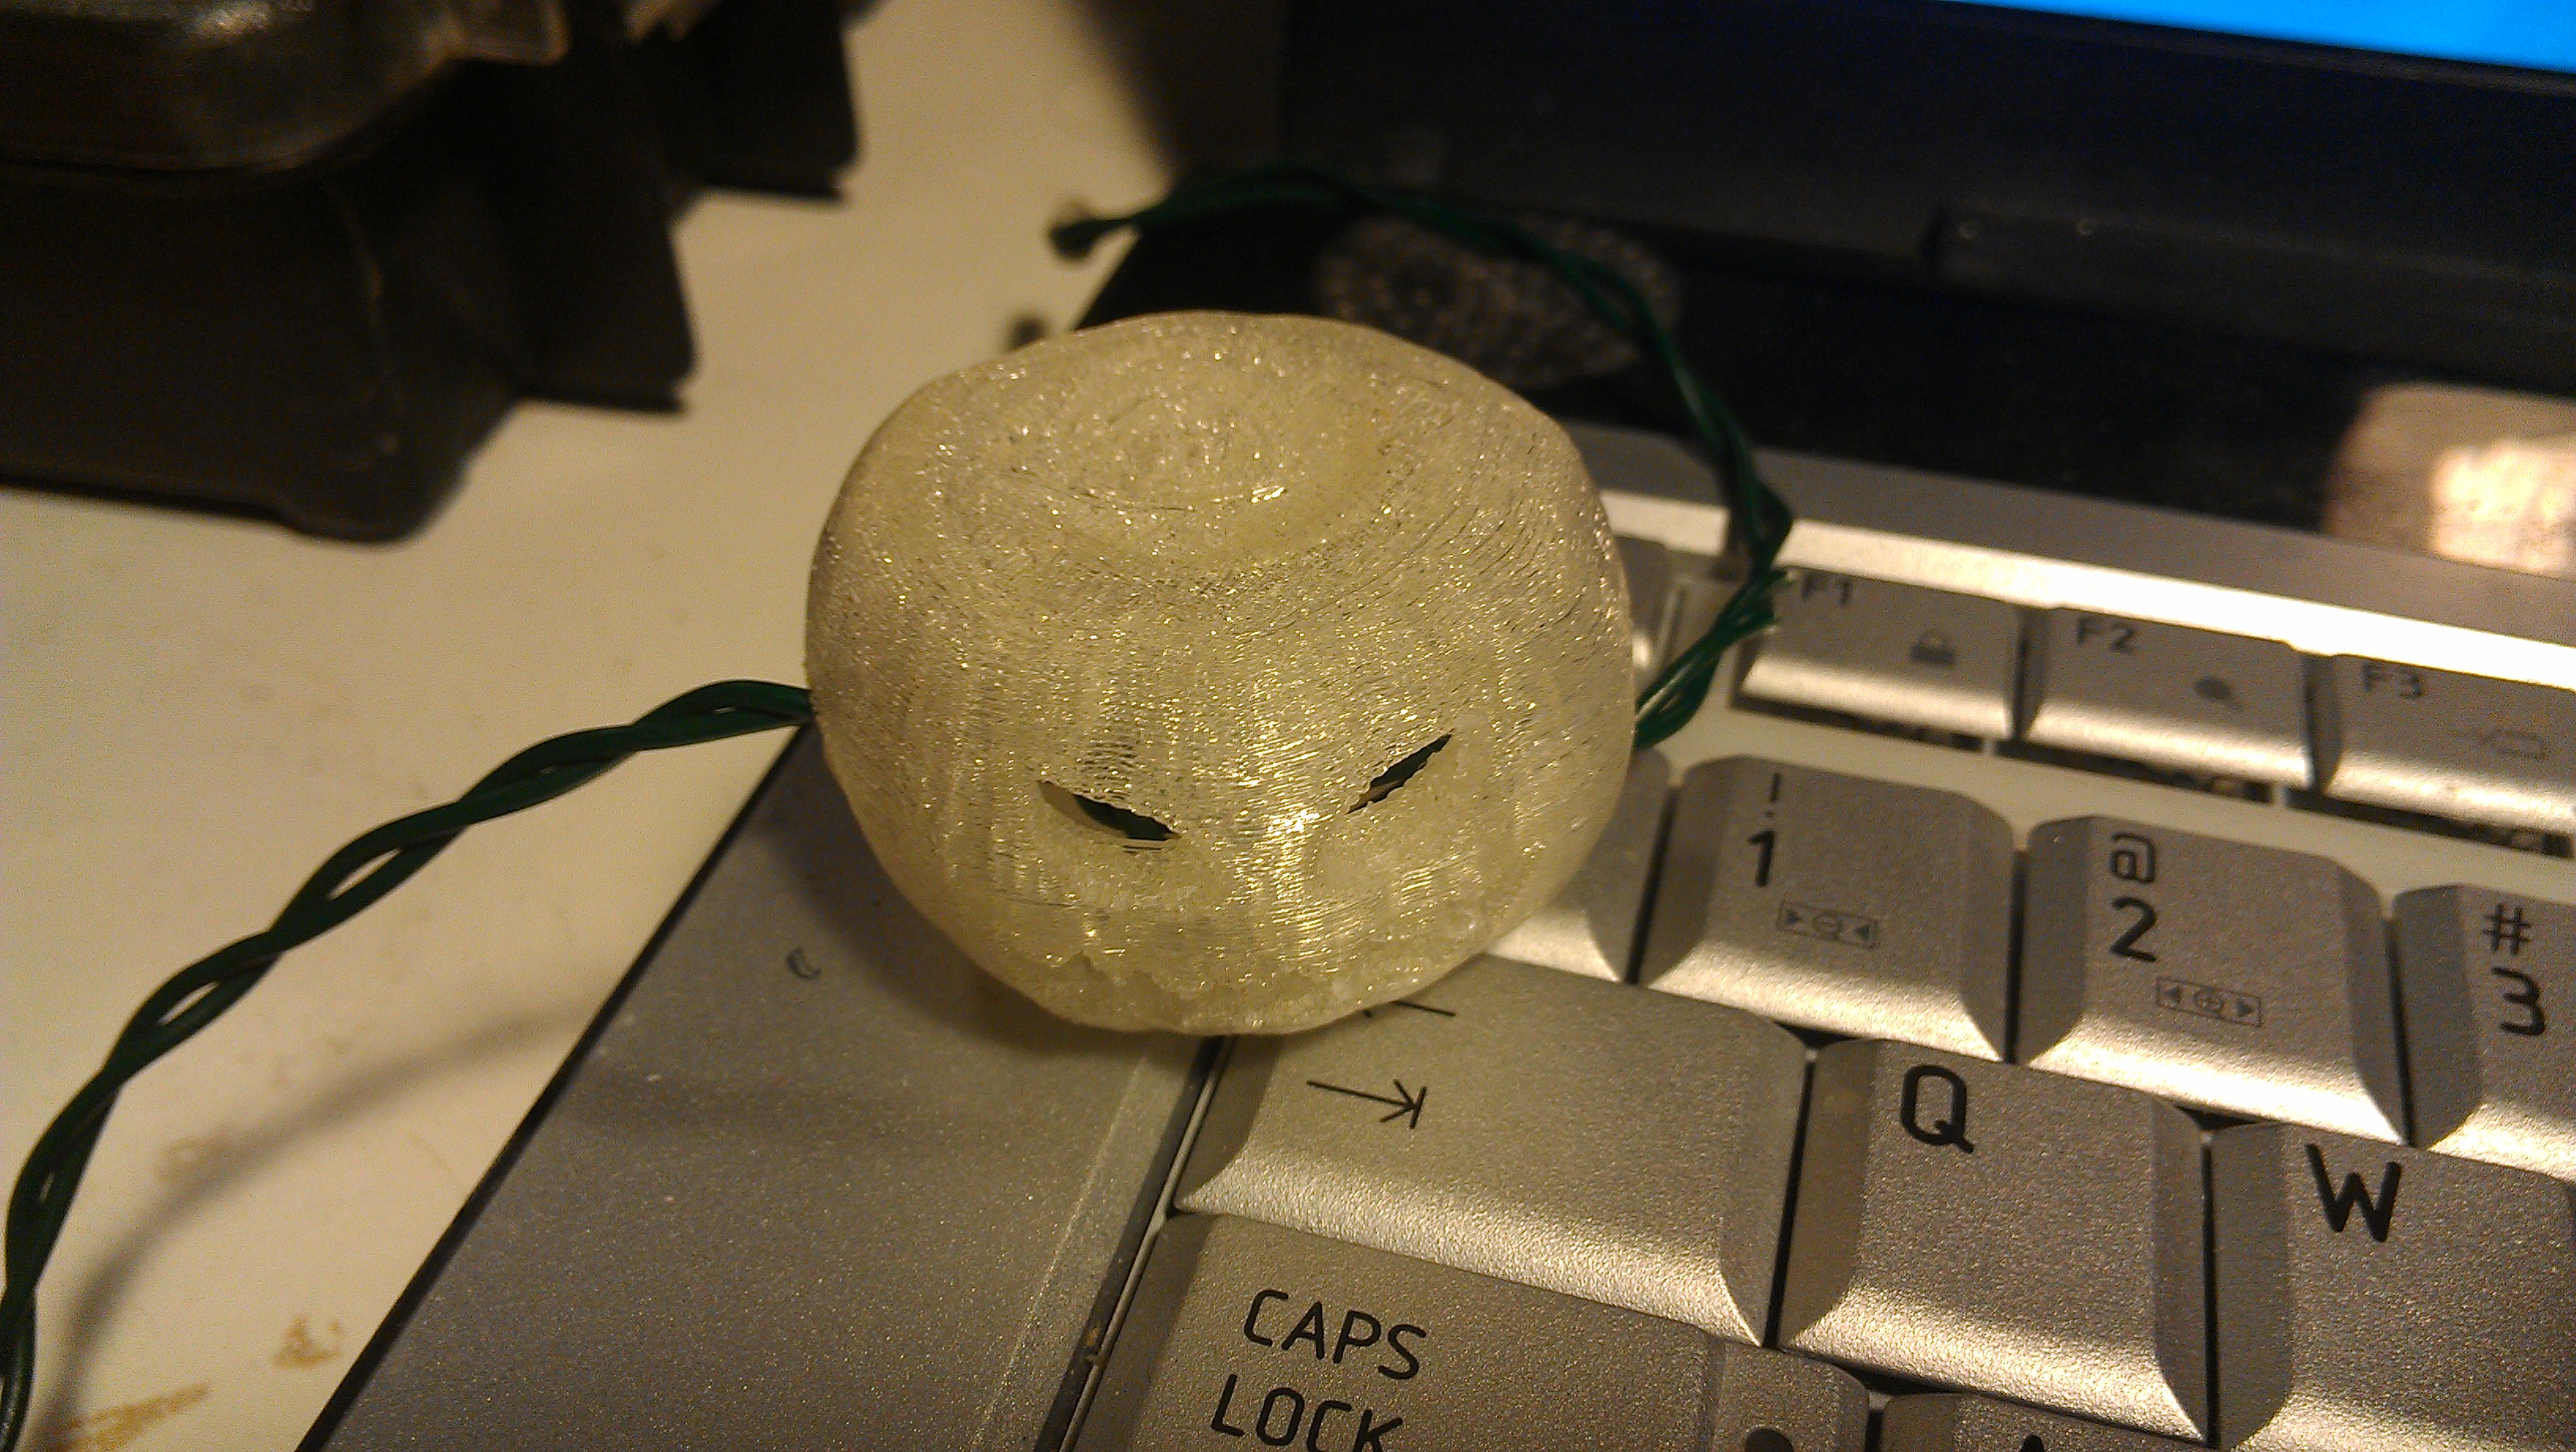
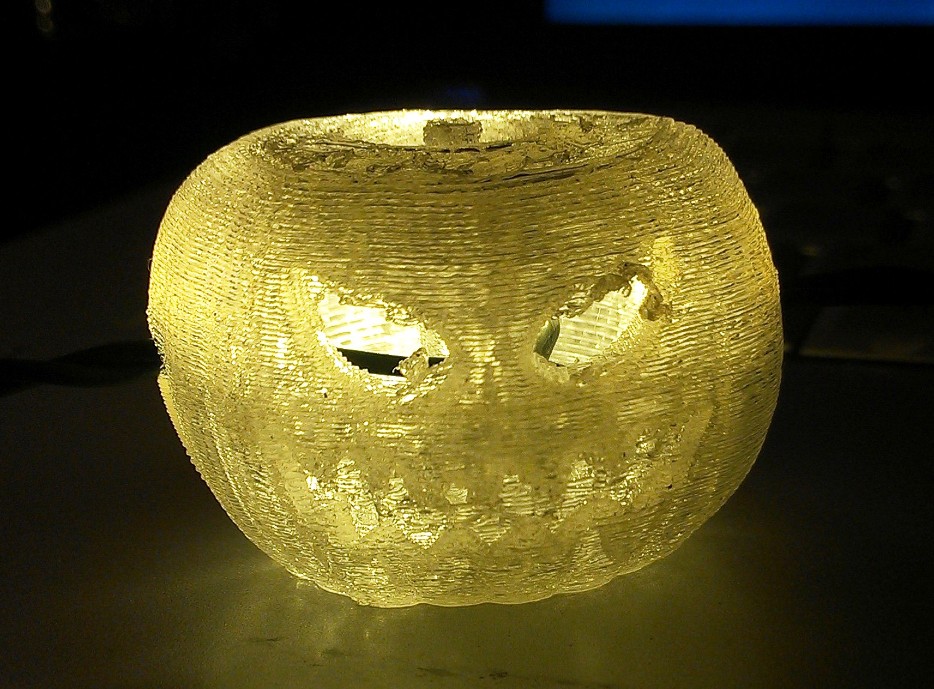
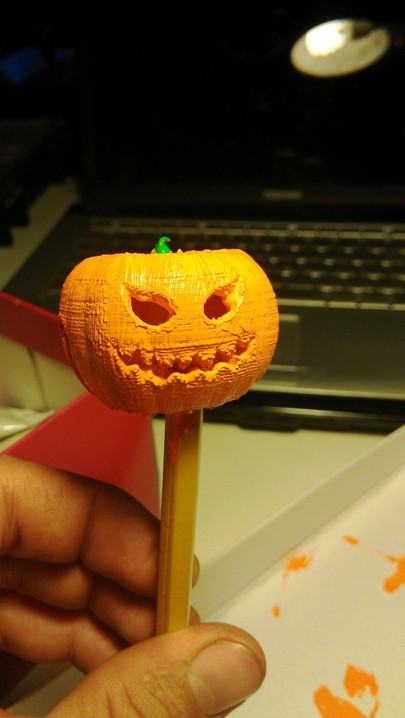
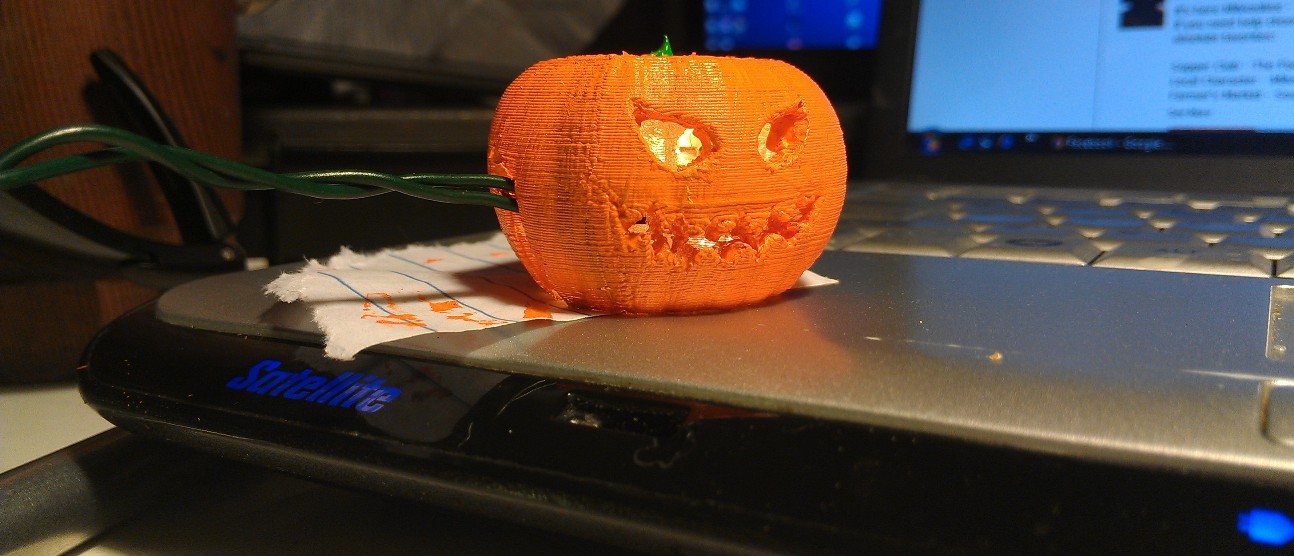
I 3D printed the model on a MakerBot Replicator using clear PLA, because it was the clearest material I had, at this small of a size the eye supports weren't really needed. After printing I painted it and stuck it on a light string. You could easily make an entire set of these by just changing the drawing for the face and re-exporting.