5 WAYS to Make TEXTURES on Your Art Canvas | Painted Wall Art DIY
12676 Views, 71 Favorites, 0 Comments
5 WAYS to Make TEXTURES on Your Art Canvas | Painted Wall Art DIY
I always like to learn new ways to add texture to my arts 'n' crafts, because that's where you can add dimension and therefore make something much more interesting. This tutorial goes through 5 ways of adding texture with easy-to-find items, from eggshells to toilet paper :)
I hope you like it!
Supplies
- Canvas
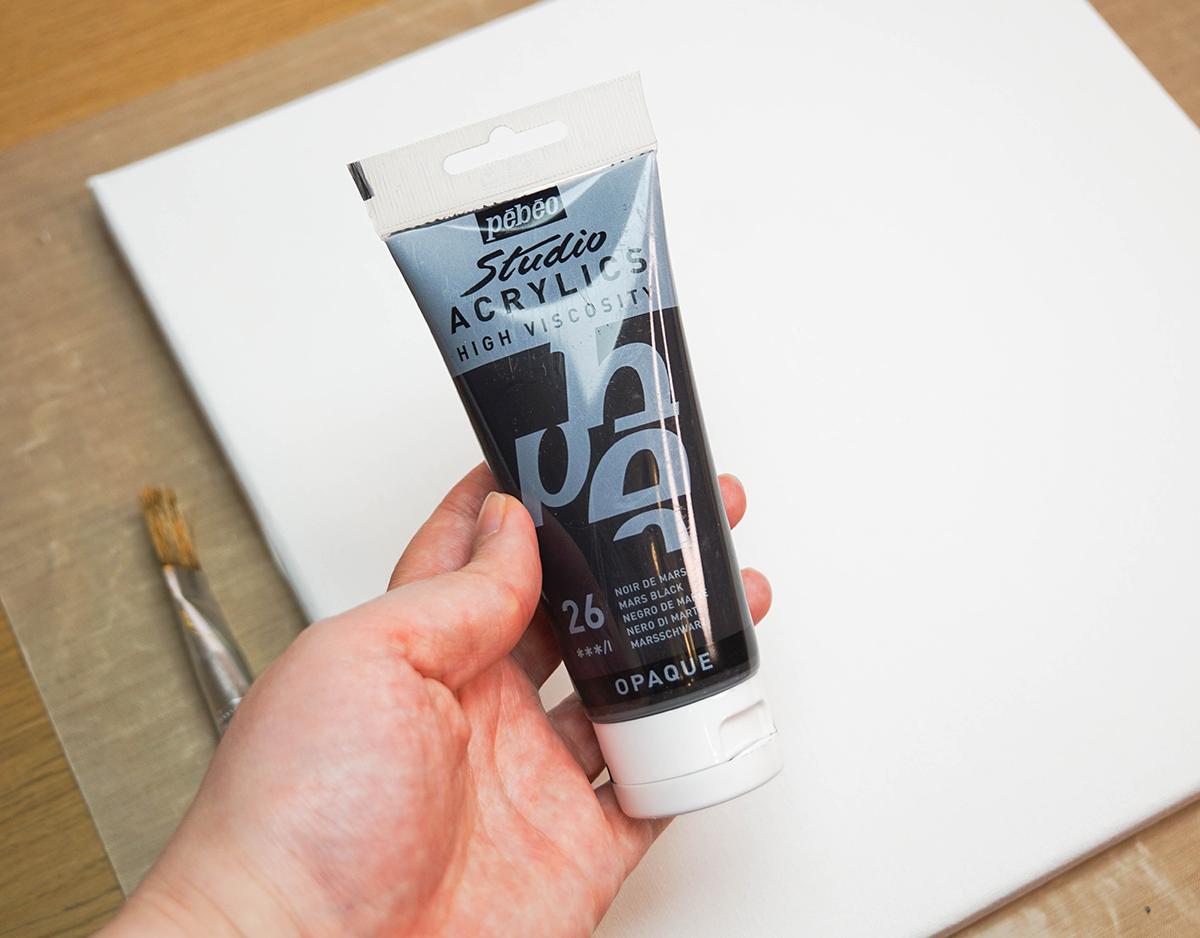
- Black & Gold (or other metallic) Acrylic Paint
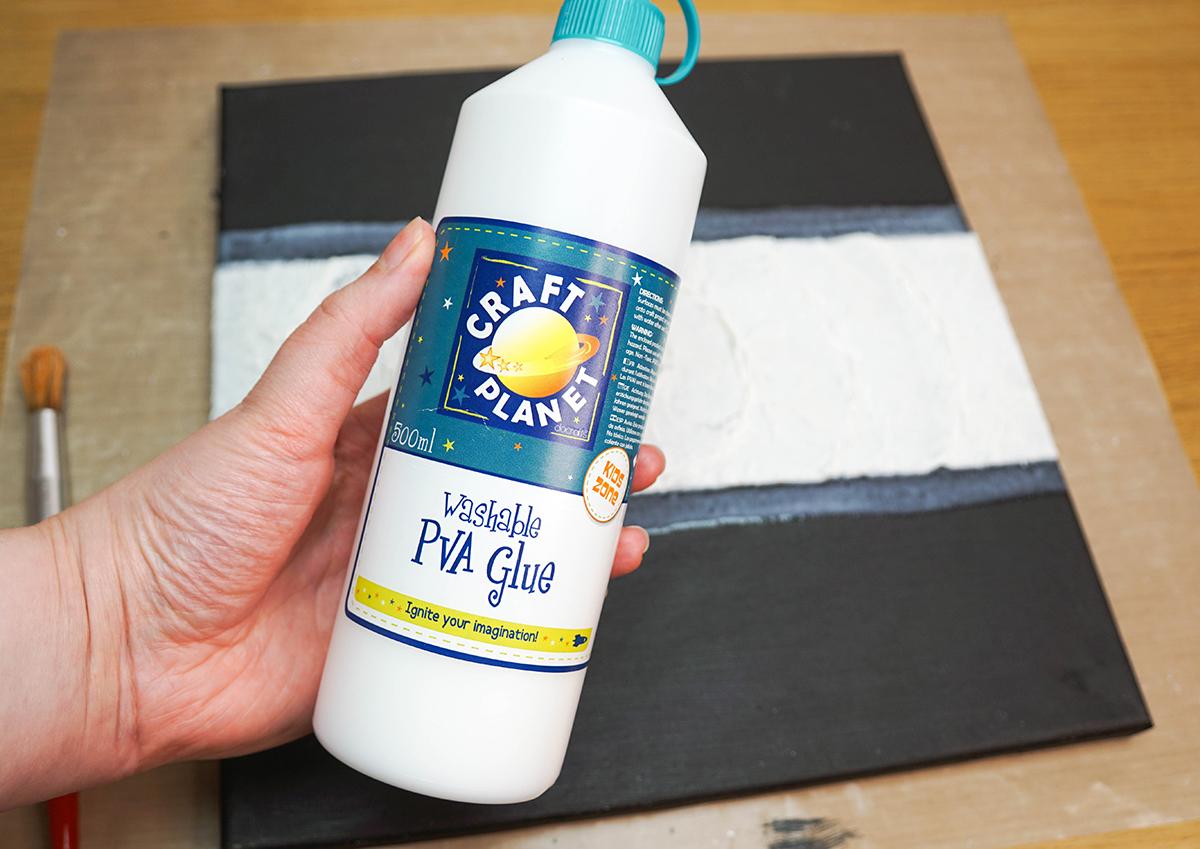
- PVA Glue
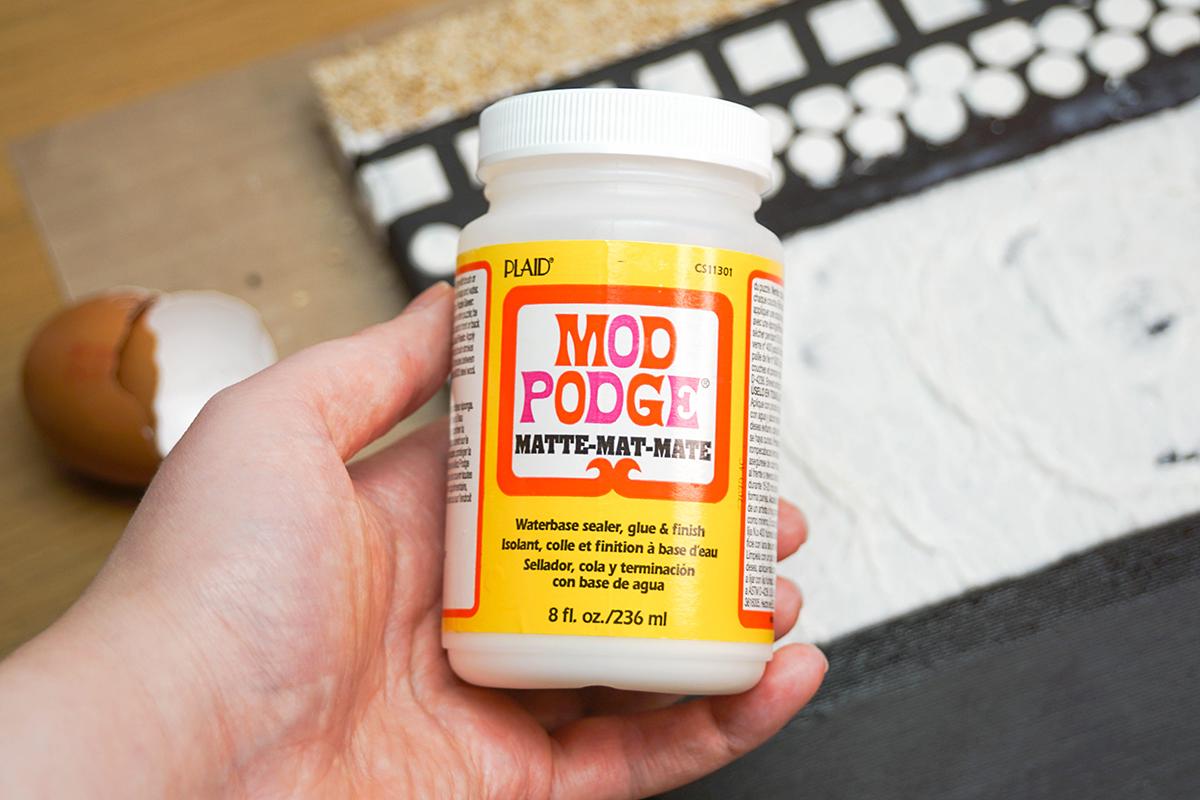
- Mod Podge
- Wood Glue; note that you can use PVA instead of wood glue.
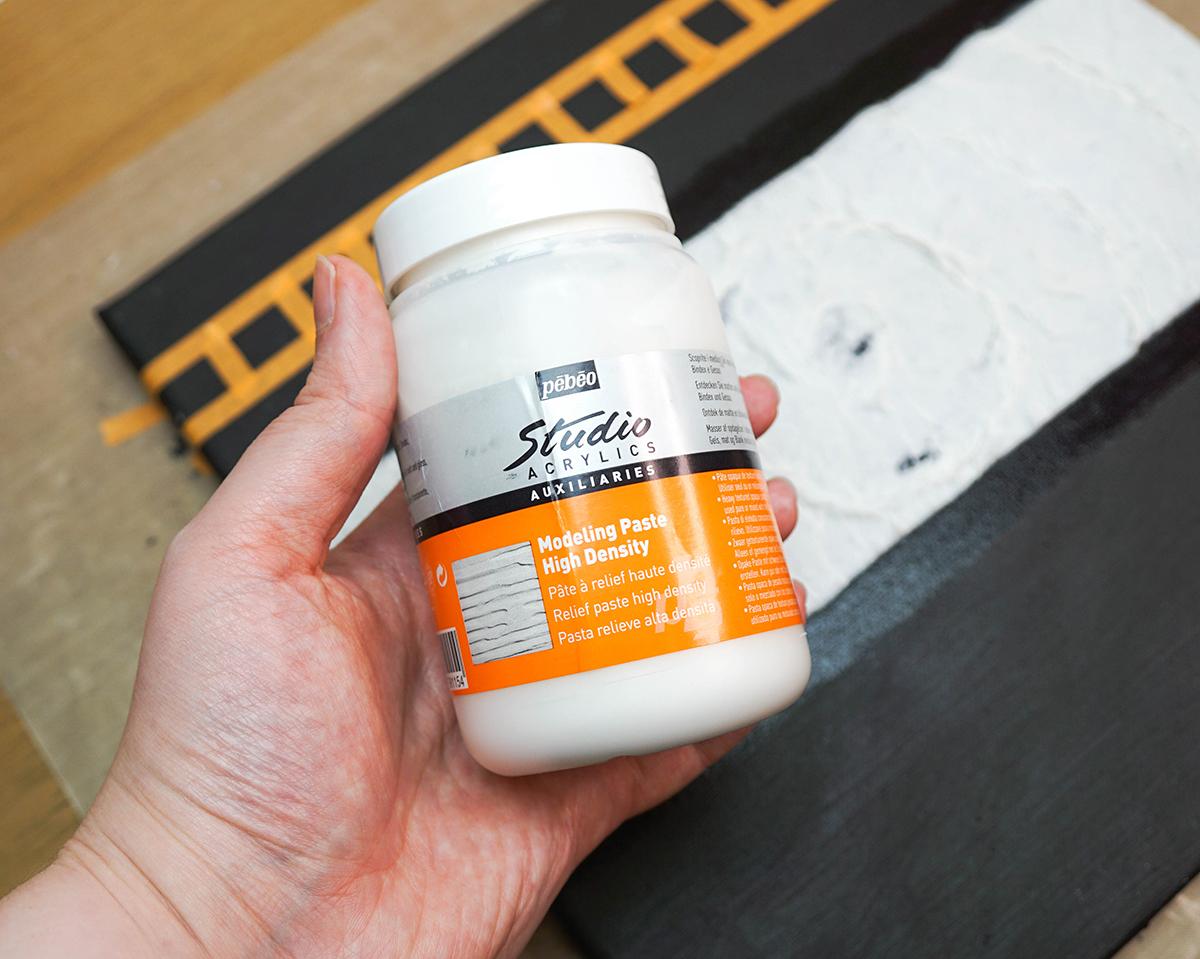
- Modelling Paste
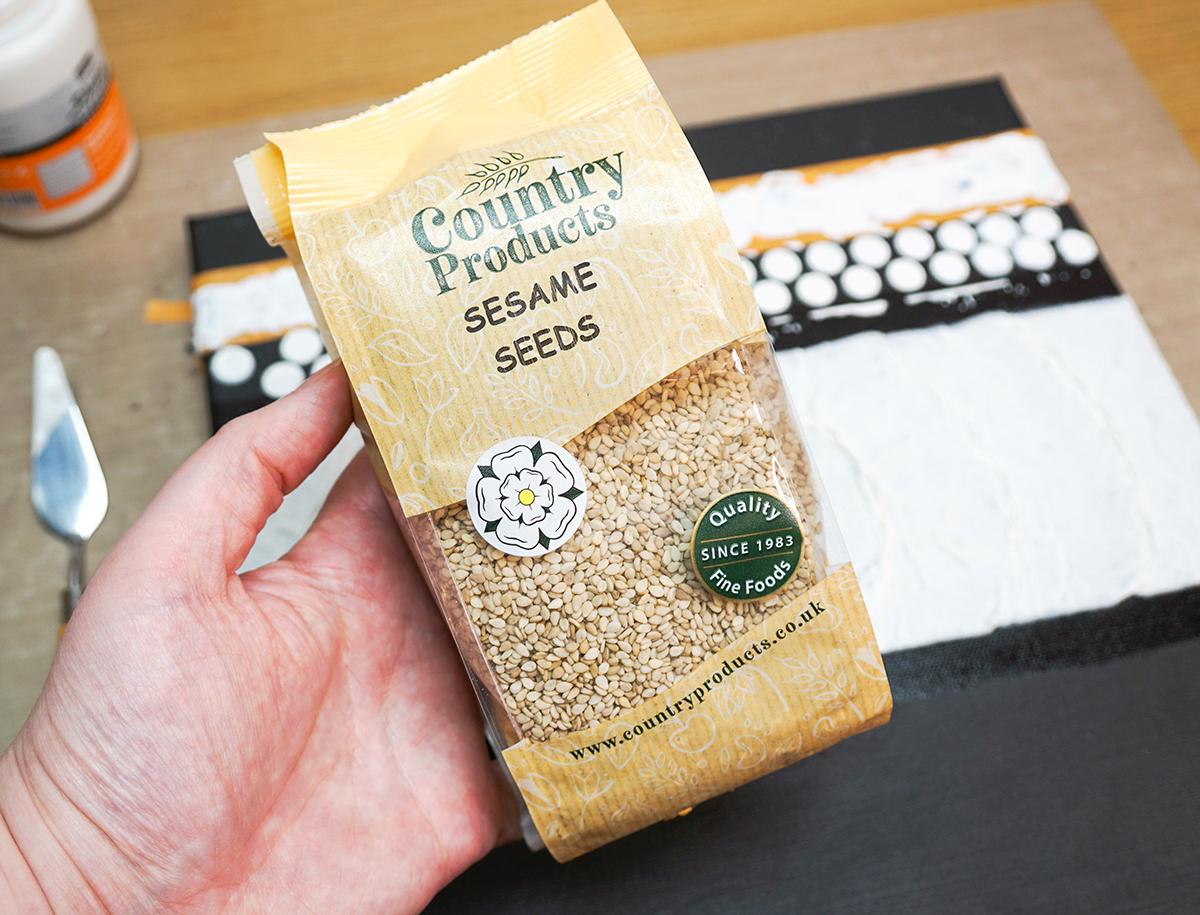
- Sesame Seeds
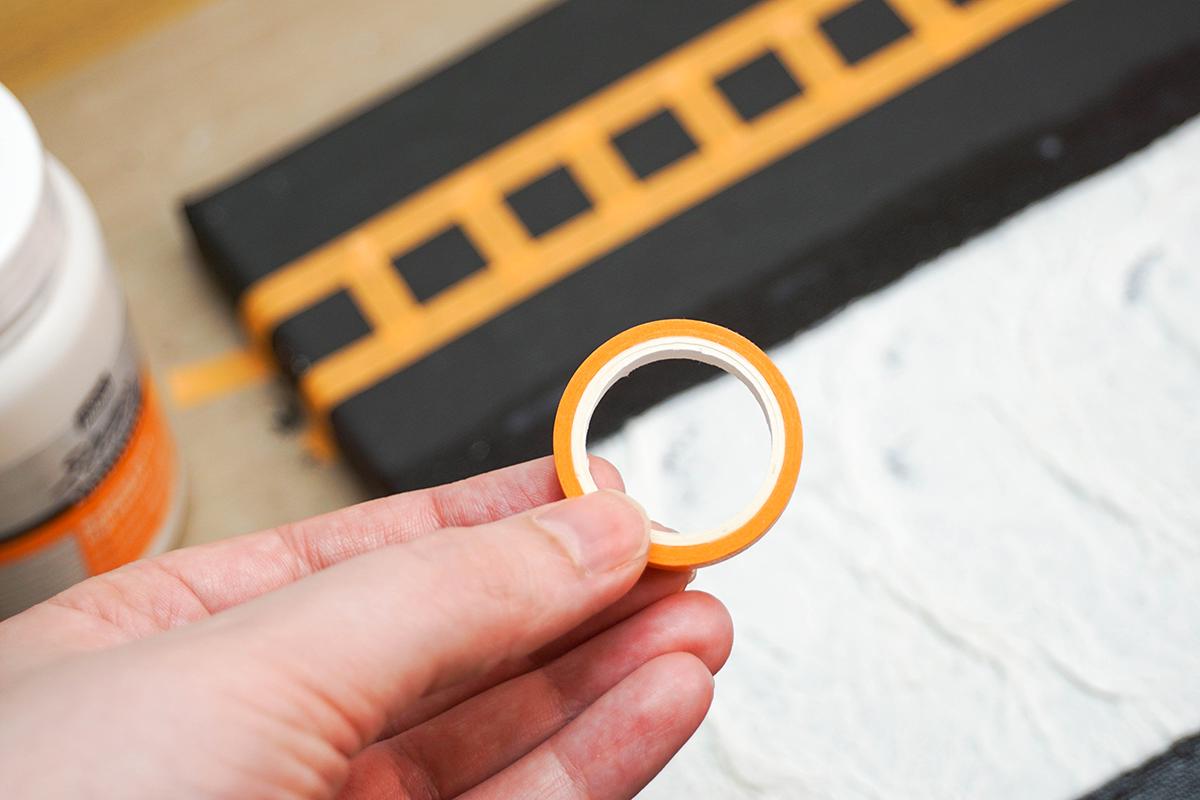
- Narrow Masking Tape
- Small Palette Knife
- Paintbrushes; large round-head & flat-head brushes
- Plastic Cup
- Plastic Stencil
- Toilet Paper
- Kitchen Roll
- Egg Carton
- Eggshells
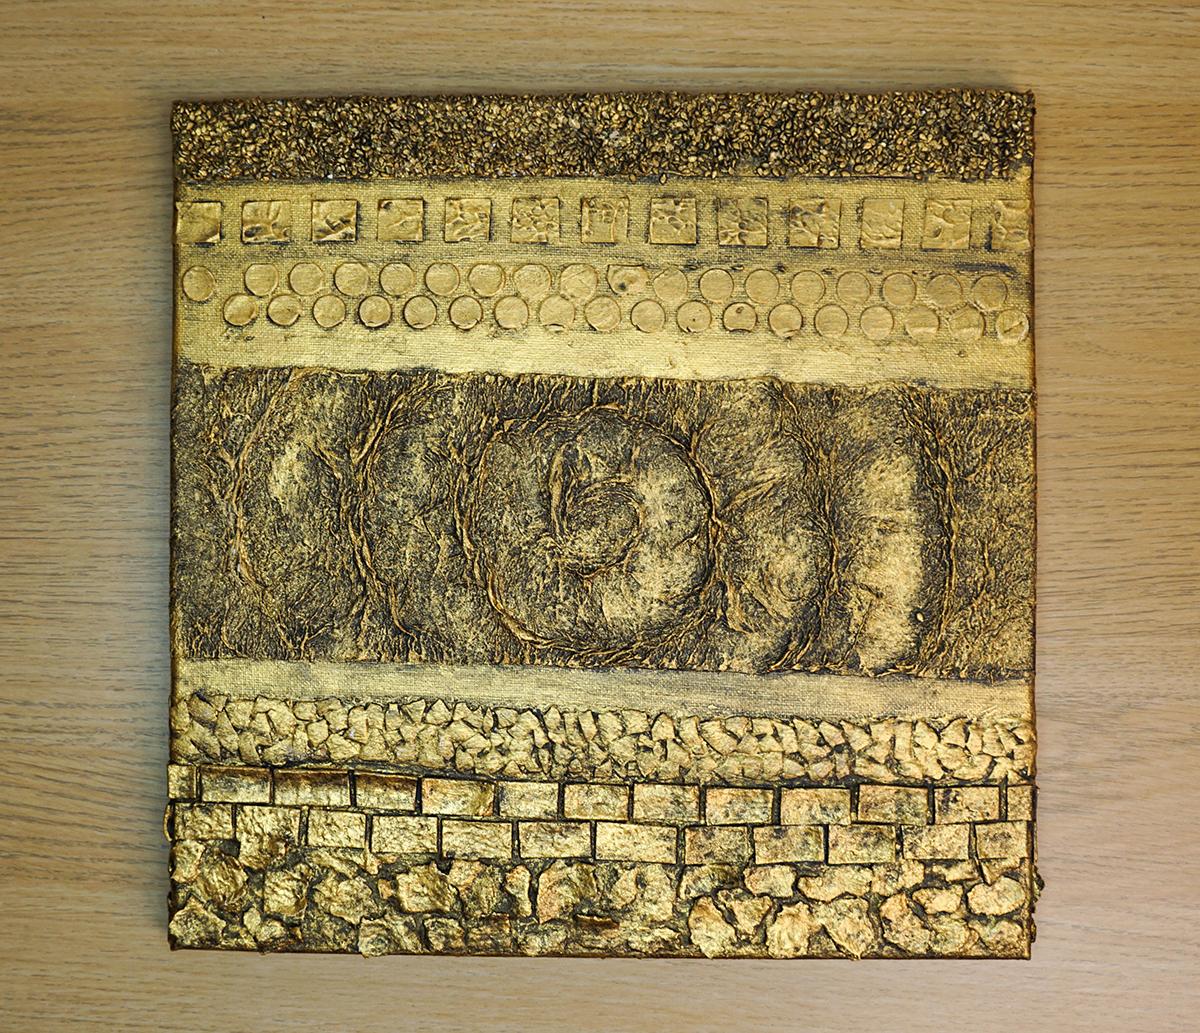
Paint the Canvas
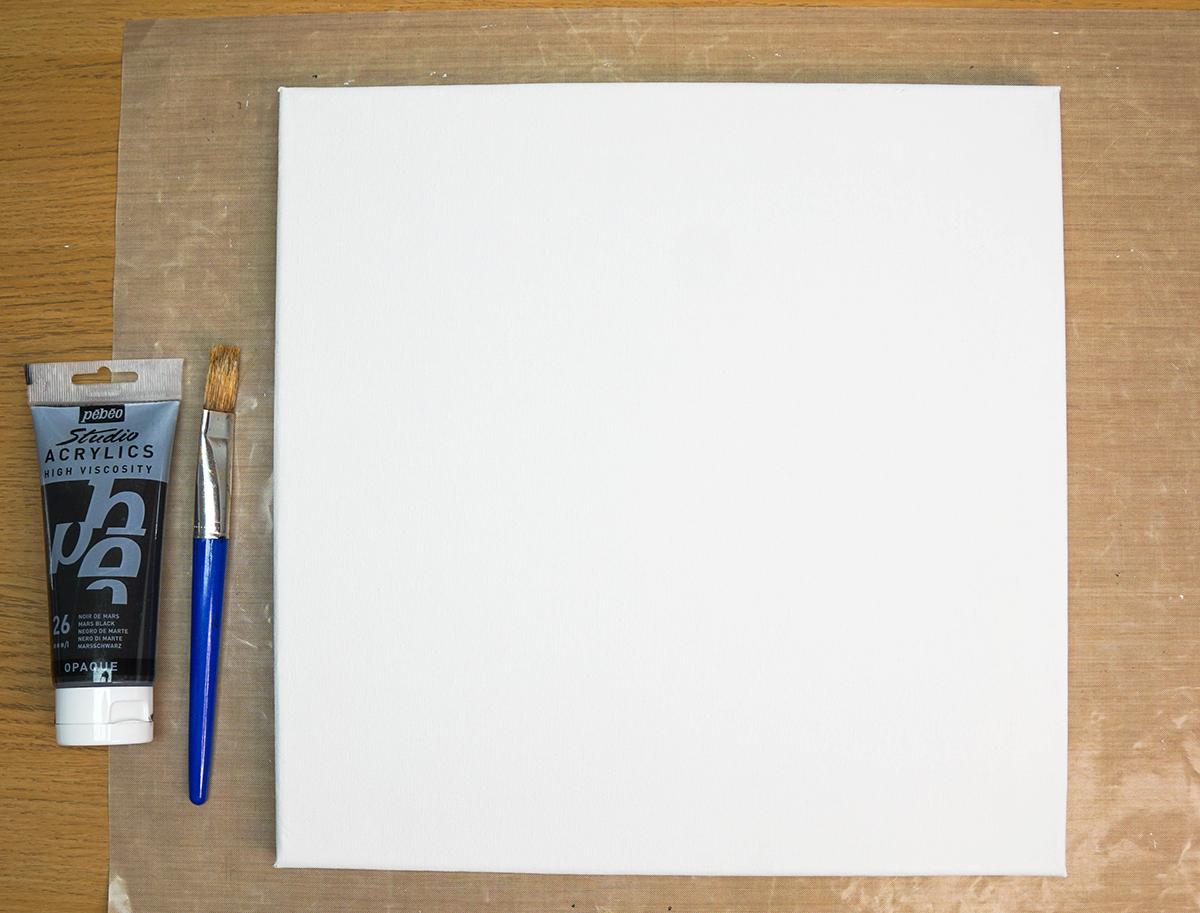
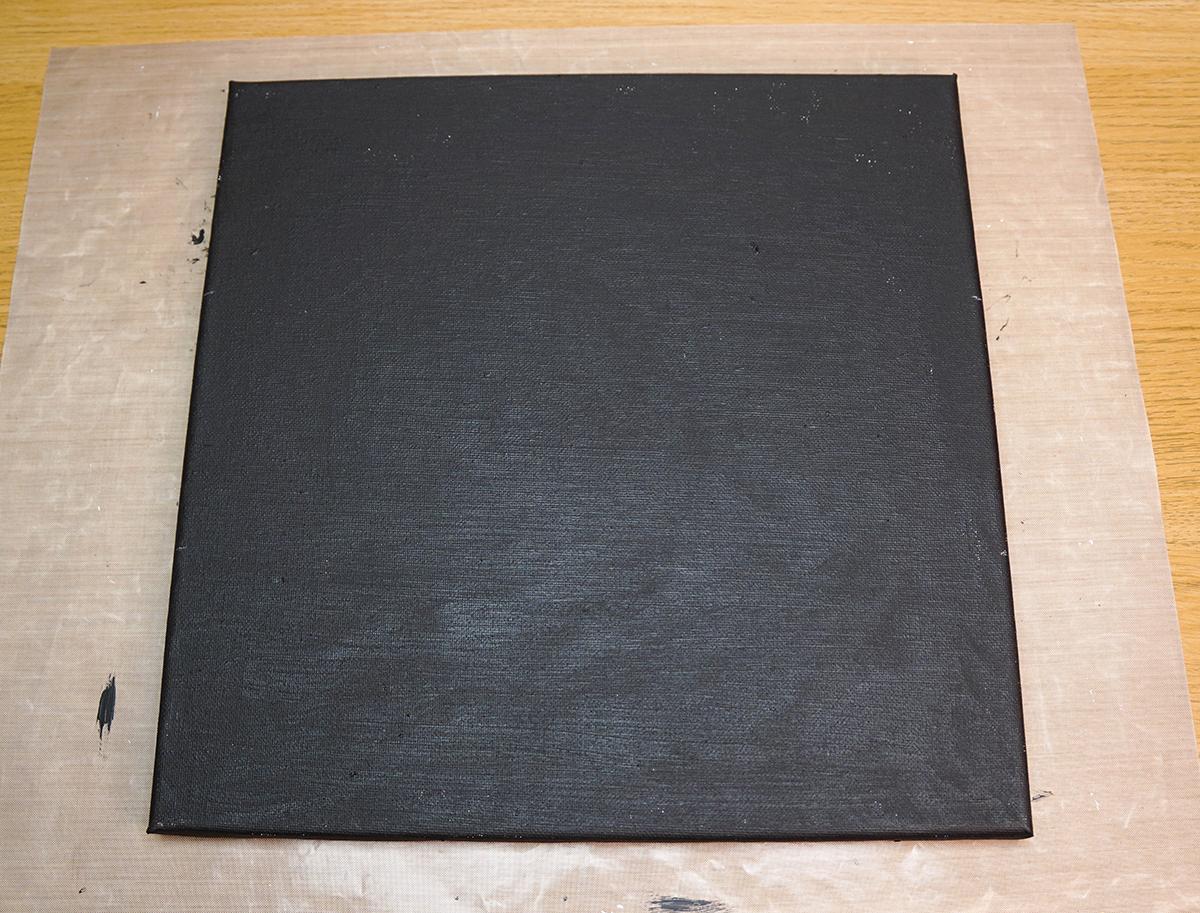
You can really paint the canvas any colour but I had black to hand already so that's what I used :) Simply paint the entire canvas including the edges.
Leave to dry.
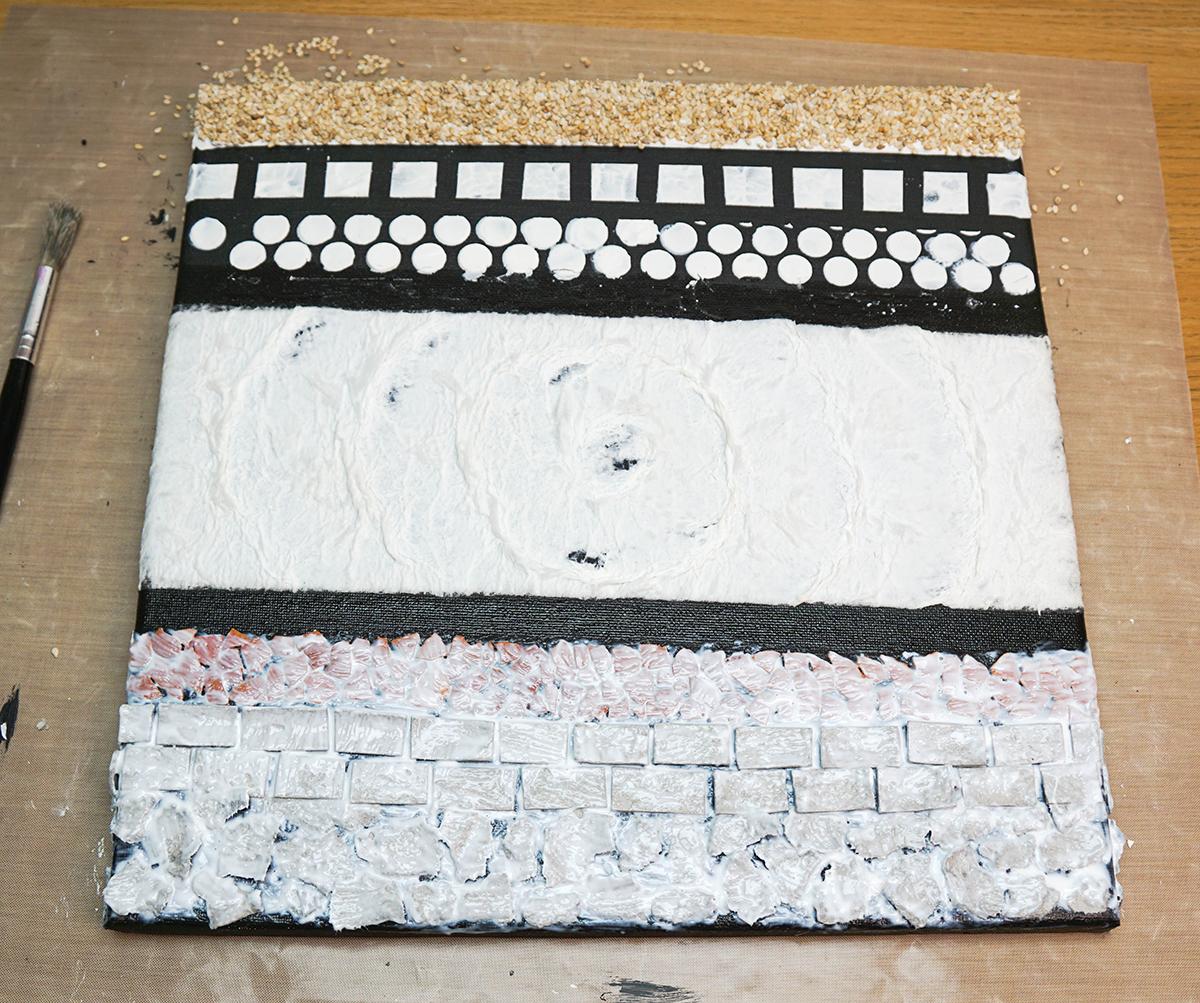
Toilet Paper Texture
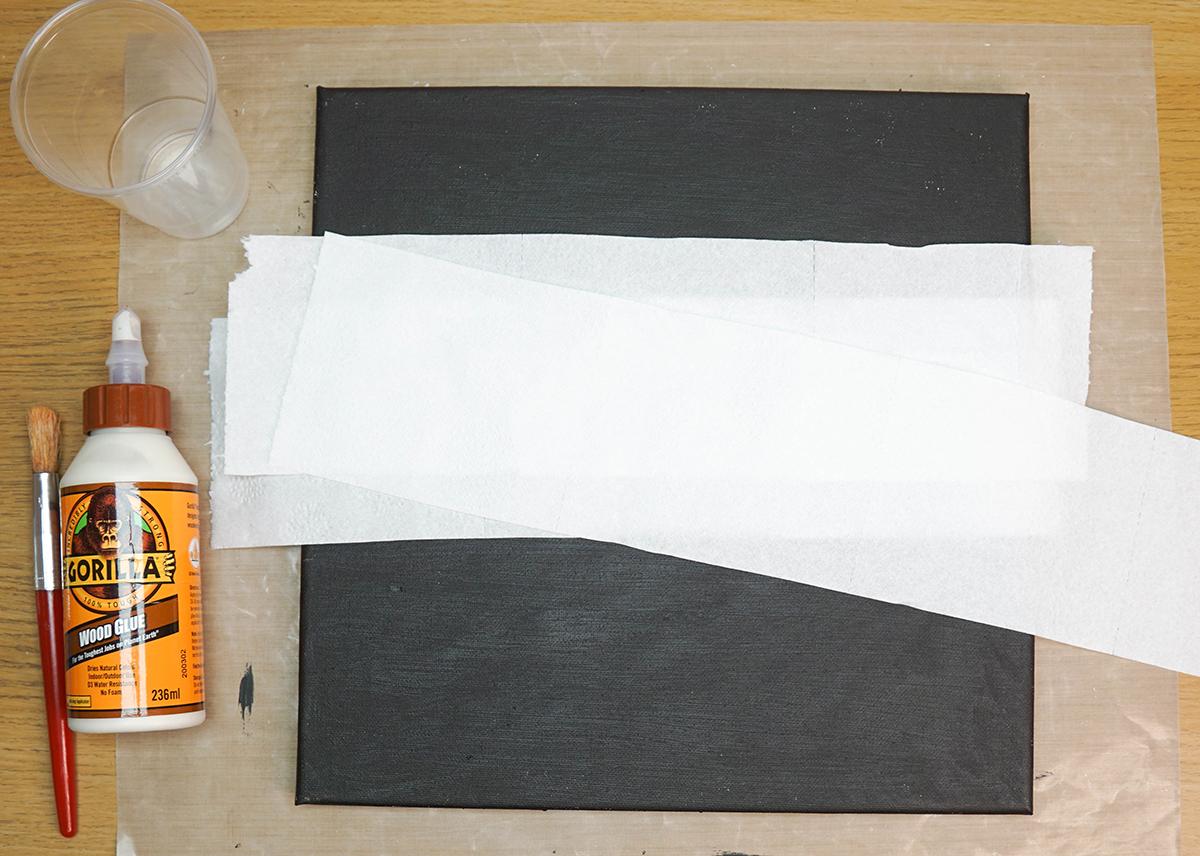
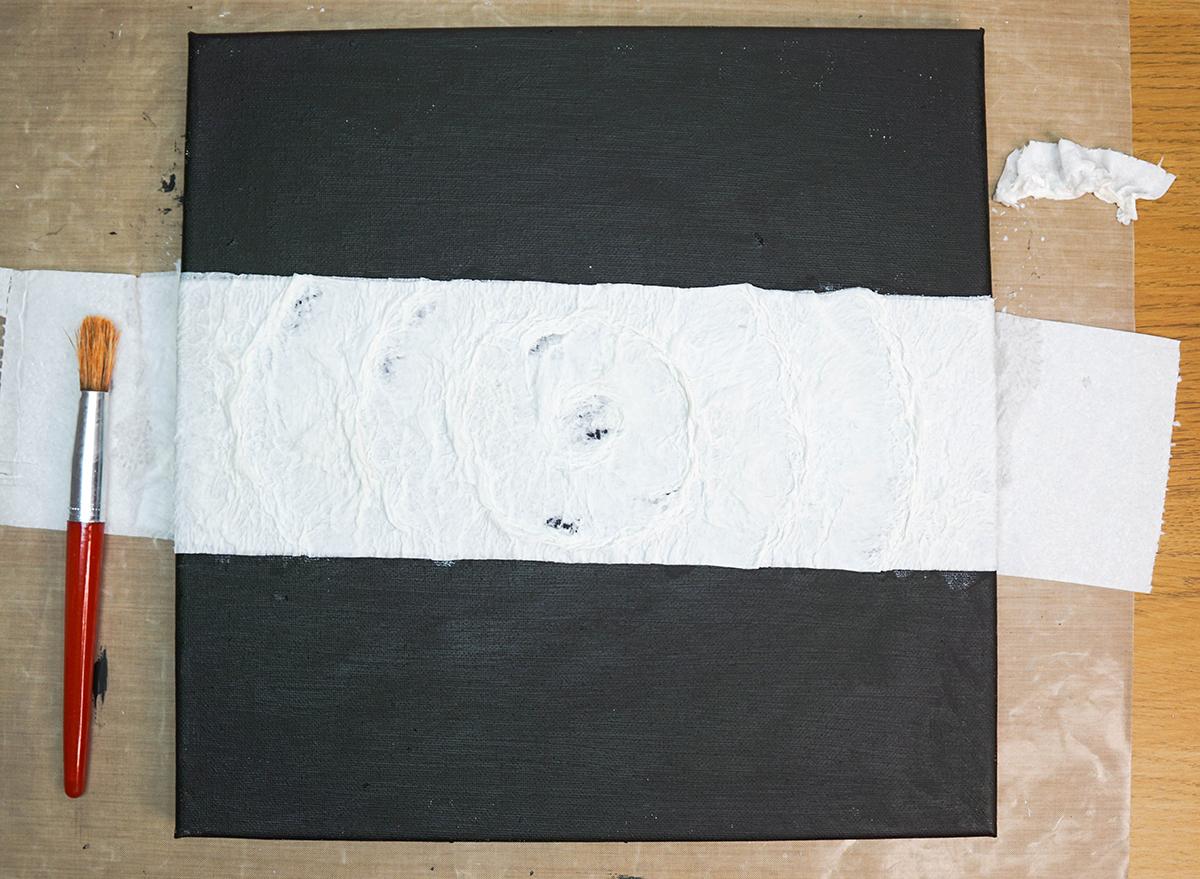
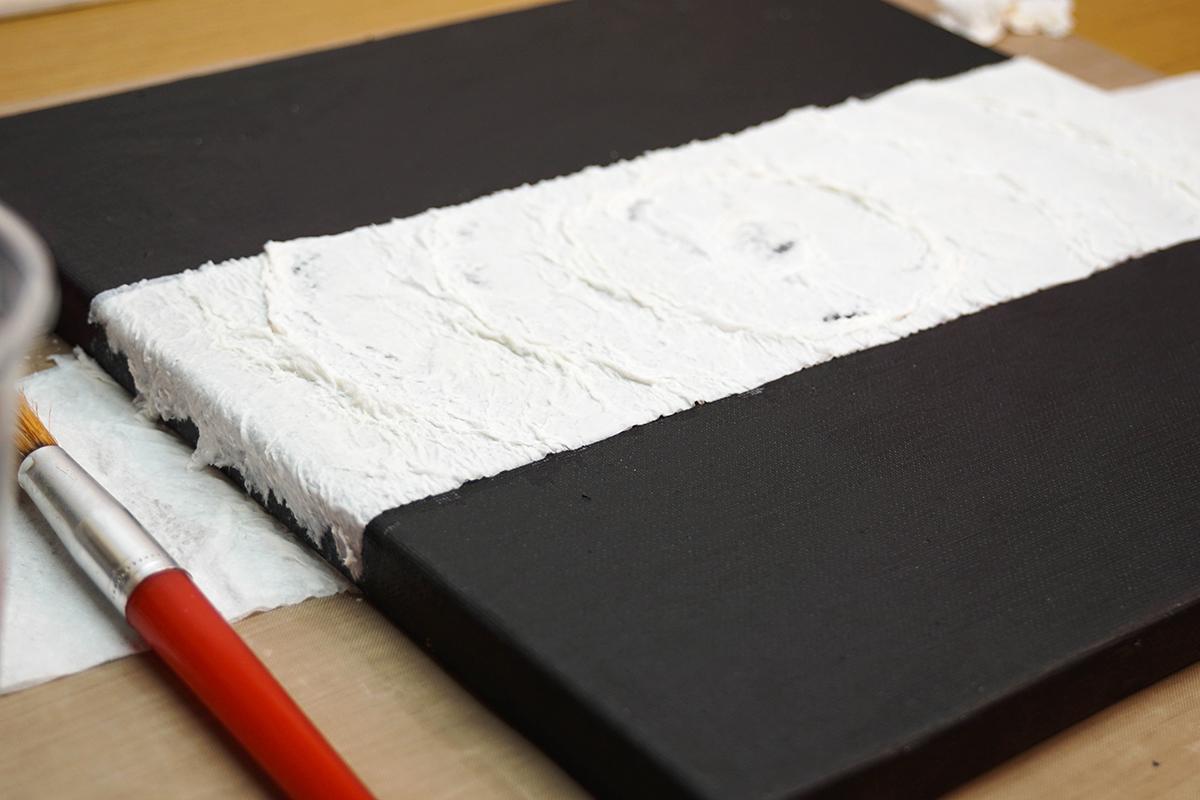
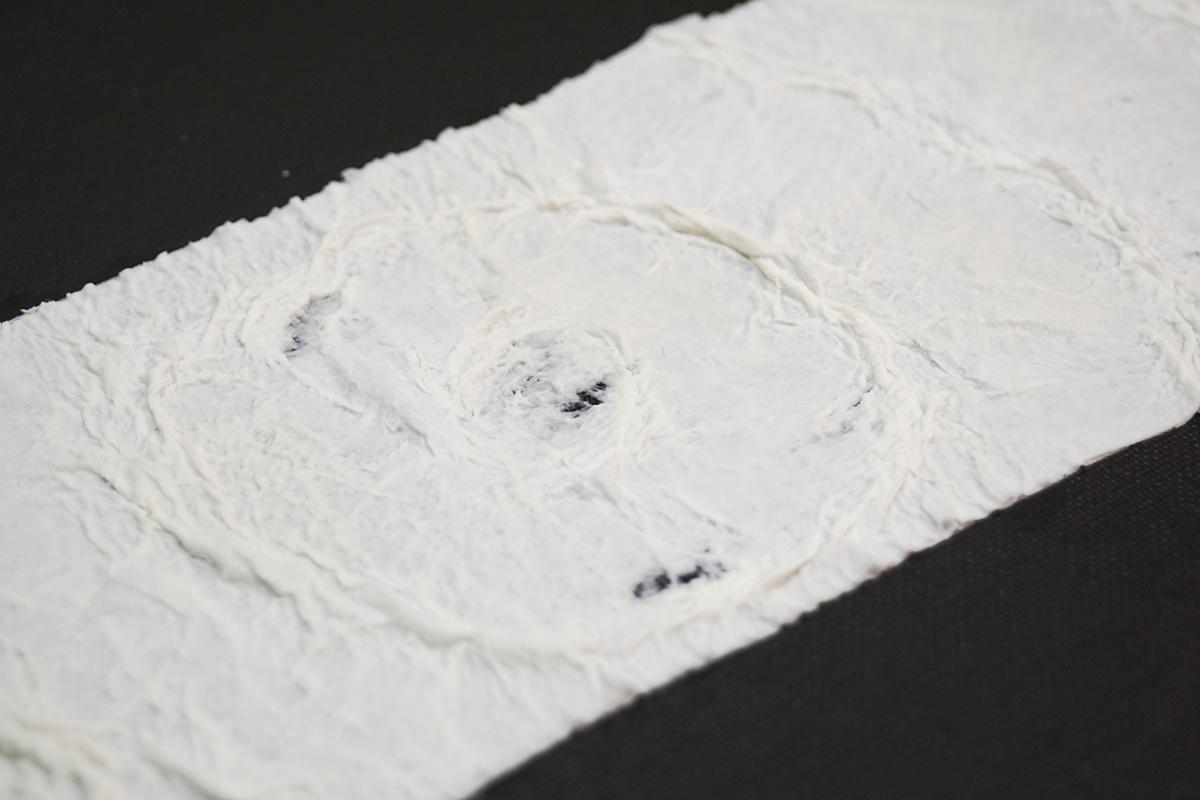
This one is my favourite texture! Feel free to build up more layers of the paper for a more 3D effect, and obviously feel free to get creative with the pattern you make - you don't have to do the same as I've done.
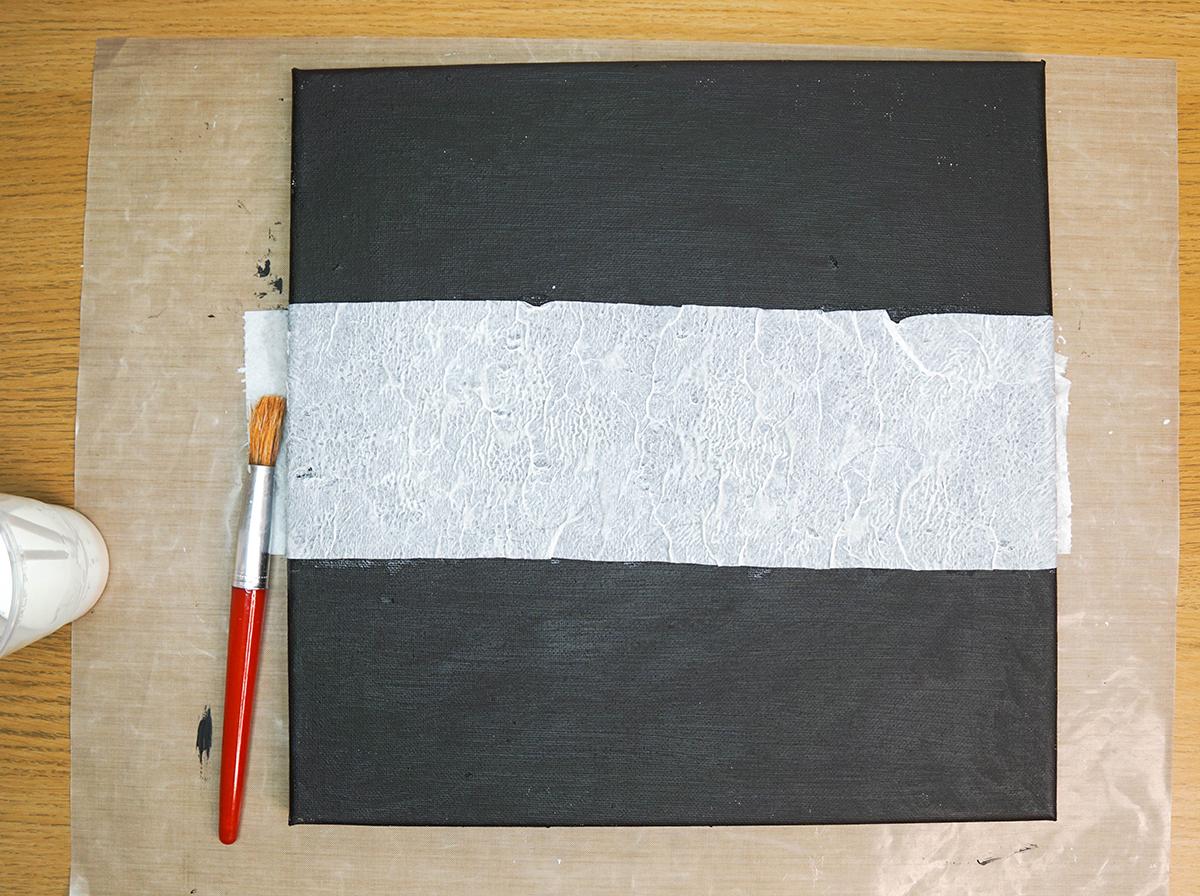
First, dilute (wood) glue slightly in a plastic cup to make it runnier. This is so it will more easily absorb into the paper.
Paint a band of the glue mixture across the centre of the canvas, then lay one layer of toilet paper on top.
Add more glue on top and stipple it into the paper with your paintbrush. Coat all of the paper. You don't want to drag the brush across as this will rip the paper.
Repeat this twice more so you have 3 layers of paper in total, with the glue mix on top.
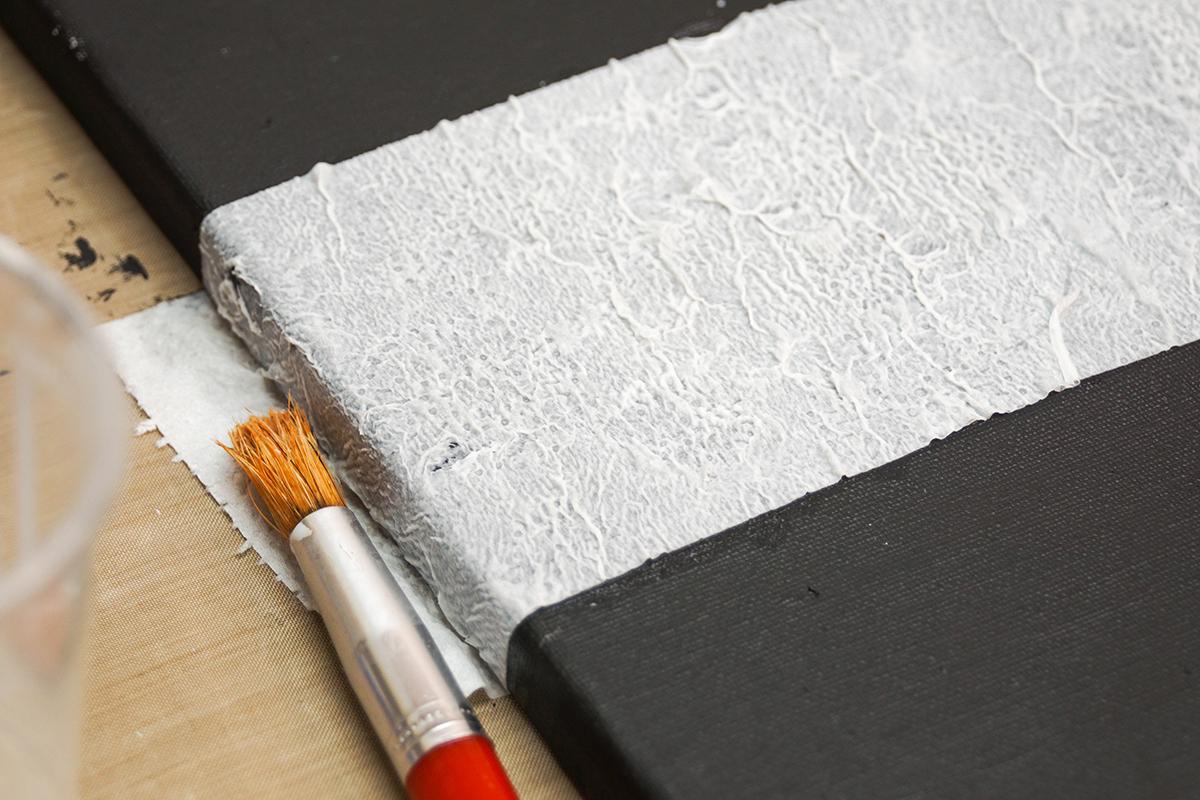
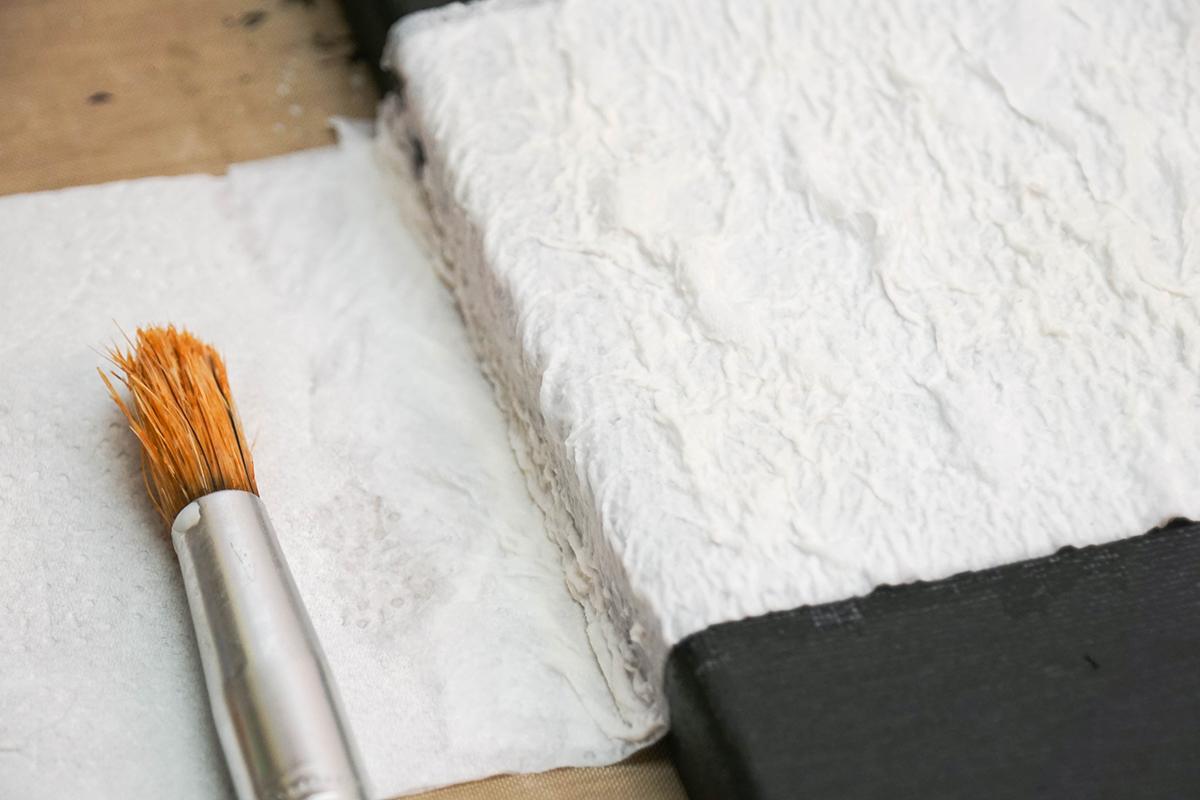
Use your brush in an up-and-down motion to carefully push the wet paper into 'hills' in whatever pattern you like. I started from the centre and pushed the paper out into a ripple pattern.
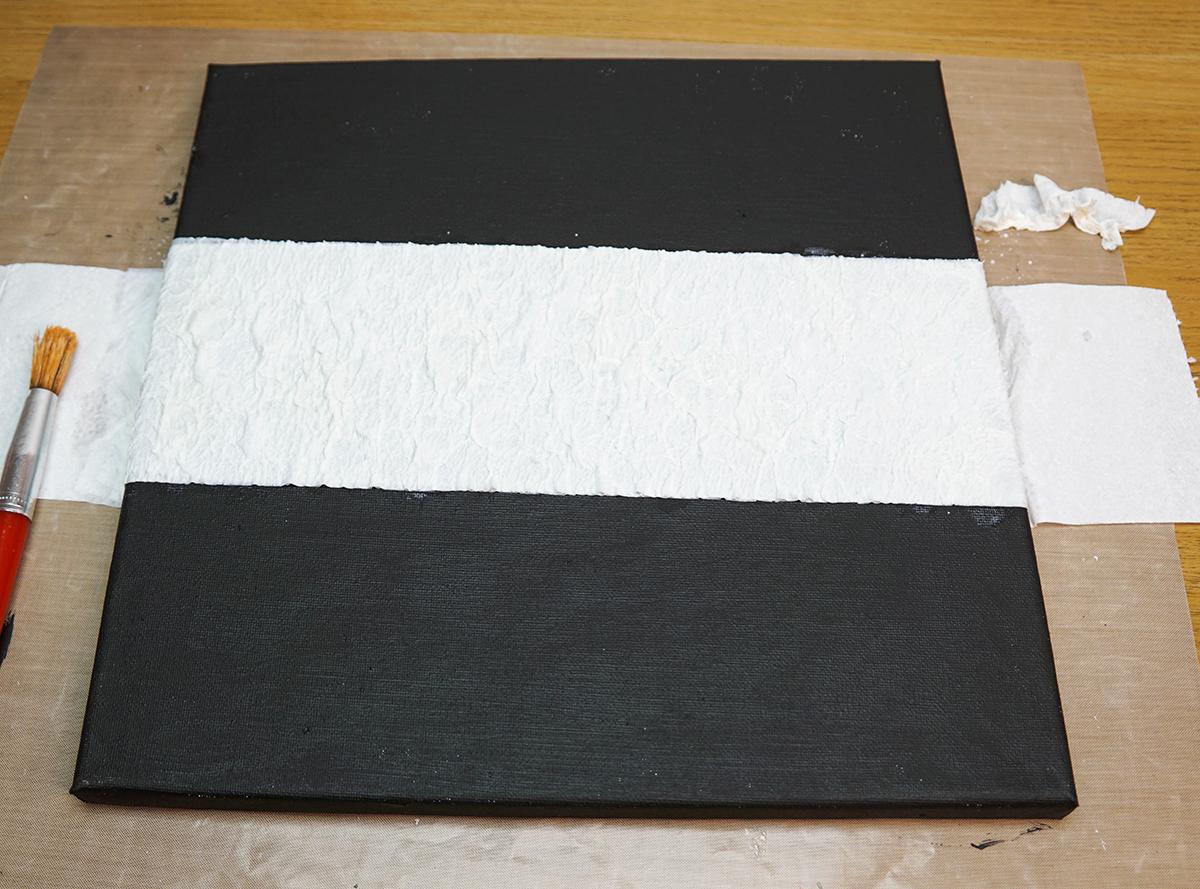
Remove the excess paper.
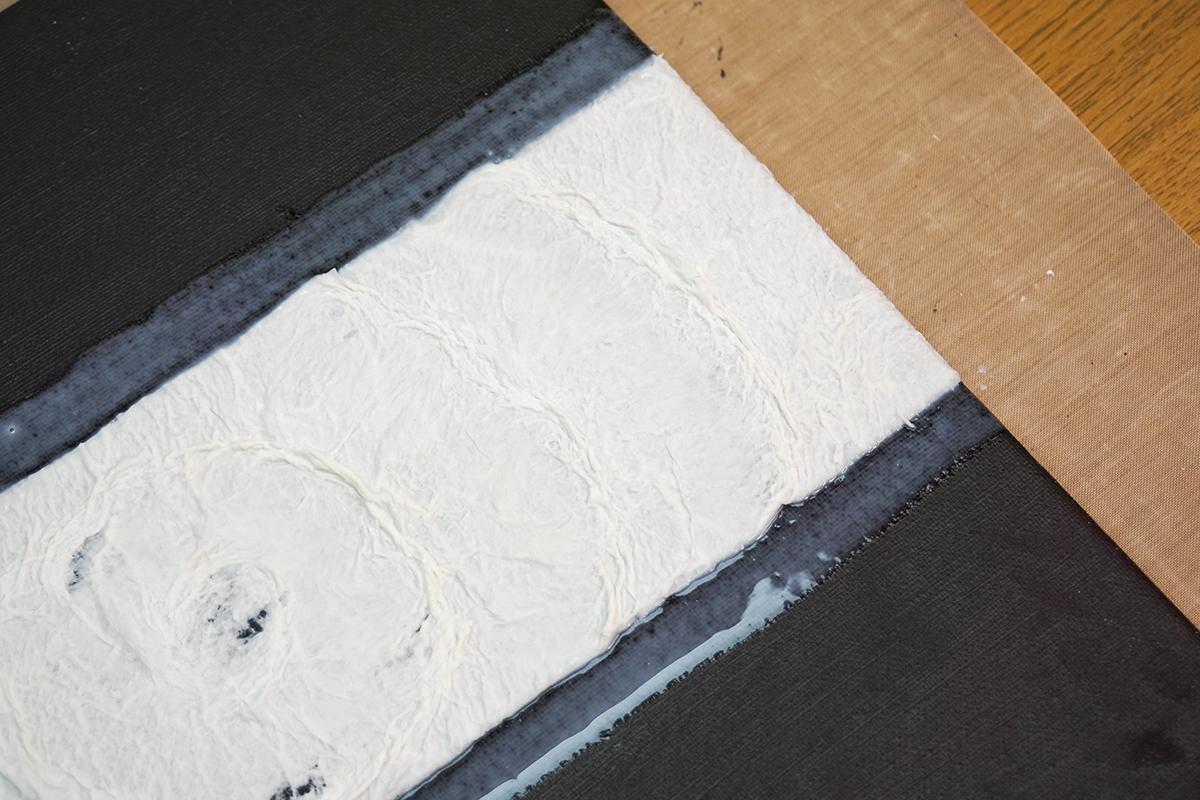
I wanted 2 smooth bands above and below so I just added stripes of (undiluted) PVA glue as well.
Leave to dry.
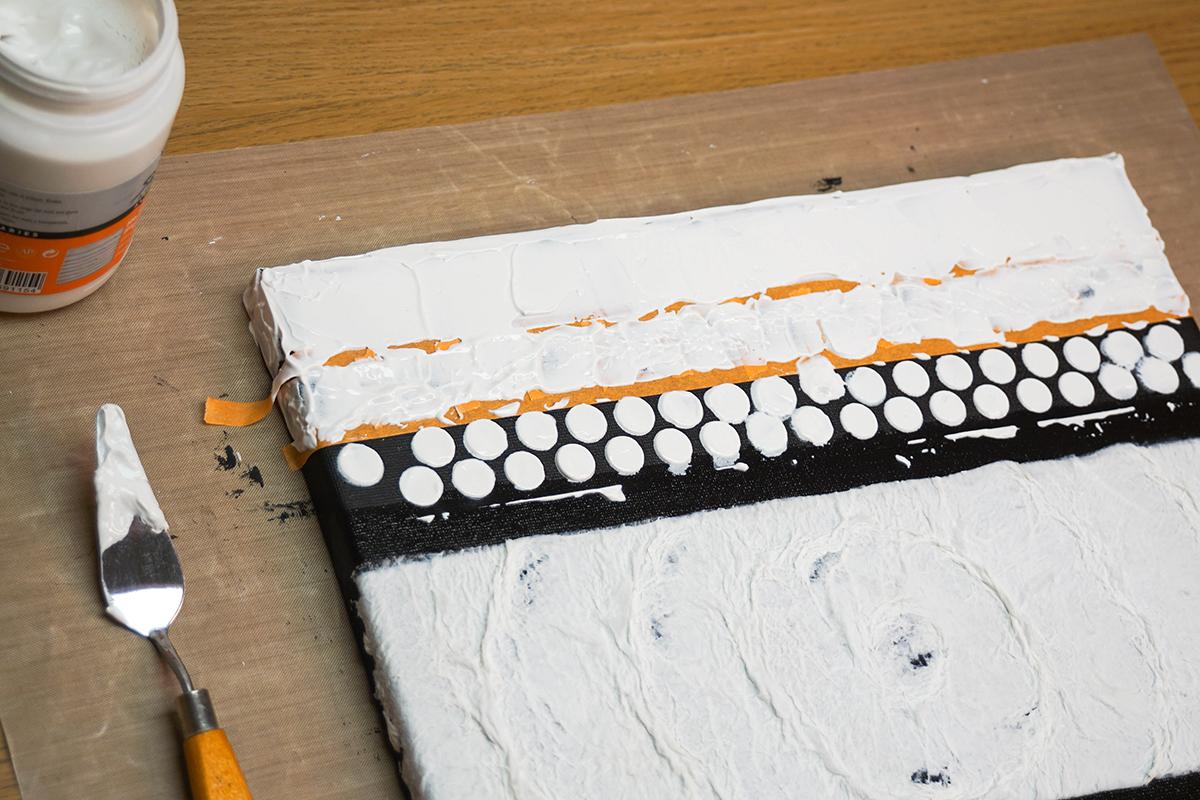
Modelling Paste With a Stencil

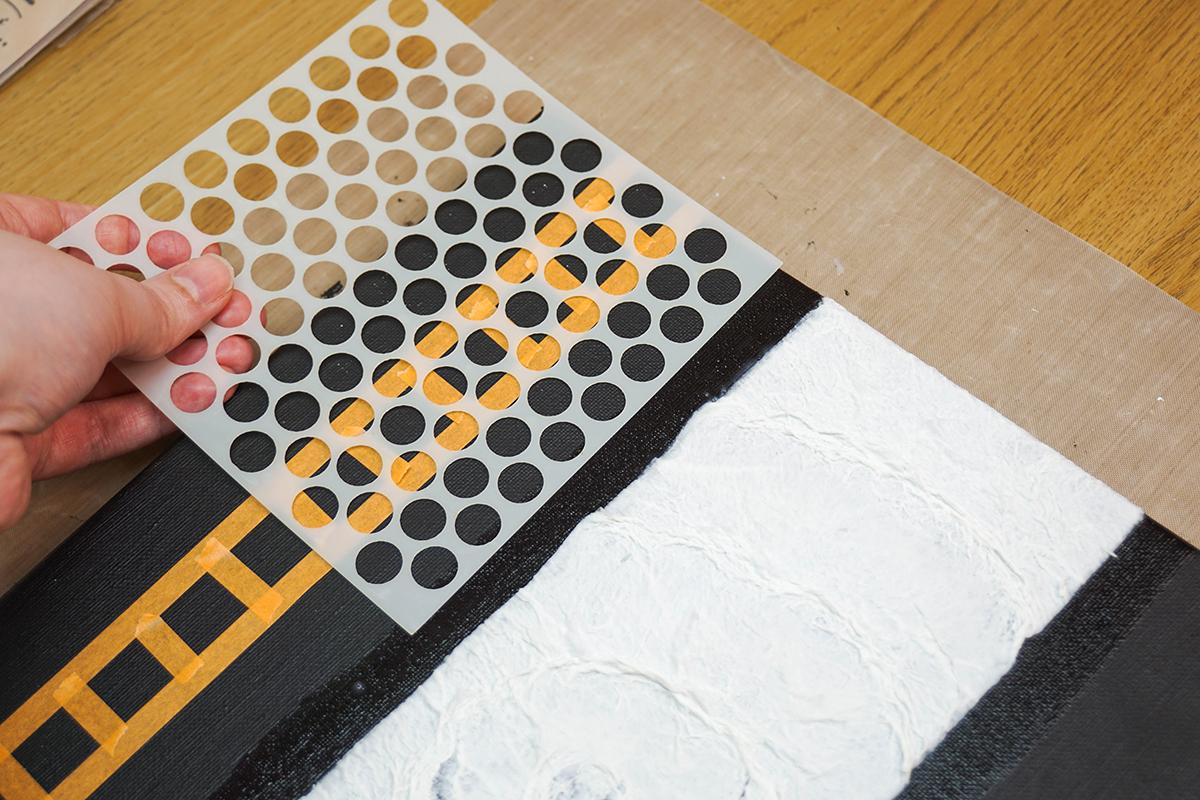
Add a grid of masking tape across the canvas, as shown in the photo.
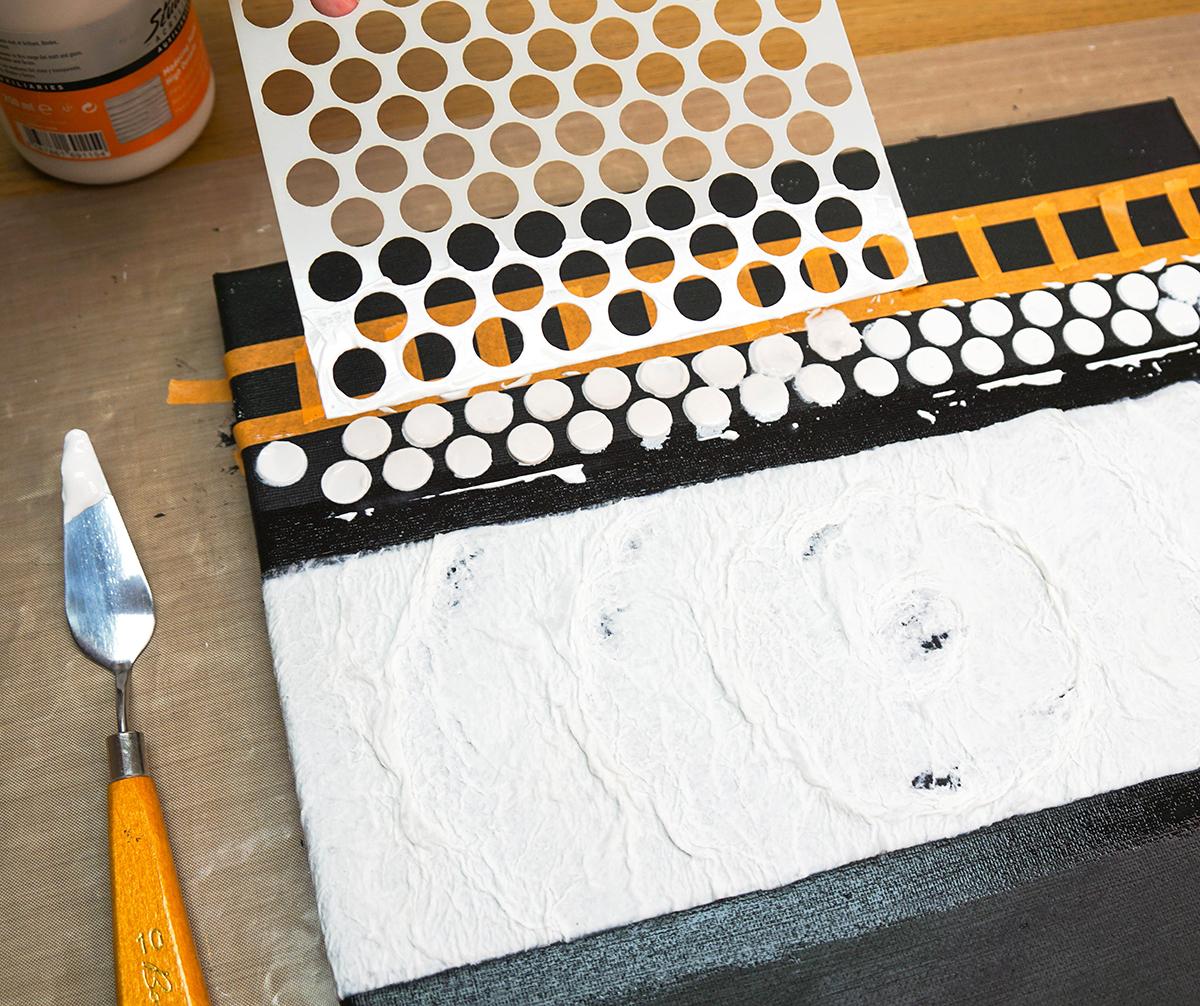
Then place a stencil between this grid and the PVA stripe below, add some modelling paste on top of where you want the raised pattern, and use a palette knife to spread the paste across the stencil.
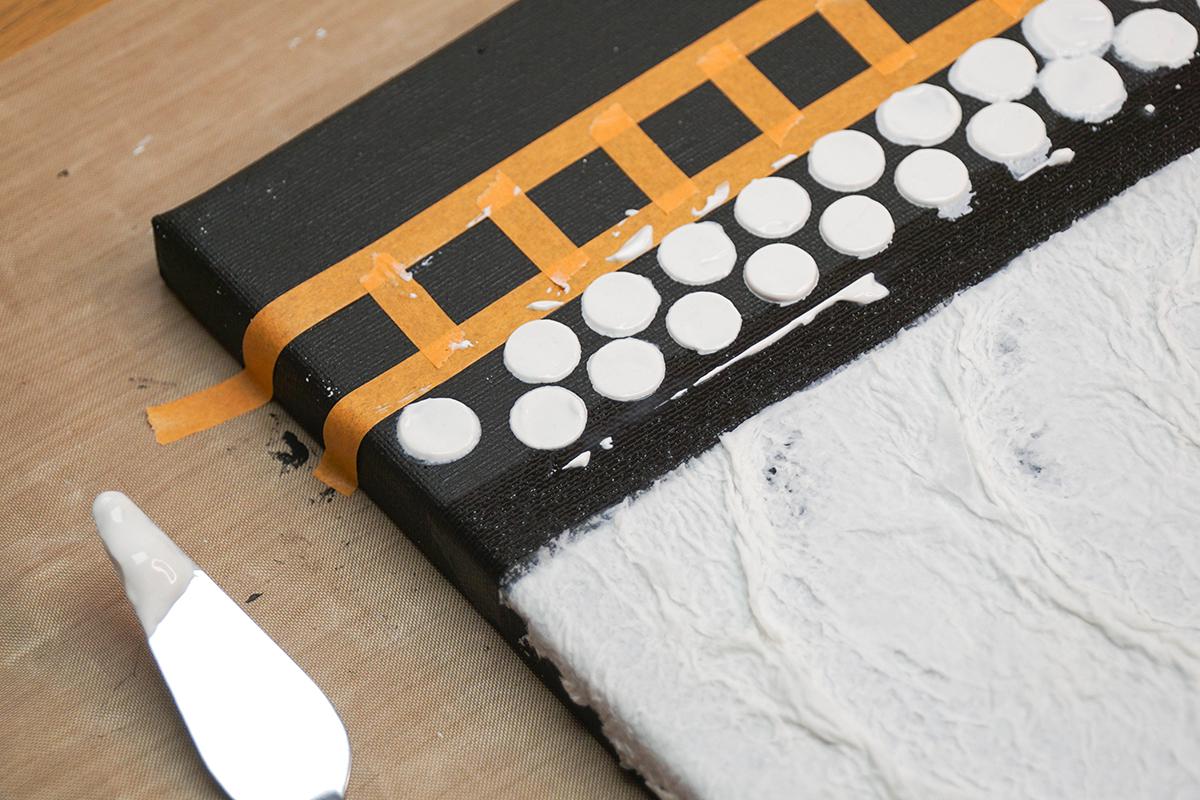
Carefully remove the stencil and you should be left with the stencil pattern in paste.
Repeat as many times as you wish.
Grid & Seeds

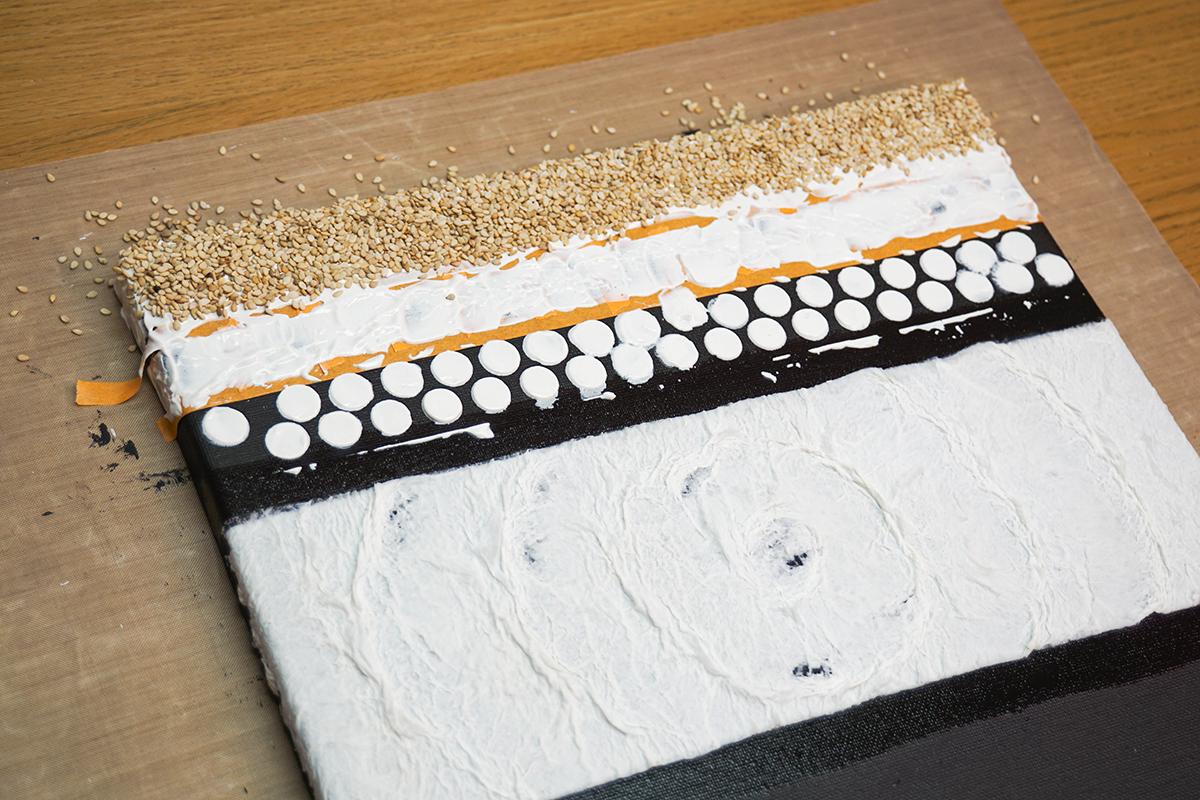
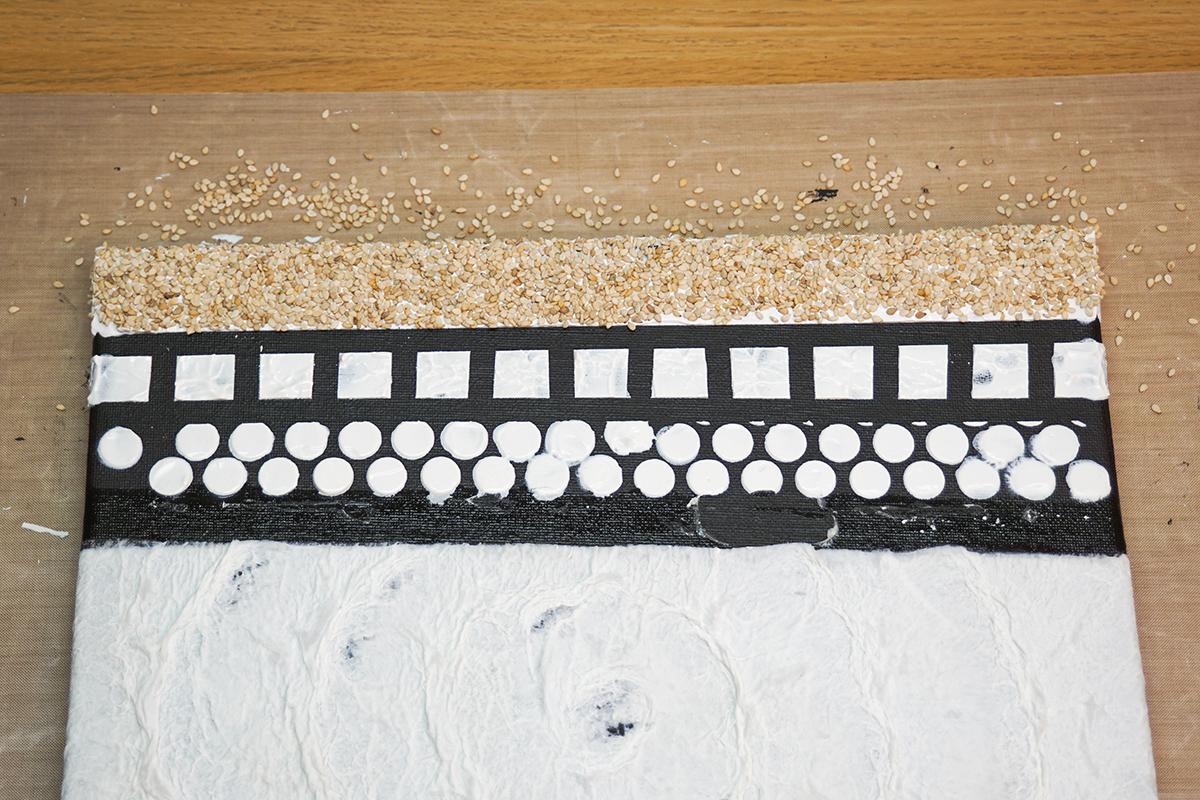
Use the palette knife once more to spread the modelling paste evenly across the grid, trying not to go outside of the grid.
I then tapped the flat underside of the knife against the paste to give it more texture, before slowly removing the tape.
And for the final stripe at the top I applied more modelling paste, then sprinkled on sesame seeds. I pressed the seeds down into the paste with my fingers and repeated this process until the gaps were filled.
Leave to dry.
Eggshells
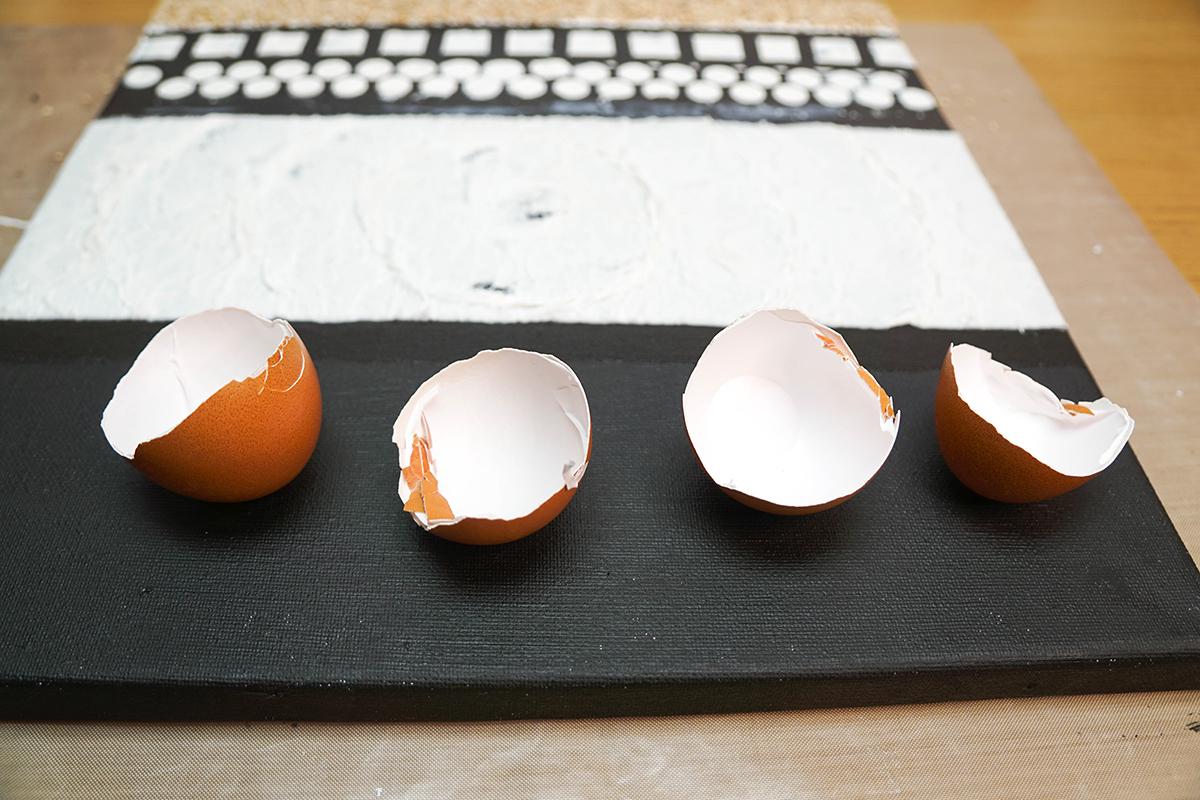
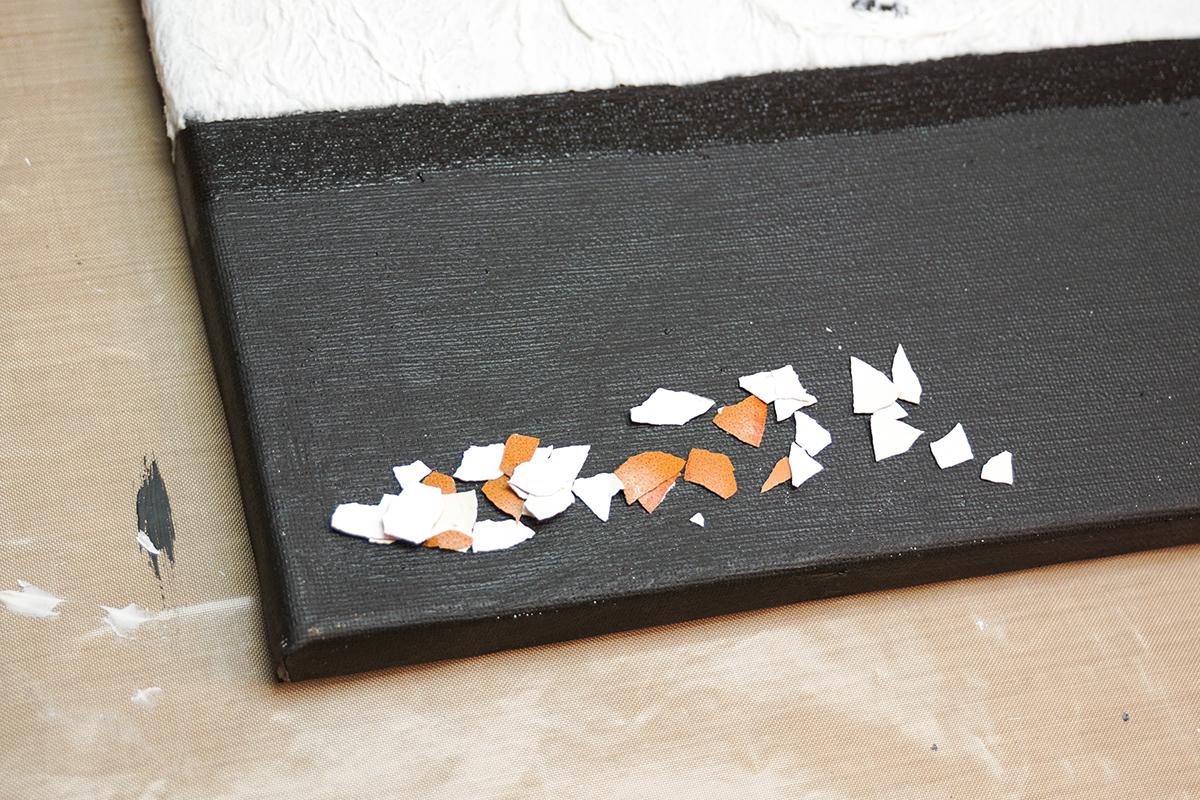
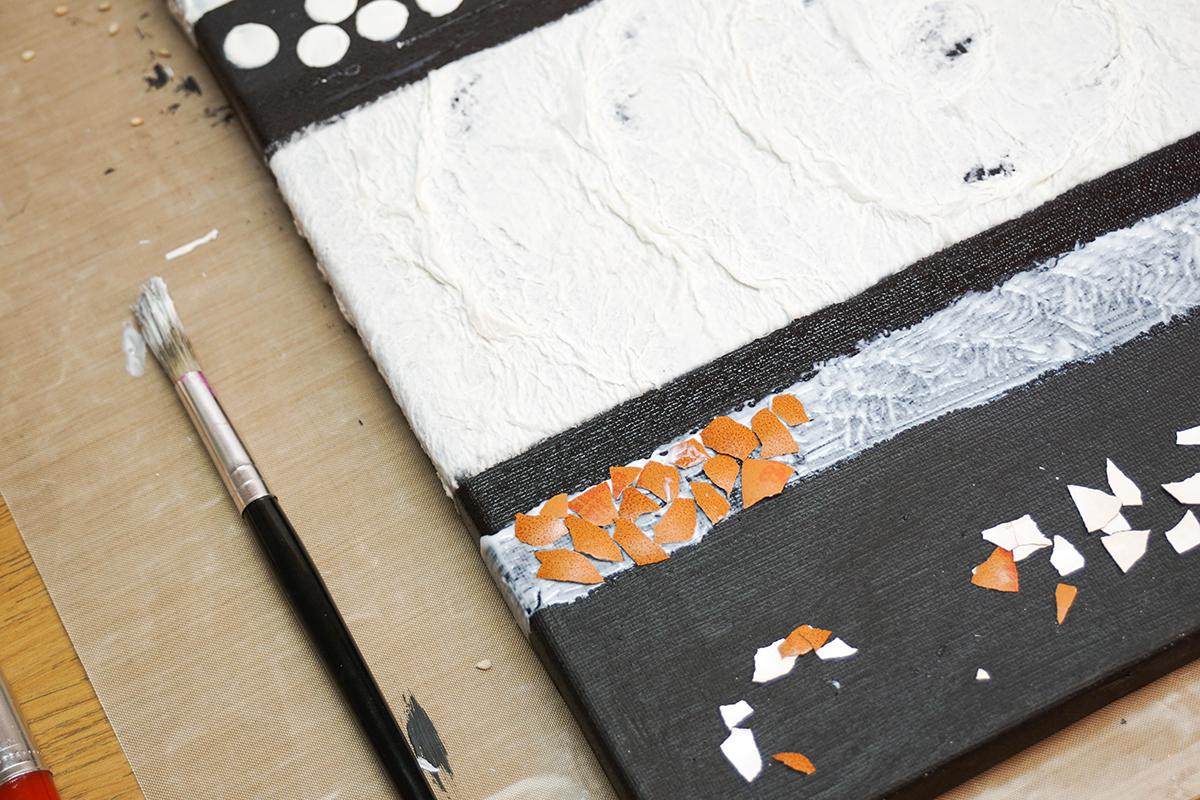
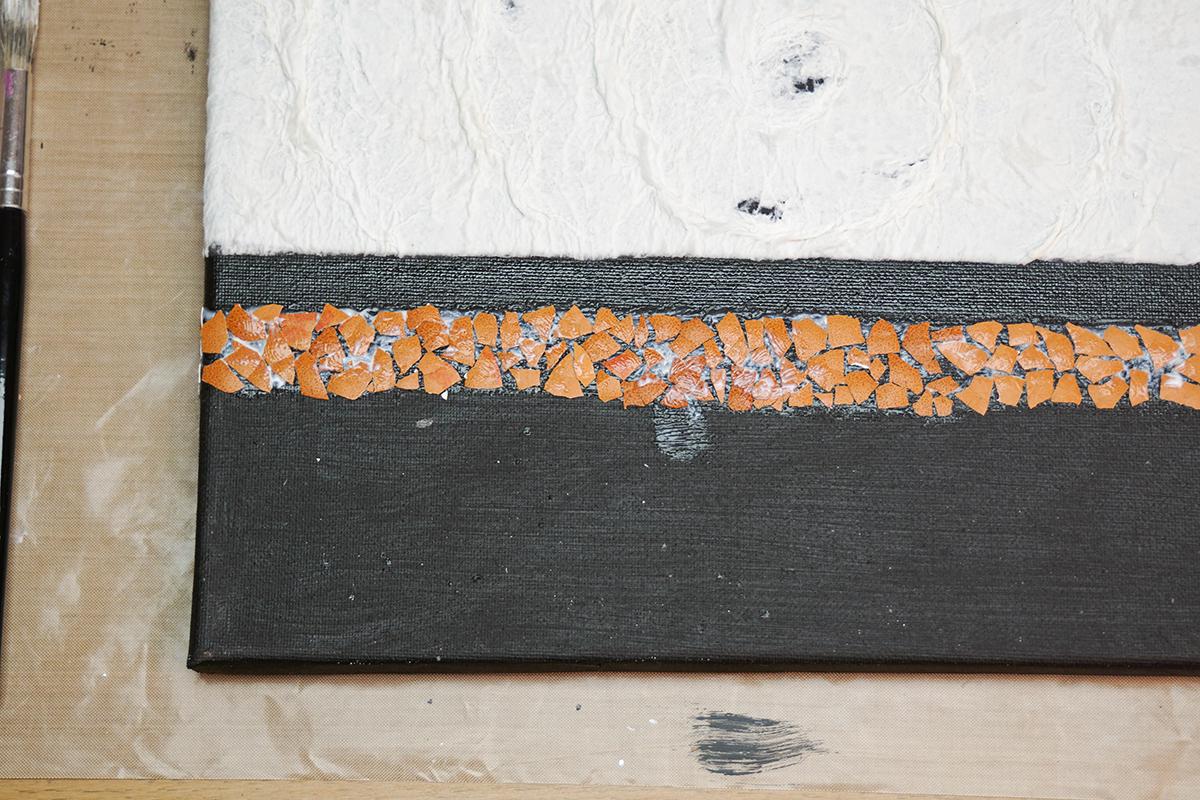
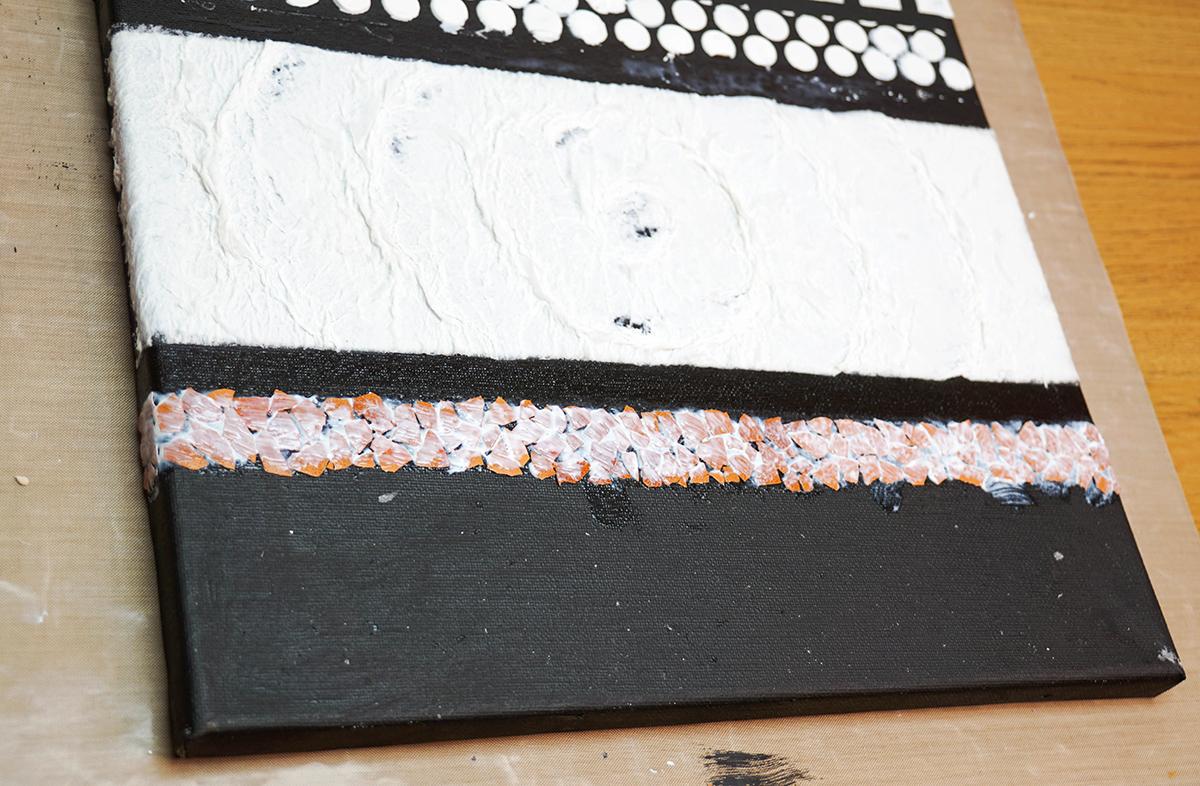
The first step when using the eggshells is to rinse them, soak them for a few minutes, then try your best to remove the white layer inside the shells. This can be a bit fiddly!
Then break the shell into small pieces and glue them onto a band of Mod Podge glue. If the pieces are not sticking down flat, simply push in the centre of the pieces and they will crack and lie much flatter.
Once you're happy with the placement, add another coat of Mod Podge on top.
Egg Carton
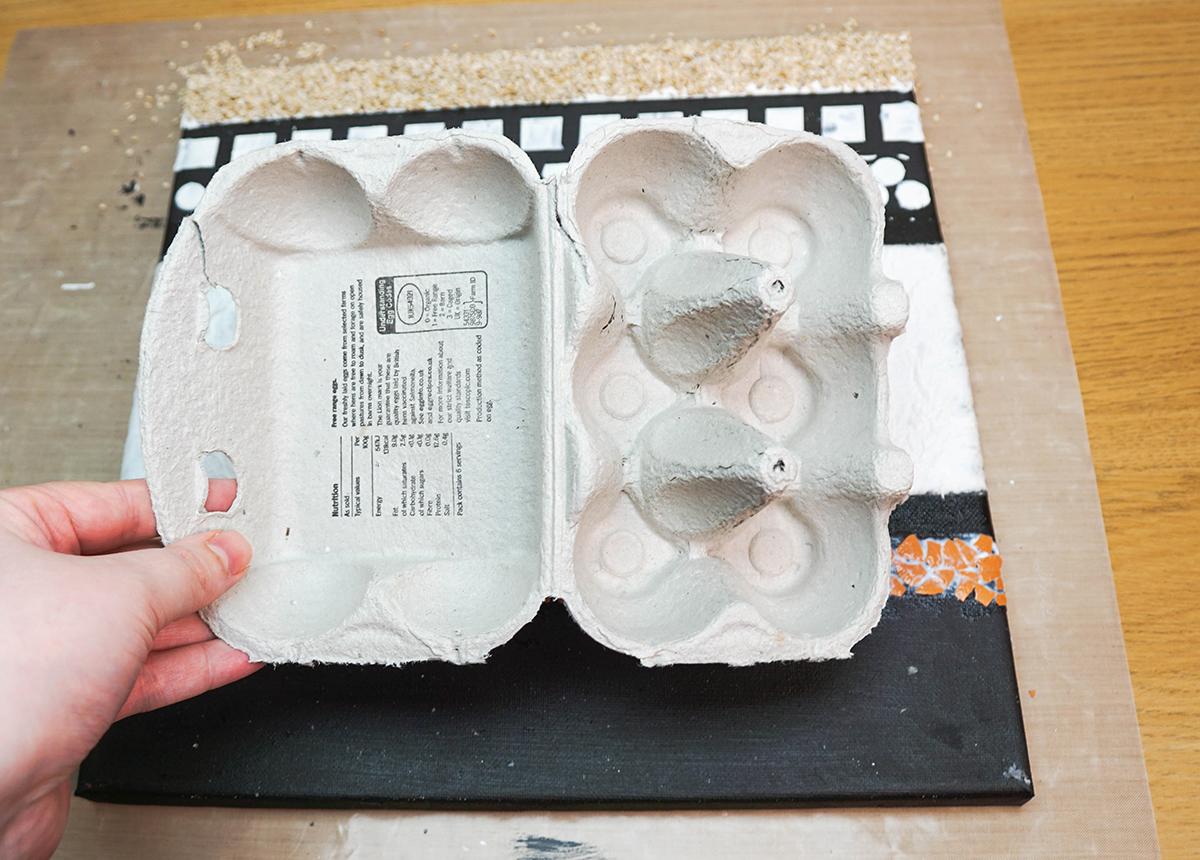
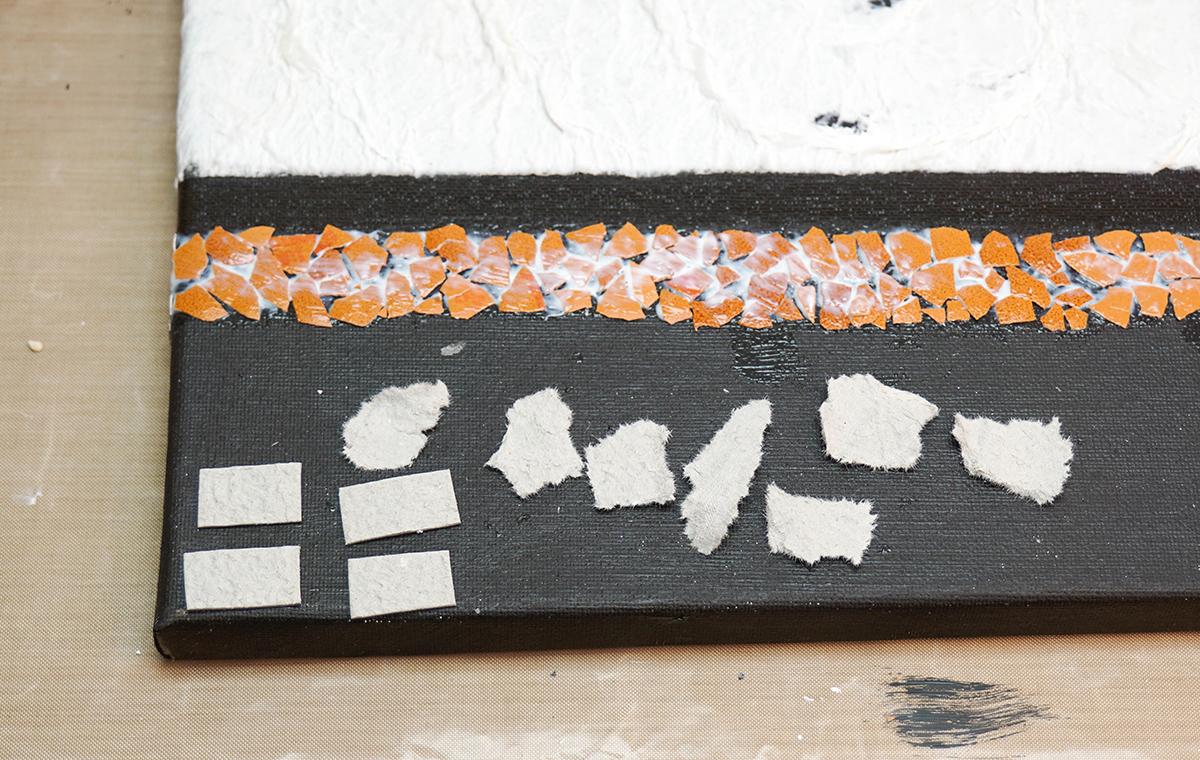
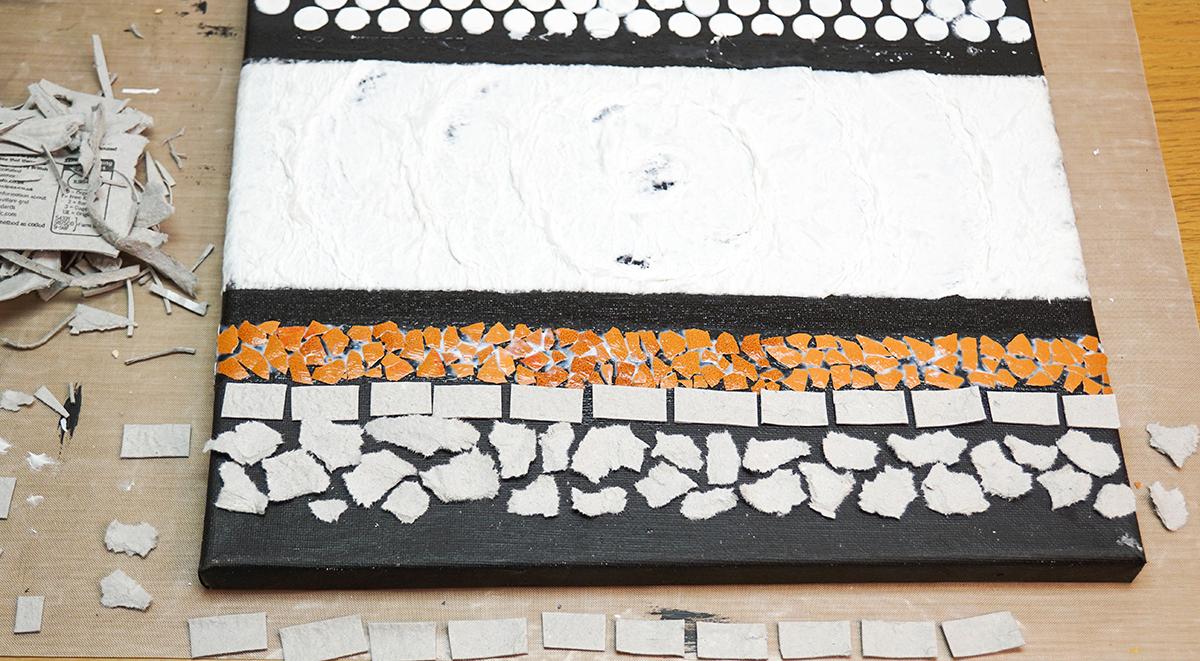
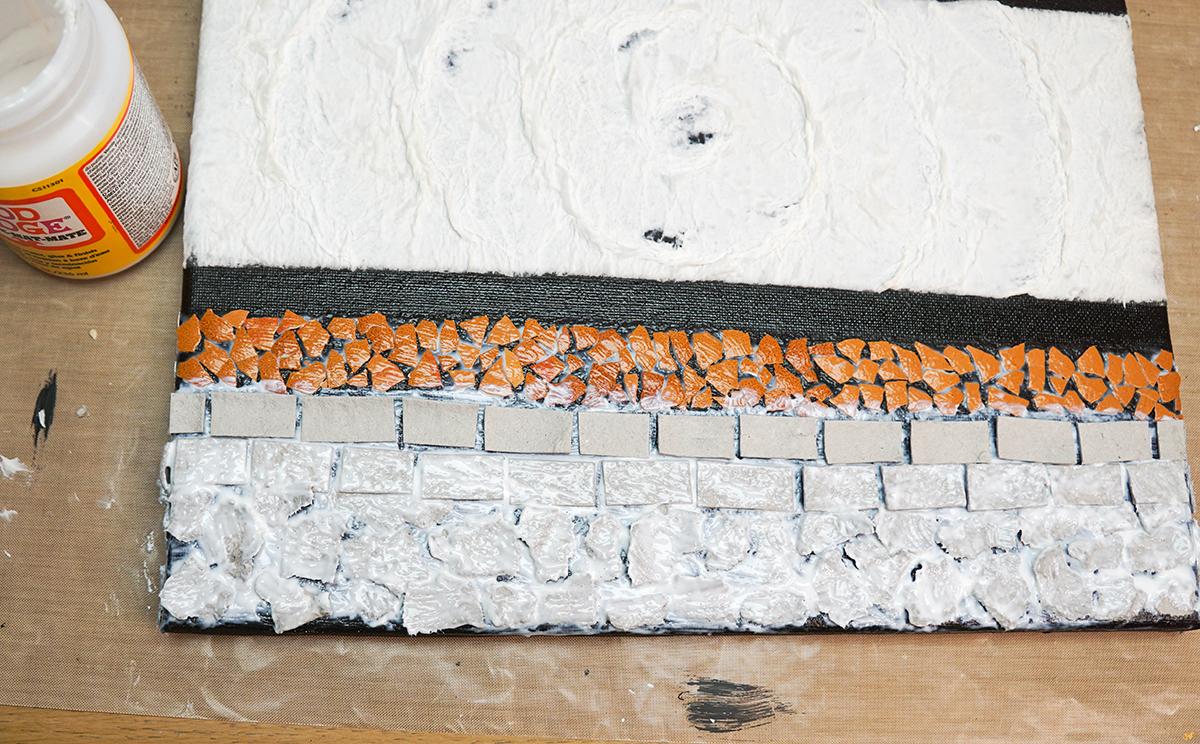
I have shown 2 options here; you can either go for the 'stone wall' effect by ripping the carton into freeform shapes, or you can cut them into regular shapes like rectangles.
The carton is likely to be curved so just flatten the pieces between your fingers.
I much prefer the texture on the inside of the carton so I made sure this was the side facing up.
As with the eggshells, glue them into place with Mod Podge and then add another layer of the glue on top.
I applied another glue layer on top of both the eggshell and egg carton pieces after the first was dry, just to make sure all the pieces stayed put.
Paint Gold
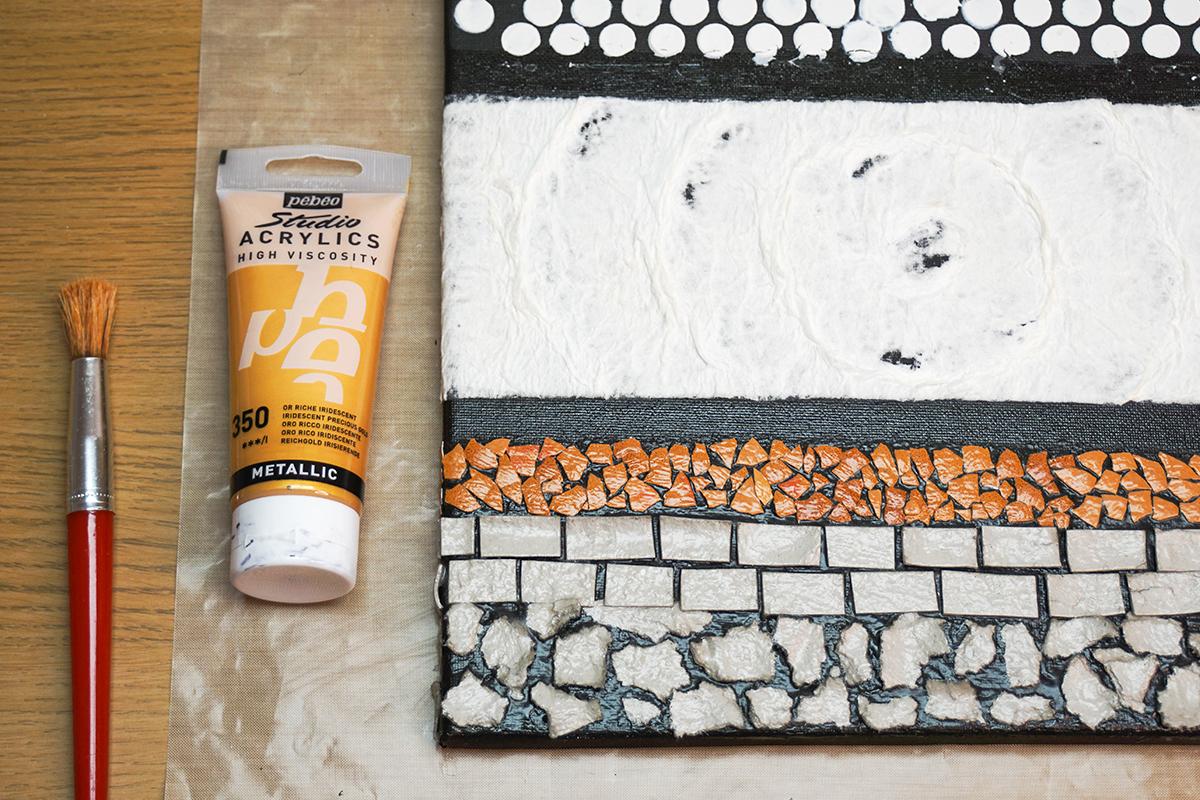
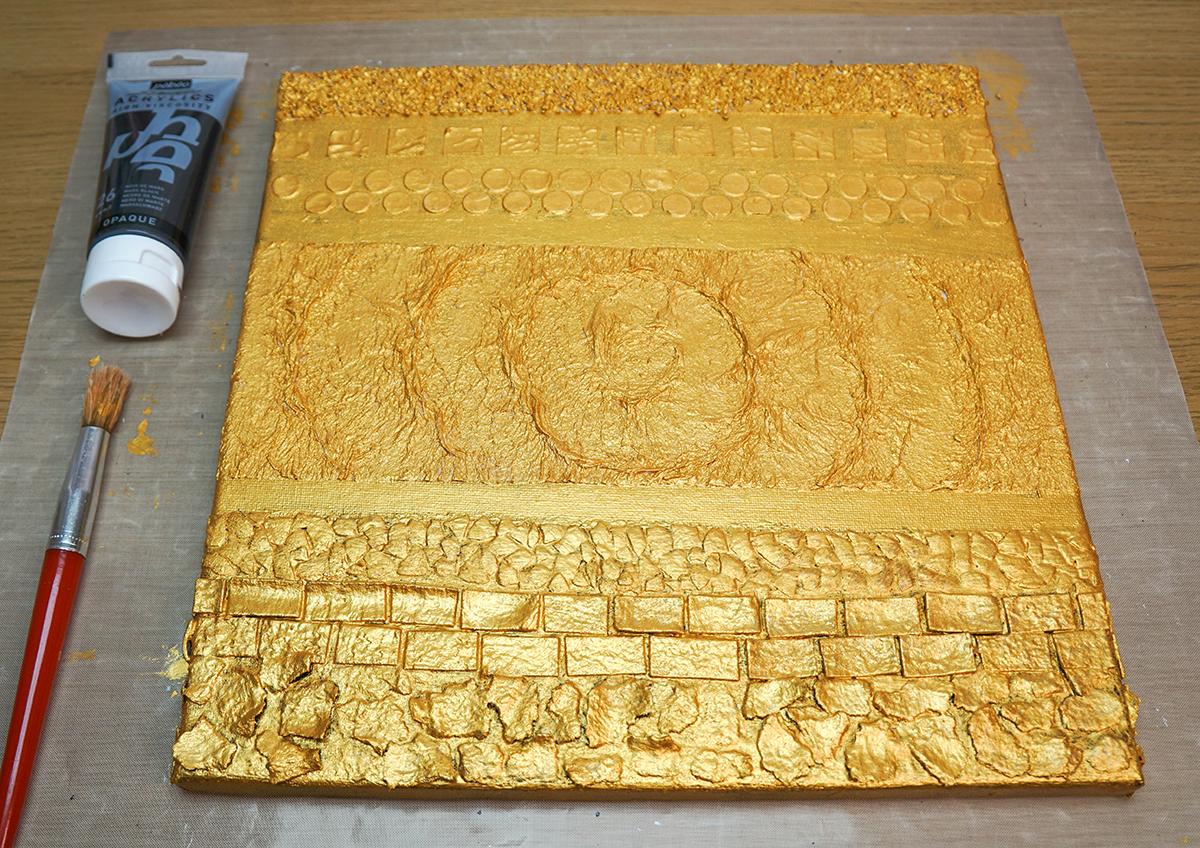
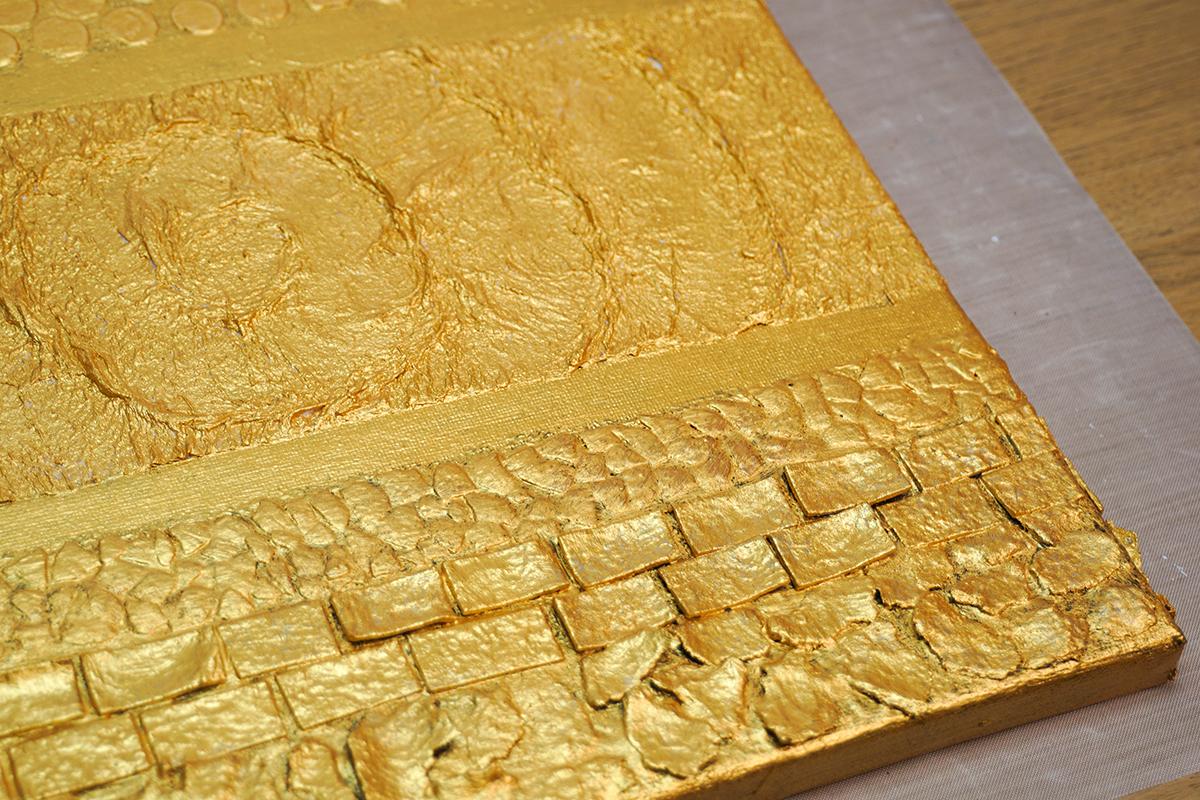
A metallic colour works best for this and I chose gold for a final 'brass' look.
Simply paint the entire canvas, making sure to get into all the crevices.
Black Wash
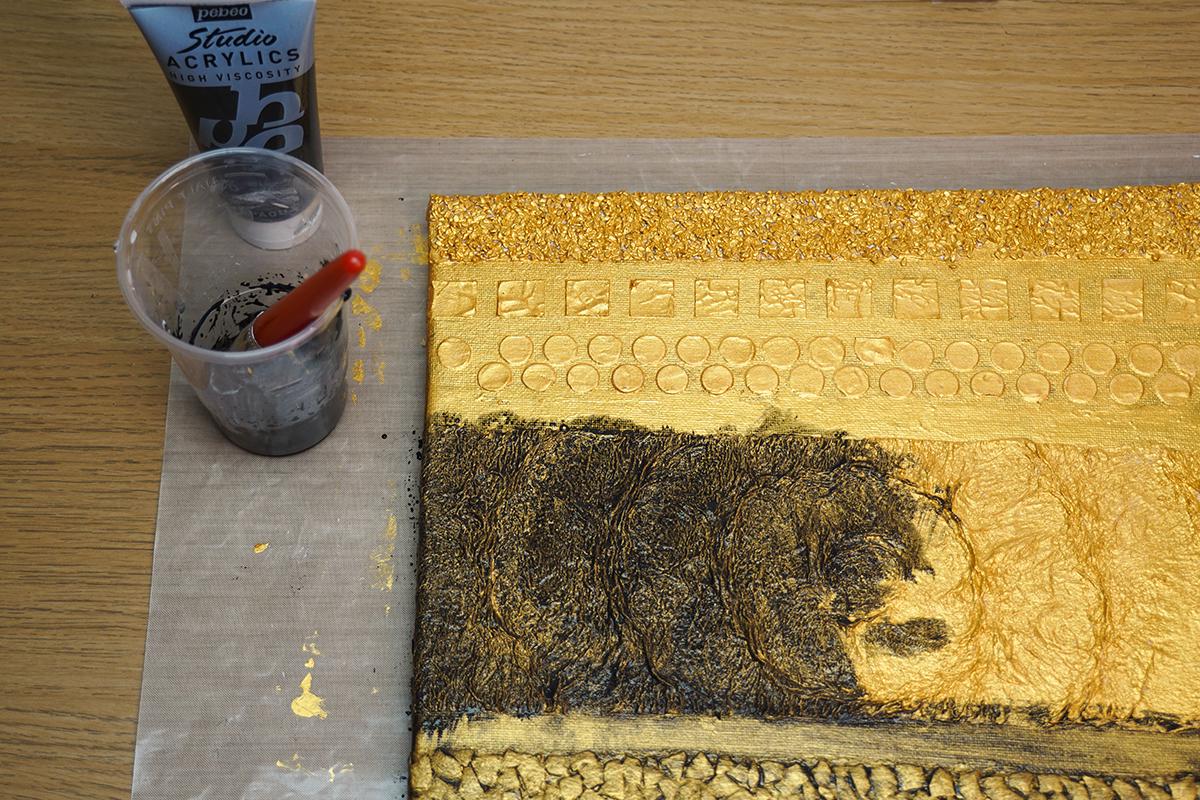
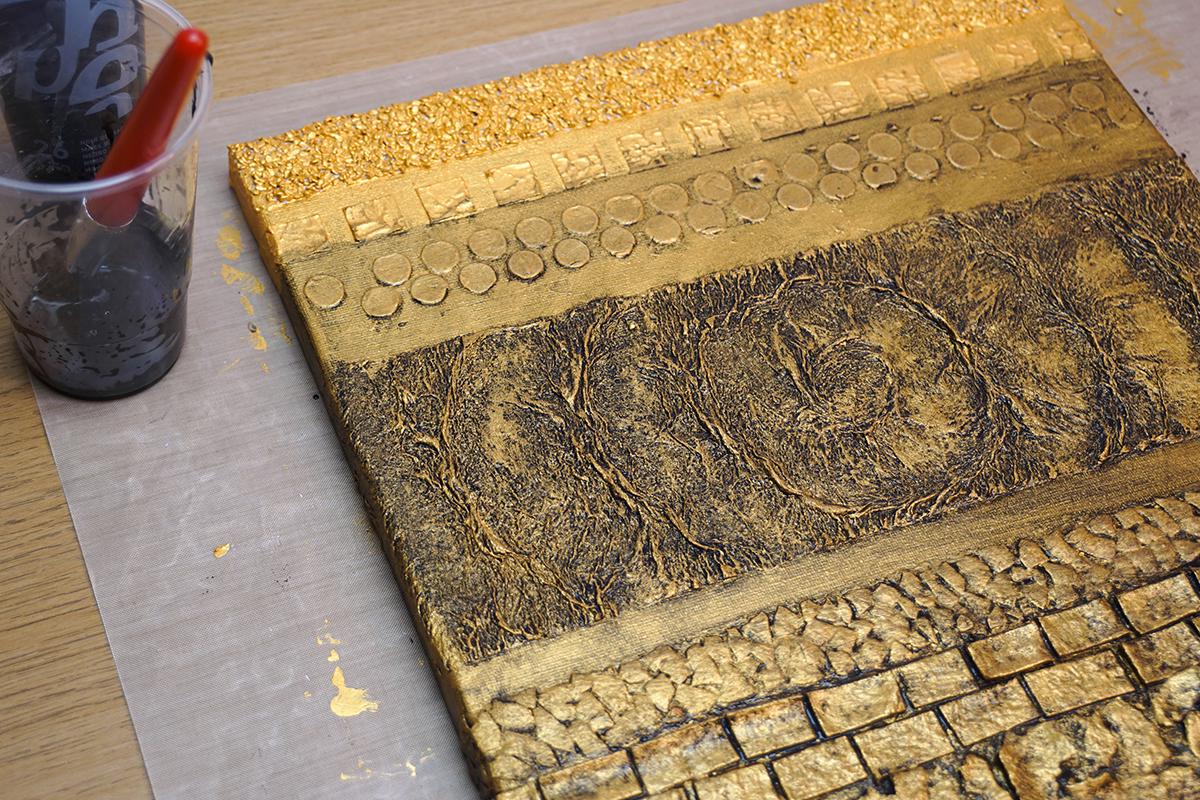

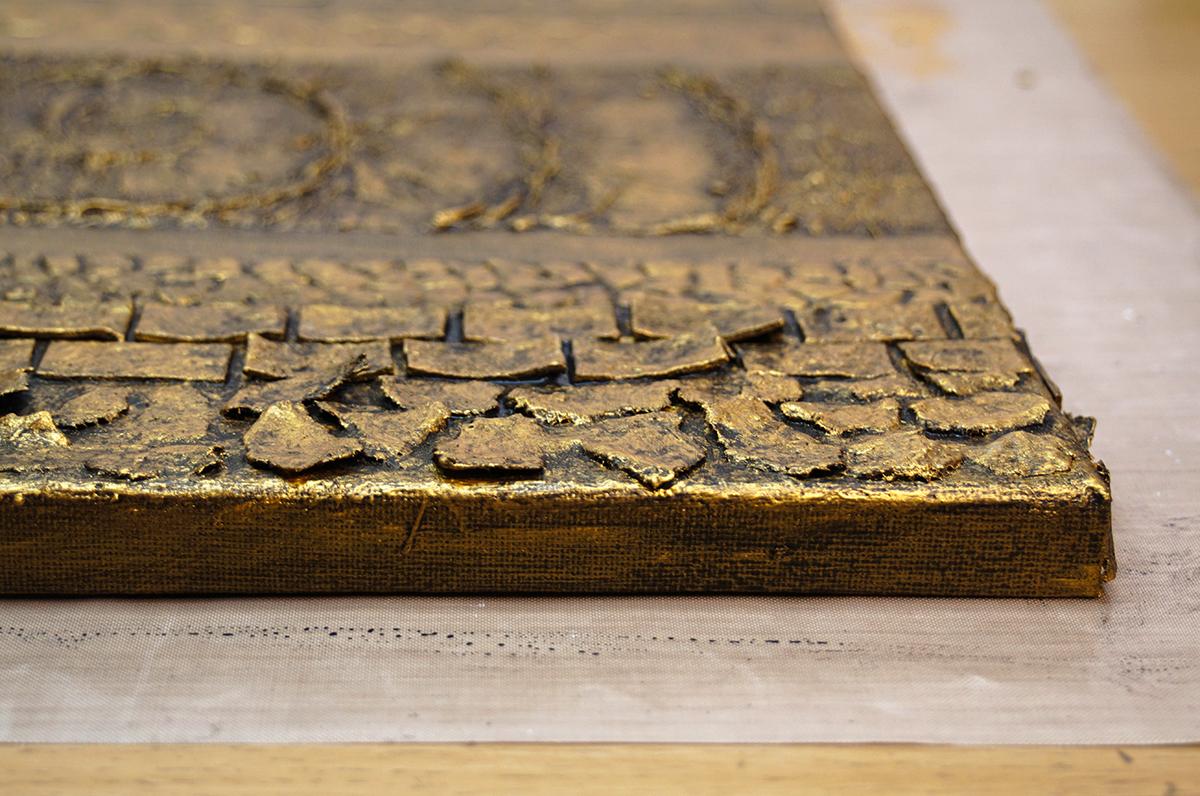
Once the metallic paint is dry, slightly dilute some black acrylic paint and paint it onto the canvas.
Use a piece of kitchen roll to remove as much of the black wash as you want, particularly on the 'highest points' of the canvas.
I think it's much better to do this one section at a time; I did this canvas in 3 sections. That way, the black wash doesn't have time to dry at all before you start wiping it away.
Finished!
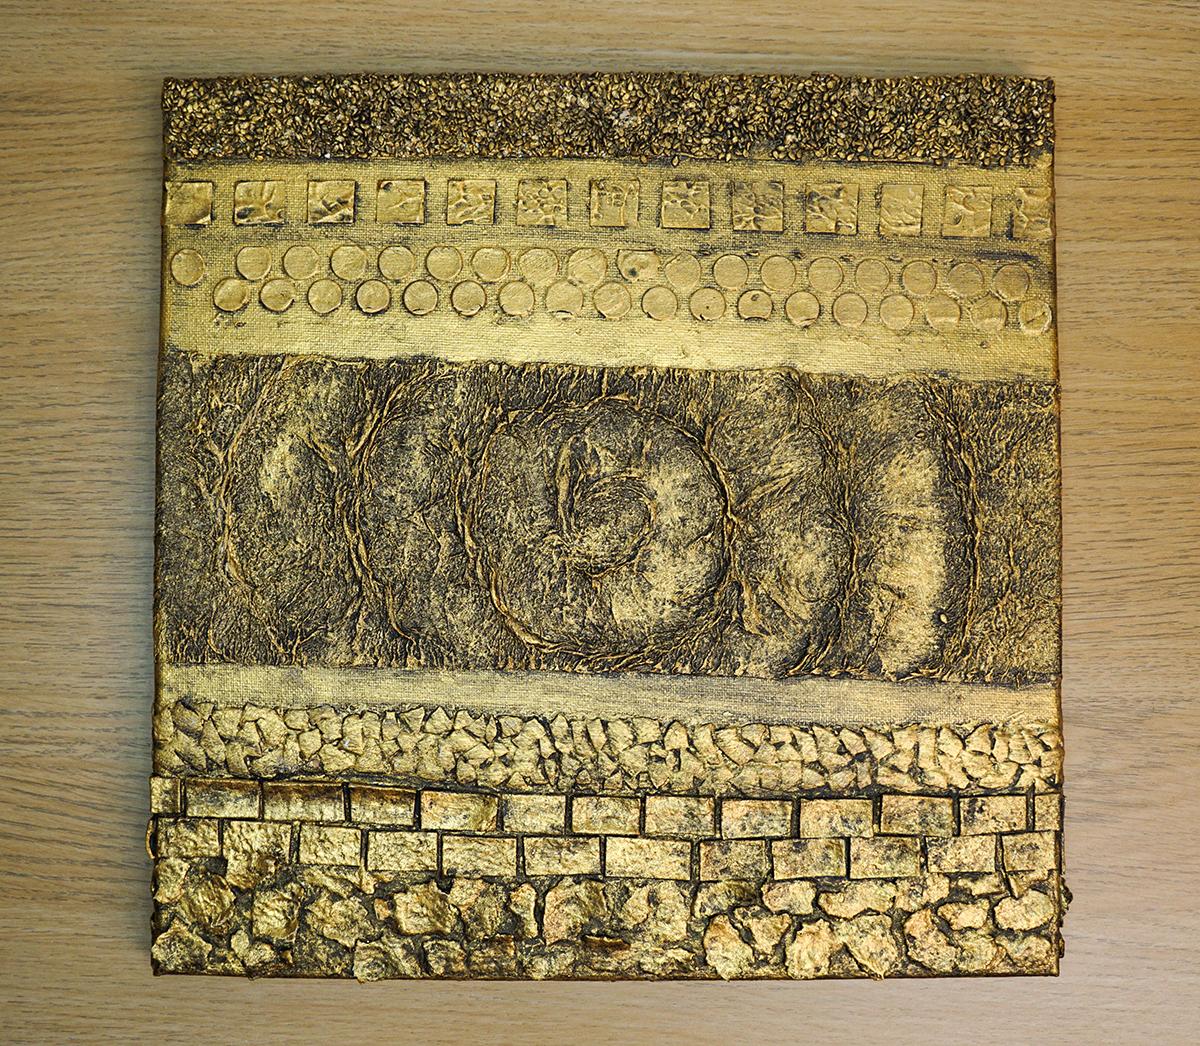
And that's it, the textures are complete!
I hope you learned a new technique or are inspired to give this a go yourself.
Thanks for reading :D