4 Piece Painting - a Walk Through the Seasons
by Corasaurus Rex in Design > Art
12507 Views, 142 Favorites, 0 Comments
4 Piece Painting - a Walk Through the Seasons
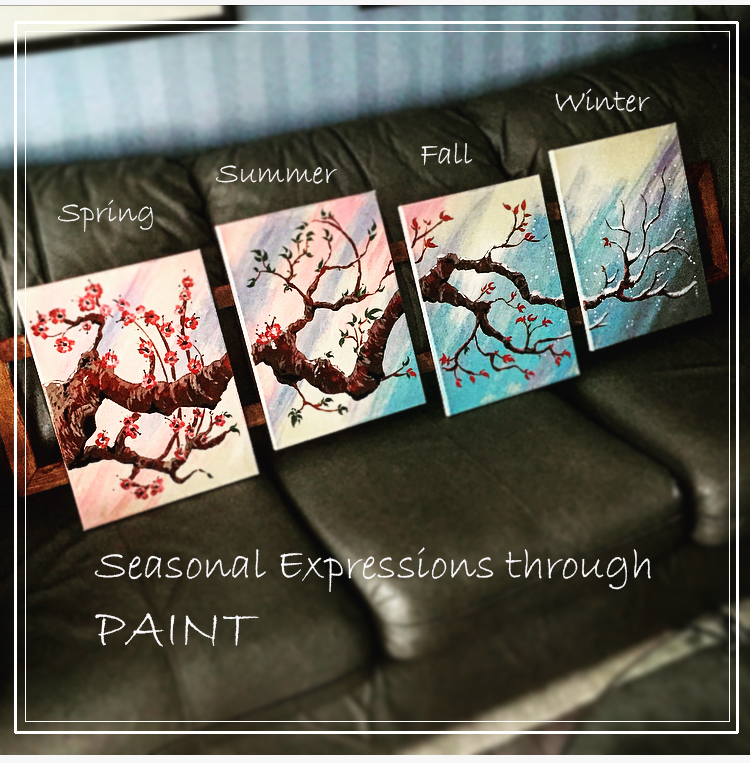
Wall art can take so many different shapes and forms depending on the space available, the look of the room and personal taste. I have always enjoyed painting as I find it calming and therapeutic and I wanted to do something different that will carry some meaning. I decided on creating a wall mounted painting that was 4 different canvases mounted together on a simple frame that can be hung on the wall. I wanted all canvases to be connected through design and have the entire piece seem unified.
I have a love of the outdoors if you glance through my past instructables there is a constant theme on enjoying being outside. Living in (southern Ontario) Canada we have very dramatic seasonal changes that happen every year which I personally adore. I can remember specific events with each season and I look forward to doing different activities as the weather changes. I look forward to ice fishing in the winter, fishing a spring trout run, a summer camping trip or fall hikes, there is something magical about the process of seasonal change. Having said that I wanted to create a wall piece painting that represented the seasonal change from spring to winter in an artistic and colorful way.
I decided on creating my own interpenetration of the seasonal process of tree branch more specifically the stunning Cherry tree
Materials needed
- 4 canvases any size that fits your space mine were about 12x16"
- Paint and Brushes - I used acrylic
- Paint Sealer - Spray
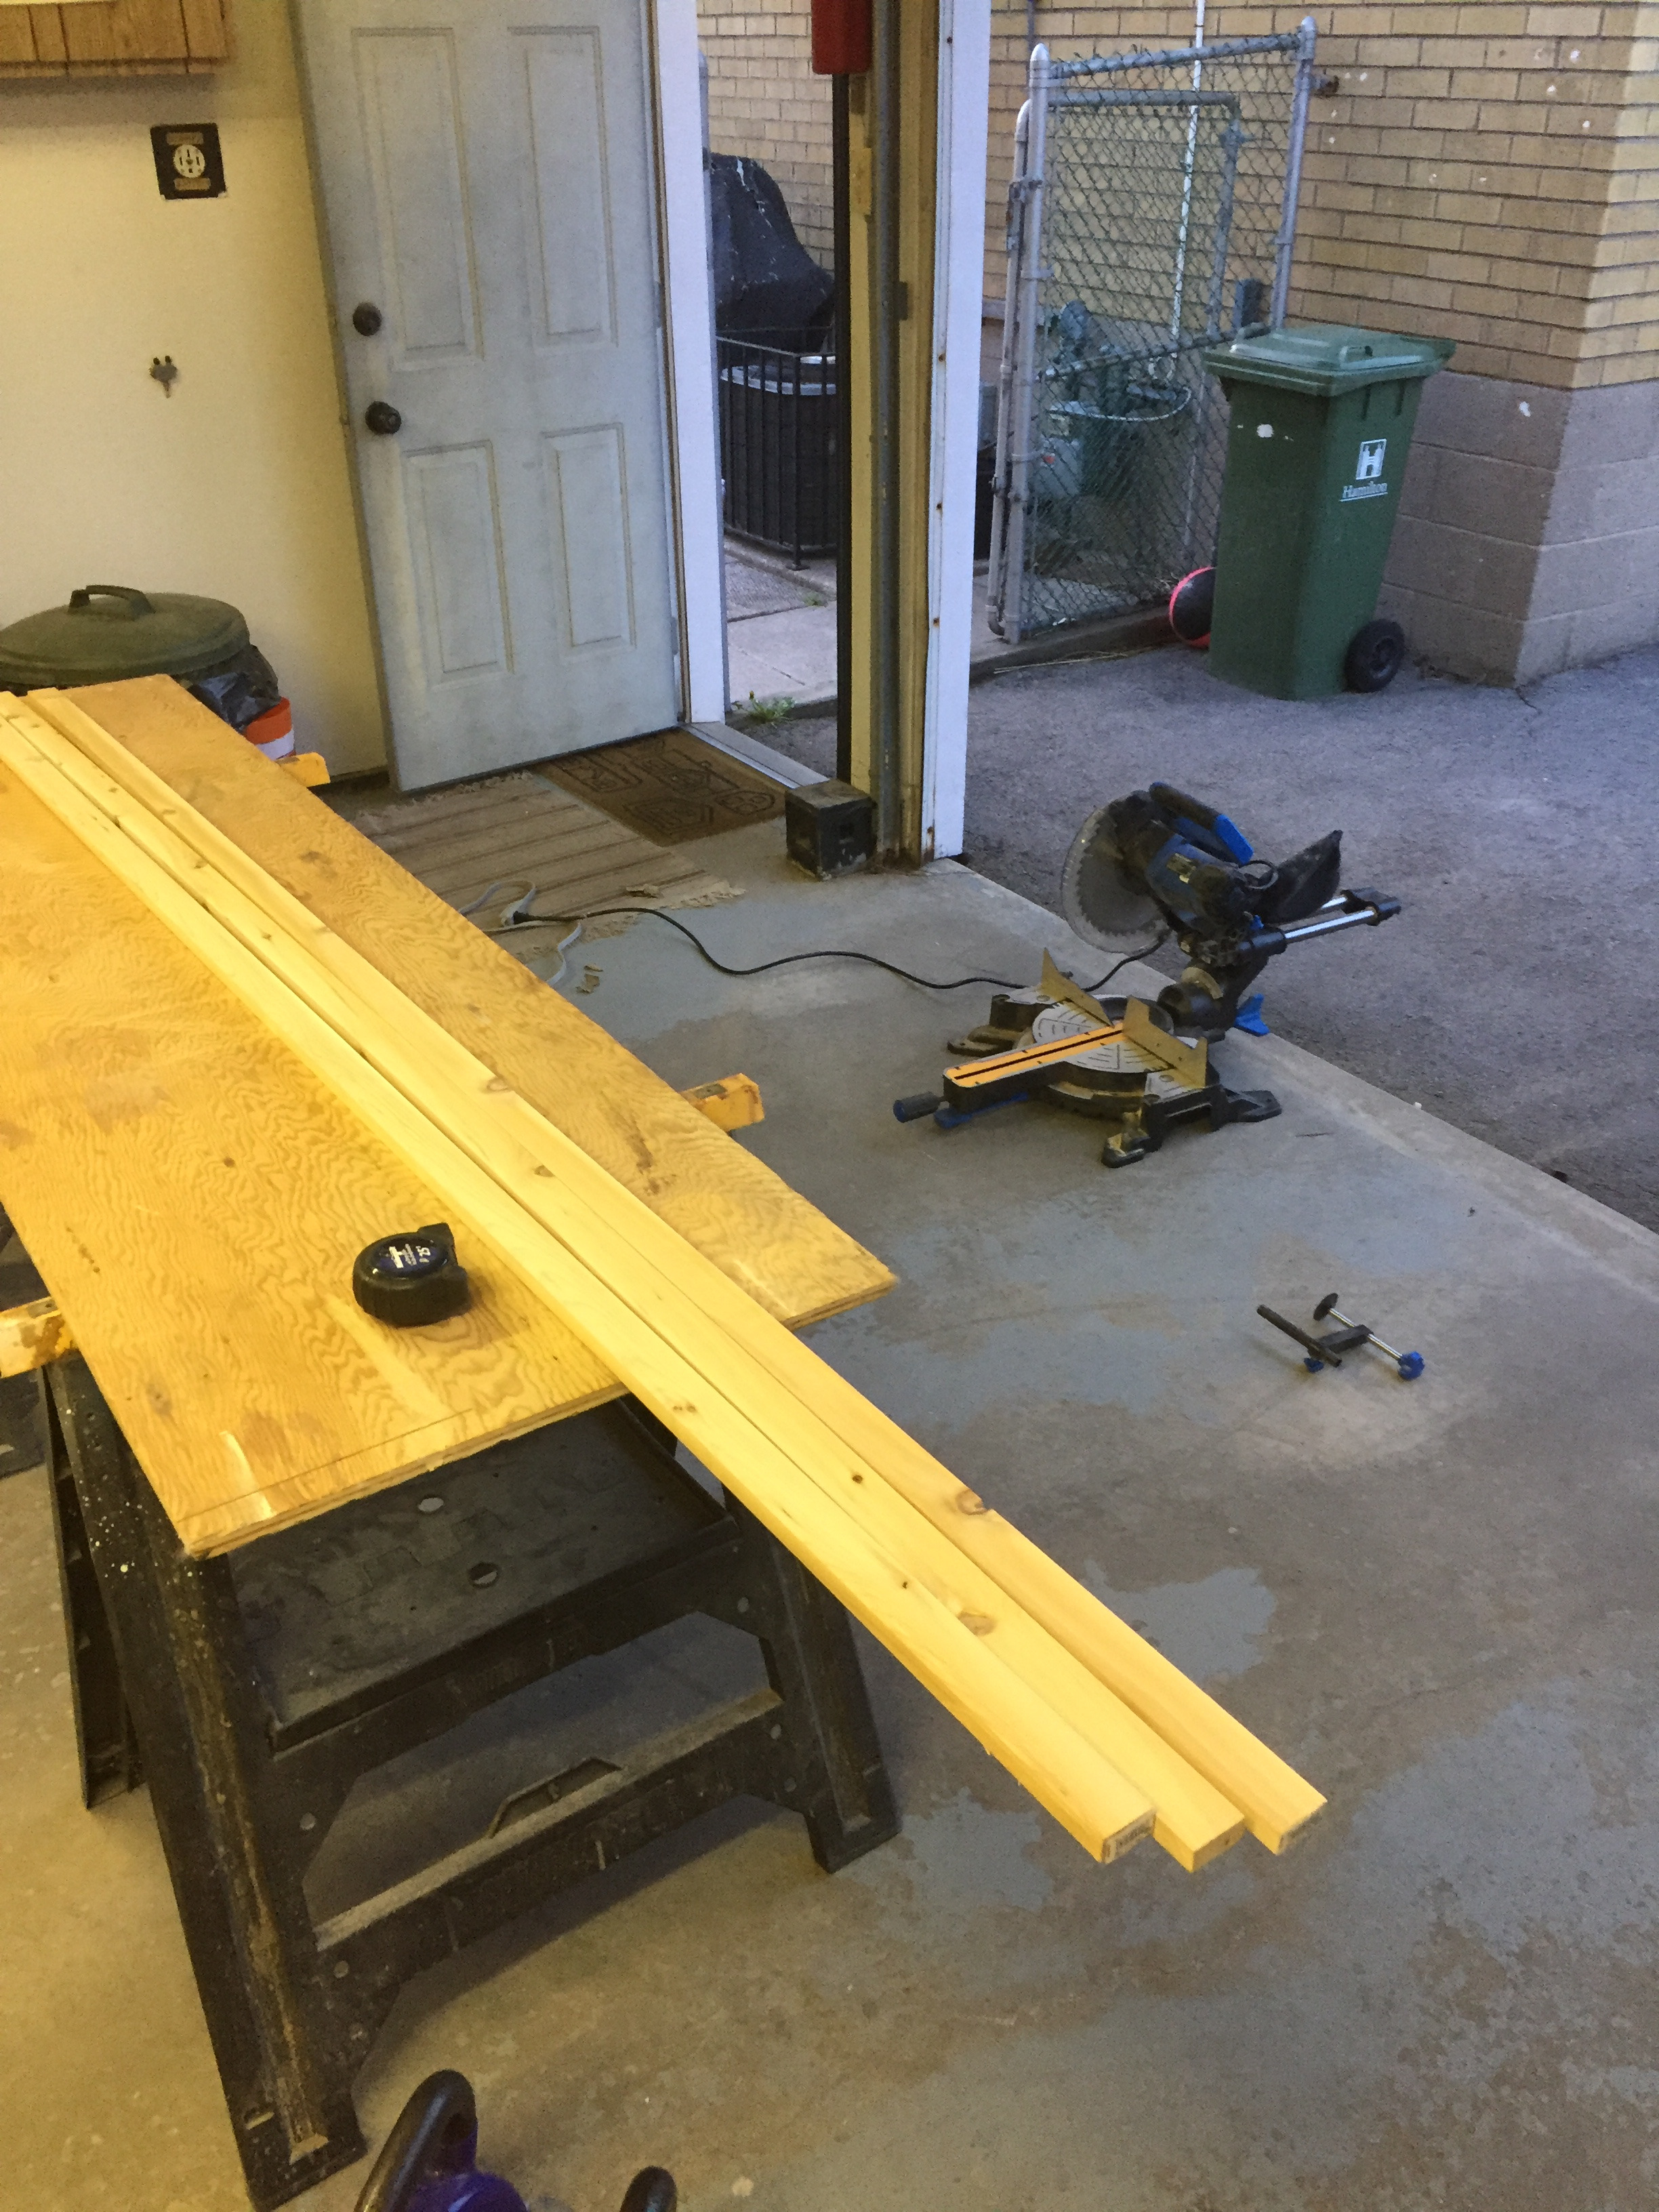
- Wood for frame 1x2 x 6' pieces x 2pc.
- wood glue
- wood stain
- Note pad and pencil to sketchup concepts
- clamps to hold frame together while it drys
Concept Development
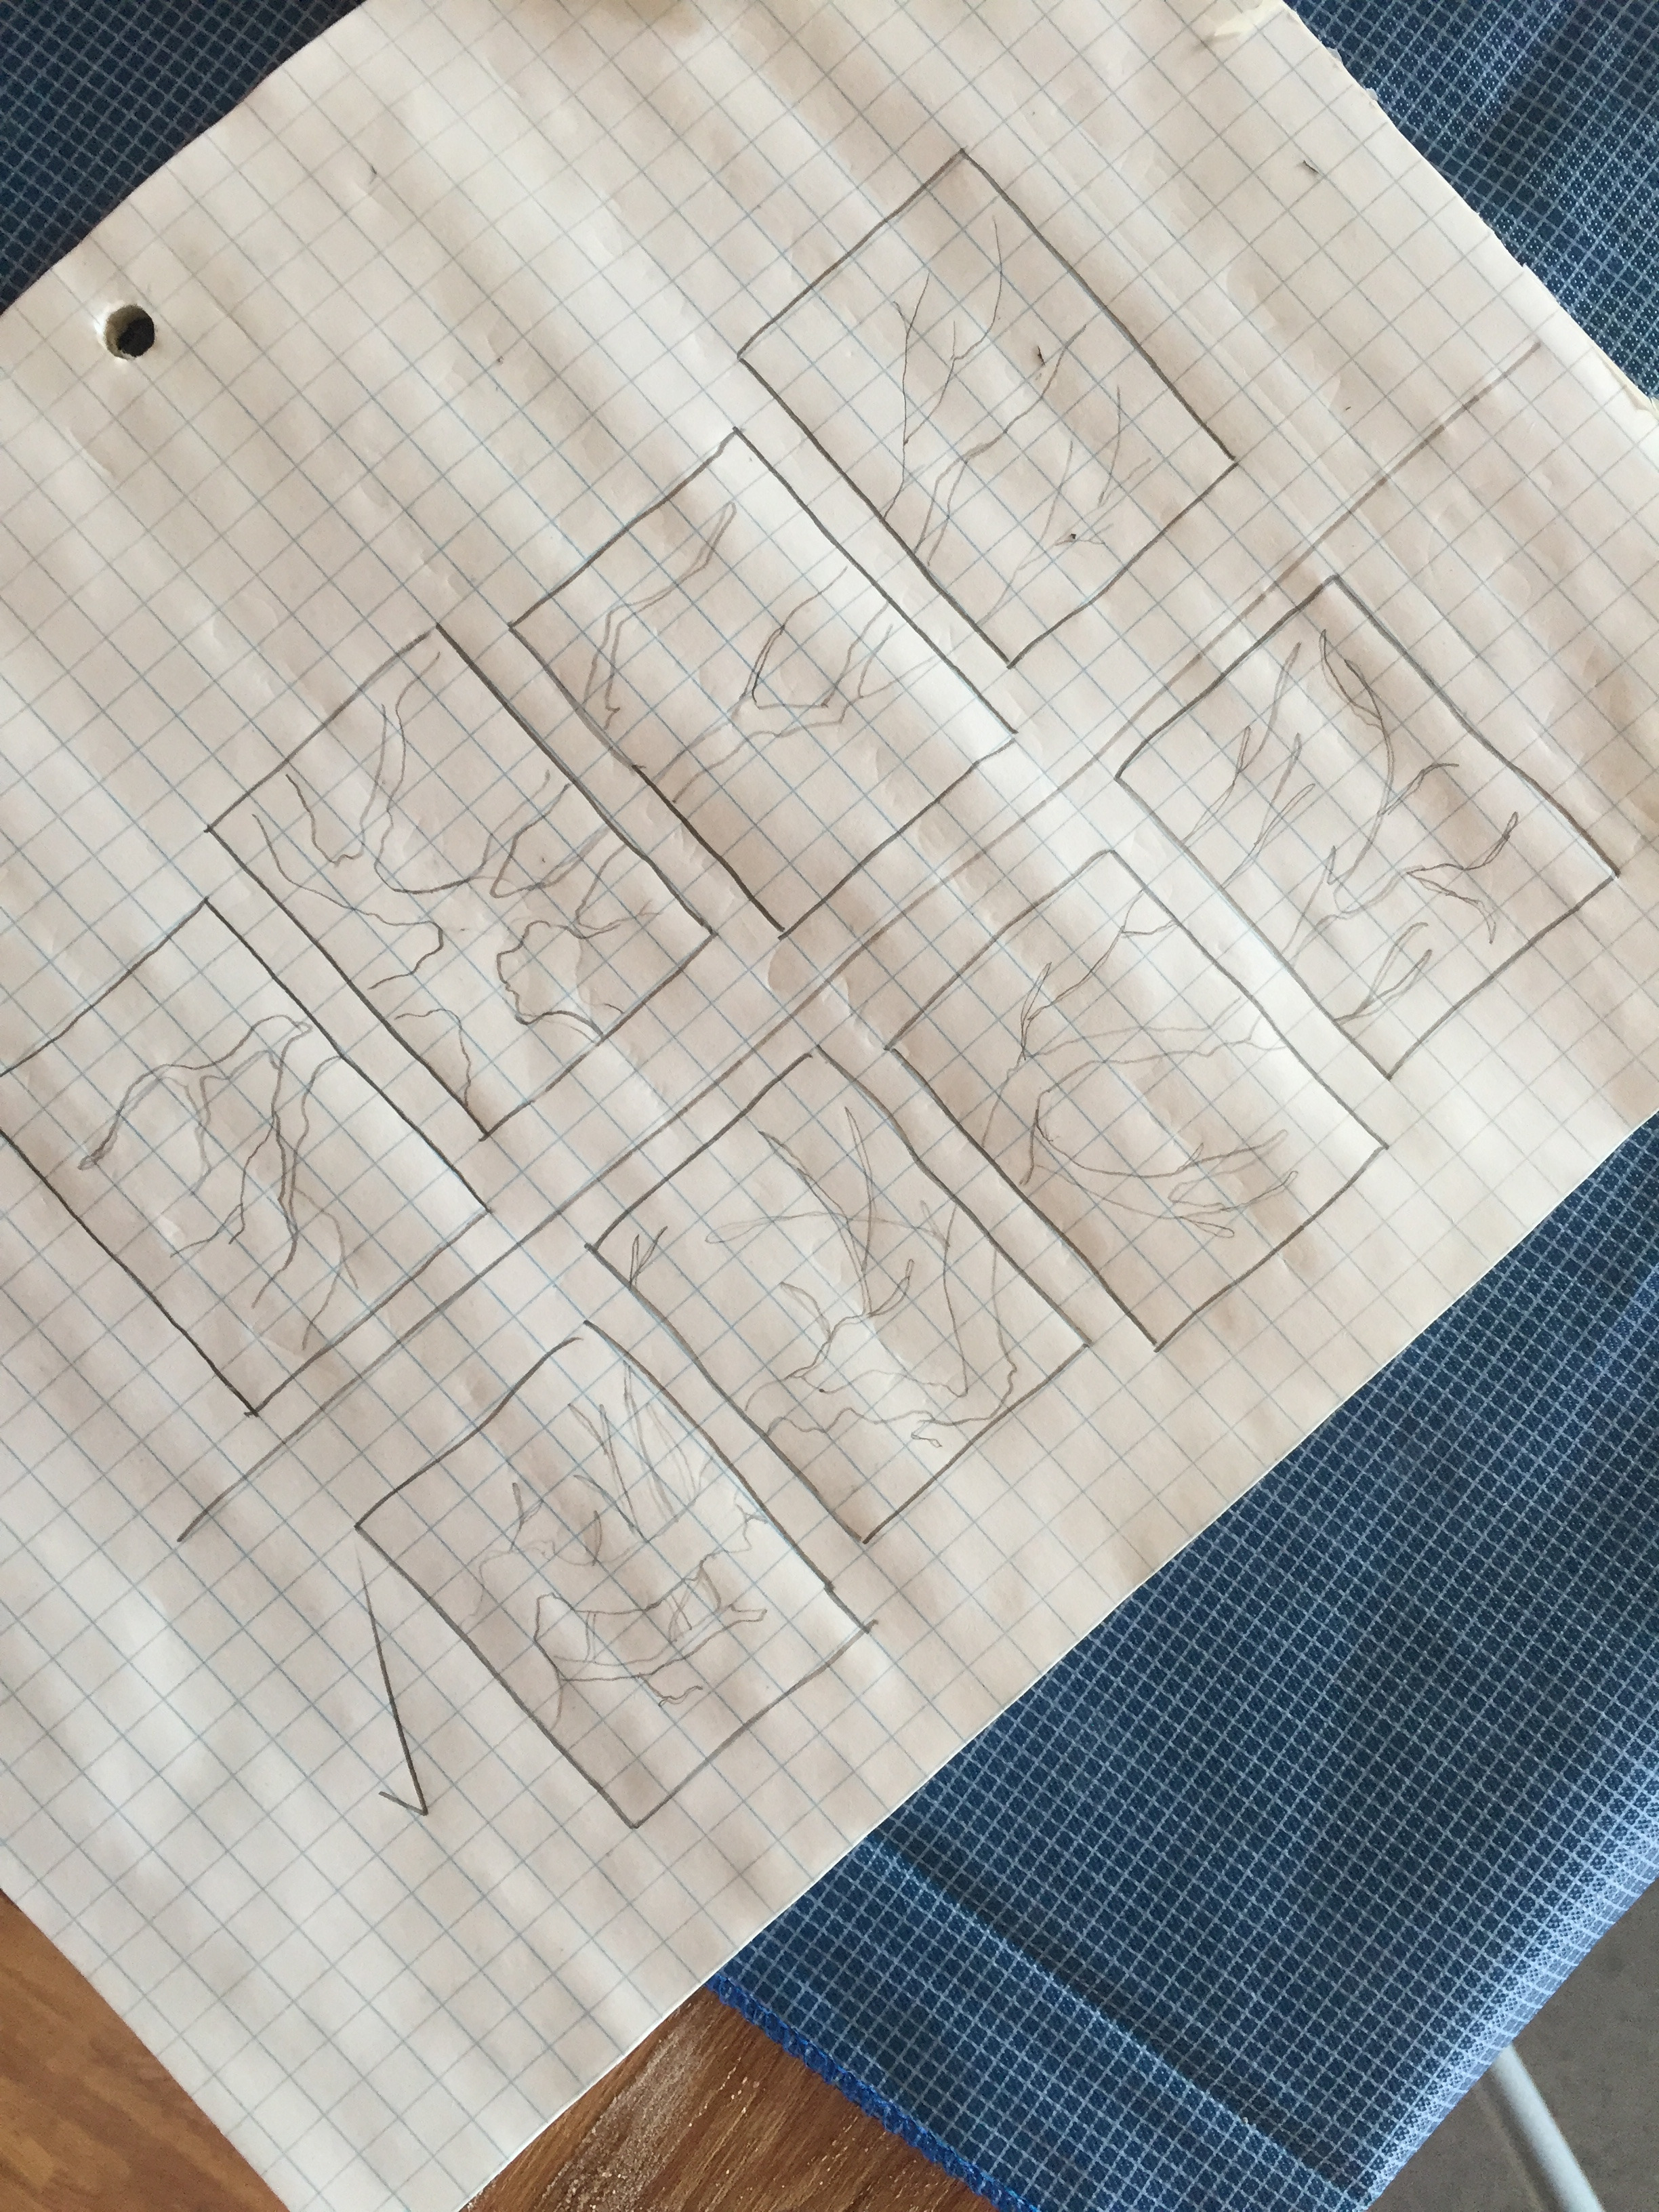
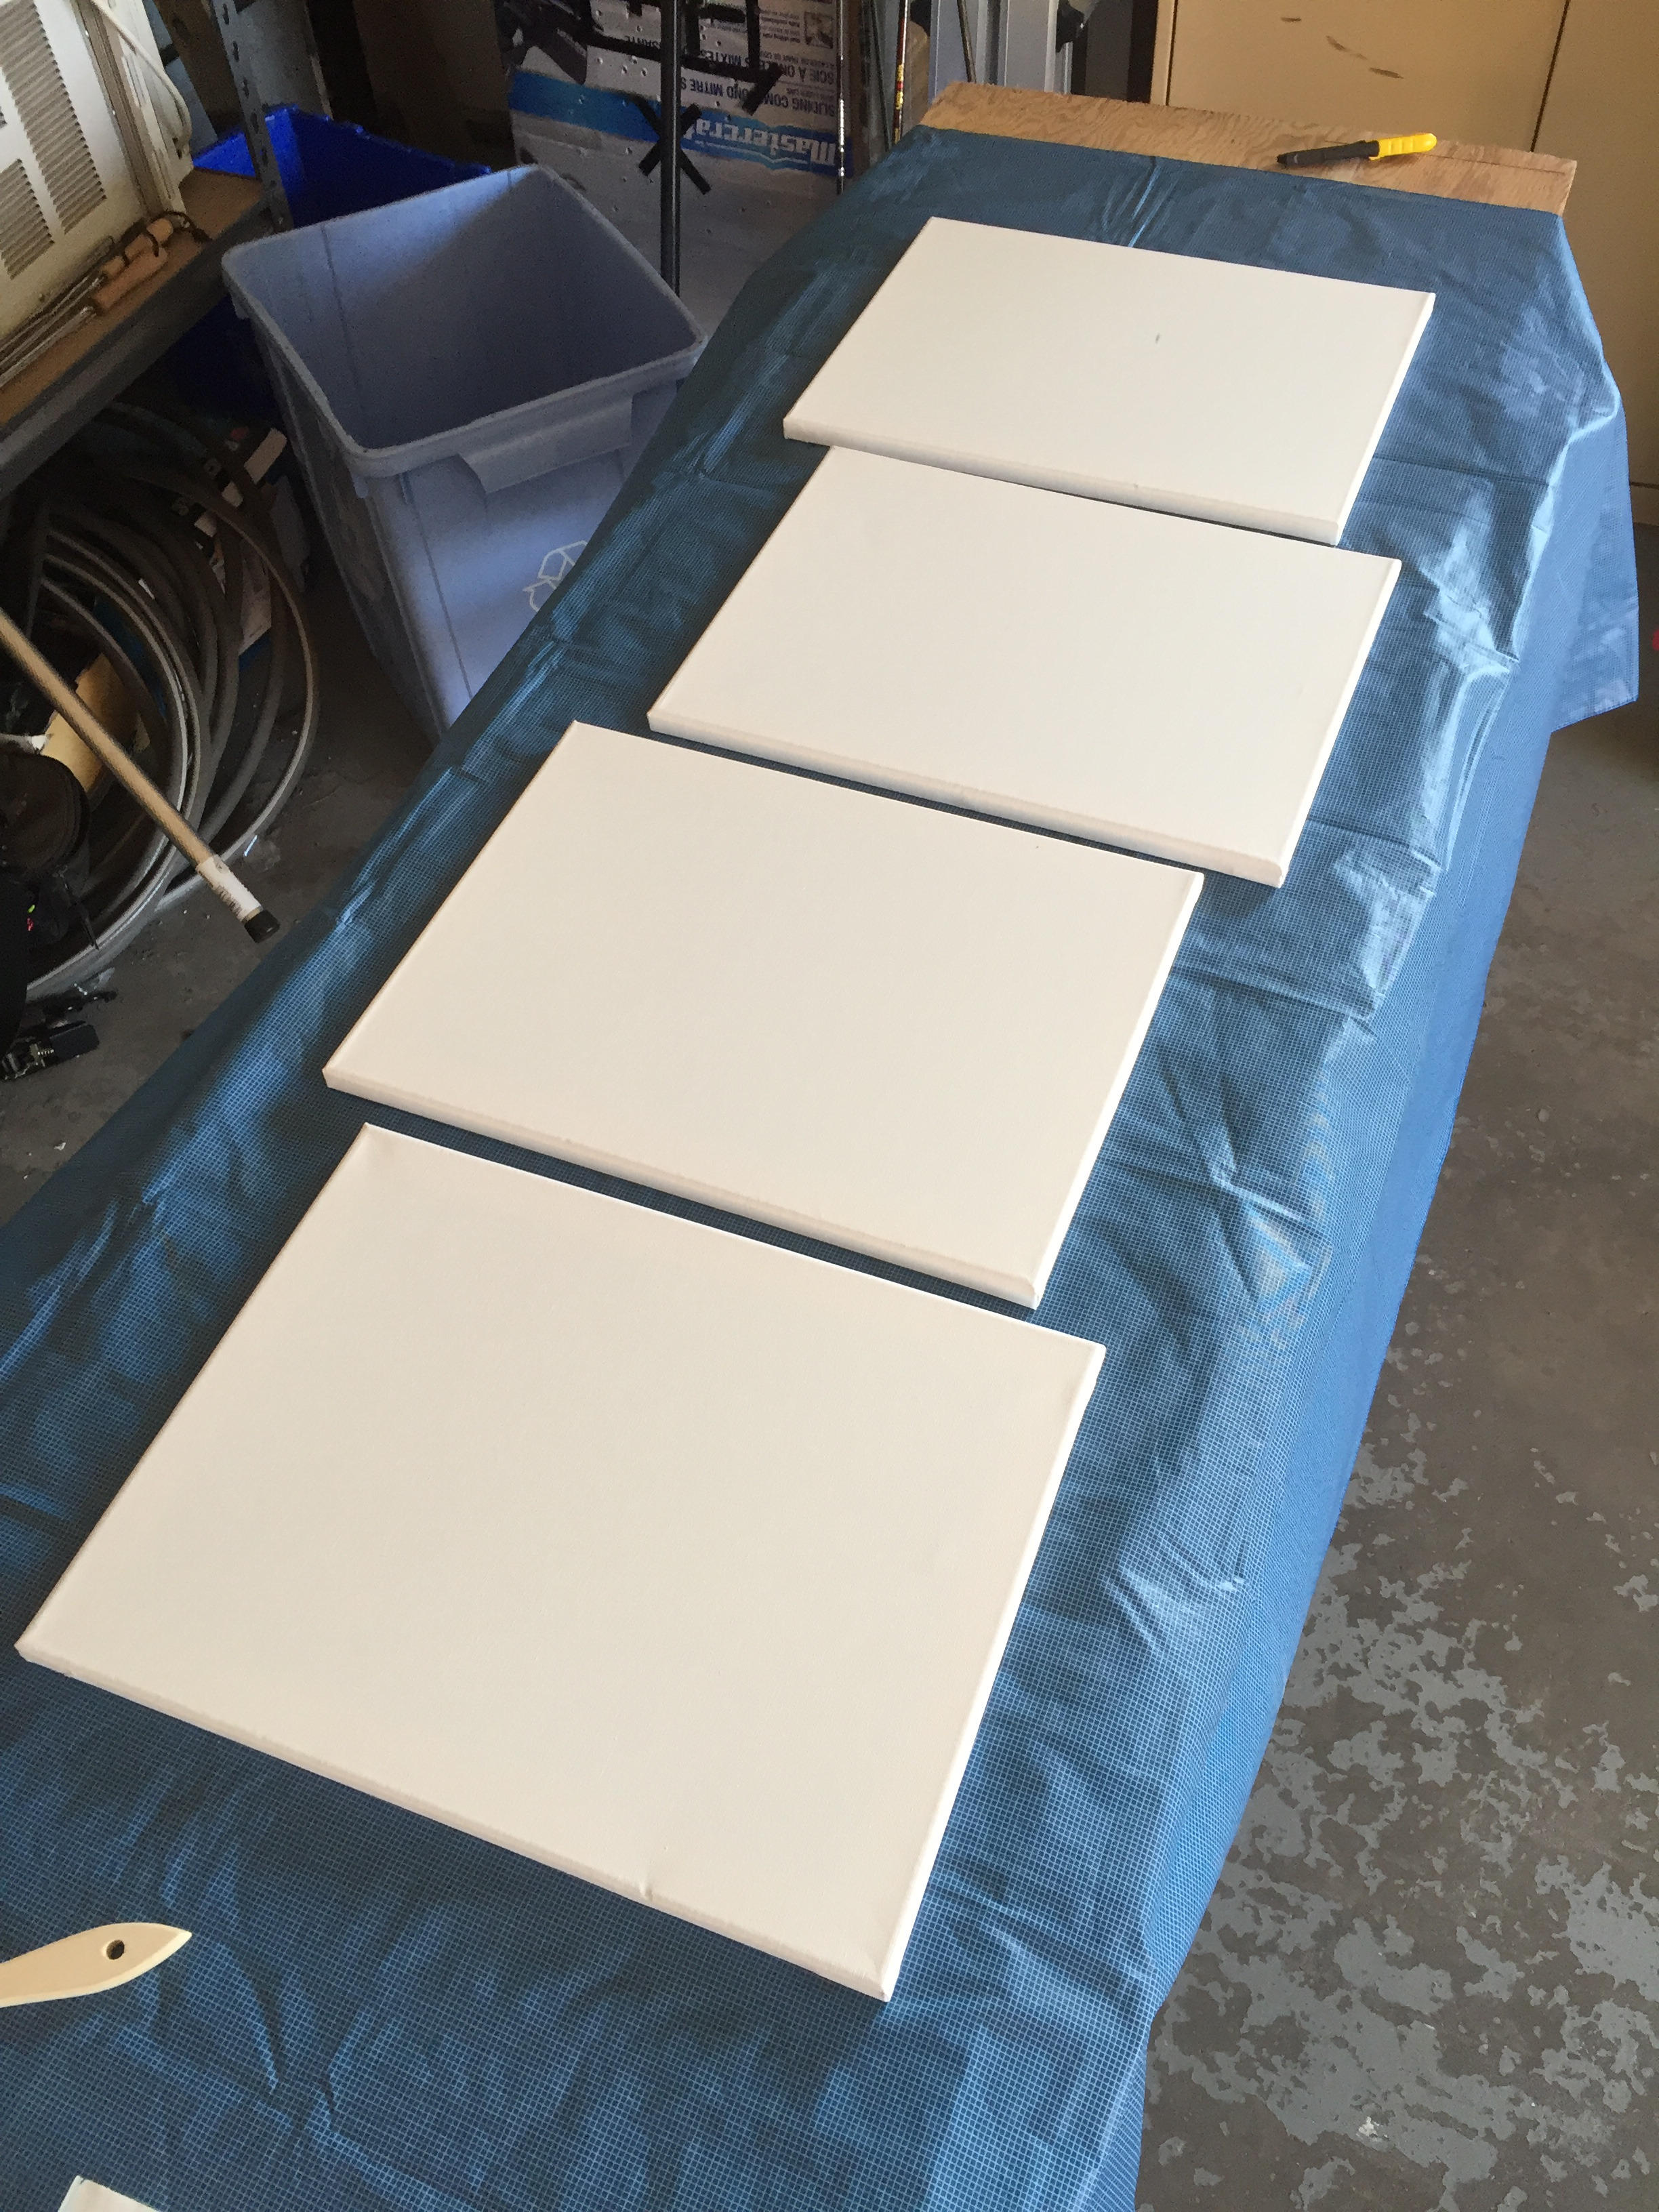
Layout
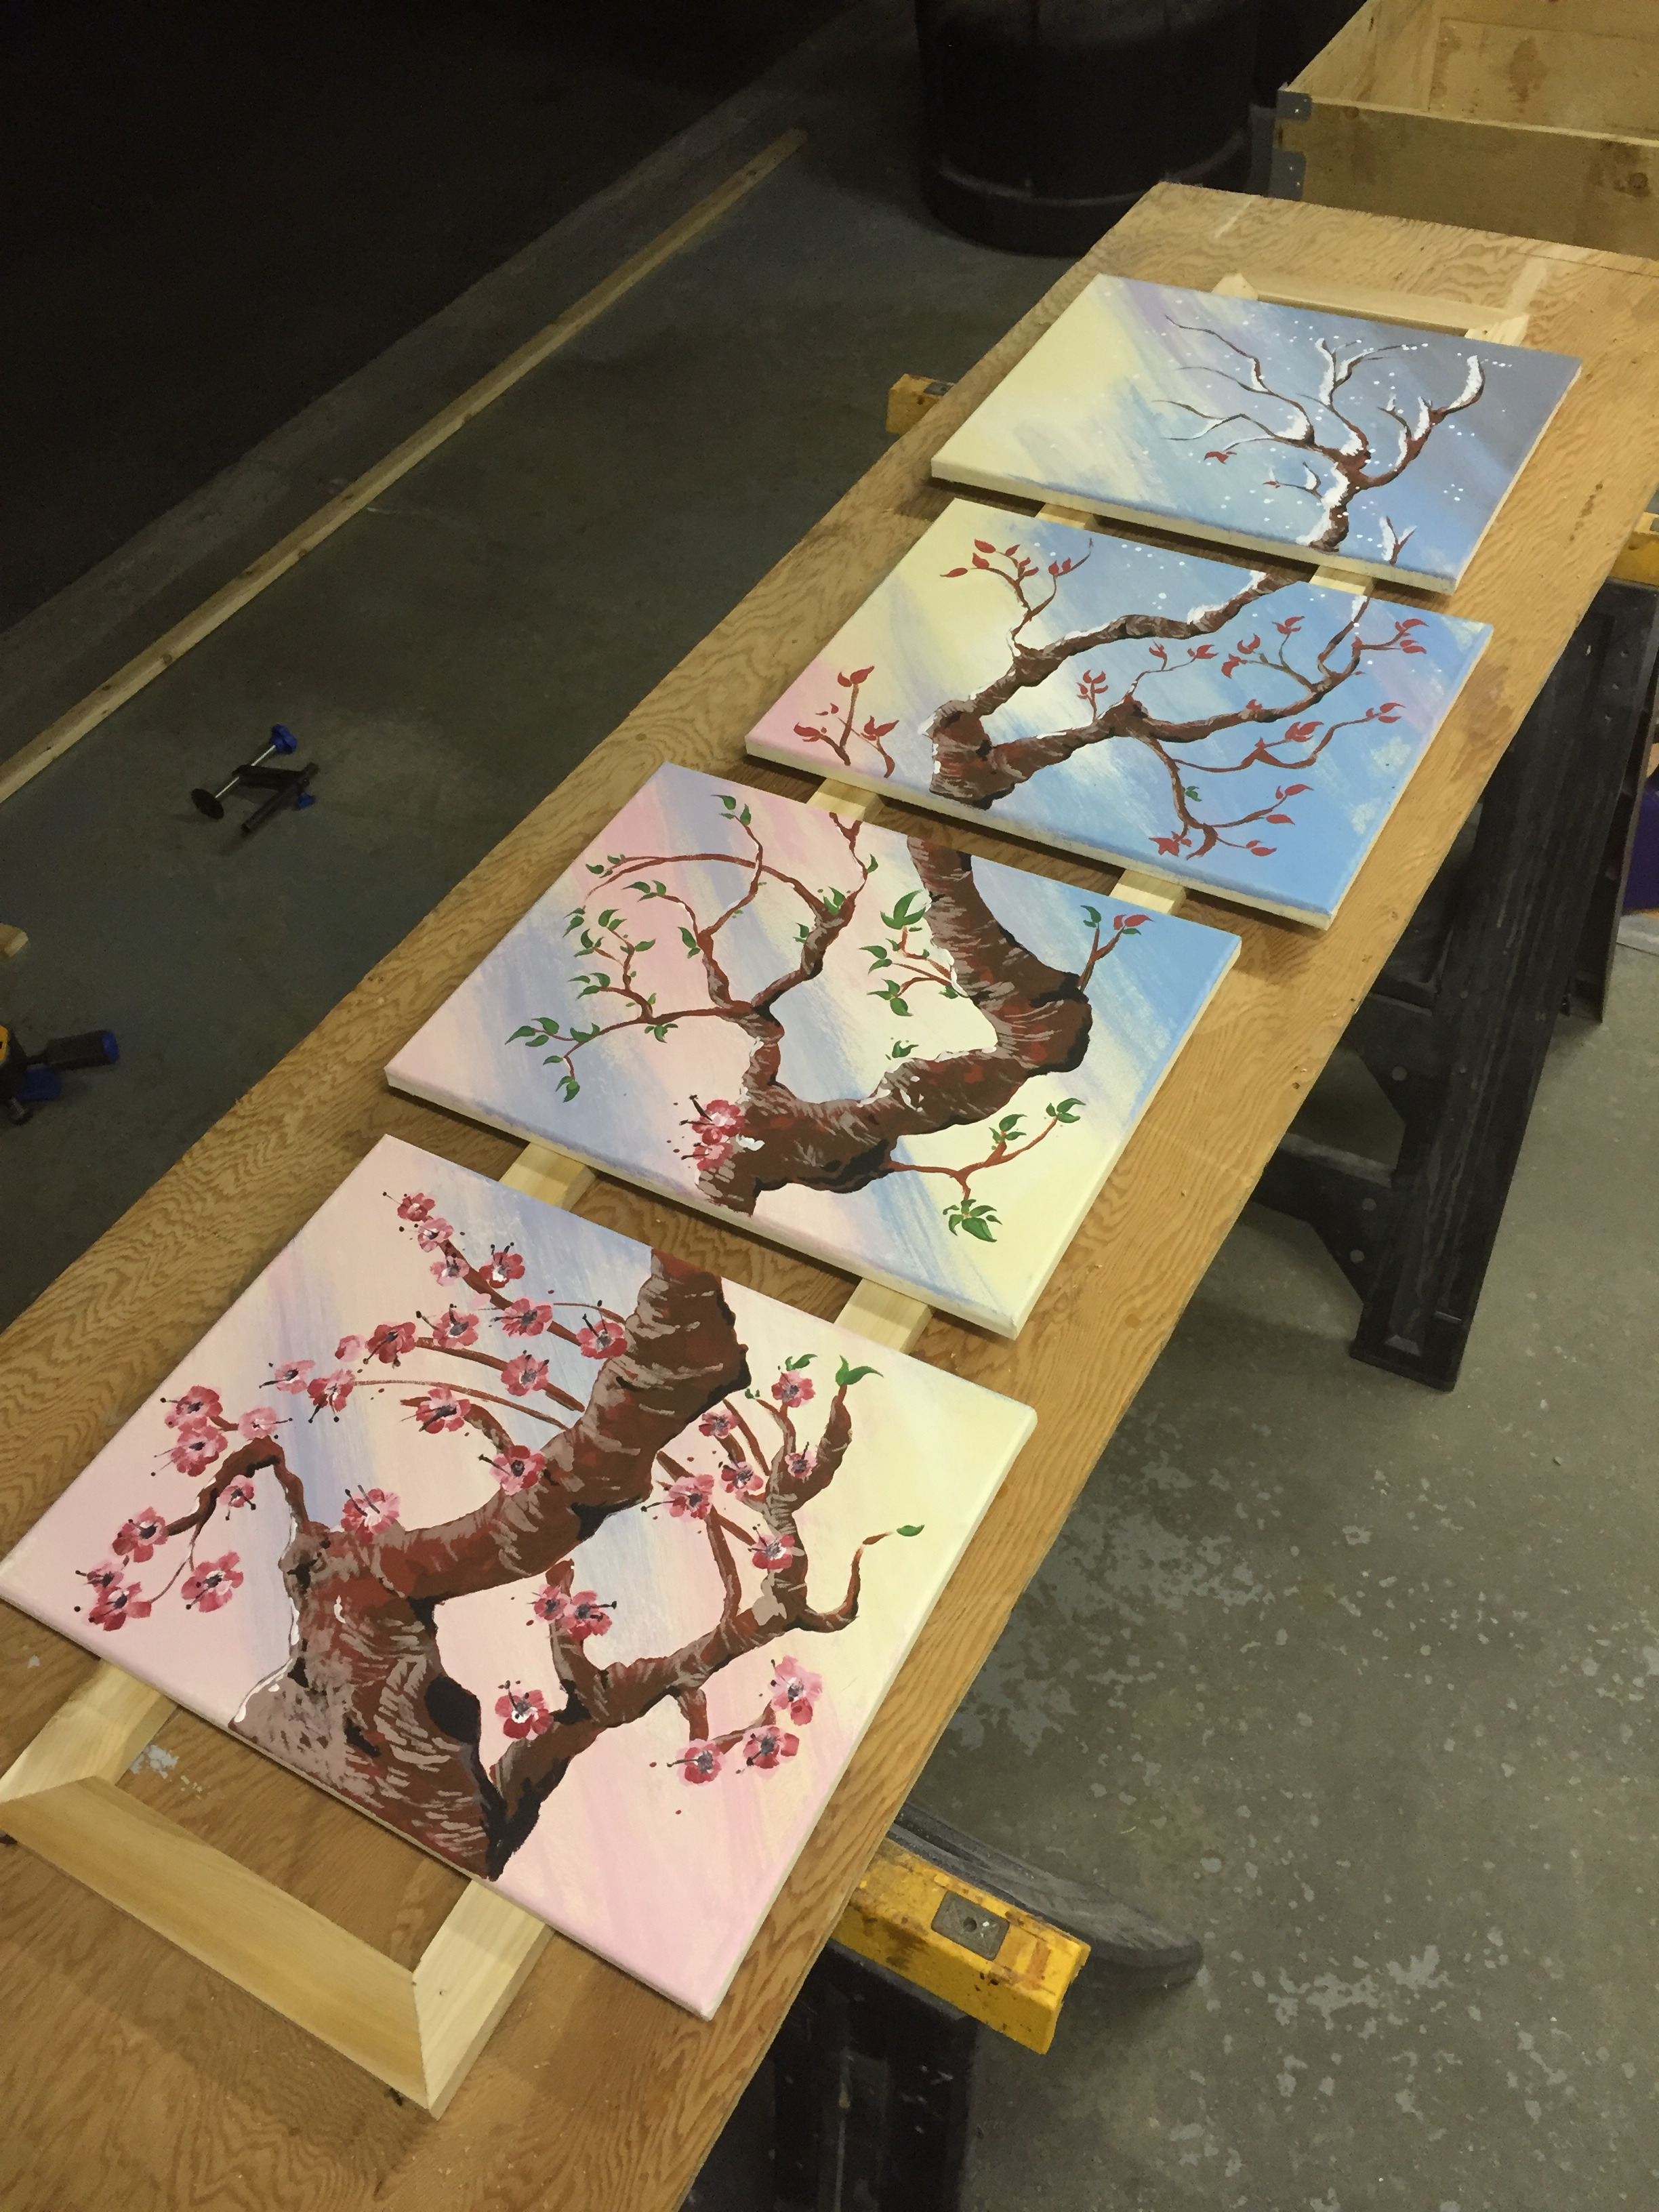
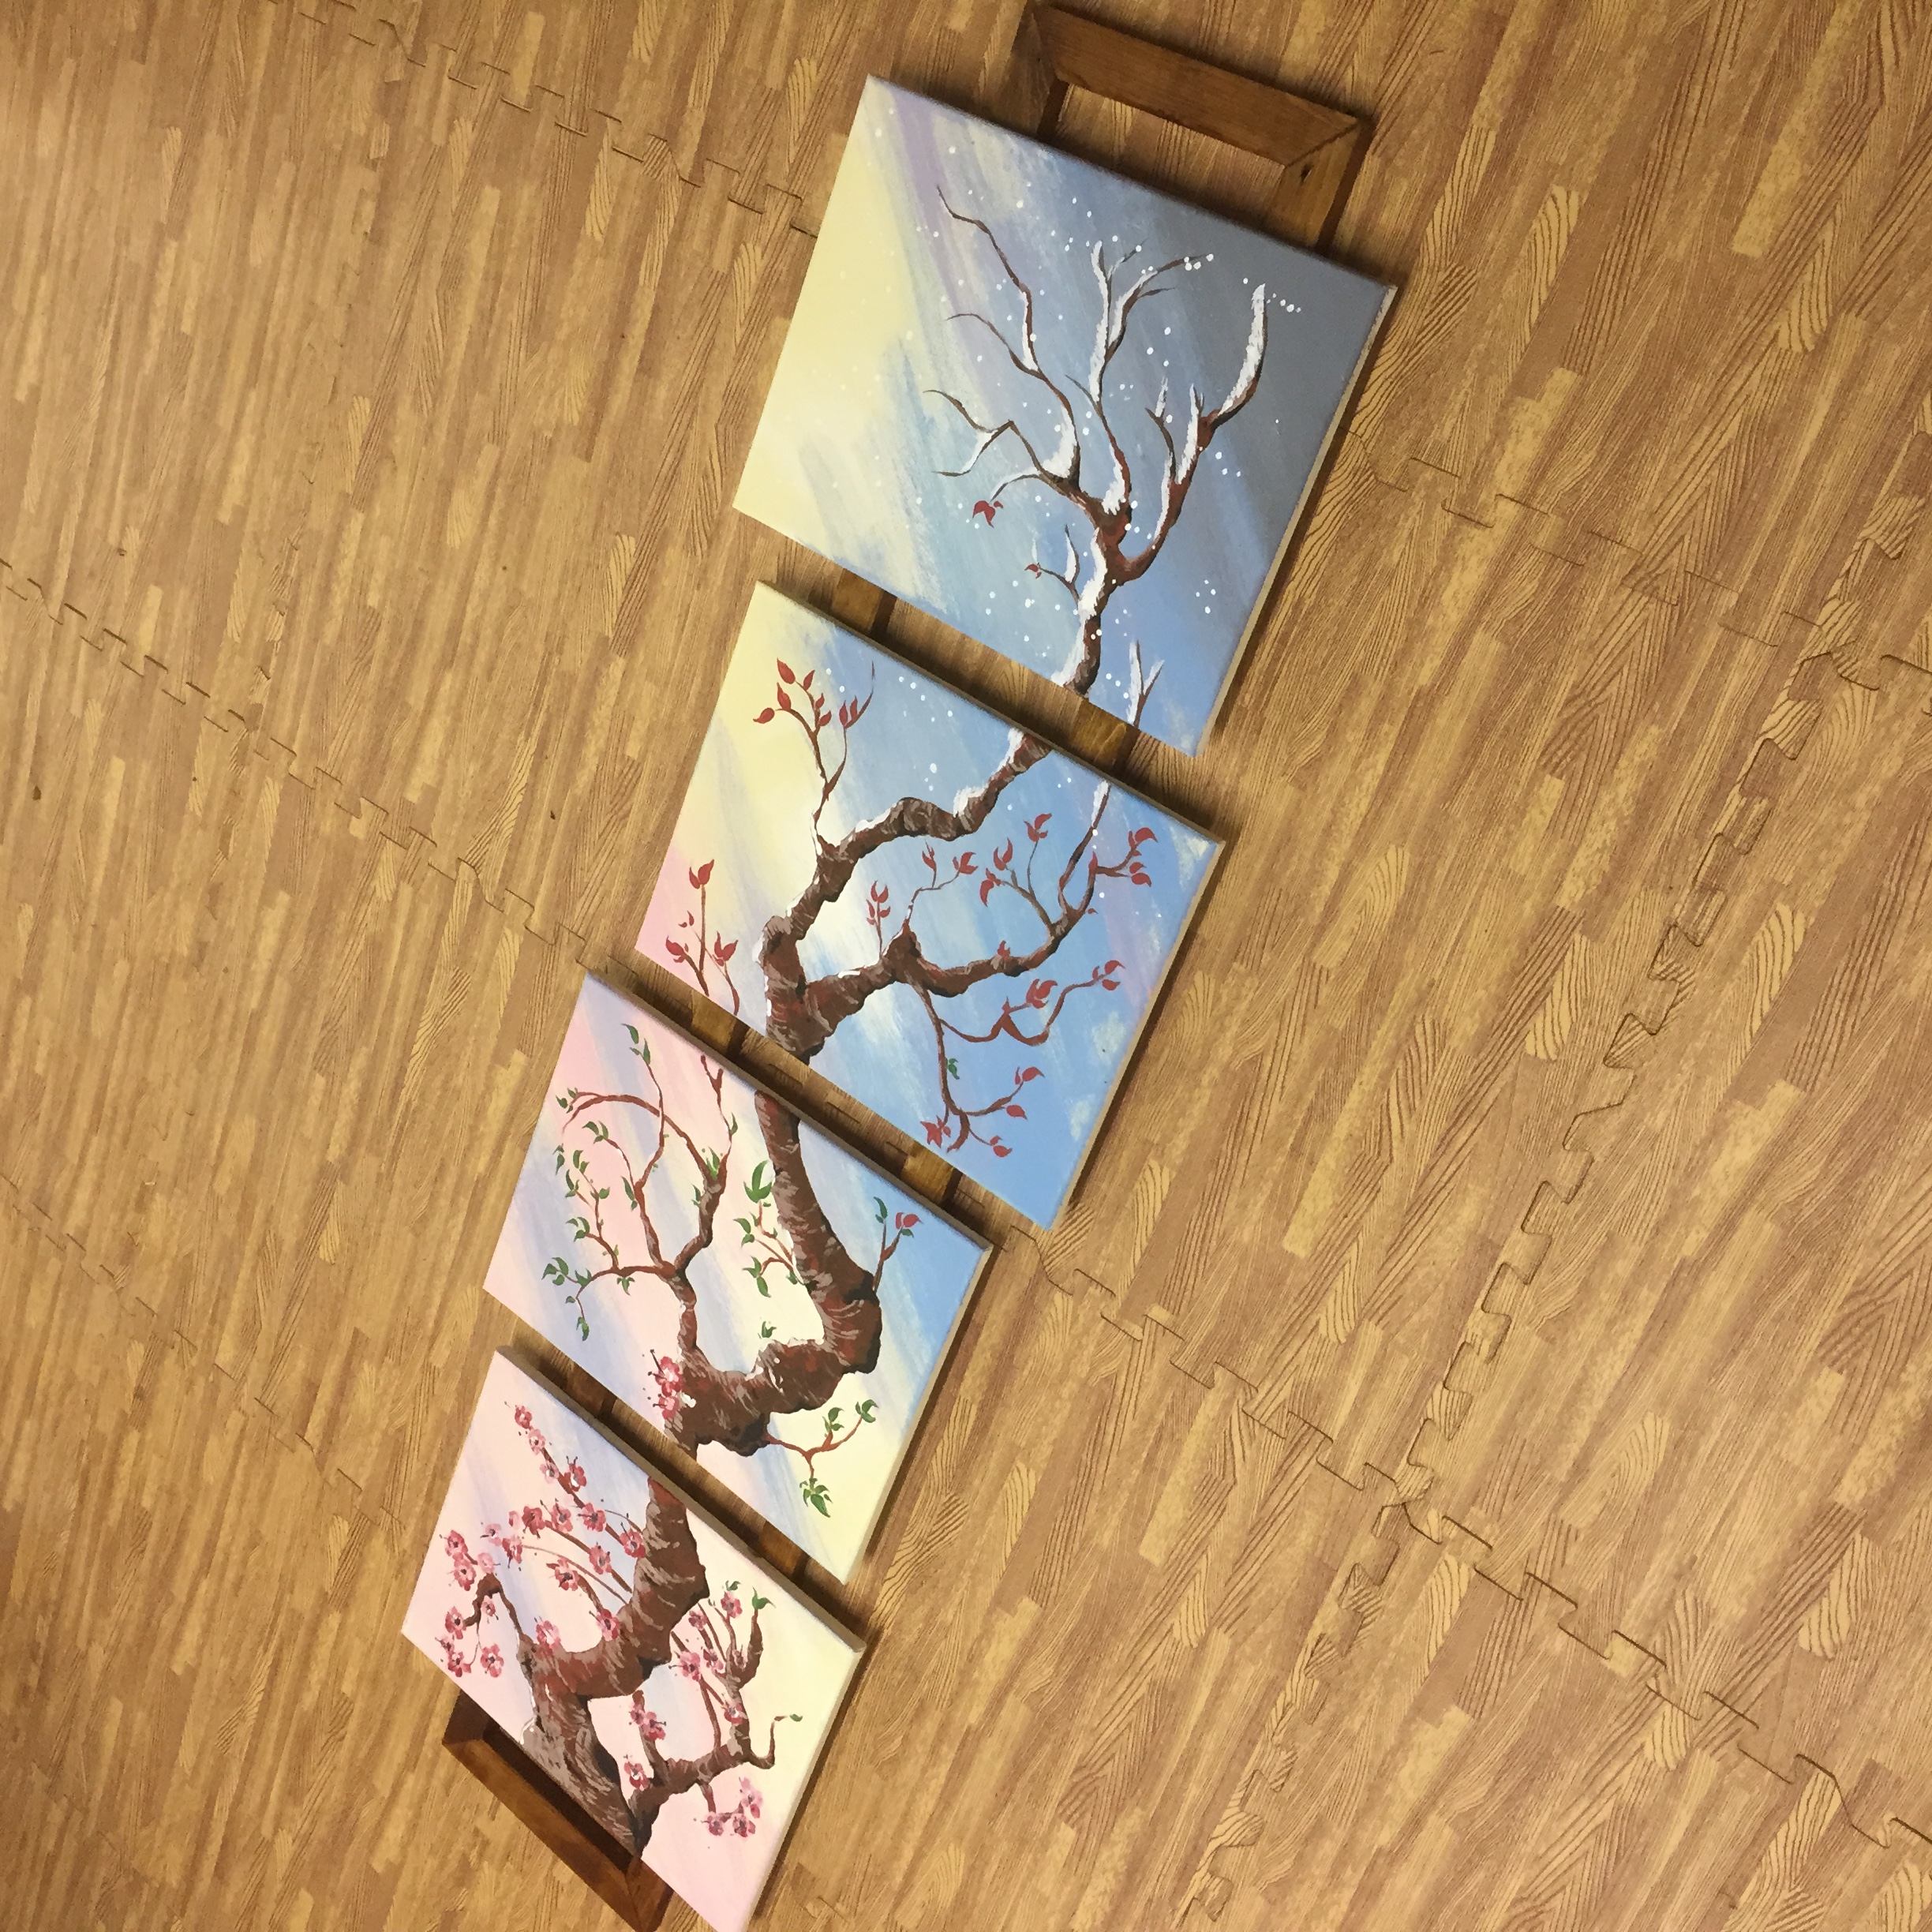
Canvas orientation - Instead of just a straight line I decided to offset each canvas slightly to allow my tree branch to have more character
Before you get started on the actual canvas you want to have a general idea of what you want to do. I deiced on a tree branch which would spread across all 4 pieces of canvas. To make sure I did this correctly I did a few small sketches of how I would want the branch to be laid out.
It's key to think about the end game here. You want all the pieces to have some good interest to the painting as well as have the entire piece together, still feel balanced when its complete.
Start Painting!
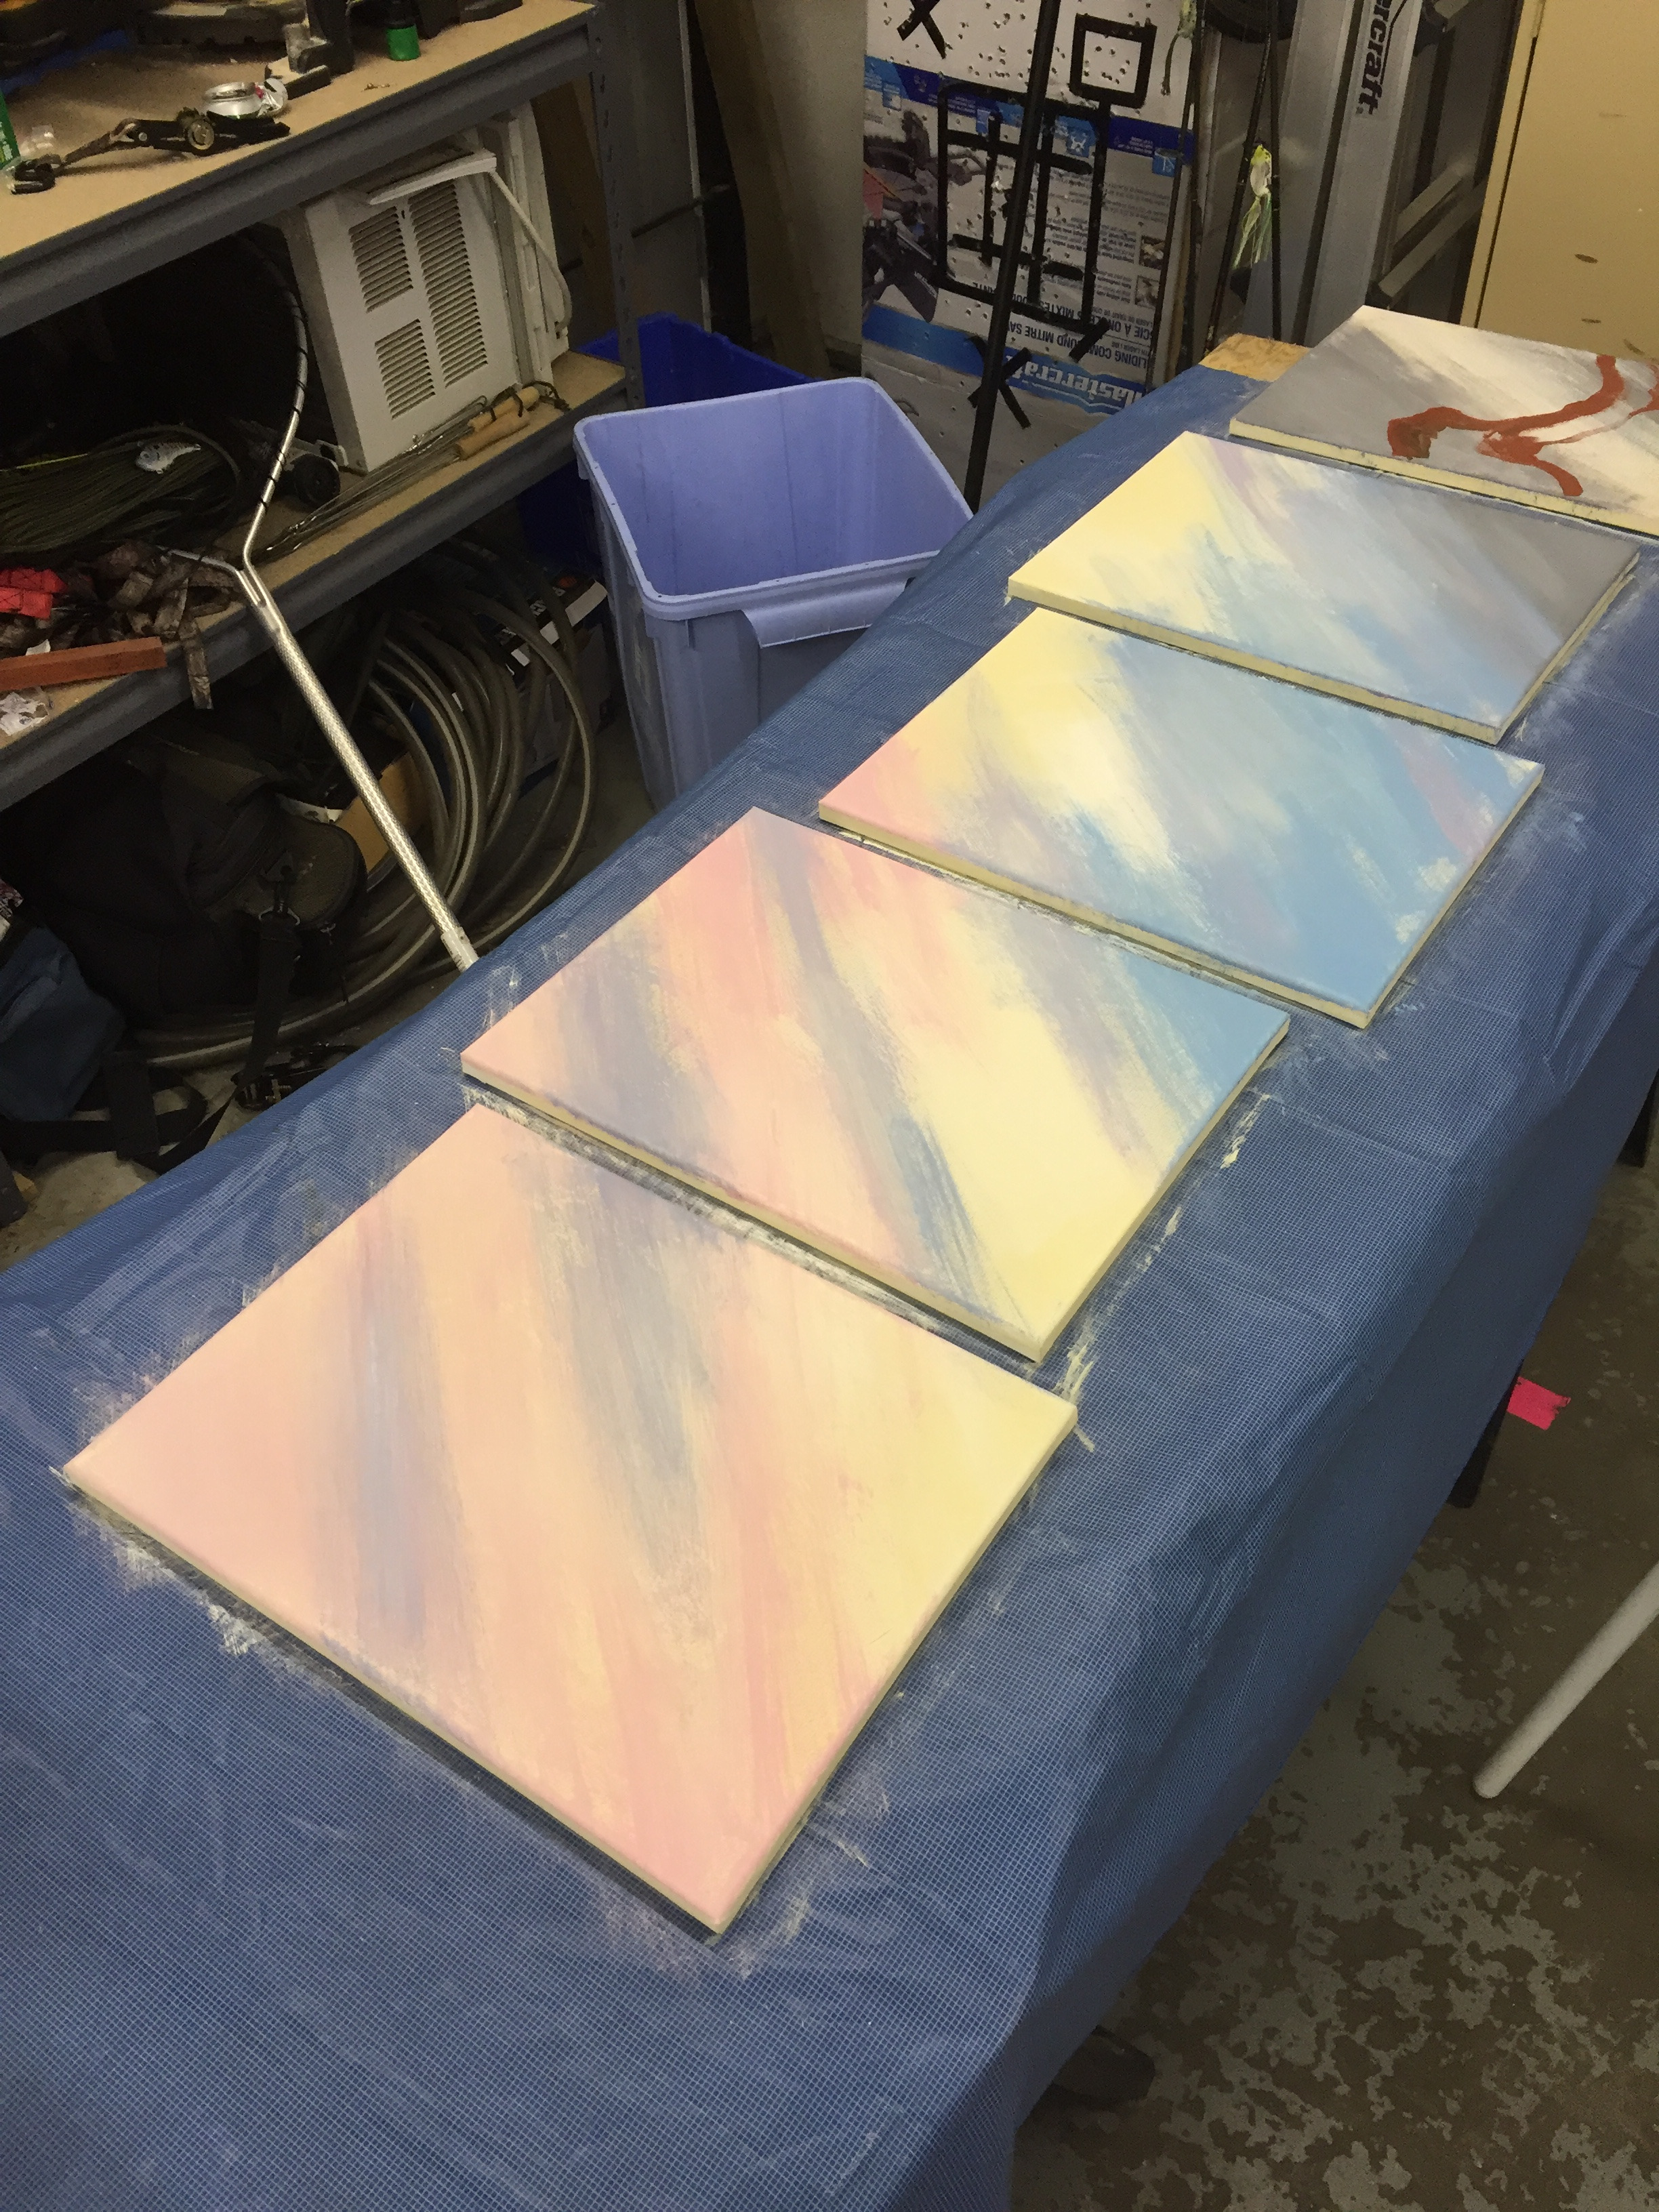
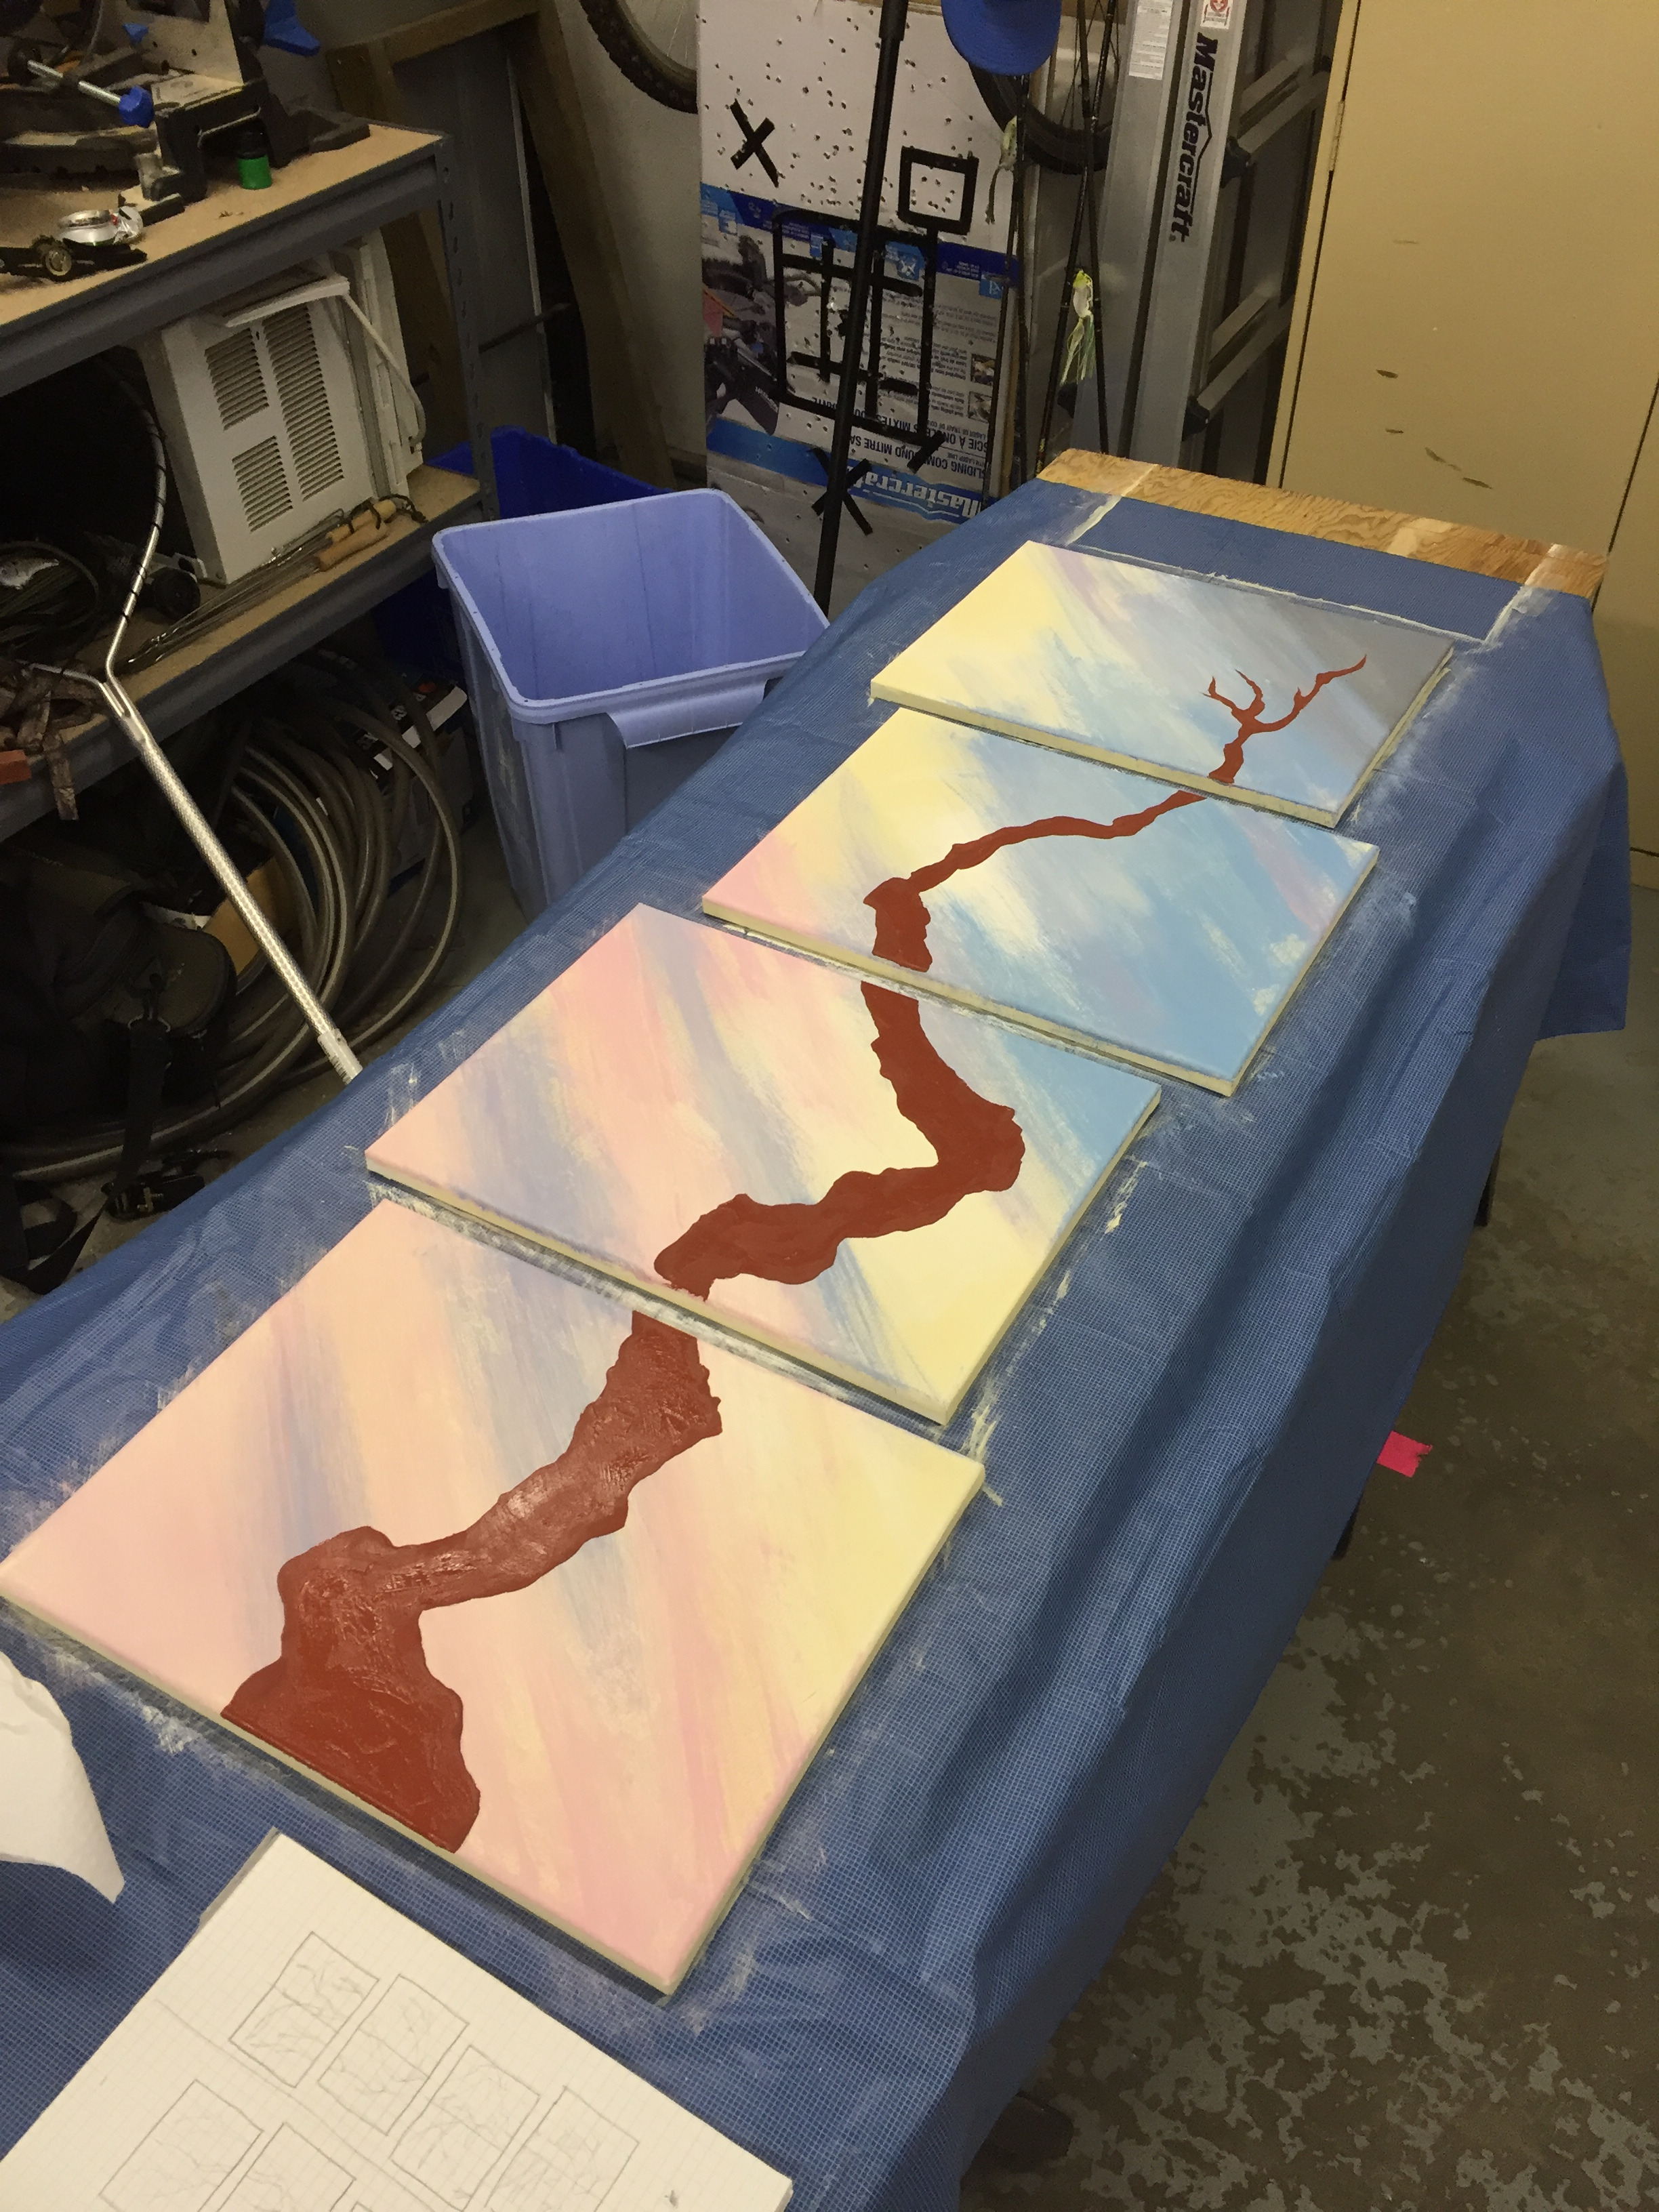
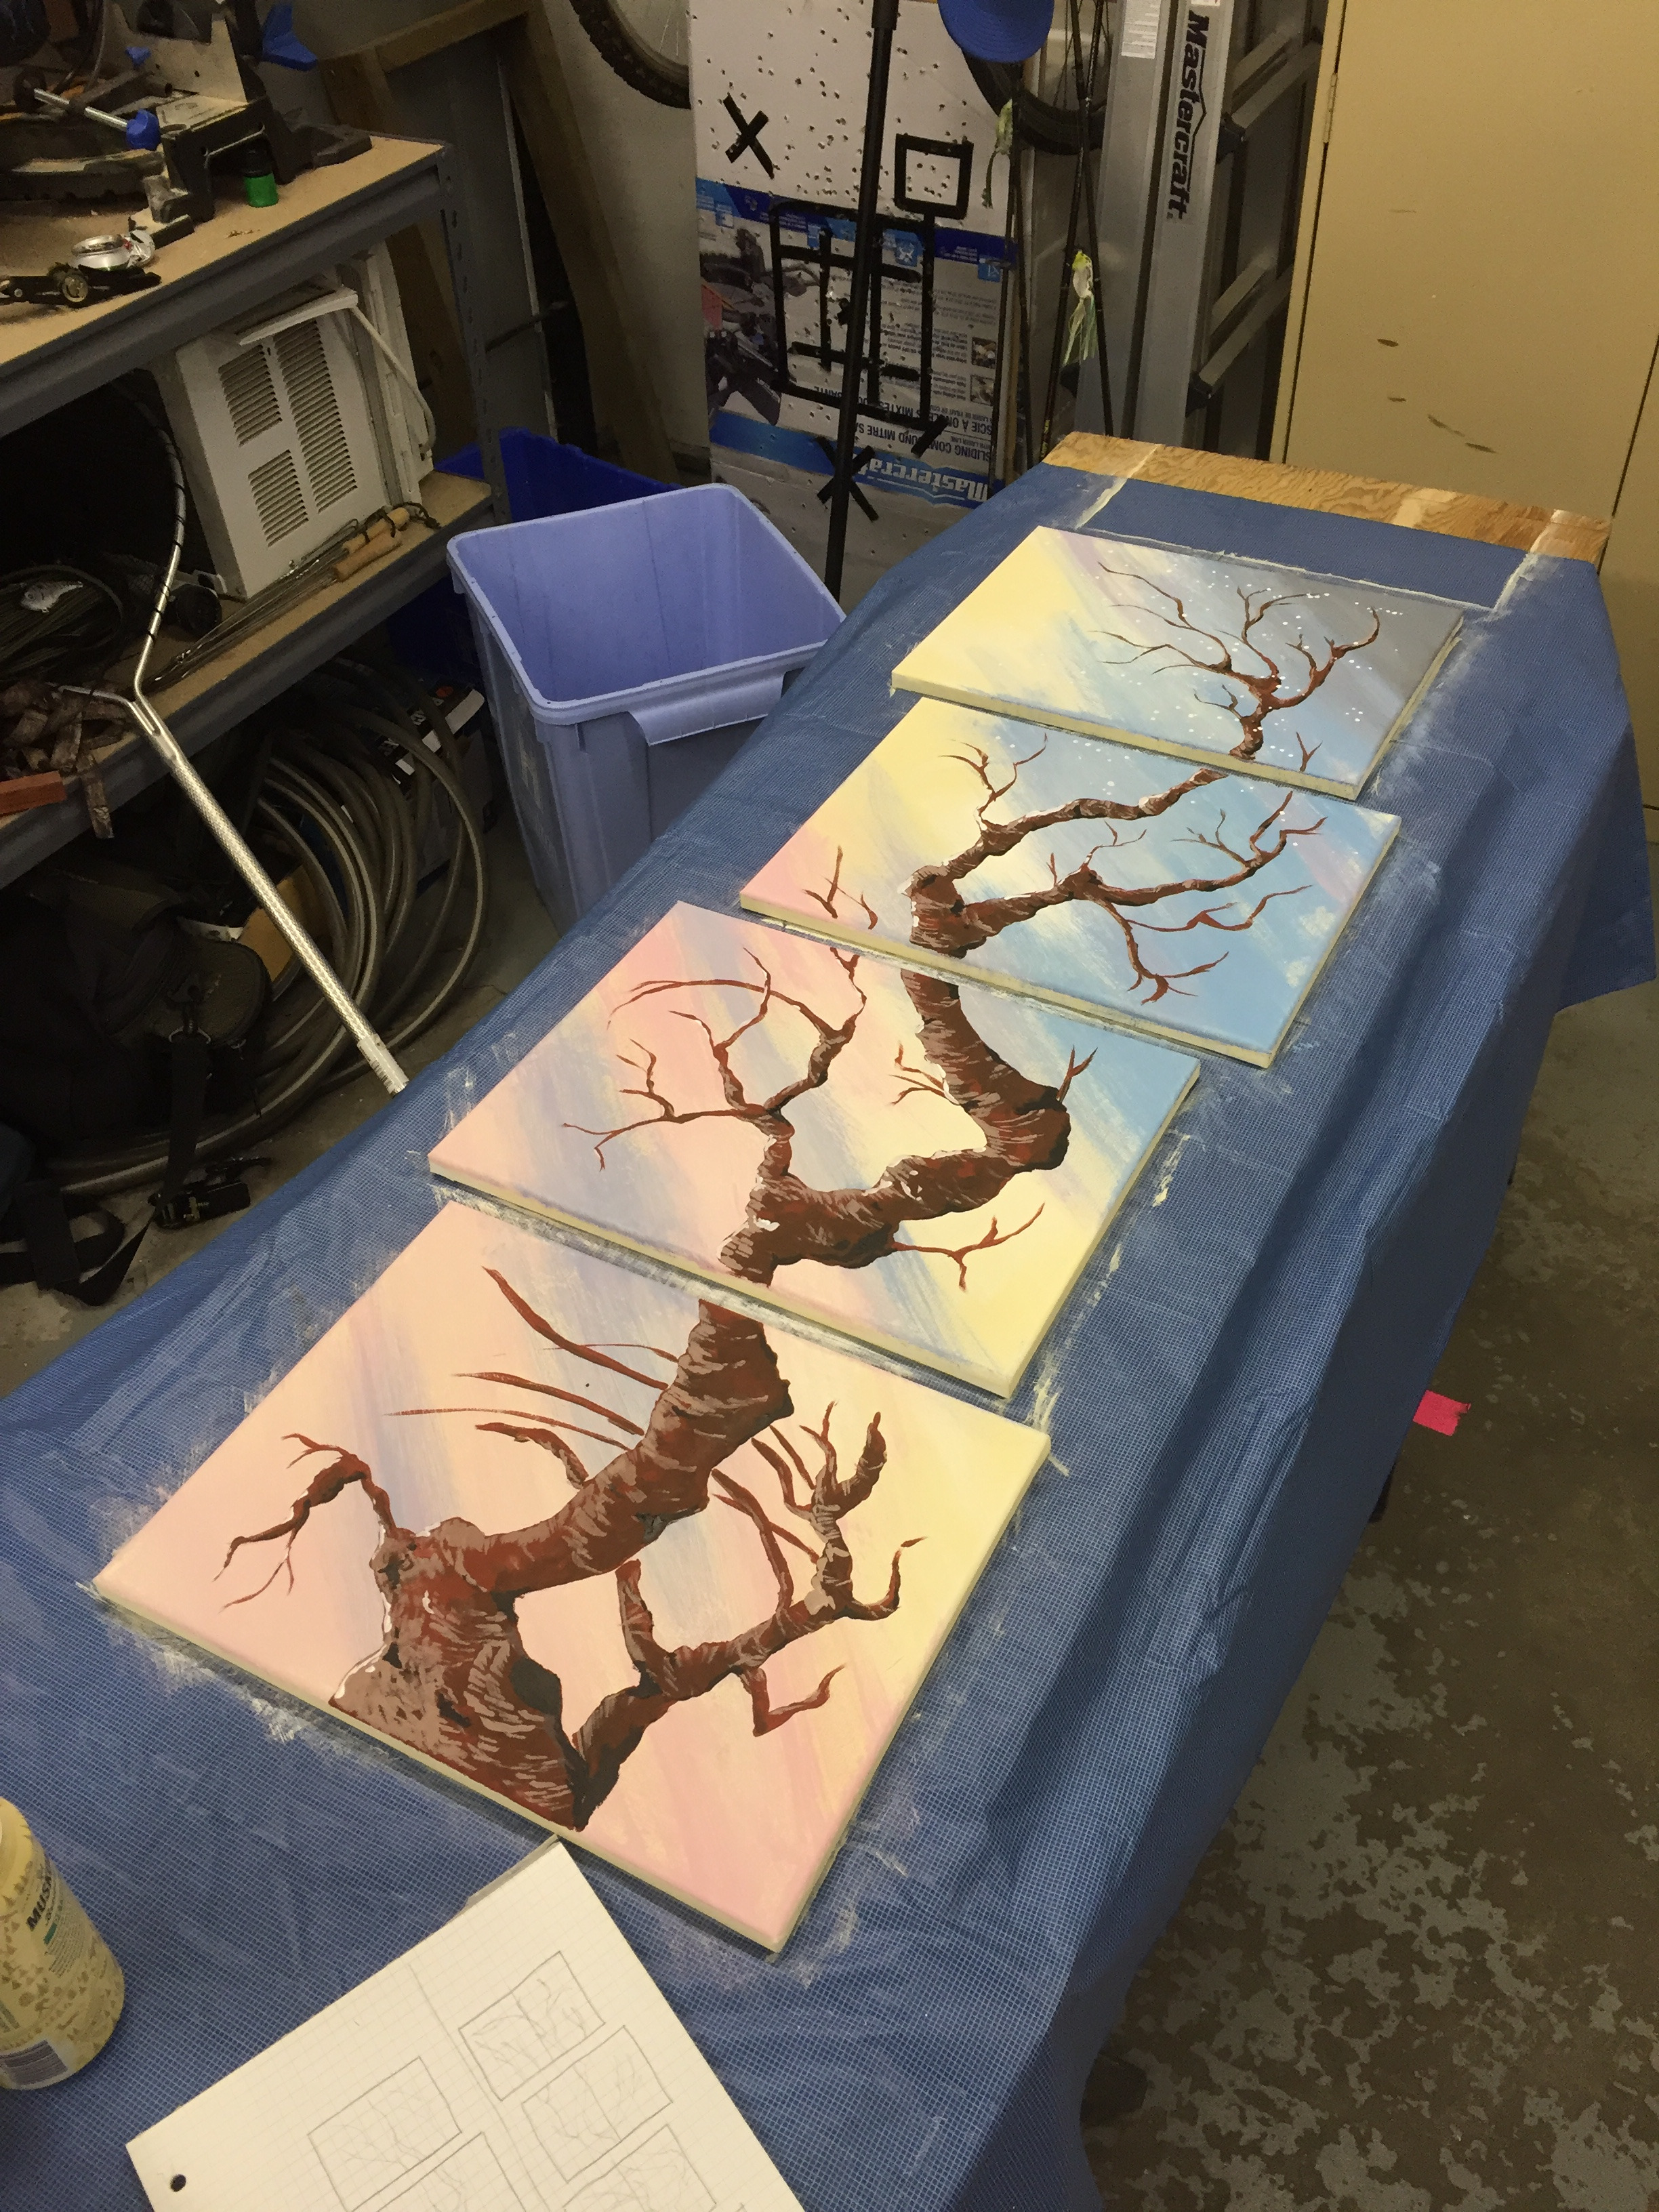
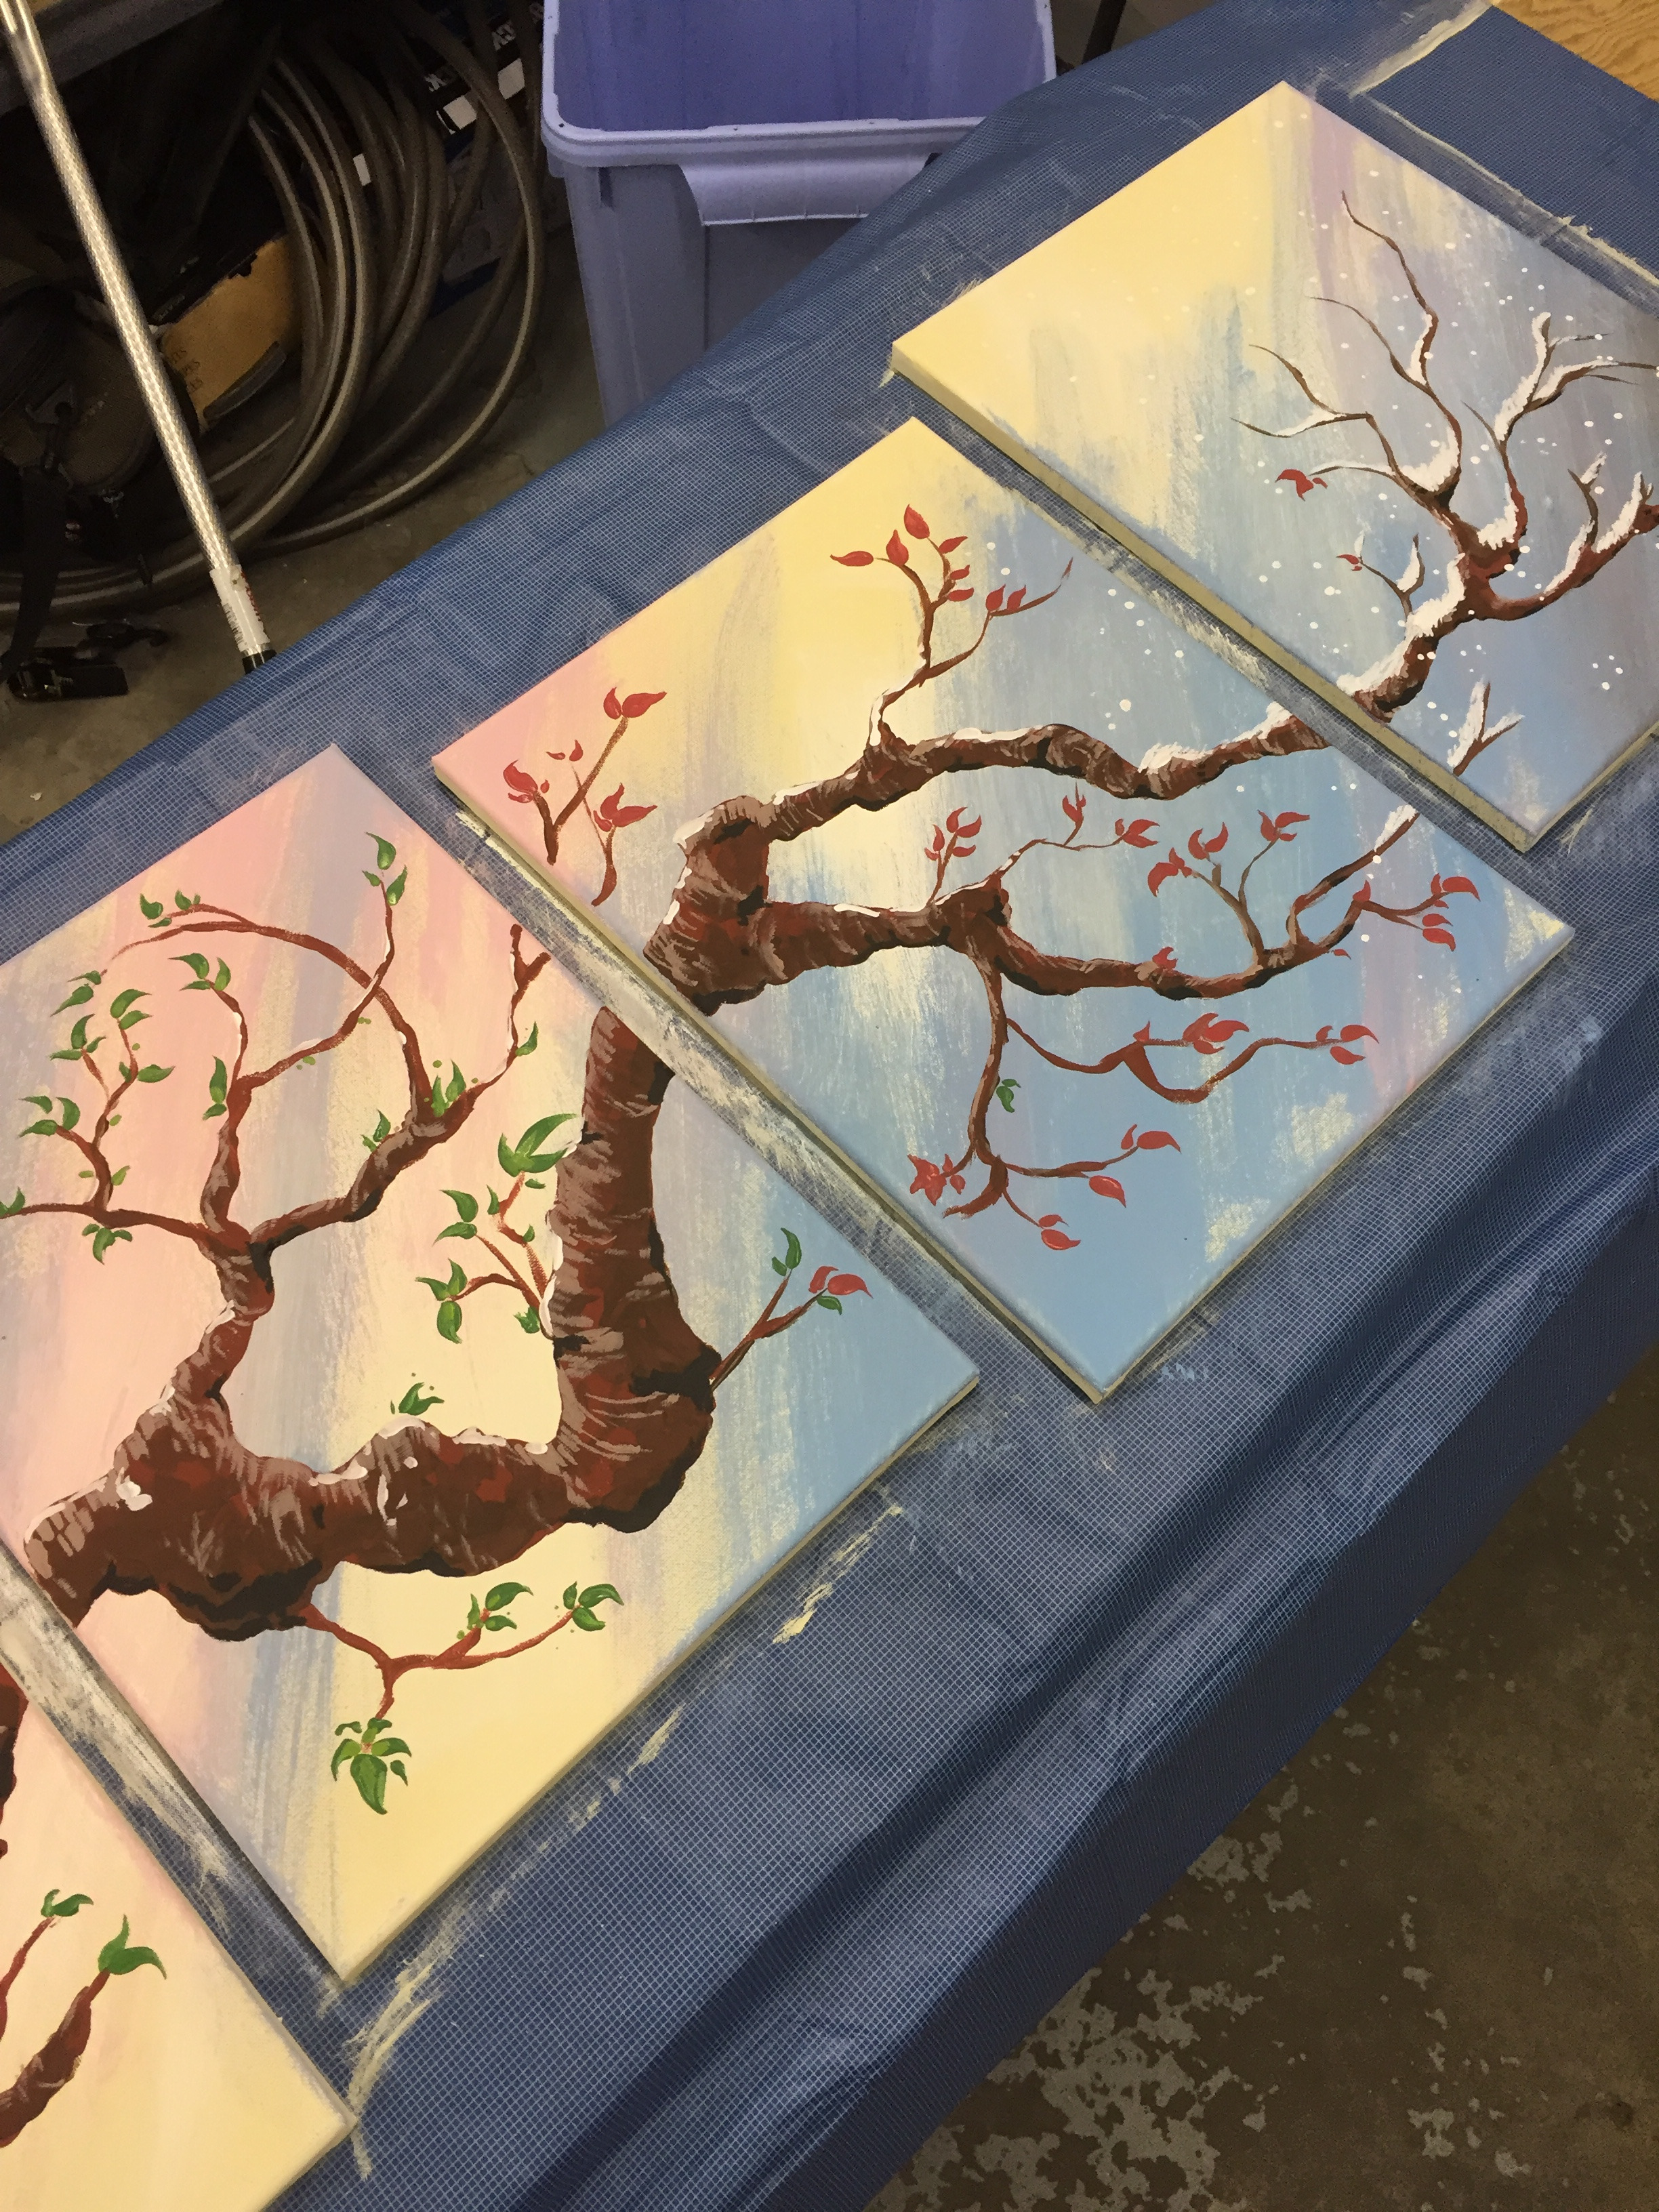
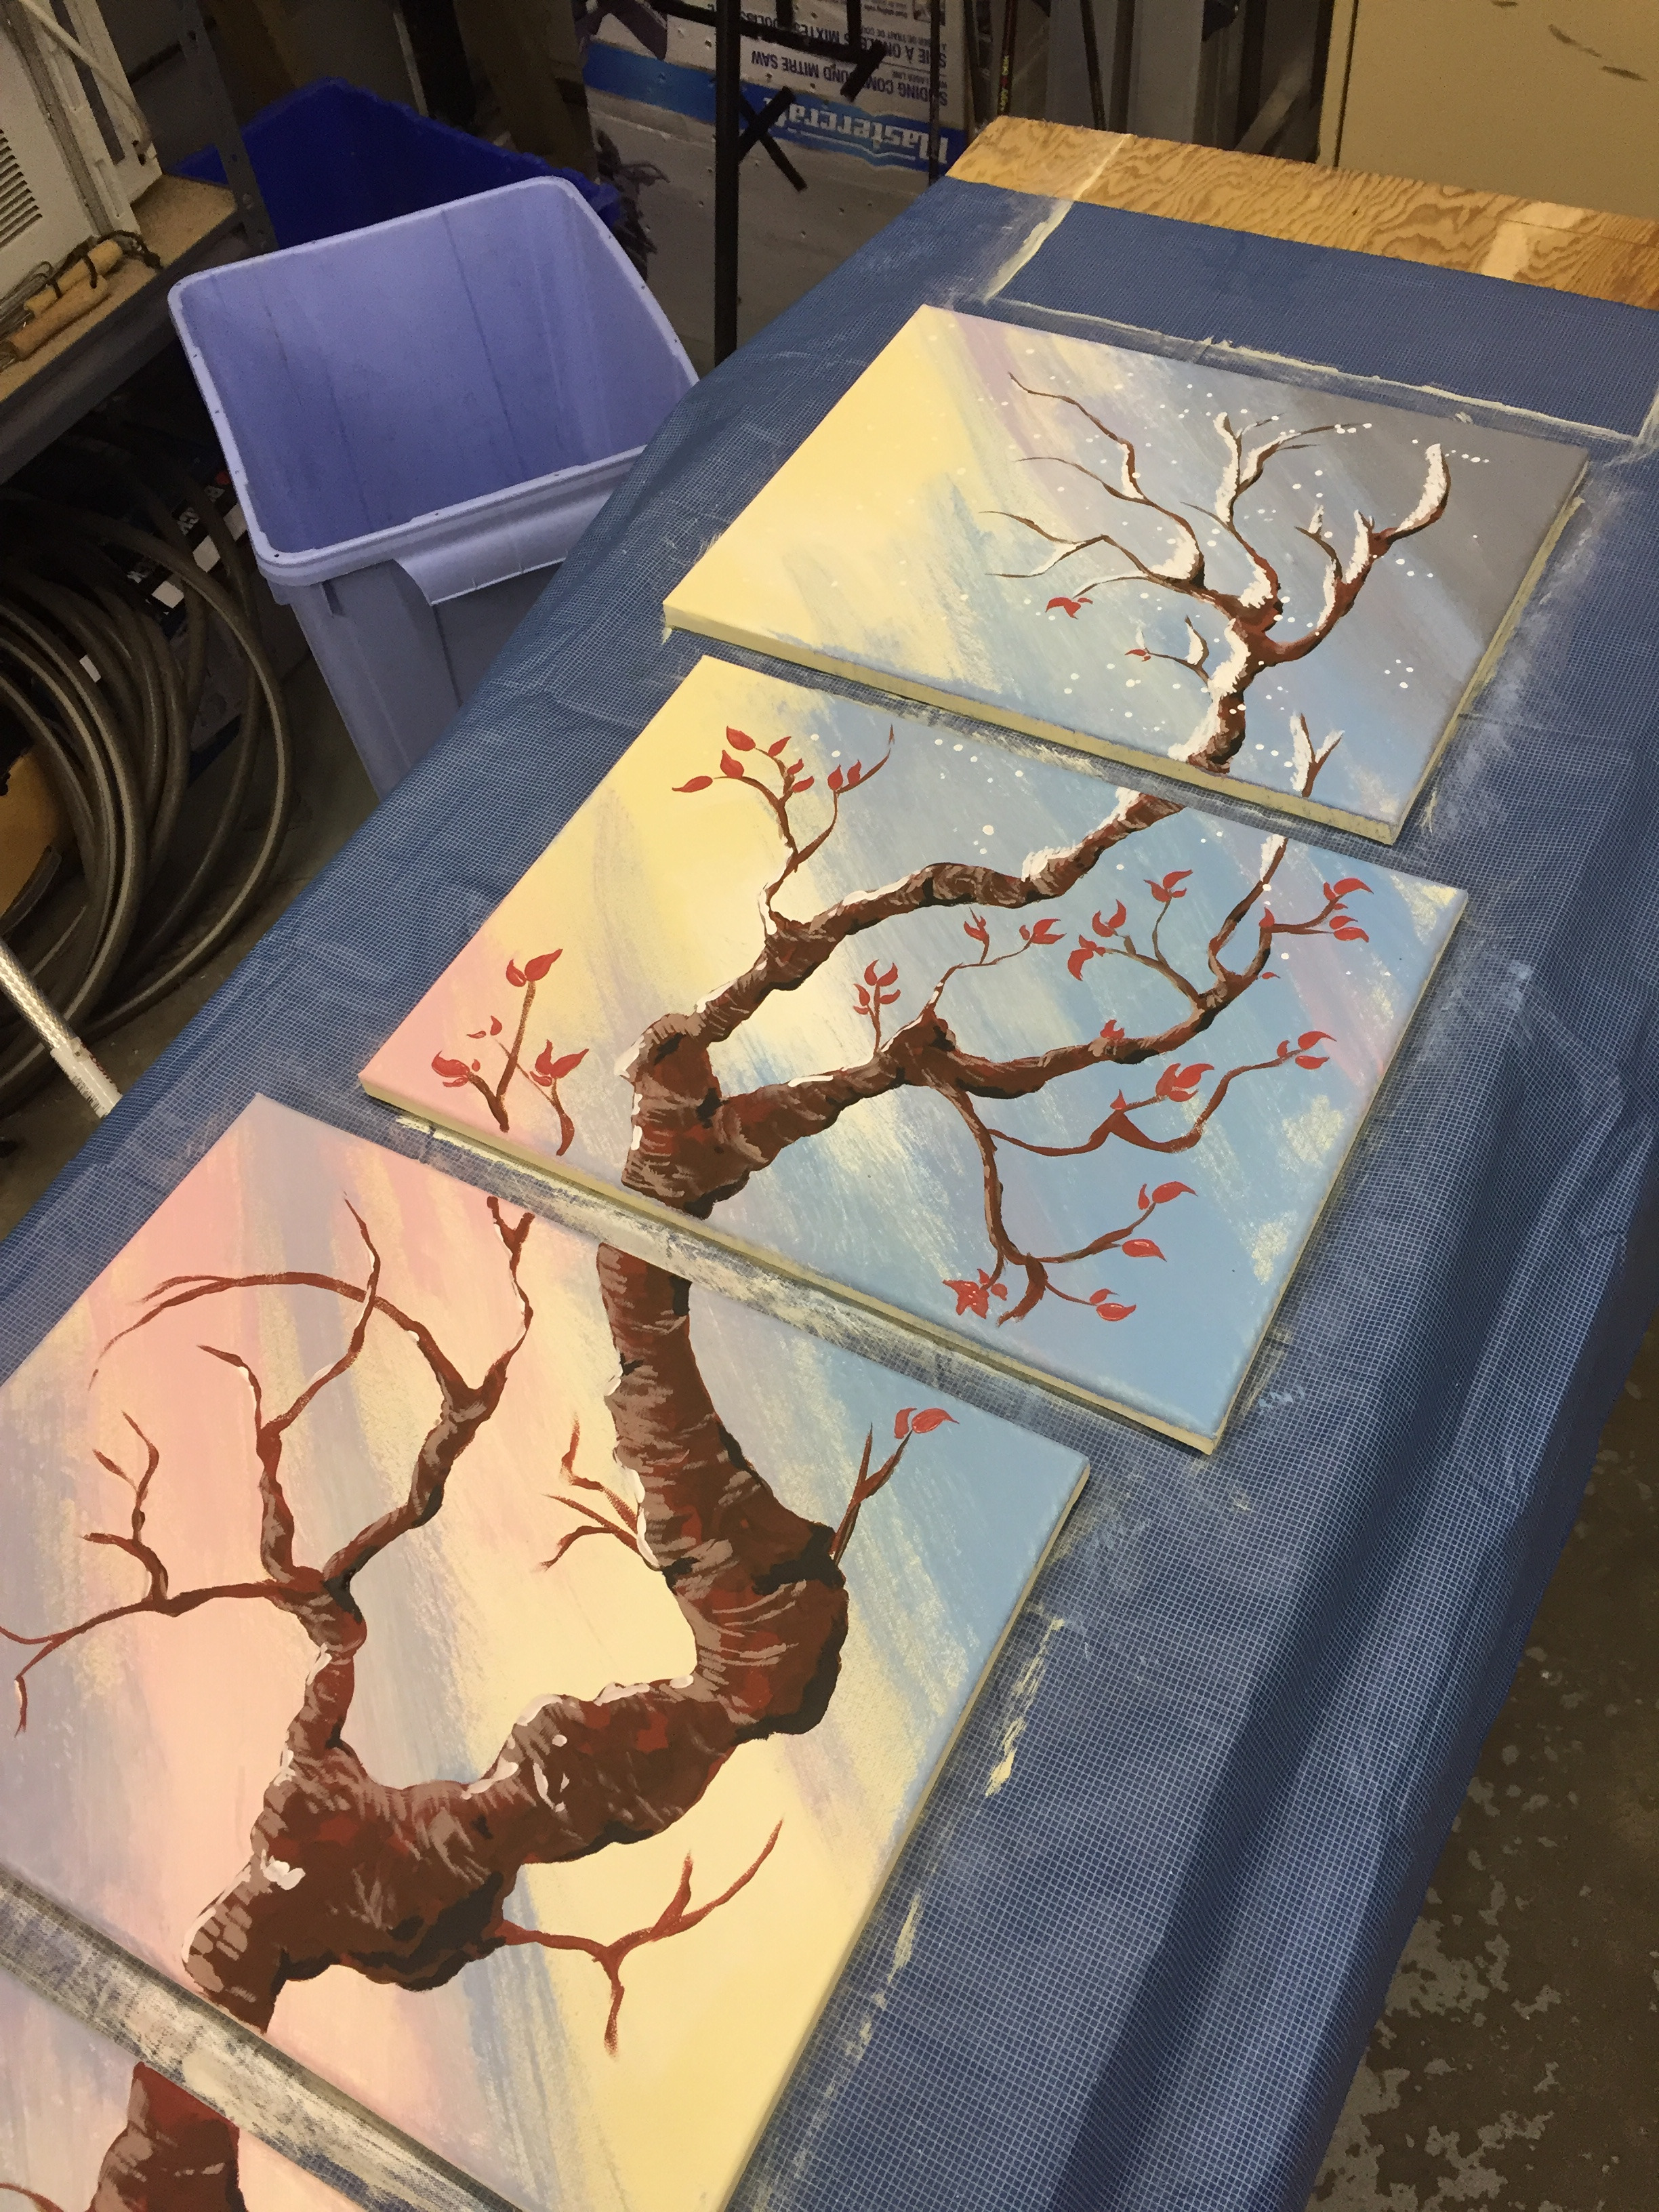
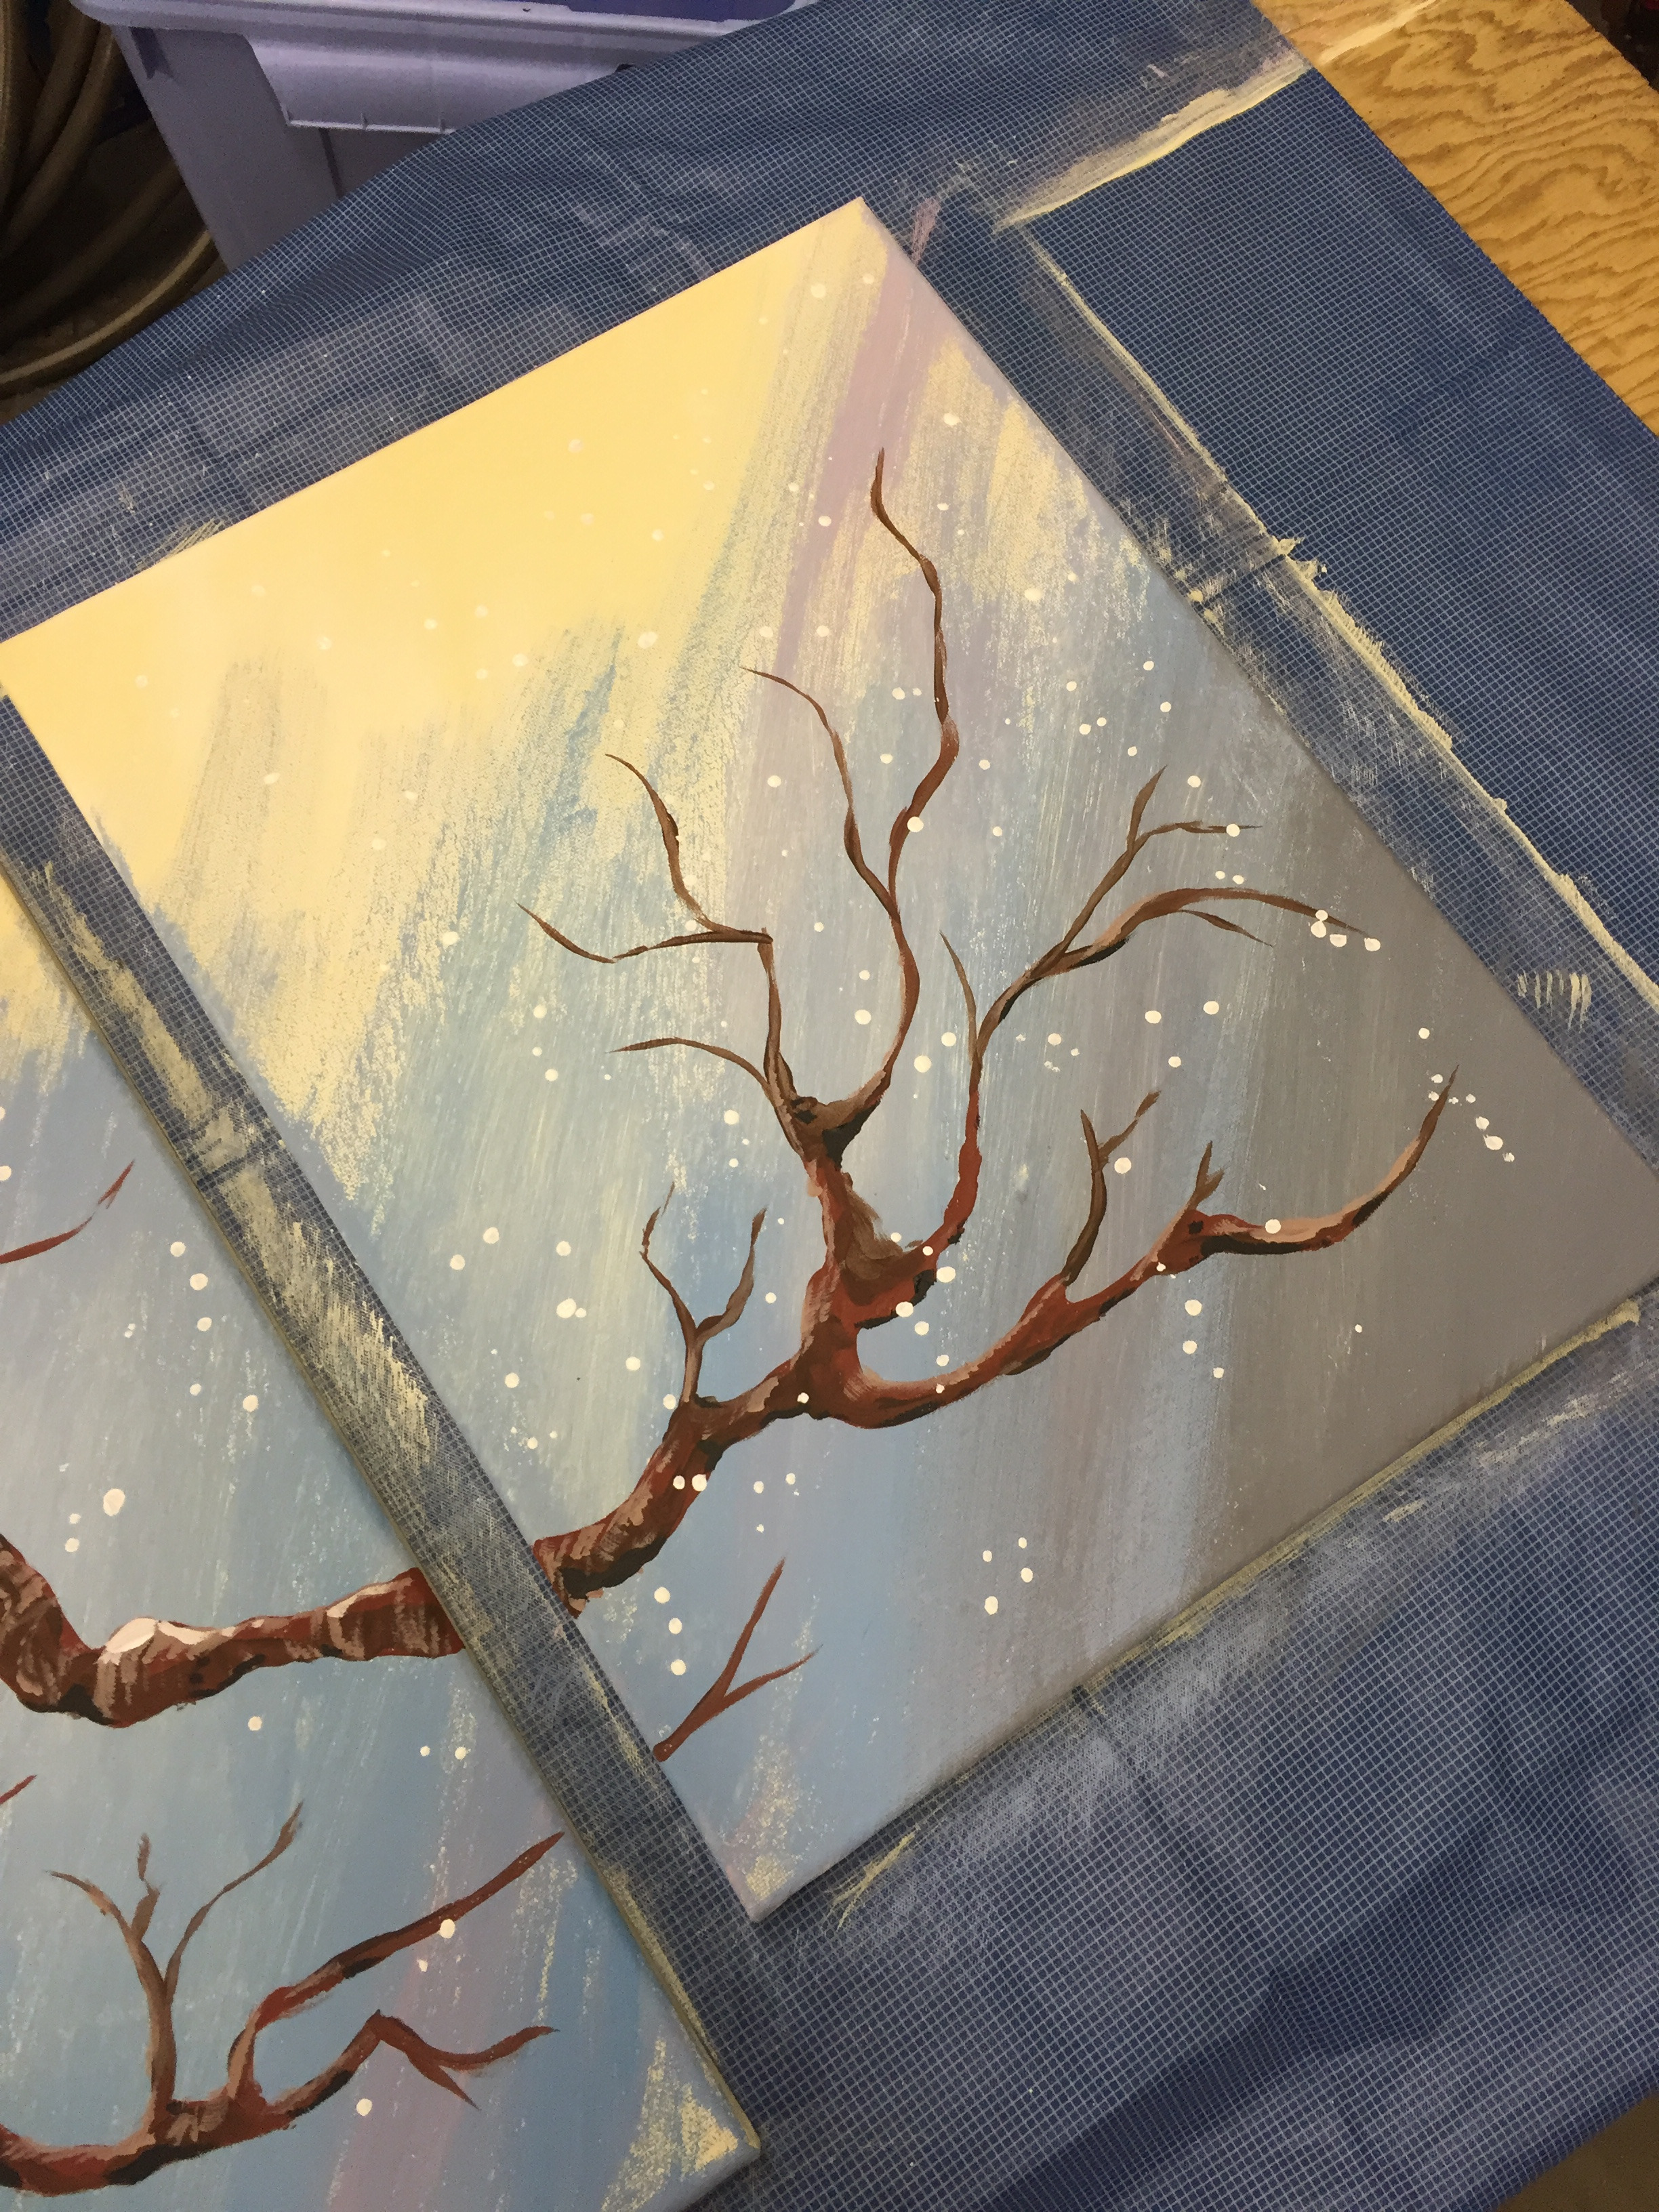
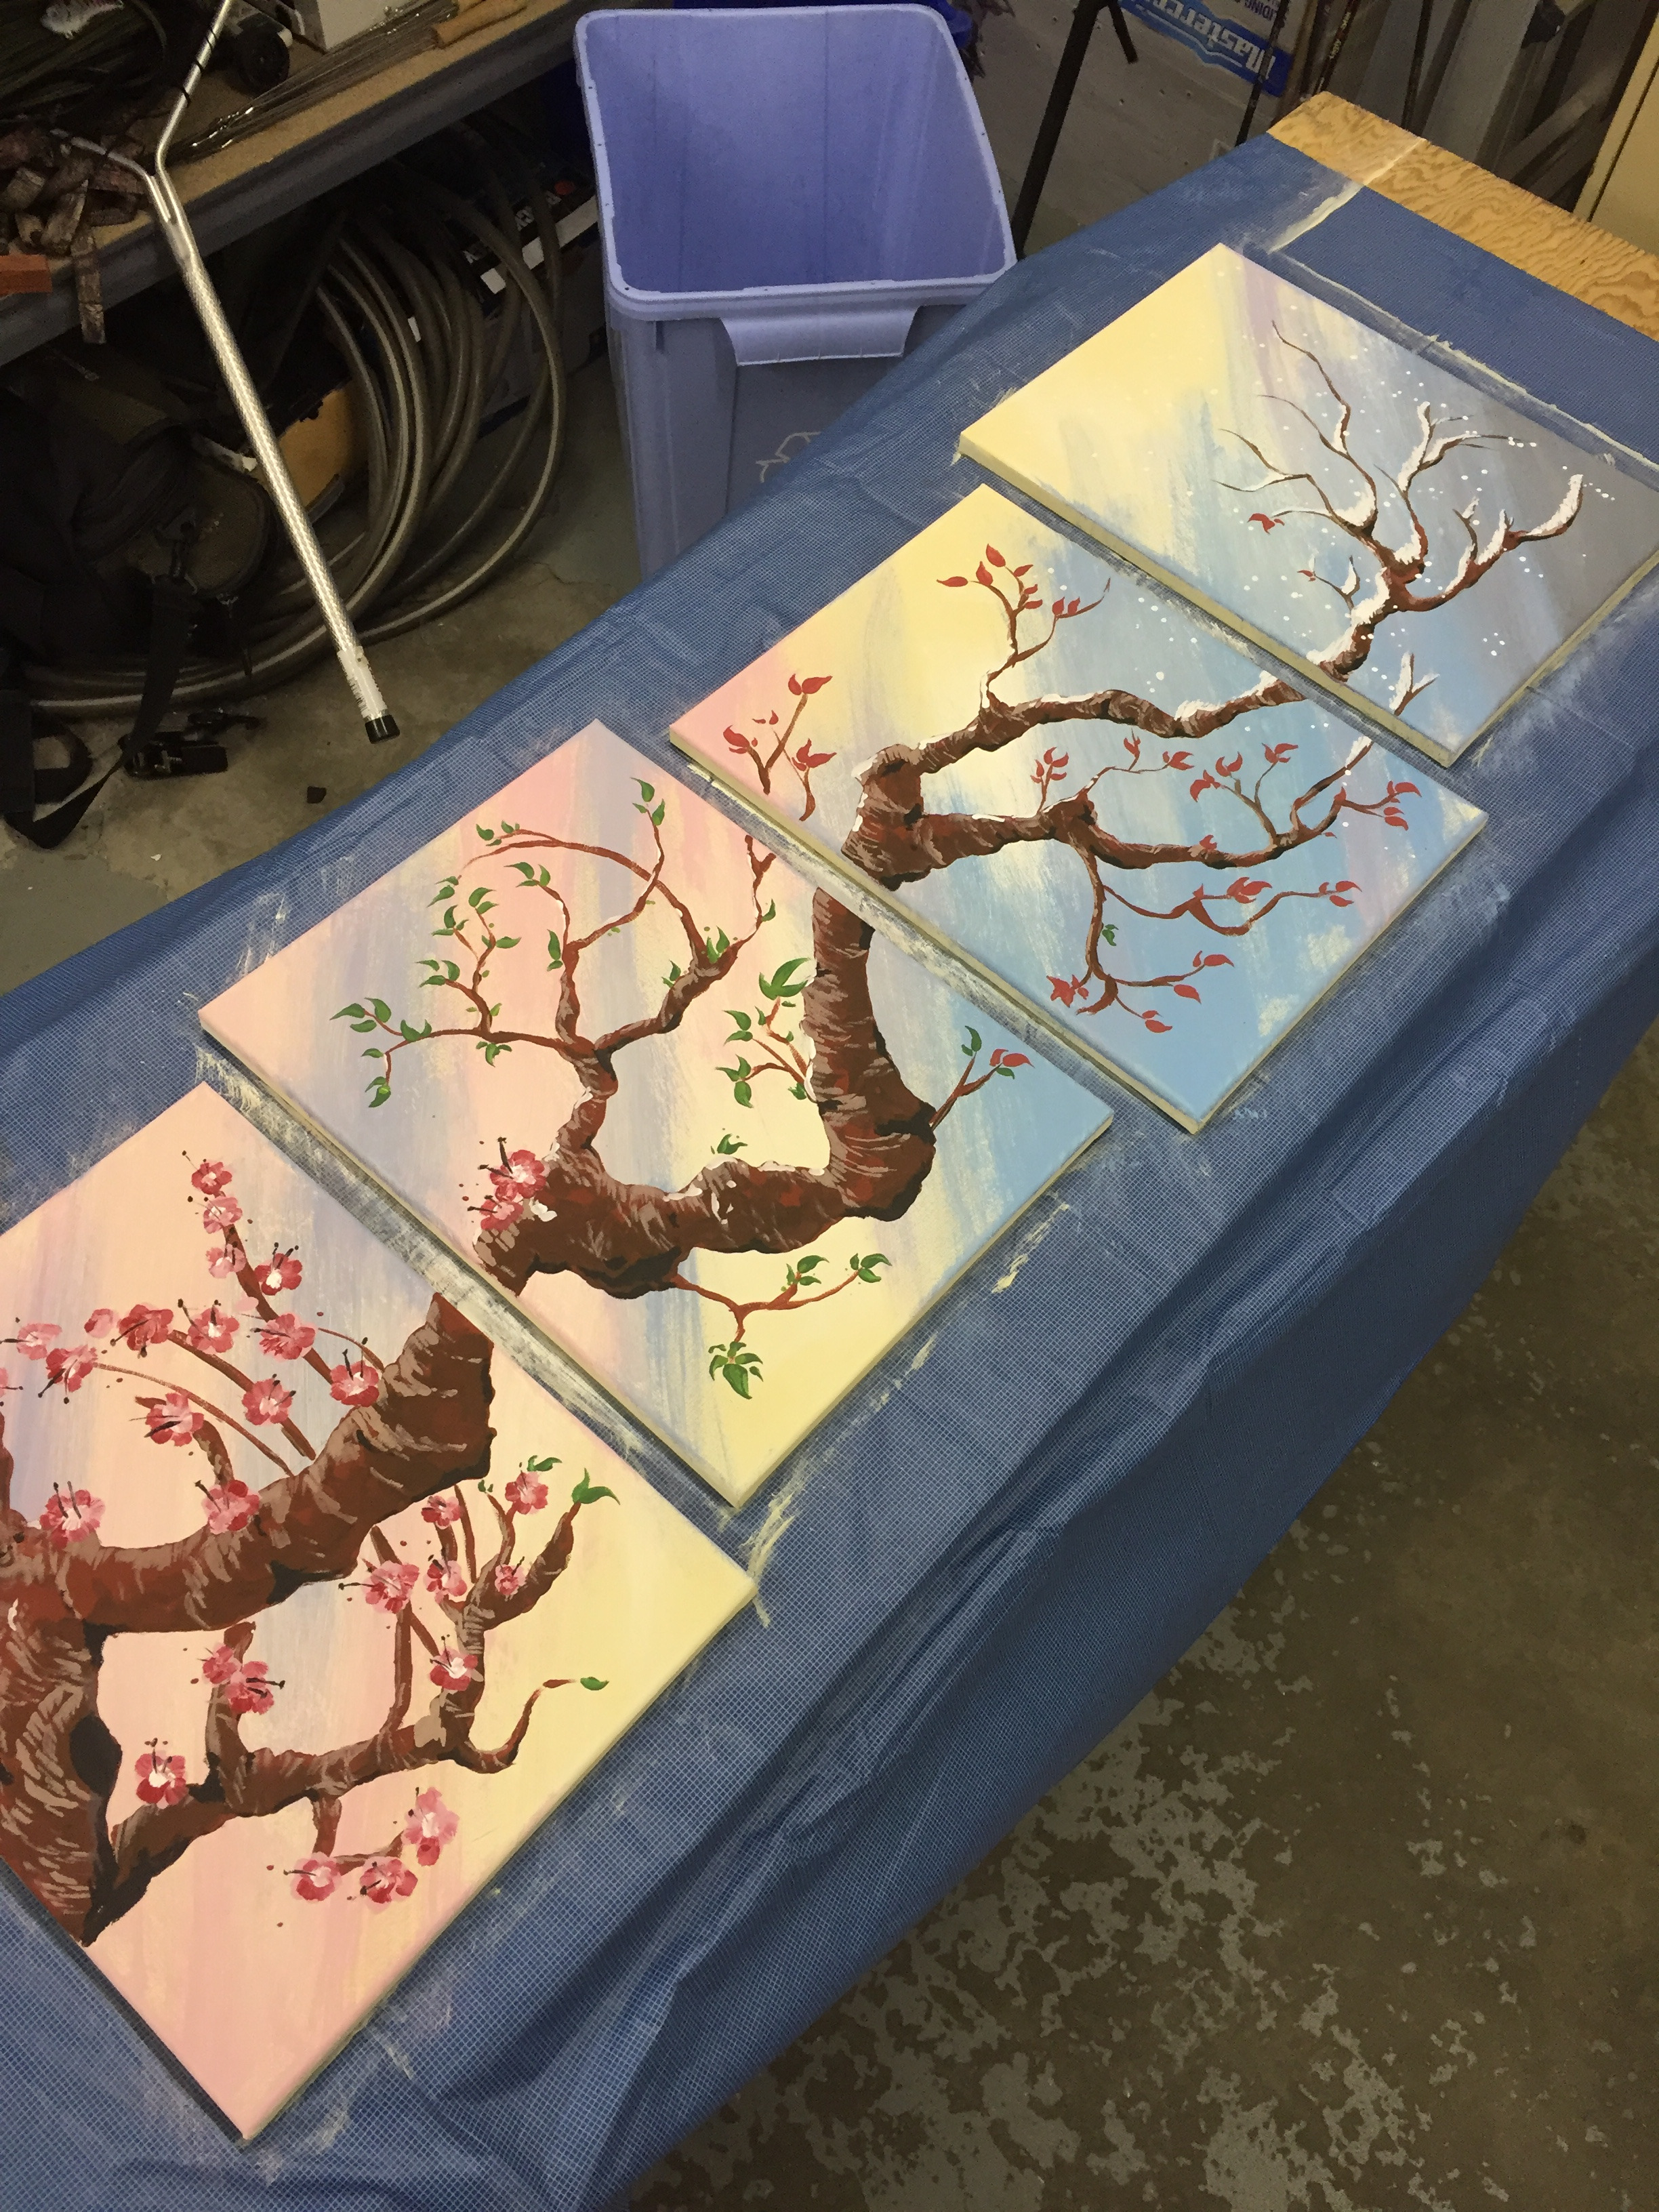
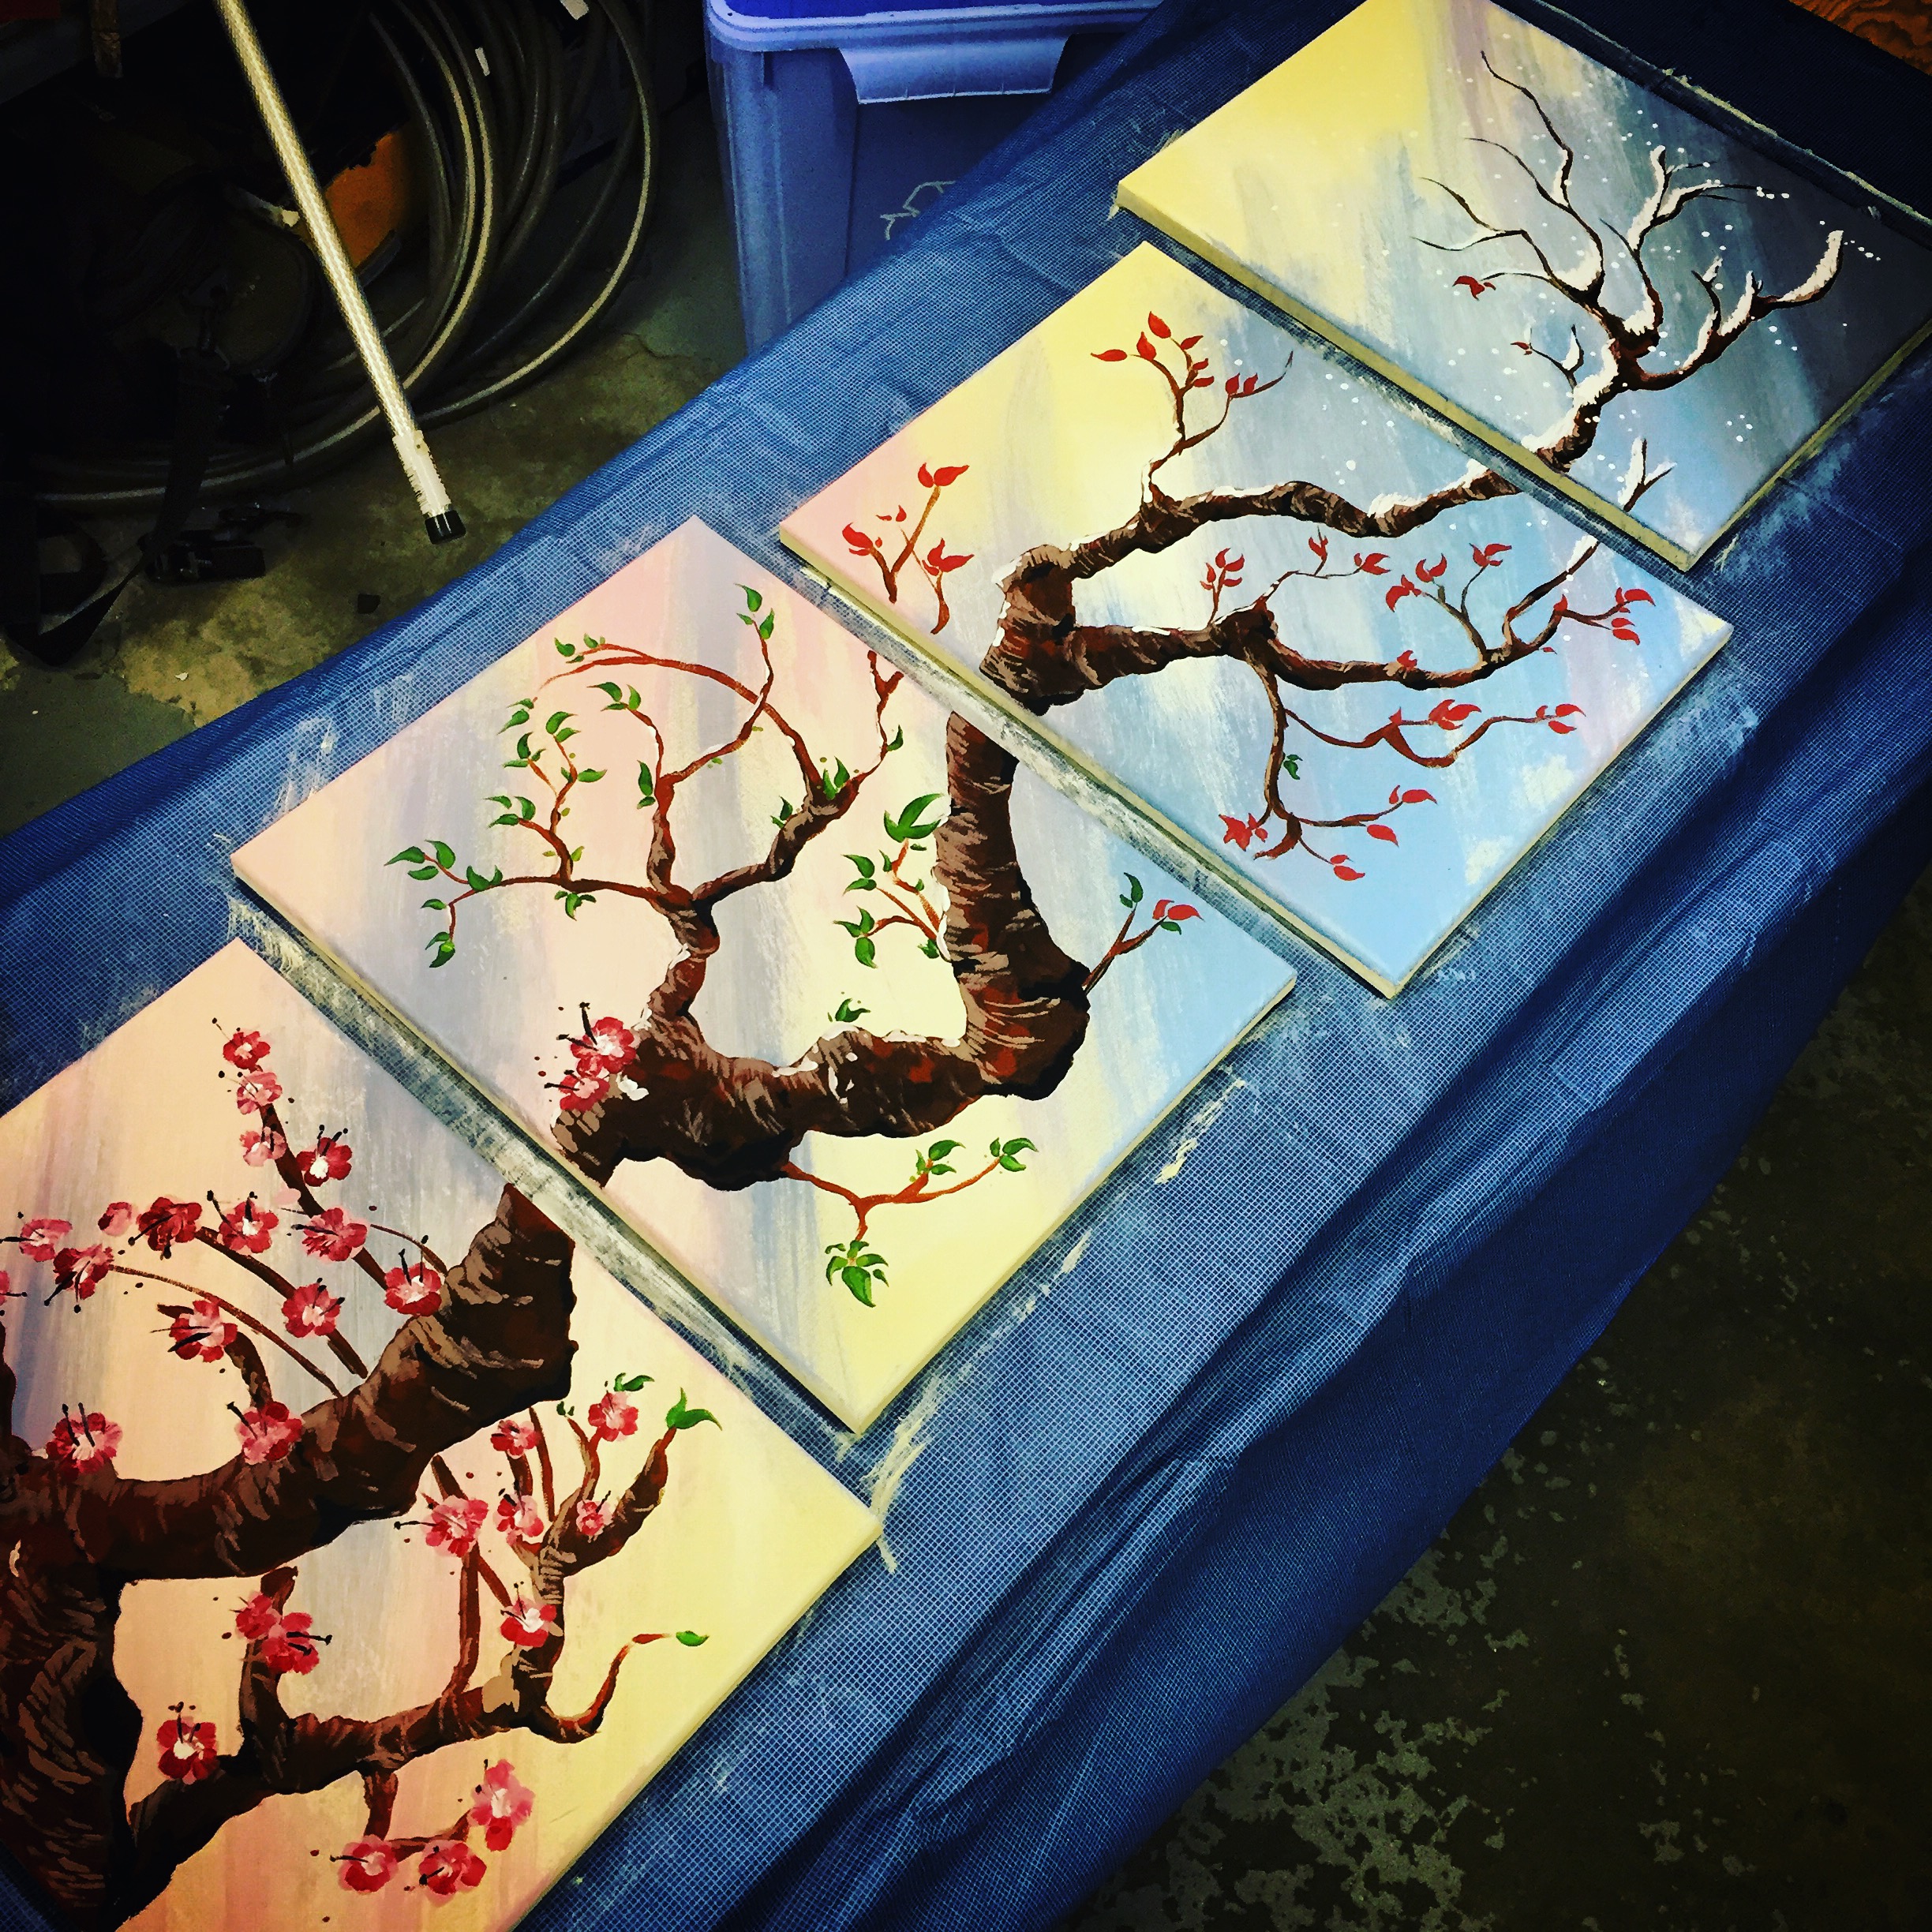
Painting is the fun part but if you have an extra canvas USE IT as a test piece for colours and brush technique.
Back Ground
Because I was creating a seasonal transition I wanted to represent that in the back ground so in the spring section I wanted to show the lighter colours of spring to help demonstrate the feelings of "new beginnings" or rebirth as the environment comes back to life. As we progress toward summer and fall the back ground colours change with the seasons to again reinforce this circle of life that happens every year. Progressing into winter I used cooler colours along with some hints or purple to symbolize the cool months to come but the beauty of winter such as the first snowfall of the year which is always memorizing to experience.
The Branch
For the branch work in layers and develop depth by adding colours on colours. Use the test canvas to experiment and slowly build layers until you are happy with the branch. Add small branches off the original where you will add foliage and flowers.
The Foliage
For the spring flowers represent this very well then they are replaced by vibrant green leaves in the summer, change colour in the fall and fall off for the winter. I added a light dusting of snow the winter panel as well as some light falling snow to help the painting come to life.
I also made sure to add small pieces of each connected panel to help the whole piece feel unified.
For example there is a small amount of snow in the fall panel signifying the connections of fall to winter I did this for the other panels as well.
***Test your leaf style on the test canvas to get a consistent size and shape of leaf, Same goes for the flowers. Dont be afraid to look online for an image or picture for a reference***
***take your time and enjoy the process. Wine helps***
Build the Frame and Seal/stain
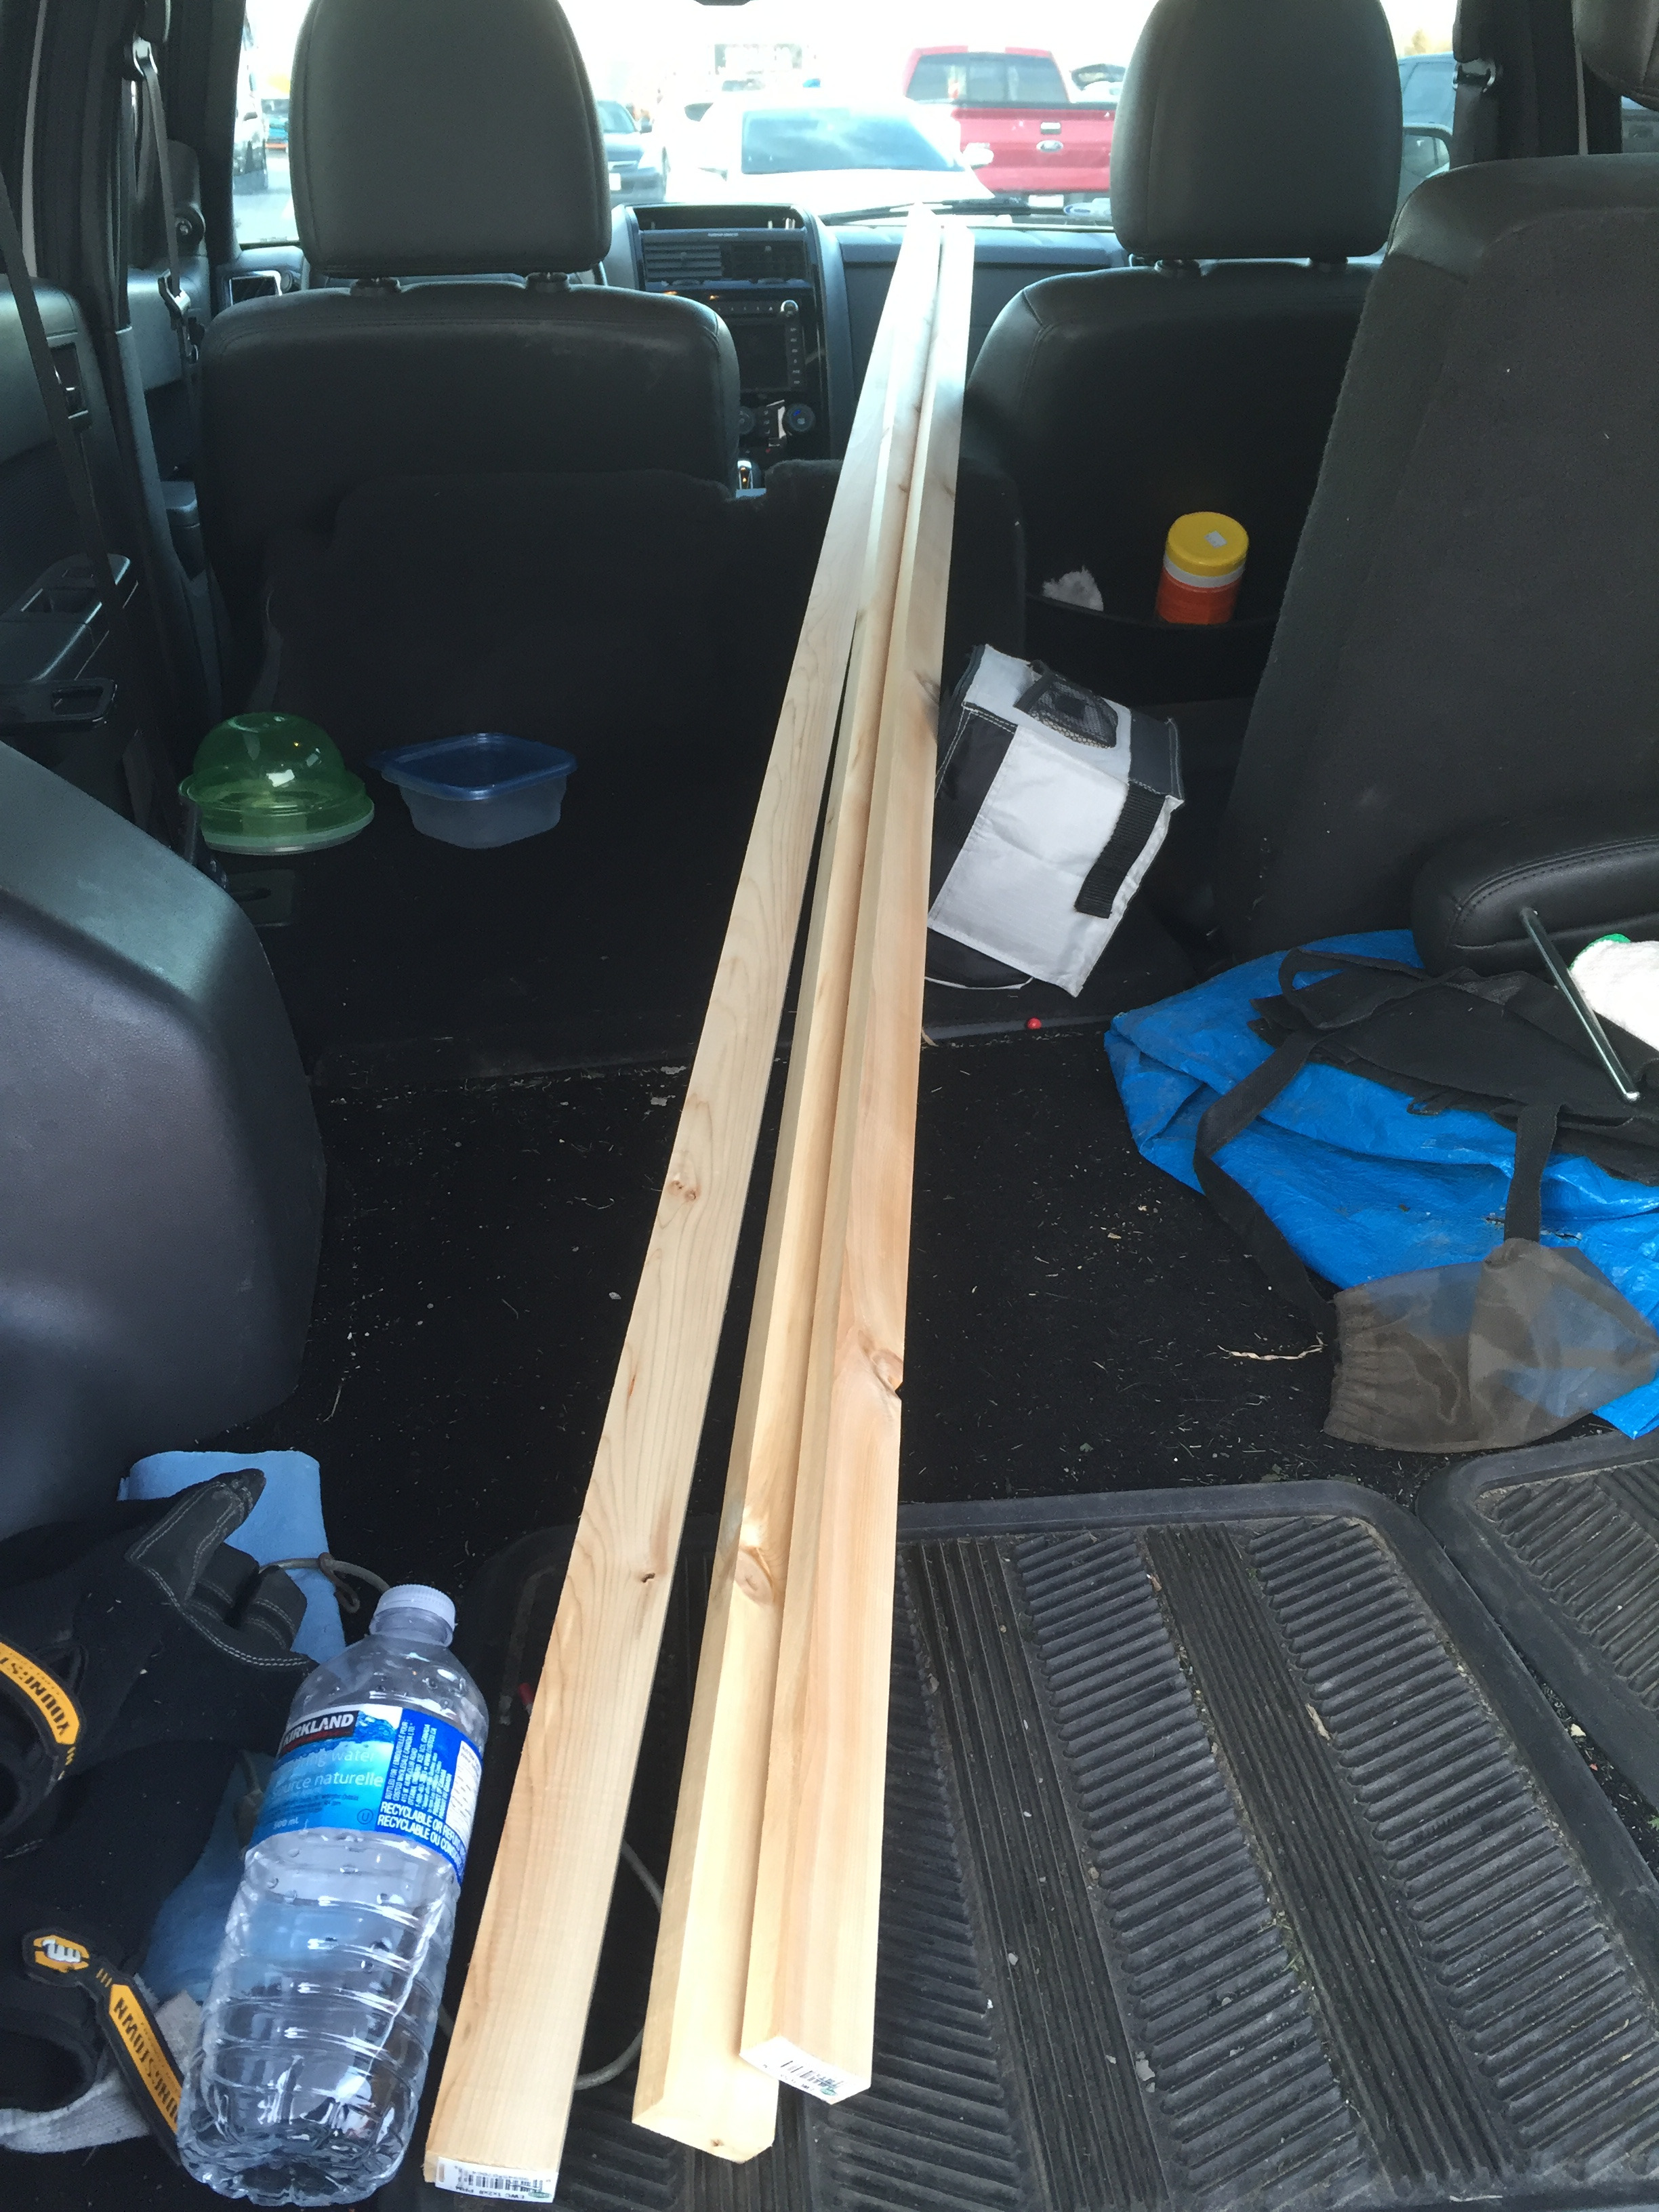
Okay! you have this awesome 4 piece painting and now its time to make a frame!
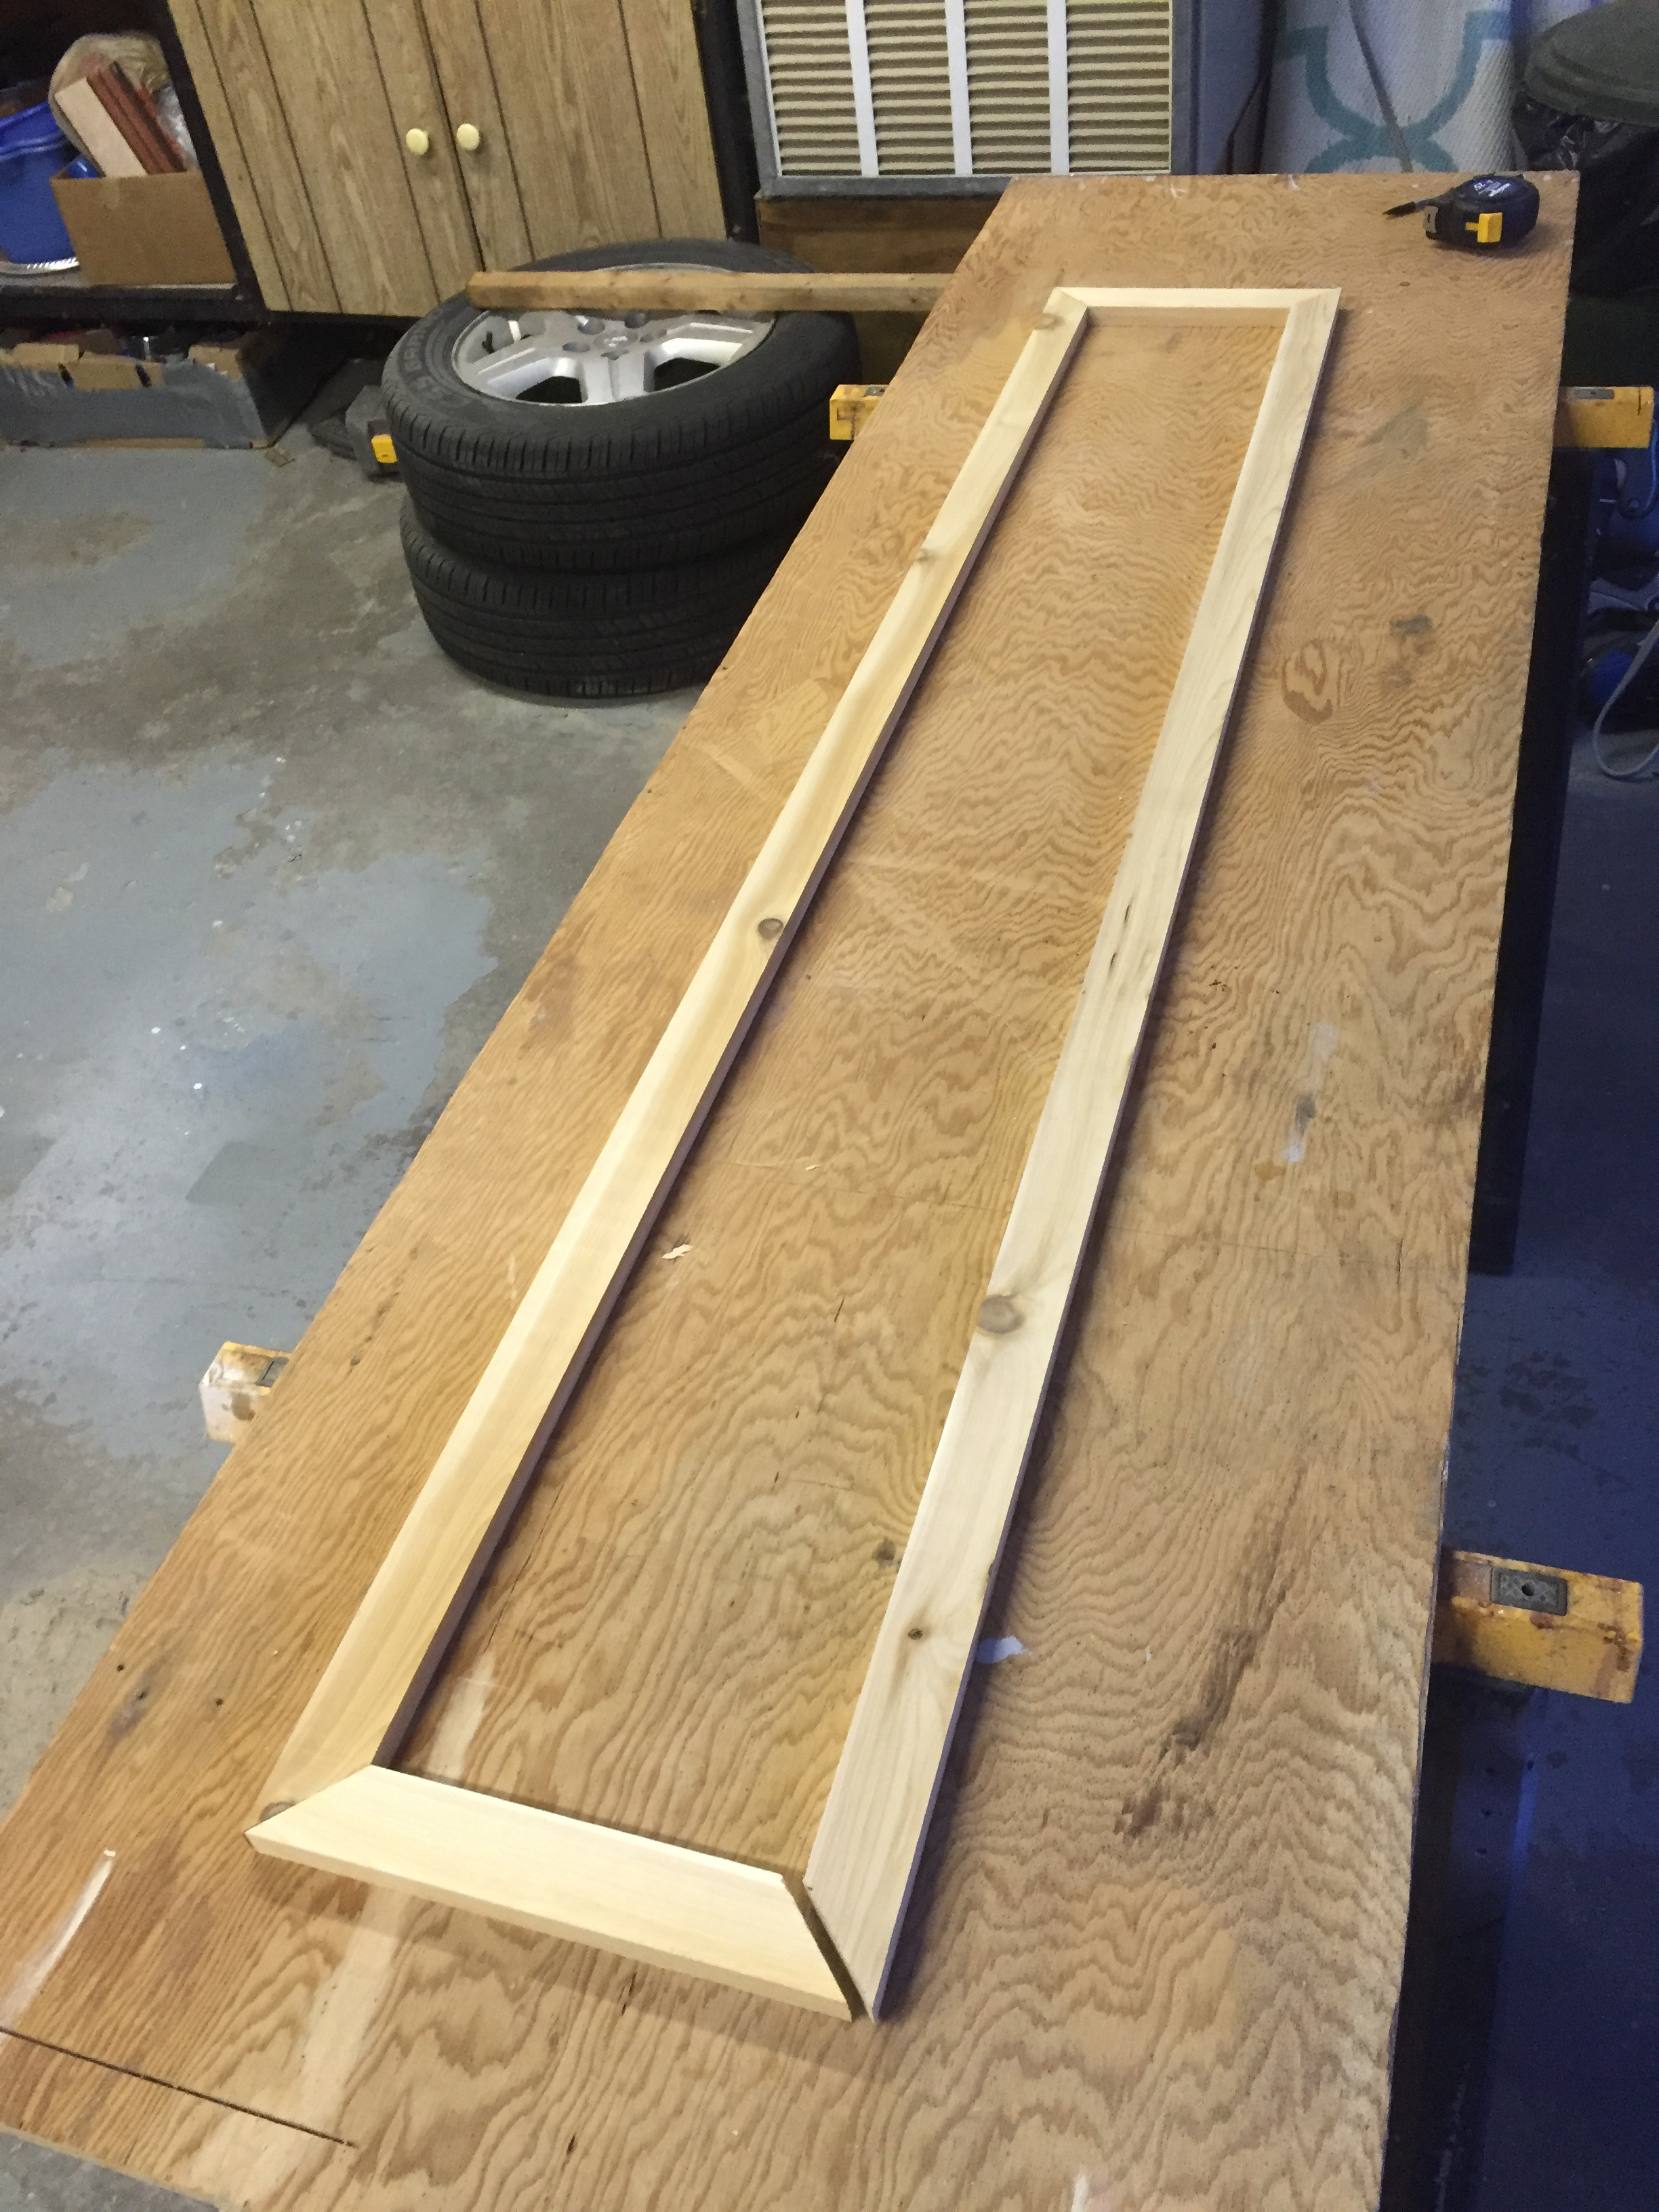
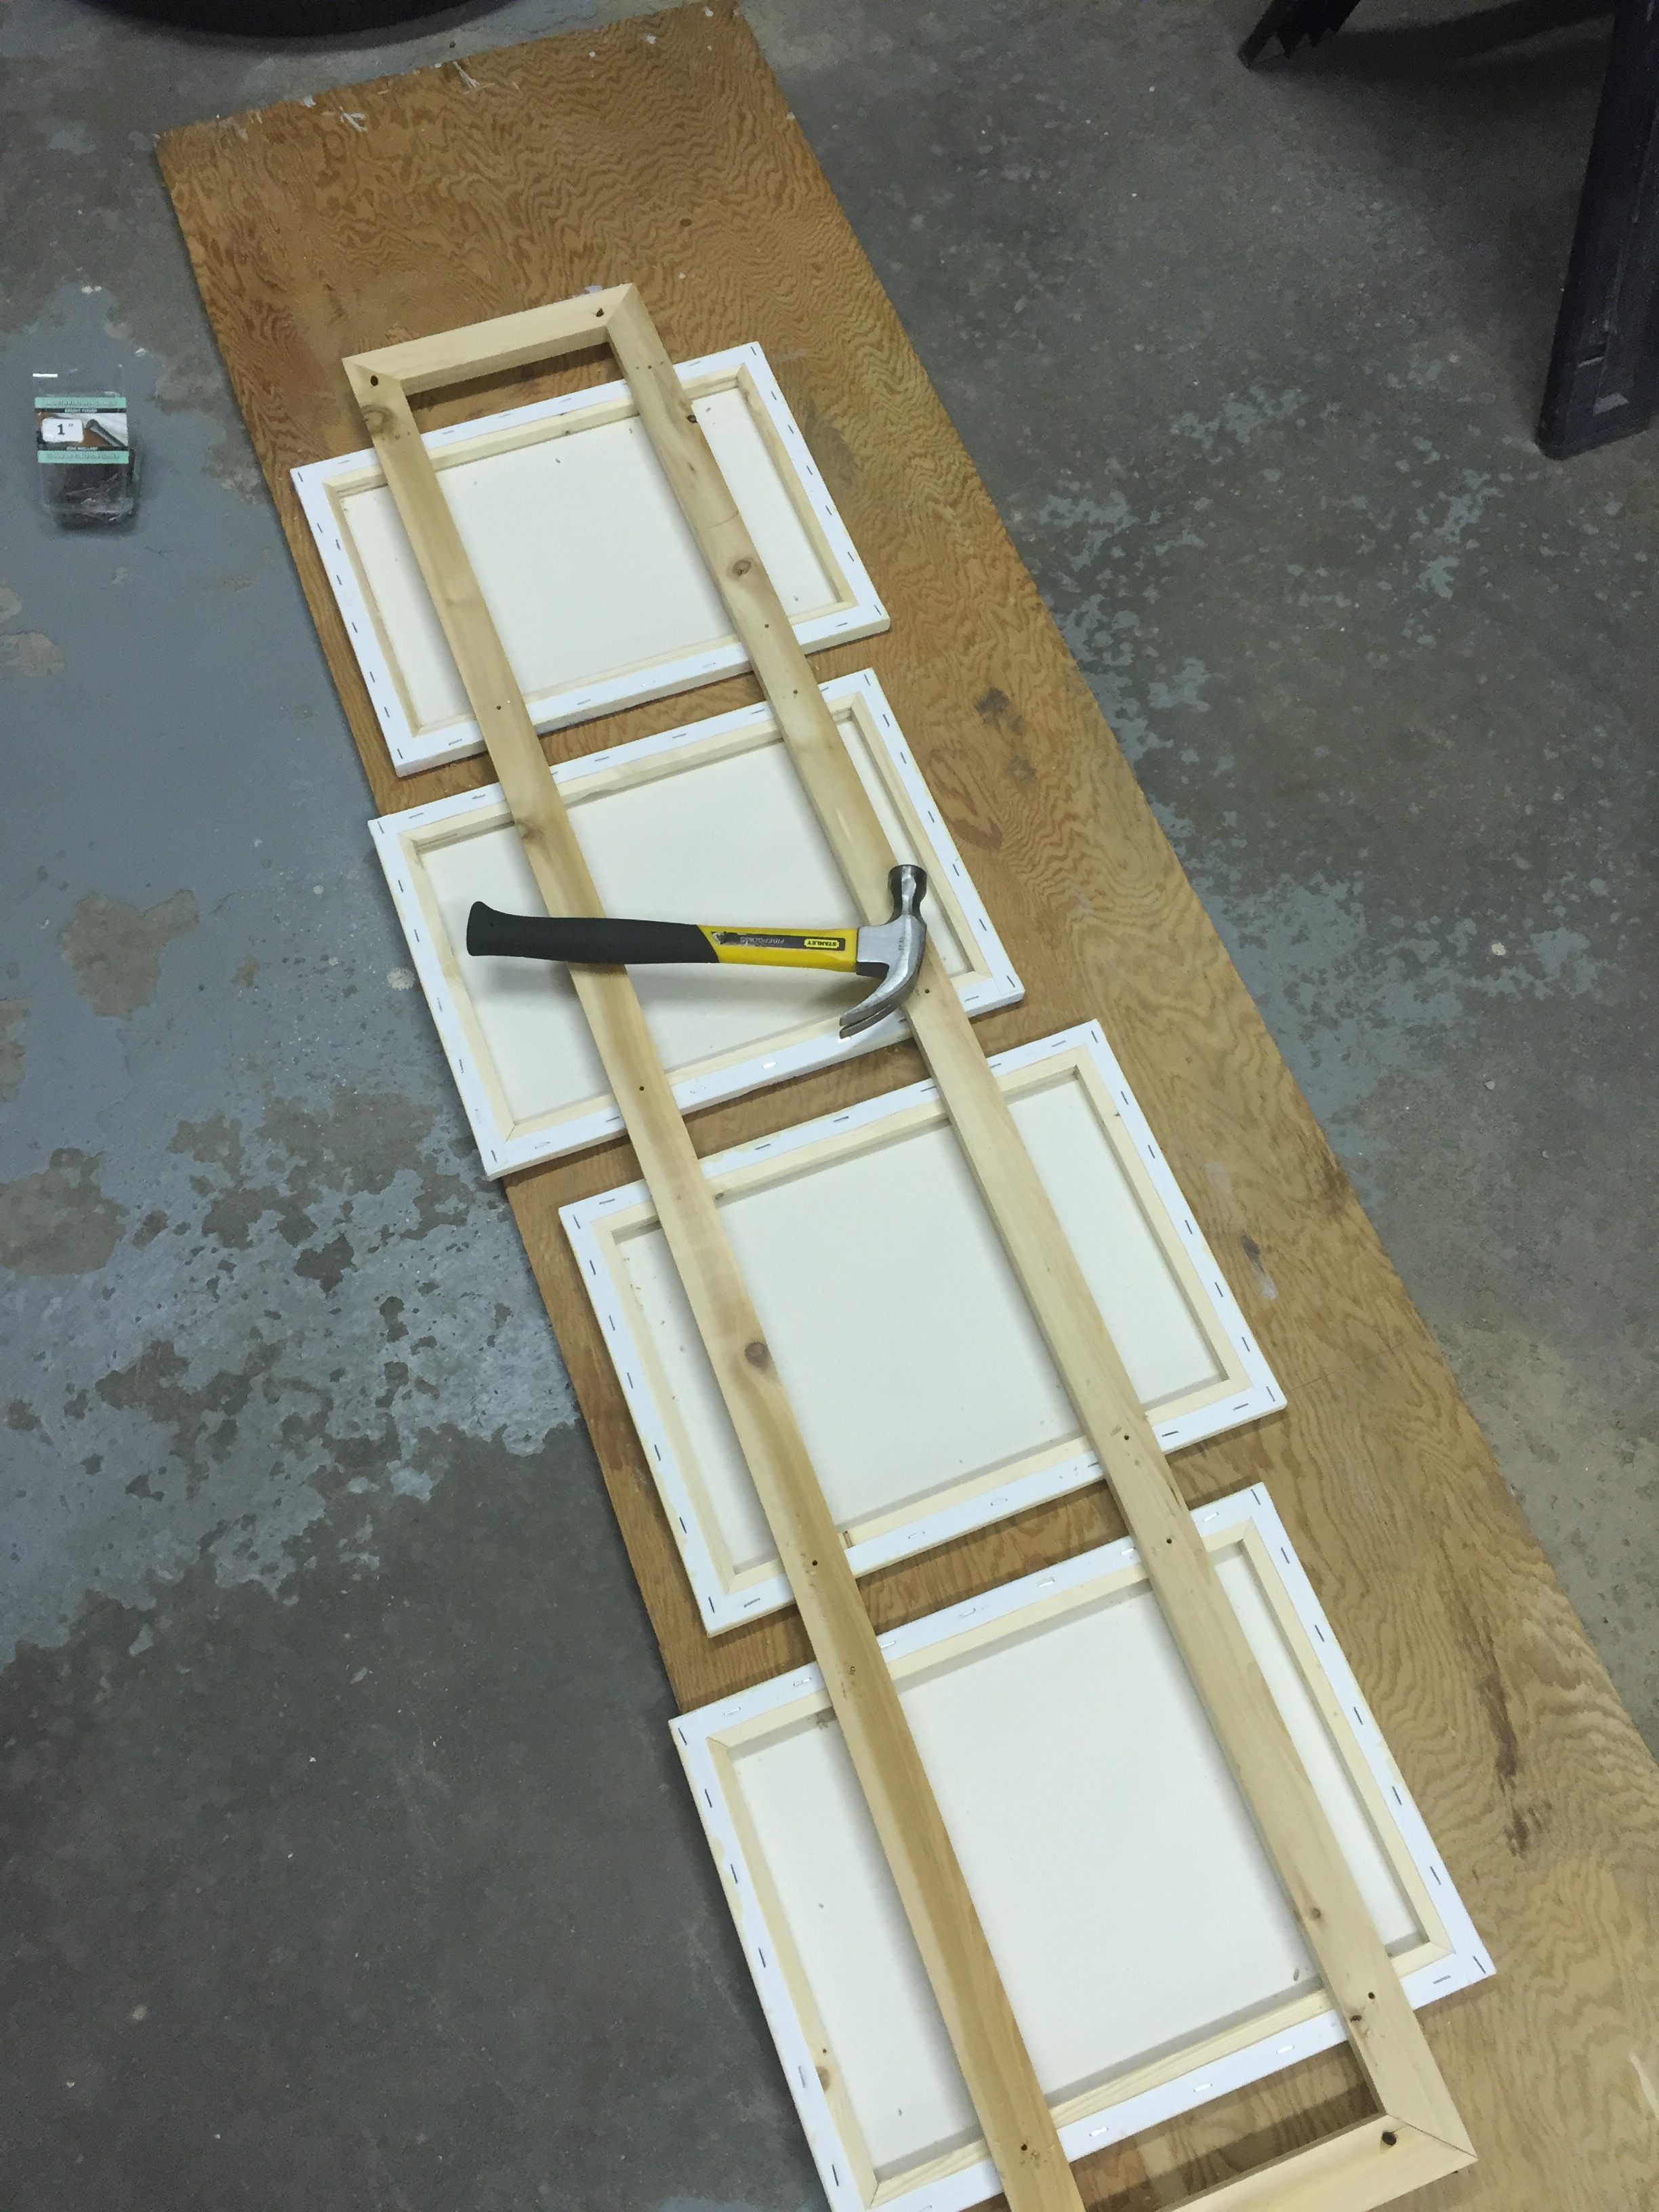
The frame is very basic,, I simply laid out my 4 painted canvases measured them to have a bit of the frame visible on each side. cut your pieces glue and clamp. See my photos for a reference.
After the frame is dry you can attach the canvas pieces by lining them up where you want them make some marks so you don't forget, tap in some finished nails to secure everything in place.
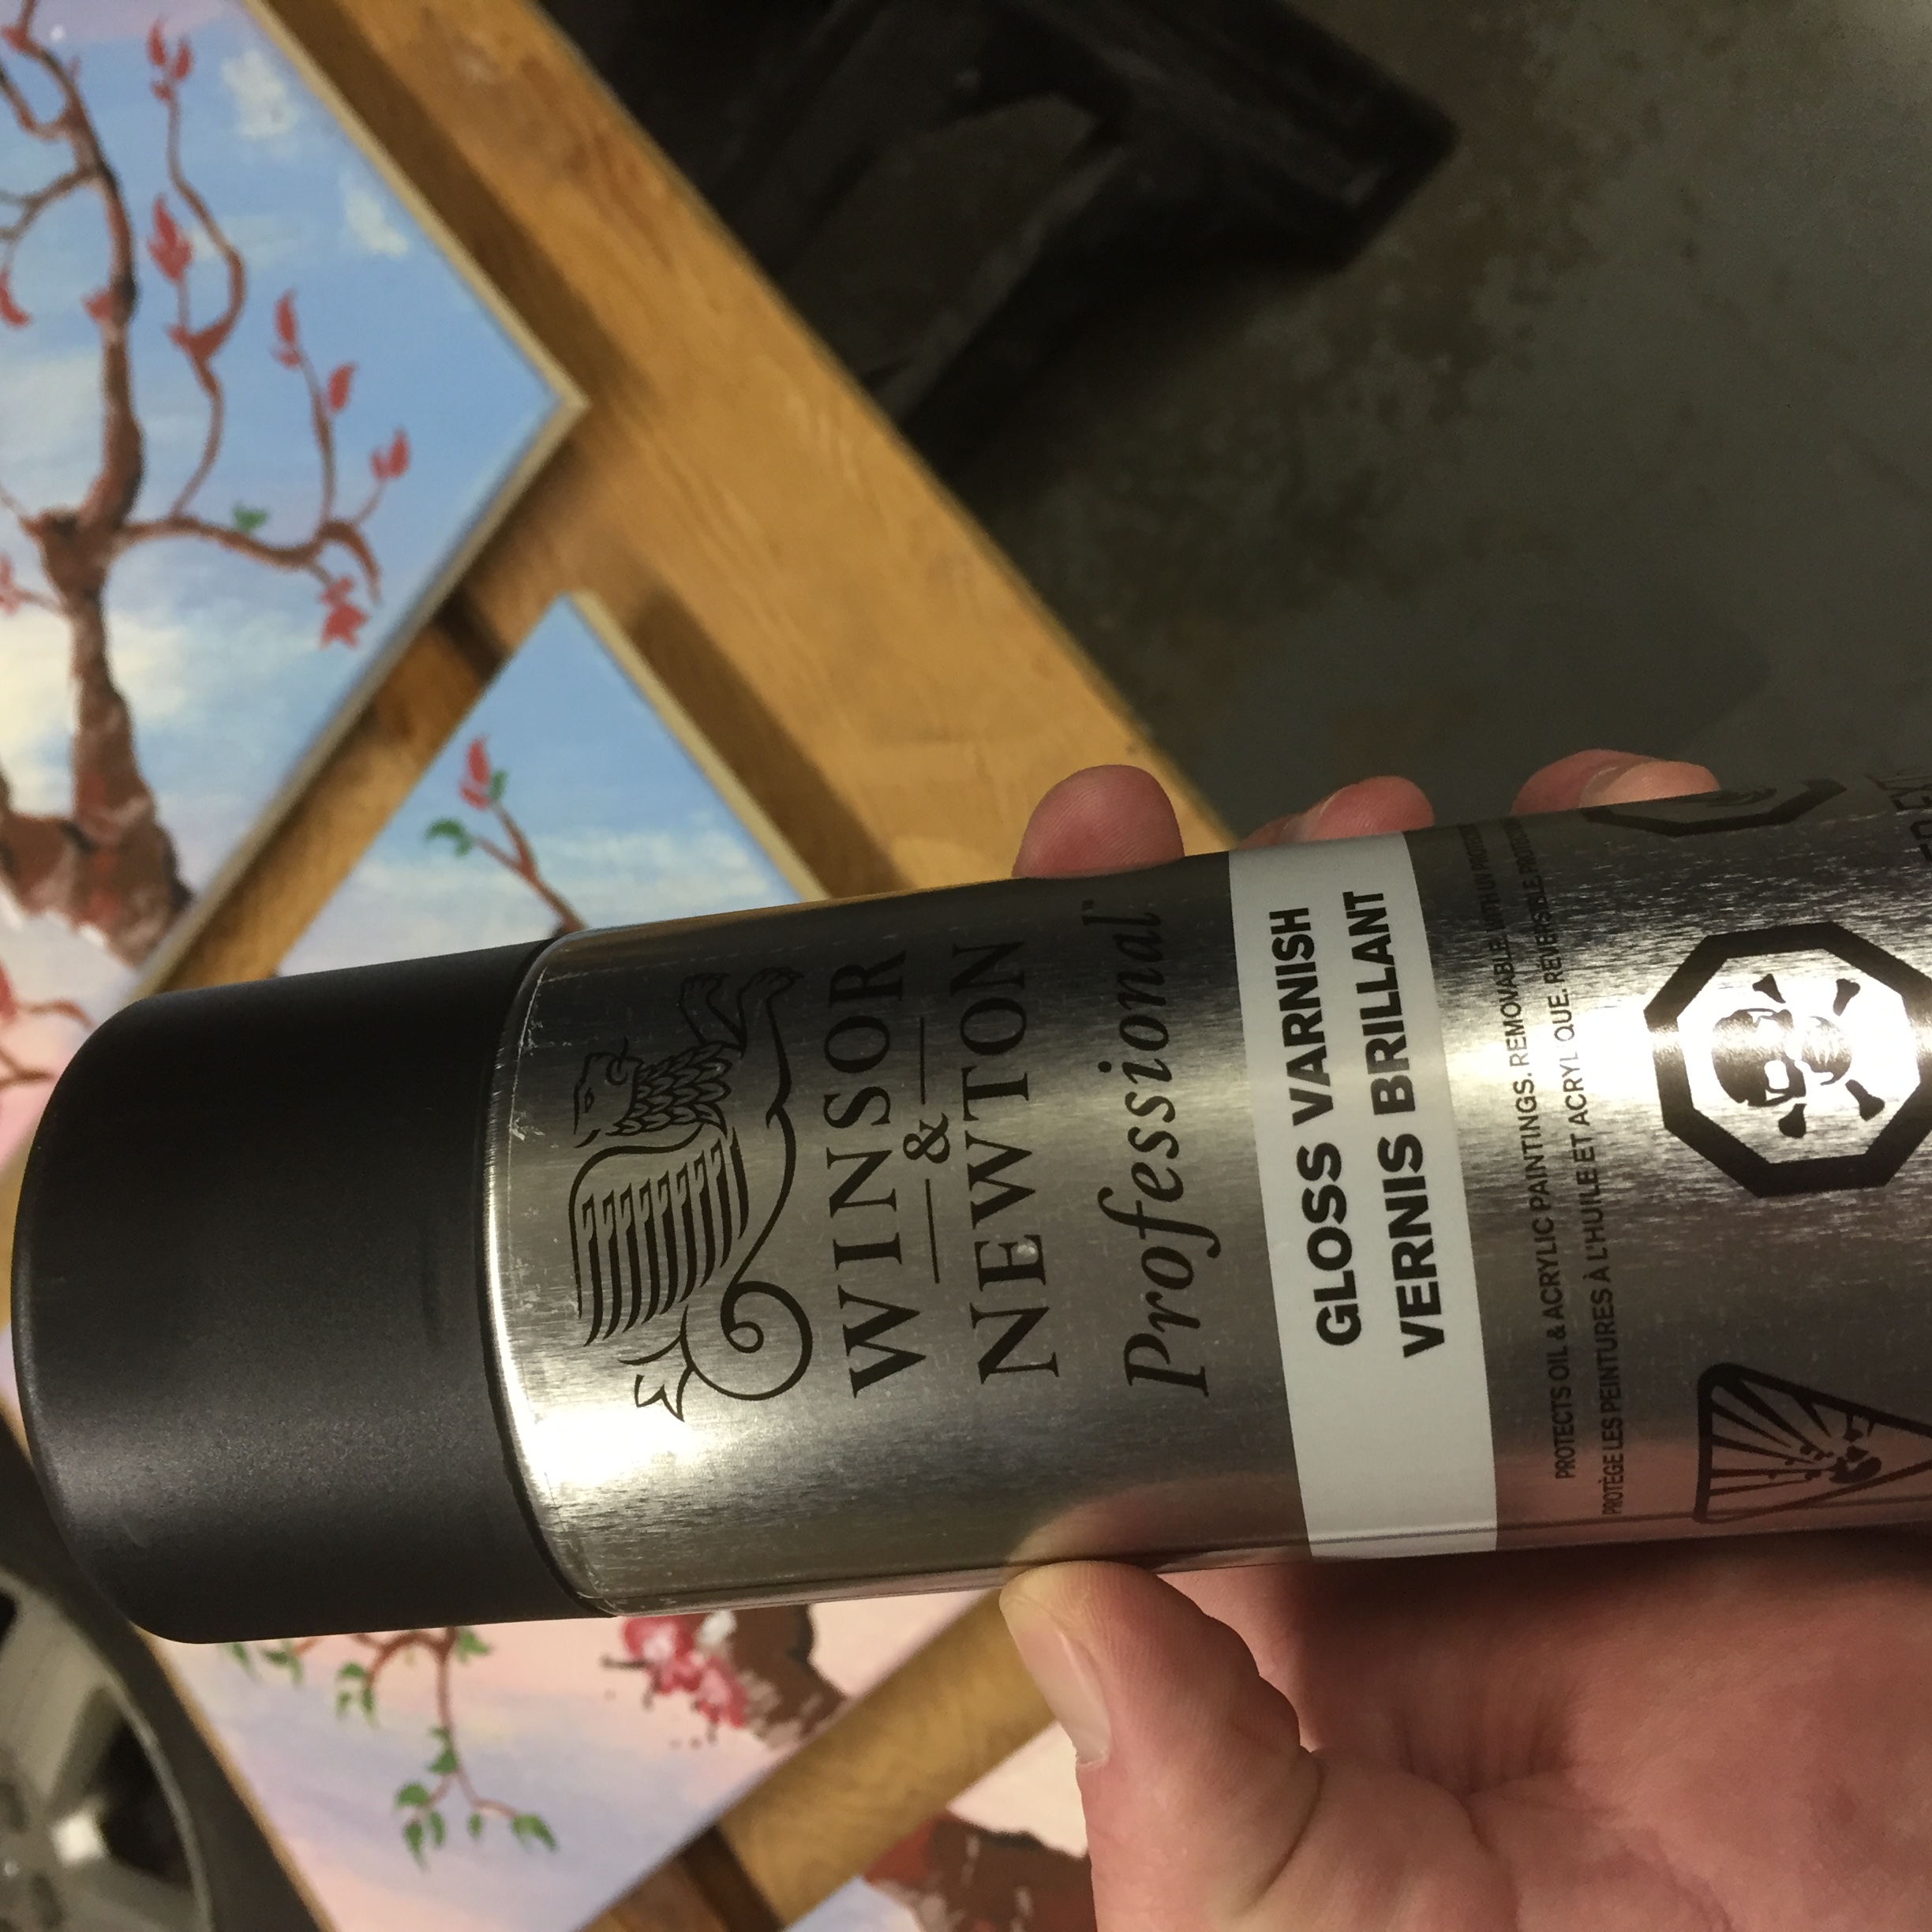
Now its time to seal the canvas I used a gloss varnish from a spray can made specifically for acrylic paint. After that drys you can stain the frame for a more finished look.
DONE!
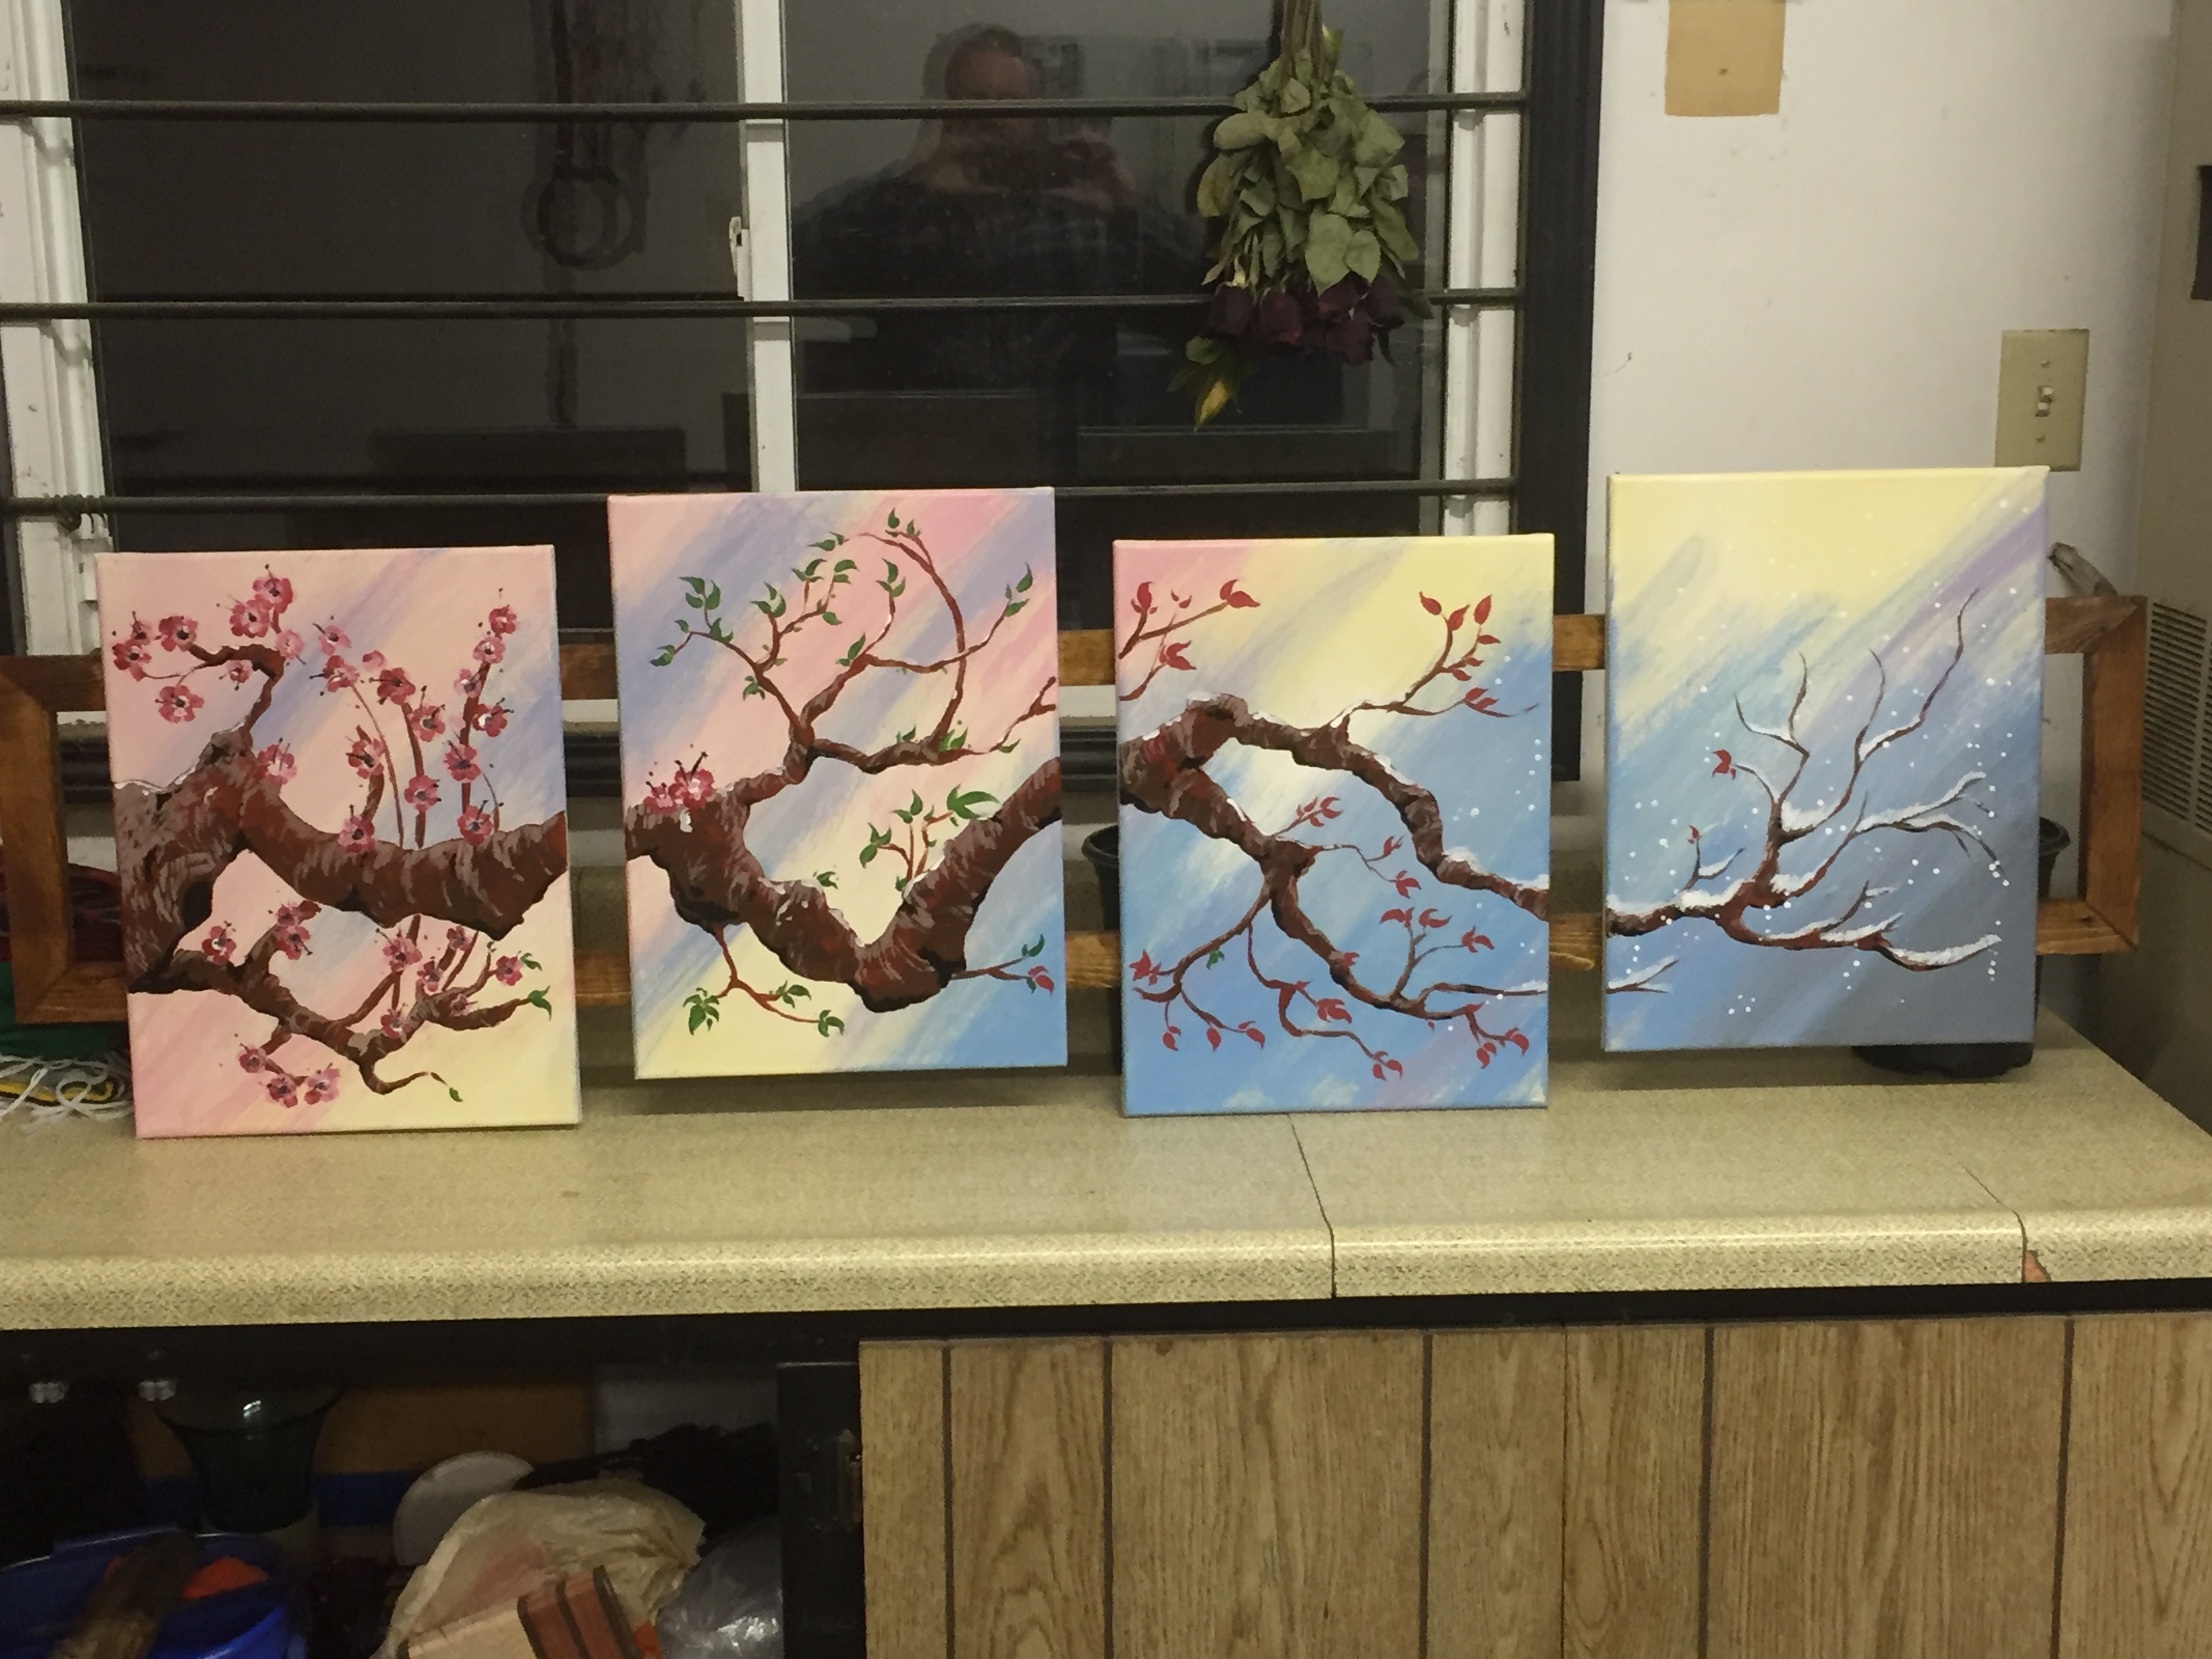
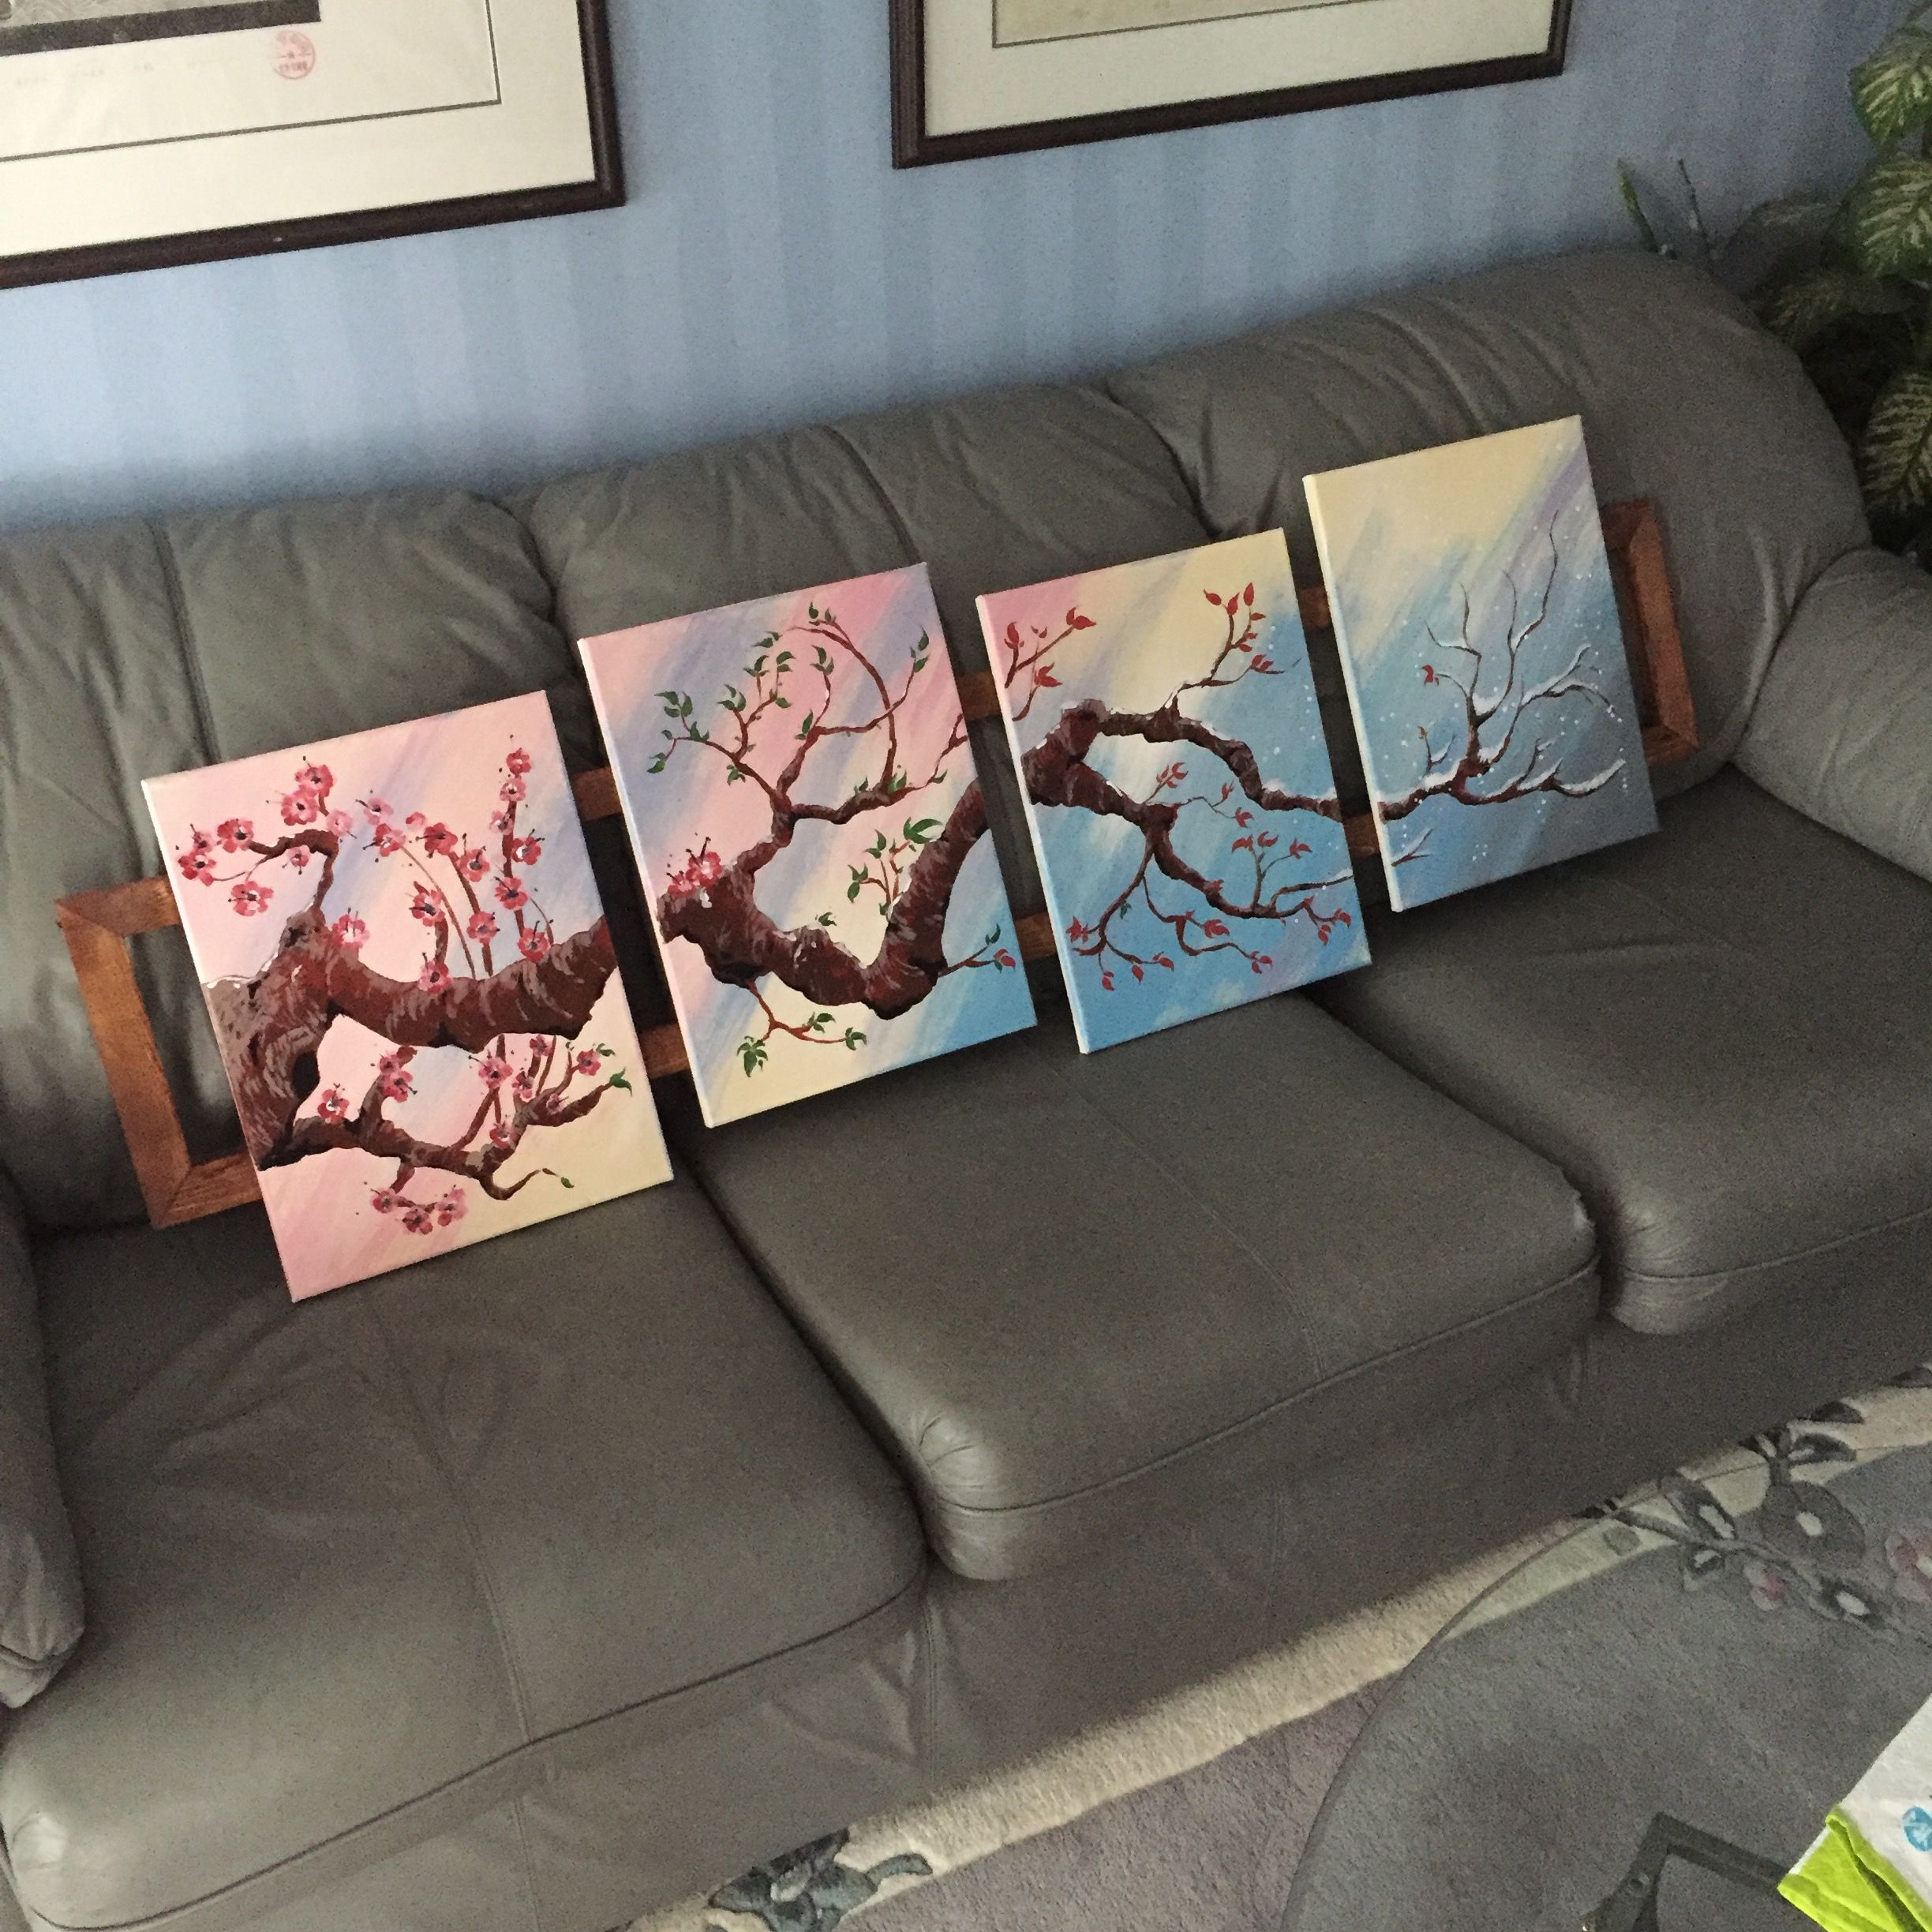
All Done. Overall this was a simple and fun project that anyone can do. Using this process you can try so many different design concepts to really make a piece of art that is unique and special to you.
I hope you liked this Instructable and I hope you try it out !
If you did like this instructable feel free to vote!
Cheers
This is actually a mothers day gift so don't currently have any pictures of it on the wall yet. I will update when once I give her the painting.