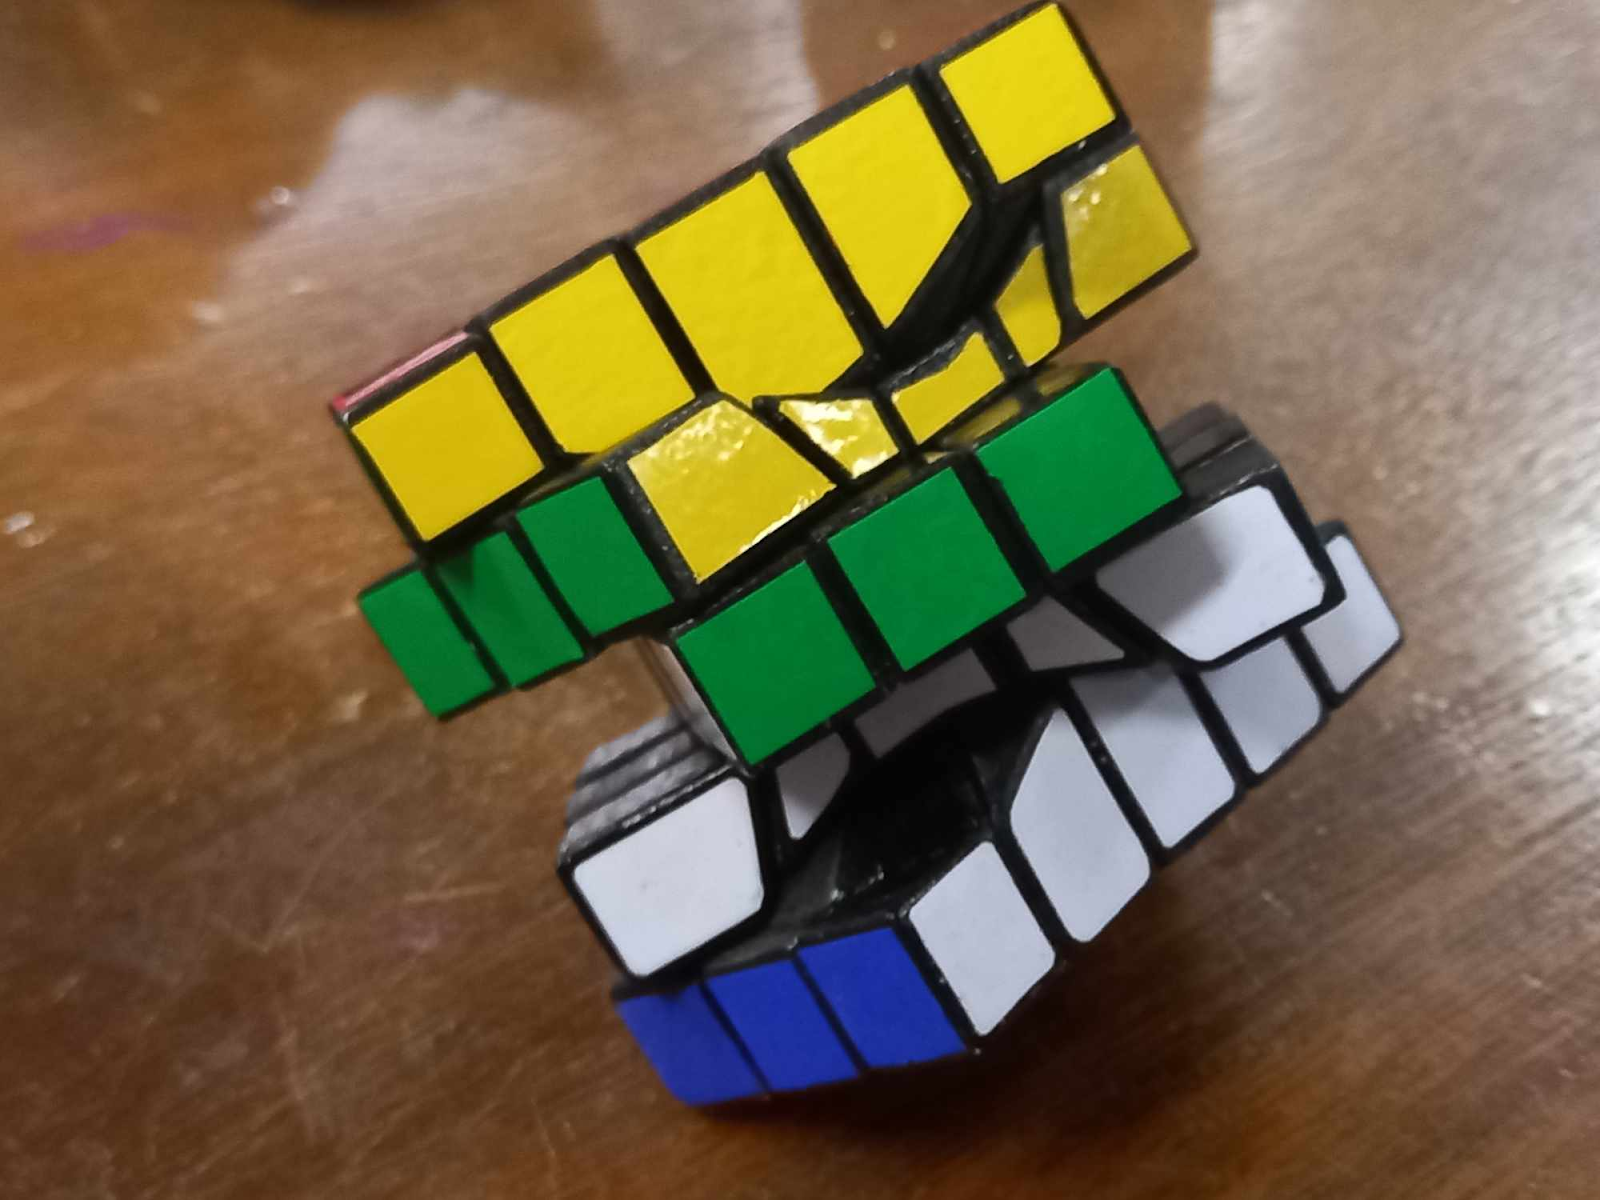
3x5x5 "Rubik's" "Cube"

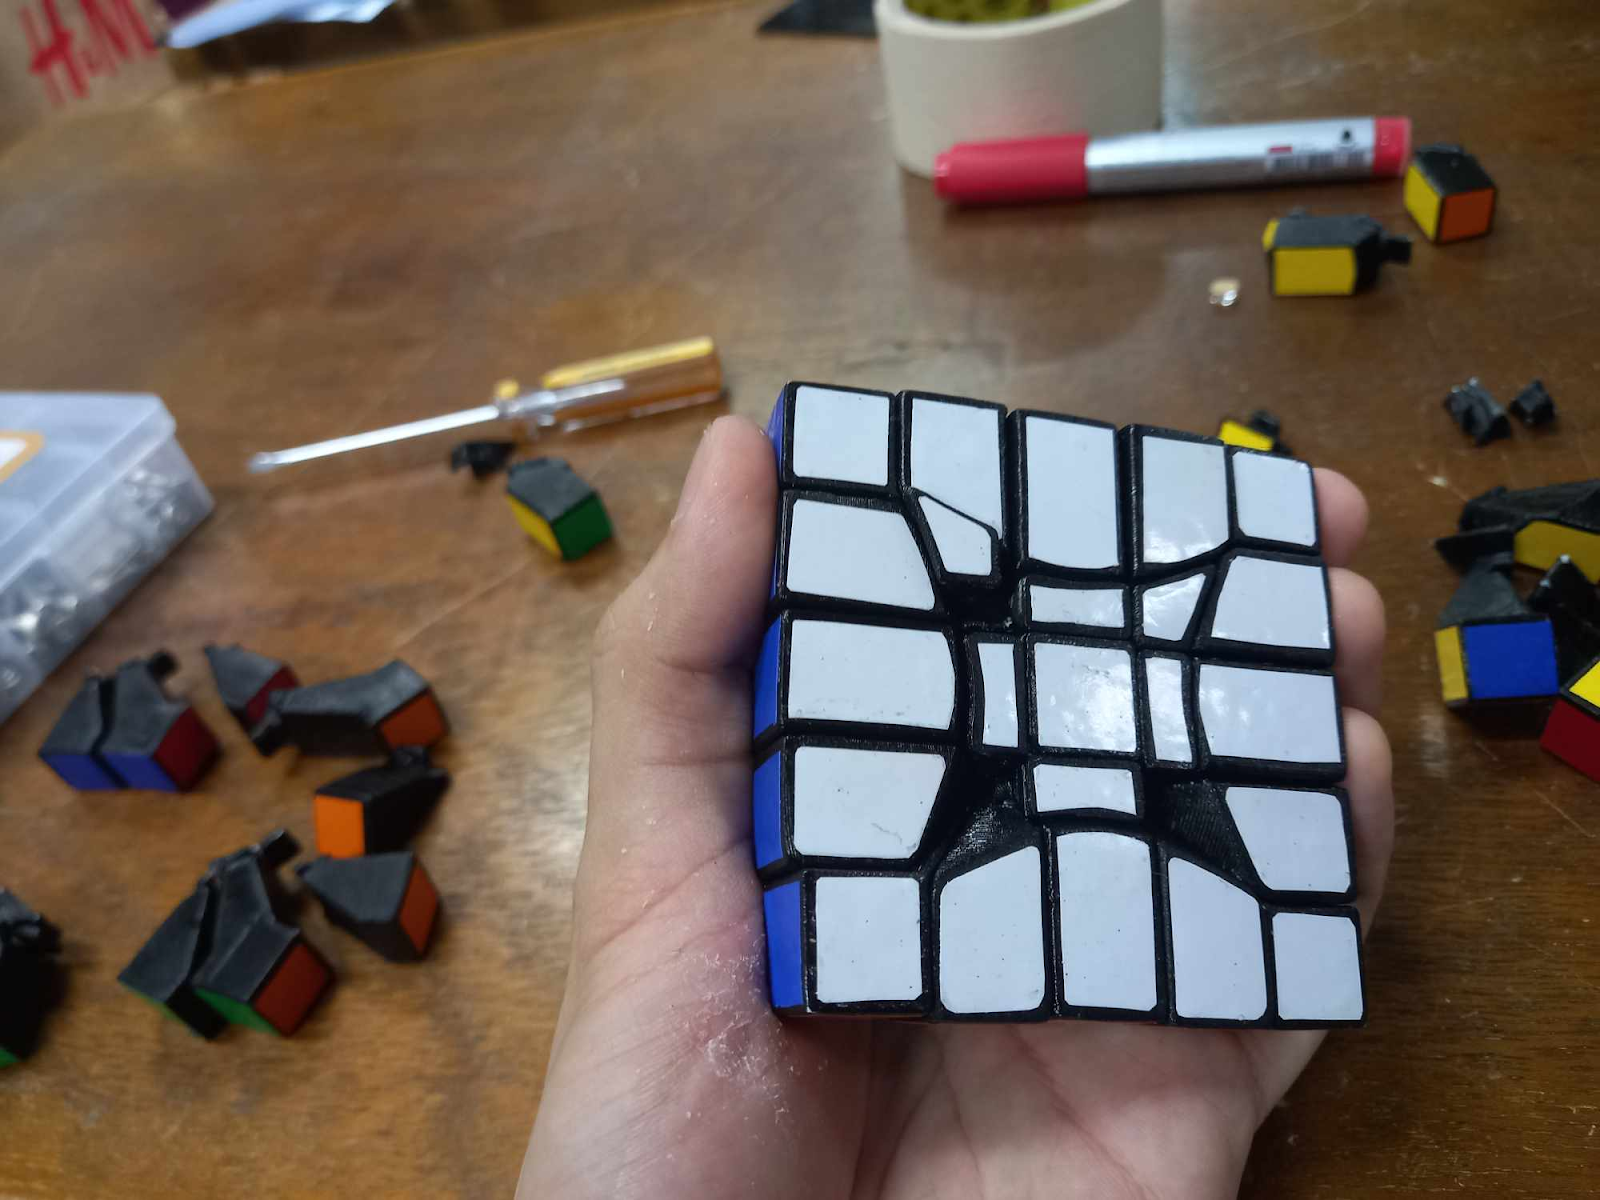
The 3x5x5 cuboid puzzle is a kind of twisty puzzle where there are three layers of 5x5 cubies. It is essentially a 5x5x5 Rubik’s Cube, but with the top and bottom layers removed. It has interesting properties, such as shapeshifting, which is as crazy as it sounds! This puzzle is rare to find, since no company currently mass produces it. Meaning, the only way people can get one of these puzzles normally is to 3D print one. That’s exactly what we’re going to do today in this Instructable!
Supplies
To make this puzzle, you need the following materials:
- PLA
- Sandpaper (preferably low grit)
- 6 screws (of screw diameter 4 mm)
- Sticker Vinyl
- Spray Paint (optional)
The following tools are also needed:
- 3D printer
- Screwdriver
- Cutter for the stickers
- Ultimaker Cura or any other slicing software for 3D printing
3D Printing the Pieces
Just like a jigsaw puzzle, you can’t have a twisty puzzle without the puzzle pieces :D
Download all of the .stl files attached in the Google Drive link below. The quantity for each piece to be printed is specified in the file name. As much as possible, try to minimize the amount of support material used, which will be shown later.
https://drive.google.com/drive/folders/1s2eJNoQHFLXLmZrmXOVriAQwmhw_aWHc?usp=sharing
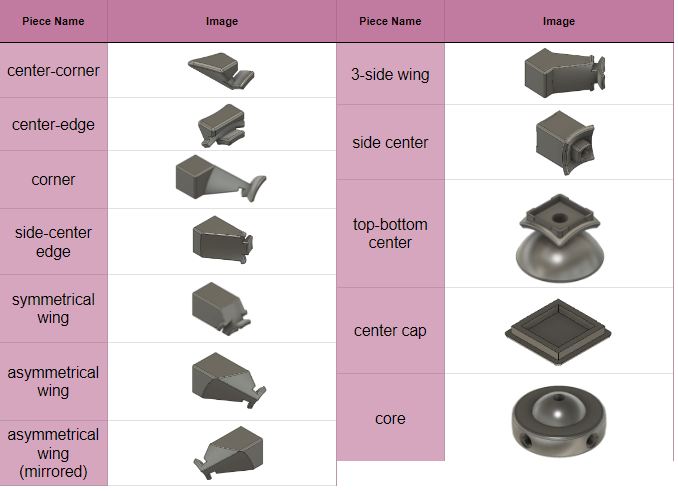
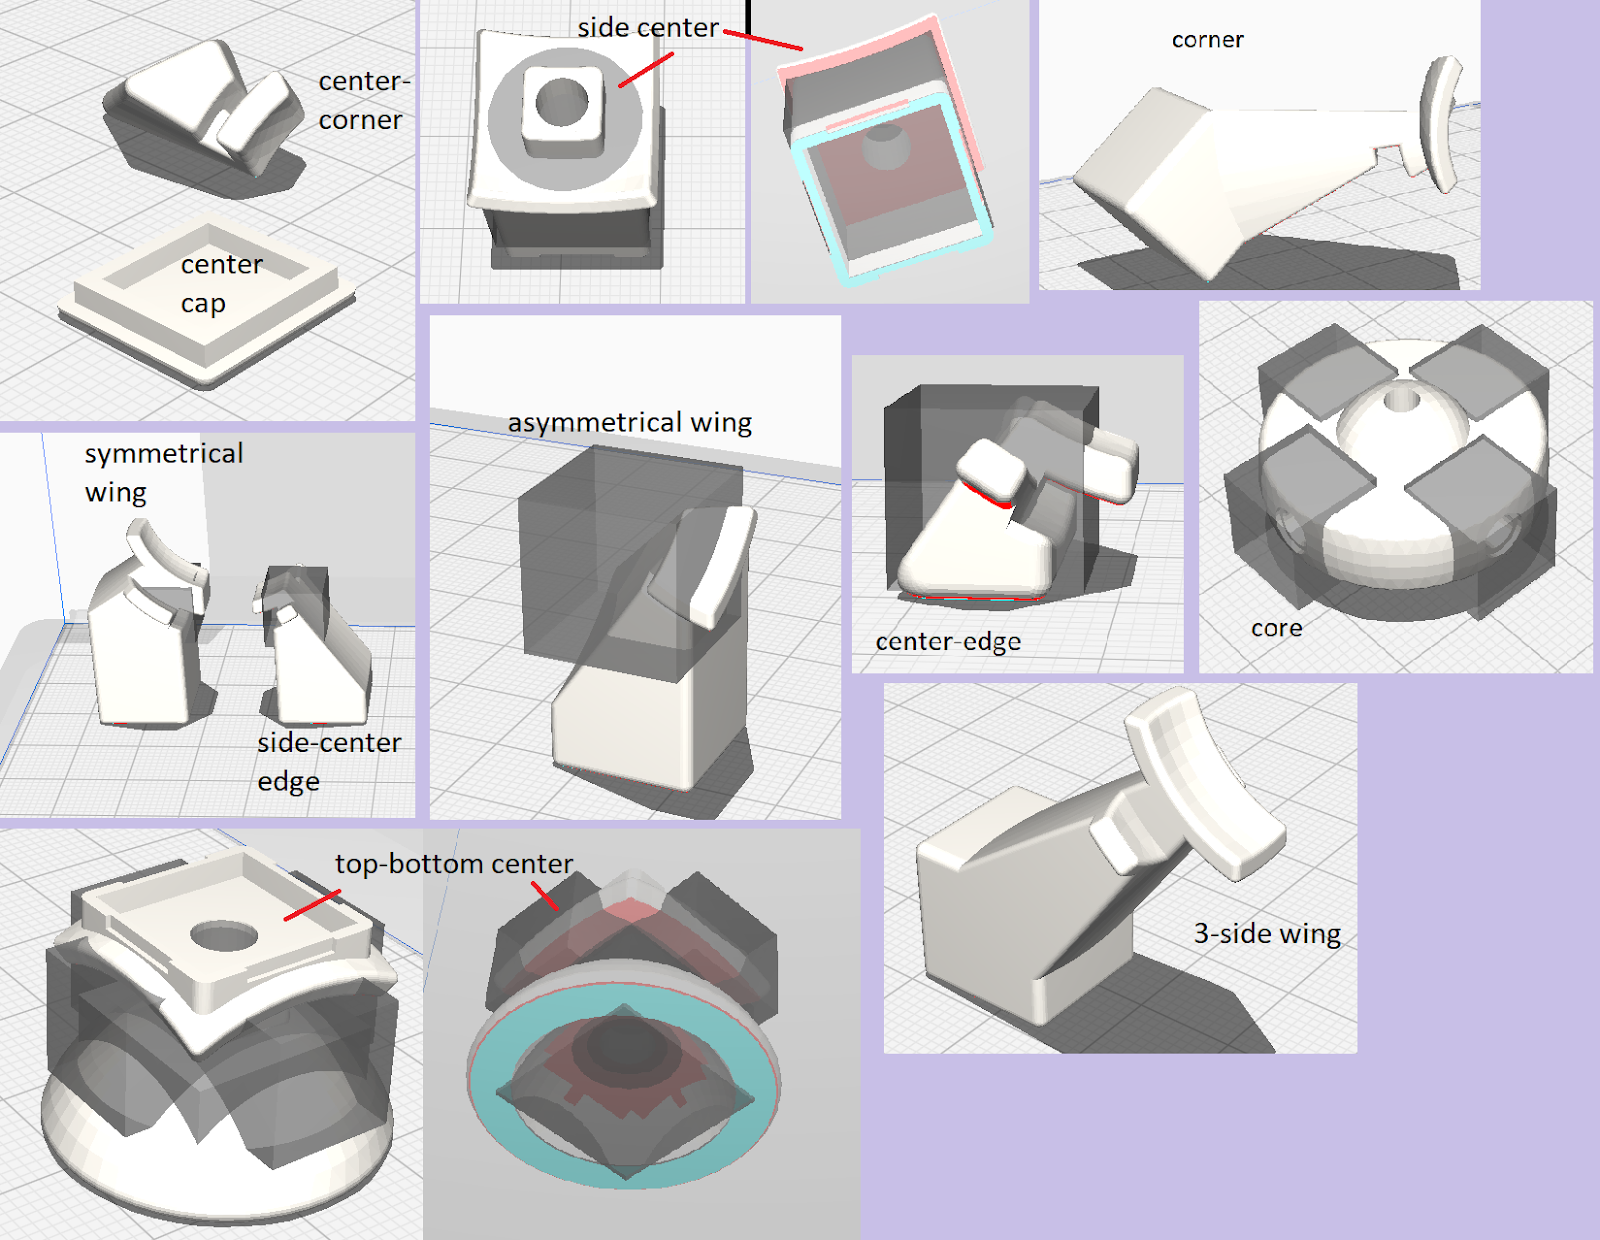
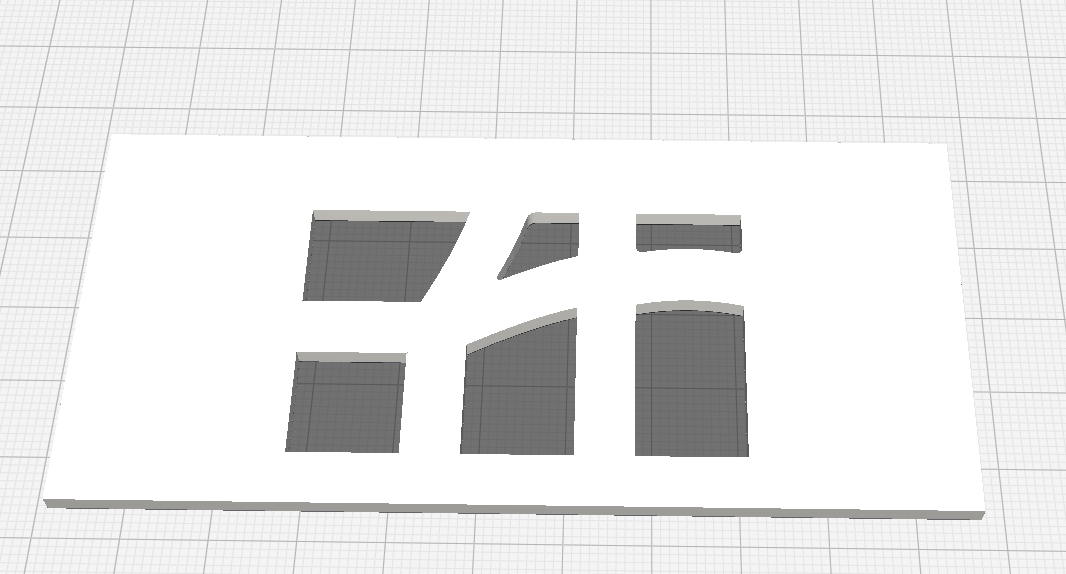
To start printing the pieces, you first need to know how to orient the pieces properly and the correct support structures.
Some pieces require supports, while others would be better off without any or with support blockers in certain areas. There is a recommended printing orientation and support locations for each unique piece, which are listed below. The grey cubes are the support blockers, which can be placed by selecting on the piece, then pressing the “E” key and left-clicking on the desired area of the piece. This support blocker can also be resized and moved.
Mechanism Post-processing
The parts fresh off the printers still have support material attached and some minor imperfections. Some pieces may even be too tight to fit together when assembled. To fix this issue, remove the support material. Pliers may help, especially for the corner piece, but it’s unnecessary. Then, remove excess material using rough sandpaper. Make sure to only sand a little bit at a time to prevent oversanding, which will make the puzzle too loose and rattly. Check the fitting of the pieces every once in a while.
Assembling the Puzzle
Now, it is time to discuss the assembly process. This part requires a lot of patience and trial and error, so hang in there!
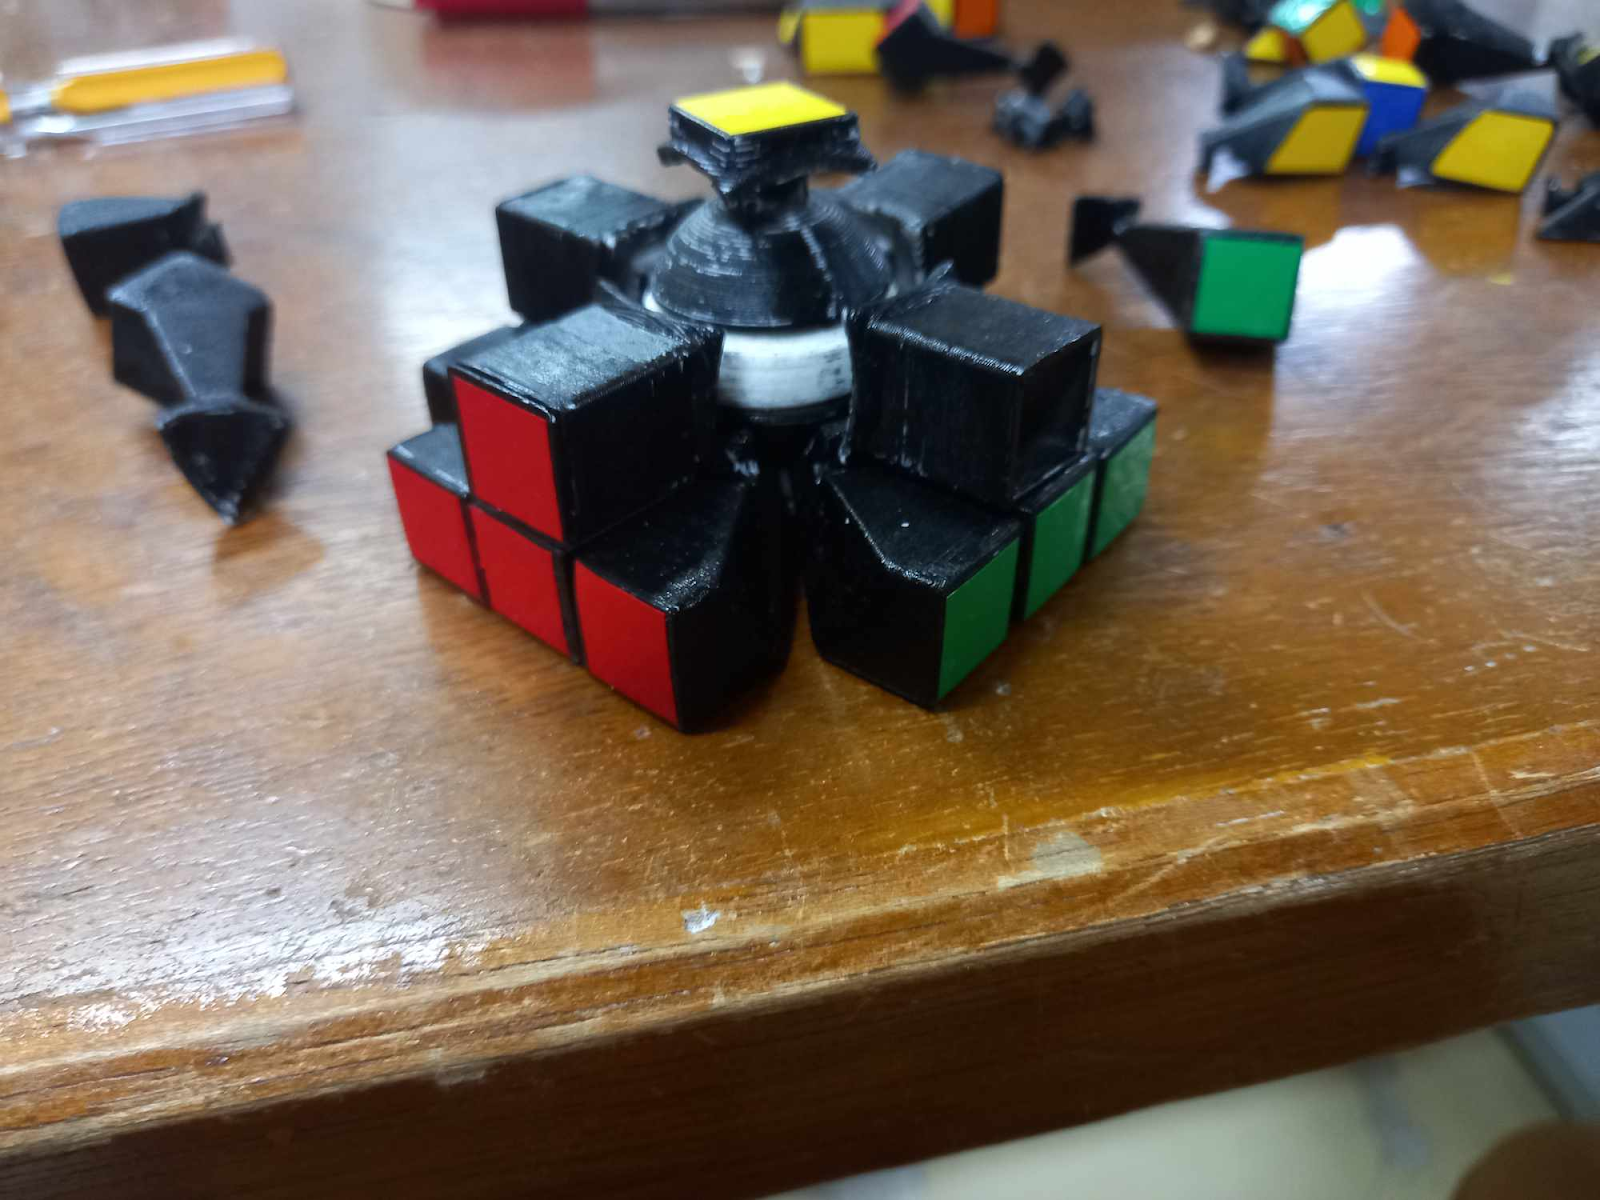
Assembling the Core
Take the core piece and a top-bottom center piece. Insert the screw into the top-bottom center piece, with the screw head going on the rectangular side. Then, to connect these two pieces, tighten the screw into the hole with a dome on the core to create the threads in the core piece. The screw should be deep enough such that the top-bottom center freely rotates around the axis, but does not move up and down. Repeat this process for the other top-bottom center.
Repeat this process for the side centers. You should end up with the main “skeleton” of the puzzle, the core.
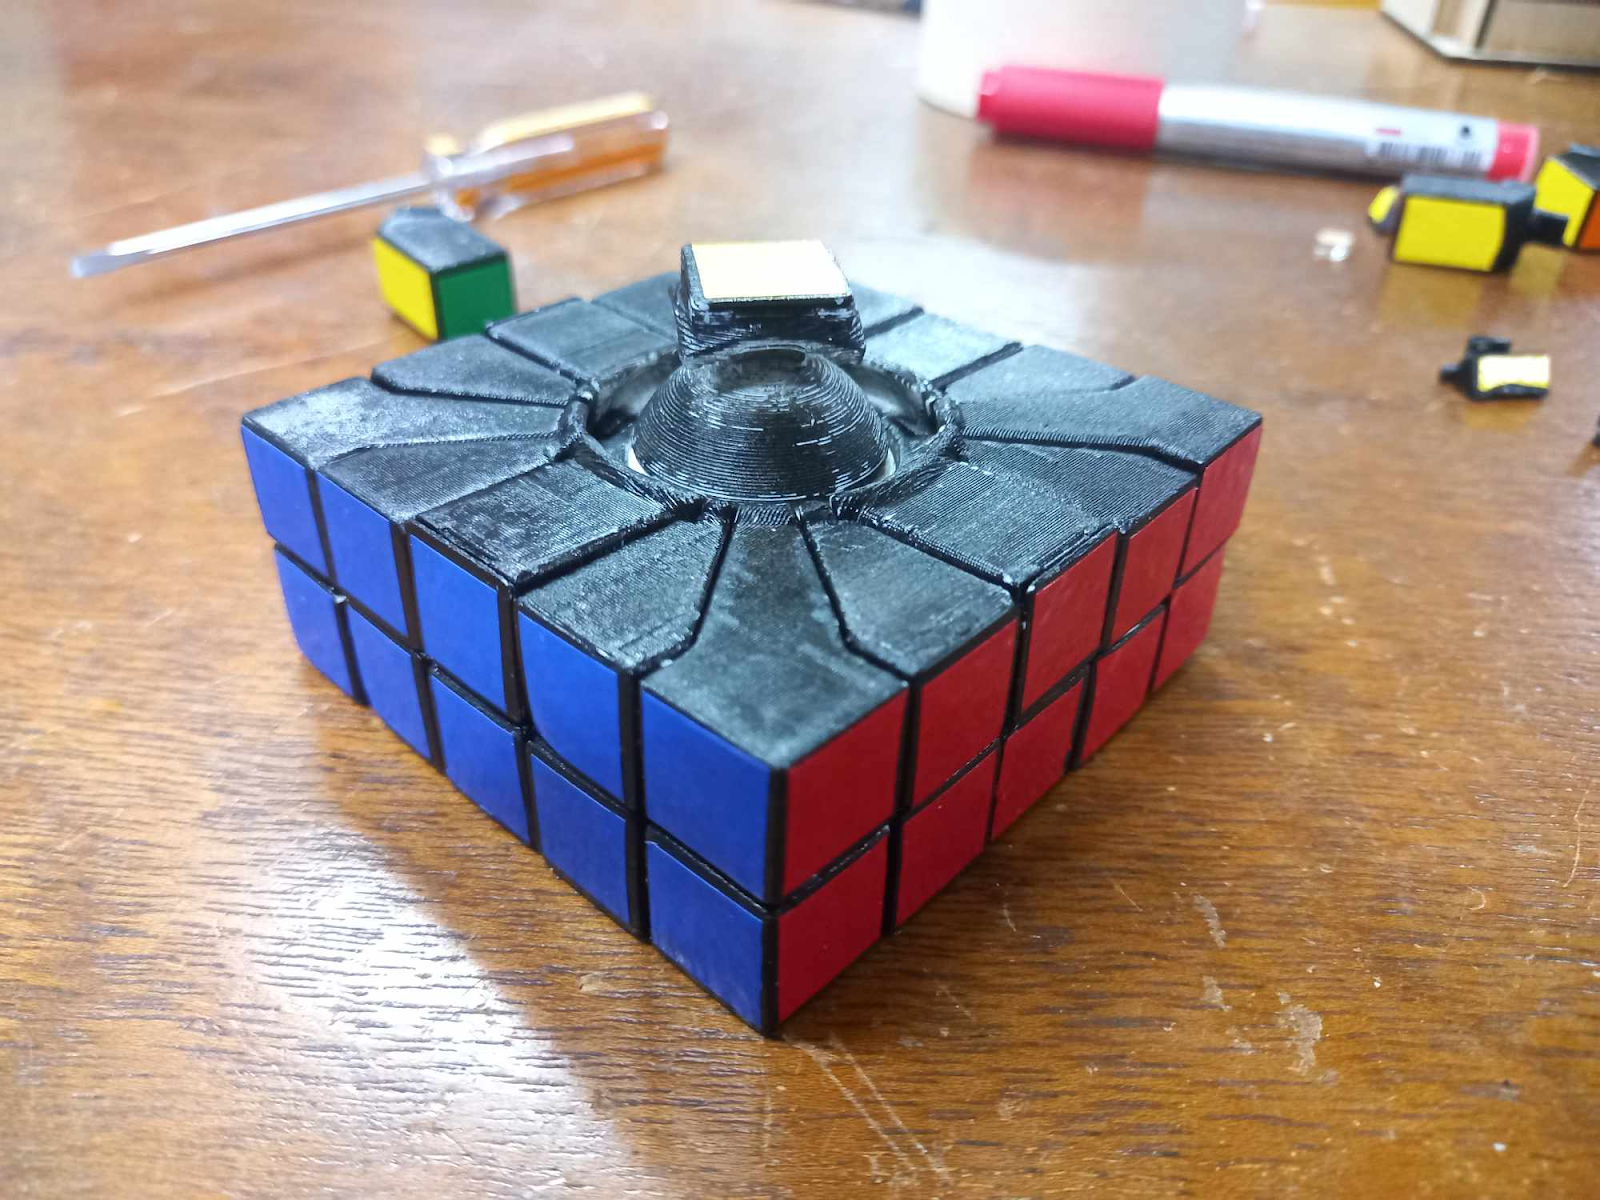
Assembling the first layer
To assemble the first layer, create a cross that spans across a top-bottom center and the four side centers. To do this, you need four (4) symmetrical wings and four (4) center-edges. It is recommended to start with putting a symmetrical wing into place, facing downwards on a table to ensure stability, then inserting the center-edges.
Then, the asymmetrical wings can be put into place. This part can take some trial and error because there are two versions of the piece, with one being the mirror of the other. Then once those are done, put the appropriate corner pieces. Finally, put the center-corner pieces into place. It would help to slightly slice a layer by turning or loosening a side of the puzzle.
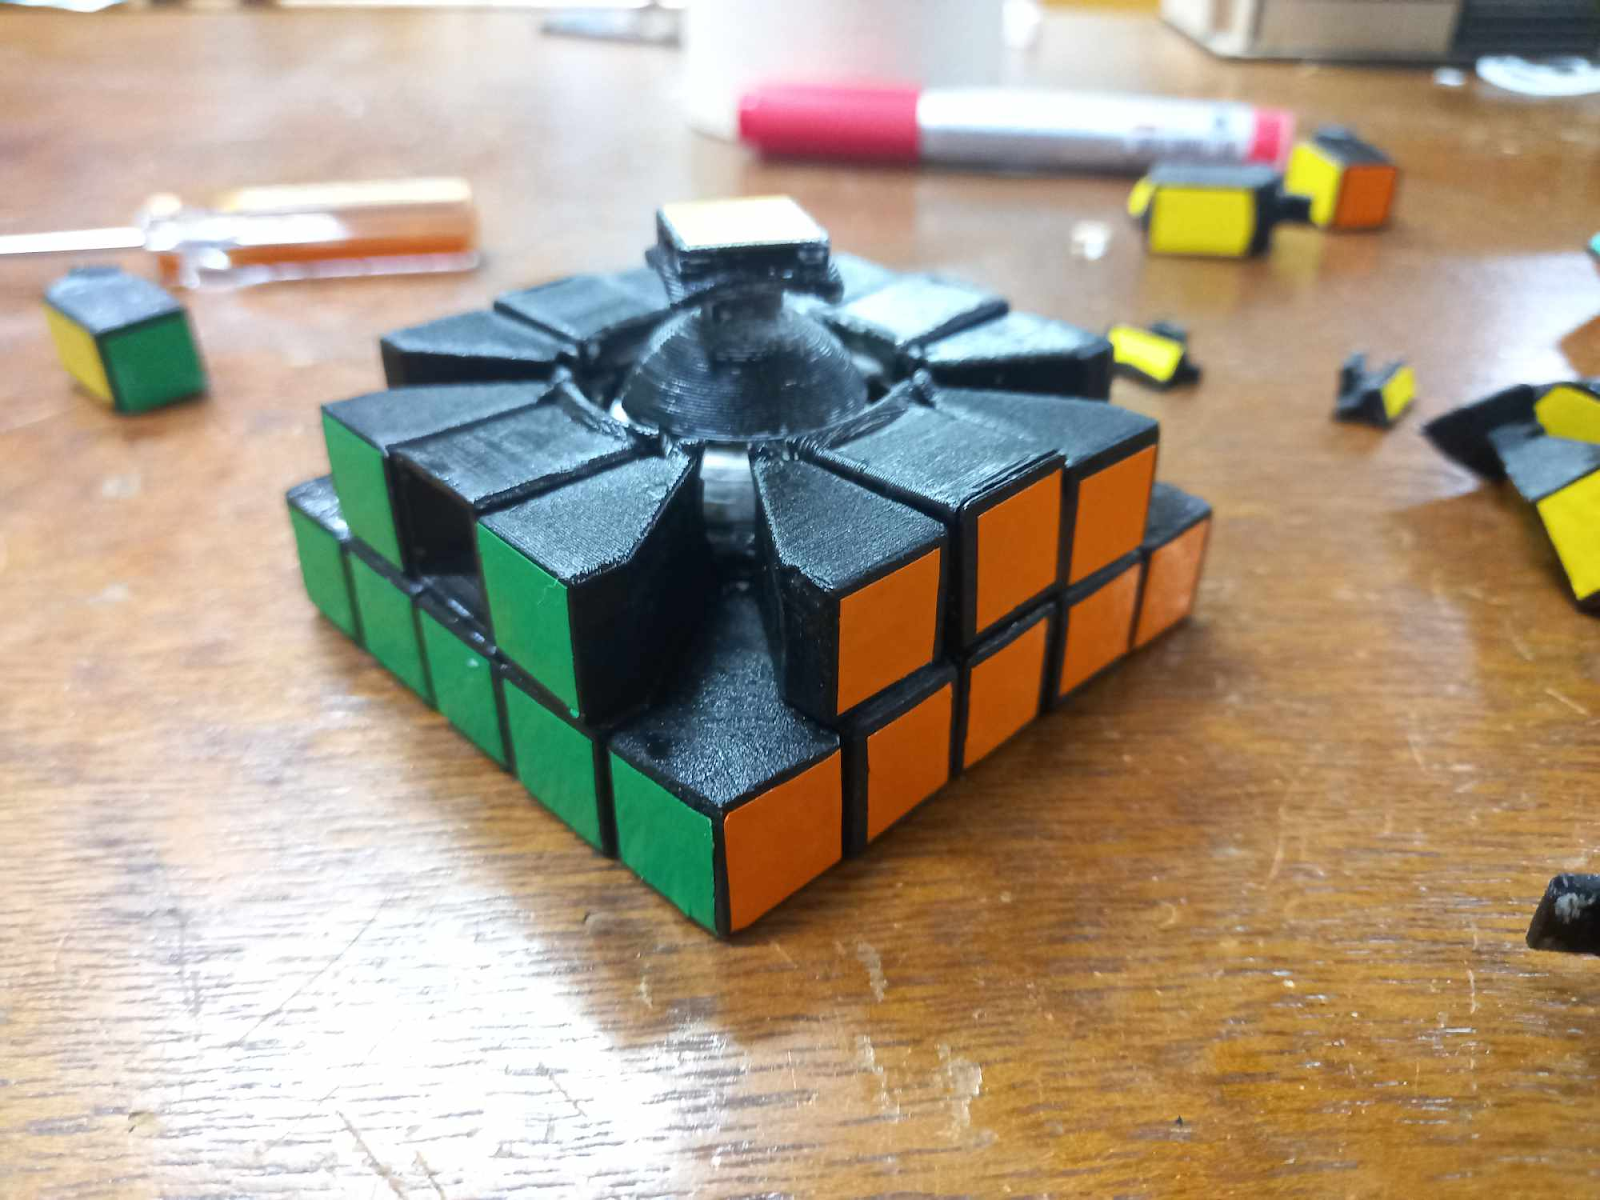
Assembling the second layer
To assemble the second layer, take the four 3-side wing pieces and place them on top of the corners, like seen below. Then, insert the side-center edges into the gaps.
Assembling the third layer
To assemble the third layer, follow the cross in the first layer, except put the third layer facing up, make a T-shape instead of a cross, then fill the small gaps. insert two of the asymmetrical wings, then the corners to make a U-shape. So close!
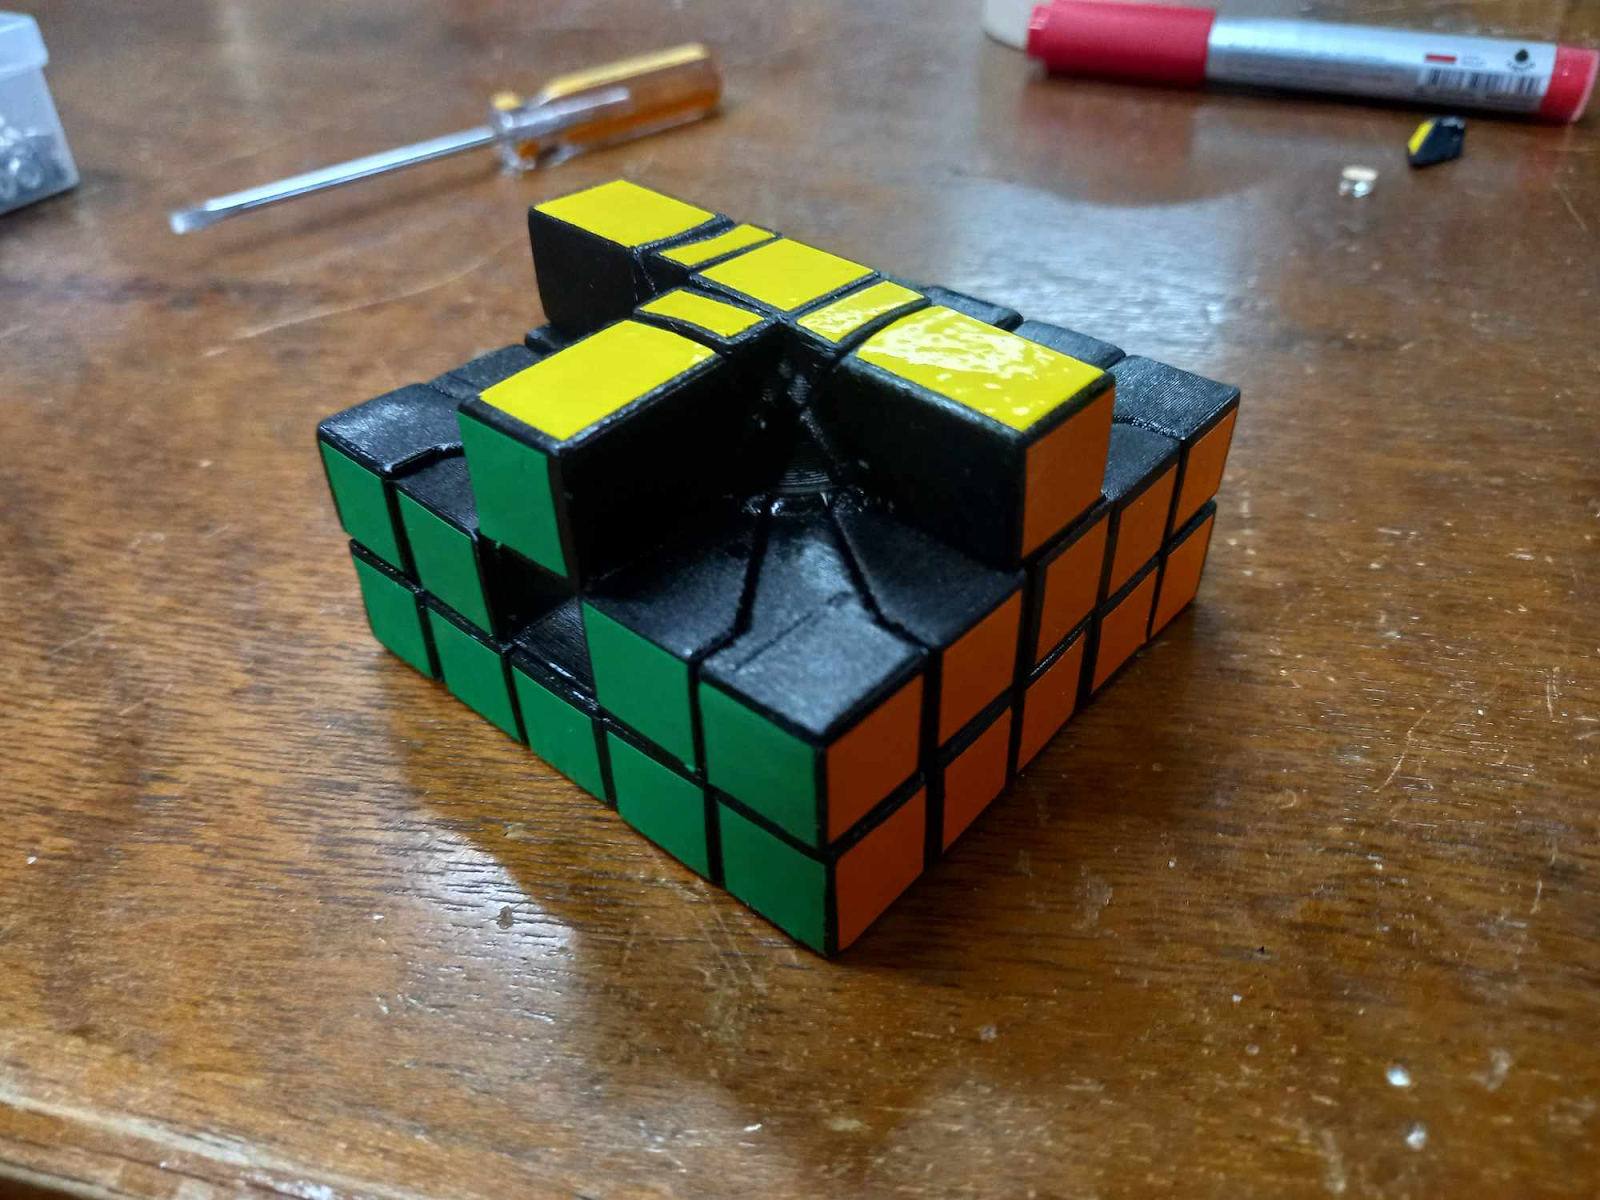
Insert the remaining symmetrical wing then the remaining asymmetrical wings. Three more pieces!
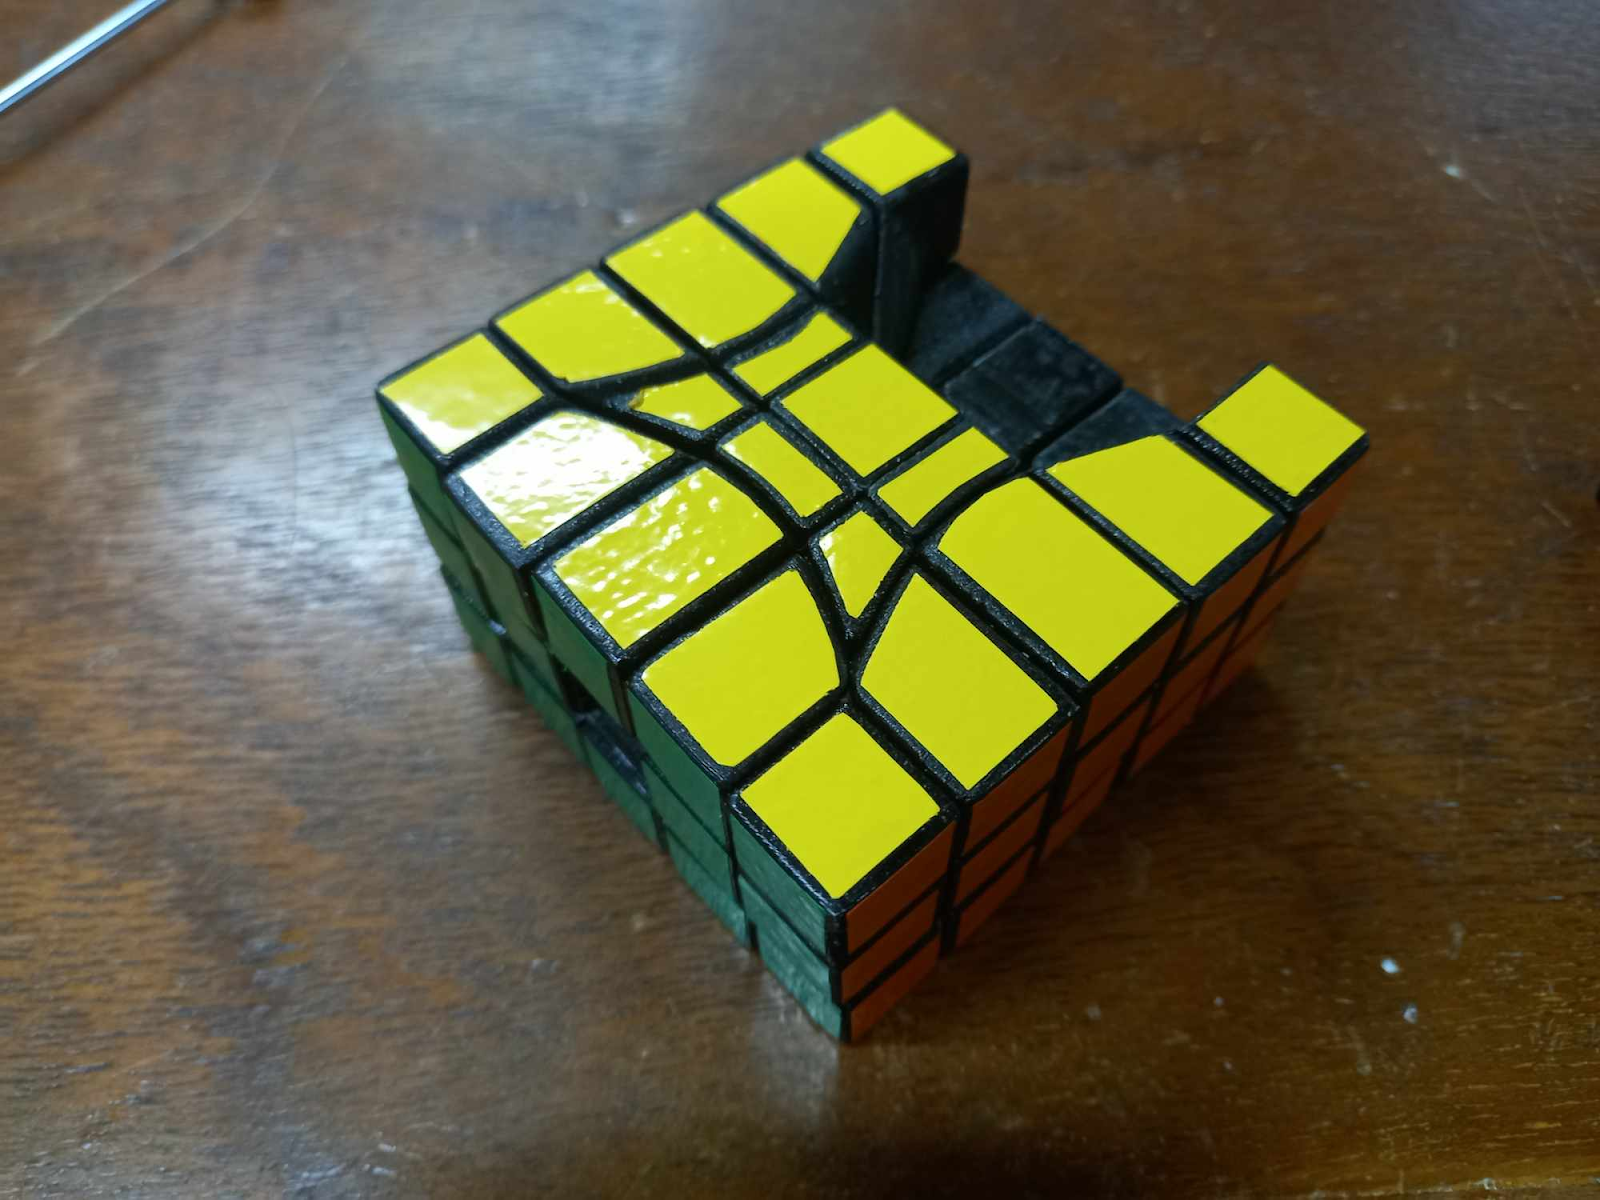
Insert the remaining center edge, then the final two center-corners. It would help to loosen one of the sides, but not too much to the point that it would fall apart on your own hands. Then there you have it, the puzzle is assembled!
Surface Post-processing
Step 5: Surface Post-processing
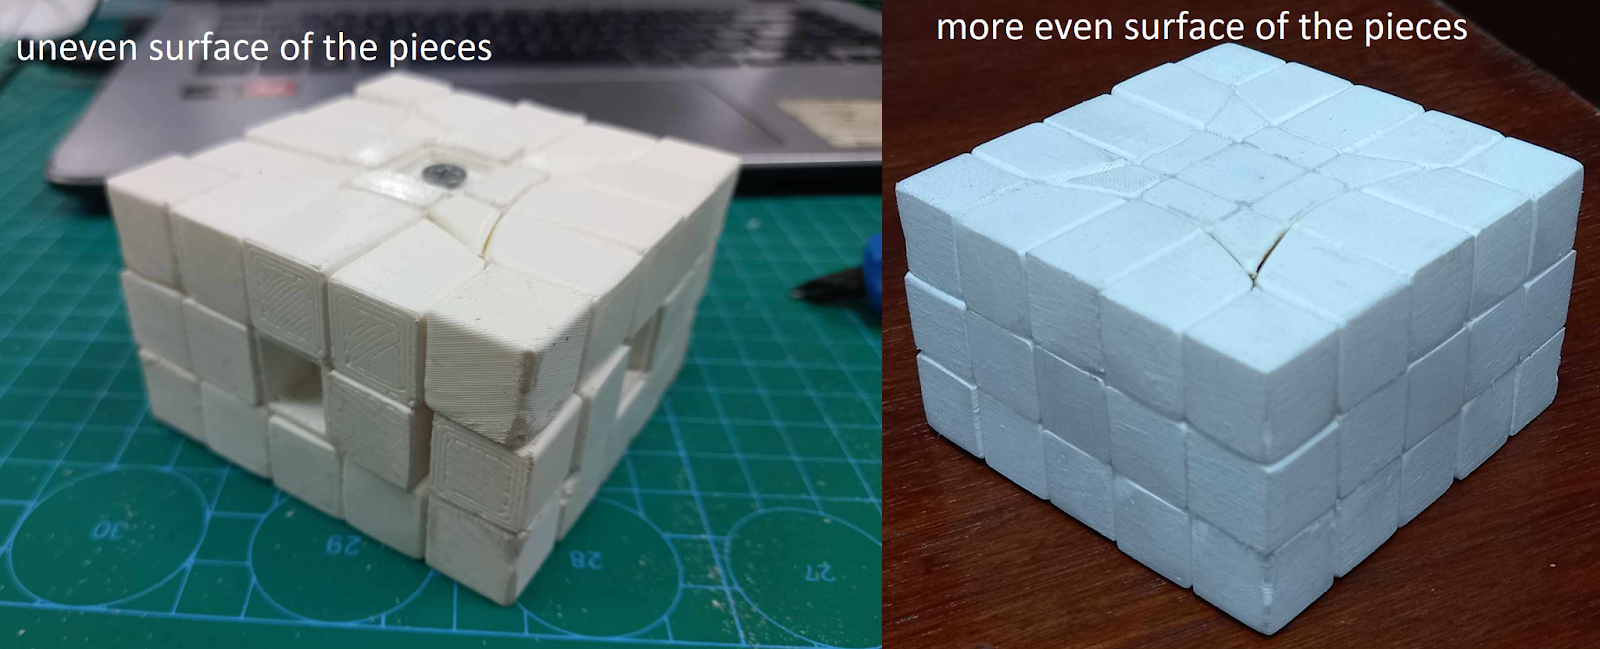
Sometimes, the pieces would have little bumps due to uneven printing of the pieces. To fix this, sand each of the faces with rough sandpaper, then make some random turns to evenly sand the puzzle. Repeat the process a few times. If available, a belt sander would make this process much easier.
(optional) Spray Painting
If the filament color is different from the desired color of the final product OR there are some spots in the pieces with uneven coloring, you can go ahead and spray-paint the pieces. Make sure to keep distance from the spray paint can and the pieces to ensure an even coating of the pieces. As much as possible, cover the internal mechanism with some tape so that it won't be spray painted, because the thin layer of paint will make the turning quality worse.
Cutting Stickers
The stickers can be cut using a 3D printed sticker template, with the .stl file being provided in the Google Drive link earlier. This sticker template can be used as a guide when using a knife to cut the stickers manually.
Alternatively, the sticker material can be directly applied to the face of the puzzle, then traced manually using the cutter, although this may leave some scratches in the surface. Cut close to each edge of the cubie and not too far deep. Make sure to cut carefully to ensure the best-looking stickers, especially the ones with curved edges.
Downloads
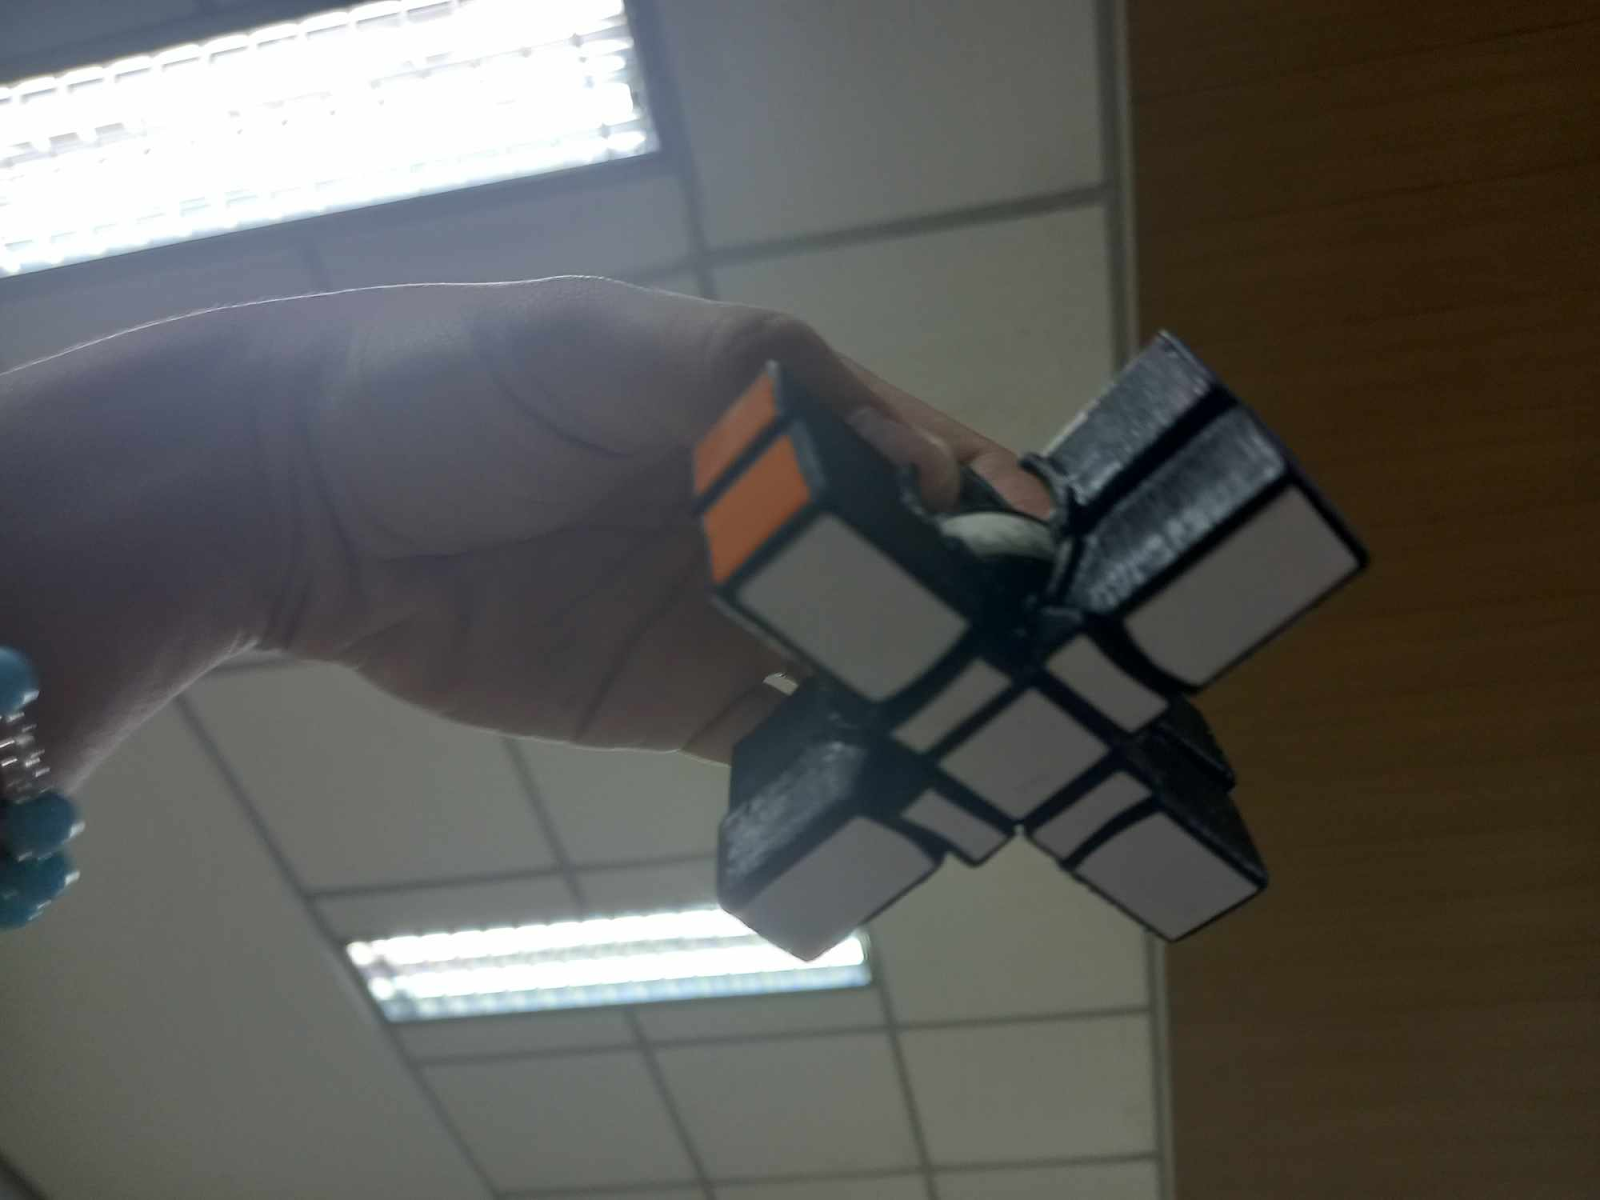
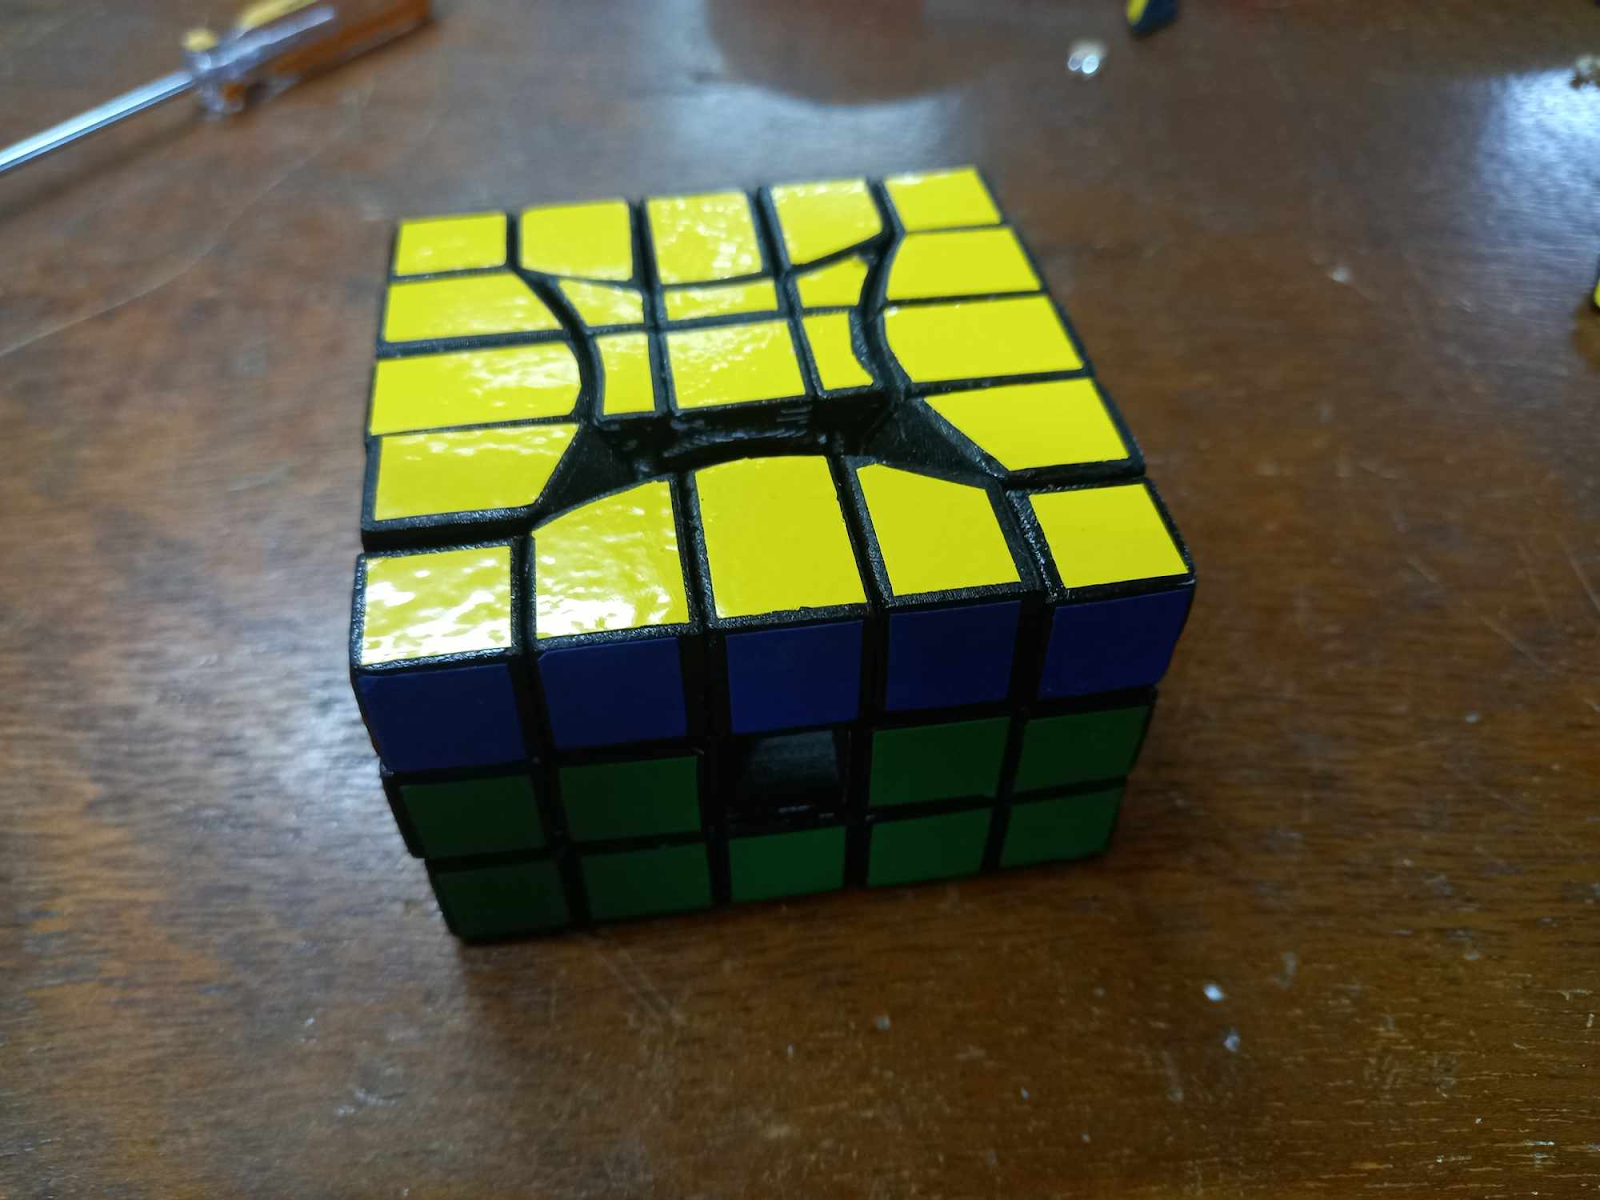
The Finished Puzzle
Adjust the tension of the screws to your liking... and there you have it, the finished puzzle! Good luck solving it!