3d Printed Photo


This is how to create a 3d printed photo. This Instructable flows from the exploration of ideas suggested by James Yett. This particular piece is inspired mostly by the work of Danny Rozin (http://www.smoothware.com/danny/), such as the Wooden Mirror."
The concept works on the basis of a diffuse reflection on a surface from a single light source http://en.wikipedia.org/wiki/Diffuse_reflection . When a surface is oriented so that it reflects the light source towards your eye, it appears to be a brighter color. When the light is reflected away, it appears darker.
If the surface texture is fairly rough you will have a more diffuse reflection and most of the brightness of the light is scattered. This works best with a darker material since a lighter color will absorb less light and the light source will be less visible. If the surface is polished, you will get more specular reflection and the light source will appear brighter, allowing for a lighter color material.
To create the oriented surfaces, I used Autodesk's Dynamo which is a free graphical programming environment for Vasari or Revit (get Vasari for free at www.autodeskvasari.com and Dynamo at www.dynamobim.org).
Getting Started in Vasari and Dynamo


Start by downloading and installing Vasari and Dynamo:
(get Vasari for free at www.autodeskvasari.com and Dynamo at www.autodeskvasari.com )
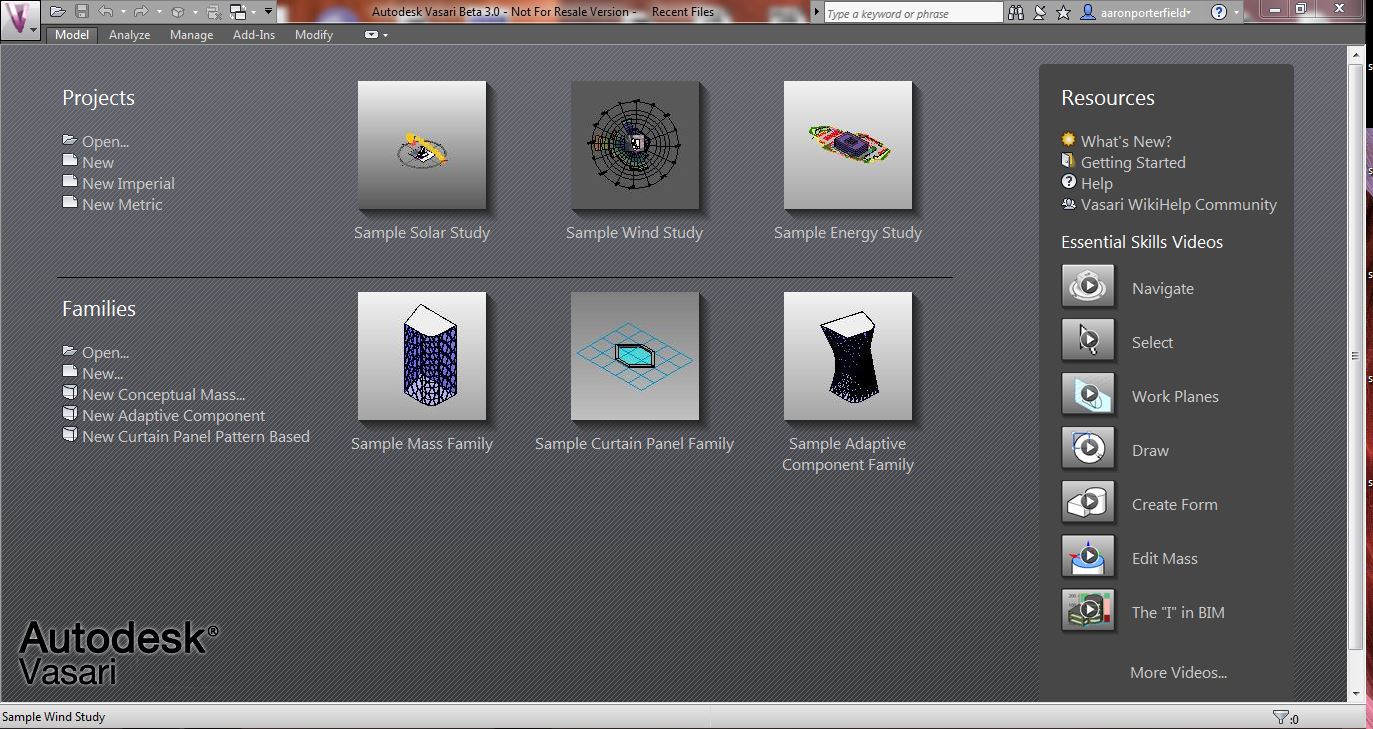
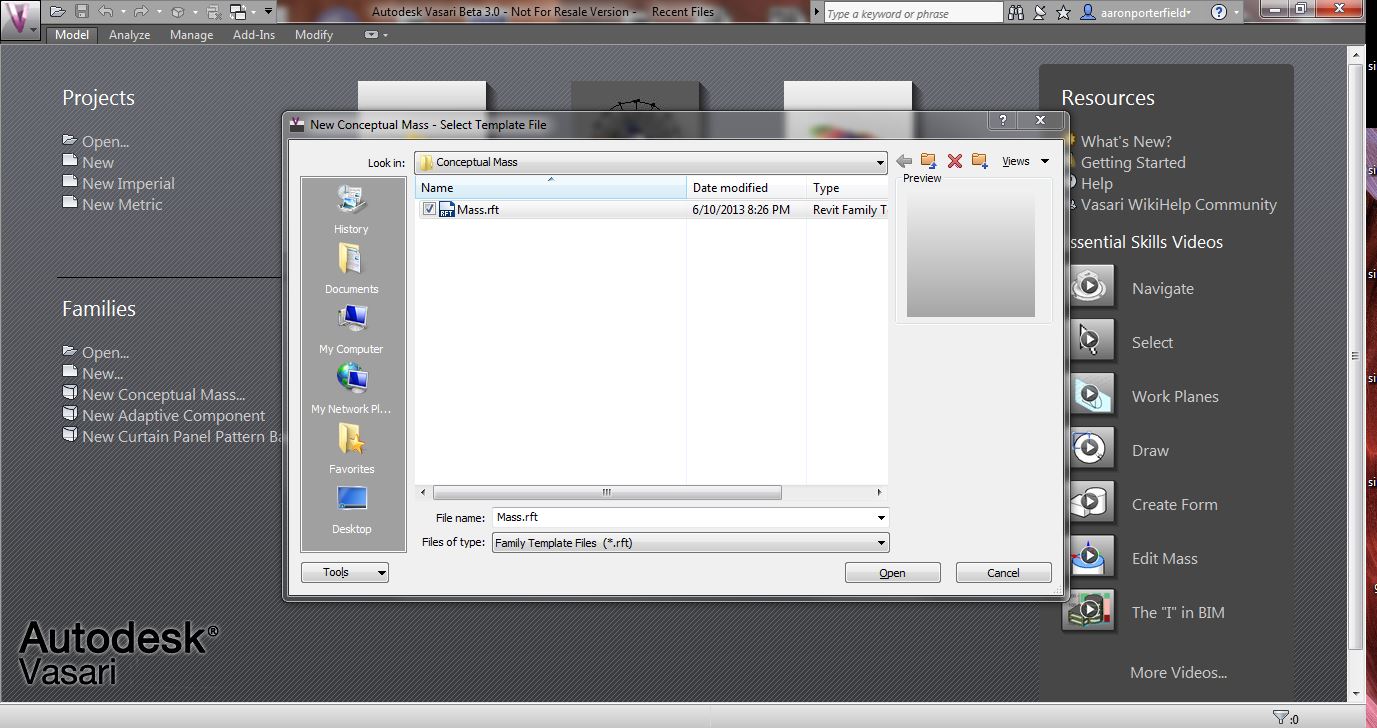
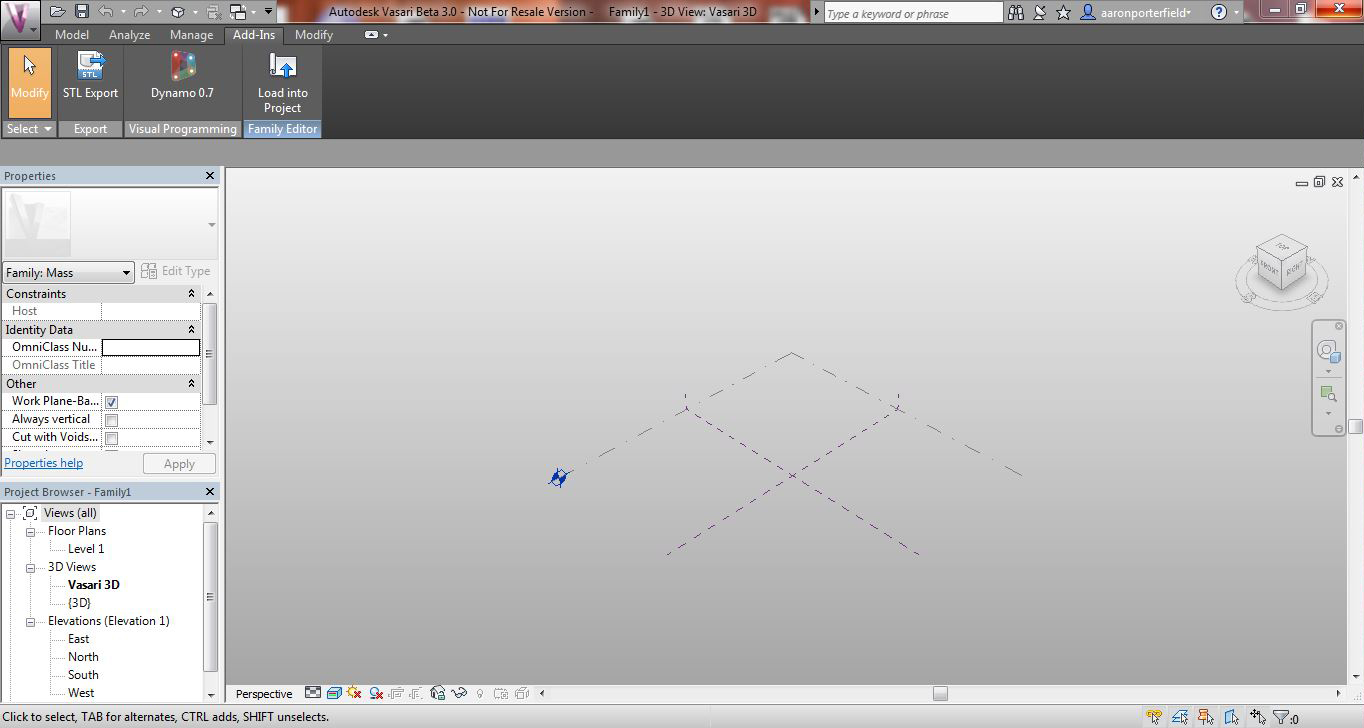
When you first start up Vasari, it will say Projects and Families on the left. Click the button that says "New Conceptual Mass". Open the default "mass.rft" template. In Vasari under the "Add-Ins" tab, click the button for Dynamo.
In the Dynamo window, open the file (provided below) 3dprintedphoto.dyn.
You will see the graphical program to create the 3d printed image. An image is read by its rgb pixel values in a list. The rgb values are translated into greyscale values. These values are translated into a range for -x to x for our surface rotation. A grid is created matching the number of pixels in the image and a polygon is created at each grid point. Then each polygon is rotated based on its corresponding greyscale value. That polygon is extruded as a solid and it is ready to print.
Downloads
Working With the Dynamo File

At the far left of the Dynamo file is all the parameters to create your image.
The first box "File Path" is where you will open the image file you want to create. Make sure the image is square, has good contrast in greyscale, and the pixel number is even (30, 50, 100 etc.). I used a photo of myself.
Next choose your image size. This is measured in millimeters from the center of polygon to polygon.
Choose you pixel number. This needs to be the same number of pixels in your image or evenly divisible.
The "Max Rotation" parameter is the maximum rotation of the surface for a black or white value. 15 degrees is a good place to start.
"Polygon Sides" sets the number of sides each shape will have (4 will make a square) and "Polygon Rotation" will rotate them so you can play with how they overlap using the "Overlap" parameter.
"Thickness" will set the extrusion distance for each polygon.
Getting Ready to Print


Once you are happy with the image, you can export it to an STL by going to file>export as STL in Dynamo.
Depending on what printer you are using and how it slices a file, there may be some additional steps for you to print. The exported file is made up of all the extruded polygons as separate objects (900 if your image is 30x30). If you are using an FDM printer like a Makerbot or Reprap, the slicing software will have a hard time figuring out how to create paths. You will need to join each object into one solid object which is not an easy task for most software.
Luckily Autodesk has free software that can do exactly that. Get a copy of Meshmixer from http://www.123dapp.com/meshmixer and import the file you exported from Dynamo. On the left hand side of the screen, choose Edit>Make Solid.
This will approximate a closed mesh around your imported model. I set "Solid Accuracy" to the maximum, and set "Mesh Density" to somewhere around 200. Click update to see your changes and accept when you are happy with it. Next you can click "Export" on the left-hand menu to export your new mesh and print!
Above is one printed on a Makerbot. It is 30x30px and sliced with a 3mm layer height. The result was not very good, but could be better at a higher resolution and layer height.
Print and Enjoy!


I printed mine using an Objet Connex 500 photopolymer printer in a black plastic. These printers don't require a solid object to slice because instead of toolpaths, it creates 2d images to print for each slice. Other SLS, DLP or other photopolymer printers may work the same way.
Feel free to experiment. Try different shapes, sizes and images to see what you can do!
Enjoy!