3d Printable Mech Based on Hawken
by moldypizza in Workshop > 3D Printing
3348 Views, 4 Favorites, 0 Comments
3d Printable Mech Based on Hawken
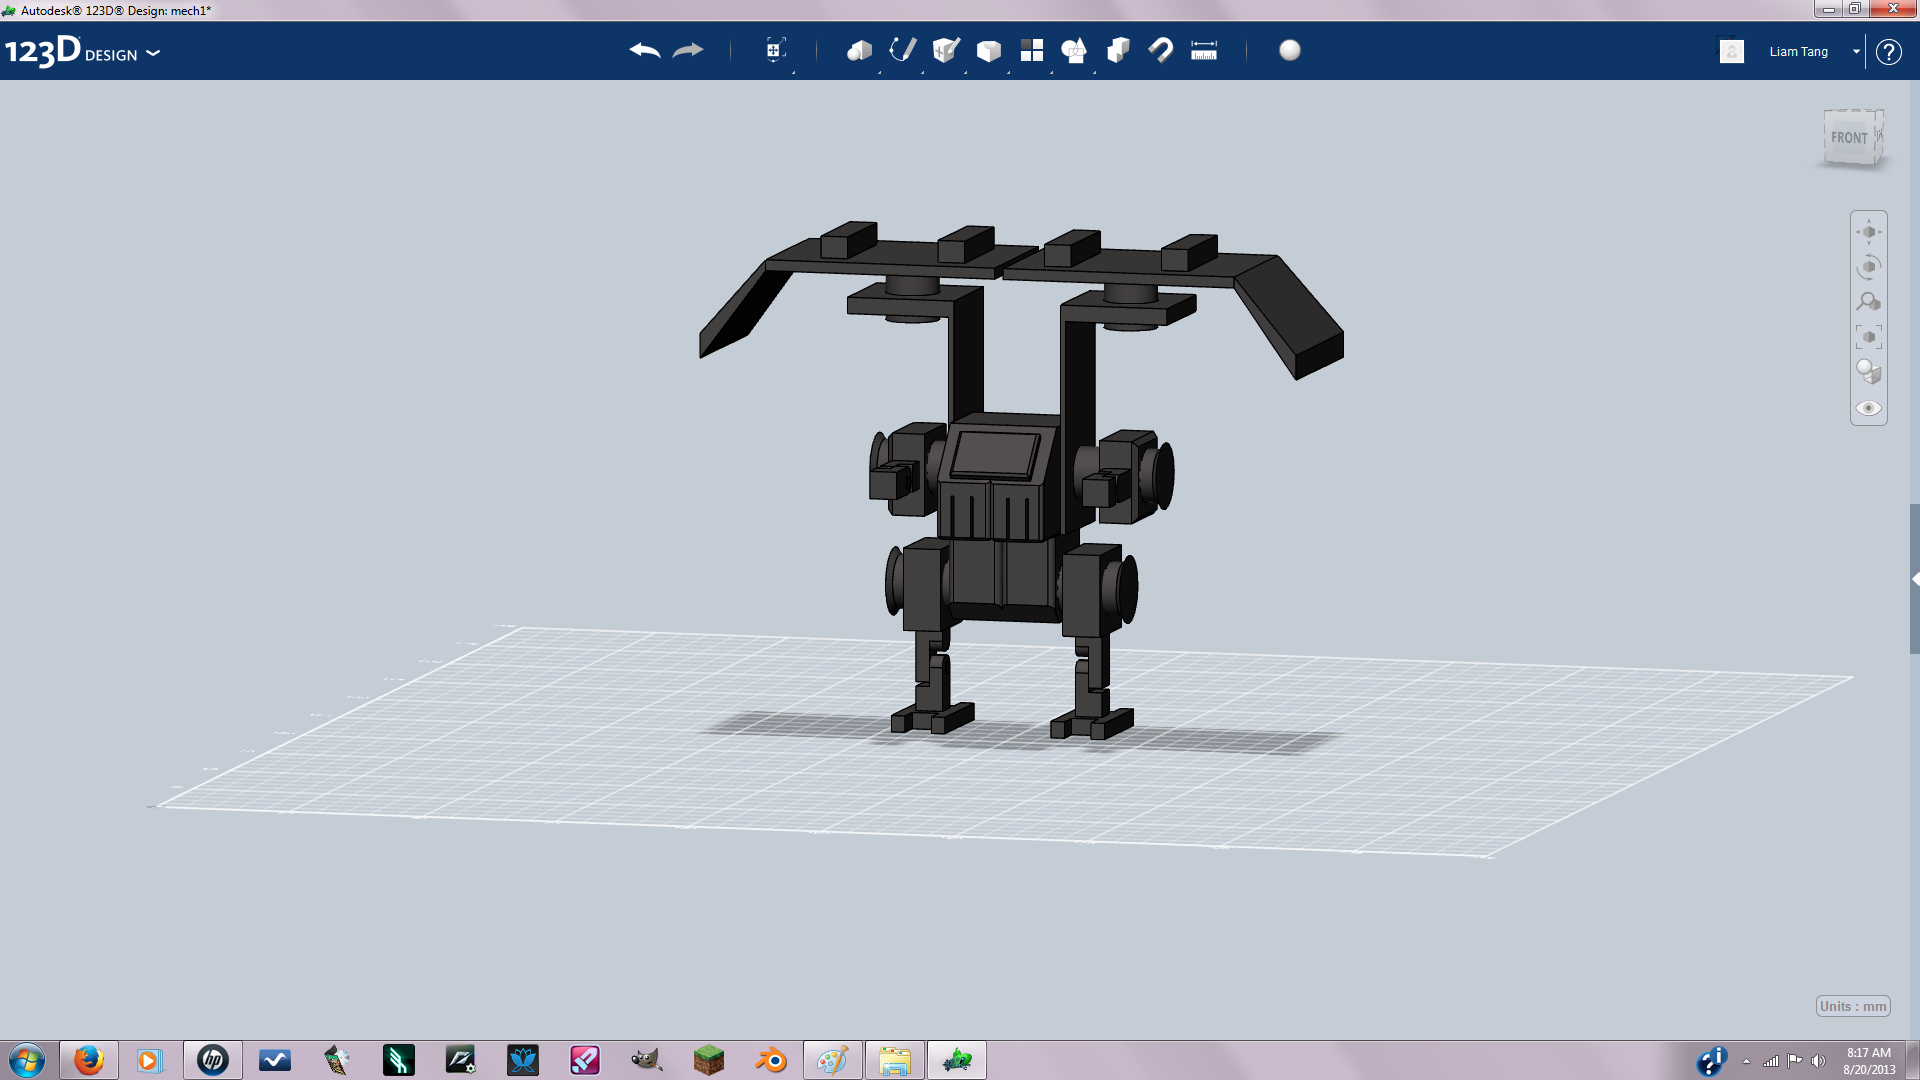
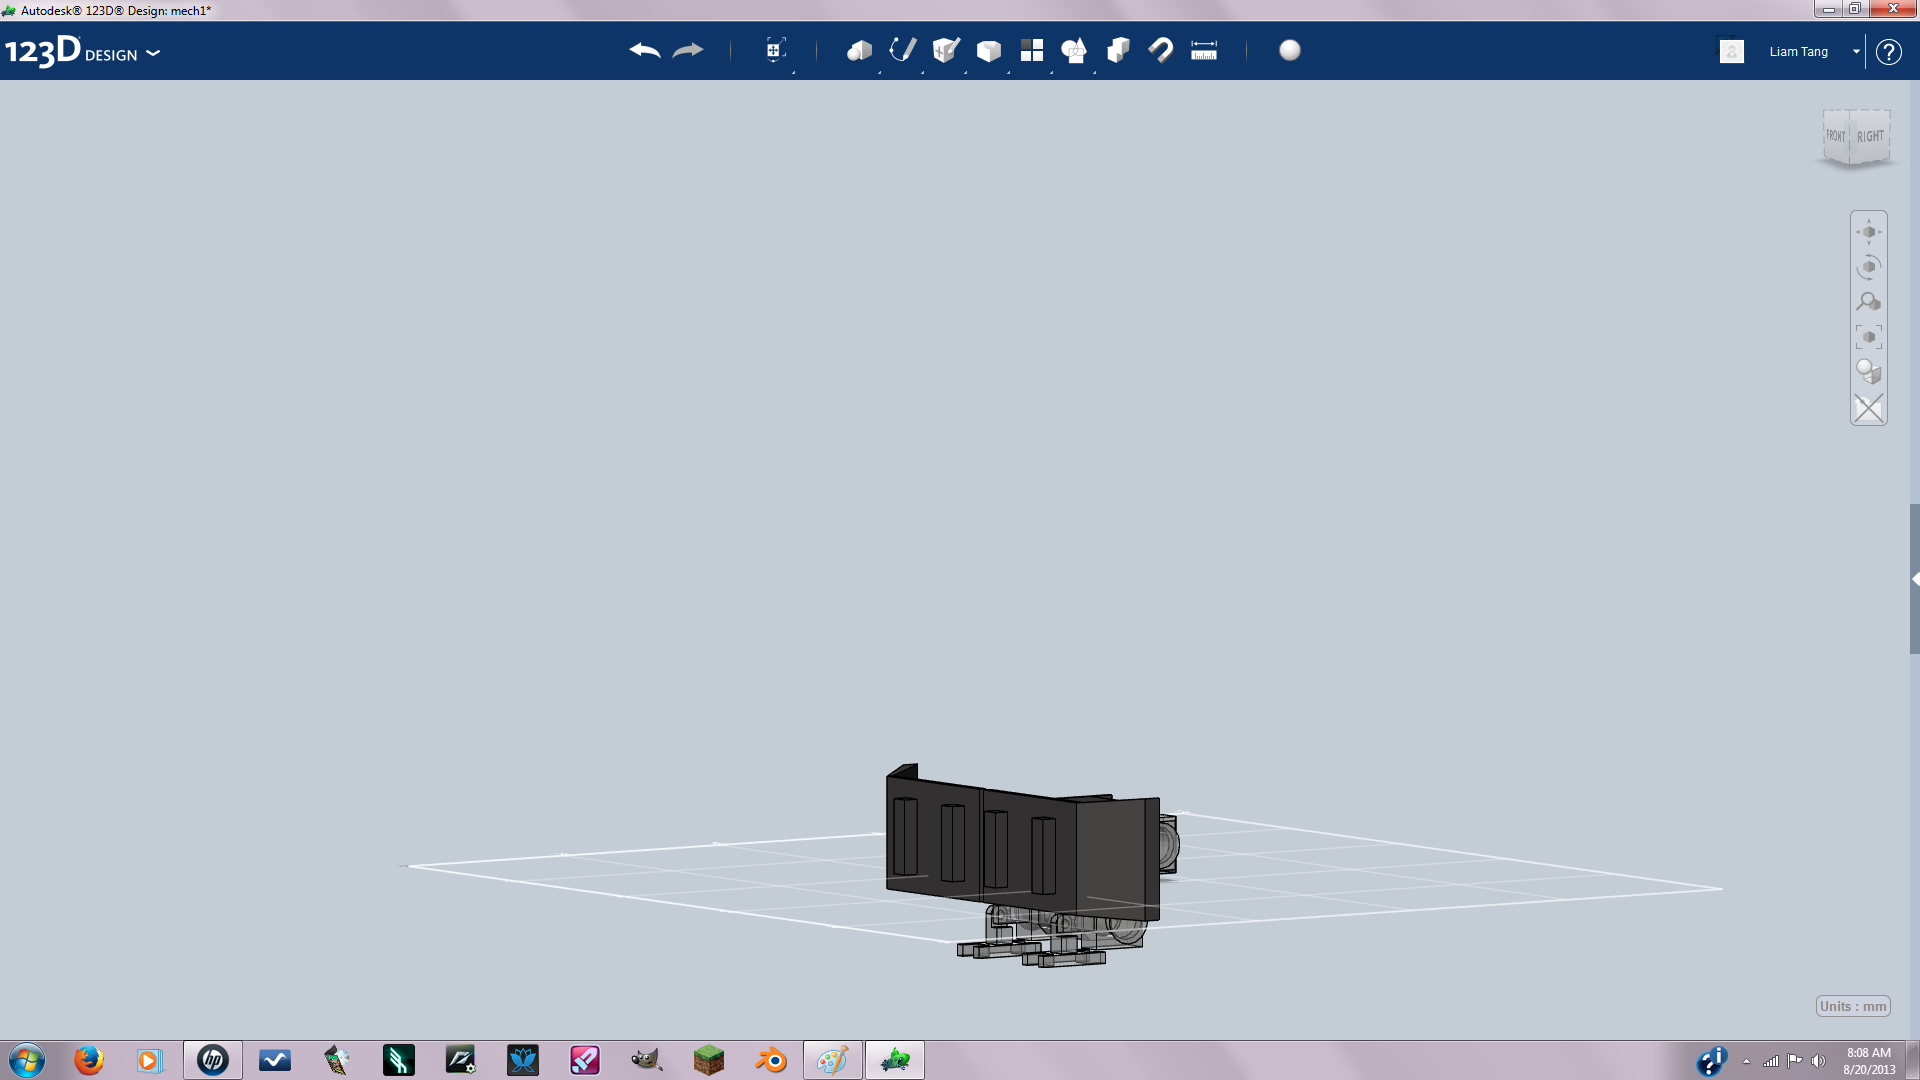
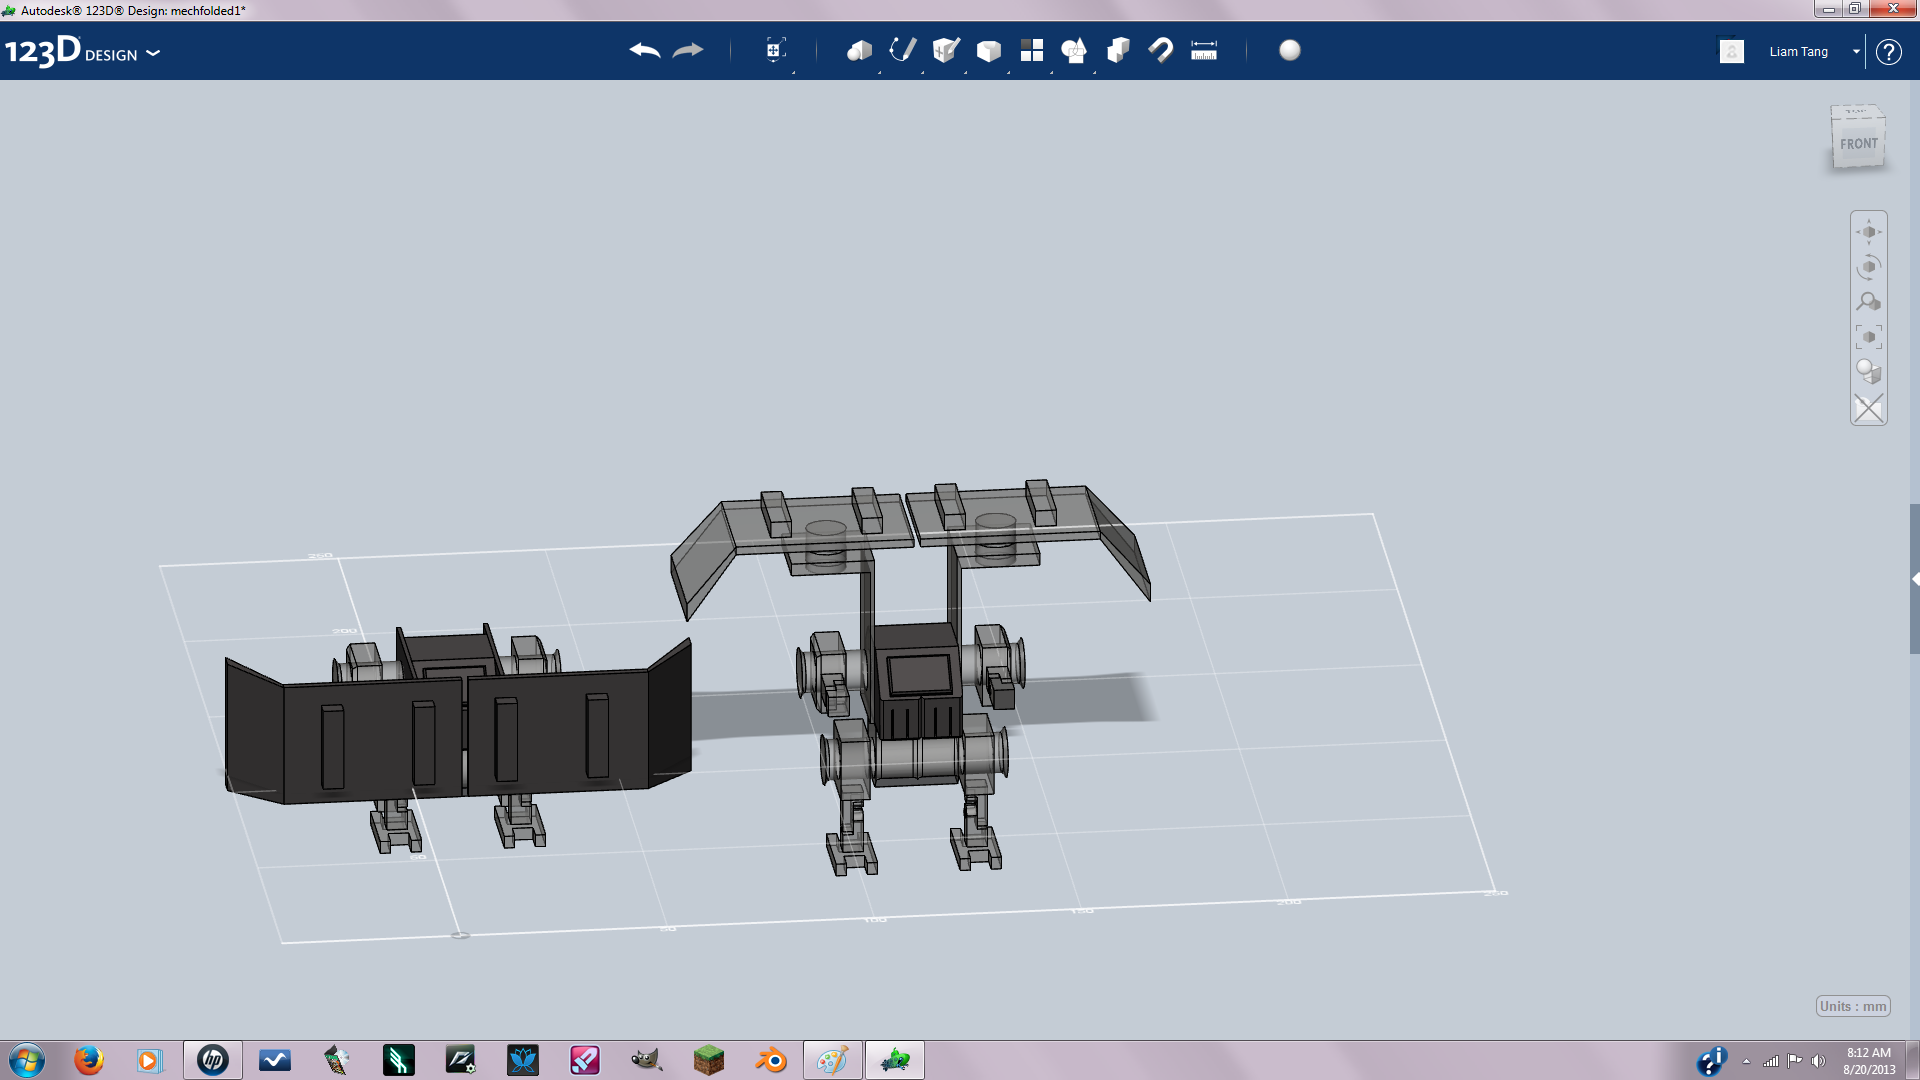
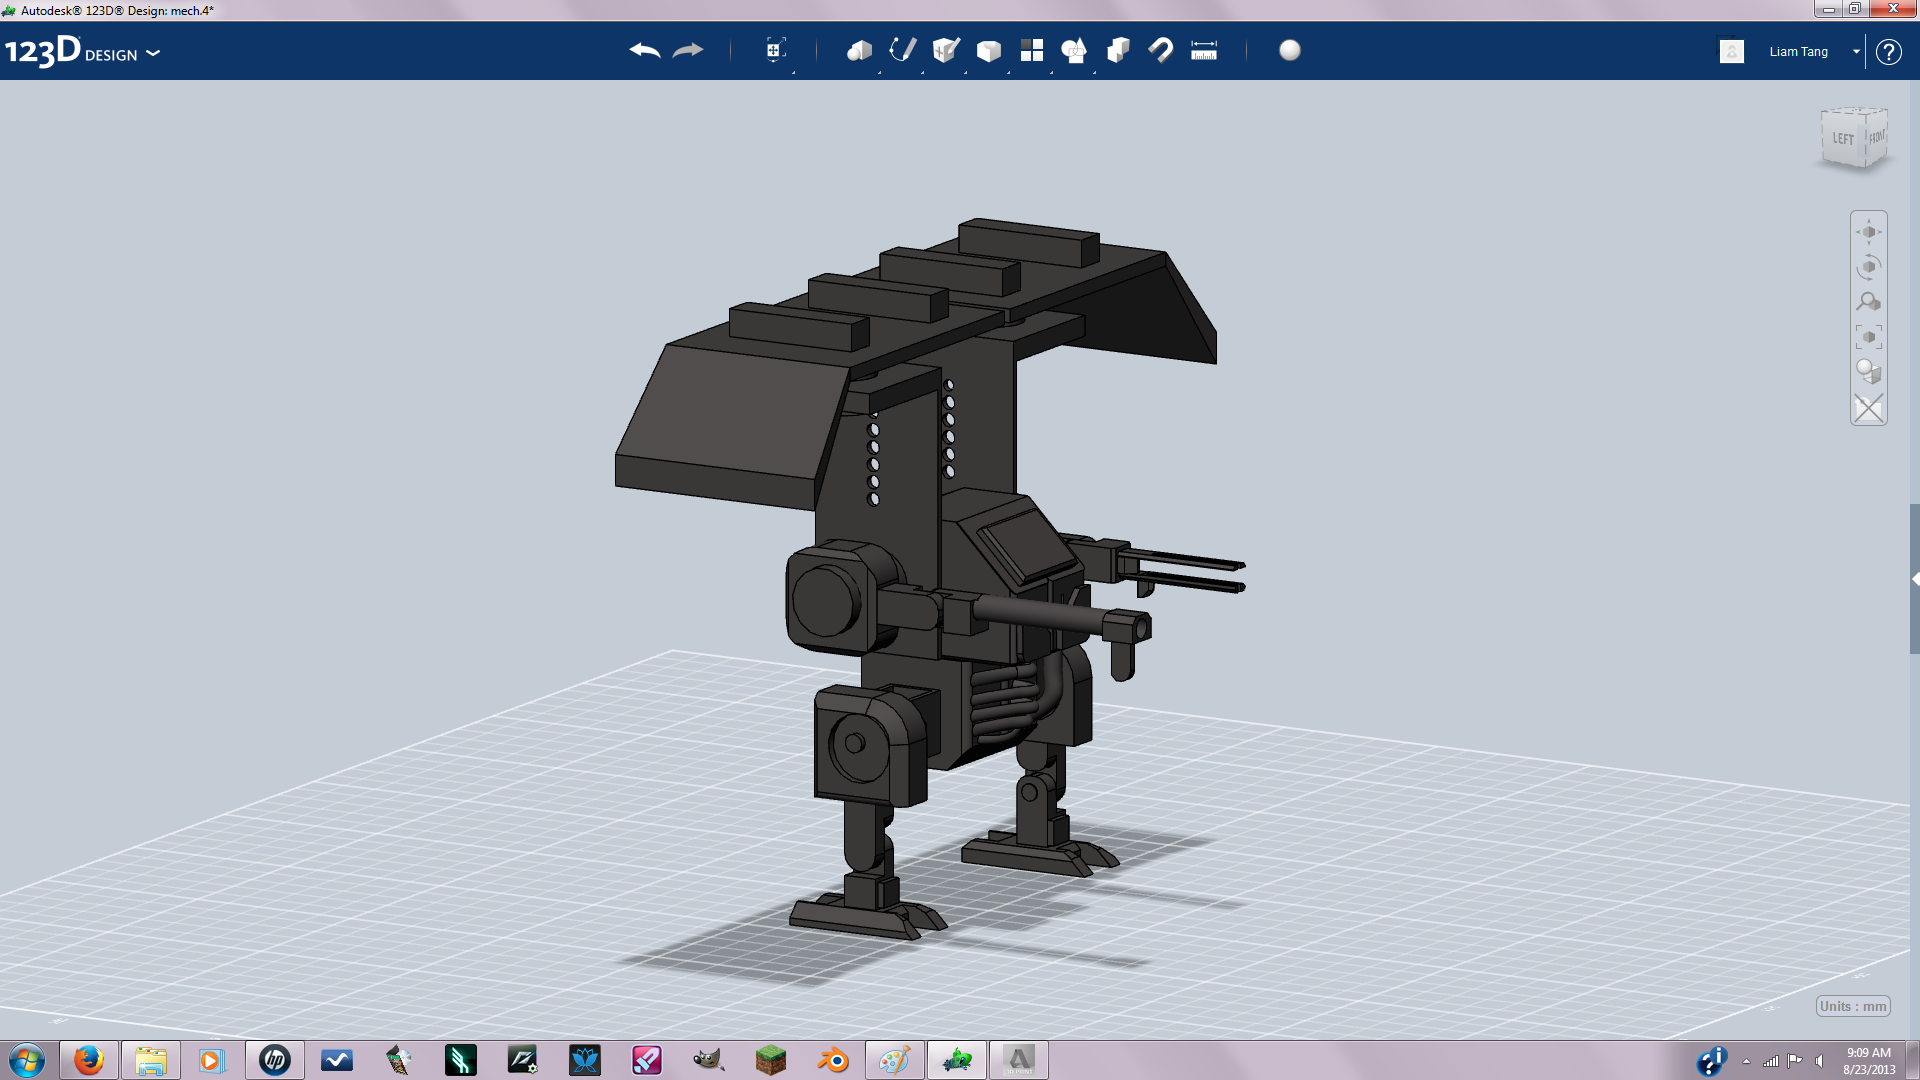
Before attempting this tutorial I recommend becoming familiar with 123d.
It took me about three days to get the hang of it.
You can find tutorials on 123d's website.
In this instructable you'll model a poseable mech: the mech also features a turret mode inspired by Hawken
Check out Hawken here https://www.playhawken.com/ Check out 123d Here
IMPORTANT TIP: You should always save your work in iterations. For example every time you save your project add a number in the end, My files look like - Mech1, Mech2, Mech3...
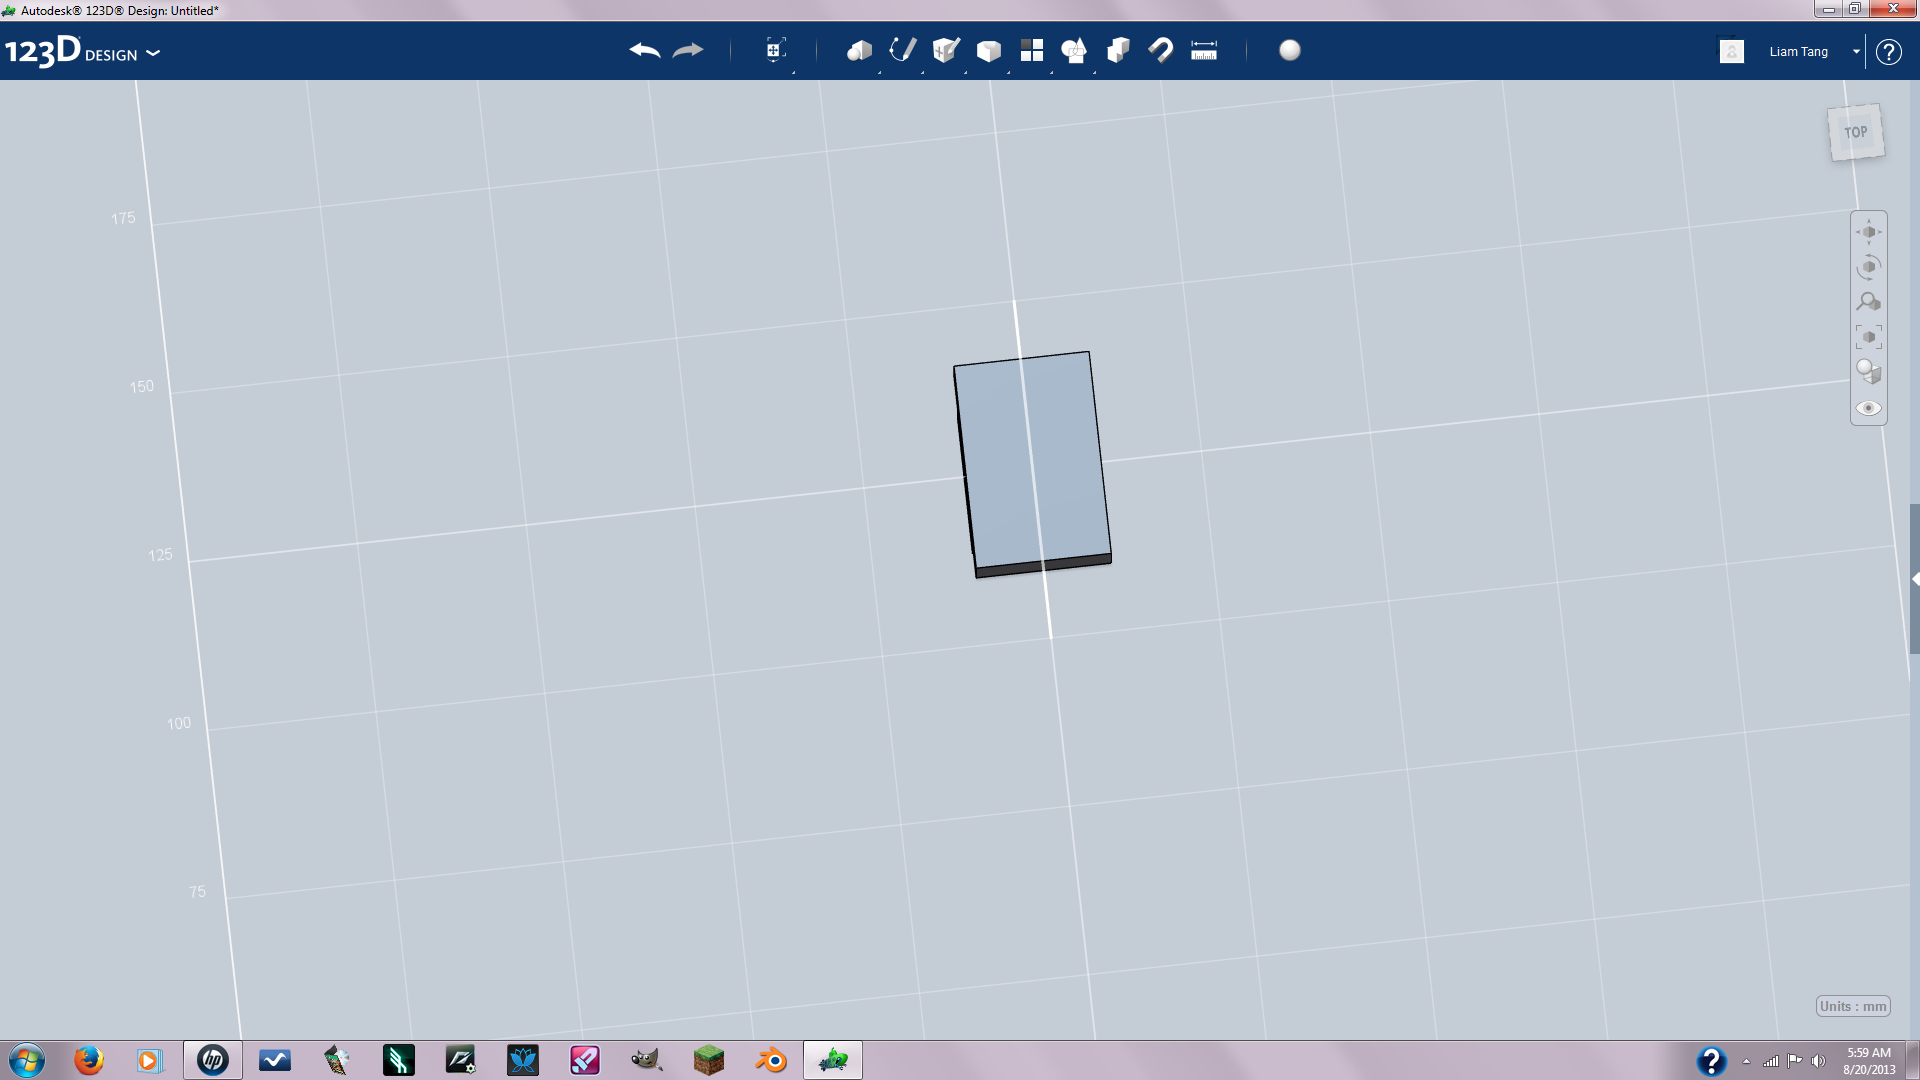
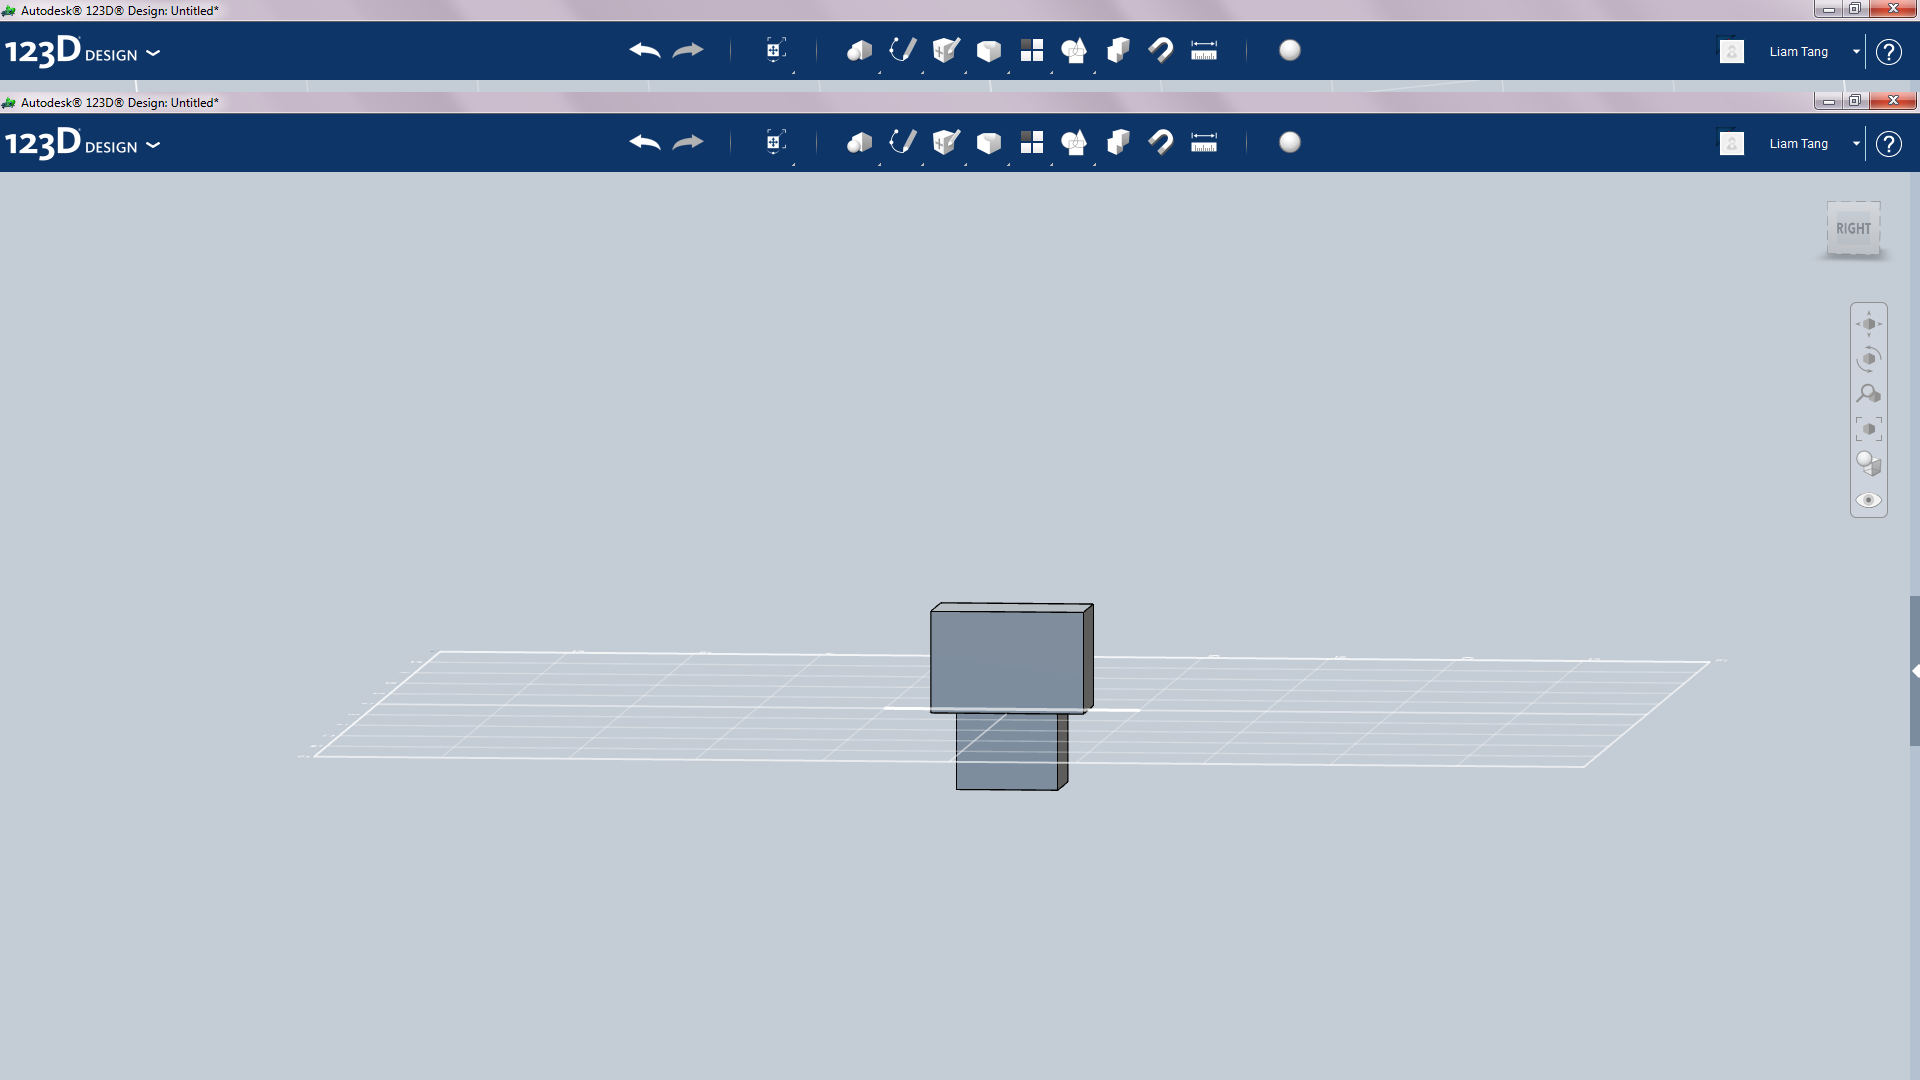
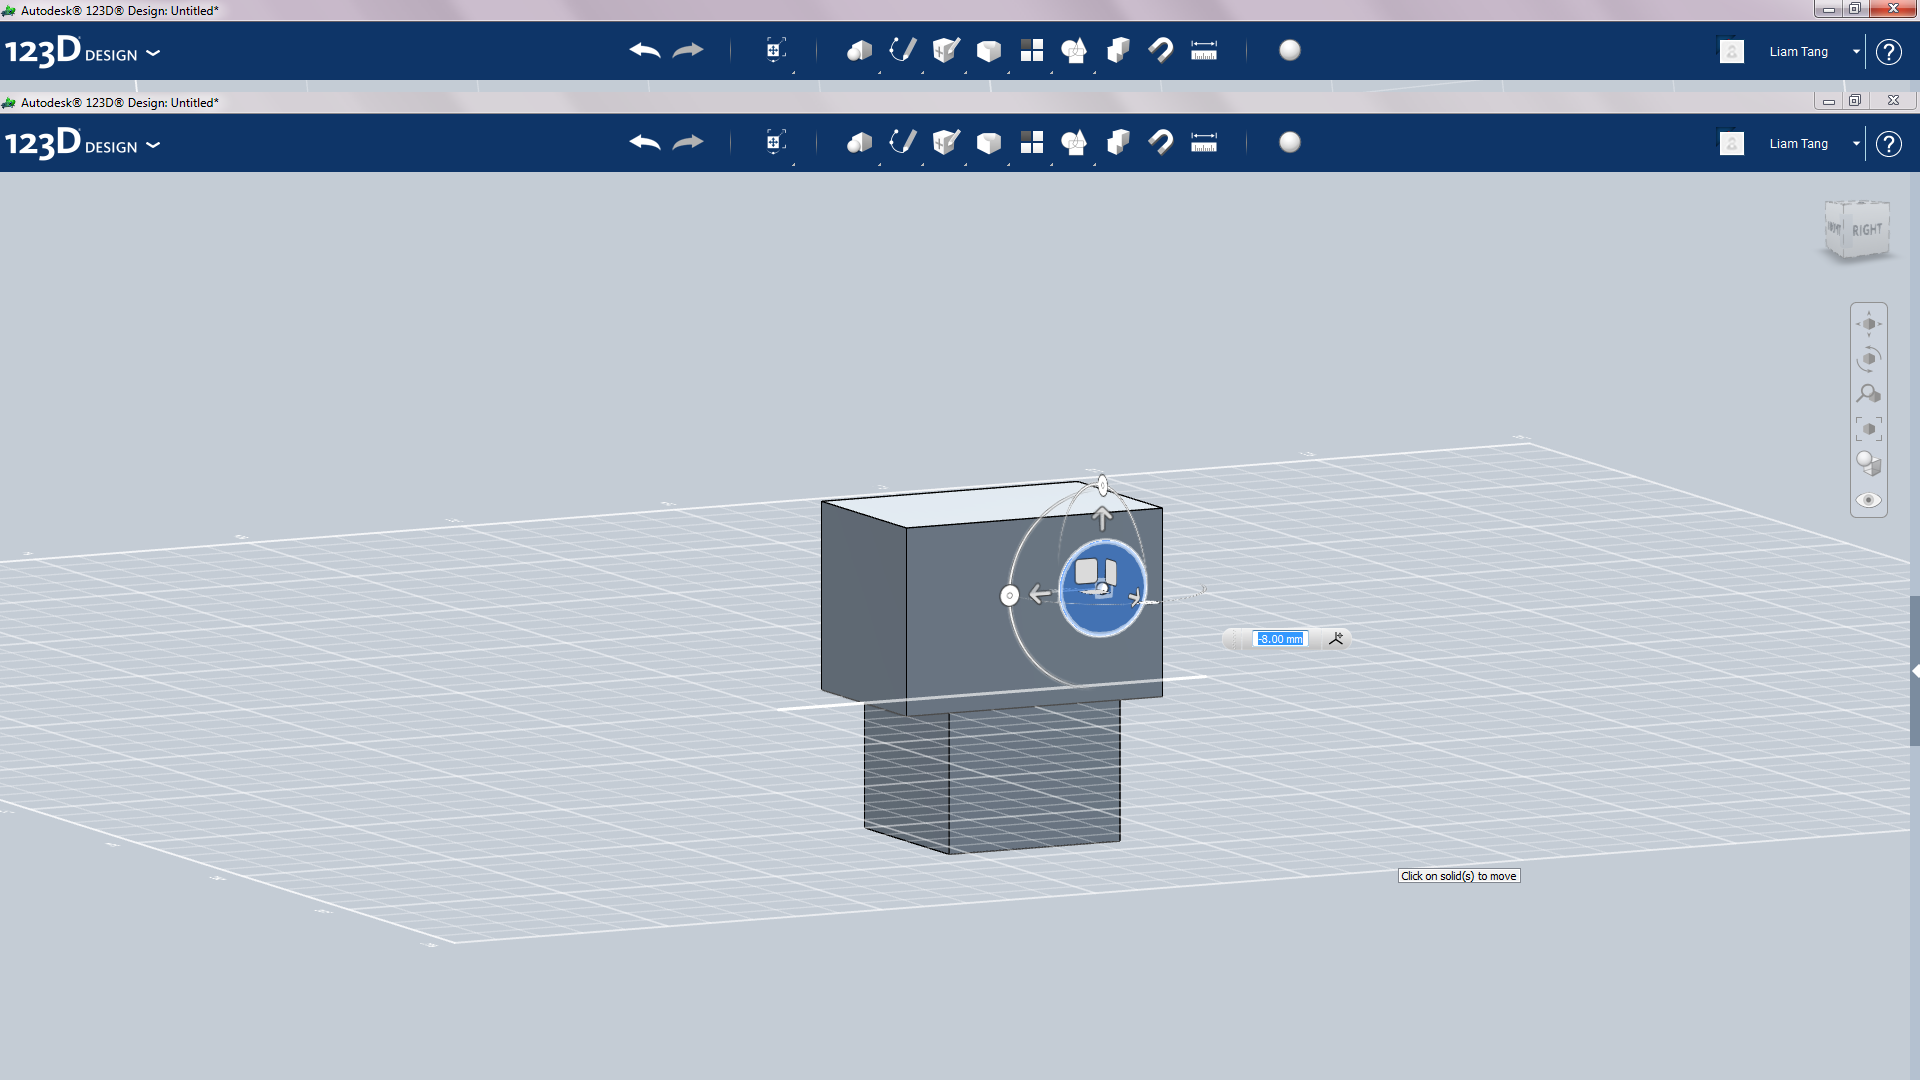
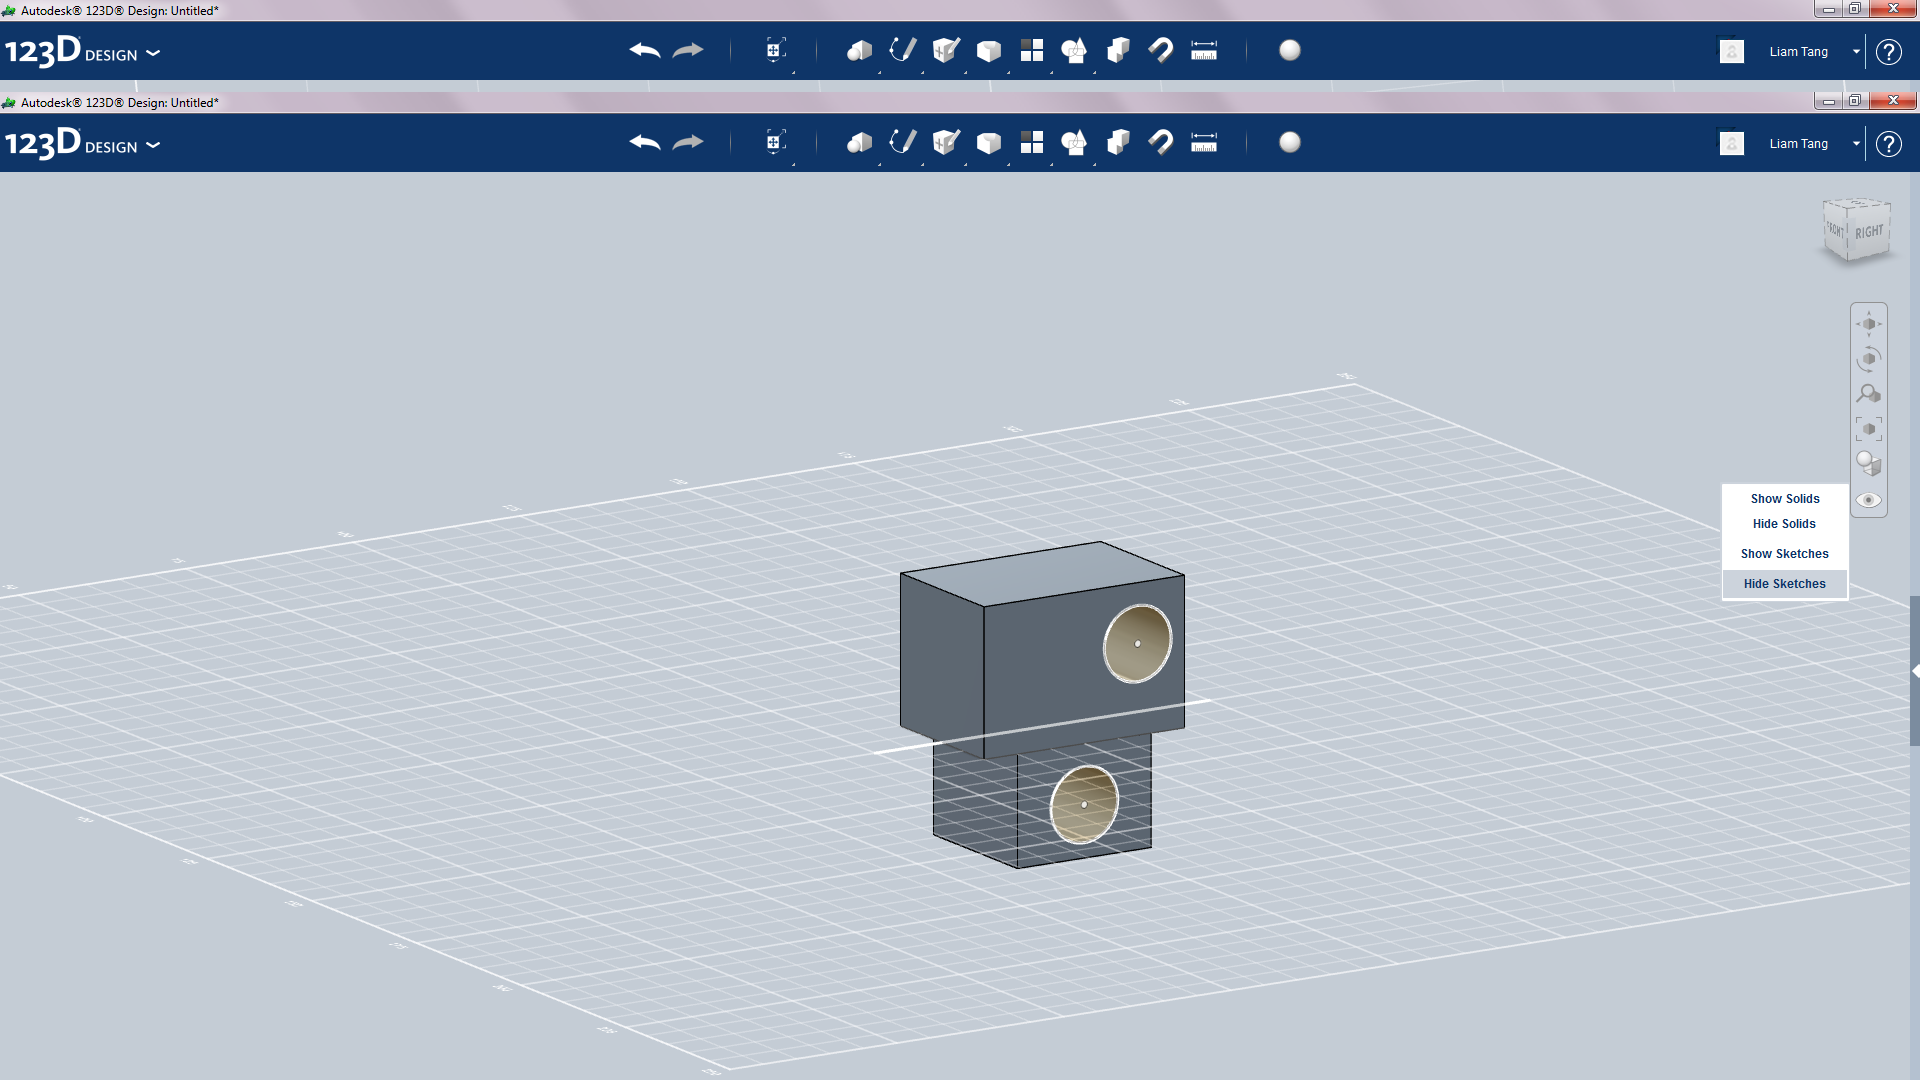

First choose which shape your torso is going to be(the shape doesn't really matter as long as you can poke holes in it). Then add a smaller version of it underneath your torso.Then sketch a straight line in the center of the torso this will be the mirror plane later on(were going to build only half the mech then mirror to achieve symmetry) . Next sketch a 10mm circle on one side of both shapes. Move the circle on the torso back a little bit. Then negative extrude for both circles. The holes you just created with the sketches are going to be used for the arms and hips.
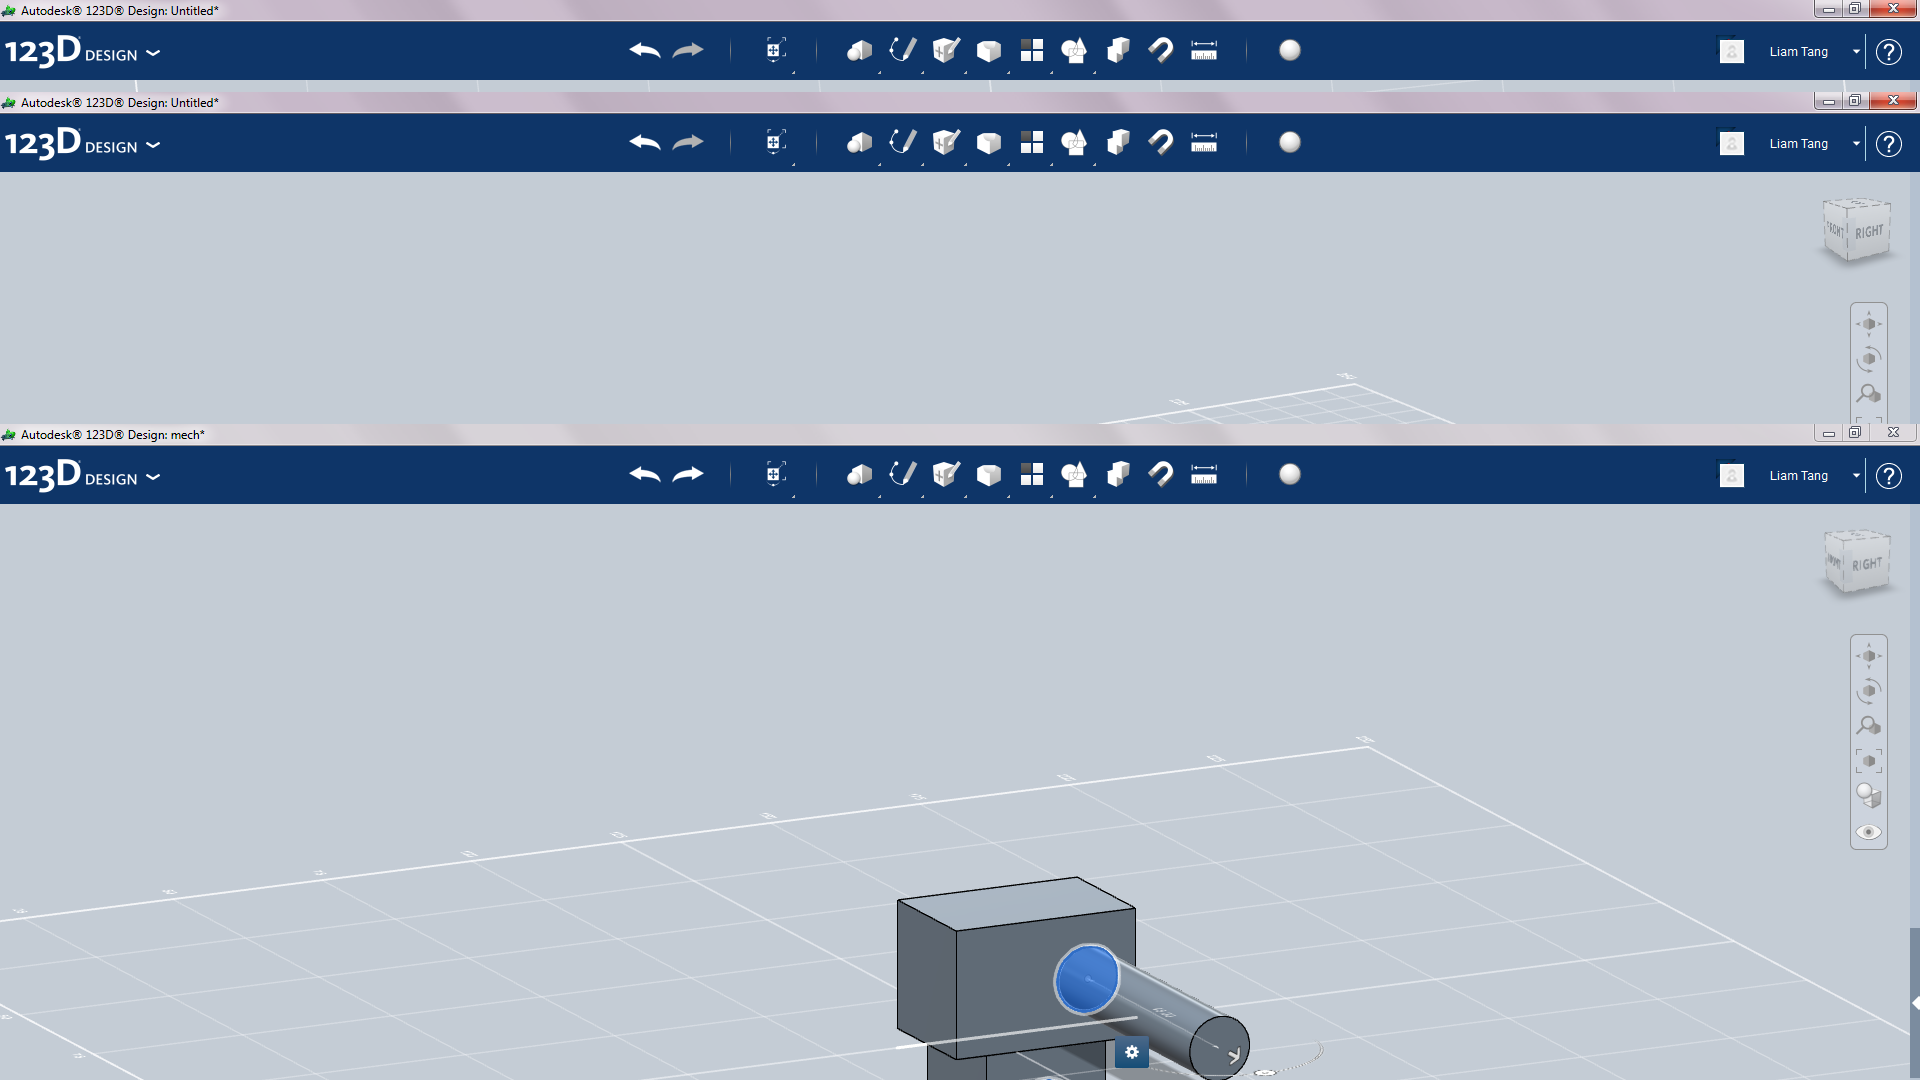
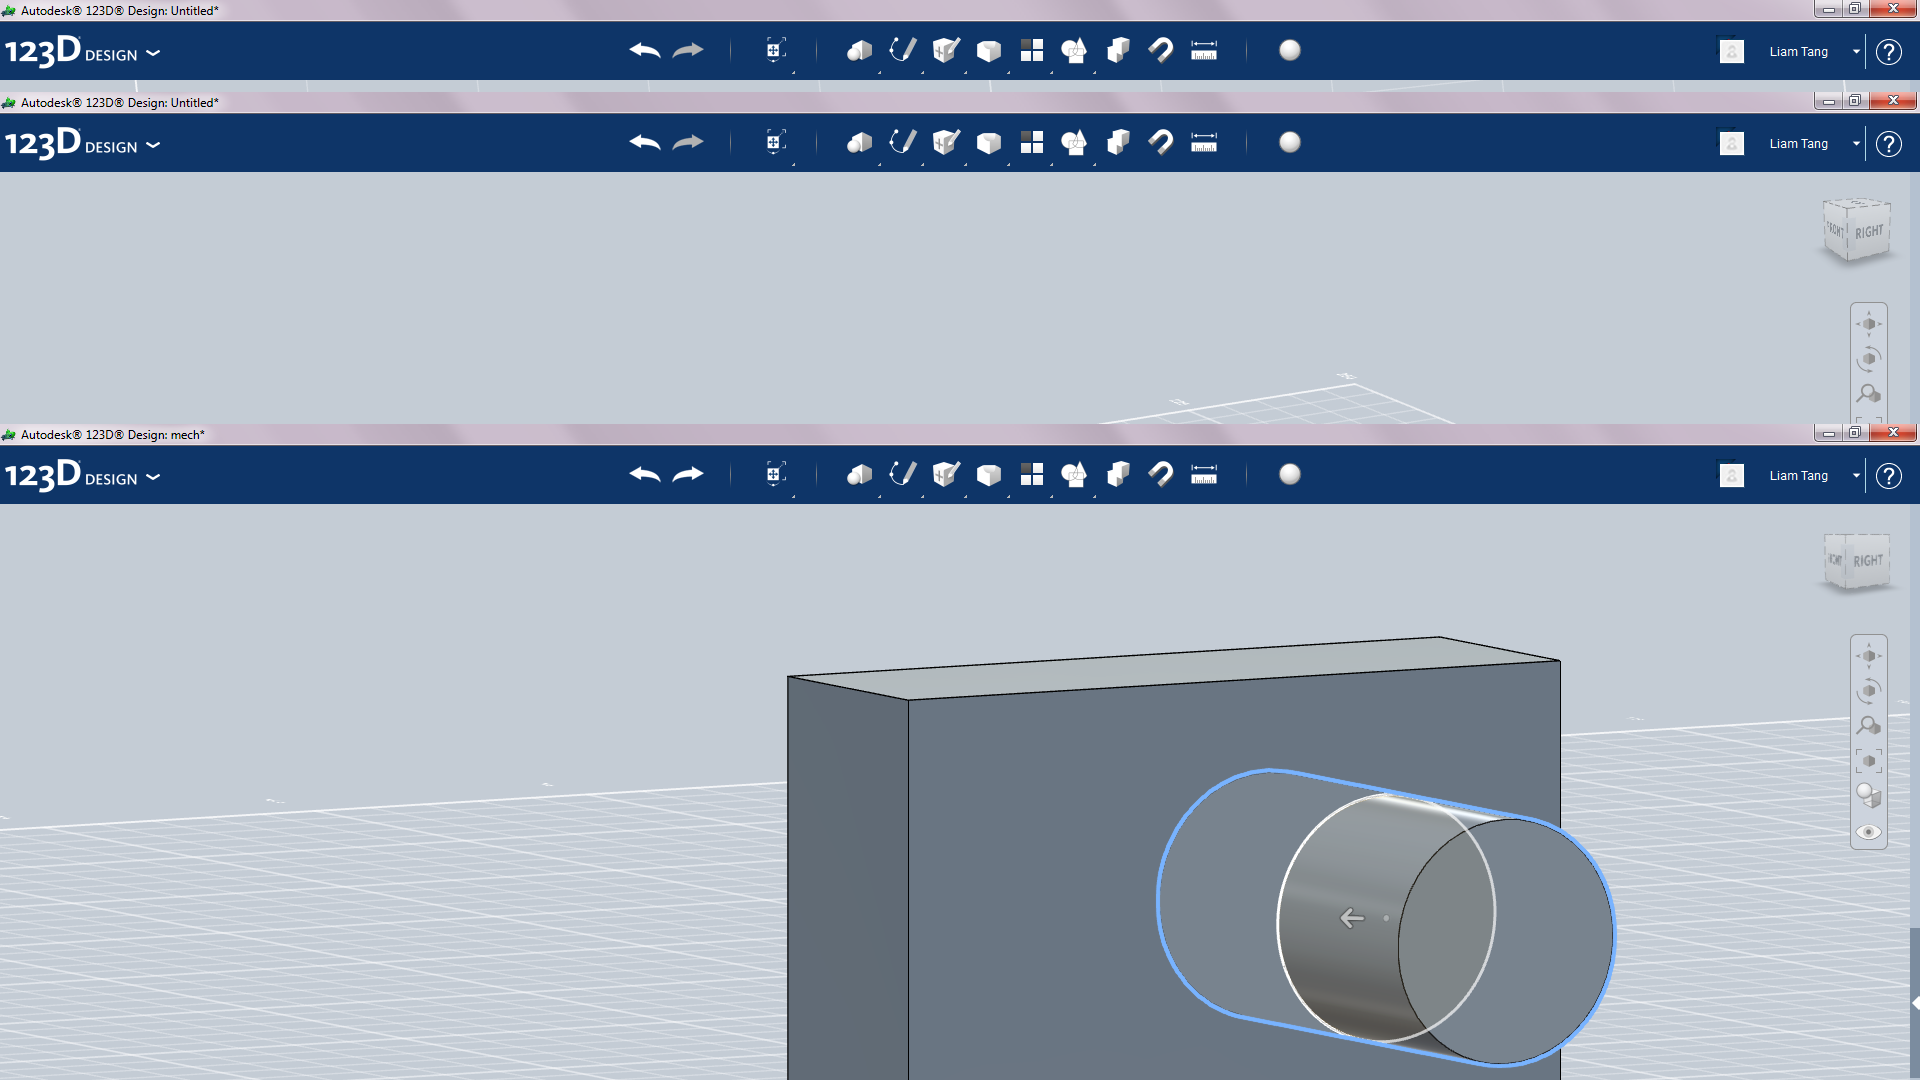
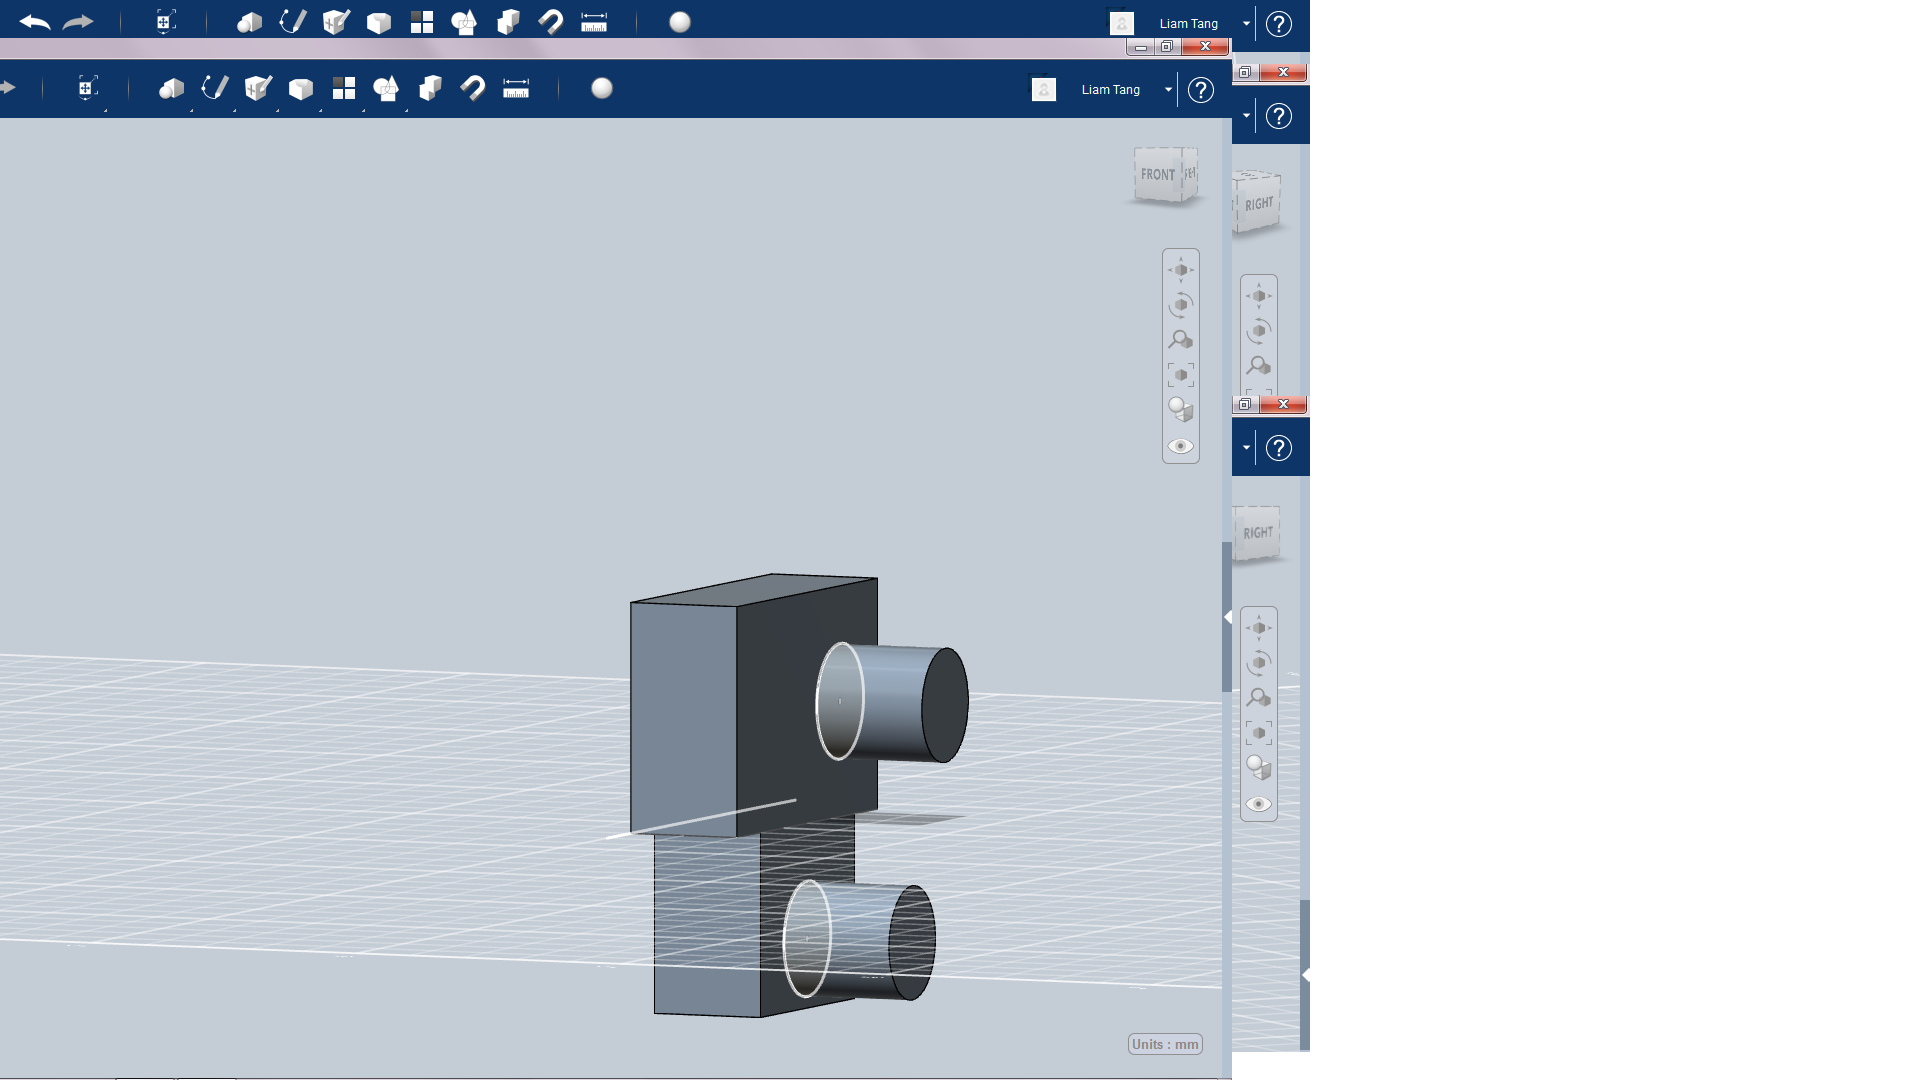
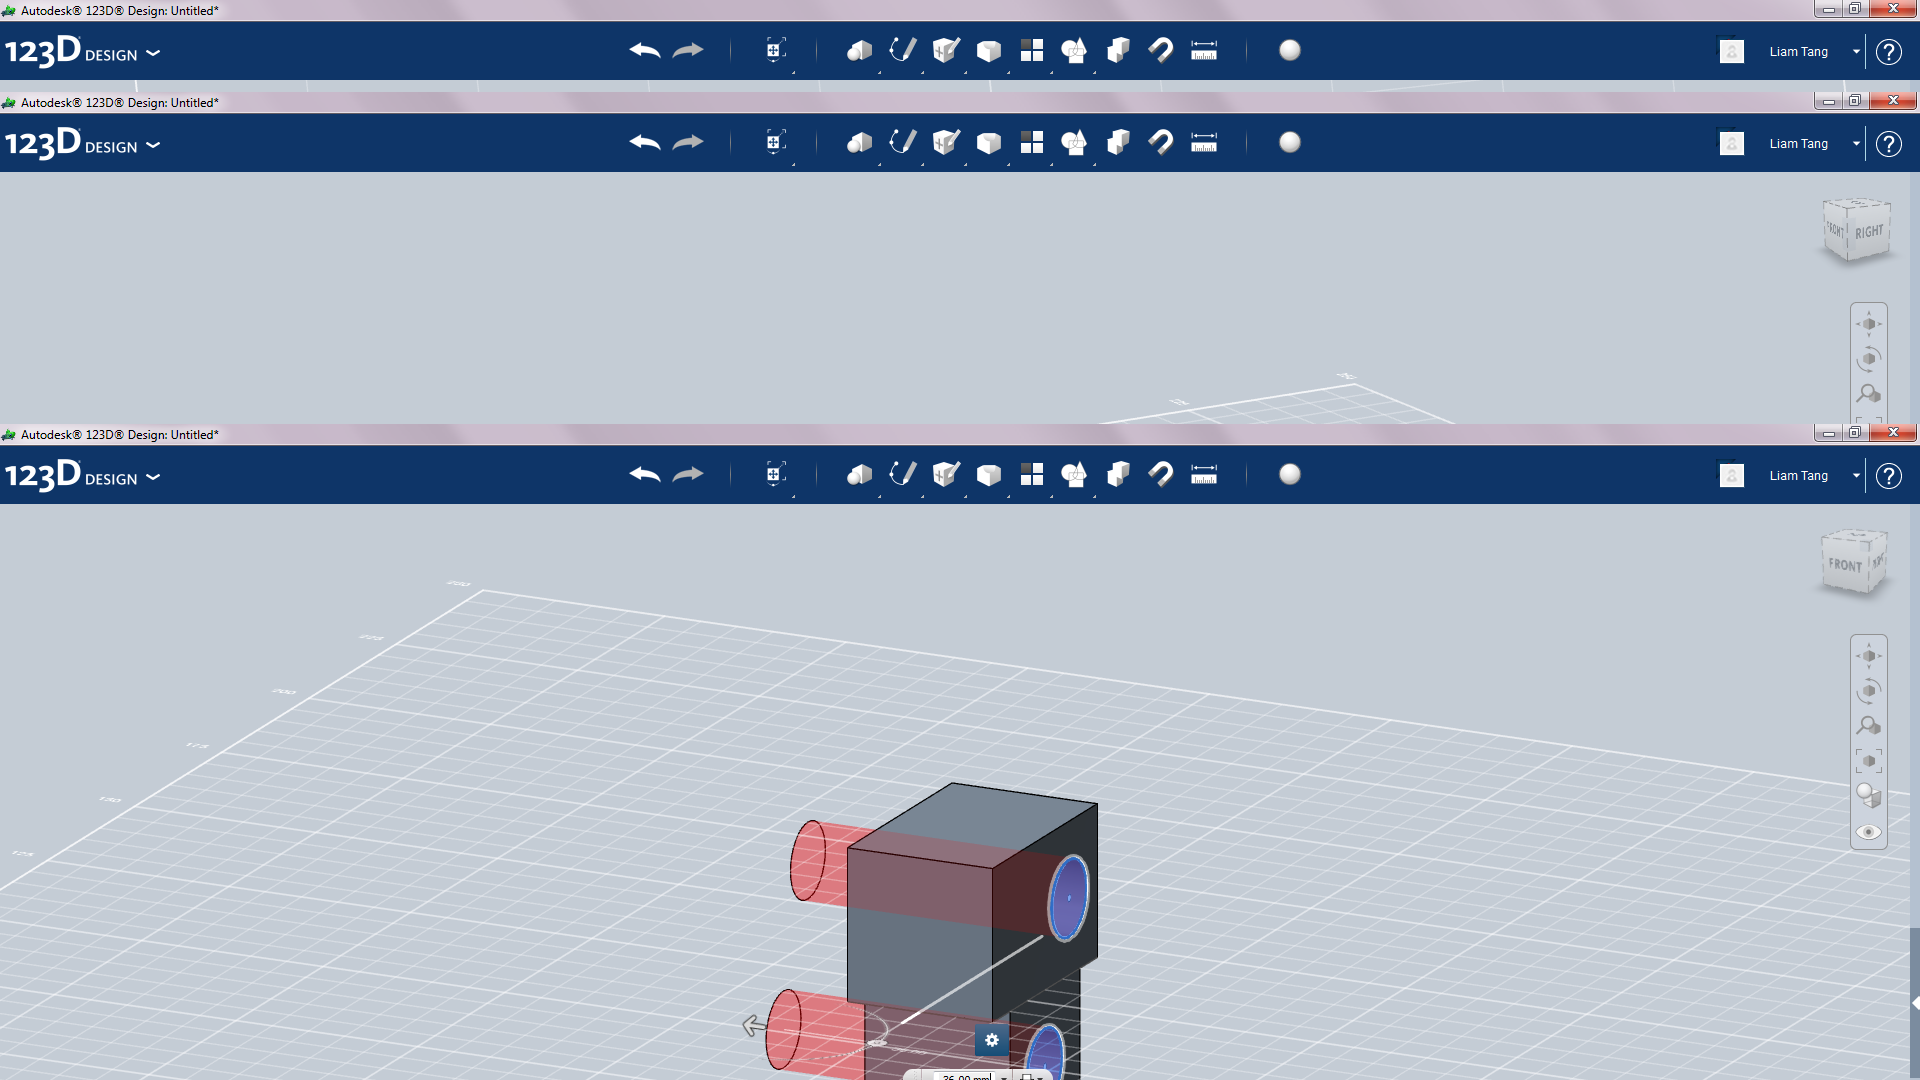
Now sketch a new circle on the ones you made in the last step but make their diameter 9.8mm(make sure you make the cylinders used for the joints smaller then the holes so they all fit inside when printed) instead of 10mm.
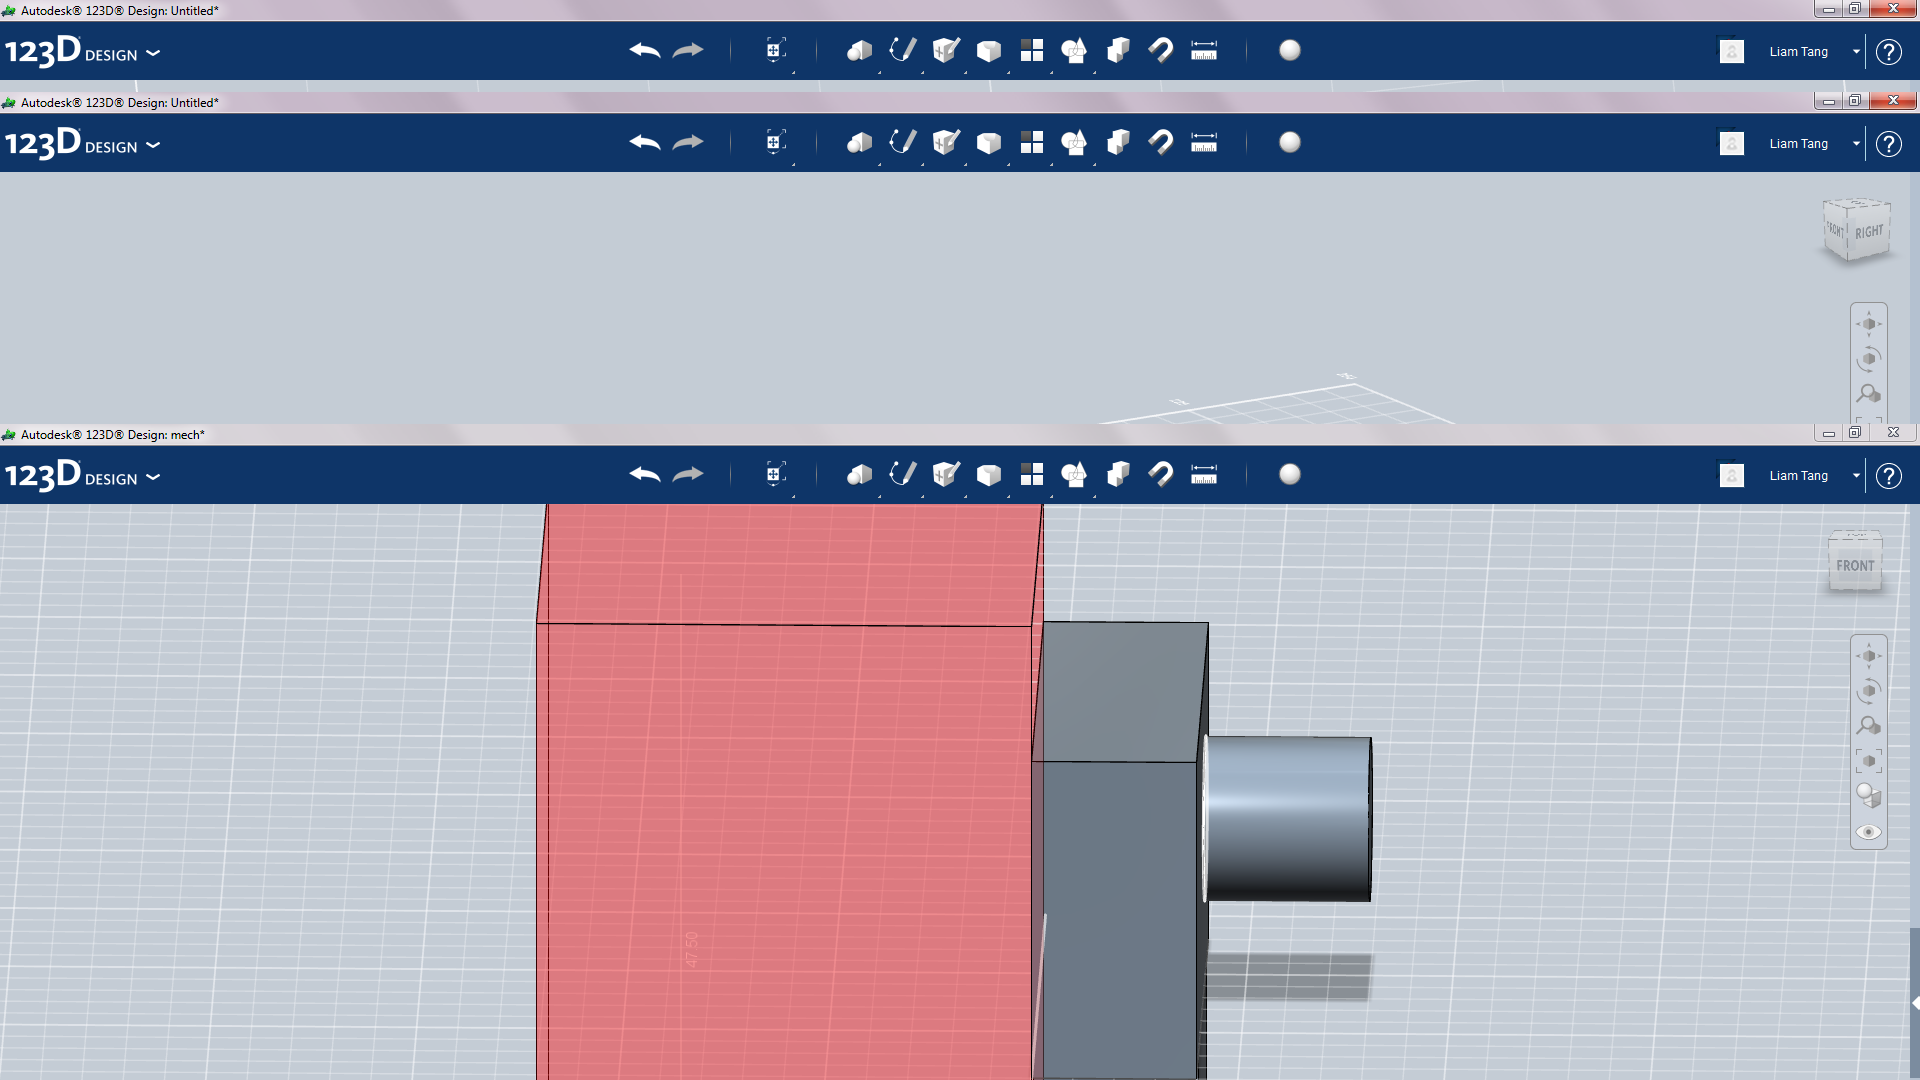
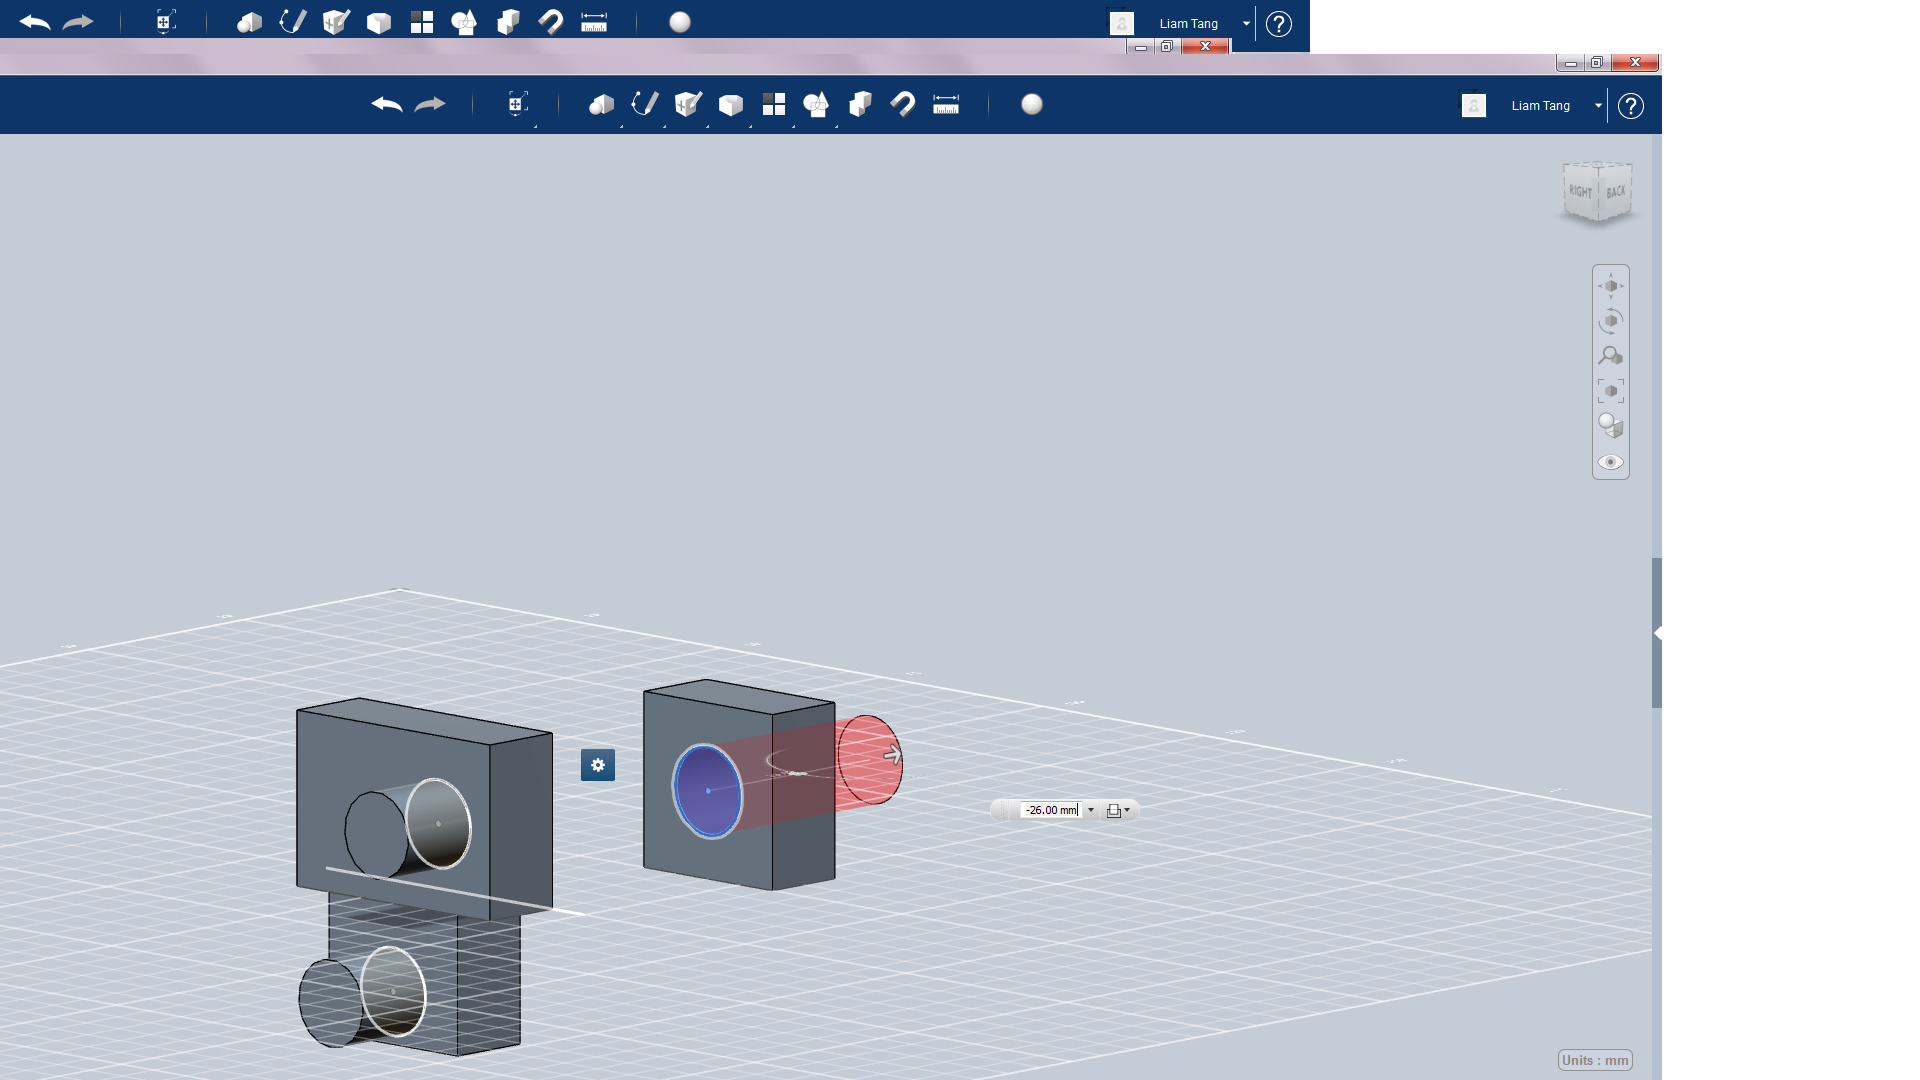
Next extrude out to make a long cylinder(but not to long). Then move the cylinders back through the holes you made in the last step. now get rid of half the mech by negative extruding(example in pic number 2 of this step).
Next extrude out to make a long cylinder(but not to long). Then move the cylinders back through the holes you made in the last step. now get rid of half the mech by negative extruding(example in pic number 2 of this step).
Shoulder
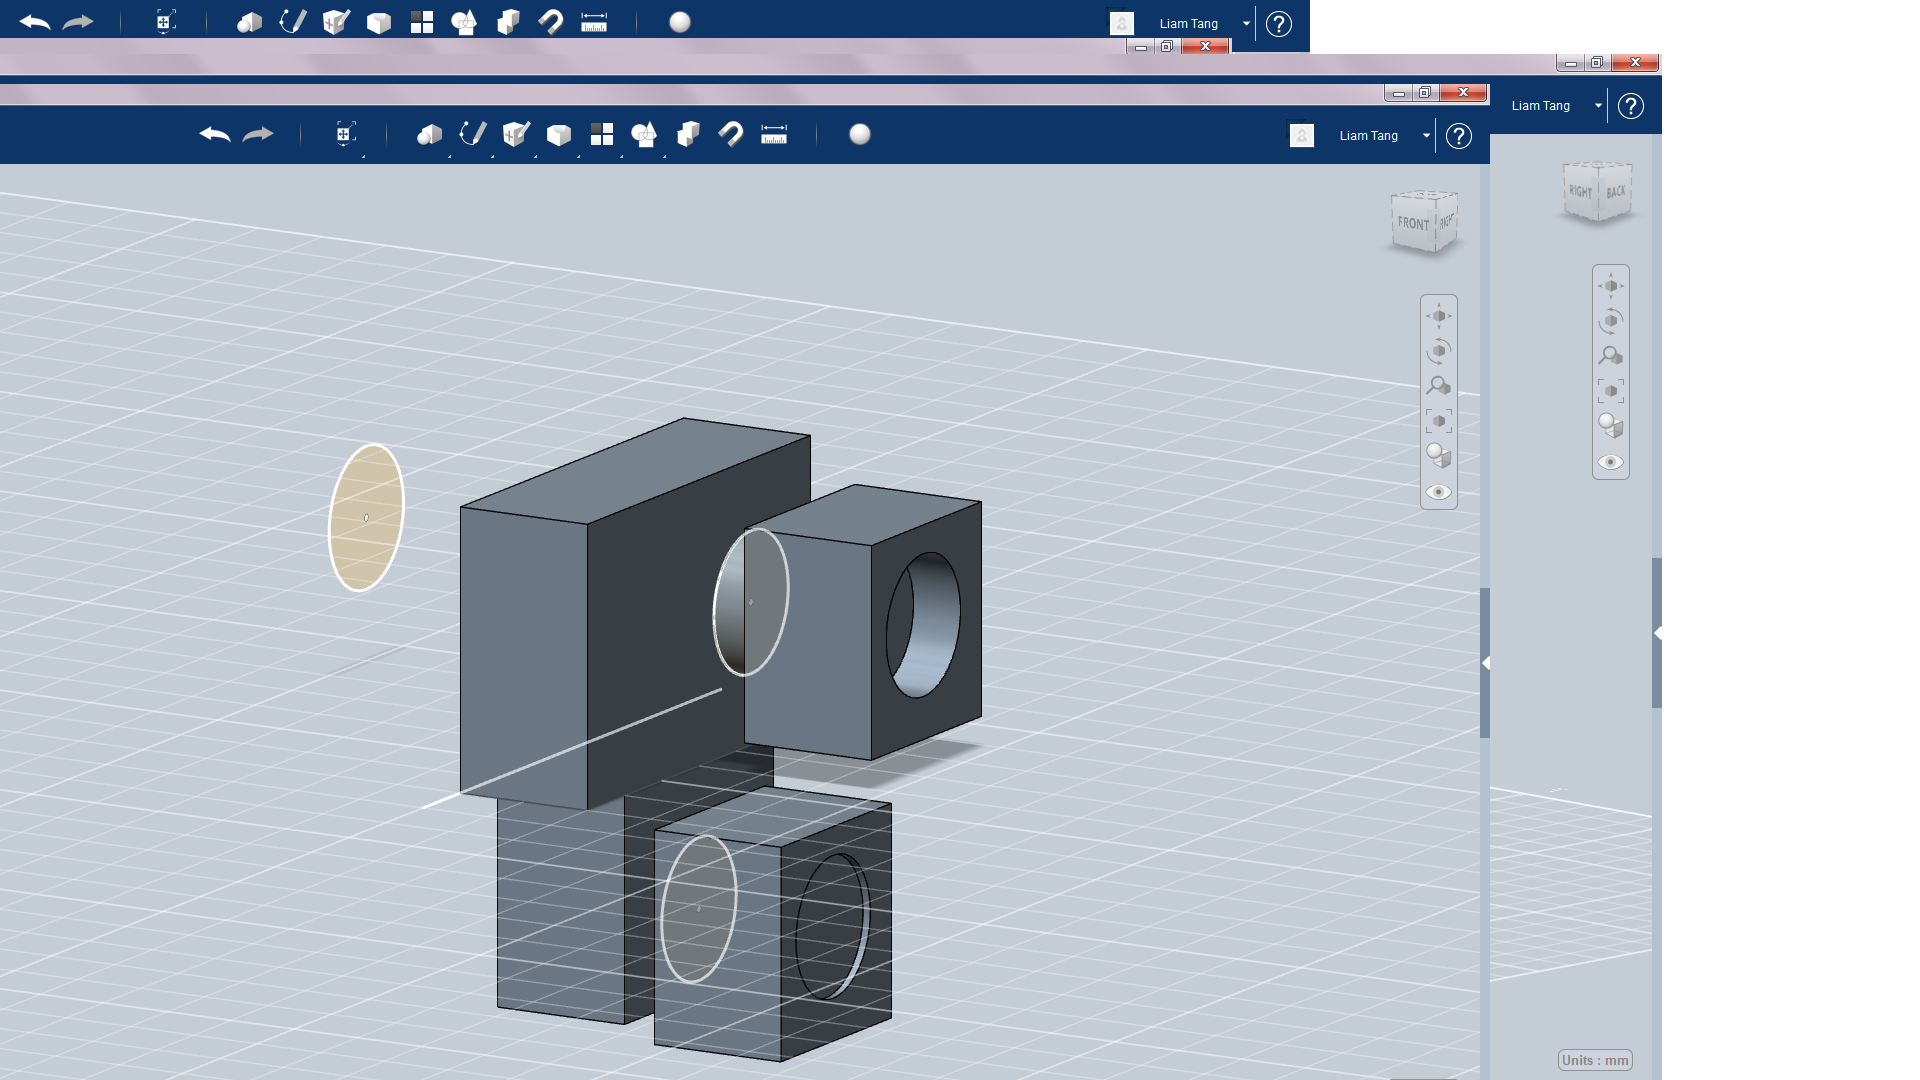
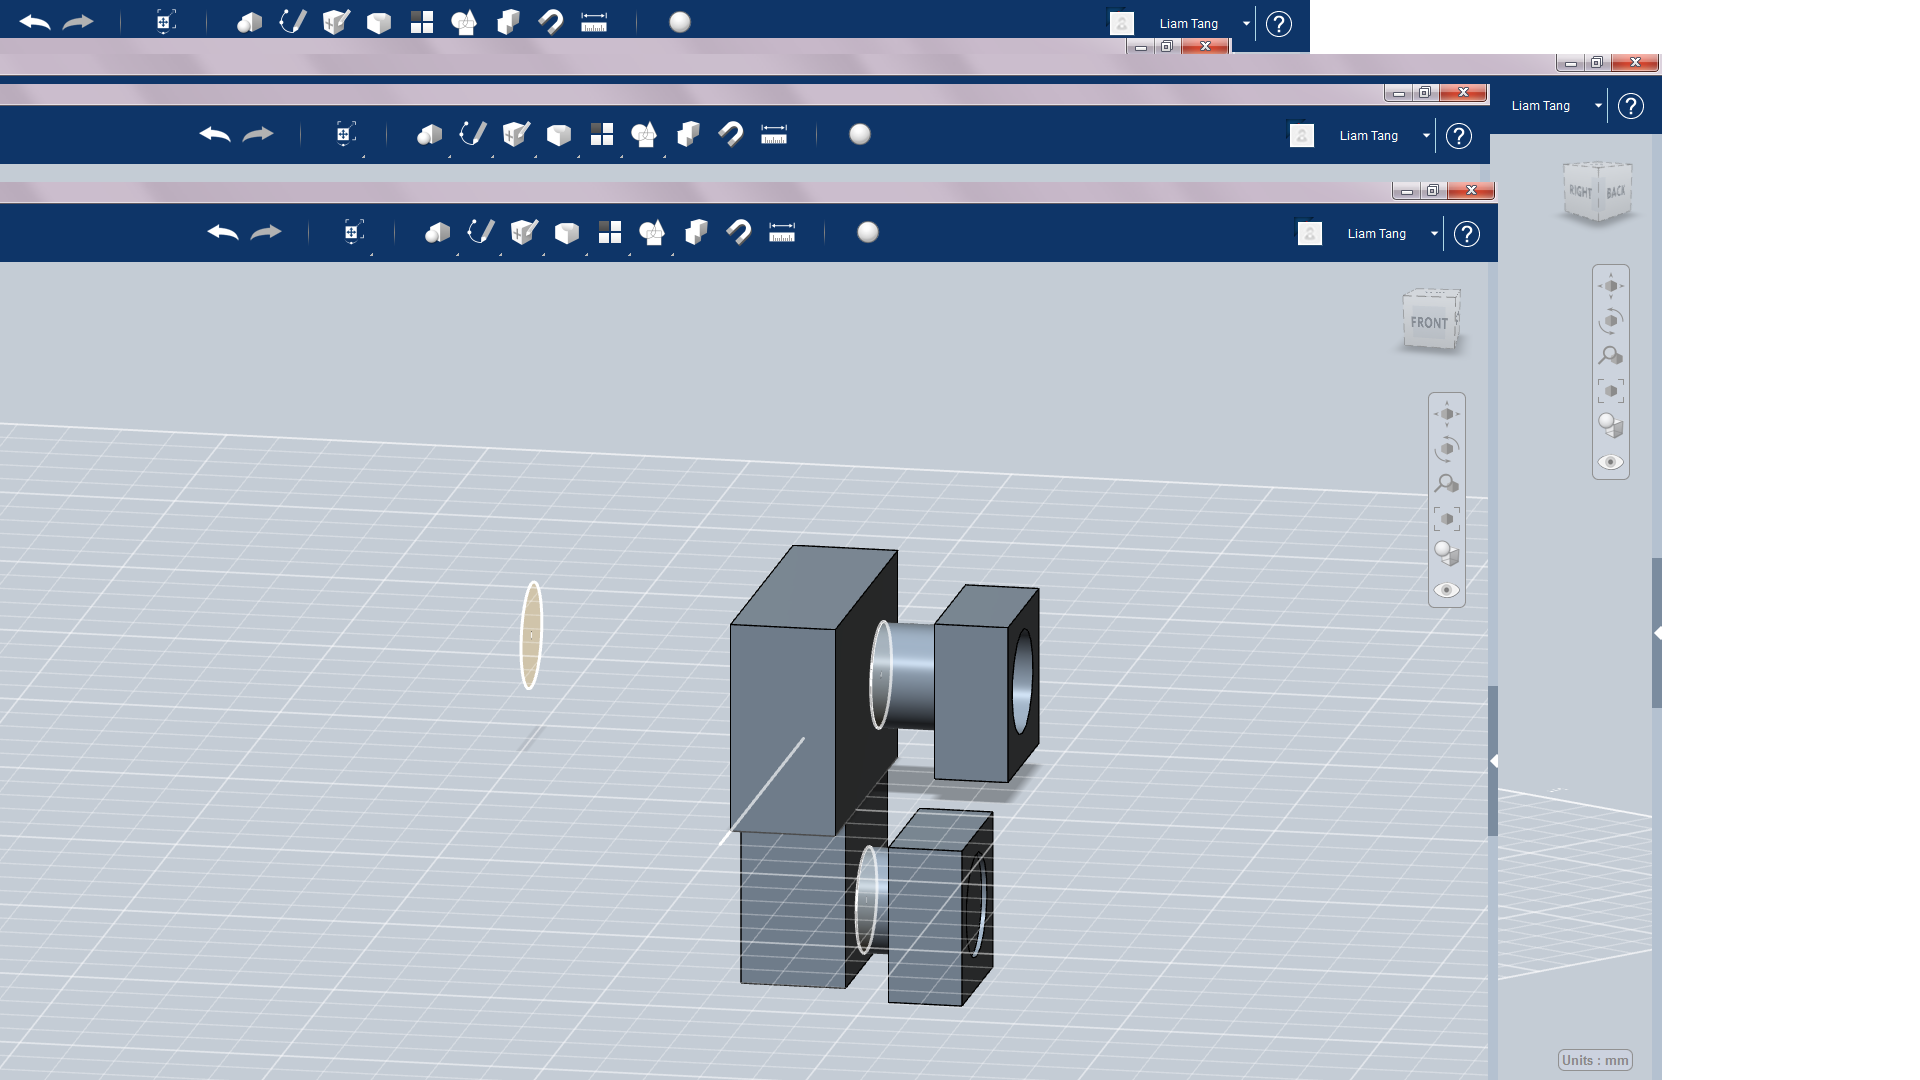
Create a new solid for the shoulder(I used a narrow rectangle shape but feel free to make it different). Then sketch a 10 mm circle in the center. Copy and paste the shoulder( copy= C+ctrl paste= v+ctrl) to make a hip then position them on the cylinders. You should end up with something like pic 3.
Legs/arms
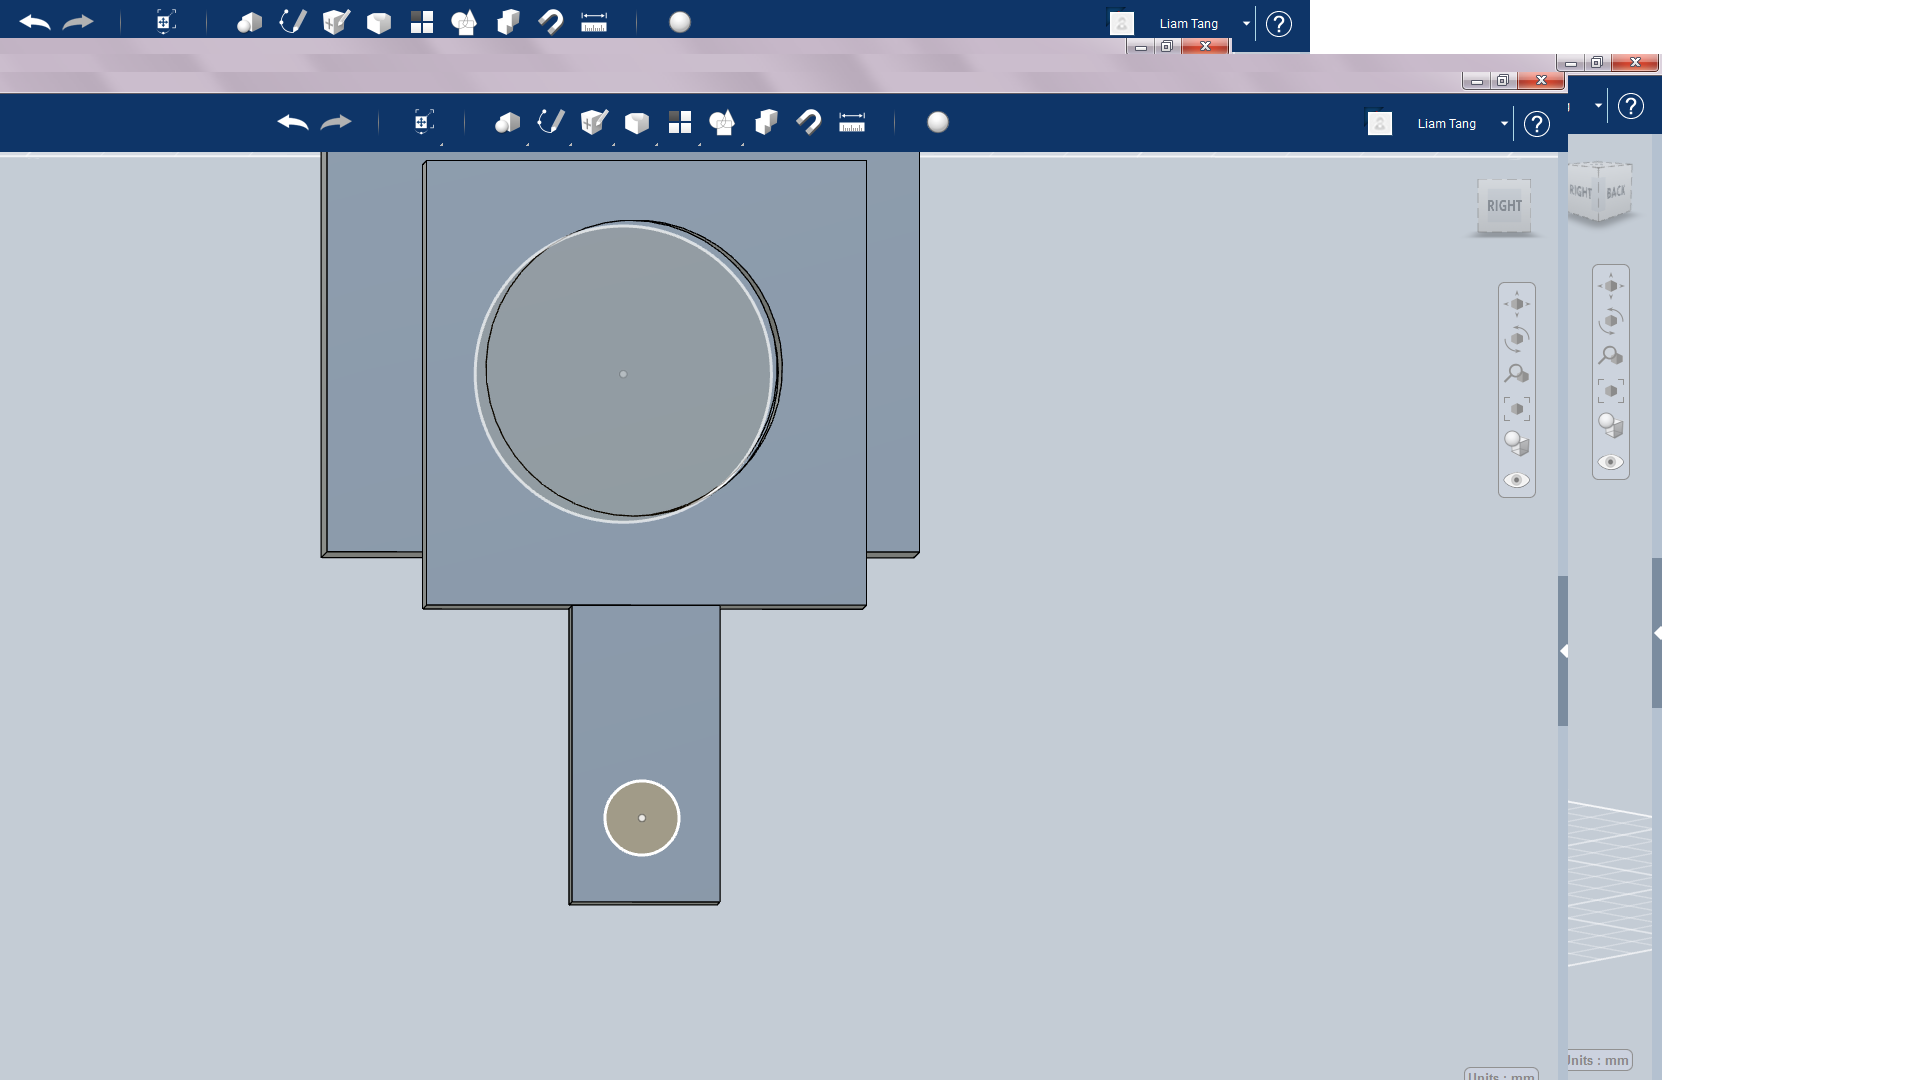
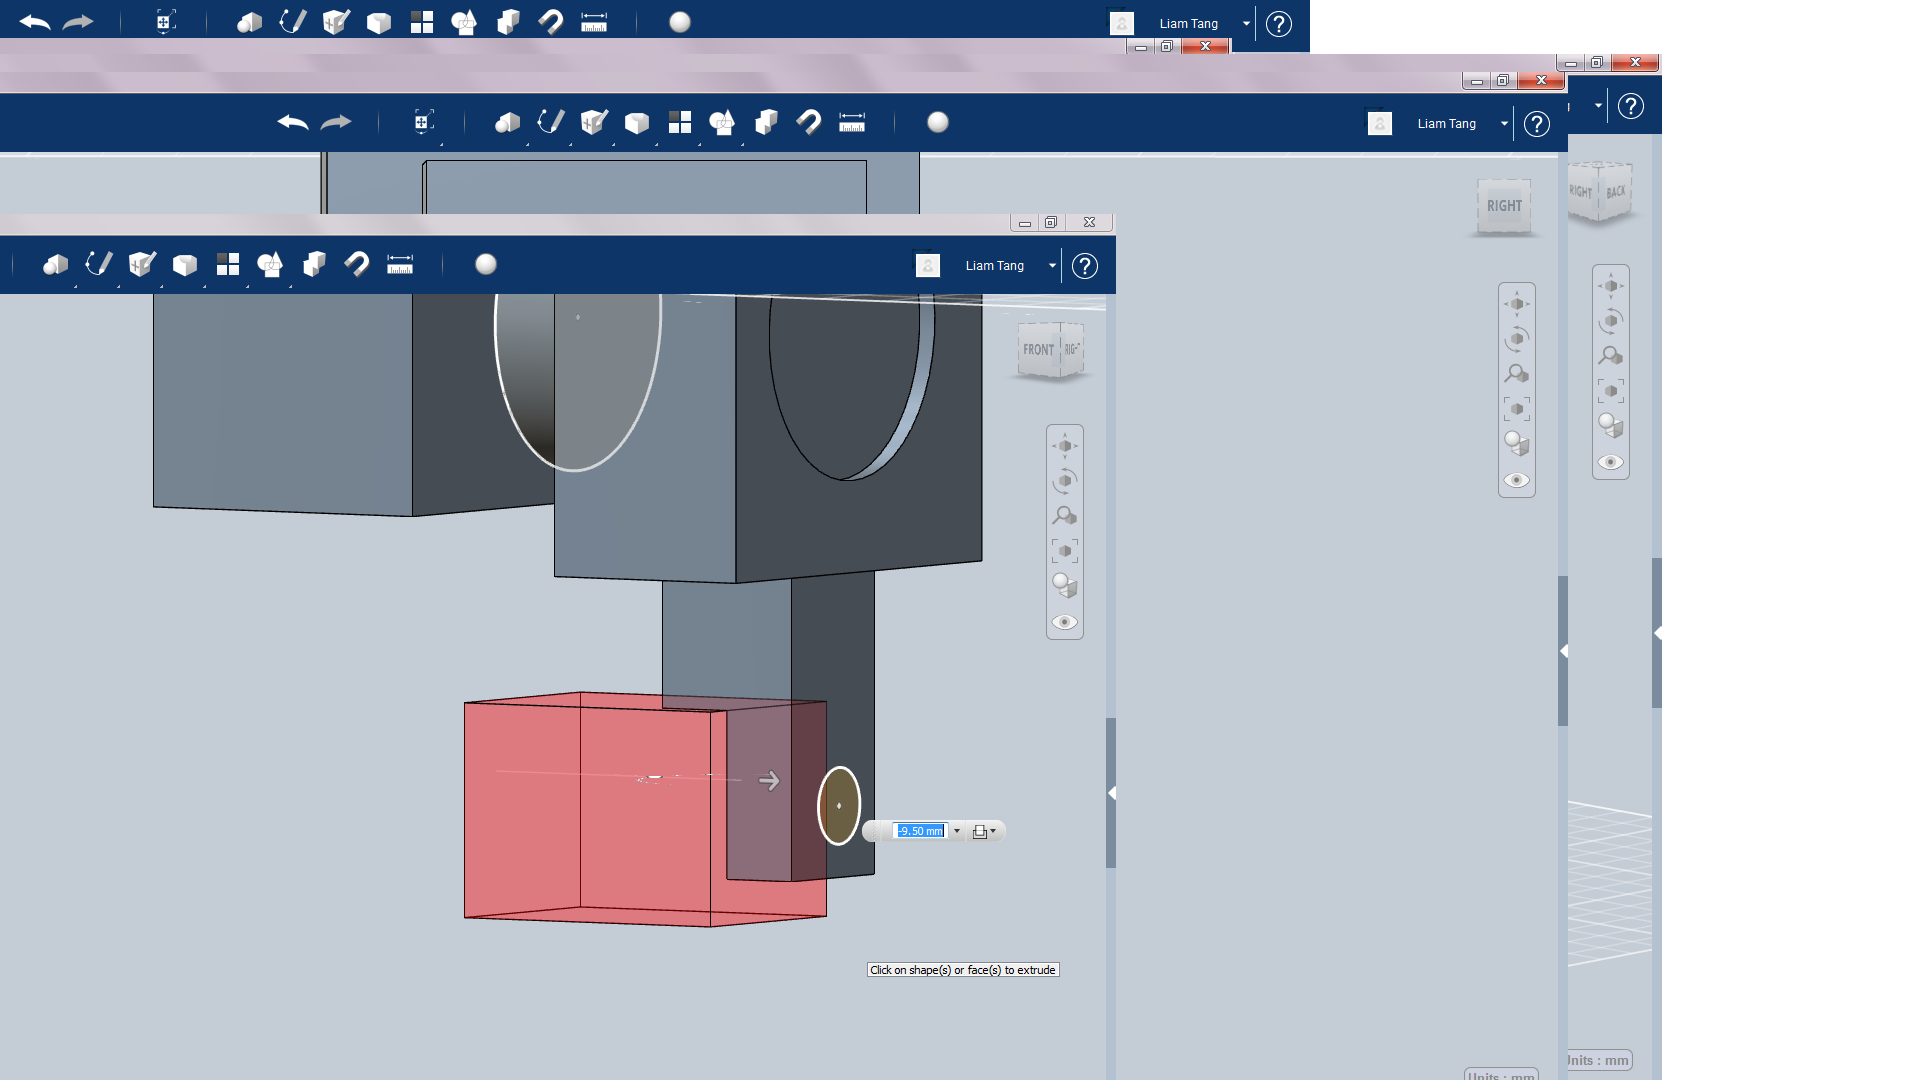
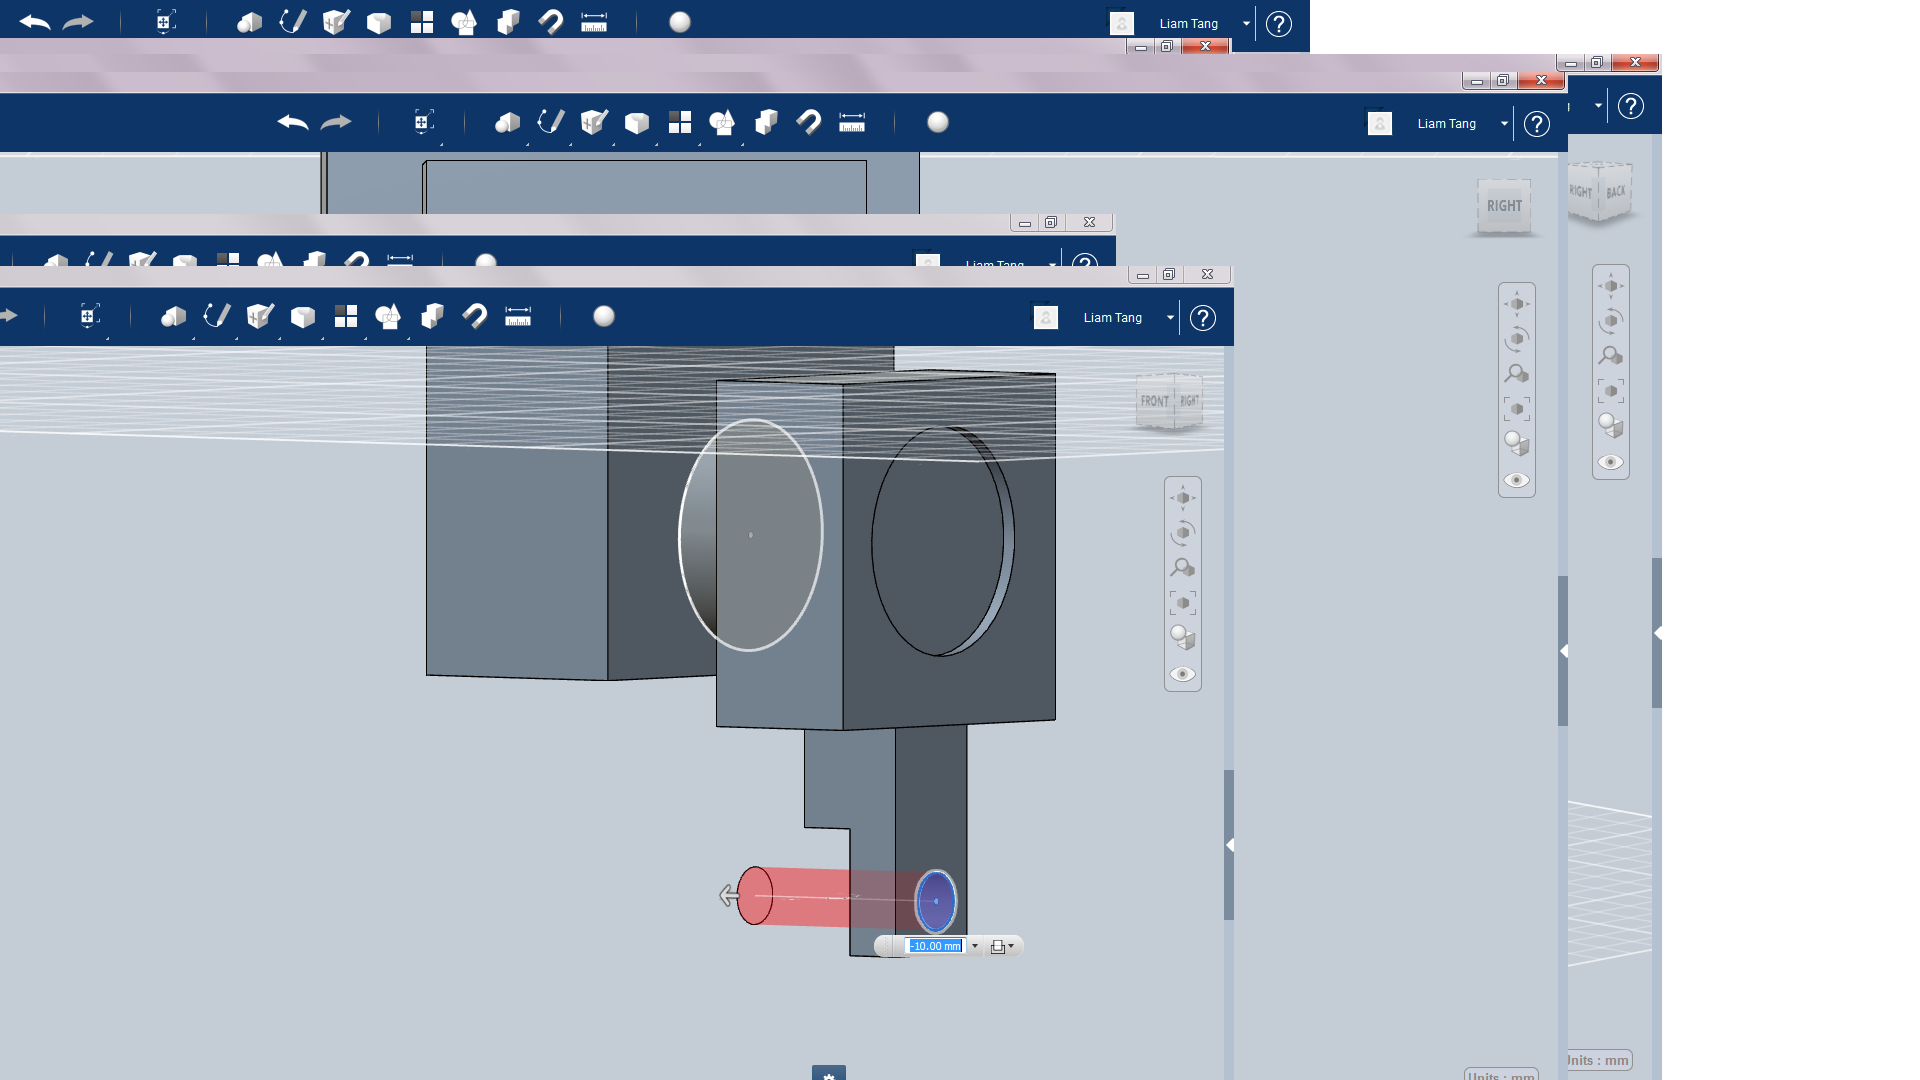
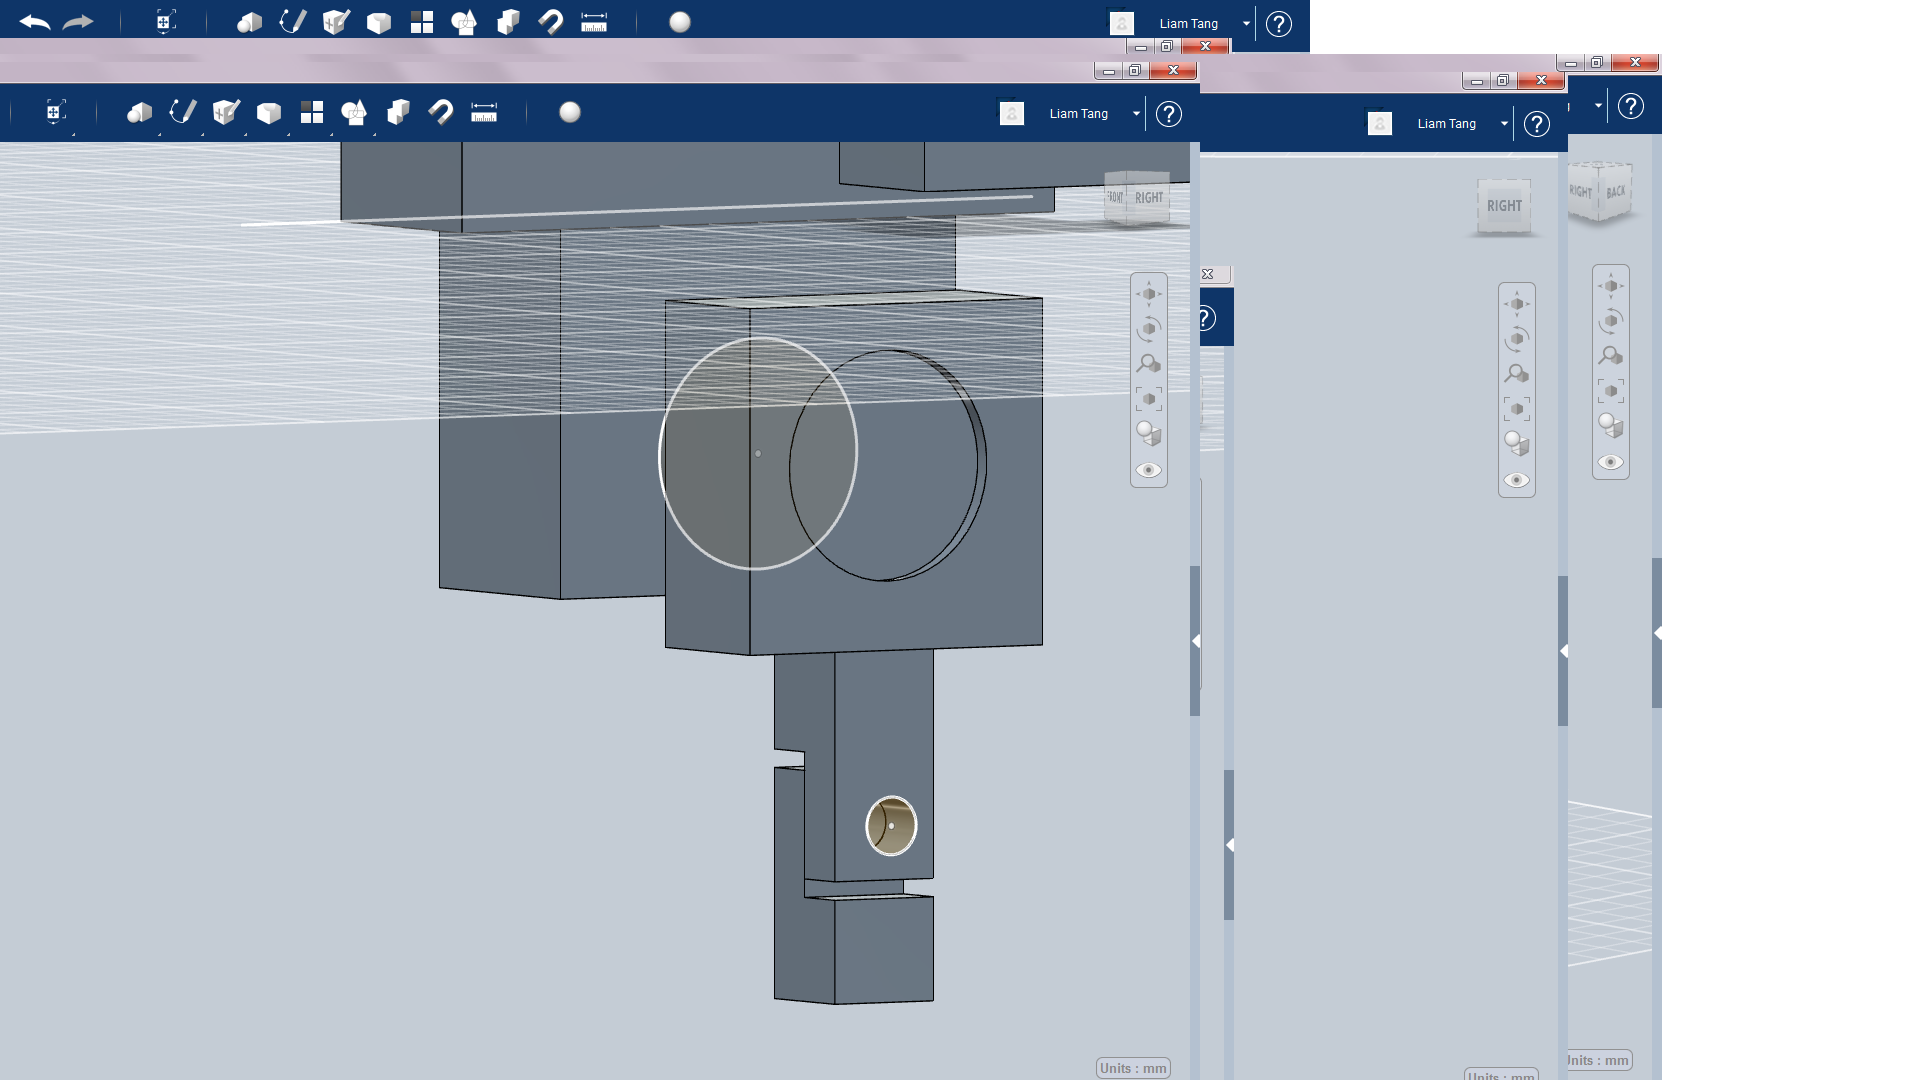
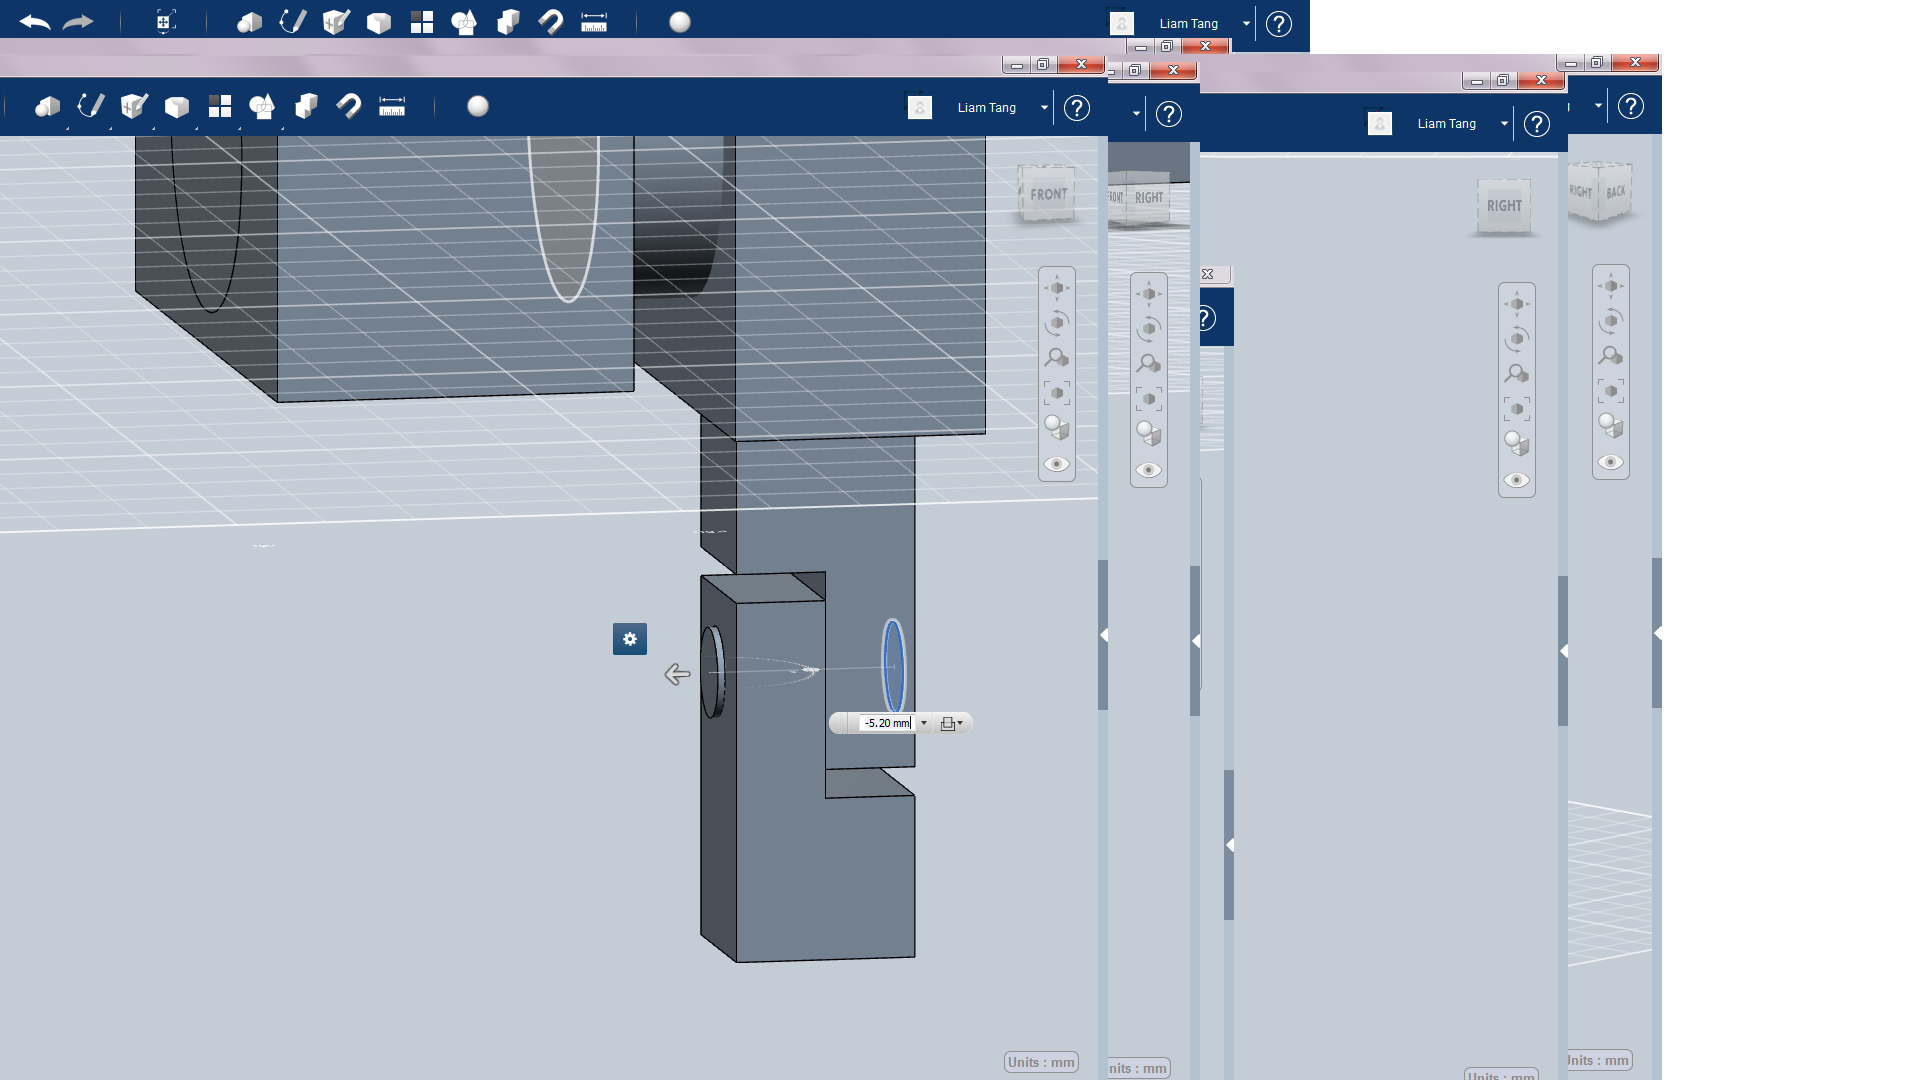
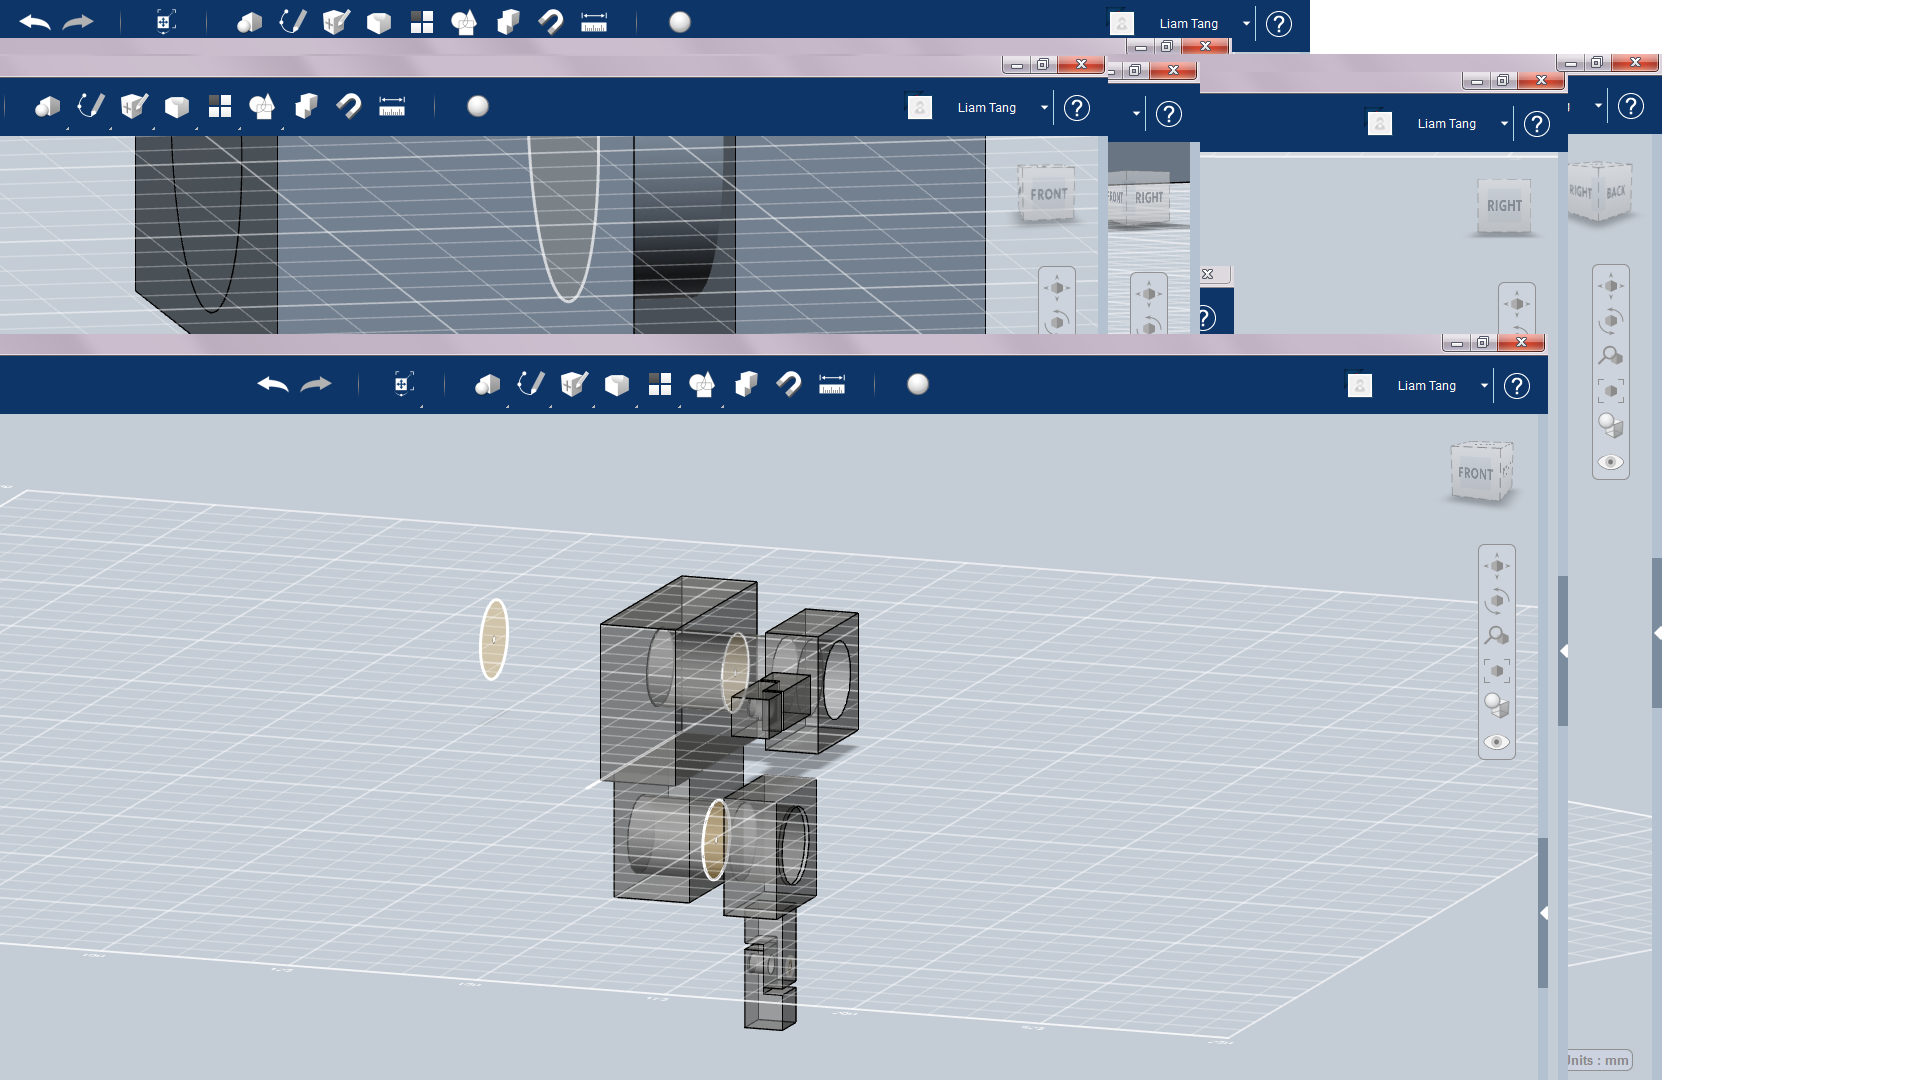
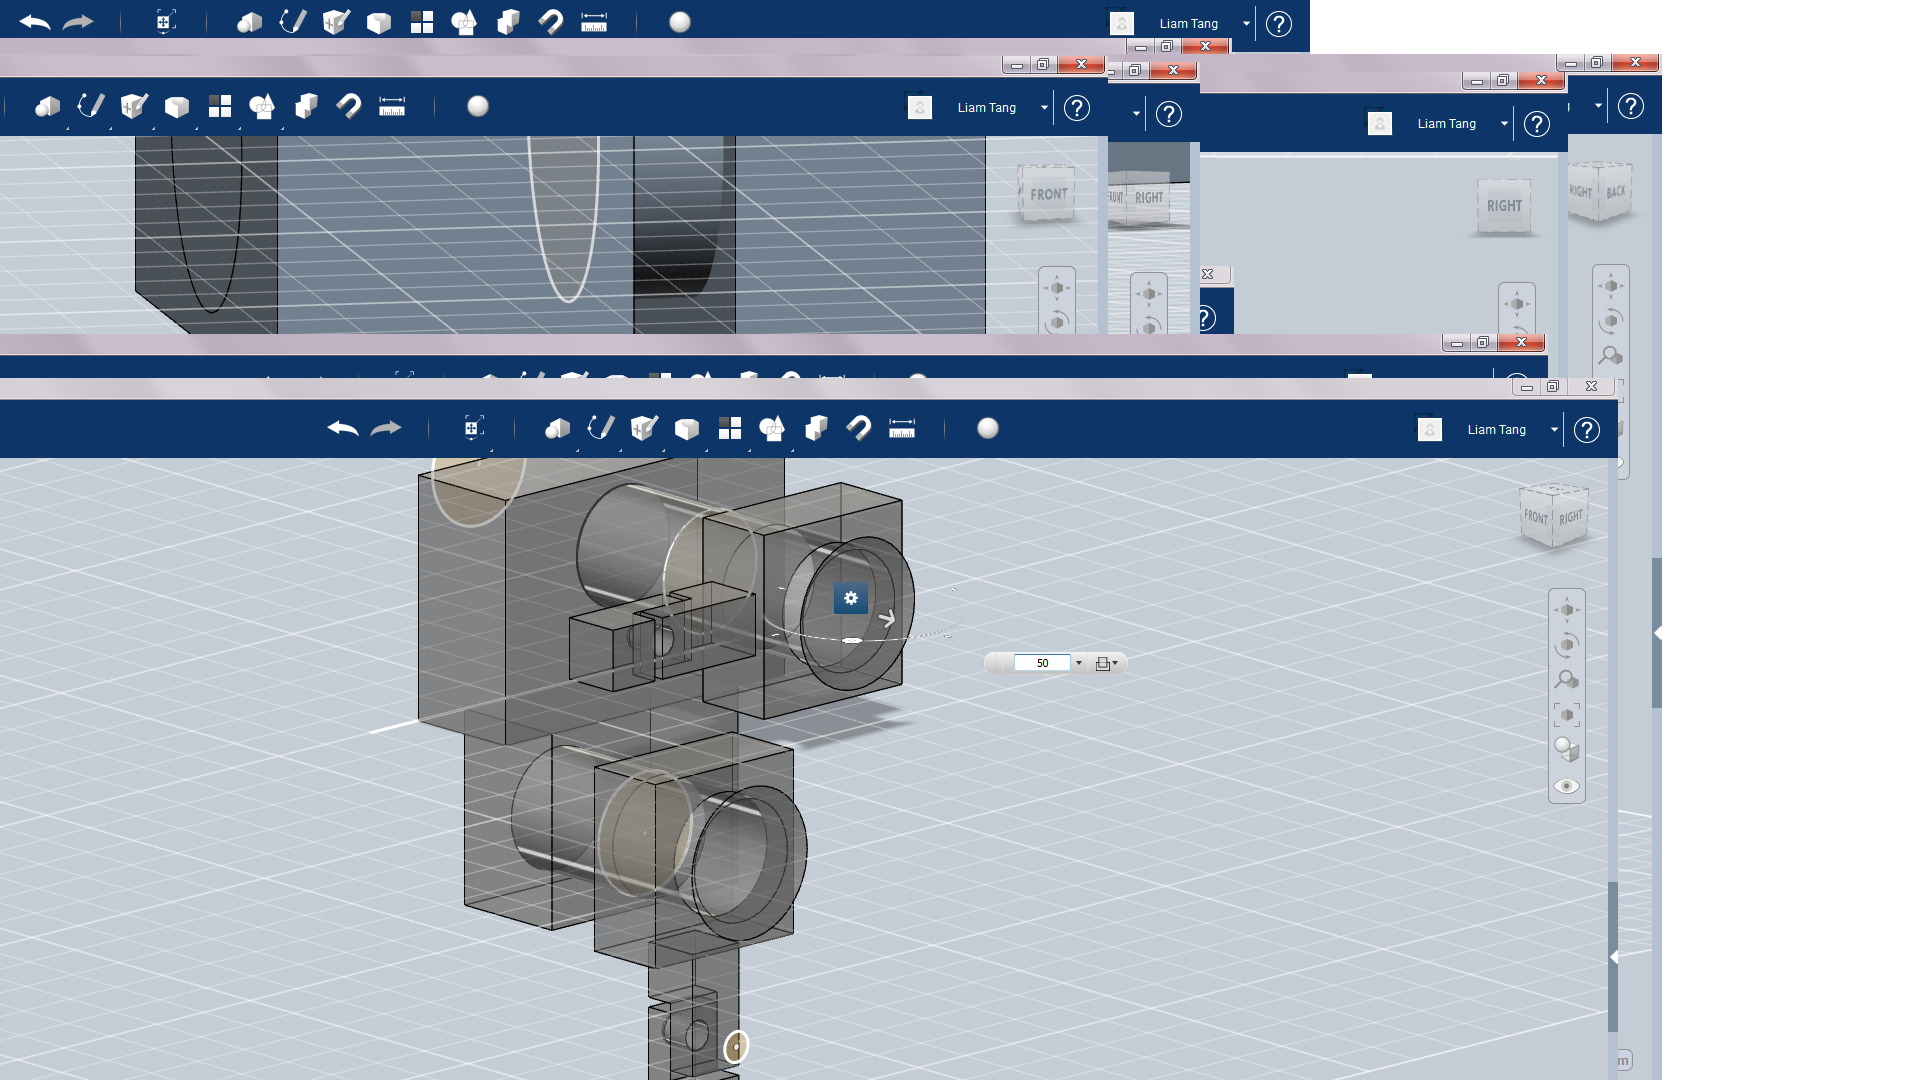
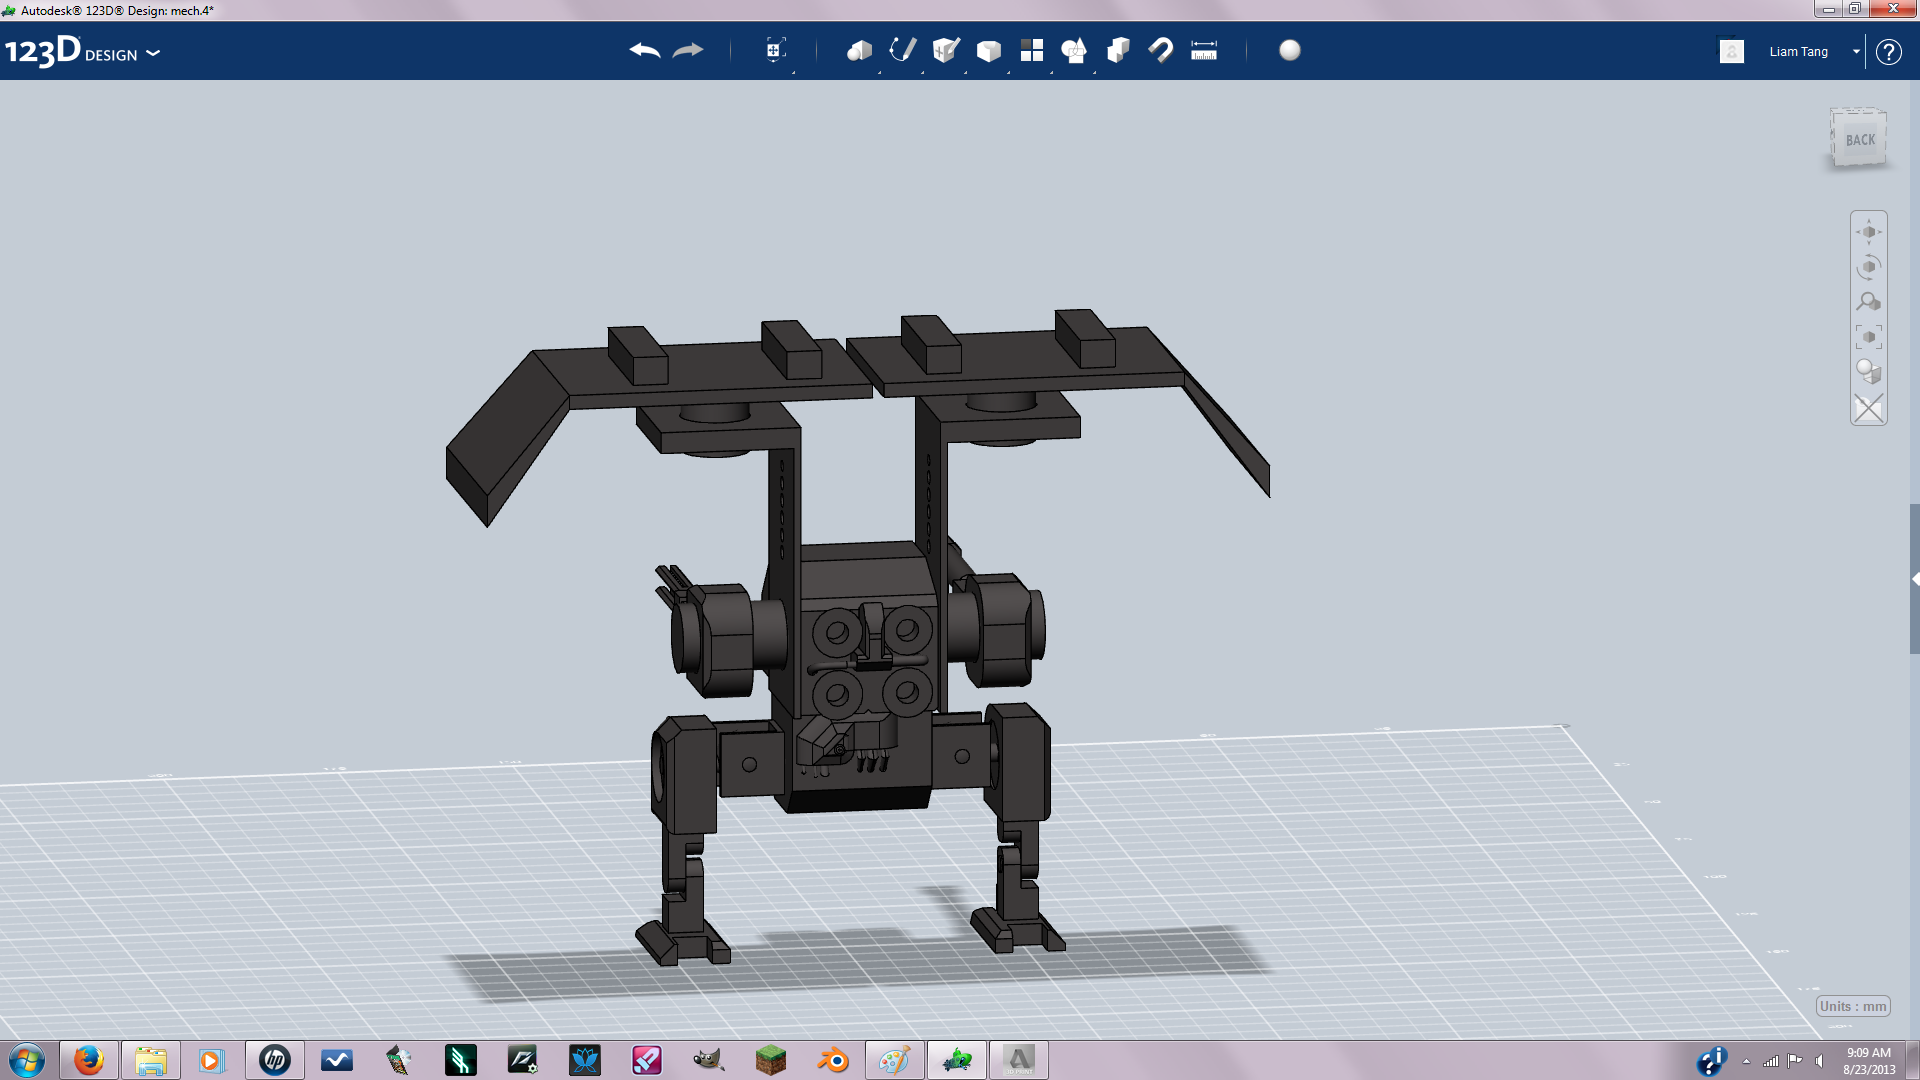
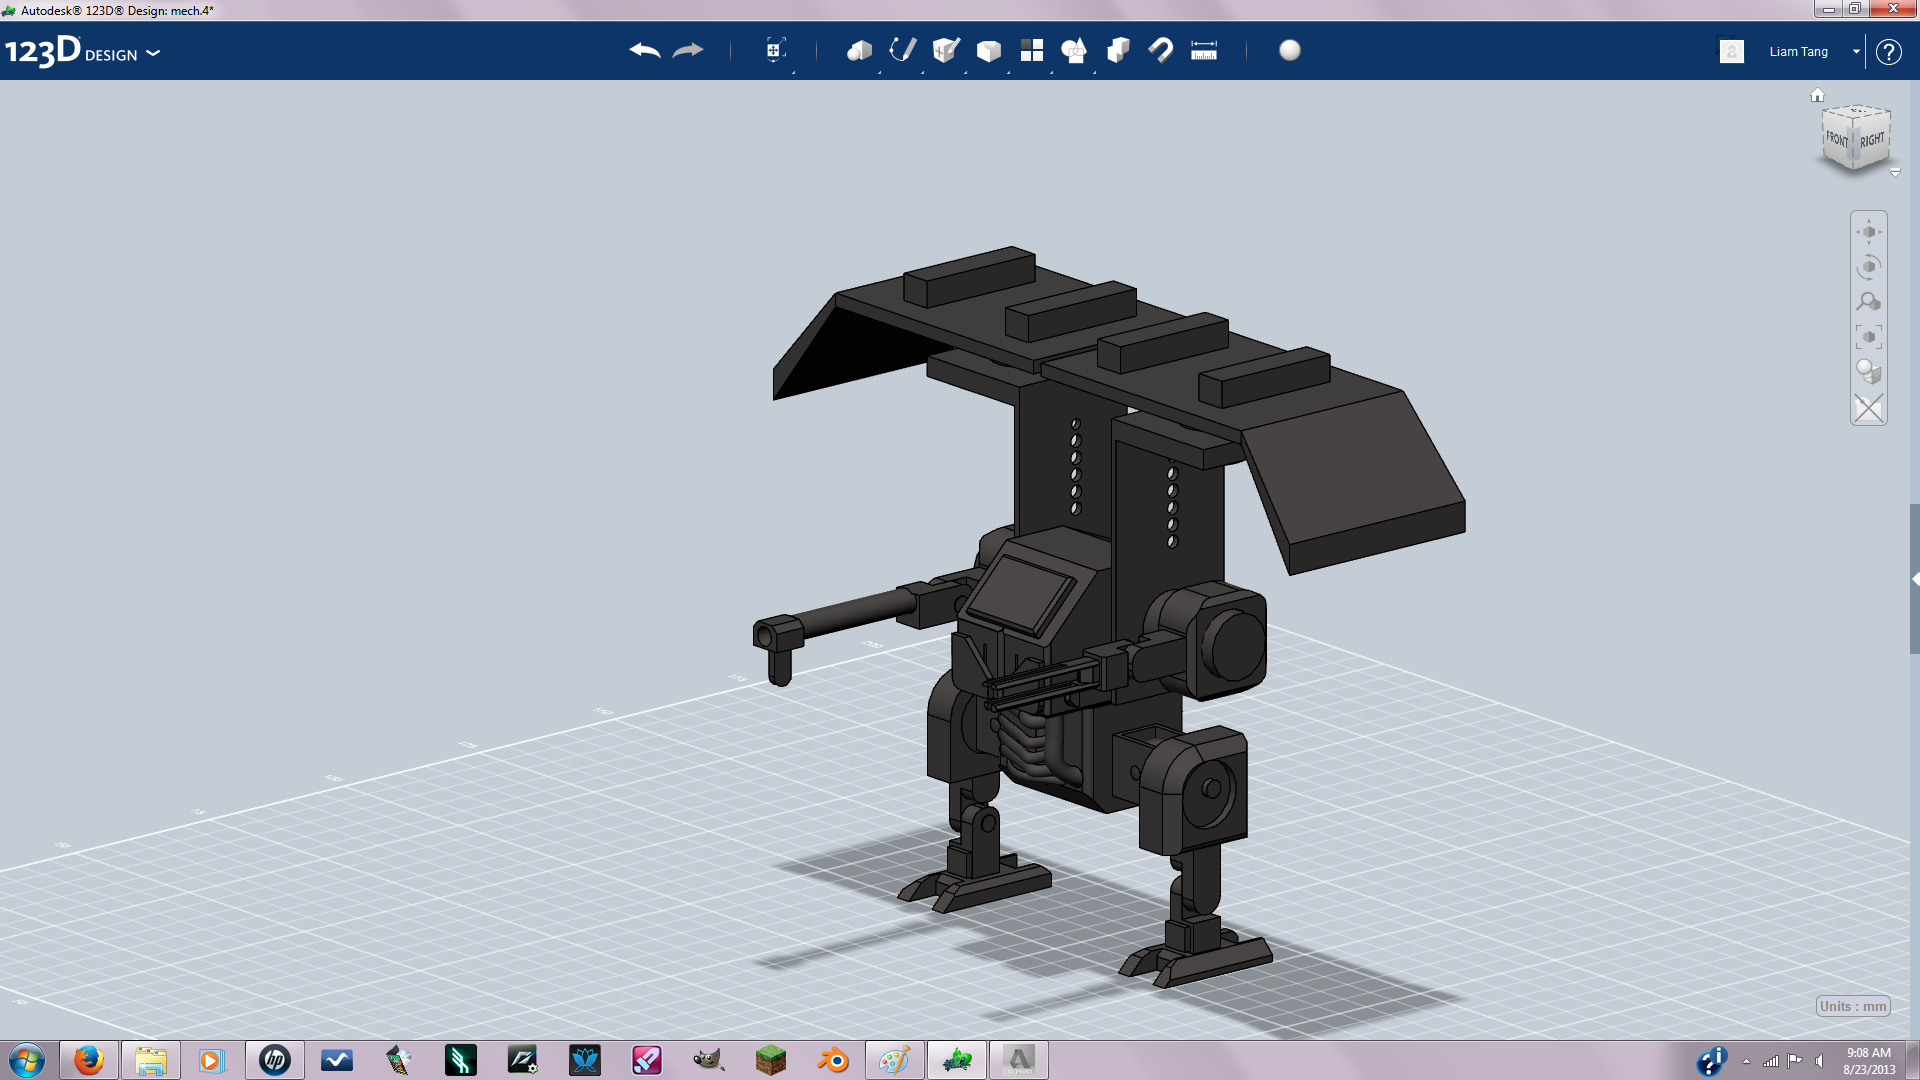
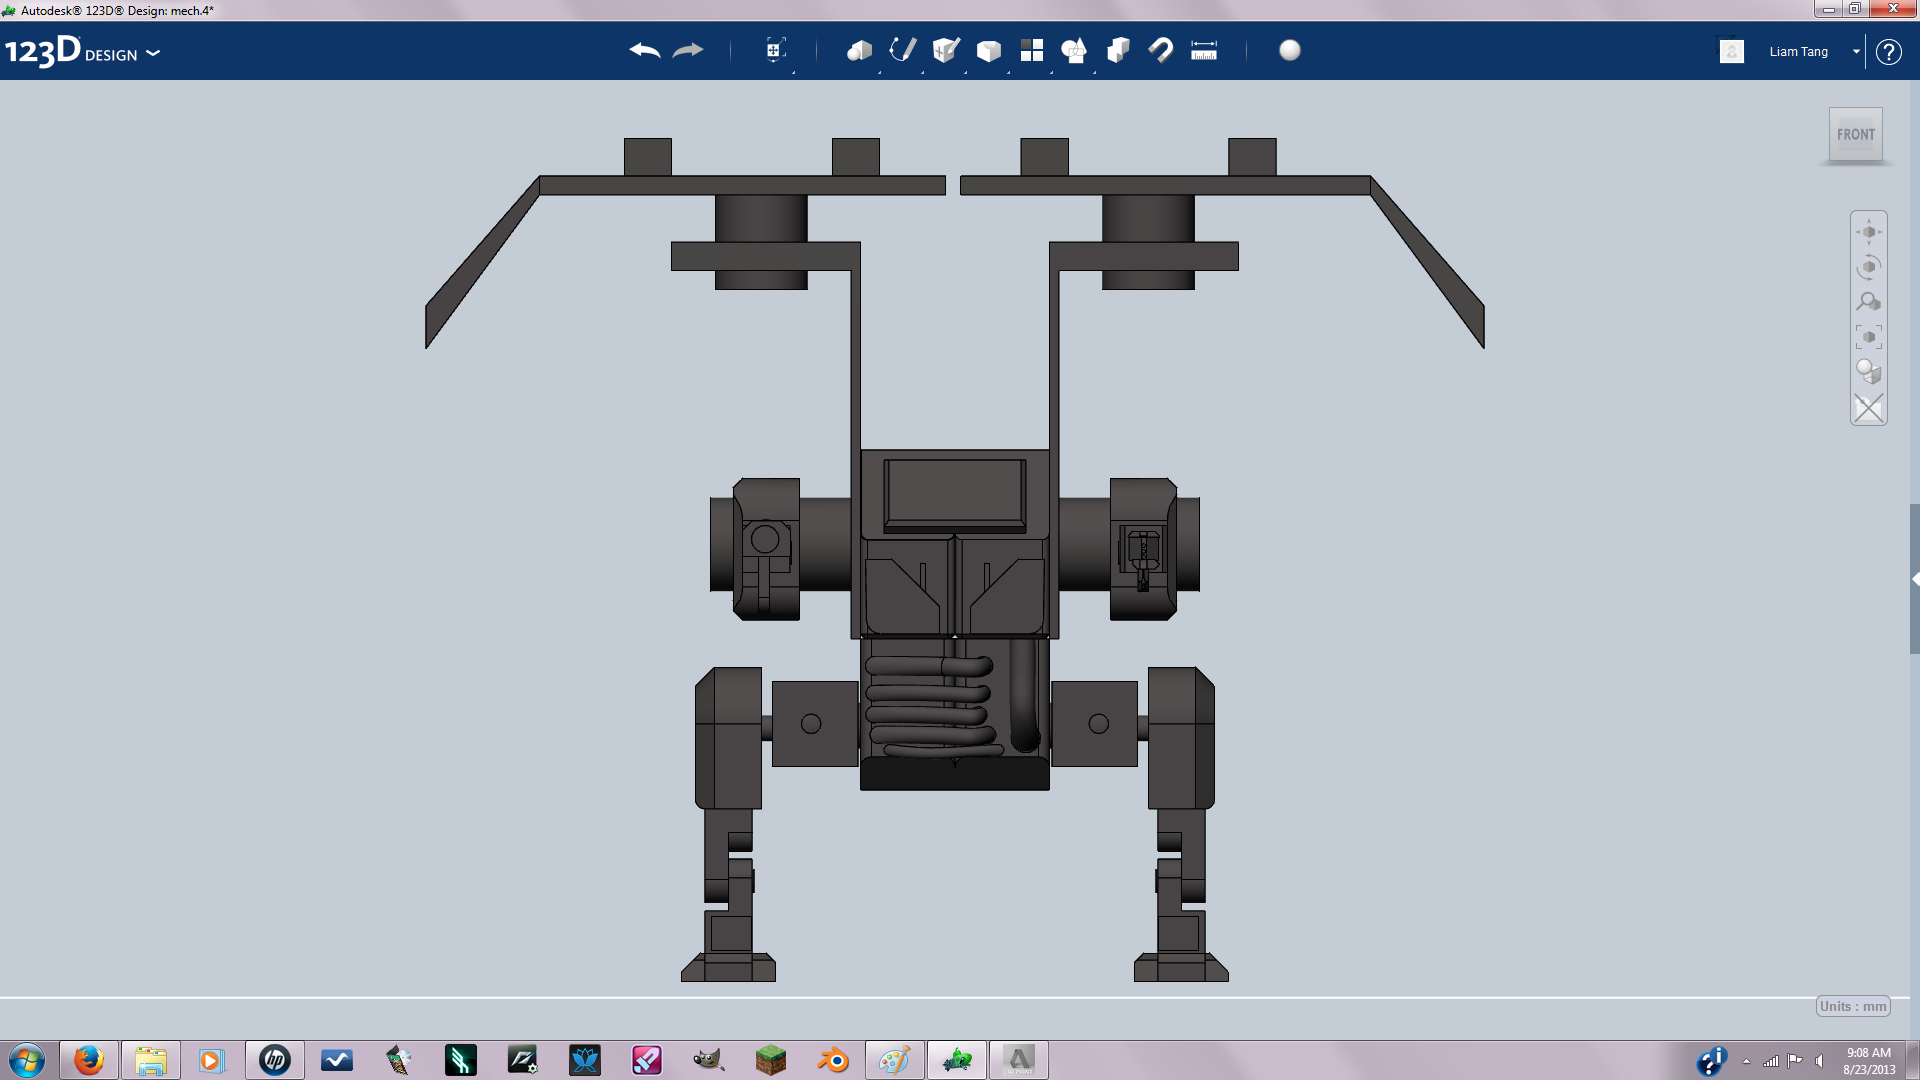
Now make a narrow rectangle and snap it to the bottom of the hip and sketch a 1.5mm circle towards the bottom of the rectangle and negative extrude to create a hole for the joint. Then you want get rid of half the bottom tip of the rectangle(example pic 2) by negative extruding. Then copy and paste the rectangle and flip upside down(example in pic4) then align the holes and extrude a 1.3mm cylinder through the holes. you should end up with something like pic 5 then group the top rectangle and bottom rectangle and copy and paste for arms. Your mech should end up looking like pic 6 and 7. Tip to make see through box select all of mechs parts and change the material to clear glass.
Feet
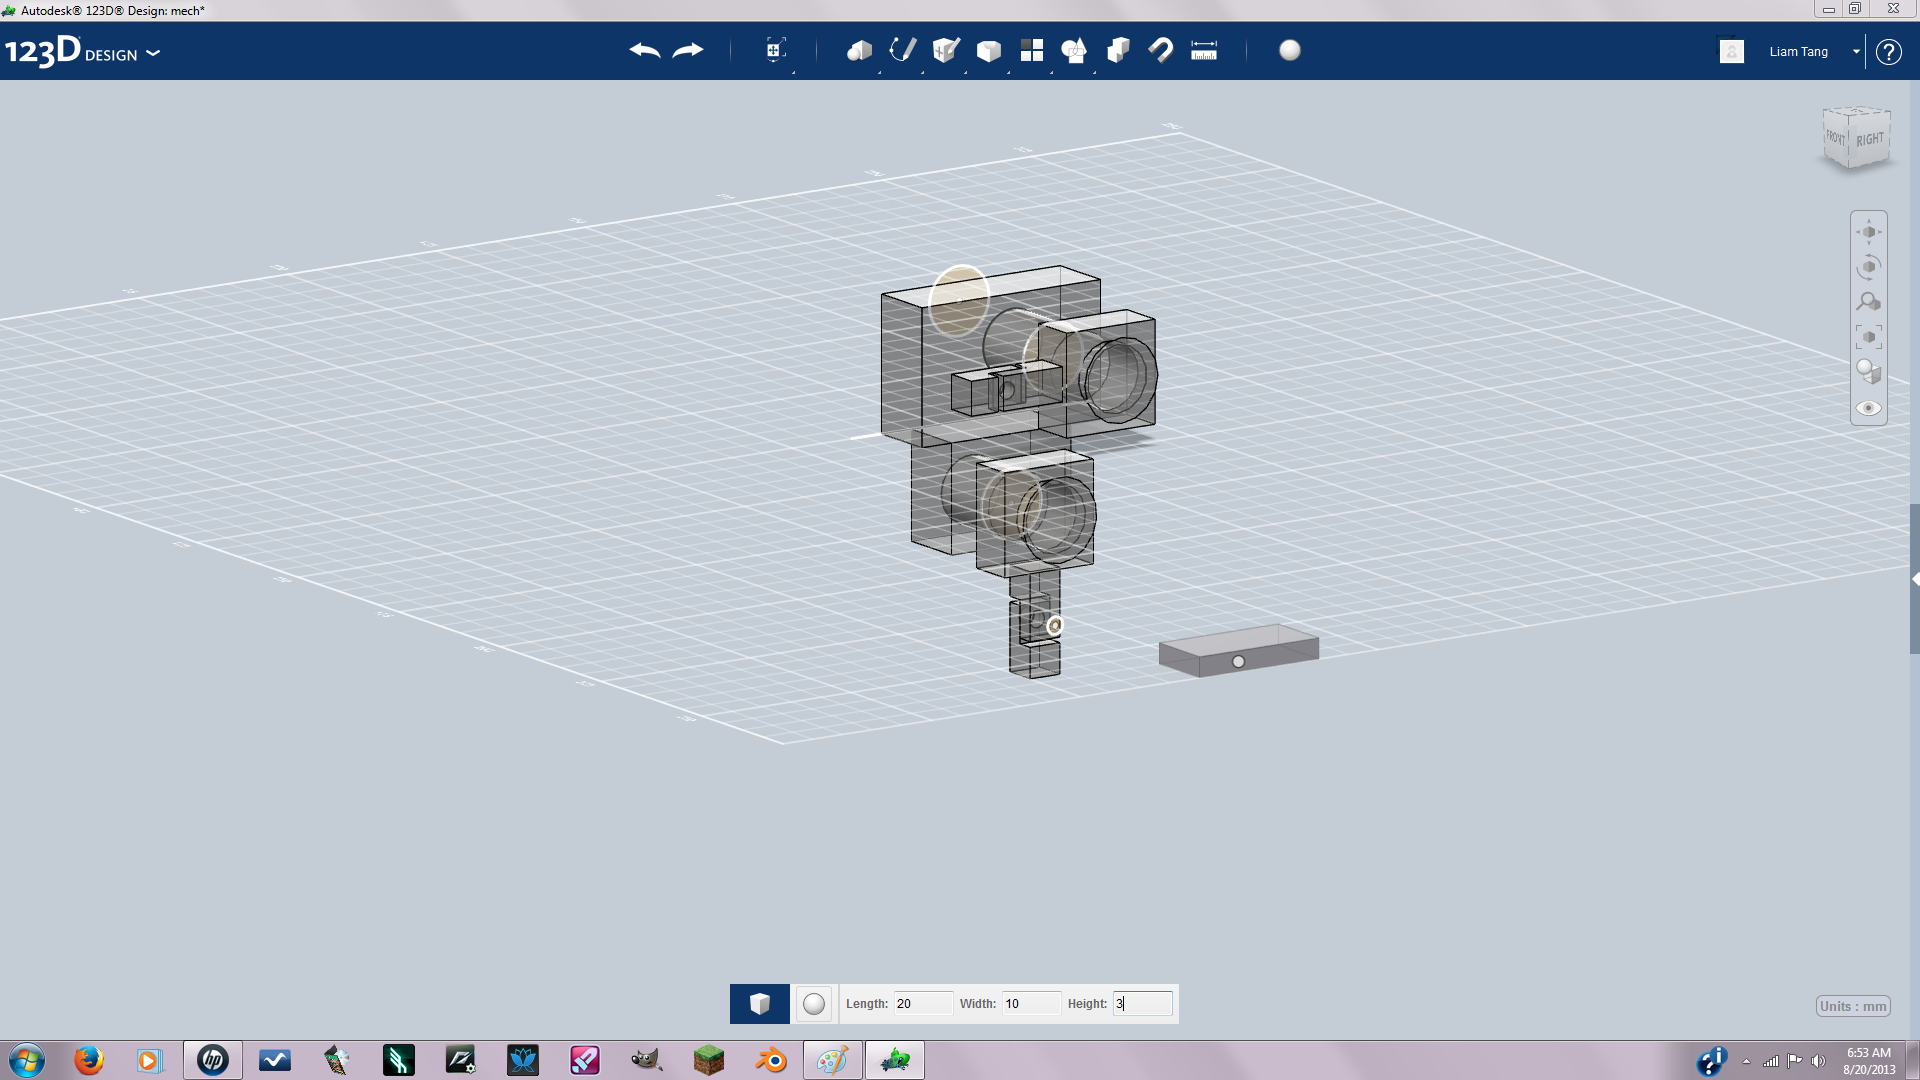
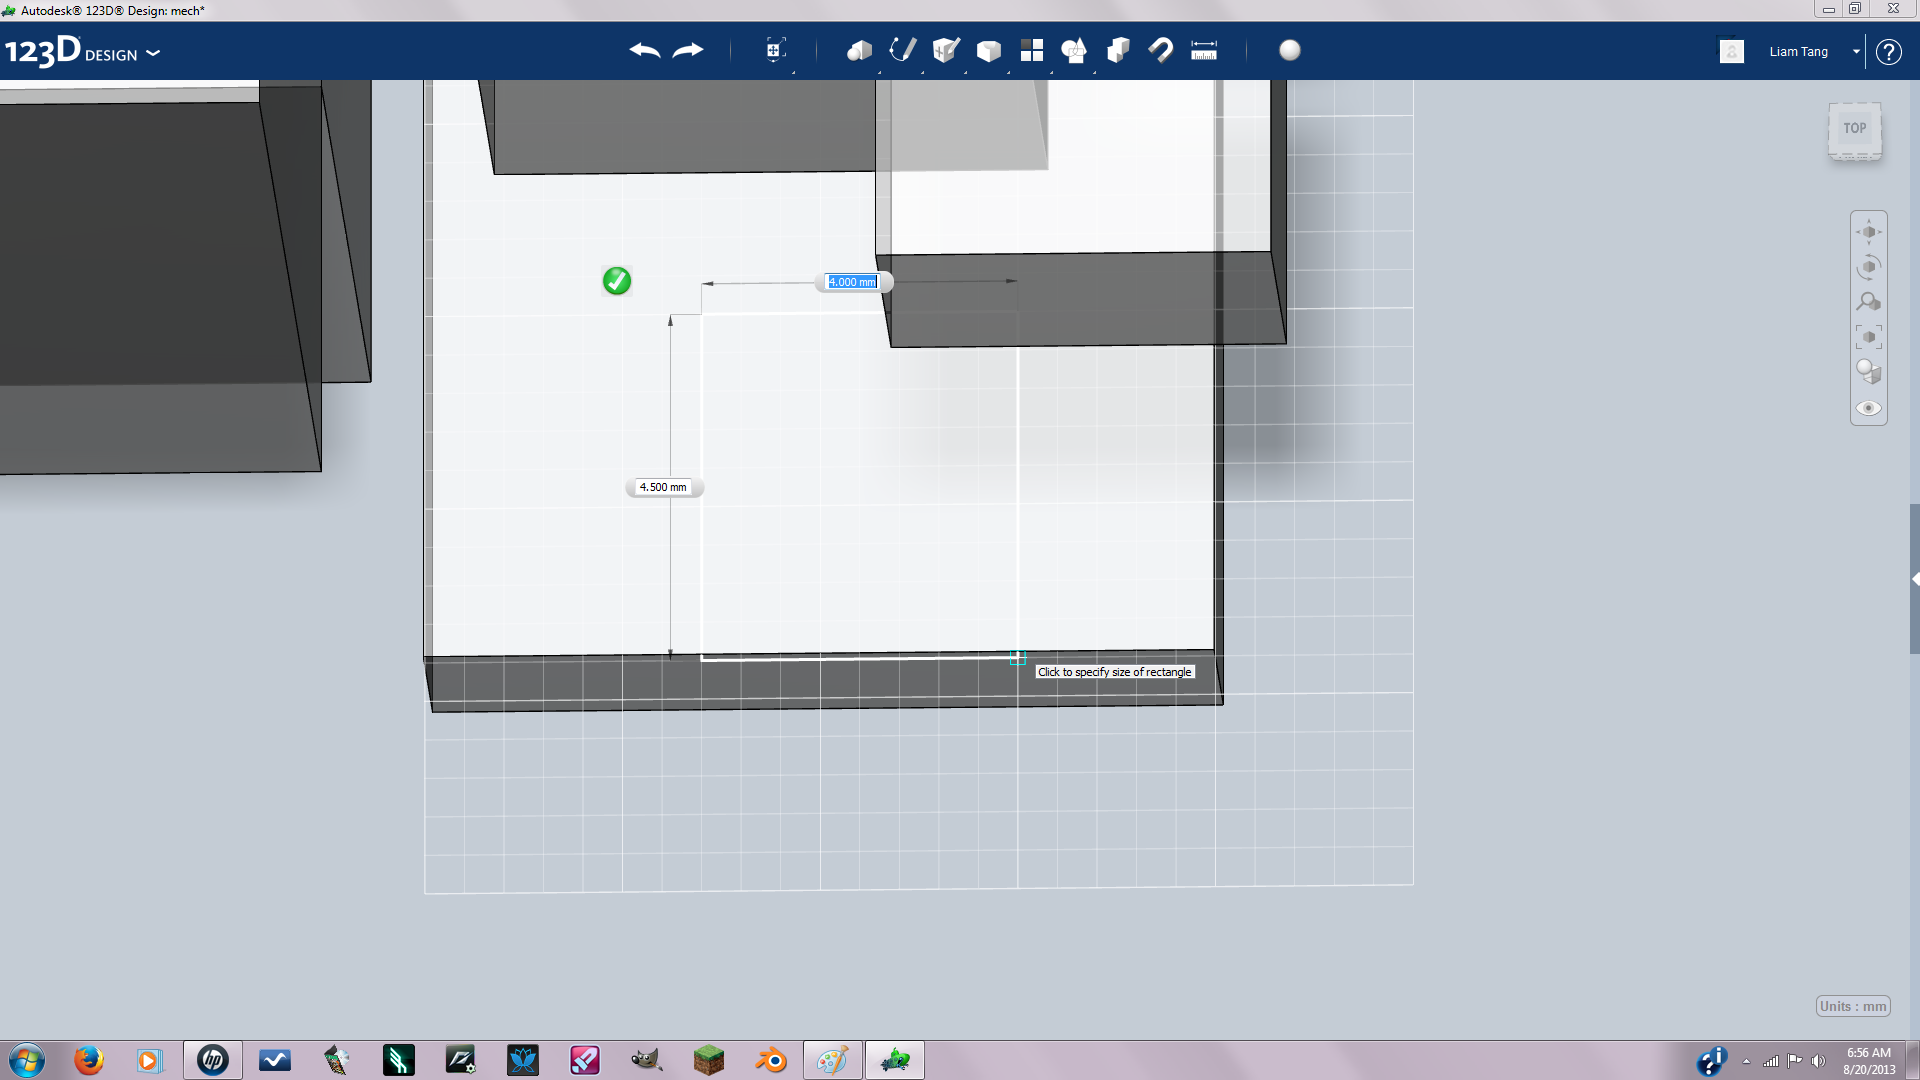
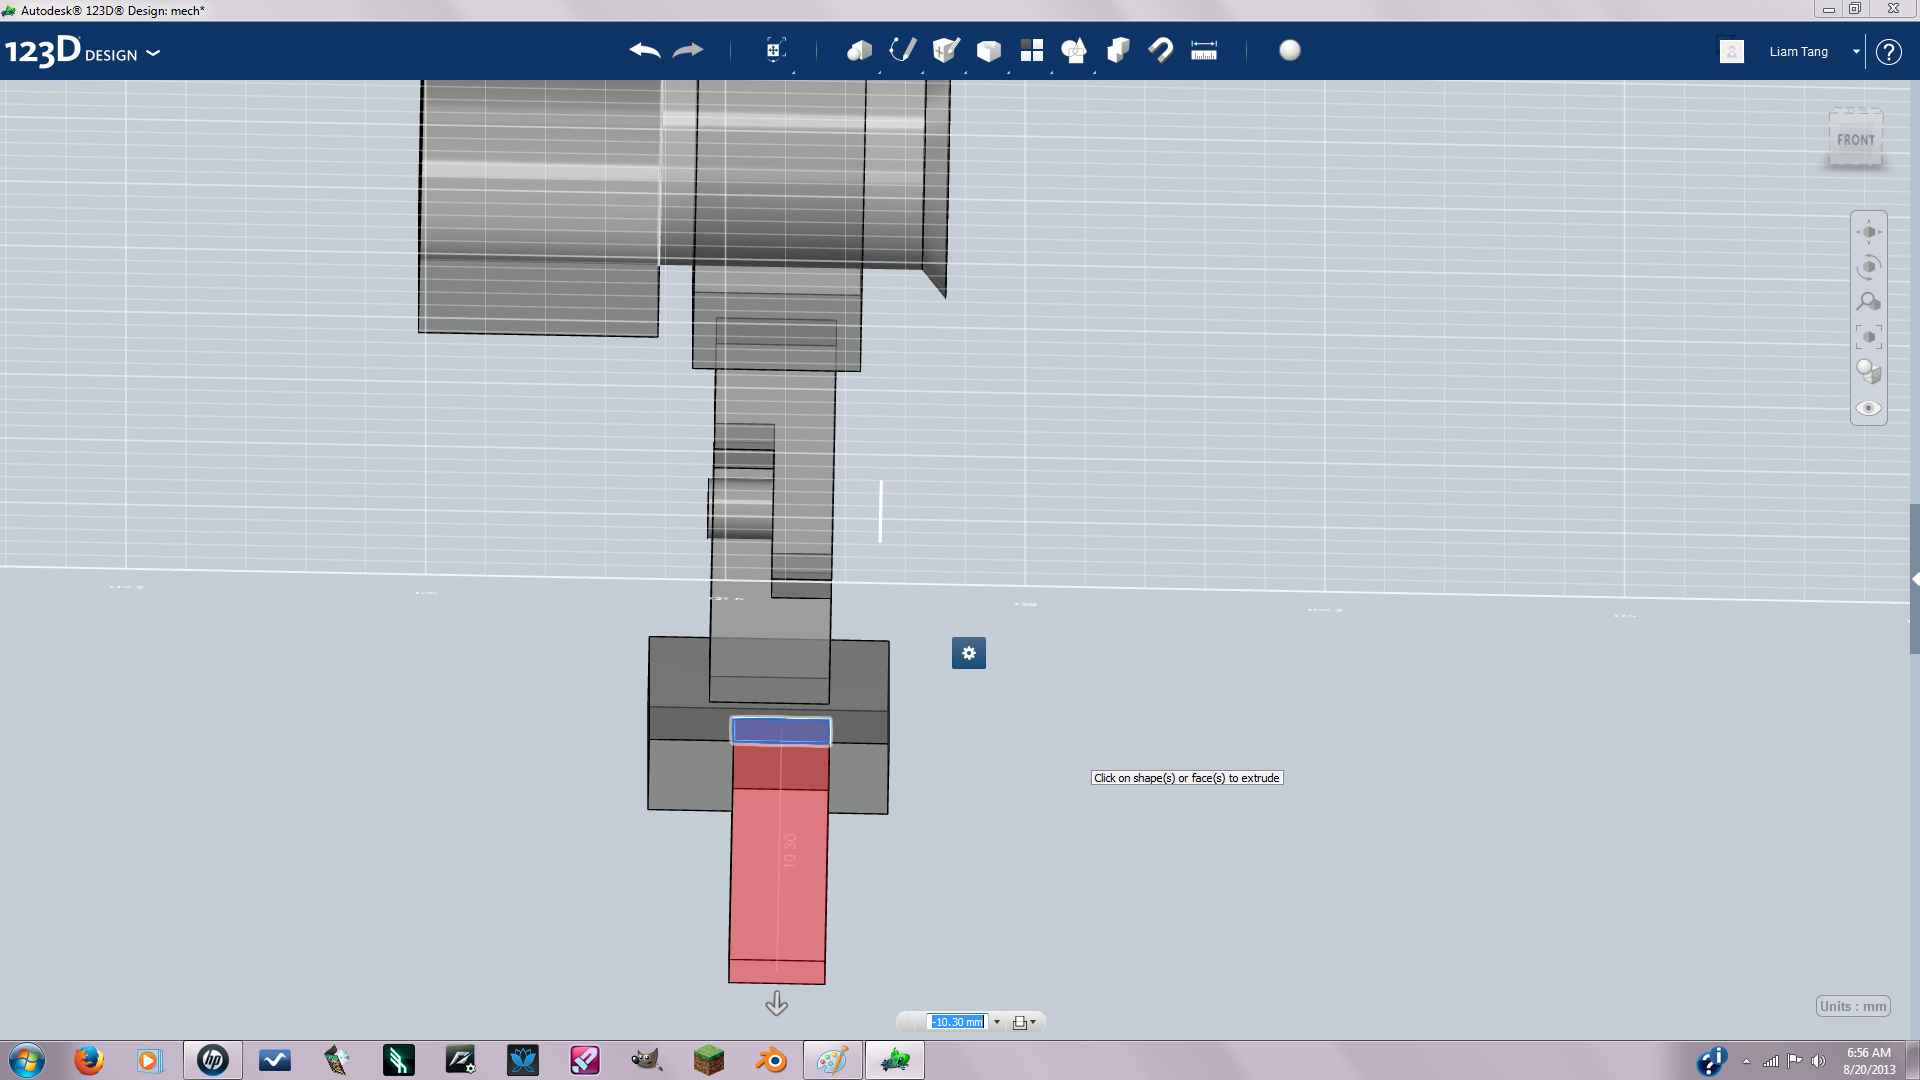
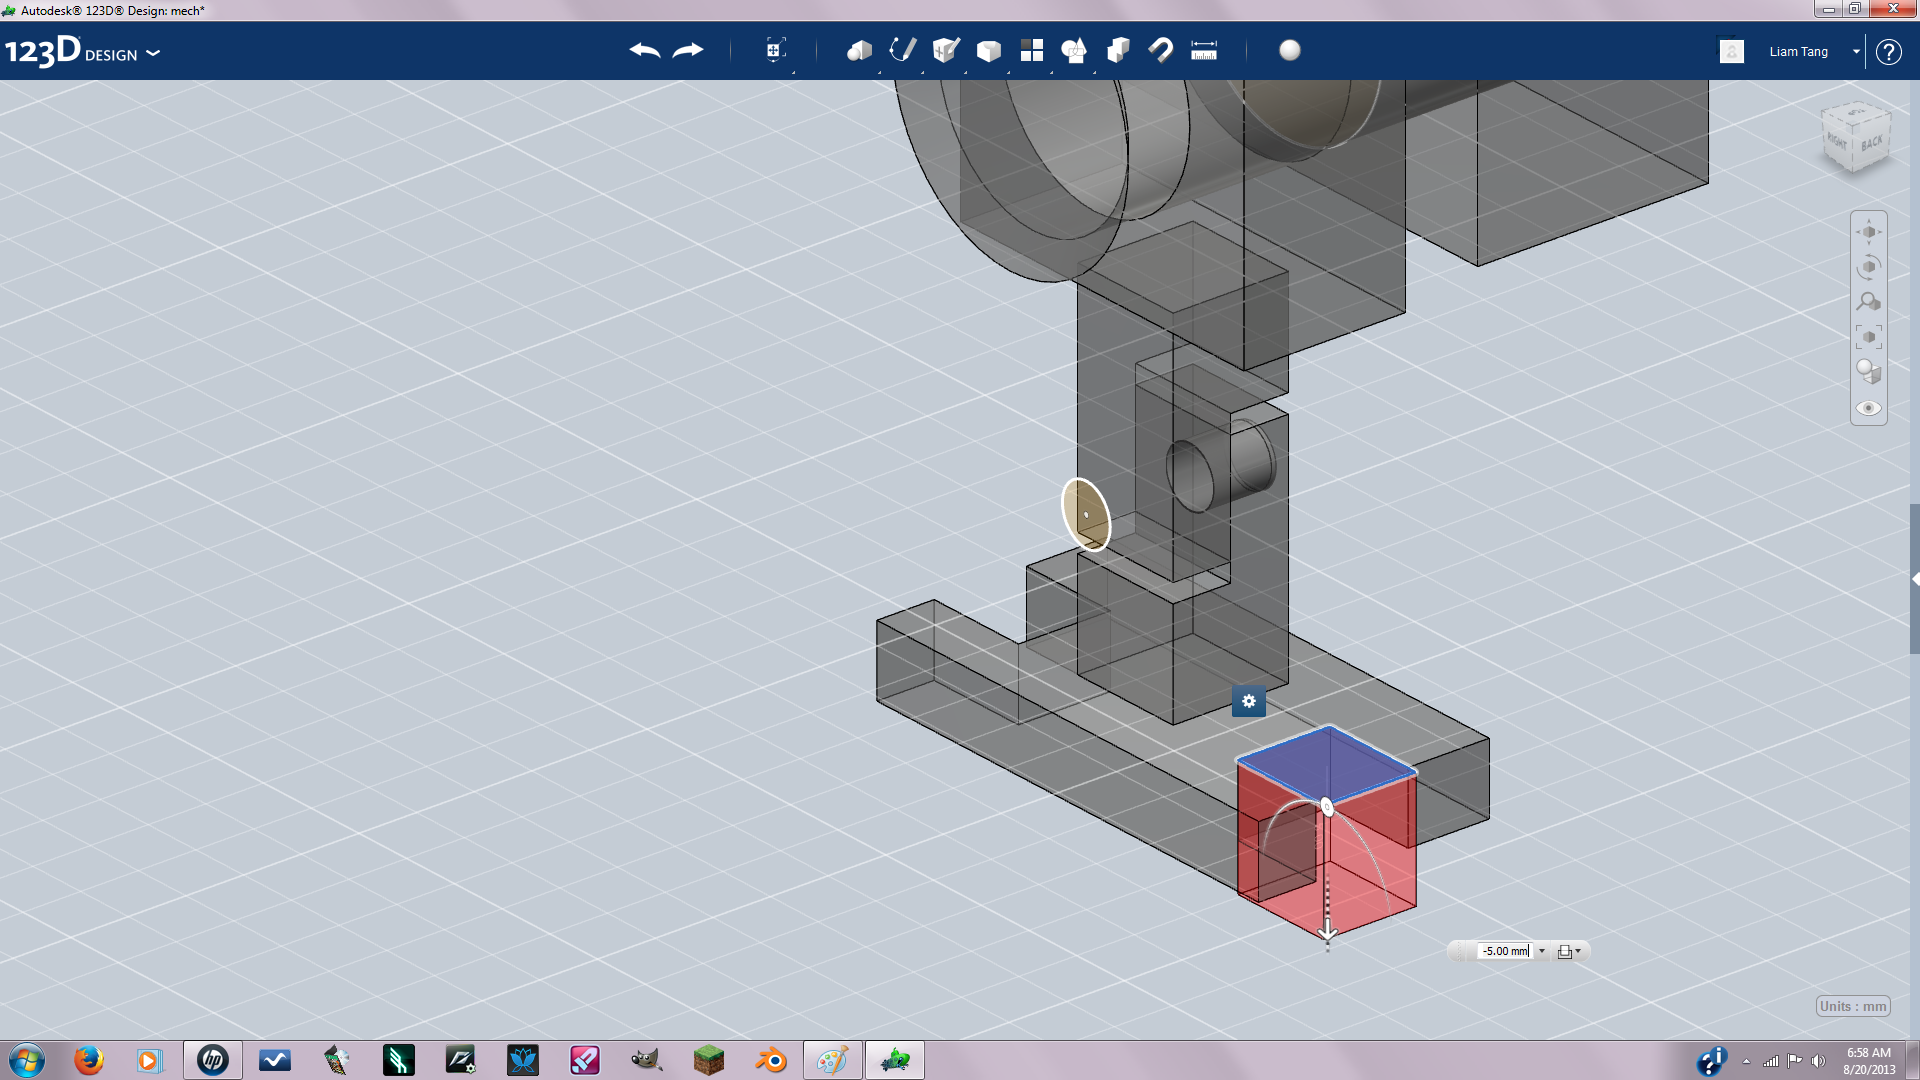
make a new cube solid length:20 width:10 height:3 then snap to bottom face of the leg. Then sketch a square in the middle of the front part of the foot then negative extrude to make toes. Do the same for the back of the foot.
Brackets
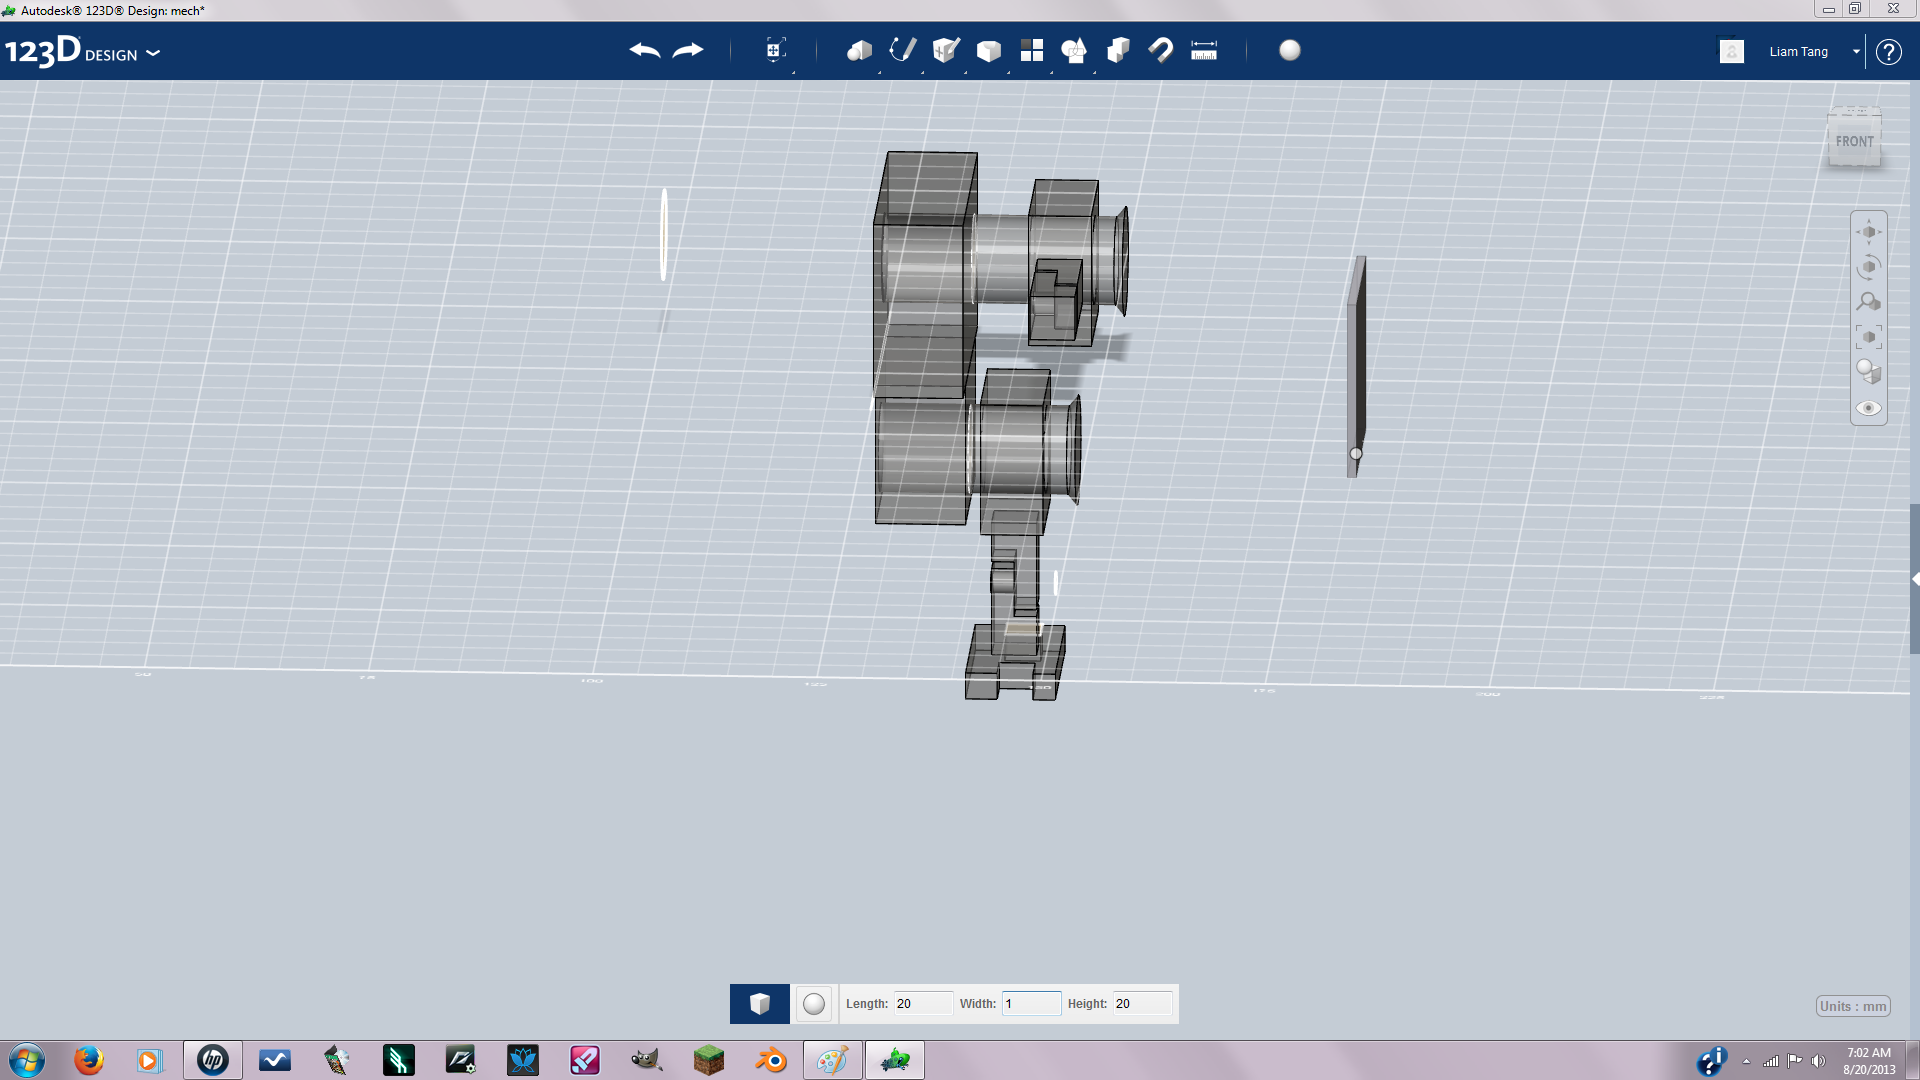
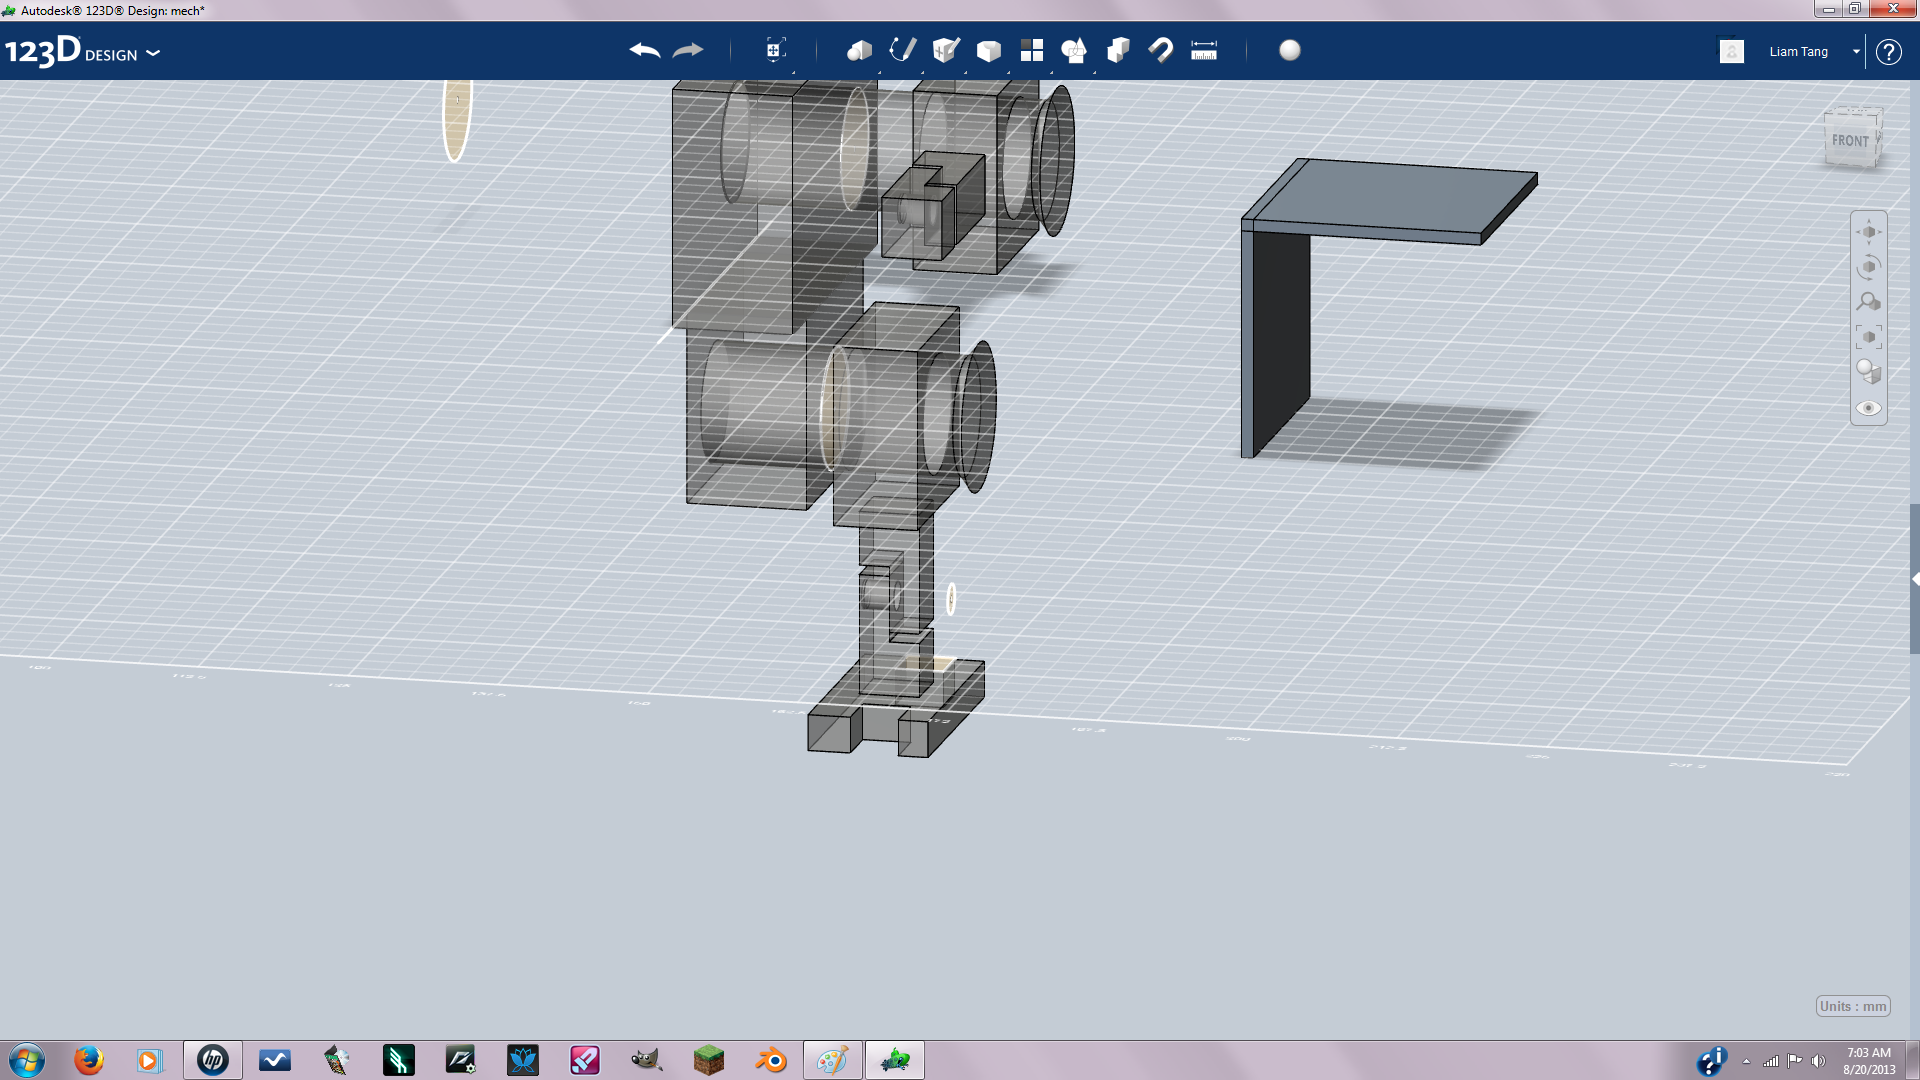
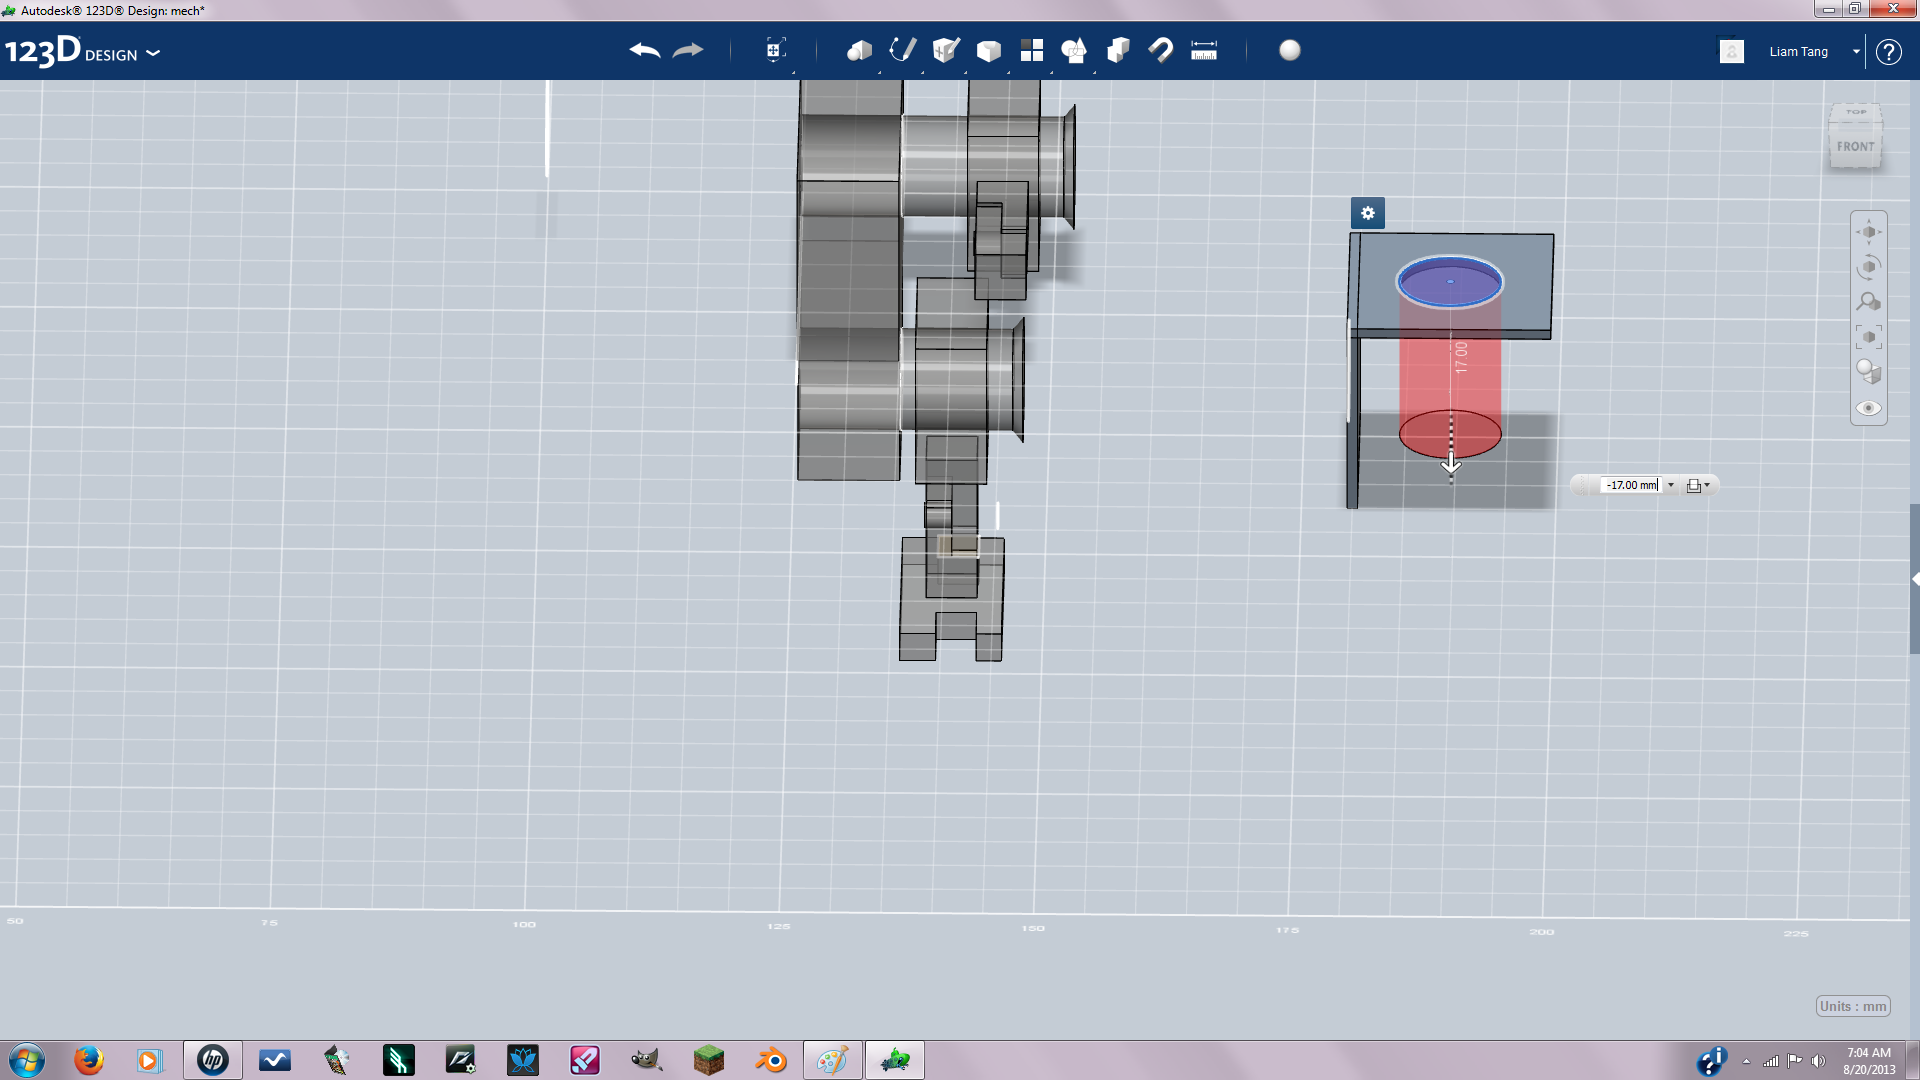
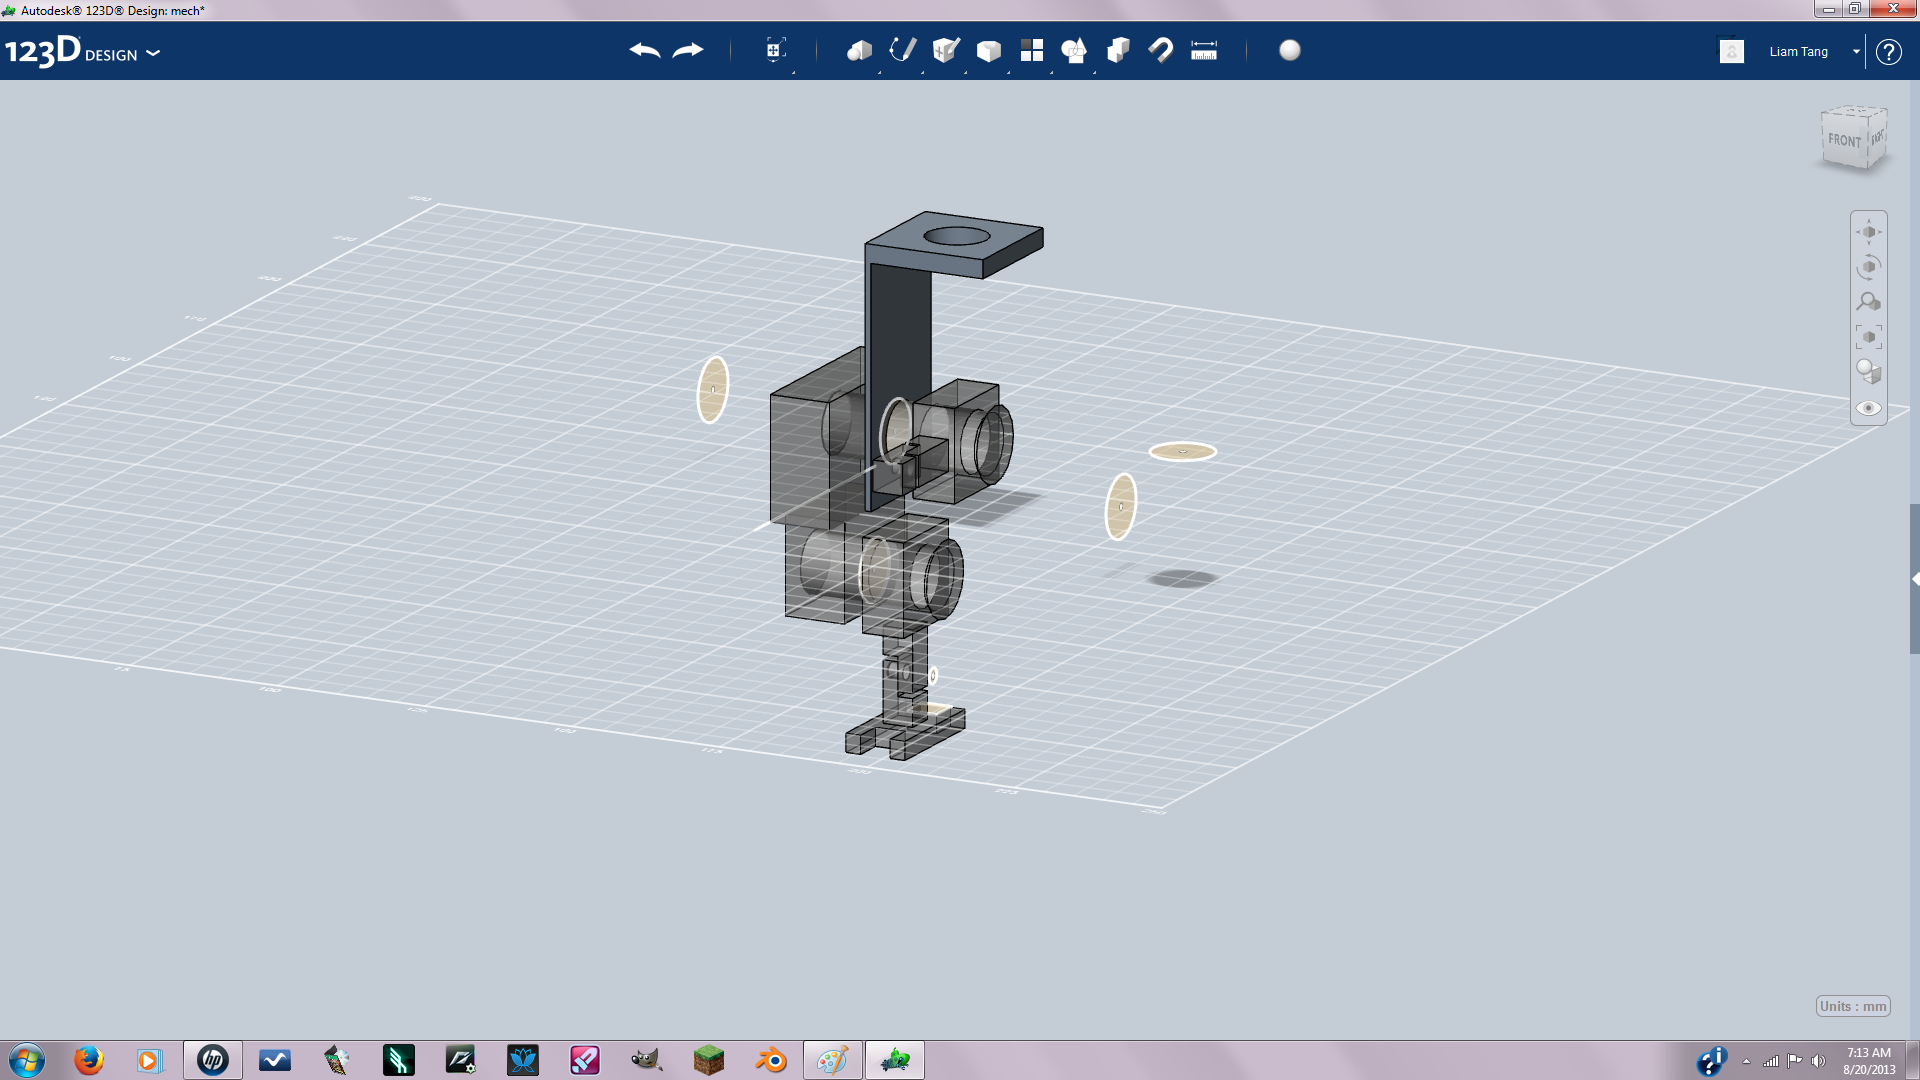
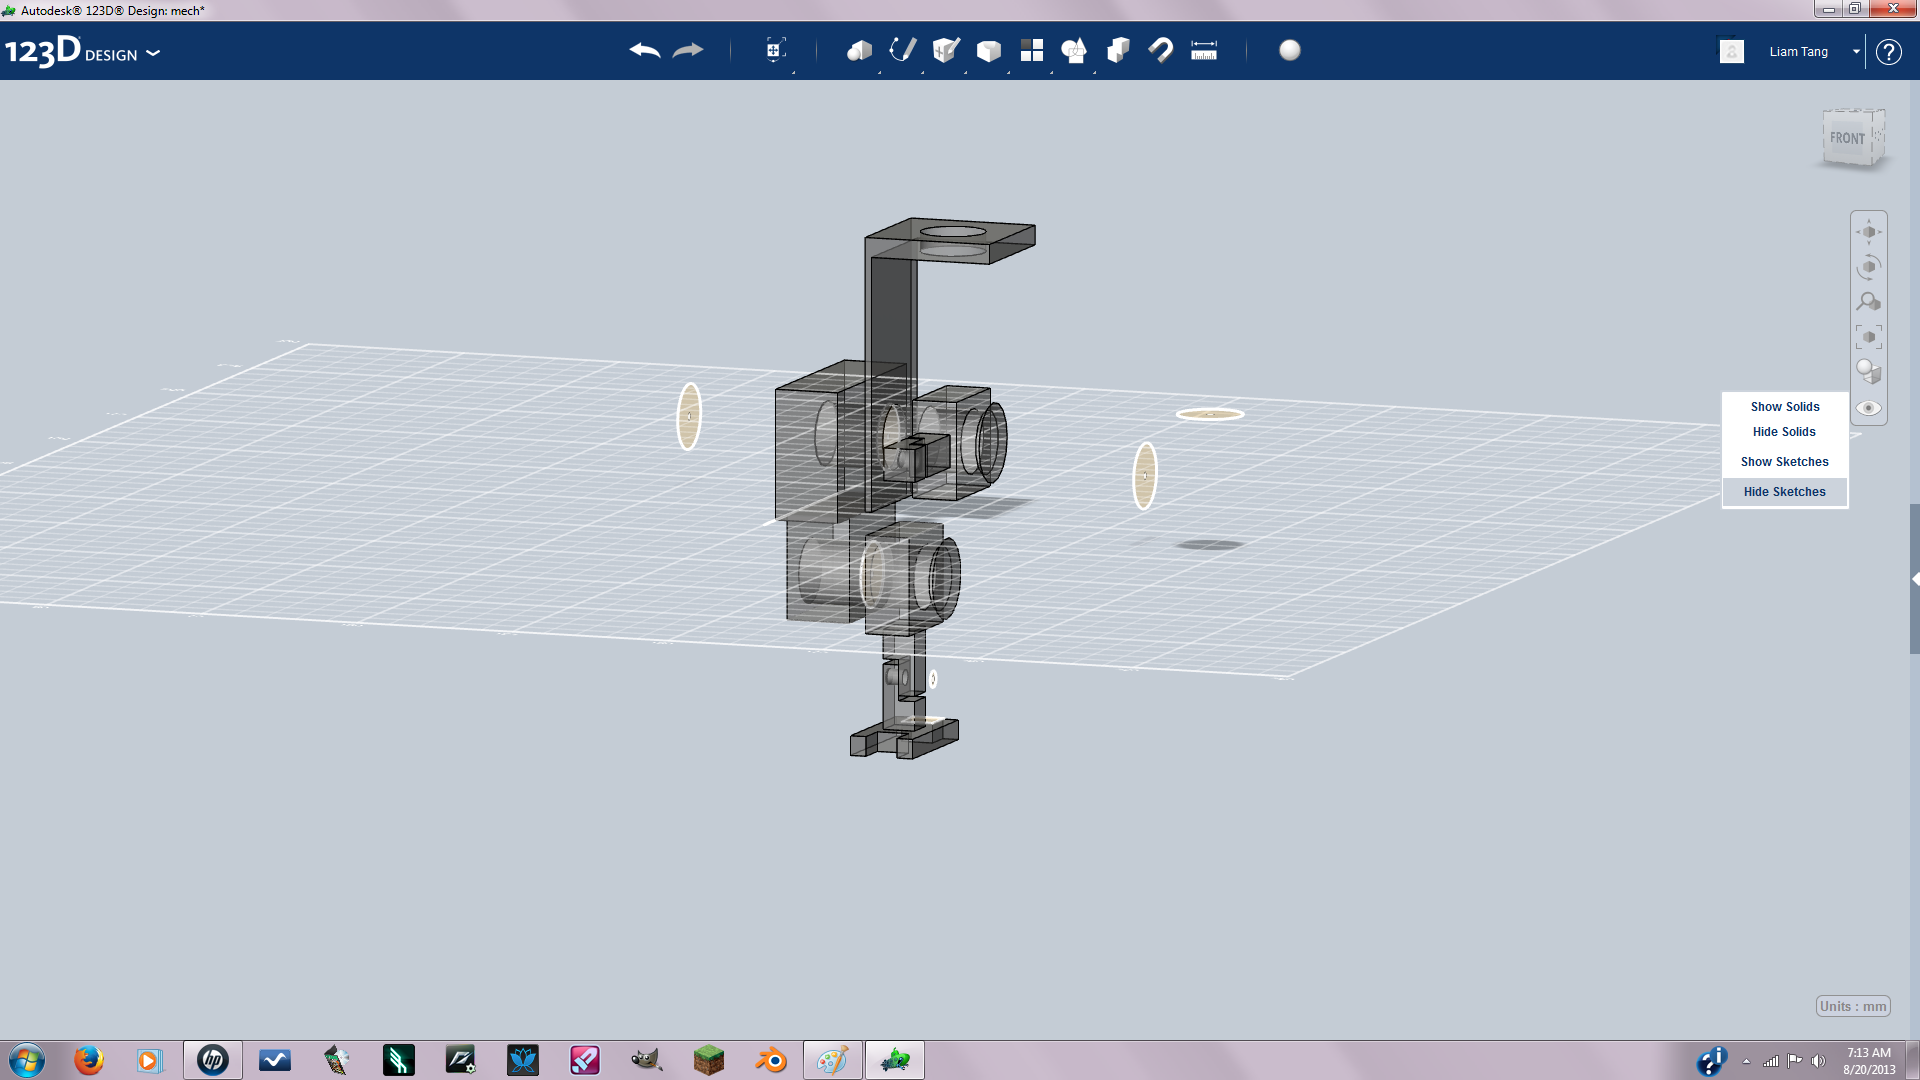
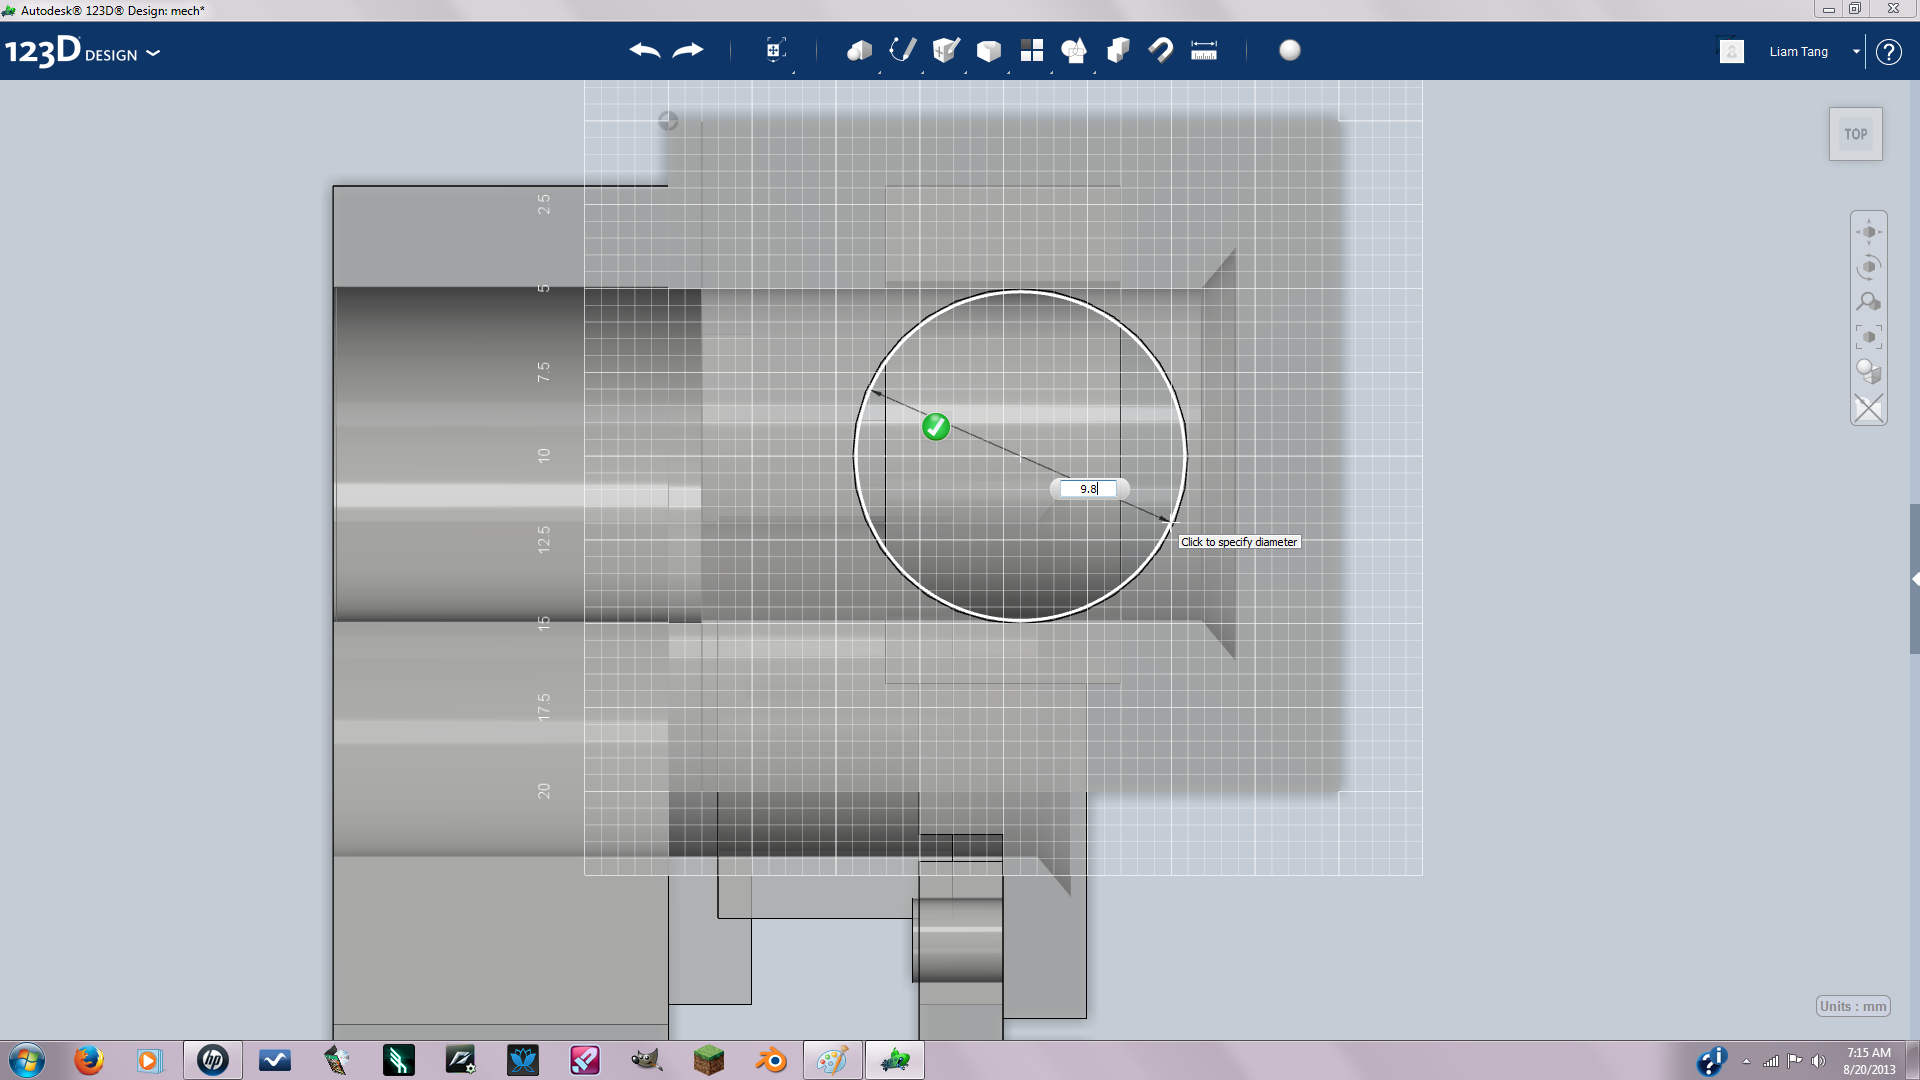
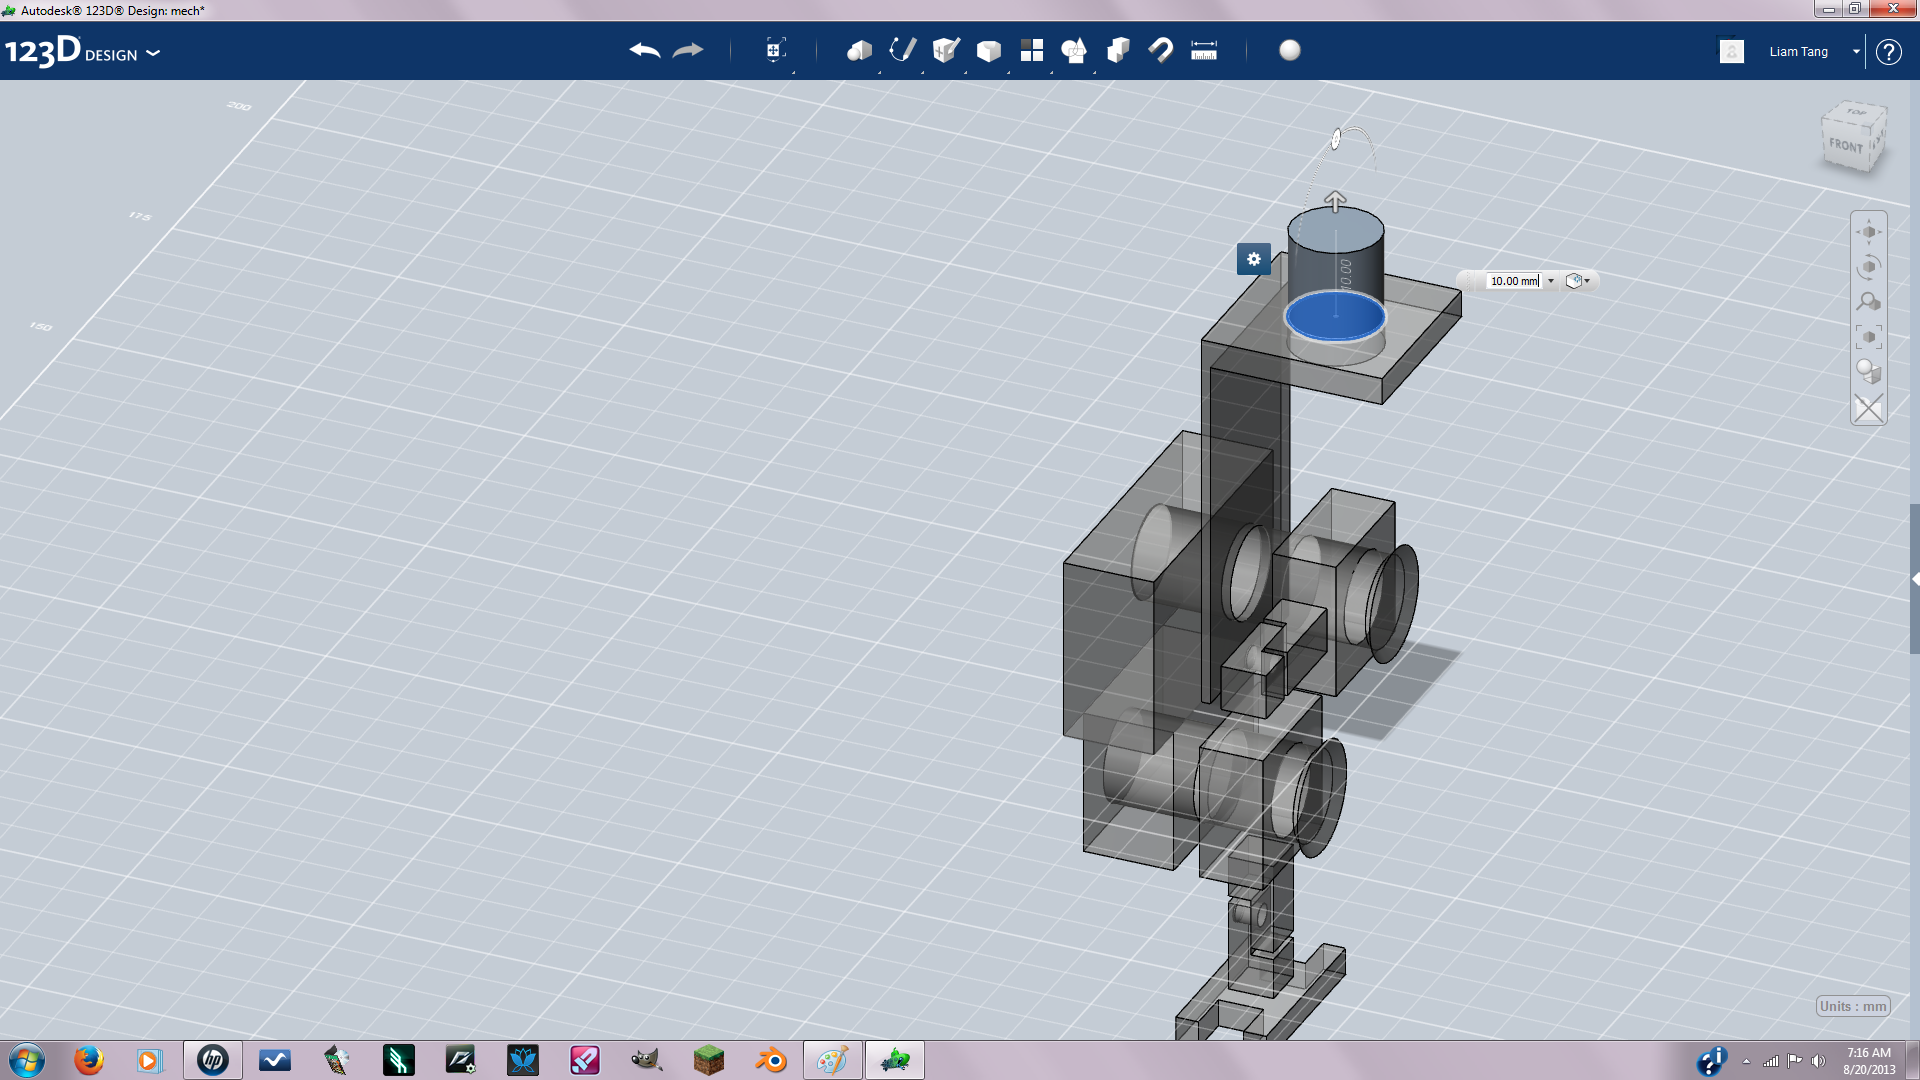
Create a cube length:20 height:1 width:20 then copy and paste a new one to a right angle then create holes(diameter 10mm) with negative extrude. Then join the two together with combine and position it on the shoulder. Then extrude a 10mm cylinder on the top of the bracket. Using the scale tool and turning off uniform scaling you want to make the brackets longer so can fold down over the mech into turret mode.
Shields
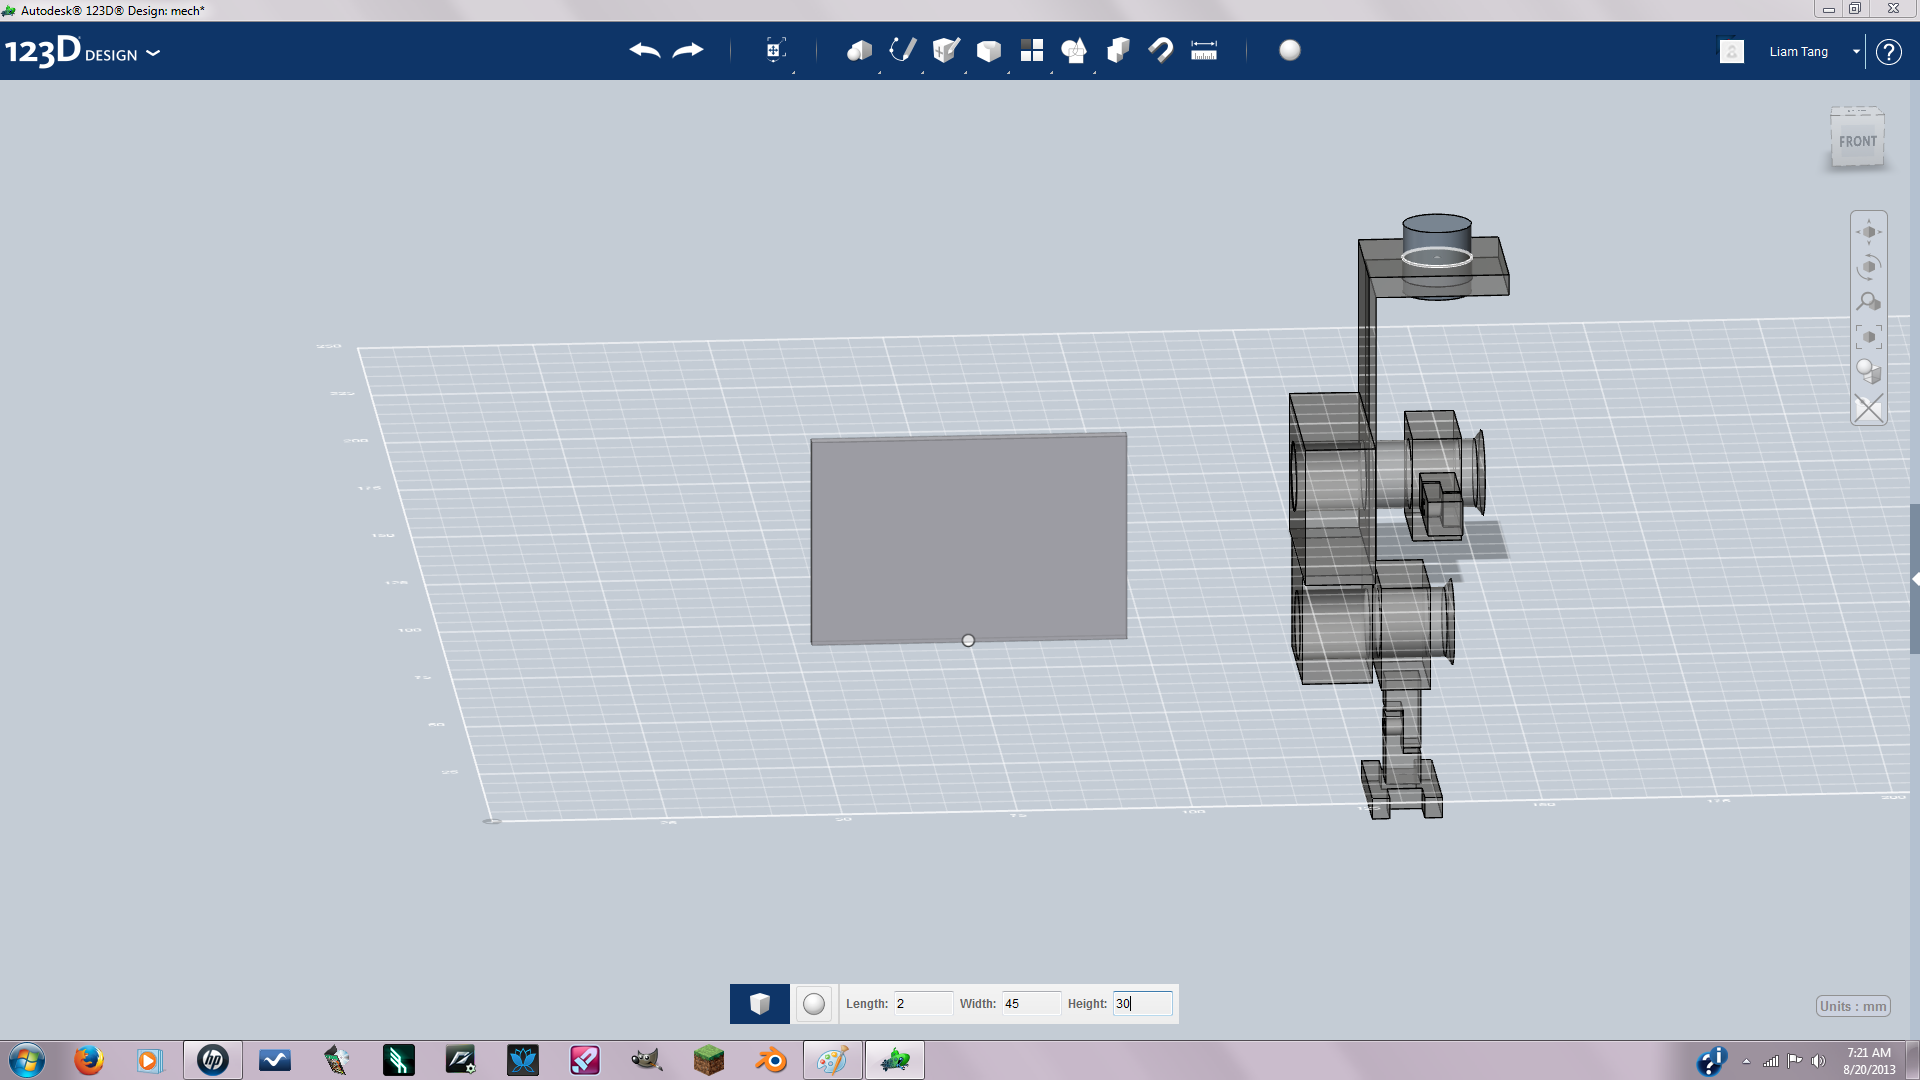
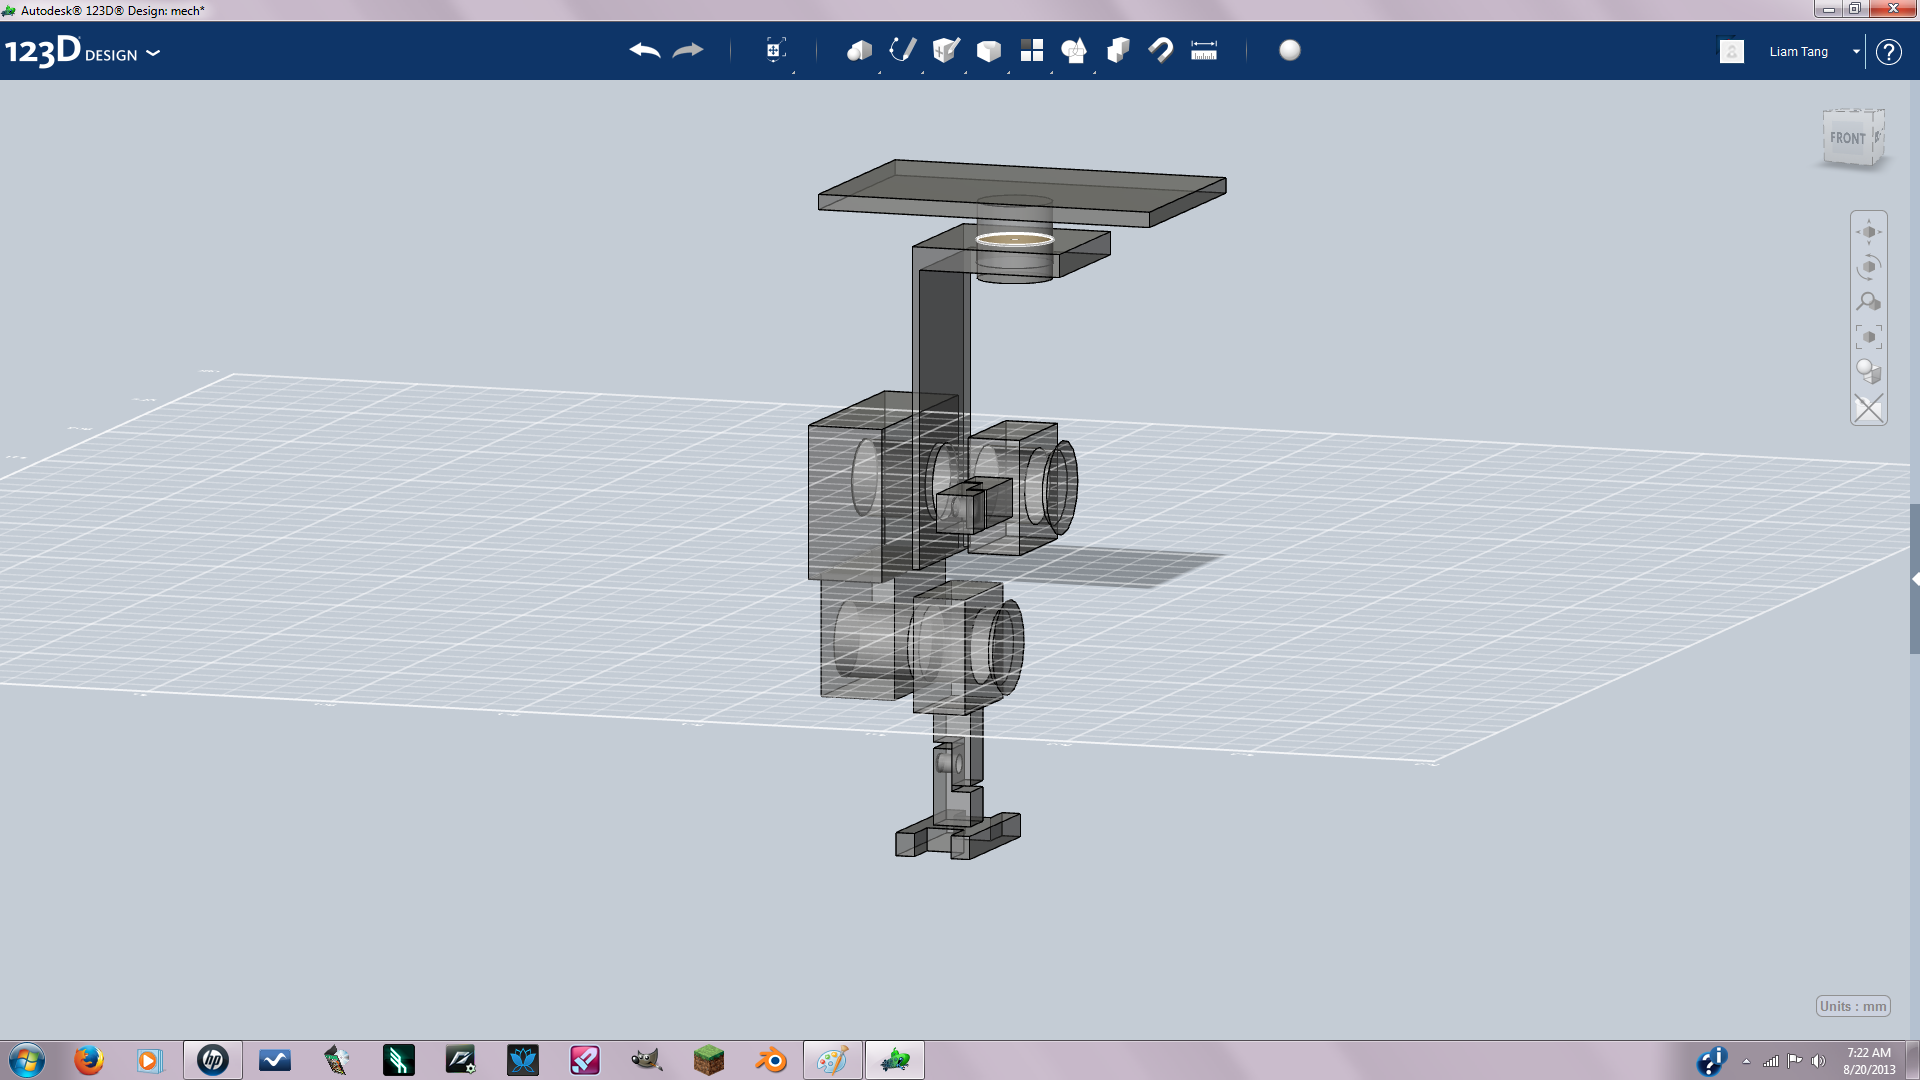
Create a cube length:2 width:45Height:20 then snap it on the top face of the cylinder on the bracket.
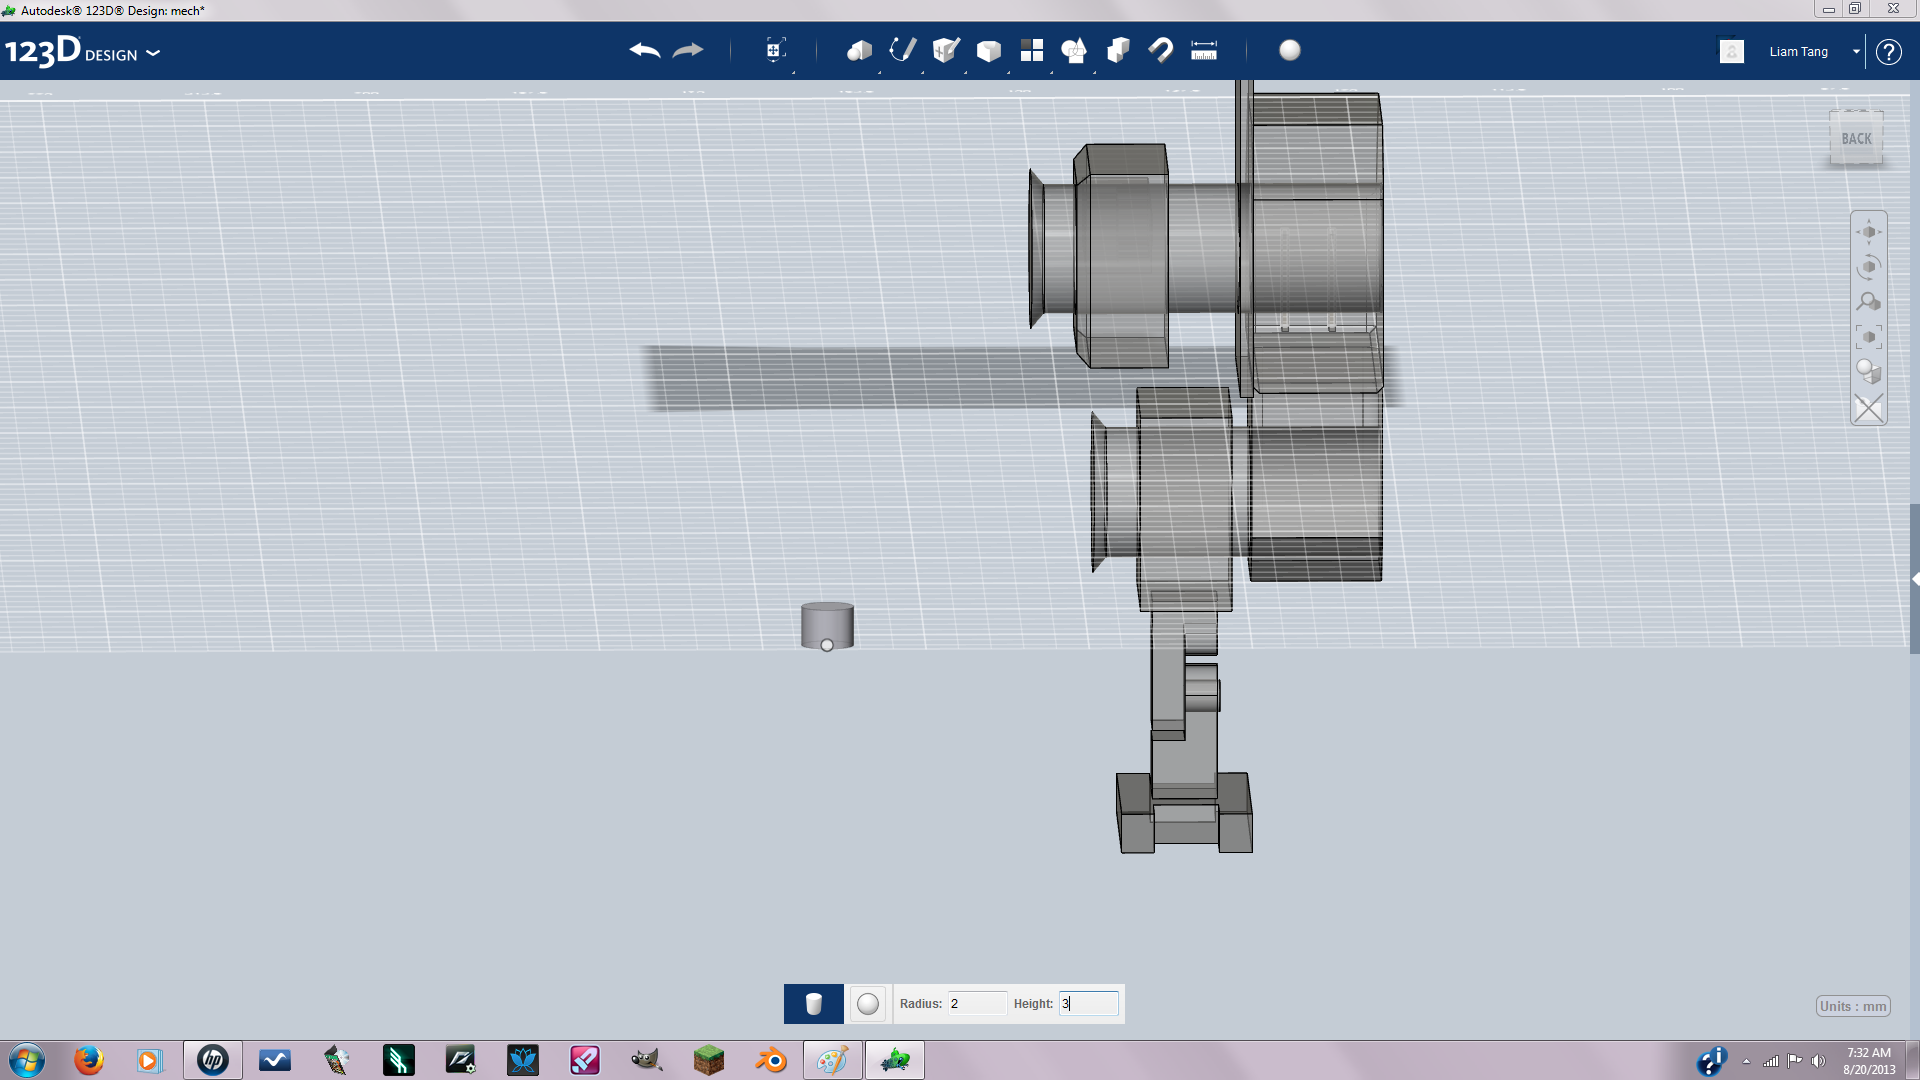
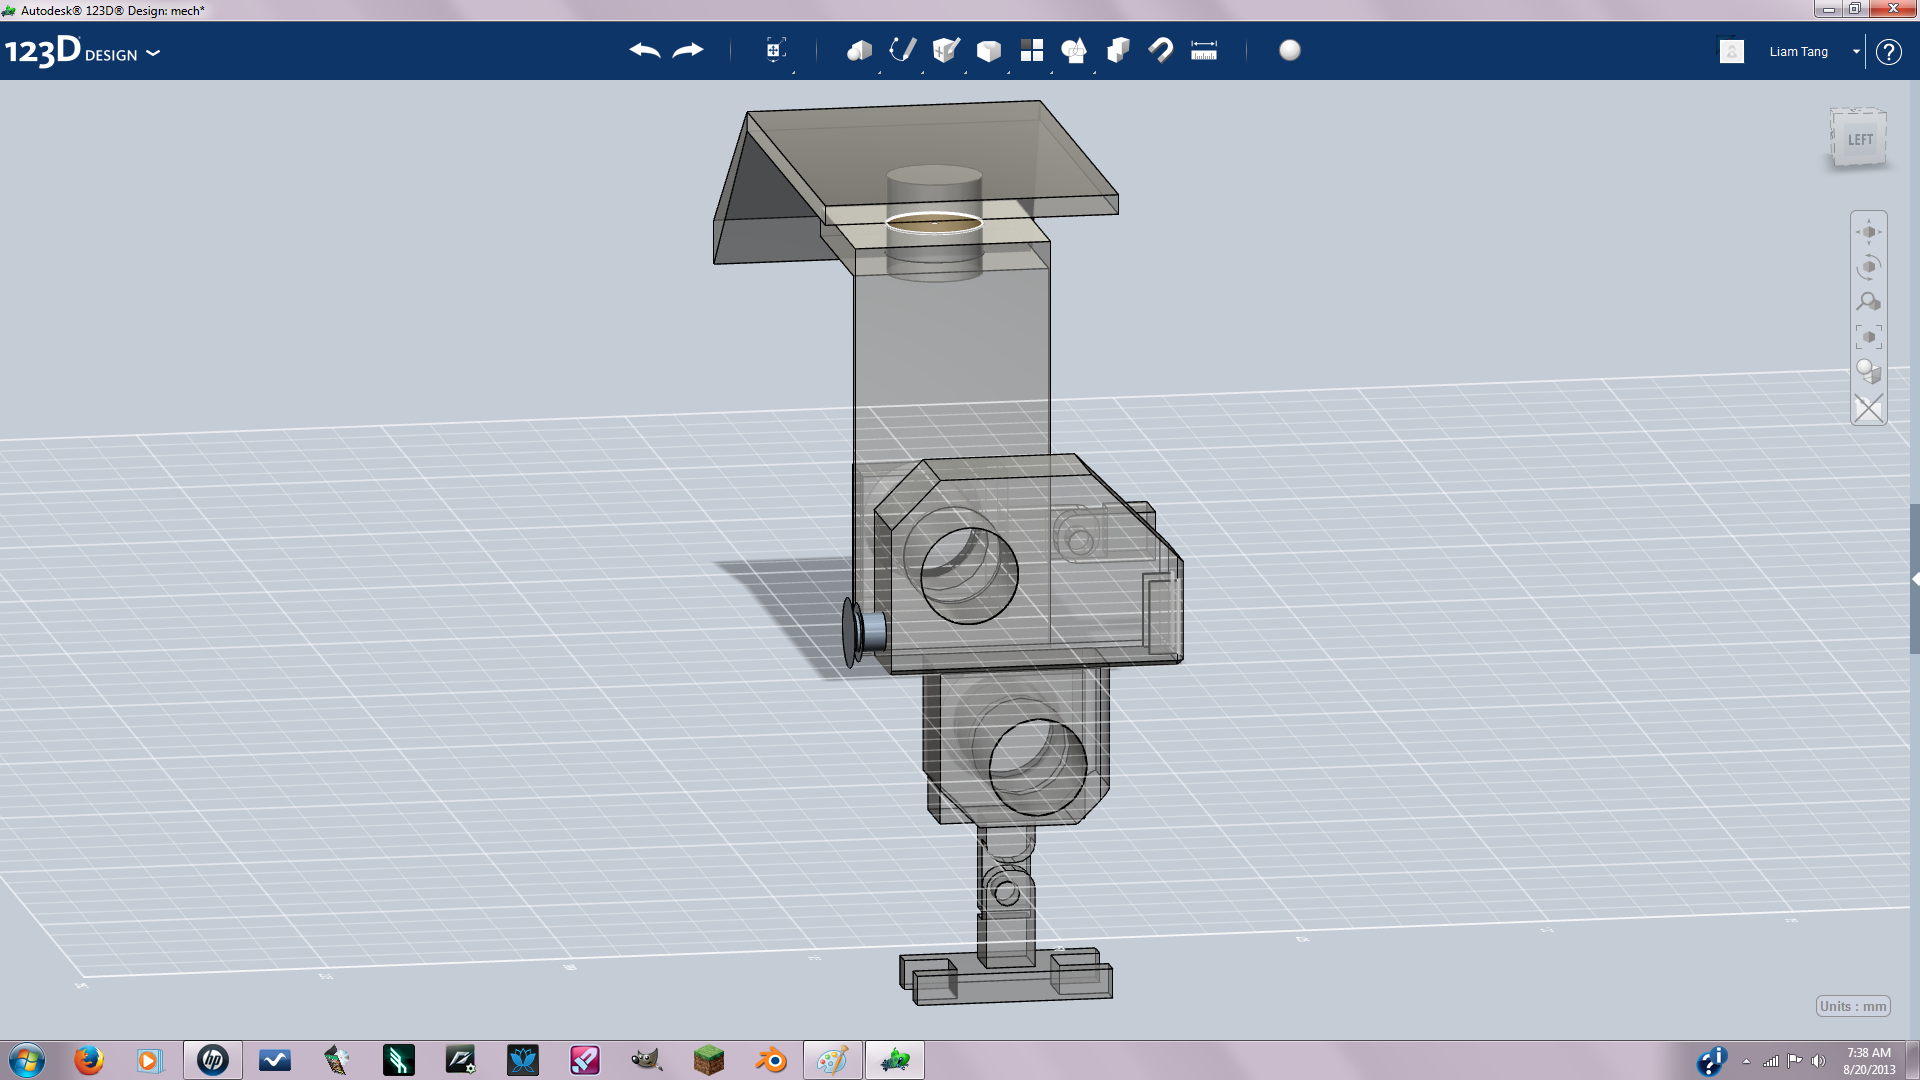
I created rocket boosters for the back by creating a cylinder radius:2 height 3 then extruded the top to make it look a rocket booster. I also extruded the end face on the outside of the shield to make it slant downward. Also all the basic shaping is done so now is the time to break out your edge tools and make you're shapes look cool. I recommend rounding the joints of for better articulation.
Mirror Mirror...
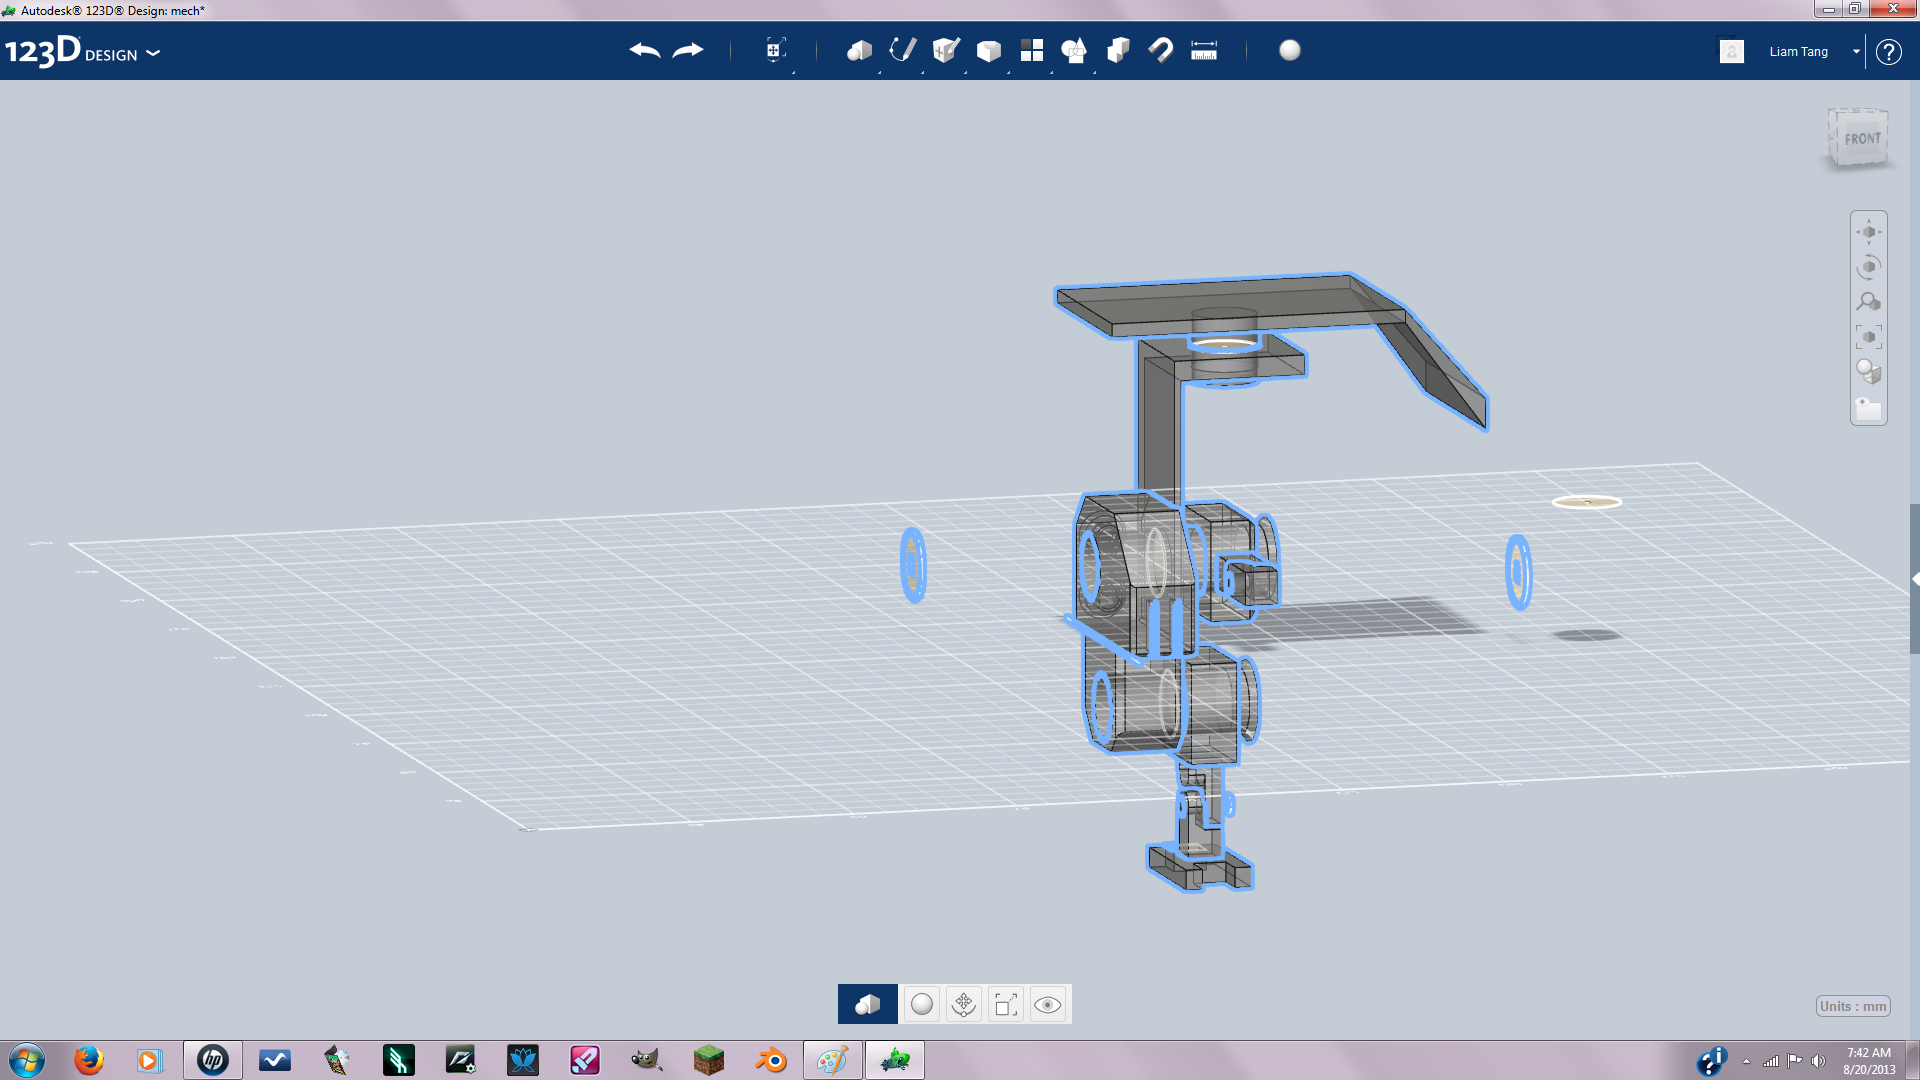
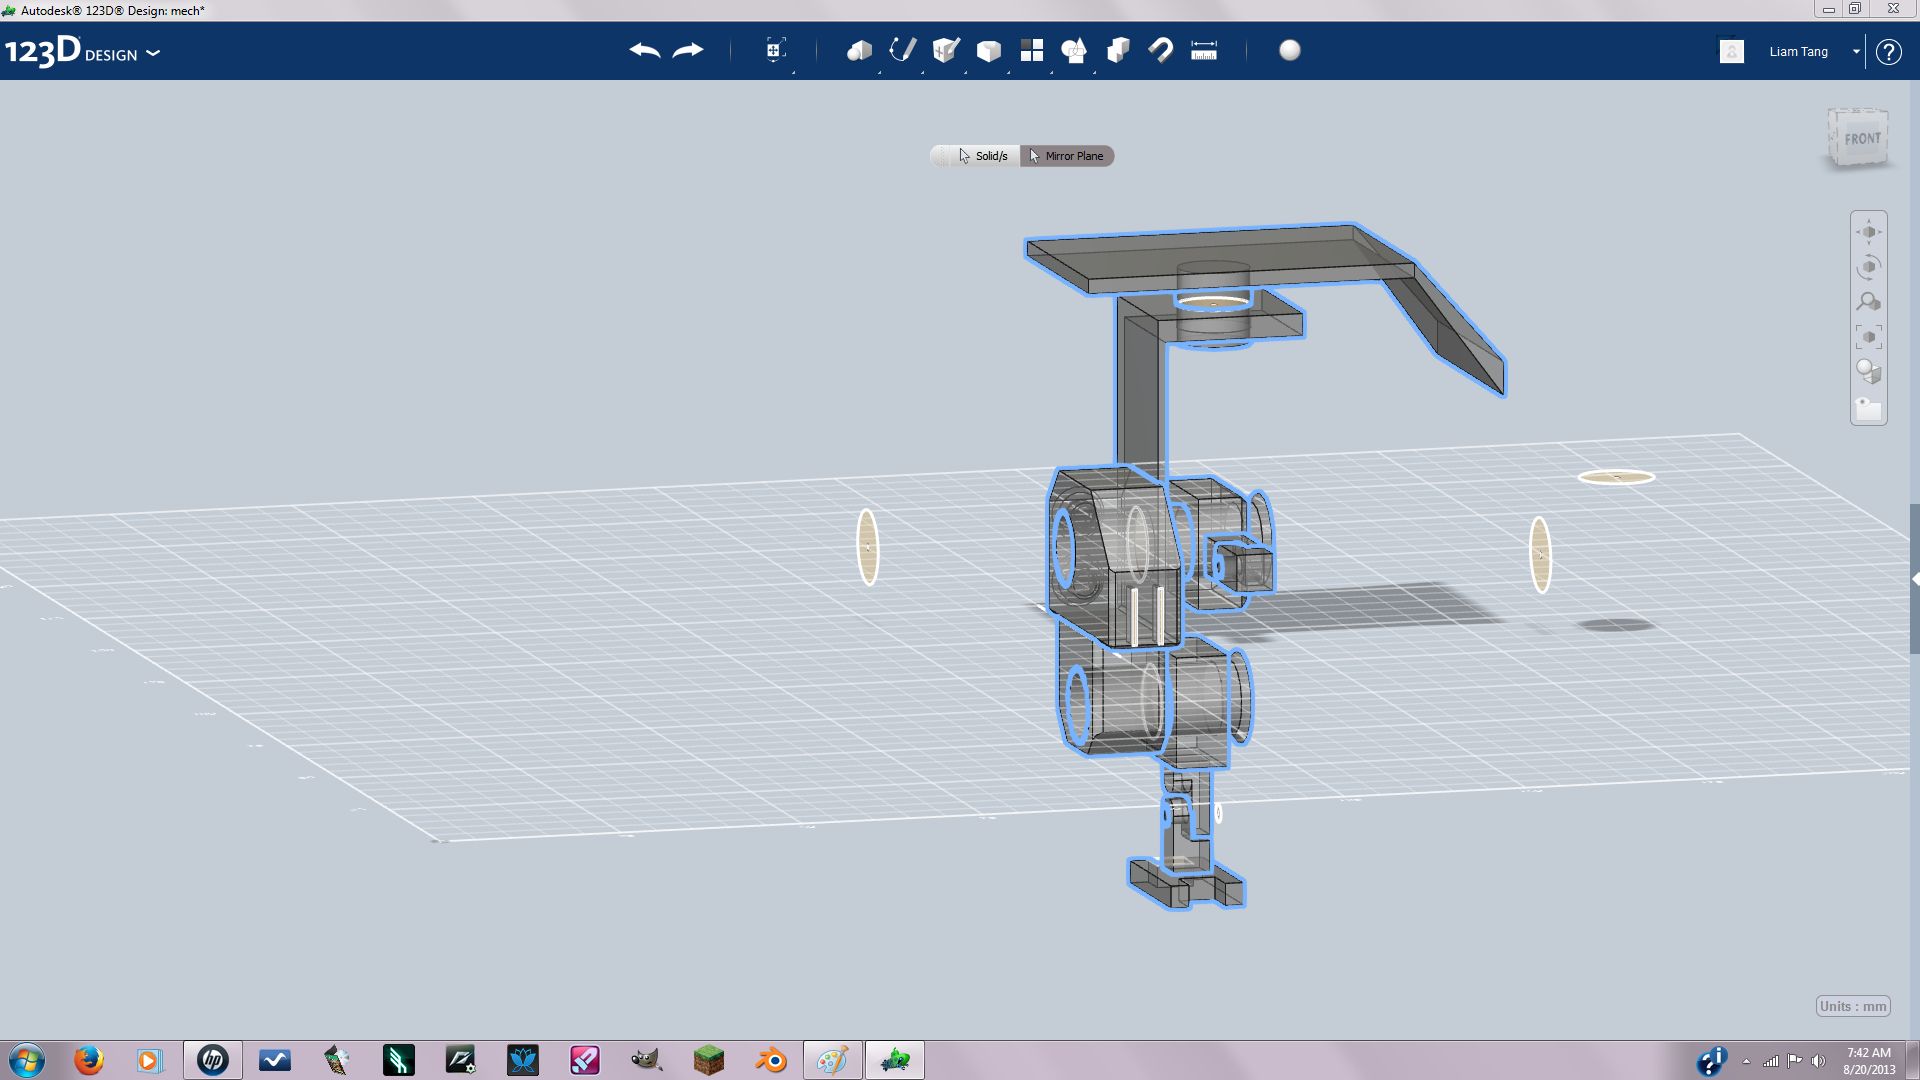
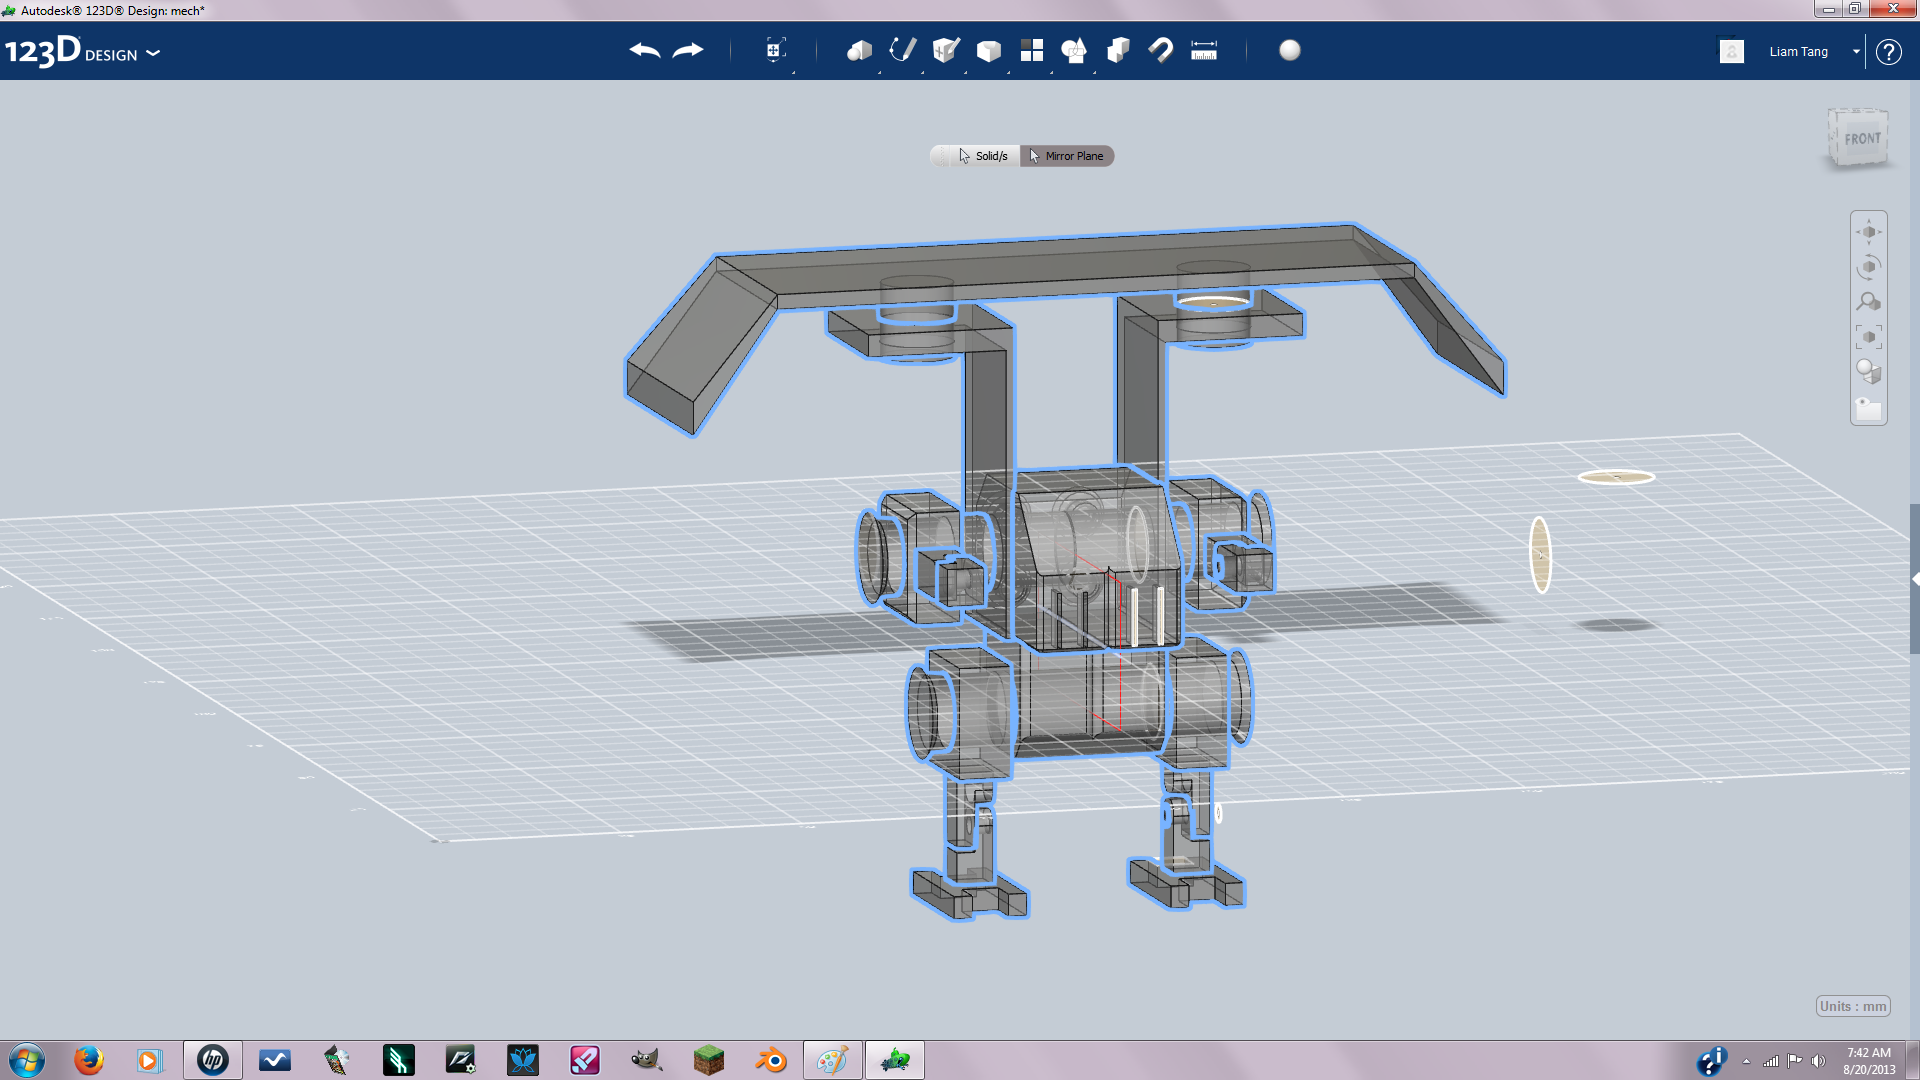
Now its time to complete the mech. I used the mirror pattern to create the other side of the mech. WARNING !!! make sure you detail the mech before mirroring to achieve a symmetric look.( remember the plane we created on step one, the one down the center of the first shape you get to use that now) if you're not sure how to mirror watch this videohttps://www.youtube.com/watch?v=P2R1rTBwS3k and this video https://www.youtube.com/watch?v=P2R1rTBwS3k. Some tips: To make a grill on the front of the mech sketch two rectangles and negative extrude them. To make a windshield sketch a desired shape on front of mech and extrude out. To make pipes use the loft tool watch this video to learn how to use-https://www.youtube.com/watch?v=AnRMWugf11Q
Before You Print

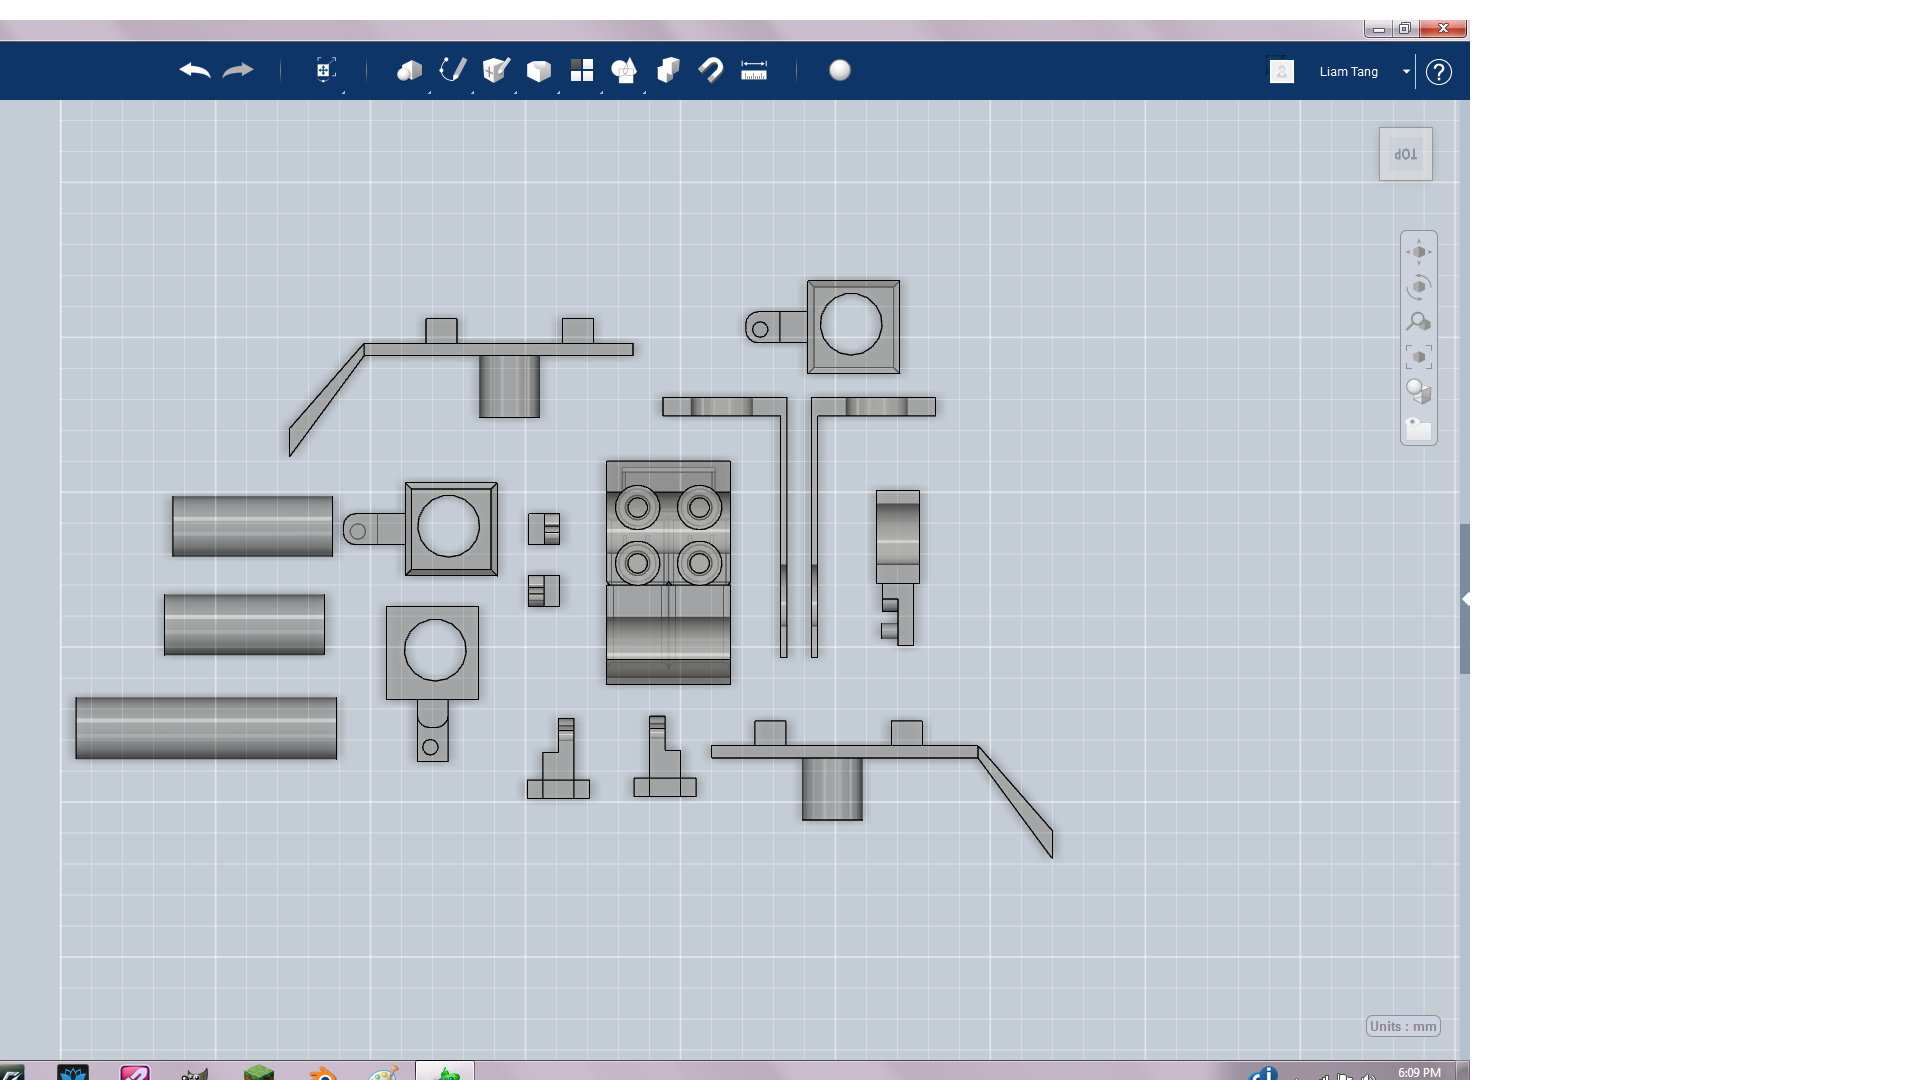
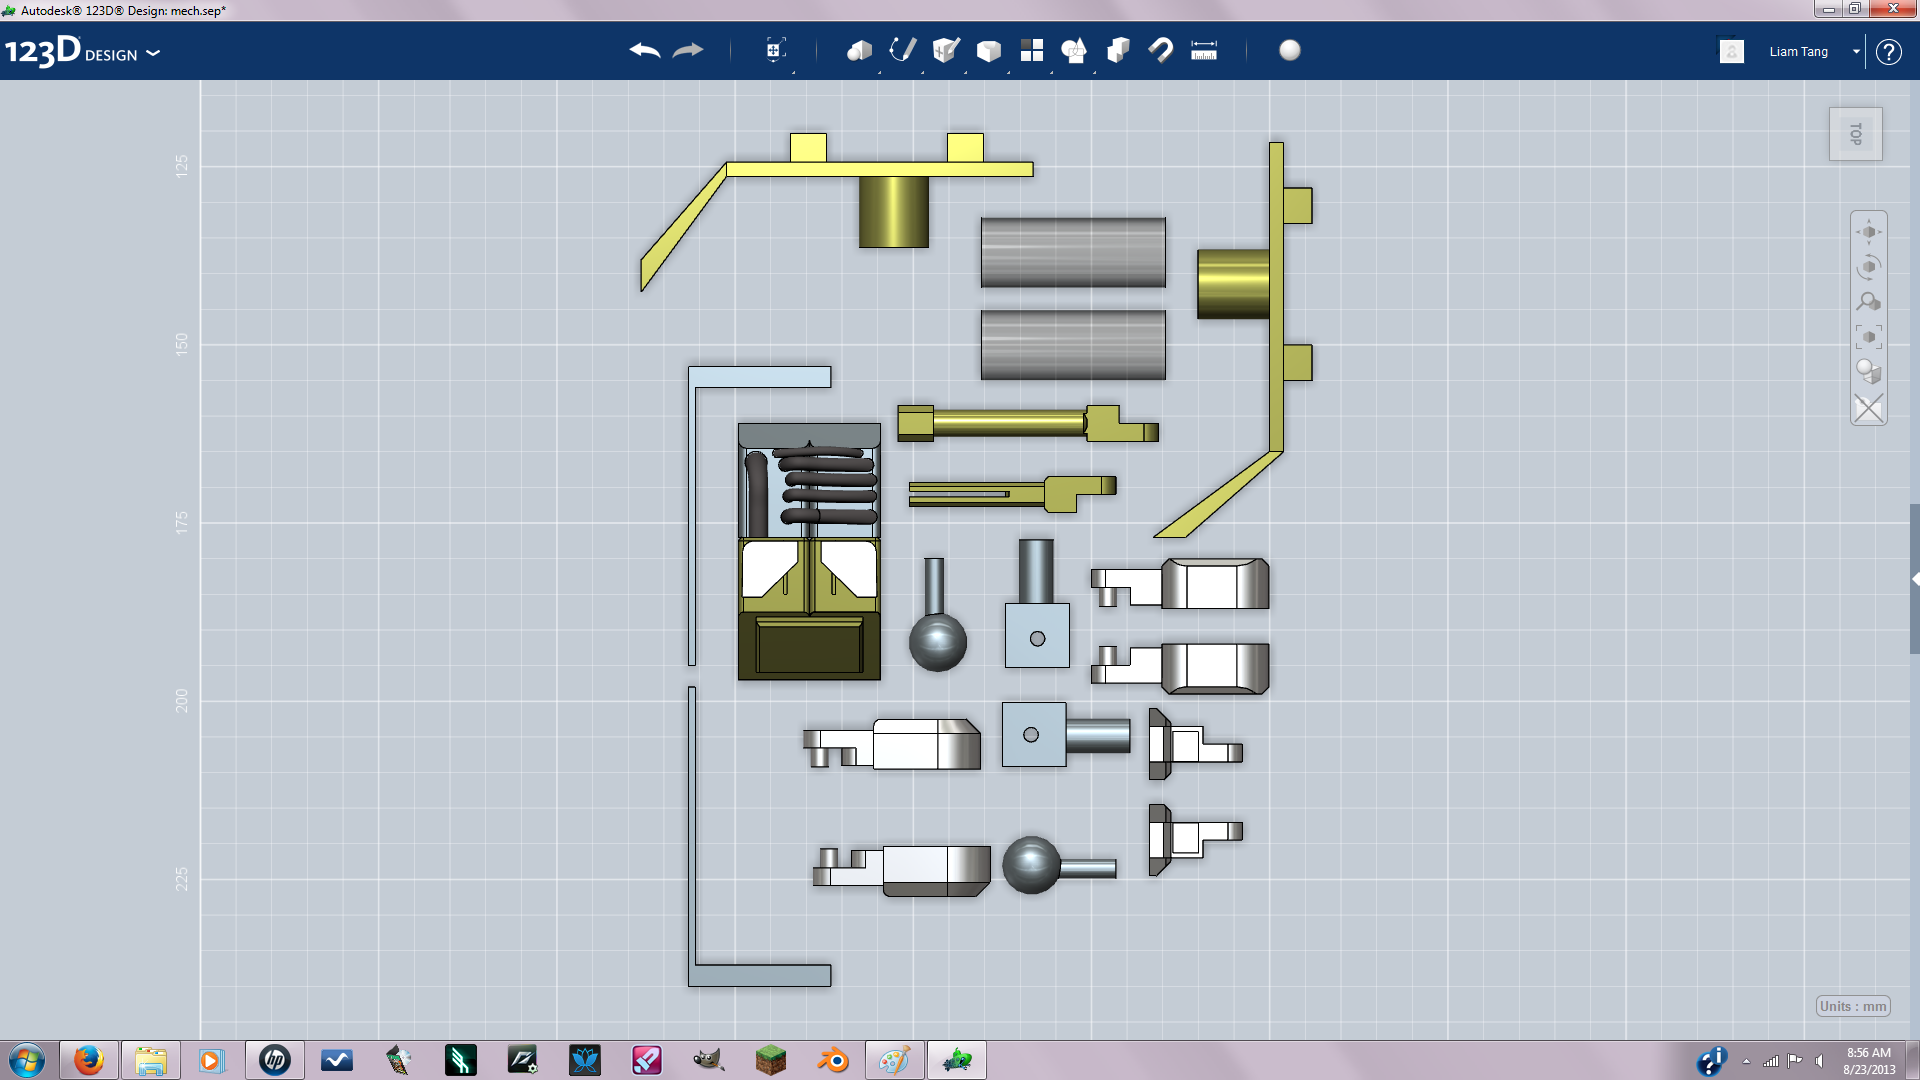
Now before you print it your going to want to make sure all the joints fit nicely(The measure tool is really helpful. I used it to measure all of my joints. Click on the measure icon in the tool bar, Then select edge and select the desired edge to be measured.) and you want to disassemble the mech and into pieces and lay all the pieces out flat like in the pic so they don't fuse during printing.
Print Utility
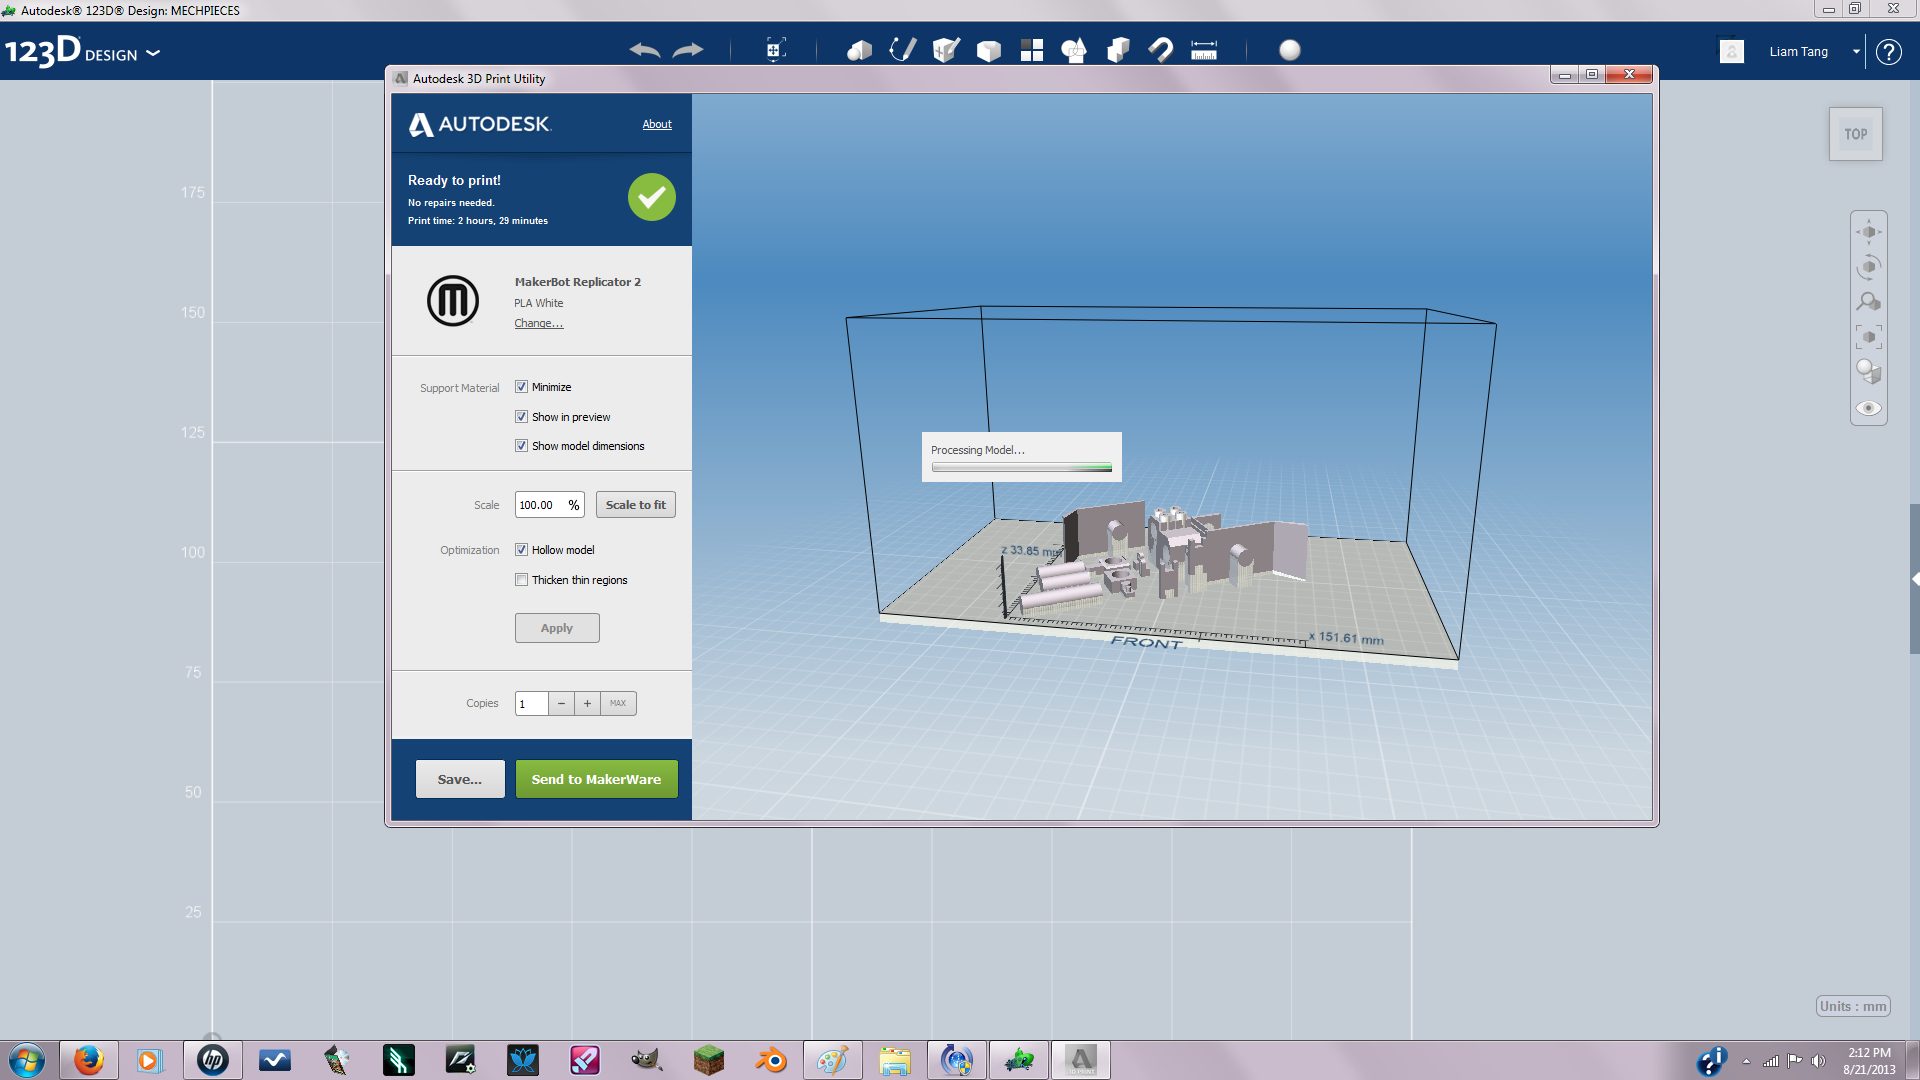
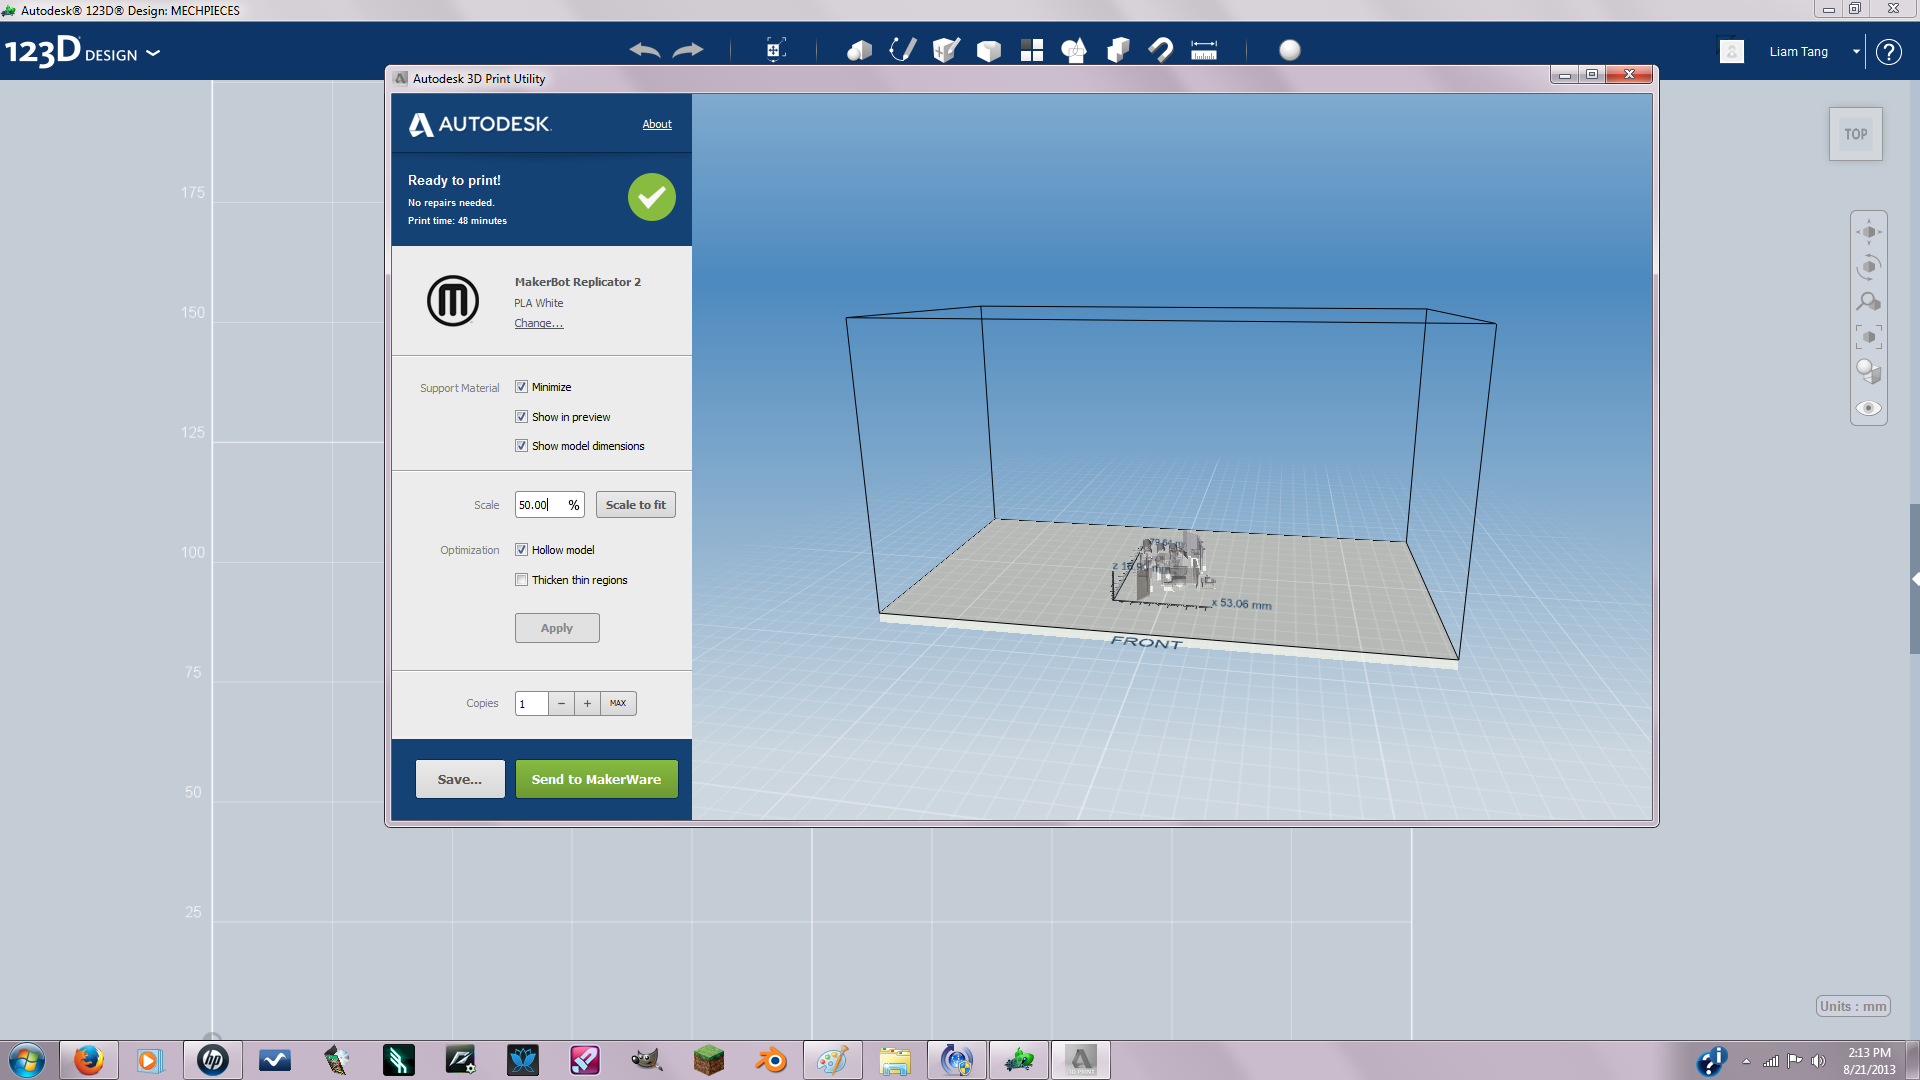
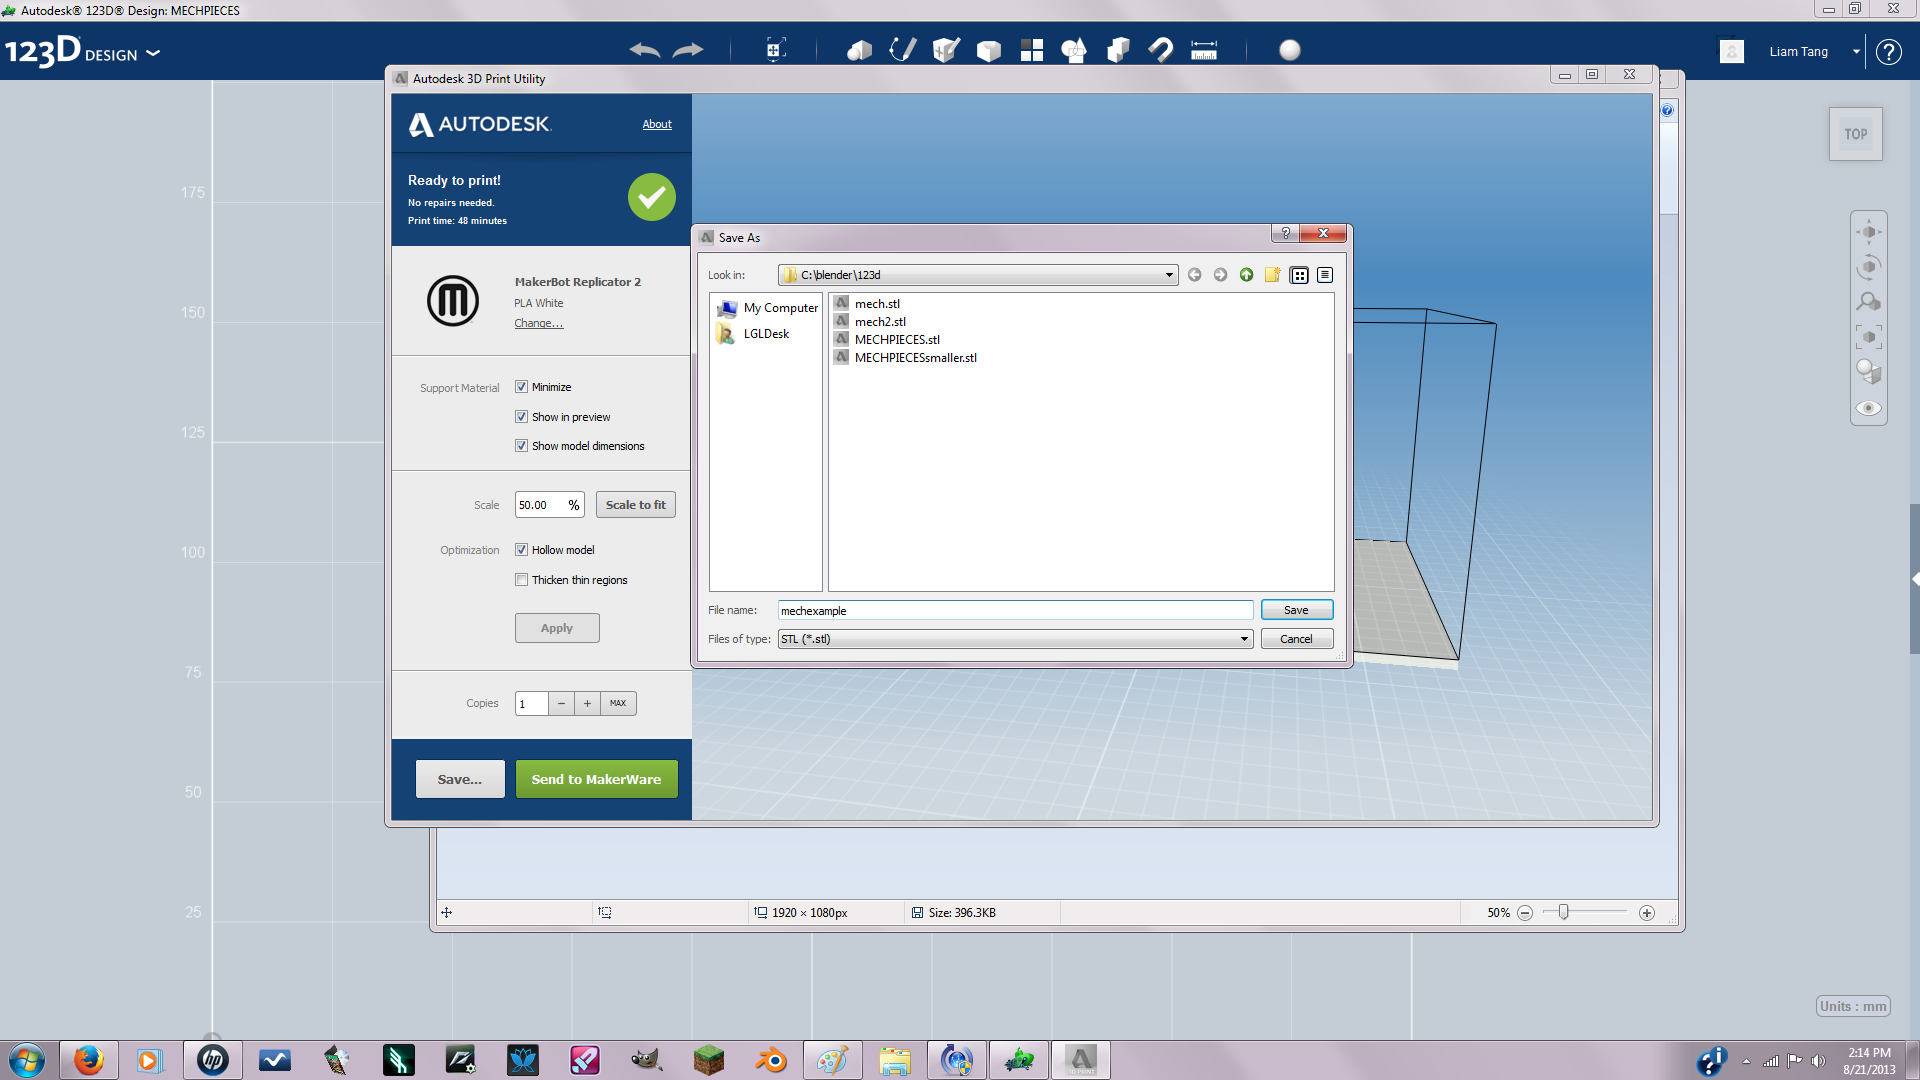
Hover your mouse on the 123D design icon in the top right corner and select 3d print. Autodesk 3d print utility should pop up in a separate window. I scaled the model to 50% so it wouldn't be so expensive. Make sure you select stl file format when you save it so you can upload it to shapeways and print it.
There Ya Go You've Gone and Done It
You made a mech!!! Yay! Tips: don't get discouraged if its hard at first it gets easier the more you practice. You may want to just test print the joints first to make sure they work. Are right that's it I hoped you were able to understand everything pretty well( this is my first instructable and first time modeling in 123d and first time creating anything for 3d printing so forgive any mistakes I might have made). Cheers, Moldypizza
Keep going to the next step to learn how to improve articulation.
Keep going to the next step to learn how to improve articulation.
Bonus: Ball Joints for Better Articulation
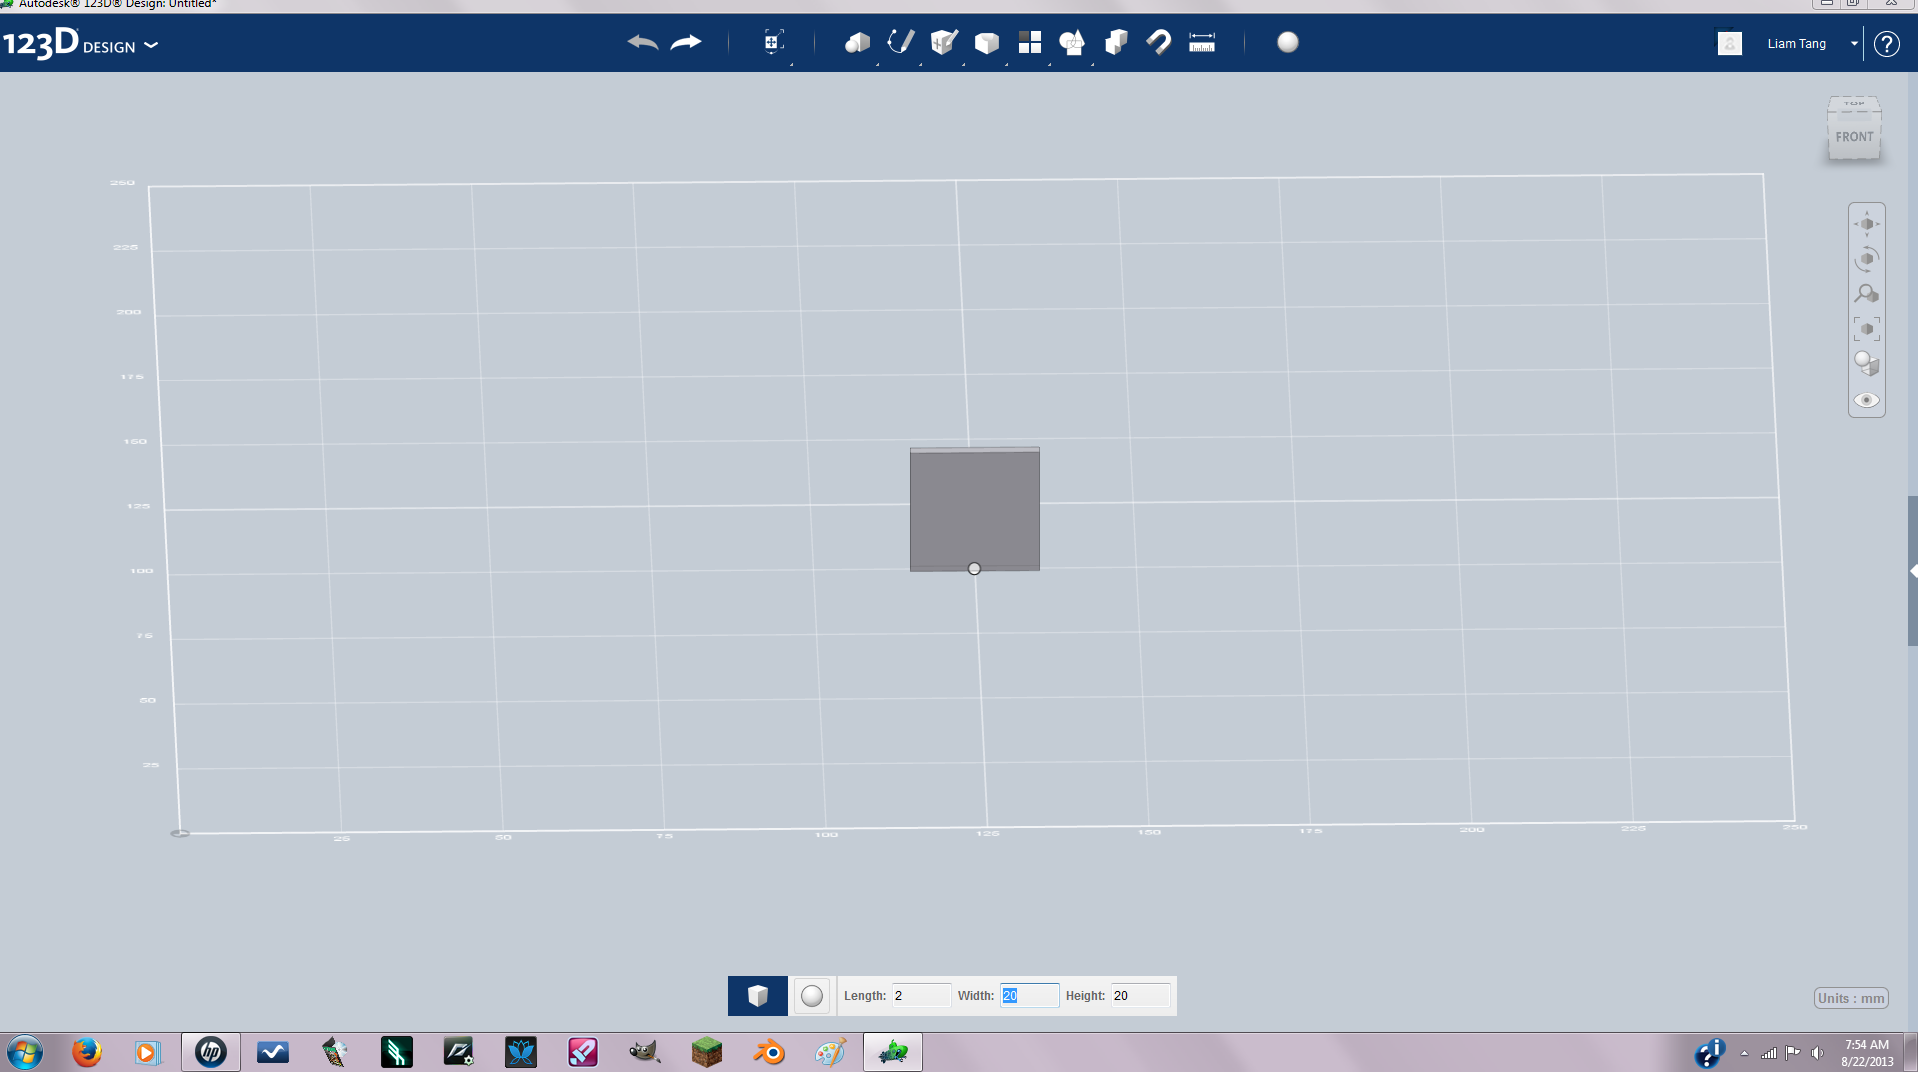
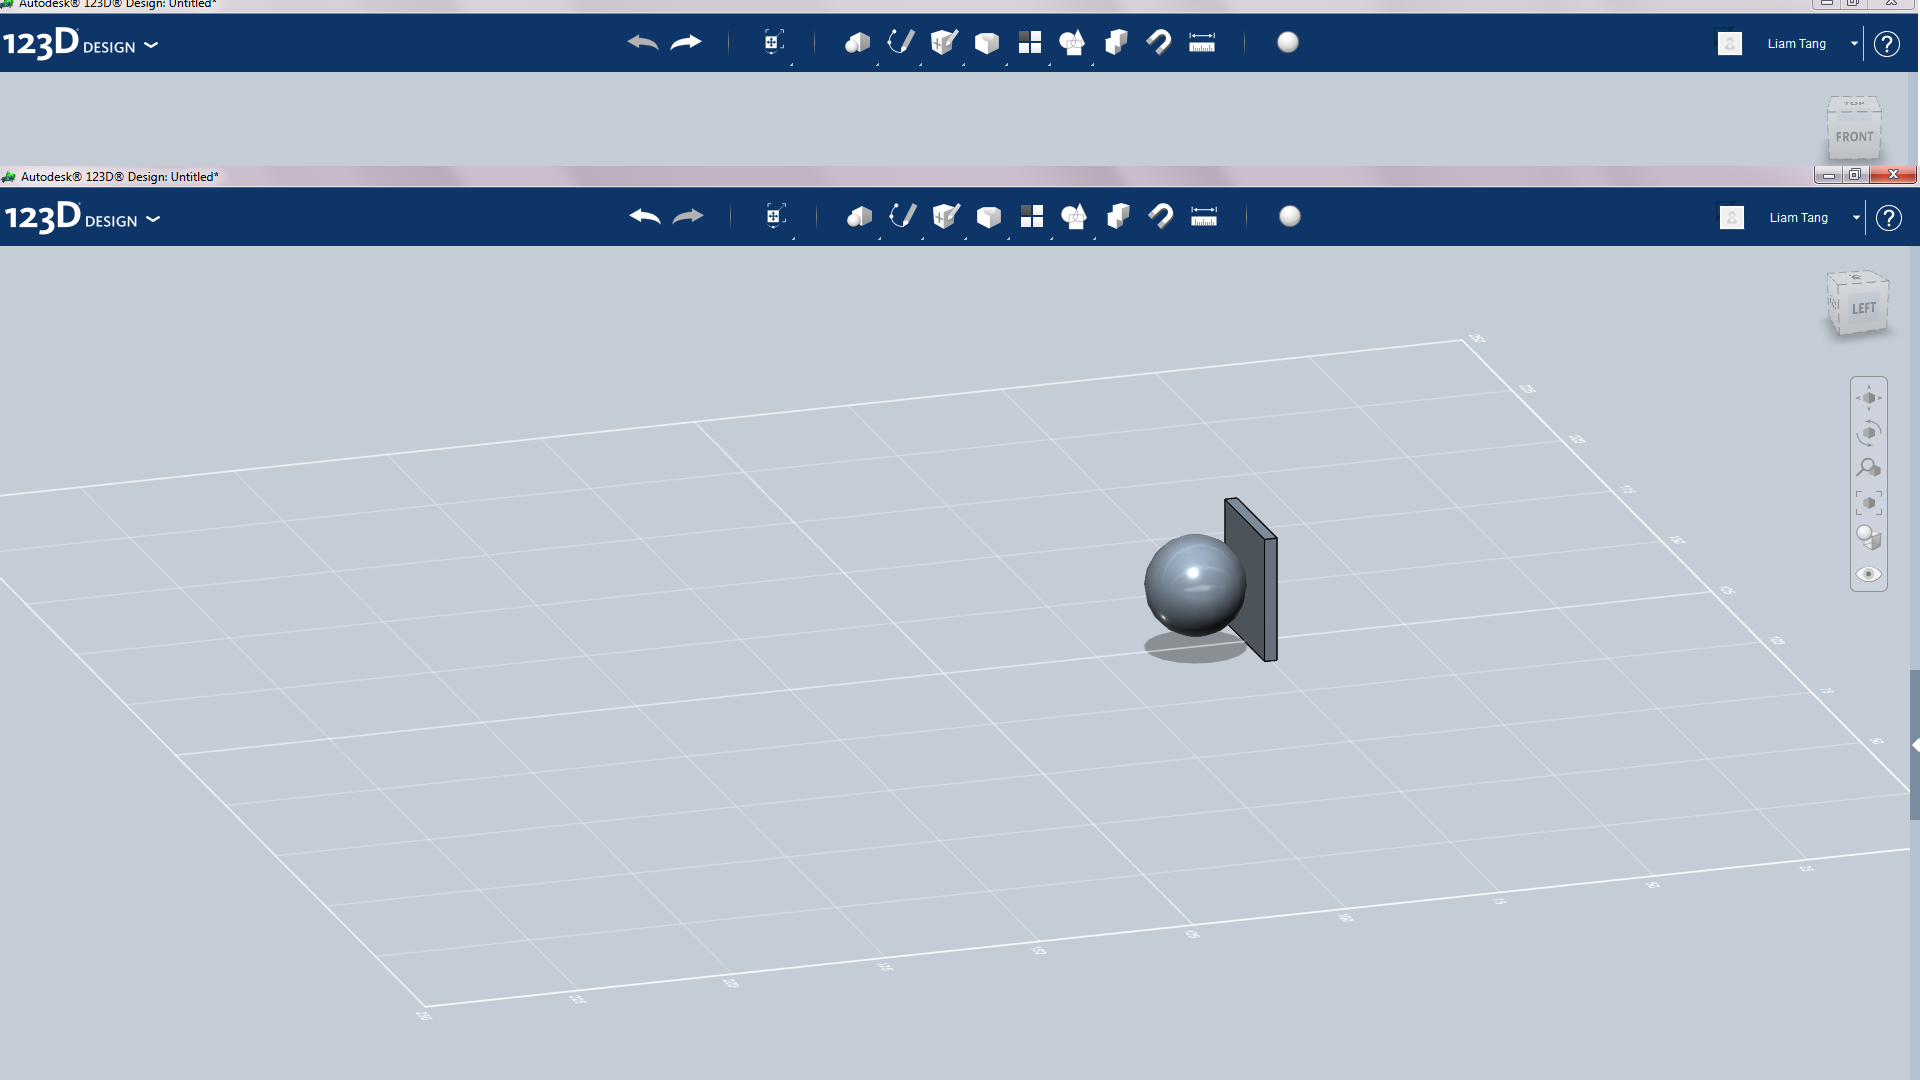
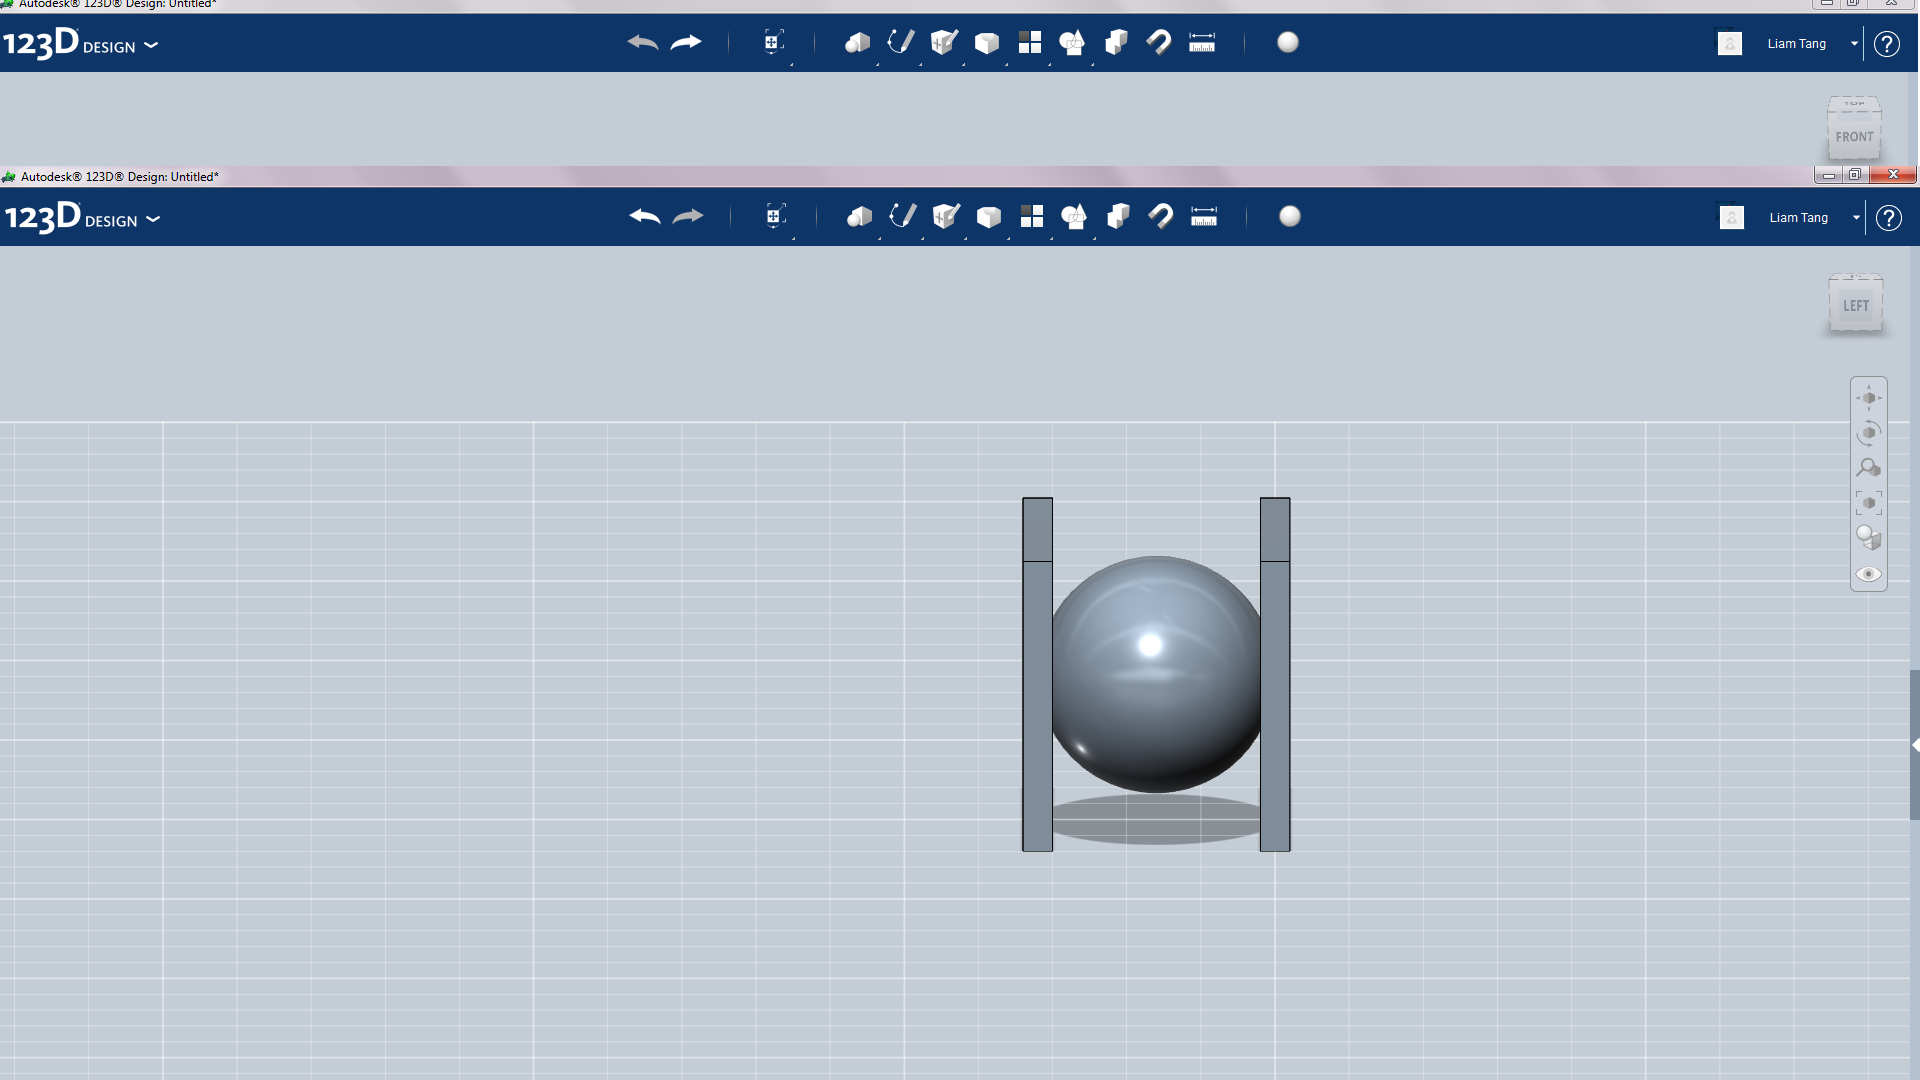
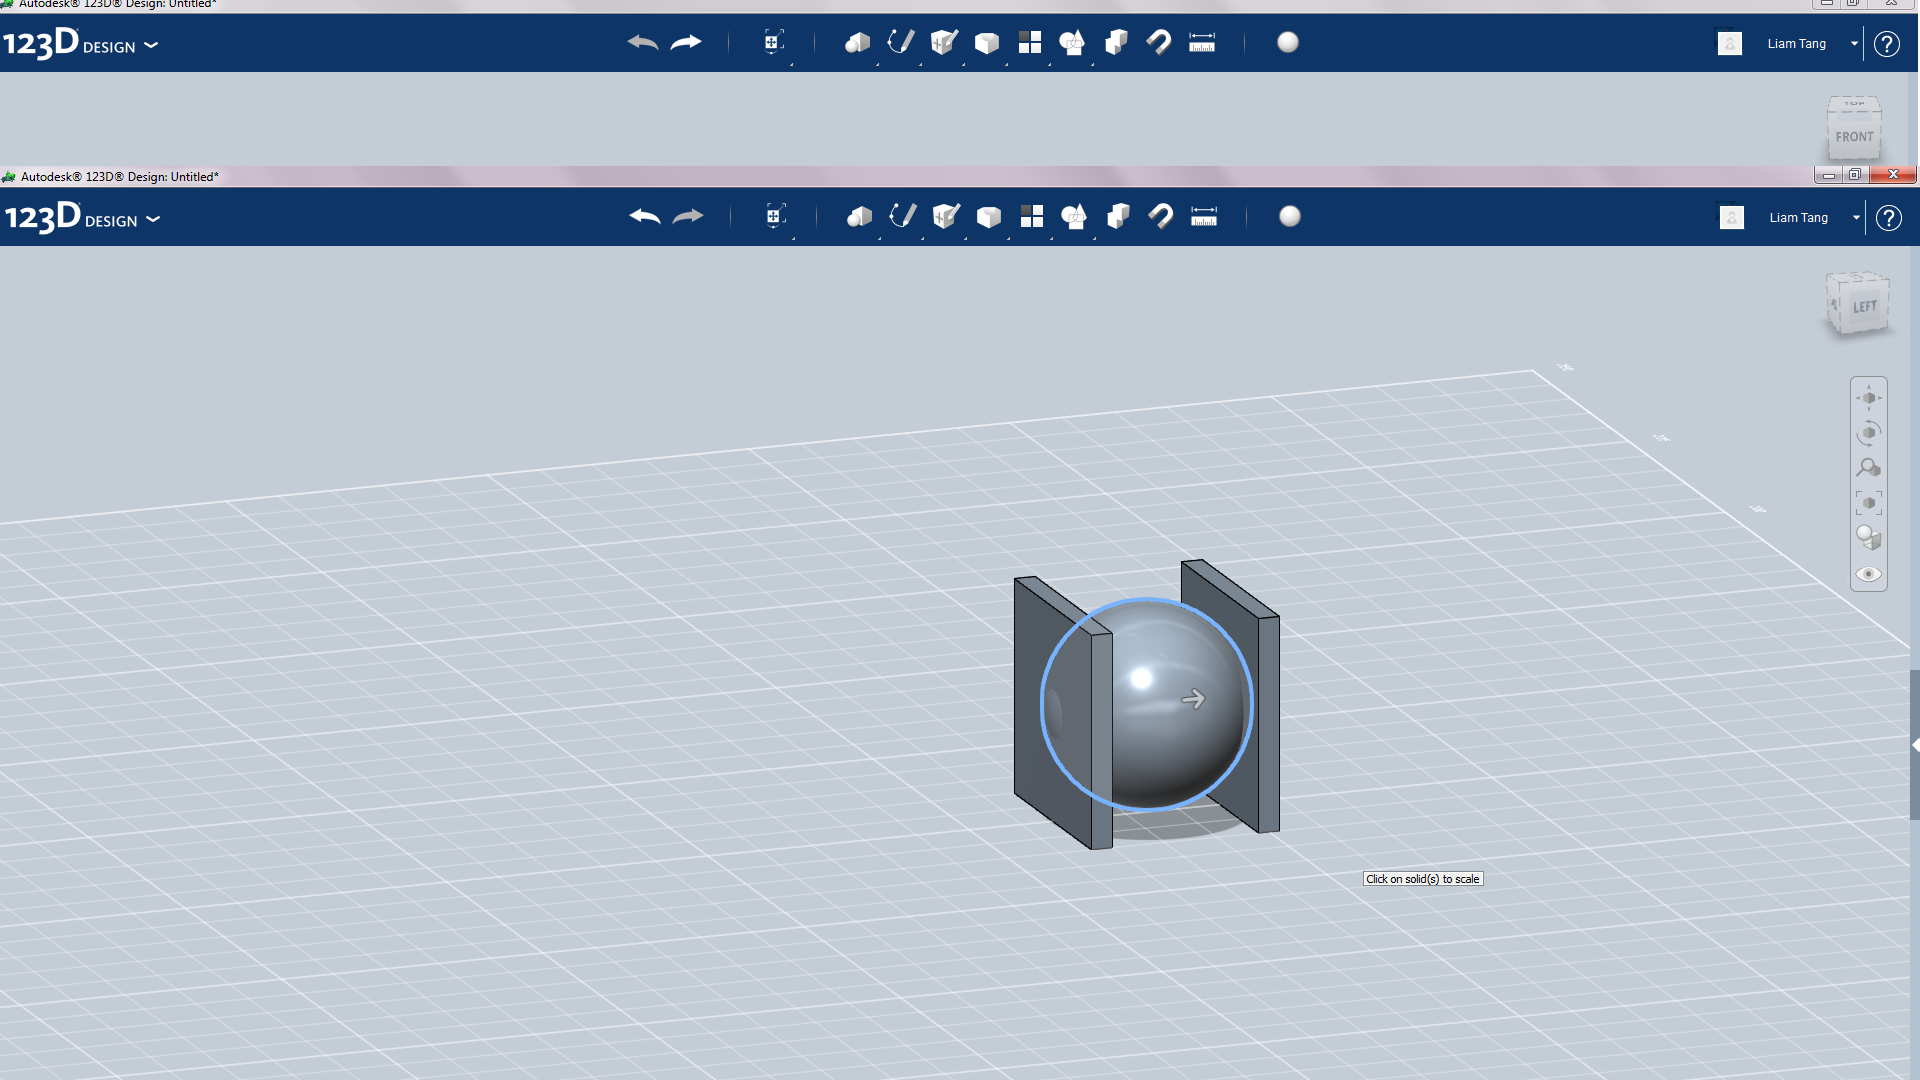
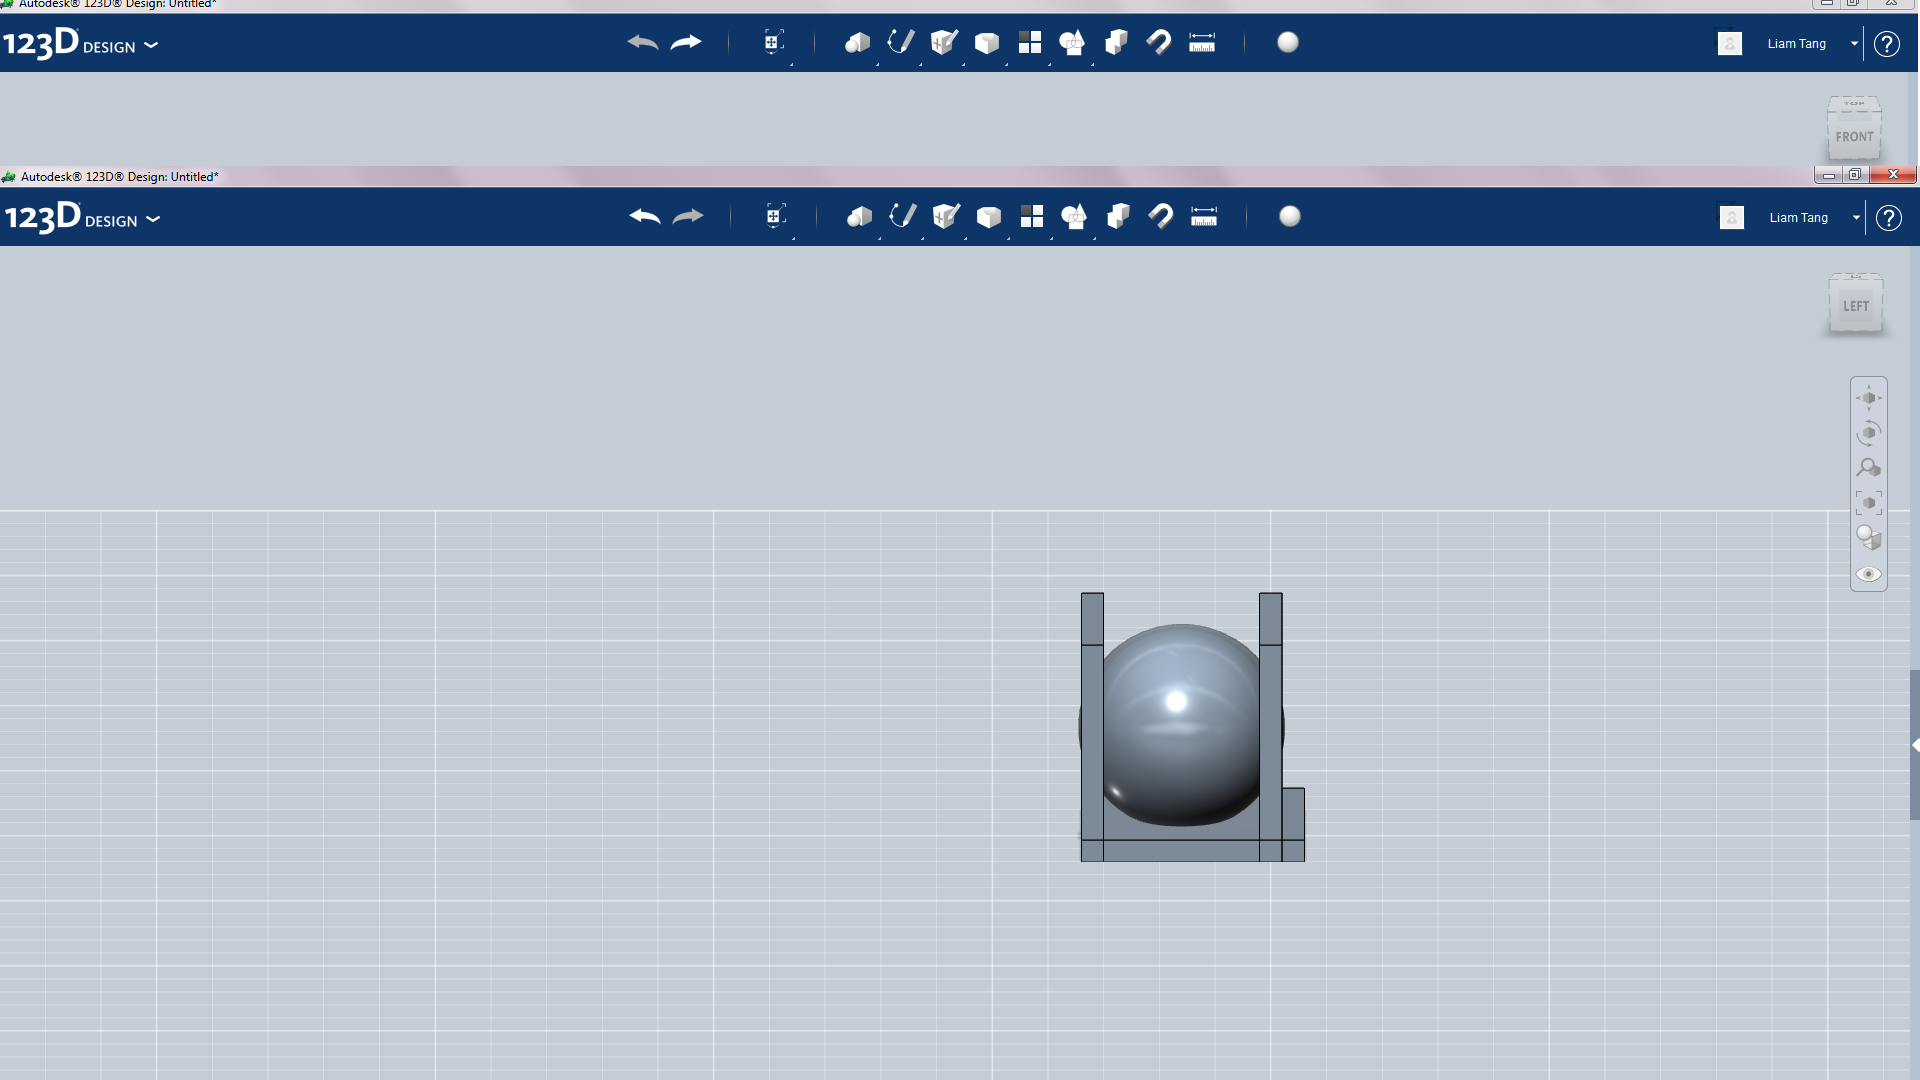
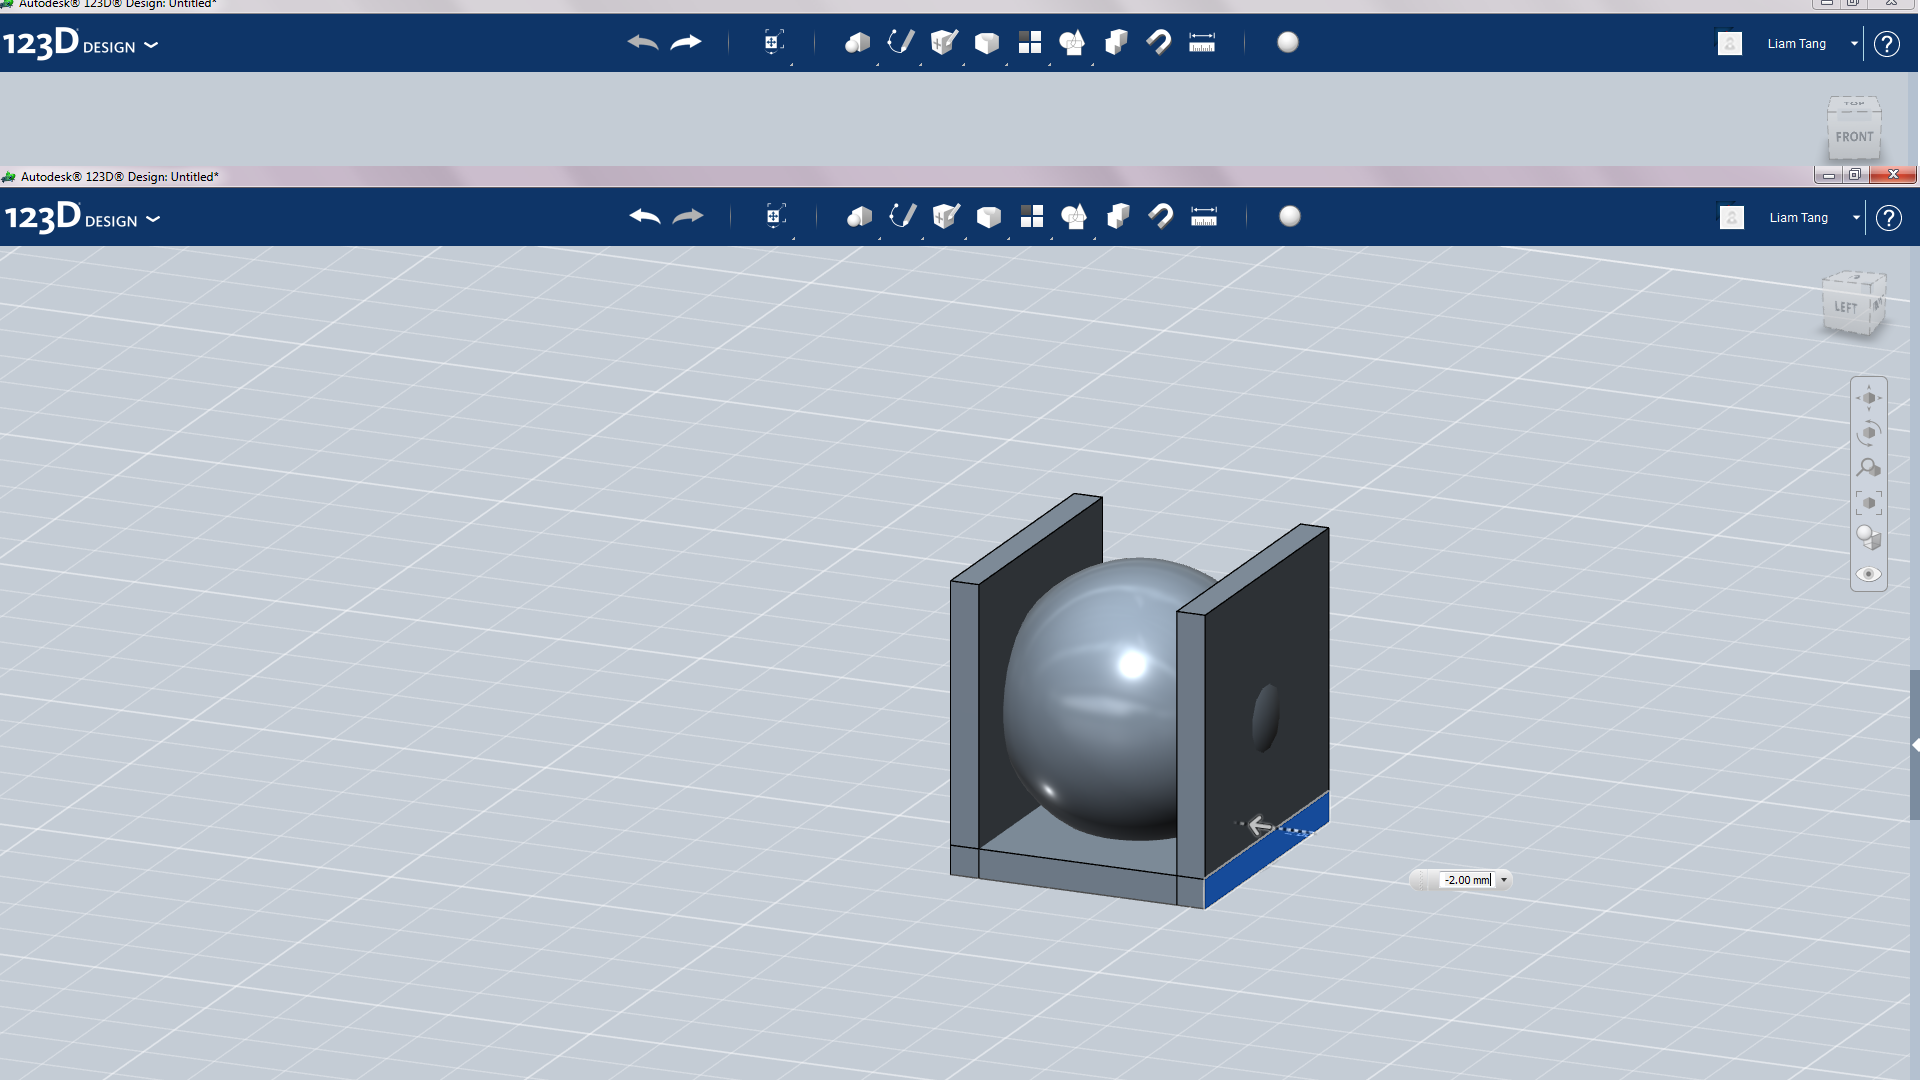
First create a new solid with the dimension in pic 1. the copy and paste(copy=CTRL+c paste=CTRL+v) and rotate 90 degrees. Then add a sphere. Next copy and paste the final wall(you should end up with something like pic 3and 6). You want to make the sphere just a little bit bigger then the brackets that hold it.
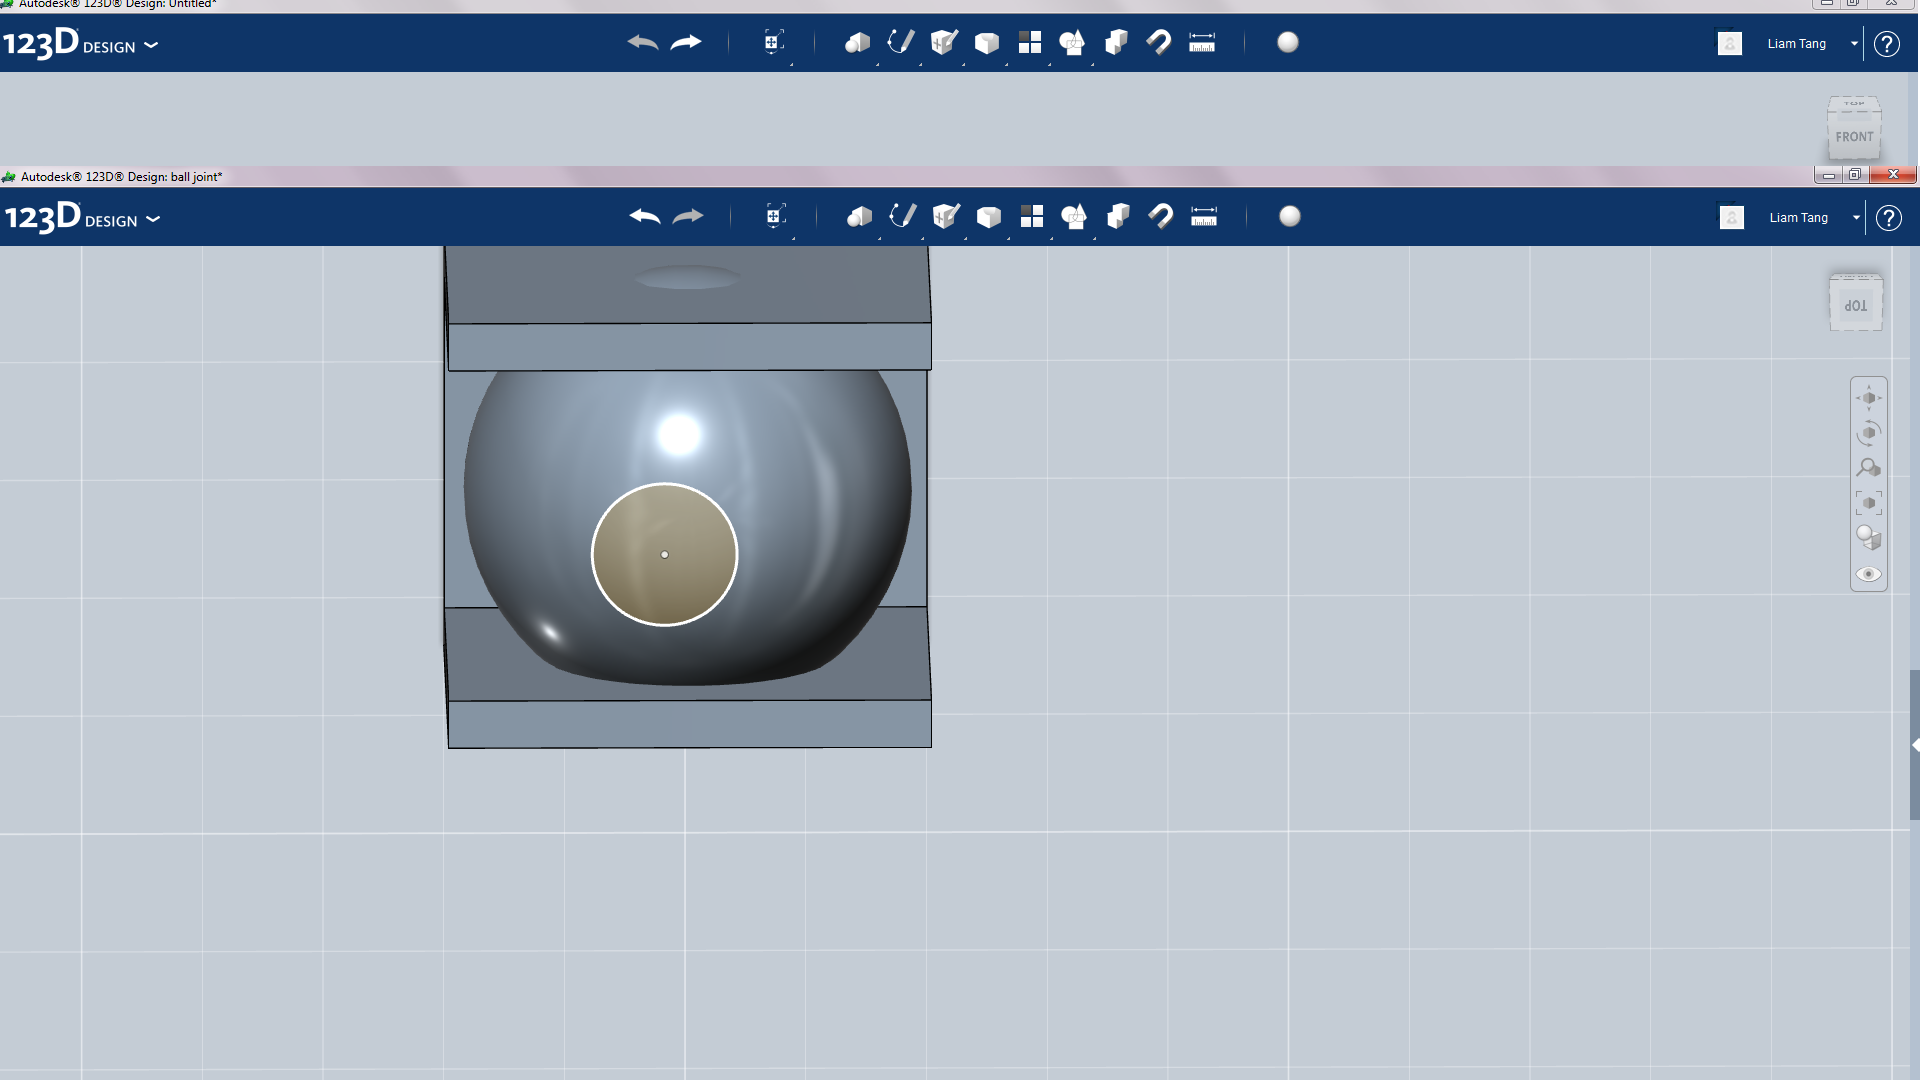
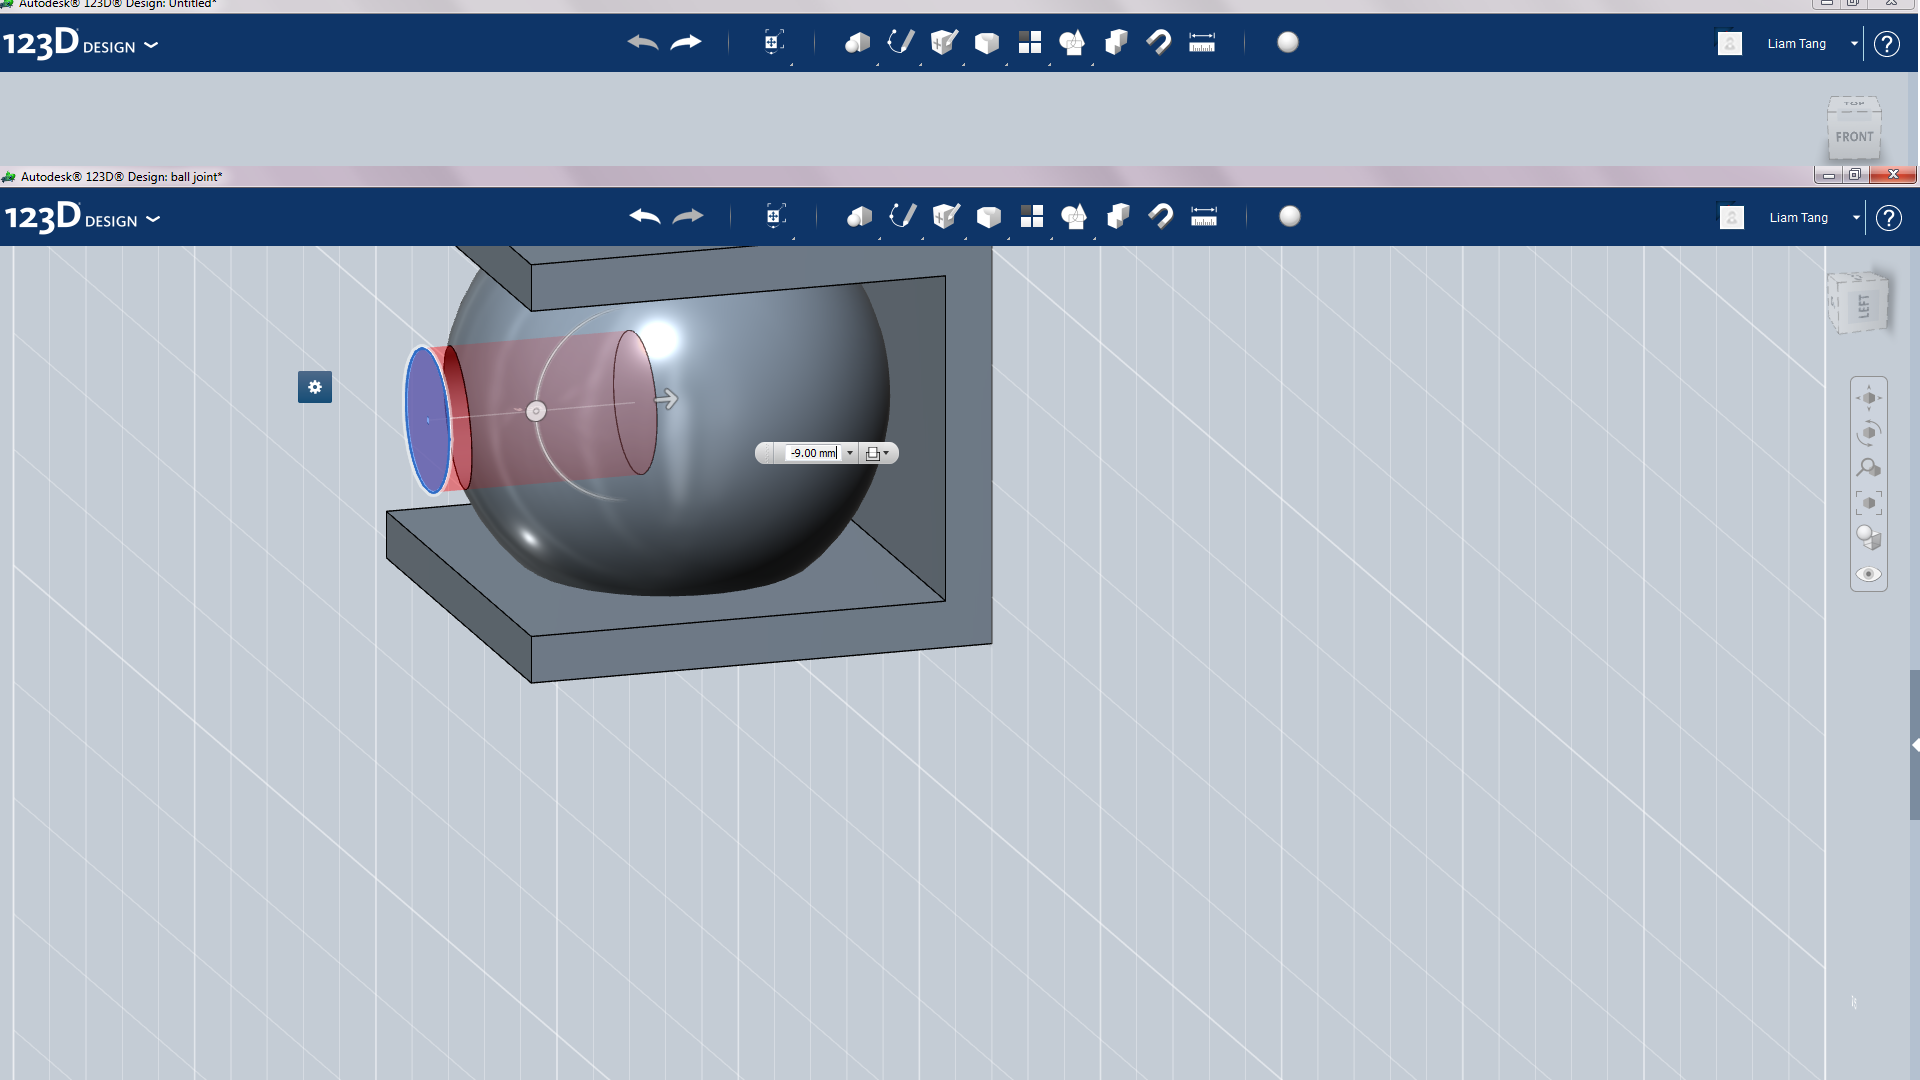
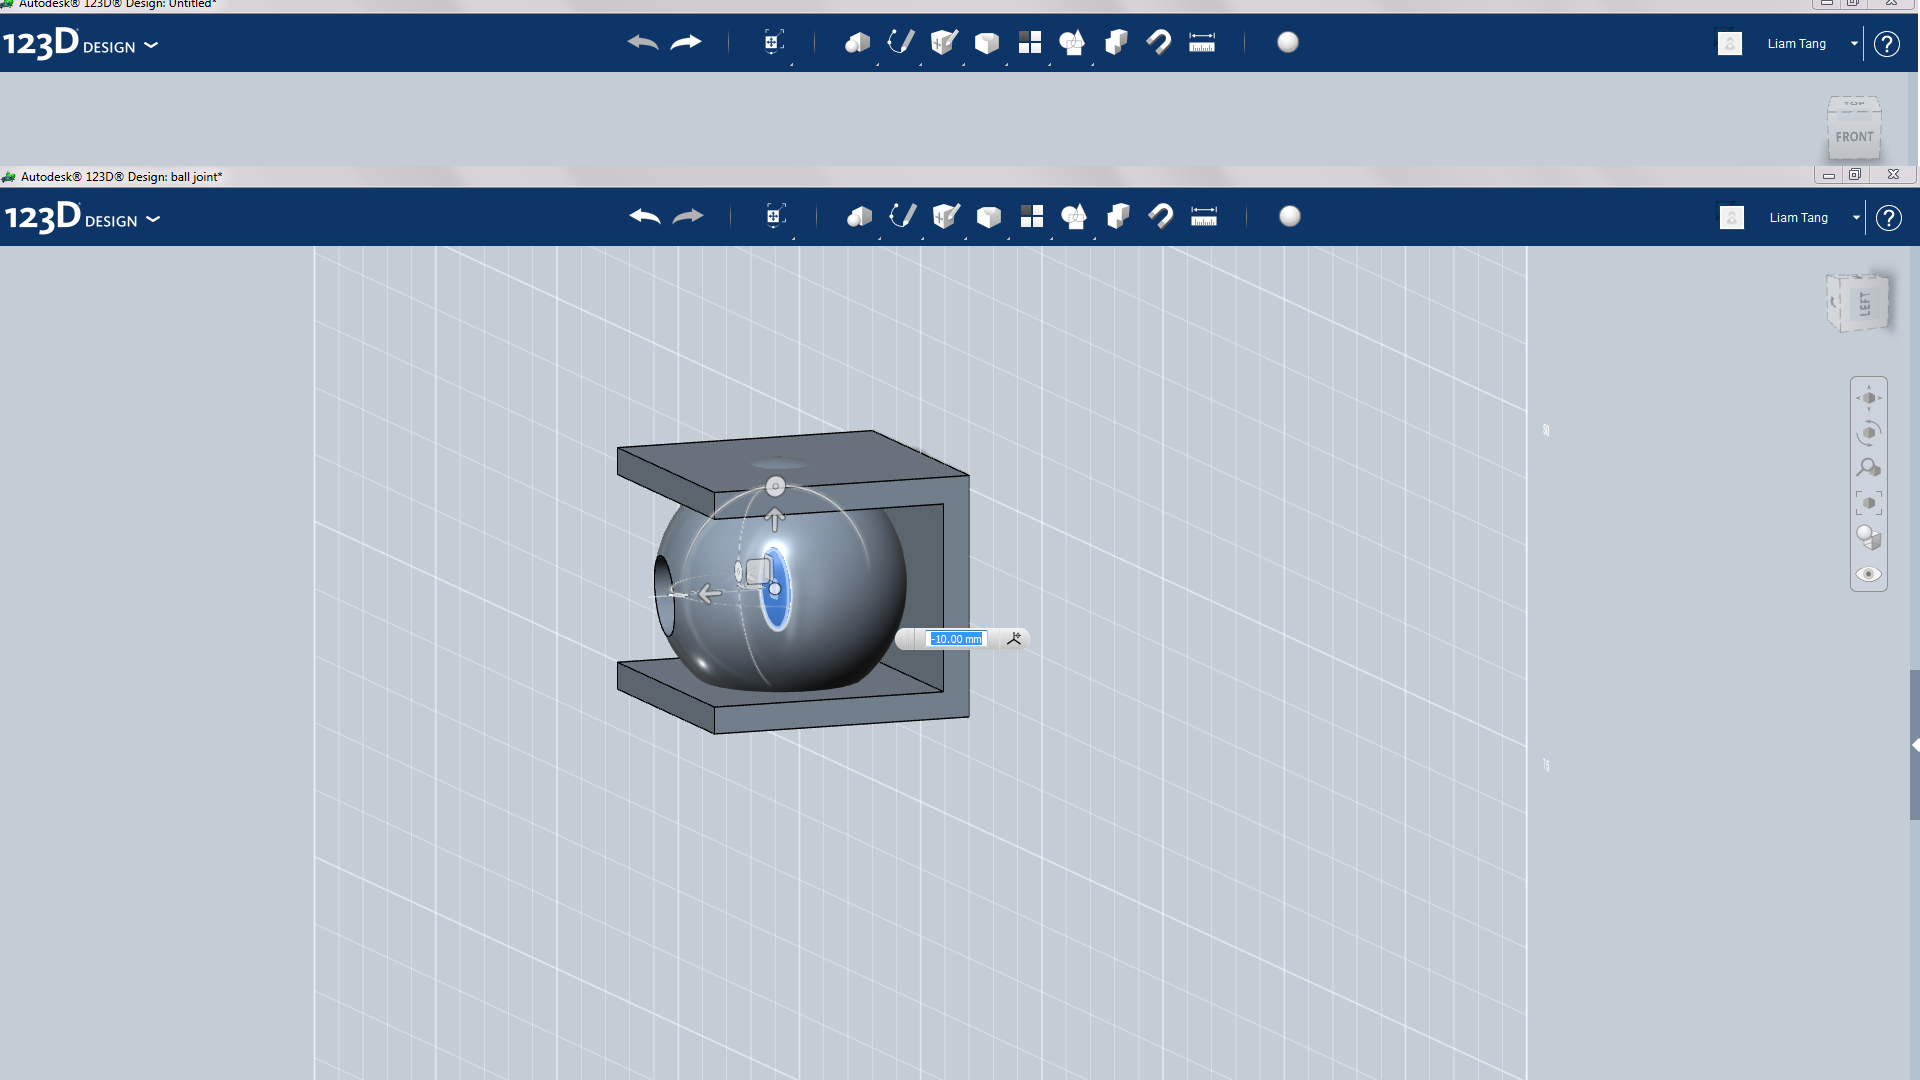
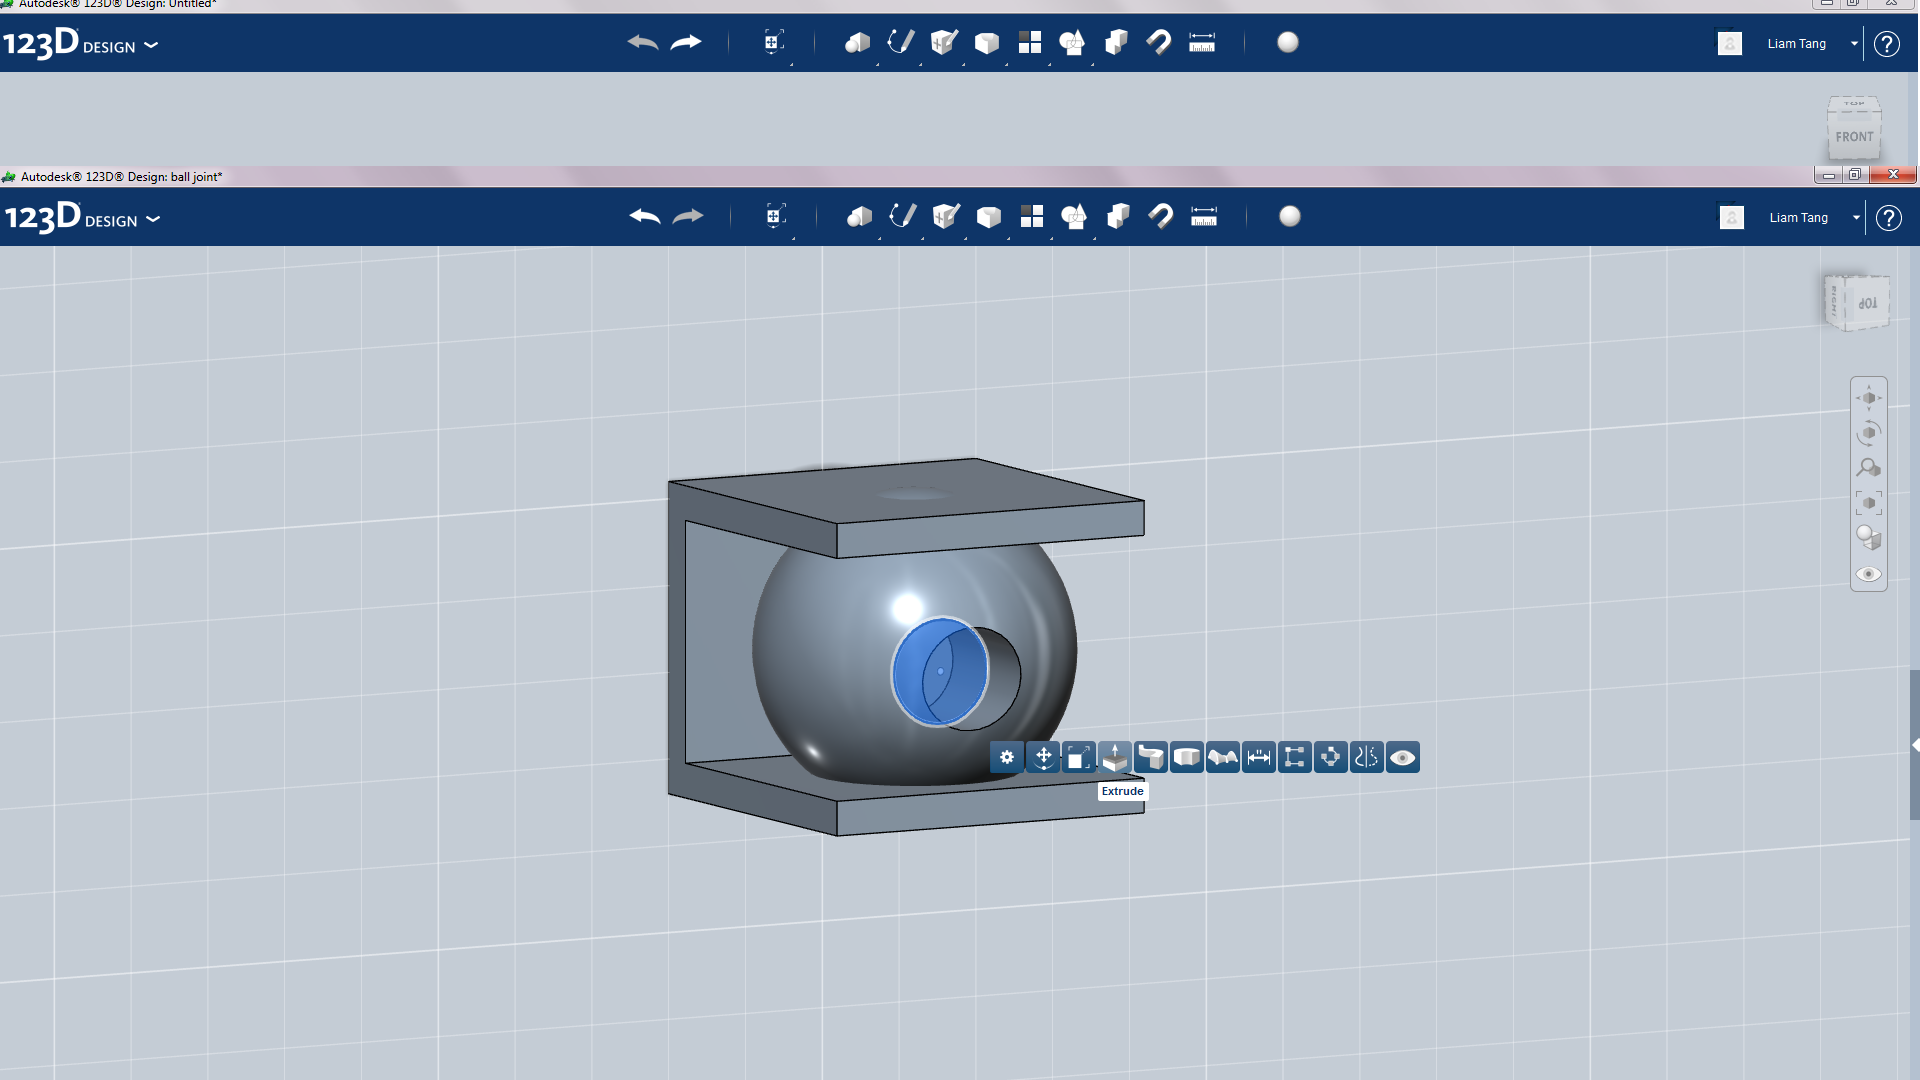
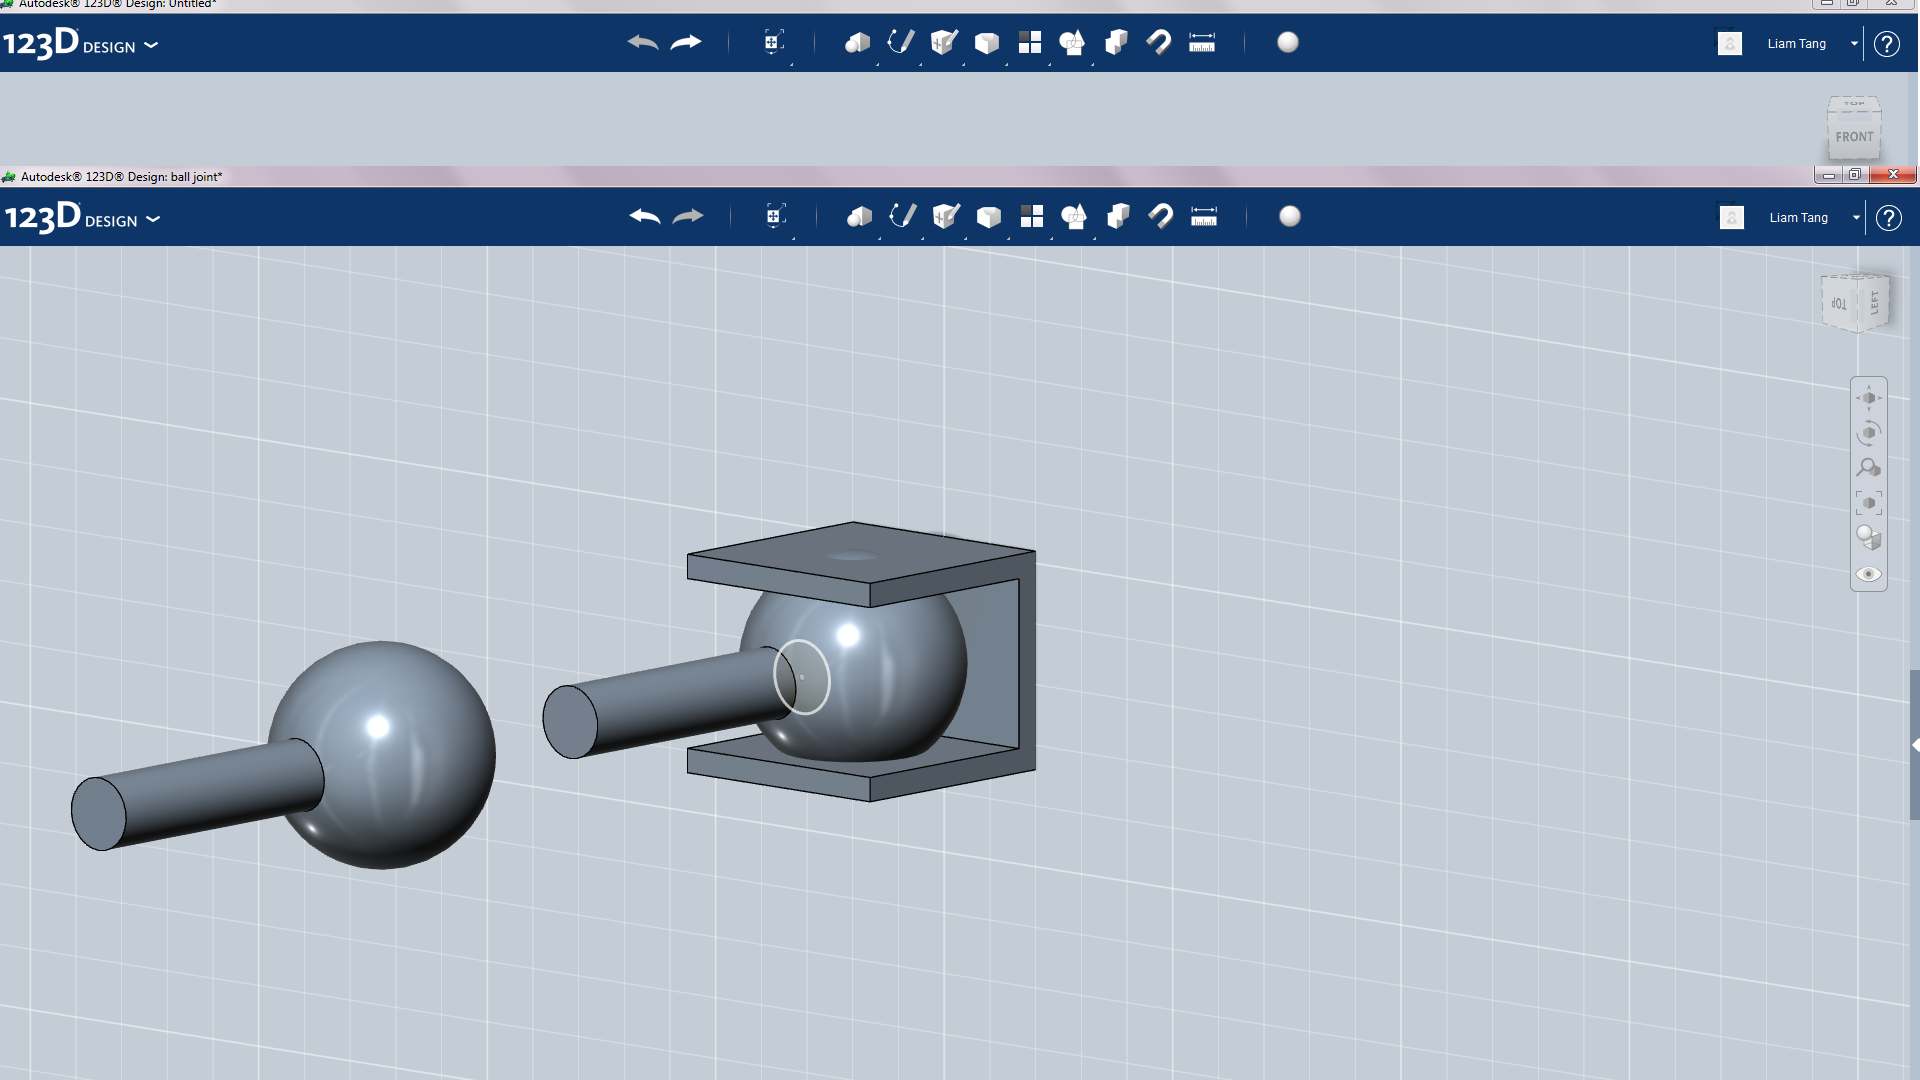
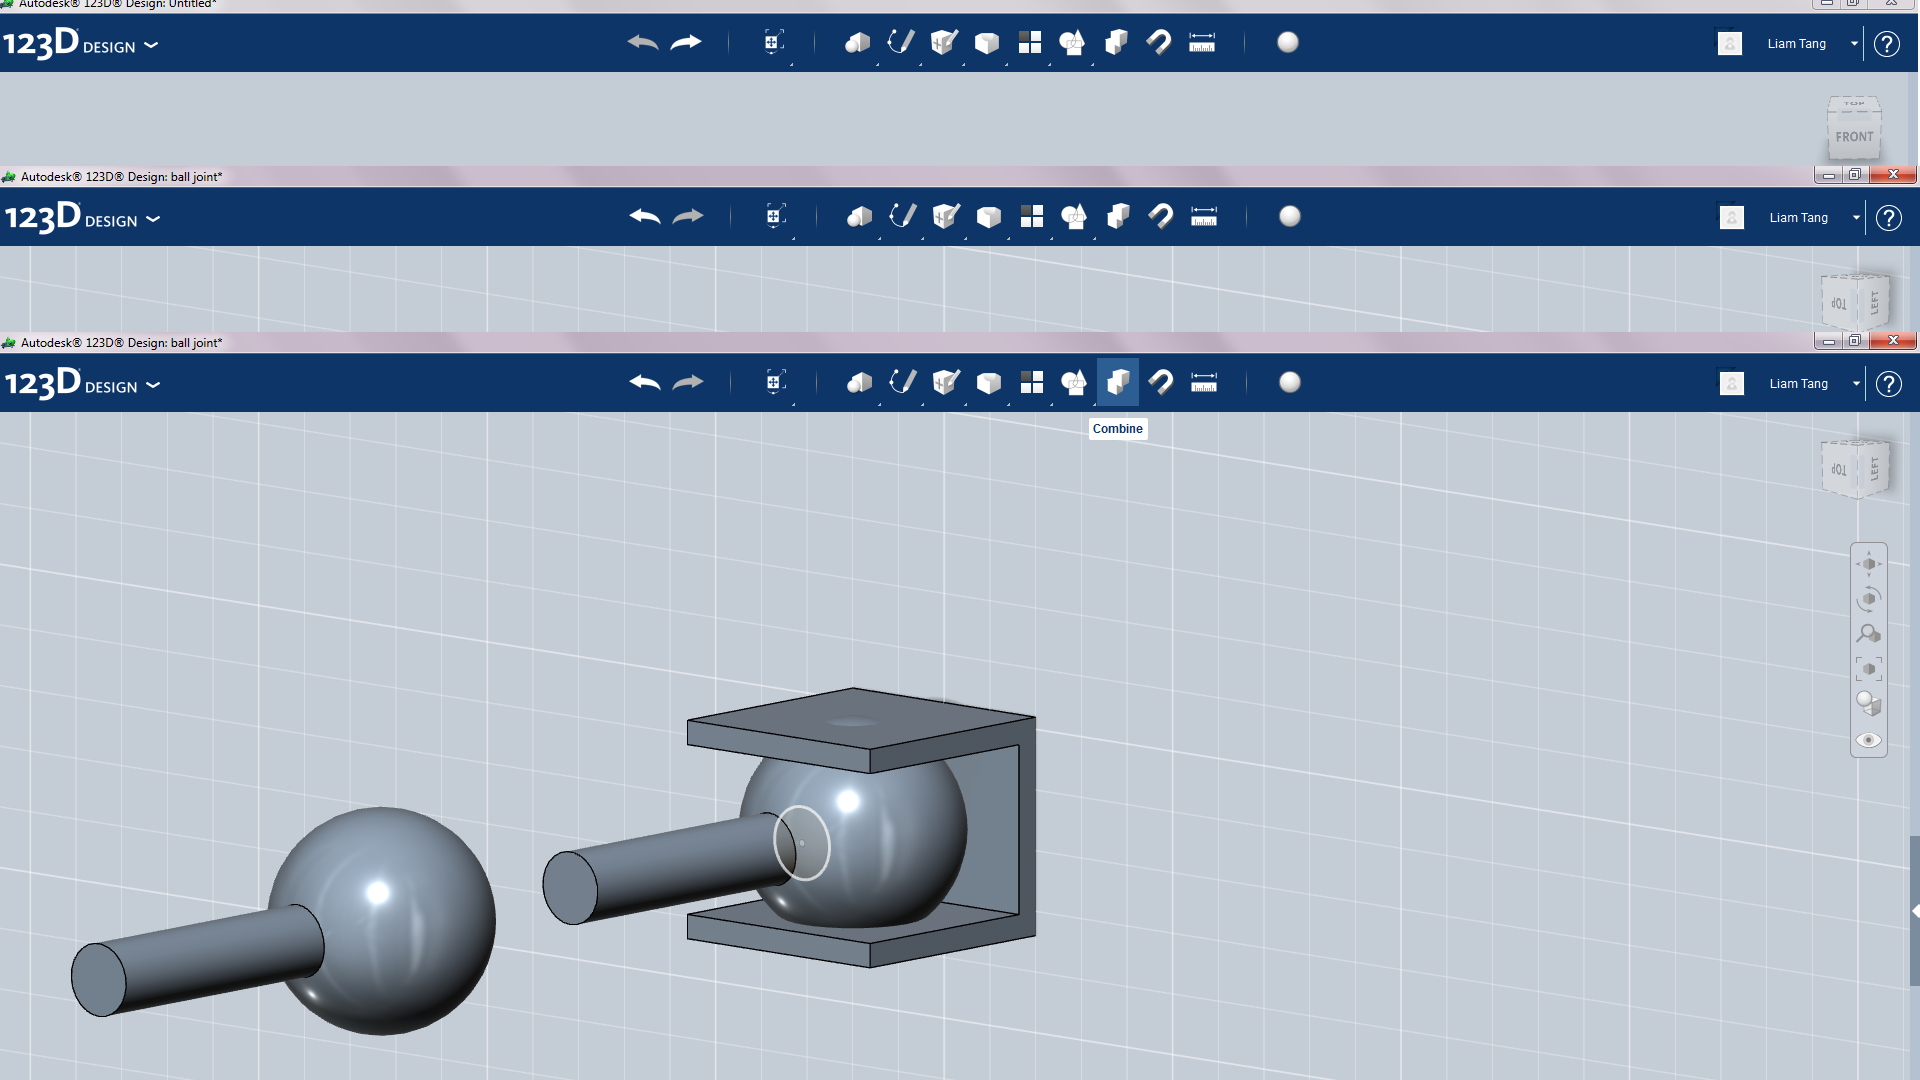
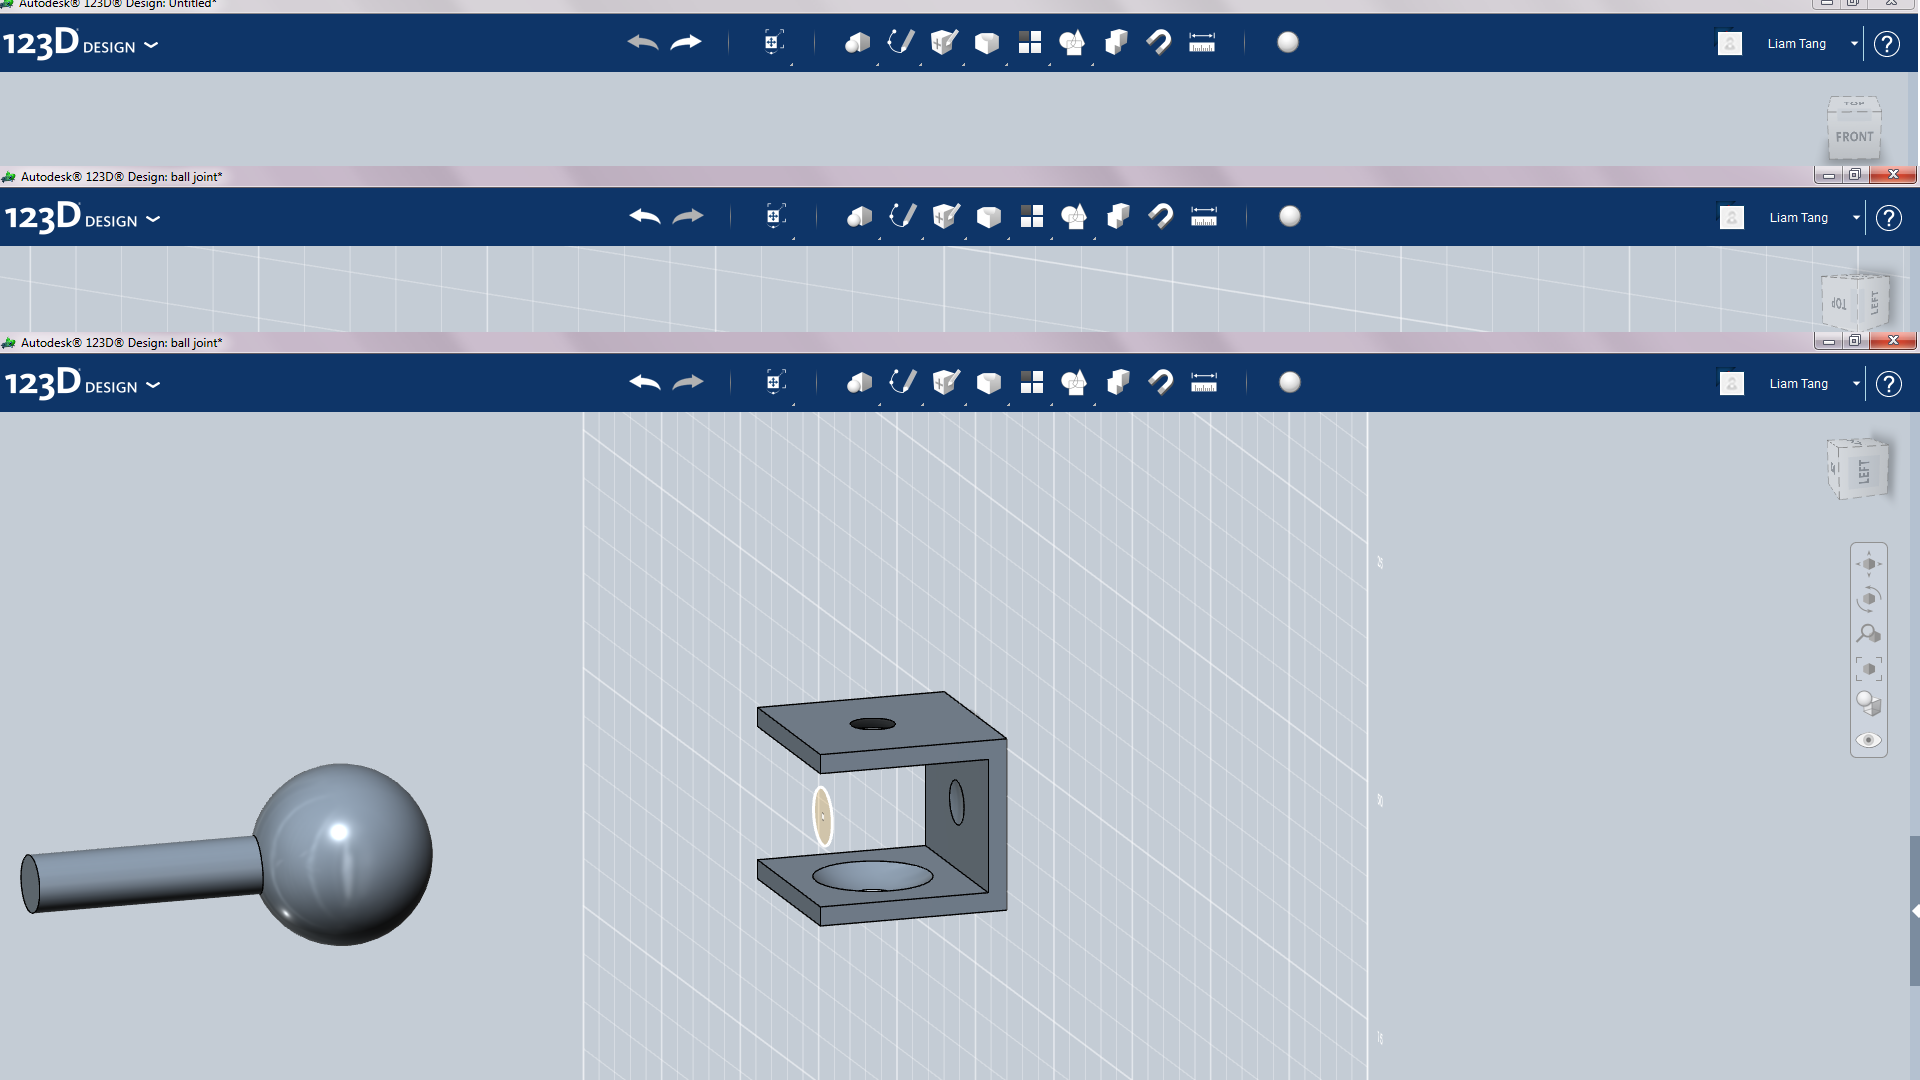
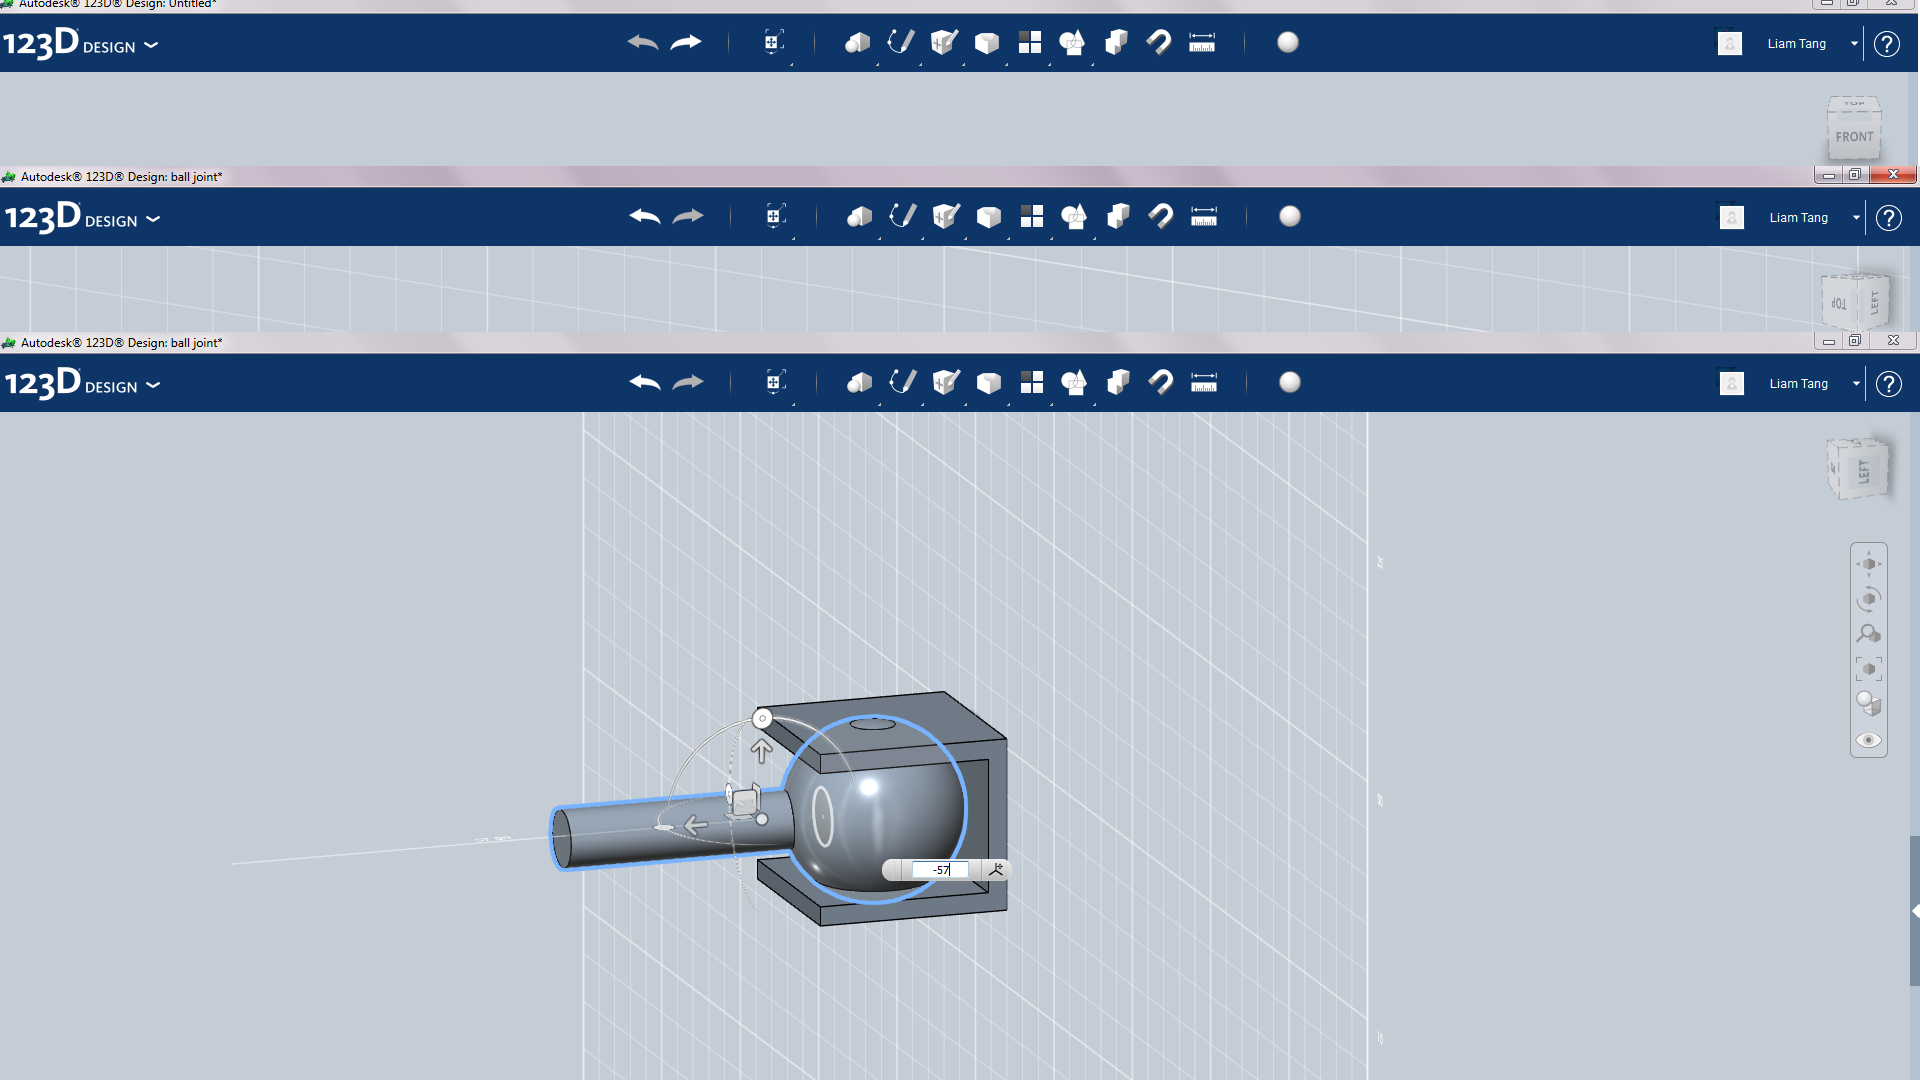
Okay, now switch to top view and sketch a circle on the center of the sphere, and negative extrude. Then move the same sketch back so it is now inside where you just negative extruded. Now you just want to extrude the circle sketch into a cylinder. Now you should have something that looks like pic 8. Now copy and paste the ball with cylinder and move it out 57mm. There should still be a ball and cylinder in the bracket. Now find combine in your toolbar and click on it, then click on the sphere part then the bracket part and make sure the combined is set to subtract then click on an empty space to confirm the combine. It should now look like pic 7. Next just move the other sphere part back in the bracket-57mm.
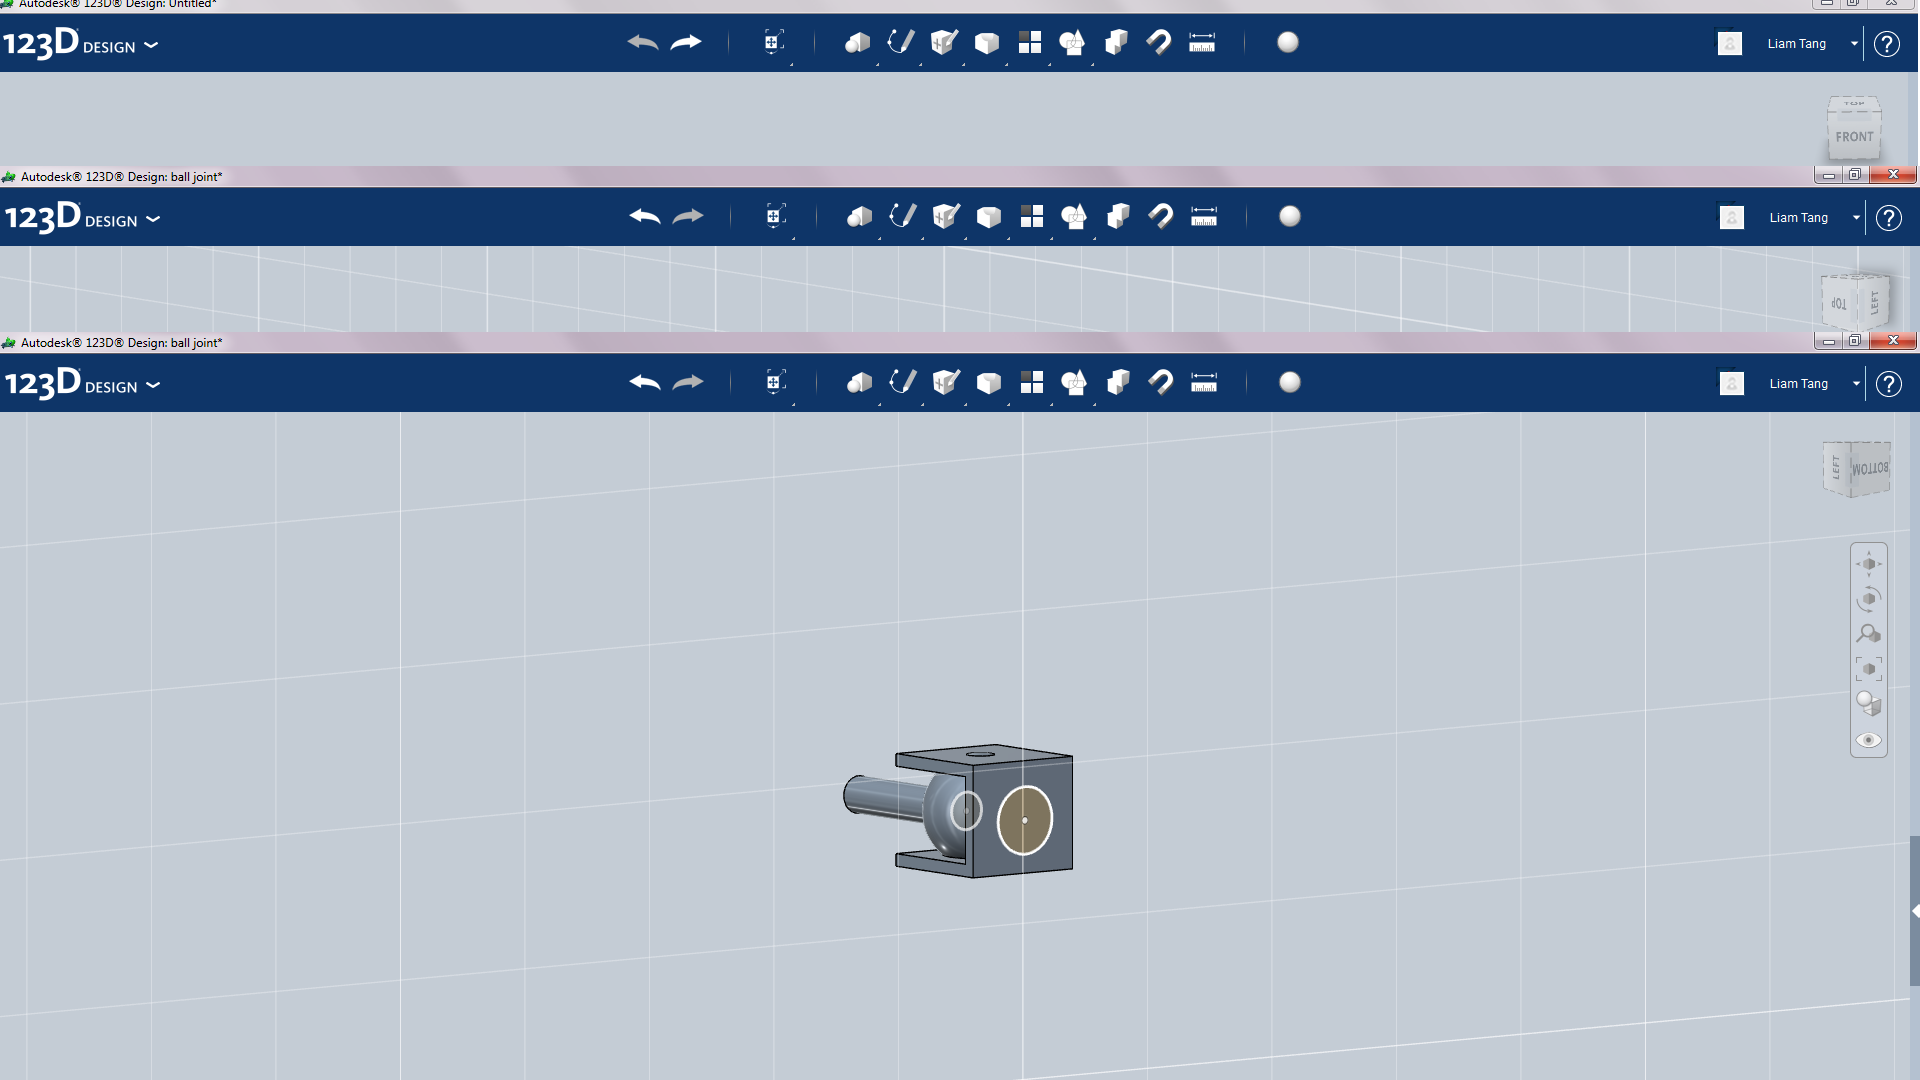
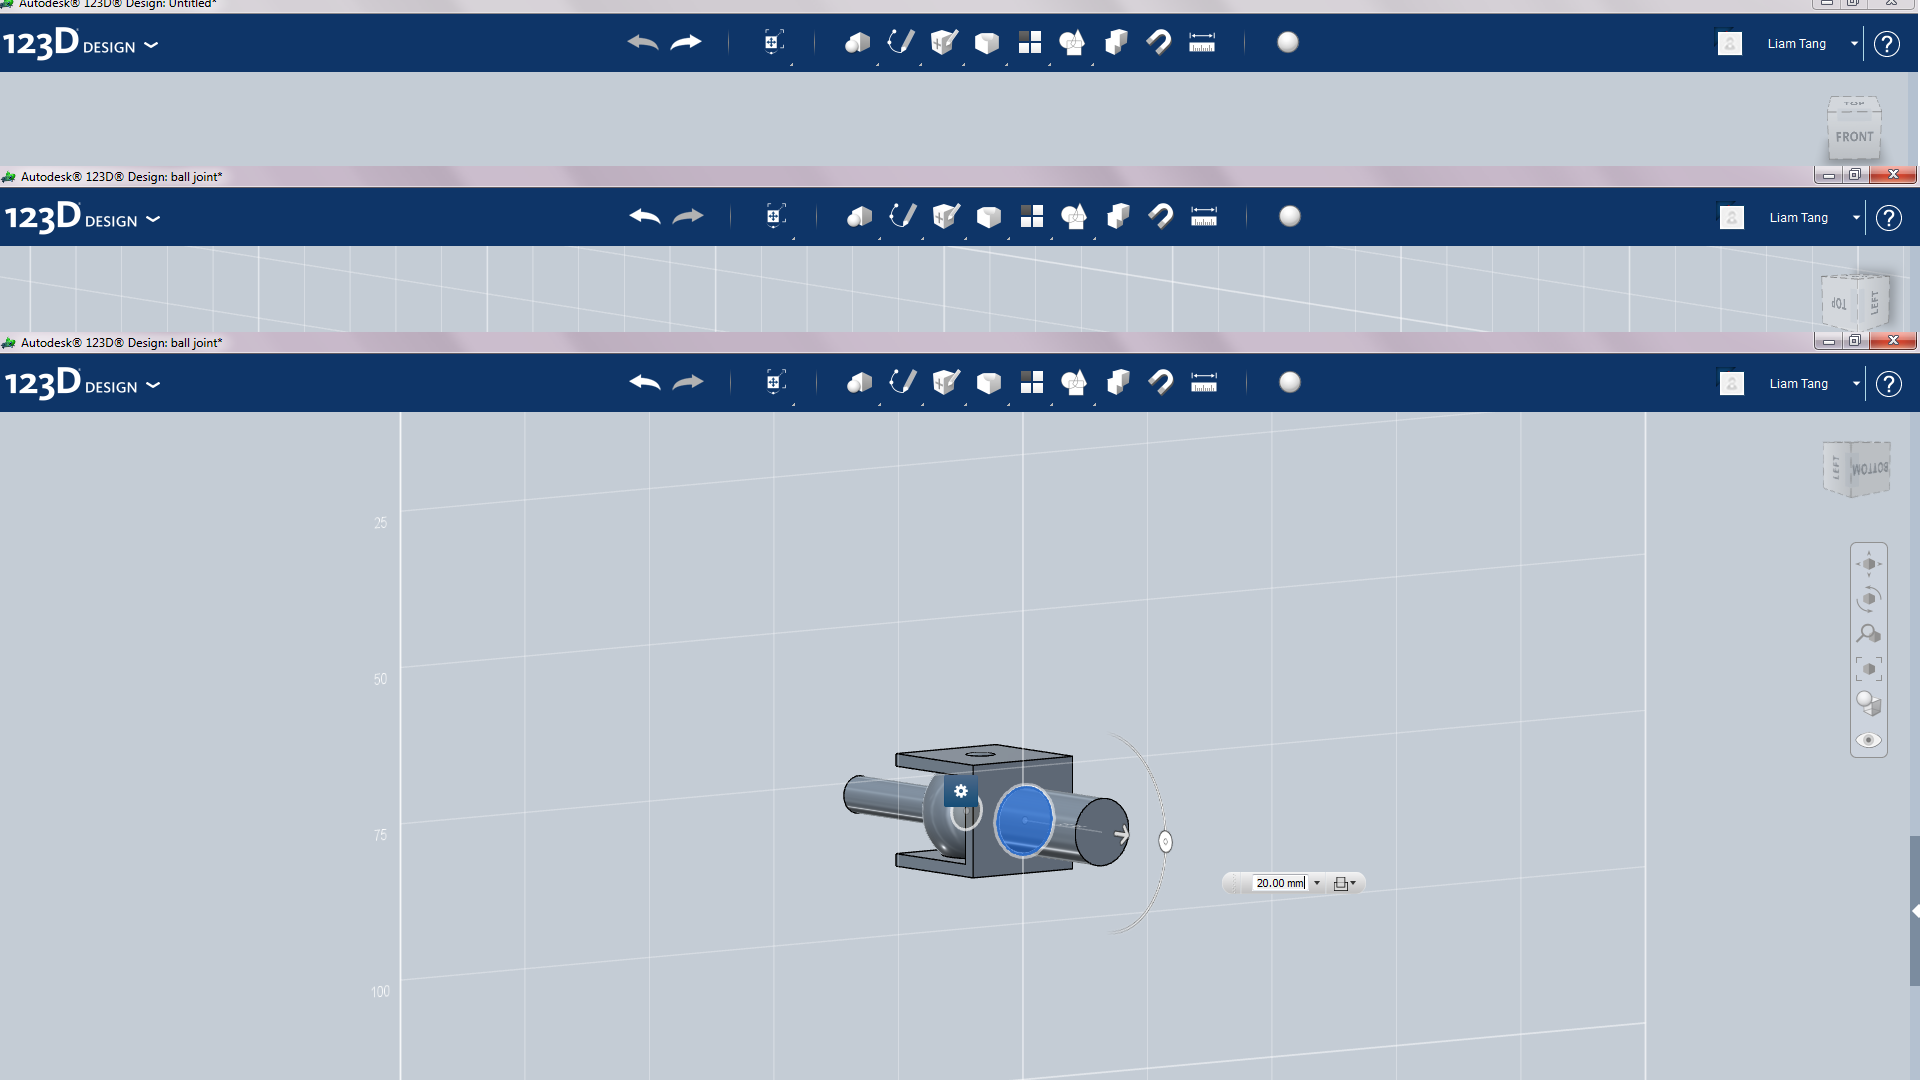
This step is easy. just extrude a cylinder on the back of the bracket.
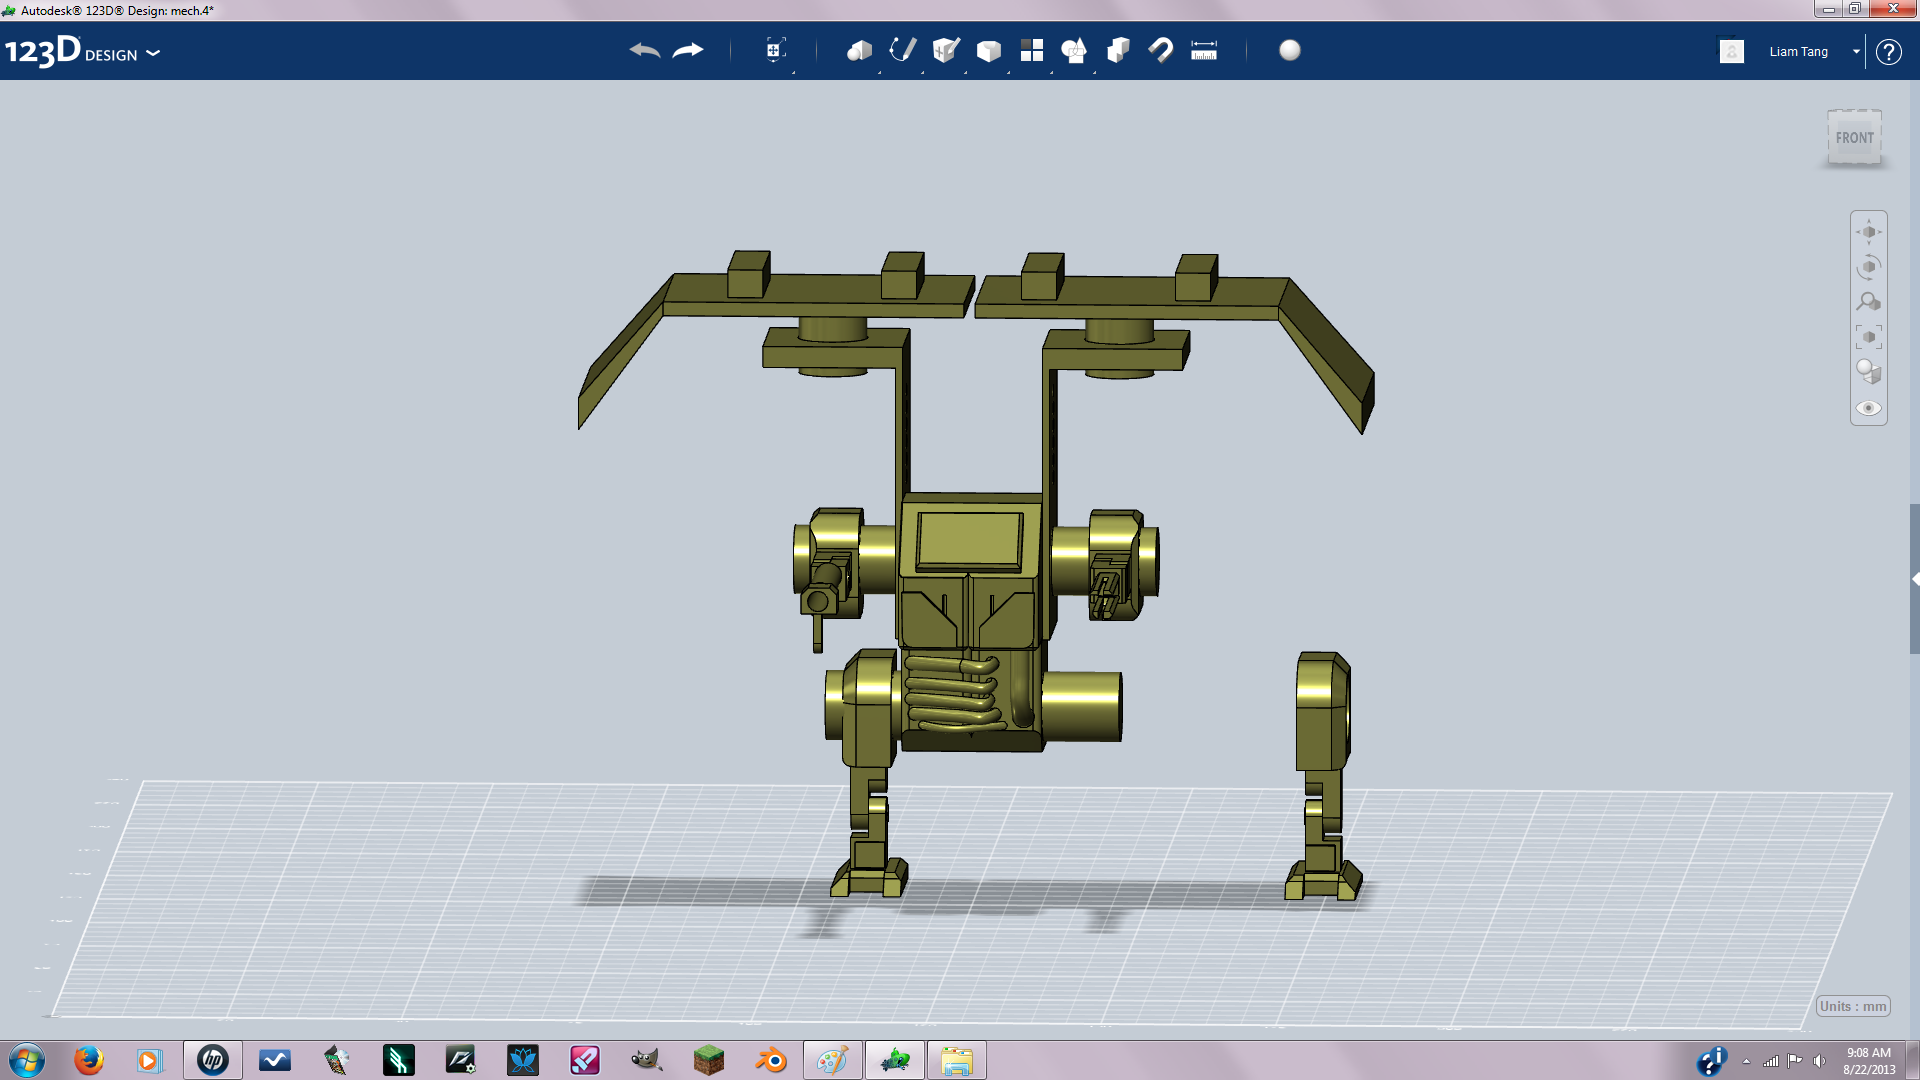
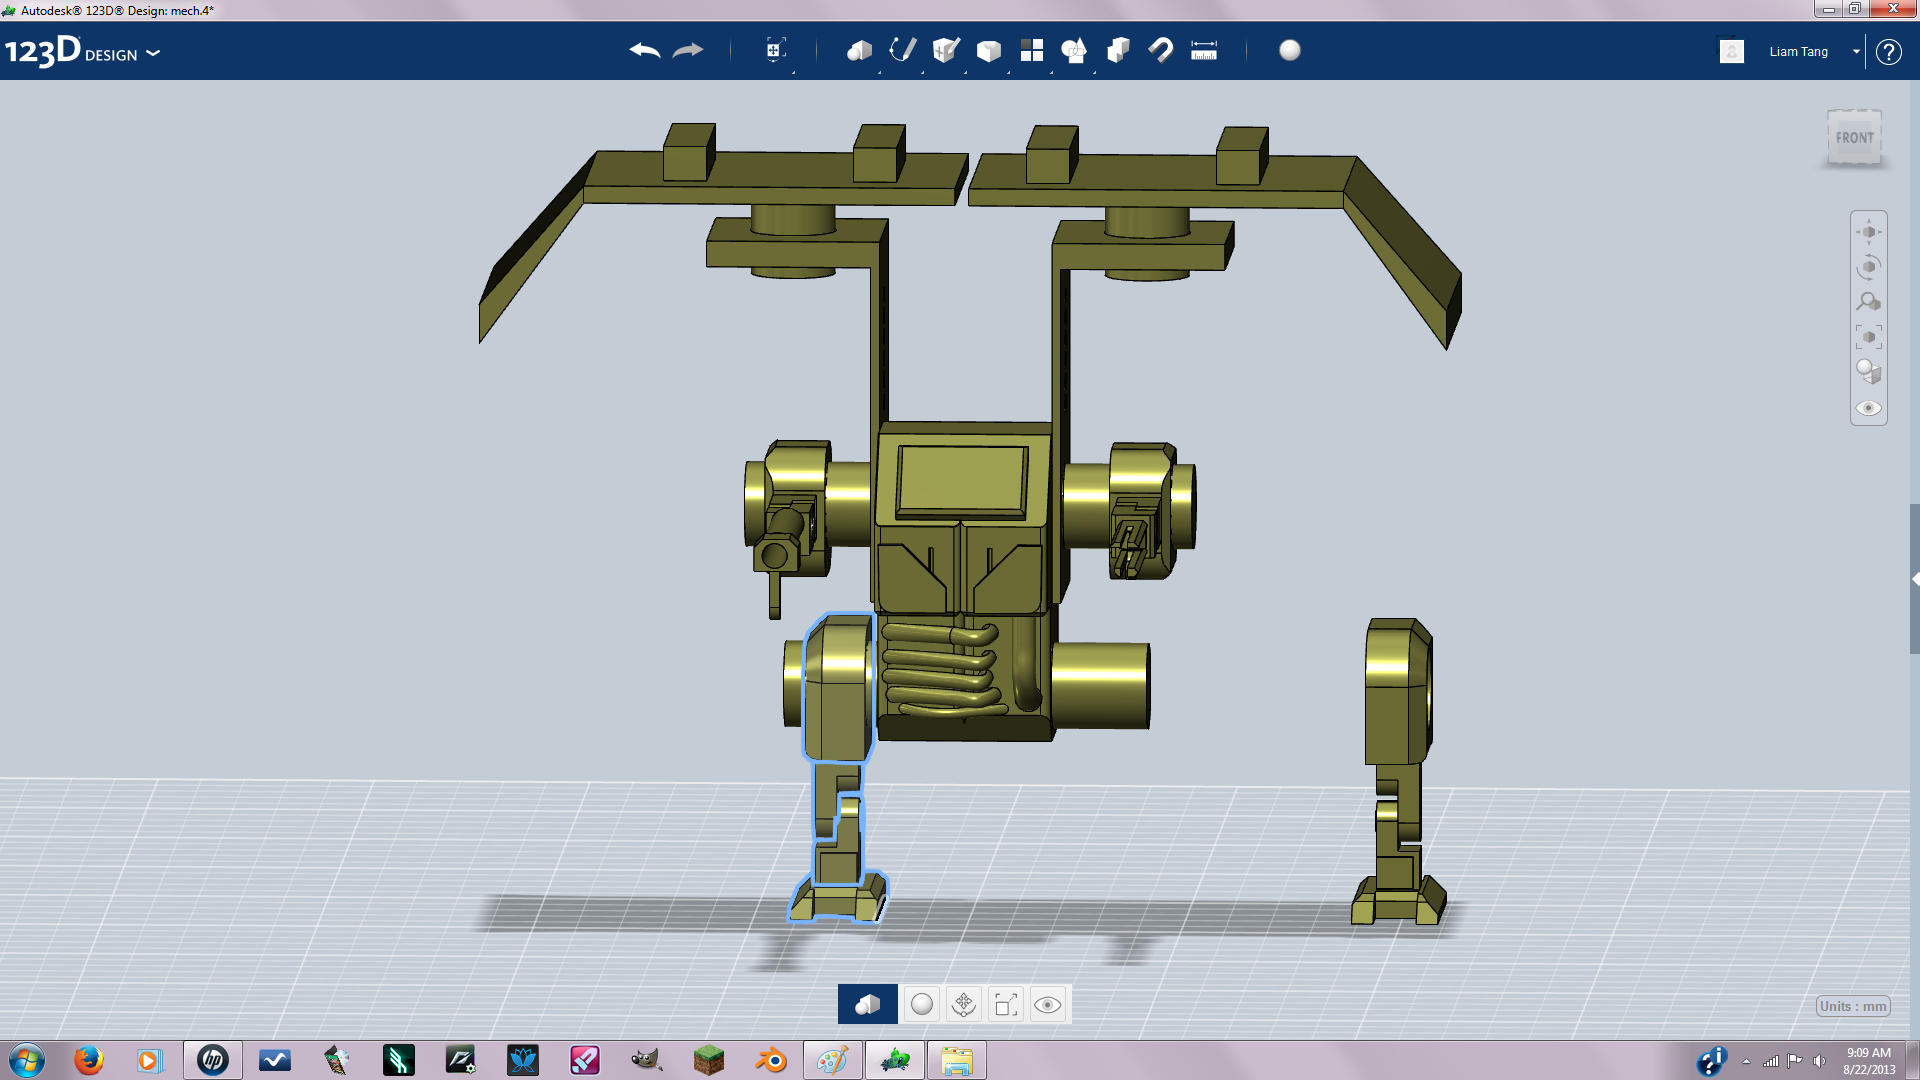
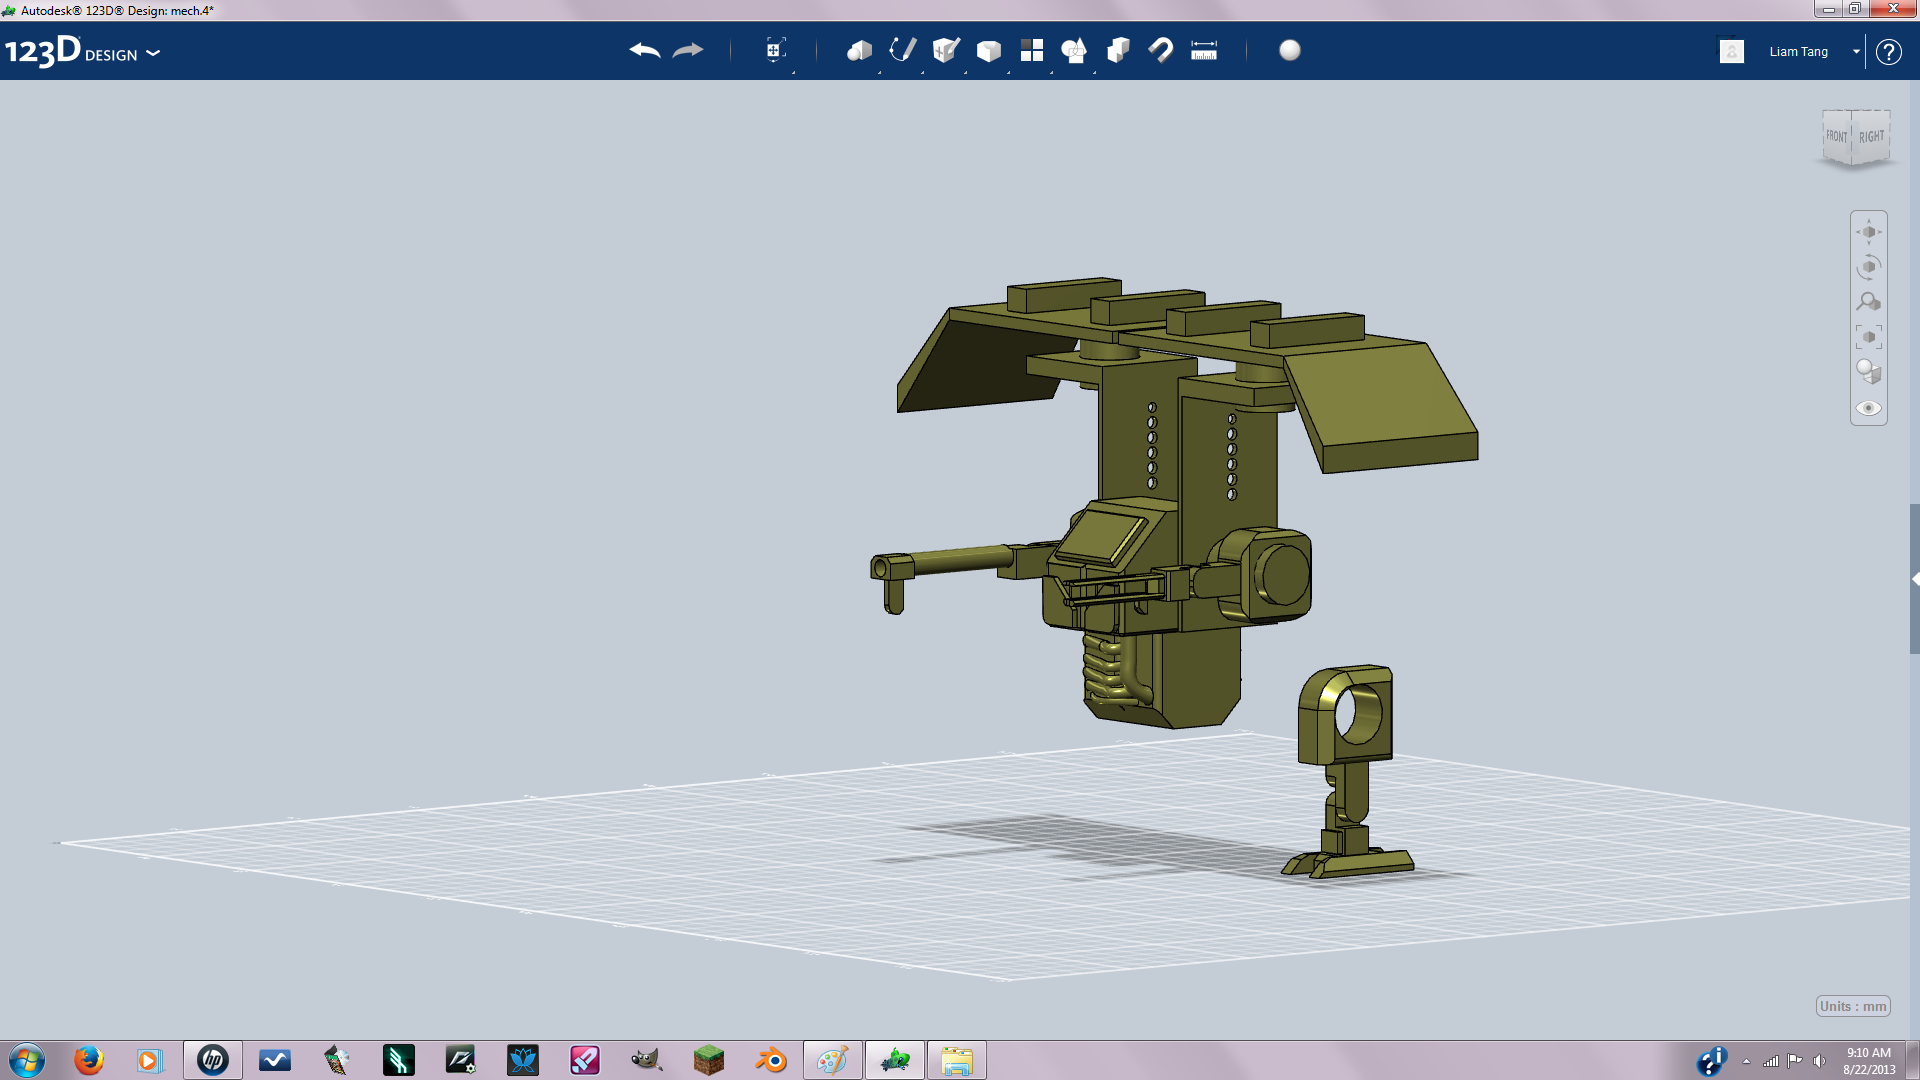
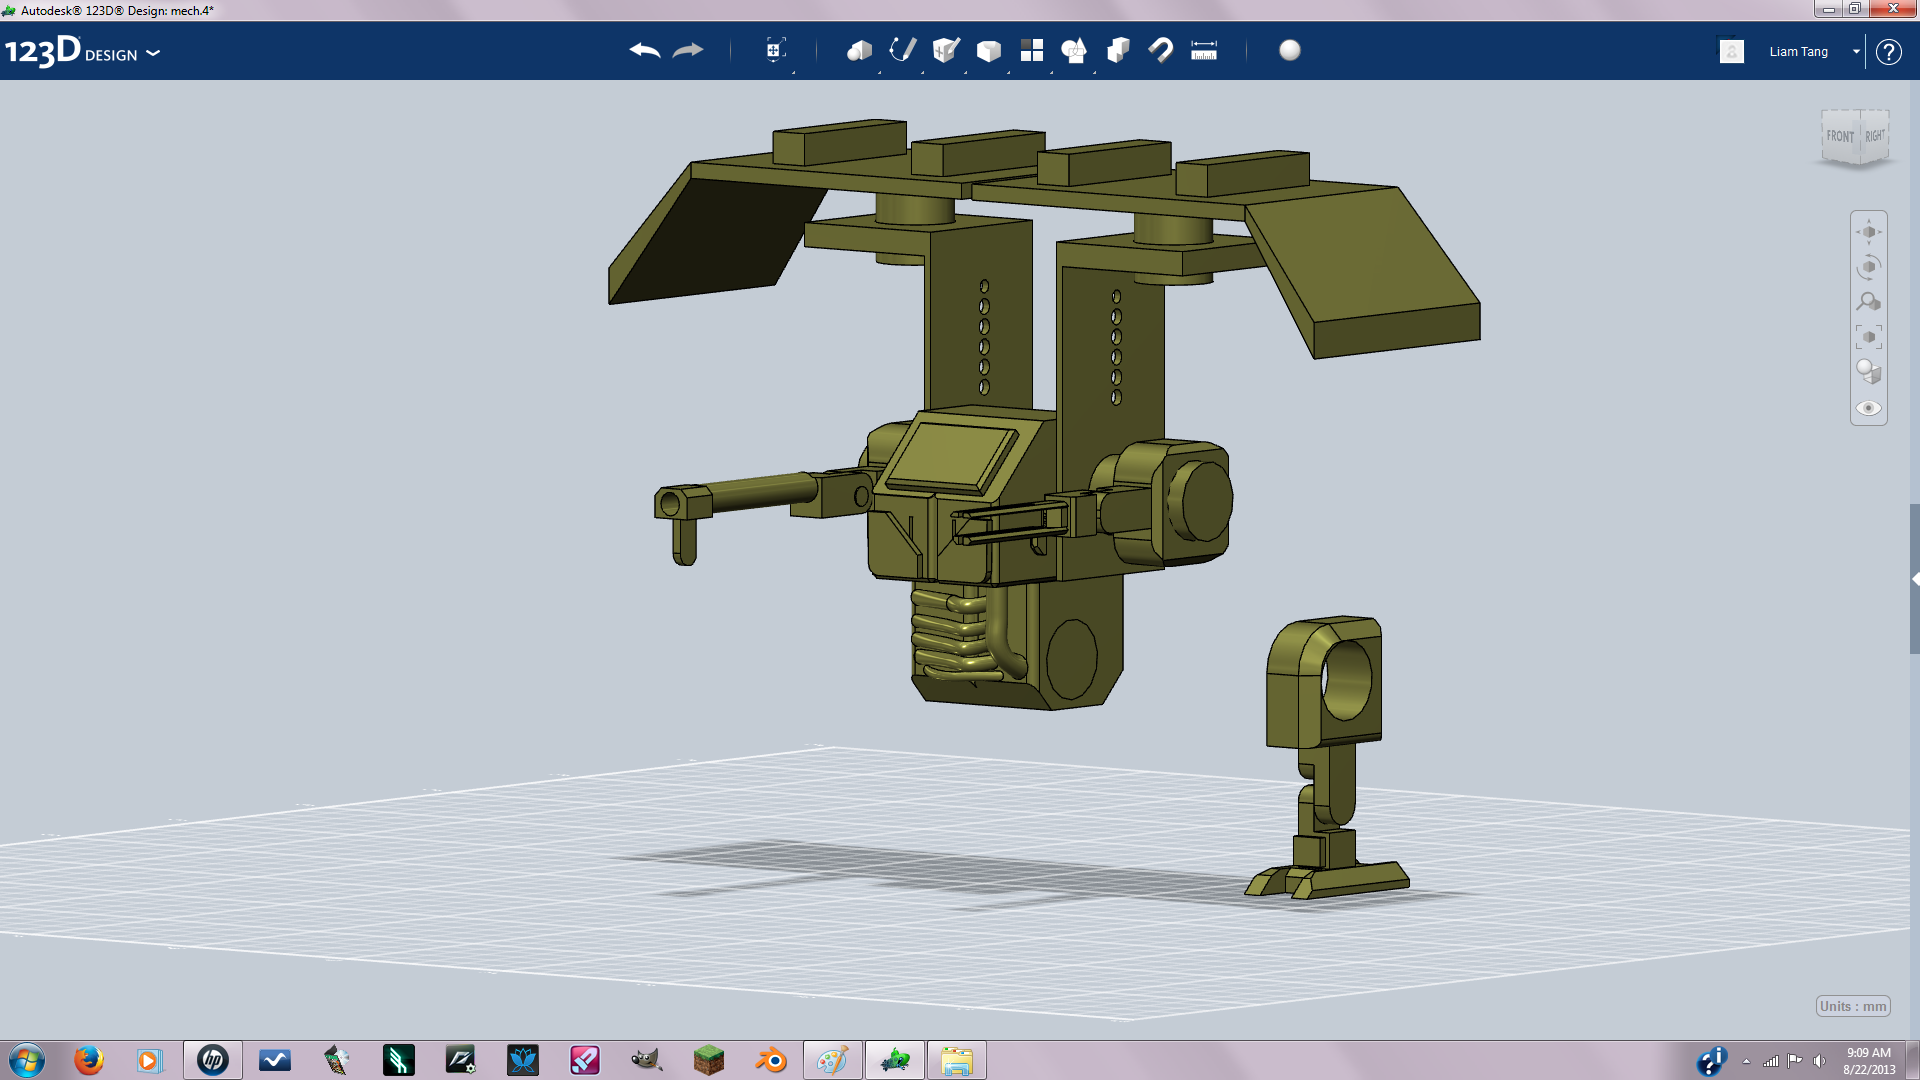
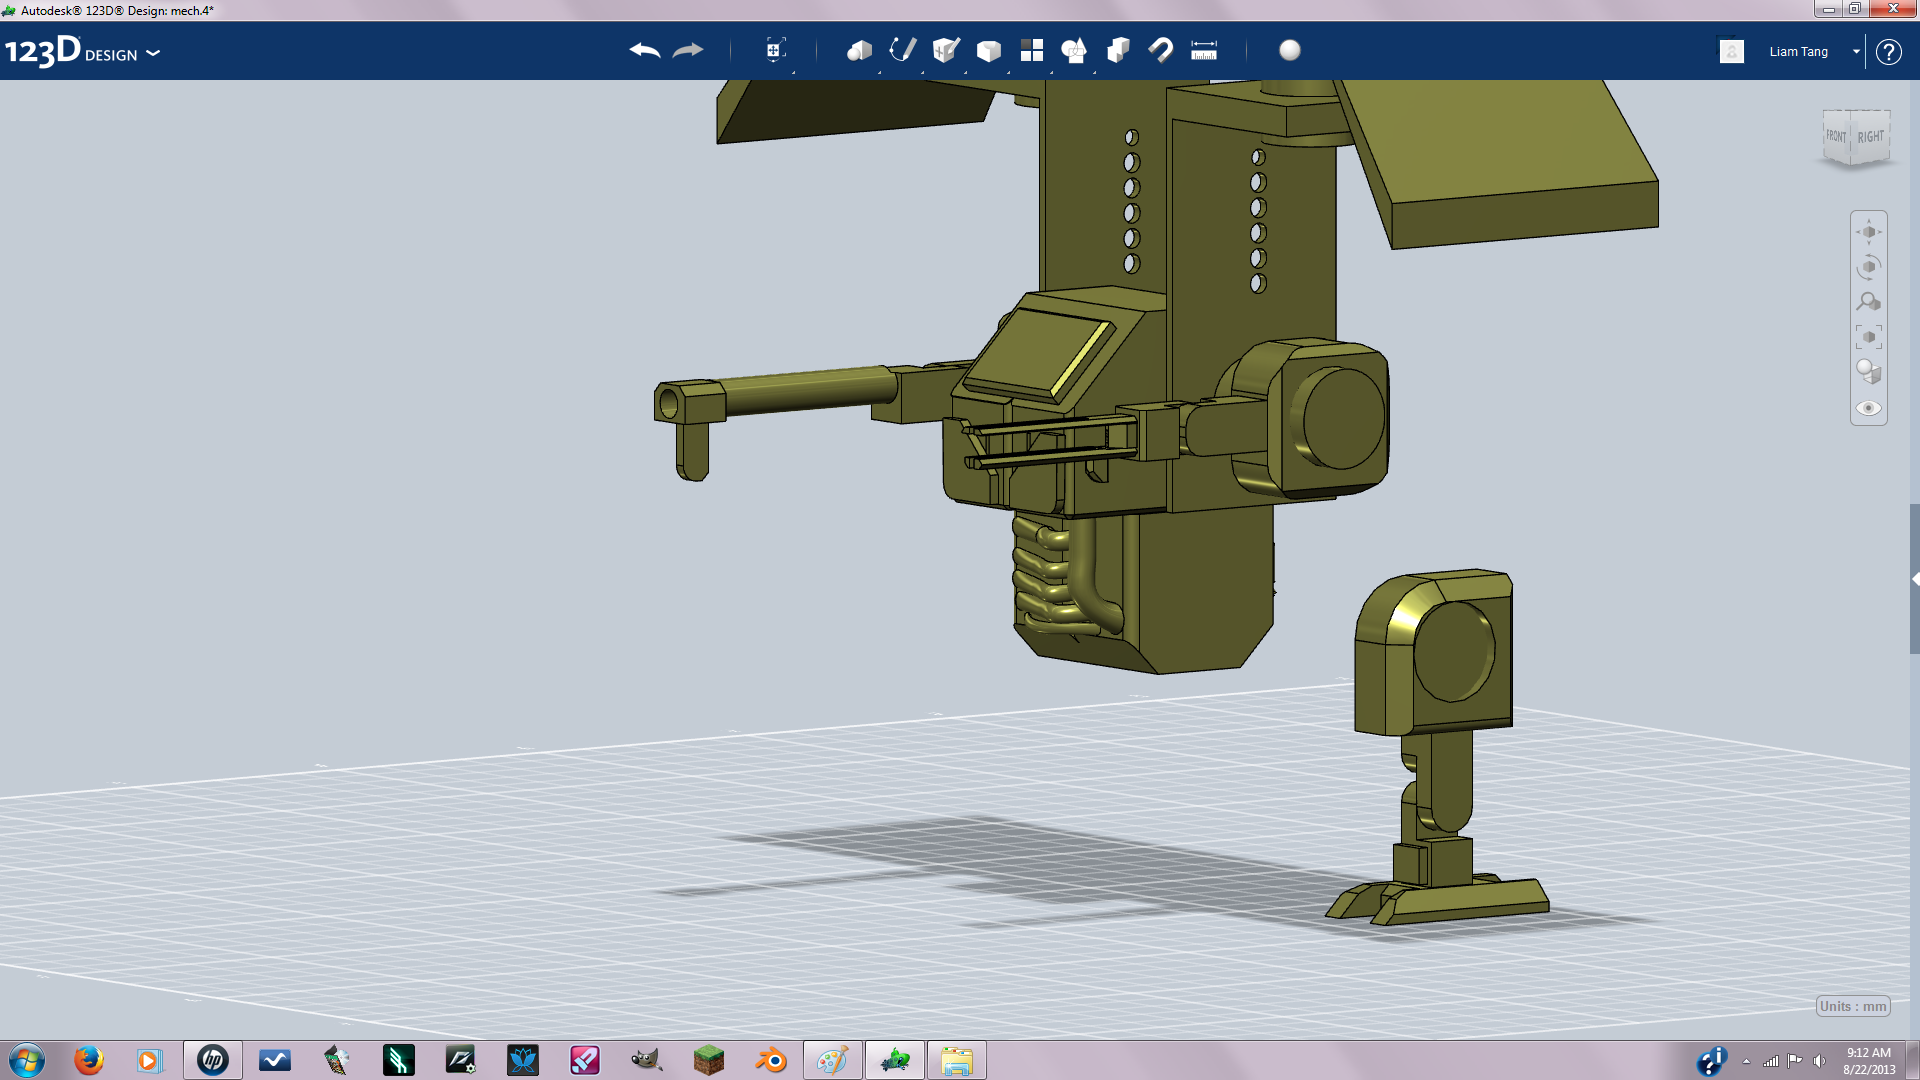
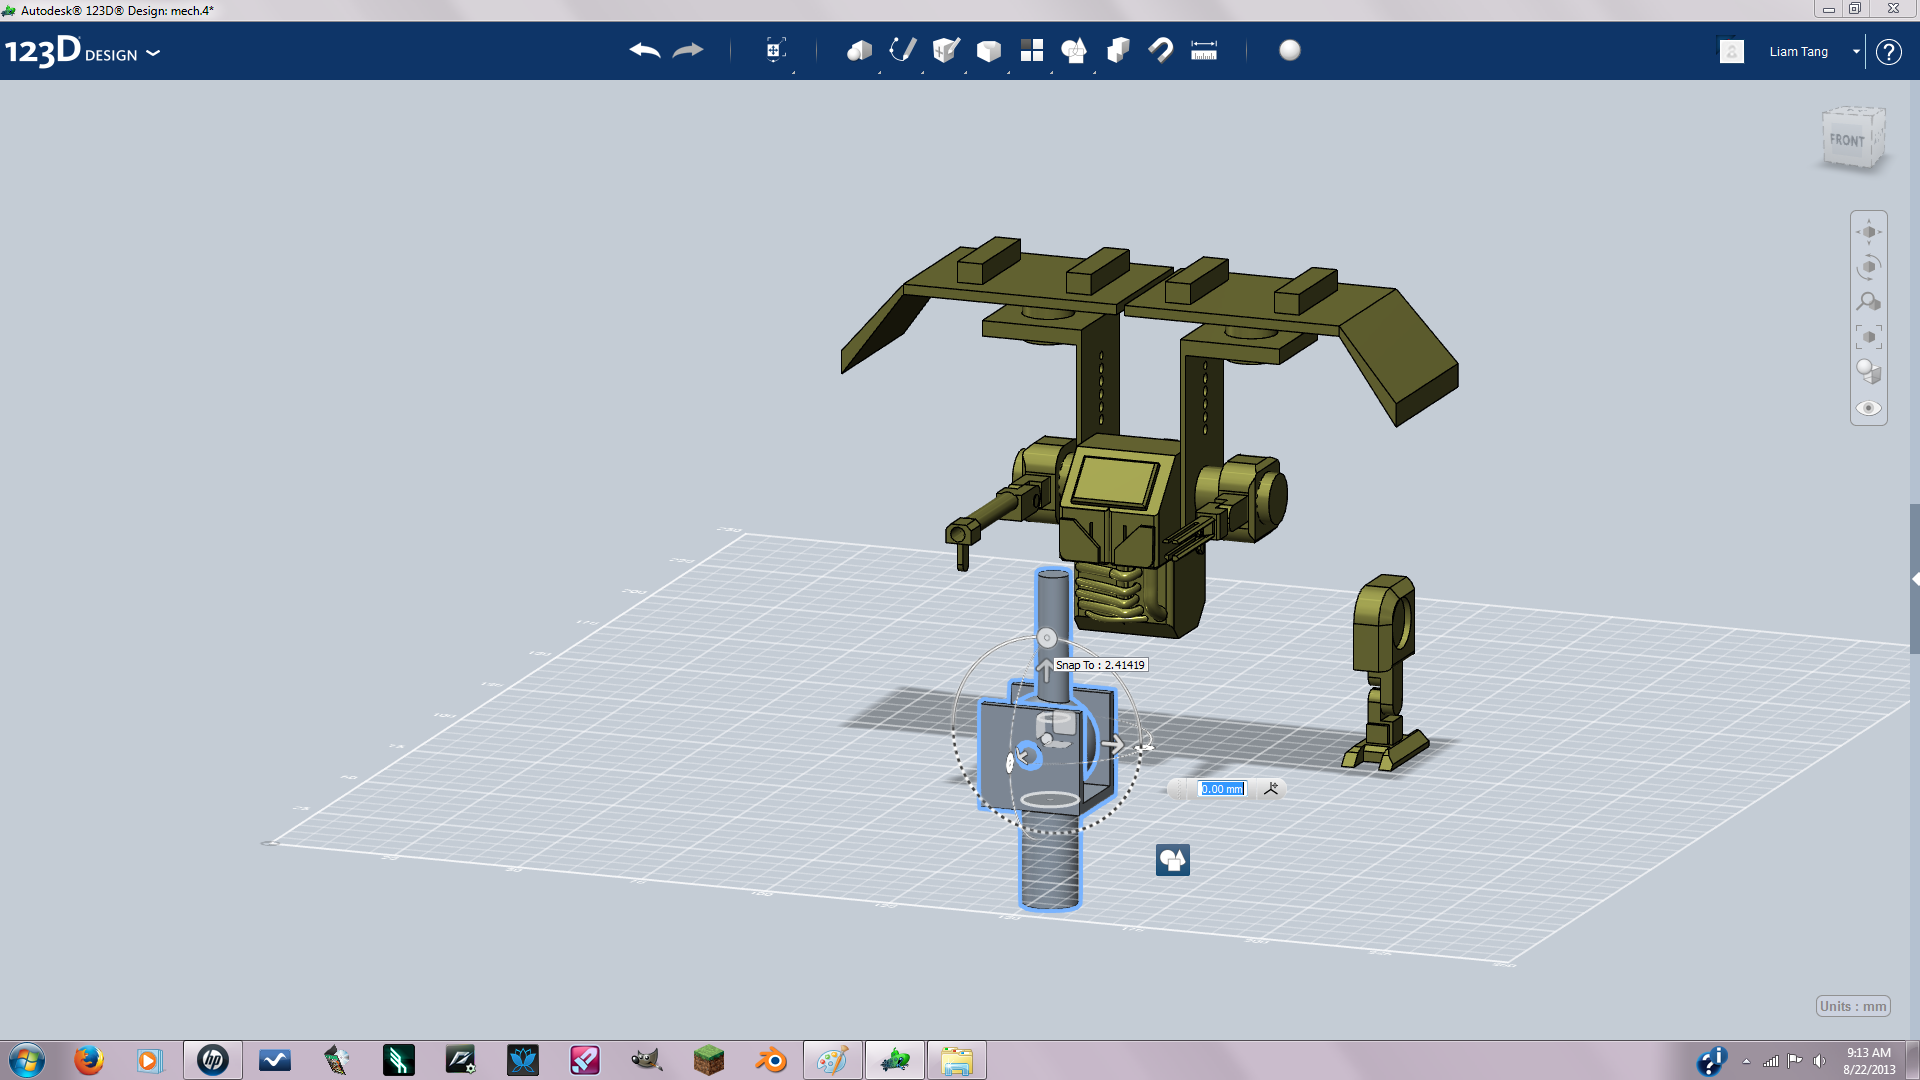
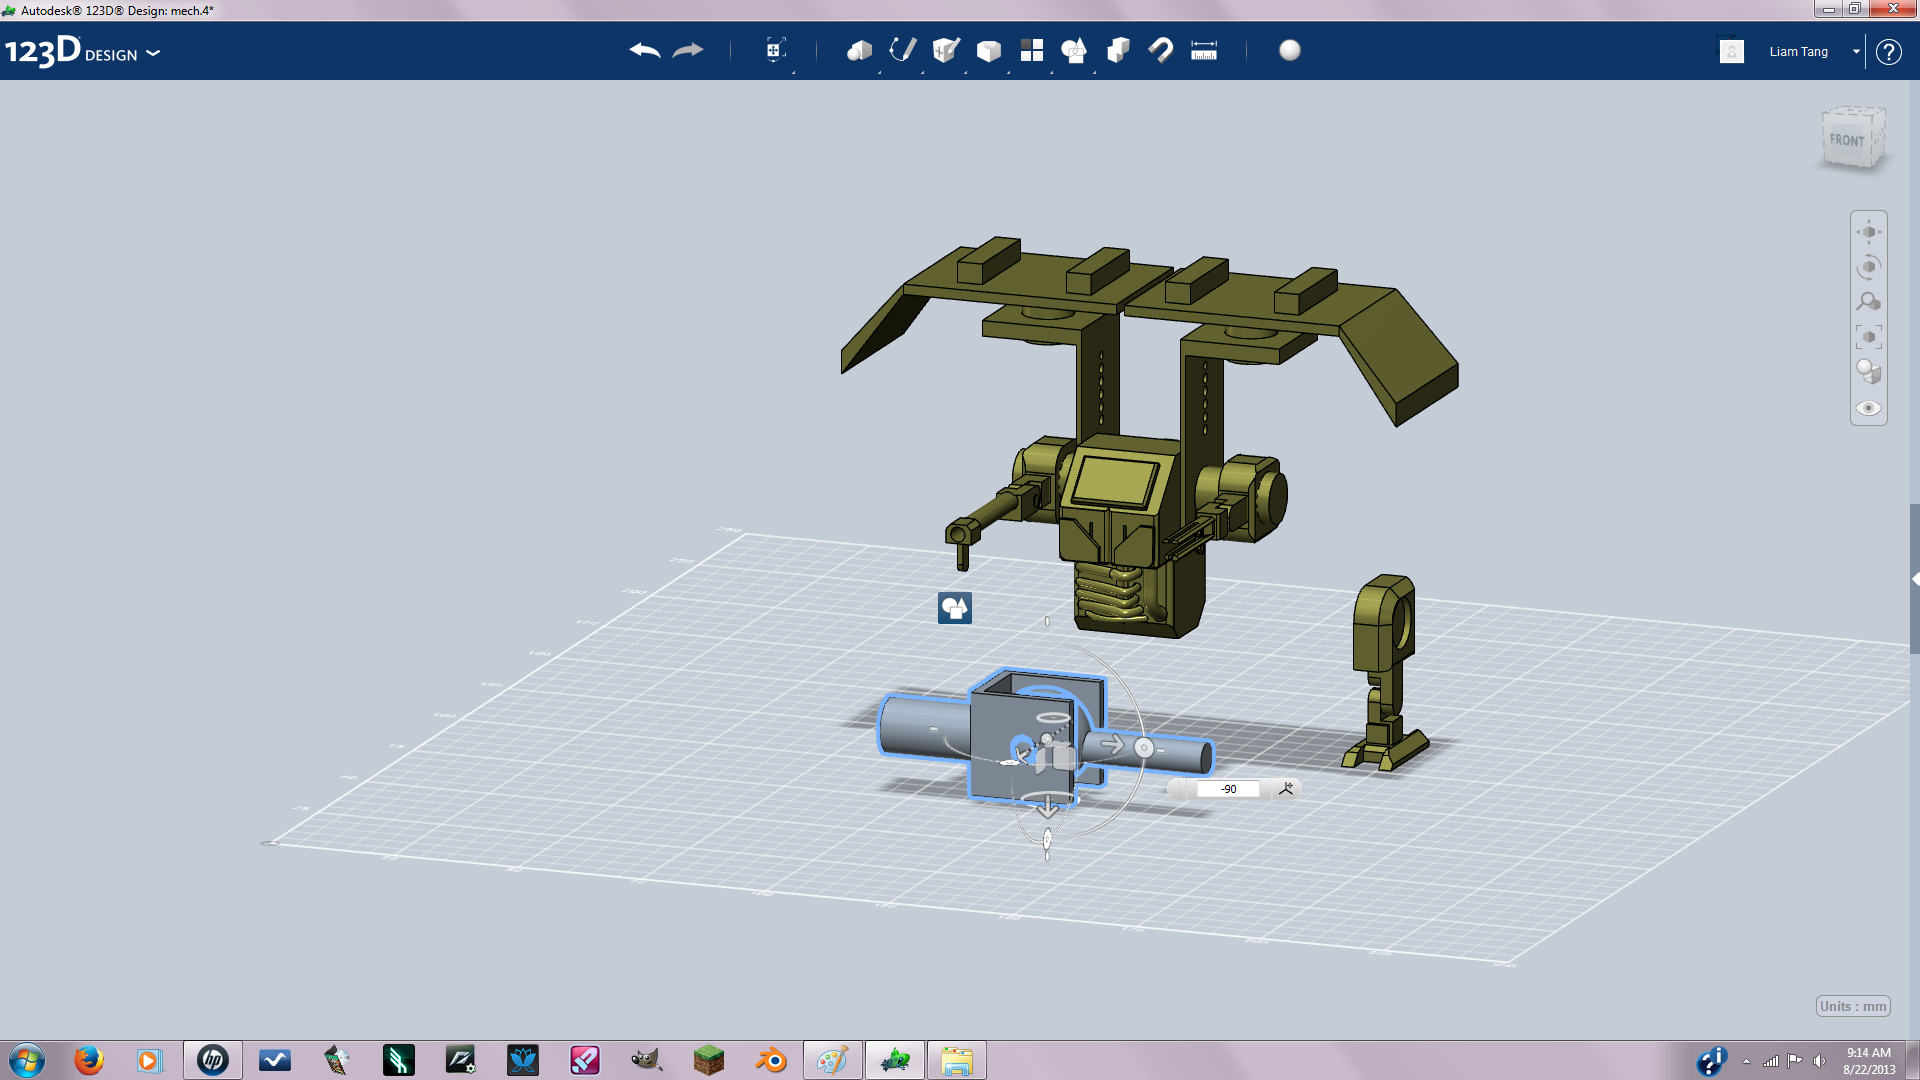
OKAY now open up your mech file after you've saved the ball joint as a separate file. Your going to want to move one of the legs to the side, then delete the other leg. now use your push/pull tool to push the cylinders into the bottom torso then join the torso and cylinders. Then fill in the hole on the leg, this can be done by sketching a circle then extruding and joining. now your mech should look like pic 5. Next insert your ball joint file by hovering your mouse over the 123d icon in the upper right corner and clicking insert then navigate to your file and open. Rotate the ball joint 90 degrees.
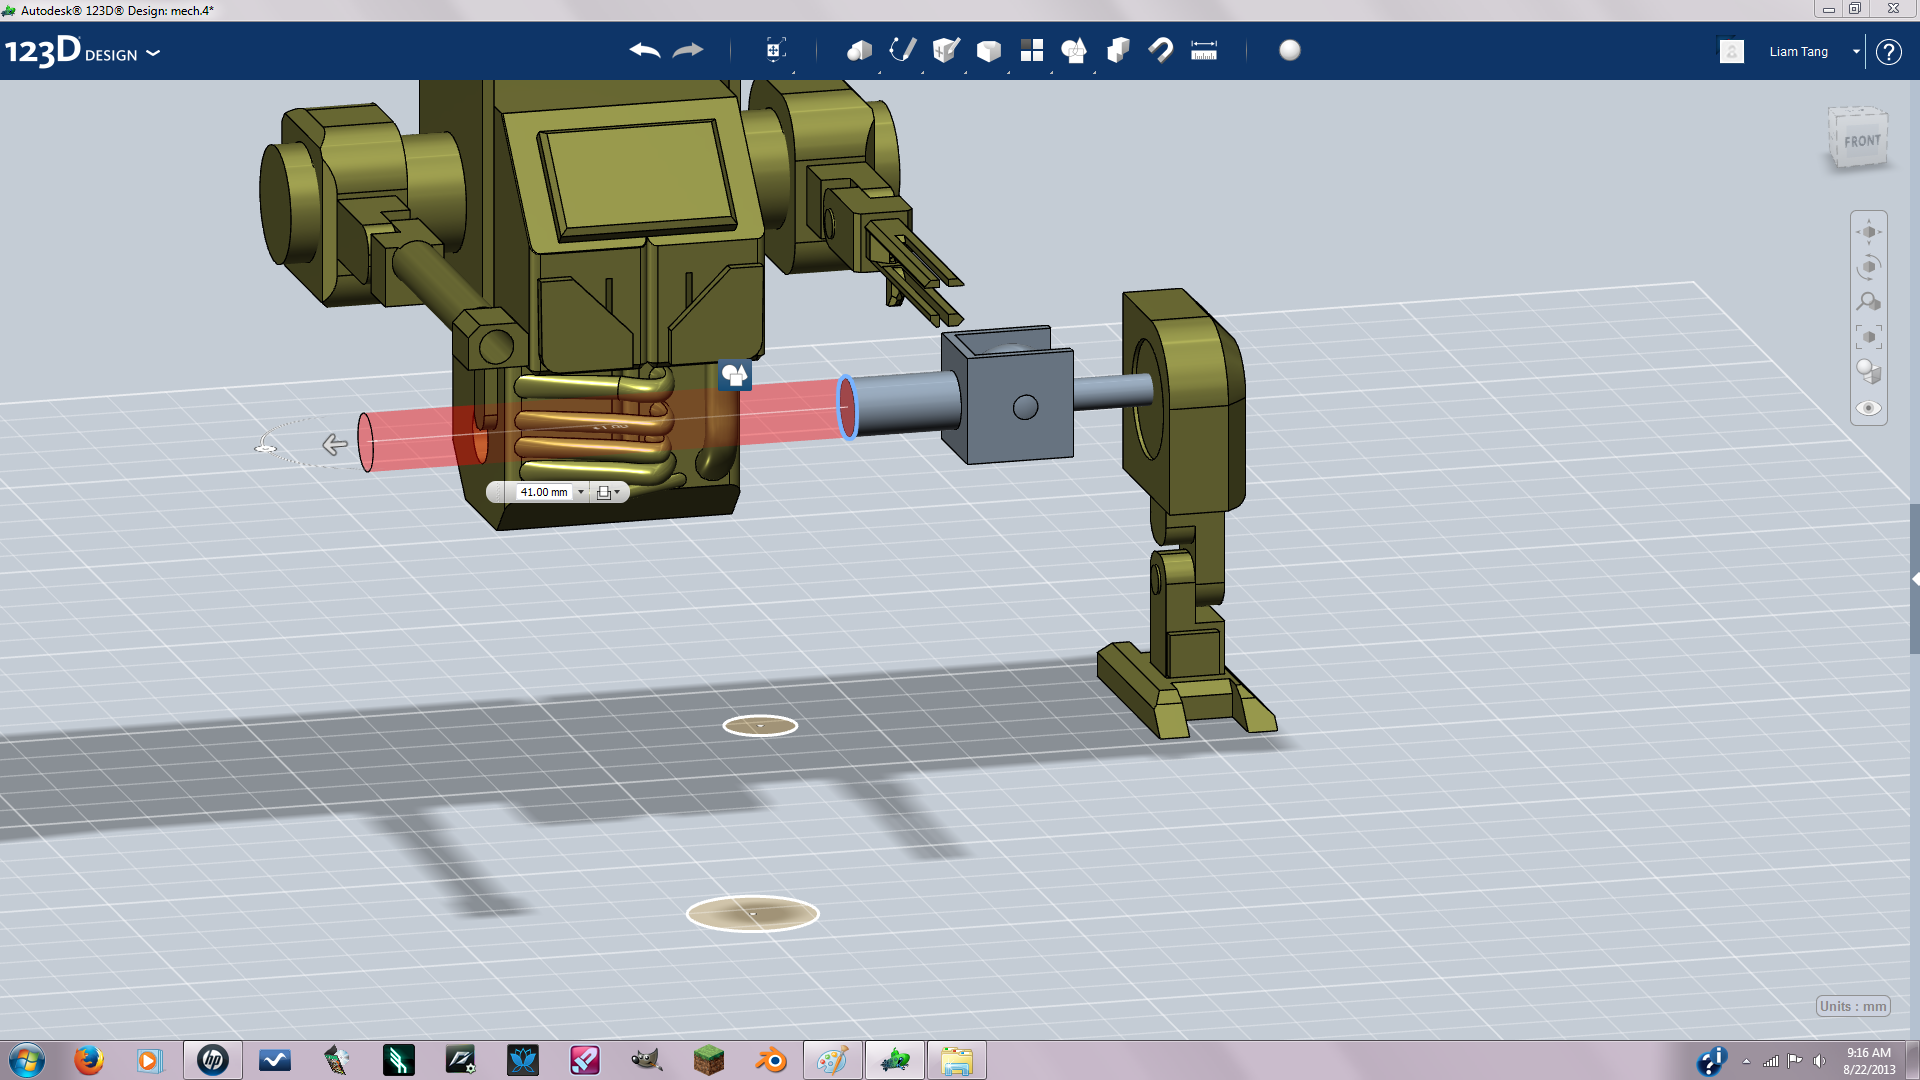
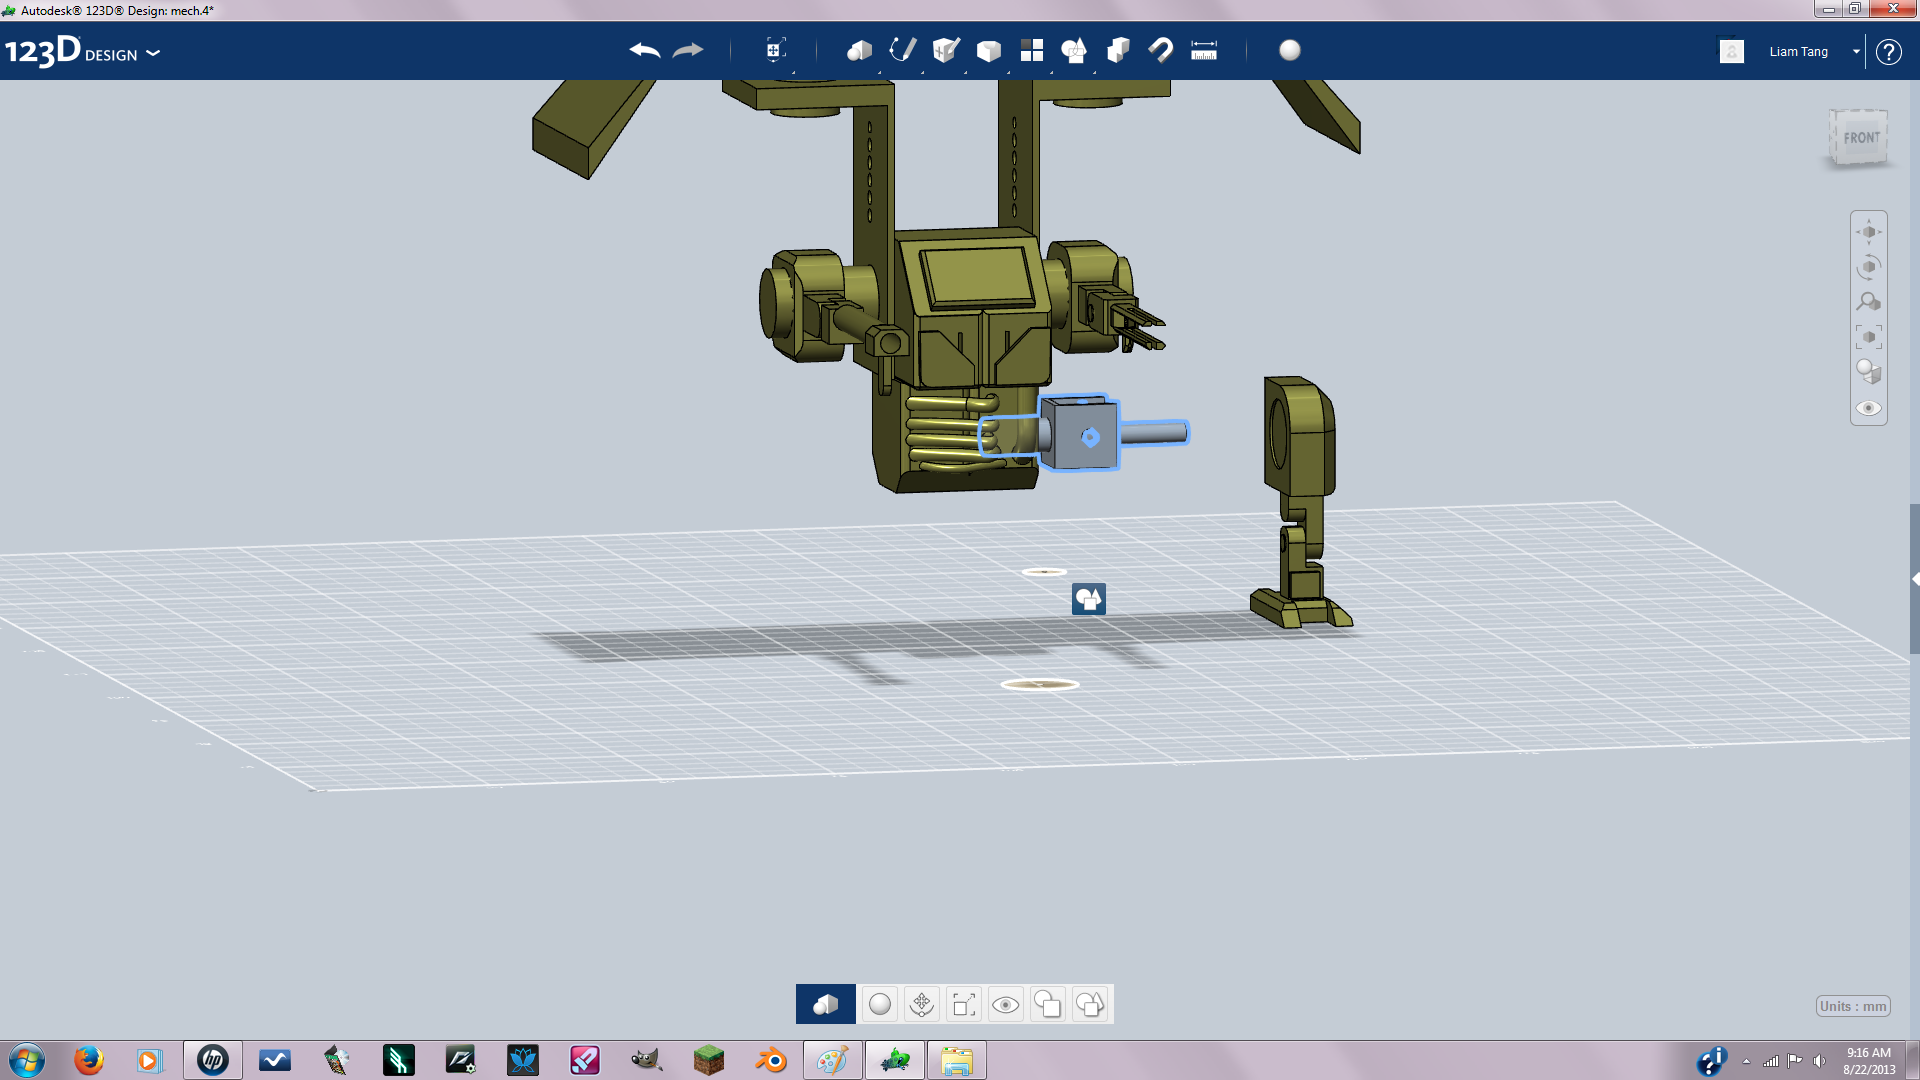
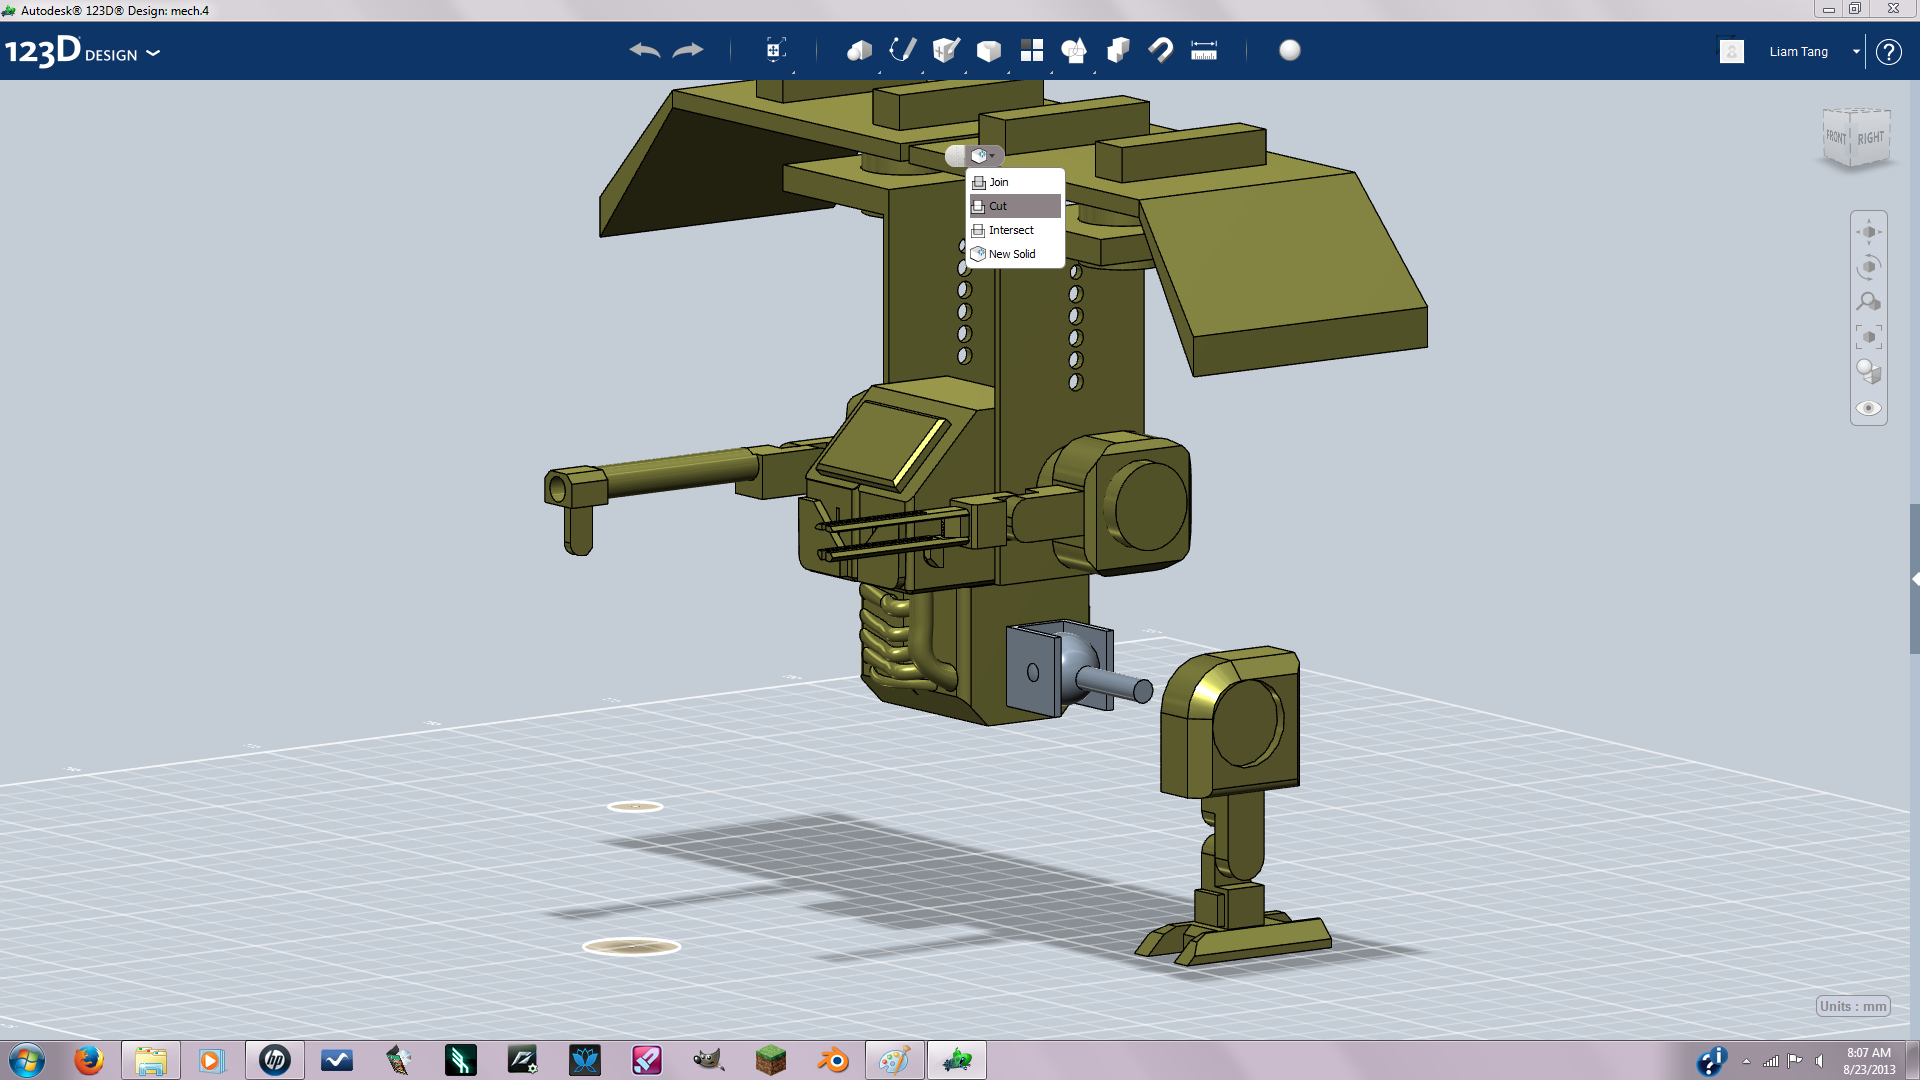
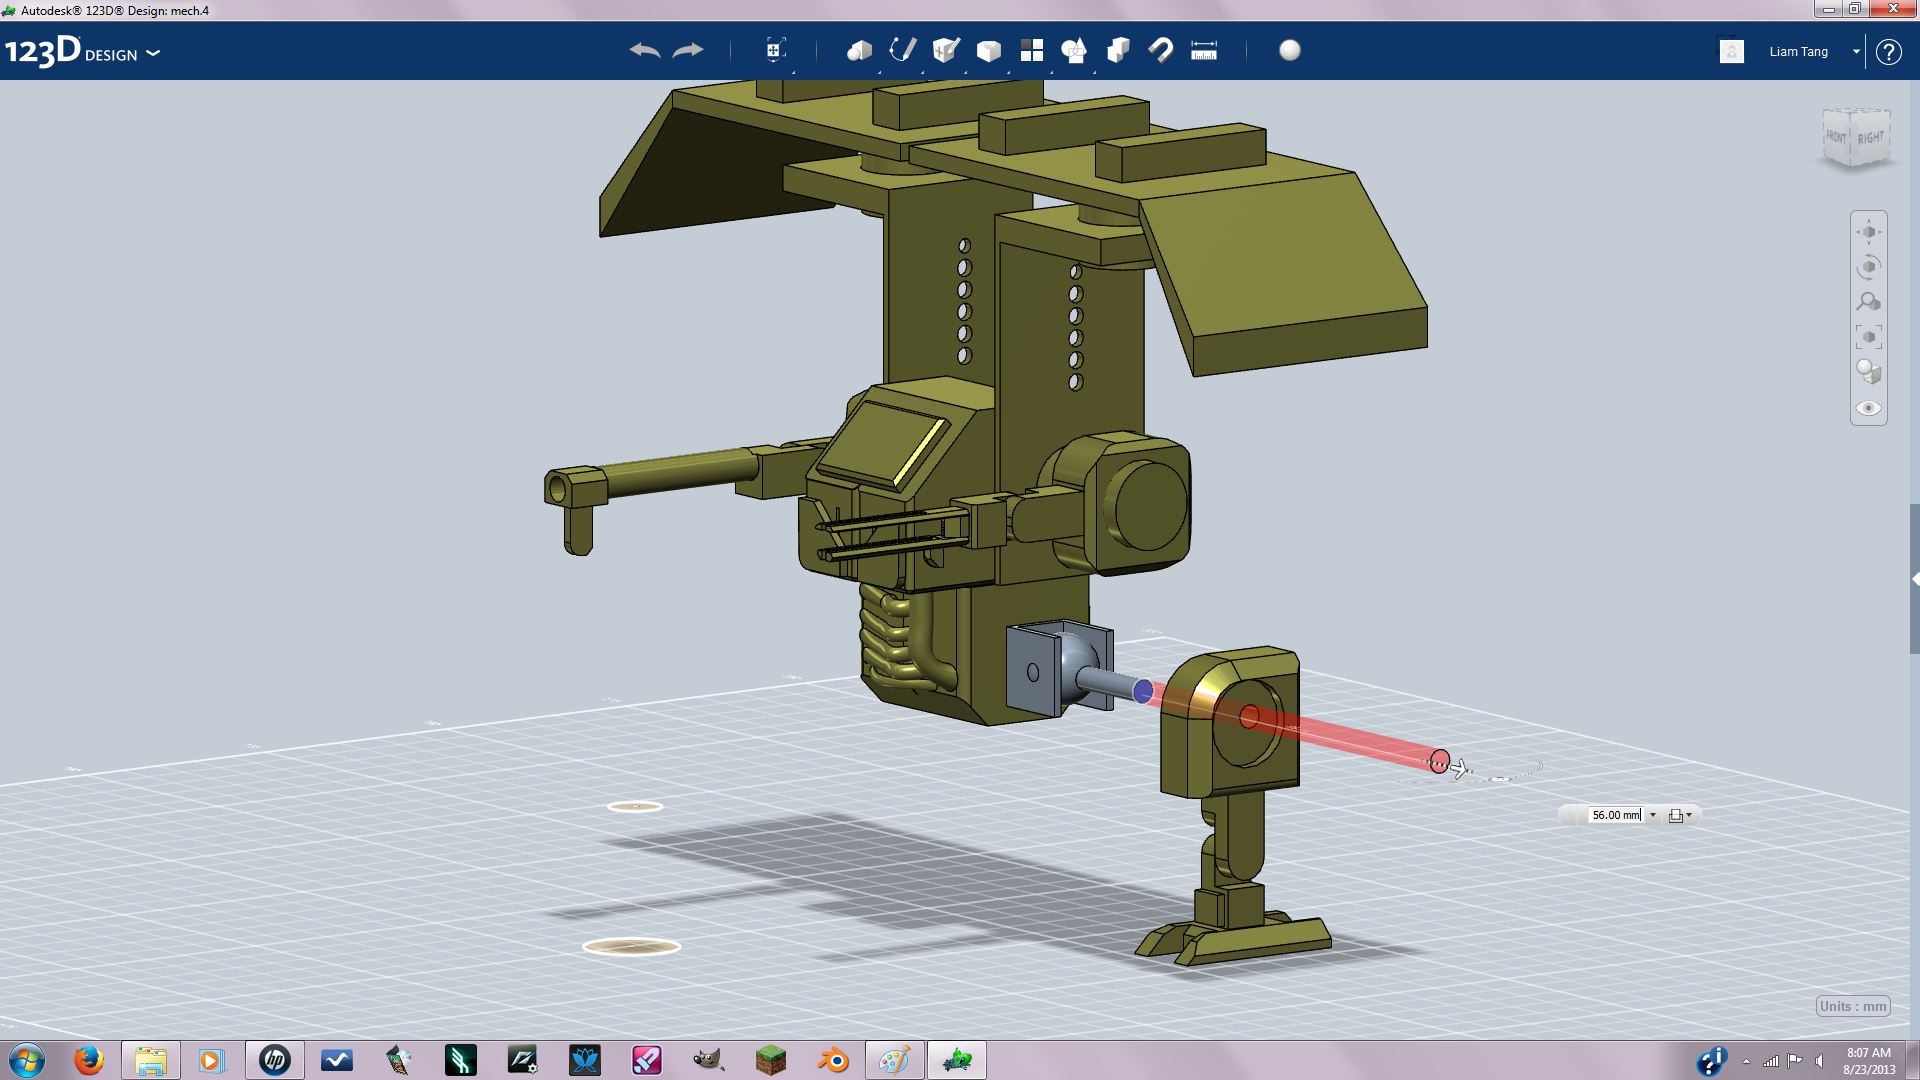
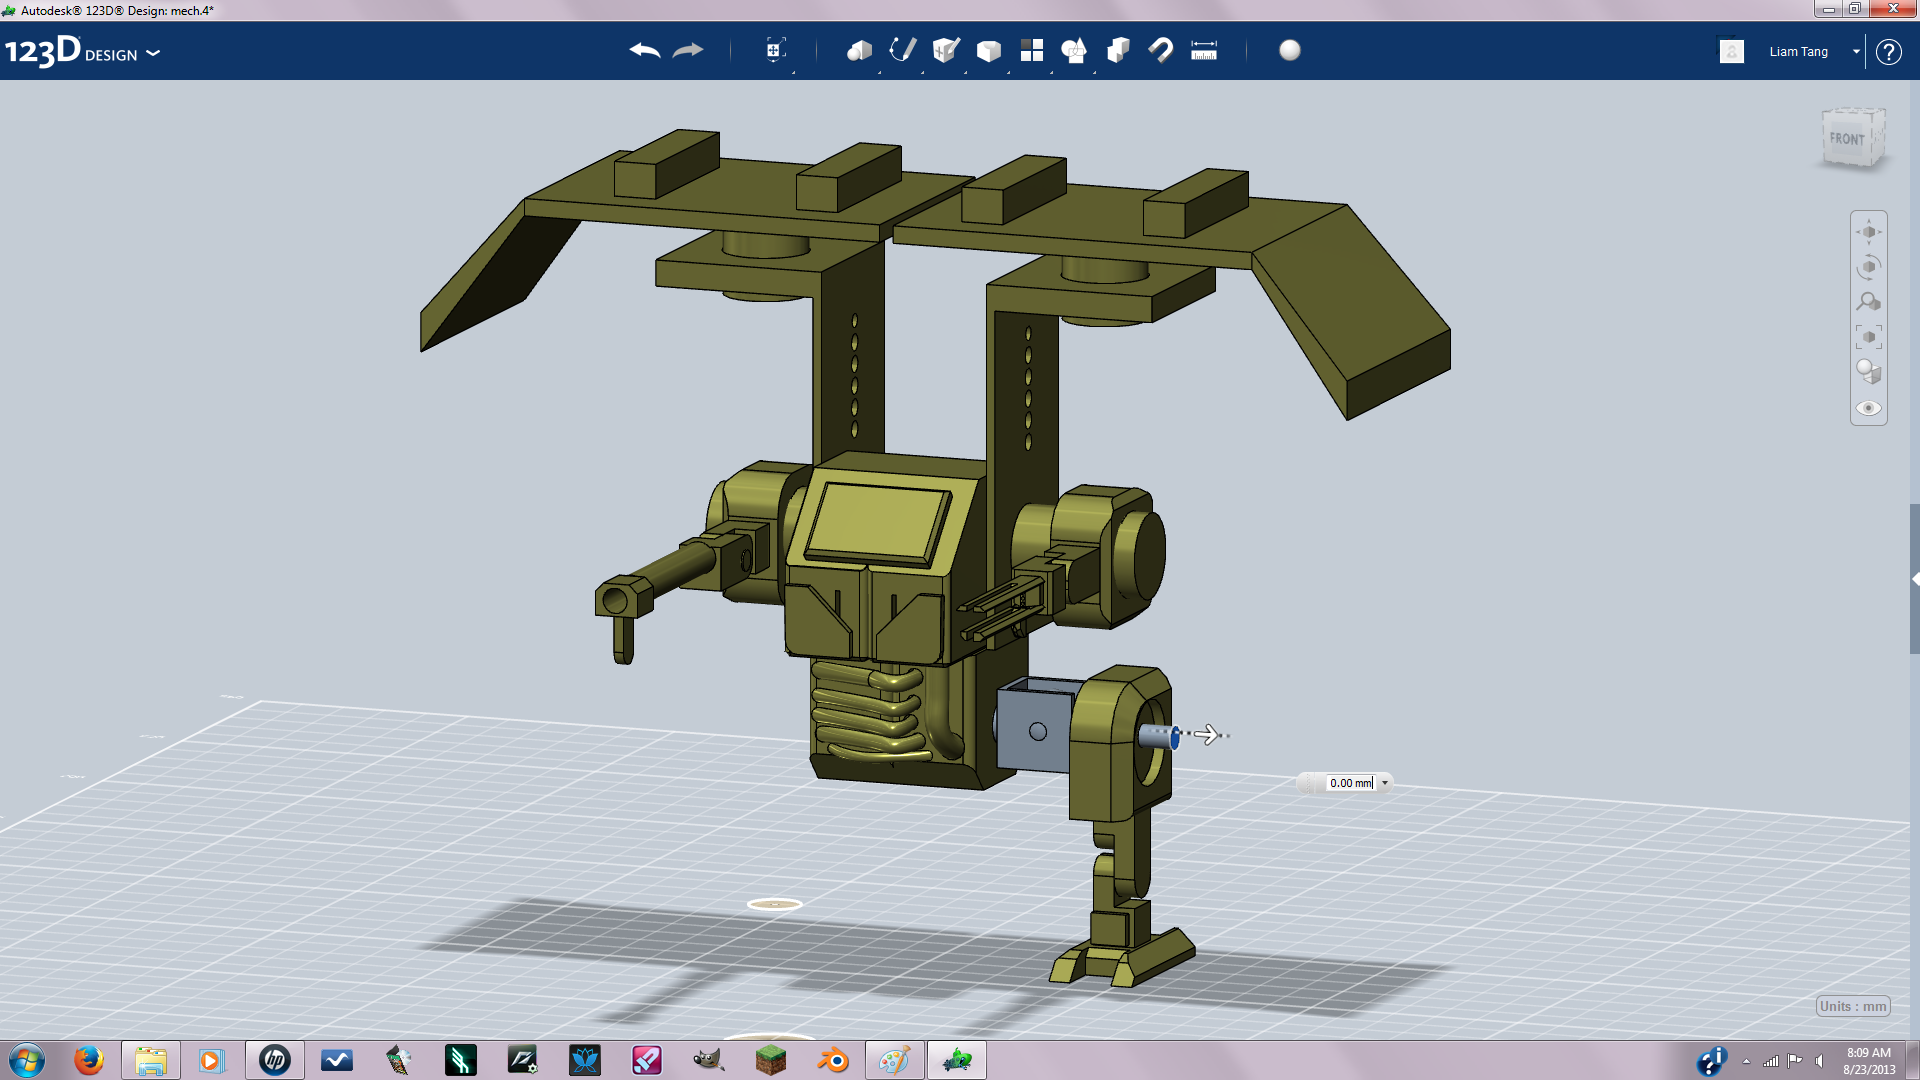
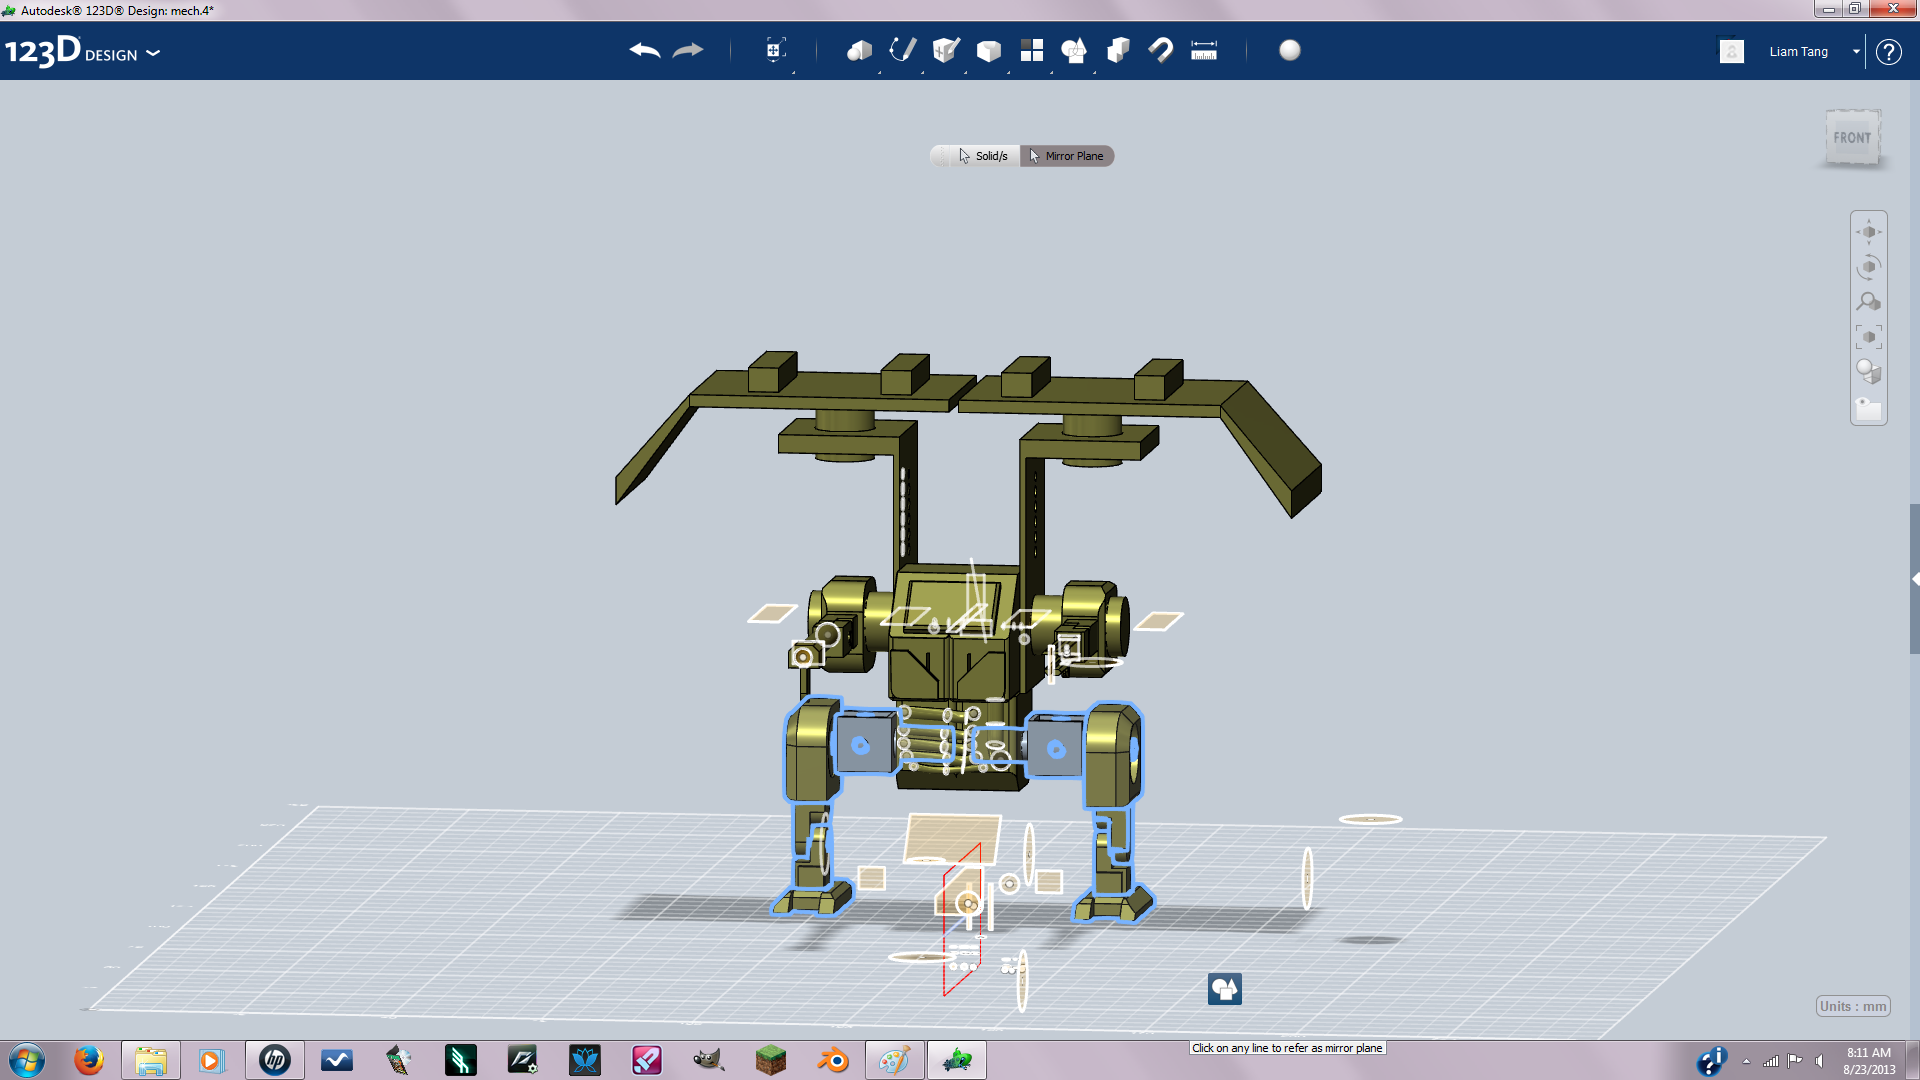
Now scale and position the ball joint similar to pic 1 extrude the face on the cylinder all the way through the bottom of the mech as seen in pic 1 but make sure extrude is set to cut. Now move the ball joint in to where you just extruded. Now extrude through the leg as seen in pic 4 then move the leg in to the ball joint. Your mech should now look like pic 5. Now just mirror it to the other side using the same plane that you used for the mech.
Take It Apart


Now just take it apart and prepare it for printing.