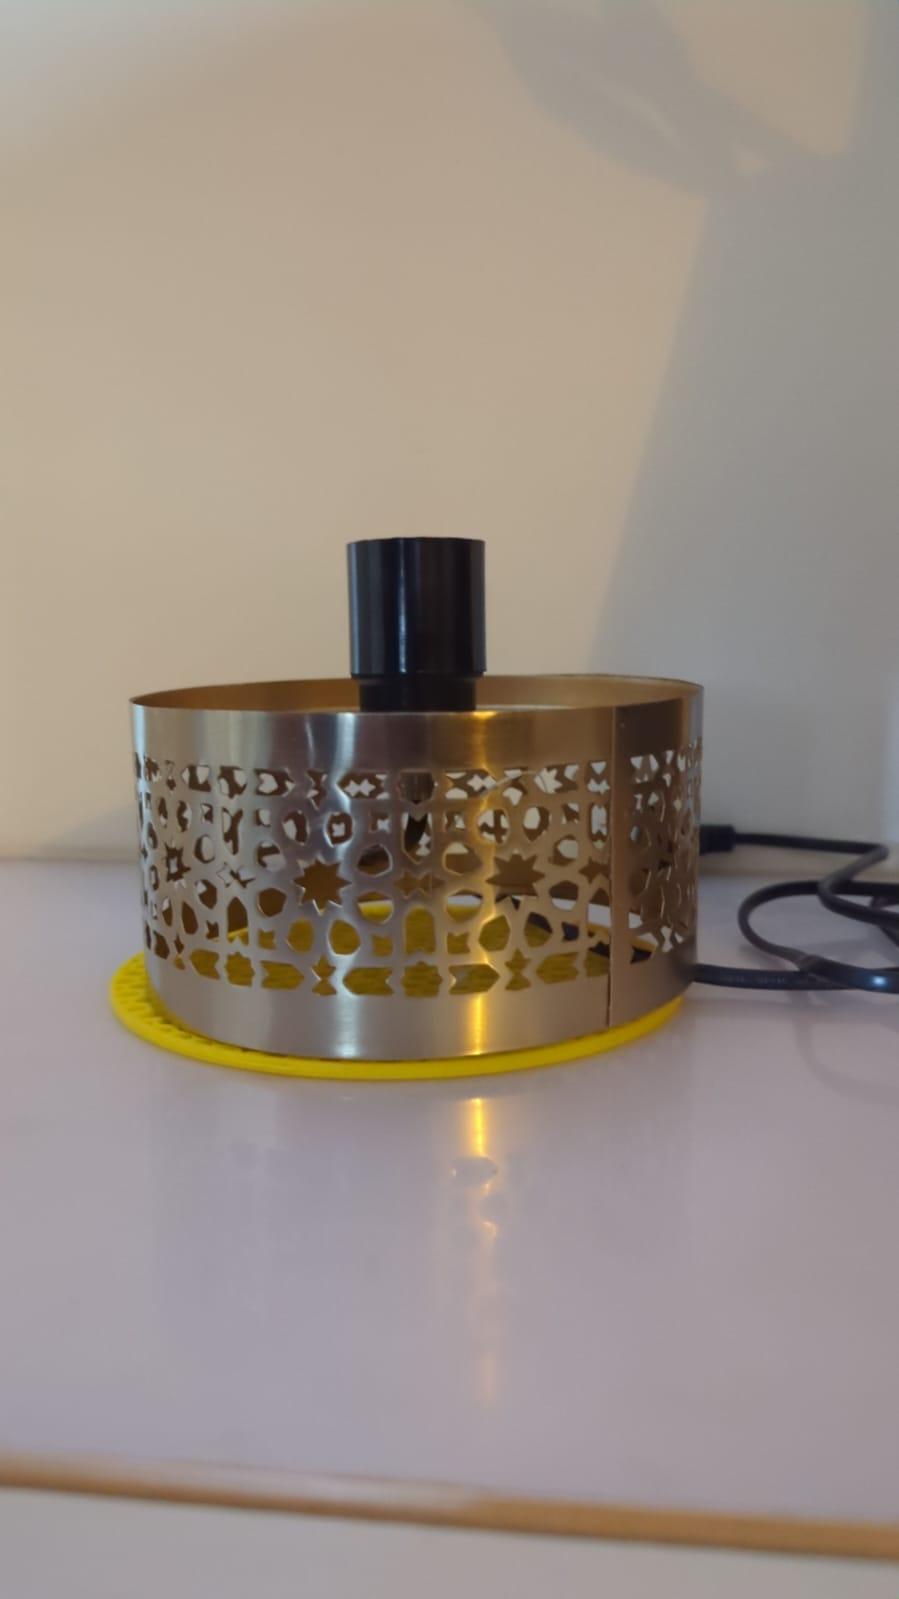
3d Printed Honeycomb Lamp
by Amit_Jain in Workshop > 3D Printing
1976 Views, 23 Favorites, 0 Comments
3d Printed Honeycomb Lamp

Hi All,
I'm thrilled to share the process of creating a stunning 3D-printed lamp by remixing or customizing designs from Thingiverse. We will customize them on Tinkercad. Although it may sound complex, the steps are simple. Let’s dive into how you can turn an ordinary design into a unique, eye-catching lamp that will light up any space with creativity.
Supplies
- Lamp Base
- 3w LED bulb
- 3d printer
- Vernier caliper
- laptop
Finding the Right Design
- There are many websites like Thingiverse, that offer good 3d designs for lamps
- Here are two similar honeycomb designs on Thingiverse
- https://www.thingiverse.com/thing:3175389
- https://www.thingiverse.com/thing:4807723
- You may choose either or find another that is to your liking
What We Want?
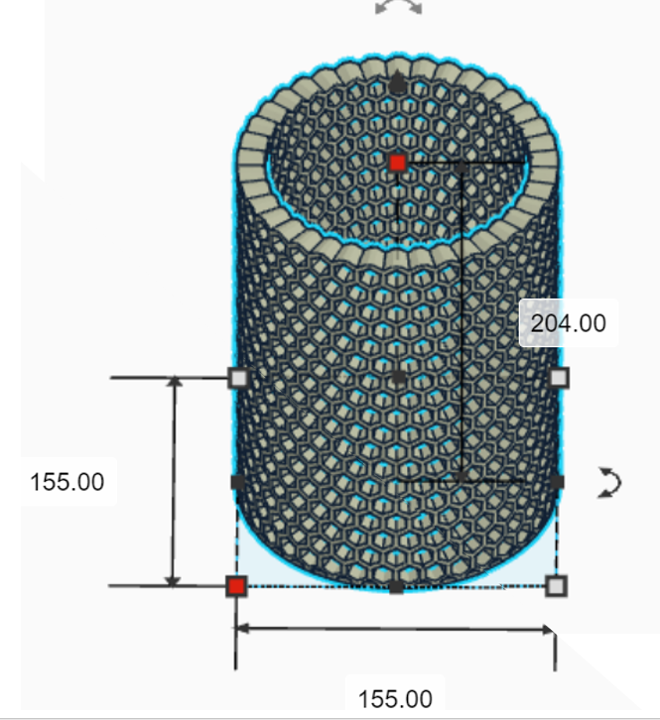
- The 3d designs available are made to a specific need, so before we 3d print, we need to modify our requirements and limits
- The lamp base is 156 mm in diameter so the lamp will have a 155mm diameter for easy placement
- I have an Ender 3 v3 see, so I can print up to 210mm height
- With this in our mind let's customize our stl files
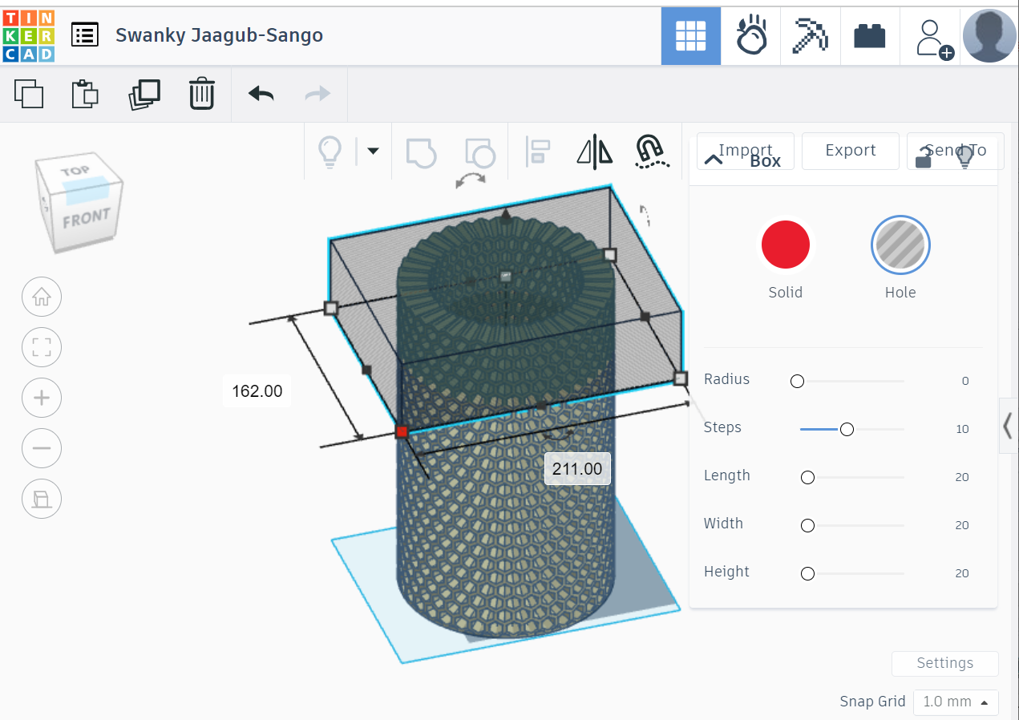
Customize Using Tinkercad
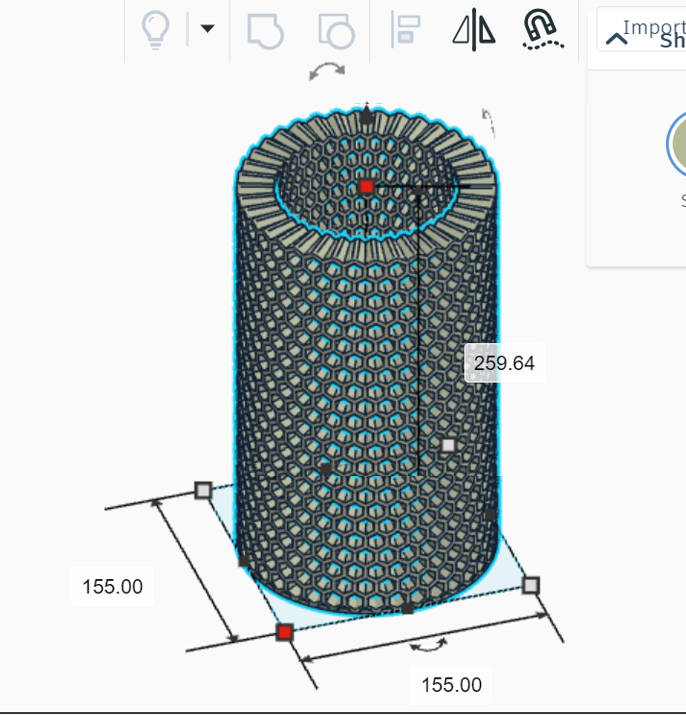
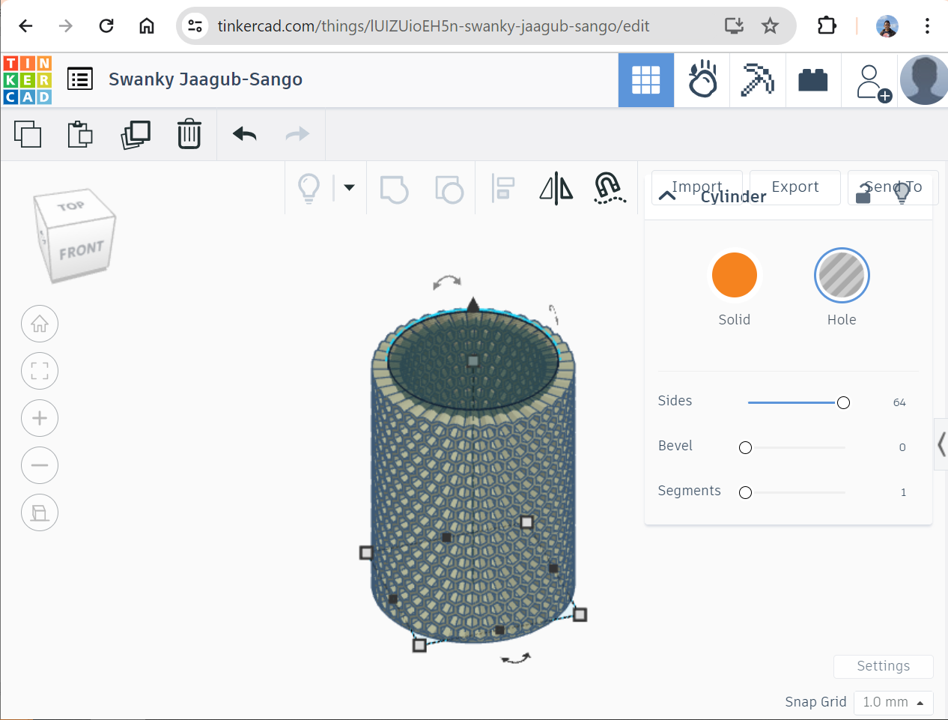
- Import the STL file to tinkercad
- Scale the model uniformly, so the base diameter is 153mm
- Using a hole box, remove the top part so that the model height is below 210 mm
- Due to scaling the thickness of the model increased
- To reduce it, I used a cylinder hole to adjust to the correct thickness
- Please note we cannot adjust the wall thickness
- Export the STL file
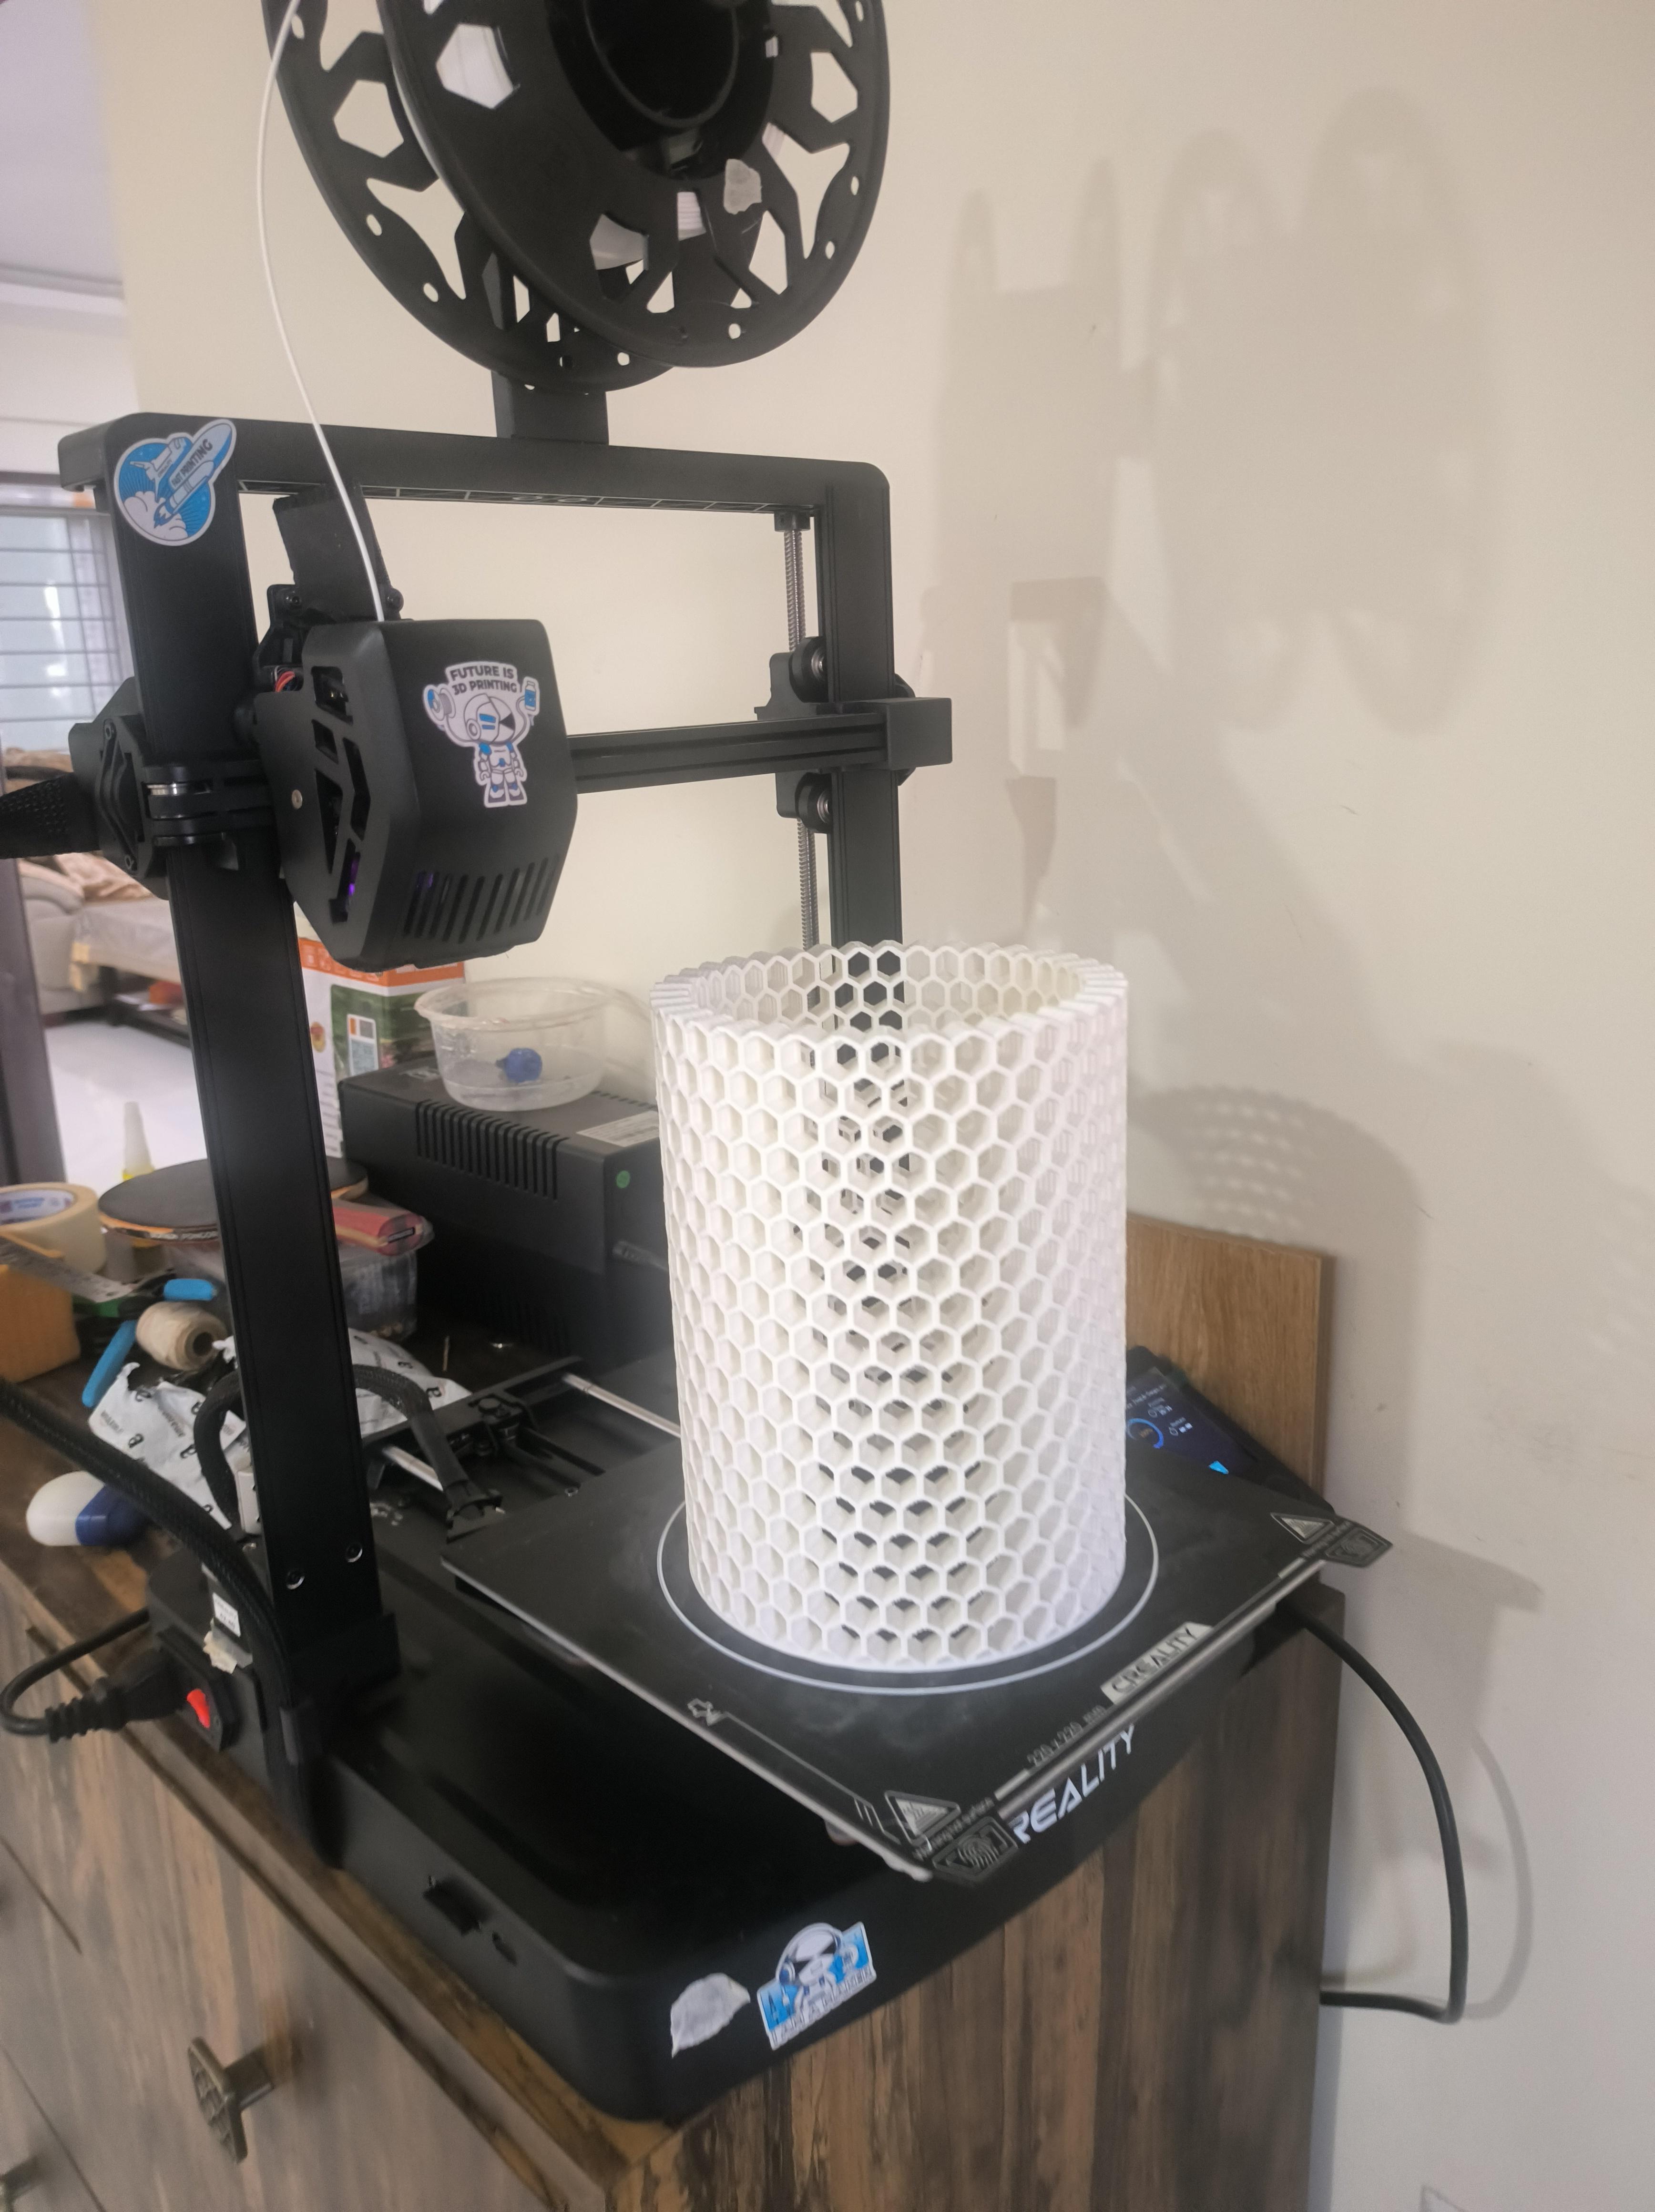
- Open the STL file into Cura or other preferred slicing software
- Settings
- Layer height: 0.2mm
- Infill: 10%
- Support: None
- It took 1 day for the lamp to print on my Ender 3 v3 Se at 150mm/sec
Assembly
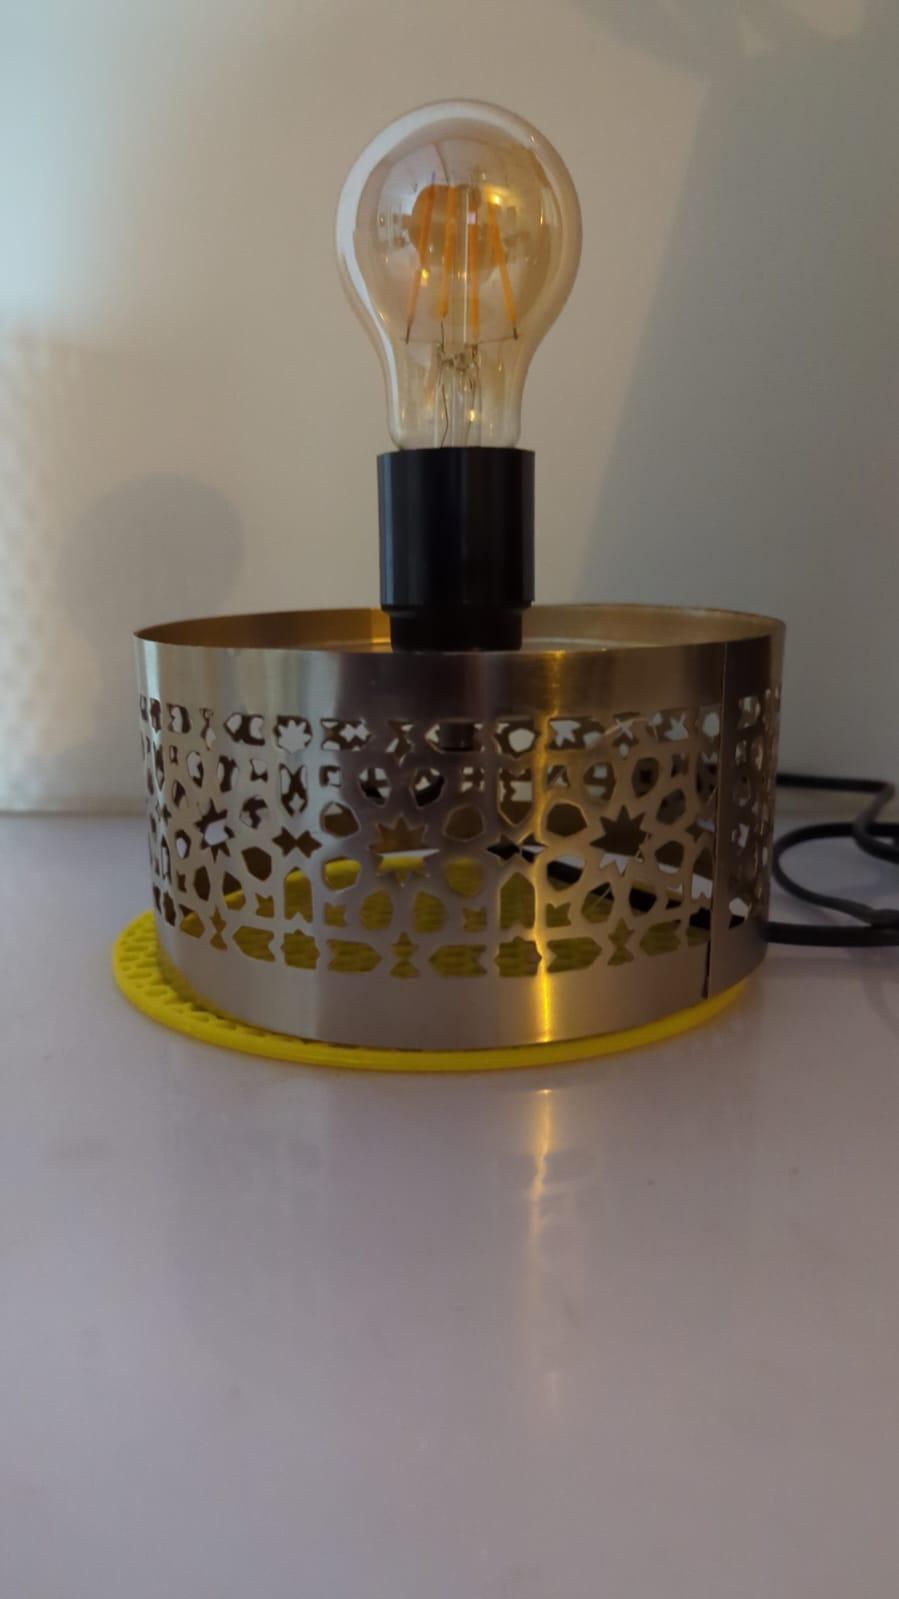
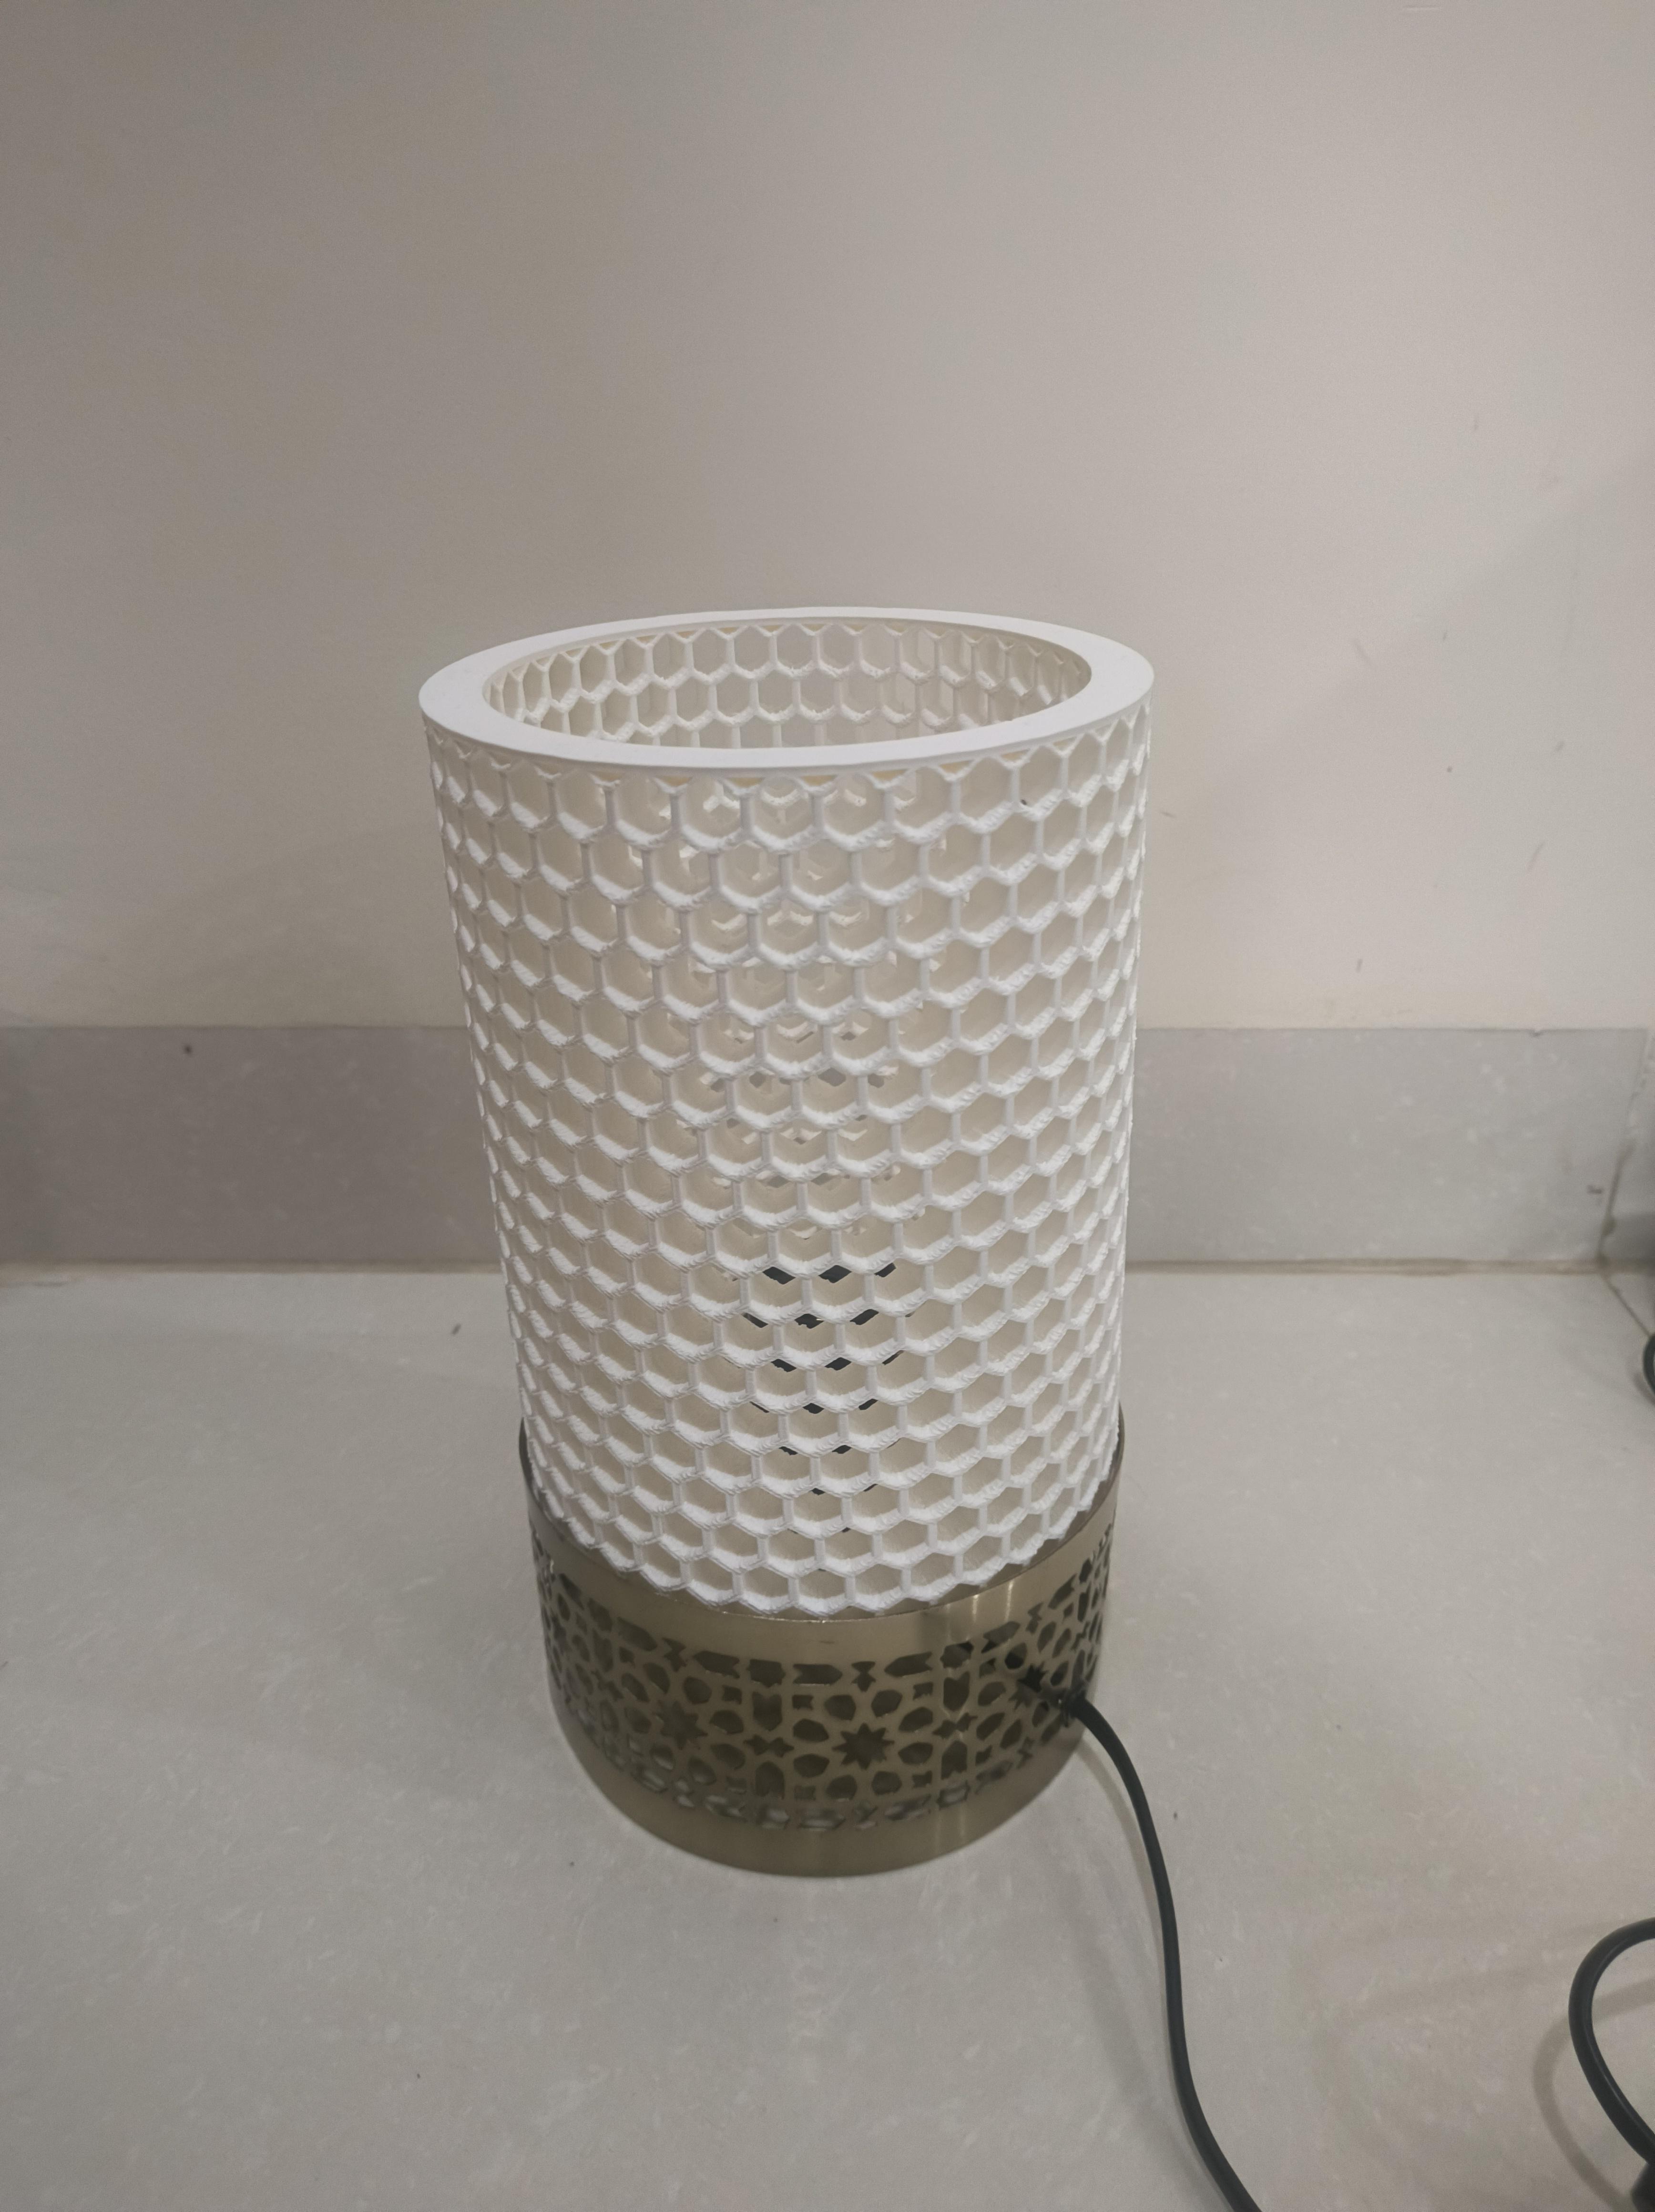

- Connect an LED bulb to the base
- Place the 3d printed lamp on the base
- Switch on and we are done
- Admire the beauty of the lamp
I hope you like this instructable and share your comments and feedback