3d Printable Magnetic Wrist Belt
by daxpatel in Workshop > 3D Printing
312 Views, 0 Favorites, 0 Comments
3d Printable Magnetic Wrist Belt
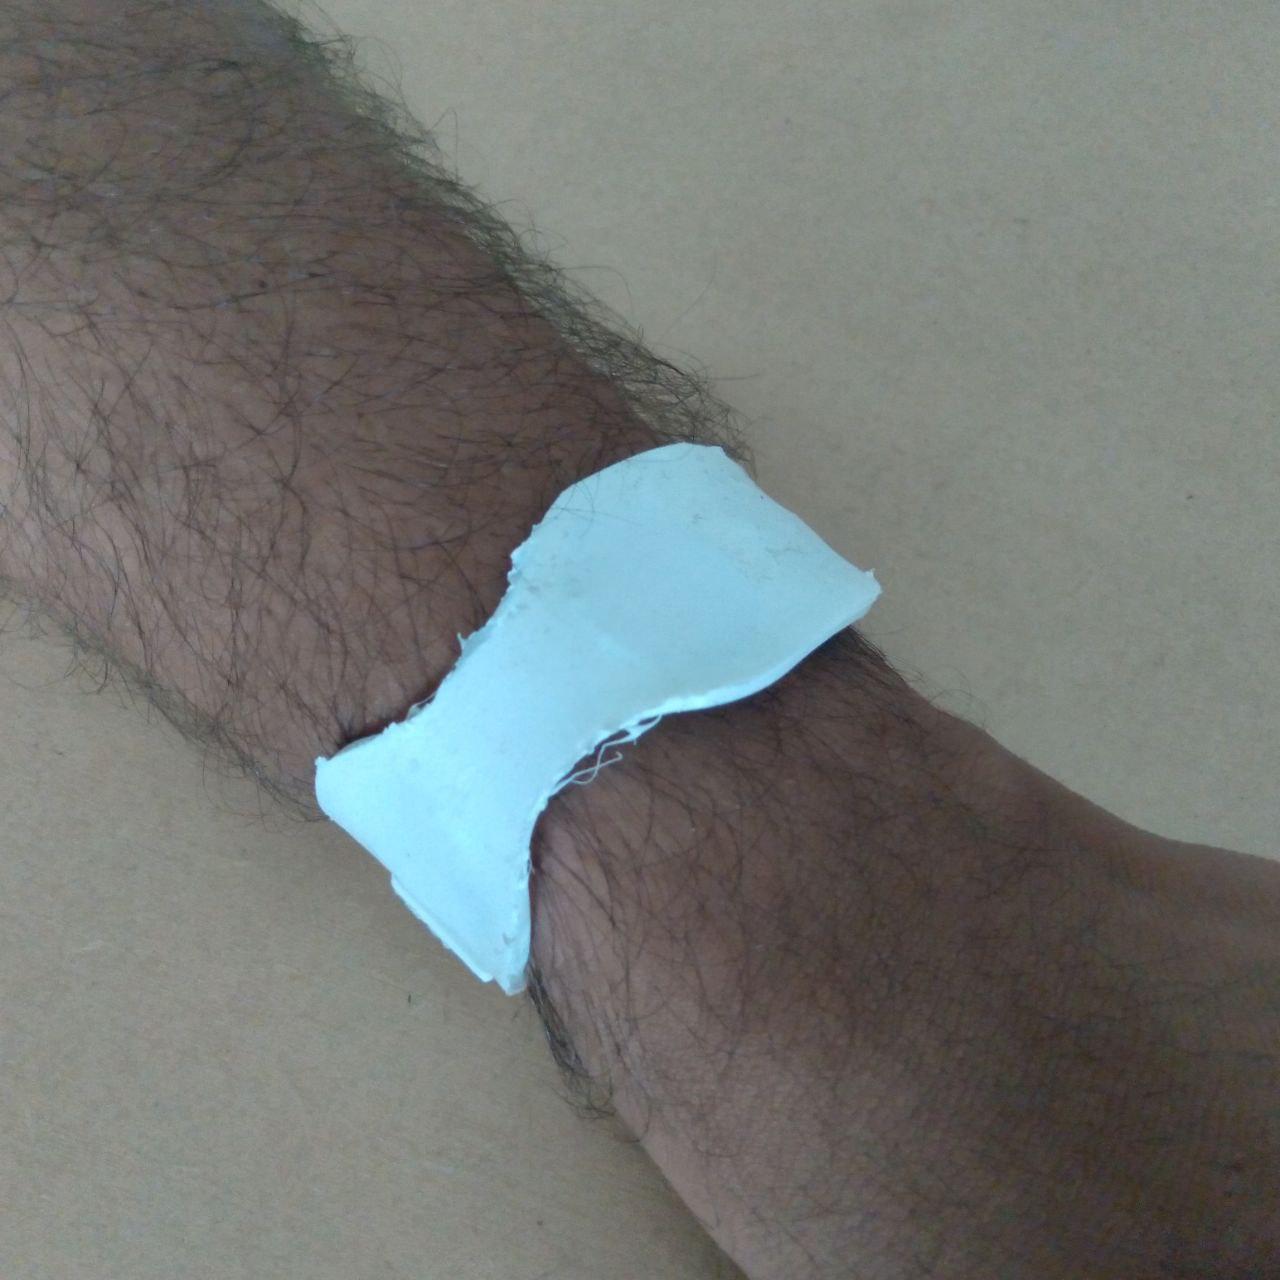
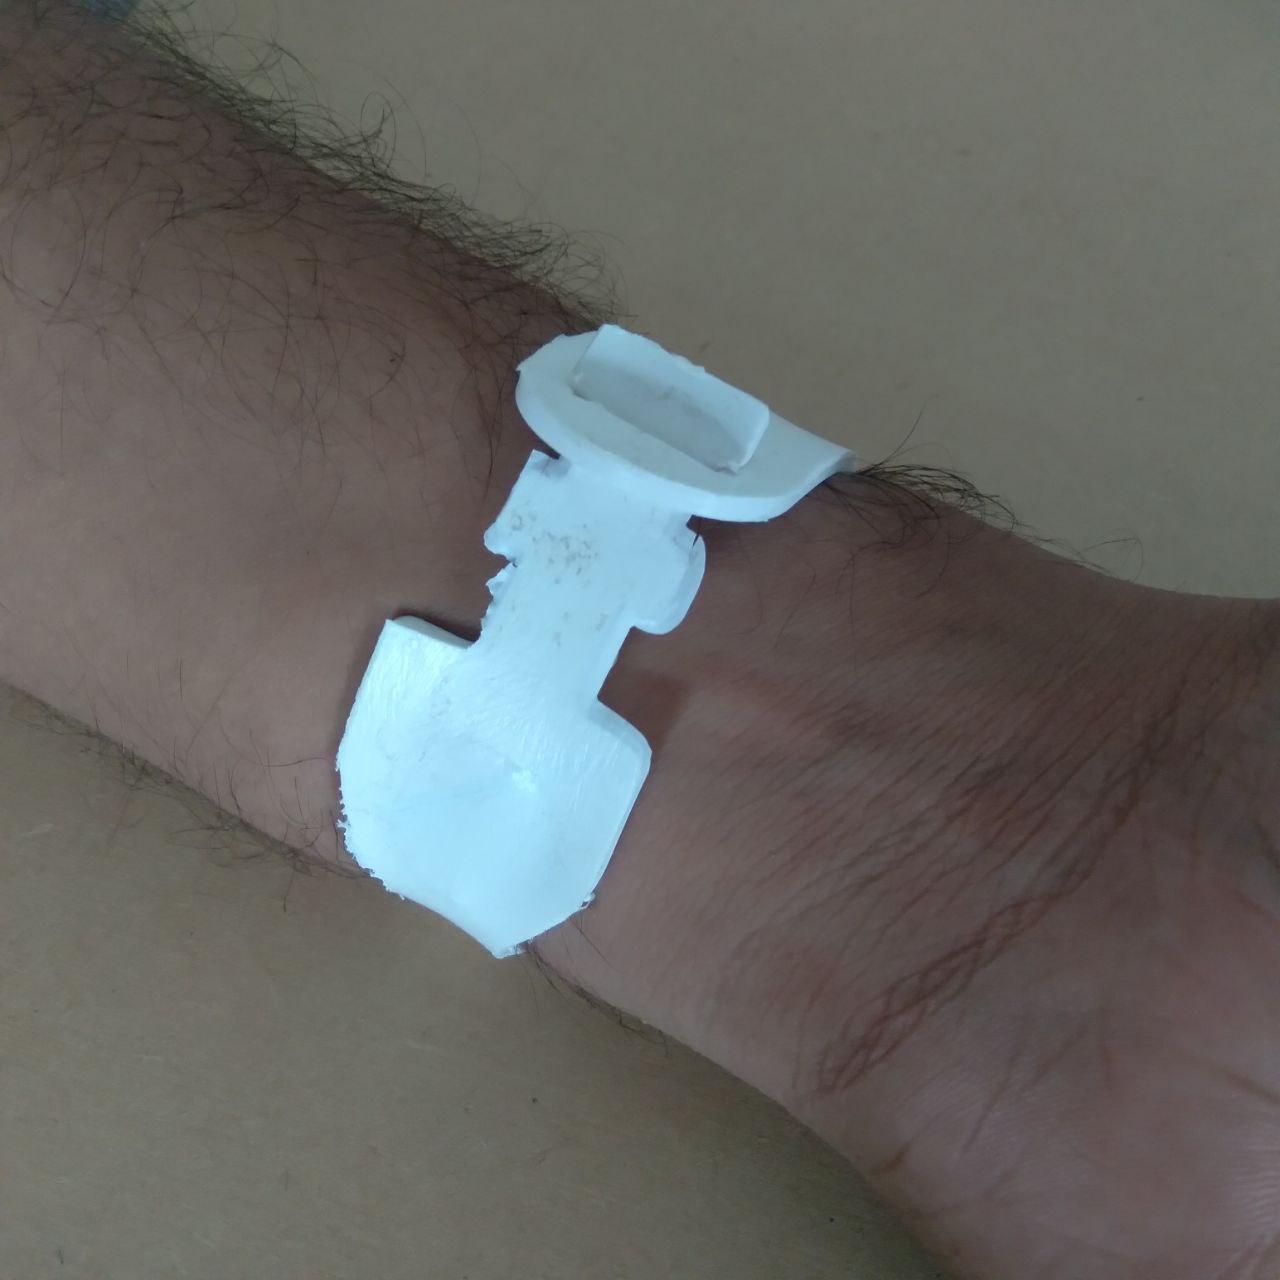
Some people believe that wearing a magnetic bracelet can help to reduce inflammation, which can be beneficial for those with conditions like arthritis or other inflammatory disorders. Additionally, some studies have suggested that magnetic therapy may help to improve sleep quality and reduce stress and anxiety.
So, instead of purchasing from the market, I want to design and make my own design of magnetic wrist belts.
Supplies
.jpeg)
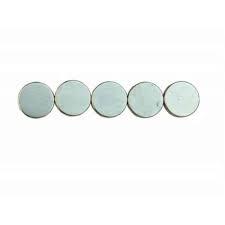
1> Button magnets in any size (18 mm and 1.6mm thick recommended)
2> TPU or similar 3d printing material
3> Access of 3d printer(any 3d printer supports TPU or flexible material)
4> super glue
Take Initial Measurements
First, i take a measurement of my wrist by using measurement tape.
It comes out approx 170 mm or 17 cm in the periphery.
I check out some different sizes of Neodymium magnets on Amazon.
I buy button magnets in 18mm diameter and 1.6mm thickness.
3d Design
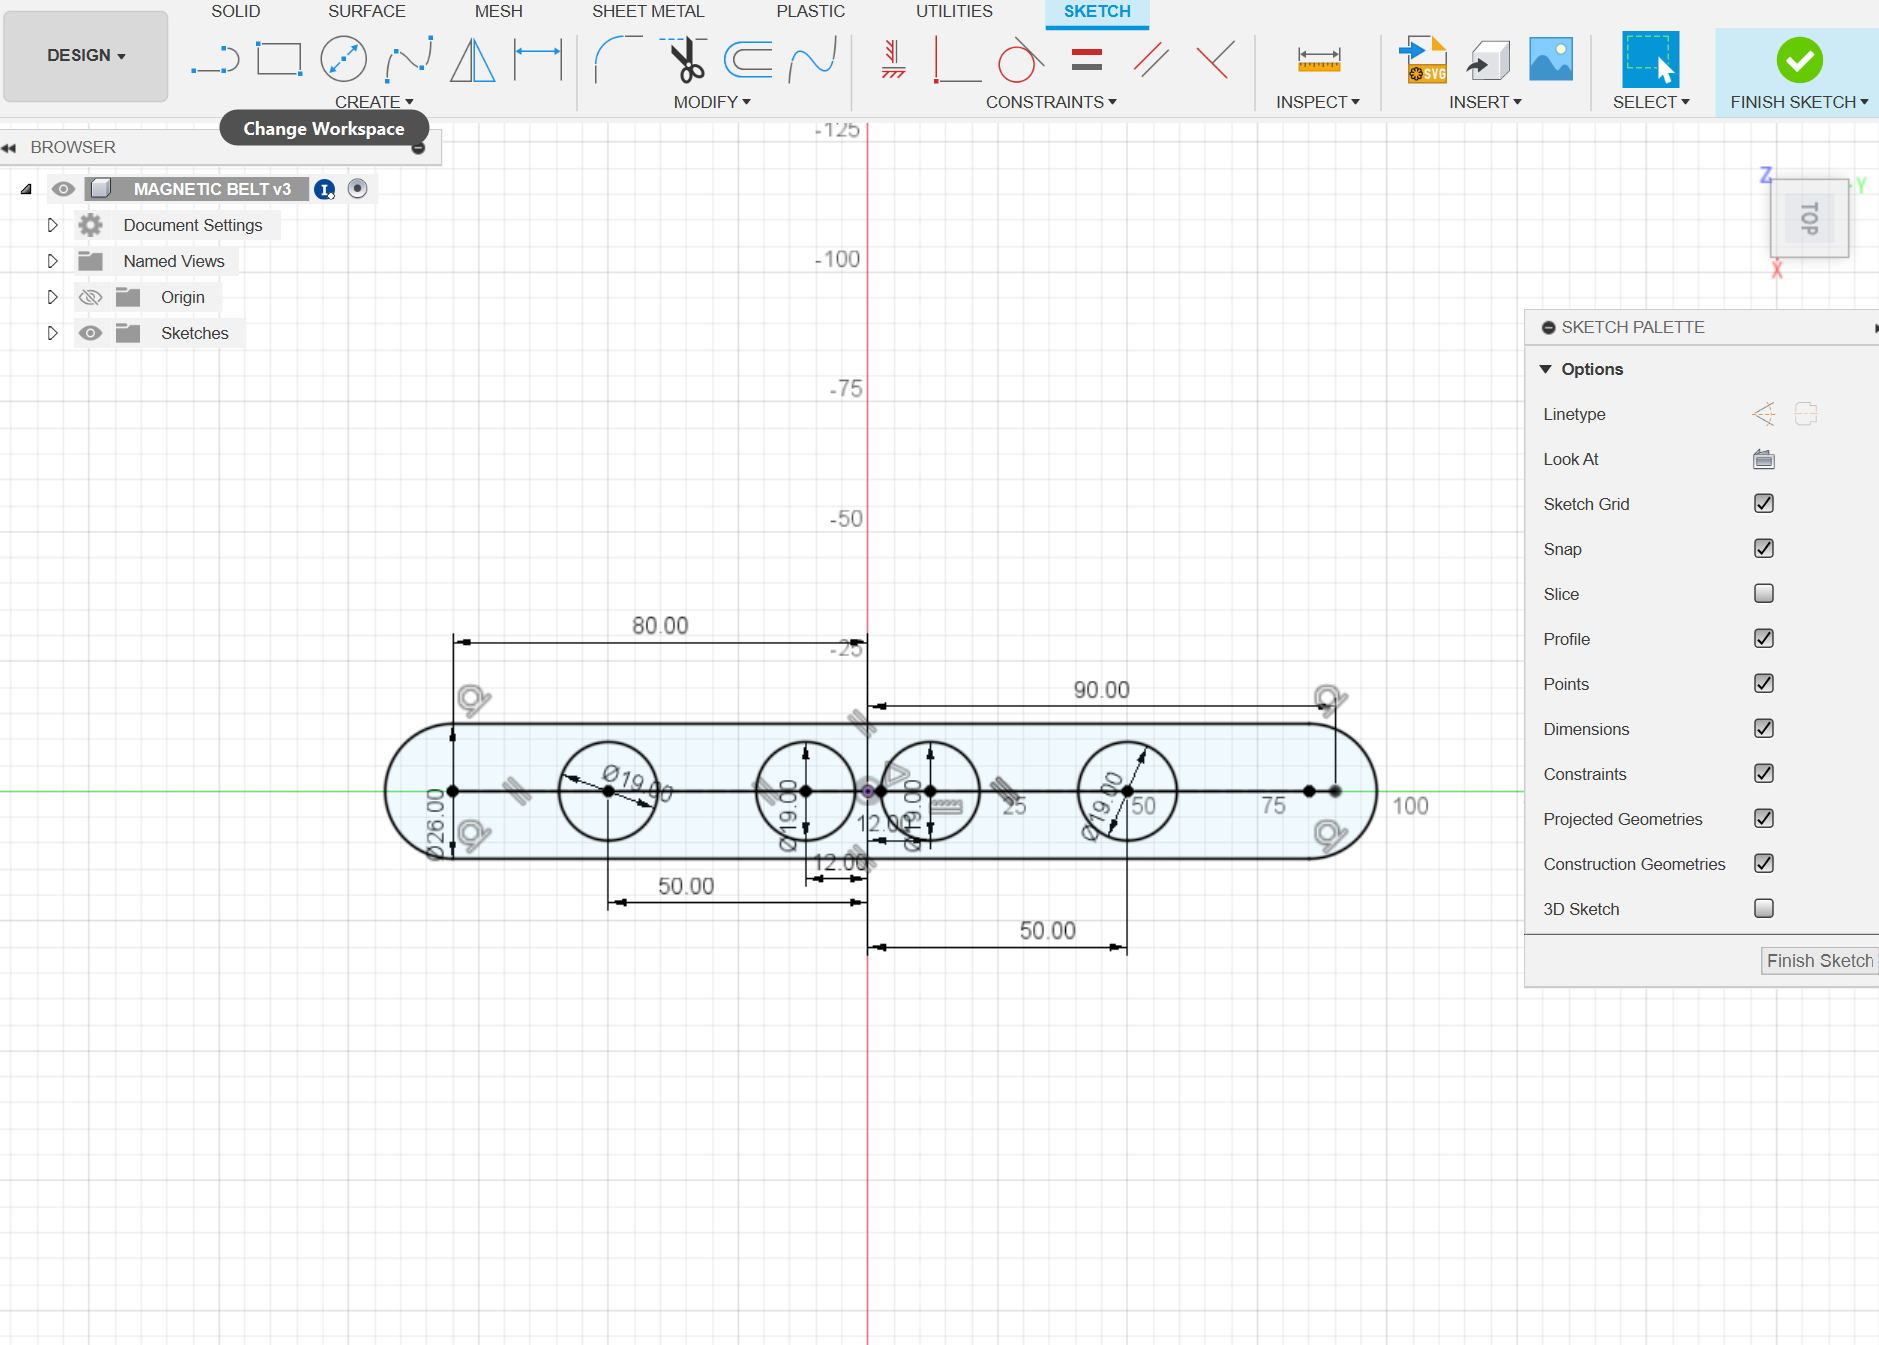
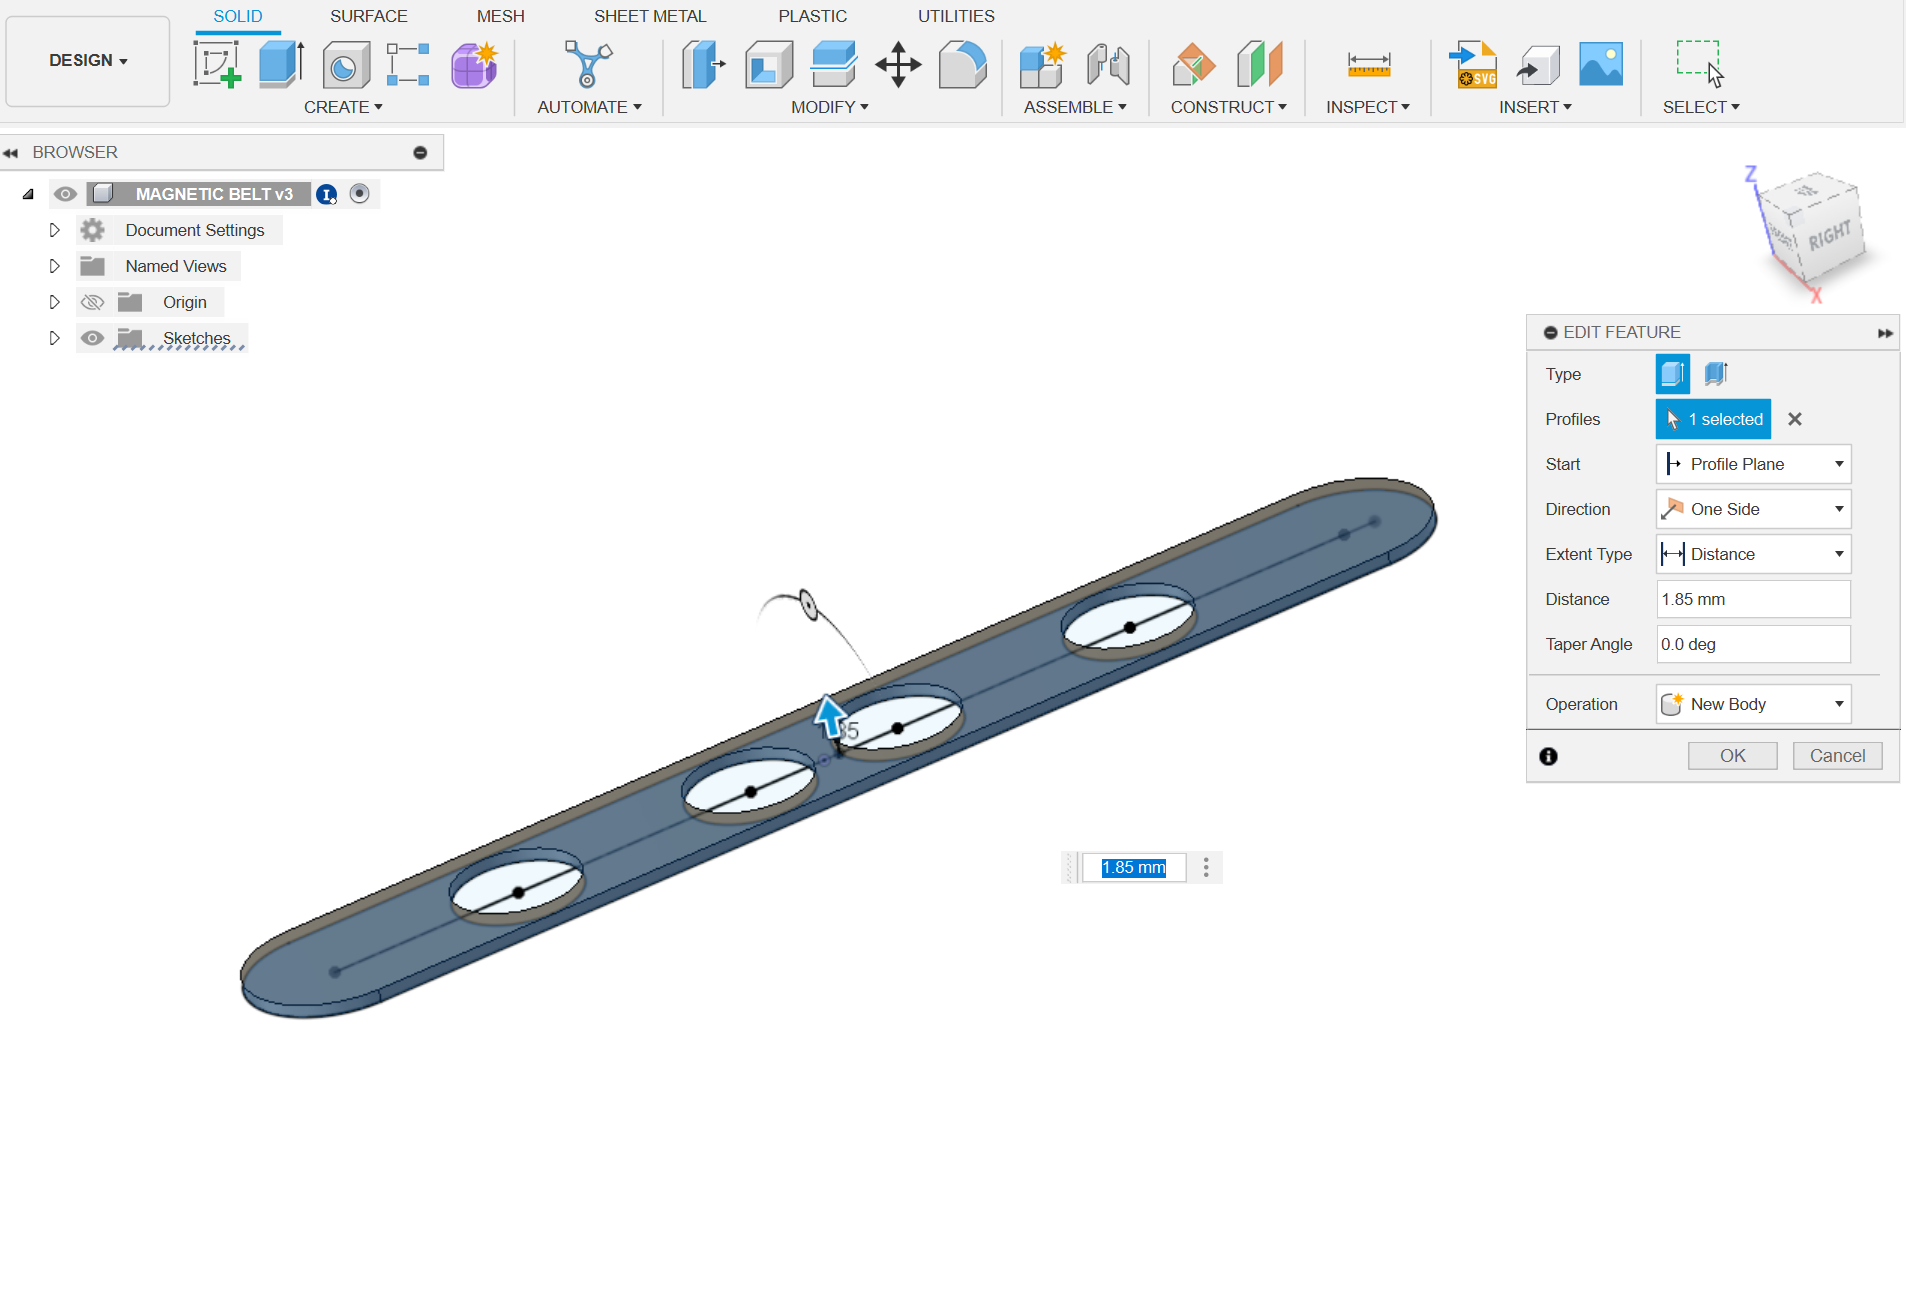
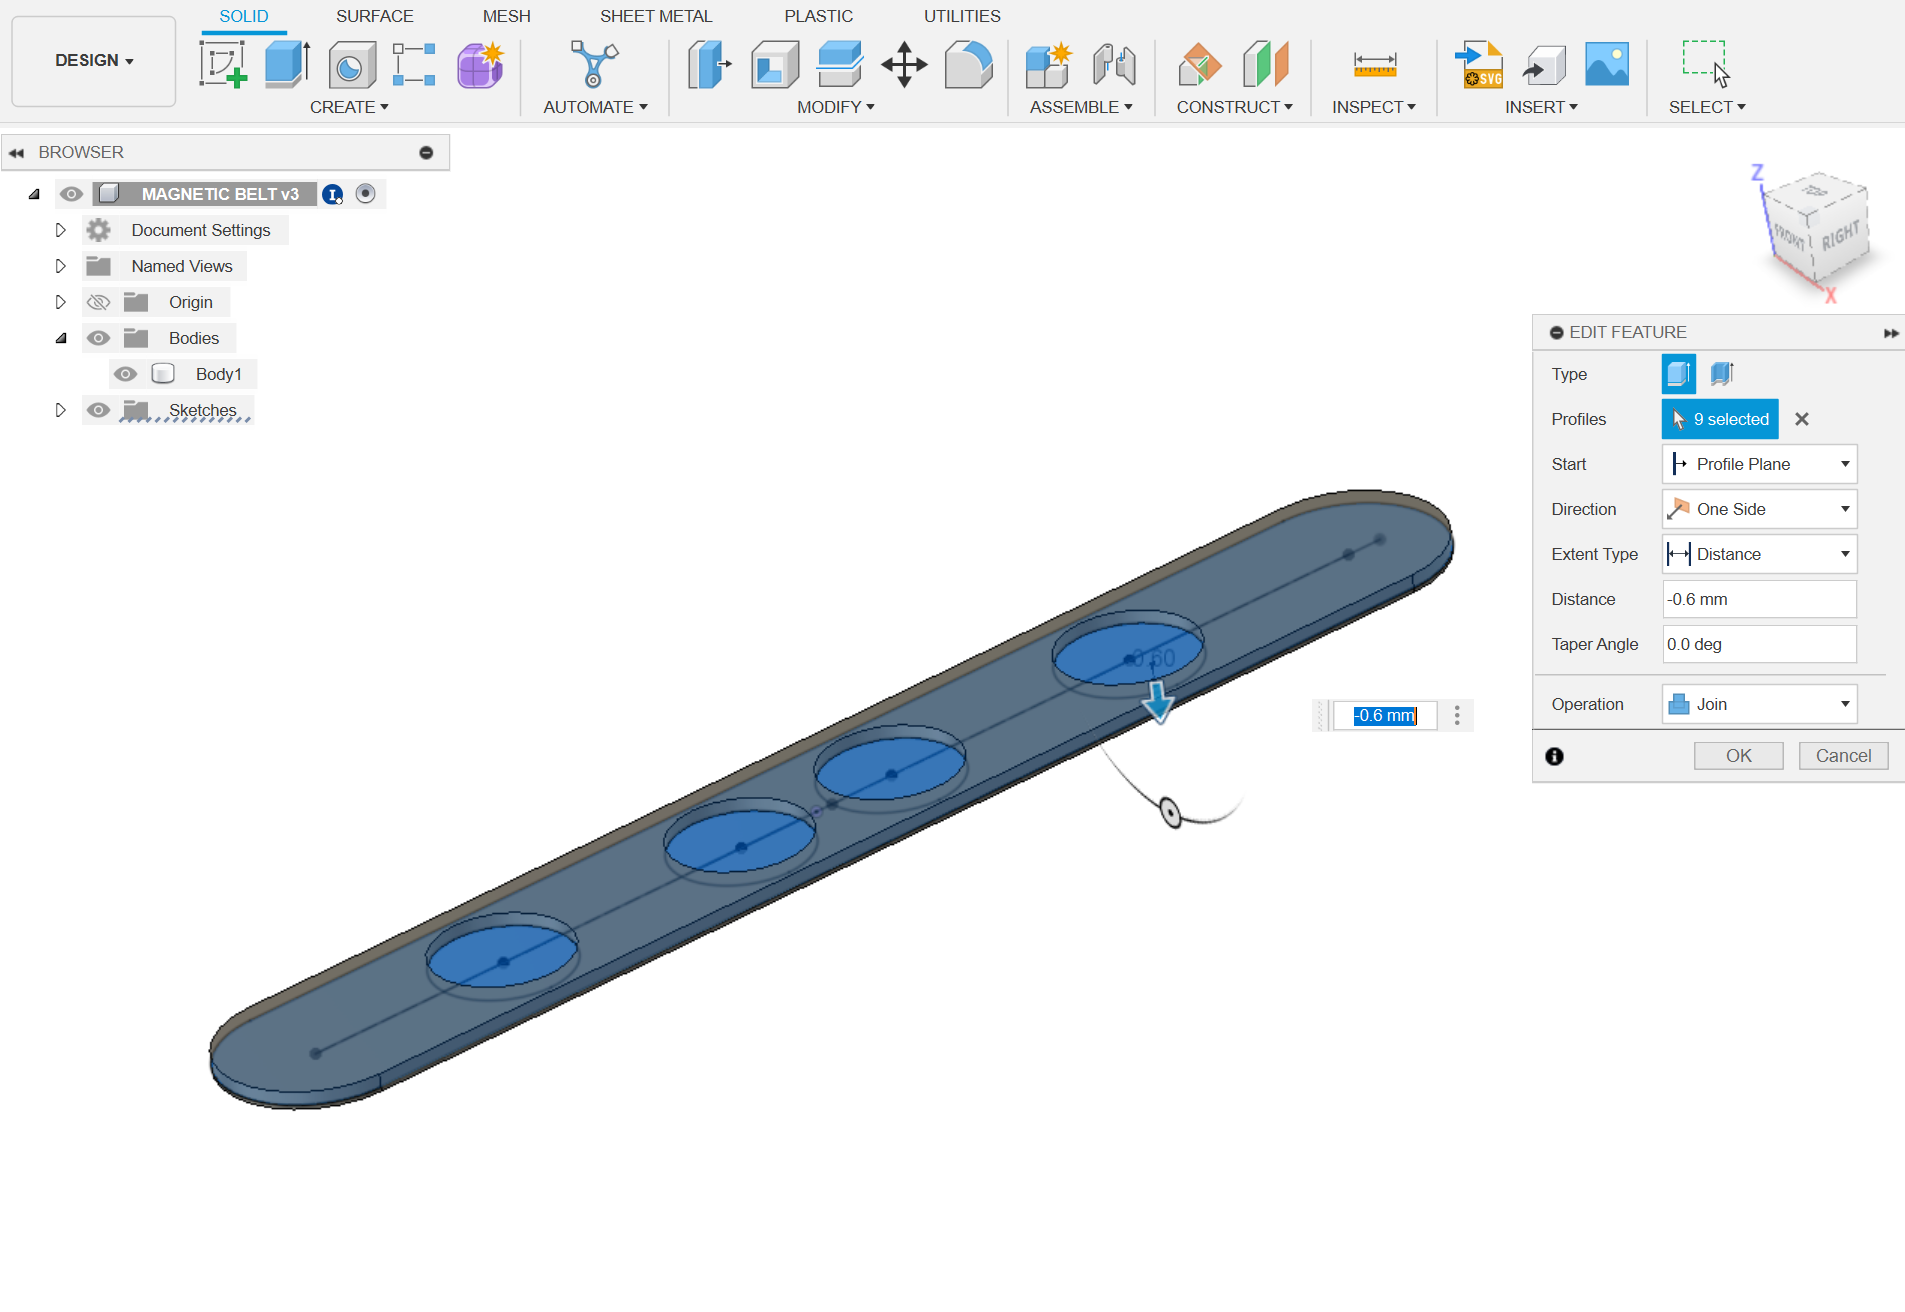
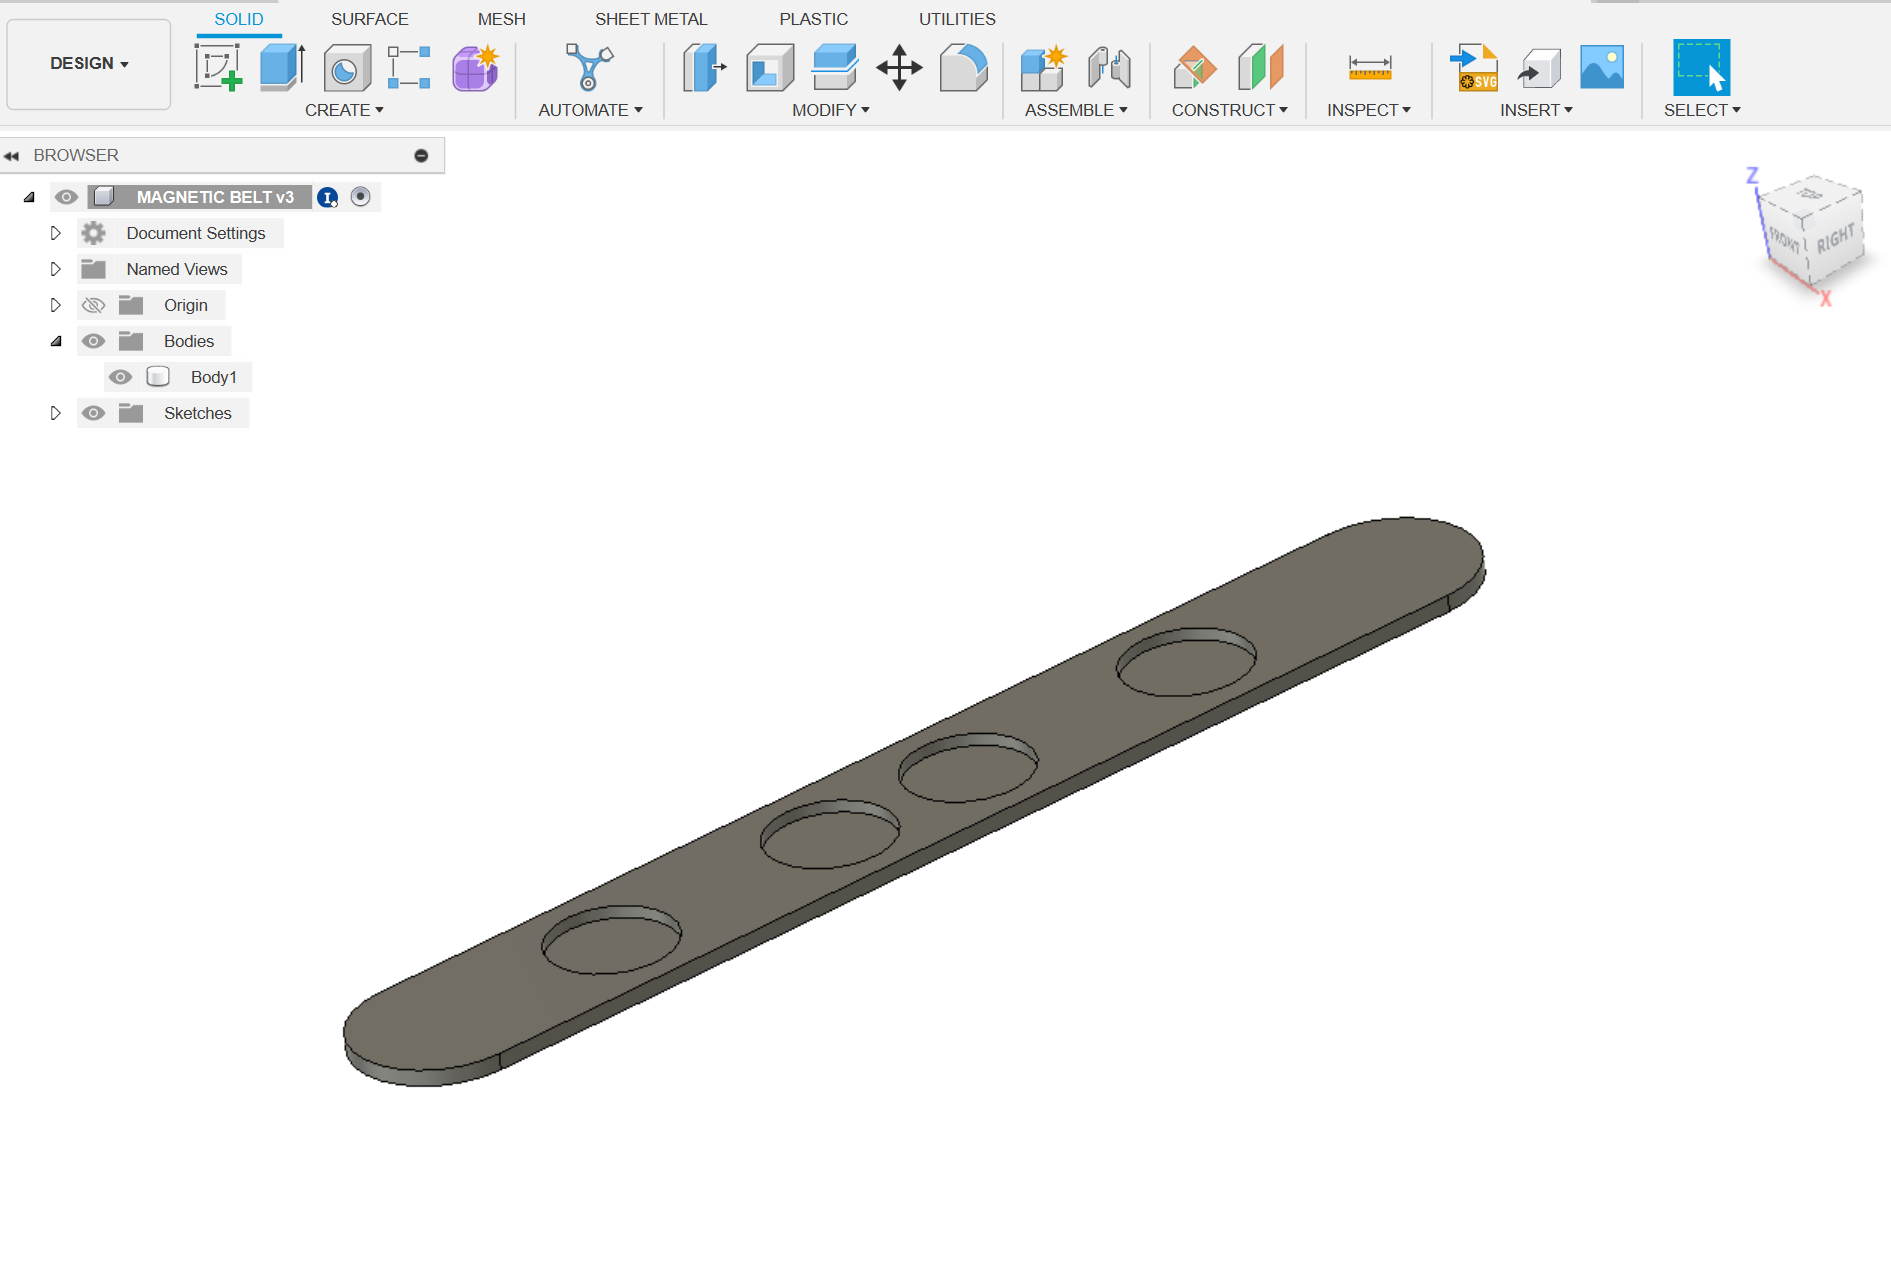
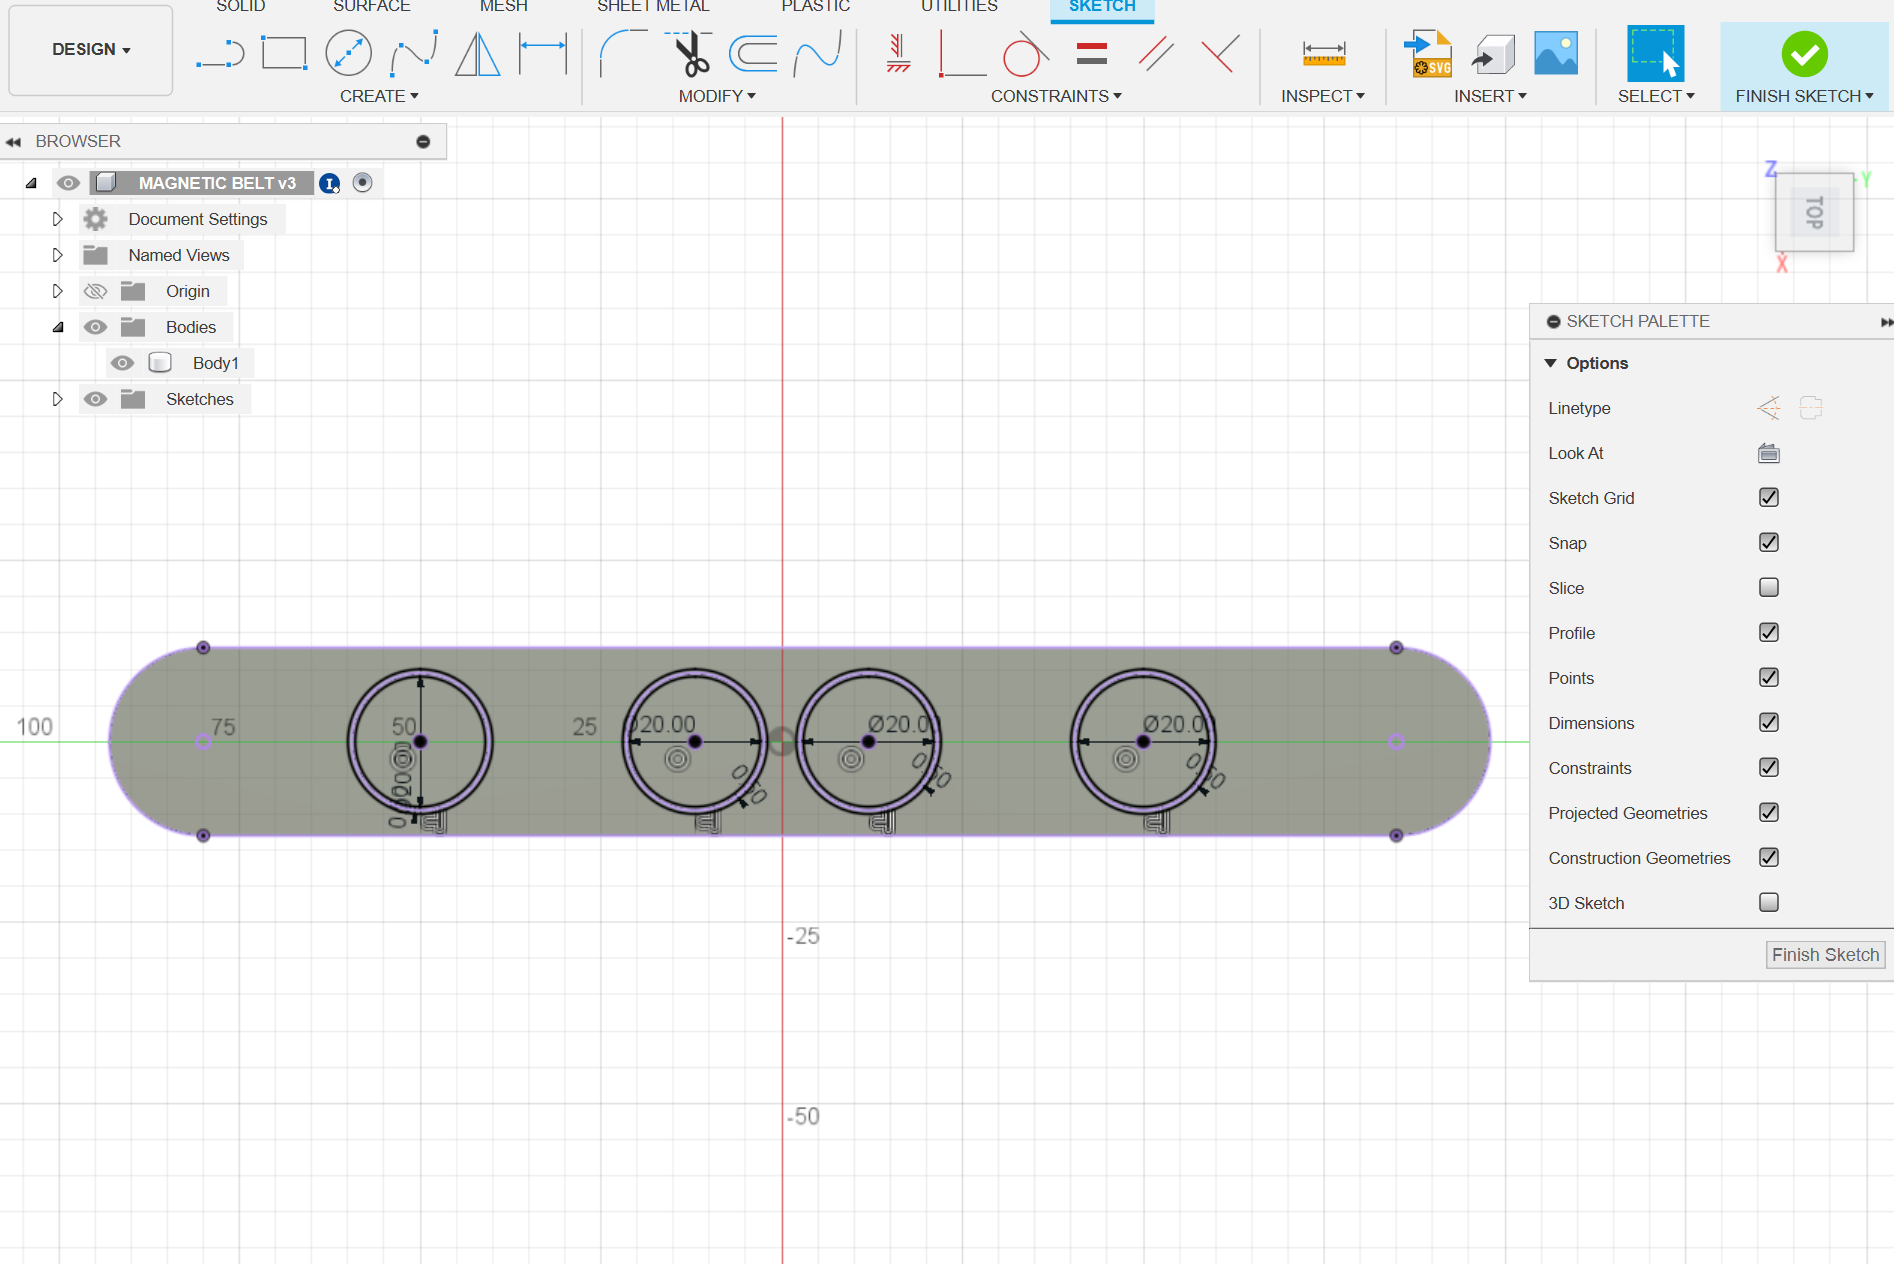
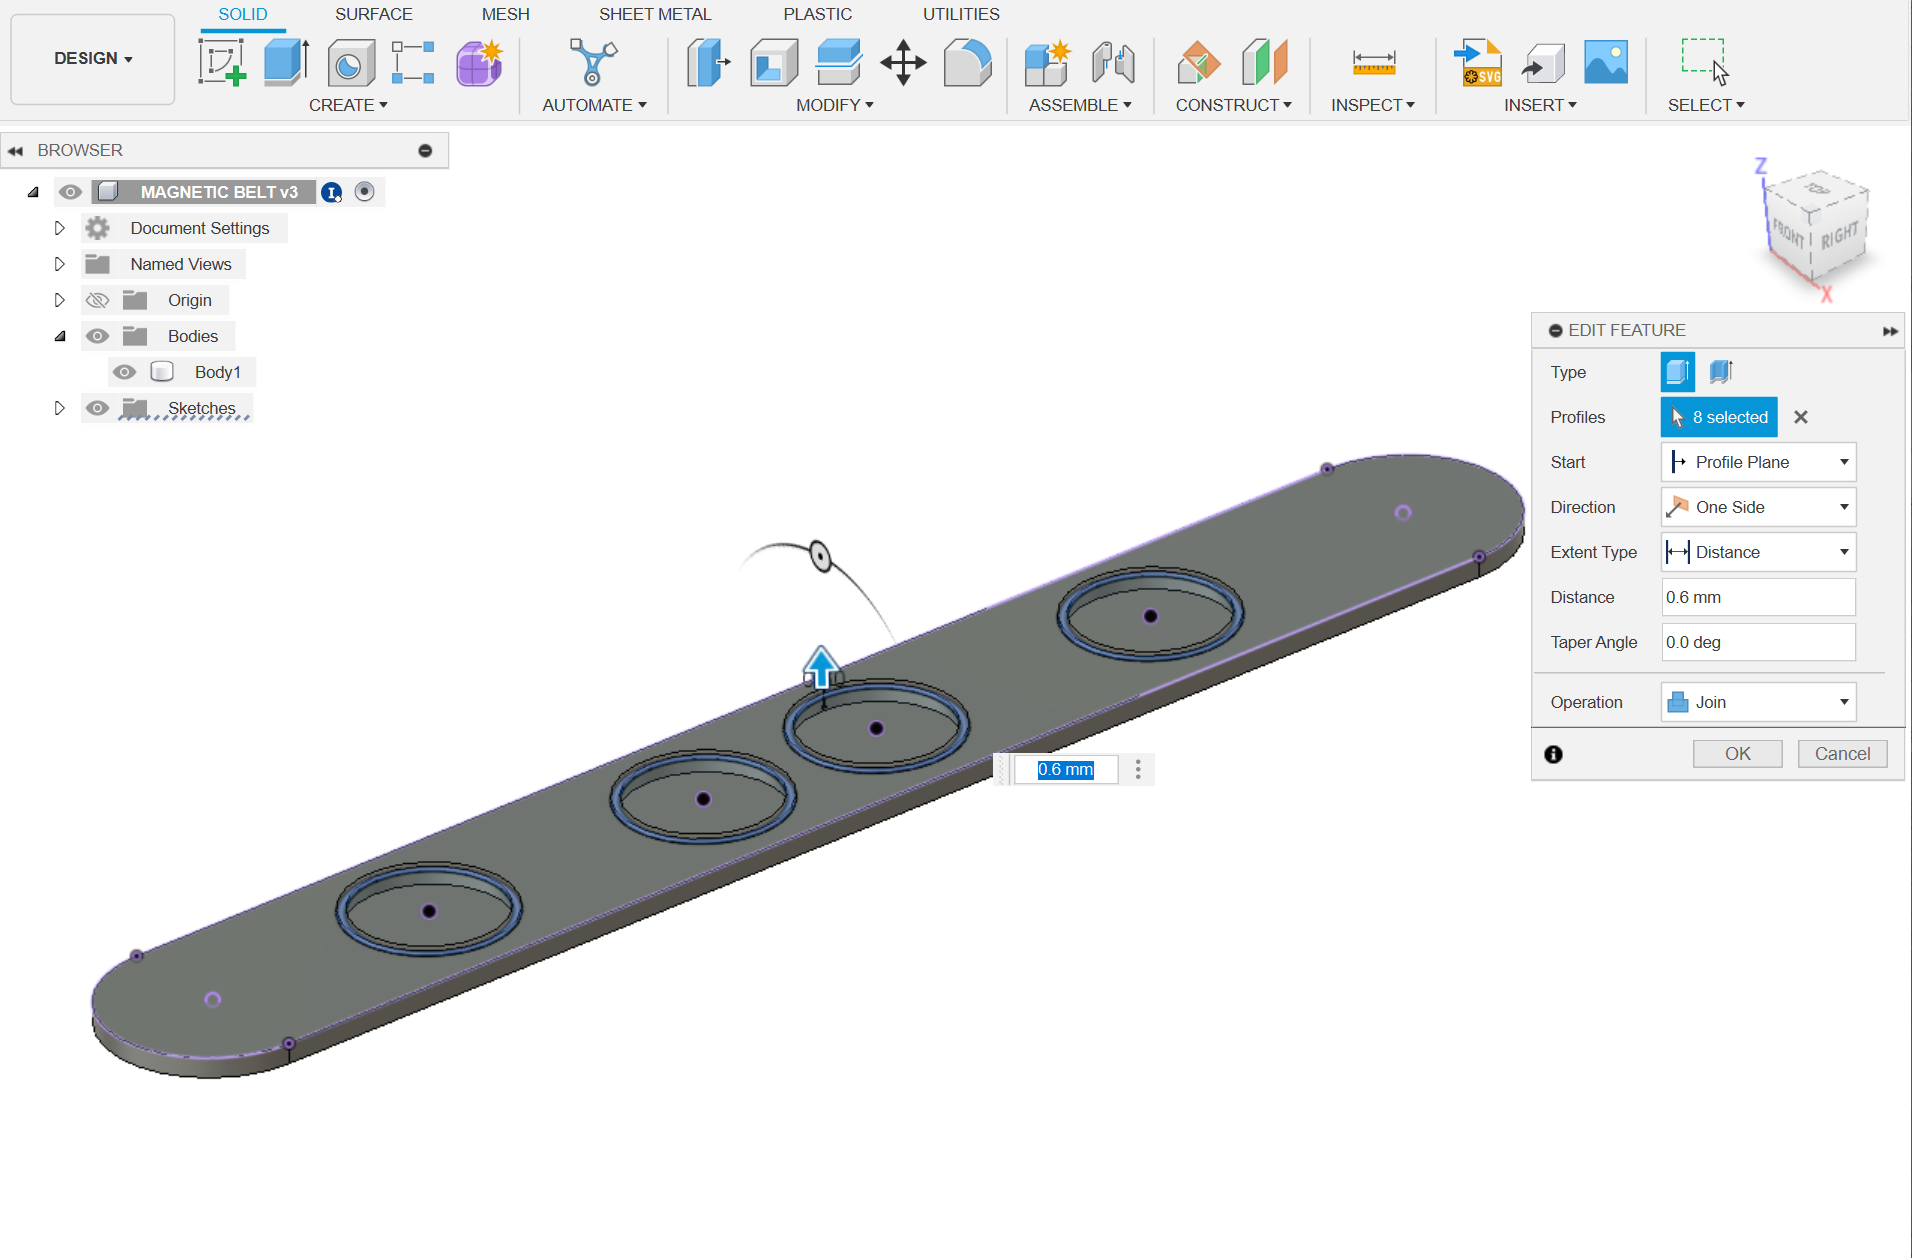
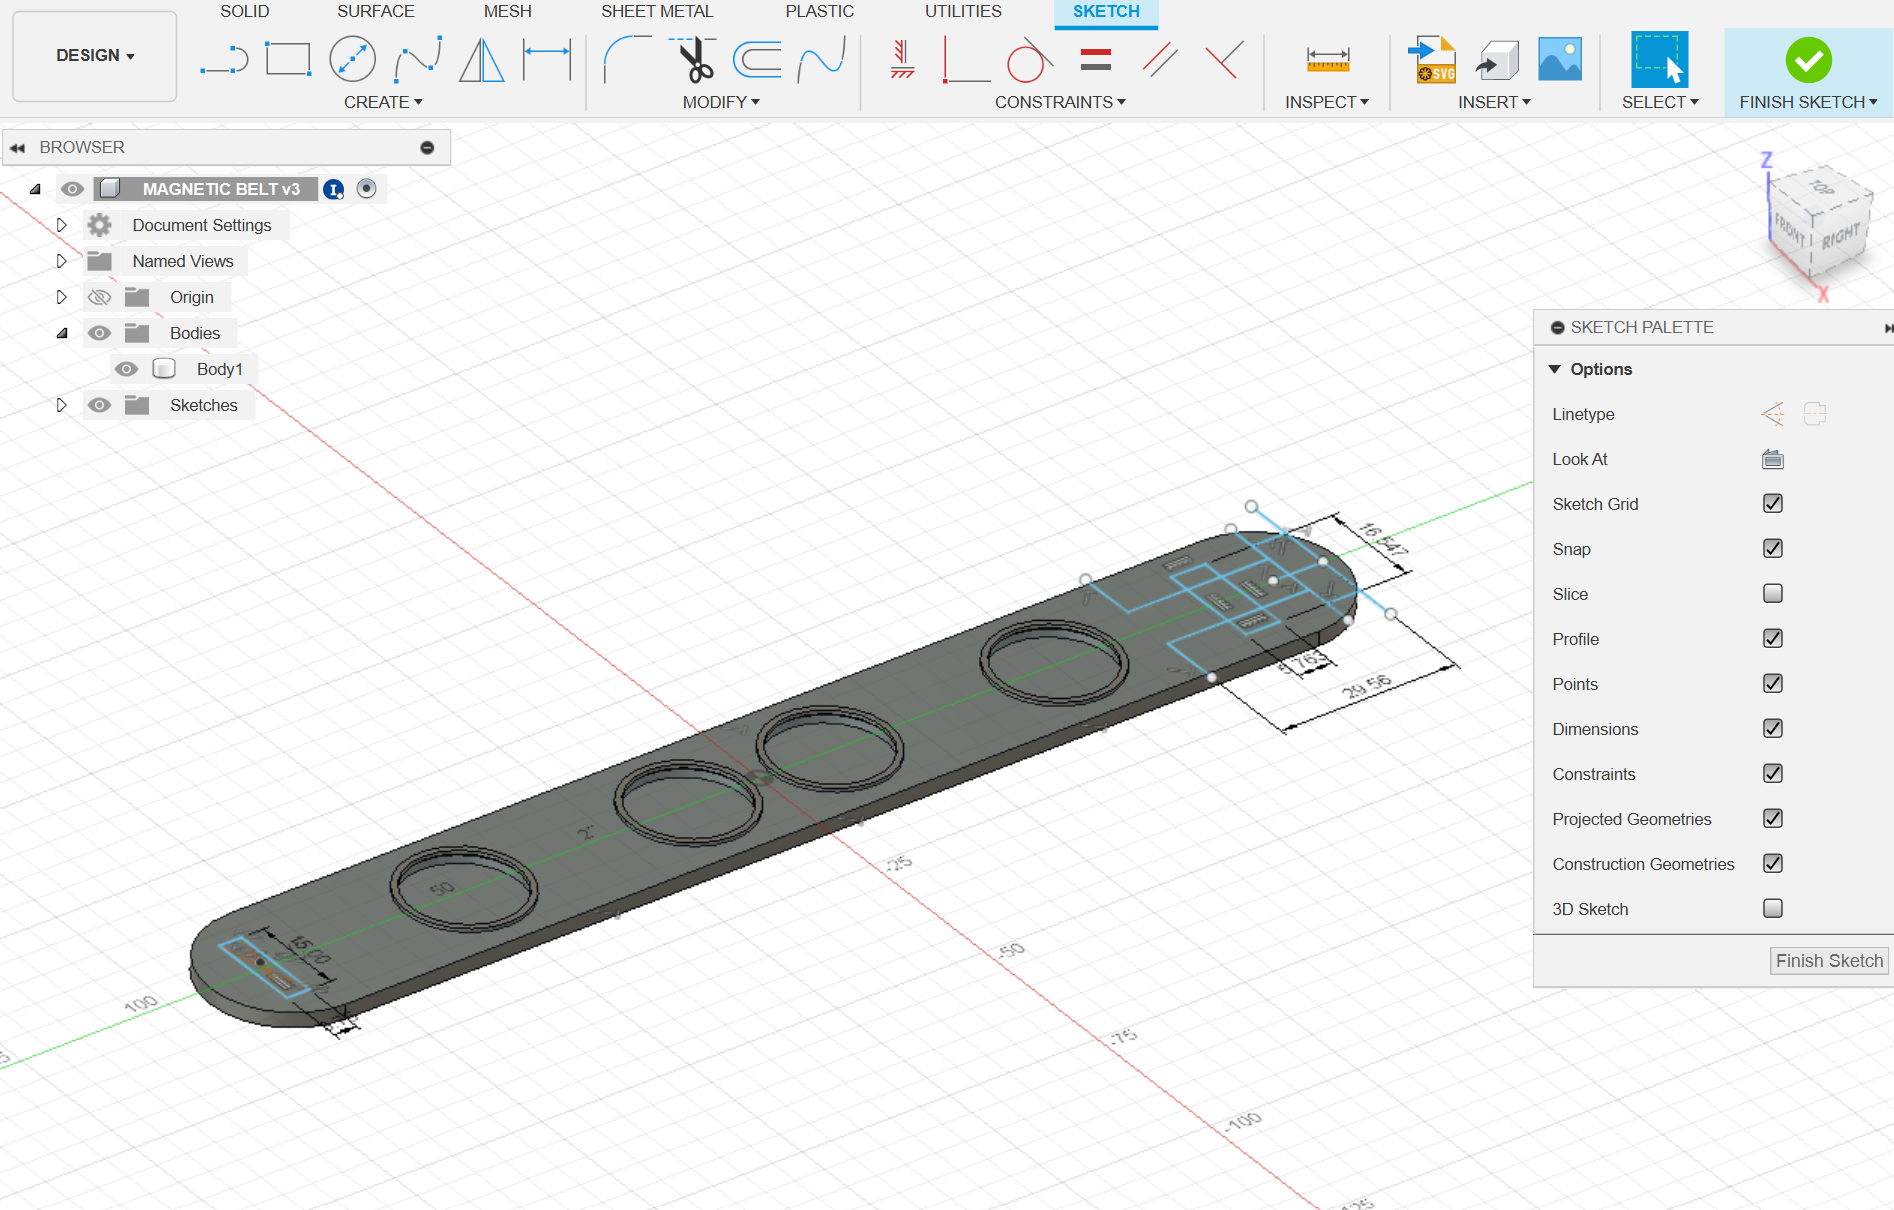
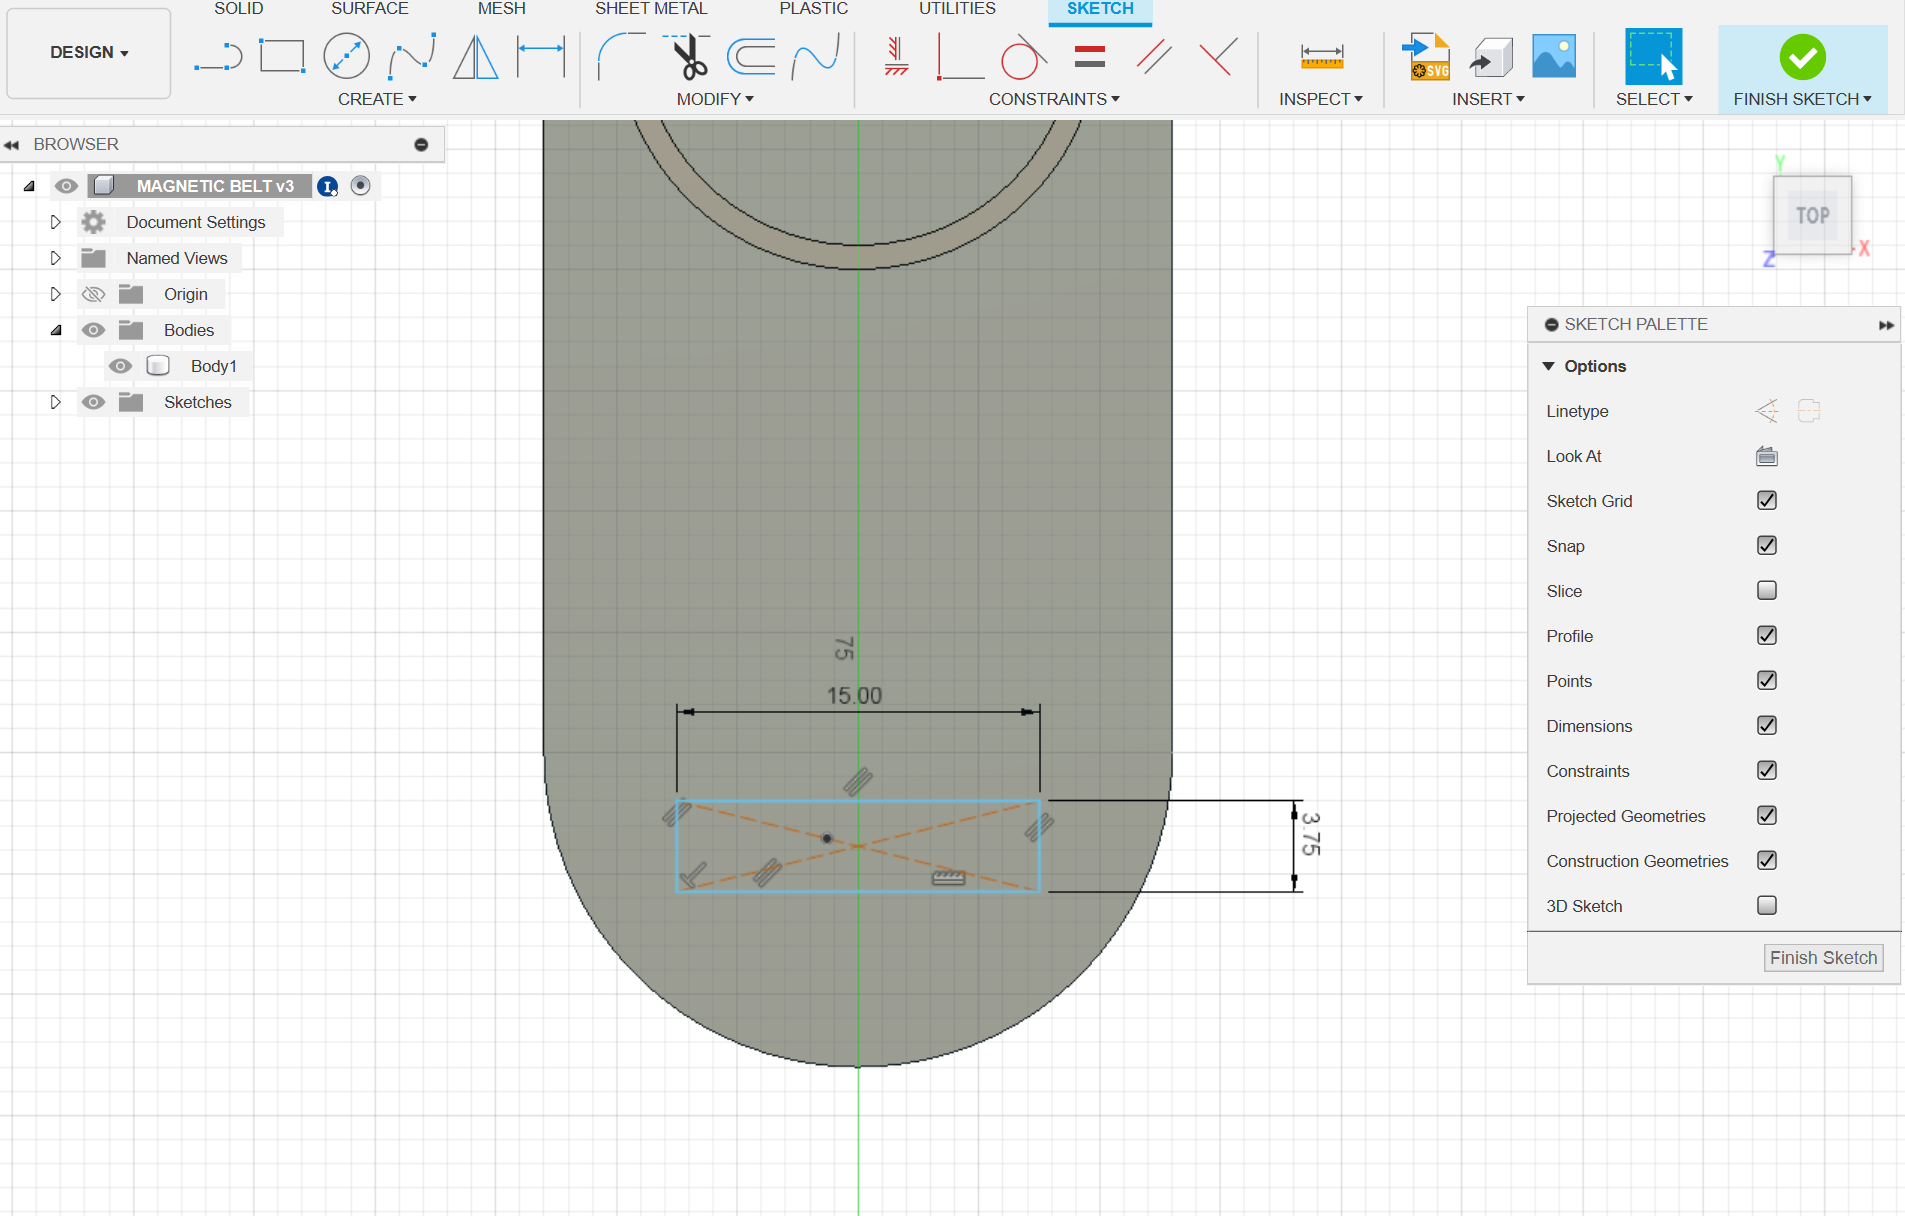
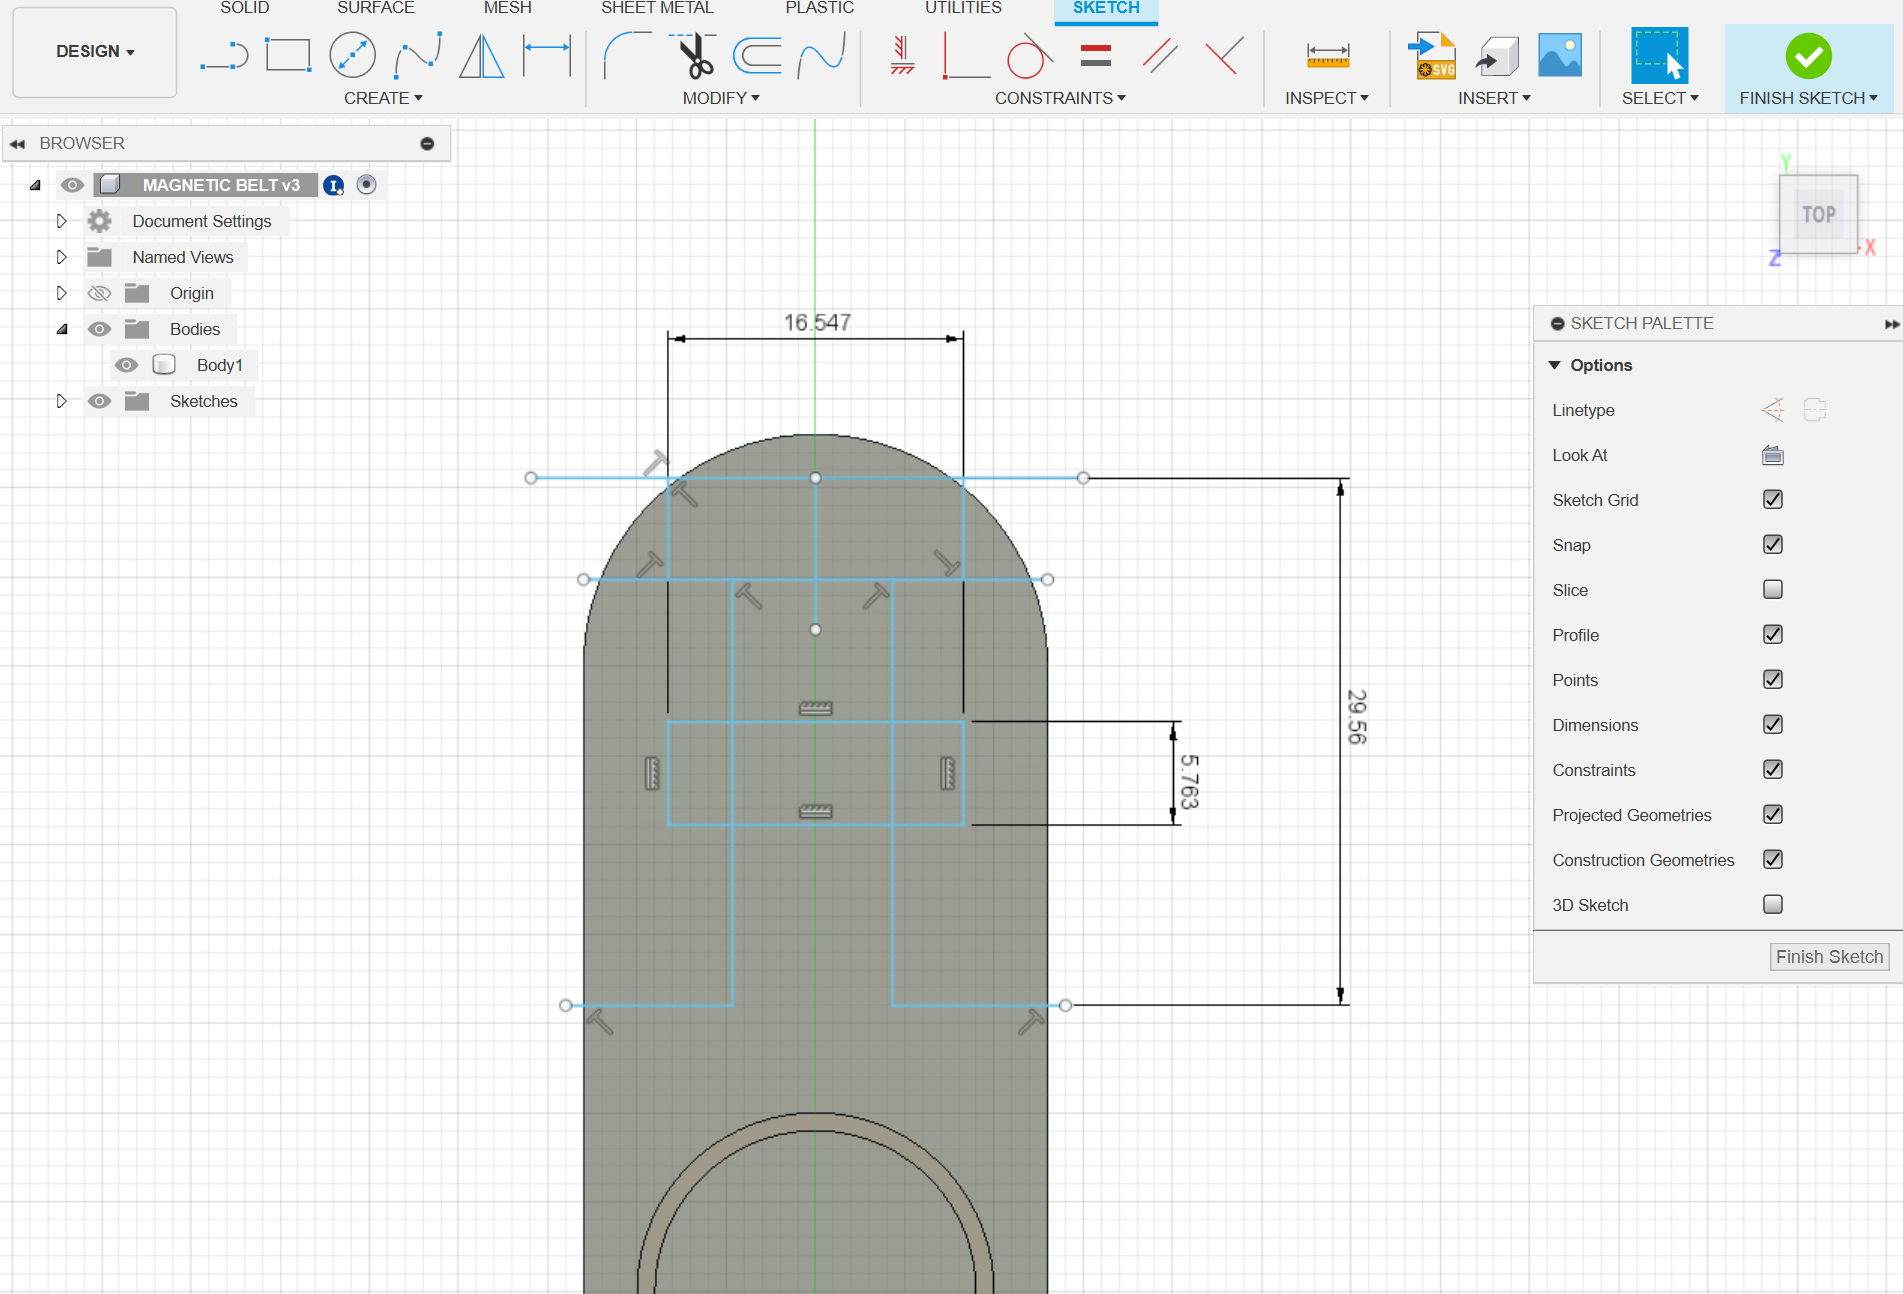
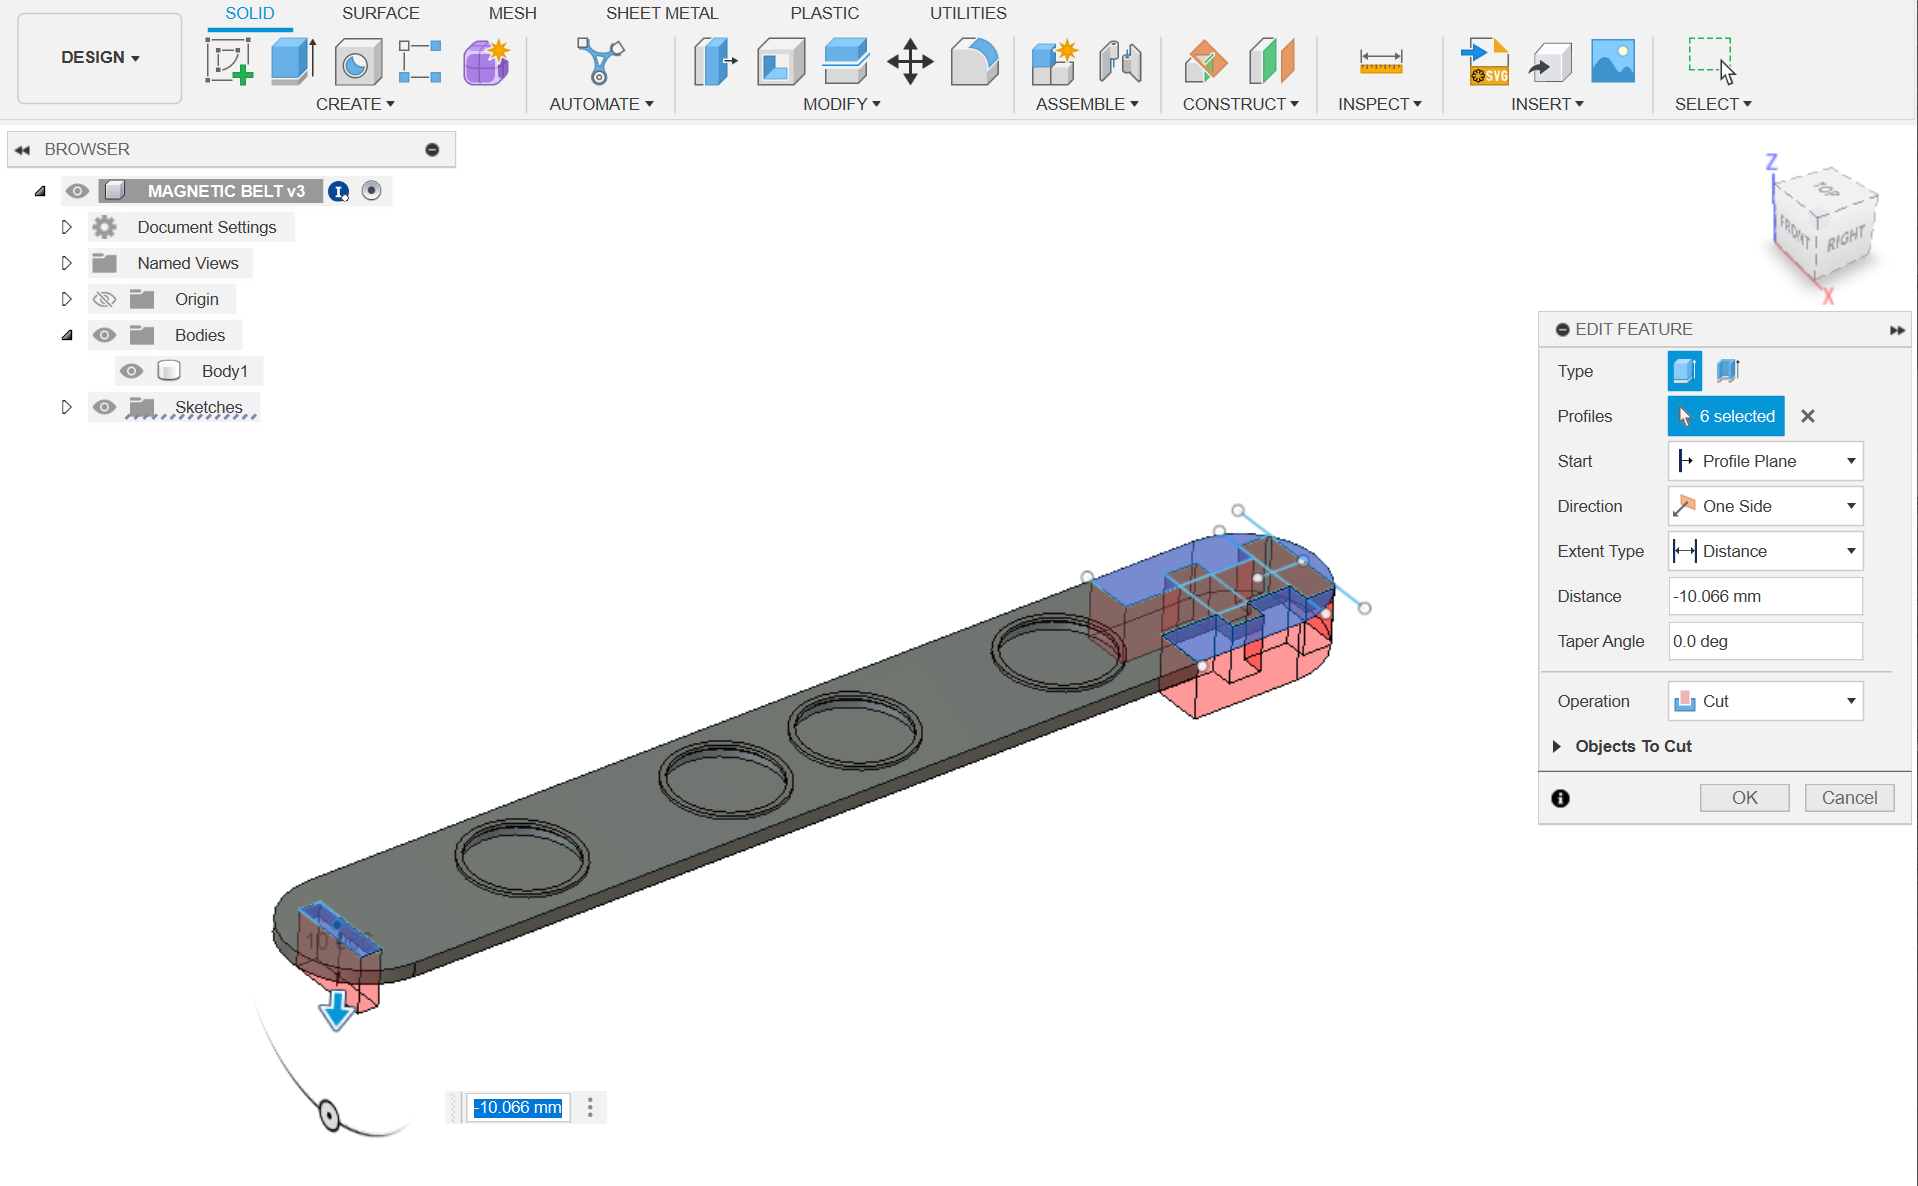
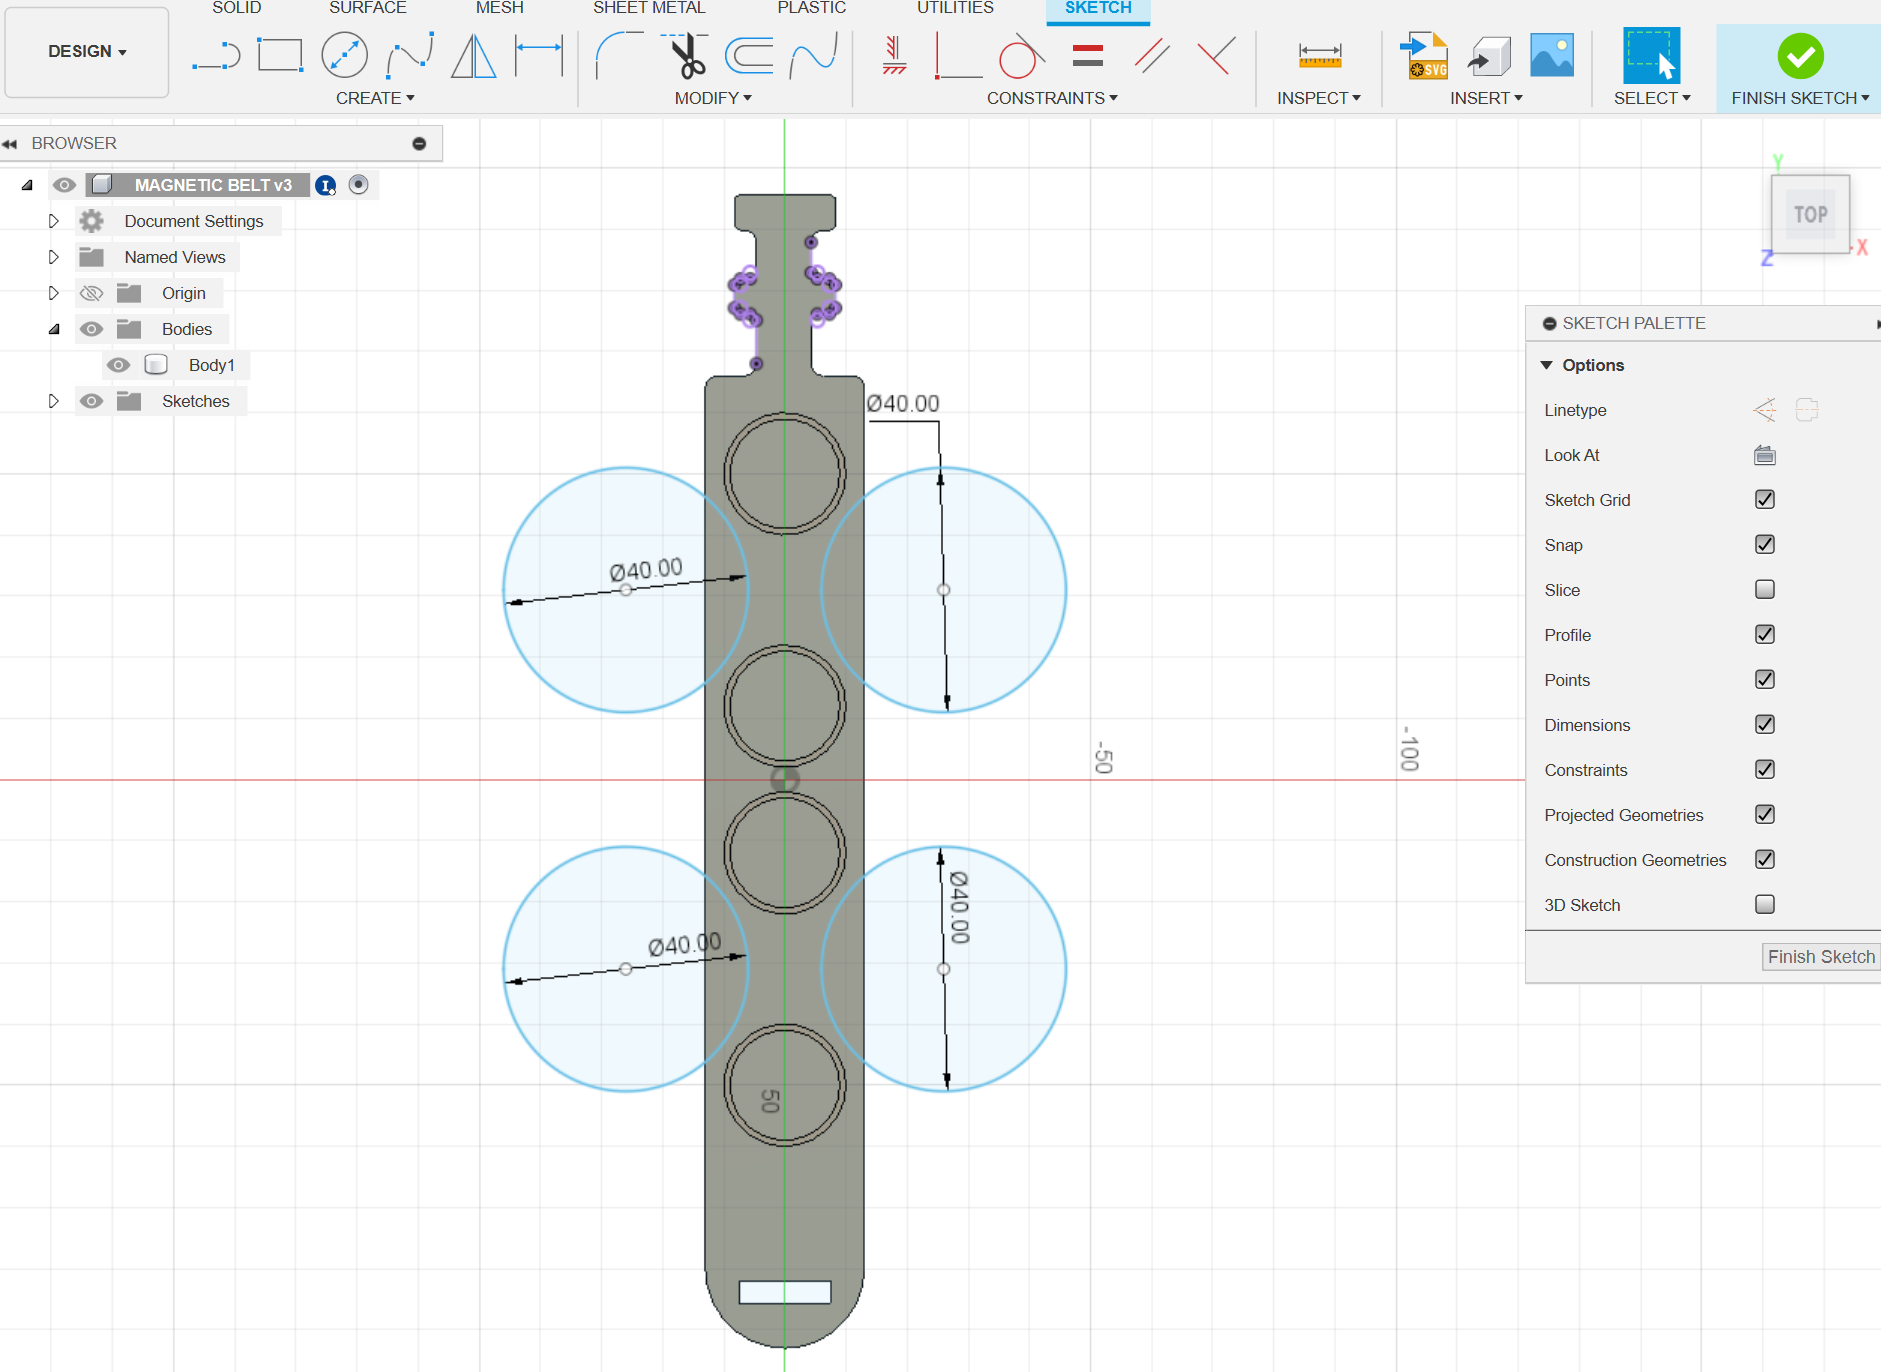
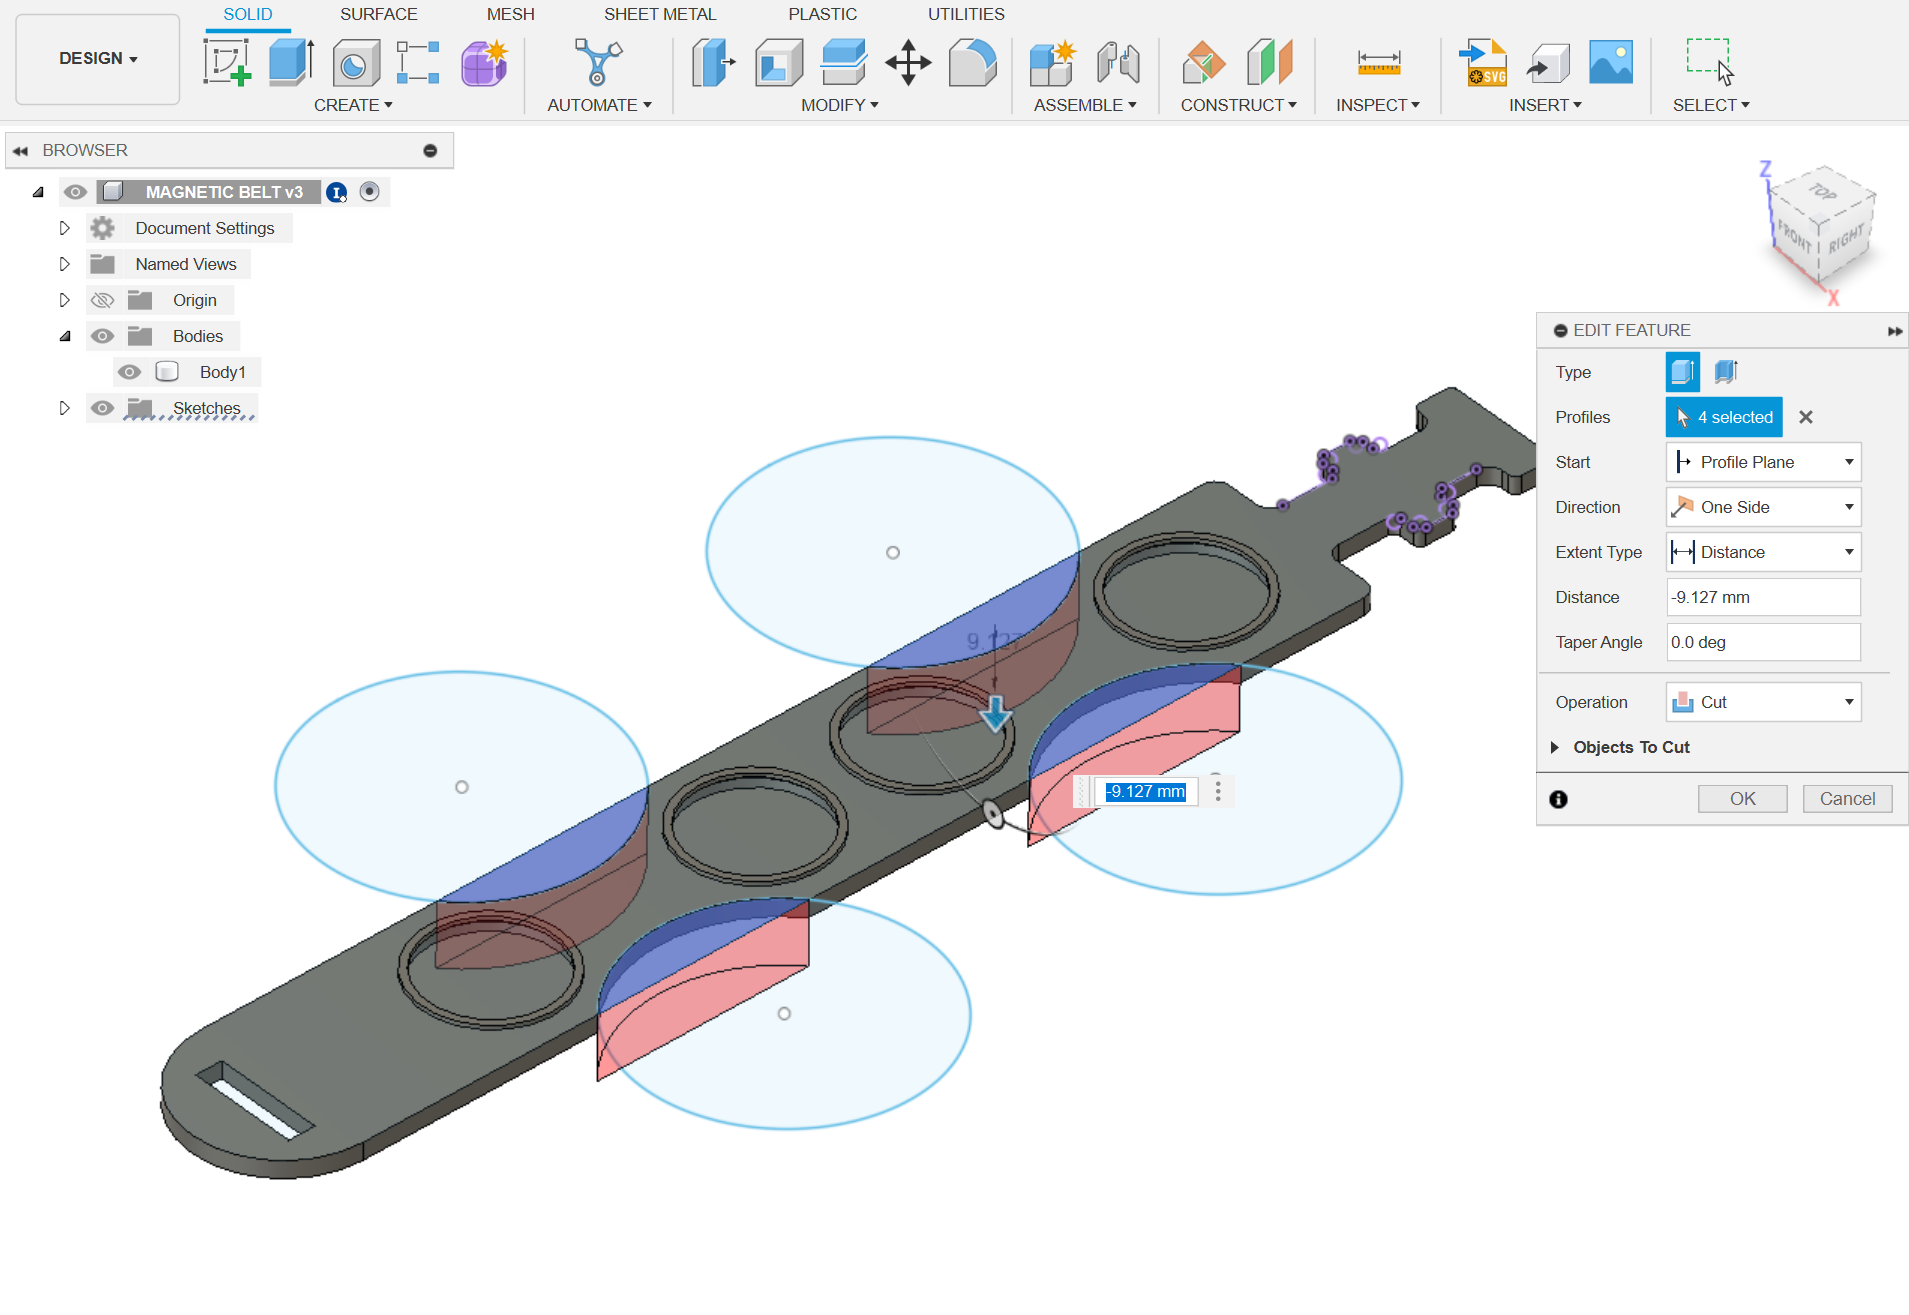
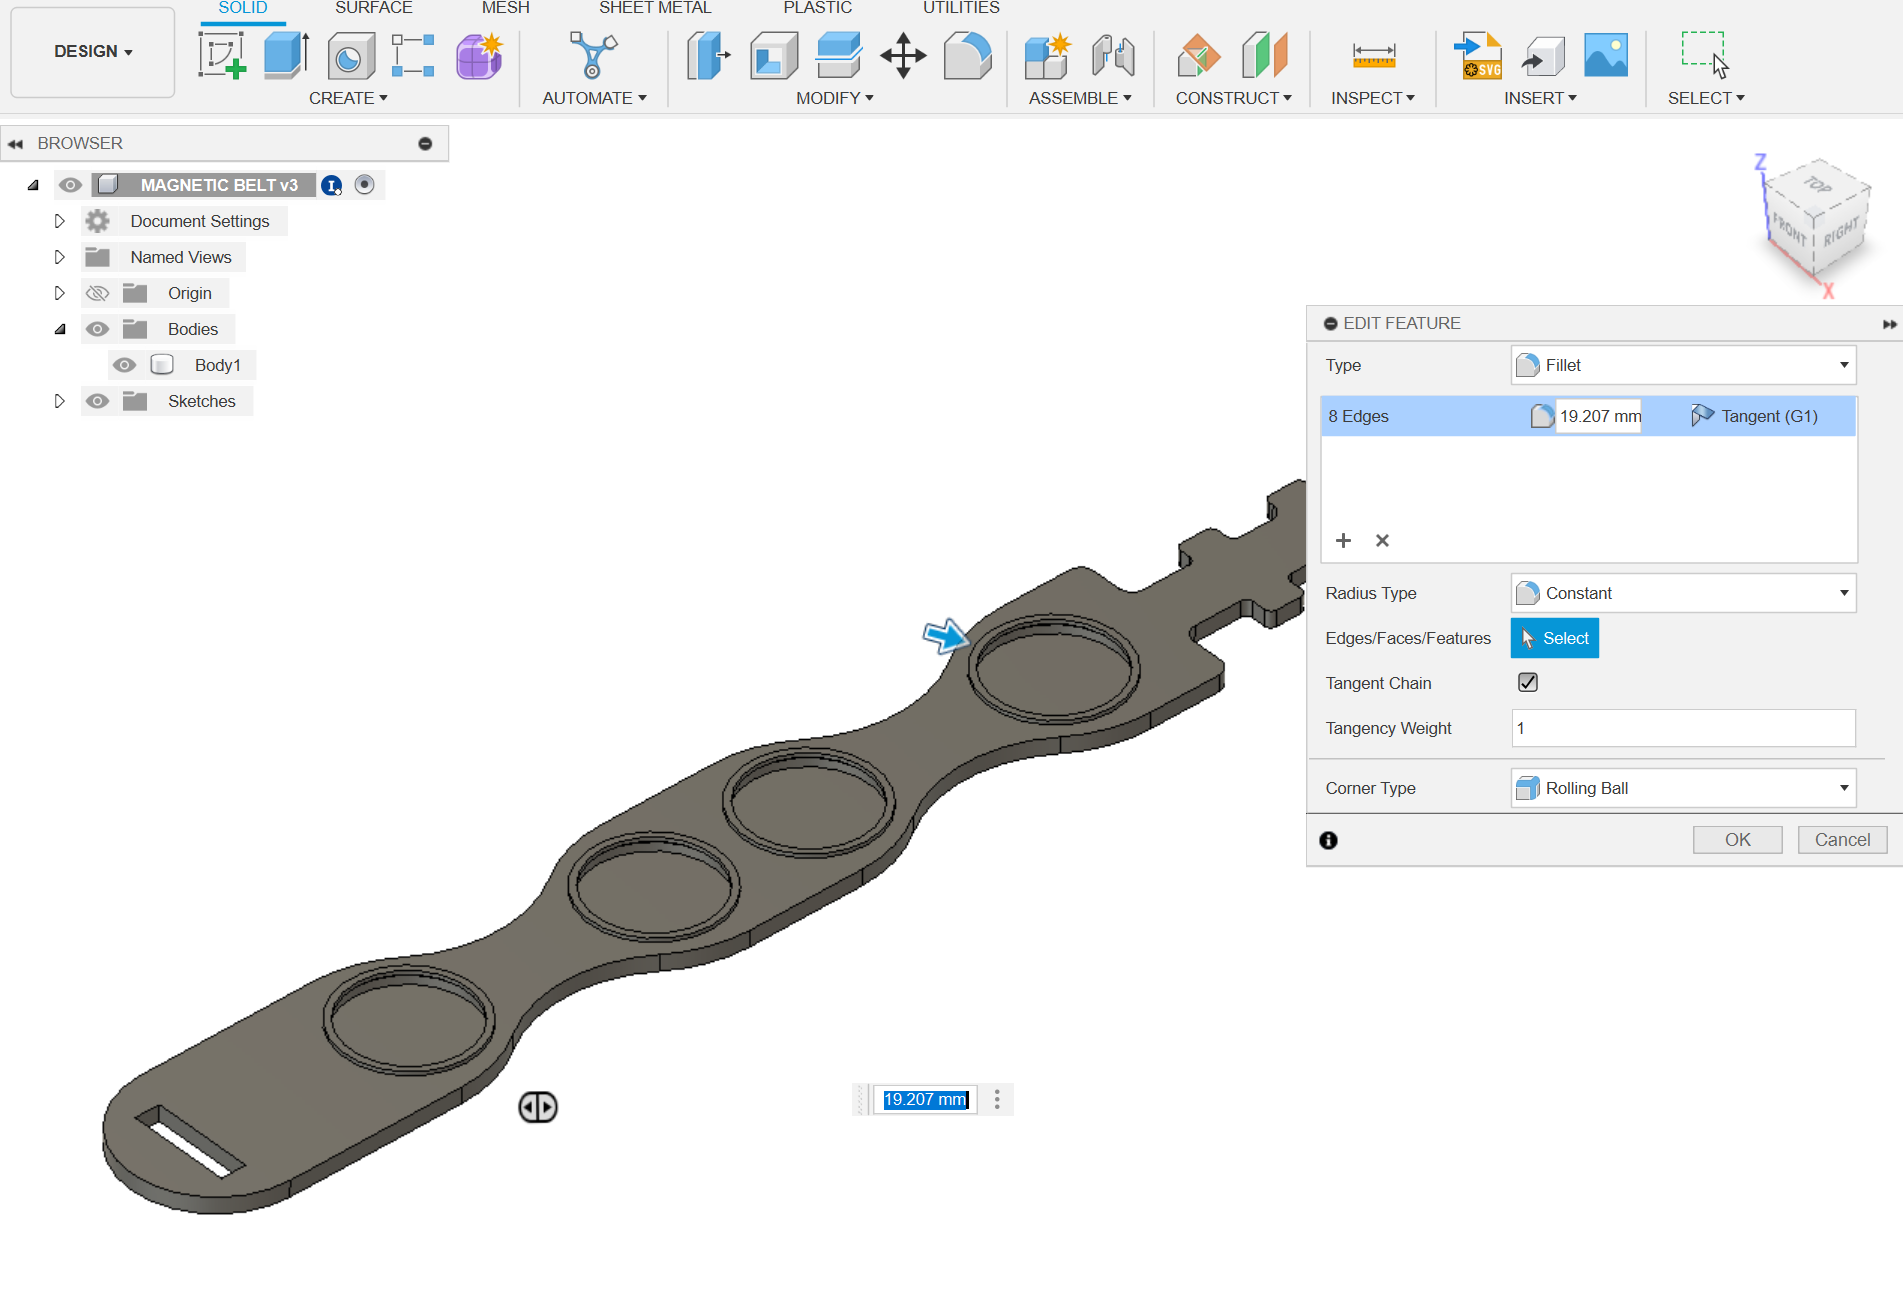
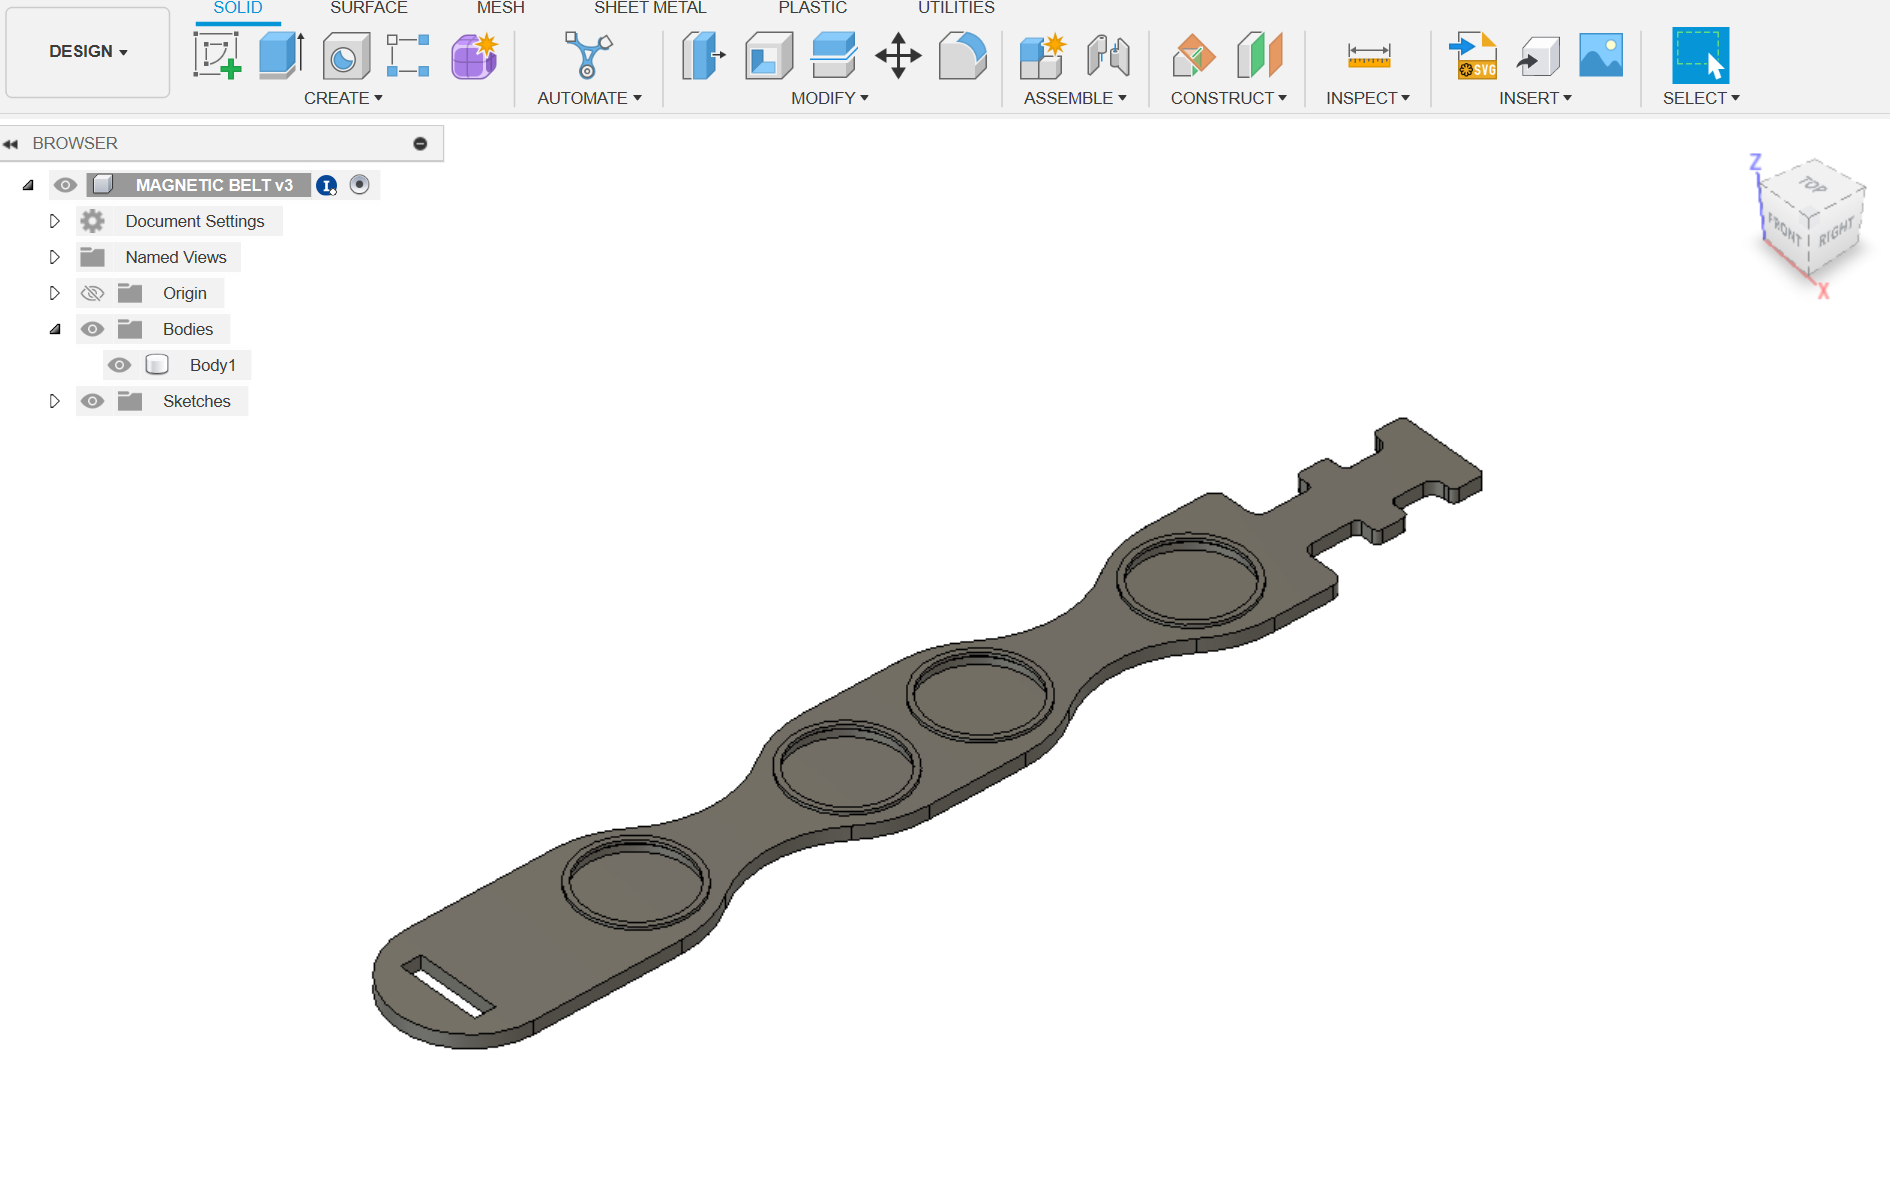
I use Autodesk Fusion360 for 3D design for any DIY projects.
So here I start the design of the belt.
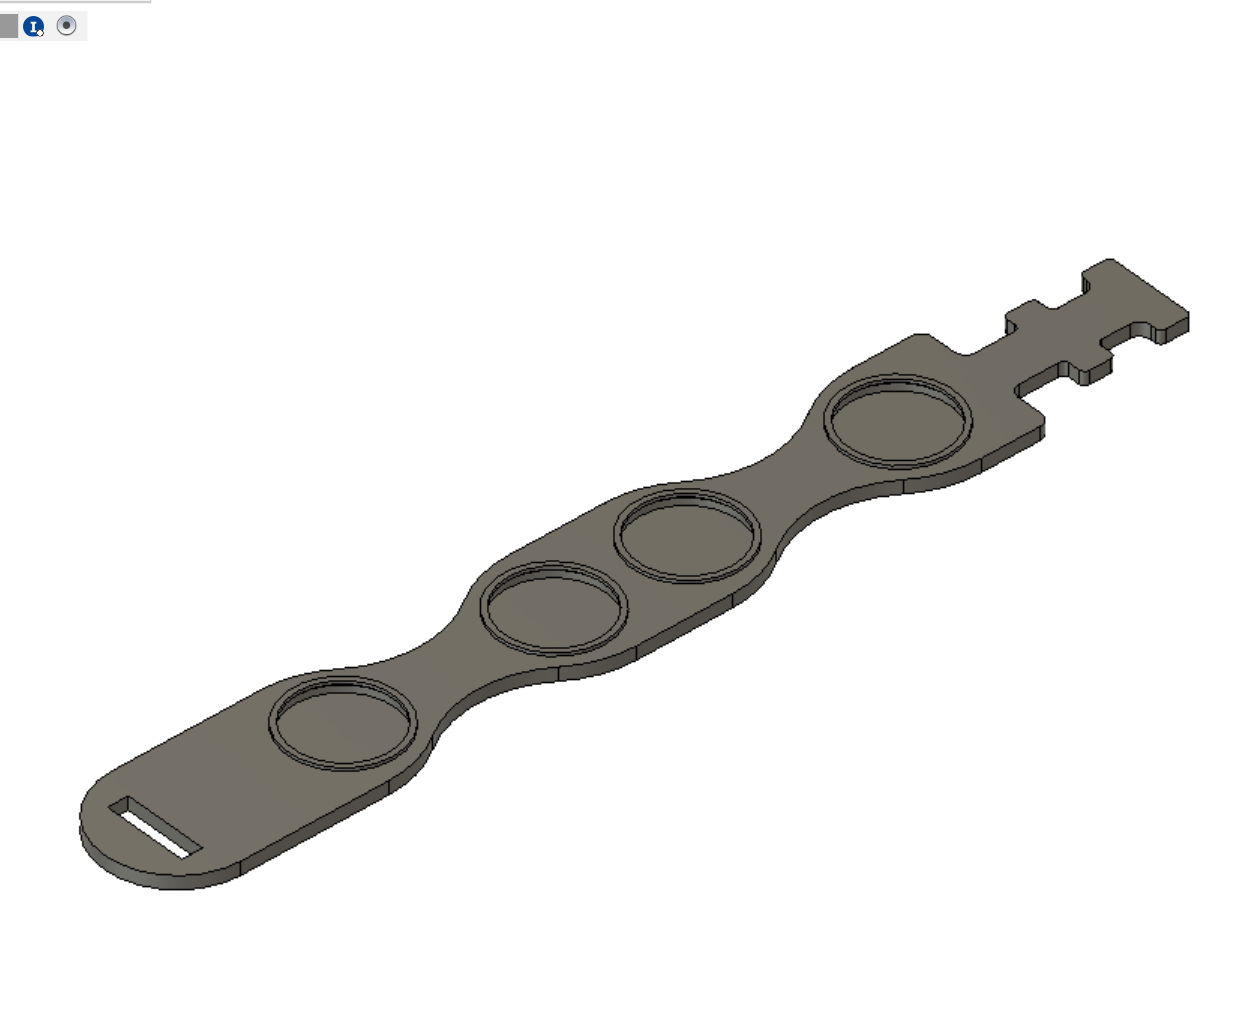
- Starting from a sketch on the XY plane. draw a SLOT in size of 170mm from the center.
- Make a width of 26 mm considering our magnet diameter is 18mm.
- Now arrange 3 or 4 circles at some distance as you want.(depends on belt size).
- Extrude the same sketch profile to 1.85 mm without selecting circles.
- Extrude the same profile with circles selected and extrude it -0.8mm and select join operation.
Now, we have the raw design ready with the placement of magnets inside.
Now we need to make a Top rim for the lock magnet inside.
- Now select top profile plane select project on plane and select top surface. Now you have projected surface boundaries in magenta color.
- Select the offset tool select circles and offset it by 0.5 mm outside and 0.5 mm inside.
- Select the extrude tool and extrude the offset profile to 0.6mm.
- Now we complete basic steps.
- So, we go for the design Locking system for the belt.
- As per my imagination, i made a T-shaped hook on one side and a rectangle hole on other side.
- Also, do a more design cutout for material saving.
Export Design for 3dprint.
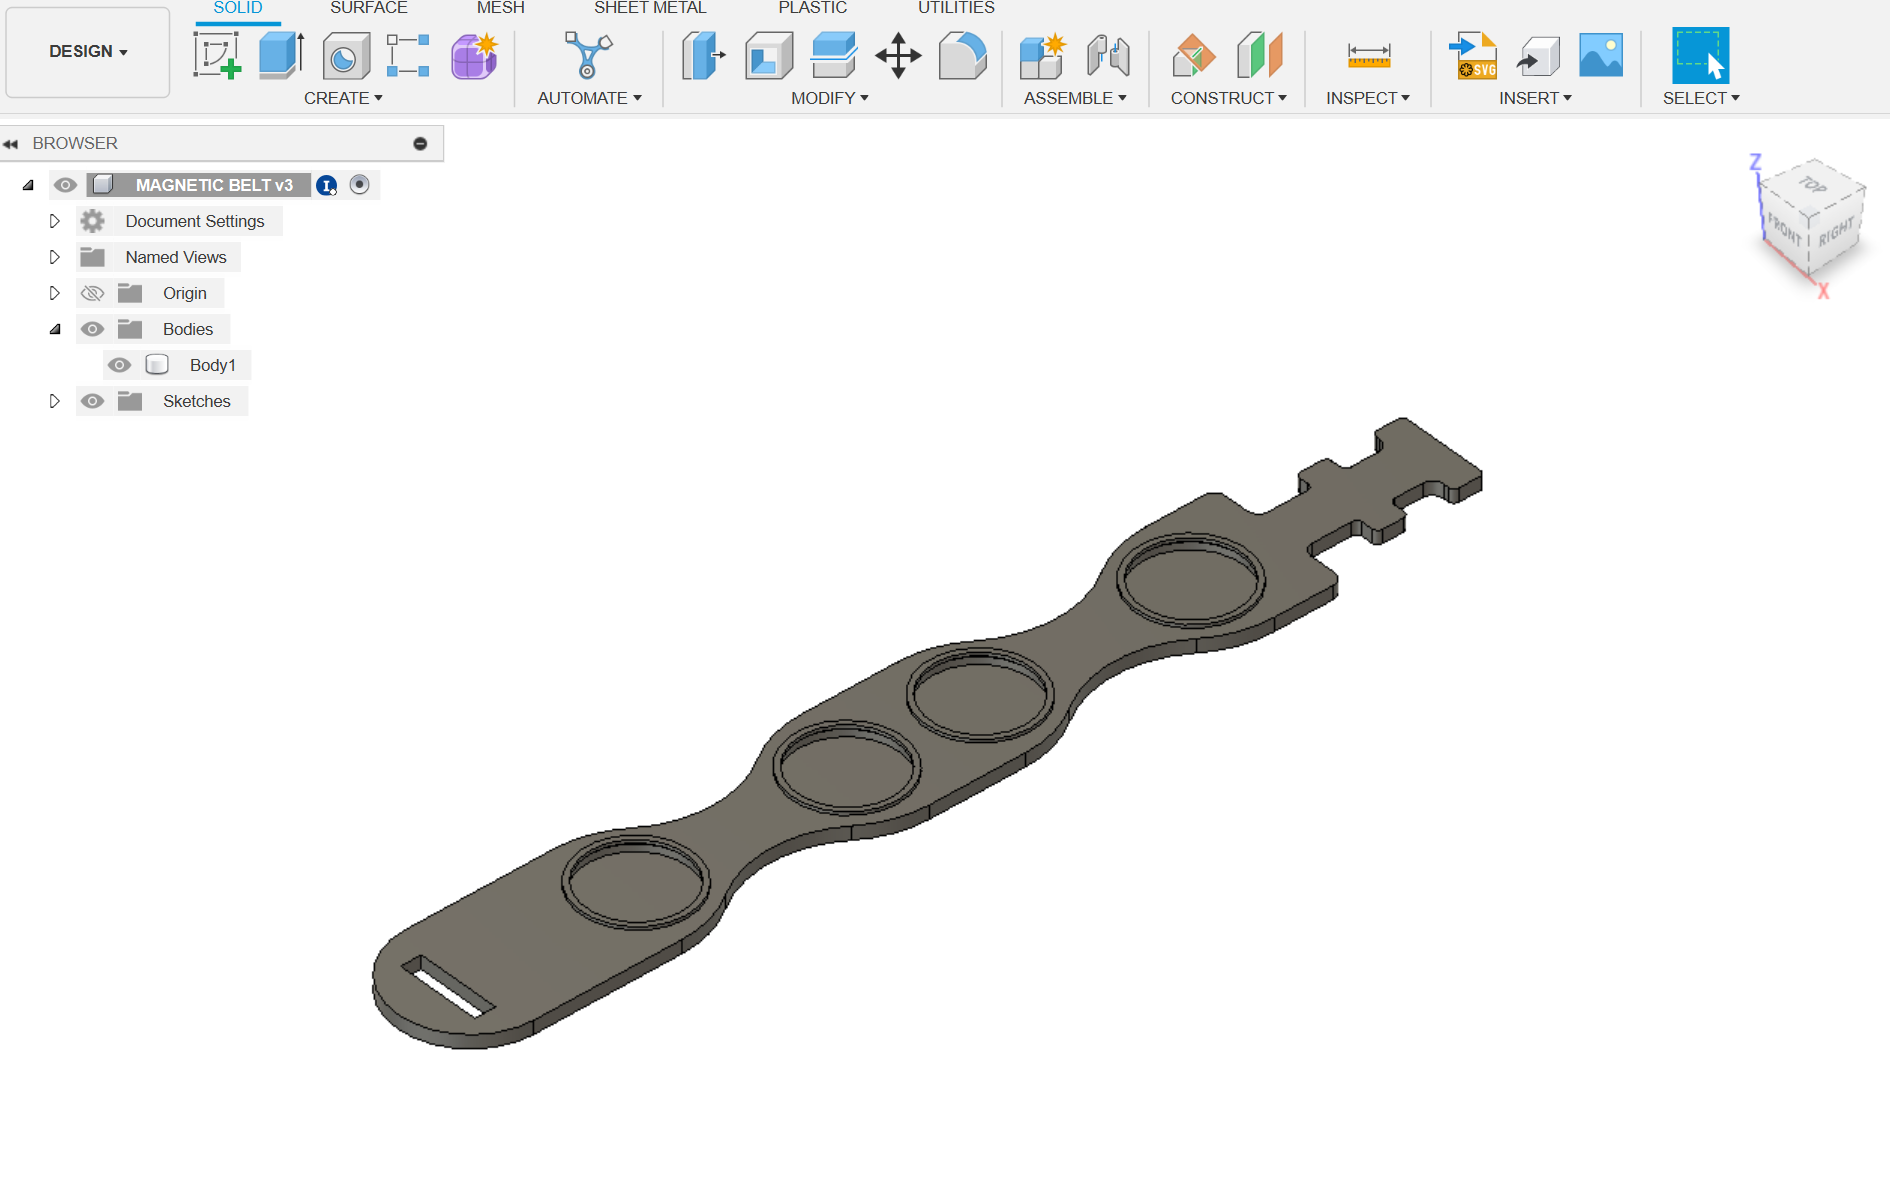
Export your design into.STL format for 3D printing.
You will use my design (attached below) , if you have the same magnet configuration.
Also, I added my fusion360 design, if anyone wants toaster in the original design and create their own design as per their requirement.
3D Printing of Design
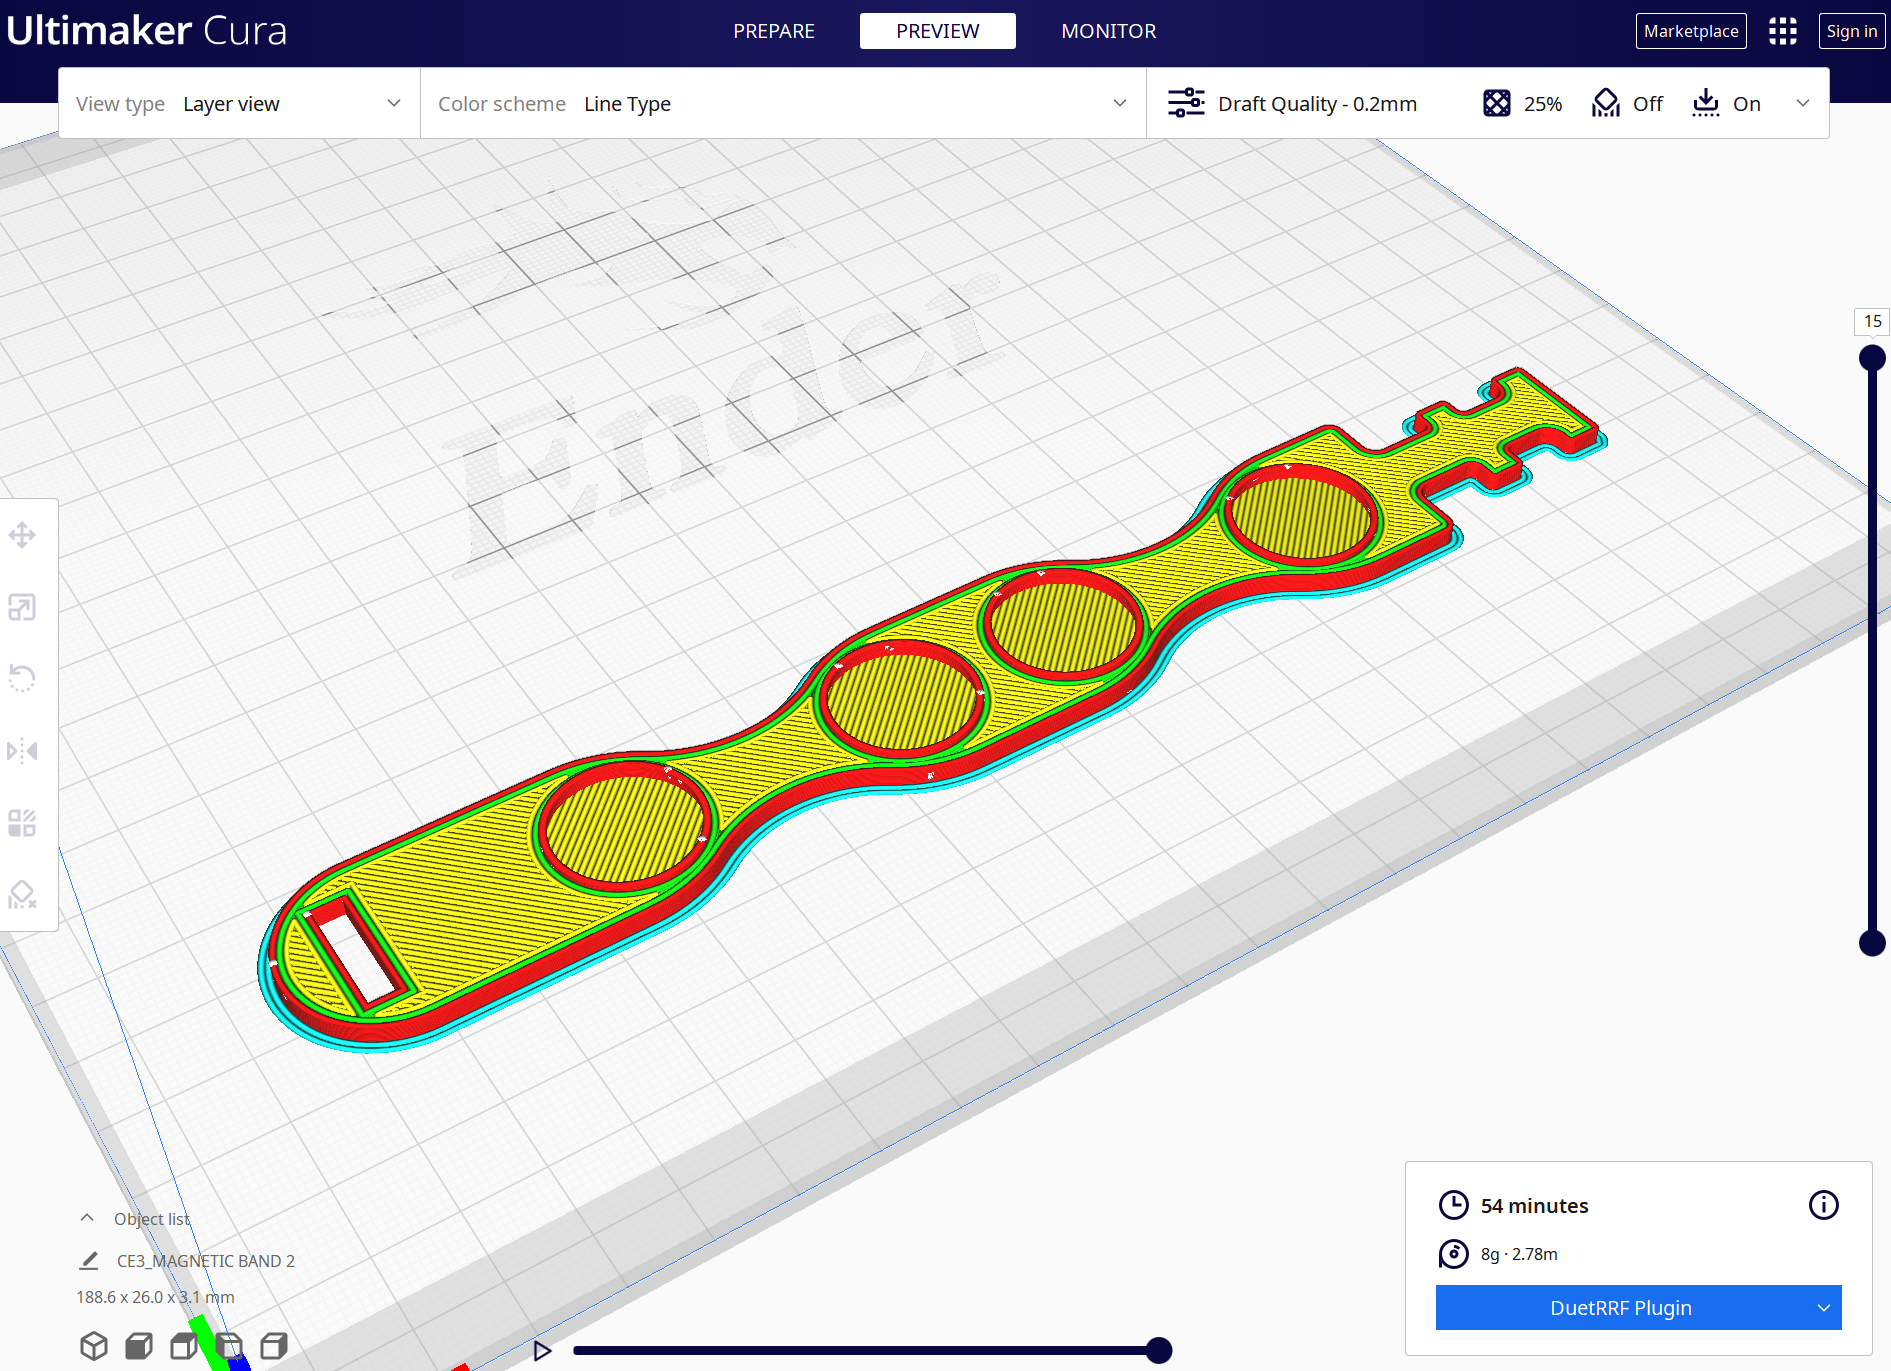
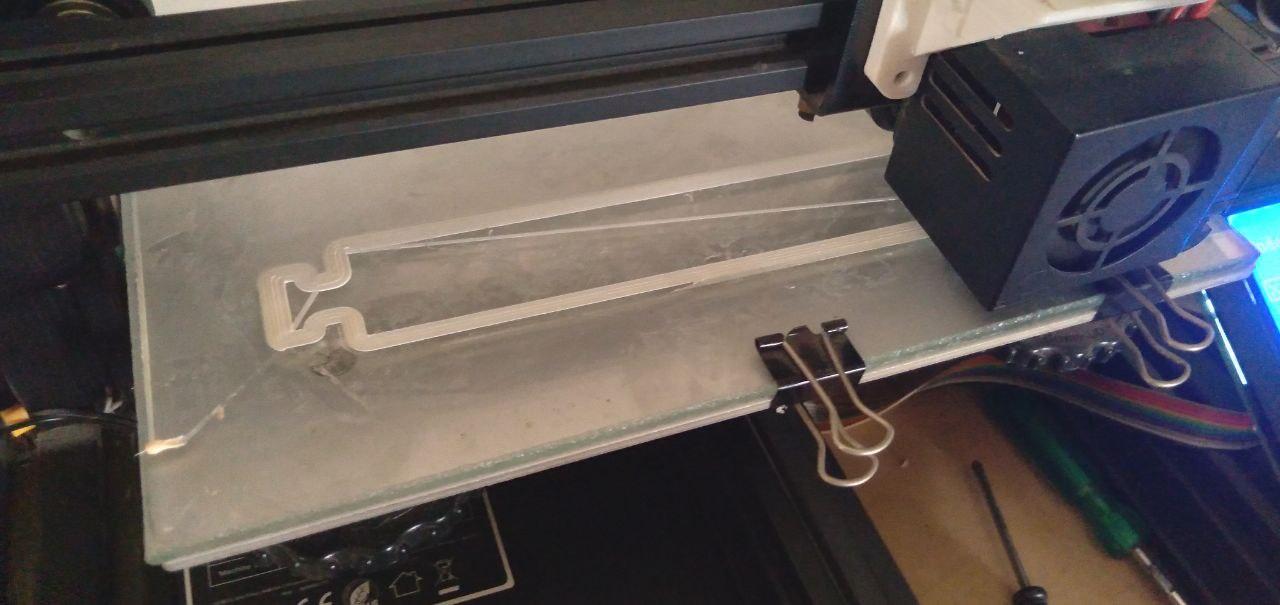
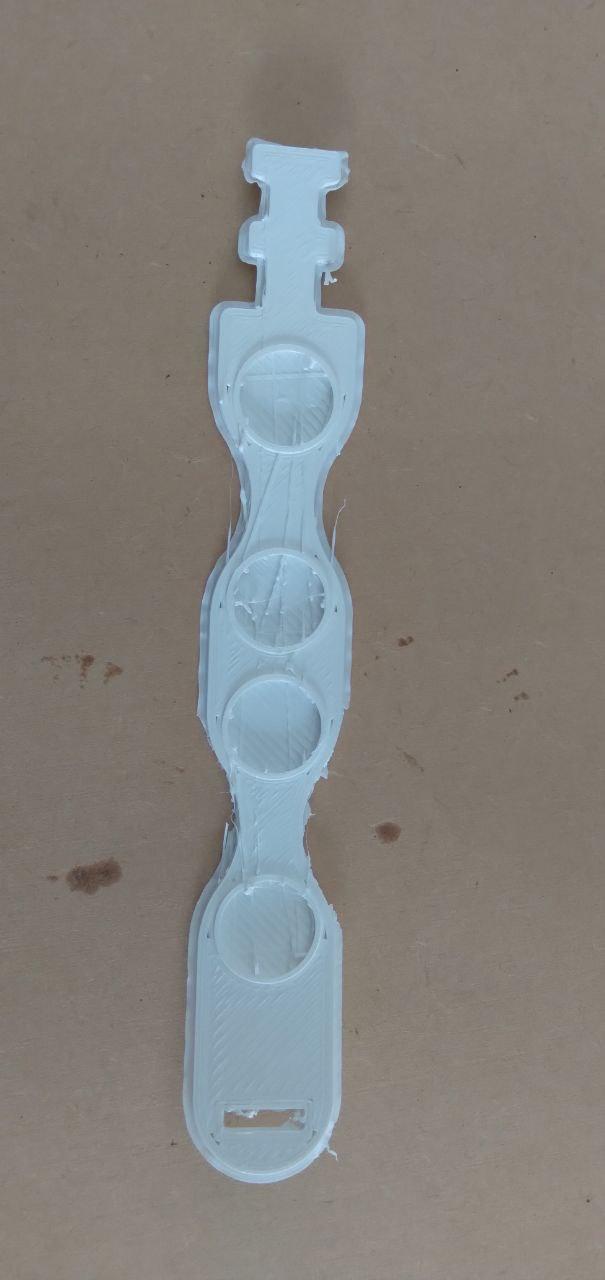
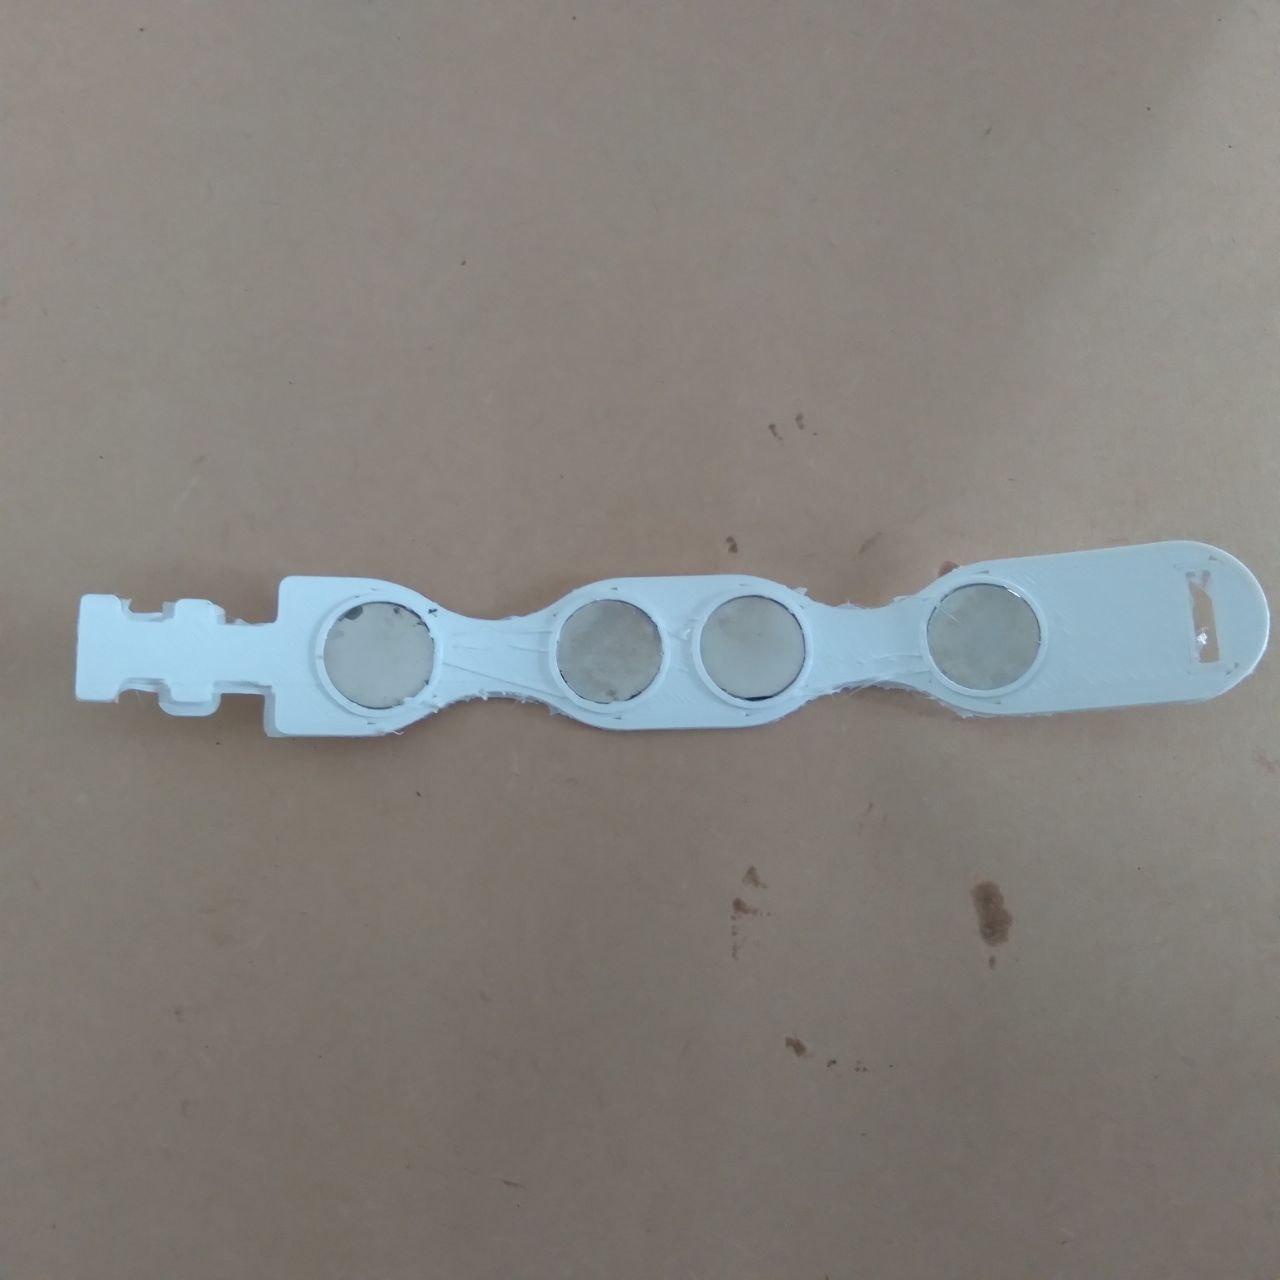
Use 3D printing software (e.g., Cura, PrusaSlicer) to prepare the model for printing. Set parameters such as layer height, infill density, and print speed.
I use Ender-3 3dprinter for printing my design.
Import your STL file into CURA slicing software.
Use the below parameter for proper 3D printing.
I use 0.8 mm nozzle and TPU material in white color.
- Quality - 0.2mm
- Layer height-0.2mm
- Wall - 3
- Top/bottom - 4
- Infill - 30 to 40 %
- Infill pattern- grid type or triangle
- Material- TPU profile
- Nozzle temp - 235 (select as per your flexible material requirement)
- Bed temp -50 to 60*
- Speed - 25 mm/s
- Retraction - off
- Support -no
- Adhesion - brim, 3 lines
Hit the Slice button save G-CODE in the SD card and insert into the machine to start print.
DO NOT FORGET TO CHANGE THE NOZZLE TO 0.8MM DIAMETER.
DO NOT FORGET TO CHANGE THE FLEXIBLE MATERIAL SPOOL.
Start 3D print and wait to complete.
Post-Processing:
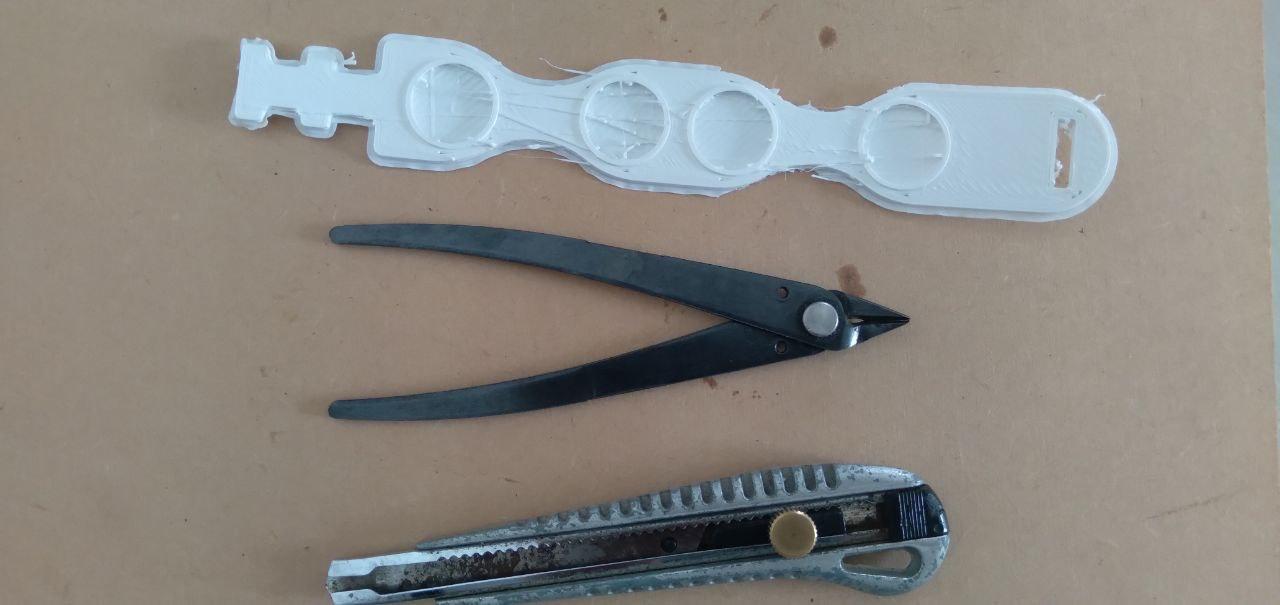
Once the print is complete, carefully remove the wrist belt from the print bed.
Remove any support structures and excess material.
Assembly and Testing.
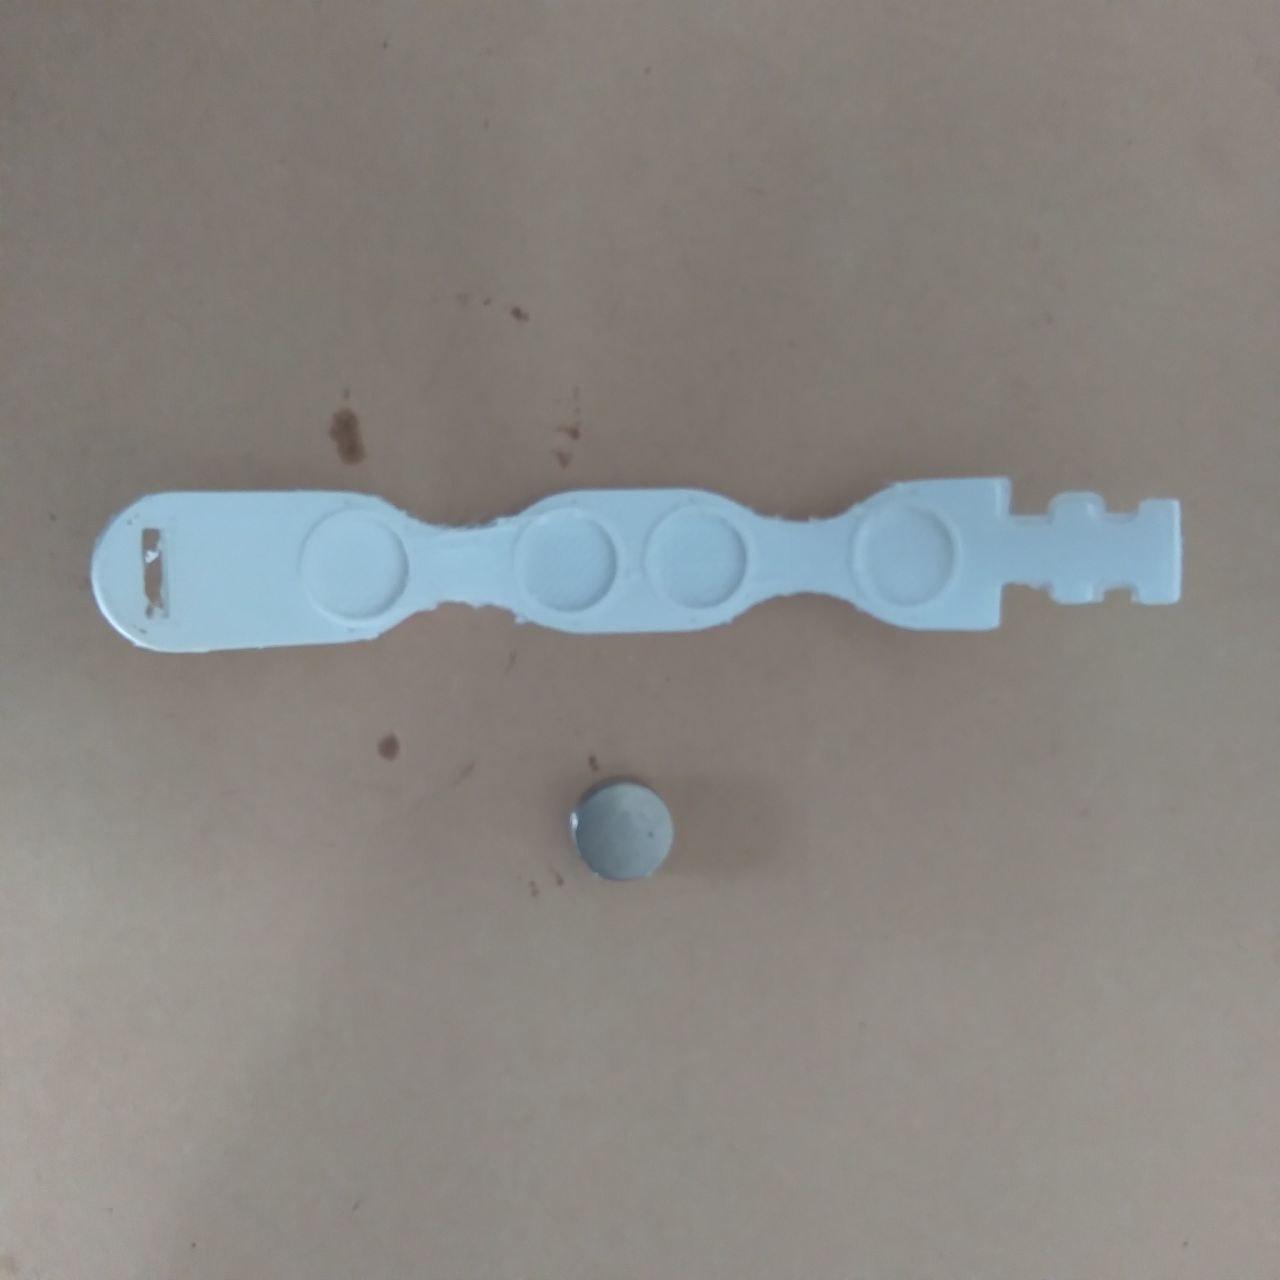
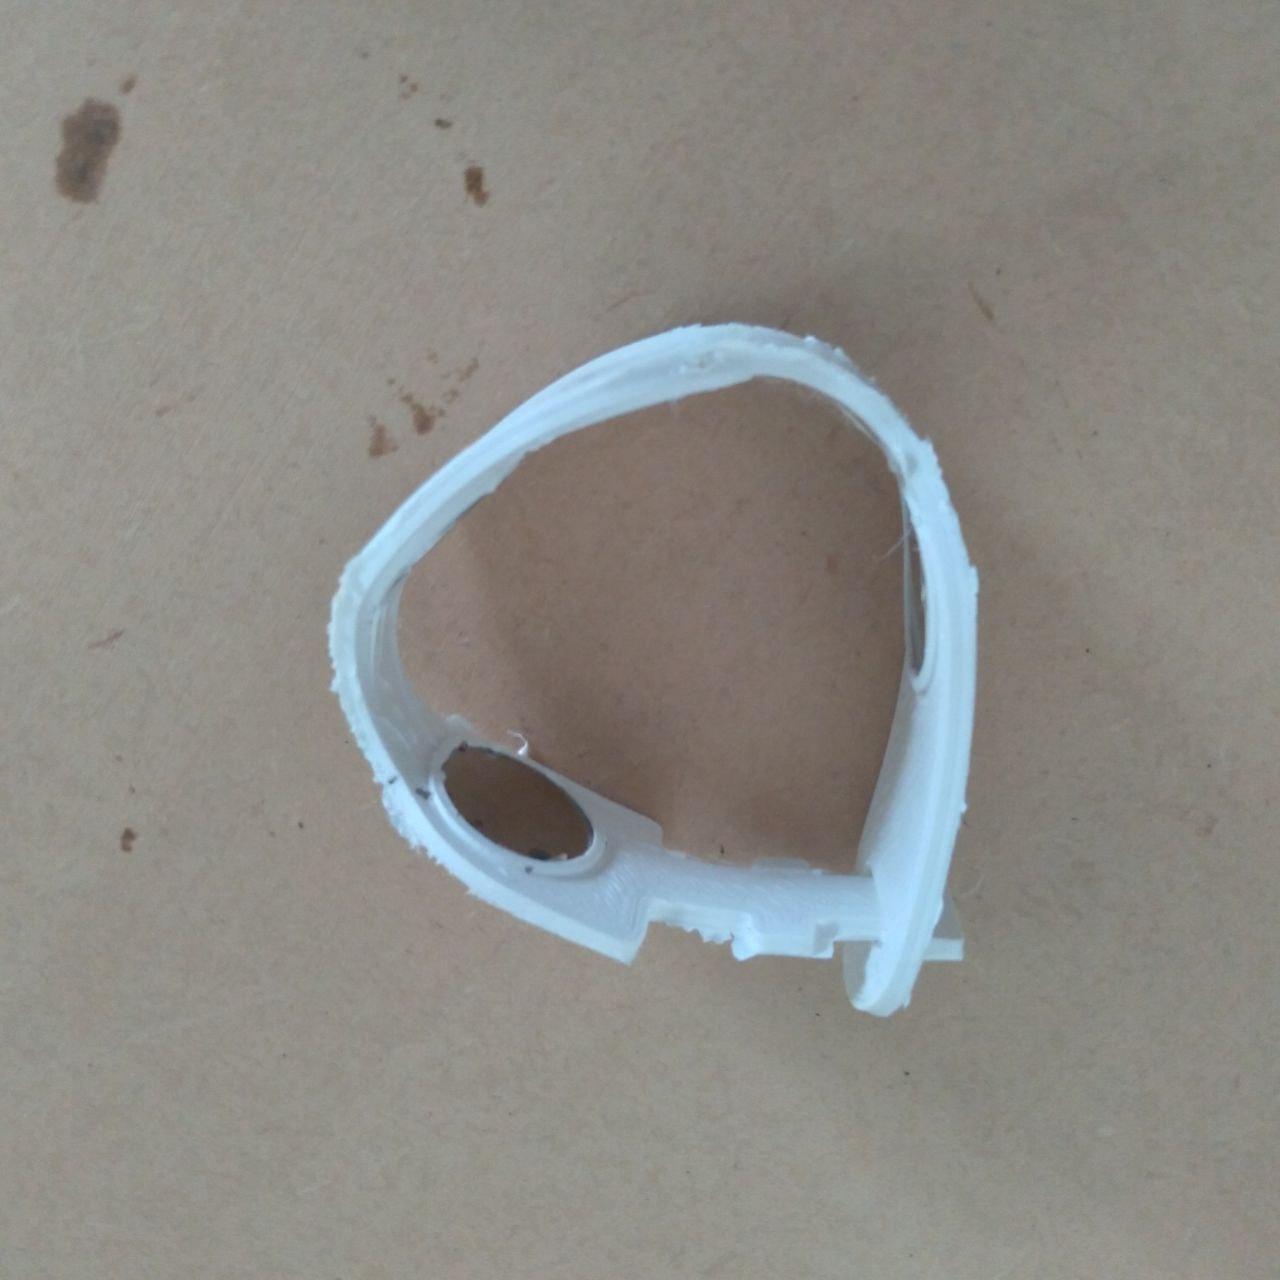
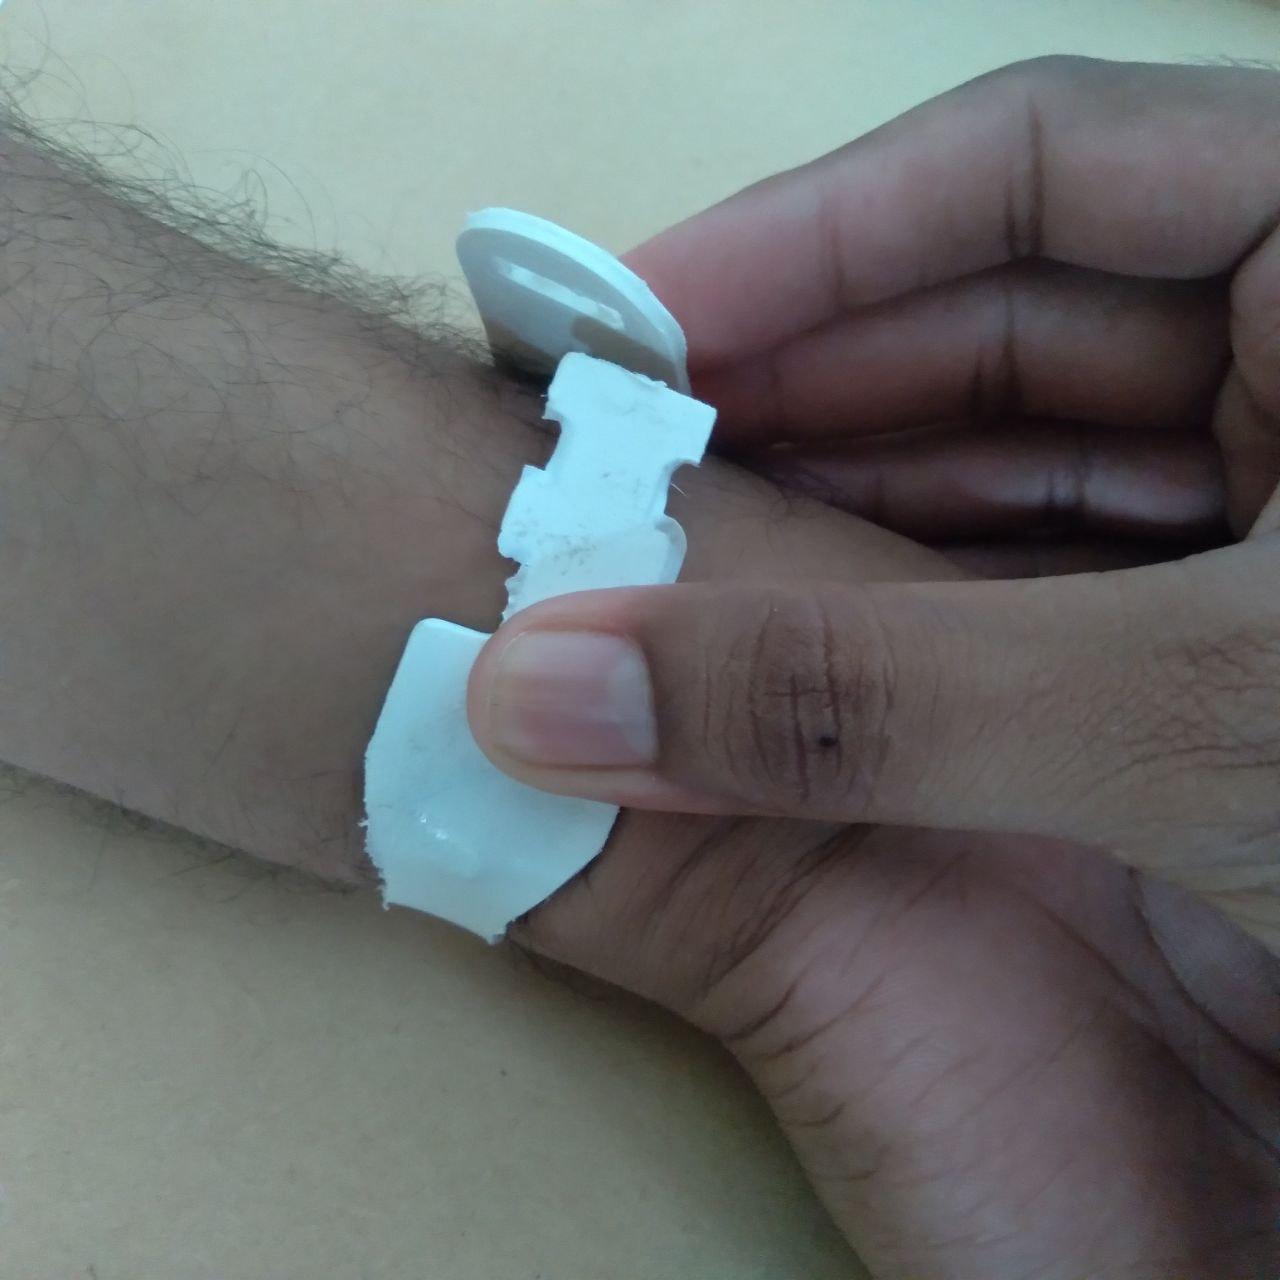
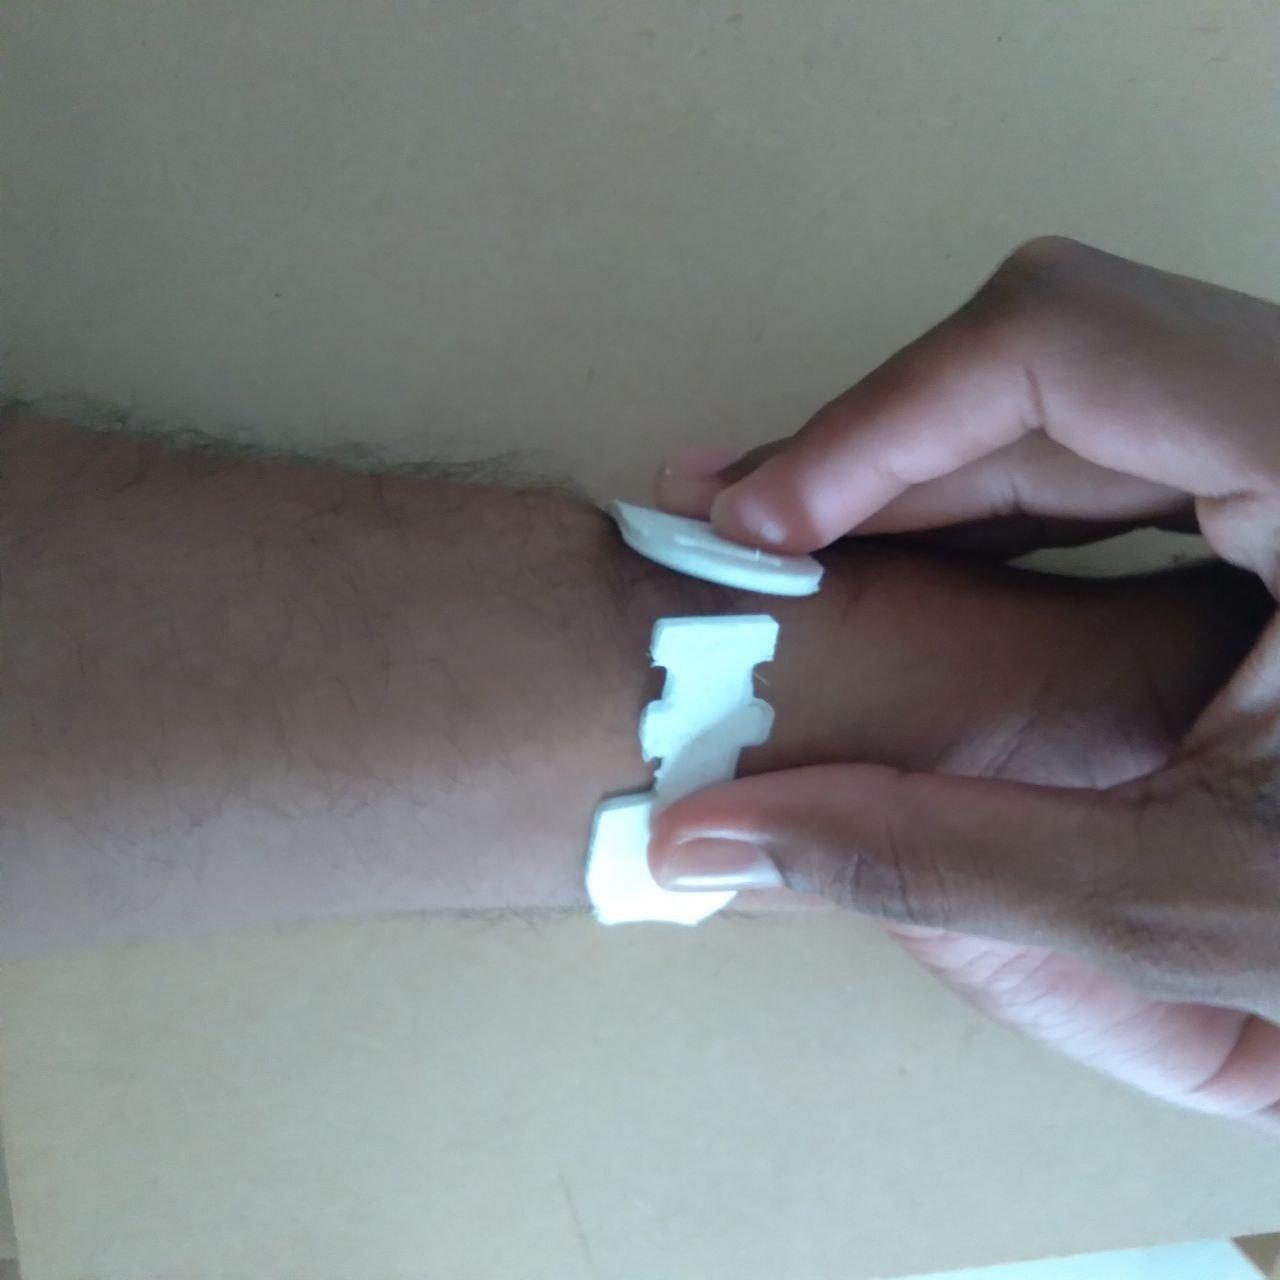
Add your magnets inside belt grooves.
Sometimes need to apply force to insert the magnet inside.
Otherwise, use some glue to attach the magnet inside permanently.
Check the locking mechanism before you wear on belt.
Wear and Enjoy:
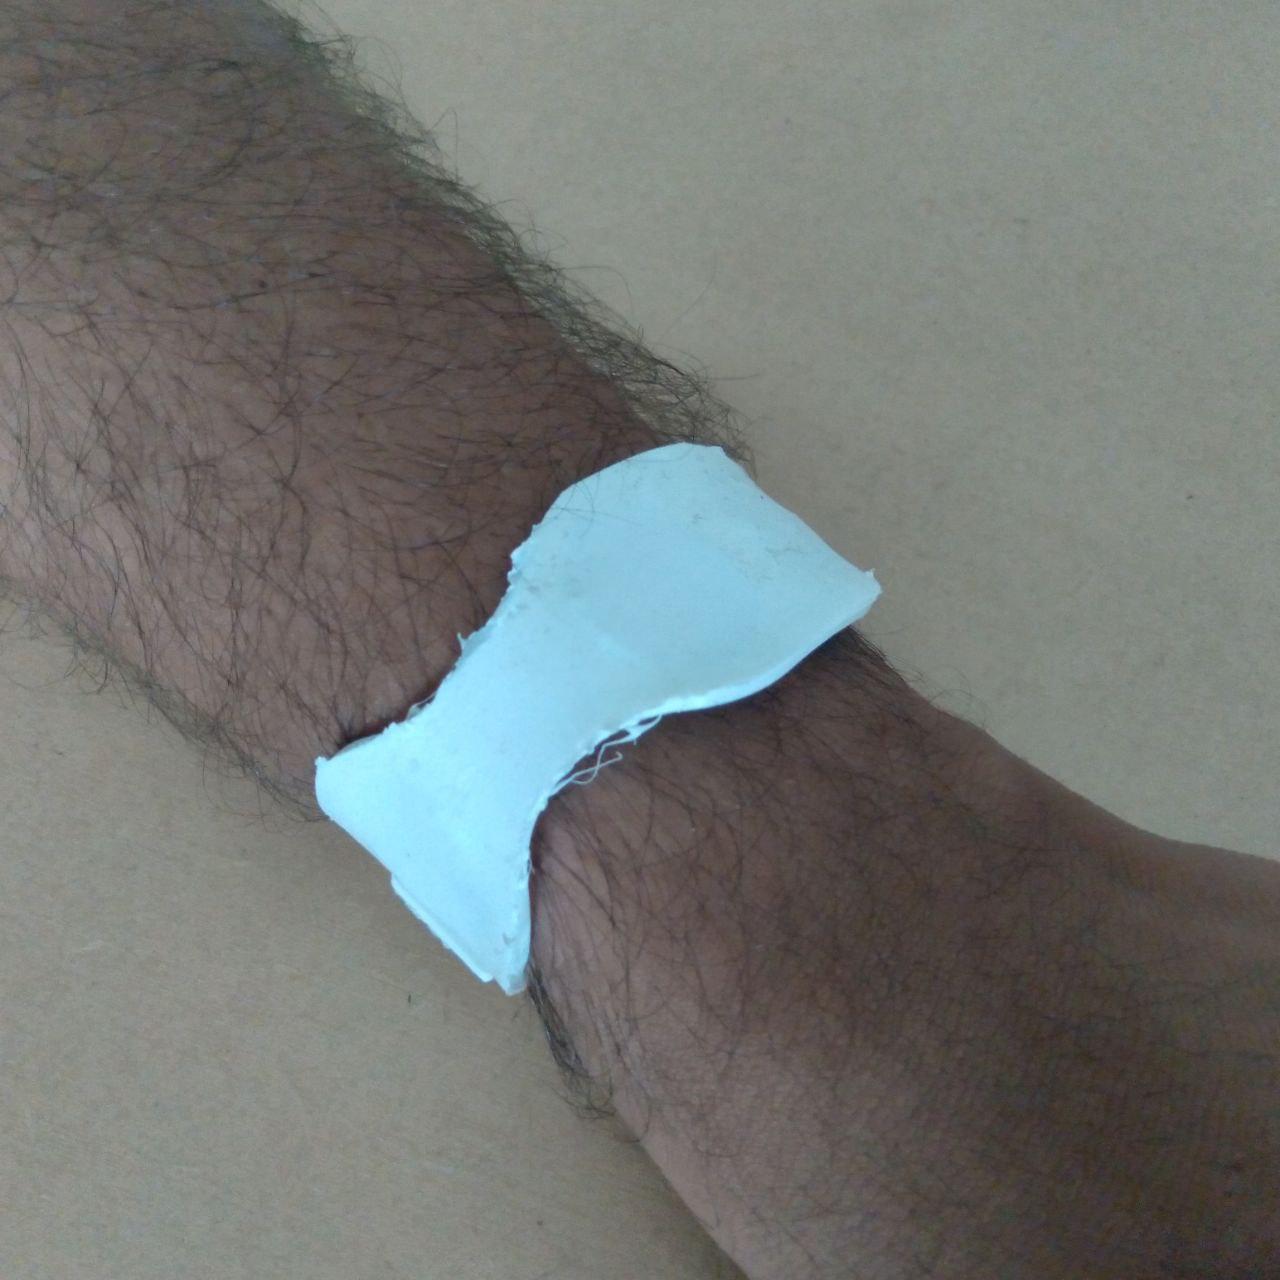
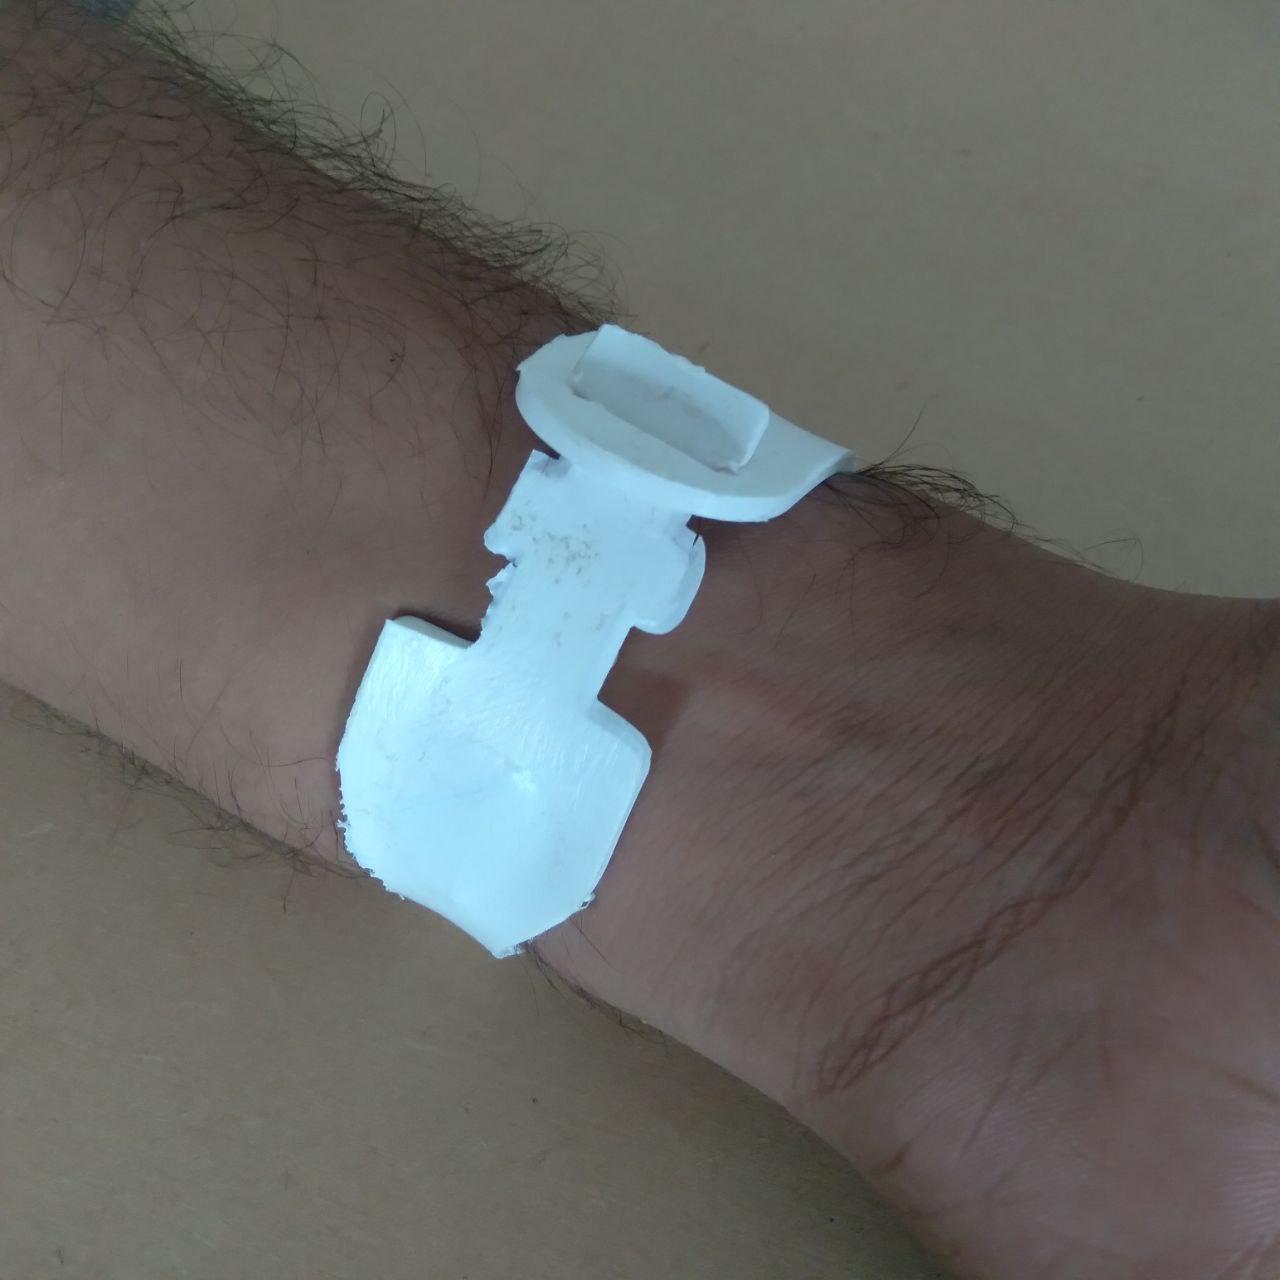
Your 3D-printed magnetic wrist belt is now ready to be worn and used.