3d Printable Christmas Medal.
by vargheserayna6526 in Design > 3D Design
419 Views, 0 Favorites, 0 Comments
3d Printable Christmas Medal.


This is a 3d printable medal that is in the form of a snowflake. I made this because Christmas is near and it would be nice to have something as an ornament or a prize in Christmas theme.
Downloads
Supplies

The only supply you need is a software named Onshape.
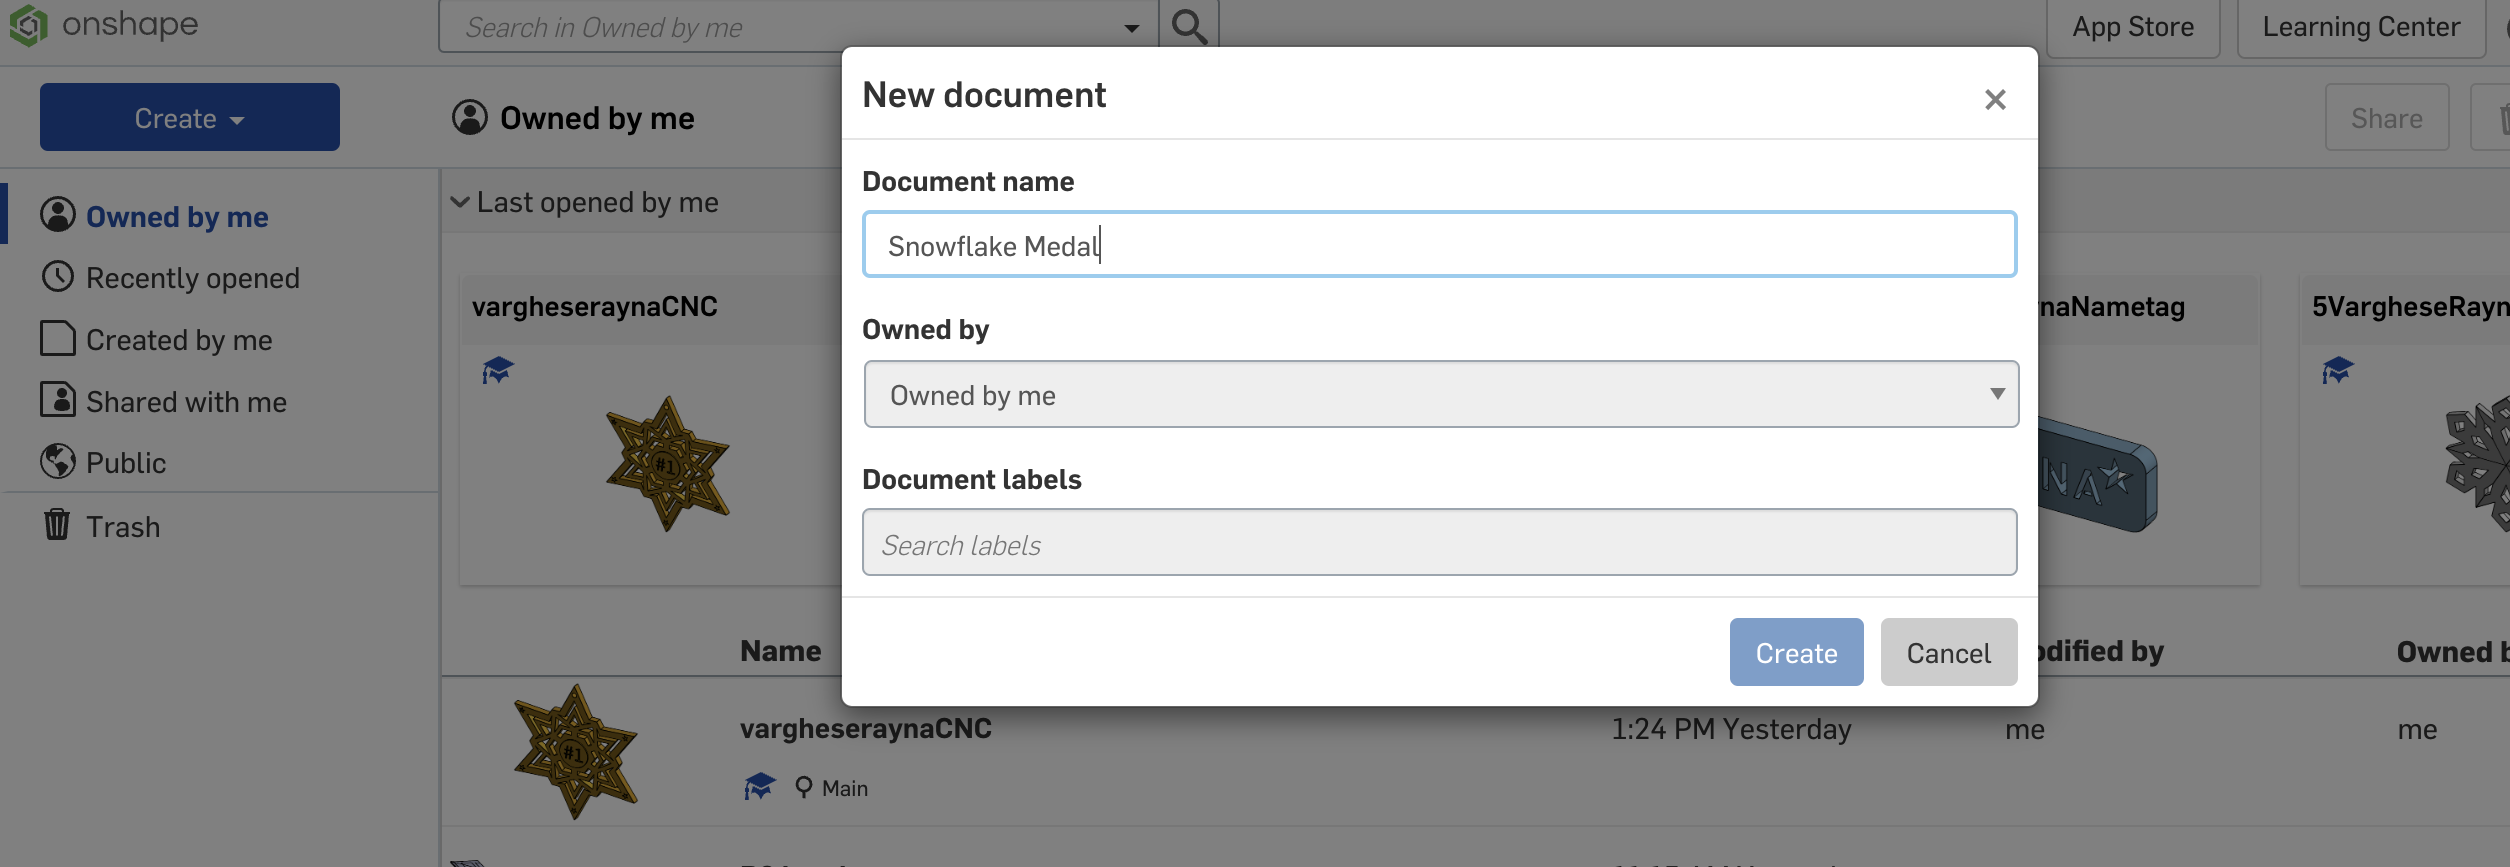
Click on create in Onshape. Select document and name it.
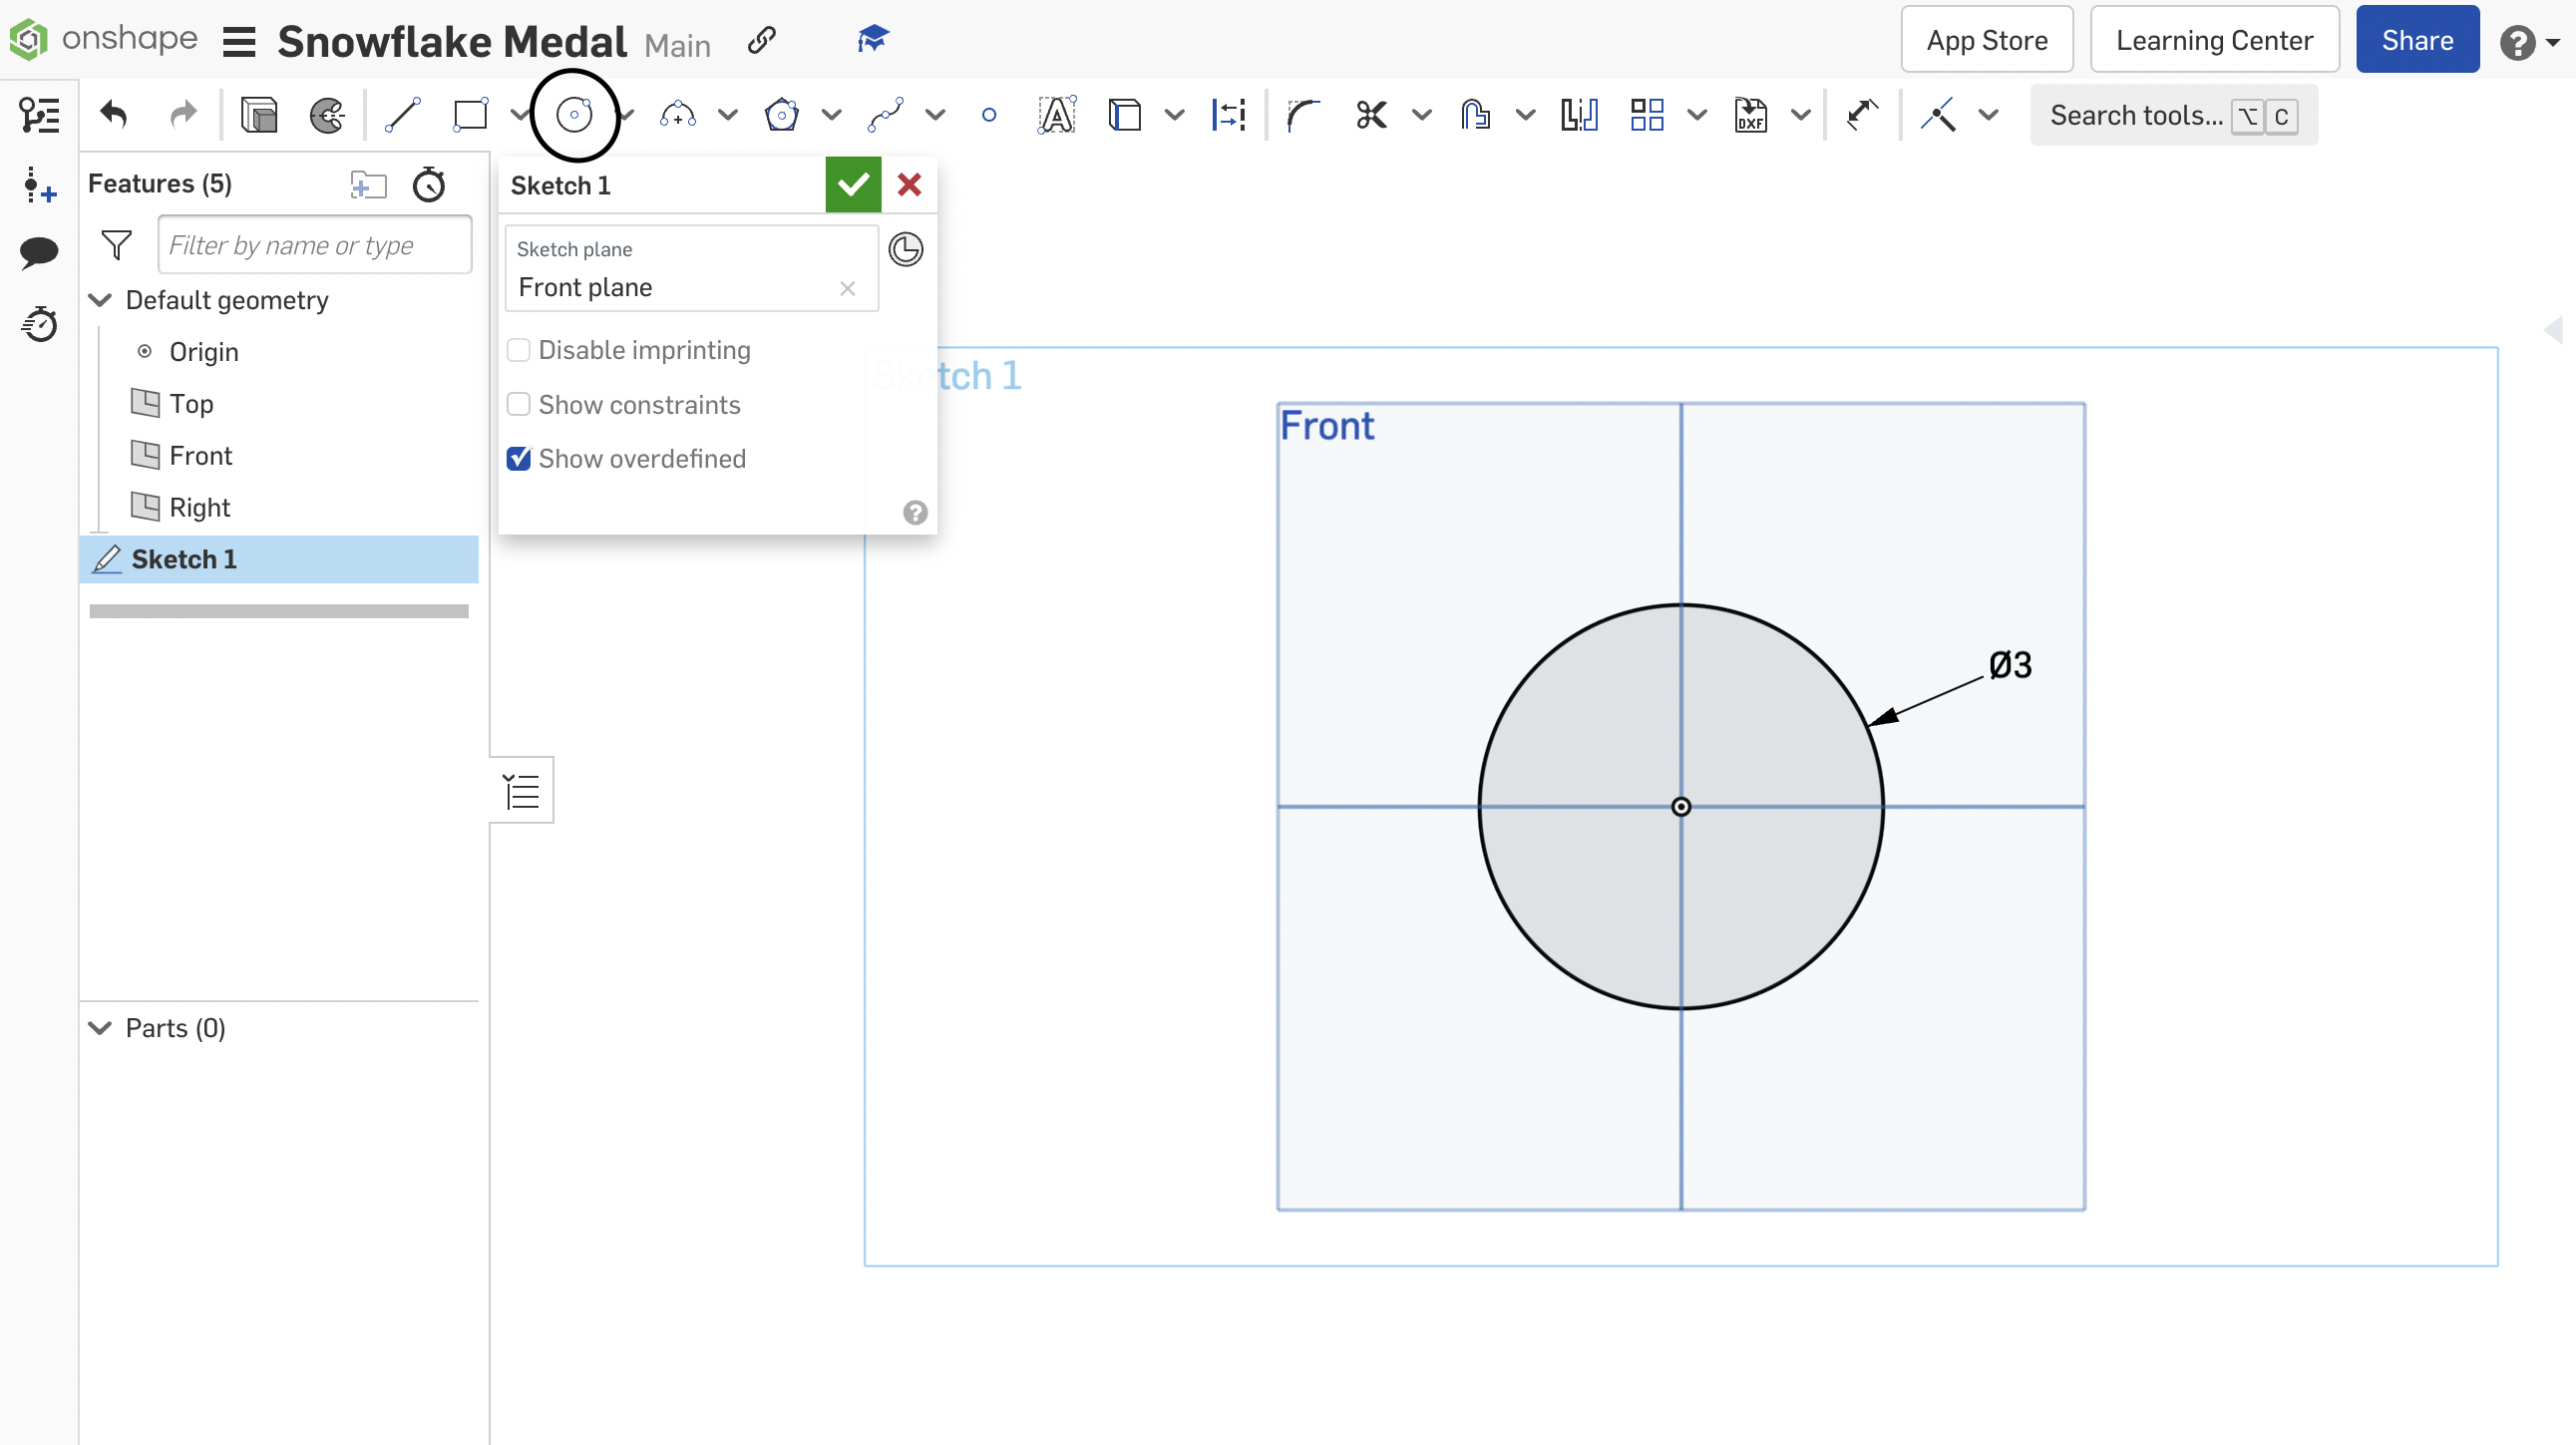
Click on SKETCH. Then select the FRONT PLANE. Use the CENTER POINT CIRCLE and draw a circle from the origin with a circumference of 3 inches.
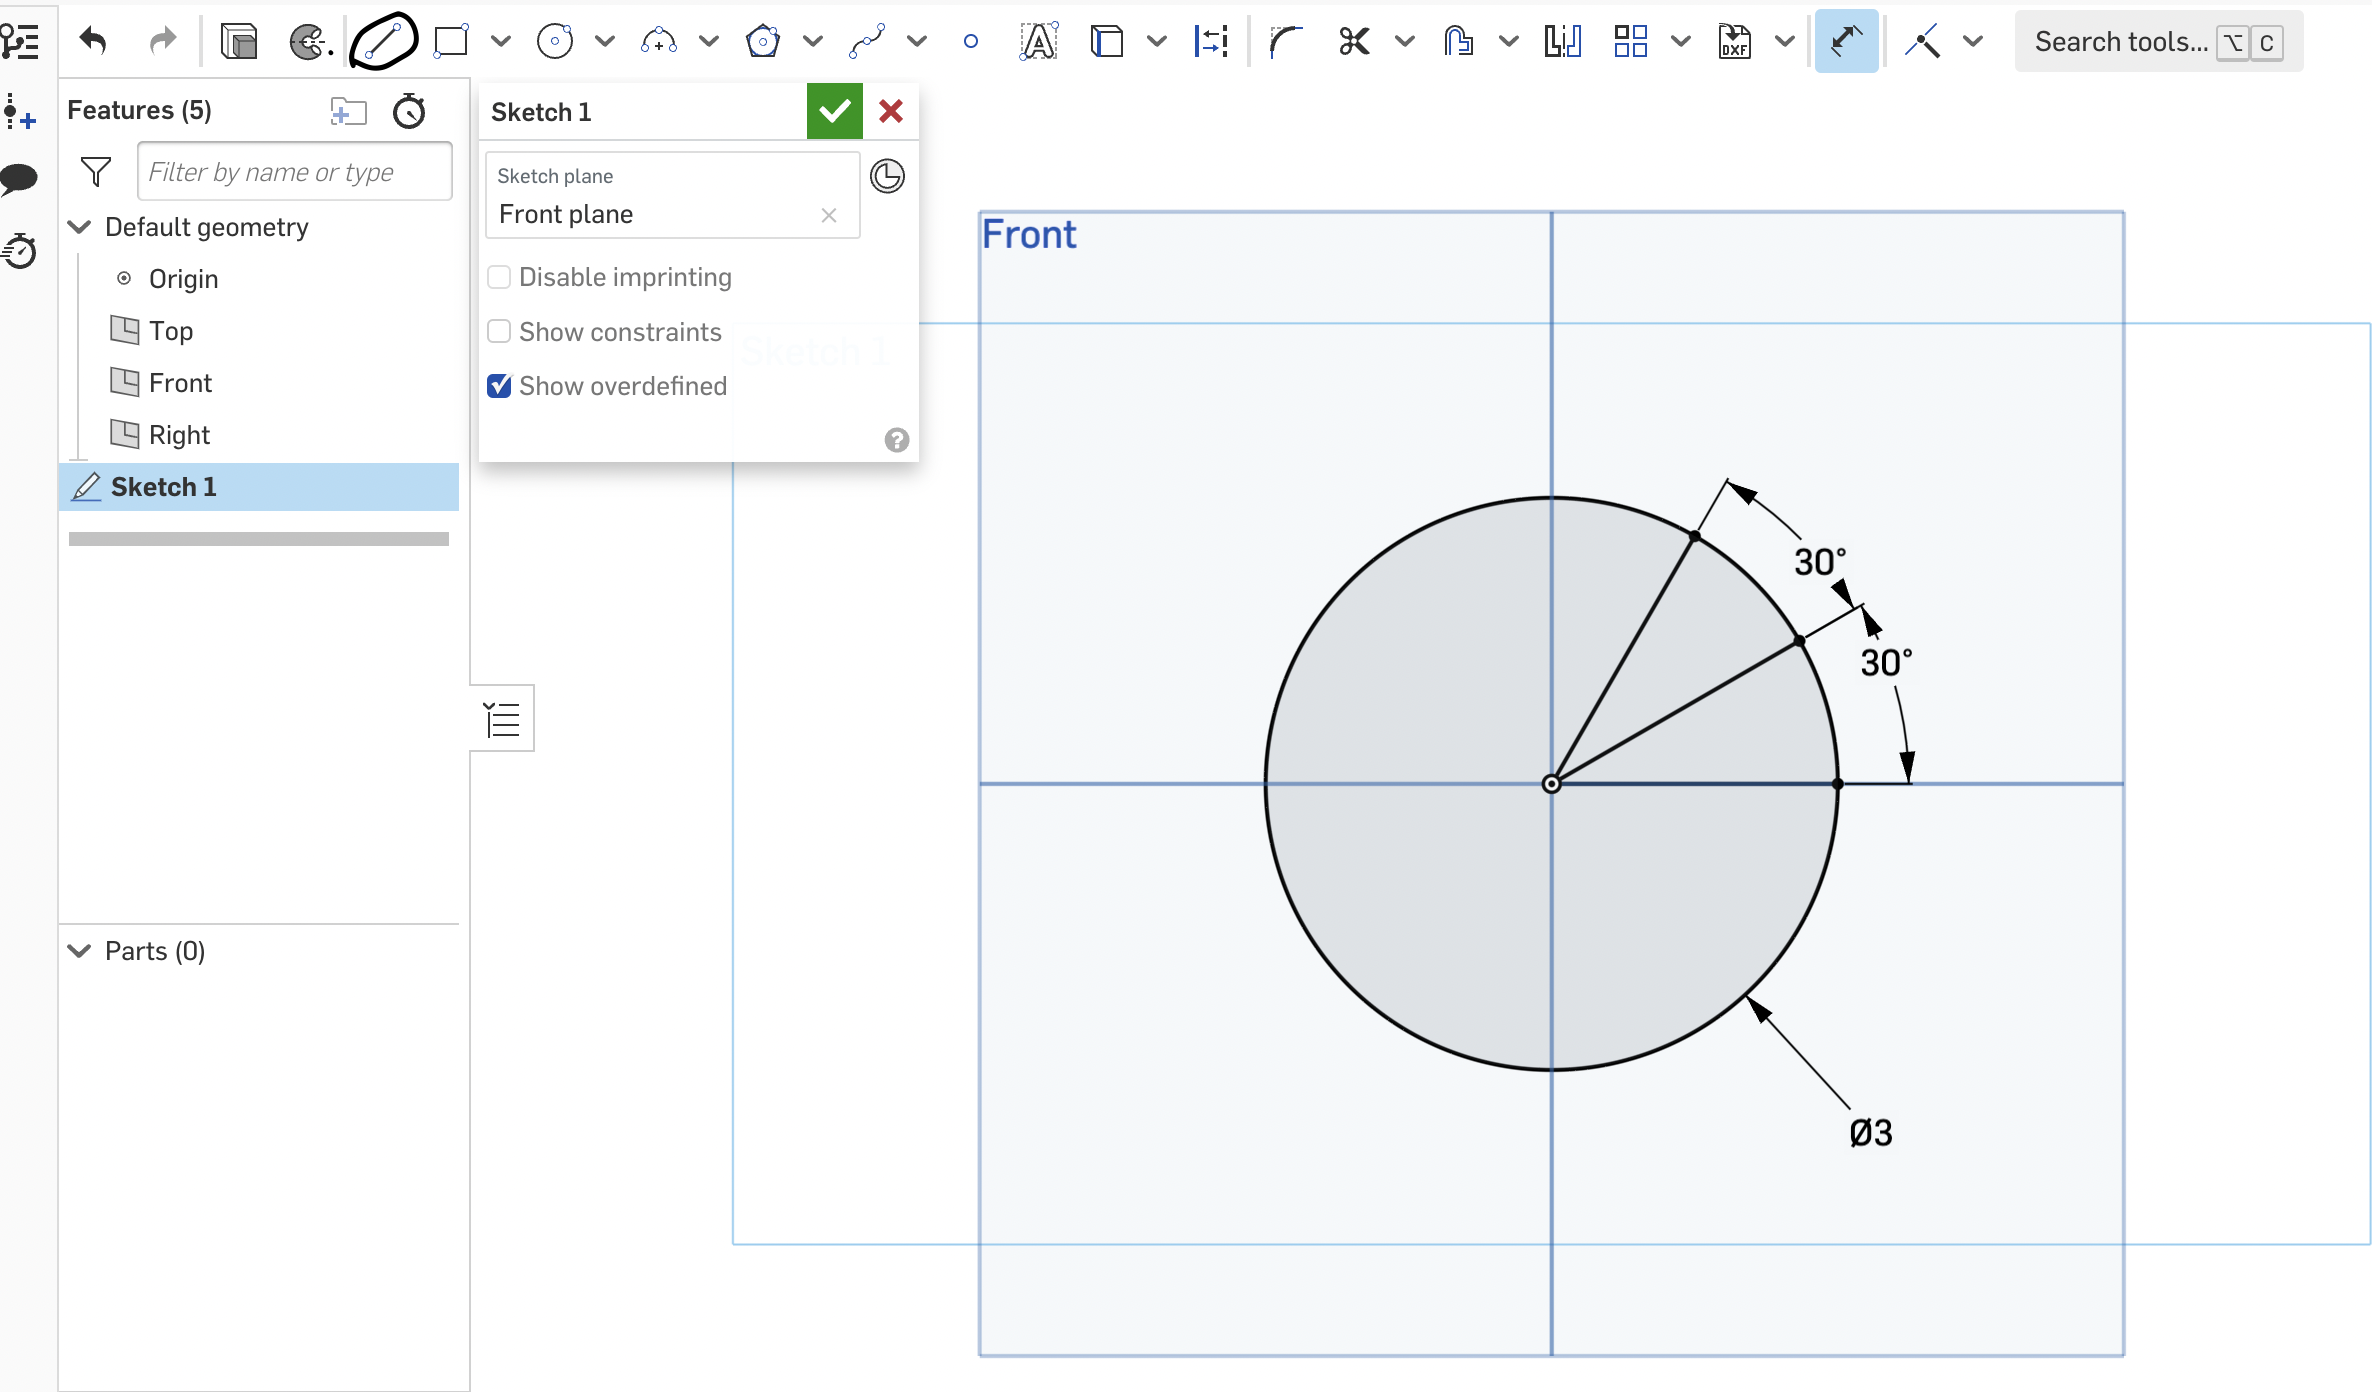
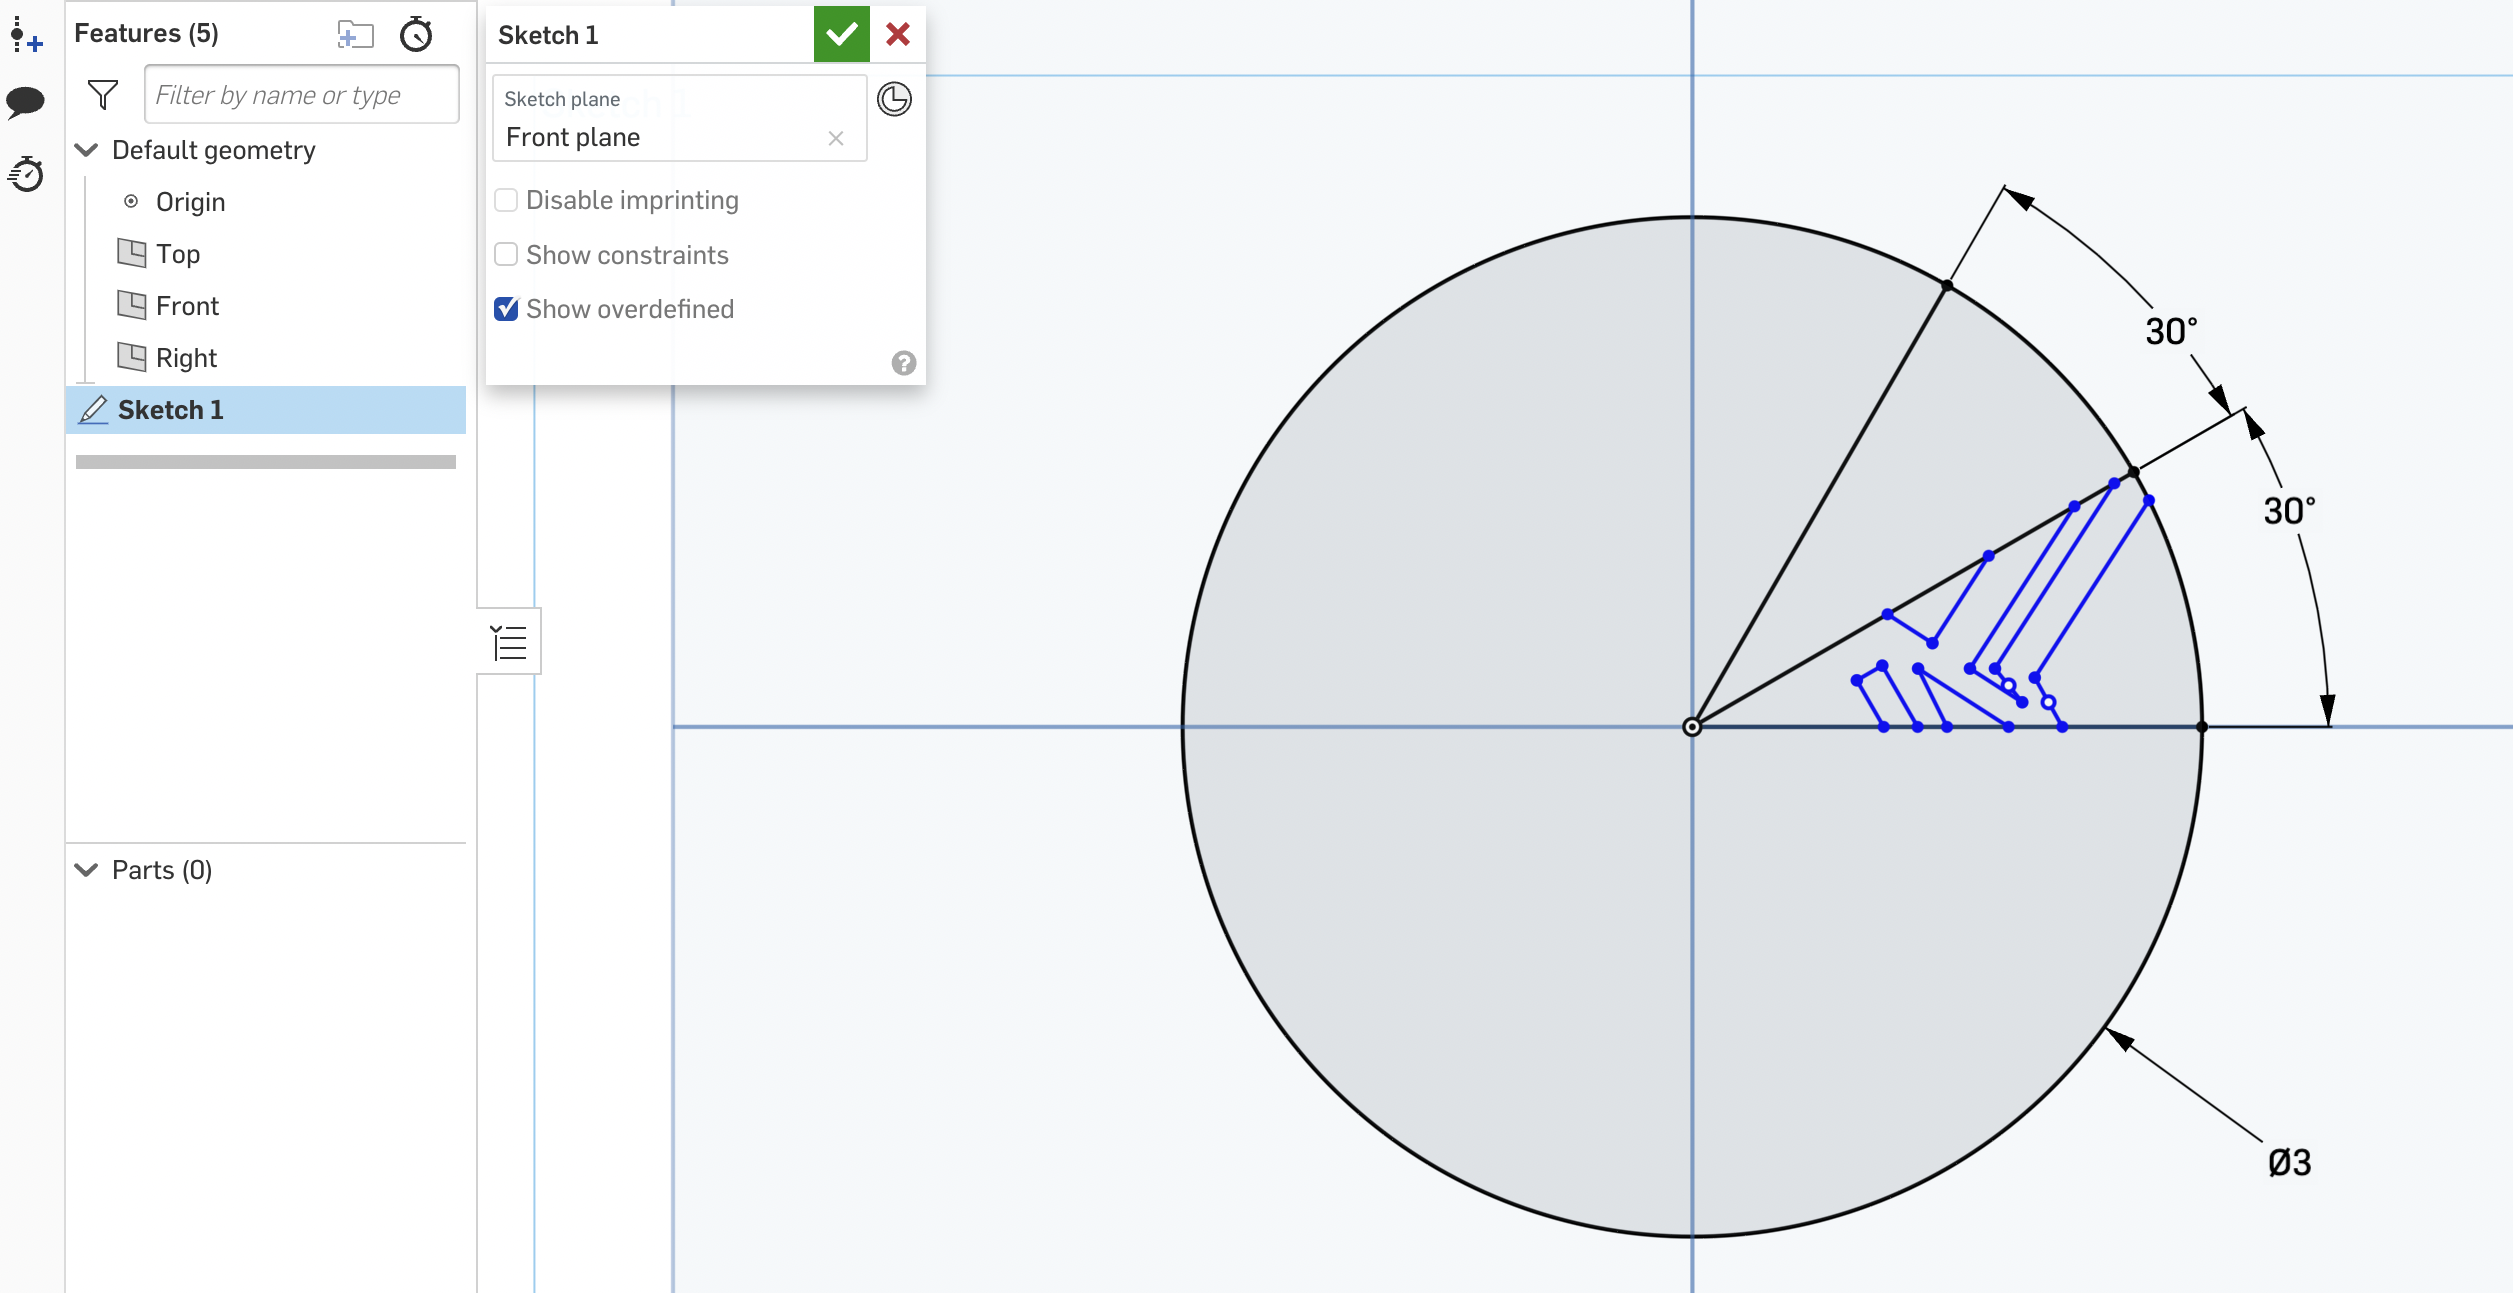
Using the line tool, draw three lines from the center to the circle (each line is a radius). Dimension the angles to 30 degrees using the dimension tool as shown above. Draw your design on one side of the 30-degree angle.

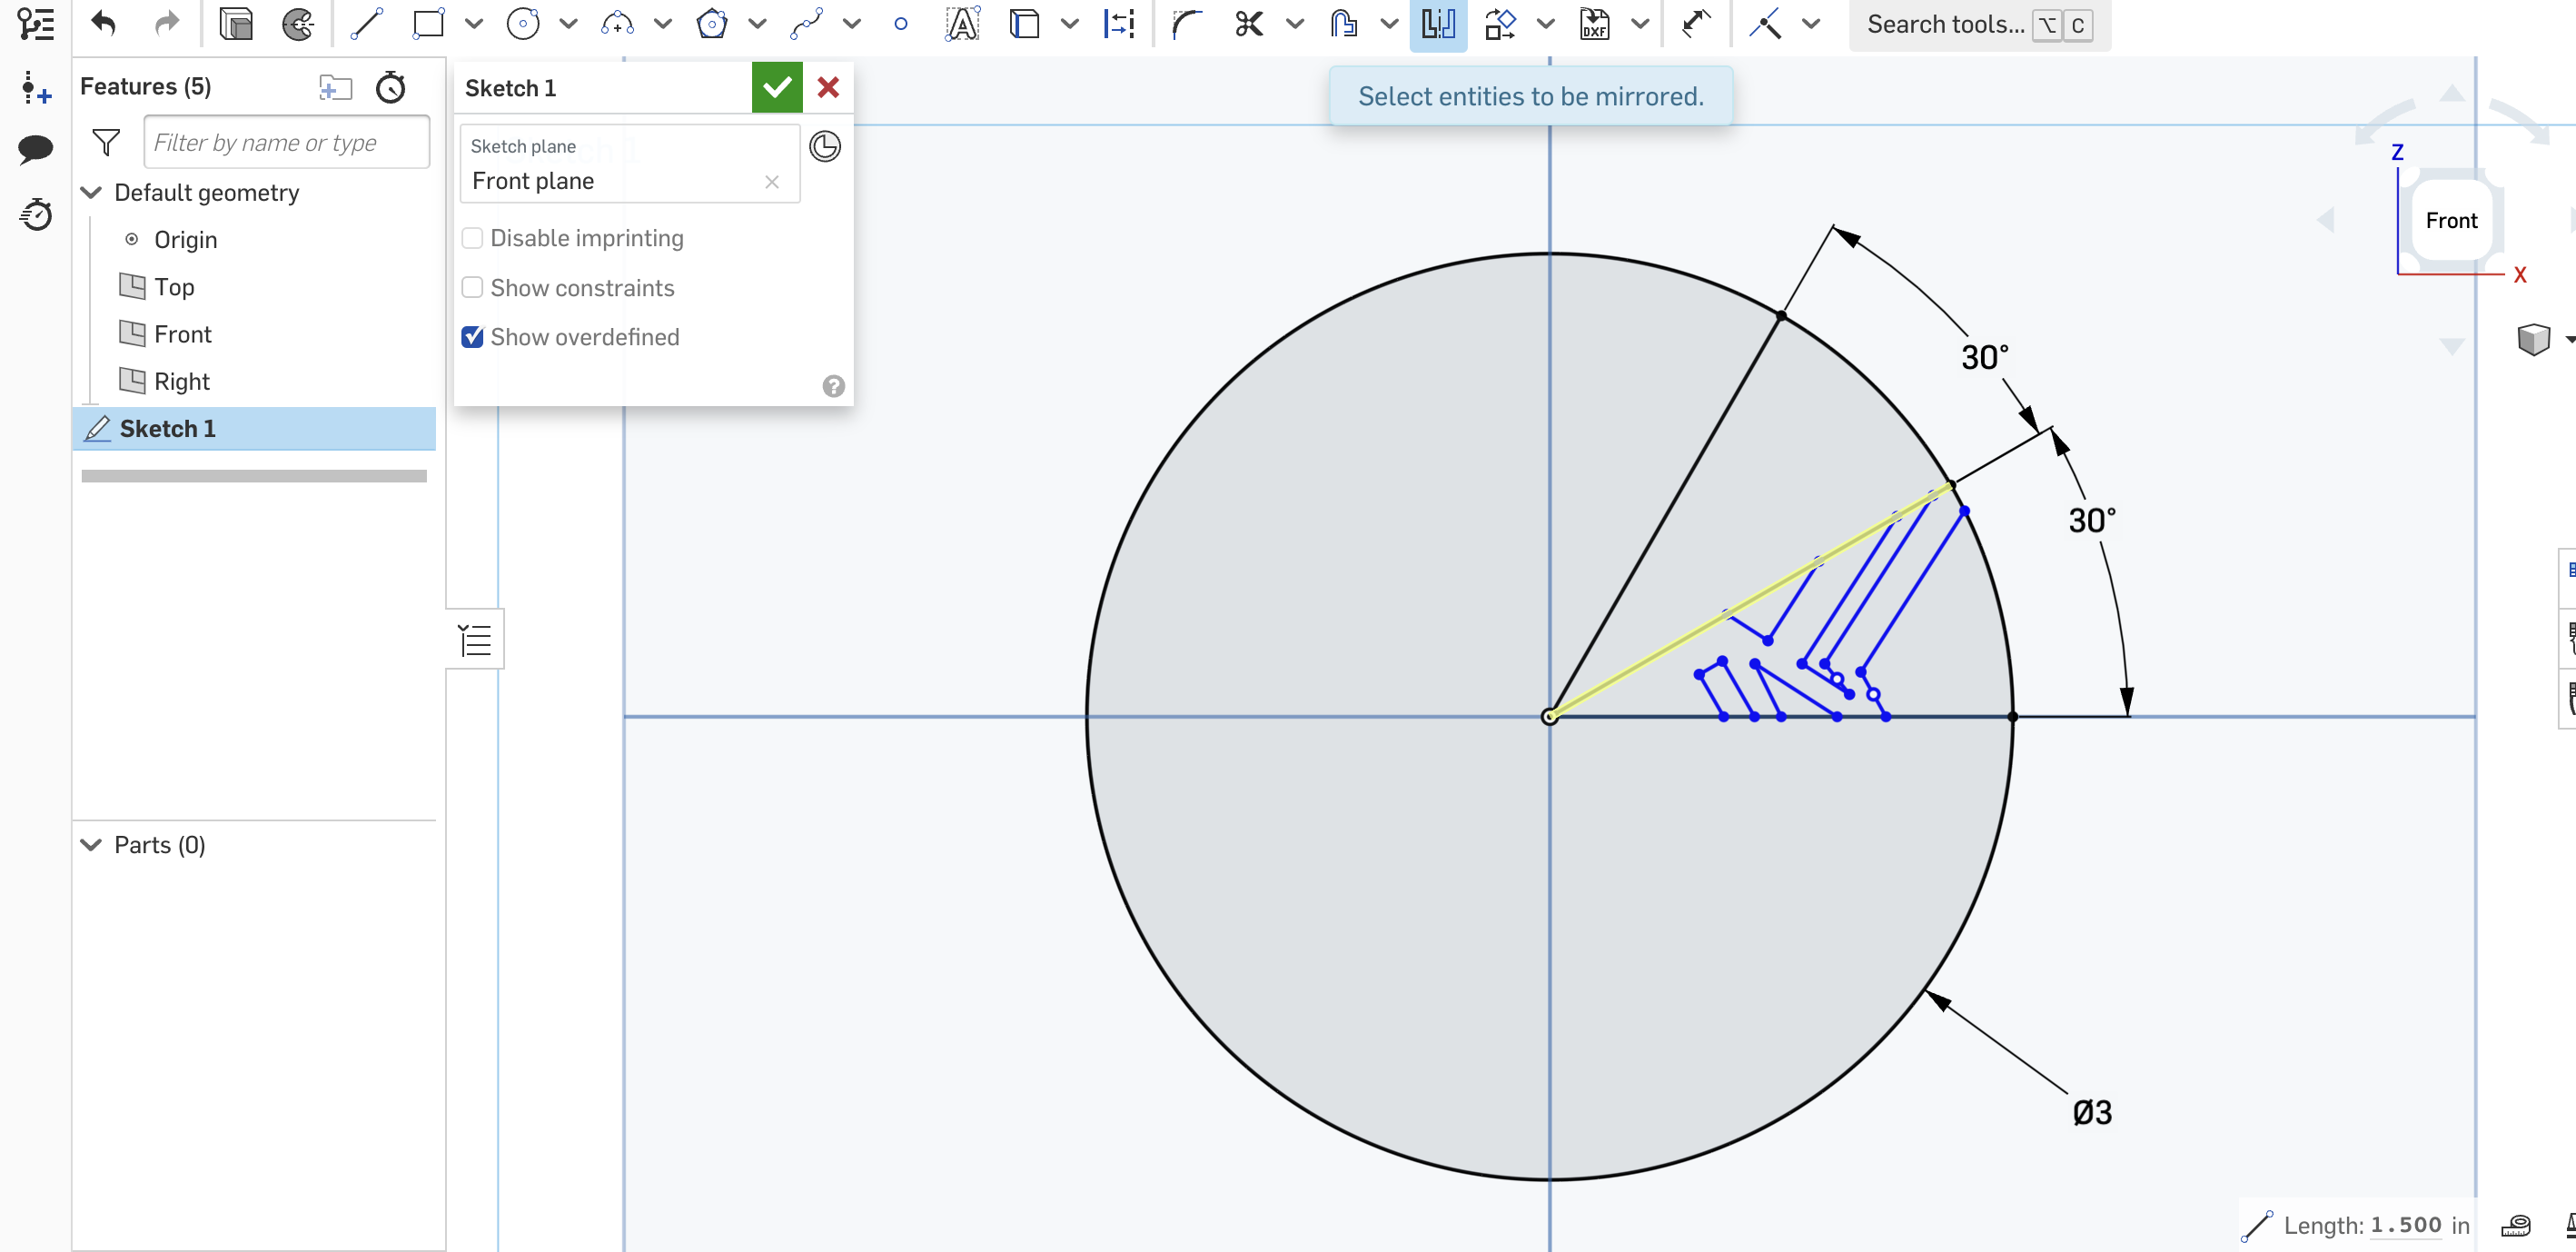
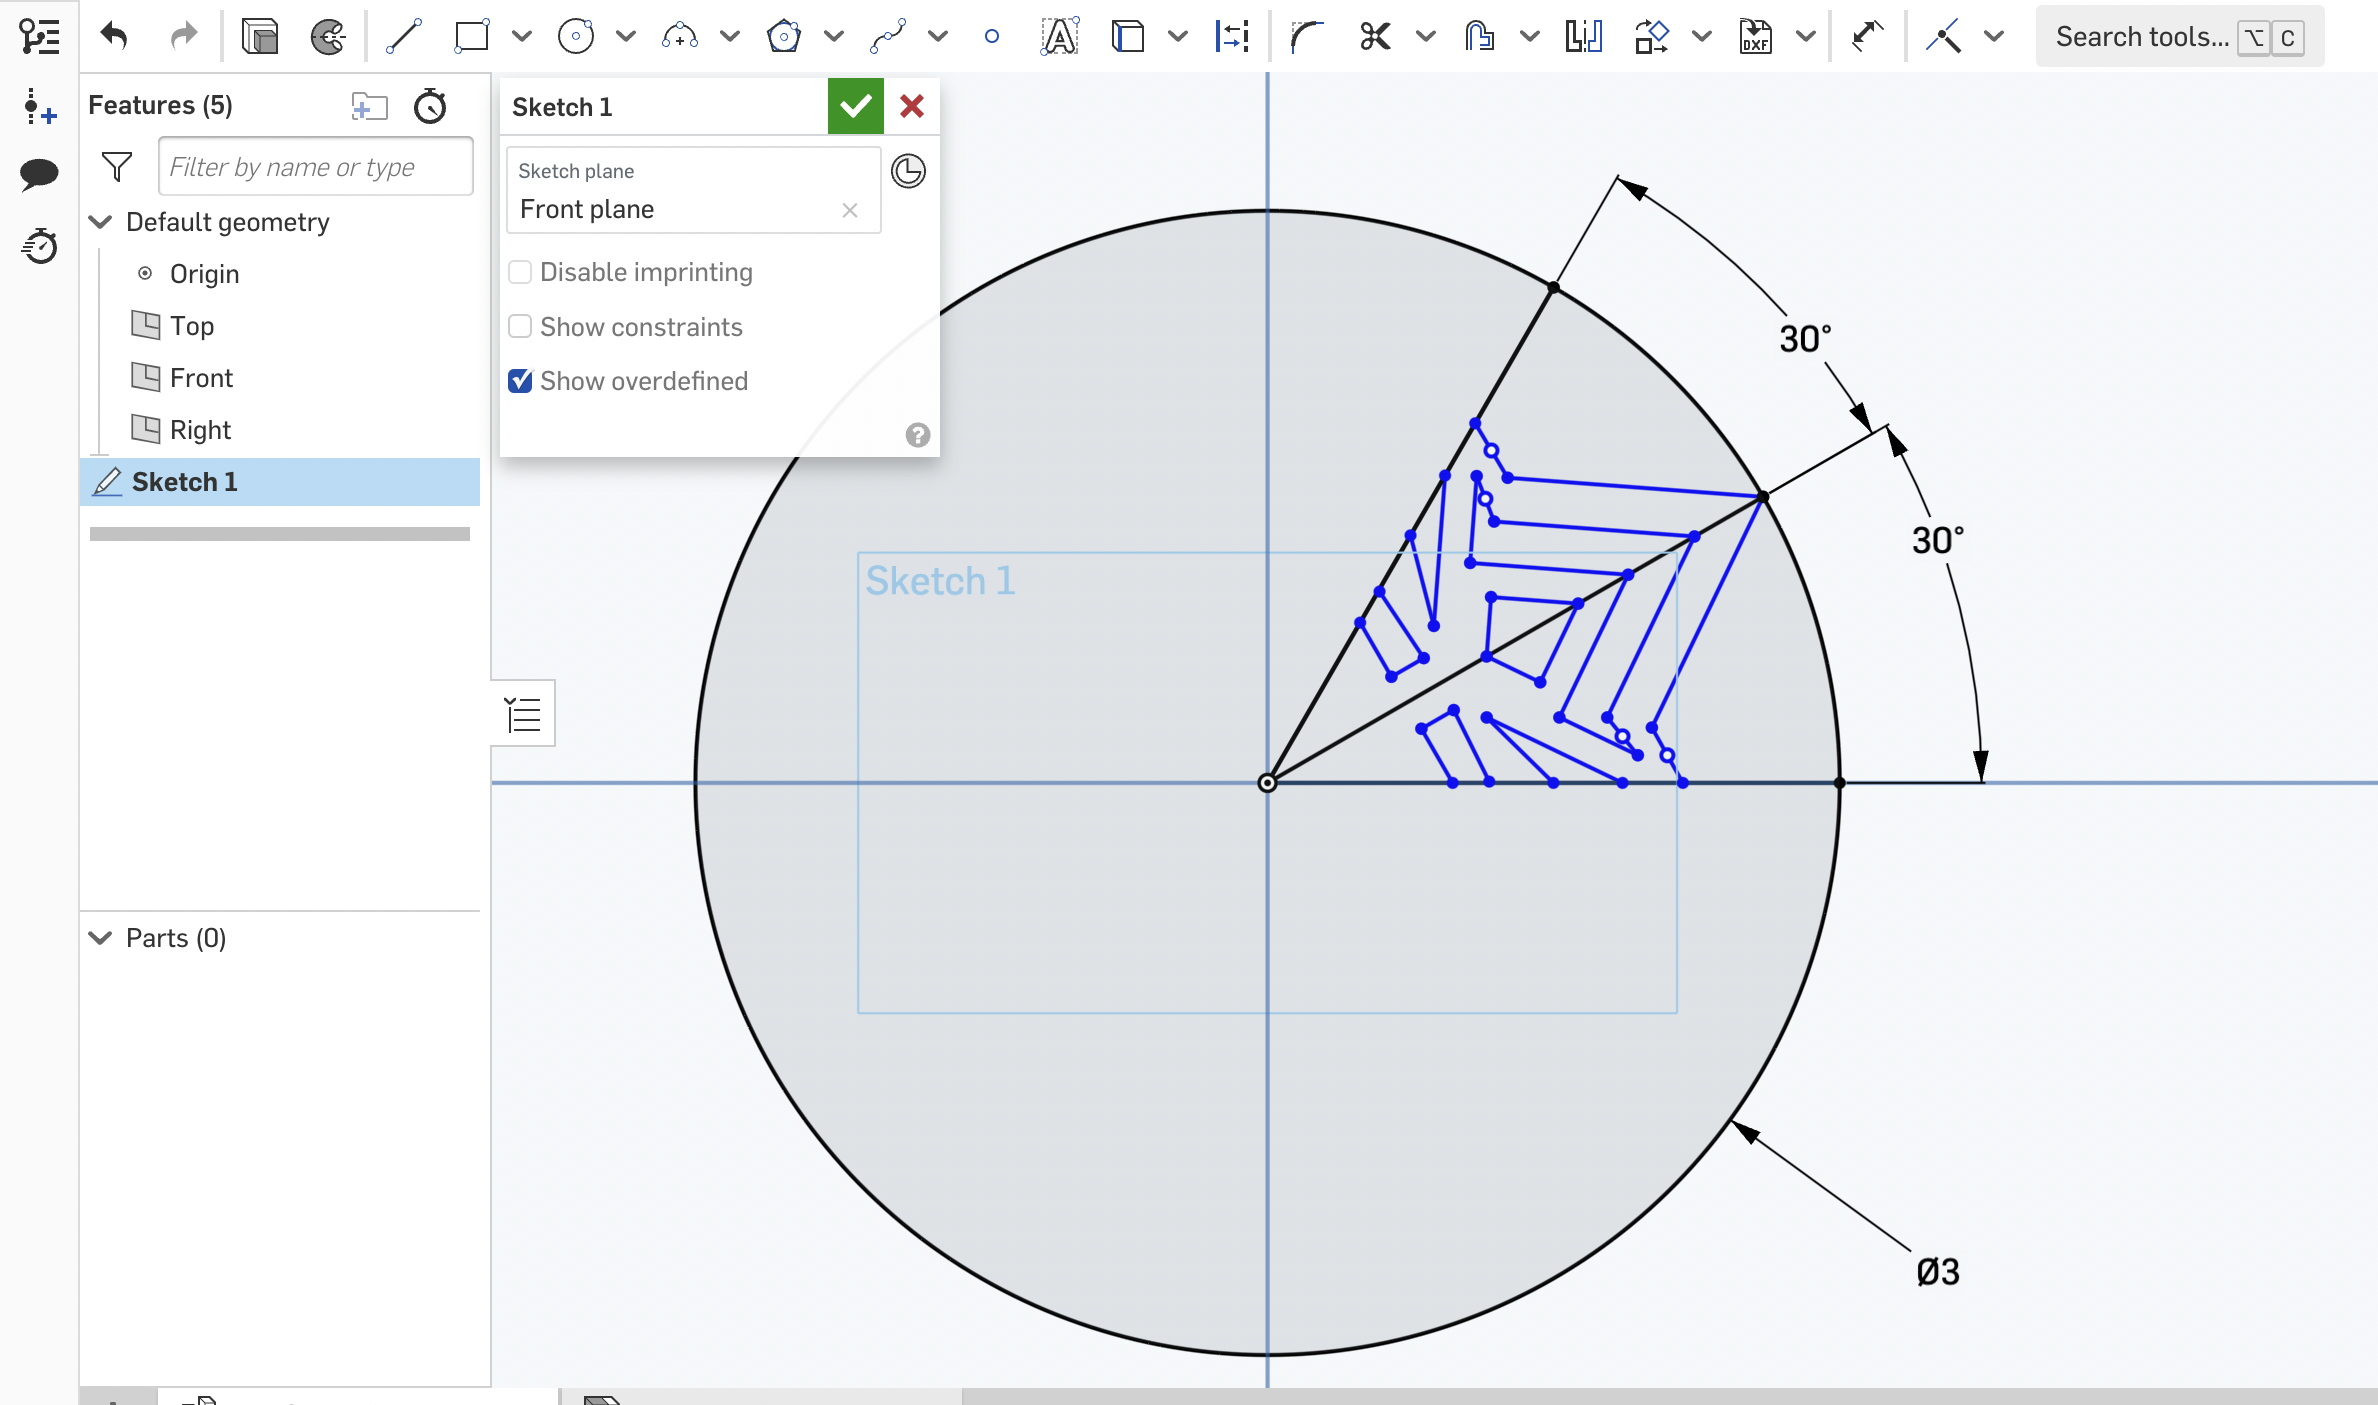
Select the mirror tool from the toolbar. Use the line between the two 30-degree angles as a mirror line. Mirror your design to the other side of the 30-degree angle as shown above.
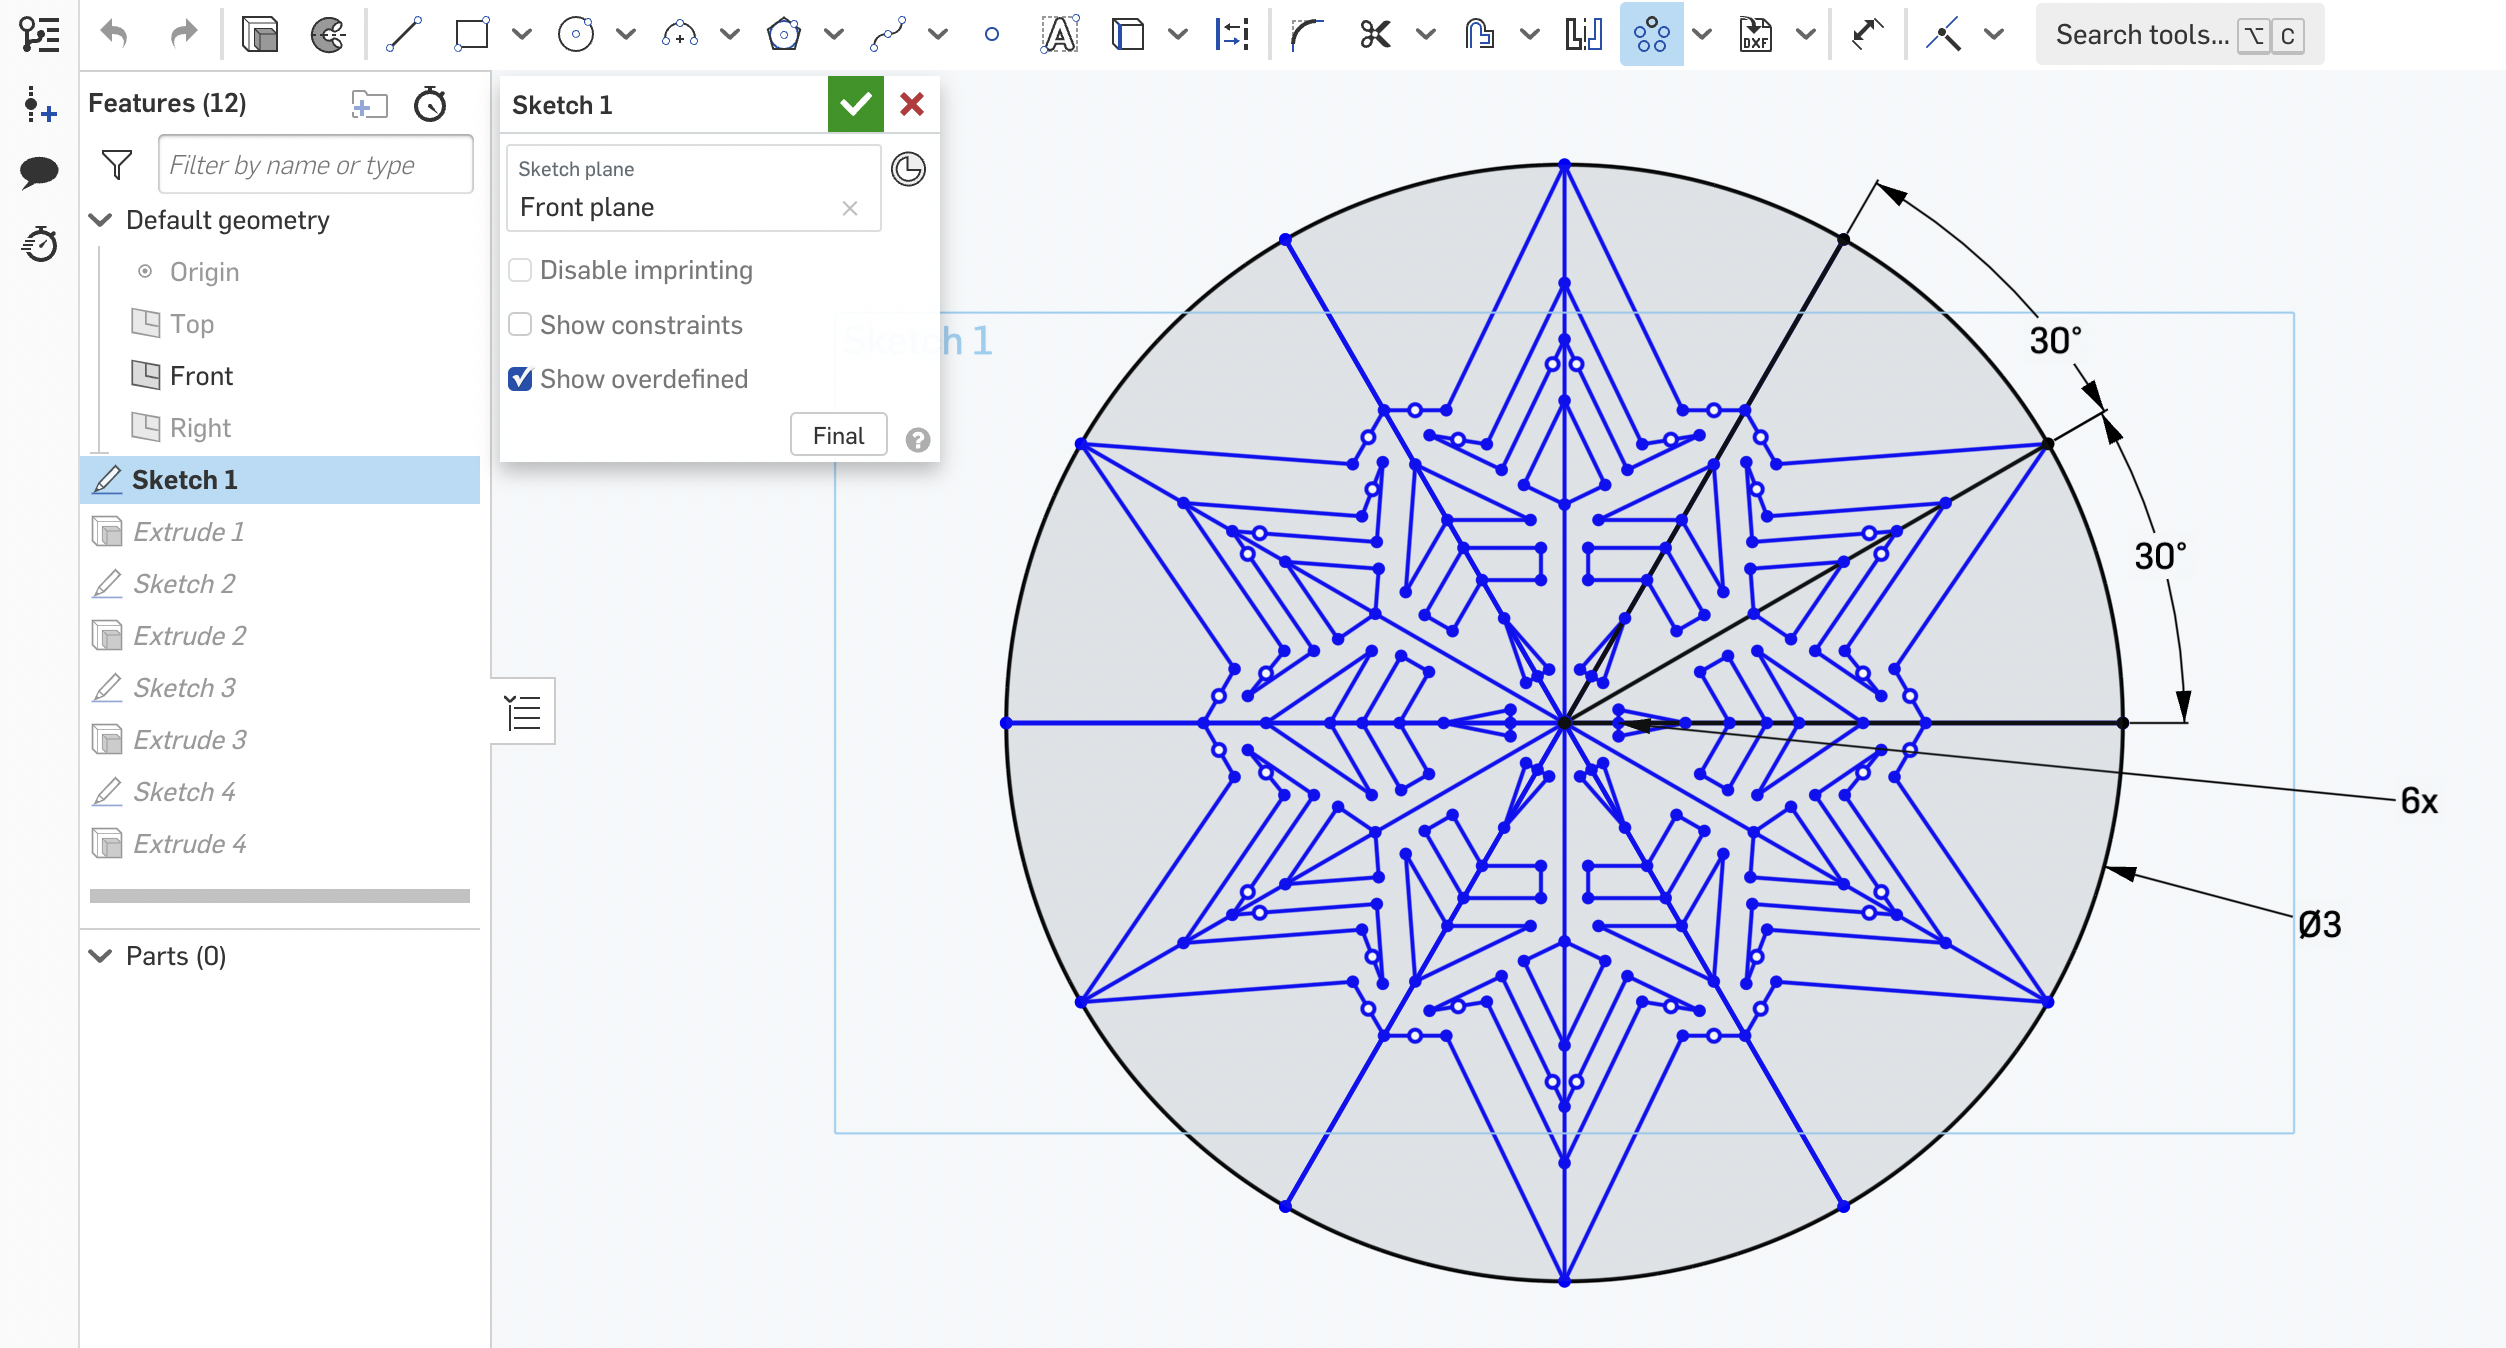
Select the circular pattern from the toolbar. Use the circular pattern tool set to 6x to rotate the design all the way around the circle as shown above.
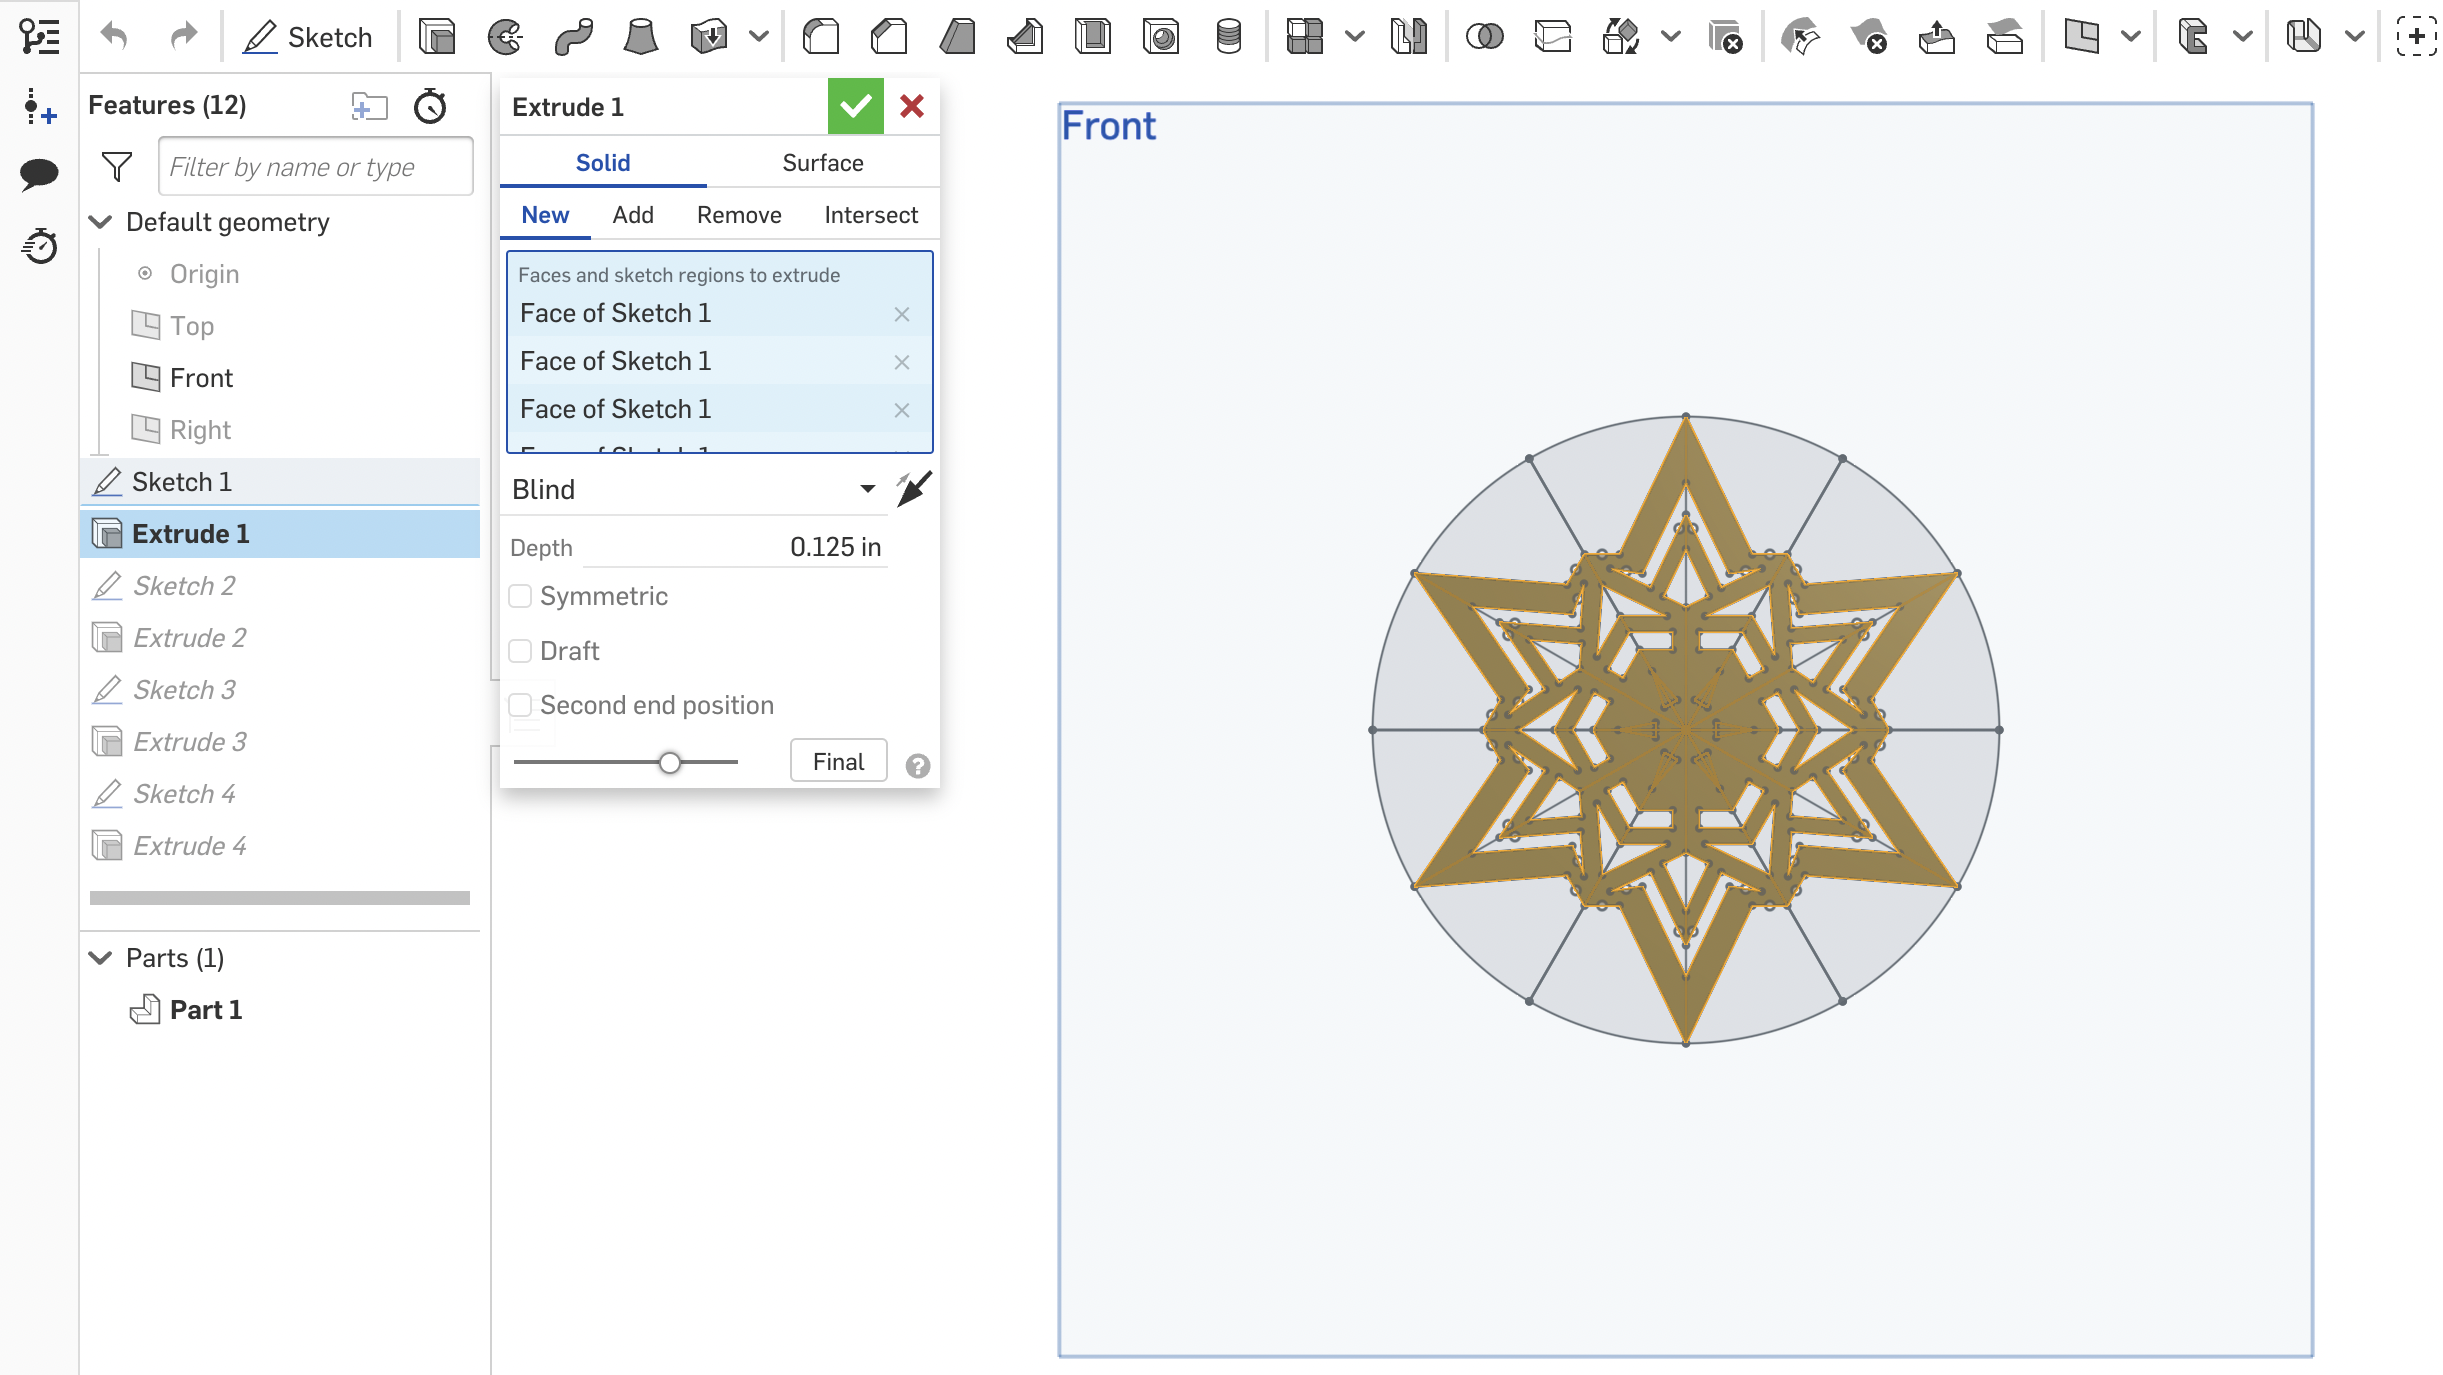
Click on Finish sketch (green tick mark). Then click on Extrude and select the design. Extrude it to 0.125 ( 1/8 inches).
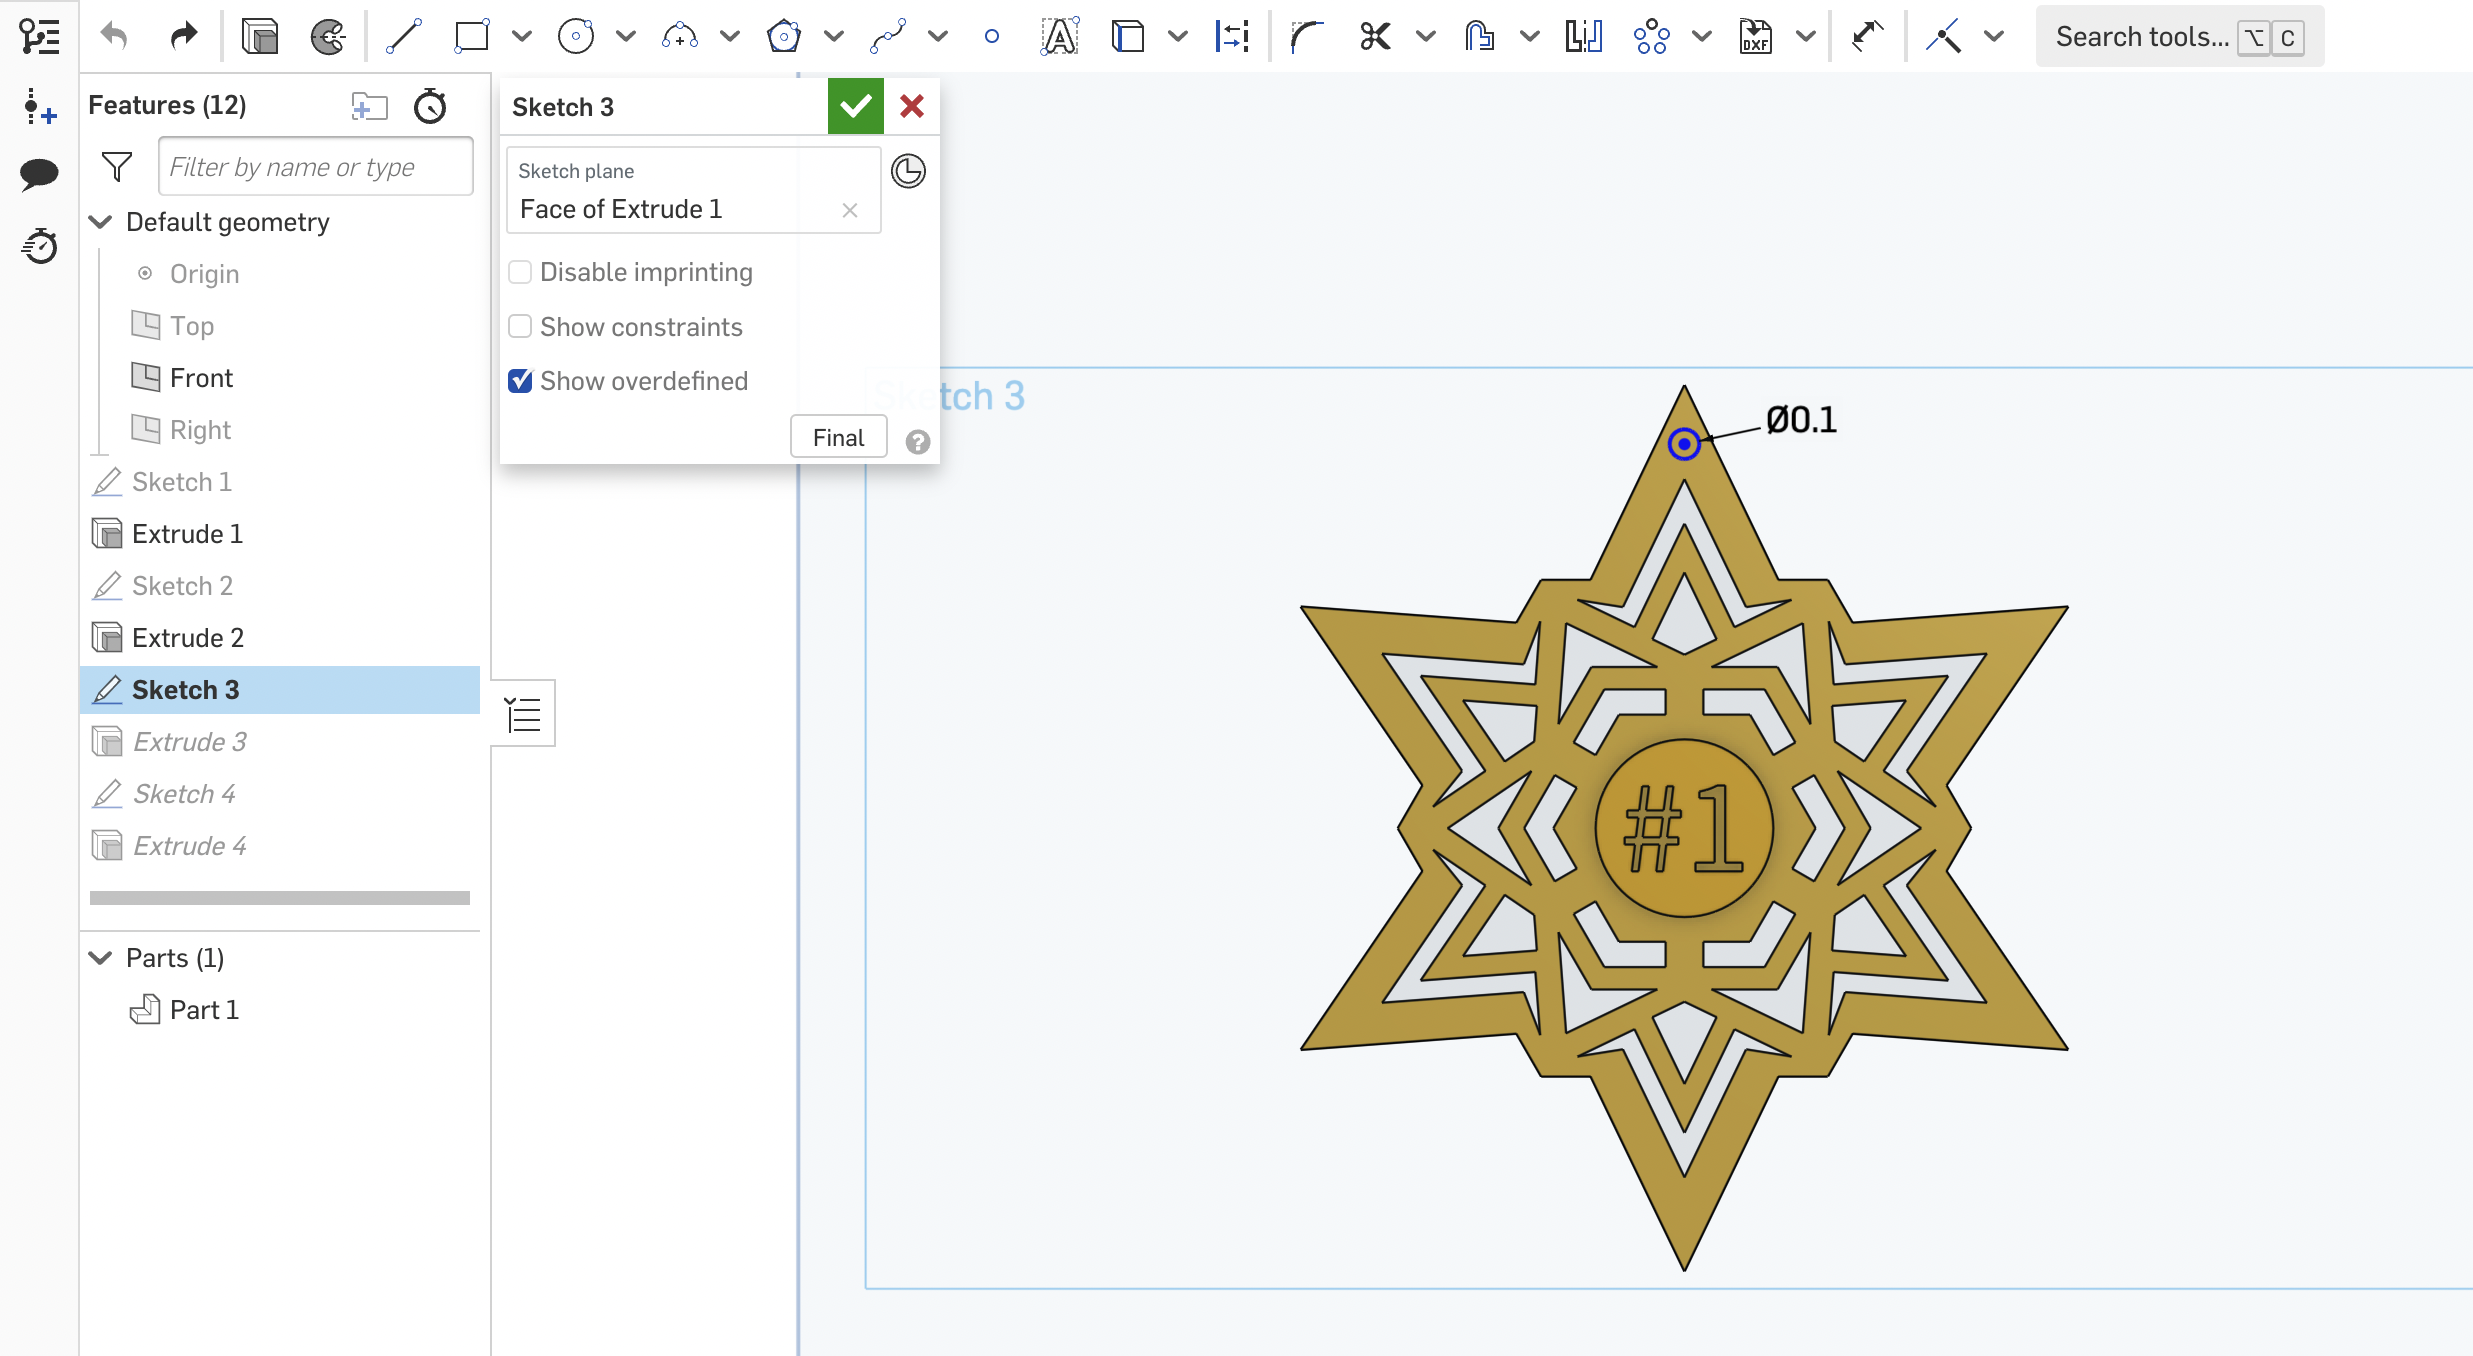
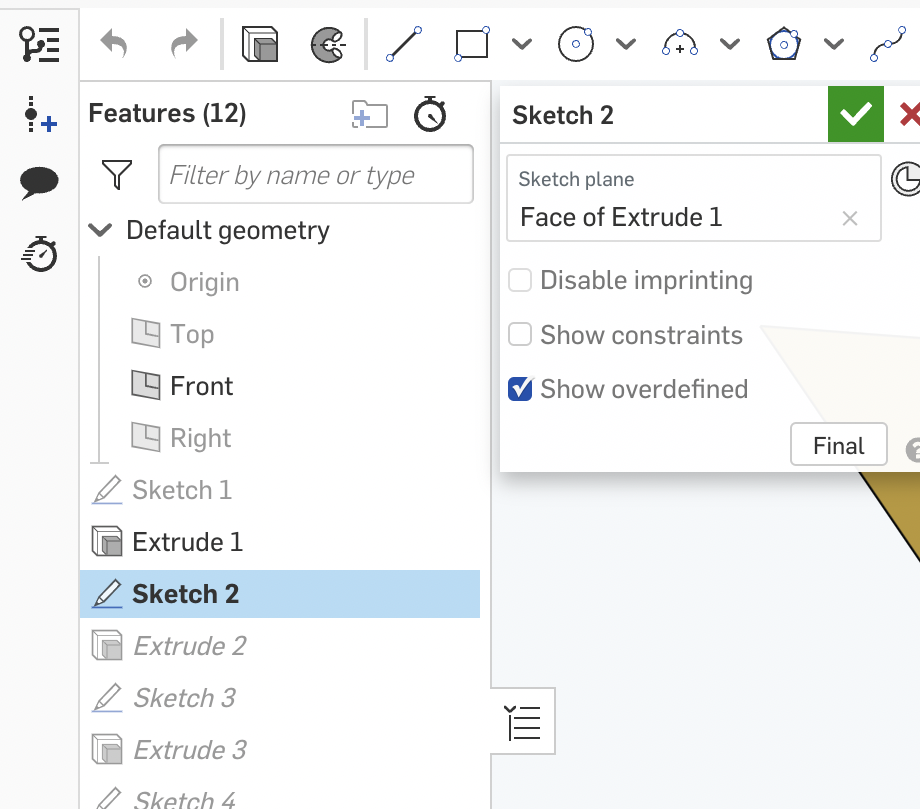
Once you are satisfied with your design Click on a new sketch and select the extruded surface as the plane. Create a hole in the snowflake, and draw a 0.2 CenterPoint circle.
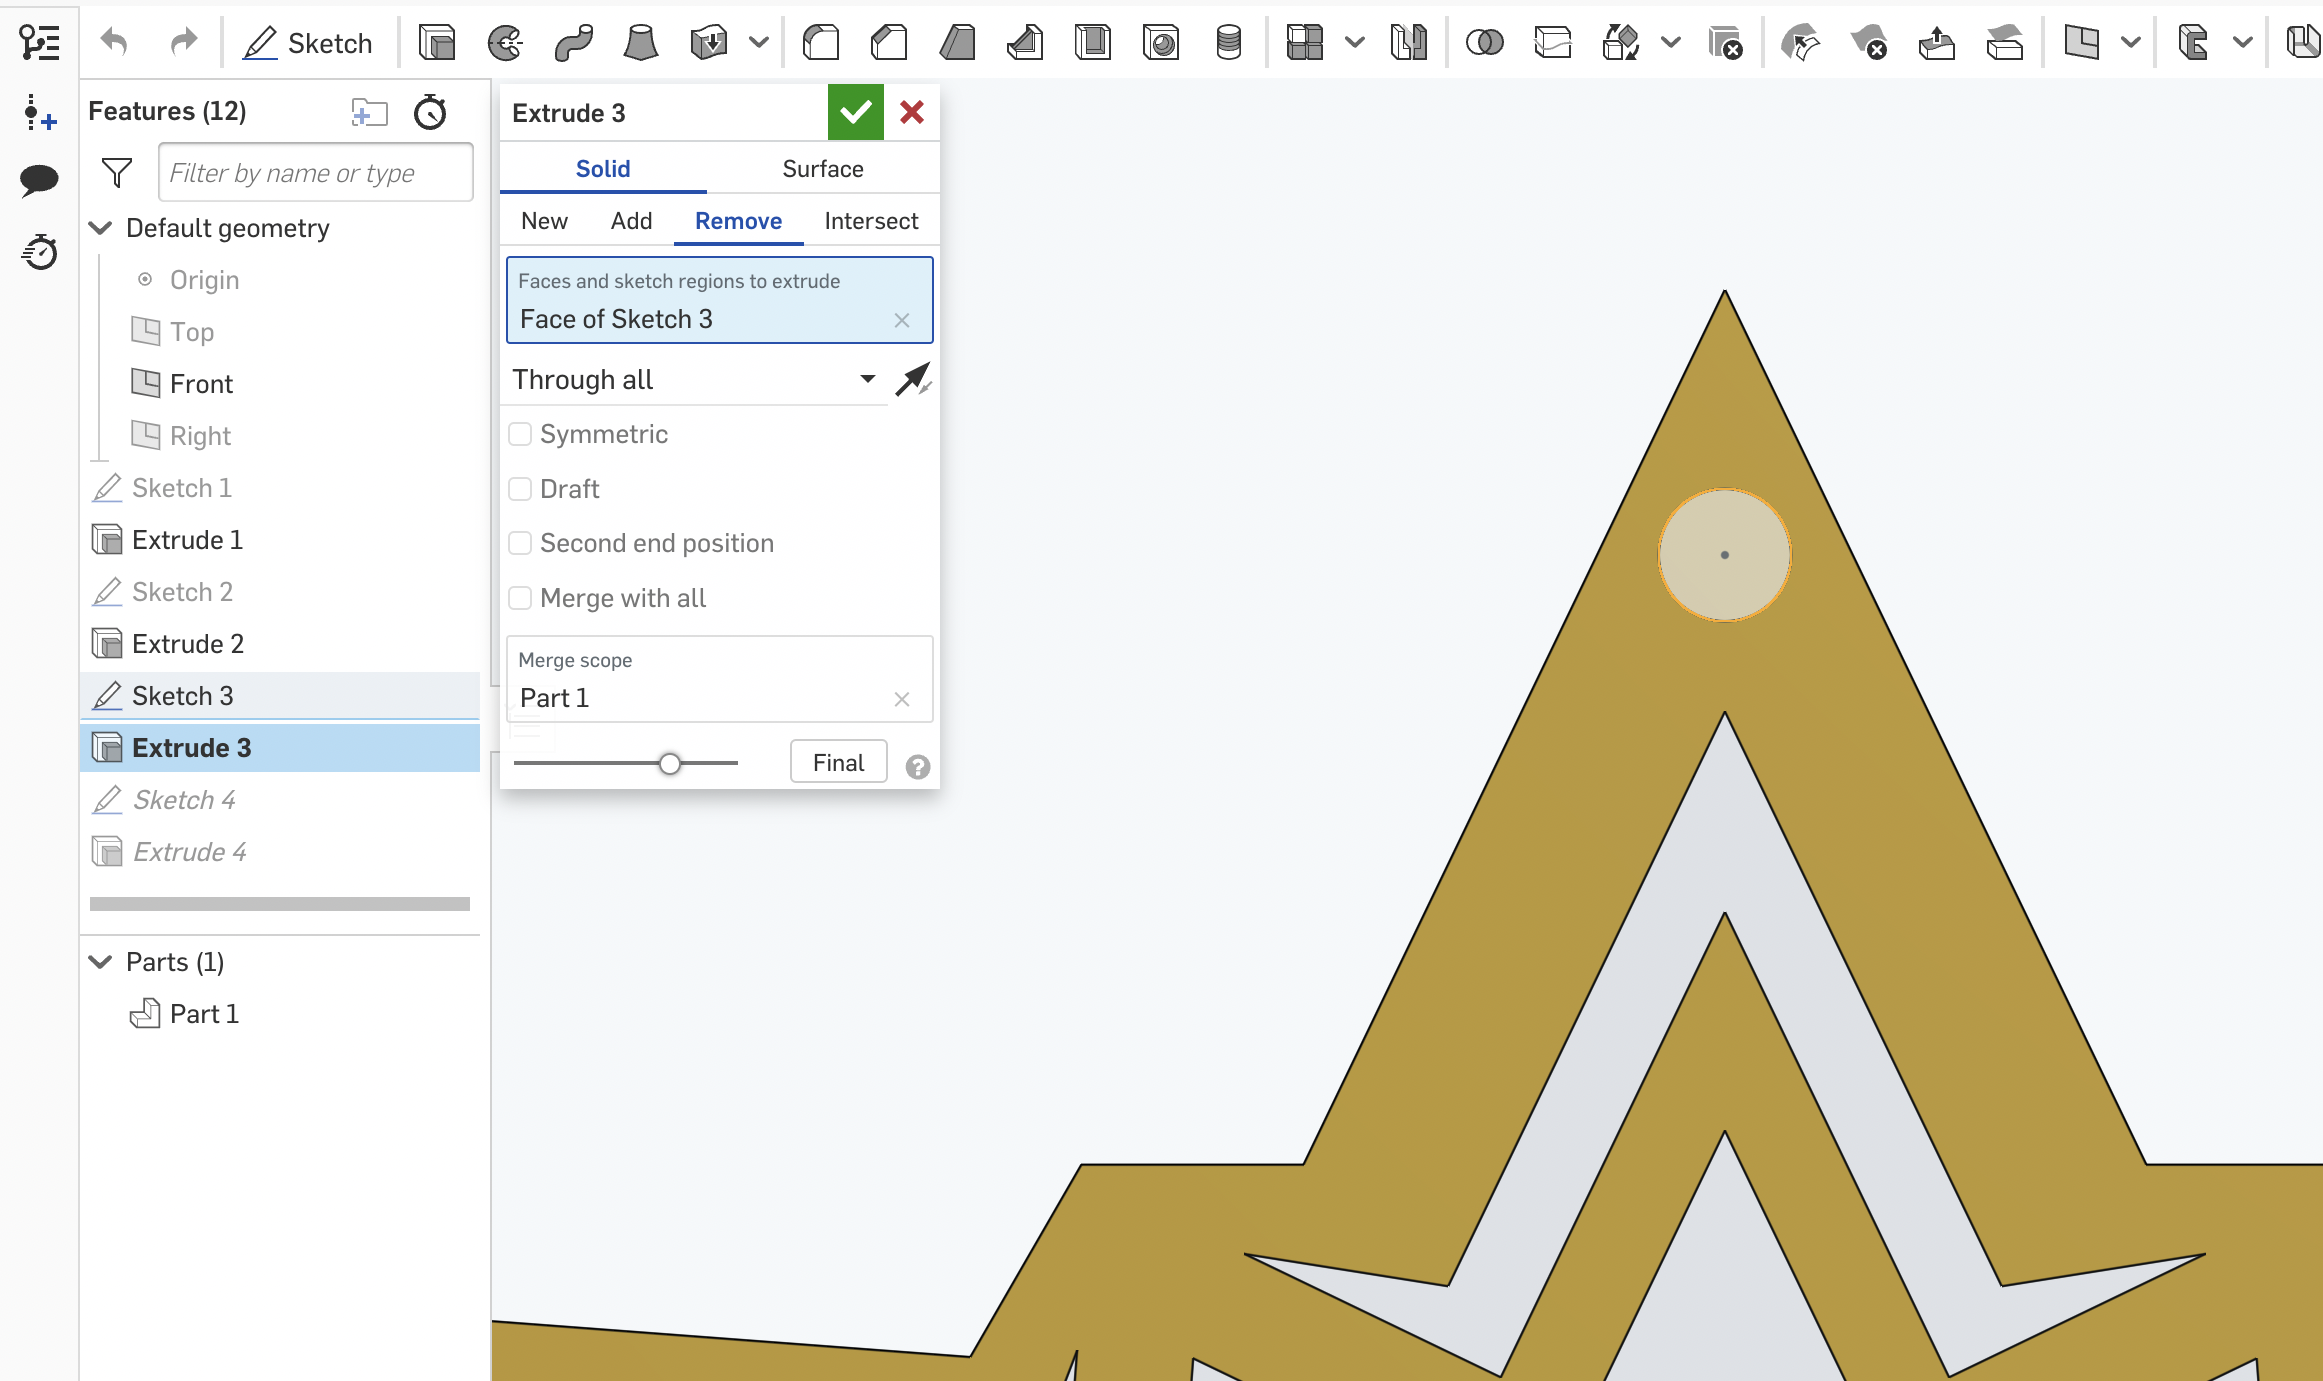
Finish the sketch and Extrude Remove the circle to create a hole to hang the snowflake. If you need only the snowflake then you are complete.
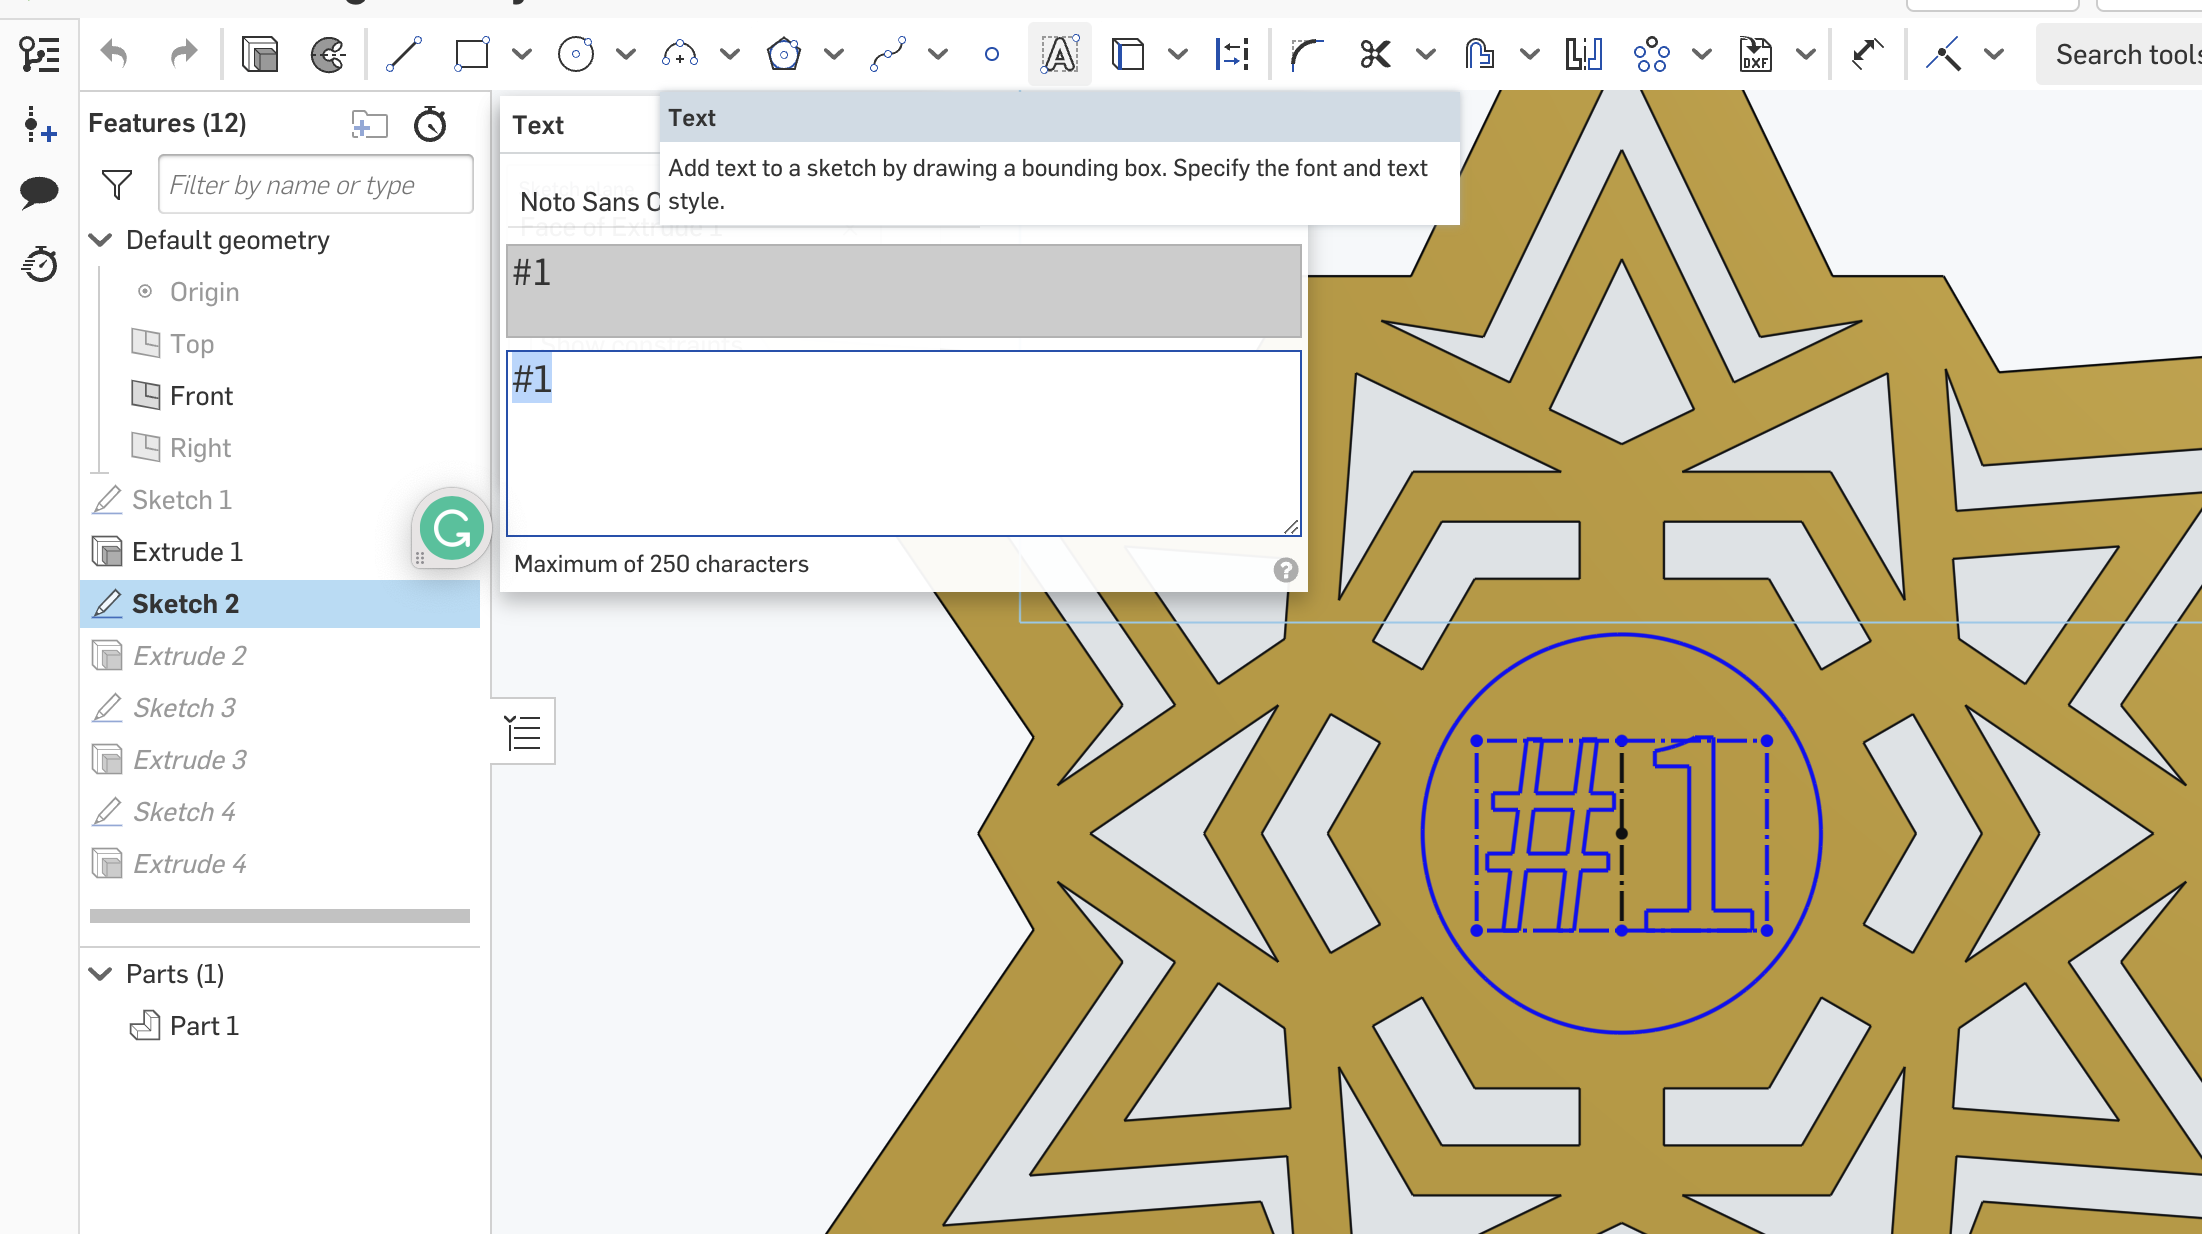
If you want to add the #1 for the medal then create a new sketch using the extruded surface as a plane. Next select the text box tool and create a text box in the middle.
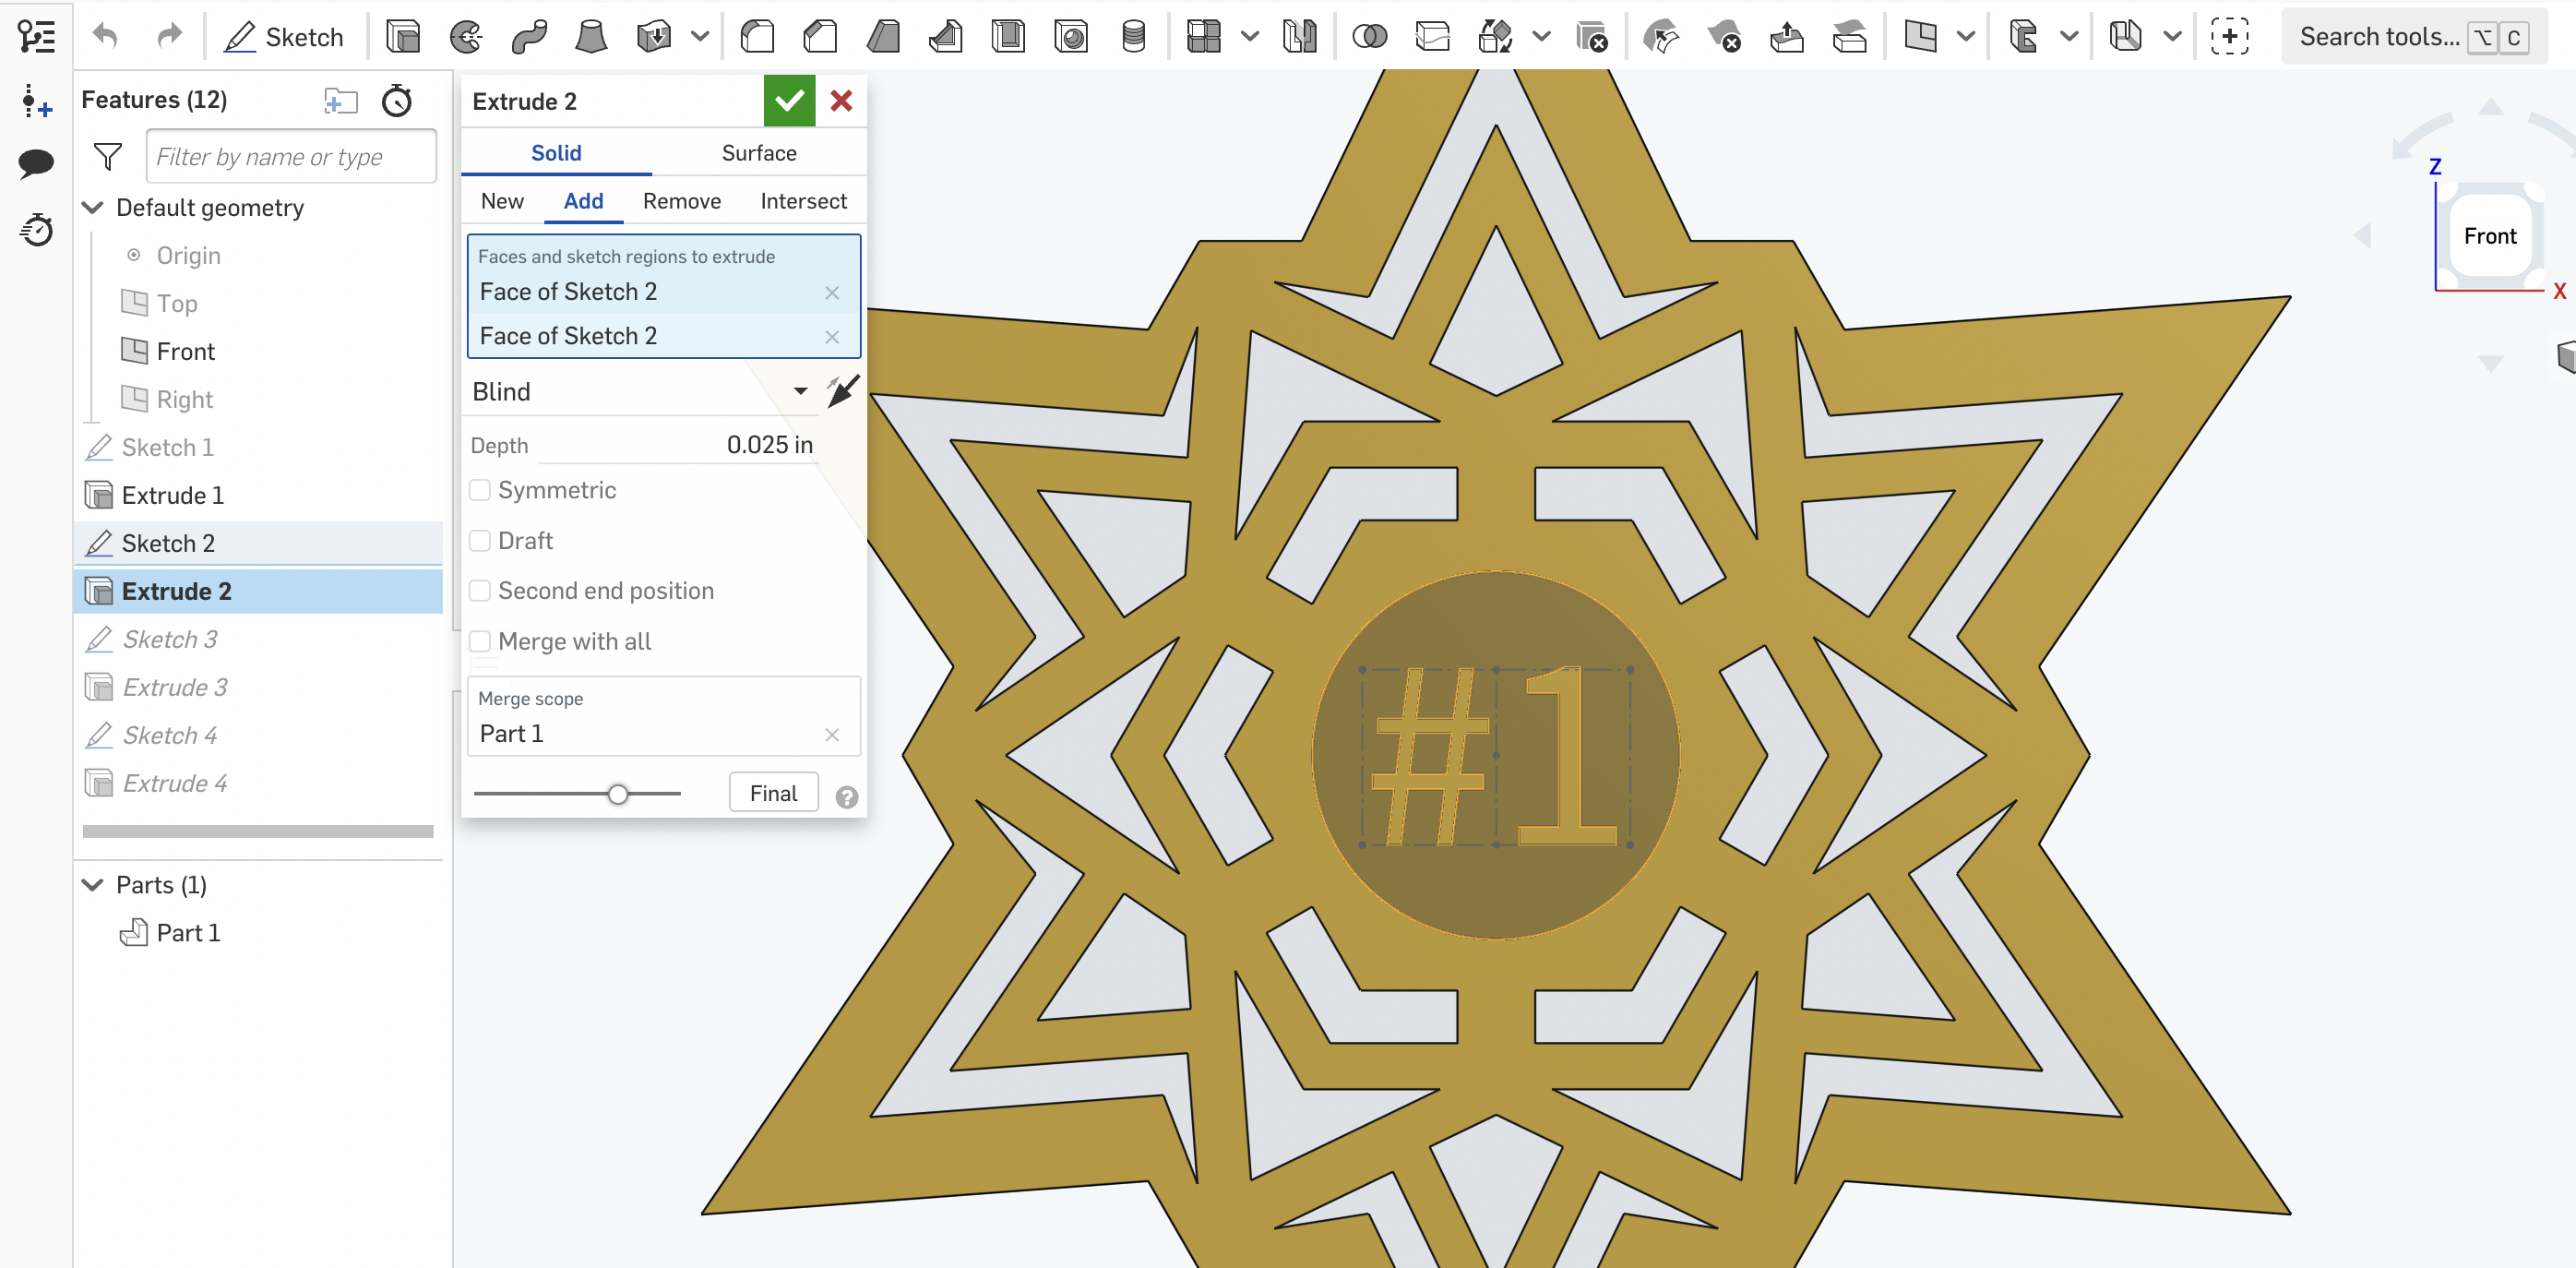

Write your text. Then use the extrude tool to extrude the text for 0.025 inches. If you want to add other designs feel free to. You are now done creating a Christmas medal for 3d printing.