3d Print Your Minecraft World!
by Jonny1128 in Workshop > 3D Printing
37634 Views, 262 Favorites, 0 Comments
3d Print Your Minecraft World!
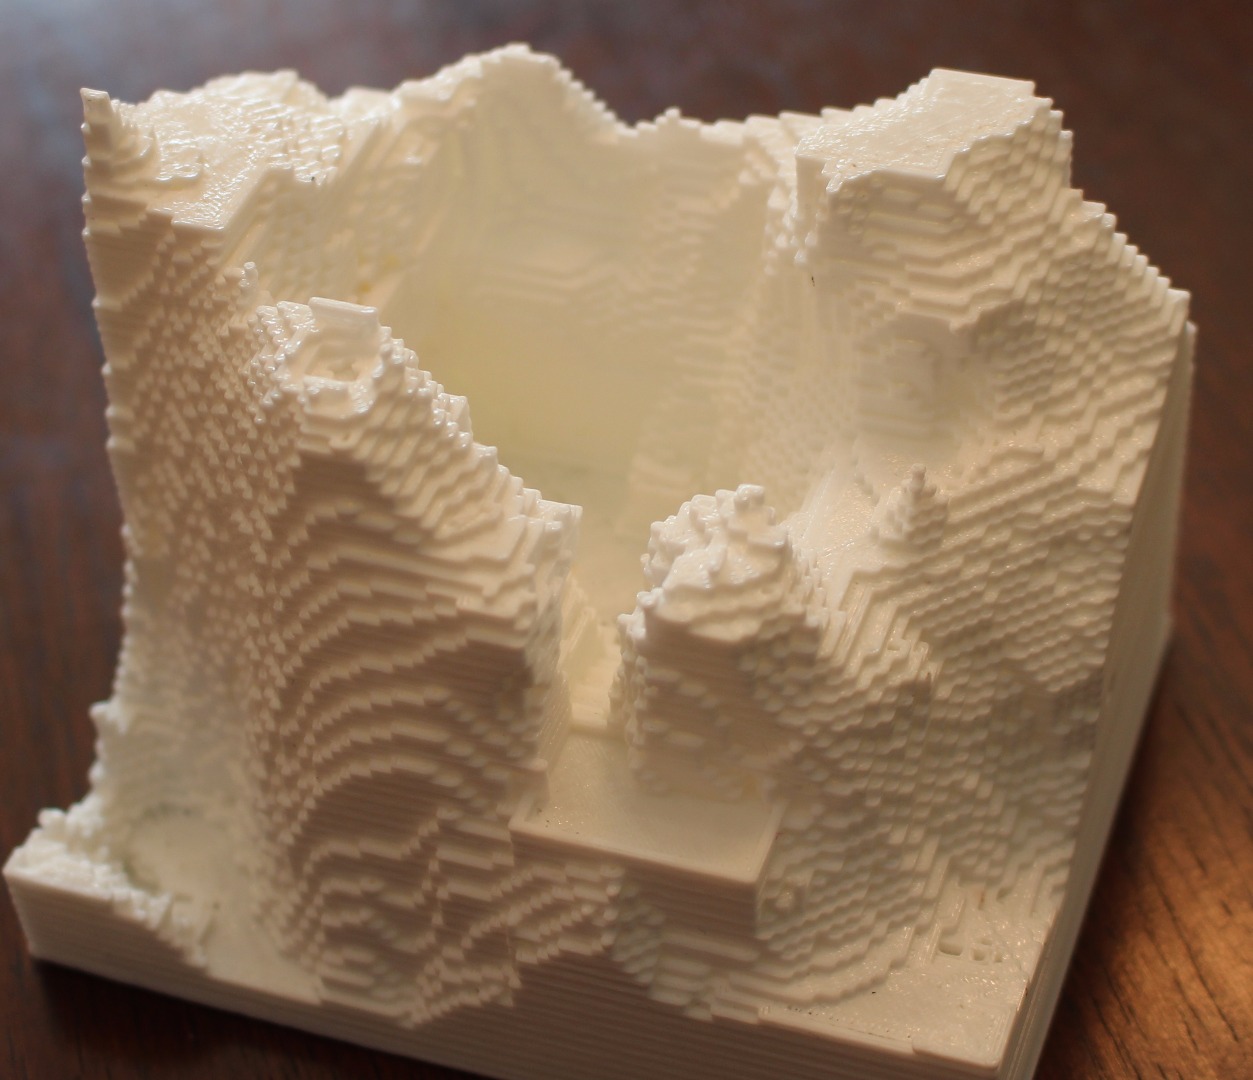
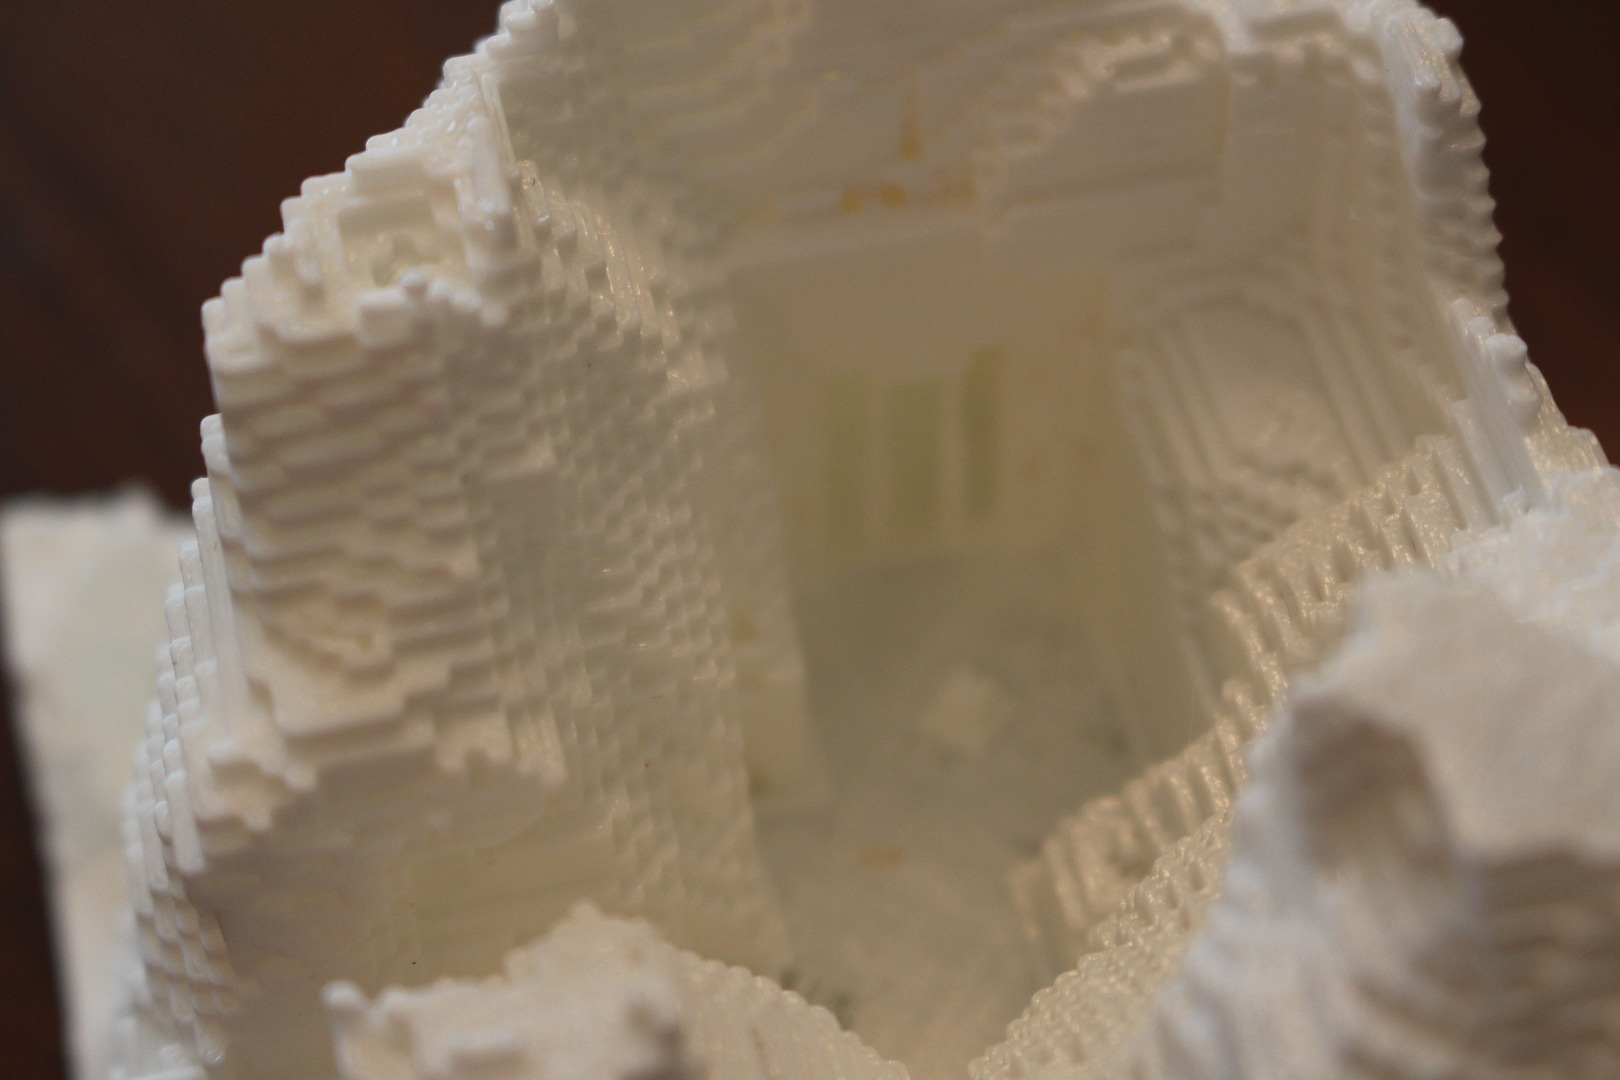
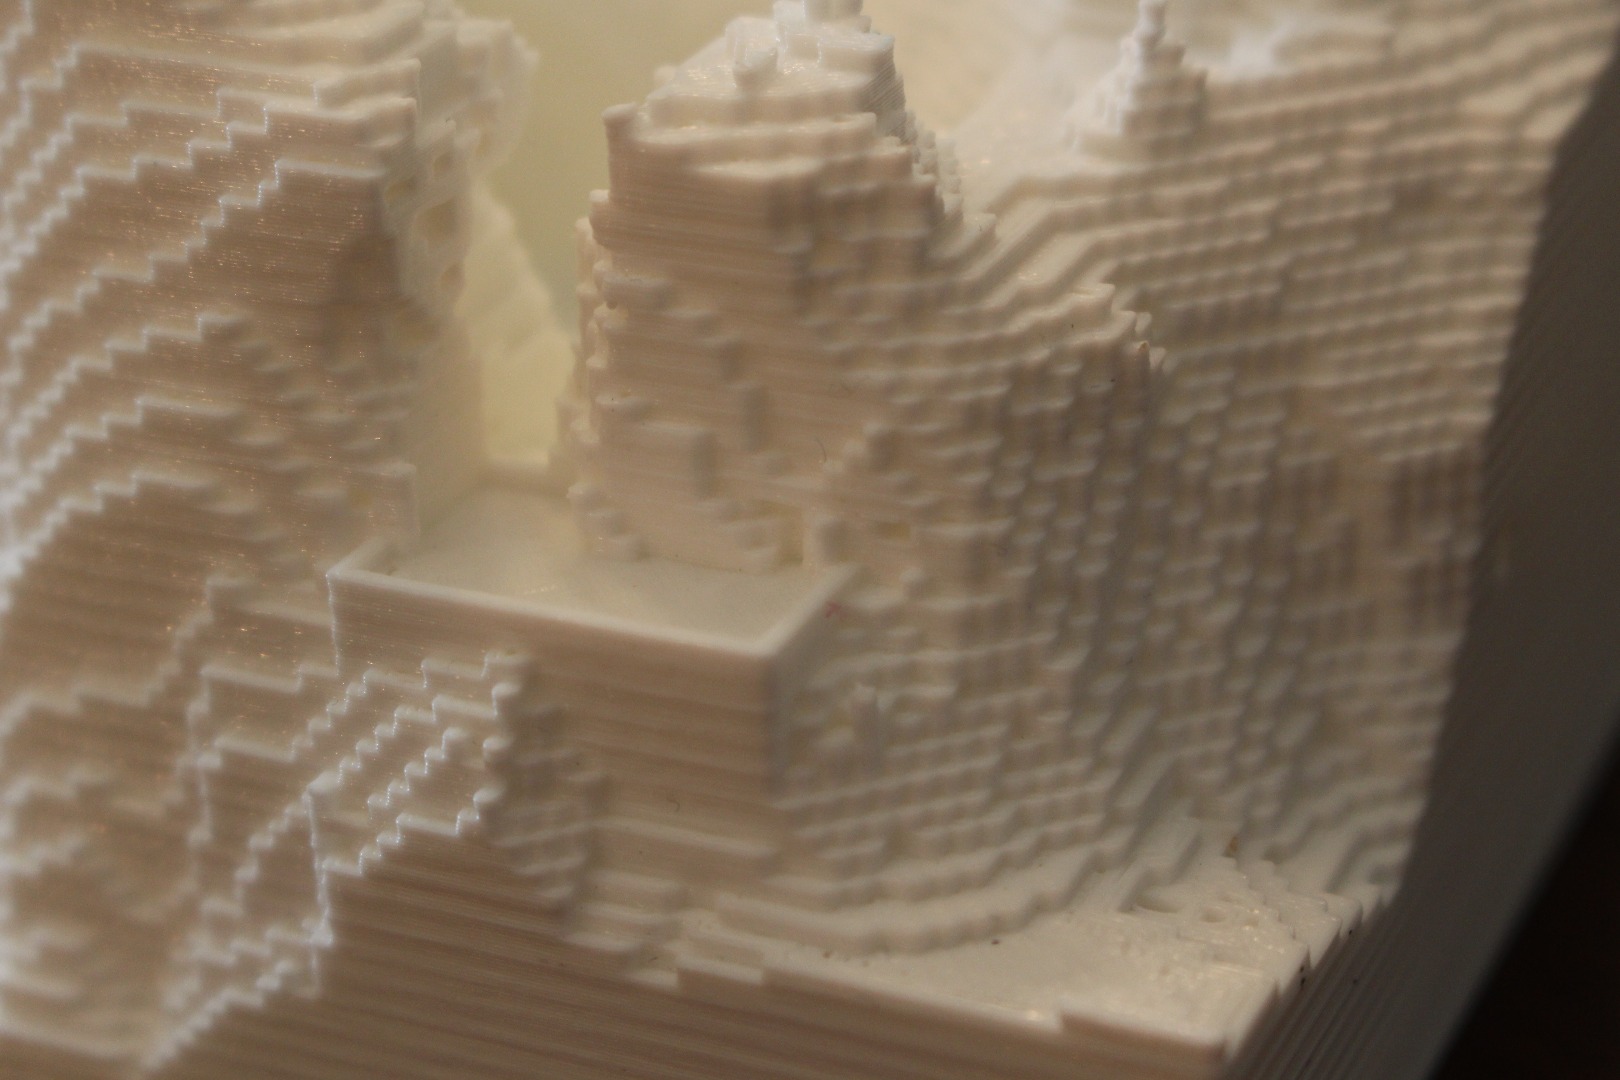
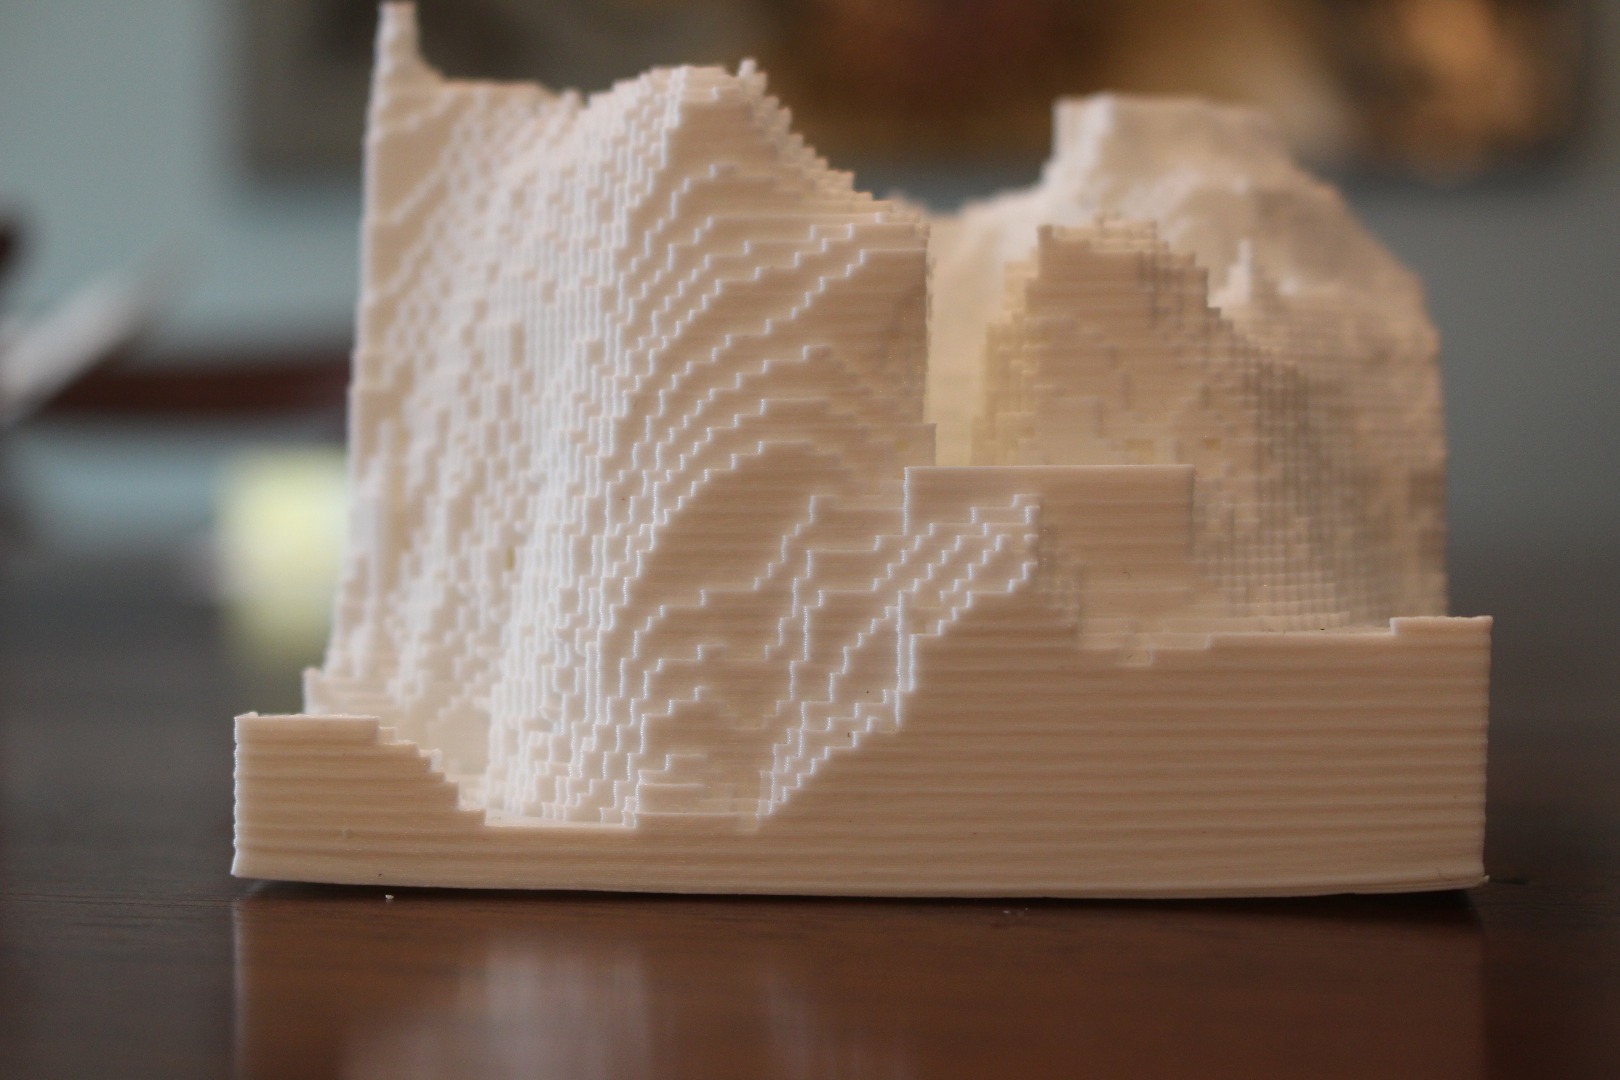
This is a tutorial on how to export and print your minecraft terrain or creation.I recently came across a program called mineways that exports in obj that you can turn in to files that can be used to print on a low end printer.I hope this helps someone bring there creation to life.
Load World
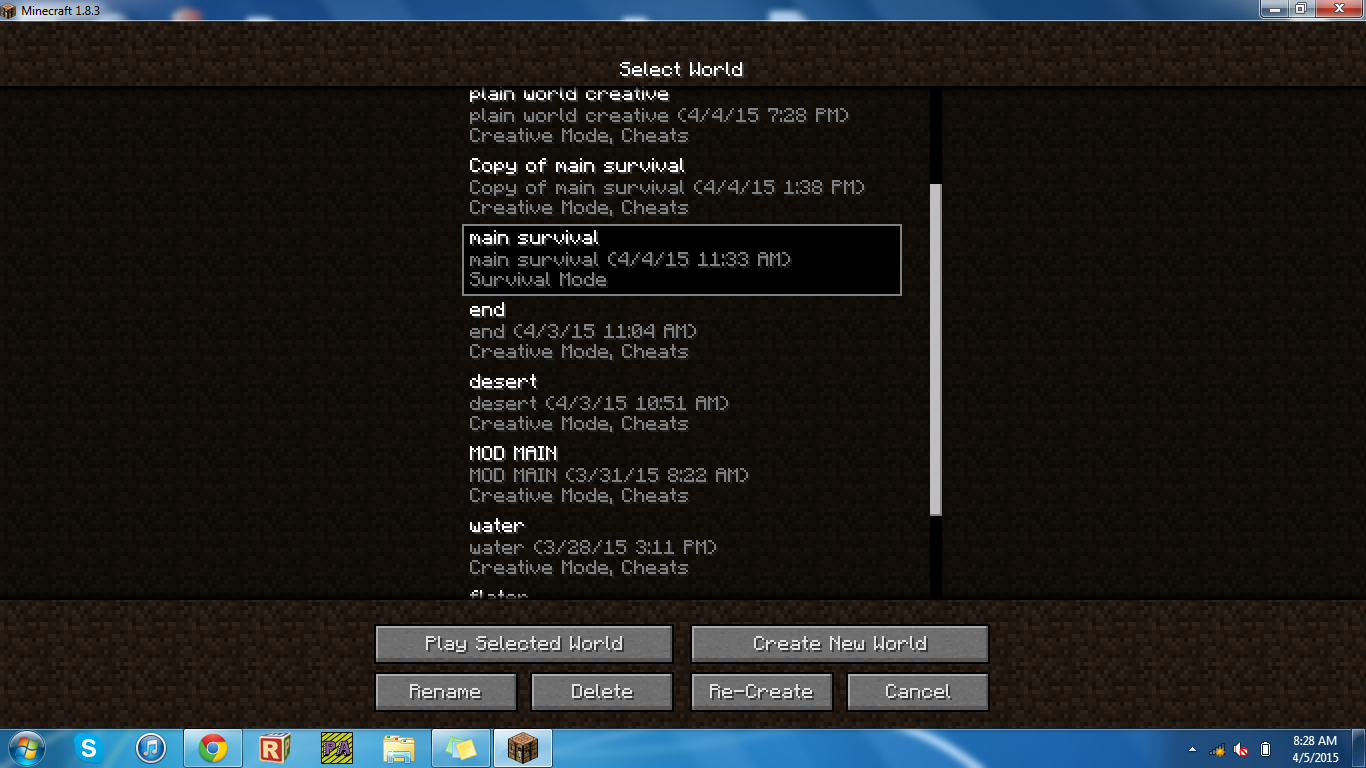
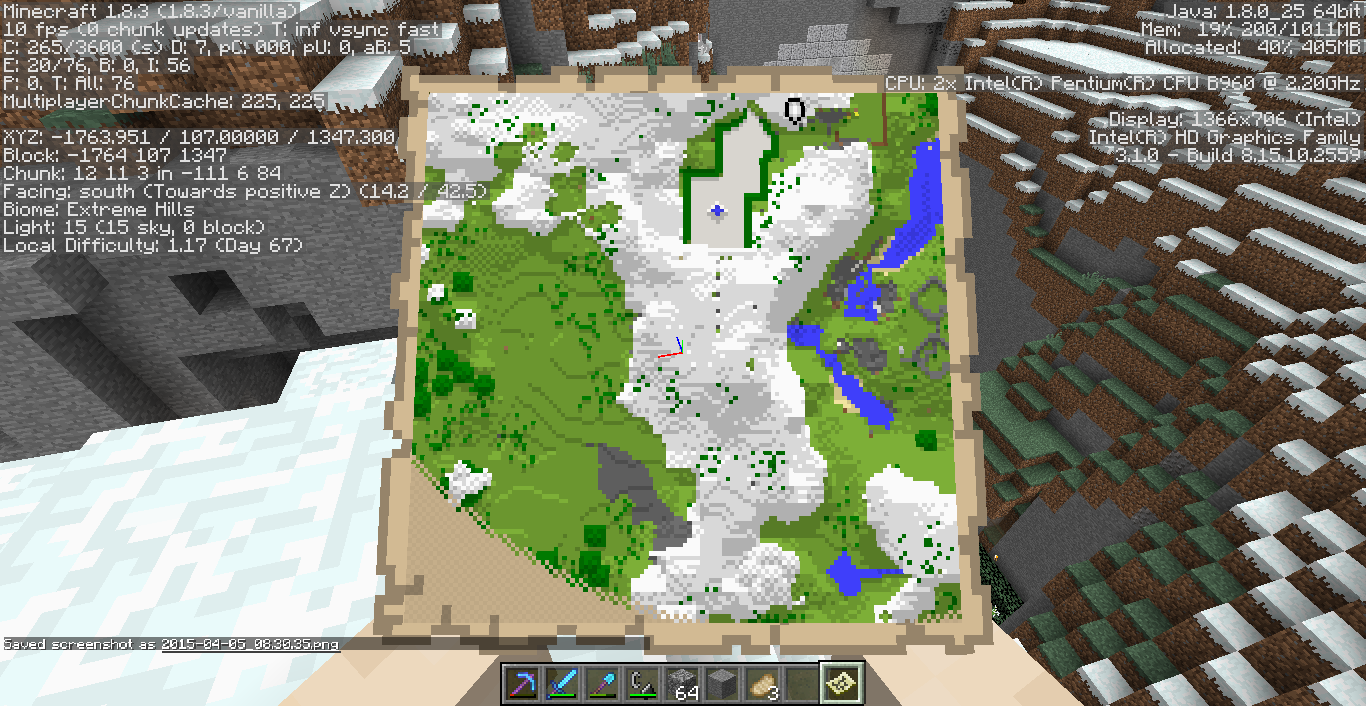
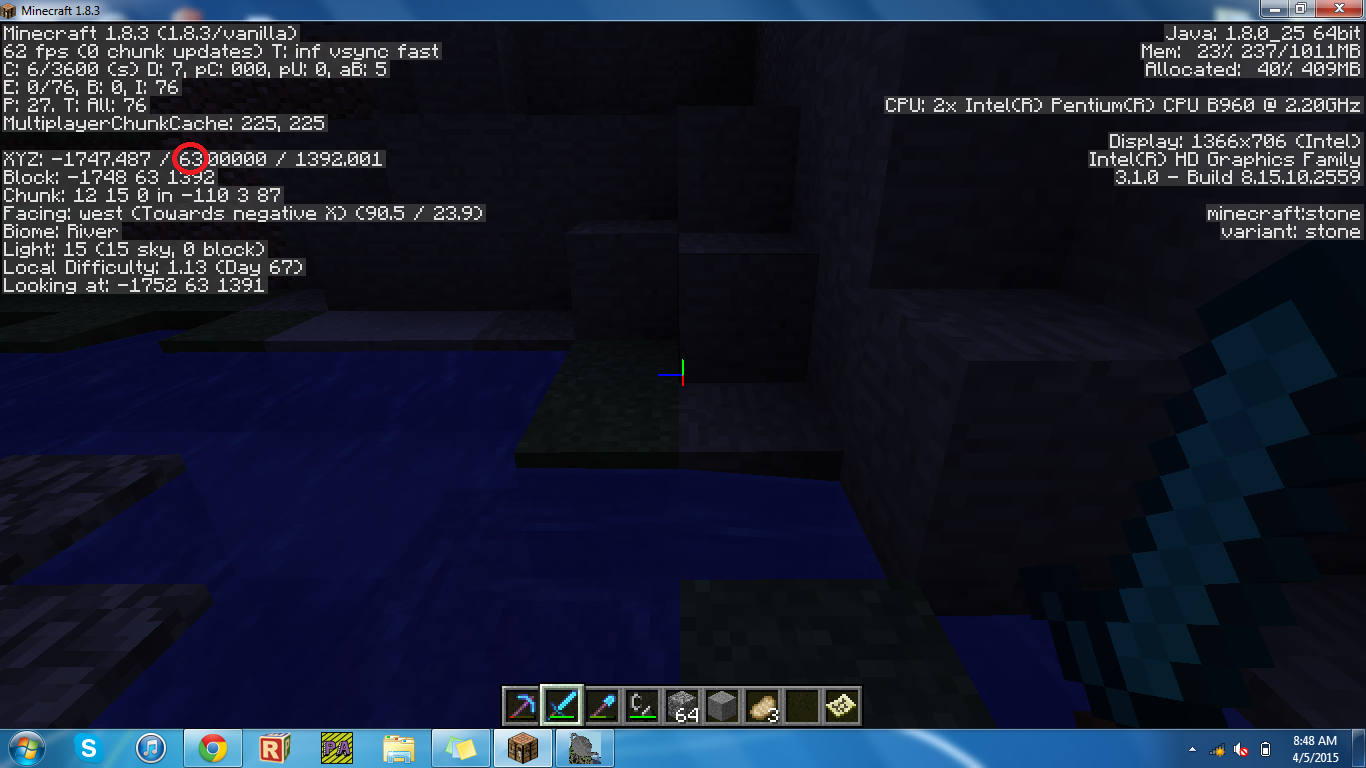
first thing you need to do is load you're world a creative or survival world will work,then look at the area you want to print on a map this will help find it later. Go to the lowest part of the are you want to print and make a note of that.If you made the world on creative it might be a good idea to mark the area you want to print with redstone blocks
Mineways
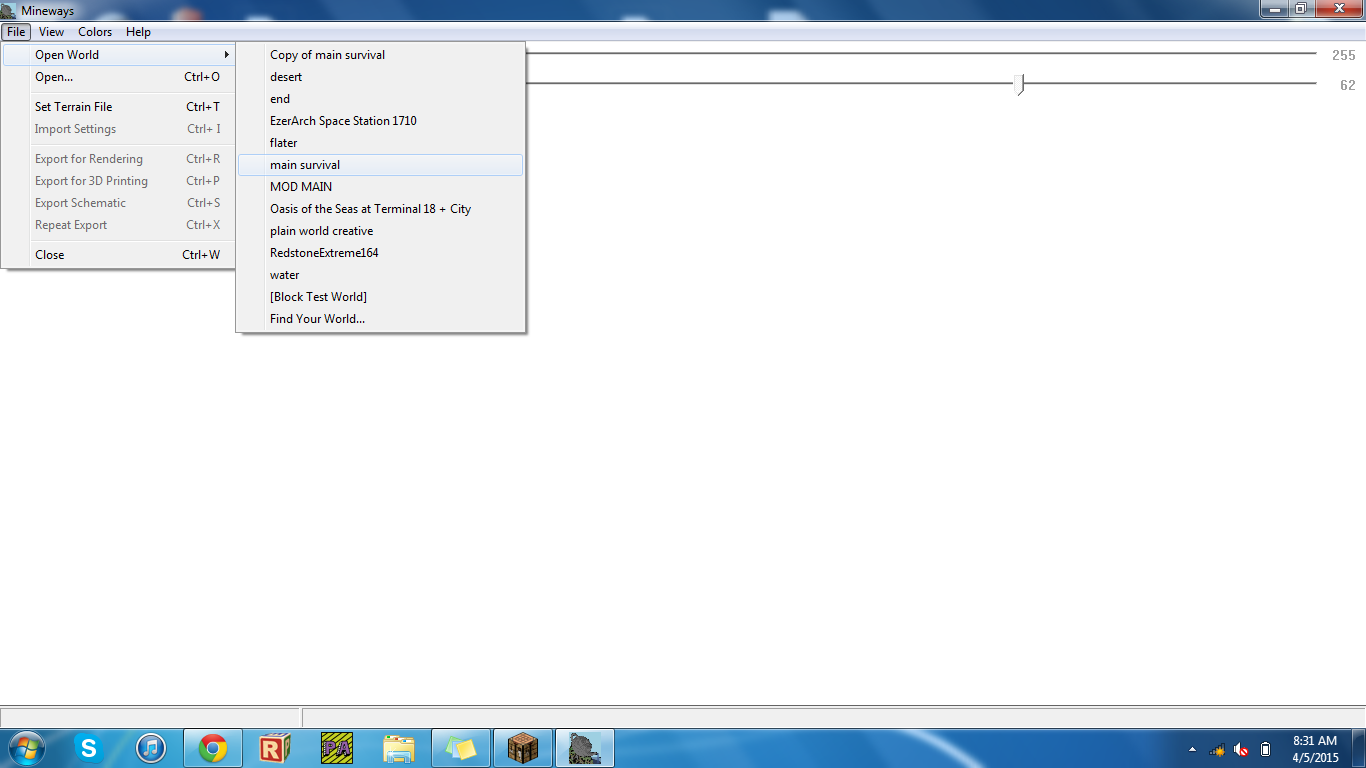
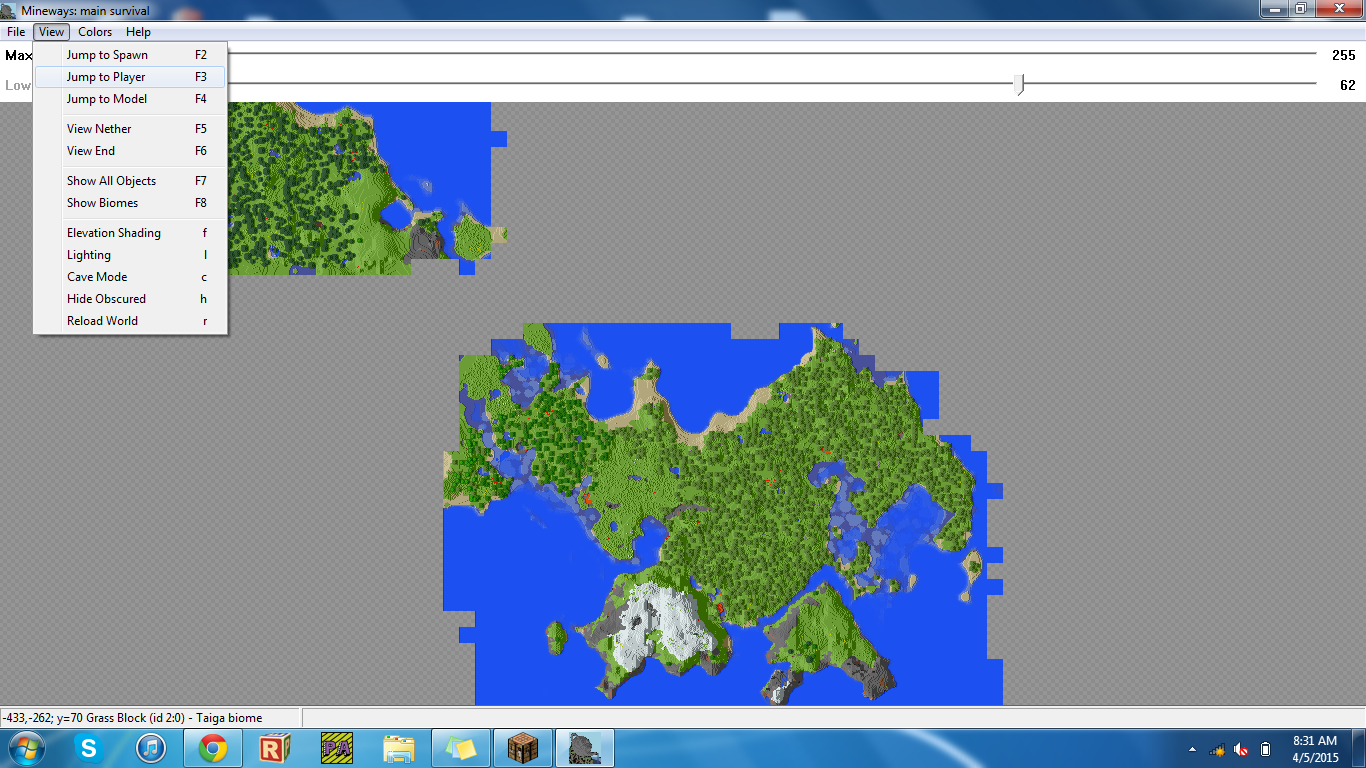
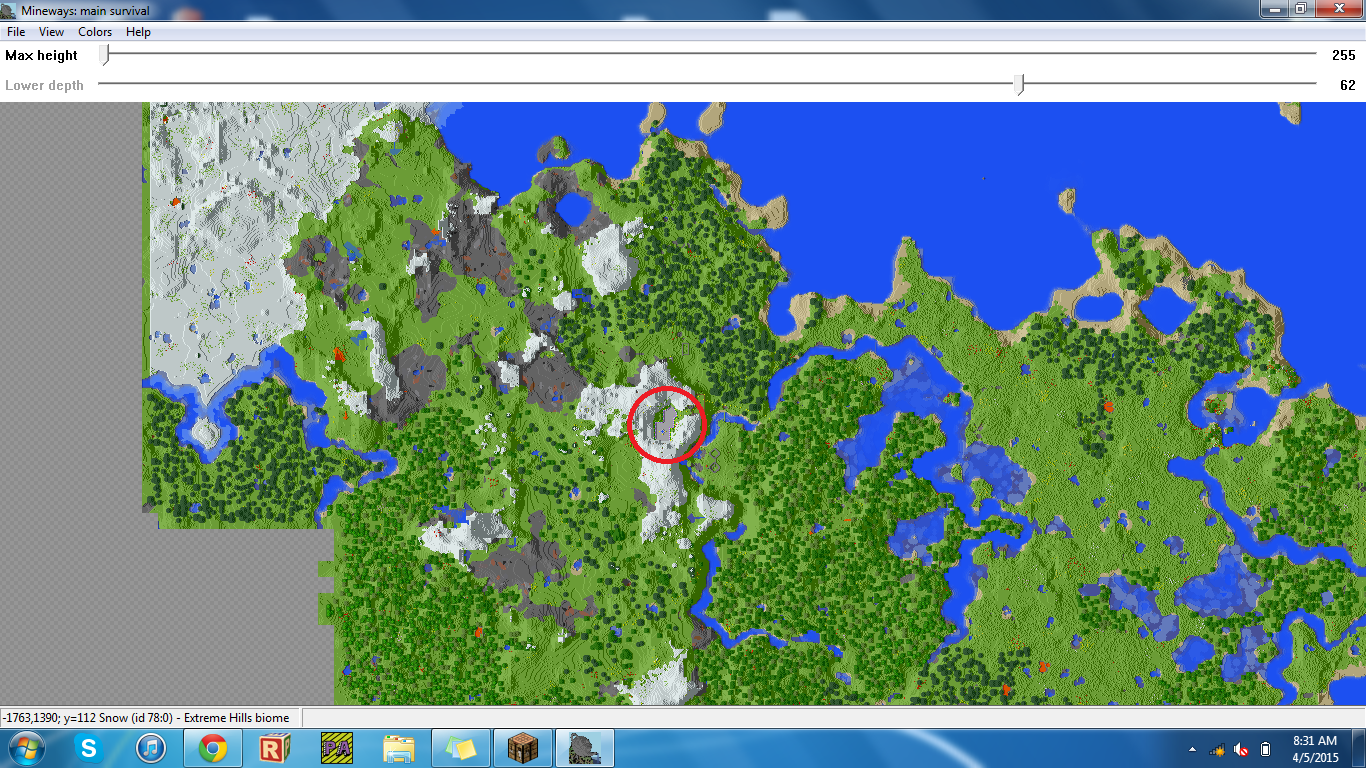
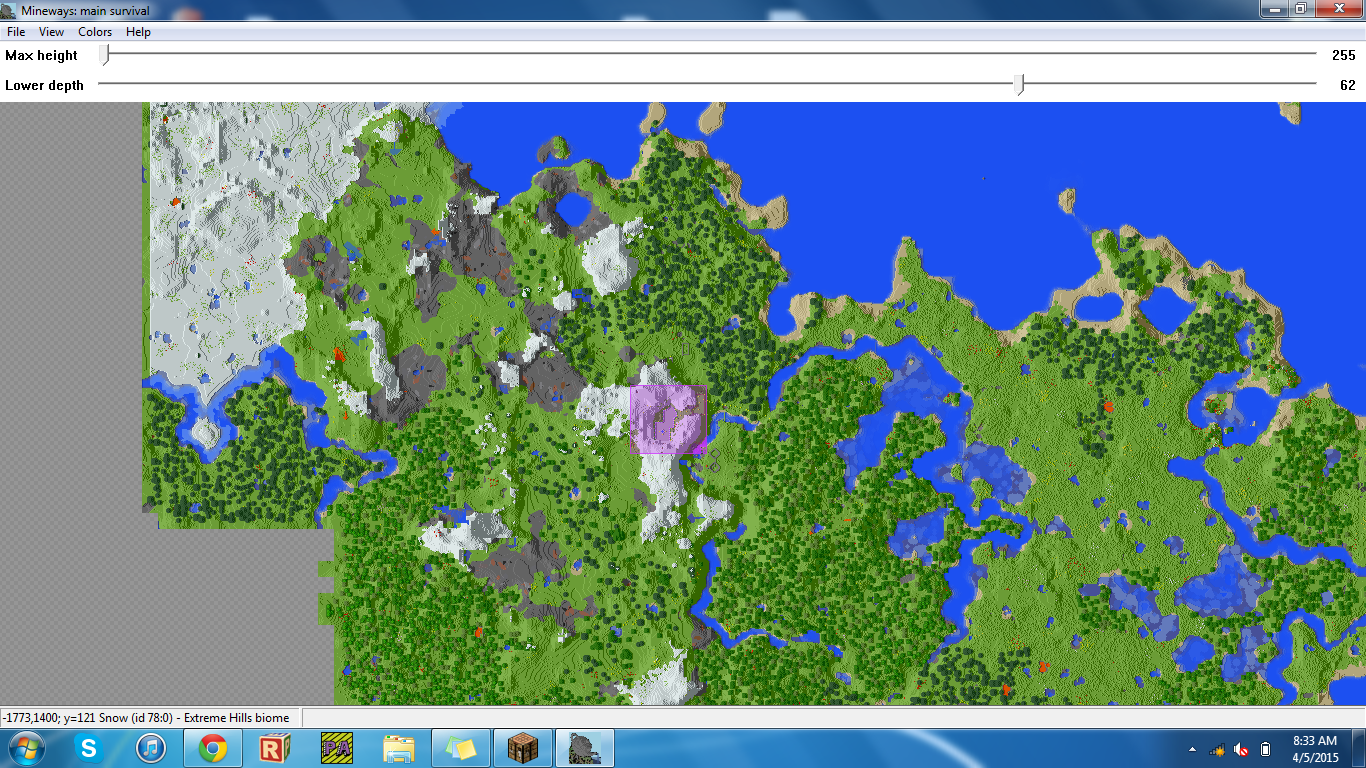
First open mineways then open your selected world from the list.(Note if the world is in you're Minecraft saves it will appear under the open world option if its somewhere else on you're computer chose open) Next chose view jump to player then identify the area you want to print. Right click your mouse then drag it over the area you want to print.
Exporting Obj
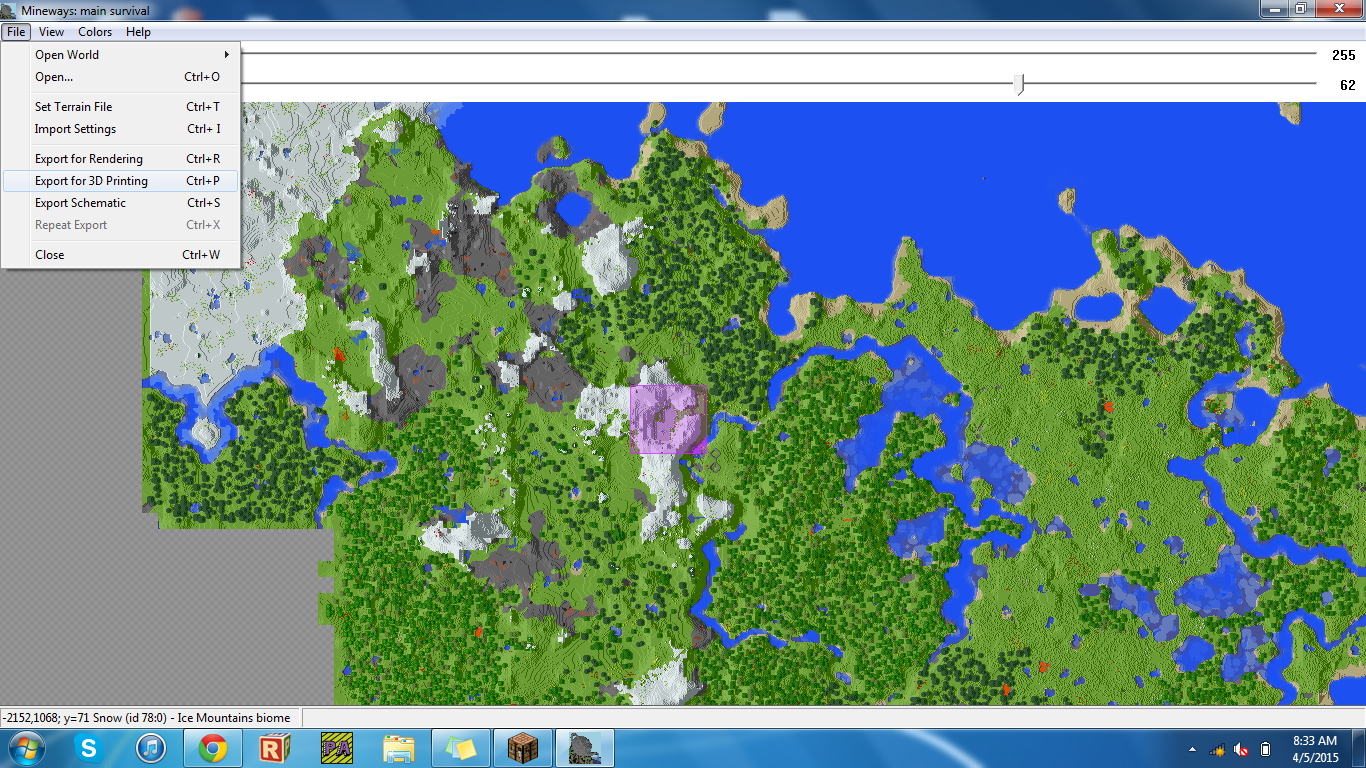
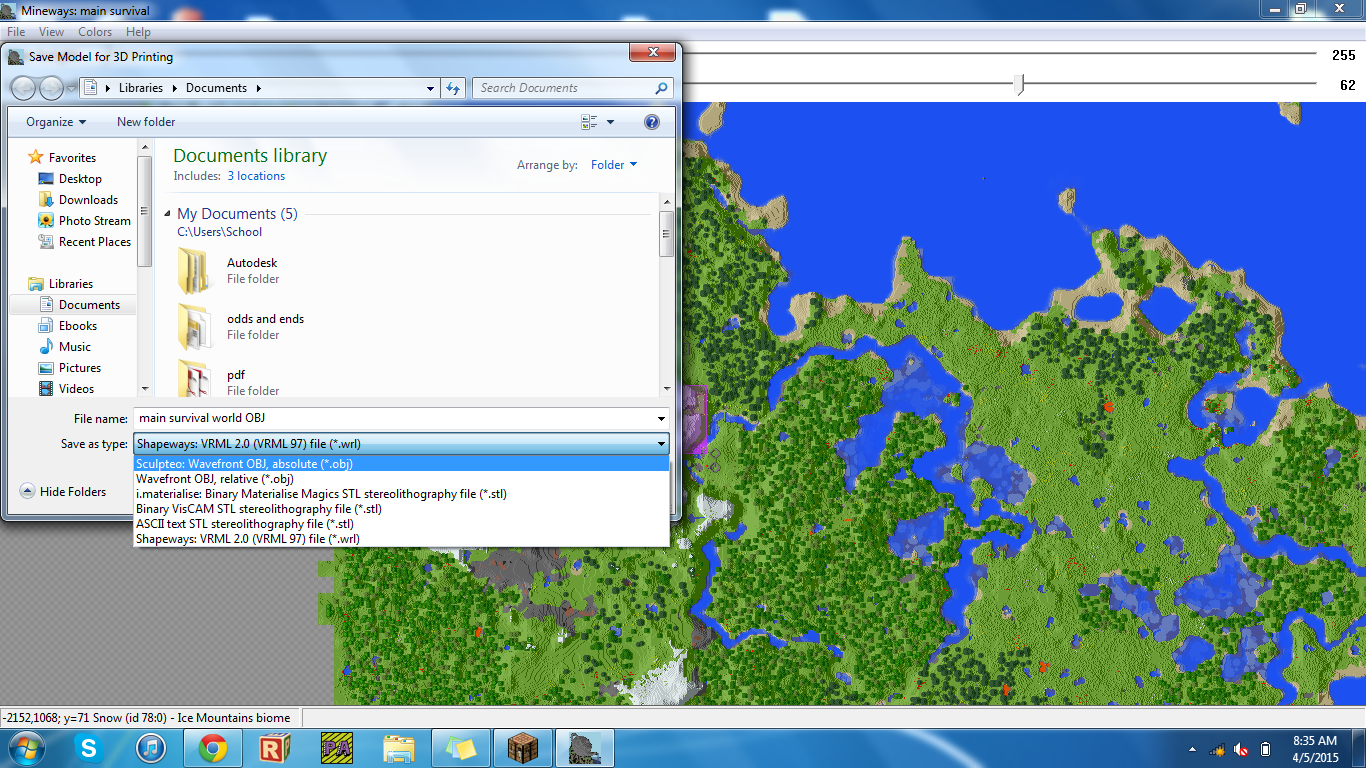
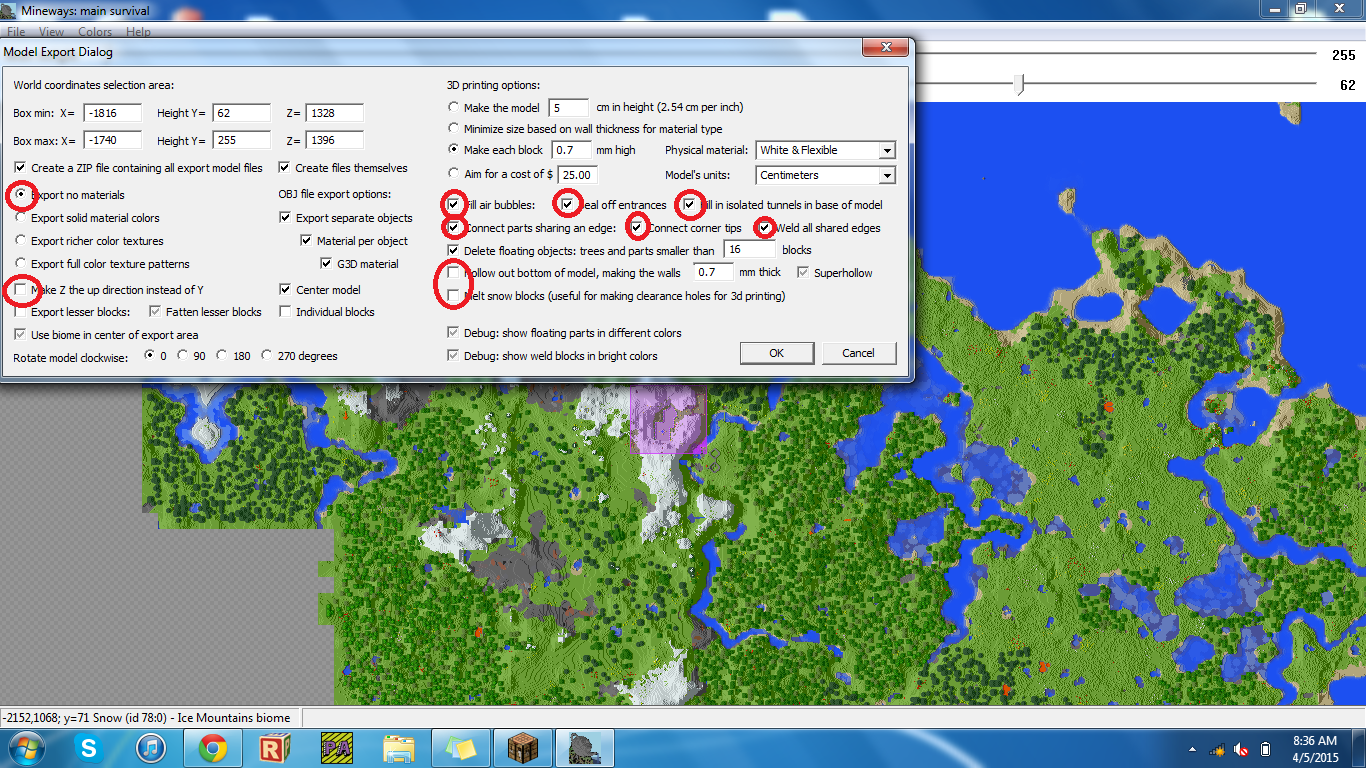
Before you export look at the top and change the lowest depth to the depth you wrote down earler. Once you are happy with the dimensions of the selected area select file, then export for 3d printing.Then you will want to name the file the change the file type to OBJ mineways has the option for STLs but doesn't make printable STLs. Make sure all the options circled are selected or deselected as shown in the image.Export the obj then move it to your desktop.
Refining You're File and Exporting .stl
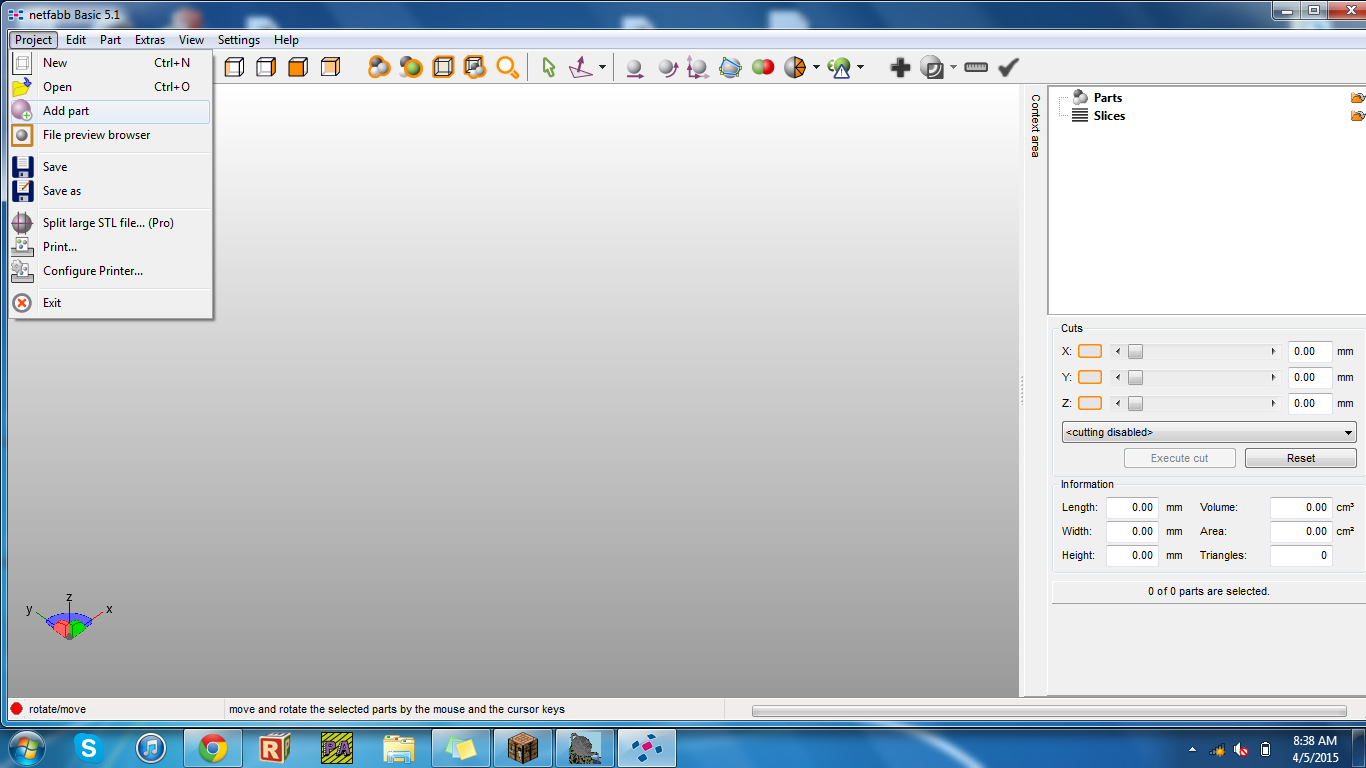
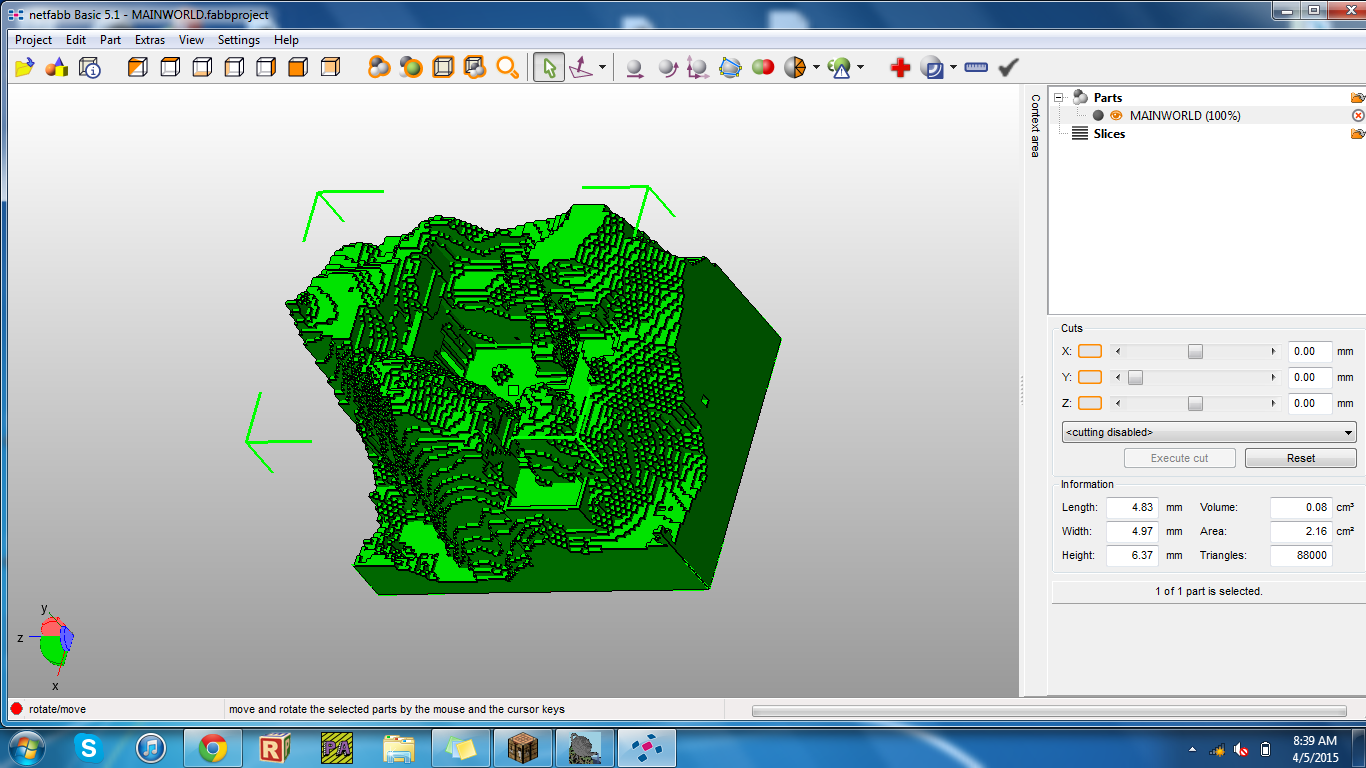
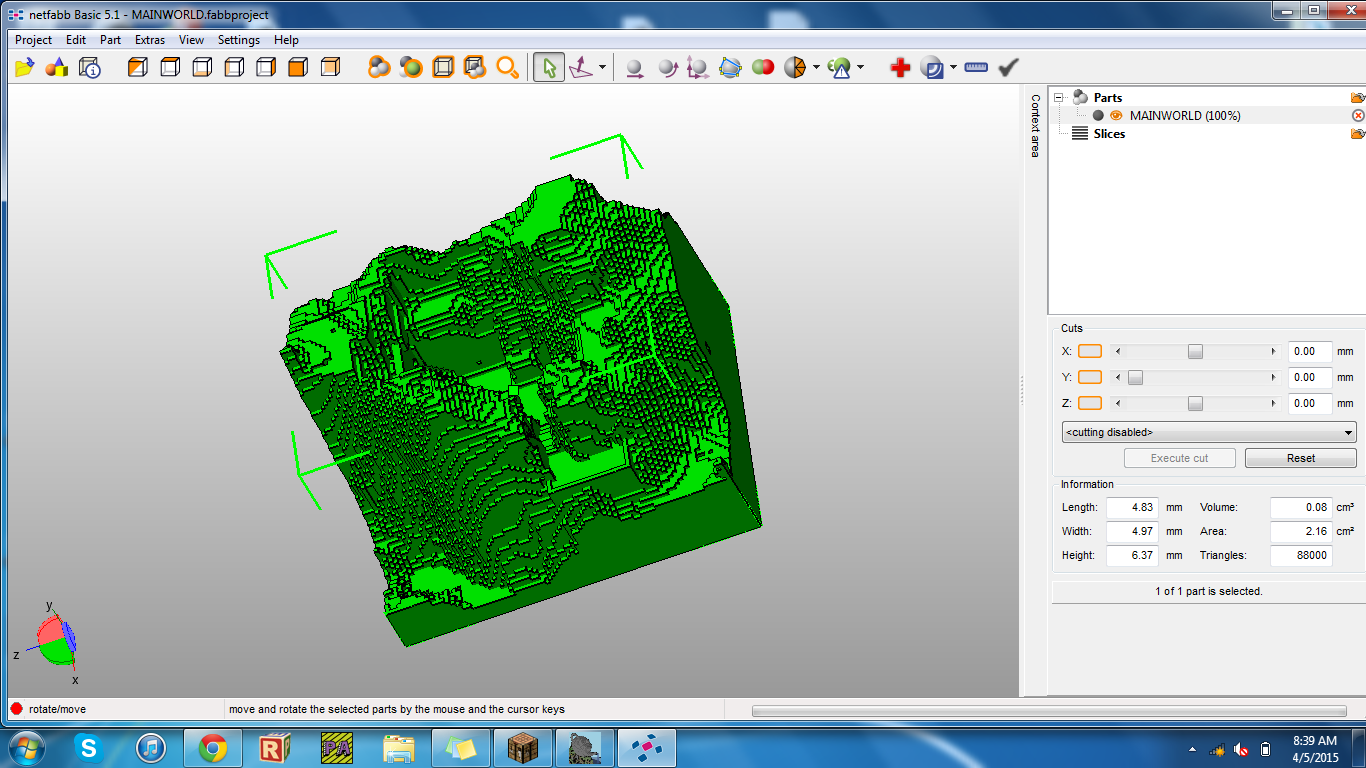
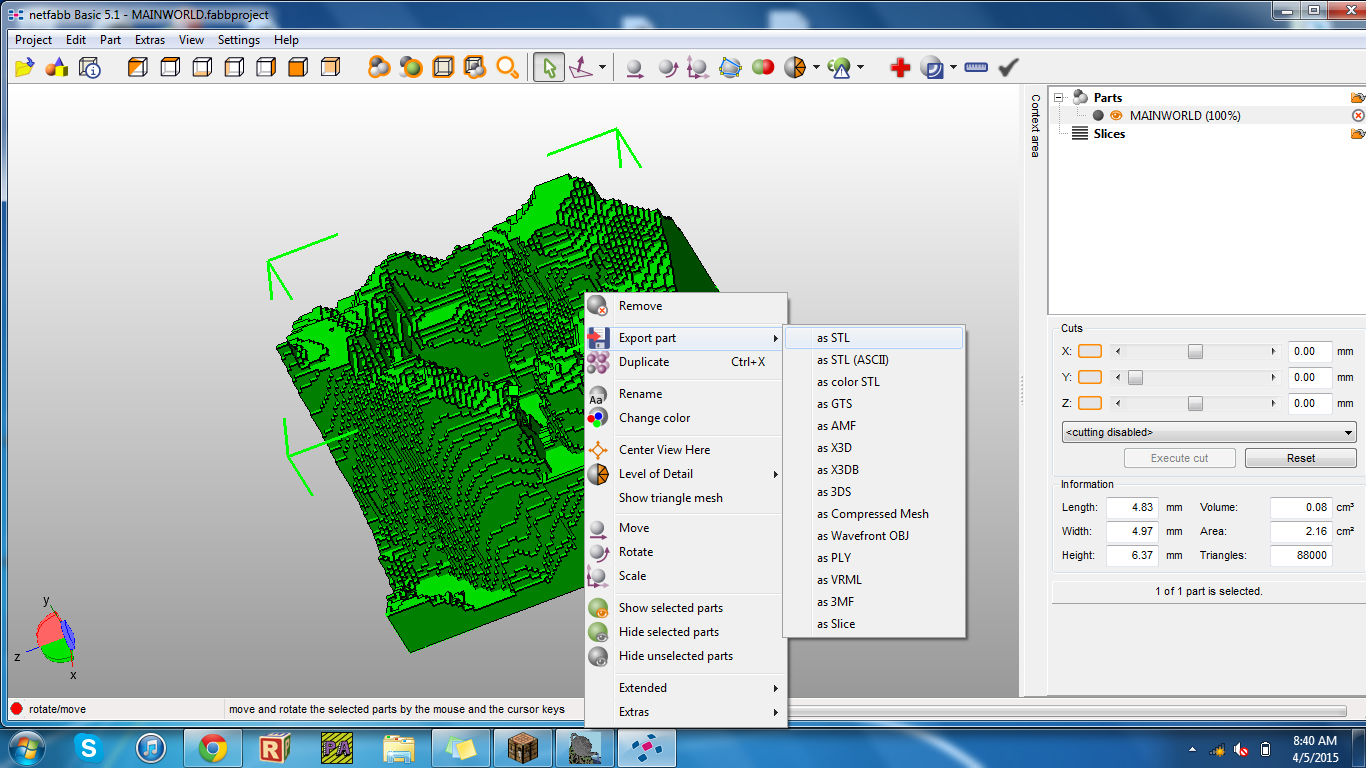
I chose to use netfabb for editing and exporting because it doesn't crash when u upload large files some of my world files where well over 1m polygons!. This one however is under 1m so just chose you're fav progran. Load in your obj then view it I was happy with the boundaries if you are not happy netfabb has a built in cutter. Once you are happy with it right click then chose export, then export as STL.
Slicing and Printing
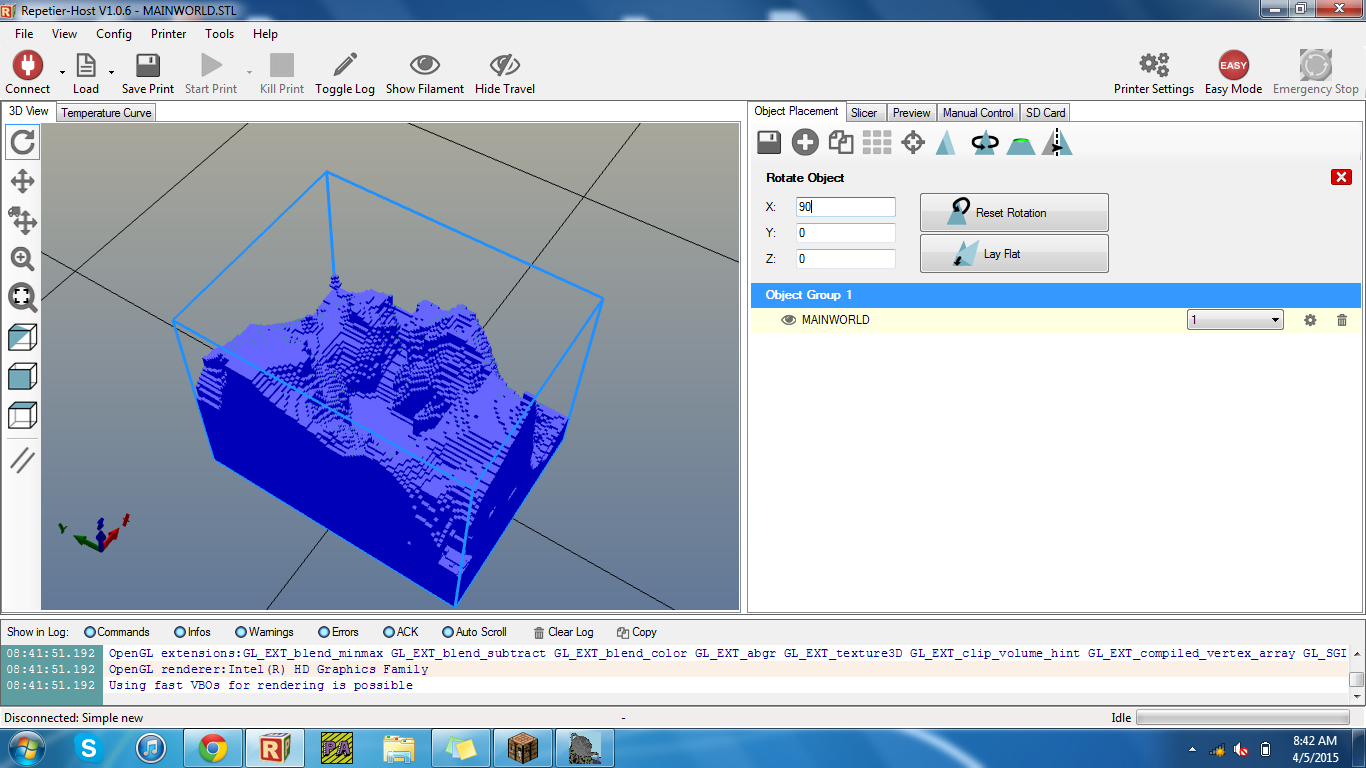
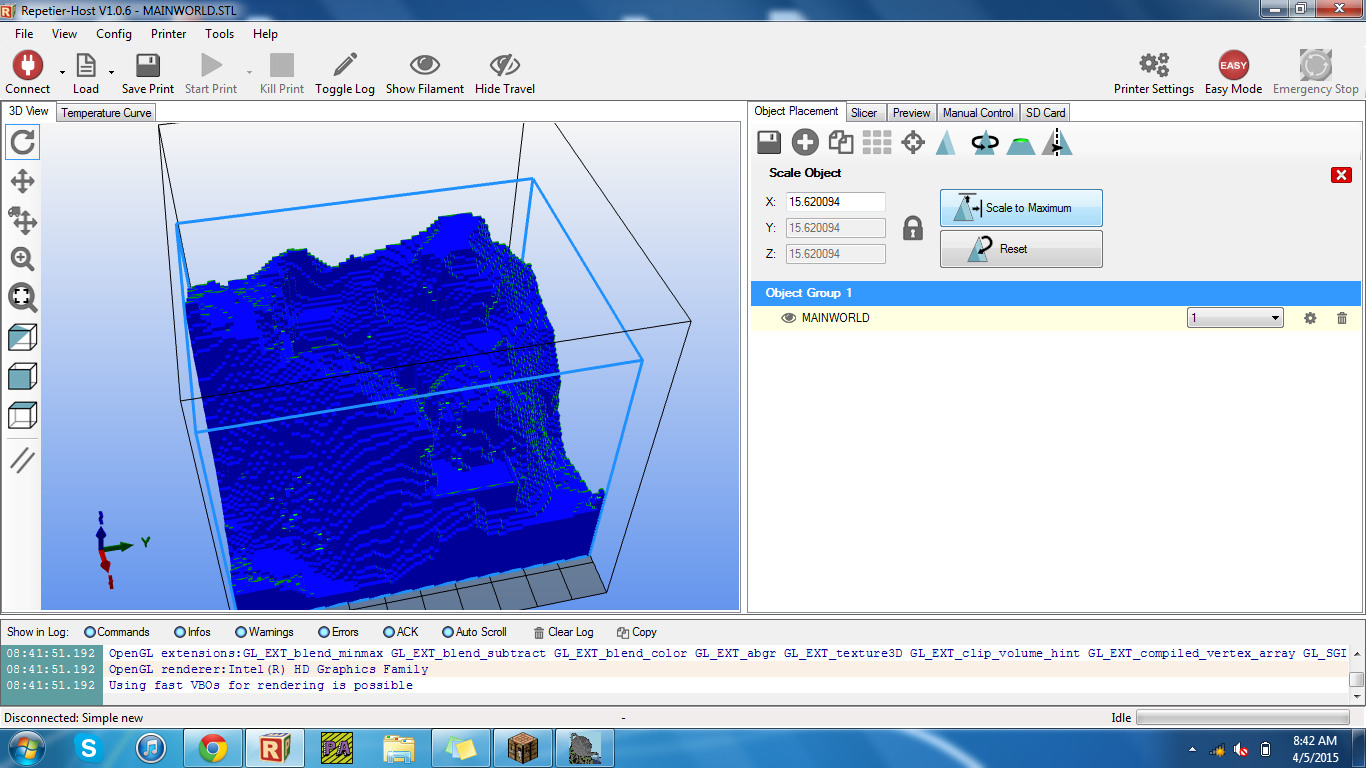
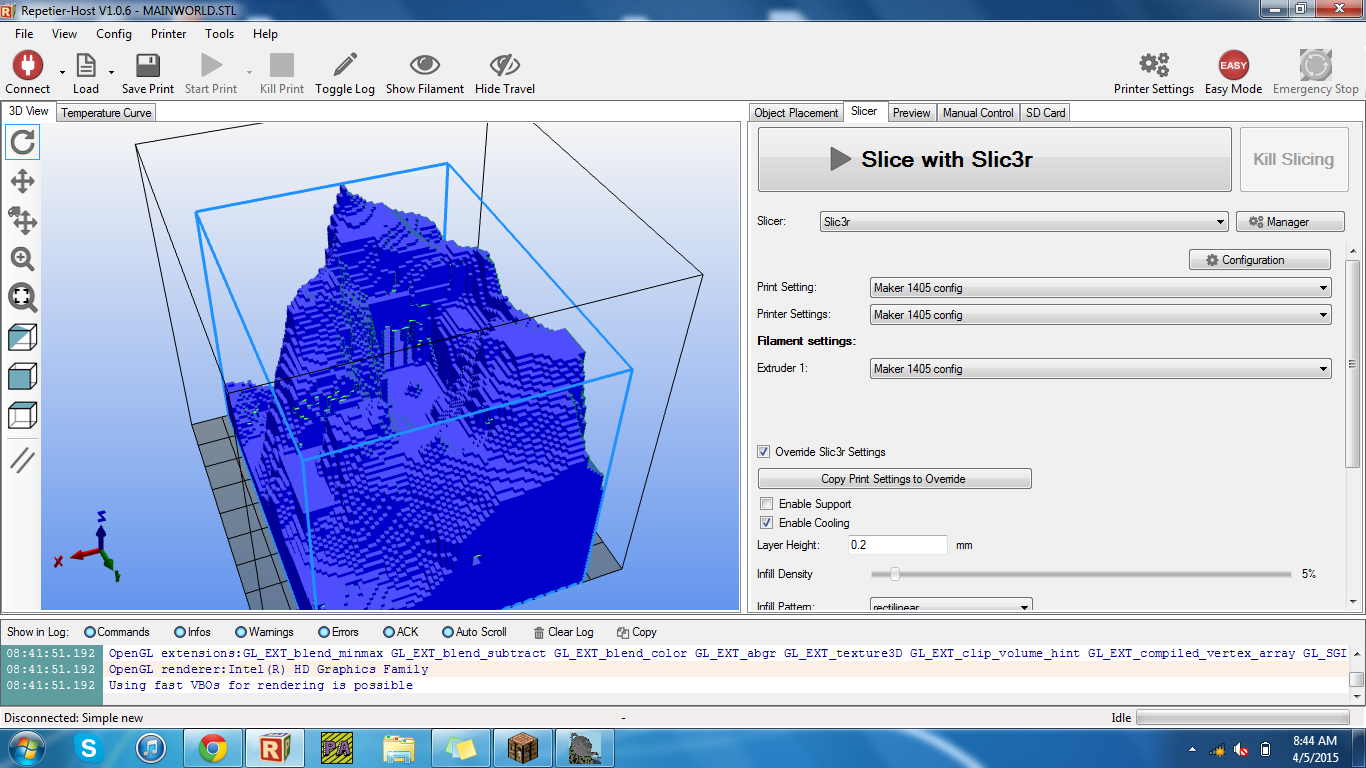
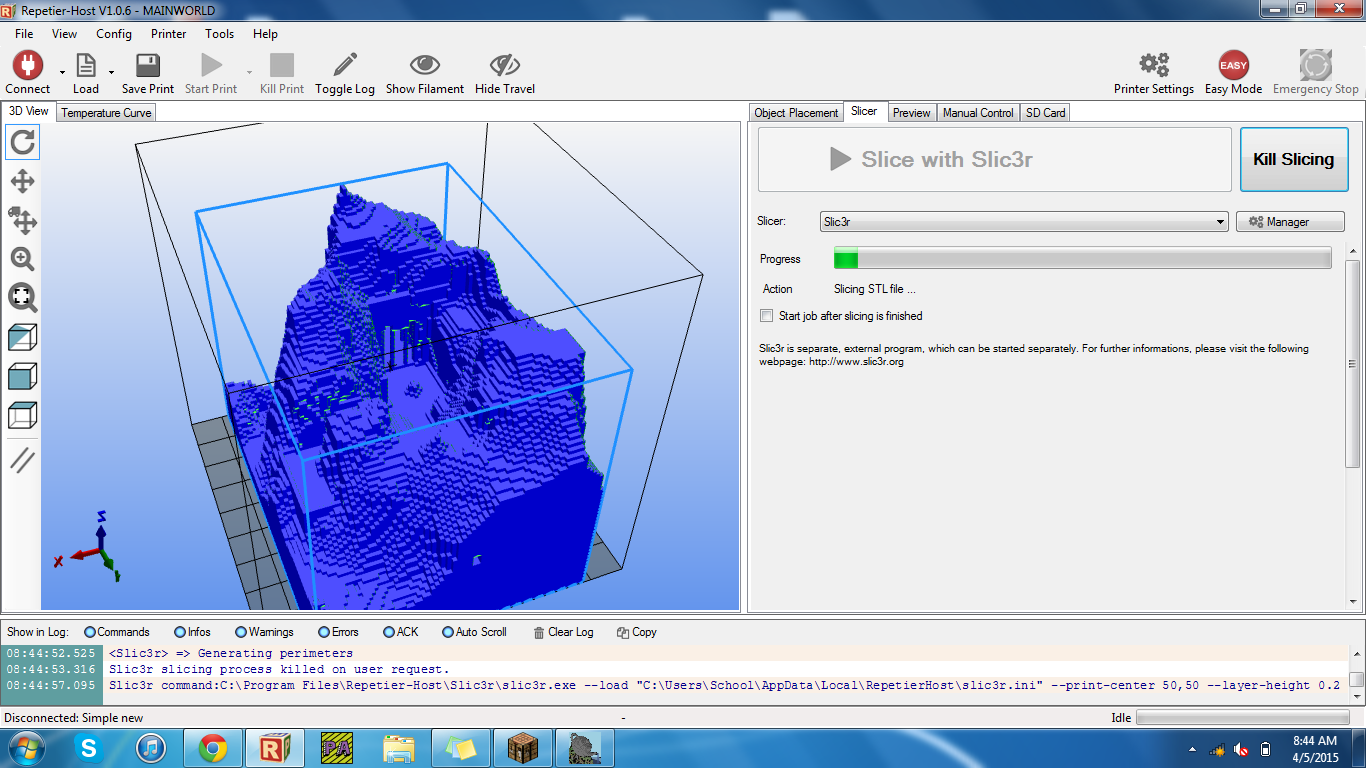
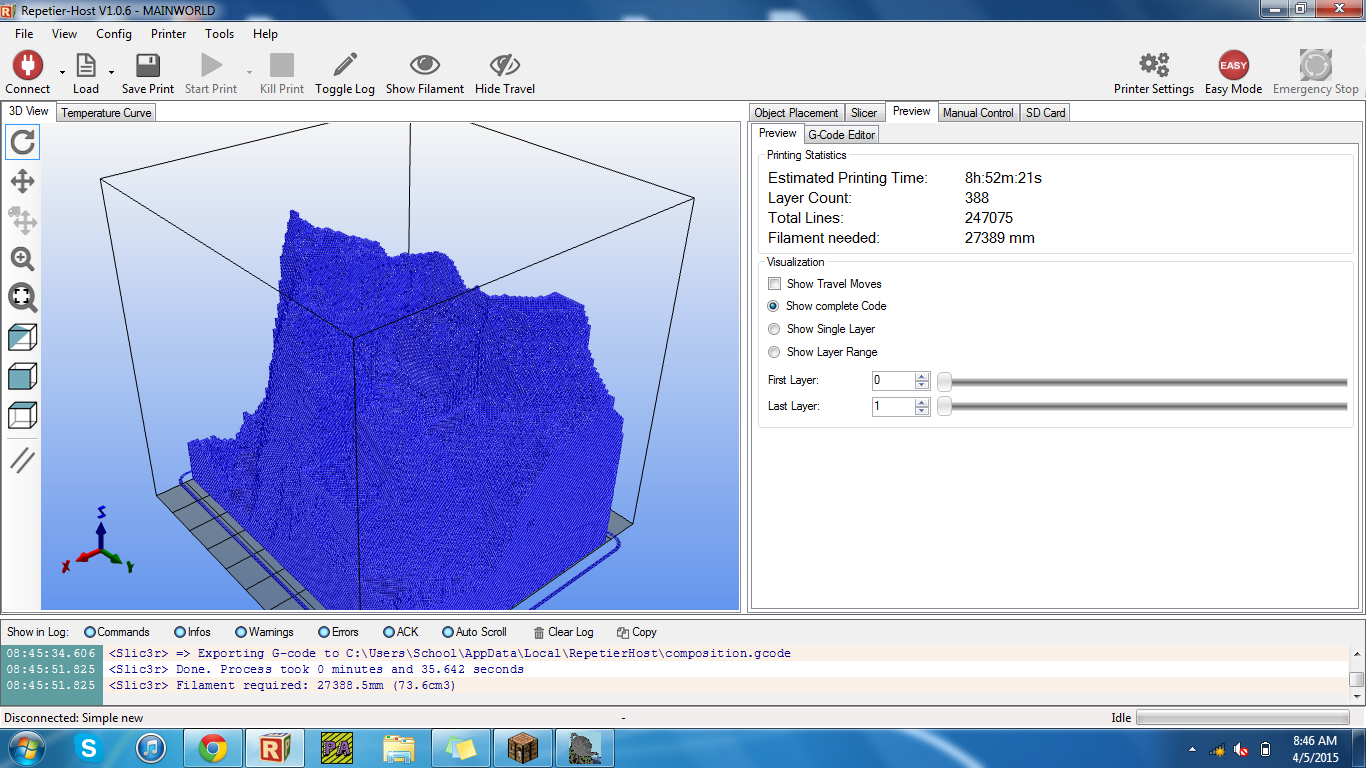
Import the stl into you're favorite slicer then you will want to upscale it because it will be very tiny for some odd reason mine was on its side too.One you scale it to the proper size set the infill to 5% and layer height to 200 microns then slice. Once you finish slicing send it to your printer.
Finish
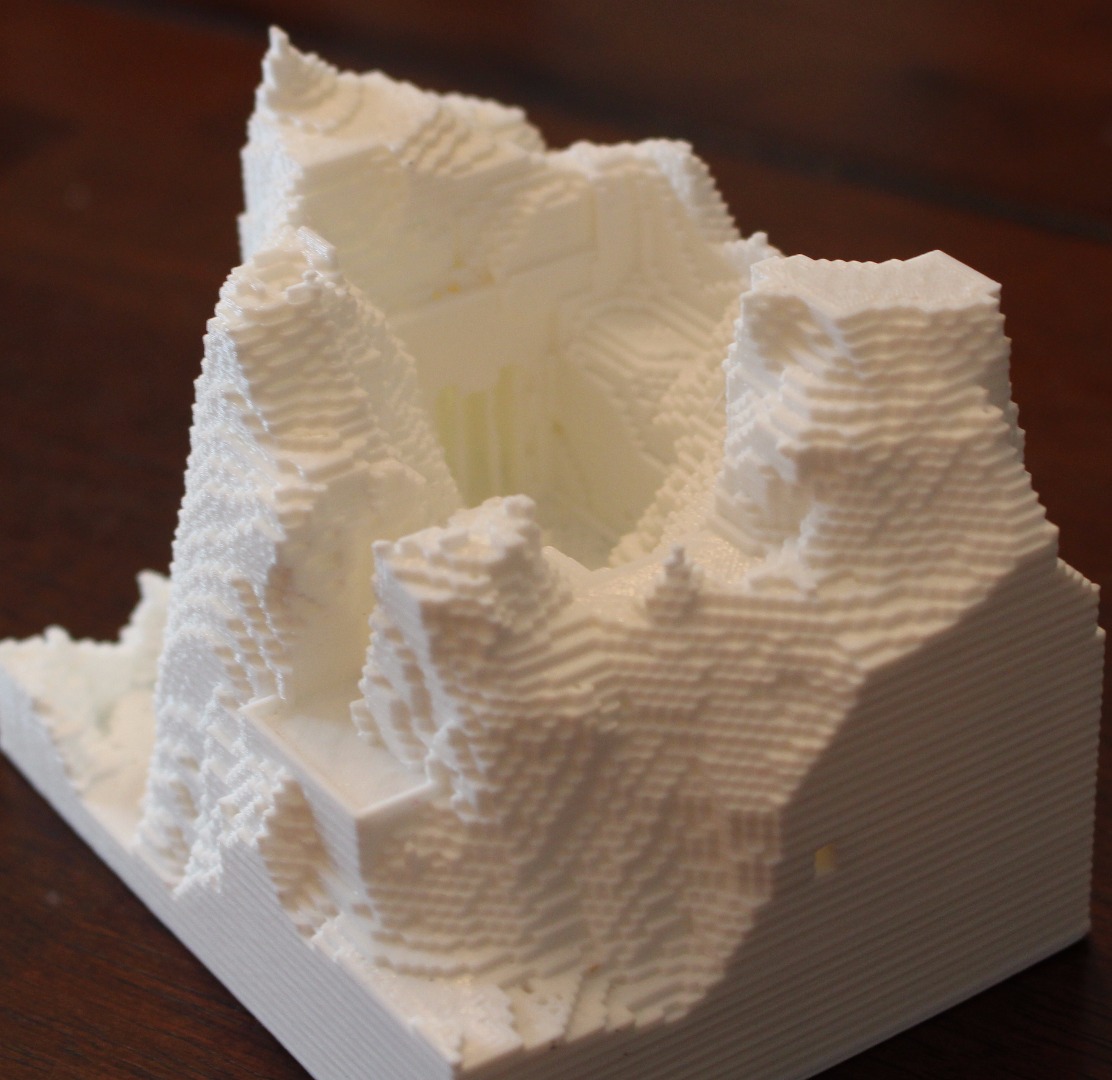
Thank you for reading all the way through and I hope this was helpful to someone.