3D Scan, 3D Render Clay Sculptures Into Stainless Steel Via Digital Renderings for an Art Proposal
5981 Views, 38 Favorites, 0 Comments
3D Scan, 3D Render Clay Sculptures Into Stainless Steel Via Digital Renderings for an Art Proposal
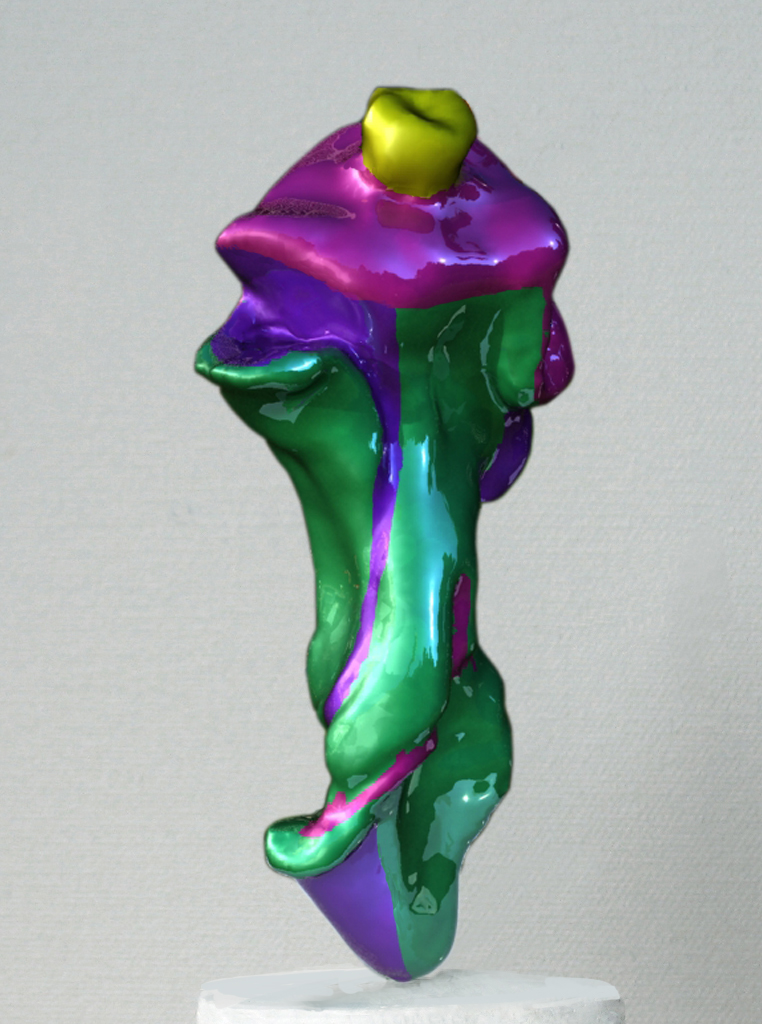
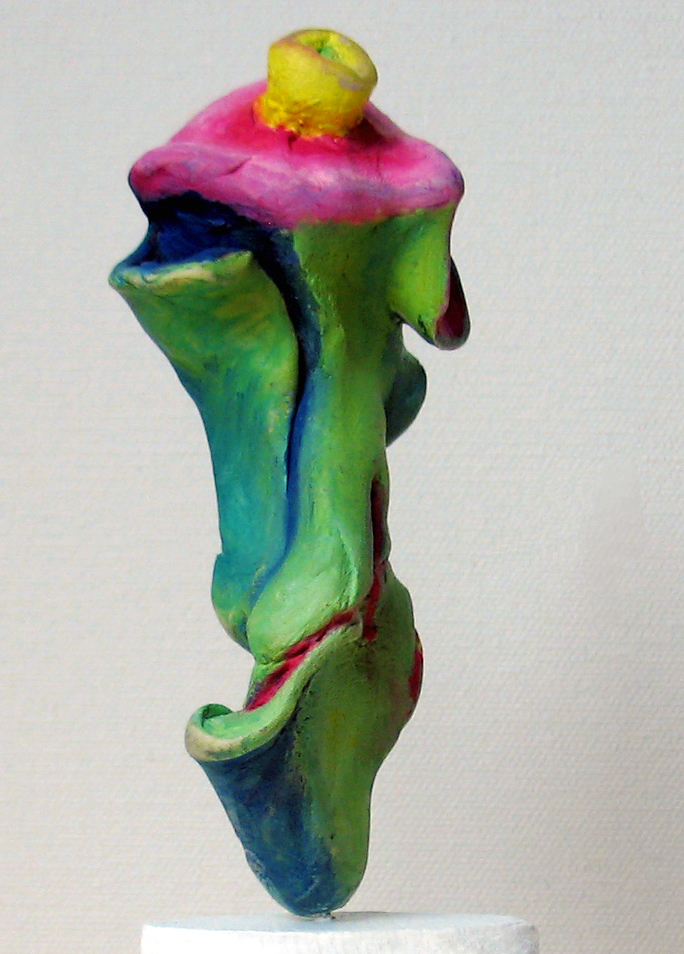
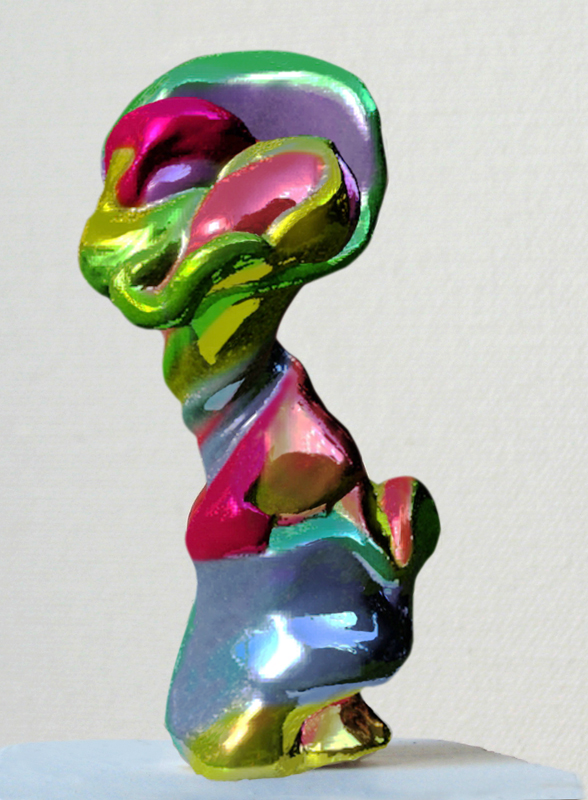
I am a fine artist with training in traditional painting and sculpture, having finished the School of Visual Arts with a BFA in painting.
After working at a Jeff Koons studio for more than two years, I got interested in the digital side of the fine art process and production, and specifically in 3D scanning and 3D rendering of the sculptures. I started applying new technological methods to my own work and took a Maya course in the Pratt institute. I wanted to share what I learnt with other interested people.
This method works for any objects that you want to scan/transform/replicate/fabricate or submit for a an art proposal.
I made a series of small scale sculptures made out of Sculpey clay. I baked them as required to harden them, and further painted the surface with oil paint. However my ideal finish is a polychromed stainless steel- something that is very expensive and not easily attainable for most artists.
That's where the digital world comes to help artists!
The basic workflow is as follows:
1) Choose or make the actual object you want t work with/ transform.
2) Scan the object to get a decent quality 3d file- the higher the better..
3) Use 3d programs to work with the file of the scanned object and modify the object and/or the surface.
4) After the object has achieved its desired look, print a photo poster of it for visualization/presentation. Then if you have the means- 3d mill or 3d print the object..
5) Use the milled/printed version either as a prototype for future casting or as a final piece.
In my instructable I will focus on the first 3 steps. While for a not tech savvy person it all might sound overly complicated, but as a dedicated artist that had zero experience in the beginning I can say- it's not that difficult and might require a bit of practice but manageable for the beginners/intermediate skill set. Plus technology keeps moving forward to make our life easier.
Scanning My Small Clay Sculpture/model Prototype
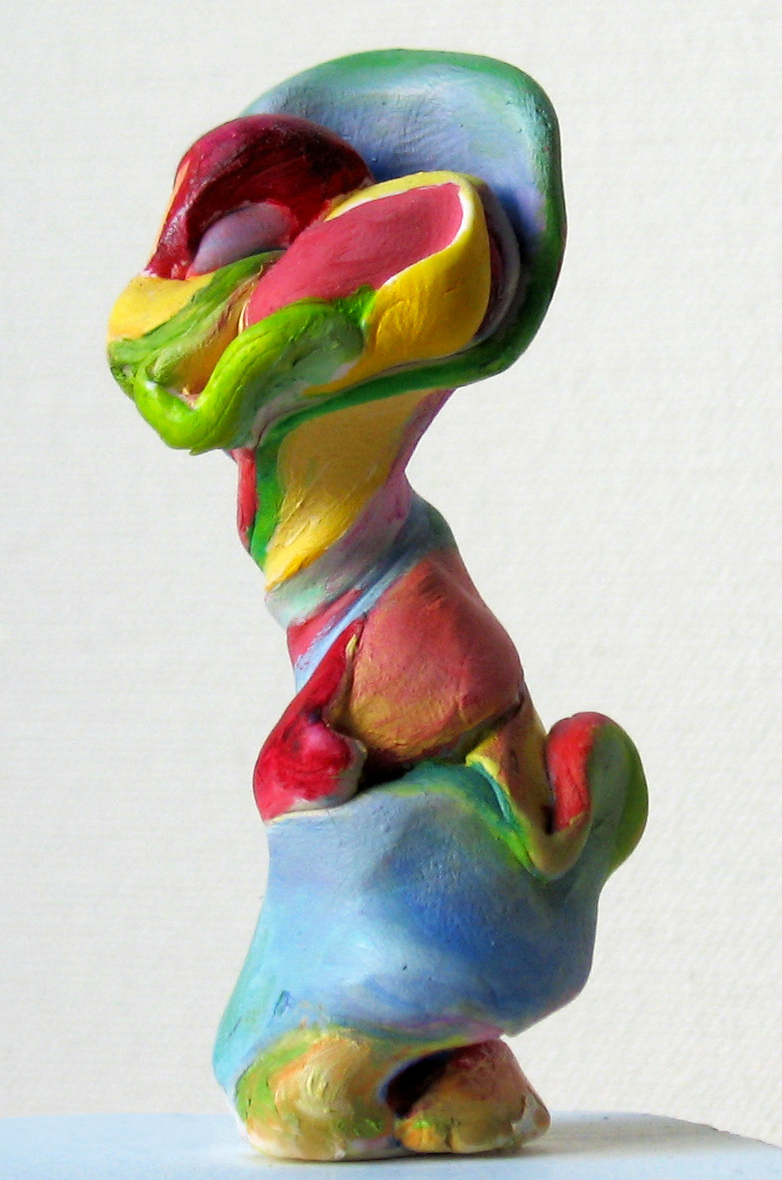
3d scanning is a crucial part of the process.
I used Roland scanner because I had access to in in my former school, but there are other options to get the scan of your object.
To name a few:
1) 123Dcatch- a free scanning program. You need to take a lot of pictures of your object from various vantage points (even with your iphone) , and then upload them to their server that will generate a 3d file from your images and send your free 3d scan back to you.
2) Project Memento- an awesome higher end version of 123dcatch. The same principle- taking and uploading photos and getting a 3d file back, but higher quality scans. And you get it for free so far! Thank you Autodesk!
3) Buying a home scanner- there are more and more consumer grade models coming out every month.
Your files should be in .obj or .stl format, but that's the industry standard so all of the above methods would provide you with these formats.
Opening Your Scanned File Into a 3d Program ( I Used Maya and Zbrush)
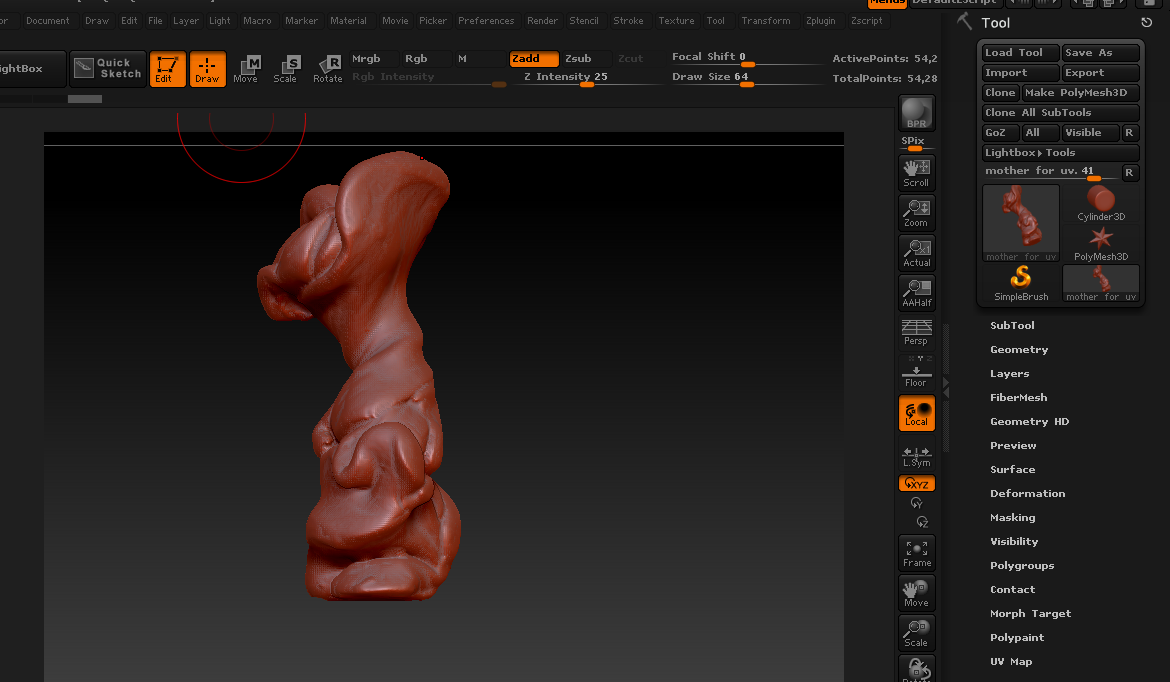
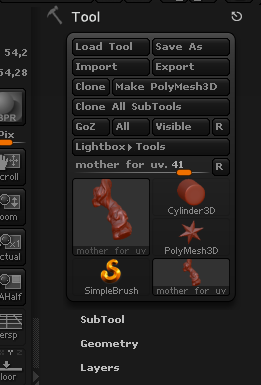

Zbrush is a great program for modelling of organic objects, so anything curvy is best suited for Zbrush in my opinion. Plus it's best for cleaning up the scanned 3d files- they are not always perfect and ready to go, unfortunately, so some clean up time might be required.
Maya is an amazing program with a vast number of applications- from building actual geometry to rendering and animation. In this case we will use Maya mostly for rendering purposes- getting a desired stainless steel effect.
Both programs offer infinite possibilities, but we will use something that even a beginner can do, given access to the programs, some time and tutorials.
So to start our project we open a Zbrush program and import our 3d file in .OBJ format under Tool tab on the top right side of the screen. Then we can see our model icon on the top right under tools. We draw it out on the screen using the left mouse click, and quickly press the EDIT button next to DRAW button on the top left side of the screen. That allows us to switch to an actual working mode and edit it. Otherwise if we don't press the EDIT and just continue in DRAW mode we will keep drawing more copies of the model on the screen.
Cleaning Up the Scanned Model in Zbrush
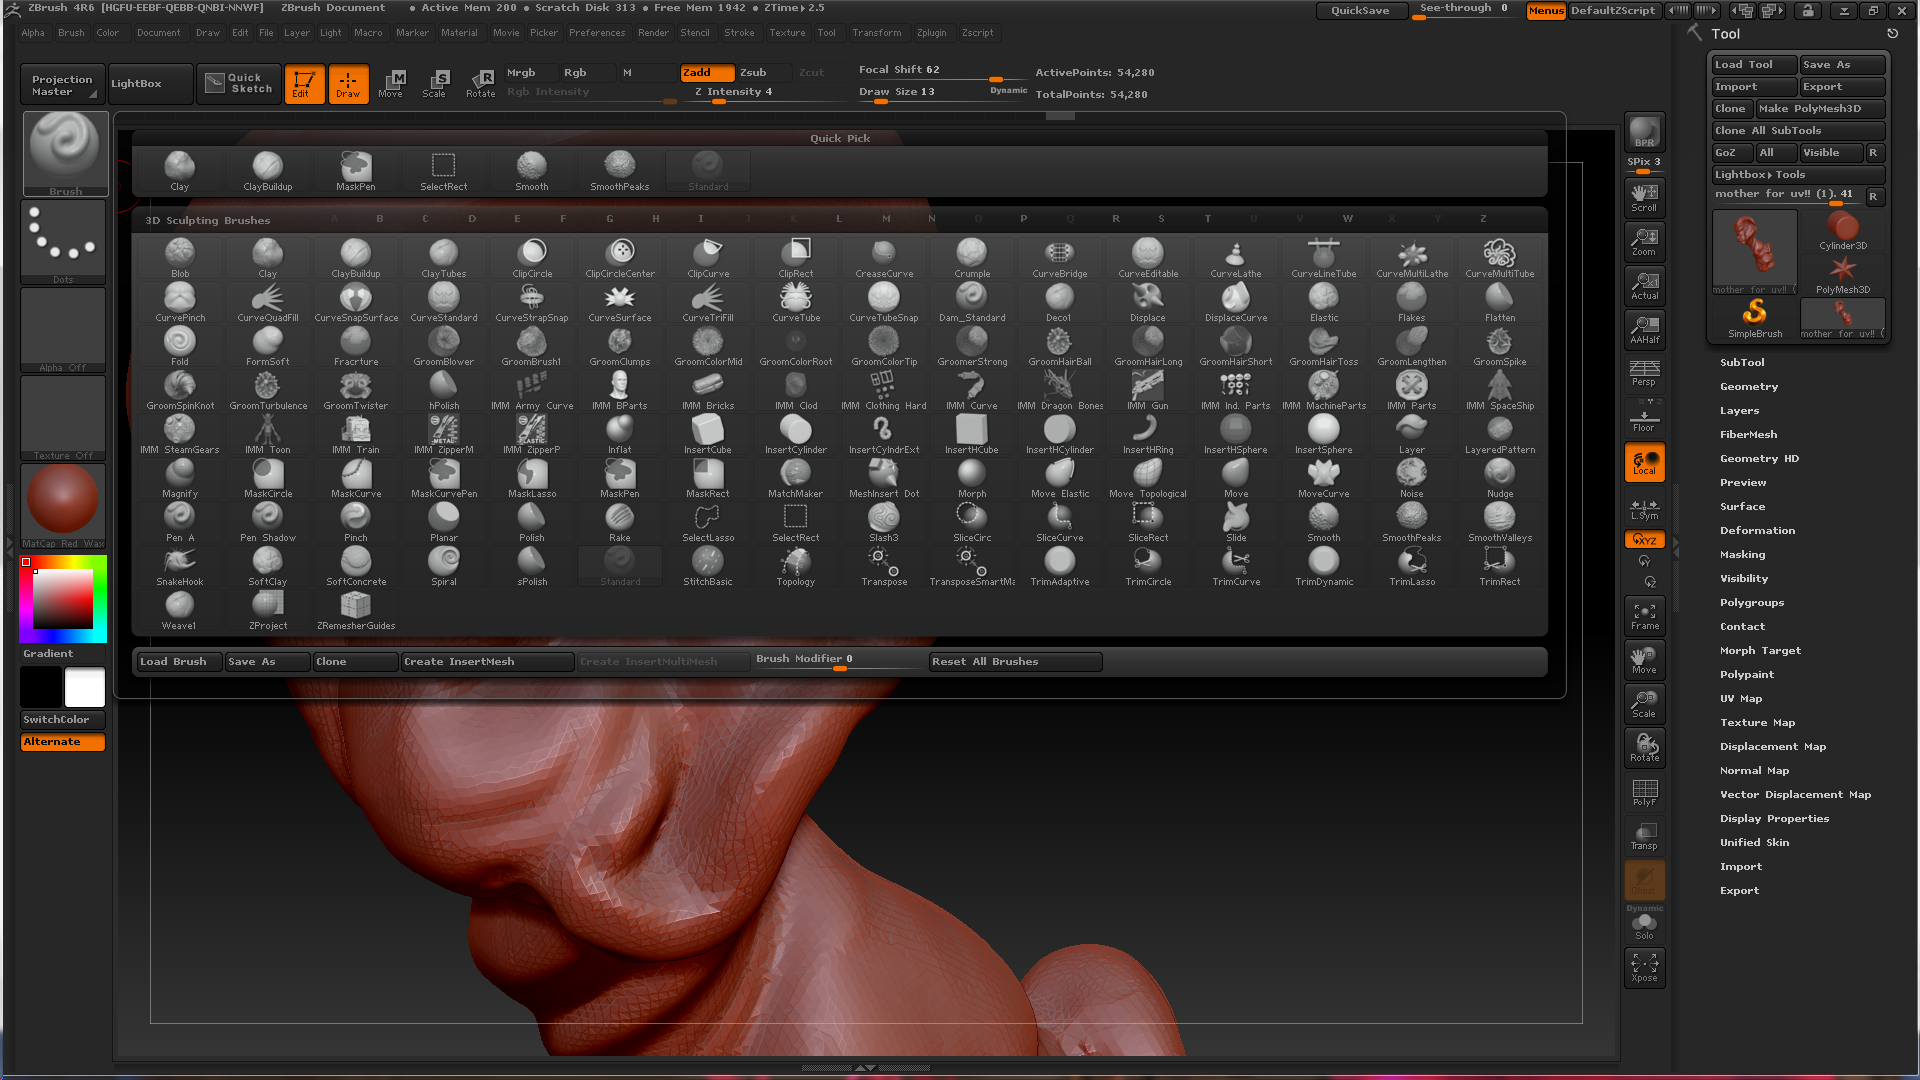

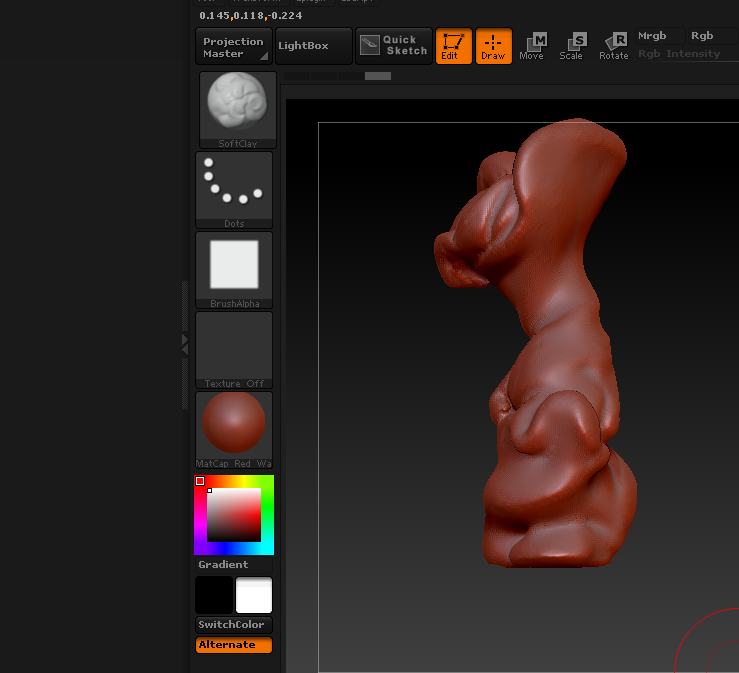
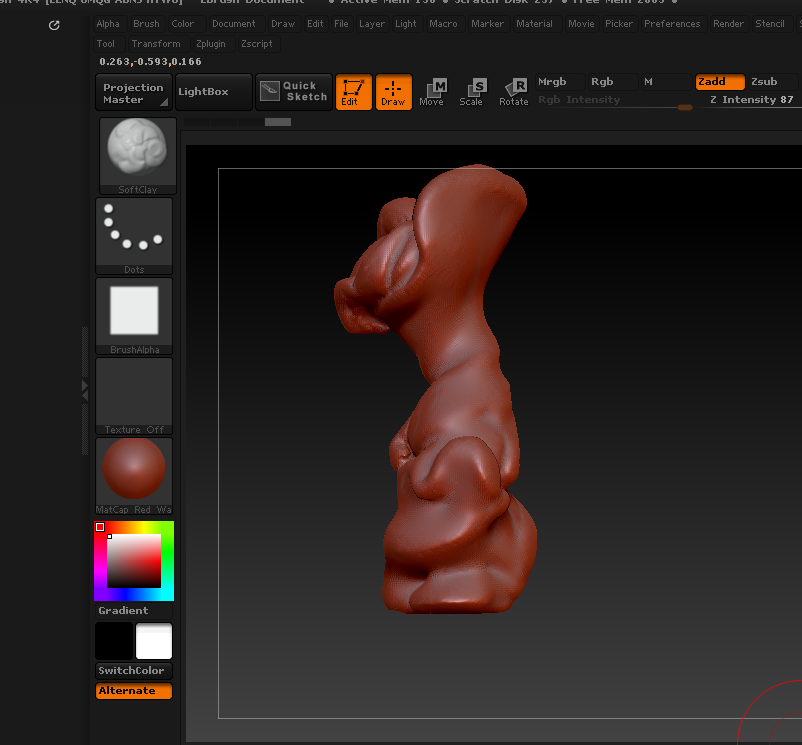
Once we get to the Edit mode in Zbrush we examine the model, rotating it using the left mouse click. If the scan is not perfect or low resolution we would need to use some of the Zbrushes to clean it up or smooth out the surface. Usually the higher quality is the scan the less work is required on our part. In my case the model wasn't scanned at the highest resolution, and the surface looks pixelated. In this case the smooth brush will help to even out the surface and get rid of spikes, etc. The brushes menu is located in on the top left column of the main screen.
After we choose the smooth brush among the vast variety of brushes, we can adjust the intensity of the brush my changing the Zintensity slider- the lower the number the softer is the smoothing action. Top sliders Zadd or Zsub allow to change to direction of the brush- it's either additive smoothing or the subtractive. The focus shift and draw size help adjust the size of the brush.
Once we go over the model with the smooth brush and find the geometry satisfactory, we can go to next step-
generating a UVmesh!
Generating a UV Map in Zbrush

.png)

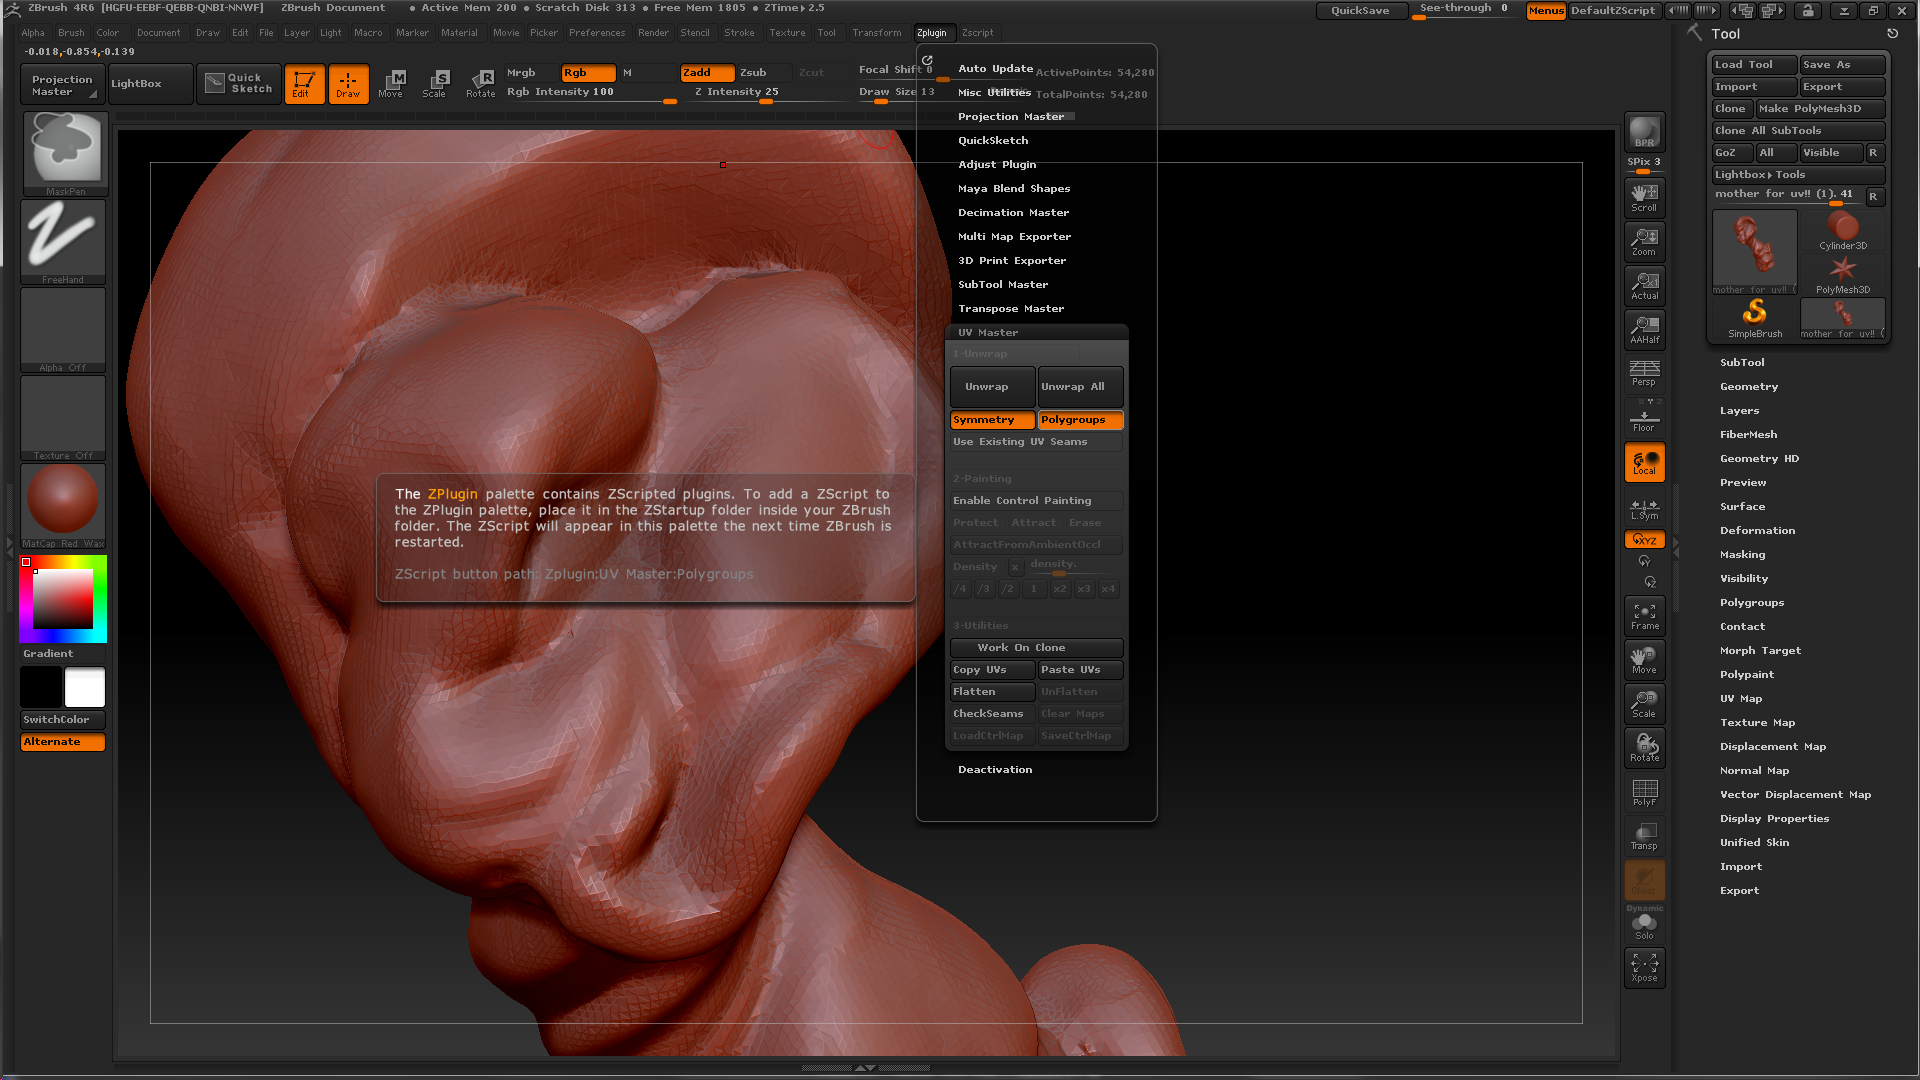
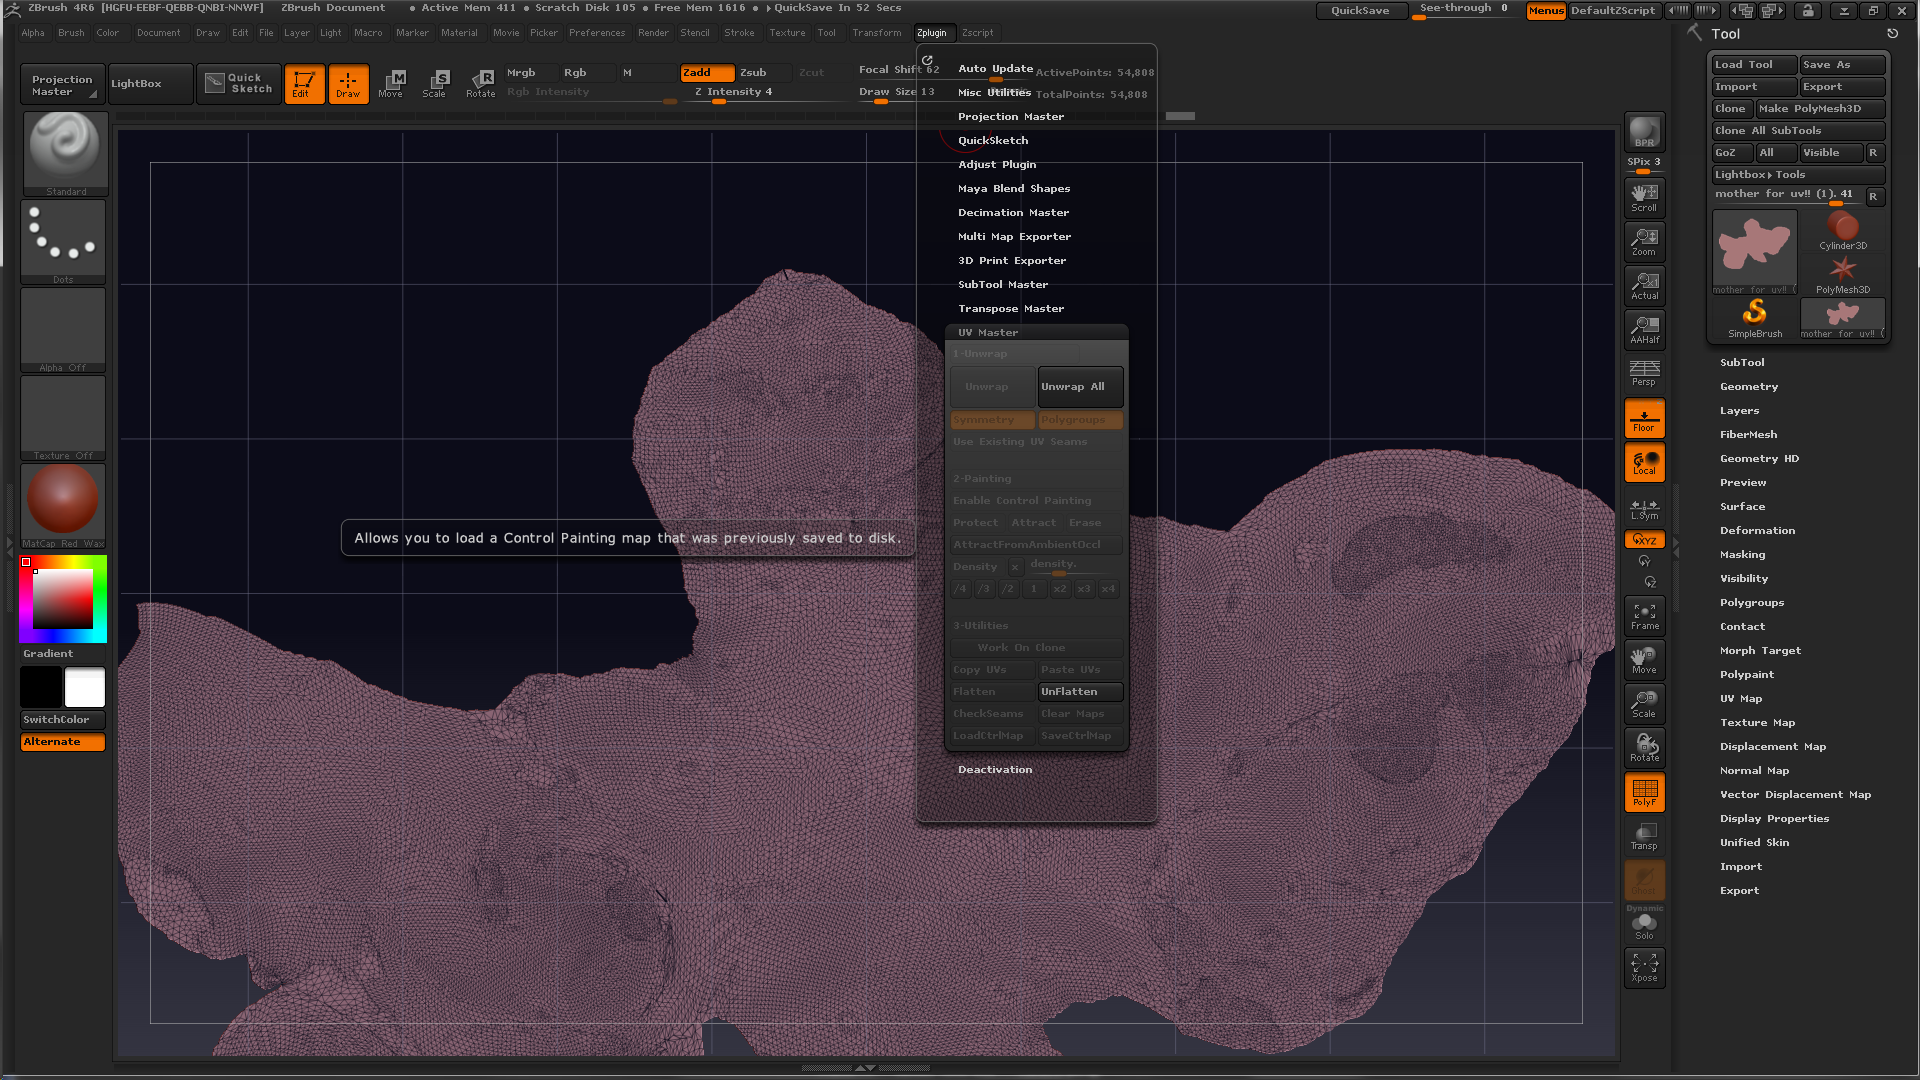
UV map is a very important feature- basically it's a virtual skin that envelopes the model, following all the tiny creases and bumps ( that's why first getting geometry right is important). If we generate this skin, we can use it further on in different programs, including Maya. We can paint on it, for instance. If we flatten the UV map it looks like a big amorphous flat surface ( if we are talking about organic models) , almost like a big amorphous crepe. If it's a rectangular object that we are working with, then the UV map will look like a cut flat box with all the sides visible.
Z brush generates a UV map for your model in seconds, and later our model with the UV map can be exported to Maya.
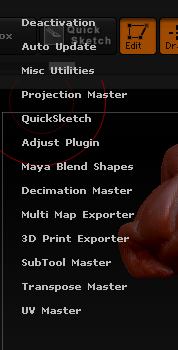
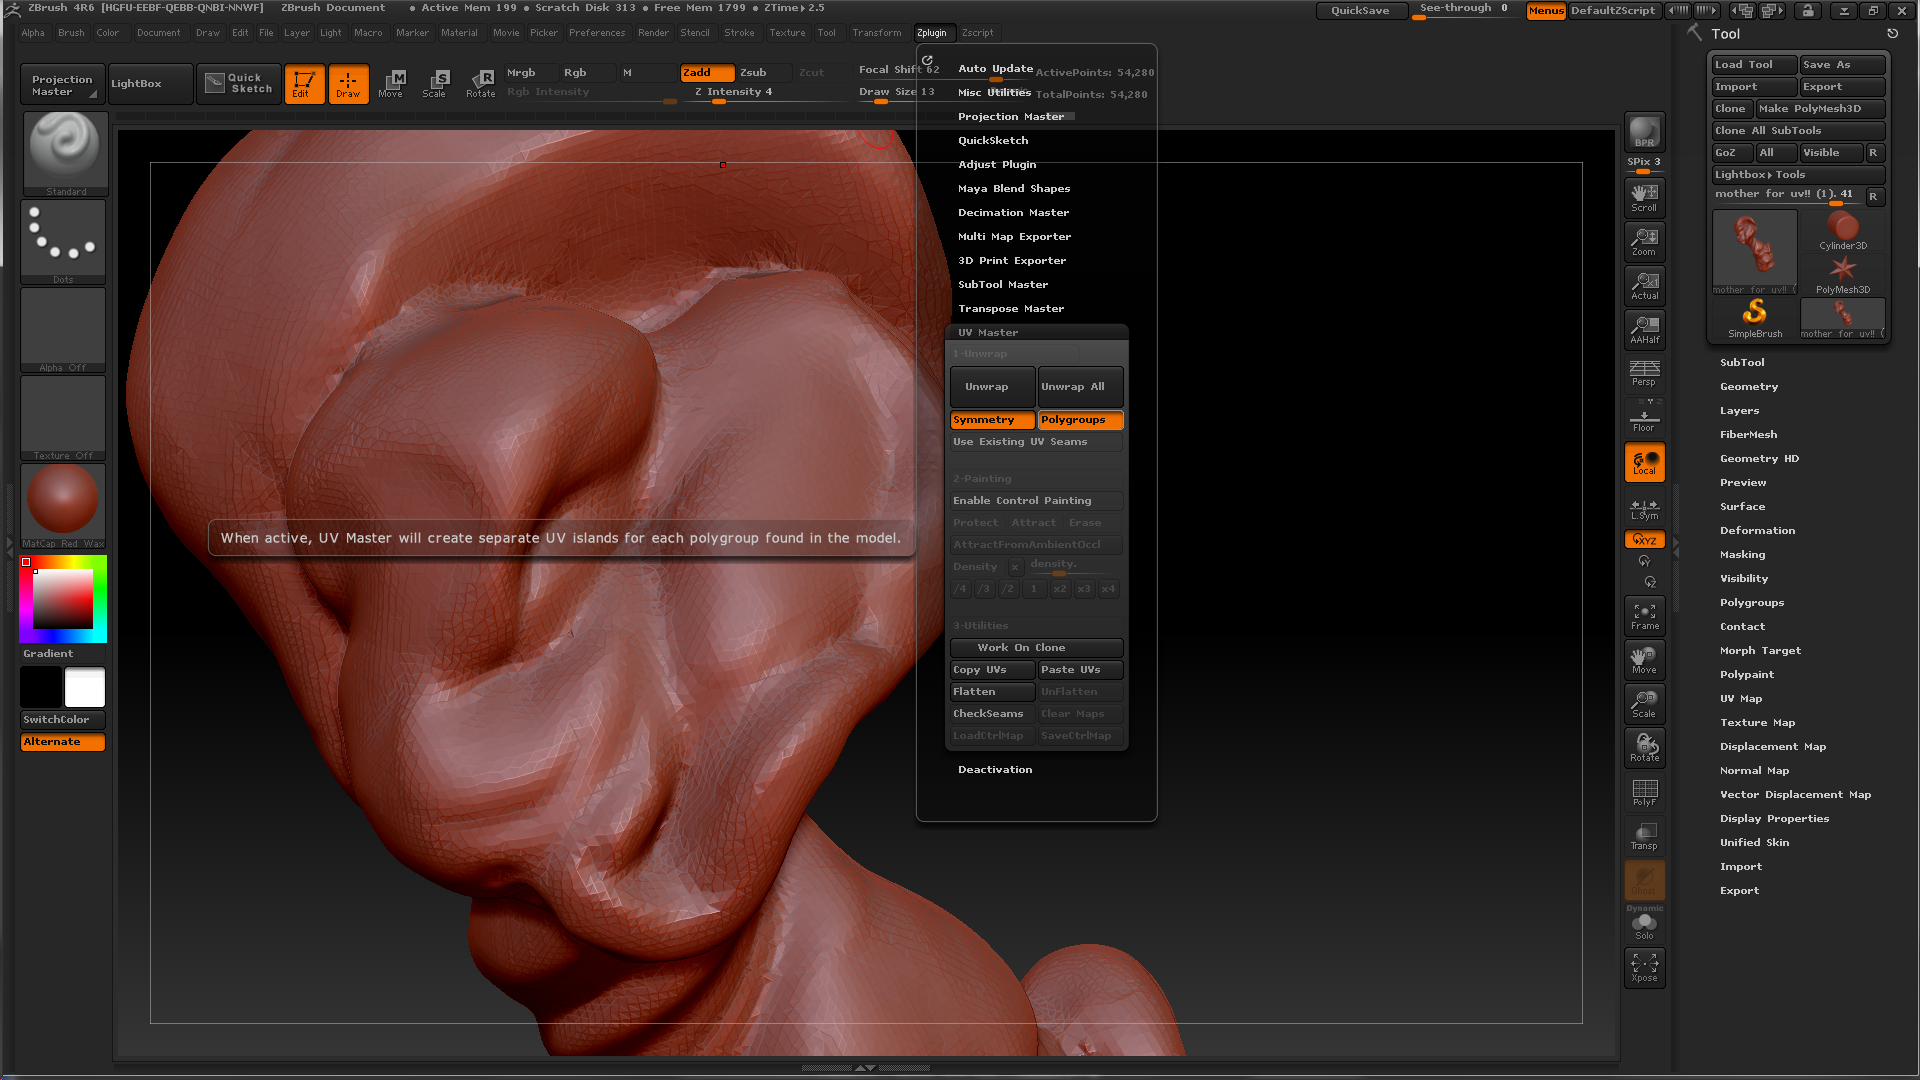
To generate the UV map we go to the tab Zplugin at the top menu bar- it's located on the top right side. After clicking on Zplugin we see the UVmaster tab at the very bottom of the options, Then press symmetry and polygroups to activate these options, and then press Unwrap. And the computer generates the Uv map for the model.
If you press Flatten in the UV master tab you can see what got generated. The proper map for an organic model looks like a big amorphous puddle .
The final step- we export the model with the UV map that comes enclosed. We go to the export button on the top right, and export either as .OBJ or .MA format for Maya. I suggest .Ma as we will continue in Maya.
Opening a Clean File With a UV Map in Maya

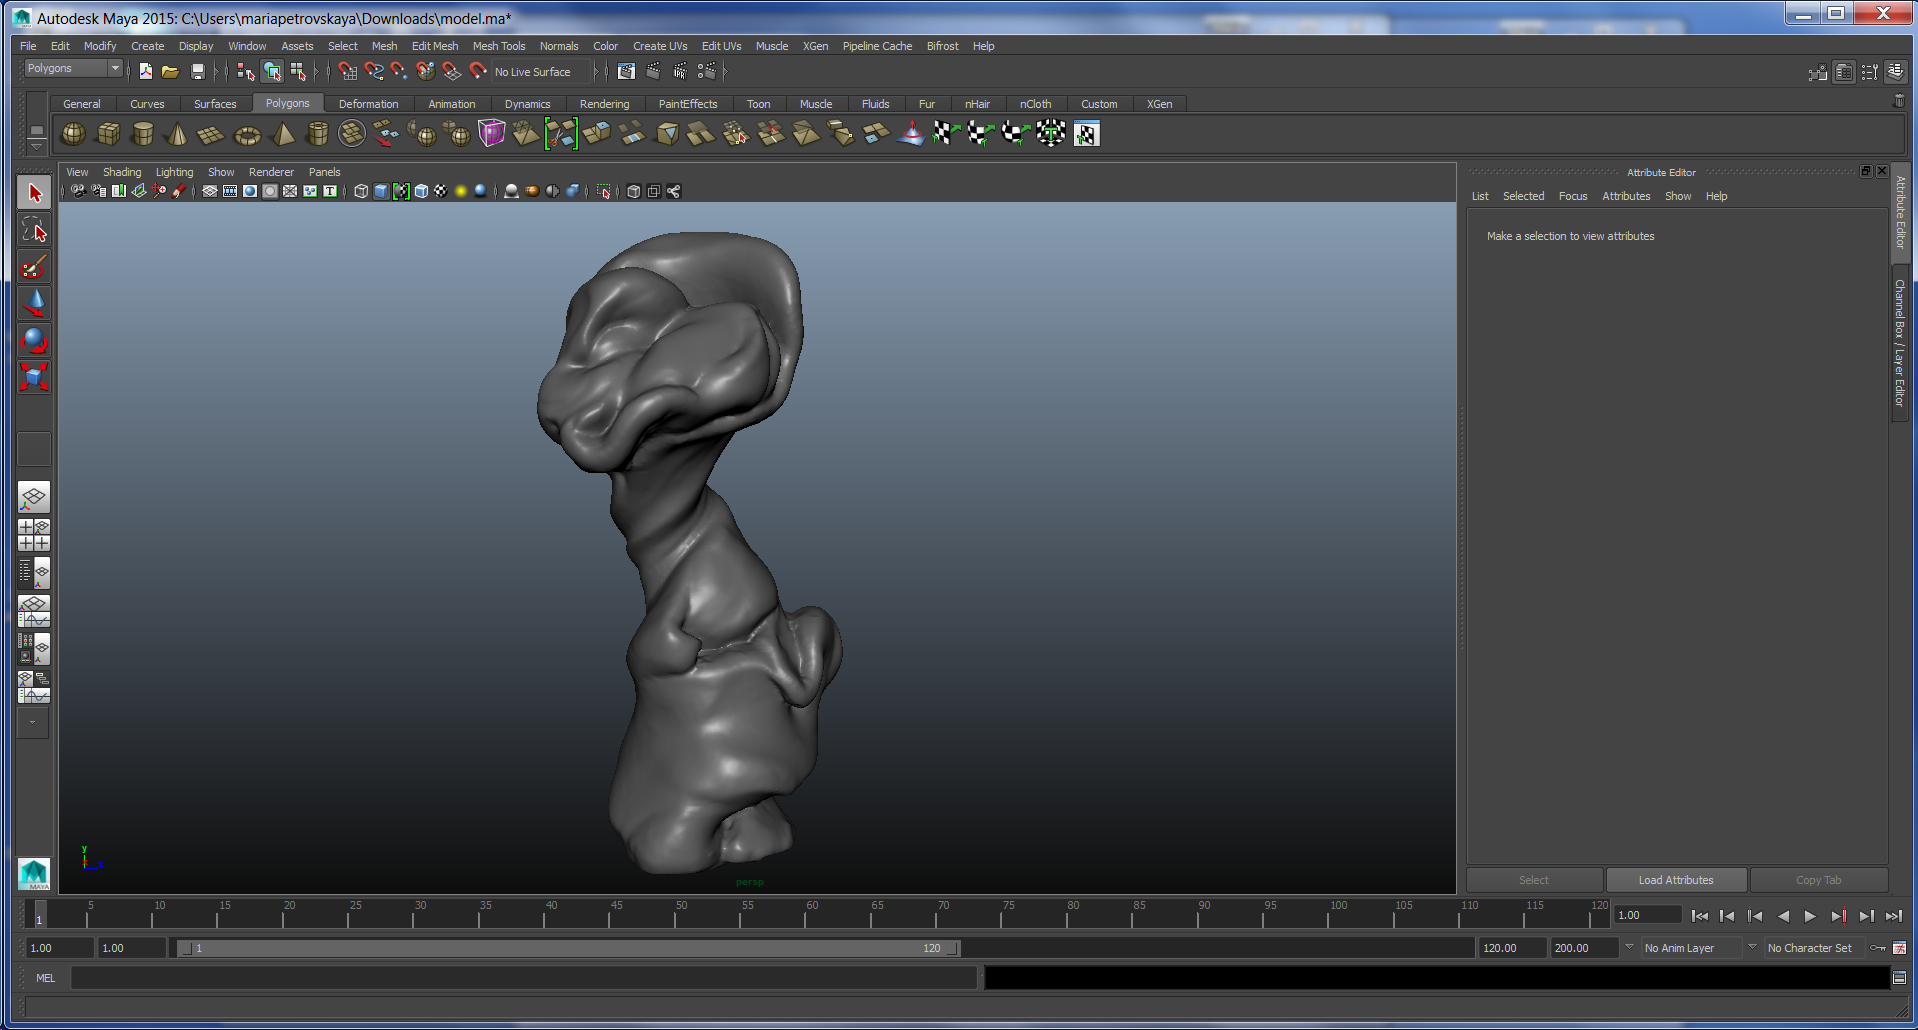
Now that our model is cleaned up in Zbrush, we can export it to Maya and start the most fun part- rendering and painting the surface.
1) On top left part of the screen we go to File tab and choose 'Open scene" and open our saved model ( that we exported as .Ma from Zbrush. ( see pic1). Alternatively we can scroll below "Open scene" and press Import, that option would be helpful if we have a model saved in other formats.
On a side note- to move our model around on the screen use W, E, R, buttons as a shortcuts for move, rotate and scale. Or use Alt and Left mouse click to rotate the object around, Alt and third middle button on the mouse to move it, and Alt and right mouse click to zoom in and out.
2) Below File and Edit tabs we find a scroll down menu that allows us to choose between different program modes. We need to choose Polygons.
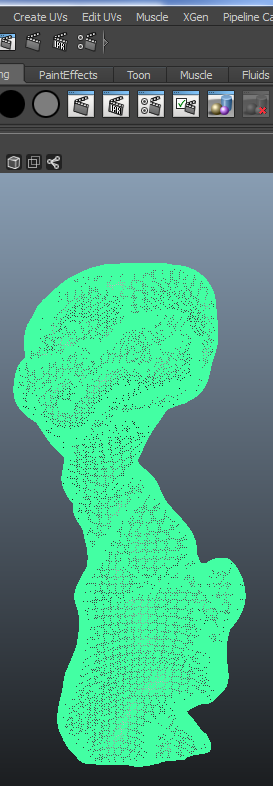
3) We click on our model to select it and see the mesh in green color- it means it's actively selected.
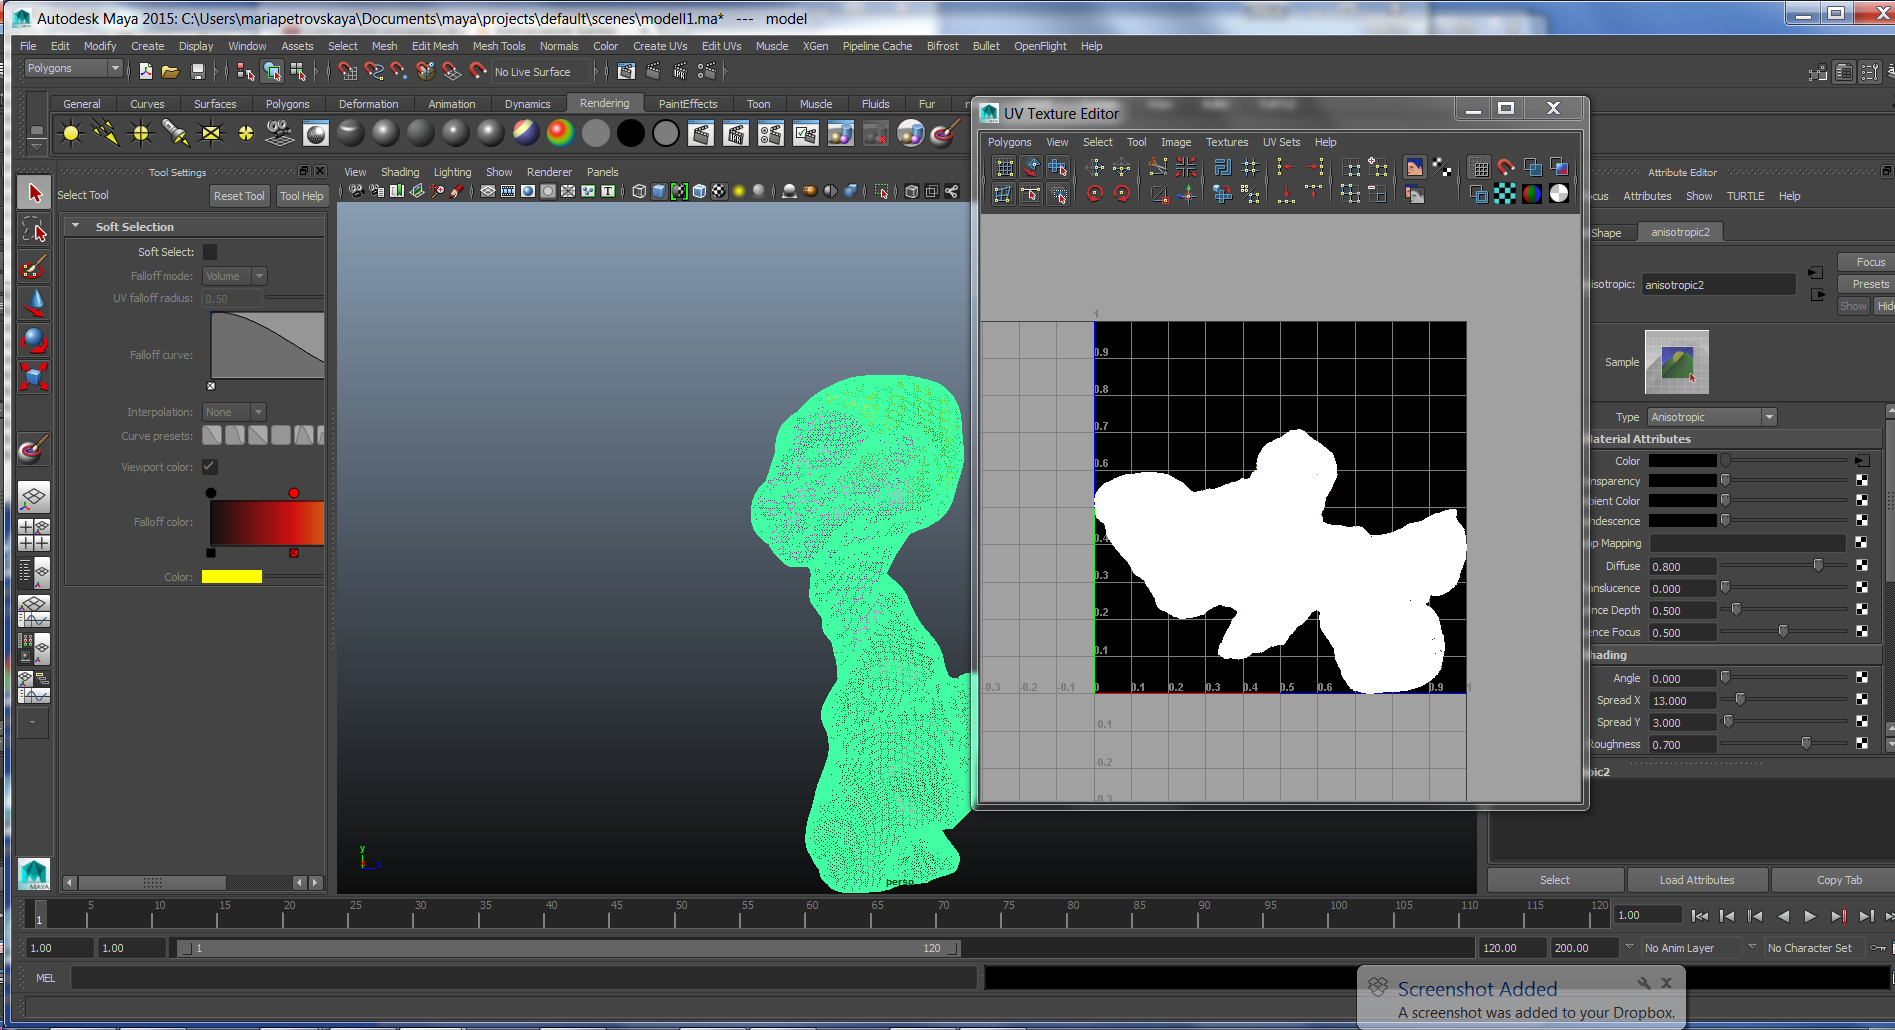
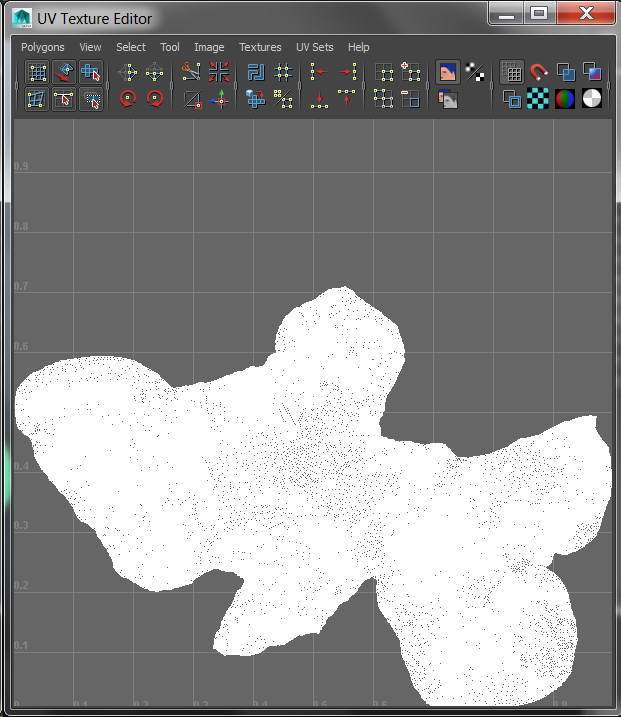
4) With the model selected ( green mesh) we go press Edit UV's tab on top middle of the screen and scroll down to UV texture editor and press it. ( pic4). The UV map that was generated in Zbrush and saved with our model shows up.( see pic5).
5) In UV map editor pop up window ( pic 6) press the Polygon tab on the top left and scroll down to UV snapshot option.
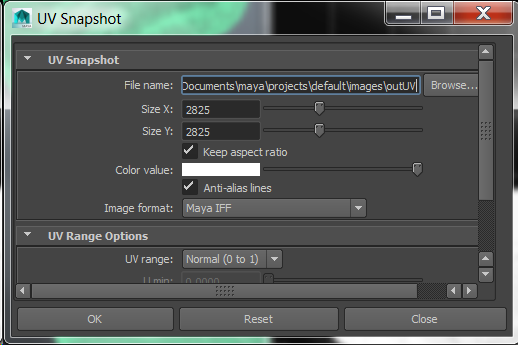
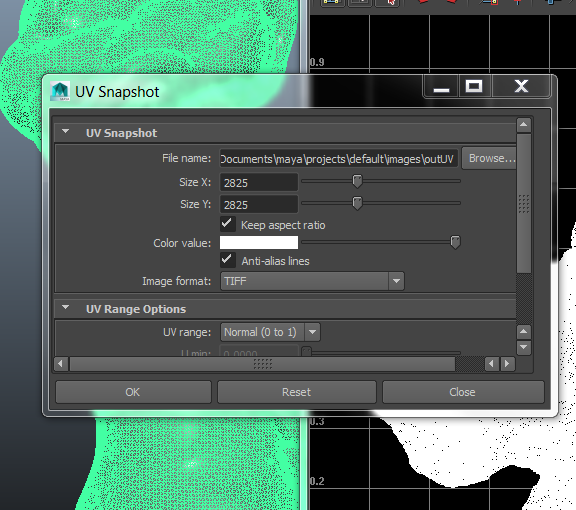
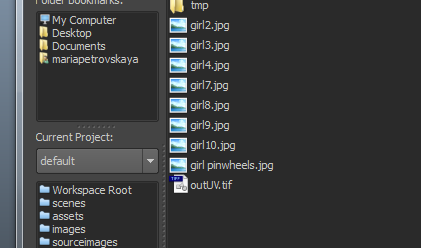
6) In the UV snapshot option pop up window : adjust the size of the UV map texture file- it should be large enough, like 2k. And Choose the output image format from default Maya IFF to jpeg or Tiff. Press OK at the bottom. The file will be saved in the maya/projects/default/images/ by default. ( see pic 7).
Now our UV map for the model is saved in the above mentioned folder and can be used for working on the surface of the model. Basically it's a skin that wraps the model, and any further actions with it will be stored as relevant information in the maya folder.
DO NOT FORGET to save your file often, otherwise if your program crashes you will loose all the work and the progress you have made!!
Rendering- the Start. Materials.
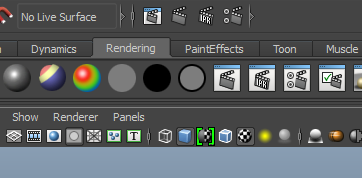

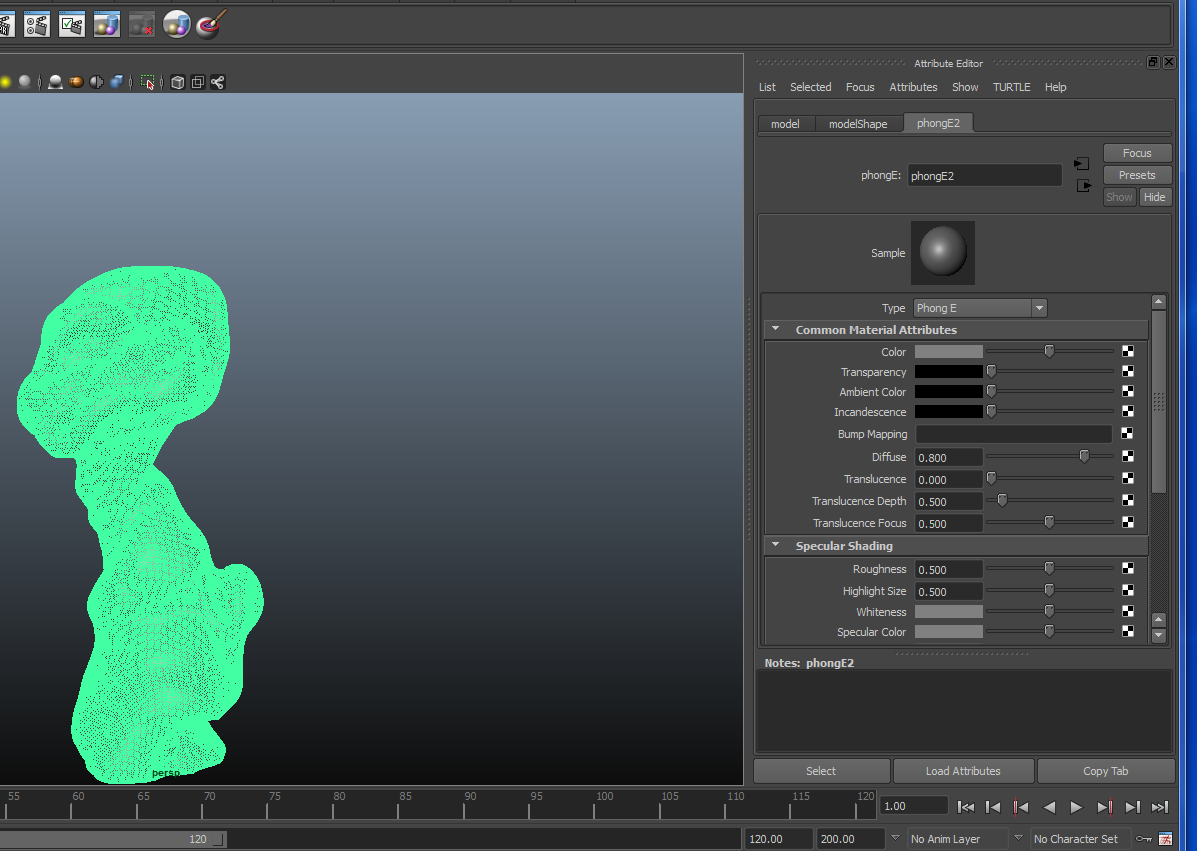
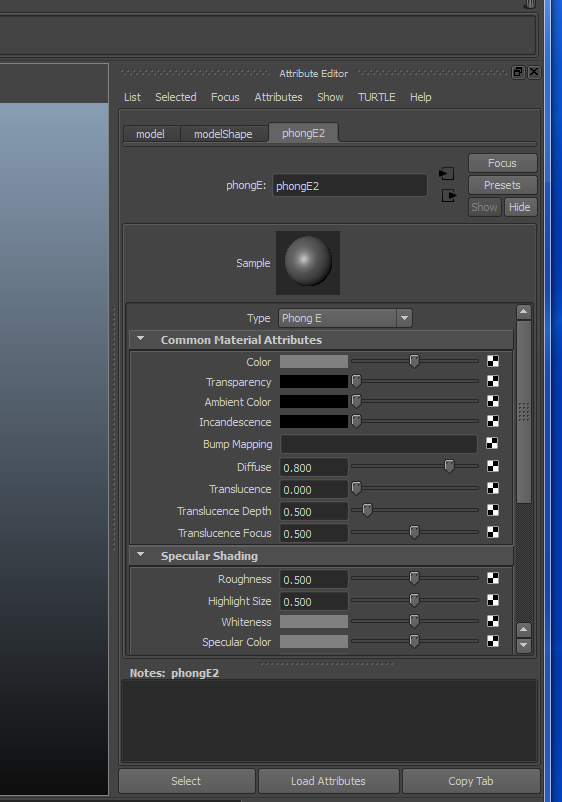

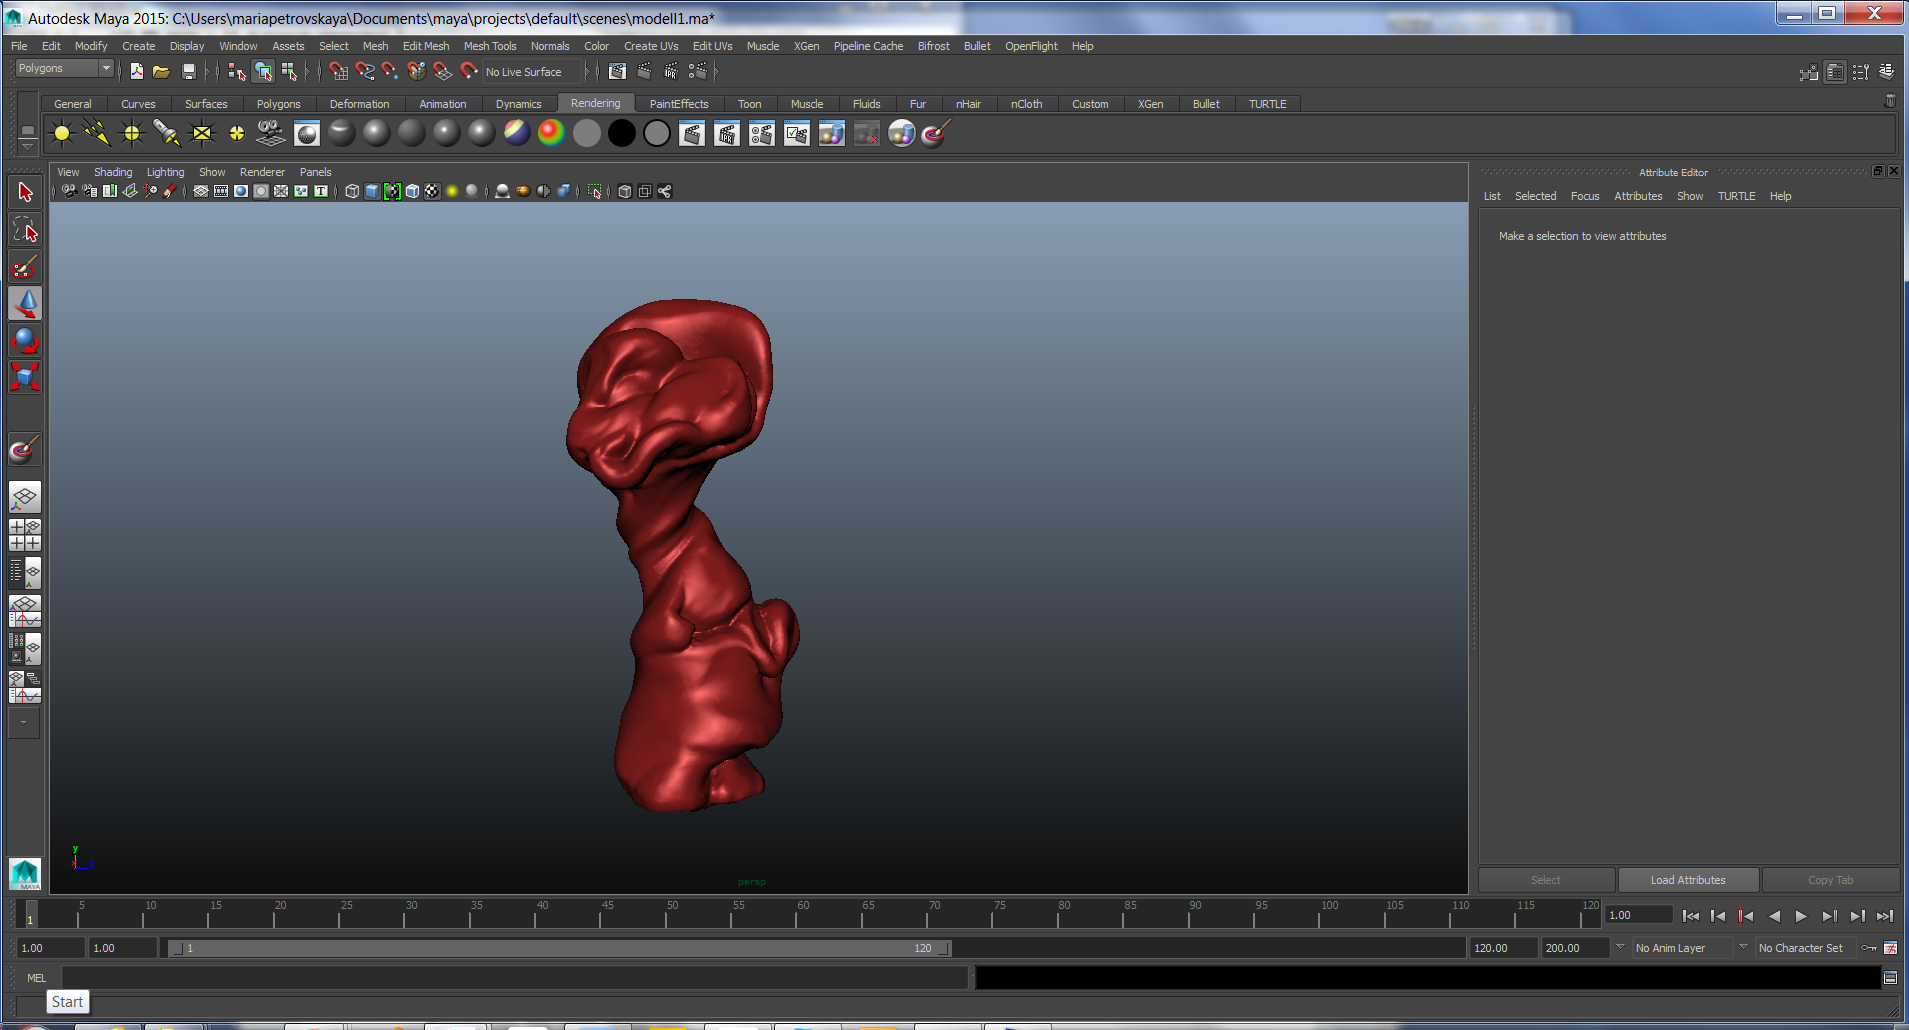
To start rendering our model, we need to switch to the Rendering mode.
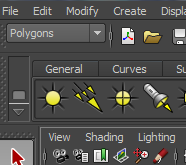
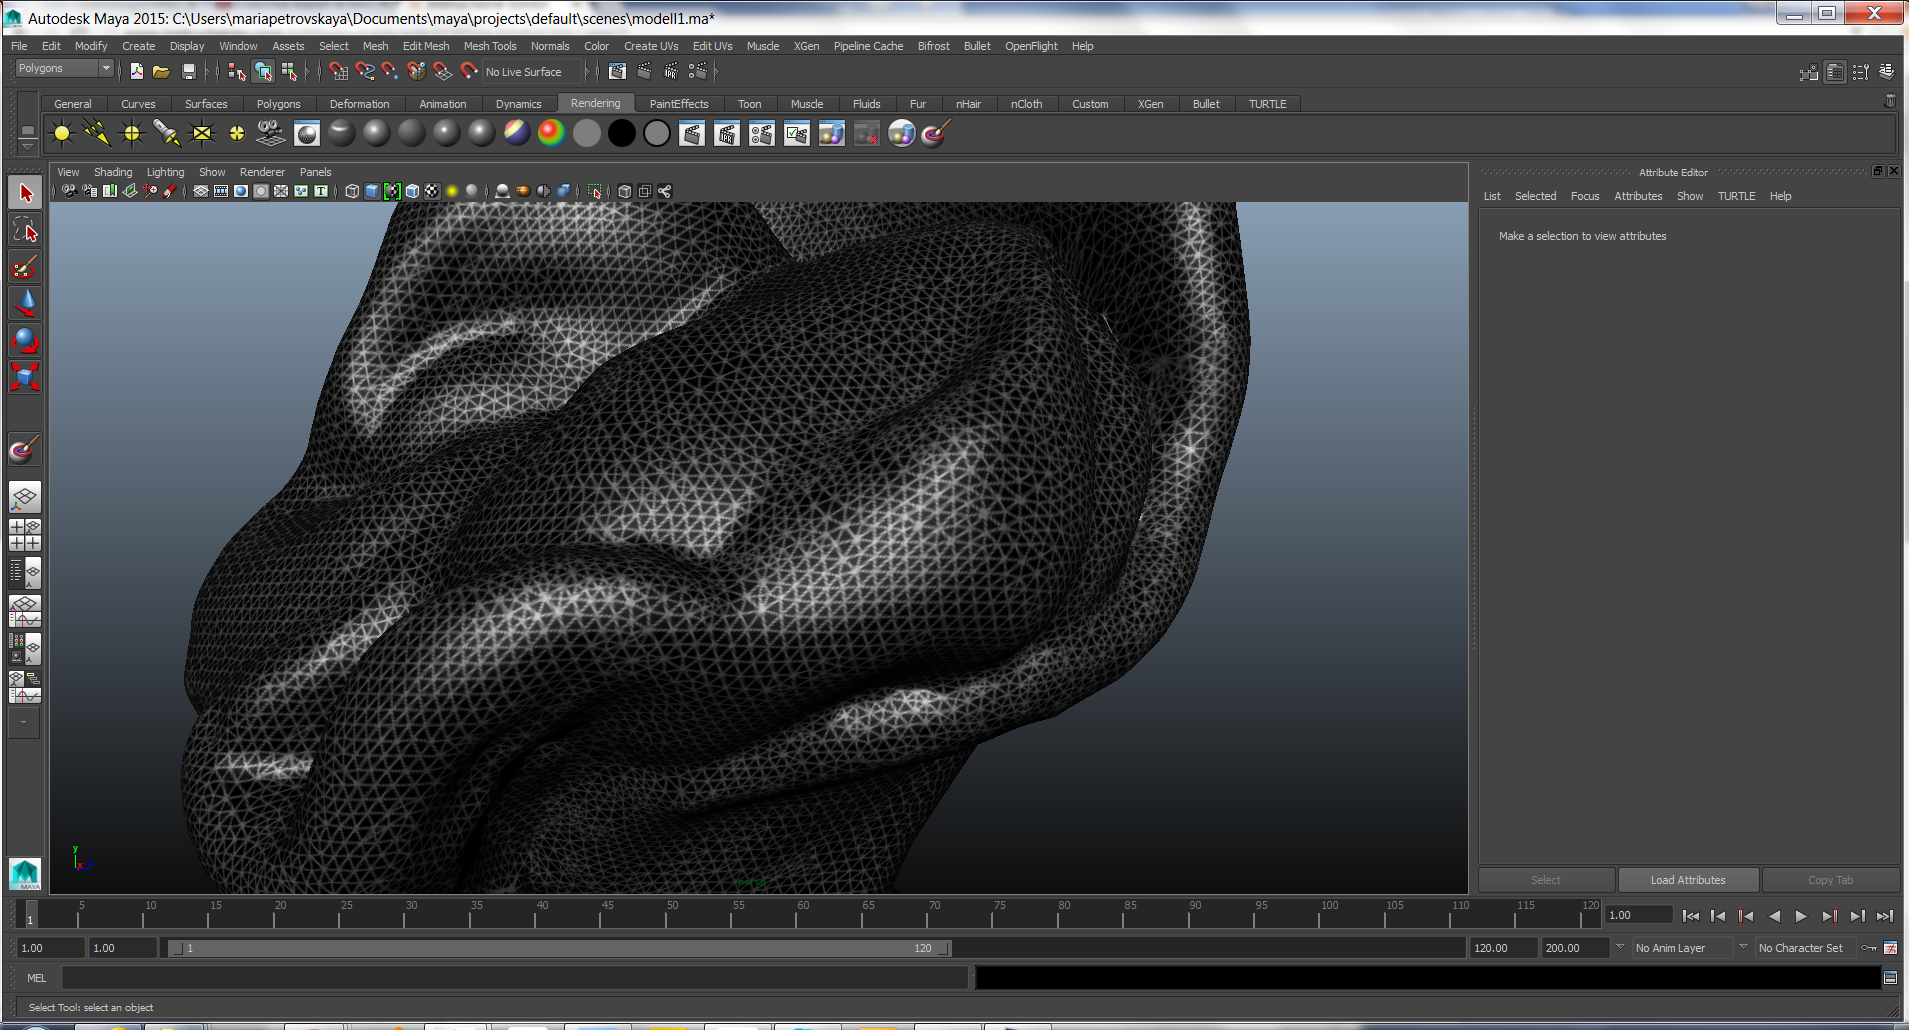
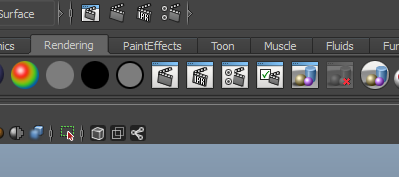
Choose the Rendering tab that is in the middle row of the tabs on the top part of the screen..( pic1)
In rendering we will need to do two main things - to adjust the Render settings and to choose and start working with the materials.
The materials in Maya come in two groups- default Maya materials- like Blinn, Lambert, Phong, etc. and another more diverse group- Mental ray materials. To get to choose the materials one of the ways is to look below the Rendering tab ( see pic2)- all the shaded spheres are different materials, and by clicking on them you can assign that material to your model. Each material has different physical properties- like different reflectivety etc. For instance Lambert is more opaque while Blinn is more shiny and looks like aluminum. If we select our model and then press one of these spheres we will assign that material to our model. And the model will get either a shiny aluminum look ( blinn material) or a more opaque surface- if we use Lambert.
When the model is selected and the material is assigned, we can see all the material properties on the right side in the Attribute editor. We can change their properties like reflectivity,color, etc. To assign colors we click on the left grey field of the Color slider and the color wheel menu pops up.
We can assign different solid color and different materials to our model, but we cannot paint different multiple colors or apply different texture files to the surface directly. Here is where our UV map file comes in!!
Materials and Textures 2
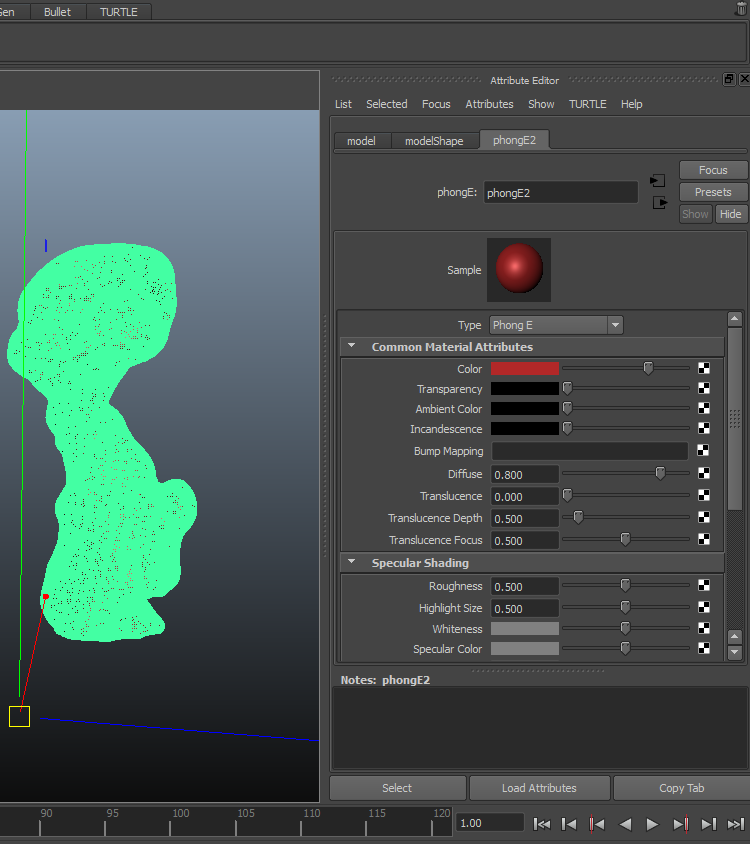
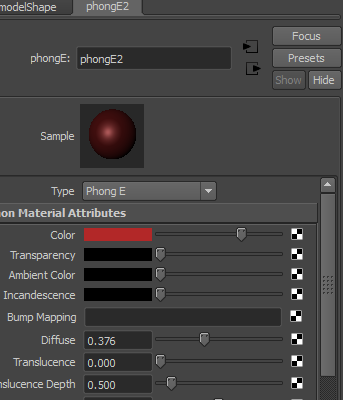
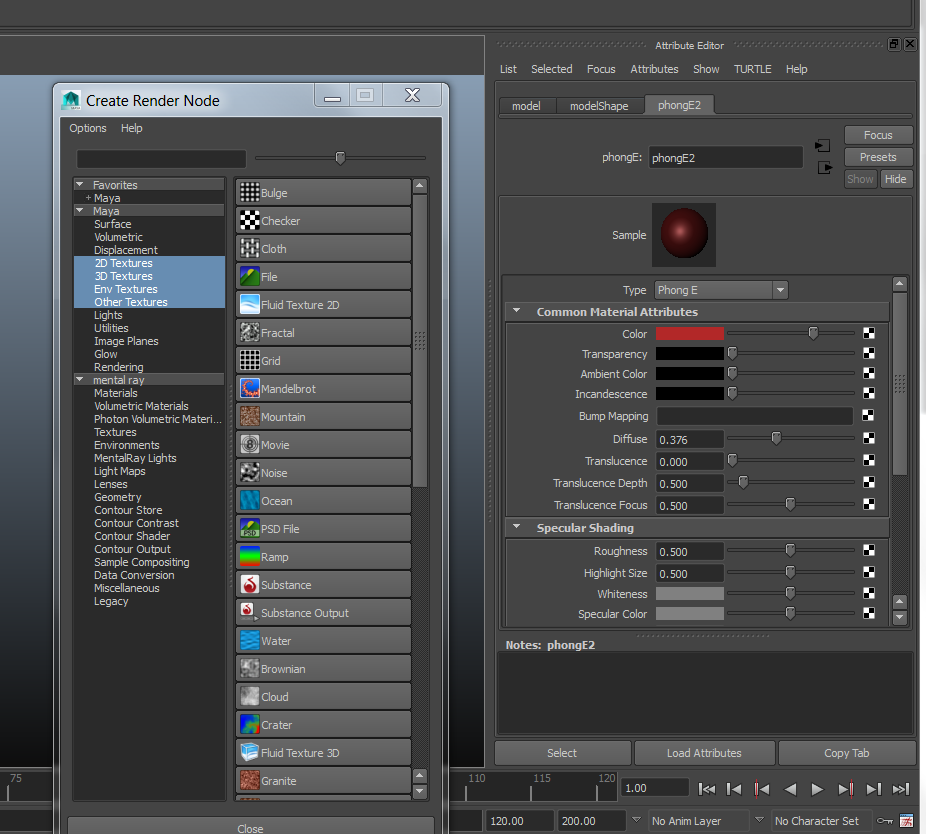
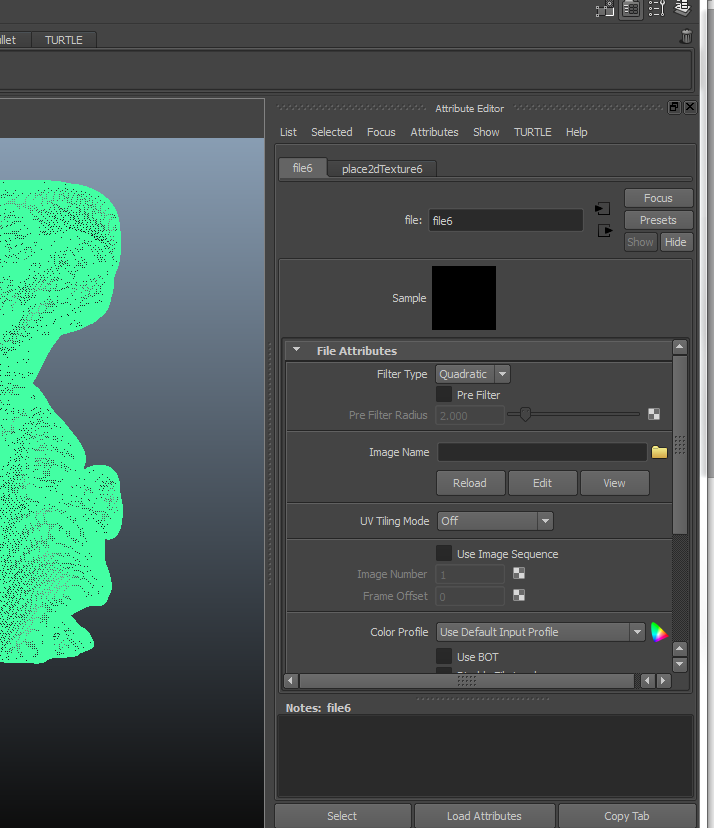
Here we will assign different textures into the material selection.
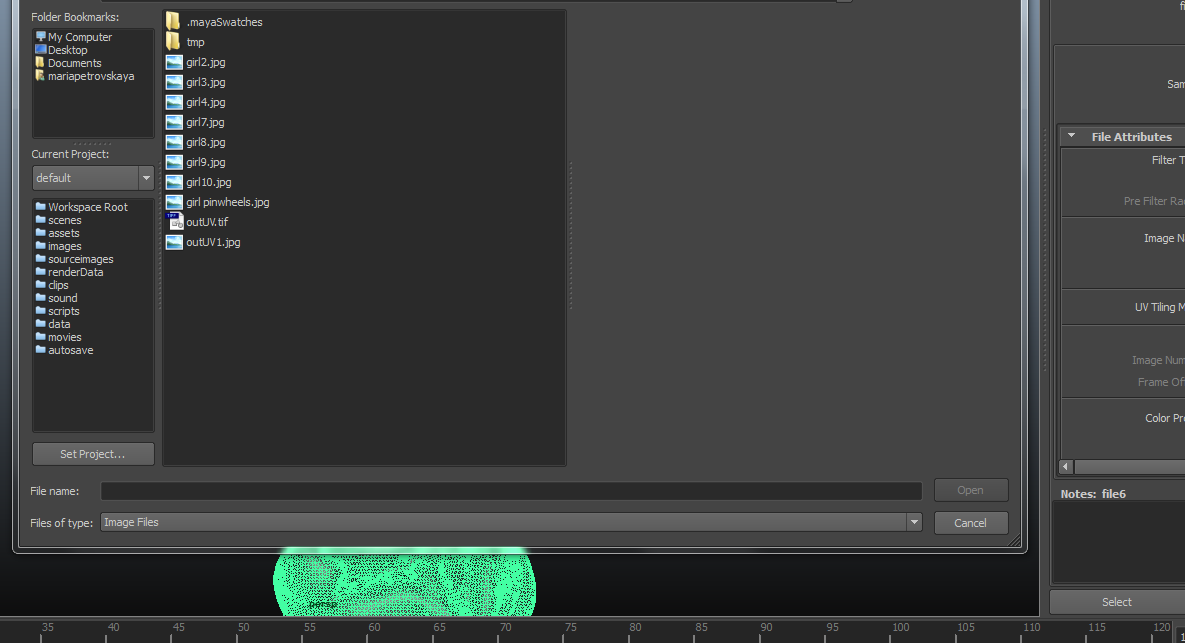
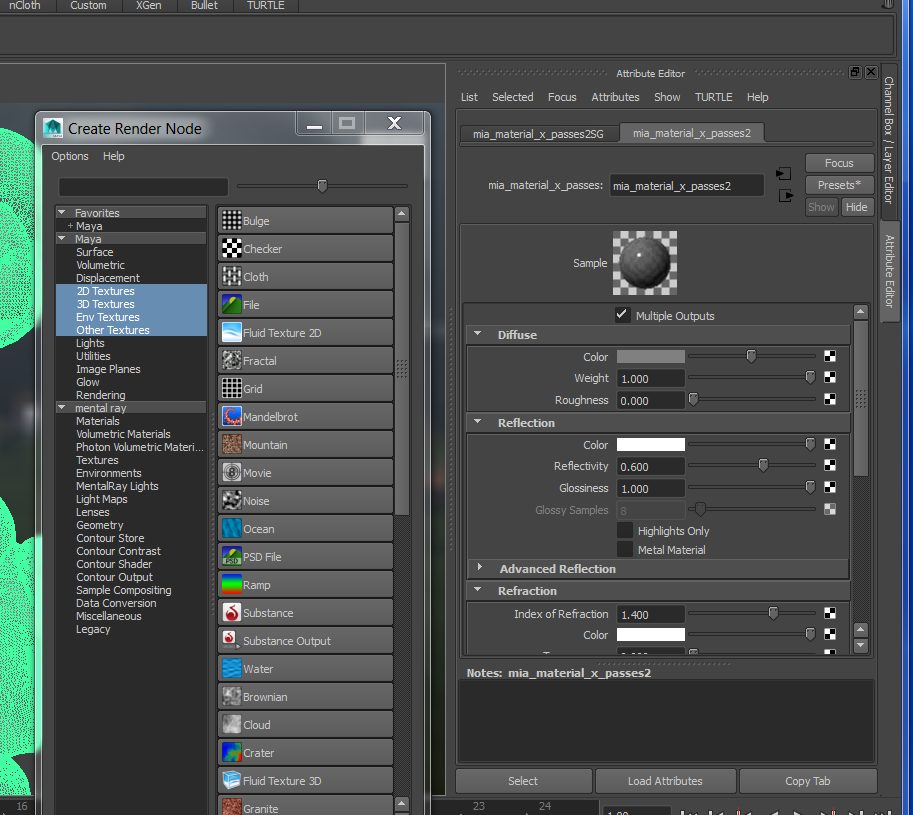
With the model selected we can see the material's properties on the right side in the Attribute editor. If we look at the Color slider we can see the checkered square on the right side ( pic2). If we the Press the checkered square on the right side of the Color slider we open the Create Render Node menu that pops up ( see pic 3). In the vast options we choose the File option to upload our file on the model. The file menu opens up on the right side (pic4). We press the Yellow Folder sign to get to choose the file for upload.
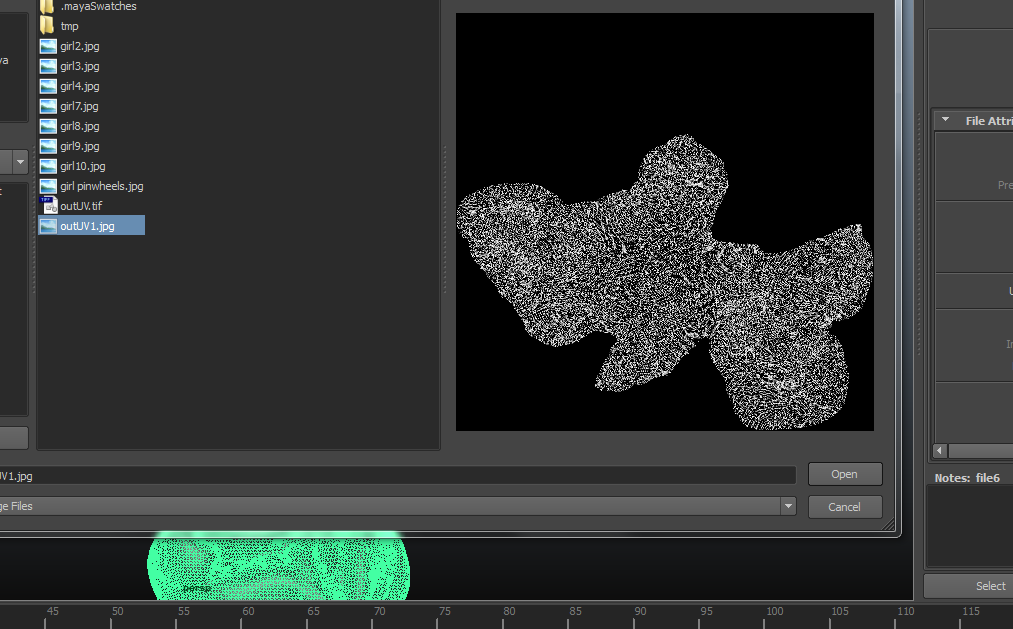
Choose our UV map- saved as outUV.jpg or outUV.tif ( pic 5 and 6). We see the result on pic 7, when our UV map file gets wrapped around the model. Basically it creates a skin that we can directly work on, using the 3d Painting brush for instance.
Painting the Model

.png)
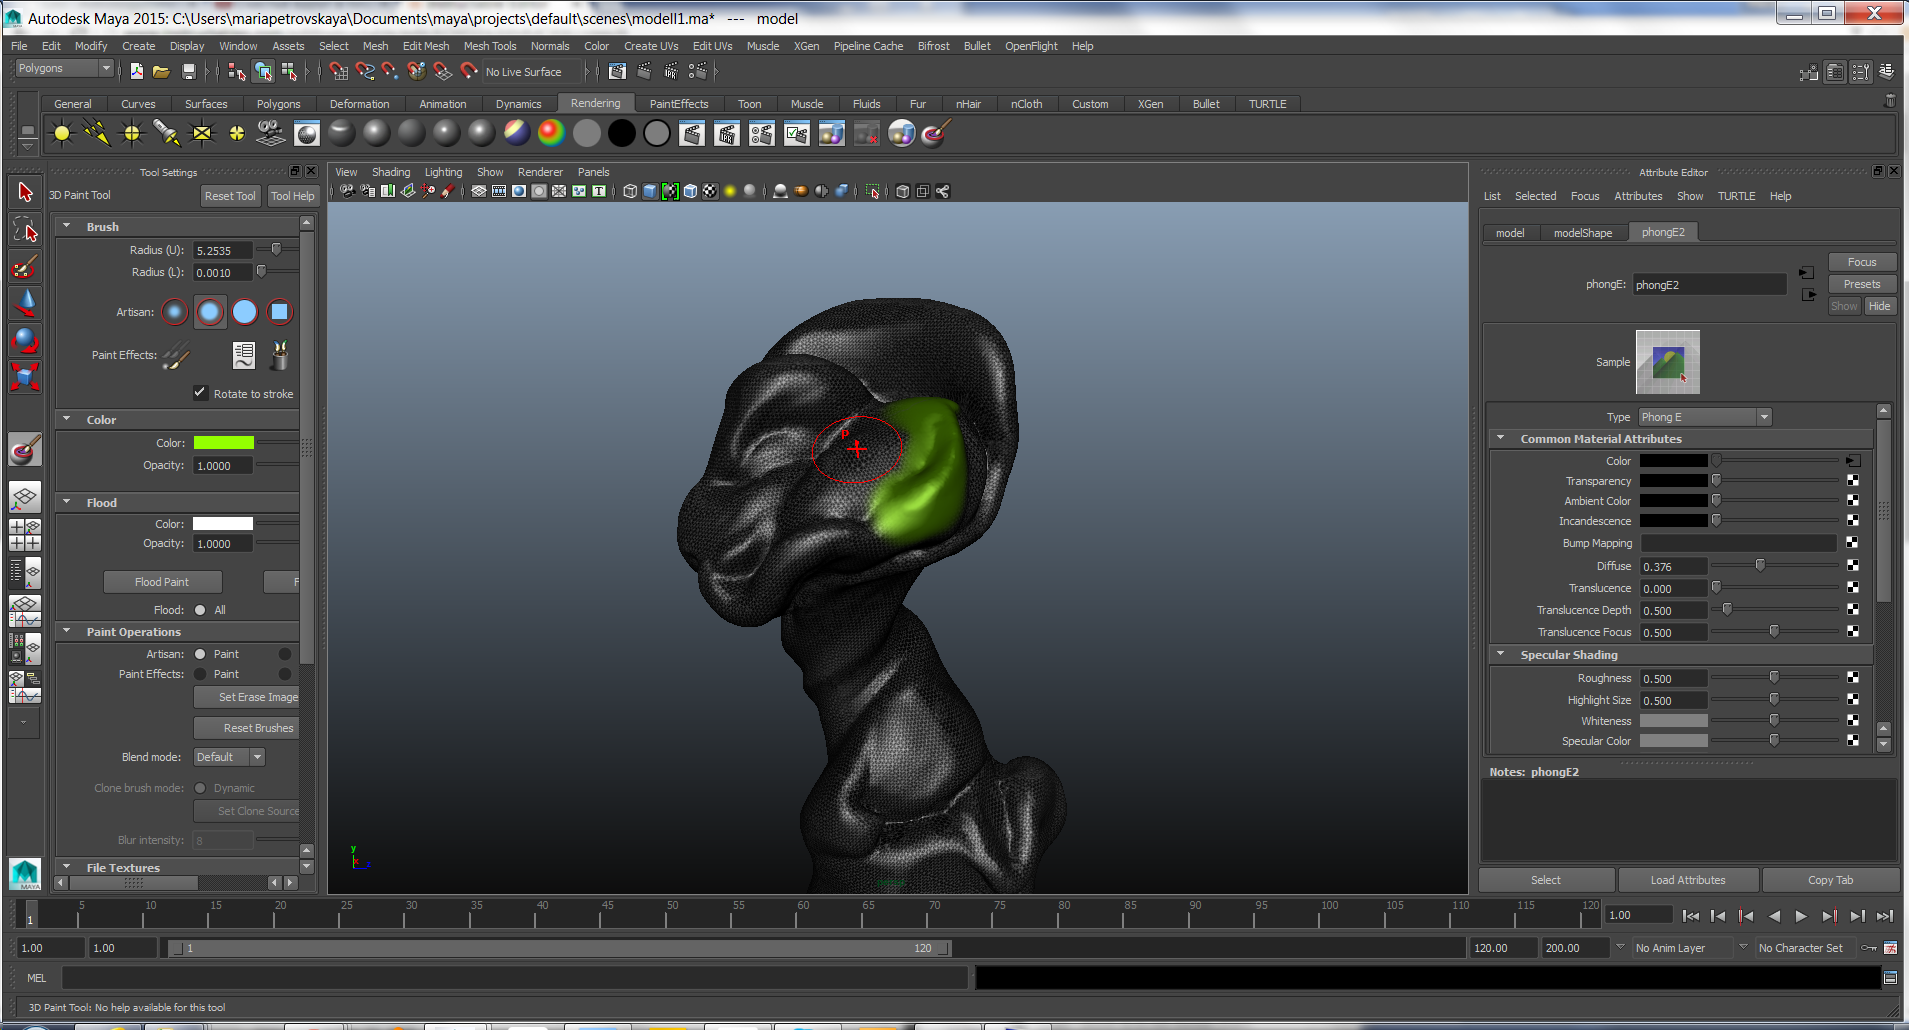
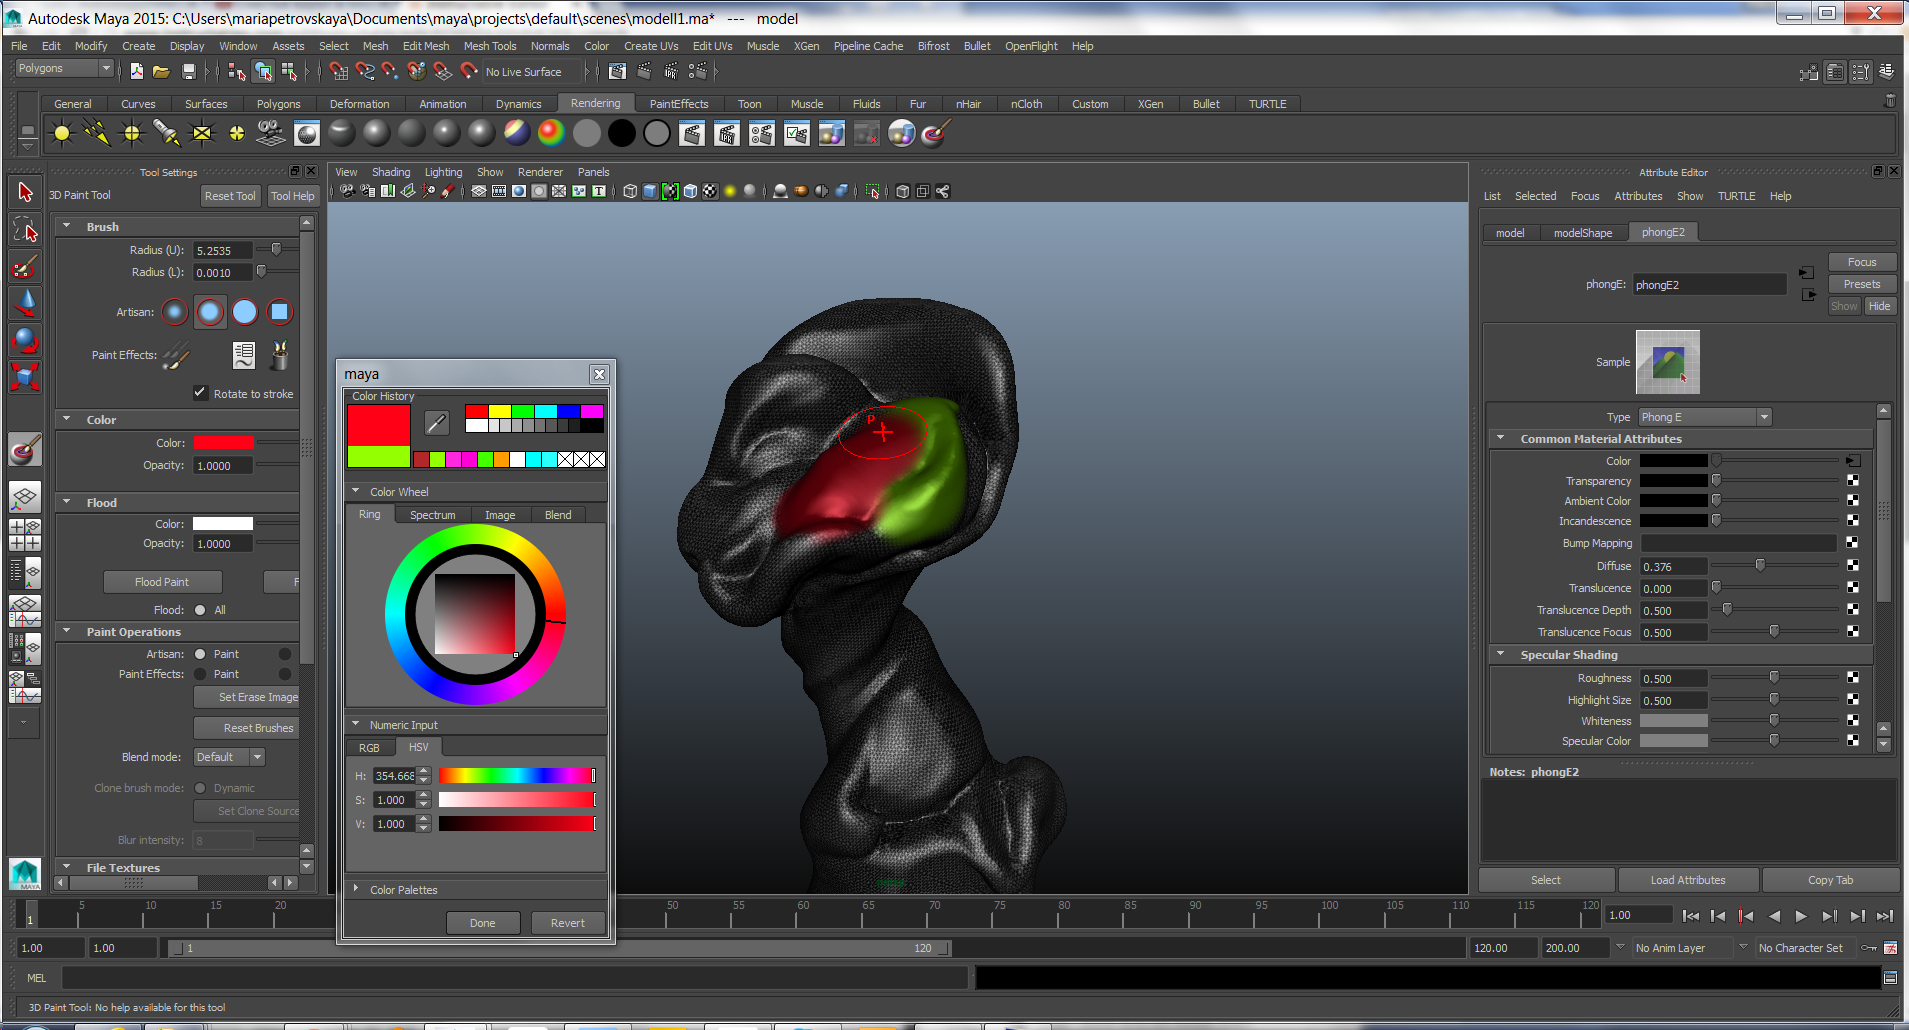
Once our model is wrapped up in a UV map that we generated in earlier steps in Zbrush we are ready for the action painting on the model! The UV map that is wrapped around the model as a texture file is basically a canvas.
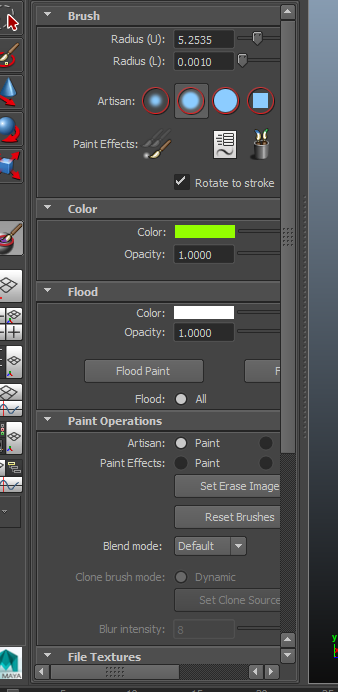
At the top very right side we find the 3D Painting Brush- see pic 1. If we click on it we activate it and can now live paint on our model. The 3d brush is also found on the left vertical menu side. If we double click it then we see the brush menu with options for opacity, flow, radius etc. (see pic2,3,4). The quick shortcut to change the radius of the brush is to press/hold down B an left mouse click to scroll it in or out.
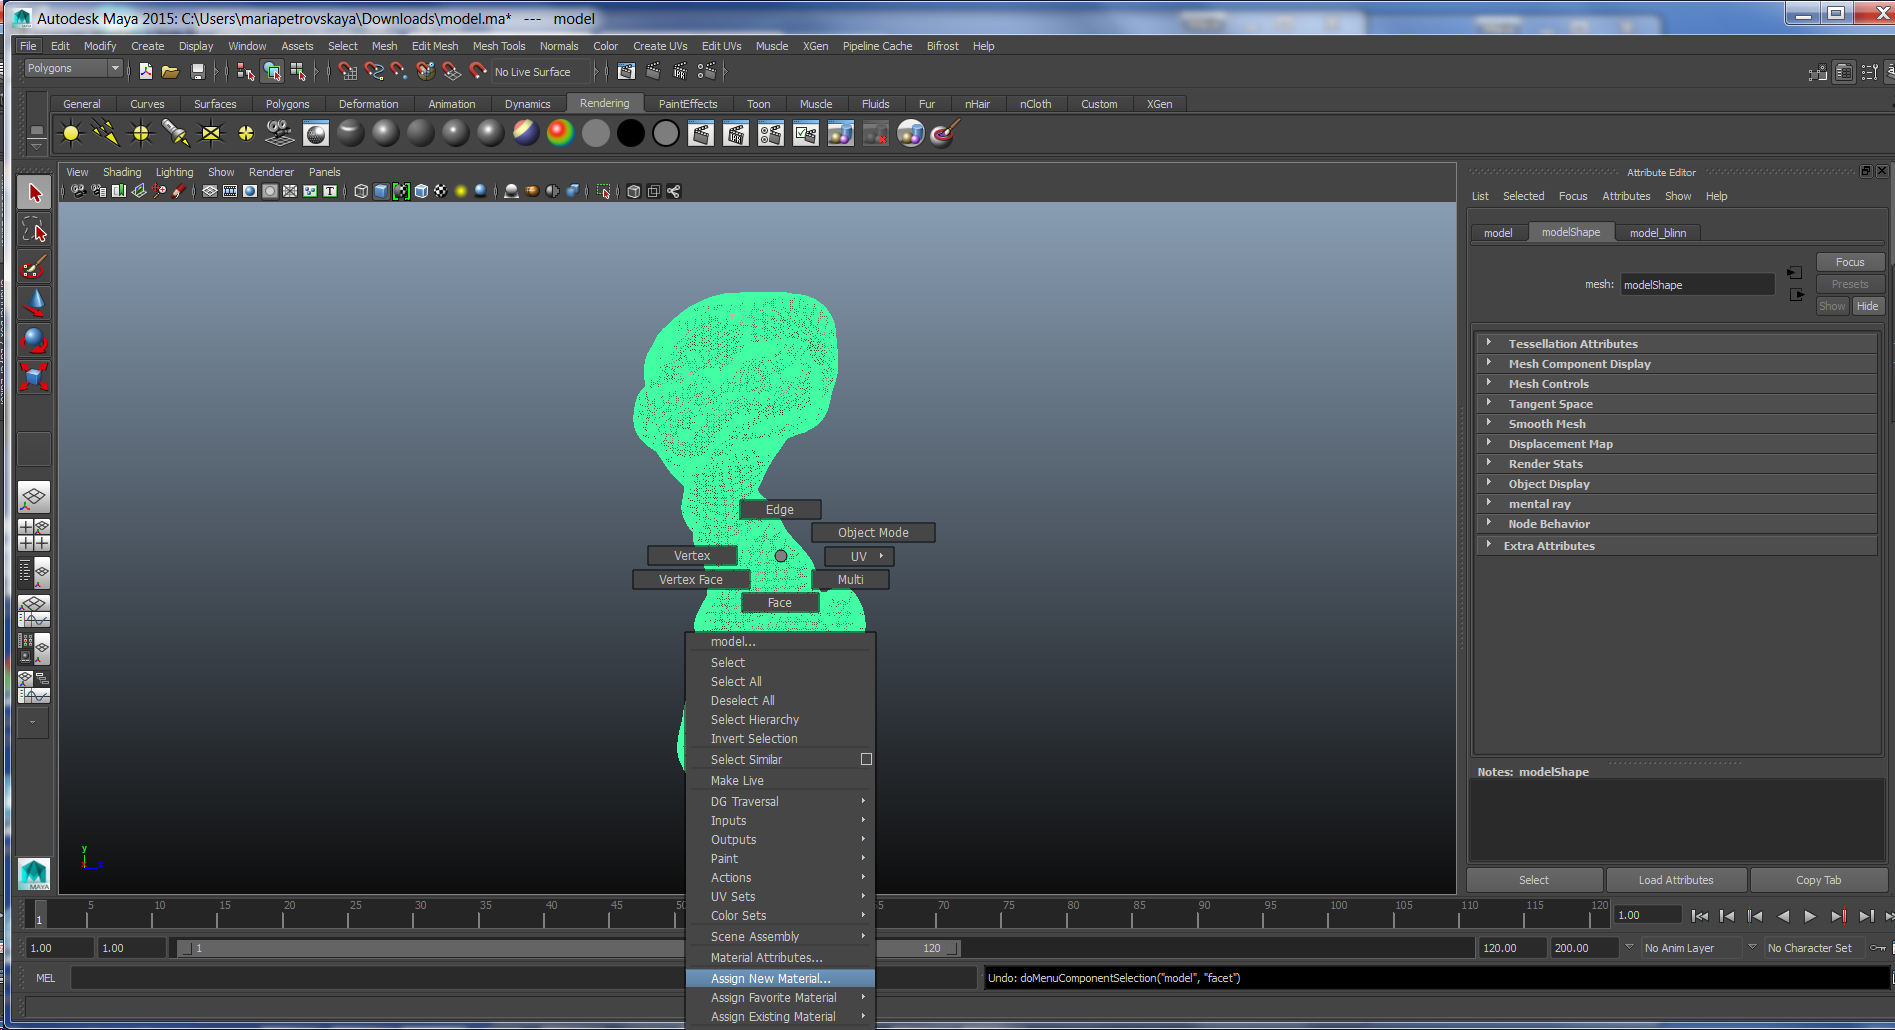
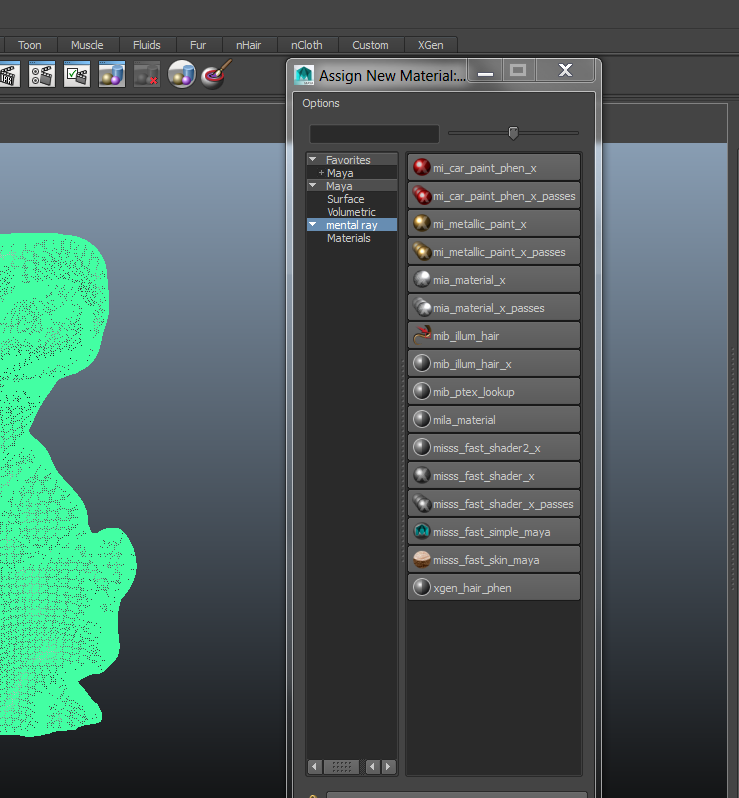
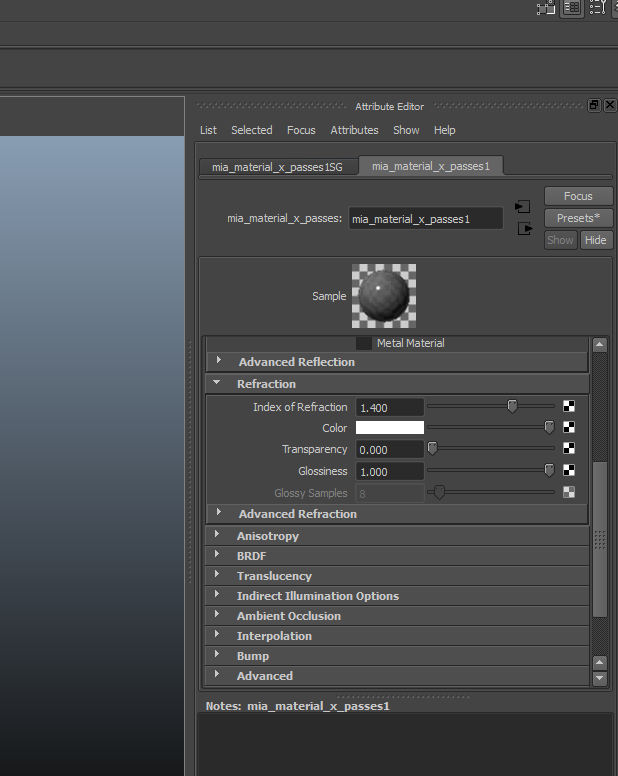
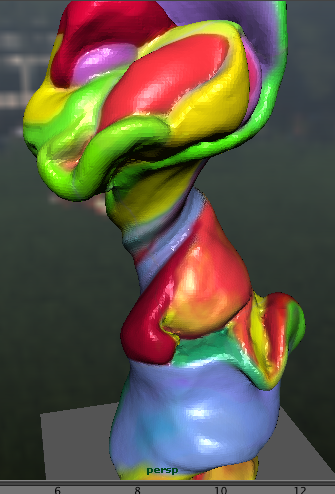
We can paint the model according to our original design or experiment on the way. We can always go to Edit/undo to change something we didn't like. The 3d texture file will be saved along with the rest of the file at the end of the session. The painted texture file in progress will be saved in documents/maya/ projects/default/sourceimages/3d paint textures. We can assign different materials to the model, as I mentioned before. The shortcut for it is to right click on the mouse and choose Assign new material in the bottom scroll down menu (pic5).The Material meny pops up ( pic6). You can choose Mental ray materials that have different properties. For chrome/stainless steel finish I choose mia _material_x_passes, and choose the presets for chrome. Often it's easier to paint on the model in Maya materials like Lambert or Phong, and save the painted texture file ( it can be found in documents/maya/ projects/default/sourceimages/3d paint textures). And then choose a mental ray material- like mia- and upload your painted texture file in both color channels for reflective materials ( Diffuse and Reflection).-Upload the texture file in Color channel of Reflection and Diffuse by pressing the checkered square (pic 8).
DO NOT FORGET to save your file often, otherwise if your program crashes you will loose all the work and the progress you have made!!
Rendering the Scene/HDR Light

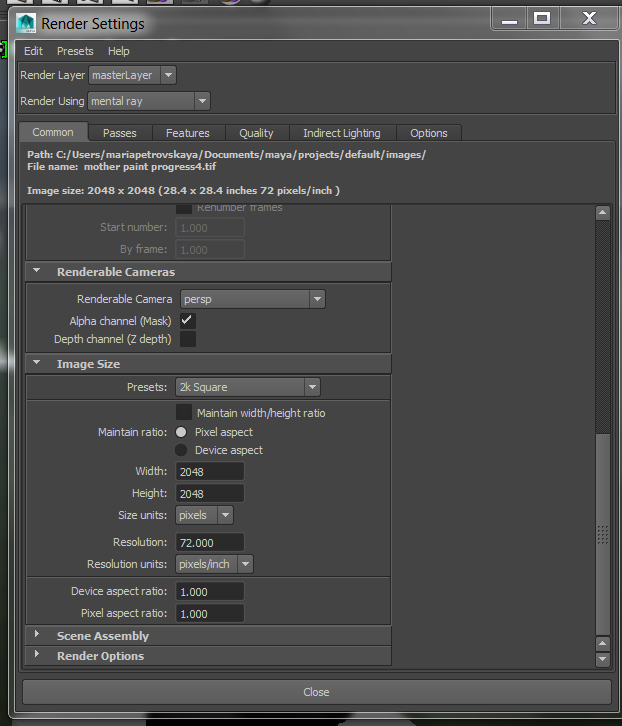
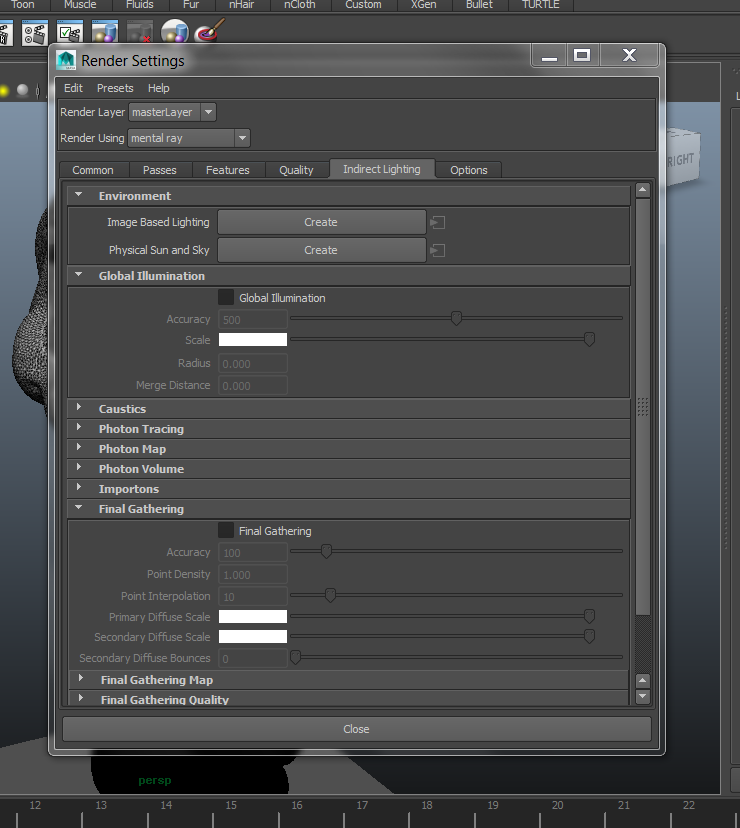
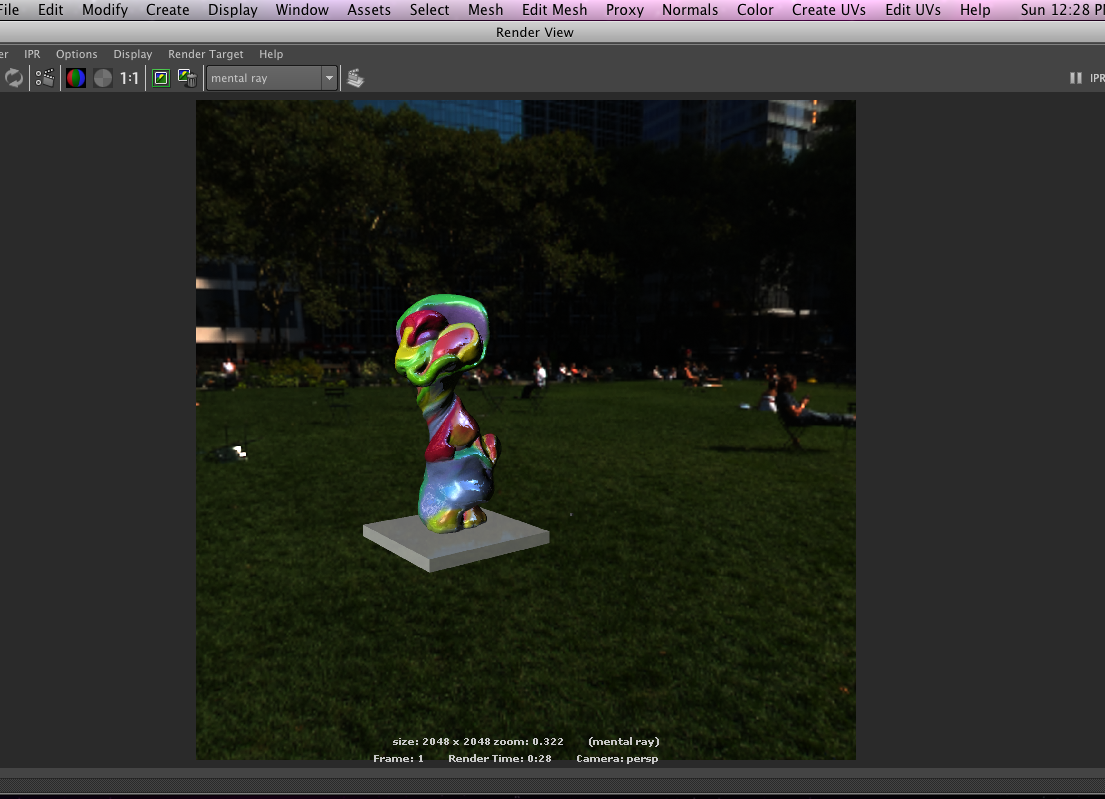
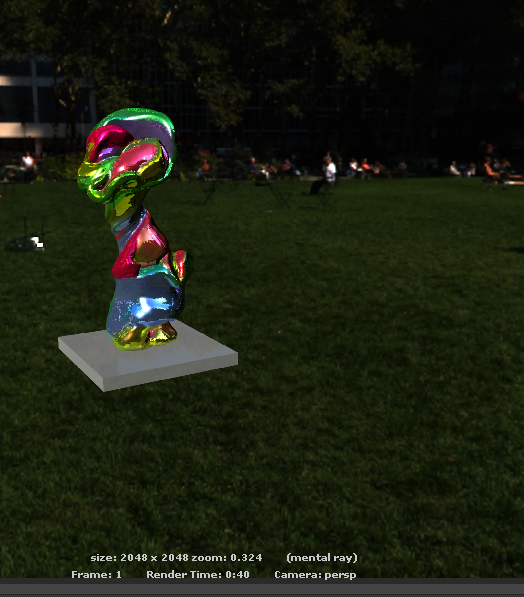
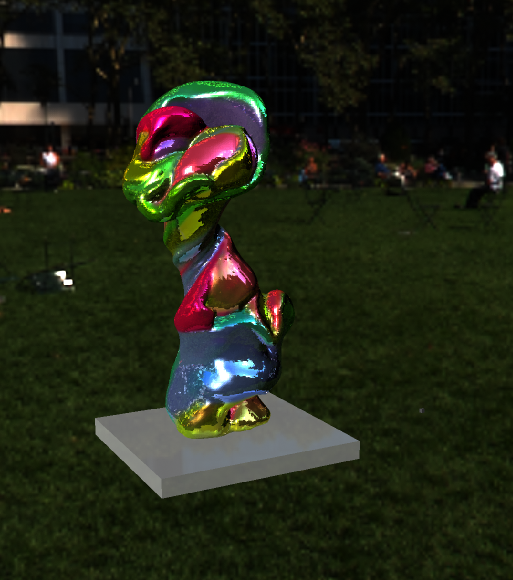
Now that our model is painted in a material of our choice we can render the final view for a better presentation. Here still in Rendering mode we need to click on the small top icon Display render settings ( pictured in pic 2 and 3).
The render settings menu pops up, with several tabs- here we will be interested in Common tab and Indirect lighting.
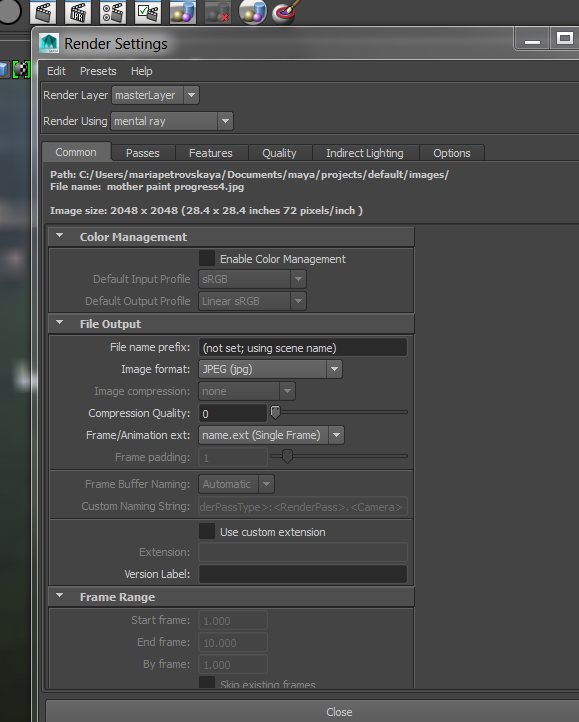
In the Common tab we use the Render using: Mental Ray, then change the image format in File Output from Maya IFF to Jpeg or Tiff, ( pic3). and when we scroll down we get to choose the image size- I suggest 2k, and the resolution.
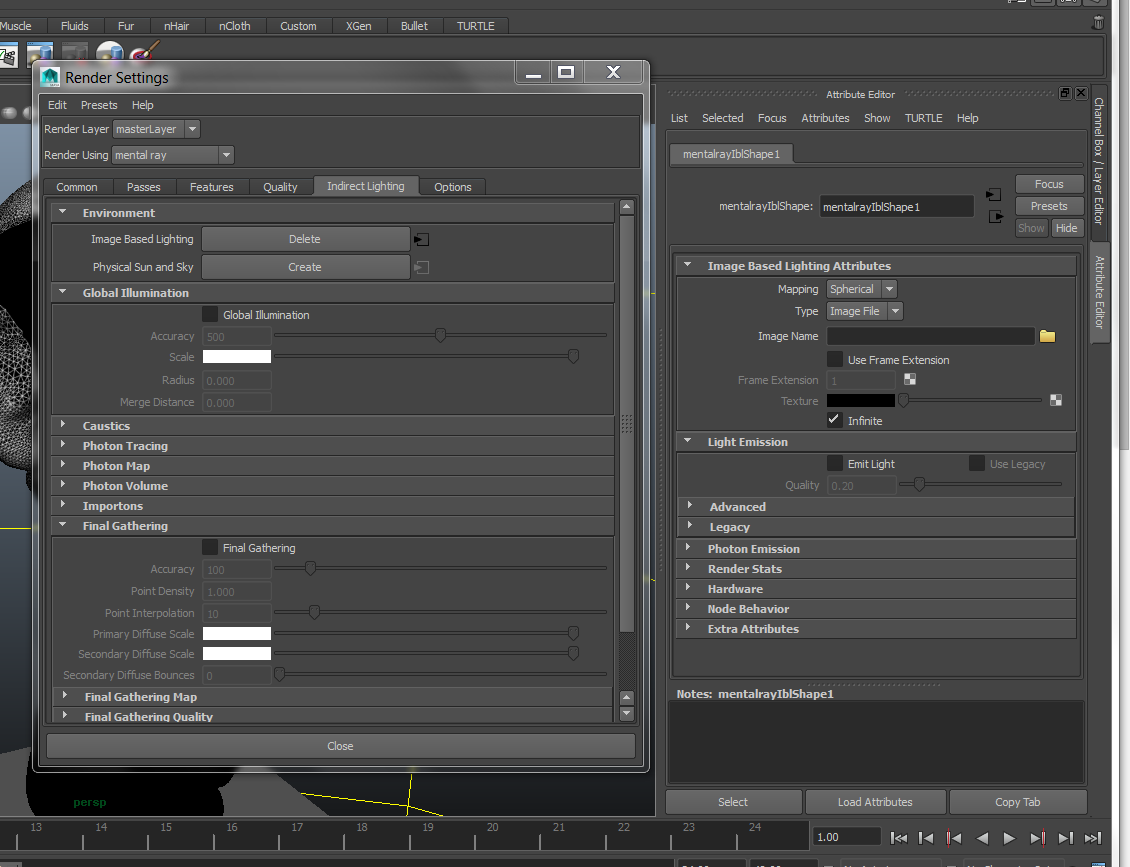
Then we switch to Indirect Lighting tab on the right. Here we are interested in Environment and Image Based Lighting. It allows for the most realistic rendering, especially with the reflective/glossy materials.
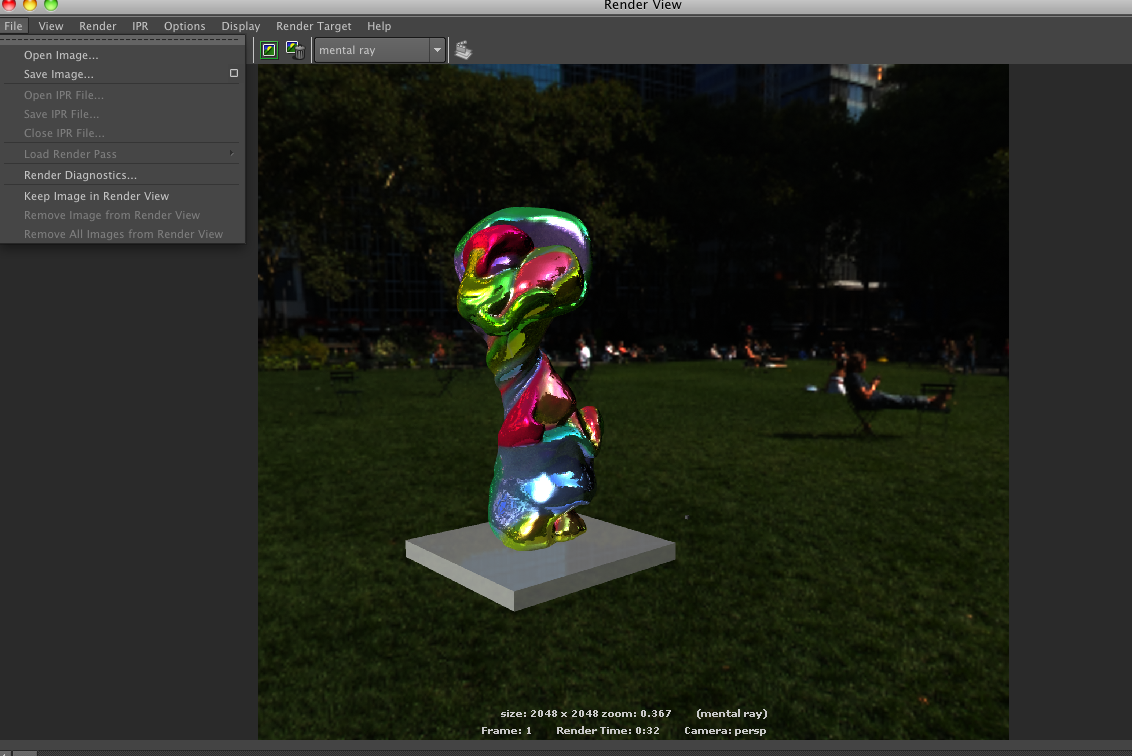
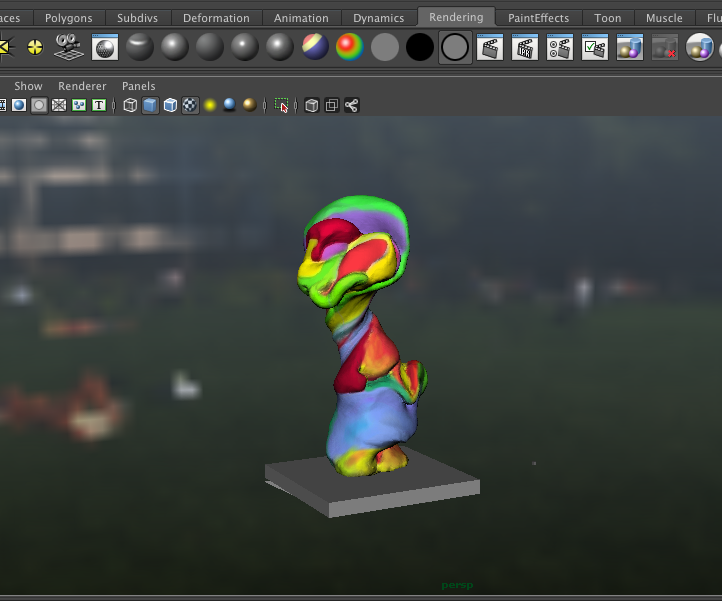
The trick here is to get an HDR file for your scene- it's a panoramic spherical photo file. You can easily find one online for a free download- it can be a park, or a field or an apartment. Just goodle smth like a free HDR file download - some people generously share them. And your model will be placed inside this sphere with the field/park around it. So once we find an HDR file we can save it and upload it in the channel Image Based lighting- Create. ( pic 5, 6).
The Final Step - Using a Render Windows to Generate a Final Rendering.
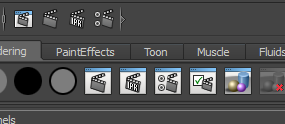


The small four icons on the top of the screen ( on pic 1, 20 are for generating the final rendering, based on the parameters we put in the render setting menu in the previous step.
When we press the first one it renders the whole scene ( pic 3), and when we press the second one it only renders the part of the scene we select with the drag of the cursor.
Once we are happy with the rendering- (we can move the model and render it from different angles), we go to File tab in the Rendered scene window, and press Save image! ( pic4).
From here on we can work on this saved file in Photoshop or post it as a presentation/proposal piece.