3D Printing Records for a Fisher Price Toy Record Player
by fred27 in Workshop > 3D Printing
132696 Views, 236 Favorites, 0 Comments
3D Printing Records for a Fisher Price Toy Record Player
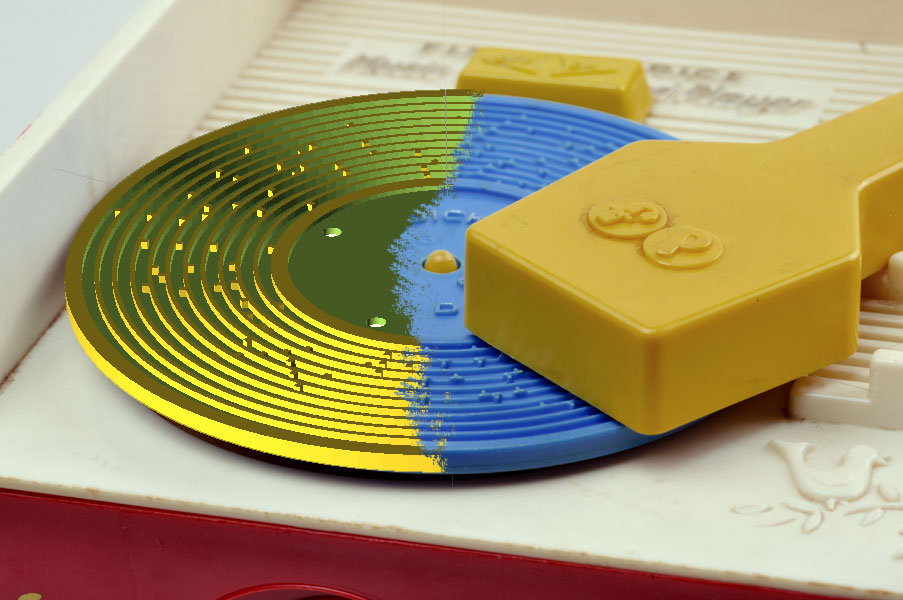
A little while ago I stumbled across an old toy record player made by Fisher Price in the 1970s, and decided that what it really needed was some new tunes. I got thinking about it, reverse engineered the way it was encoded, got out my trusty CNC mill and created an Instructable all about it right here.
I was blown away by the response to it, but I only know of one person who had a goat milling their own. Whilst the mill did a great job (and I explained how to convert your own too), a CNC mill is not the sort of thing that everyone has access too.
So as promised, I decided that a 3D printed version would follow to give more people a chance to get creative. More people have a 3D printer or have access to one. And even if you don't, once you have the STL file there are plenty of places that will bring your creation to life and mail you a physical copy.
I thought about just adding to my previous Instructable, but to be honest it's only the music editing side of things that's the same. Everything else from the file creation to the production is very different. I thought a new Instructable would be neater.
Anyway, let's get on with creating your masterpiece...
What You'll Need

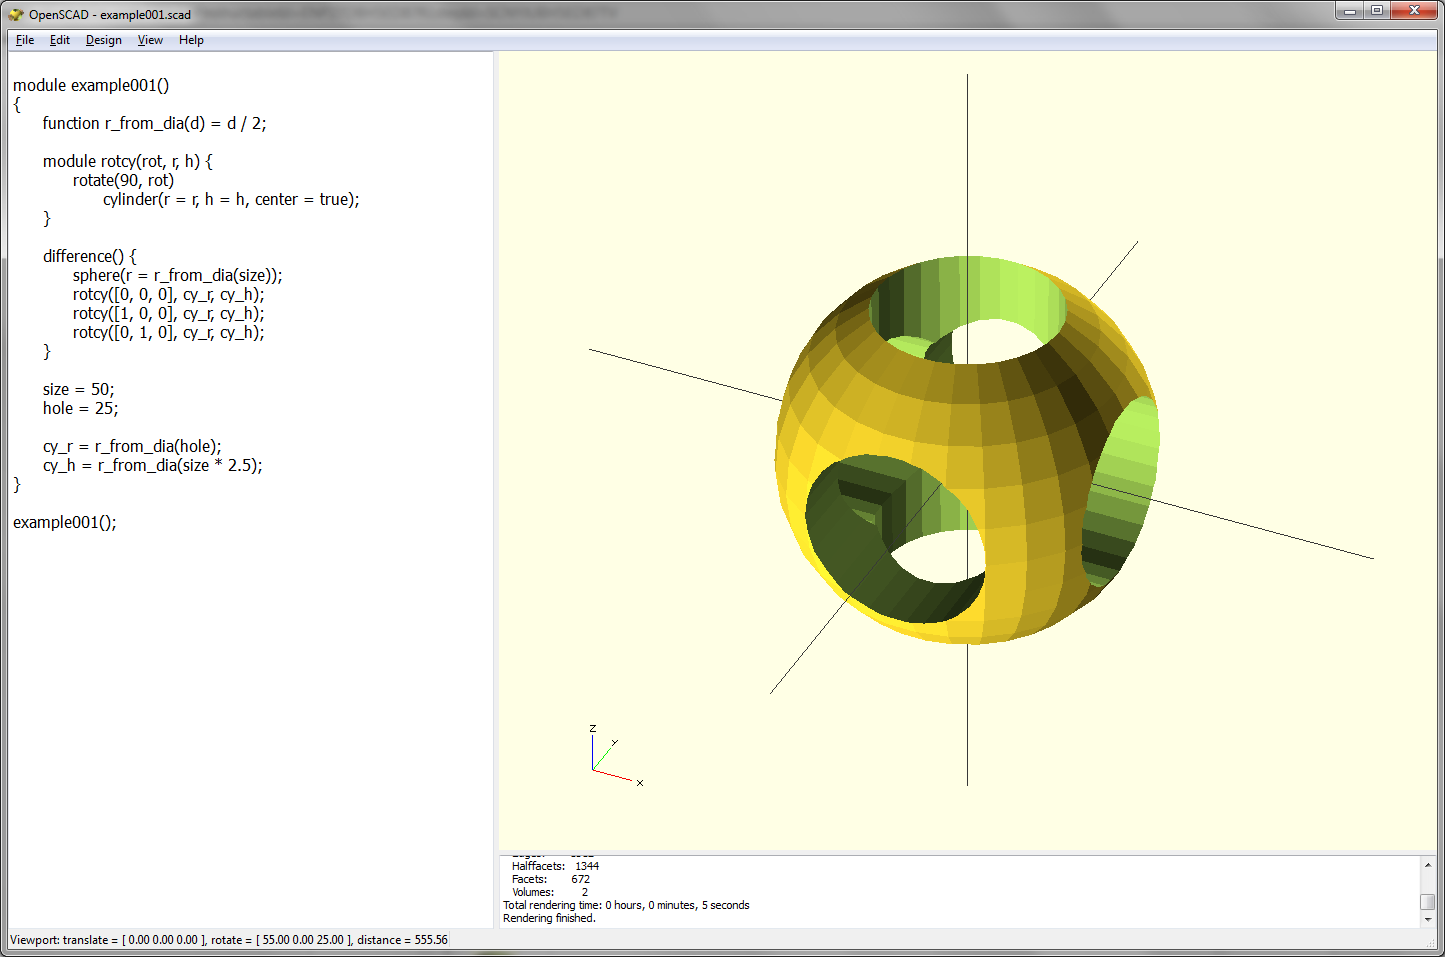
For my previous Instructable you needed a CNC mill and some acrylic sheet. Now all you need is some free software. If you have a 3D printer then great; if not, you can get still get a record created for you.
Attached you'll find the new version of my Fisher Price music editing software. It's included as an executable and (if you don't trust randomly downloaded software from the internet) the C# source code is there too. Feel free to take a nose around in the source code and compile it with the free version of Visual C# 2010 Express.
You'll also need a copy of OpenSCAD. This amazing software allows the scripting of 3D CAD objects and is what turns the idea of what you want into the STL file that a 3D printer accepts.
Wow - all this software and no need to pay a penny for any of it.
If this all sounds like too much trouble, then you can just open one of the pre-generated STL files. Your jukebox comprises of Stairway to Heaven, the Star Wars theme and You are my Sunshine. If none of those float your boat then don't complain... get editing. I'd love to hear what you can do.
Downloads
Editing the Music

First fire up my music editing software. This software will let you edit your tune and preview it so see how it sounds before you print it.
The software is admittedly pretty basic. It's not exactly sophisticated musical software but the player is not exactly hifi equipment. It does the job and I hope you'll find it easy to use.
Click where you want to add a note and click again to remove it. Click on the blue + if you want to add a gap. Click on the red X if you want to delete some notes and shuffle everything up. Click the Play button to preview your tune.
The left hand side of the musical stave shows all the note that the player can play. You'll find they are most of the notes from a C major scale and cover about 2 octaves. There are no sharps of flats and a few notes are missing. I guess that's because the original 10 nursery rhymes it can play just didn't need them.
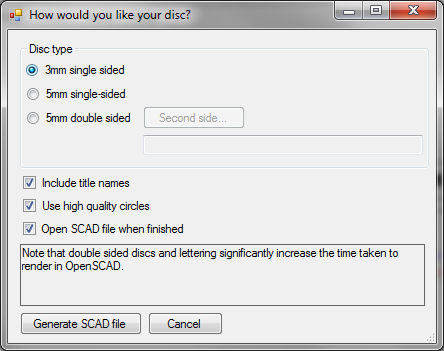
Once you've finished your masterpiece (or more likely transposed someone else's tune) it's time to create the physical product. Click "Build / Create SCAD file..." in the editing software. (There's also the option of gcode files if you were going to CNC mill the disc.) A file with the same name as your music file and an extension of scad will be the result.
You can now create double sided discs! When creating the SCAD file you'll get the following options:
- Disc thickness. You can create 3mm or 5mm discs
- Single or double sided. Double sided discs should be 5mm thick. You can also select the music for the second side
- Song title on the disc. You can now have the song title embossed on the disc surface.
- Render quality. If your mucking around and making changes, a lower quality cirlce will render quicker.
Of course, all the options are easily found in the SCAD file which is plain text. If you want to create a chunky 2cm thick disc then go ahead and edit the file.
Using OpenSCAD to Generate the STL File
The next step is simple, but can take a while.
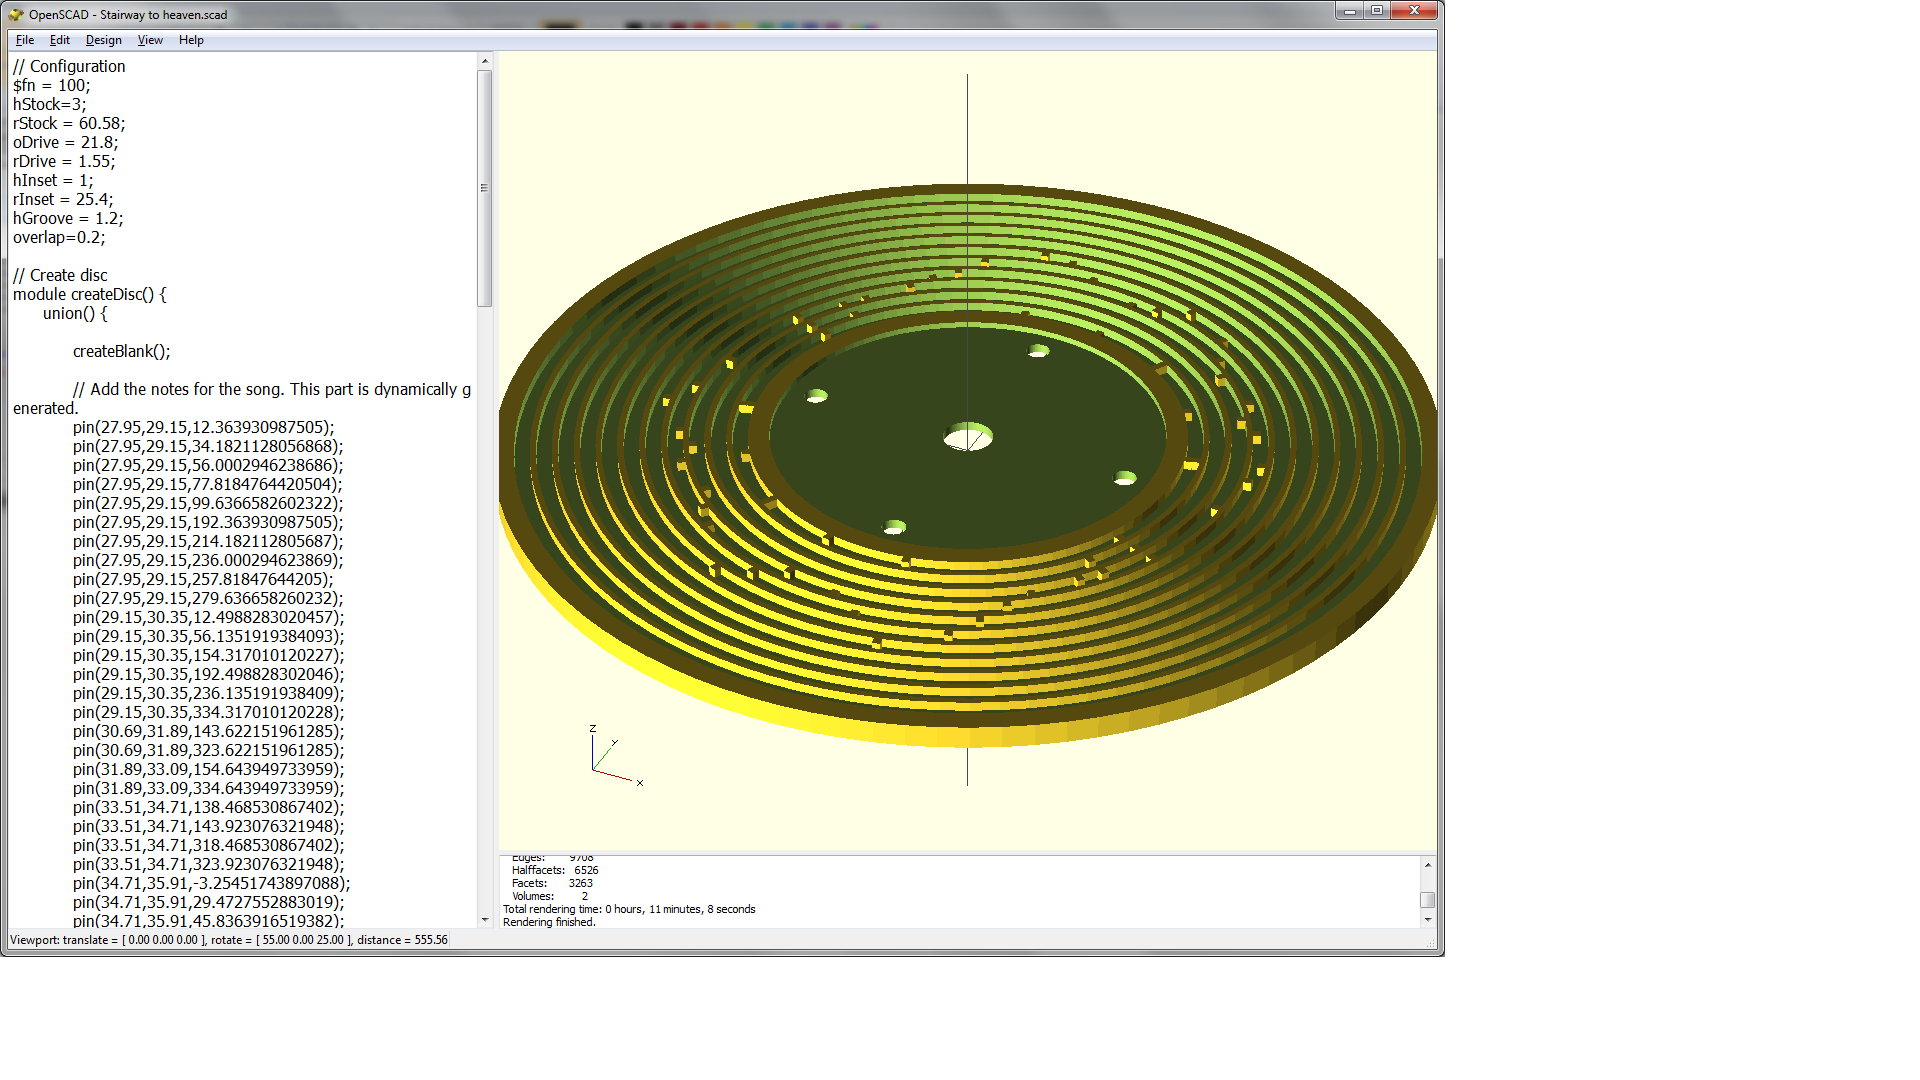
The Fisher Price editing software has dynamically created the scad file which contains all the 3D modelling instructions needed to create your record. If you've not yet installed OpenSCAD then now is the time to do so.
Open the file and all you'll see is the generated script in a window on the left hand side. Press F6 and your script will be run and a 3D rendering will appear. The file is set to use 100 straight lines to create each circle. This means that the circles will be smooth but the rendering may take over 10 minutes. If you're mucking around and are less concerned about accurancy and would rather have some speed, simply remove or comment out the line that says "$fn = 100;". If you think that's slow, a double-sided disc can take about 50 minutes to generate!
You can now see how your disc will look. Spin it. Flip it over. Zoom in/out. Your musicis on its way to becoming a physical product. The next step is to select "Design / Export as STL..." from the menu and OpenSCAD will create a STL file. This won't take as long as the calculations have already been done. This file is what your 3D printer will be expecting.
Printing Your Work
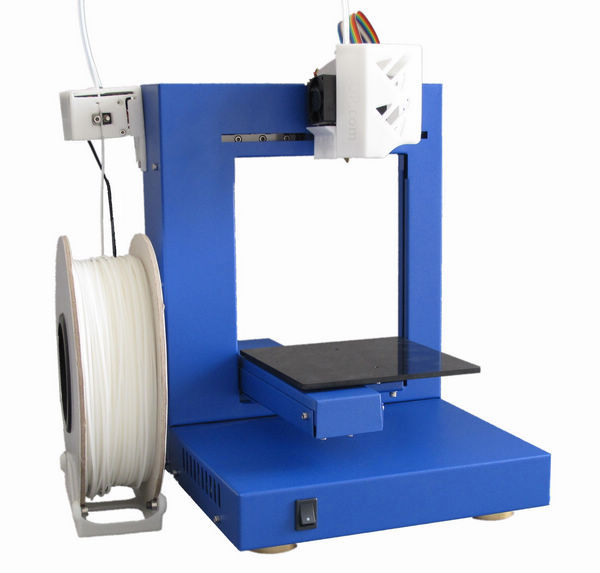
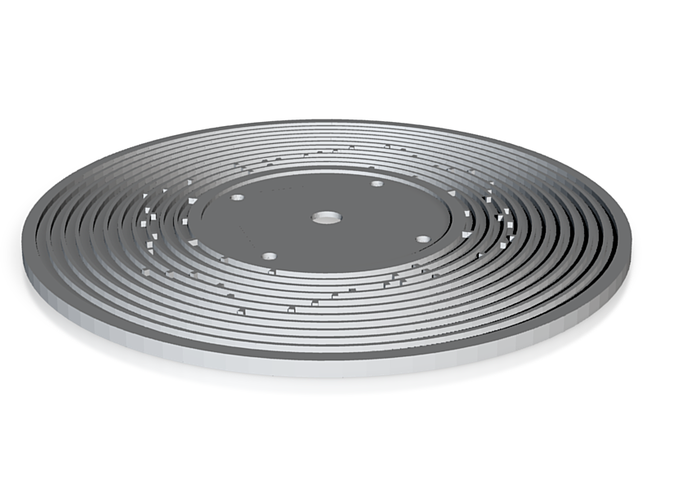
So, what are you going to do with this STL file? If you have (or have access to) a 3D printer that can manage a print of about 12.1cm (about 4.8") in diameter then get printing!
If you don't, then there are plenty of places that will print this for you. One of the most popular is Shapeways. They'll produce a 3D print for you in various materials from about $30. In fact, you'll find mine are already there:
- Stairway to Heaven (3mm single-sided)
- Star Wars theme (3mm single-sided)
- Both the above on one disc (5mm double-sided)
- You are my Sunshine (3mm single-sided)
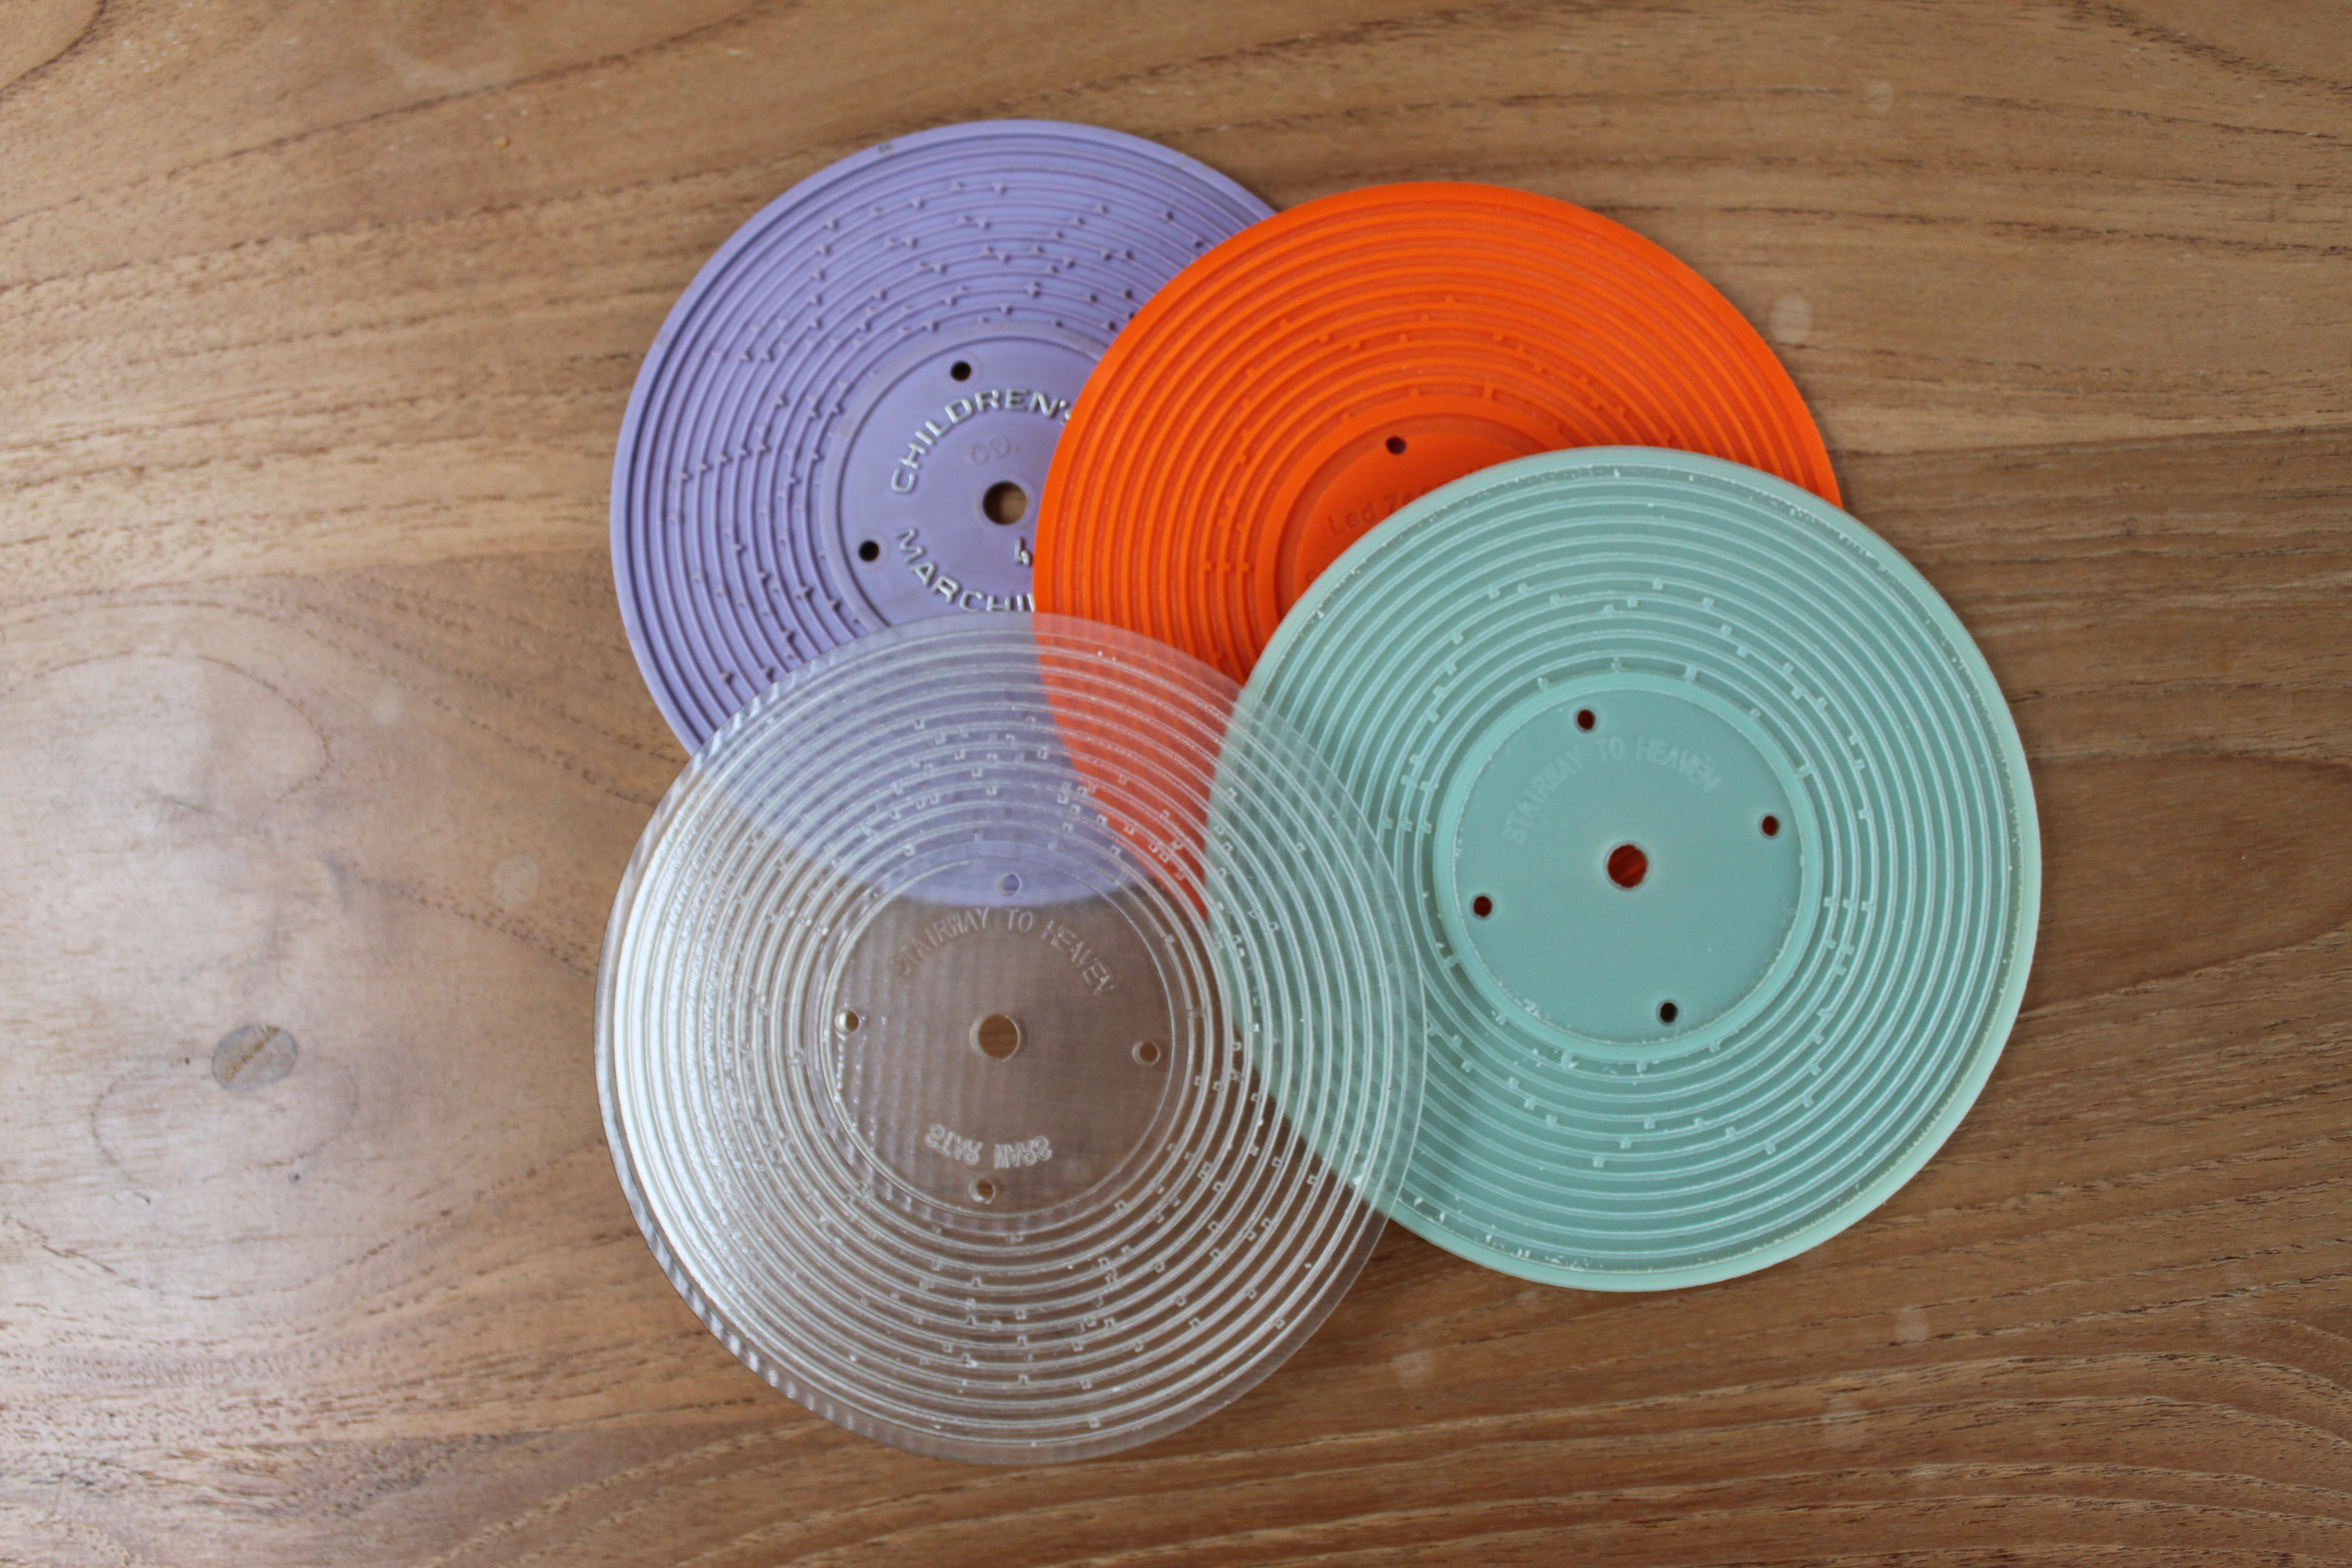
Obviously the final result will depend on what printer you use. The ones that were produced on the Objet printer that Instructables use have turned out great. In the photo you can see four discs. The purple is a Fisher Price original and the orange one my CNC milled version. The other discs are 3D printed in green ABS-like material and transparent "Vero clear" plastic. The both play well on the player, although the Vero clear has sharper definition than the ABS and the transparent disc definitely looks the best.
A few people have asked to see a video of the printed record playing, so here's the final result.
If you check the comments you'll see that Timmmyboy has has some success printing on a more typical home (Fused Deposition Modelling style) printer, but getting the very thin (0.7mm) ridges on the disc is not easy.