3D Printed Jack O’Lantern
by SebastianKerner in Workshop > 3D Printing
29838 Views, 245 Favorites, 0 Comments
3D Printed Jack O’Lantern
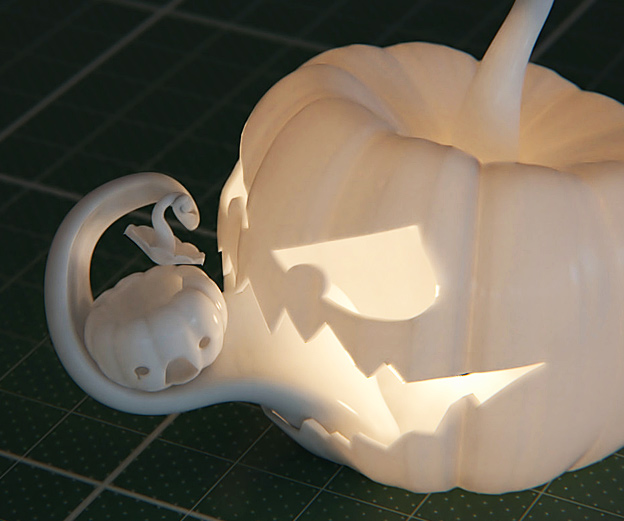
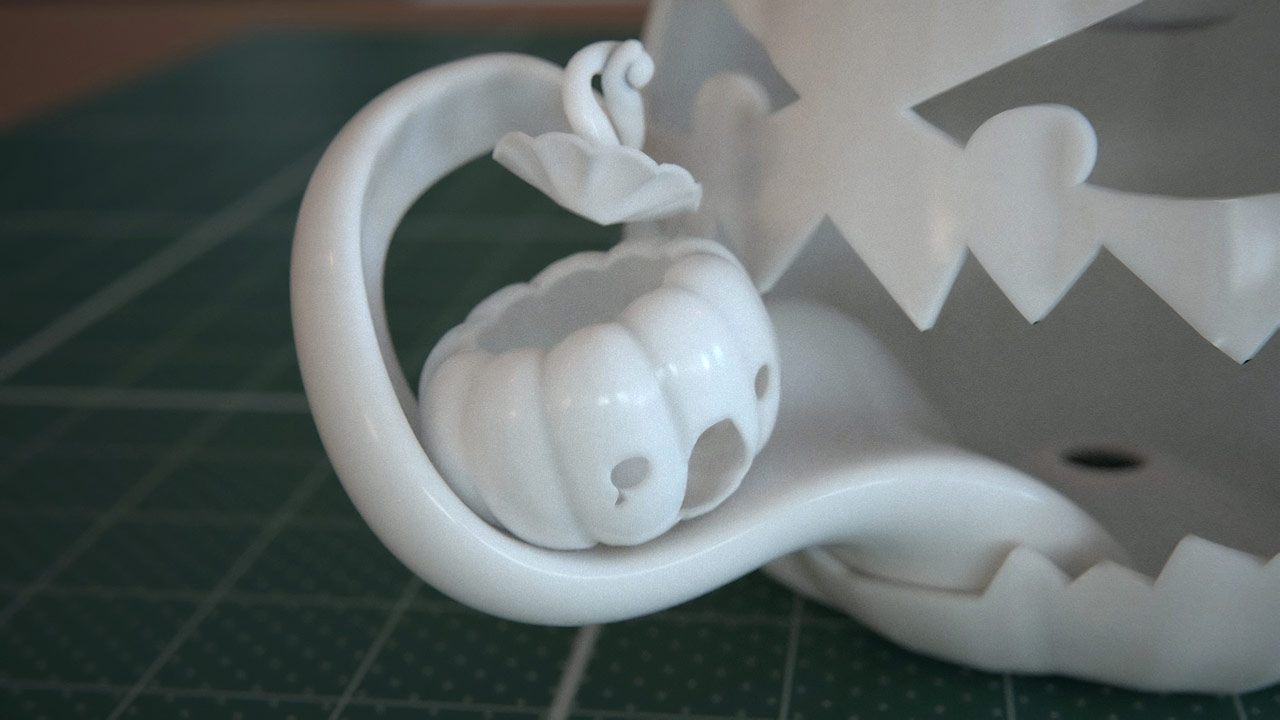
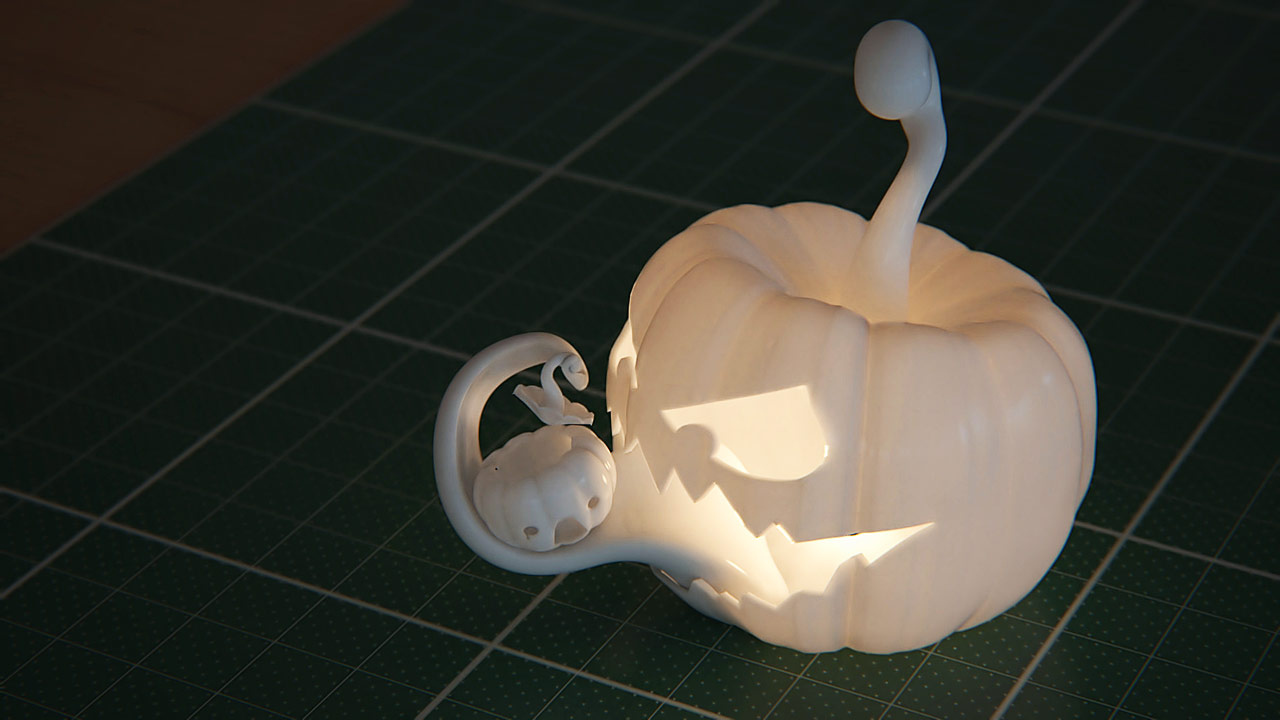
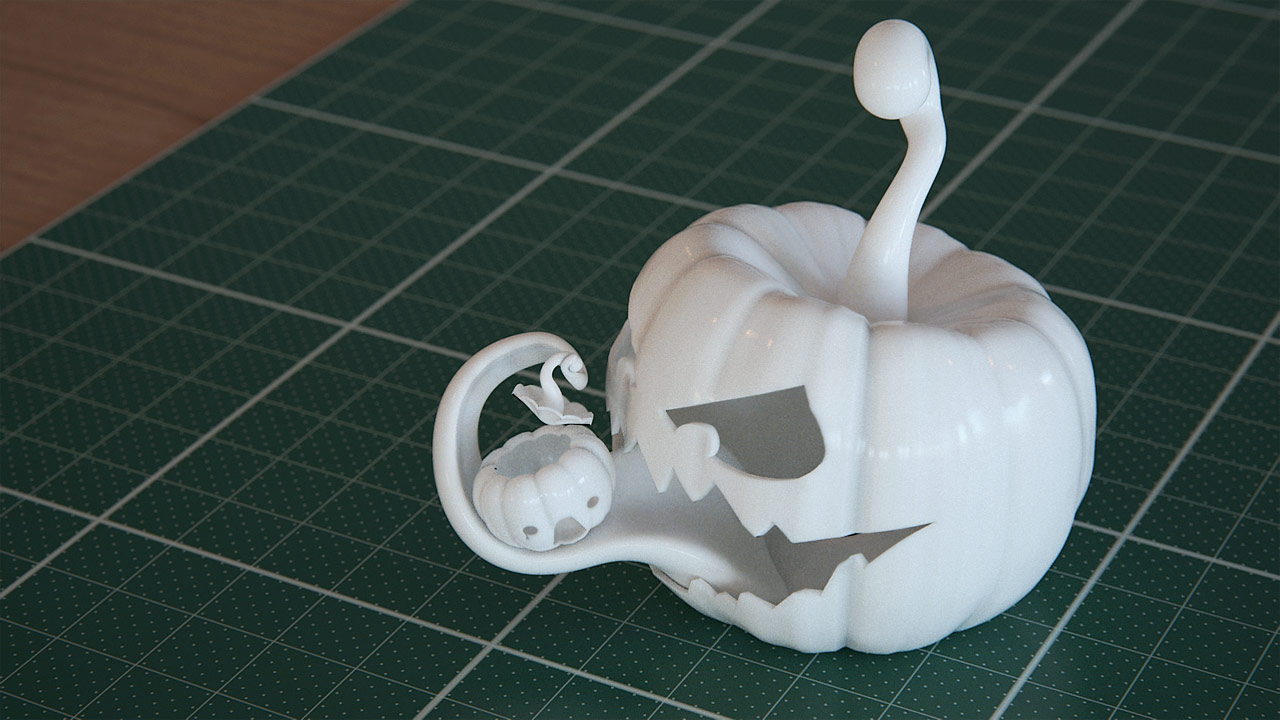
in this instructable i´m gonna show you how to build this 3d printable pumpkin scene from scratch.
In order to follow along you´ll need cinema4D basic fundamentals a copy of cinema4D, any Version starting from R10 will do.
And a few 3D Printing guidelines, which i´ll address as we progress through the instruct-able.
The scene is composed of a cute tiny scared pumpkin, and a big mean one who tries to
eat the little one.
Scene Preparation:
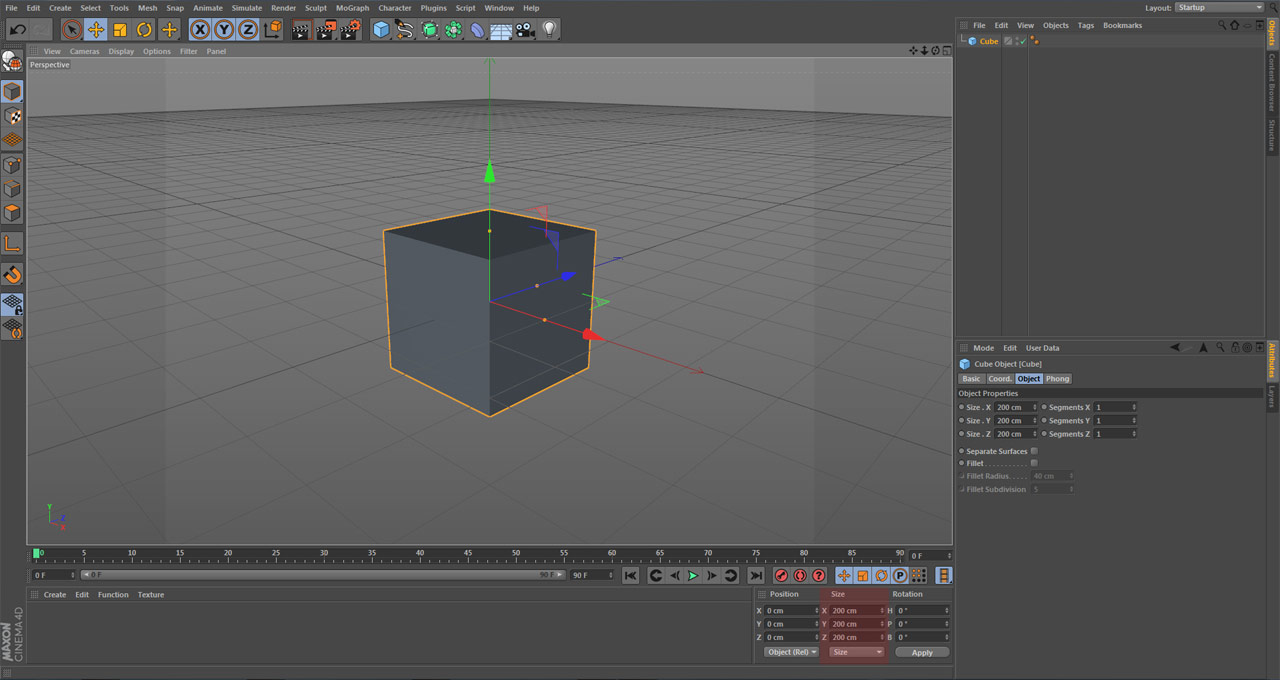
Since this scene can be 3d printed afterwards, we´ll have to make sure that we use the right units. By default Cinema4D uses a rather large scene scale in "centimeters". If you drop a cube inside the scene, you´ll see that it is 200×200×200 cm. (Figure 1.)
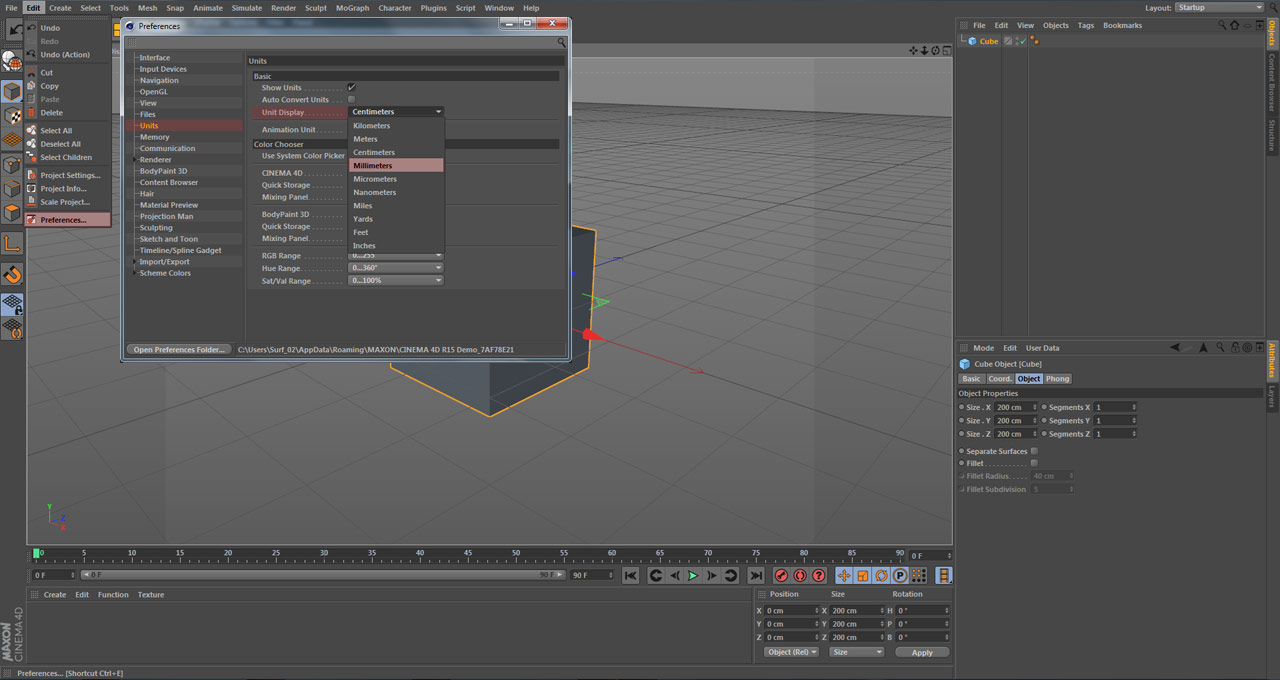
To change that go to: EDIT > Preferences > Units > Unit Display
Inside that new window you can choose between different units (metric, imperial), due to my personal preference i always use "millimeters". (Figure 2.)
Unfortunately "C4D" hasn´t change the scene scale but rather recalculated the units.
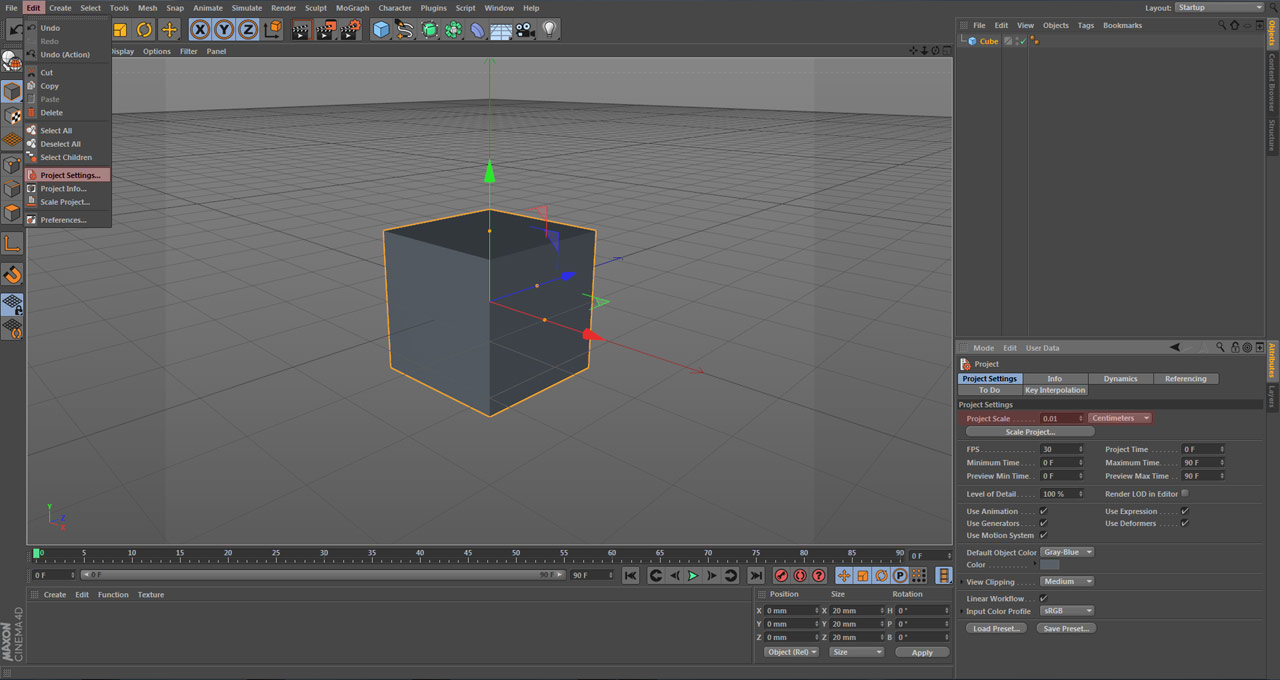
To change the scene scale you can go to: EDIT > Project Settings > Project Scale.
A new field pops up in which you can adjust the scene scale to "0.01 centimeters". (Figure 3.)
Now that everything is set up we can start modeling.
Tiny Pumpkin Define Basic Shape:
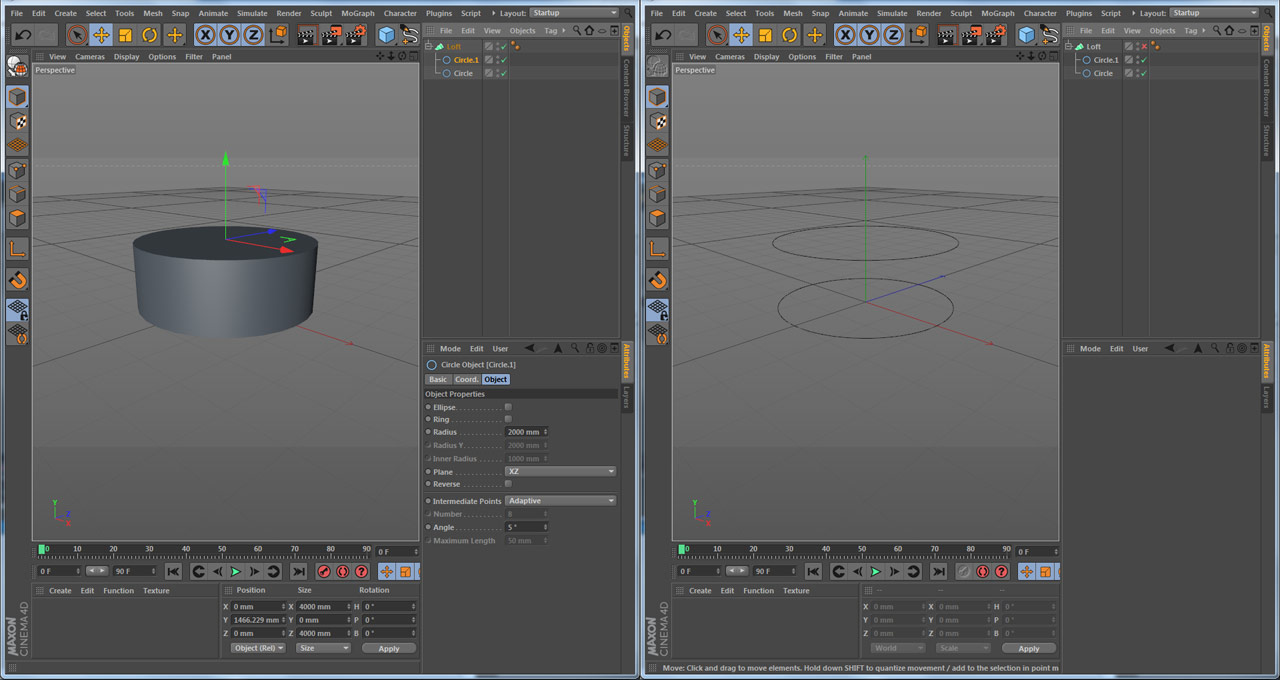
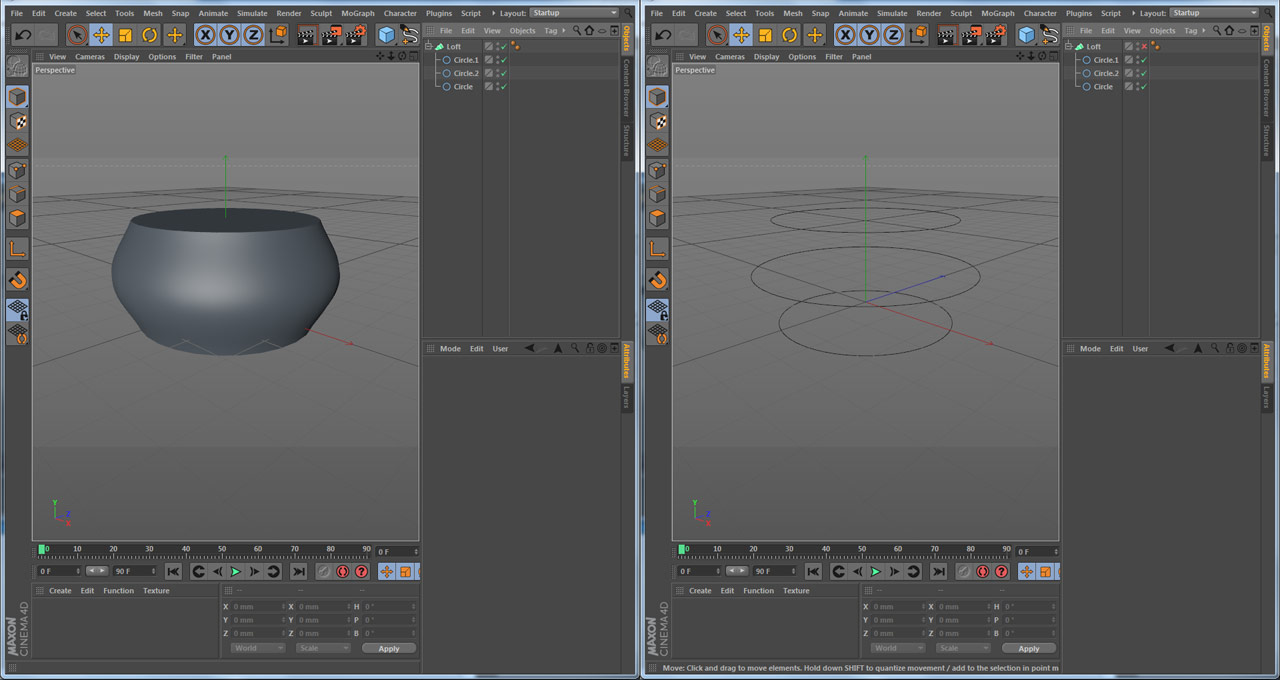
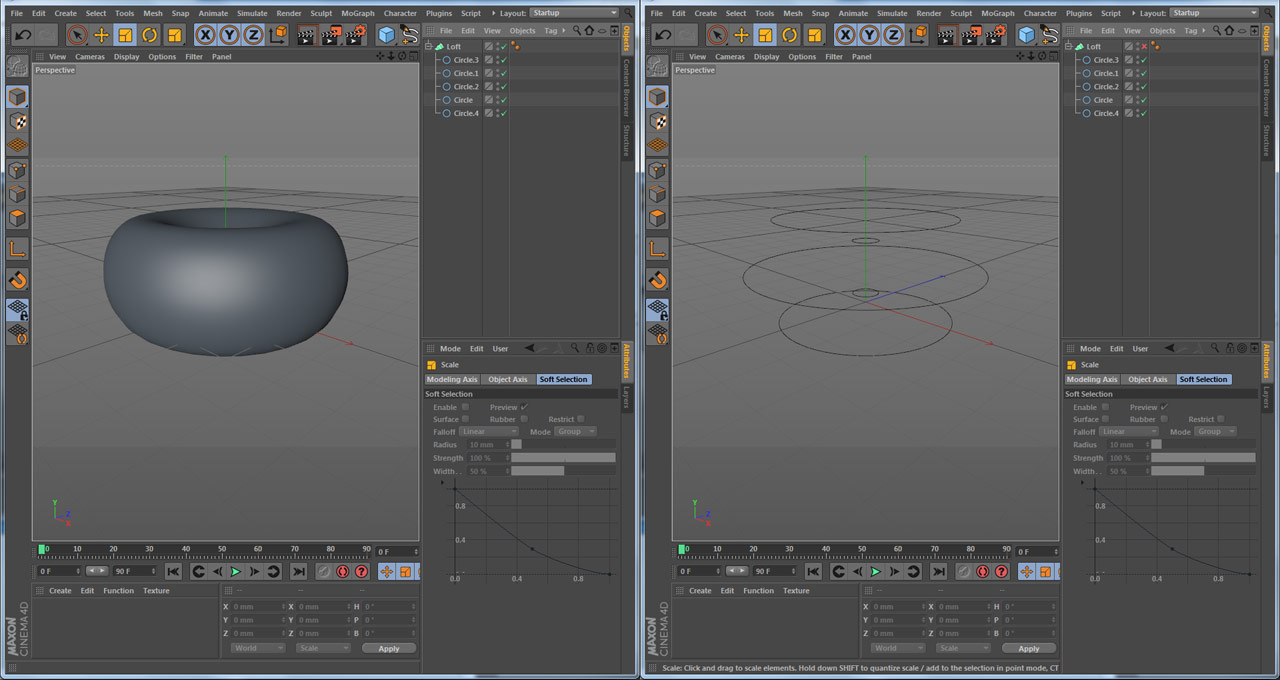
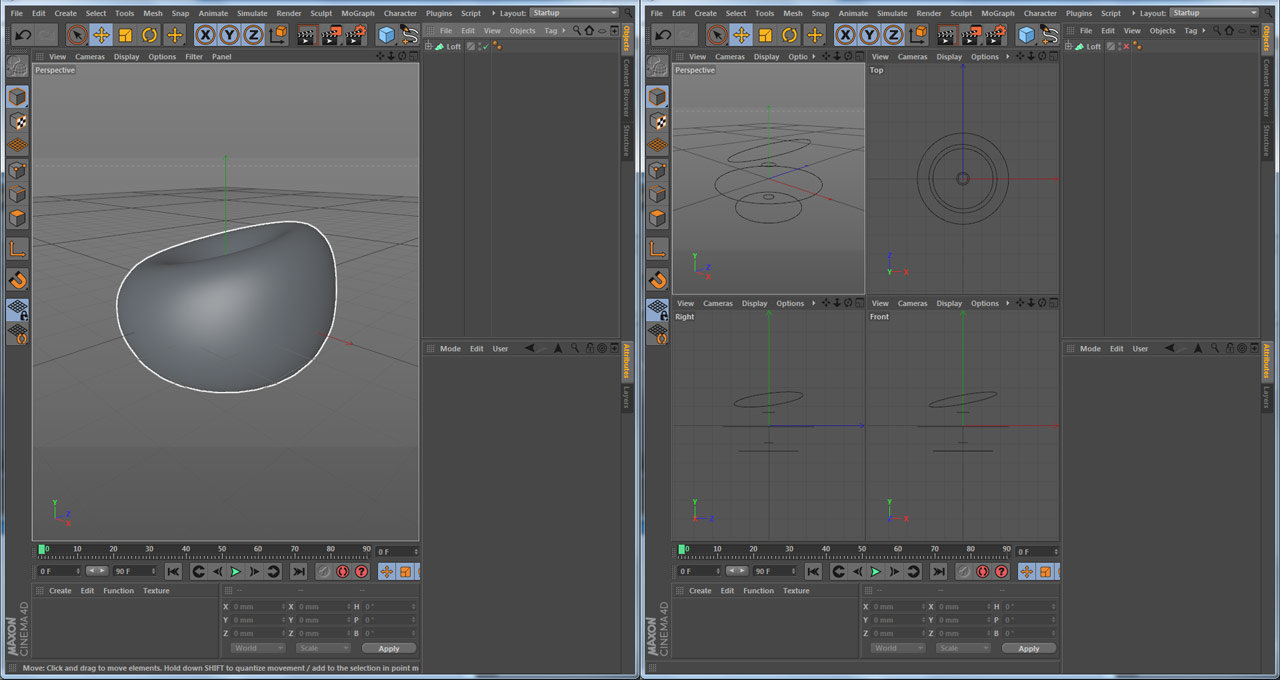
We´ll start off with the tiny pumpkin. To define the shape we´ll use "Circles" which can be found inside the "Spline" tab and the "Loft Nurb" which can be found right next to it inside the "Nurbs Tab".
By dragging the circles inside the "Loft Nurbs" the object creates a cylinder based on the diameters of the circles. With that in mind we now can duplicate some circles to create the desired shape. (Figure 4. - 7.)
Tiny Pumpkin Apply Characteristic Gaps:
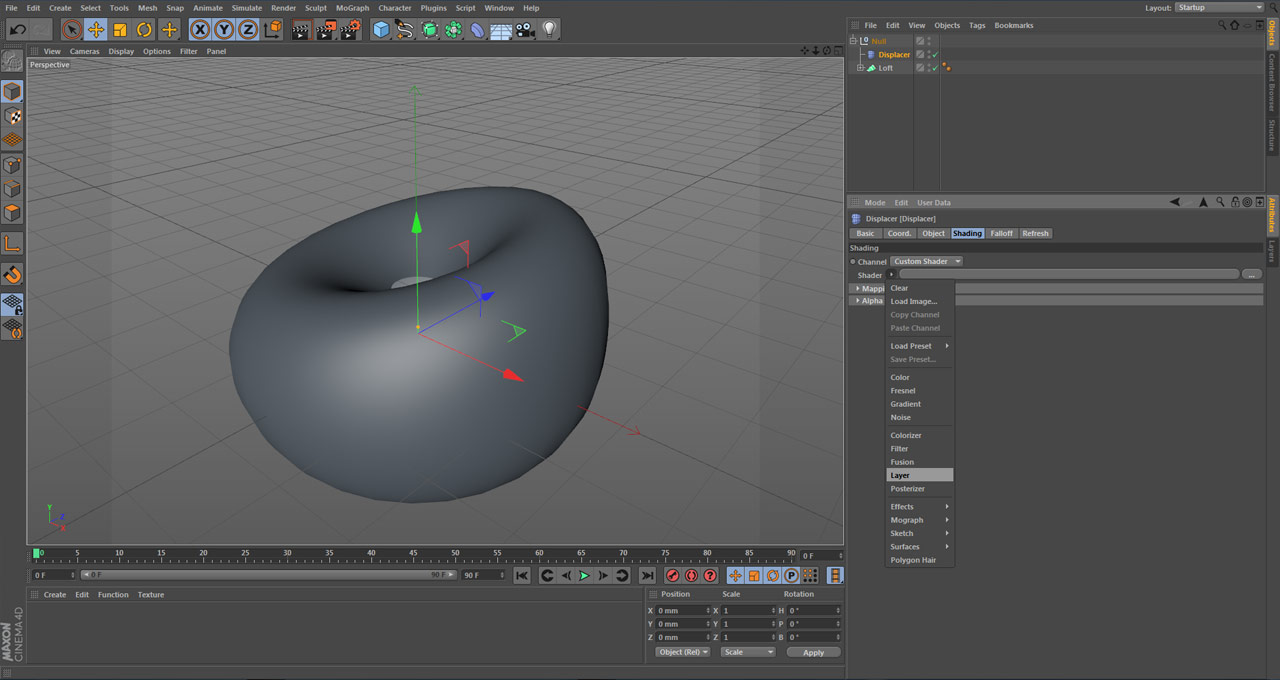
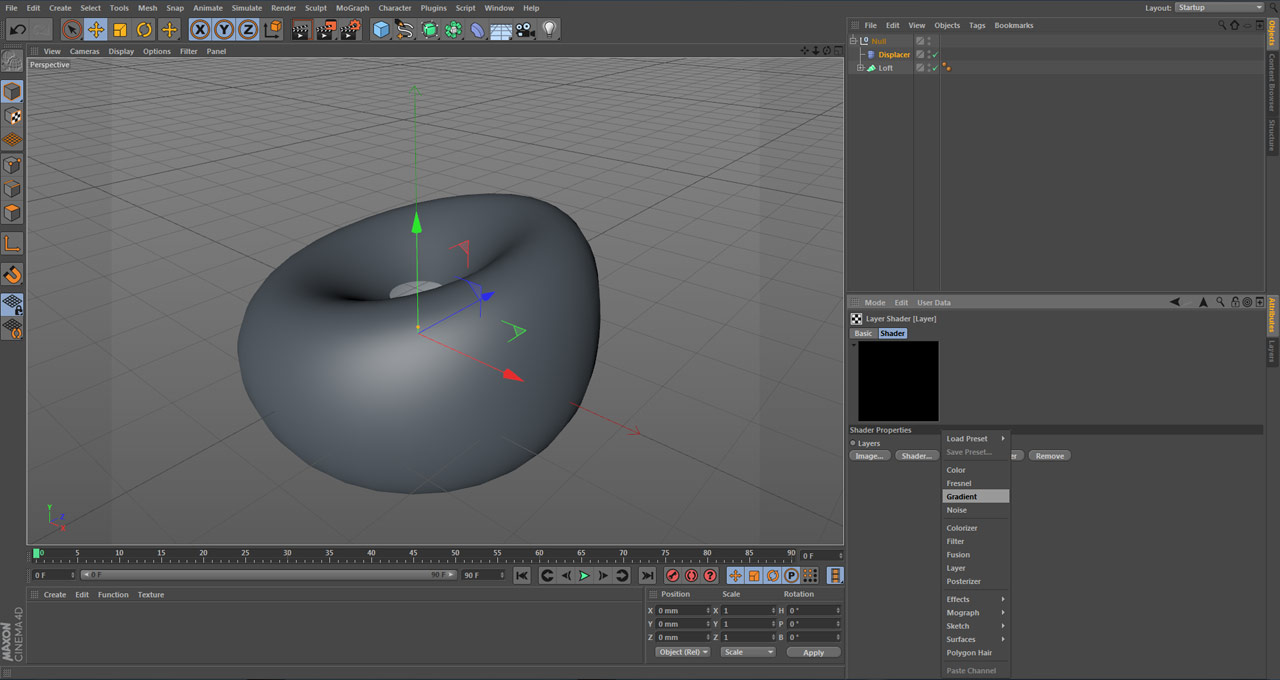
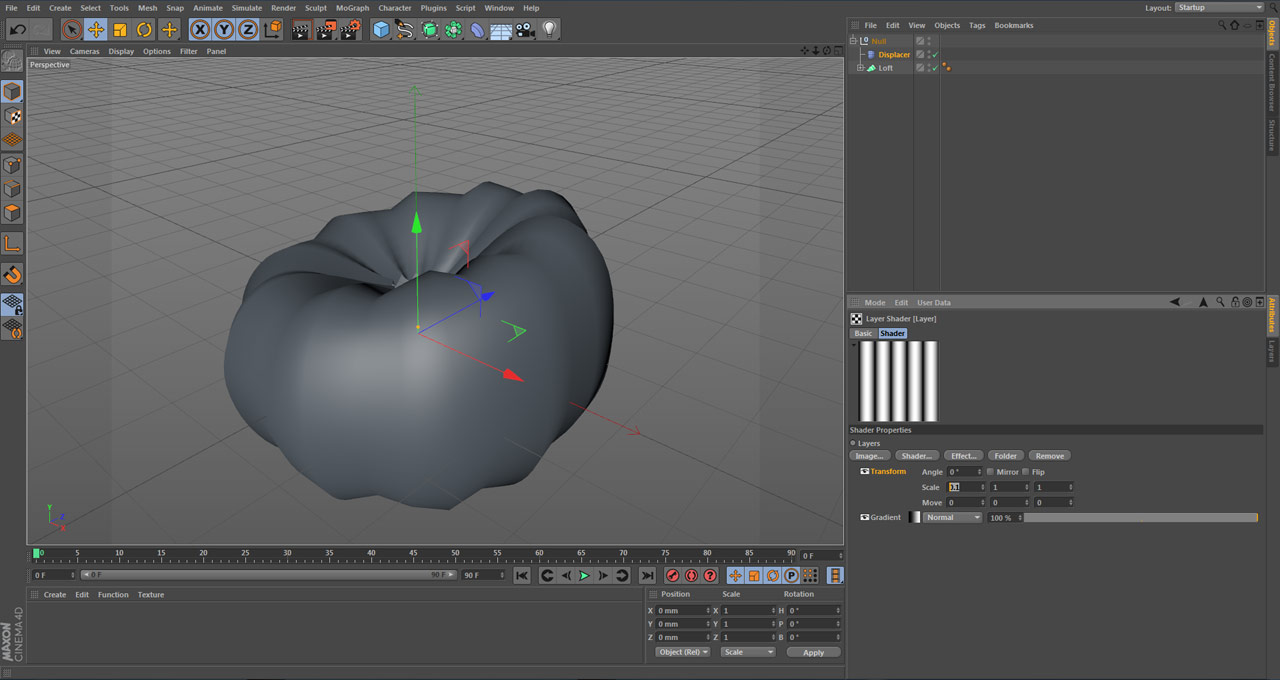
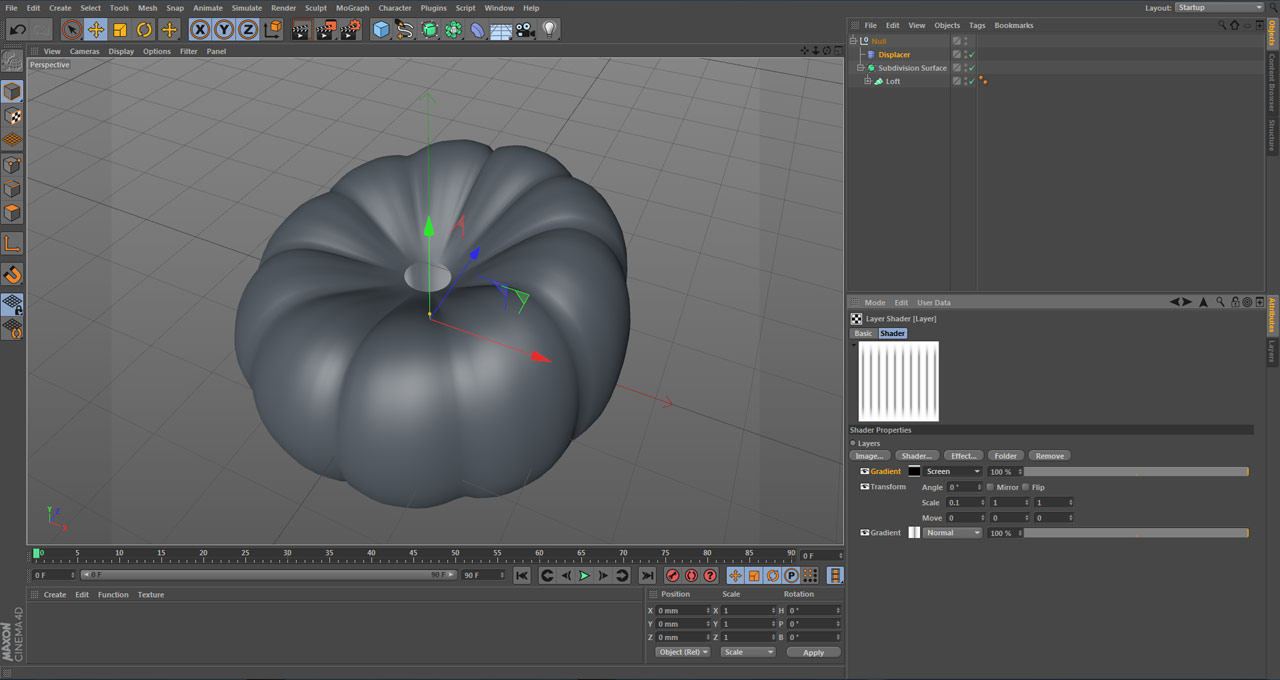
With the "Displace Deformer" active we switch to the "Shading Tab" and load the "Layer Shader" and inside that we put a "Gradient Shader". (Figure 8., 9.)
This creates our first gab, which we now have to duplicate around the entire pumpkin.
To do so we´ll load an effect called "Transformation" by reducing the scale to "0.1" the entire pumpkin gets engulfed in gaps. (Figure 10.)
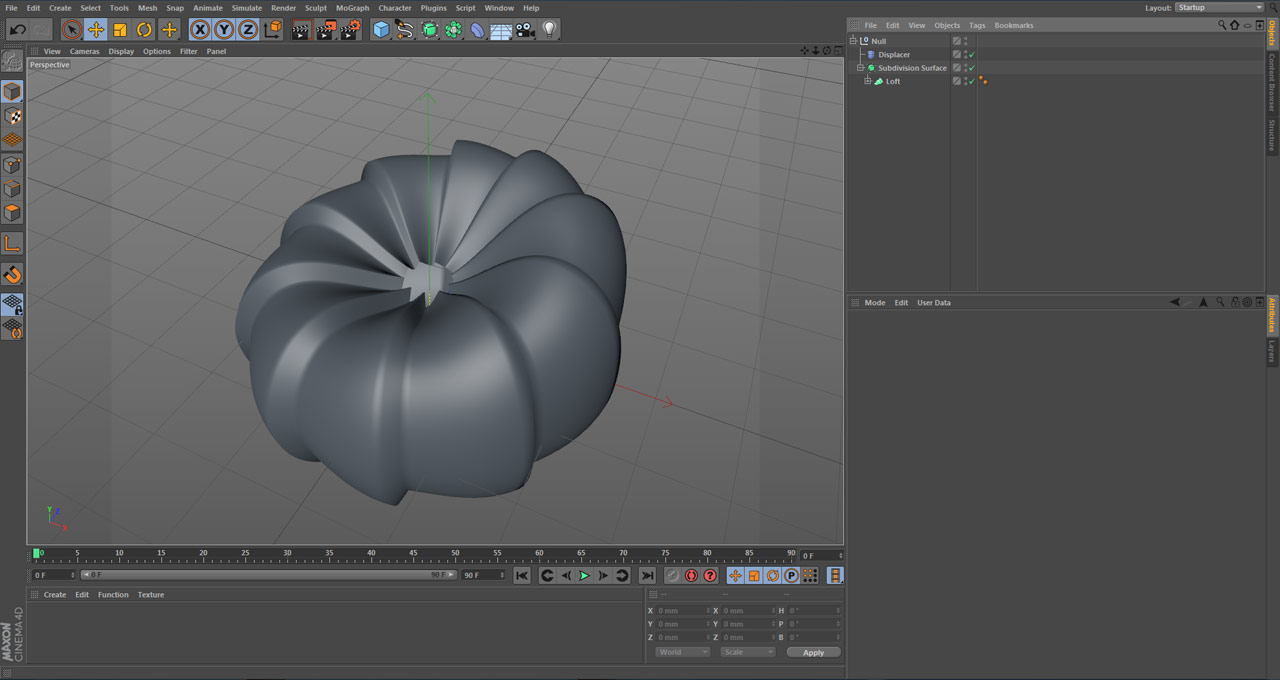
Due to the low resolution the pumpkin has, those gaps lack definition, which can be changed by adding a "Hypernurb" as parent object to the "Loft Nurb". (Figure 11.)
Tiny Pumpkin Define Gaps:
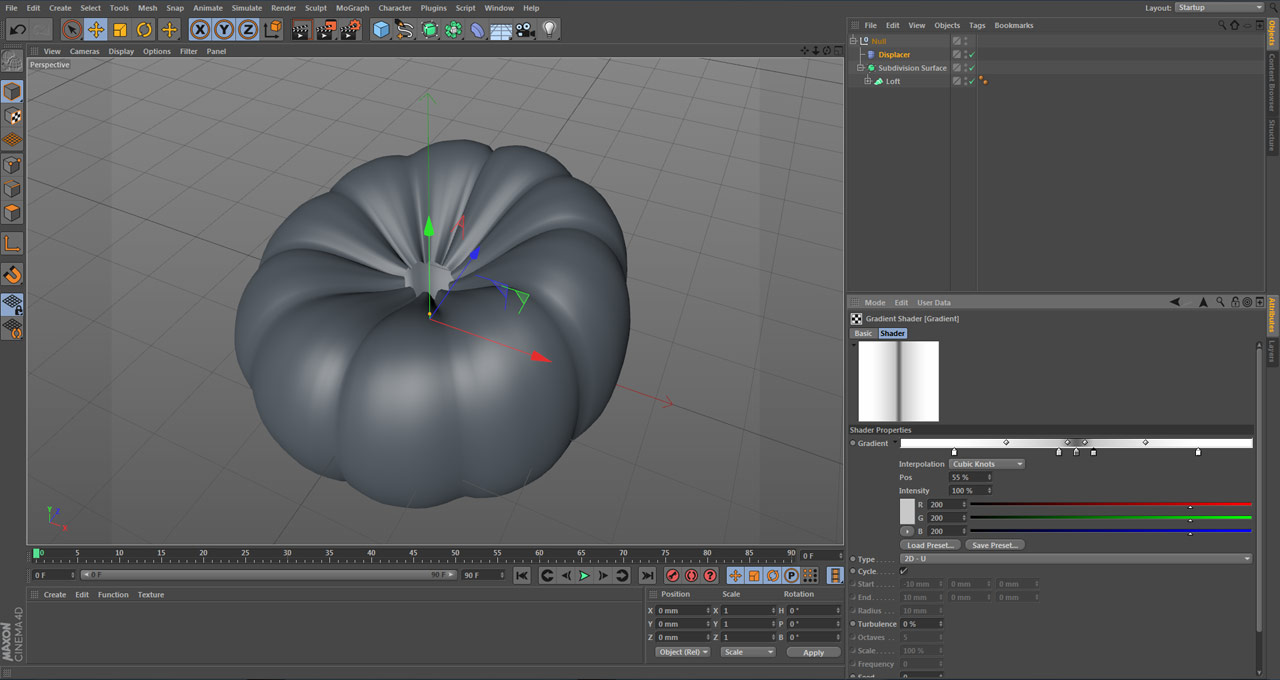
Tiny Pumpkin Make Hollow:
Tiny Pumpkin Cut Out Cap.
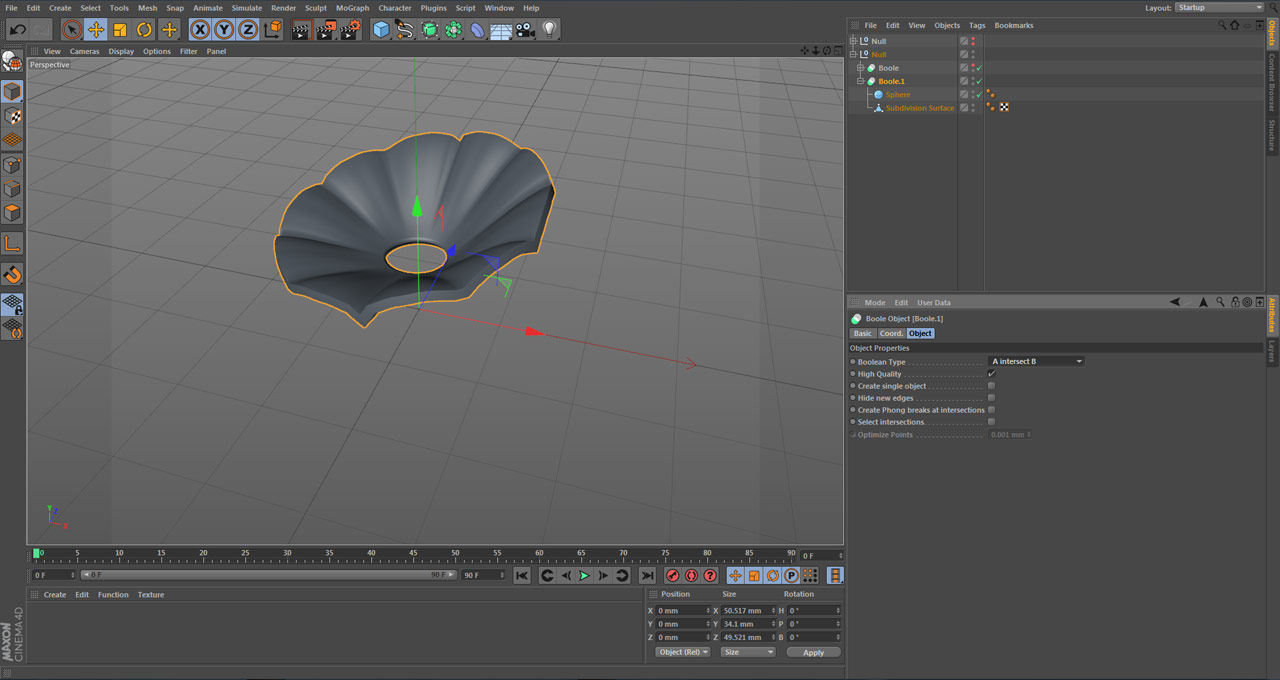
Tiny Pumpkin Cut Out Face:
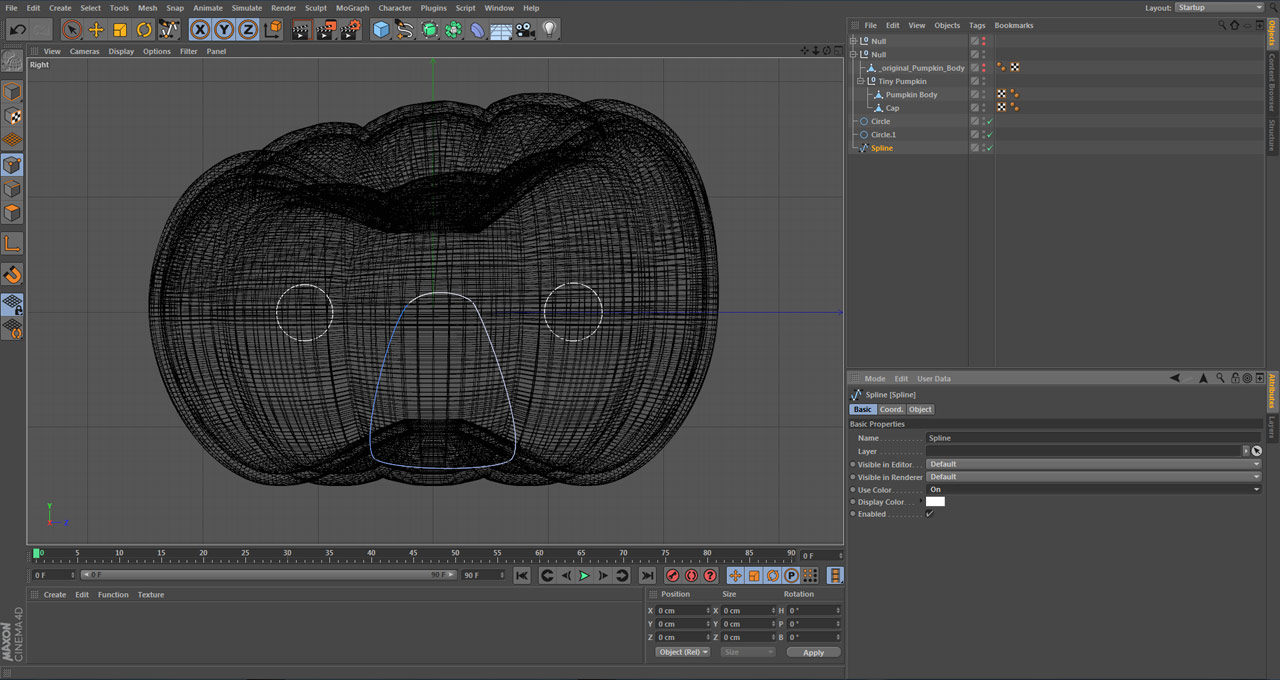
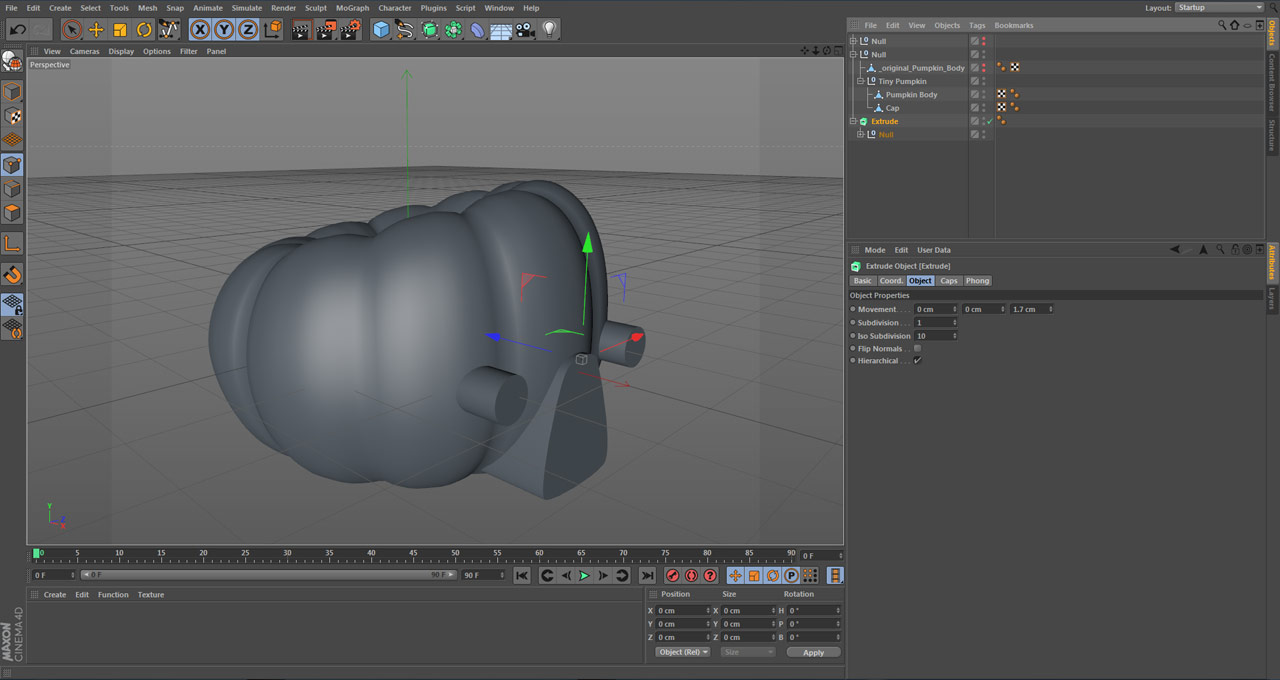
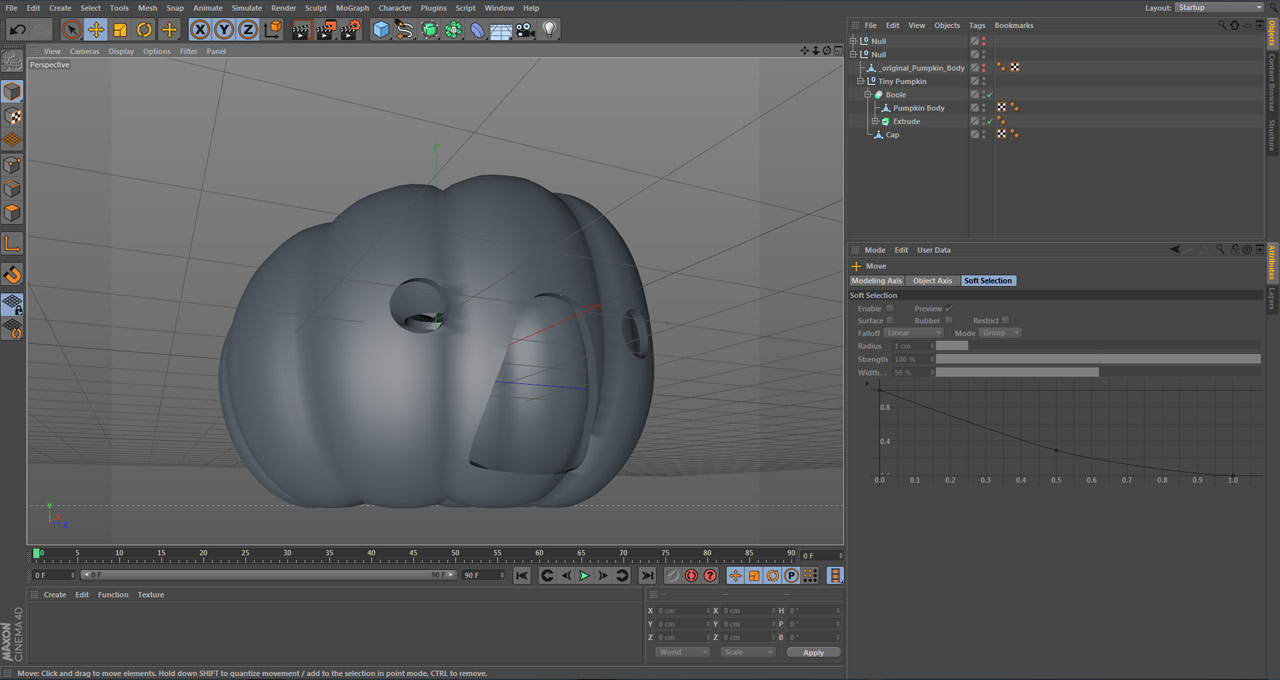
Tiny Pumpkin Create Stem:
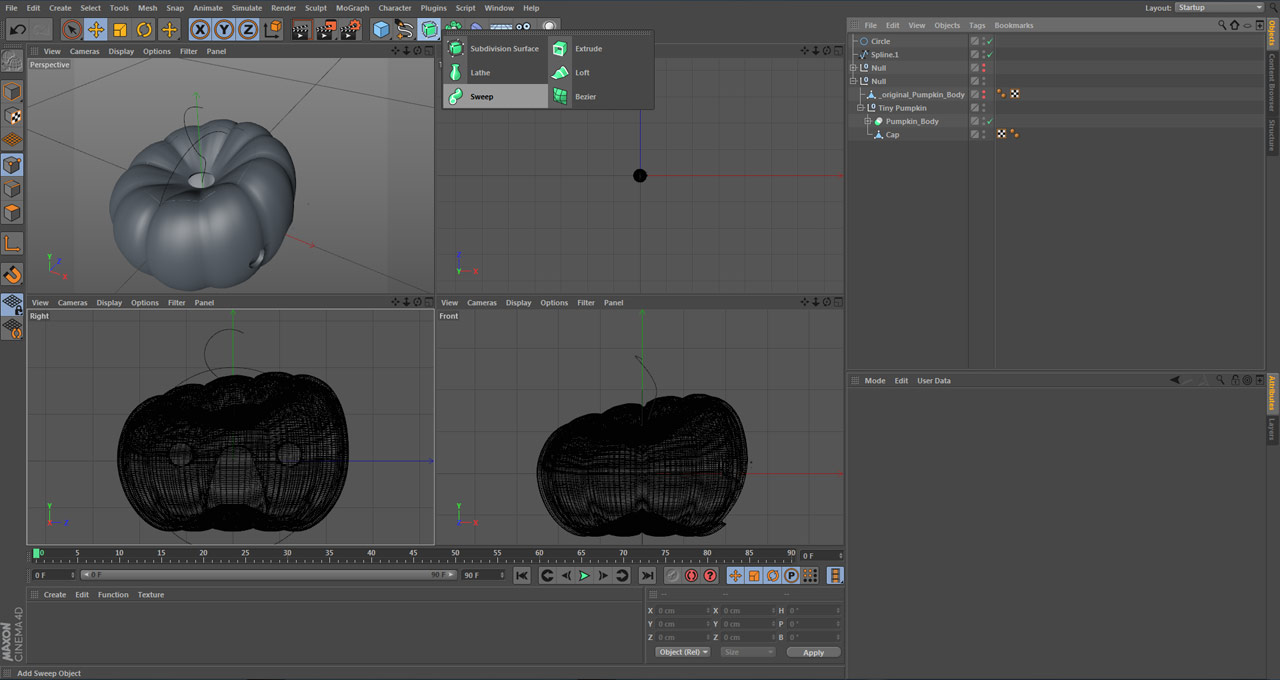
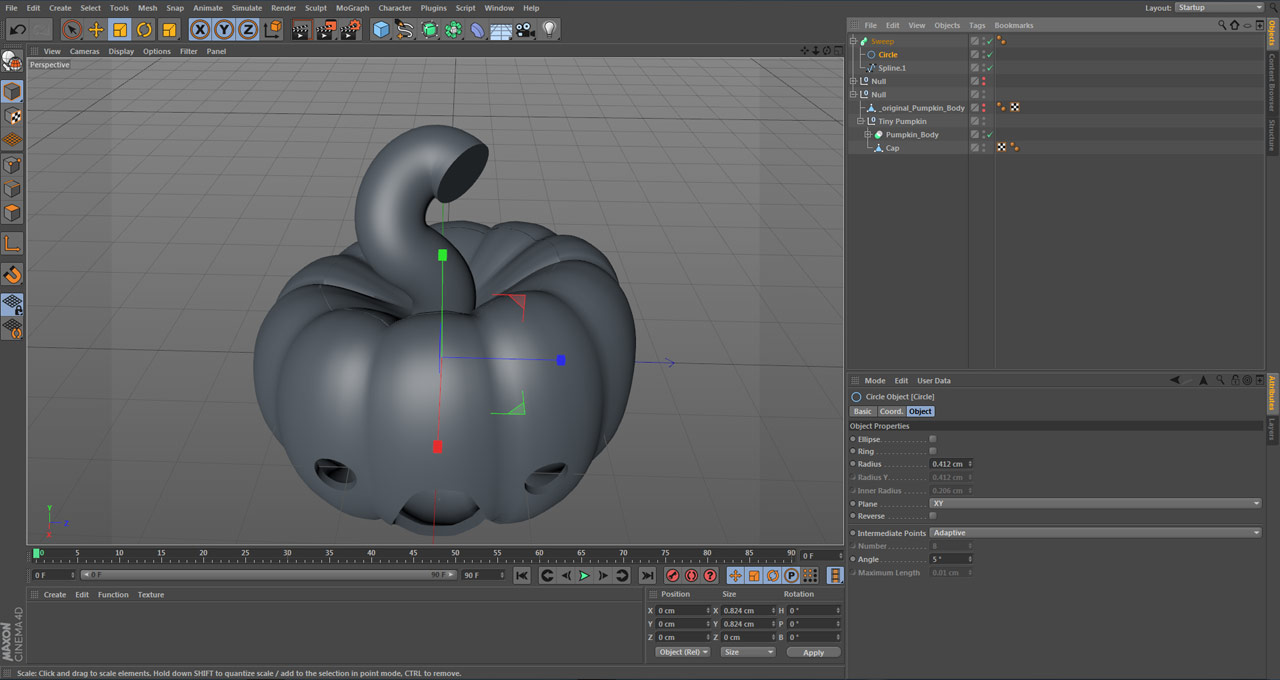
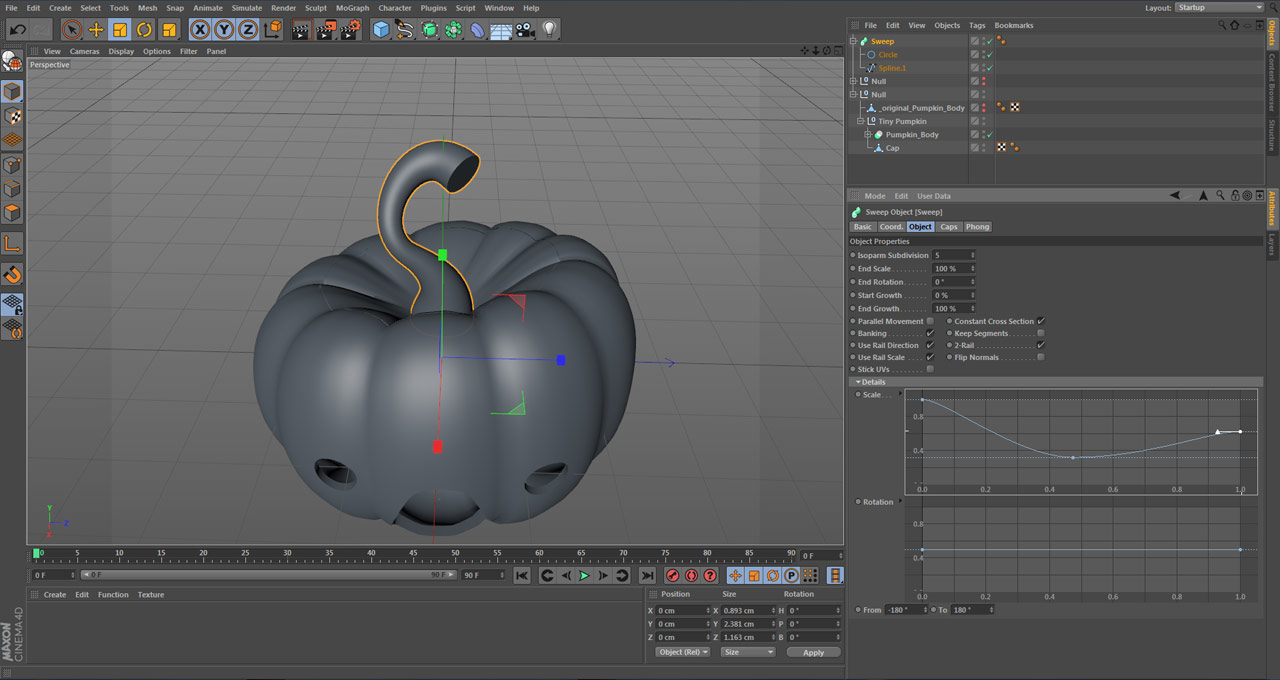
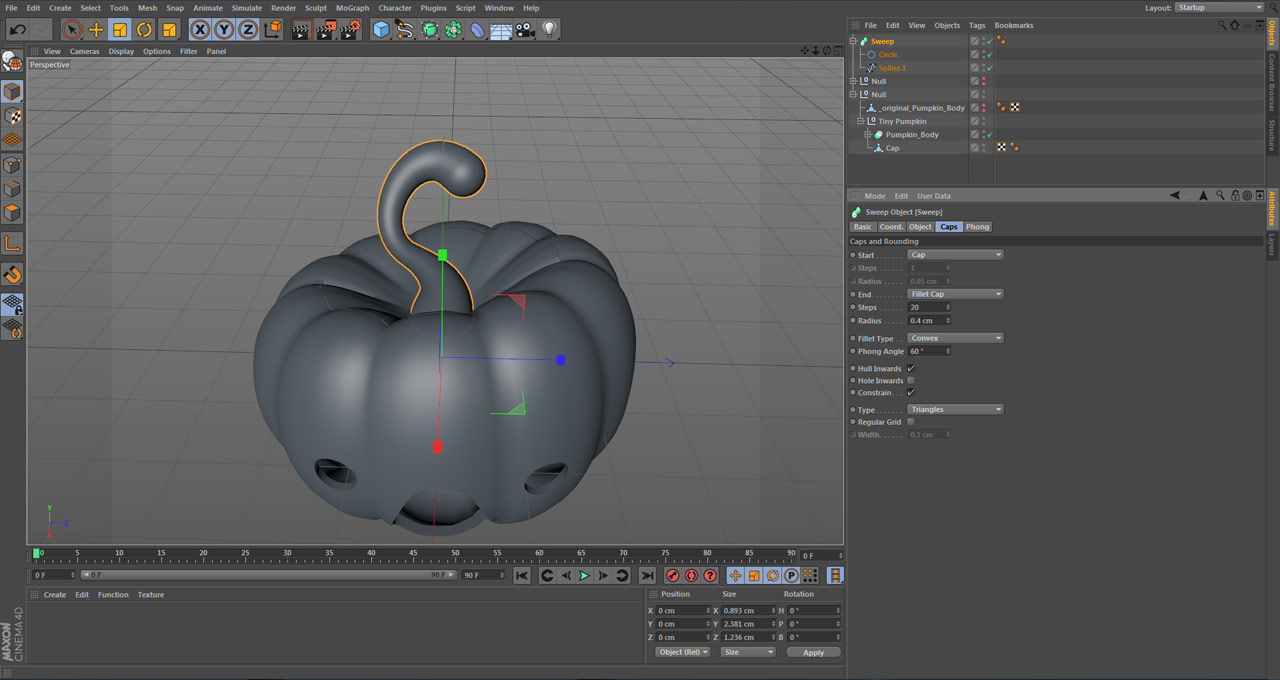
Big Pumpkin:
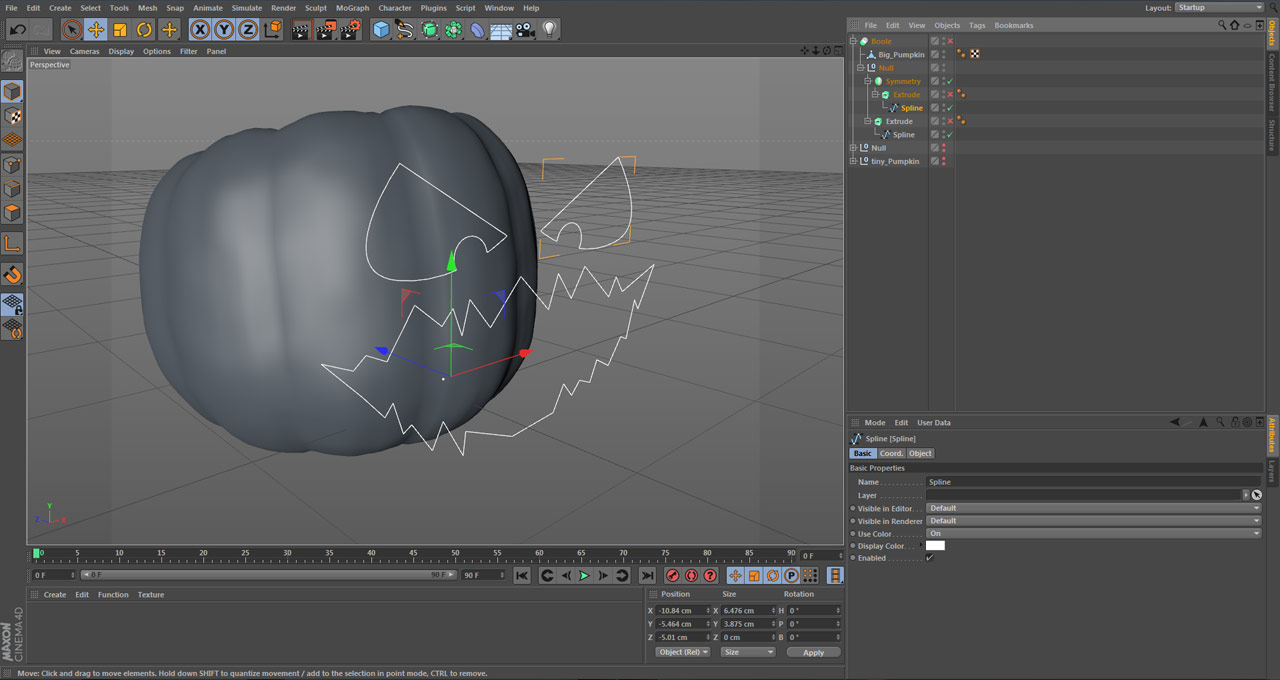
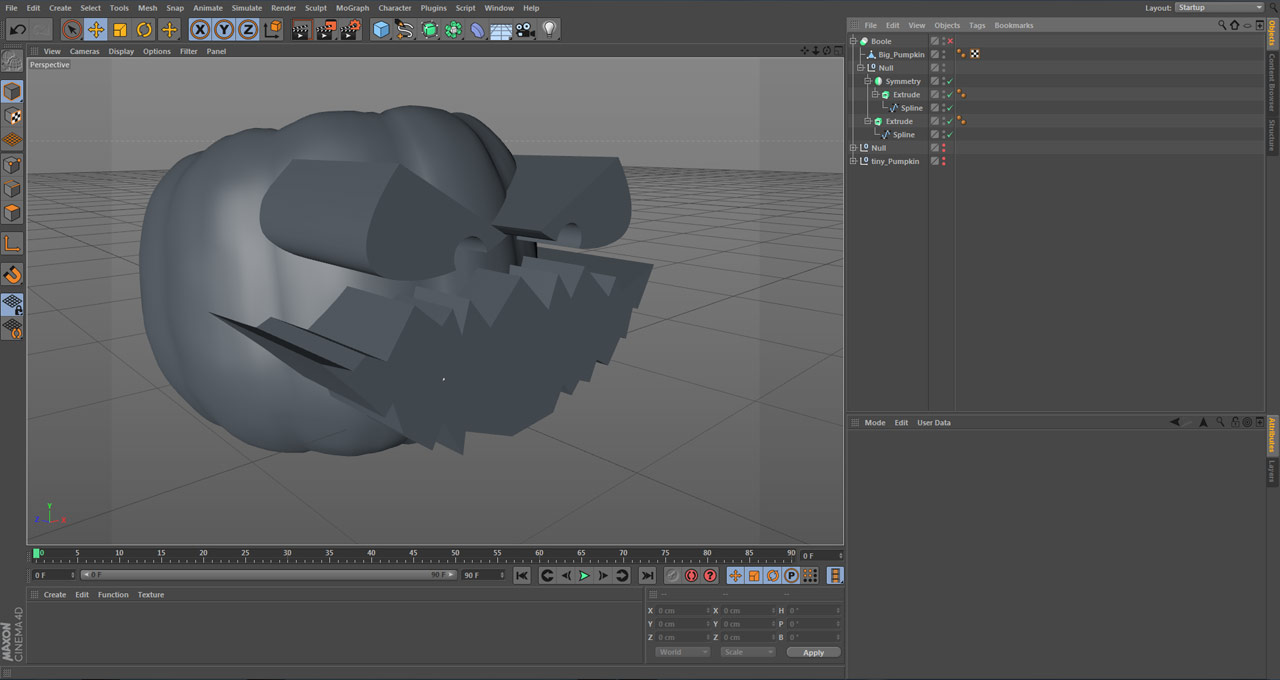
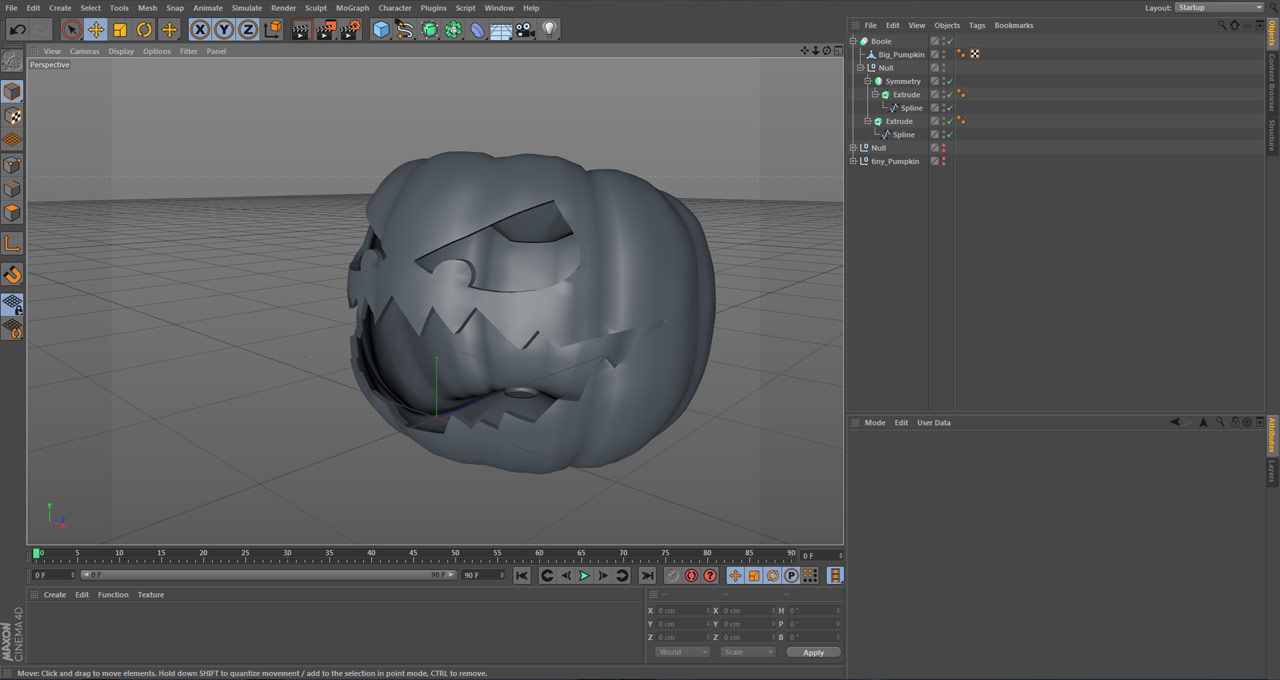
except for the tongue, which is the last part of this instructable.
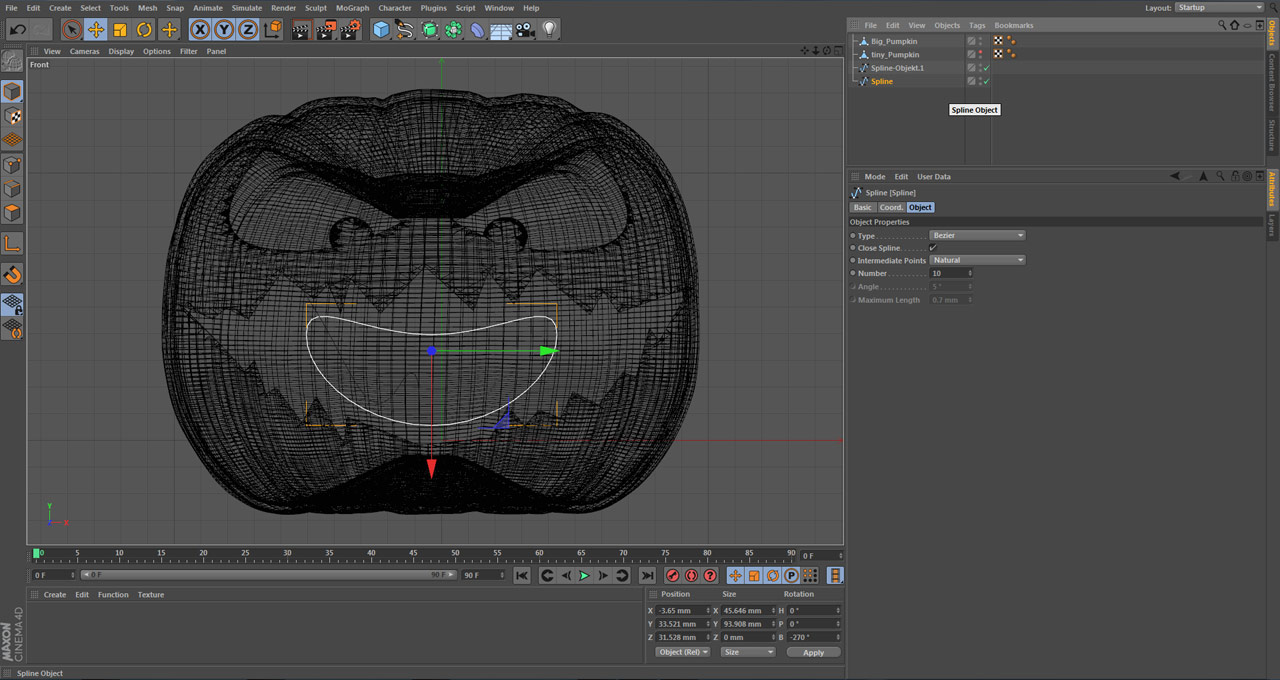
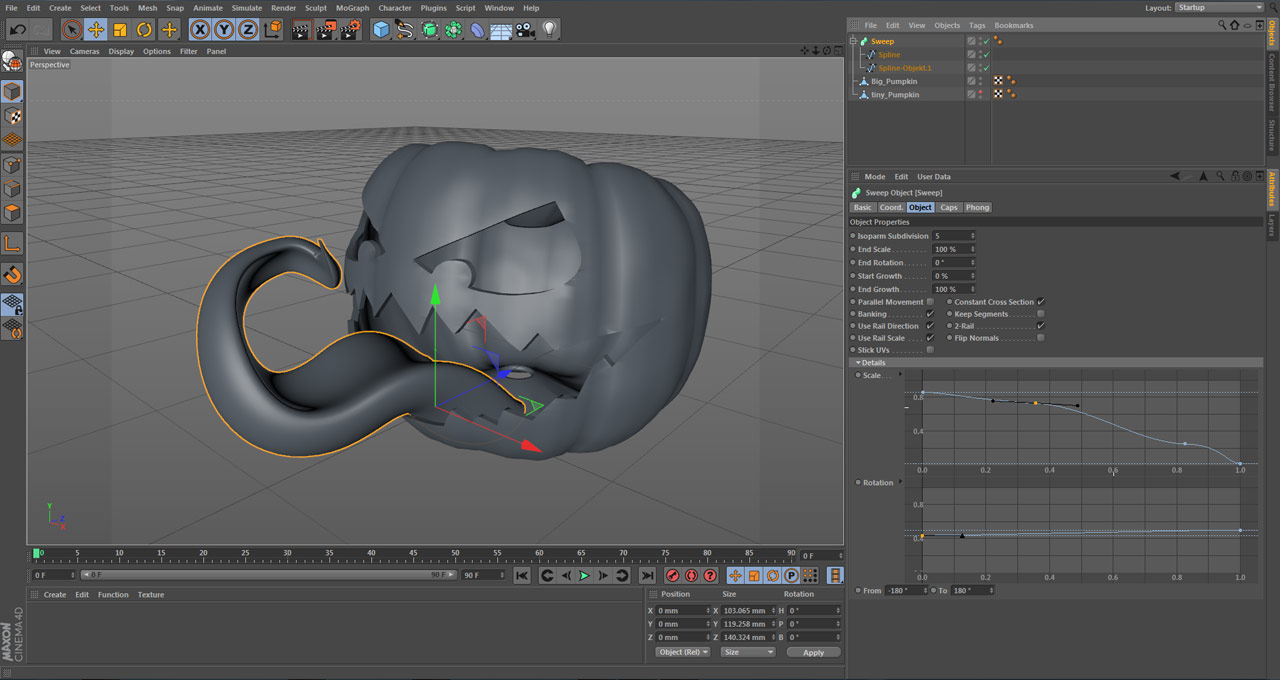
Big Pumpkin Tongue:
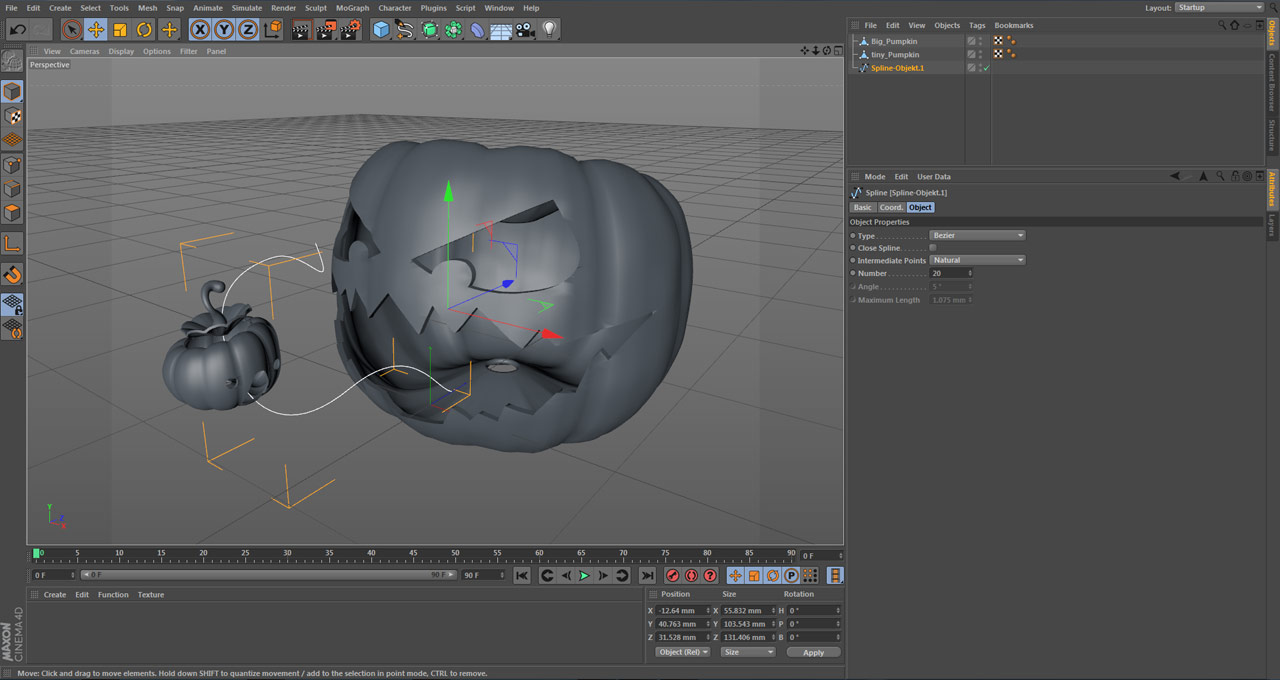
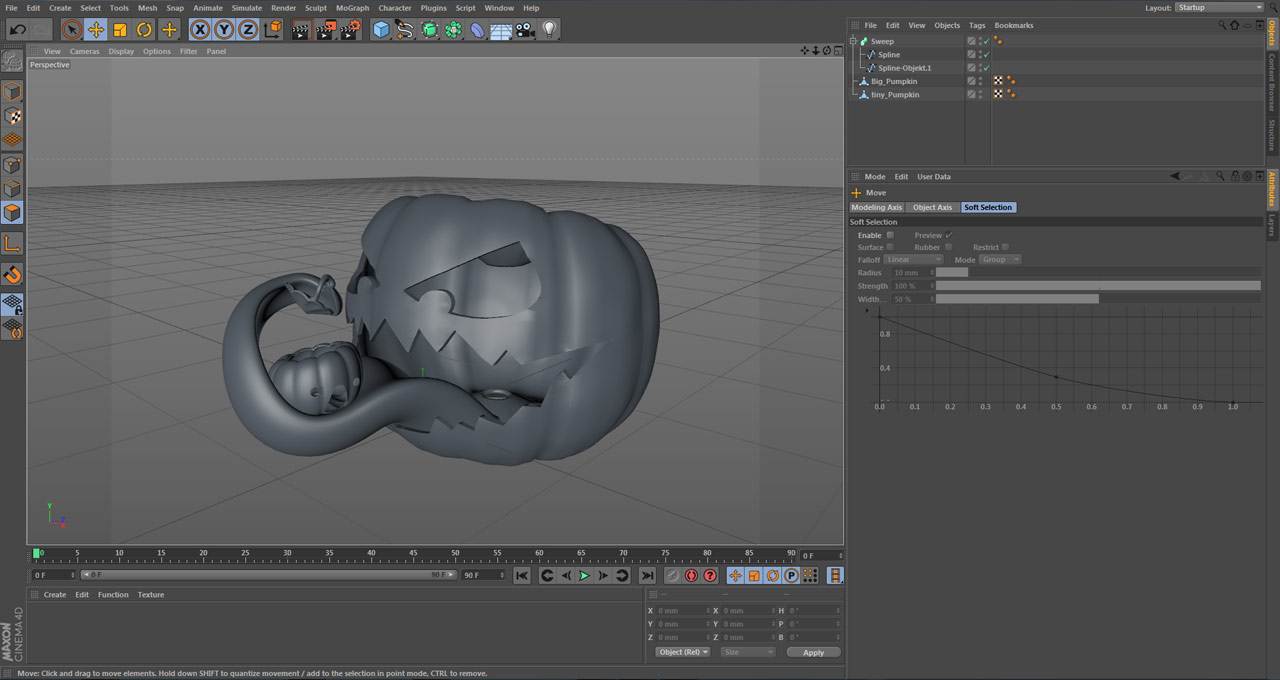
With everything in place, most 3d Print services could print this model, if exported right into the needed 3D formats, like .stl .
If I Win the Formlabs 3D Printer Contest:
If I win the Formlabs 3D Printer Contest:
As a little kid I got a slot car racing track with a Lamborghini Countach, I was so fascinated by the electronics and the product itself that this was the time when I started to tinker around.
And now as an industrial design student i'm challenged with a lot of product design task on a daily basis.
From funny ideas during lunch break to serious company related products.
Each time I came up with an idea I immediately want to see it, feel it, hold it and see the final product come to live. That is the beauty of the 3d printer.
The rest of my free time I spend tinkering around with electronics, augmented reality, or household hacks.
If I would win a Formlabs printer, I could step up the game and combine all those fields.
I could build the slot car I was so fascinated as a kid, but this time around from scratch and 3d printed parts. Every idea, every doodle I made on a napkin could come true as an actual physical product, that is so fascinating and the reason why I would make a good use of the “Formlabs 3D Printer”