3D Print the Universe Inside a Marble
by noapkaplan in Workshop > 3D Printing
29217 Views, 250 Favorites, 0 Comments
3D Print the Universe Inside a Marble
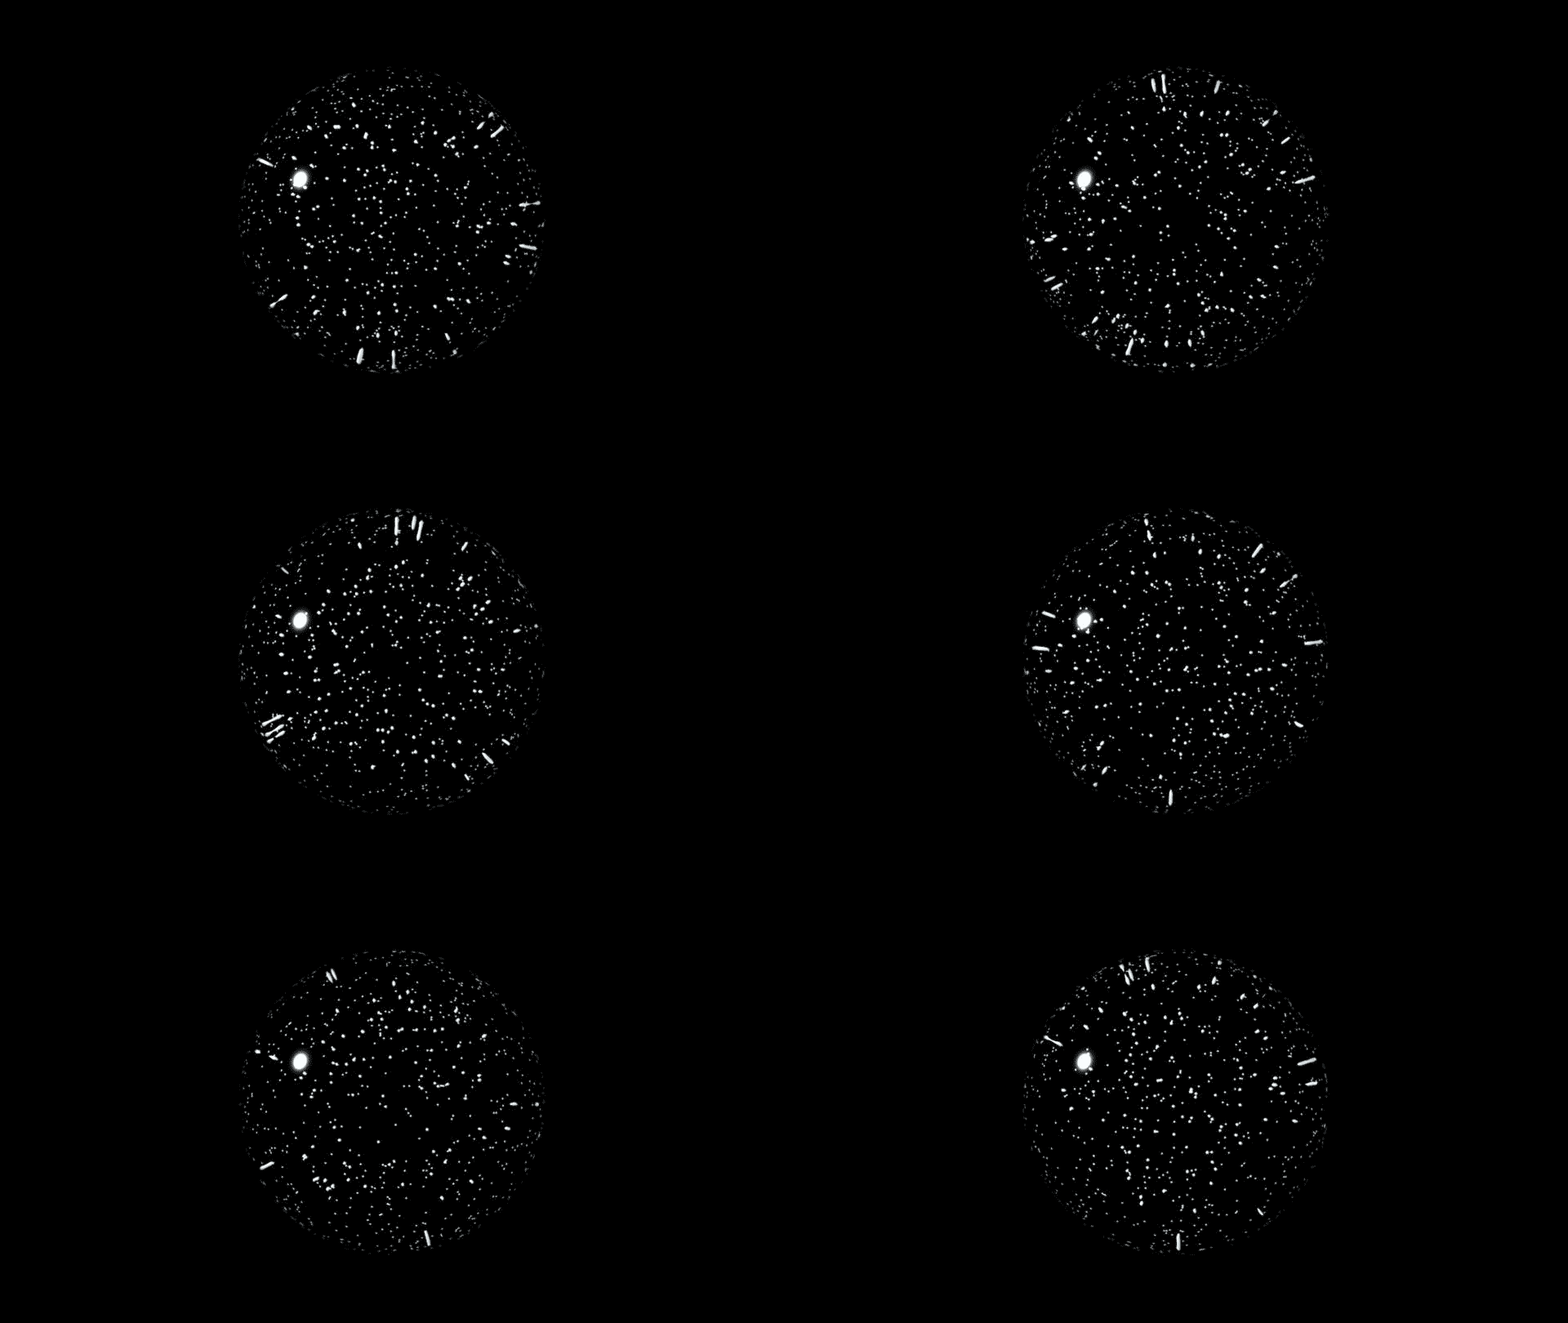
This instructable will guide you through the process of 3D printing suspended particles in a clear marble. It covers particle simulation, converting particles to polygons, exporting assemblies, and multi-material printing.
What you will need for this project:
Autodesk Maya
Objet Connex 500 Multi-Material 3D Printer
VeroClearPlus
VeroWhitePlus
Create Geometry
The first thing you need is a volume to fill with particles. For this example, you will use a sphere, but you can use any geometry, simple or complex. Note that if you have a very detailed model that you want to turn into a particle cloud, you should scale it way up to make space in the thin areas for the particles to generate.
Open Autodesk Maya.
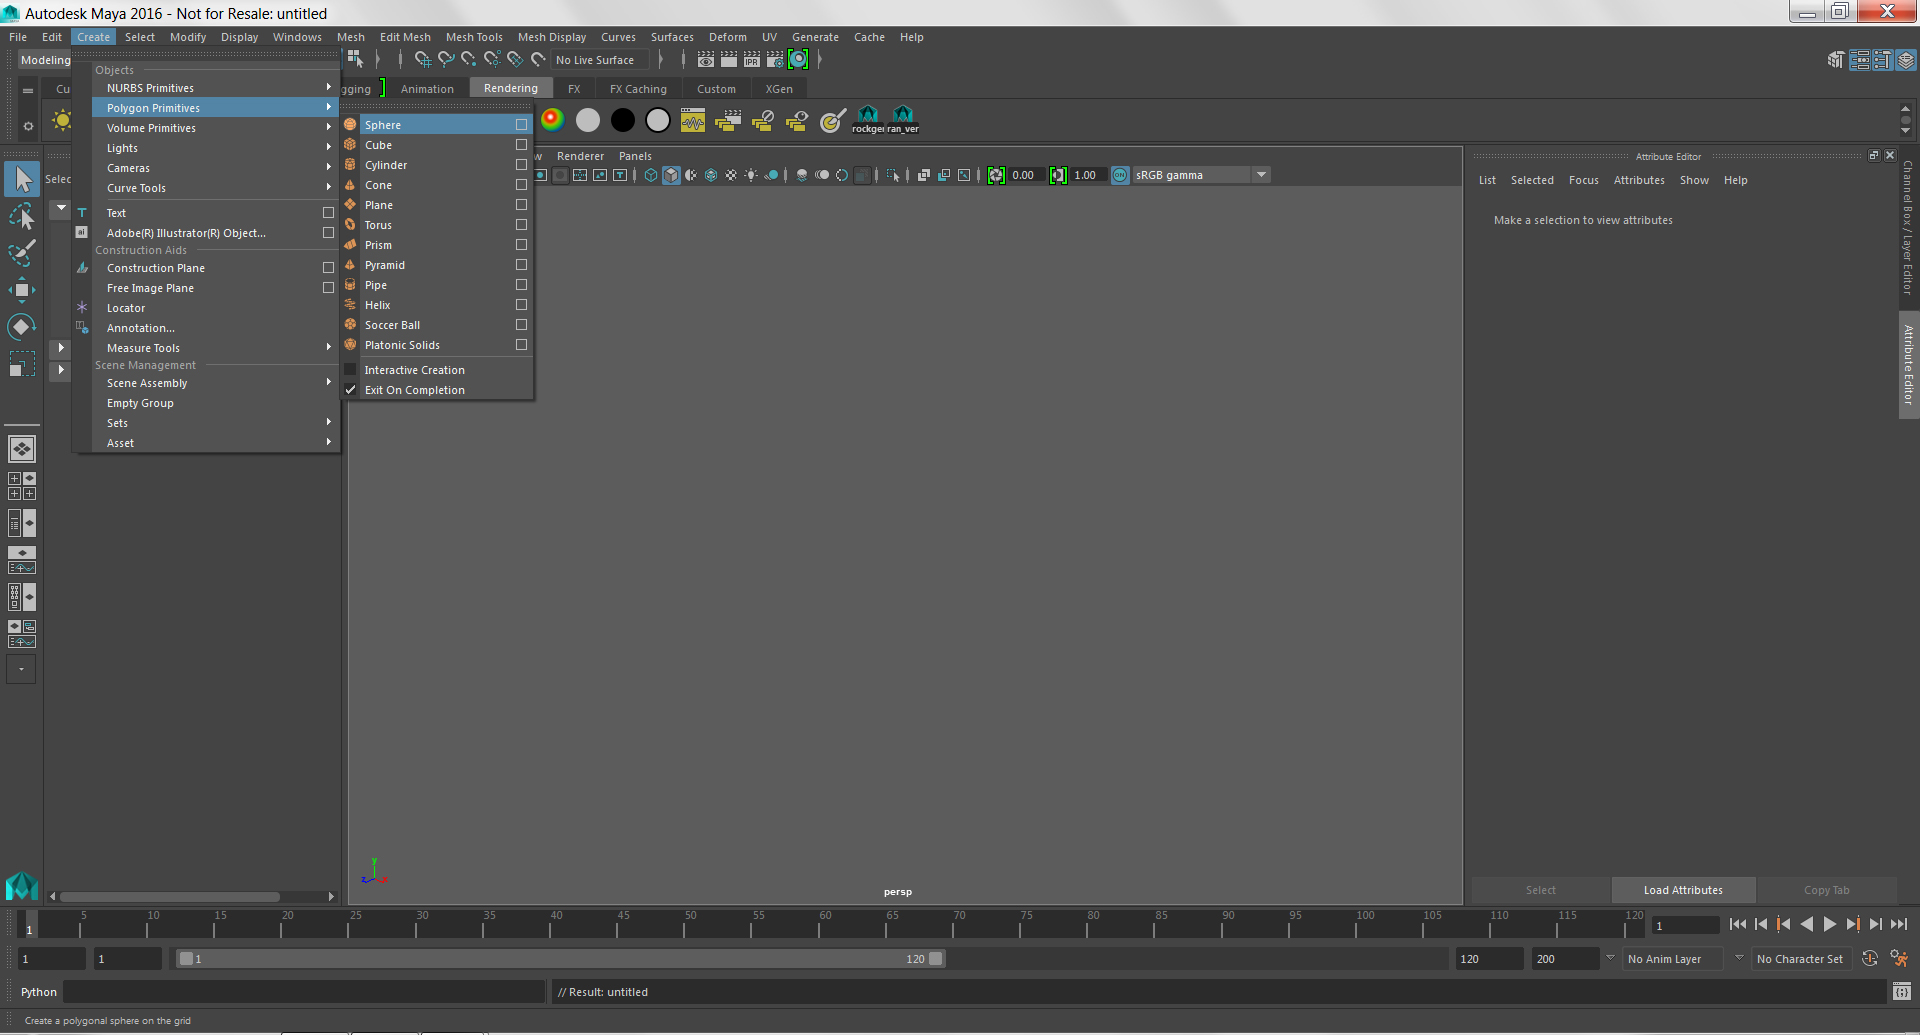
Click on the Create menu and choose Polygon > Sphere.
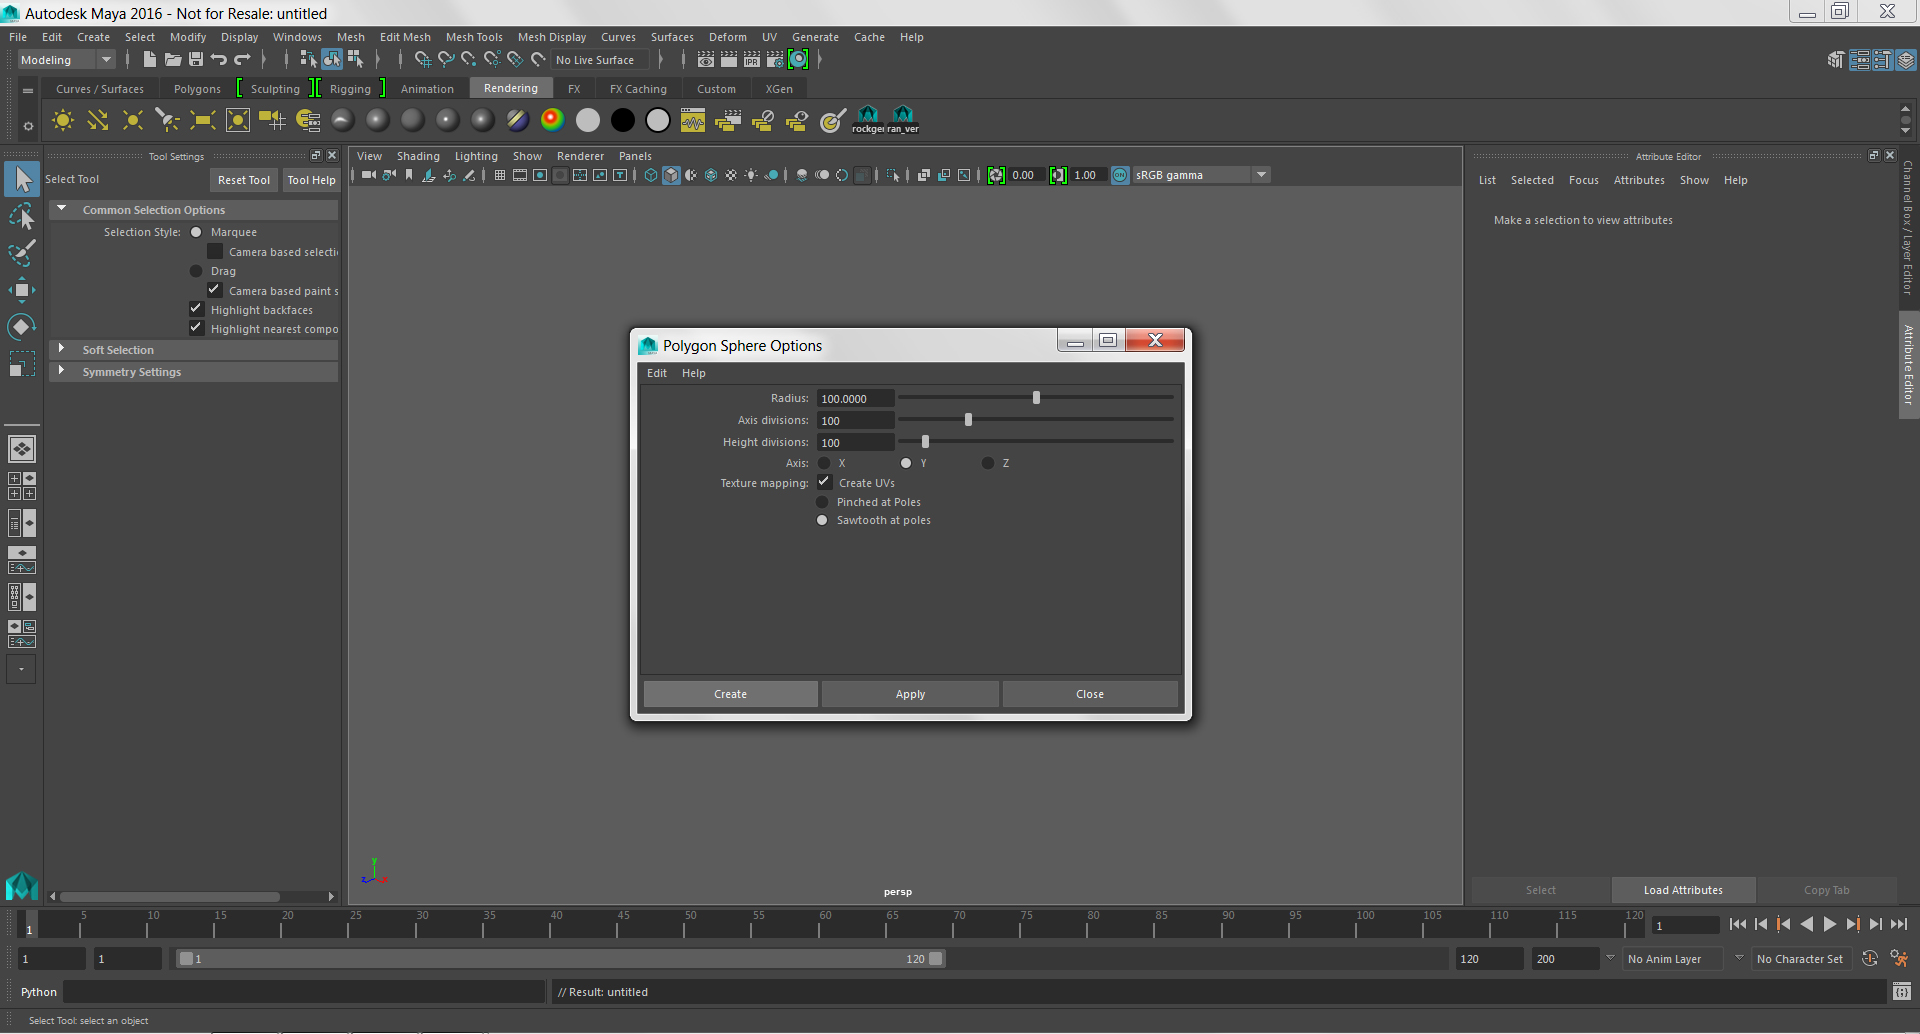
If you click on the square options icon next to Sphere, you can change the radius and number of subdivisions. For this example, change the Radius, Axis Subdivisions, and Height Subdivisions to 100.
Switch to FX Mode
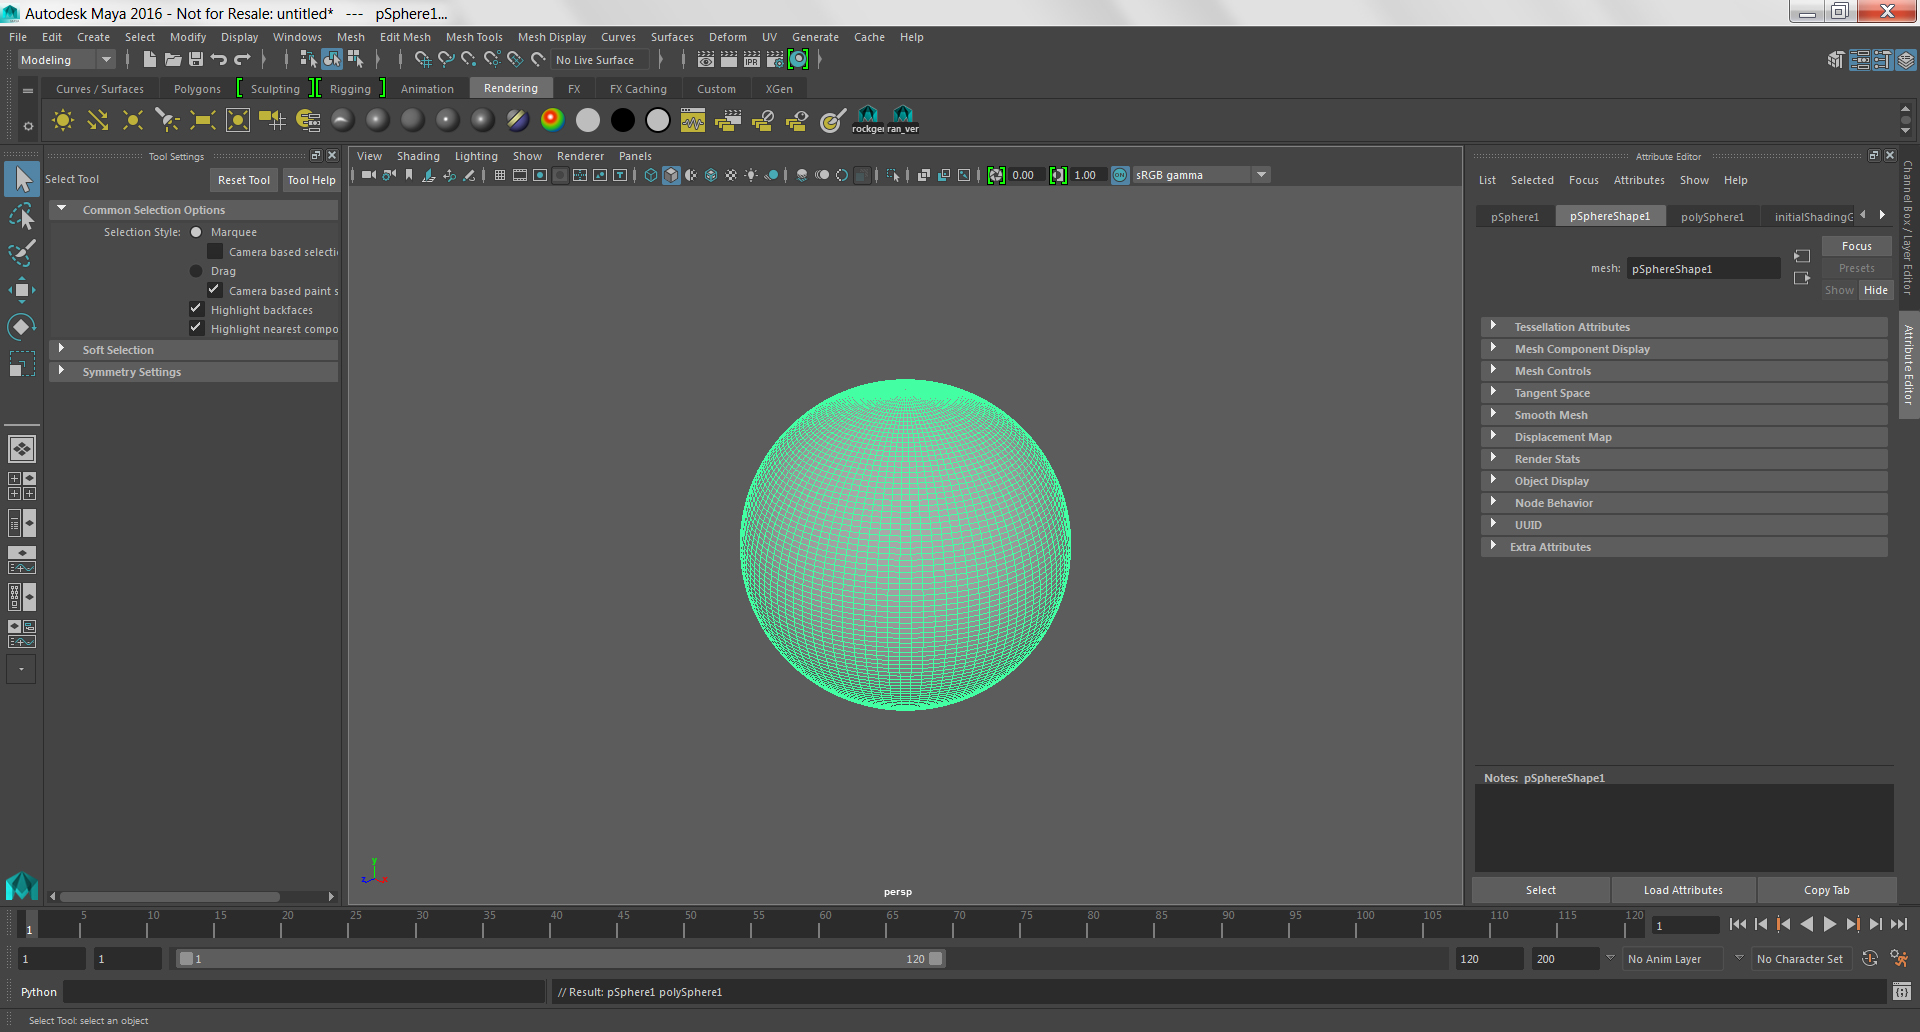
Now you should see a moderately detailed sphere in your modeling area.
Click on the menu in the top left corner of the interface and switch from Modeling mode to FX mode.
This is where you will find the tools to generate particles.
Create Emitter
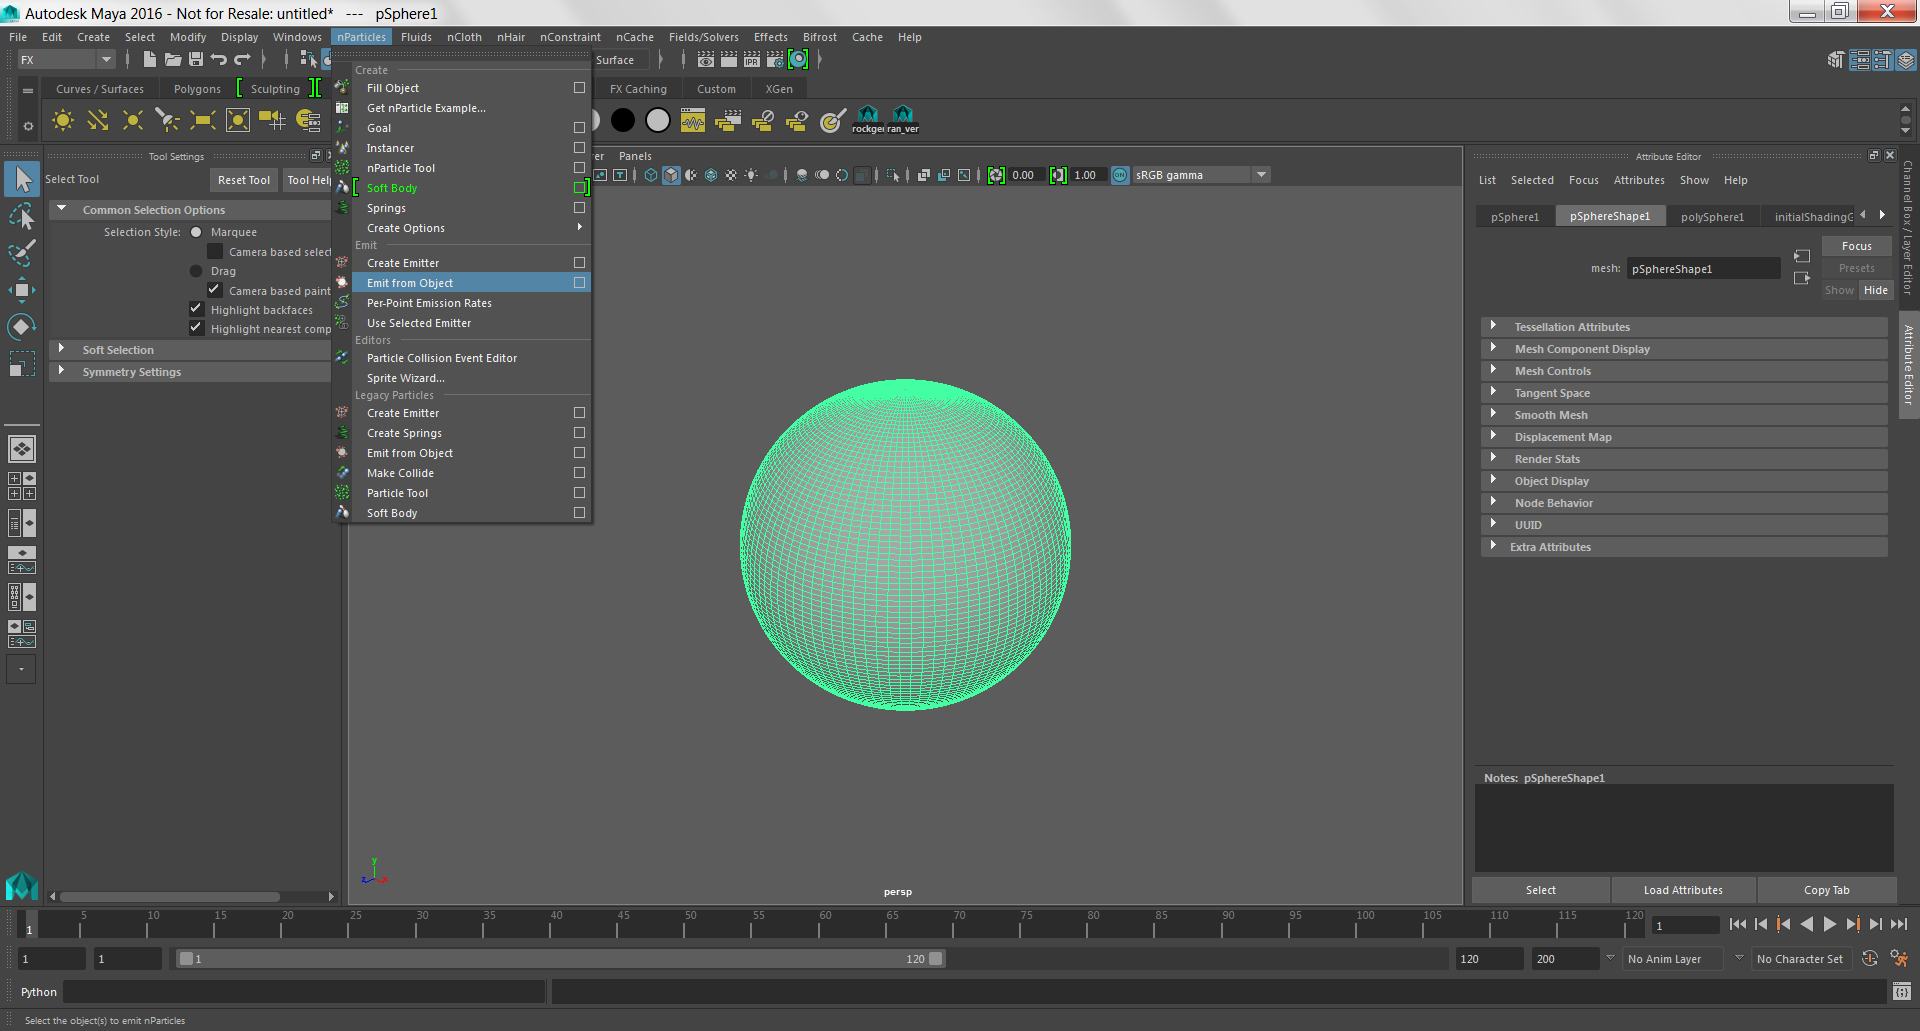
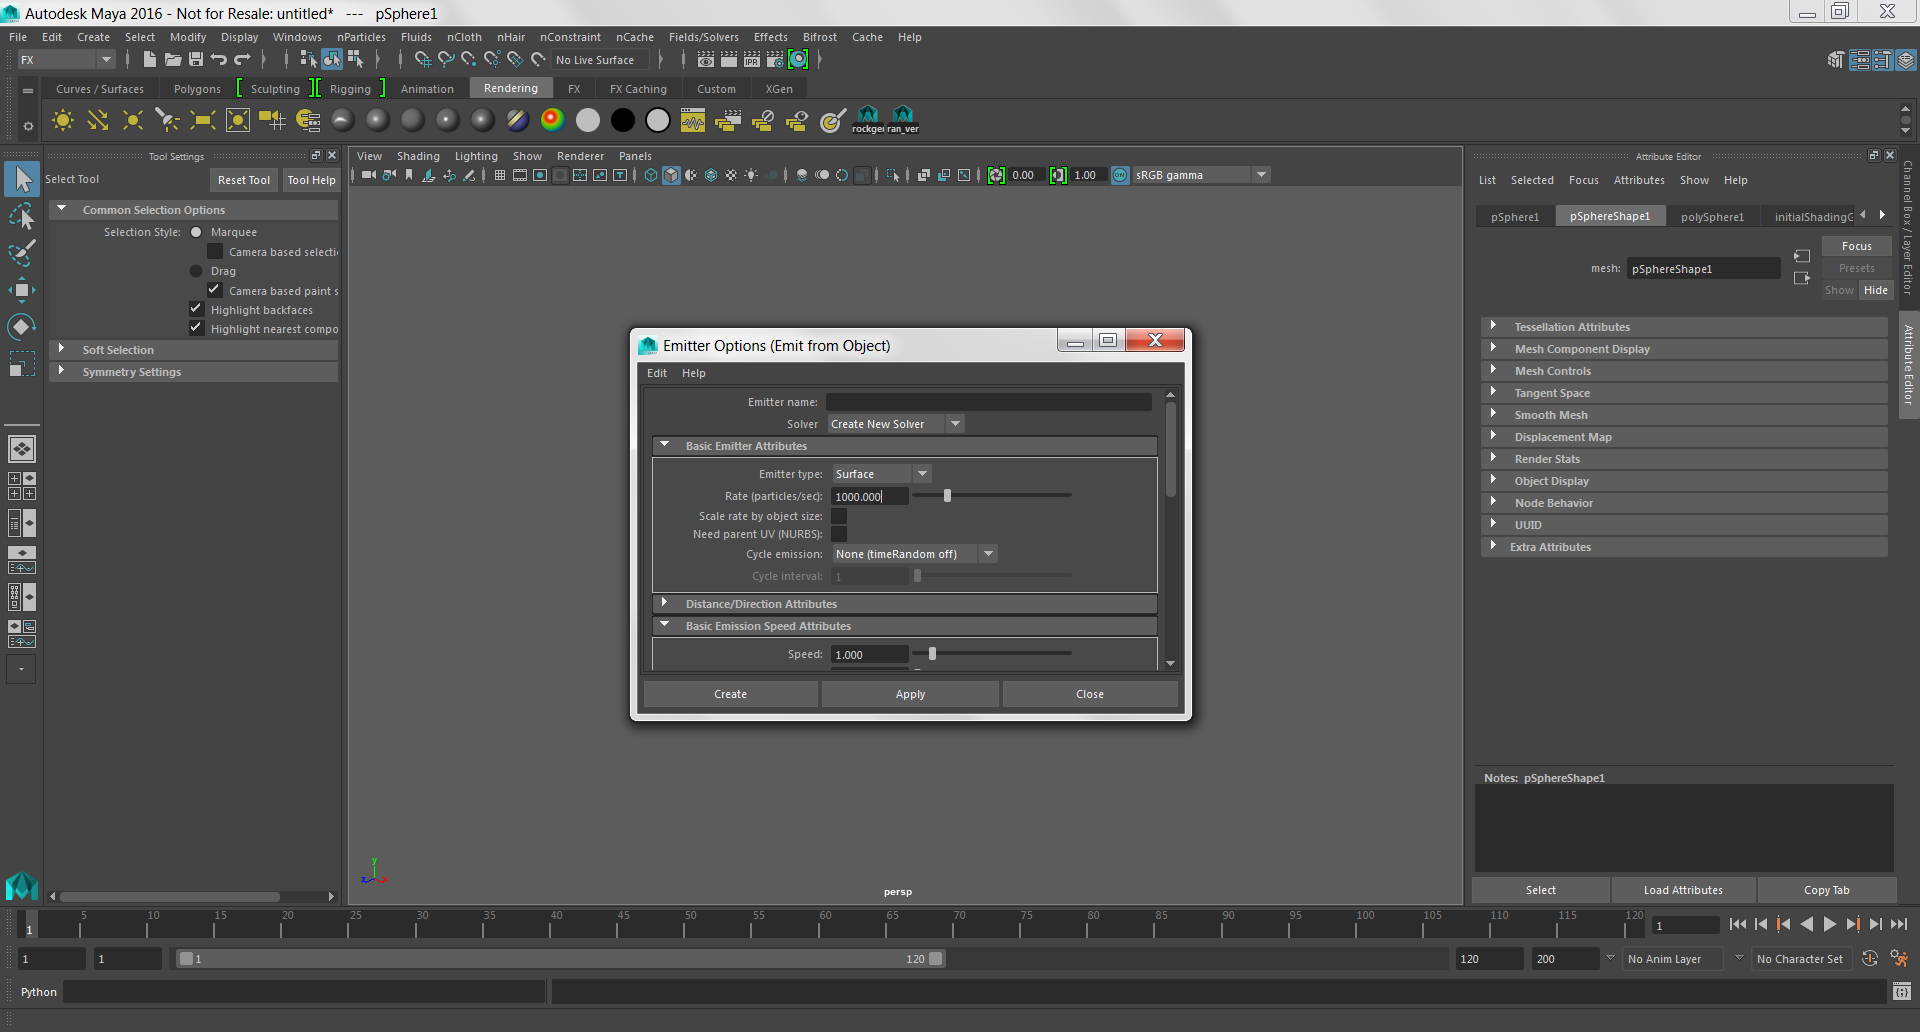
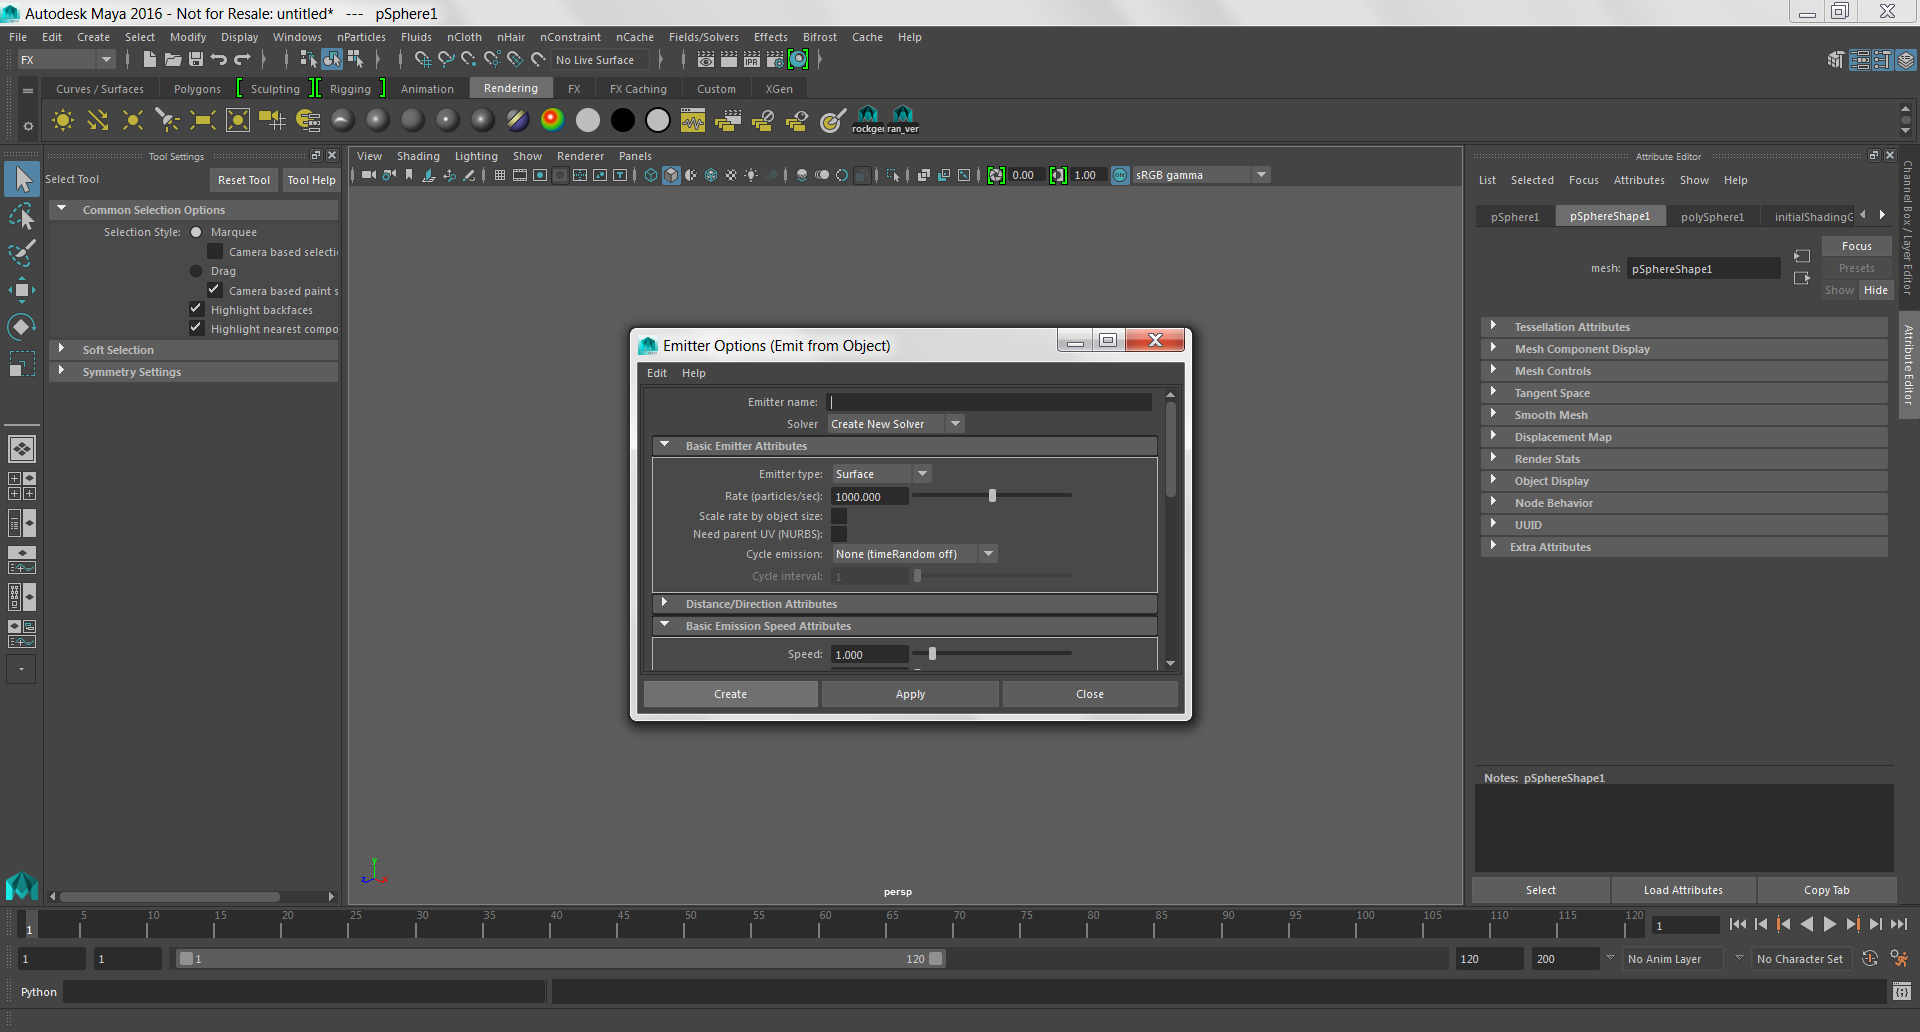
With your sphere selected, click on the nParticles menu and click on the square options icon next to Emit From Object.
In the Options window, change the Emitter Type from Omni to Surface.
Then change the Rate(particles/sec) to 1000.00.
Click Create.
Hide Sphere Geometry
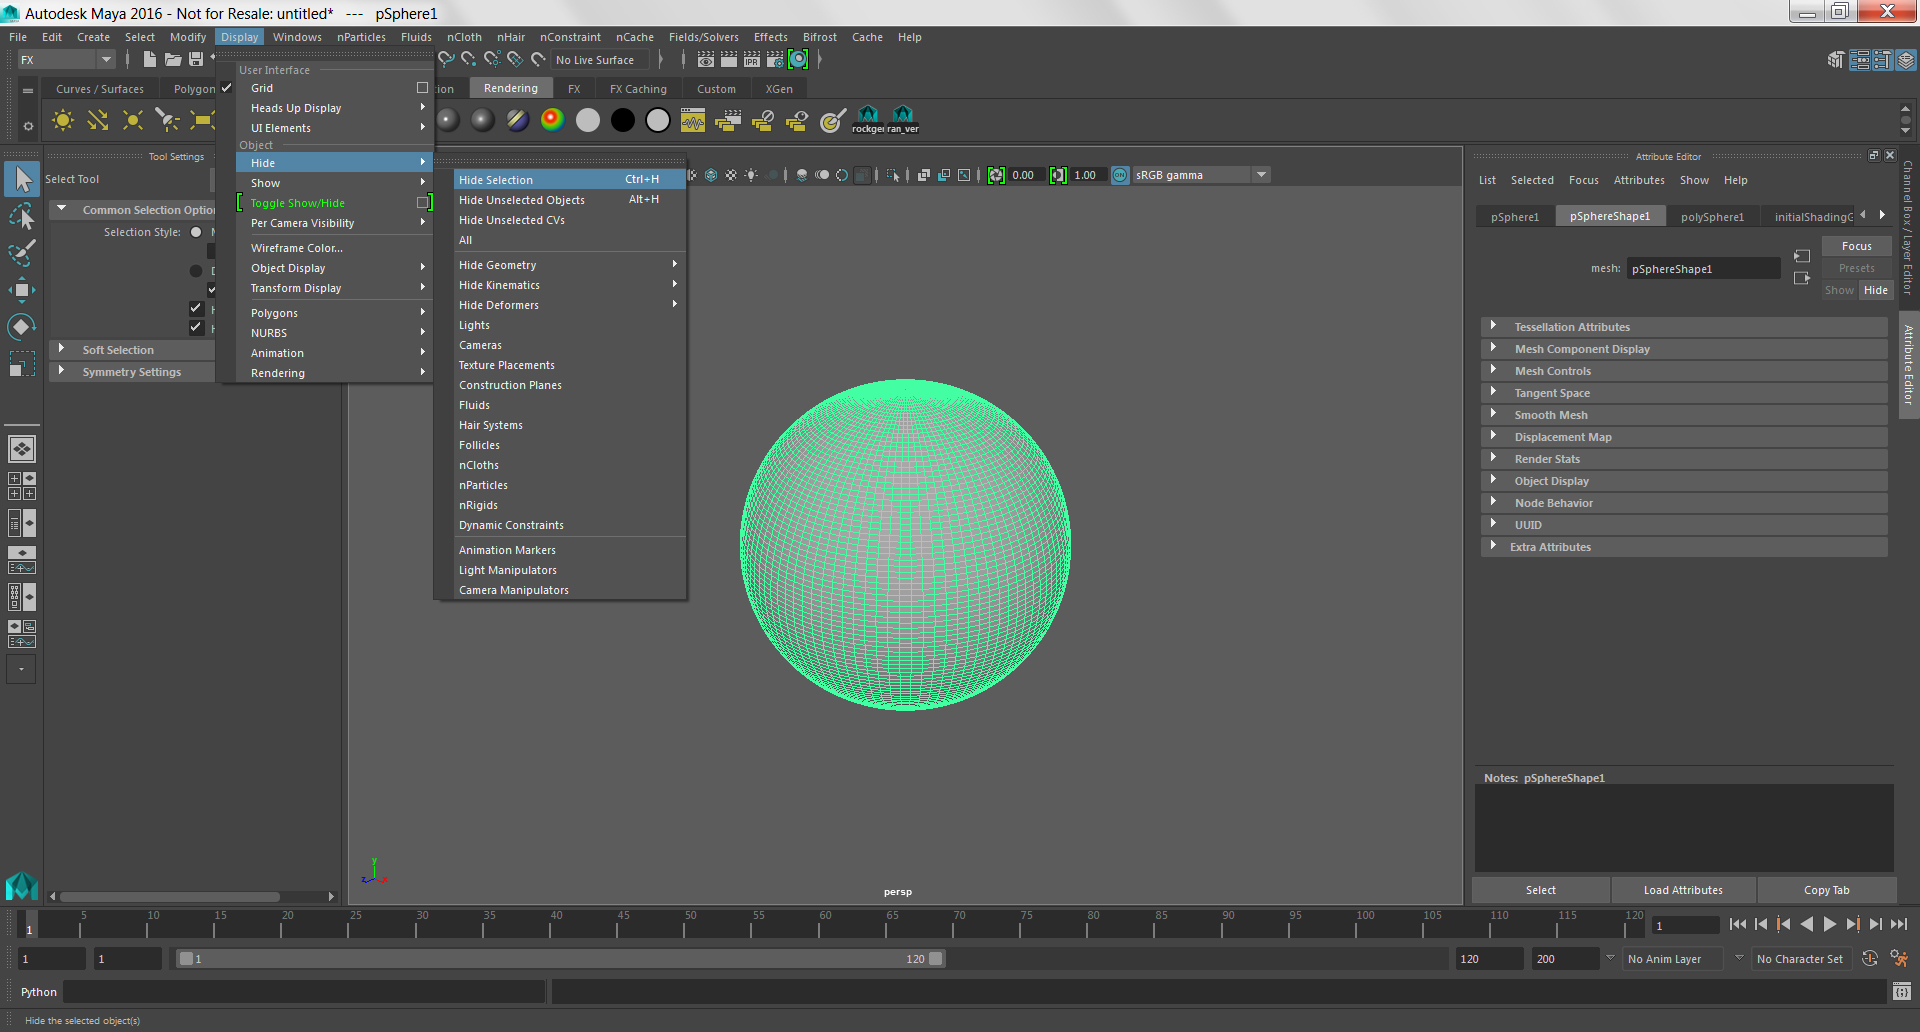
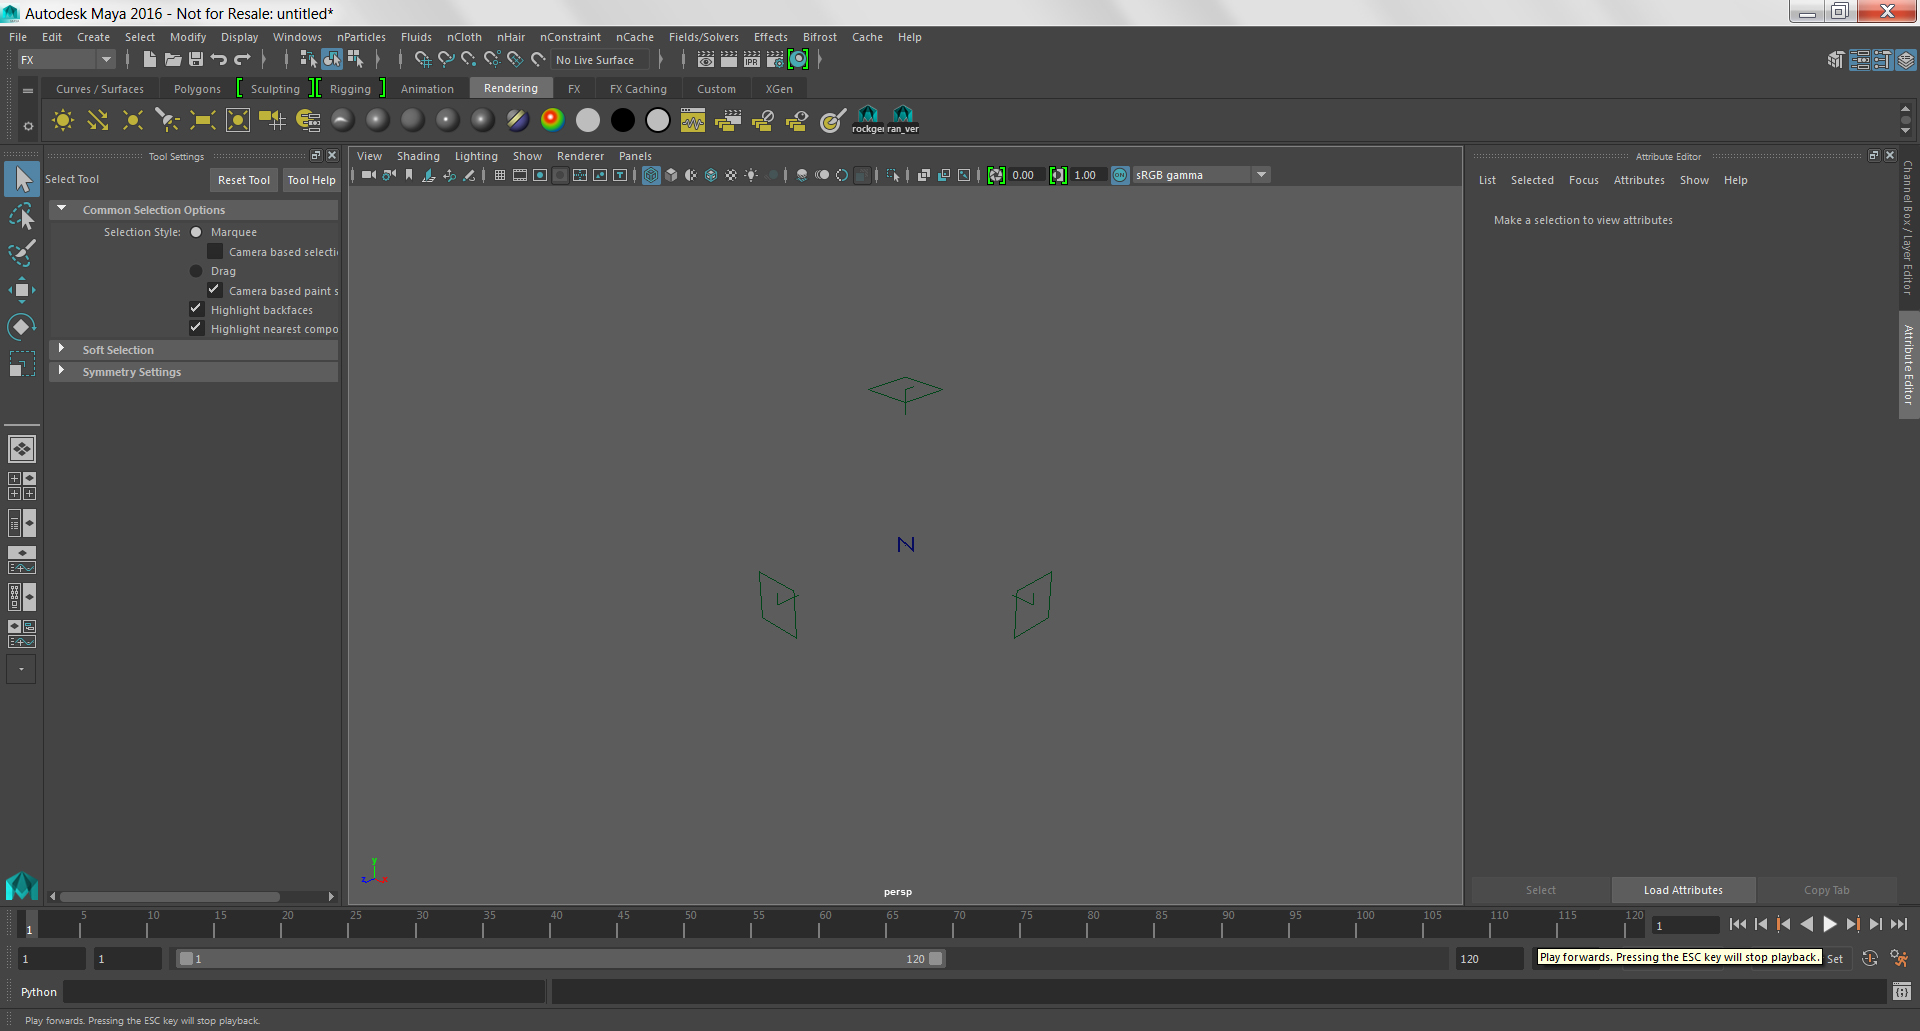
Now that the sphere is a particle emitter, you can make it invisible. This way you have a better view of the particles being generated.
Select the sphere, click on the Display menu, then choose Hide > Hide Selection.
The sphere will disappear and you will see the emitter and bounding area in its place.
Test Default Simulation
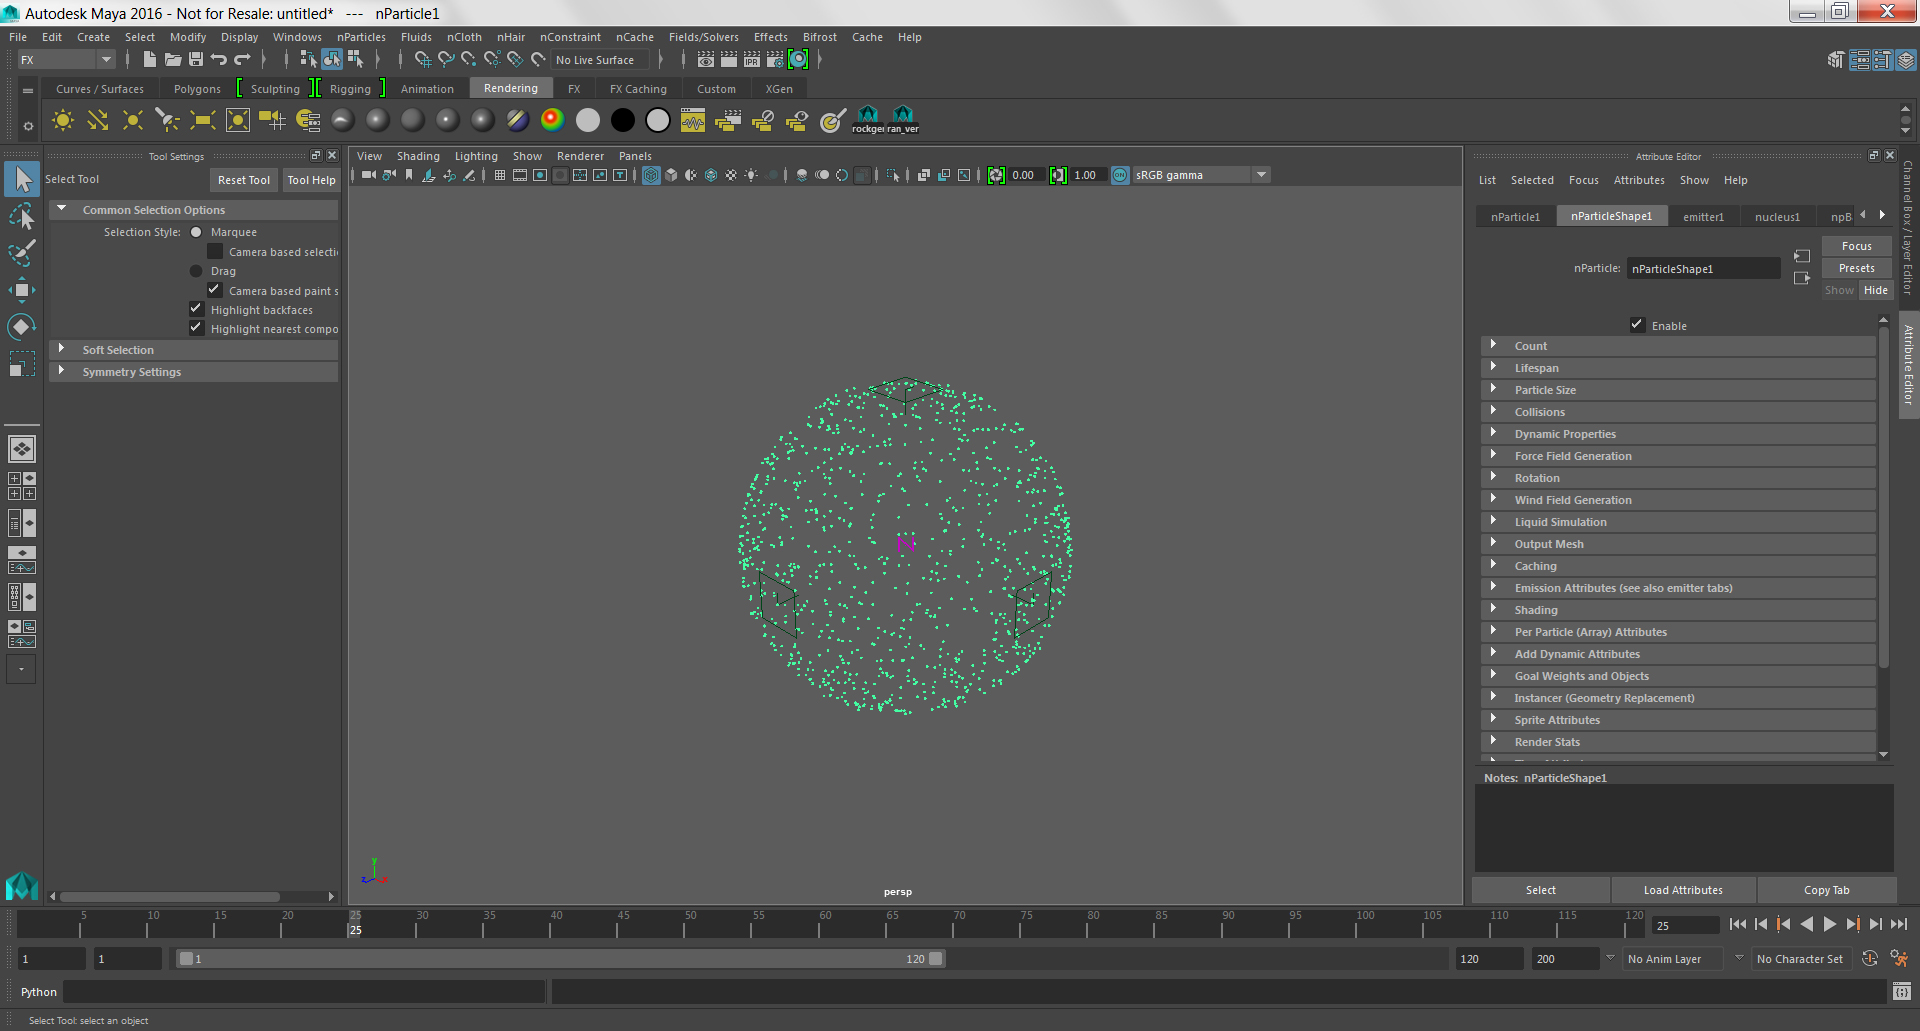
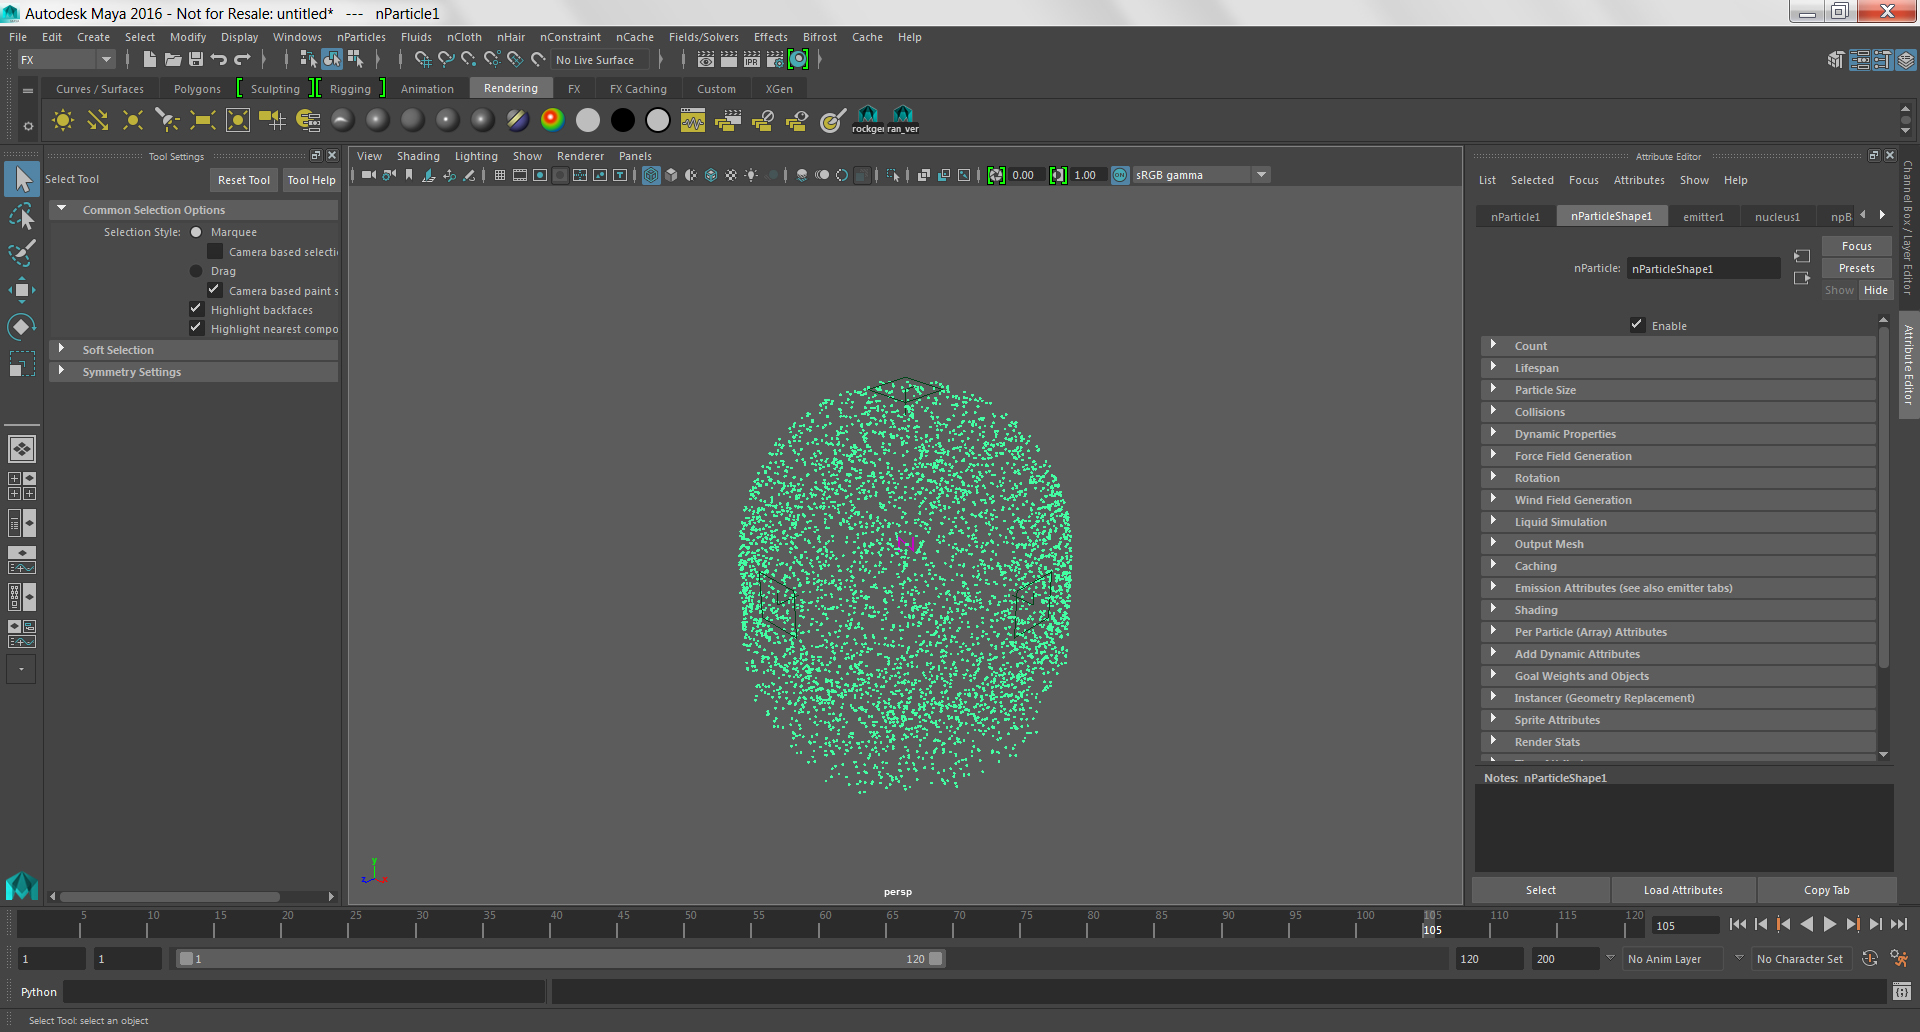
Press play on the timeline at the bottom of the interface.
You will see particles filling the surface of the sphere.
After a few seconds, the particles will begin to fall downward.
Change Gravity
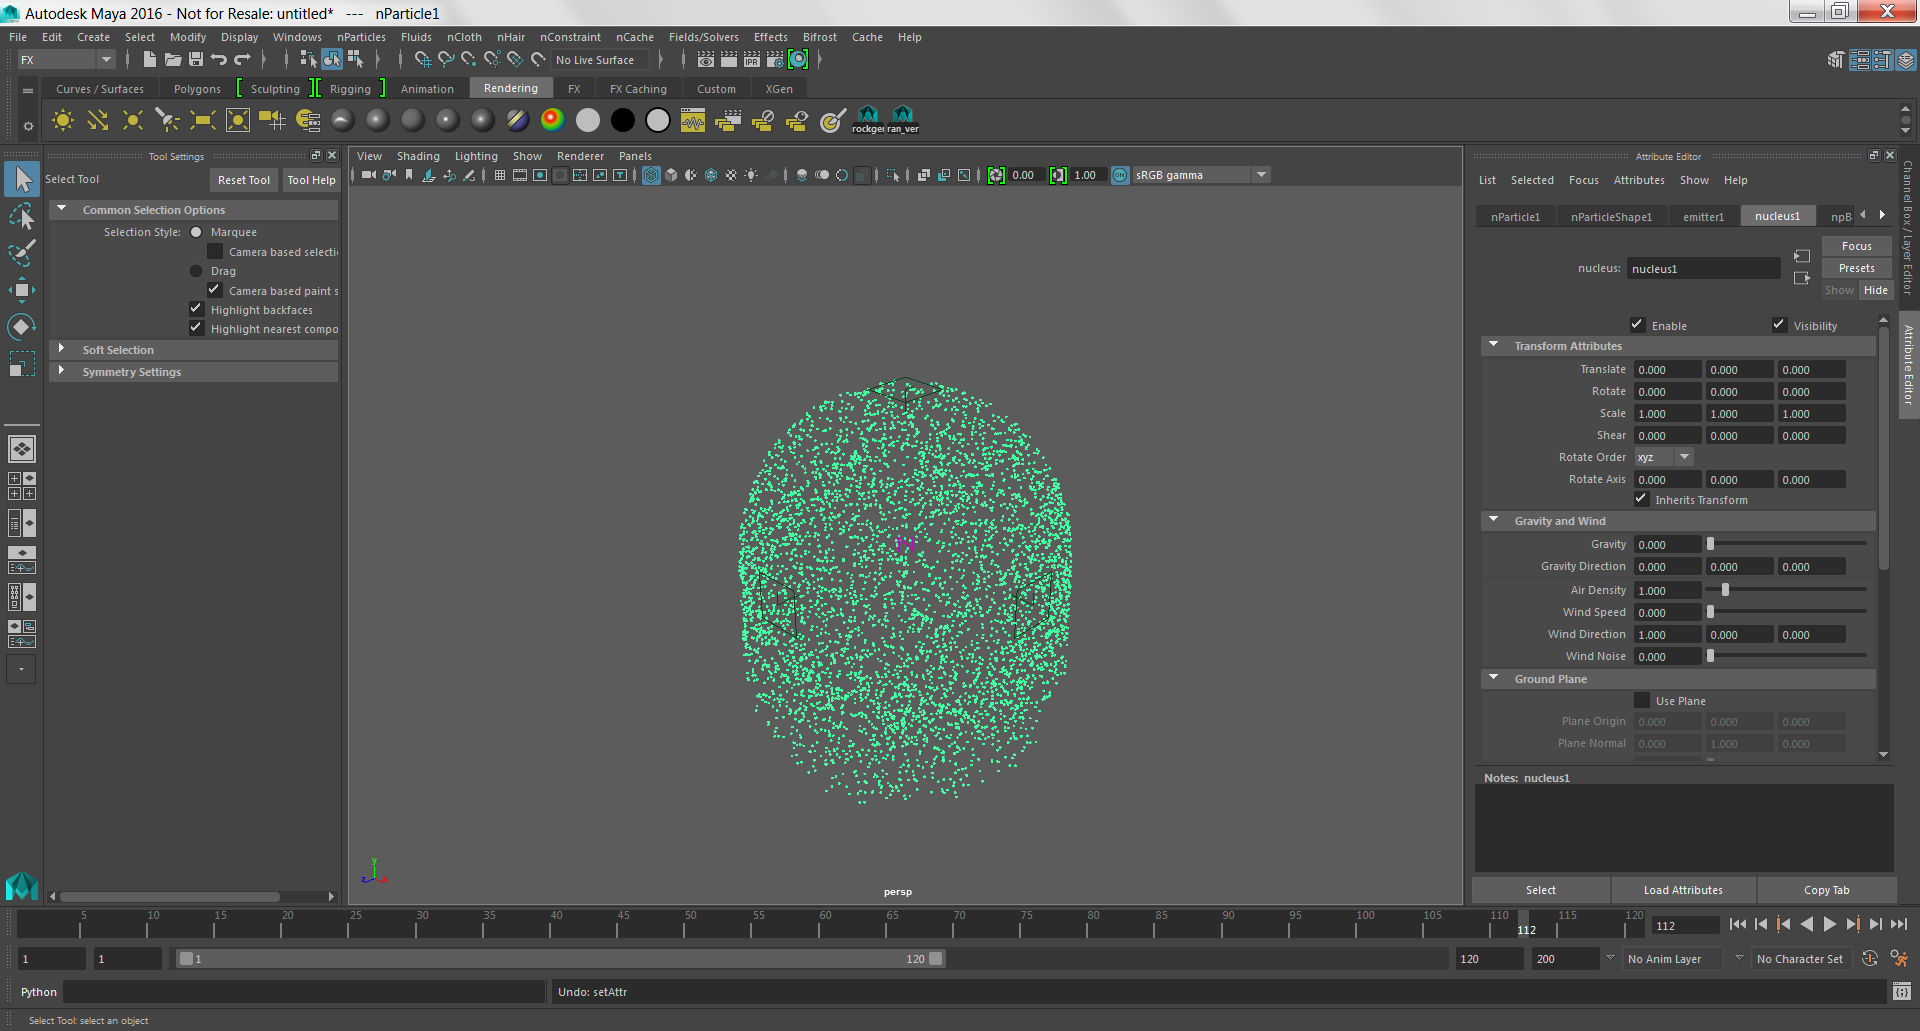
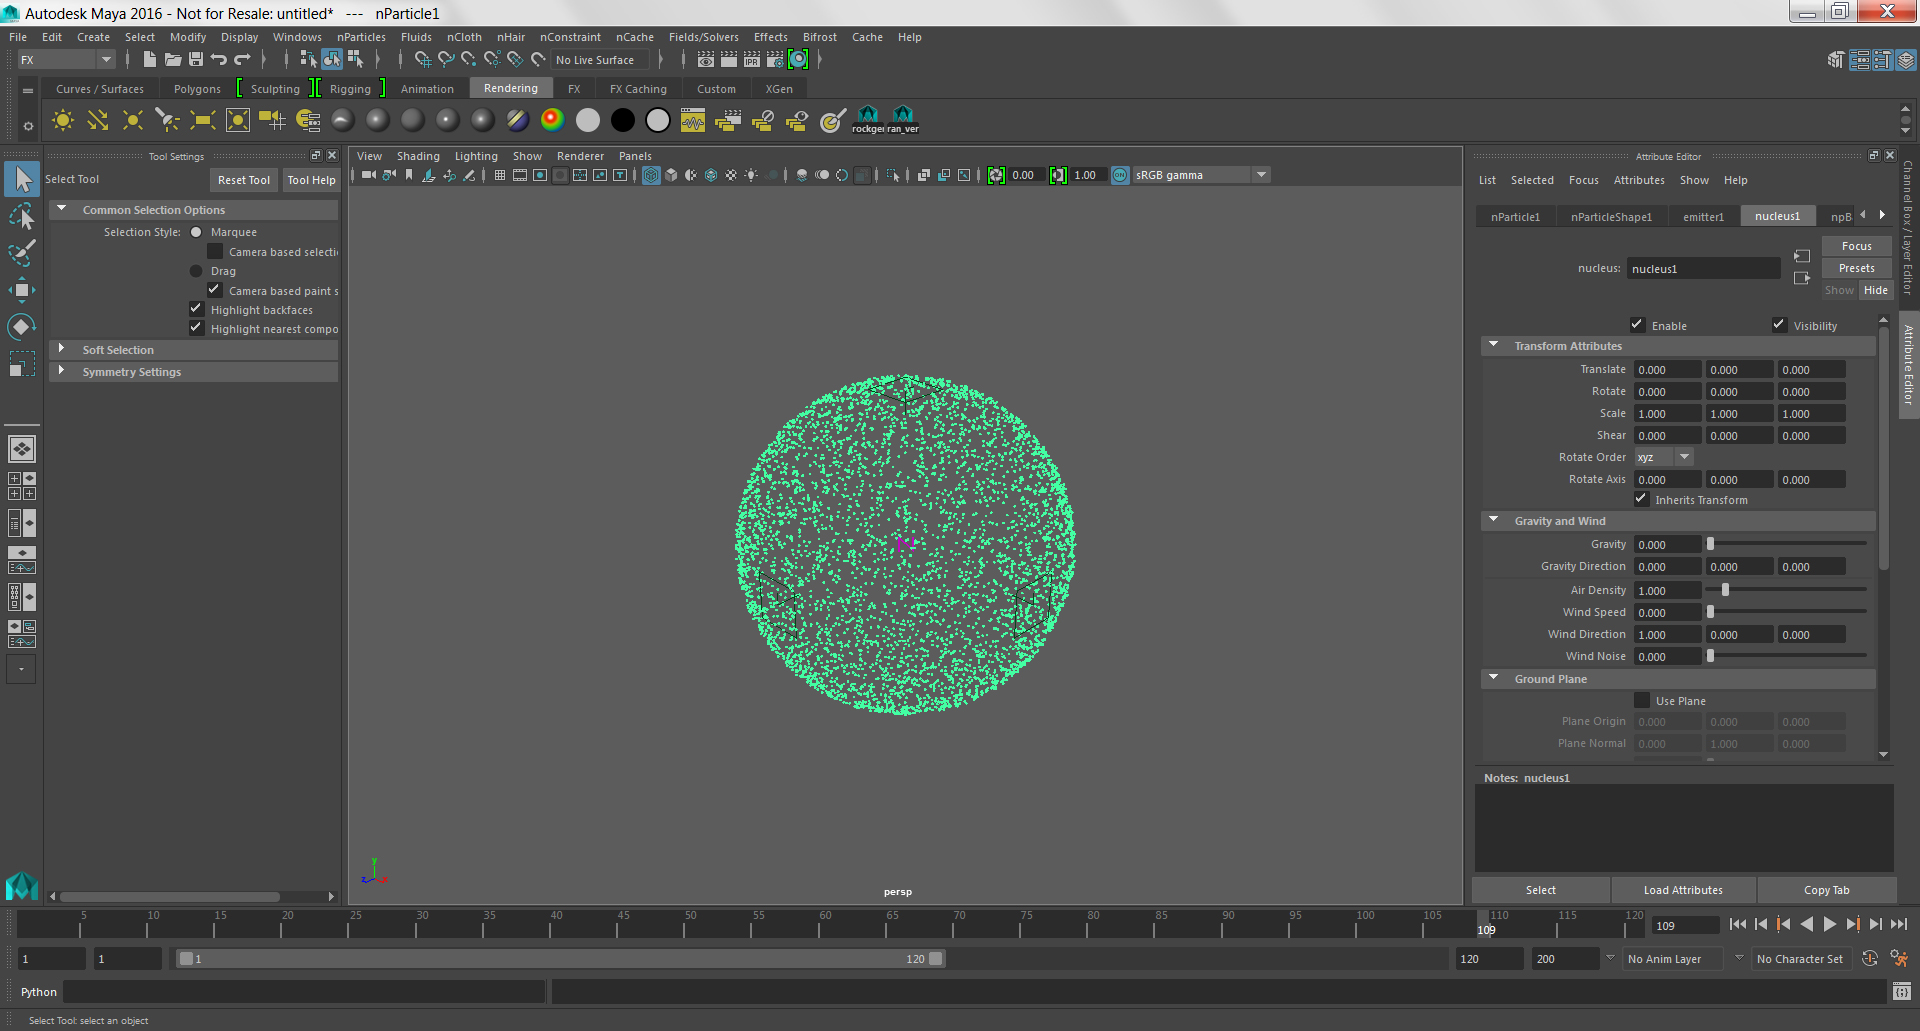
If you want to keep the particles on the surface of the sphere, you need to get rid of gravity.
Select the particle cloud and click on the nucleus tab in the Attribute Editor on the right side of the interface.
Set Gravity and Gravity Direction to 0.00.
Return to frame 1 on the timeline and press play. Now your particles will stay in their spherical formation.
Fill the Sphere With Particles
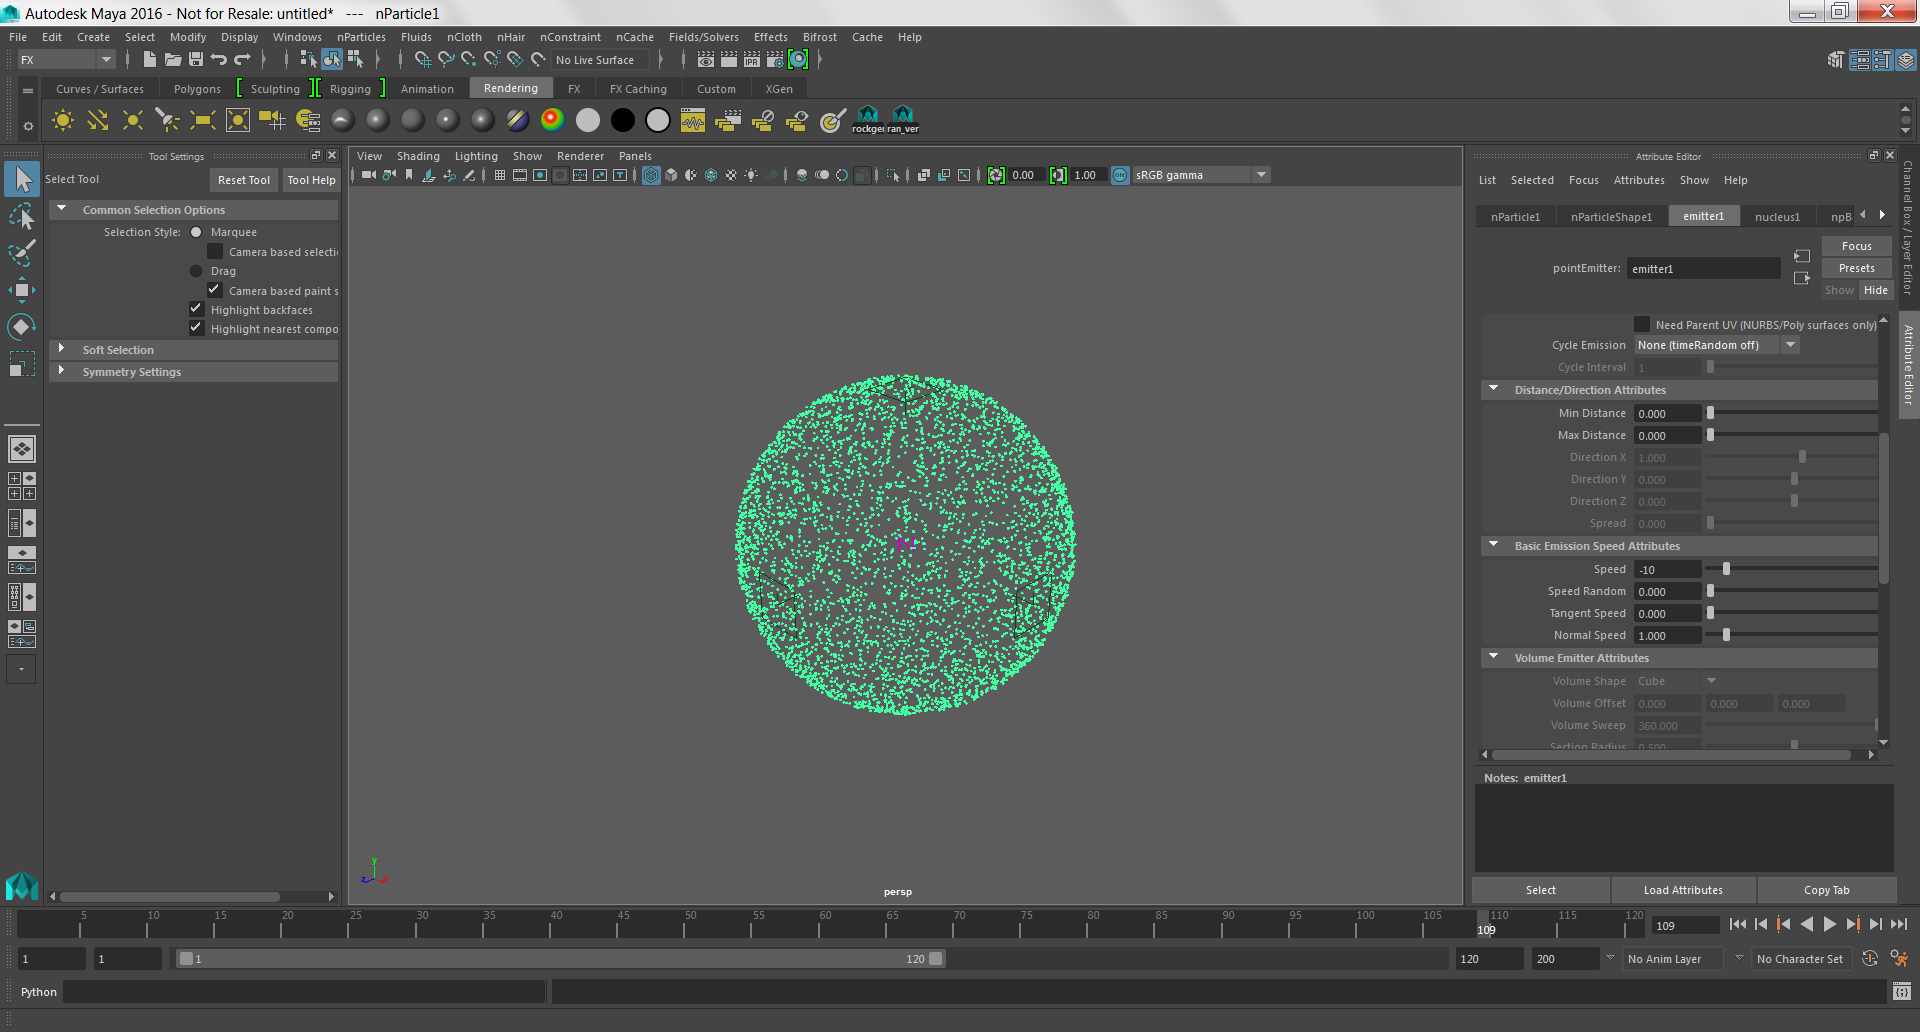
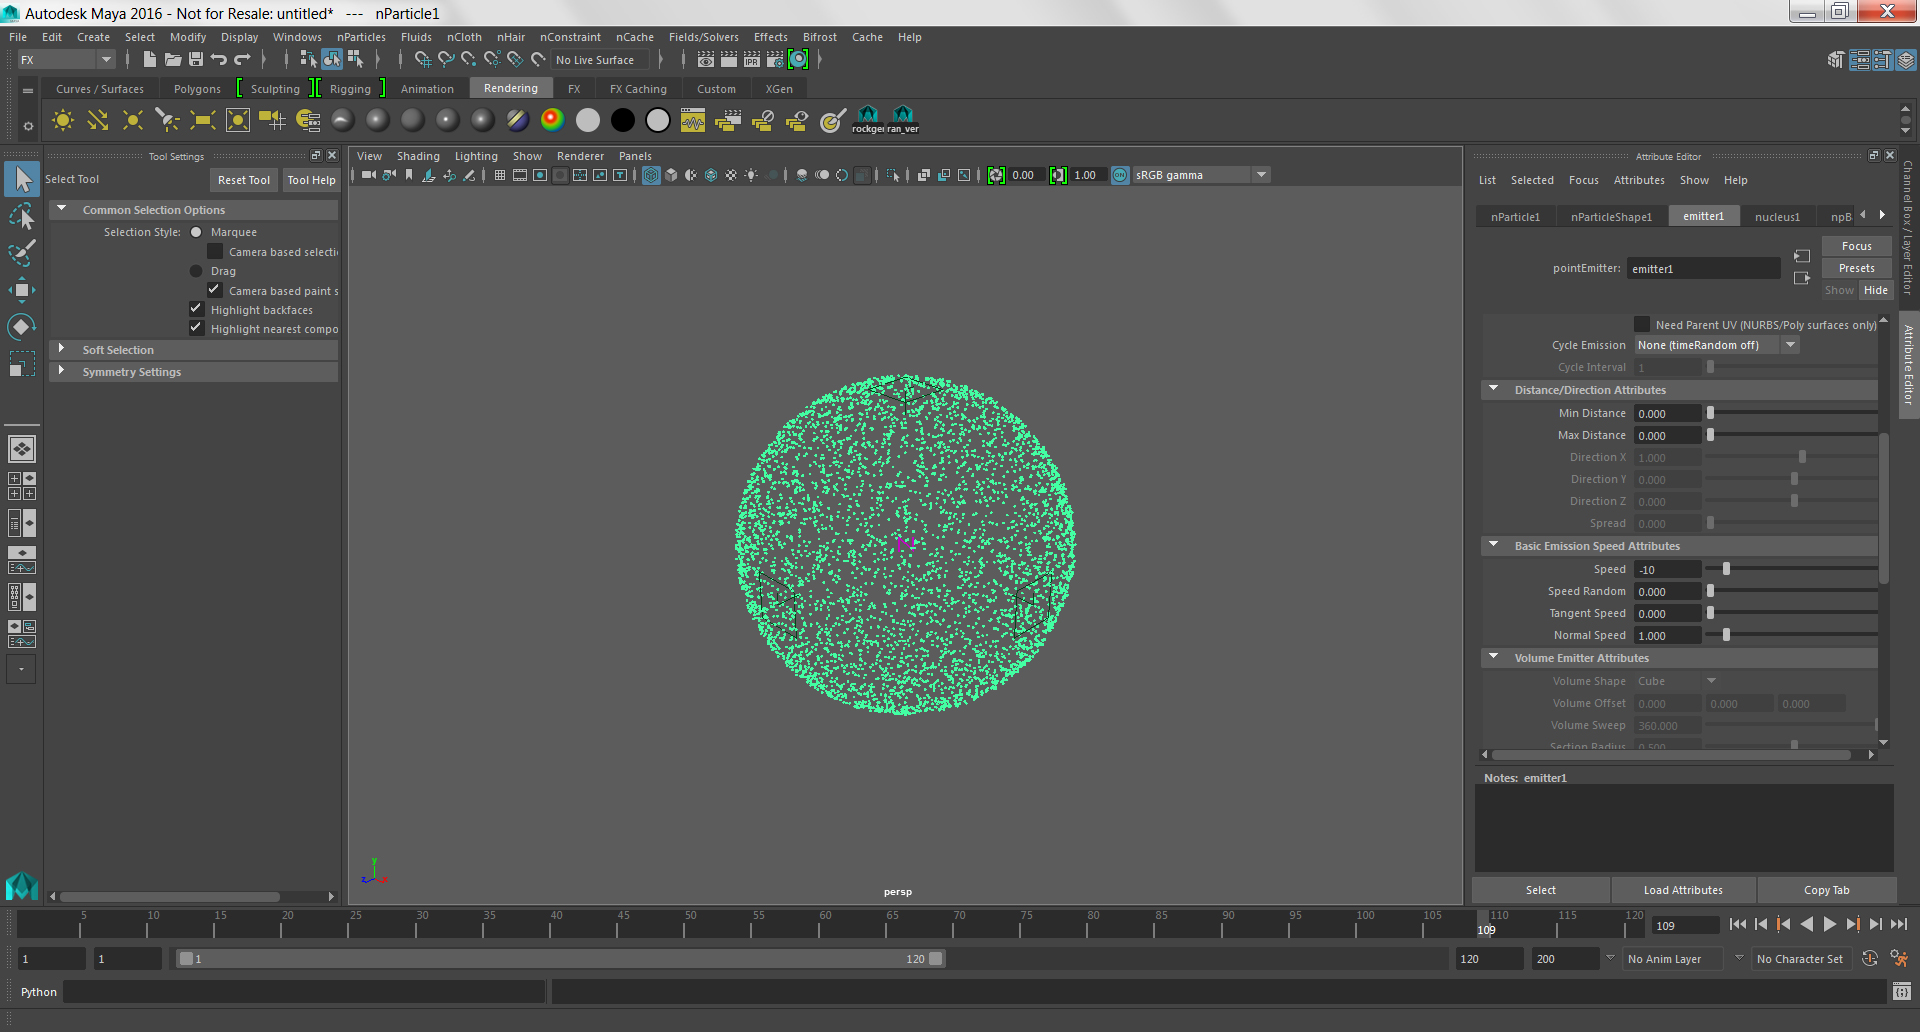
At the moment, all of the particles are on the surface of the geometry. If you want them to fill the volume, you can change their speed and direction so that they move into the center of the sphere.
Select the particle cloud and click on the emitter tab in the Attribute Editor.
Under Basic Emission Speed Attributes, change Speed to -10.
Return to frame 1 on the timeline and press play. Now you will observe the particles moving toward the center of the sphere. You can change the rate of emission and the particle speed to determine the spacing between particles.
Note: there is also Fill Geometry function in the nParticles menu, but the result is much less organic.
Turn Particles Into Polygons
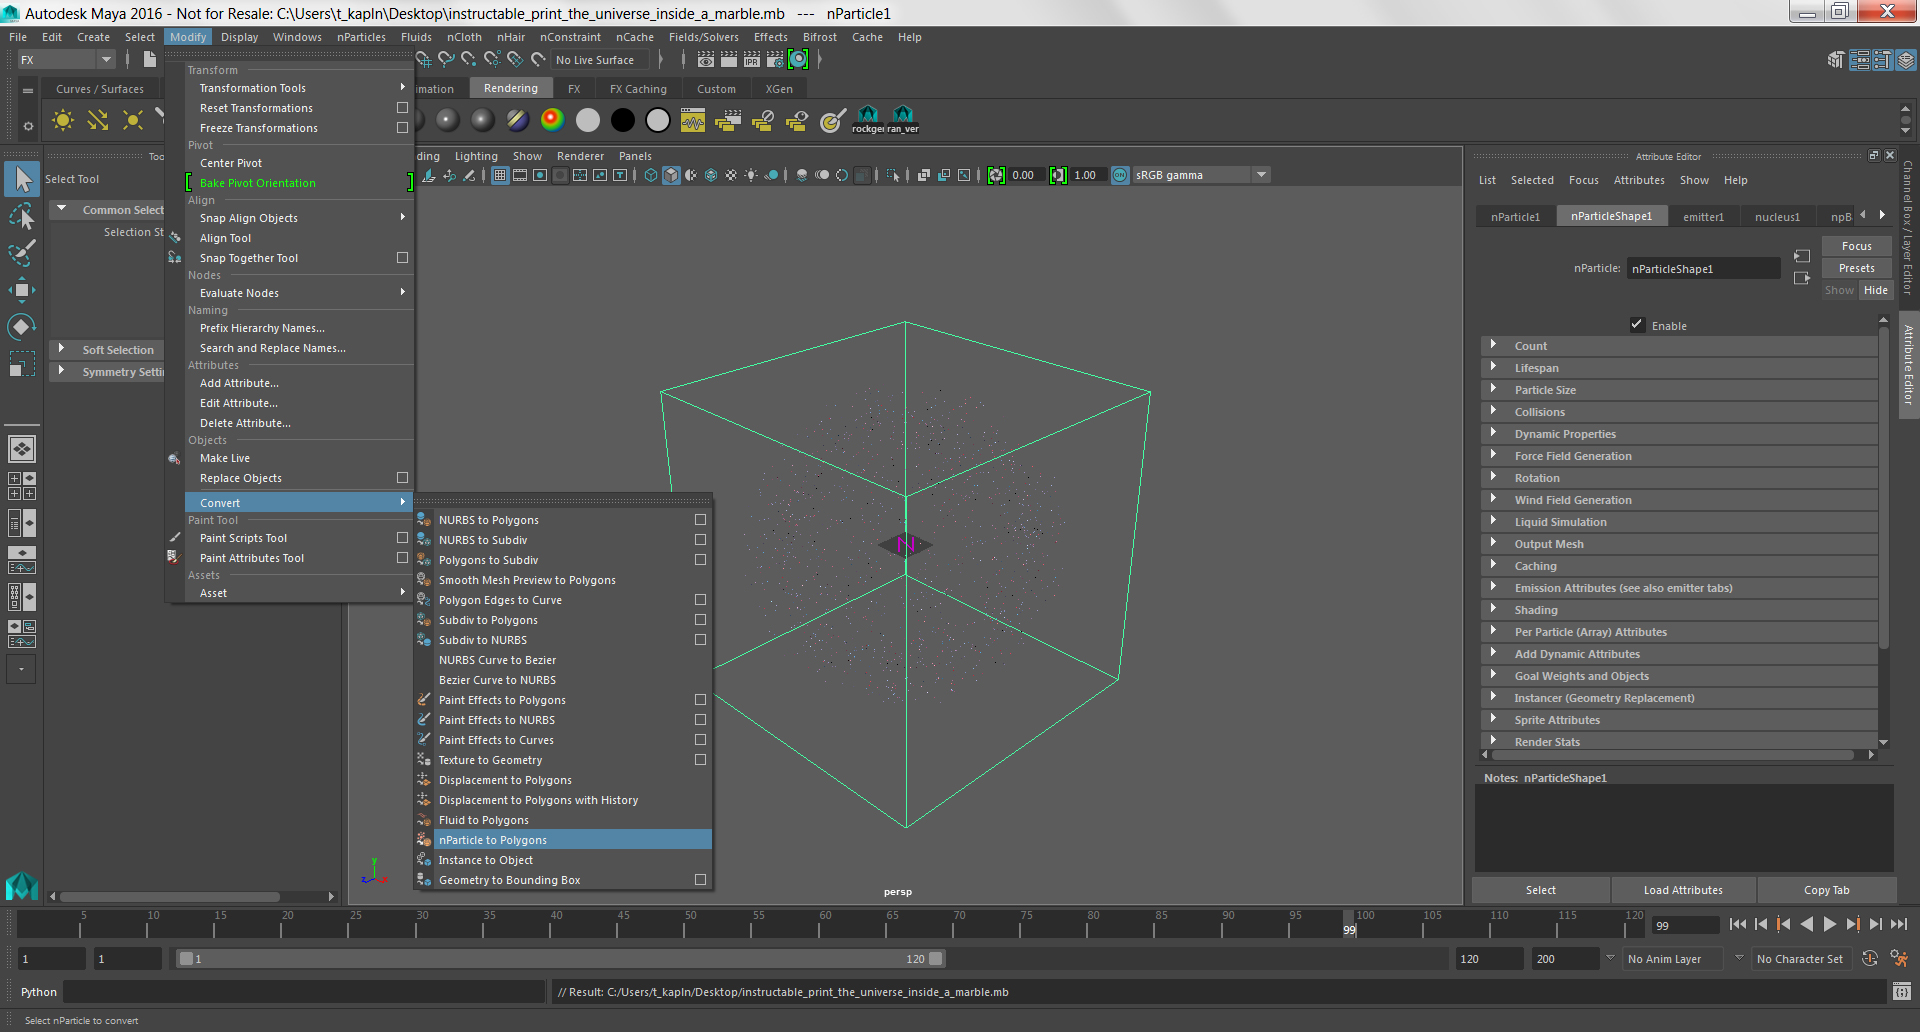
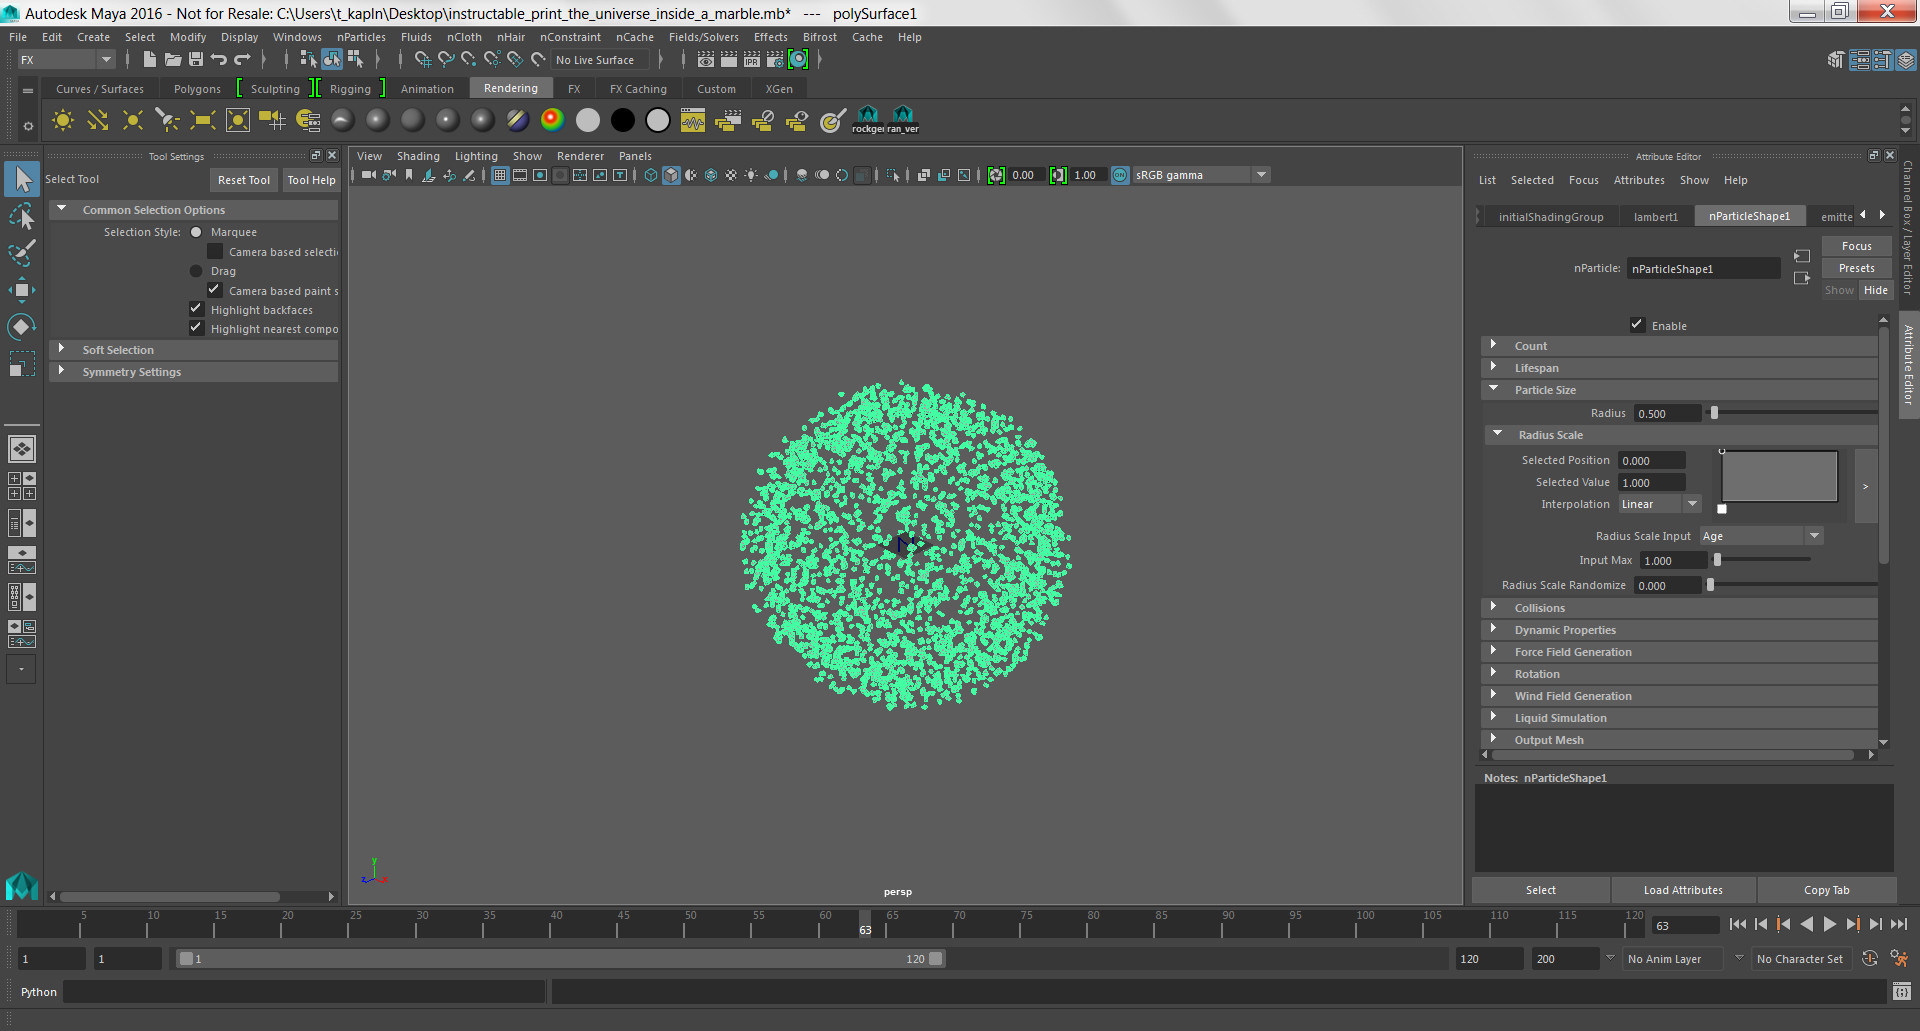
When you are happy with the distribution of your particles, it is time to turn them into polygons.
Select your particle cloud then in the Modify menu, choose Convert > nParticles to Polygons.
You need a polygon model if your want to turn your cloud into a physical object, but as you will notice, the visual appearance of the particles changes significantly when they are converted. There are few more adjustments to make before you are ready to export a model.
Refine Particle Quality
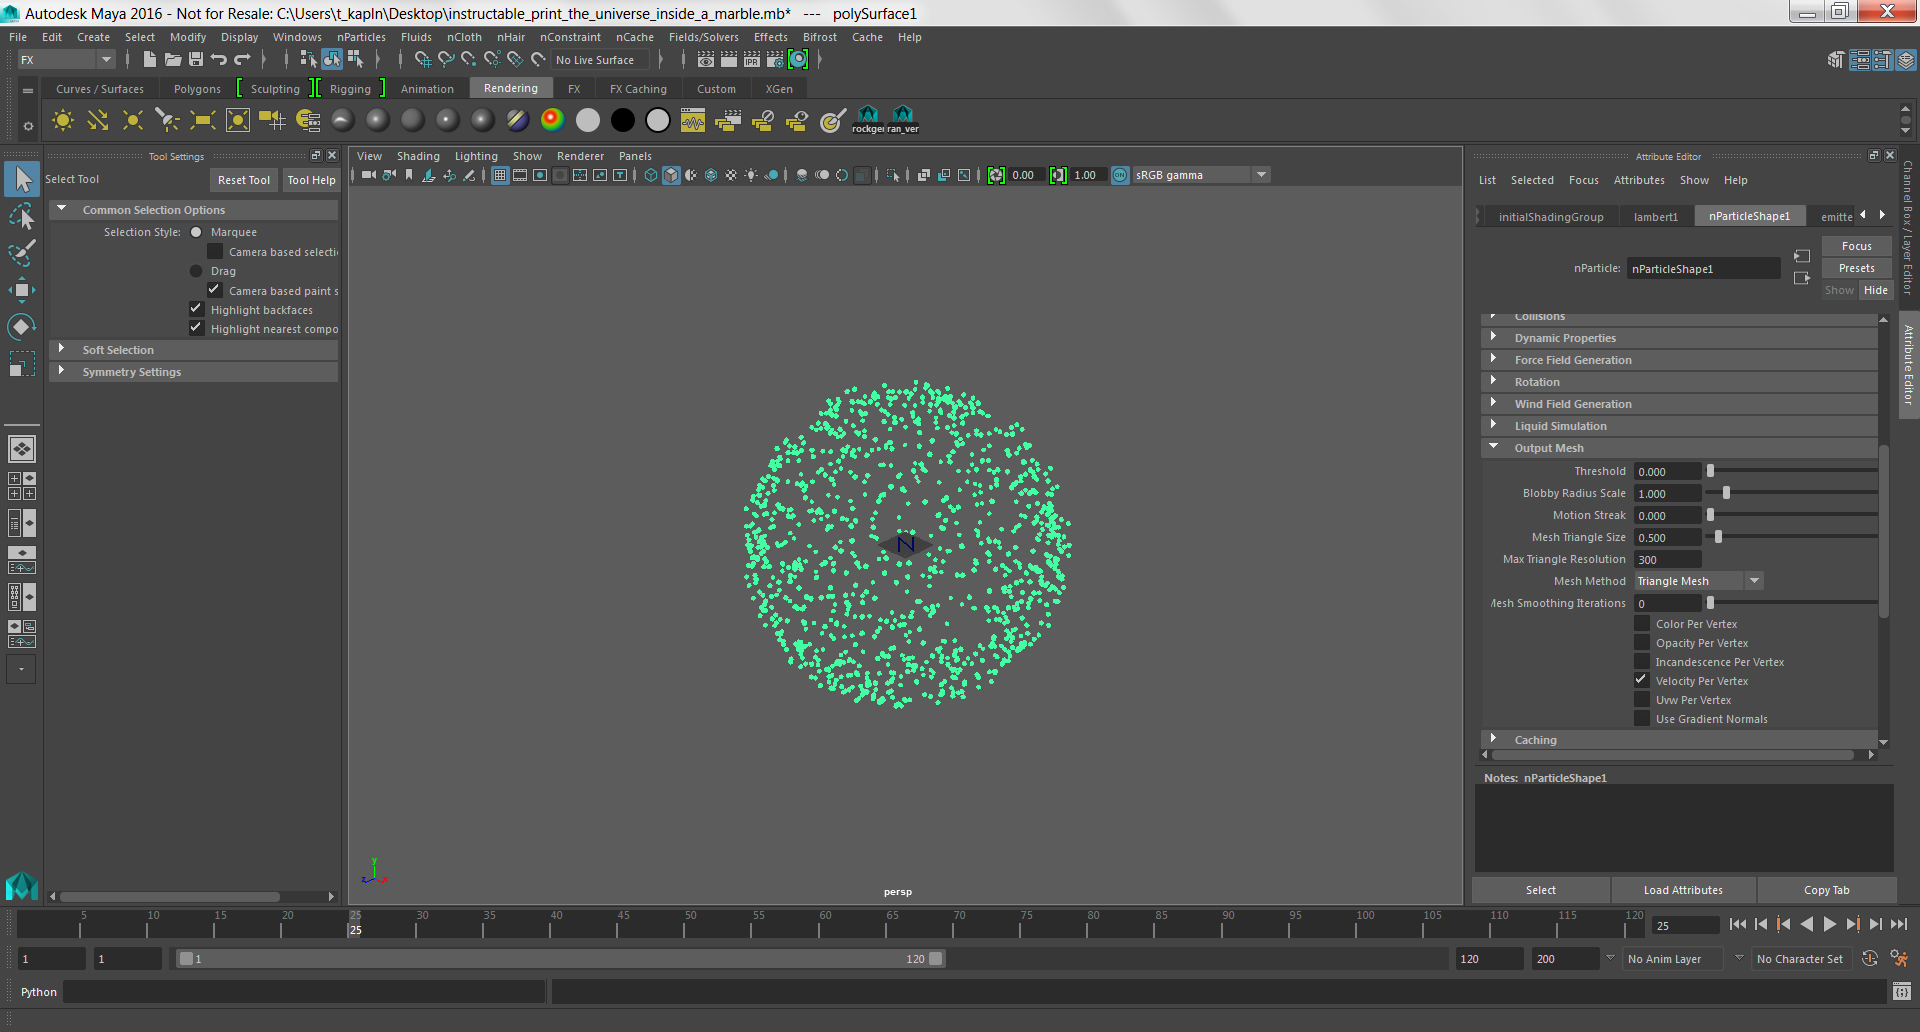
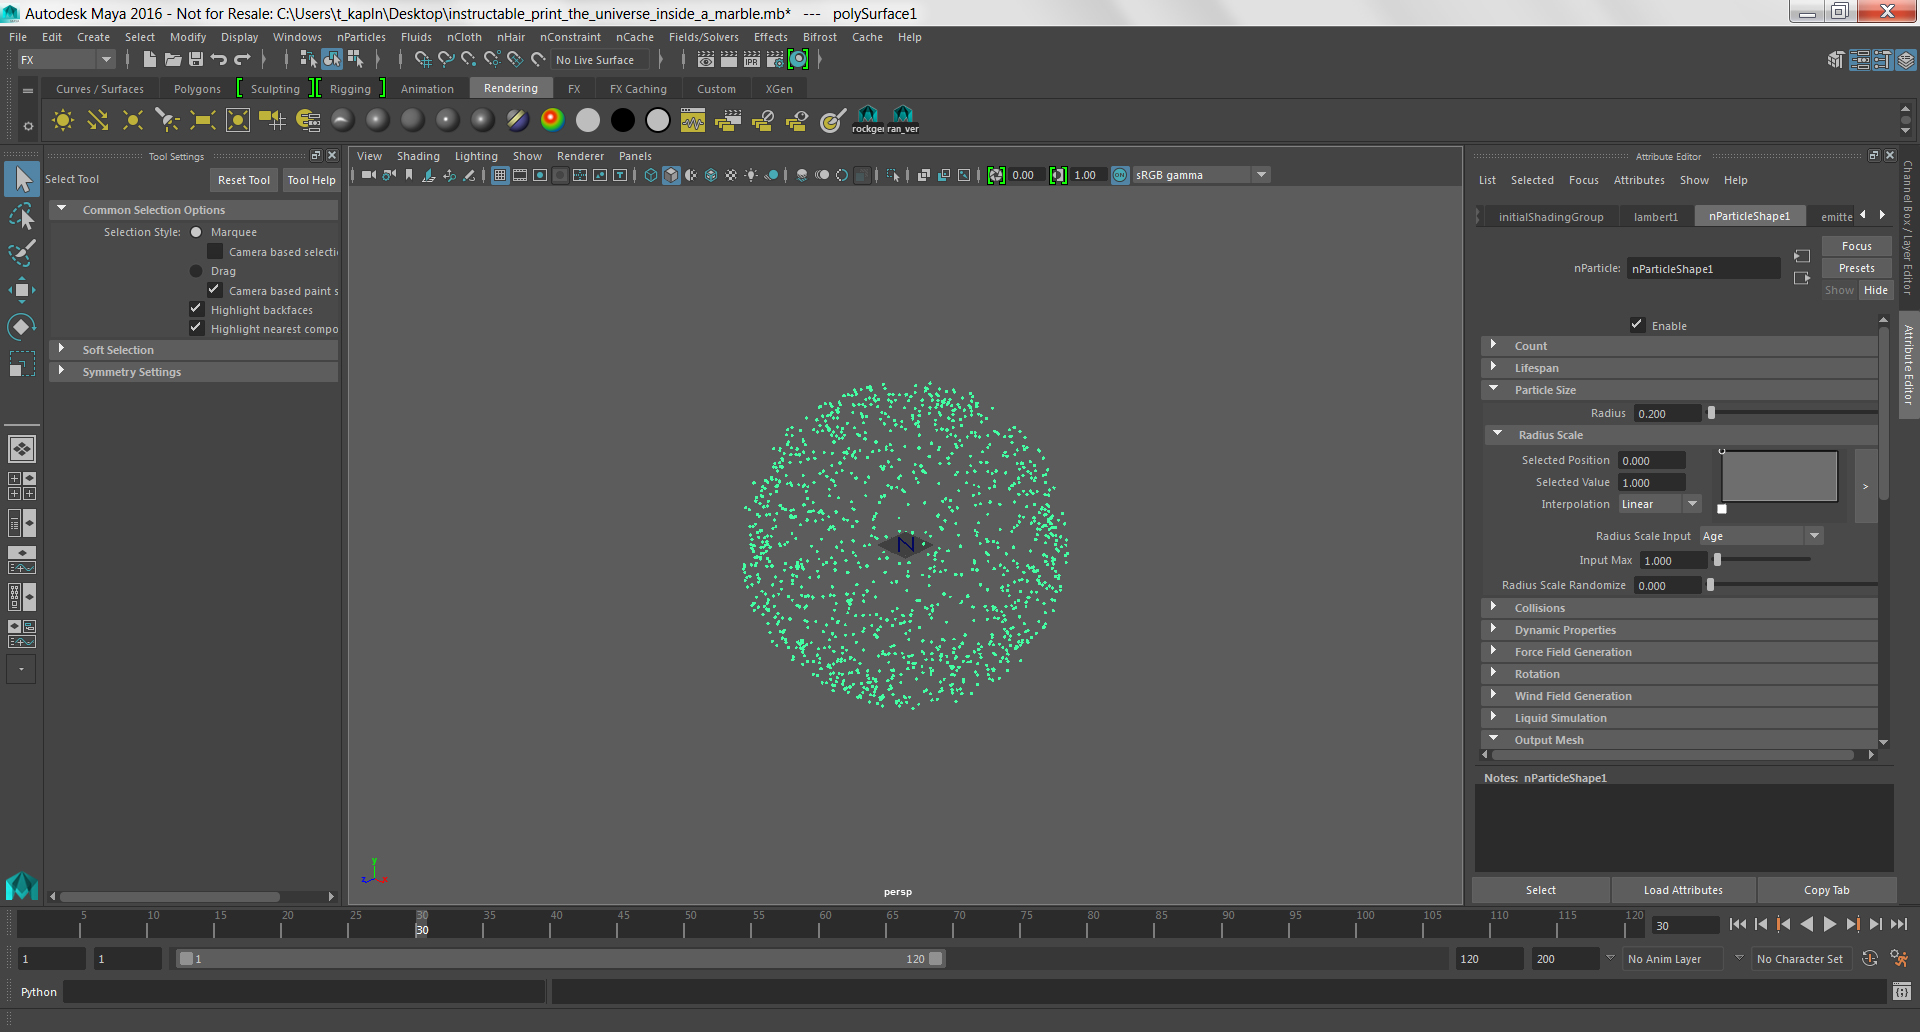
Select your particle cloud, and click on the nParticleShape tab in the Attribute Editor.
Scroll down to the Output Mesh section and change the Max Triangle Resolution to 300.
Make sure that Mesh Method is set to Triangle Mesh.
Next scroll back up to the Particle Size section and set the Radius to 0.200.
Feel free to experiment with the size of your particles.
Make a Layer for Your Emitter
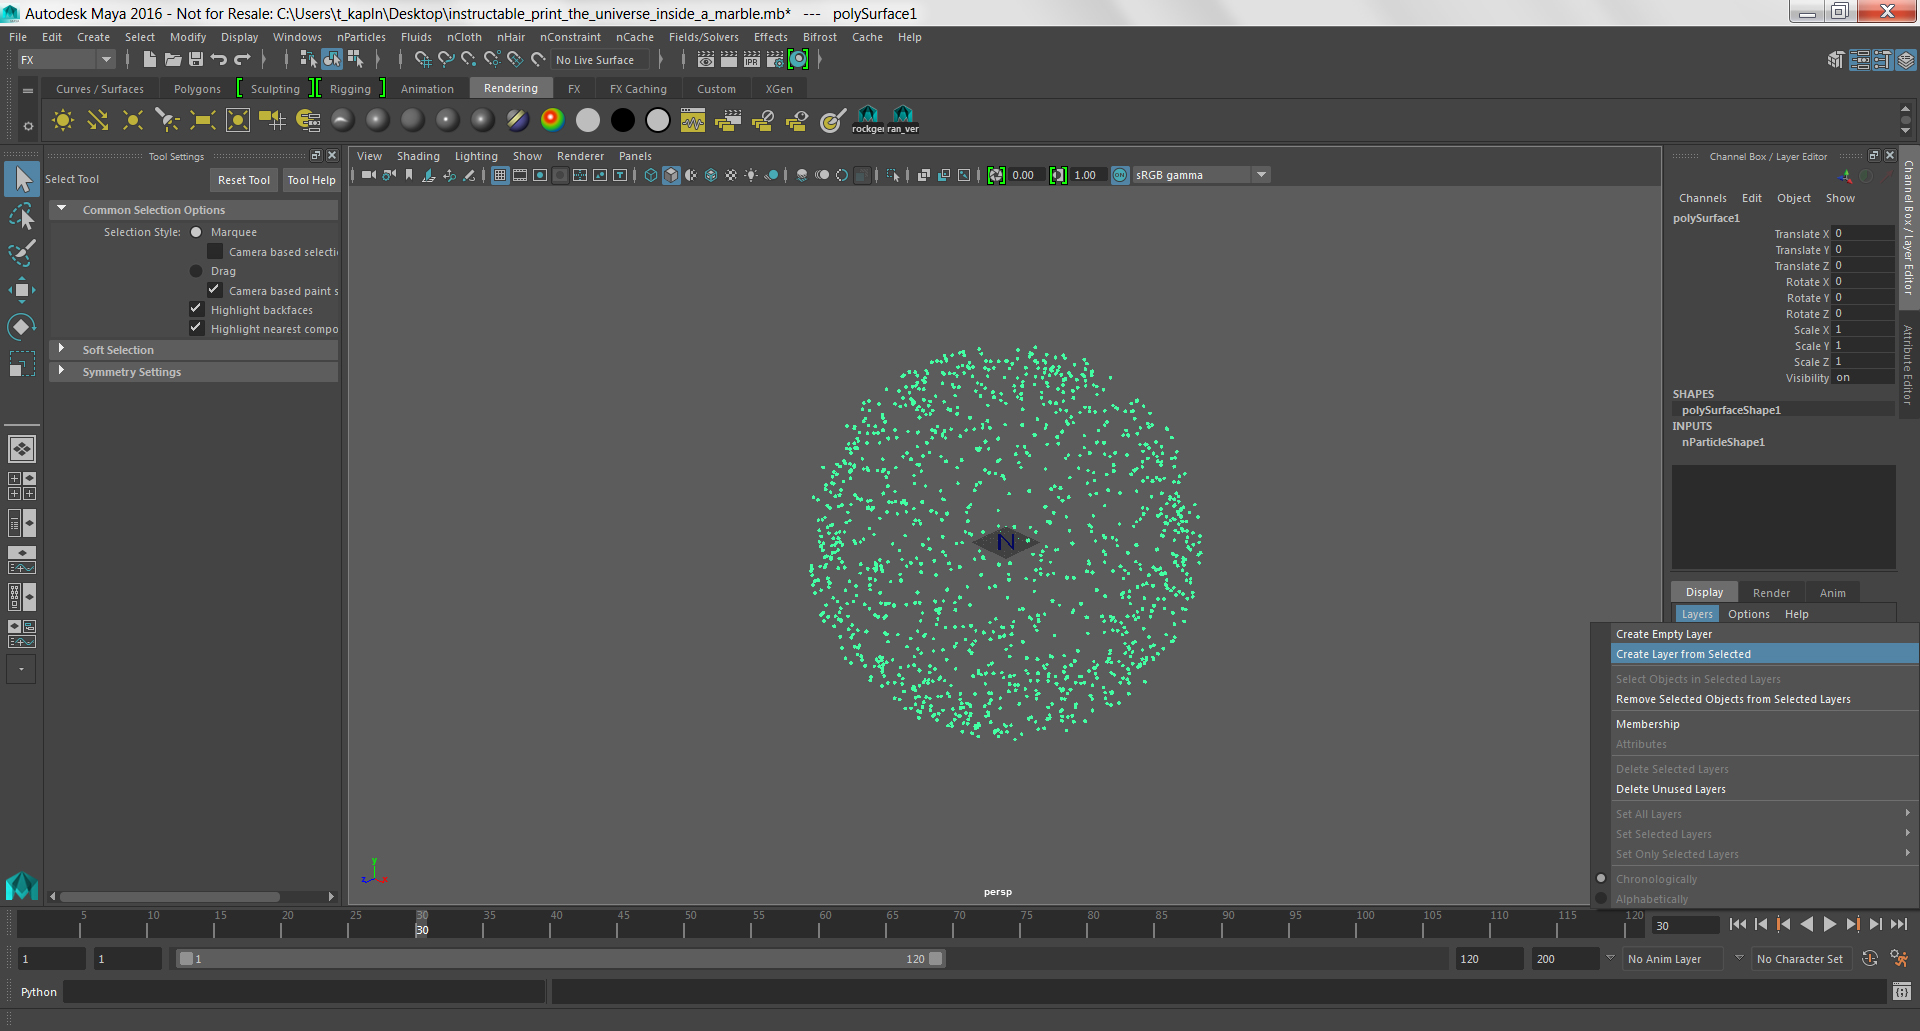
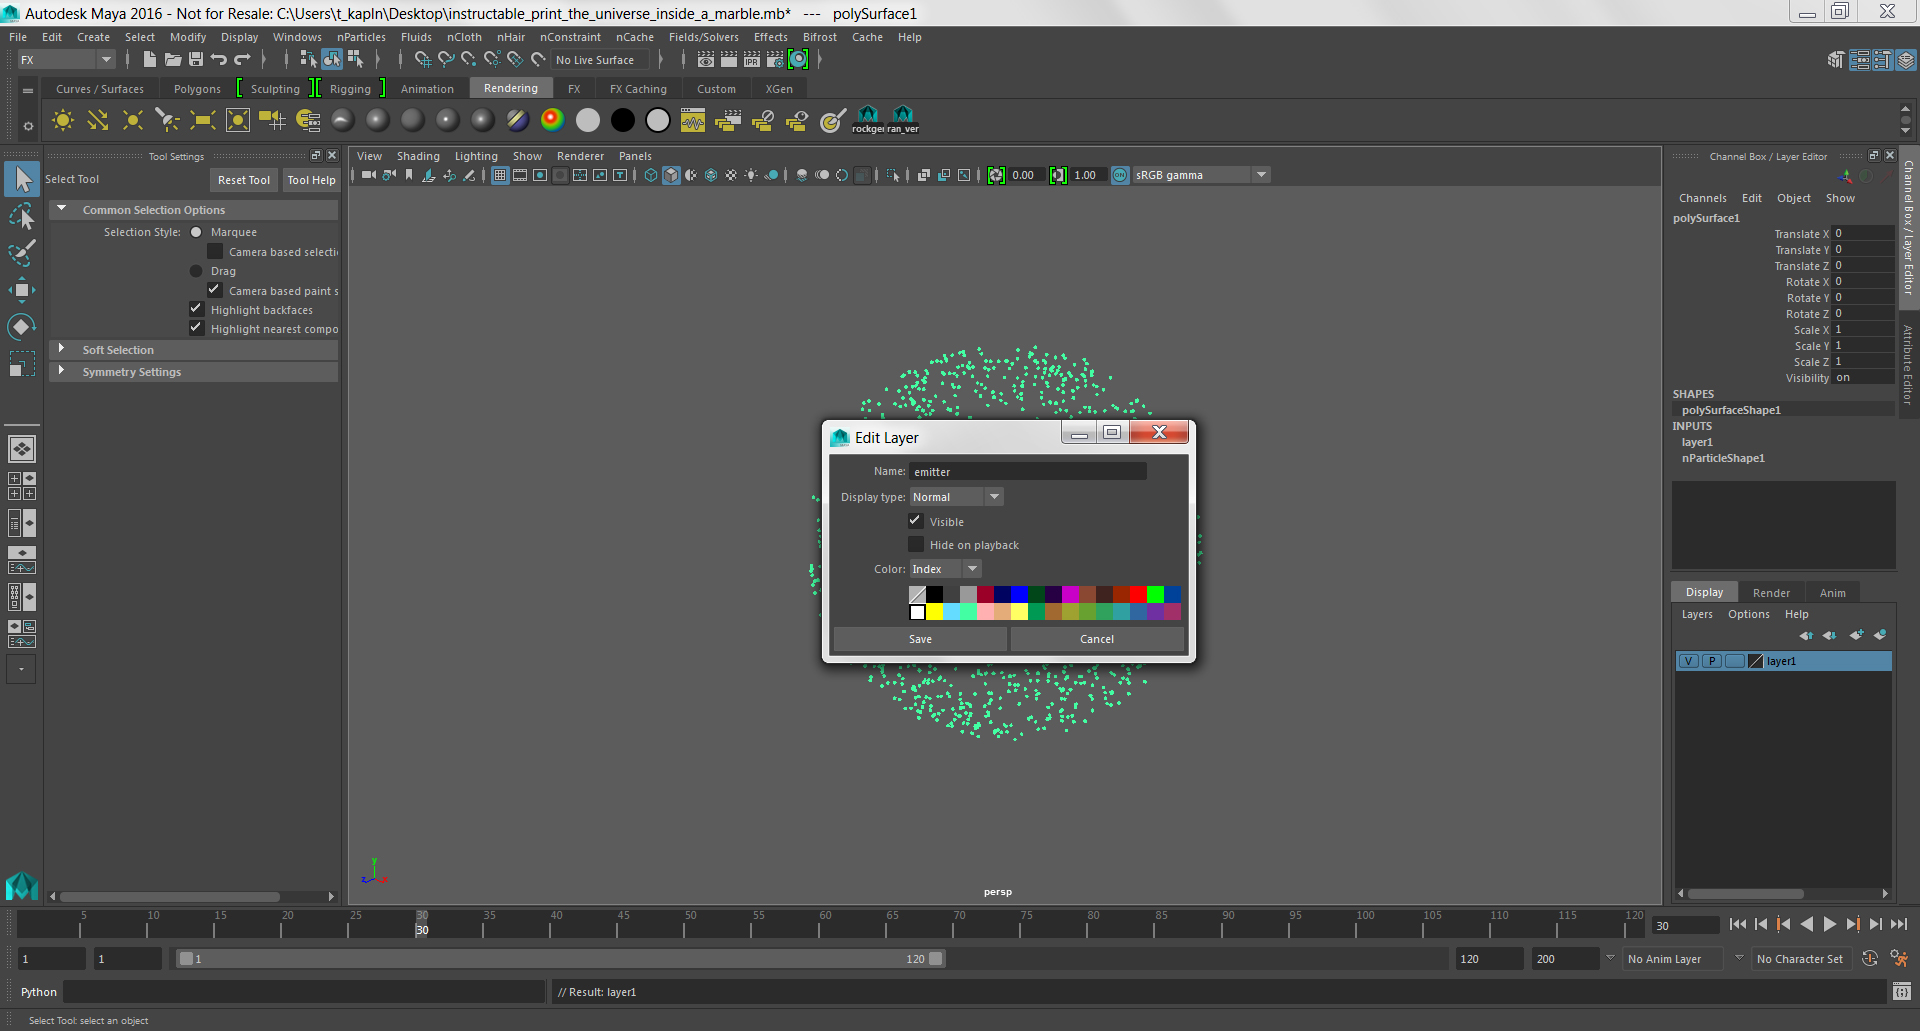
Next you will capture a single state of your particle simulation and turn it into a printable model. If you want to be able to generate multiple states, it is important to protect the simulation by putting it on its own layer.
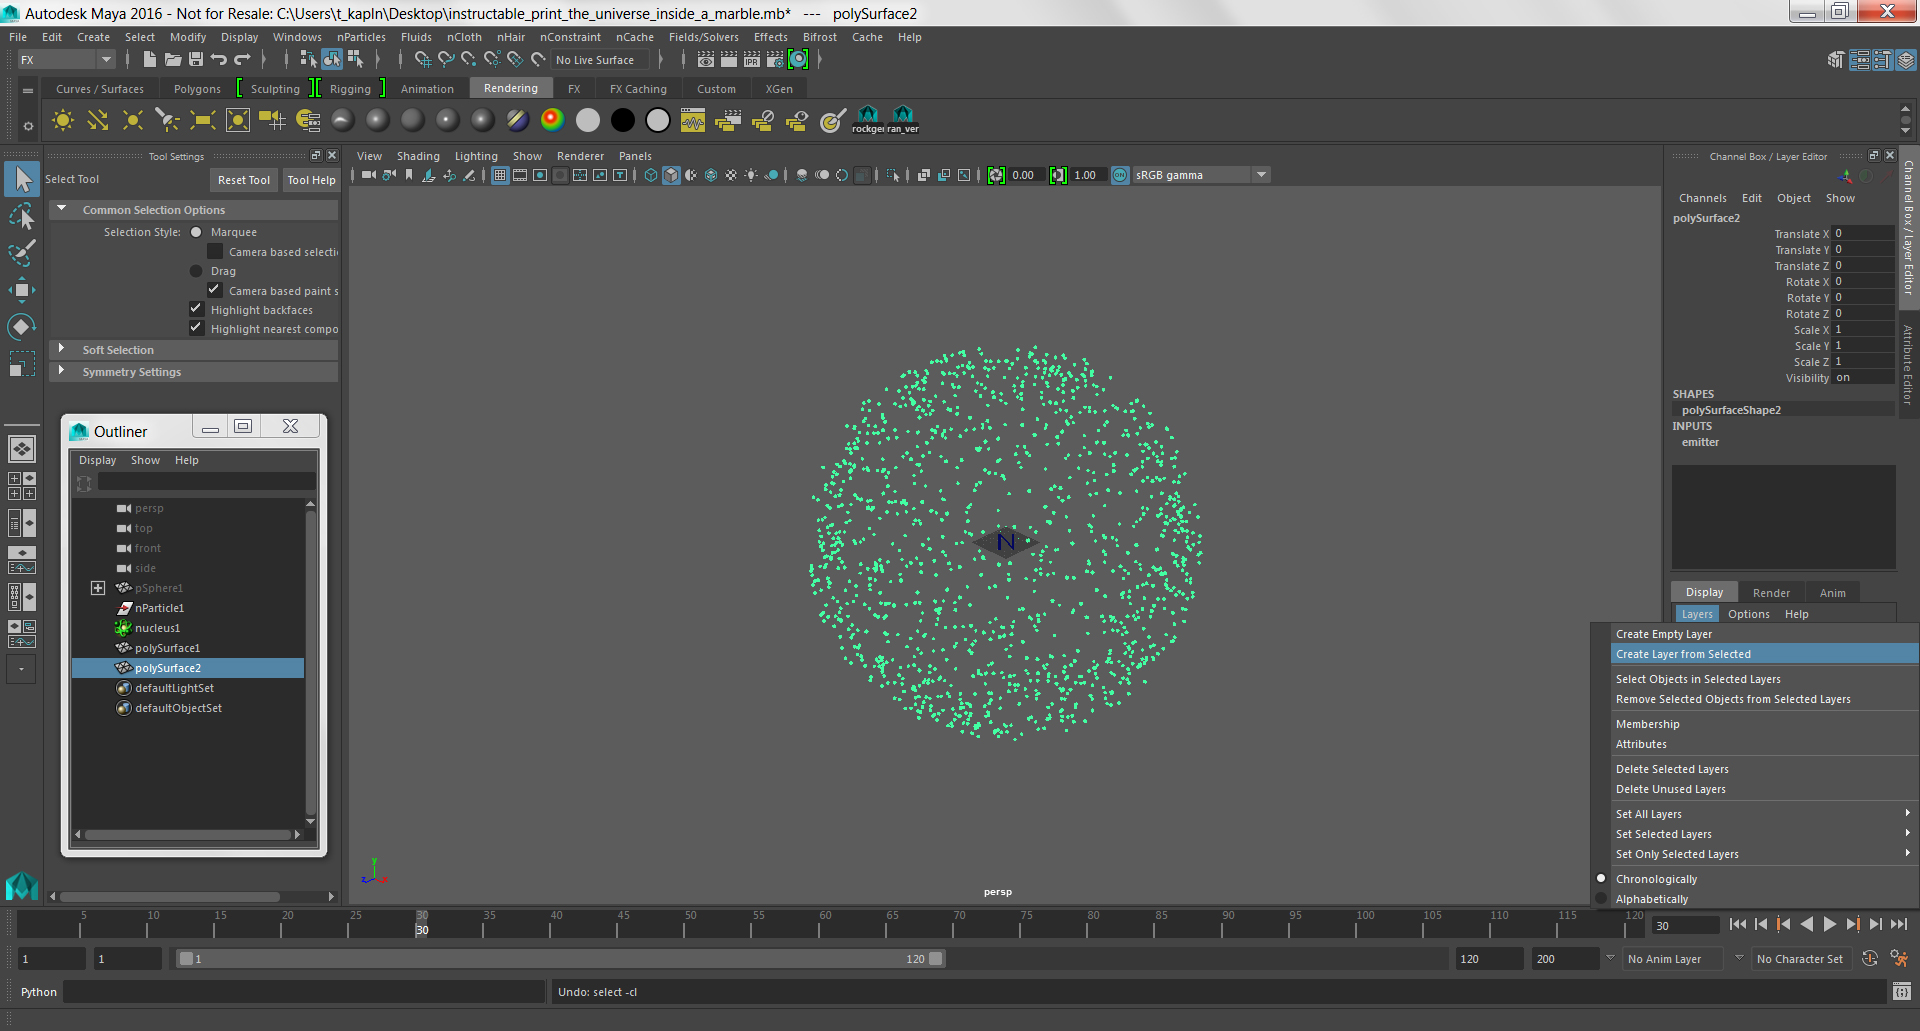
Select your particle cloud and right click on the Layers tab in the Layer Editor on the right side of the interface.
Choose Create Layer from Selected.
Double click on the new layer to give it a name, for this example, type "emitter."
Capture a Moment in Time
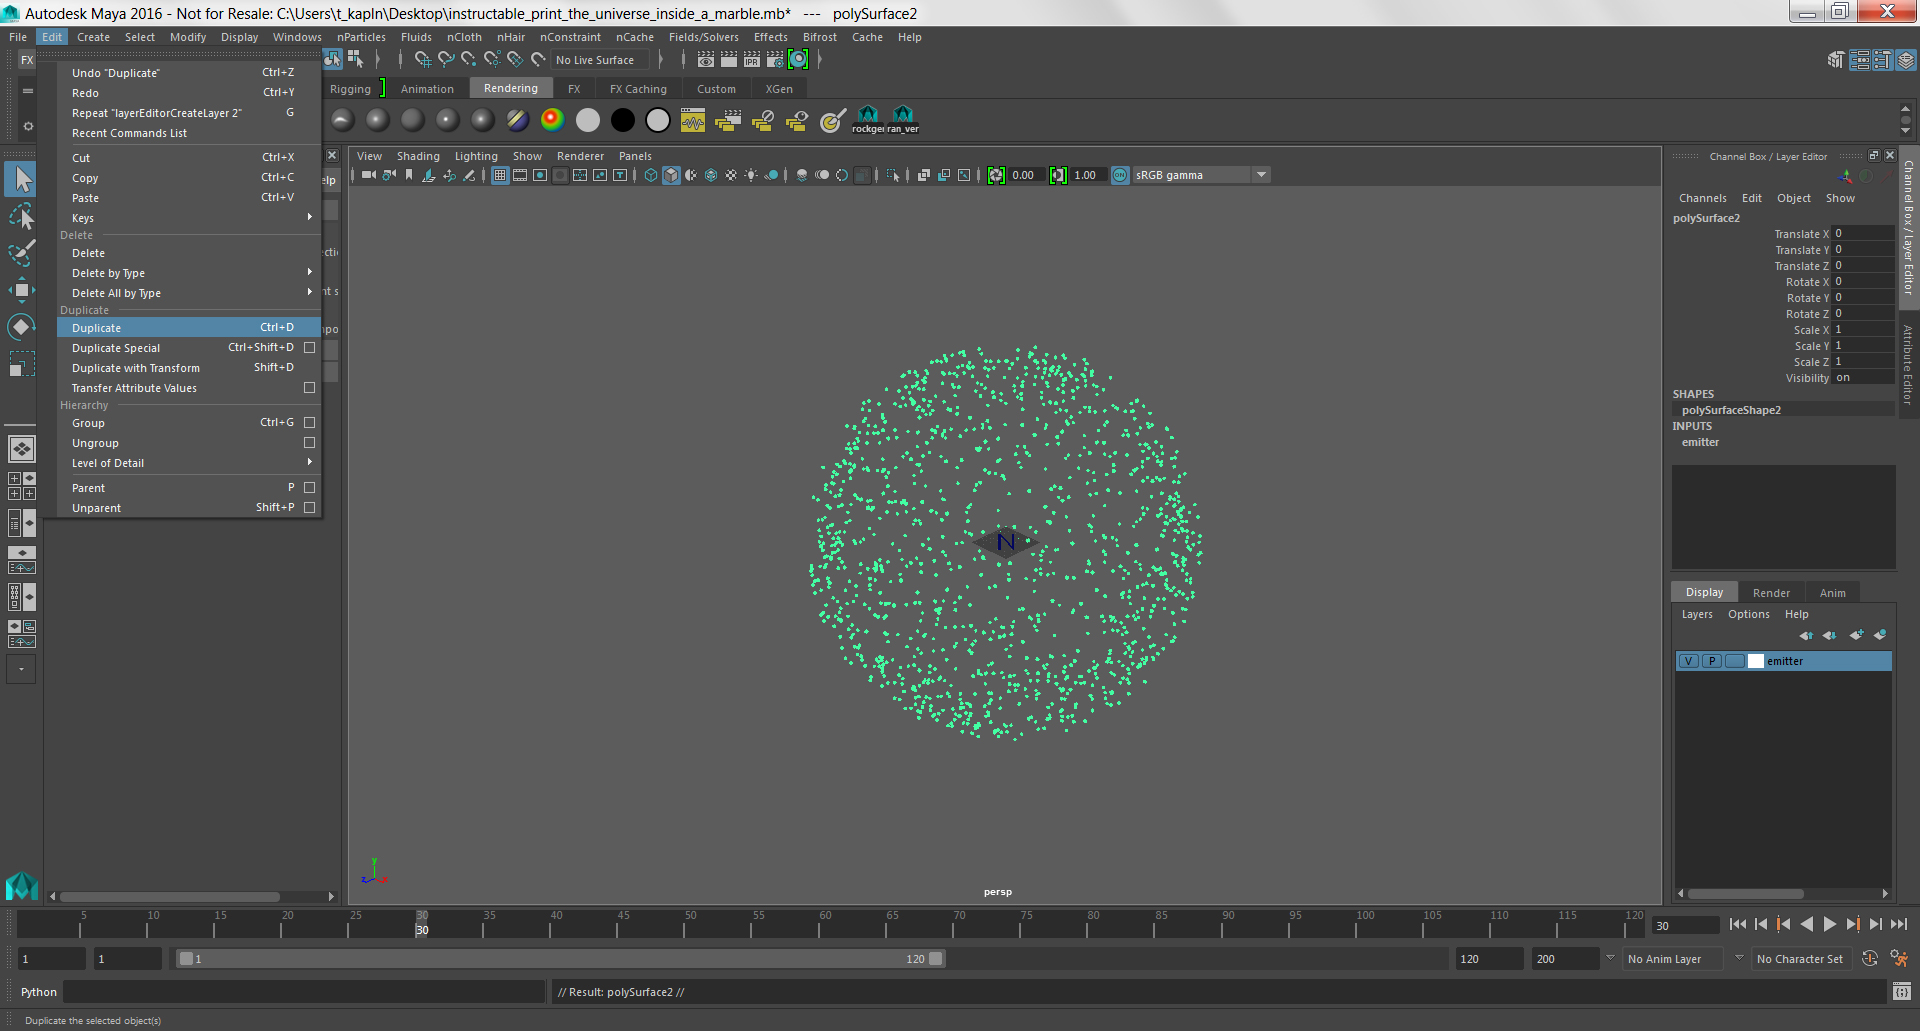
Select your particle cloud and press play on the timeline.
When you see a formation that you want to capture, hit stop on the timeline or esc on your keyboard.
To freeze this state, all you have to do is copy your simulation at that particular moment in time.
Click on the Edit menu and choose Duplicate.
Create a New Layer for Your Duplicate
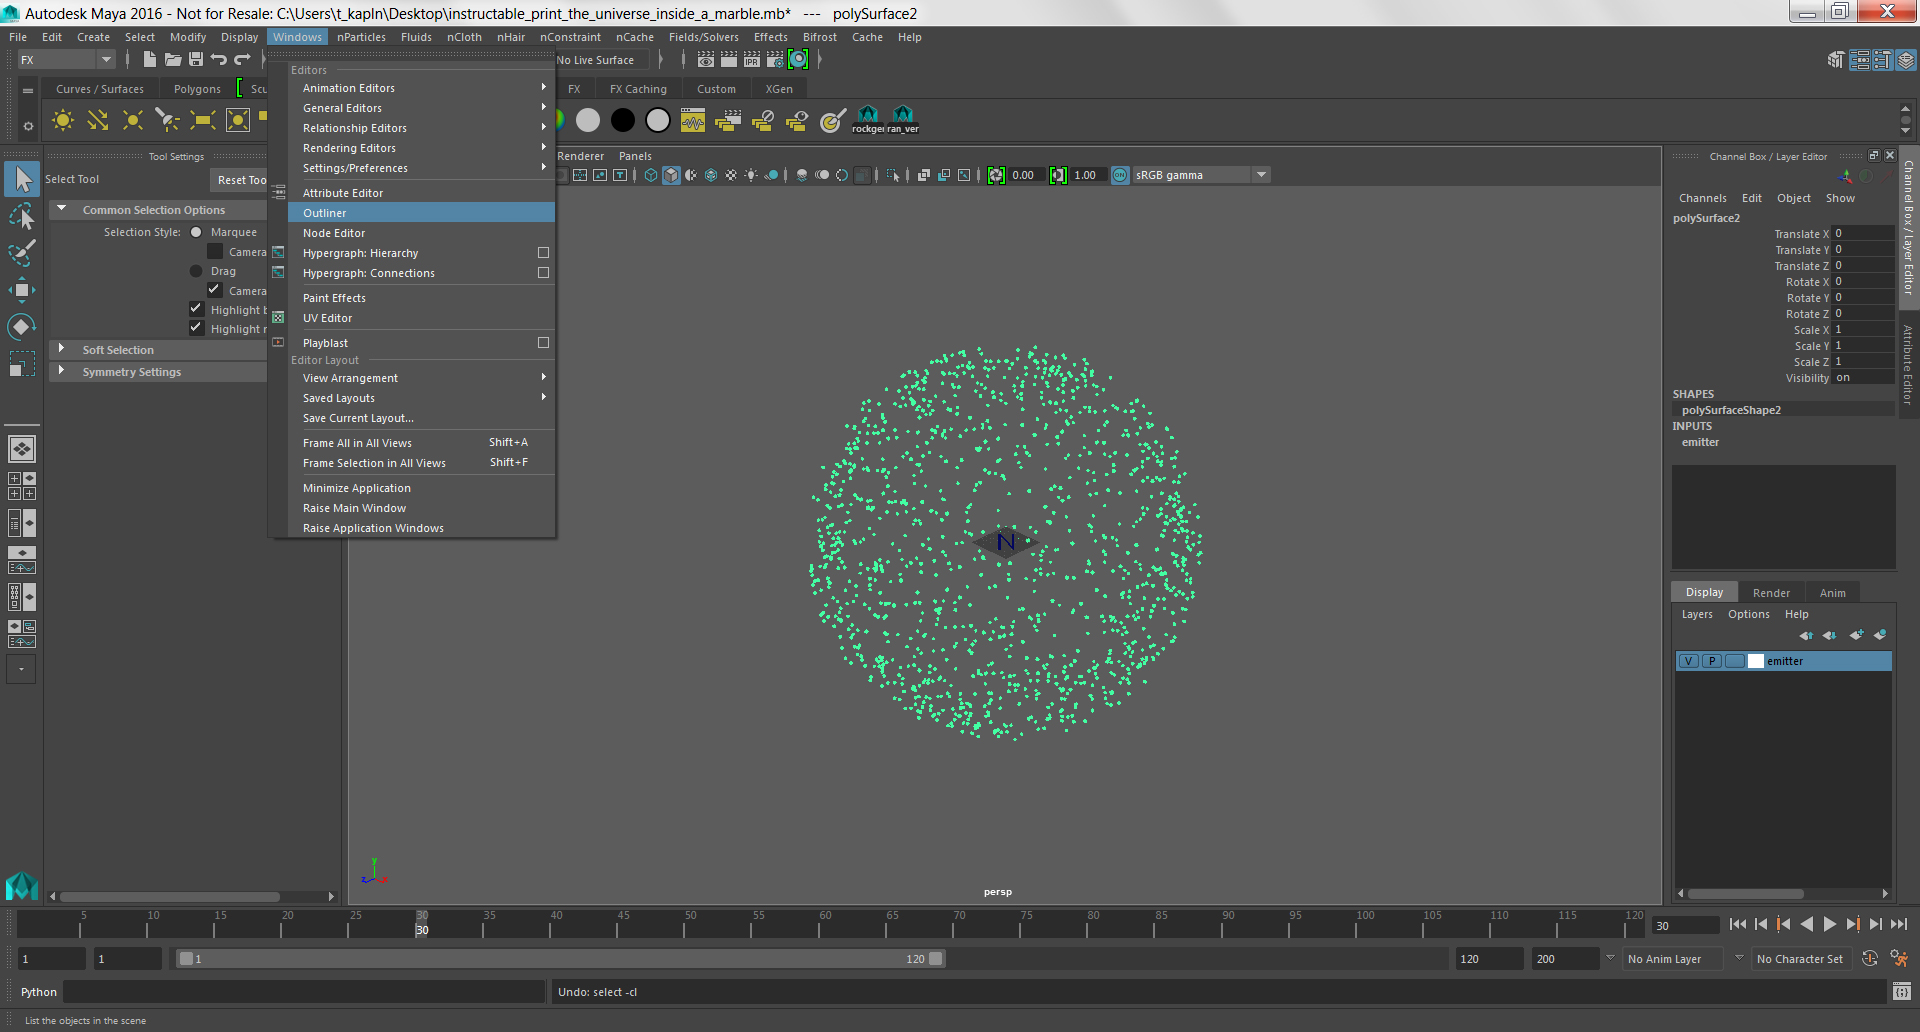
It can be difficult to differentiate between your particle simulation and your frozen state.
You can put your duplicate on a separate layer to avoid confusion.
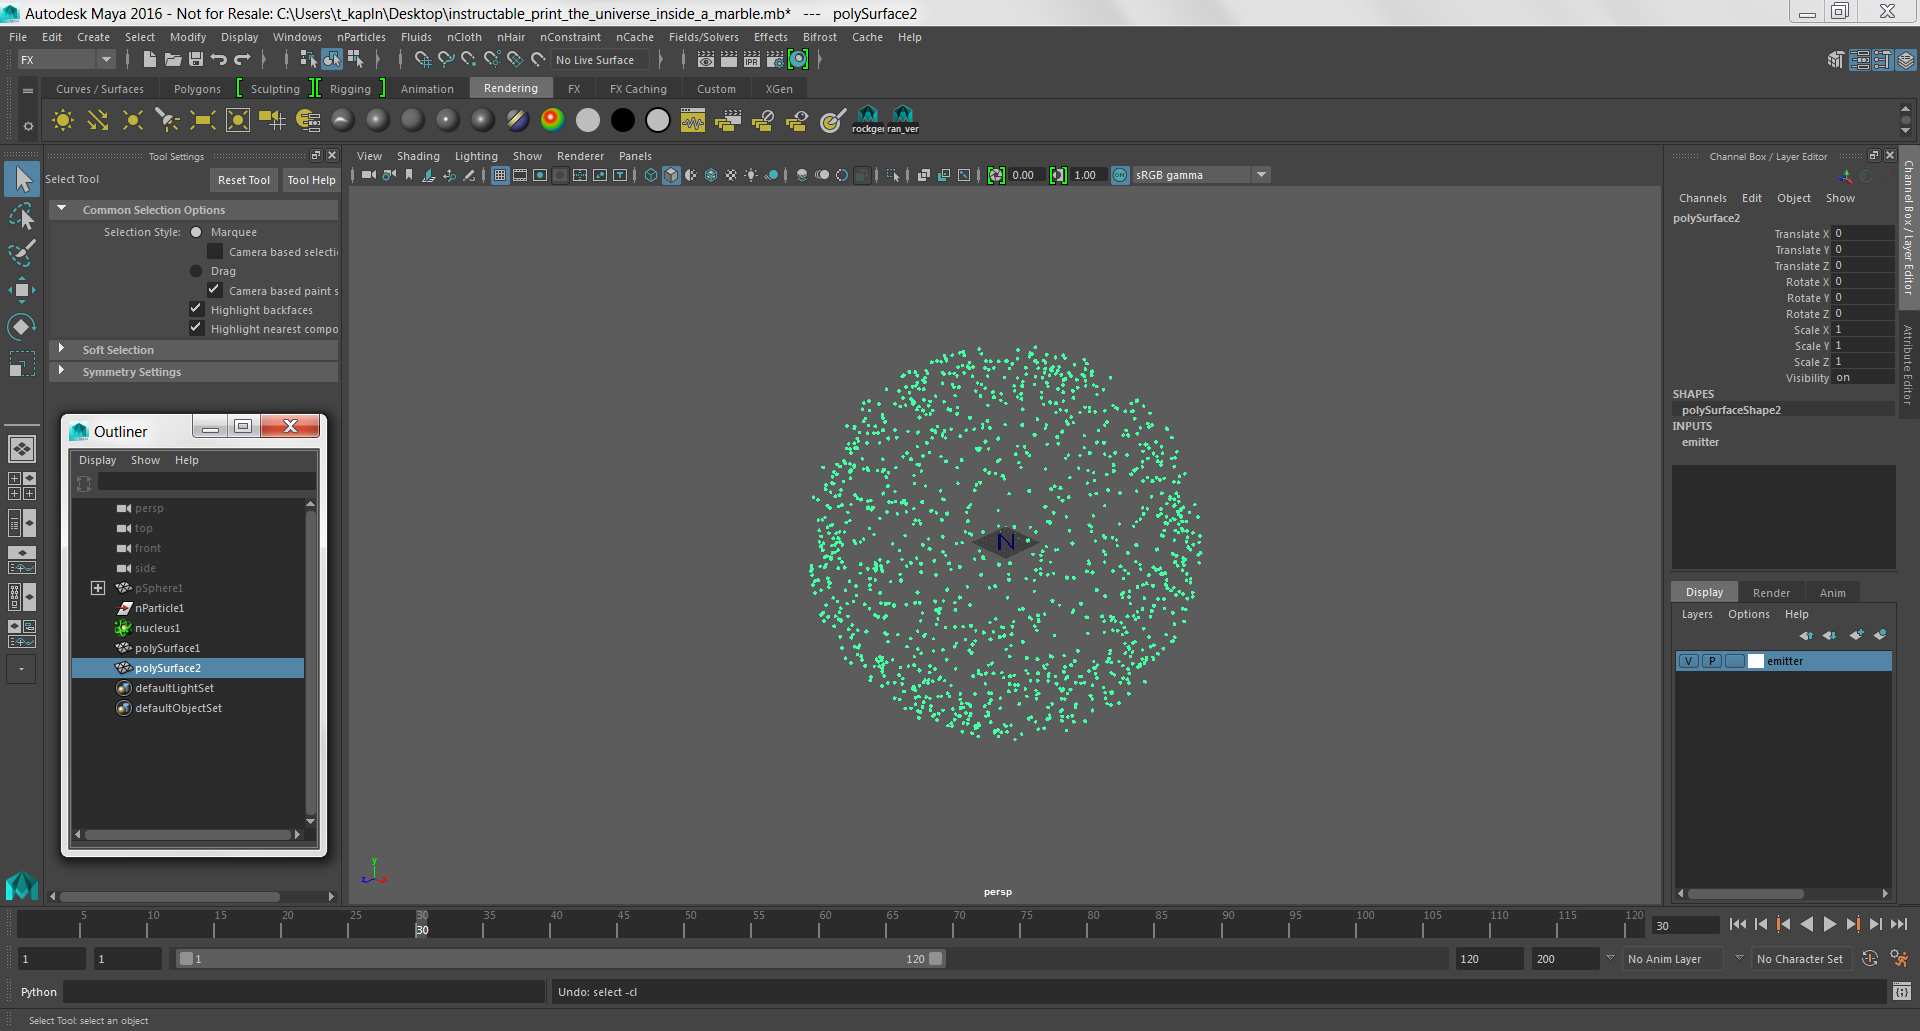
Click on the Windows menu and choose Outliner.
The Outliner shows you everything in your scene in list form, which makes it easy to select the correct geometry.
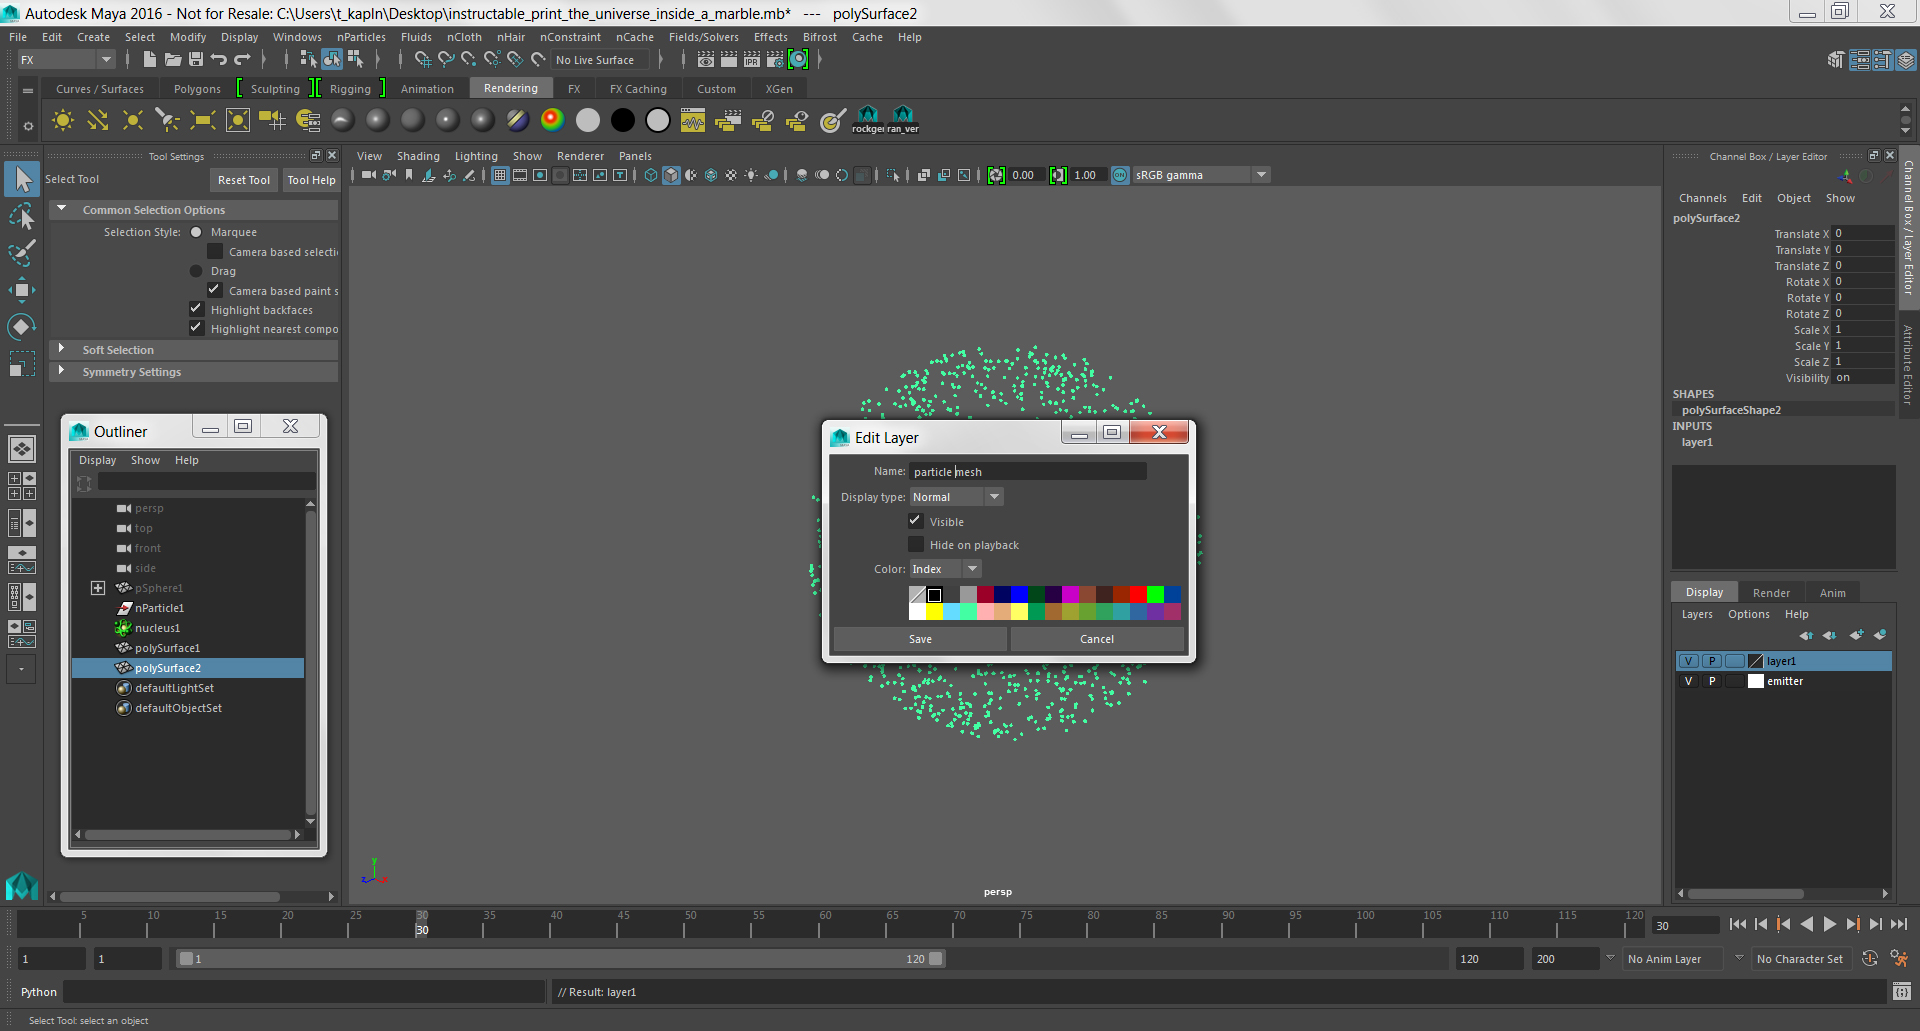
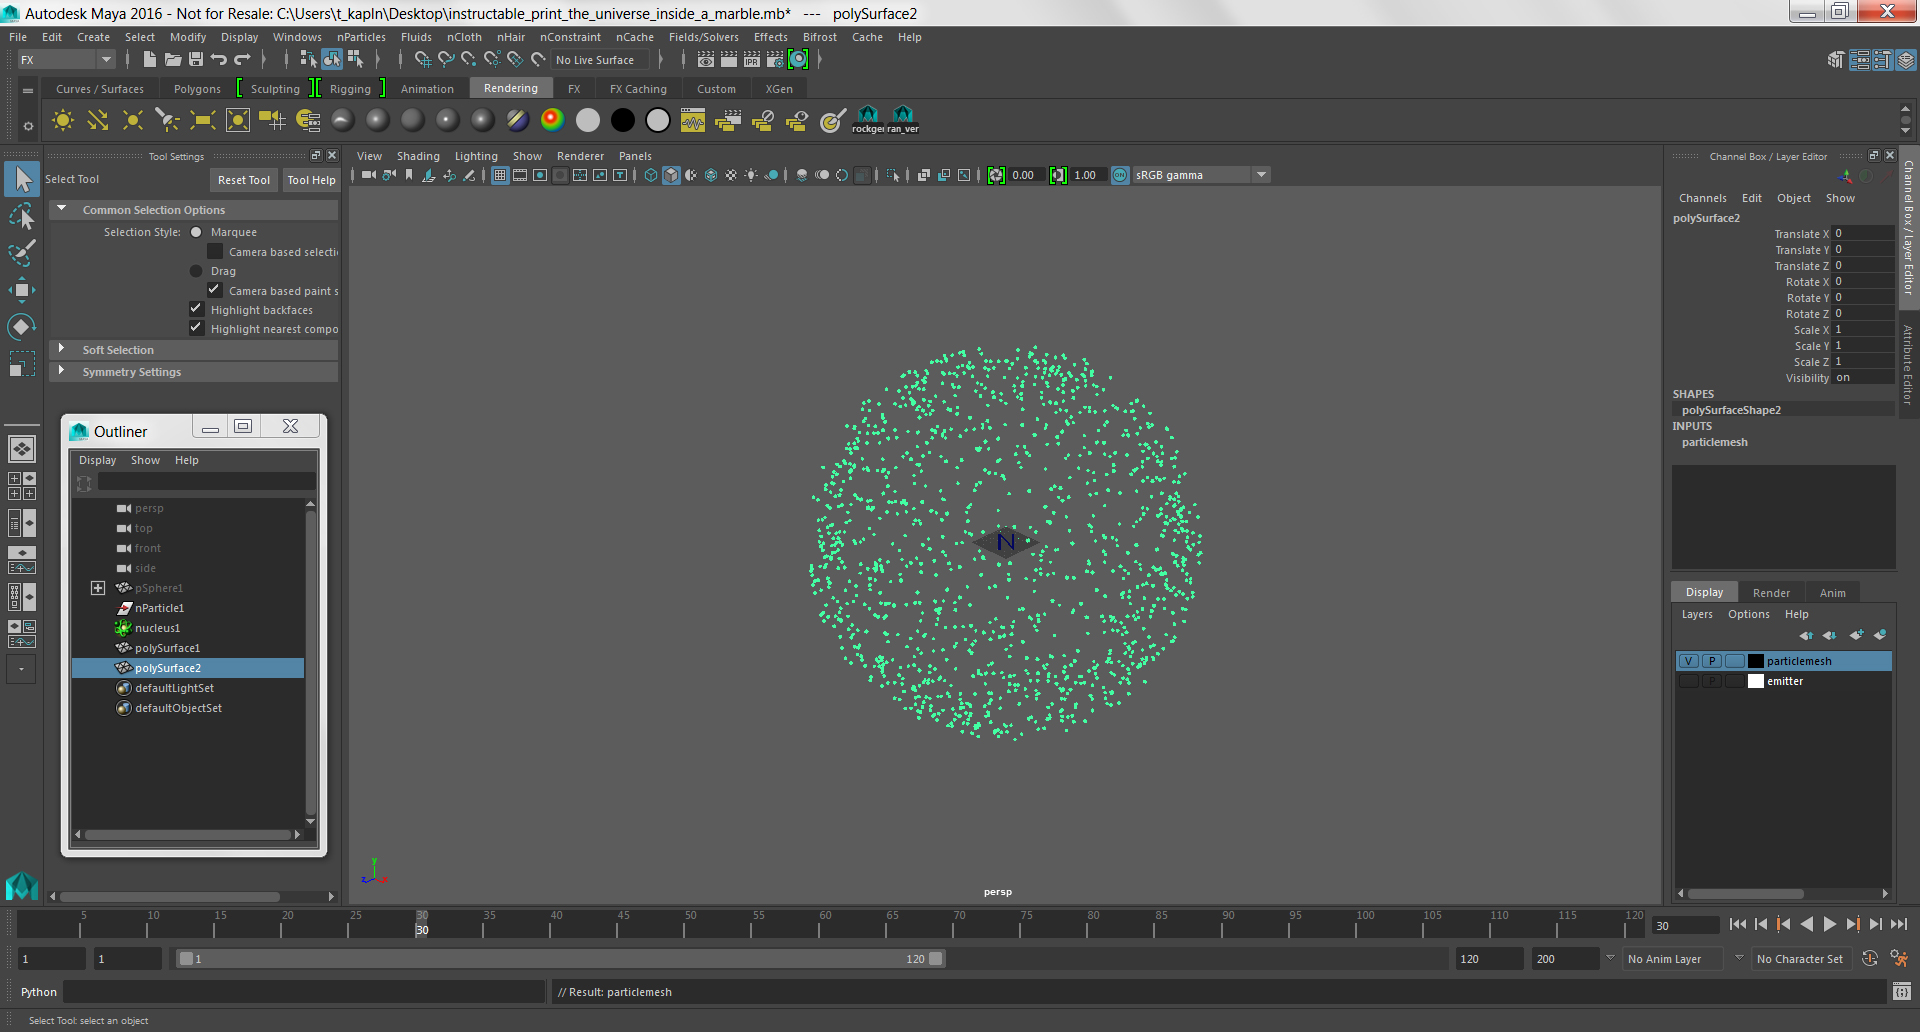
Select polySurface2, then Create Layer from Selected in the Layer Editor.
Double click the new layer and name it particleMesh.
Create Your Marble
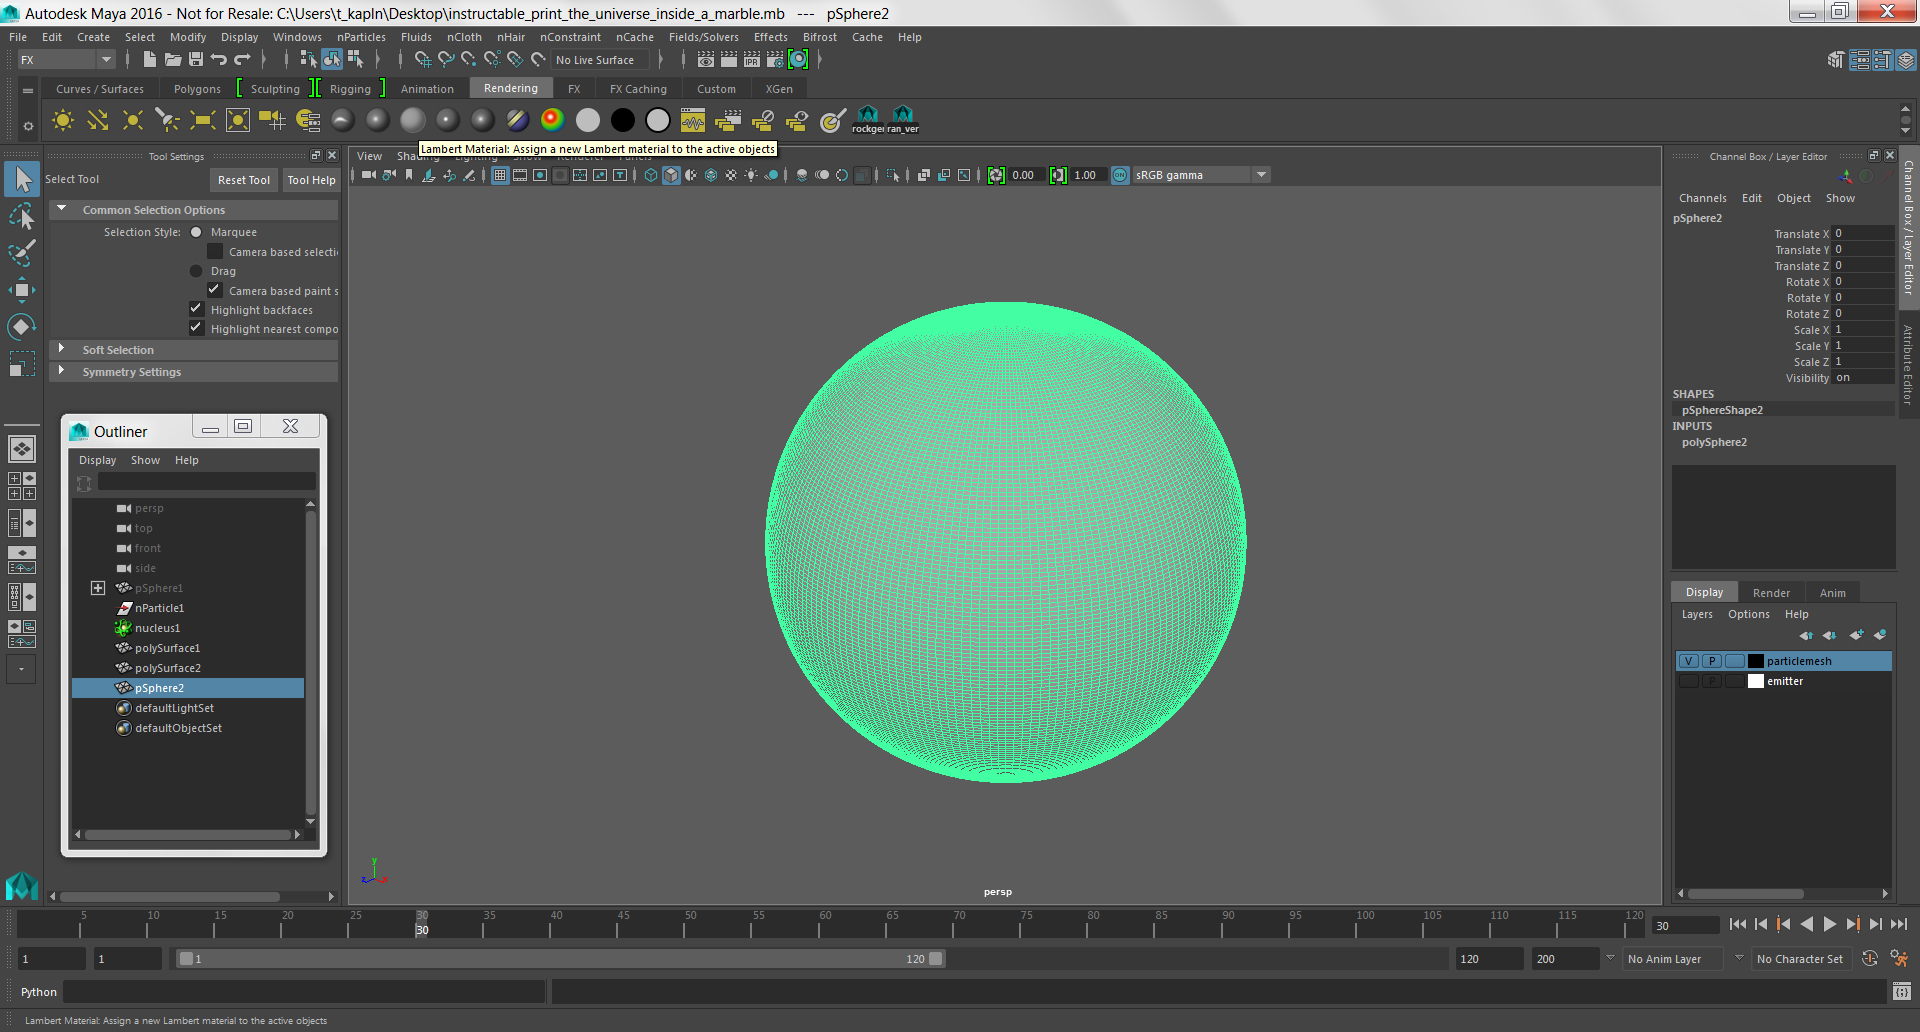
Now it's time to make the outer sphere that will contain your particle cloud.
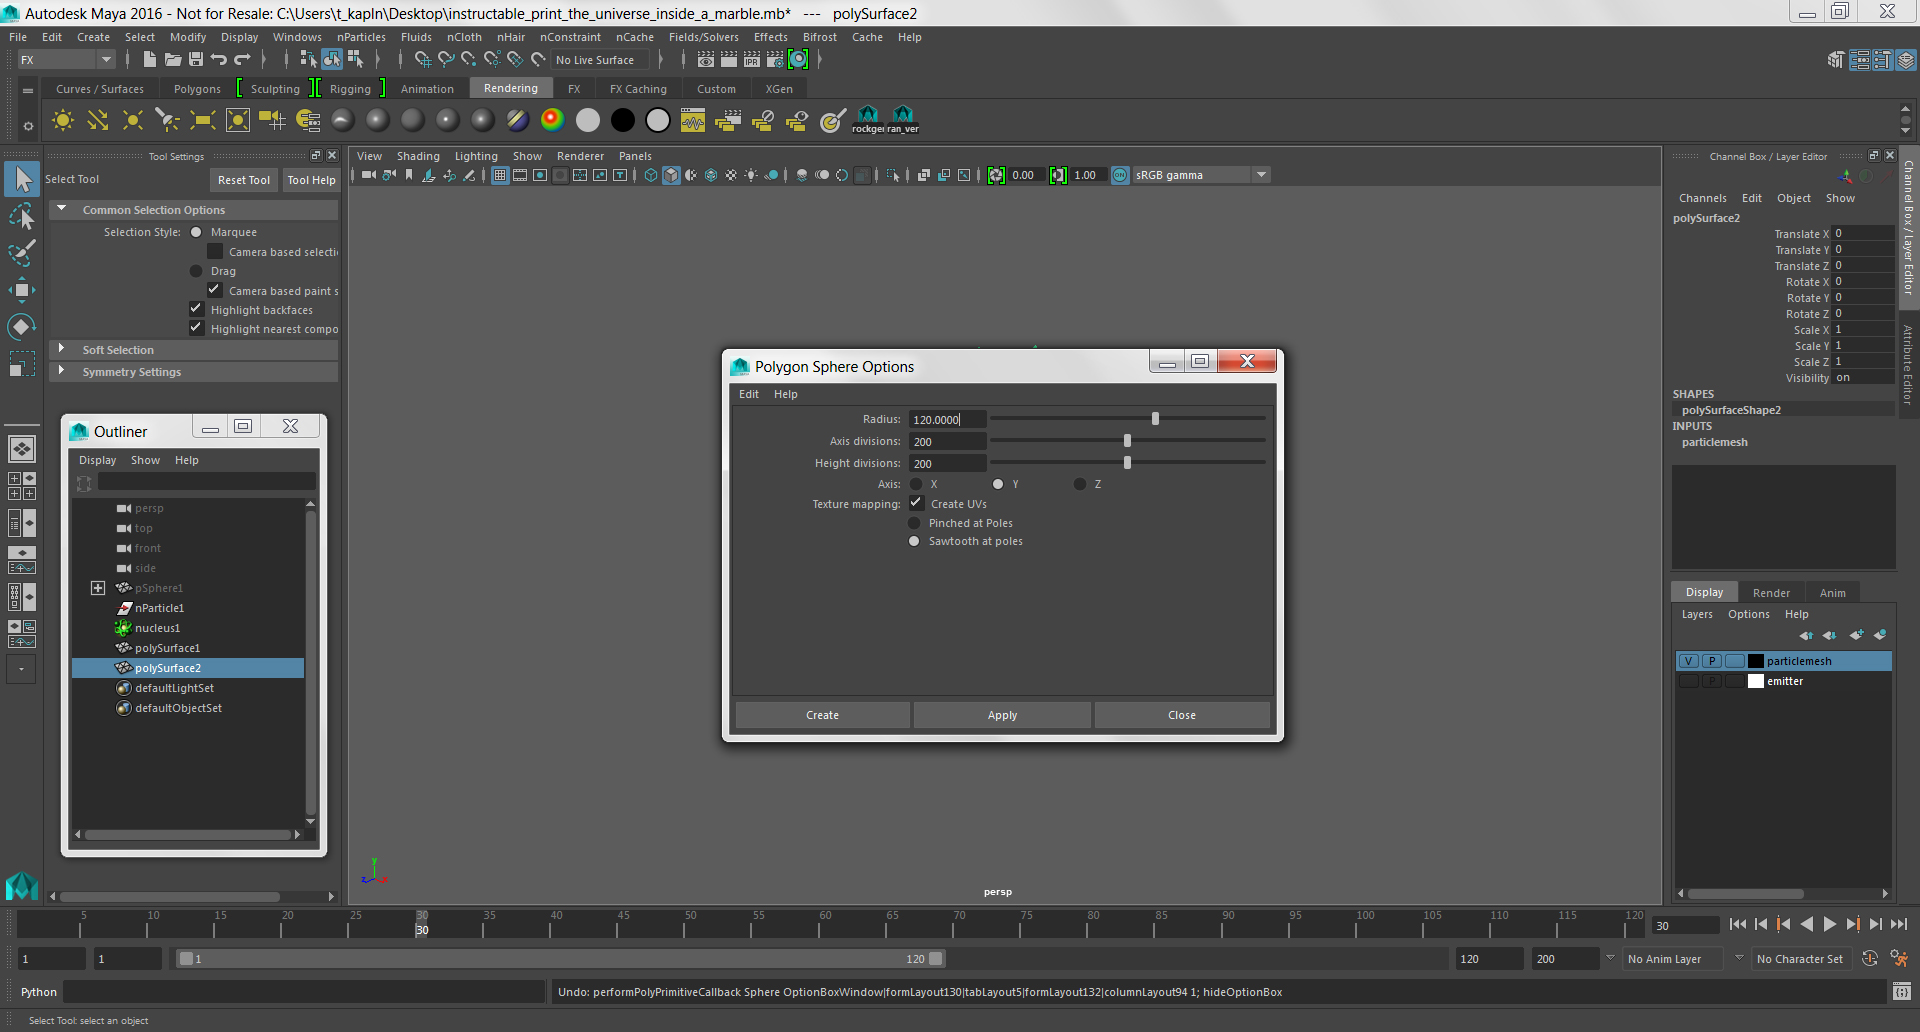
Select the Create menu and click on the square options icon next to Polygon > Sphere.
Set the Radius to 120.00 so that the marble is slightly larger than the particle simulation.
Make sure that the subdivisions are set to at least 200.00 to avoid a faceted, hard-to-polish print.
Make Your Marble Transparent
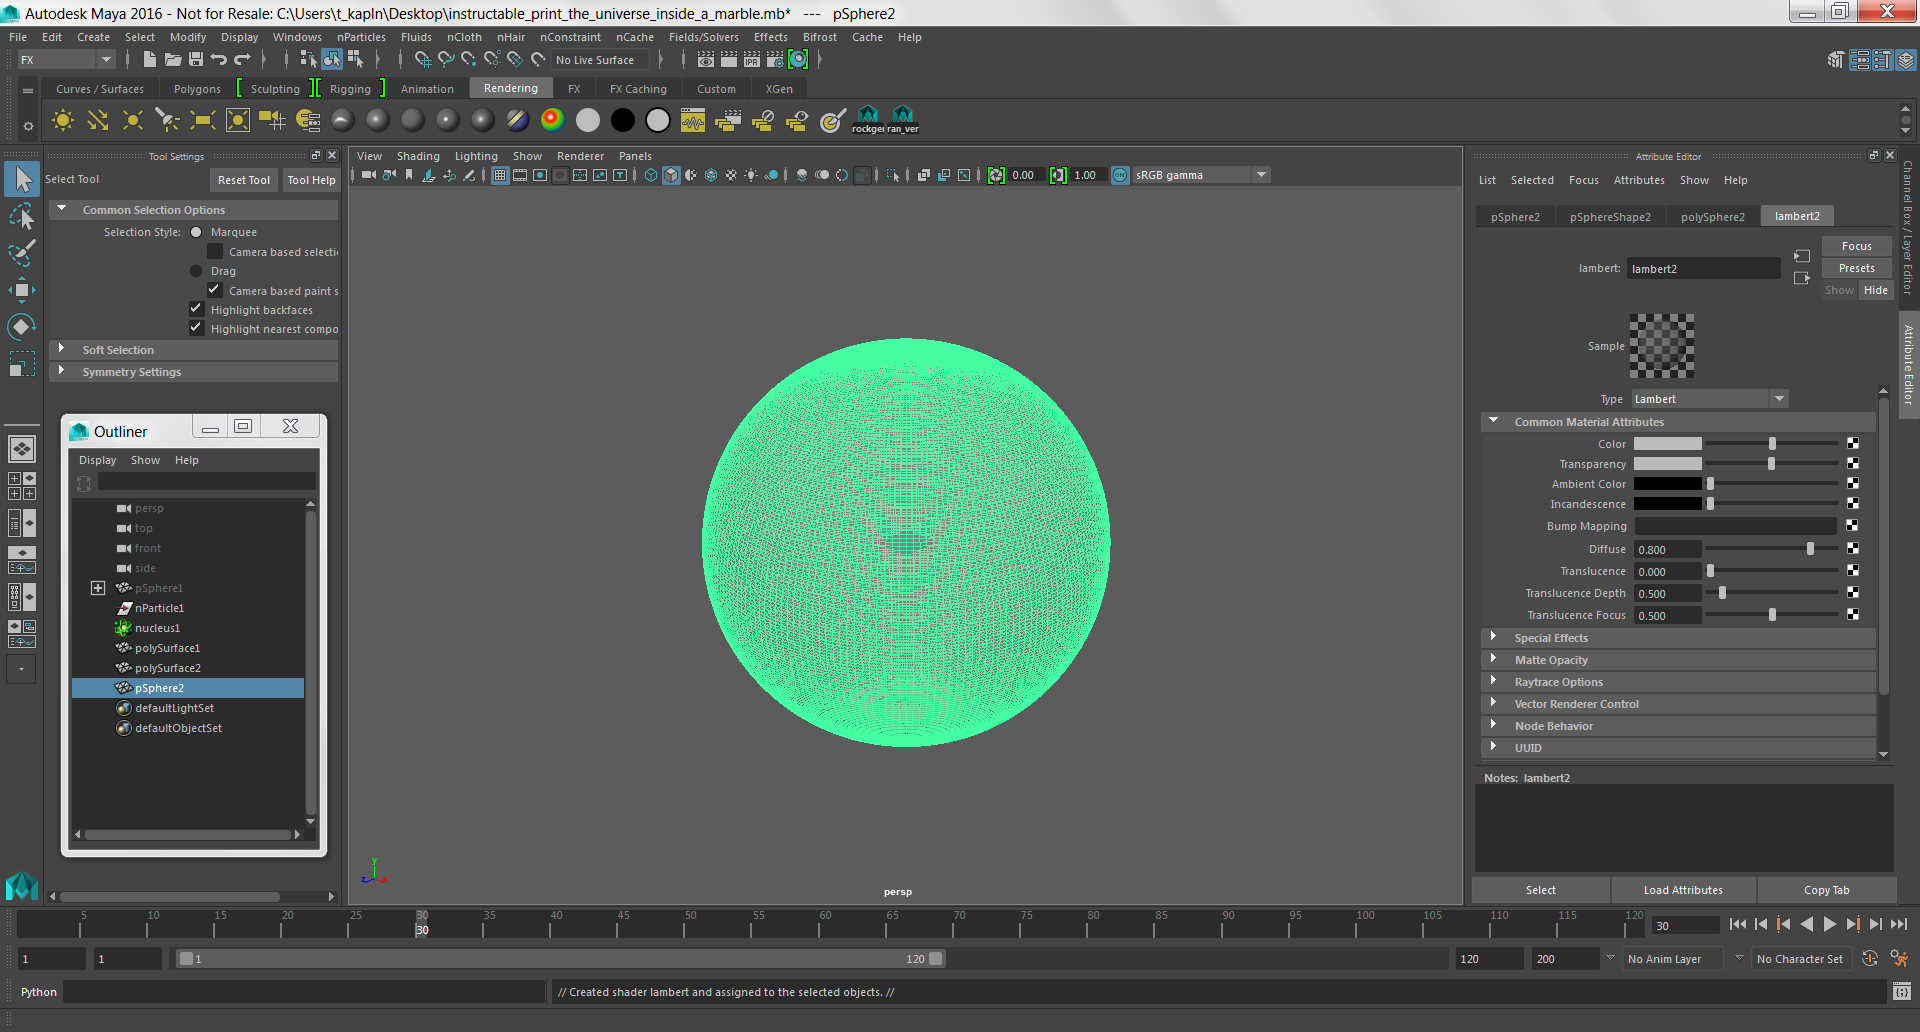
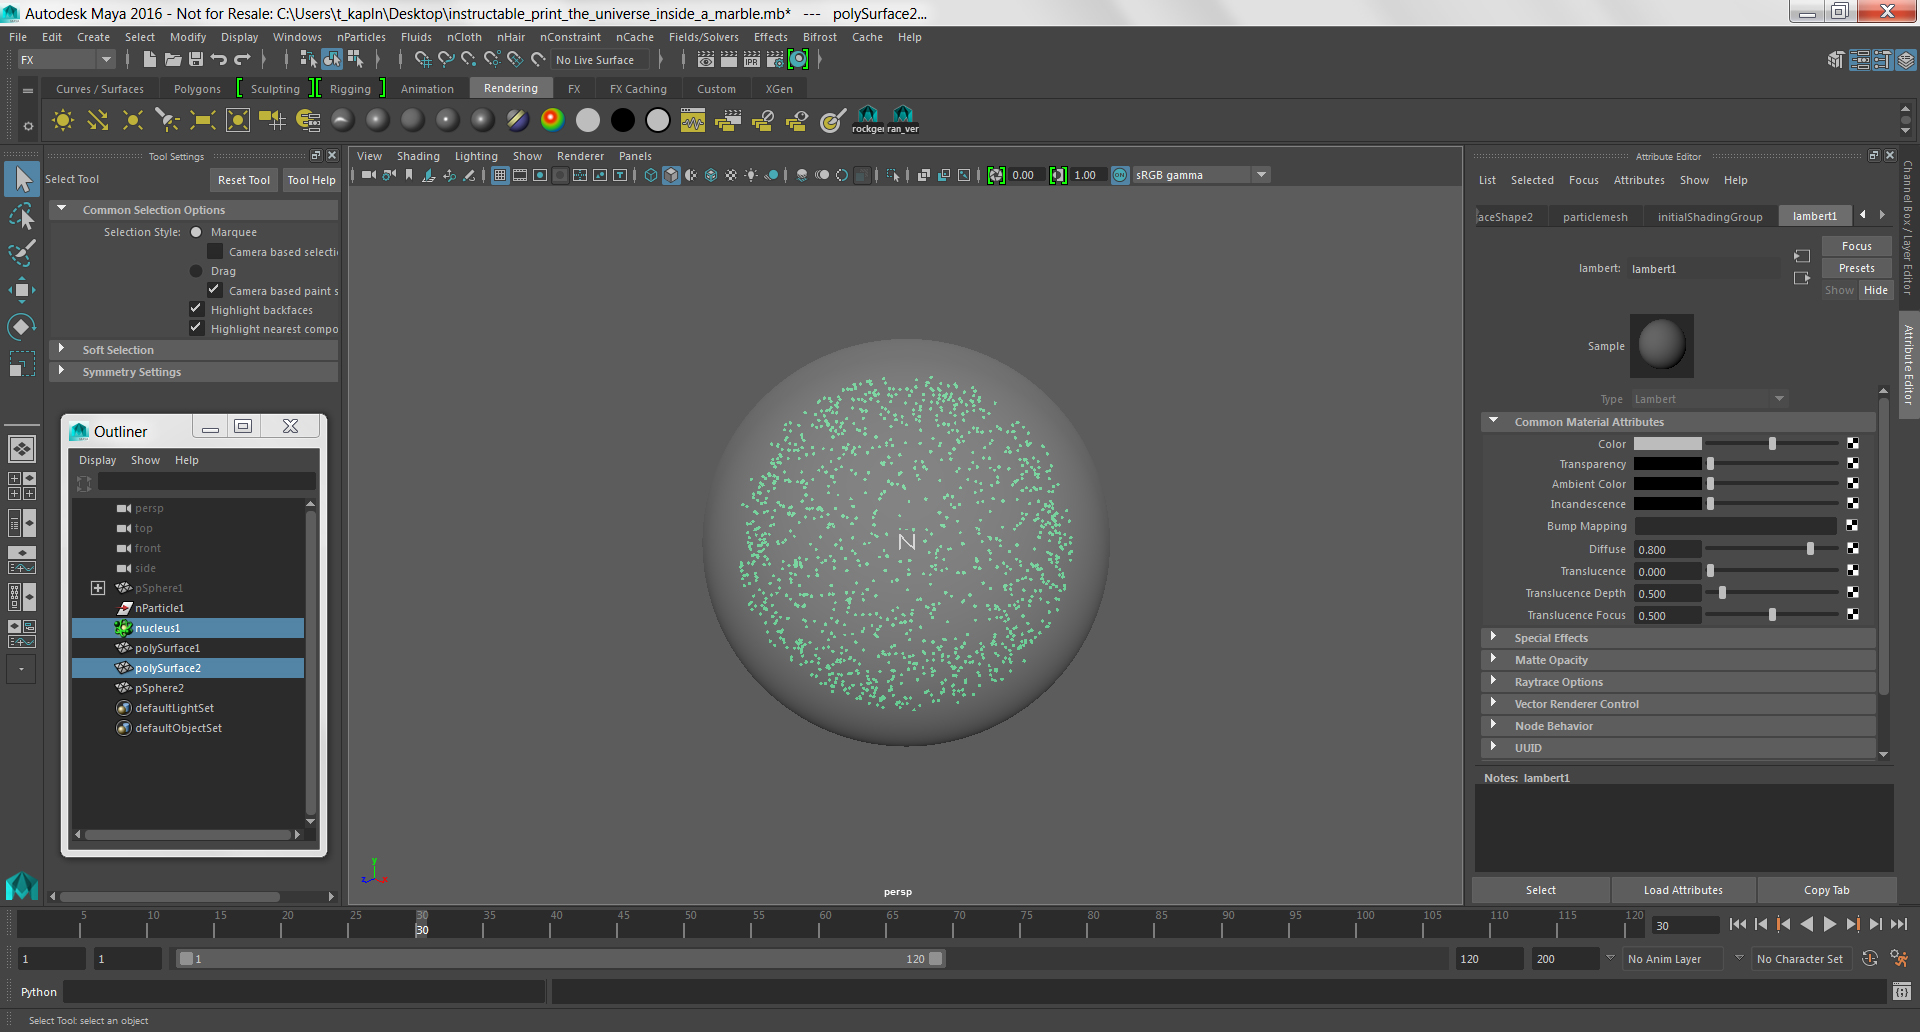
Assign a new lambert material to your sphere and increase the transparency so that you can see the particles within.
Duplicate Your Particle Cloud
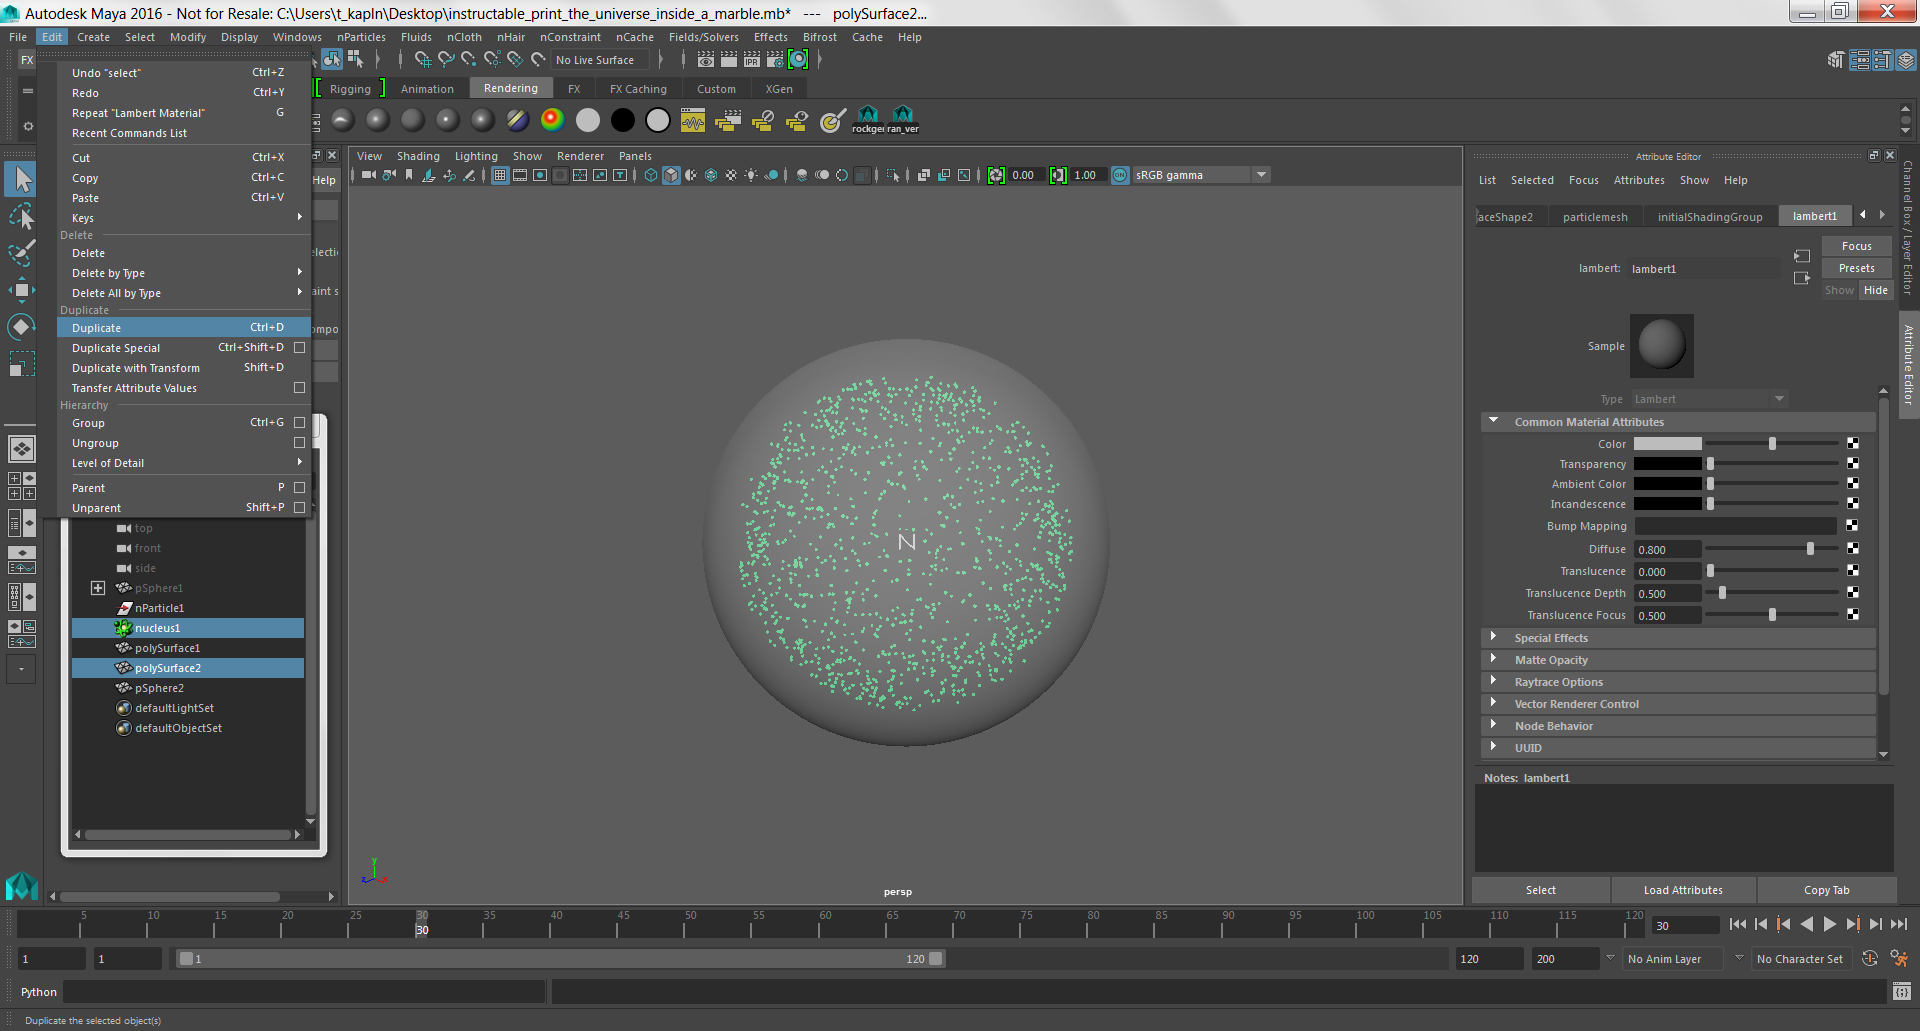
Next, select your particle cloud and create a duplicate.
Click on the Edit menu and choose Duplicate.
Export Your Marble
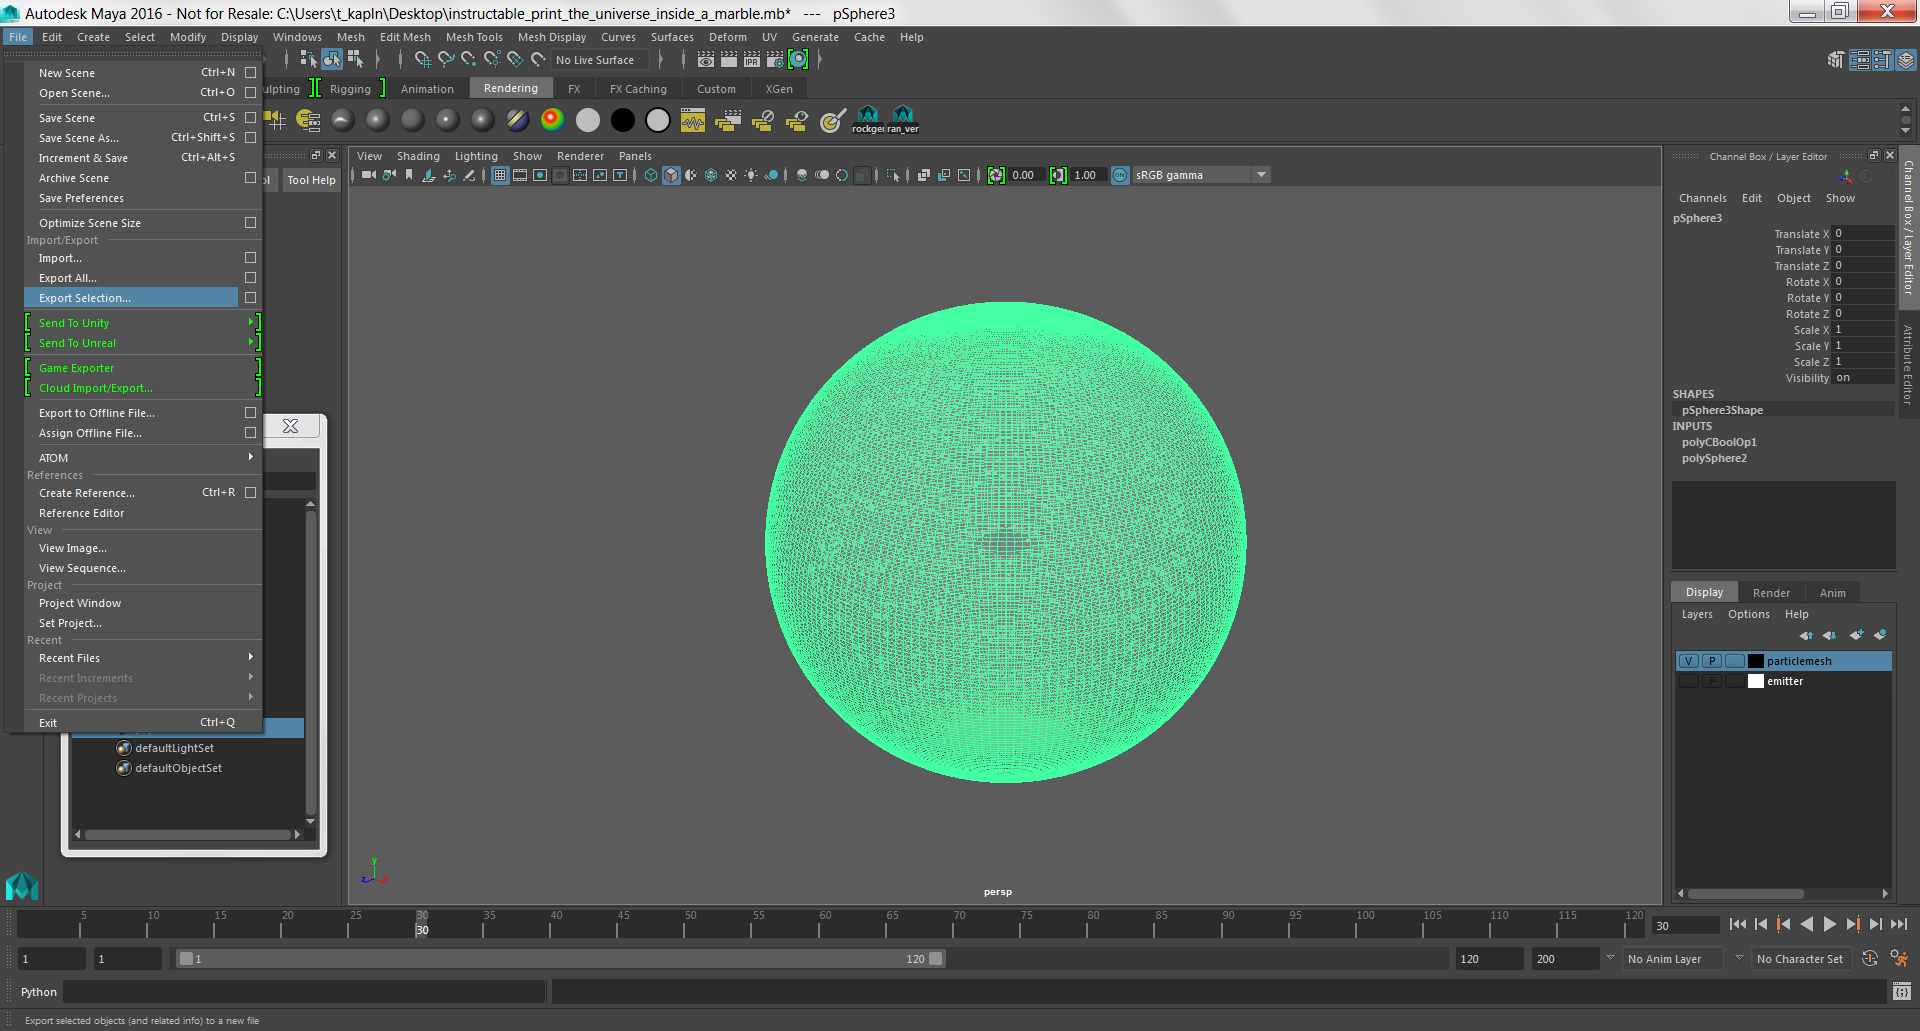
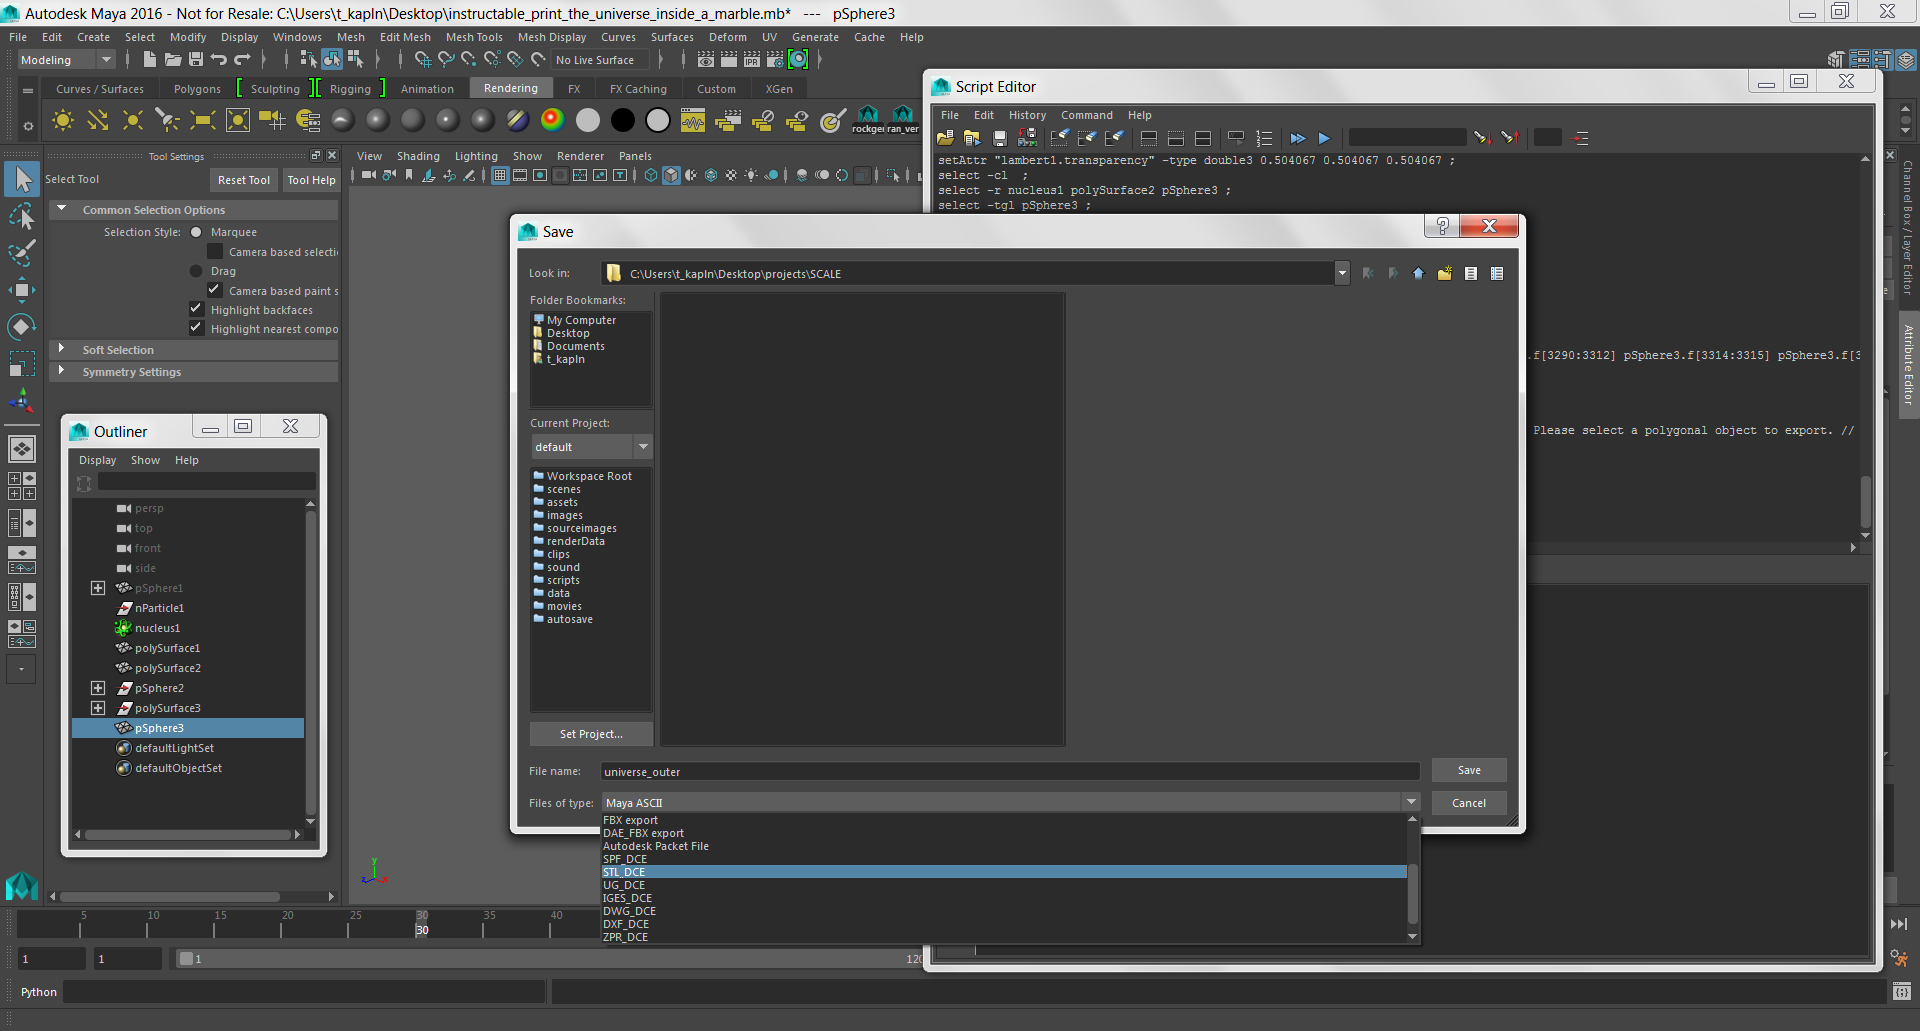
Now you are ready to export your model. Don't forget to export both the inner and outer parts of the assembly.
Select your sphere and click on the File menu, then choose Export Selection...
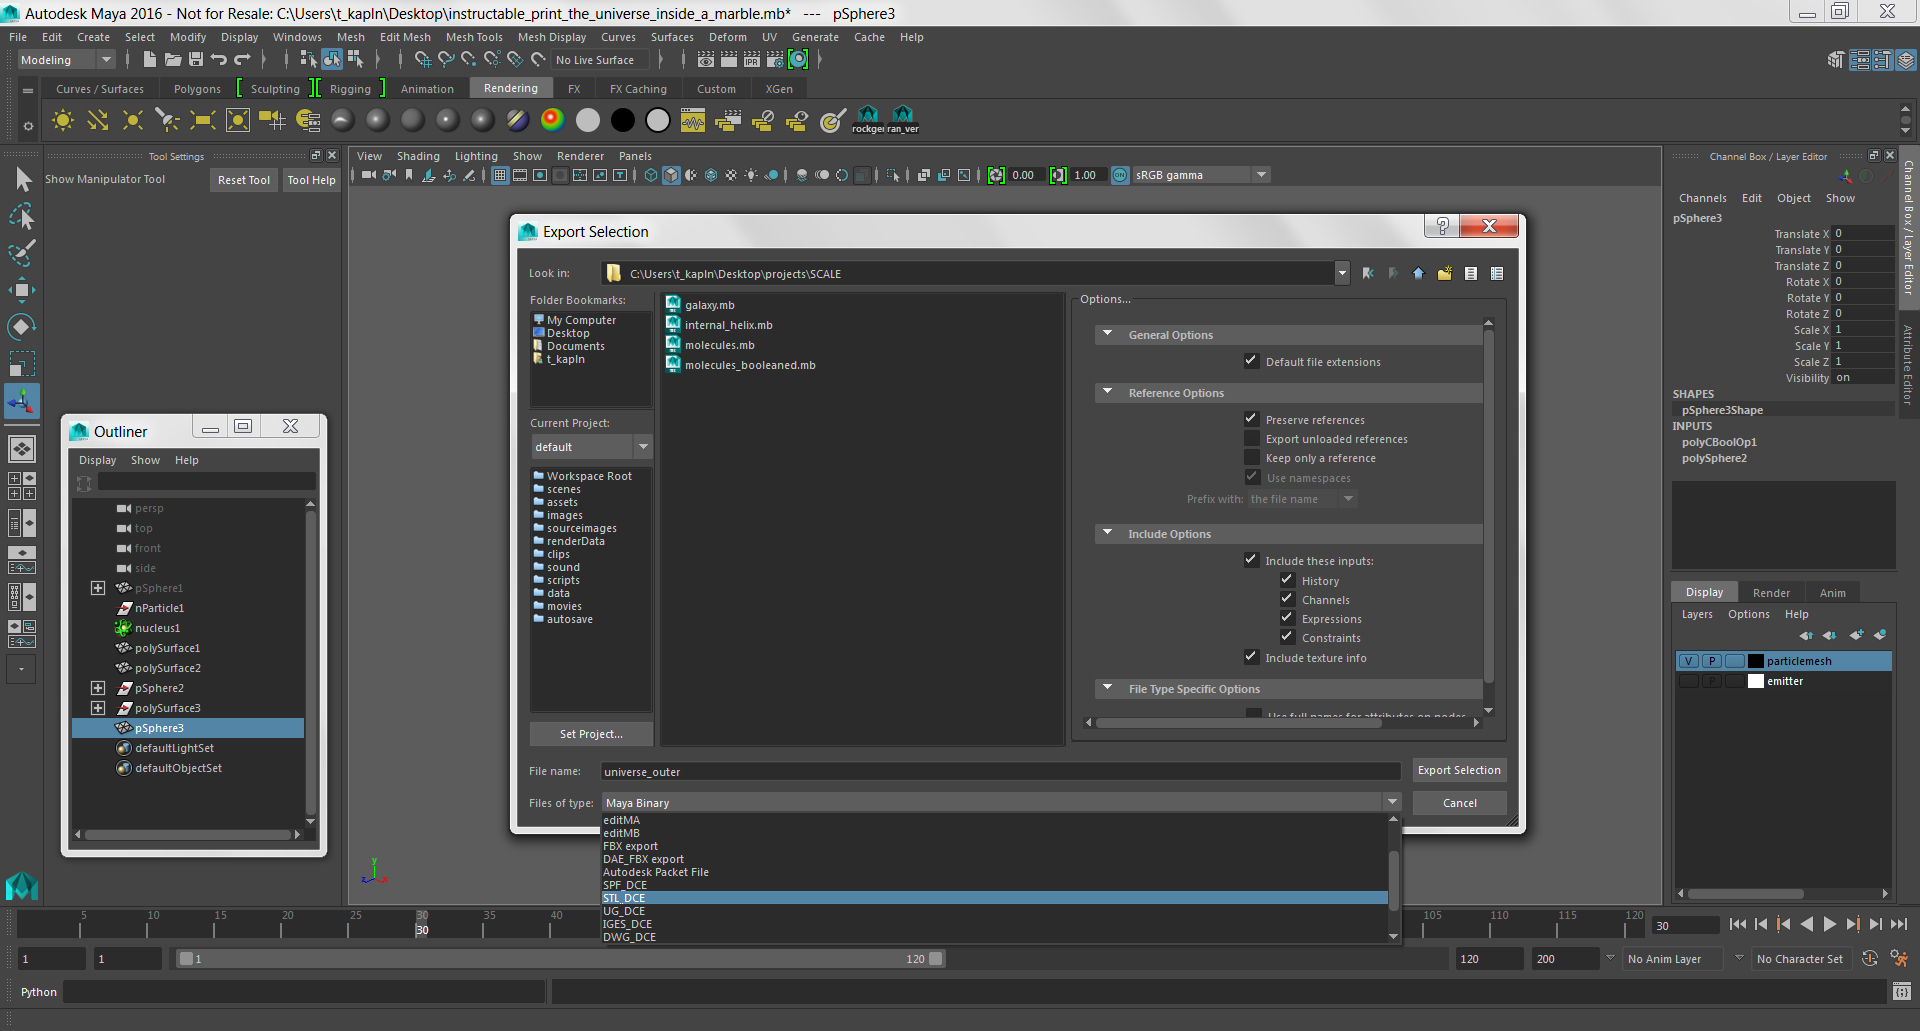
Give your file a name and make sure to note that it is the outer part of the assembly.
Change Files of Type to STL_DCE.
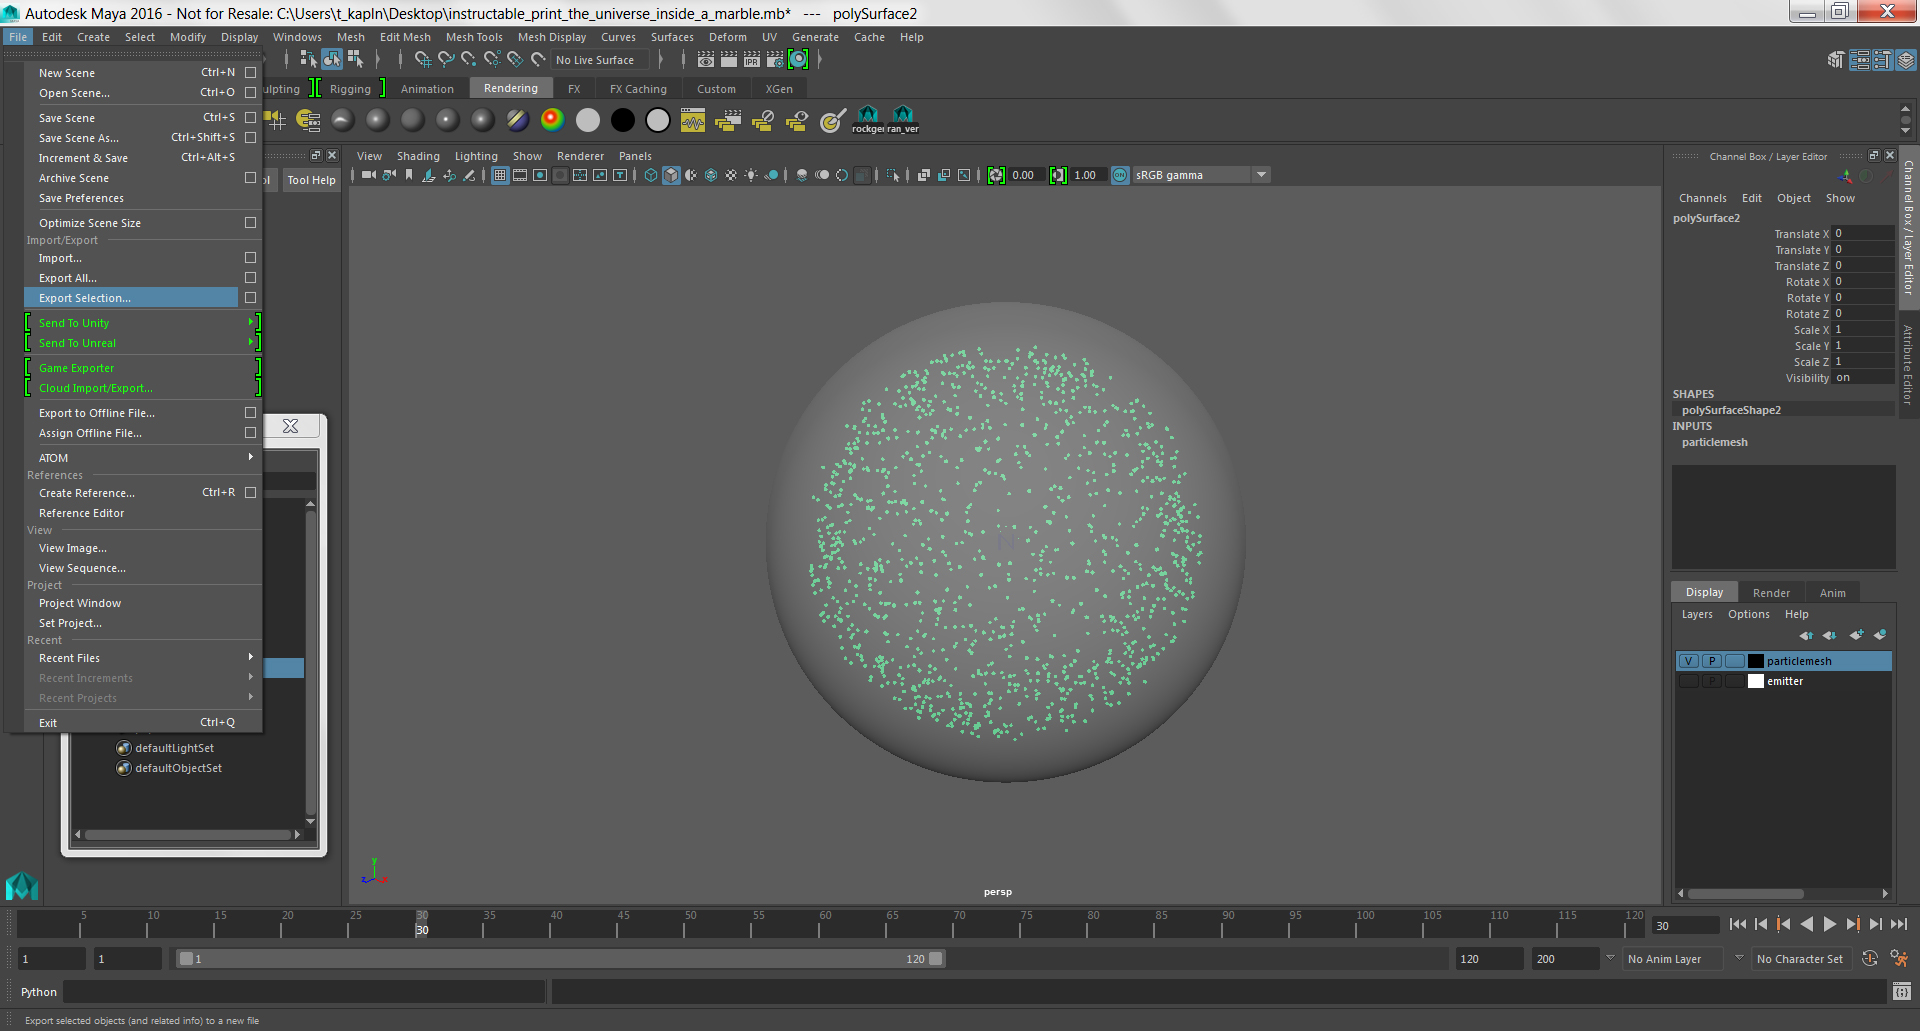
Select the inner particles and follow the same process.
Some versions of the software will not export STL files. In this case, install Rob O'Neils script from Creative Crash.
Then, follow the steps below.
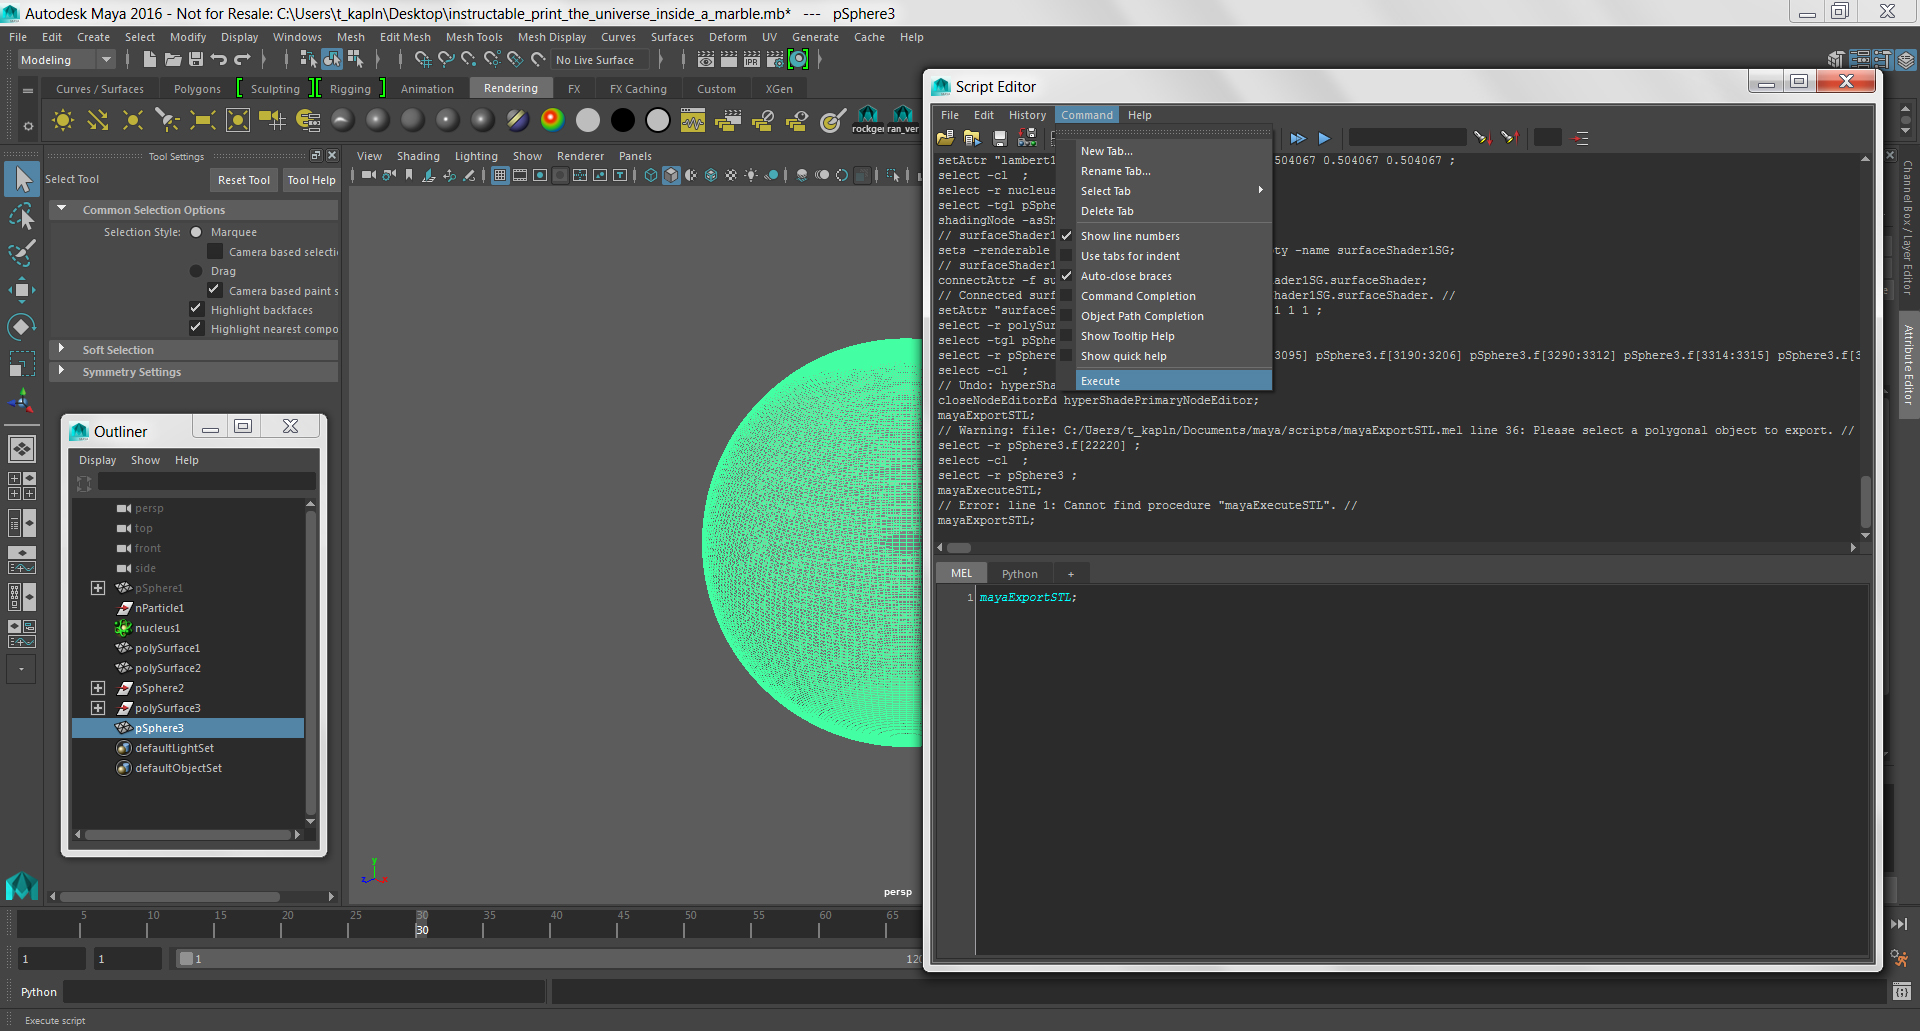
After installing the script, select your model.
Open the Script Editor and type mayaExportSTL;
Click on the Command menu and choose Execute.
Following the naming/file type instructions from above.
Click Save.
Boolean Operation
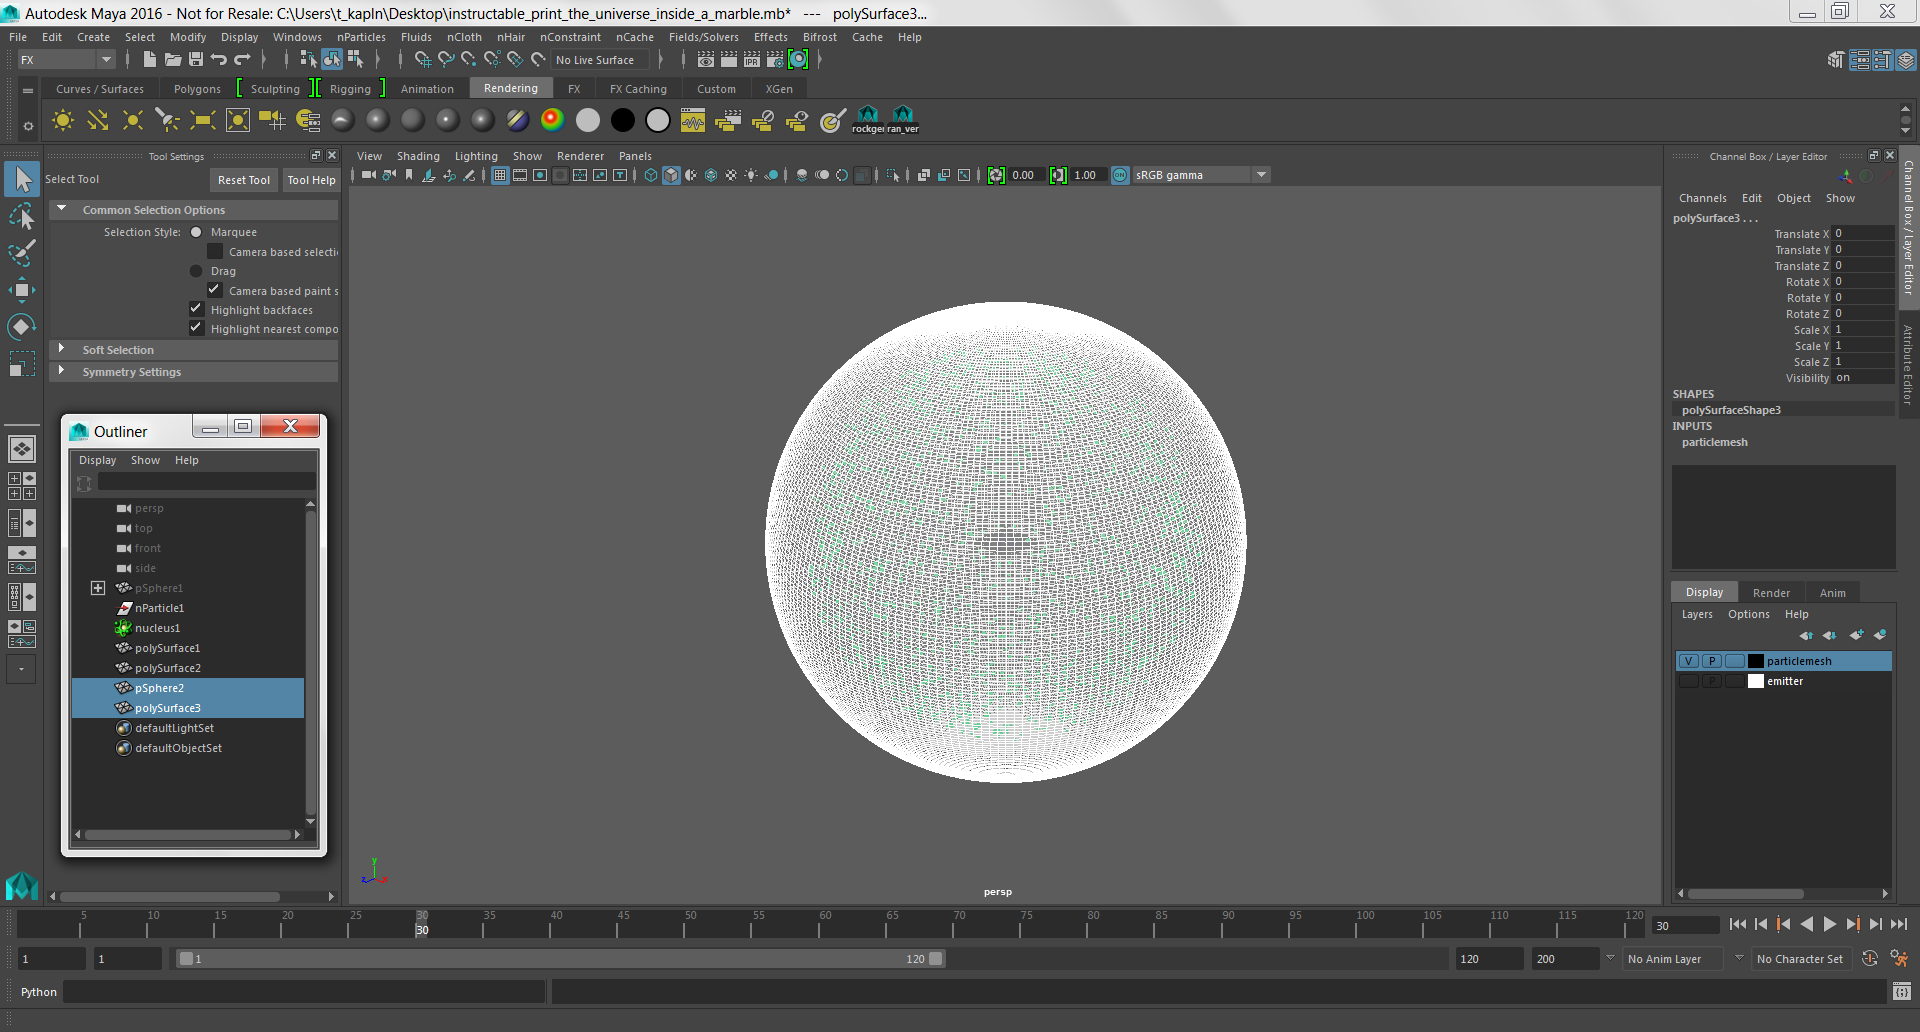
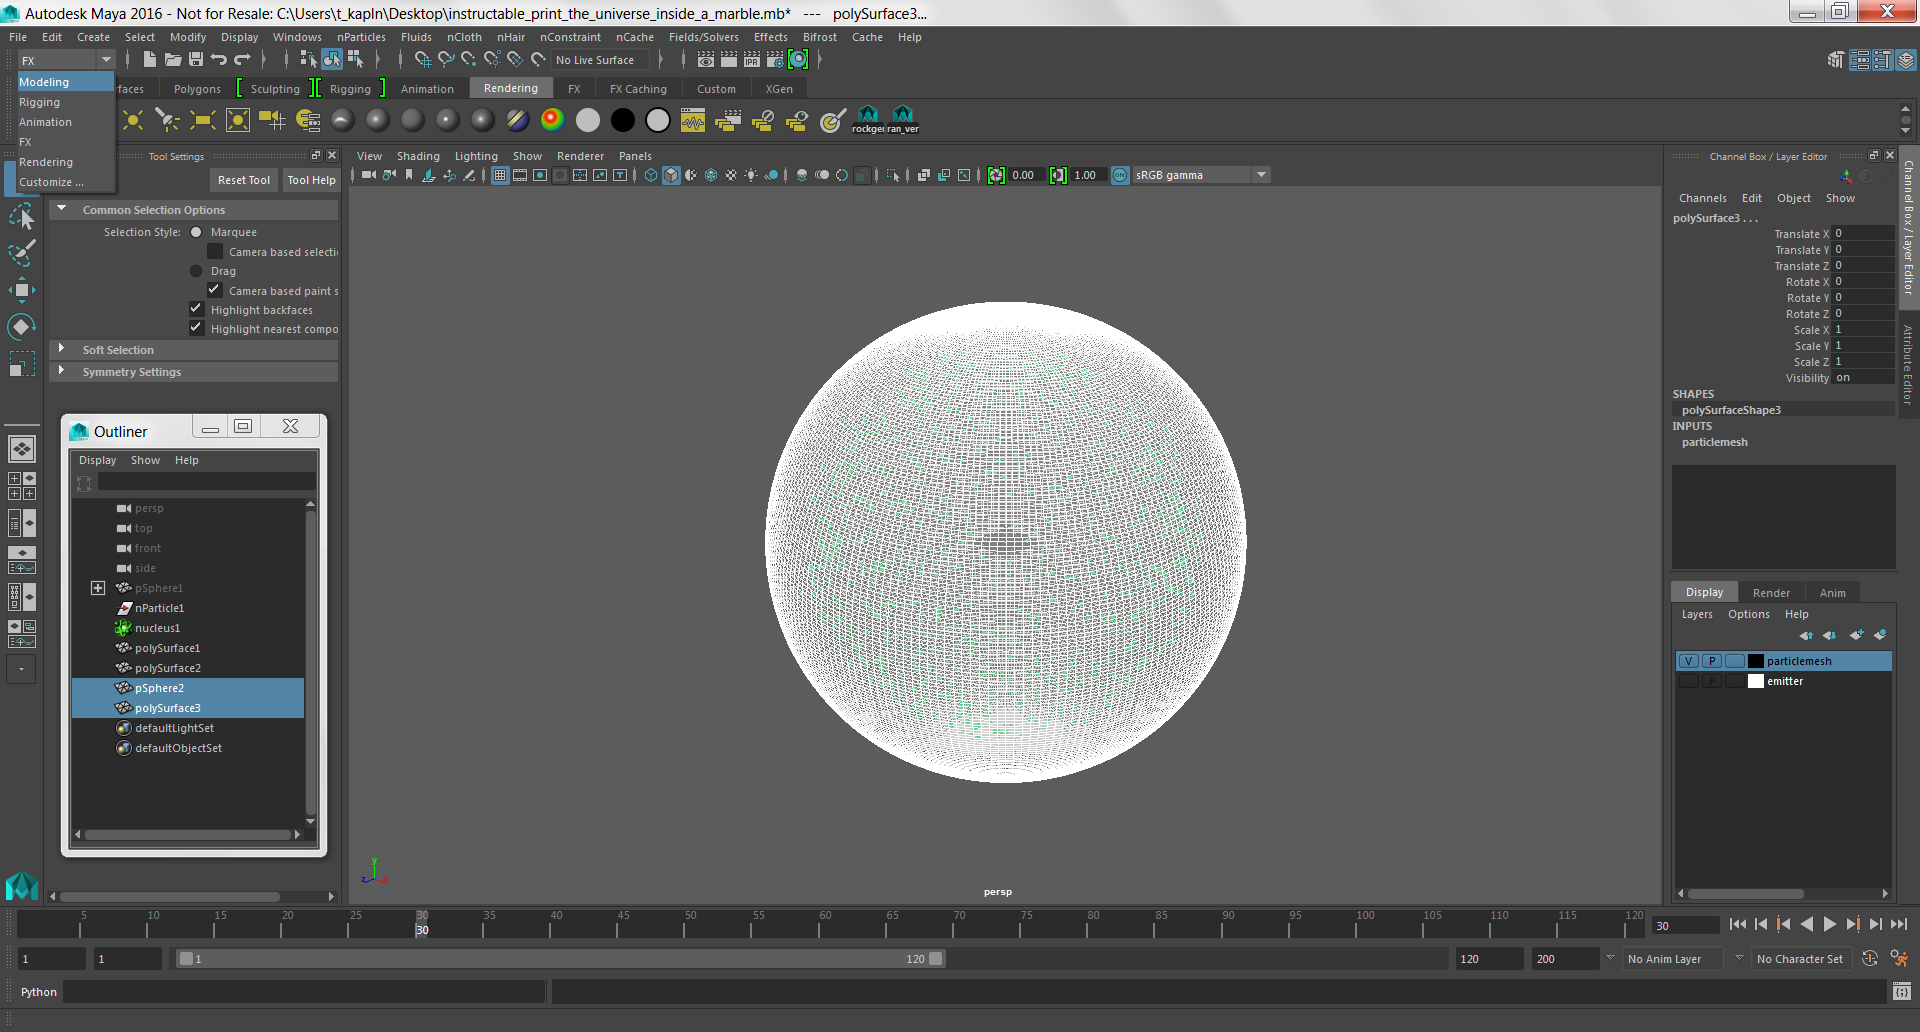
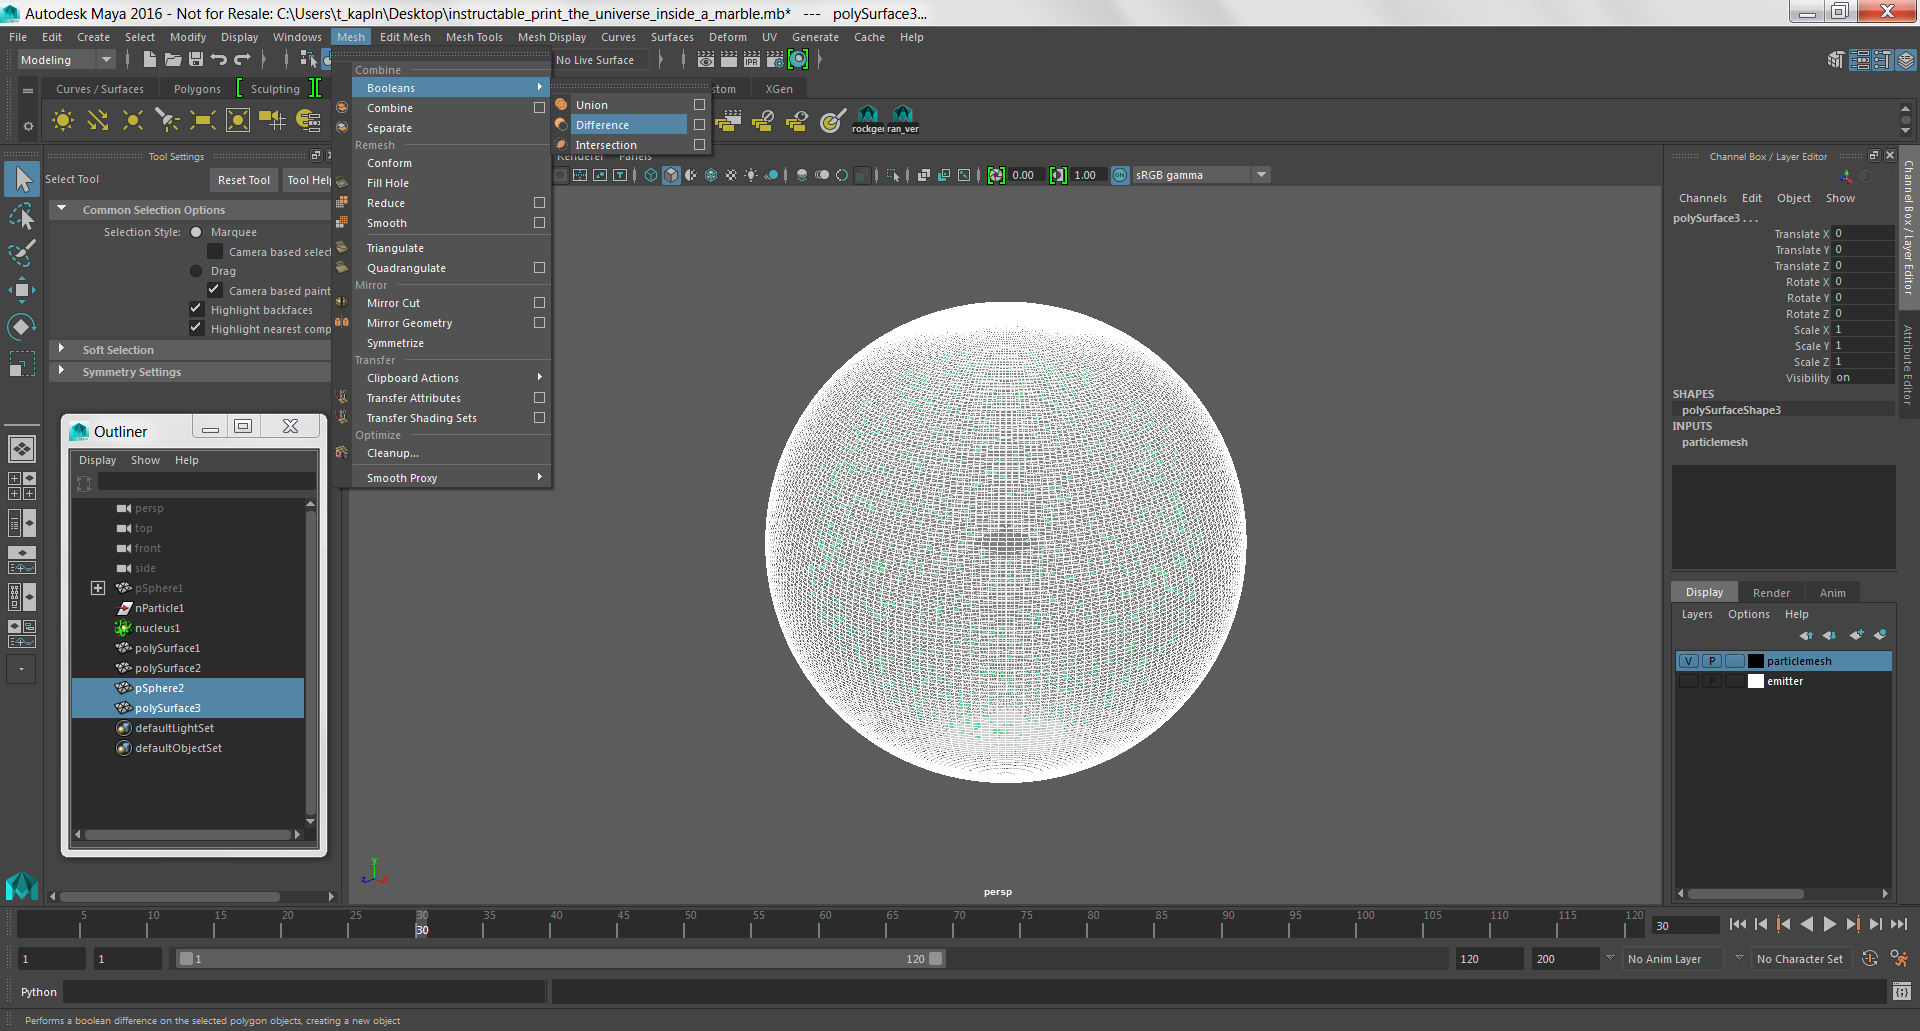
Now, select the sphere and the particle cloud duplicate. Make sure you select the sphere first, this order of operations is crucial to get the result you want. If you are having trouble selecting the geometries in the right order, remember to use the Outliner window.
Switch back to Modeling mode in the menu at the top left of the interface.
Click on the Mesh menu and choose Booleans > Difference.
This function subtracts your particles from your sphere.
Save Scene
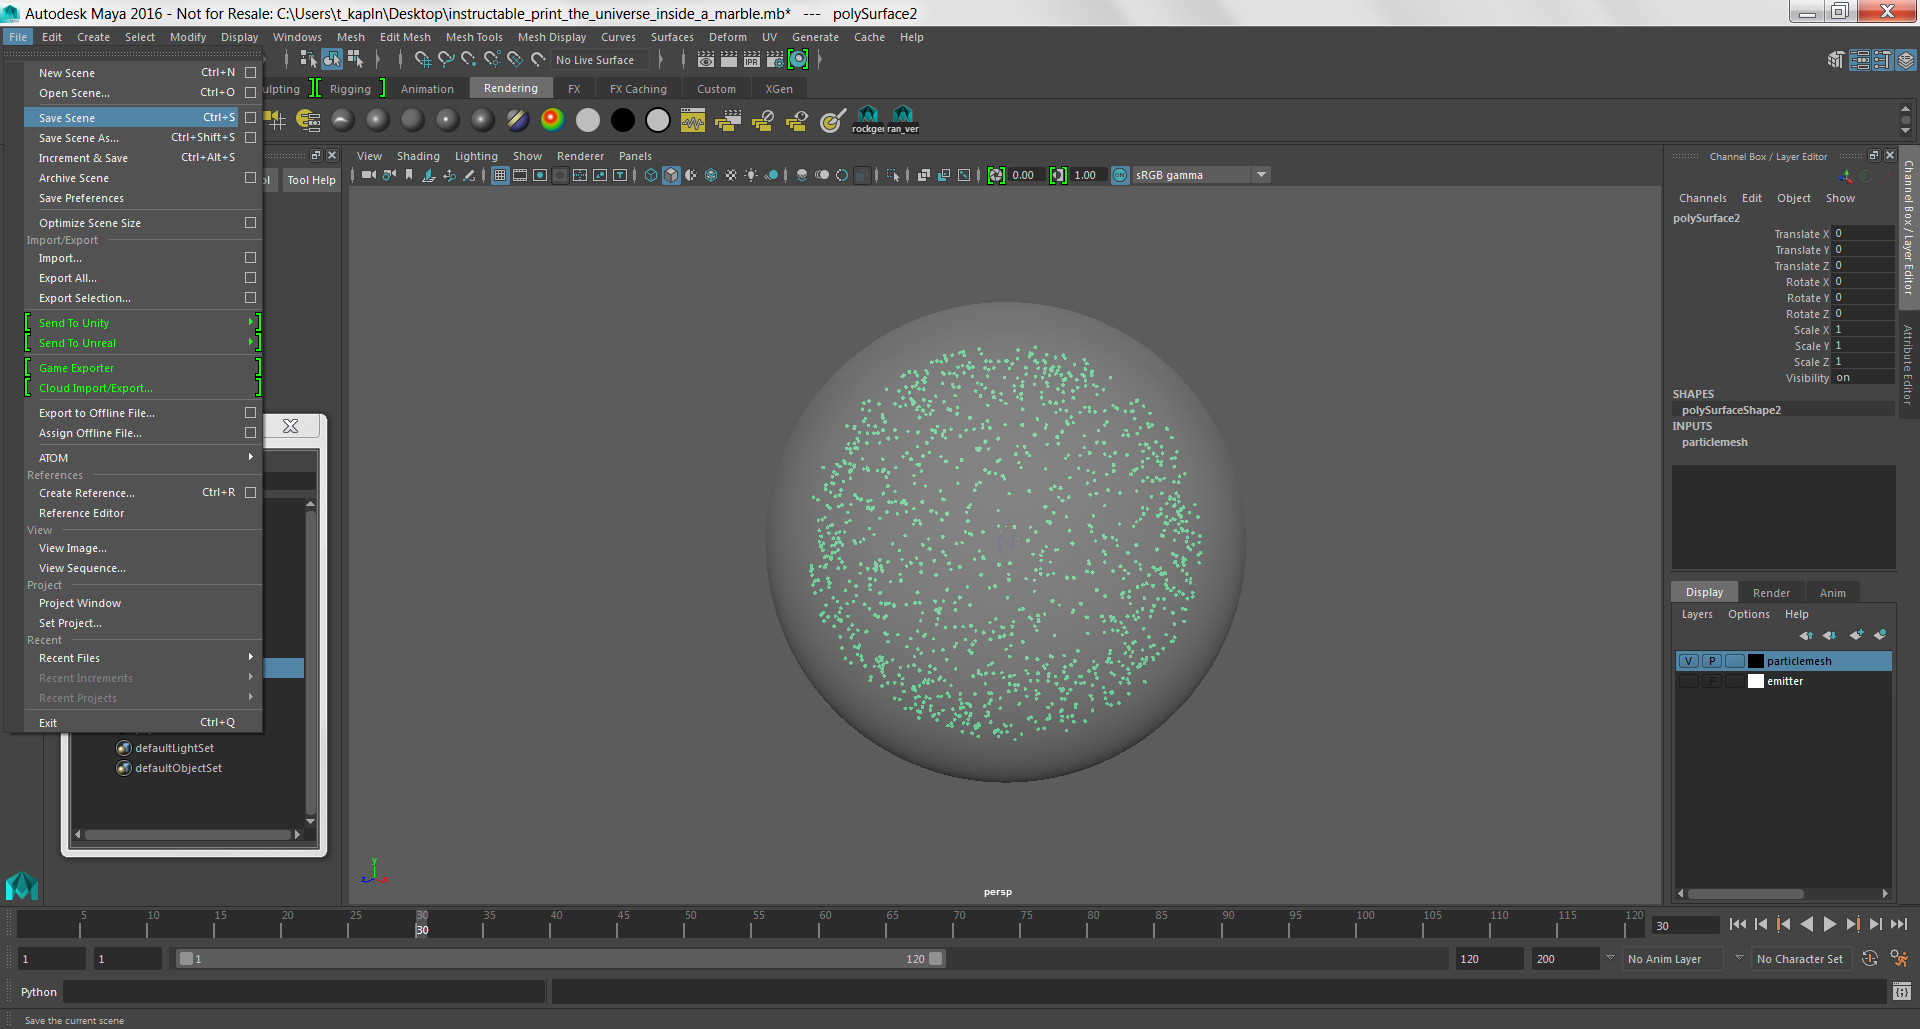
Always save your scene before exiting. For that matter, save your scene as often as possible.
Maya is a wonderful tool, but tends to crash often, particularly when particles are involved.
Click on the File menu, choose Save Scene.
Open Objet Studio
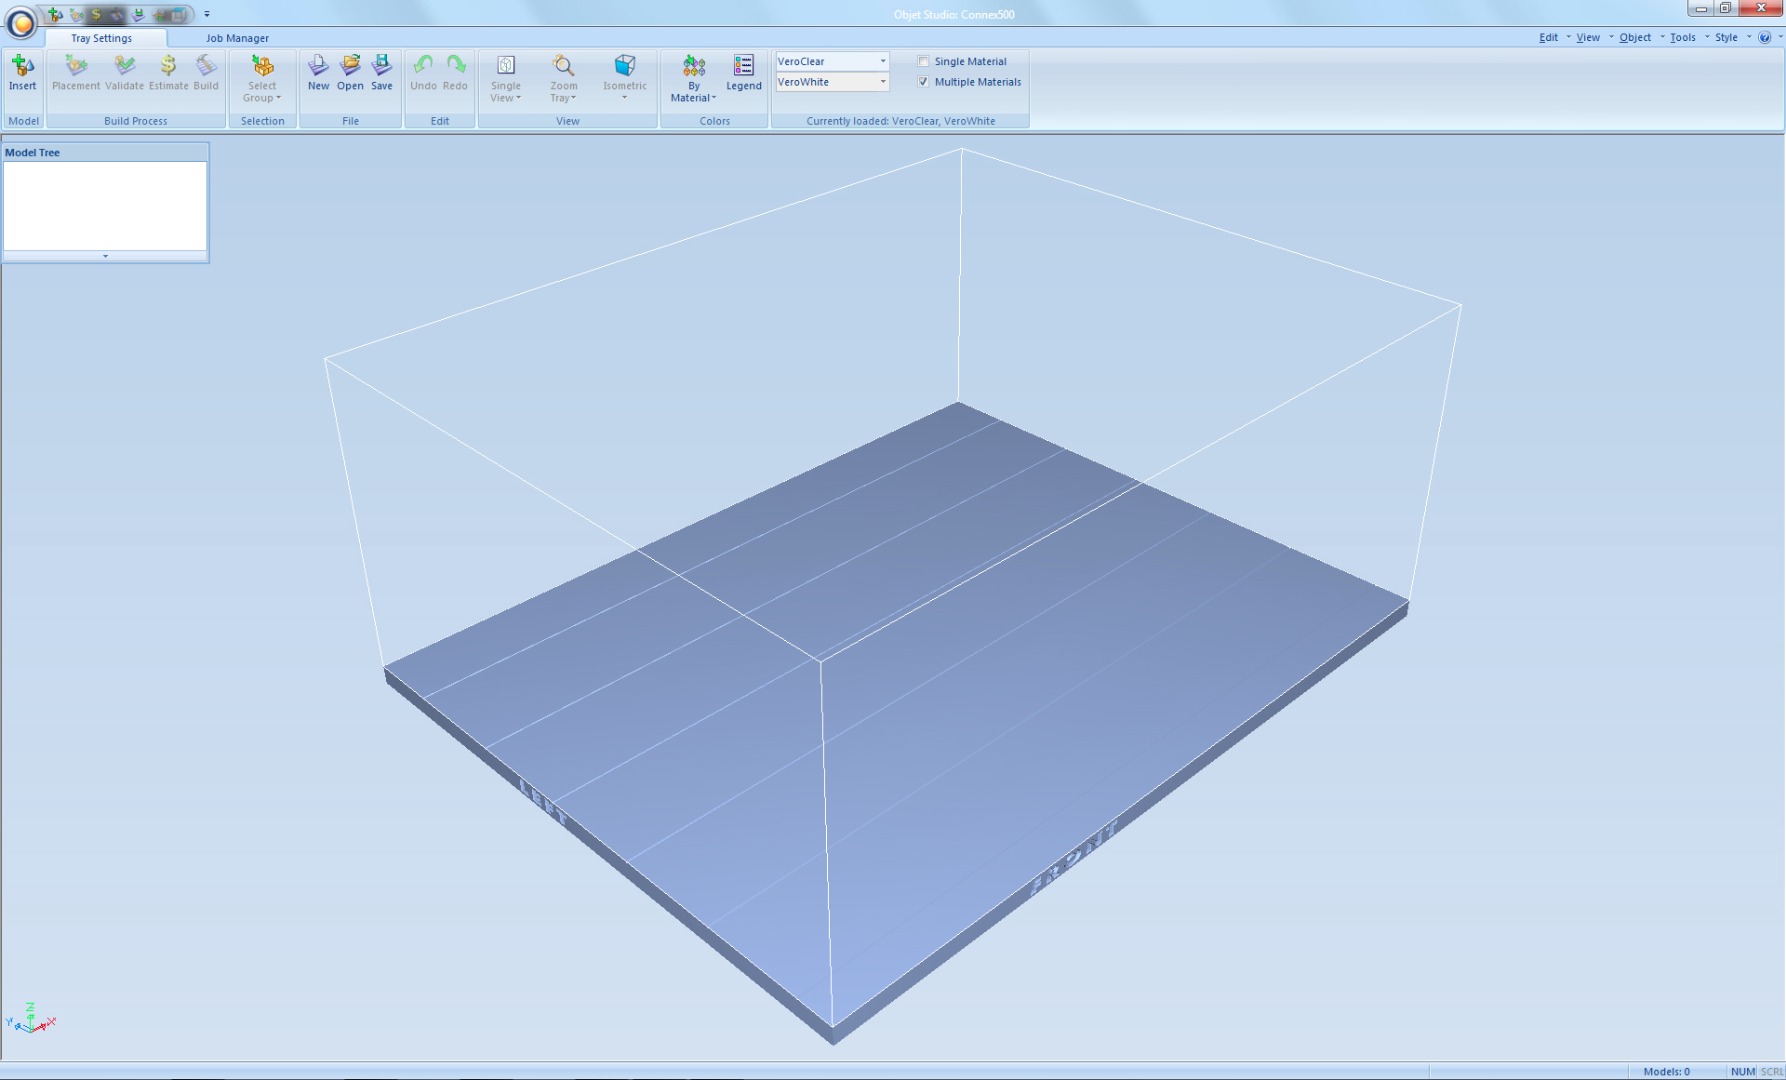
Now you are ready to setup your assembly for printing.
Open Objet Studio and make sure that the printer you plan to use is set up to print with VeroClearPlus and VeroWhitePlus.
Import Marble Geometry
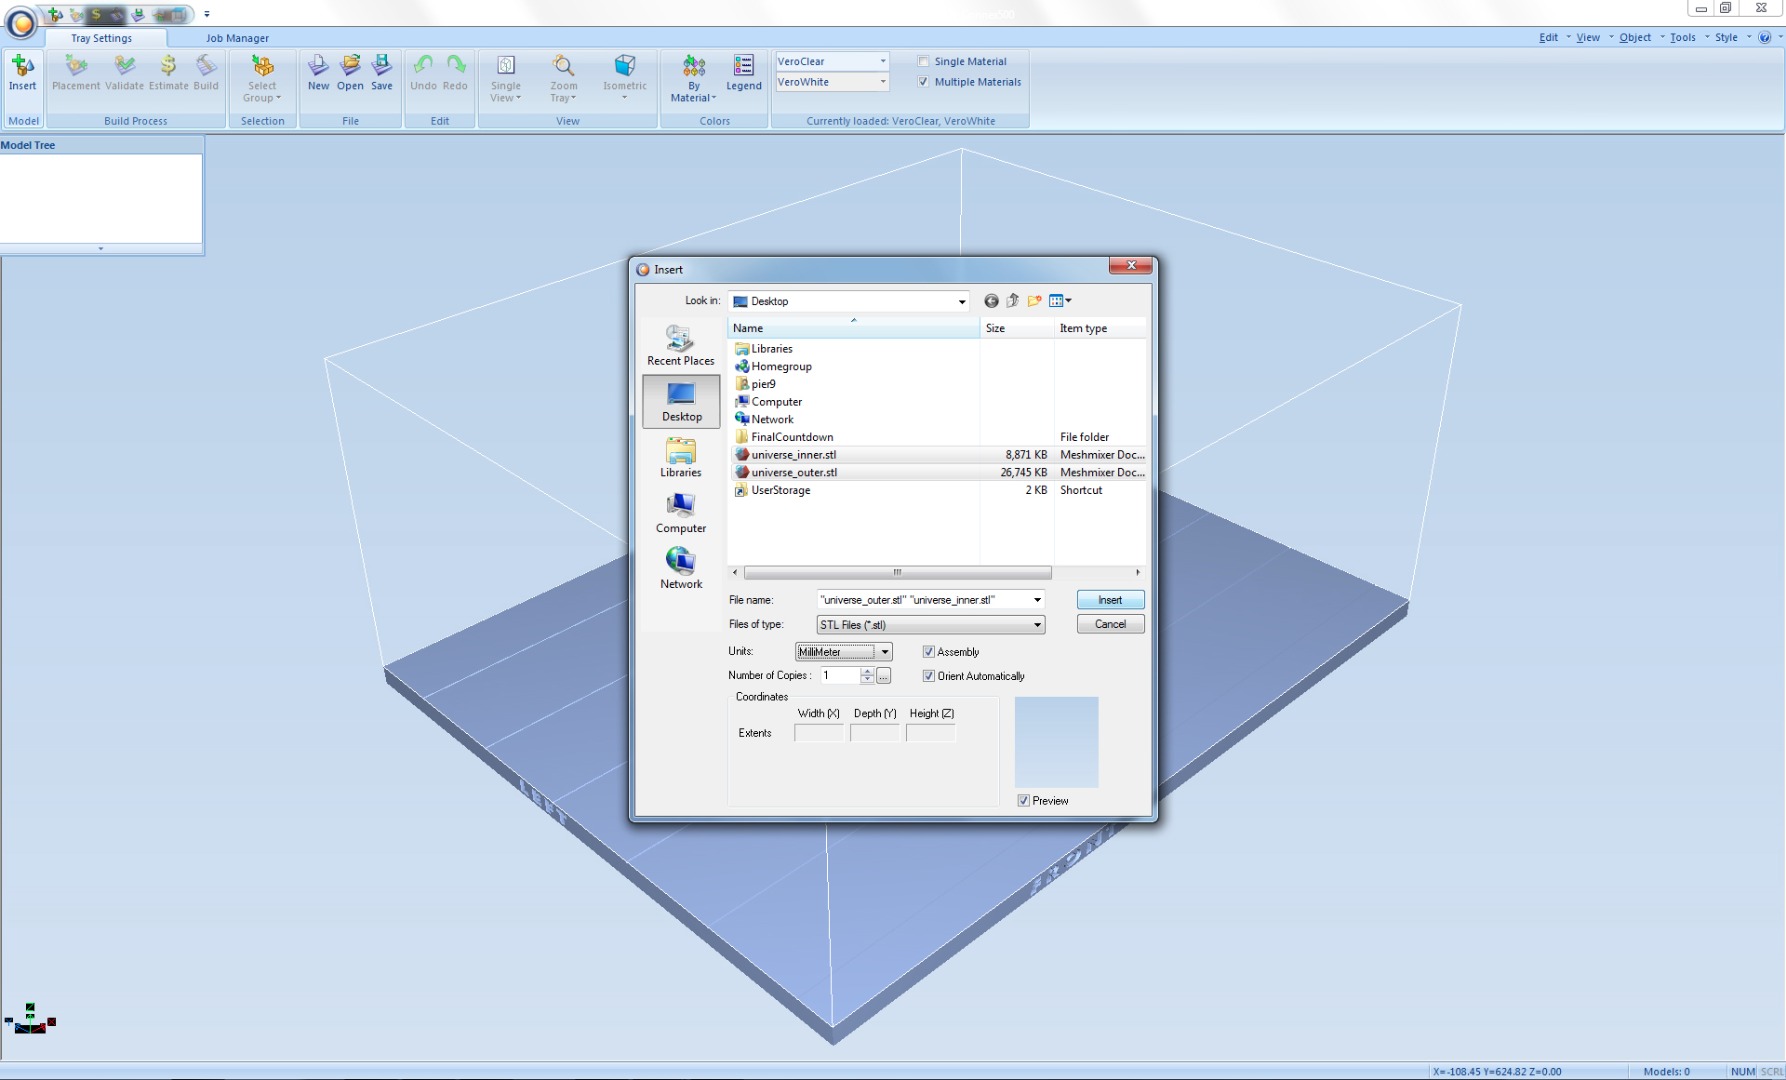
Click on the Insert + icon in the top left corn of the interface.
Select both the inner and outer parts of your assembly.
Make sure to check Assembly before you import.
Automatic Placement
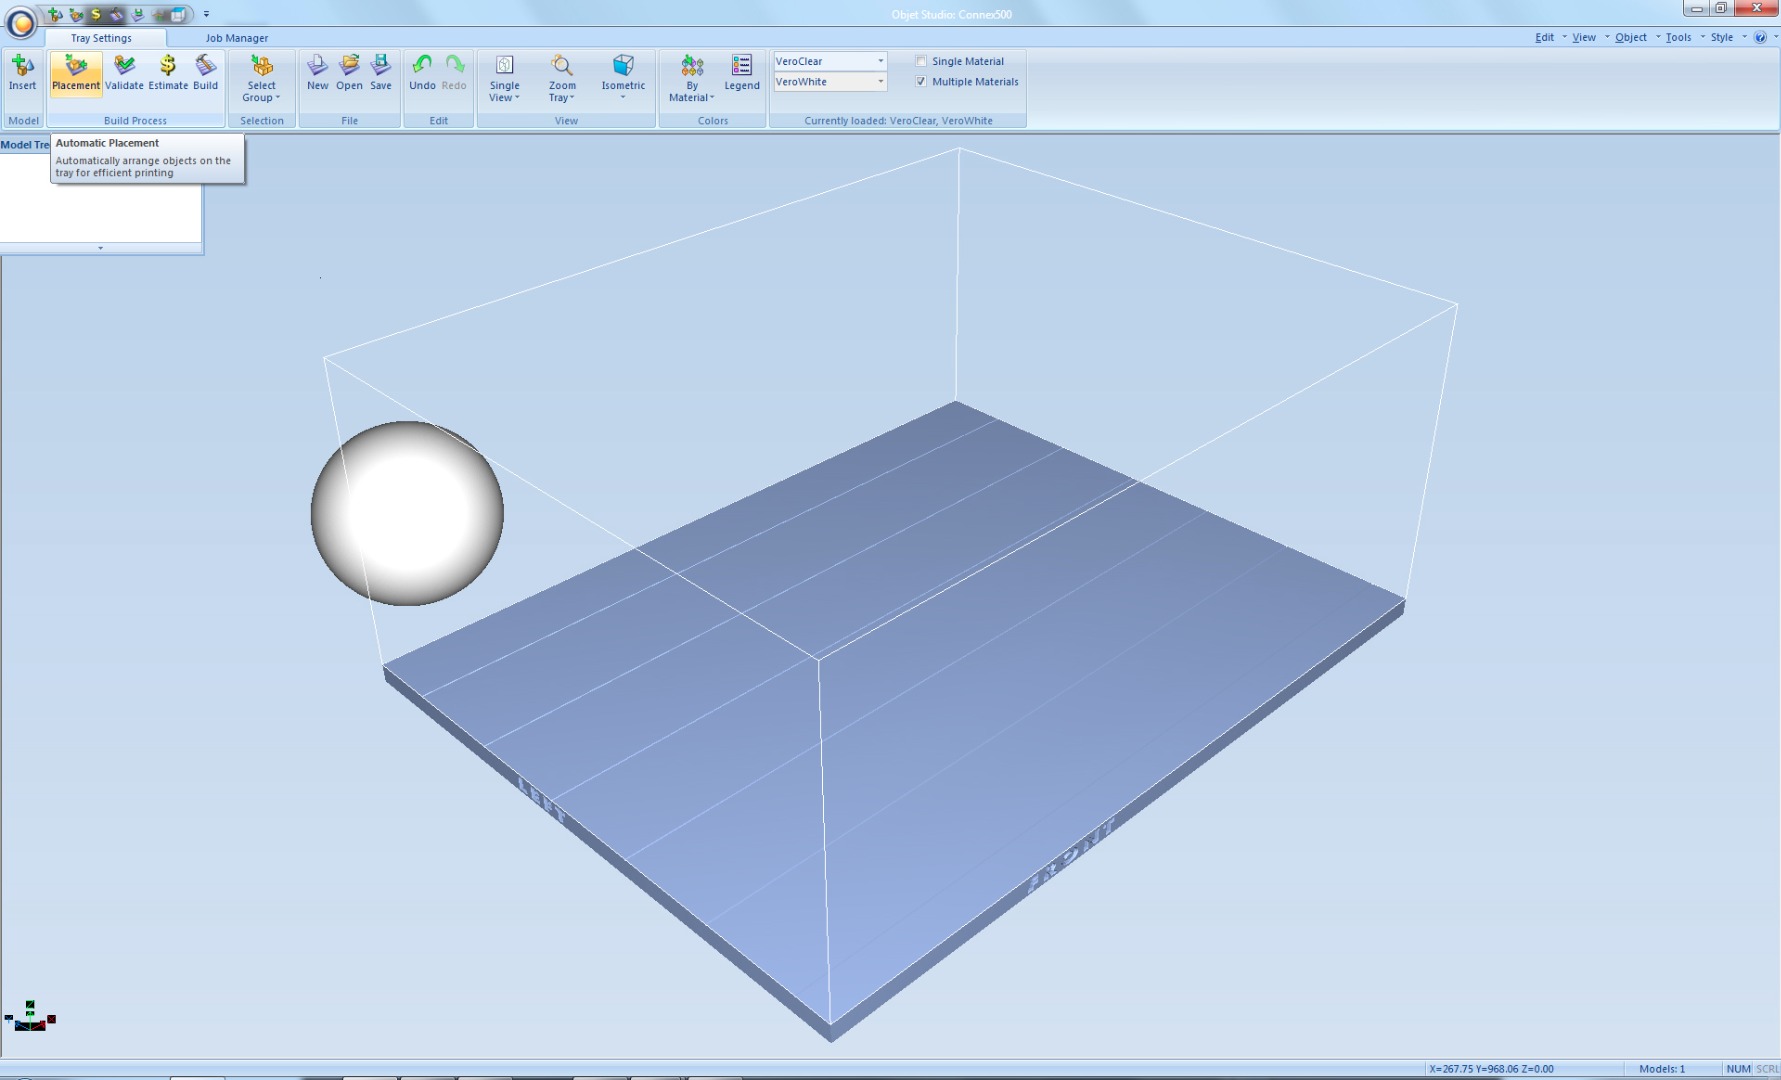
If your model appears to be outside of the build area, click Placement, to the right of Insert +.
Assign Materials
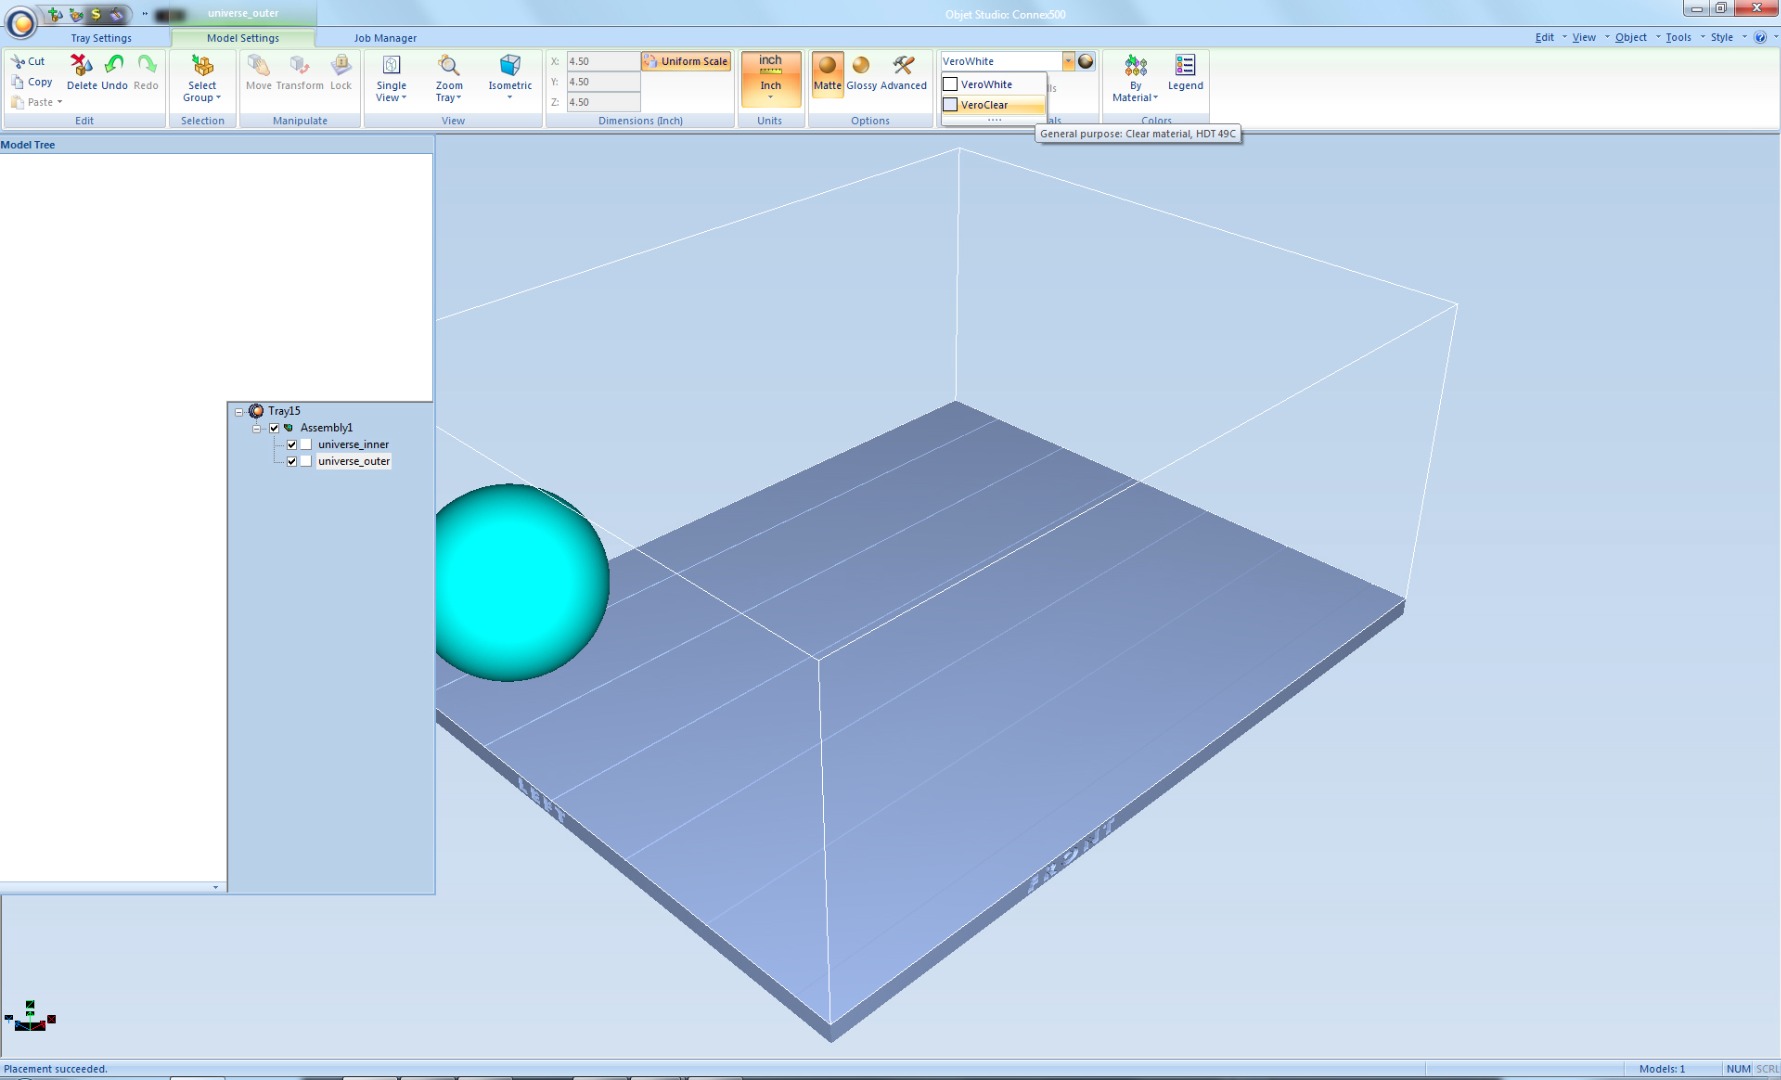
Open the Model Tree and expand the Tray and the Assembly by clicking on the + next to each.
Set the inner to geometry to print with VeroWhitePlus and the outer geometry to print with VeroClearPlus.
Double Check Assembly
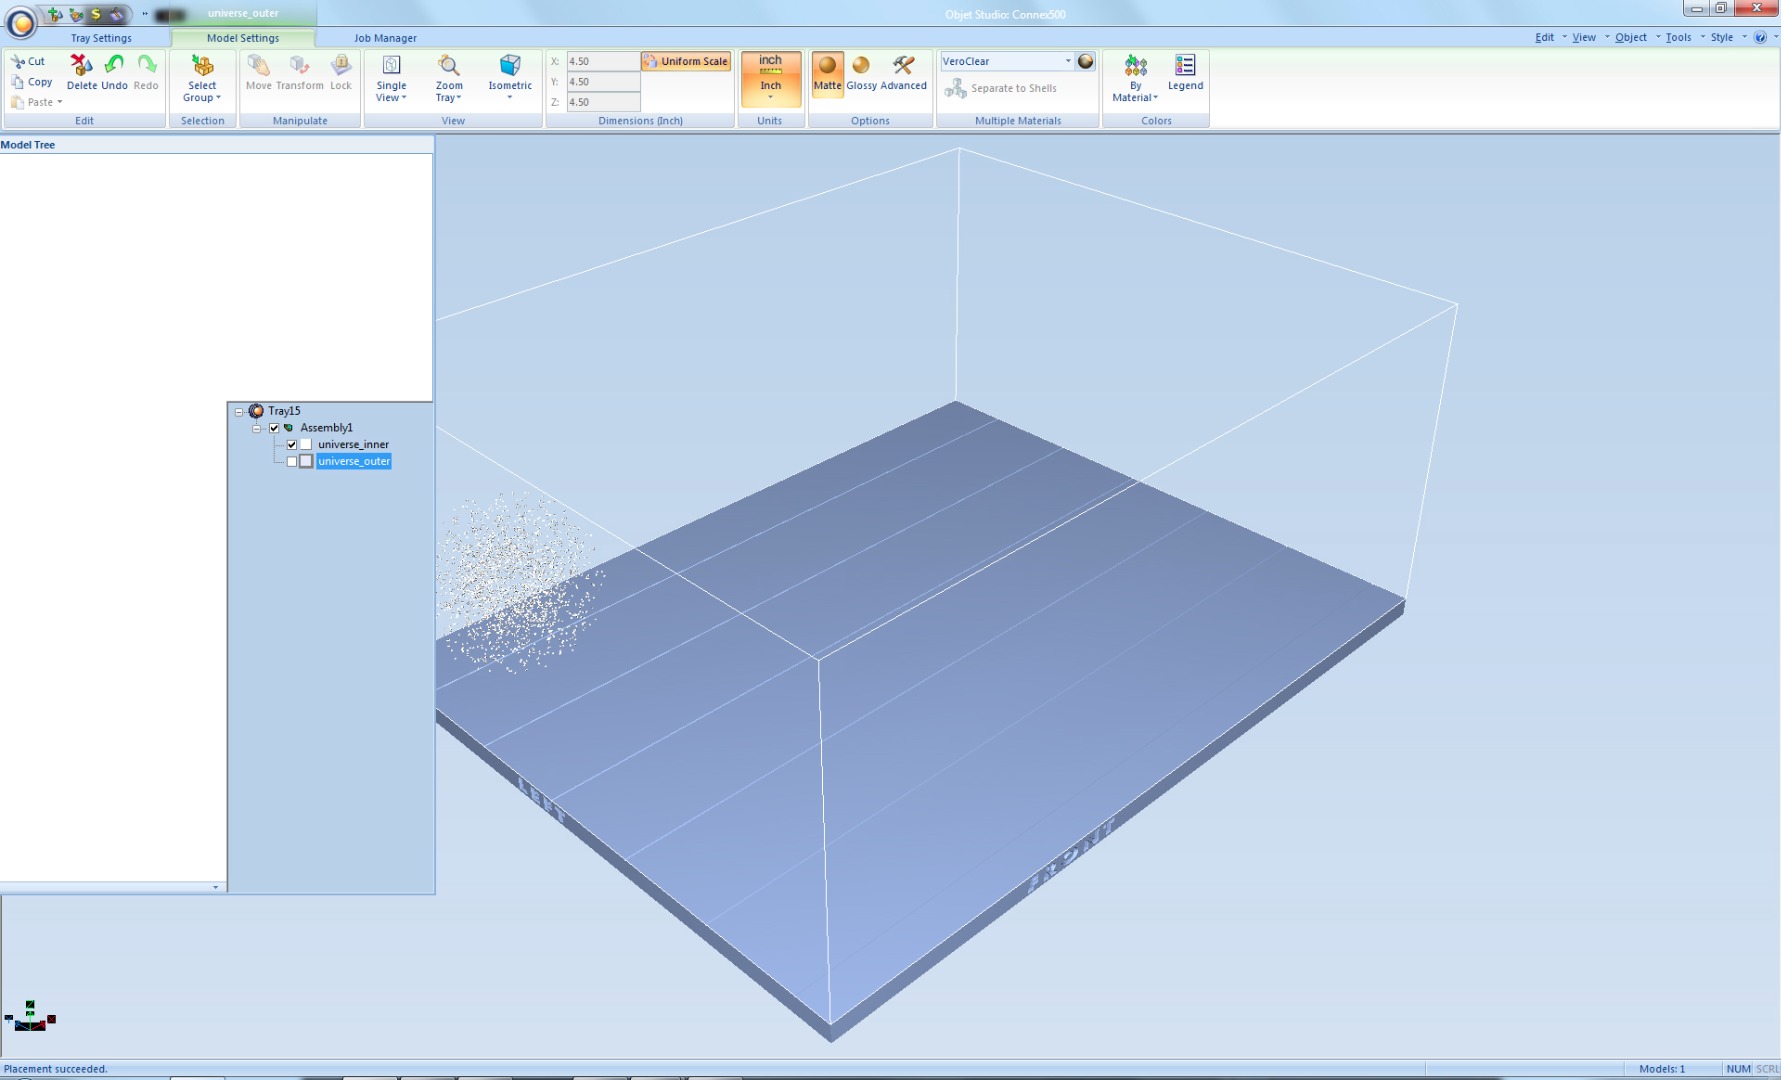
In the Model Tree, turn off the visibility of the outer geometry to check that the inner geometry is centered within.
Make sure to turn visibility back on before proceeding.
Validate Geometry
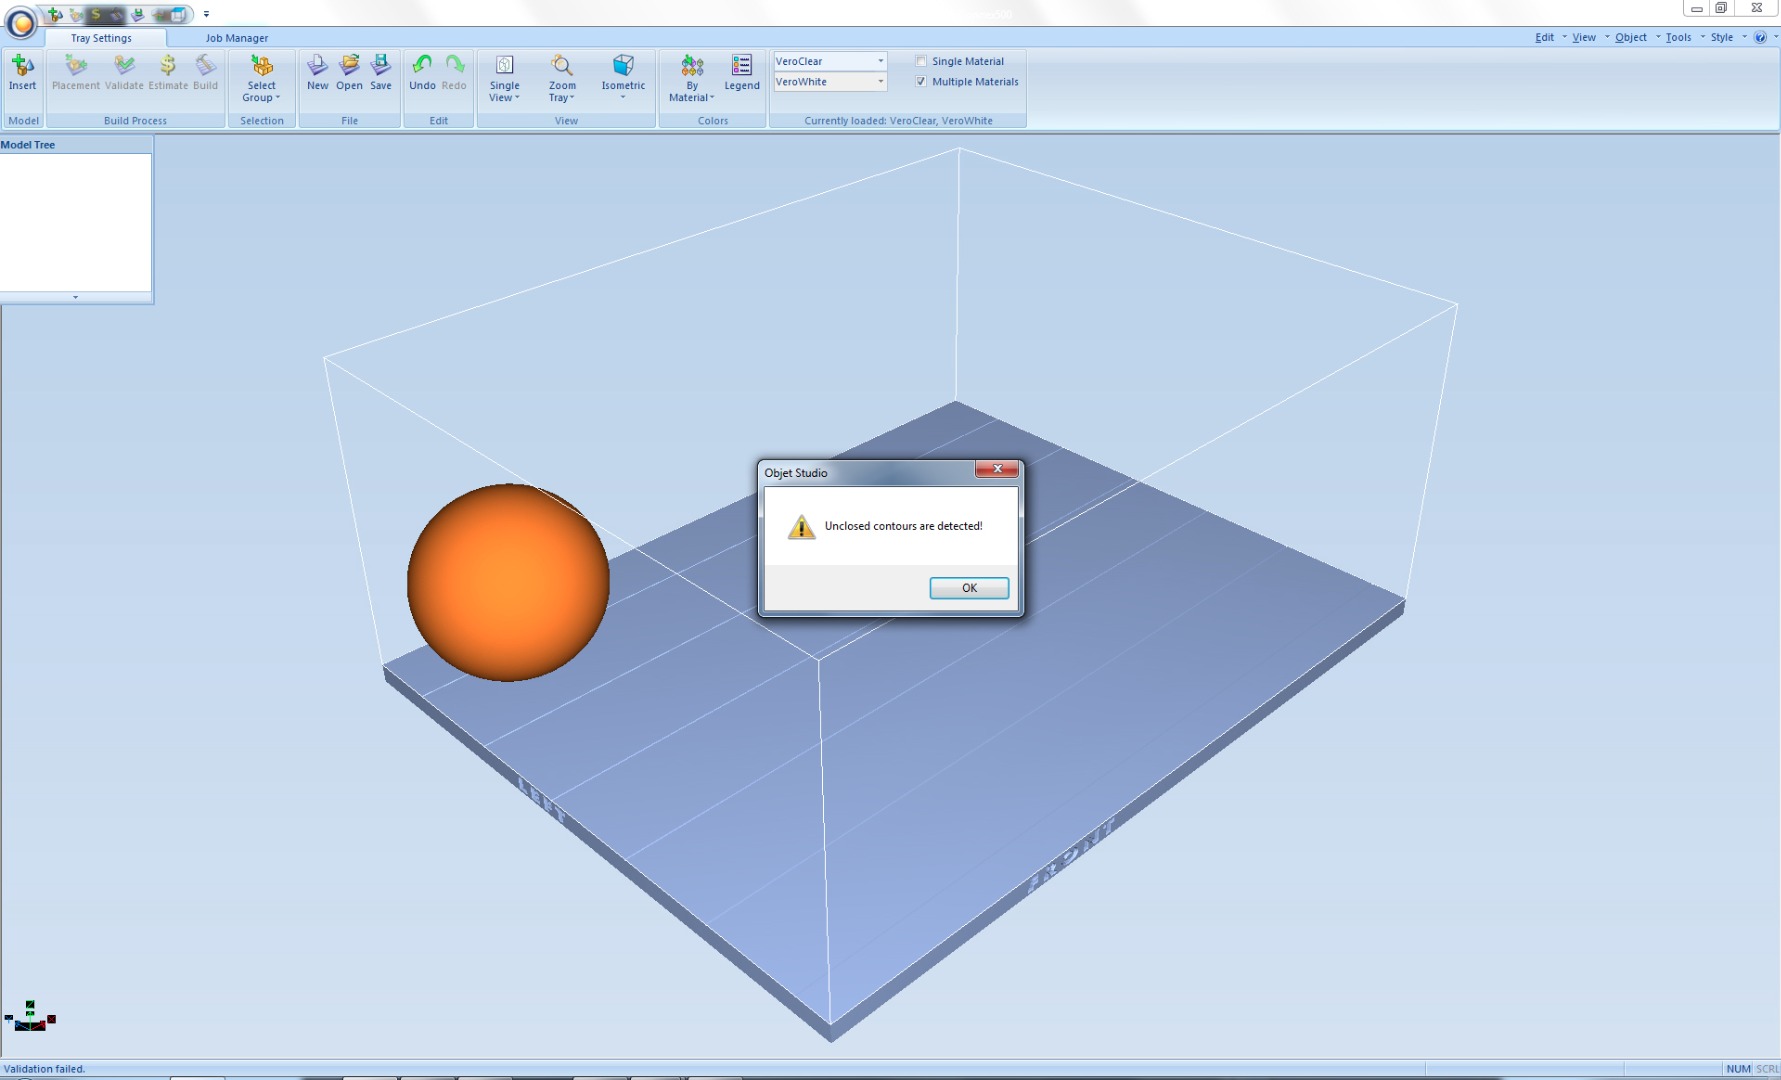
Next, click the Validate function to the right of Placement.
In most cases, a particle assembly will yield an error message:
Unclosed Contours Are Detected!
Don't worry, your print will still work.
Click OK to continue.
Build Model
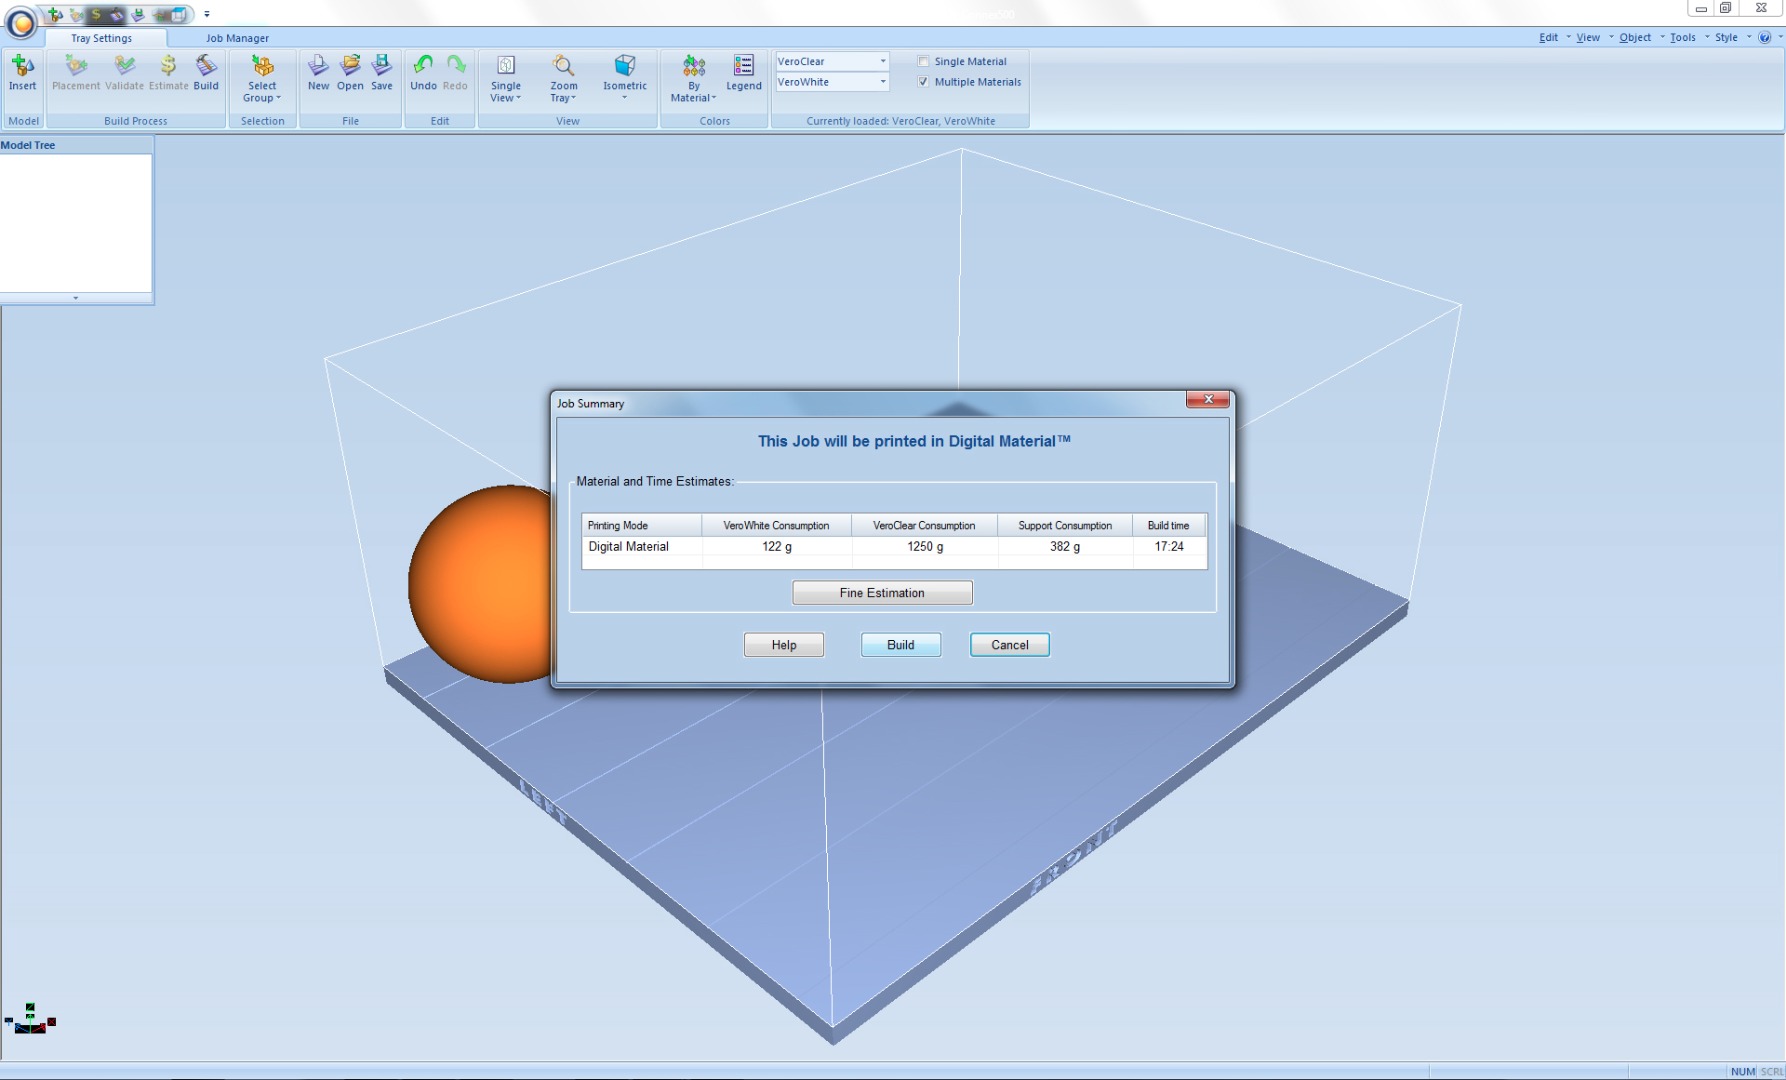
Finally, you are ready to send your model to print.
Click on the Build function next to Validate.
Make sure the Printing Mode is set to Digital Material.
Then click Build.
Save Build Setup
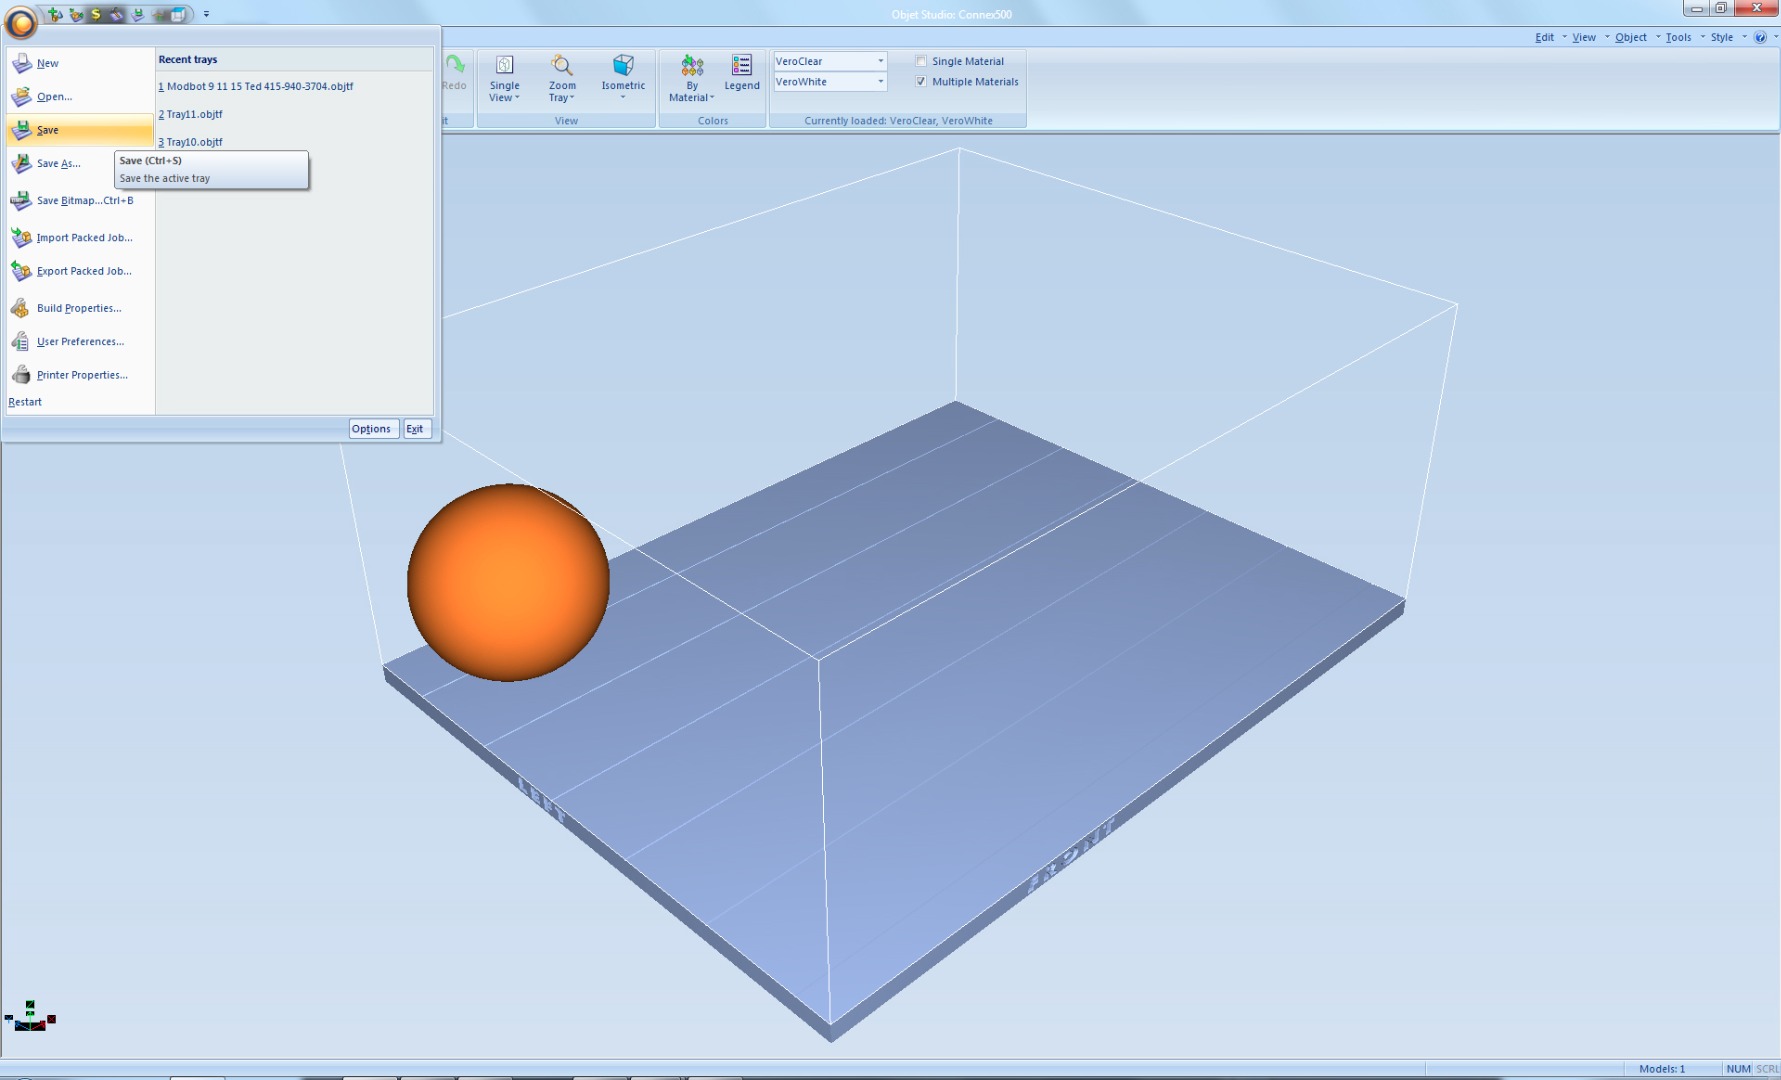
Don't forget to save your setup so that you can print more universes later.
Click on the O logo at the top left of the interface.
Then choose Save.
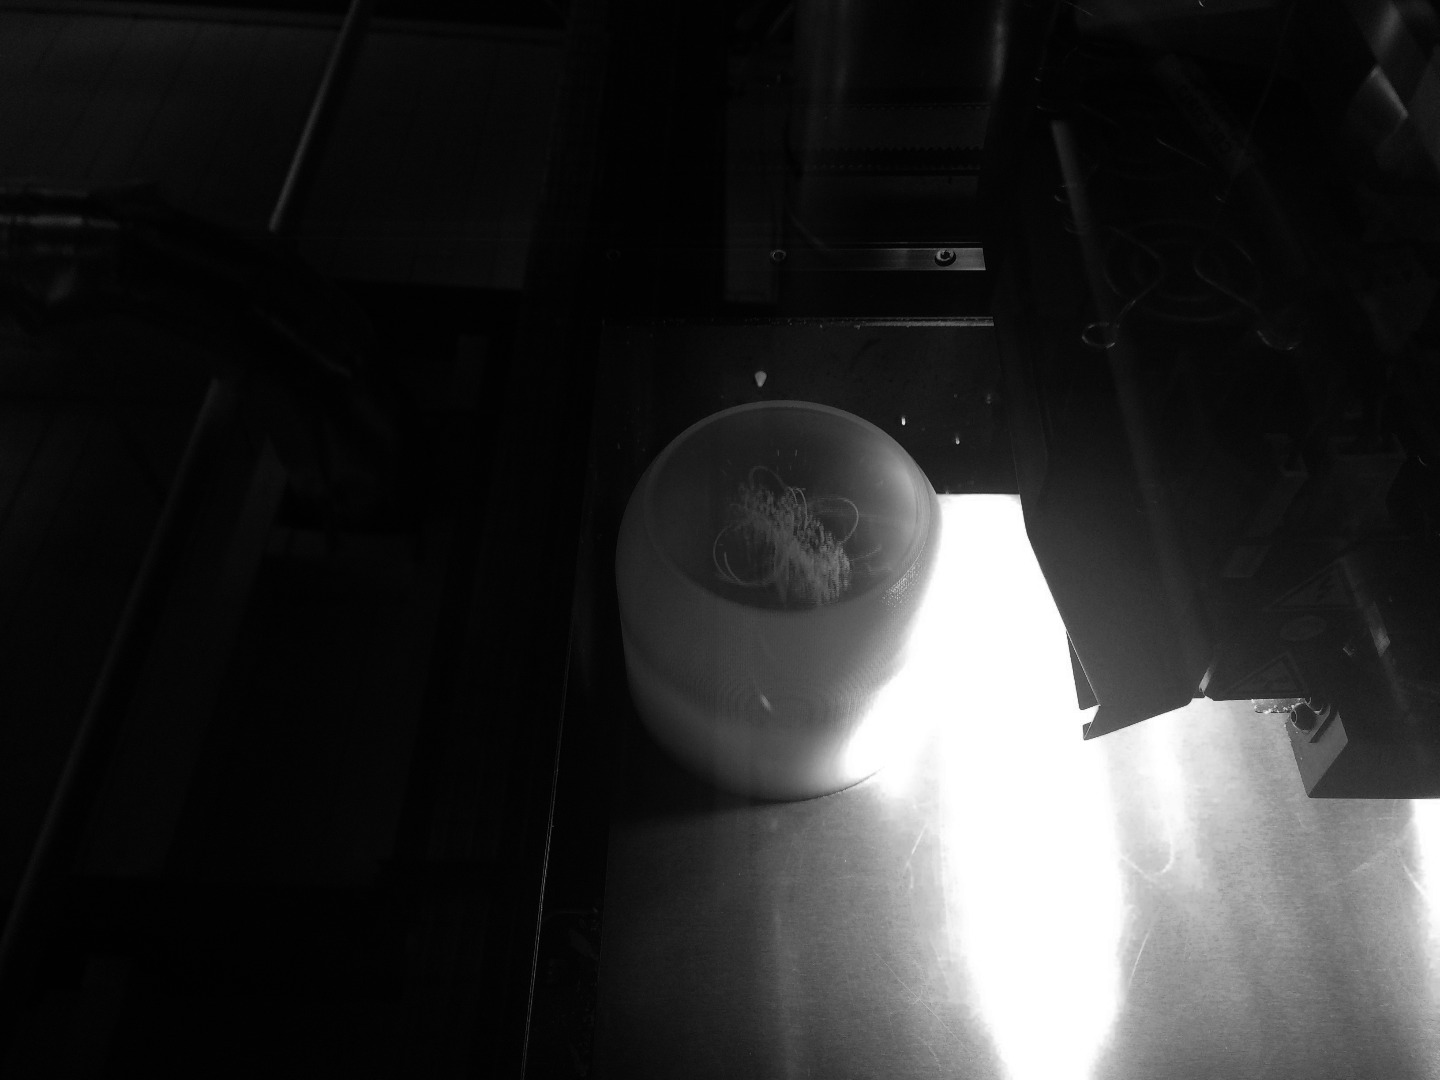
Watch Your Print Come to Life
Polish Your Prints
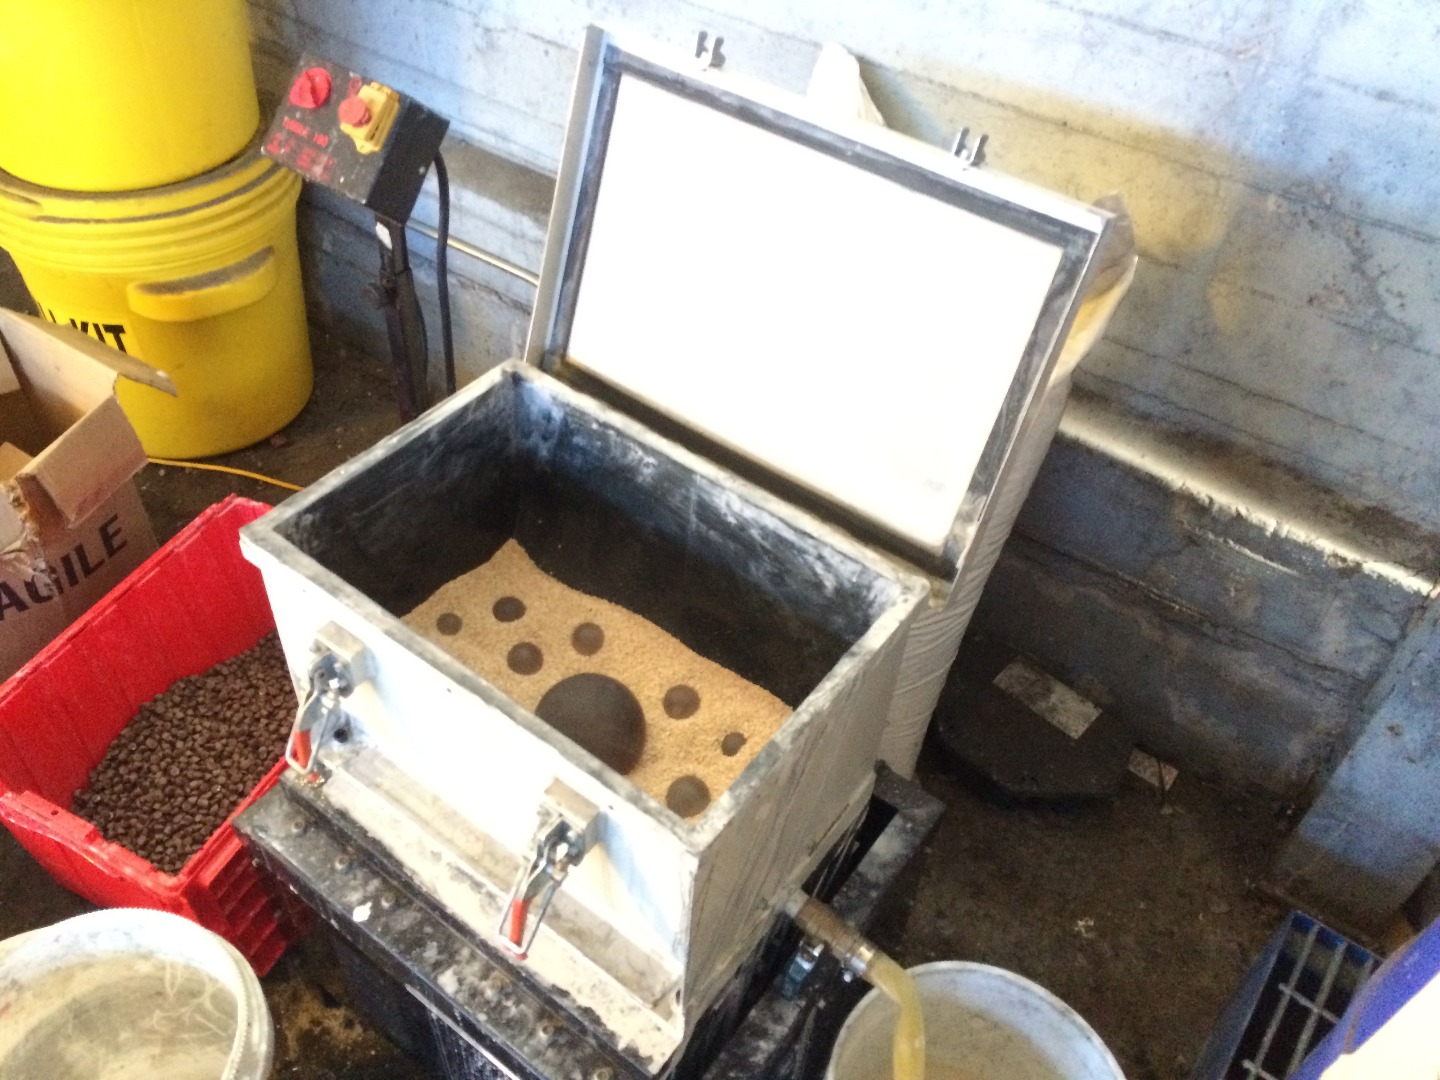
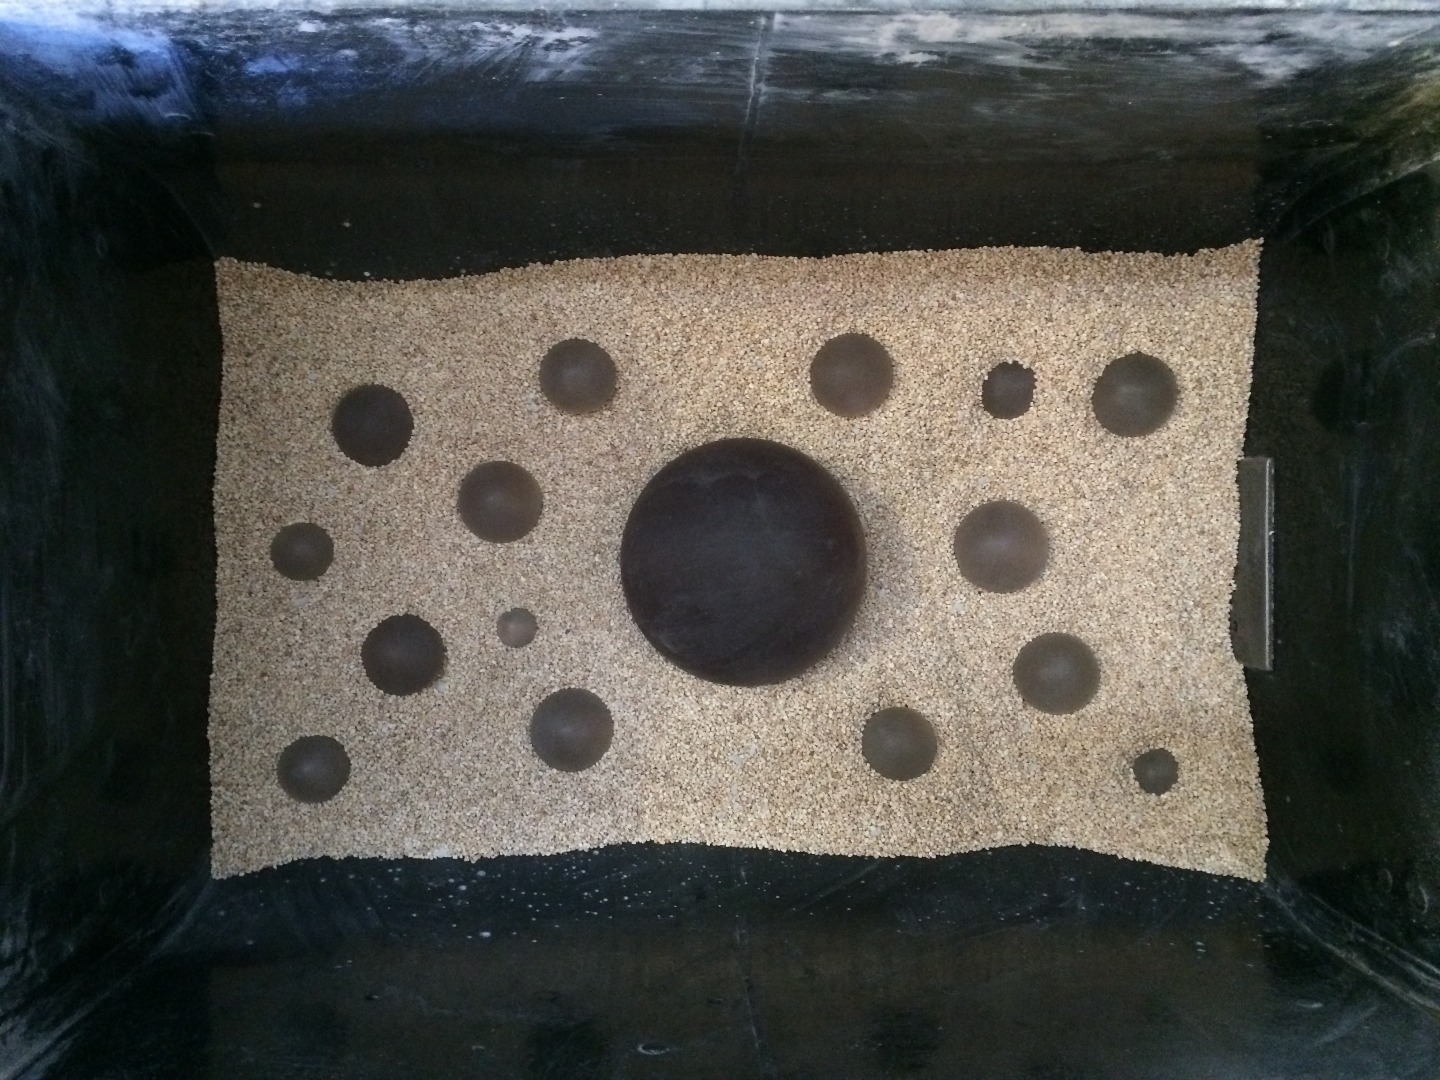
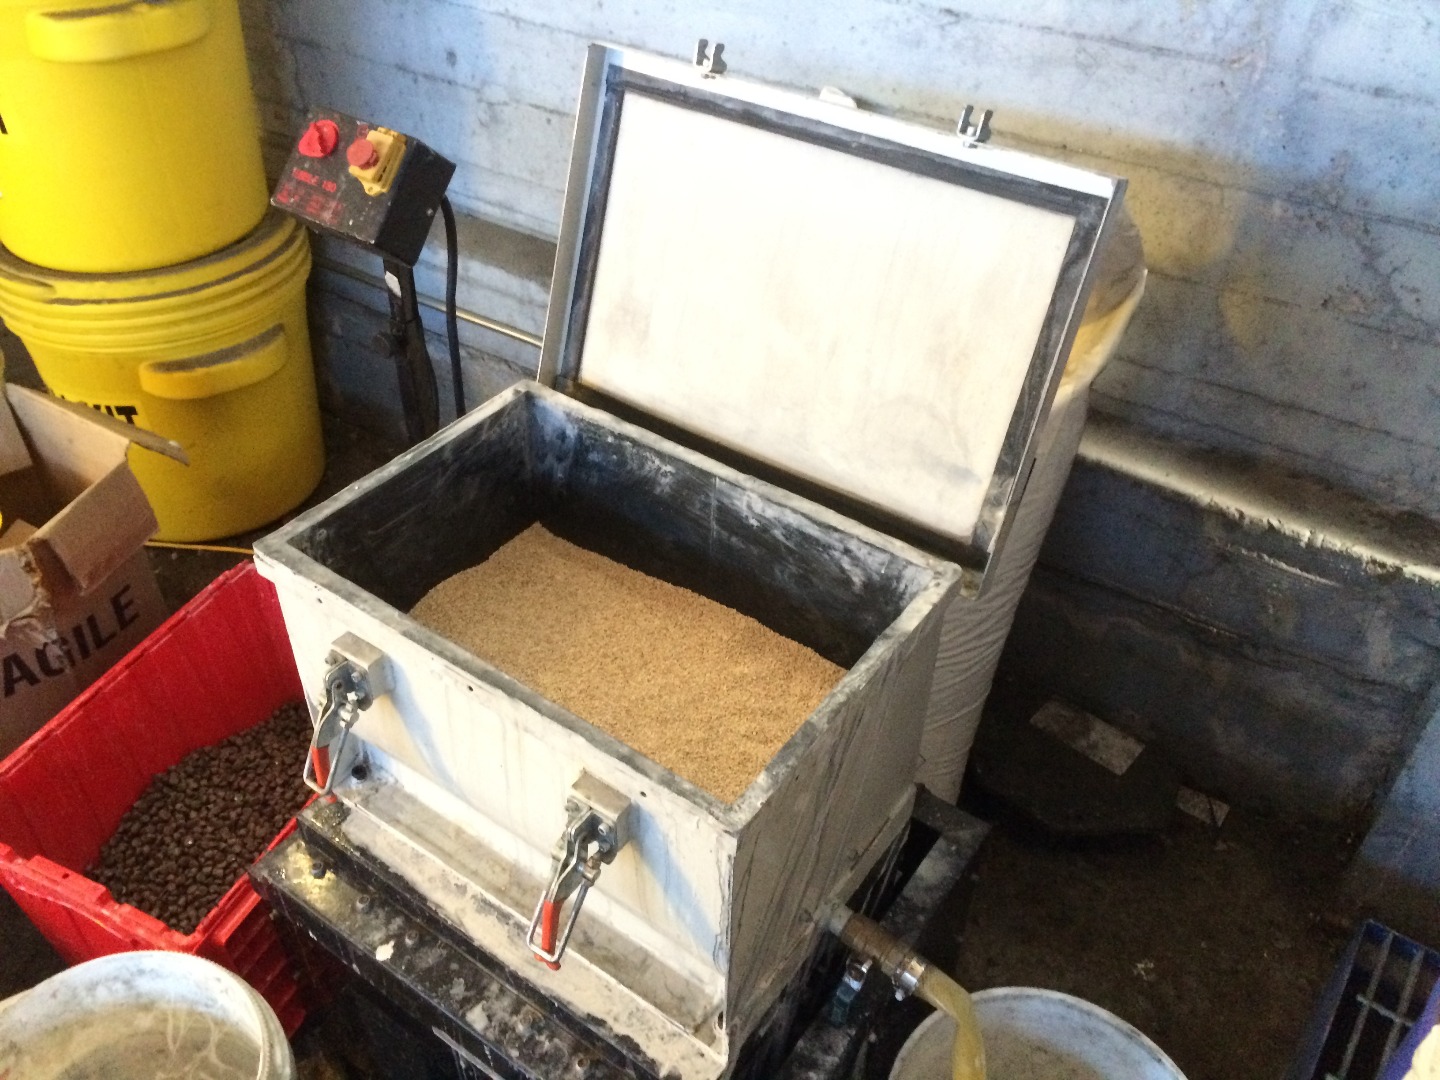
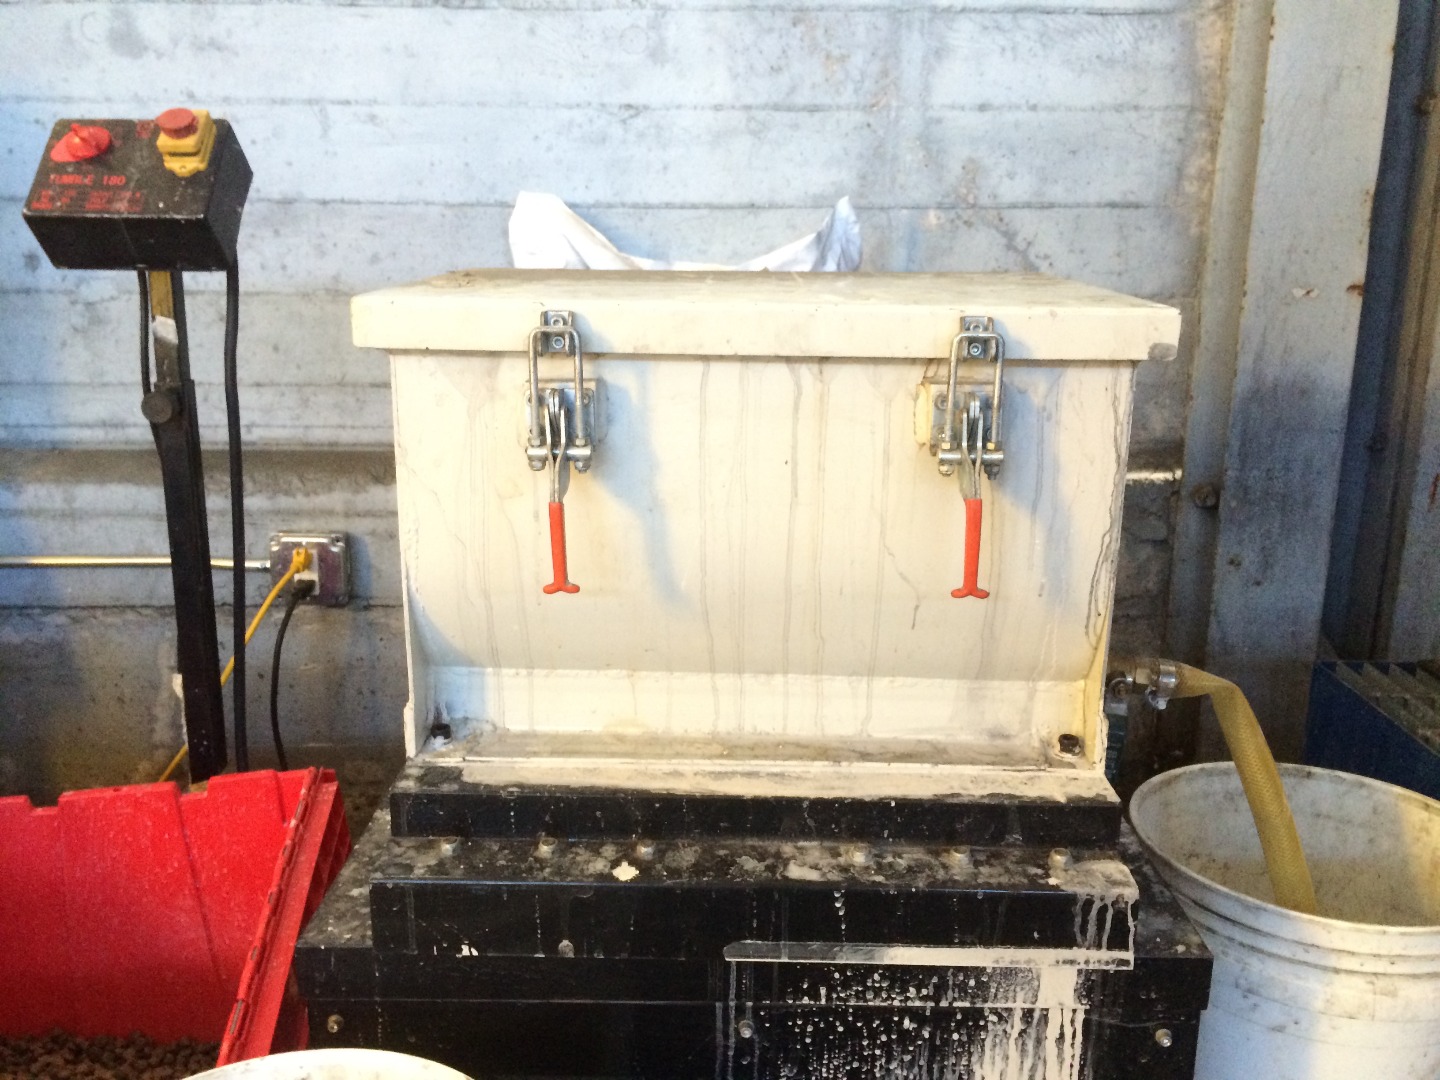
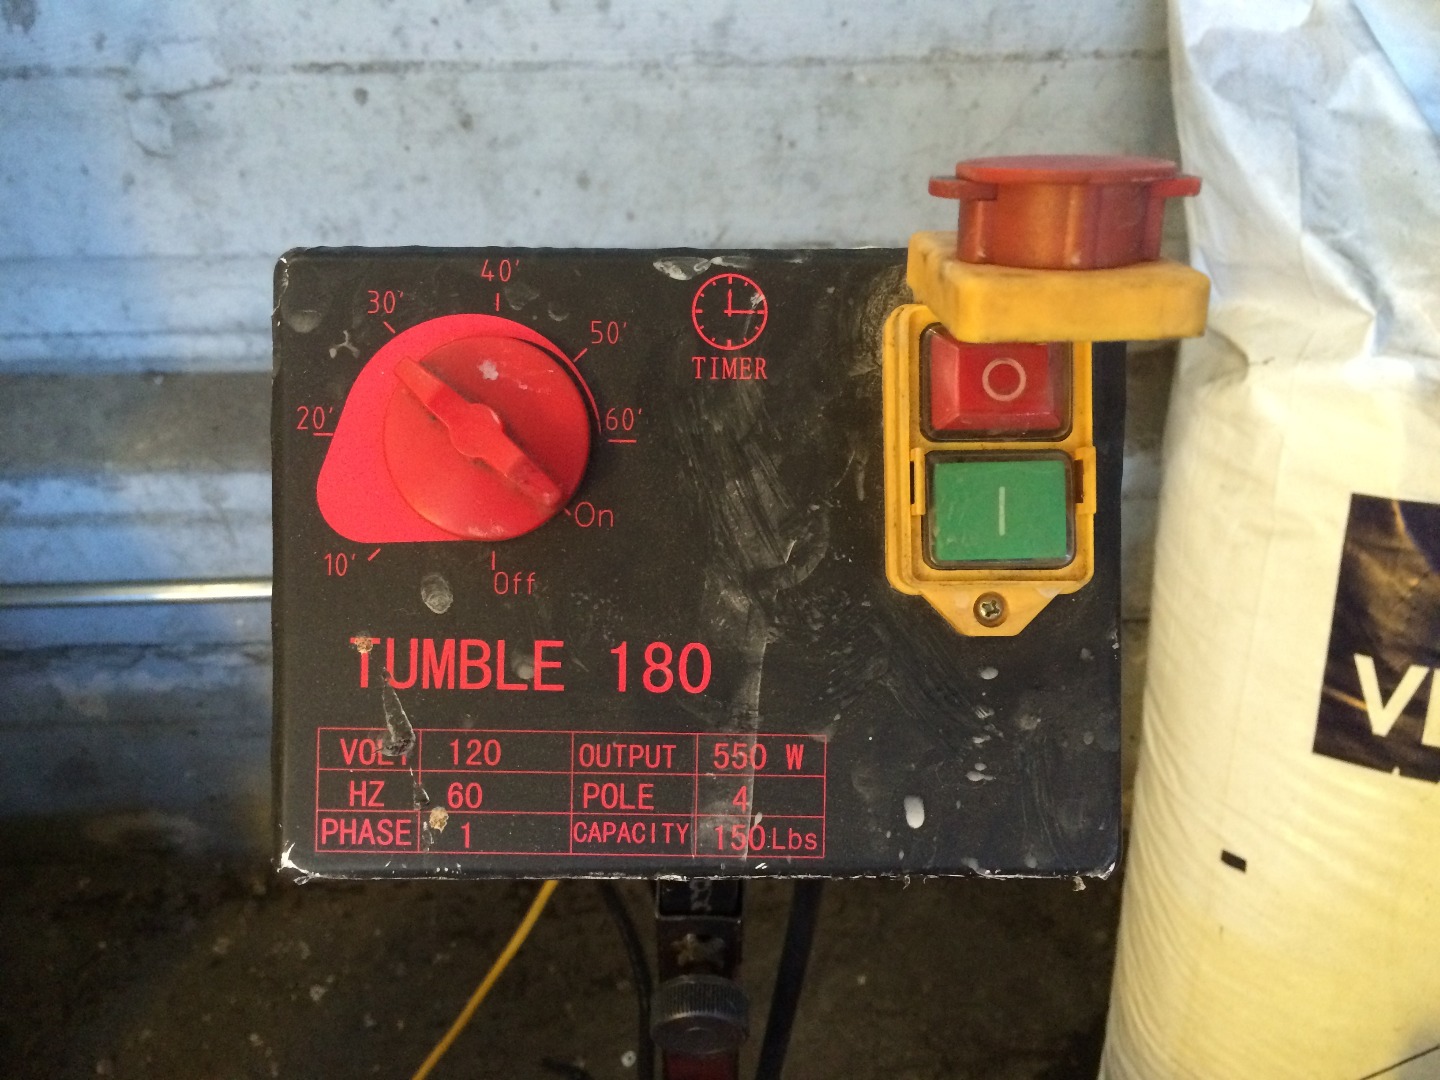
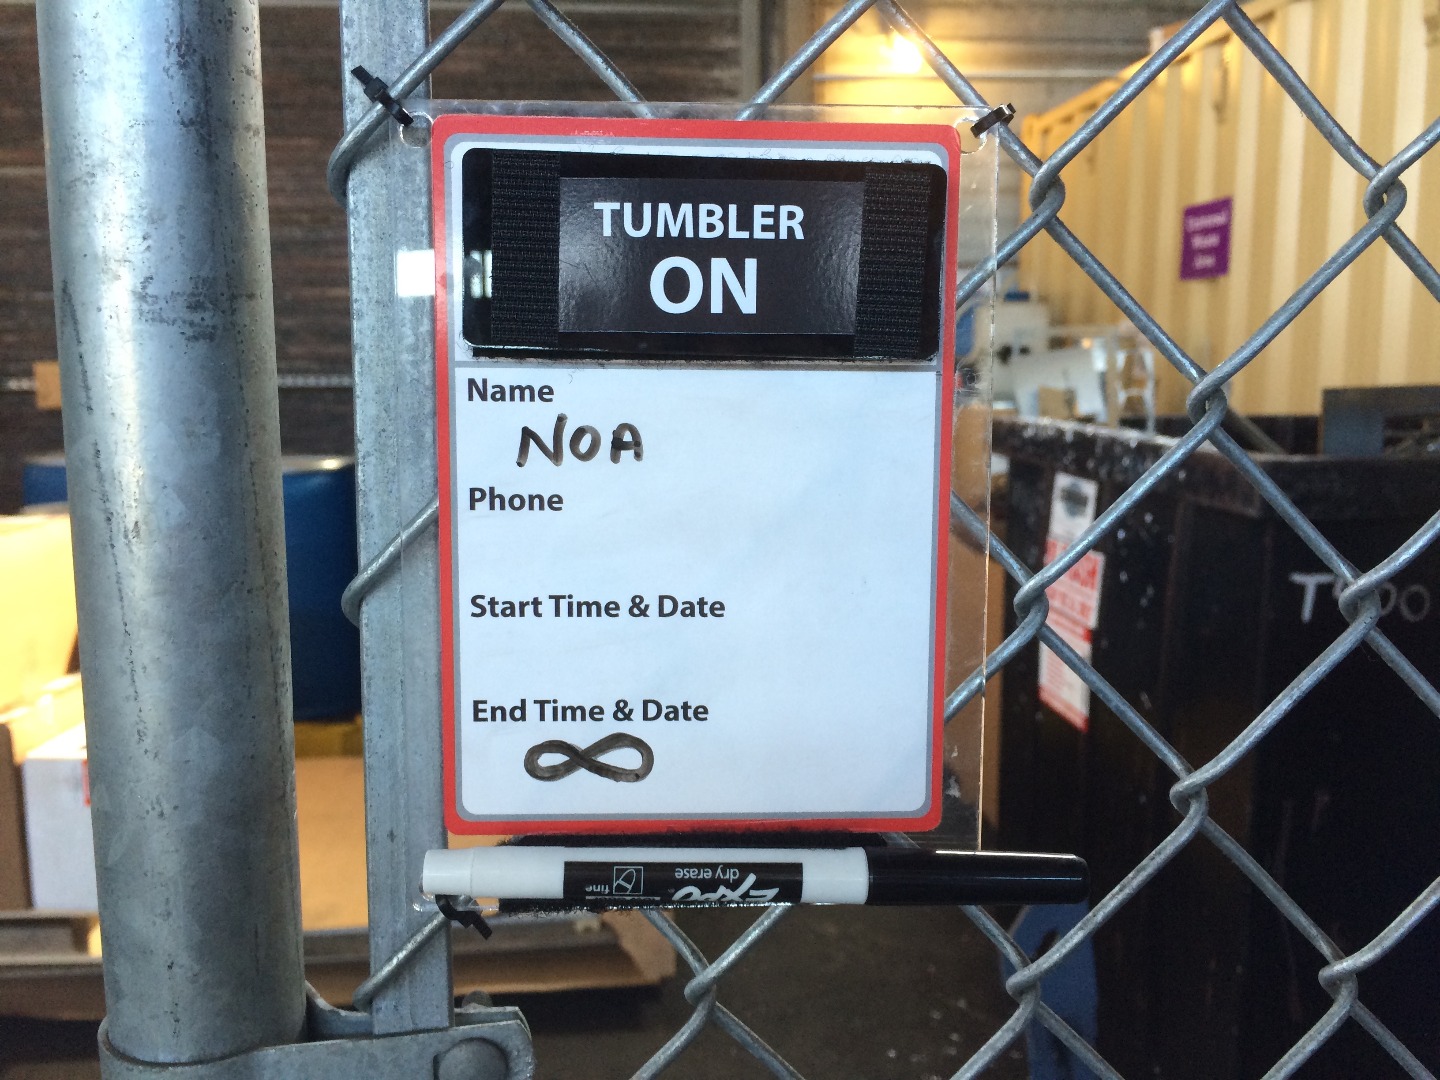
Stick your prints in the tumbler or follow one of the instructables below to make your marbles clear and shiny:
https://www.instructables.com/id/How-to-Polish-Resin/
https://www.instructables.com/id/How-to-polish-3D-printed-clear-resin-models-that-c/
Play With Complexity
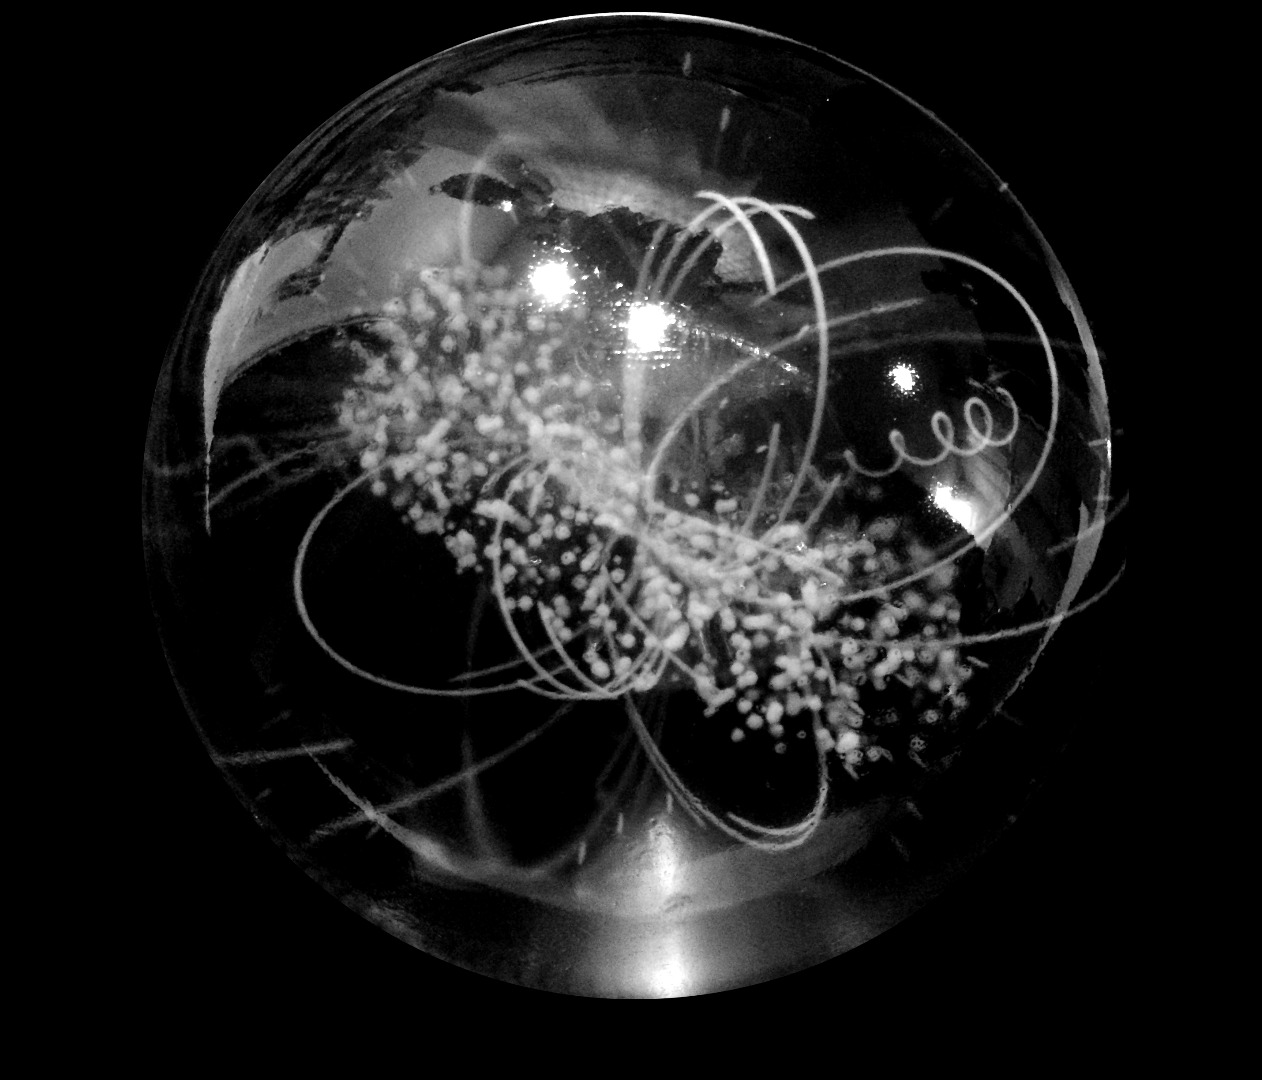
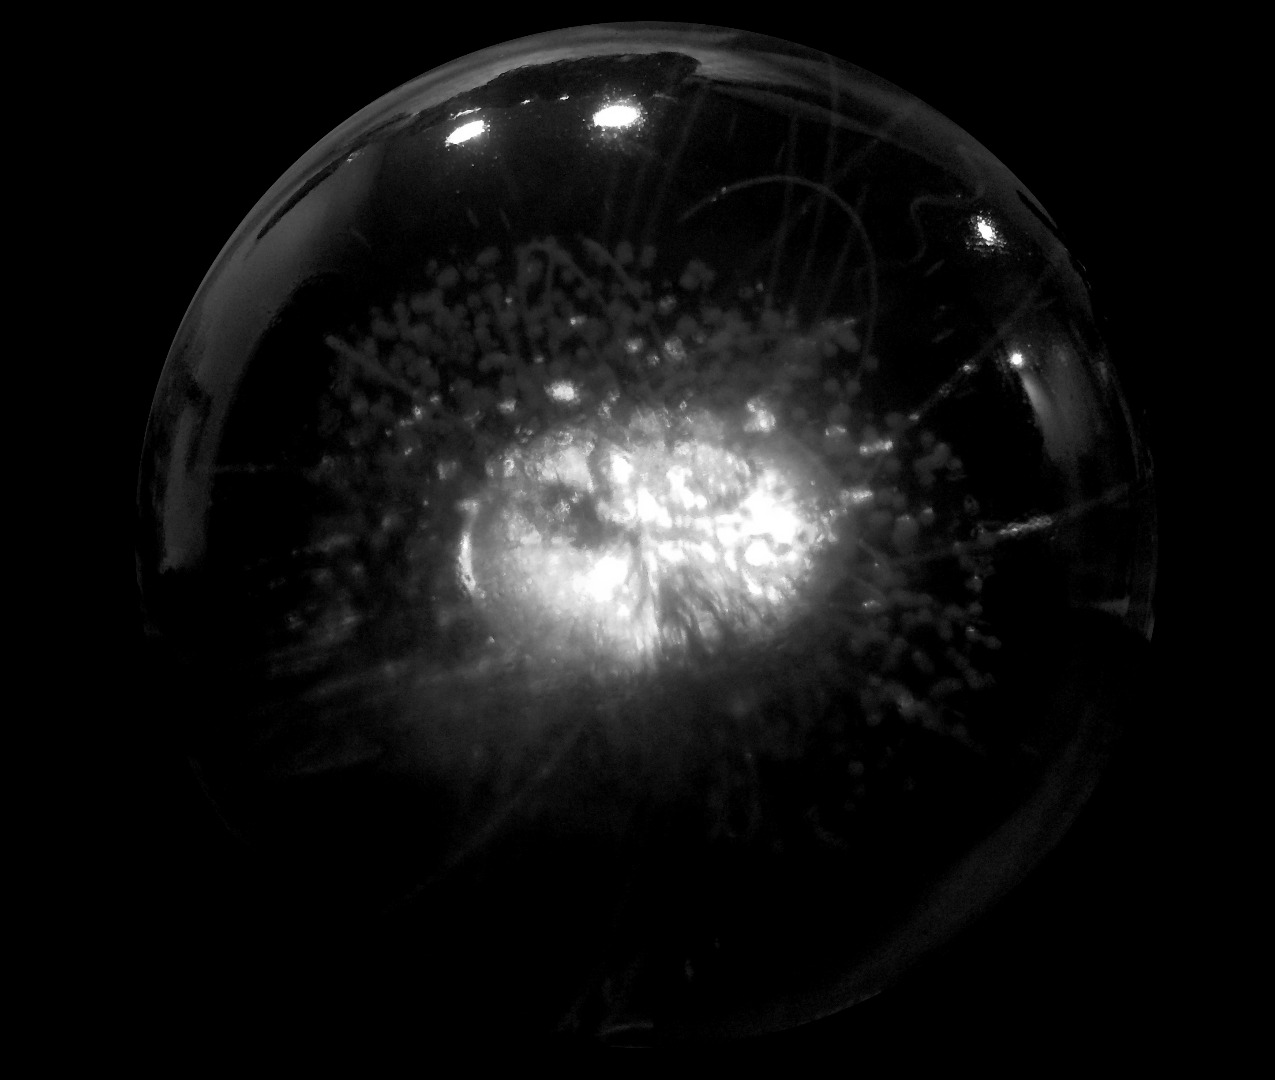
I used this technique to create a range of marbles that contain particle clouds at different orders of magnitude ranging from electron orbitals, to galaxies, and of course, the universe itself.
The most complex model was based on proton collision data from CERN. The file was so large that it crashed the software a few times before I got it to print. Then when it finally did print, there was an unexpected and fascinating result. The intersection of all of the particles at the center of the marble created a reflective iridescent disc. My hope is that I can control this effect and use it strategically in future prints. Stay tuned...
Next Steps...
In the meantime, it's your turn to play with more complex geometries!