3D-print Joint
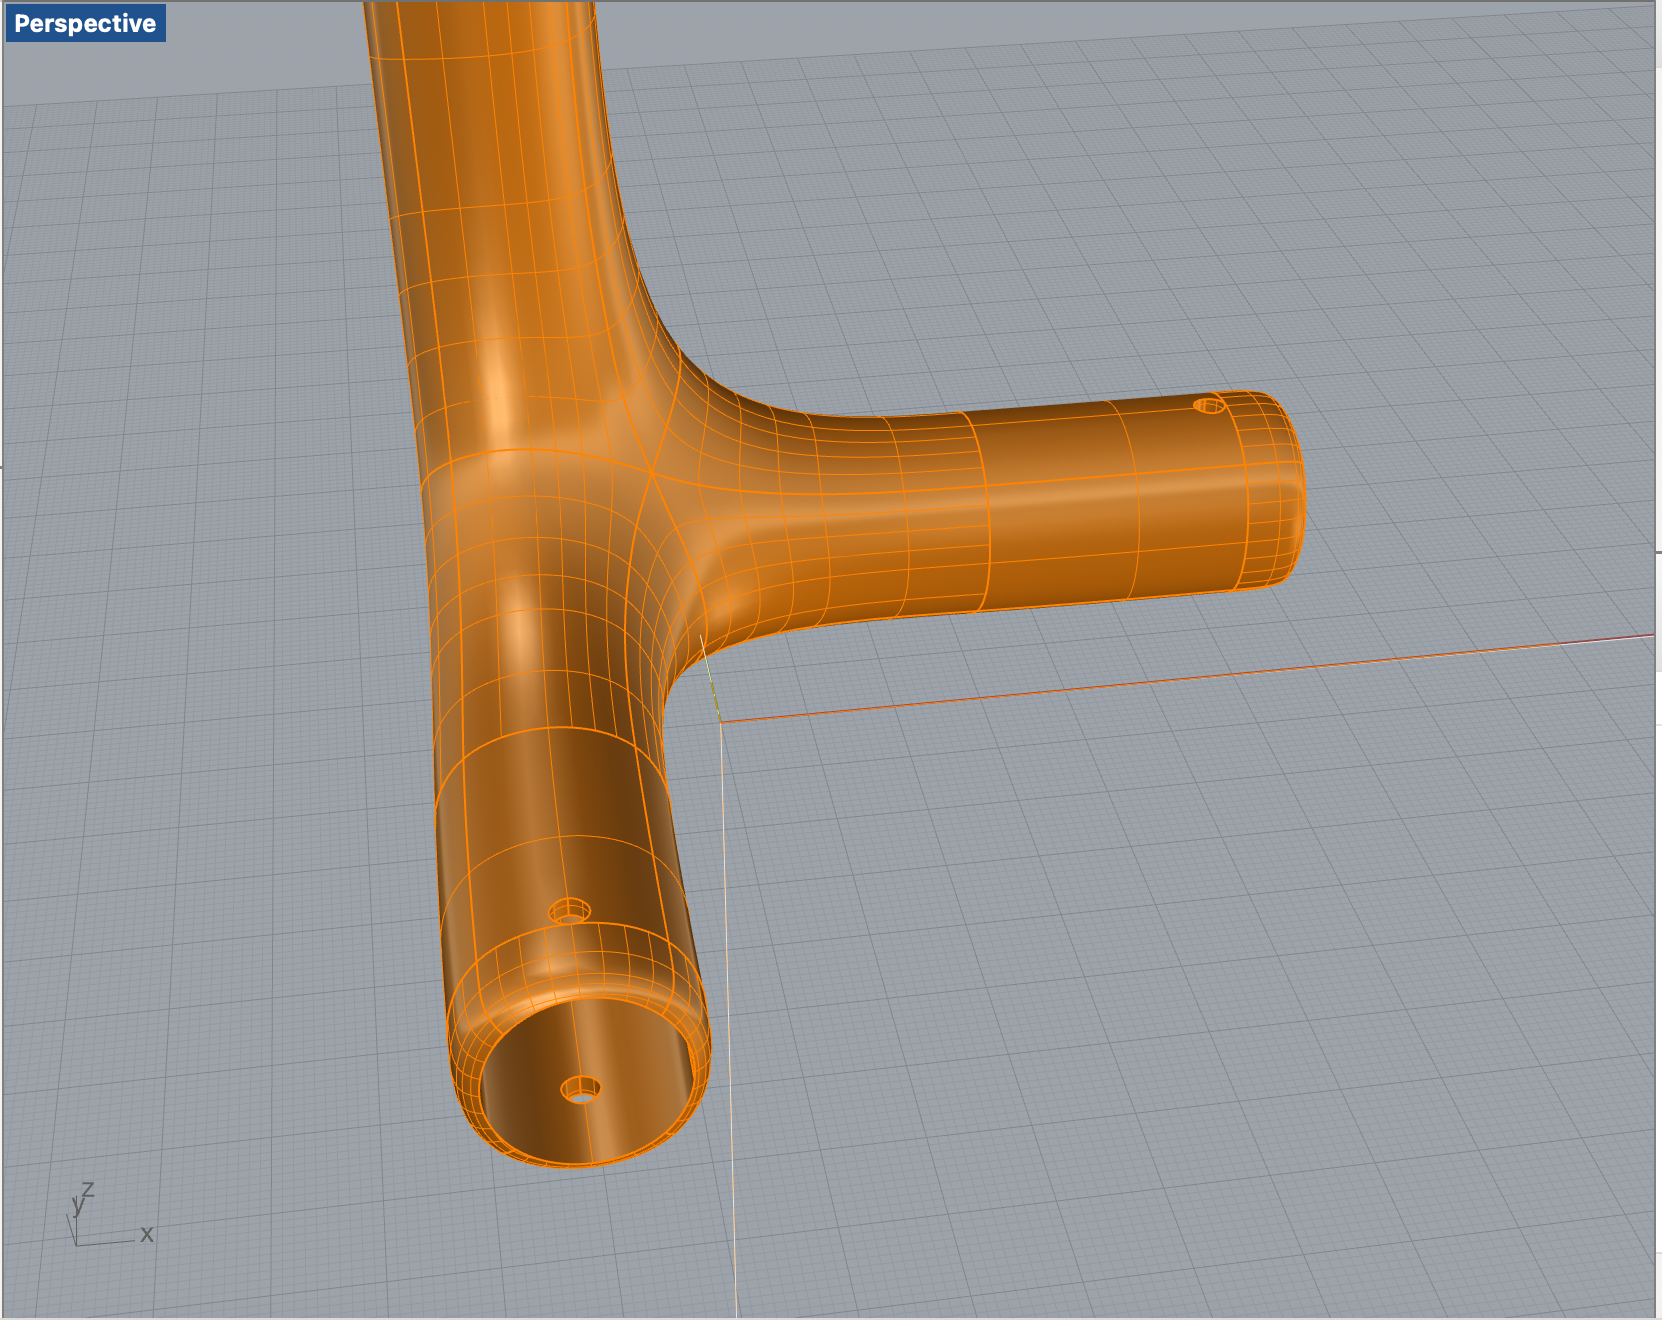
For this week, the assignment is to make the joint for 2-4 wood sticks.
I chose to use SubD to make a more organic shape.
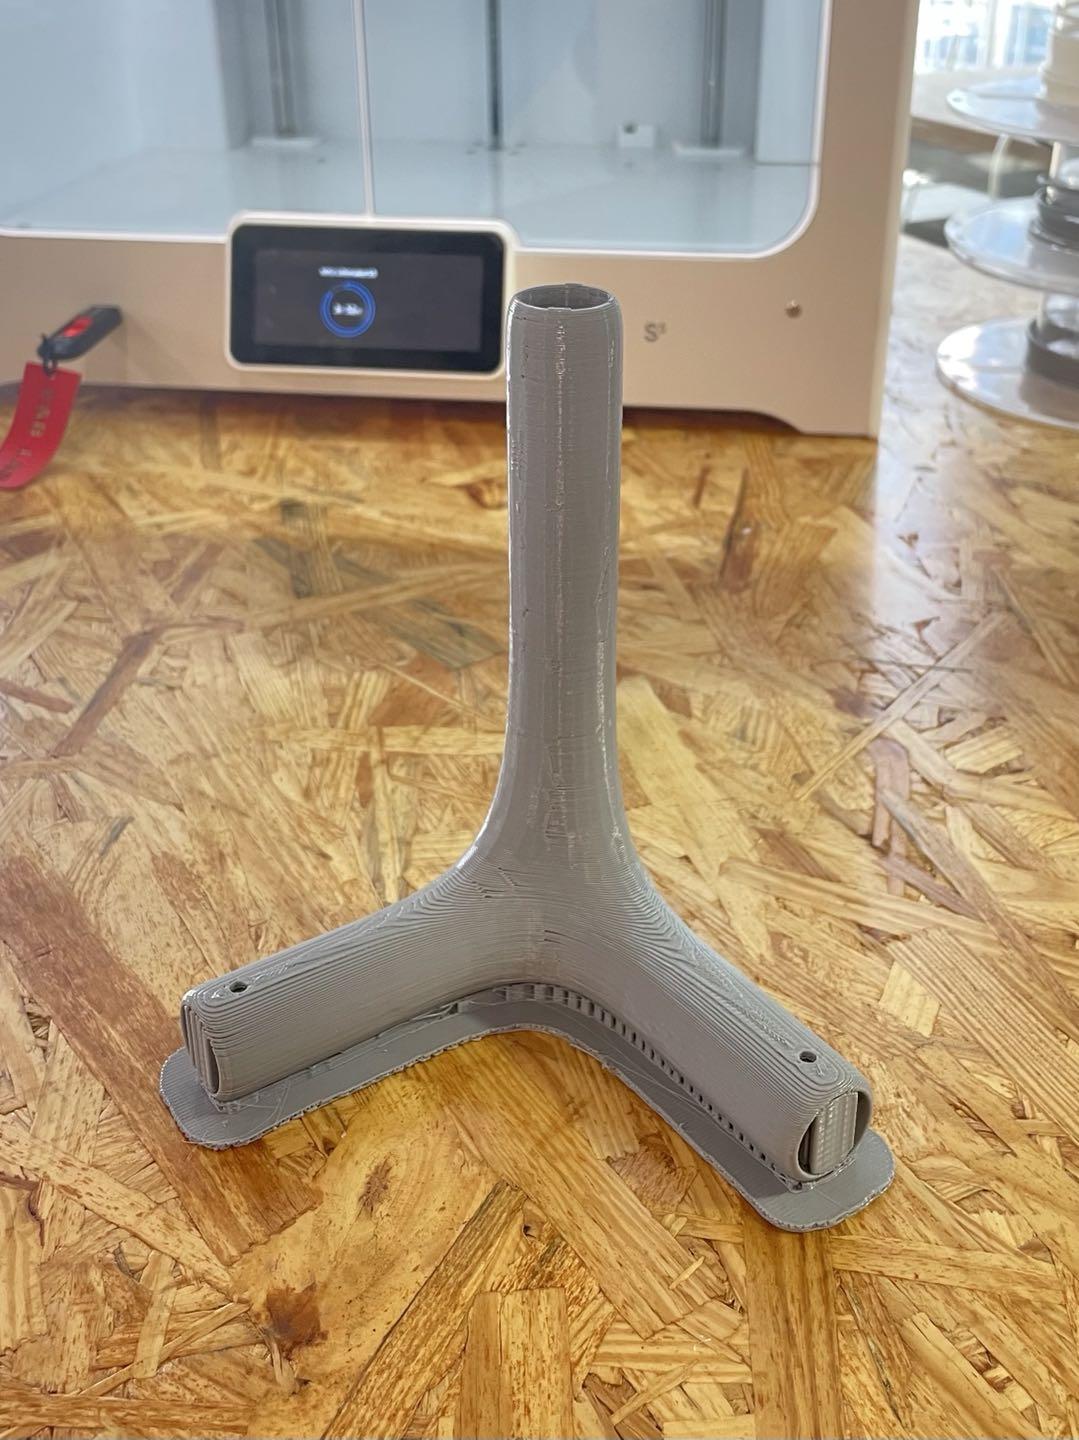
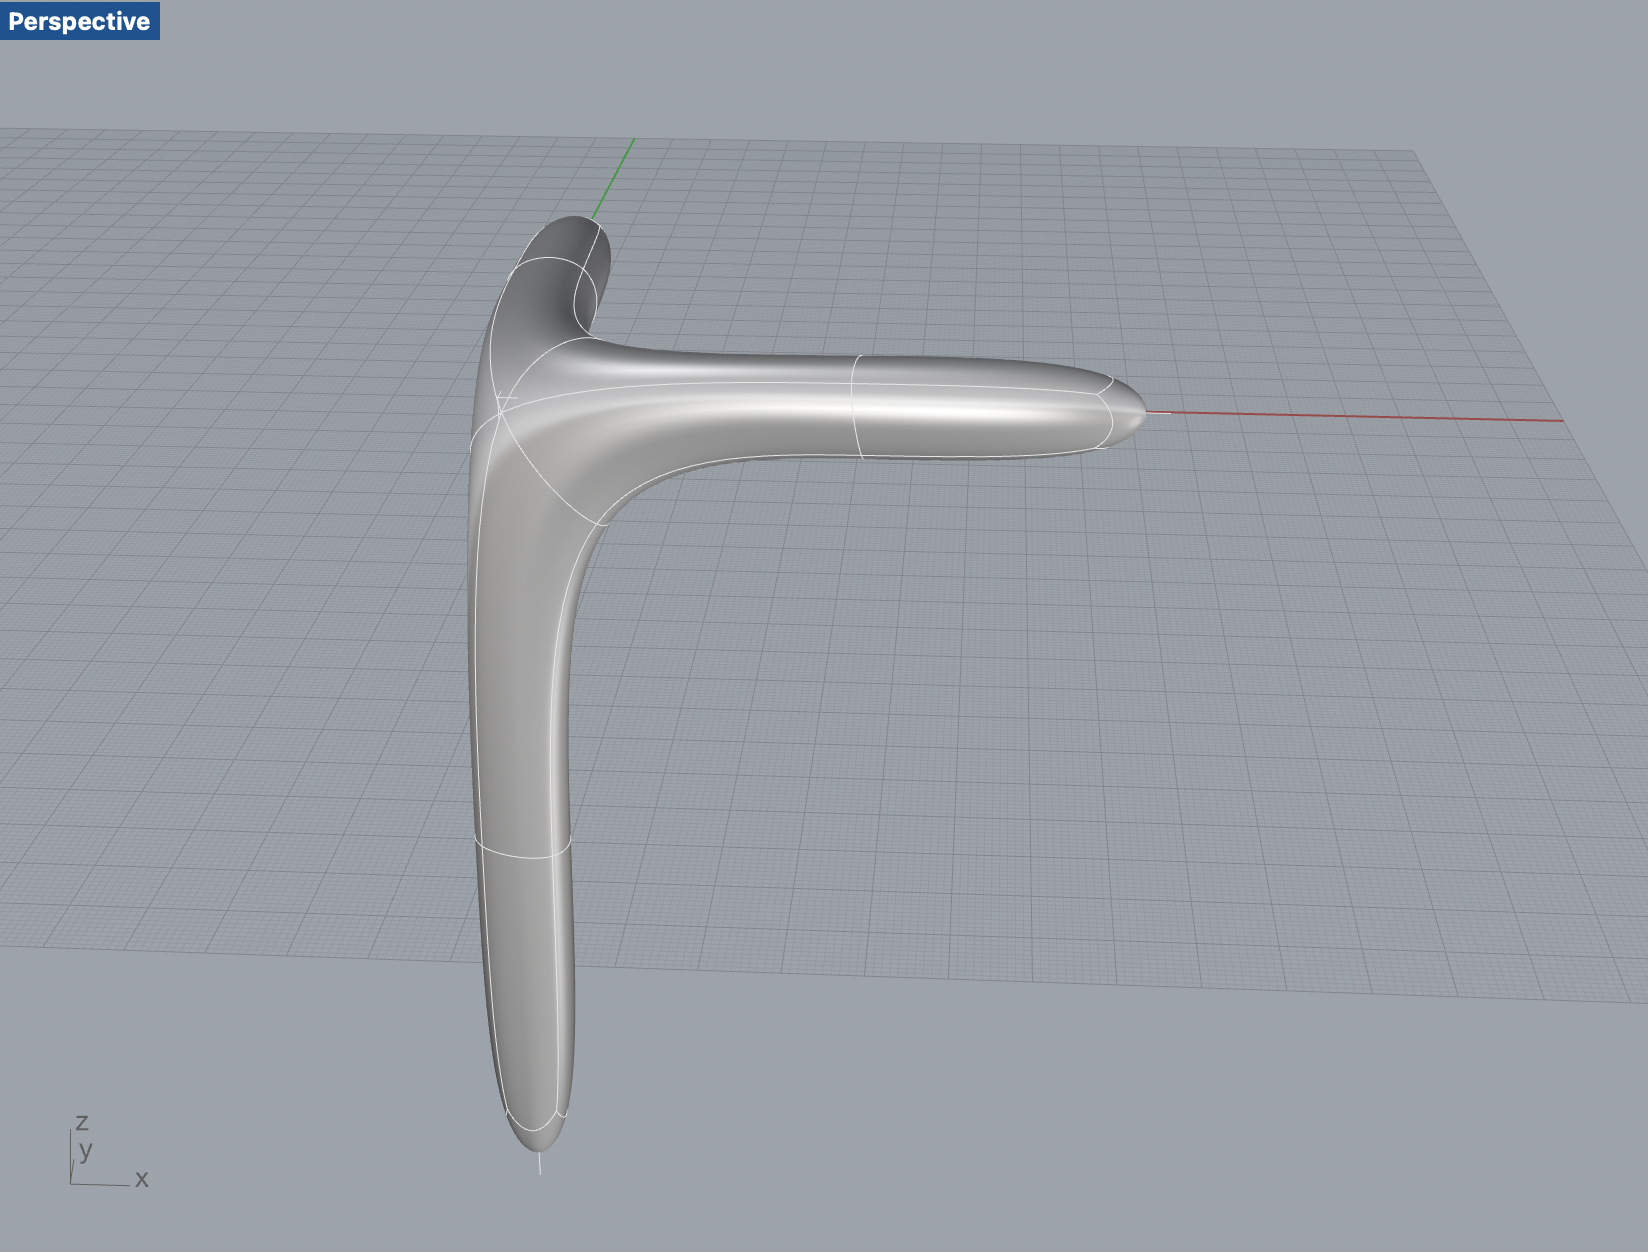
Here's the picture of the final product(not polished).
Drawing Curves & Using SubD MultiPipe
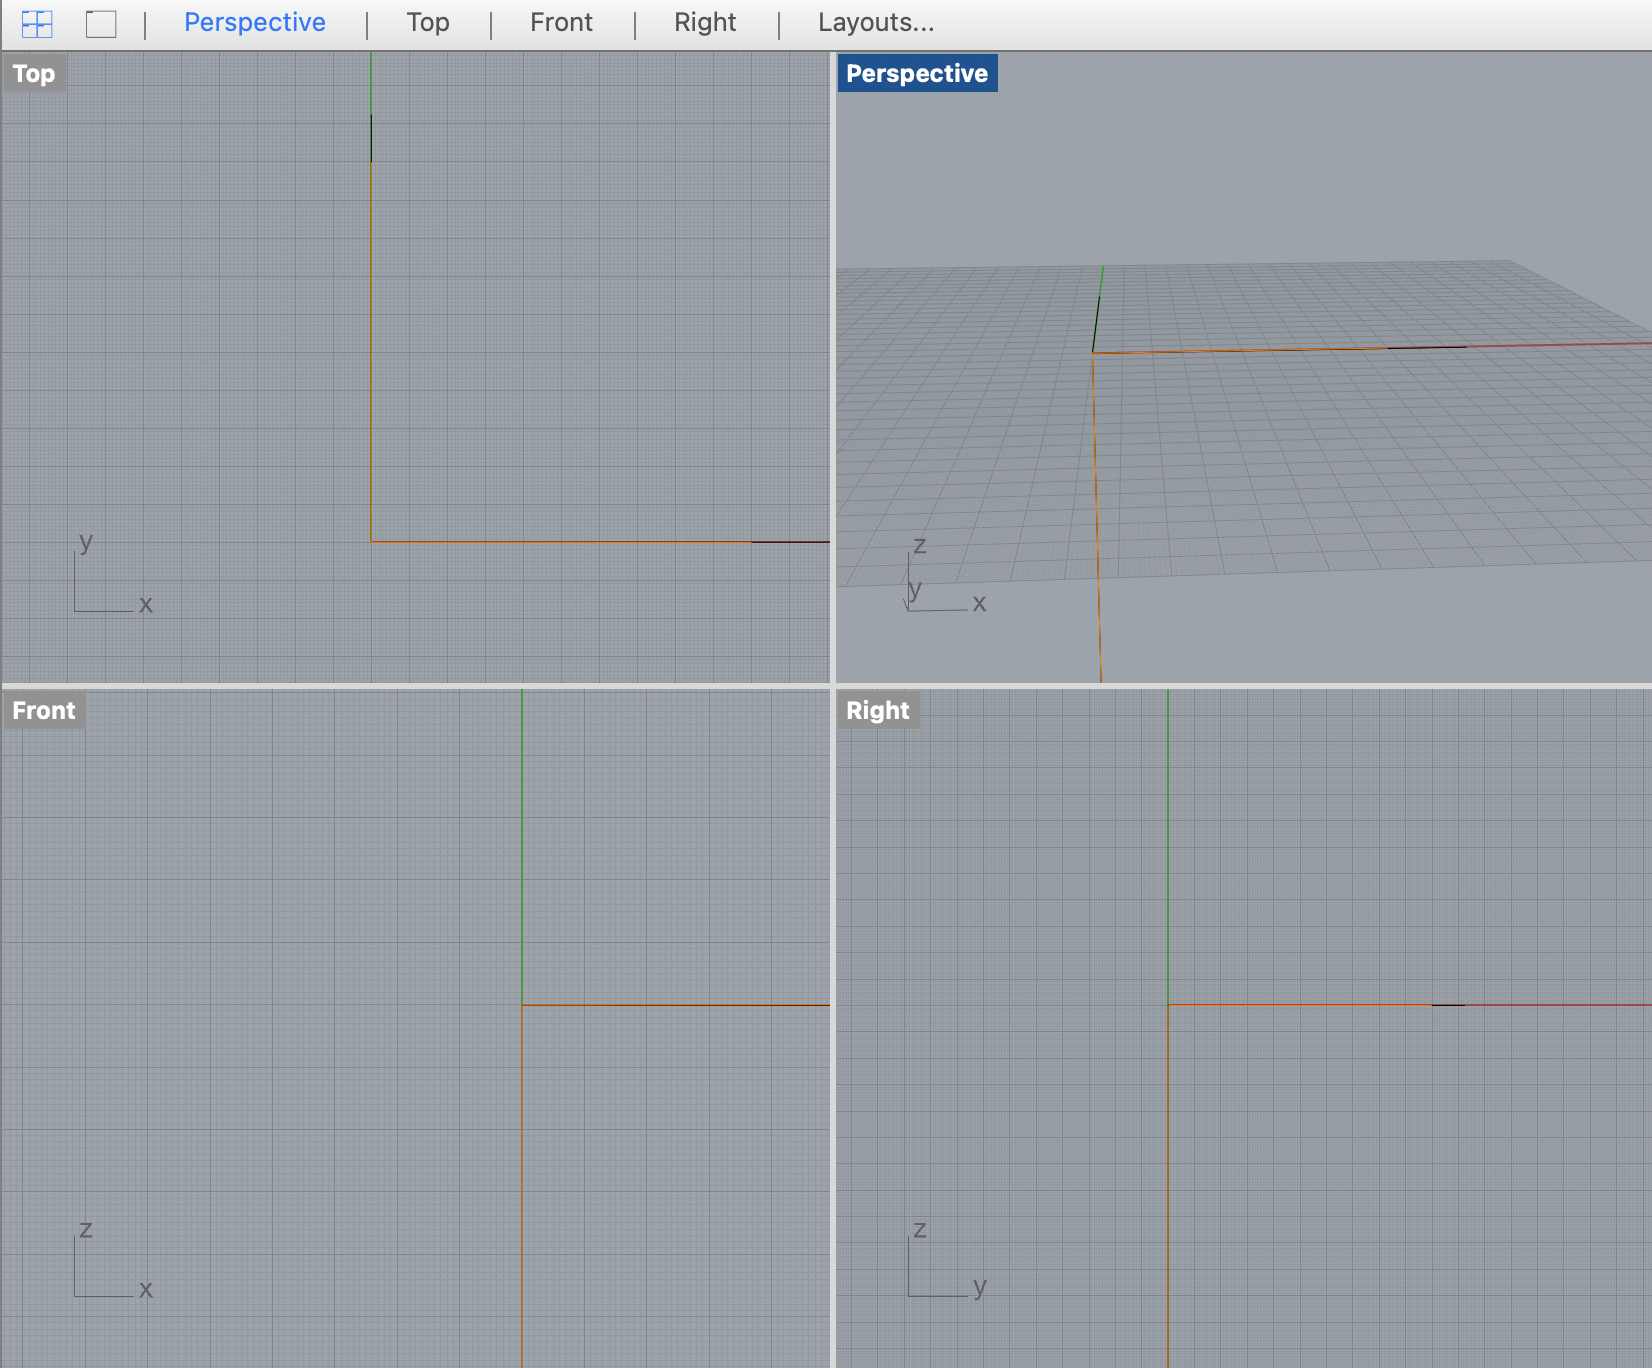
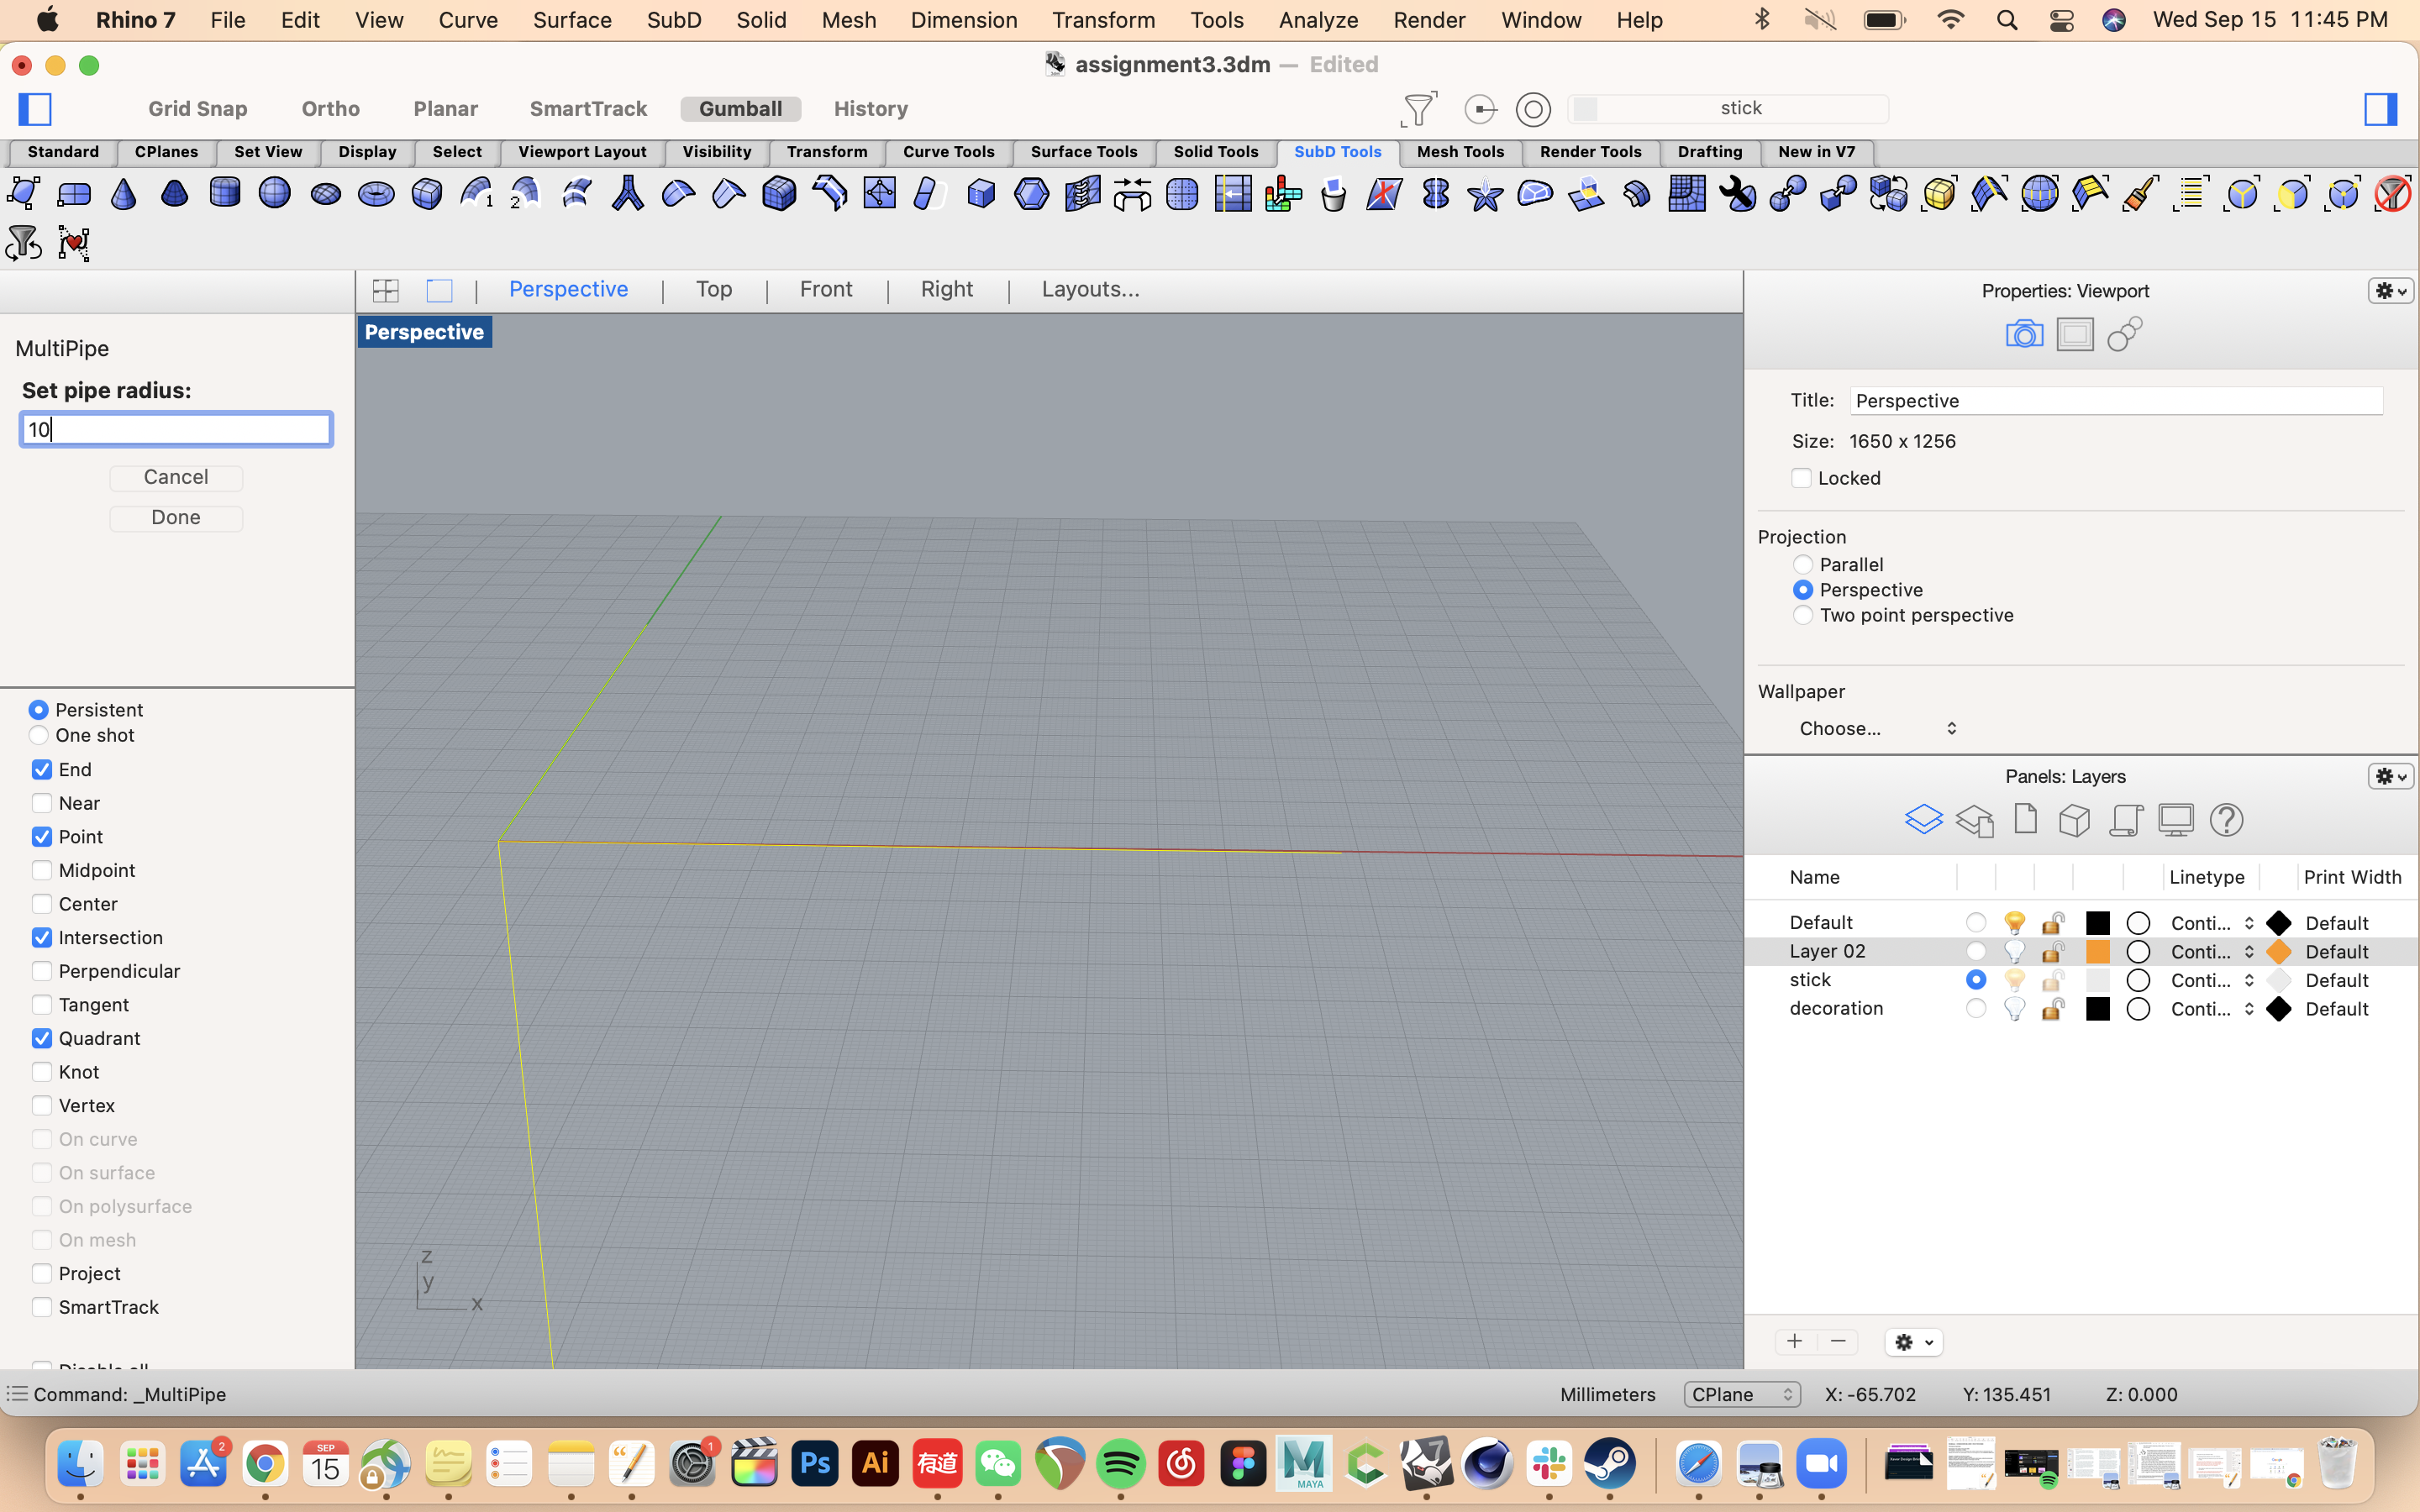
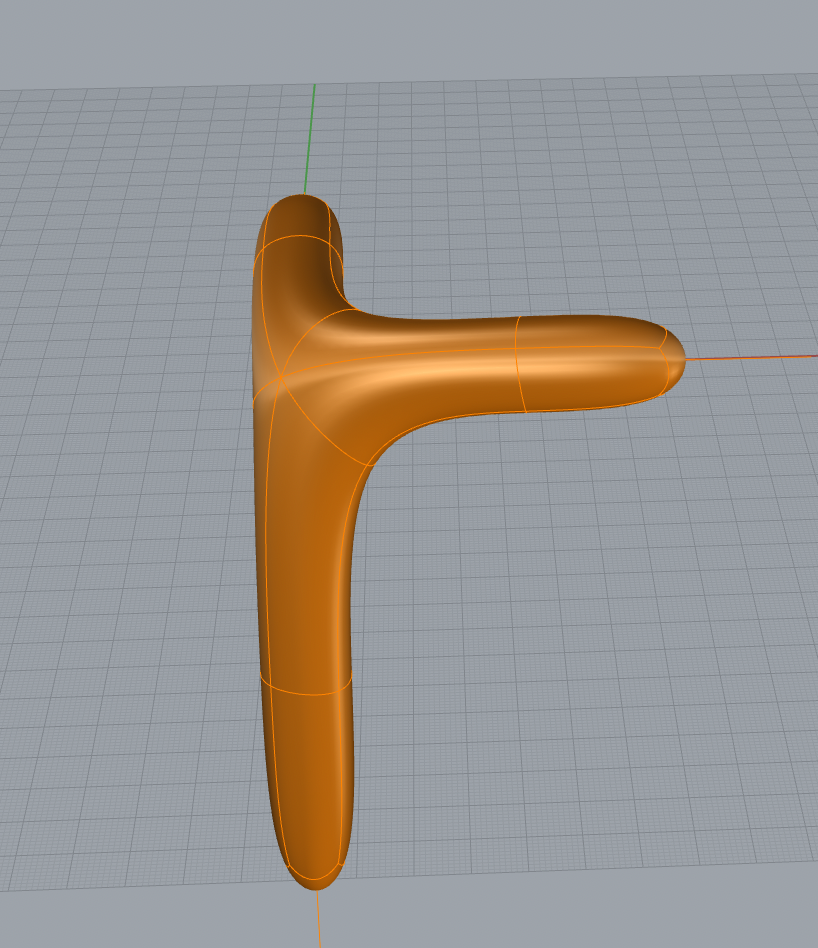
In order to connect three sticks together, I need to draw three lines along the x, y, and z axis using the polyline command.
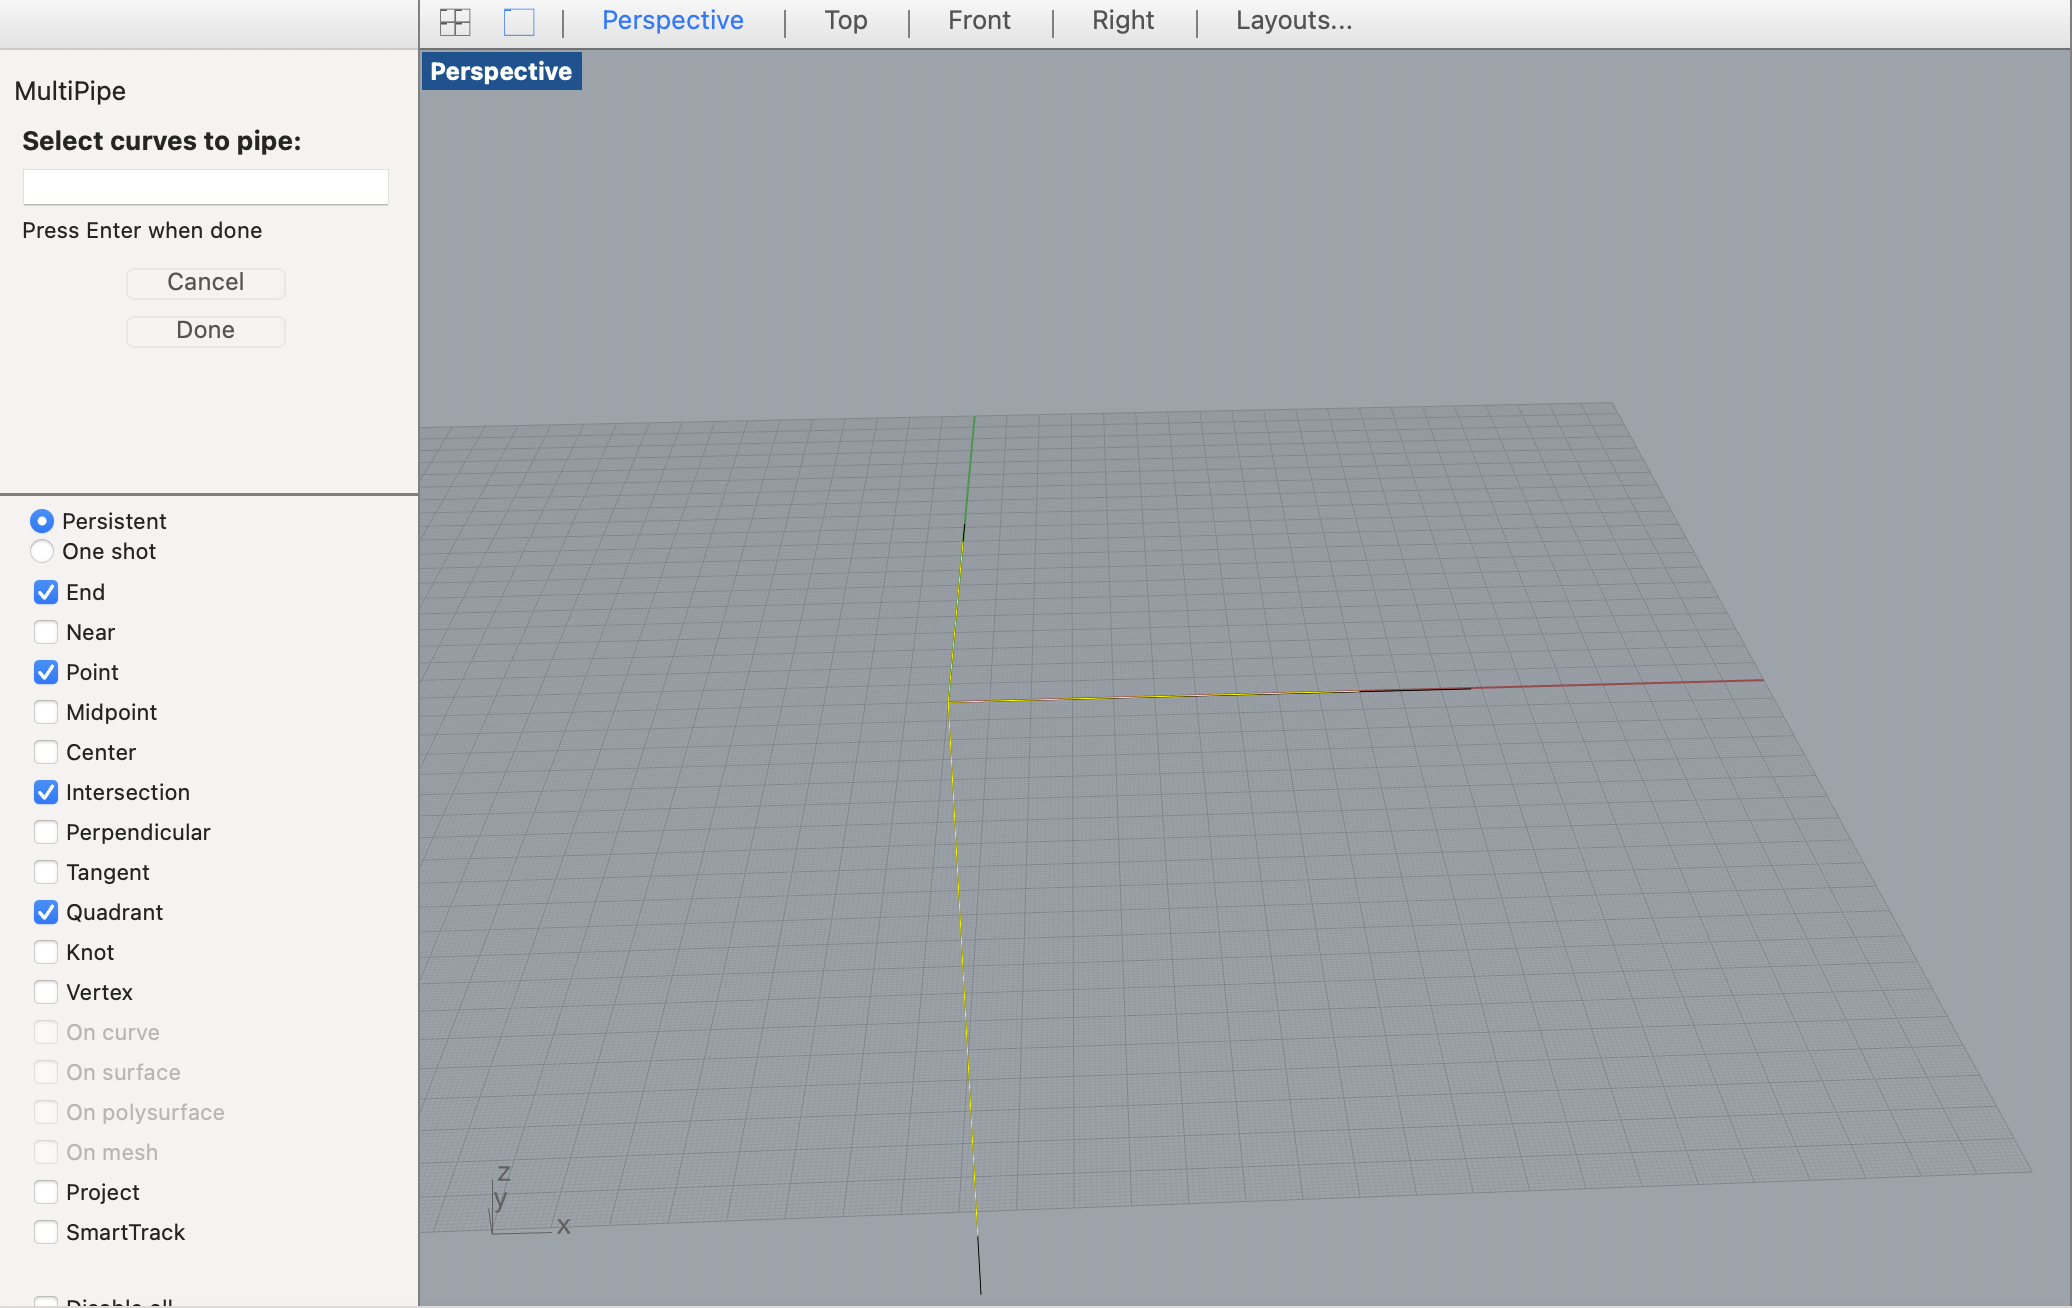
And then moving on to the SubD tool: Multipipe. I selected all these lines to build the shape. Because the thickness of the joint is at least 2mm in order to support the weight of the wood, so I made the diameter 22mm.(The diameter of the wood stick is 20mm)
Insert SubD Edgeloop
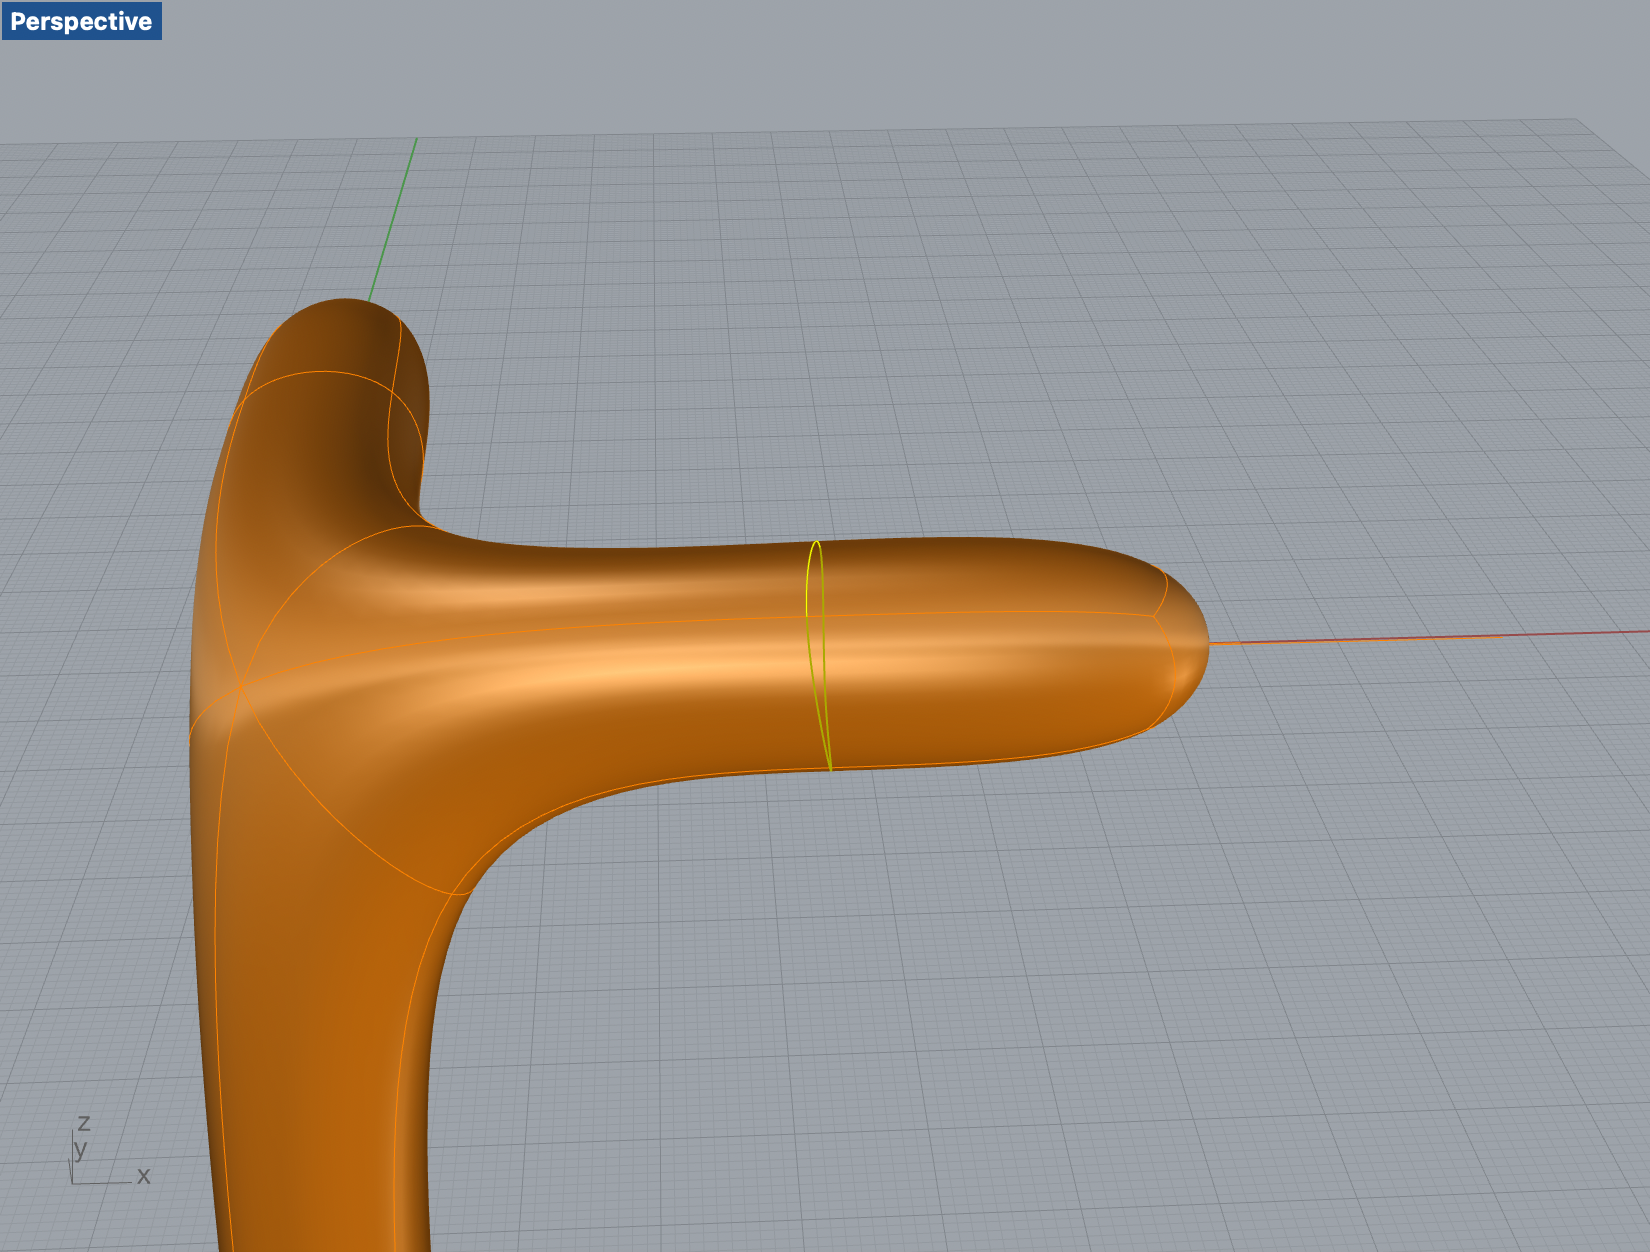
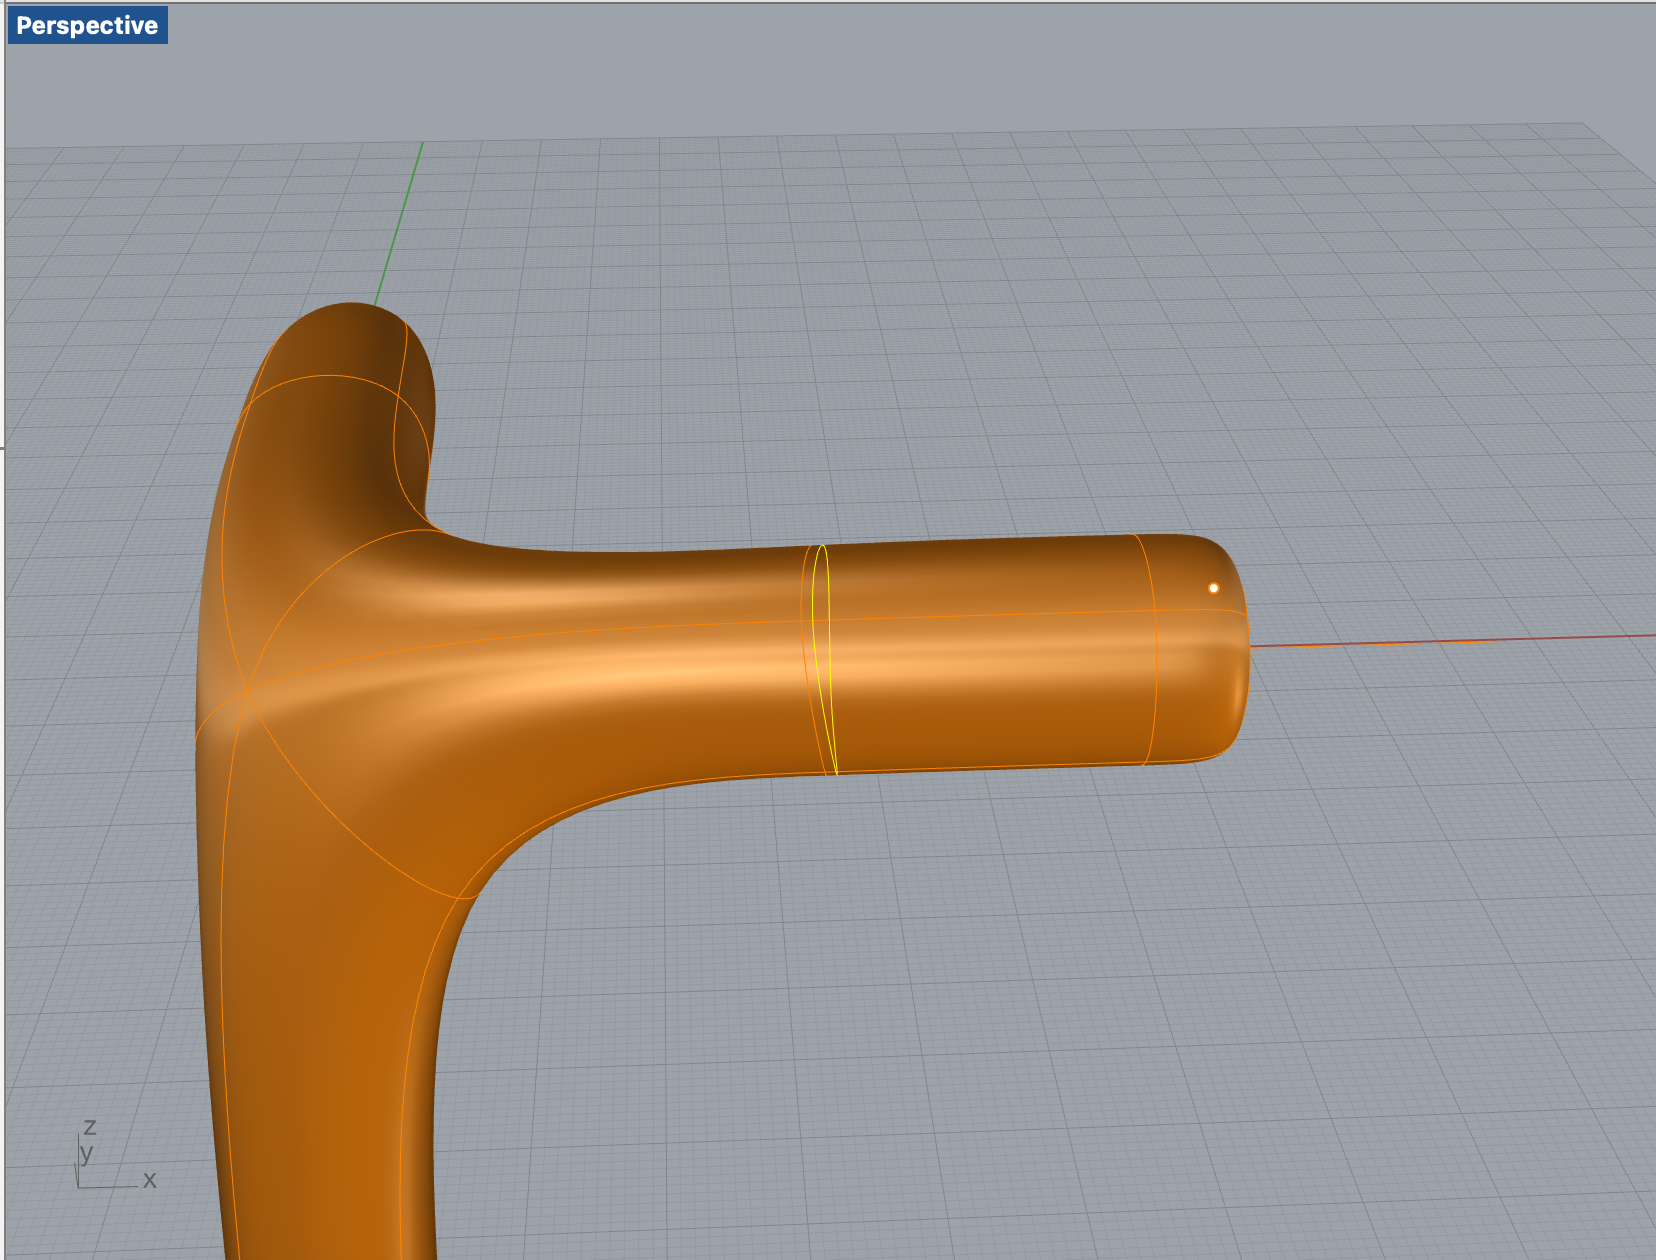
Next, I need to insert the edge loop, because each end of the branch is too round and thin.
So, I use the insert edge loop tool.
Model of the Stick
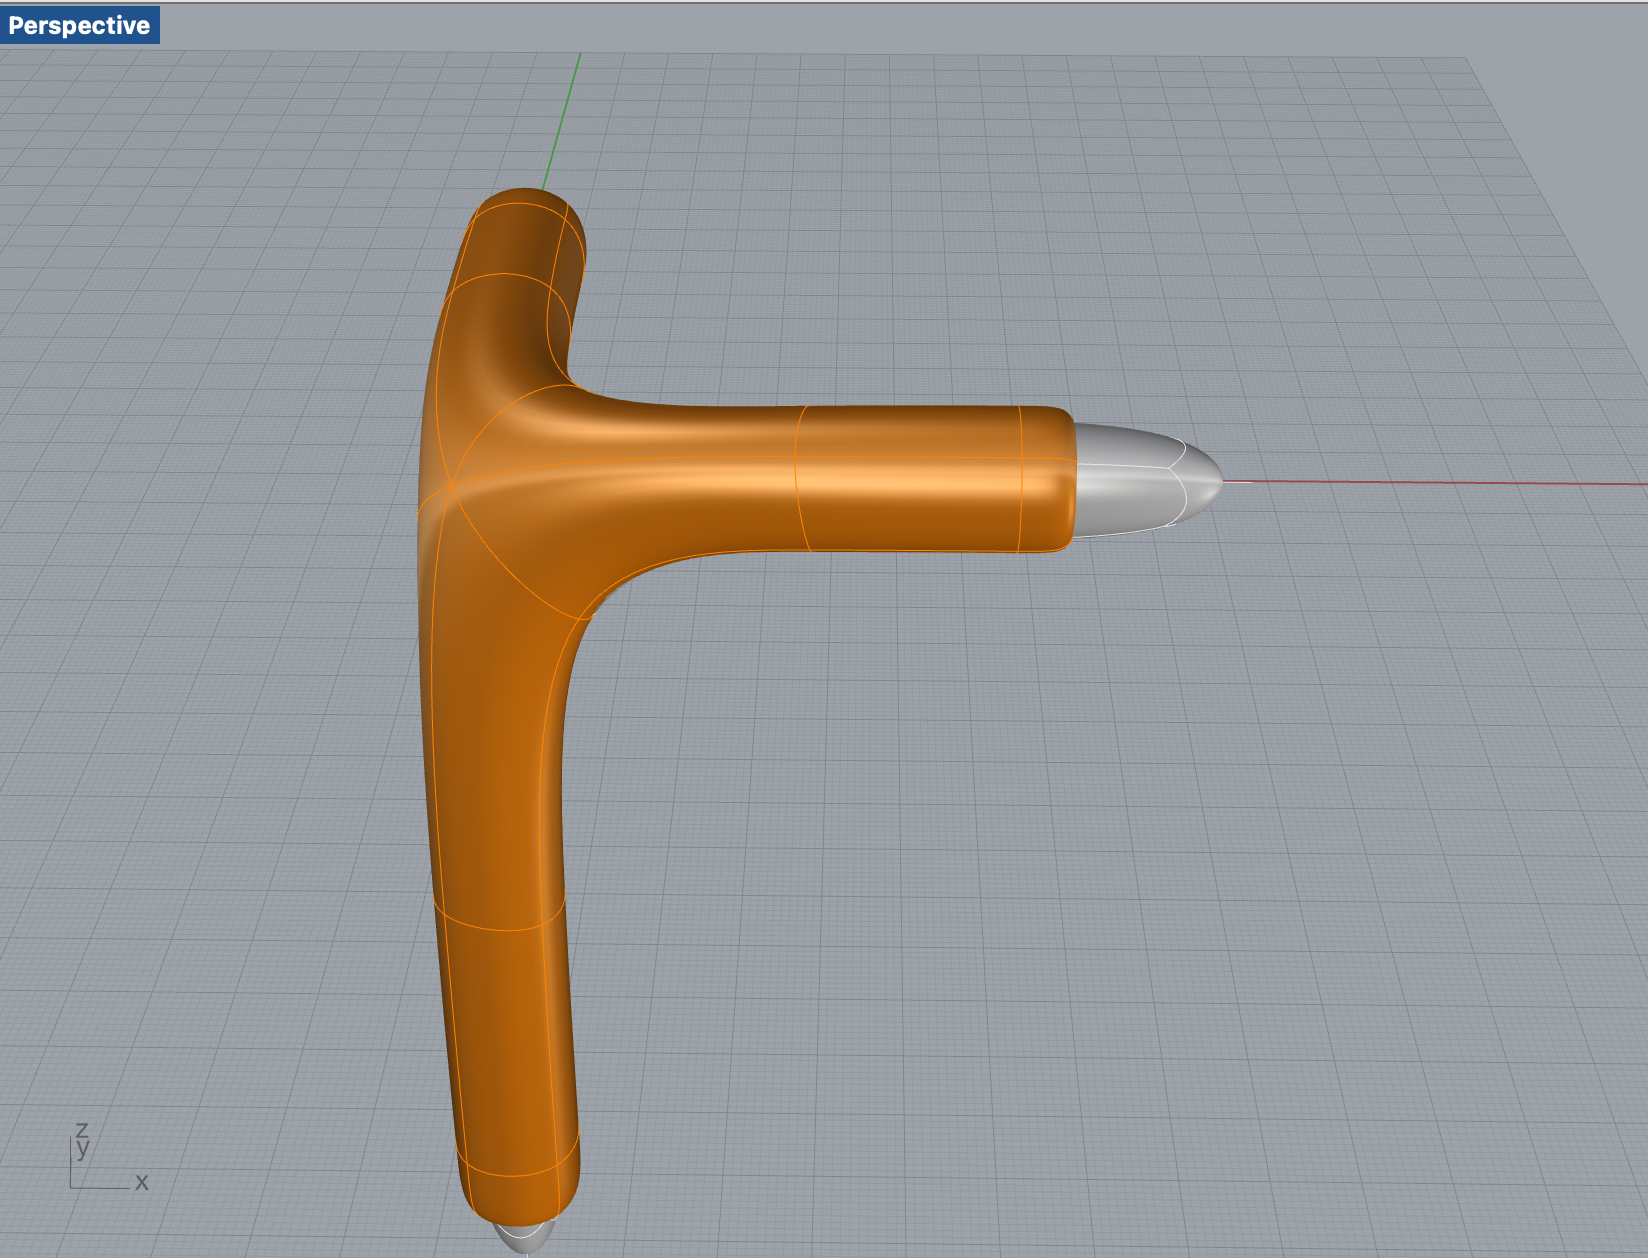
I want to make the inside of the joint hollow, so I decided to make another MultiPipe.
The radius of the wood stick is 10mm. I draw three longer lines and MultiPipie them.
Then turn on the joint's layer, they are intersected with each other.
Boolean Difference
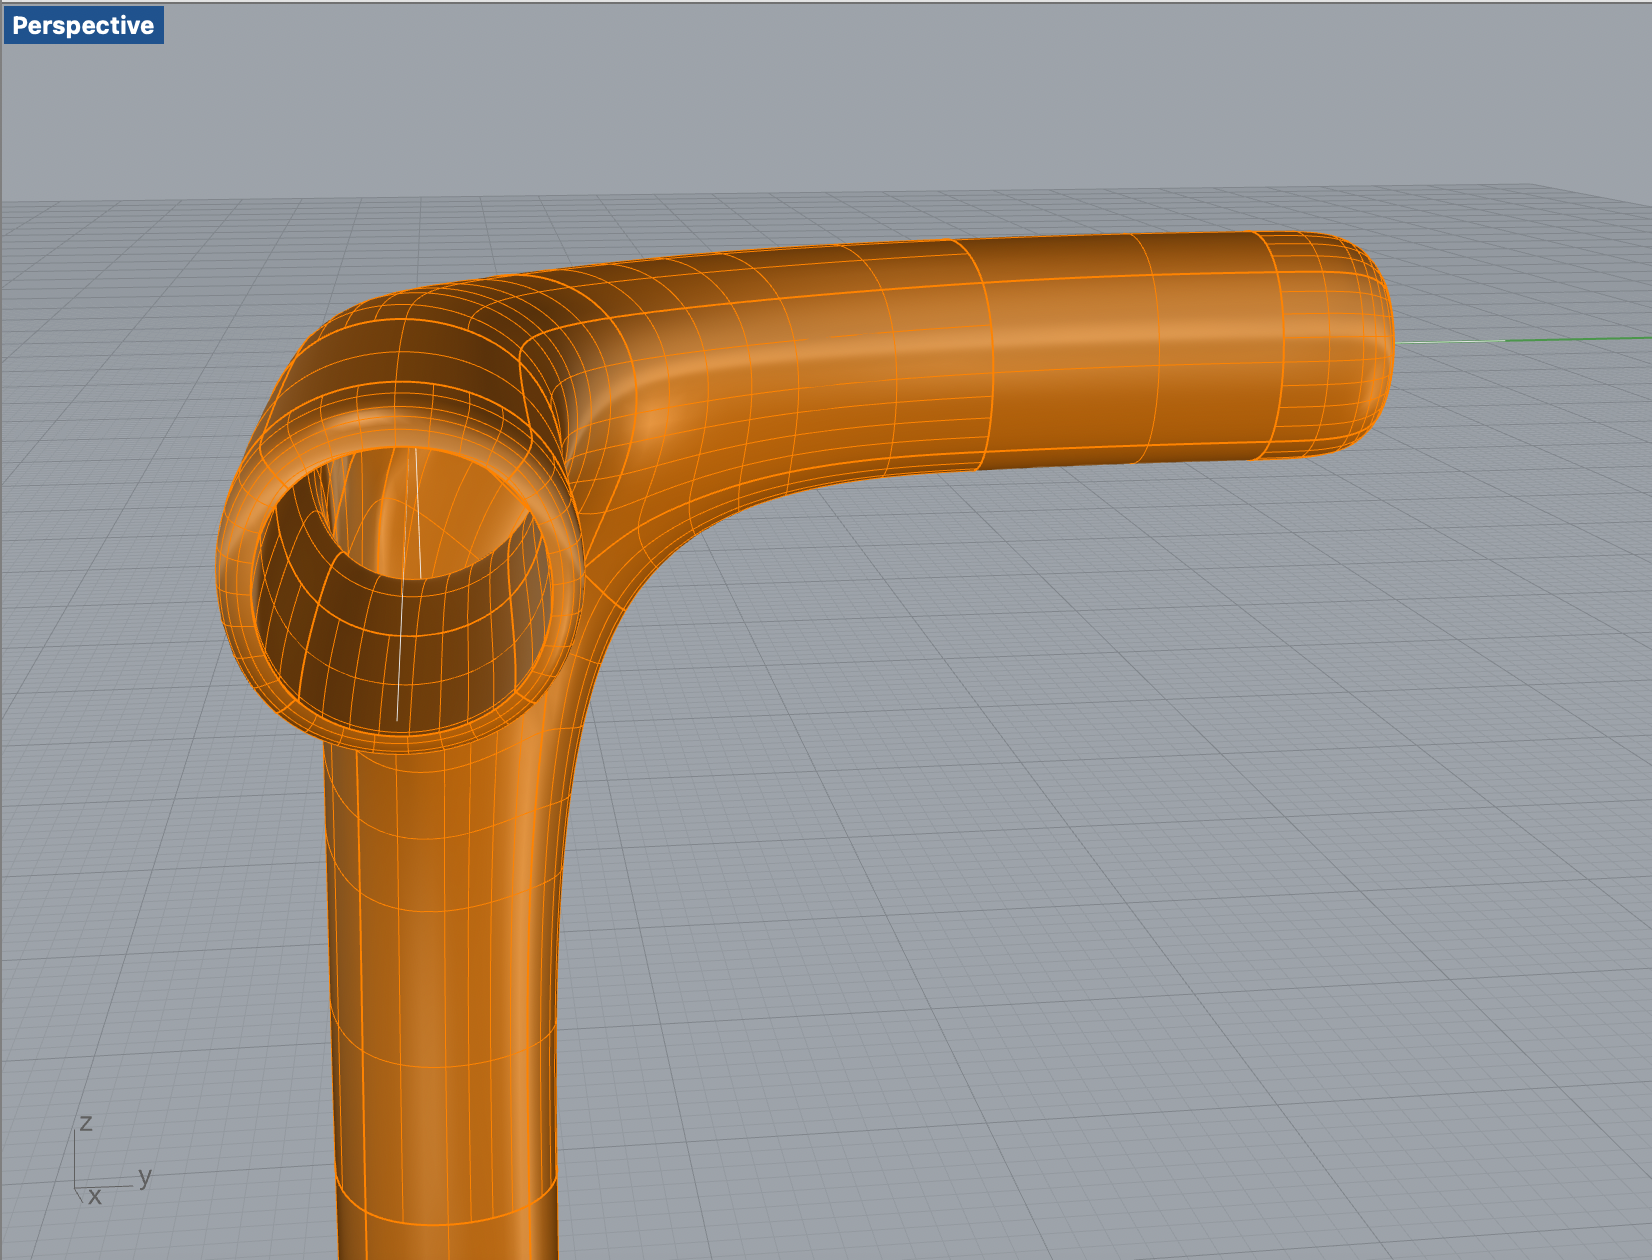
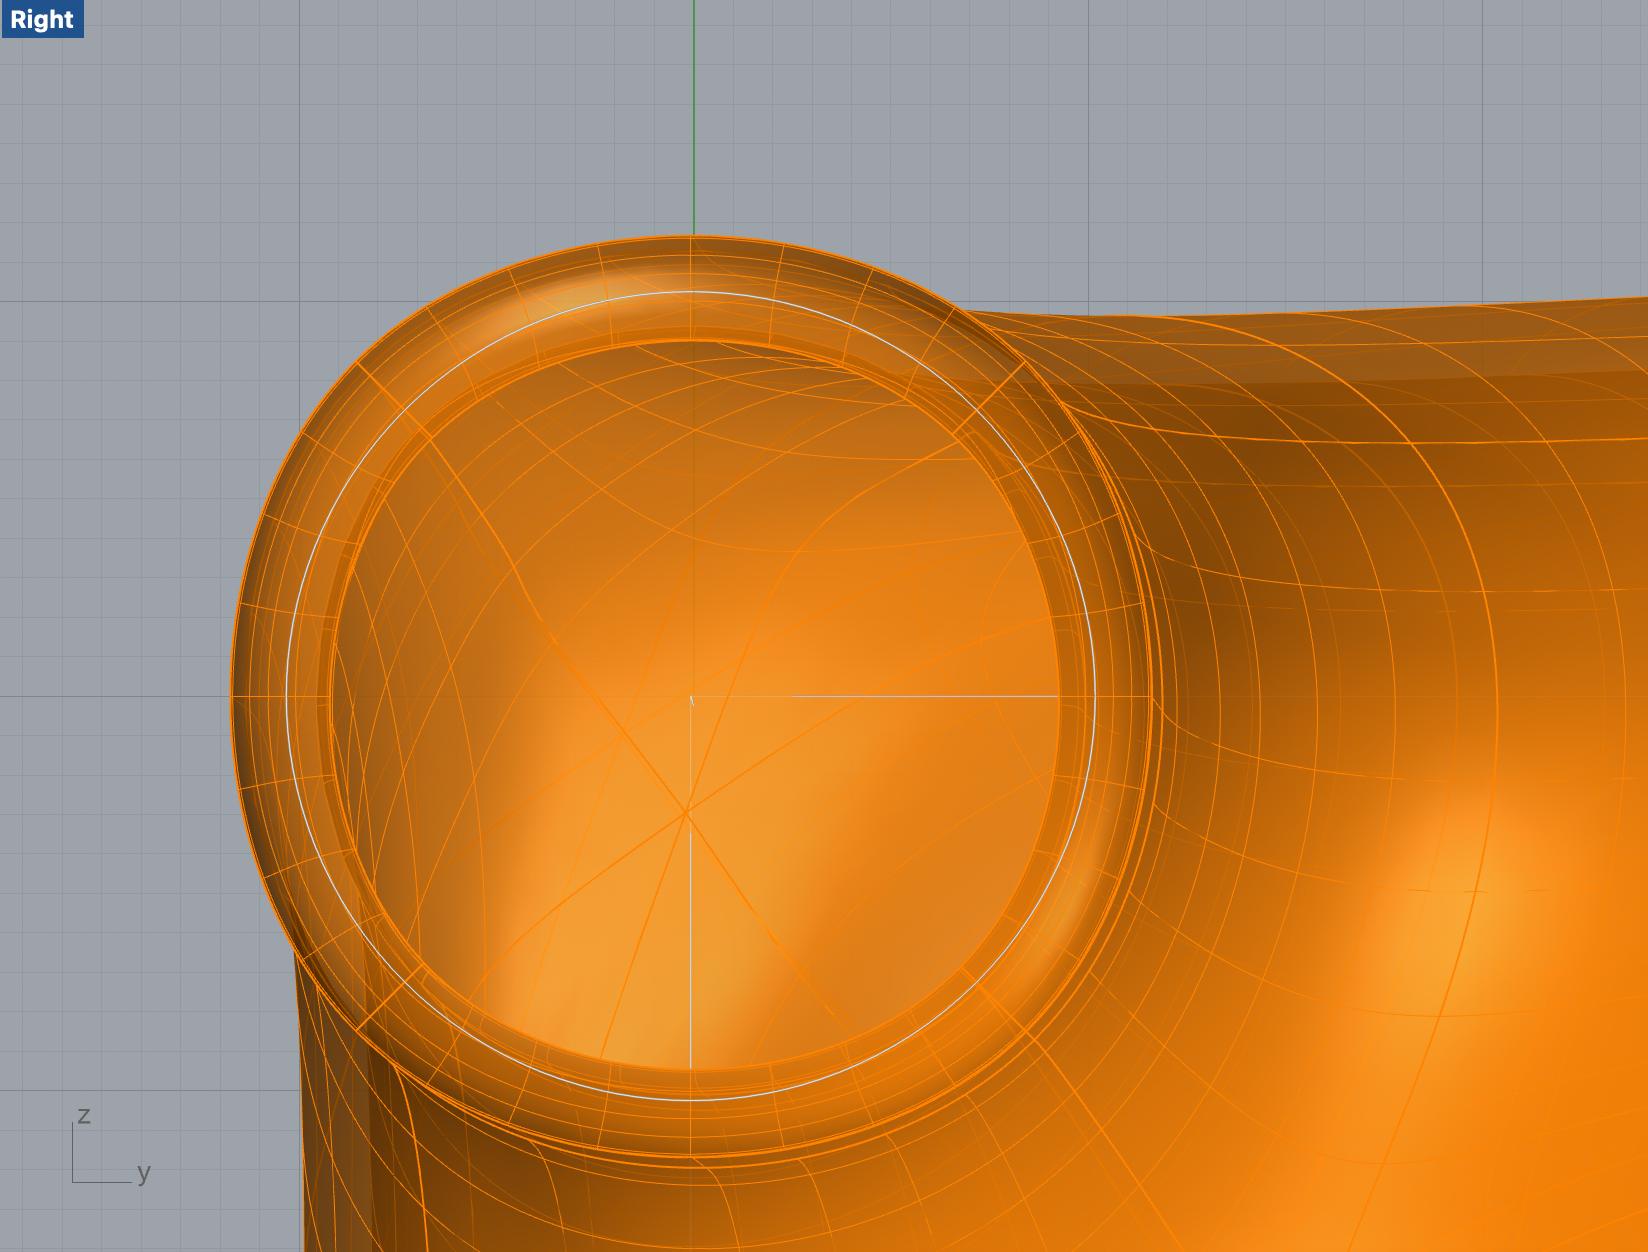
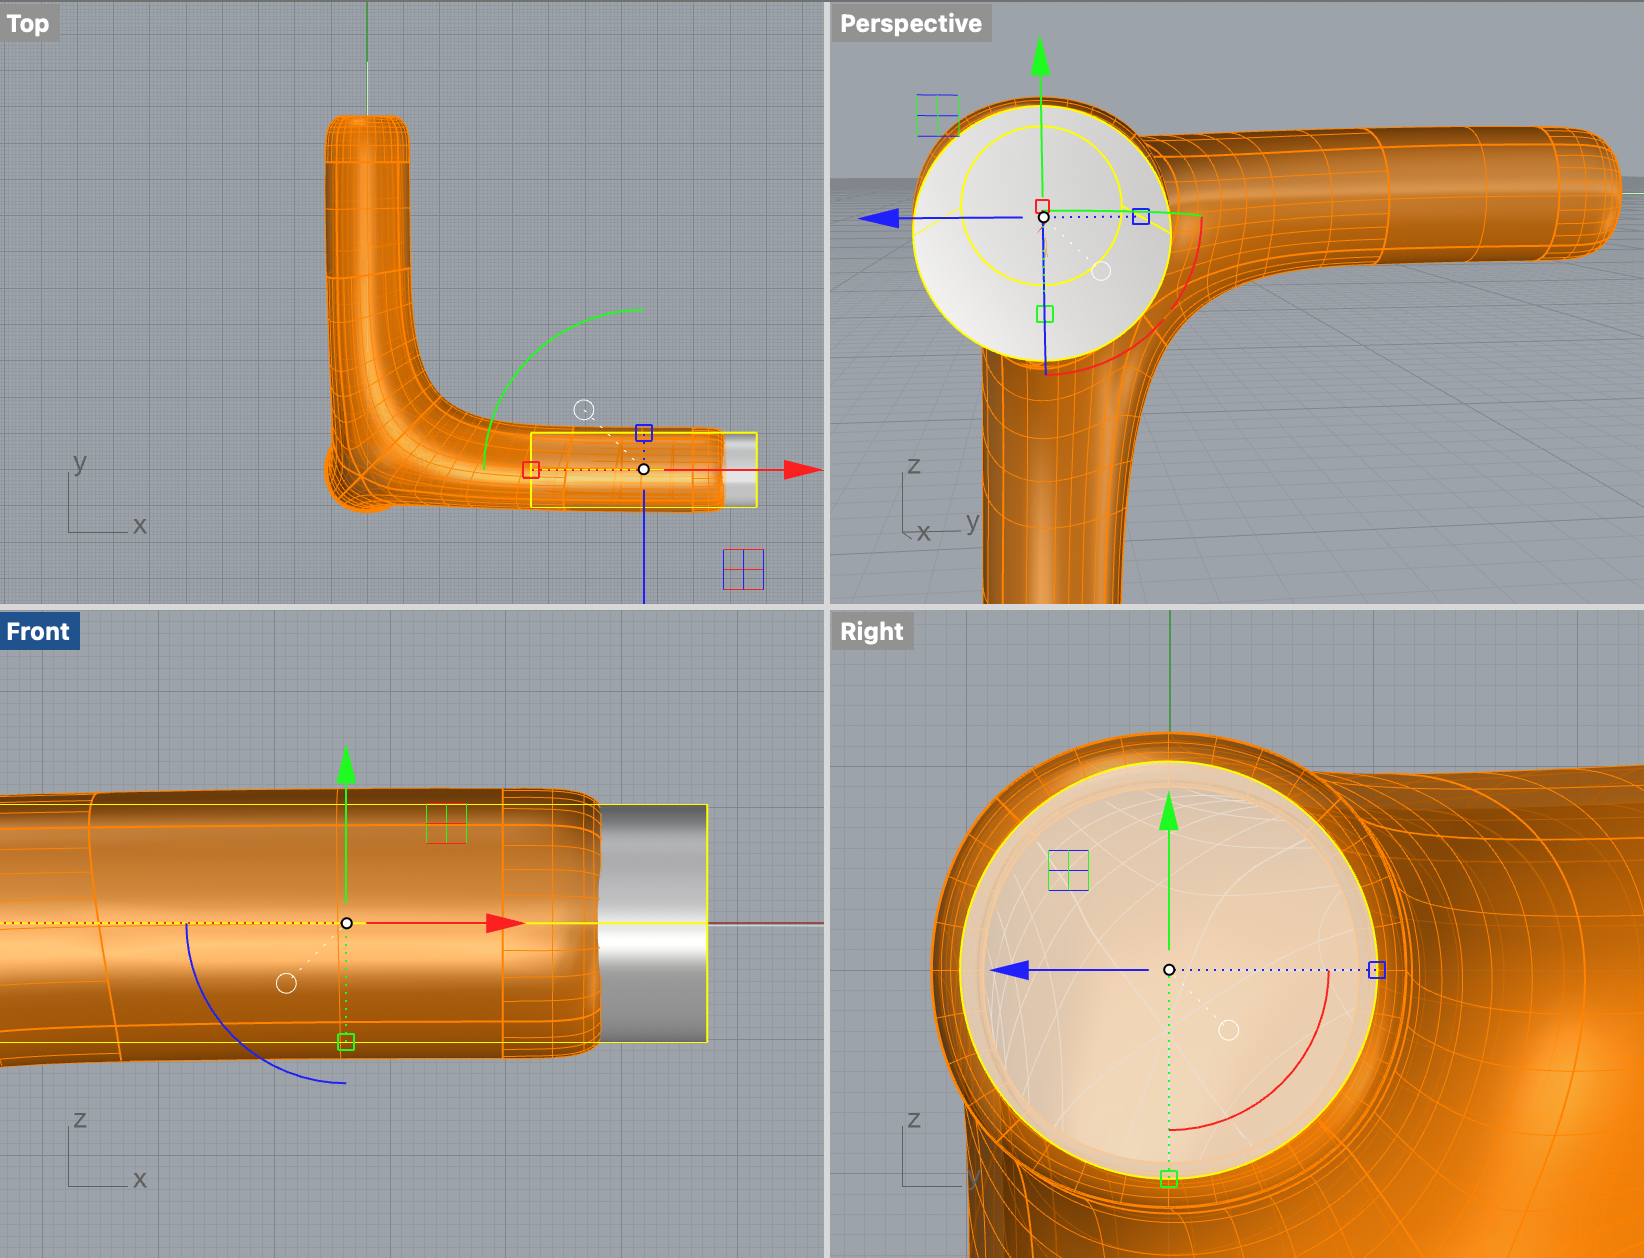
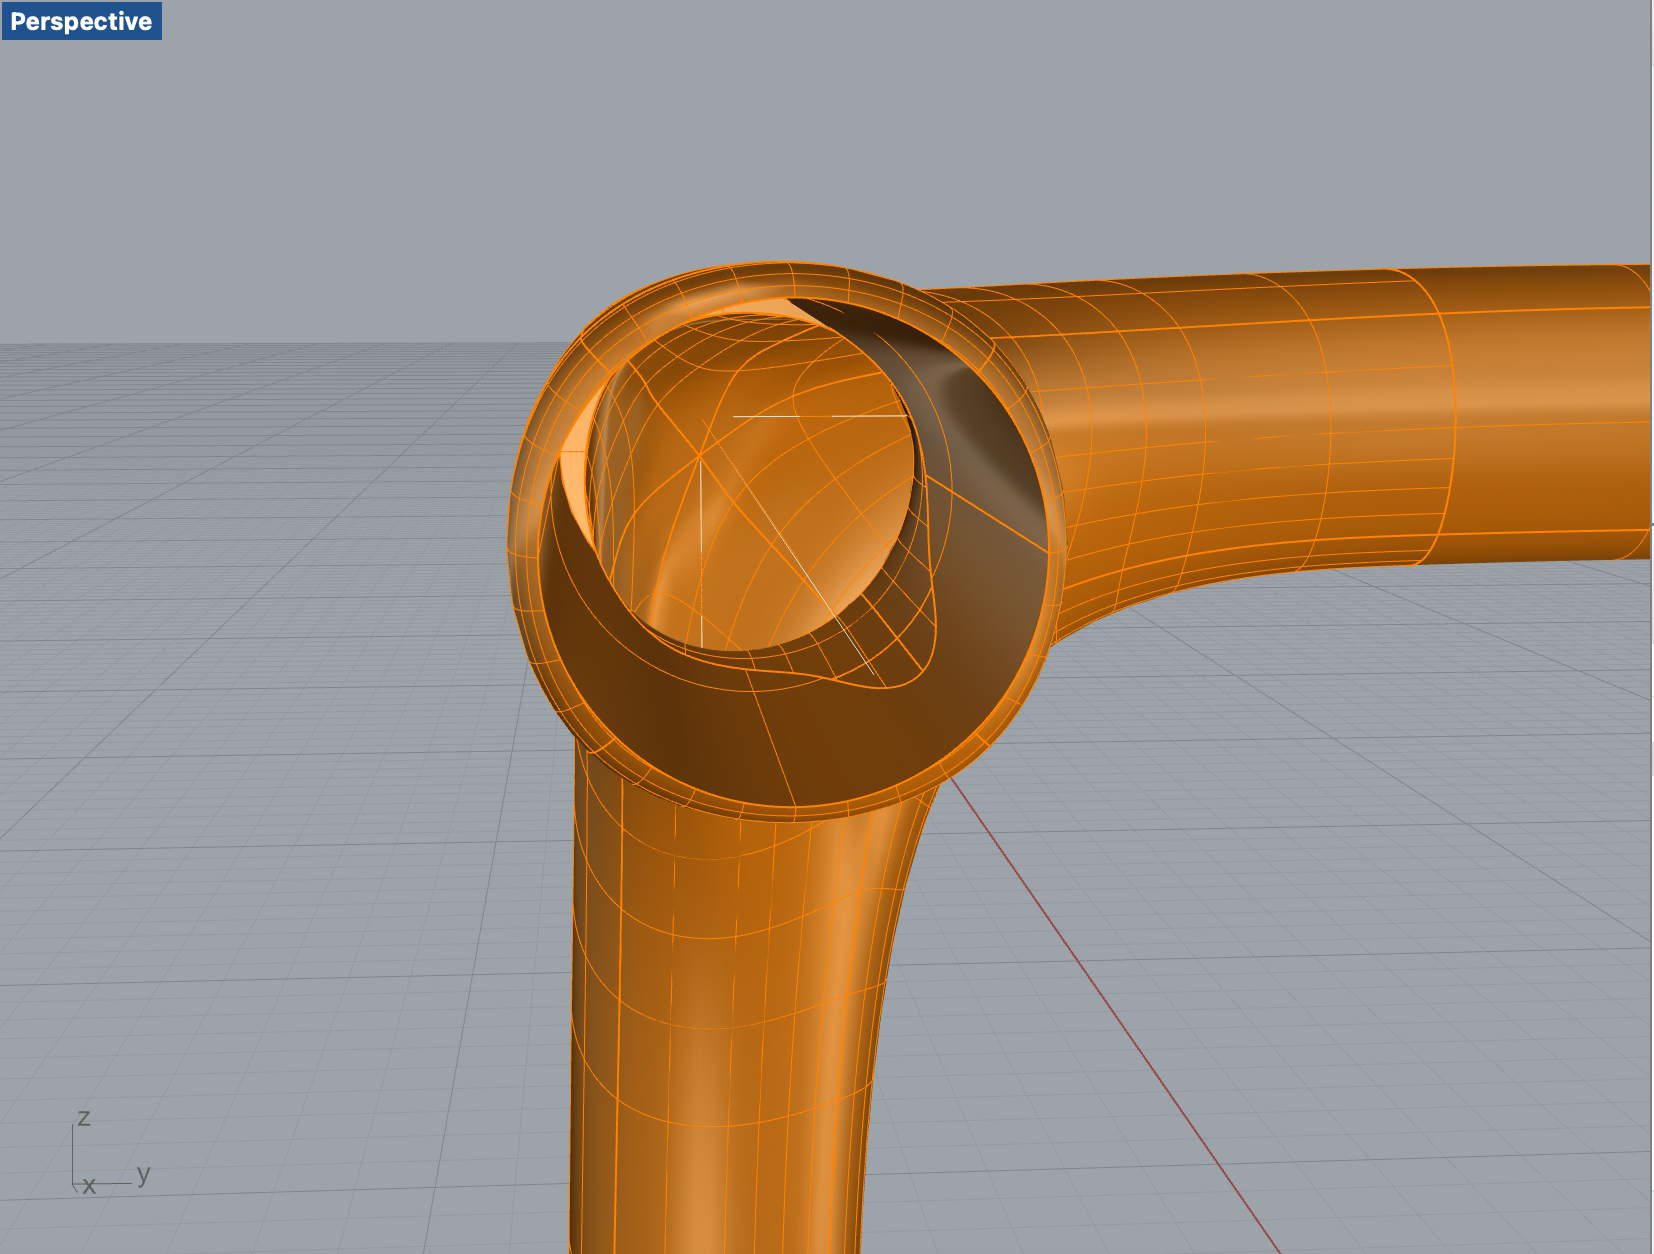
Then I made use of the Boolean Difference command to get the hollow joint.
It looks nice, but the hole is actually not a perfect circle. The second screenshot shows that it is slightly differnt than the perfect circle.
The pipe tool is helpful with building the organic shape. However, it is not very accurate. So I need to build another three cylinders with a diameter of 20mm to boolean again.
Then I got the perfect circle on the fourth screenshot.
Finalizing the Model &export STL File
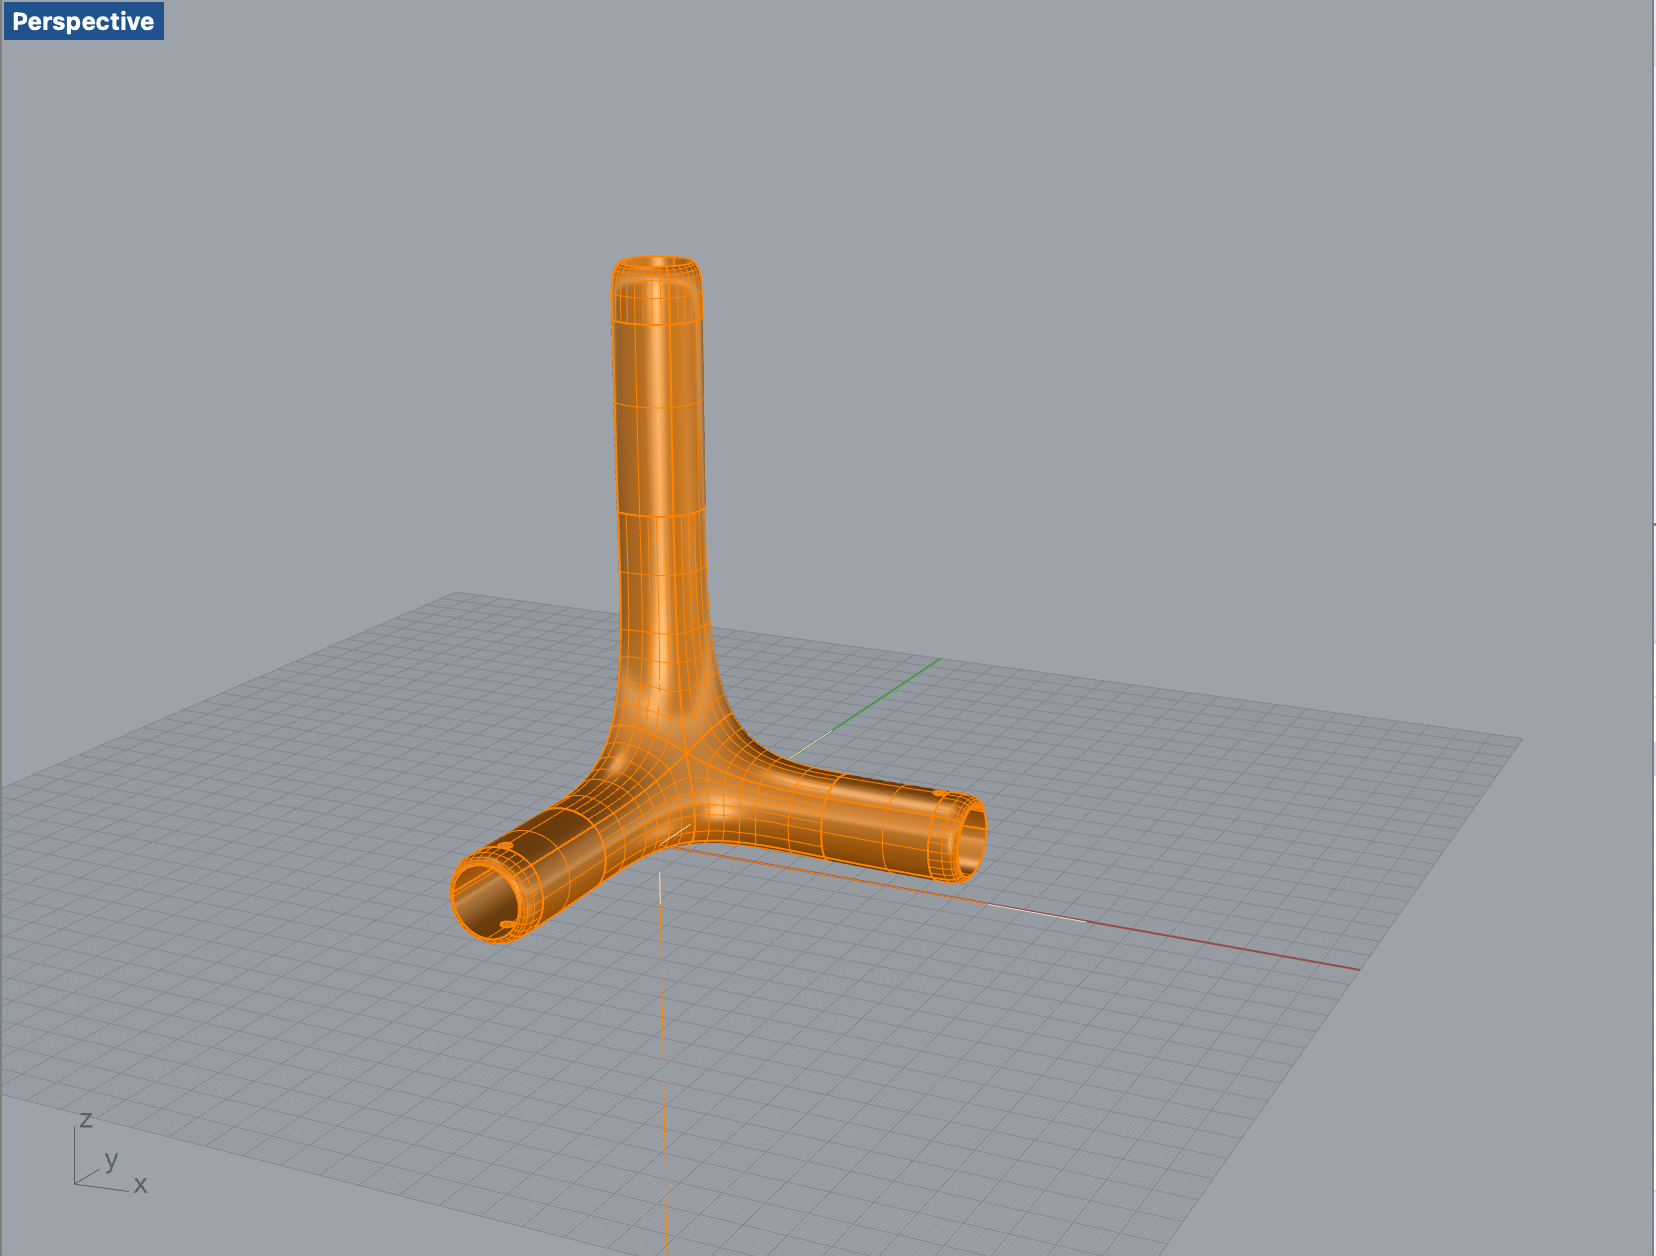
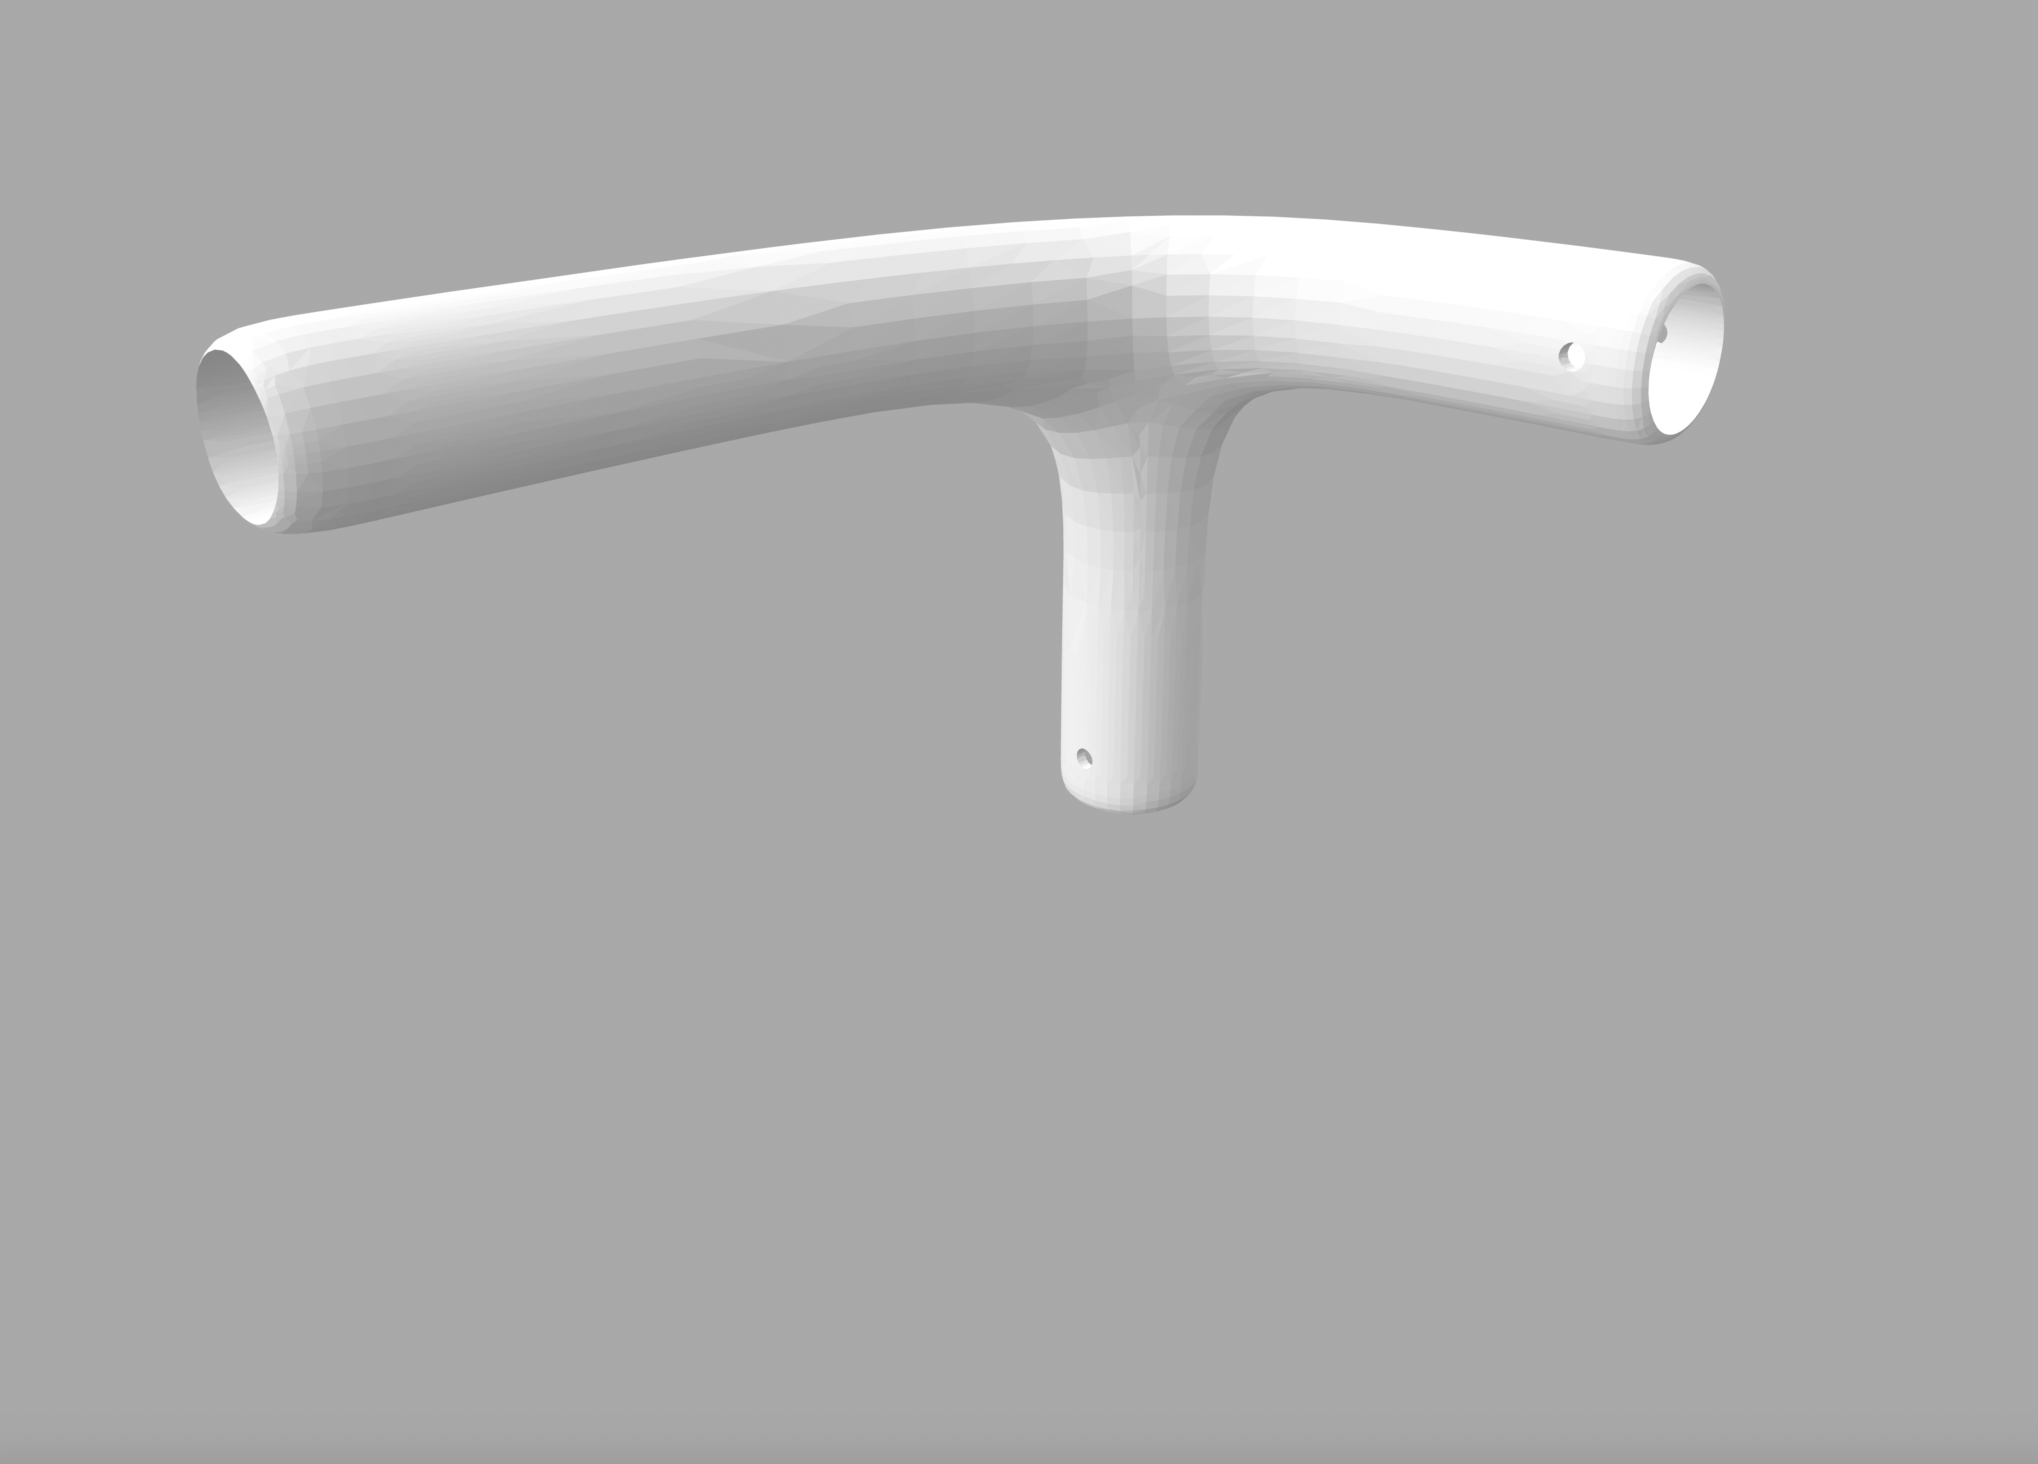
I added four tiny holes on the shorter branches for decoration (screenshot 1)
Screenshot 2 is the STL file for printing.
3D Printing
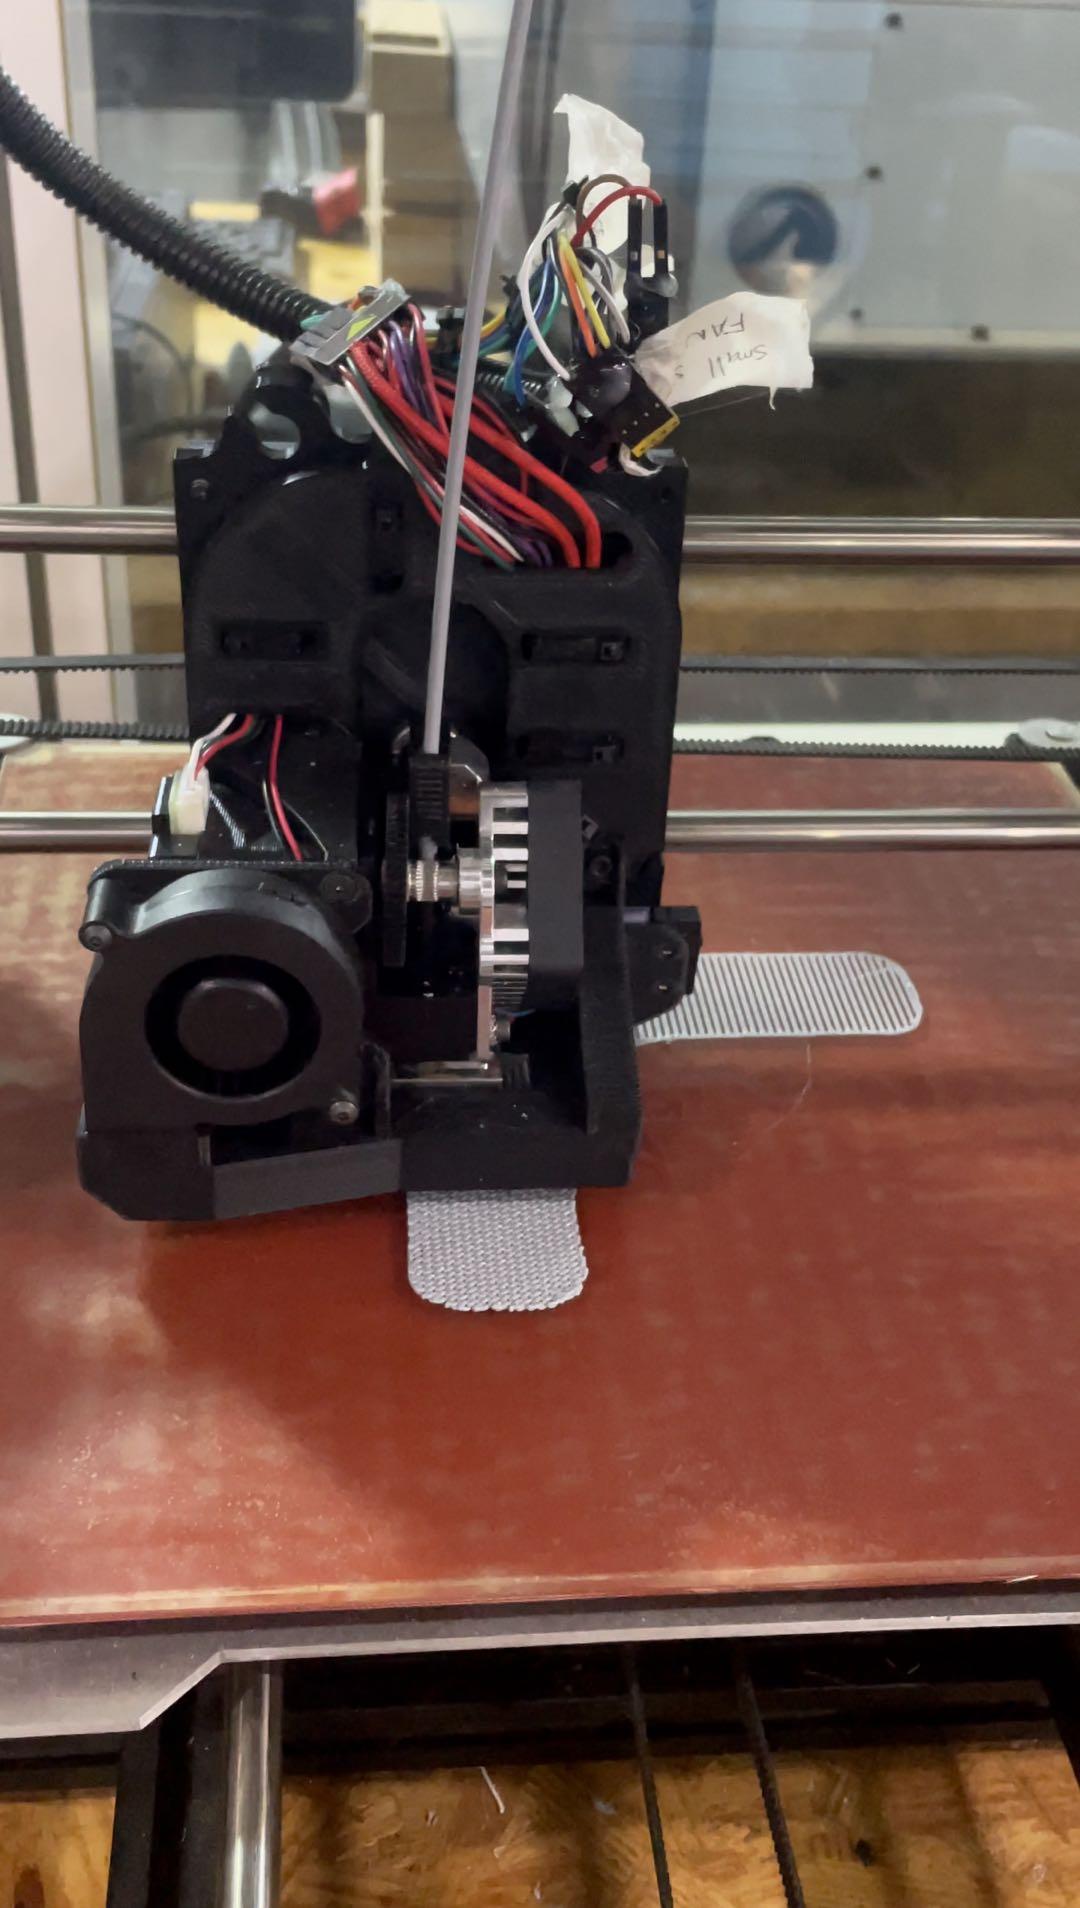
I forgot to take picture of the 3d print setup. This is the picture while the pipe is 3D printing.
And the STL file is attached.