3D Mountain Panorama Door Sign
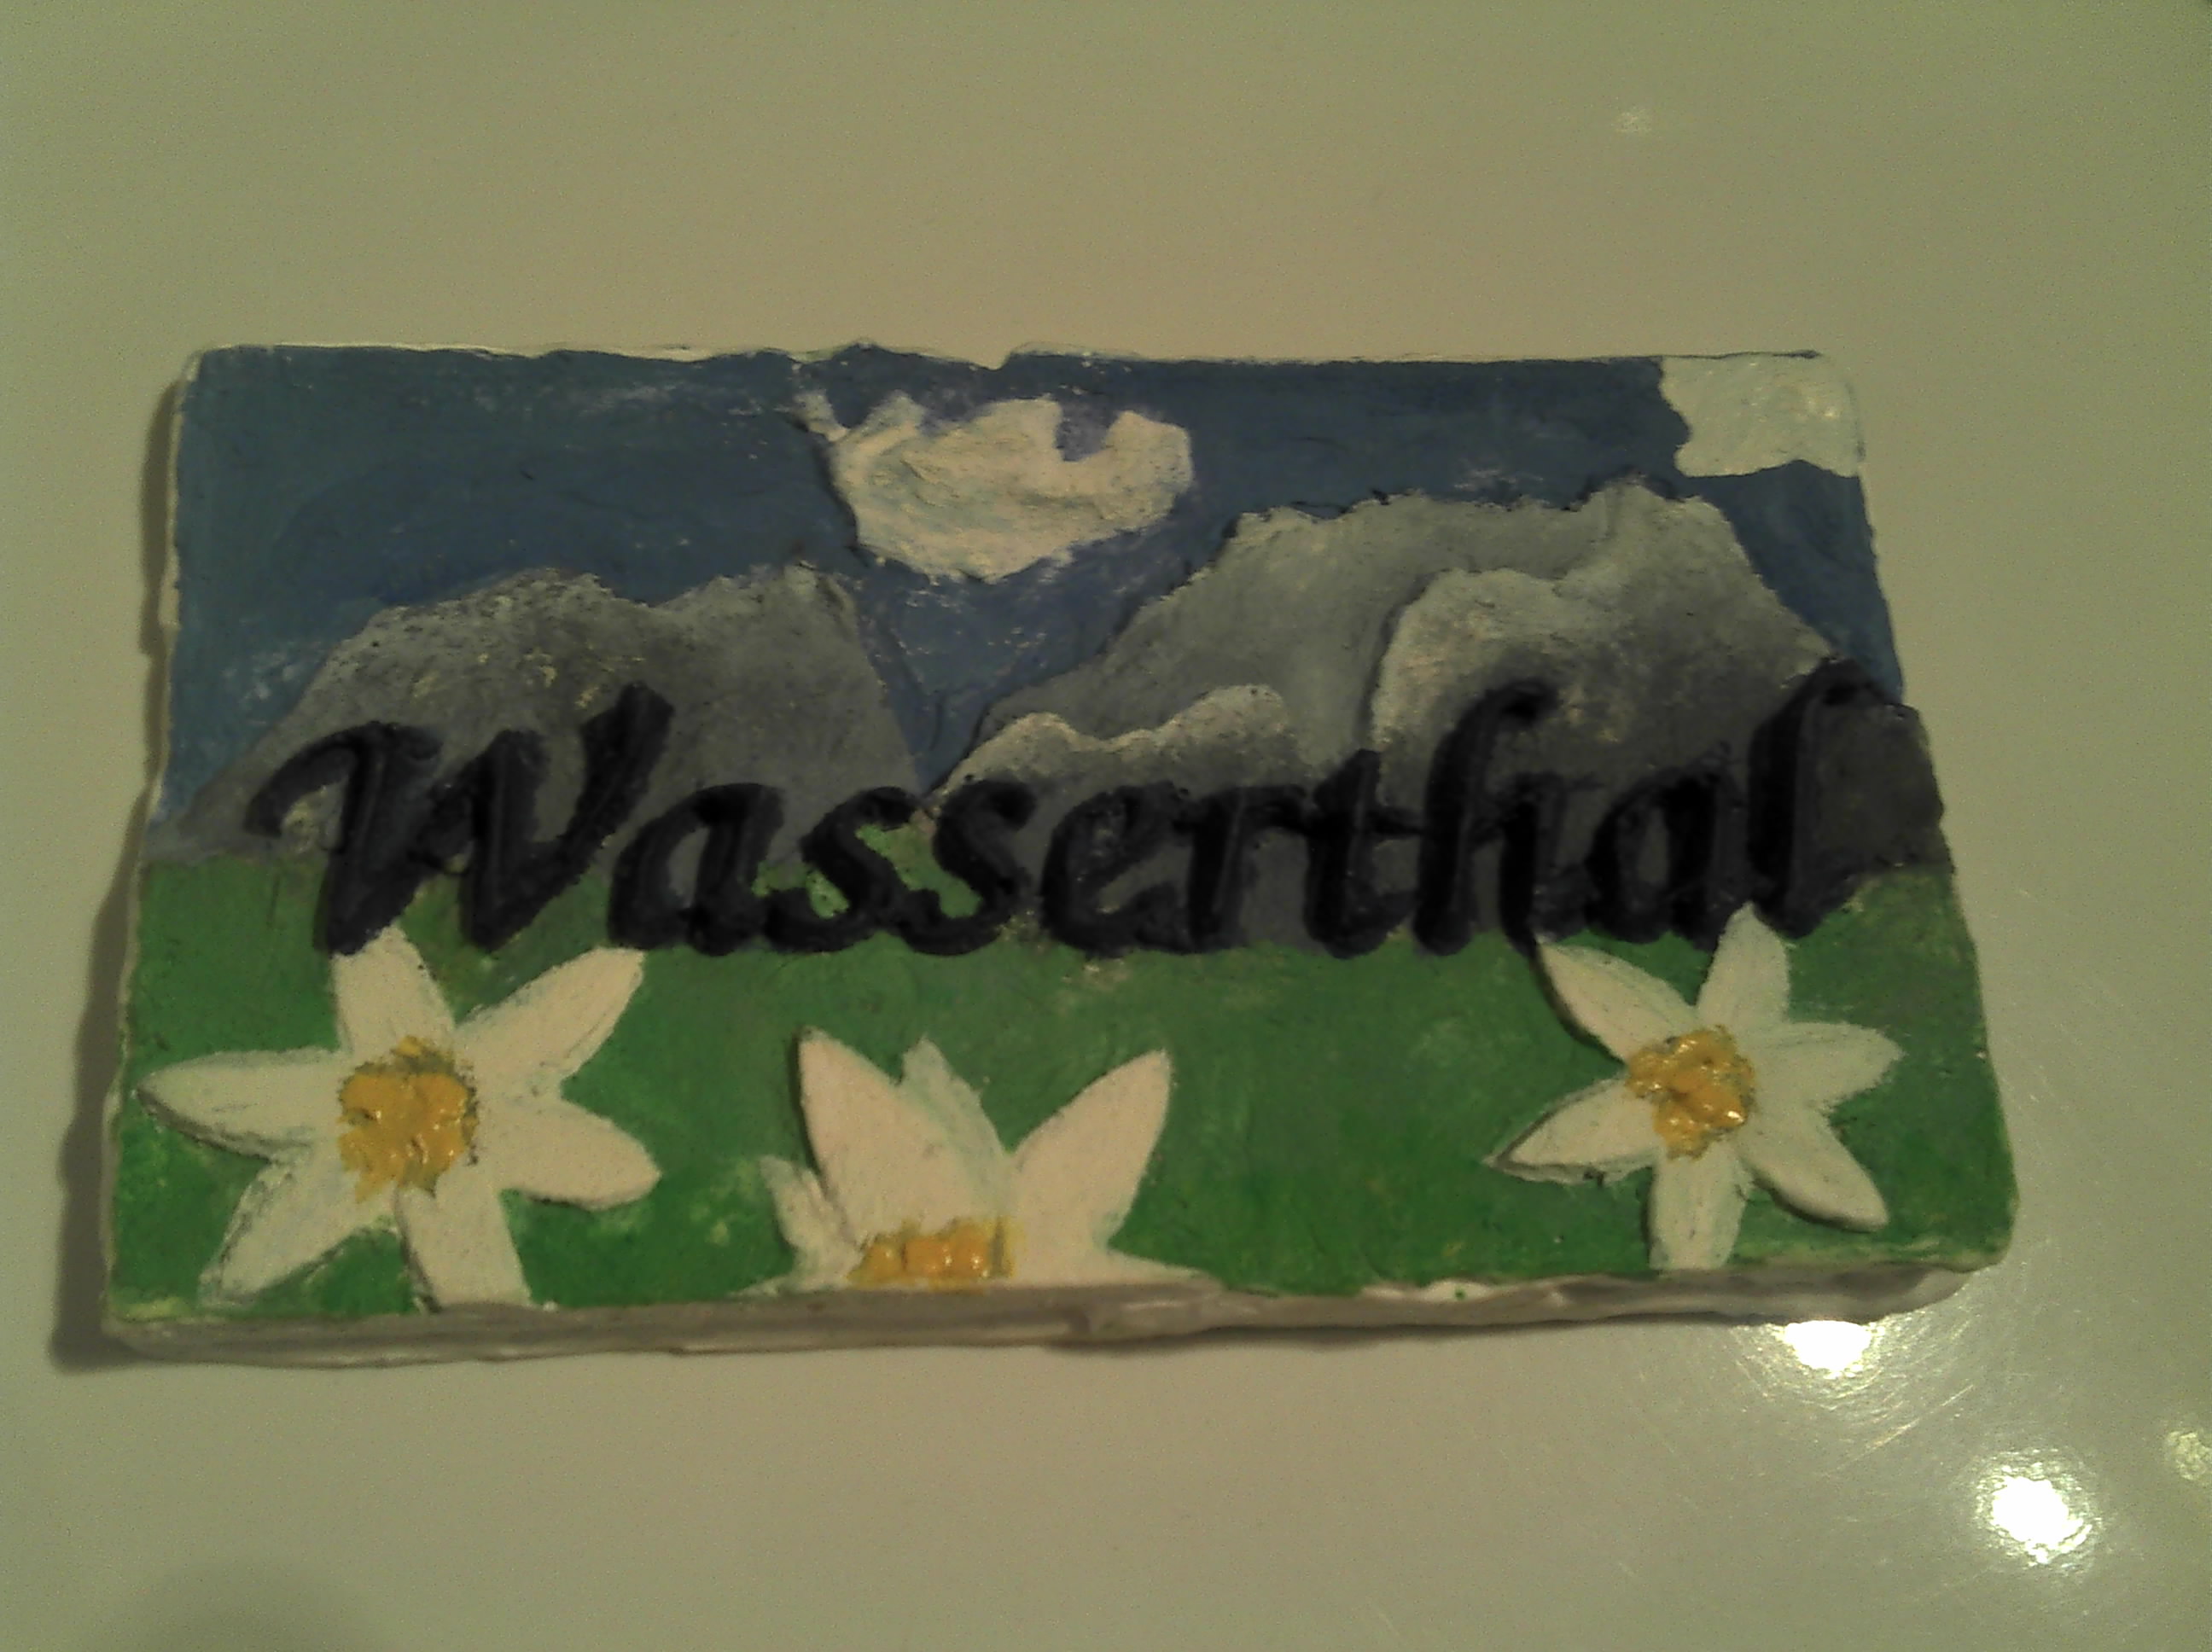
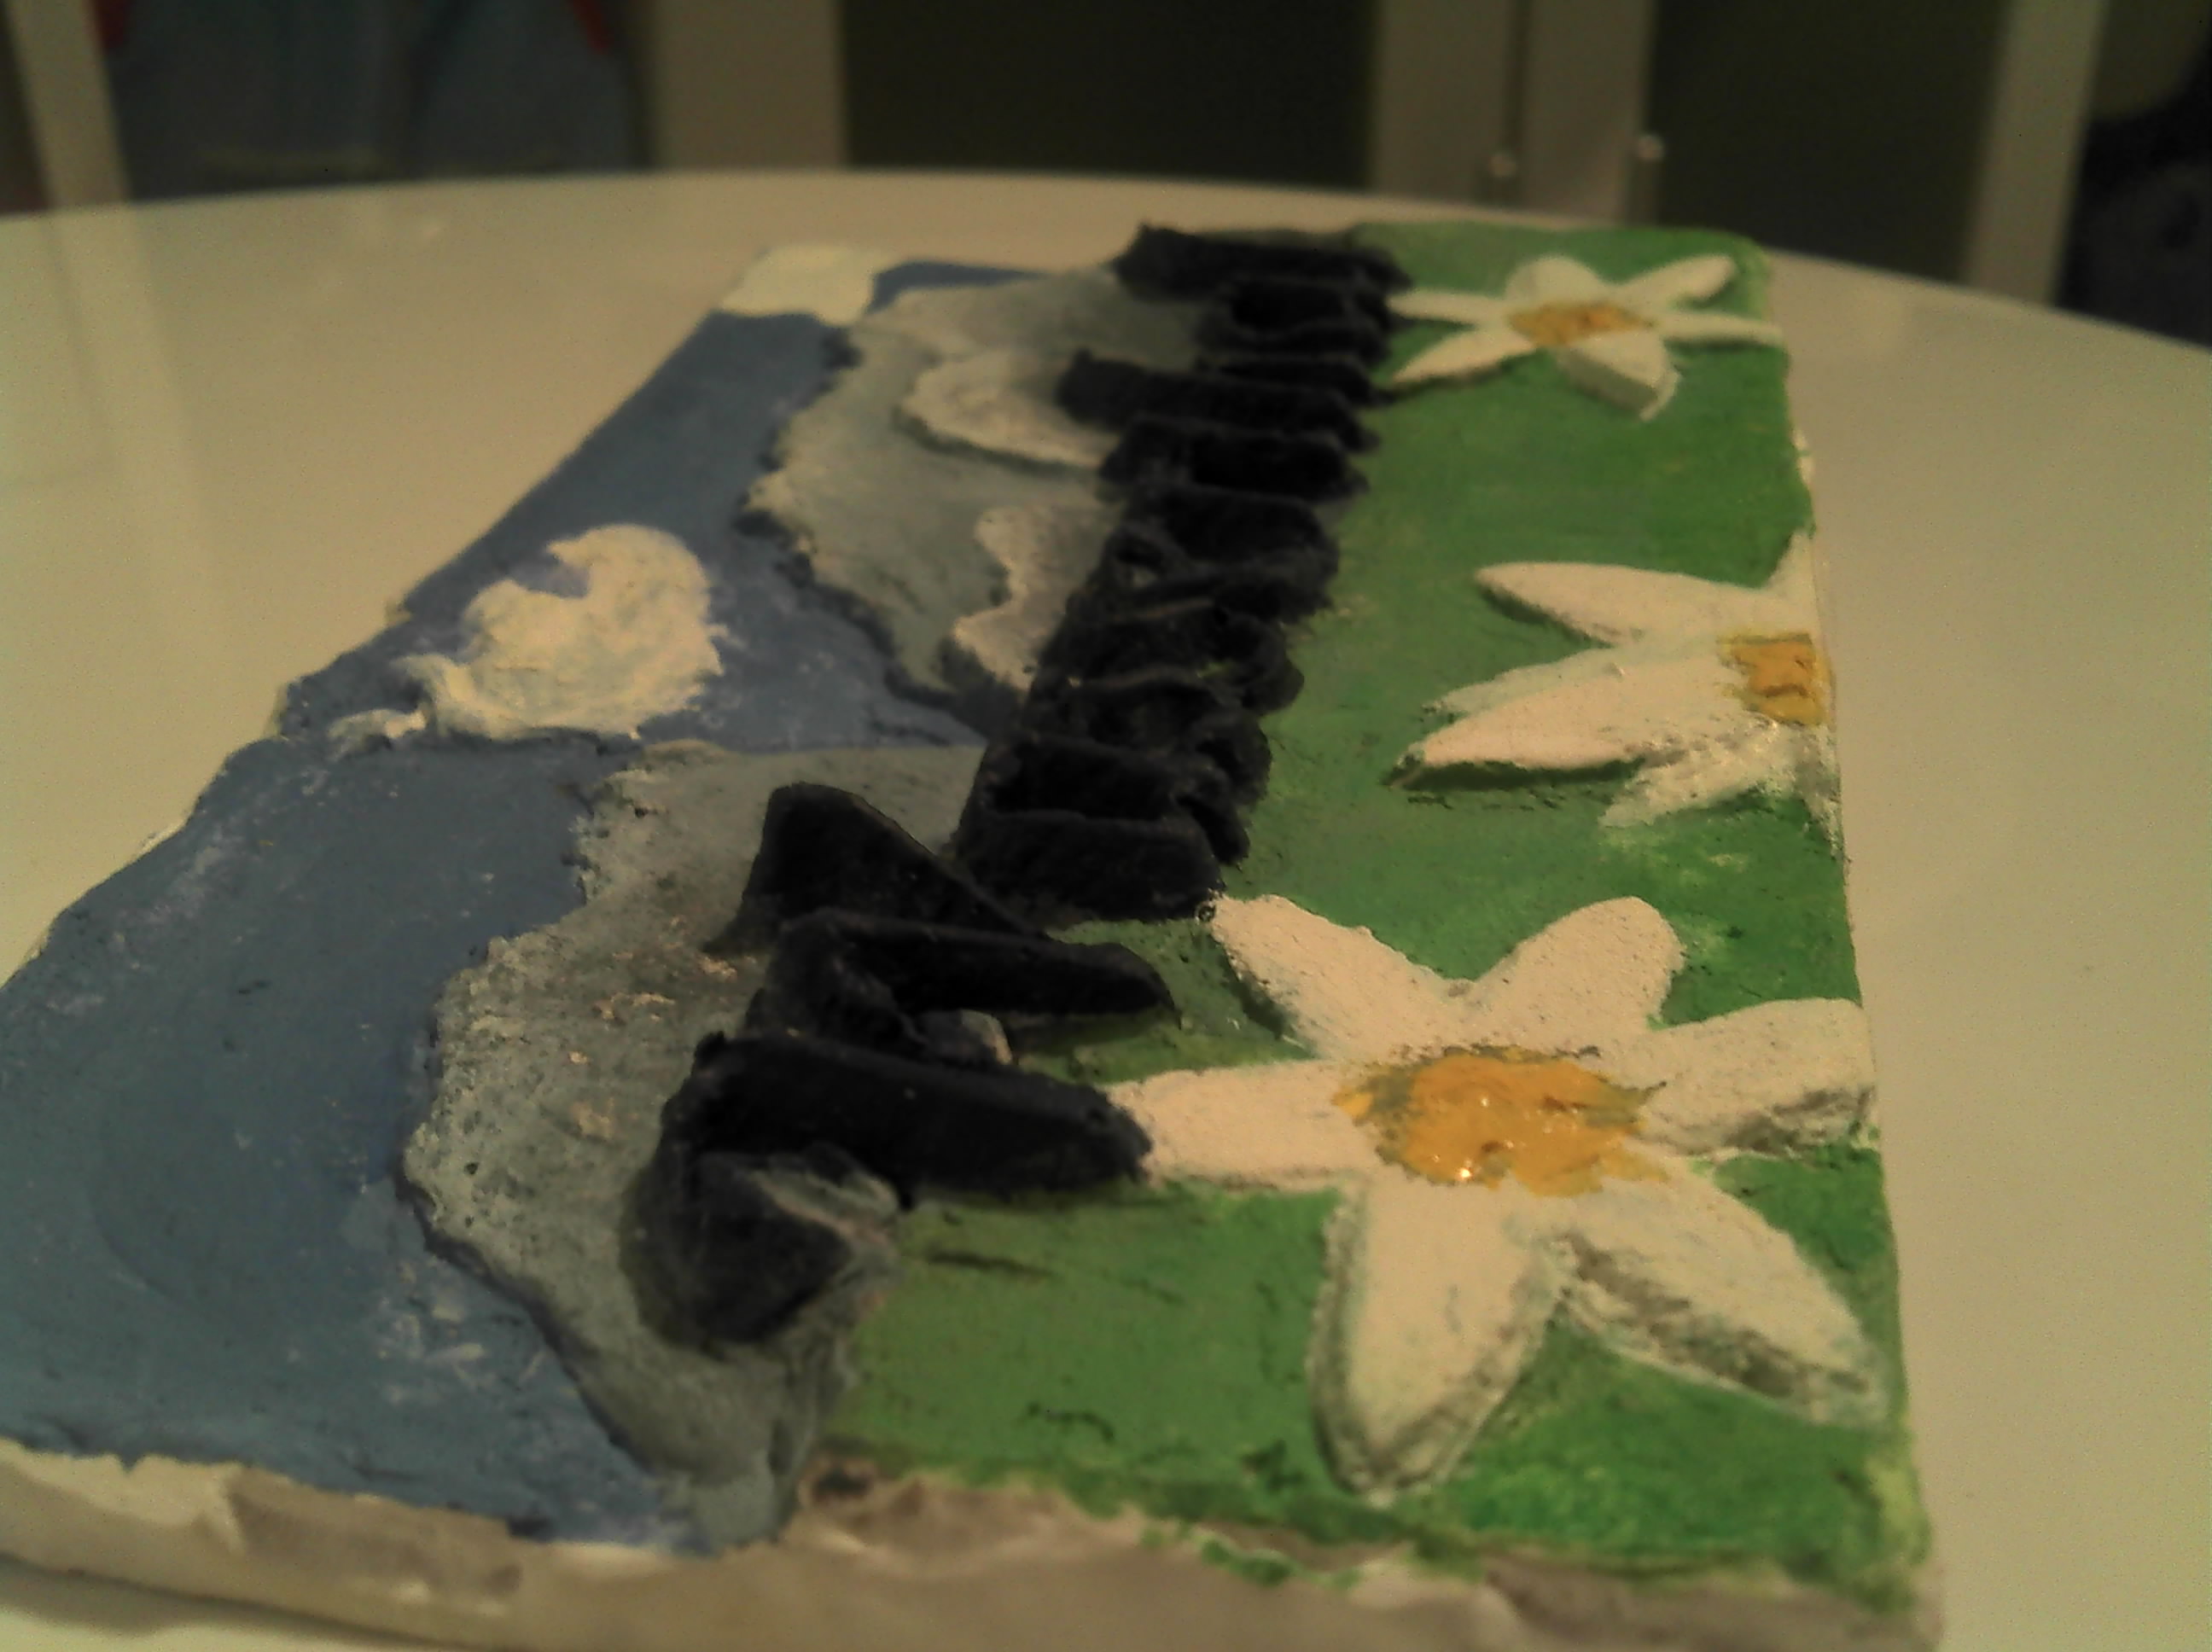
In this instructables I will show you how to make a 3D door sign with a realistic mountain panorama as background.
The mountain panorama is created from real world elevation data.
The door sign is then created using a CNC mill
The mountain panorama is created from real world elevation data.
The door sign is then created using a CNC mill
Tools and Materials
You need:
- A CNC milling machine (I've built this one)
- 3DEM
- Terraconv
- blender
- Mountain elevation data (I used a segment of the east alps where I live: the "Wettersteingebirge")
- Material to mill the sign in
If your CNC milling machine is not strong enough (as mine):
- some sort of dense foam
- some mold making material (I used natural rubber)
- some pouring mass (I used the ceramics-like pouring mass "ARTIDEE Artestone" )
Creating the 3D-Model
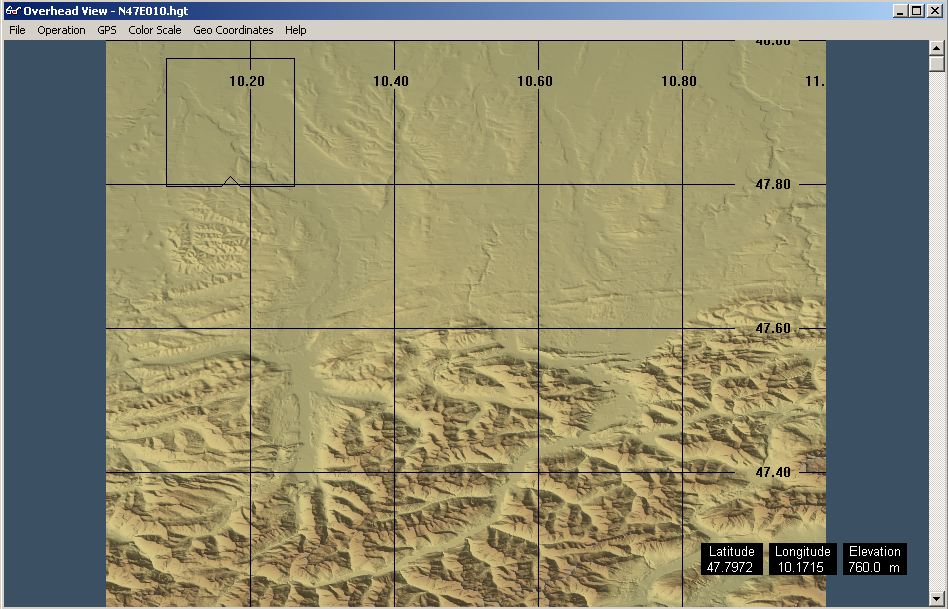
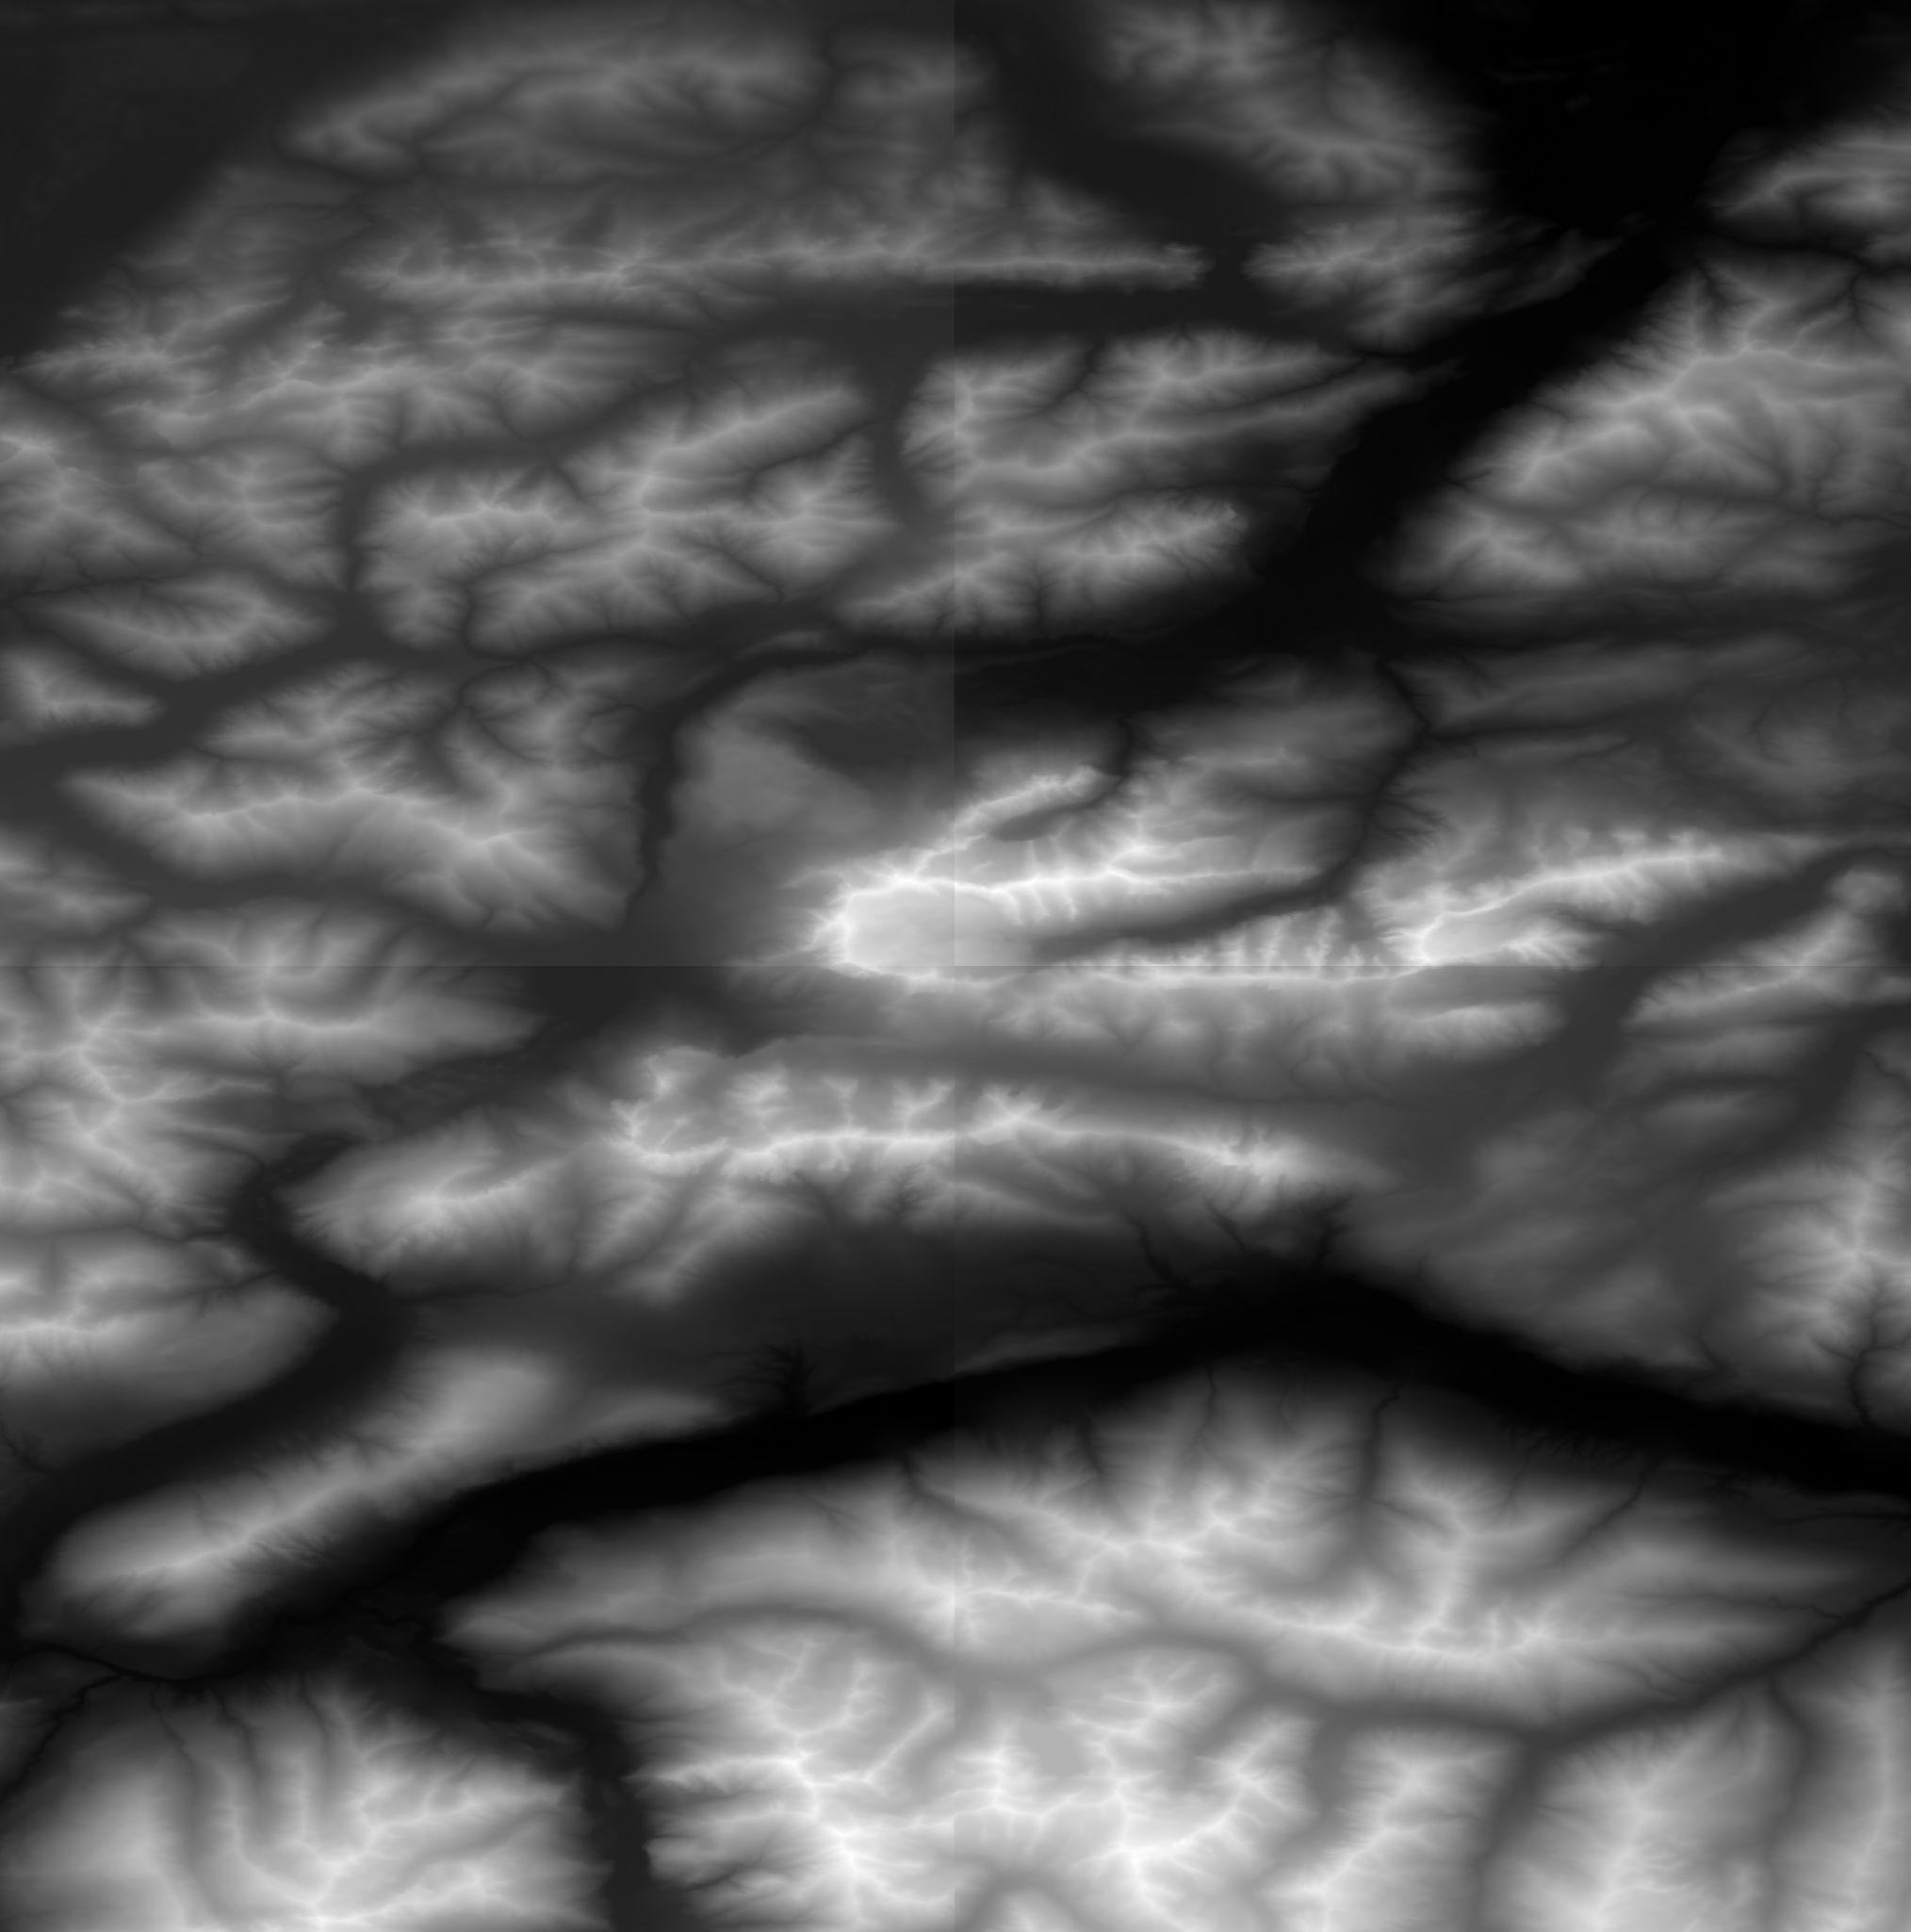
To create a model for milling I decided to create a hightmap of the panorama view.
In a first step I created a 3D-Model of the elevation data of the mountains I had, so I can work with it in blender.
I used elevation the data from http://www.viewfinderpanoramas.org/dem3.html
First open the hgt file with 3dem, then file->save Terragen file.
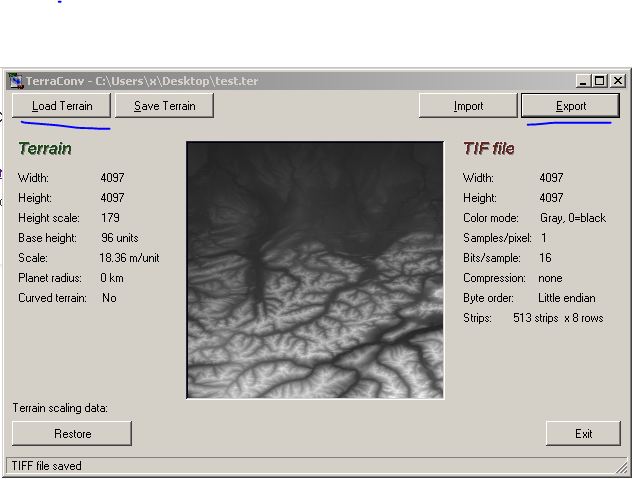
Open the resulting terragen file TerraConv (might take some time), then export and save.
voila, you've a heightmap:-)
(There might be a simpler, more direct way, but I didn't find any tools for that.)
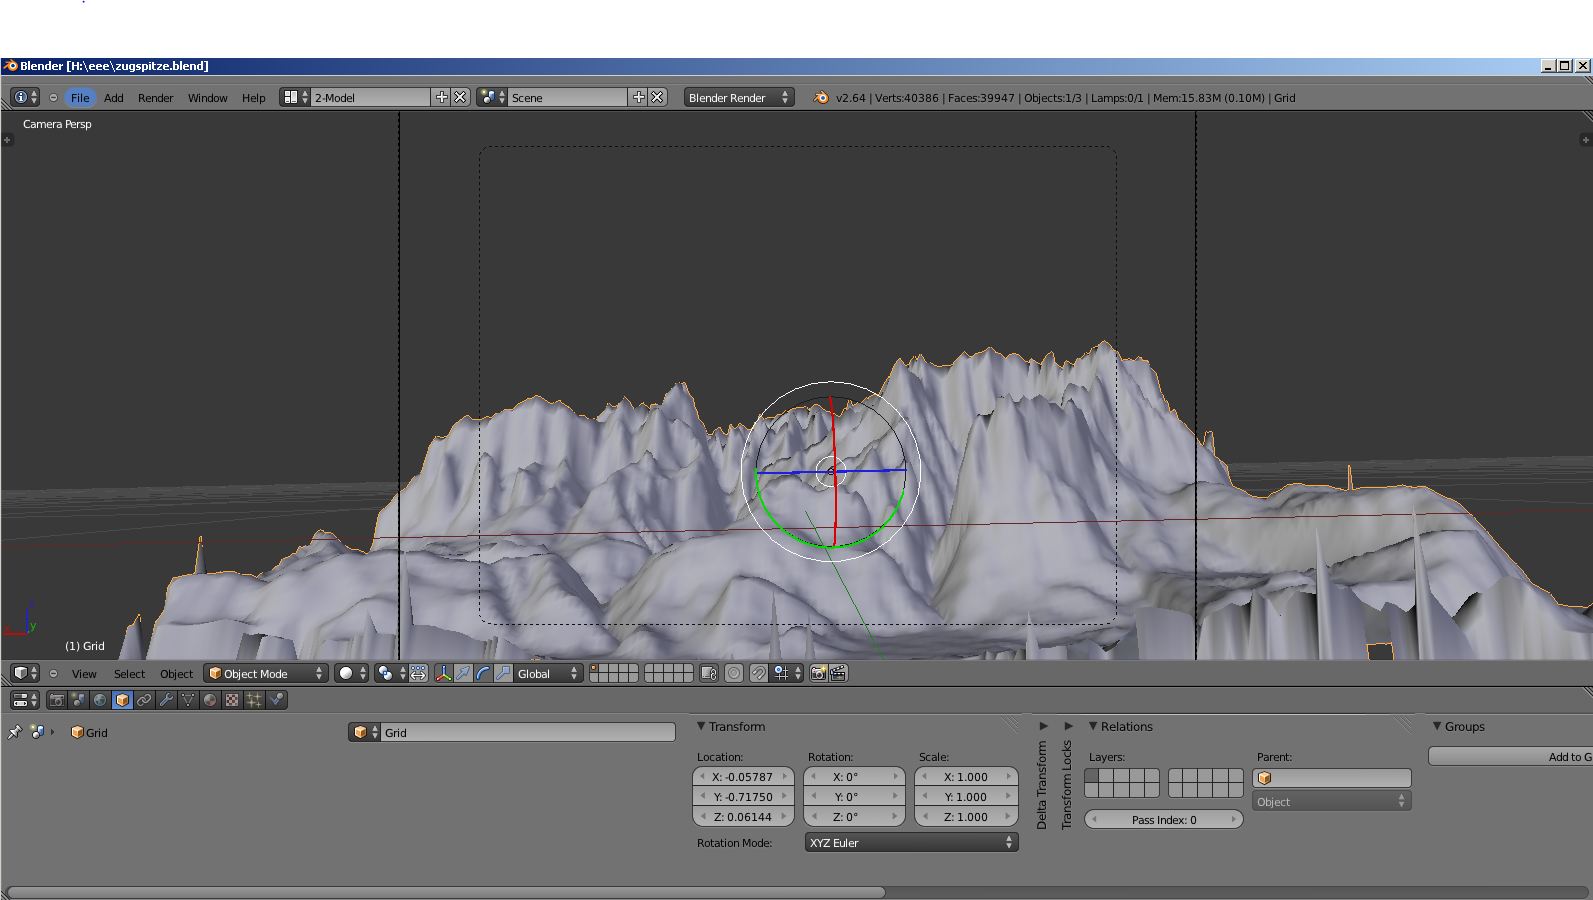
Now the height map can be imported into blender, by following the steps in this tutorial:
http://en.wikibooks.org/wiki/Blender_3D:_Noob_to_Pro/Making_Landscapes_with_heightmaps
Now choose a view for your panorama, the screenshot in the images shows the panorama I chose (that's basically the panorama you see, from where I live +800 height meters).
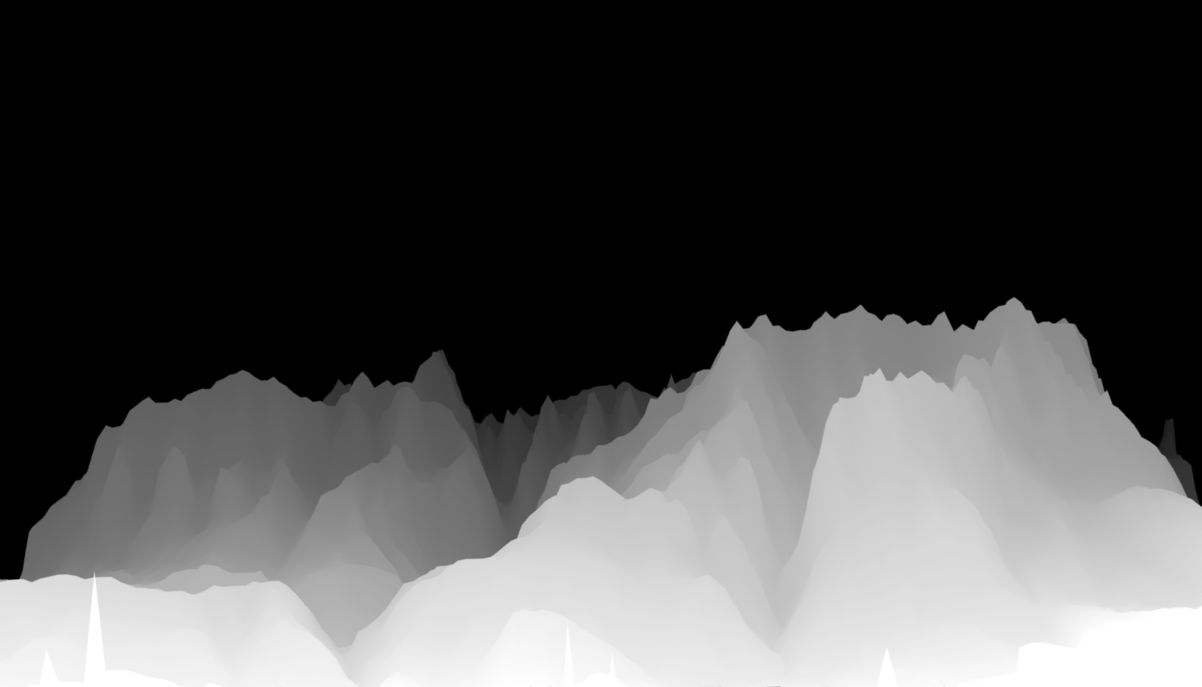
I exported the view as another heightmap (from which one can easily create gcode for the cnc mill) by following this tutorial:
http://wiki.blender.org/index.php/Doc:2.4/Tutorials/Textures/Maps/Creating_a_Heightmap_from_a_Plane
(basically it's a shader less rendering, where only the z-axis is used as input)
The result is the last image you see above. It's a height map of the panorama
Adding More Detail to the Model
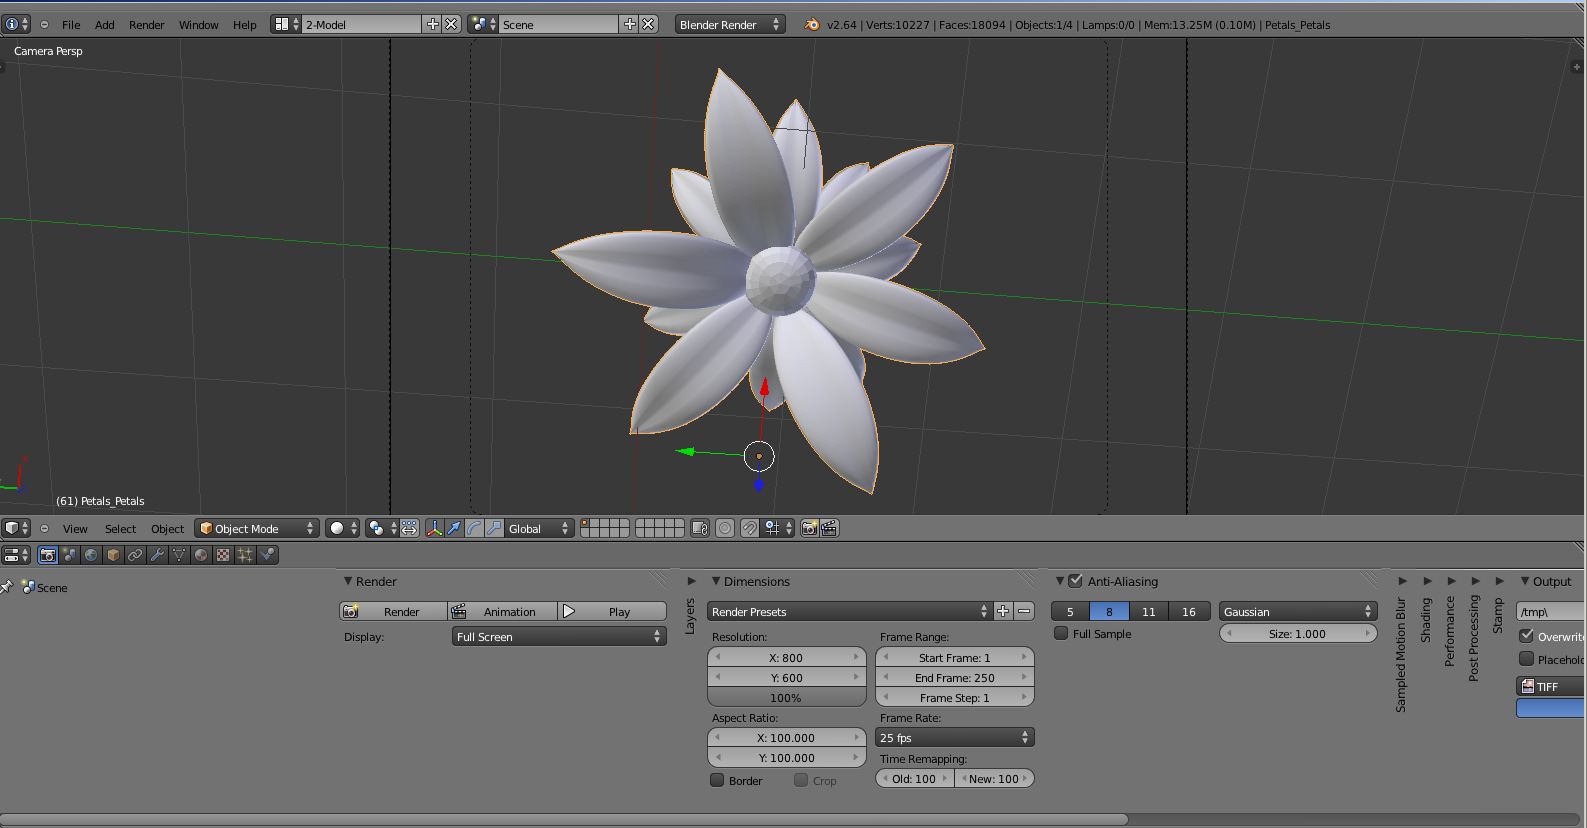
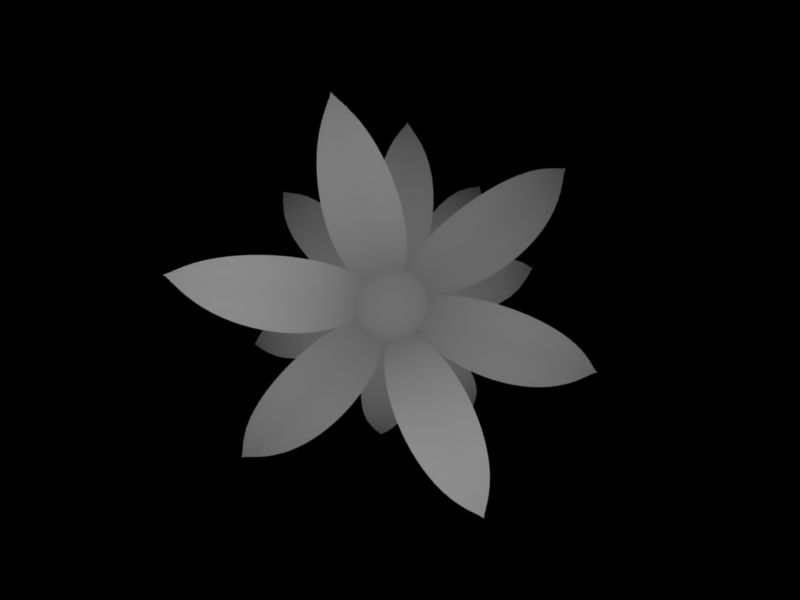
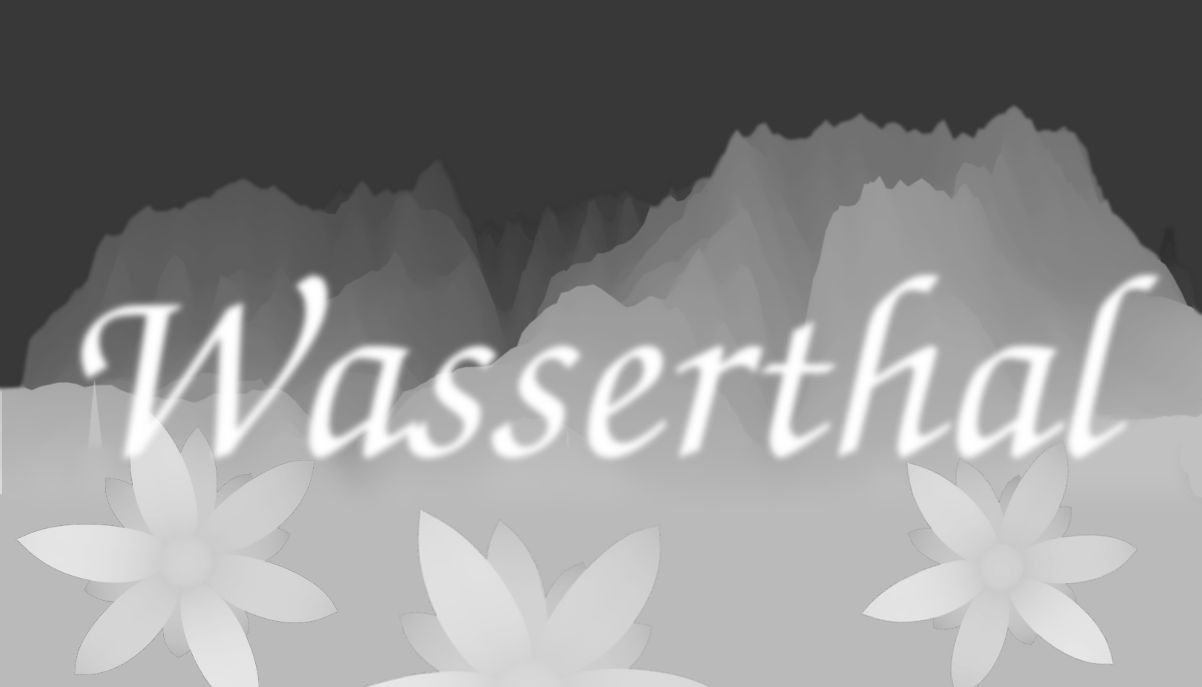
In this step, I added more elements to the result of the previous step. I added my last name and a few flowers that should resemble edelweiss flowers.
For this purpose i created a height map image of the flower in blender (just like in the previous step).
I edited together the resulting images with gimp and added my name to it.
To bevel the text, i simply used gaussian blur on the text (you could've created the text in blender too, but my blender skills are pretty bad...).
You can see the resulting height map in the last image (I tinkered a bit with the brightnesslevels of the elements to produce a good result)
Mill and Finish the Door Sign.

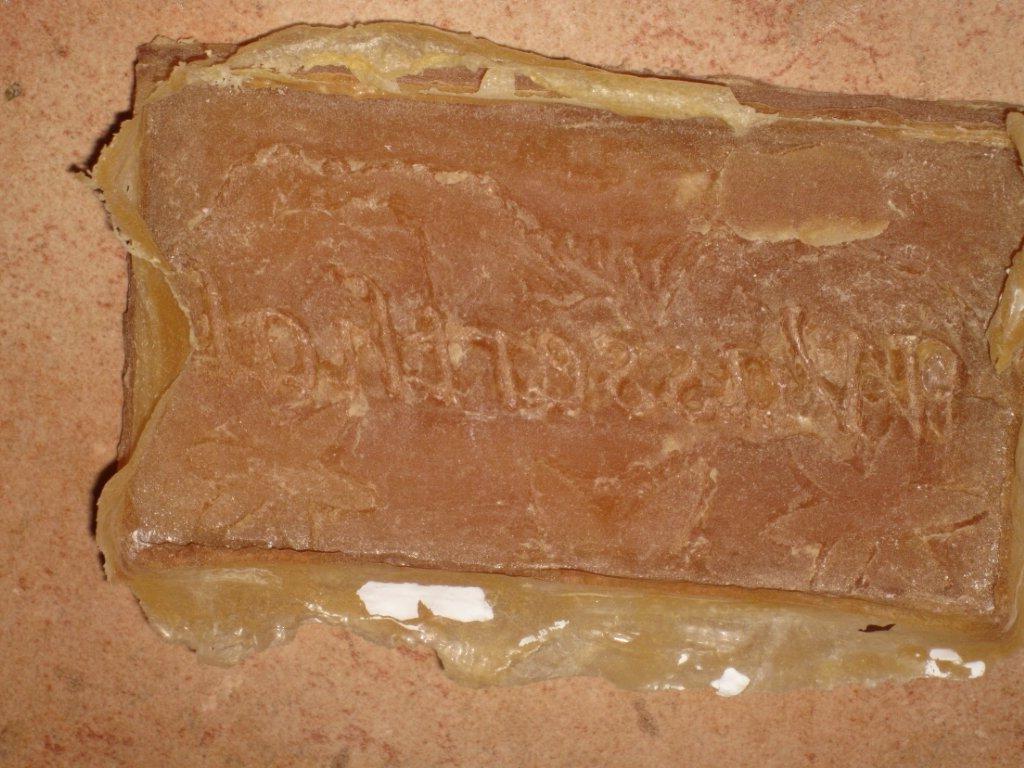


Convert the heightmap to gcode (the EMC2 which I used, has this already built in, but probably cambam or similar software gets the job done too) and fire up your milling machine.
(my electronics and motors where pretty bad, so I took like 20h to mill this thing...)
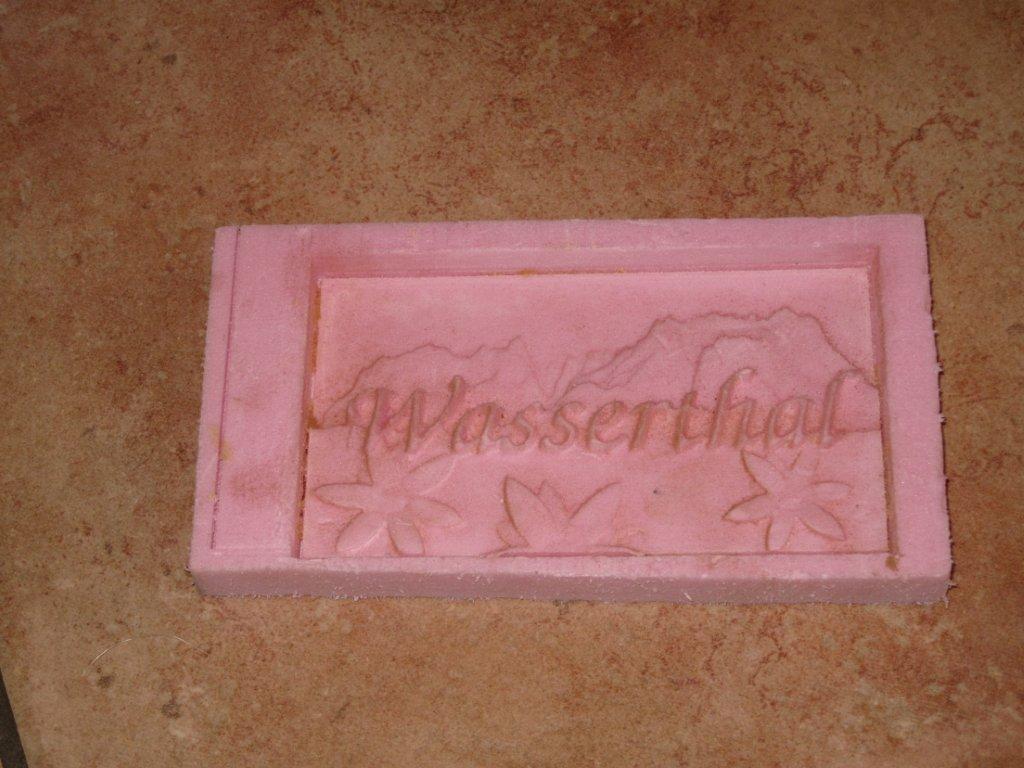
If your CNC mill is weak (like mine), mill it in foam, create a mold and use some pouring mass to create the final sign.
The foam I used was not dense enough so that the mold making process didn't come out so well (I think the natural rubber somehow reacted with the foam, as it produced air bubbles where it had contact with the foam).
Unfortunately I didn't have any mold making material left, so I couldn't make a second try...
The pouring process went pretty well in despite of the bad quality of the mold and it came out really nice after painting it:-)
Have fun making your own door sign.