3D Zoetrope
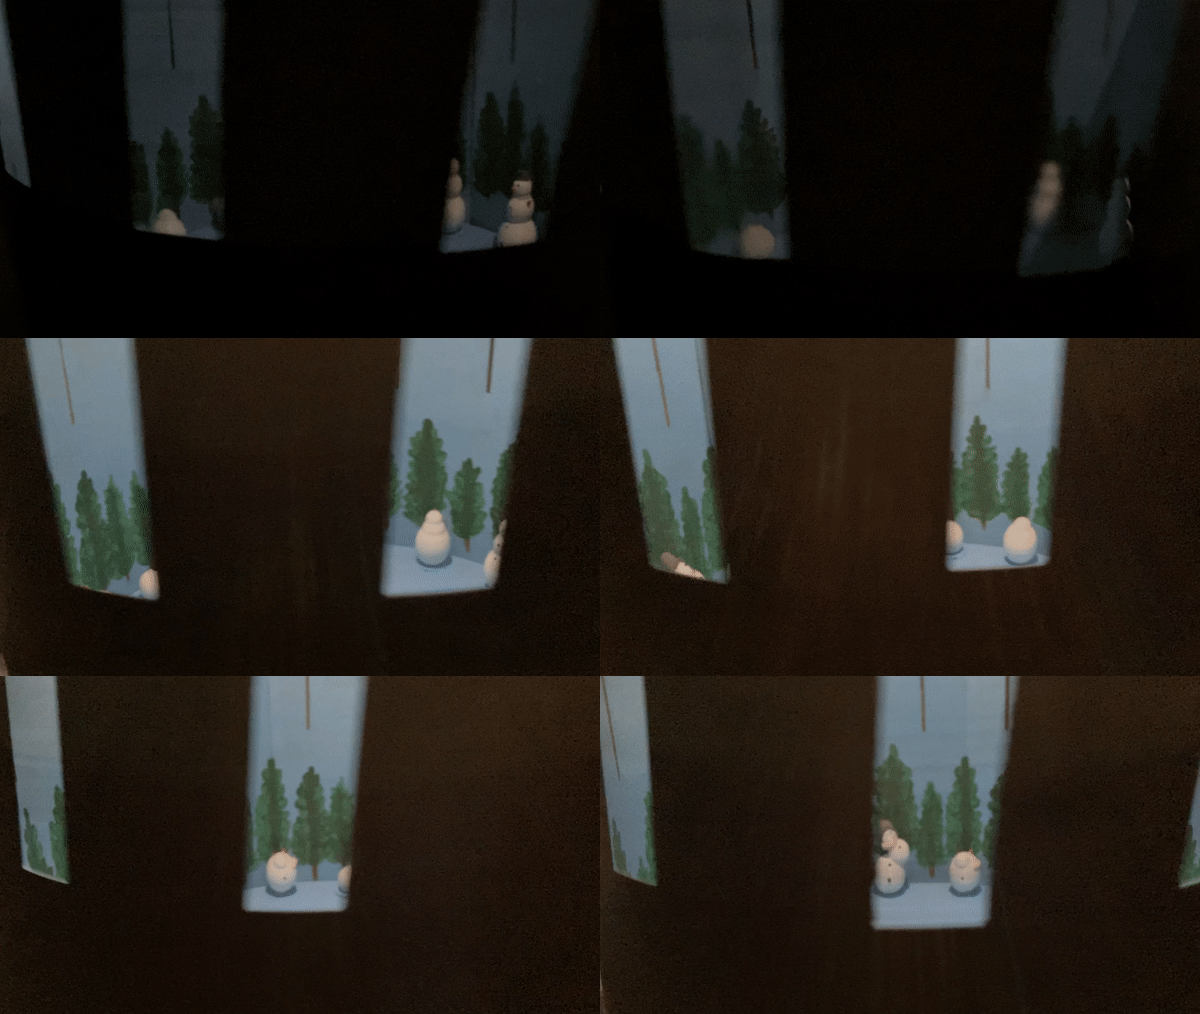
A 3D Zoetrope is a spinning vertical drum with frames of an animation painted on the interior that was invented during the mid-nineteenth century. The graphics animate when the drum is spun fast enough! This effort reinvents the original zoetrope by 3D printing the animation frames and bringing them to life.
Using synchronized strobes and carousel rotation, the machine animates objects placed on its circular base, in this particular case the zoetrope is giving life to a snowman and then following him melting!
In this instructable, I will show you the five easy steps of creating your own 3D Zoetrope.
Supplies
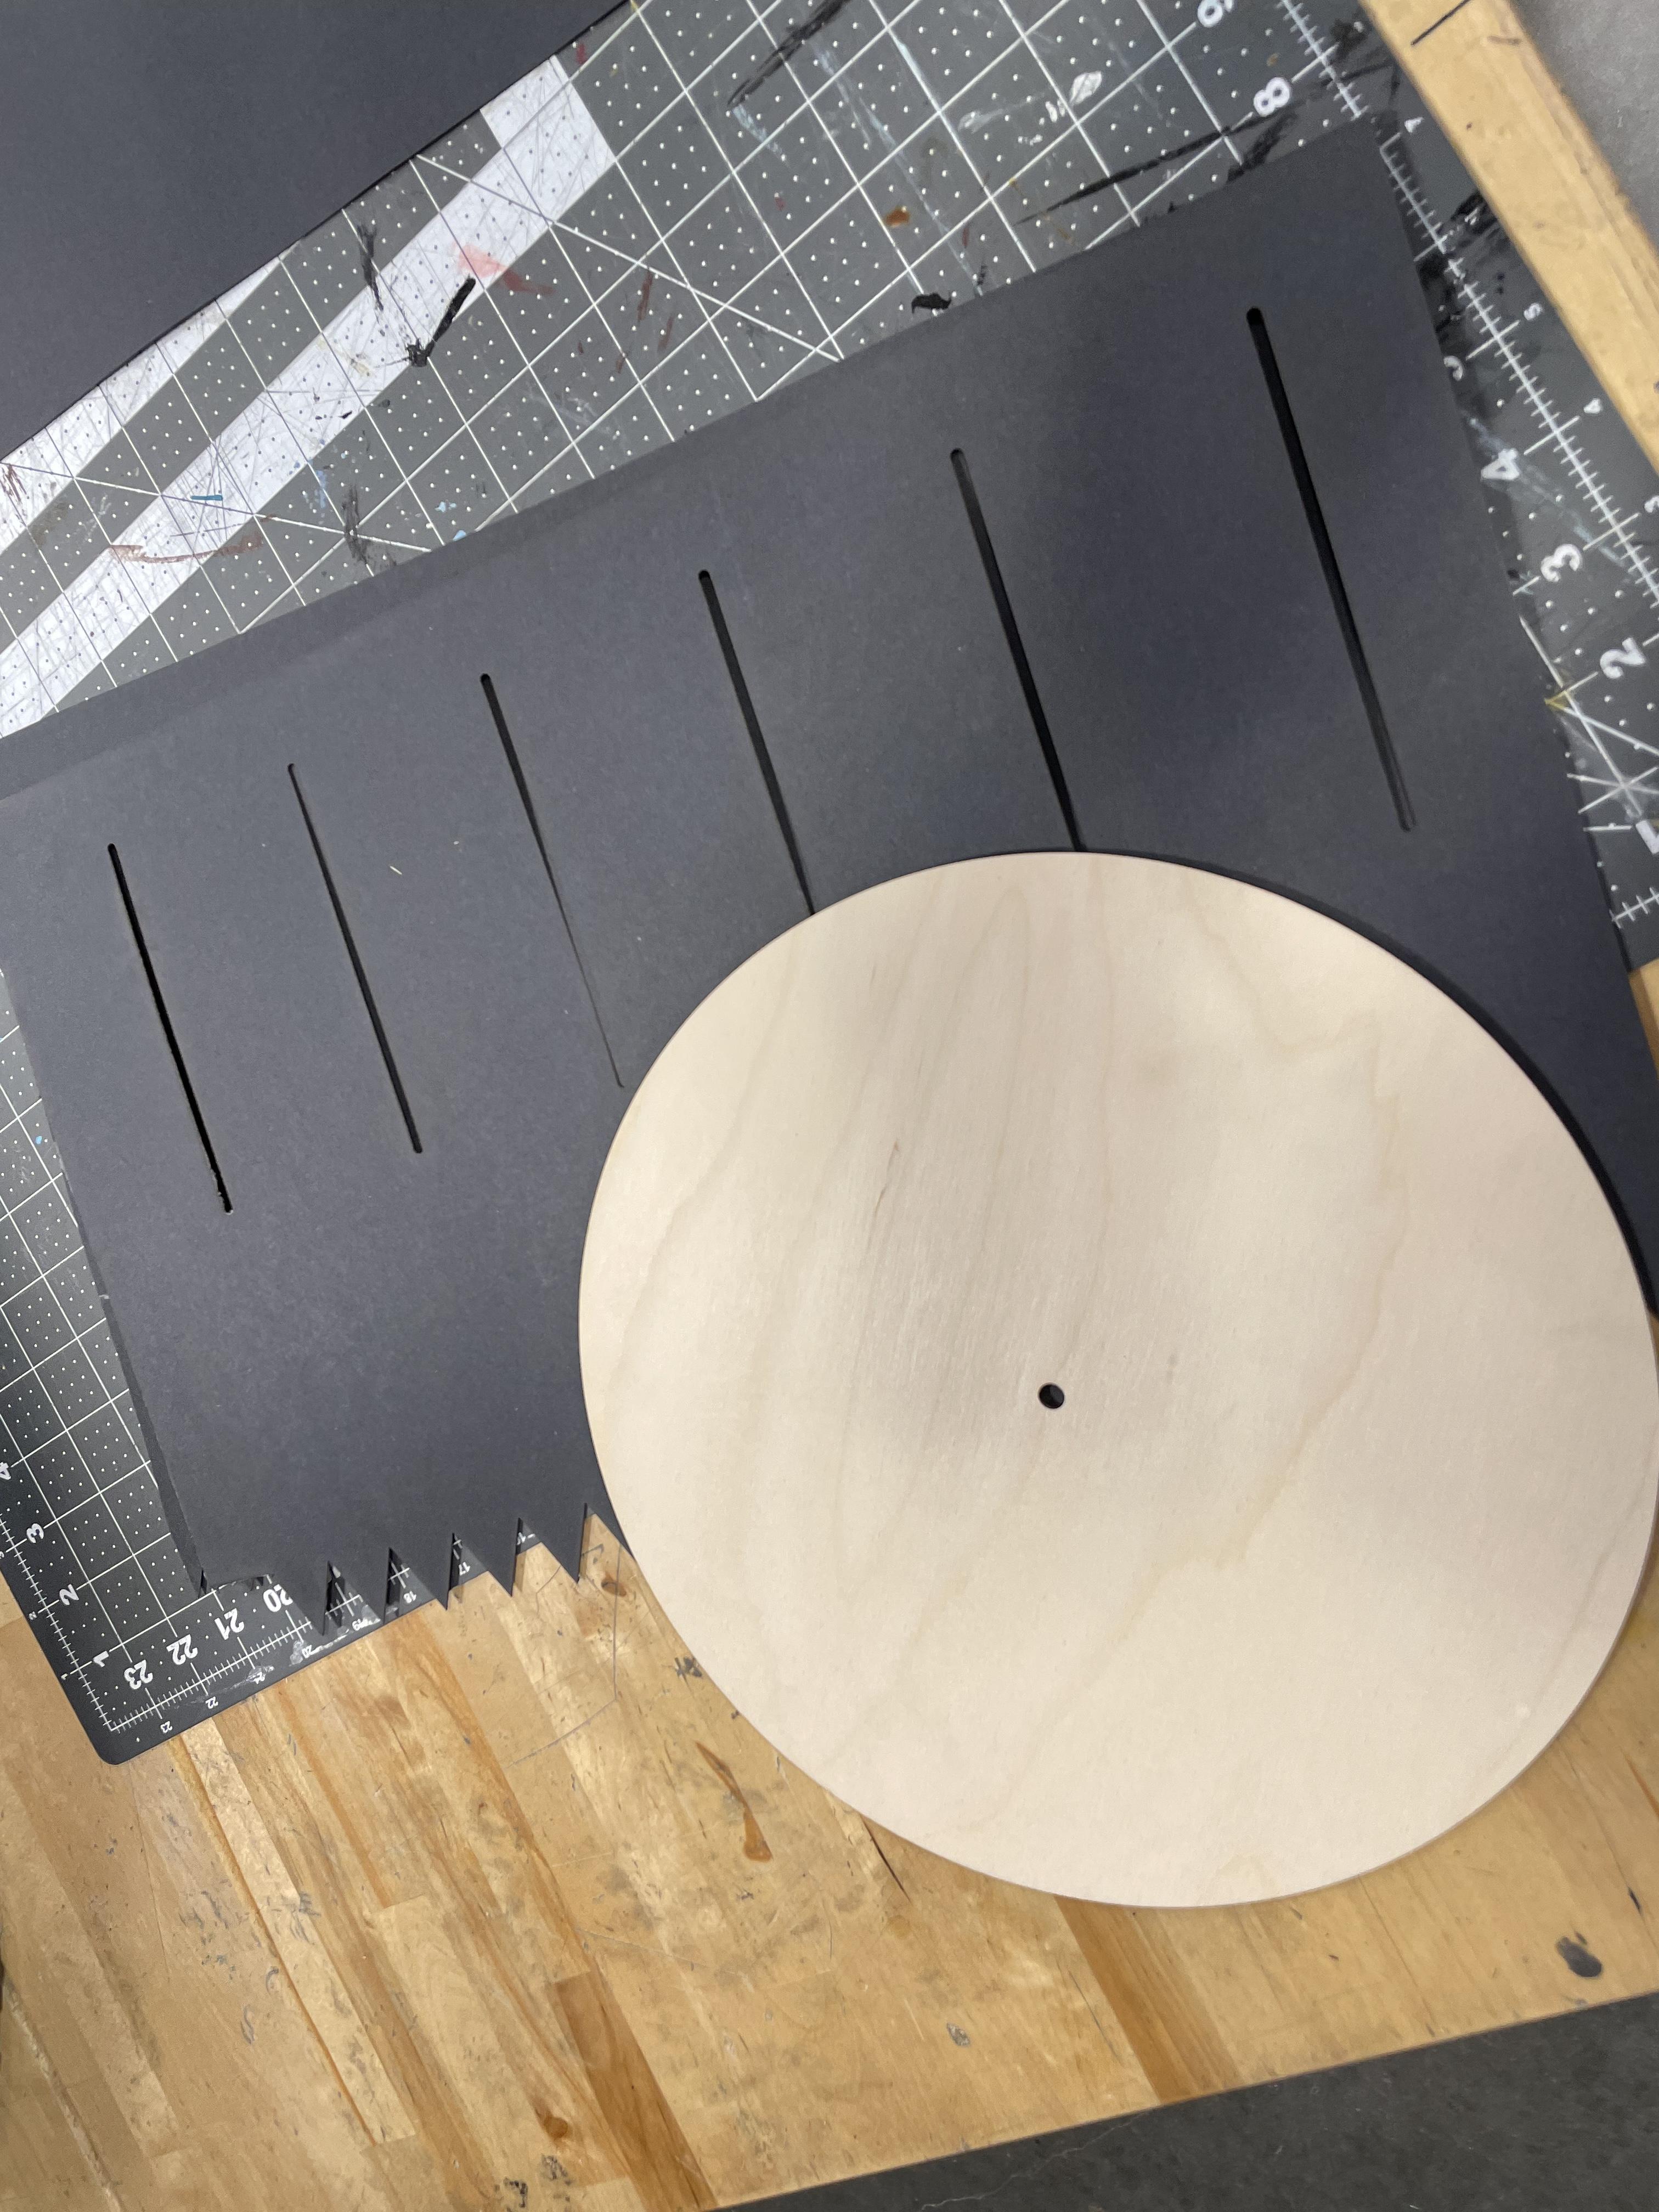
For this project you will need:
- A circle wood base with a small hole in the center (example above)
- Black paper wide enough to fit around the diameter of the circle (example above)
- A record player
- Access to a 3D printer
- Access to Adobe Illustrator to create files to print
- Access to a laser cutter
- Access to TinkerCAD or other 3D printing software
- Acrylic paint and paintbrushes
- Hot Glue or Wood Glue
- Scissors
Optional
- Pens and pencils to trace
- Rulers to measure
- Pliers for removing objects on 3D printed objects
- Hand light to shine on spinning zoetrope
Sketching Out Your Design Ideations
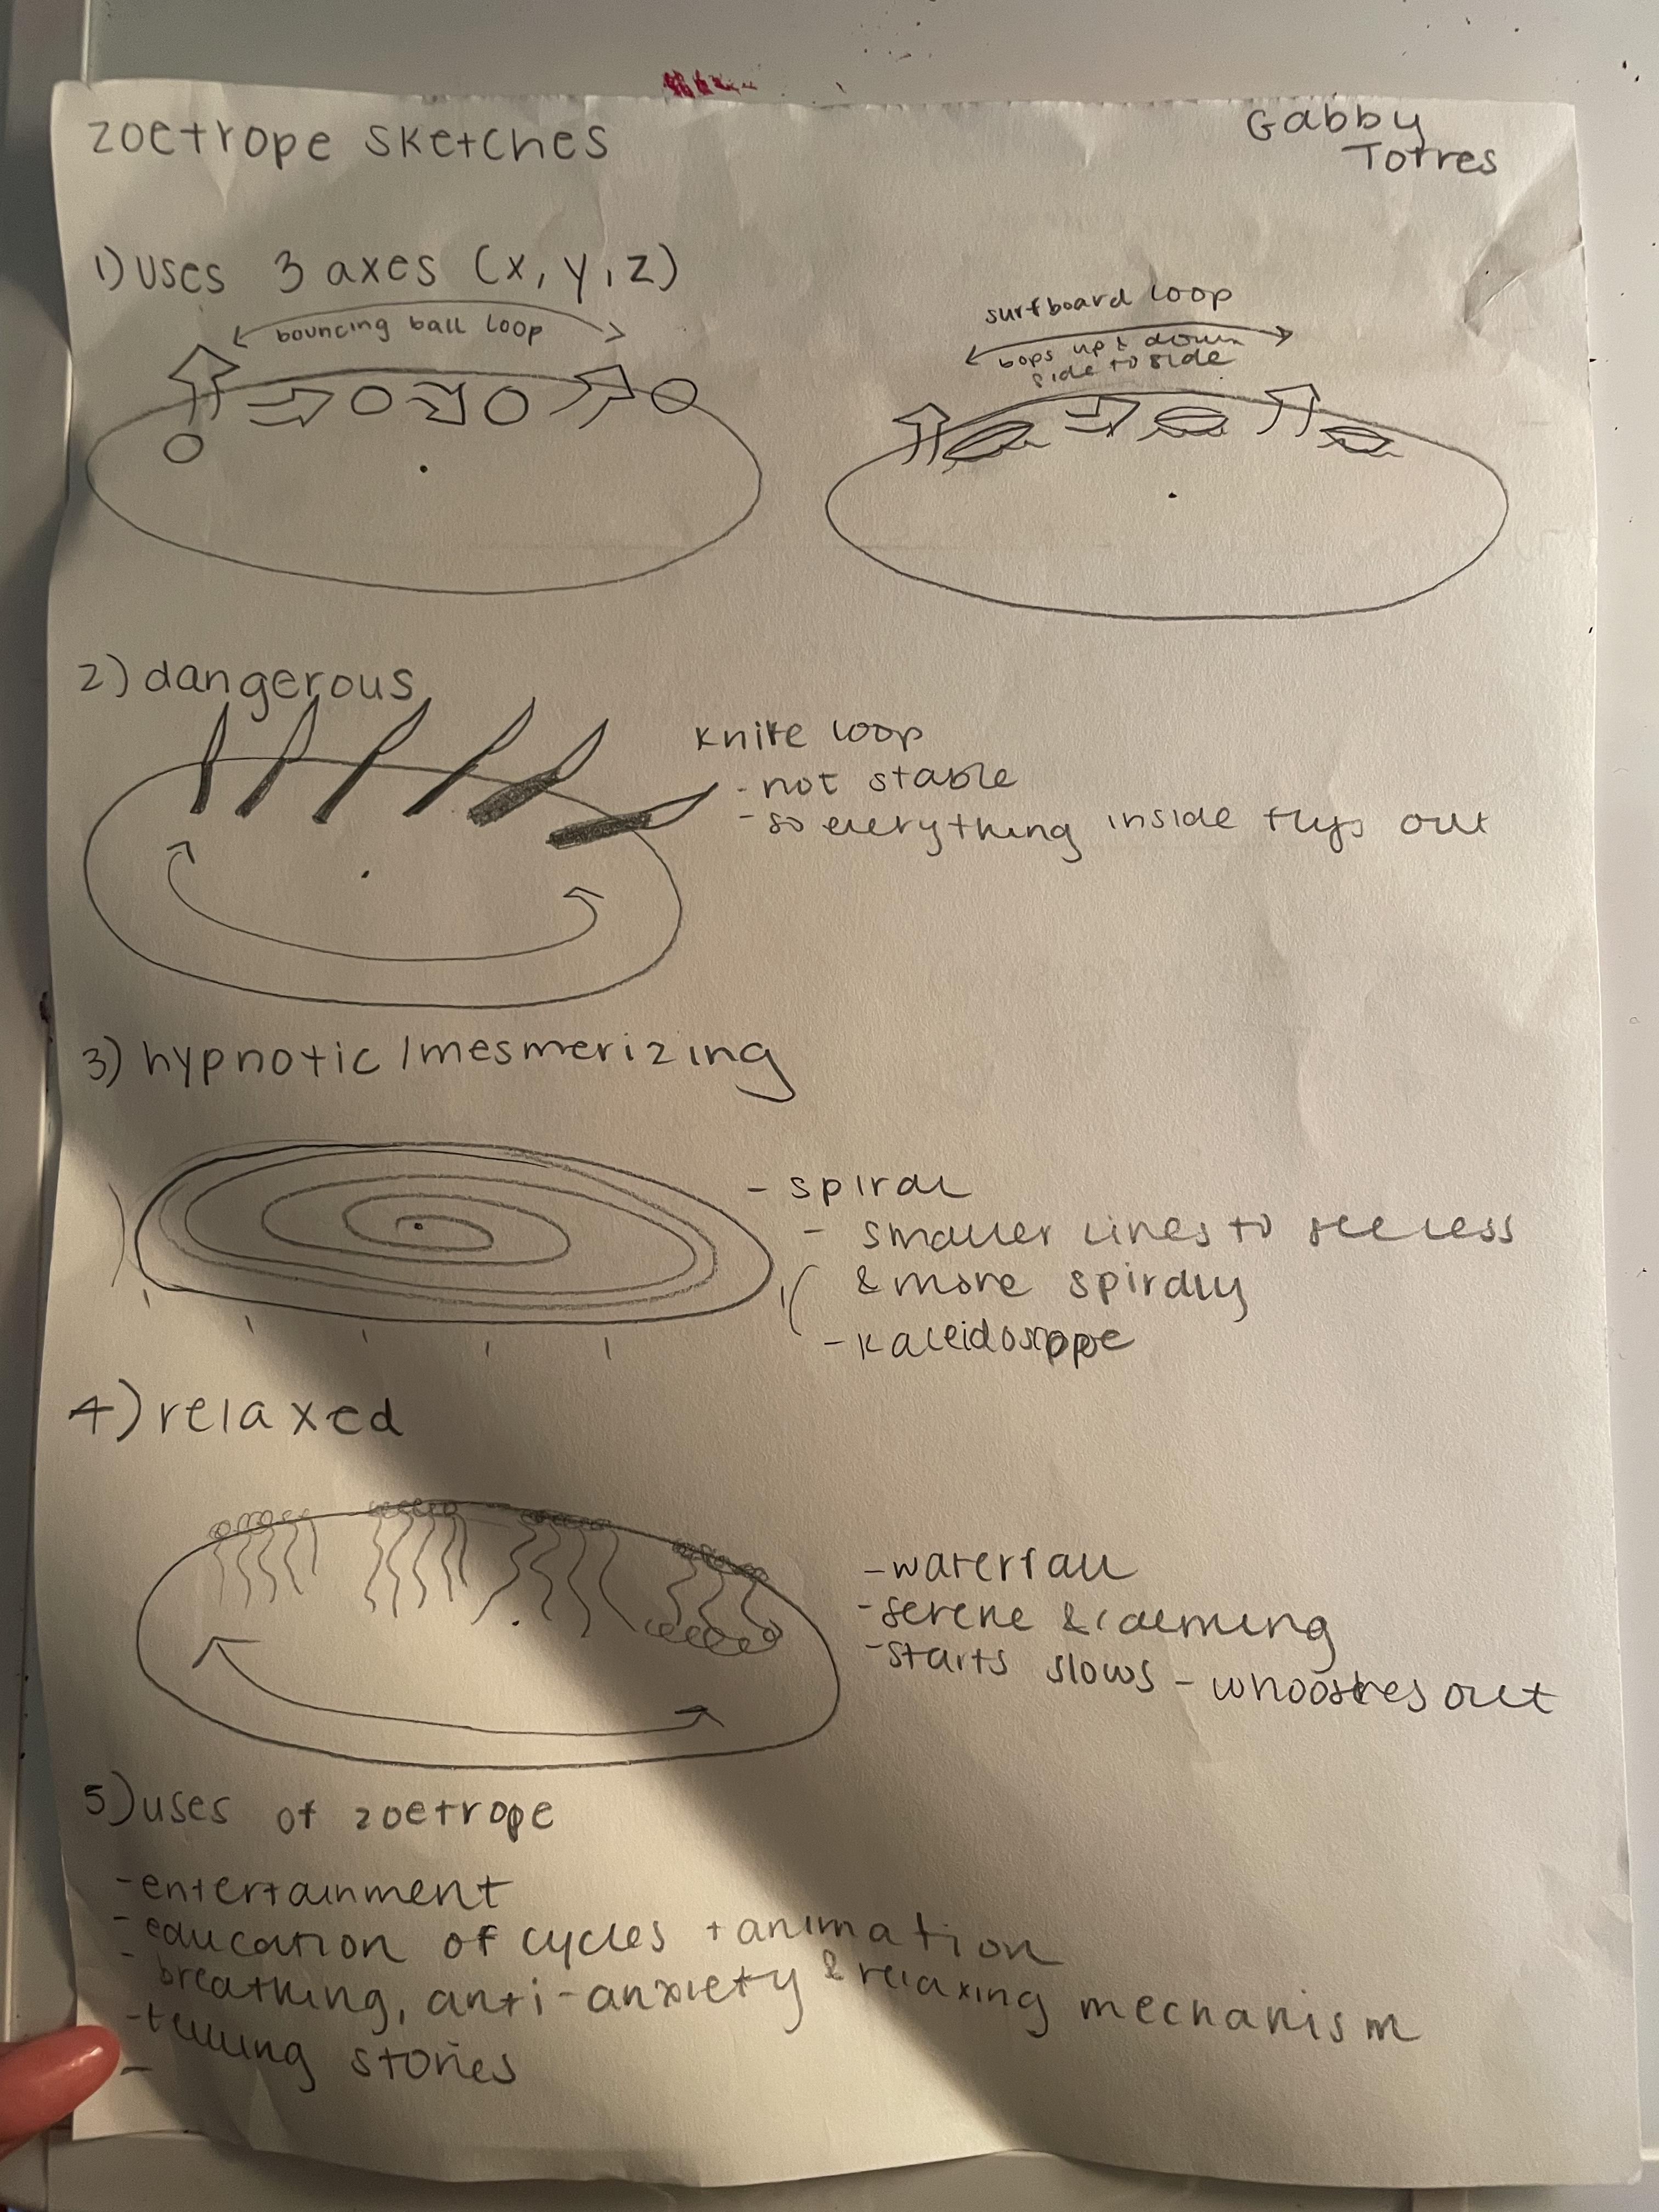
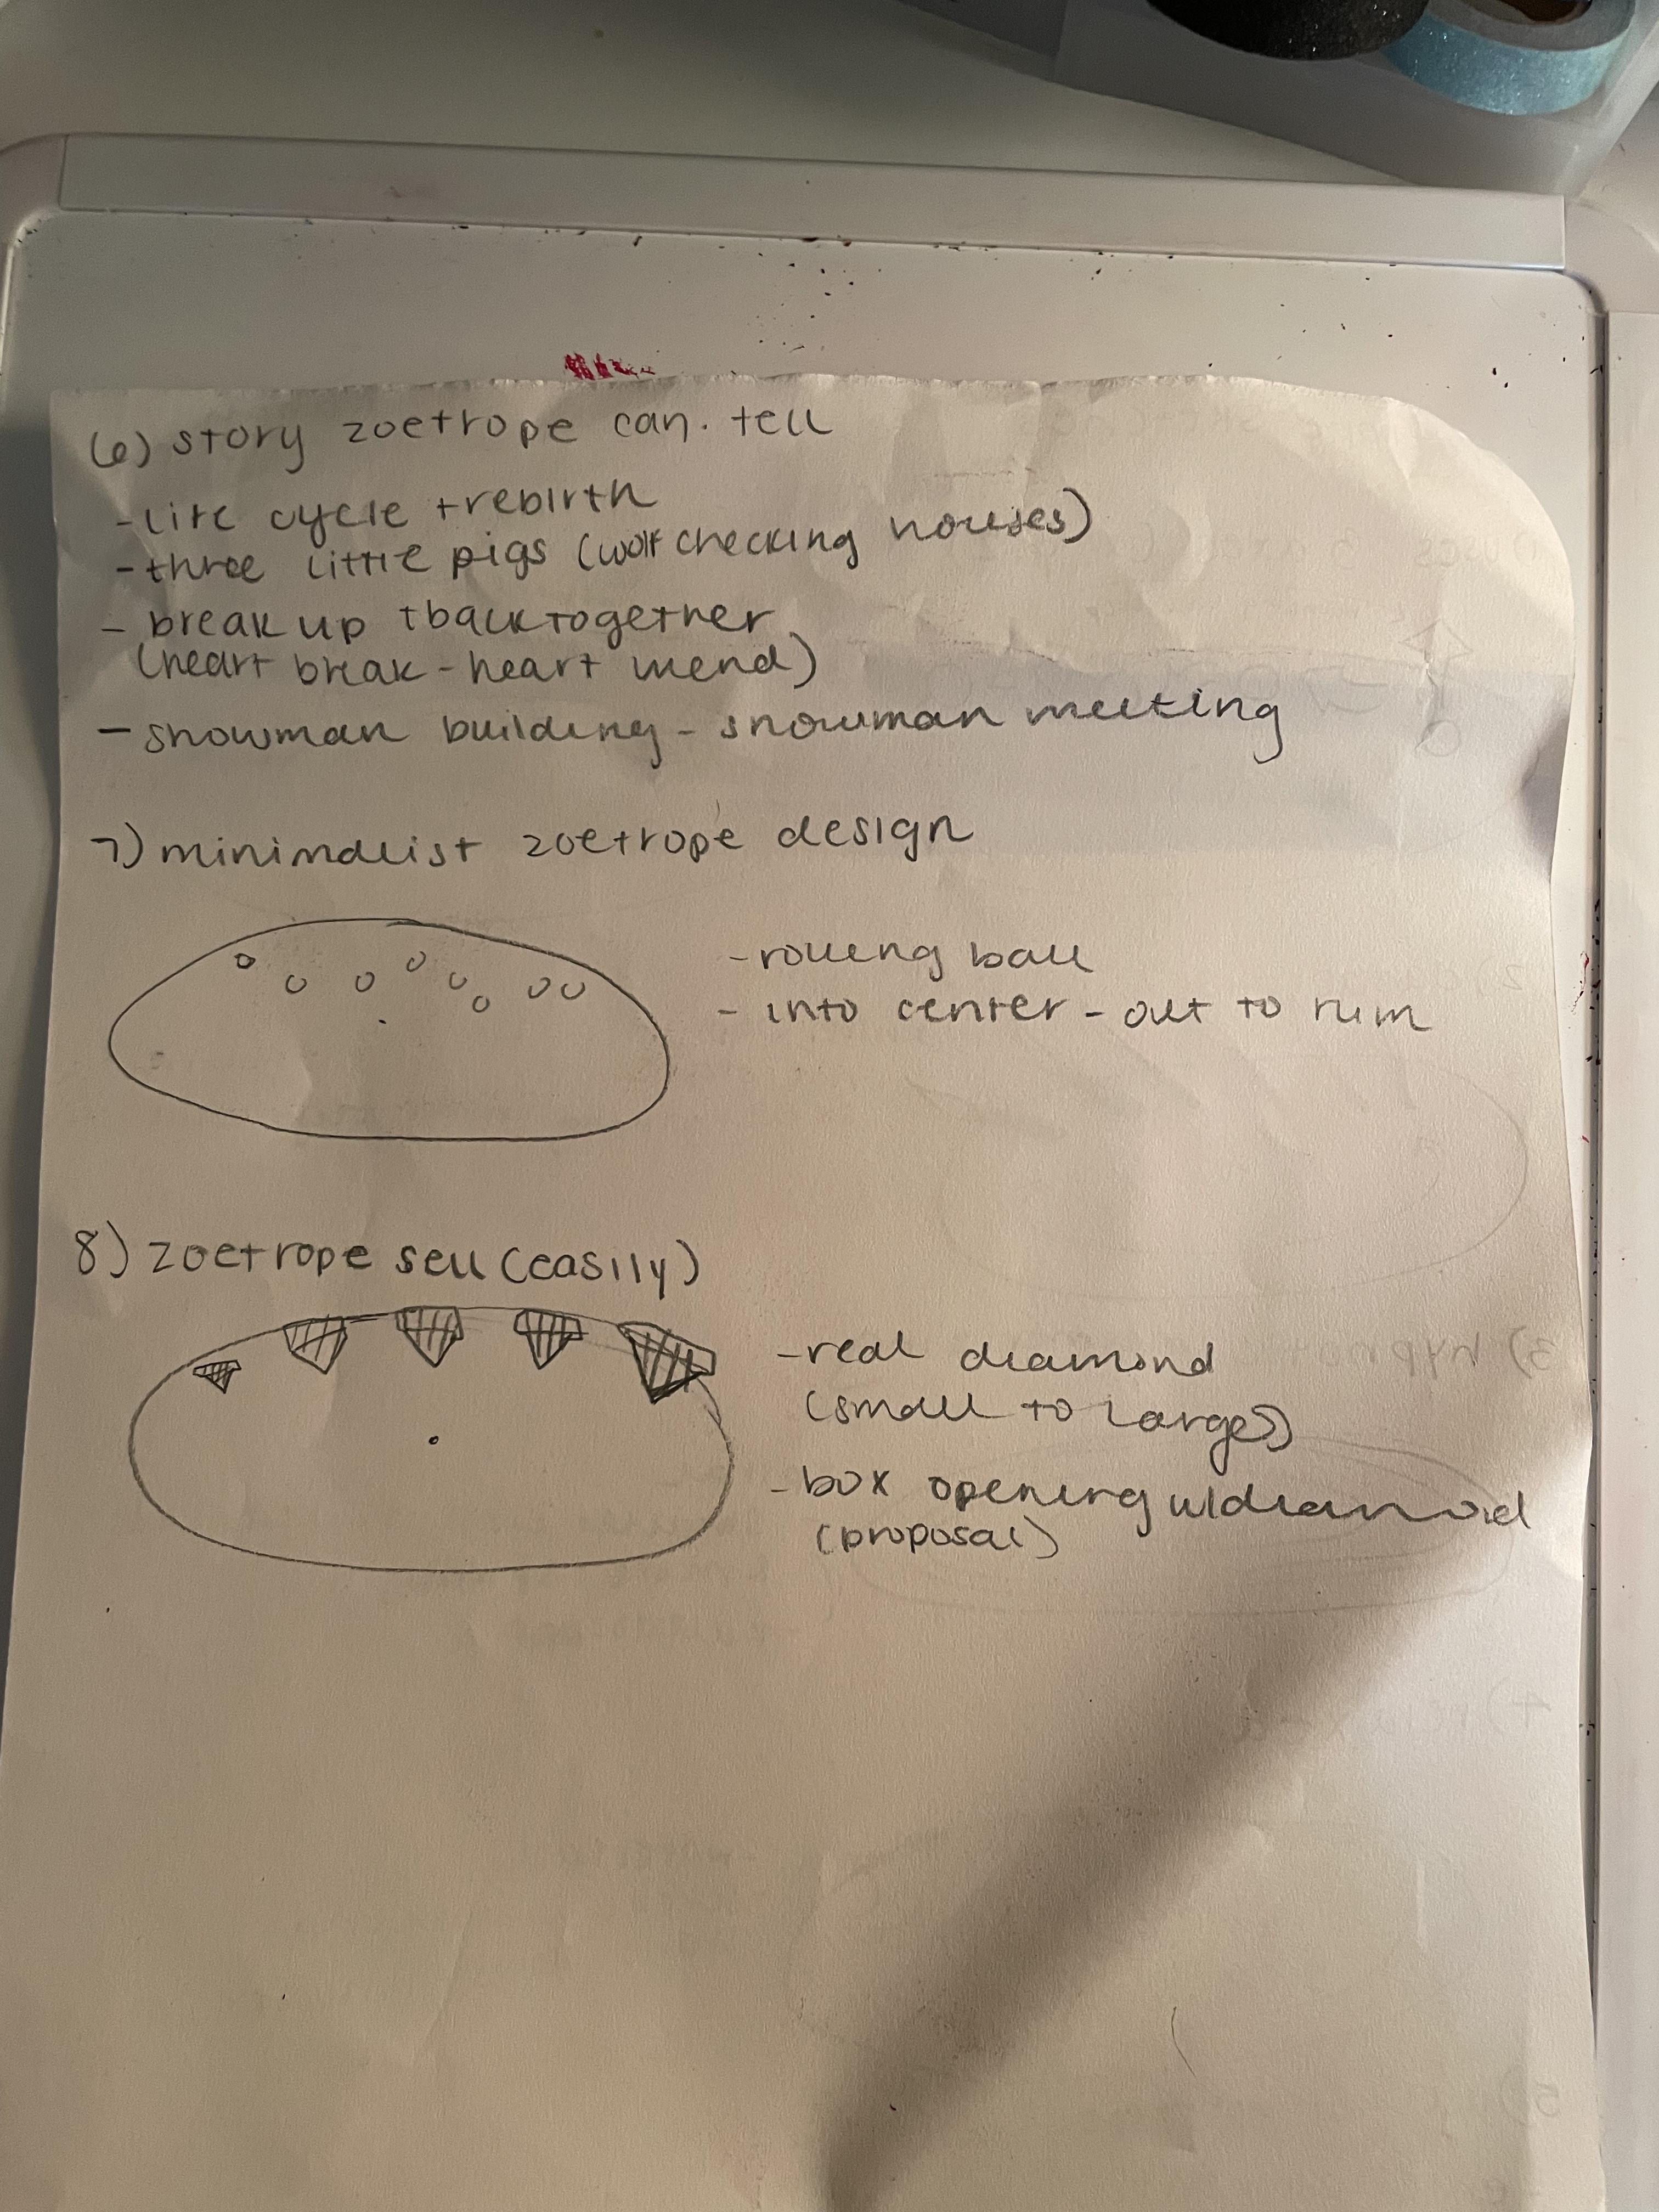
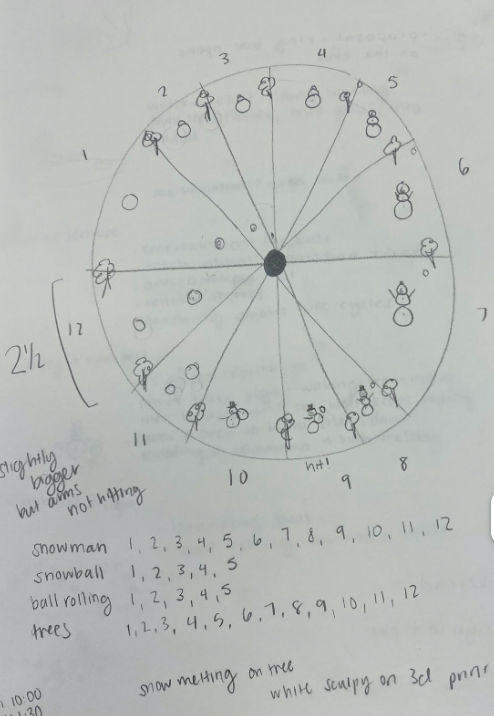
In this first step, you must bring your ideas to the table and think of fun ways to animate an object while also trying to tell a story. Once you have your idea down, sketch out multiple ways this could be done and what elements can be added to your story in order for others to understand it.
After this, you will need 12 frames in order to make a full animation in the zoetrope, we used a 12" wooden disk, separated into 12 frames in order to make the full effect.
Before creating the animation, I recommend doing research on whatever you are making, I did research on snowmen before and how it can look like he is building then melting!
Drawing them out in a frame like a picture above is another great sketch idea in order to visualize what piece is going into each frame!
Friendly reminder: You may need to switch up the order so don't expect everything to run smoothly!
Create Objects in 3D Print Software
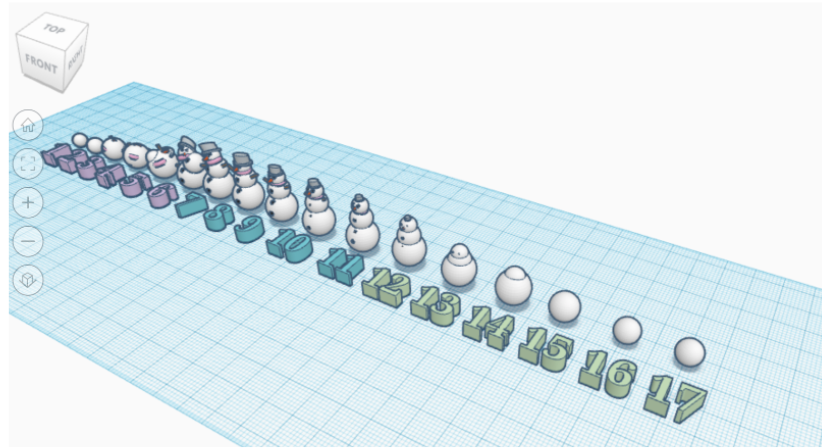

In any 3D printing software or TinkerCAD, you will need to create the idea you had for the animation. TinkerCAD is a great place to start if you're a complete newbie because it doesn't require any program downloads, offers many interactive tutorials, and hundreds of pre-made drawings to experiment with.
Next you will model the frames of your animation with TinkerCAD. Designing the object you're animating at rest, copying and pasting your model, and editing the cloned model to the first frame of your animation is an excellent method. For animating sequential frames, you could rinse and repeat or copy+paste the previous frame you changed.
Laser Cut and 3D Print
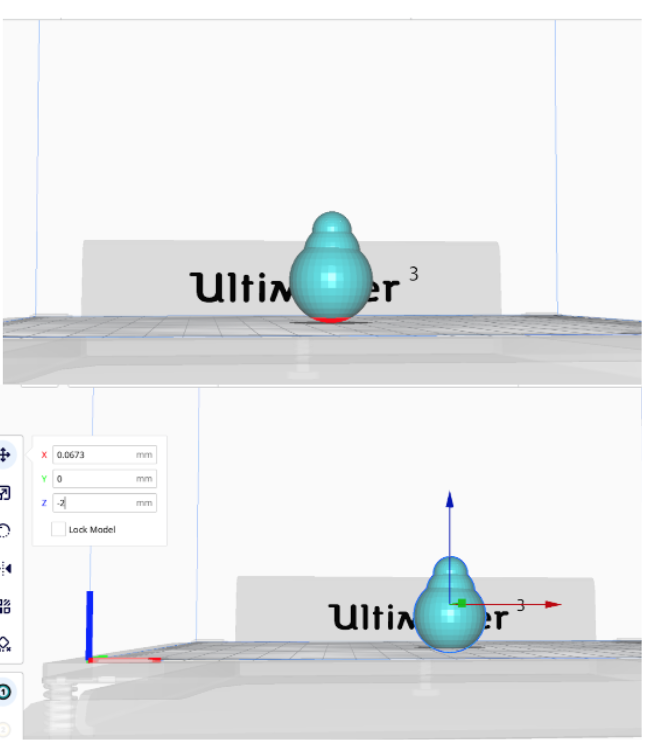
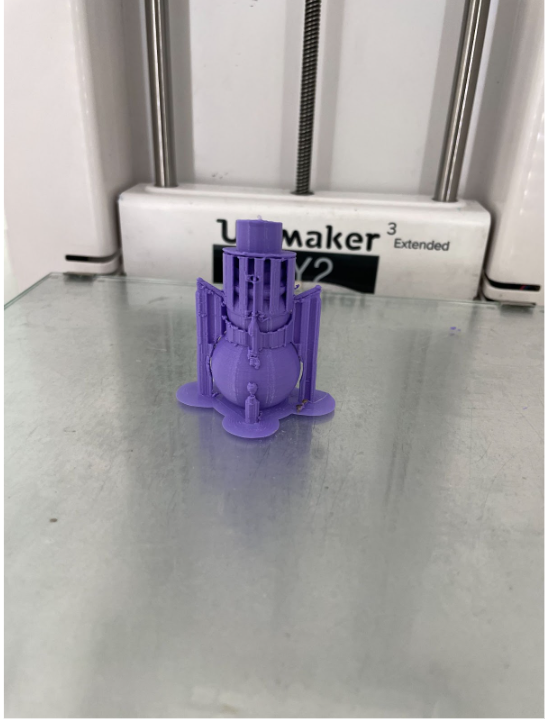
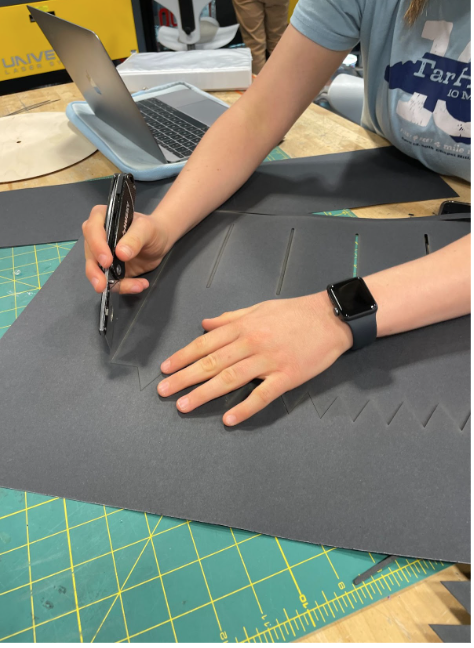
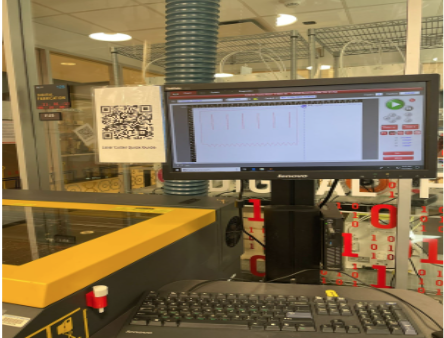
Once the models have been made you are ready to laser cut and 3D print. Firts use the files the laser cut your 12" wood circle and black paper with 12 slits that will fit around the diameter. When you're done, pick and export each of your models into the 3D printing software that works with your 3D printer one at a time.
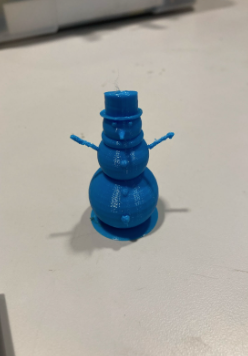
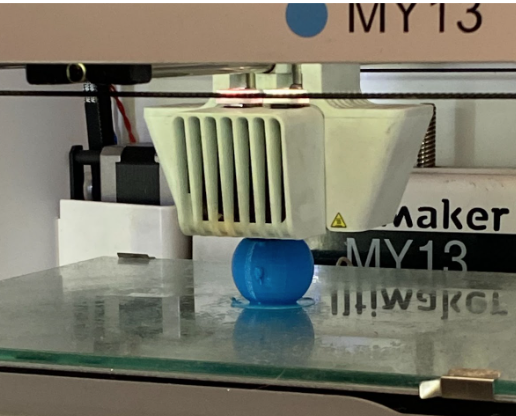
These procedures may vary somewhat depending on the make and model of your 3D printer. We utilized the Ultimaker 3 and Cura, the software that comes with it, for this project. Then, submit your files to the 3D printer and watch them come to life! Each snowman took about 1 hour and was about 2-3 inches in size for reference. Make careful to adjust the model in the application to the dimensions you need it to fit on the disk, so it's important to size it correctly.
You also won't need to worry about the color of the filament because you'll be painting your models anyhow in the next step.
Pro Tip: Make sure the parameters for the filament you're using are accurate, and that you've added supports. It's a good rule of thumb to add supports for angles greater than 30 degrees!
After your objects are printed, carefully remove the support beams from your models with pliers or tweezers. I recommend turning this tool off in TinkerCAD so you don't have to do too much removal!
Assemble,Paint, Glue and Mount!
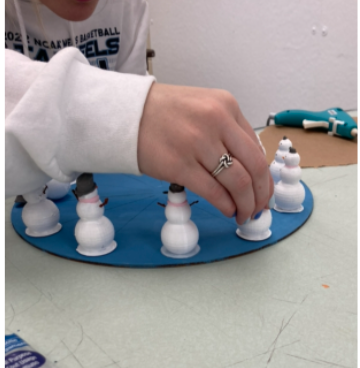
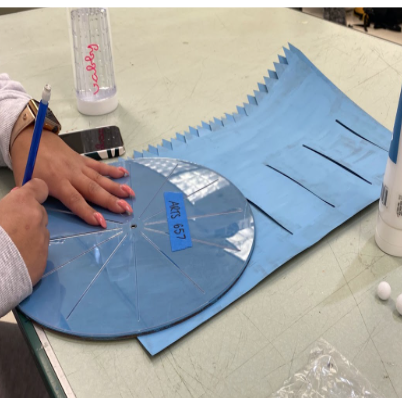
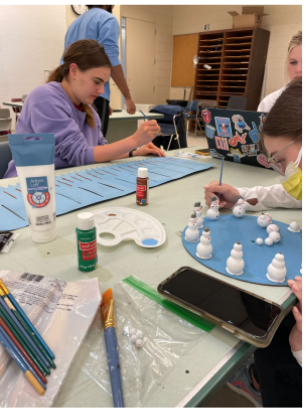
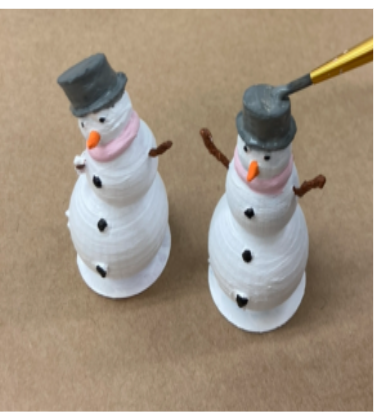

If your 3D objects were produced in colors that differed from your design, you'll need to paint them using acrylic paint now! Take care to keep your paint jobs simple and neat! Small details will not show up during the zoetrope's fast rotation, therefore use contrast colors to make your animation legible. Painting your disc or the black paper is another alternative for making your objects stand out or creating an atmosphere. We painted both of ours blue to make the white snowmen stand out, and we also included a still image of pine trees to help tell the story!
Take a moment to build the drum now that your objects are mounted. Make a cylindrical drum out of poster board in a contrasting color that fits around your disc. Apply the jagged edges to the bottom of the wood disc. Then, using glue, adhere the drum's paper edges together, forming a cylinder/tube for the disc to sit in. Finally, on the wood disc, curl the teeth inwards to create a place for your disc to sit on while it turns on the record player.
After your objects have been painted, gently adhere the frames to your disk with hot glue.
Try It Out & Spin!
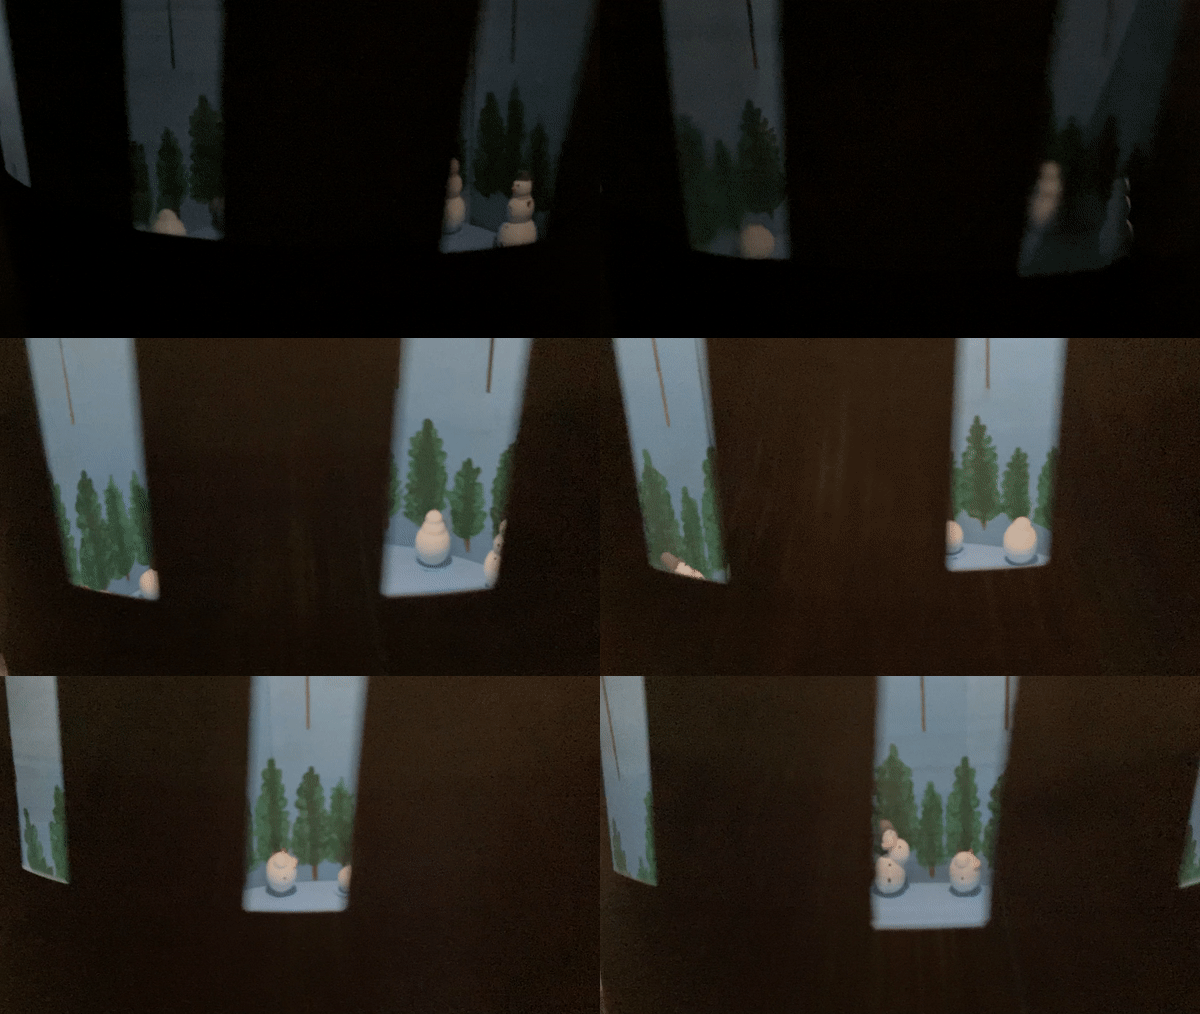
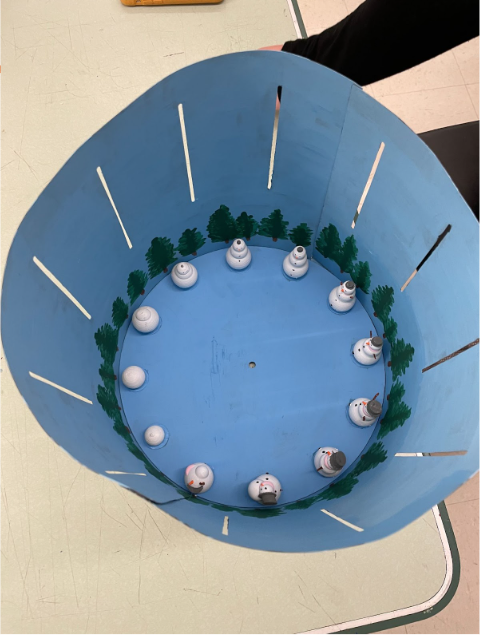
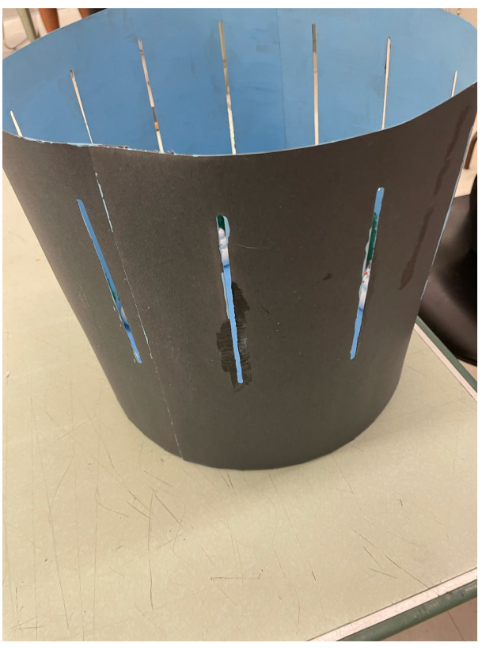
You are finally at the last step! Now you want to set the wood disc on the record player. To get the record player spinning, turn it on, remove the needle from its stand, and place it on the body of the player. Turn off the lights and beam a stand light, hand flashlight, or phone flashlight over the drum while it spins for greater contrast and legibility. You might want to experiment with the record player's speed to improve legibility. Your objects will begin to animate once they are rotating at a suitable speed. Now you have your animated story spinning into one! Now it's your turn!