3D Typography (Paper Channel Letters)
by alstroemeria in Craft > Paper
52571 Views, 407 Favorites, 0 Comments
3D Typography (Paper Channel Letters)


Overview
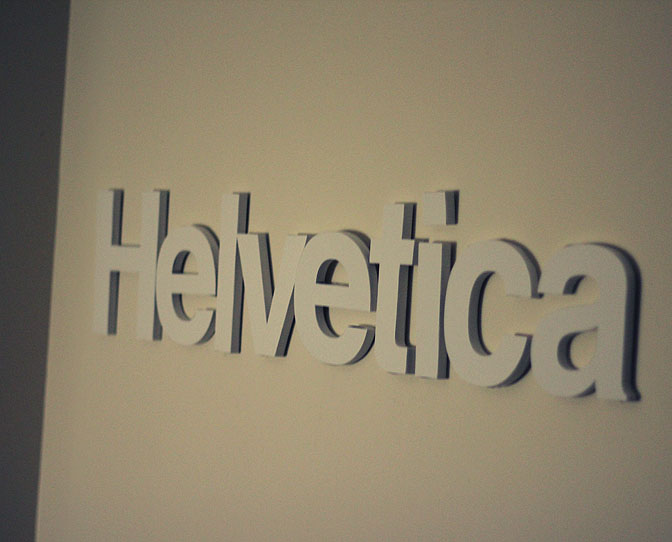
In this instructable we will be making 3D letters out of paper. More specifically we will be trying to create, channel letters. These letters will cost you next to nothing to make yet when executed well, can seem like a profession piece for any designer firm, office, or room. I have mounted these letters in my office, you can see the dramatic effect it gives off.
Channel letters provide a great flexibility of design and offer a very dramatic appearance. One of the most attractive benefits of using channel letters is the limitless range of fonts available; the unique construction on channel letters makes it possible for their use to extend beyond the traditional worded sign to consist of contour boxes, logos, and even pictures to give each sign a distinctive appearance. Font and colour personalization is one of the many benefits of creating channel letters.
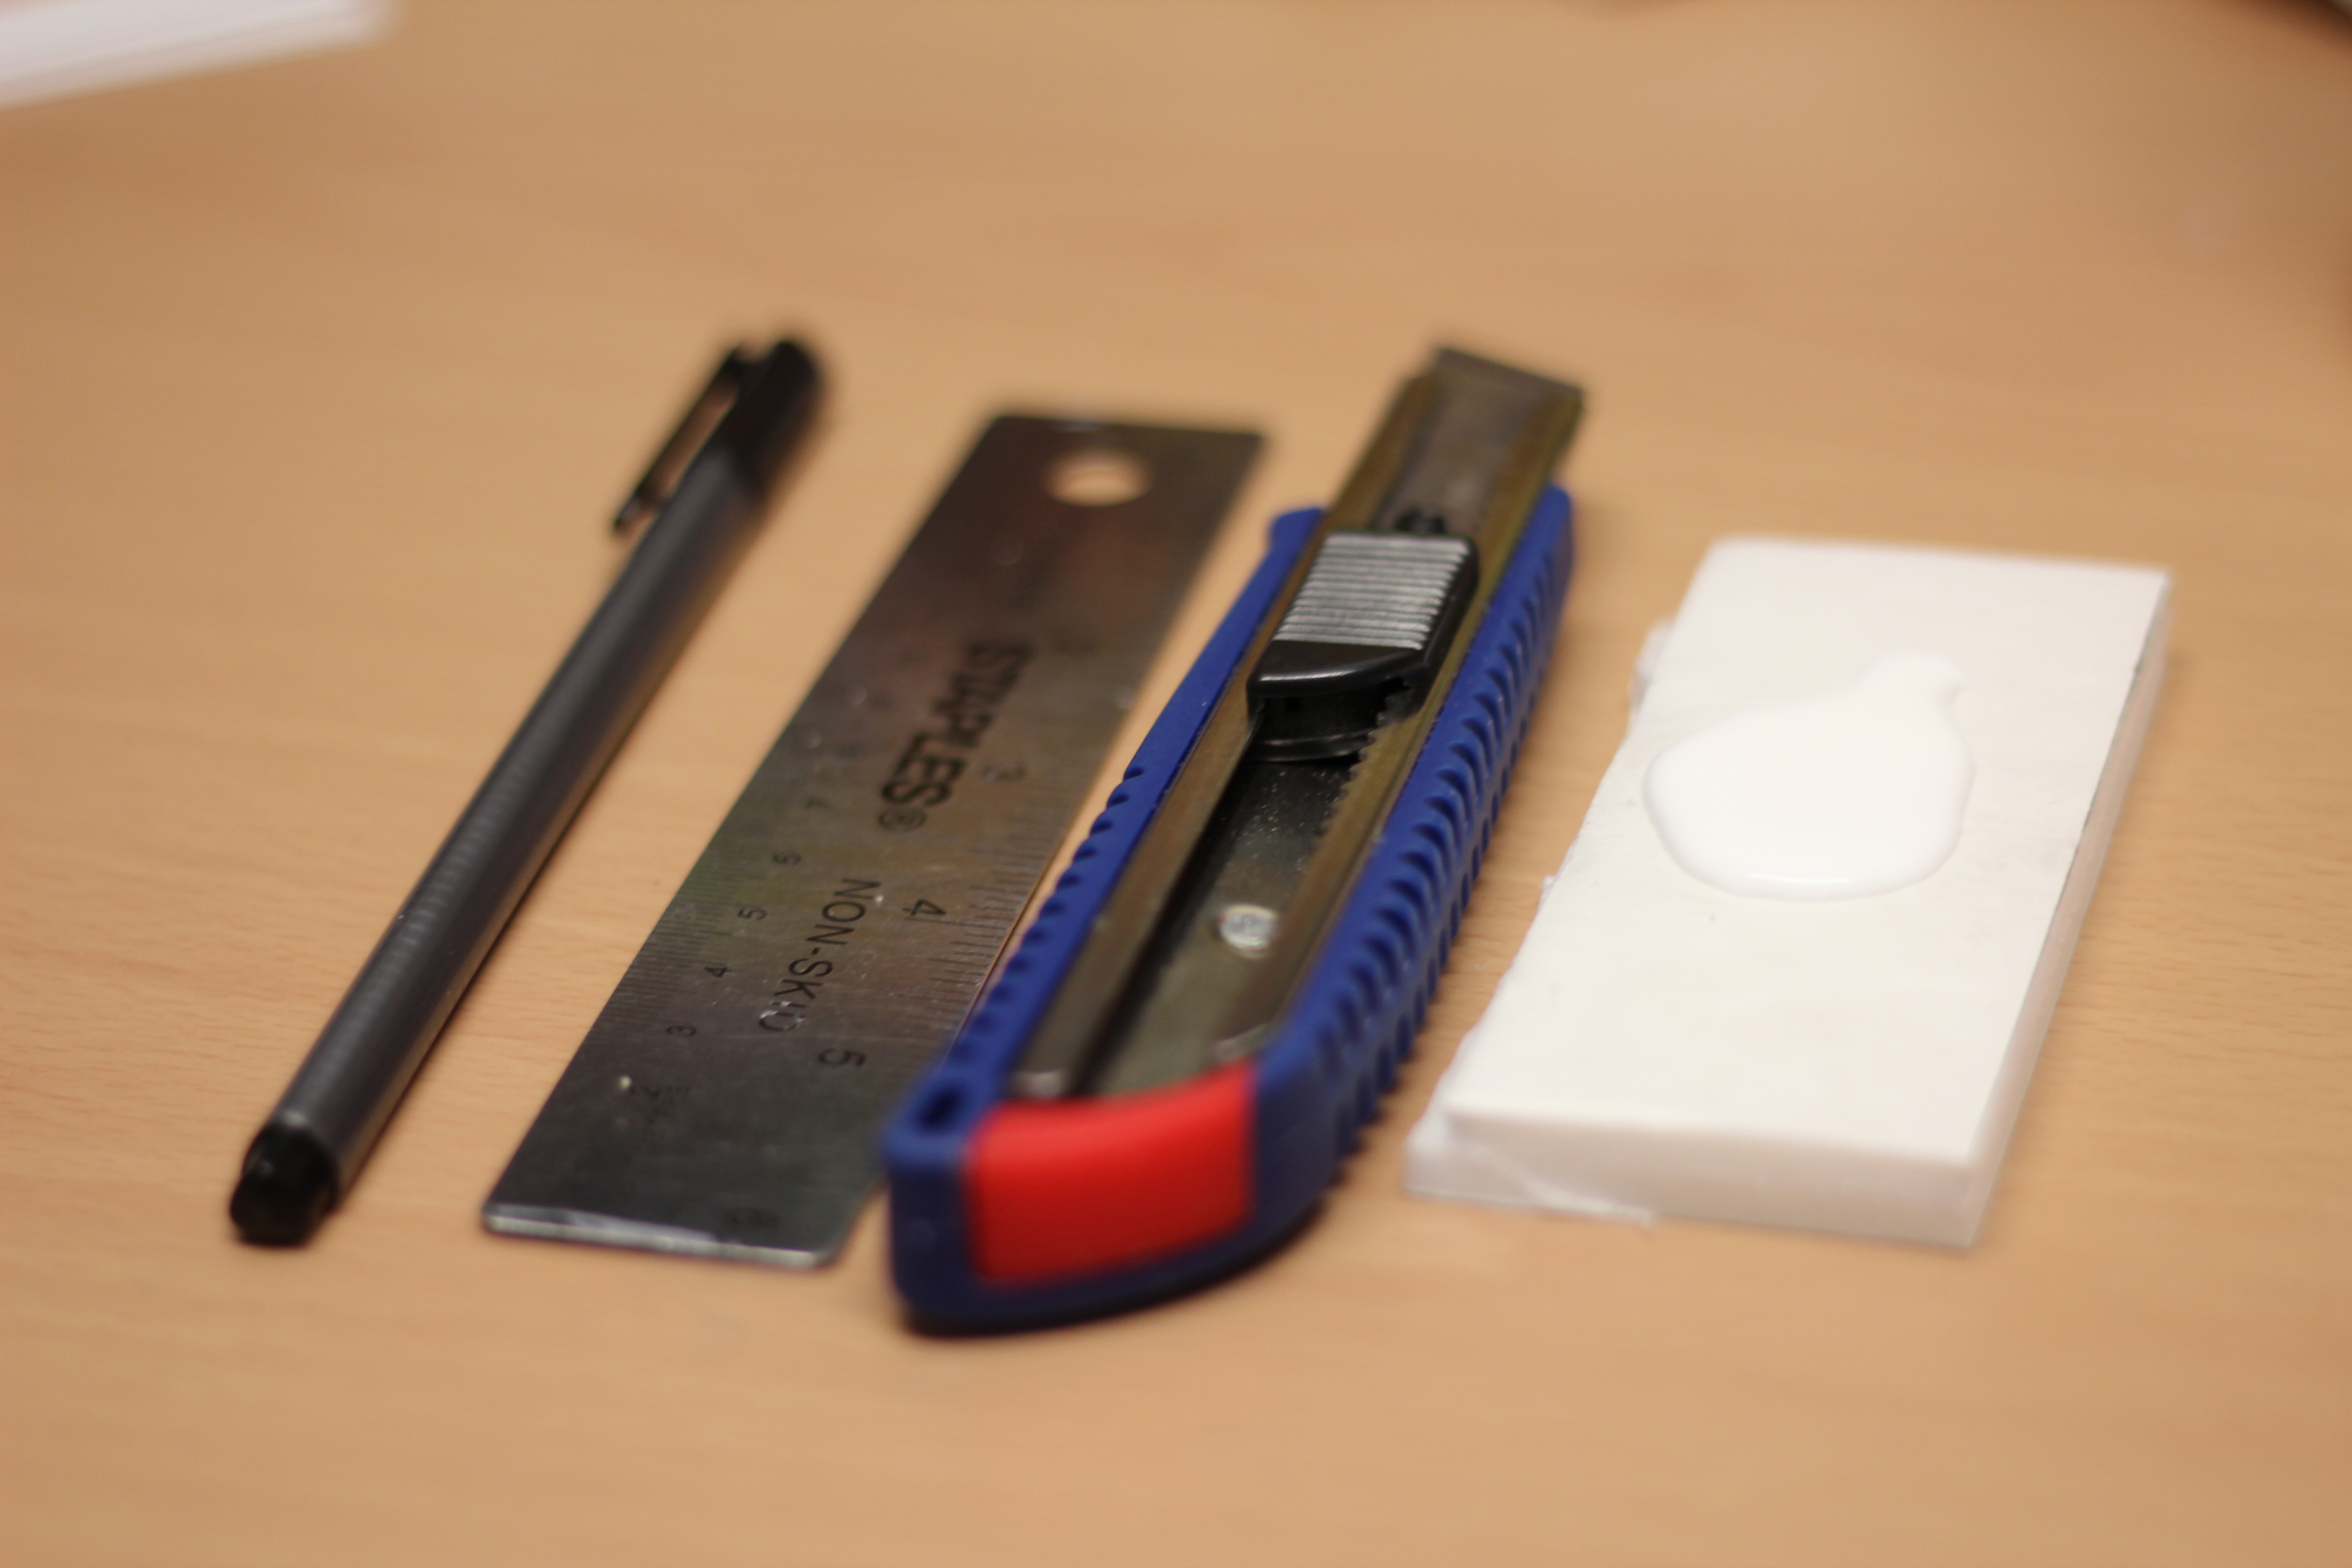
You will need:
Paper
Scissors/Knife
Glue/Tape
Ruler
Foam board (OPTIONAL)
Note
We do not use tabs (as seen in many papercraft pieces) to close our 3d letters. If you have ever felt the pain of closing a simple origami cube with tabs lost inside you will have a much more difficult time trying to line up all the flaps in a piece like this. This is why we use support spacers to do all the work for us. This leaves us with a simple and easy process. Read more to find out :)
Preparation


The preparation phase is very meticulous if you're cutting by hand. Just think about how pretty the letters will turn out and brave on its so worth it. For this reason, using a paper cutter is highly recommended for large projects!
Letters
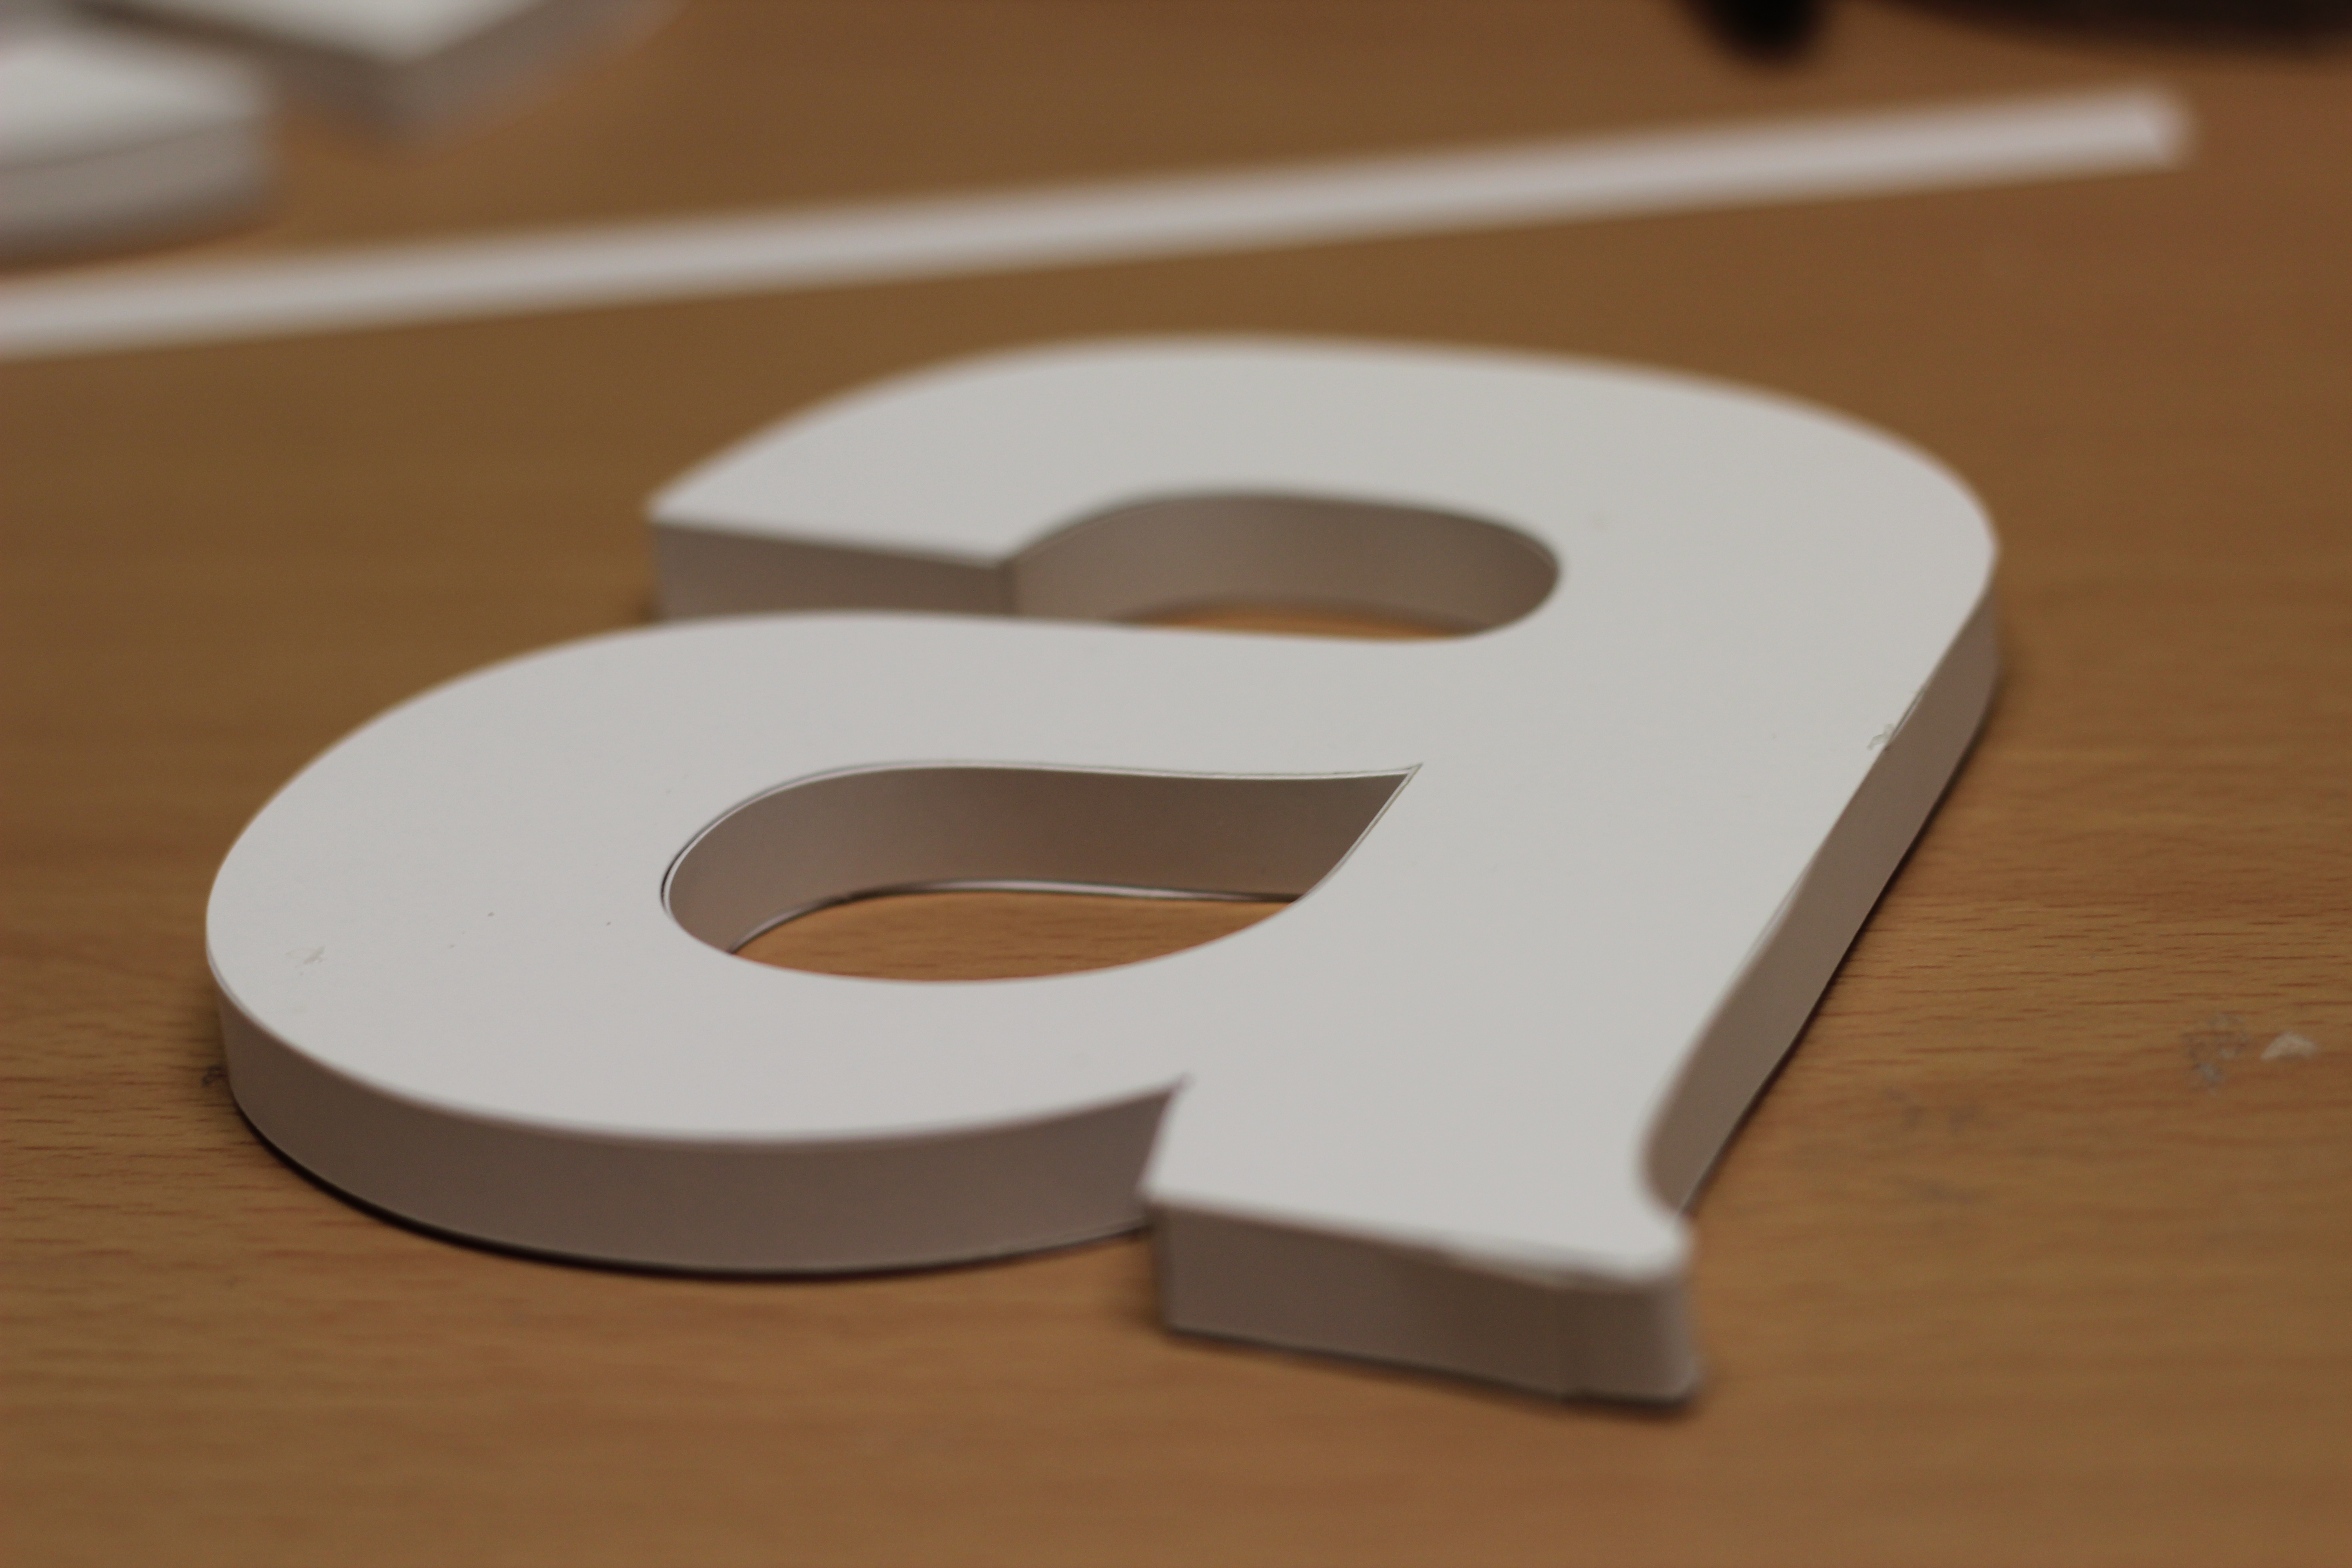
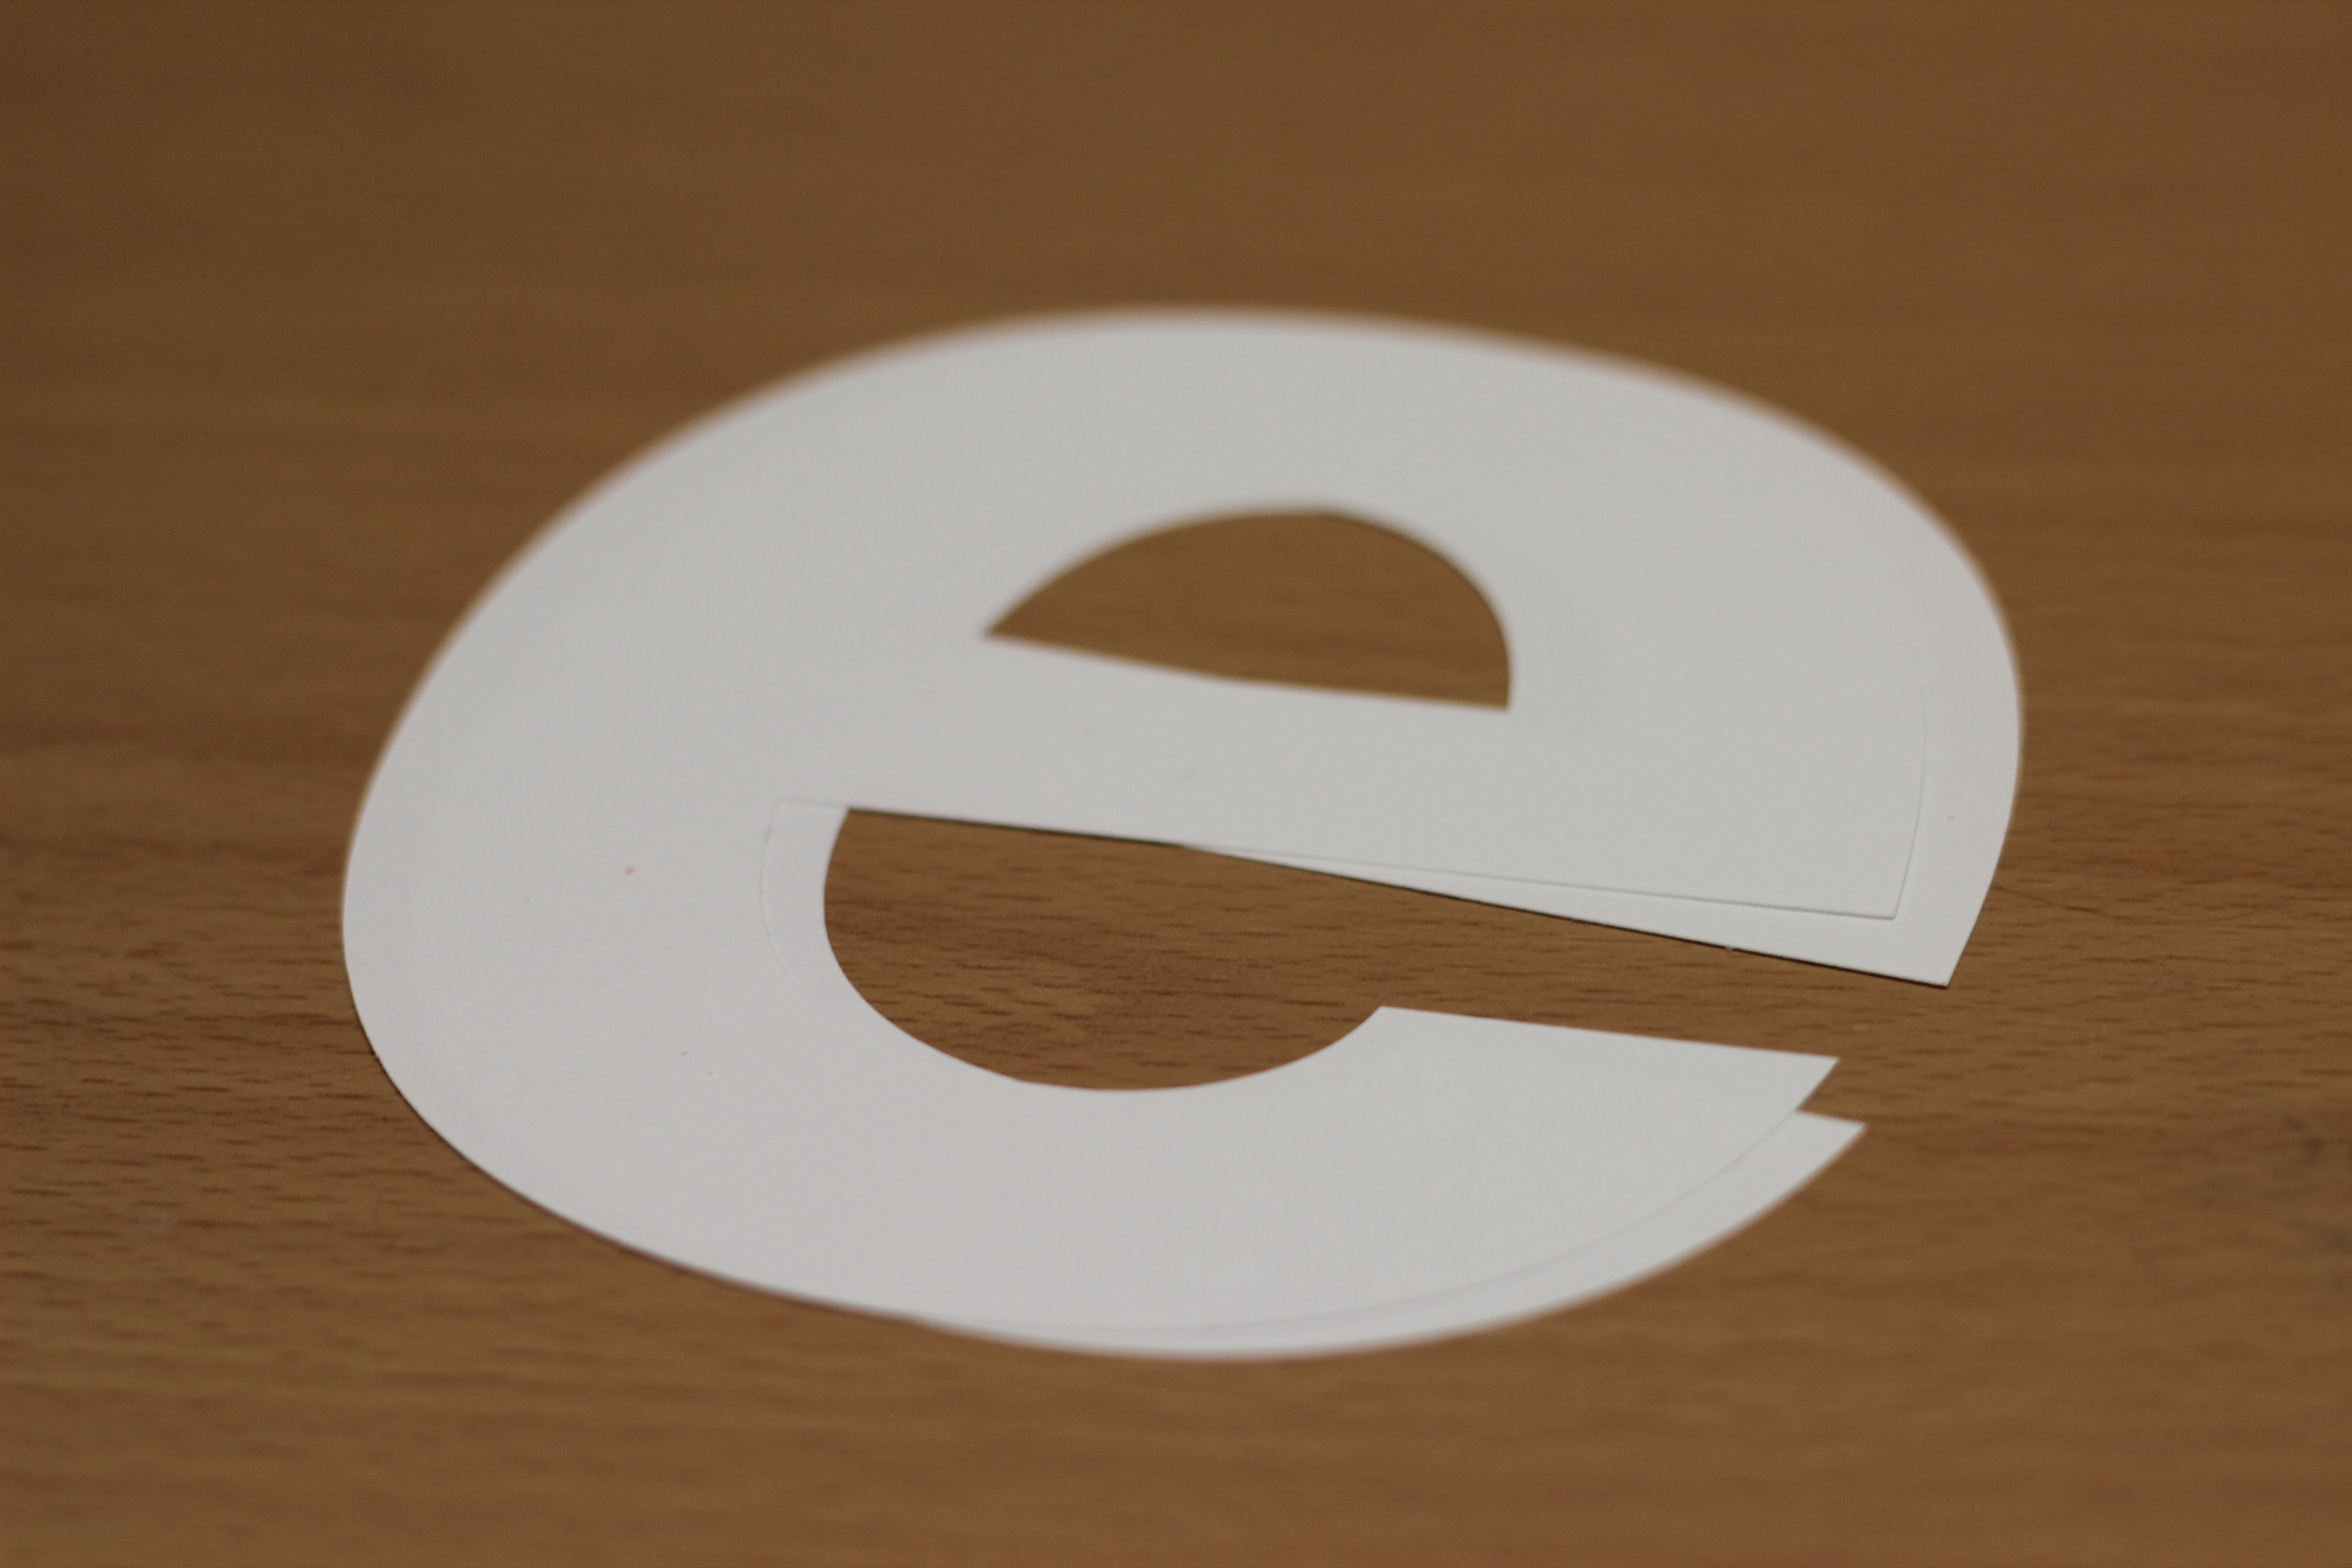
This first step is to cut out your letter. Make sure that you create two pieces and that both pieces are identical. You can create pretty letters by printing them and carefully cutting them out with a knife. In this project i used the cult font Helvetica Bold.
Spacers
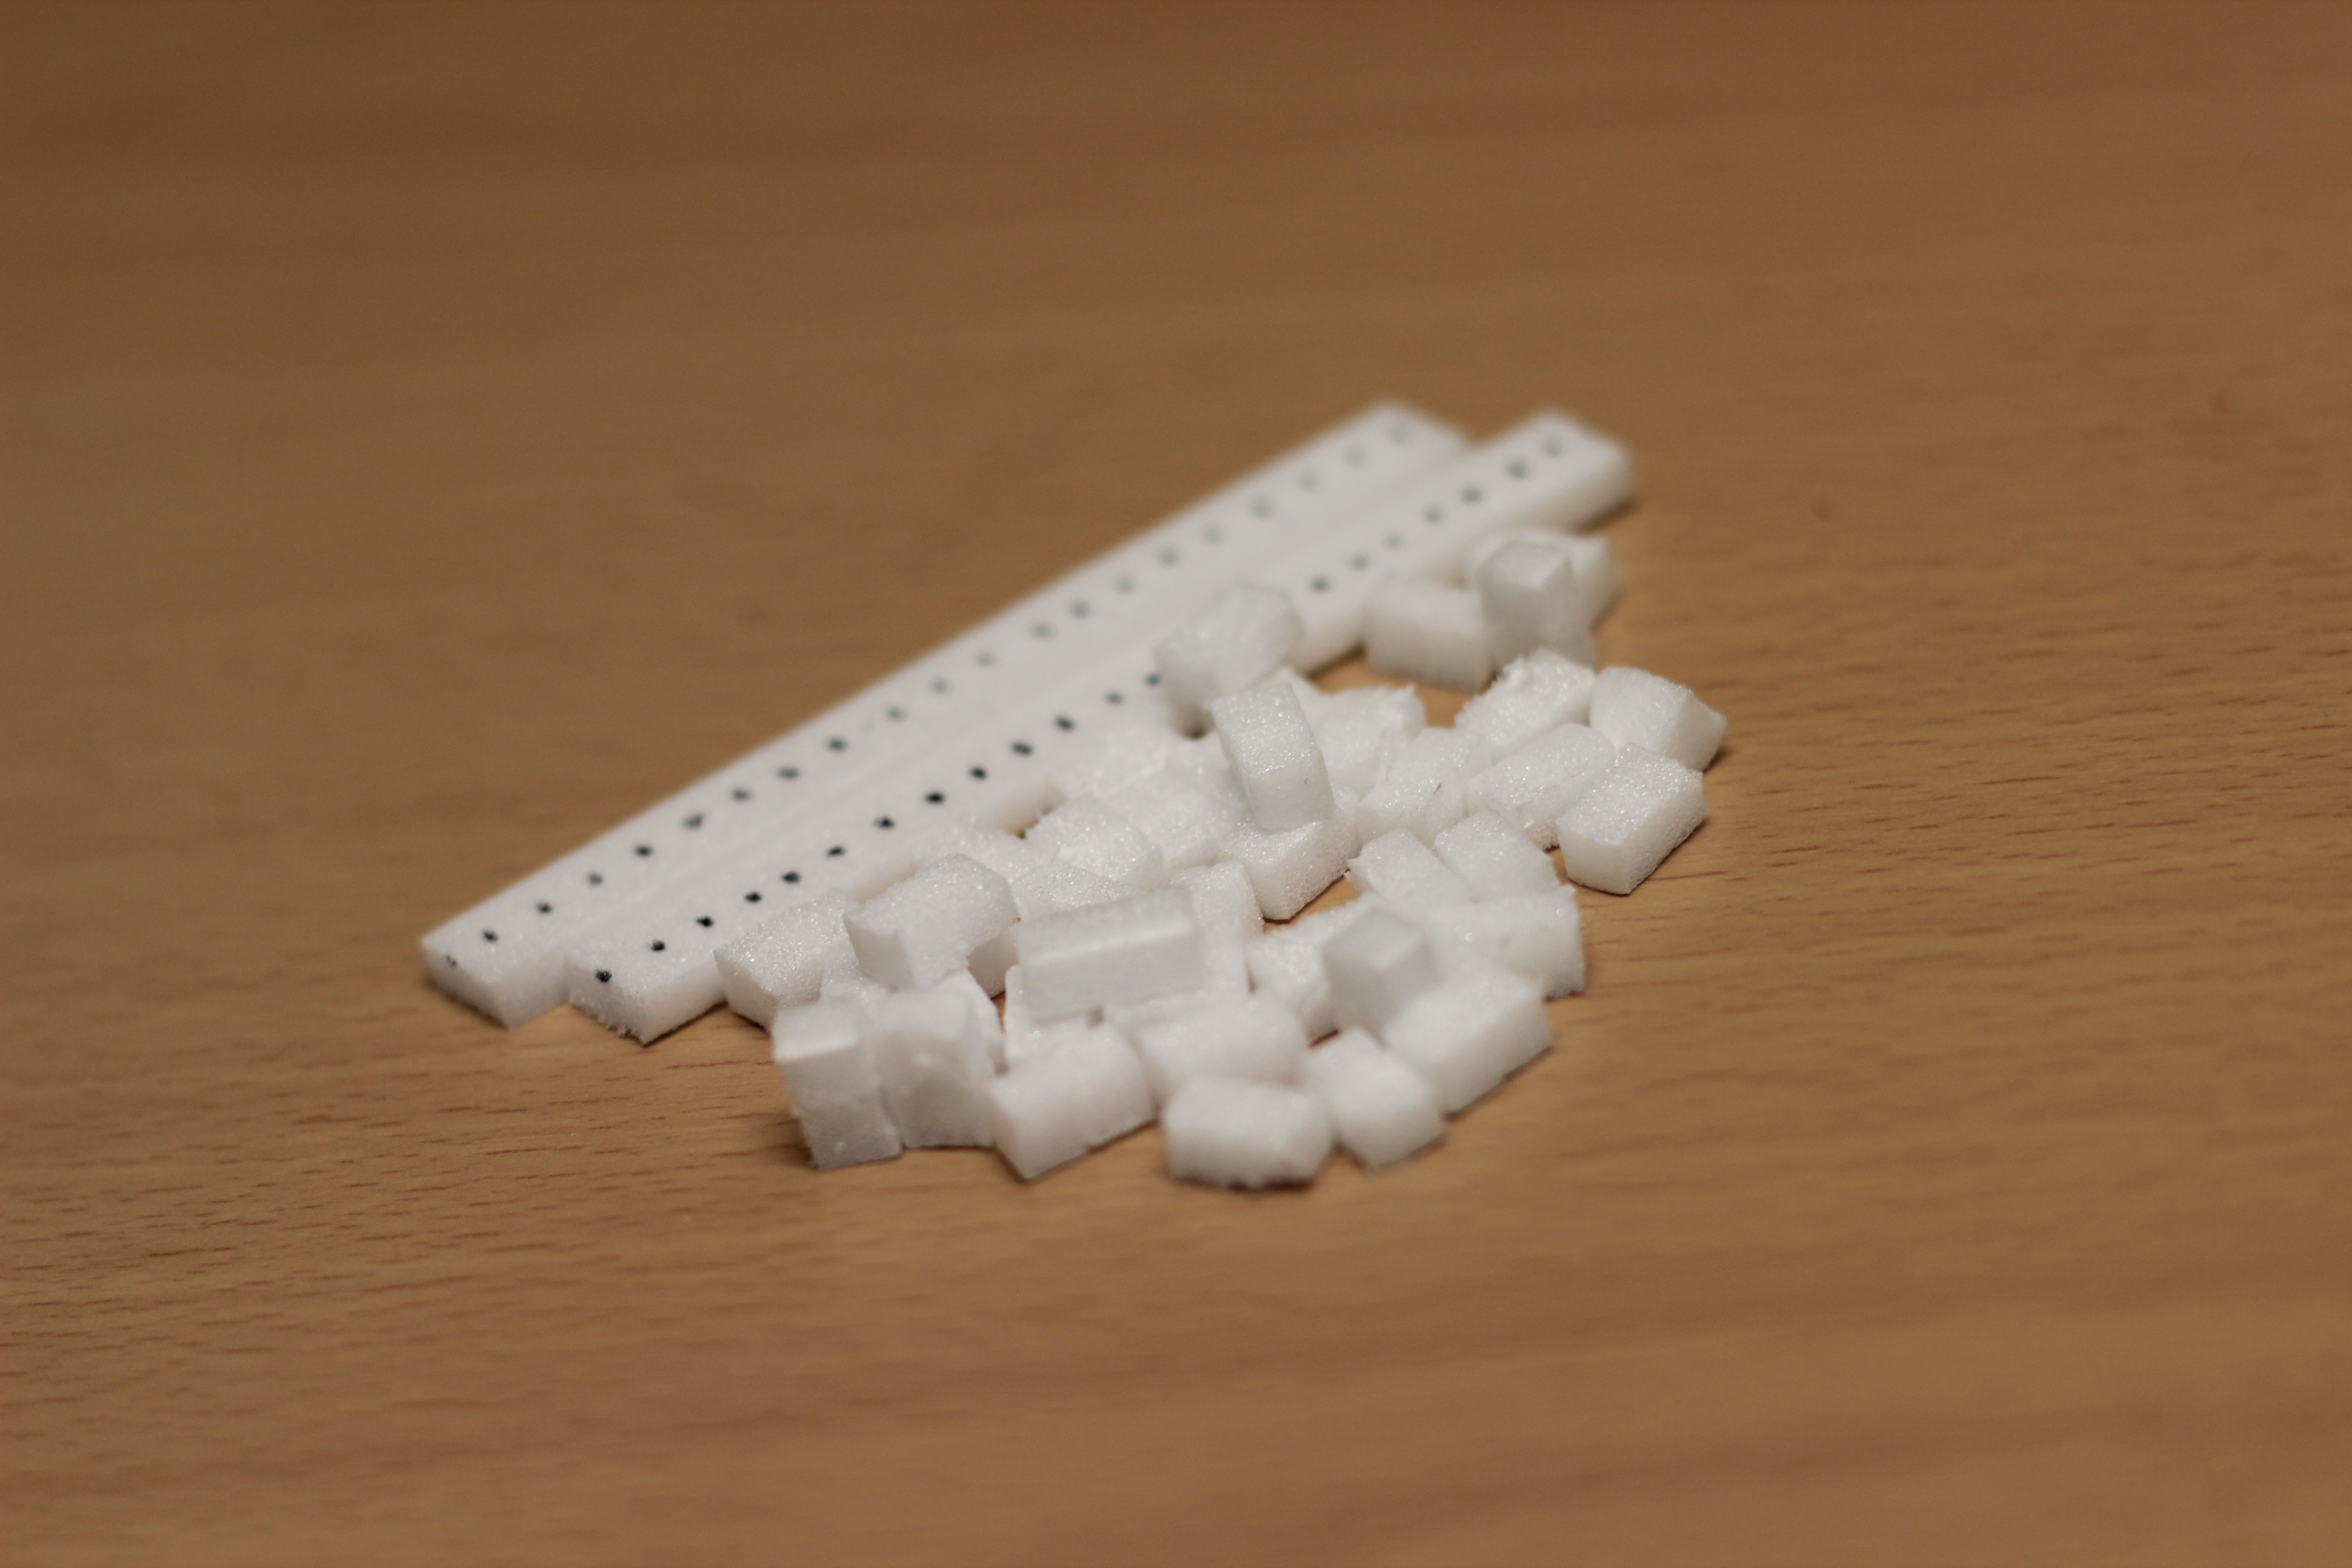
You will also need spacers. I used poster board to create my spacers so that i will know that each piece is always of the same thickness. You may substitute with anything else of a similar shape, you may even want to use paper to create spacers. My spacers are 0.8 cm in width
Trim
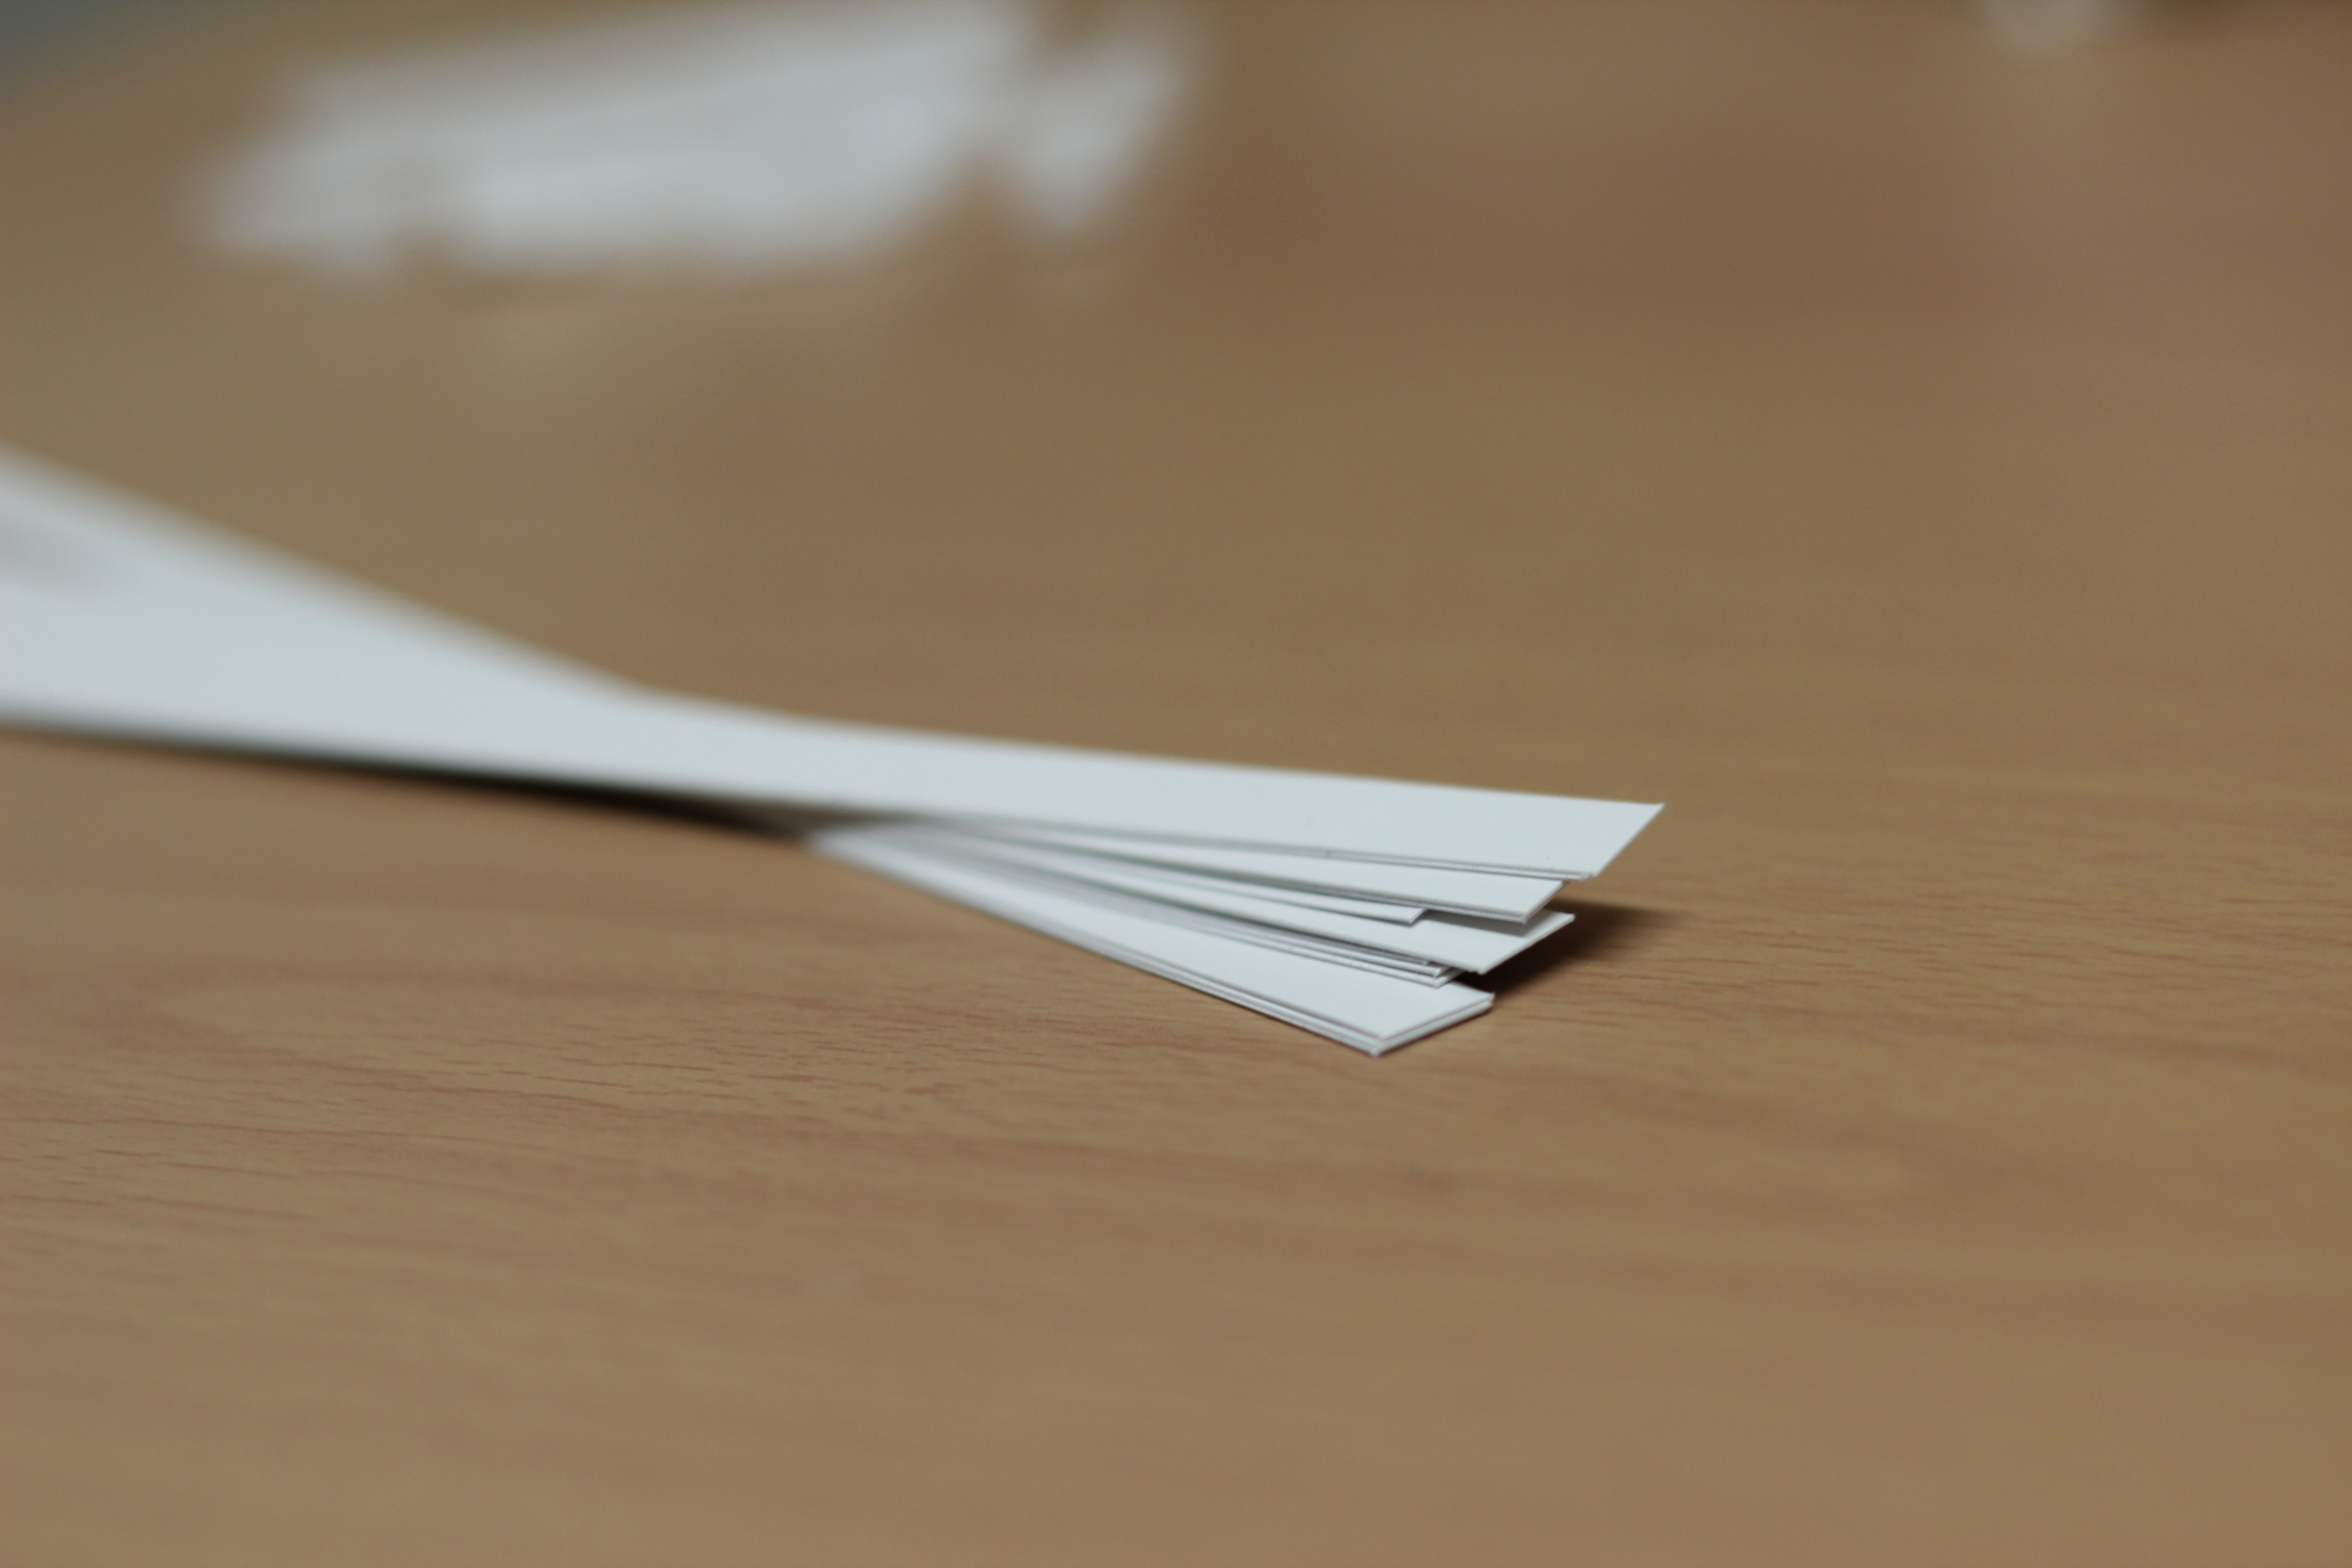
Finally you need strips to cover the side of the letter. Cut these to a width which match your spacers. My trim is 0.9 cm in width
Create Skeleton
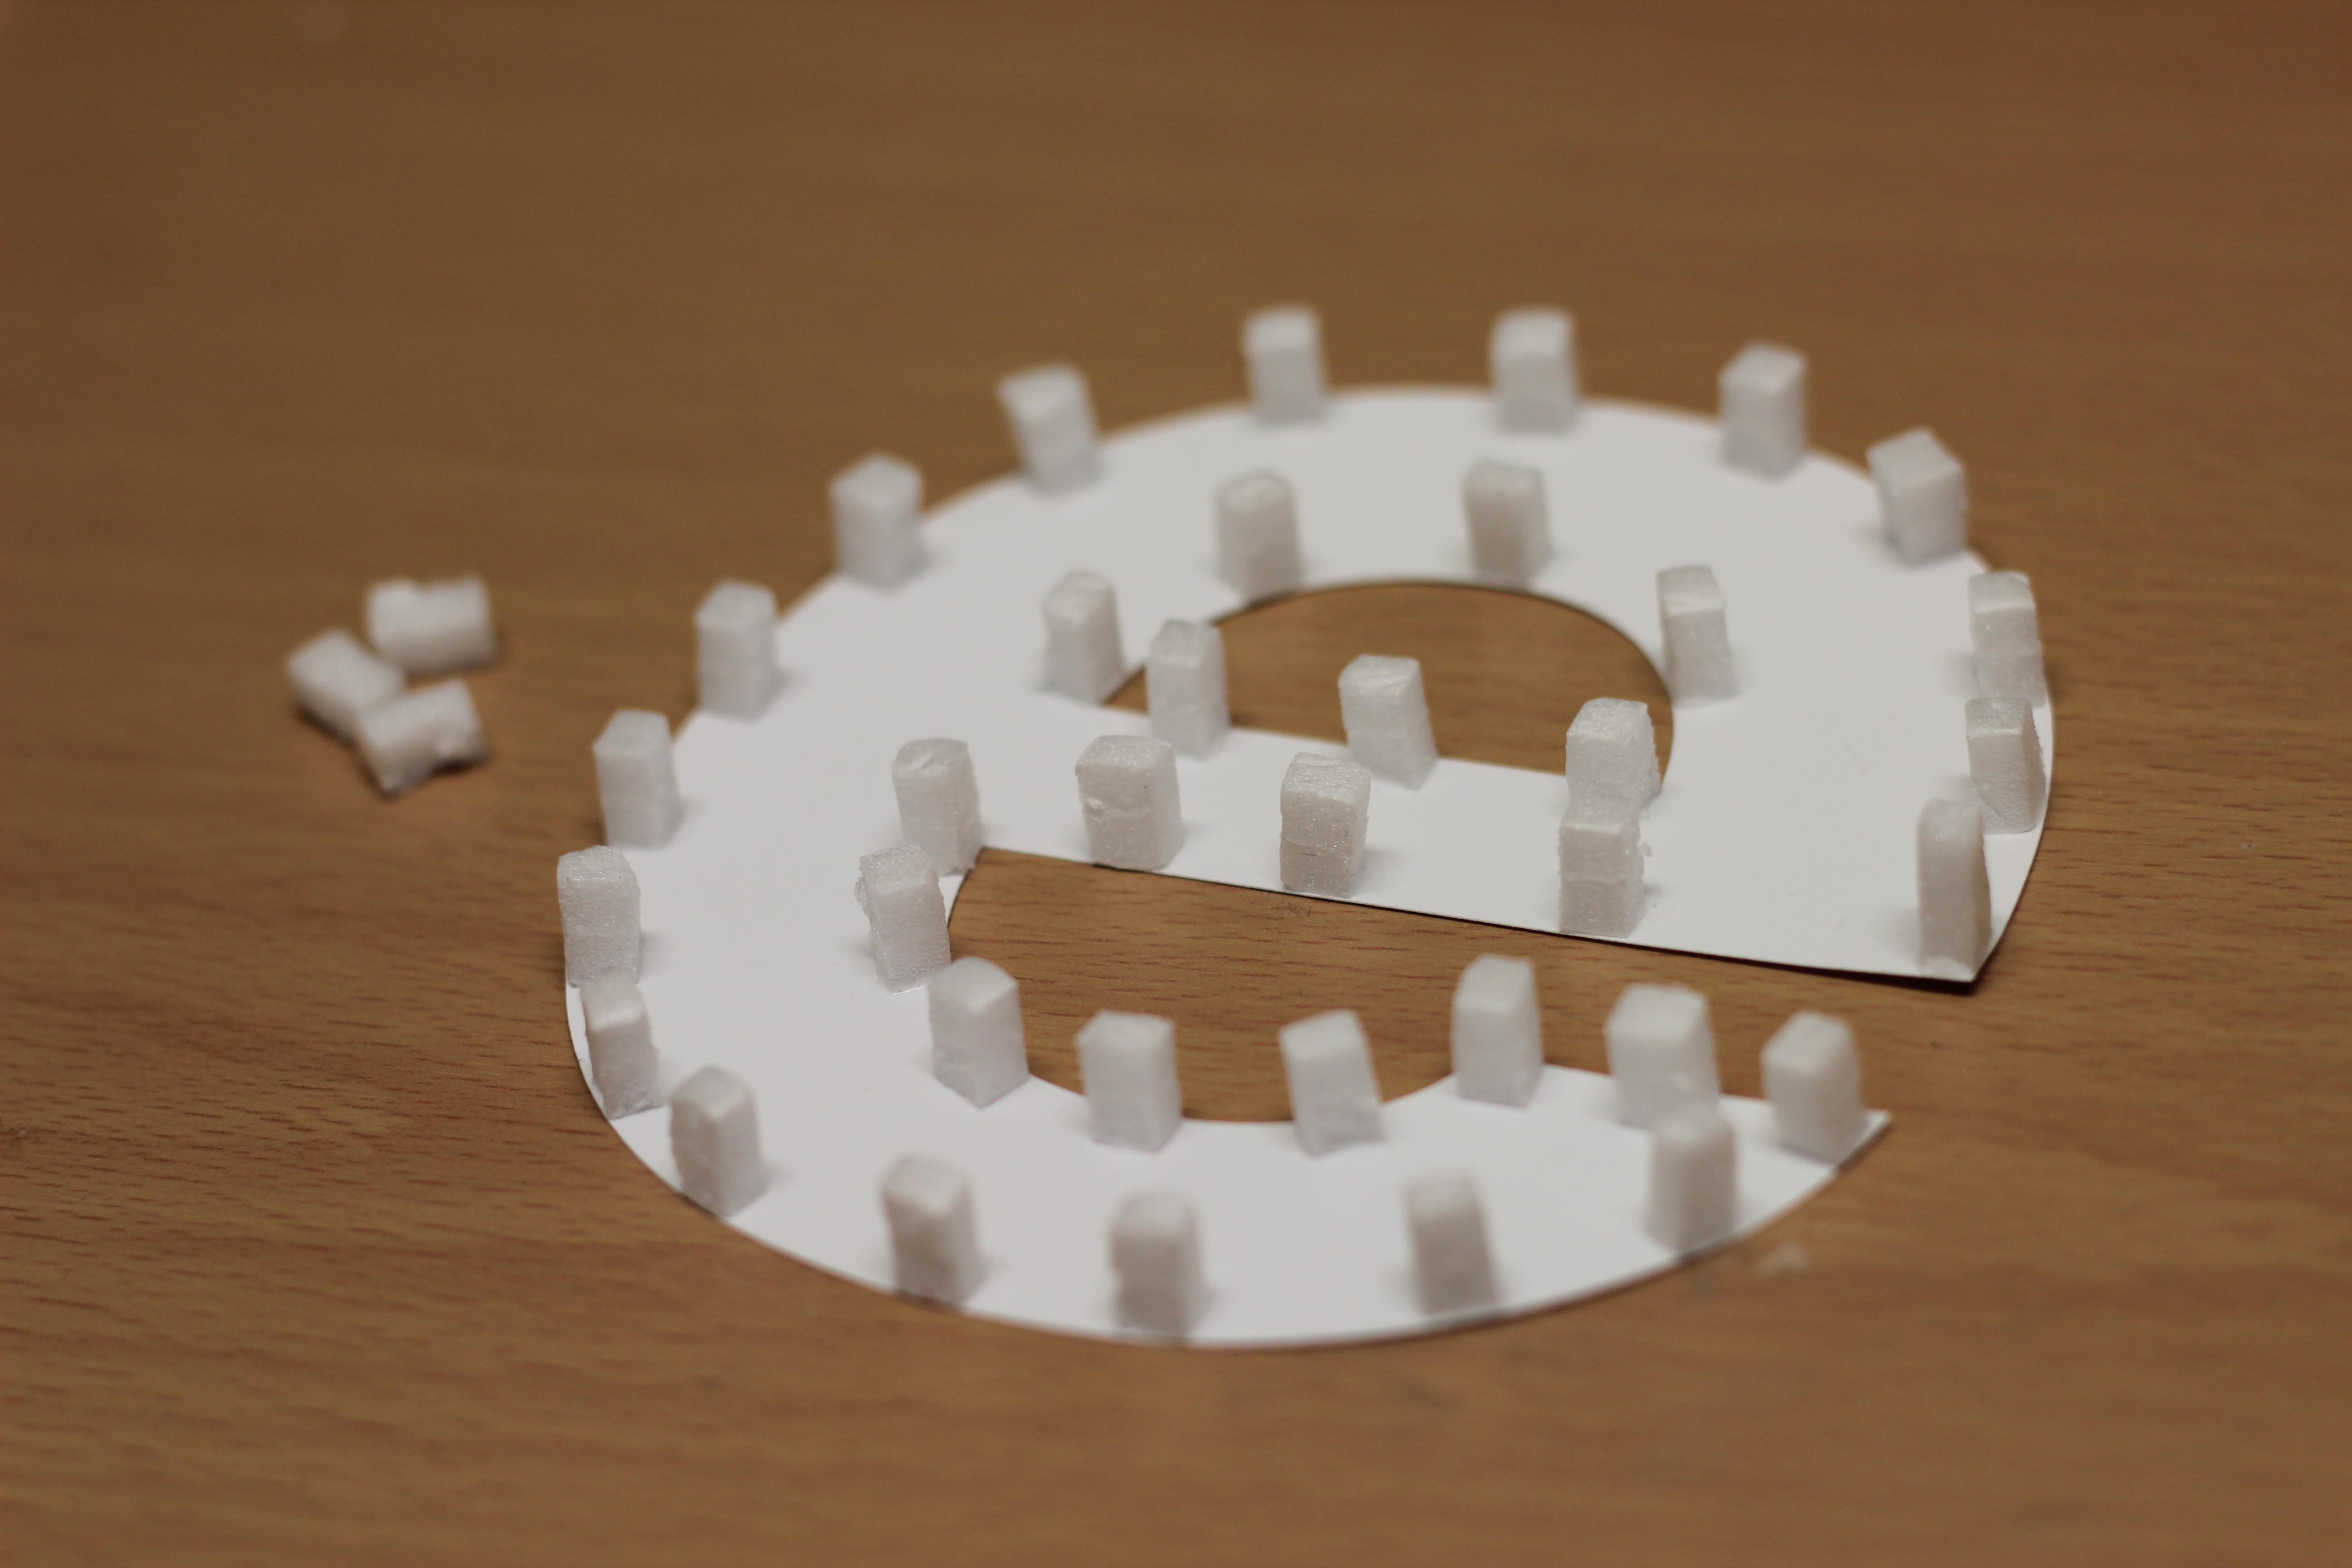
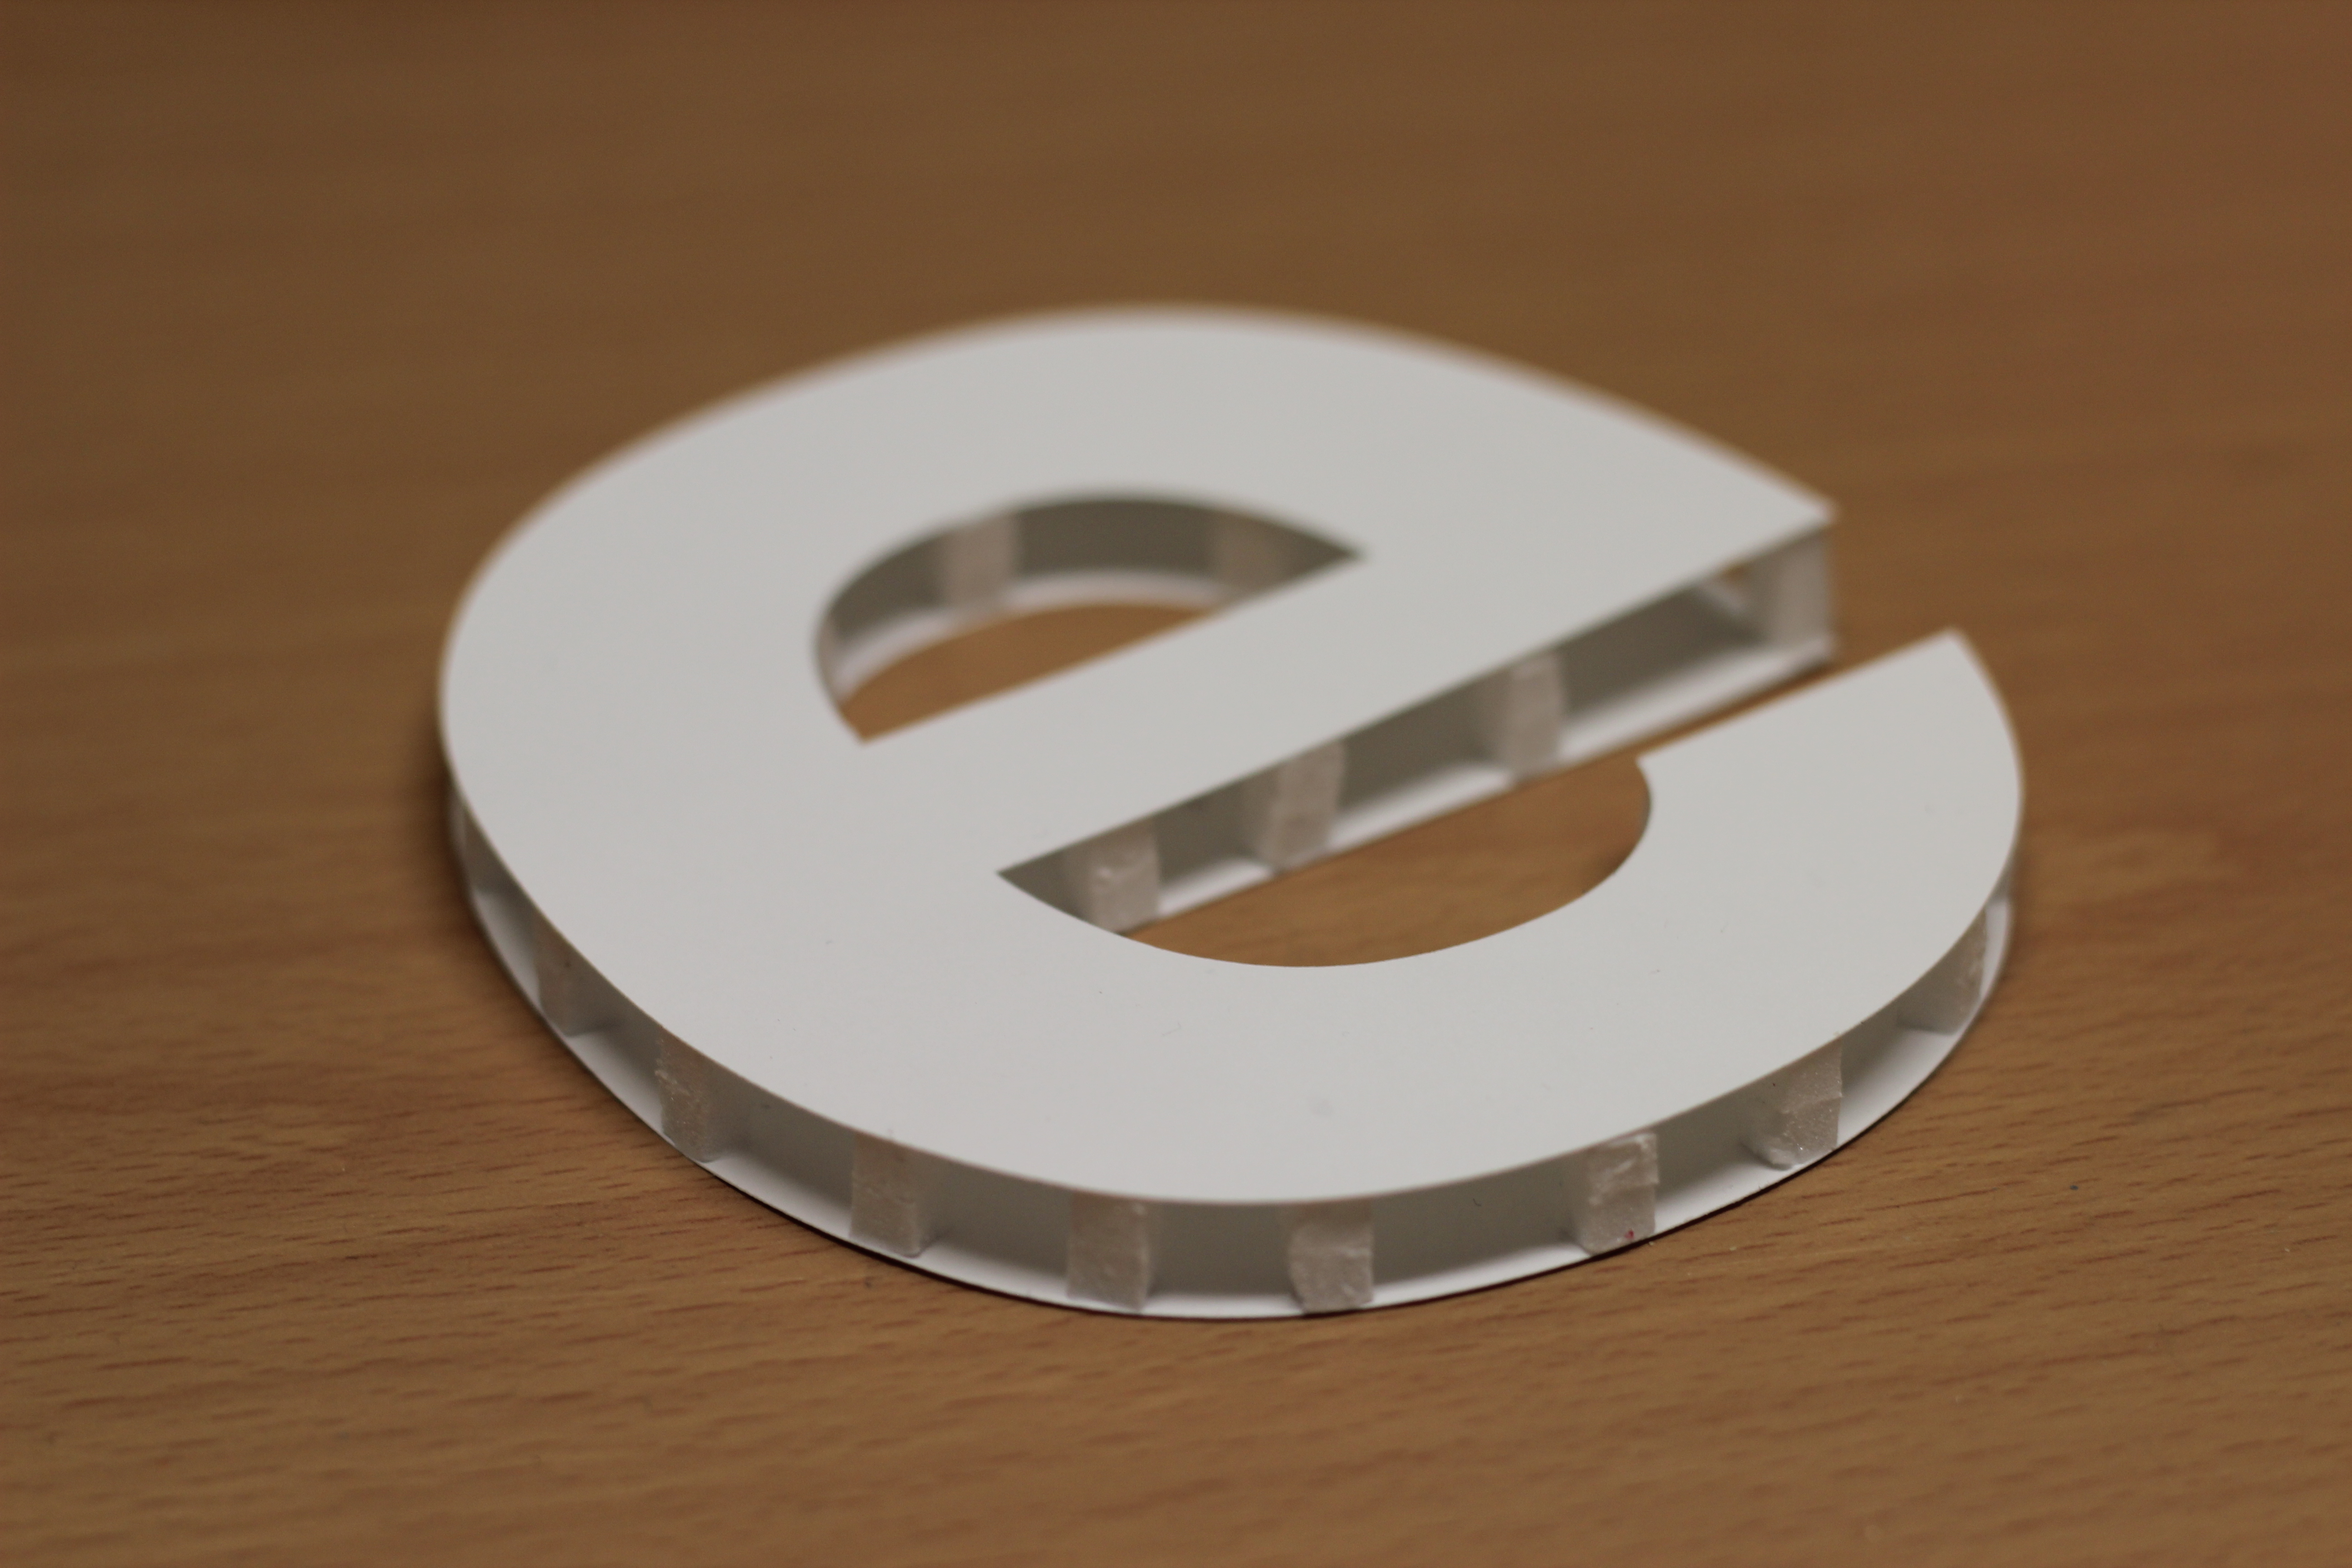
Glue spacers to the edge of your letters, the gap you leave in-between each spacer will determine how nicely the trim will wrap around the structure later on. In other words, he closer you leave them together, the better the trim will go on but the more spacers you'll need to have.
After all the spacers are in,glue the second piece onto the opposite side. be sure that the spacers line up with the edge of the newly applied layer. Now you have a skeleton. We're almost there :)
After all the spacers are in,glue the second piece onto the opposite side. be sure that the spacers line up with the edge of the newly applied layer. Now you have a skeleton. We're almost there :)
Add Trim
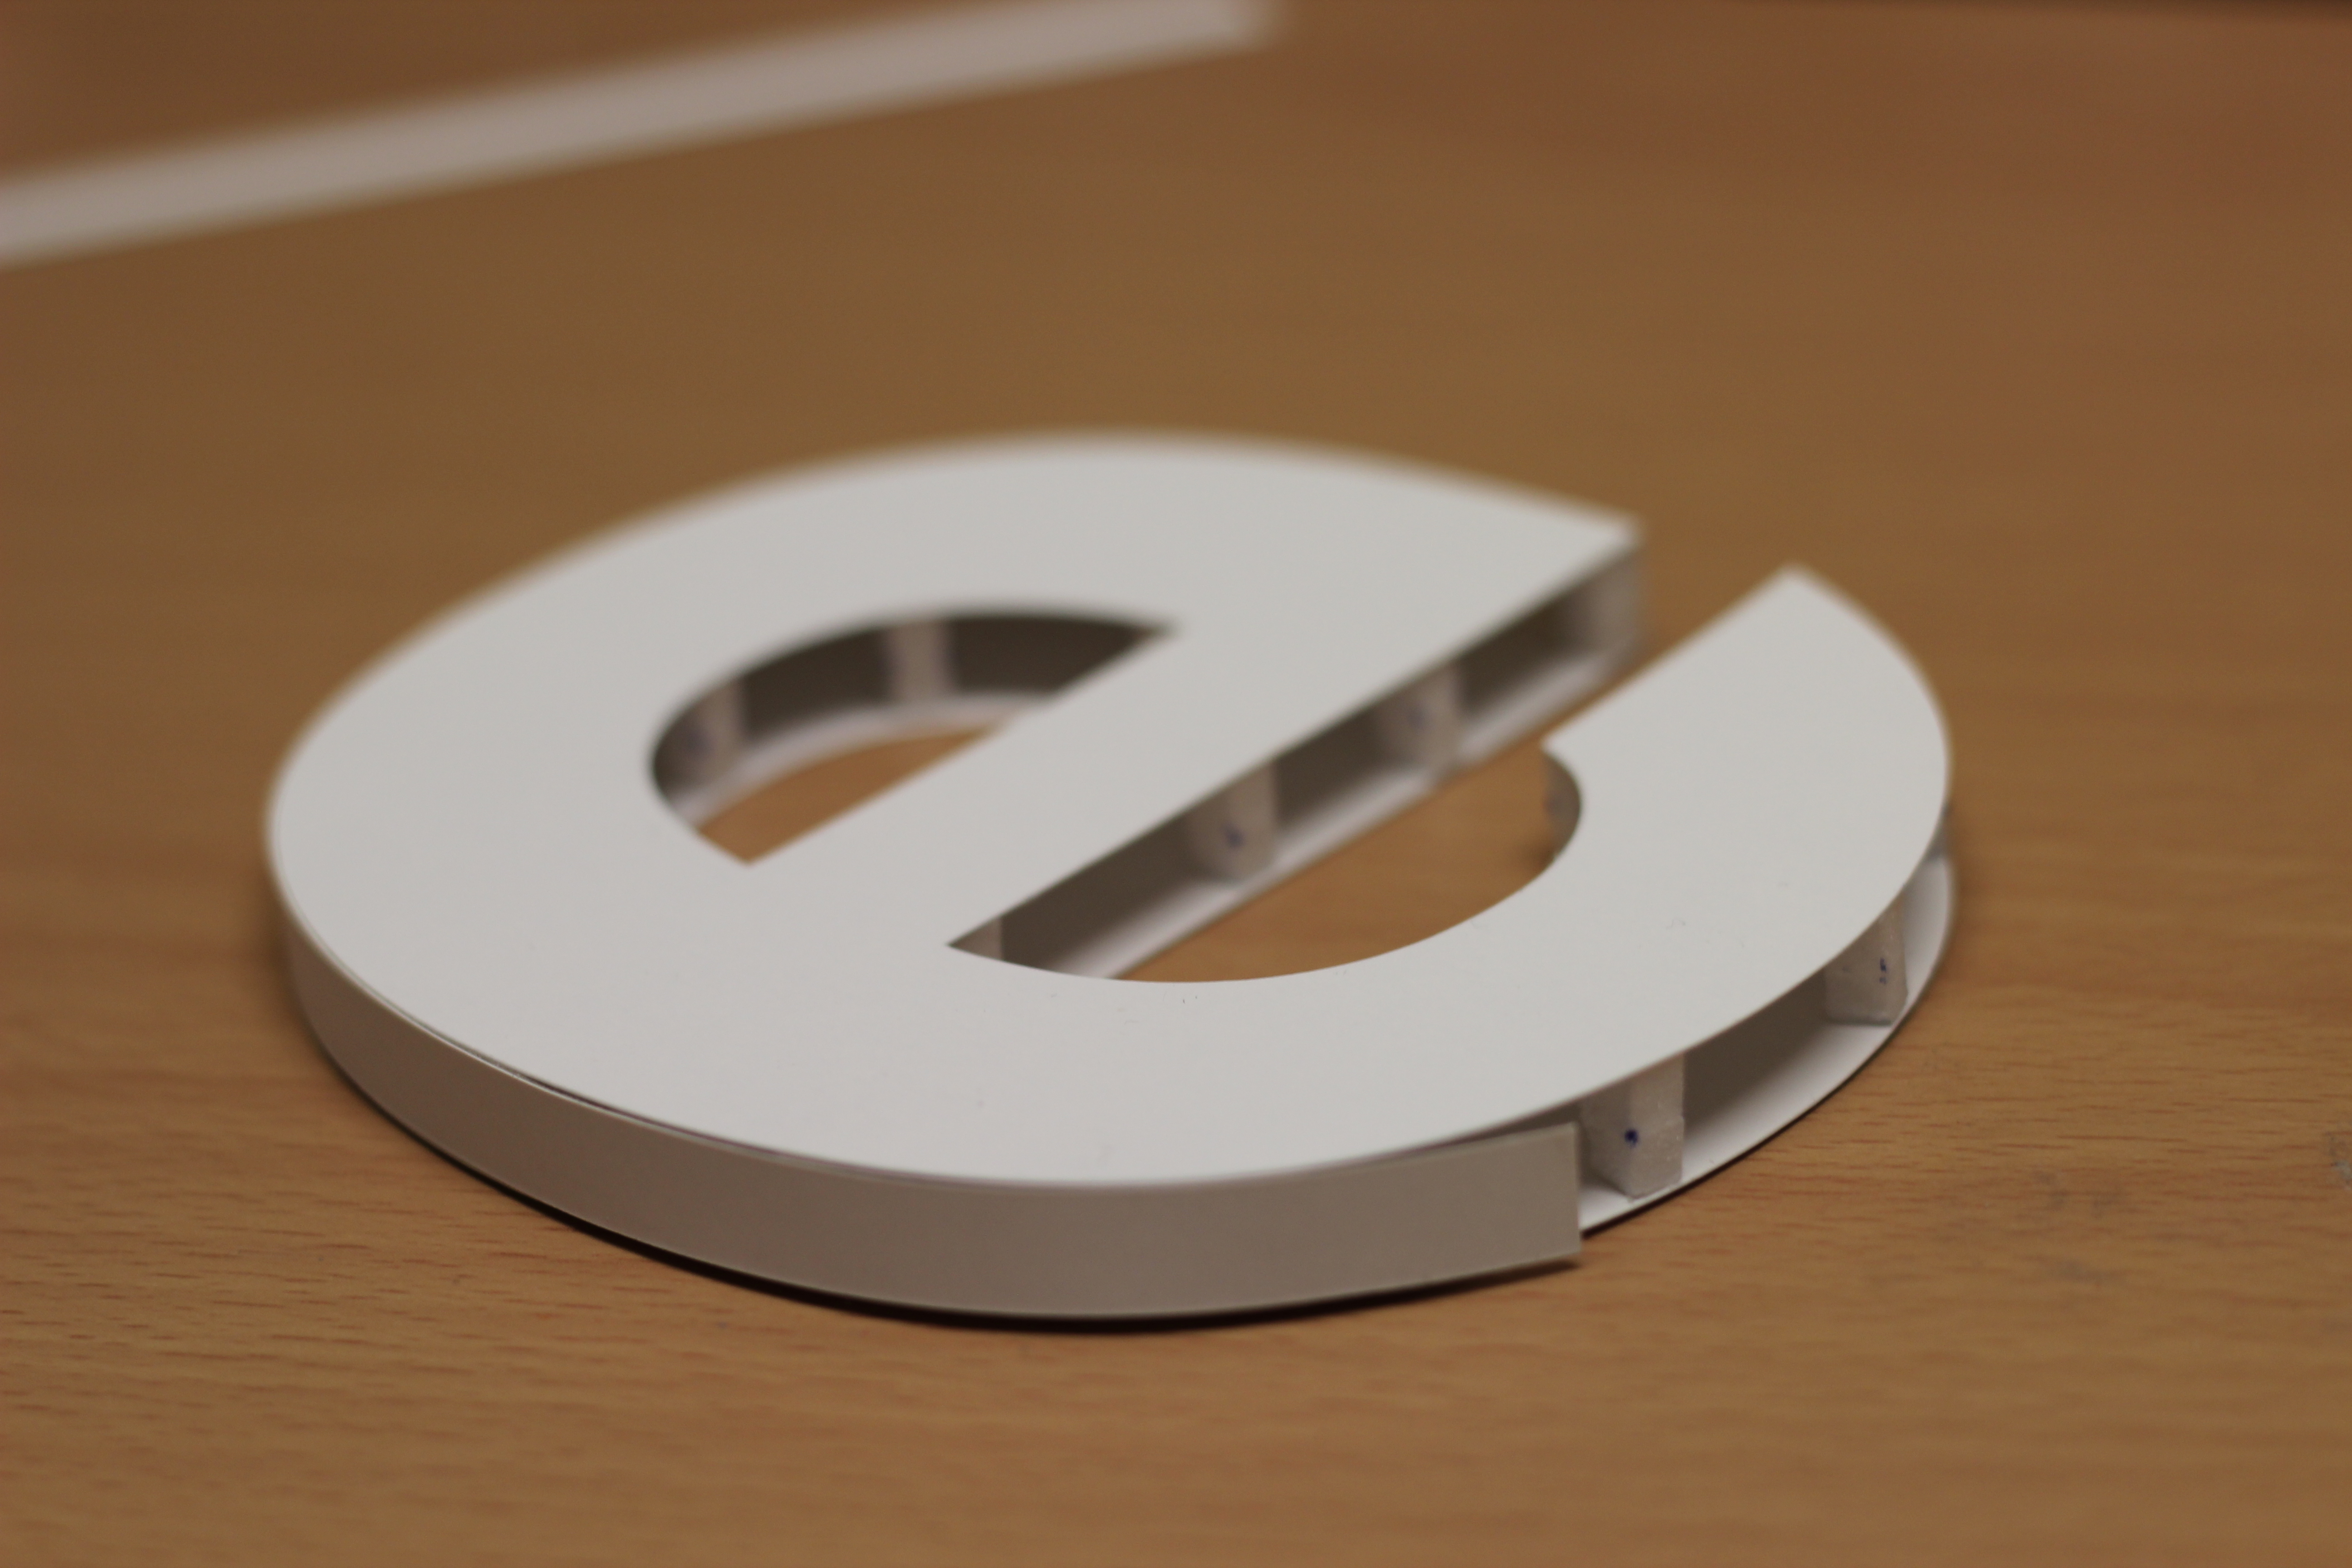
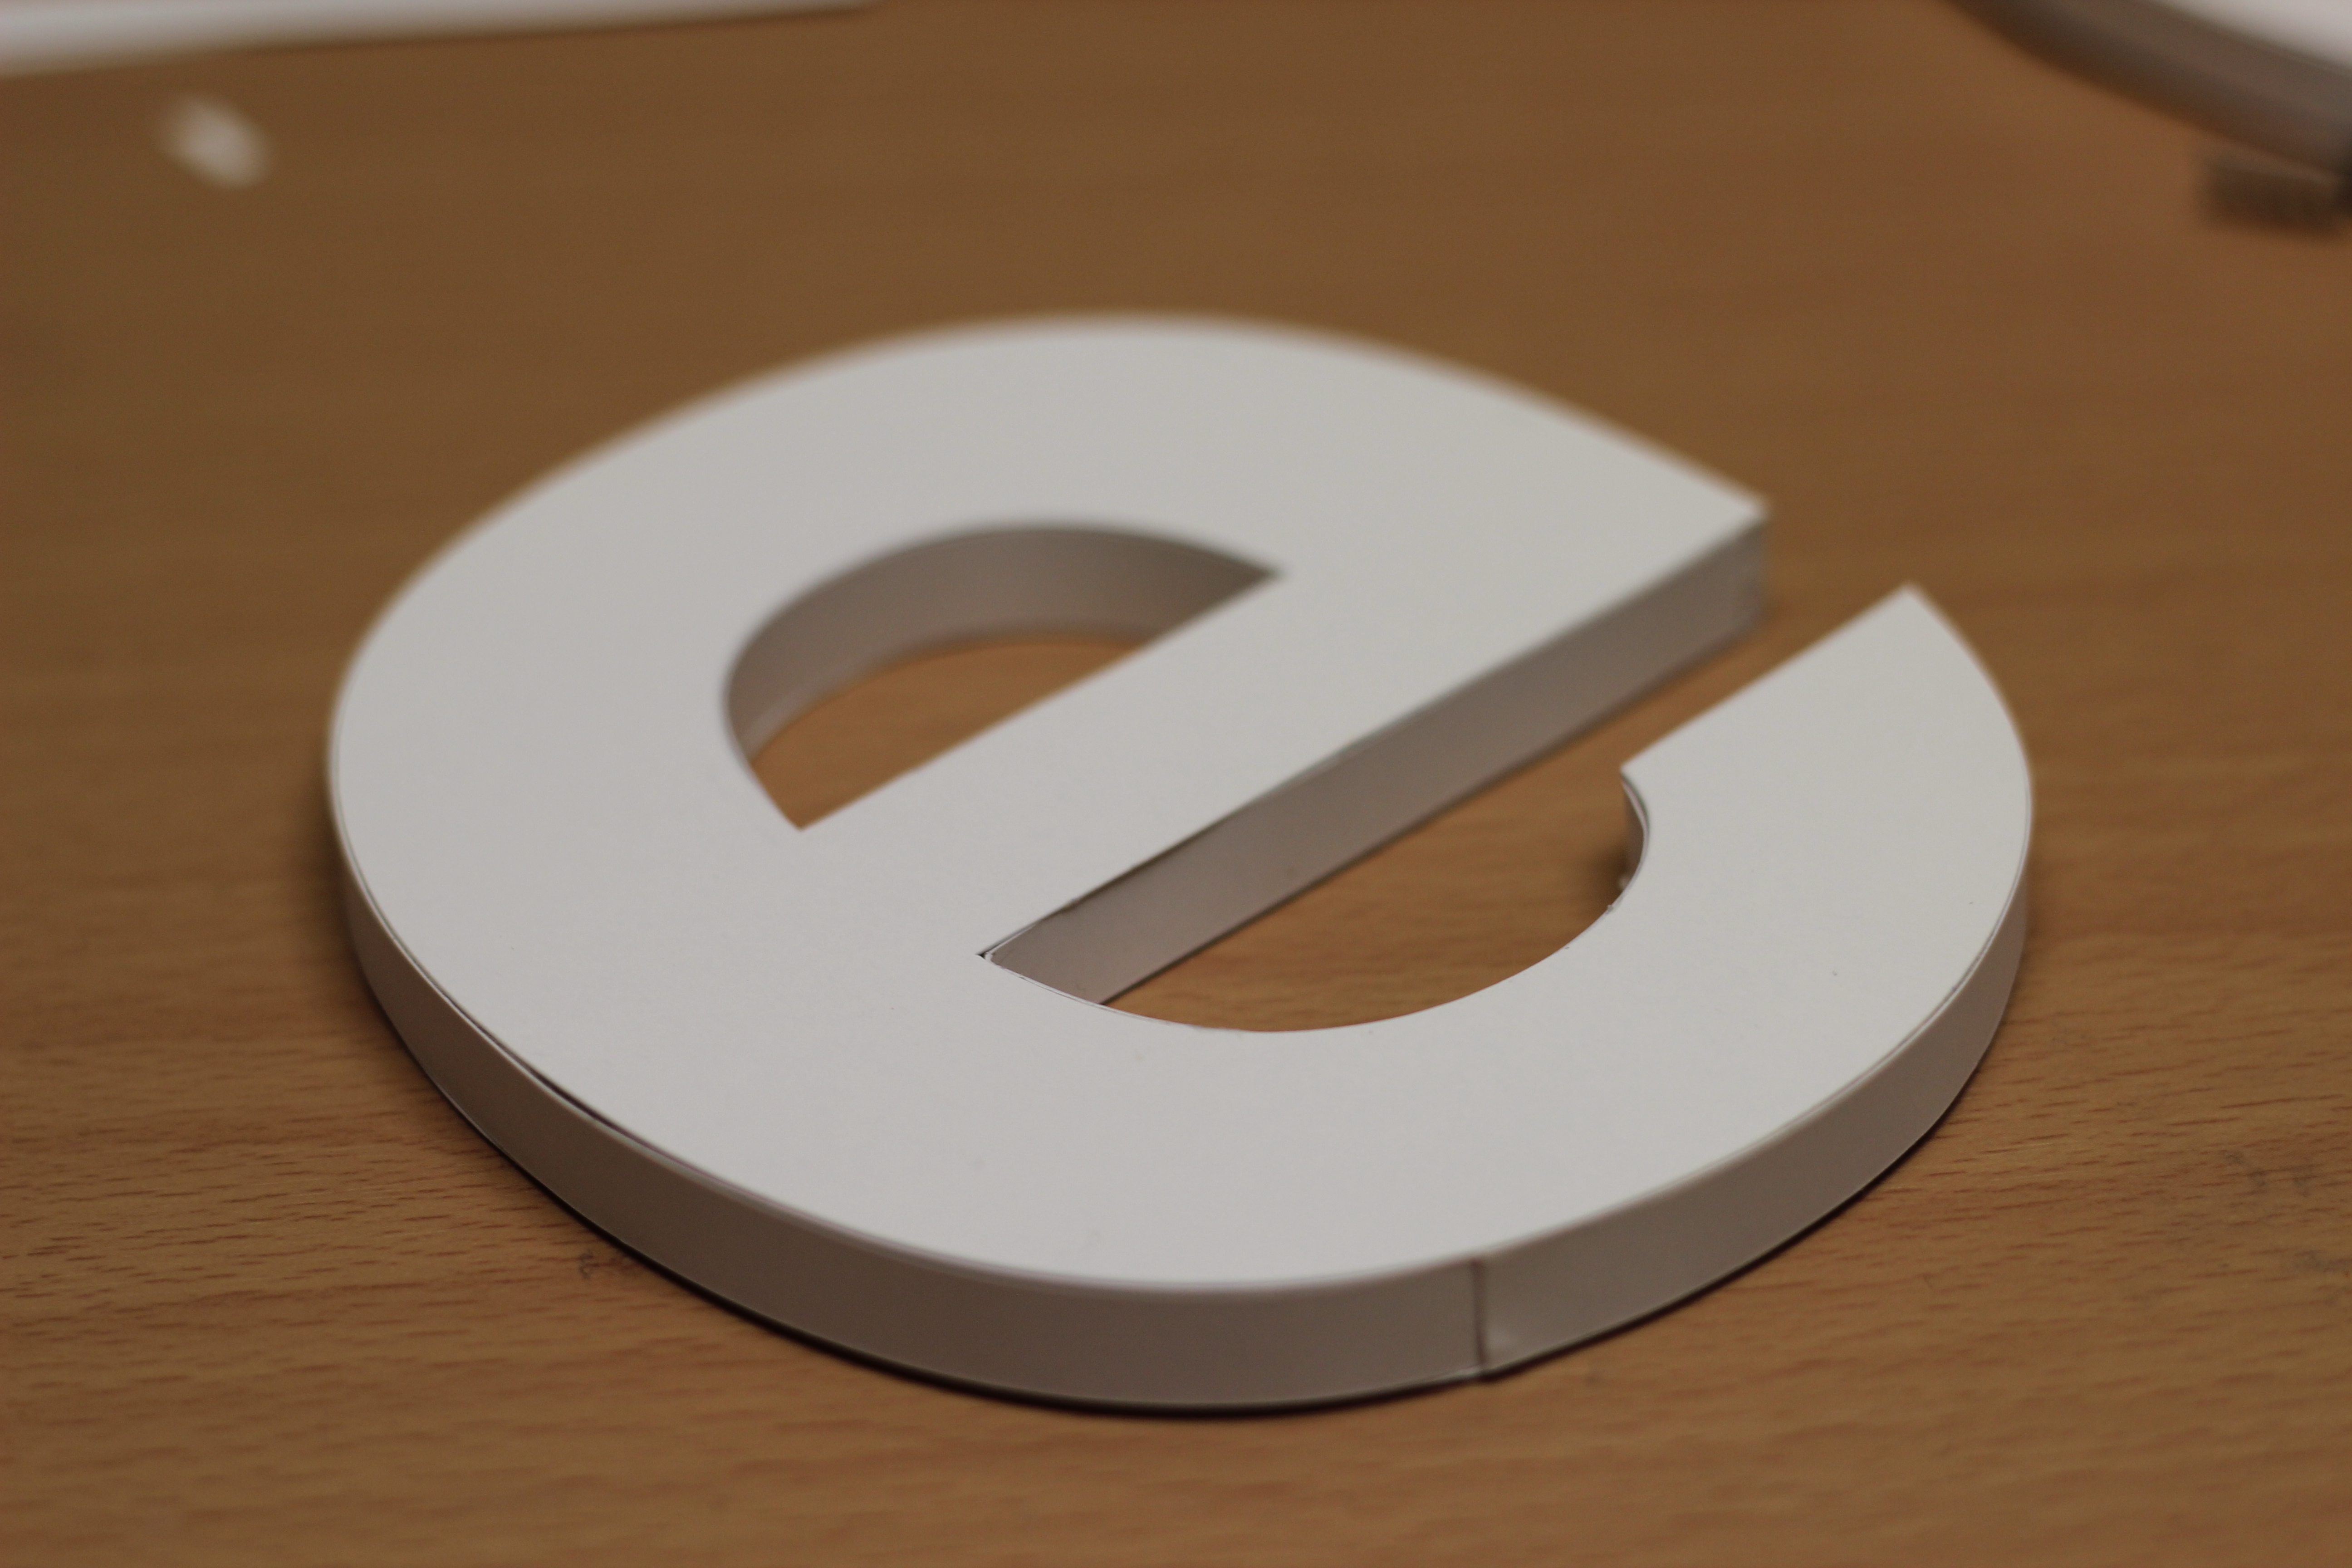

Using whatever sticky material you've been using thus far stick the trim onto the side of the letter. It may take a few times to get the technique down but it isn't too difficult. Rounded letters may become tricky i recommend double sidedtape in these cases.
Finished!

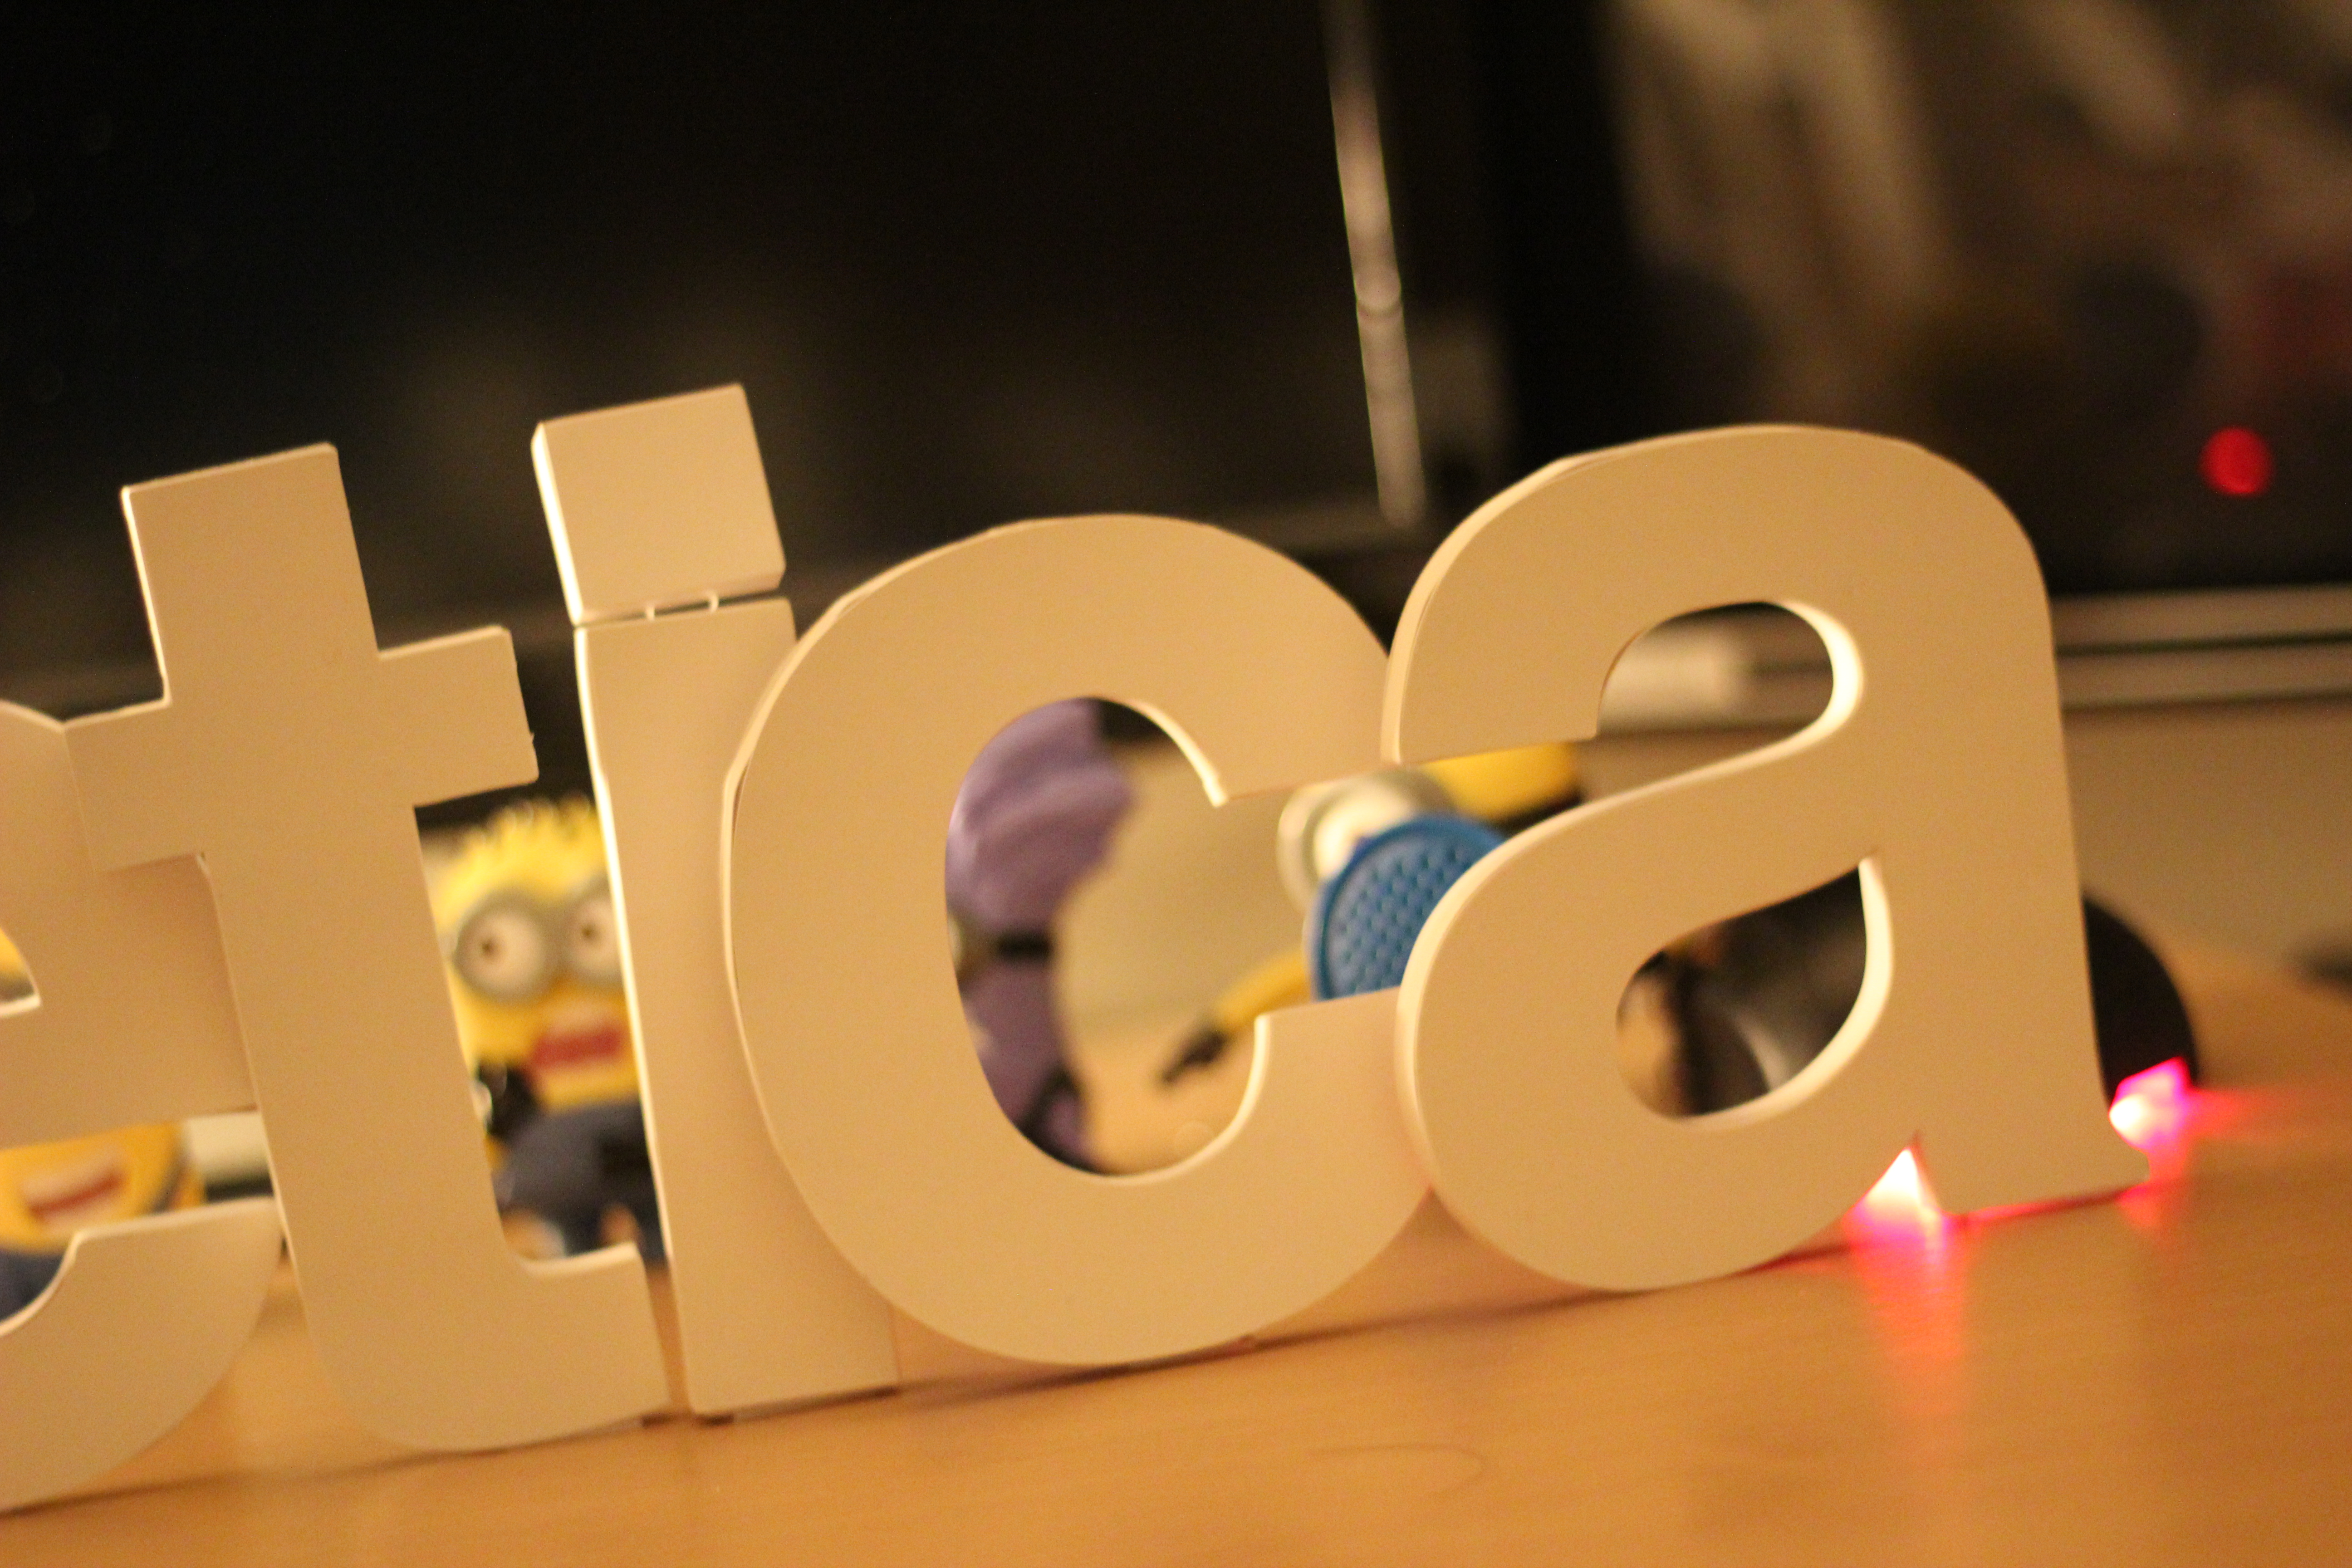
You now have a channel letter! Decorate you room, make you own name, create your logo, give them out as gifts; the possibilities are endless.
Thank you for reading :)
Thank you for reading :)