3D Spider(Fusion 360) to a Realistic Sculpted Spider!
by Juangerardoromero in Craft > Clay
2252 Views, 12 Favorites, 0 Comments
3D Spider(Fusion 360) to a Realistic Sculpted Spider!
.jpg)
.png)
hello my name is Juan and today I want to present you how to design this amazing spider from the 3D model designed with fusion 360 and give it life as a sculpture
I started recently using fusion 360 and helped me a lot to have a model on which to build this spider, no matter how terrifying it can be, are an amazing animals that help maintain balance in the environment
I hope you enjoy this project just as I enjoy it
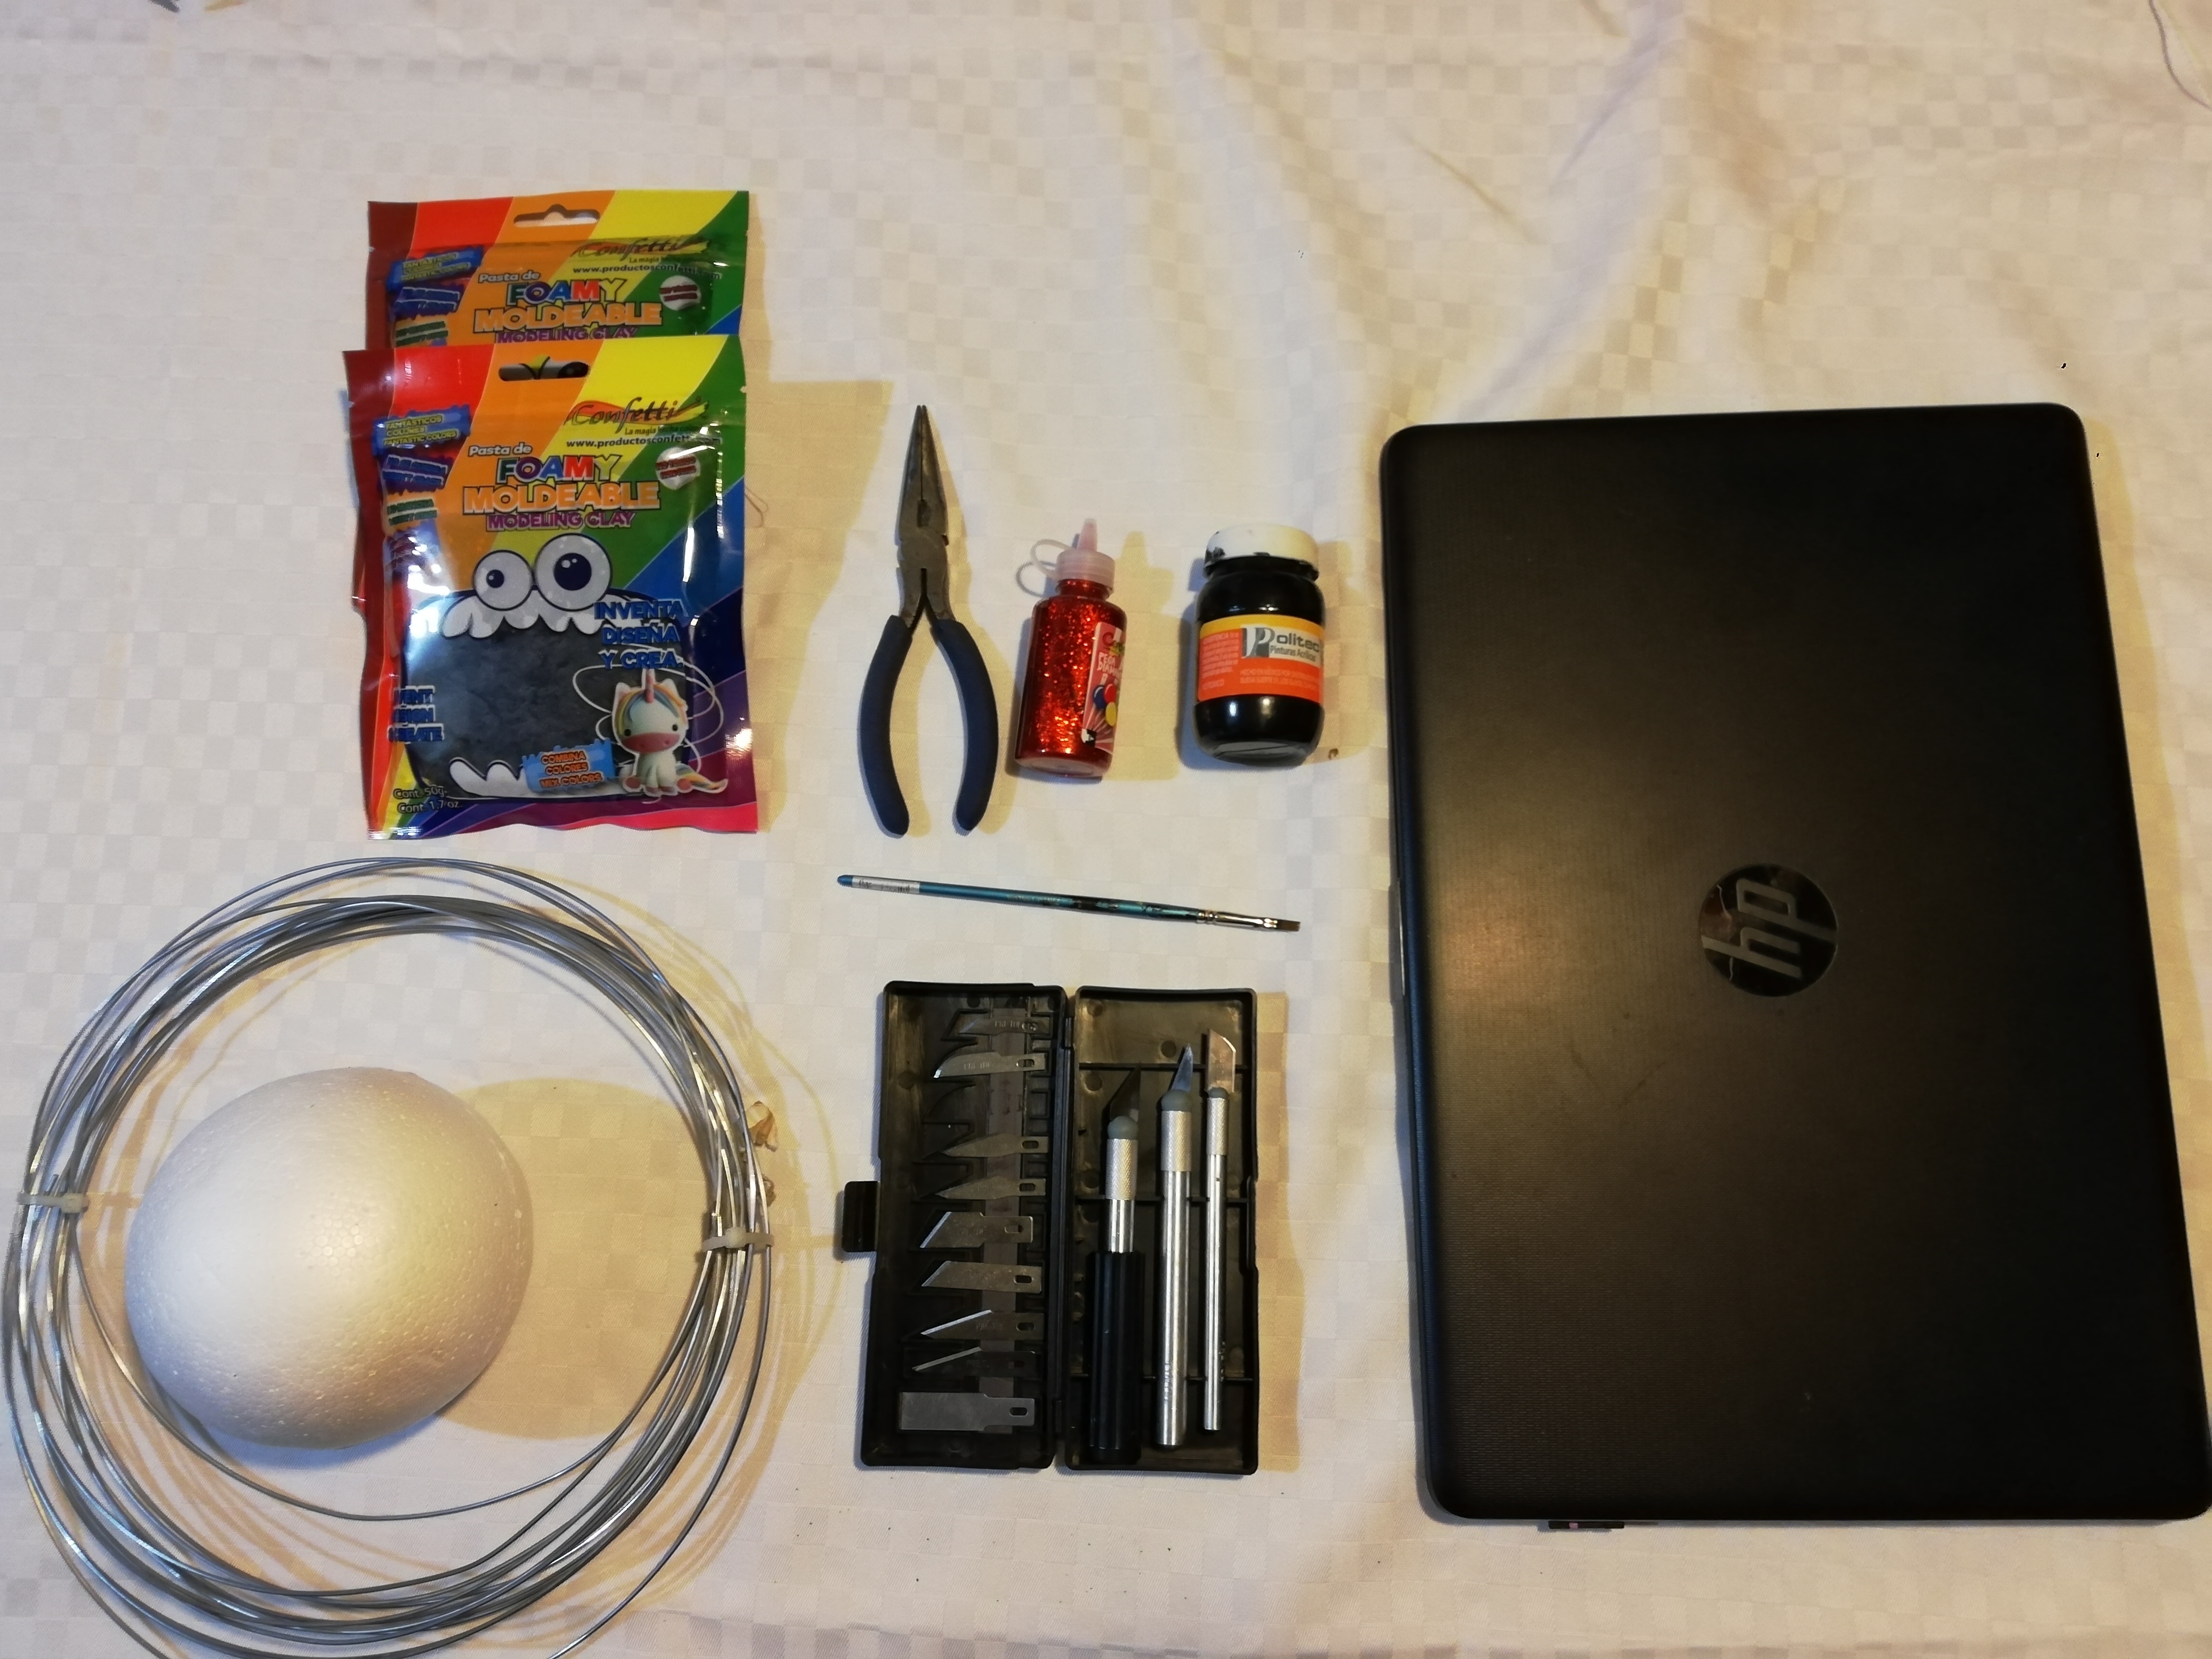
Supplies
-1 PC or Laptop
-Fusion 360
-1 Bottle of black paint
-2 Styrofoam ball
-1 Red glue
-1Knife or cutter
-2 meters of wire
-2 bags of black modeling clay
-1 white glue
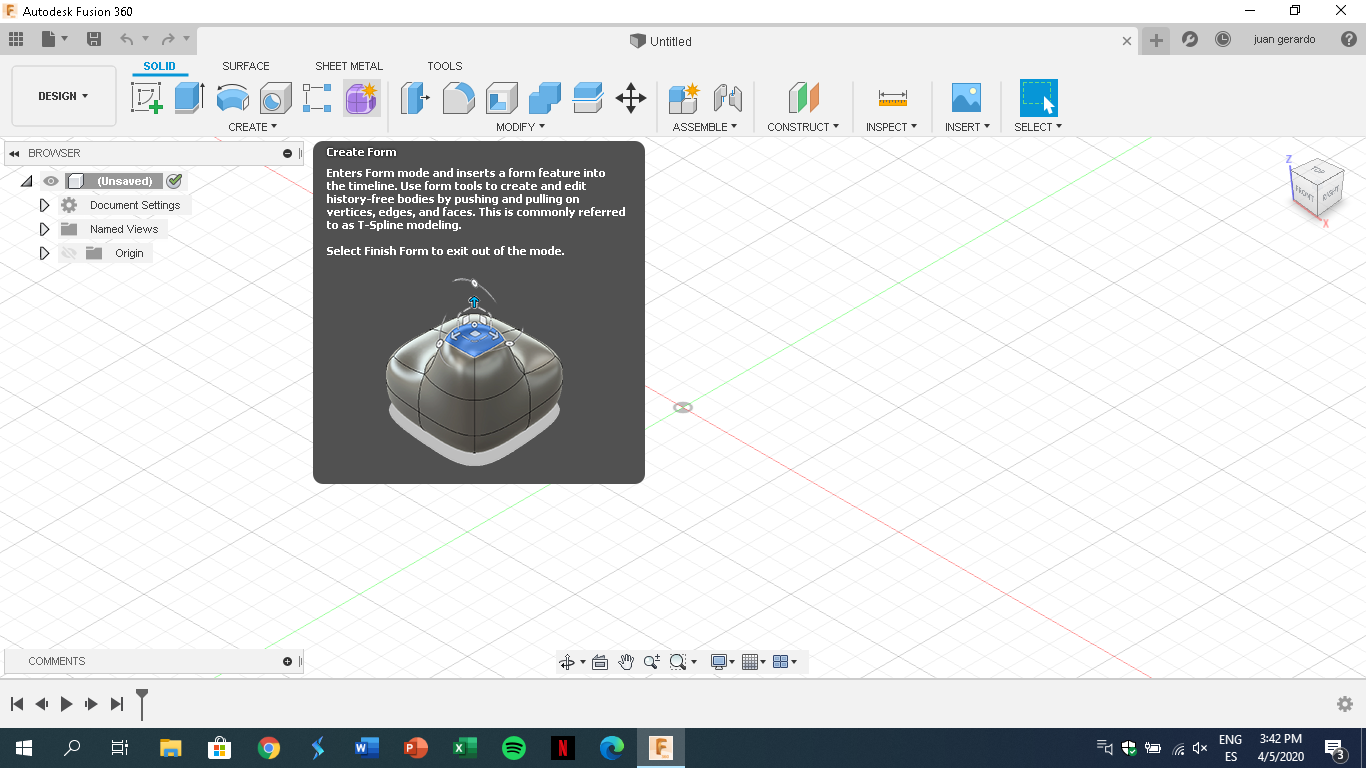
Design in Fusion 360
.png)
First open Fusion 360 in your pc or laptop. Click on the Create menu on the toolbar and select Create Form or simply click on the purple cube icon on the Create menu.
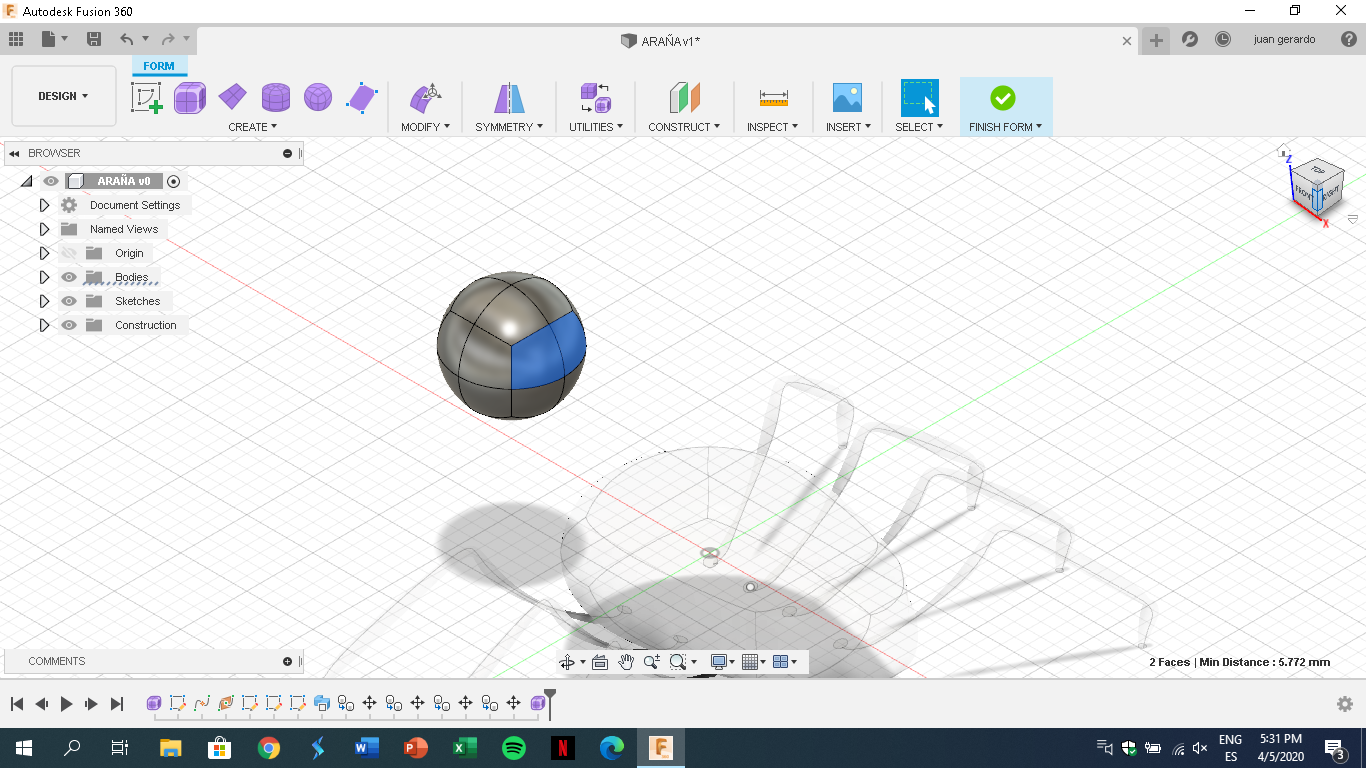
Create a Sphere
.png)
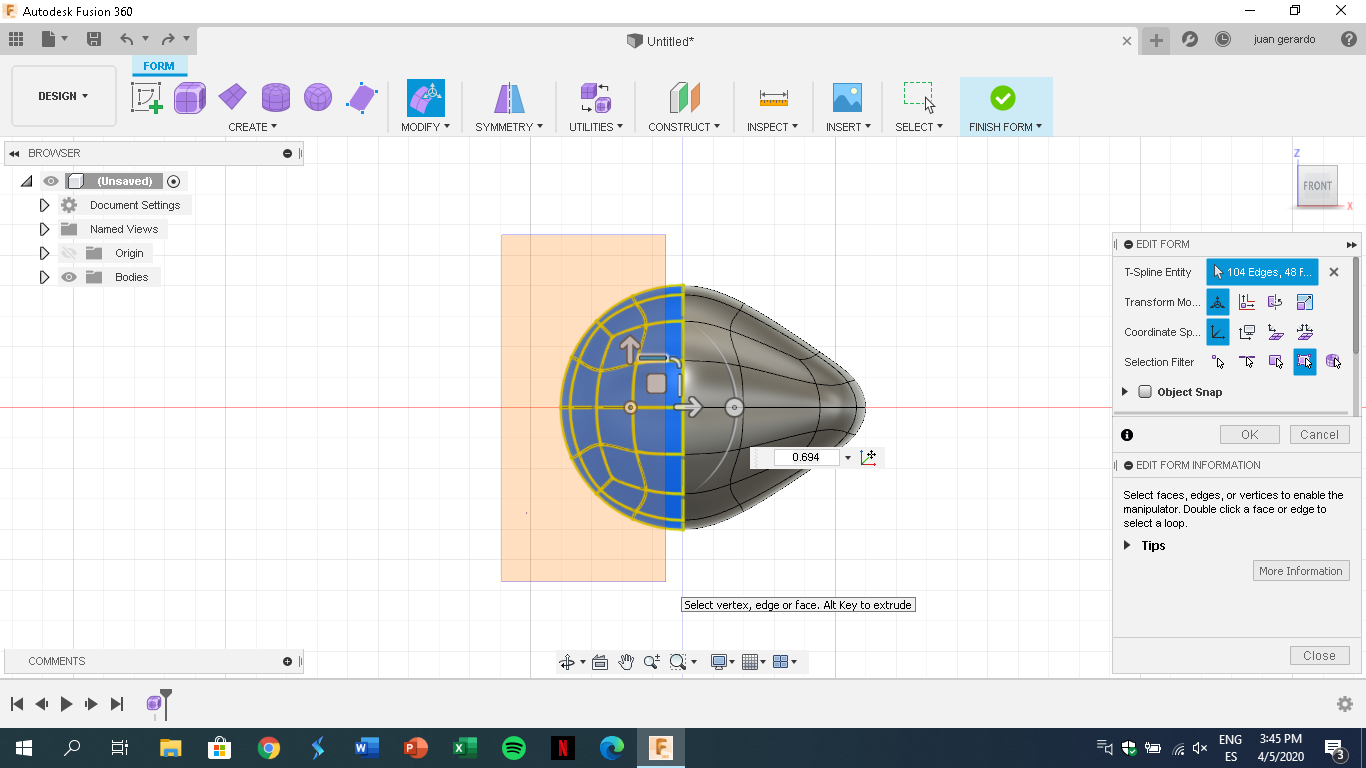
Click on the Create menu and choose sphere from the menu , then after creating the sphere, let's edit the shape by selecting the polygons to edit, the height will be reduced and the width lengthened
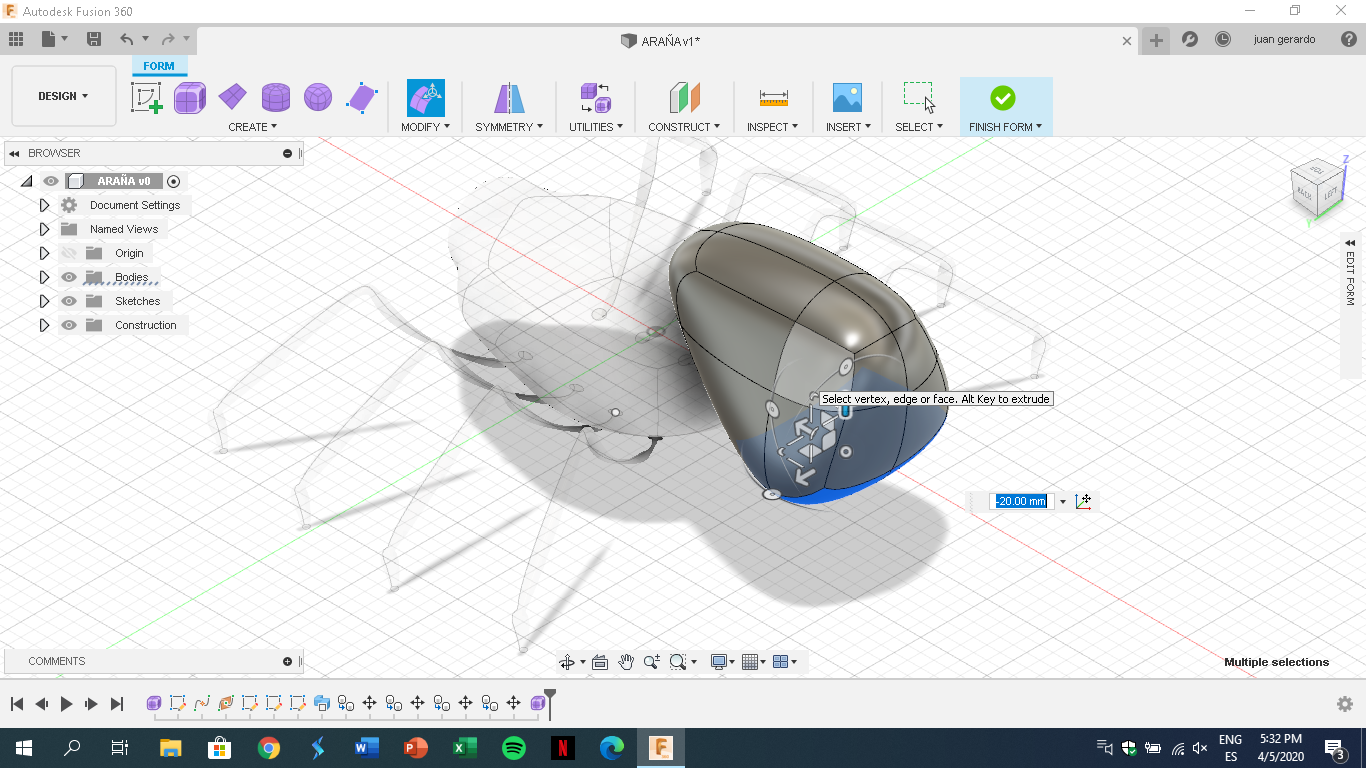
Modeling the Thorax
.png)
to model the thorax, first I shaped it by lengthening the width and decreasing the height, with this in mind you can move other polygons to start shaping, for example where the head goes, extrude from the body.
After this step you can modify the shape of the spider as you wish.
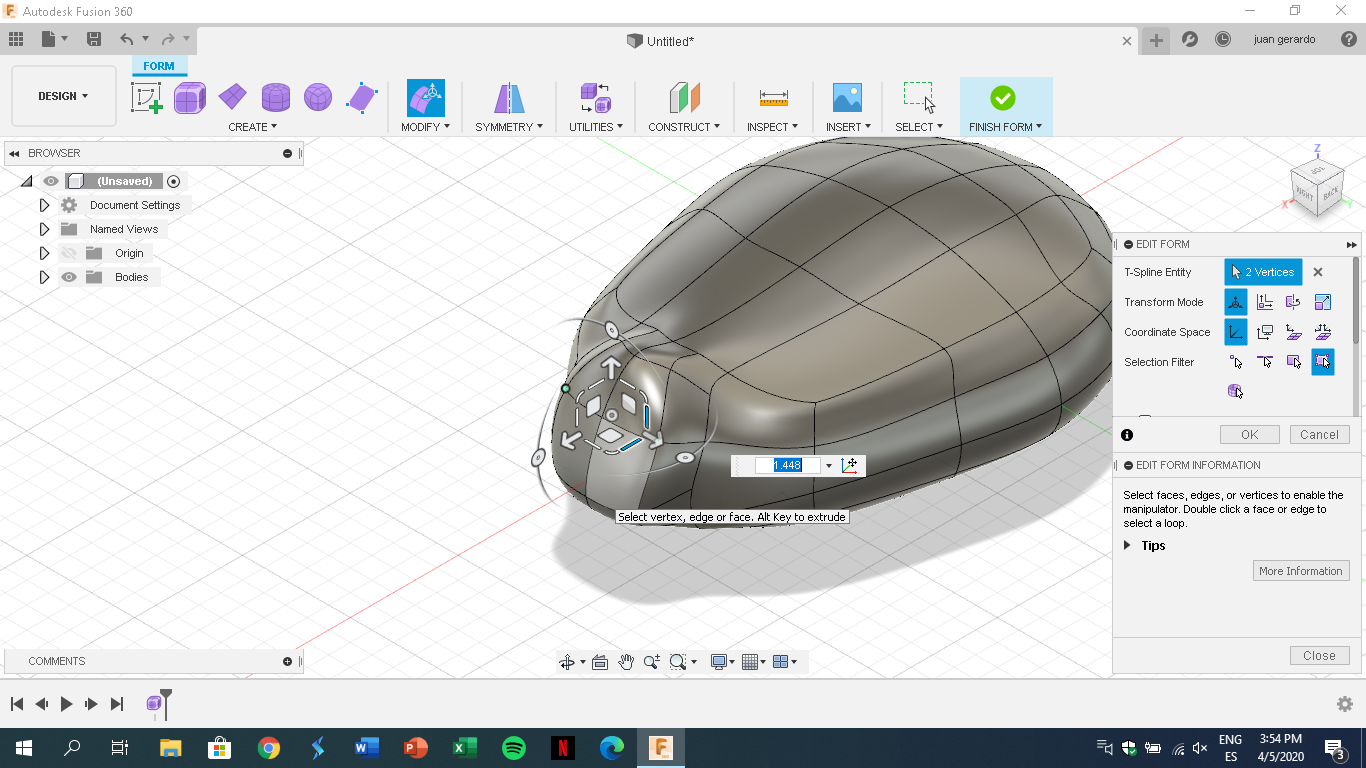
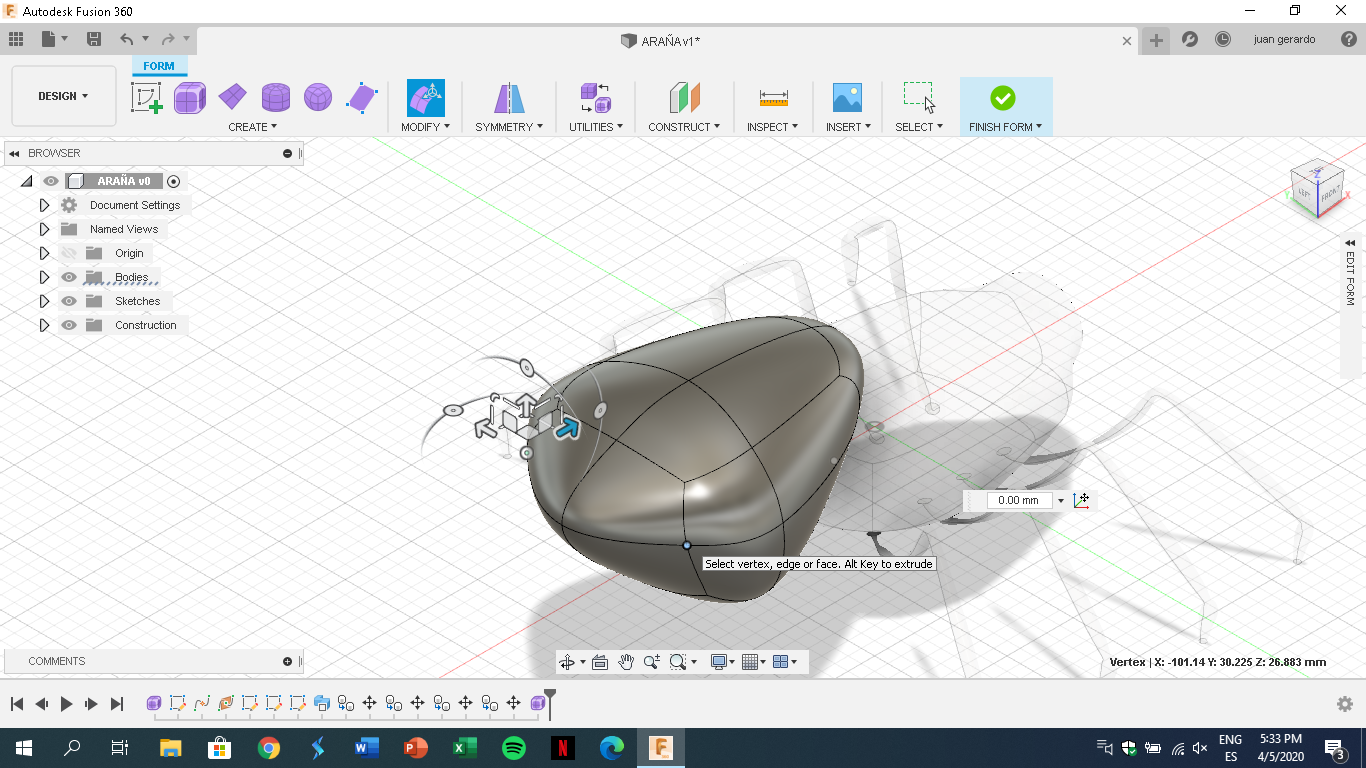
Thorax
.png)
following the last steps the main body will be finished, now it doesn't seems the shape of the body spider, this is because it will take the final shape during the process of sculpture.
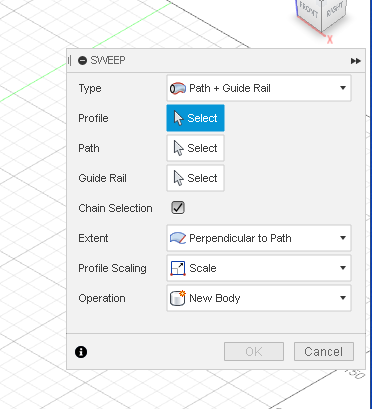
Spider Leg (Profile and Path)
.png)
.png)
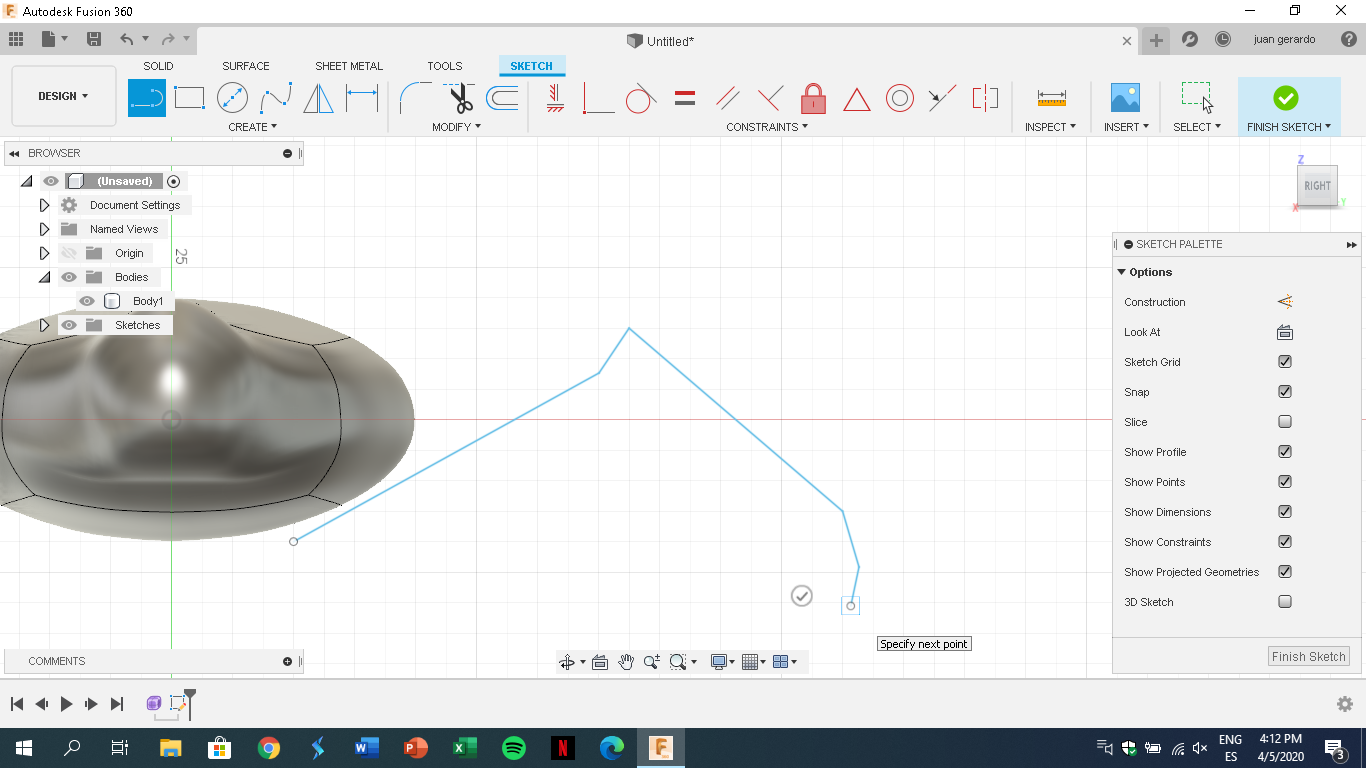
in the fisrt photo i drawing a circle (profile), where we want to start the bottom side of the leg, it should be a small diameter.
in the second photo we draw a perpendicular line from the center of the circle(path), this line will define where the leg goes
profile and path is the configuration in the sweep tool and will be explained in the following steps
Spider Leg (Guide Rail)
.png)
.png)
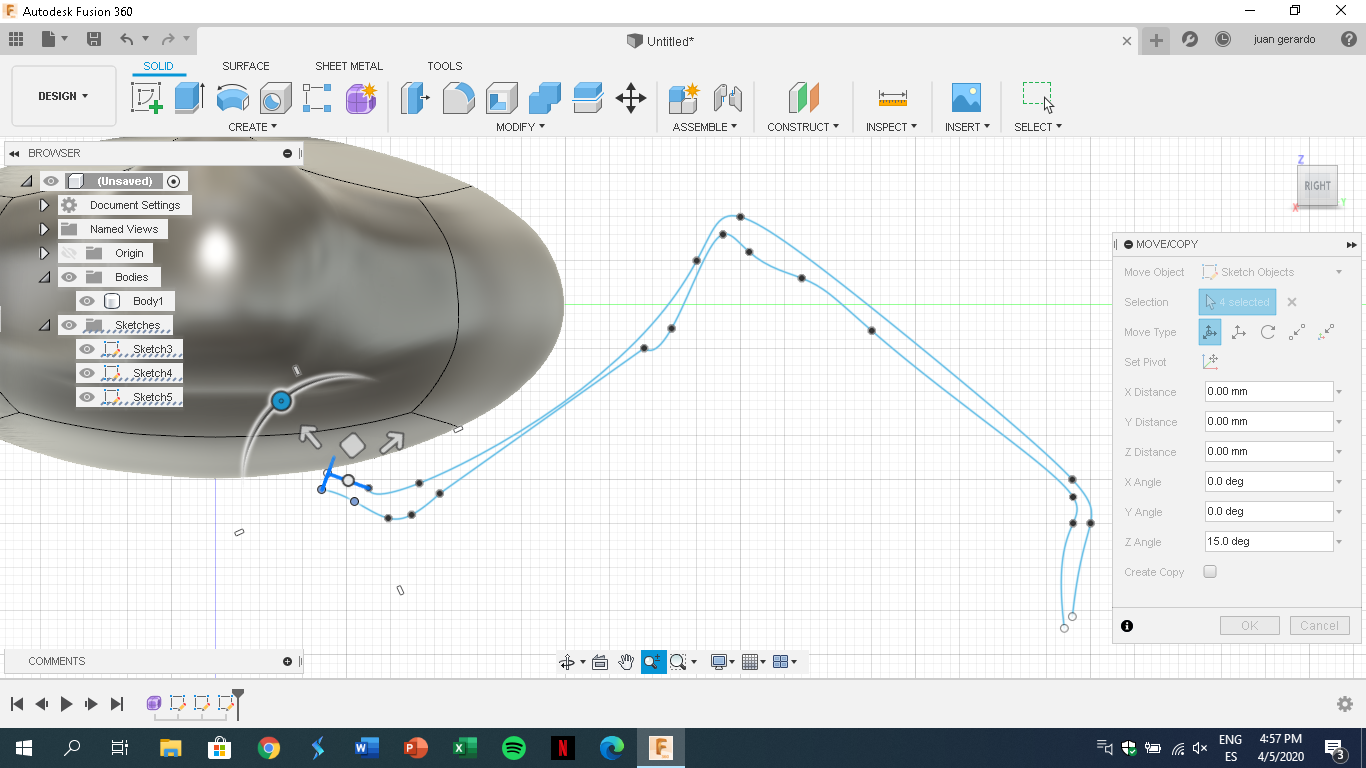
in this step you need to draw another line, it delimits the thickness of the leg, it has to touch the edge of the circle
and now we use the sweep tool to combine all the lines in order to create the leg
Spider Leg(sweep Tool)
.png)
.png)
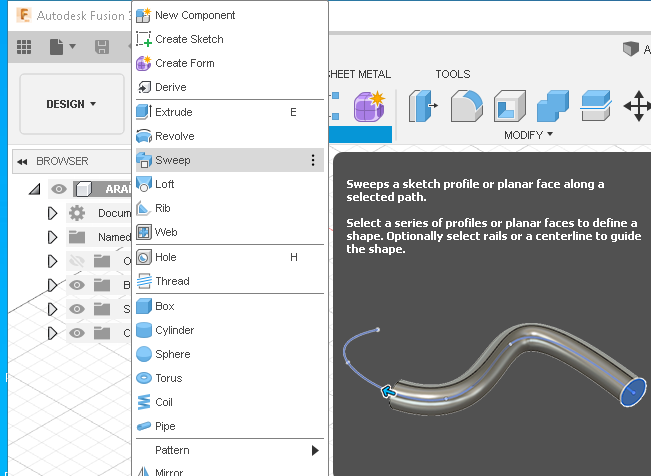
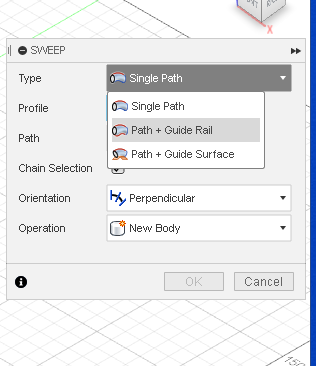
now after we create these lines we can use the sweep tool that serves to create a new 0bject based on the lines created, you only have to select the lines in the right option and the first leg will be created
in the pictures I explain the configurations used
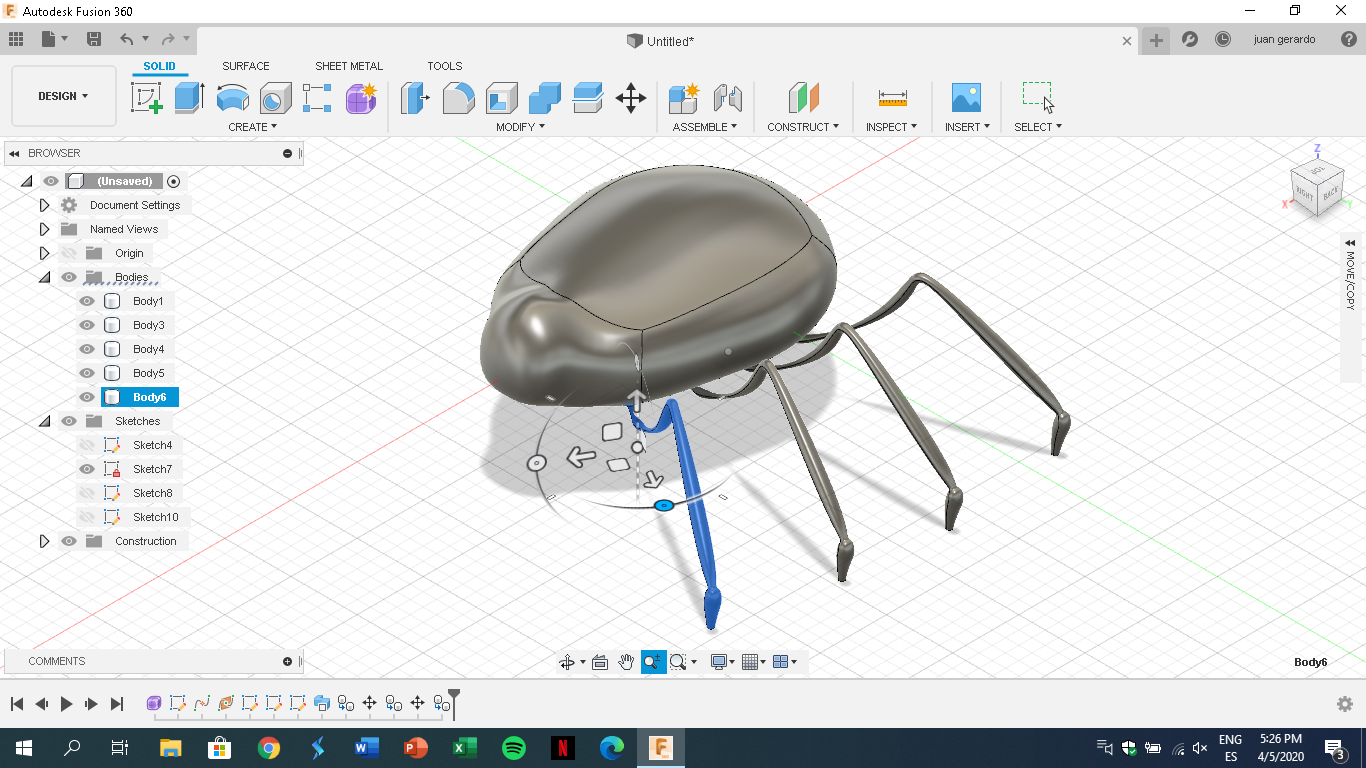
Left Legs
.png)
now that we have the finished leg, we will copy it and paste and we can create the other legs
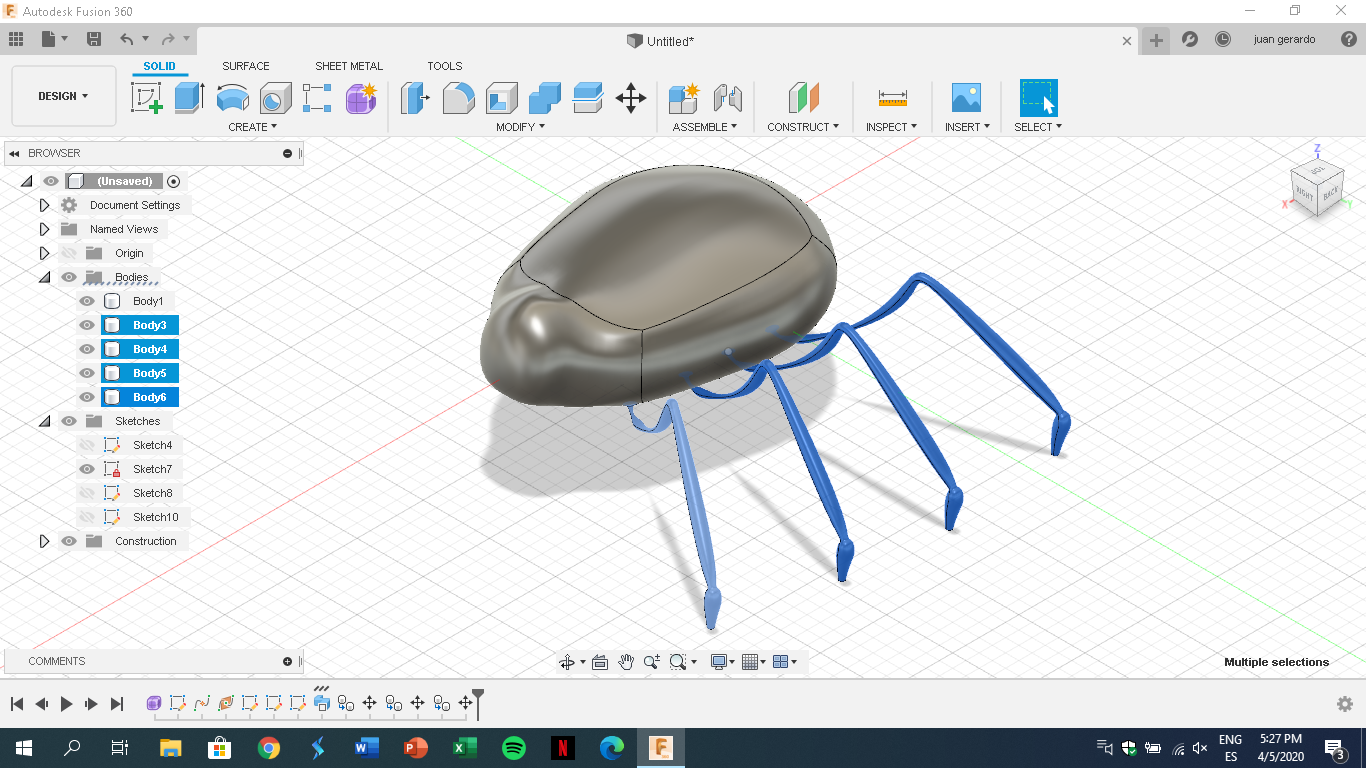
Position of the Legs
.png)
now we'll accommodate the angle of the legs to seems like a real position of the spider.
Right Legs
.png)
.png)
now we have to select all the left side legs to be copied and pasted, when pasted they will appear in the same place and it will seems that it did not stick, it will have to select, rotate and accommodate as a mirror of the right side
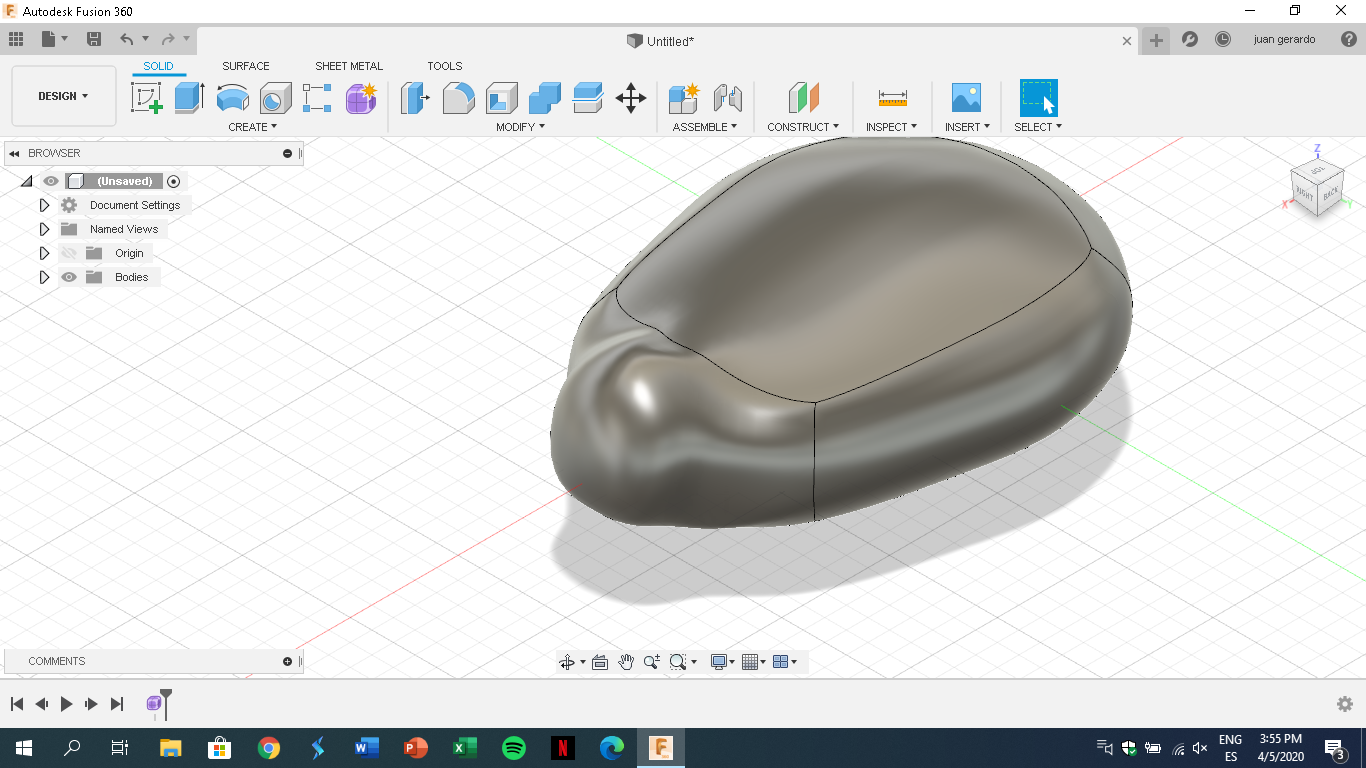
Spider Abdomen
.png)
we'll create a malleable object (sphere) that will be the spider's abdomen,and we will select the polygons needed to lengthen the figure and accommodate above the previous figure created
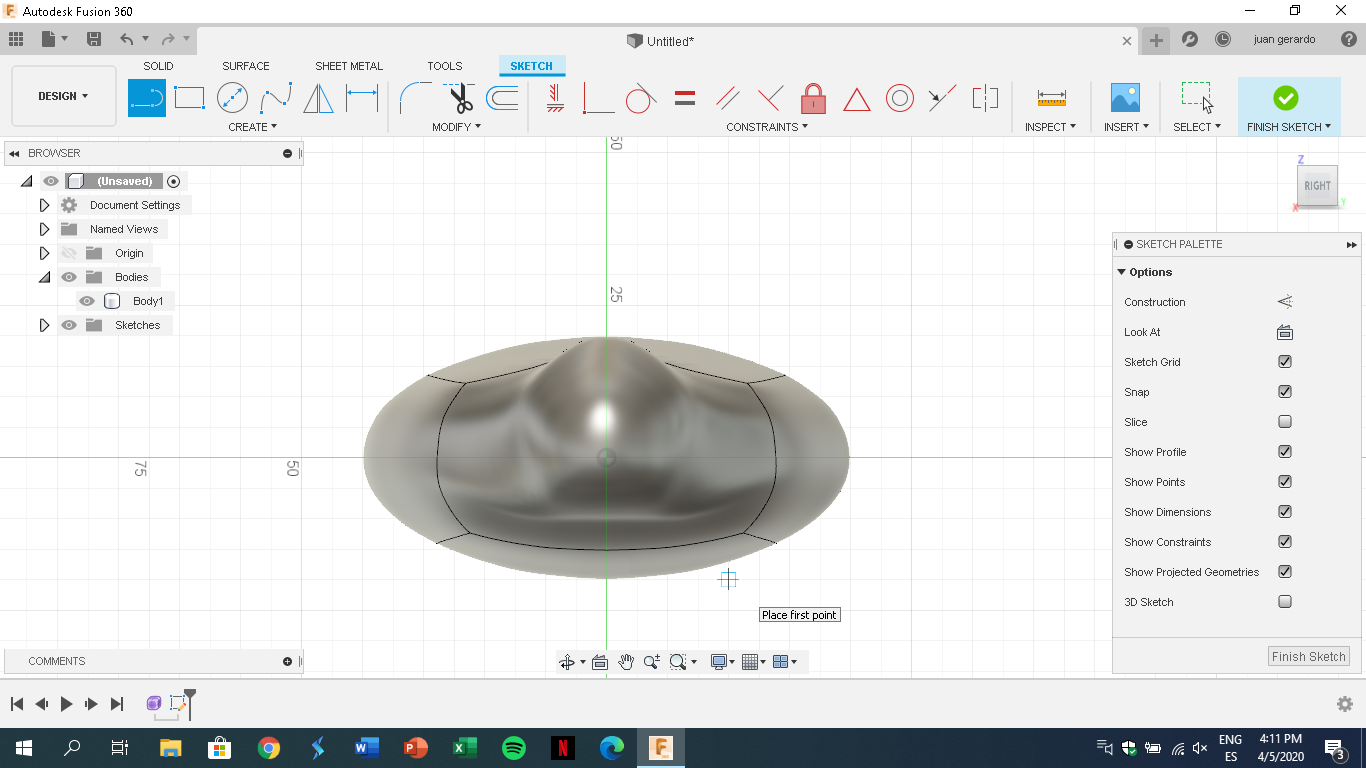
Modeling the Abdomen
.png)
.png)
we will repeat steps 2 and 3 to be able to model the abdomen of the spider and give it the desired shape, selecting polygons and giving it a shape similar to the picture attached
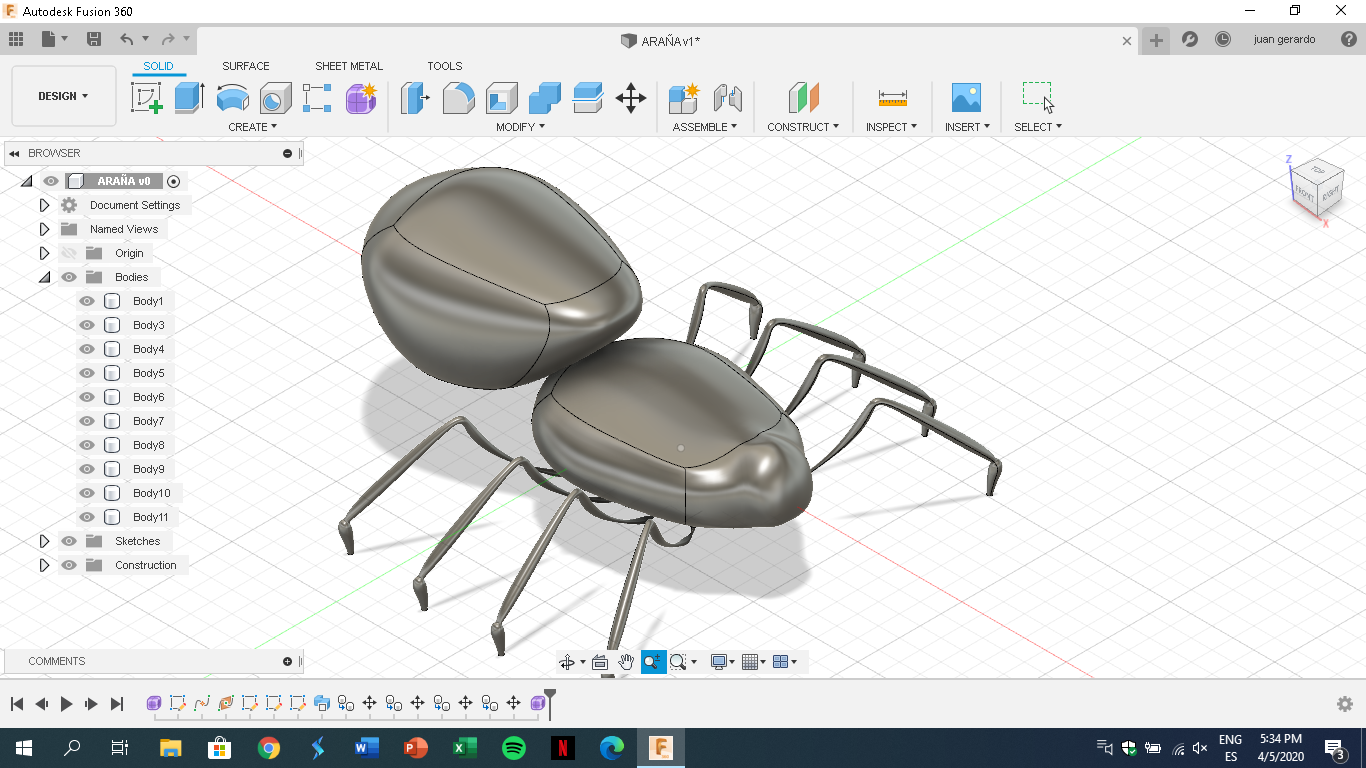
Complete Spider
.png)
this would be the completely finished spider already with all the objects joined and accommodated, this would be the idea that we designed in Fusion 360 to be able to sculpt it based on this design
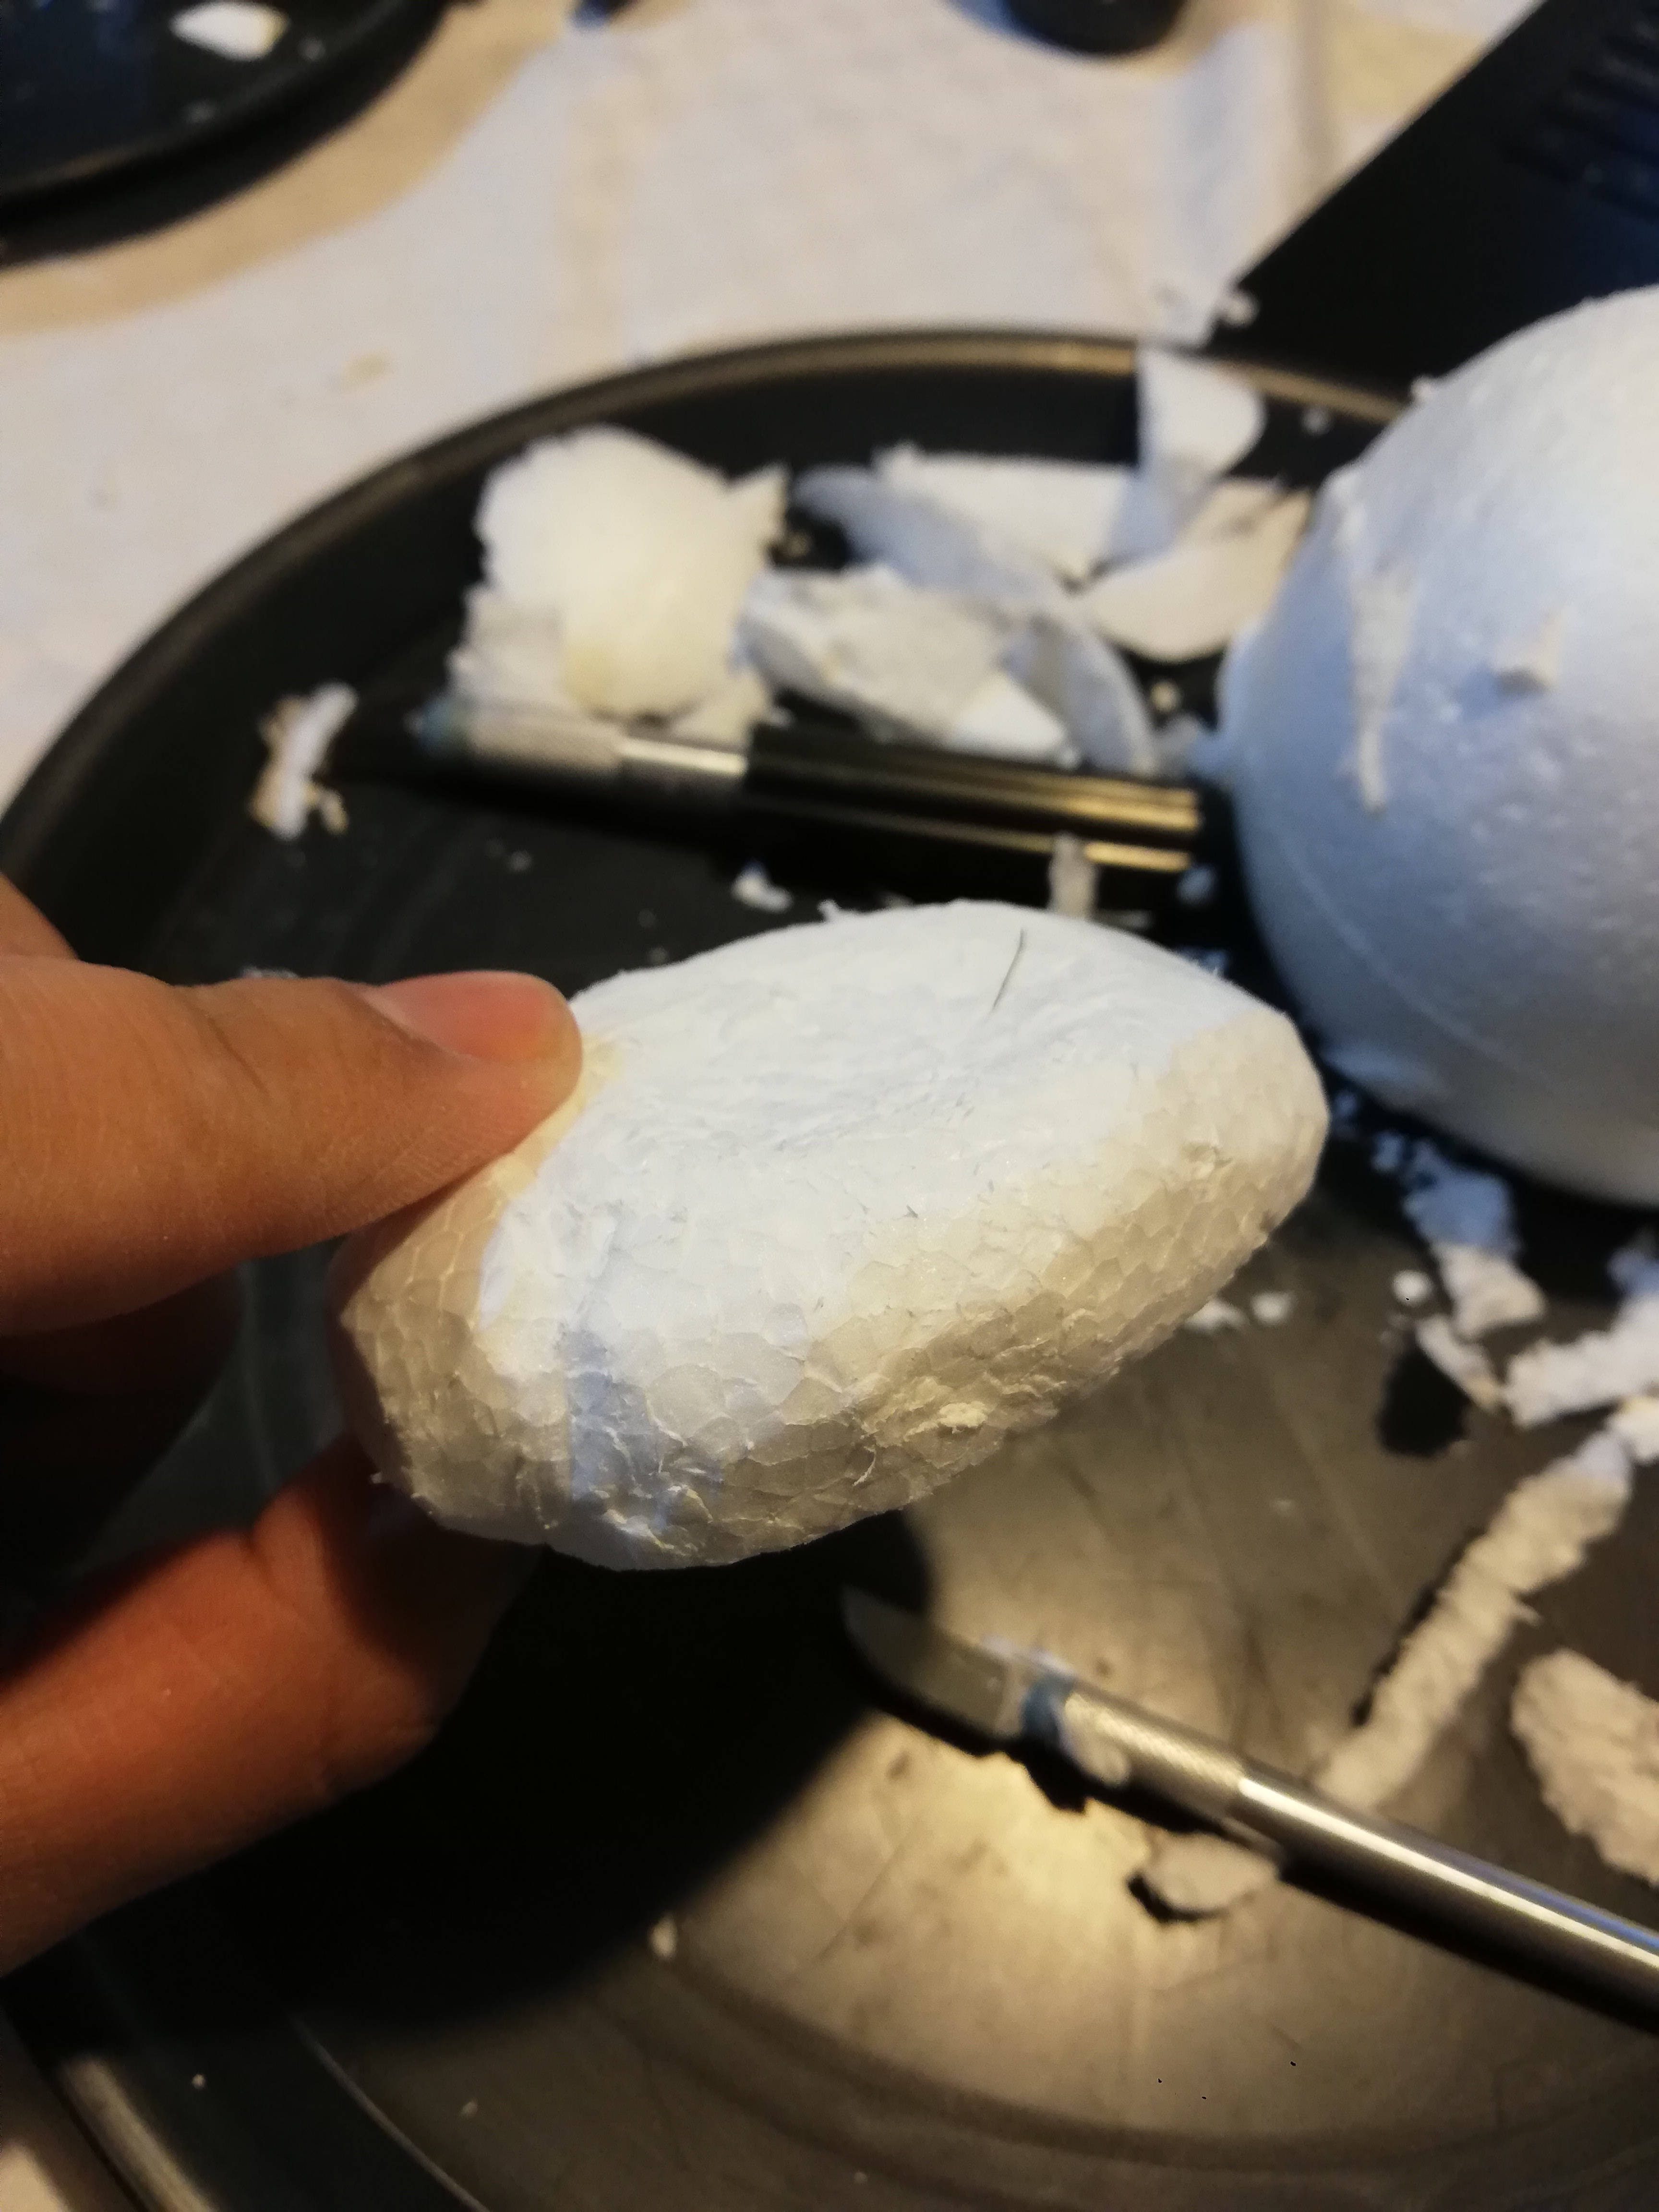
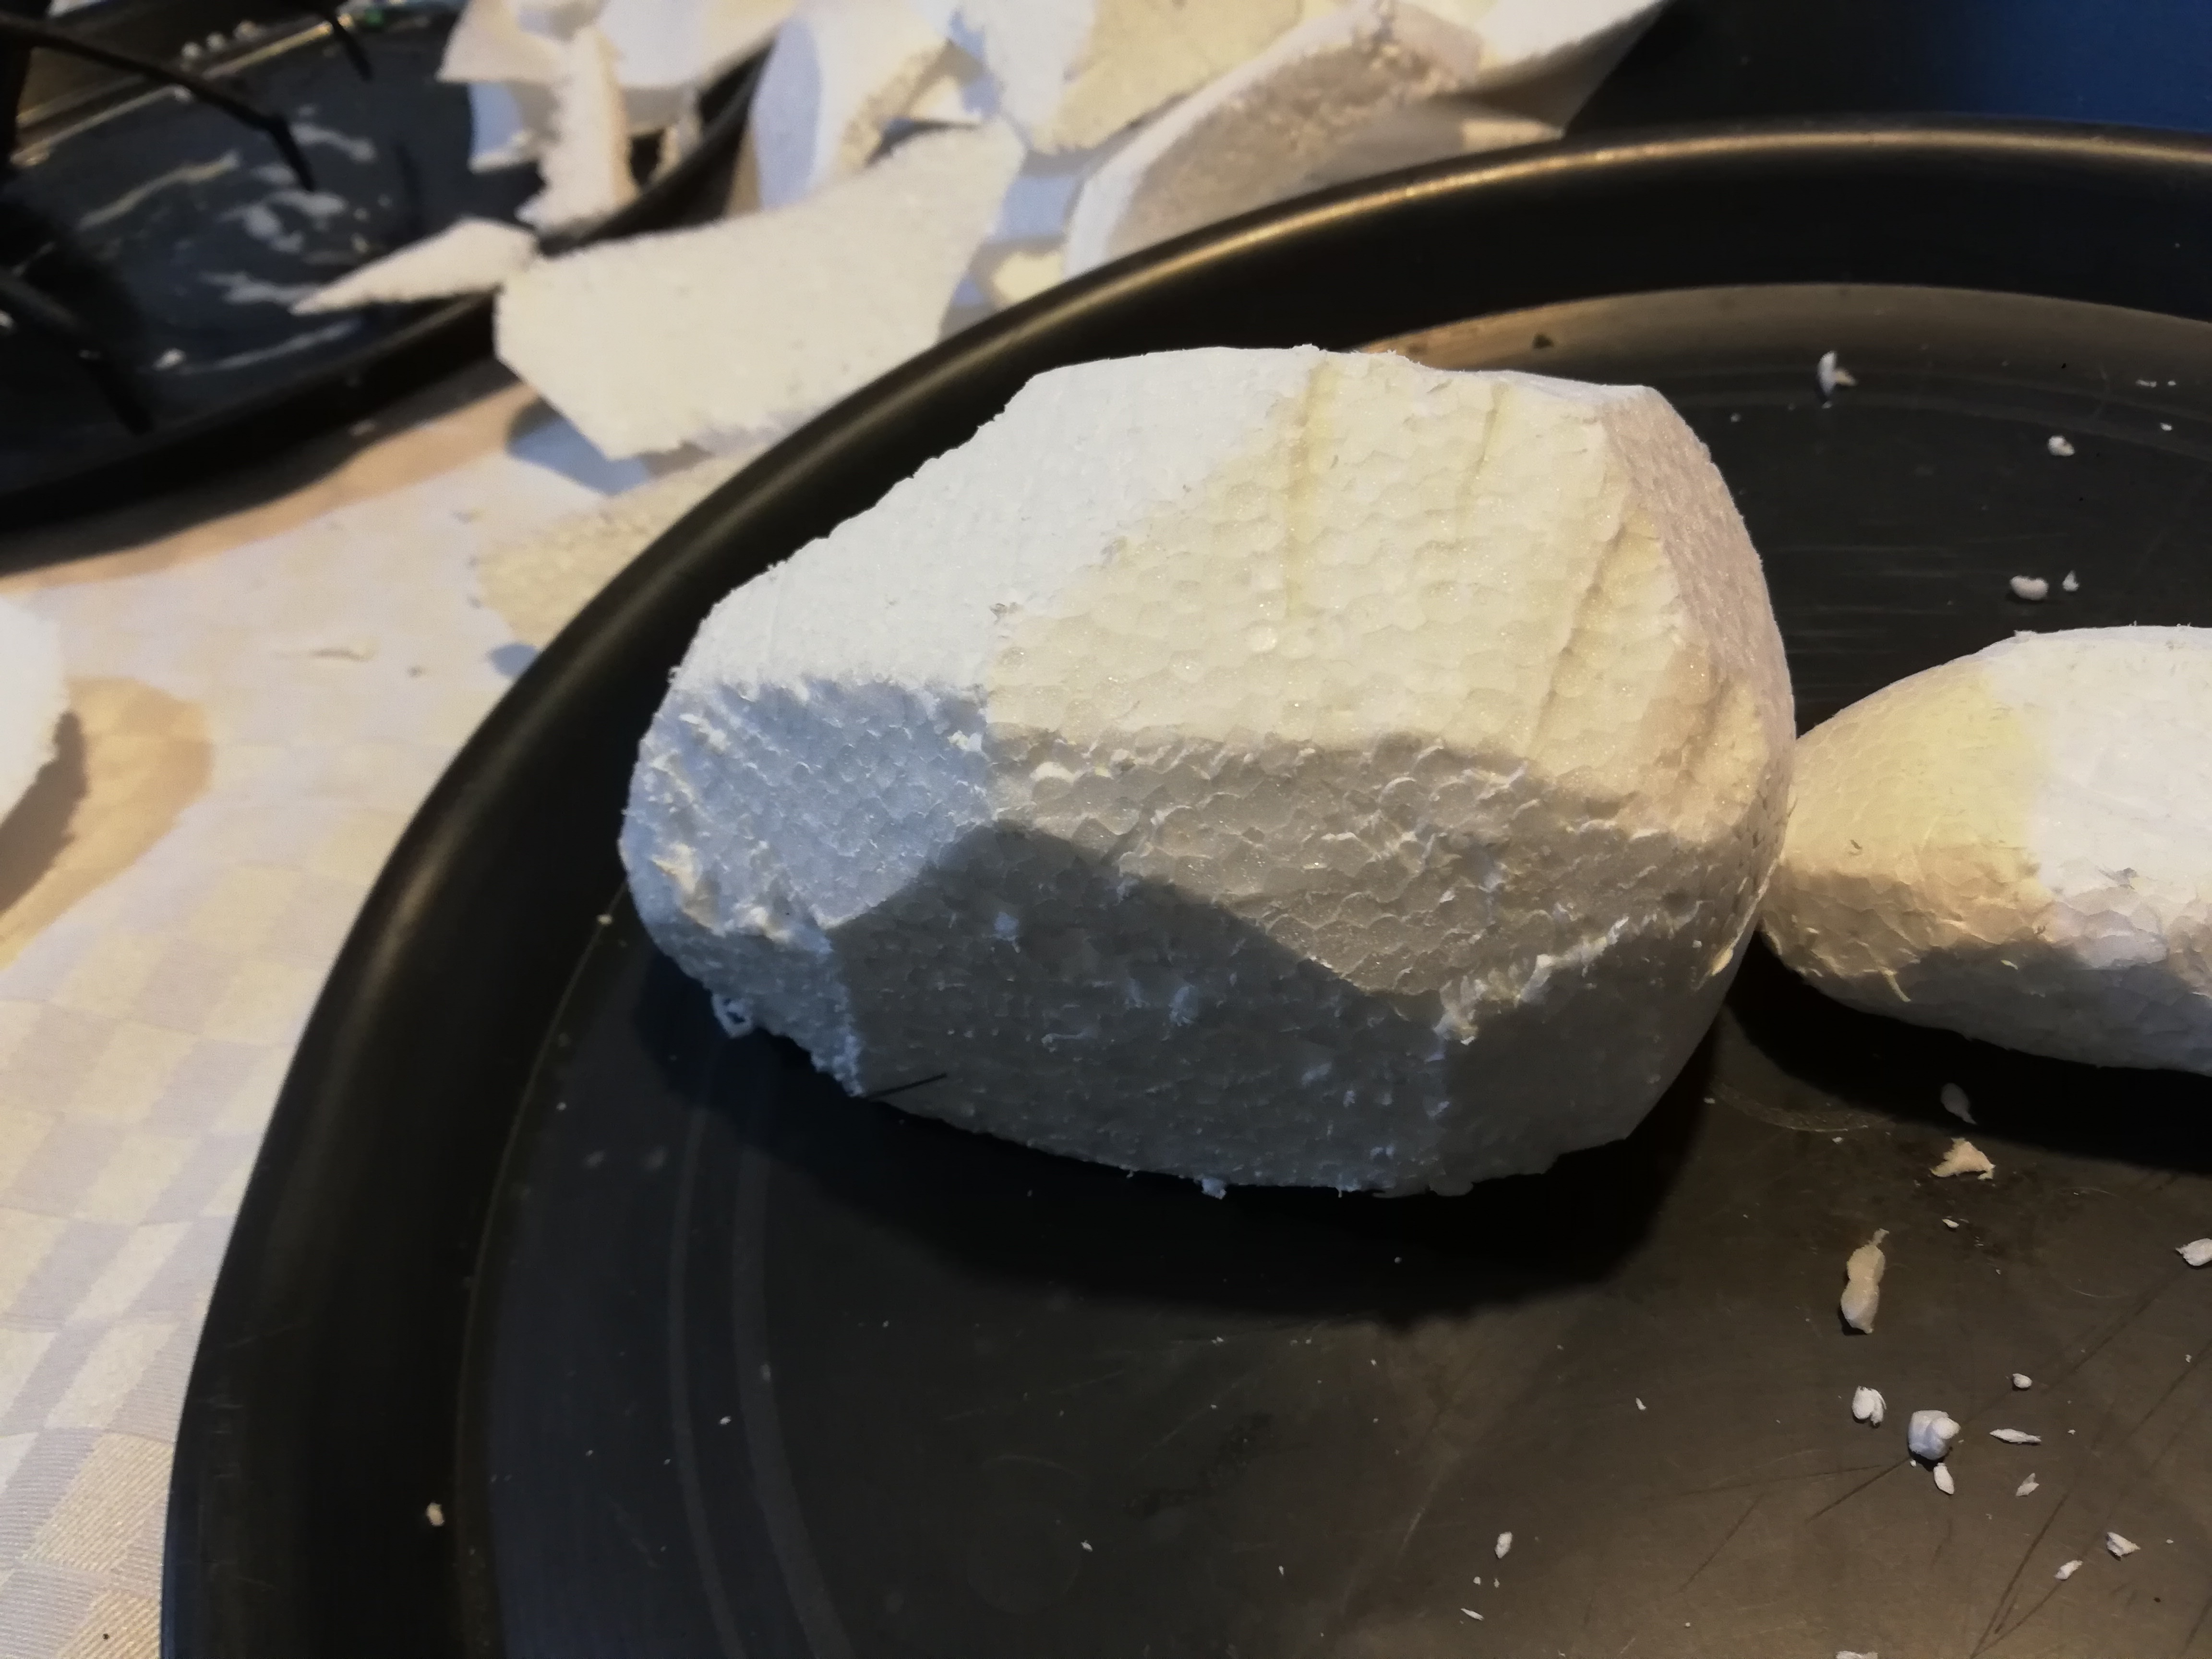
Cut the Styrofoam Ball
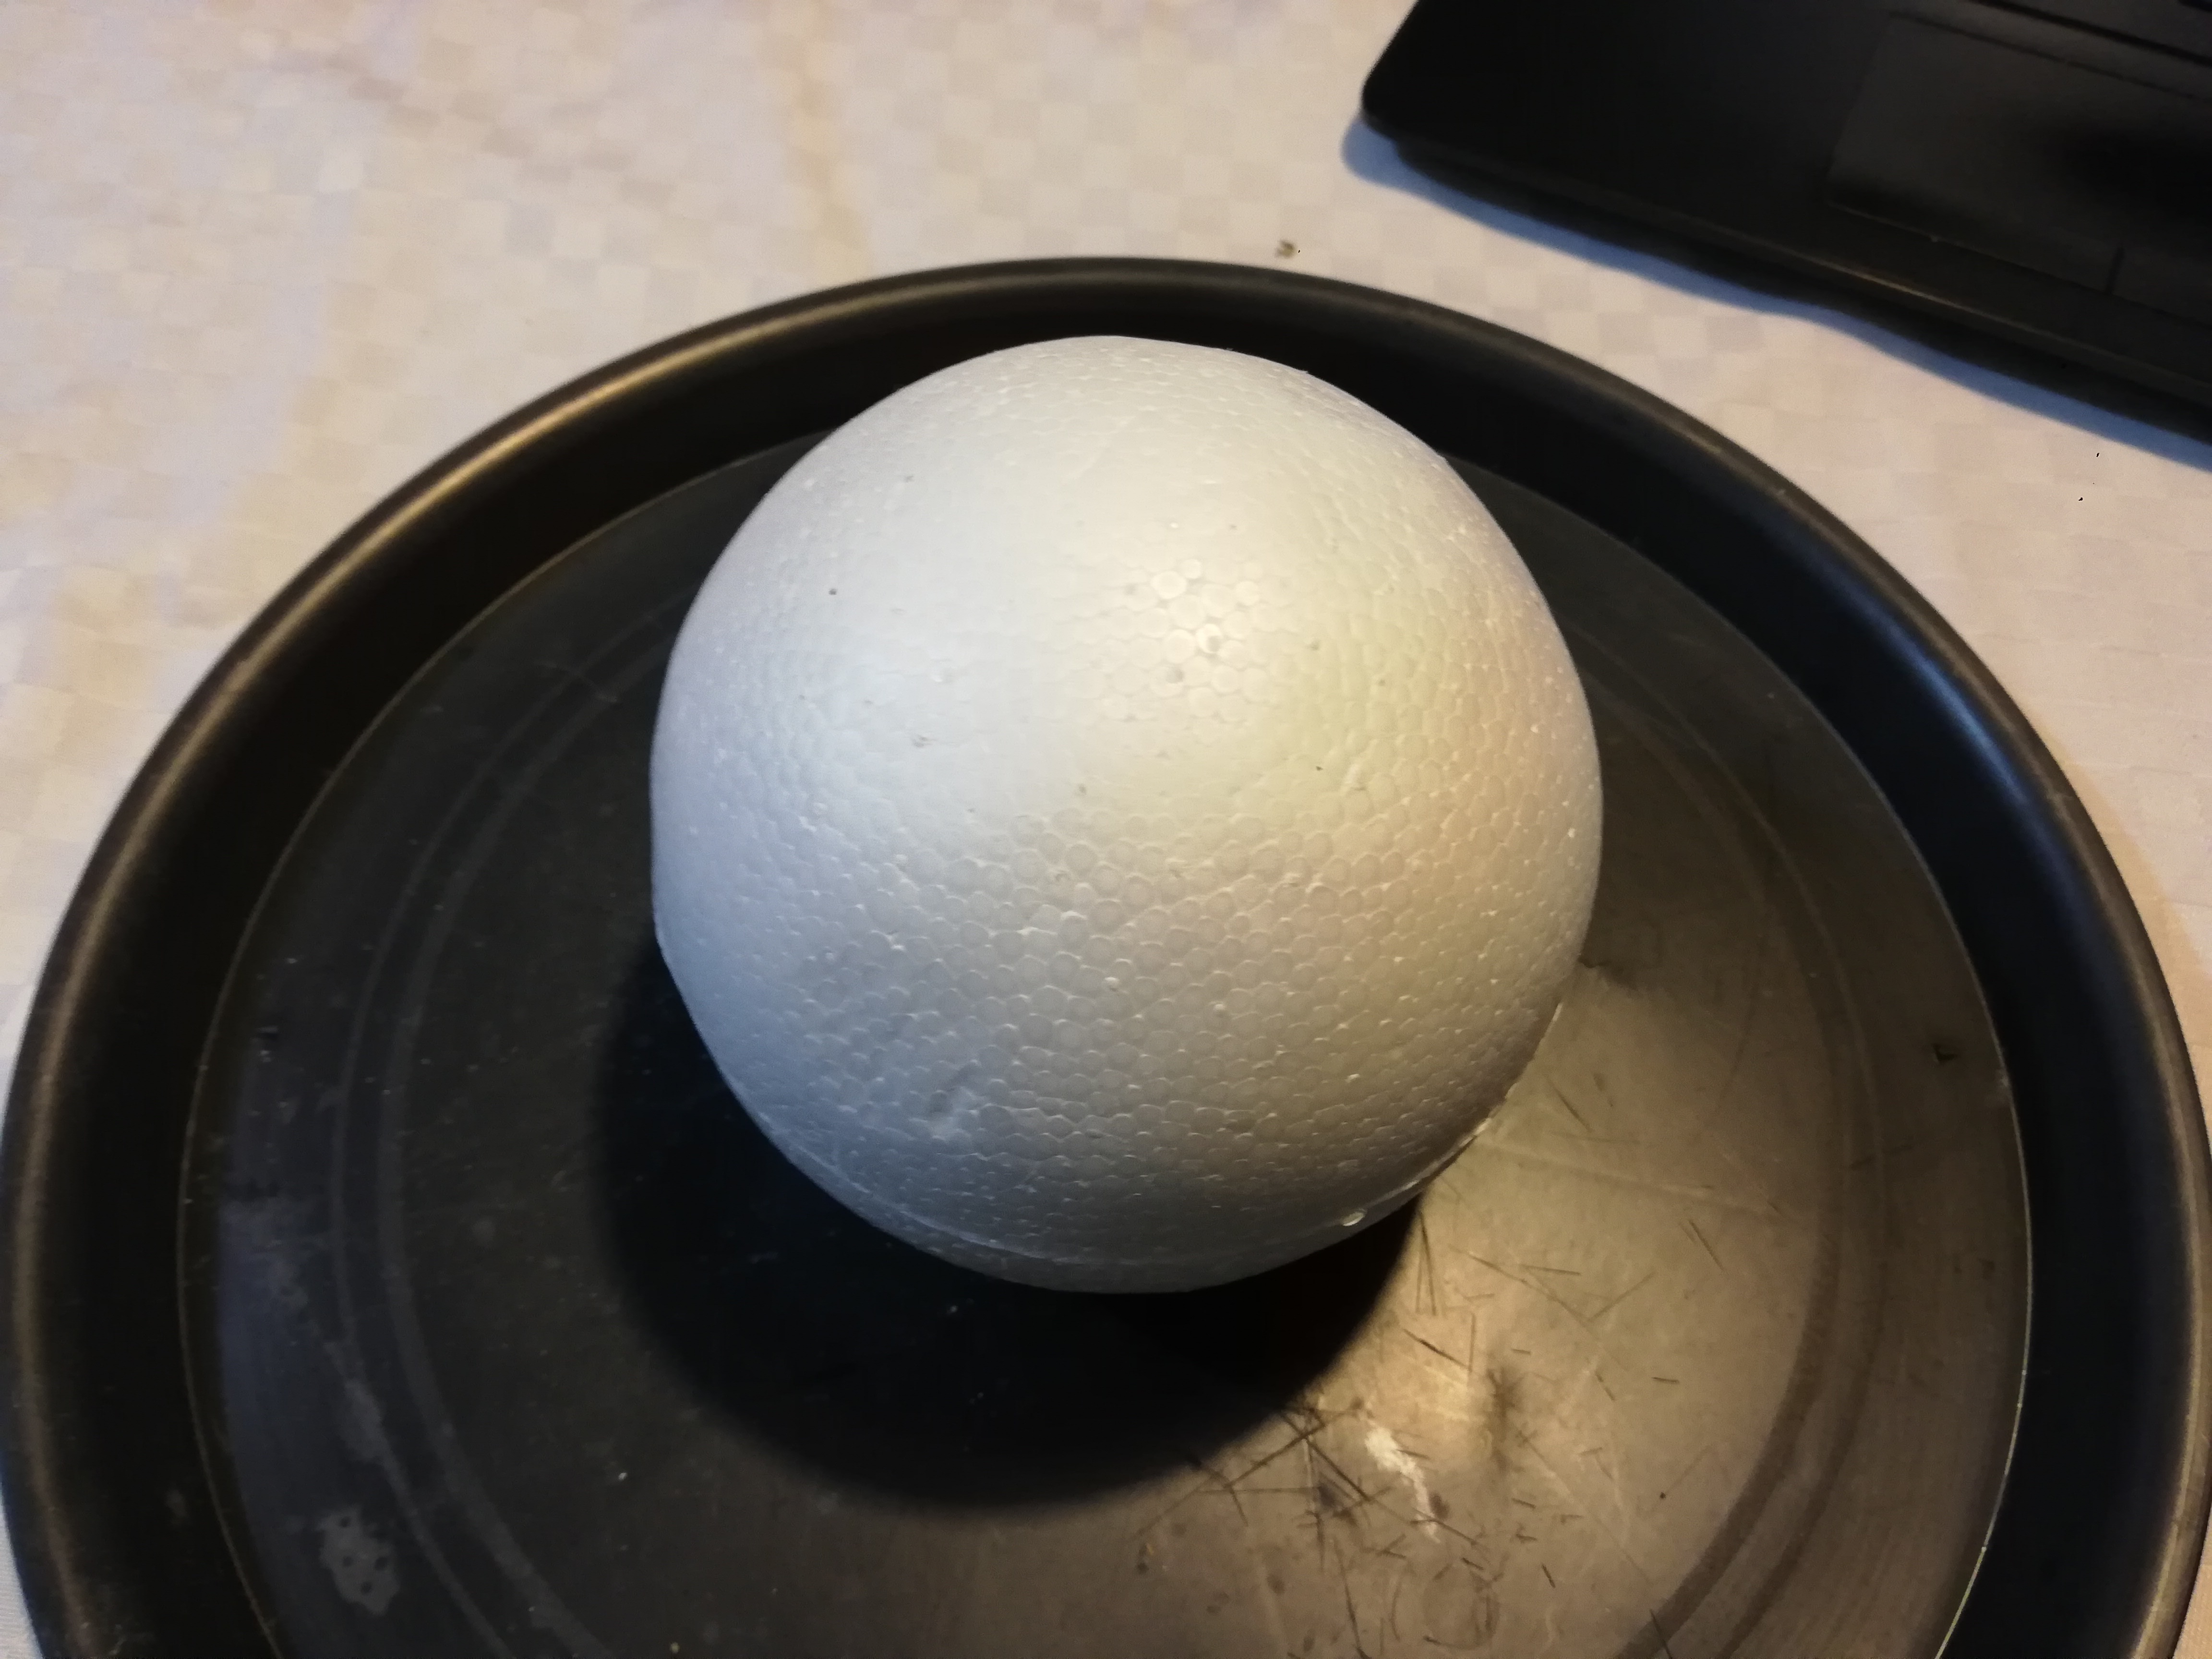
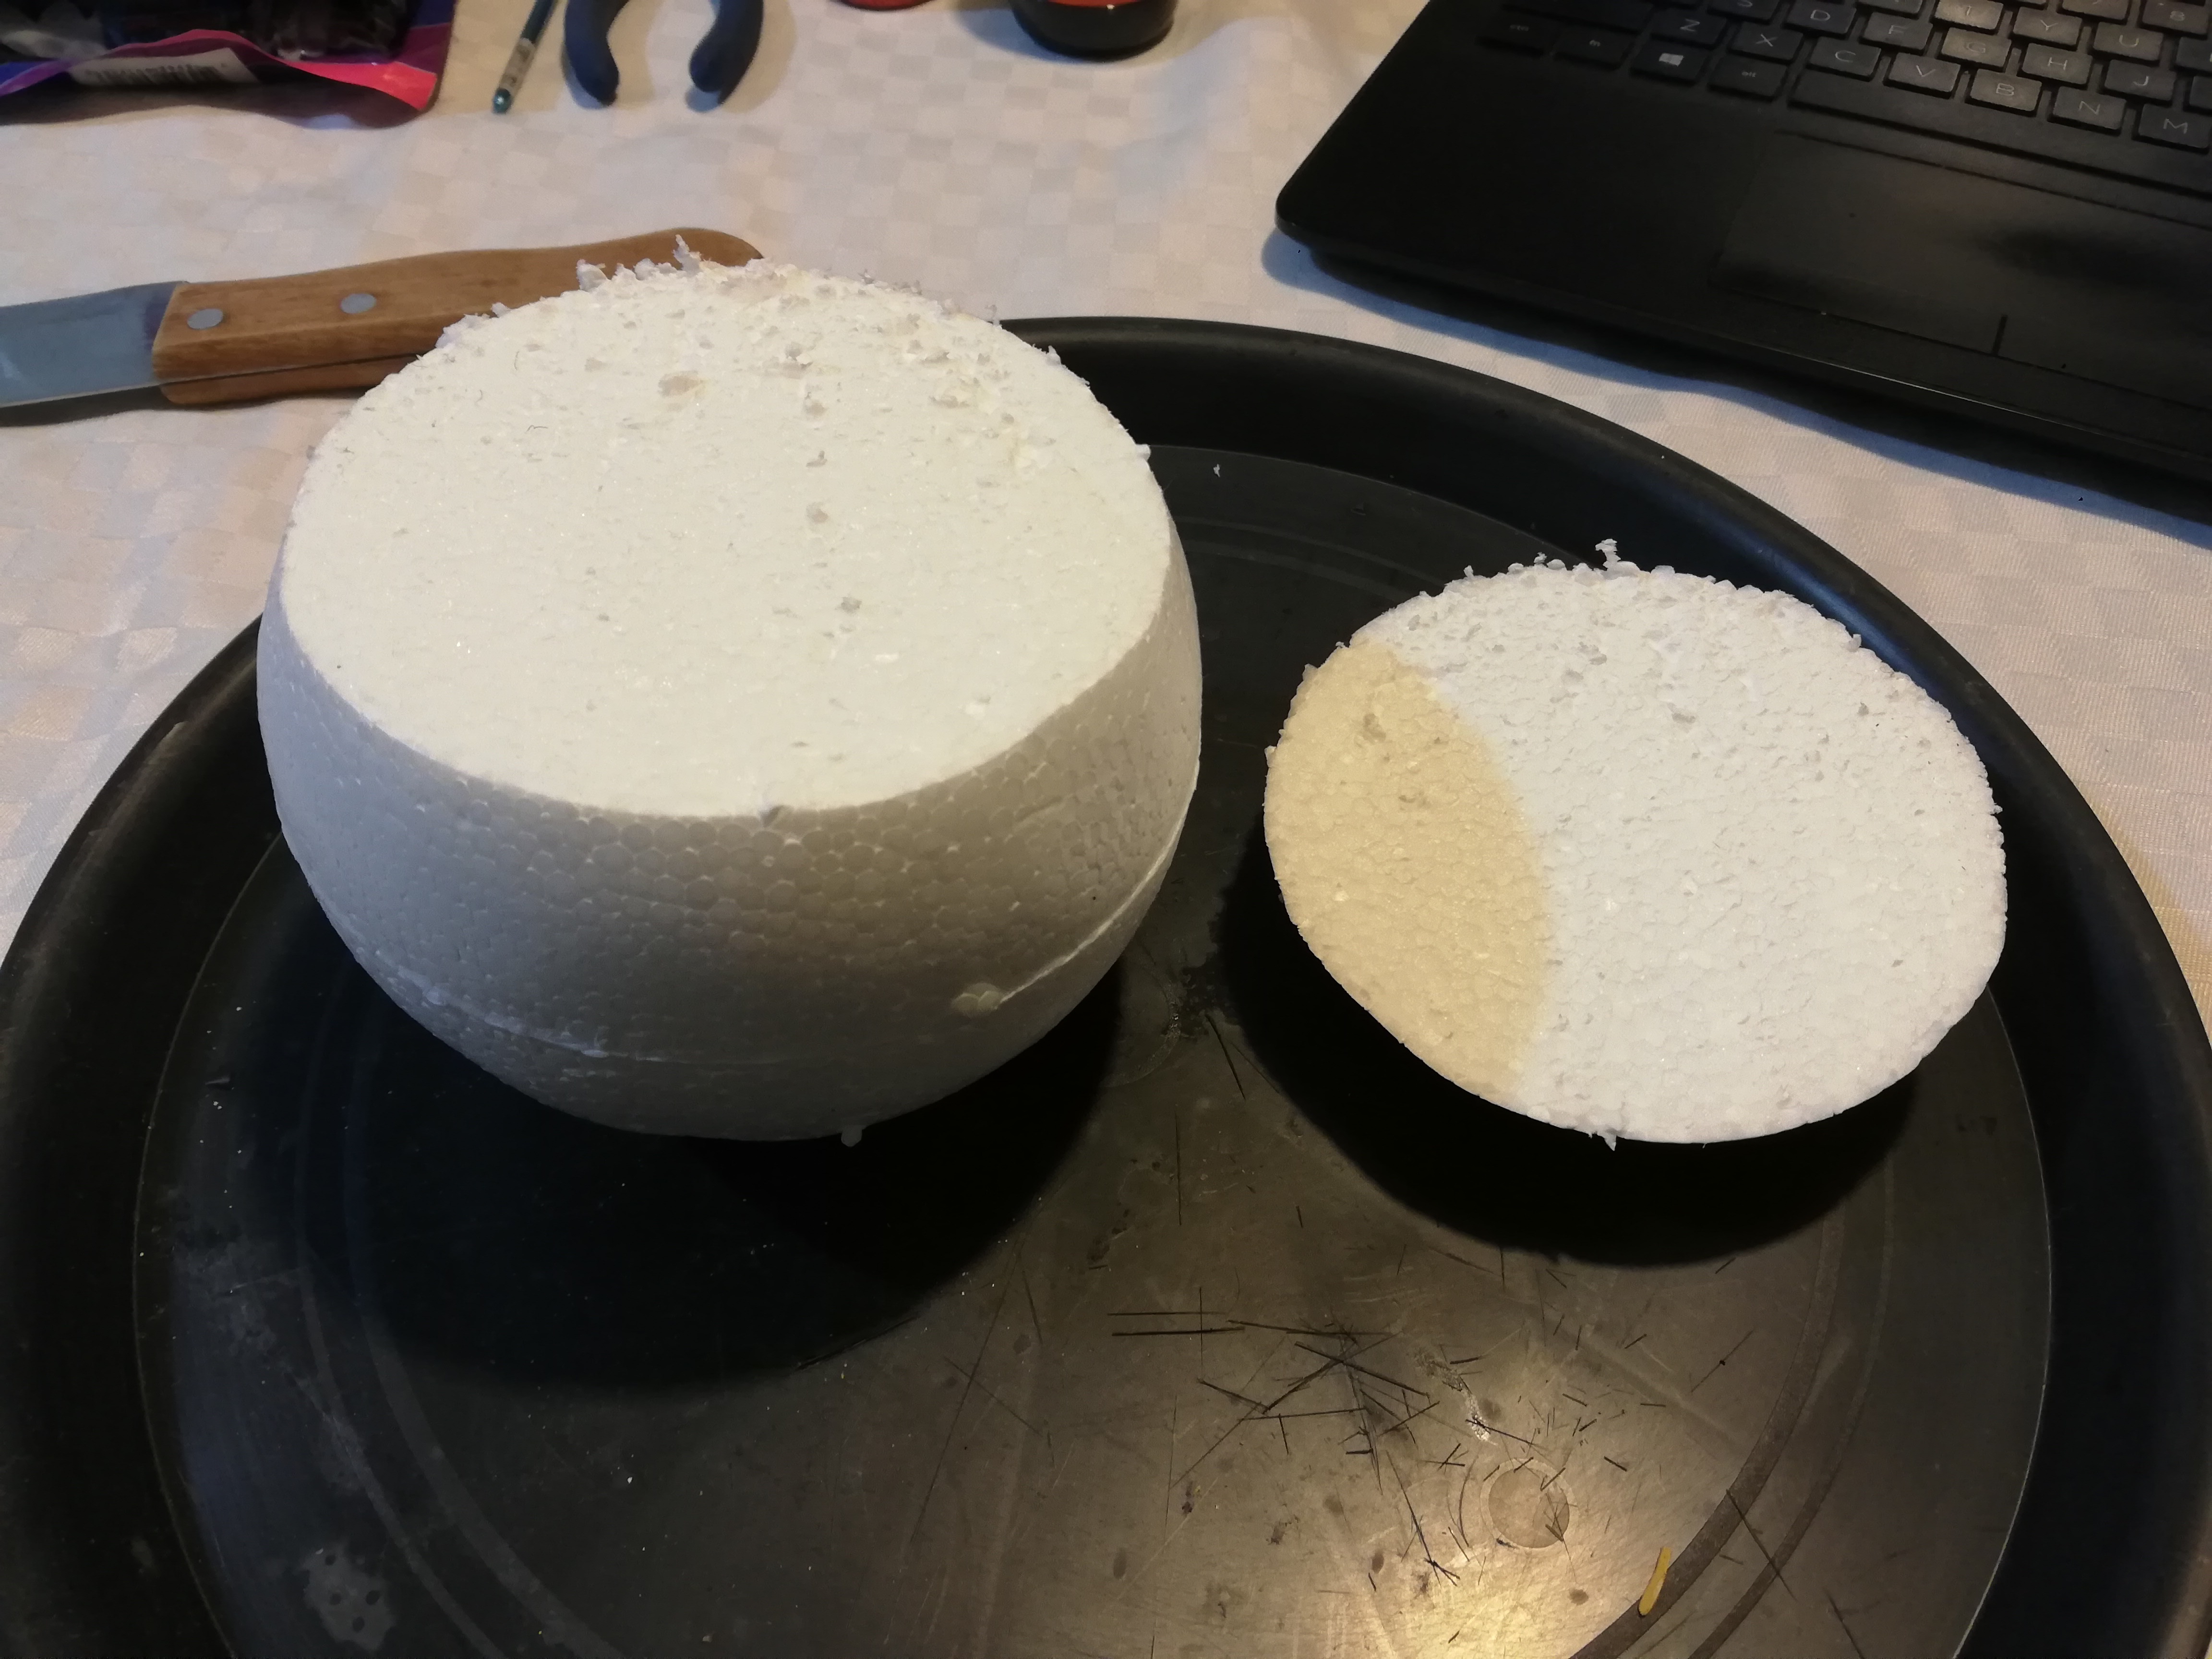
We will have to cut the ball and shape like the 3D model, just need a knife or cutter and then you will begin to reduce the shape of the ball
we cut a single ball, we cut 1/4 from the sphere that will be for the thorax and the other piece for the abdomen
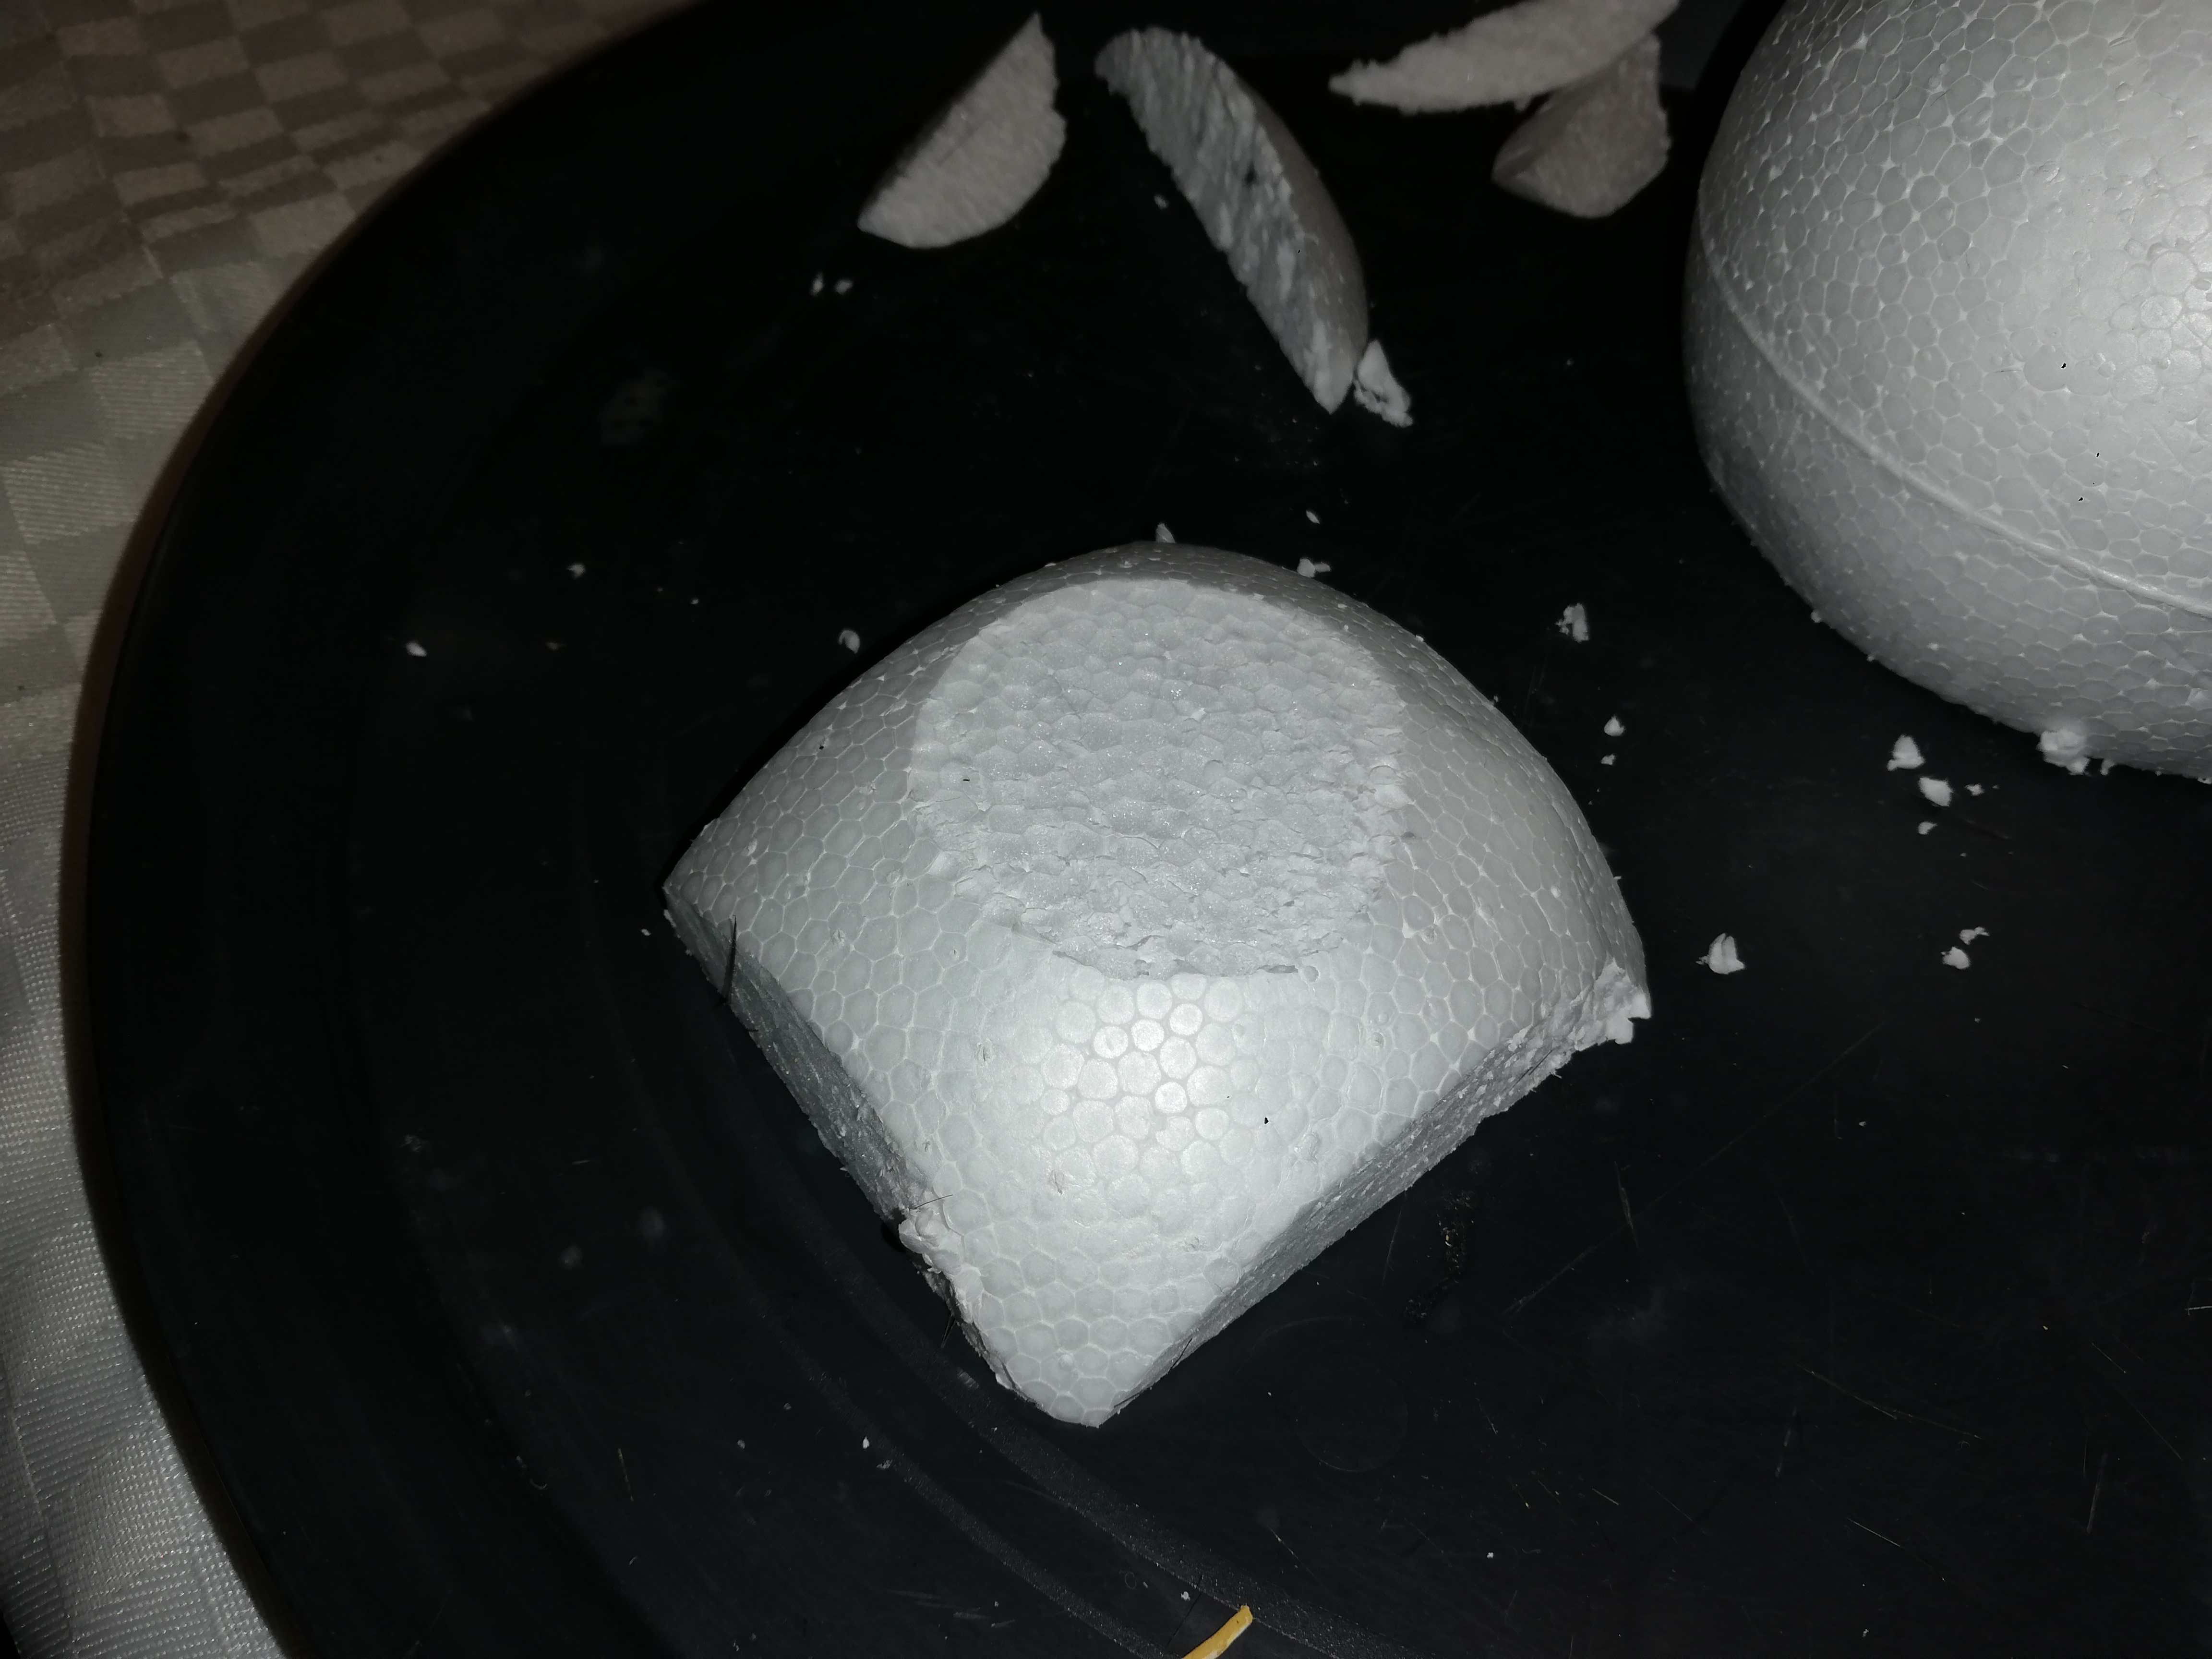
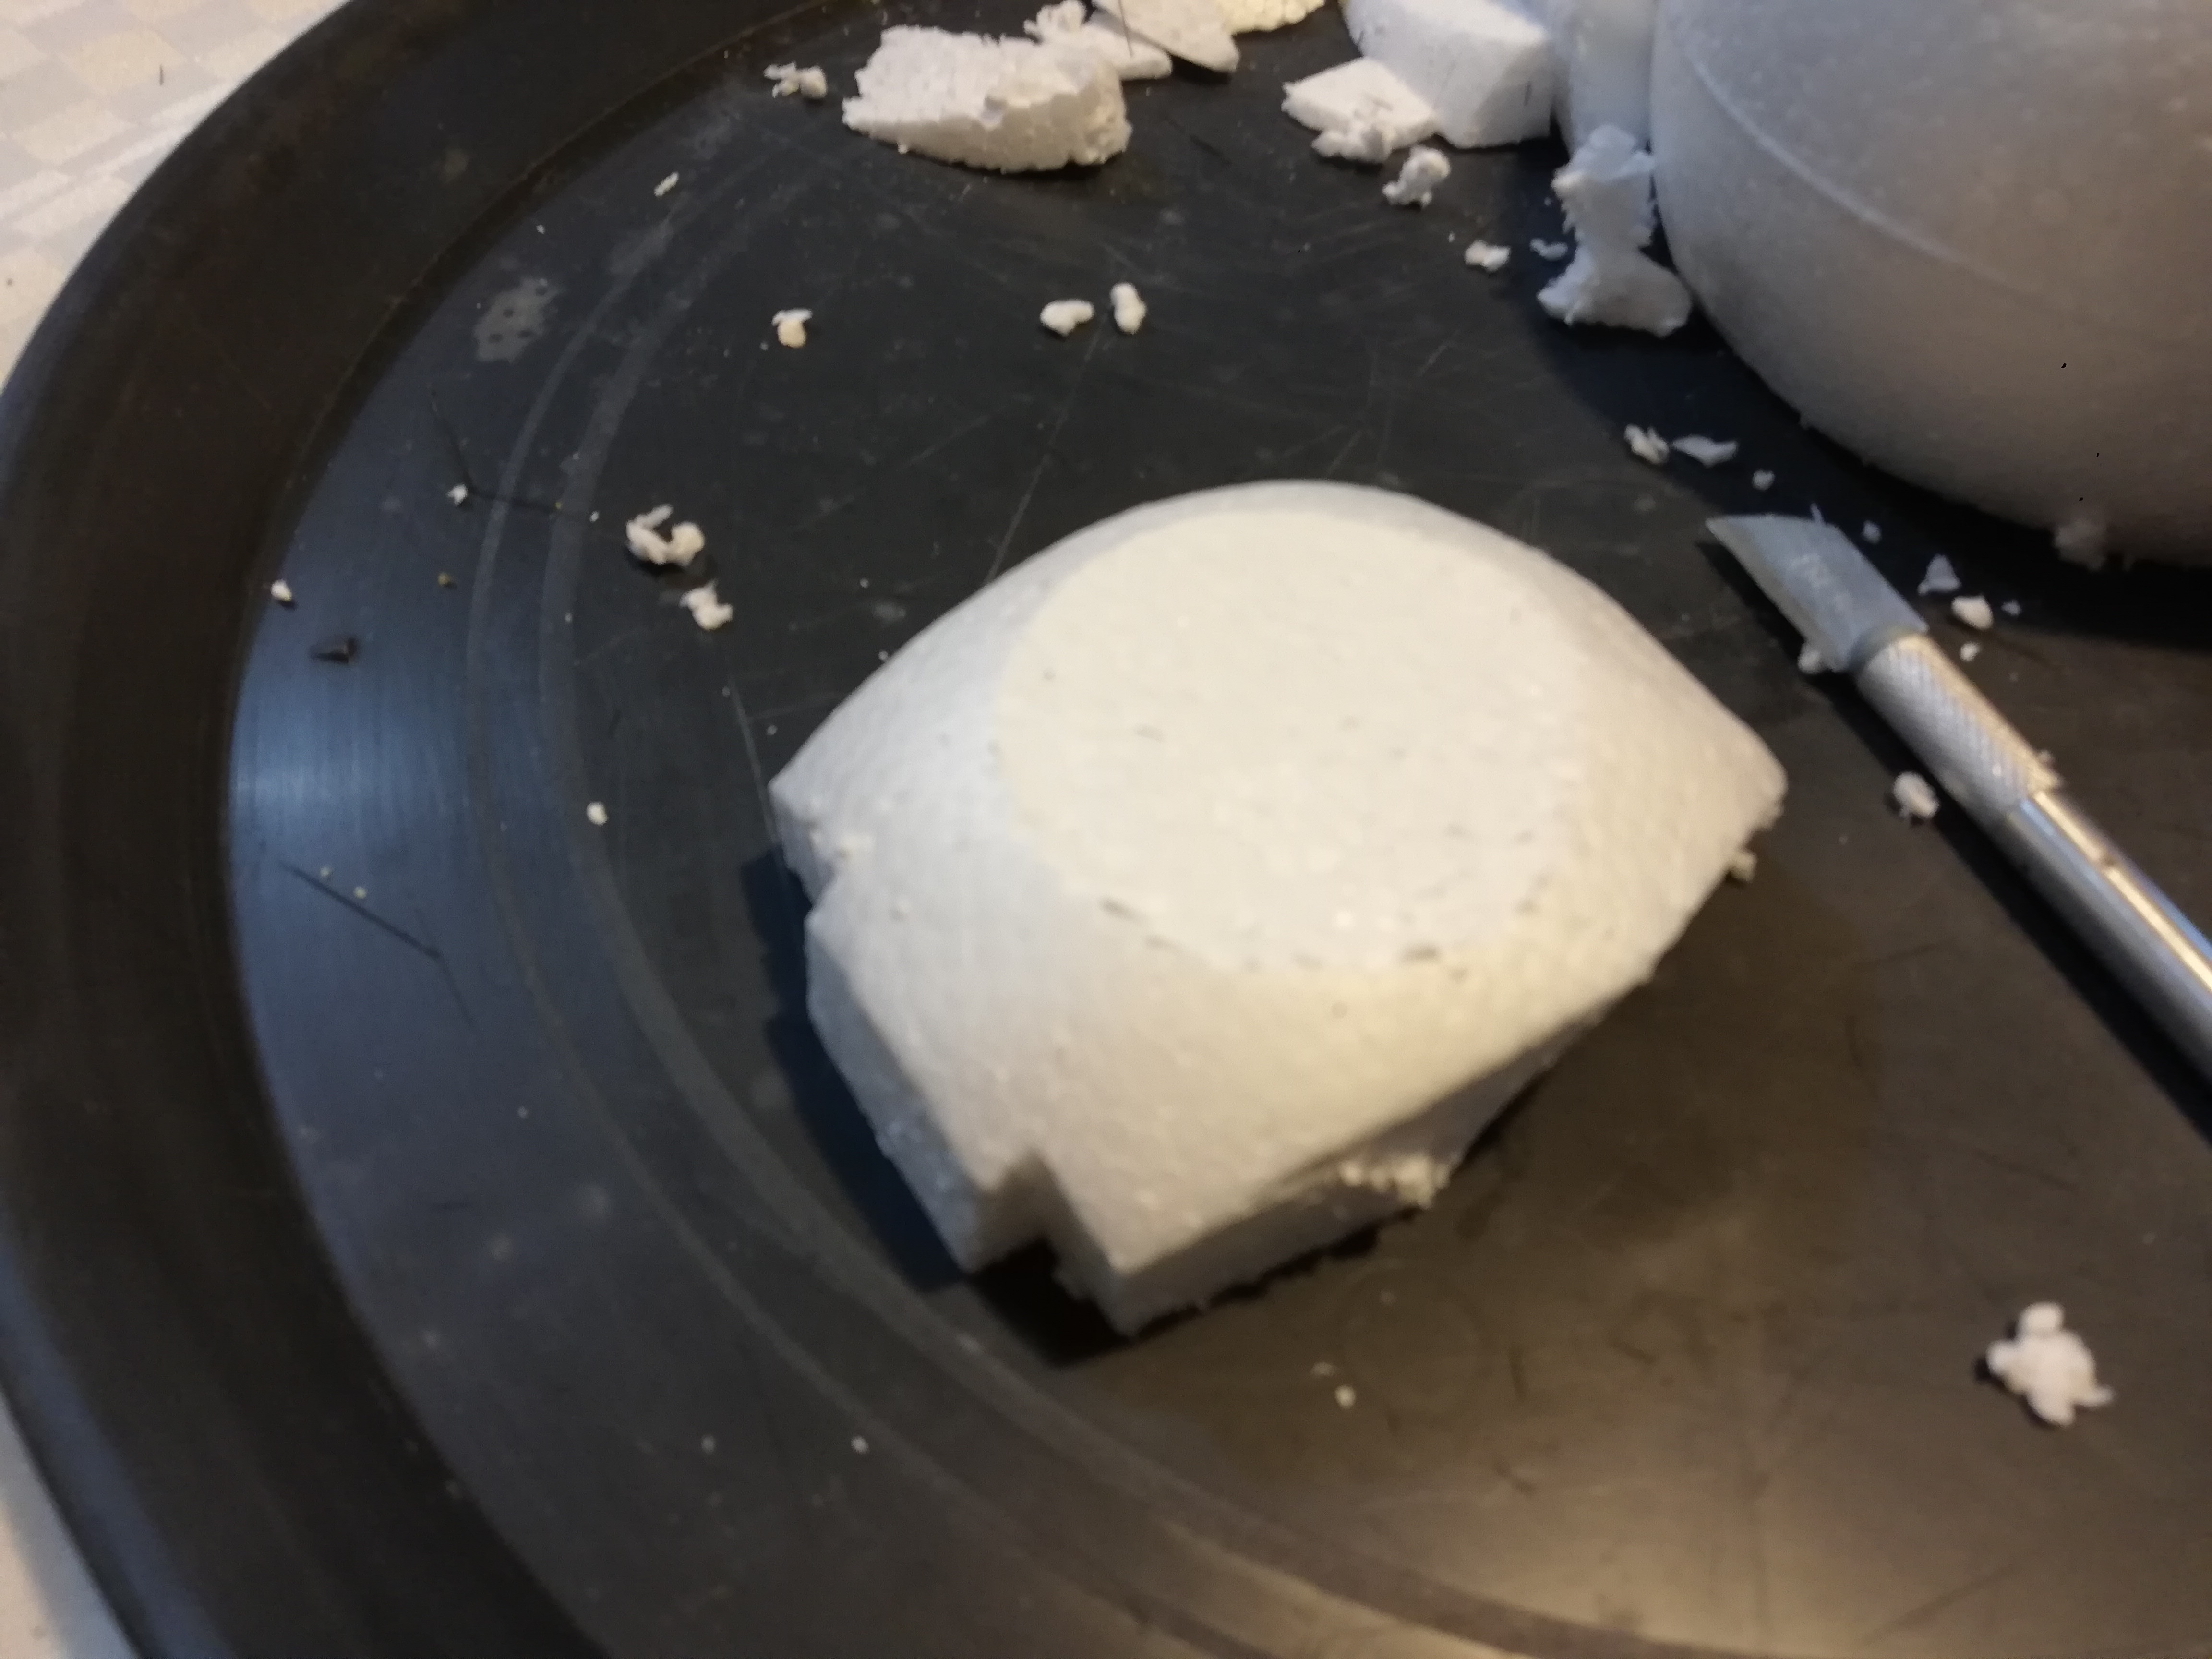
Details the Thorax
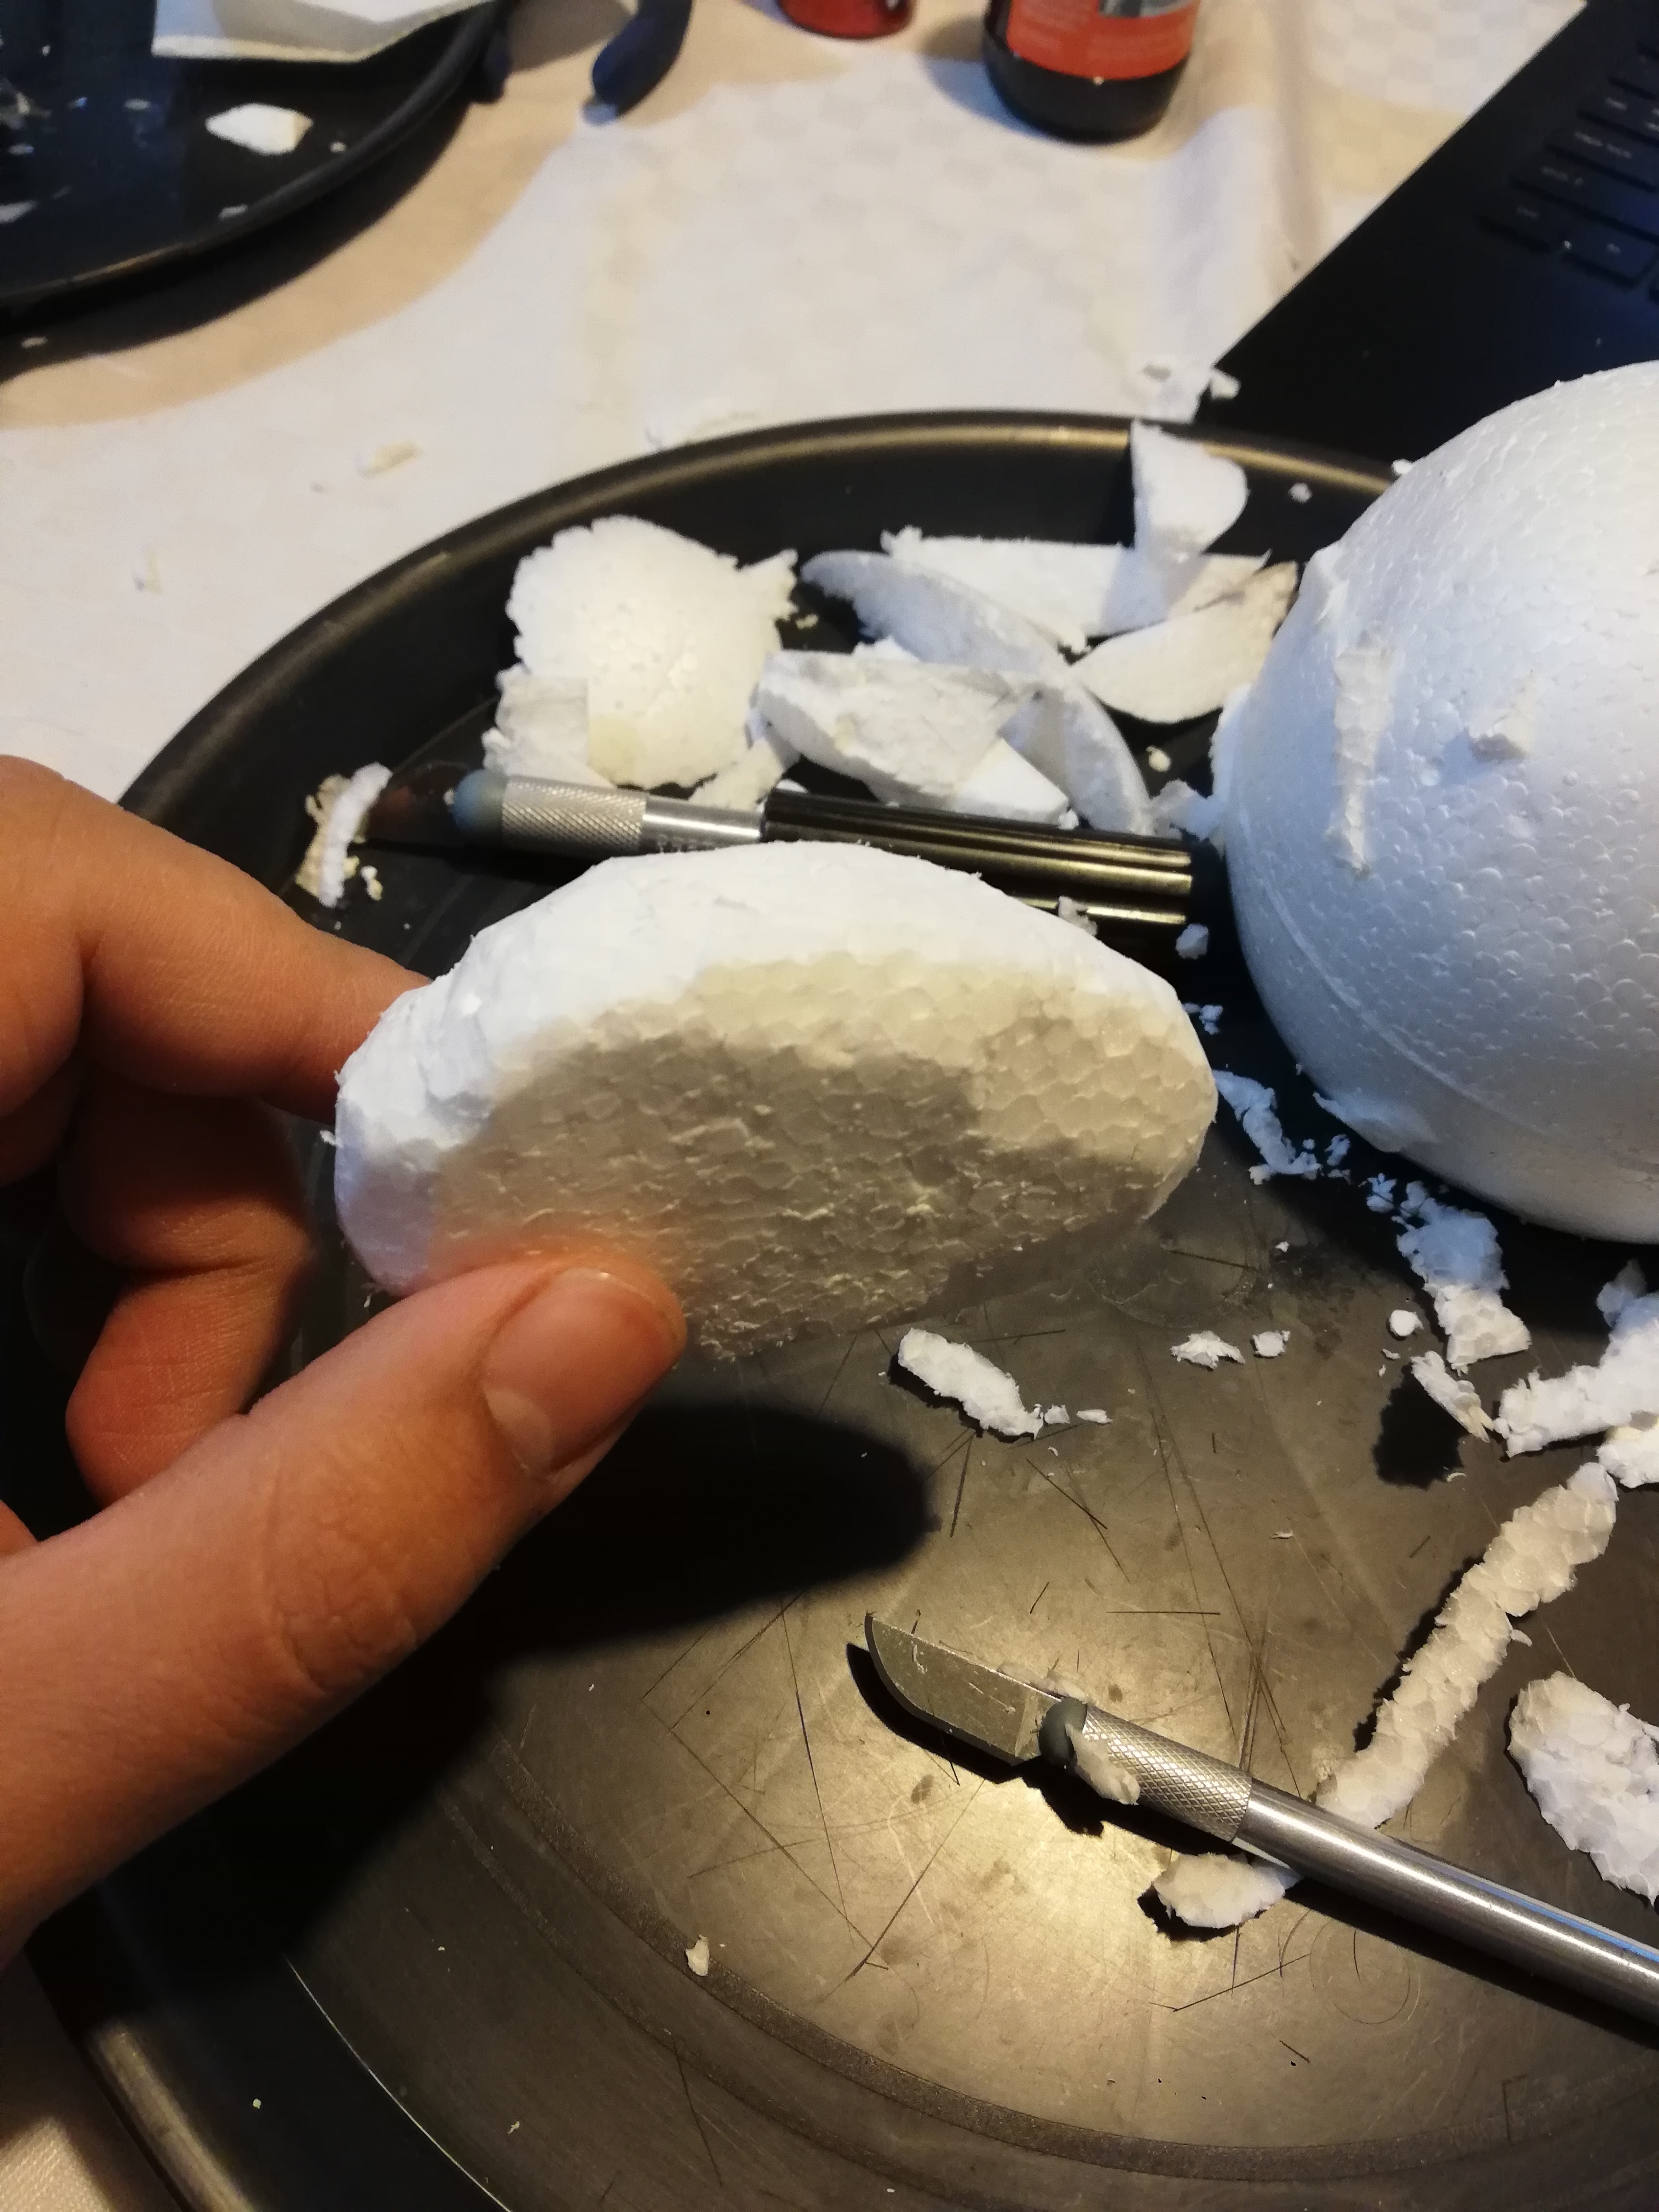

now we will add detail so that it does not remain square, we will cut the corners to round the object
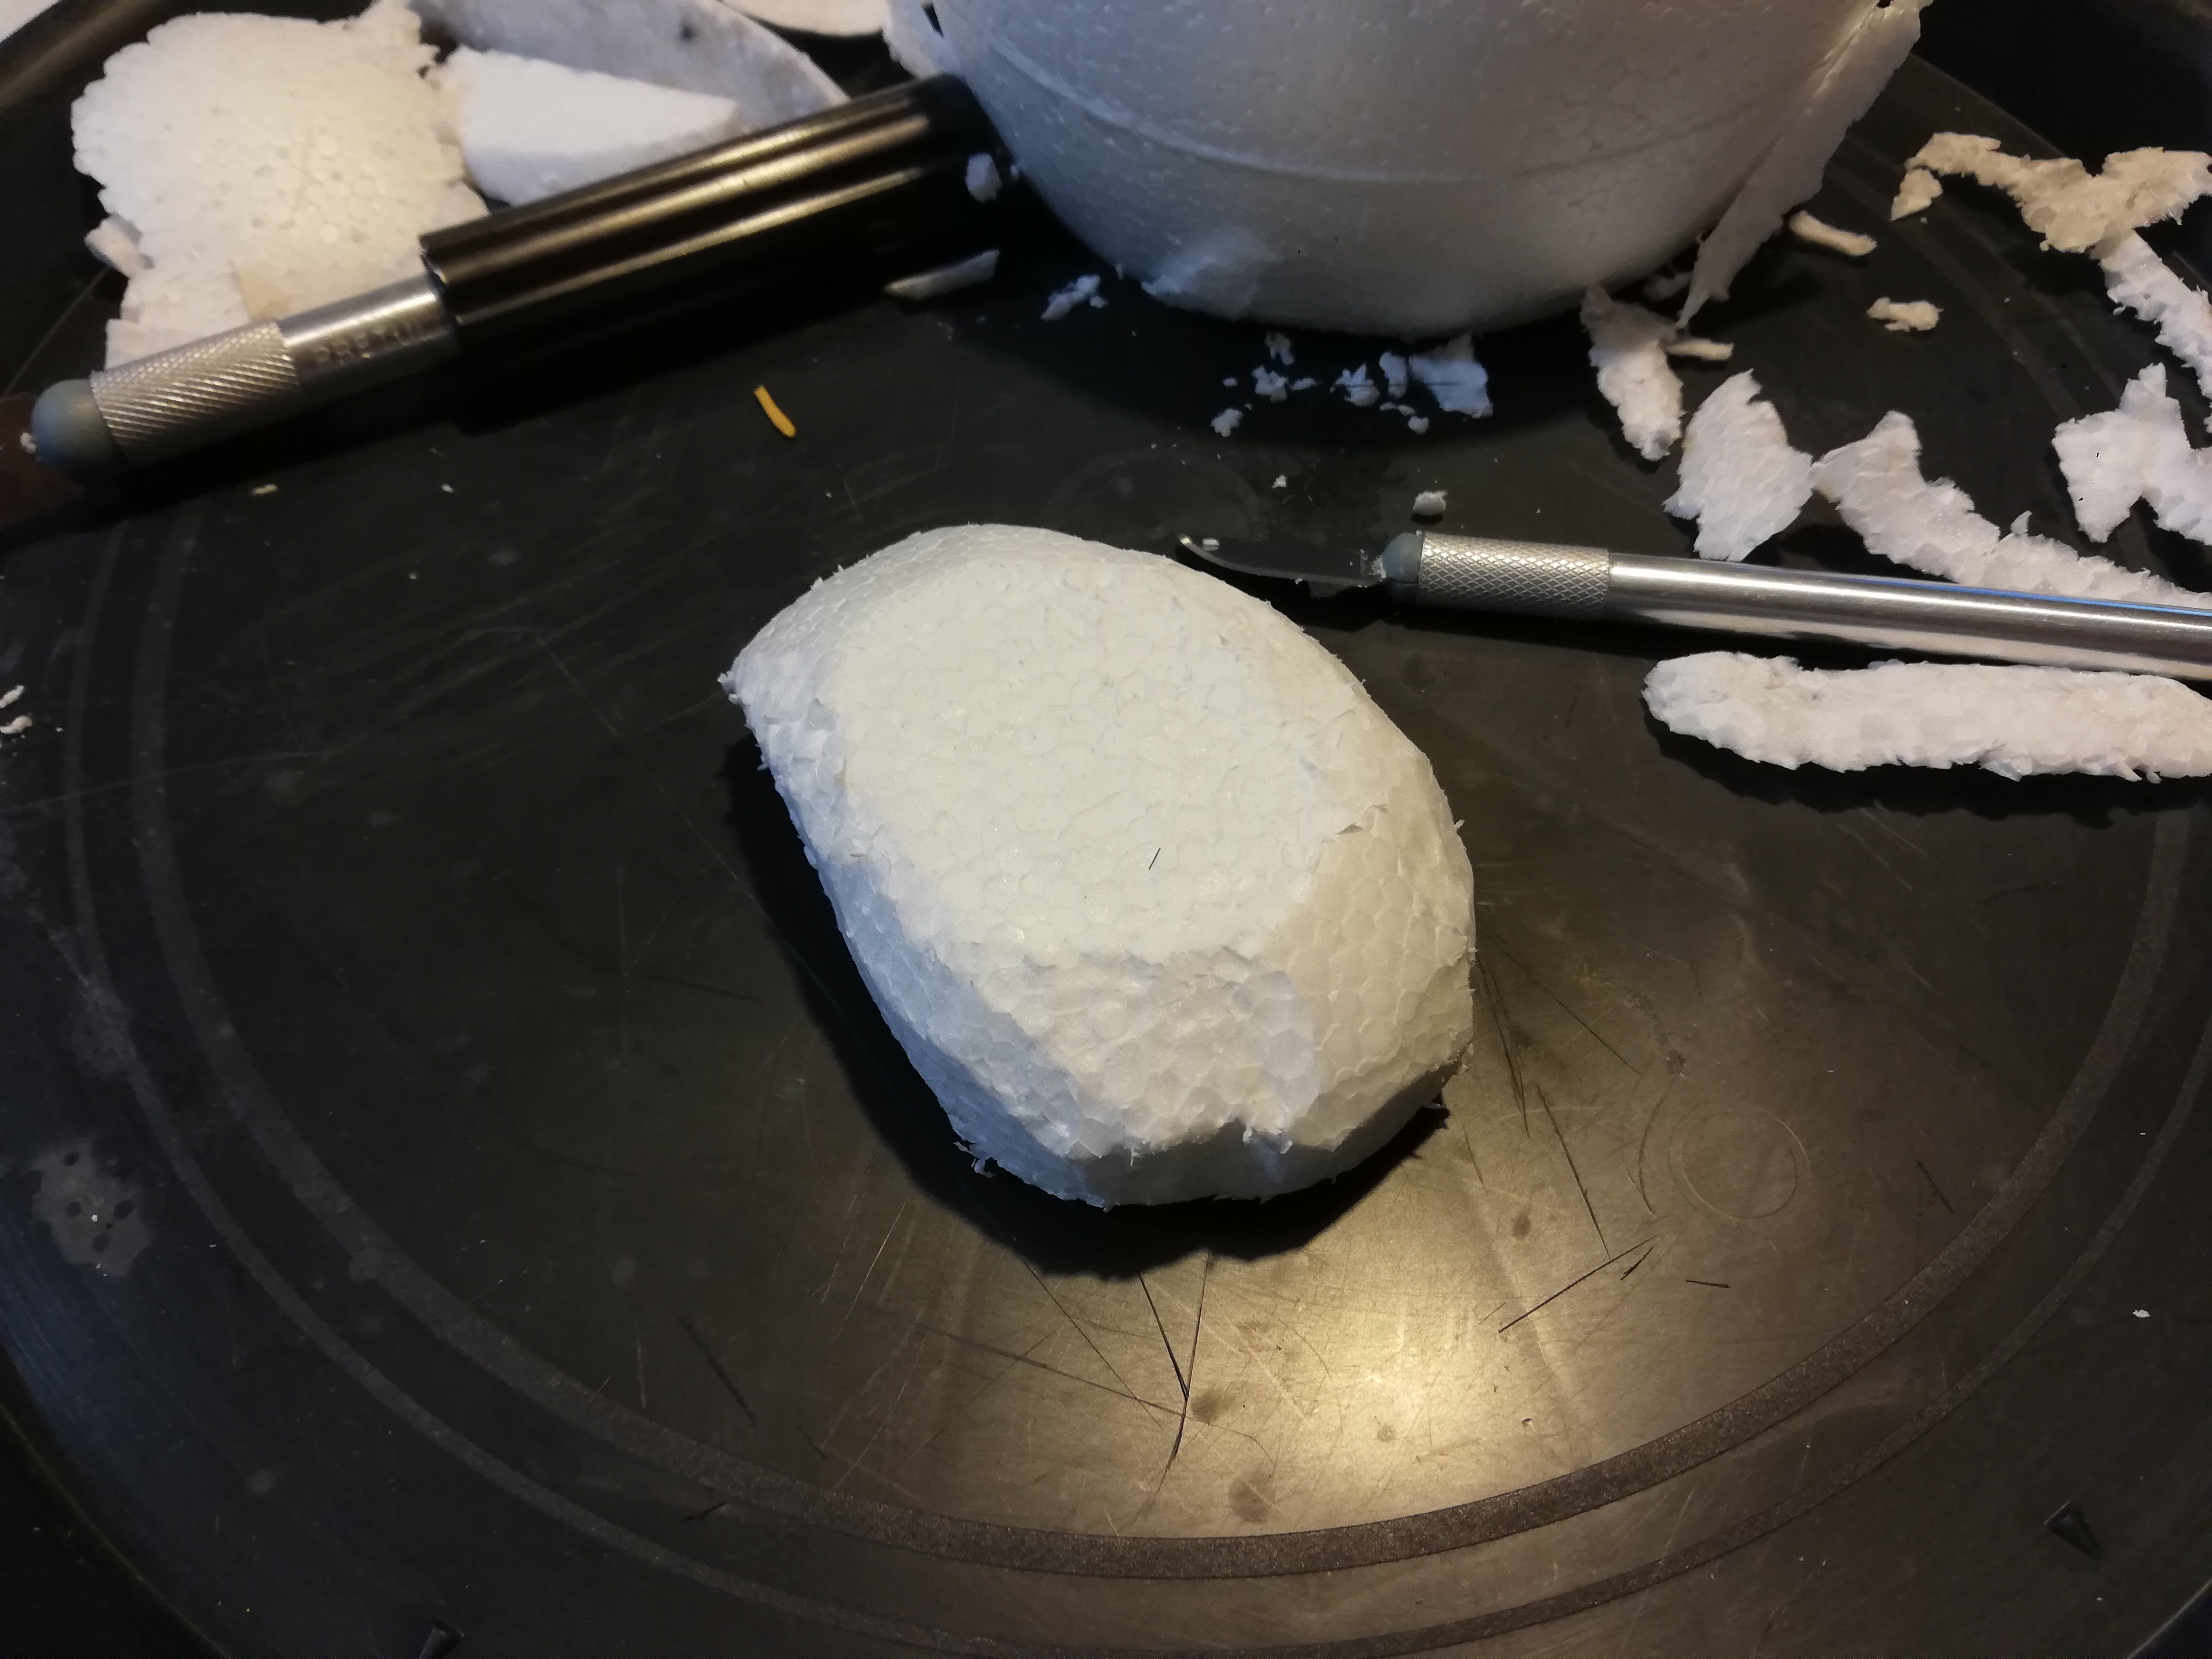
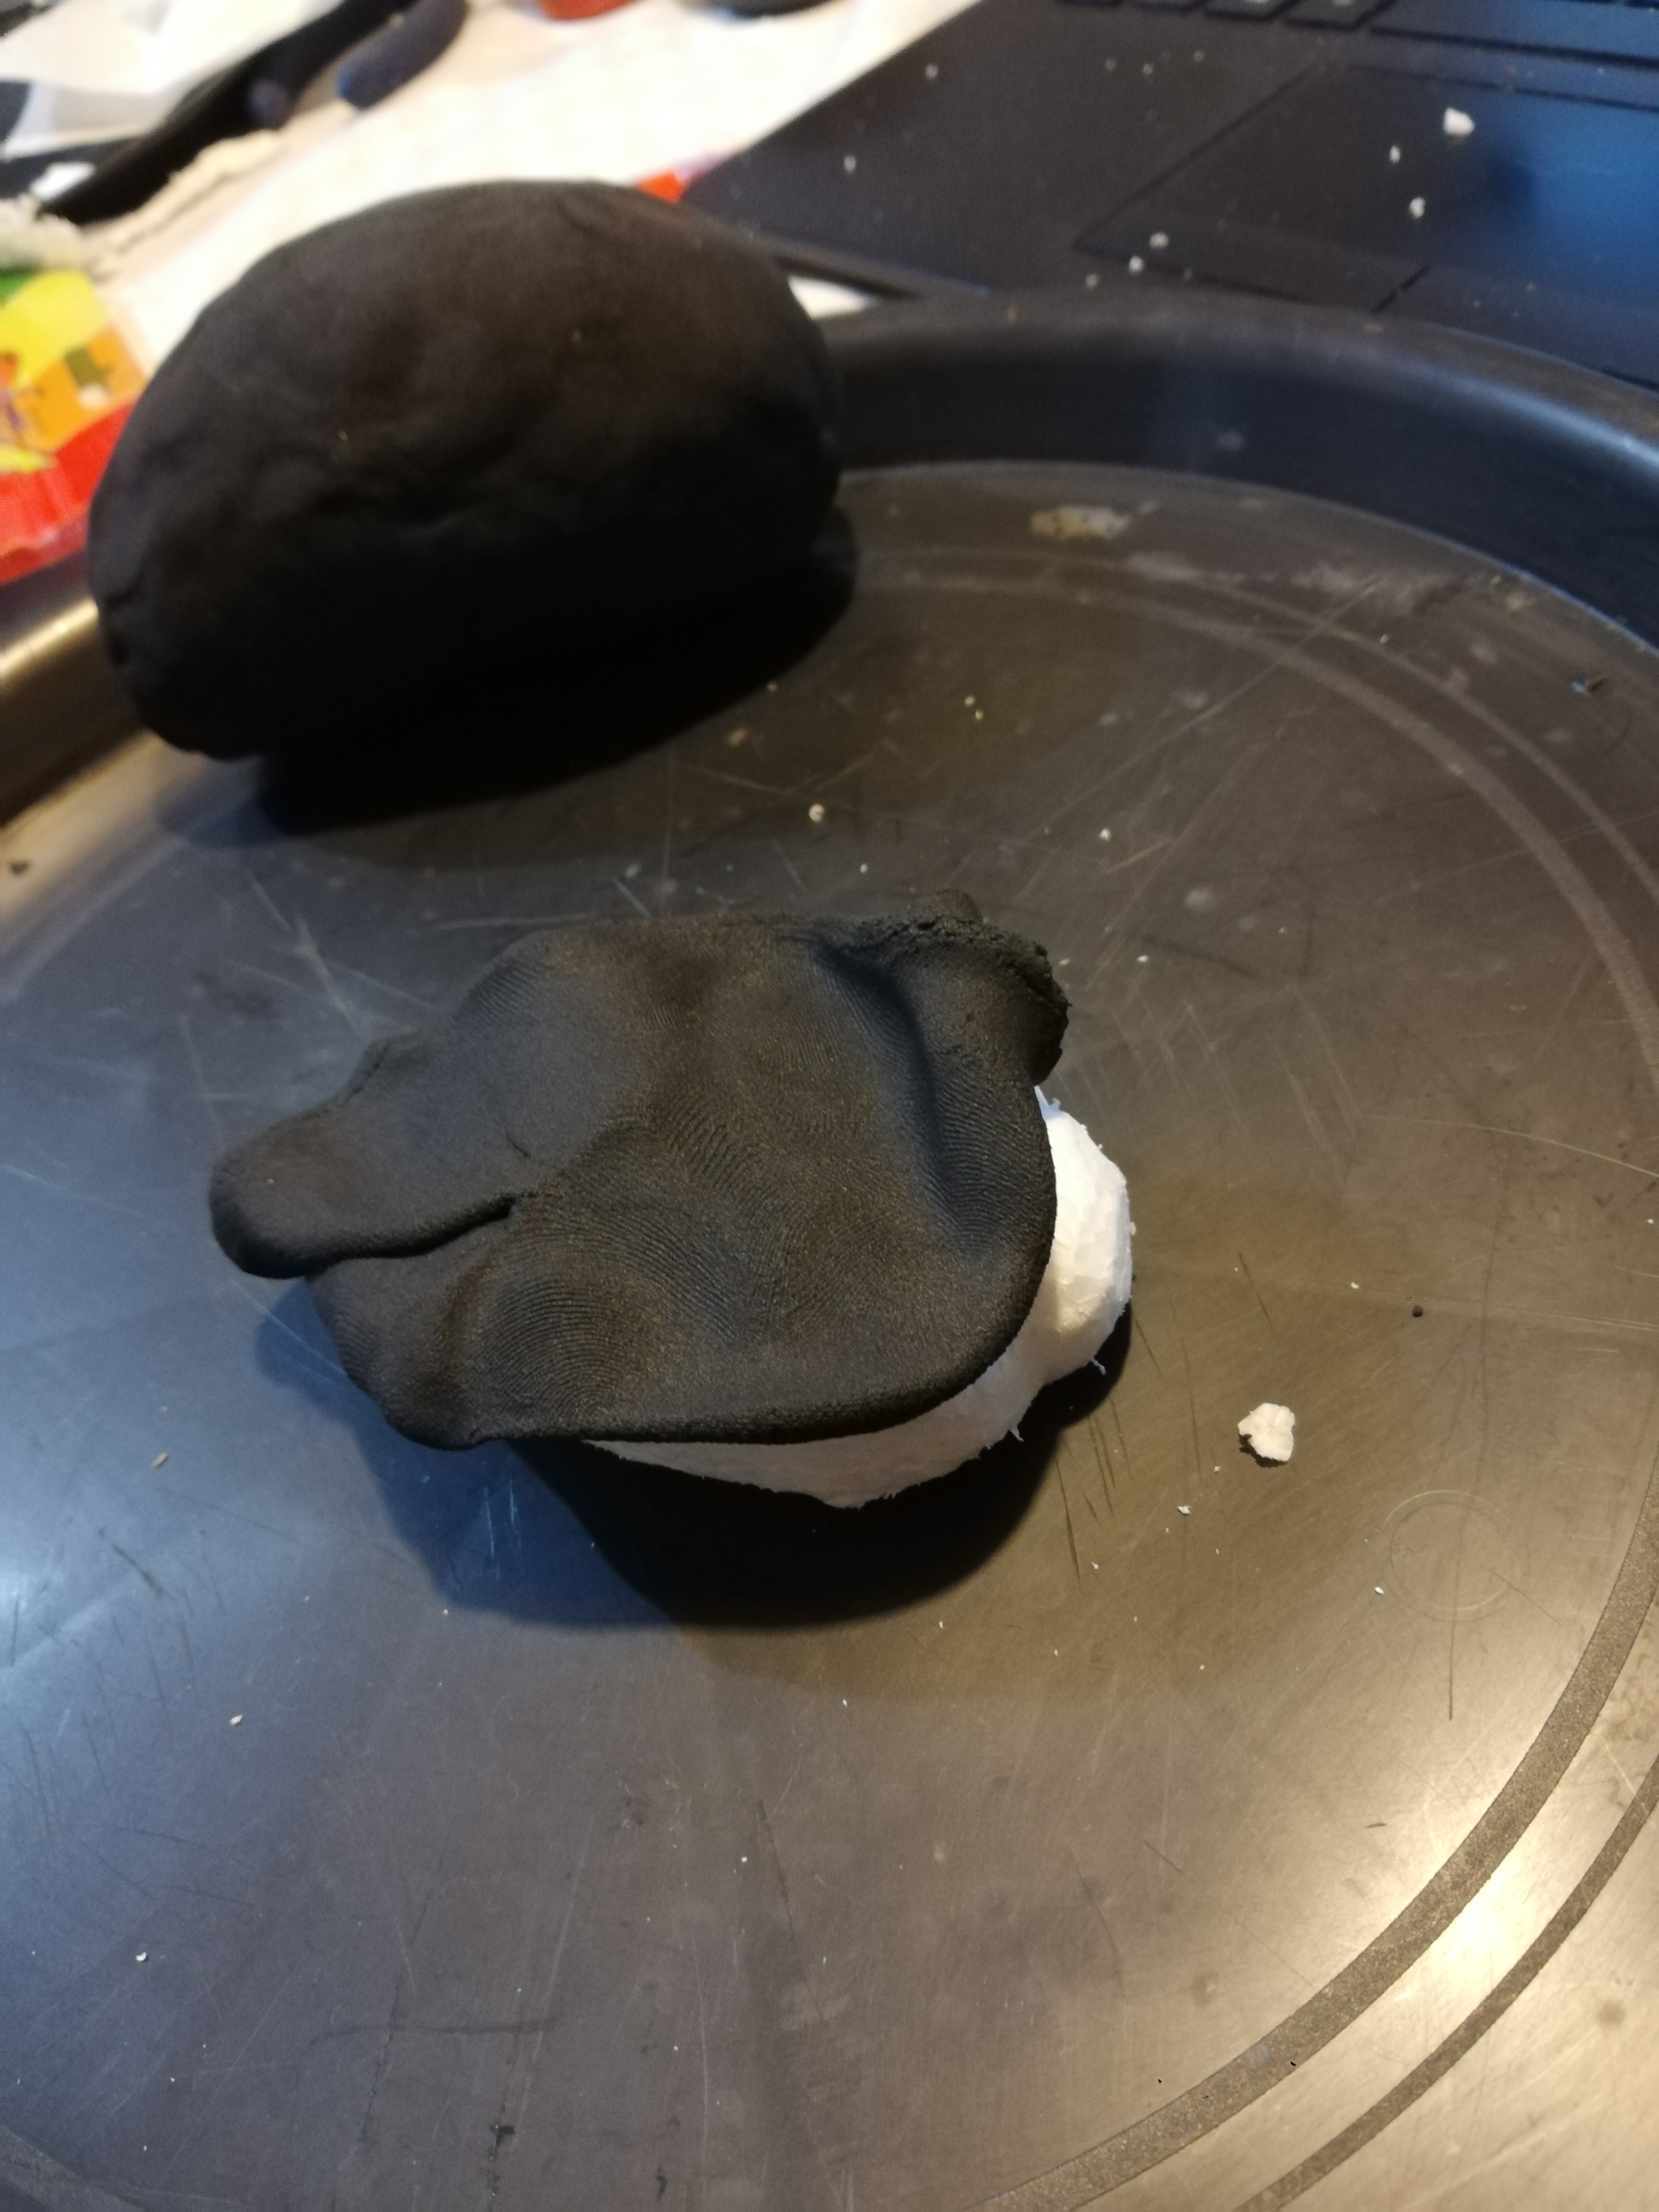
Cut the Abdomen
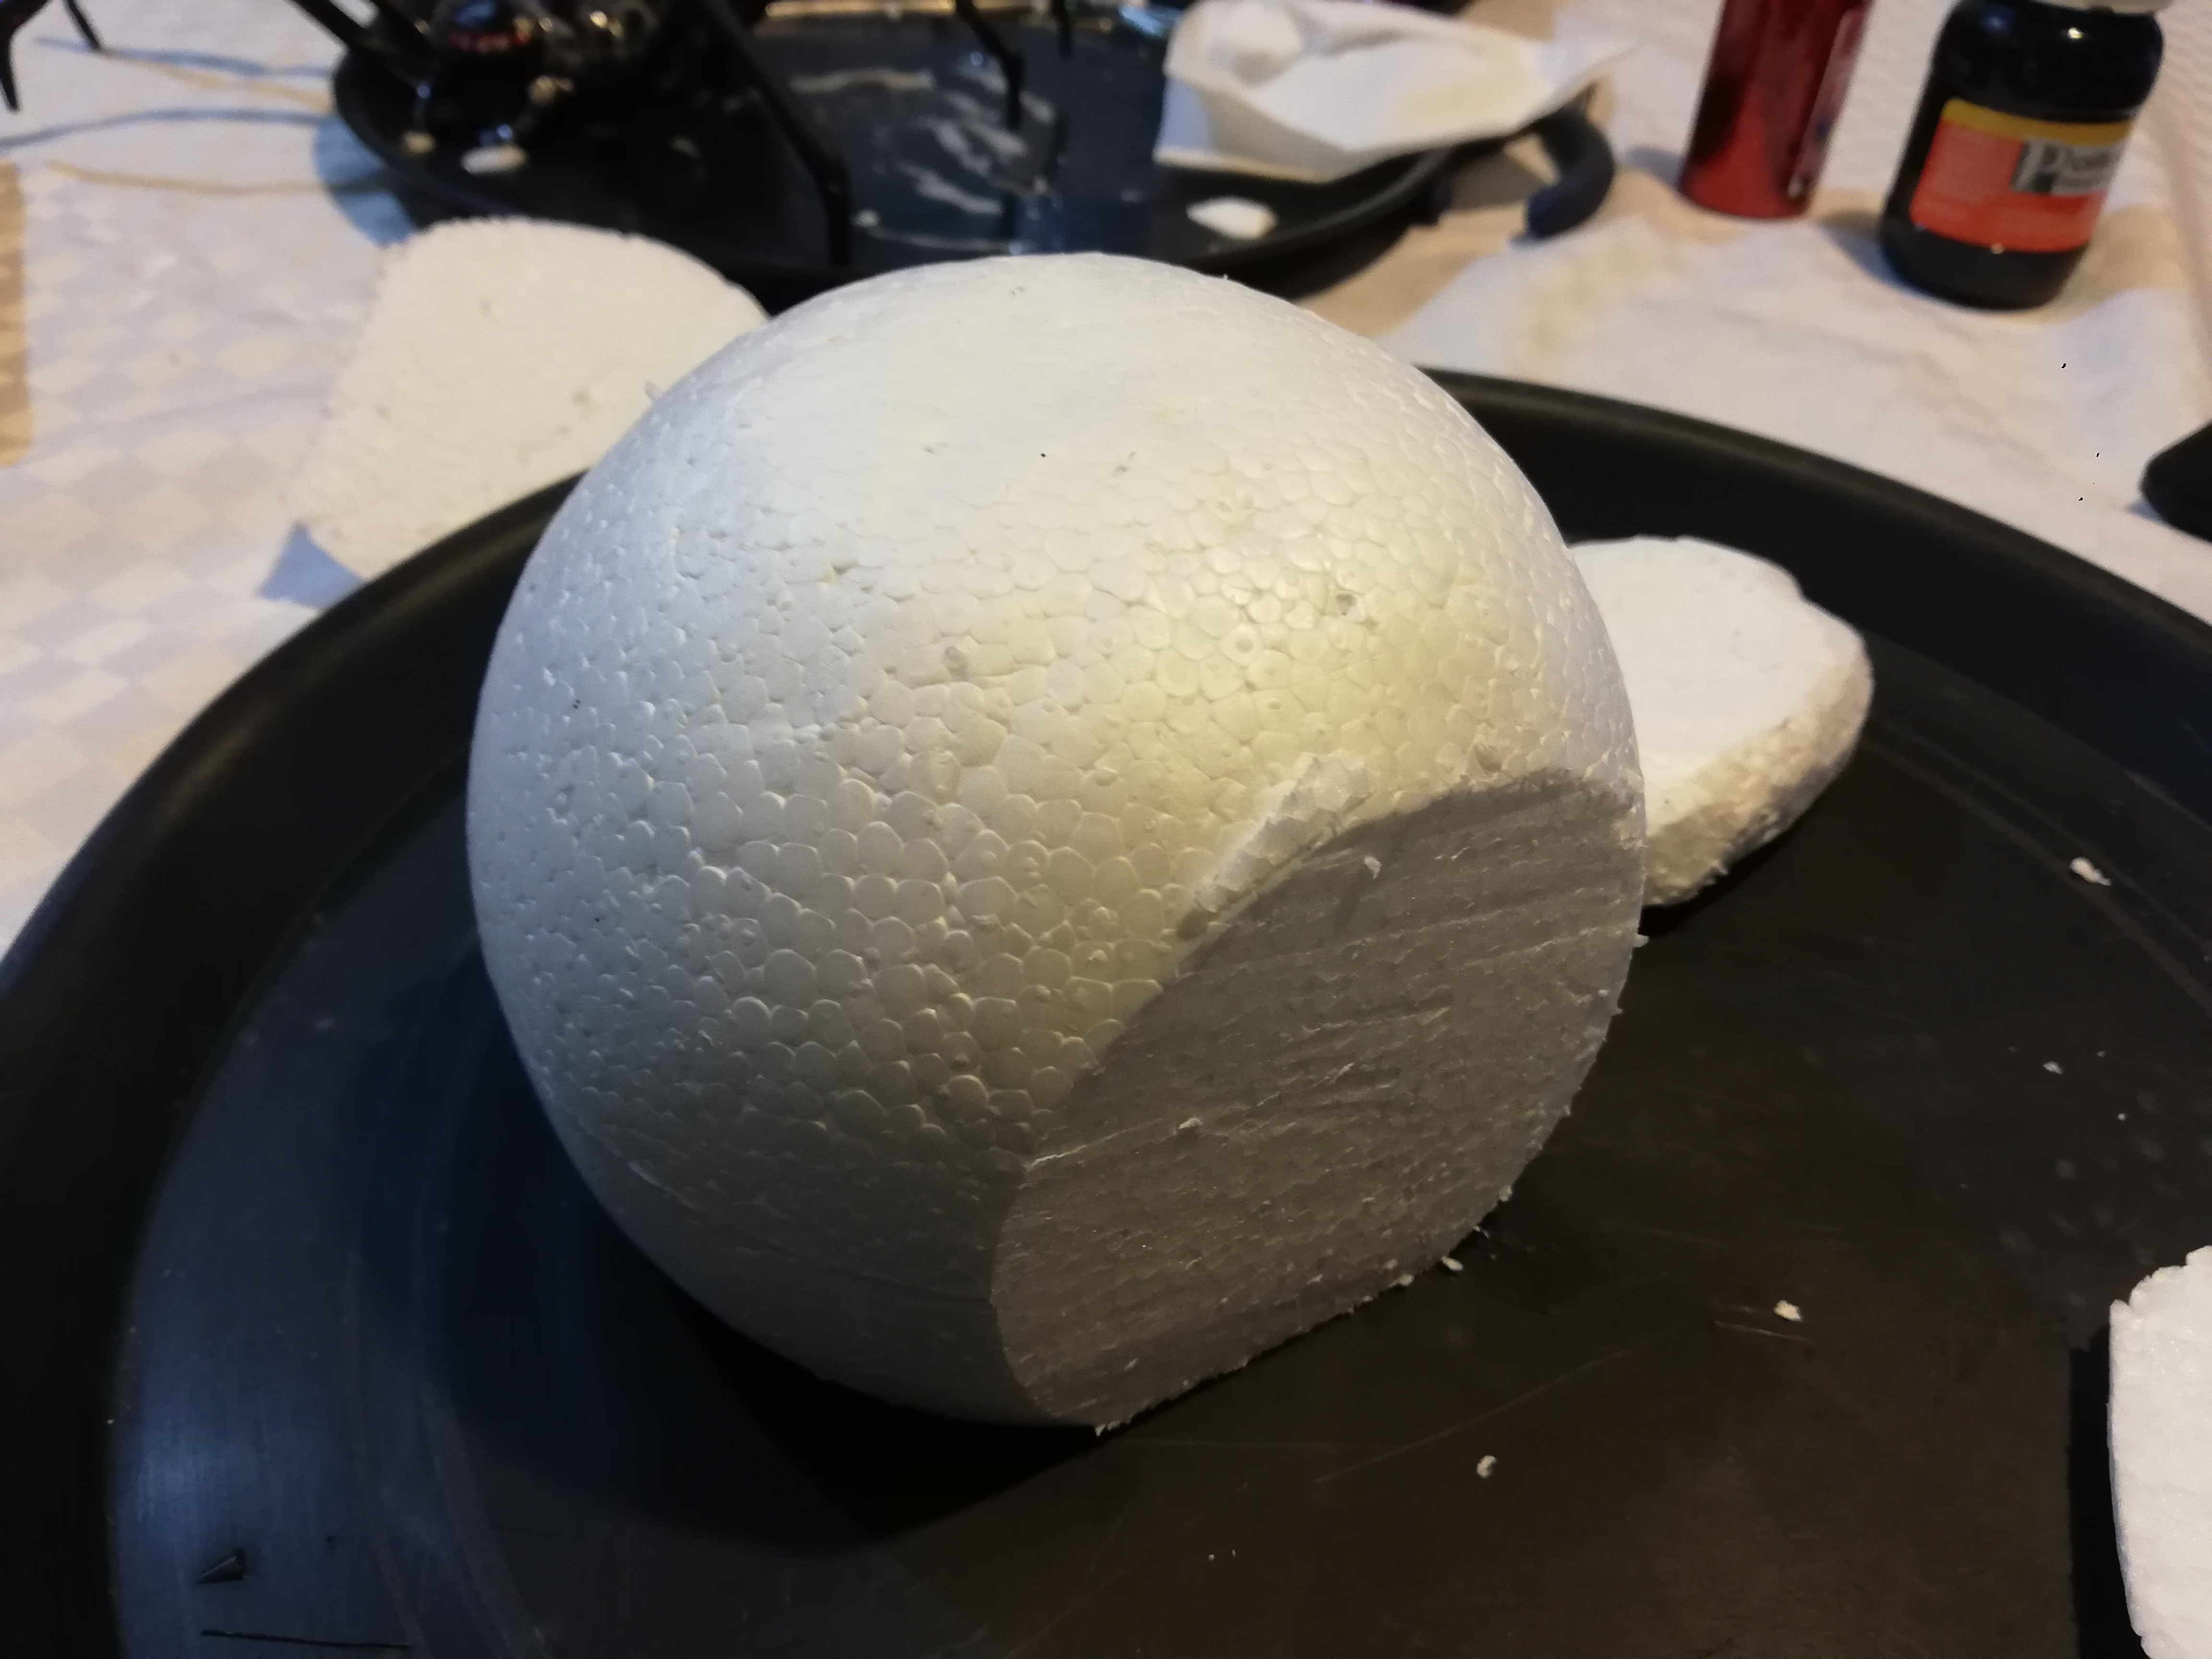
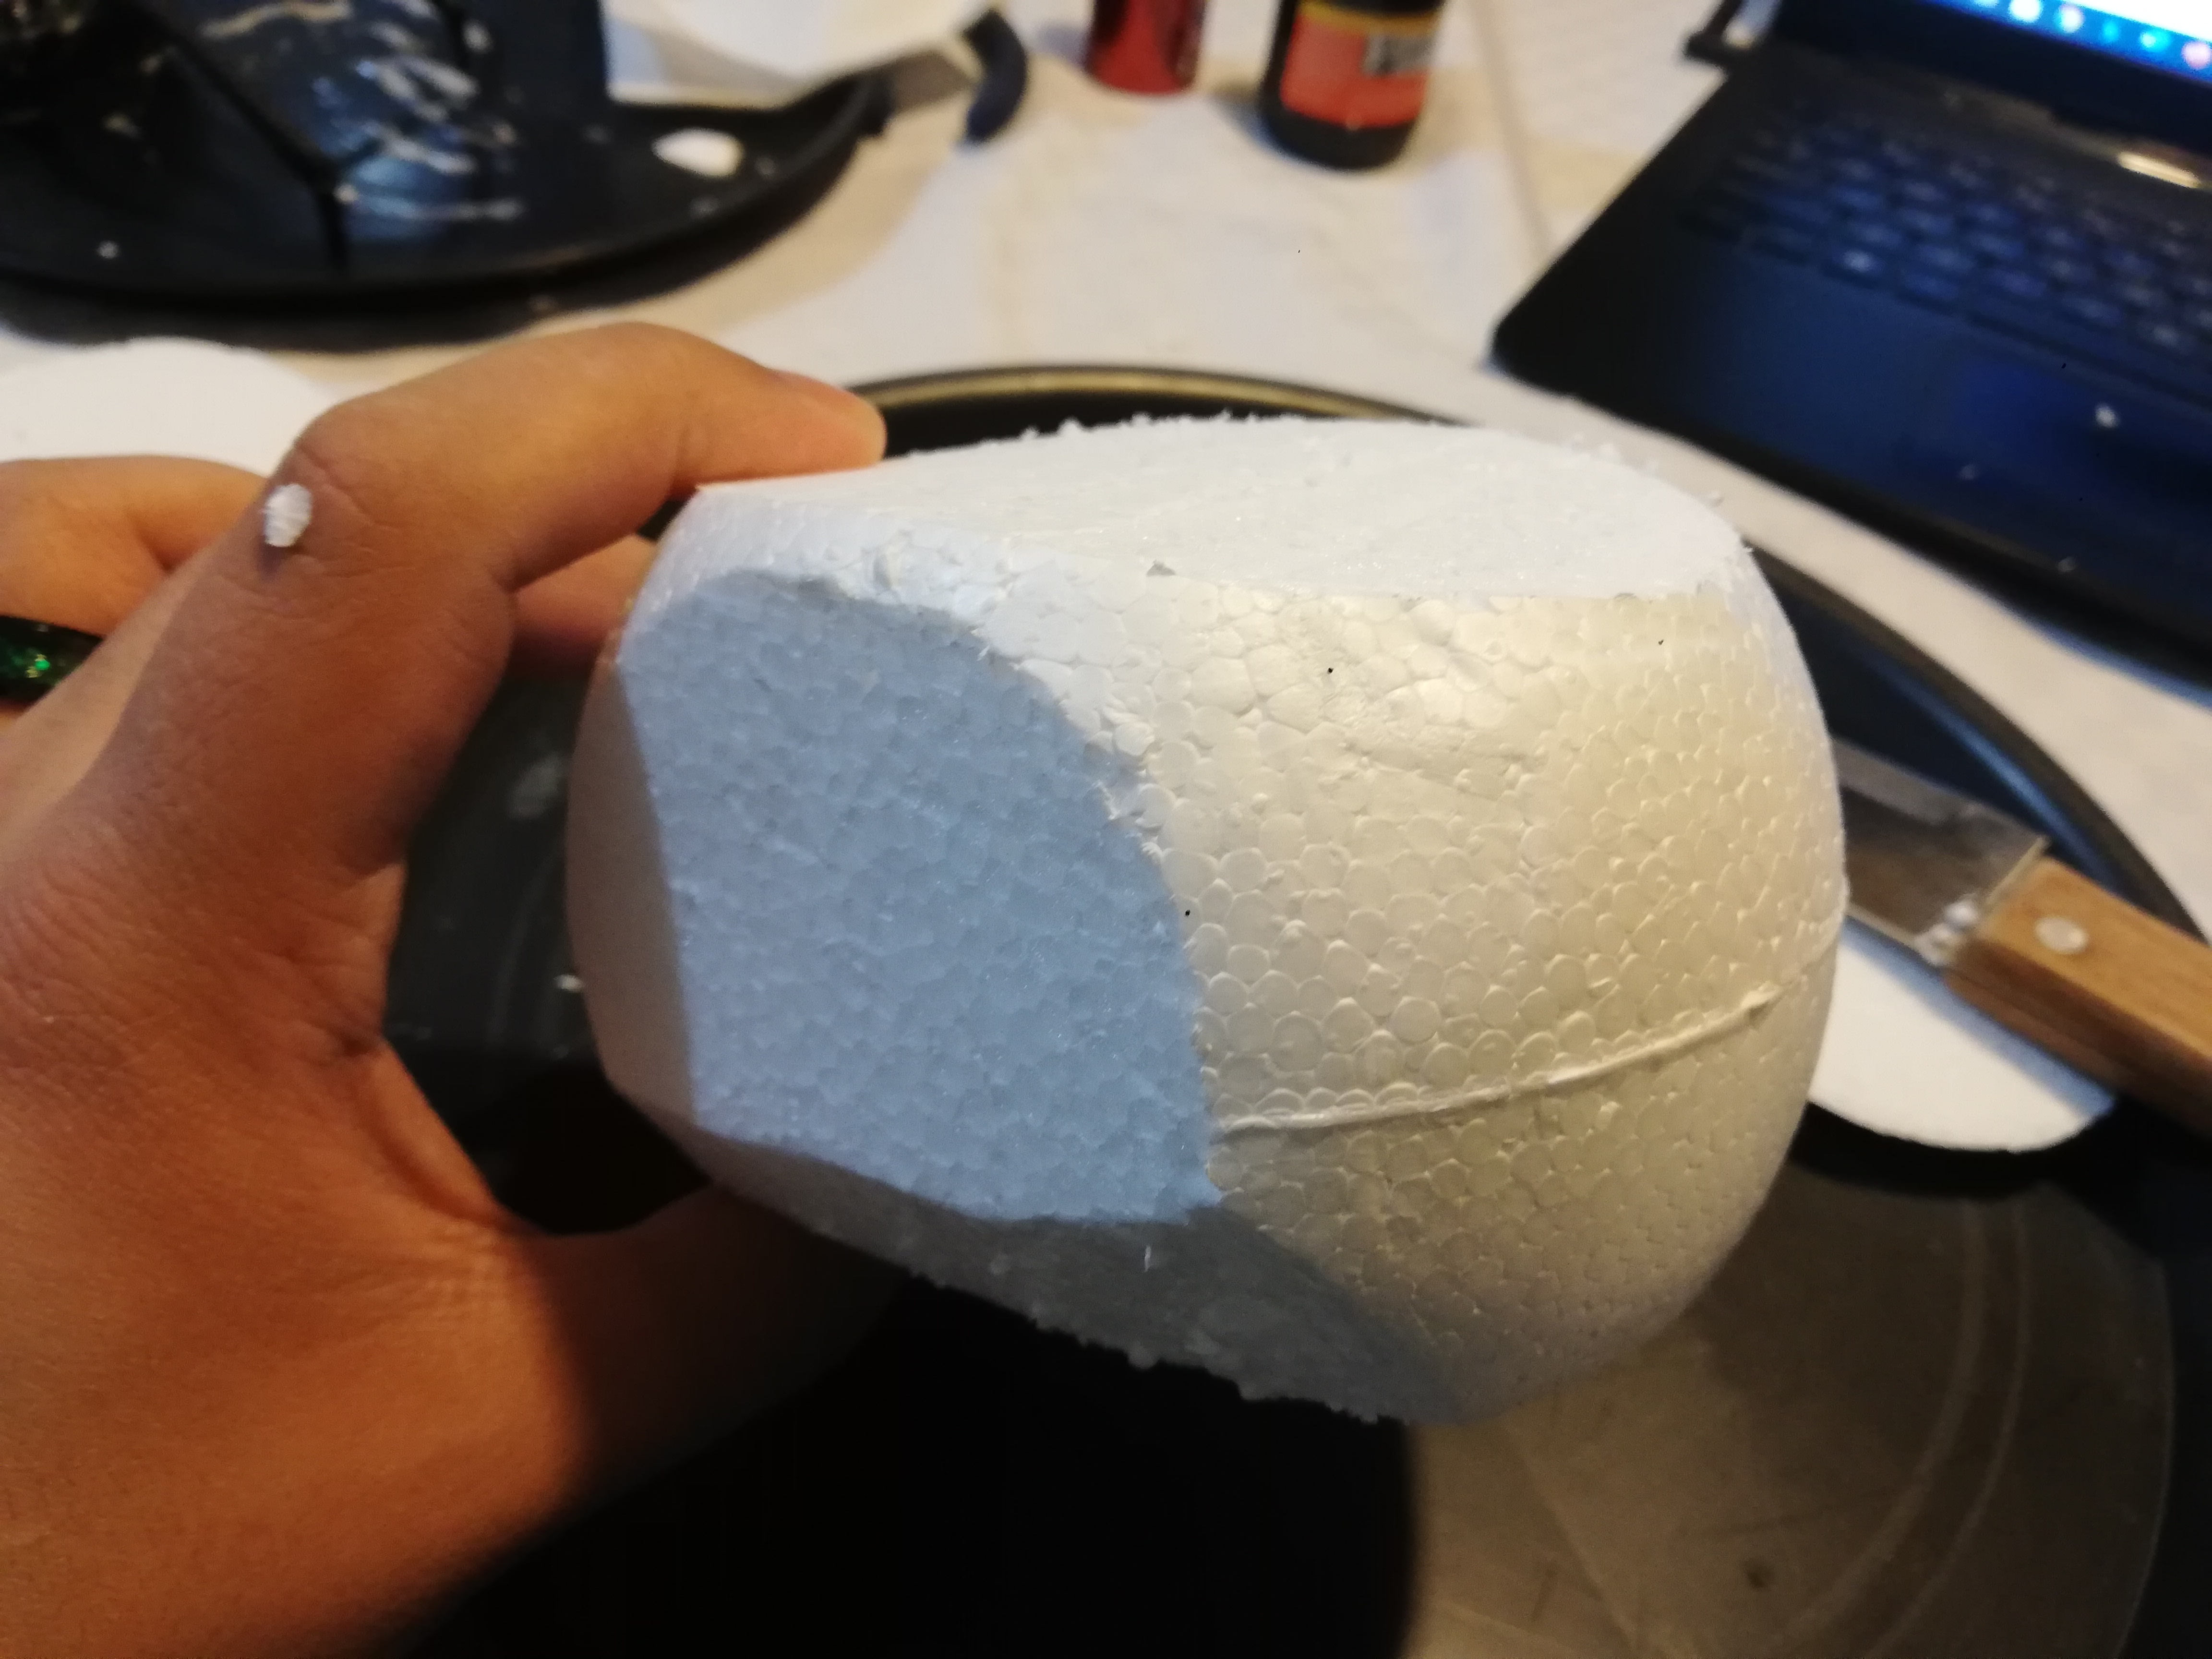
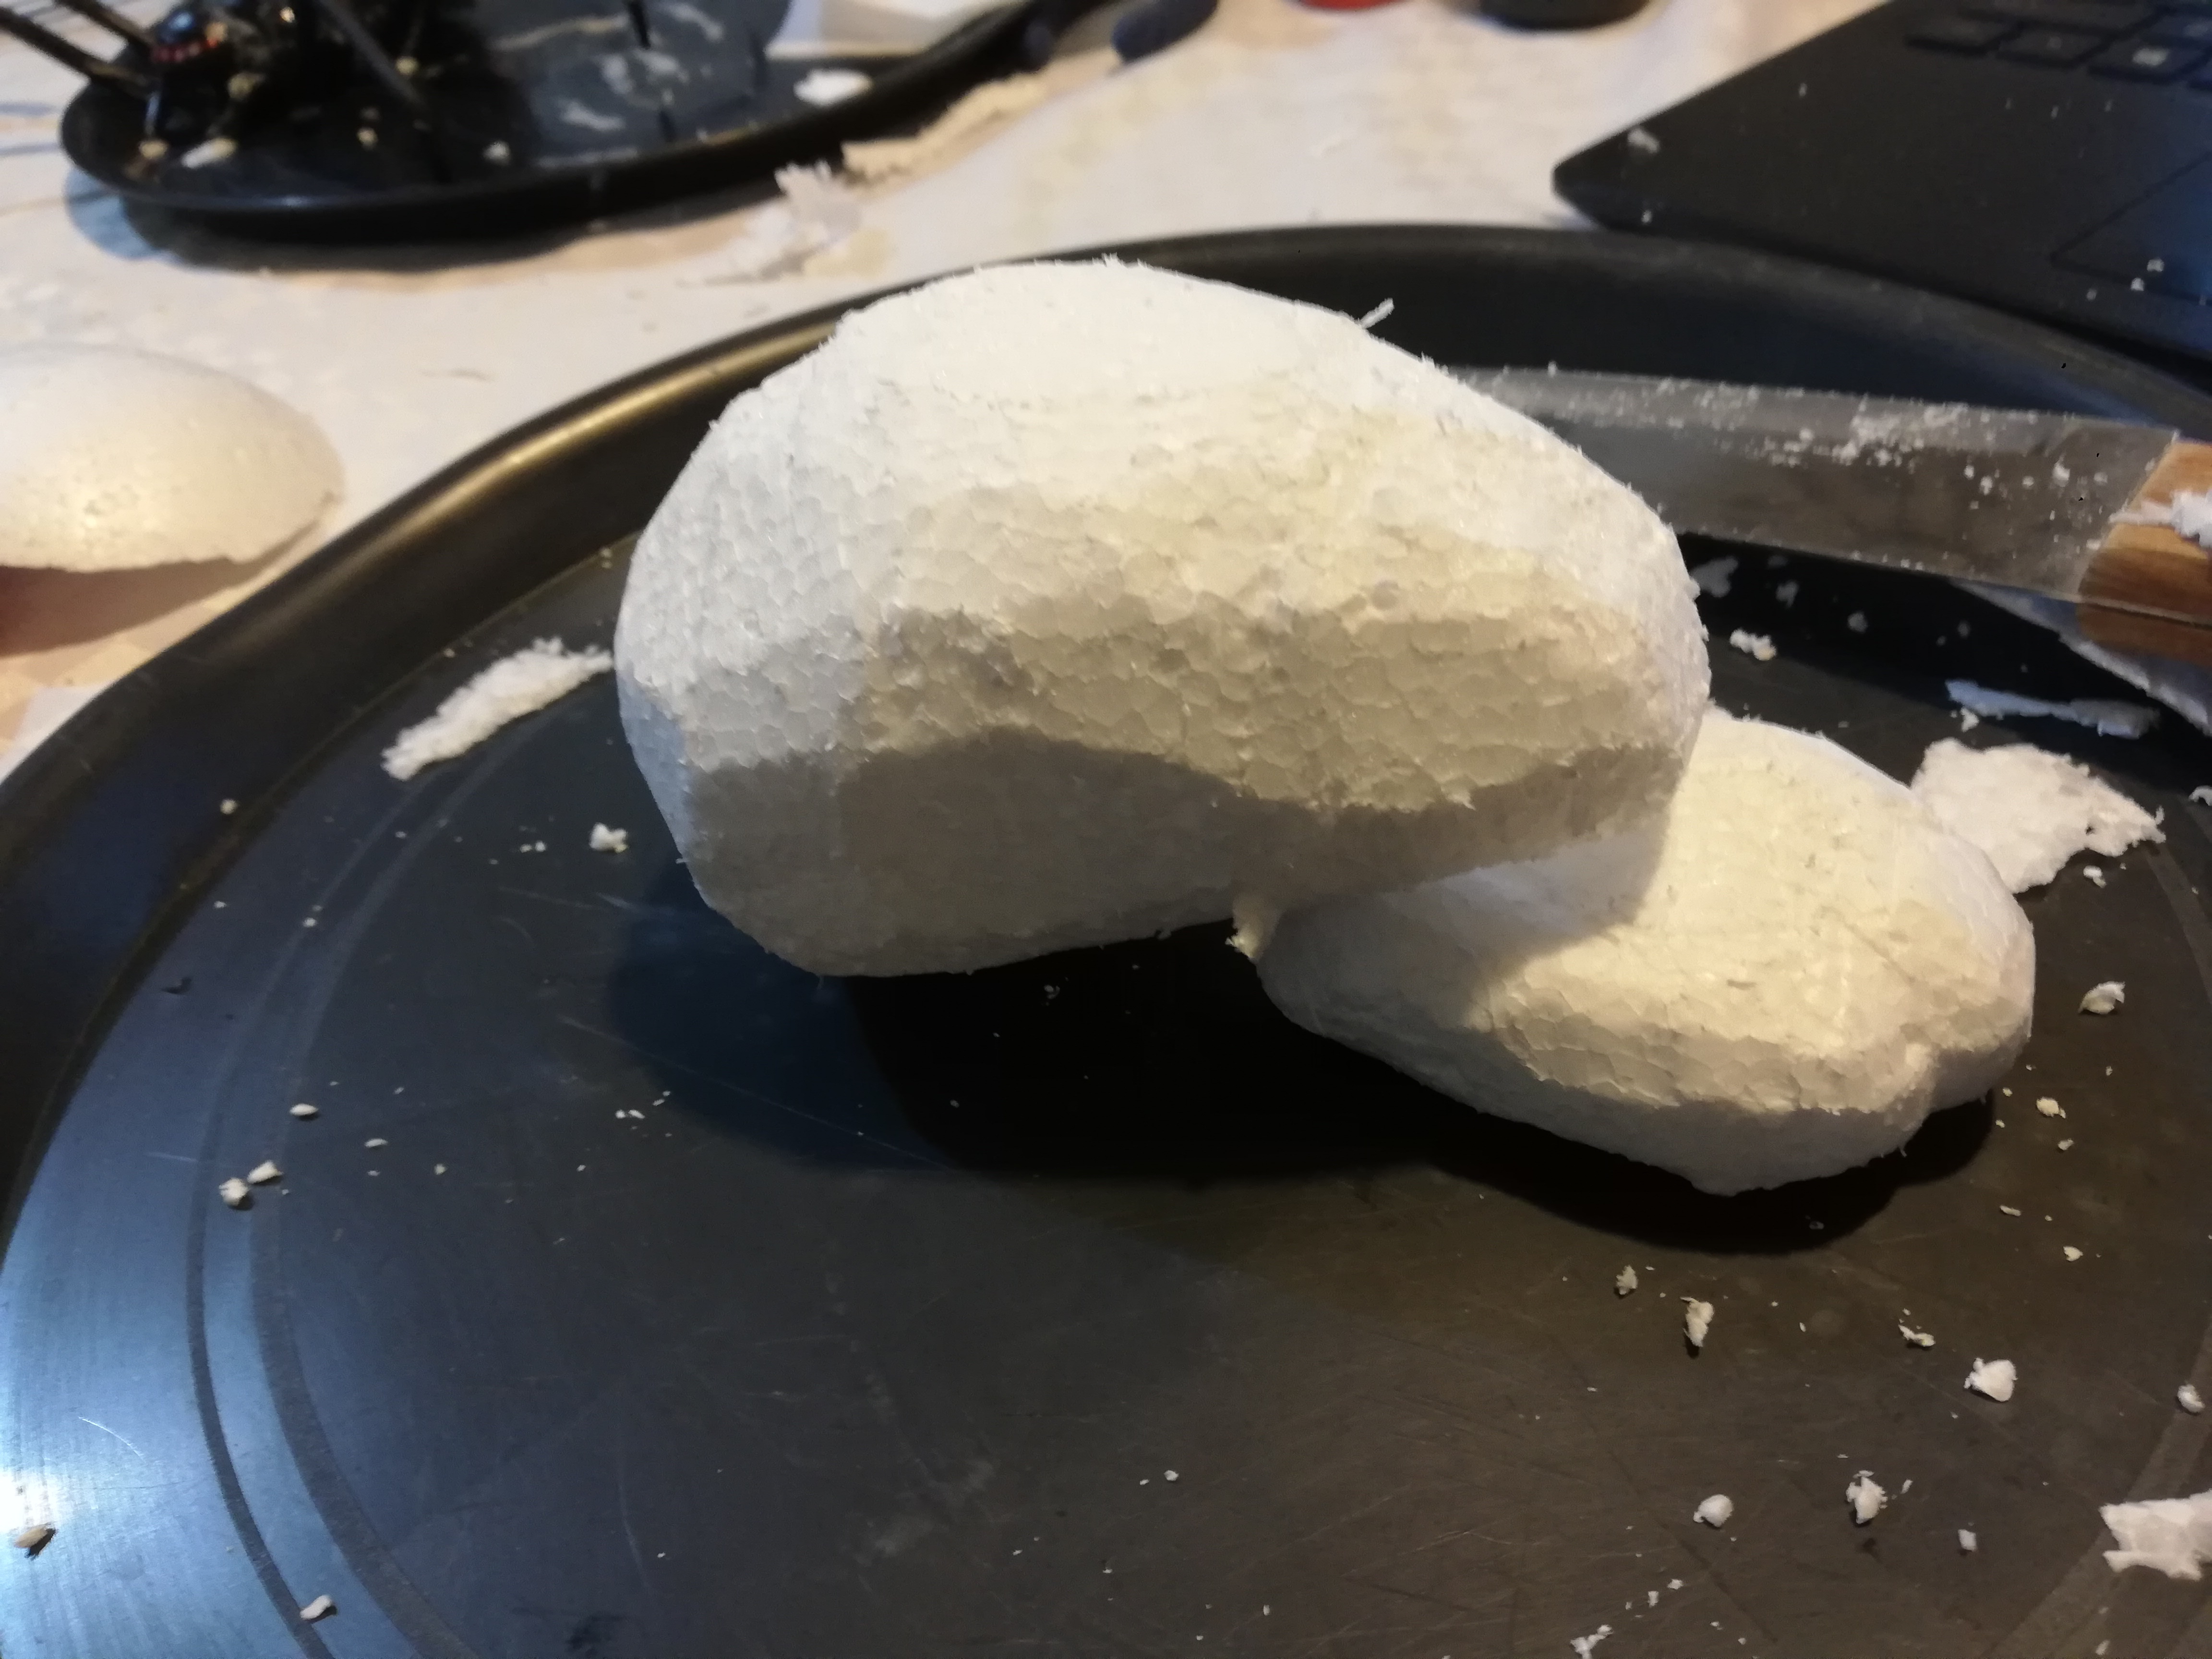
we will repeat the last step to shape of the abdomen so that it is the same as the 3D model
Cover the Abdomen With Modeling Clay
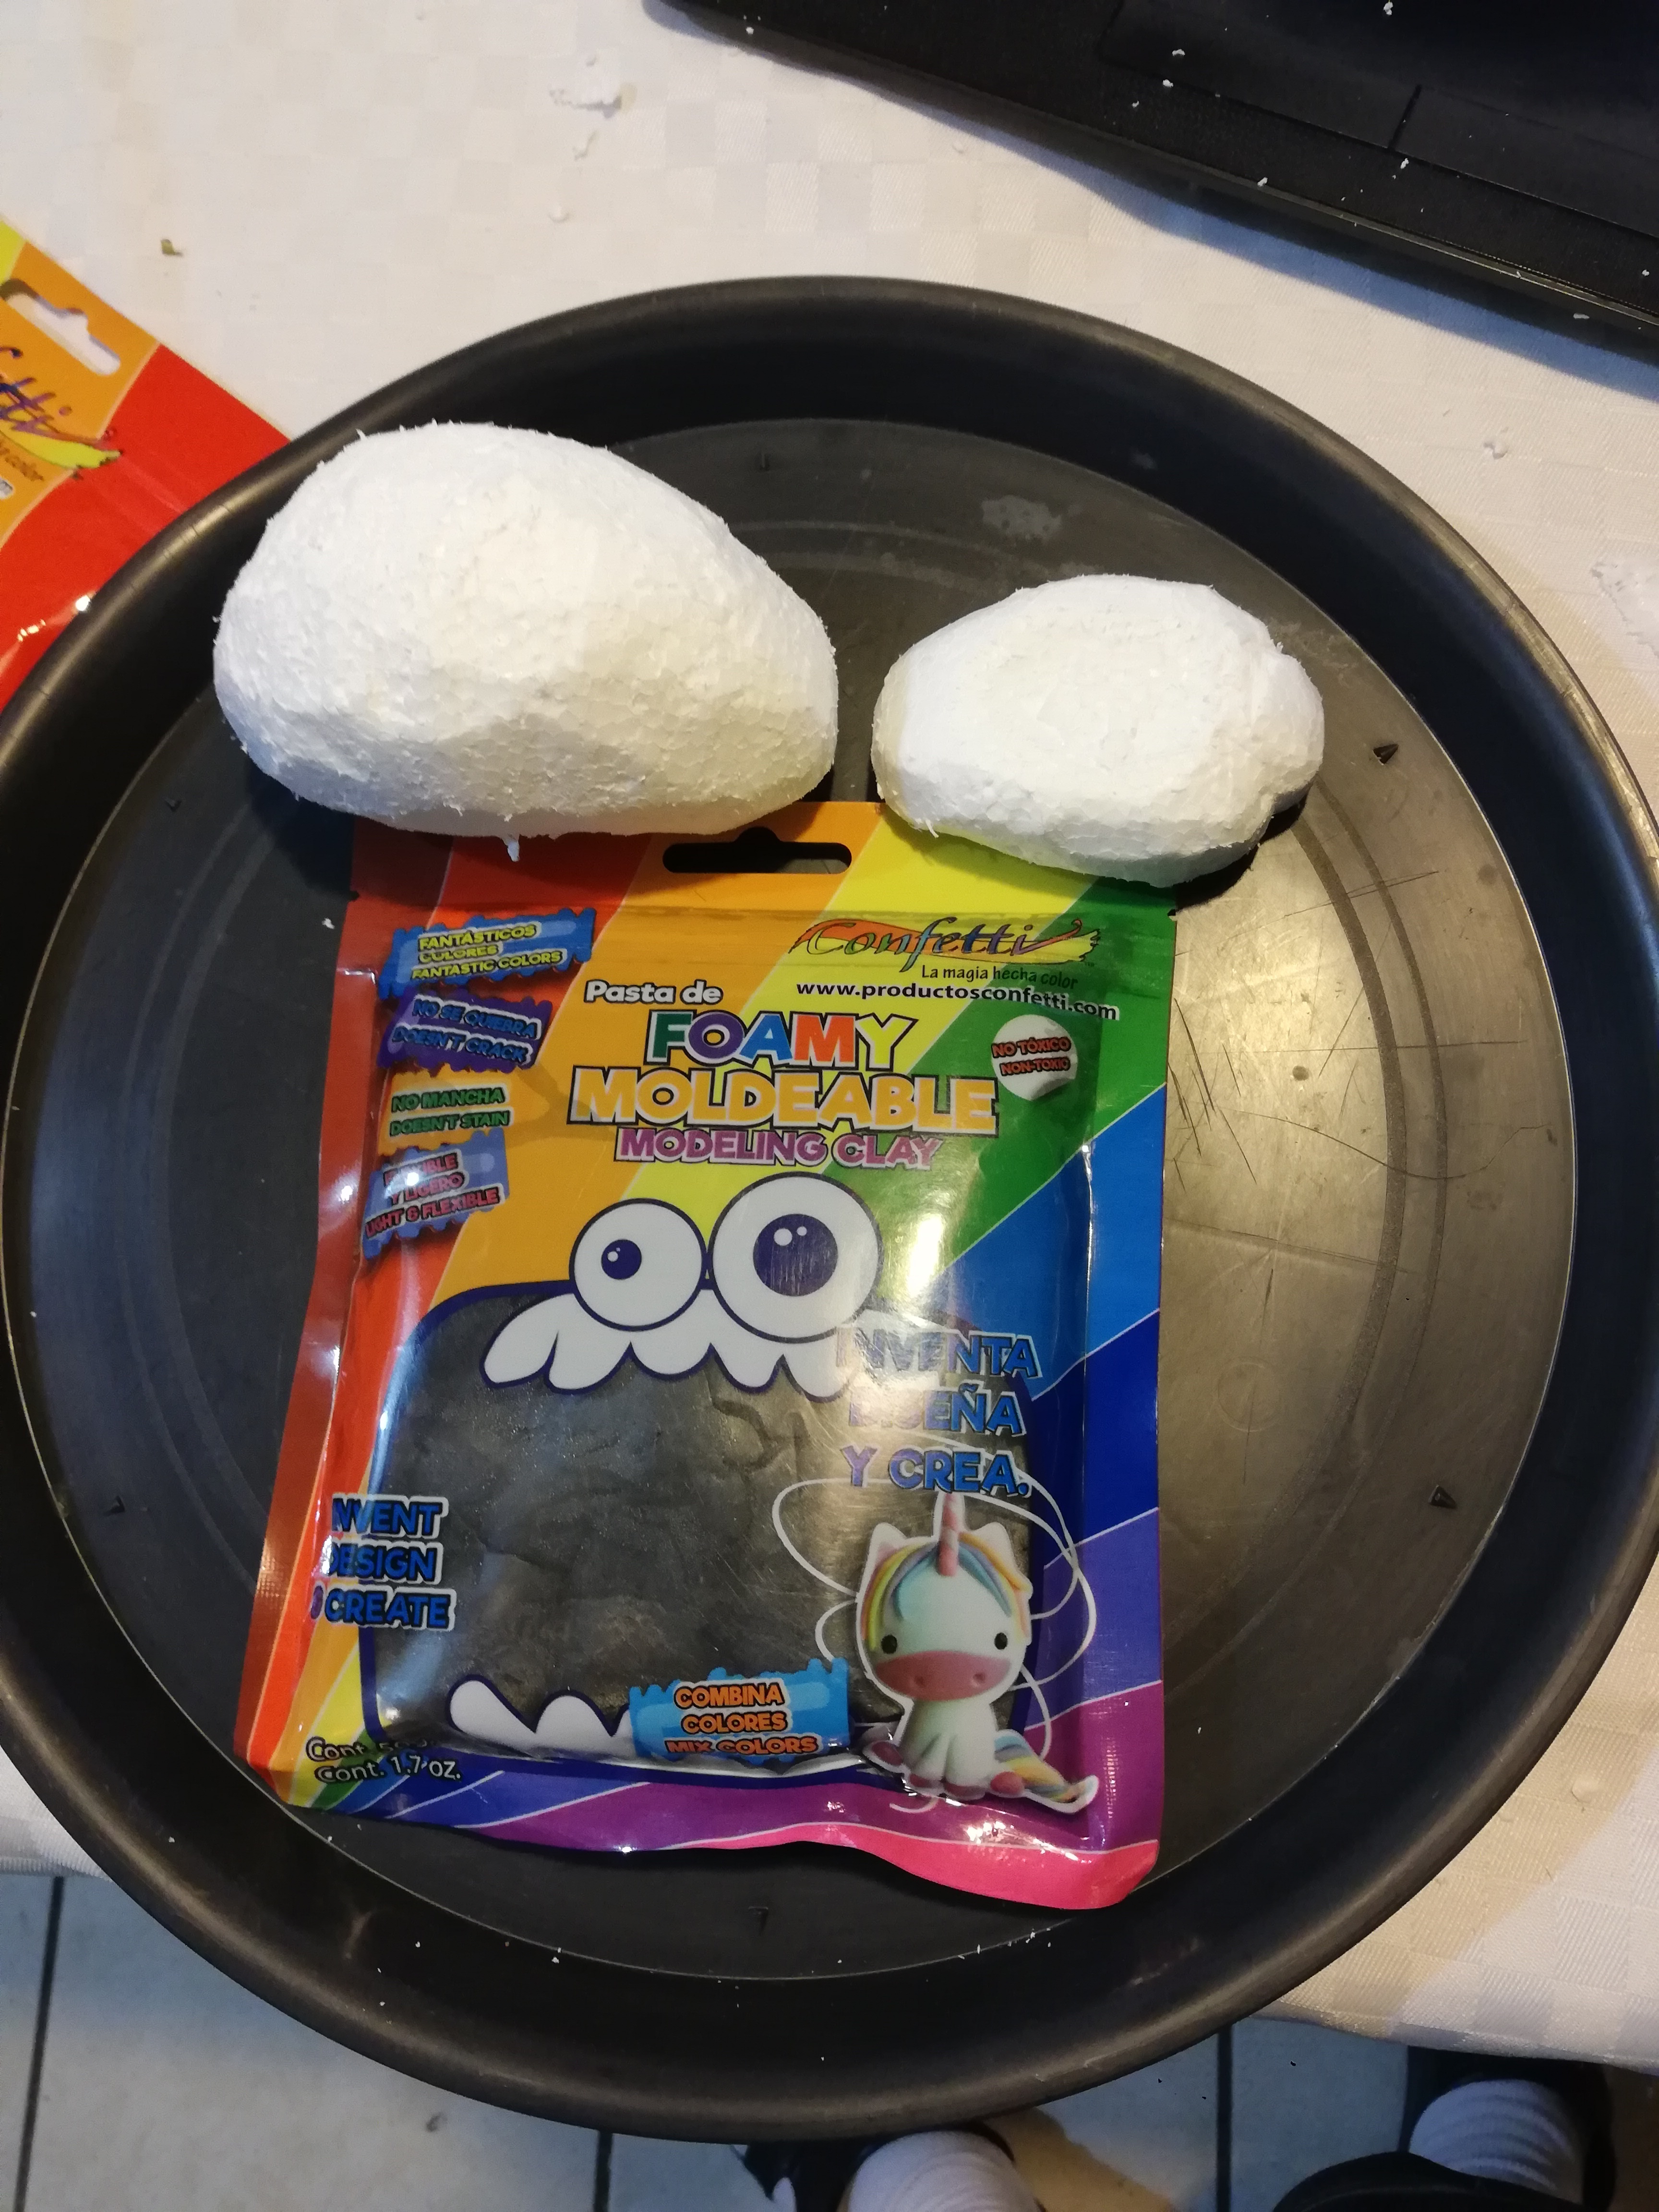
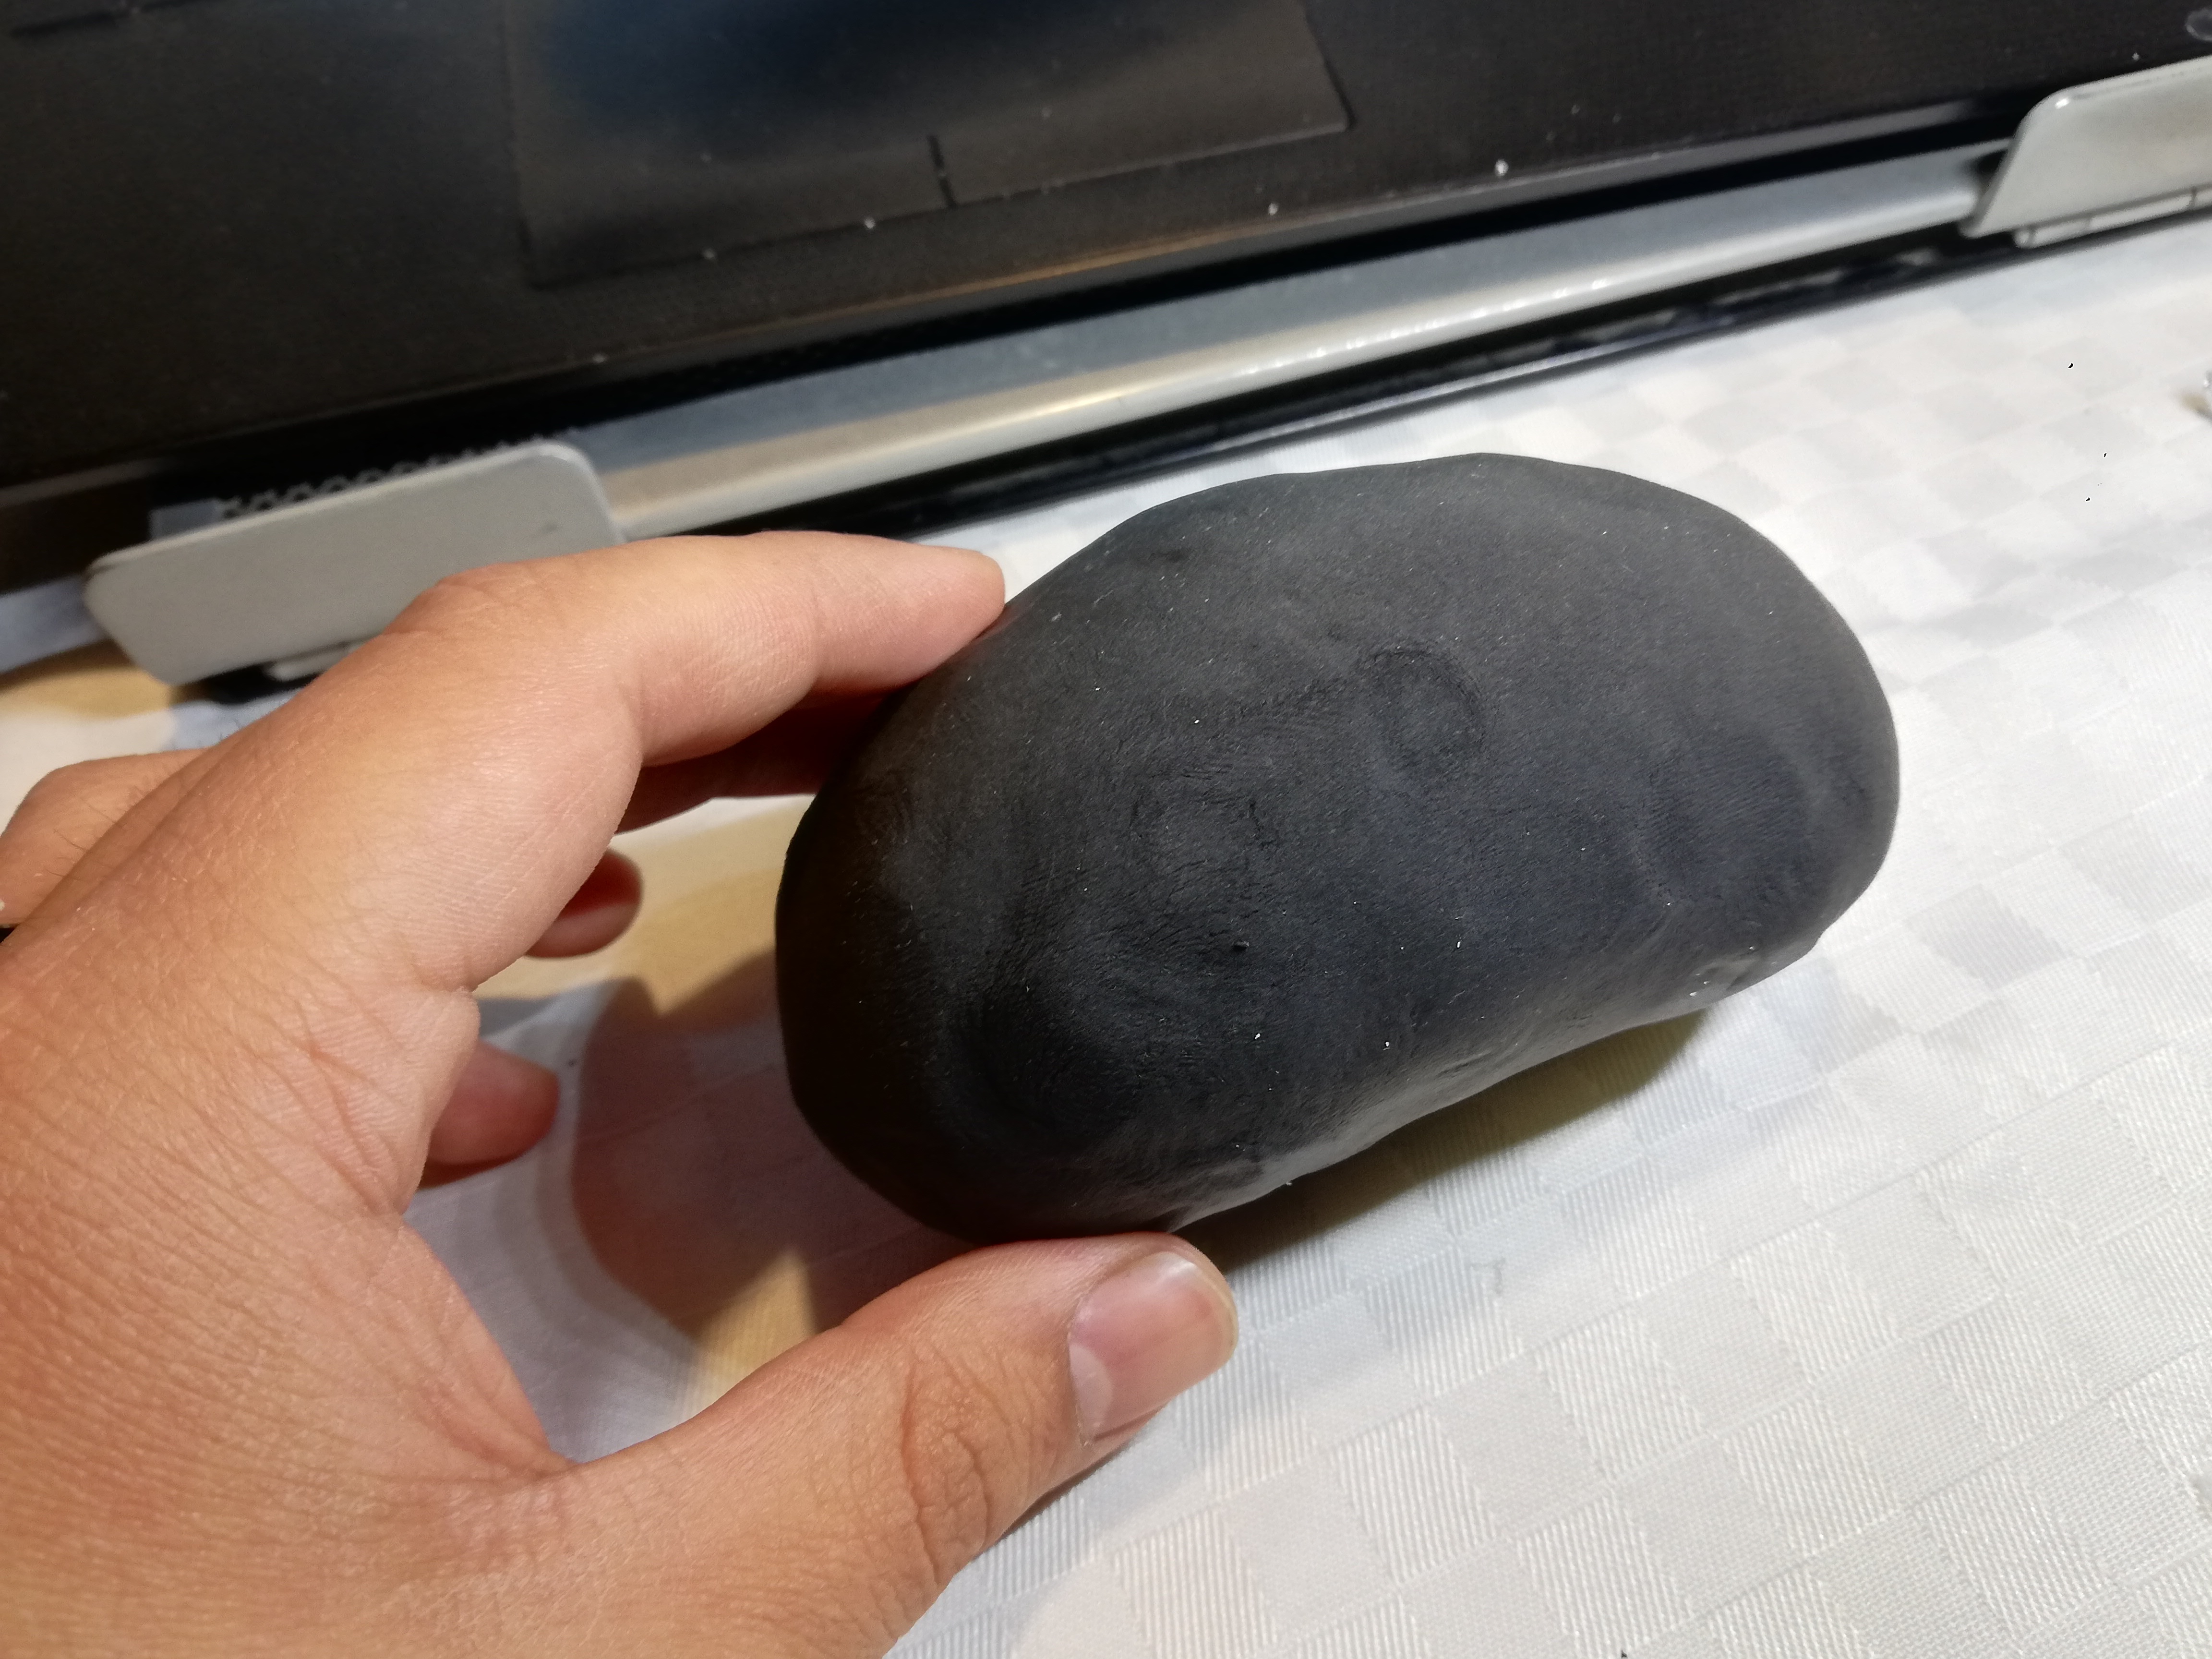
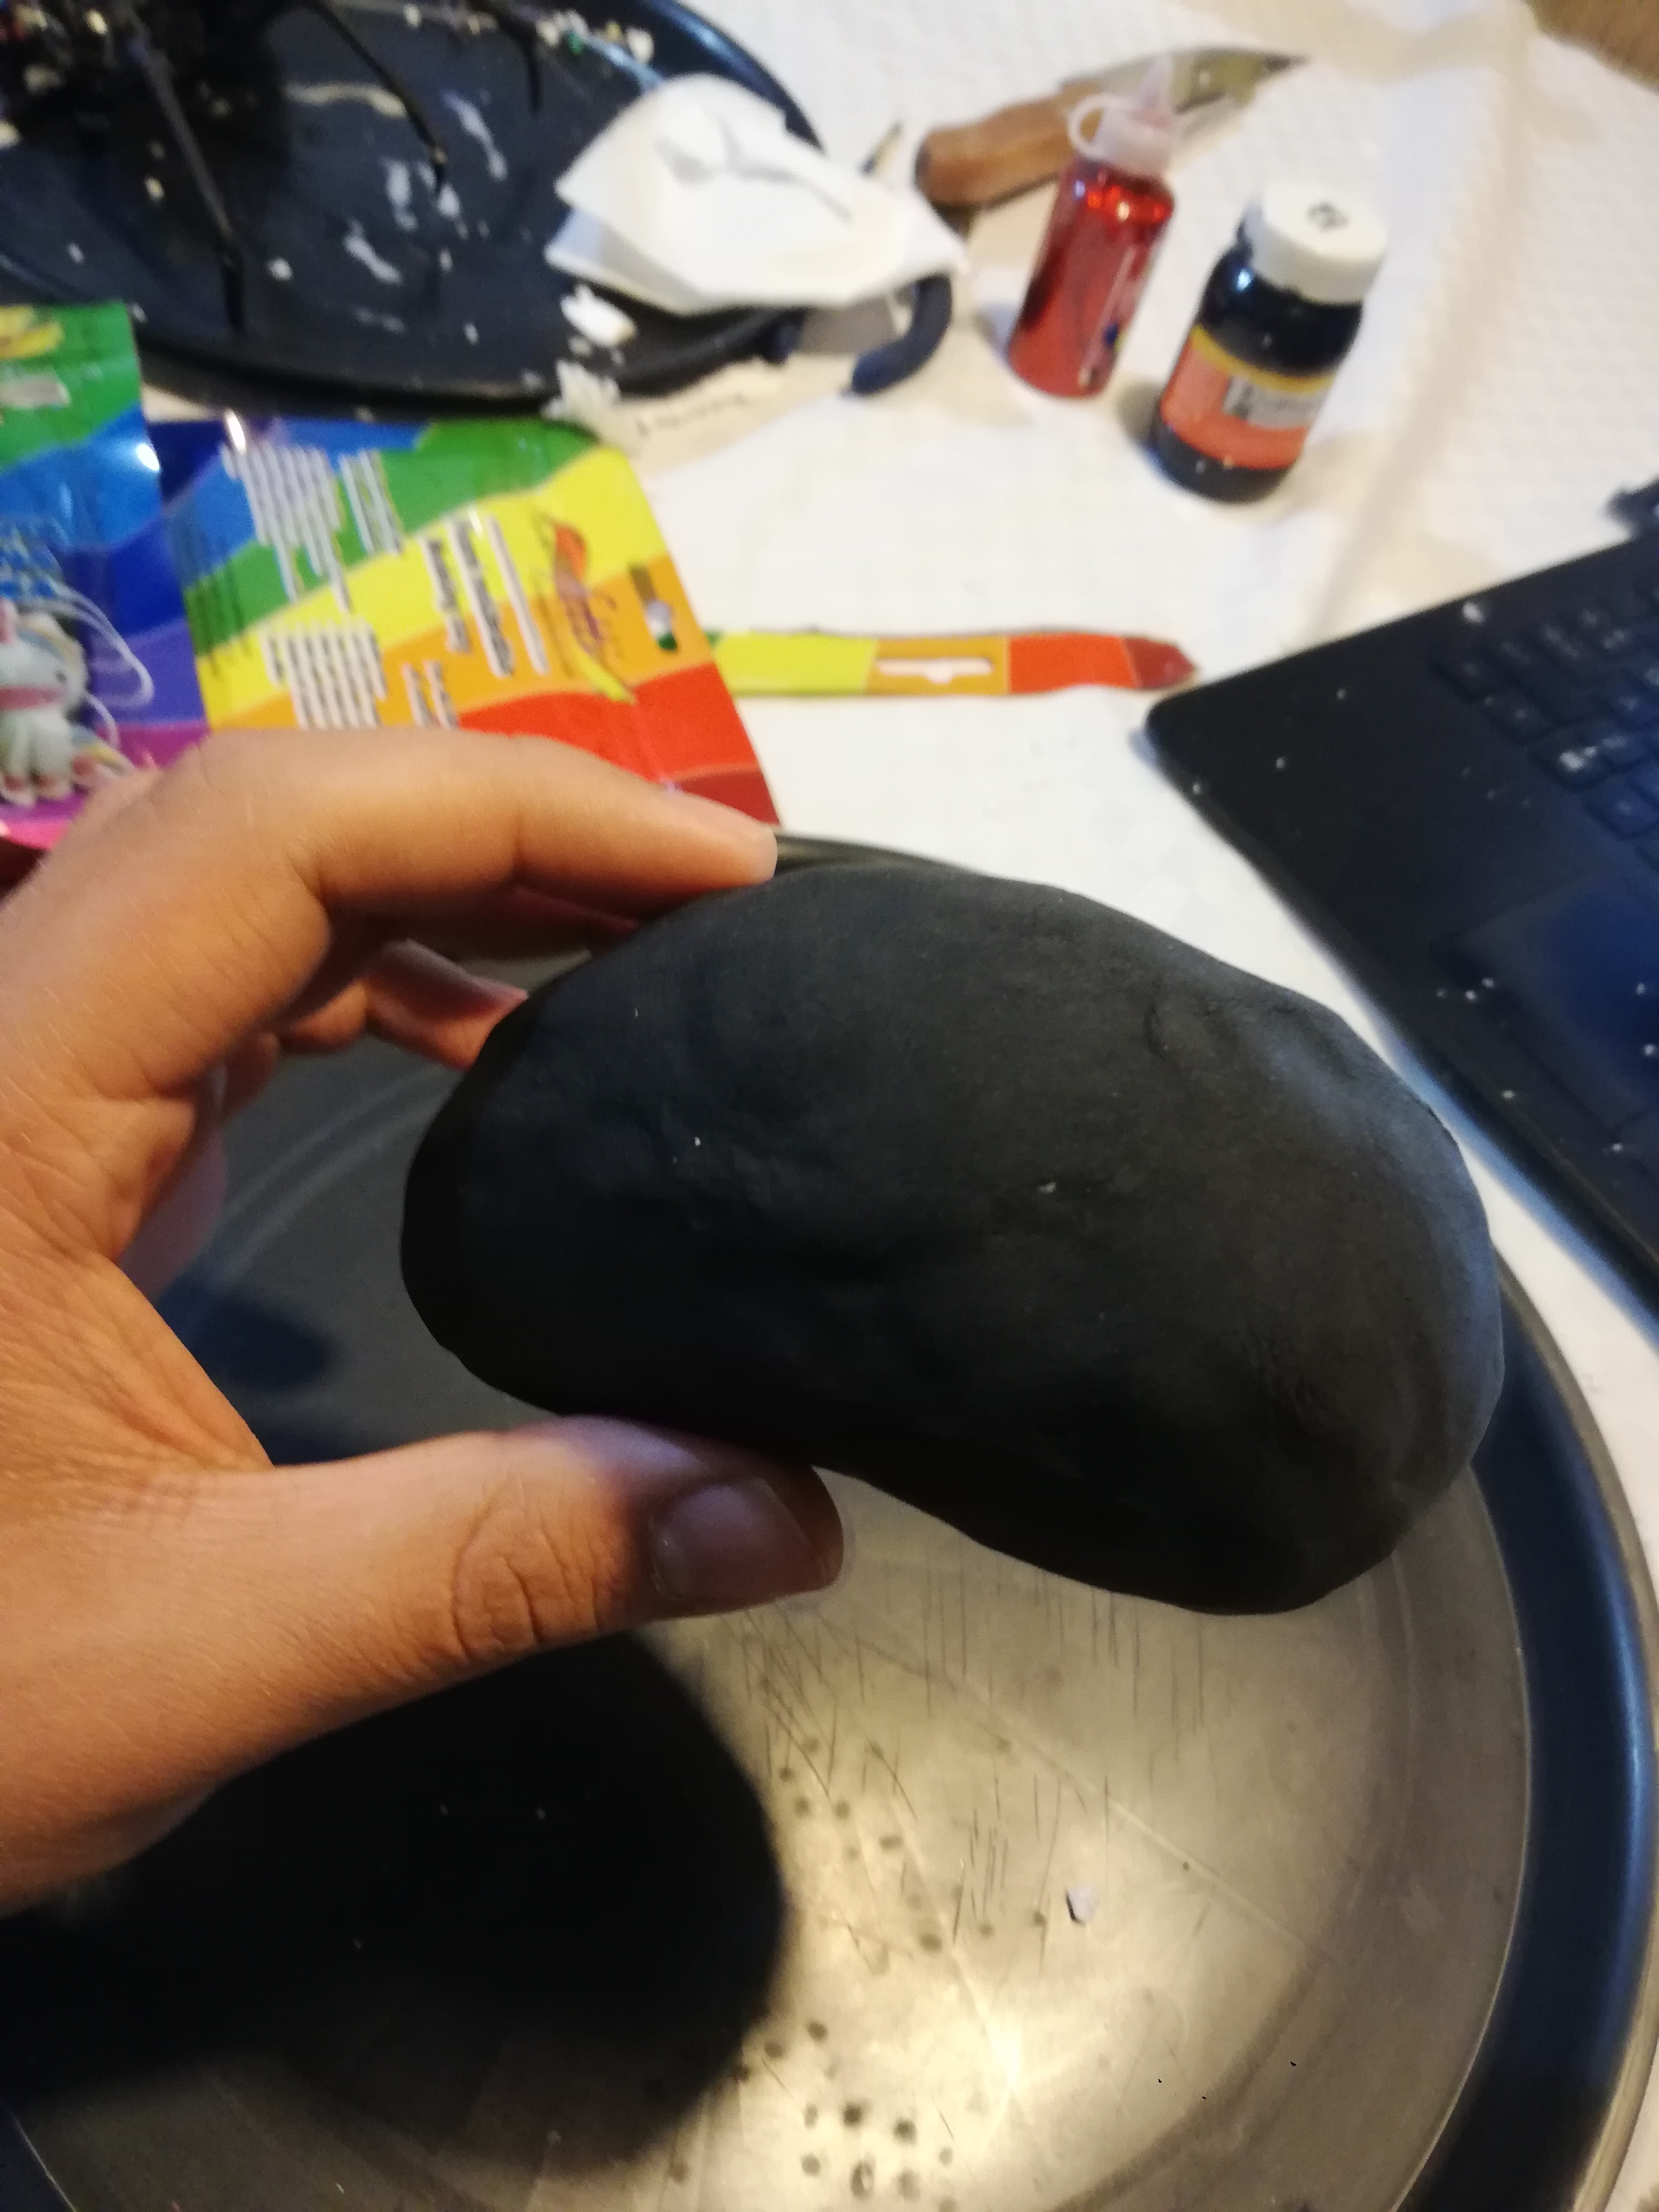
we will cover the abdomen with clay, trying to make it smooth
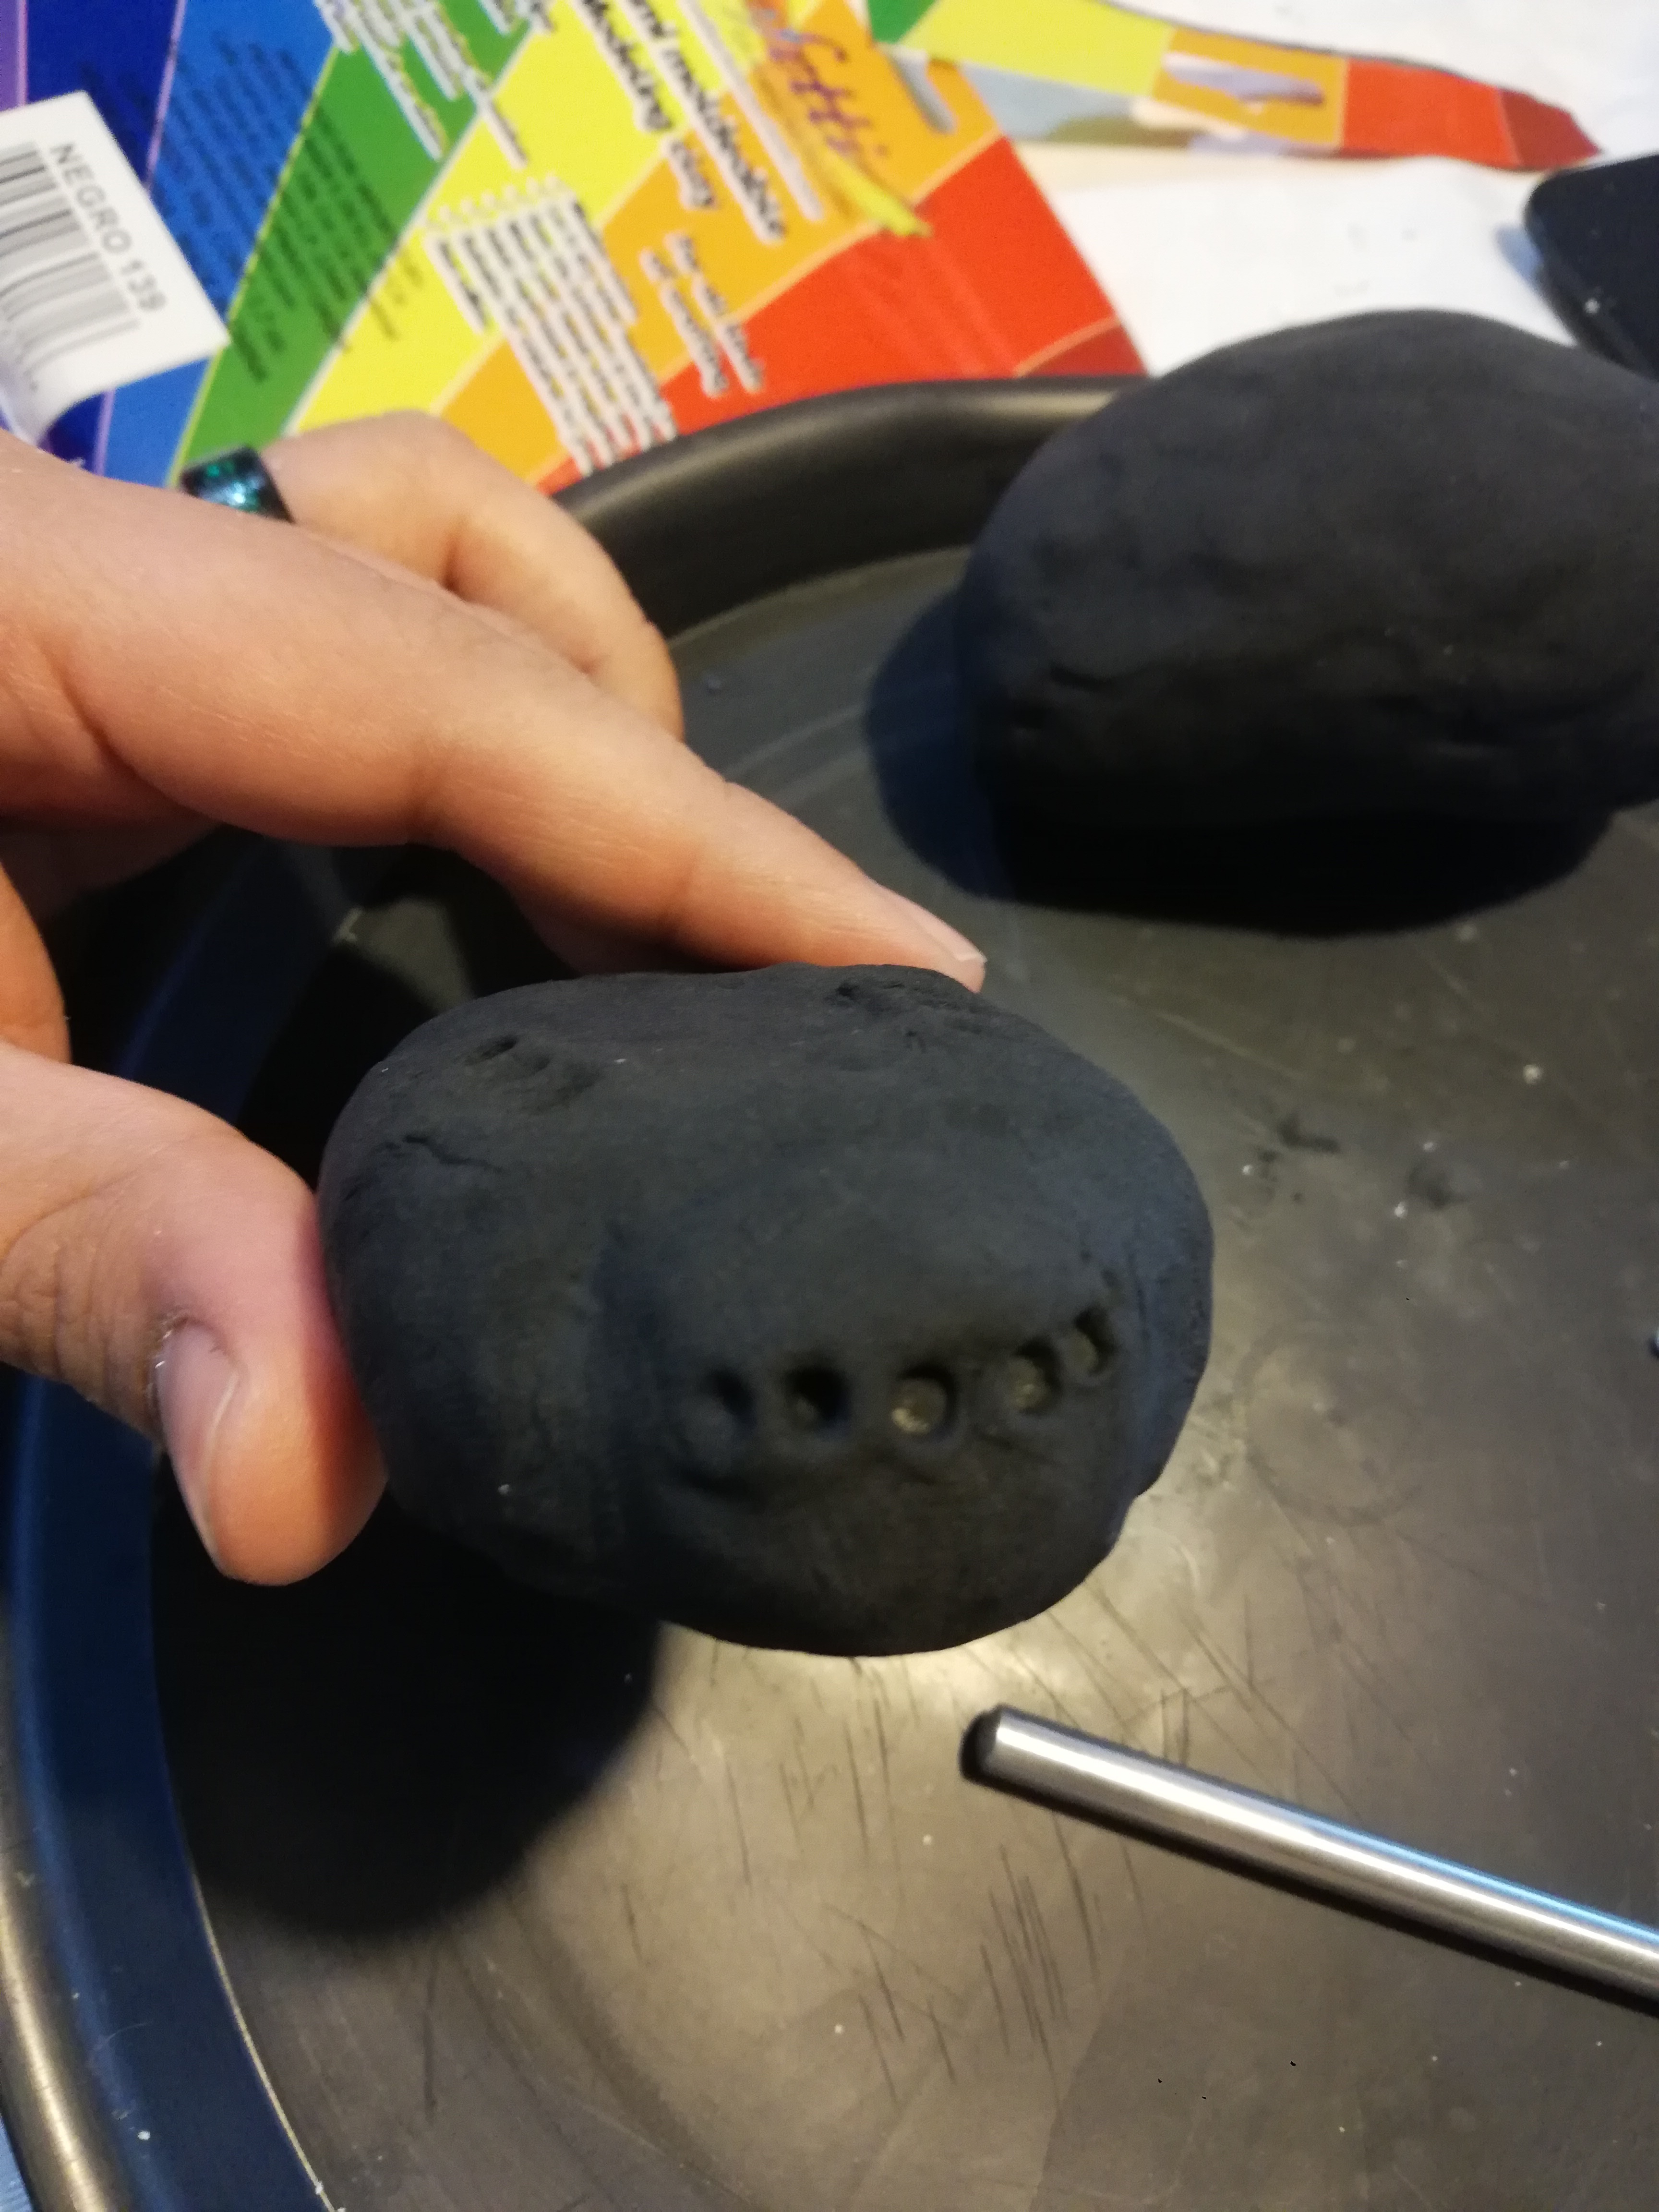
Cover the Thorax With Clay
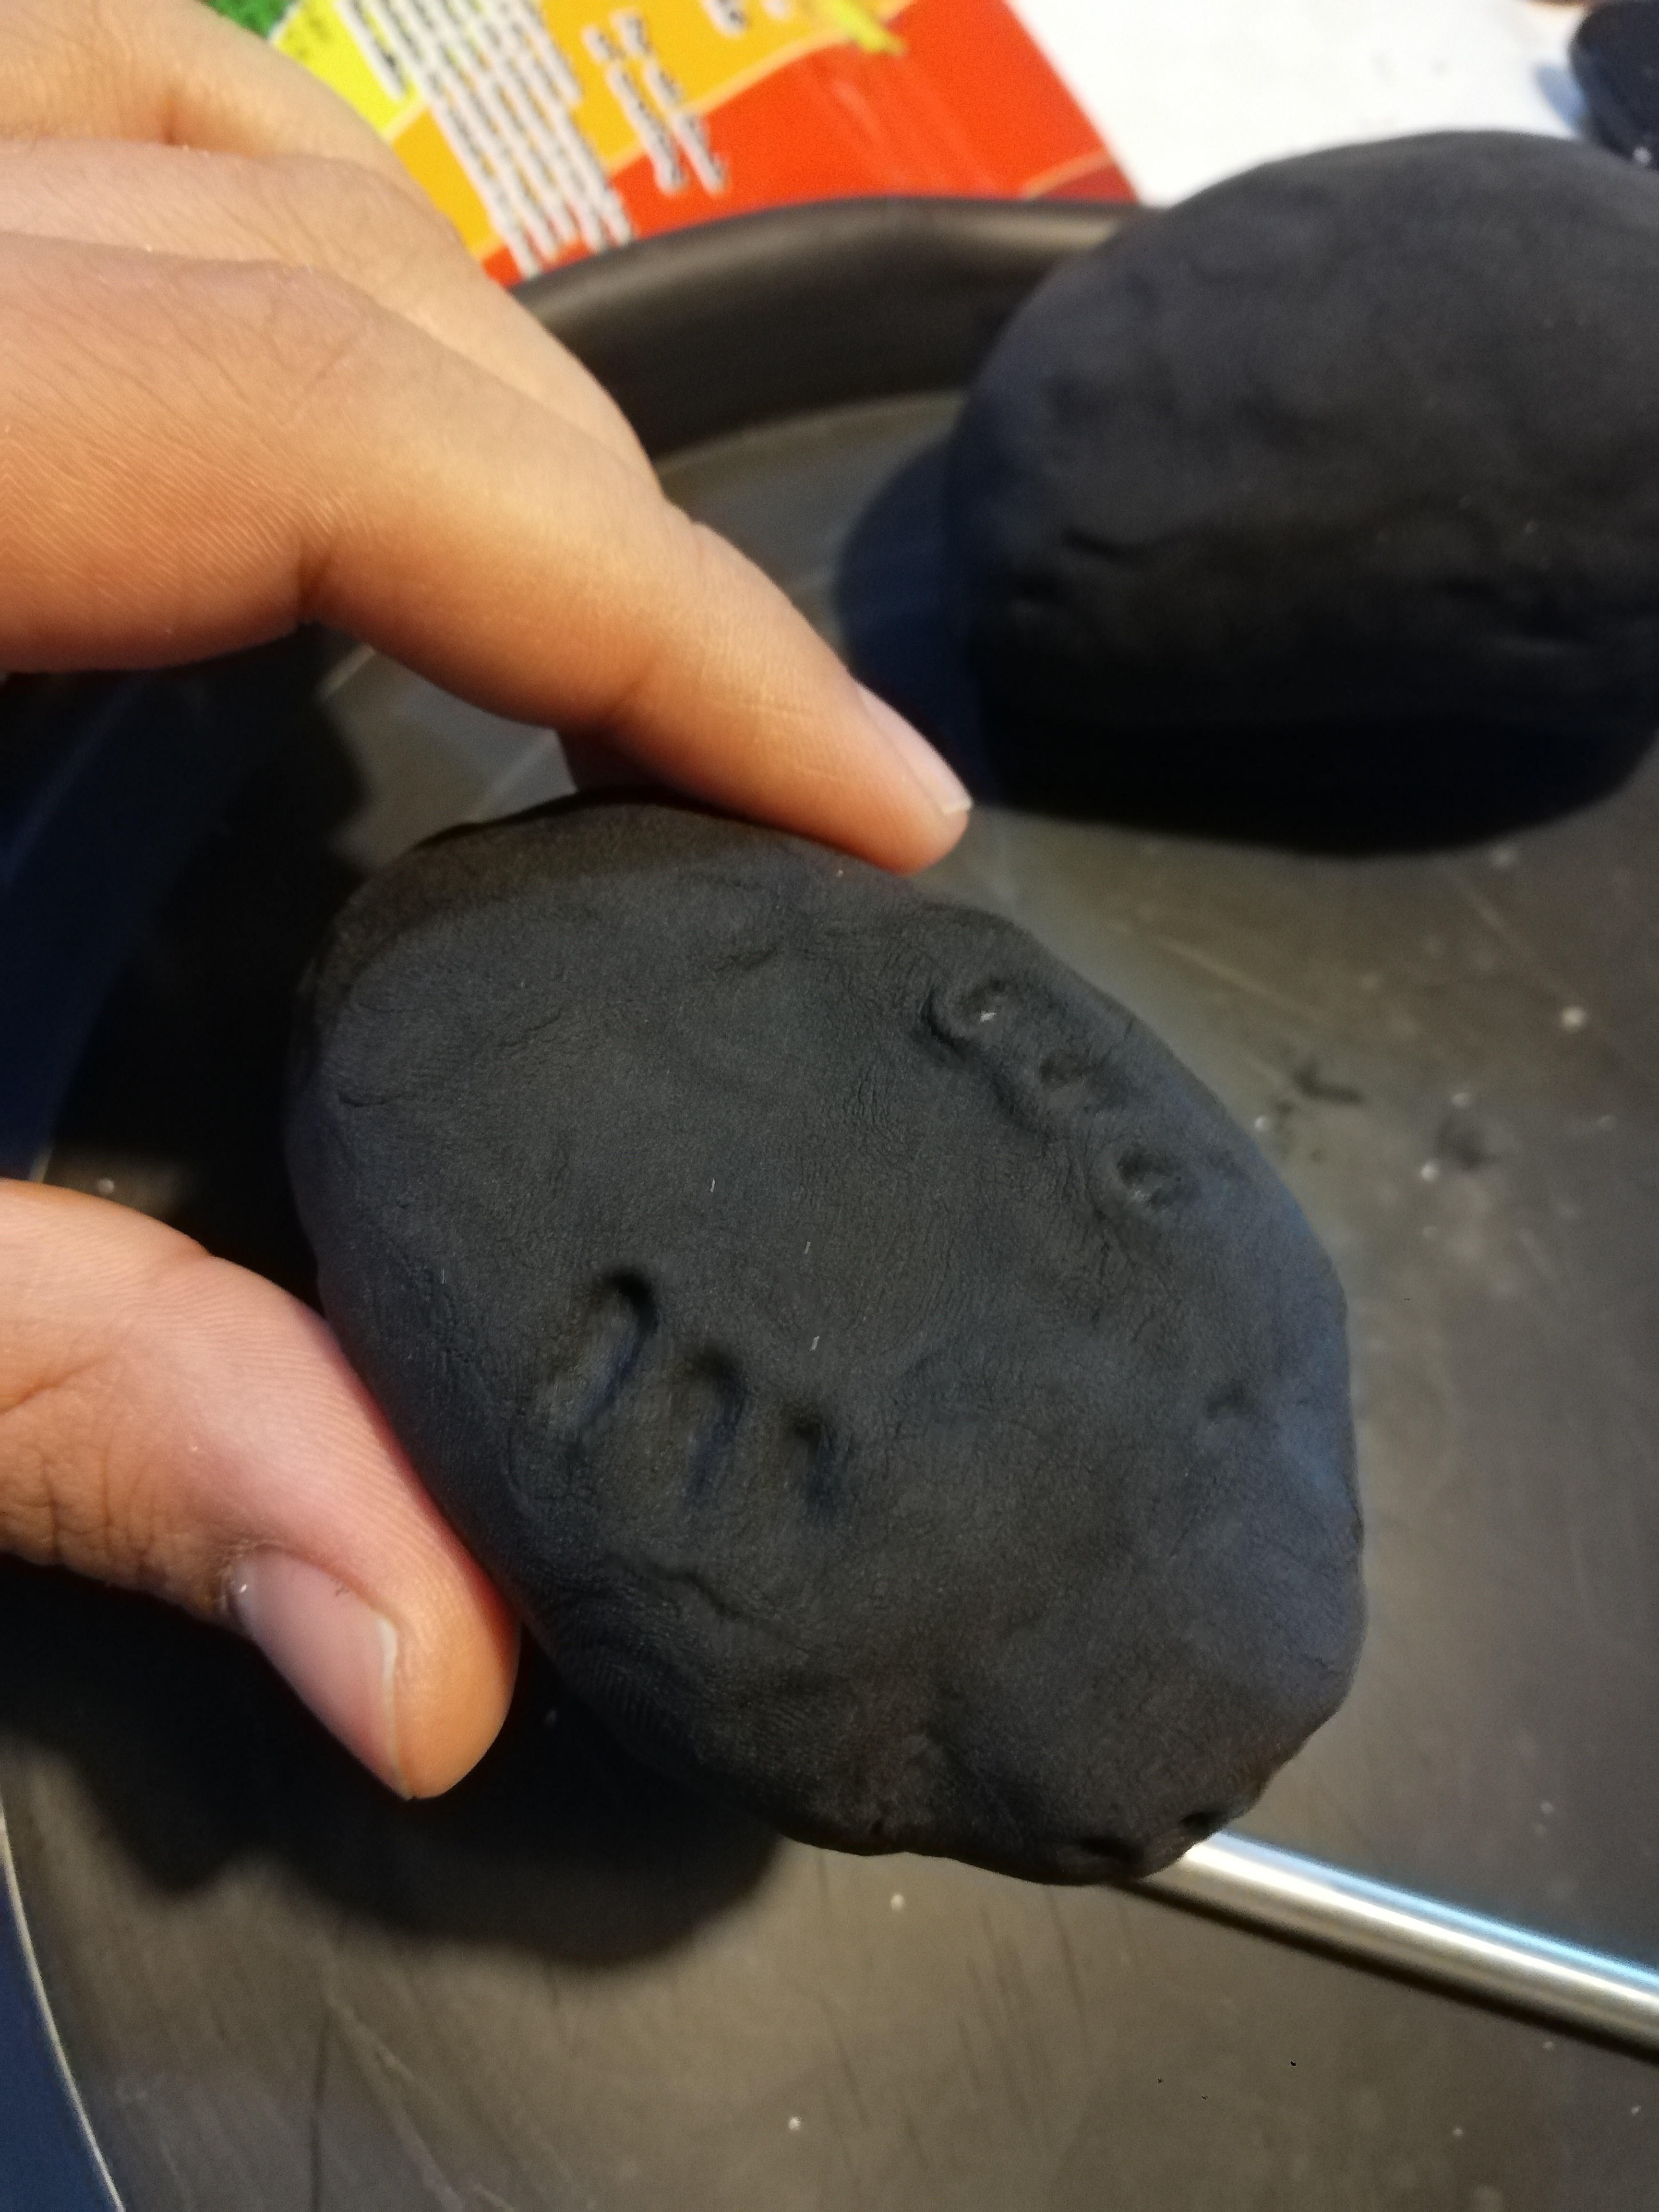
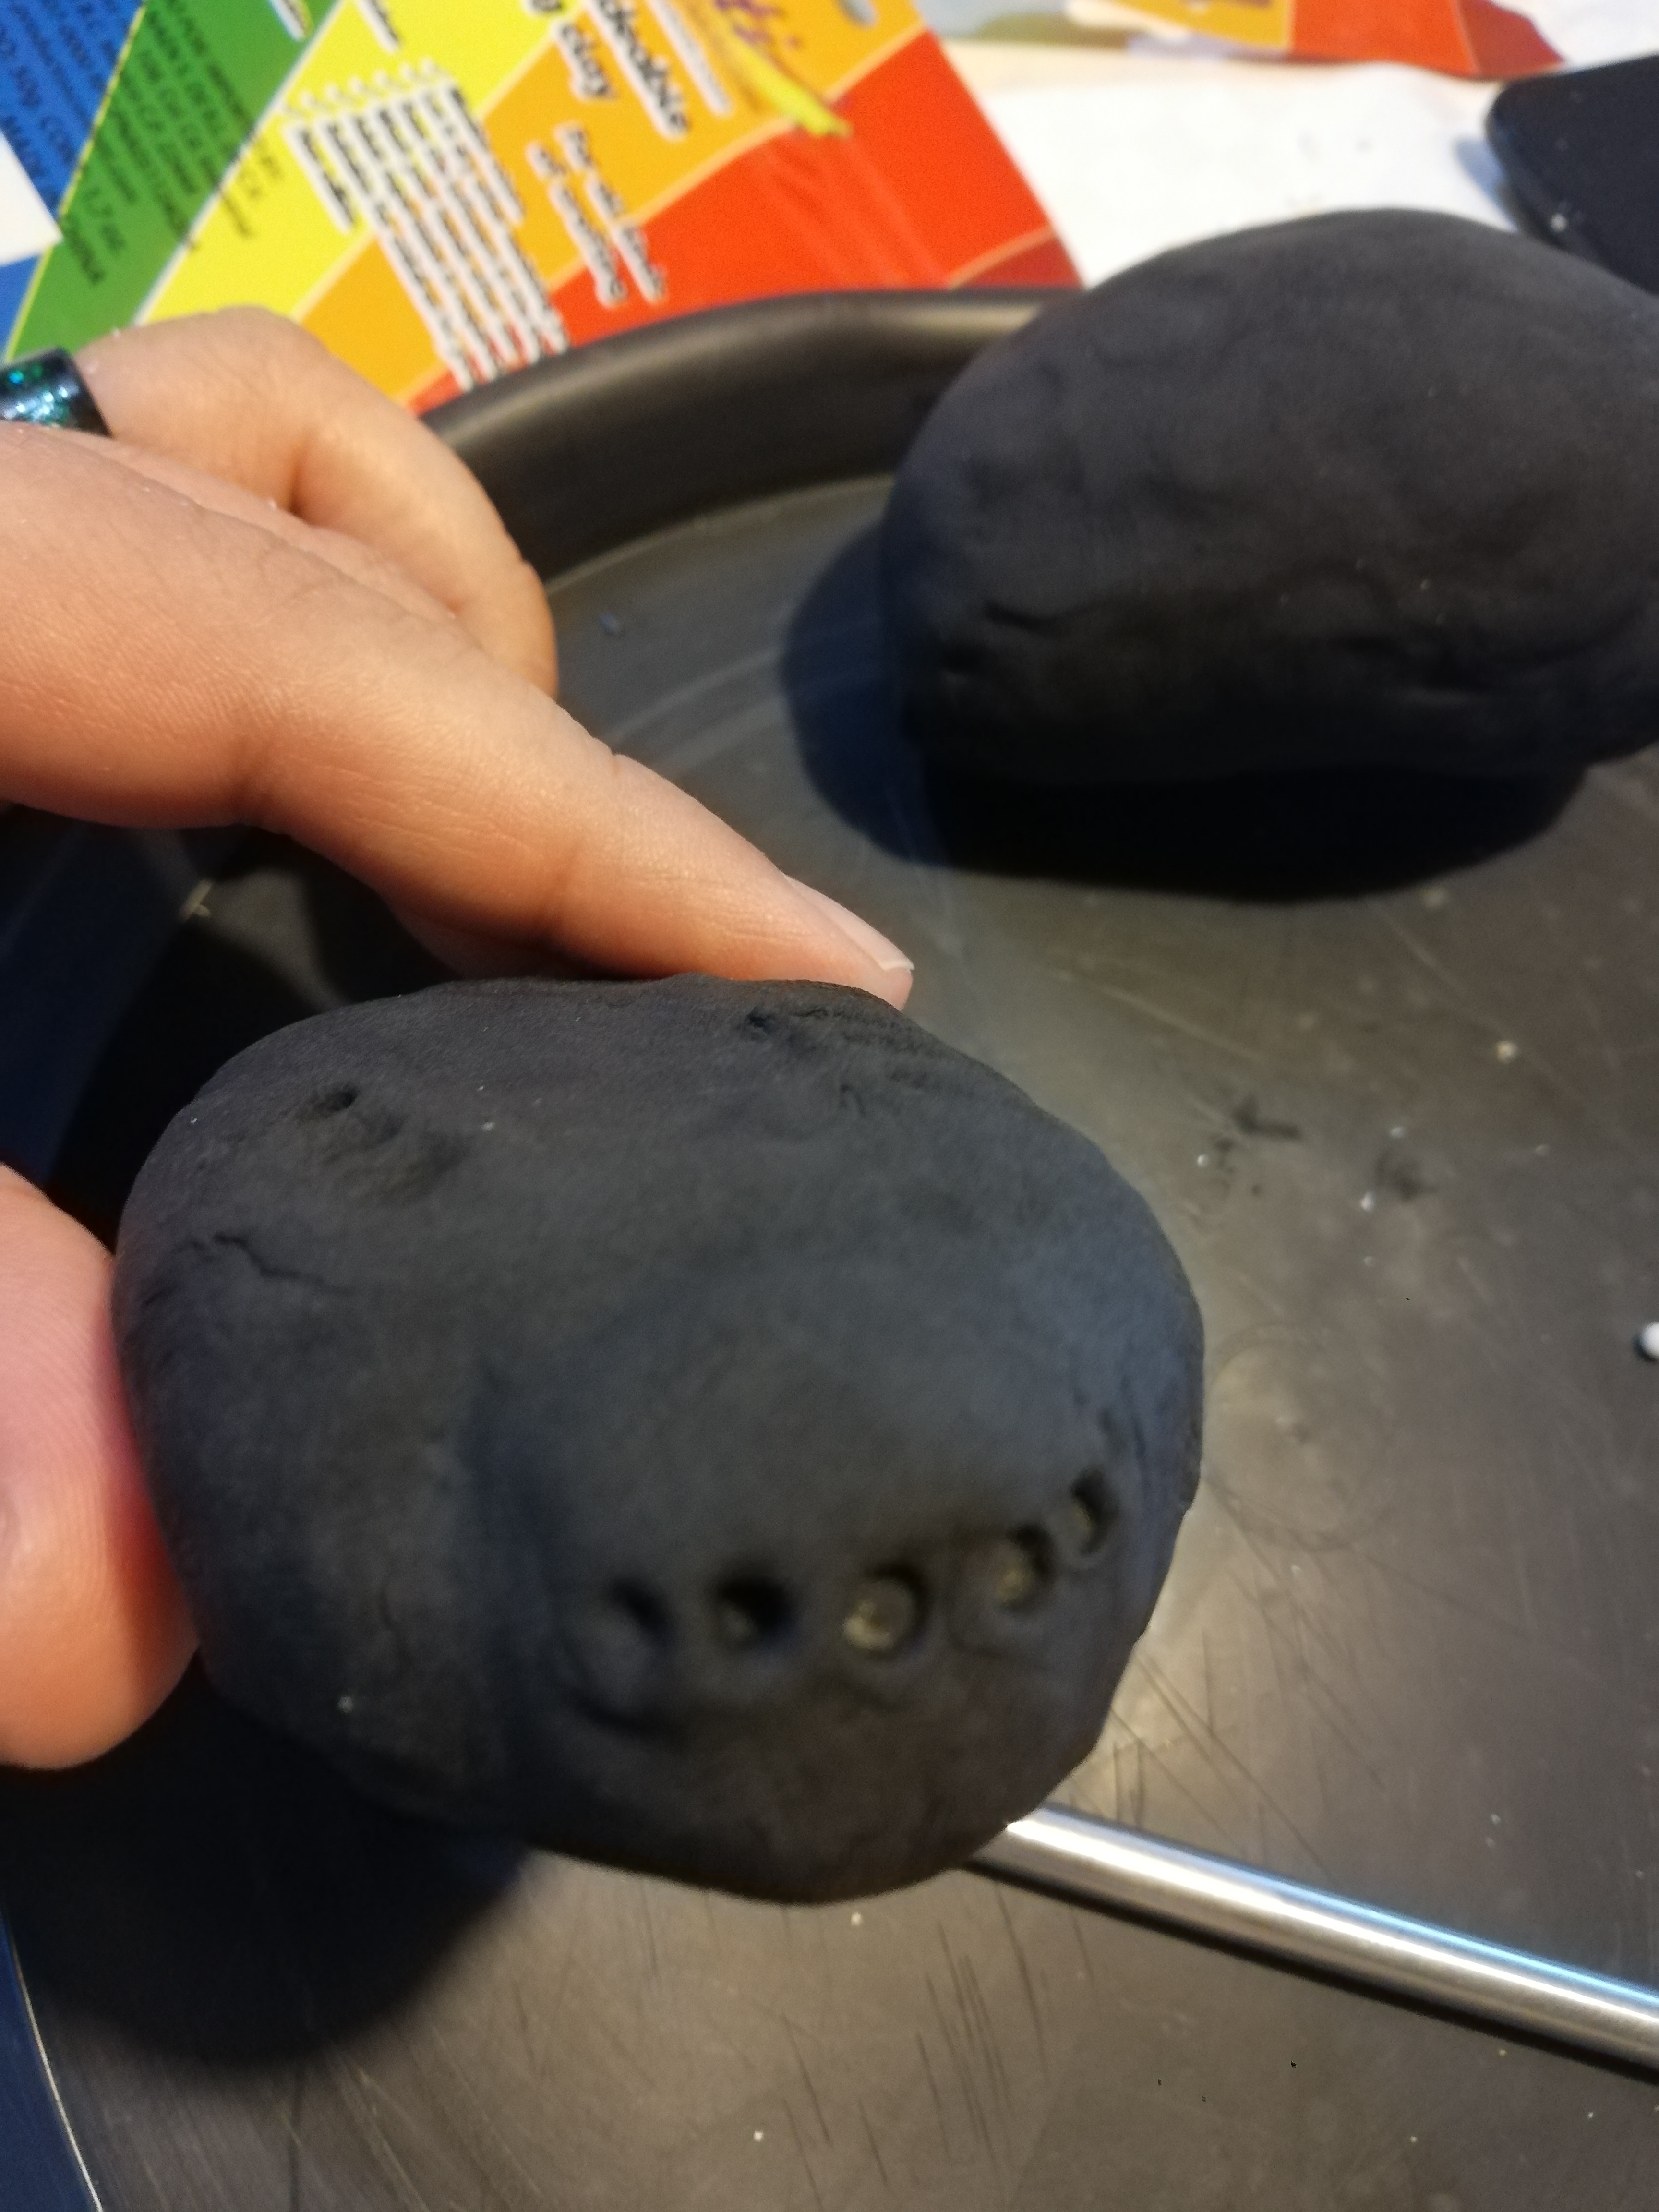
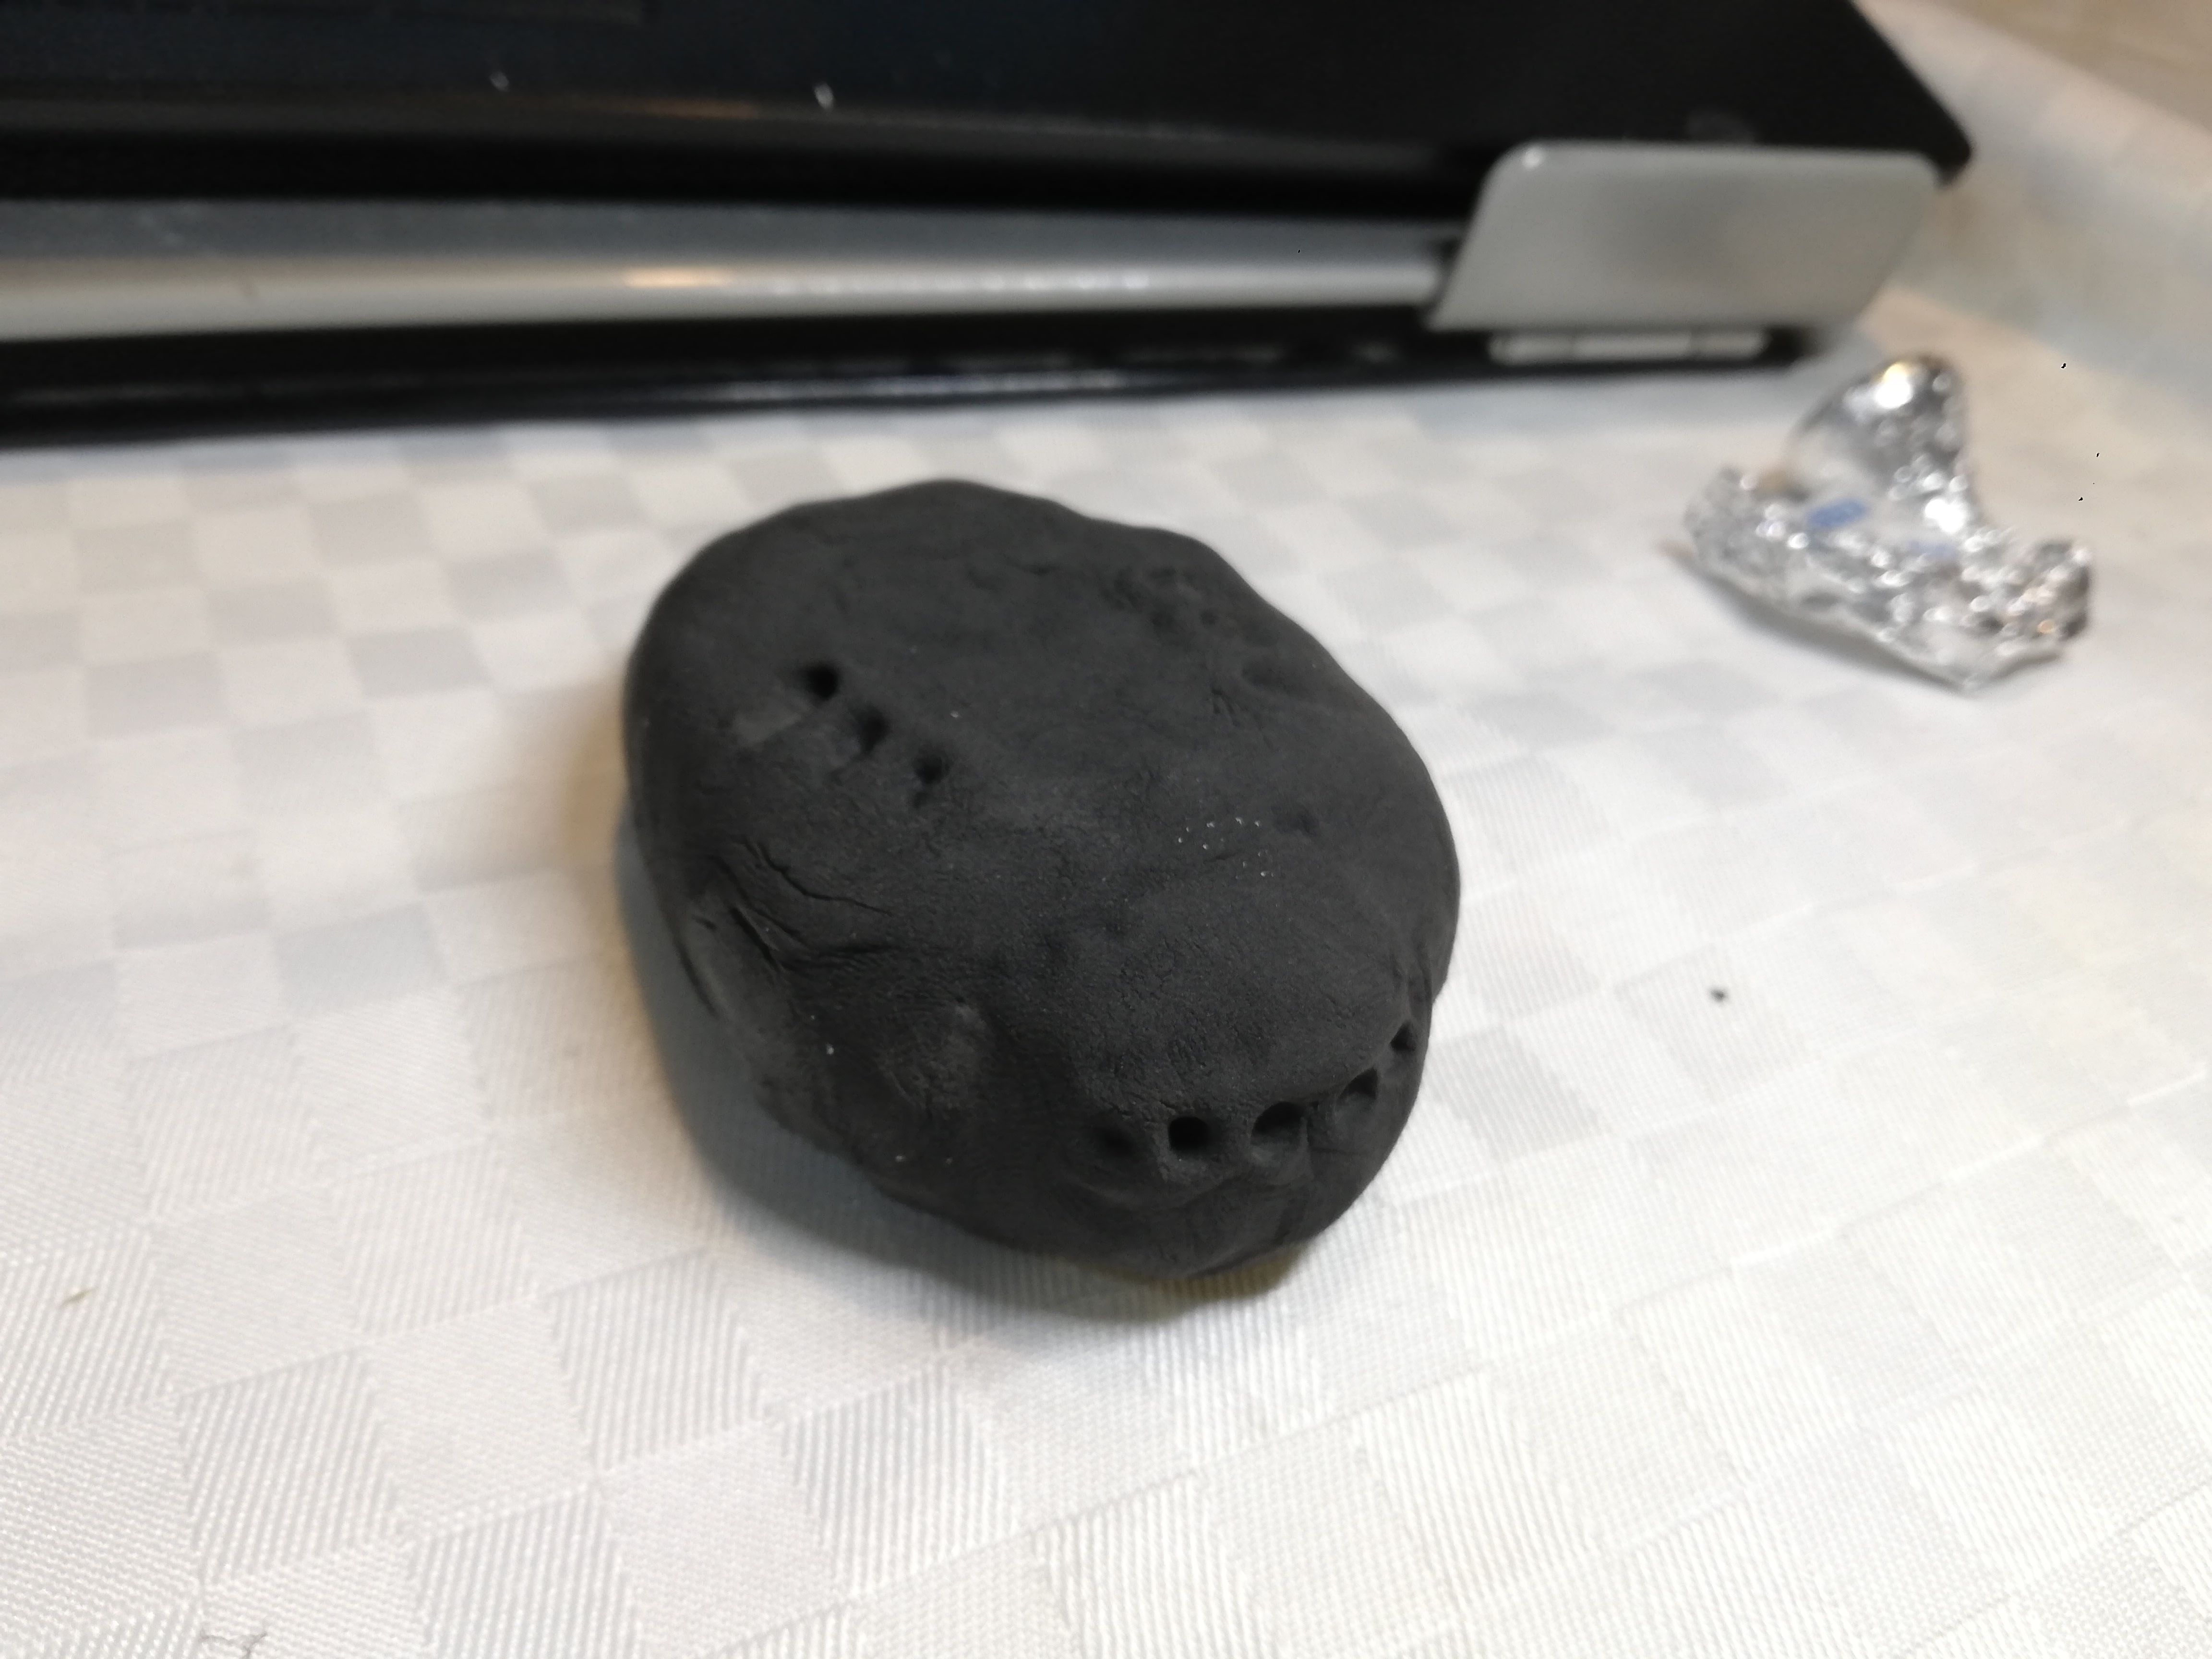
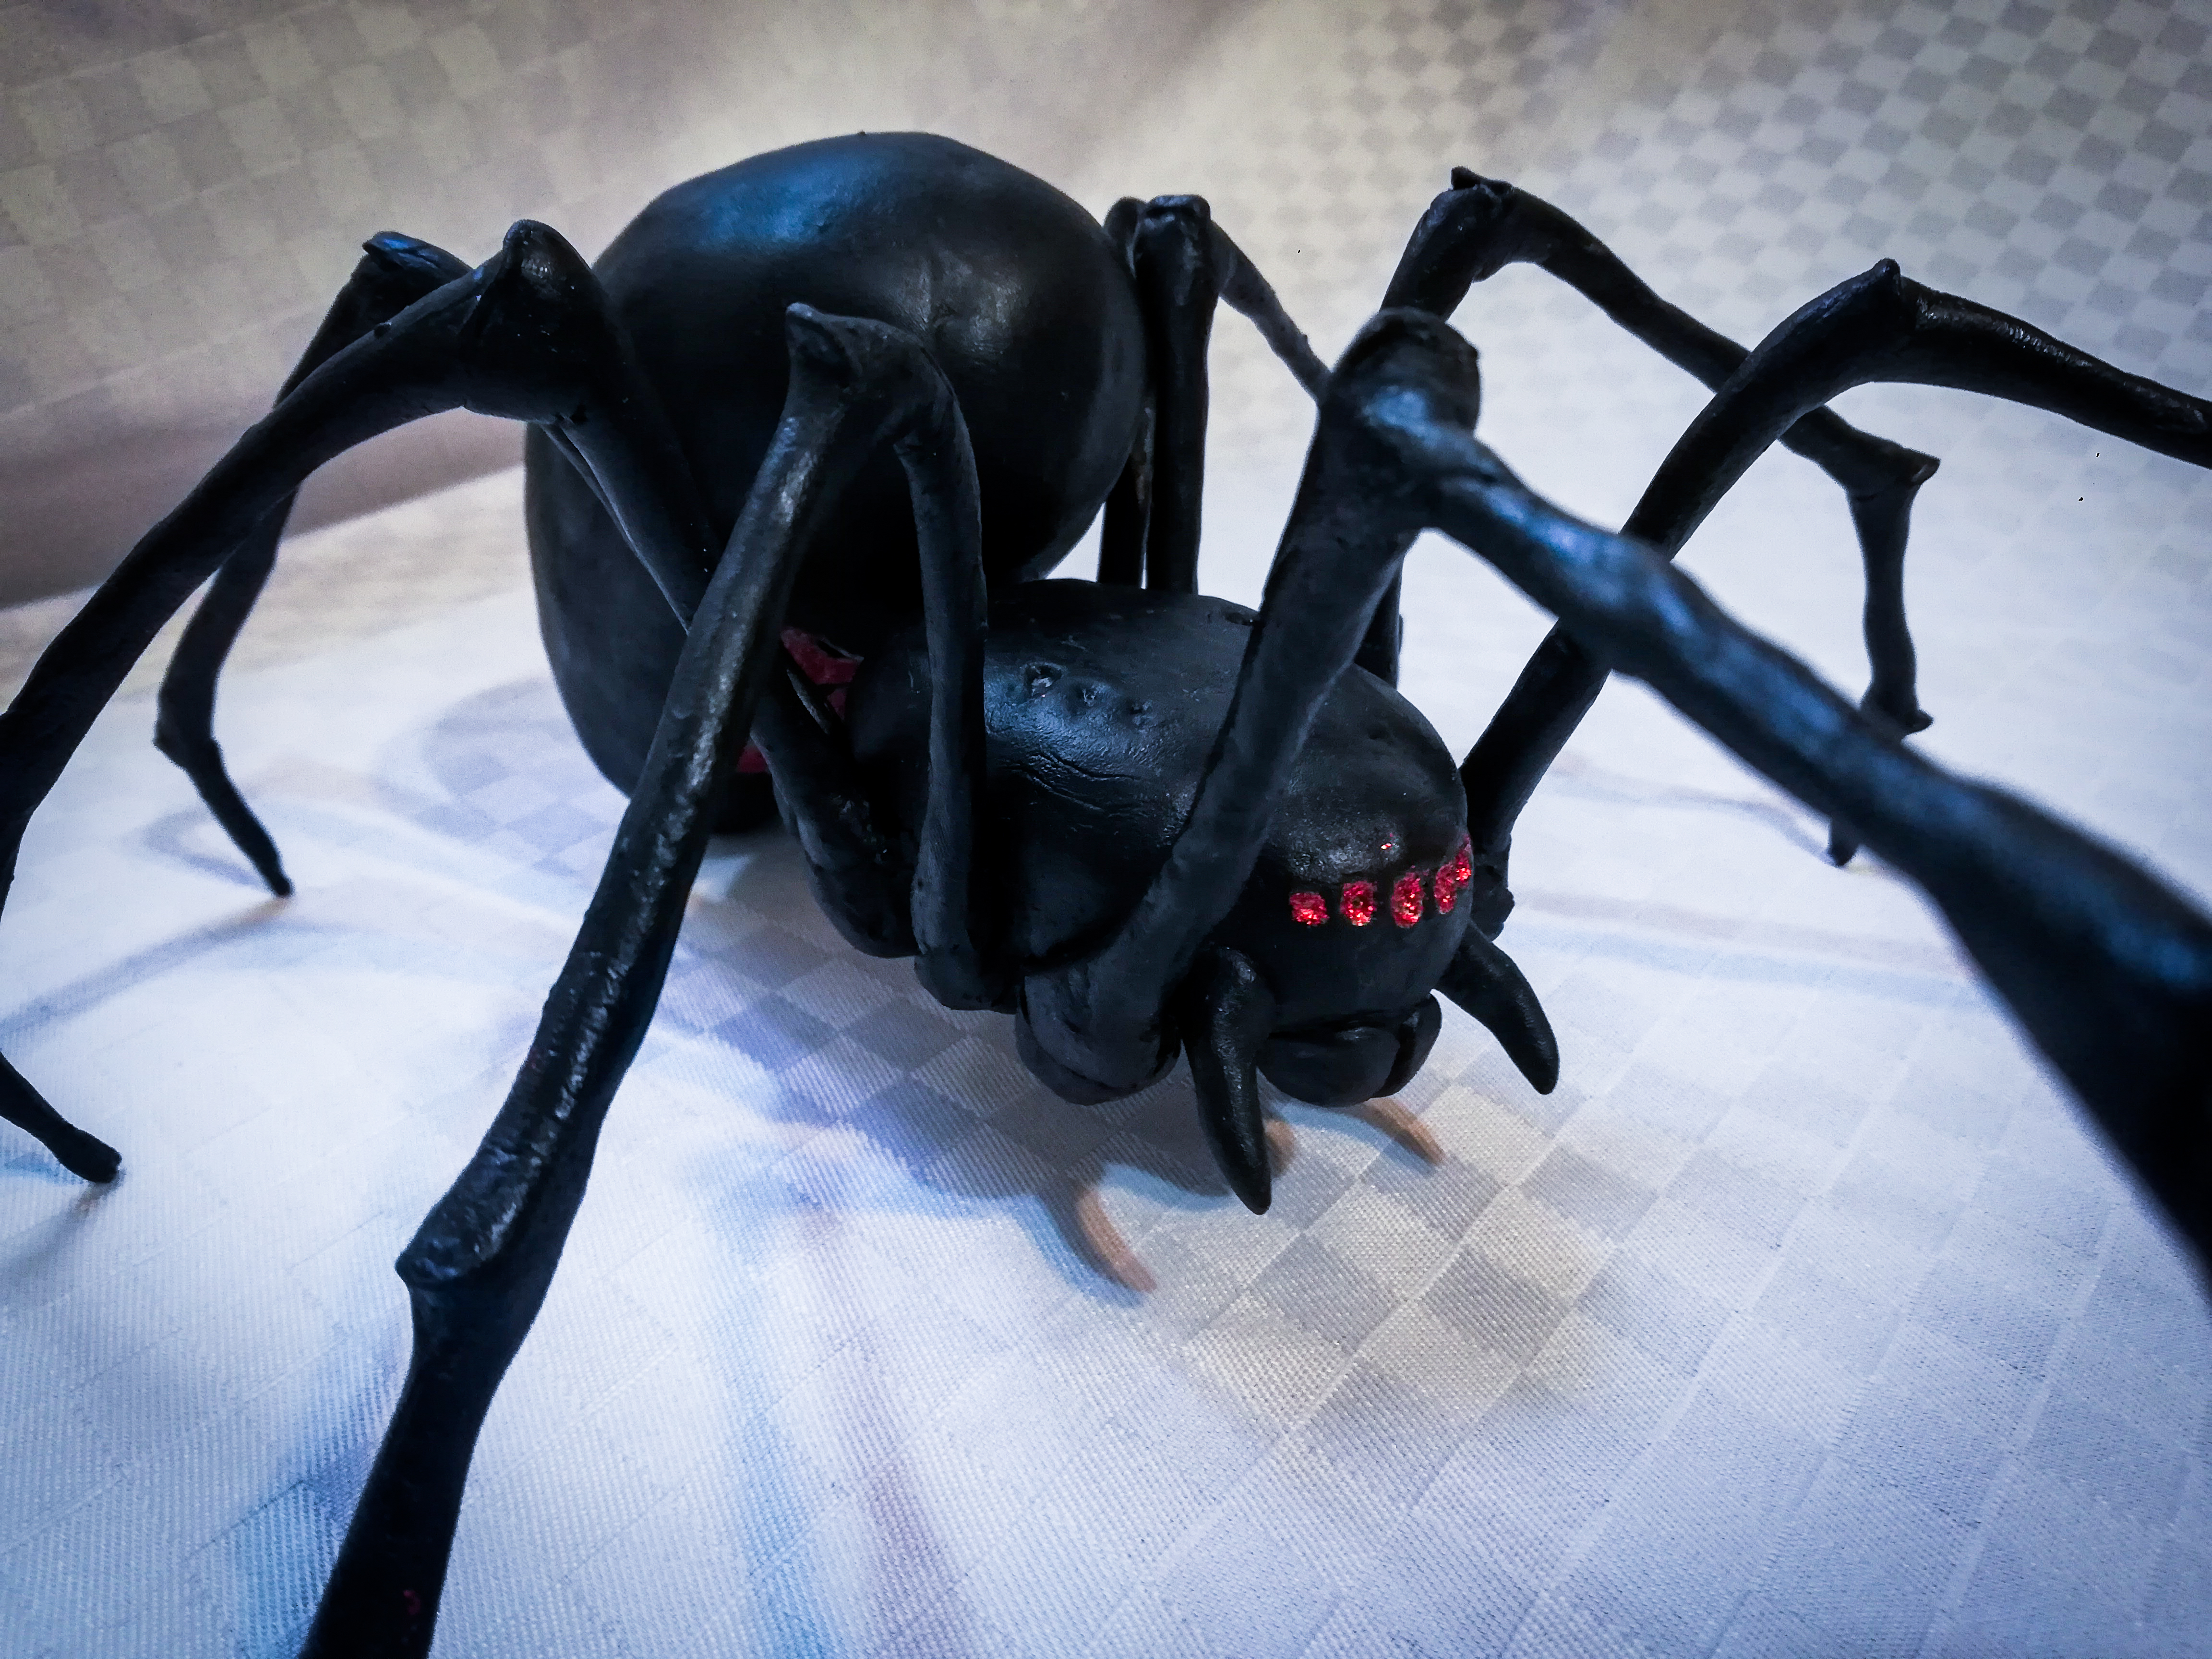
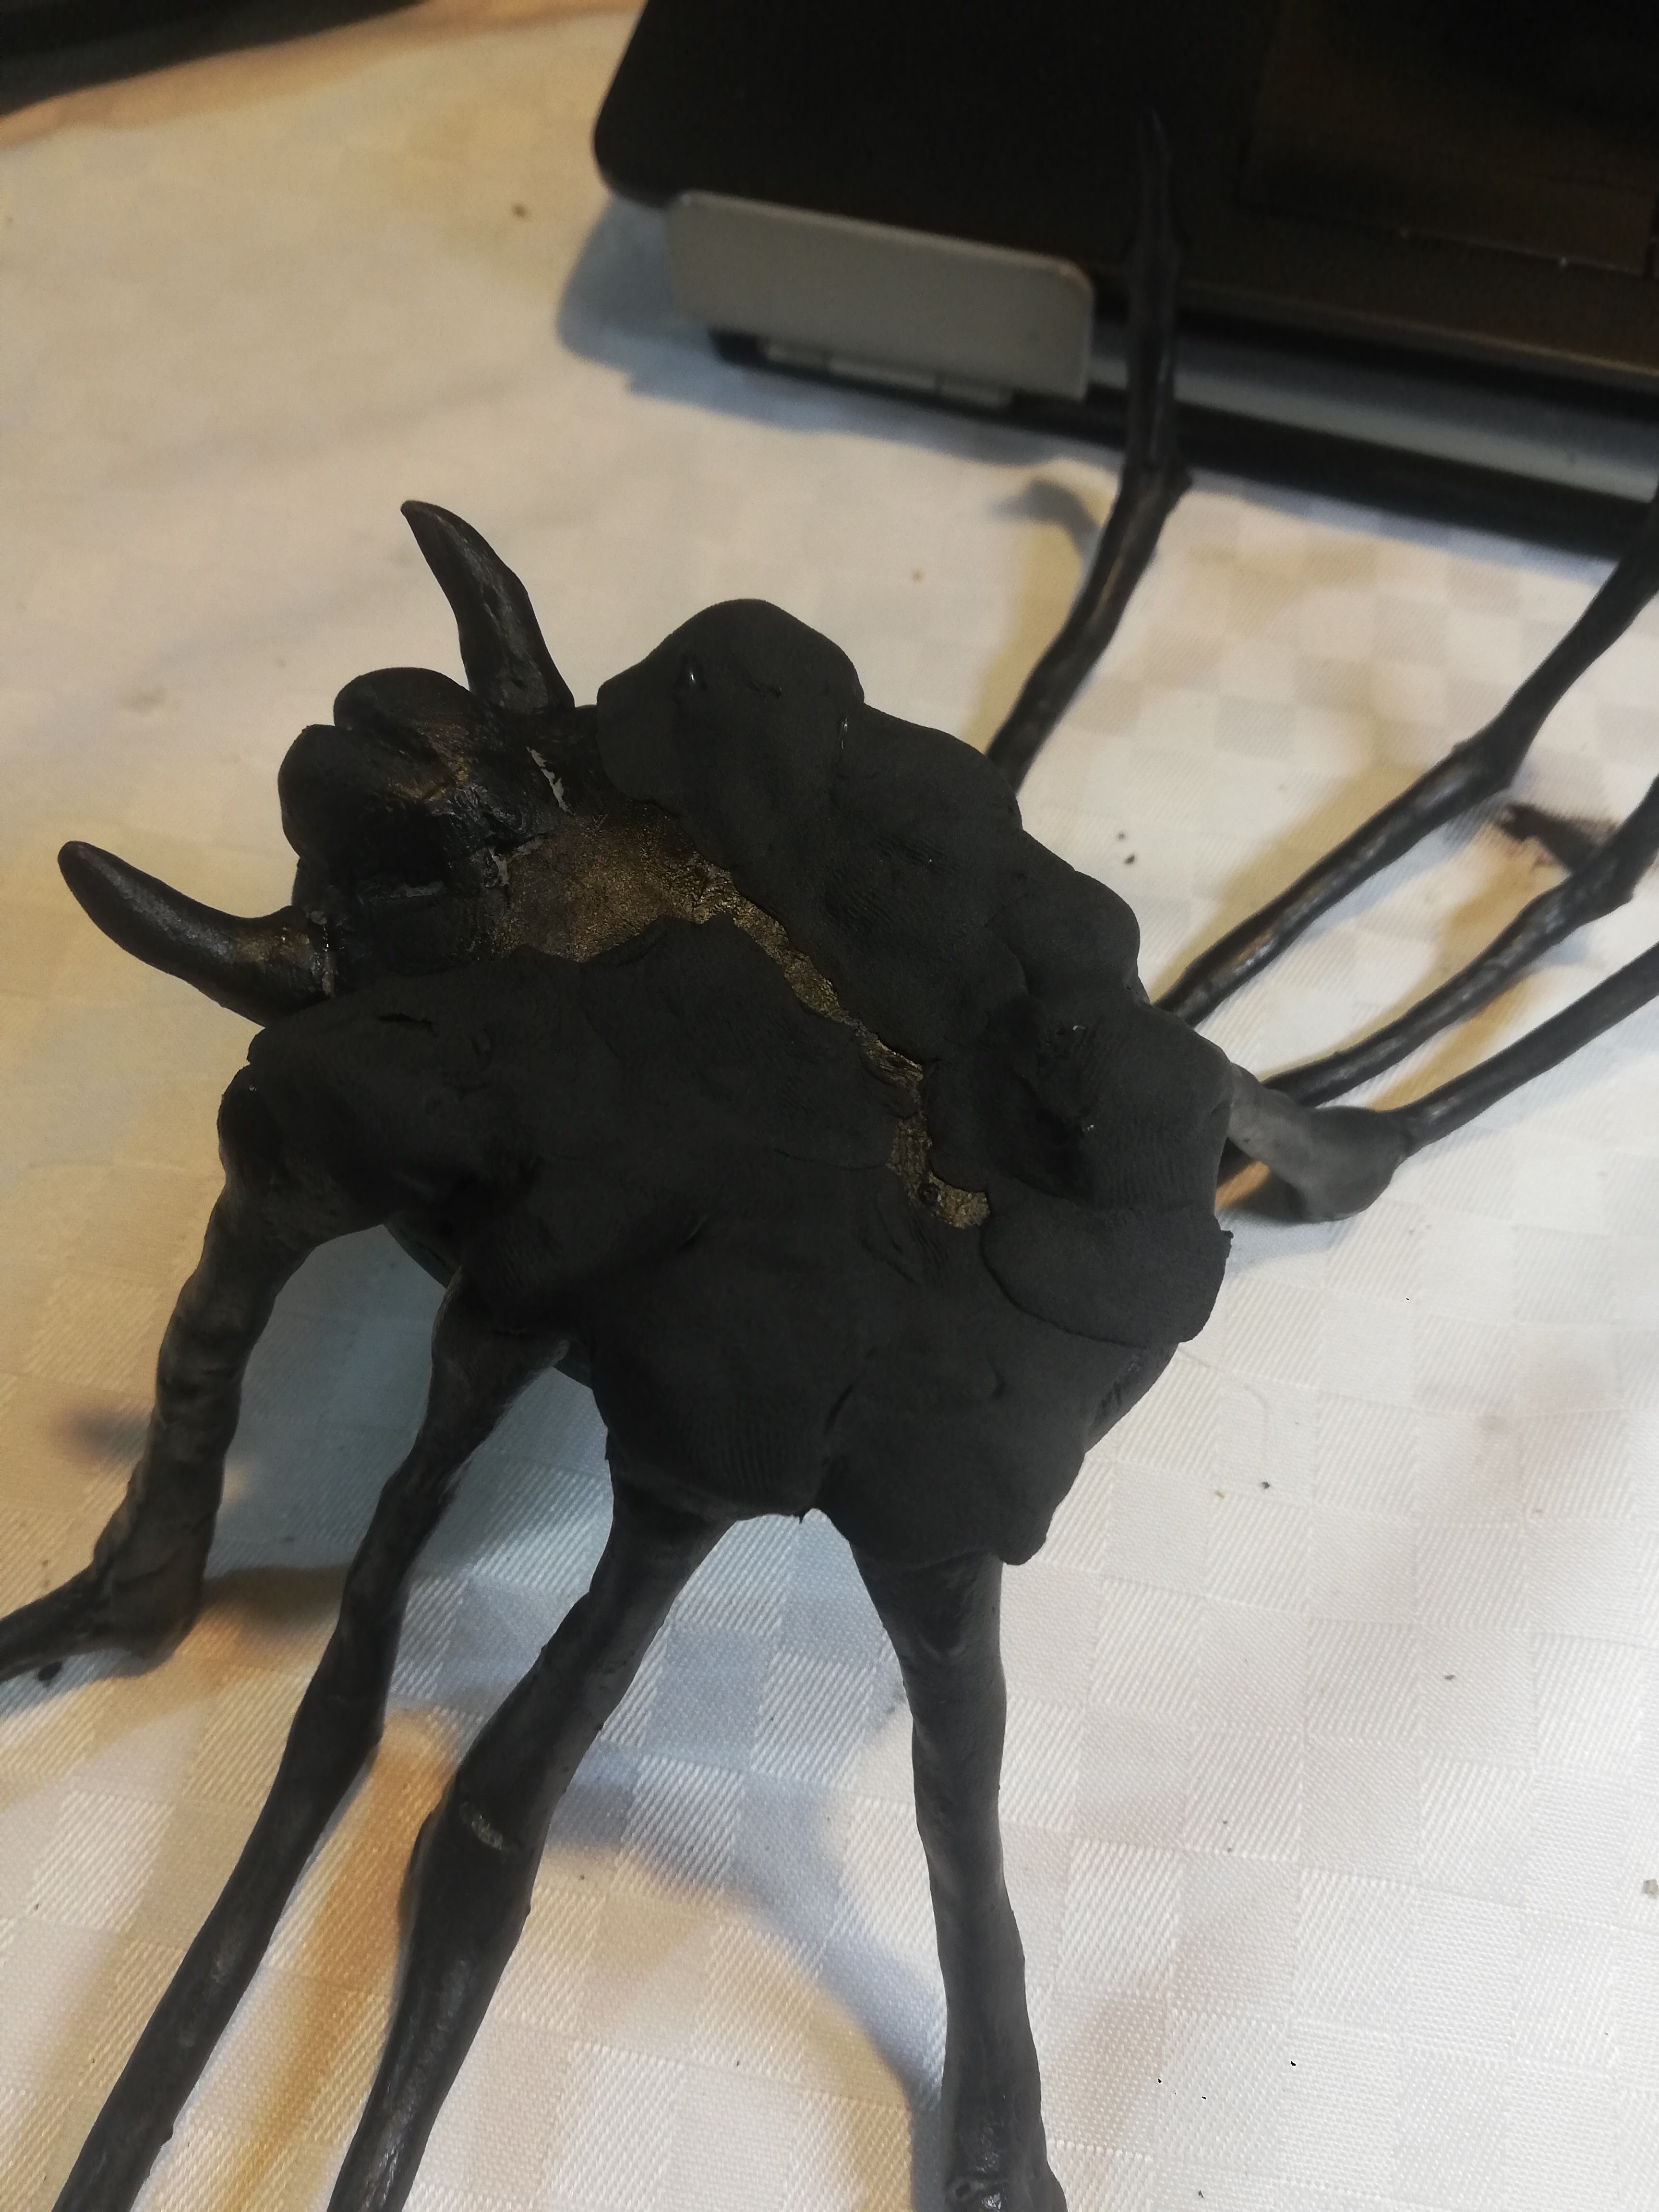
We will cover the thorax with clay trying to make it smooth and adding detail such as the eyes and the marks above
Adding More Details to Thorax

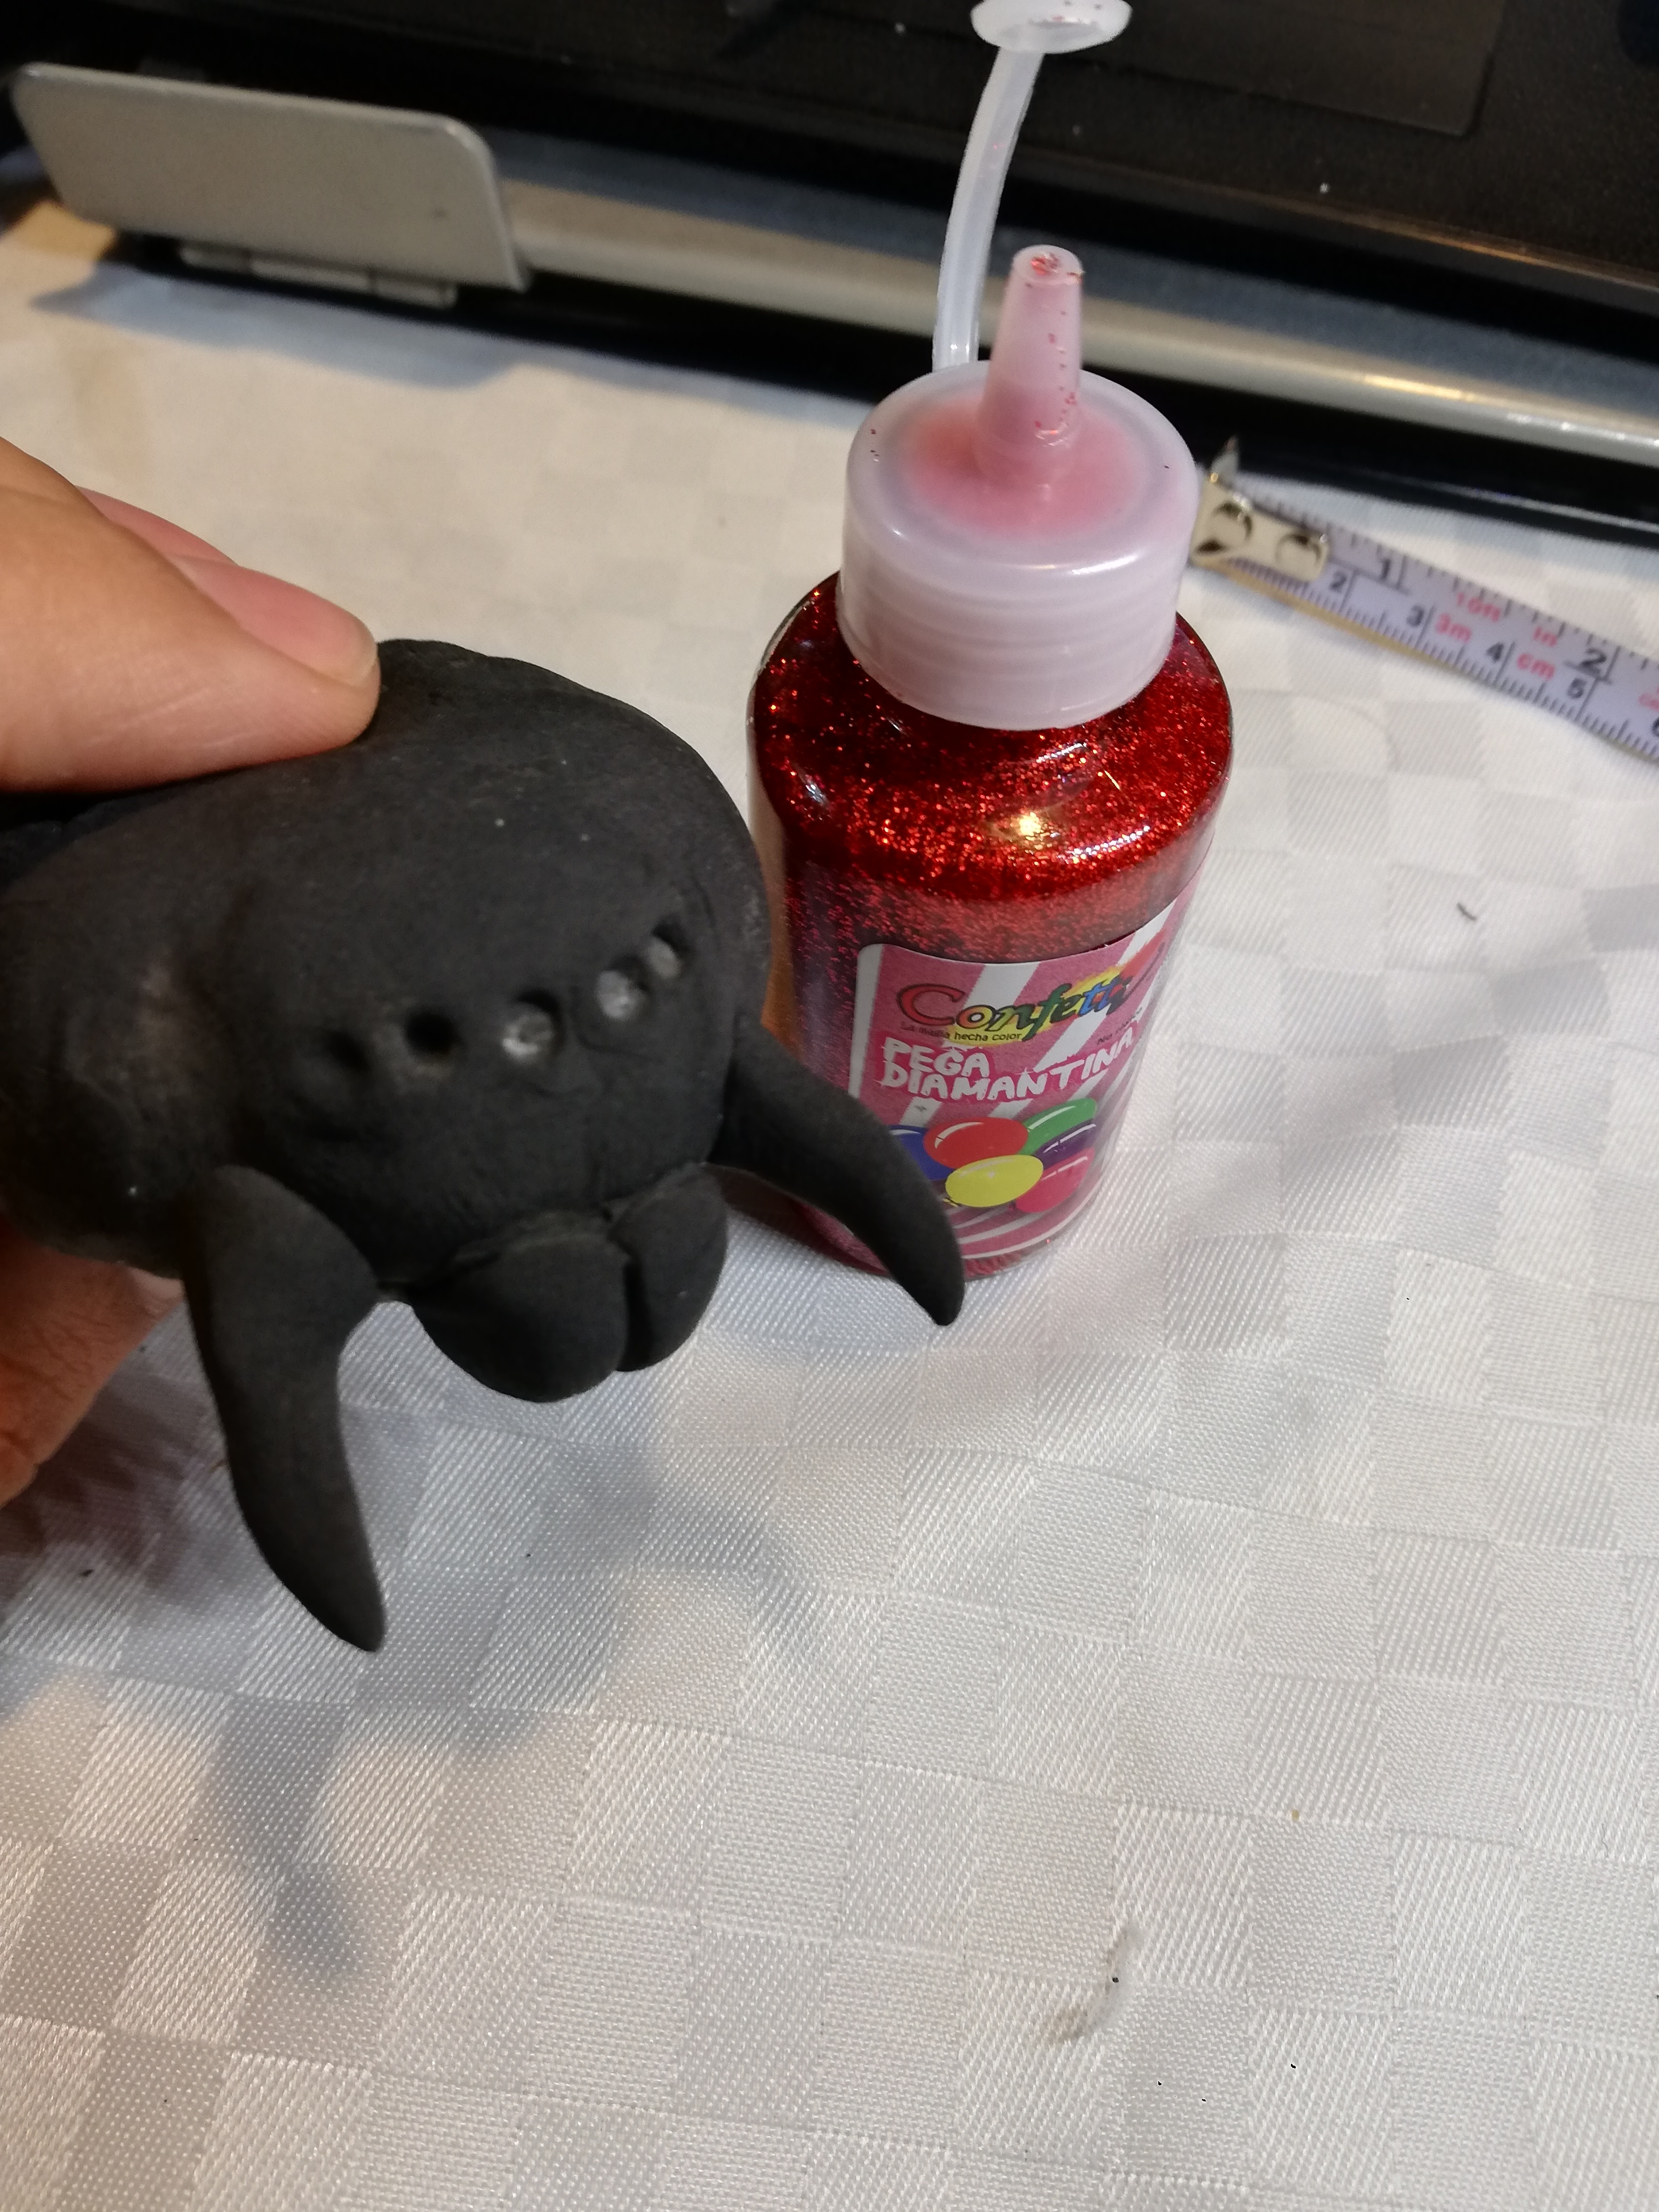
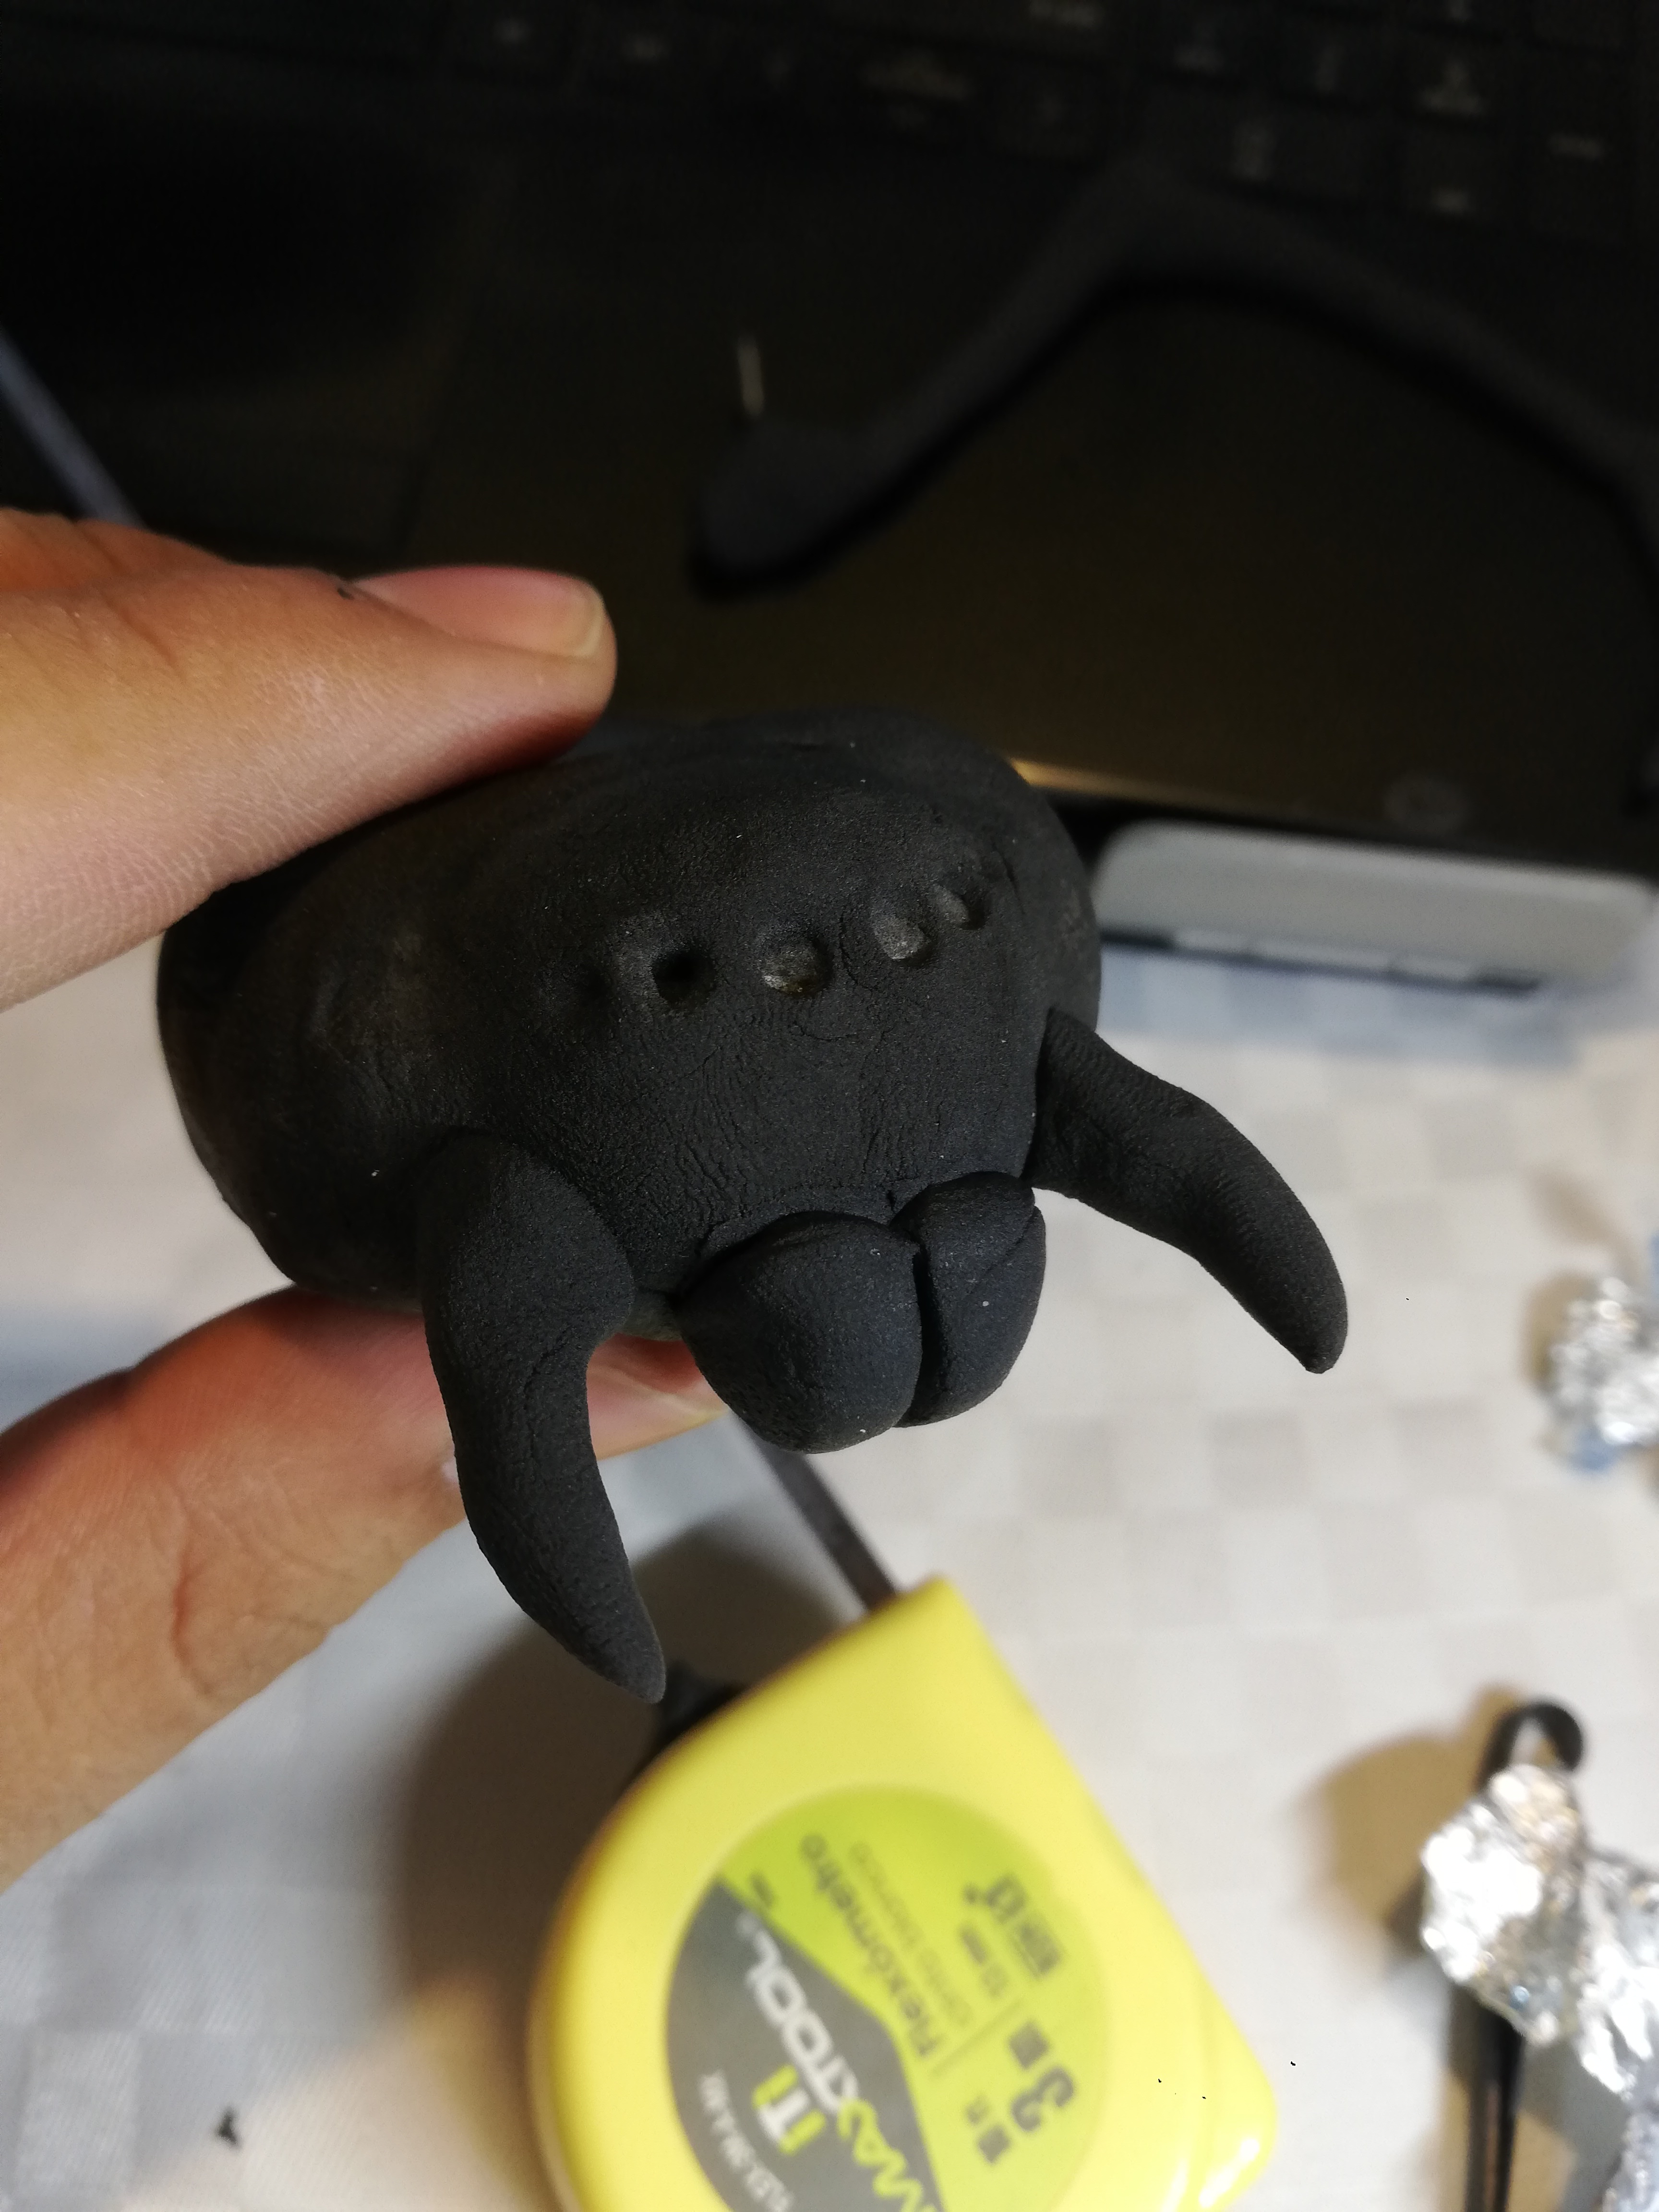
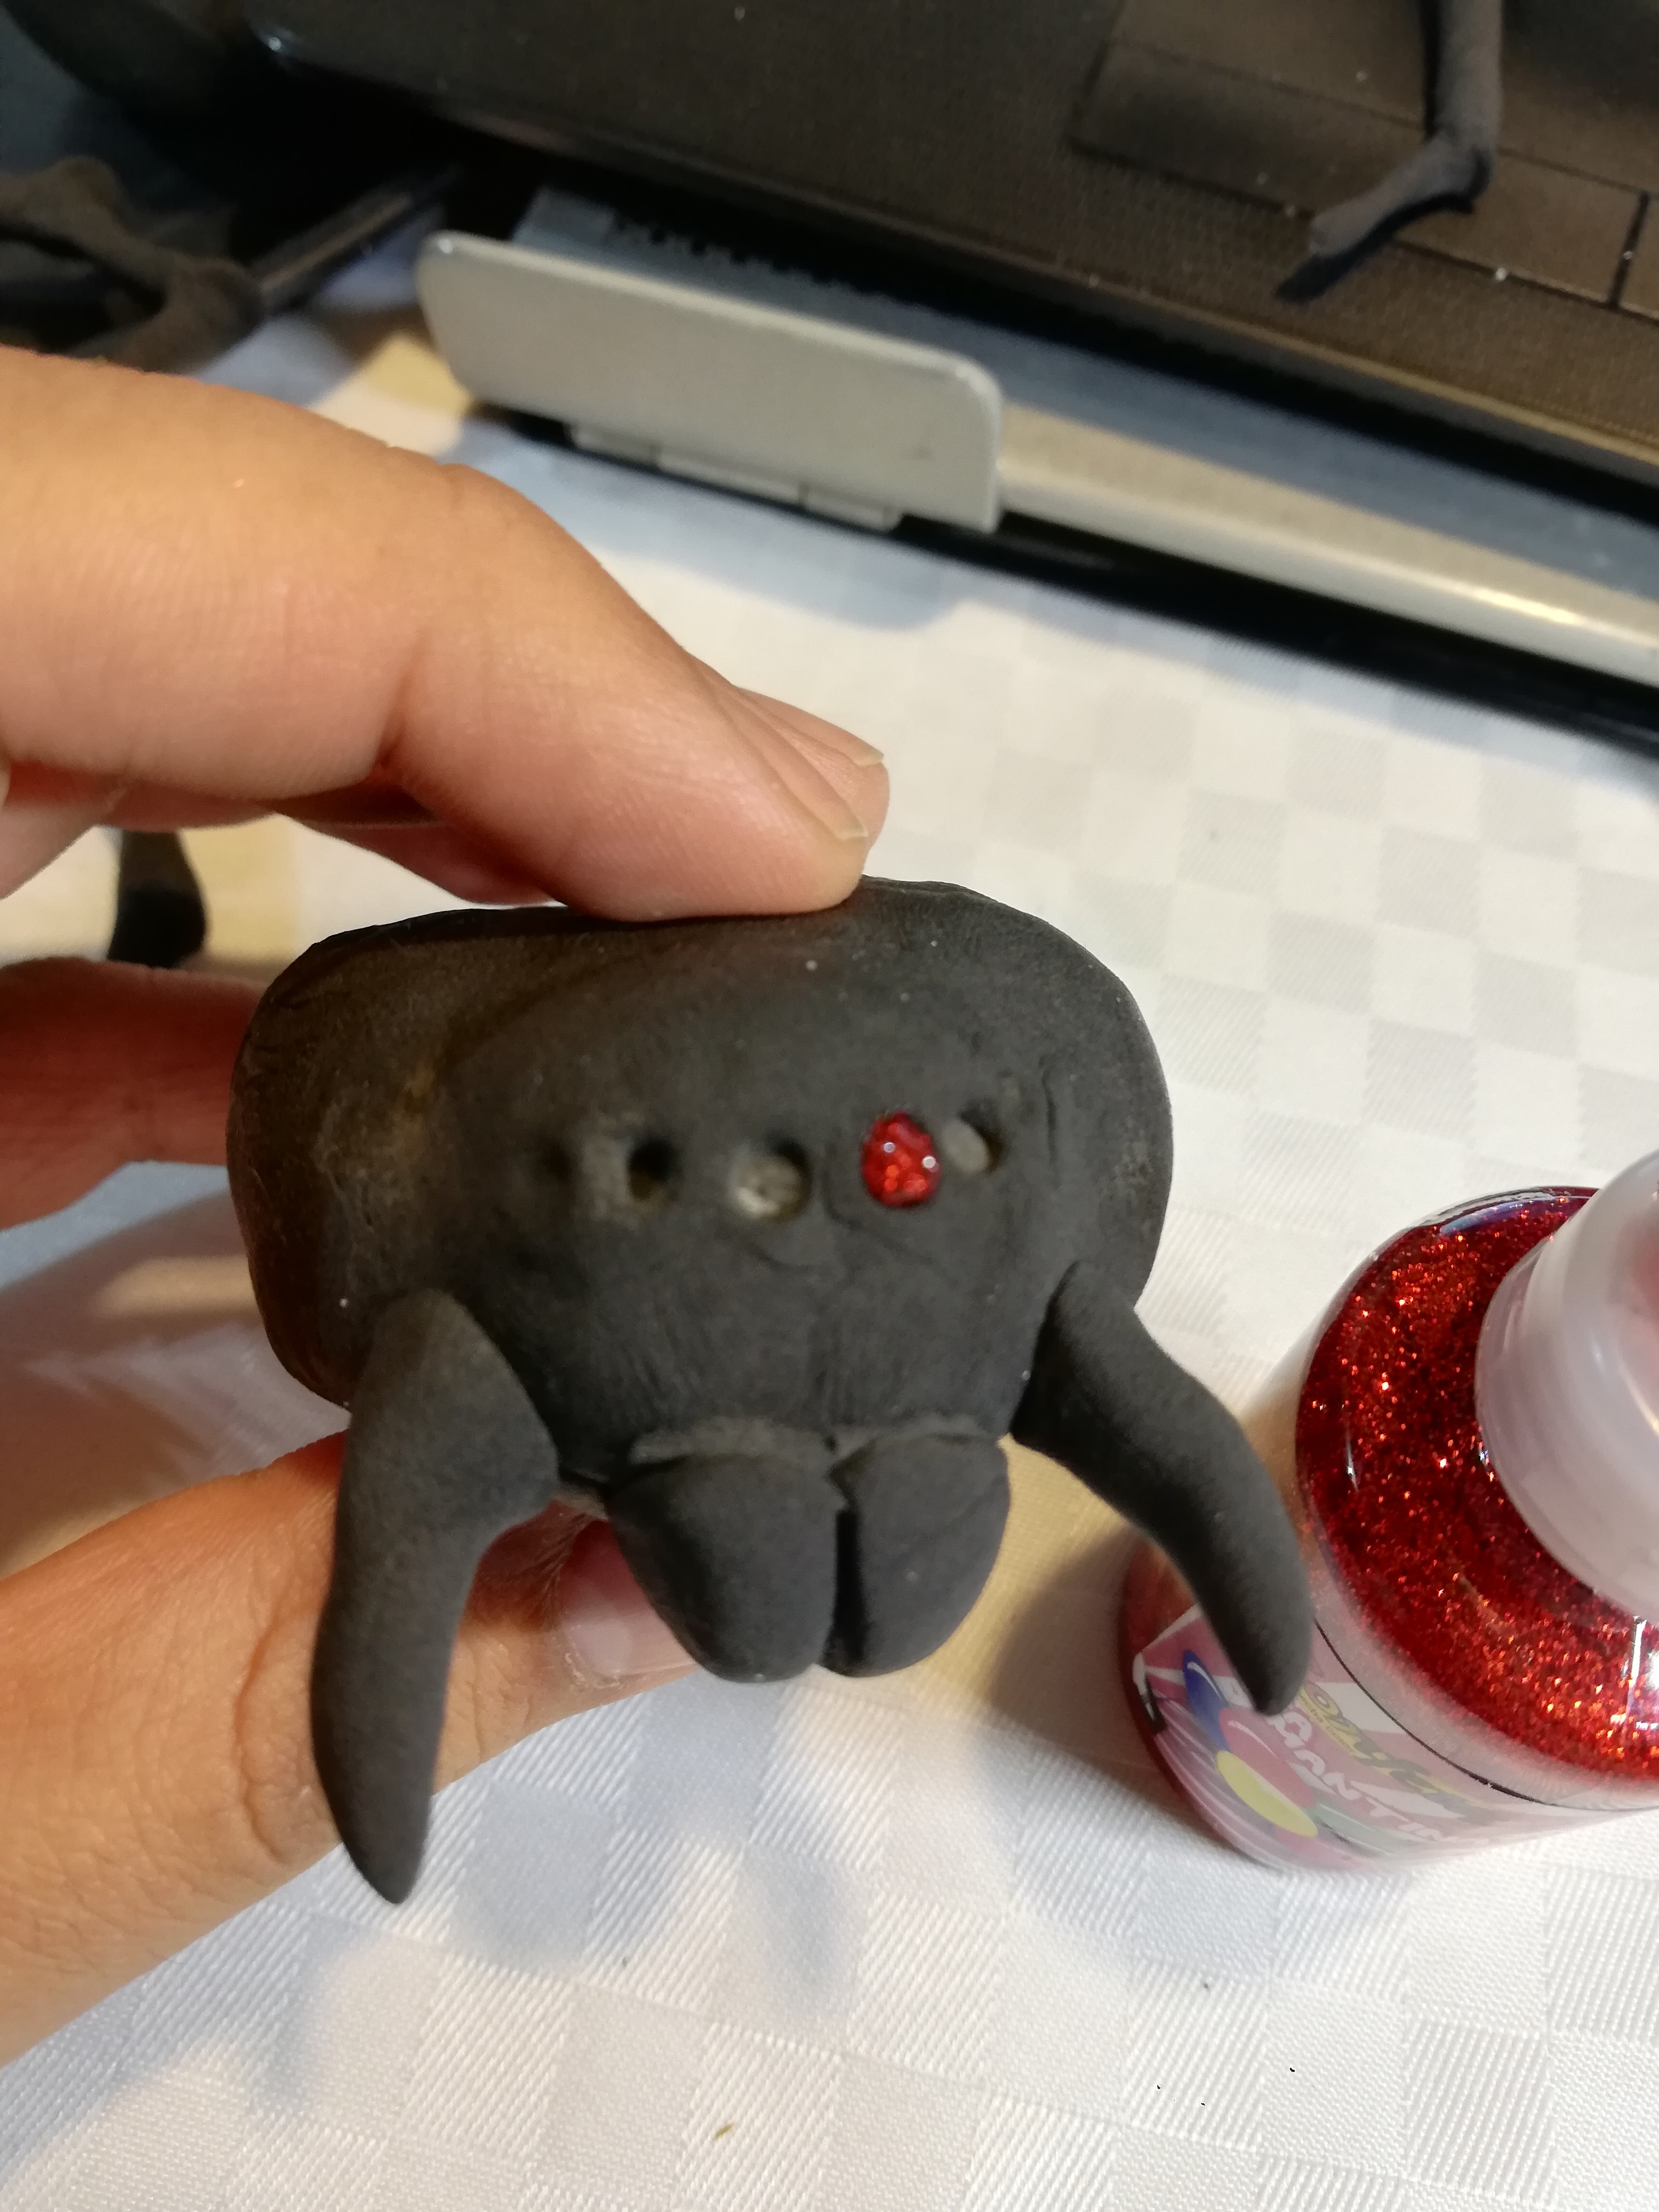
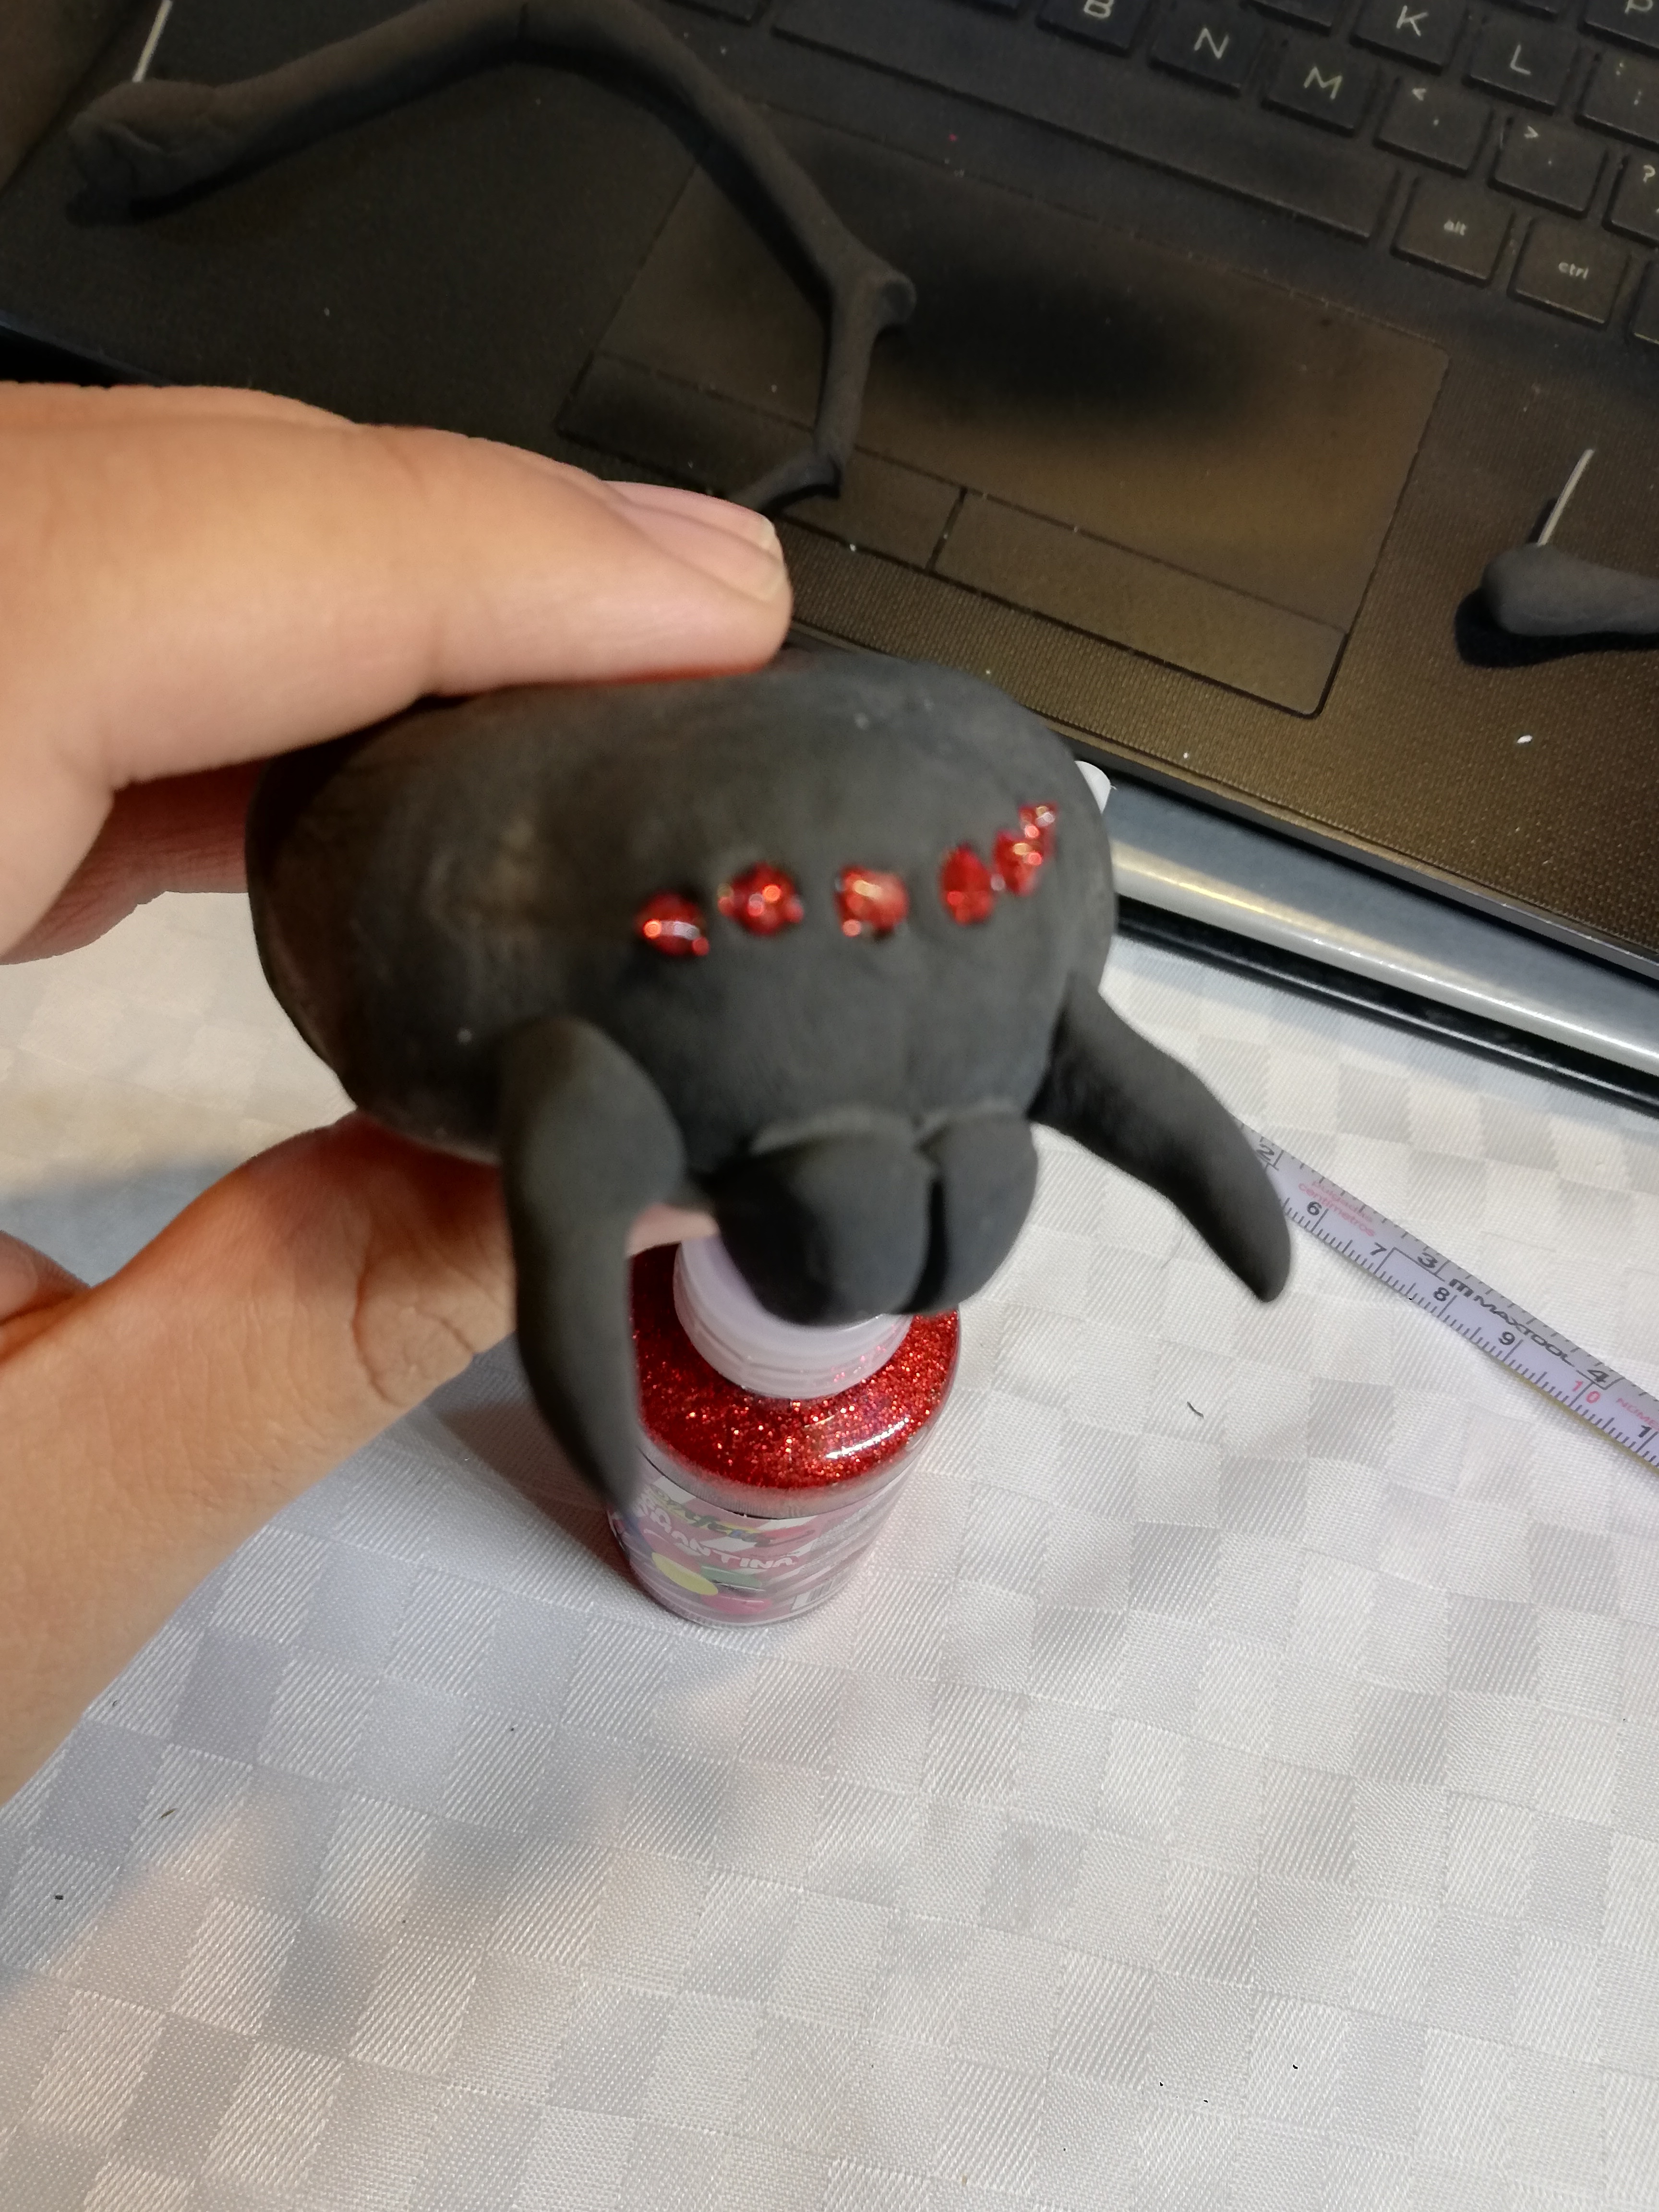
We will add more details with the clay like those fangs, and we will put the red glue on the eyes
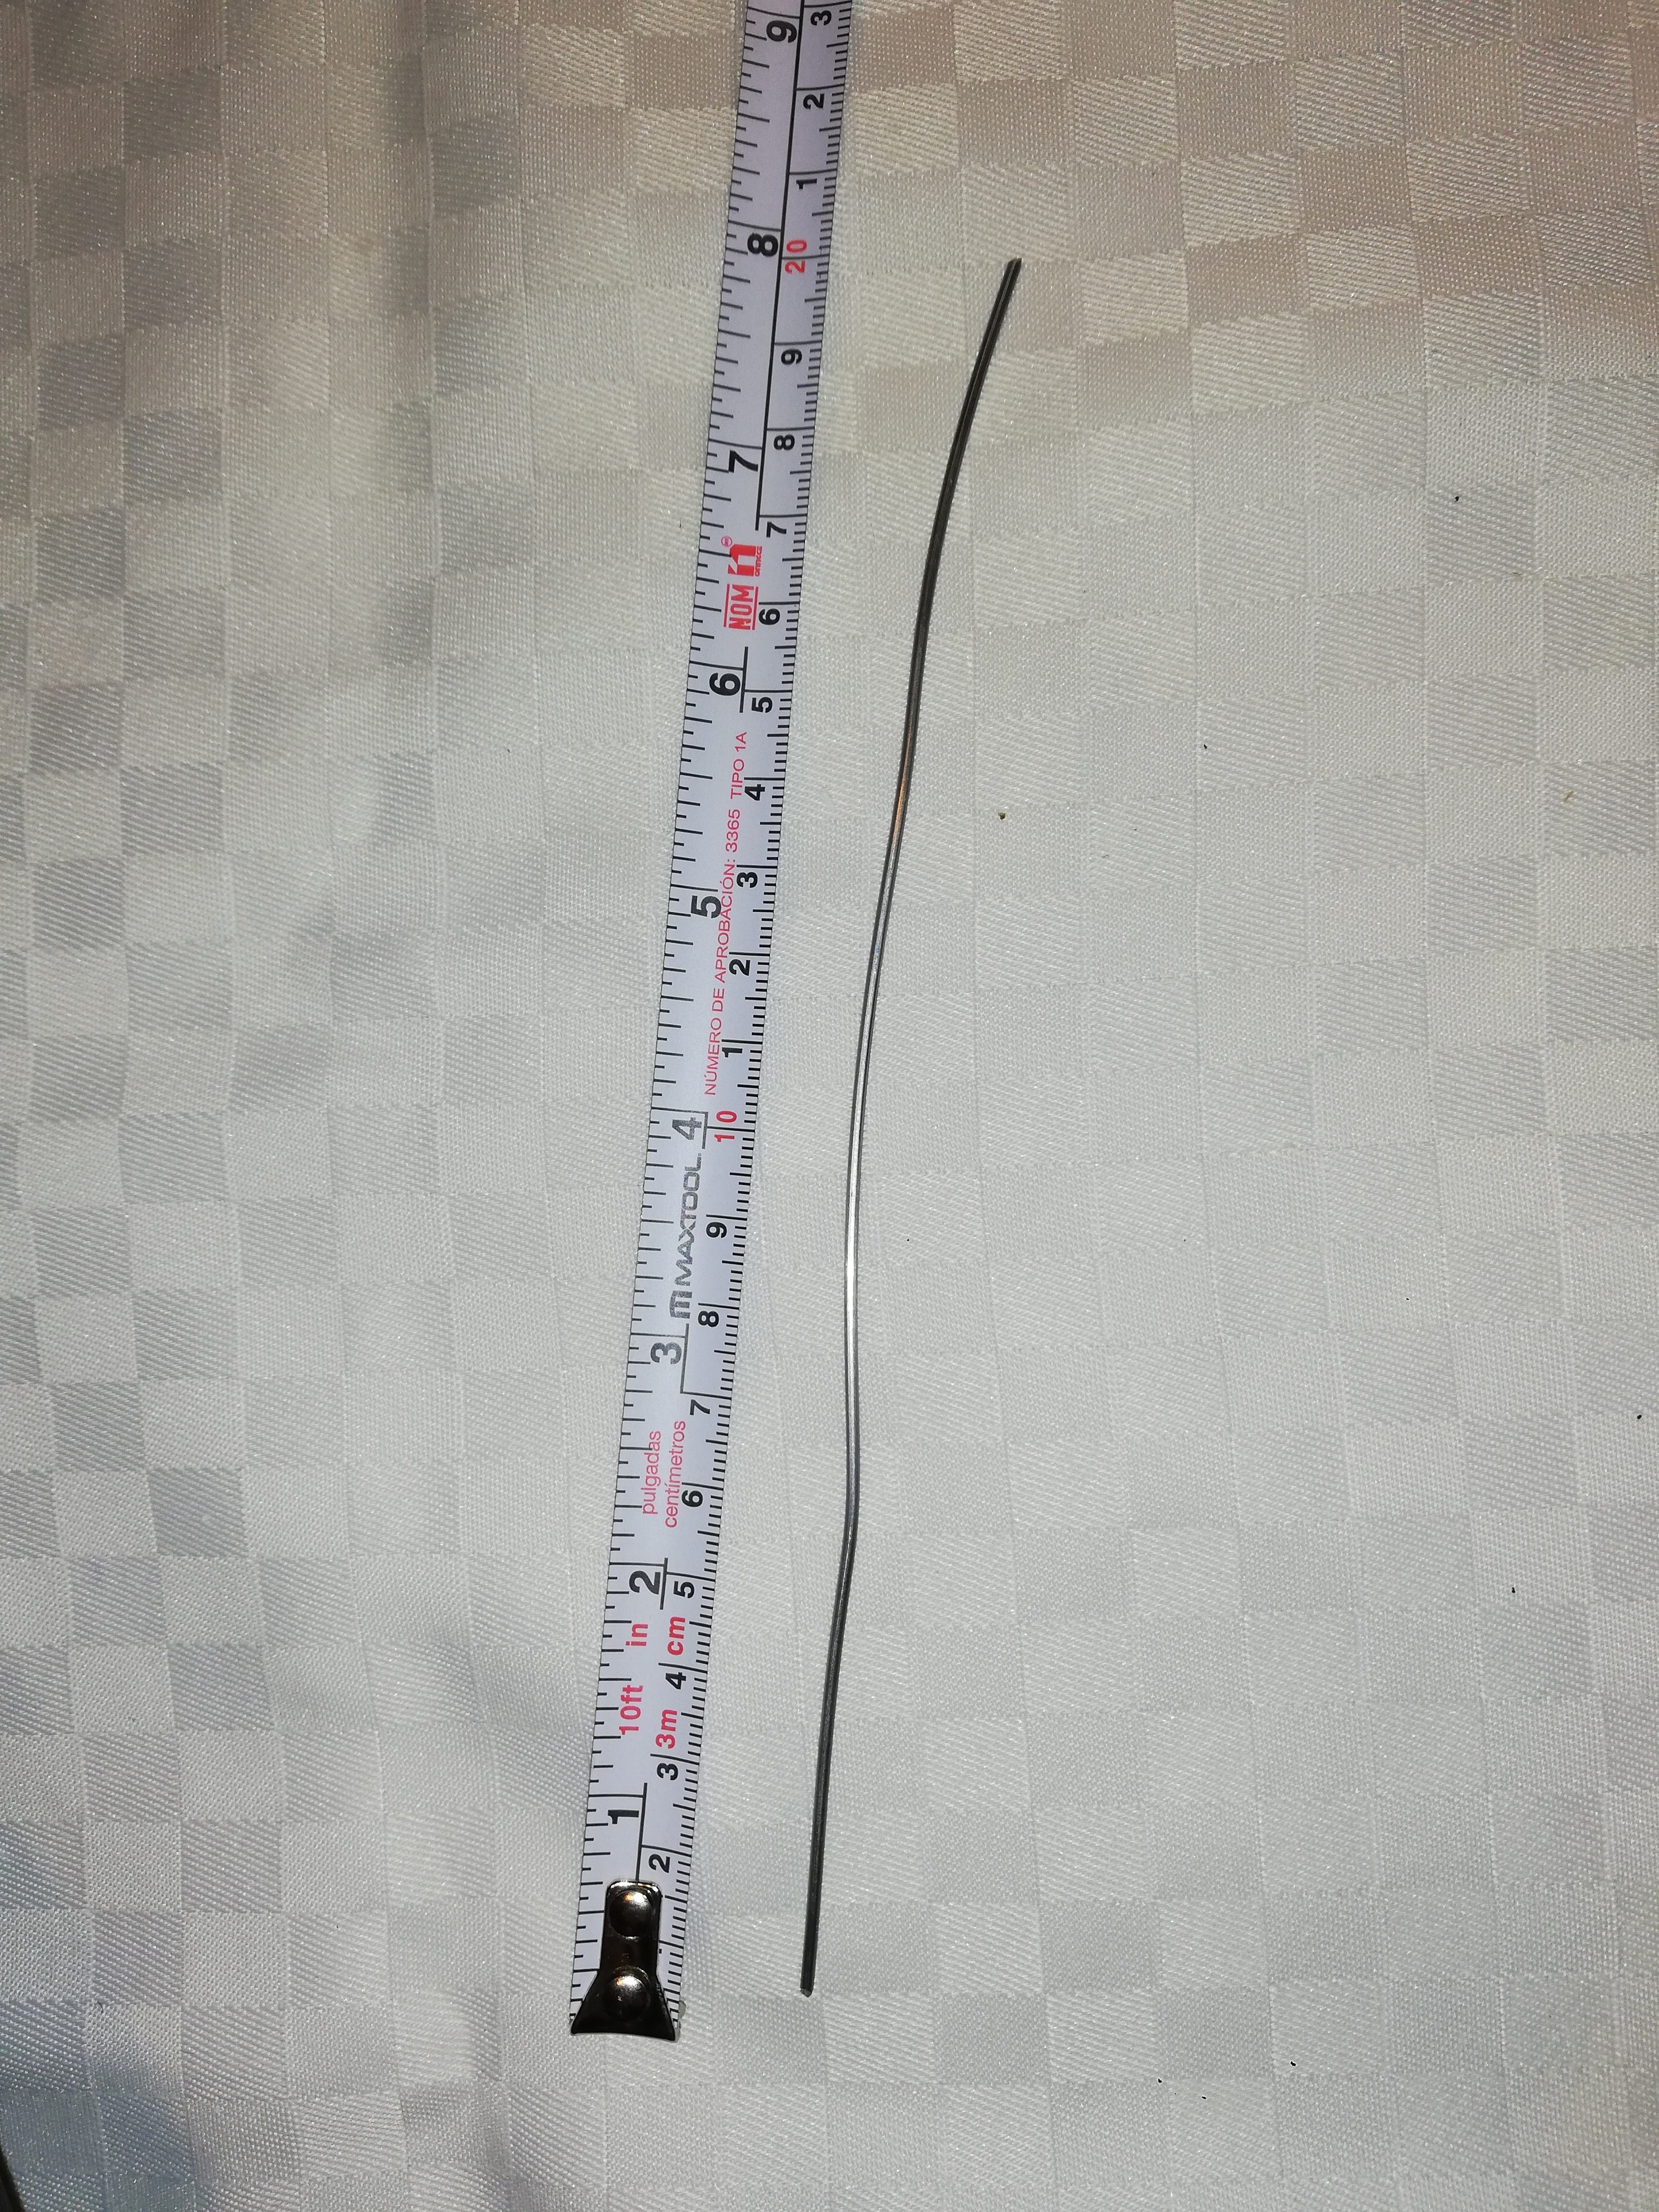
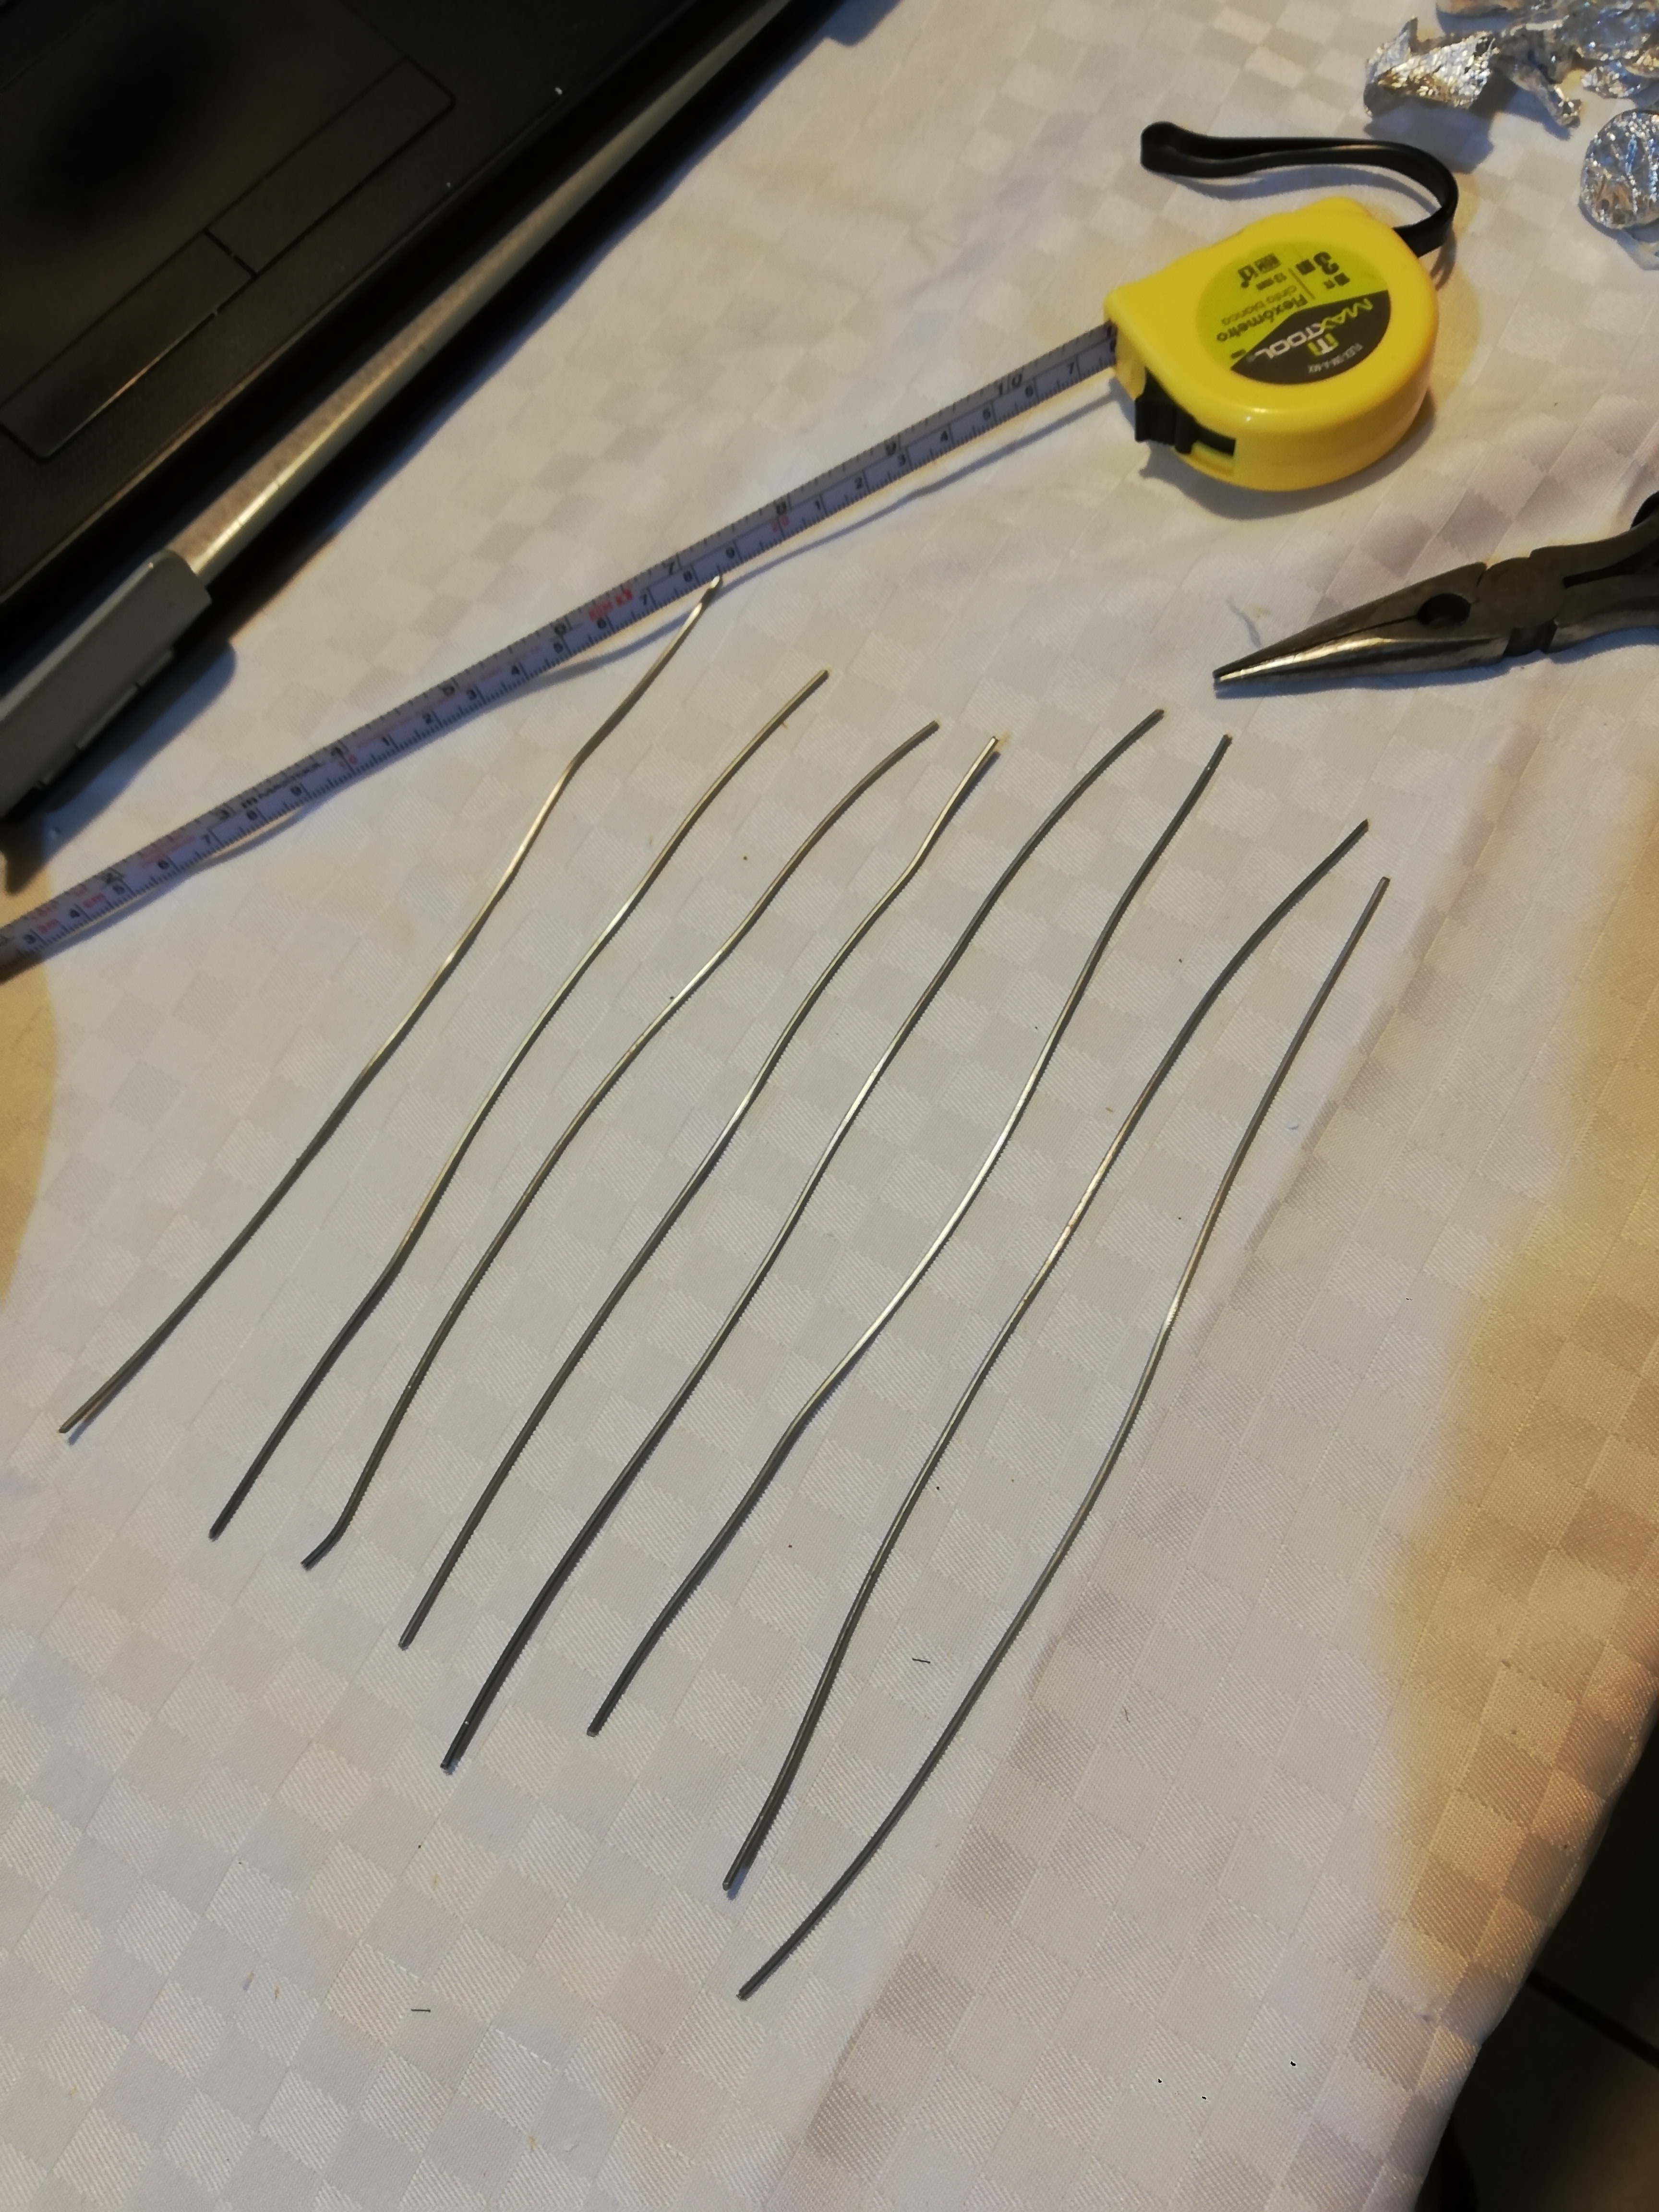
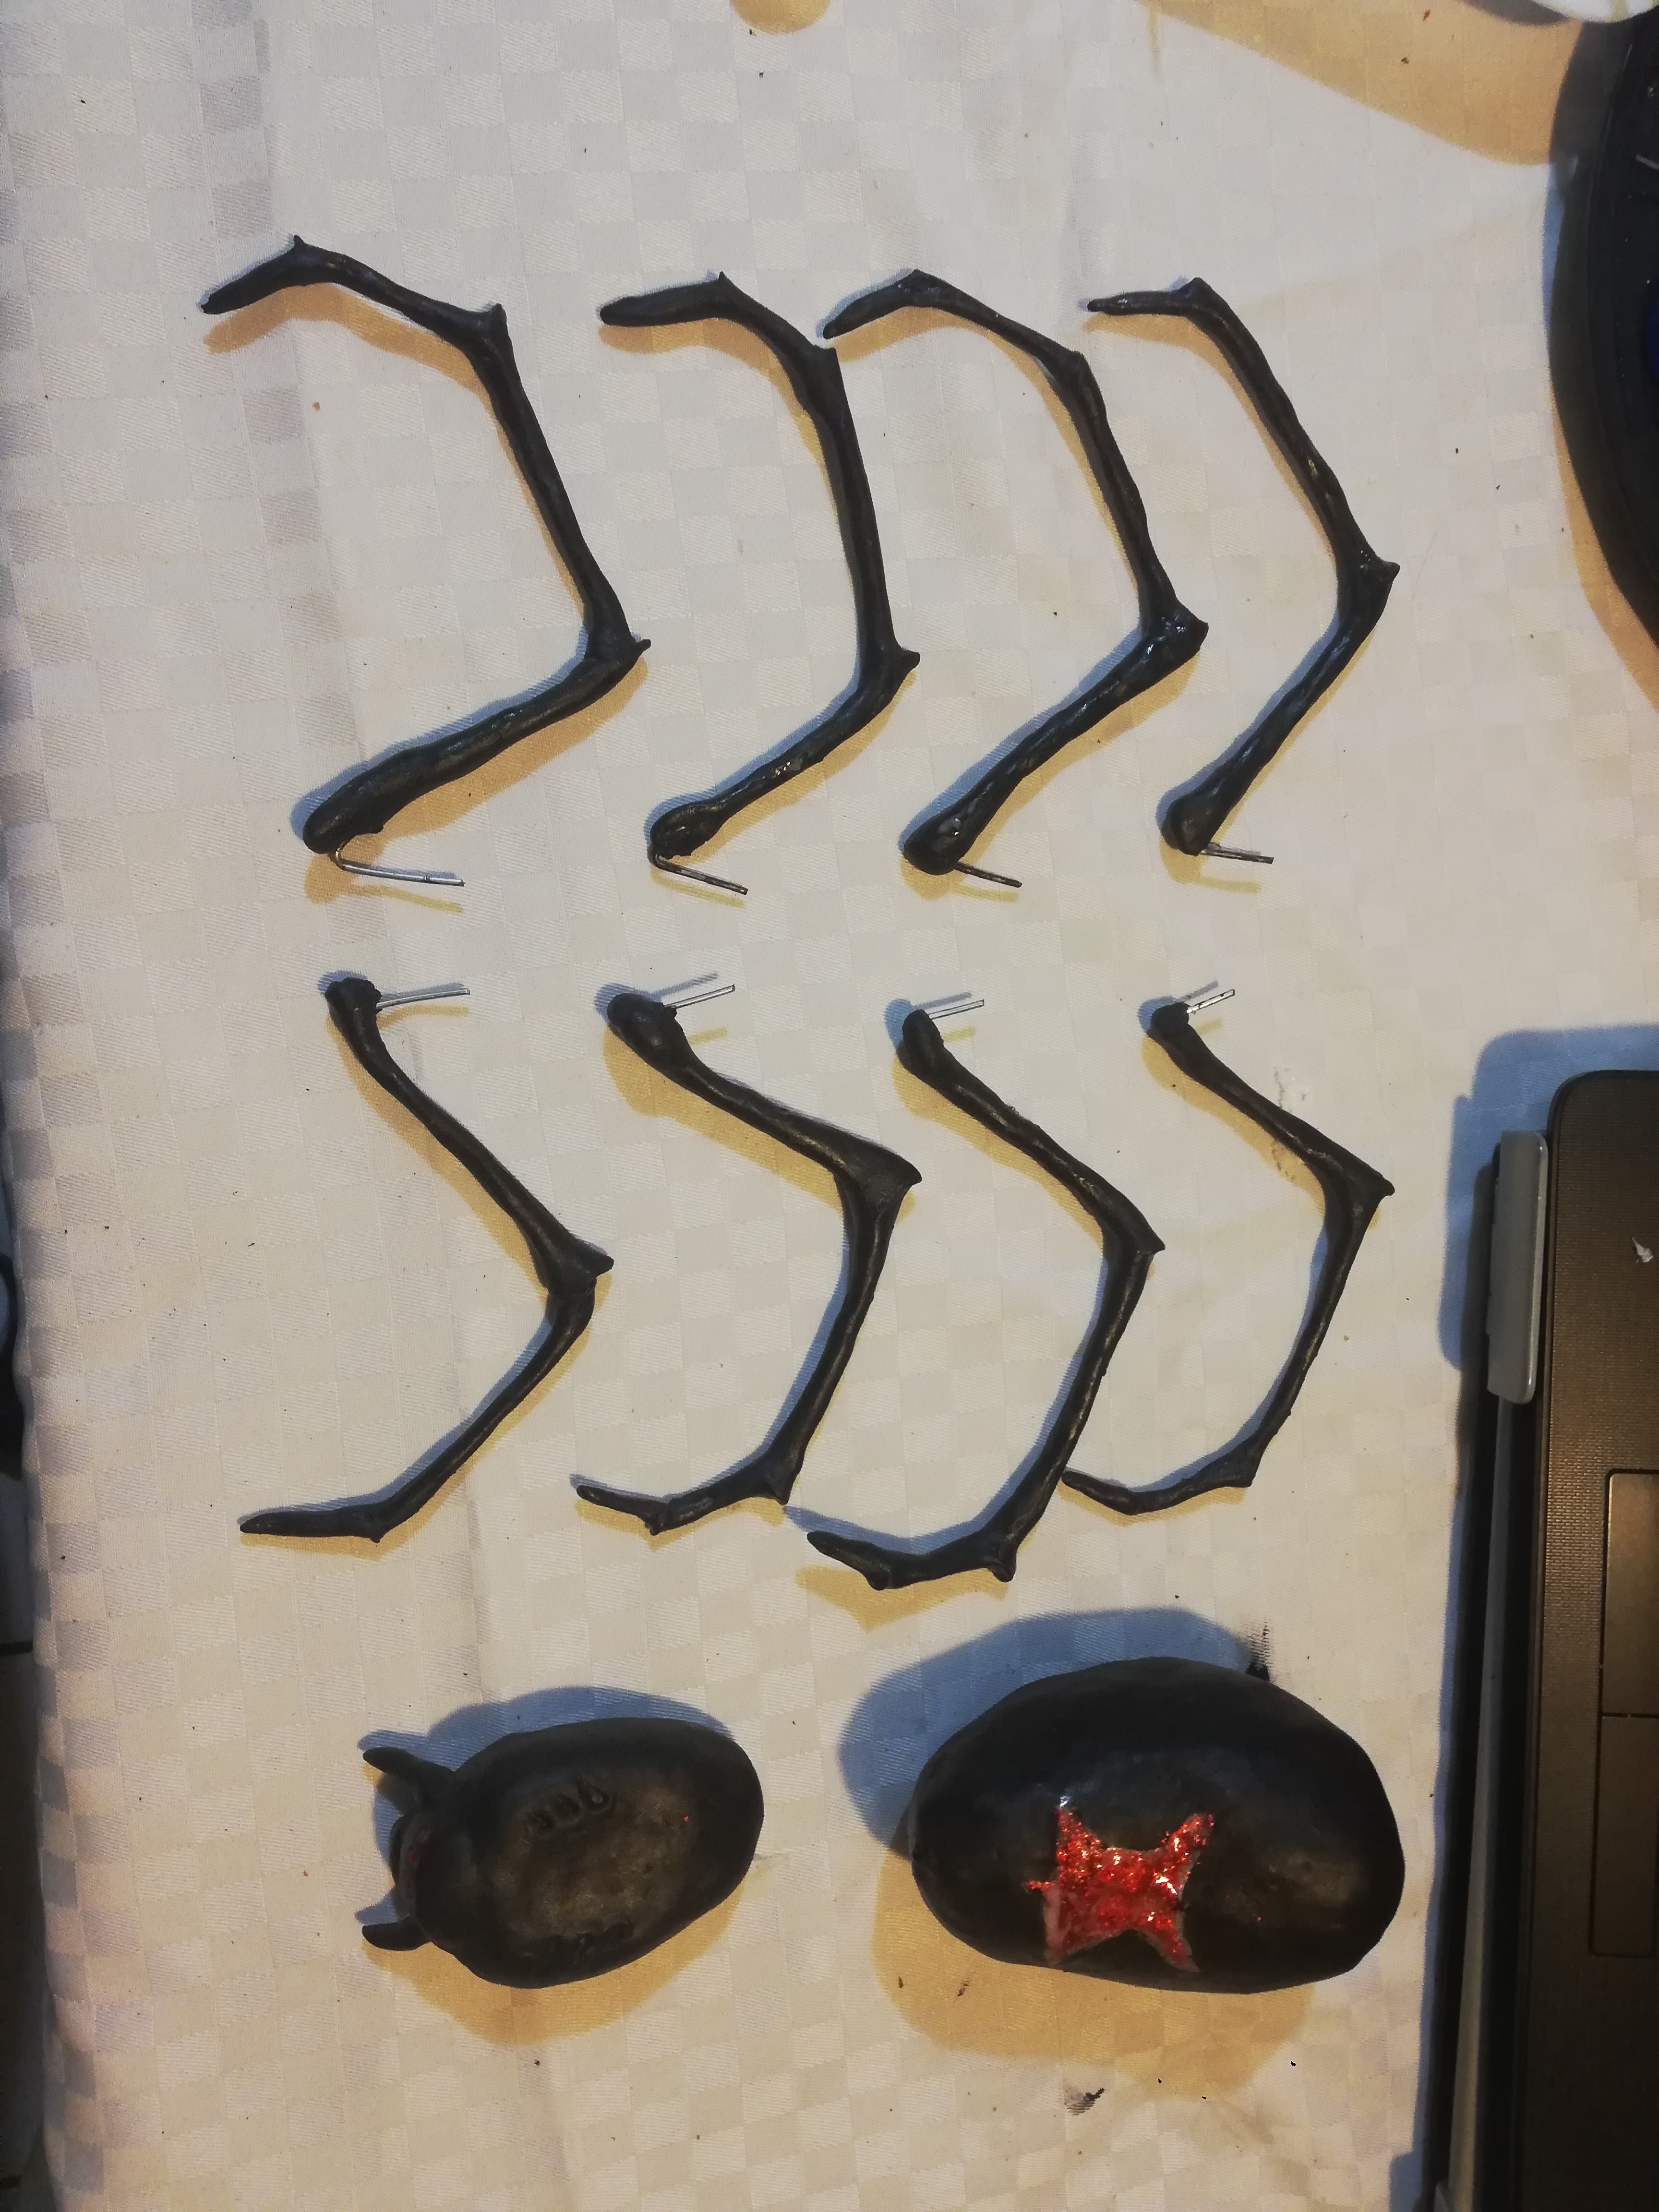
Legs Wire
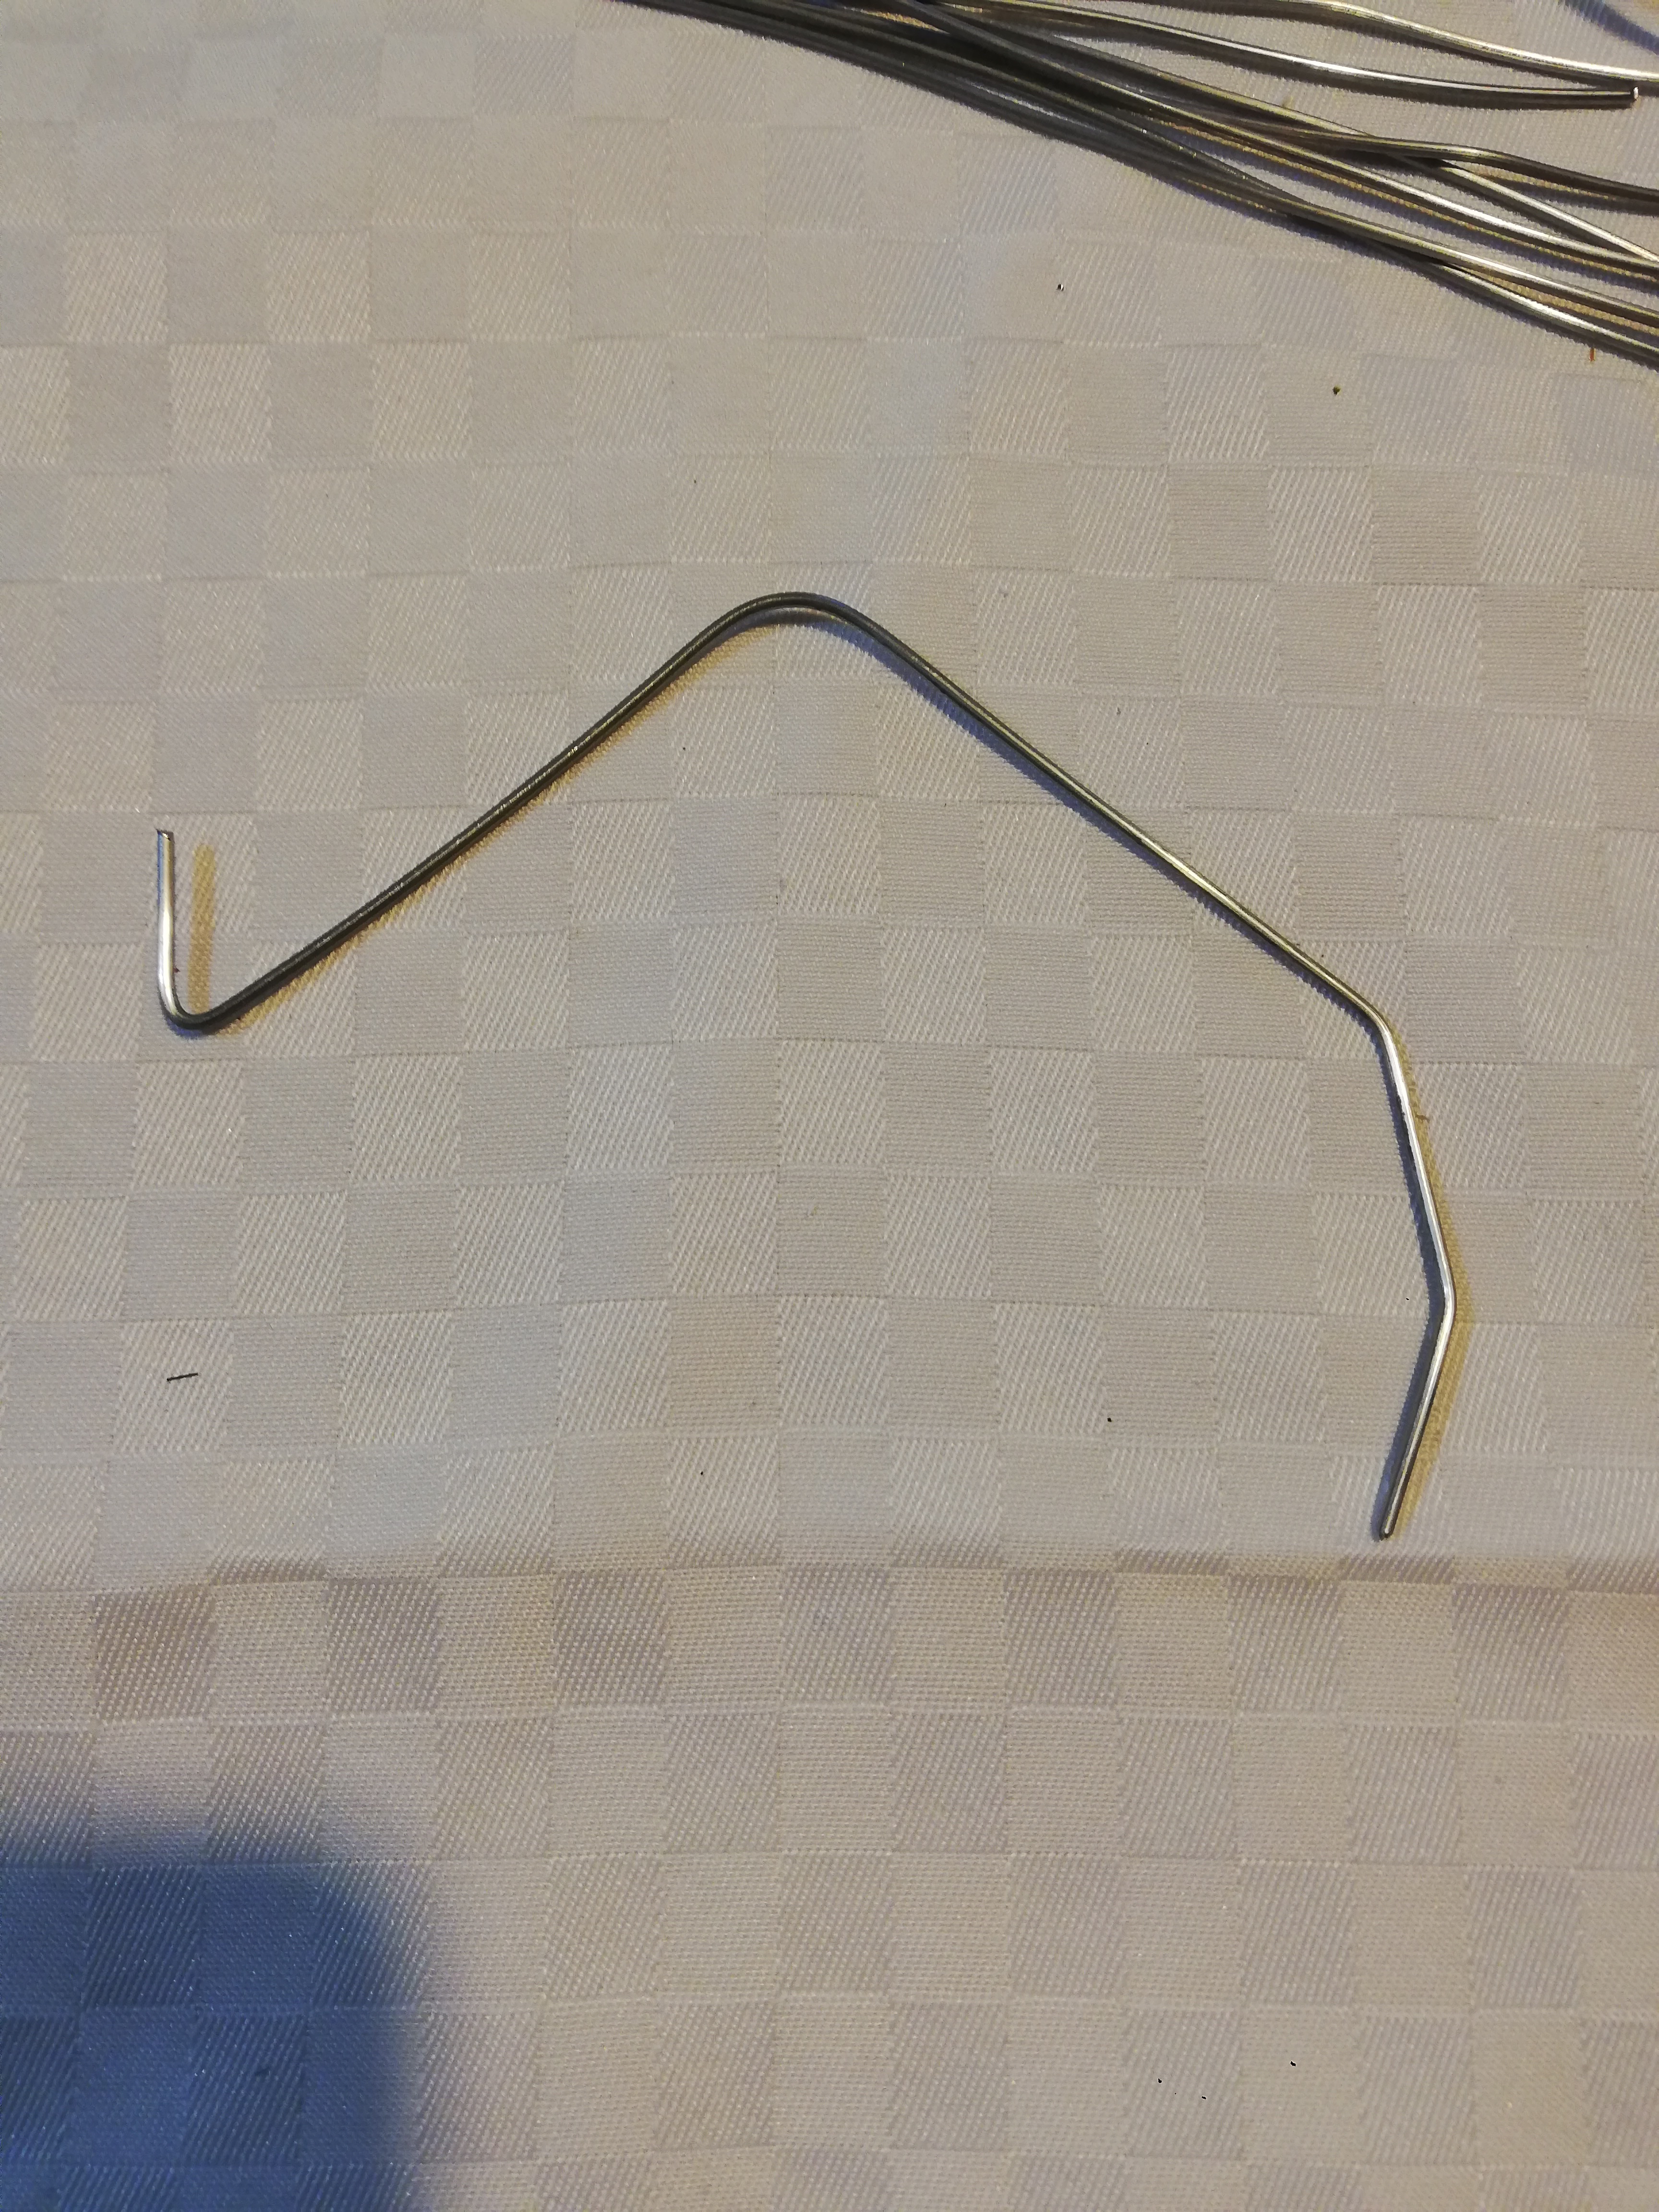

now we will cut the wire to 20 cm, and repeat this step 8 times (one per each leg), with the 8 pieces we will fold them as the 3D model
Cover the Legs With Clay
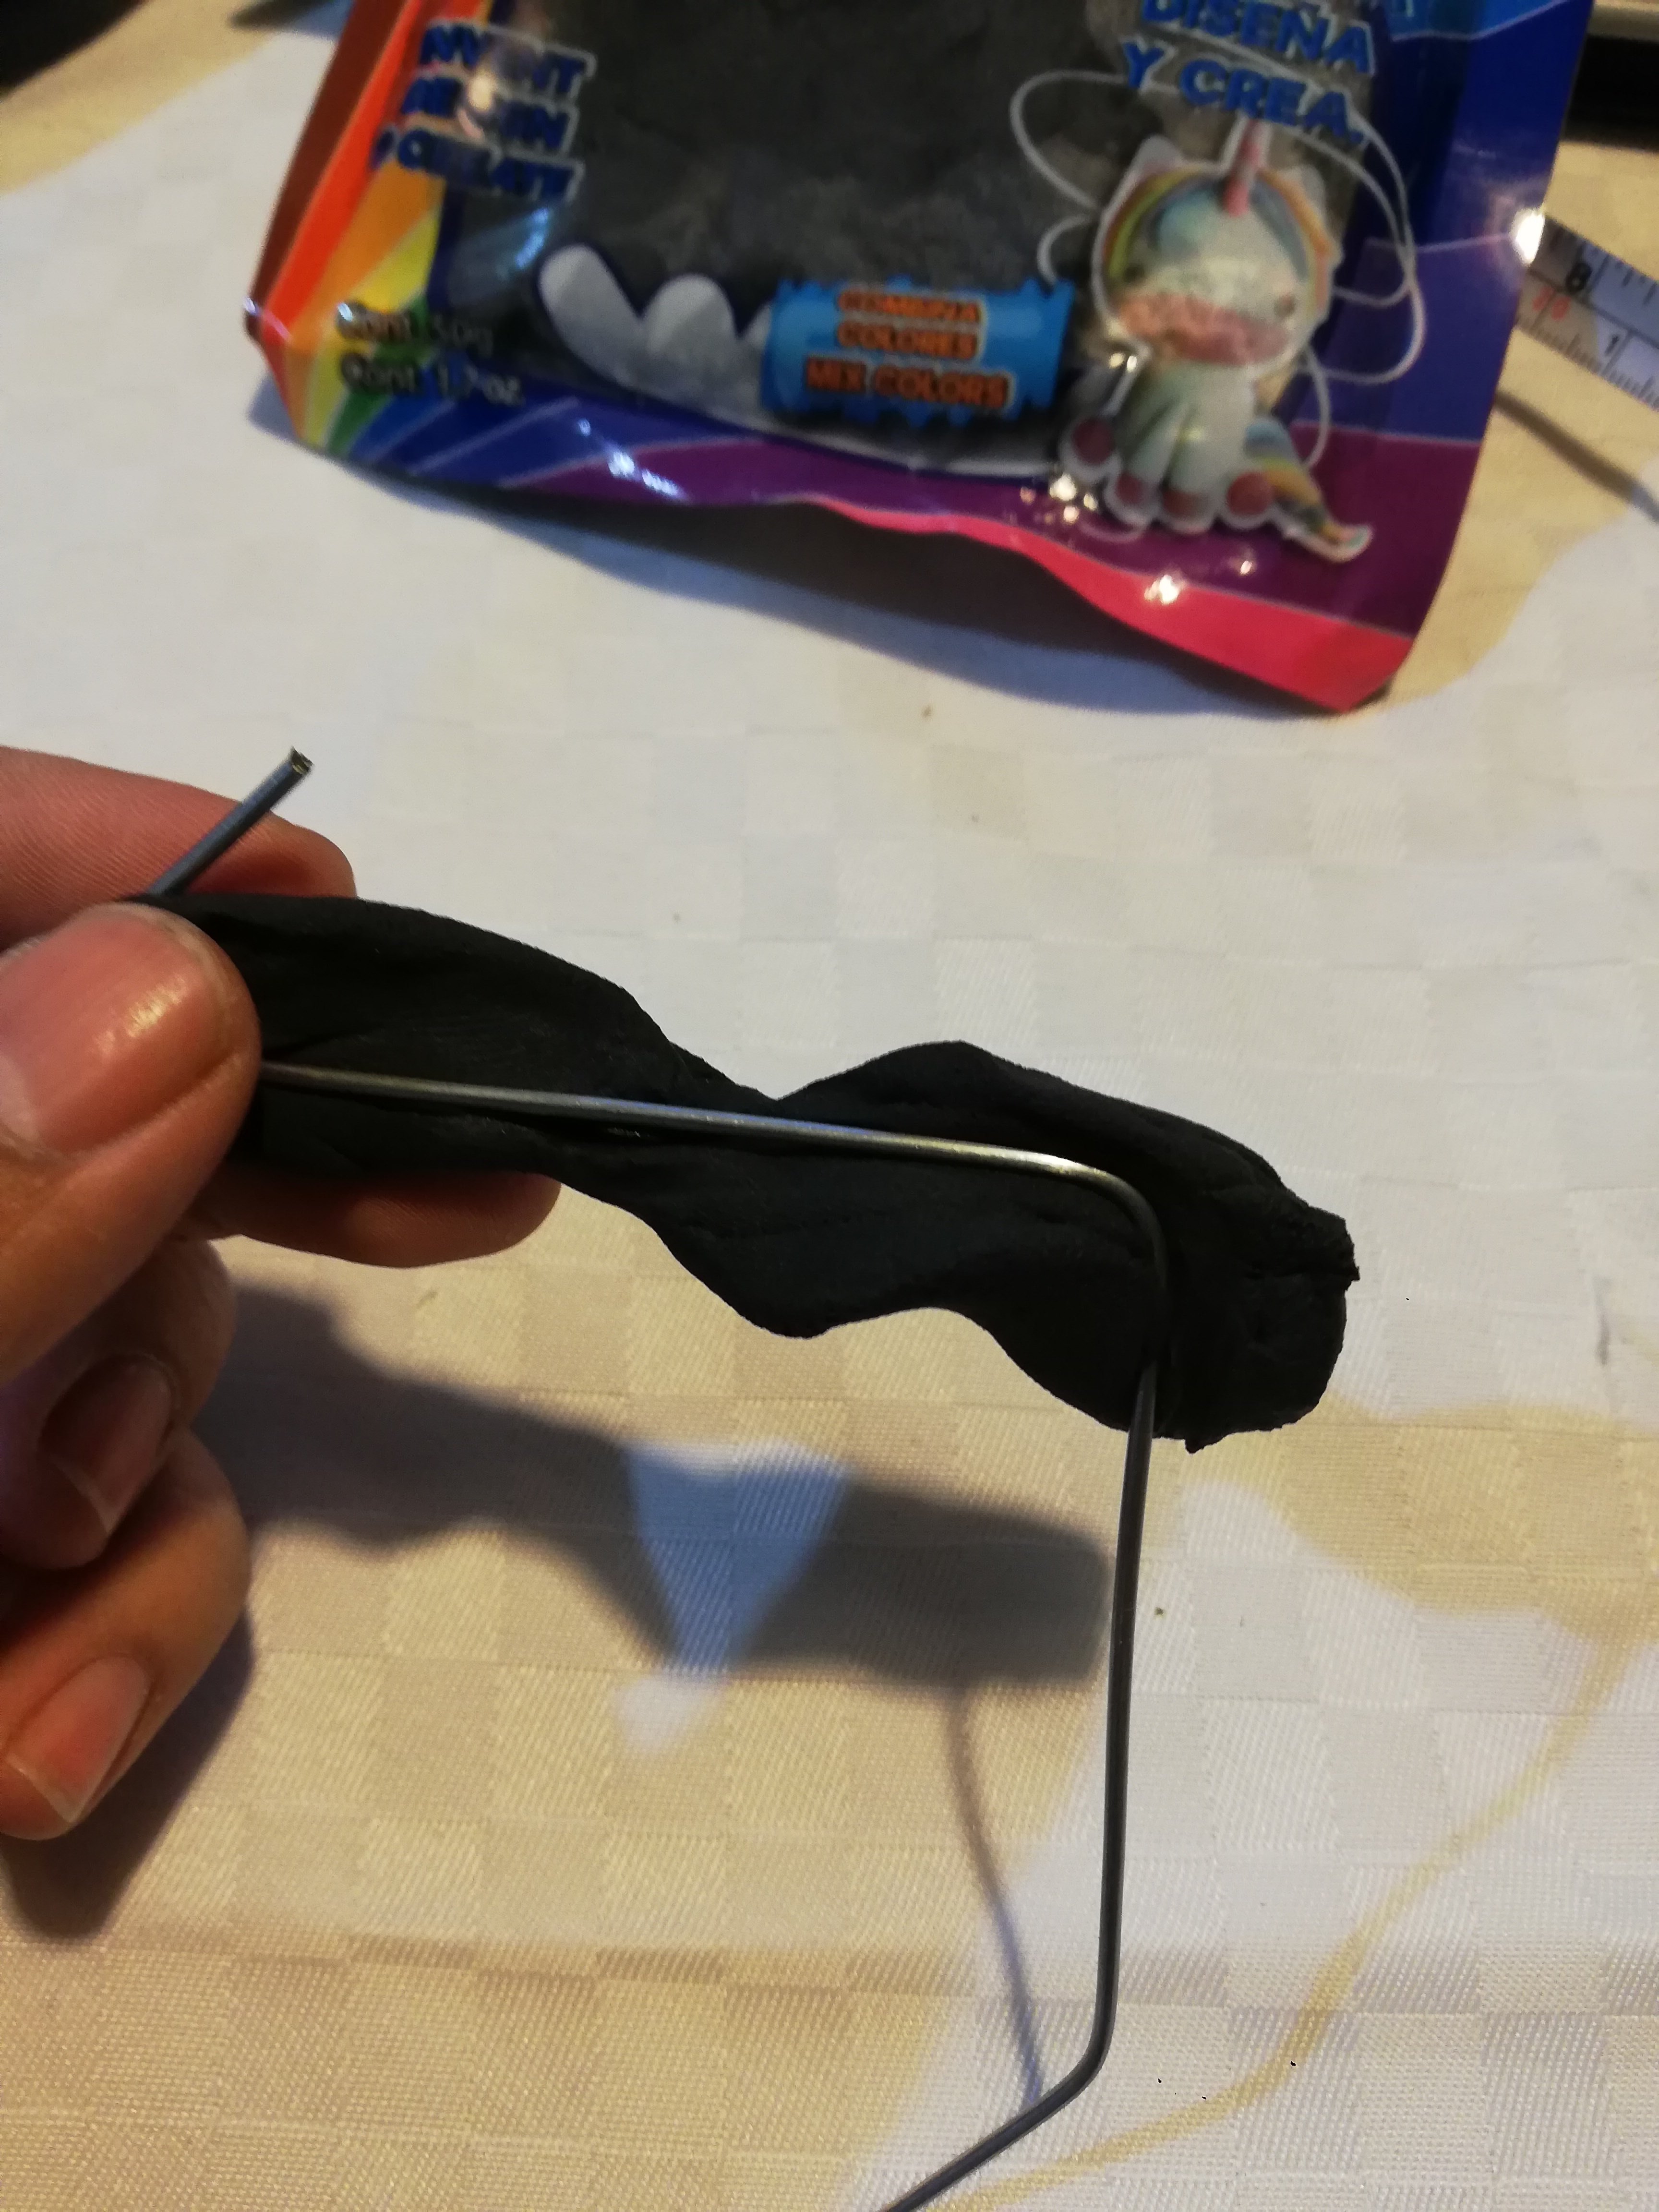
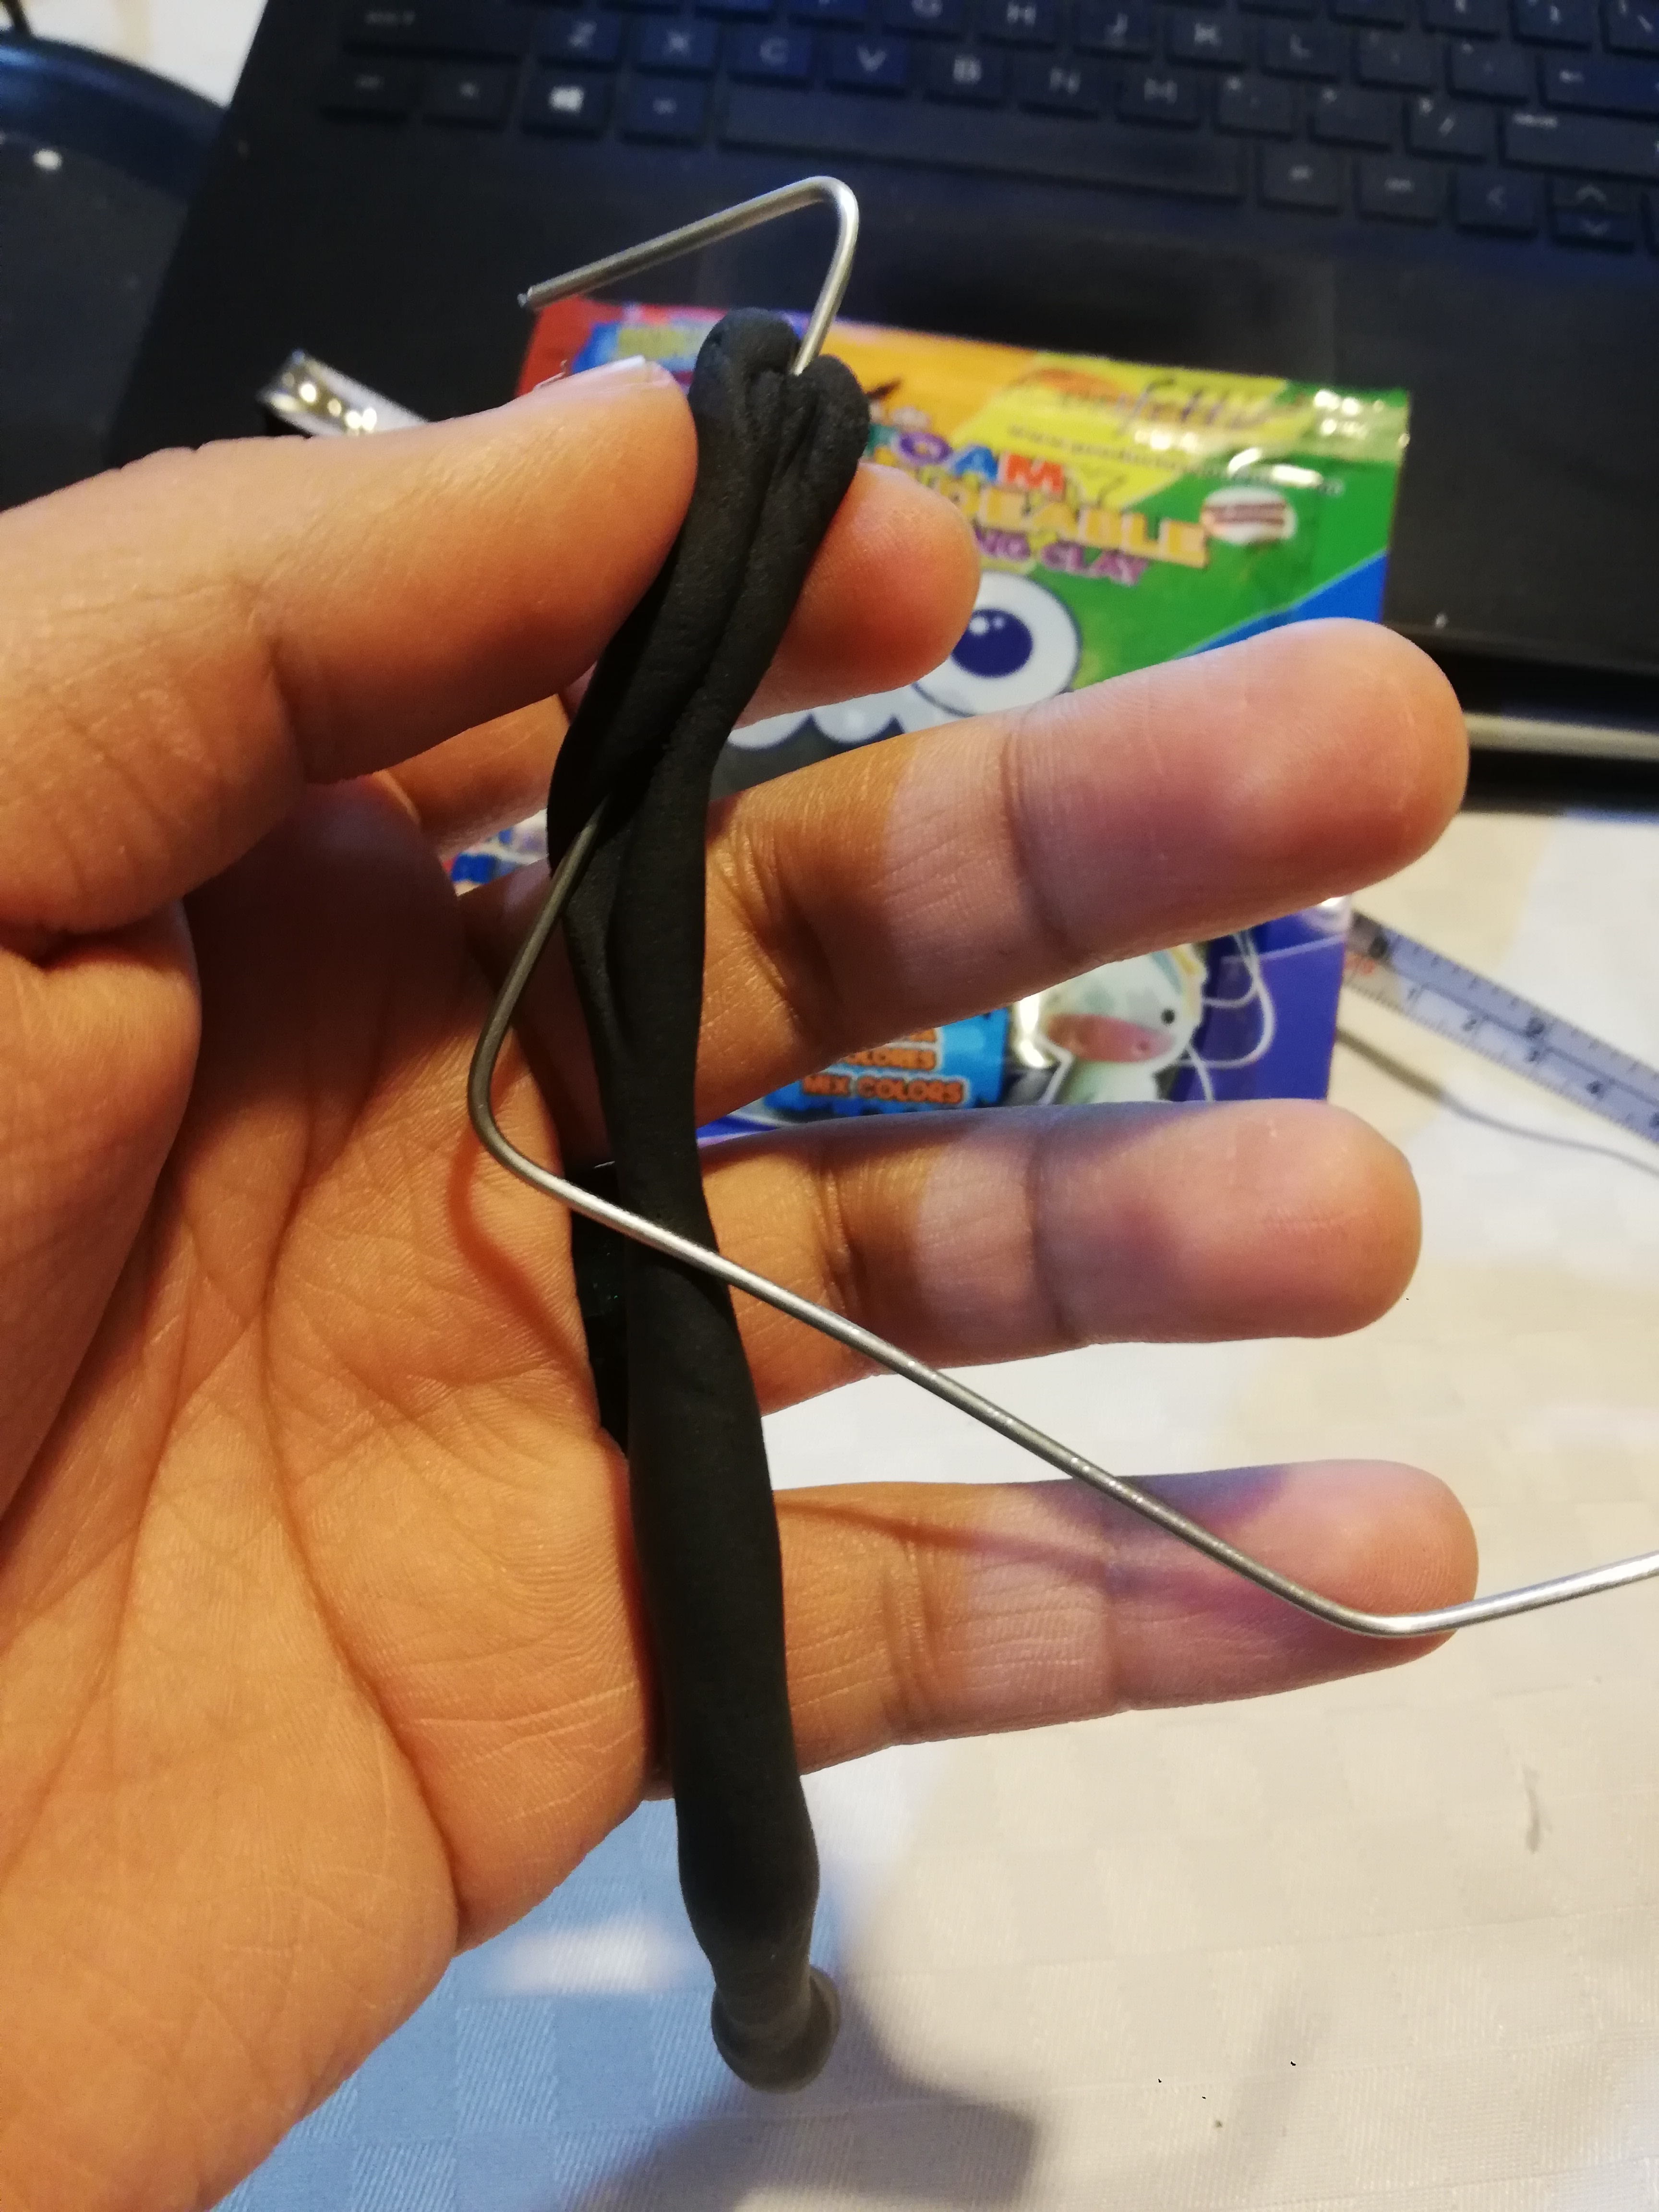
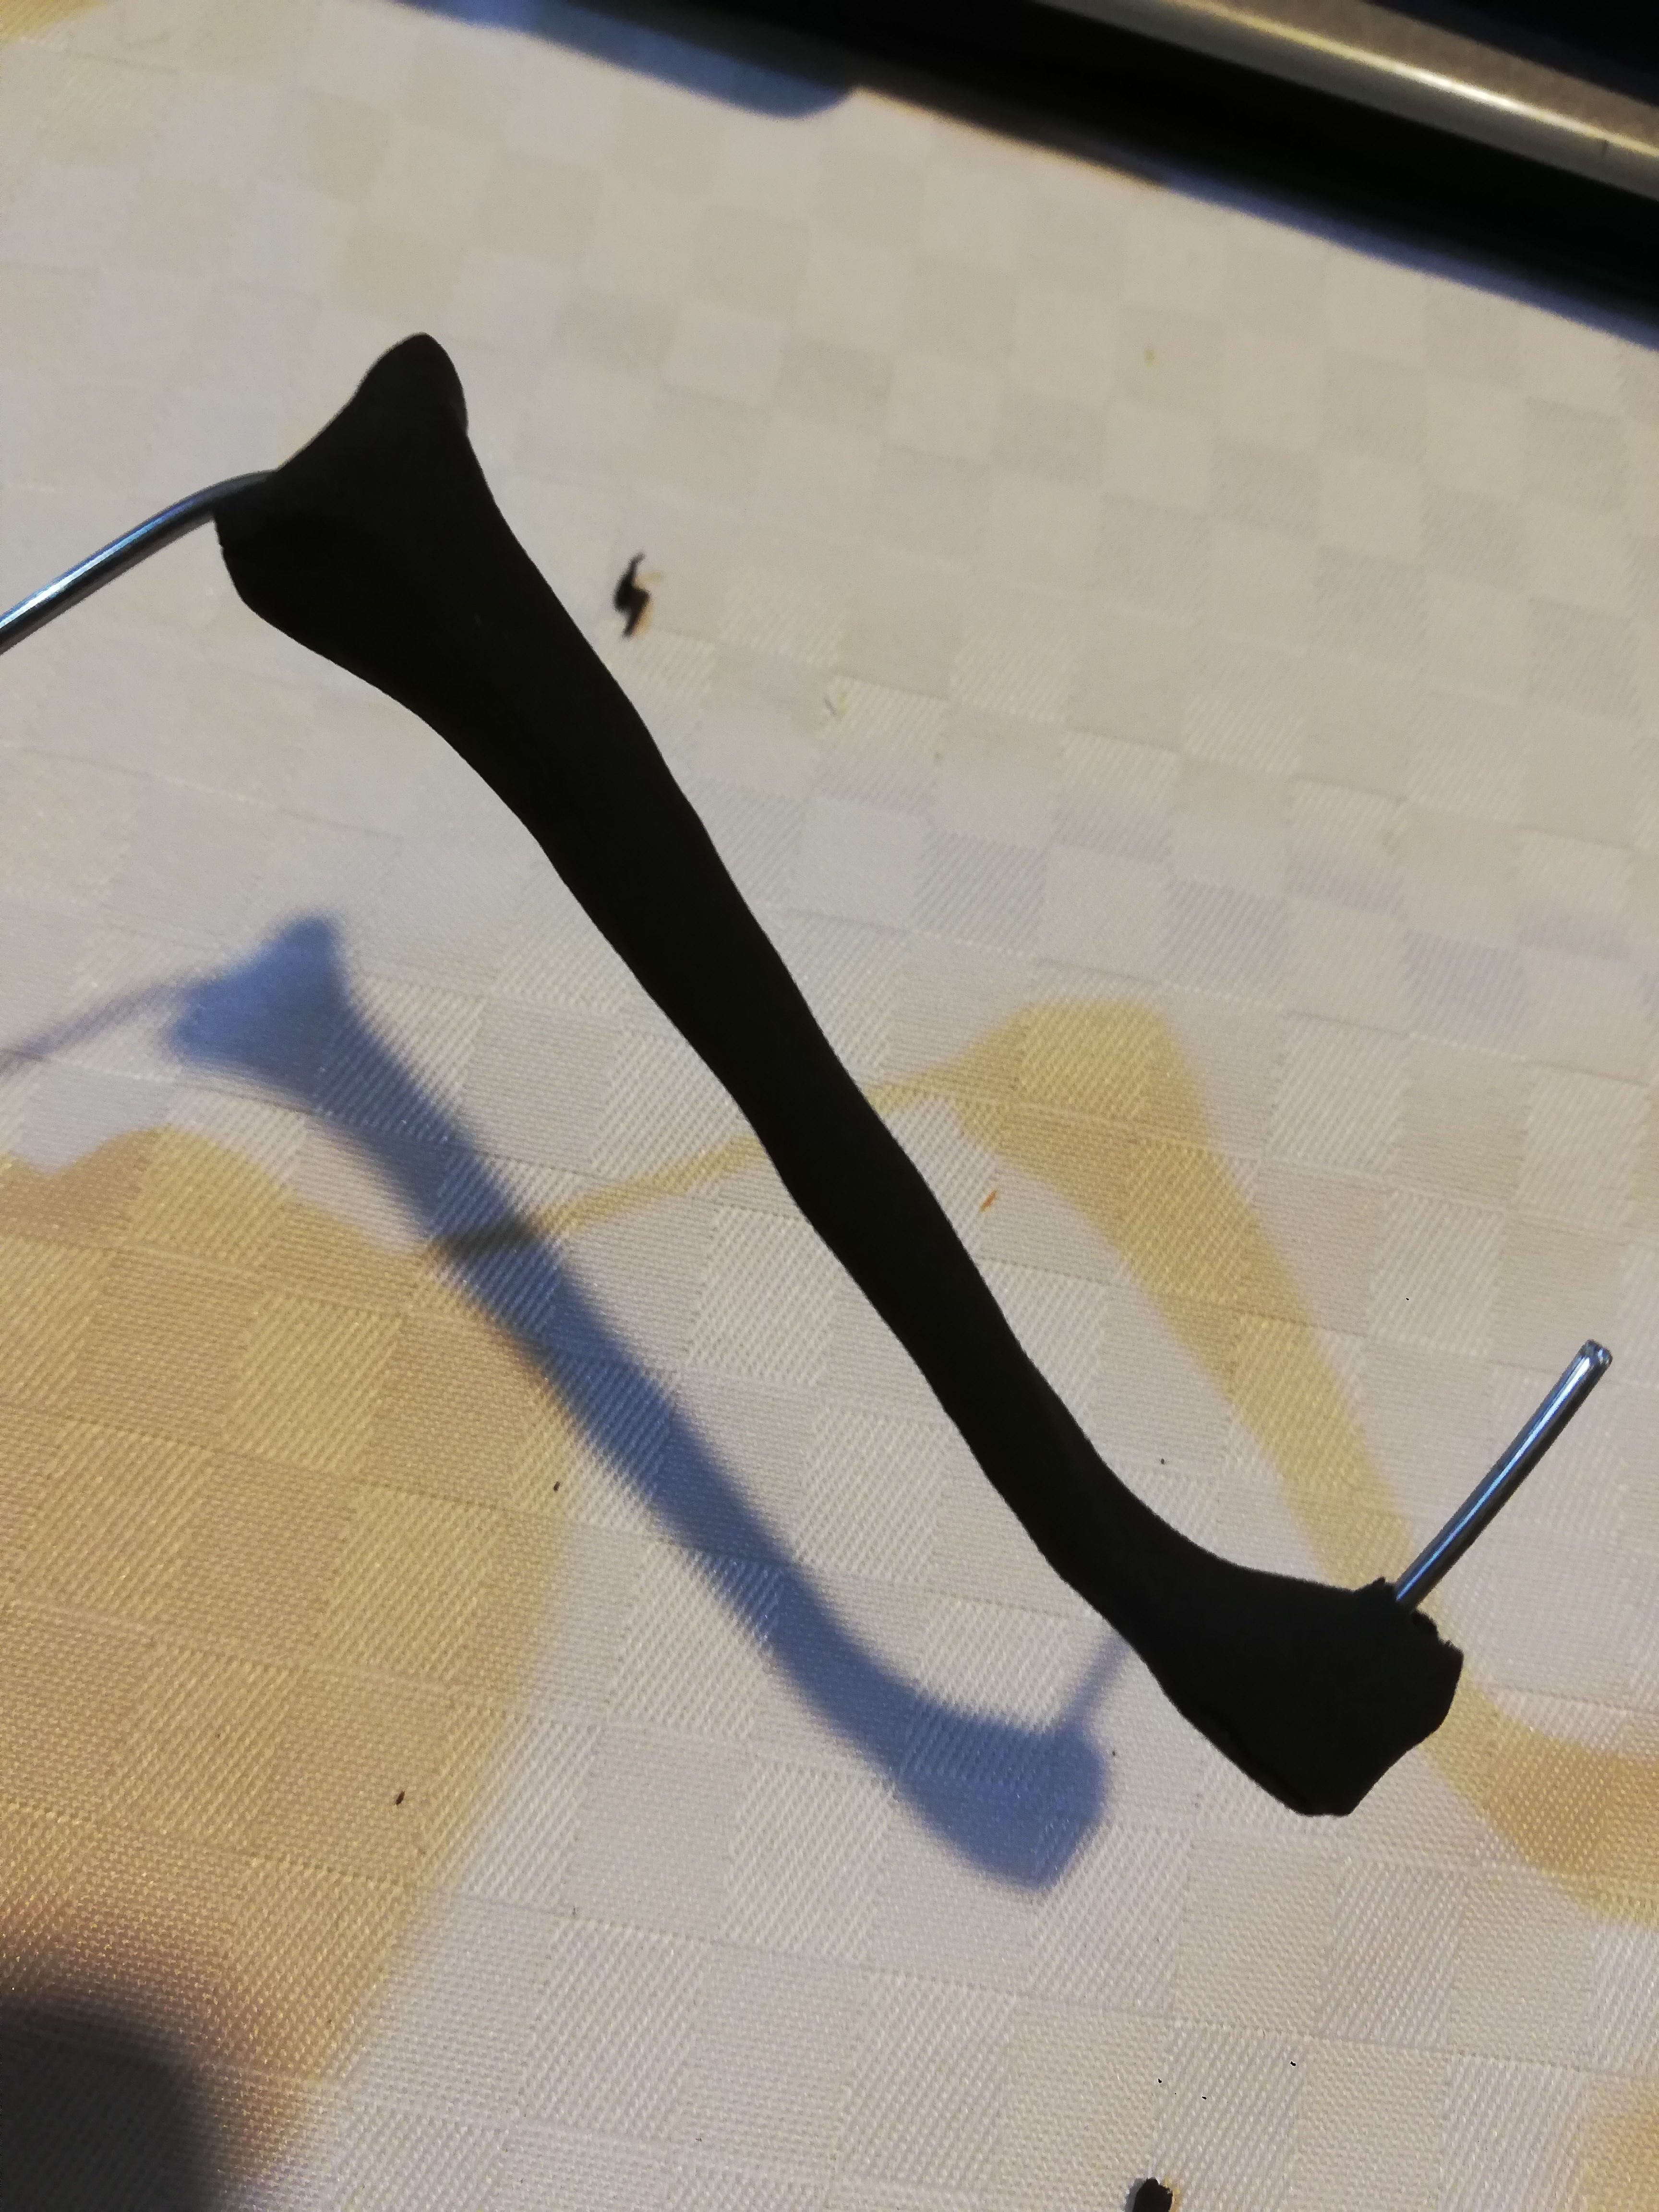
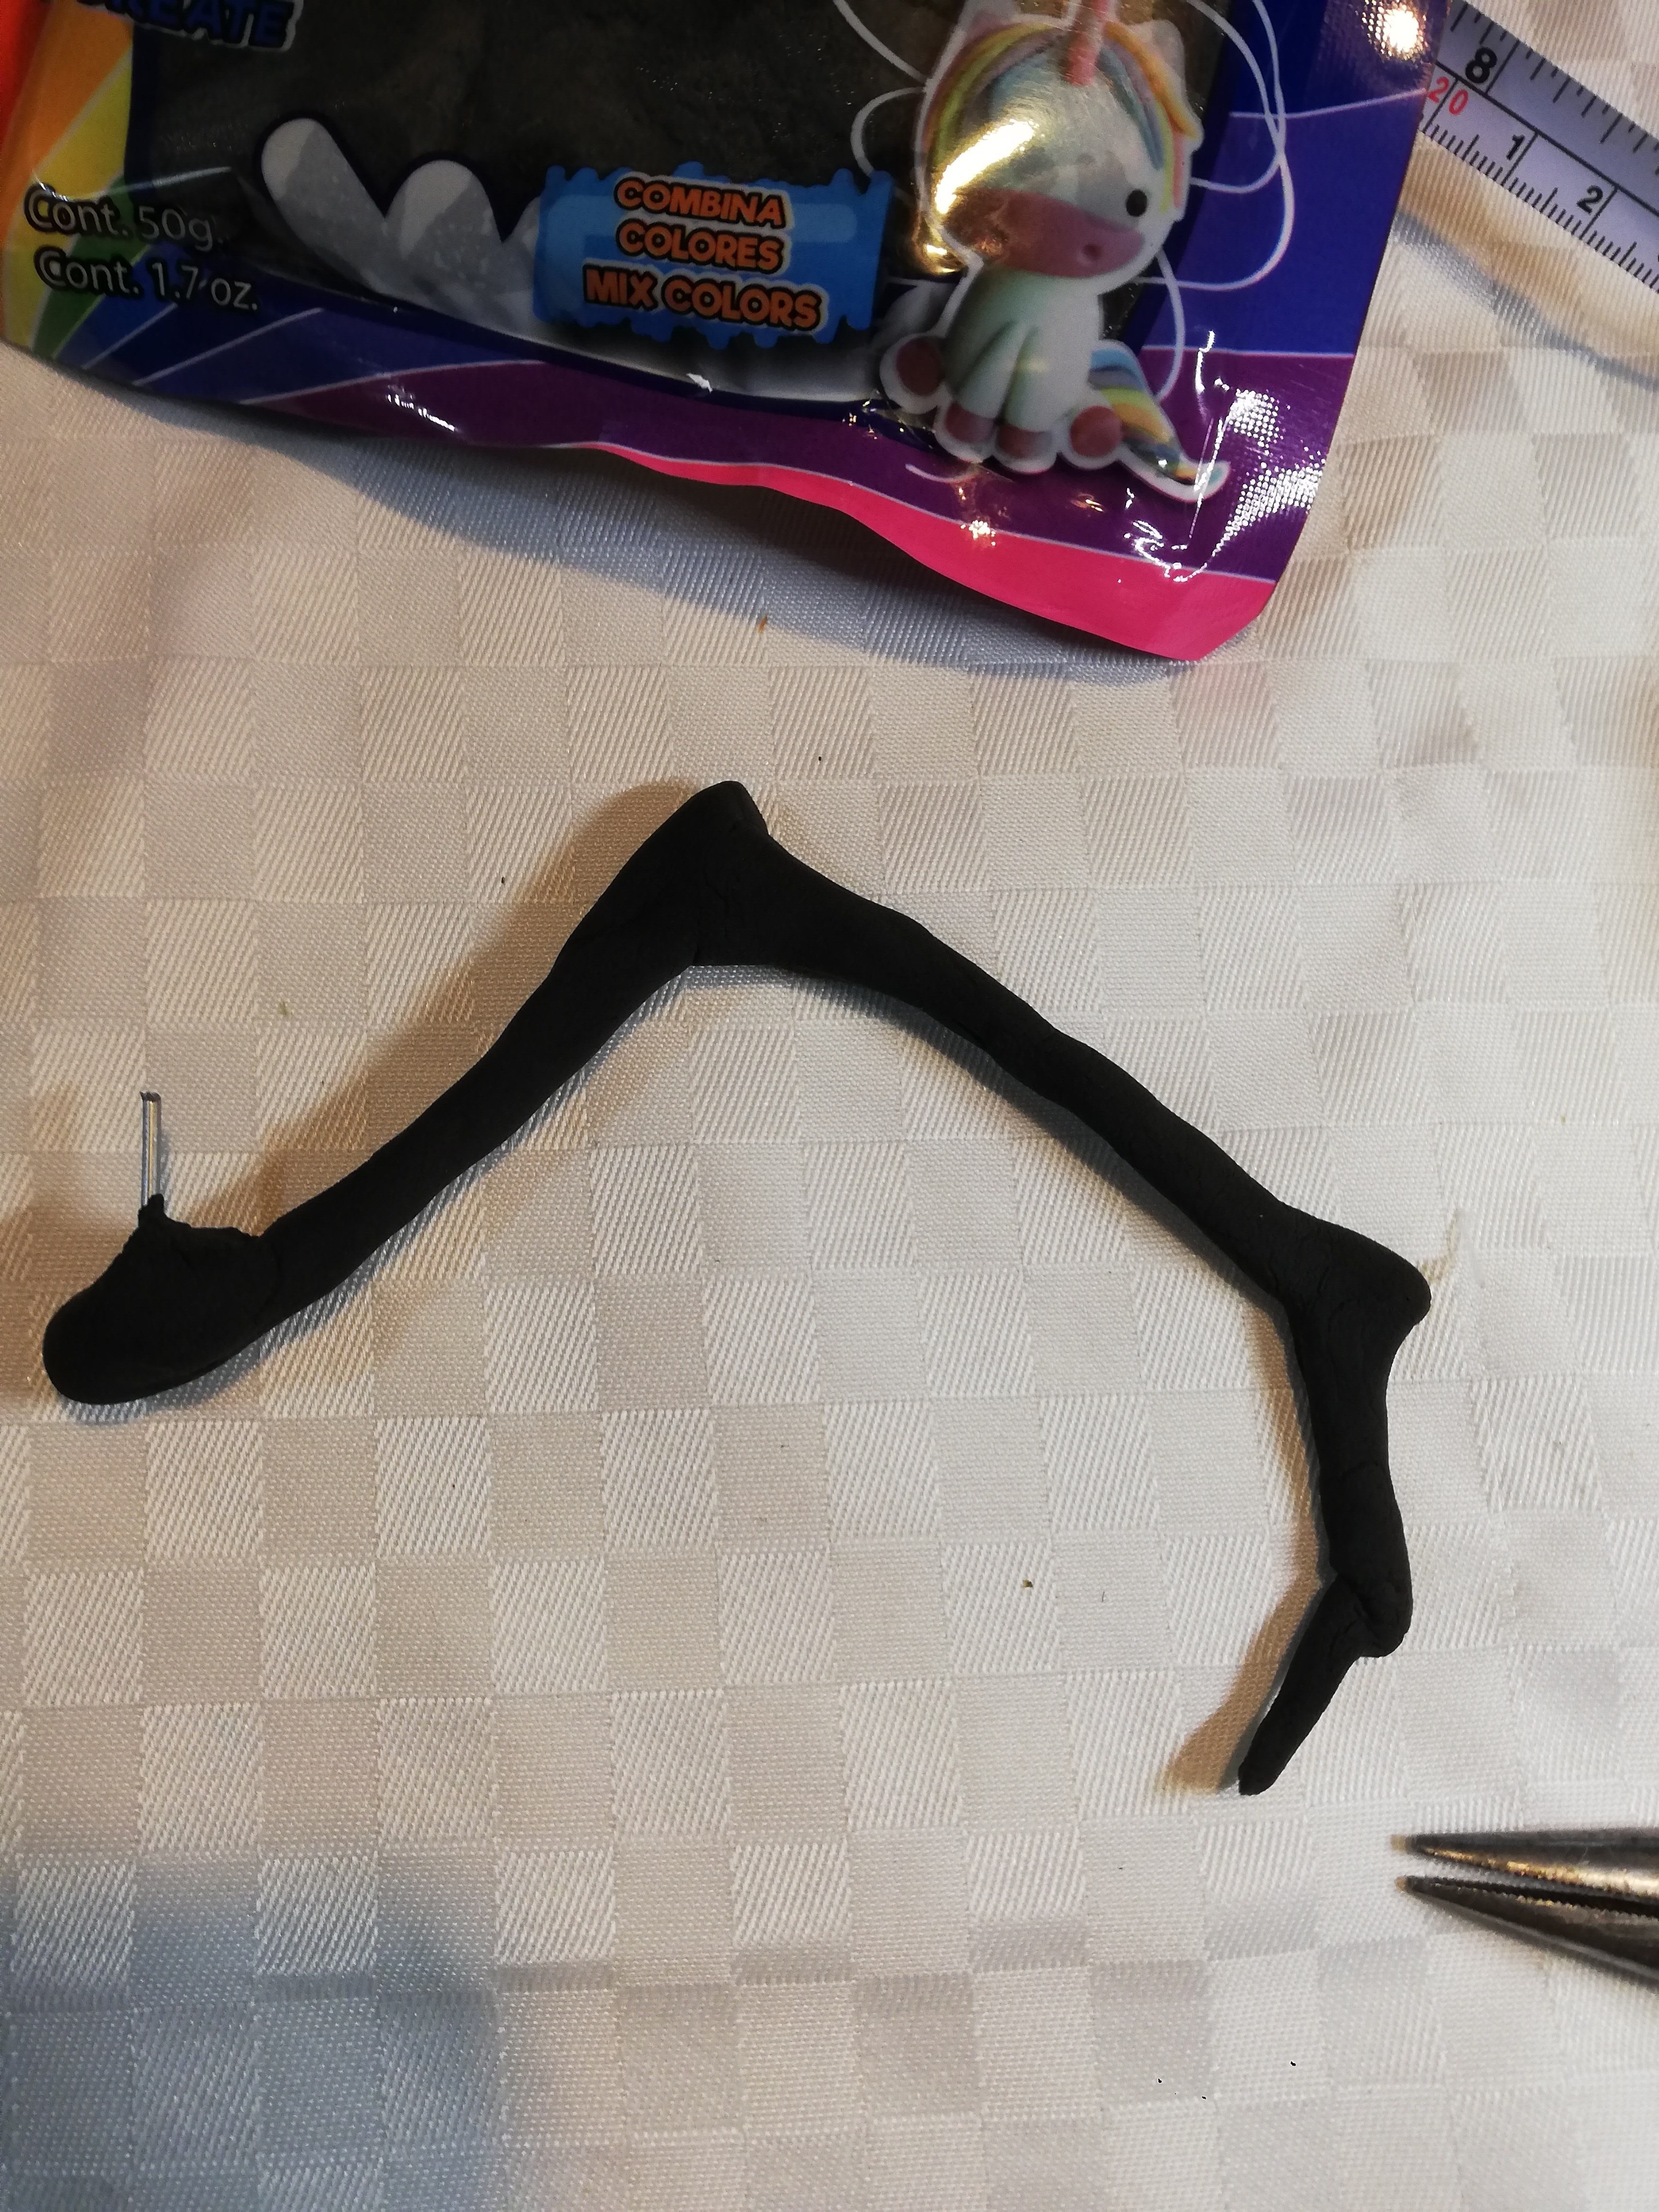
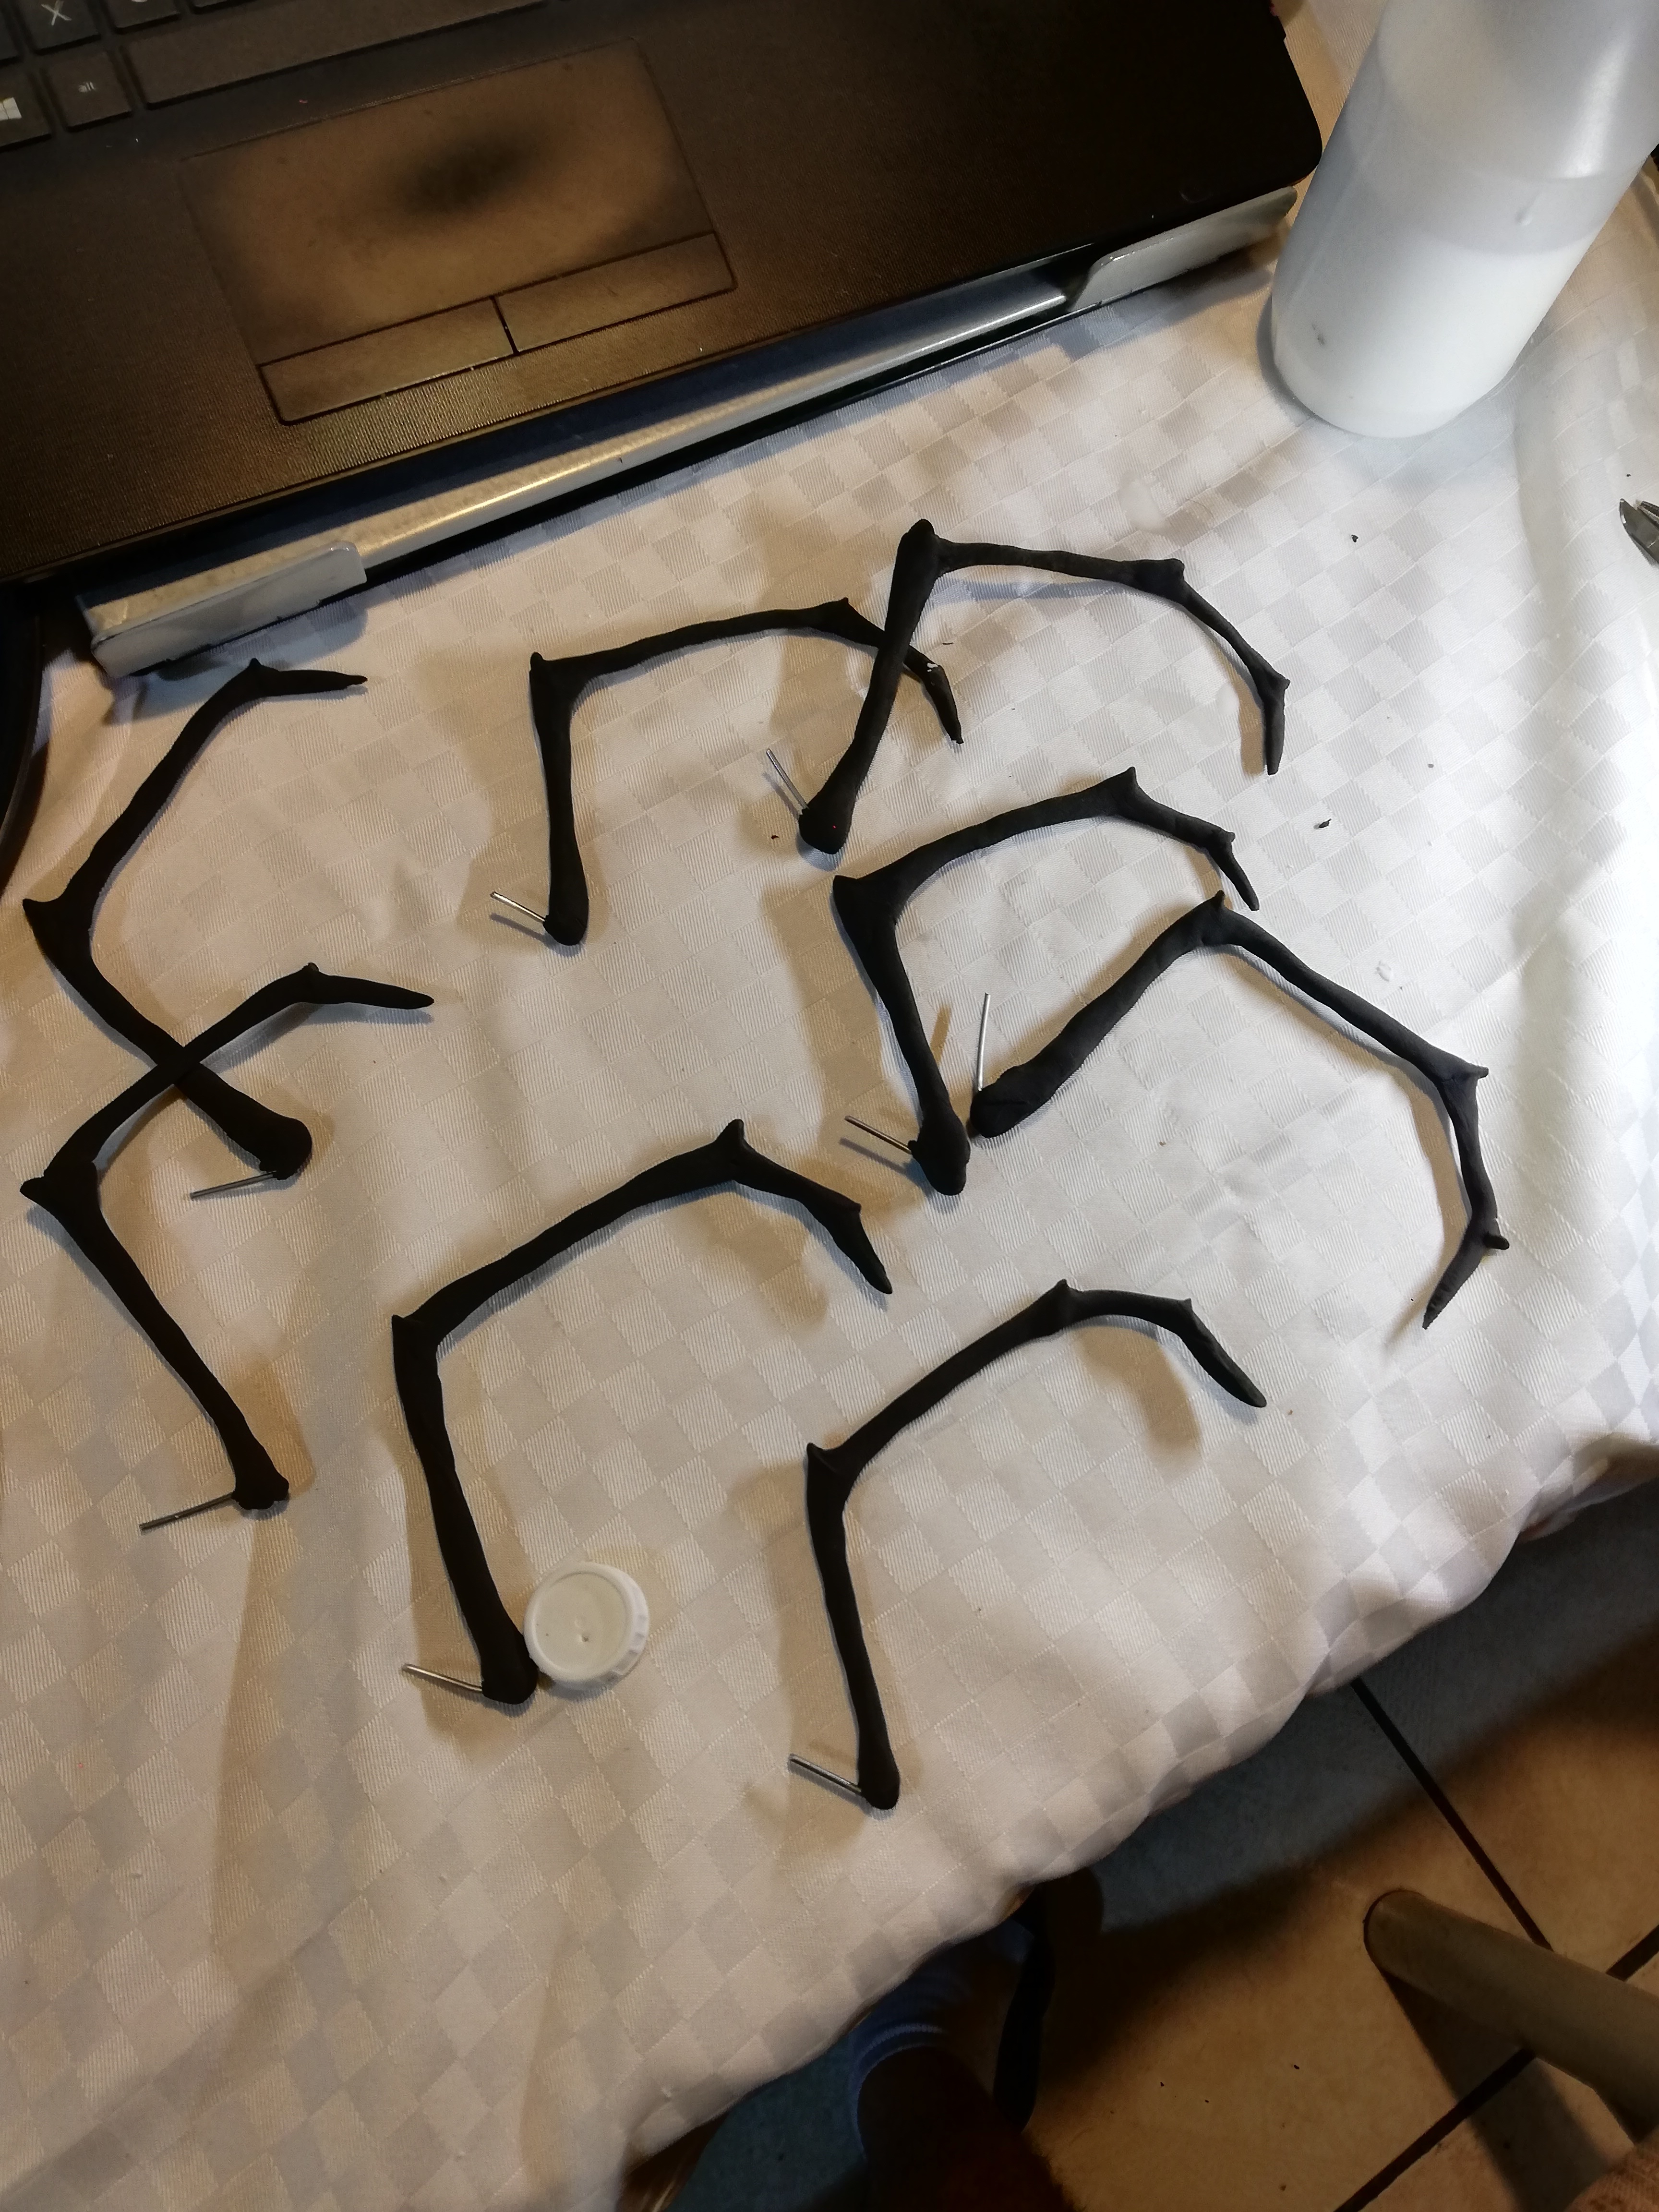
we will cover the legs with clay trying to make it smooth and adding spikes where the leg folds
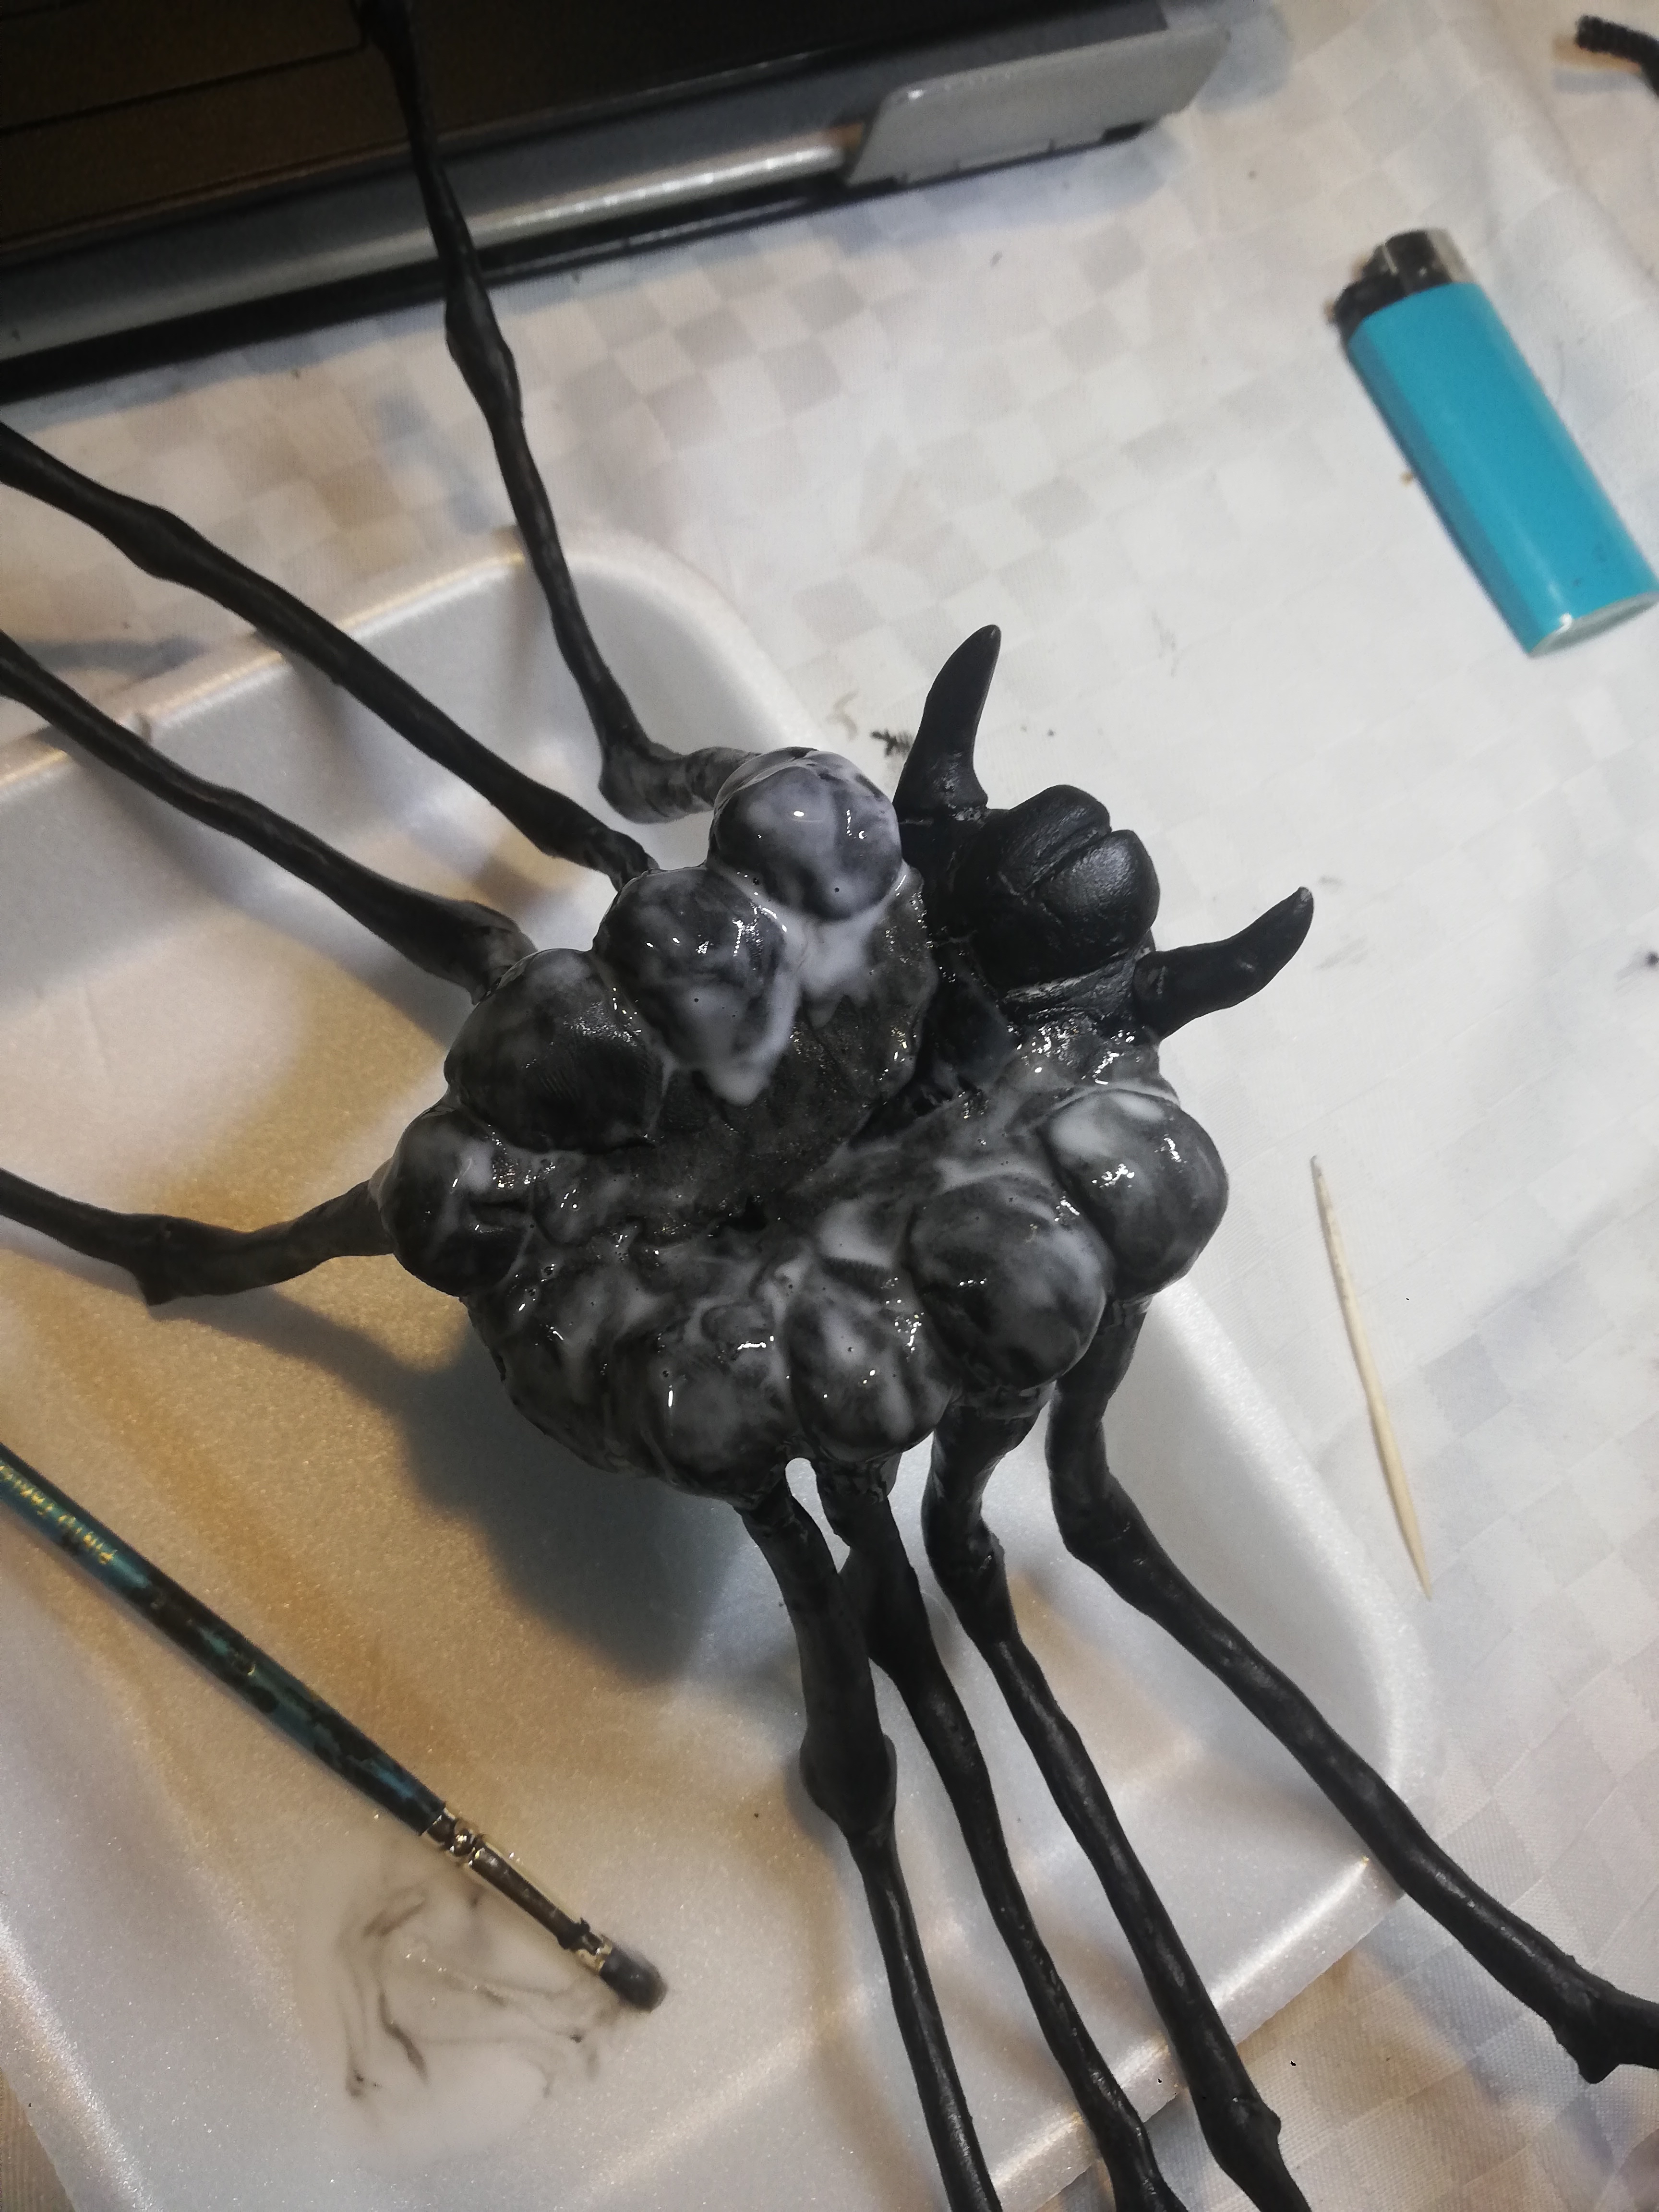
Smoothing the Pieces
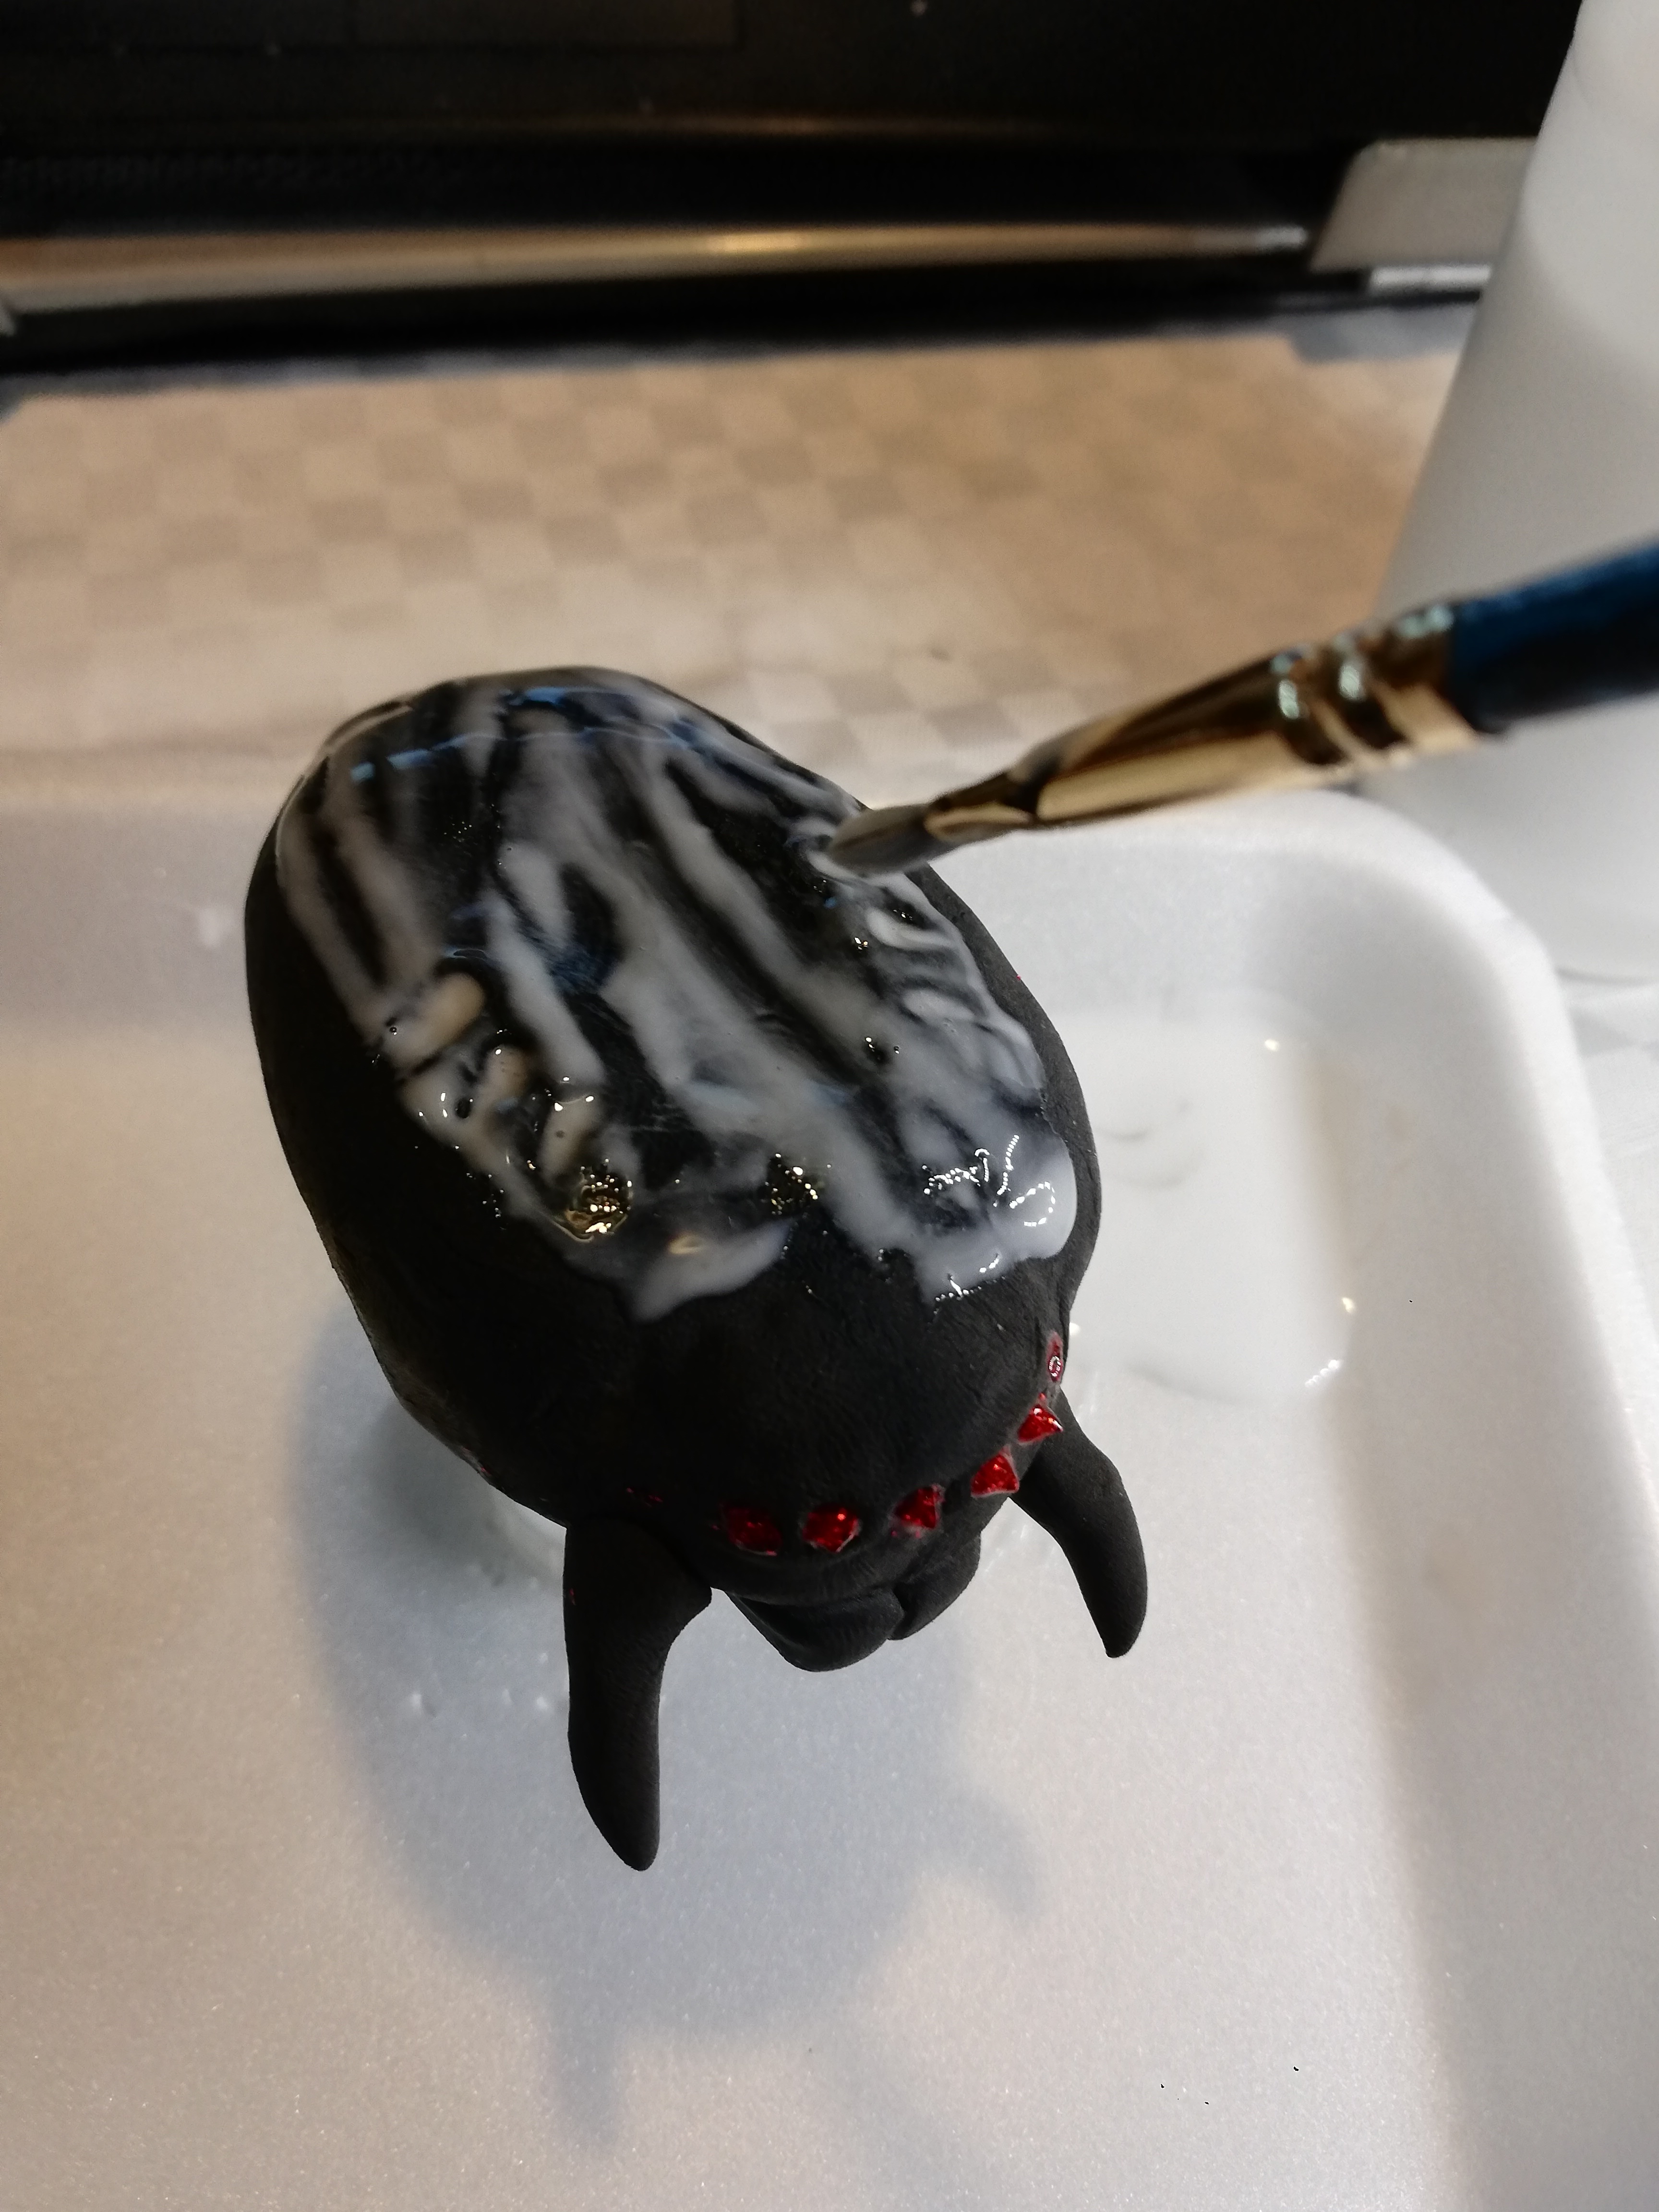
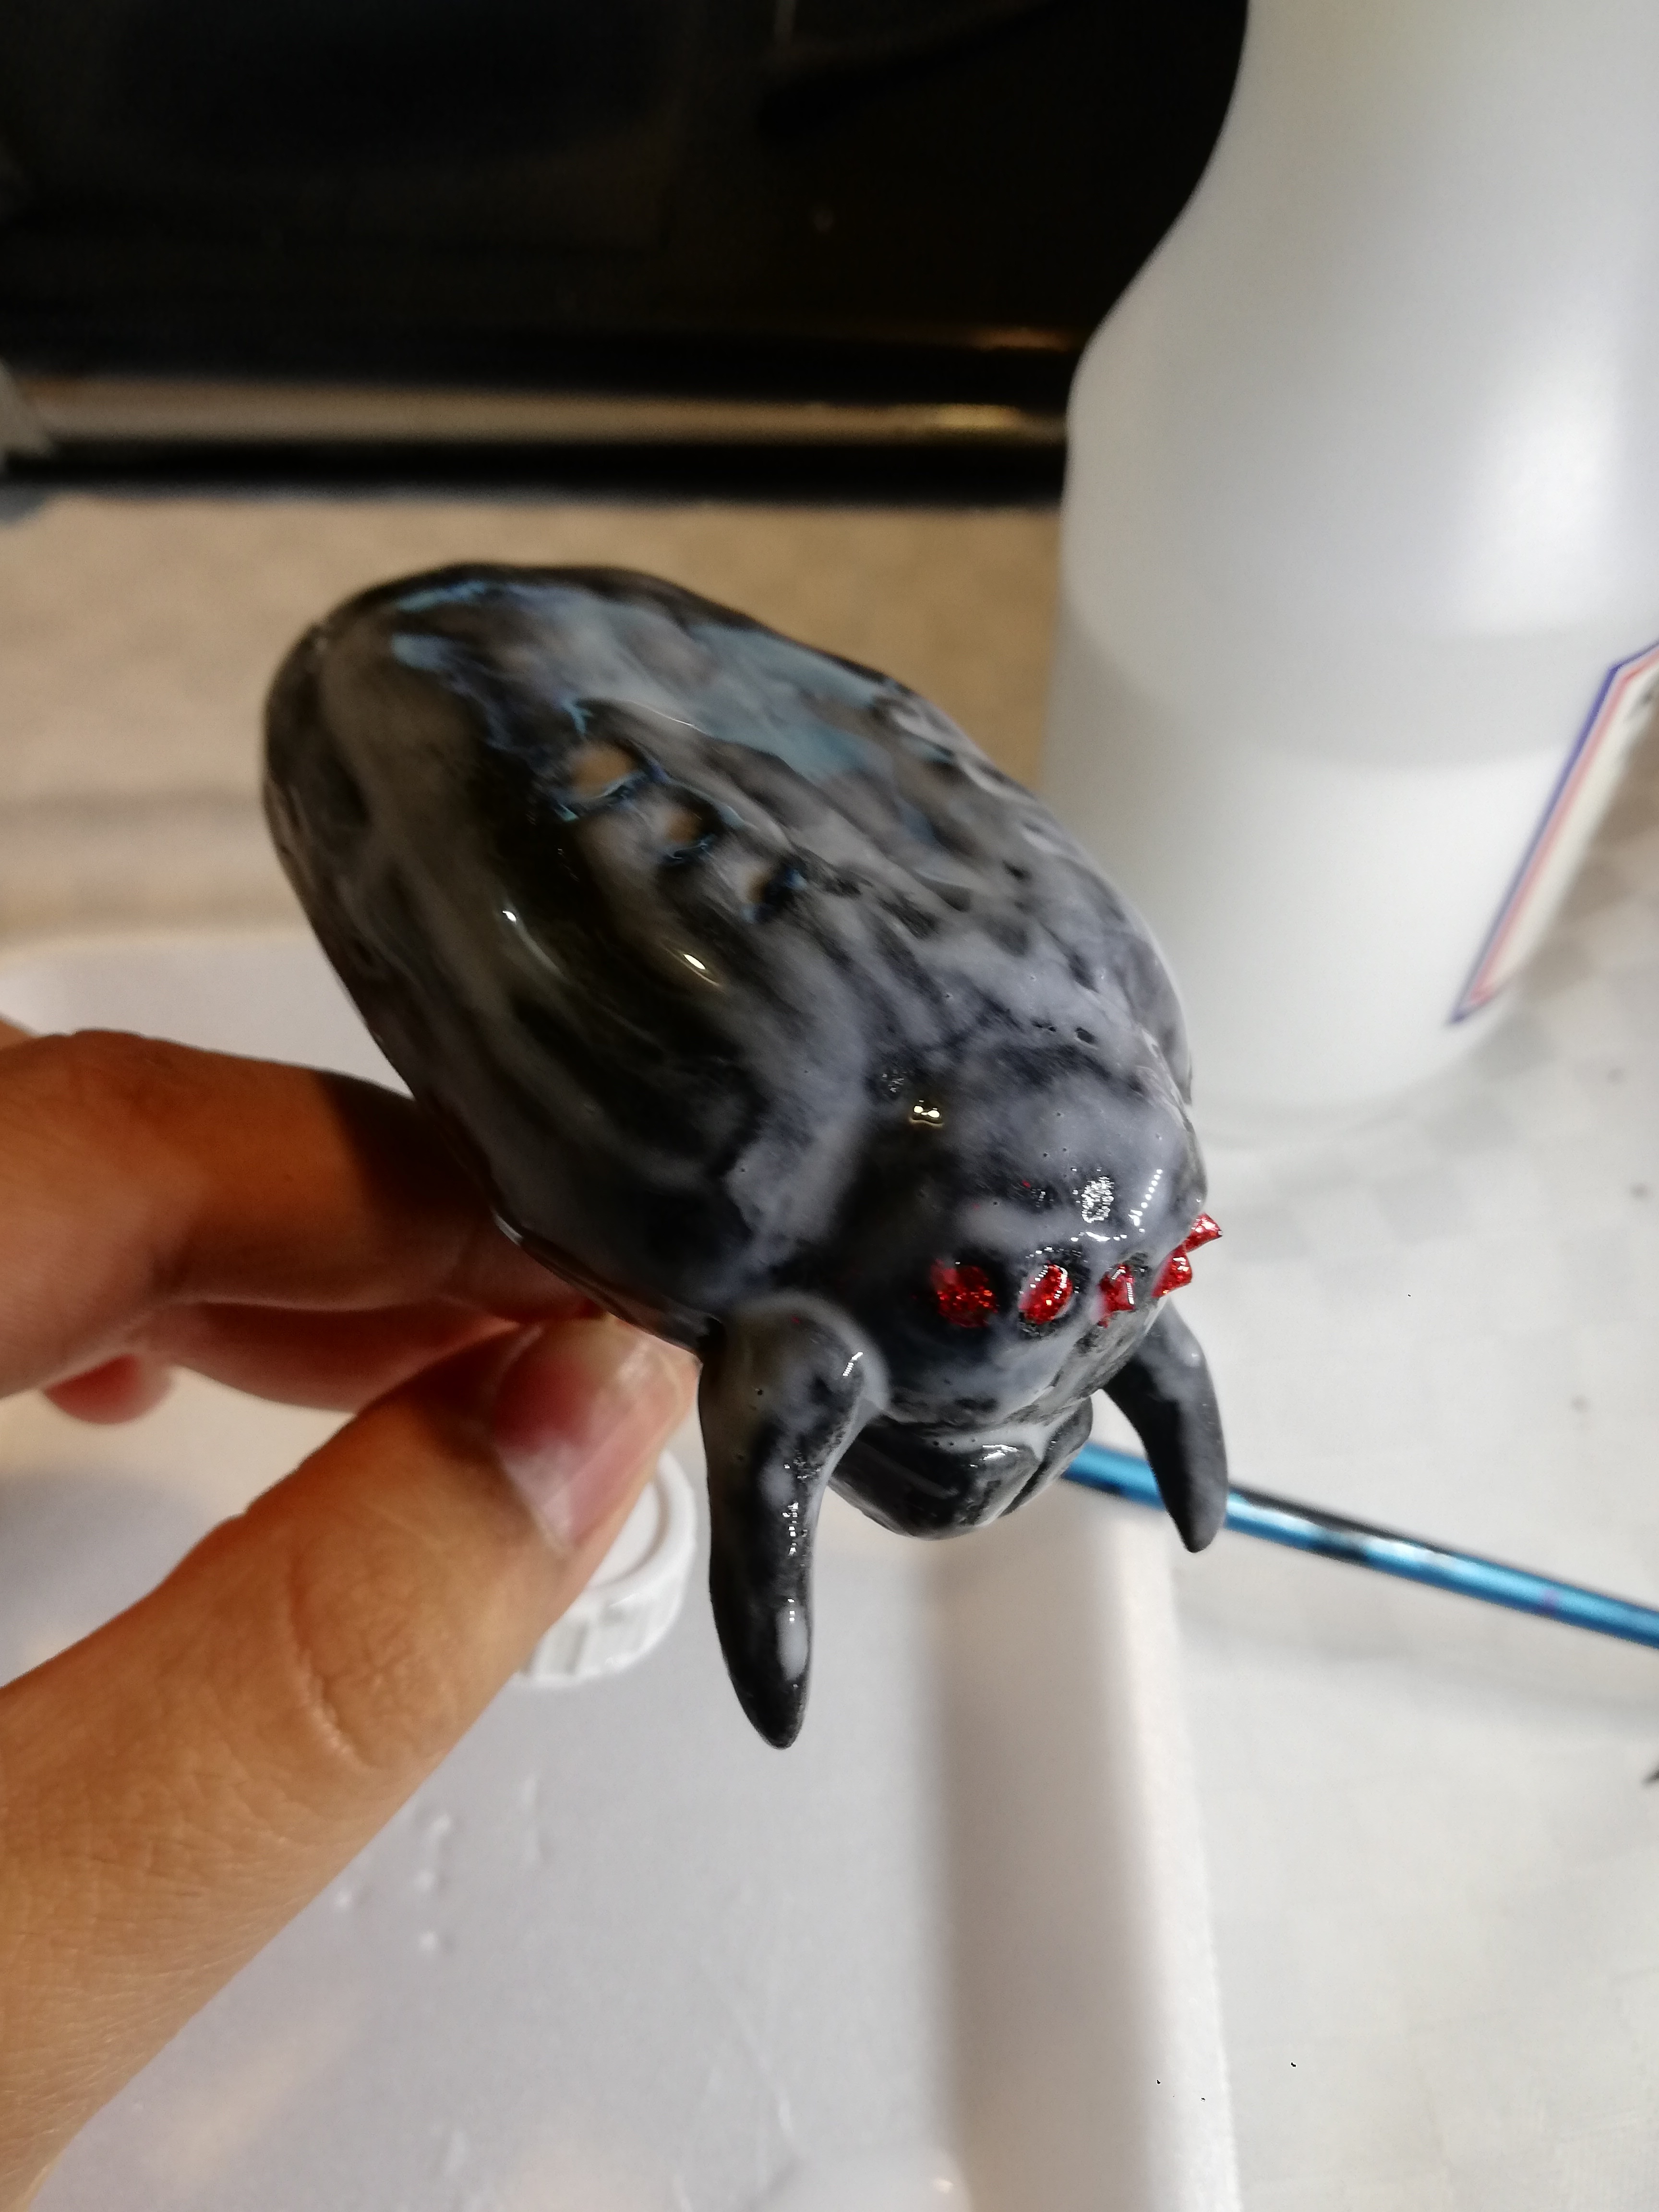
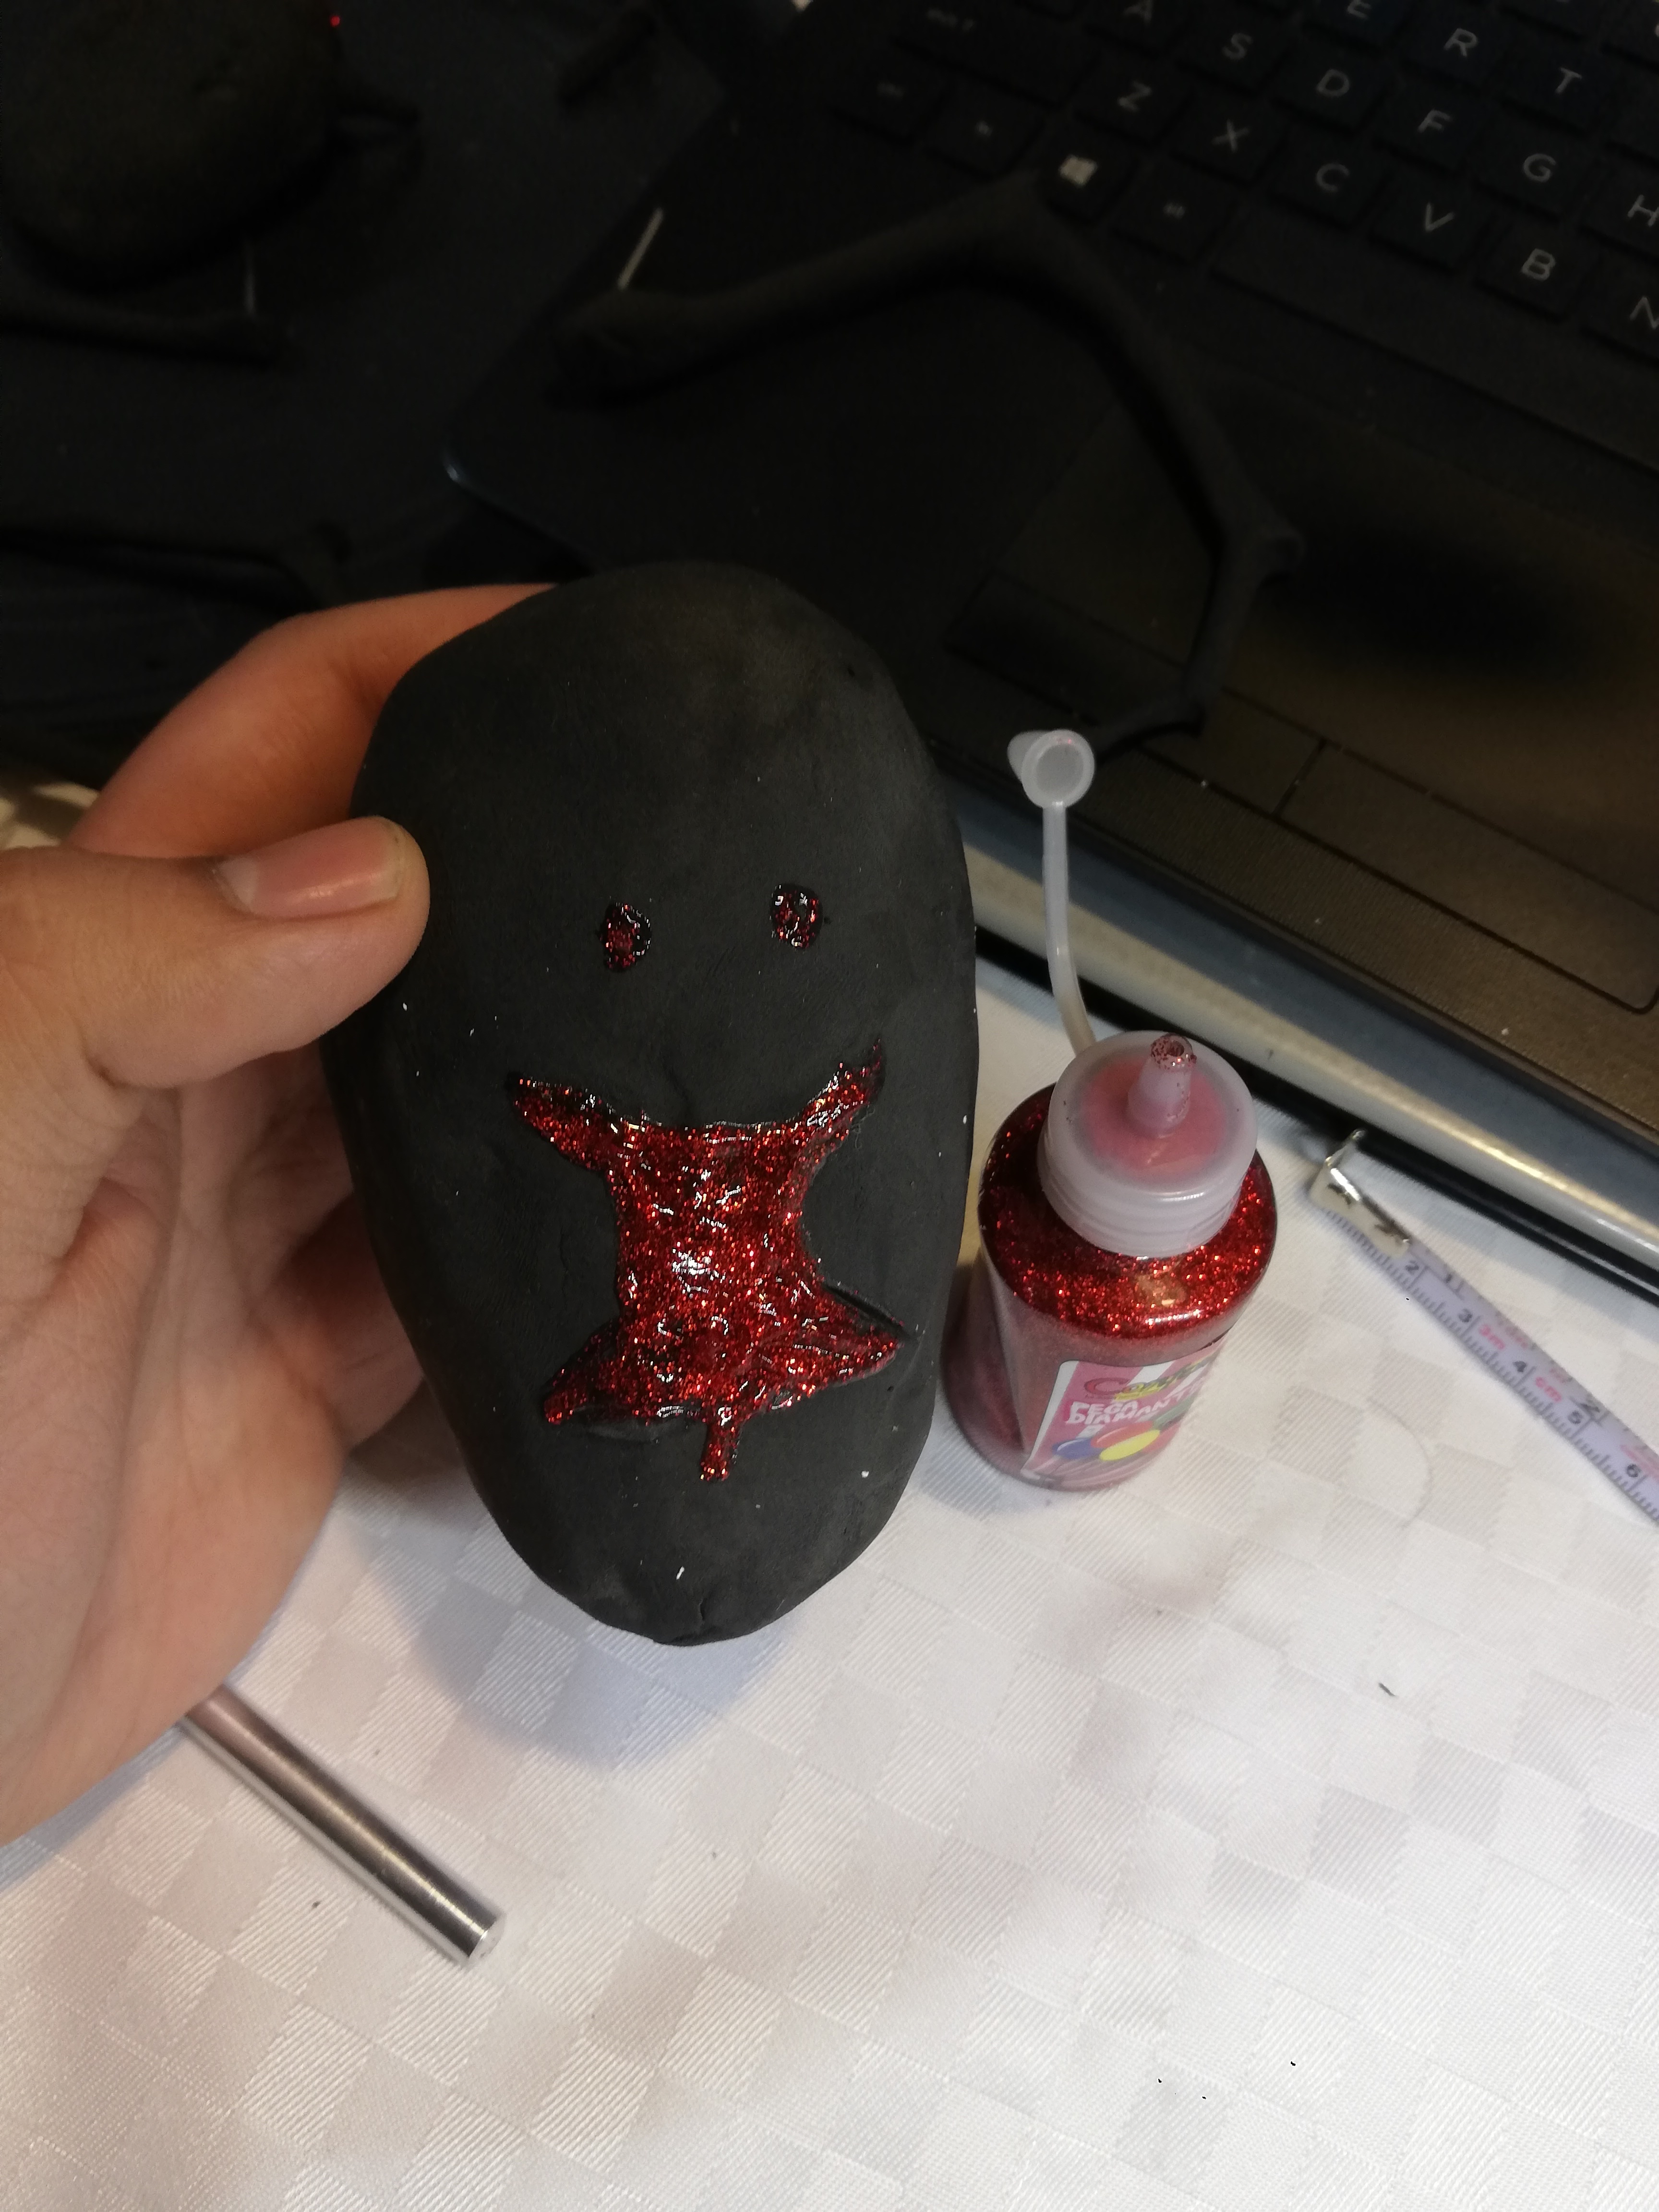
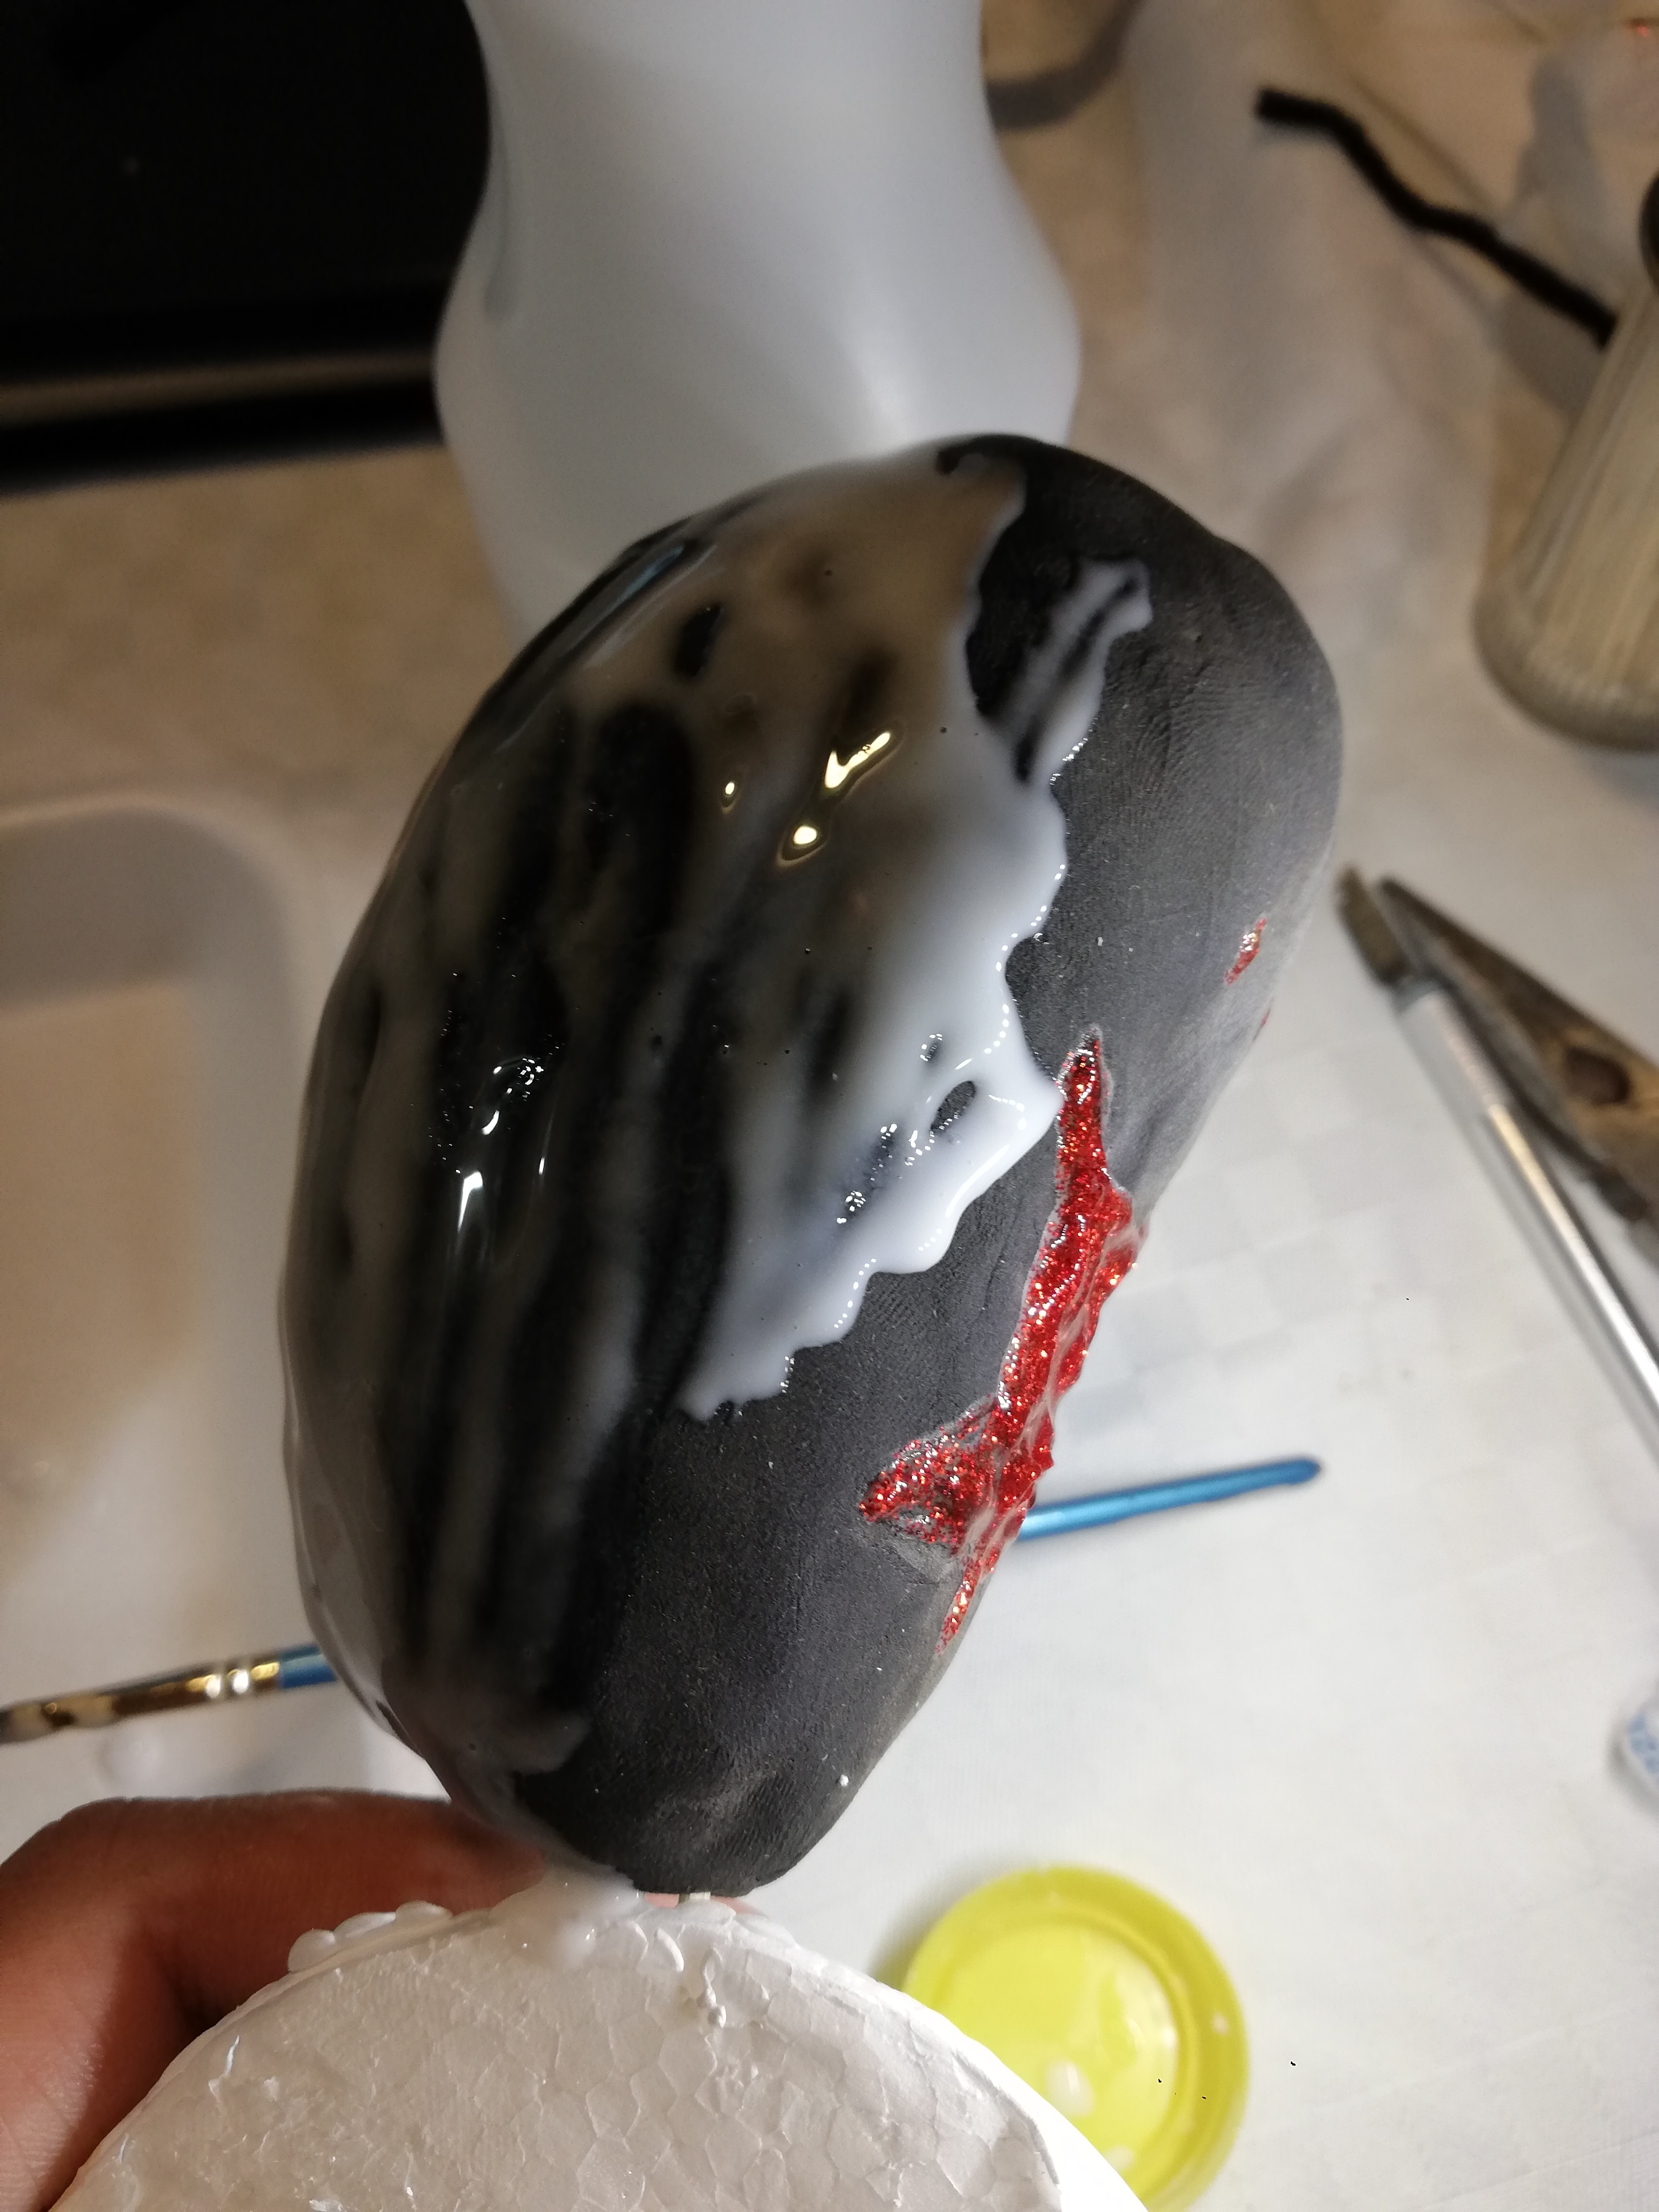
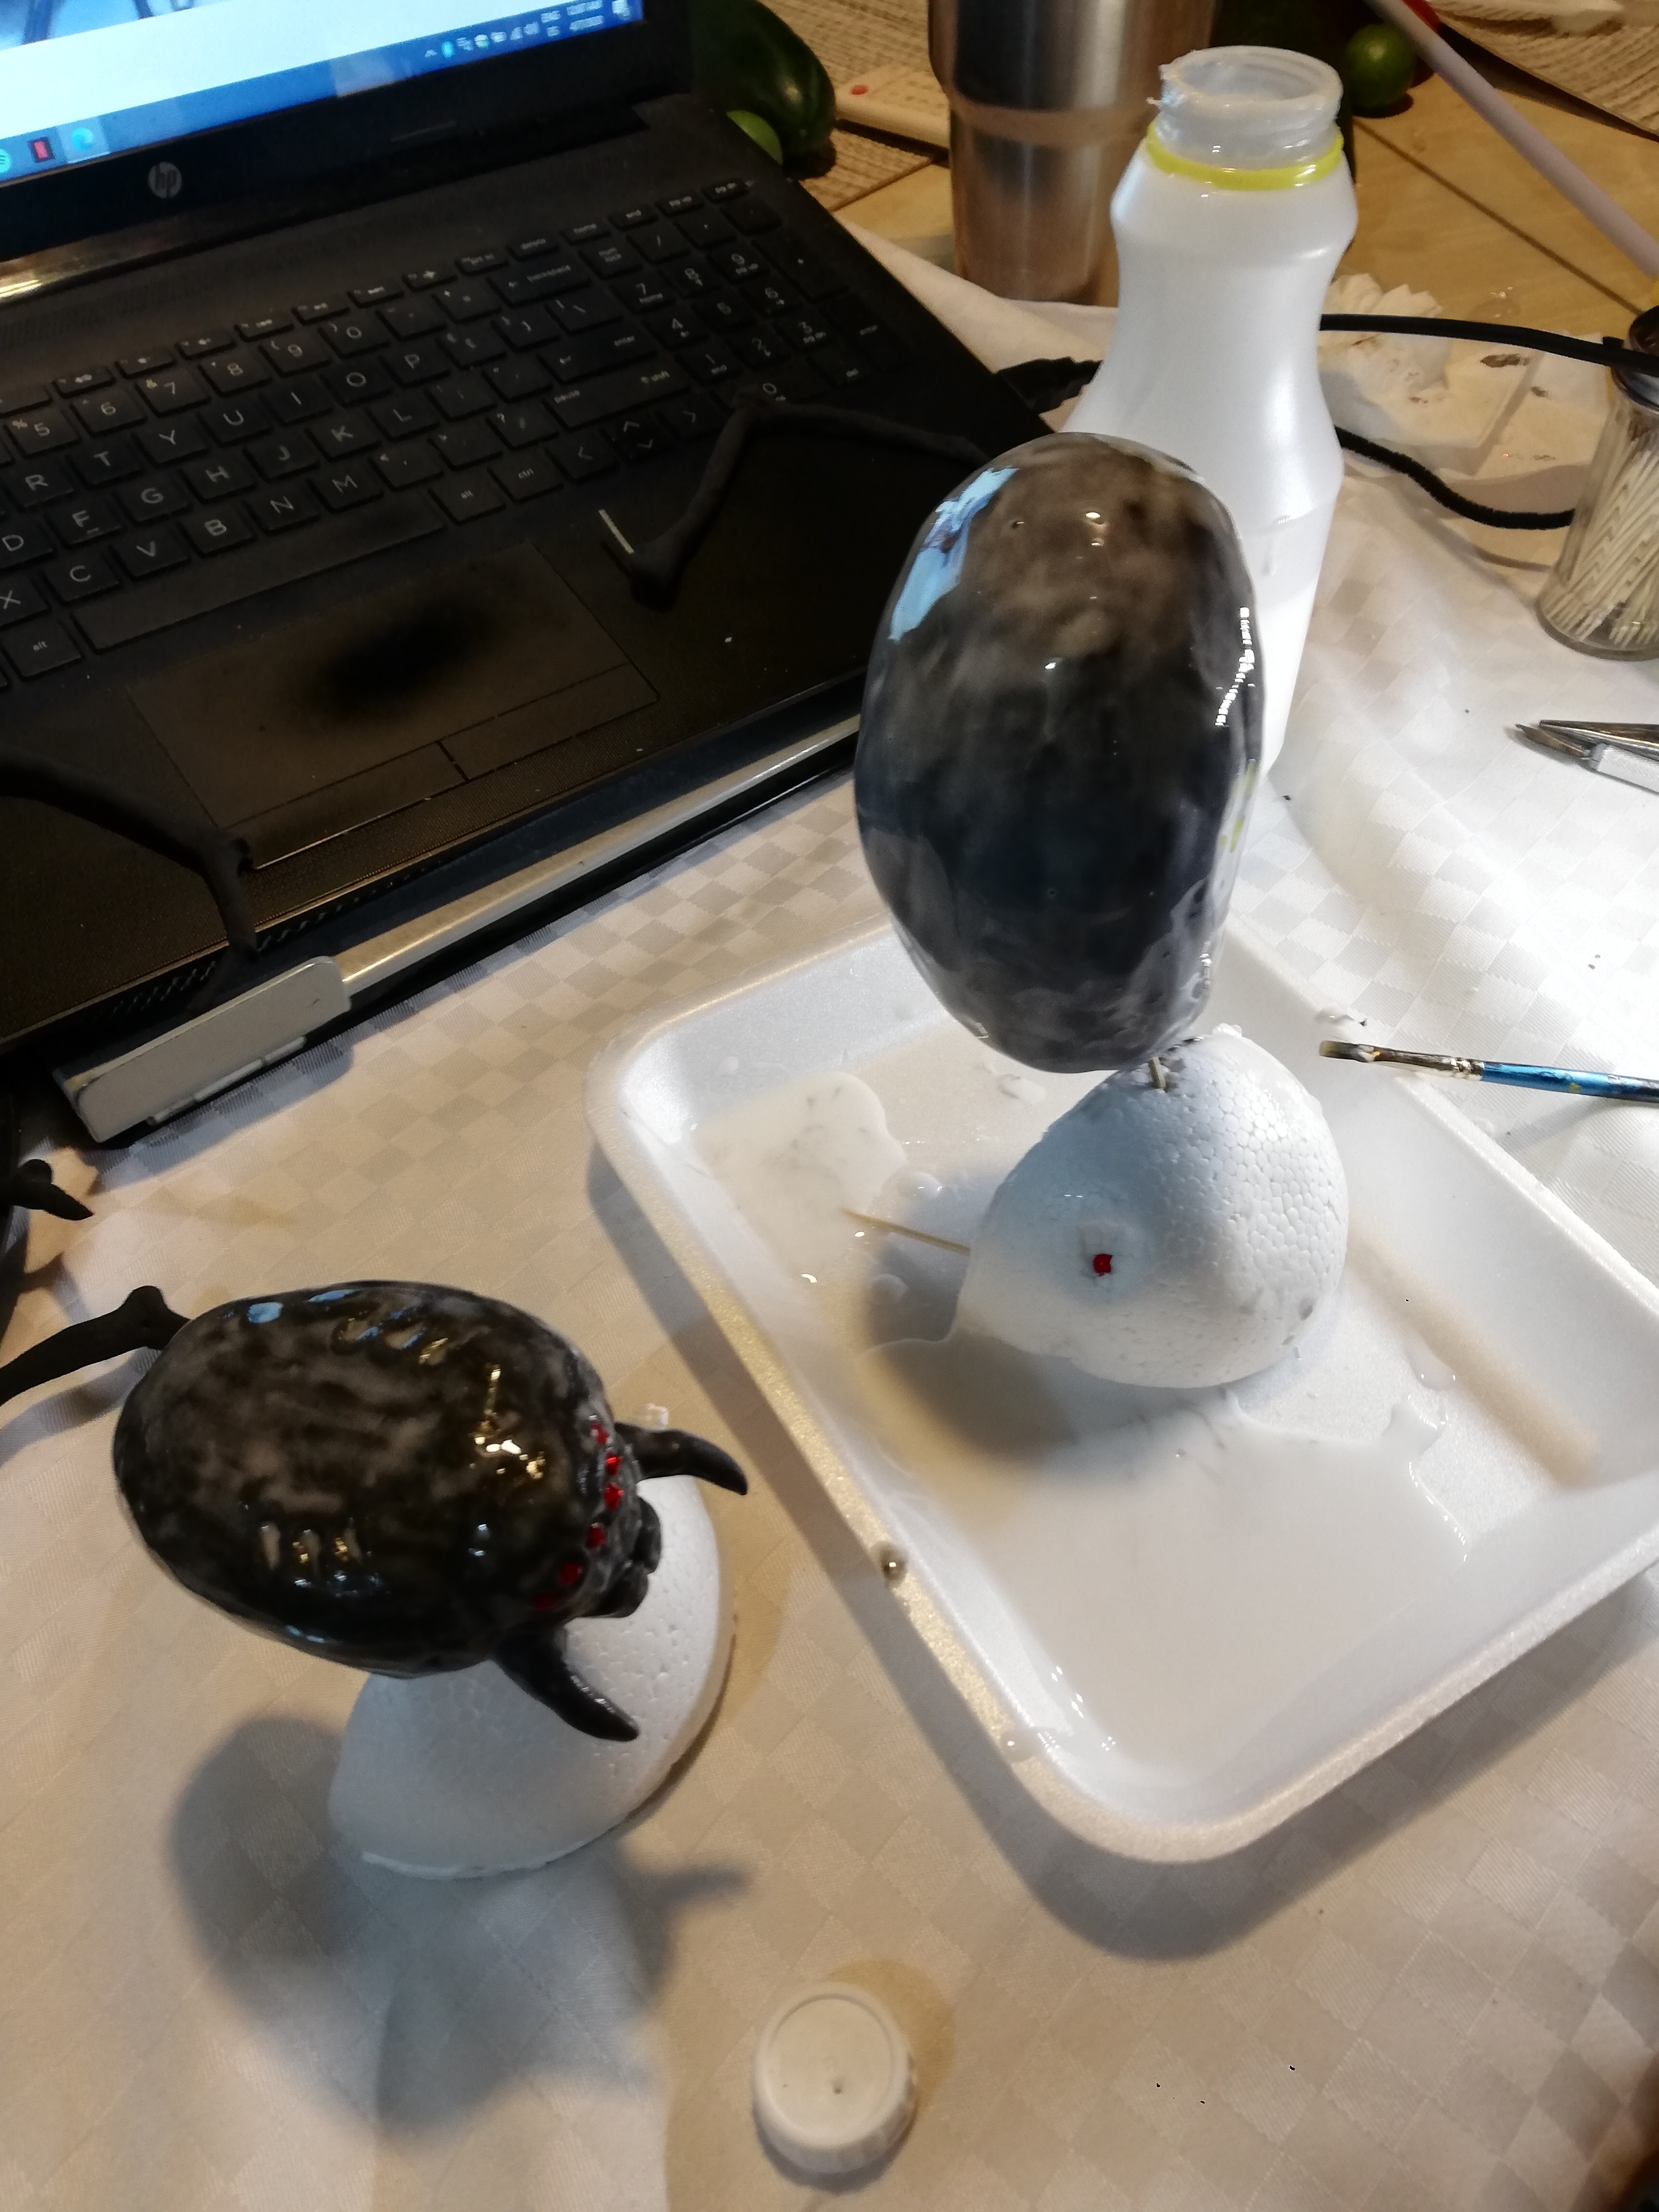
We will cover all the pieces with white glue to smooth the material, taking care do not touch the red glue
Painting the Spider
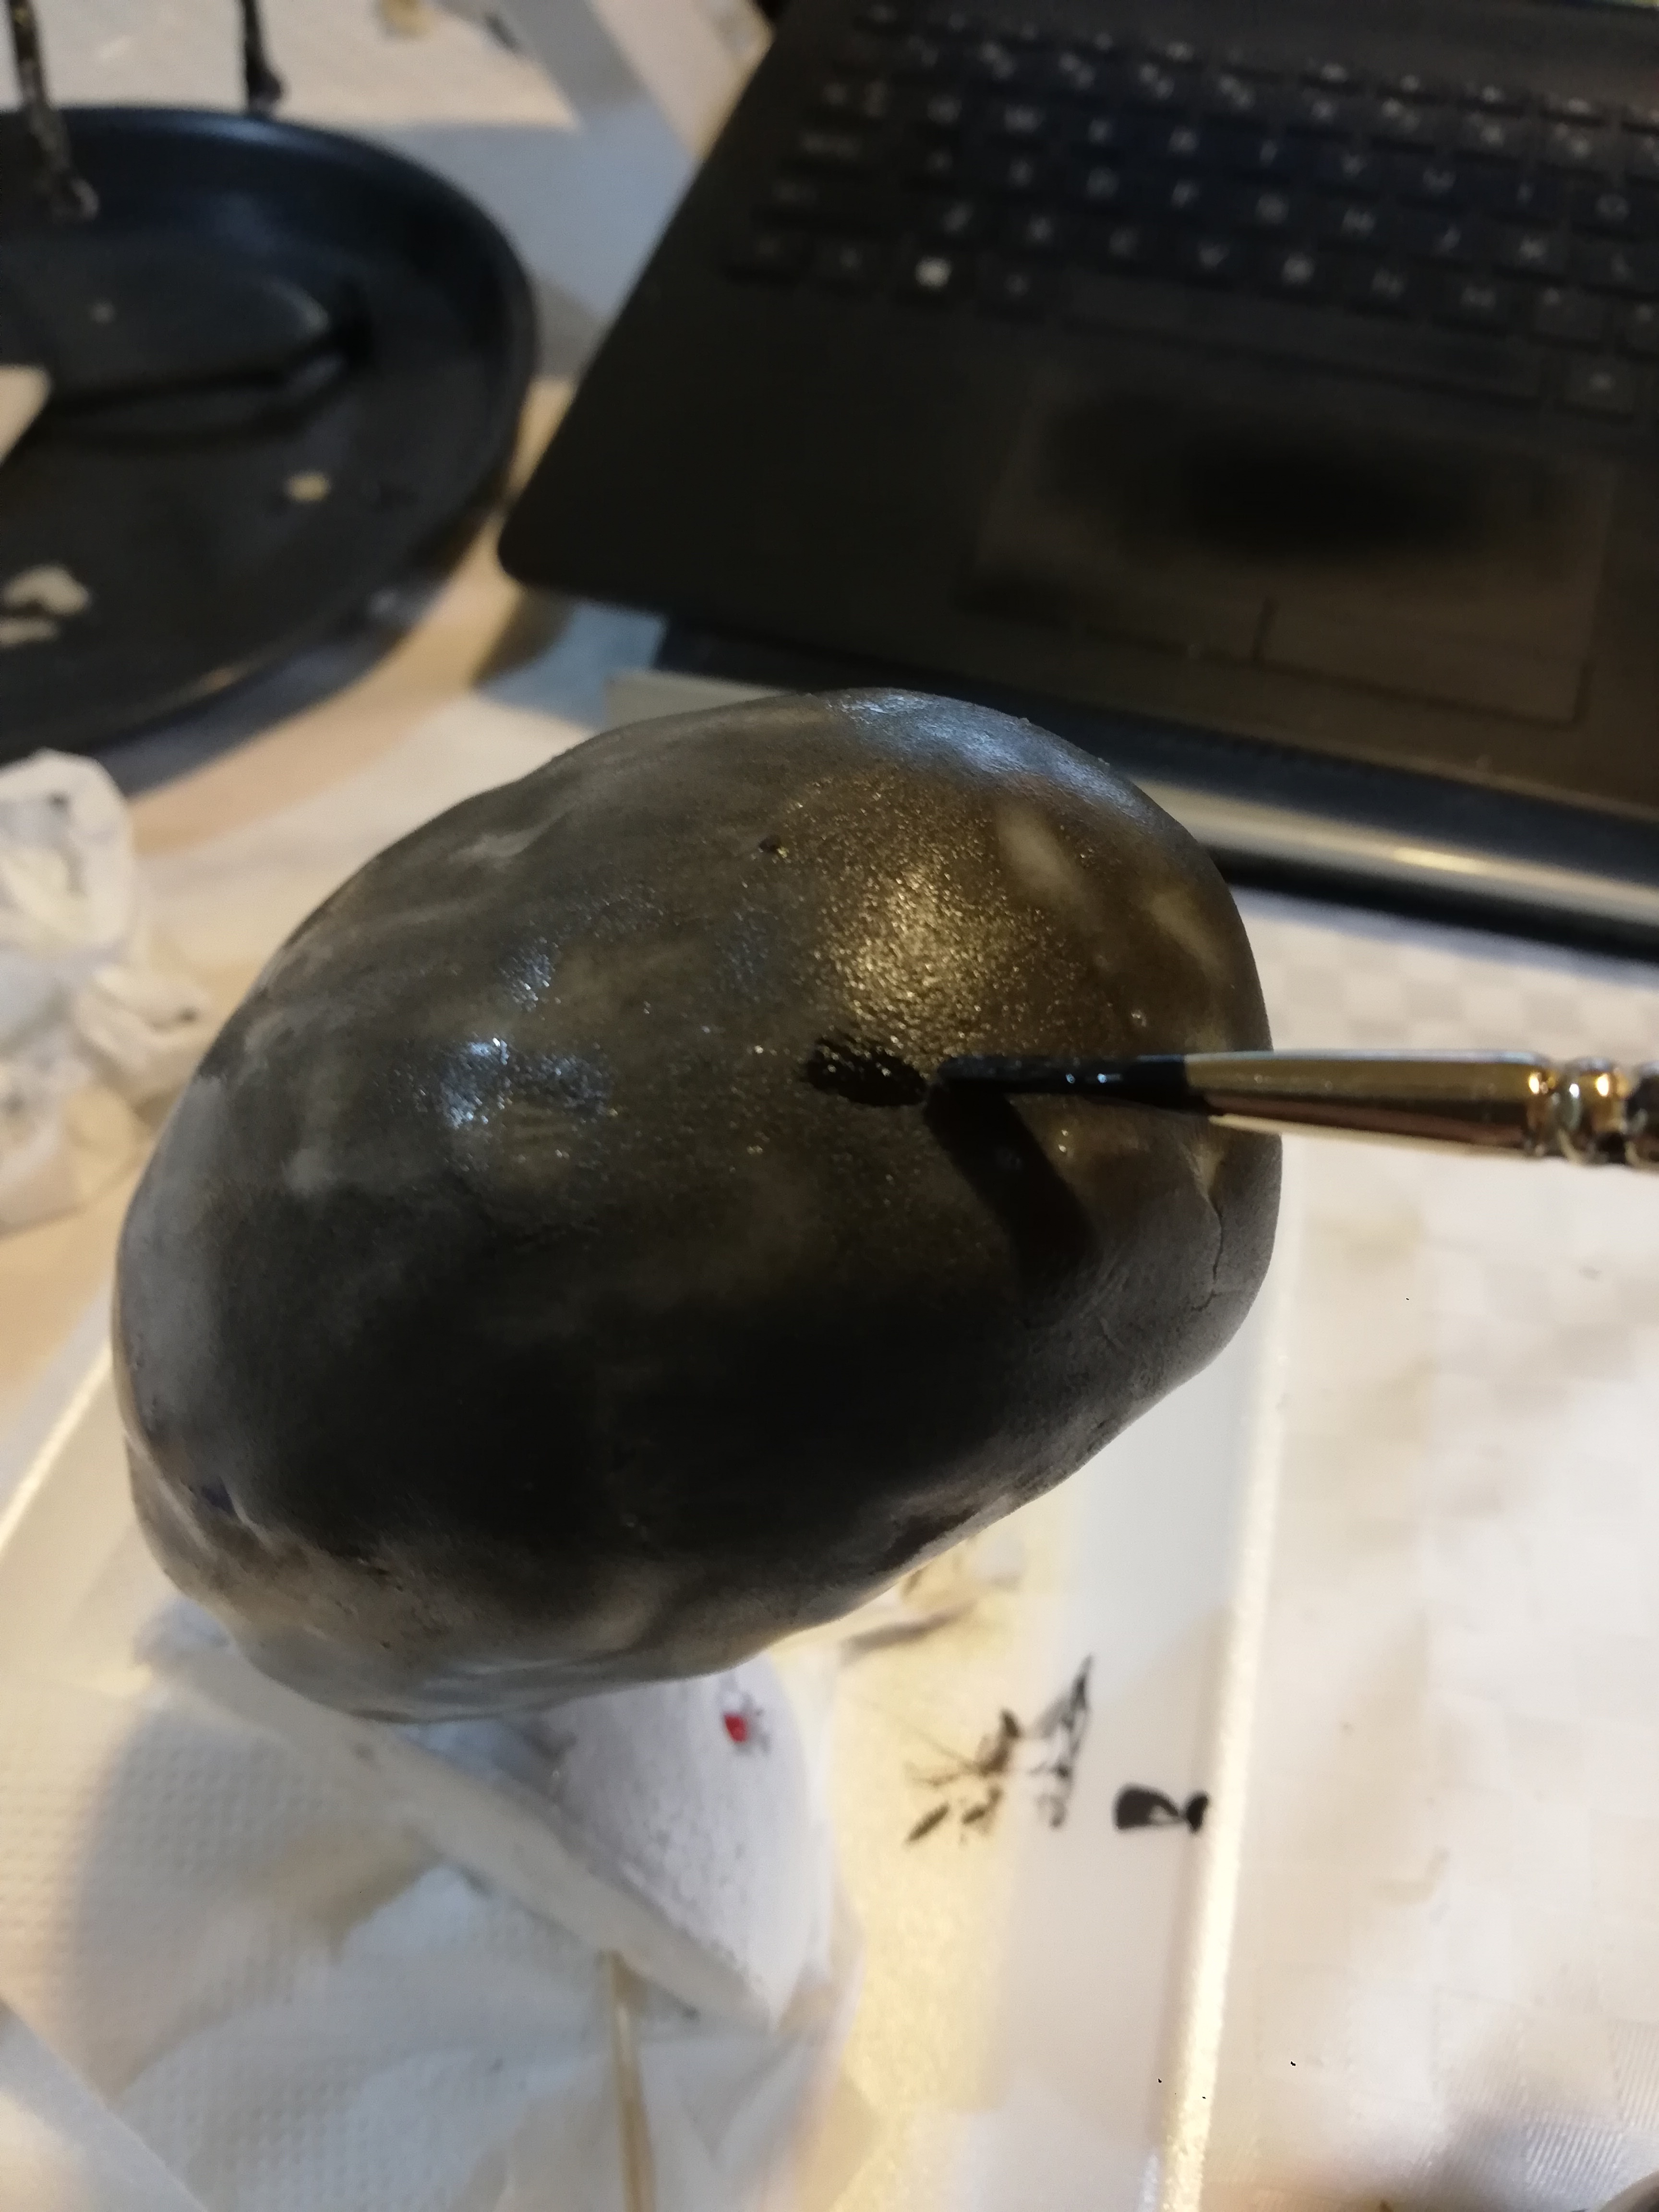
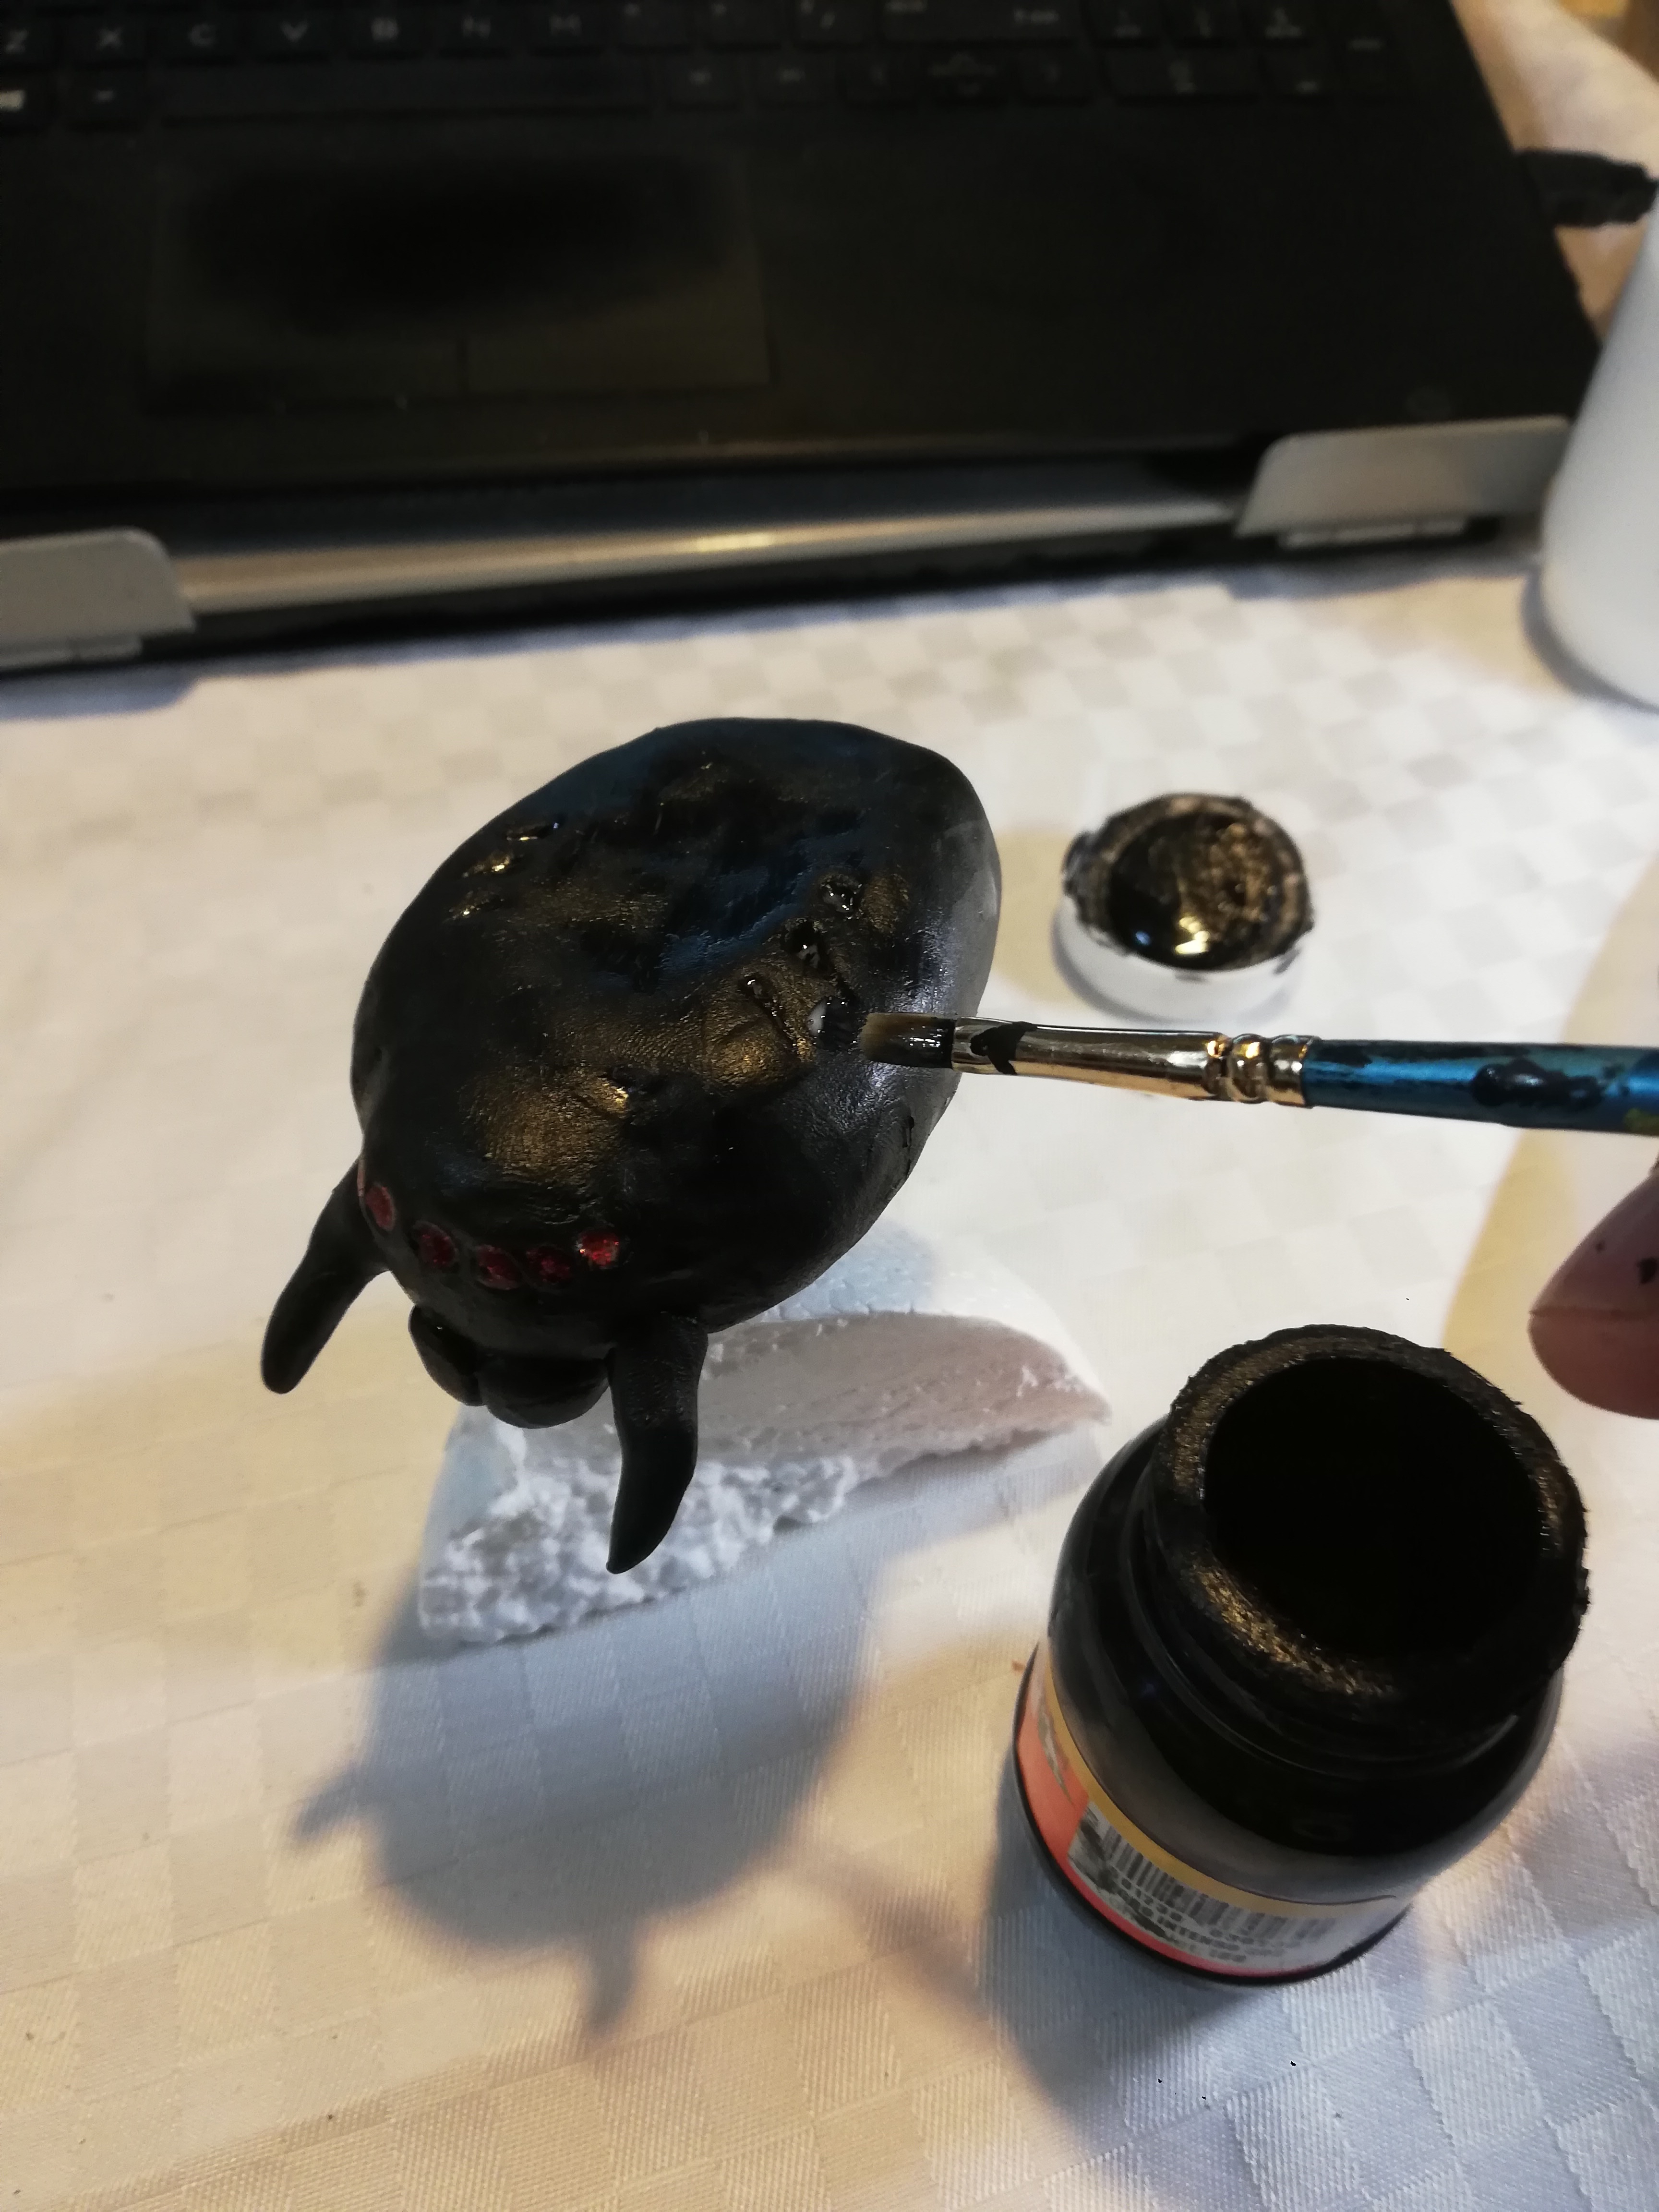
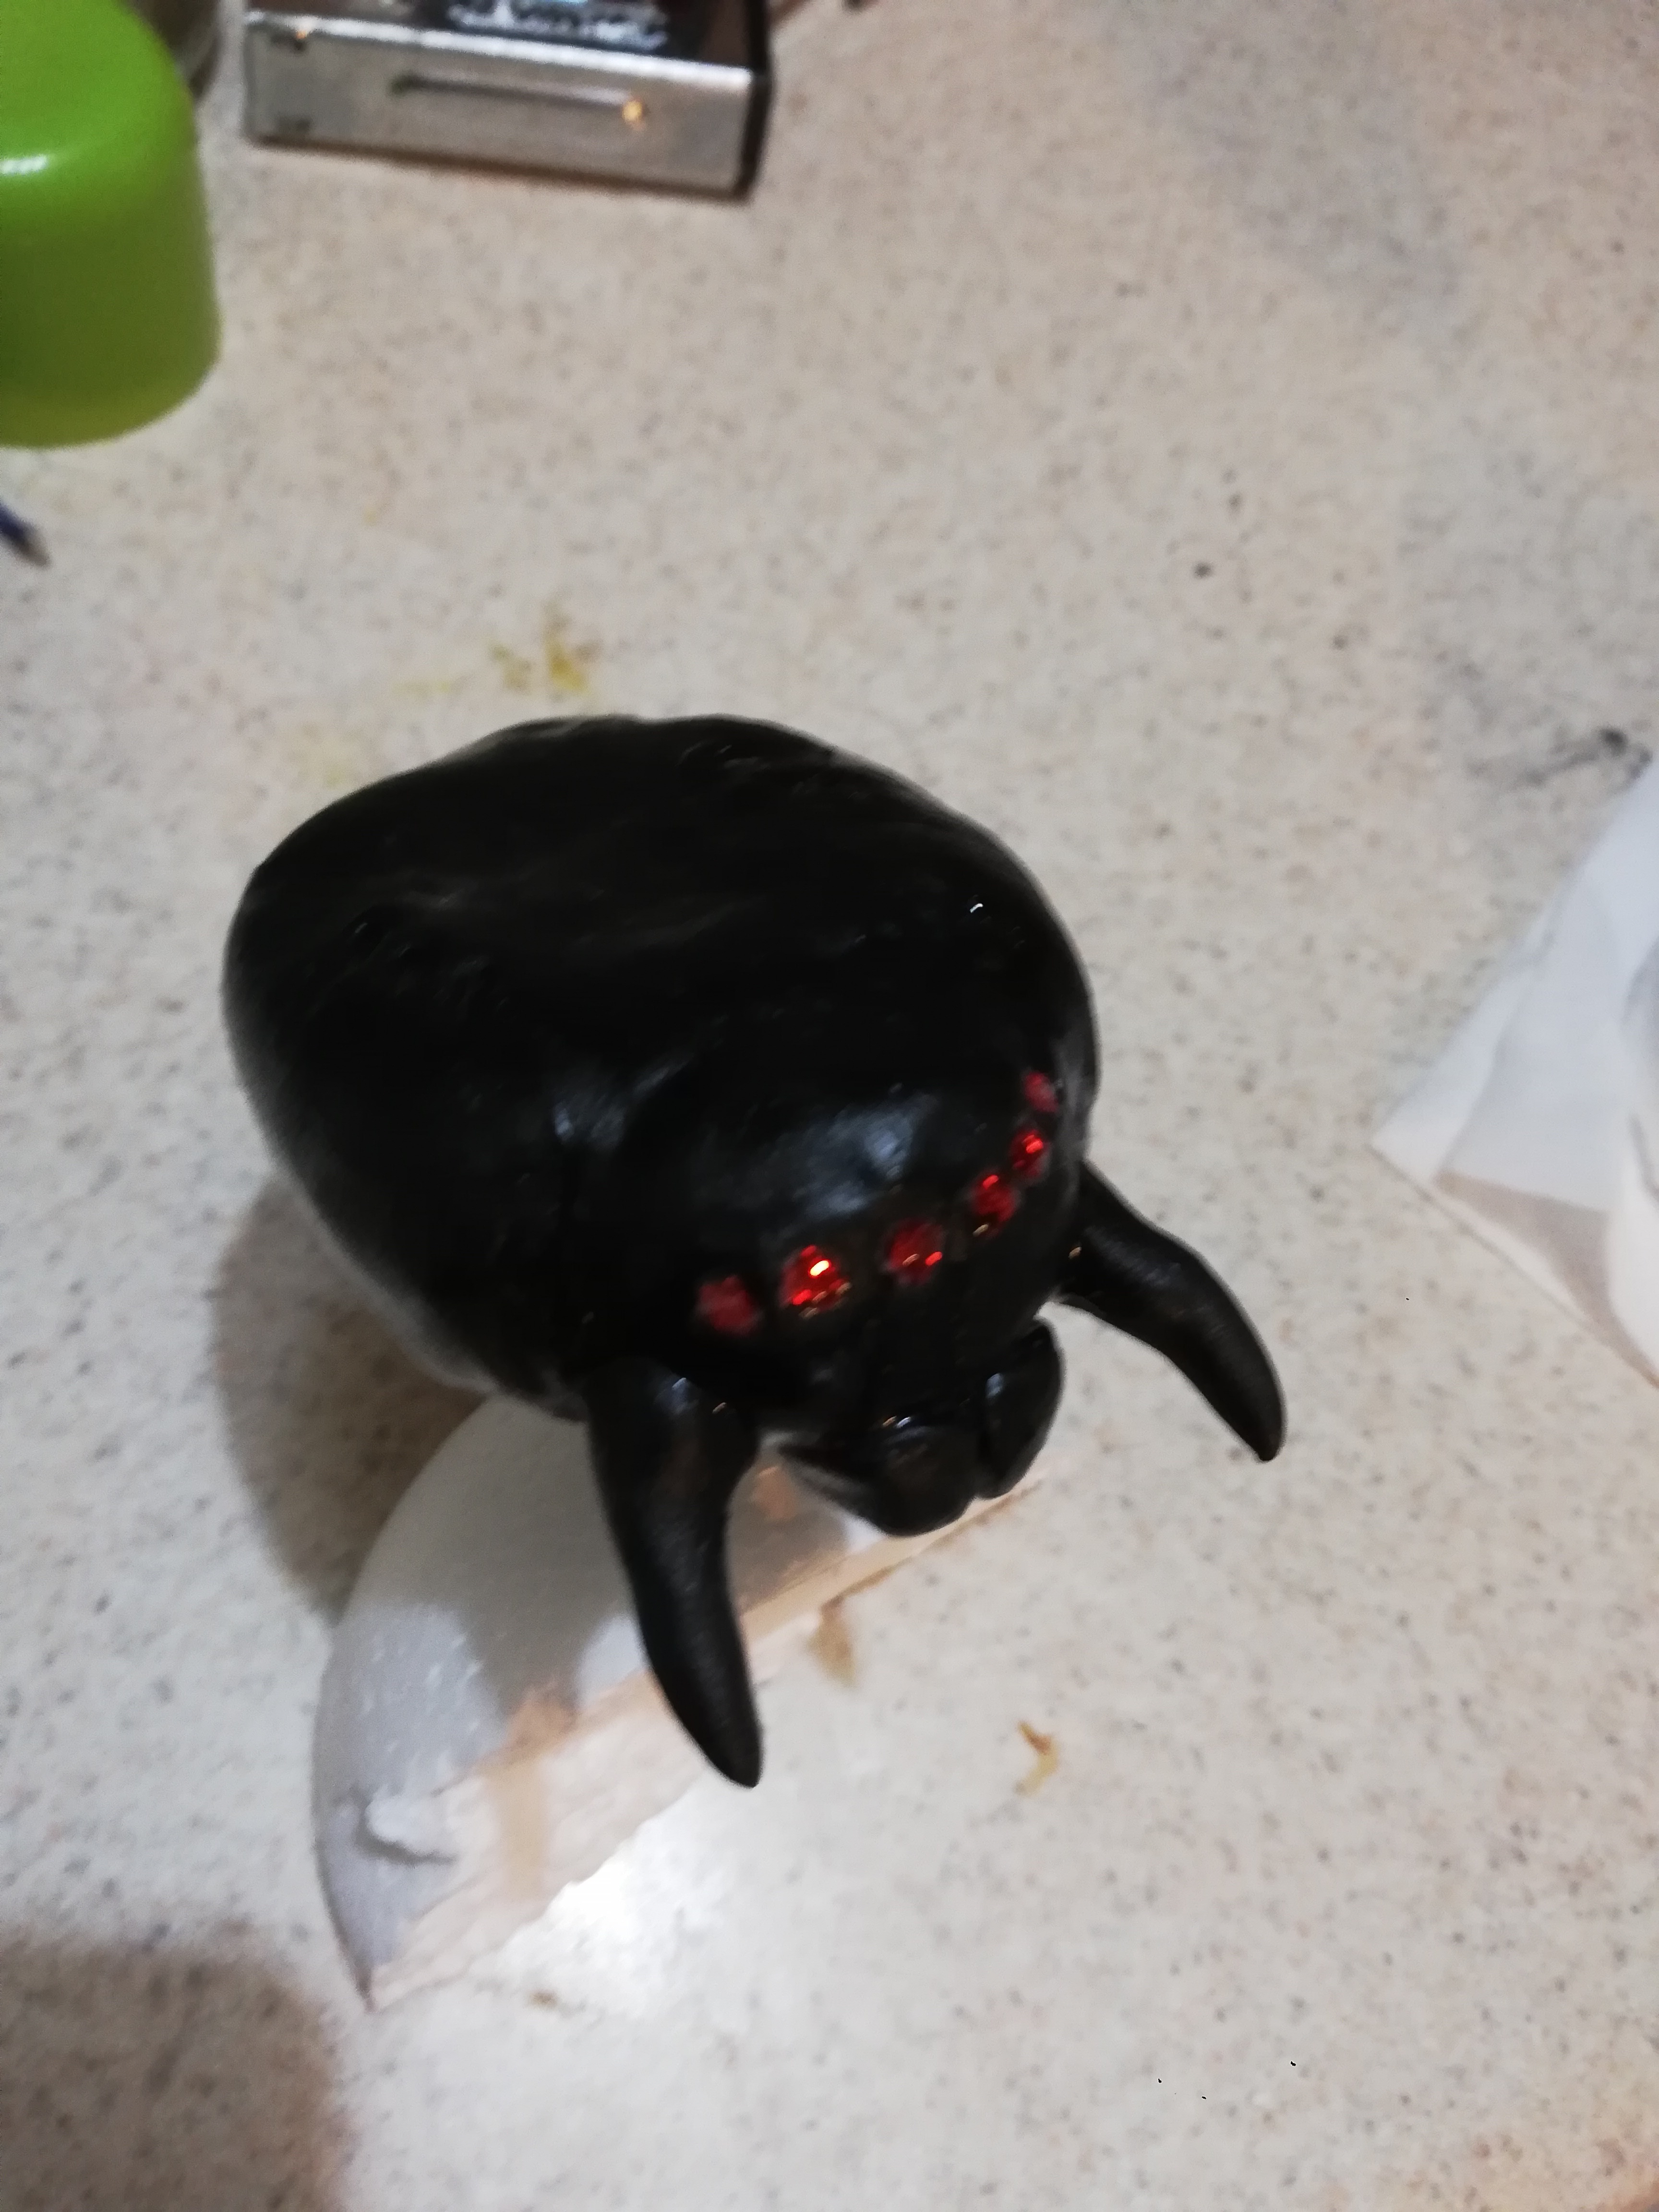

We will use black paint to give more contrast to the color of the spider
Legs Assembly
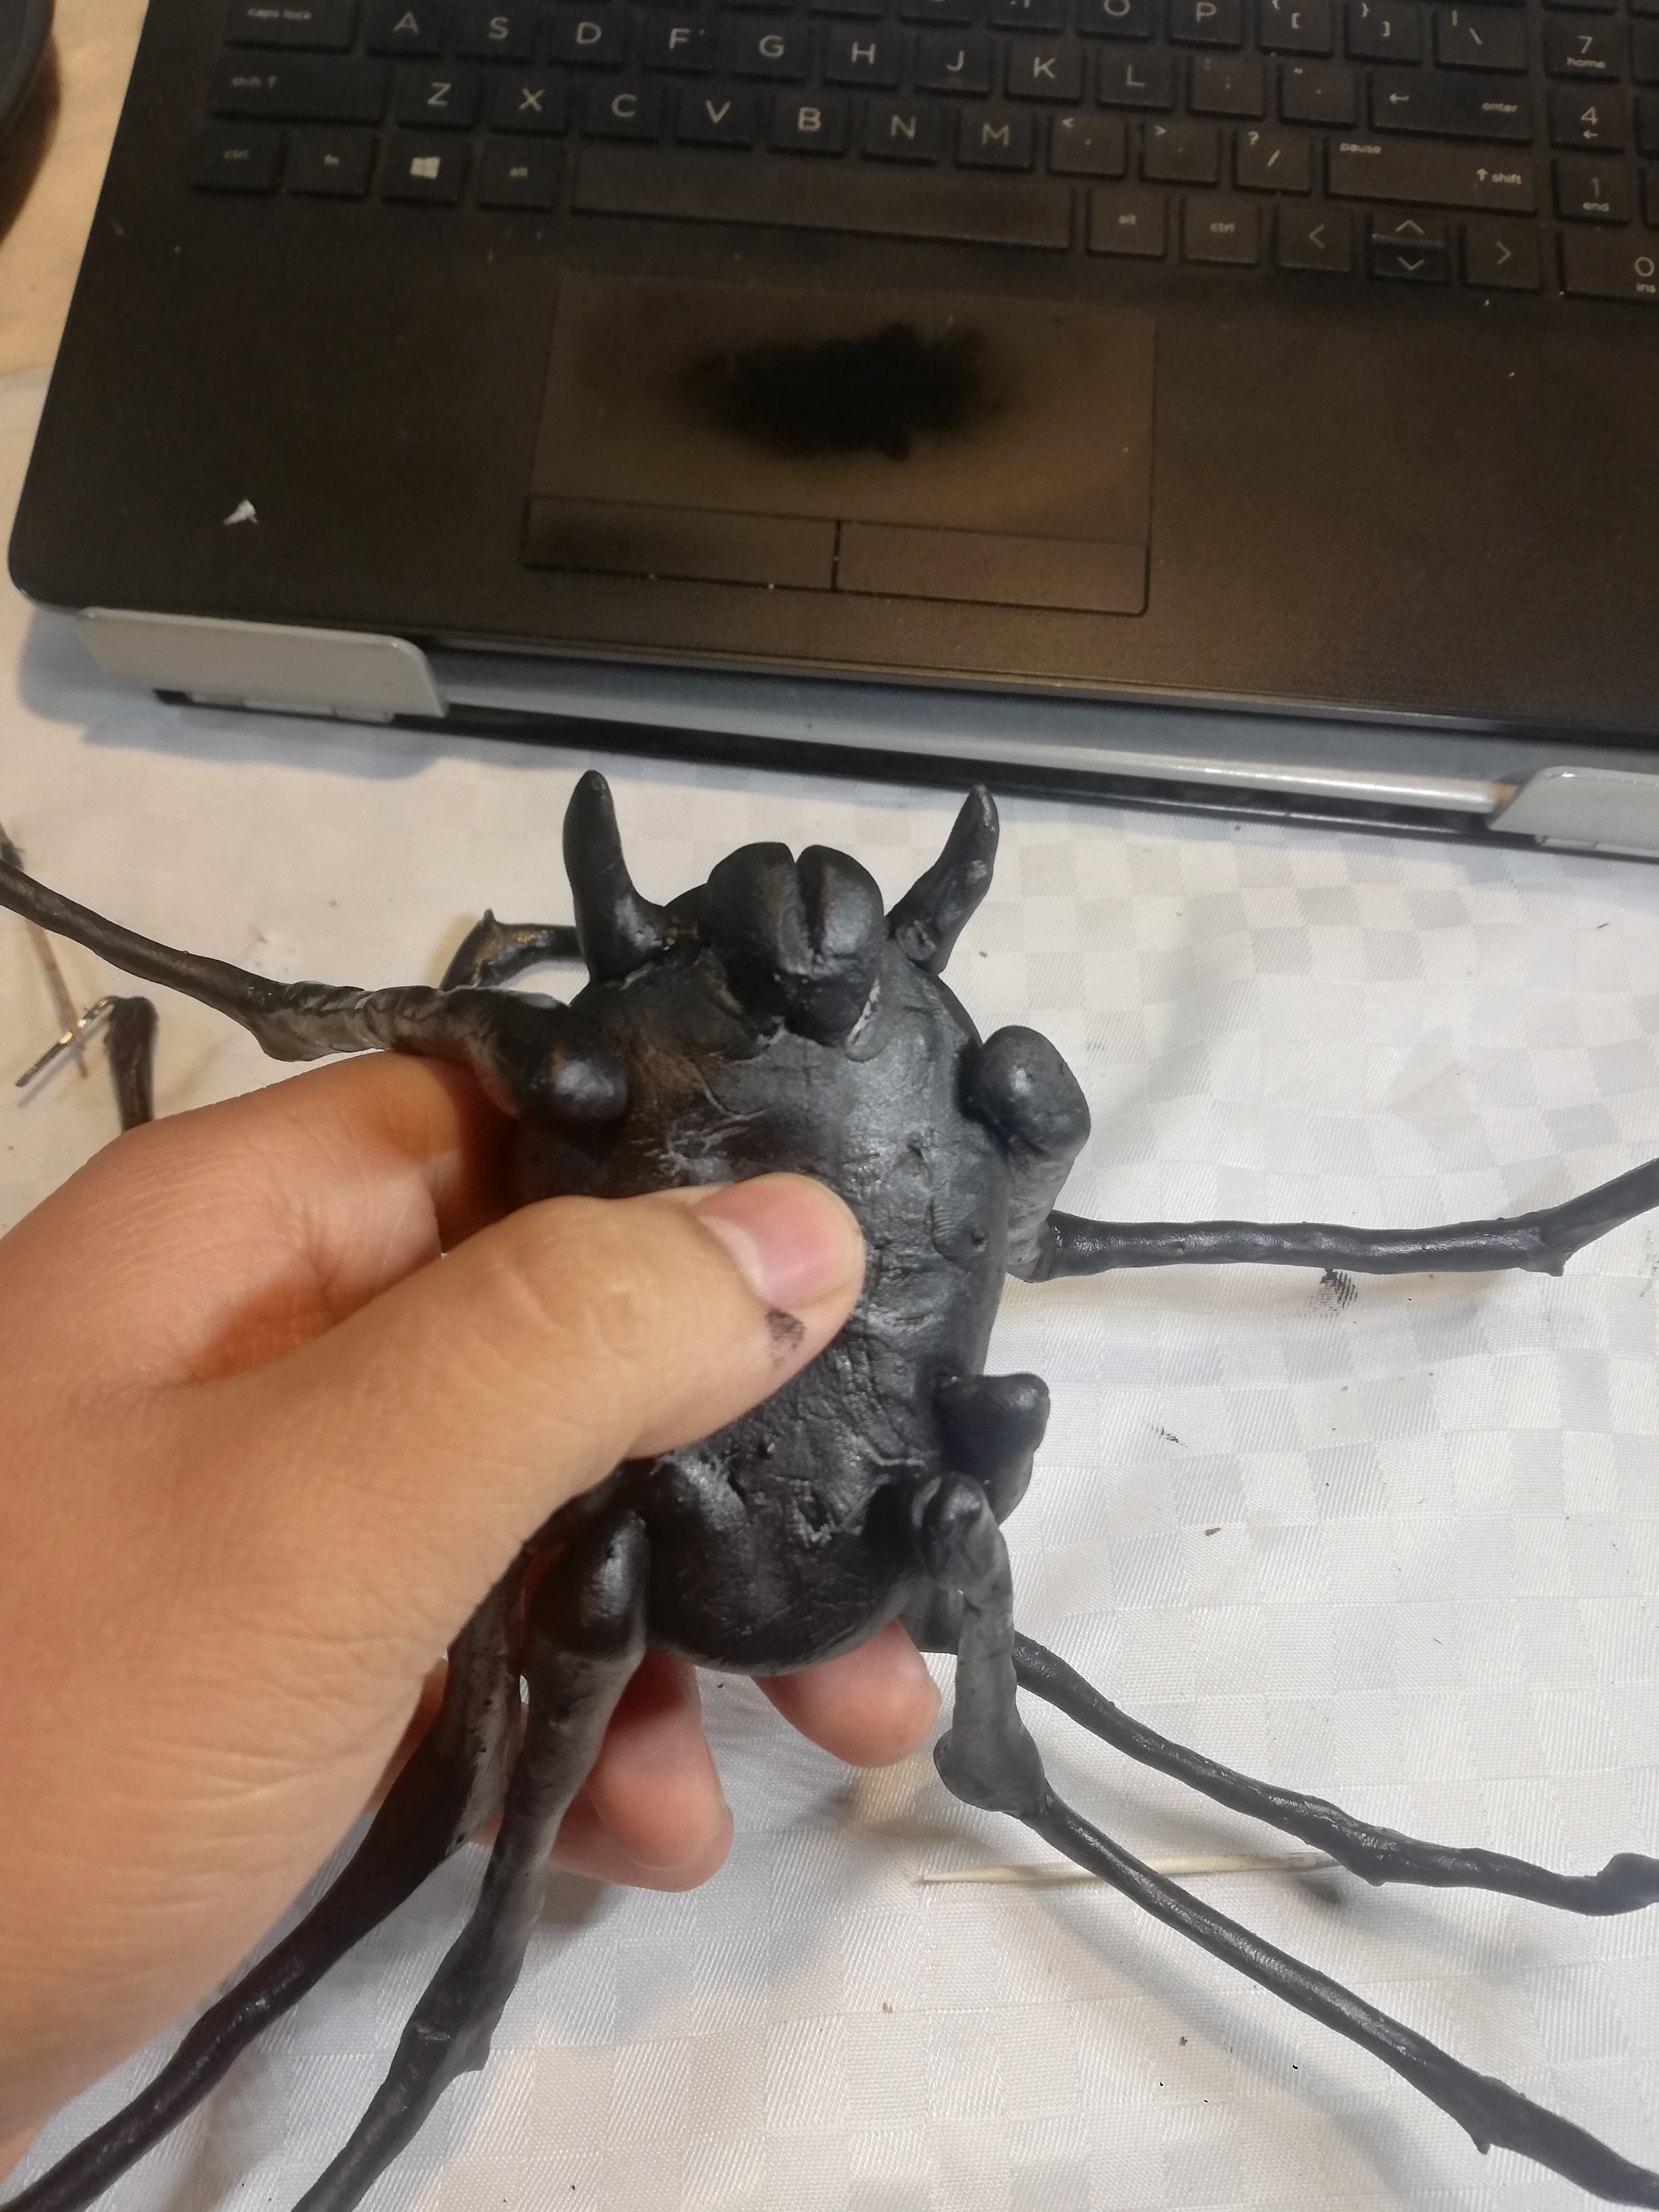
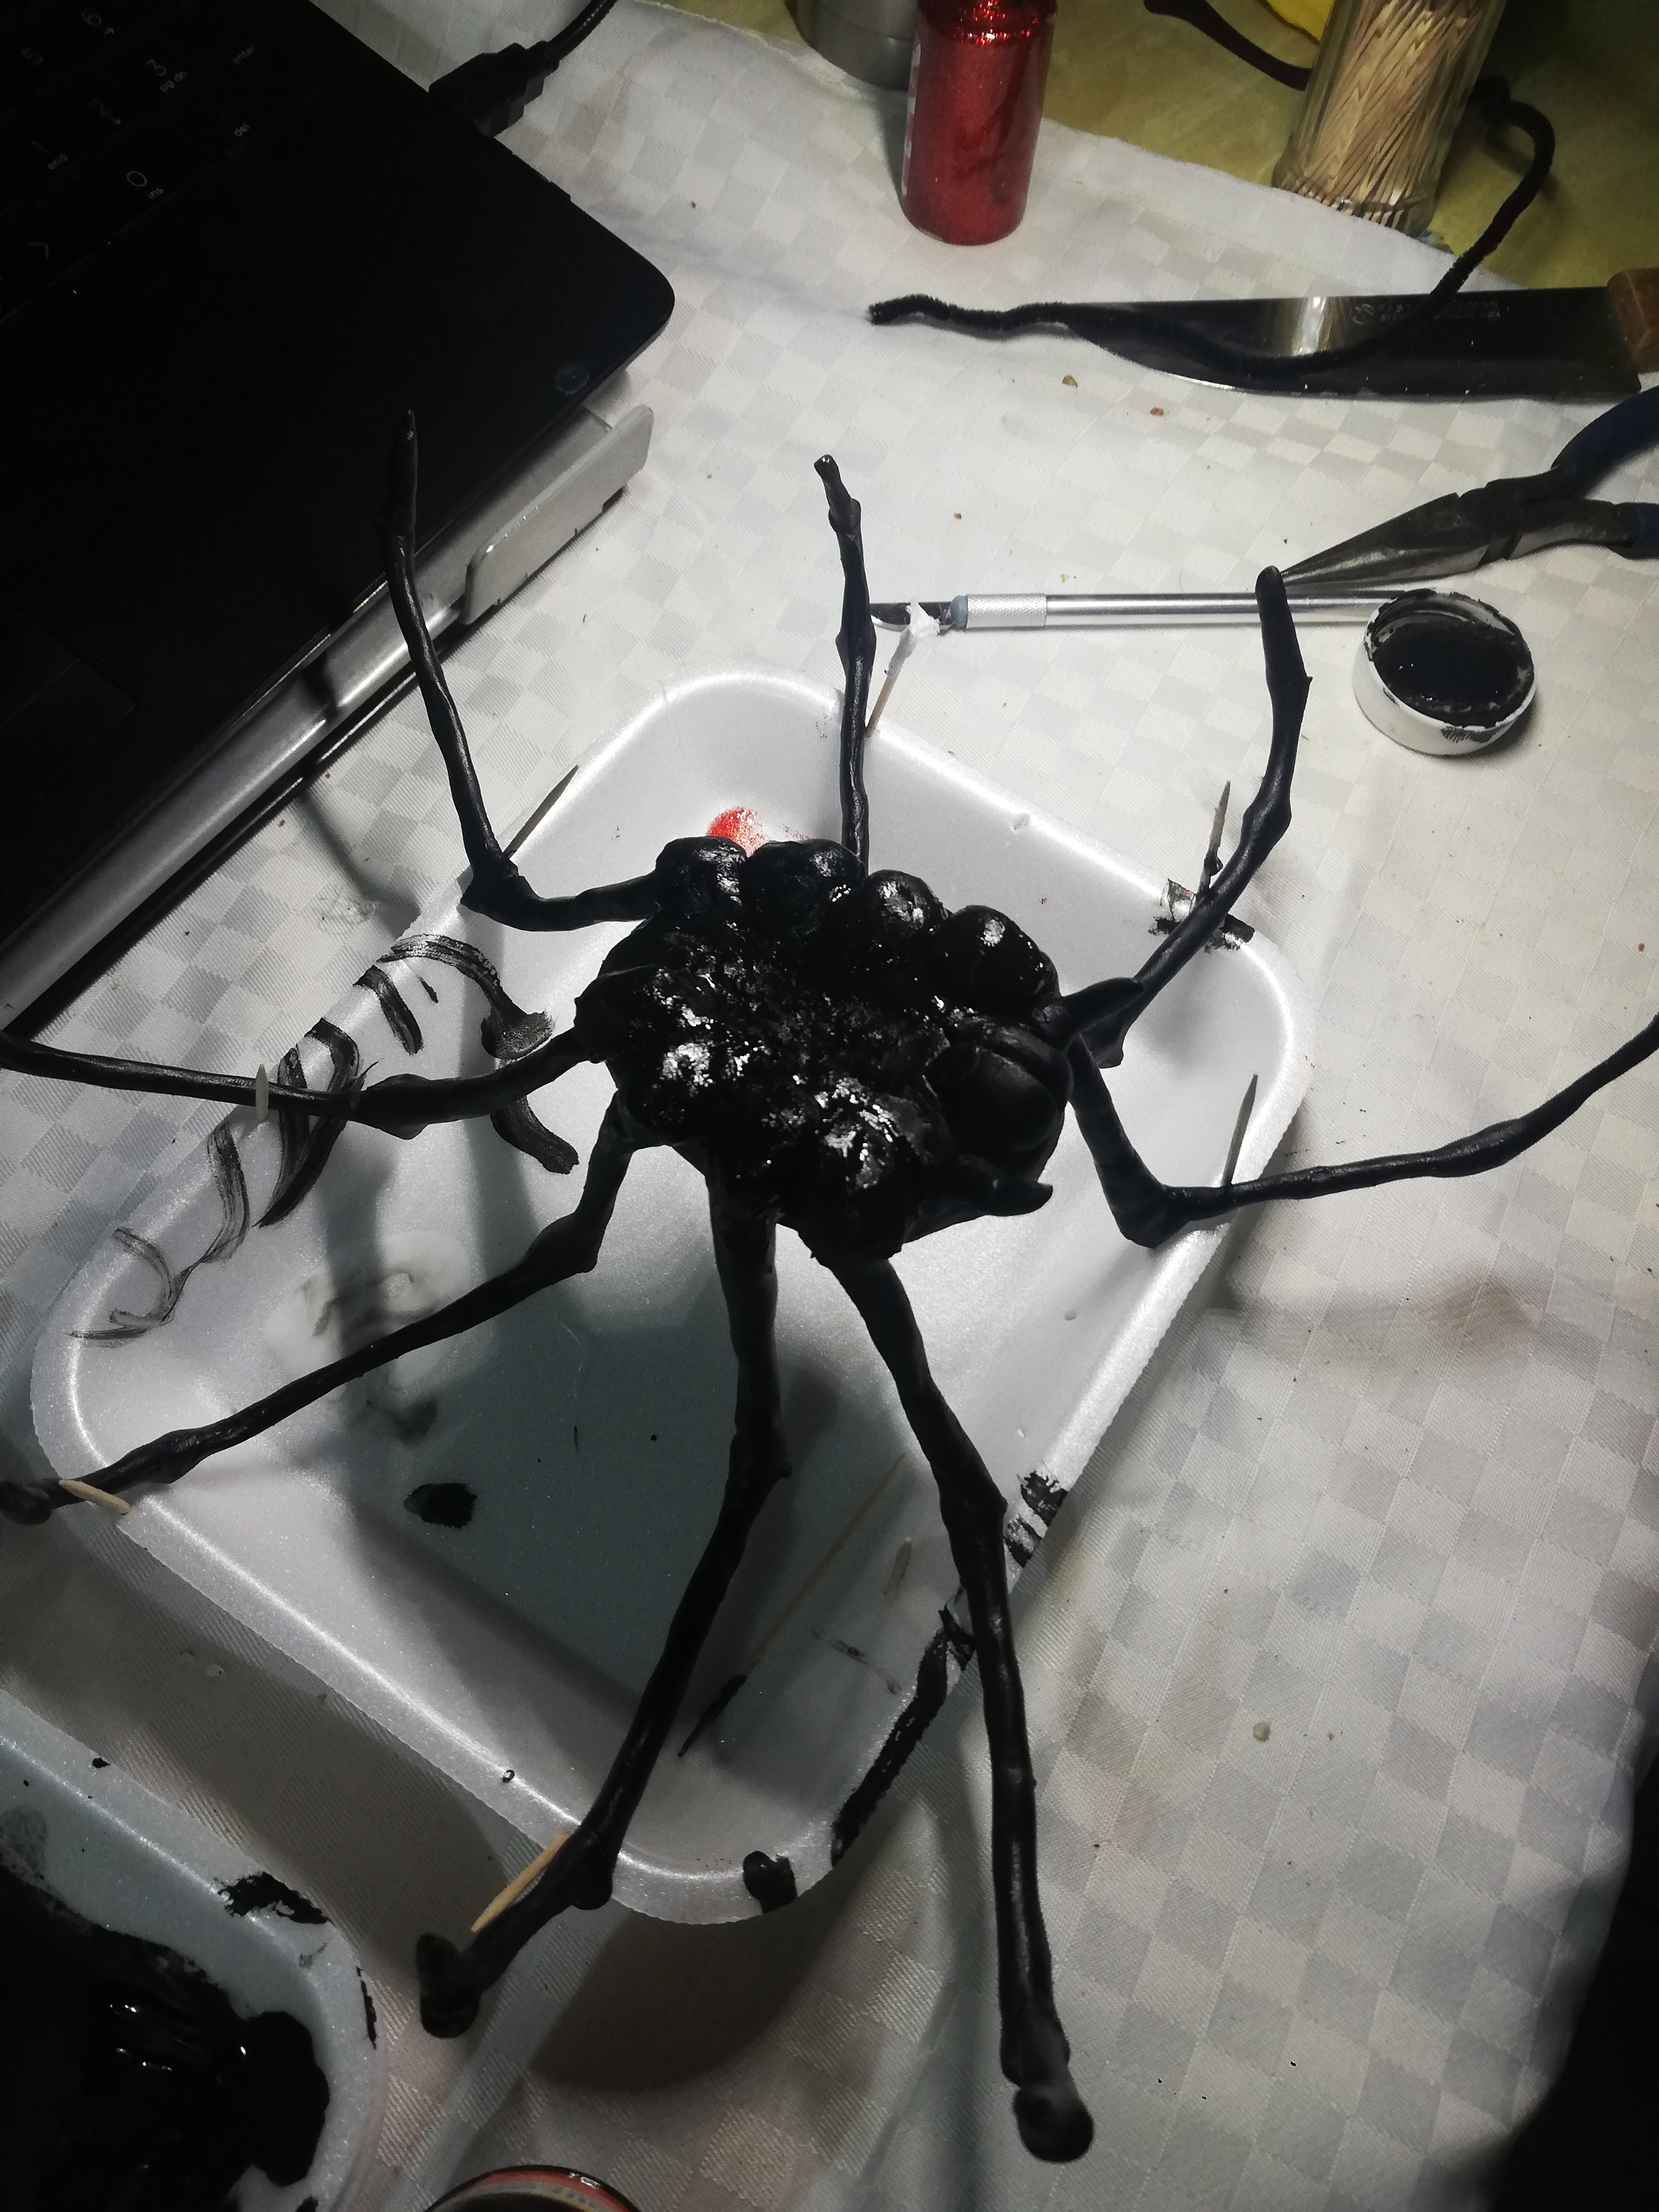
Now with all the pieces finished, we put together the legs and the thorax and cover with clay so that they do not come off, when it is dry we will put white glue and we add black paint
Finish
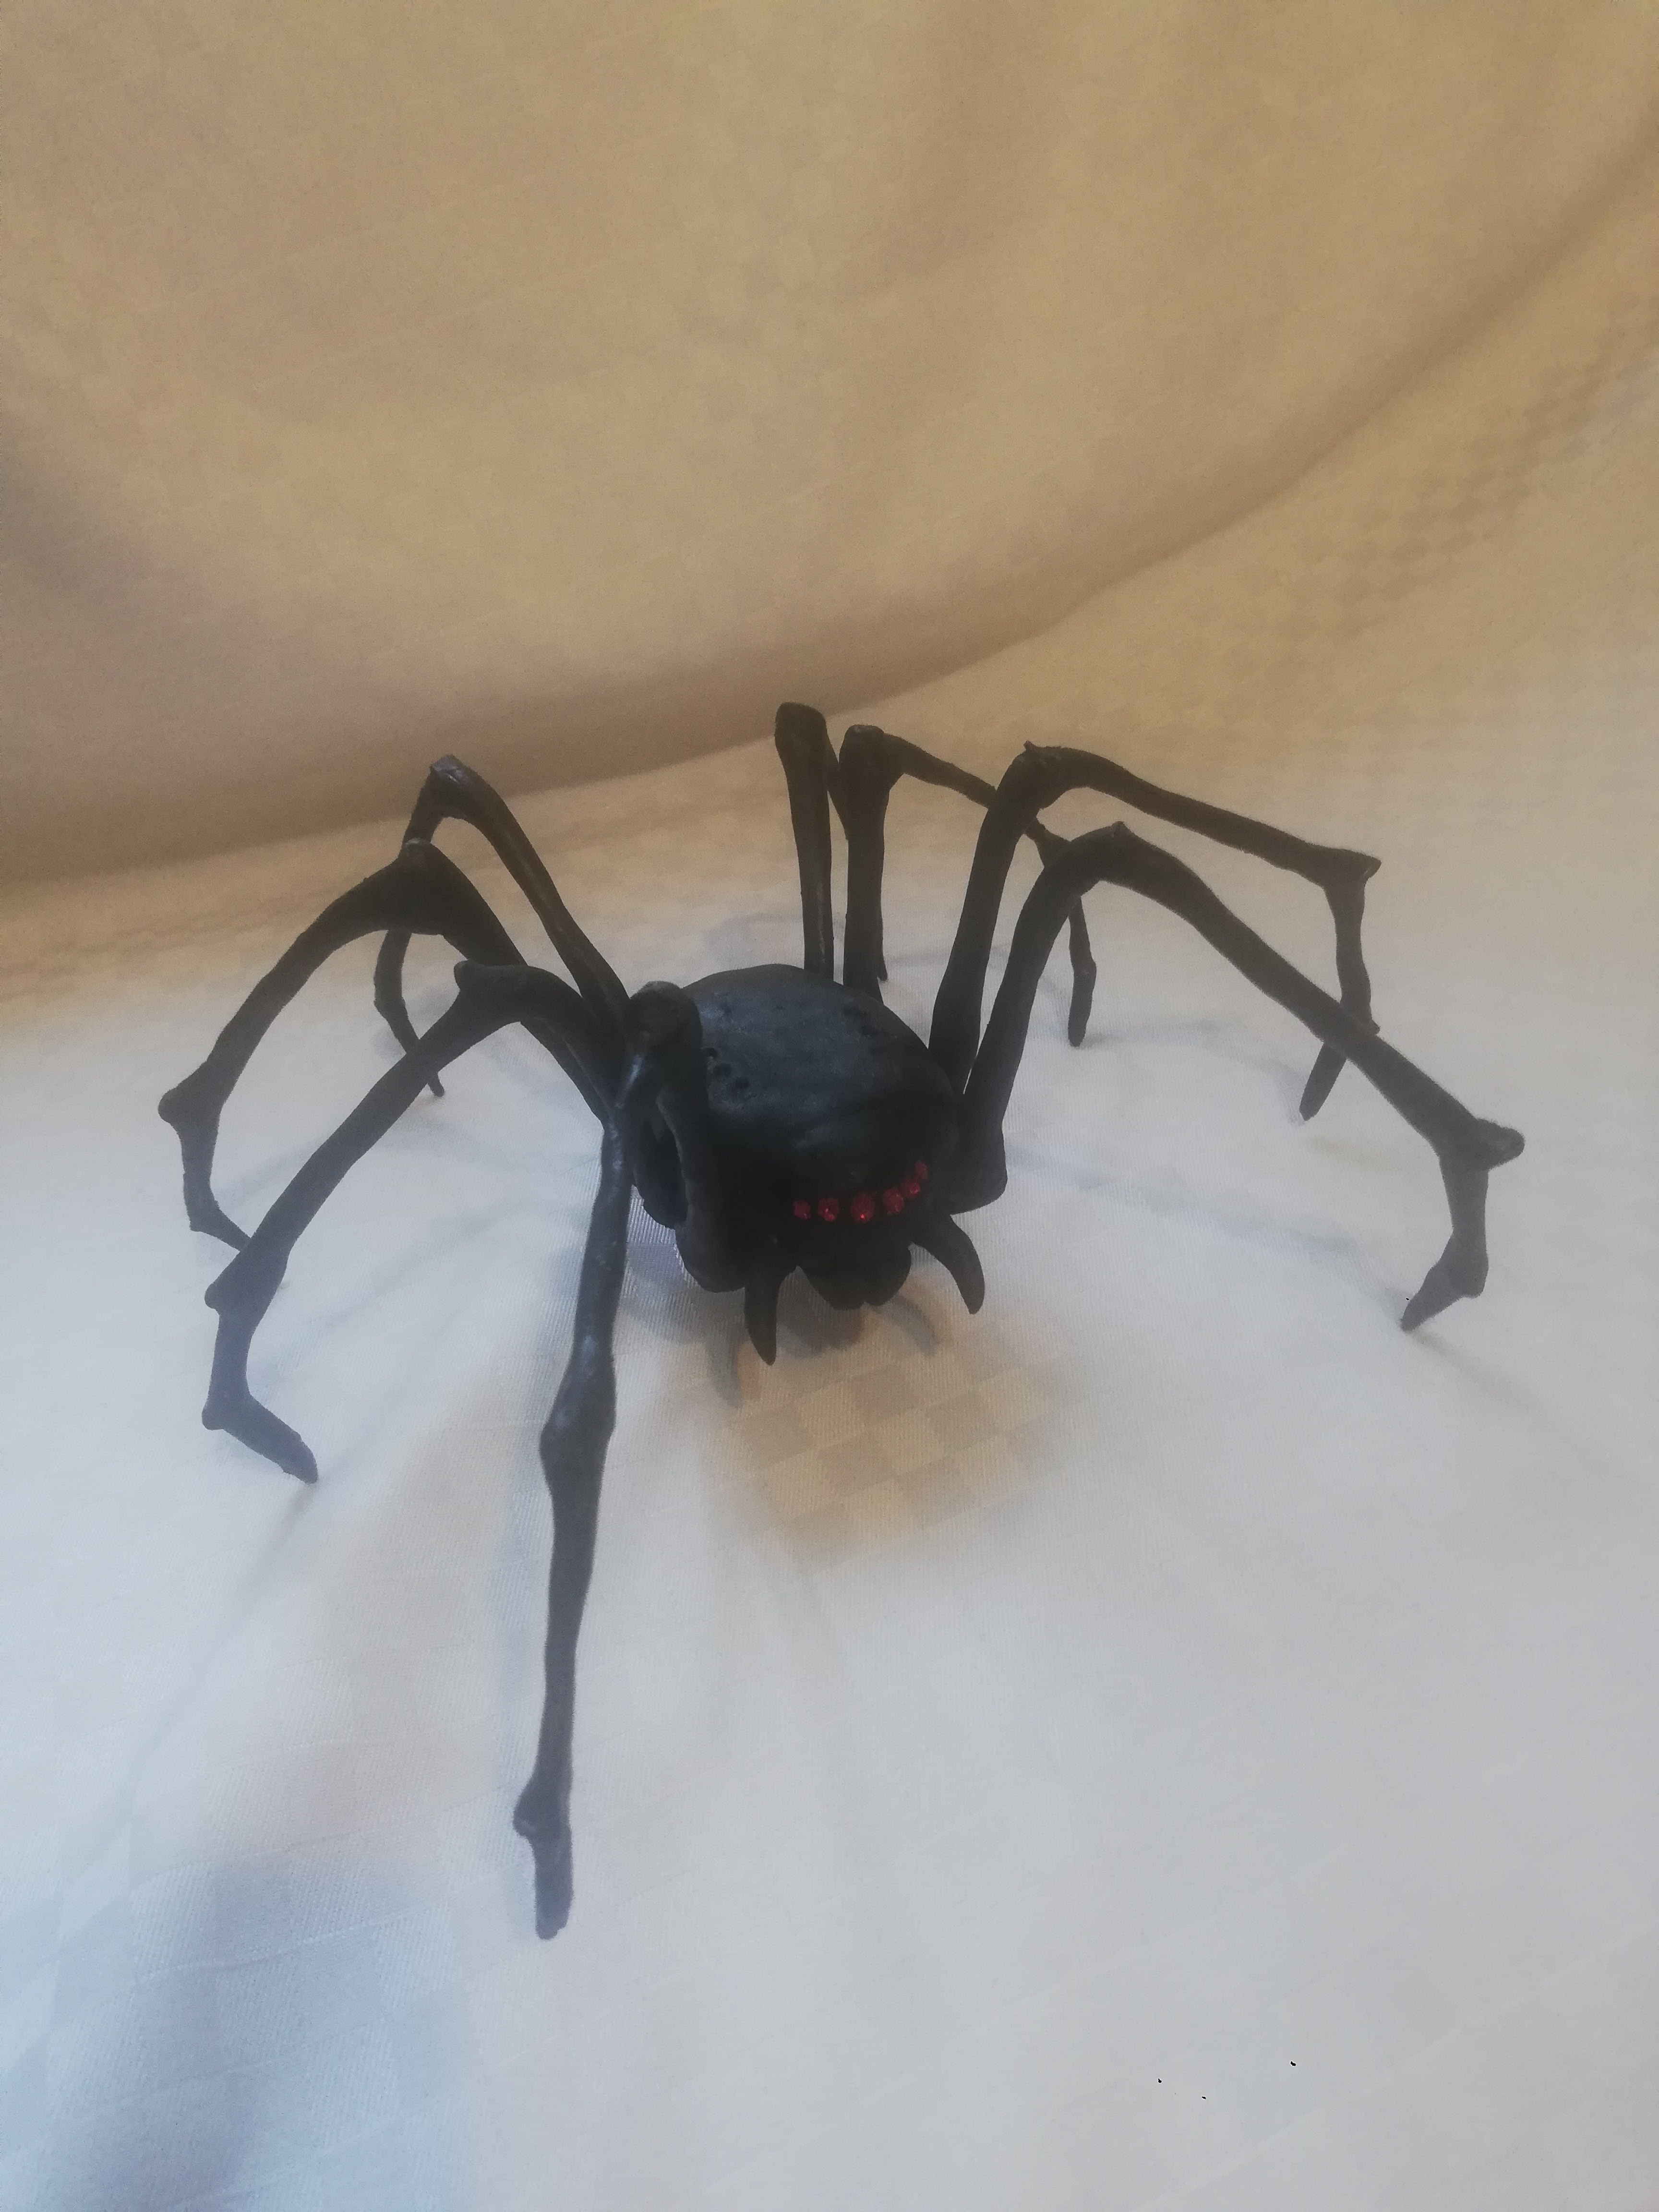
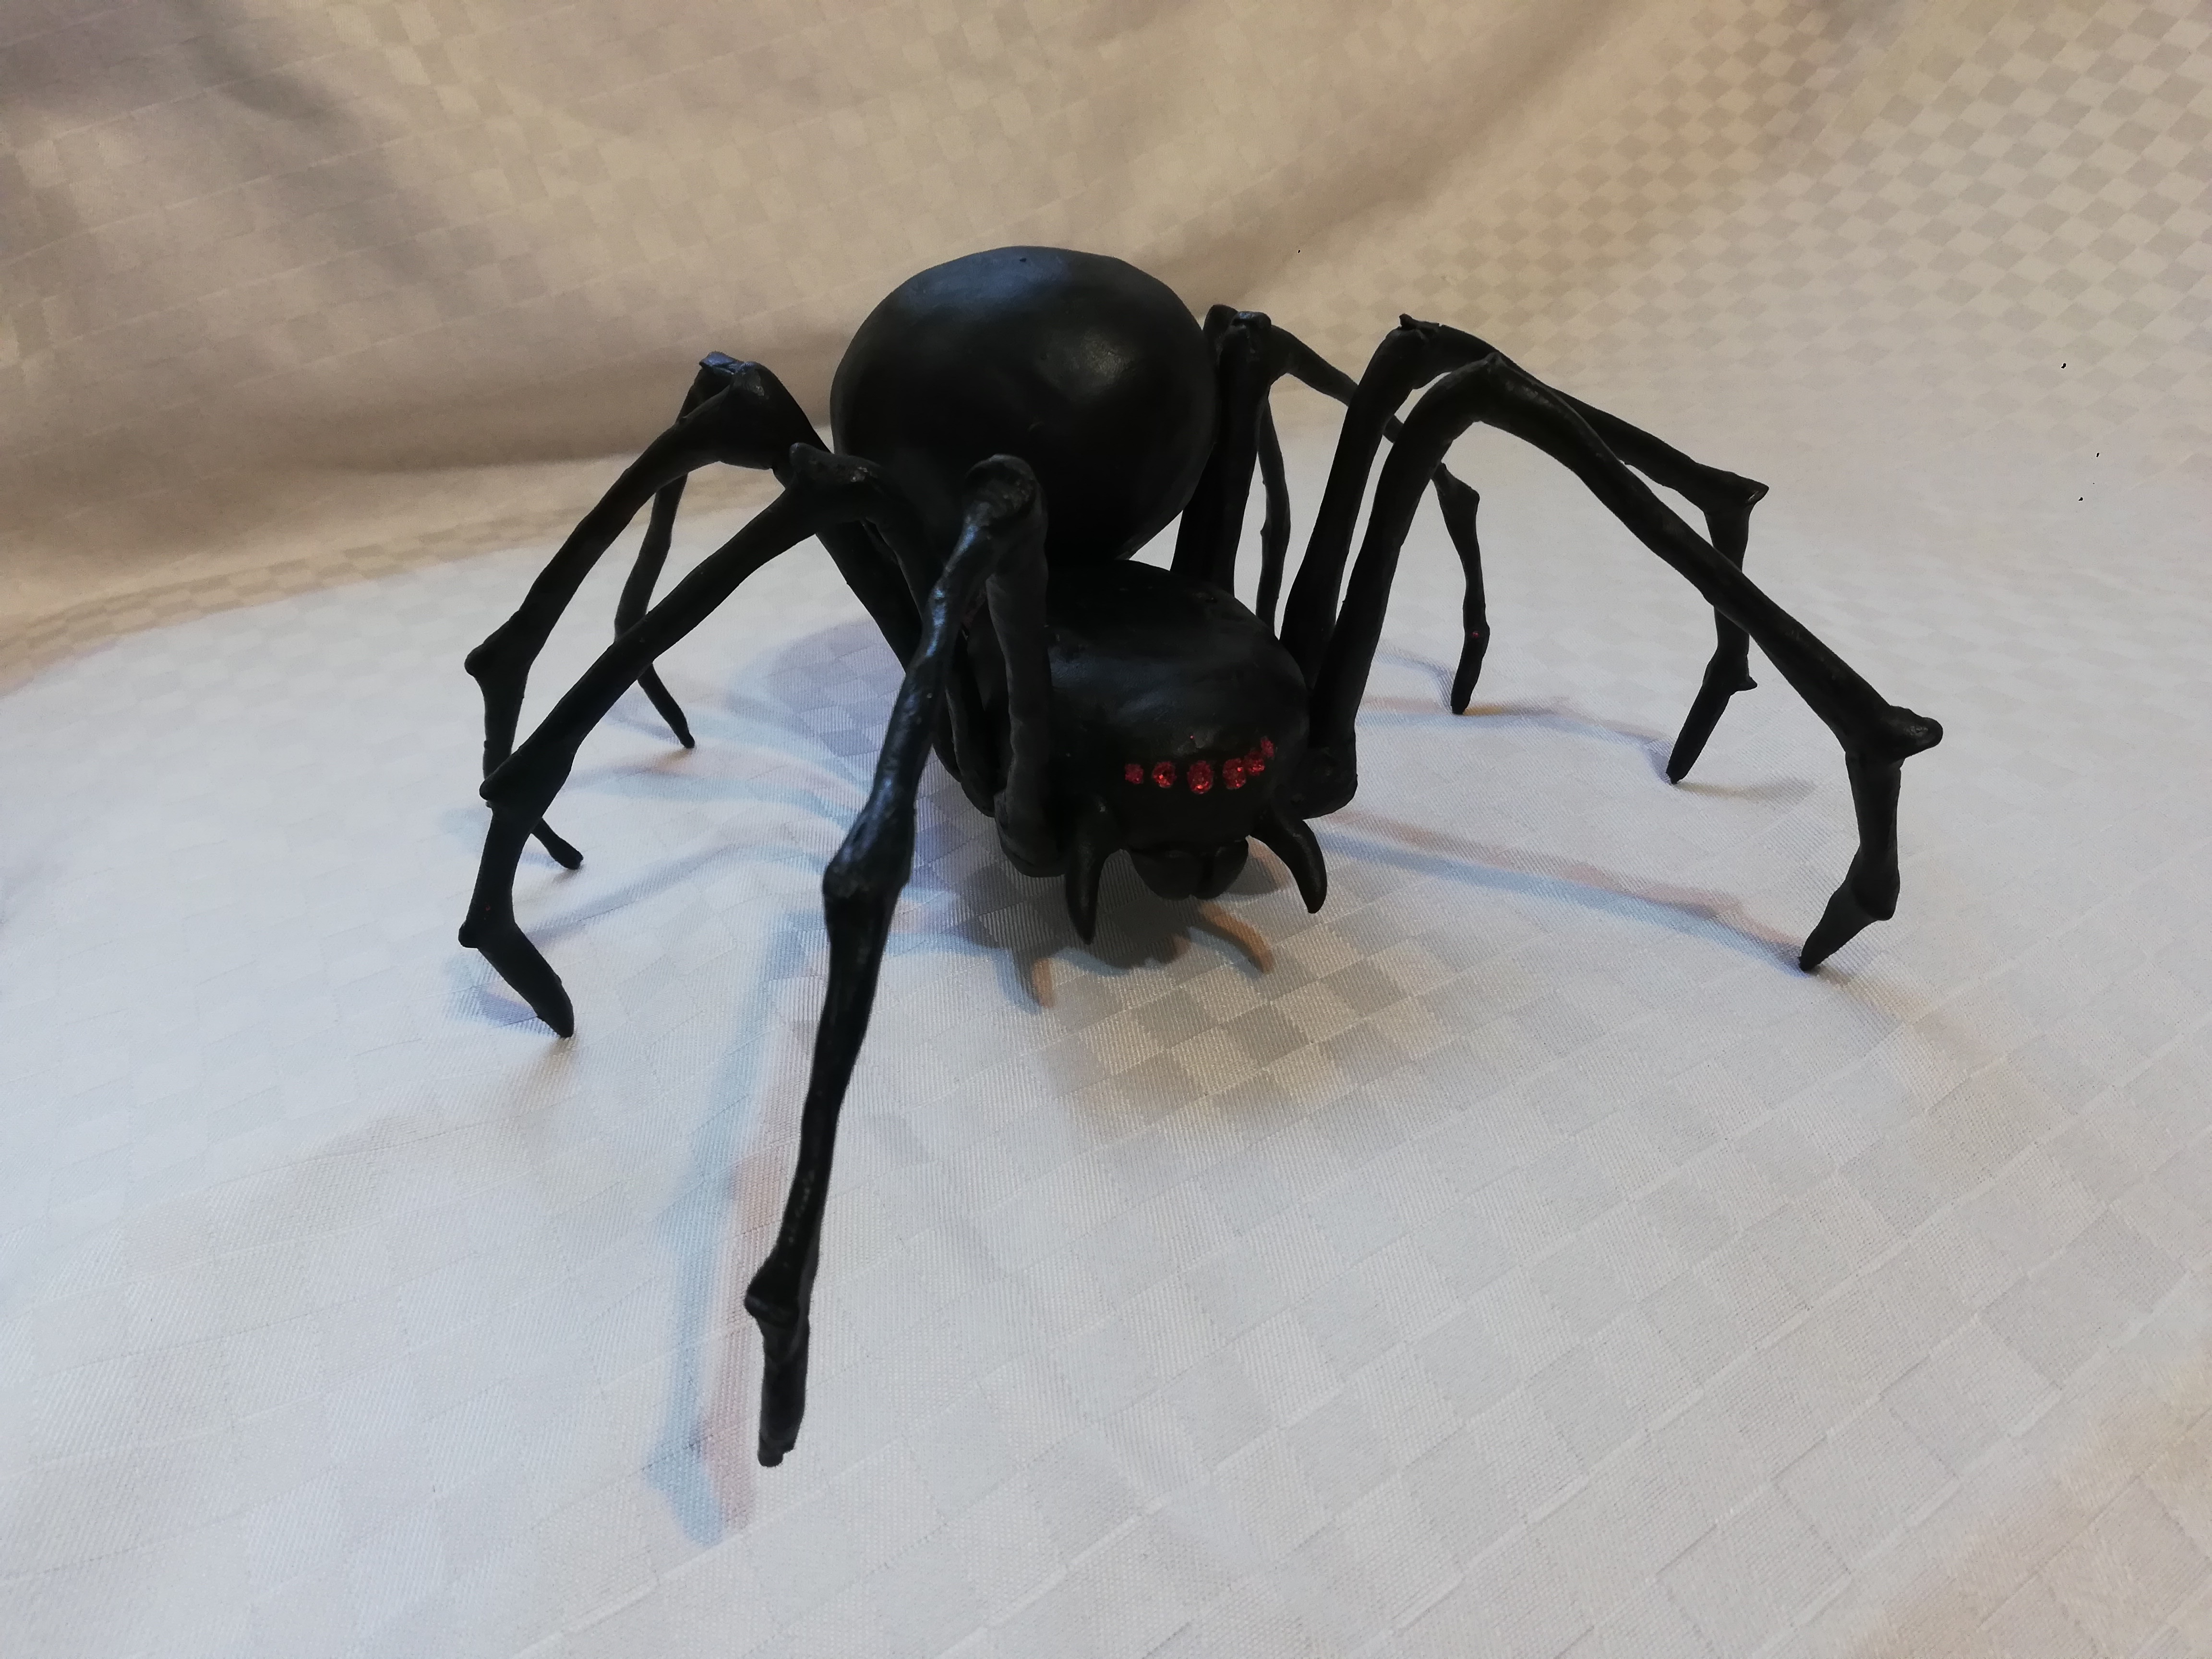
Finally we will stick the abdomen and thorax and it will be finished
And now you have an amazing spider to share with family and firends!!!