3D Silhouette Light Box
by DIY Hacks and How Tos in Craft > Paper
41432 Views, 724 Favorites, 0 Comments
3D Silhouette Light Box


I am always on the lookout for interesting arts and crafts projects, especially ones that are fun to do with kids. I recently came across the work of artists Hari & Deepti. They create amazing 3D papercraft art using silhouette cutouts and light. In researching their work, I also came across a tutorial by Instructables user bunbun_da_bunni. This inspired me to try making one of my own. I modified the construction techniques to make them a little easier to assemble. I also worked out a way to make these 3D silhouette images from photographs. That way you can easily recreate images of places that are special to you.
So in this project, I am going to show you how turn a photograph into a 3D silhouette light box. This is done by separating the picture into different layers based on how far away the objects are in the scene. Each layer is then turned into a silhouette cutout. The layers are reassembled with spacers in between each one. This gives the image the appearance of depth and creates a 3D effect. You can also add lights behind the cutouts to make your images glow and create shadows between the layers.
Watch the Video
Here is a video walkthrough of the project.
Materials
Here are the materials and tools that you will need for this project.
Materials
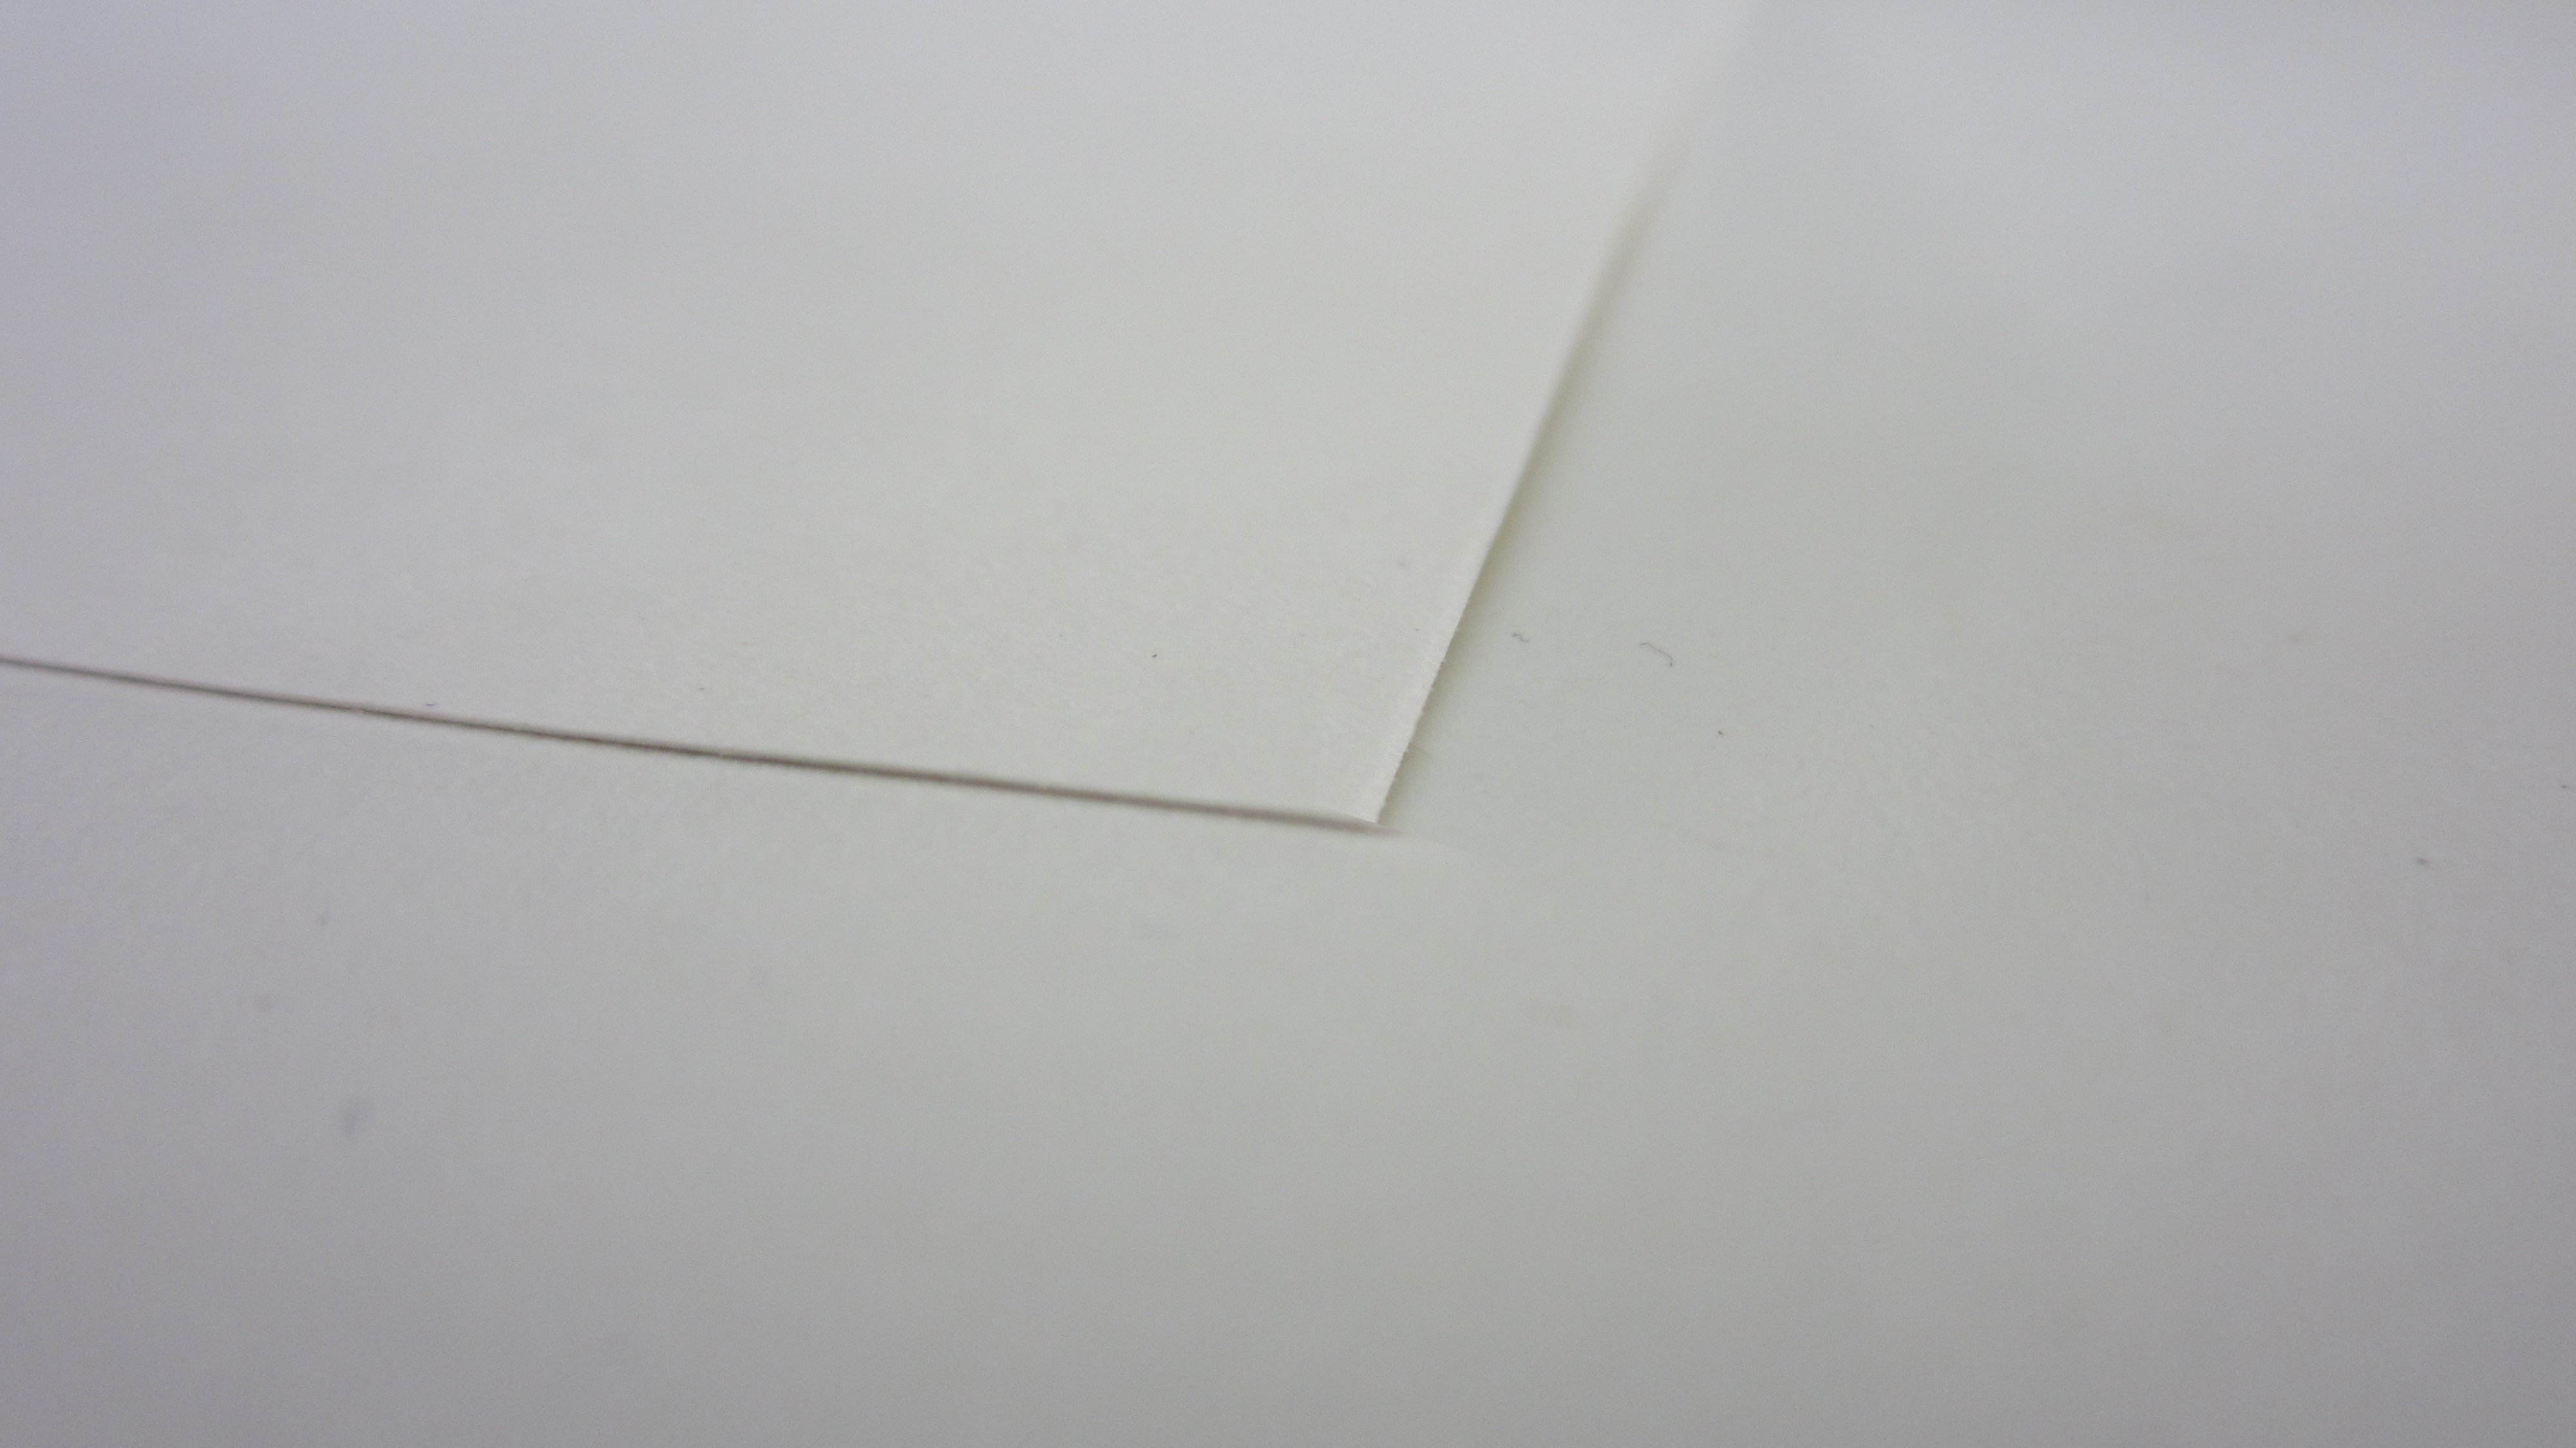
Cardstock or Thick Paper
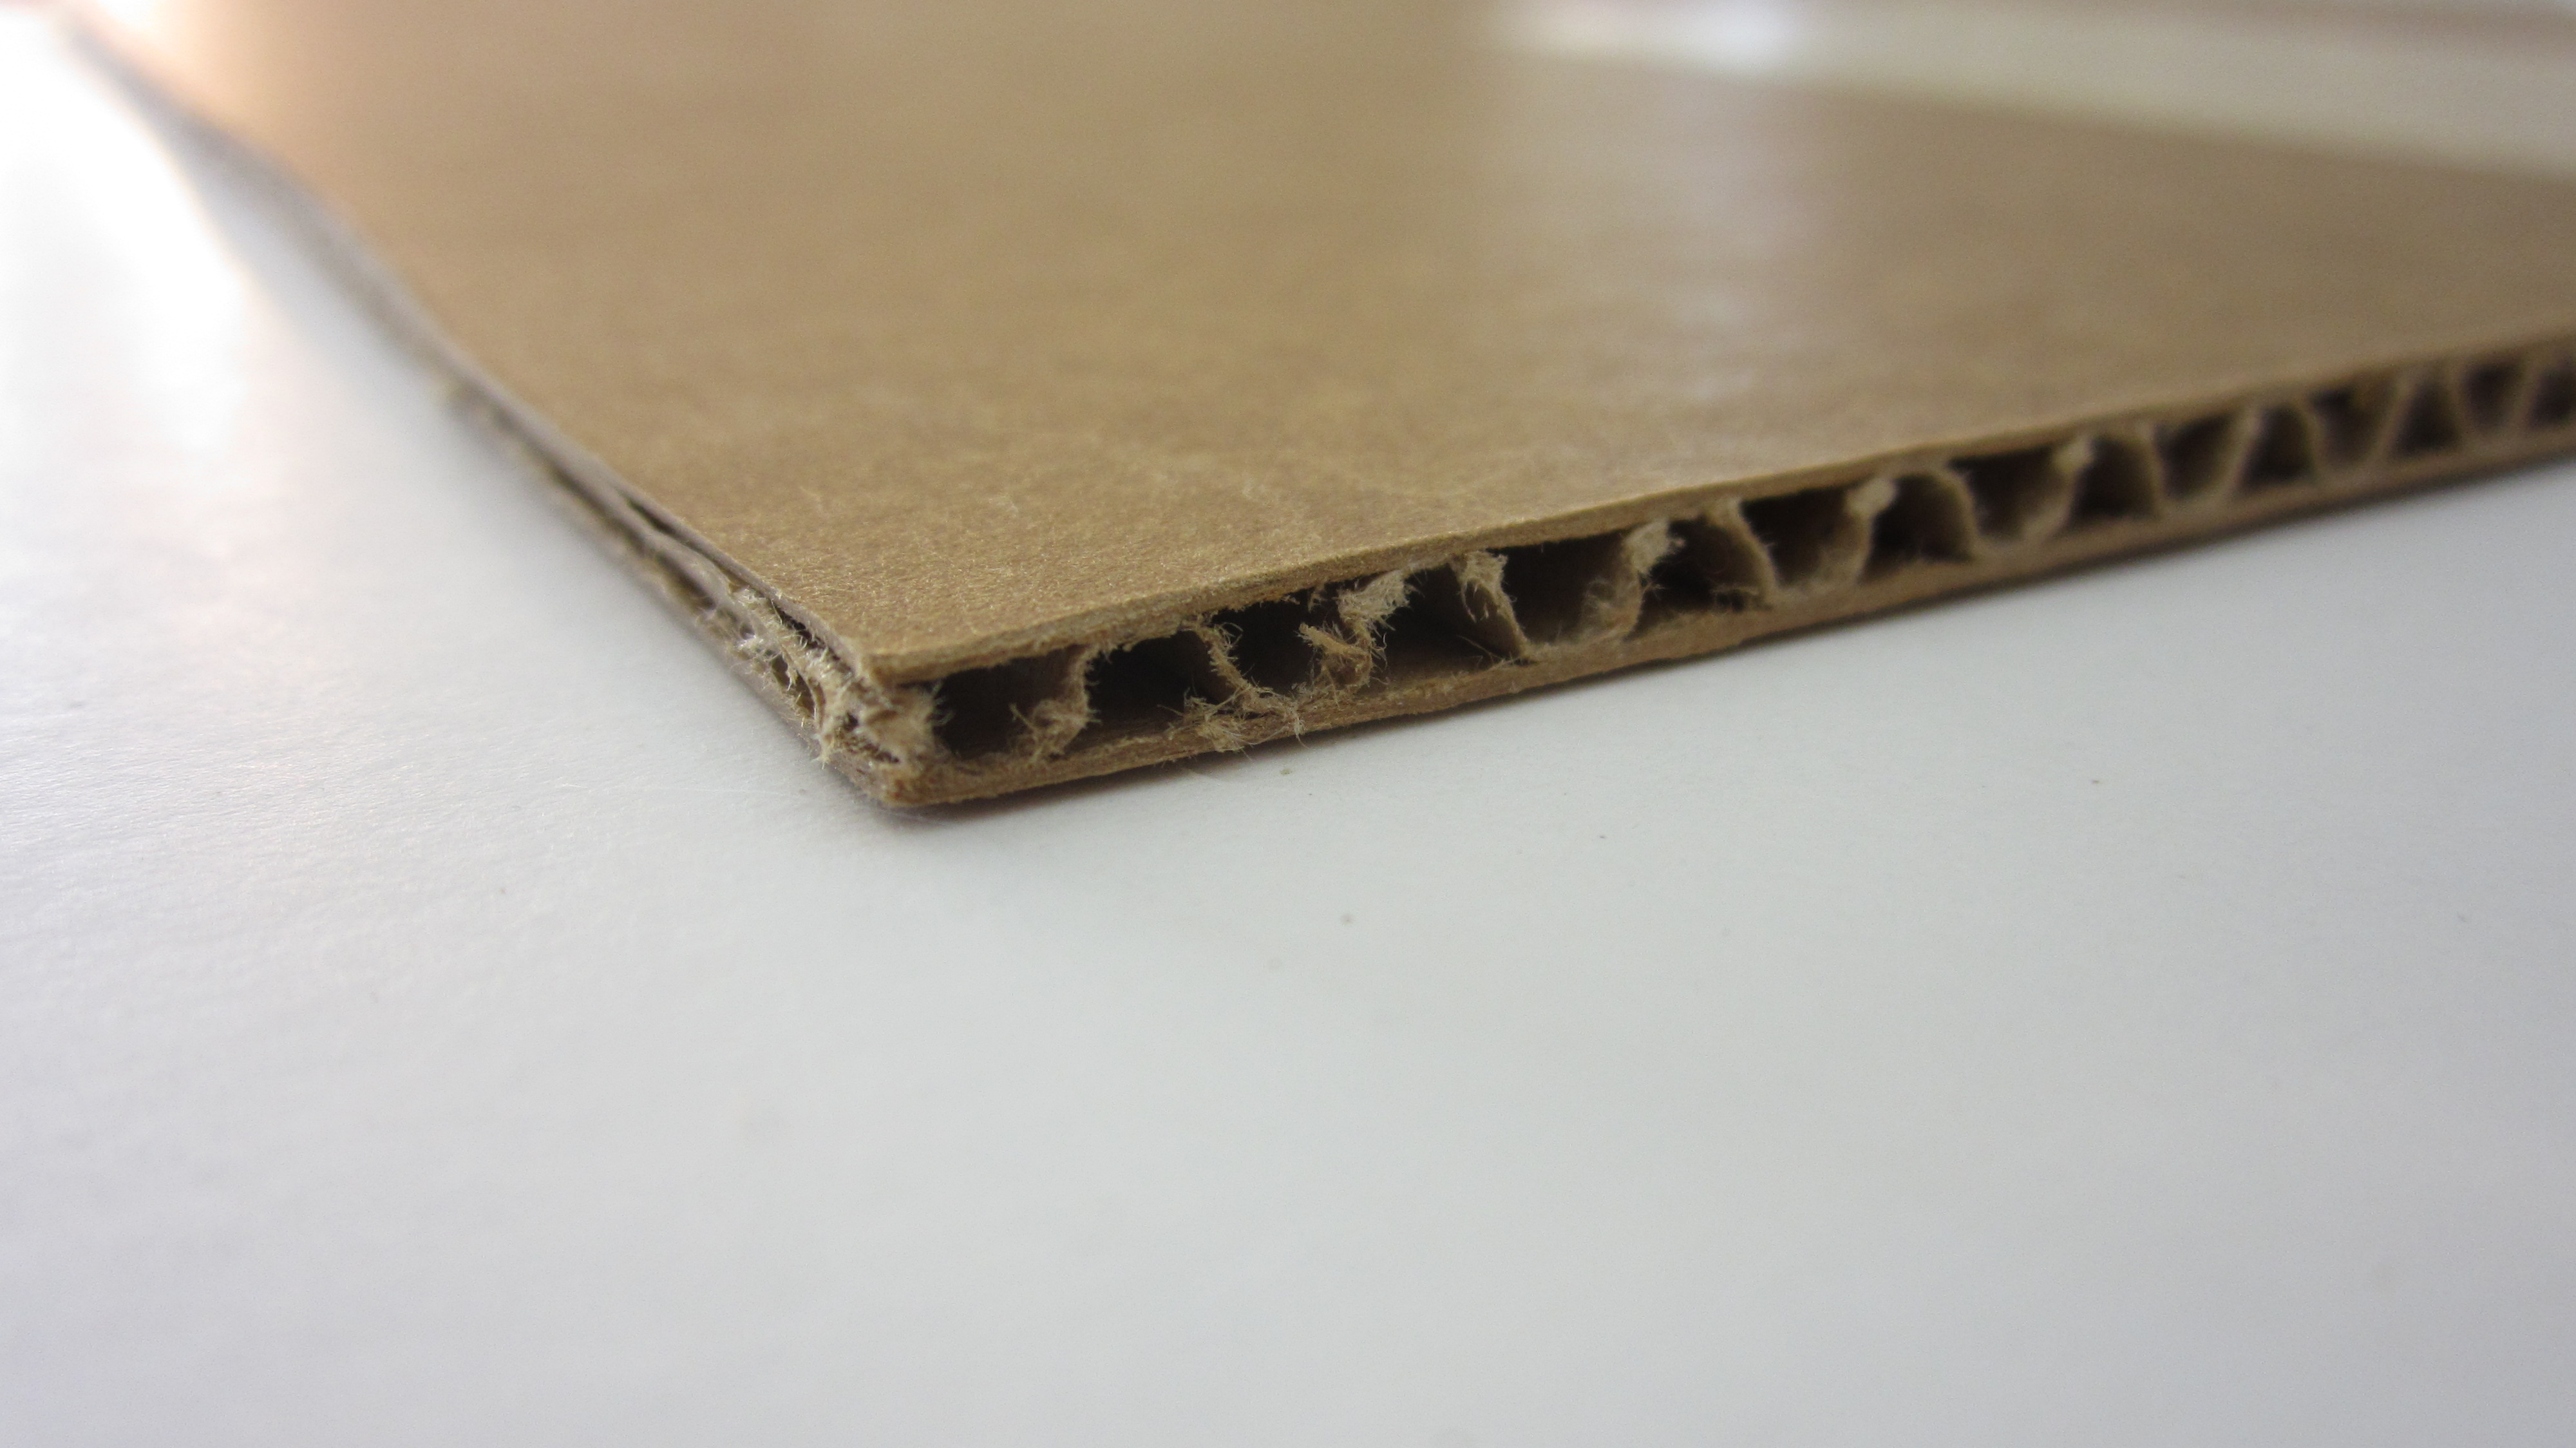
Cardboard
Printer Paper
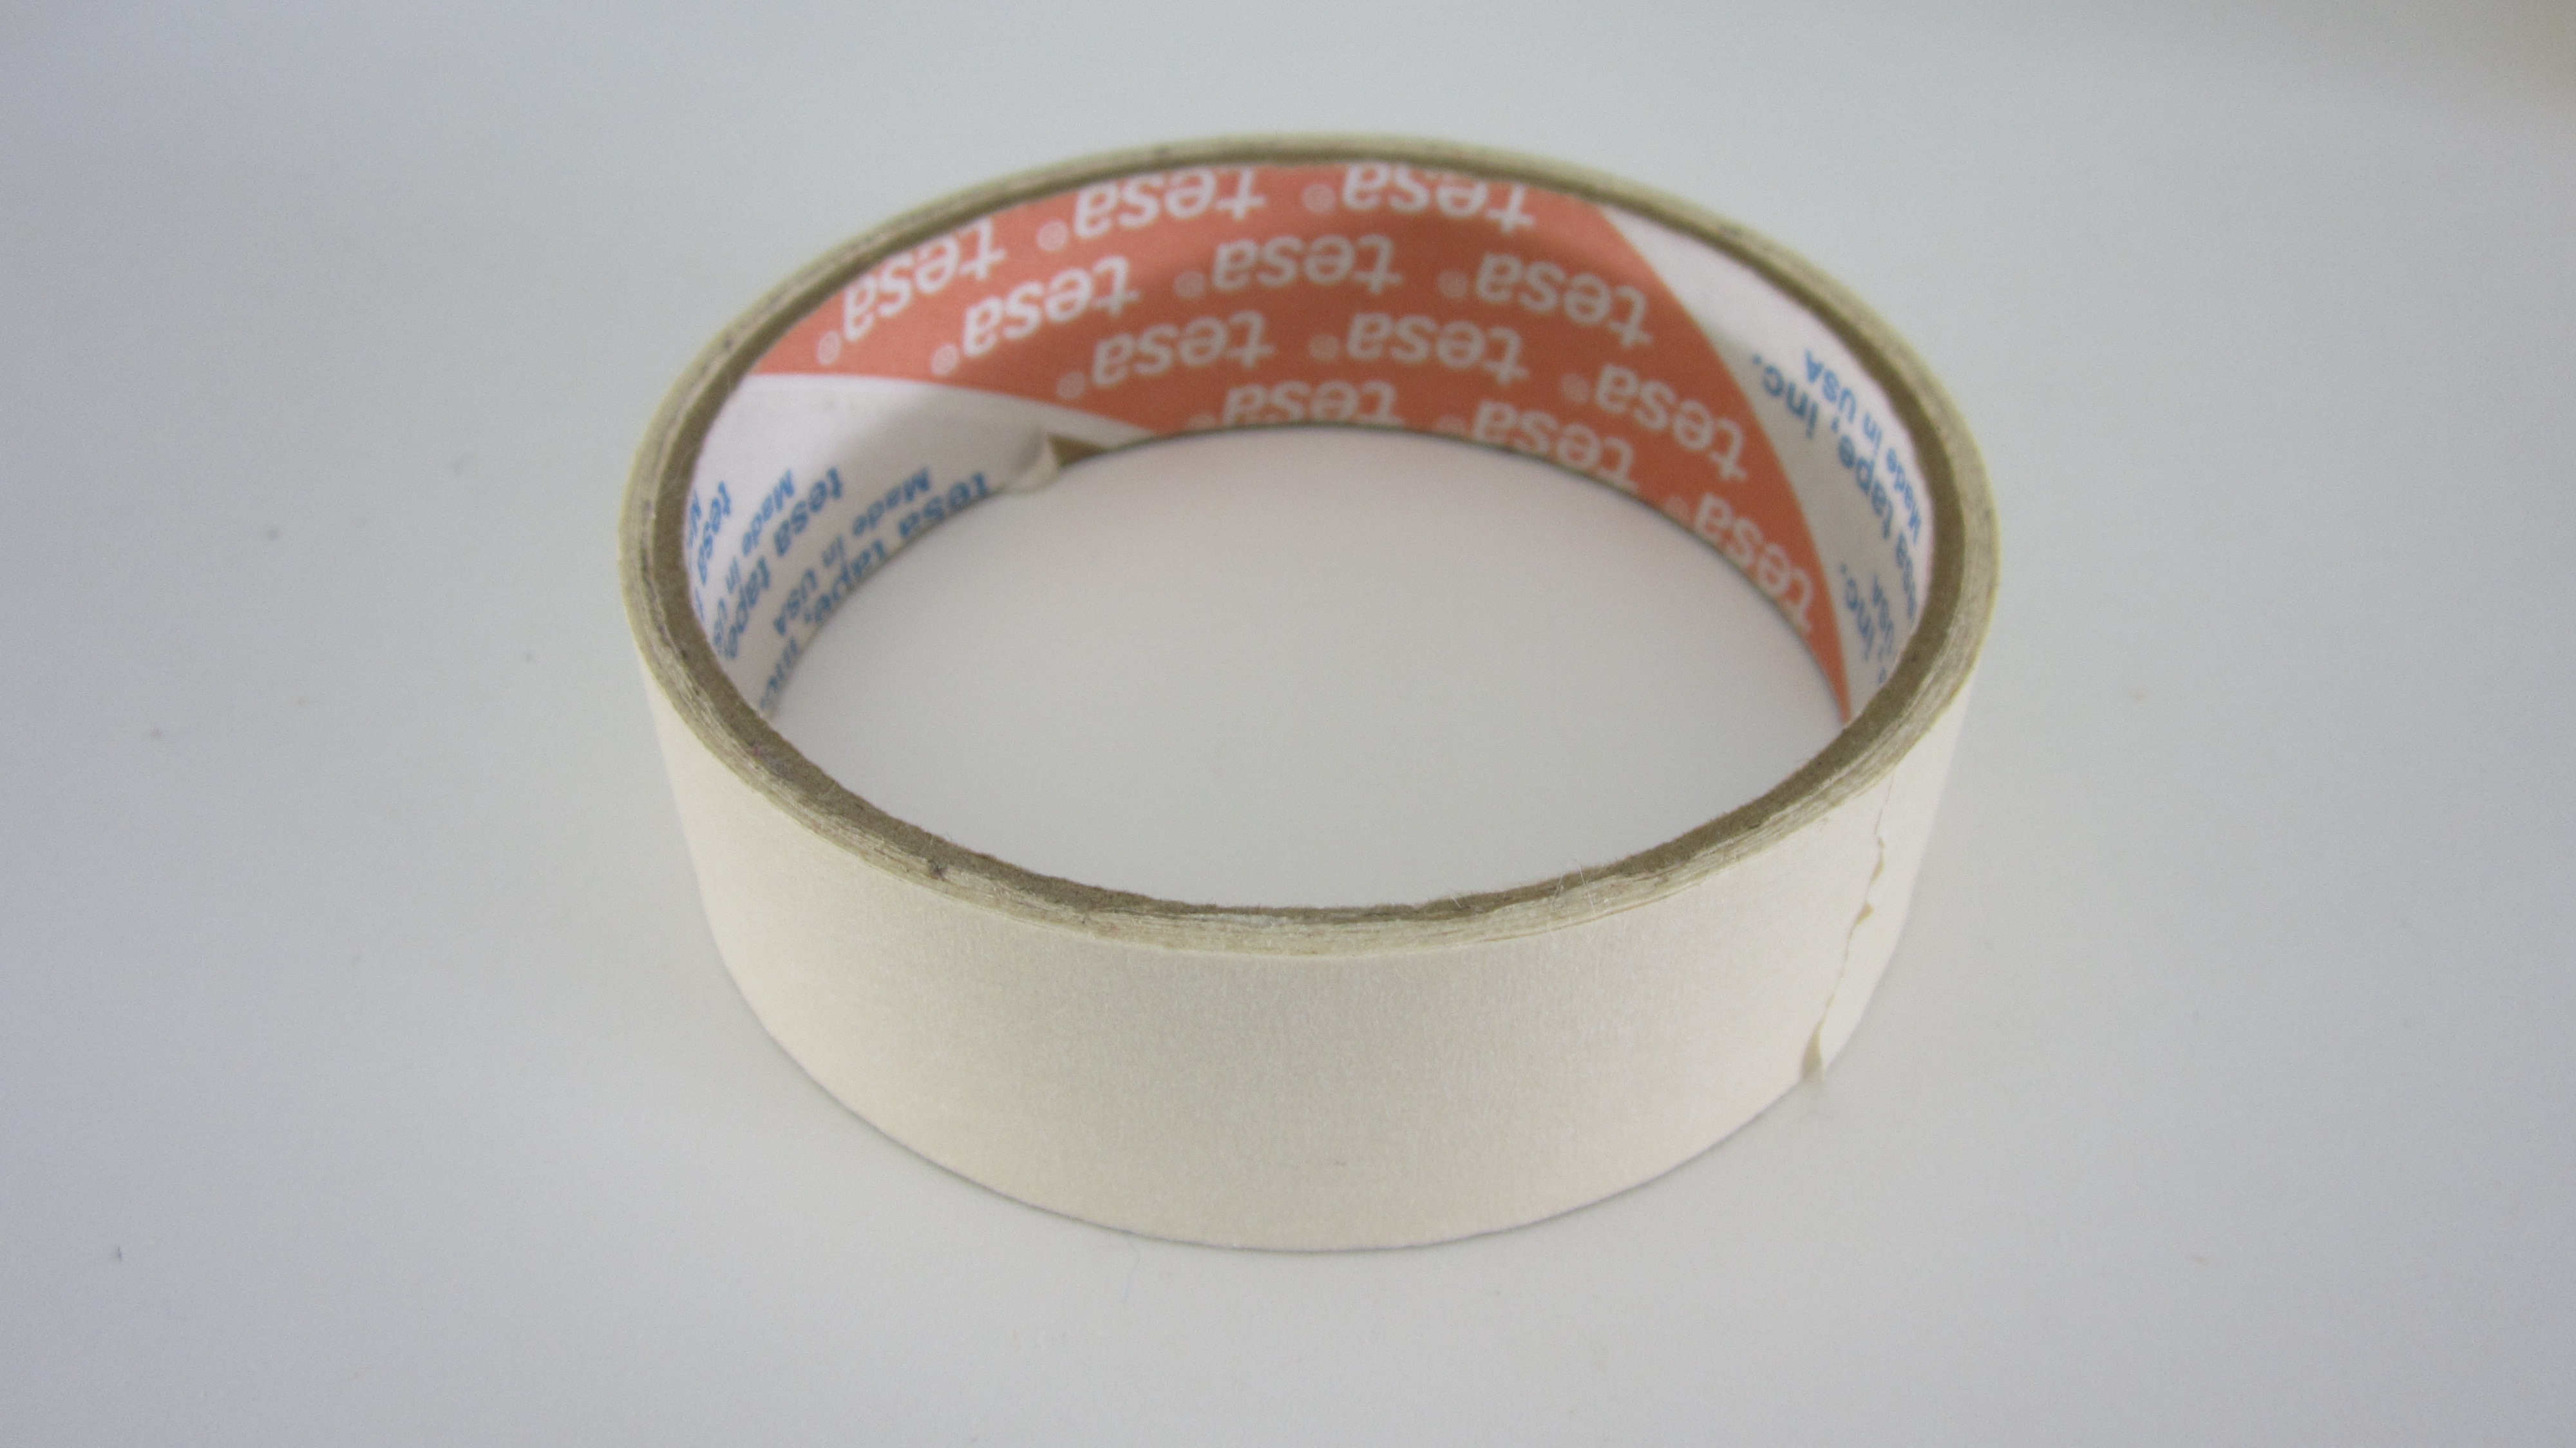
Tape
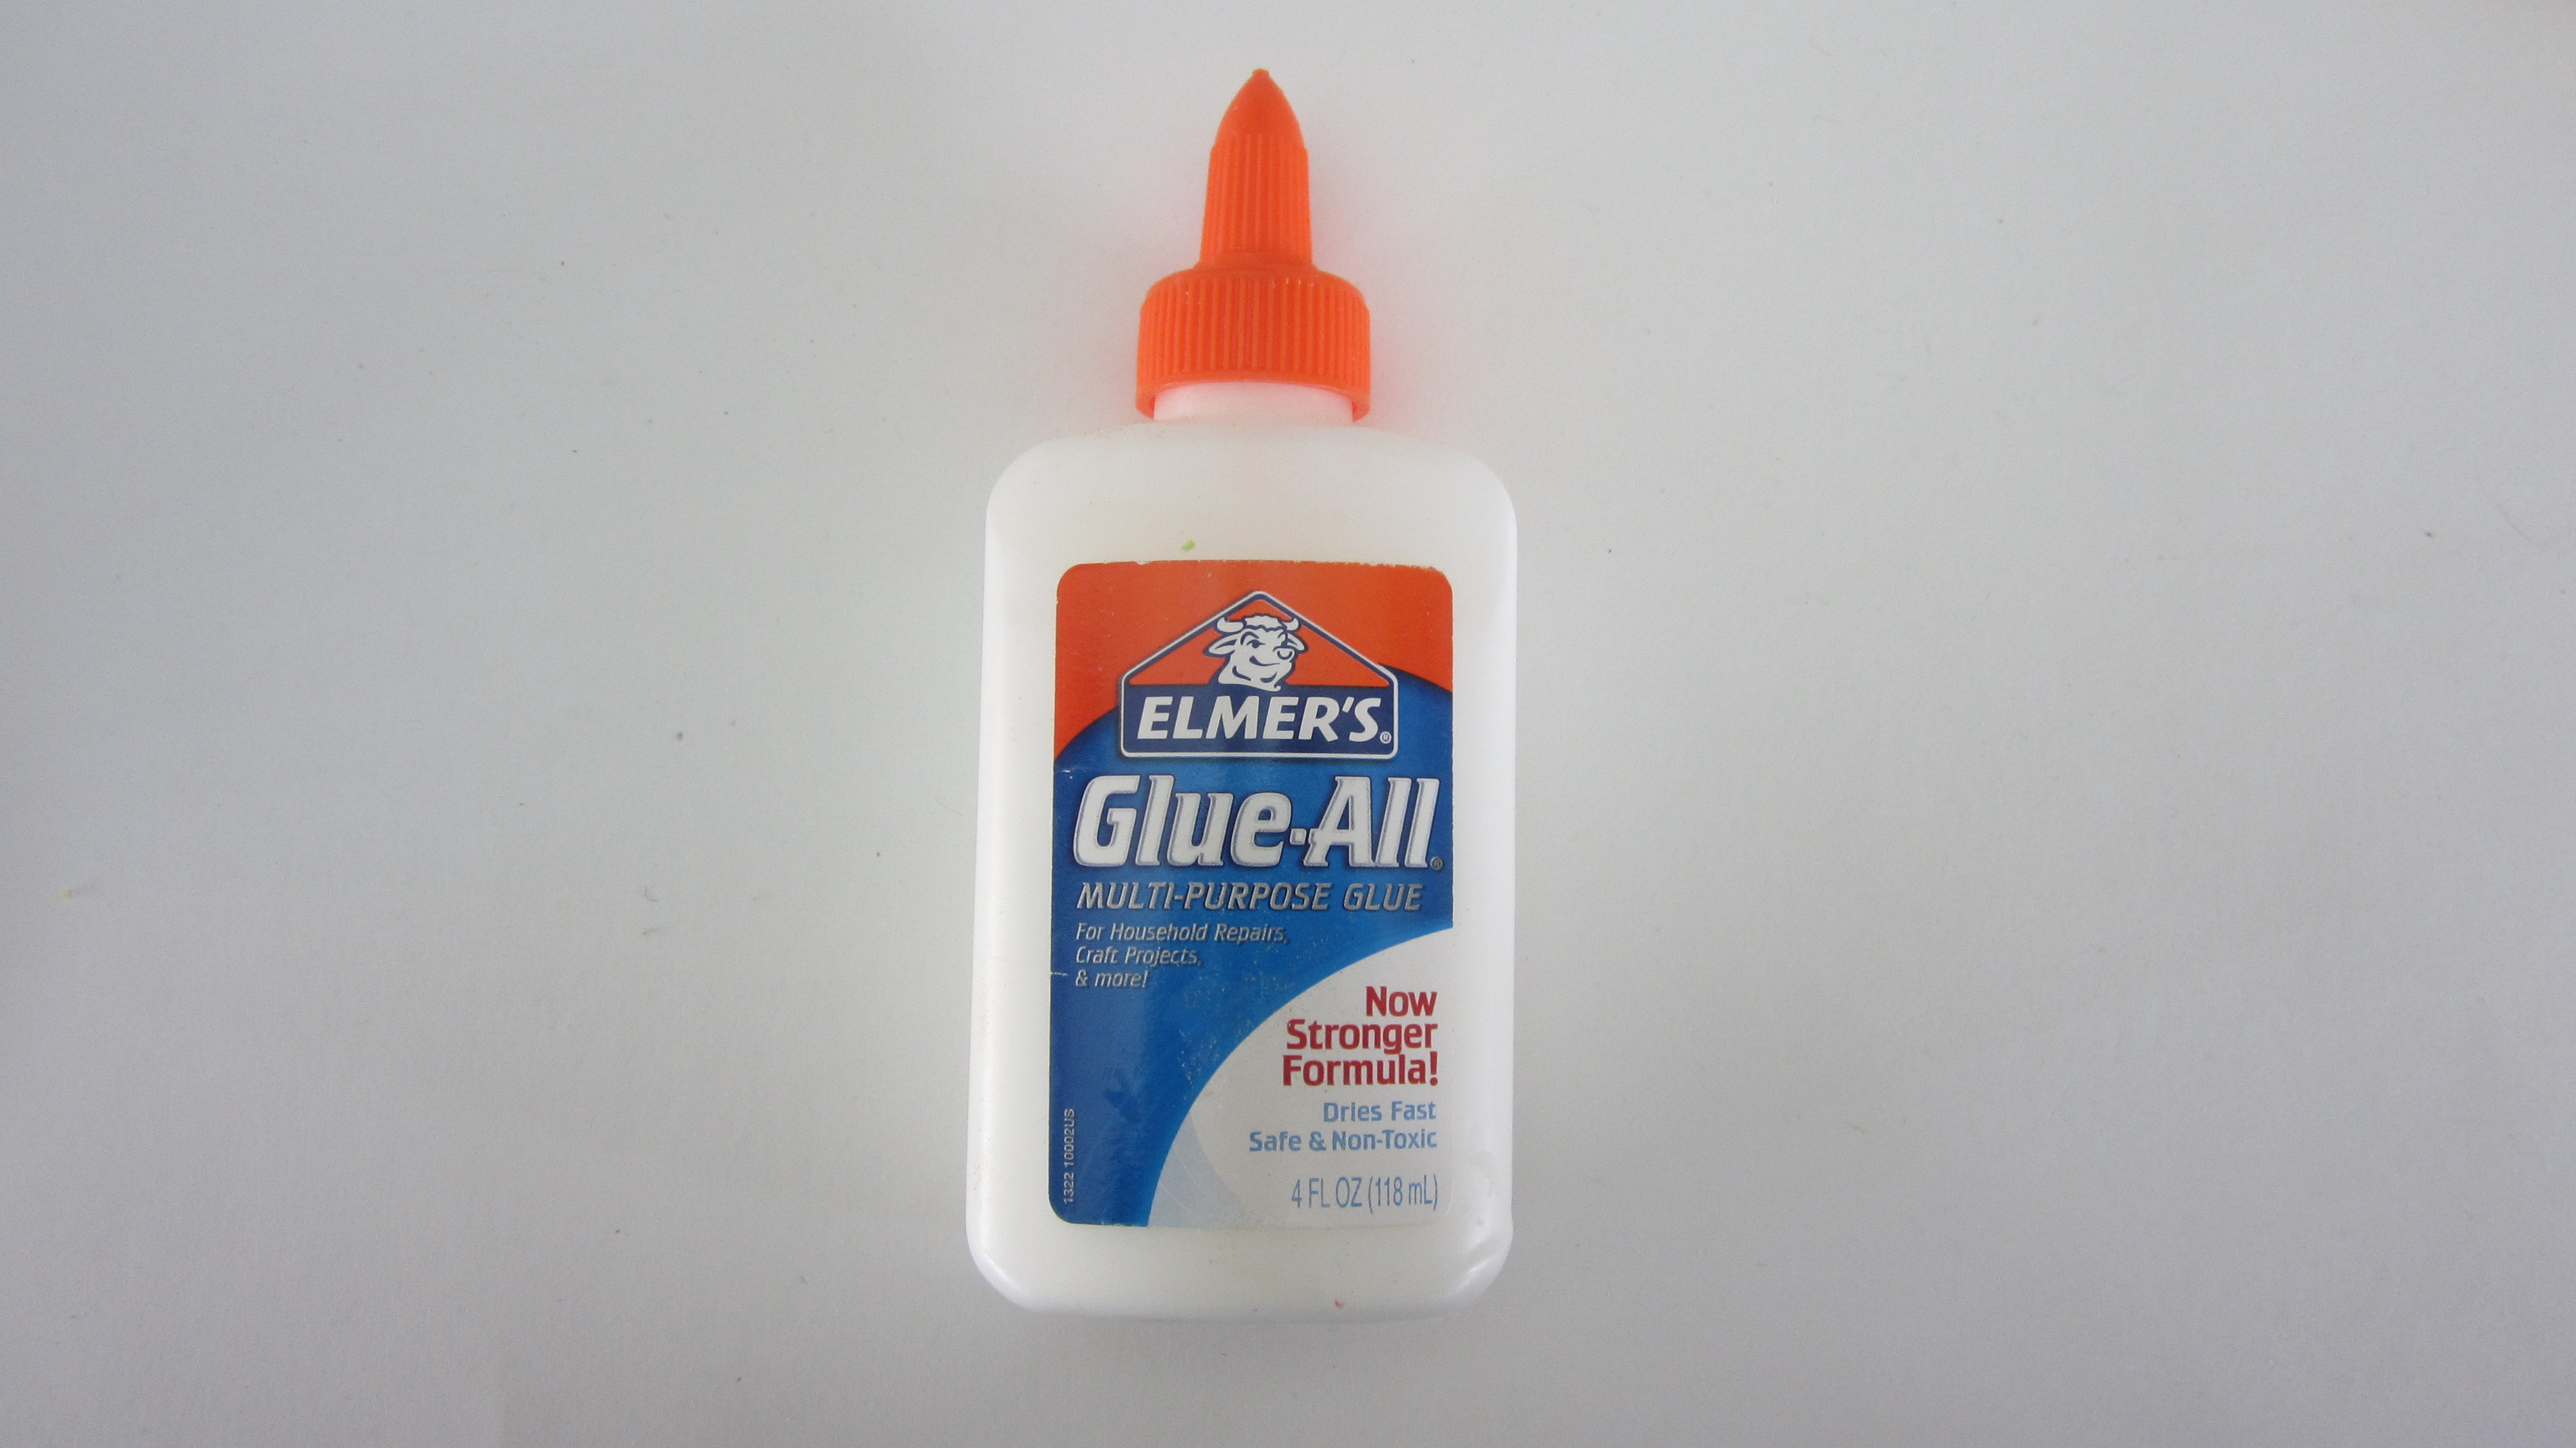
Elmer's Glue
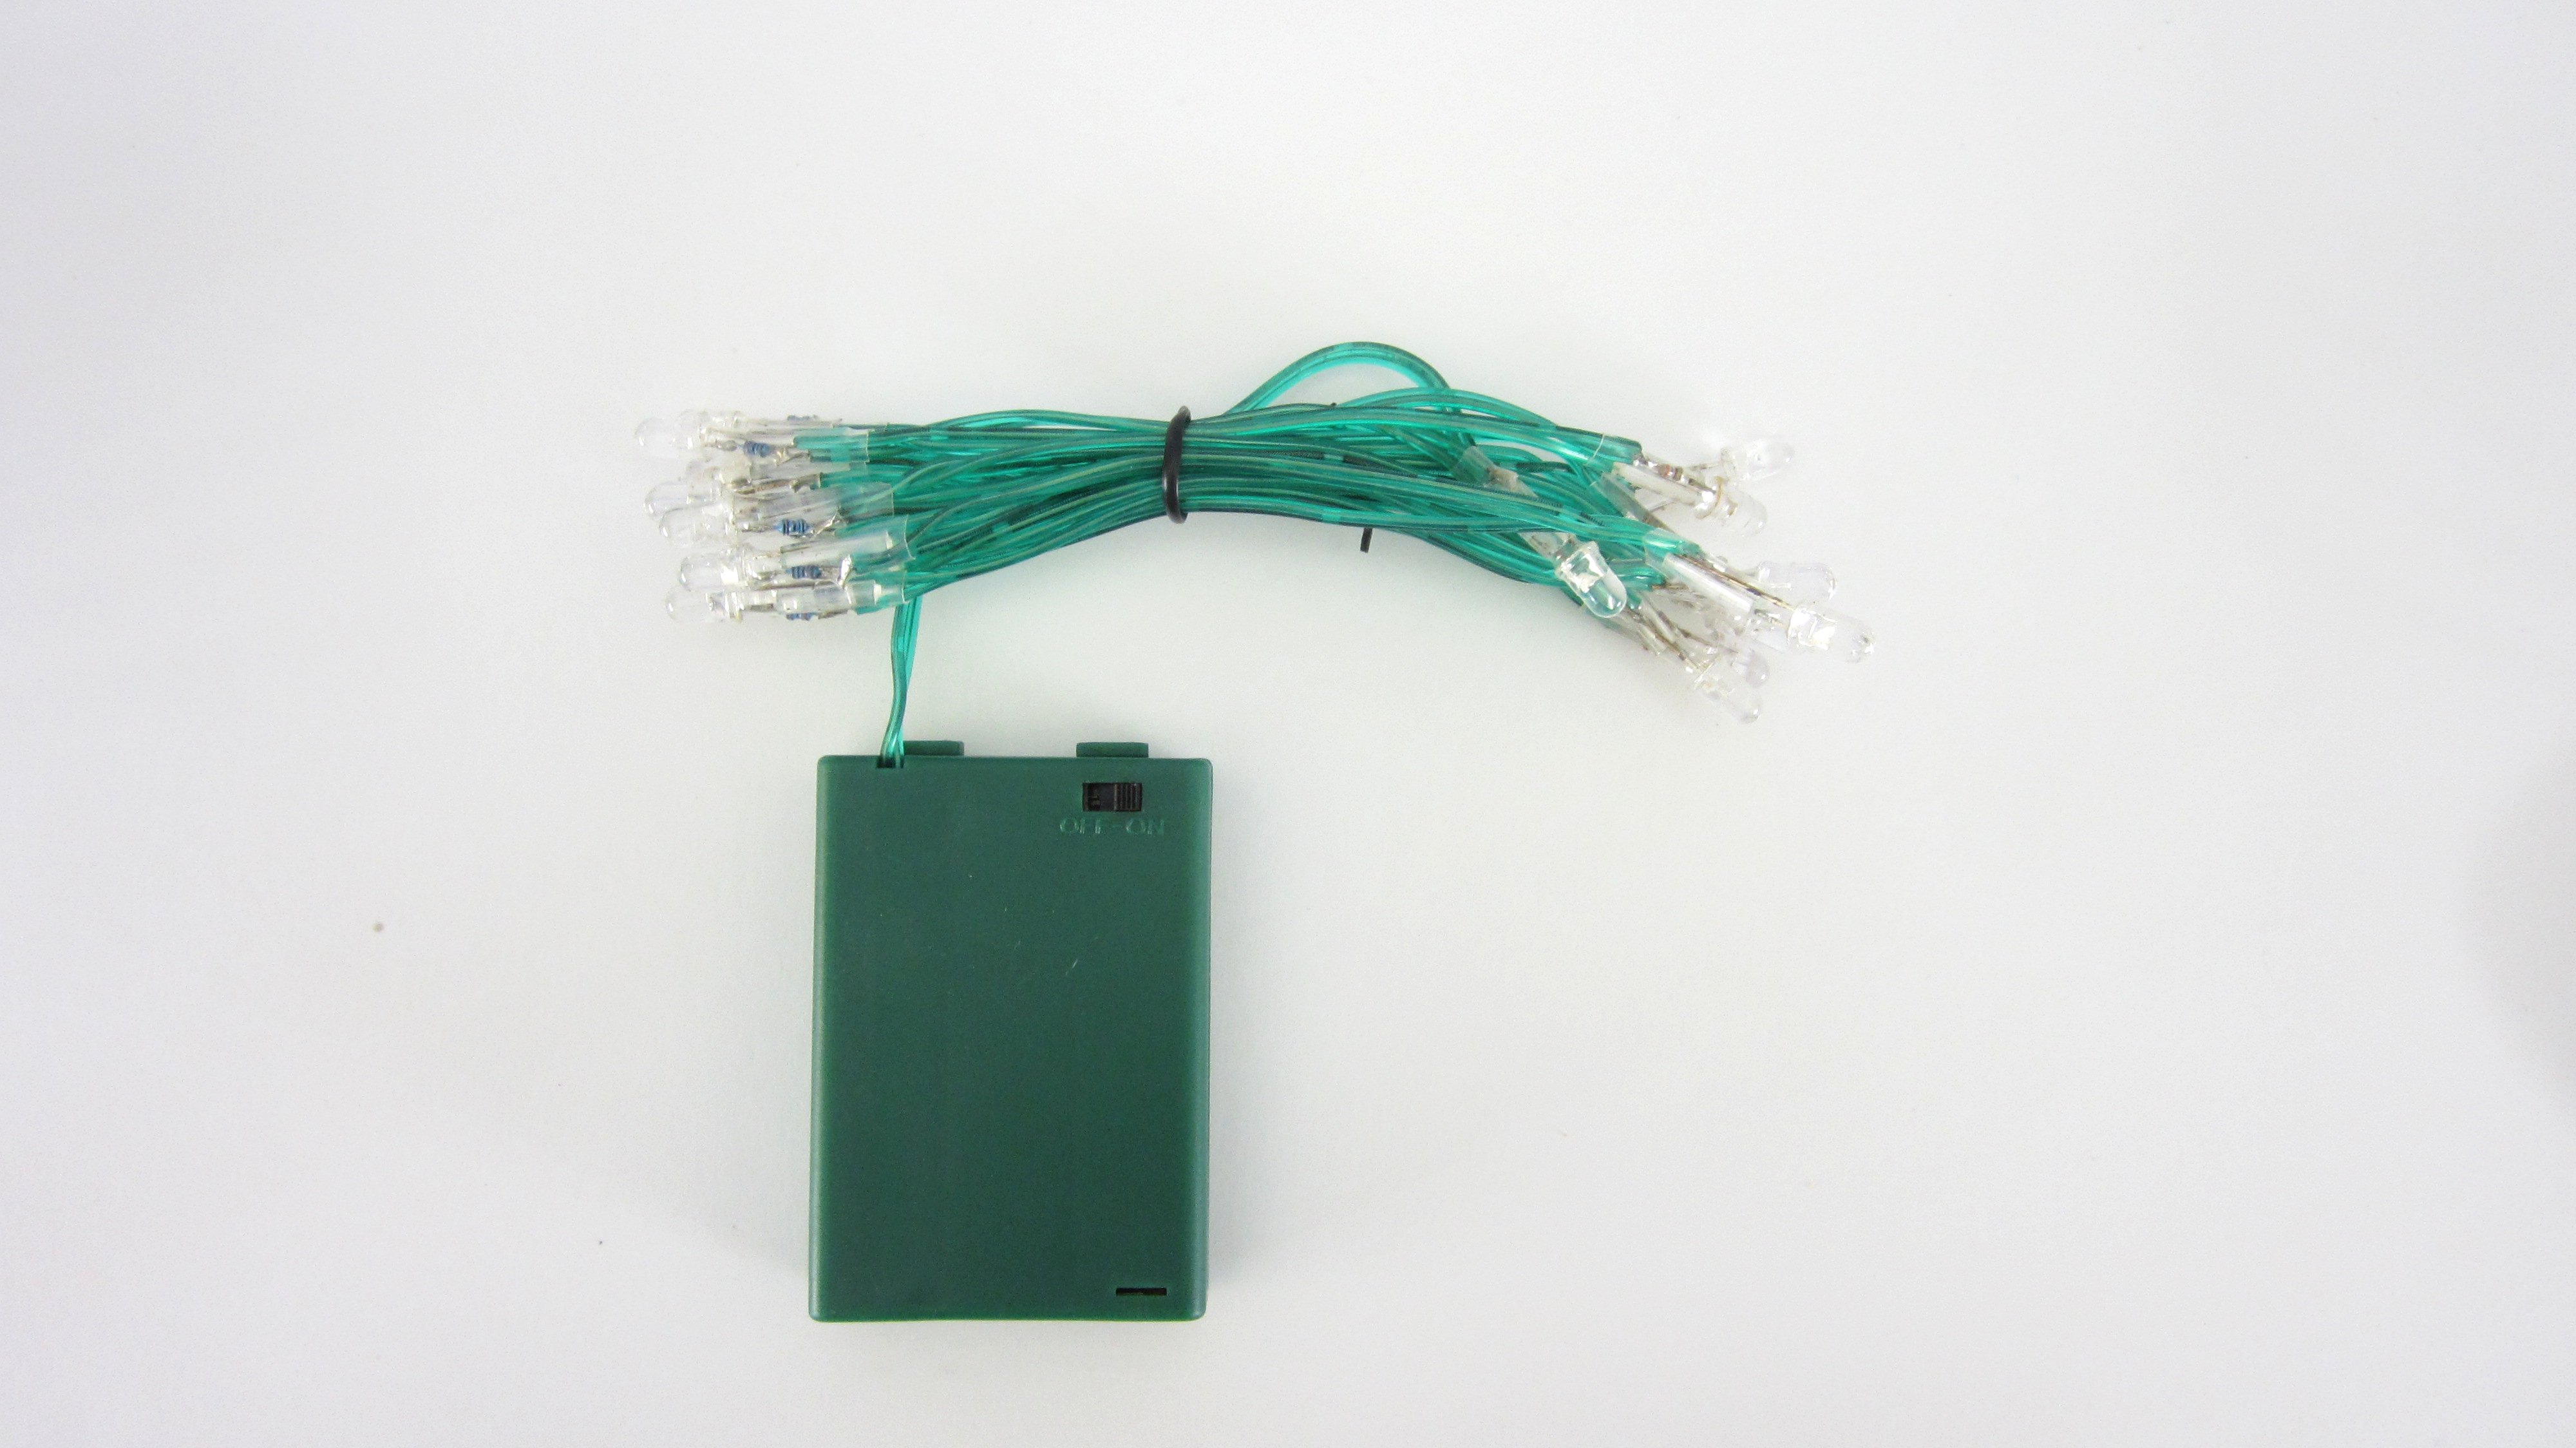
LED Light String
Tools
Photo Editing Software
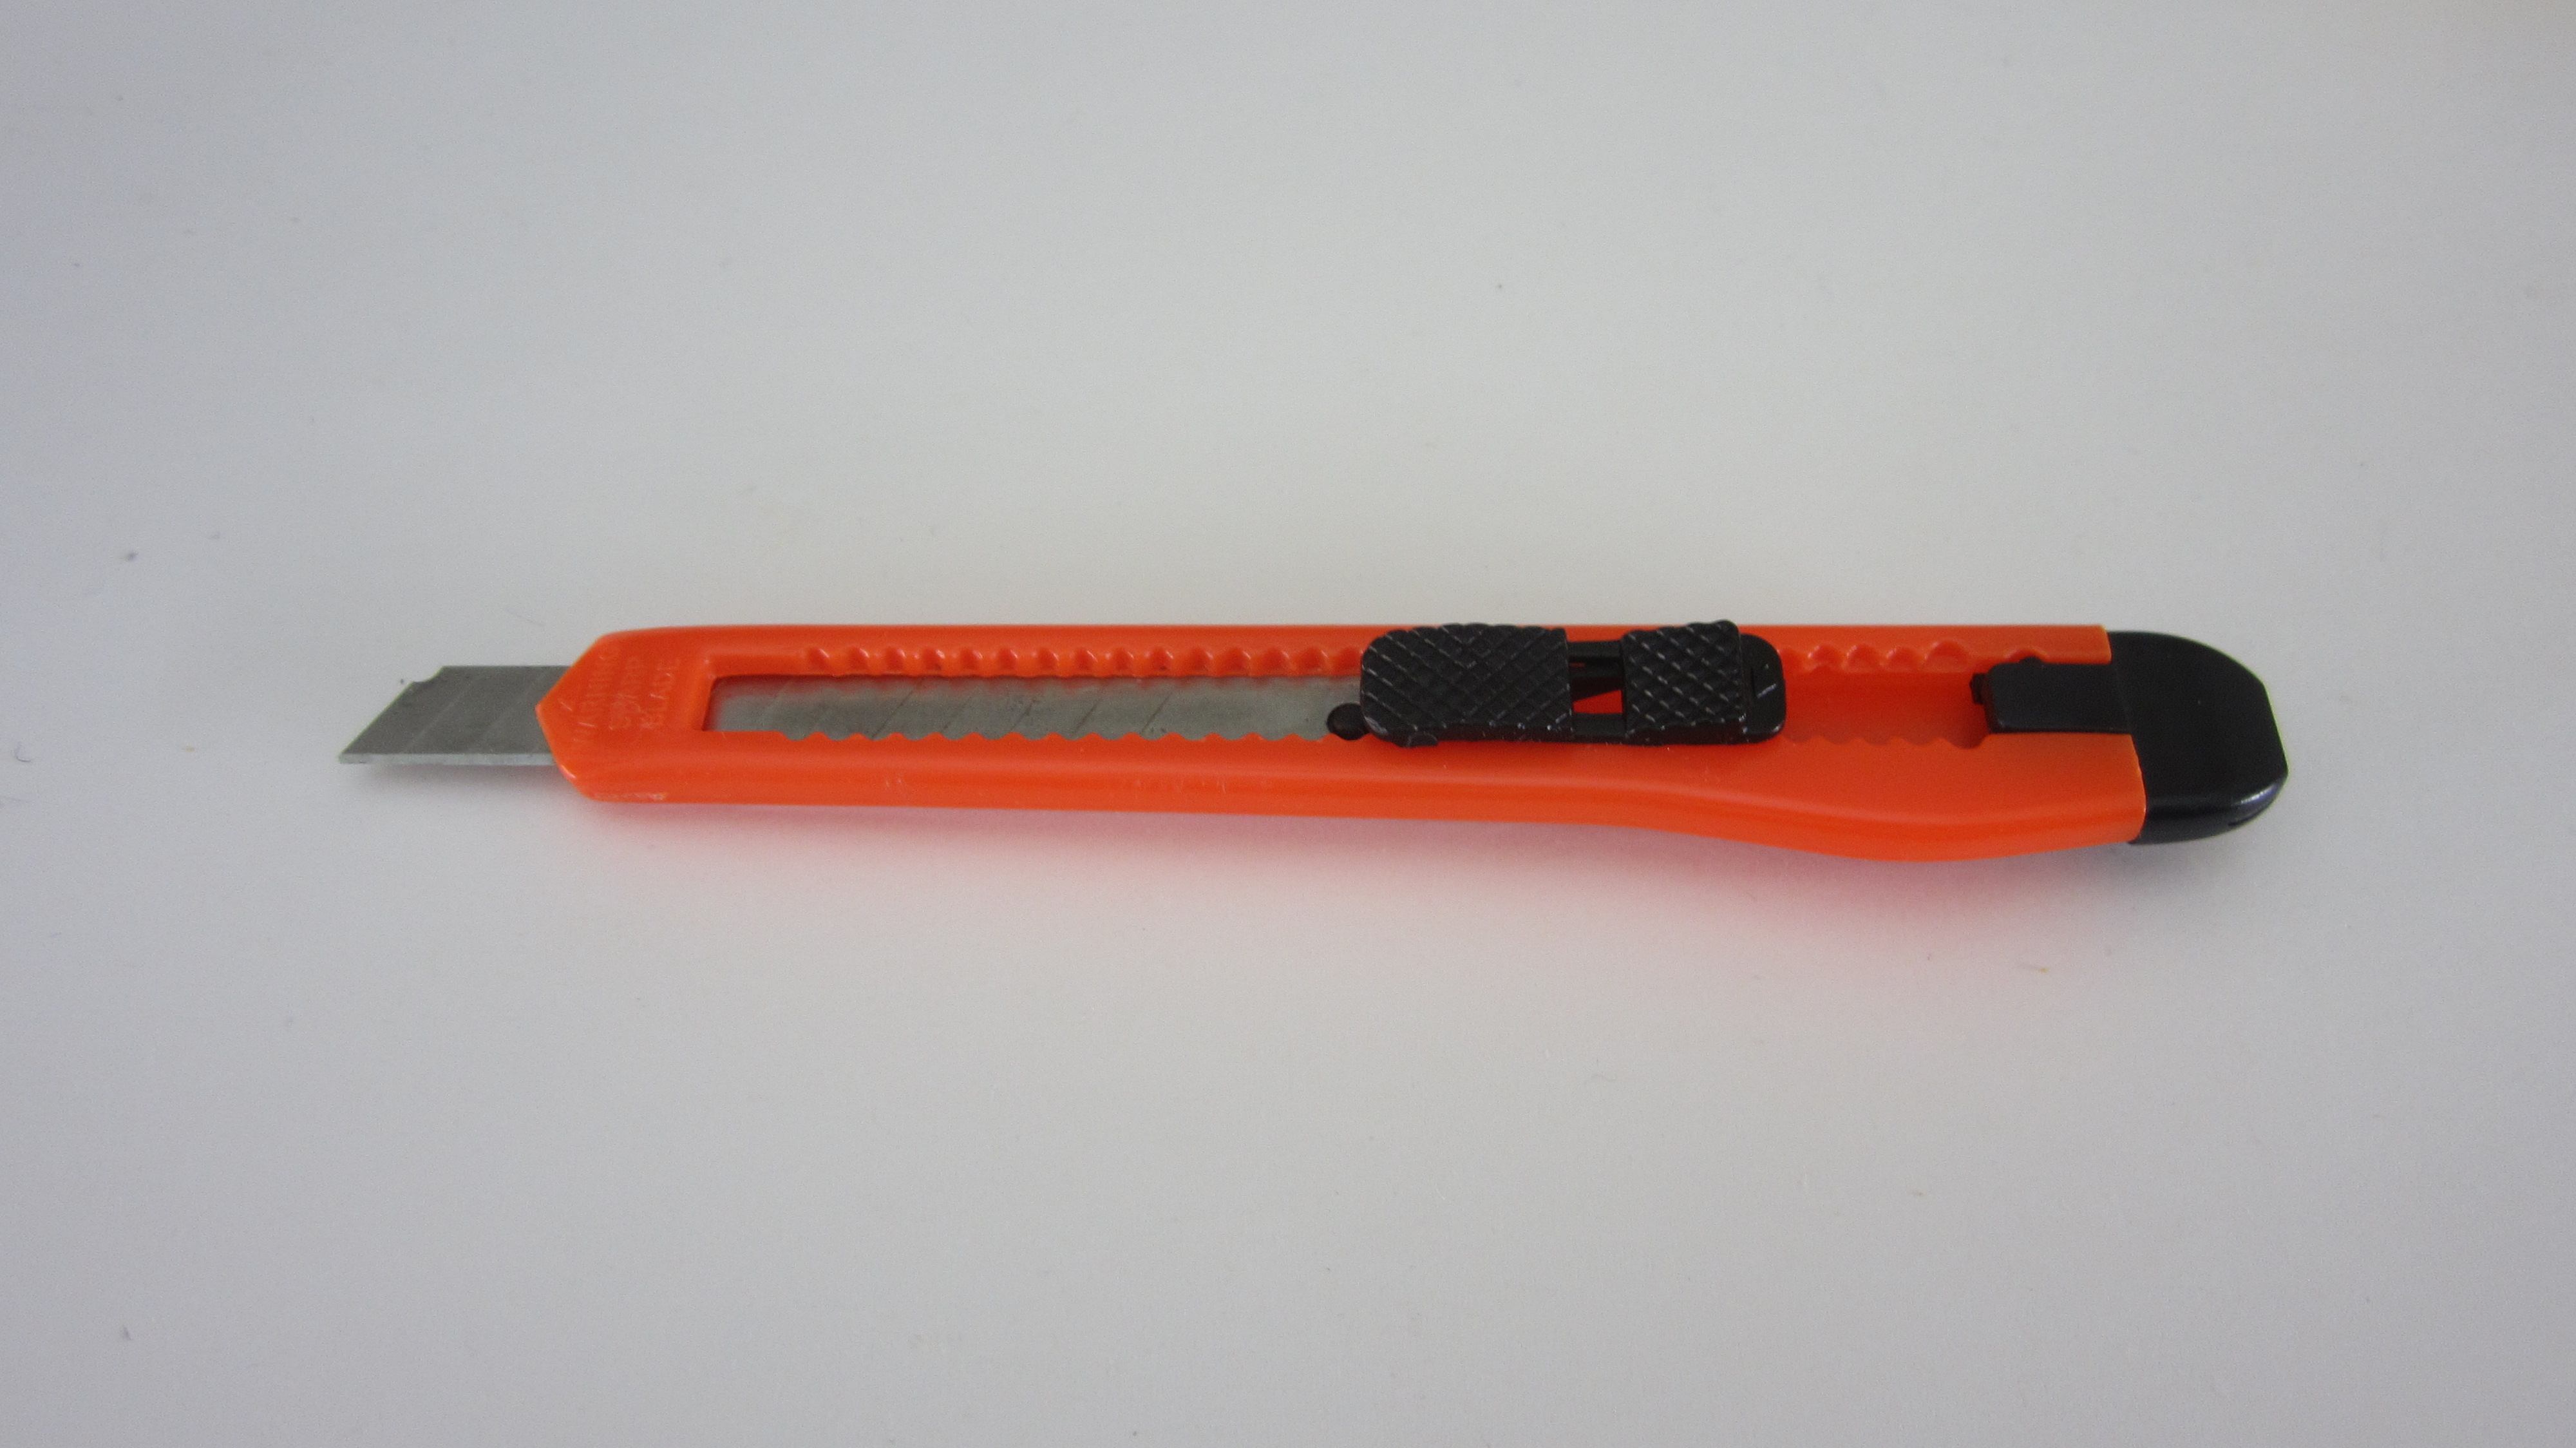
Sharp Knife
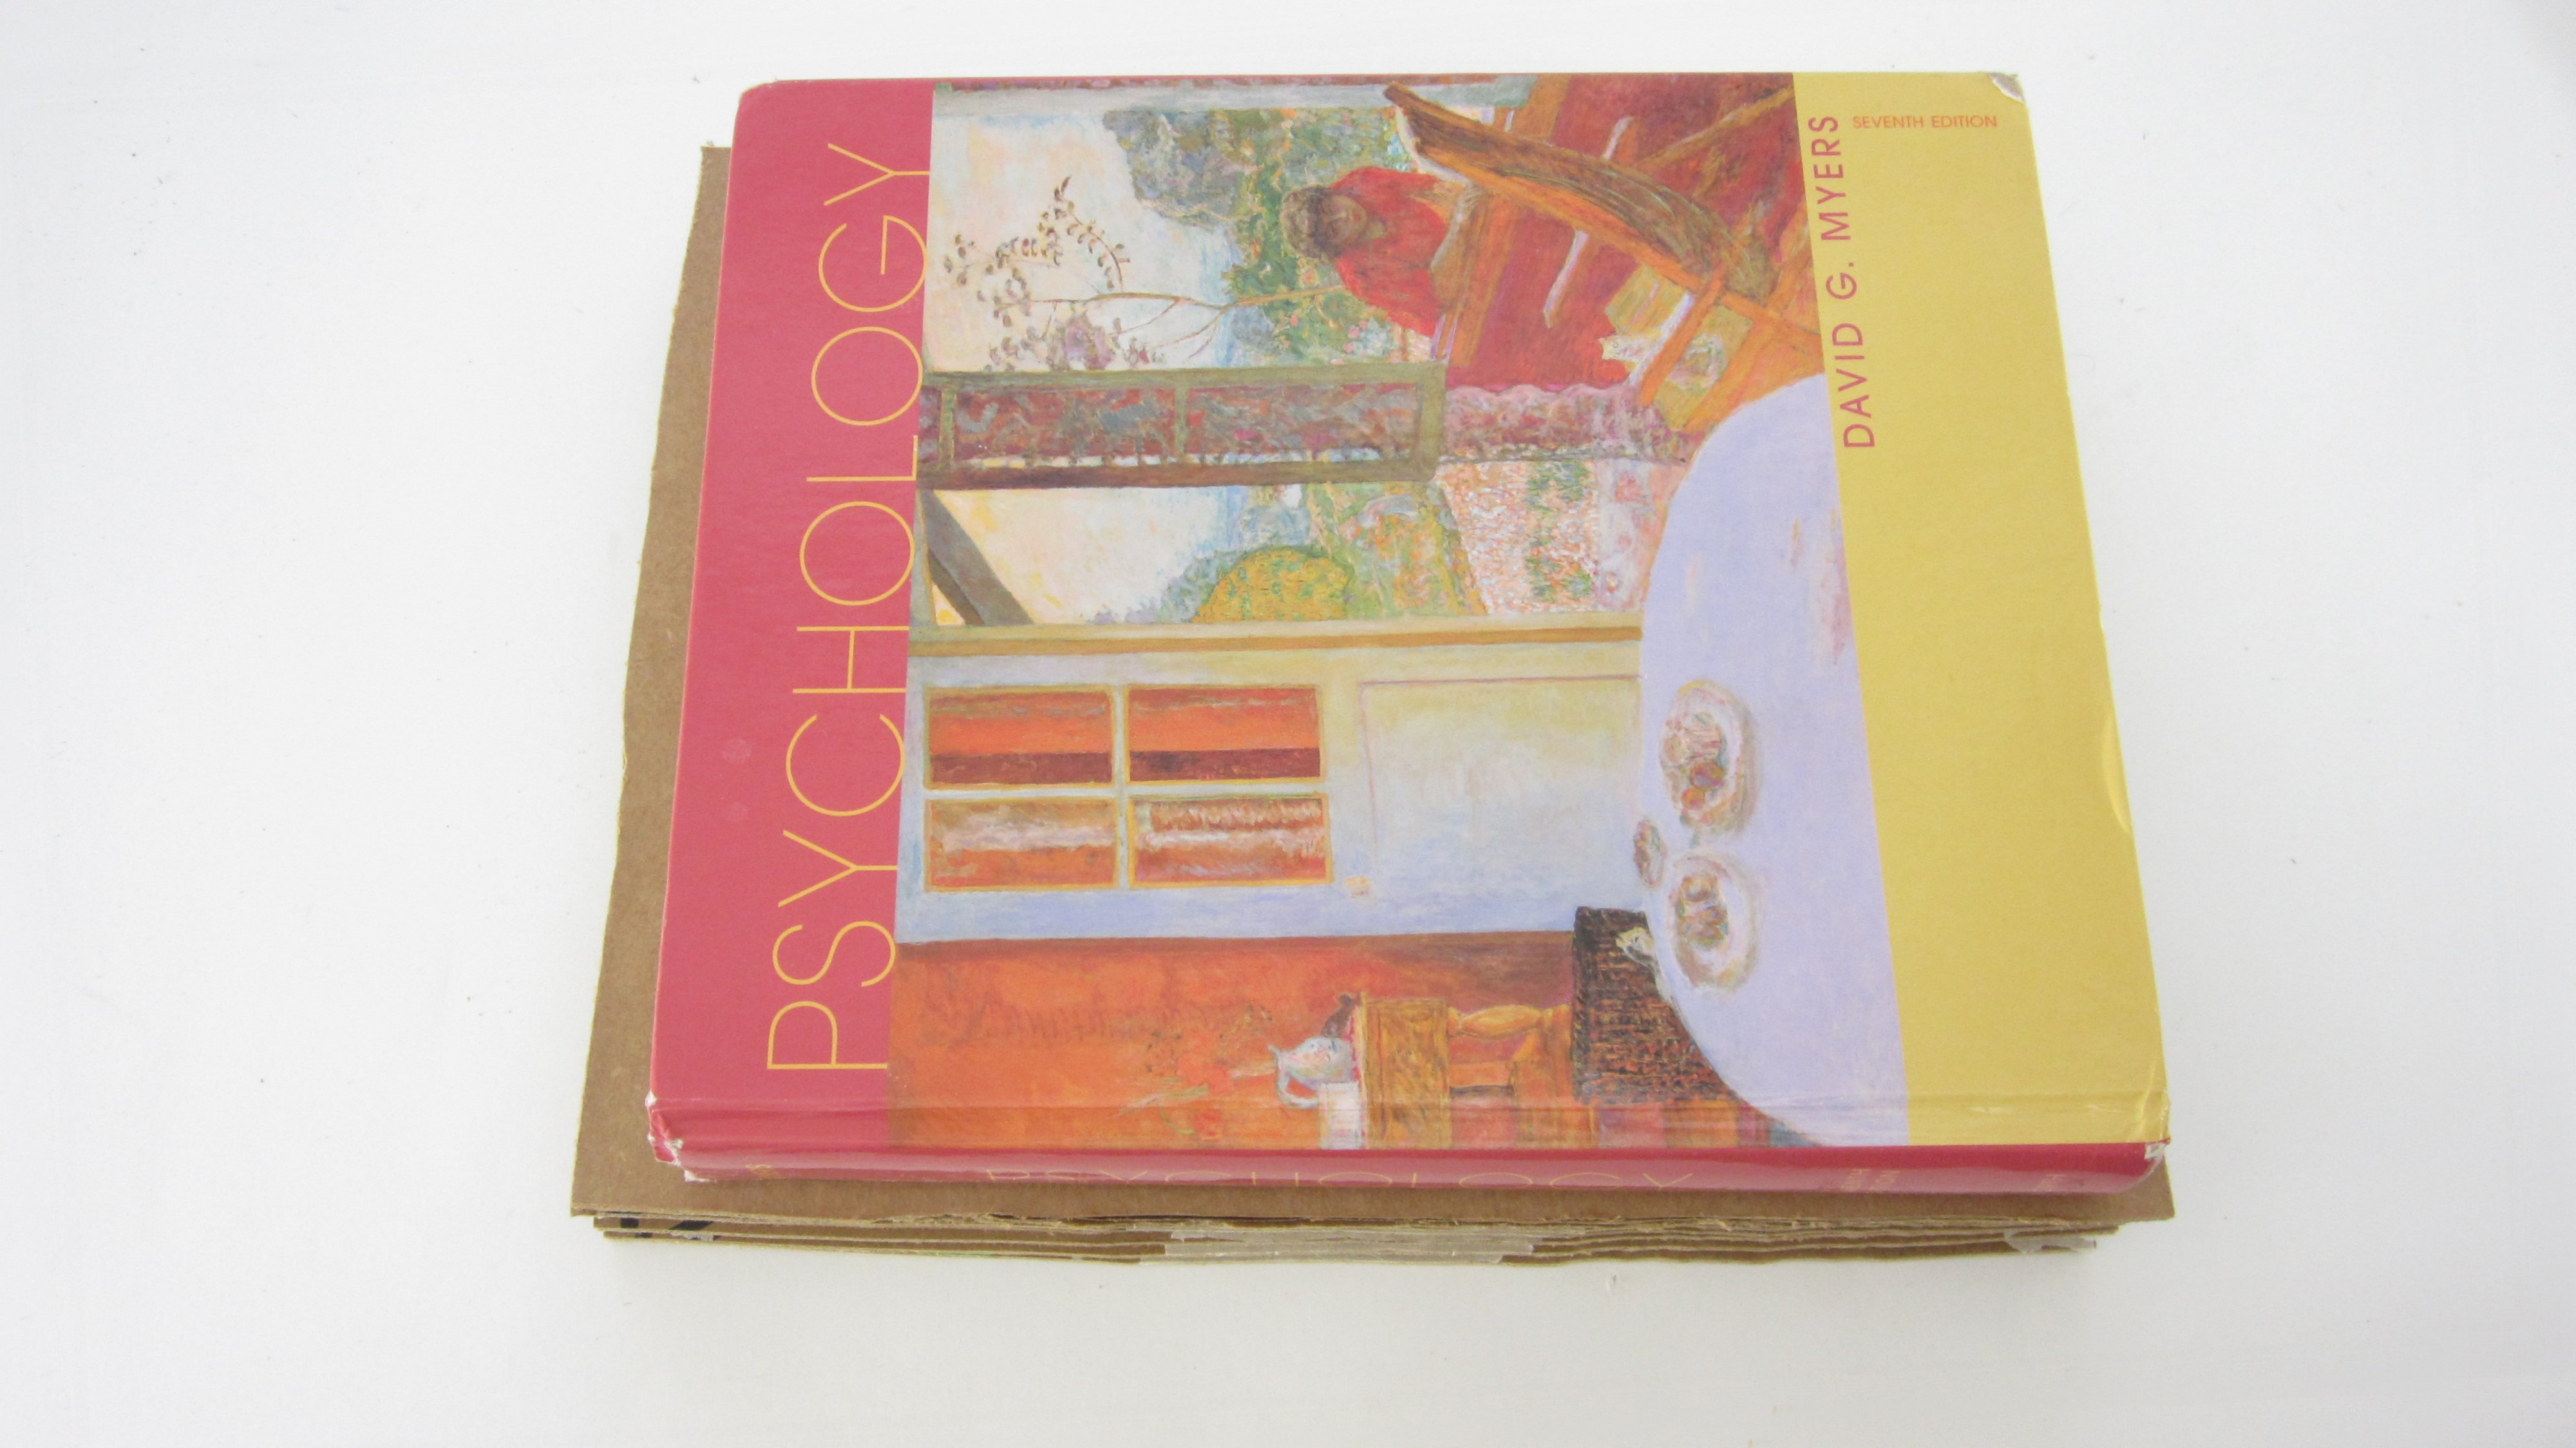
Select a Picture
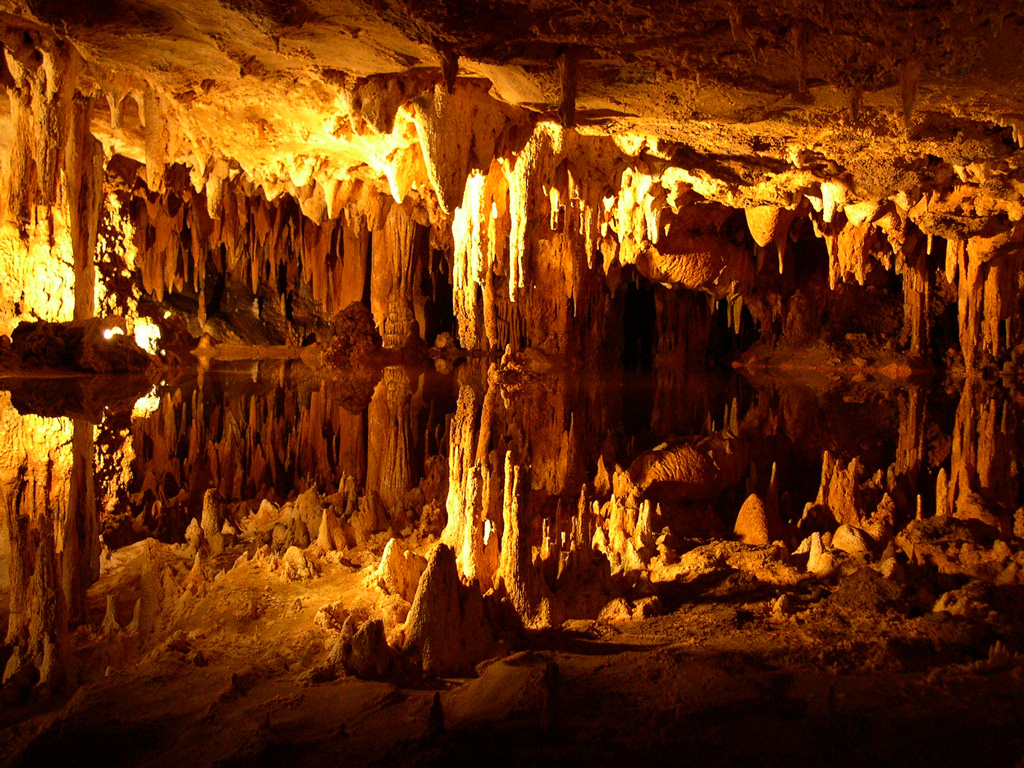
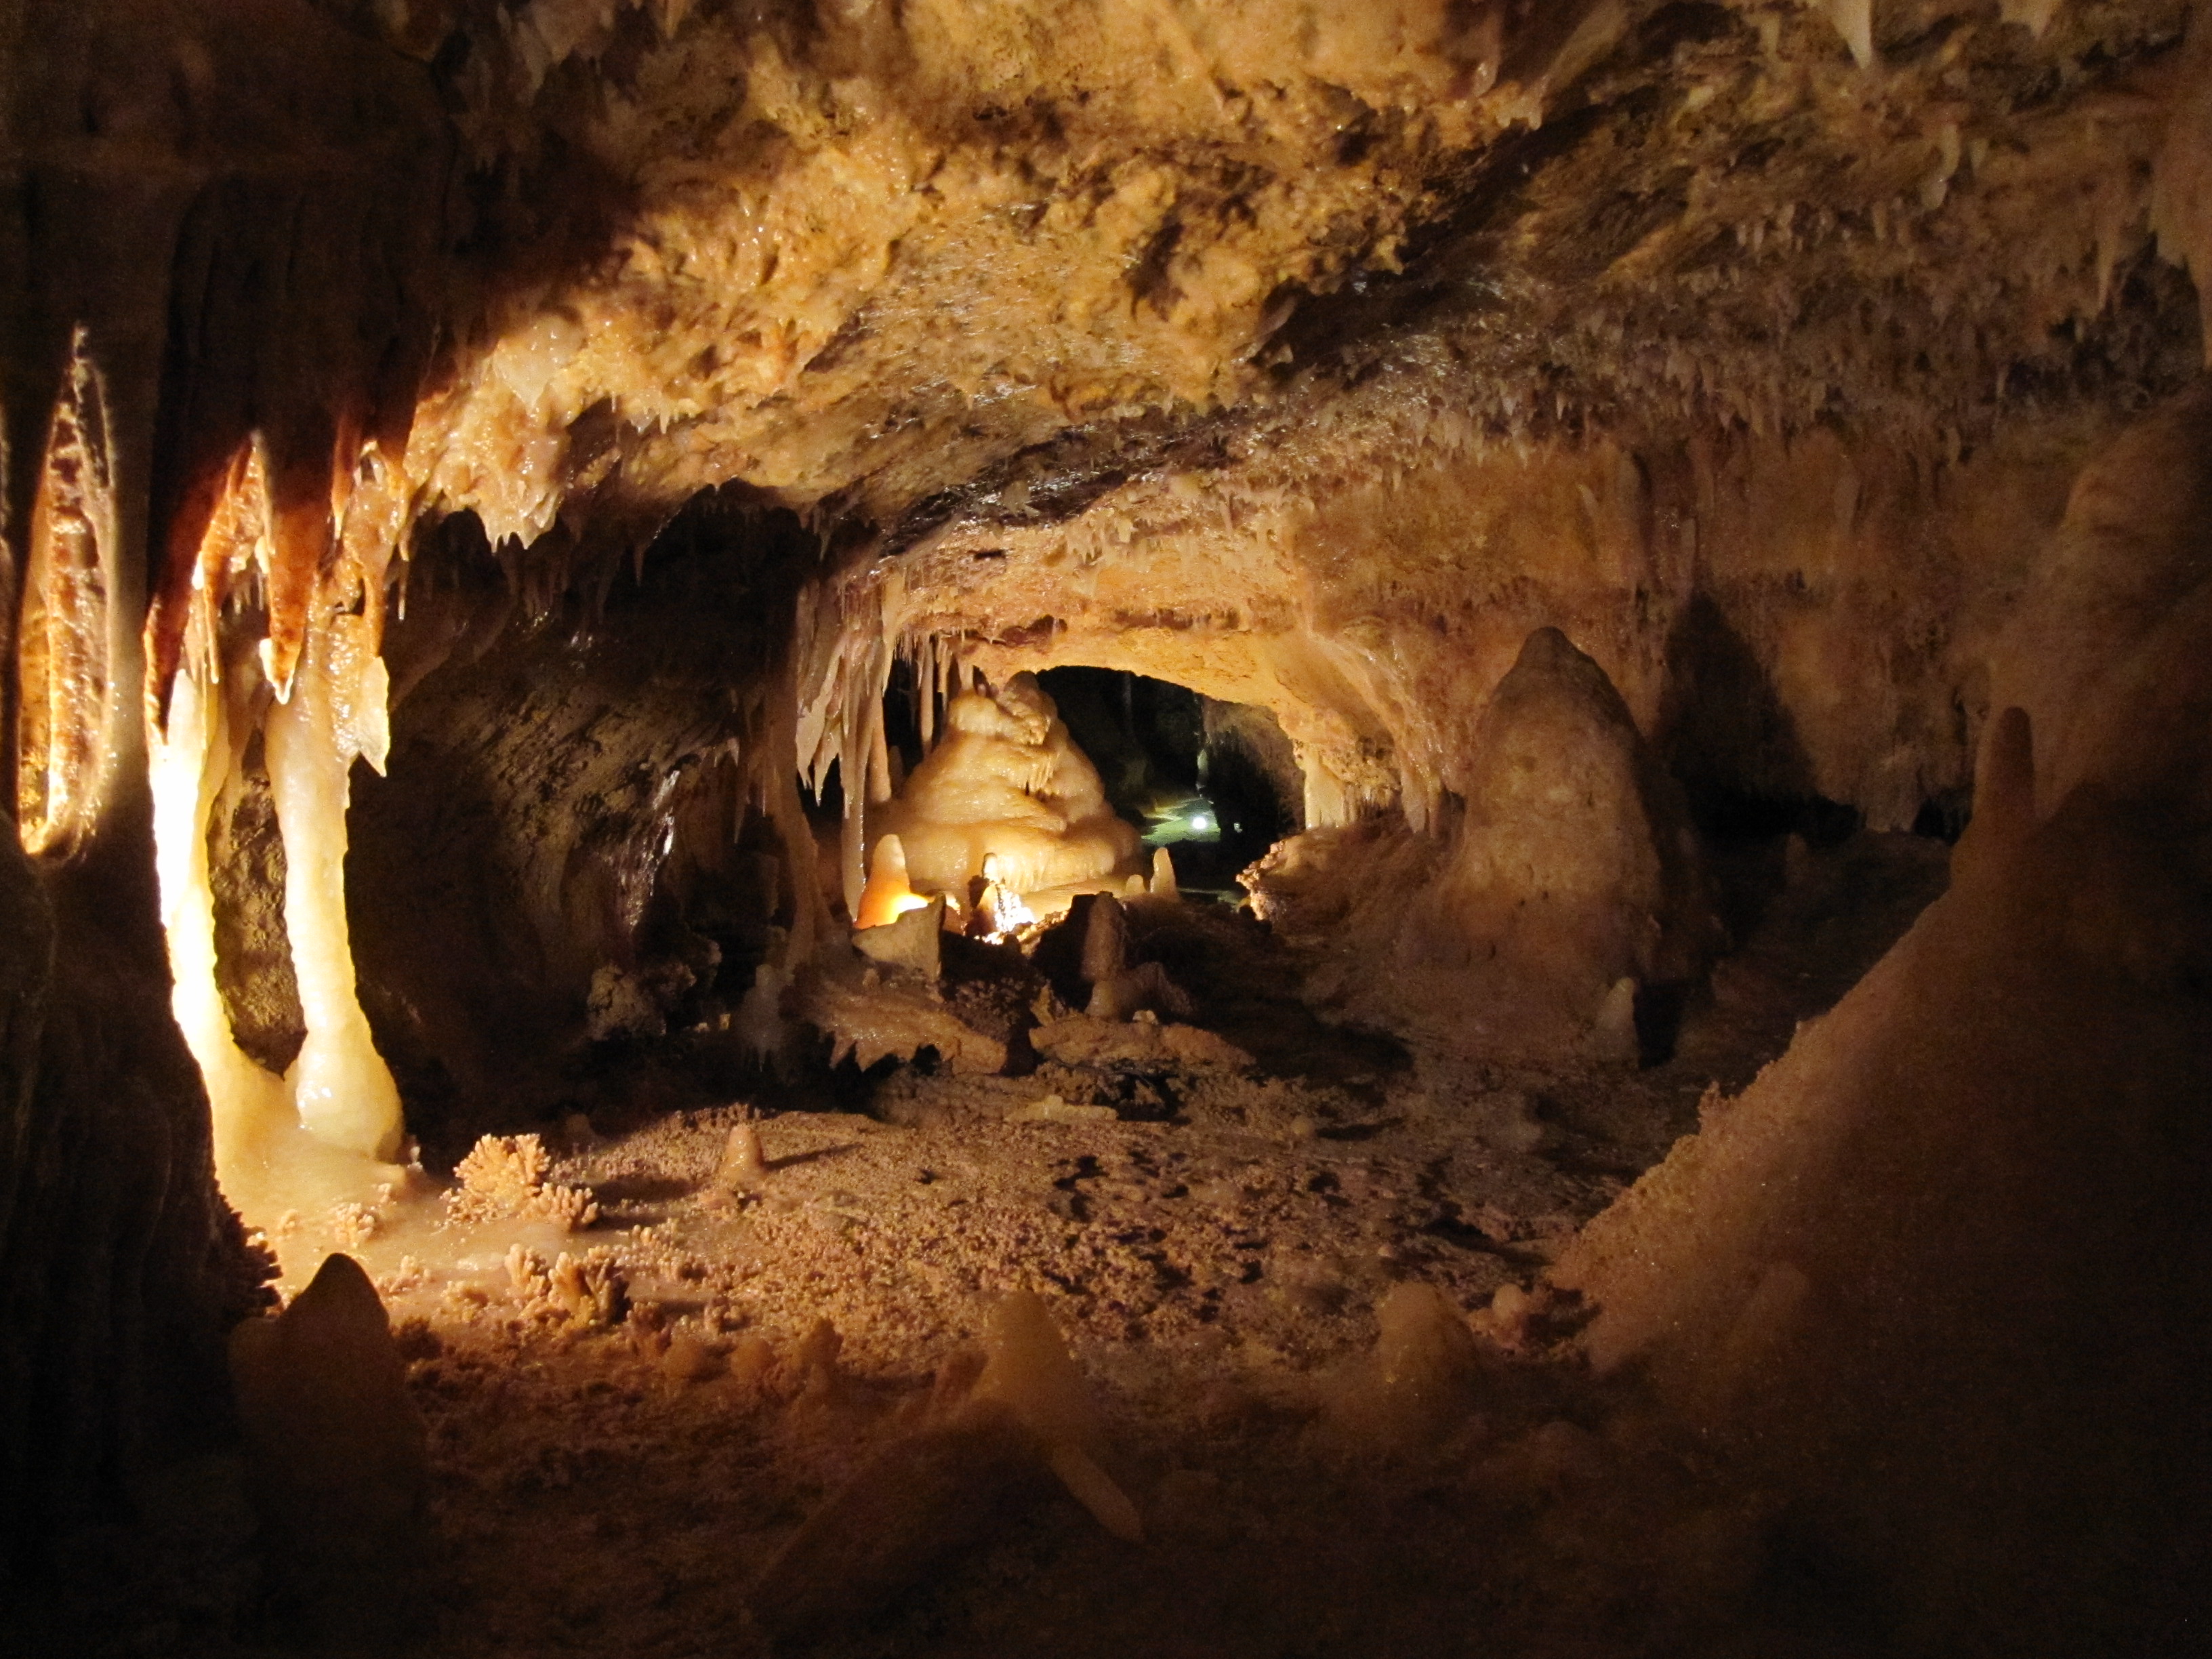
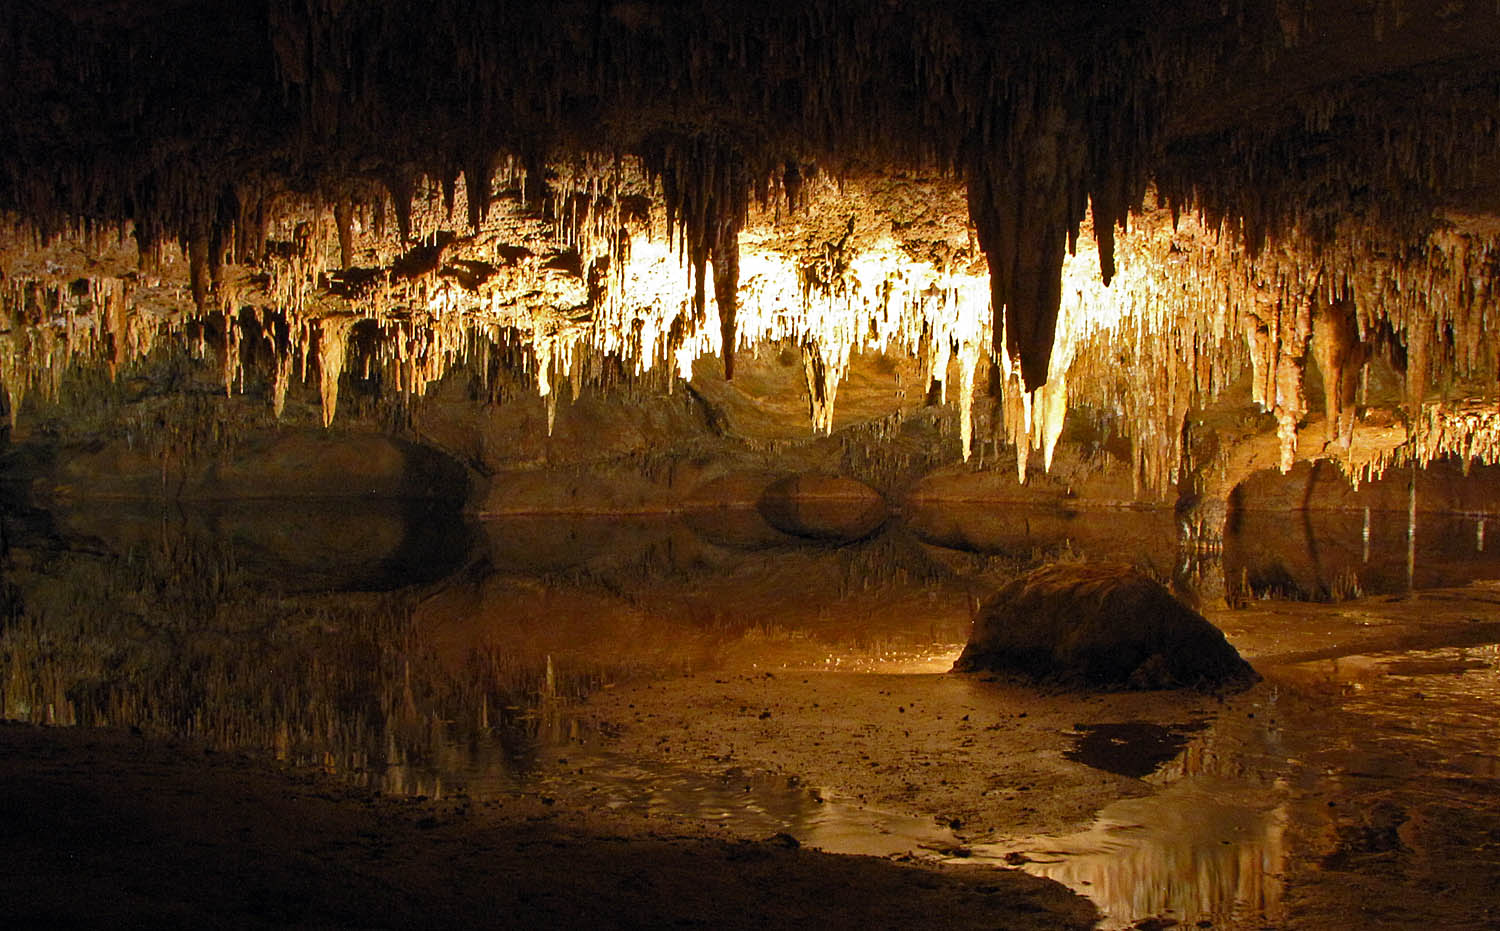
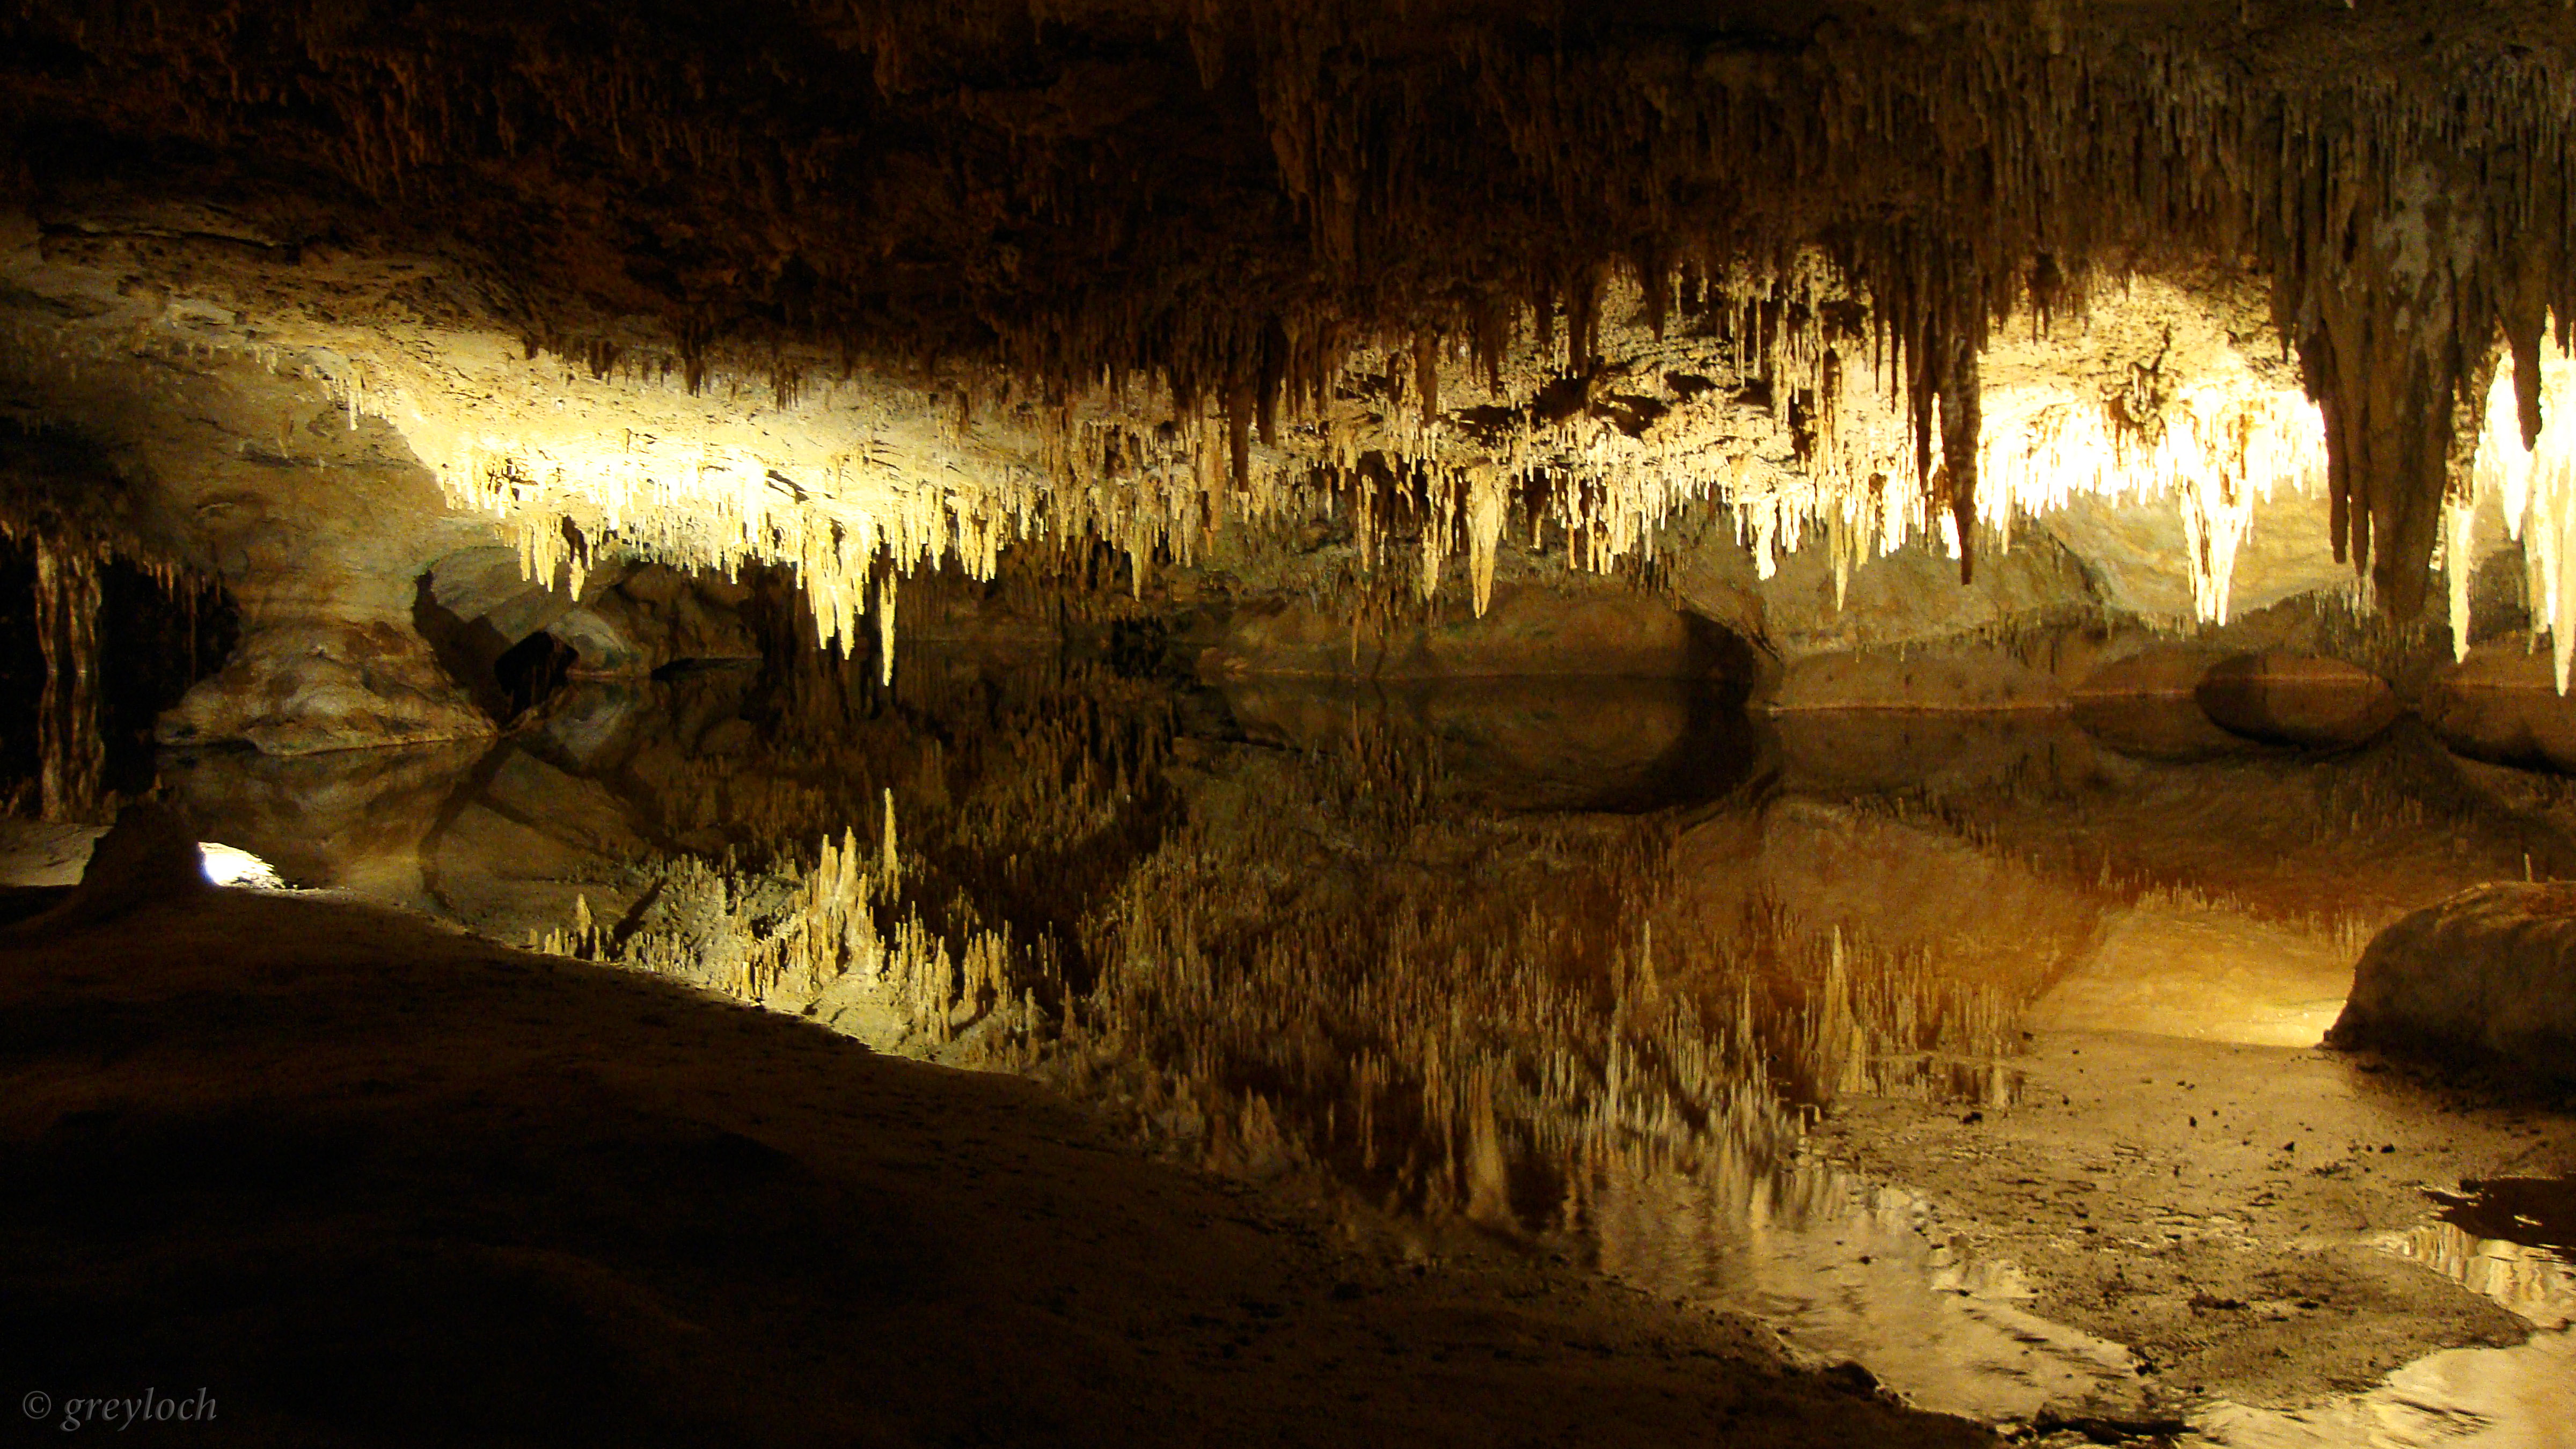

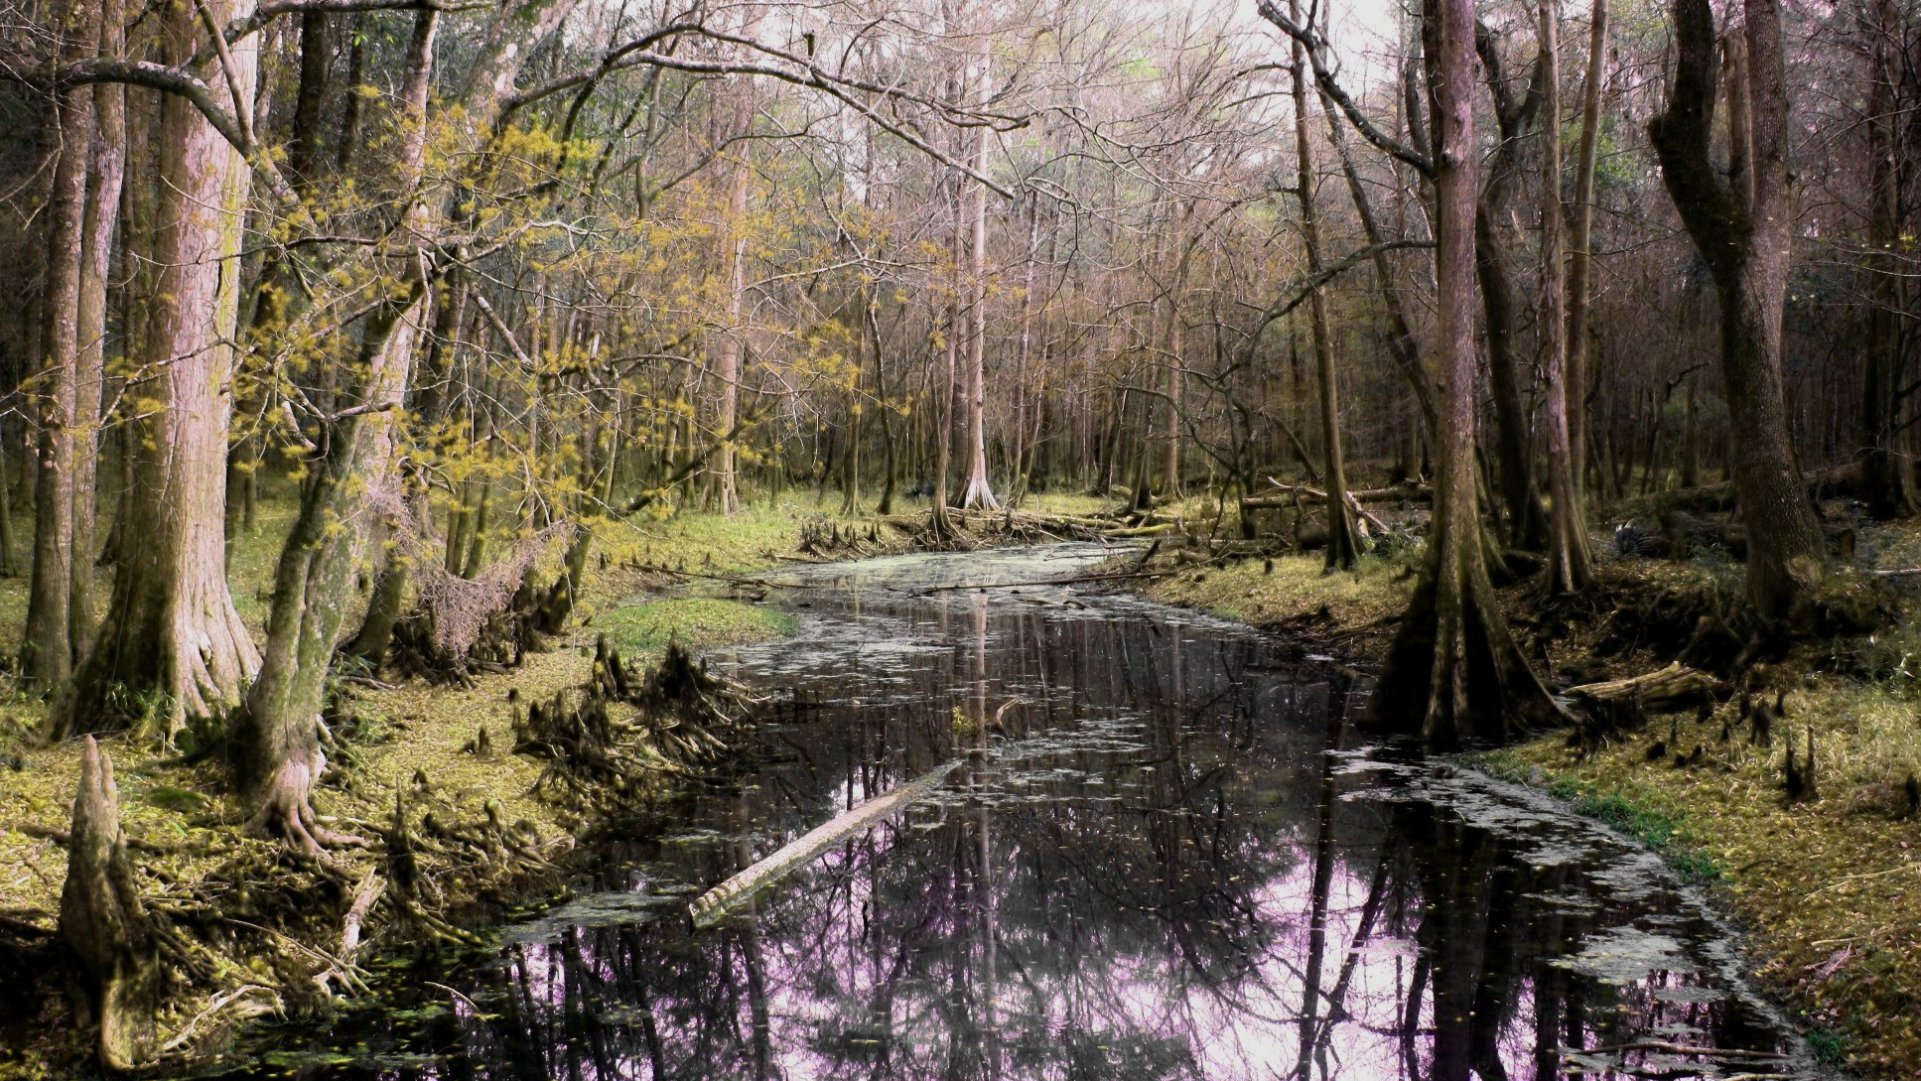
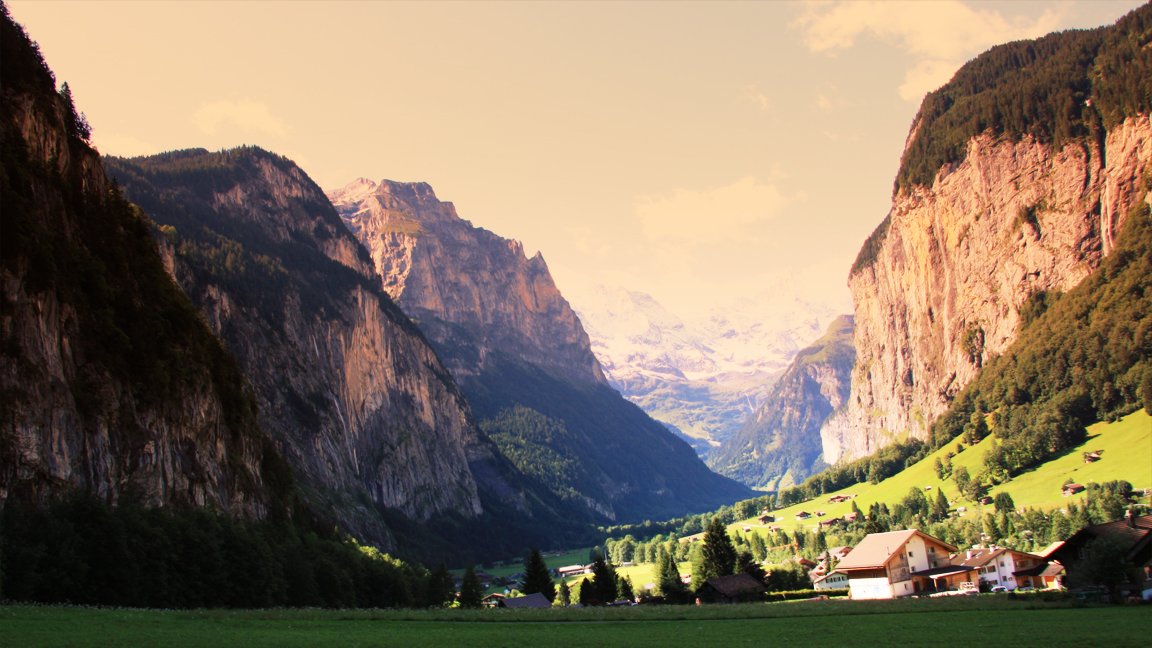


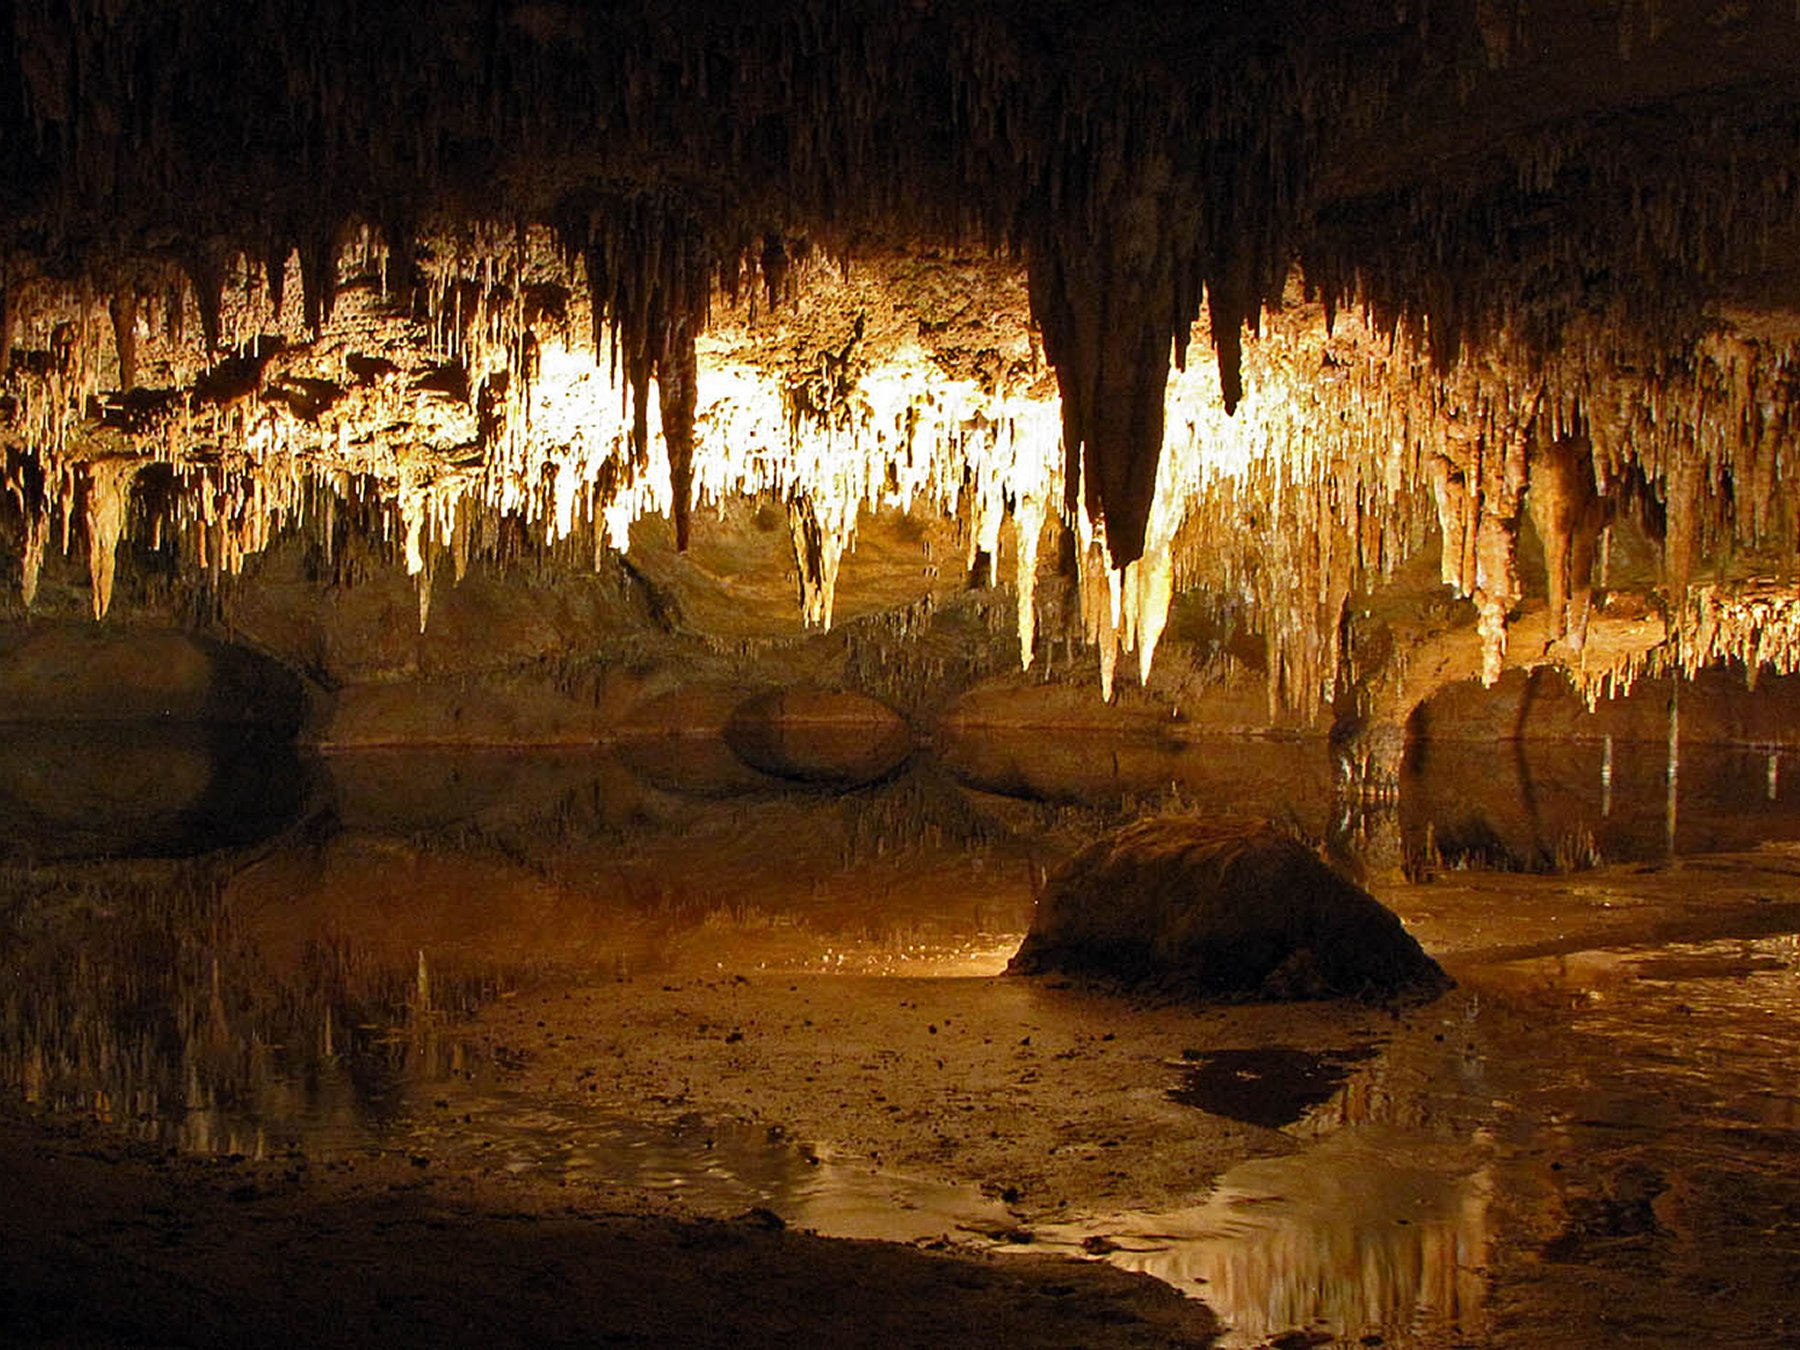
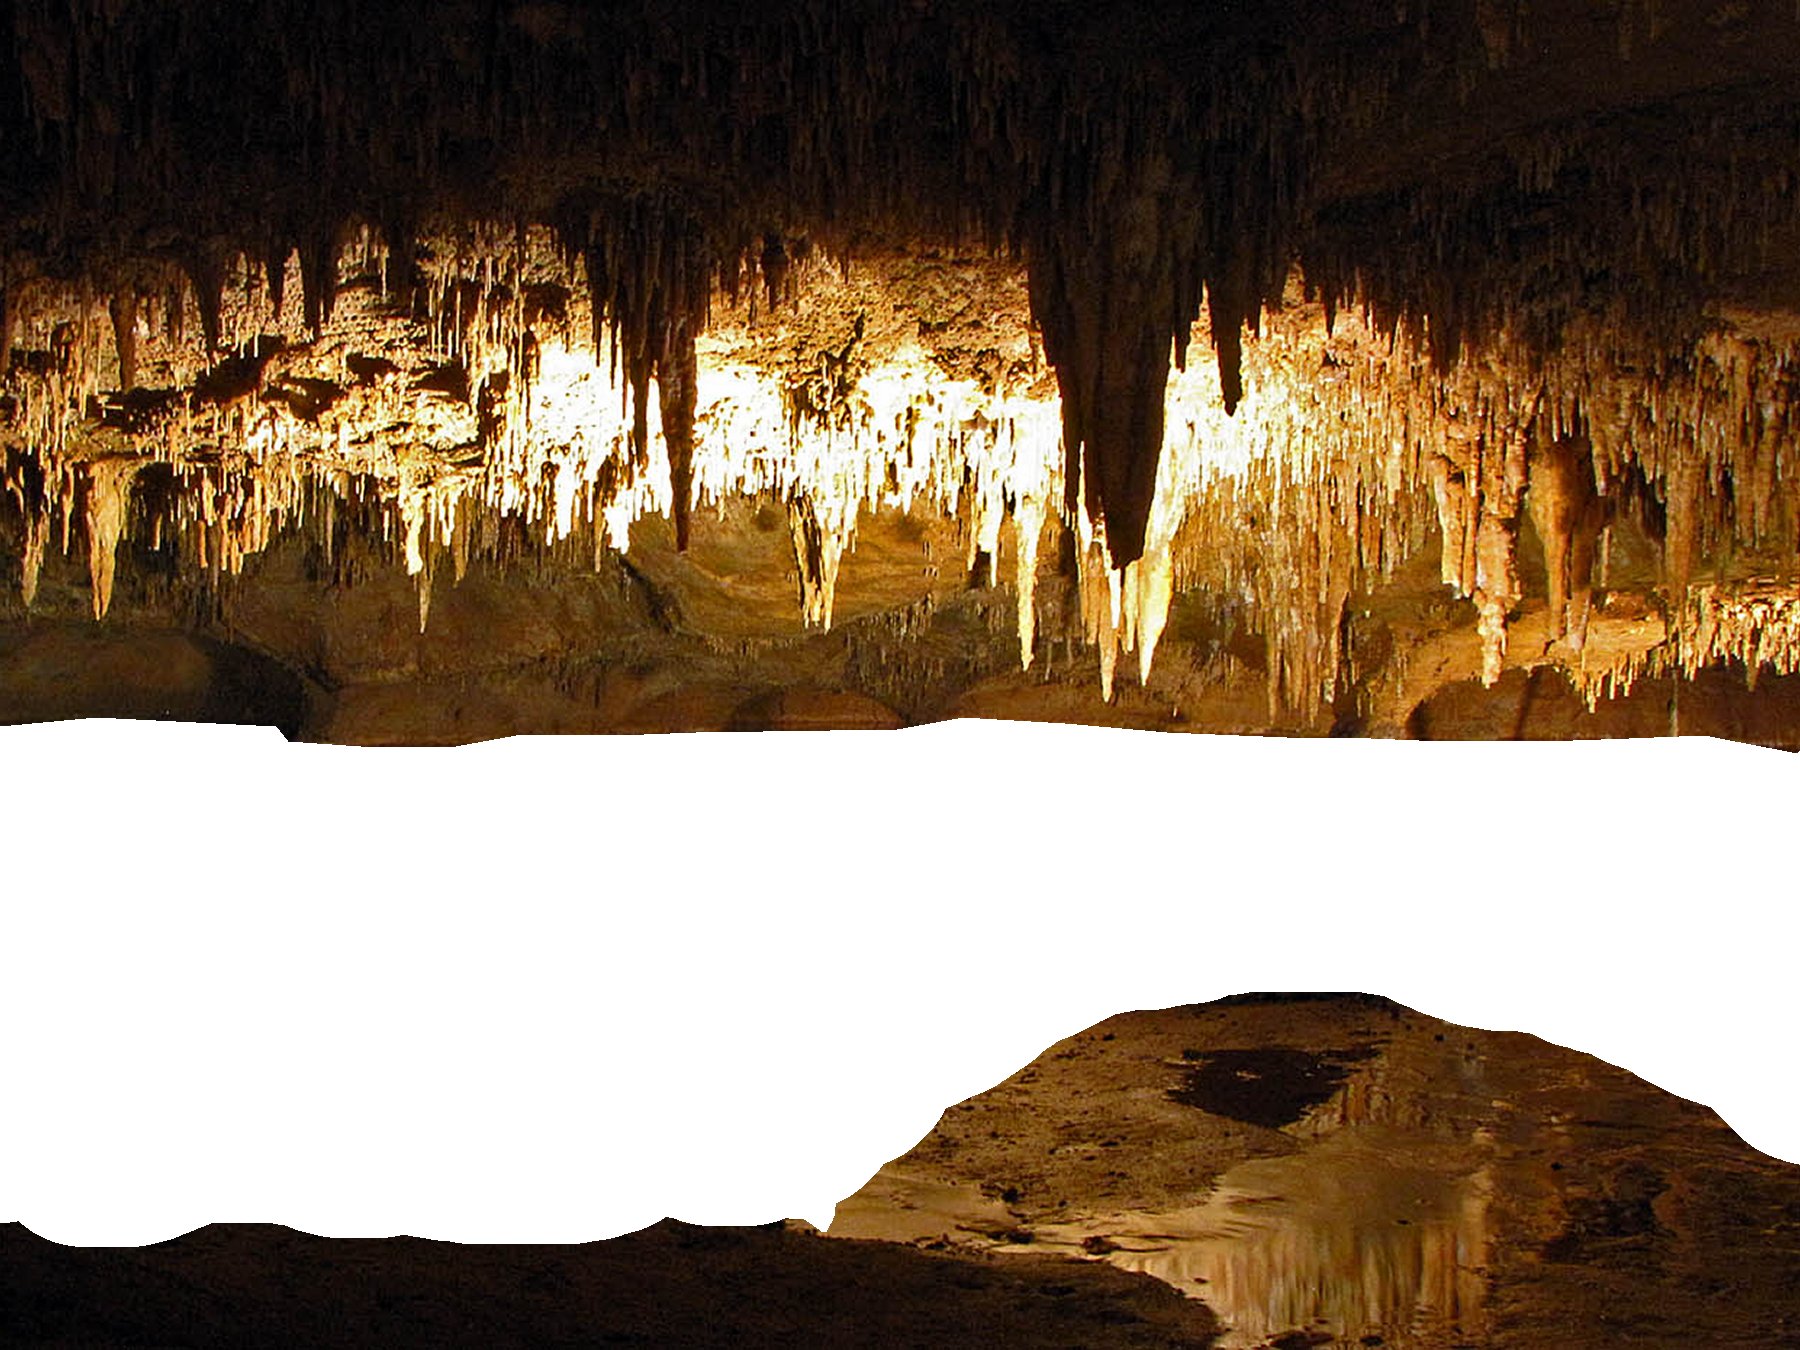
The first thing that you need is a picture to use as a template. You can either take one yourself or find one online. For the best results, try to get a picture with a lot of depth. You want to have interesting objects at different distances from the camera. My favorite scenes to use are caves, forests, and valleys.
These images where shared via creative commons and can be found at the following links:
https://www.flickr.com/photos/cloudsoup/217785598/
https://www.flickr.com/photos/huangce/8002021041/
https://www.flickr.com/photos/bluecorvette/8178999...
https://www.flickr.com/photos/vinothchandar/541740...
https://www.flickr.com/photos/22544551@N04/6728284...
Separate the Image Into Layers
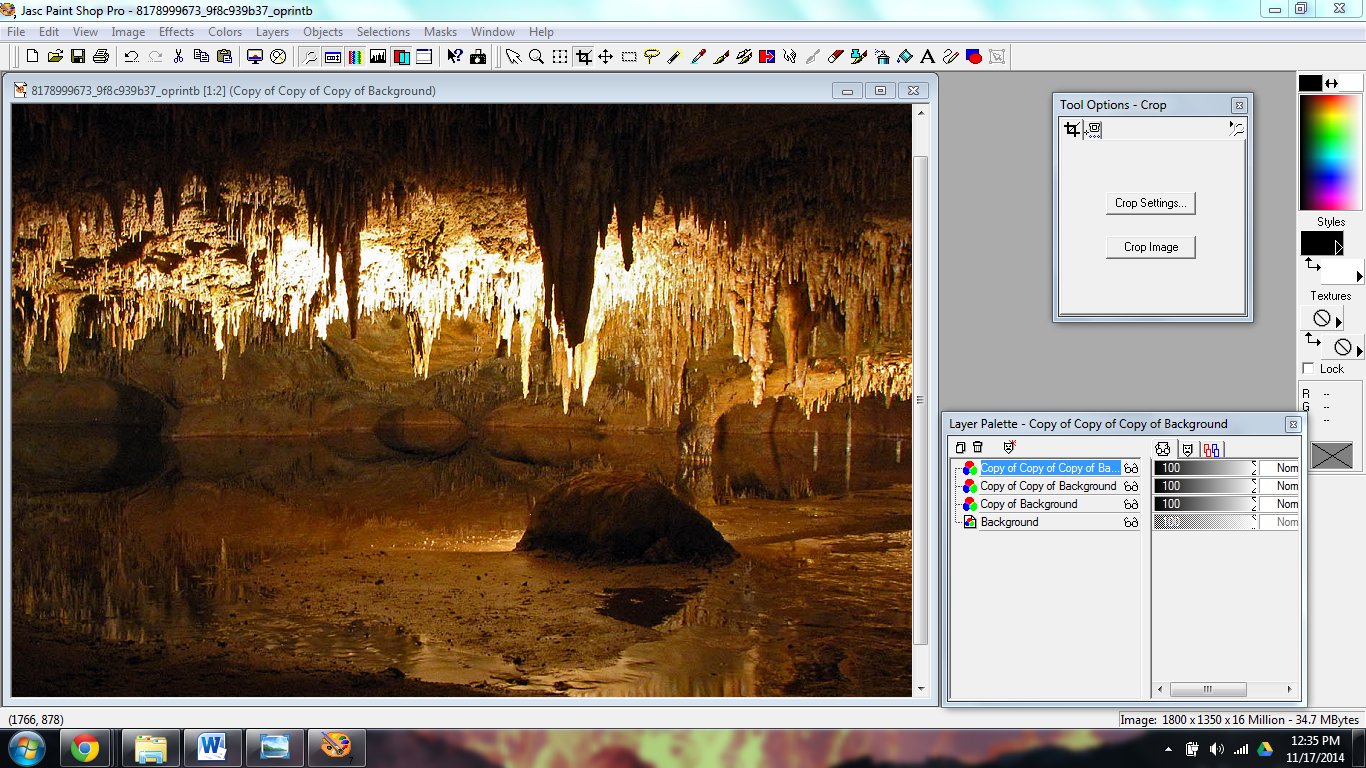
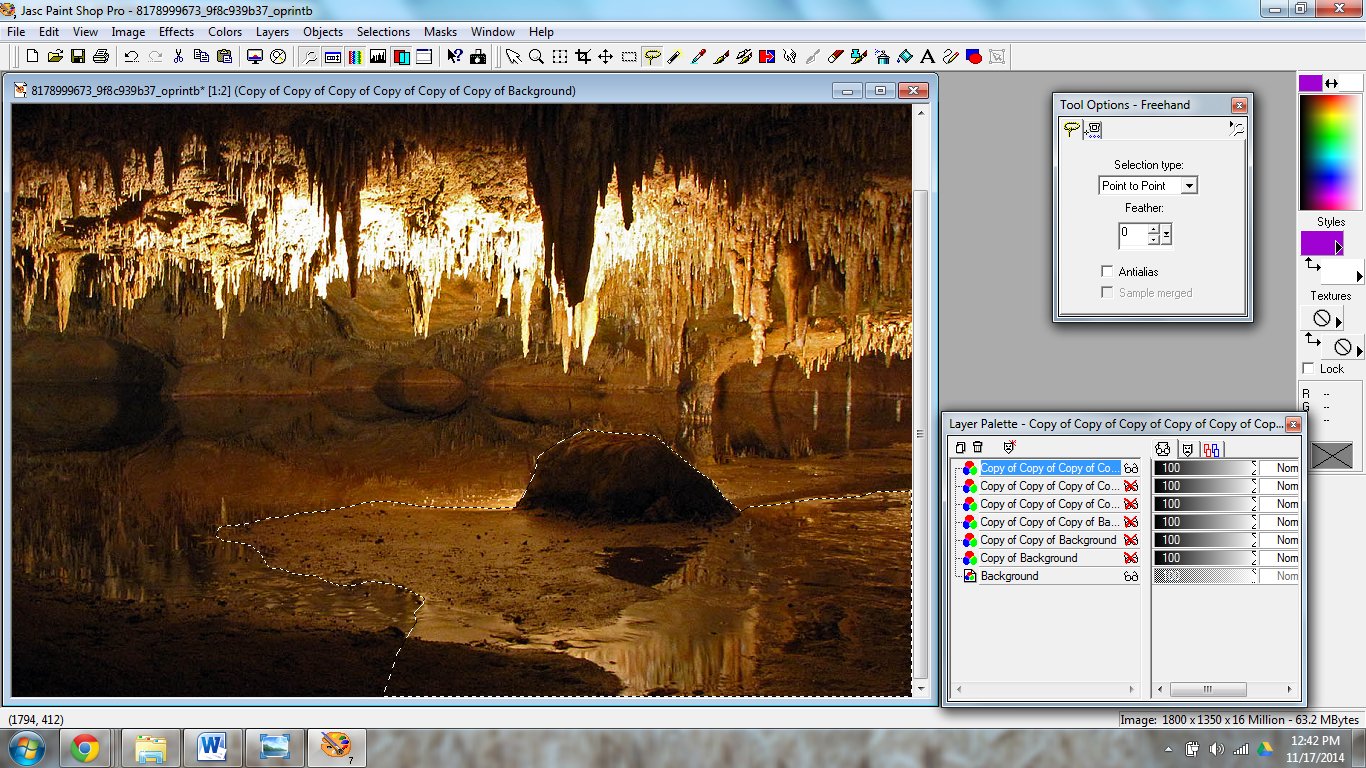
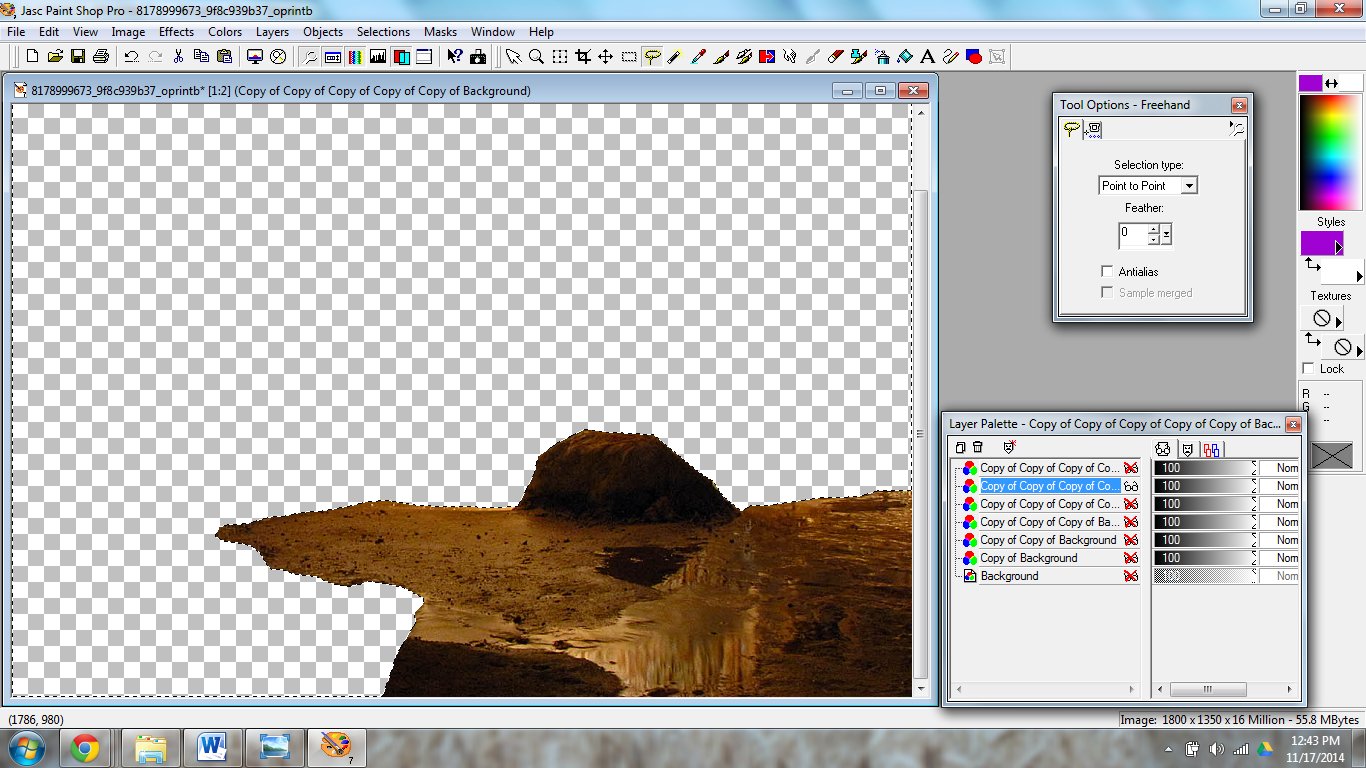

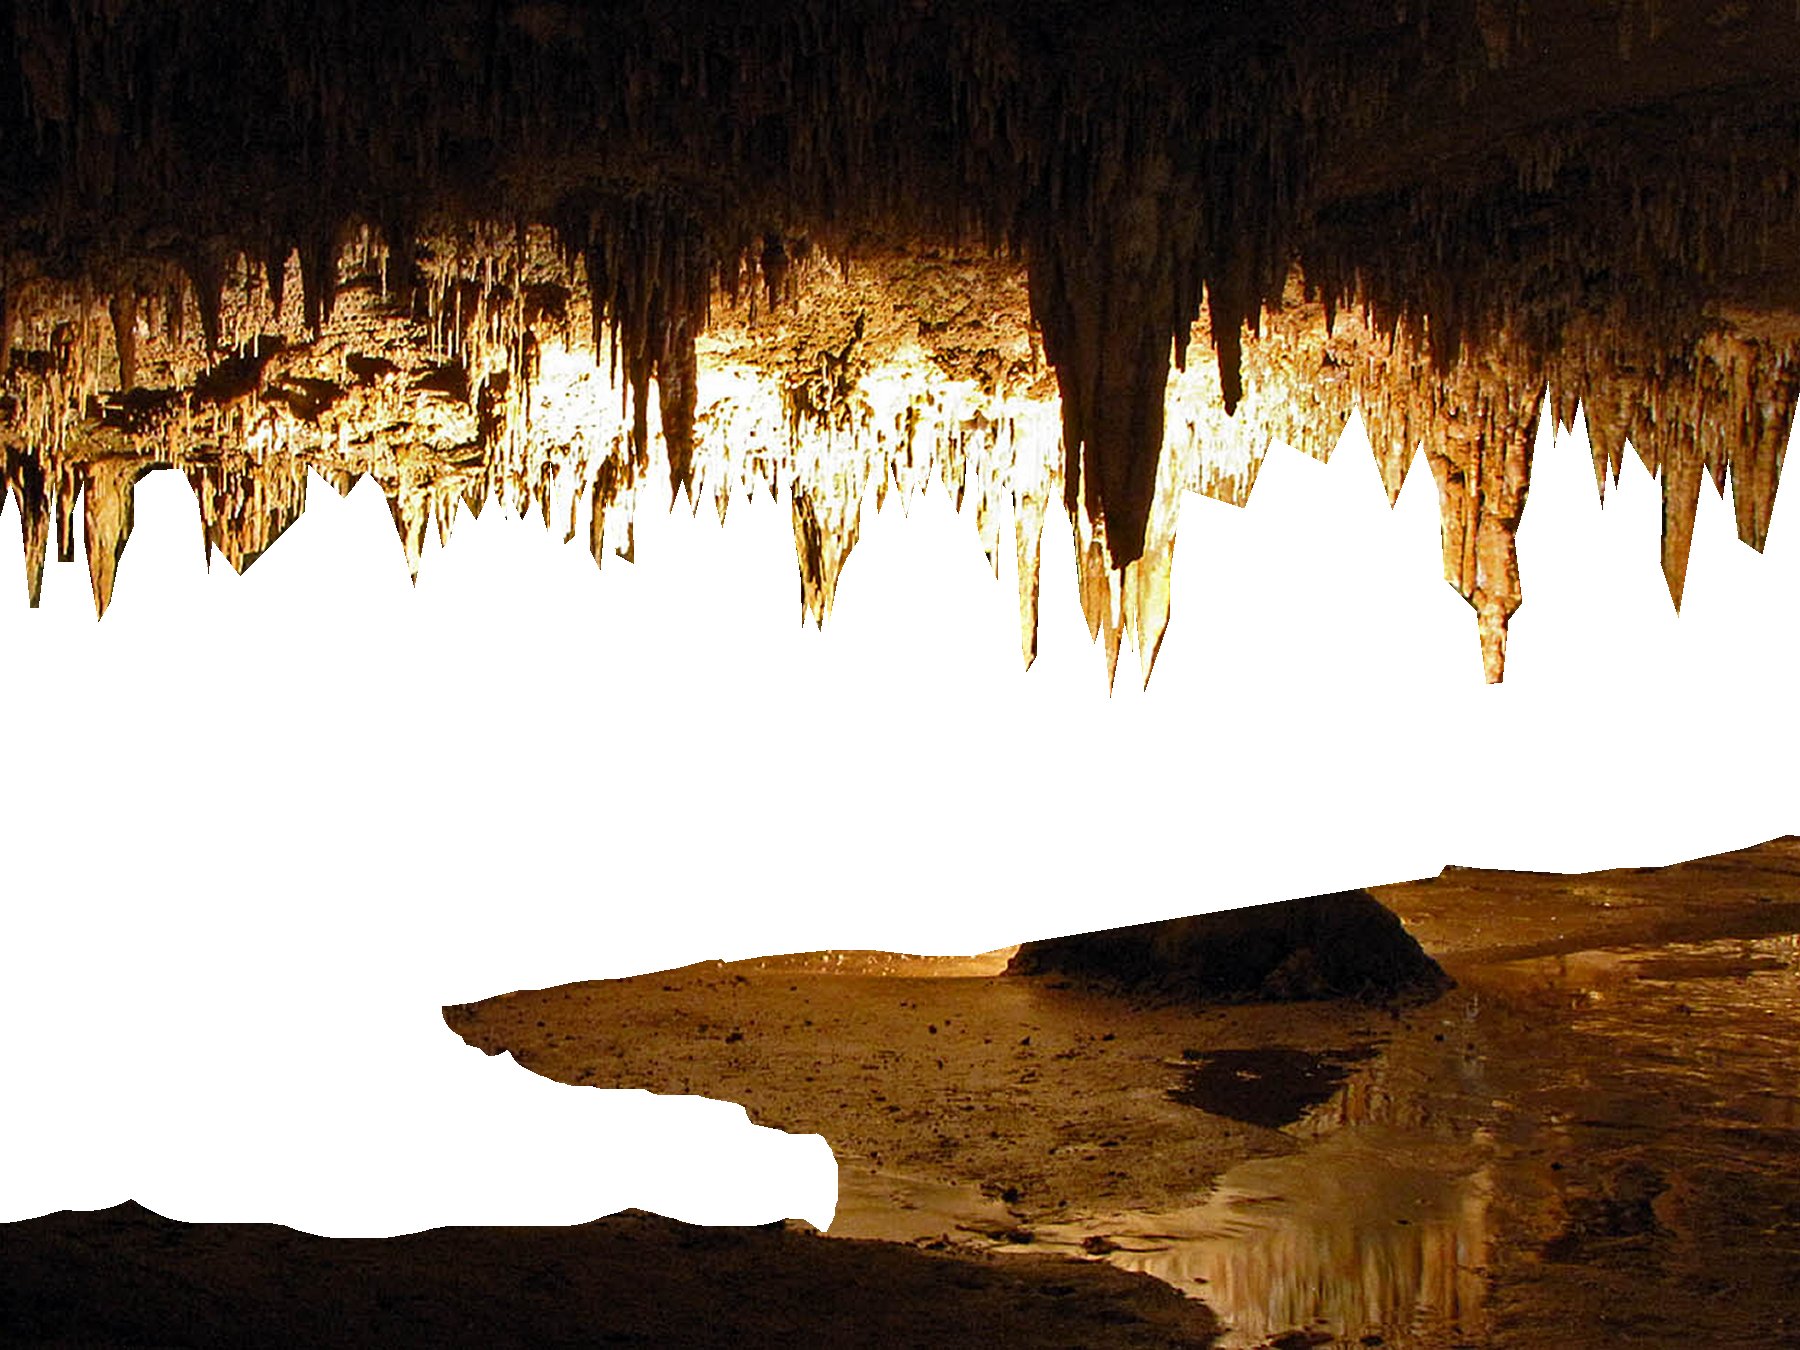
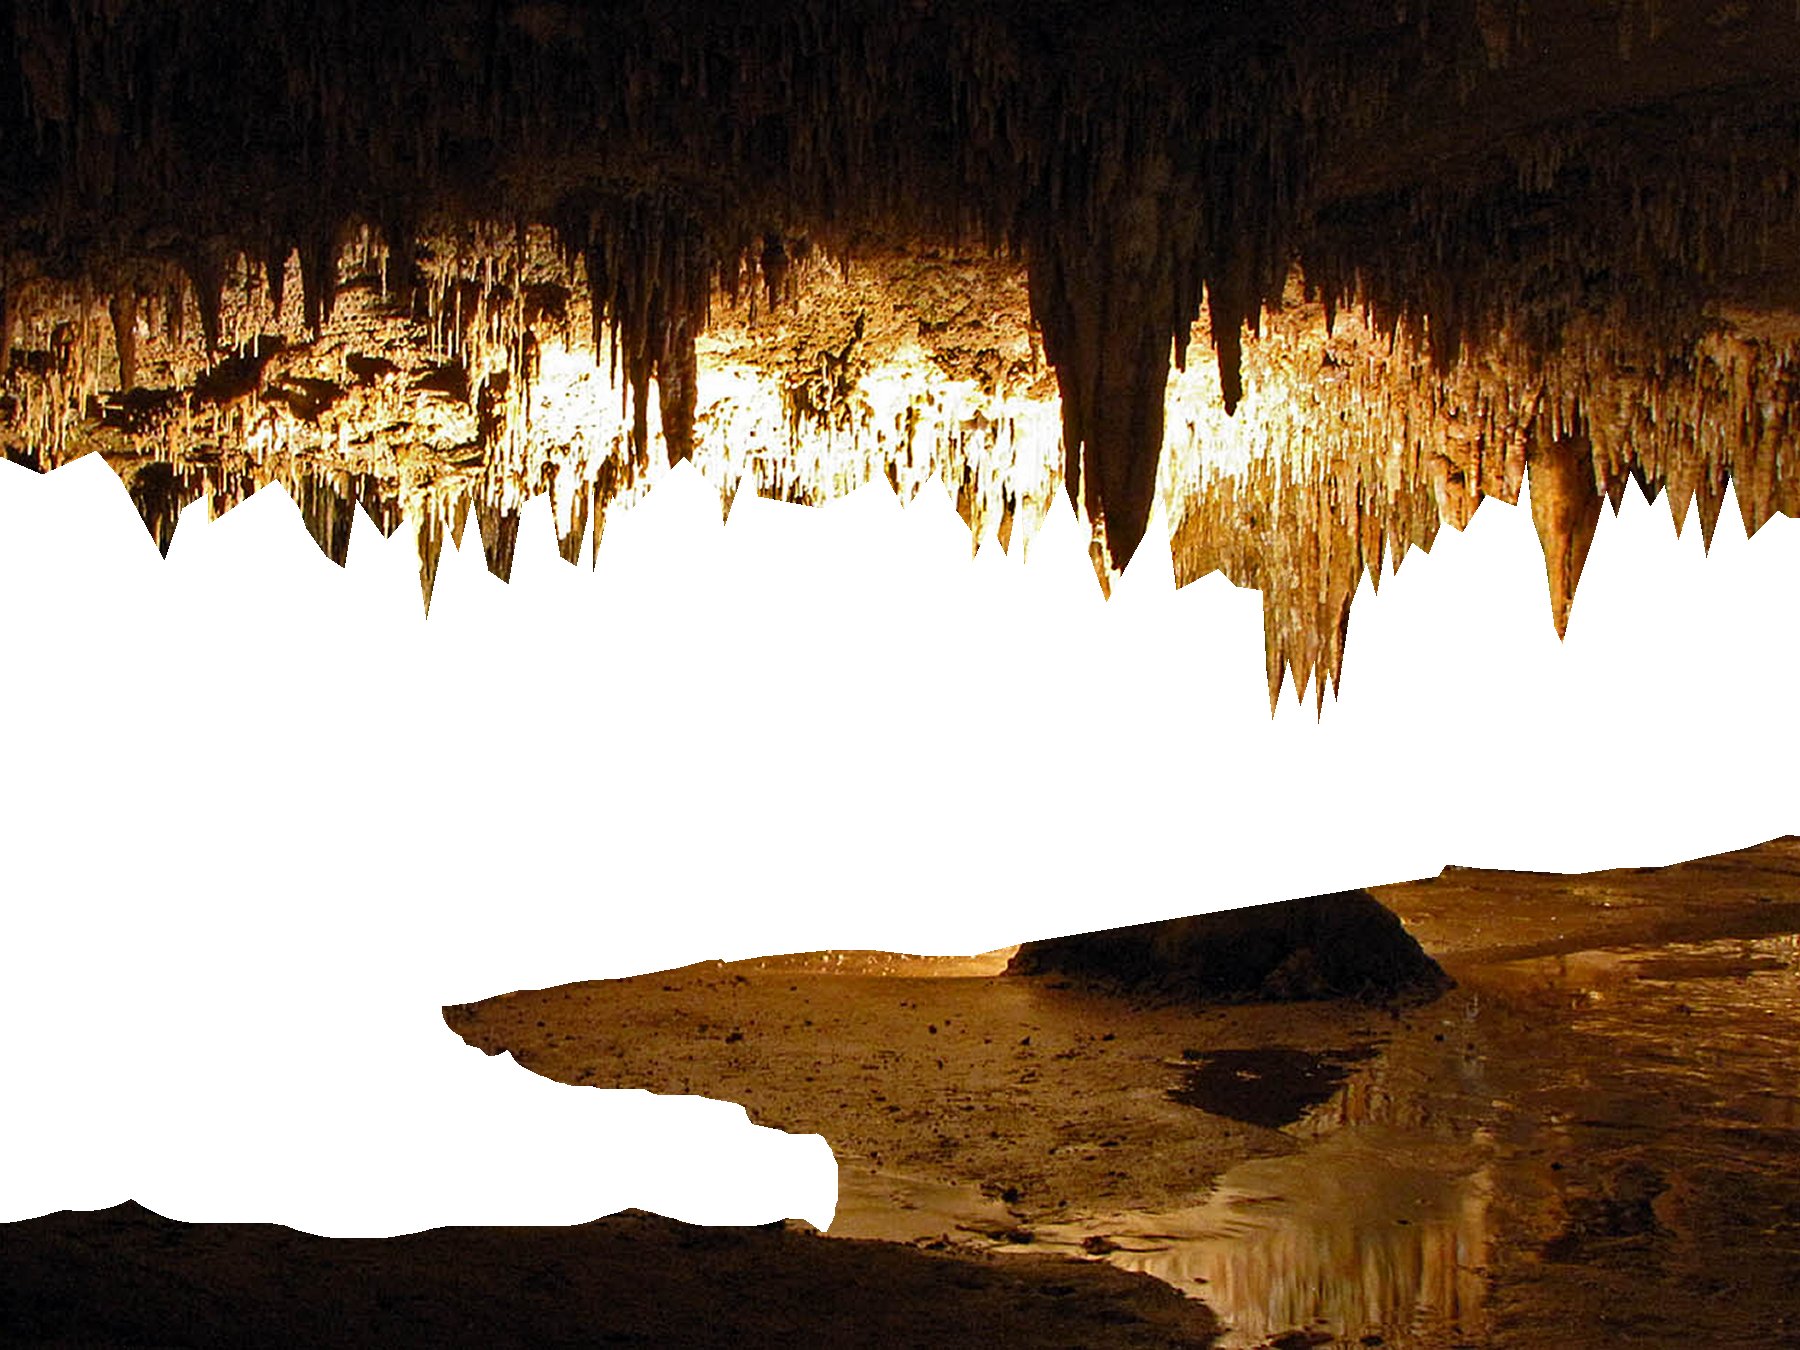
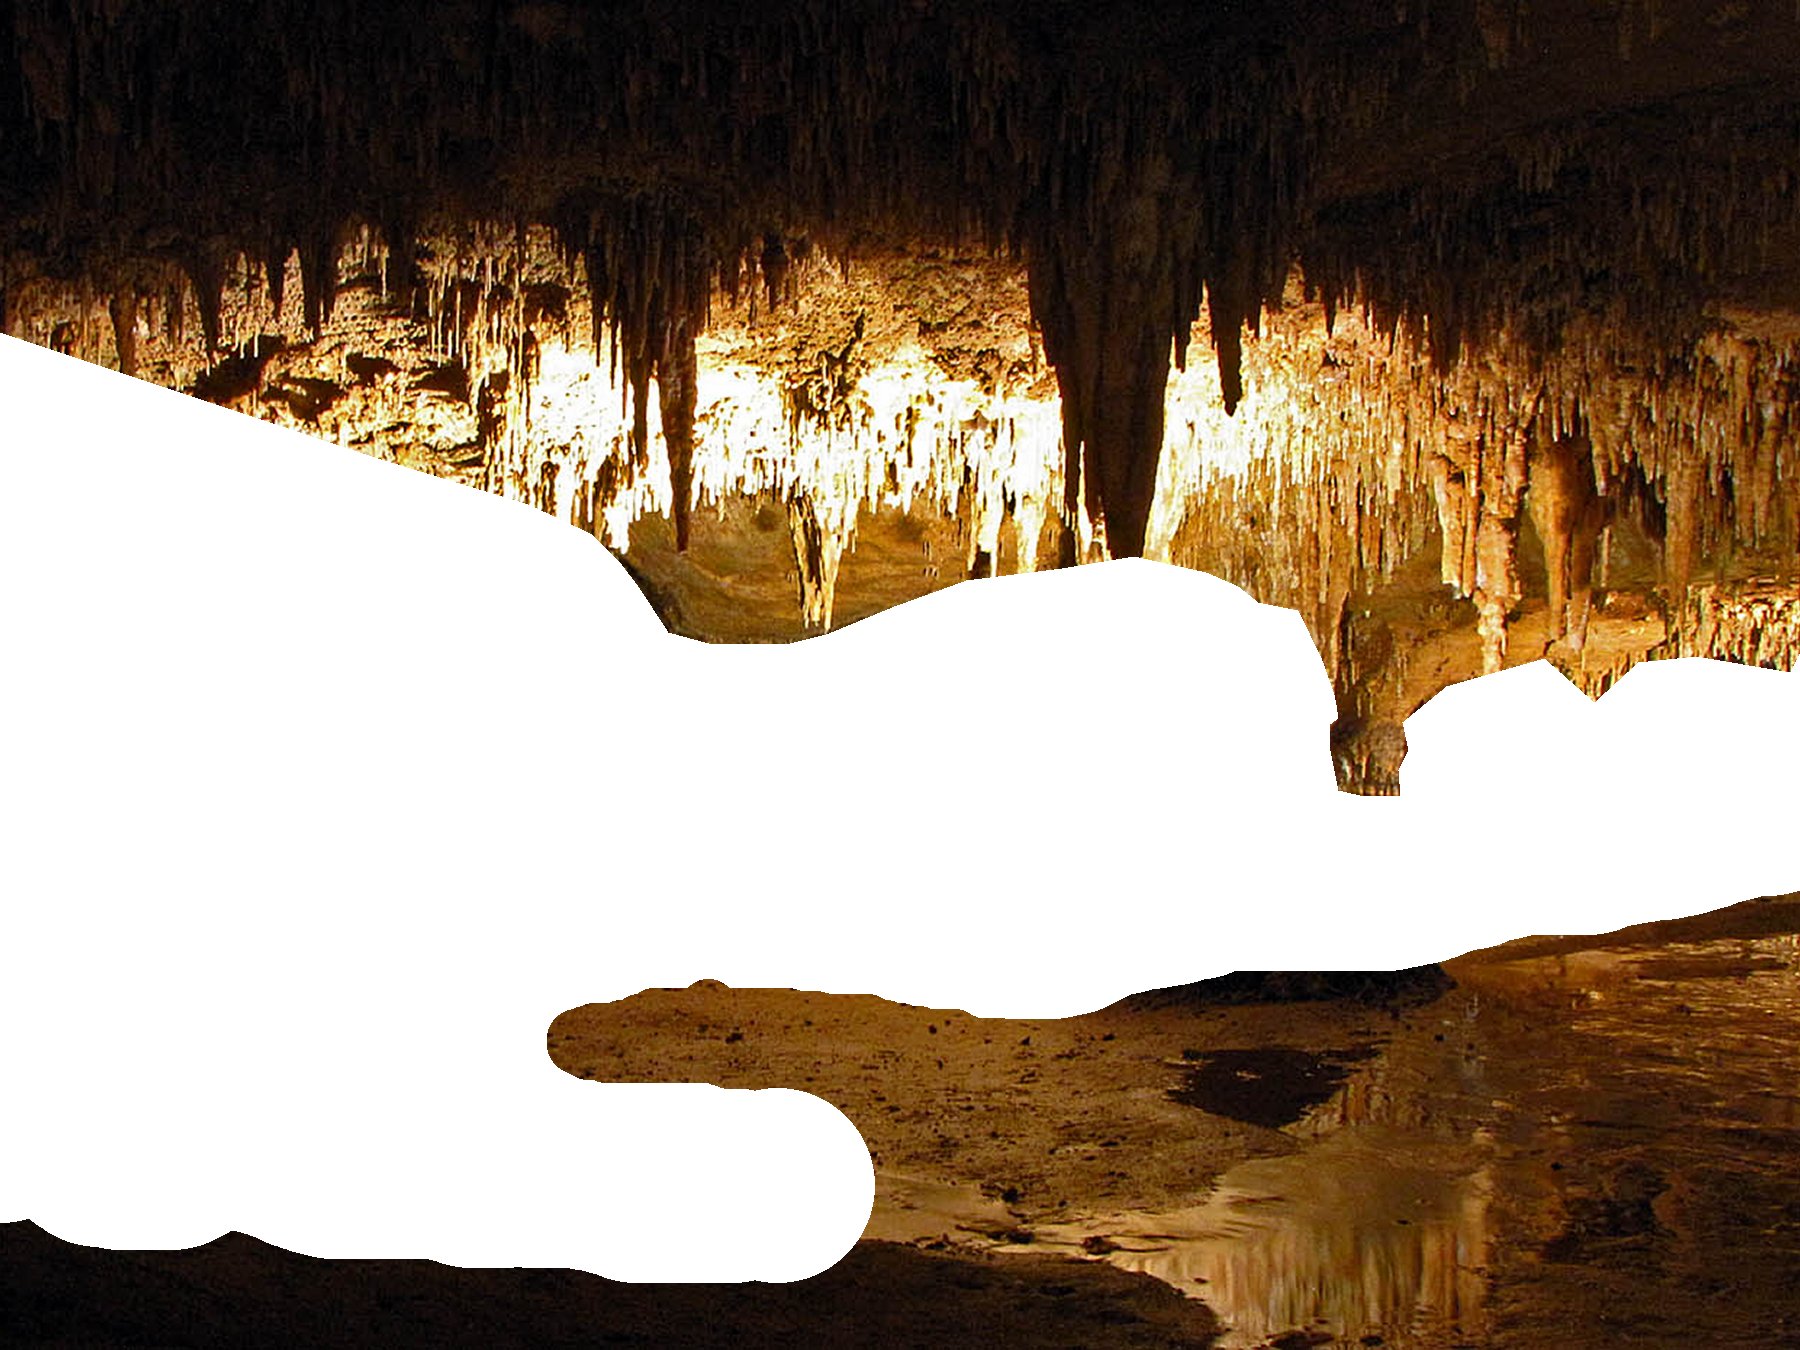
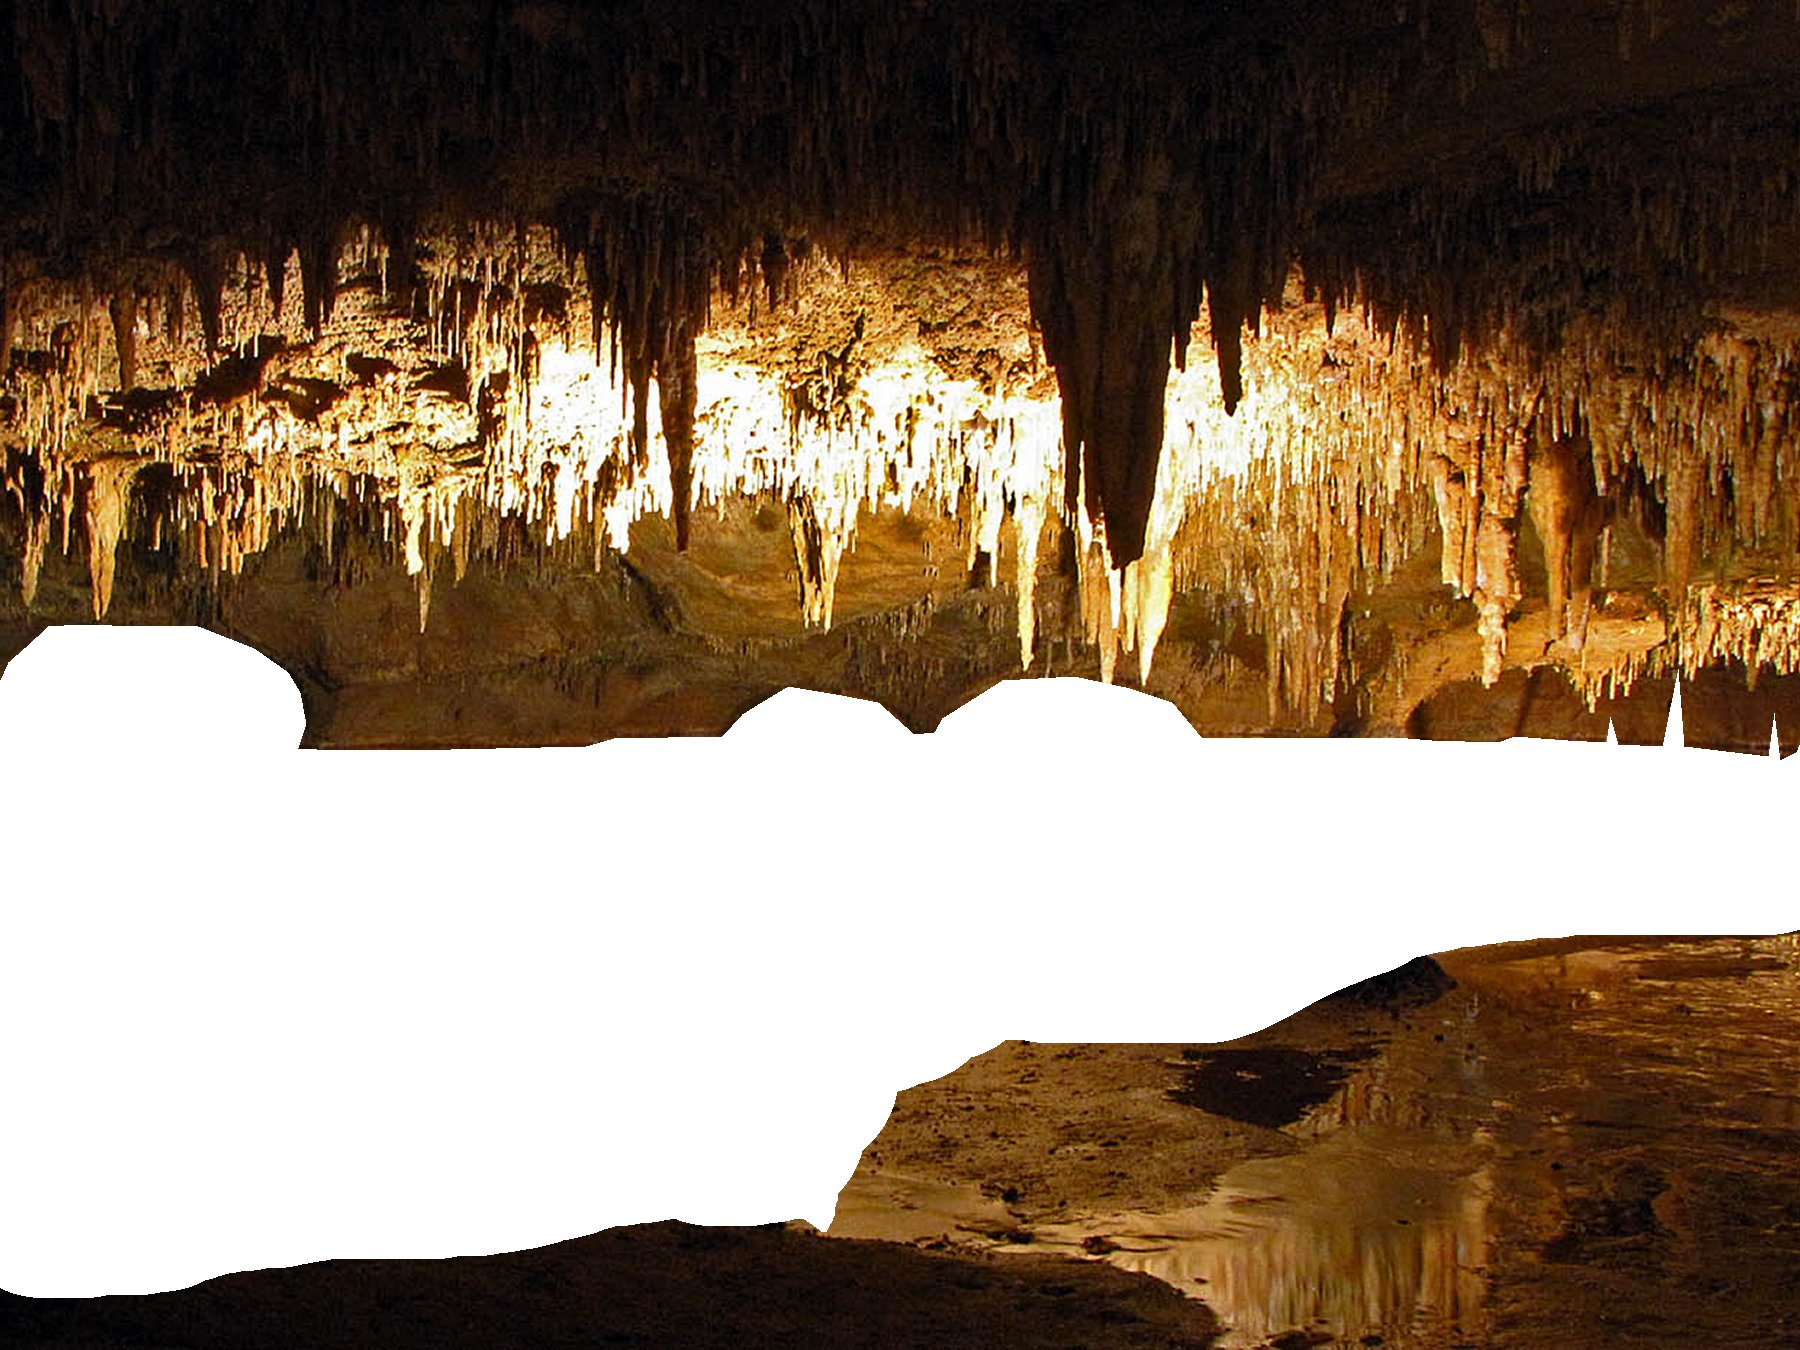
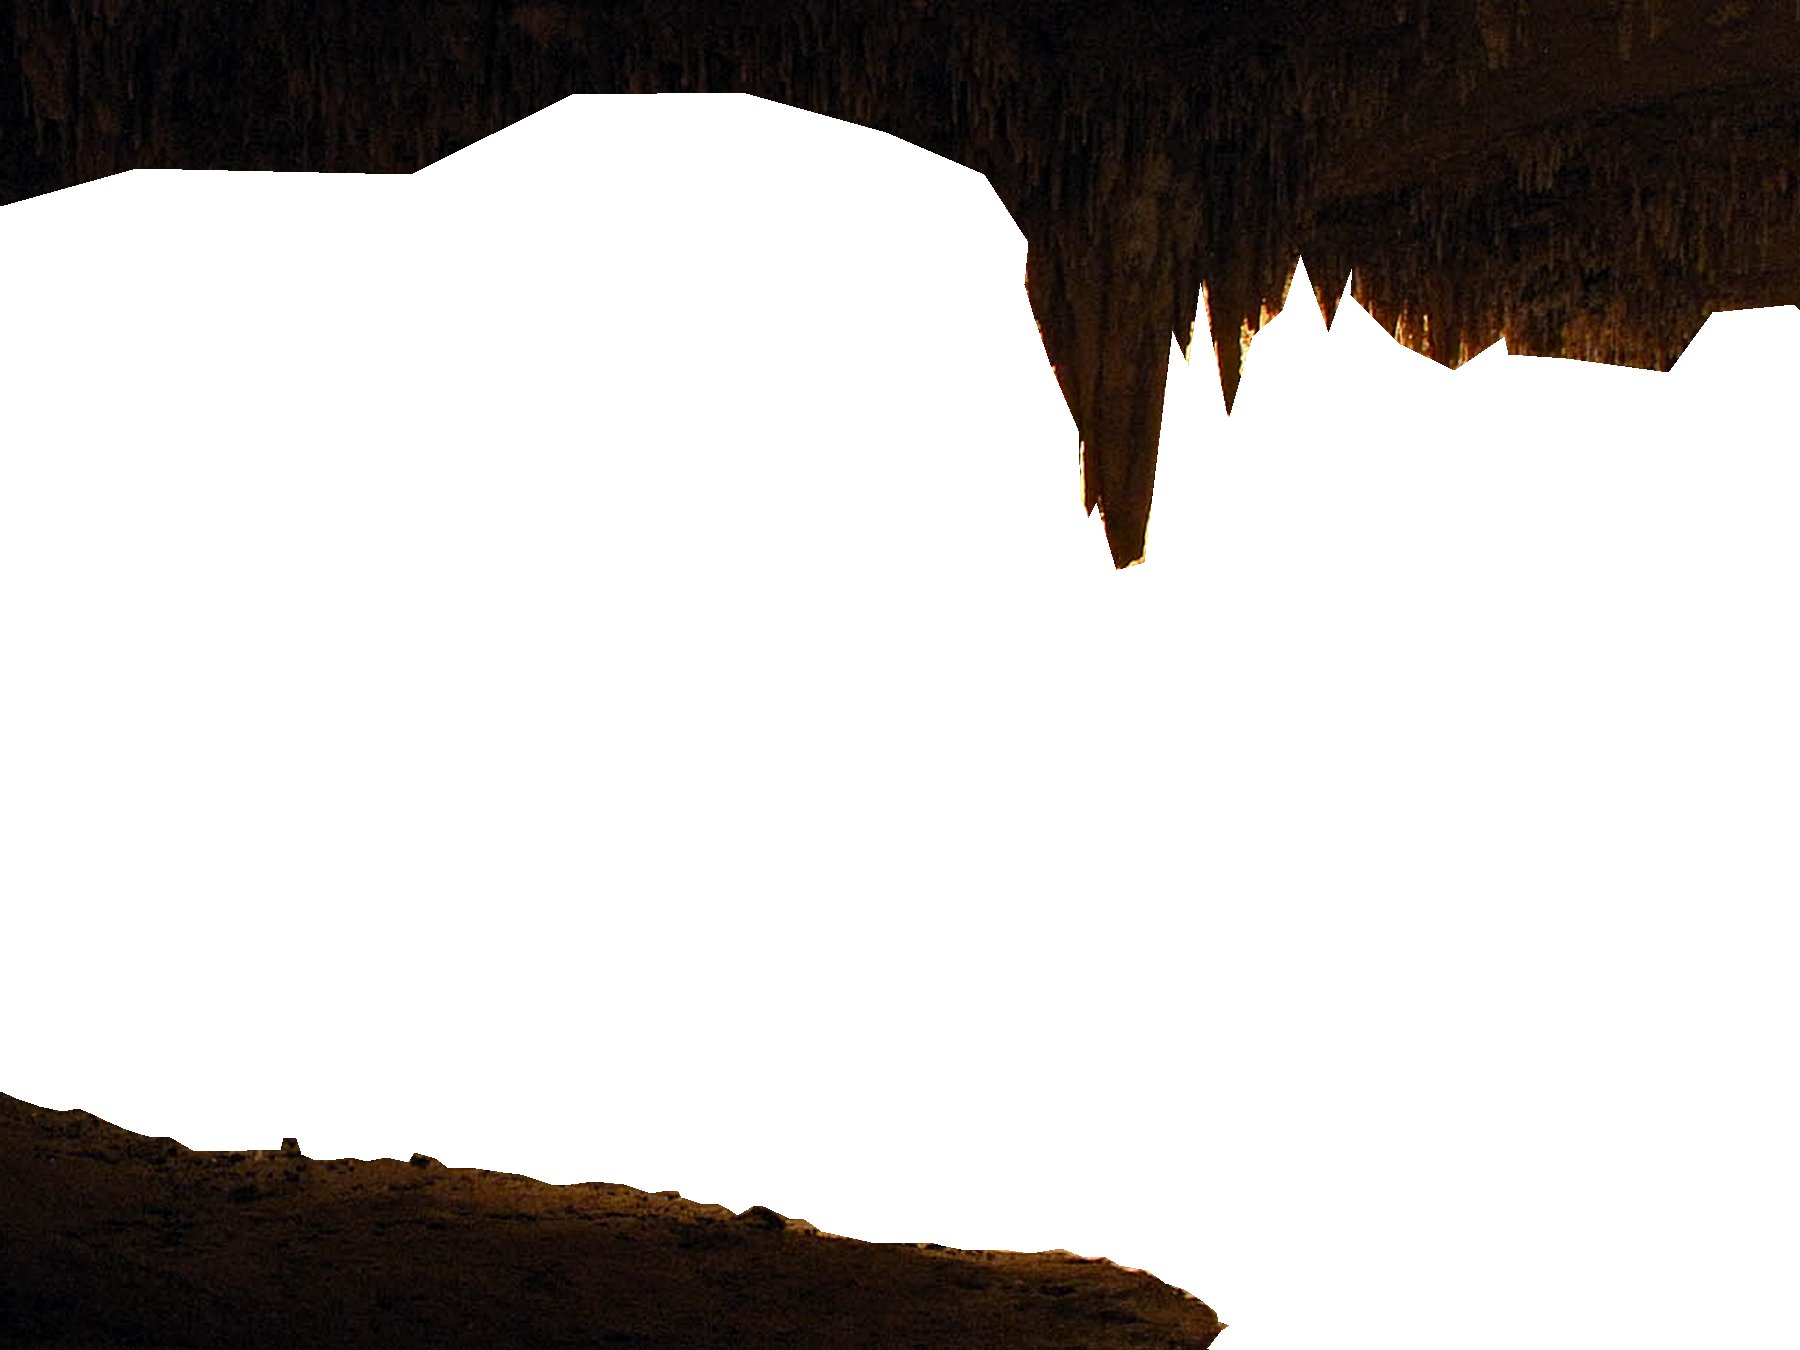
Now you need to separate the image in to different layers. Open the picture in your favorite photo editing program. Start by selecting objects that are the closest to the camera. Then copy and paste them into a new layer. Repeat this with the next set of objects that are a little further from the camera. Continue until you have separated the whole image into layers. Group together all the objects that are at the same depth. If a given object is particularly thick, it may need to be included in multiple layers.
In this case, there was a lake in the center of the picture. I wanted to make the water glow with the back lighting so I left it blank in each layer. It will be covered up with a plain white backing.
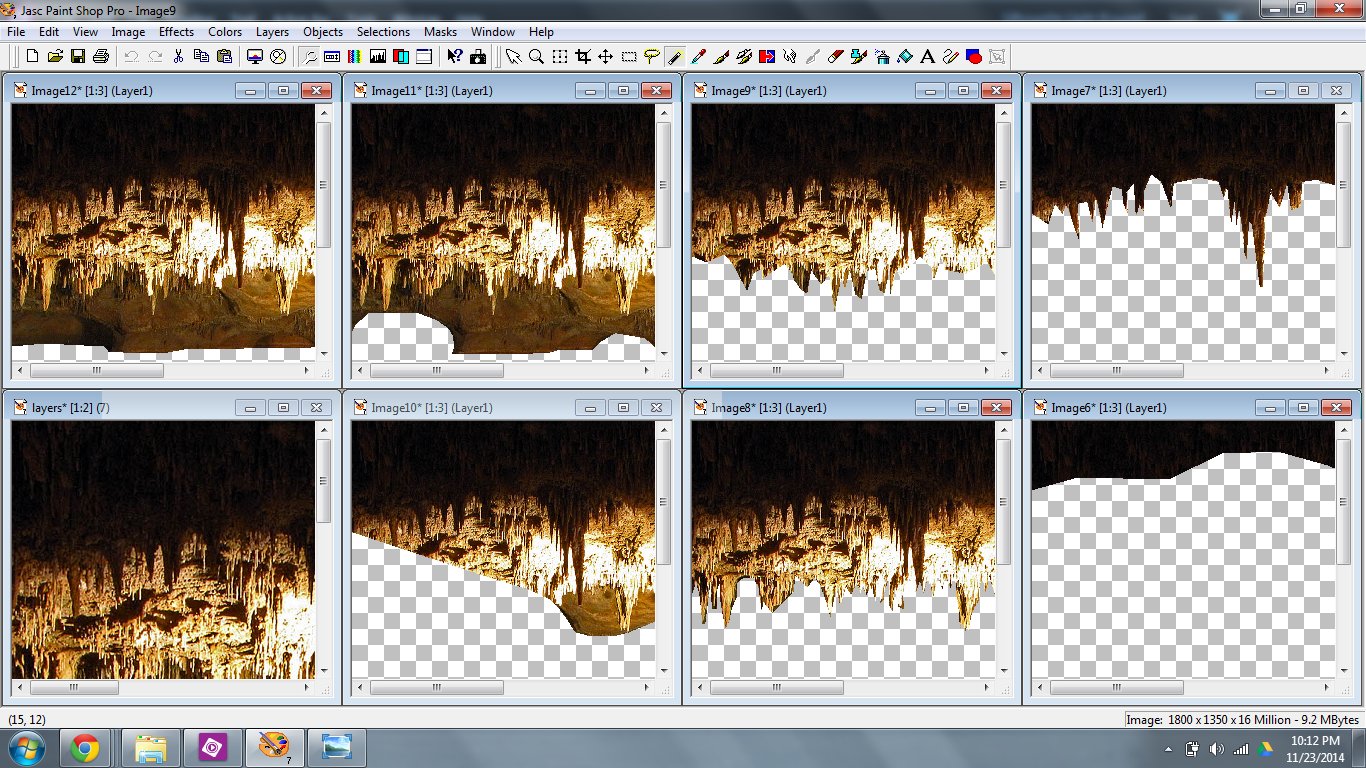
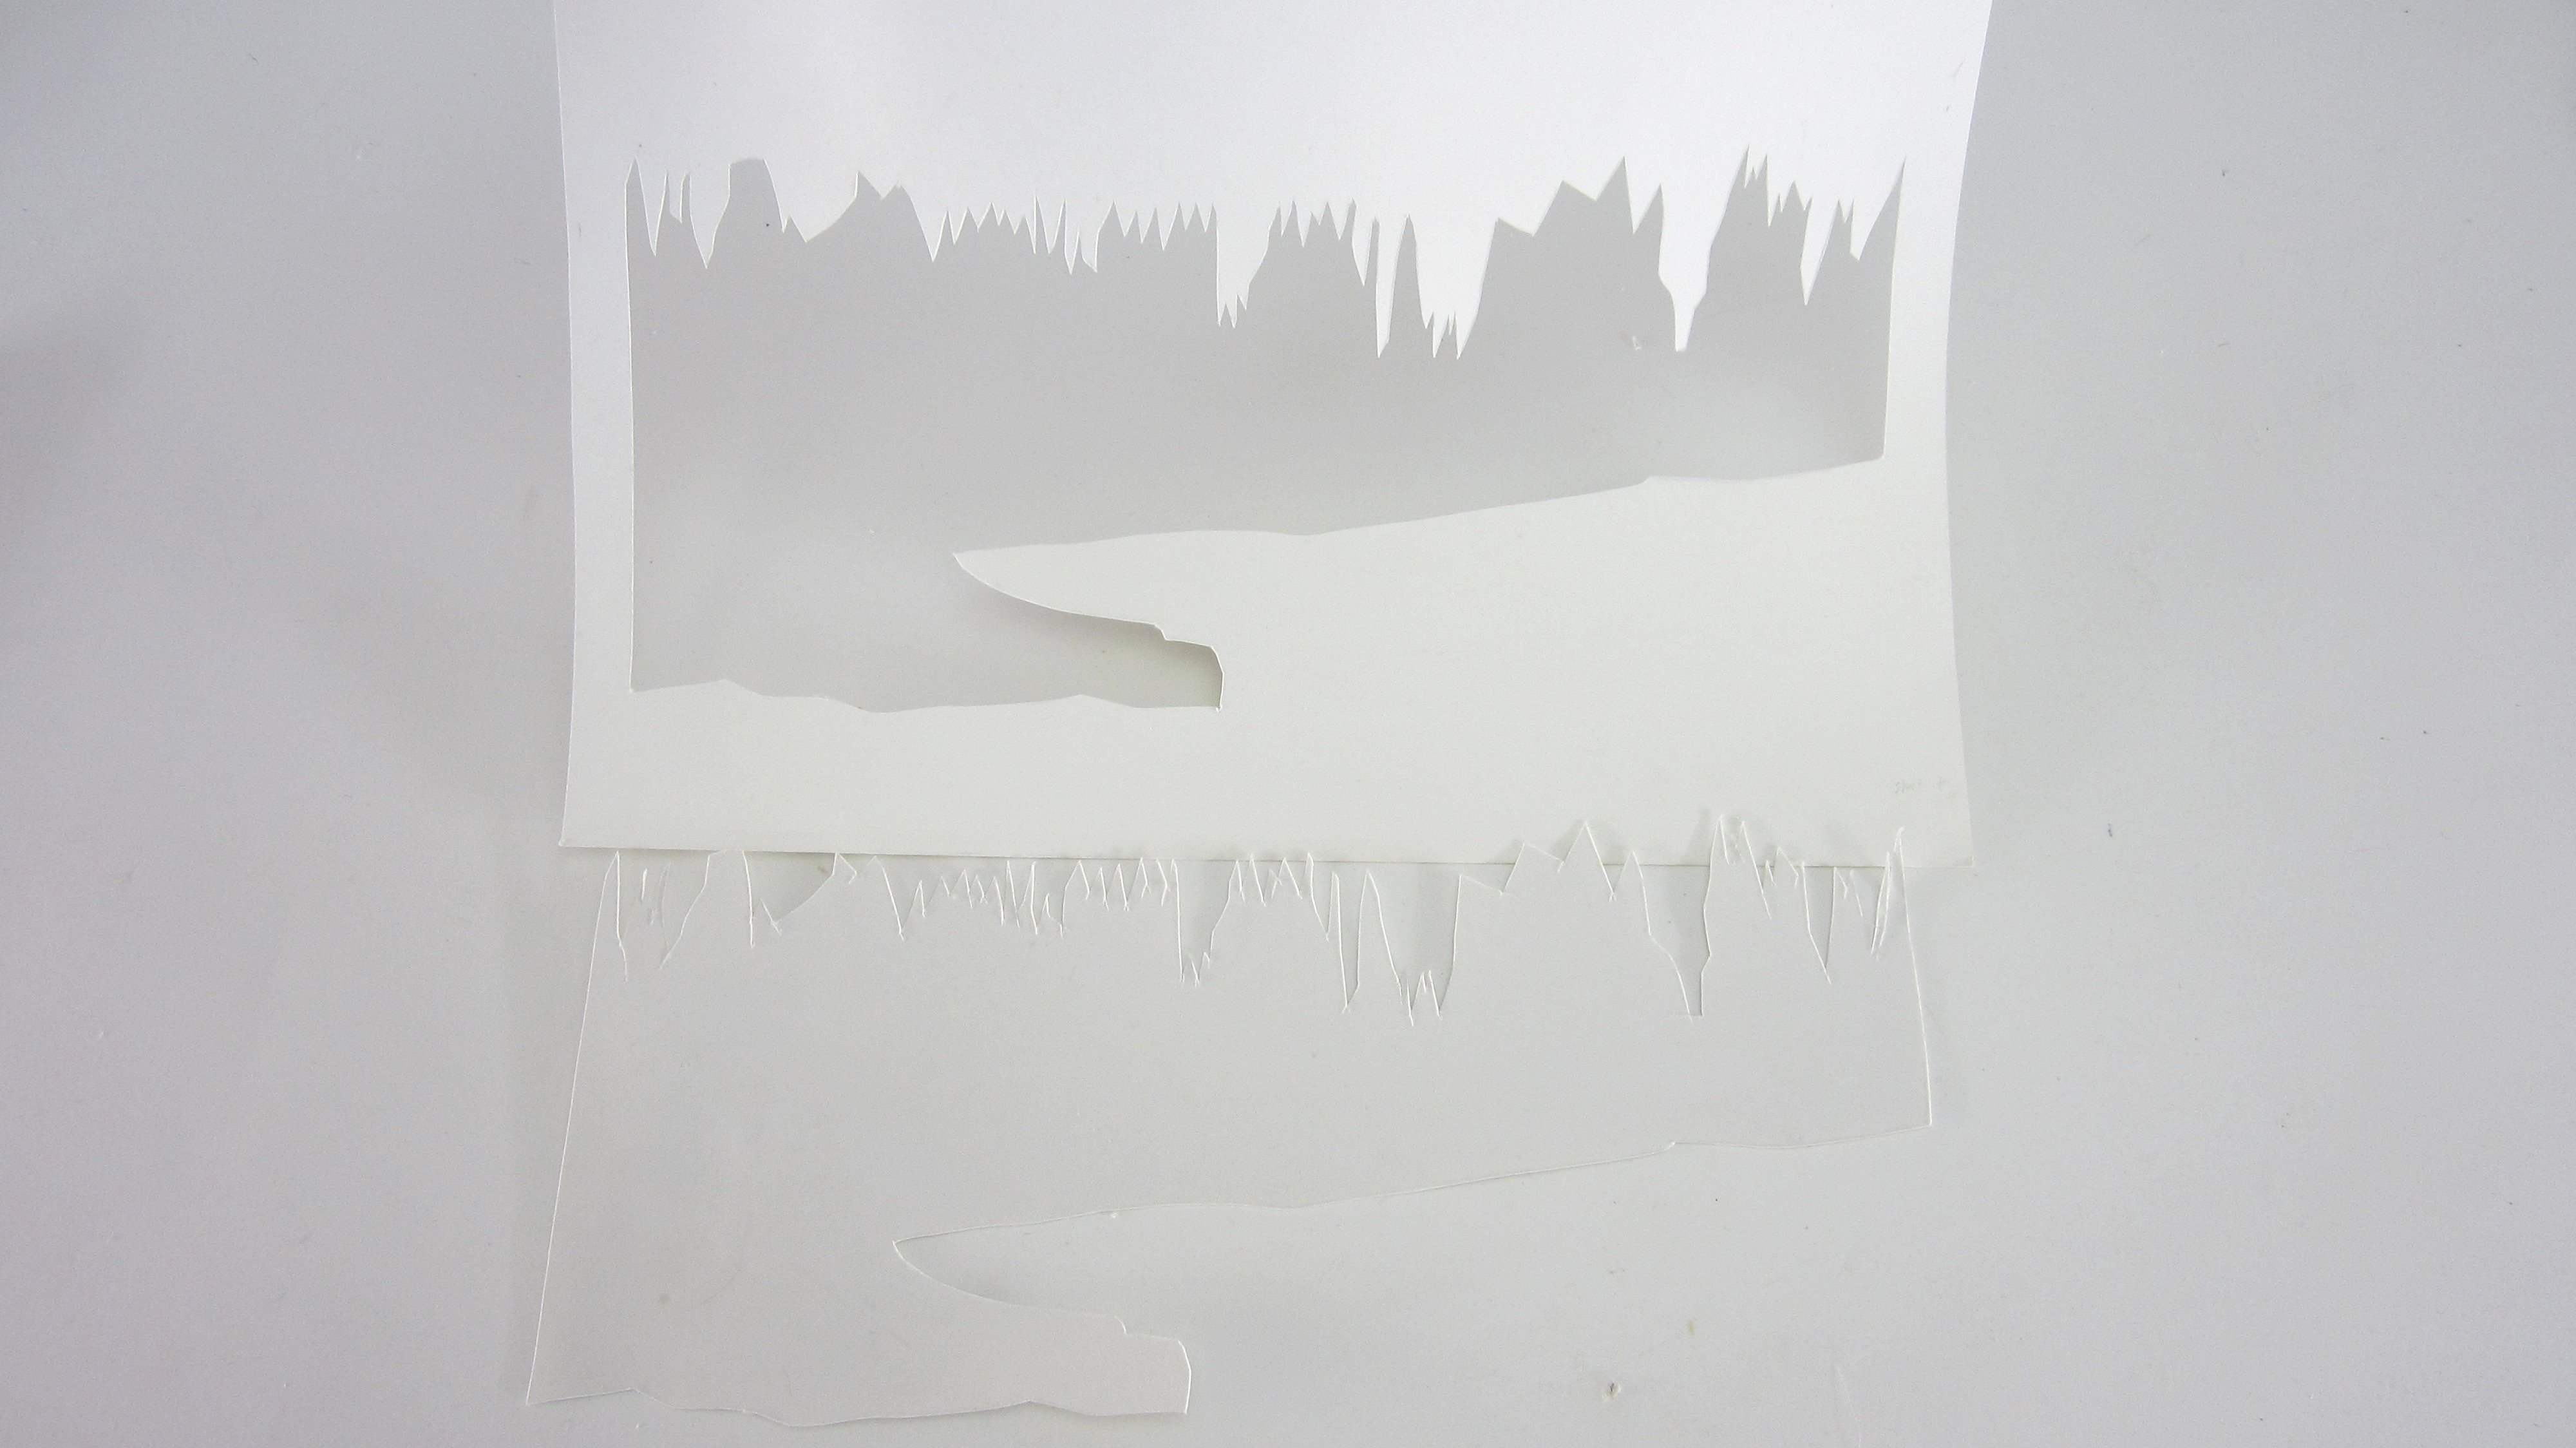
Turn Each Layer Into a Silhouette
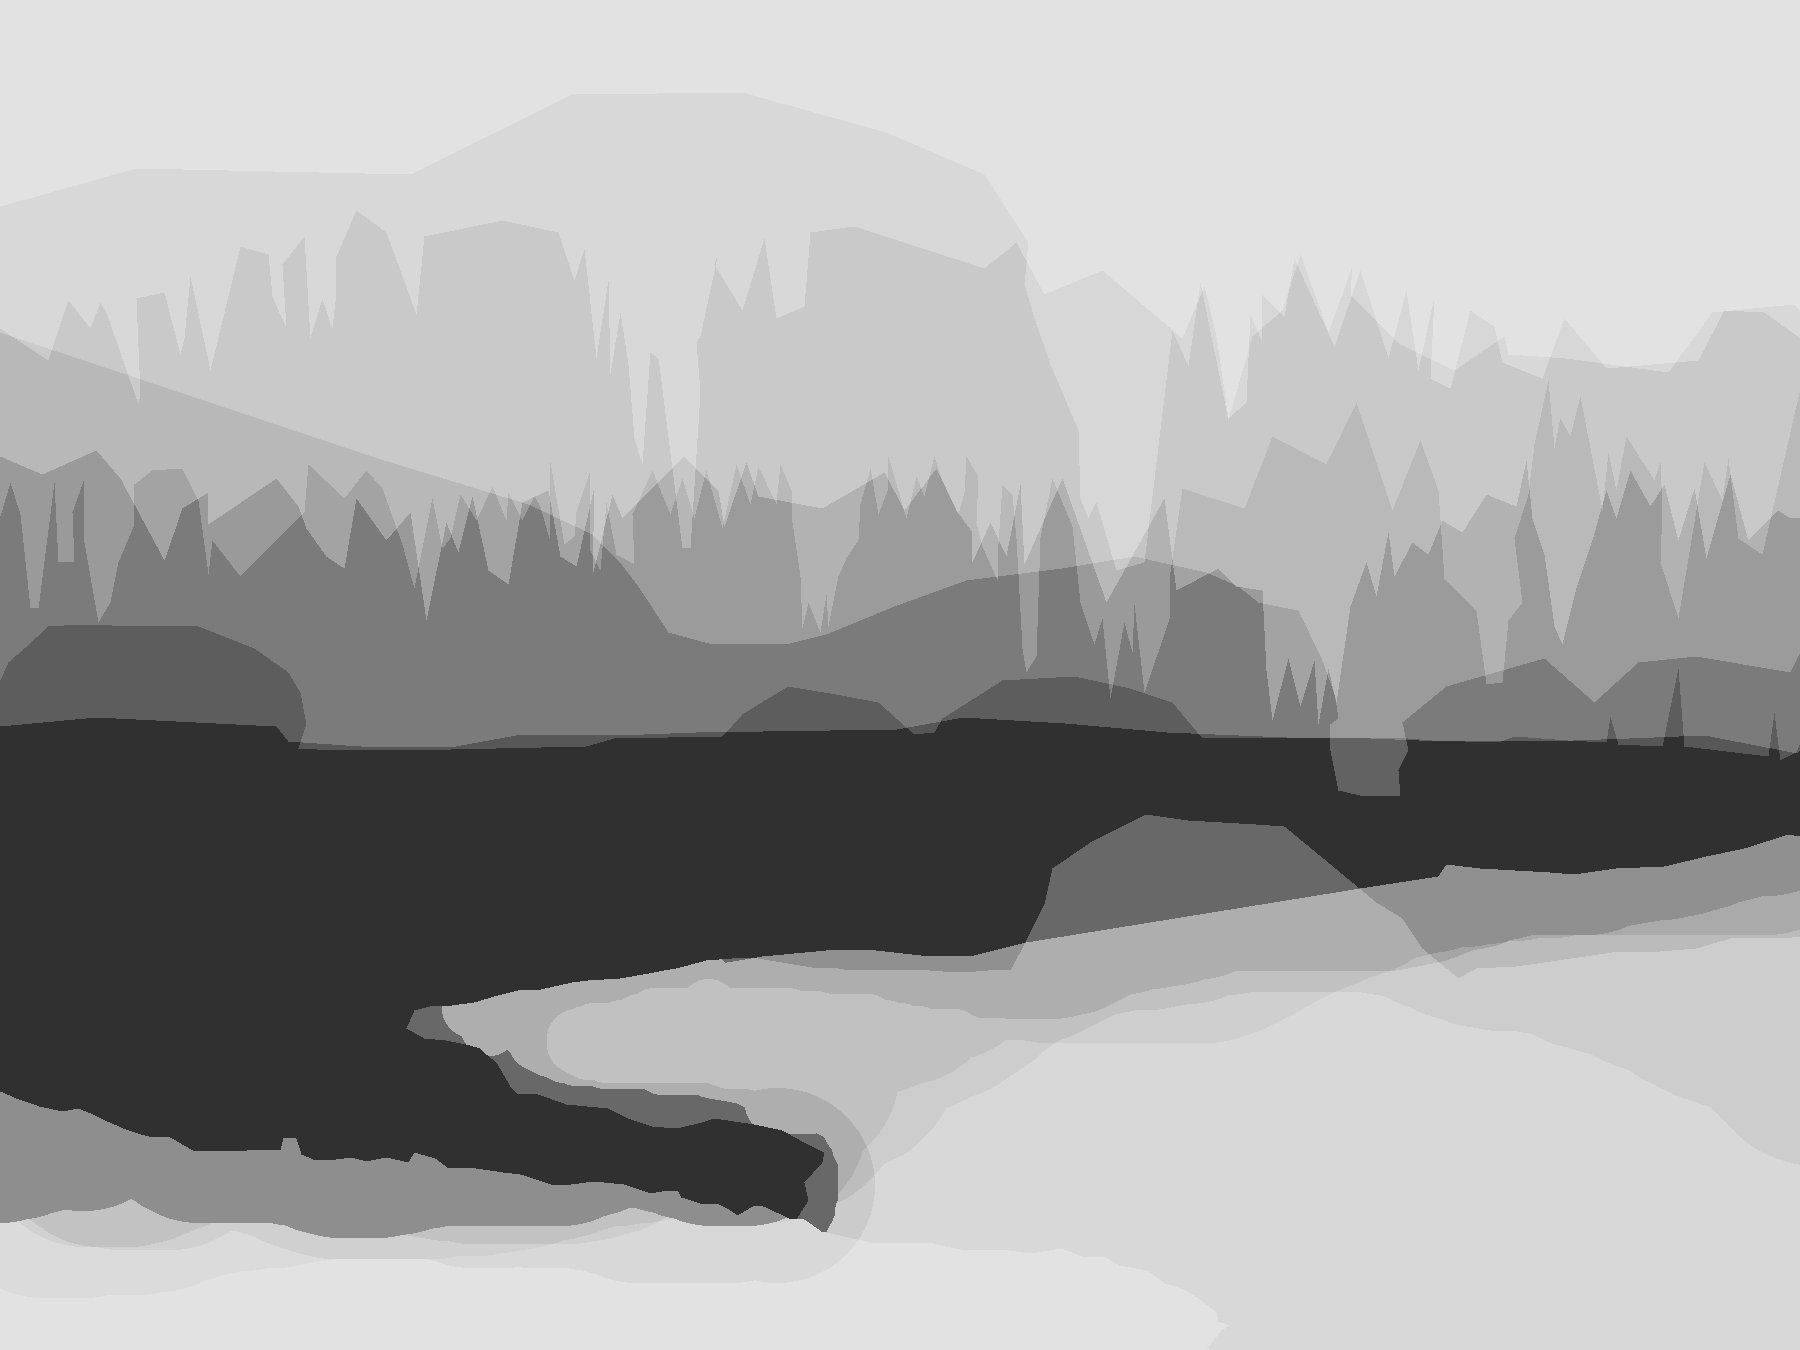


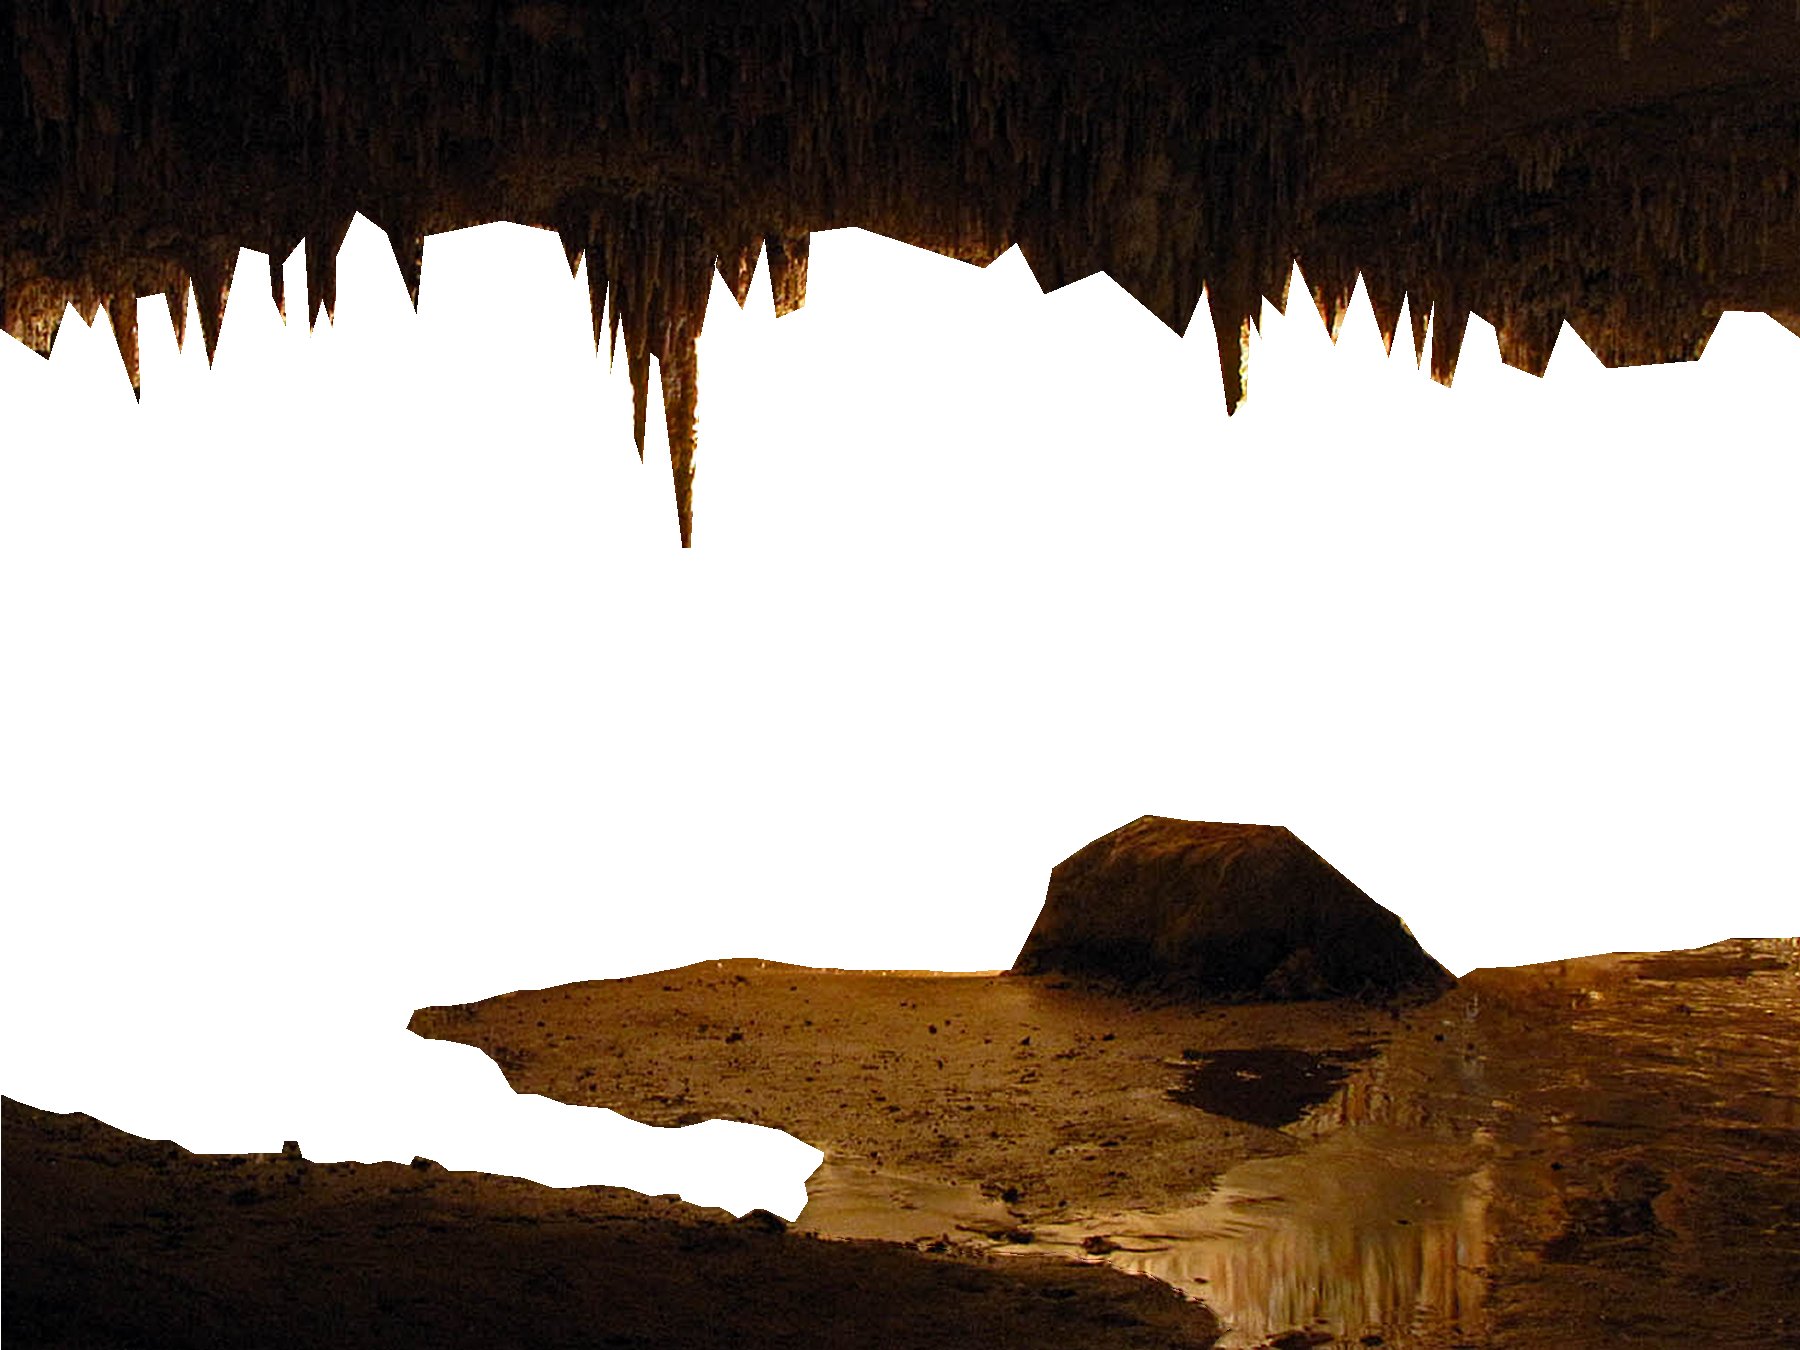
Now in each layer, select the portion of the picture that is visible. Fill this section with solid white and fill the remaining empty space with a very light gray. You want there to be an easily distinguished line between the two sections but you don't want to waste a lot of ink filling the blank space. Do this for each layer.
I have attached a zip file of silhouette layers.
Downloads
Print the Layers Out on Cardstock
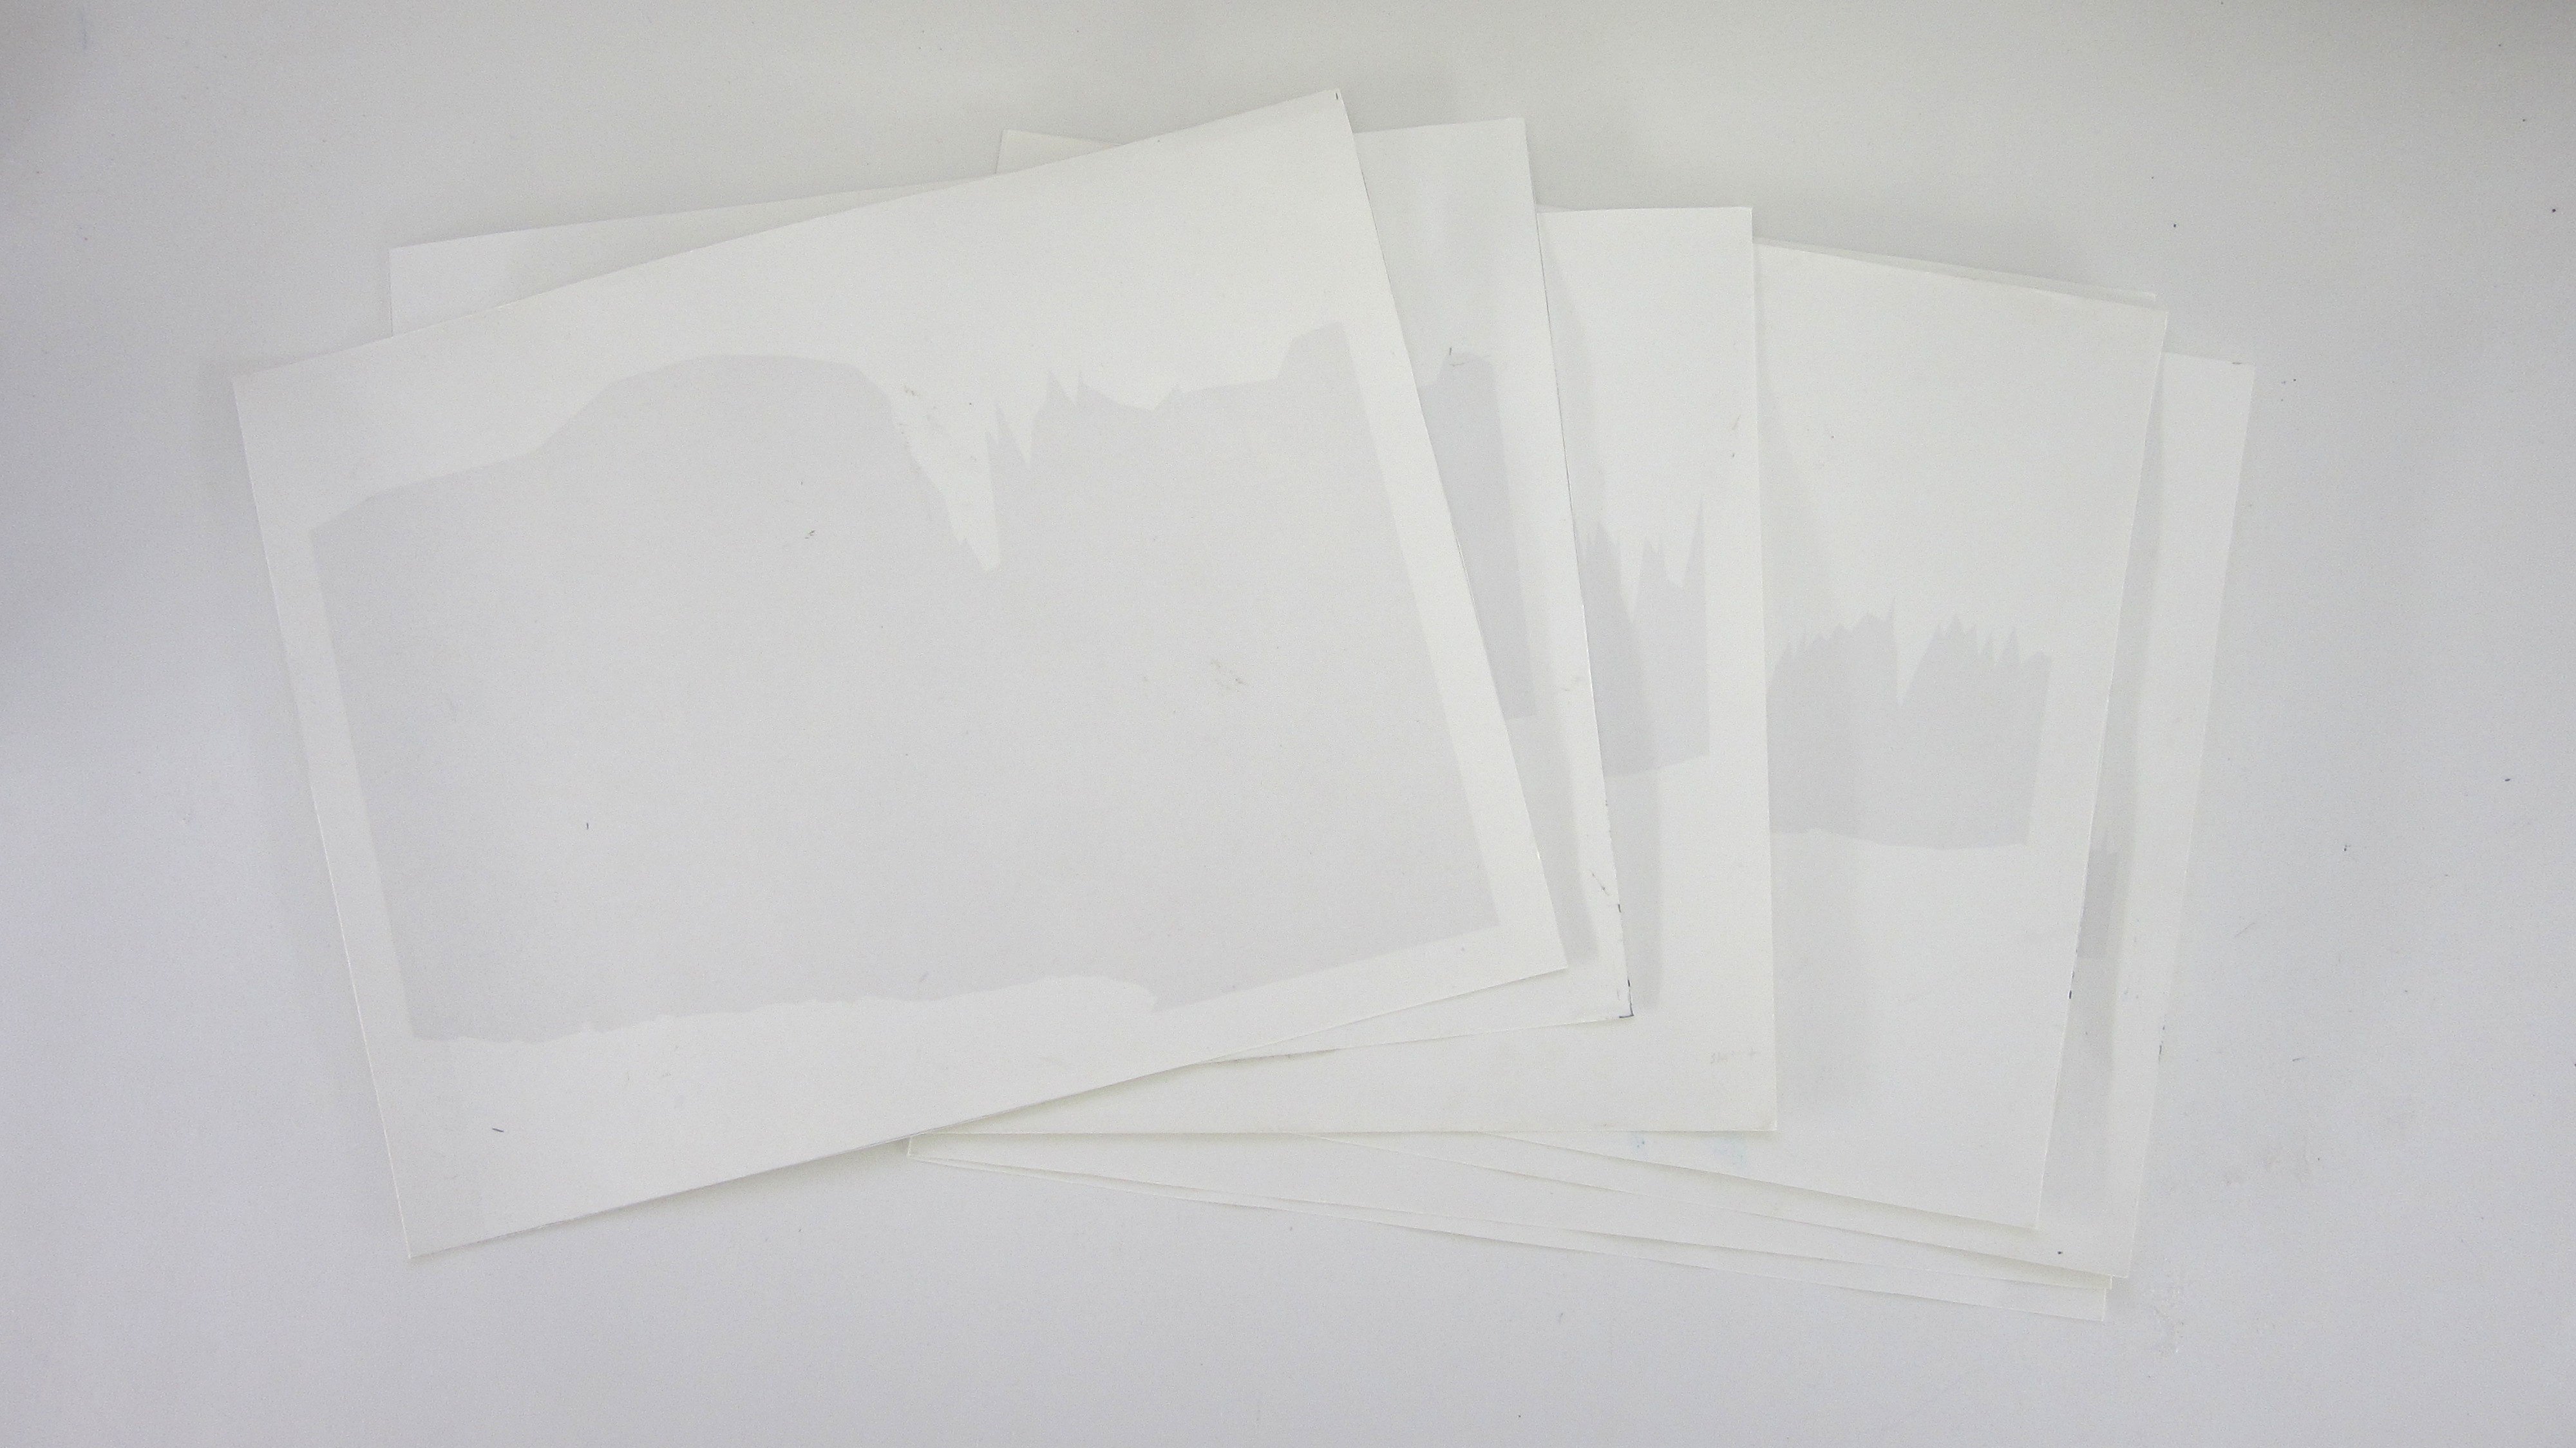
Print out each layer on a sheet of card stock.
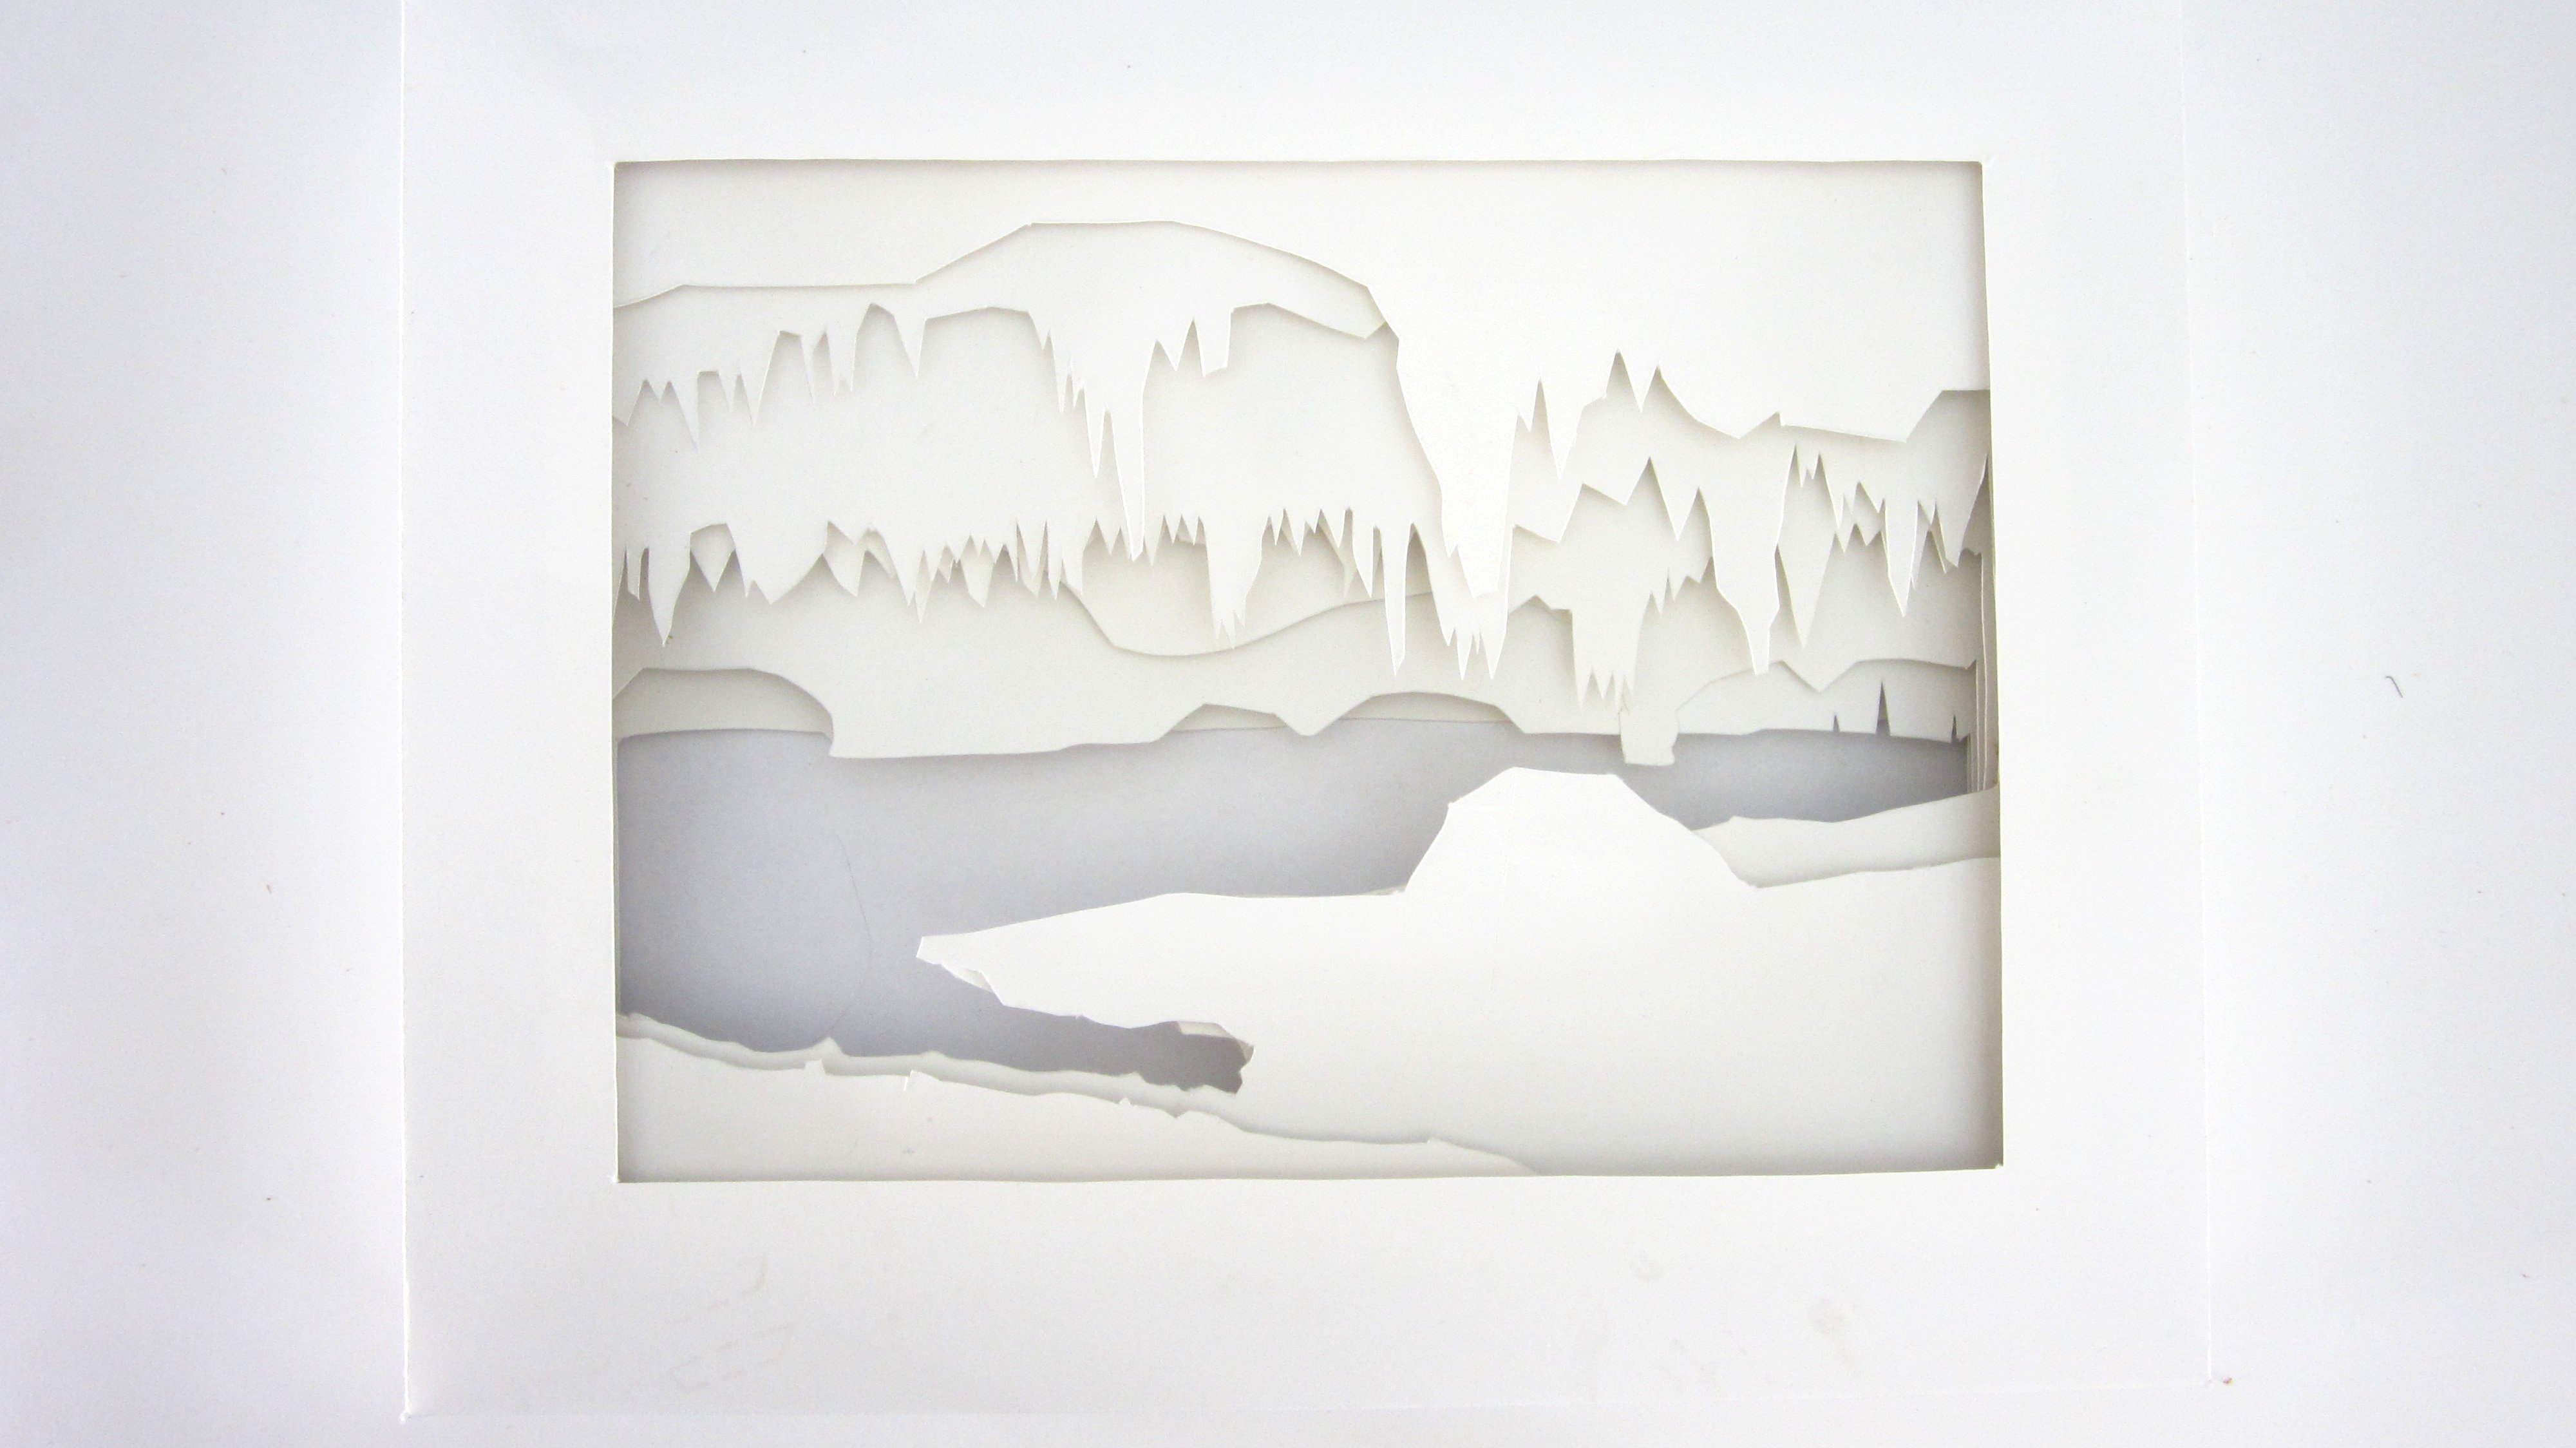
Cut Out the Silhouettes
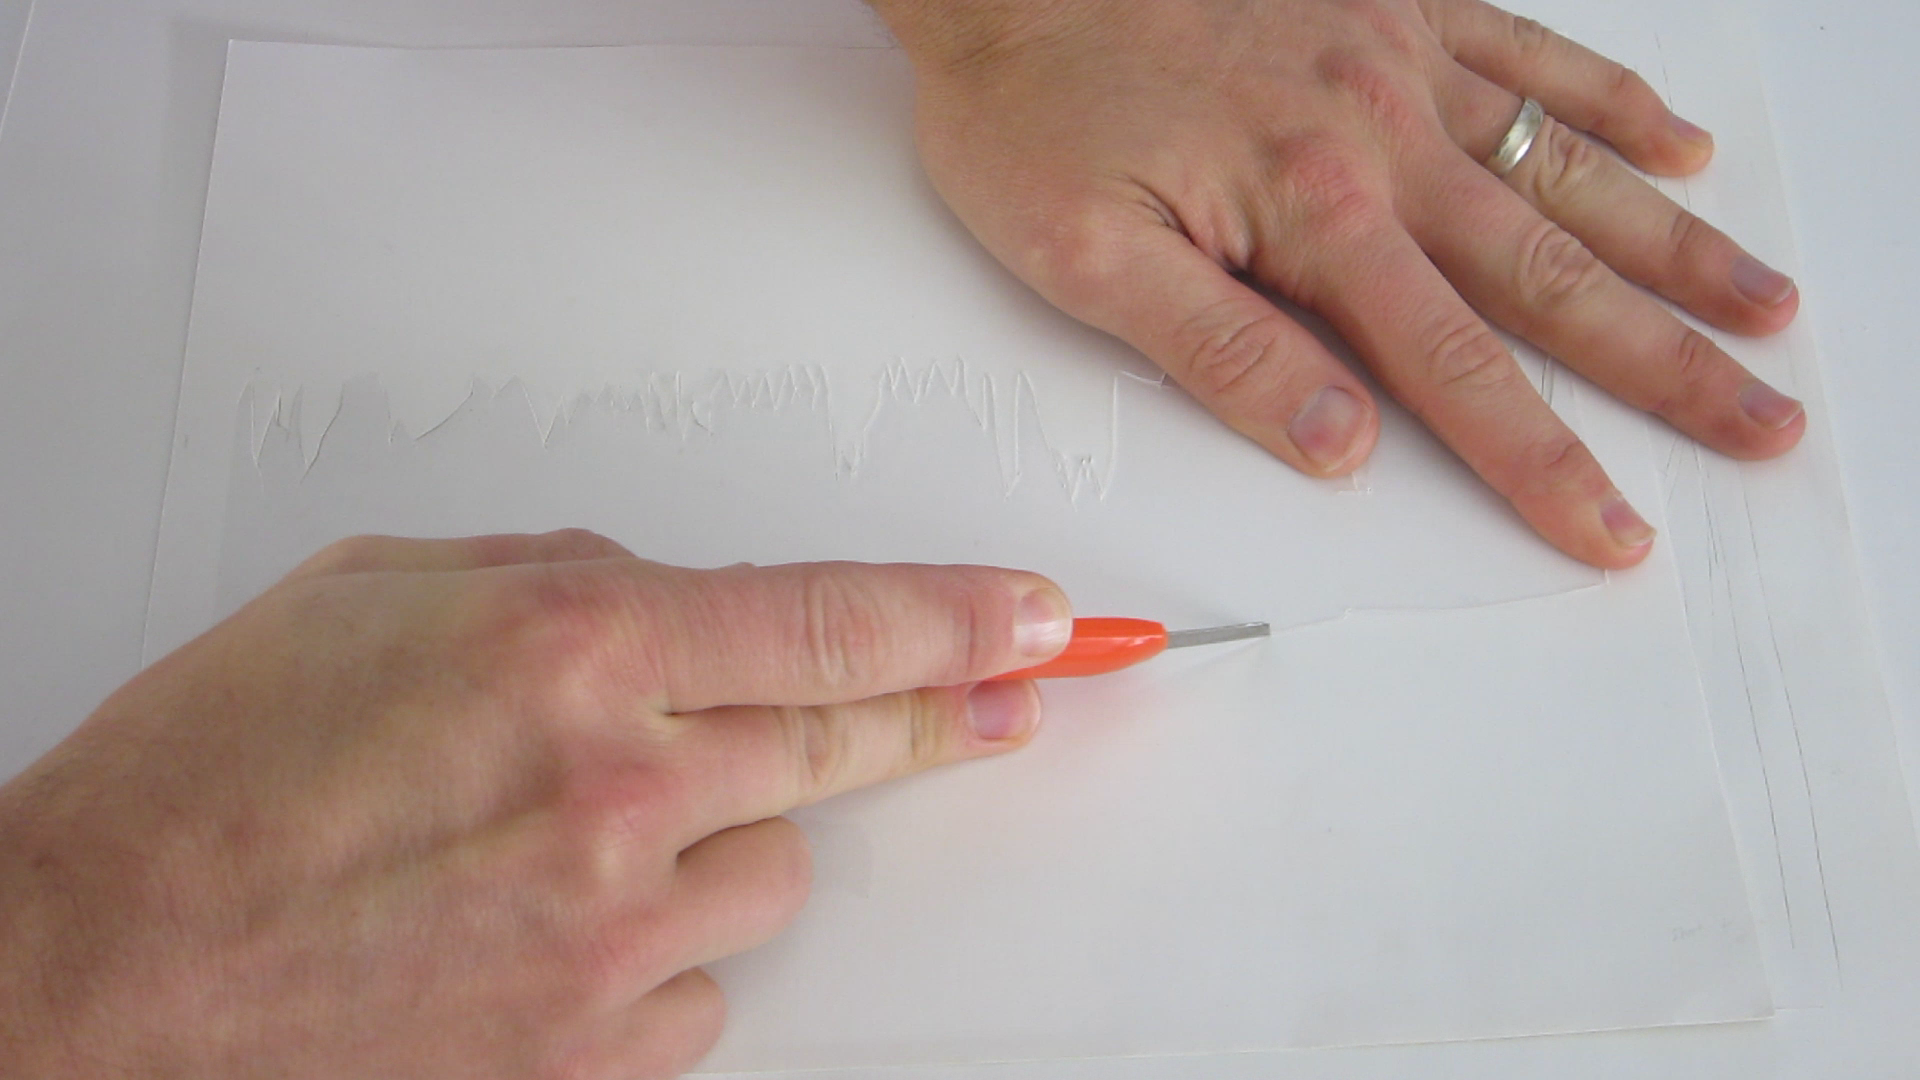
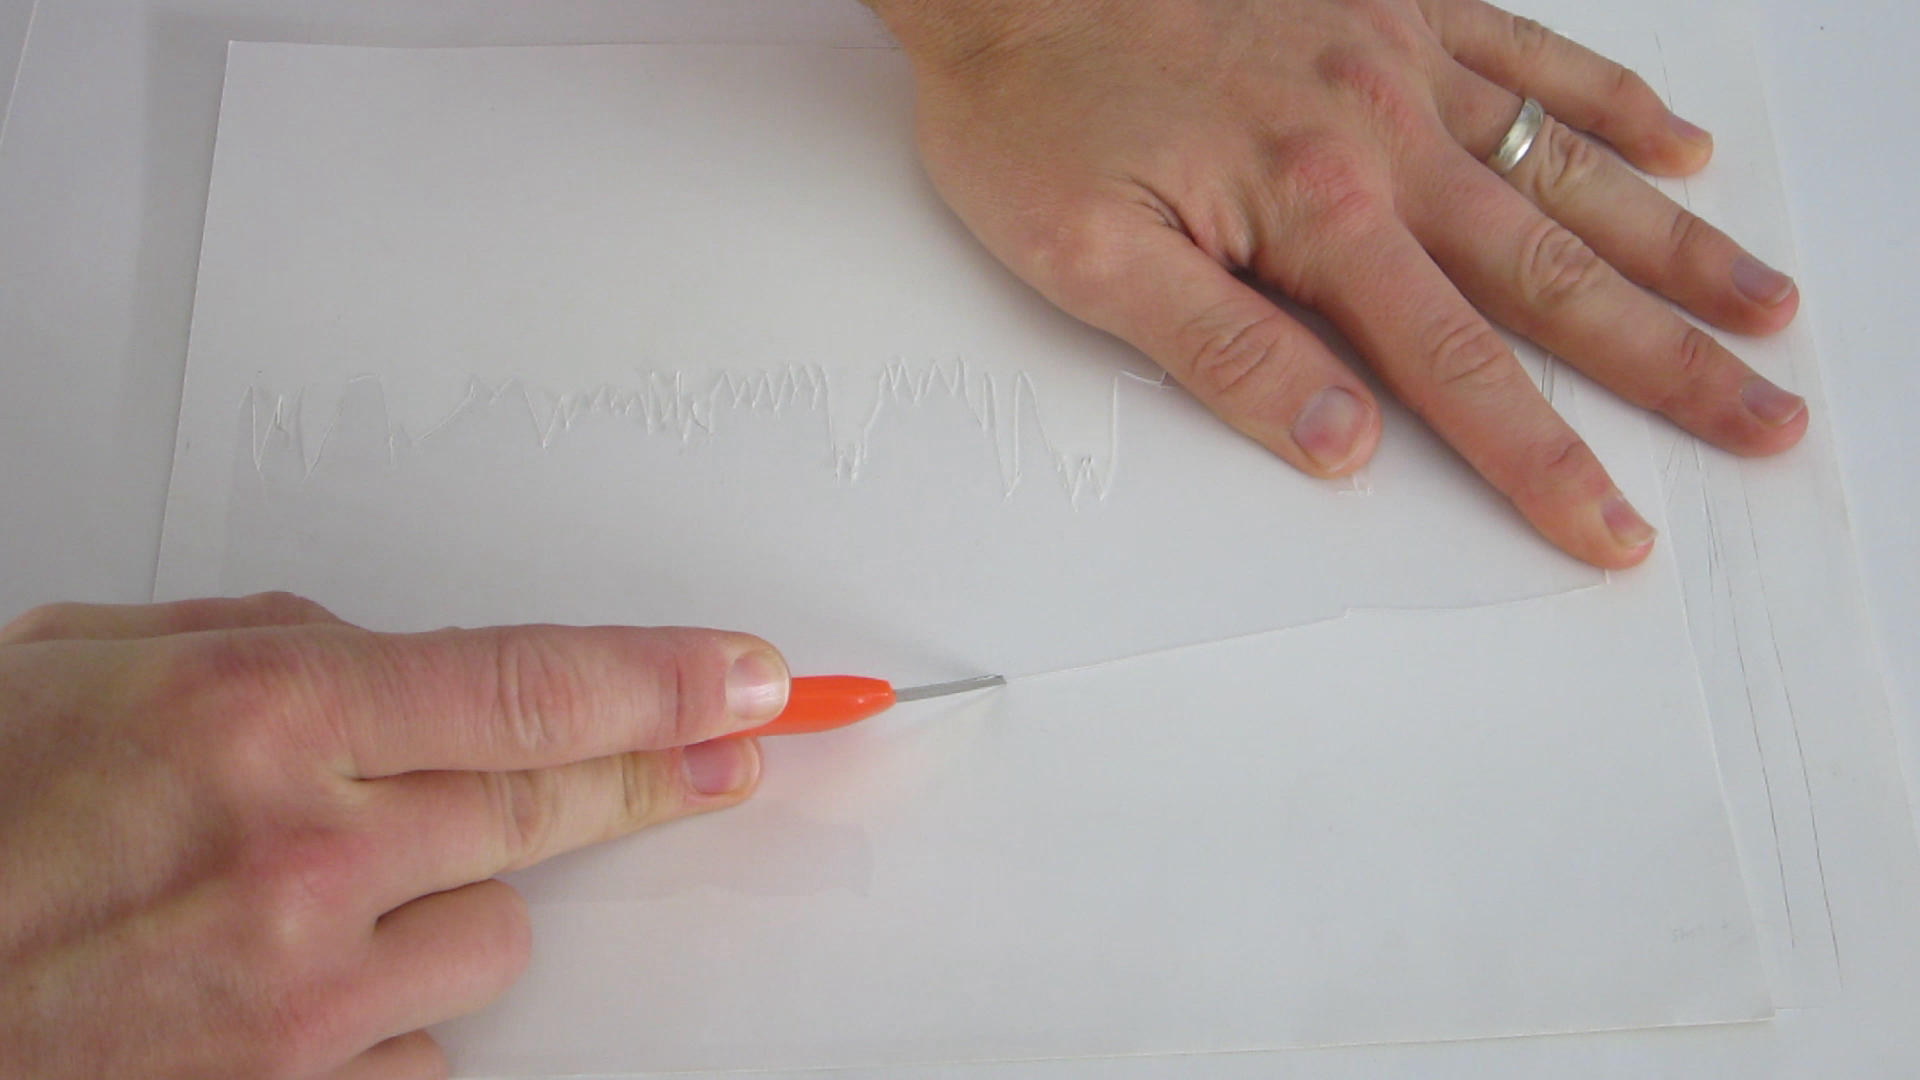
Lay down a protective cover (such as a sheet of cardboard) to protect your work surface. Now use a sharp knife to CAREFULLY cut out the gray area of each sheet. The more exactly you can cut out the details, the better it will look.
Cut Out the Spacers
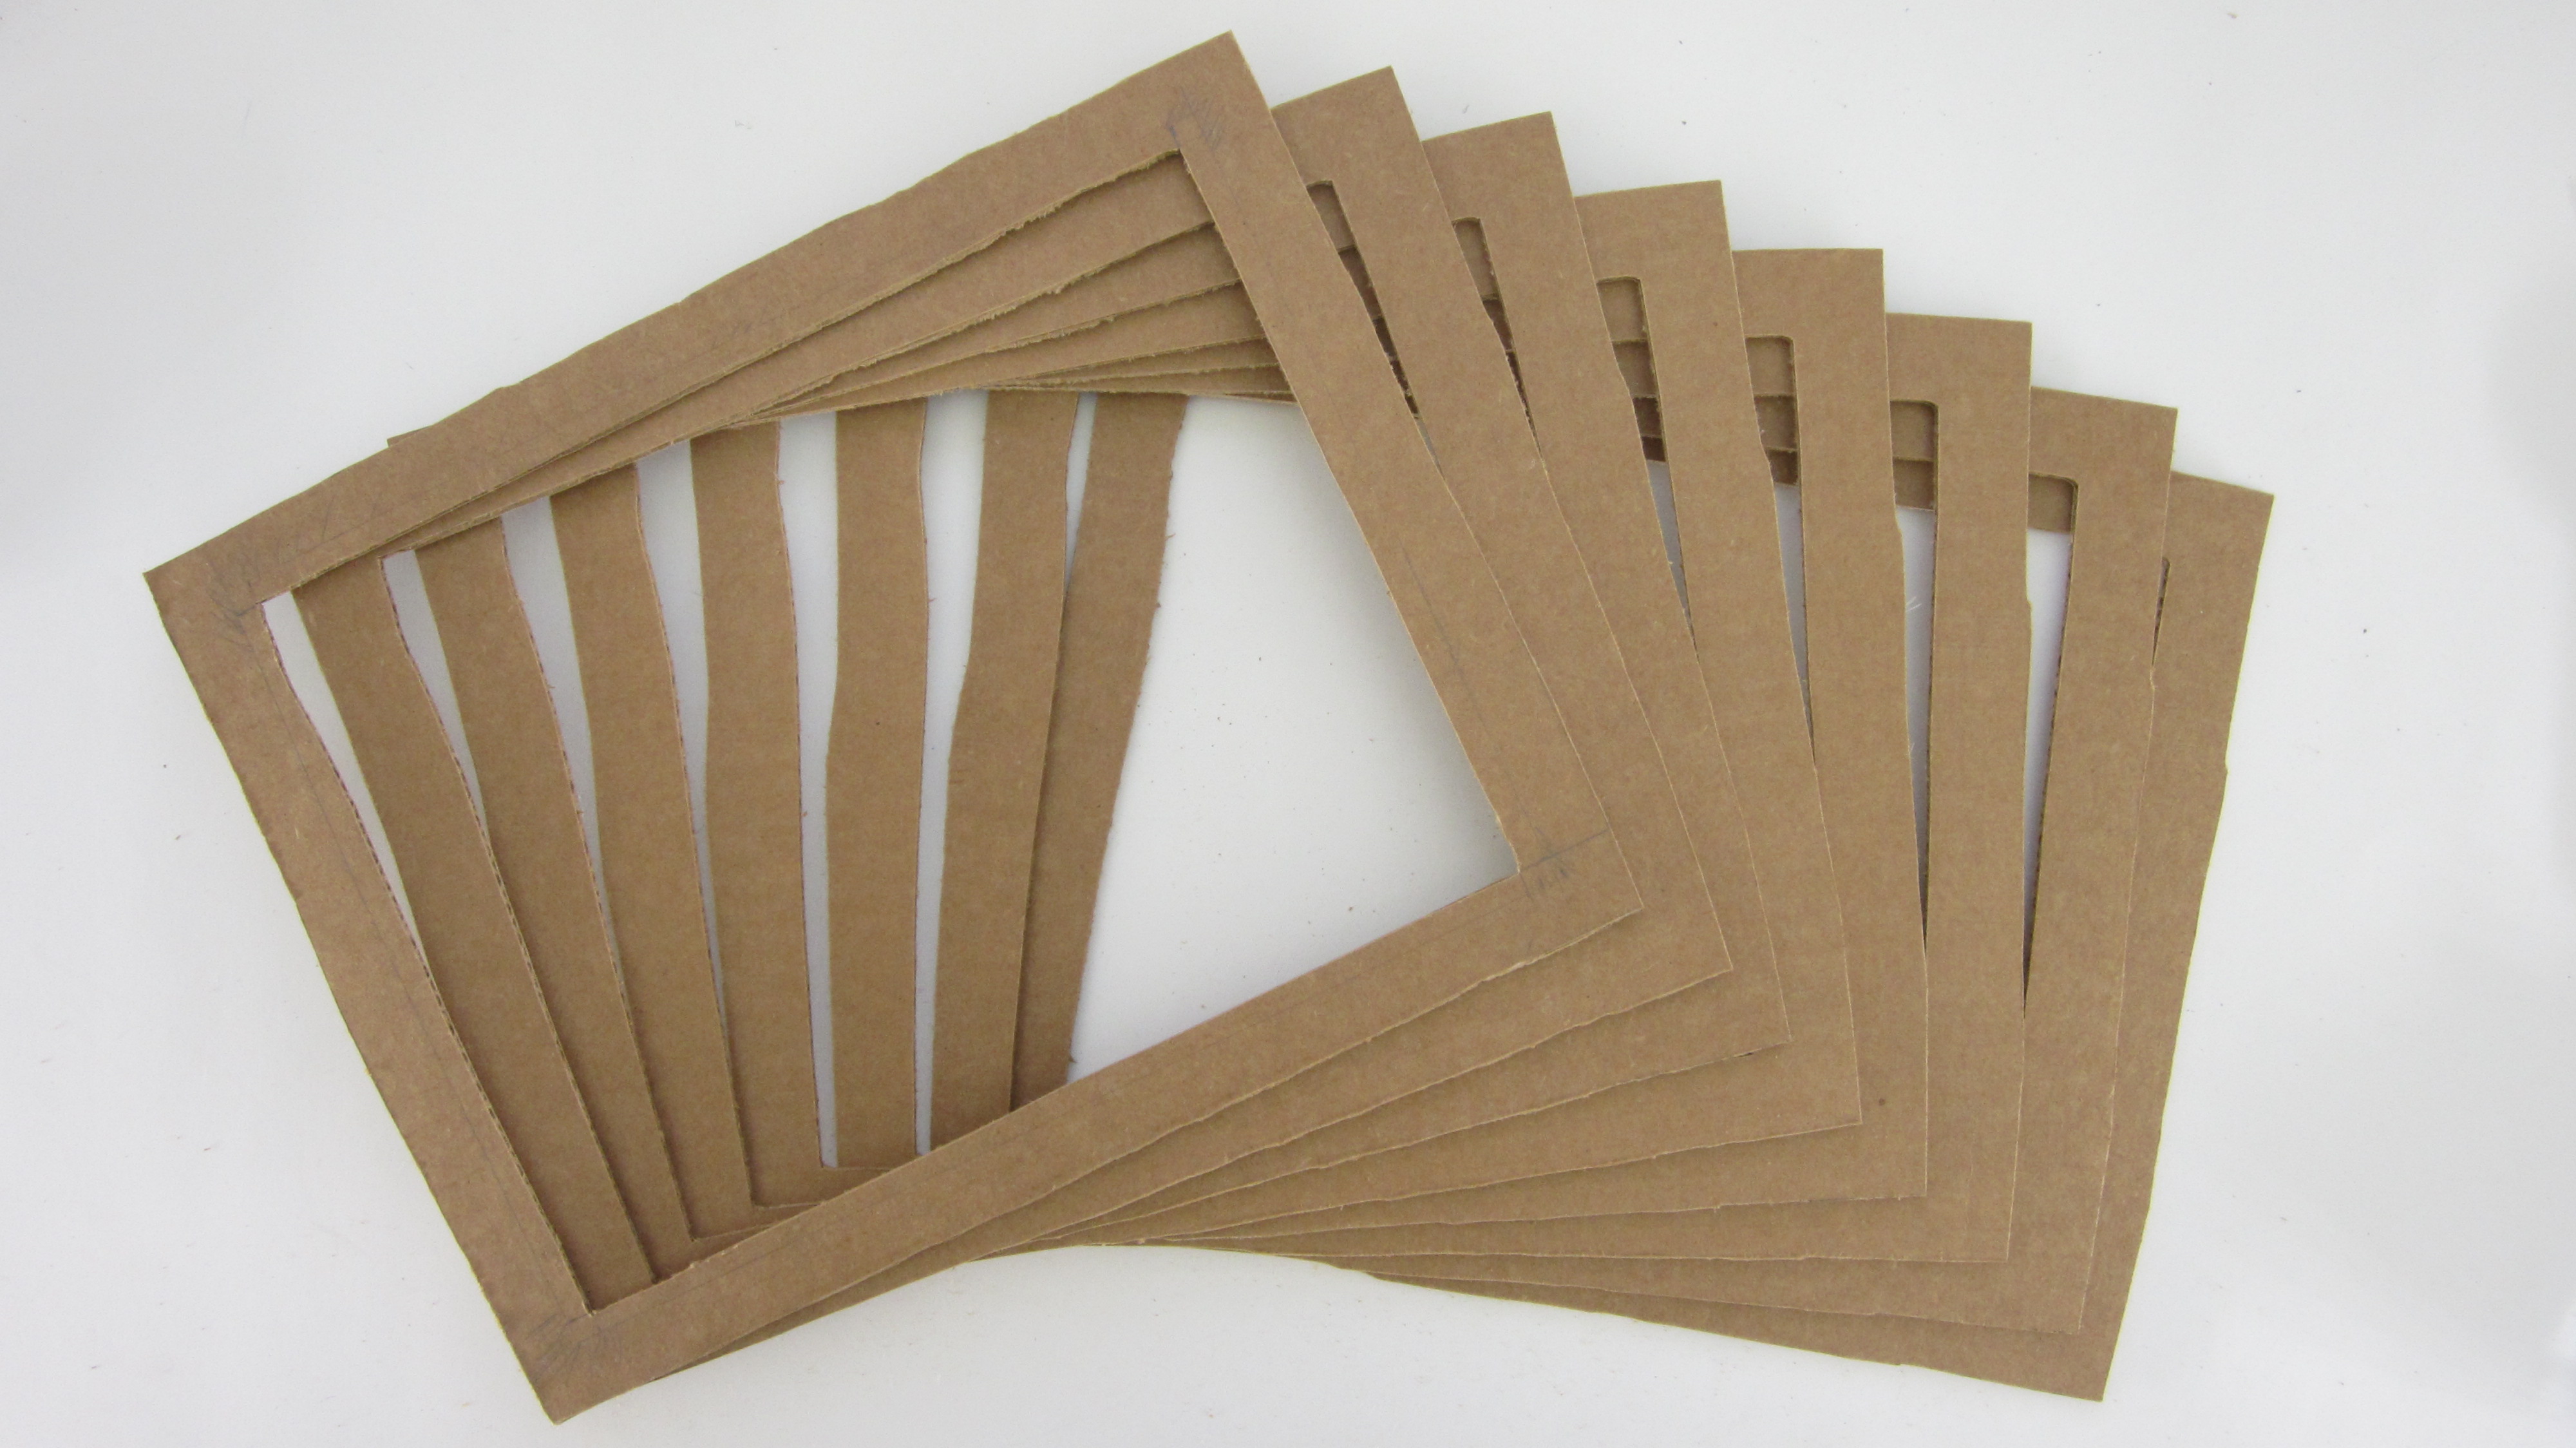
In order to create the 3D effect, you need to space out the layers. To do this I used a cardboard frame between each layer. You can make the cardboard frames any size that you want. But the inside dimensions of the each frame needs to be a little smaller than the outside dimensions of the card stock. That way, they overlap.
Try to make the frames about the same size. But they don't need to be exact because they shouldn't be visible.
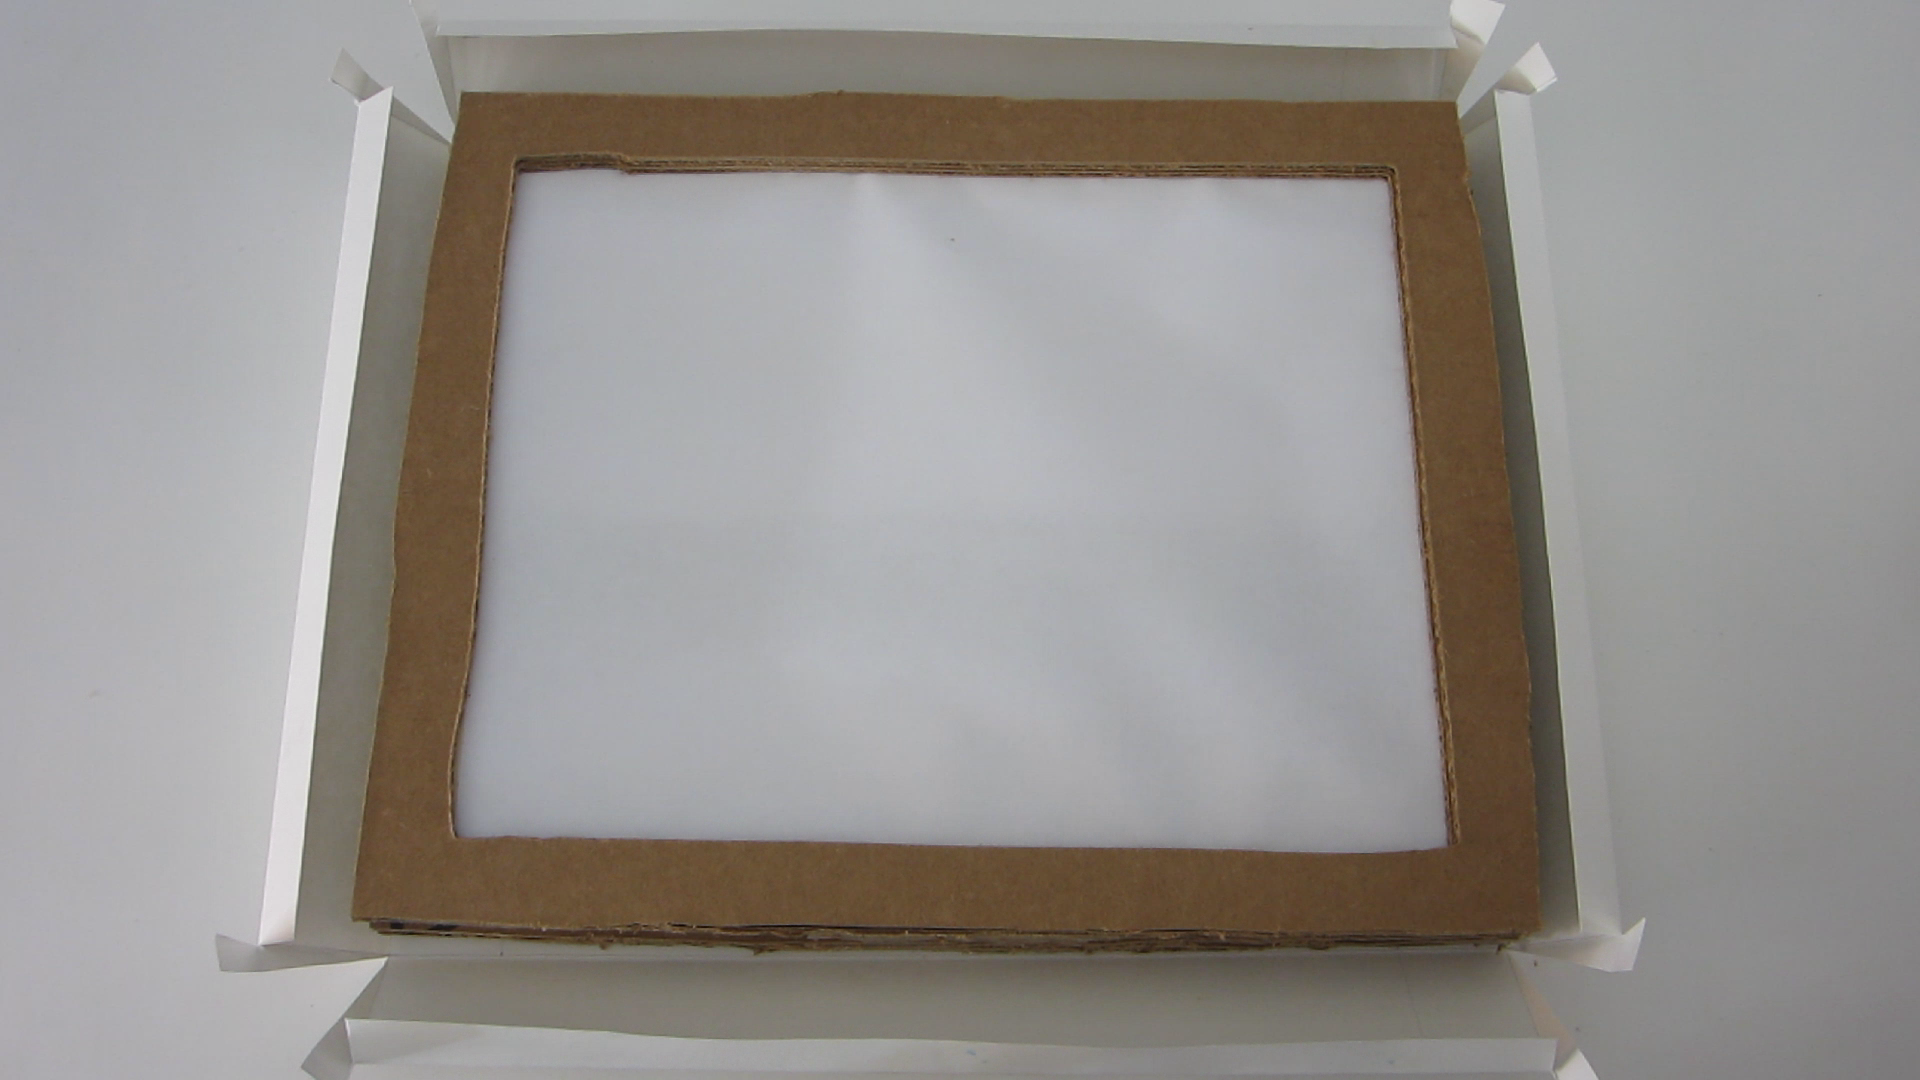
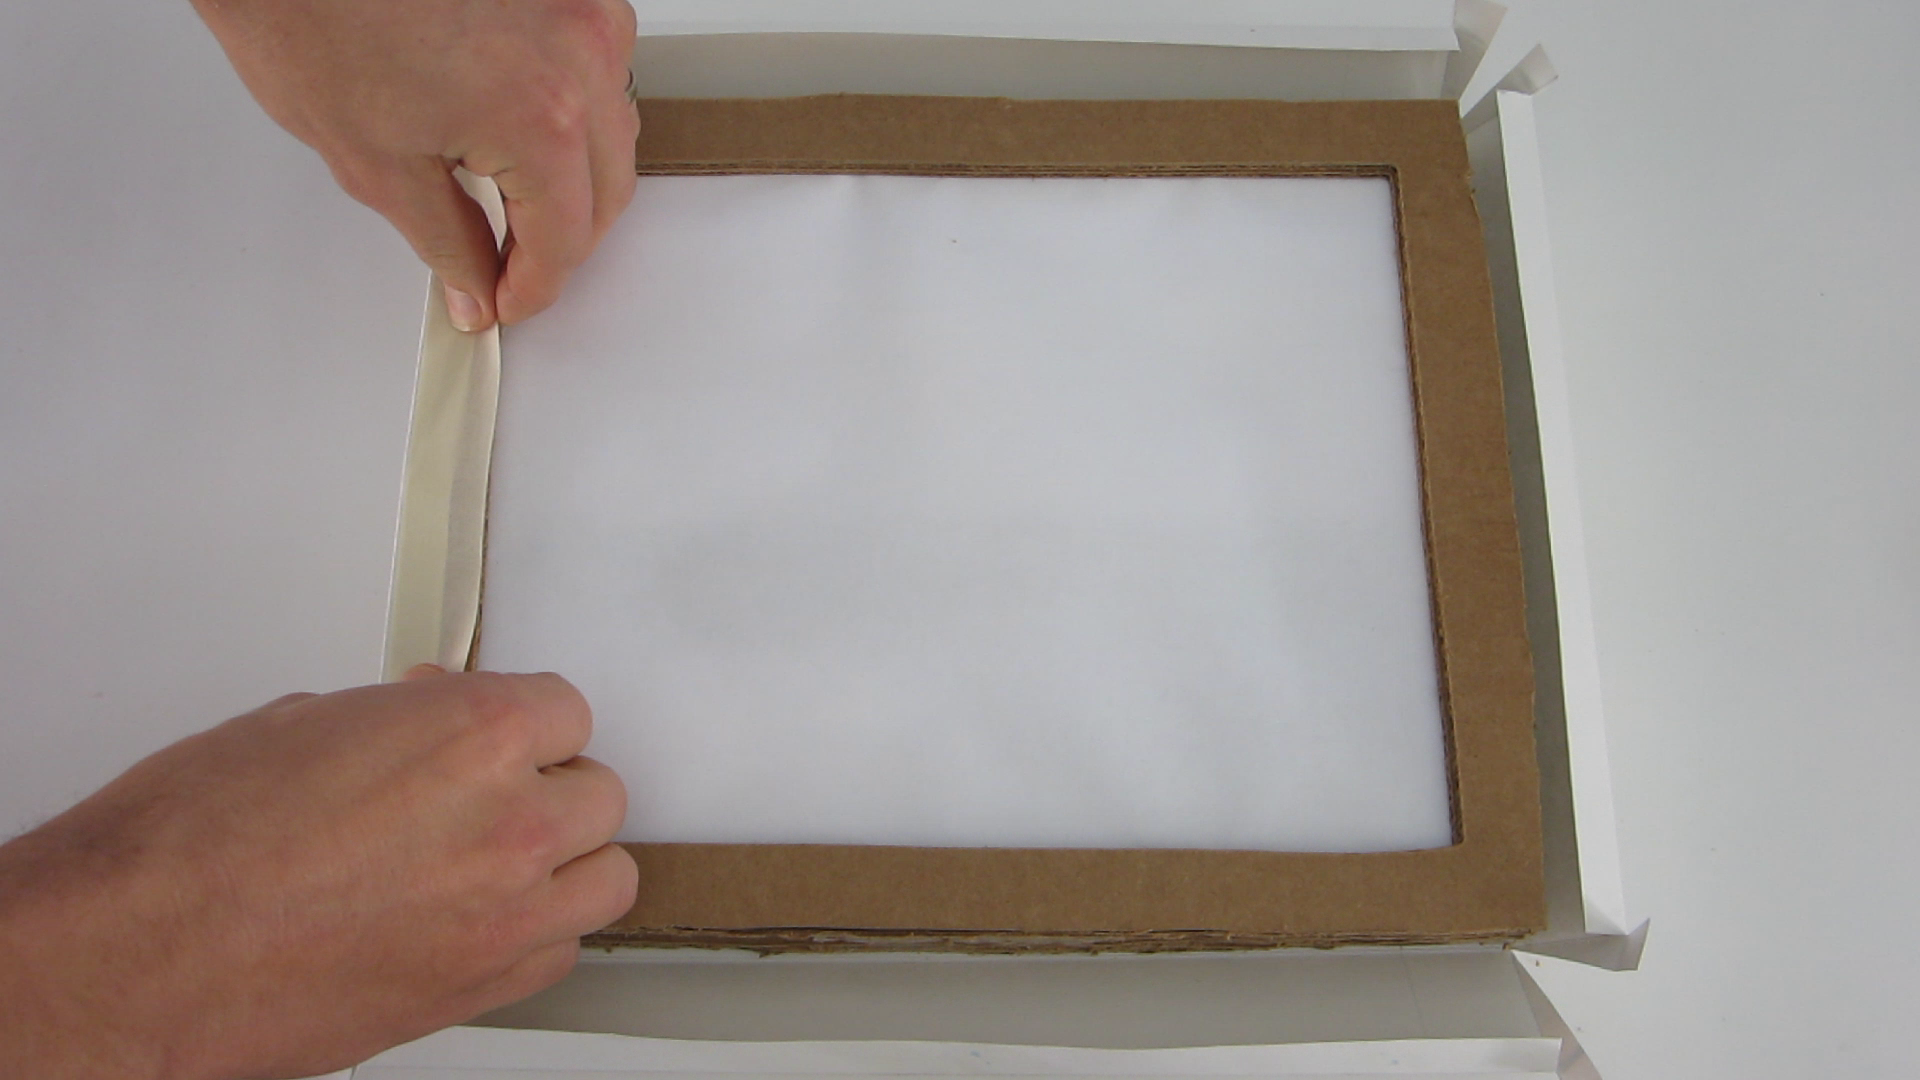
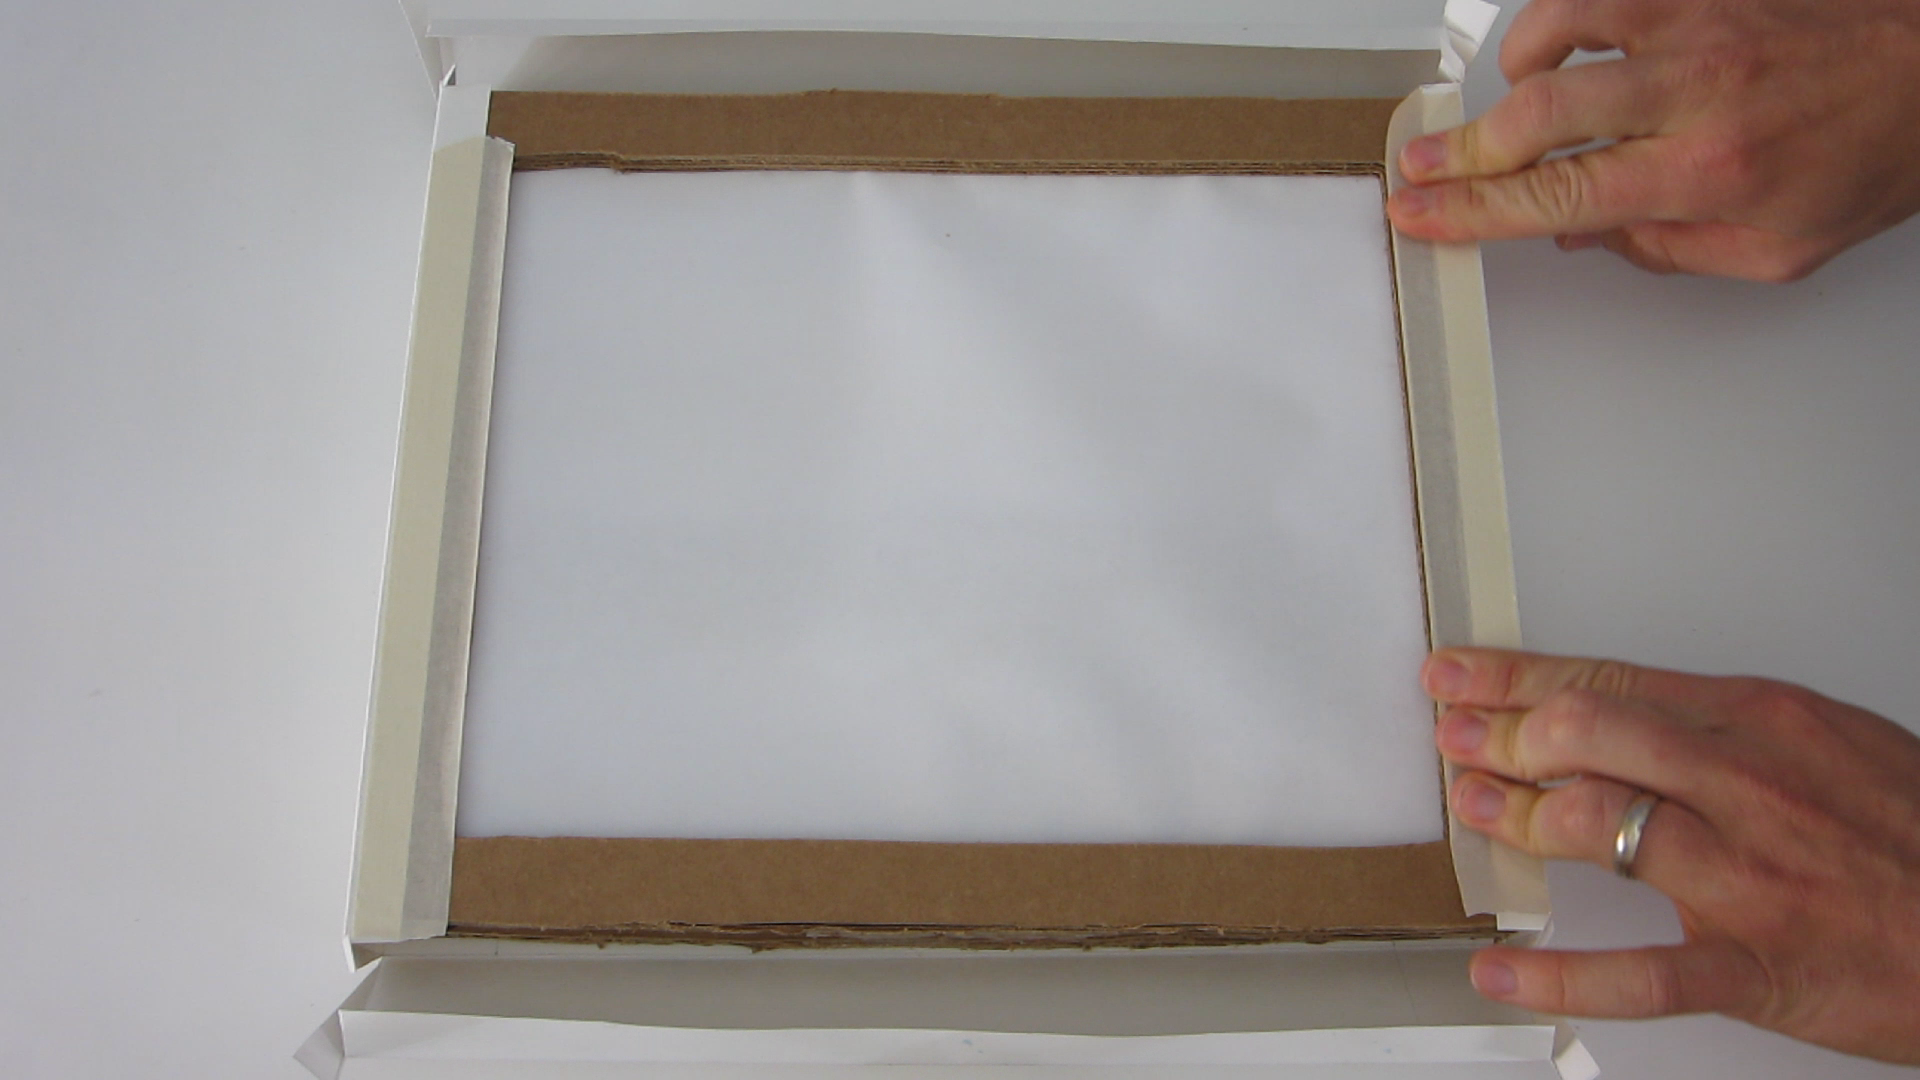
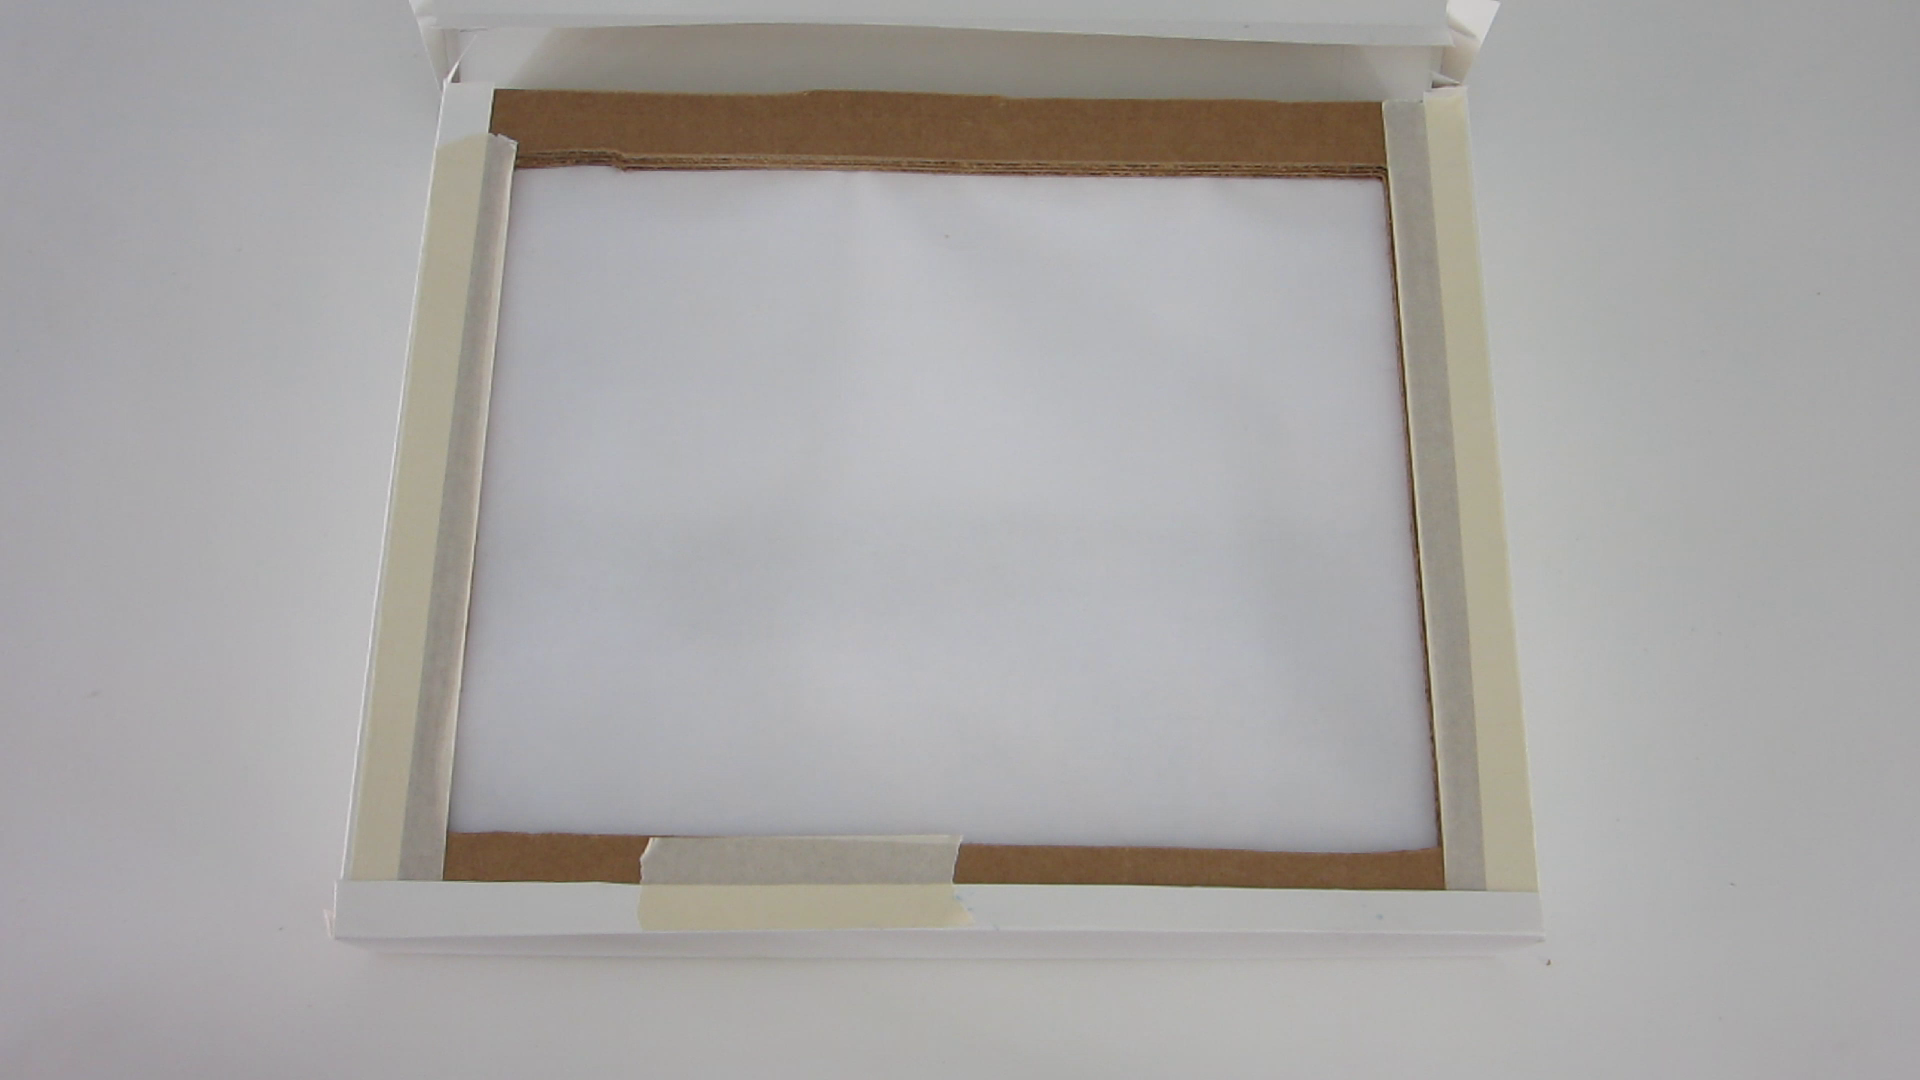
Attach Silhouette Cutouts to the Cardboard Frames
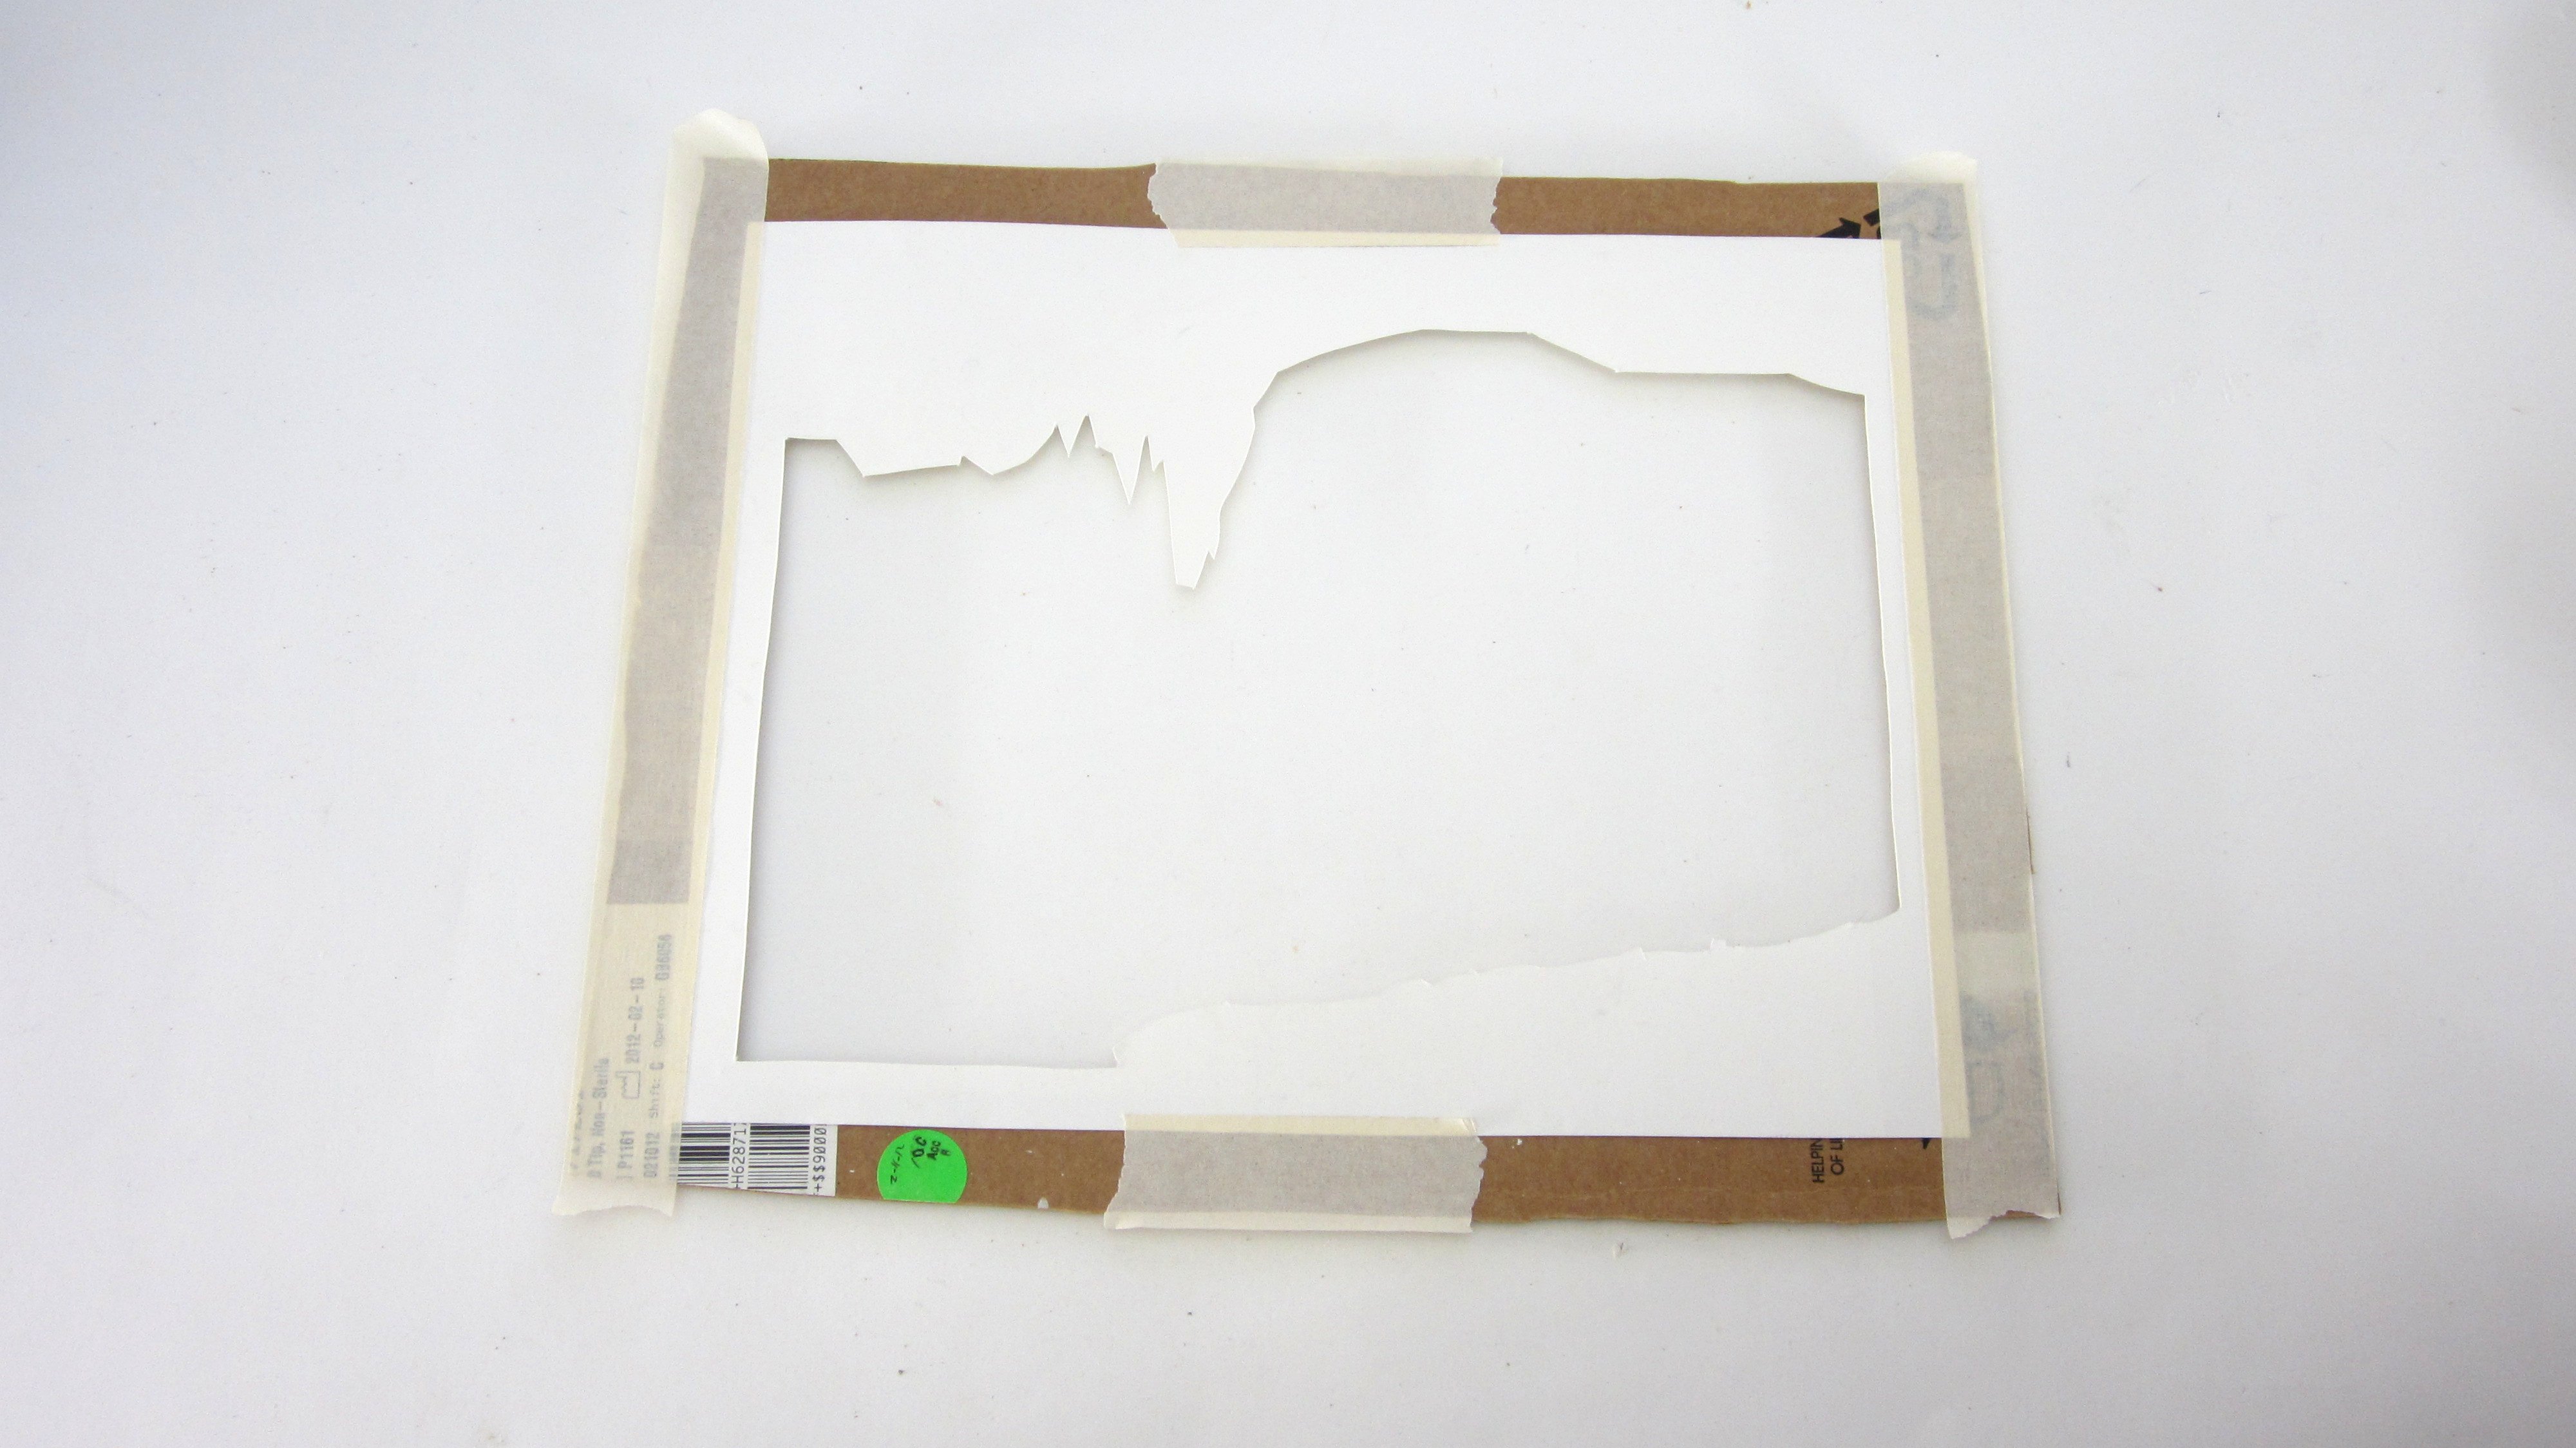
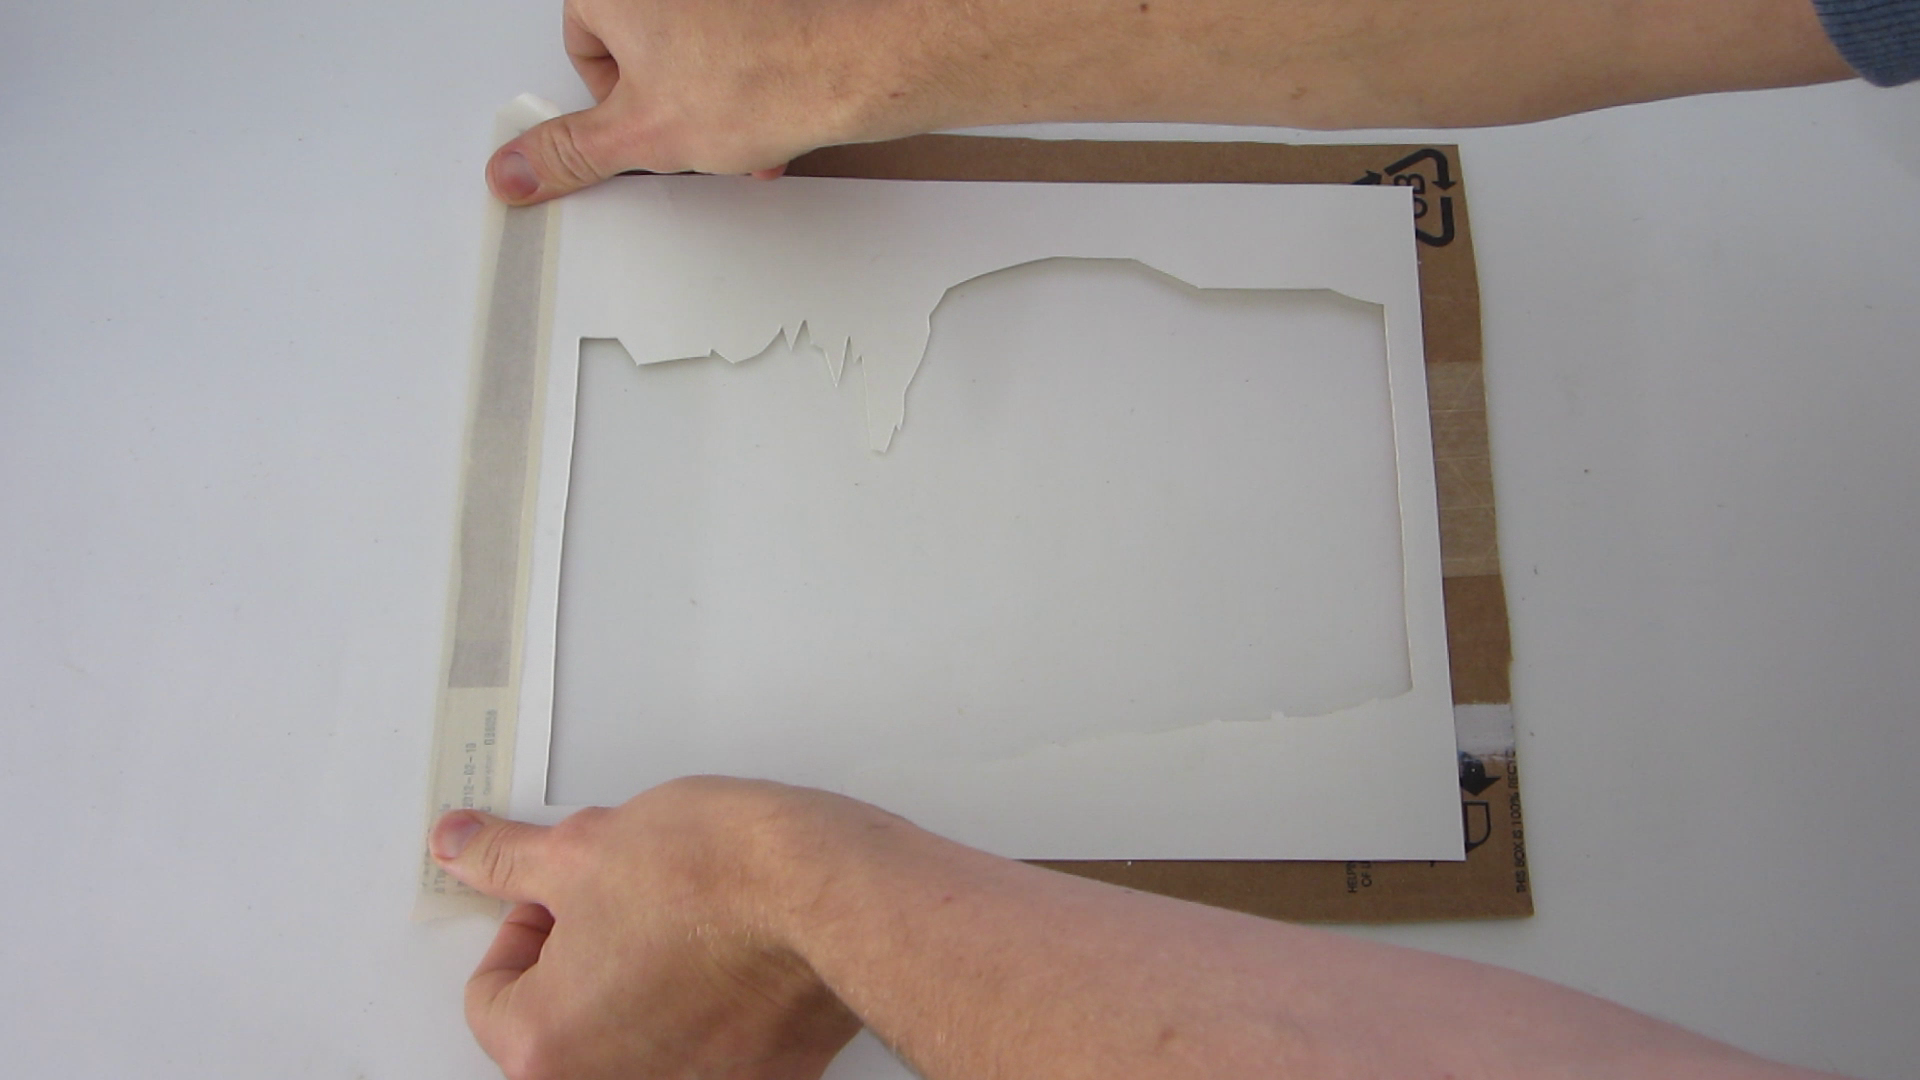
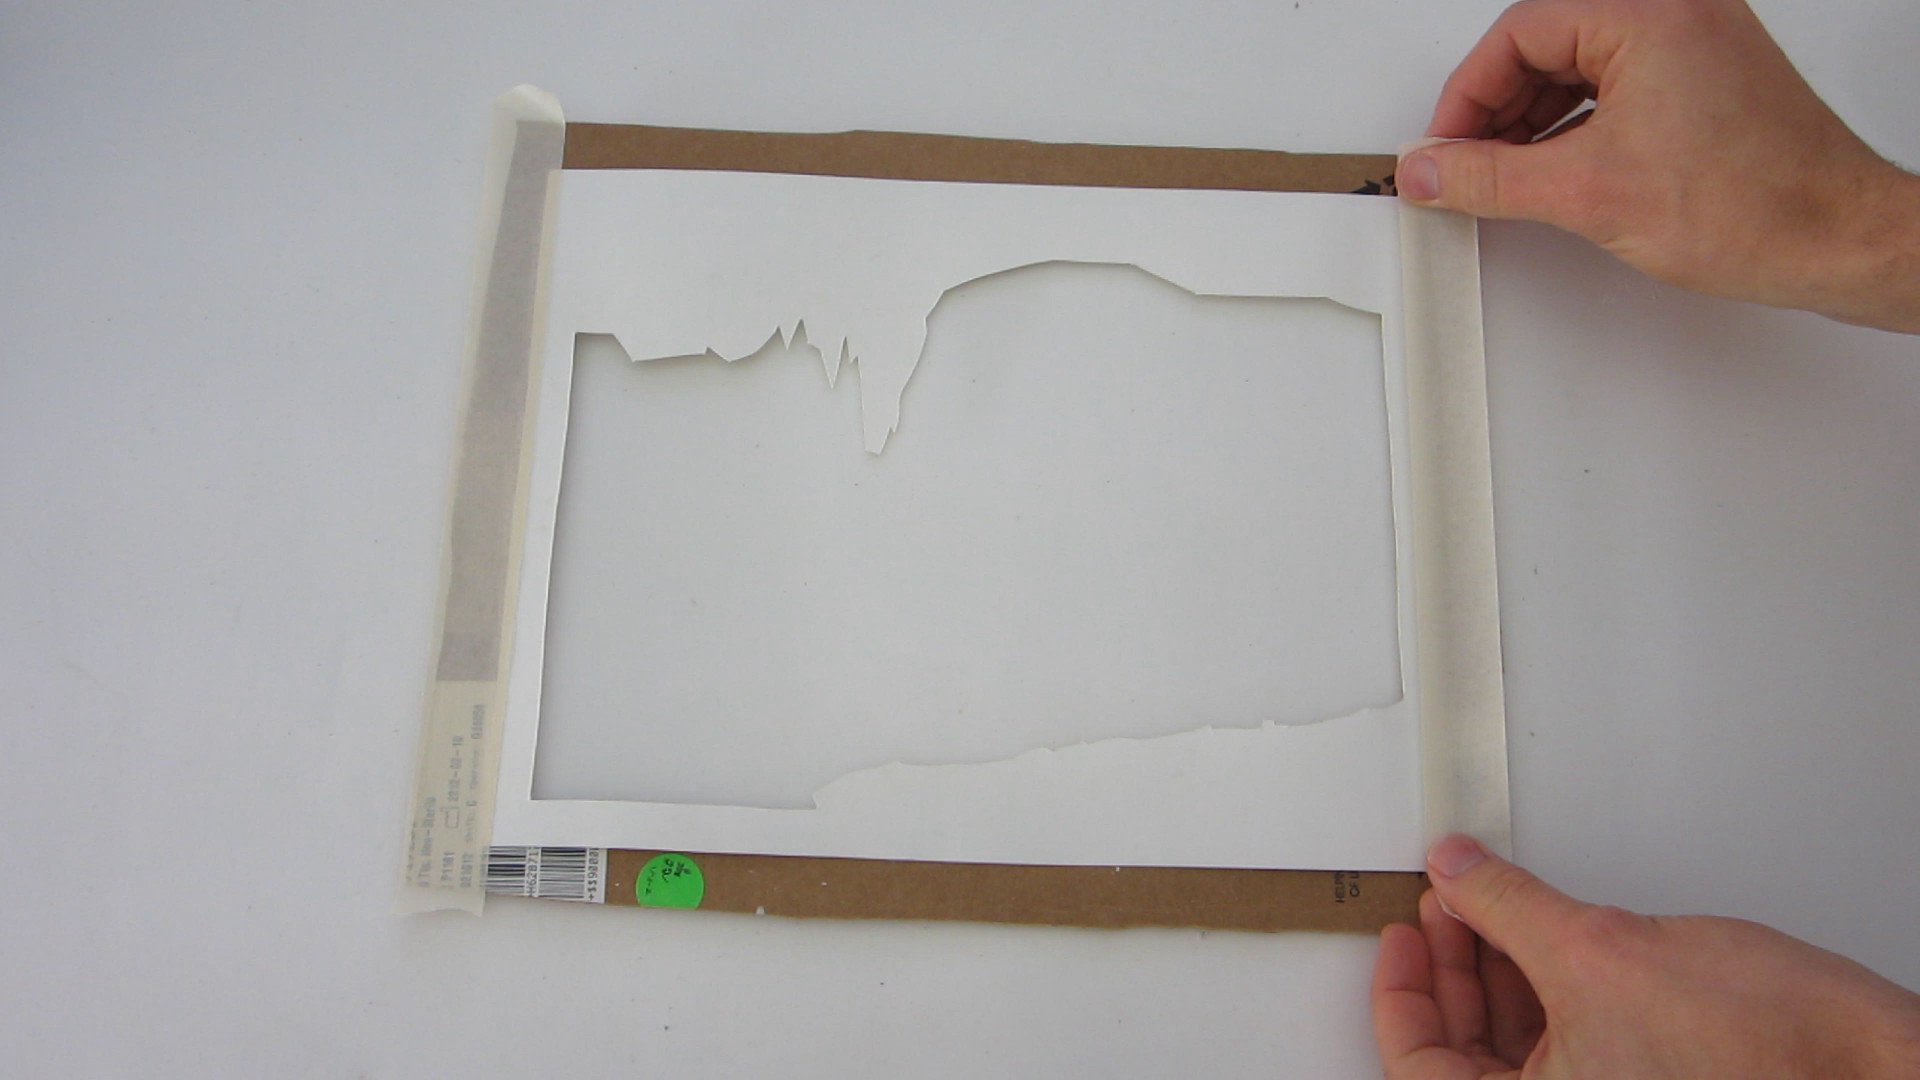
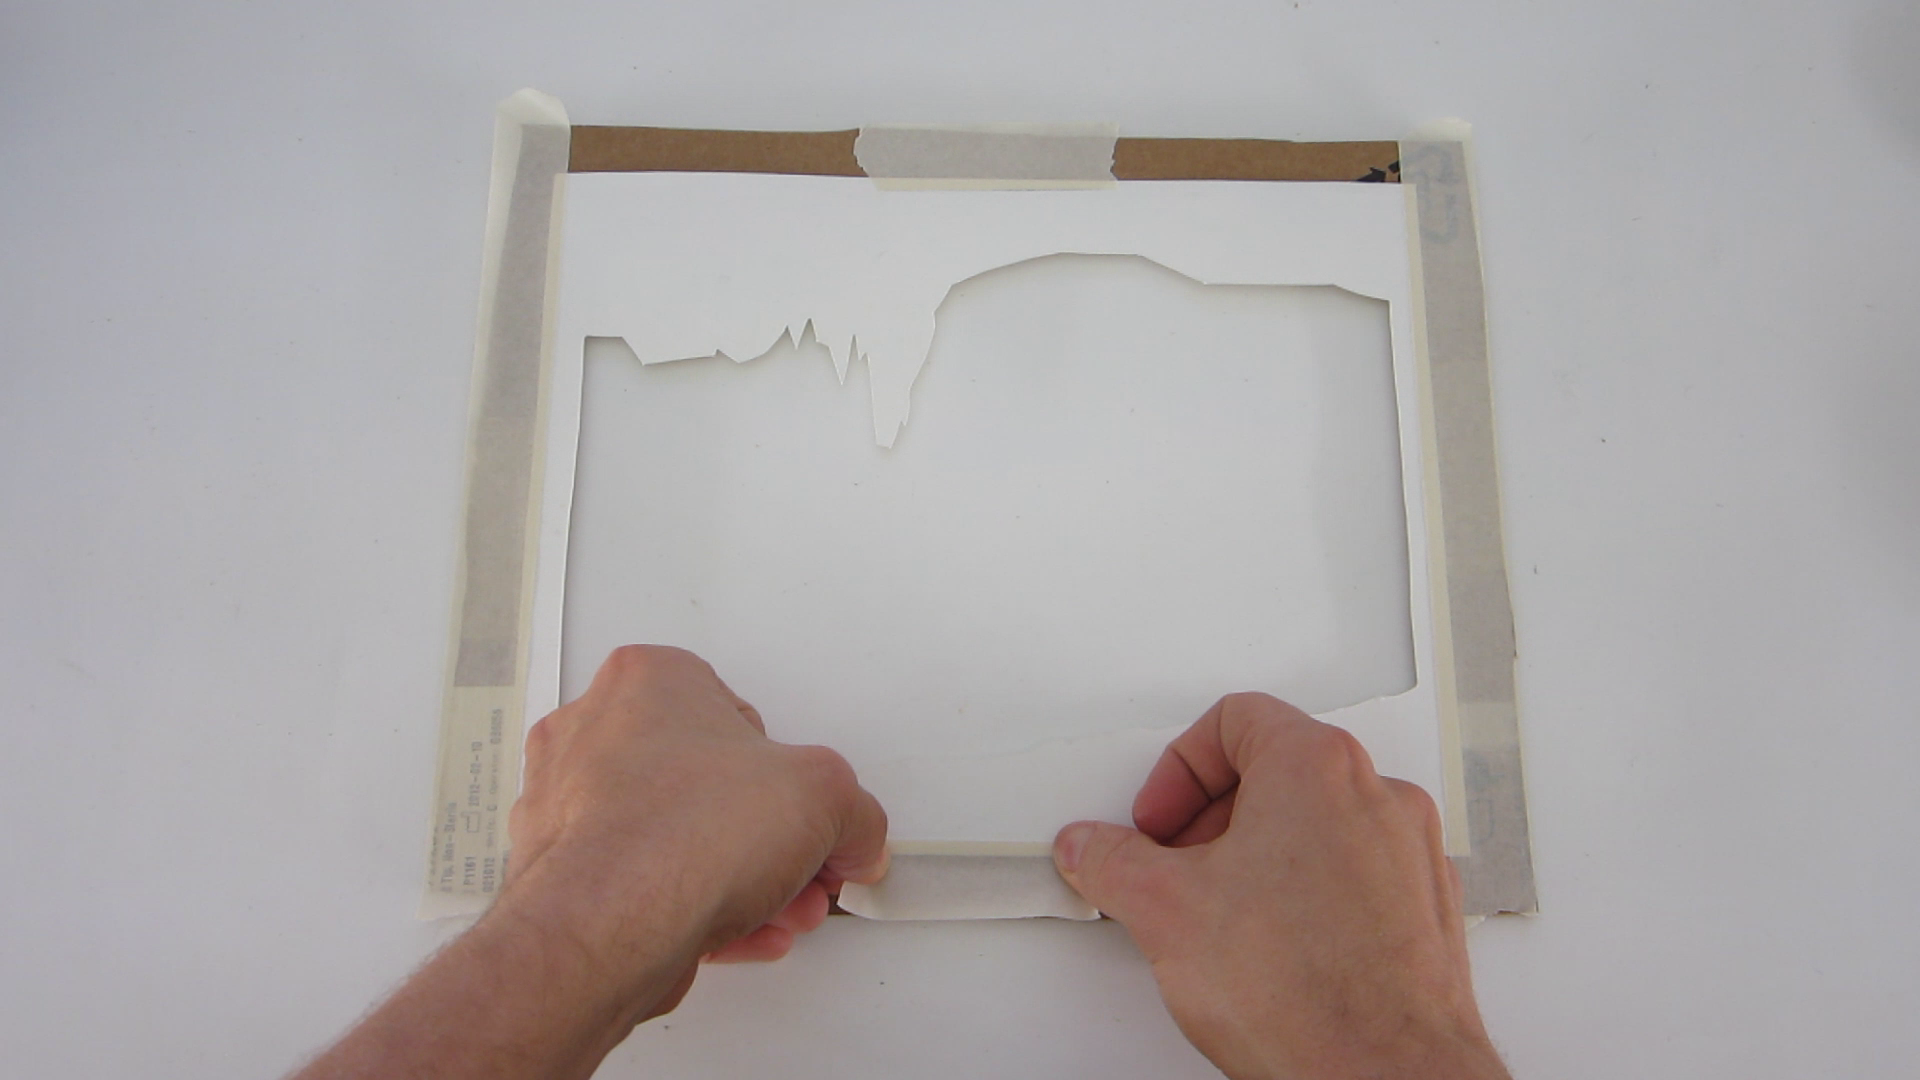
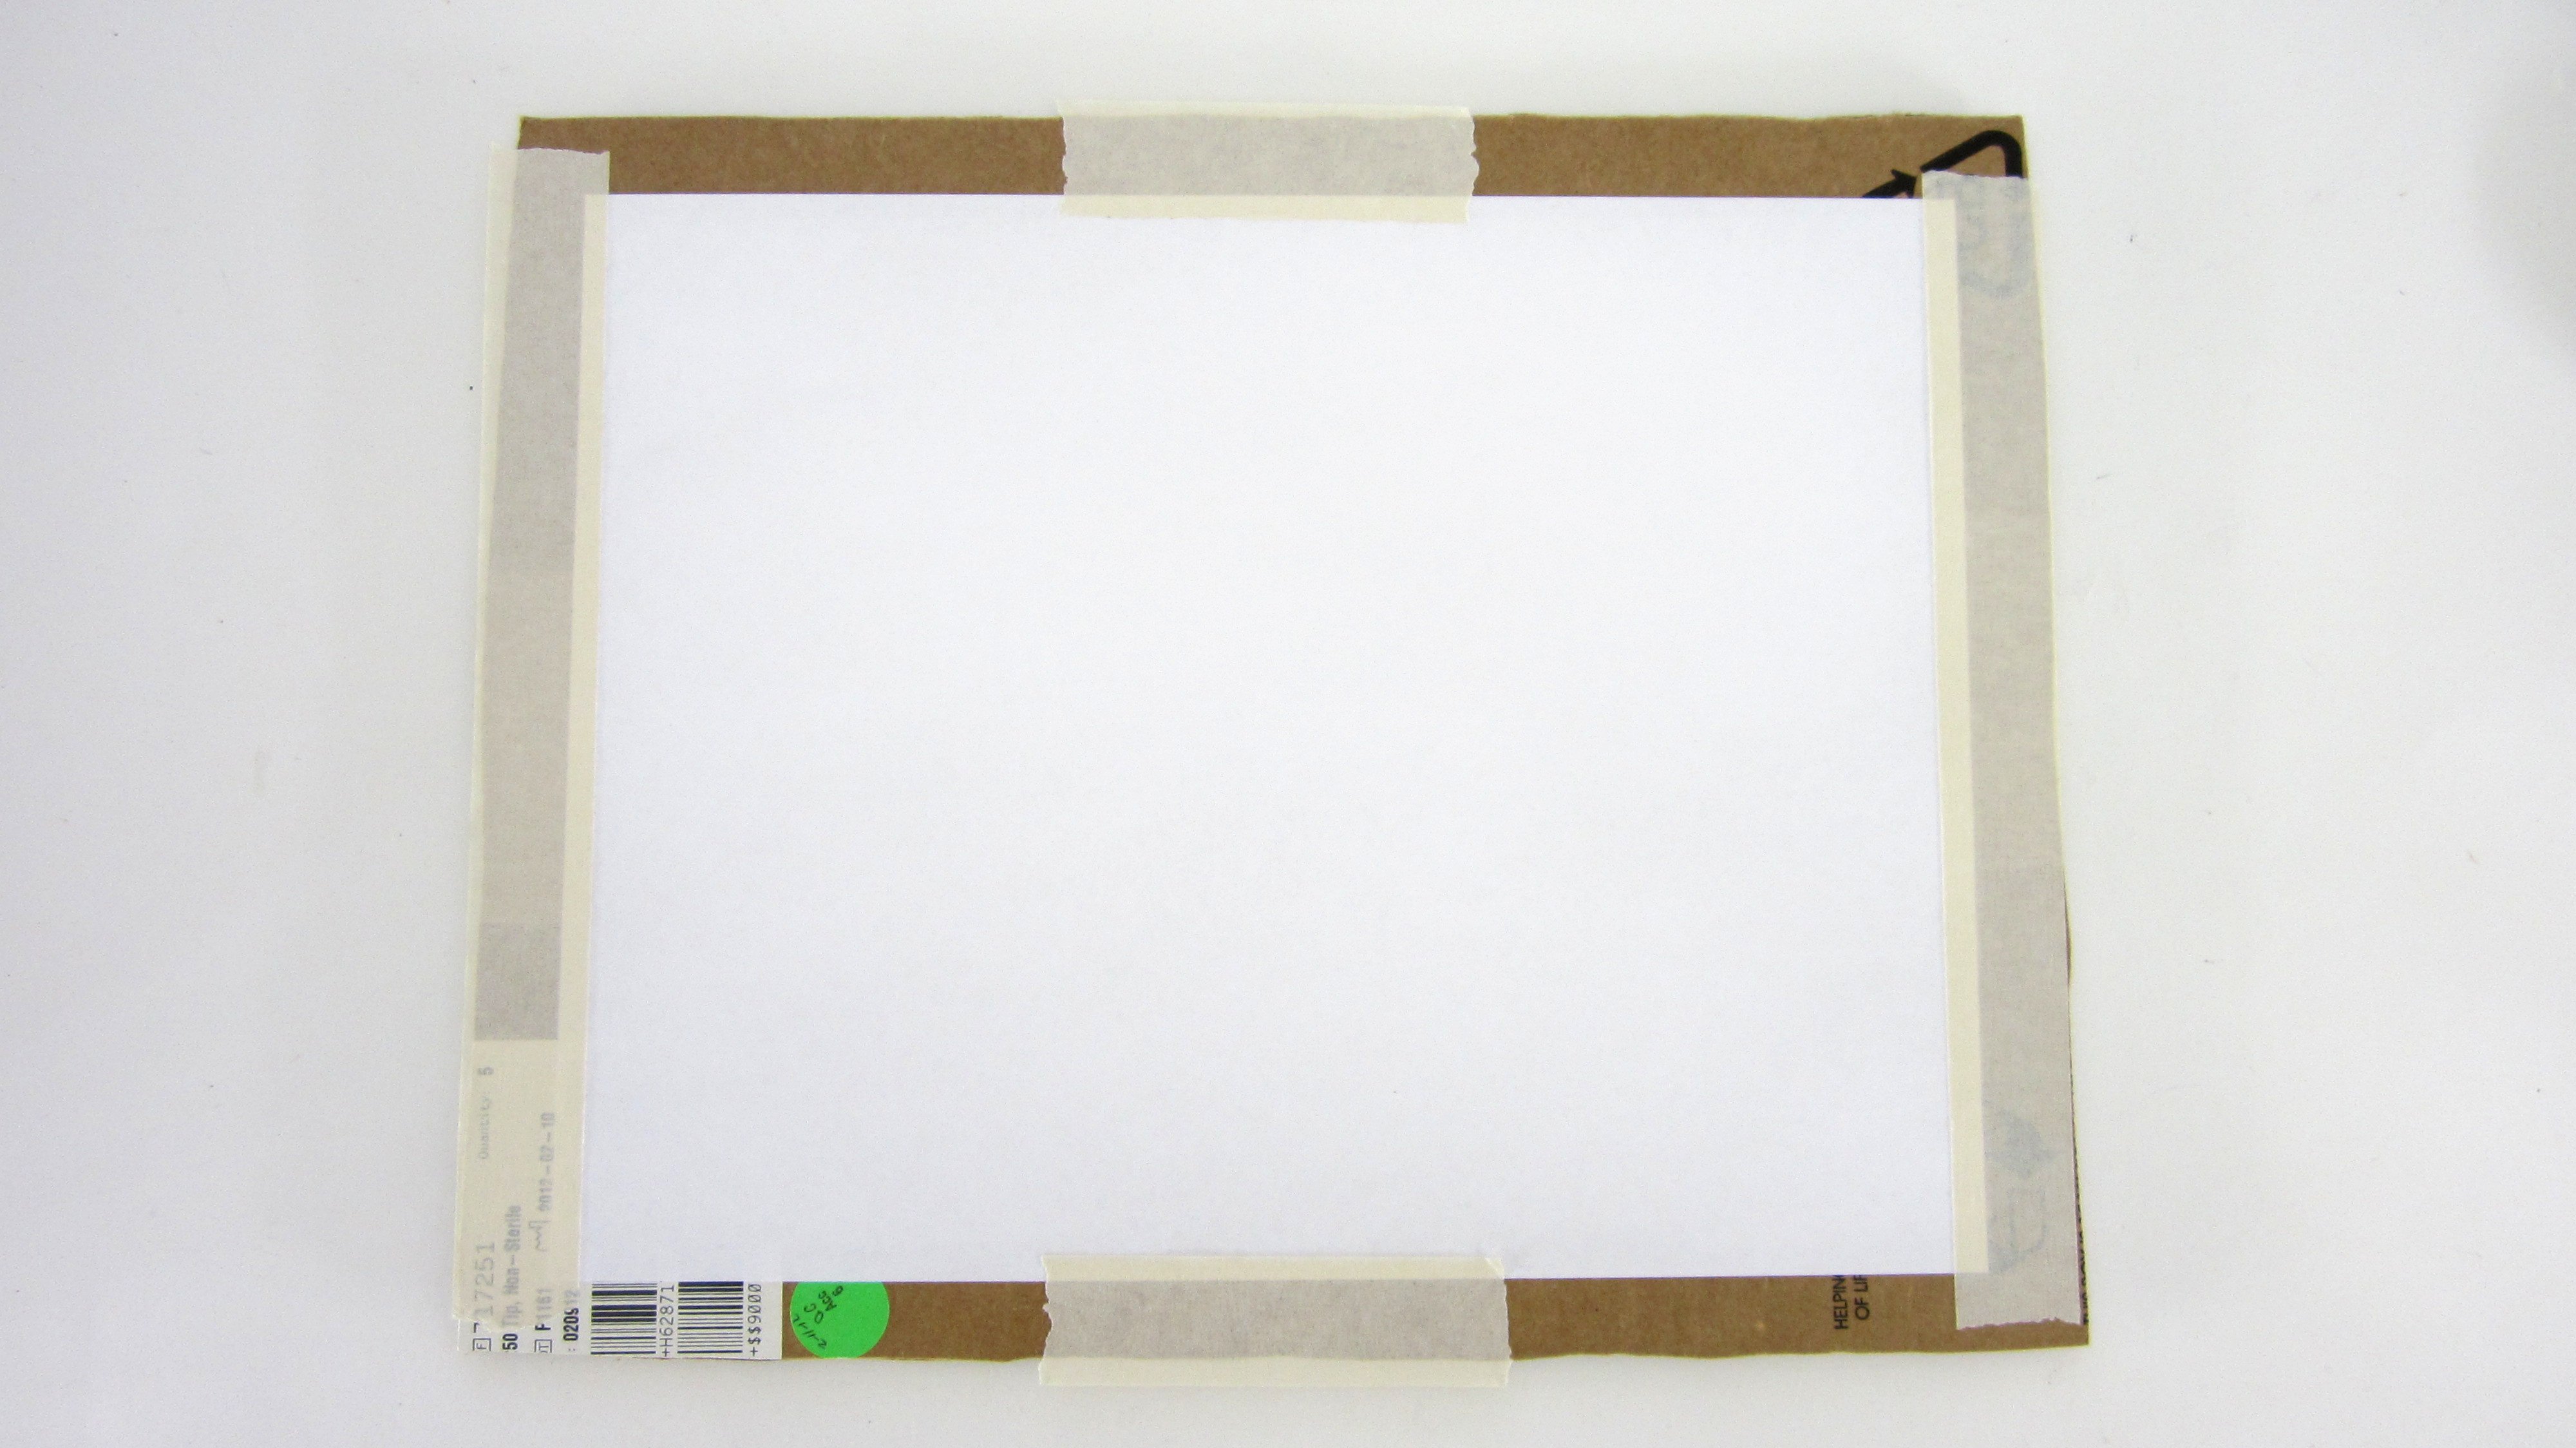
Place the silhouette cutouts on the back side of the cardboard frames. Center the card stock with the opening in the cardboard frames. Then attach them together with tape. Try to make the card stock a little tight in both dimensions so that the paper won't sag or fold.
I was intending to back light the box, so for the last layer, I attached a sheet in thin blank printer paper. This lets in a little more light than the card stock would.
Glue the Layers Together
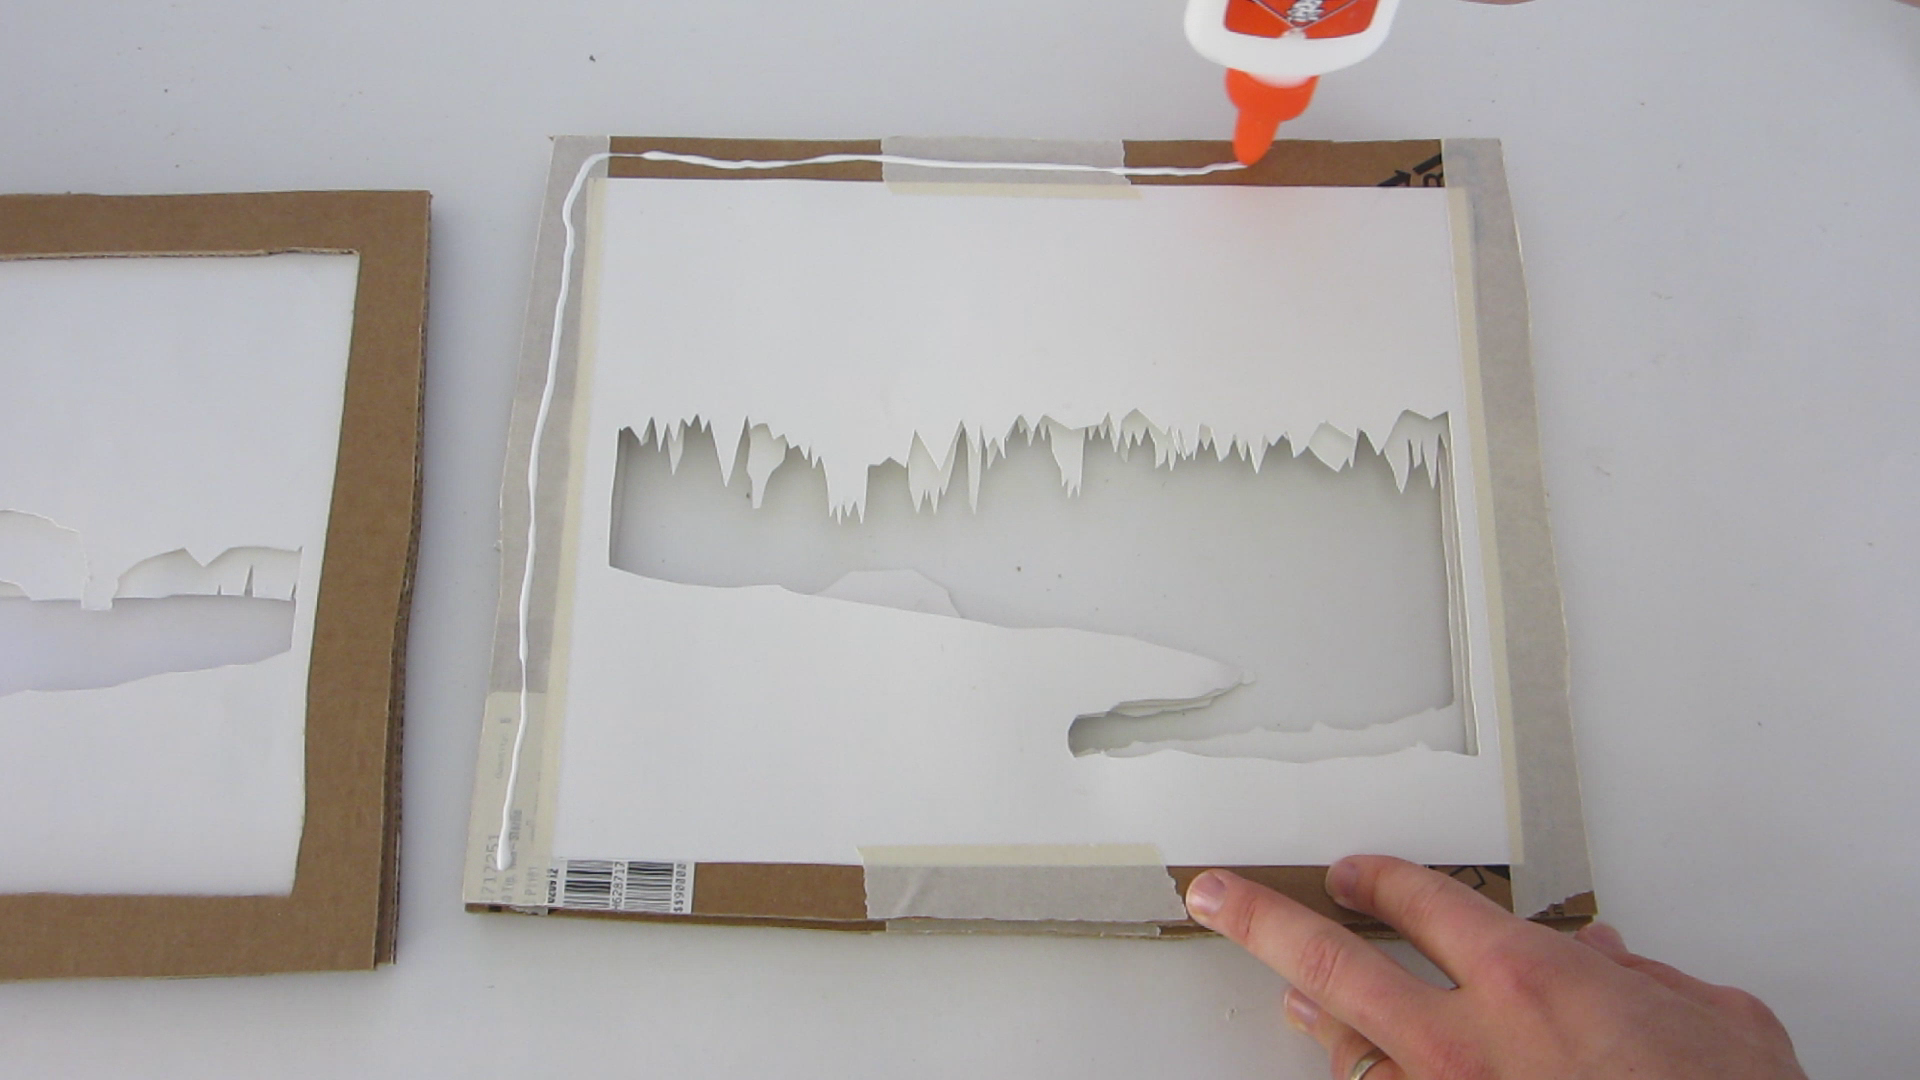
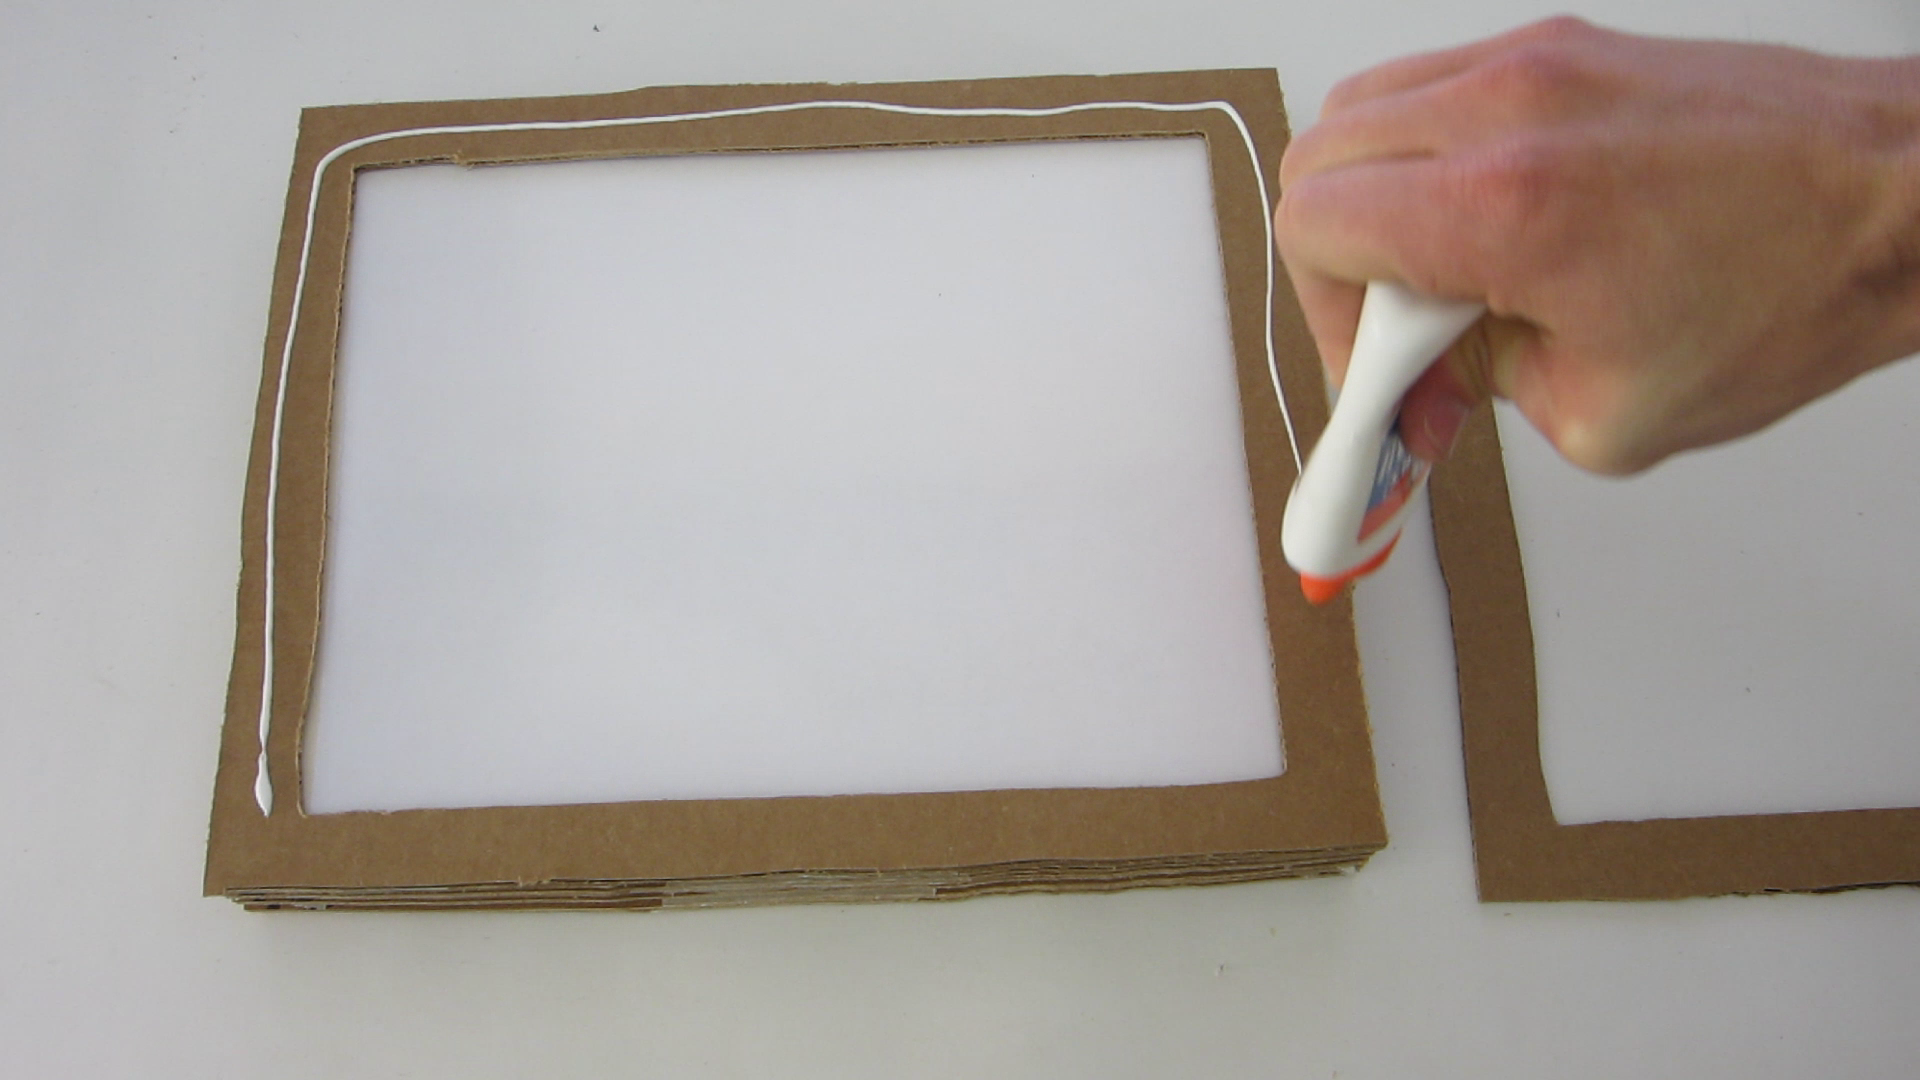
Take the first layer and apply a thin bad of glue around the frame on the back side. Then stick the second layer on top of it. Make sure that the two layers are properly lined up. Then apply glue to the back of the second layer. Repeat this process until all the layers are stacked together. As stated earlier, the back layer was just a thin sheet of plain paper.
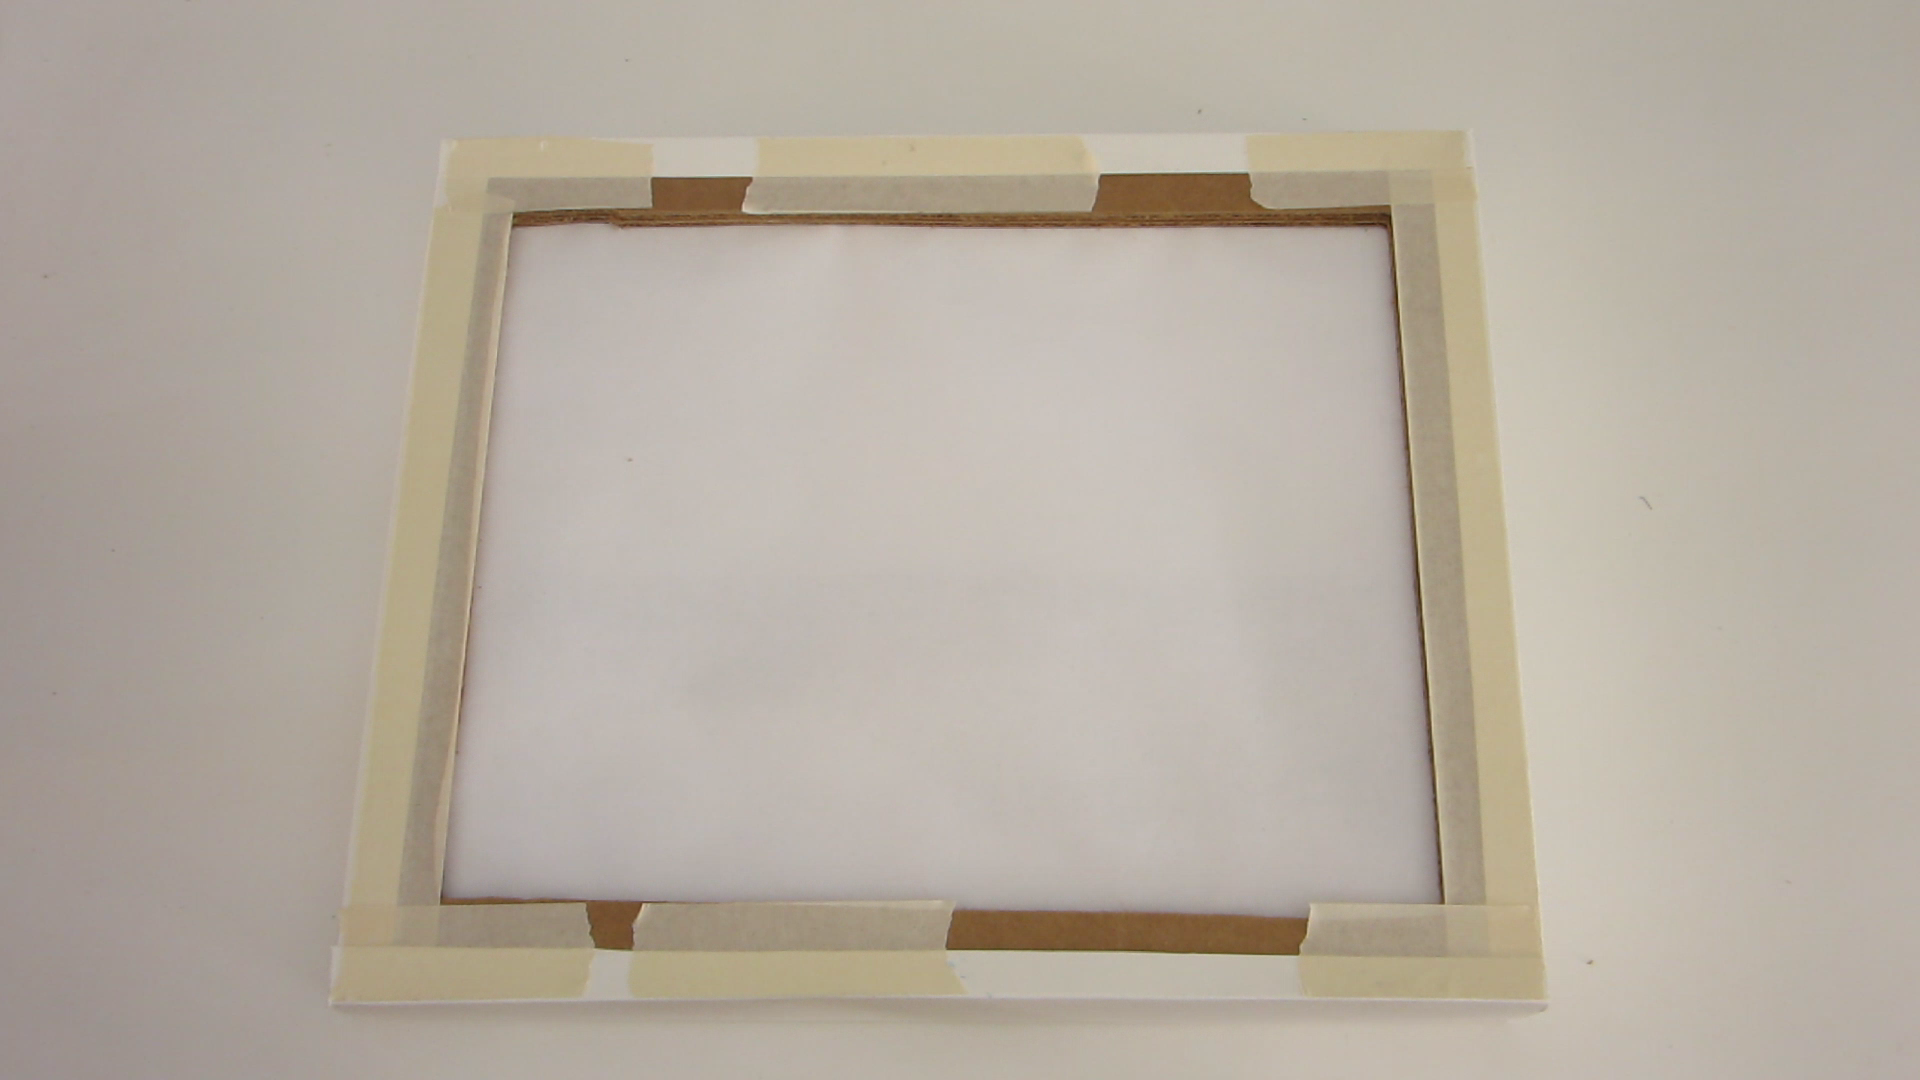
To make room for the lighting, I attached two more cardboard frames. This created a small compartment behind the picture that was just big enough for a string of LEDs.
Once all the layers are stacked, I set a heavy book on top to help press them together.
Create a Paper Cover for the Light Box
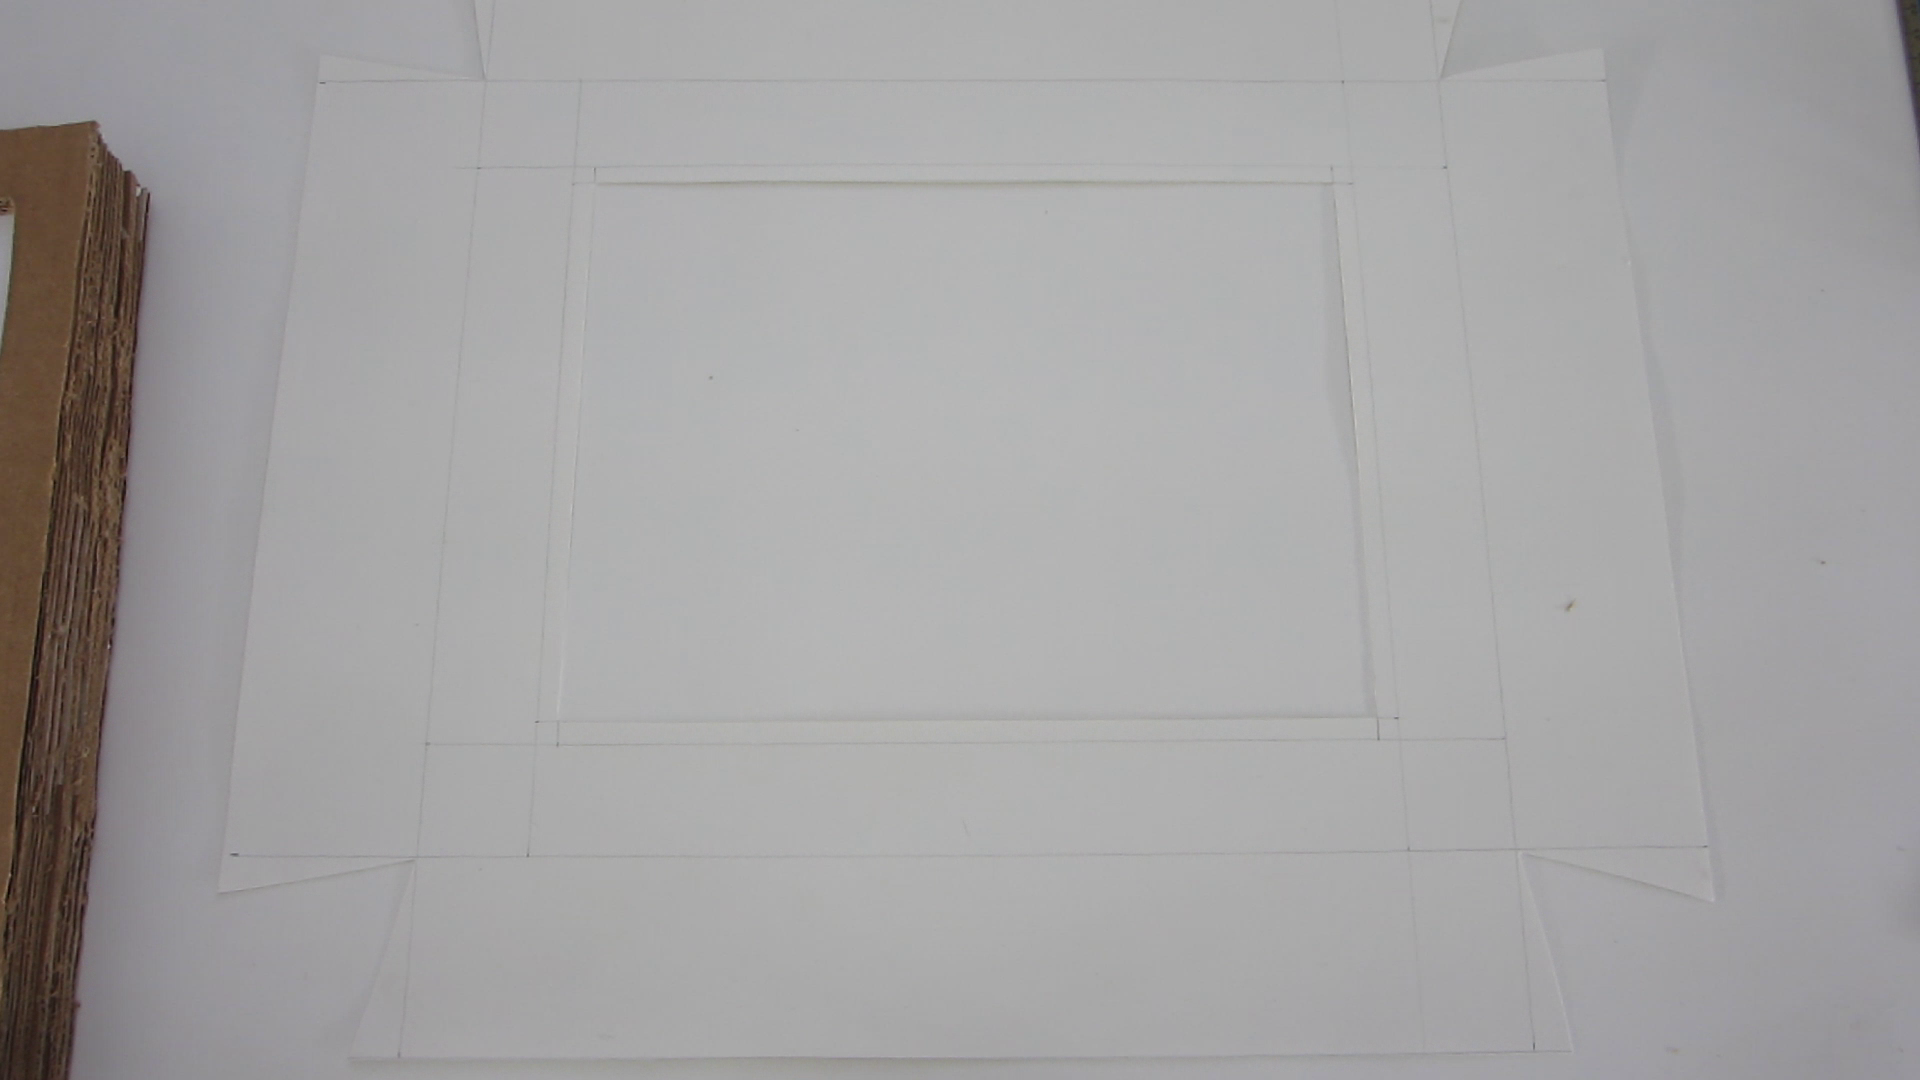
Now you need to make a cover for the box so that the cardboard and the tape will not be visible. Because I am using a lot of plain white paper and card stock, I decided to continue the theme and make the cover out of white poster board.
First I measured out how wide and tall a sheet would need to be to wrap around the front and sides of the box. Then I added an extra inch to allow for tabs that could be taped to the back side. I cut out a piece of poster board this size.
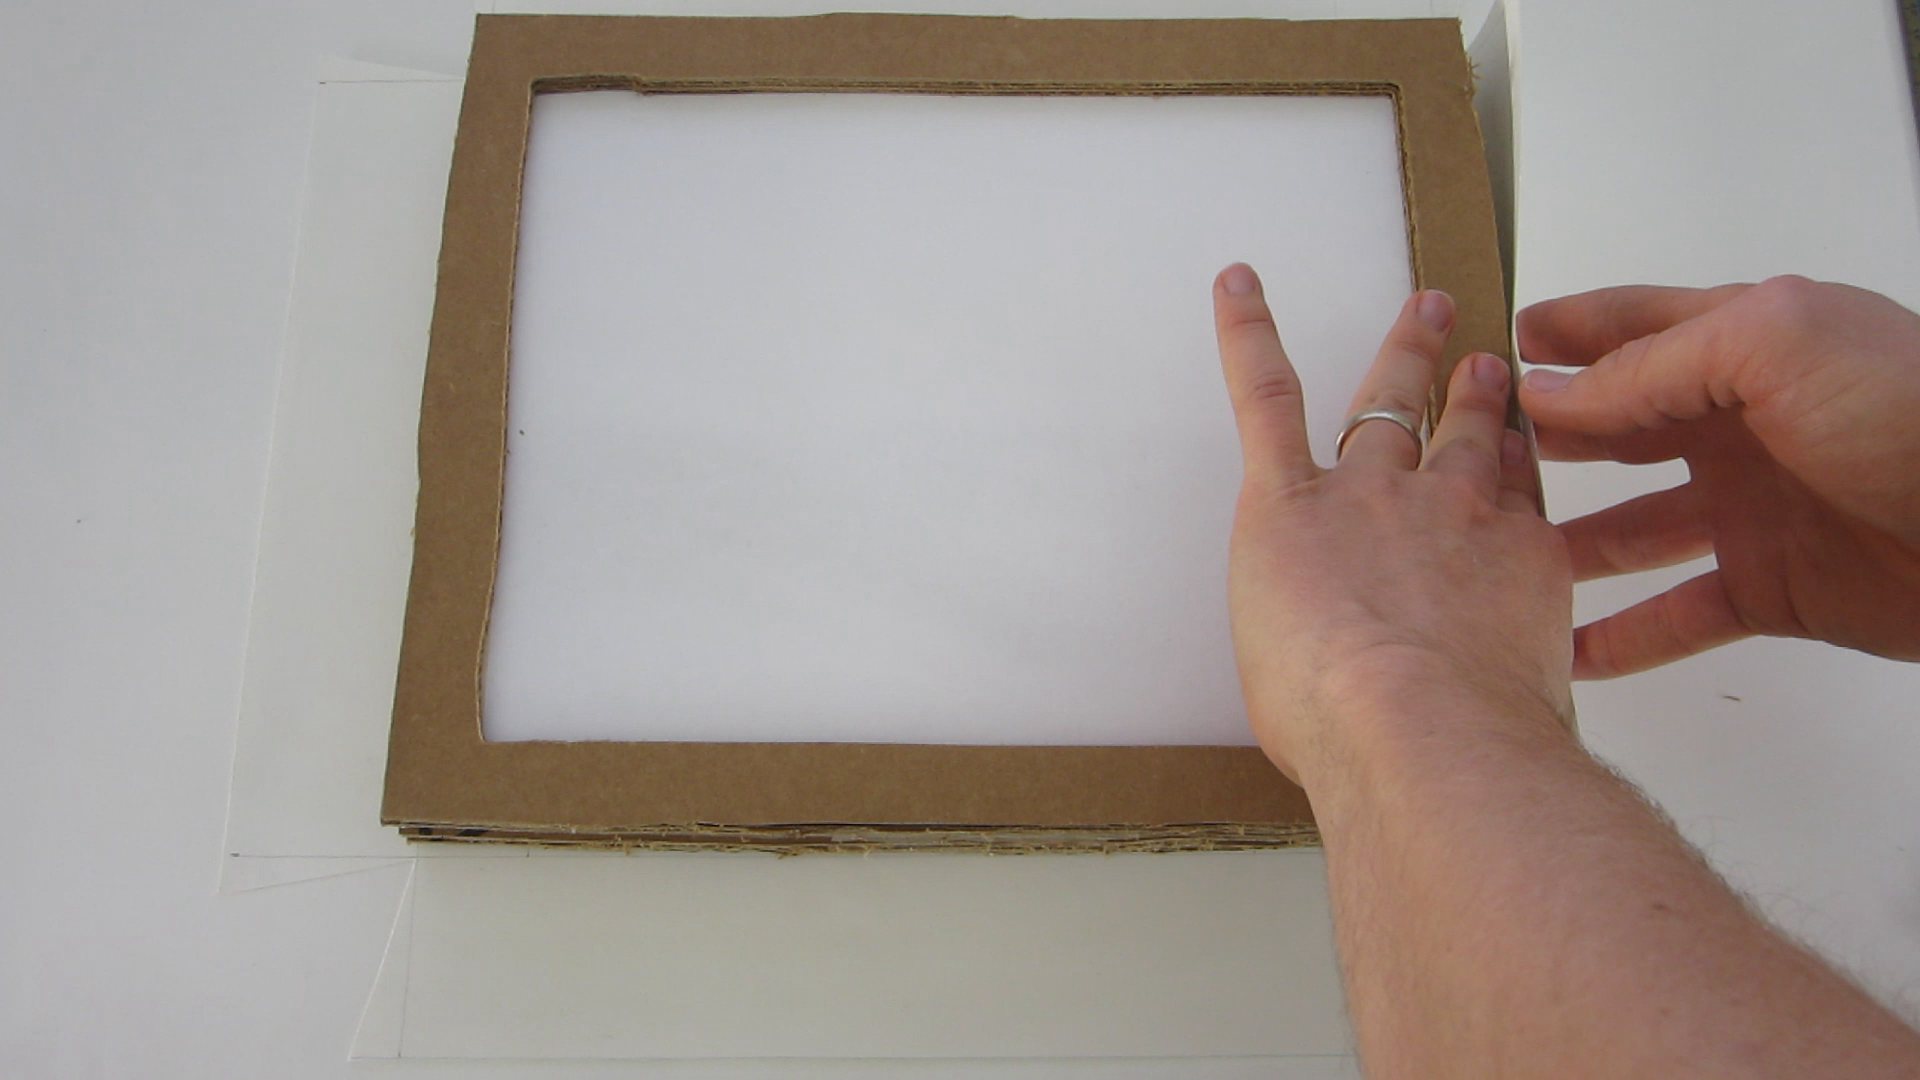
Next, I cut out a rectangle in the middle that was a little smaller than the dimensions of the pictures. I cut out the corners so that the sides could easily be folded up around the sides of the box.
I centered box on the cover. Then I folded up the sides and taped the edges to the back side of the box. If the cover does not perfectly fit the box, you can add cardboard spacers around the sides. Just stick in small pieces of scrap cardboard to fill in the gaps.
Add Lights to the Back Side
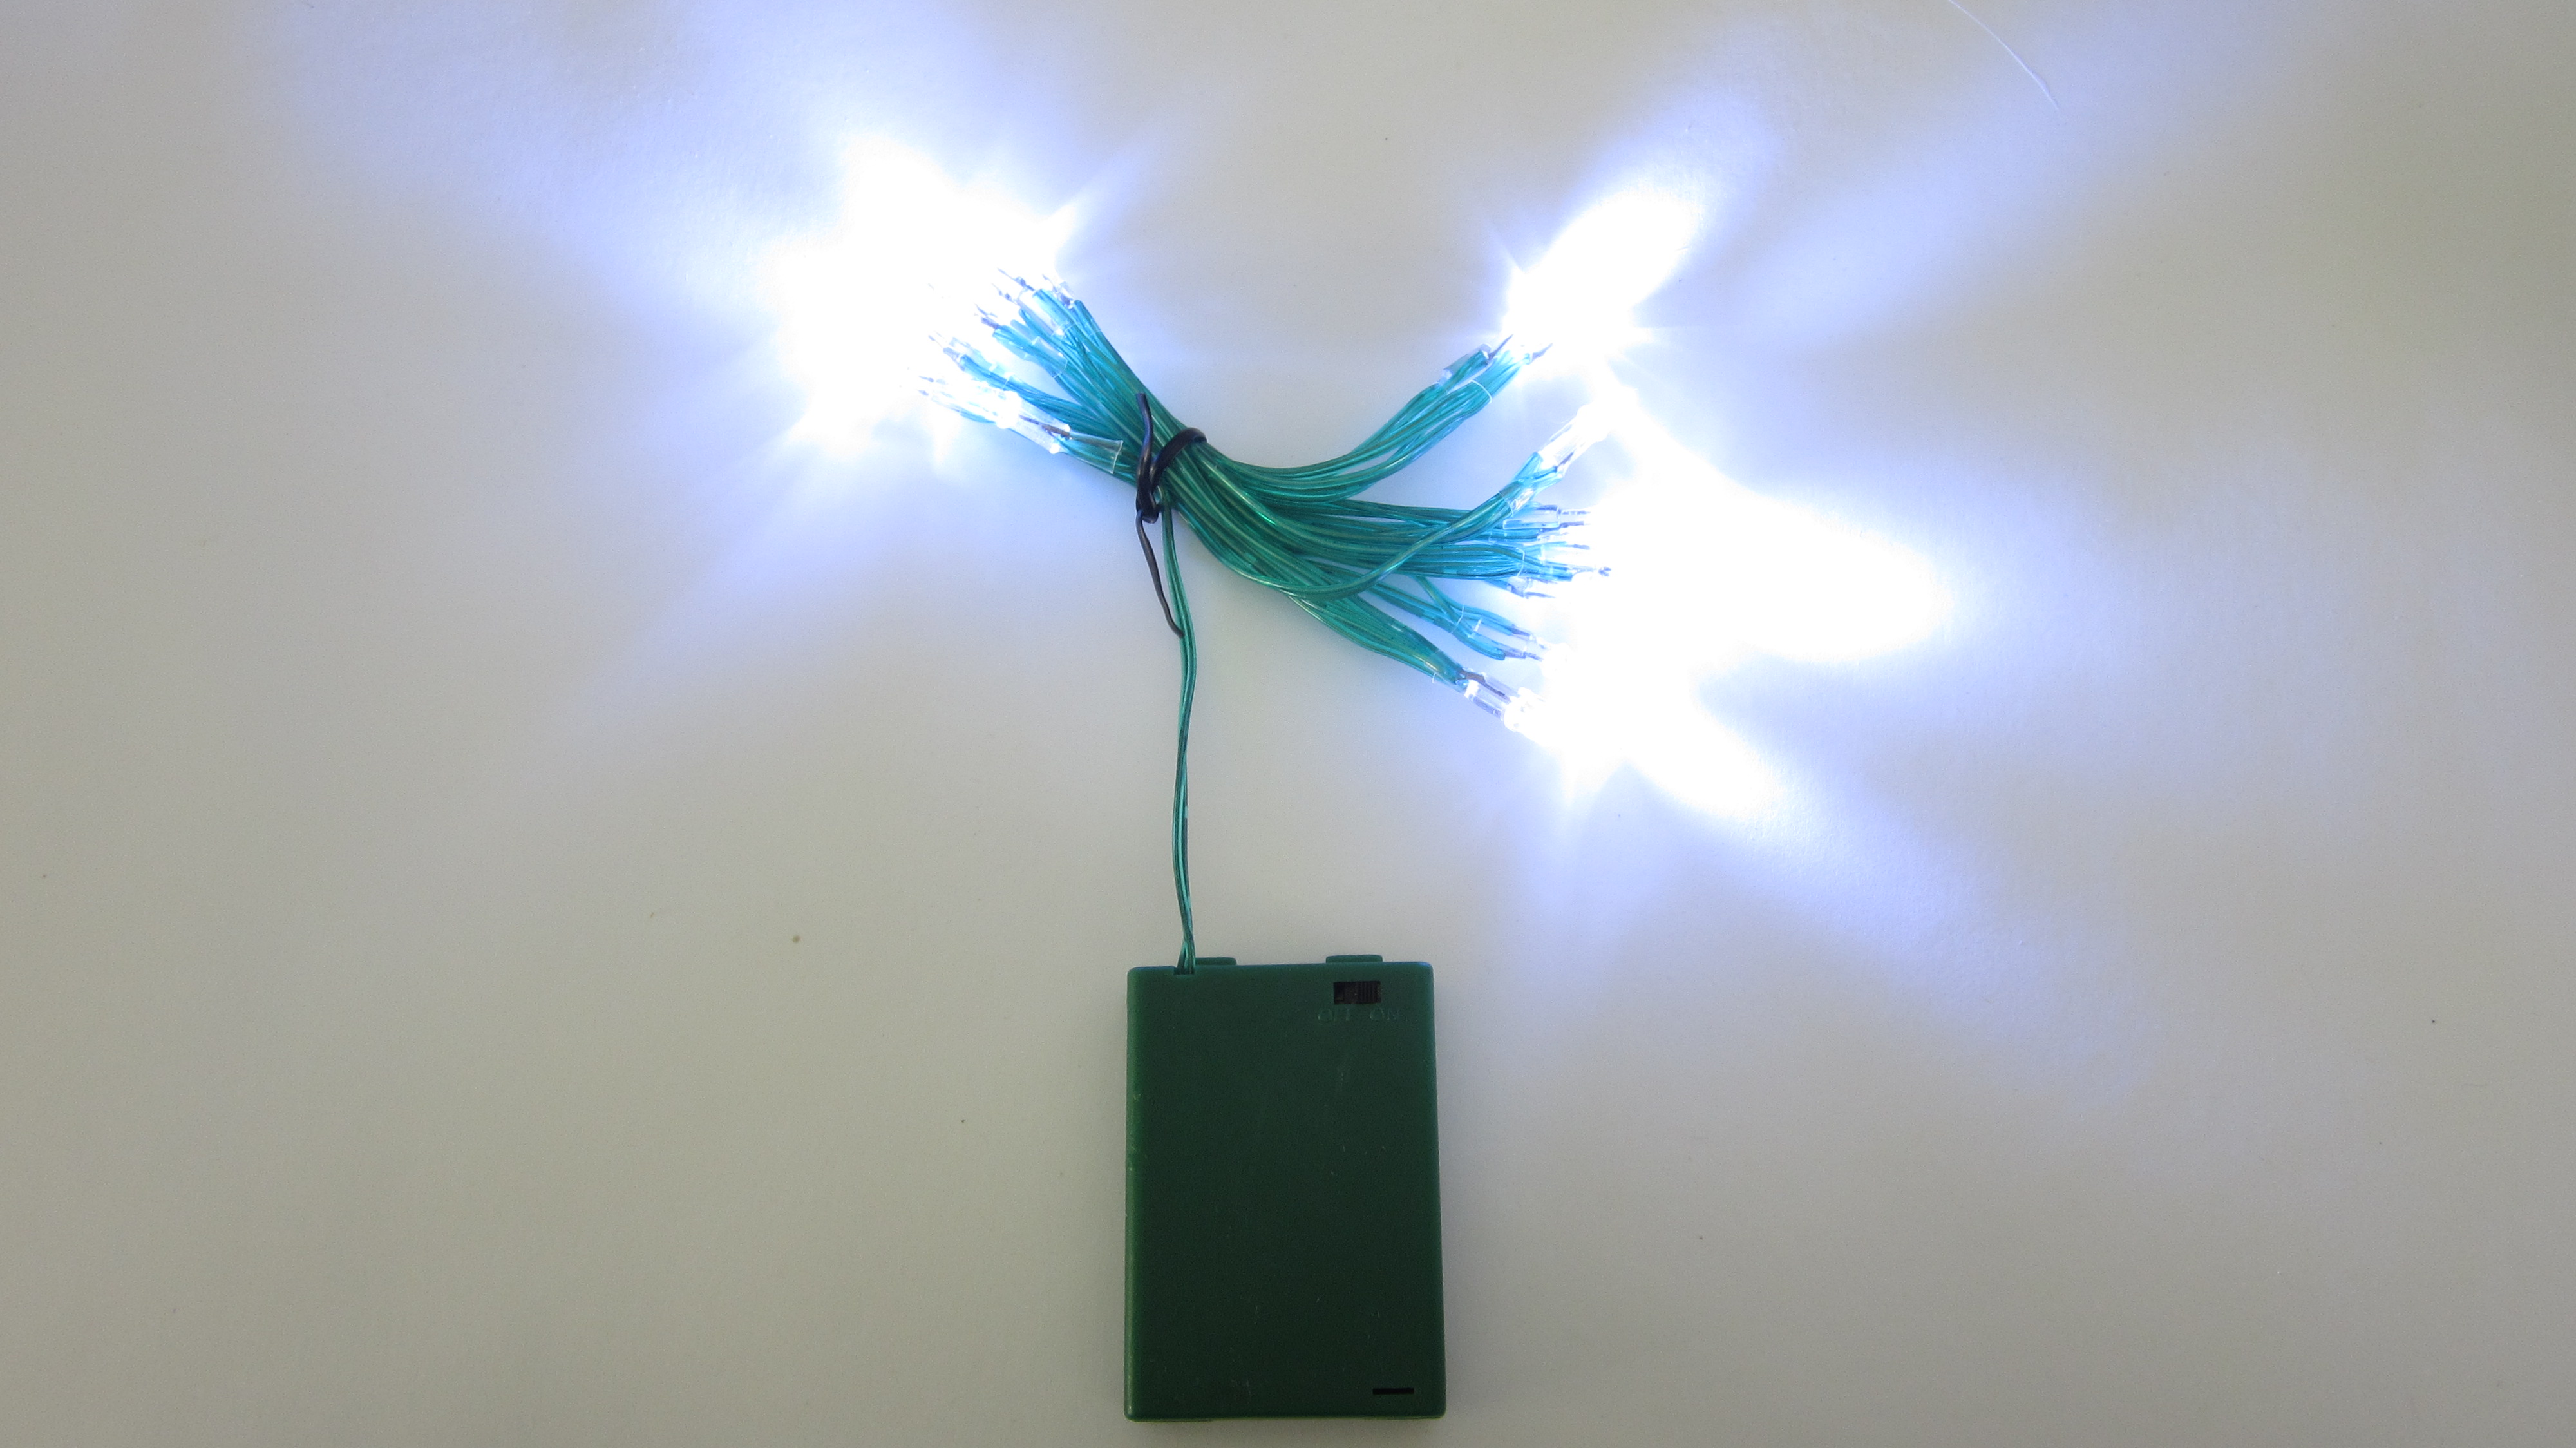
The light box works best if you have a built-in light behind the picture. To accomplish this, I used a string of battery powered LED lights. I chose battery powered LEDs because I wanted it to be easily portable. But you can also use AC powered lights.
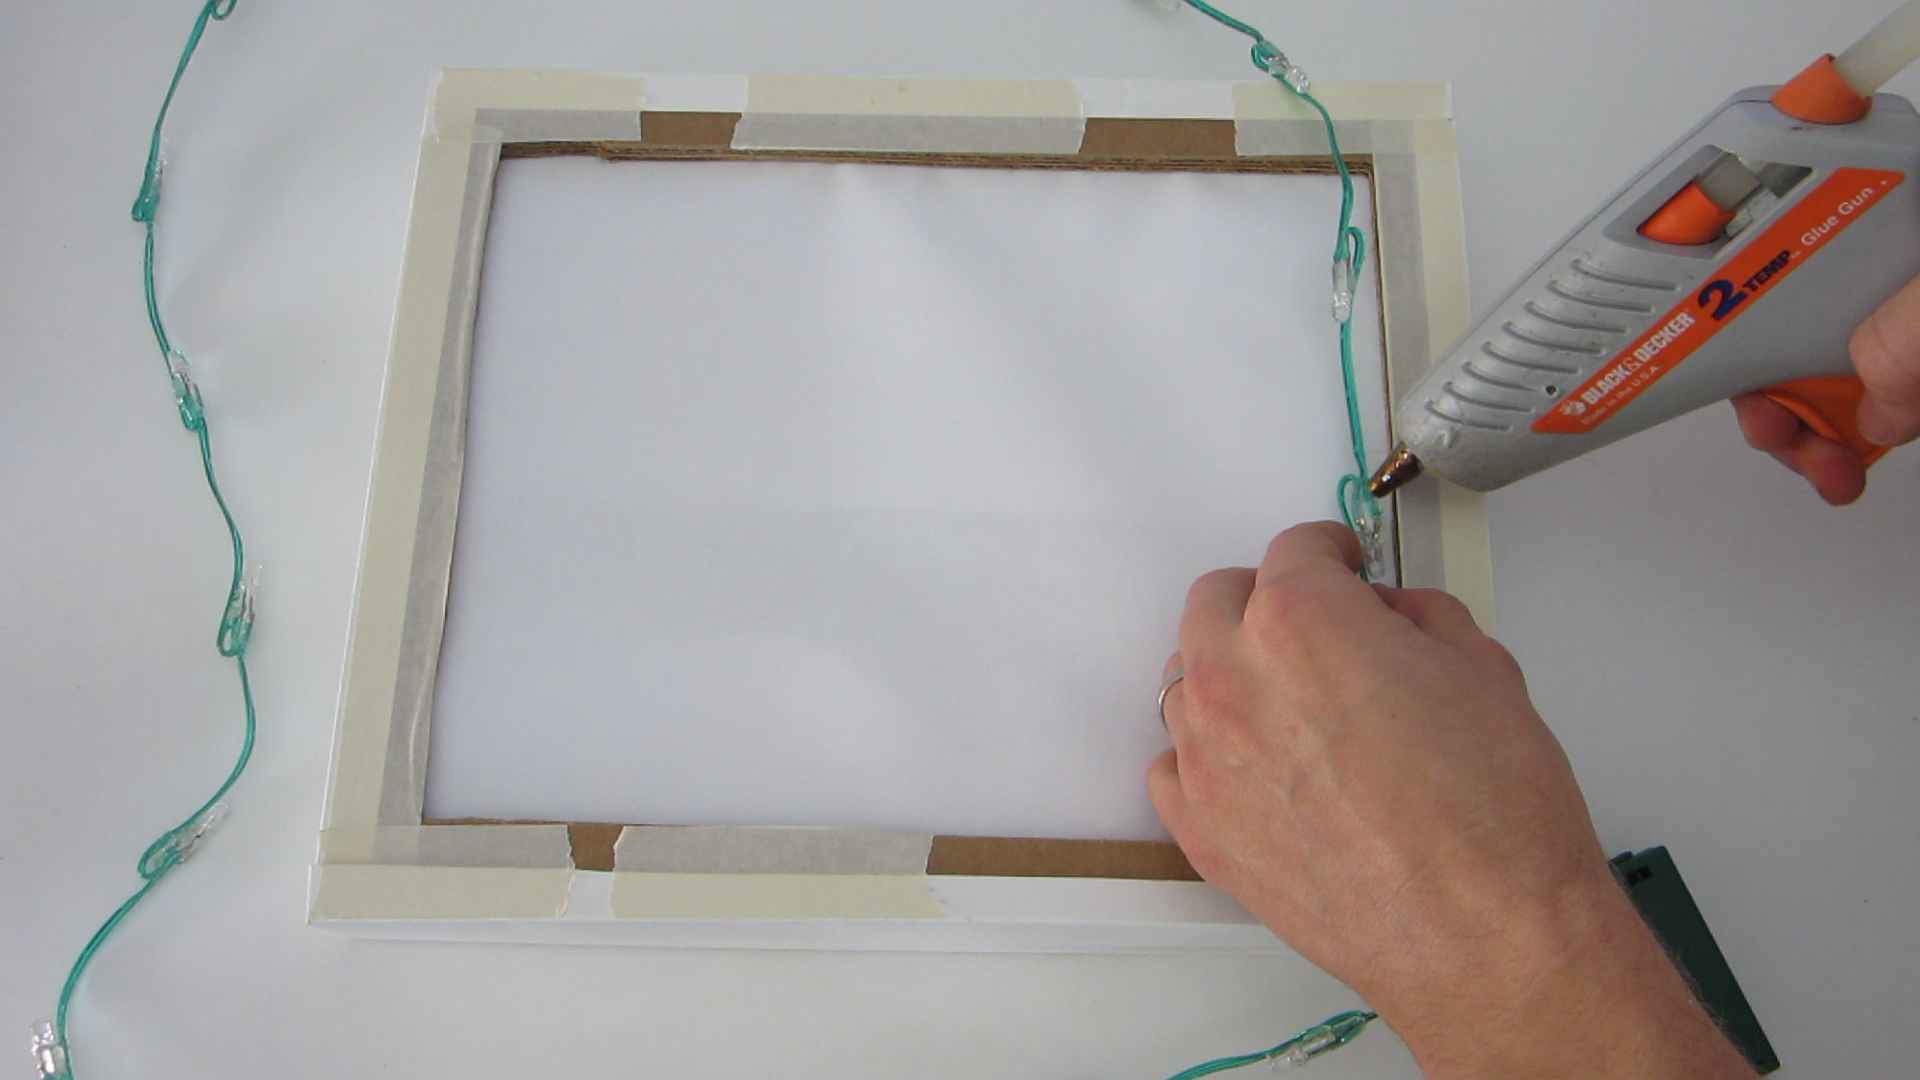
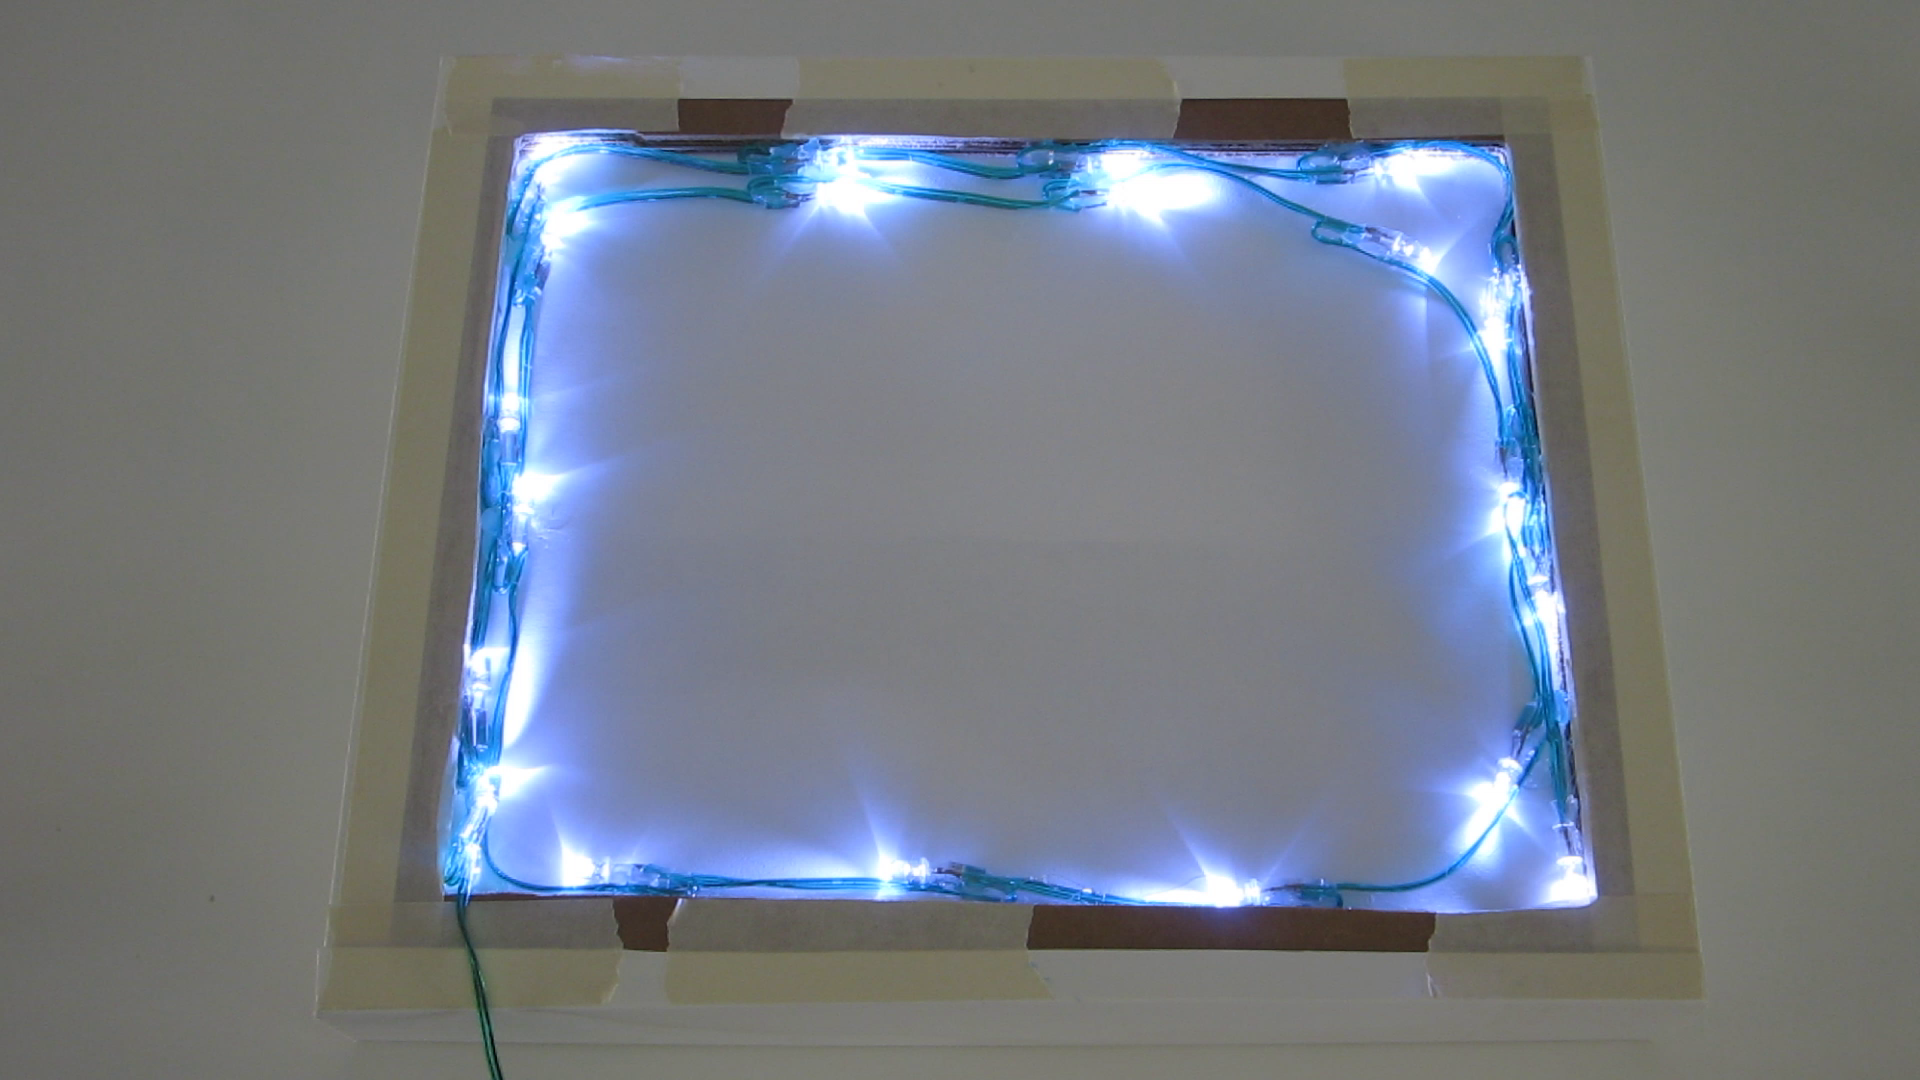
I attached the lights around the edges of the frame with hot glue. Then I ran the power cord down below the box.
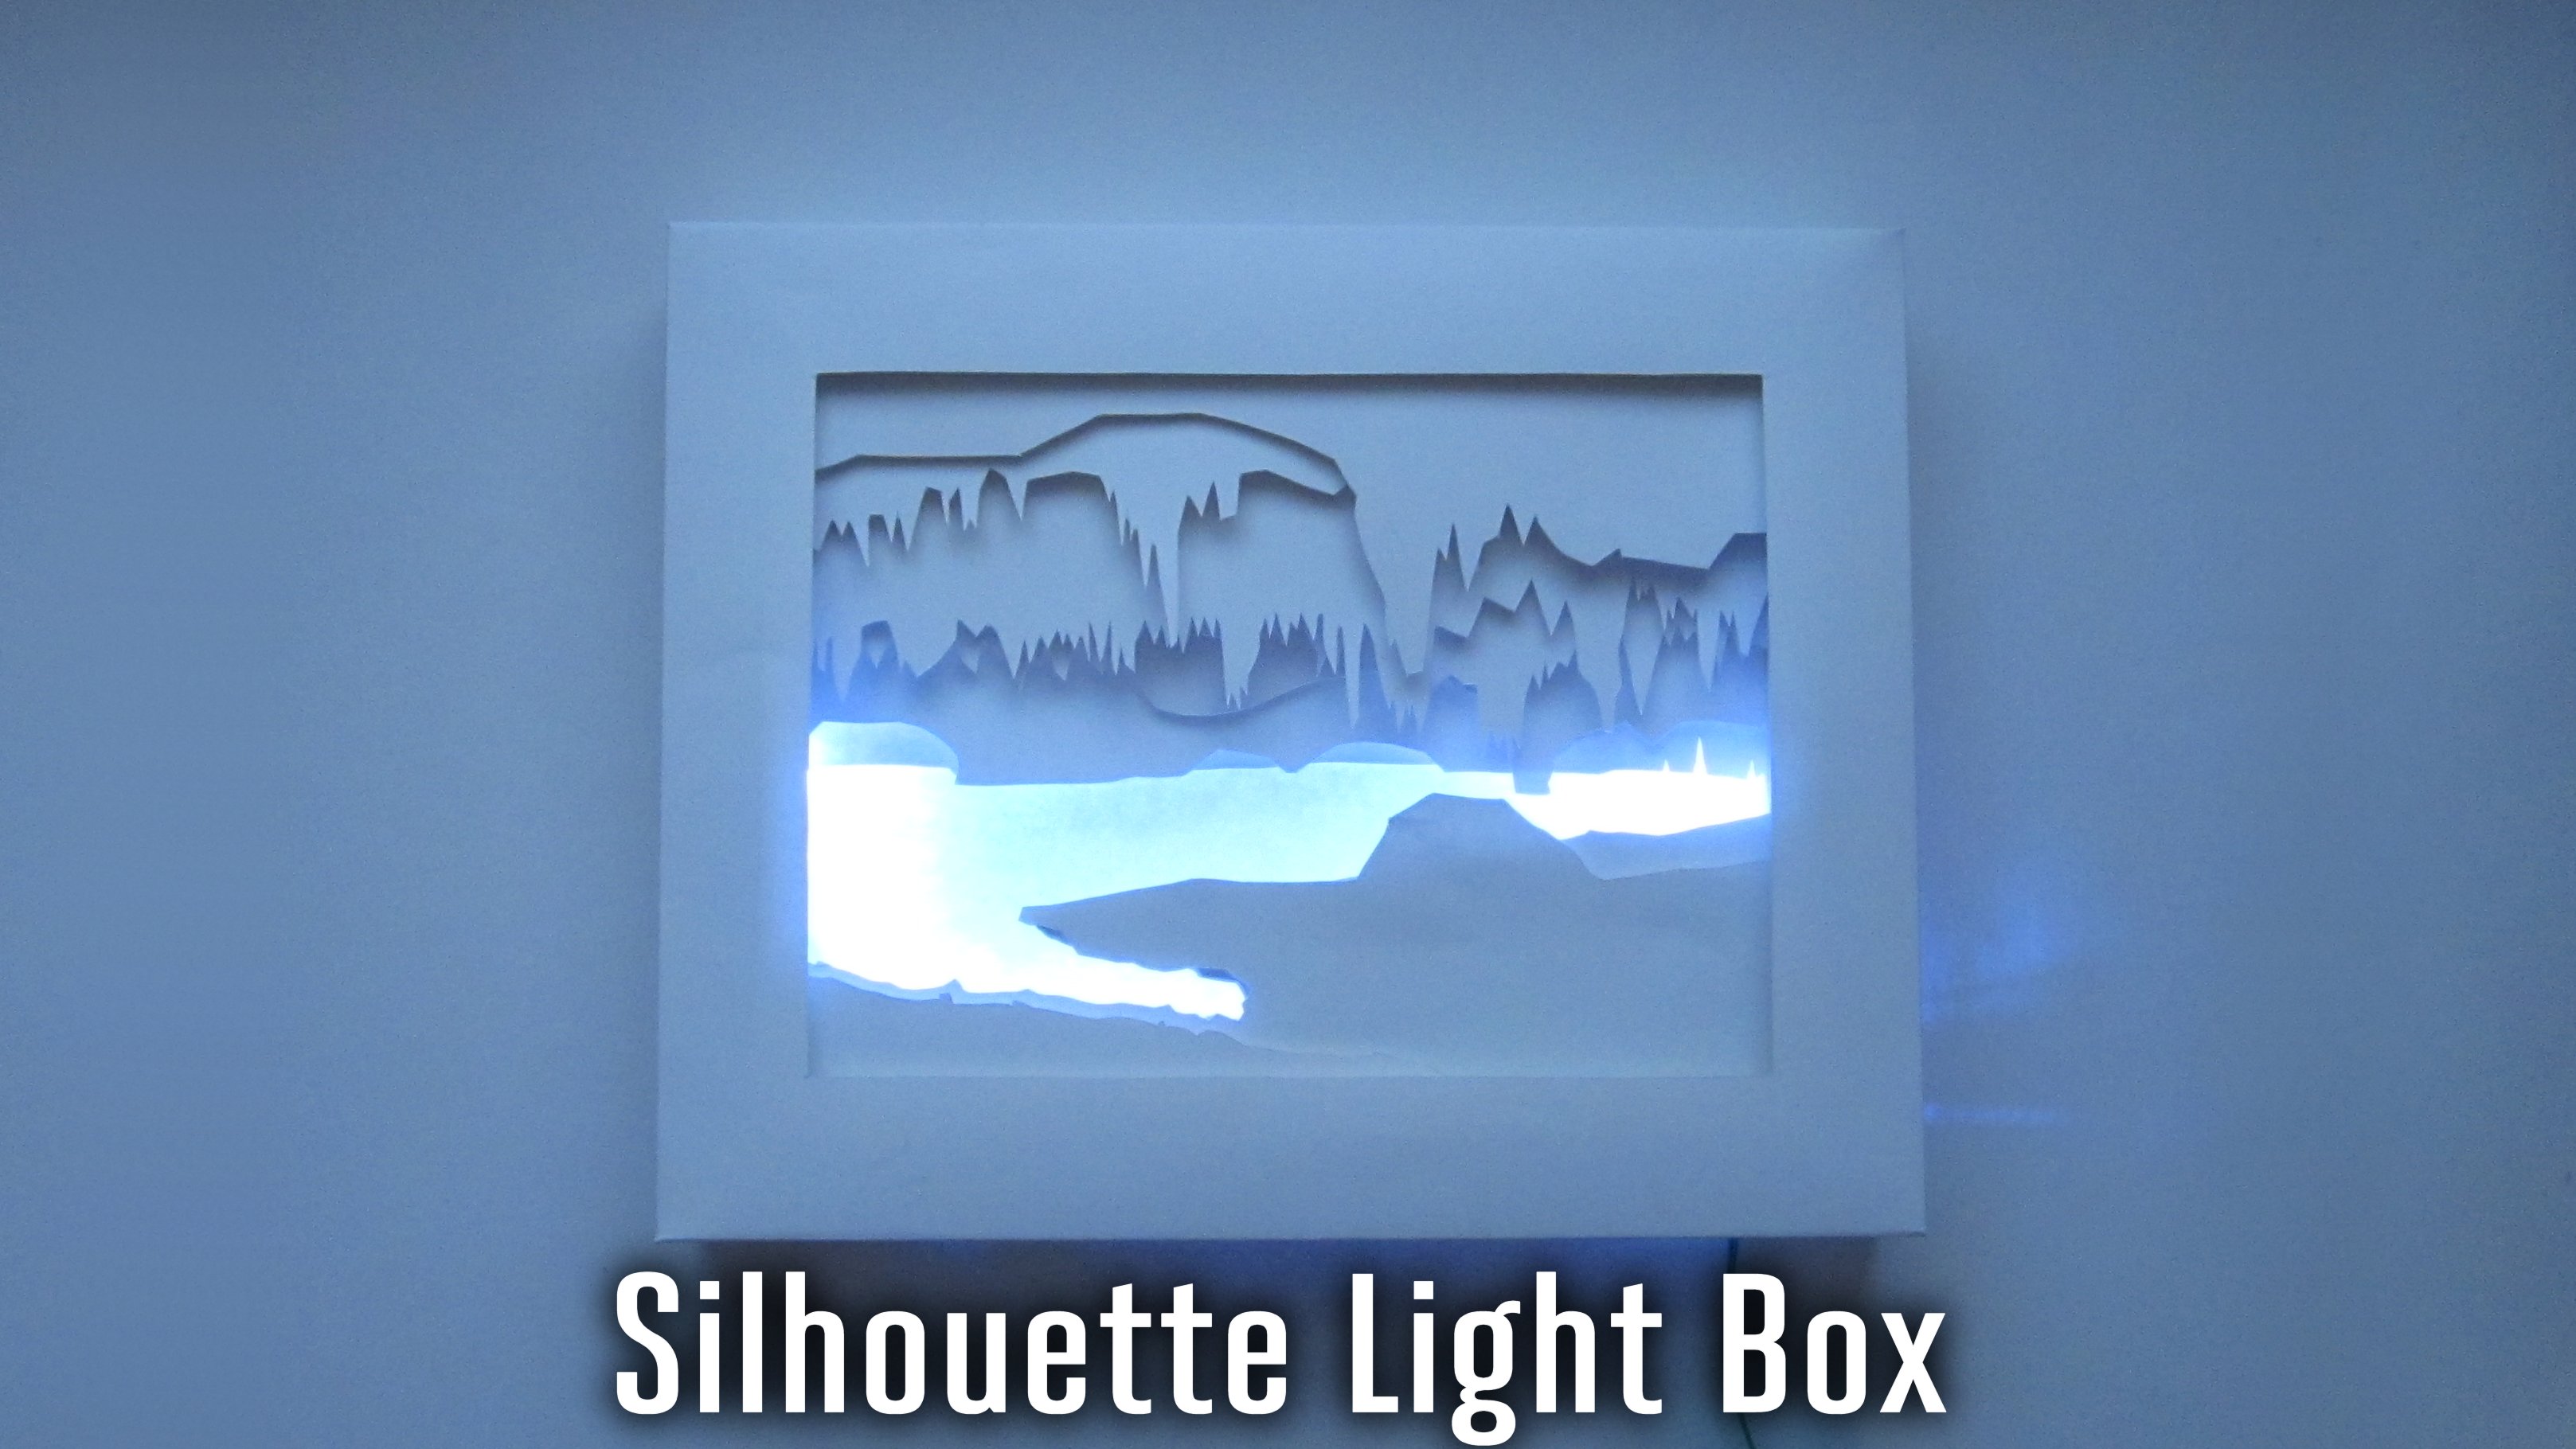
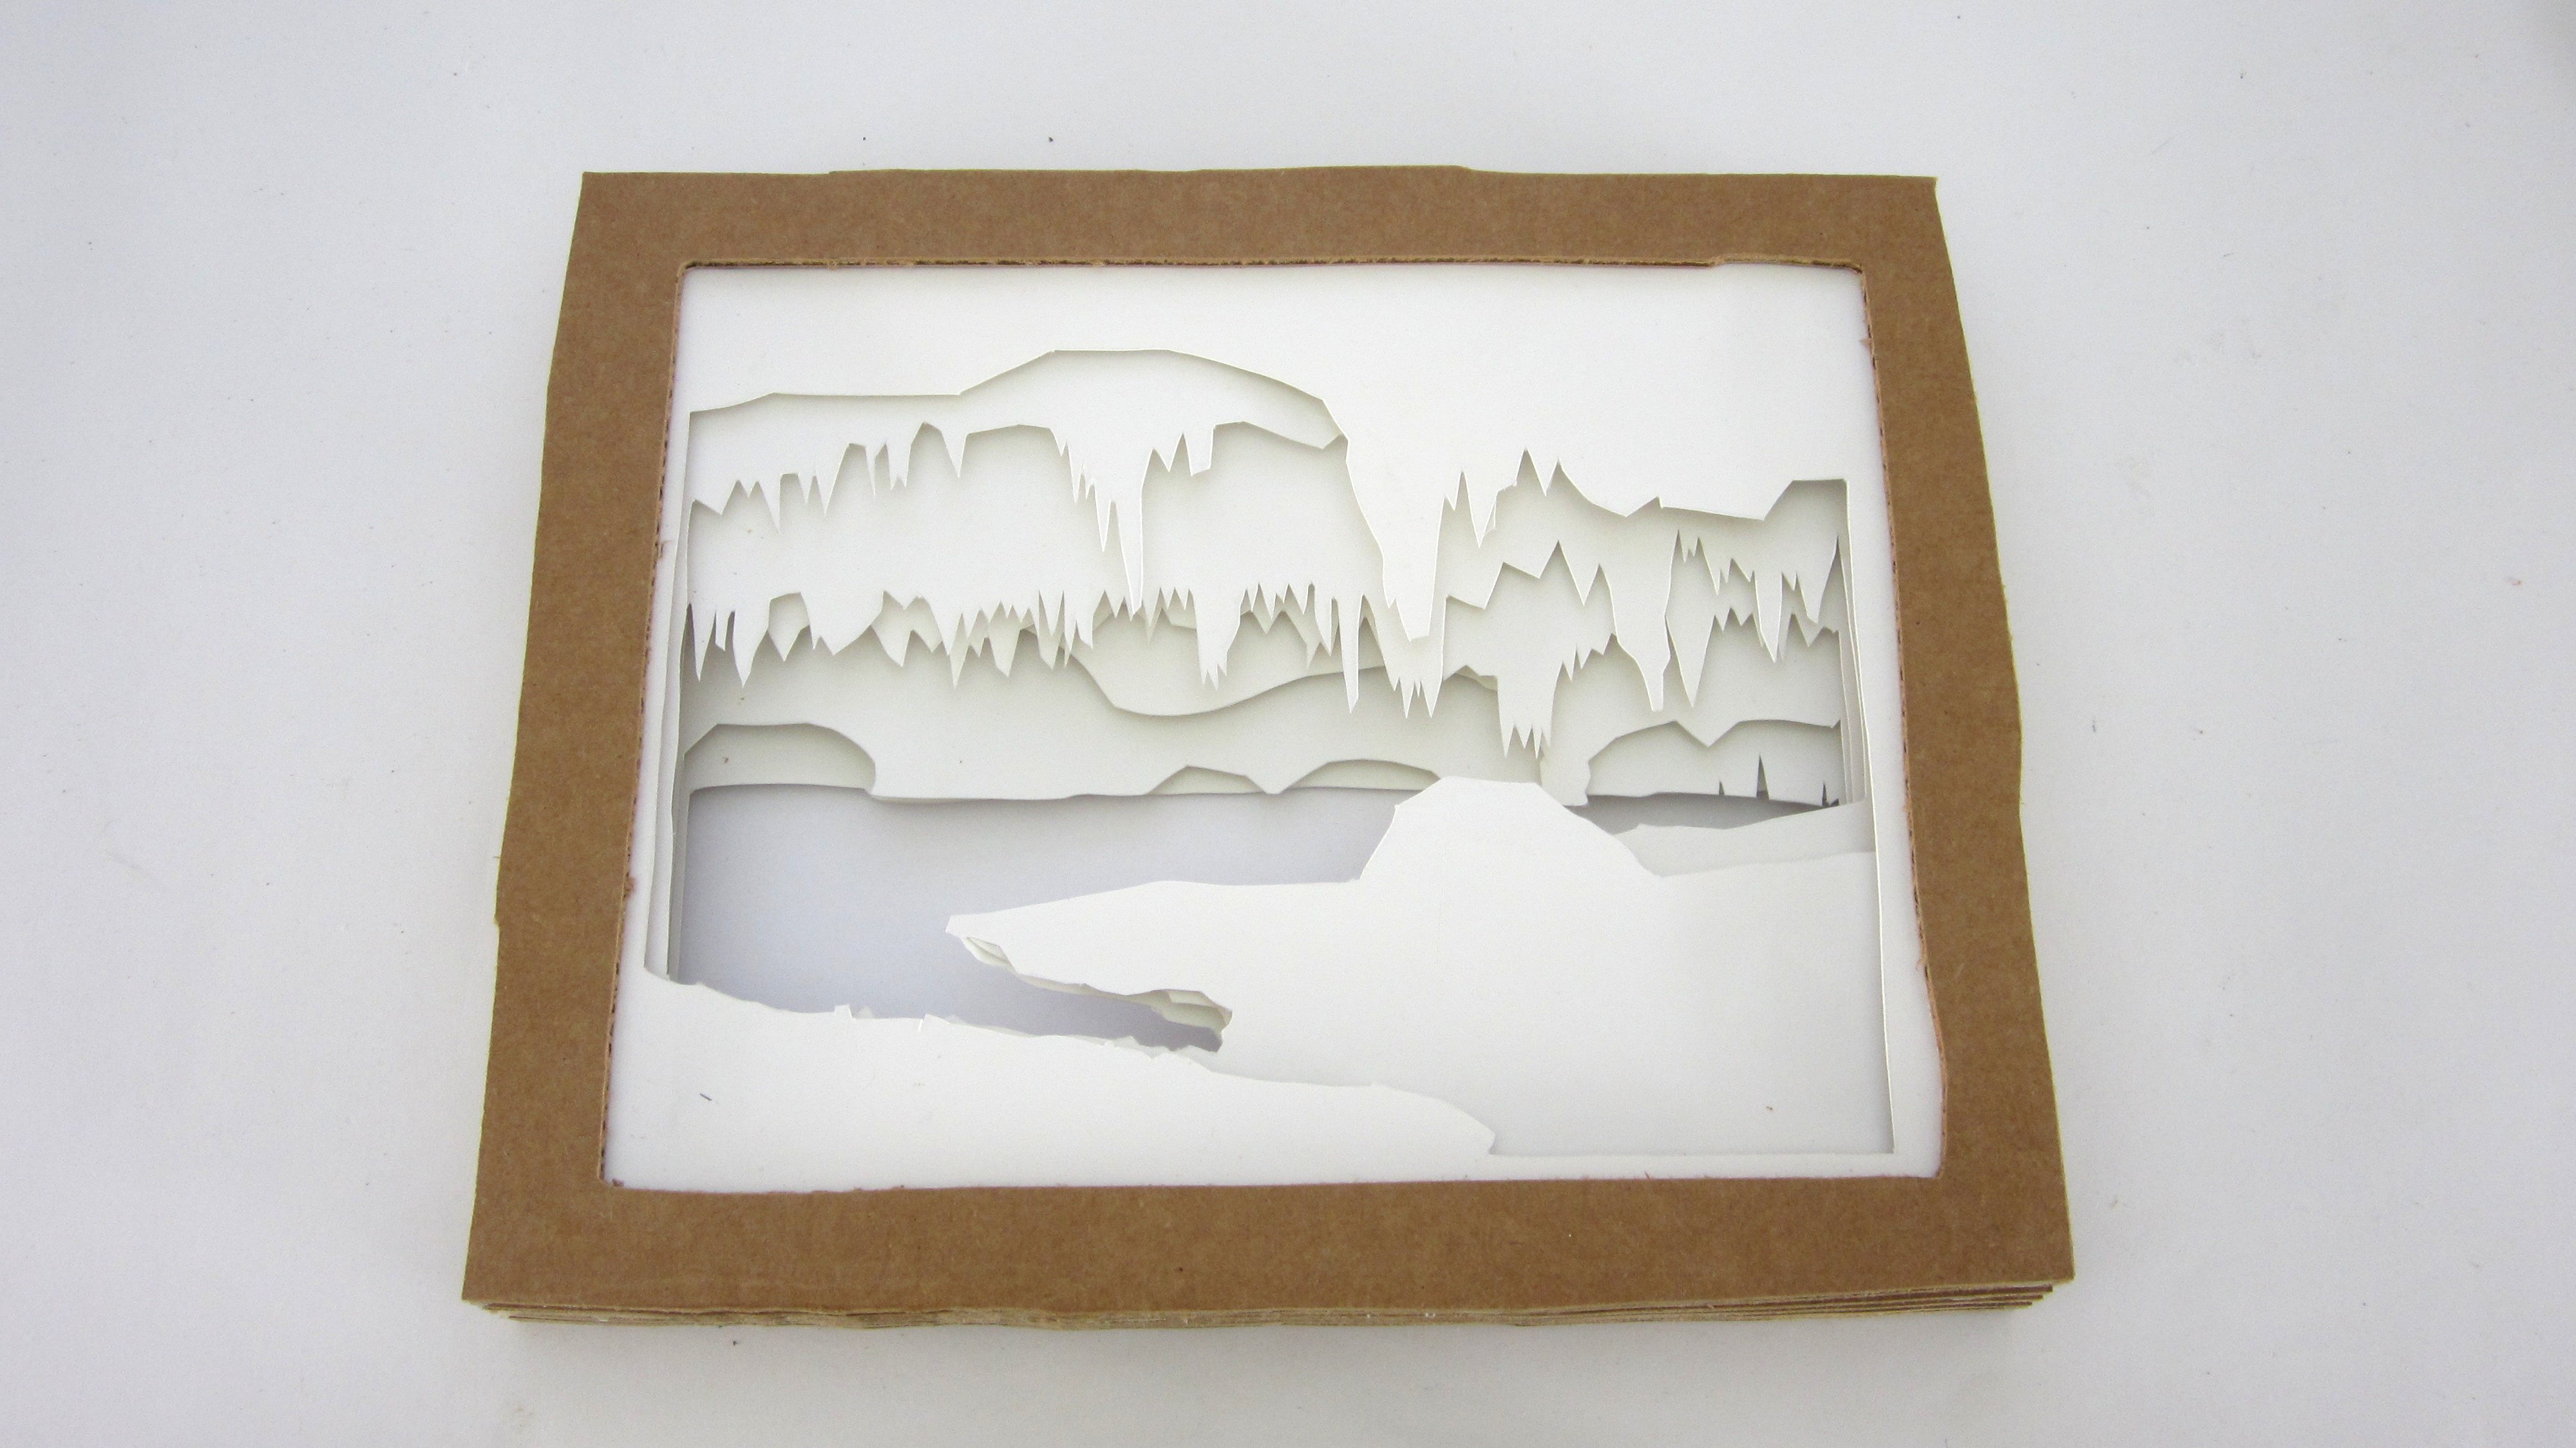
Finished Silhouette Light Box

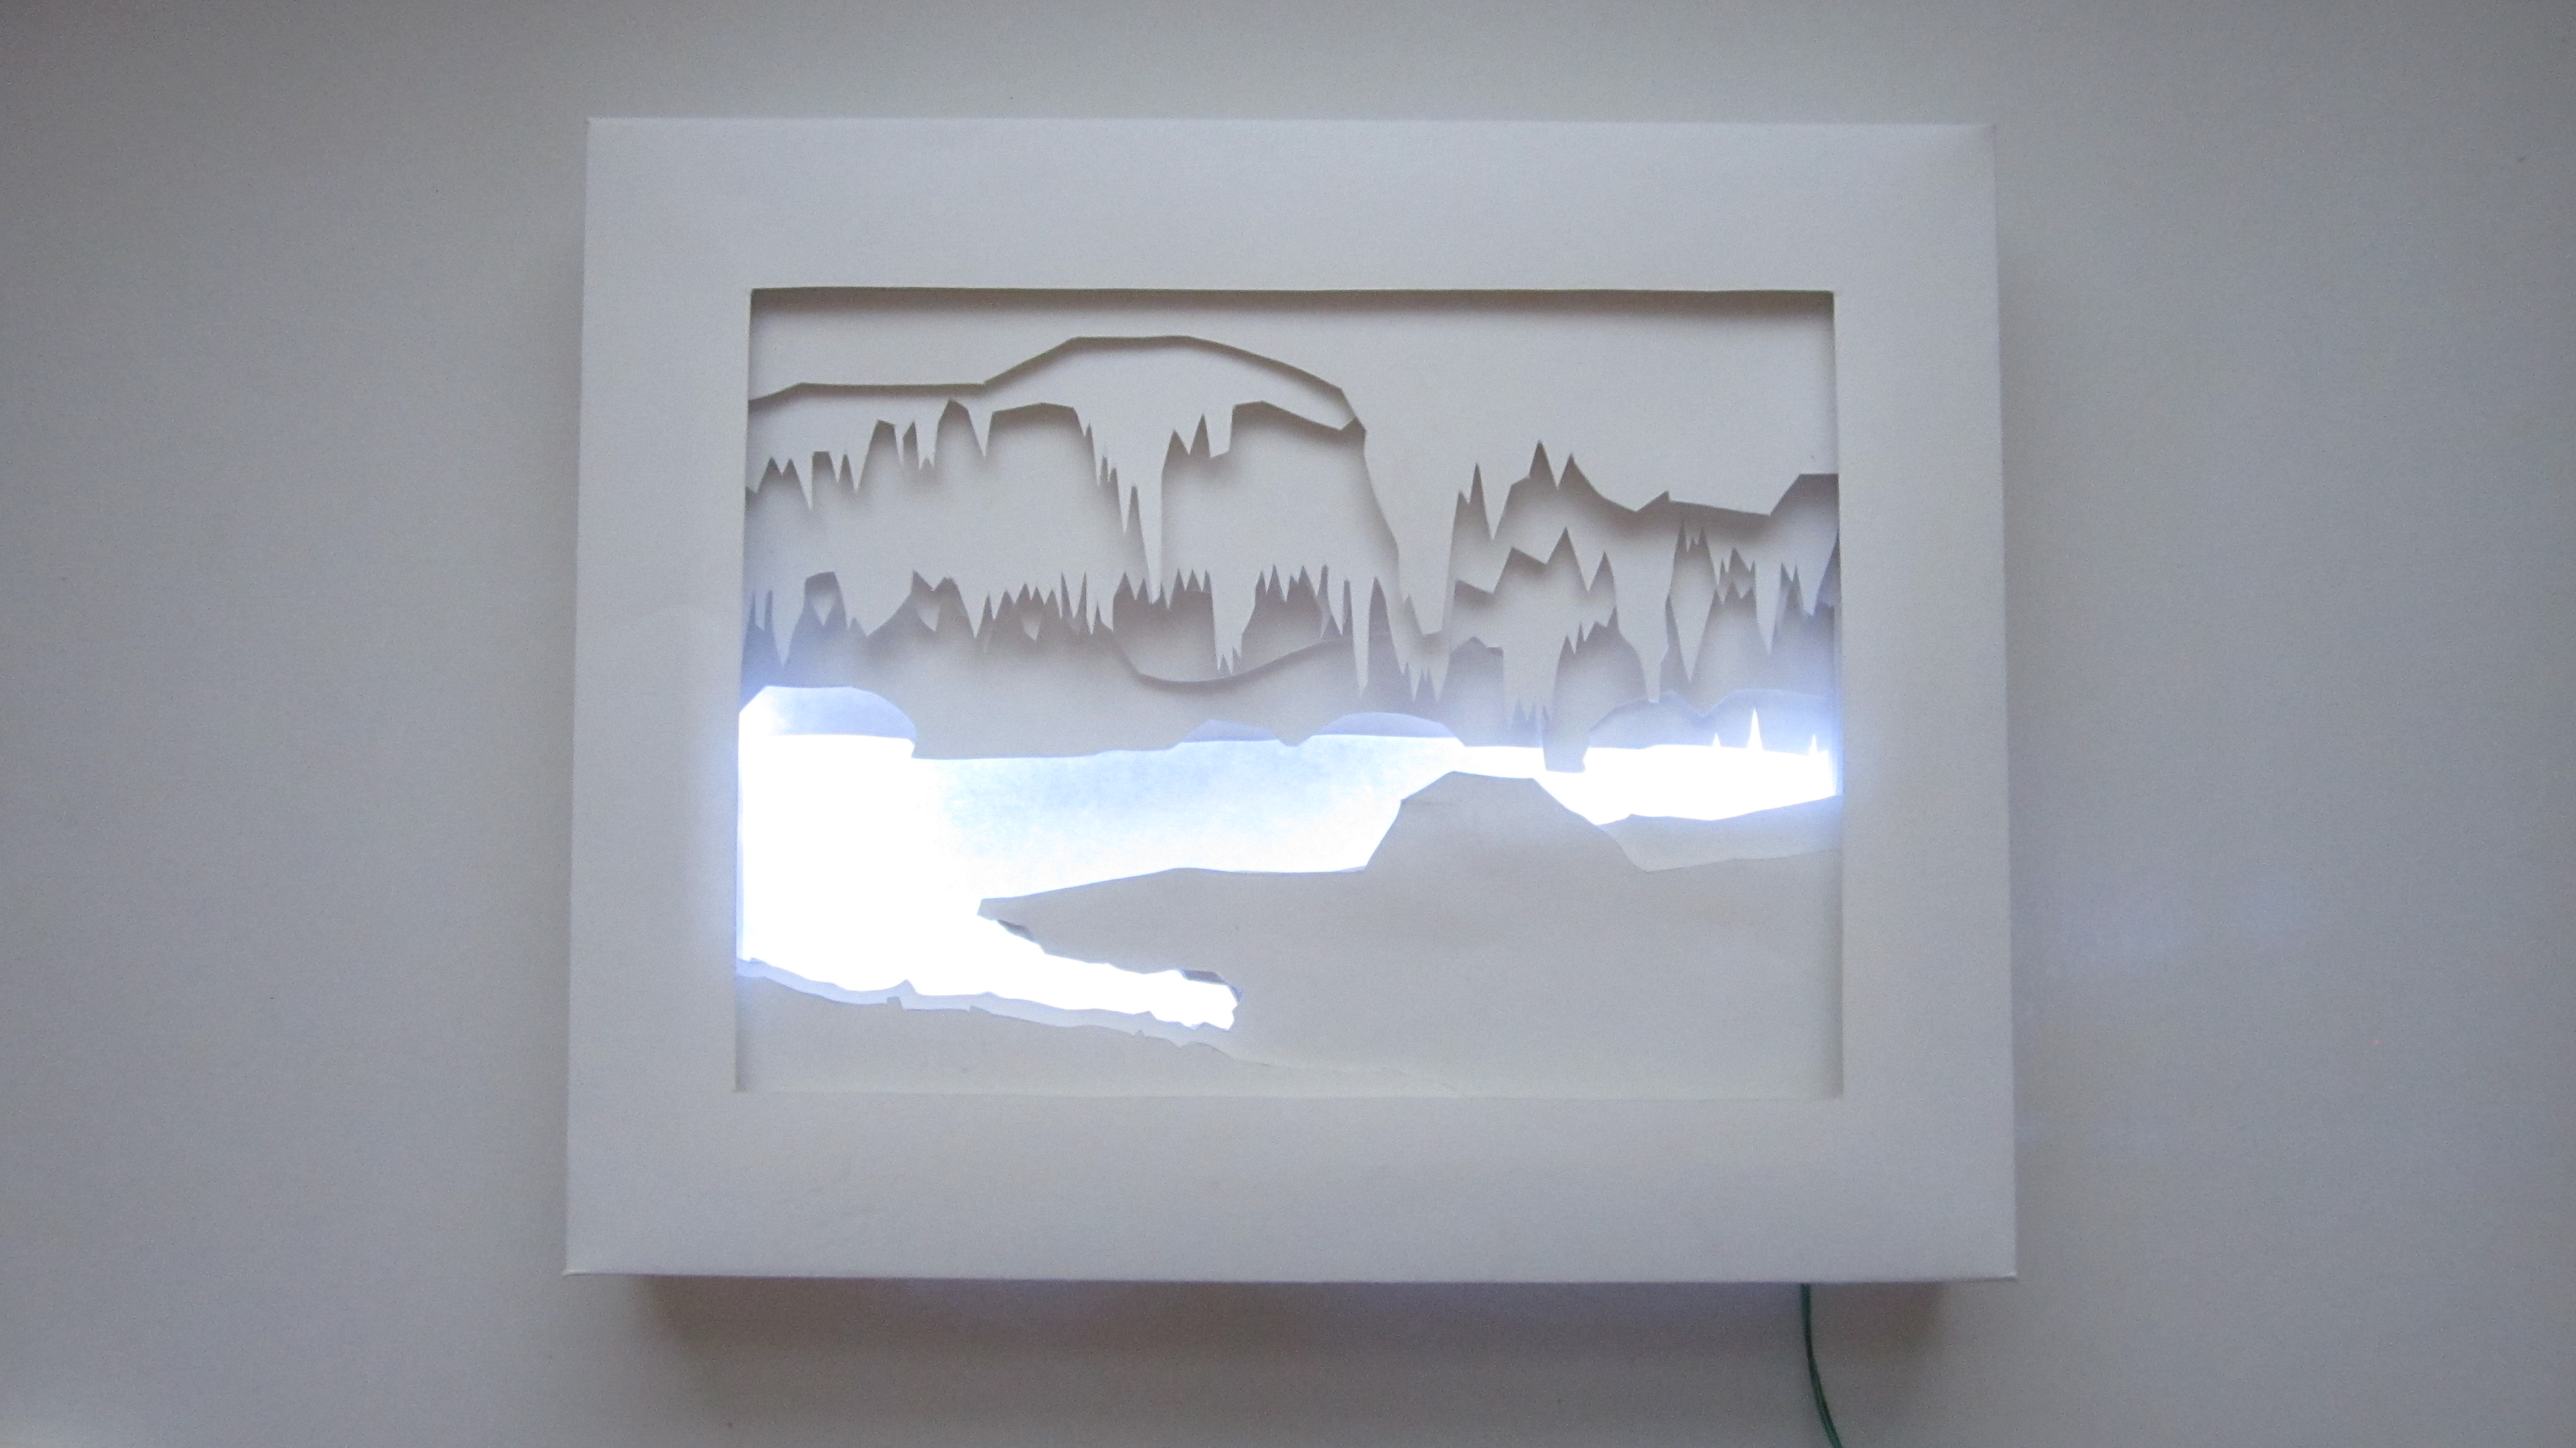

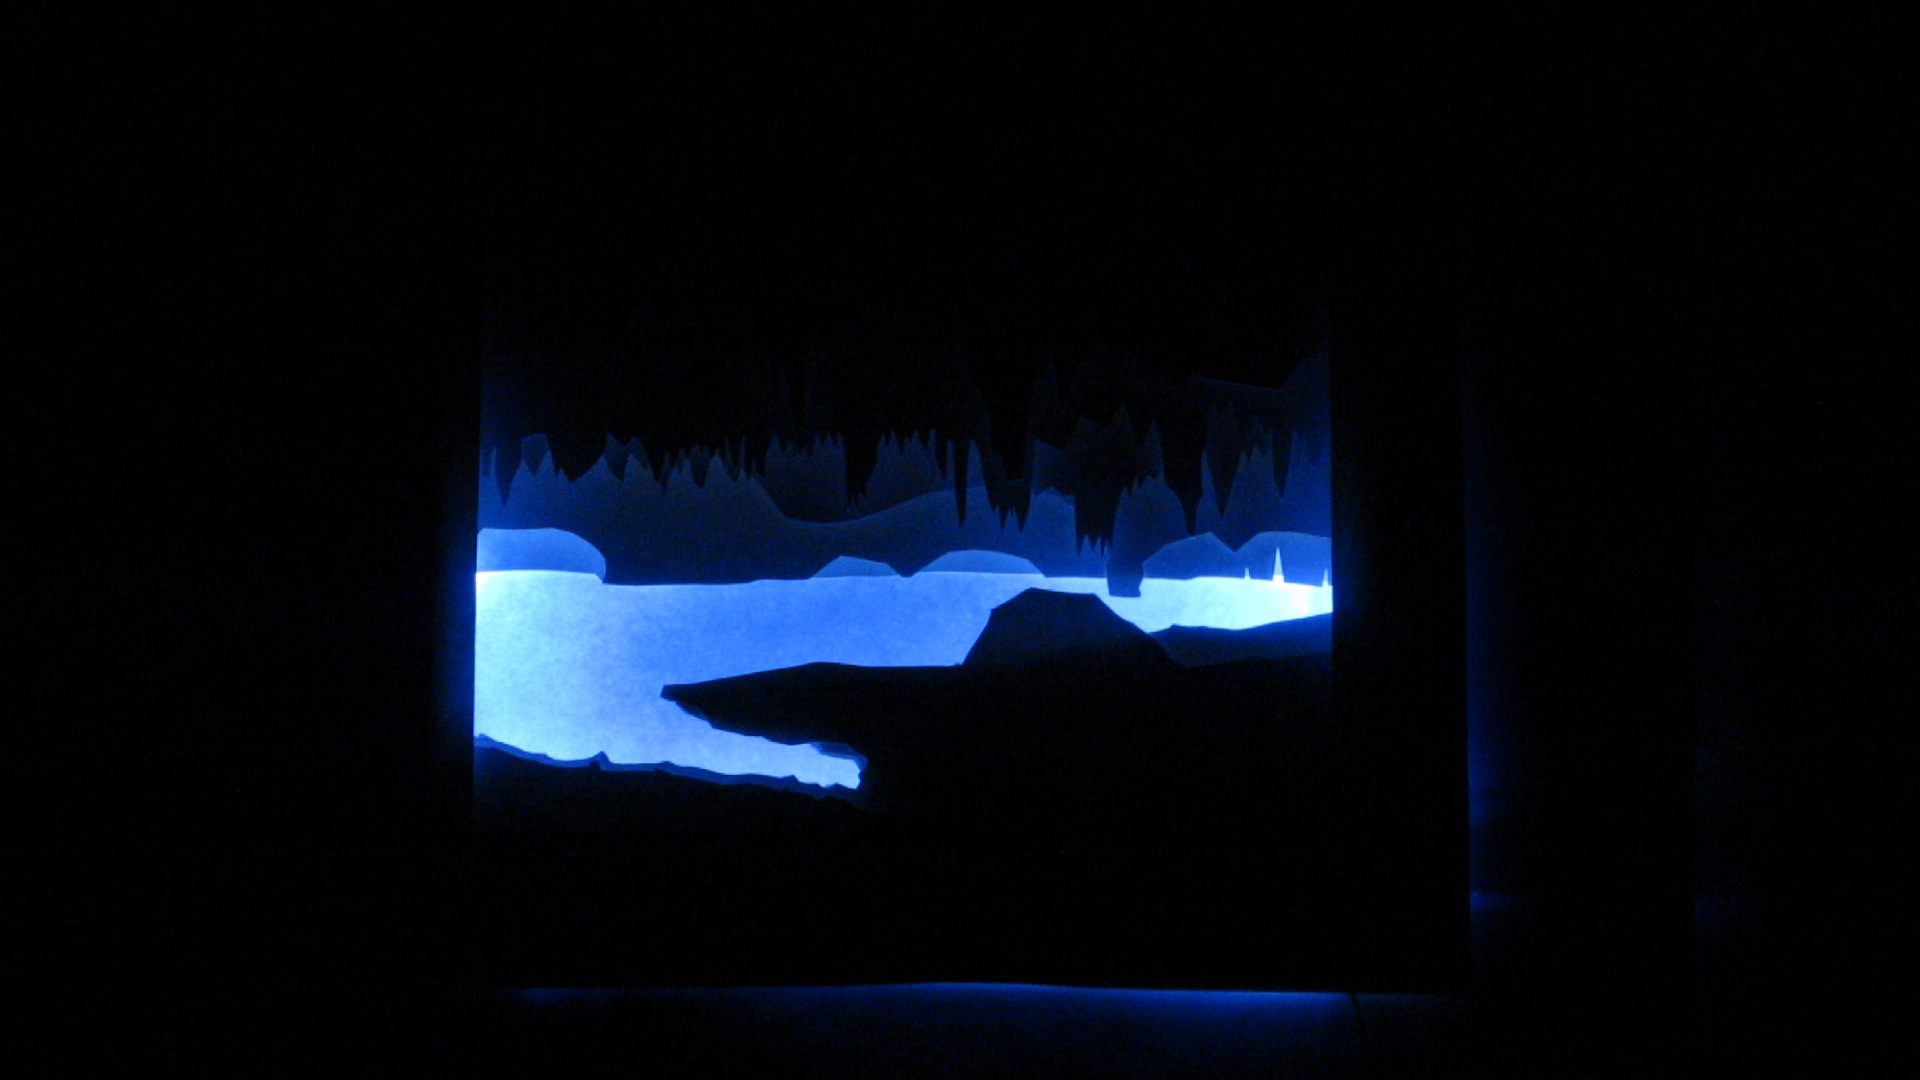
Now your silhouette light box is complete. Turn down the lights in your room and turn on the lights behind the picture. Your box should glow and make an attractive 3D image in silhouettes.
This can make a nice wall decoration, or mood light. You can even use it as a night light in your child's bedroom. Your kids can even help you make it. Try it out and have fun.