3D Shadow Light Box
For this design project, I created a 3D layered light box that can be used for a nightlight or decoration. It has interactive sounds and lights! I made this for kids who might be afraid of the dark and would like to make their own! This project is great because it is totally customizable just pick an image for your design add your lights and get creative!
Supplies
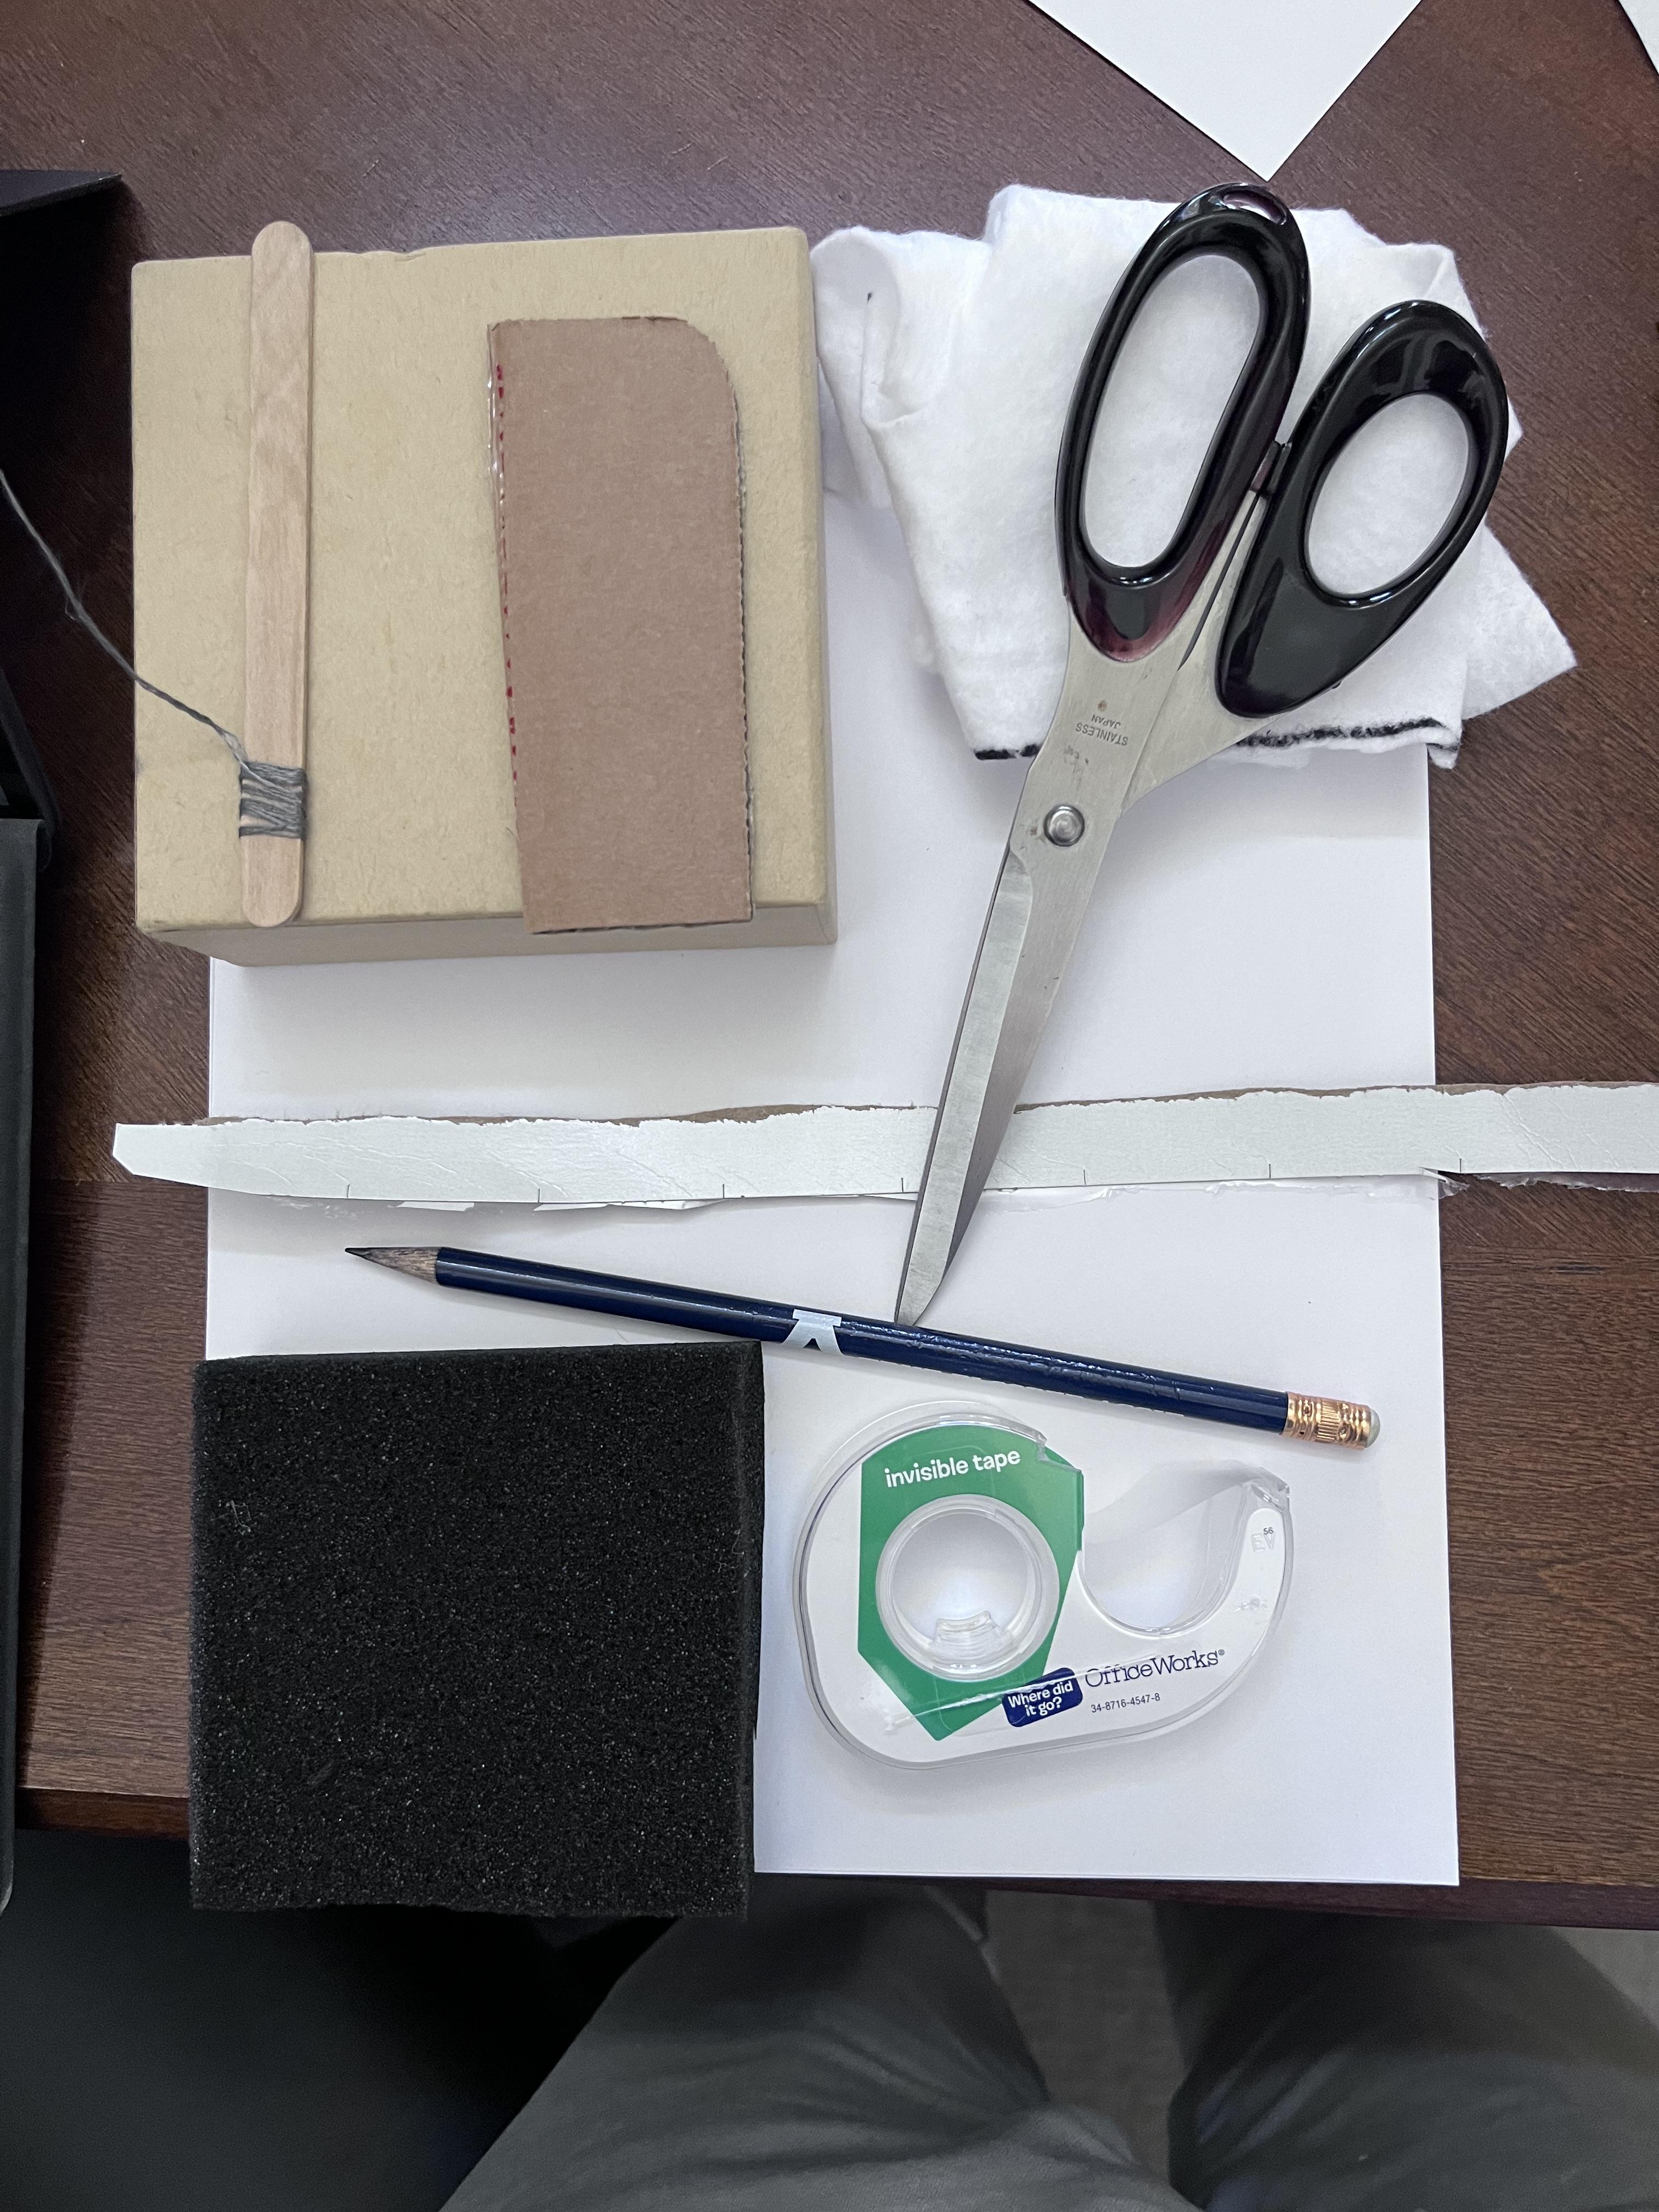
Materials Used: (Lots of these can be substituted)
- Box or frame of some sort to hold your cutouts
- Paper (The thicker the better)
- Cardboard
- Simple Circuit
- LEDS
- Scissors or Exacto Knife
- Tracer pencil
- Tape or Glue
- Conductive Thread or conductive material
- Felt or Foam
- Battery Pack
- 2 AA Batteries
Pick Your Design

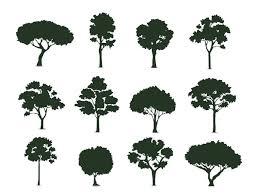
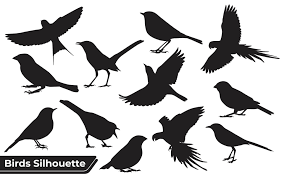

In this first step, you will want to pick a design that you would like to use for your stencil cutouts. You can make your own cut-outs or find templates online. For this tutorial, I will be drawing my own cutouts based on reference photos. Whatever your design is, I recommend something that has layers or depth so that you have options when it comes to stacking your cutouts. This could be a forest or cave, anything you can think of. I've included some of my reference photos.
Draw/Trace Your Cutouts
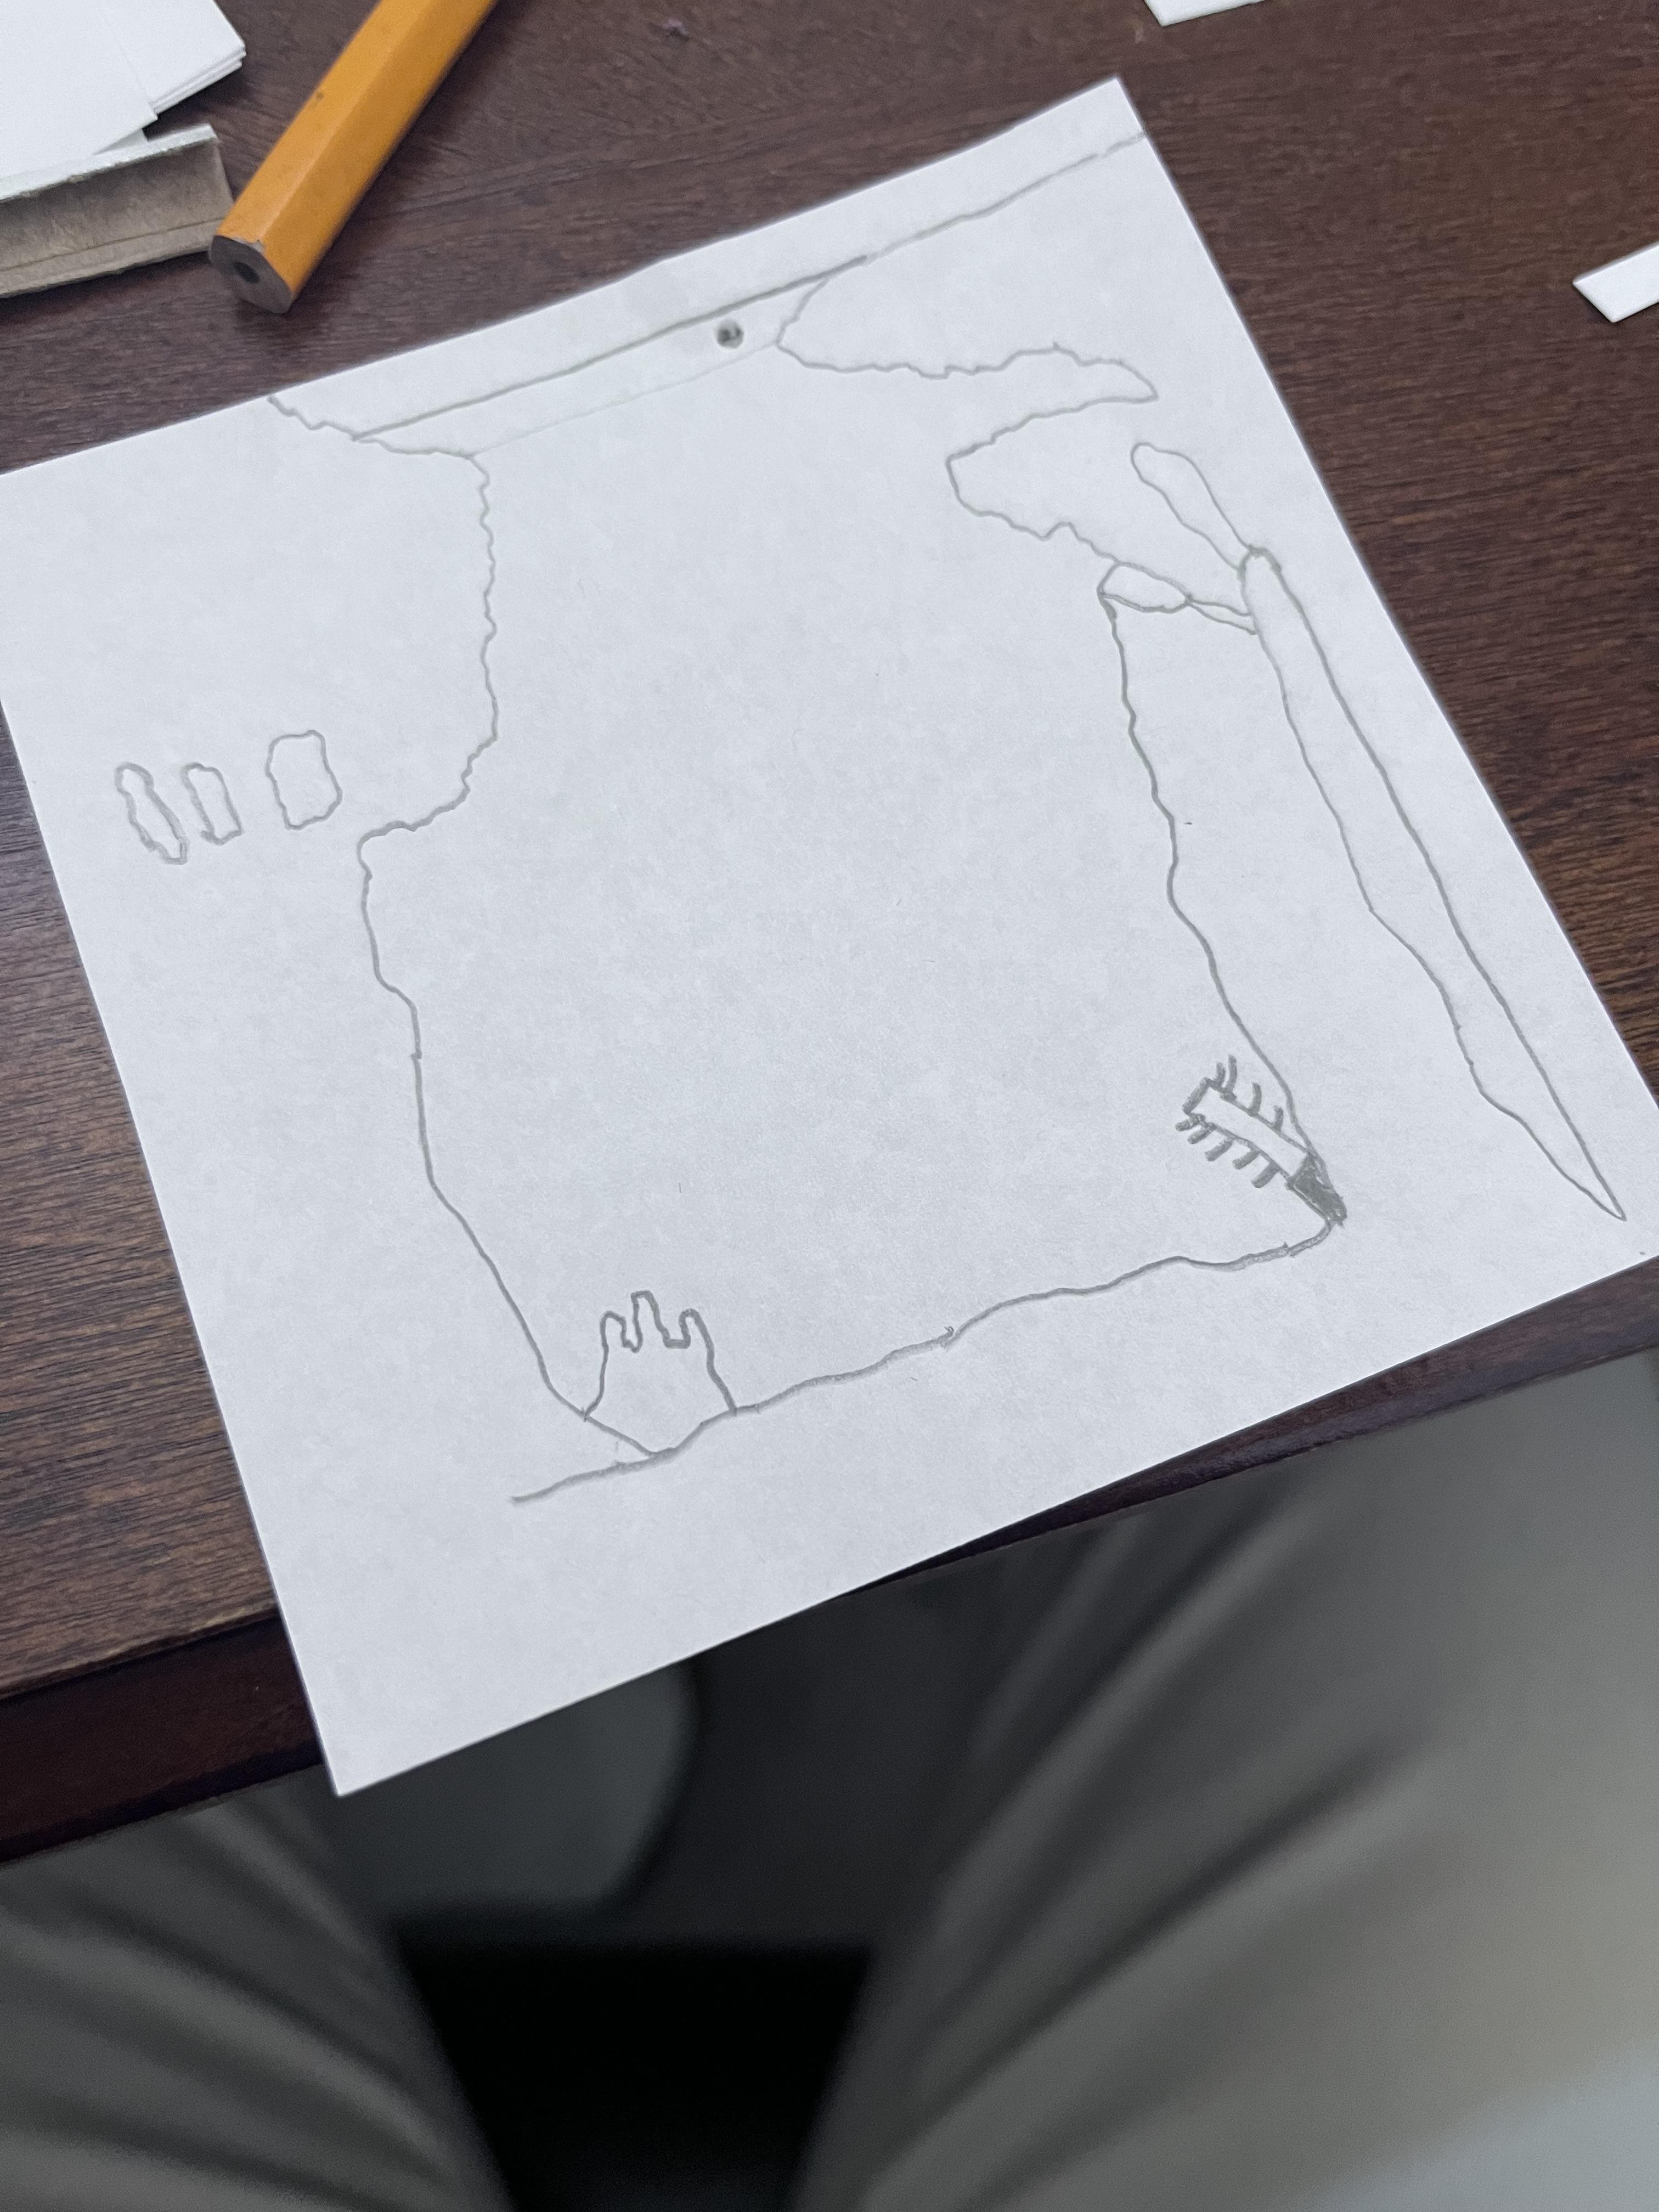
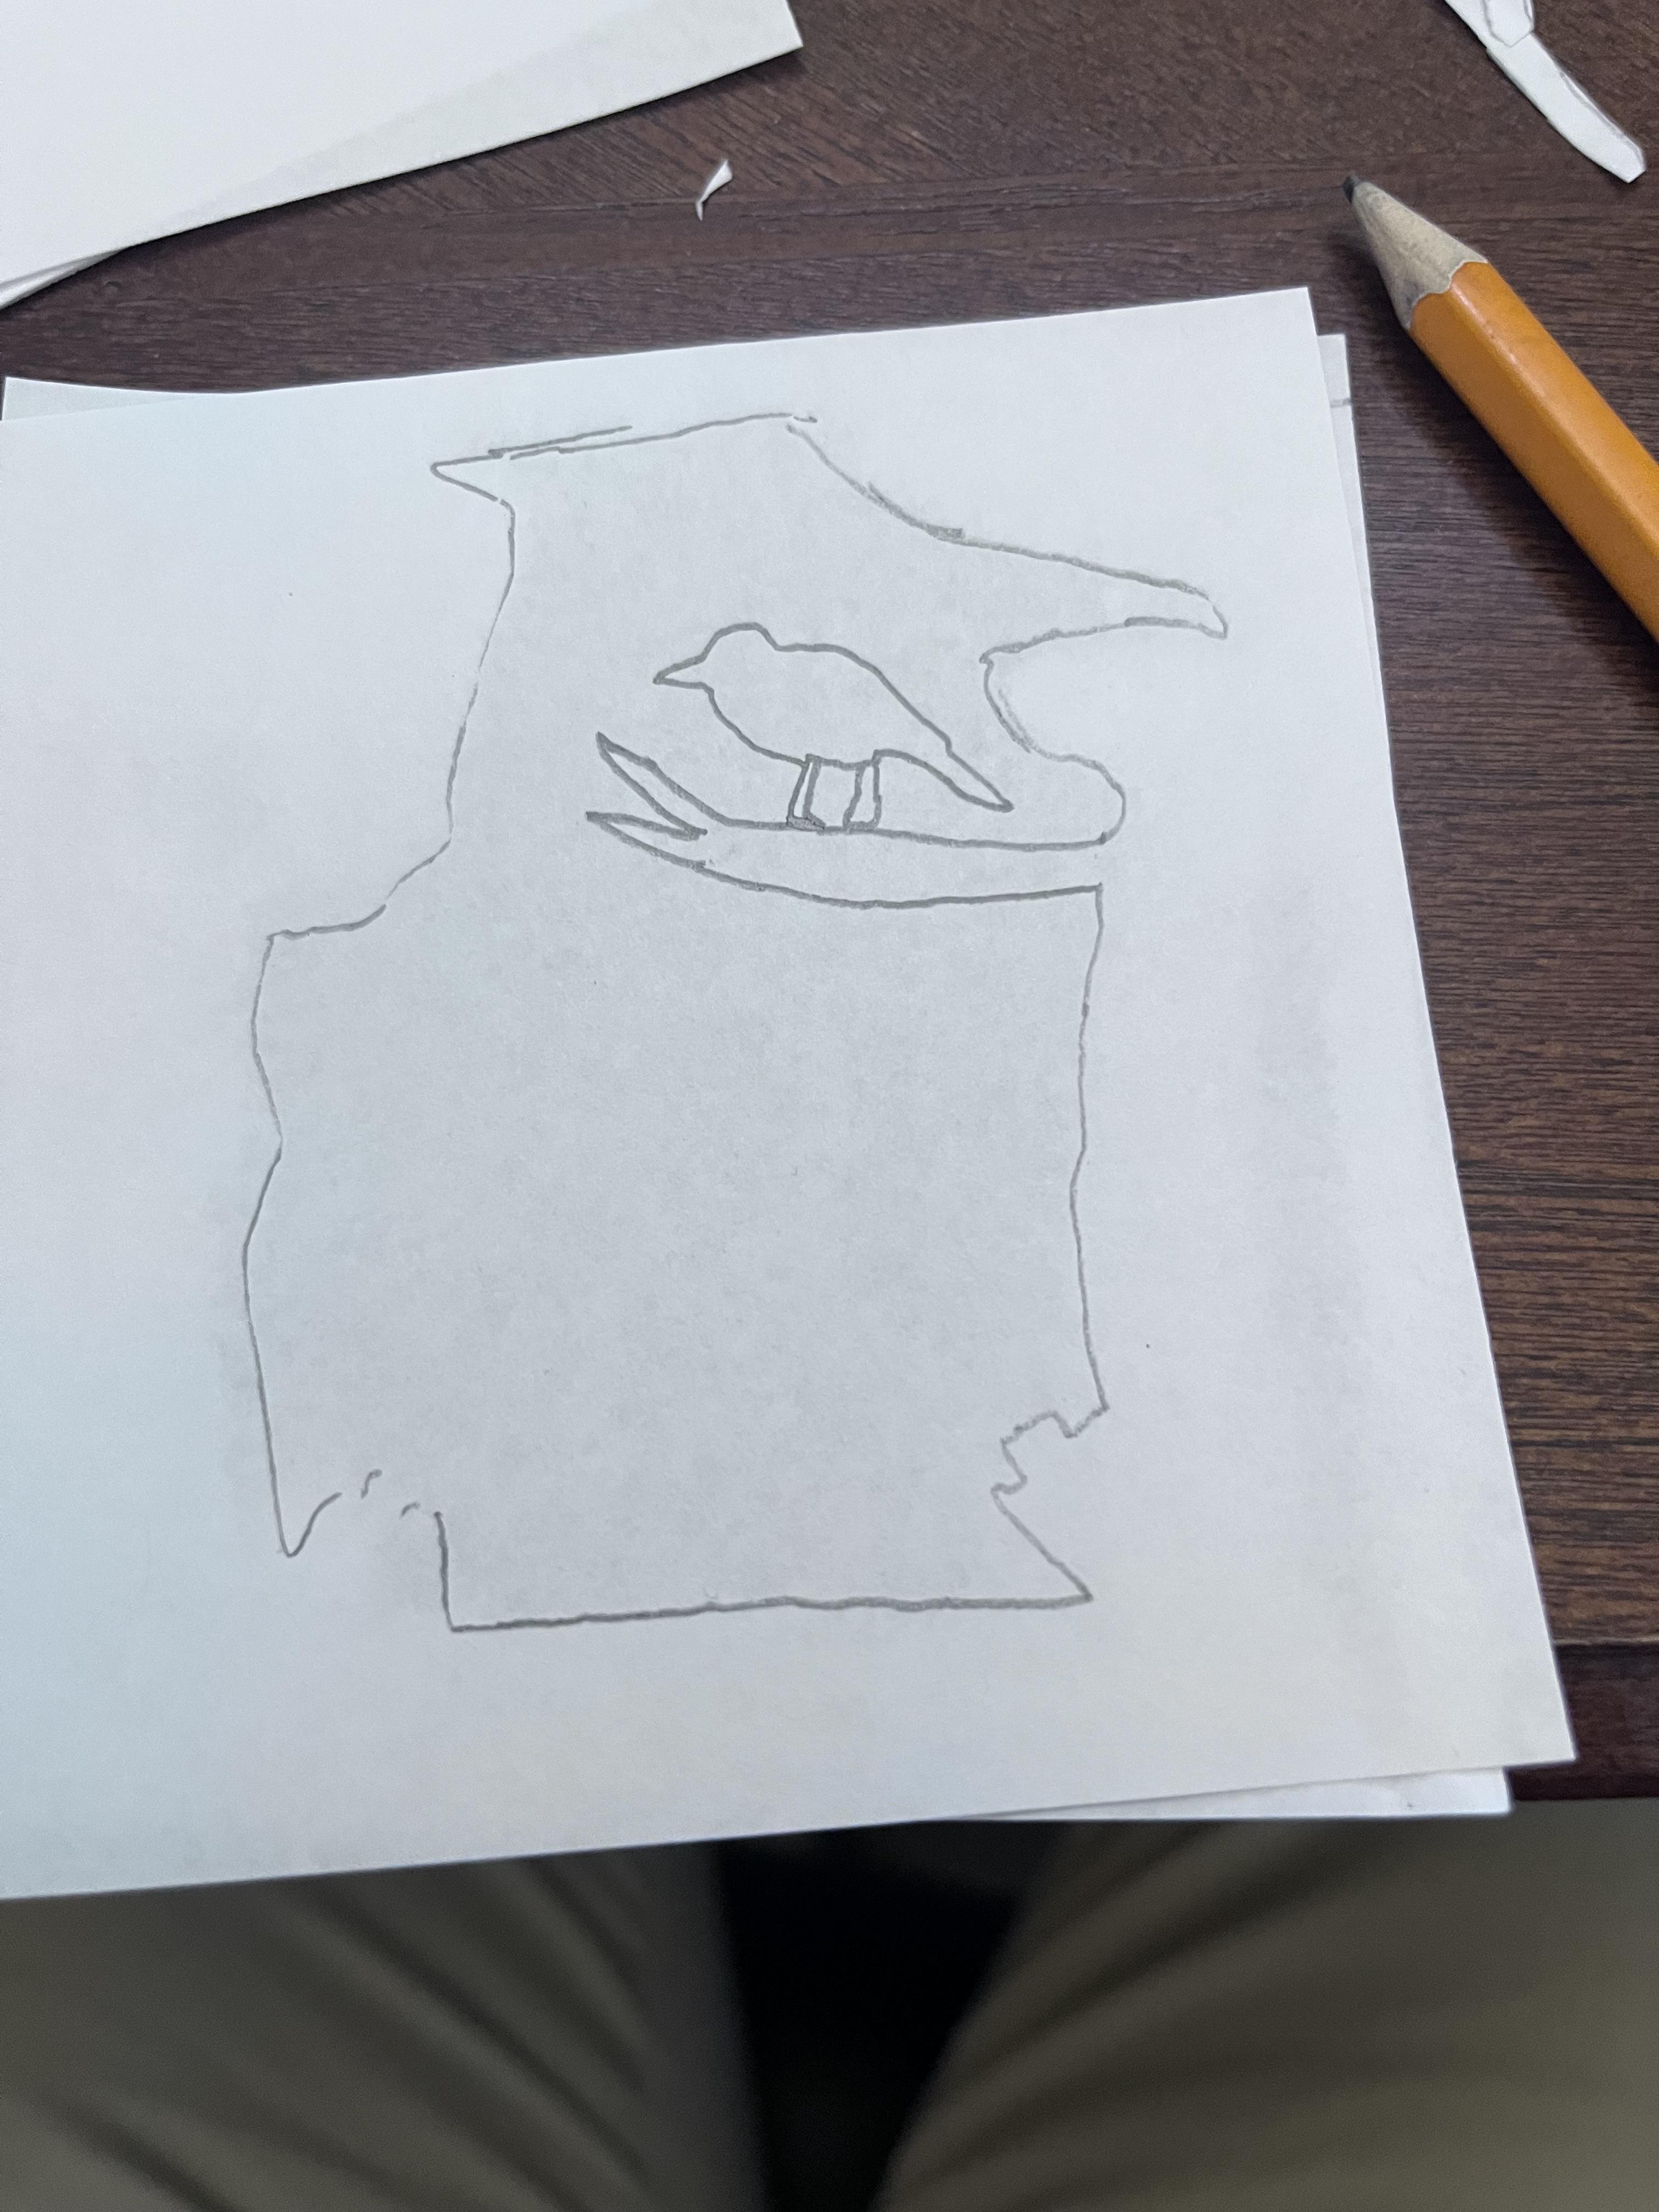
For this step, you will want to draw your cutouts and make your layer templates. When drawing make sure to leave space for your border/frame. I would draw your layers working from top to bottom, (Trace your second layer on top of your first and so on). This will allow you to better visualize your layering.
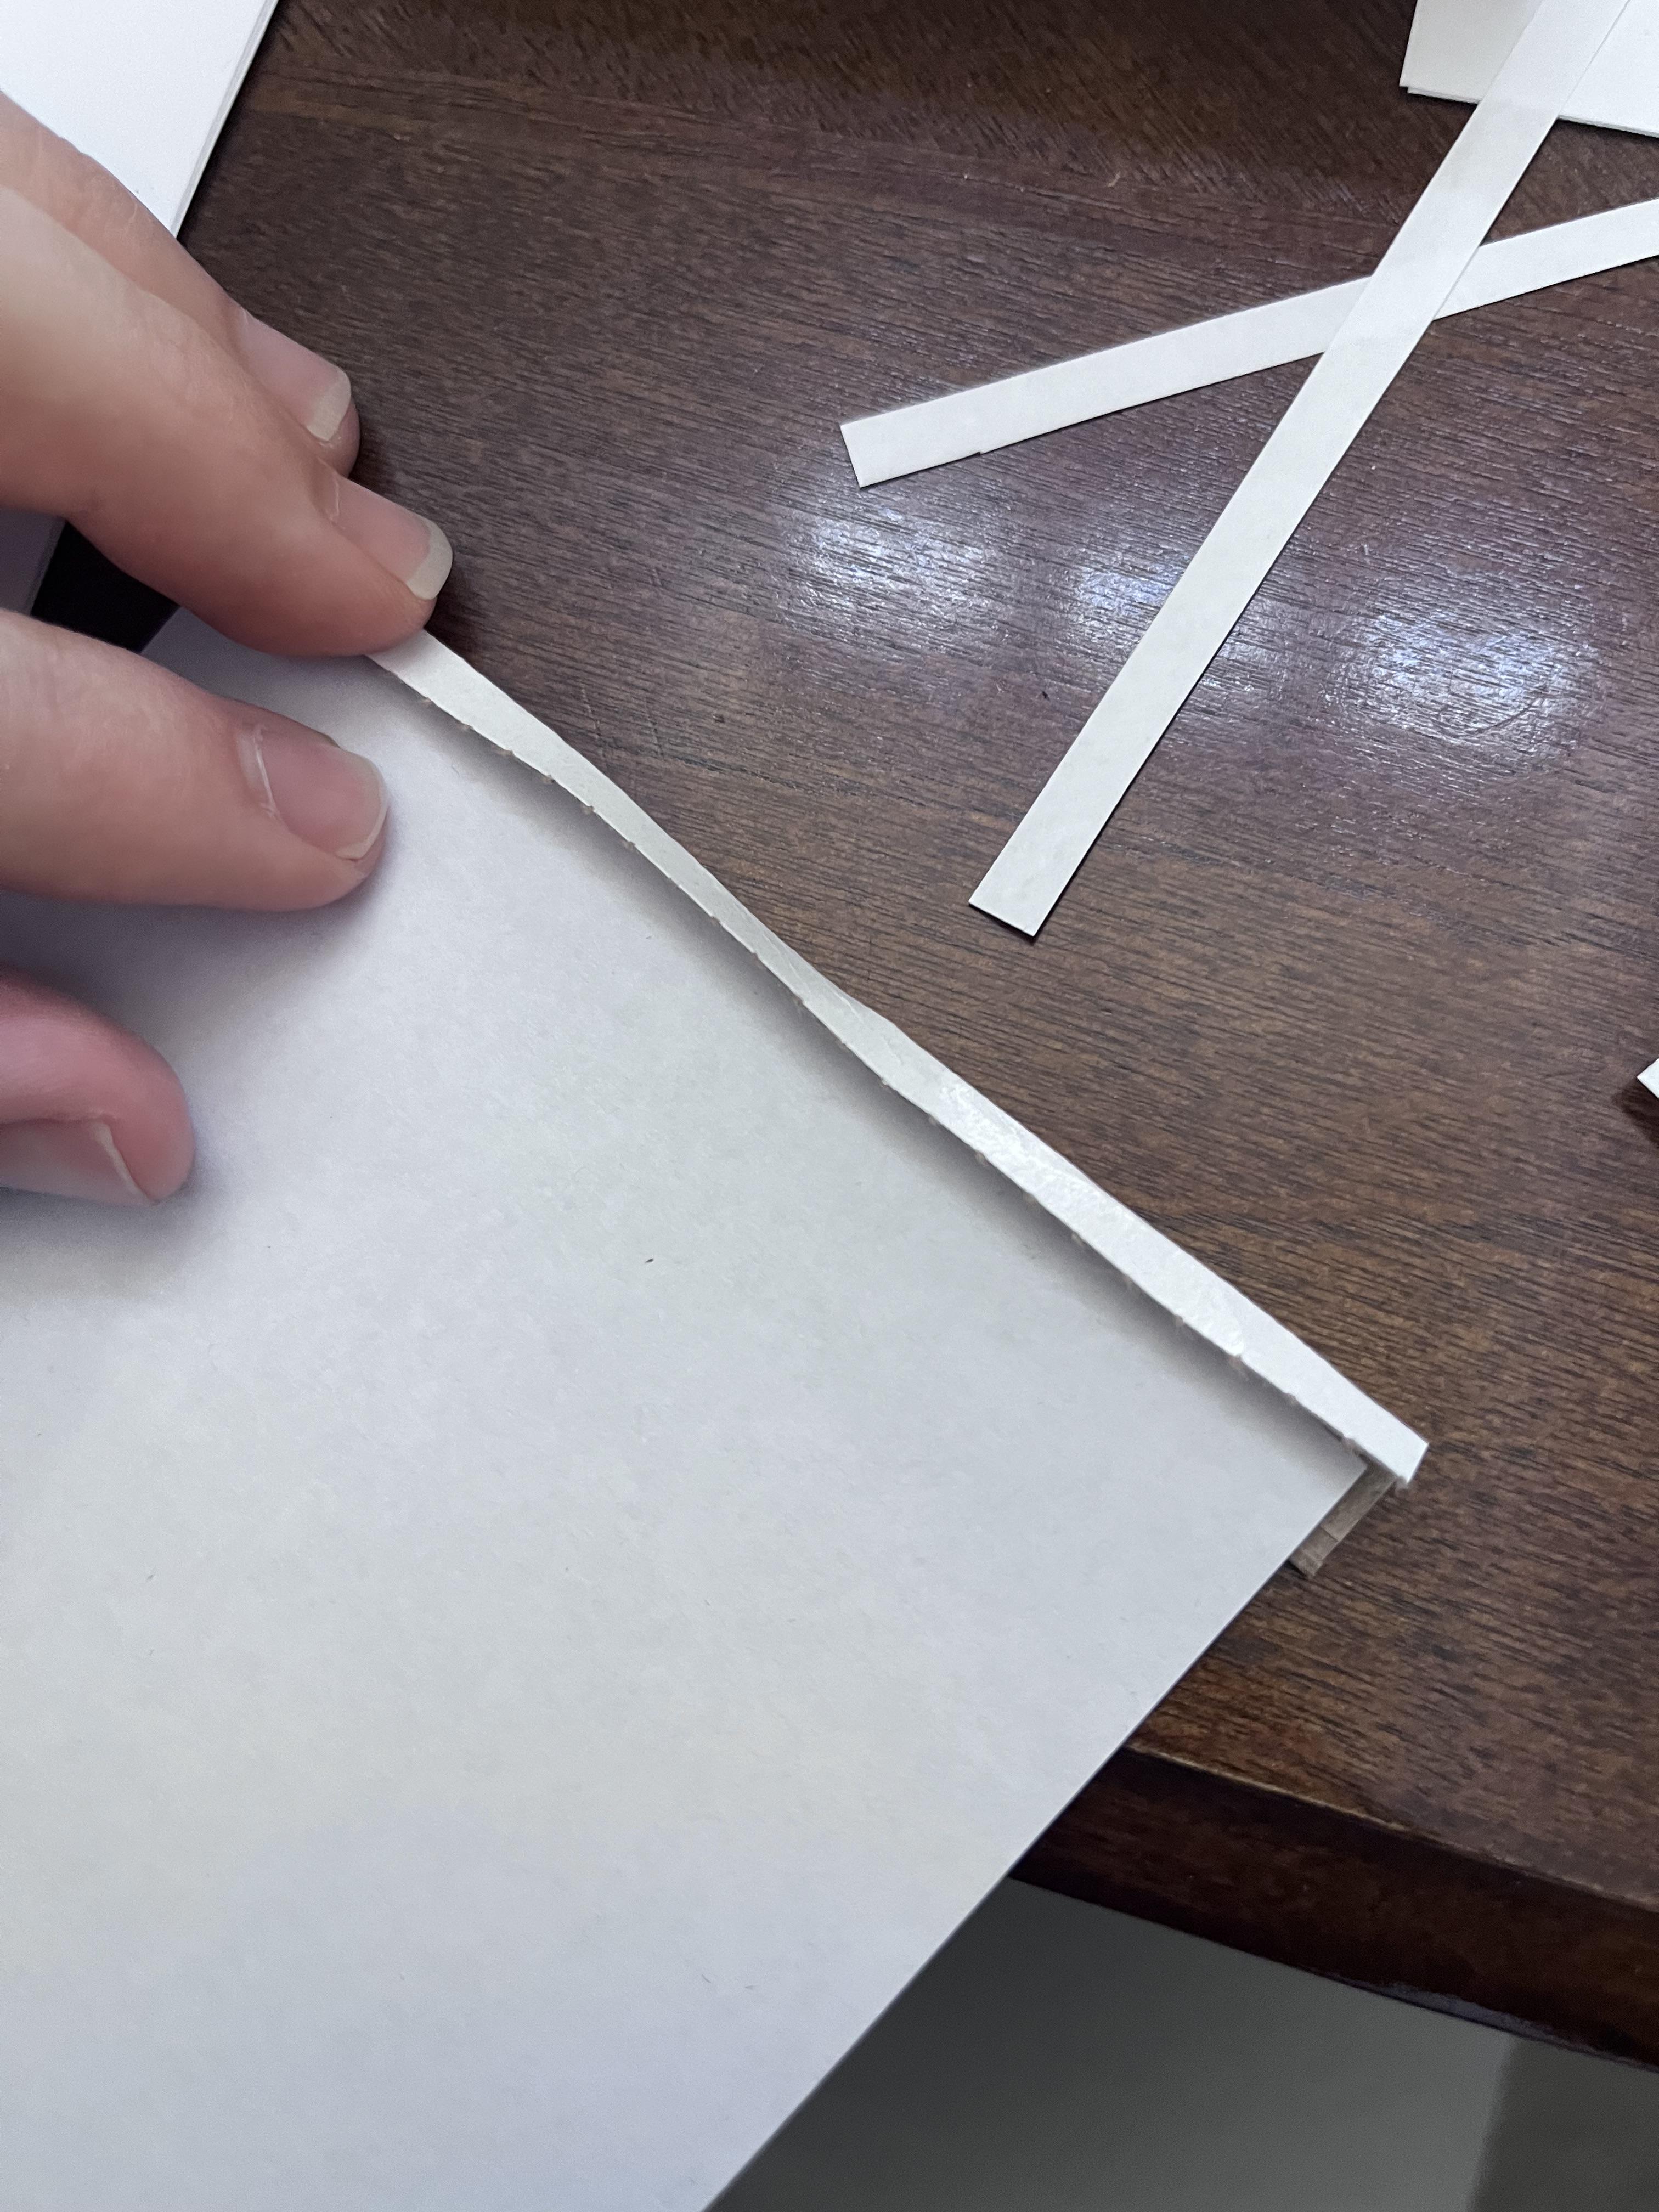
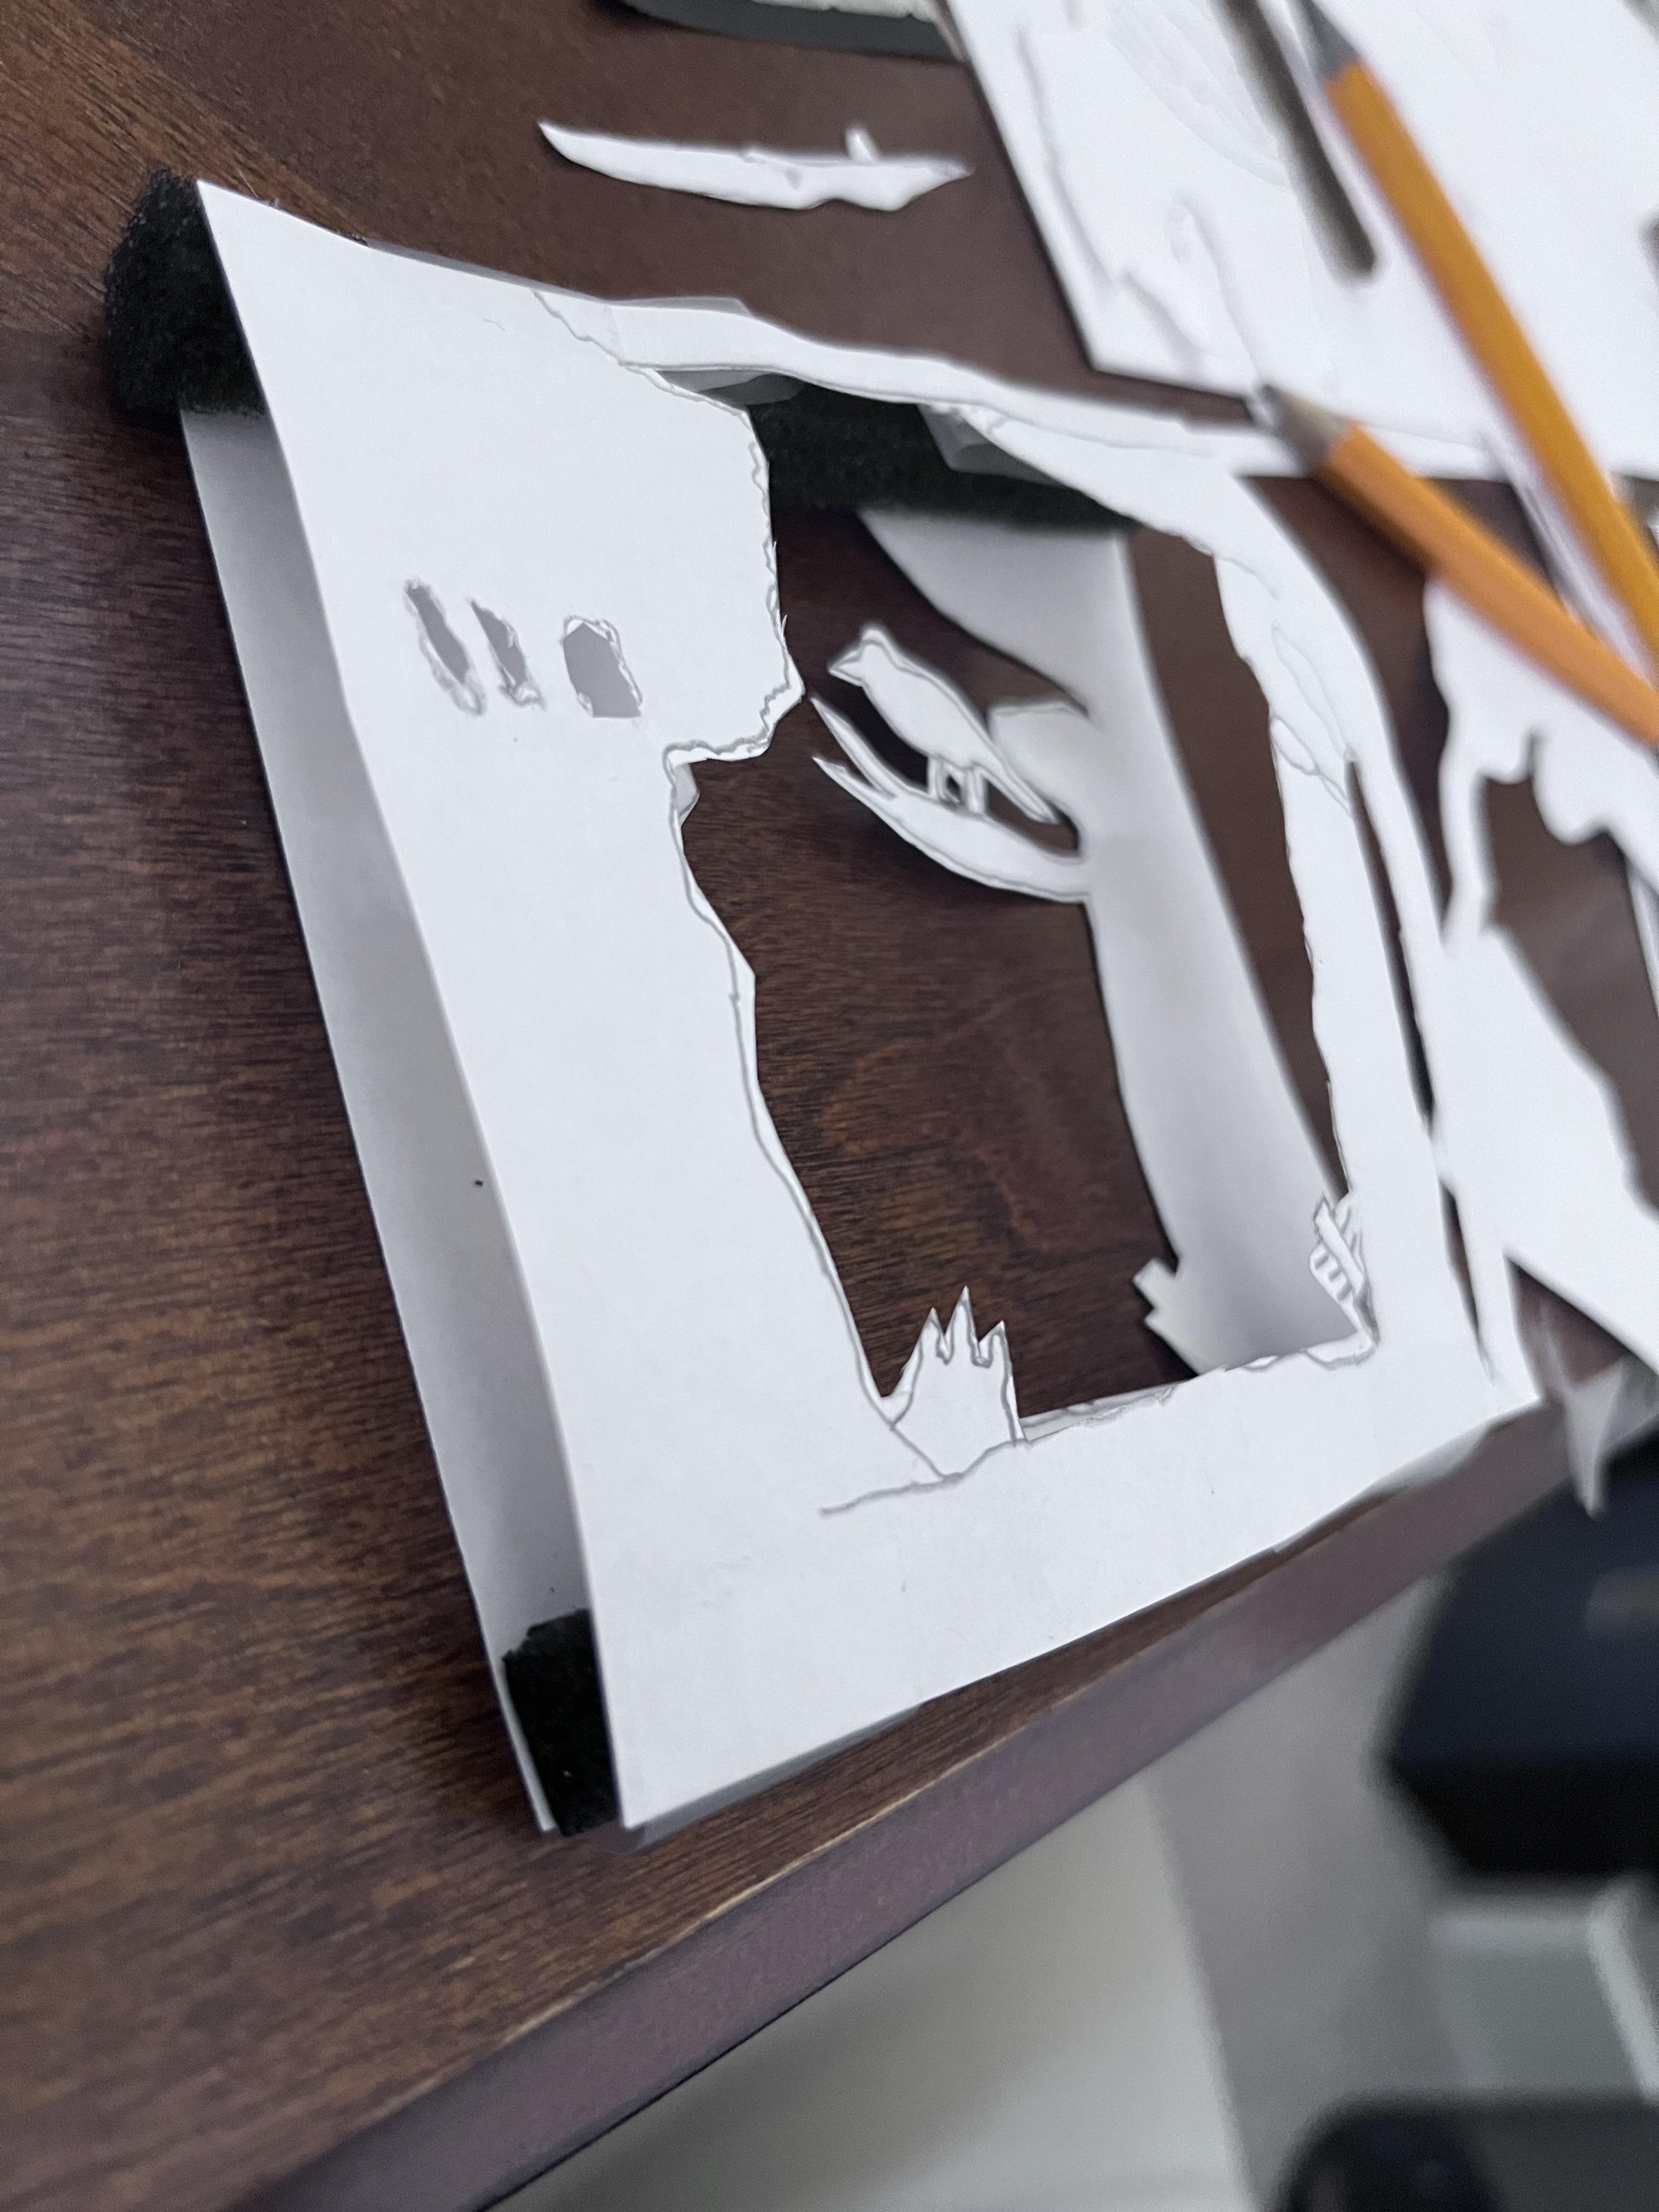
Cut Out Your Templates
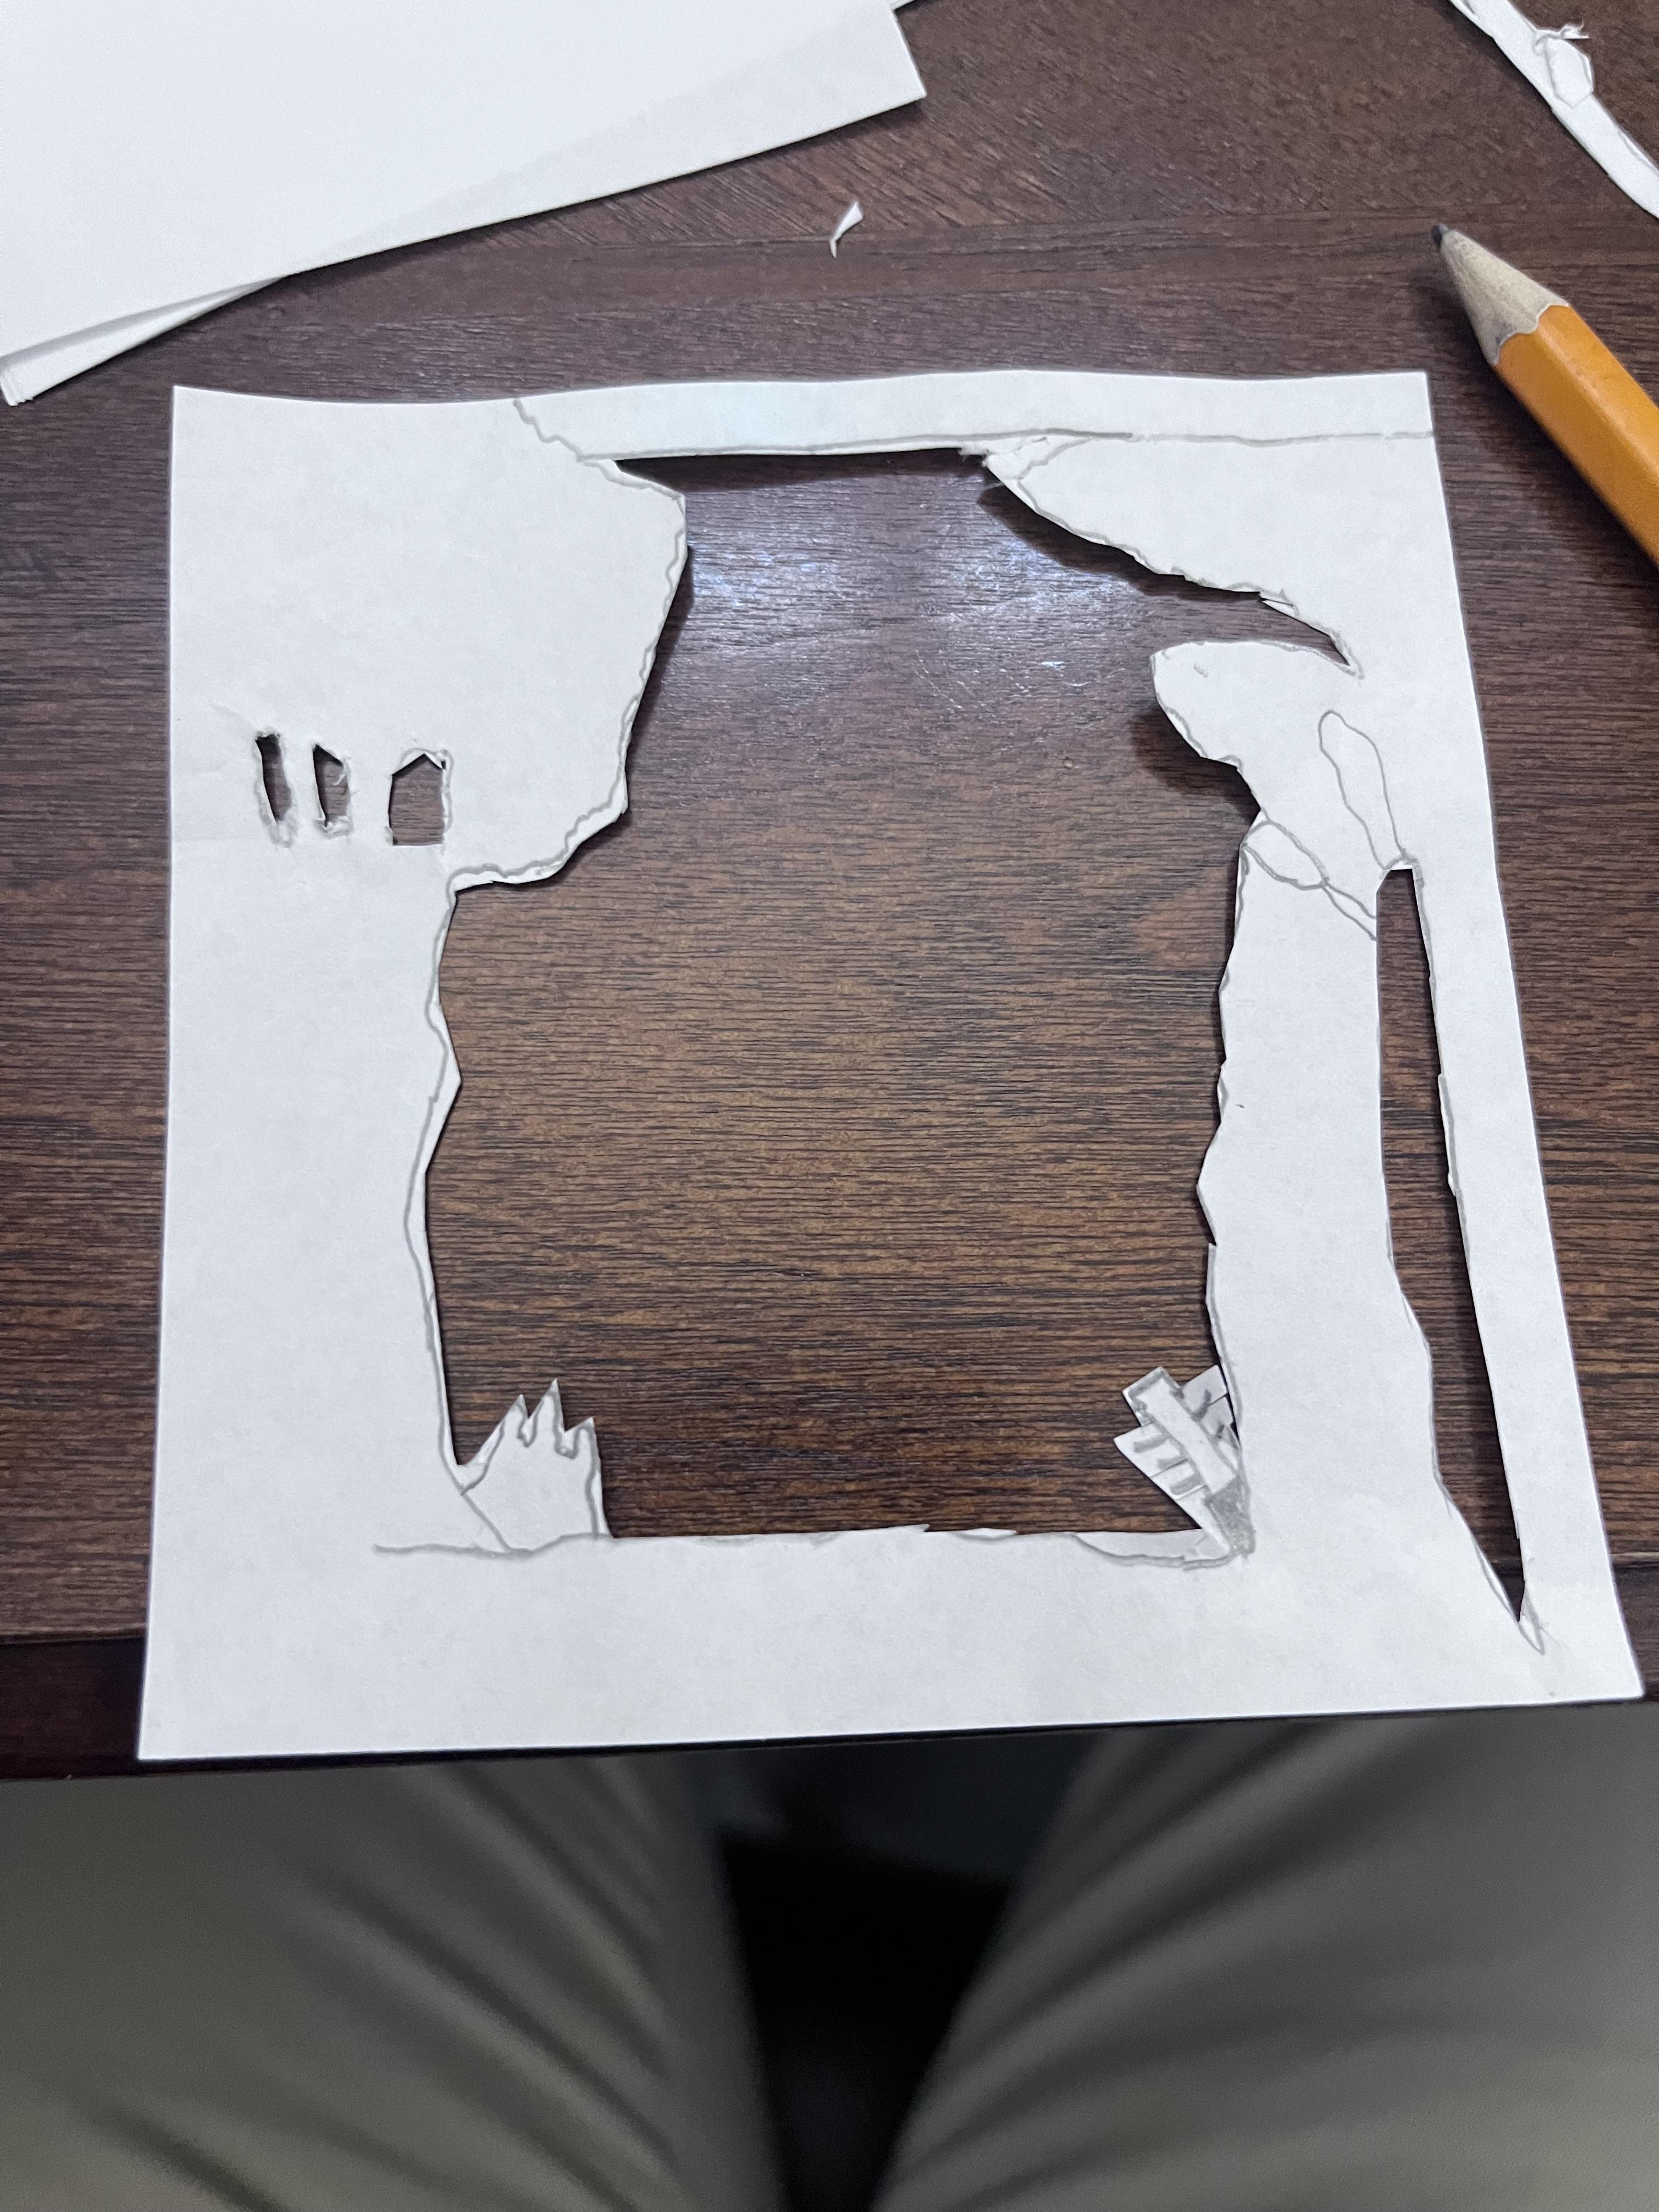
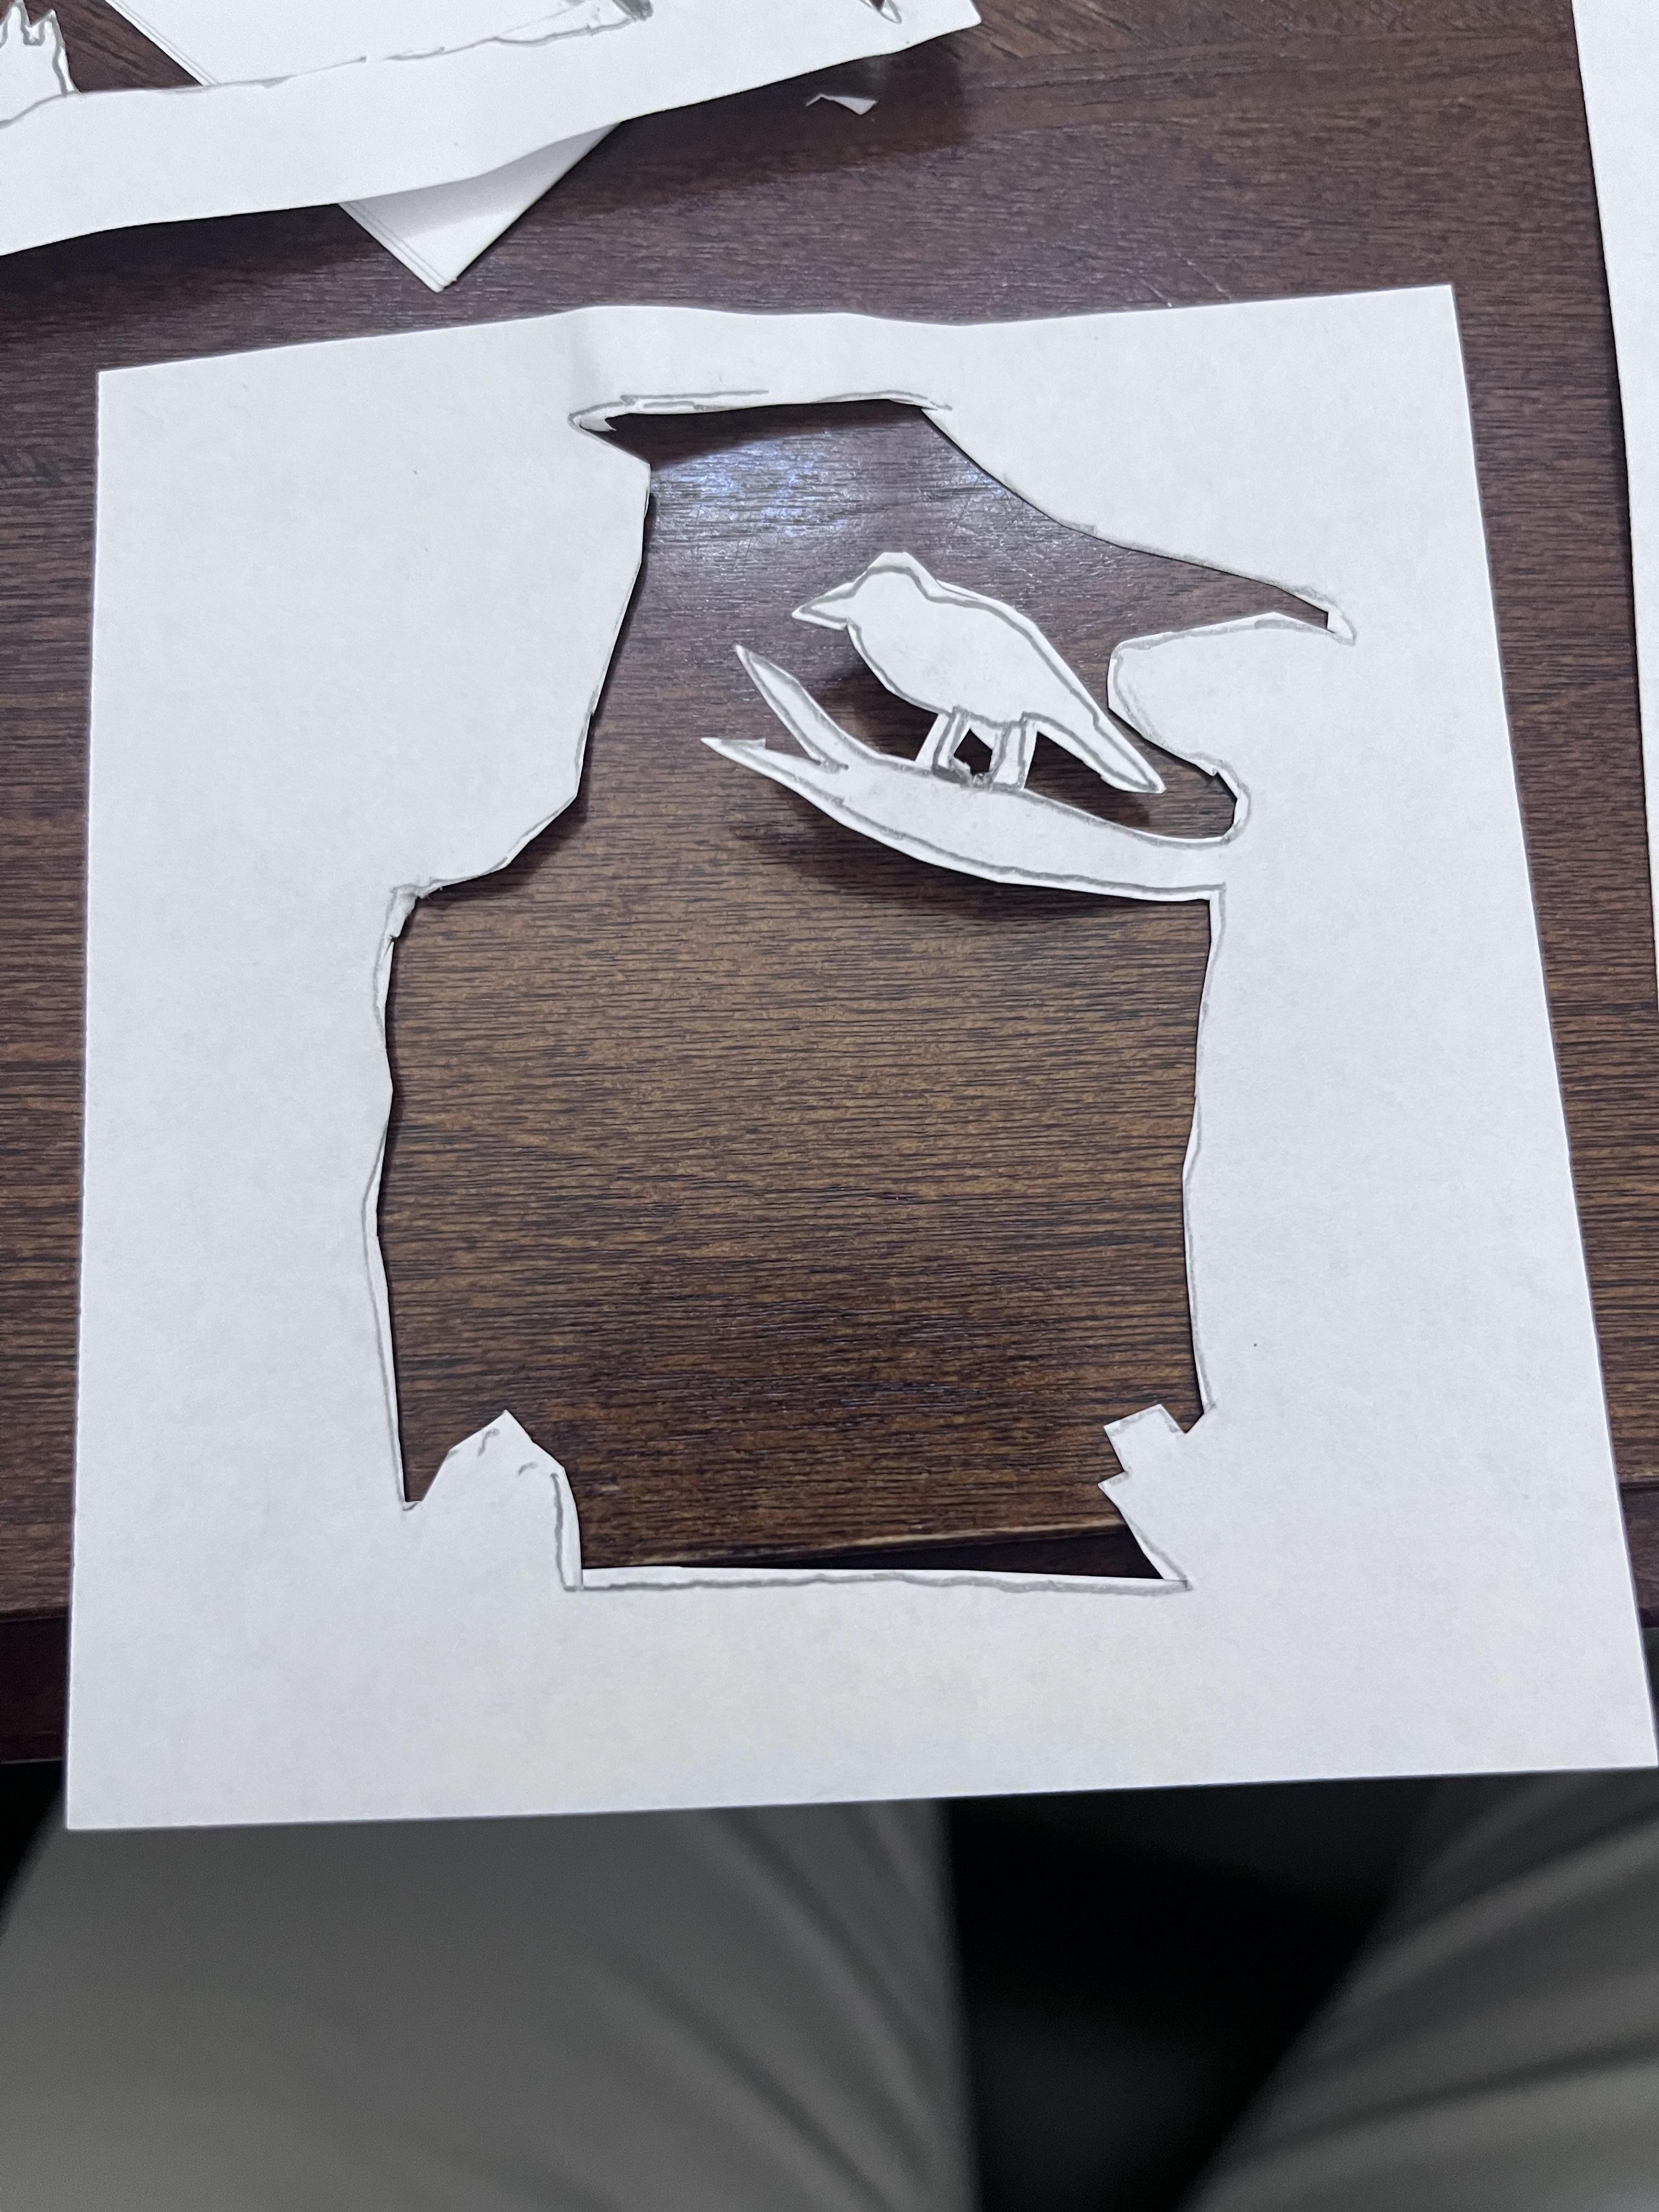
You will now cut out your templates, remember the more detail cuts the better detail will show with lights and shadows.
Make Your Frames
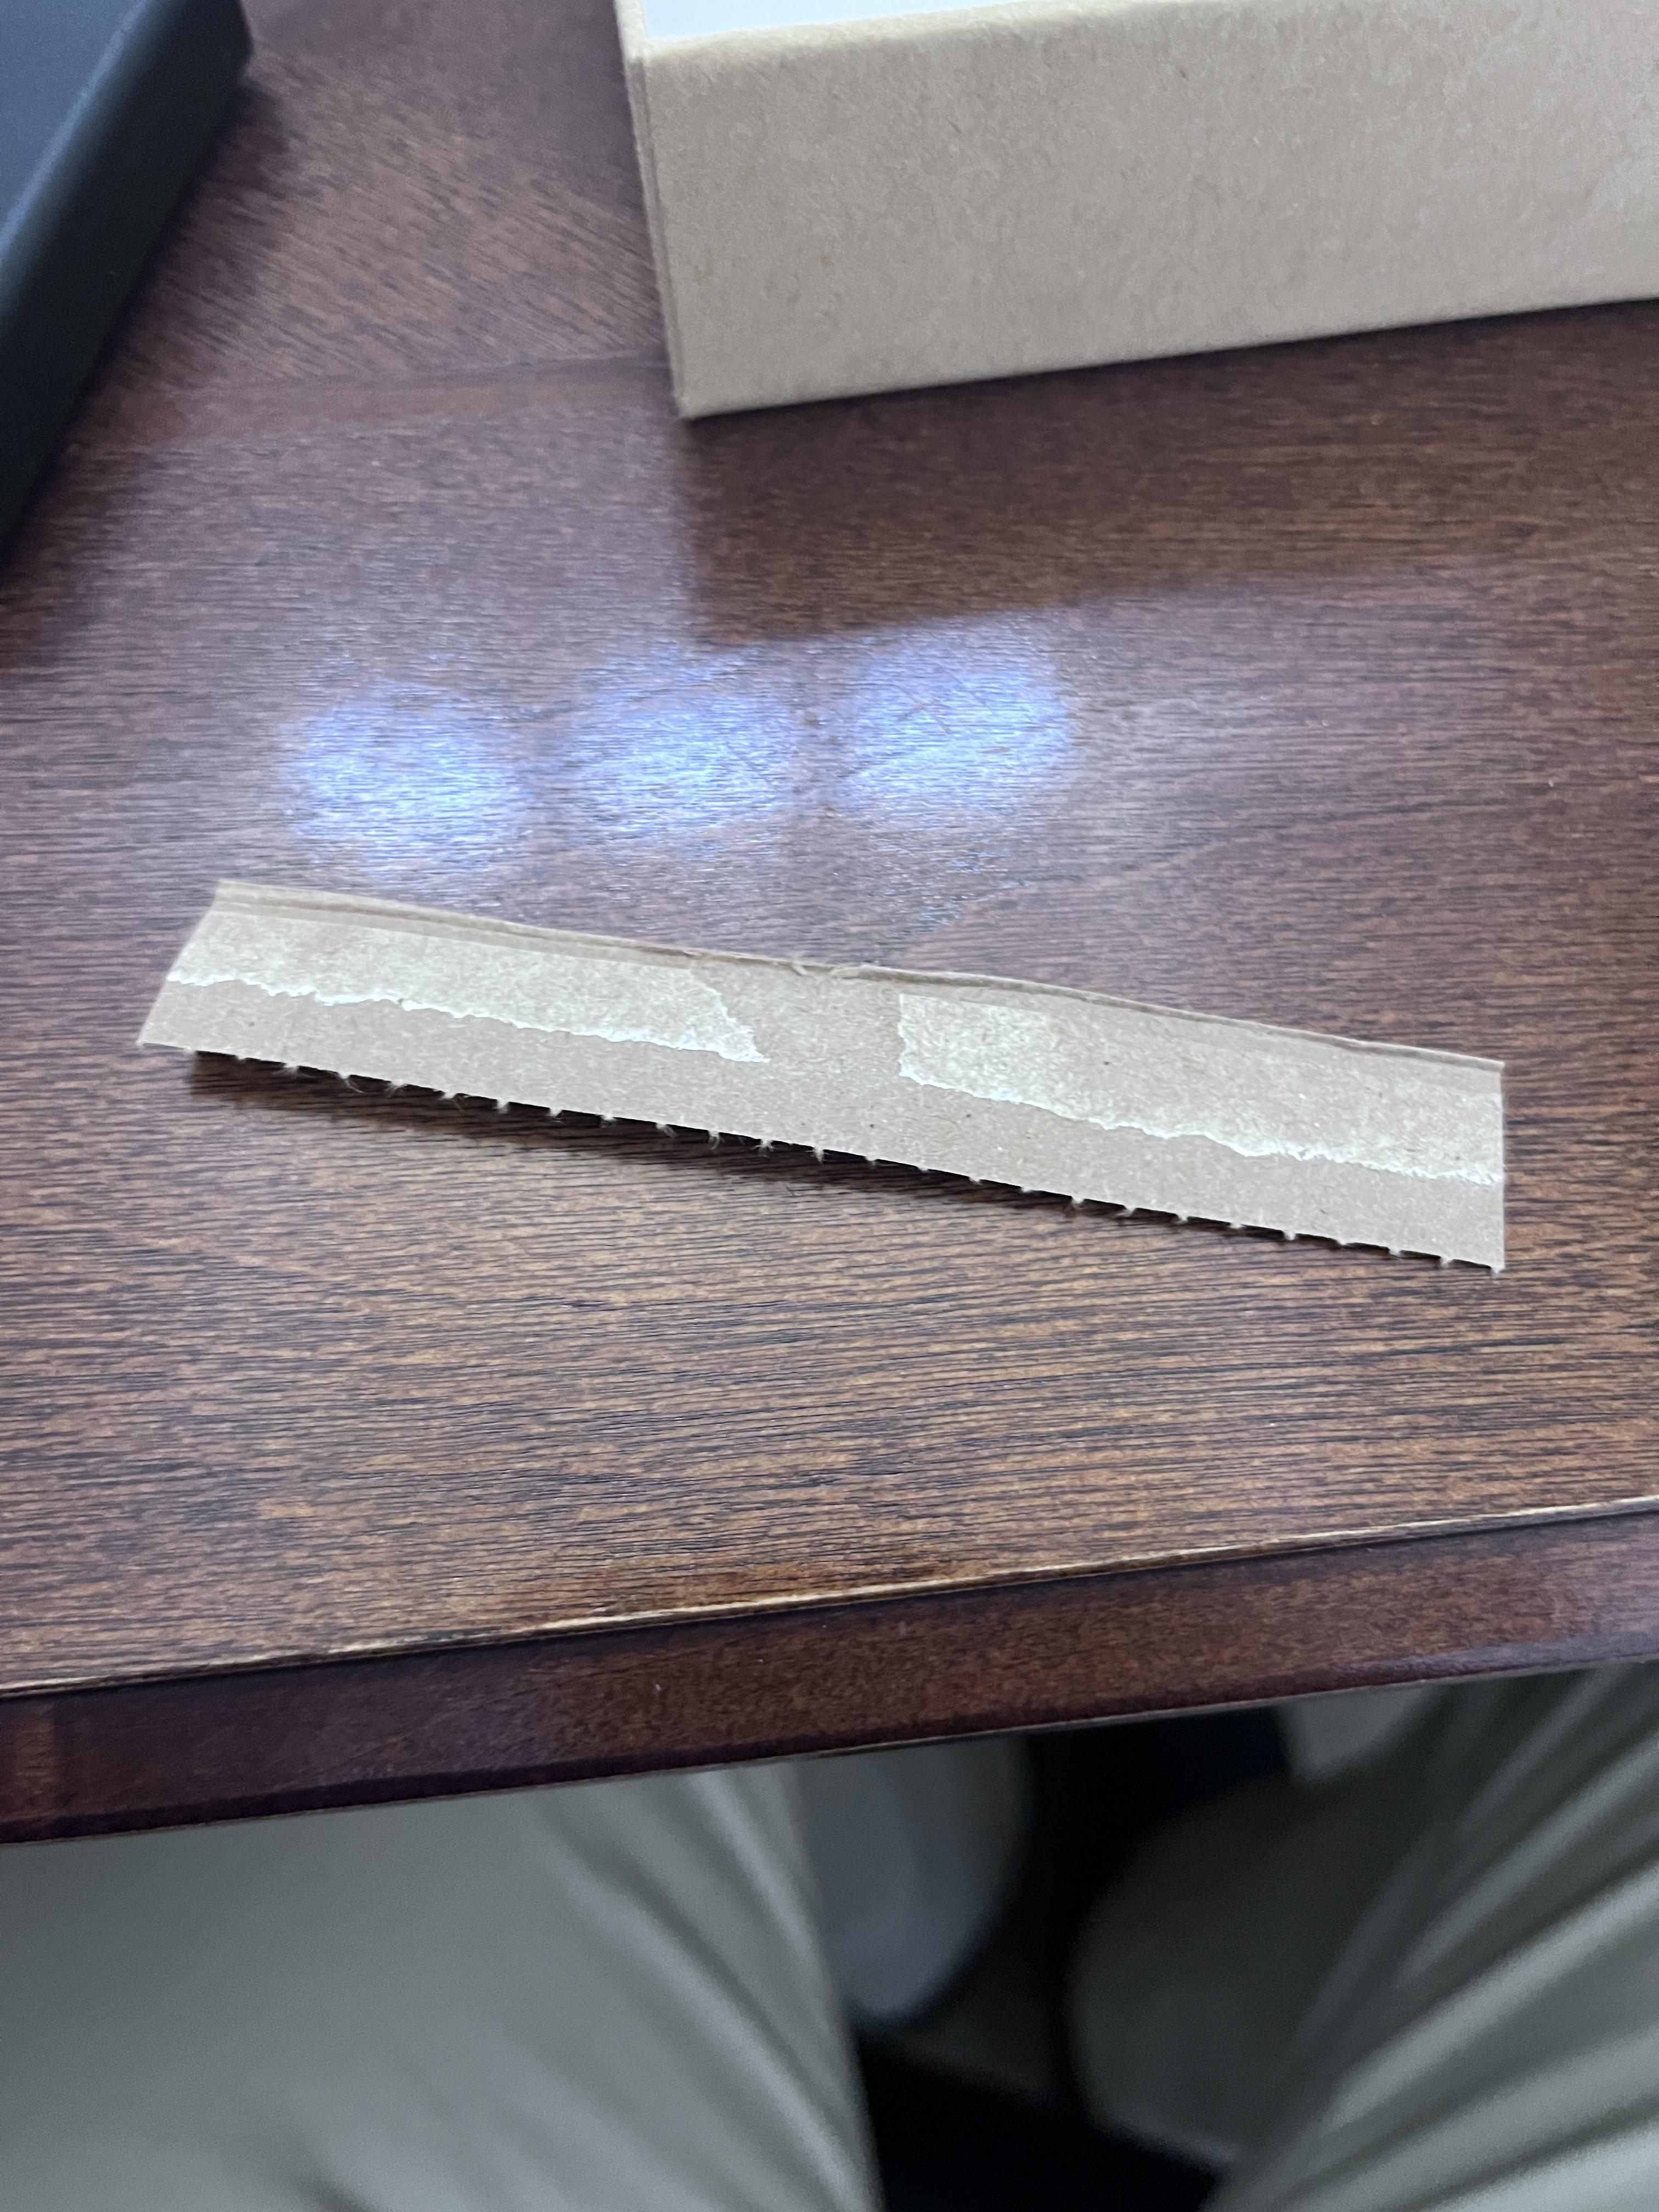
In this step, you will want to add some thickness and structure to your cut-outs using frames. These could be cardboard or wood. Just make sure they fit your cutouts! I've used some thin cardboard to add strength to my paper. This will come in handy later when we start to layer.
Layer Your Cutouts
This is a crucial step as you will want to align your cutouts so they start to make one scene or image. Using your cutouts, stack them so that they are aligned. Then with each layer add some thick material in between. I used felt for this tutorial but anything thick will work. (just make sure you have enough room in your box or frame) This will depth to your scene and make it have a 3D effect. Finally, I would use tape going from the front of the first layer to the back of the last to create one piece.
Prepare Your Box or Frame
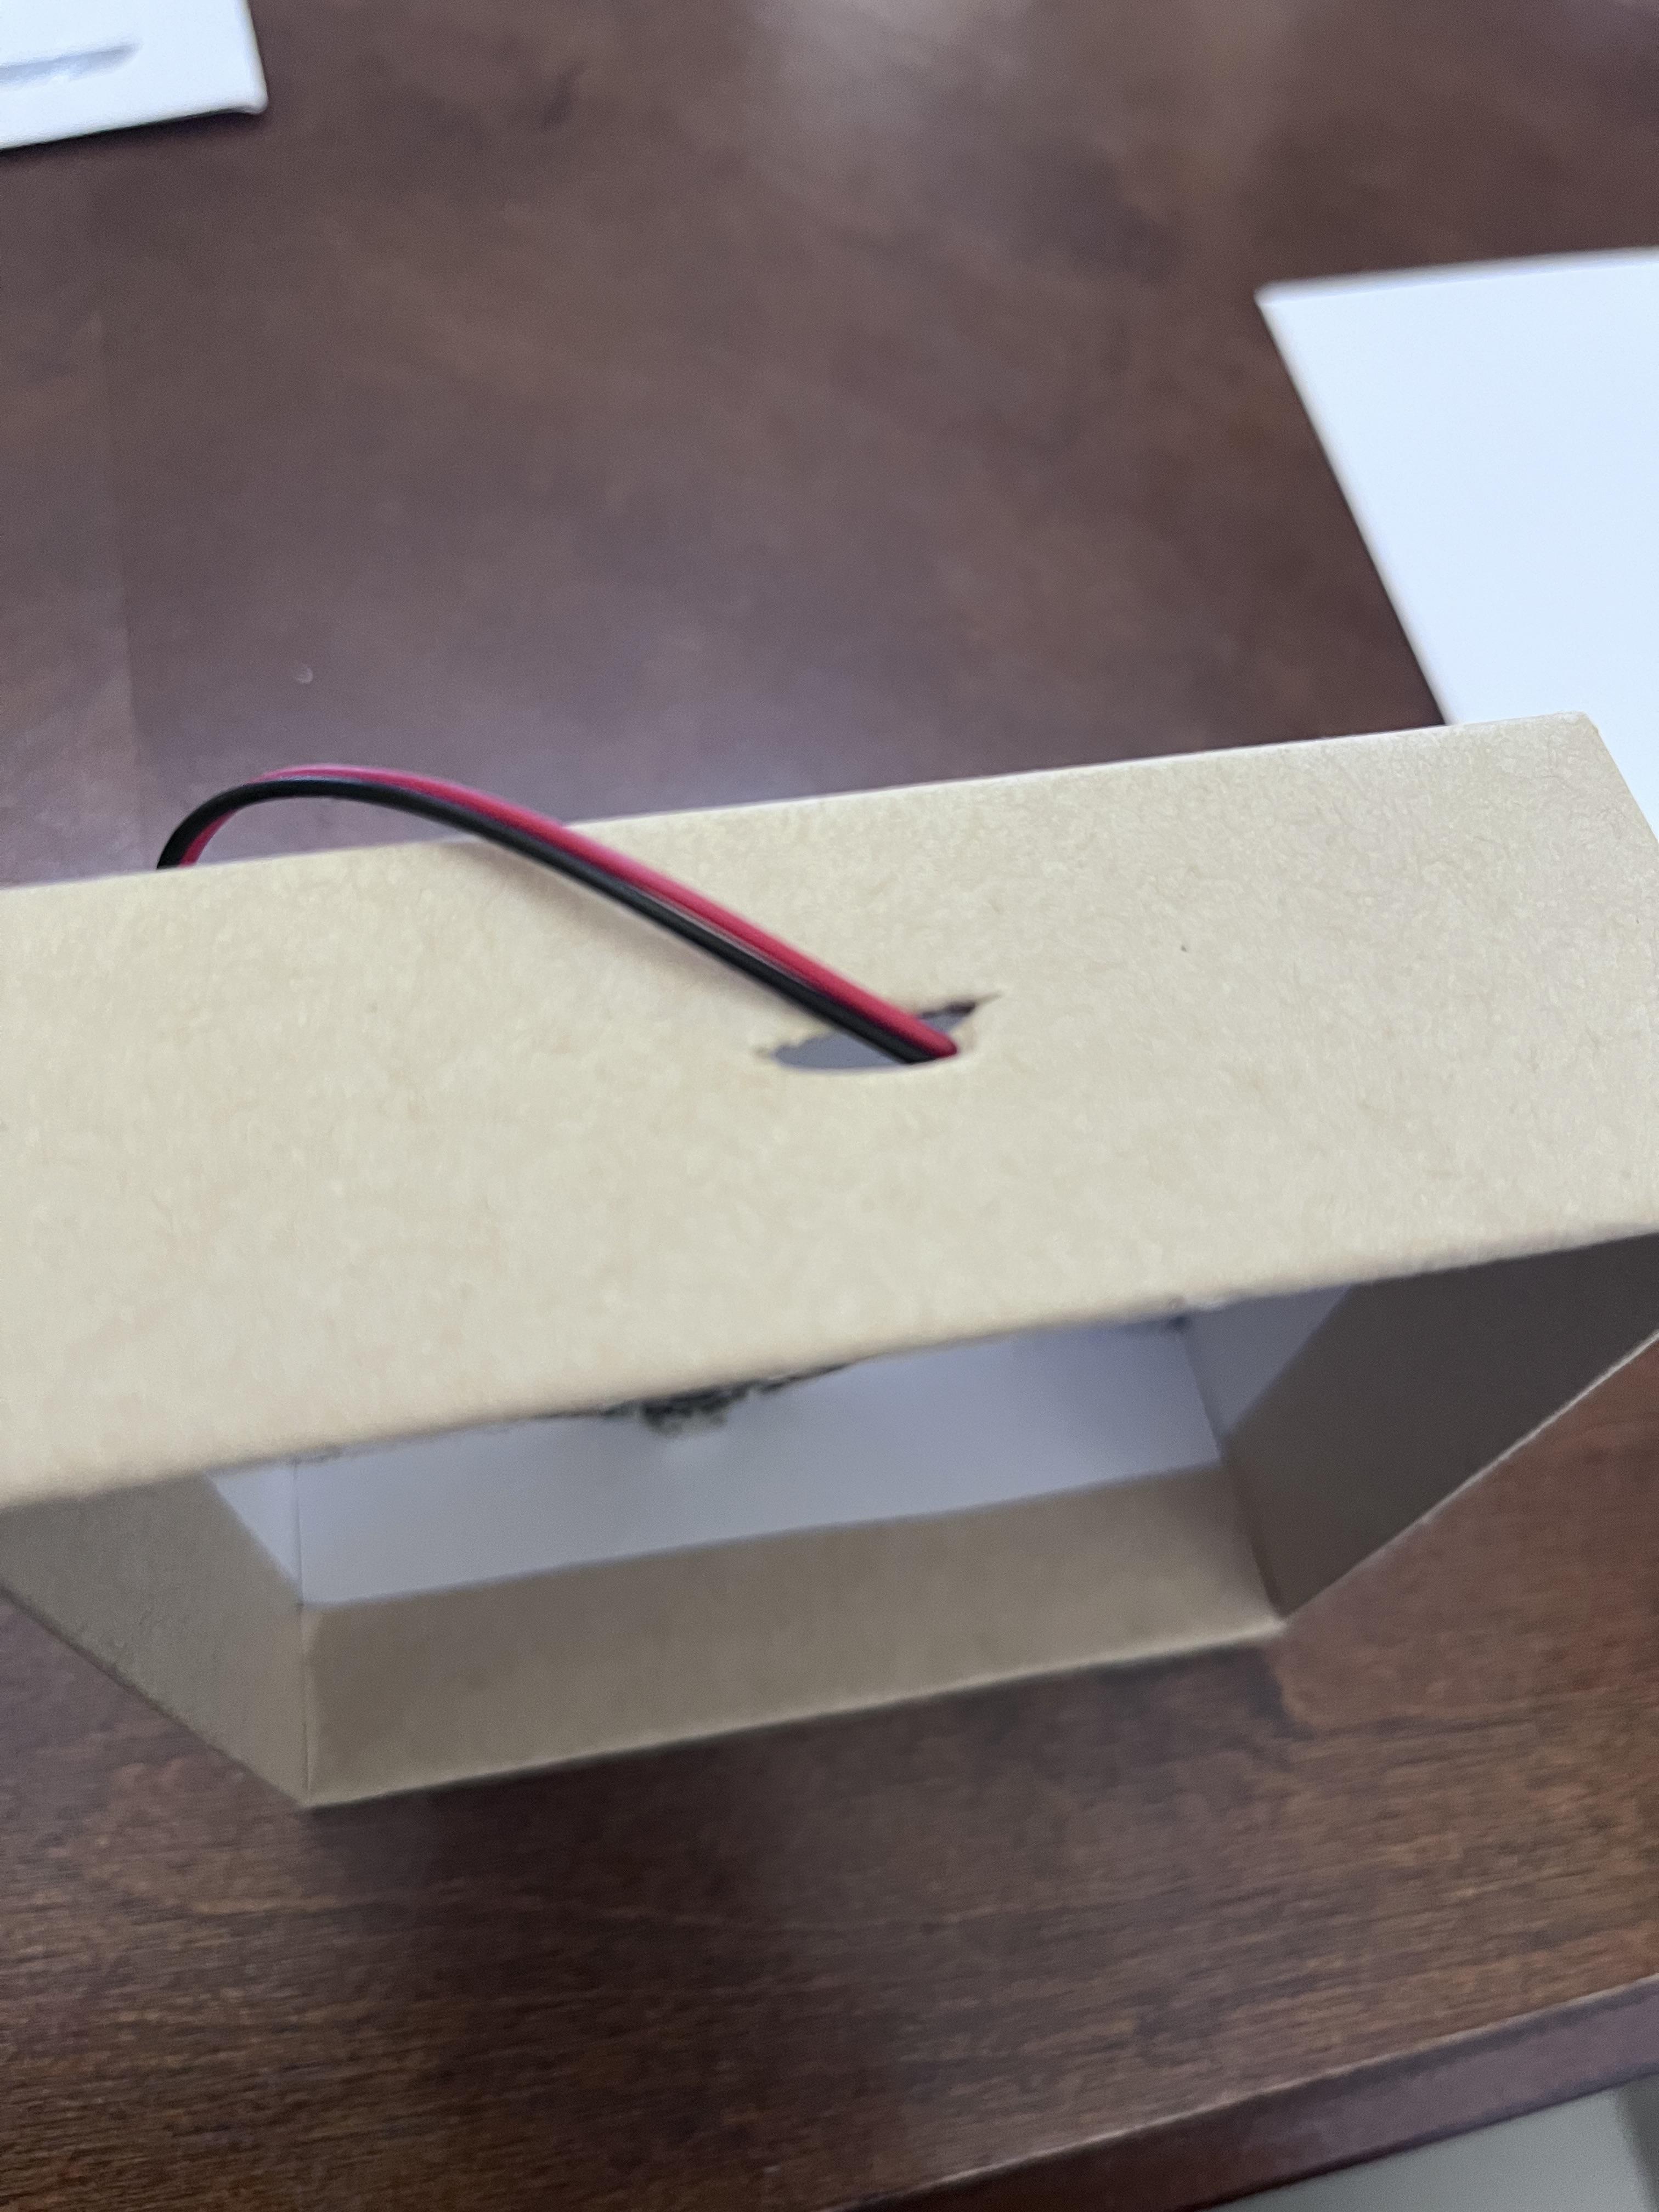
This is the fun part! You will want to prepare your box of frames with any lighting you would like to add. For Frames, I would recommend an LED light strip that can be glued inside the frame. I have been working with a box so I taped my simple circuit to the back of the box. You will also want to make any cuts for wires that will be necessary for power. For this project, I have added LED lights using conductive thread. I will show optional steps for coding at the bottom of this tutorial.
Insert Your Layers Into Your Box or Frame.

You will now add your layers to your box and frame. Depending on how exact your measurements are you might need to add some extra adhesive around your layers to make them stick to your box or frame. Turn off the lights and Enjoy your Scene!
Coding Step for Lights and Sound (Optional)
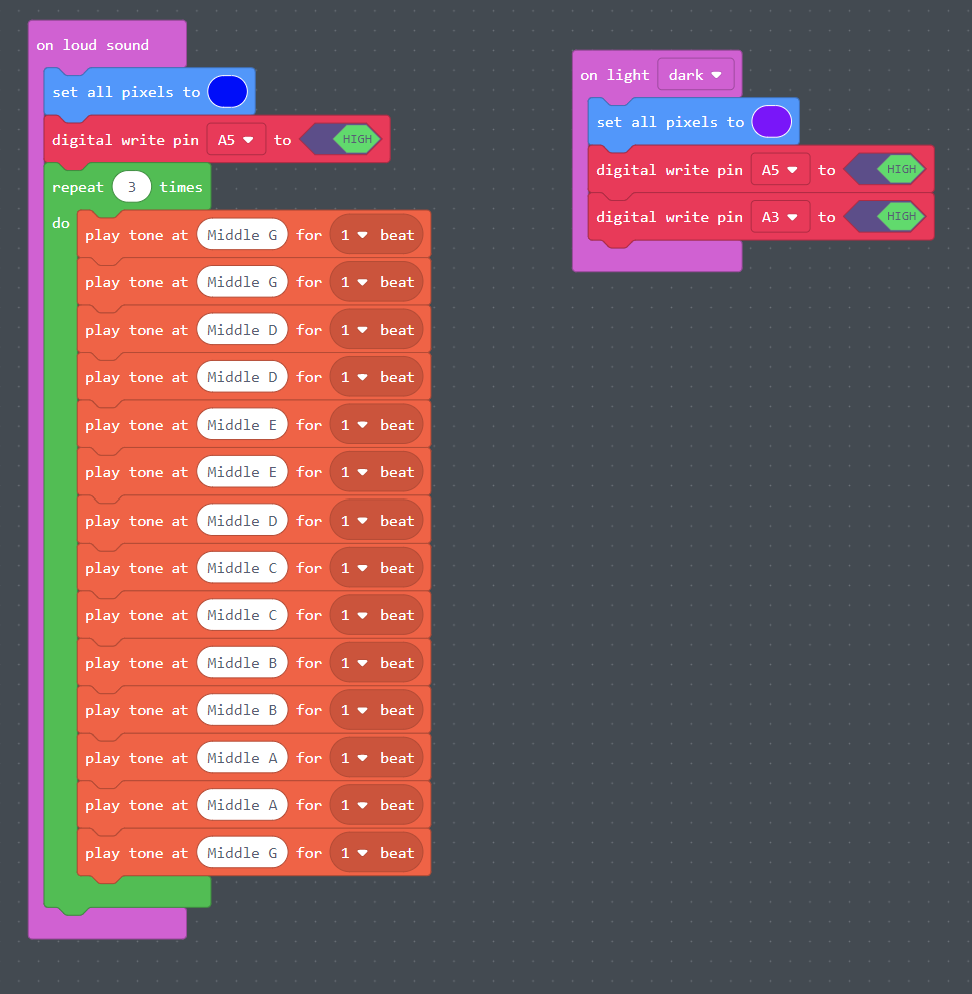
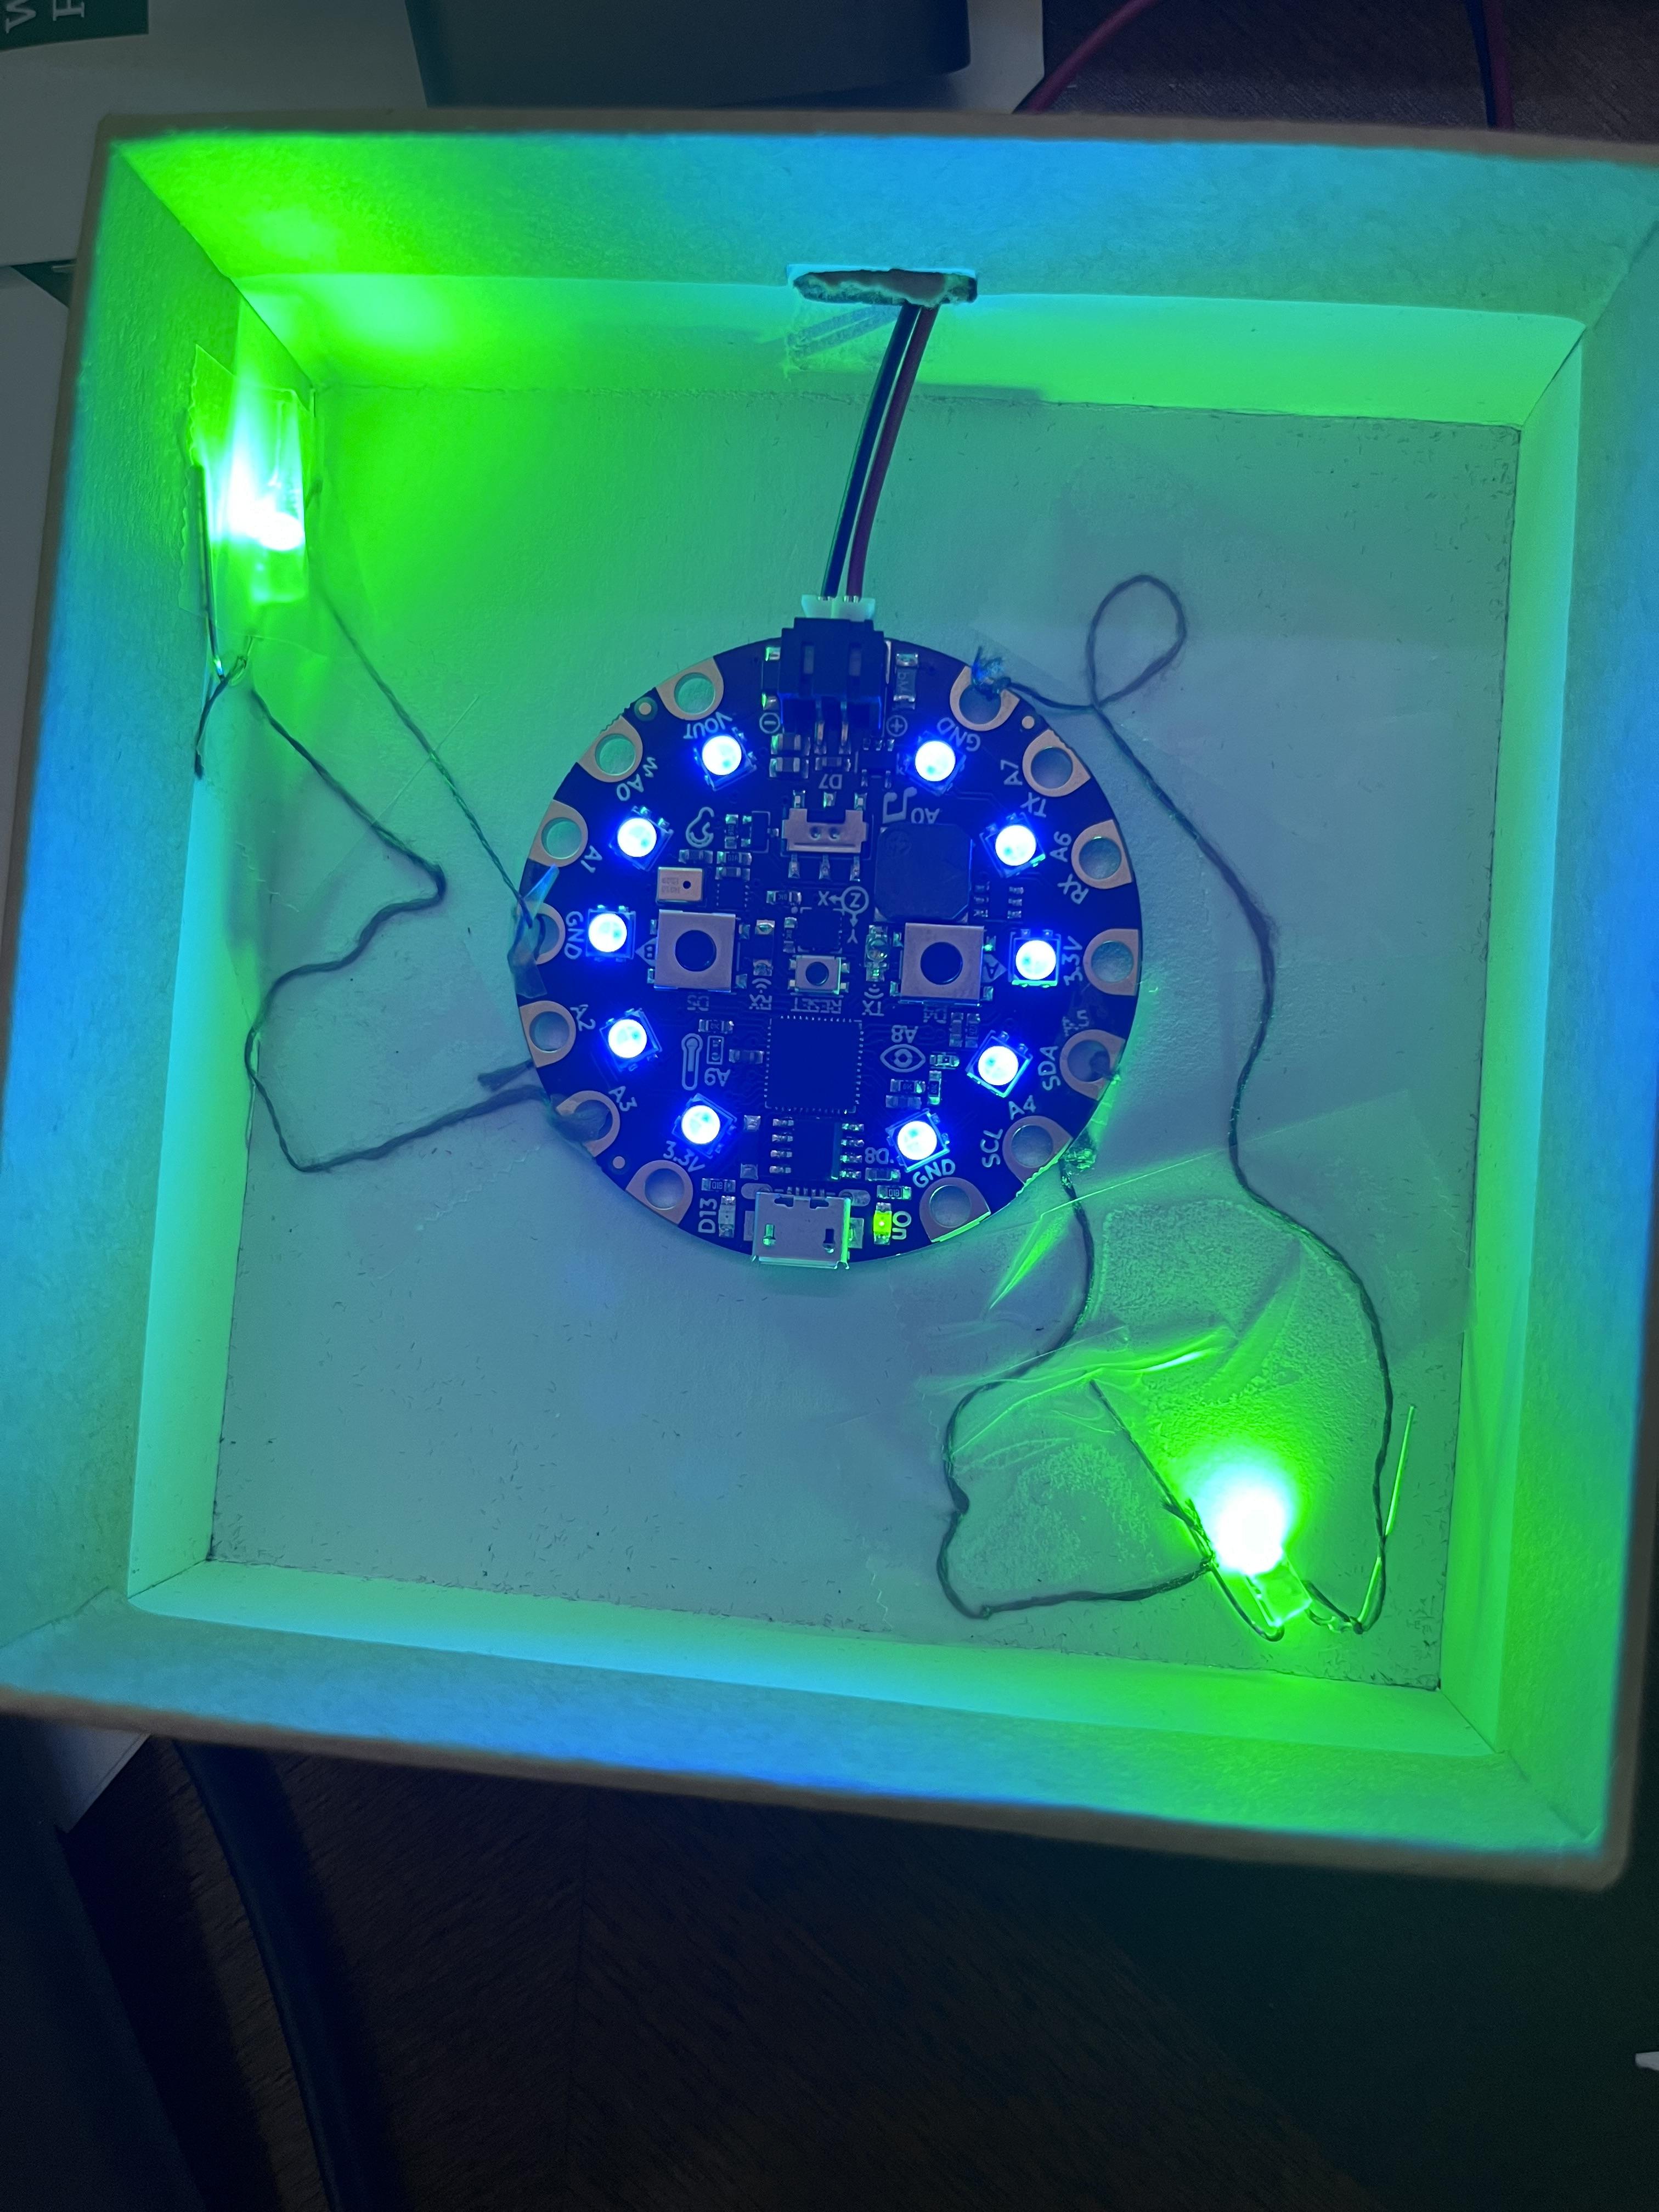
I used a simple circuit to make the lights and sounds possible. I've attached the coding paths that I created in Adafruit. This allowed me to add LED lights as well using conductive thread.