3D Scanning Using Photoscan
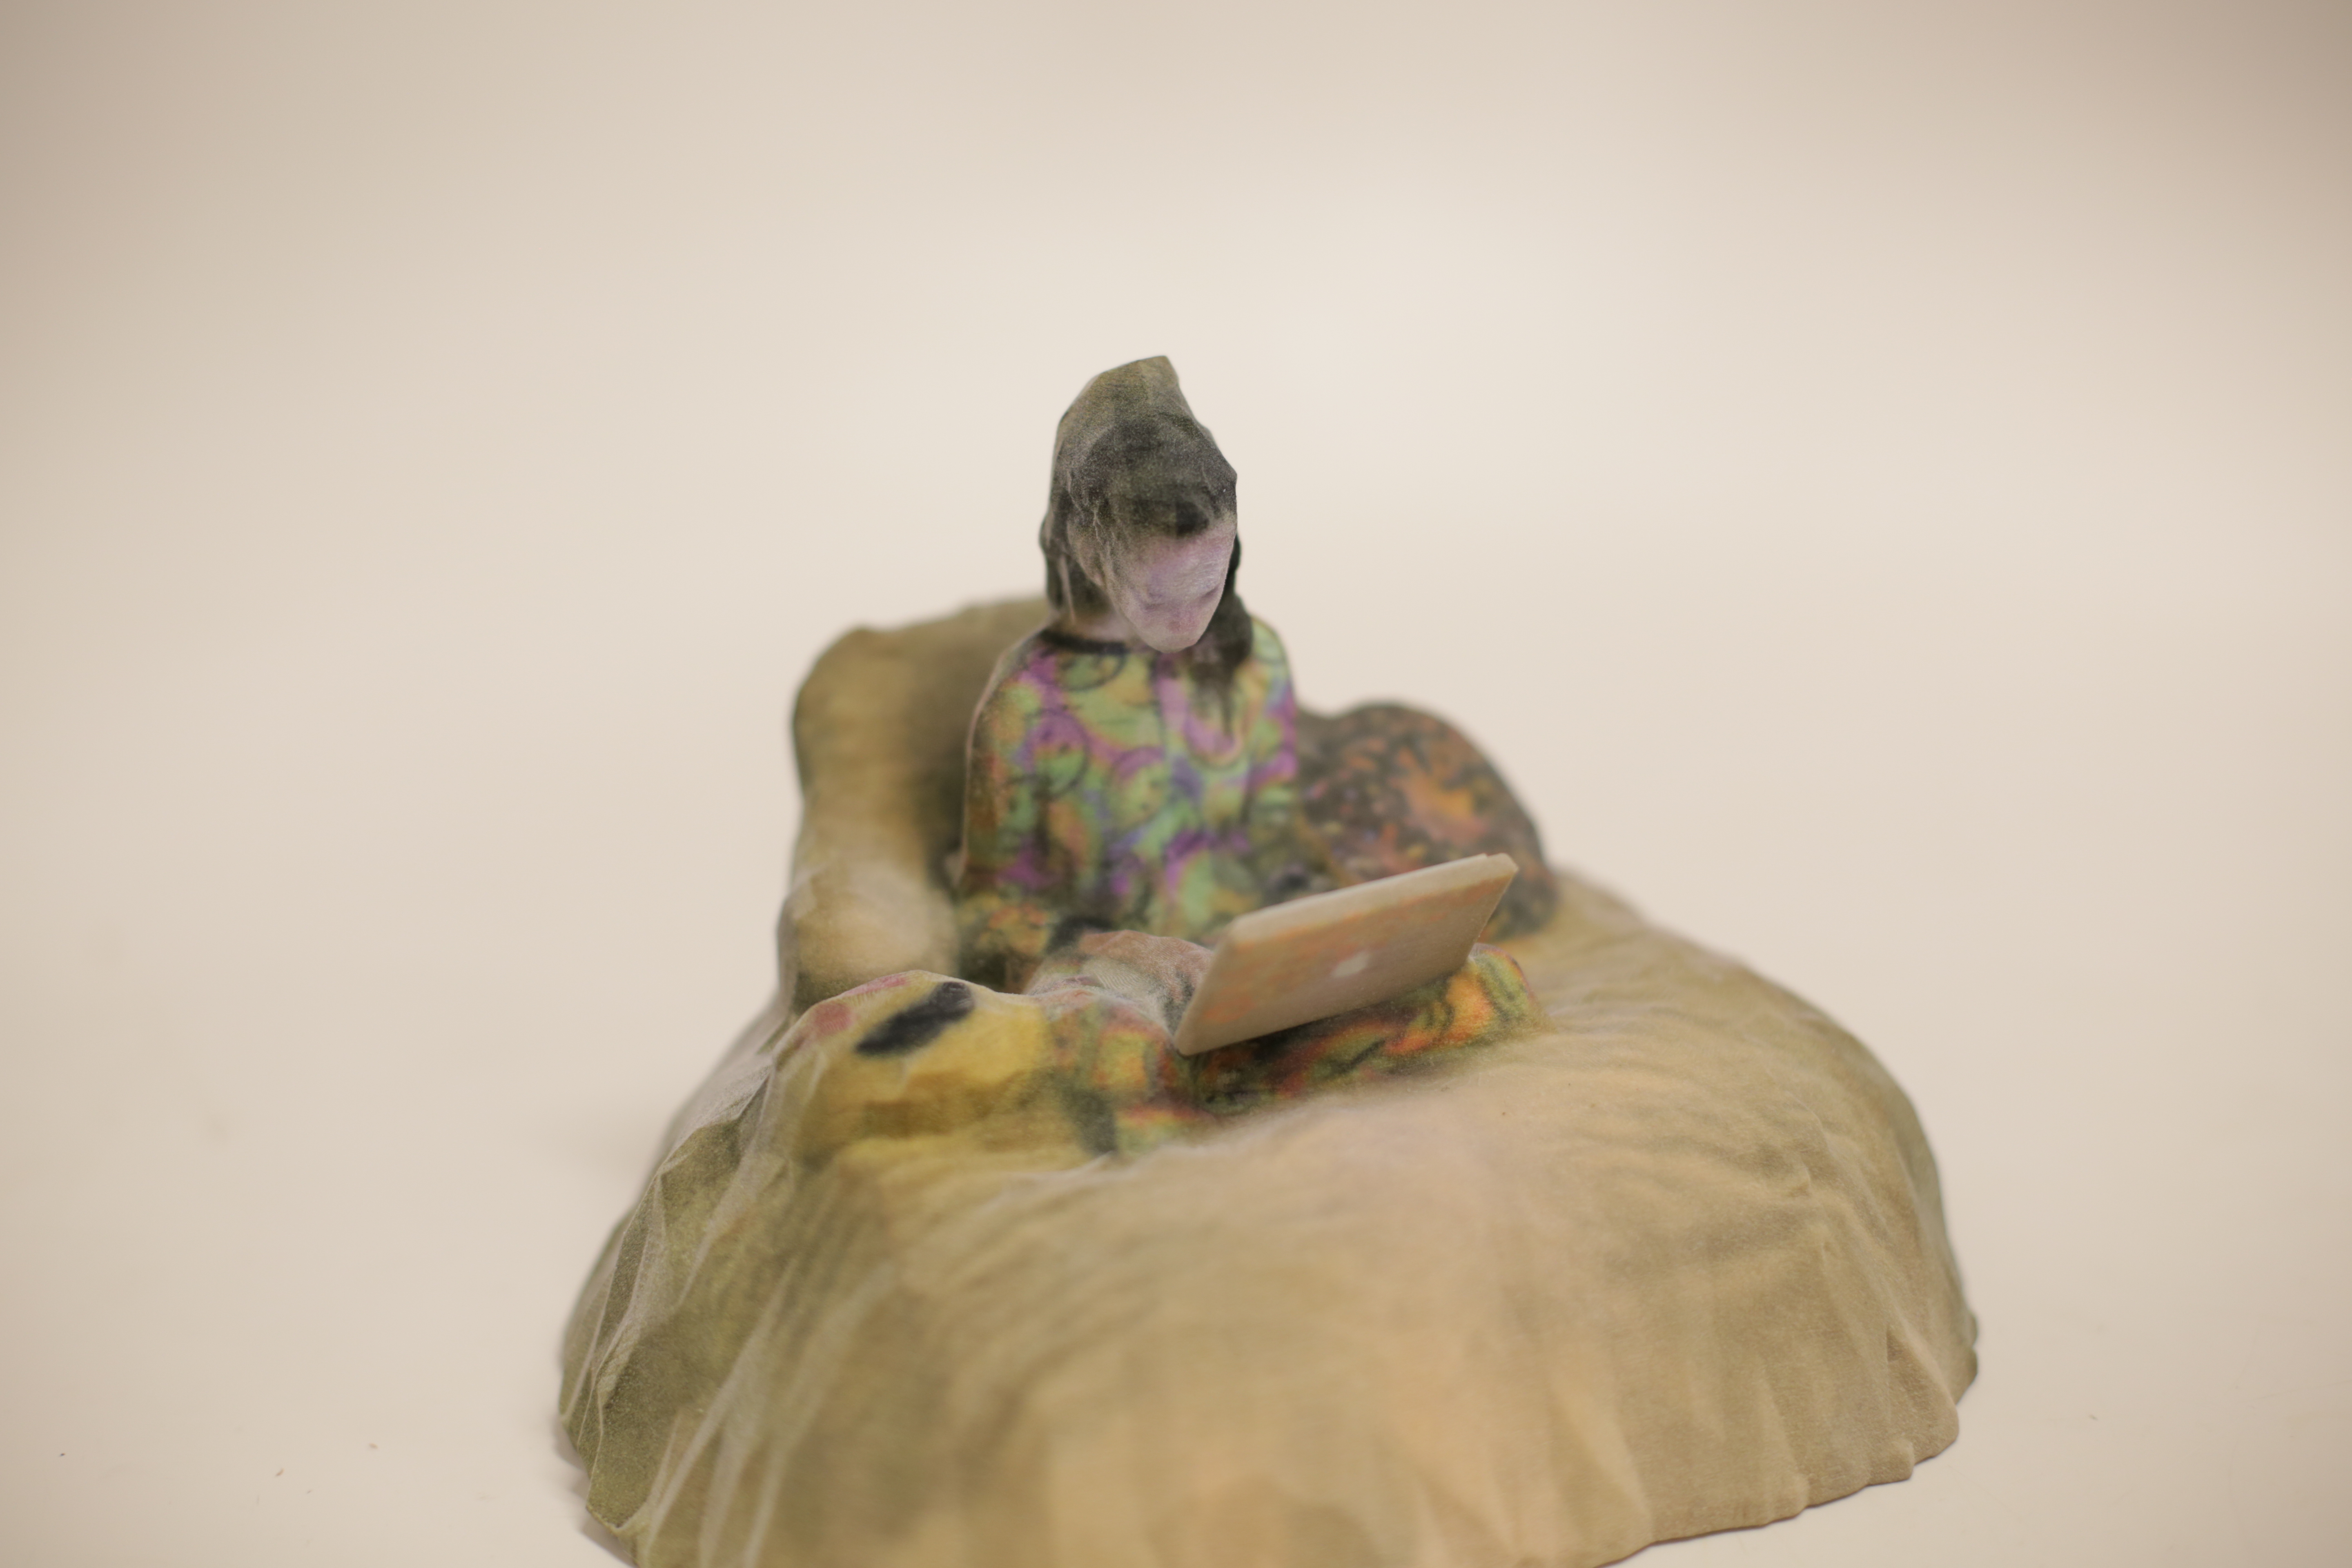
In this instructable I will guide you how you can scan your own object or your friends using a regular camera and a software called Photoscan. For this you'll need a person to scan, or an object you would like to scan, a camera- you can use your phone but for optimal result you should use hi res photos taken from a DSLR camera.
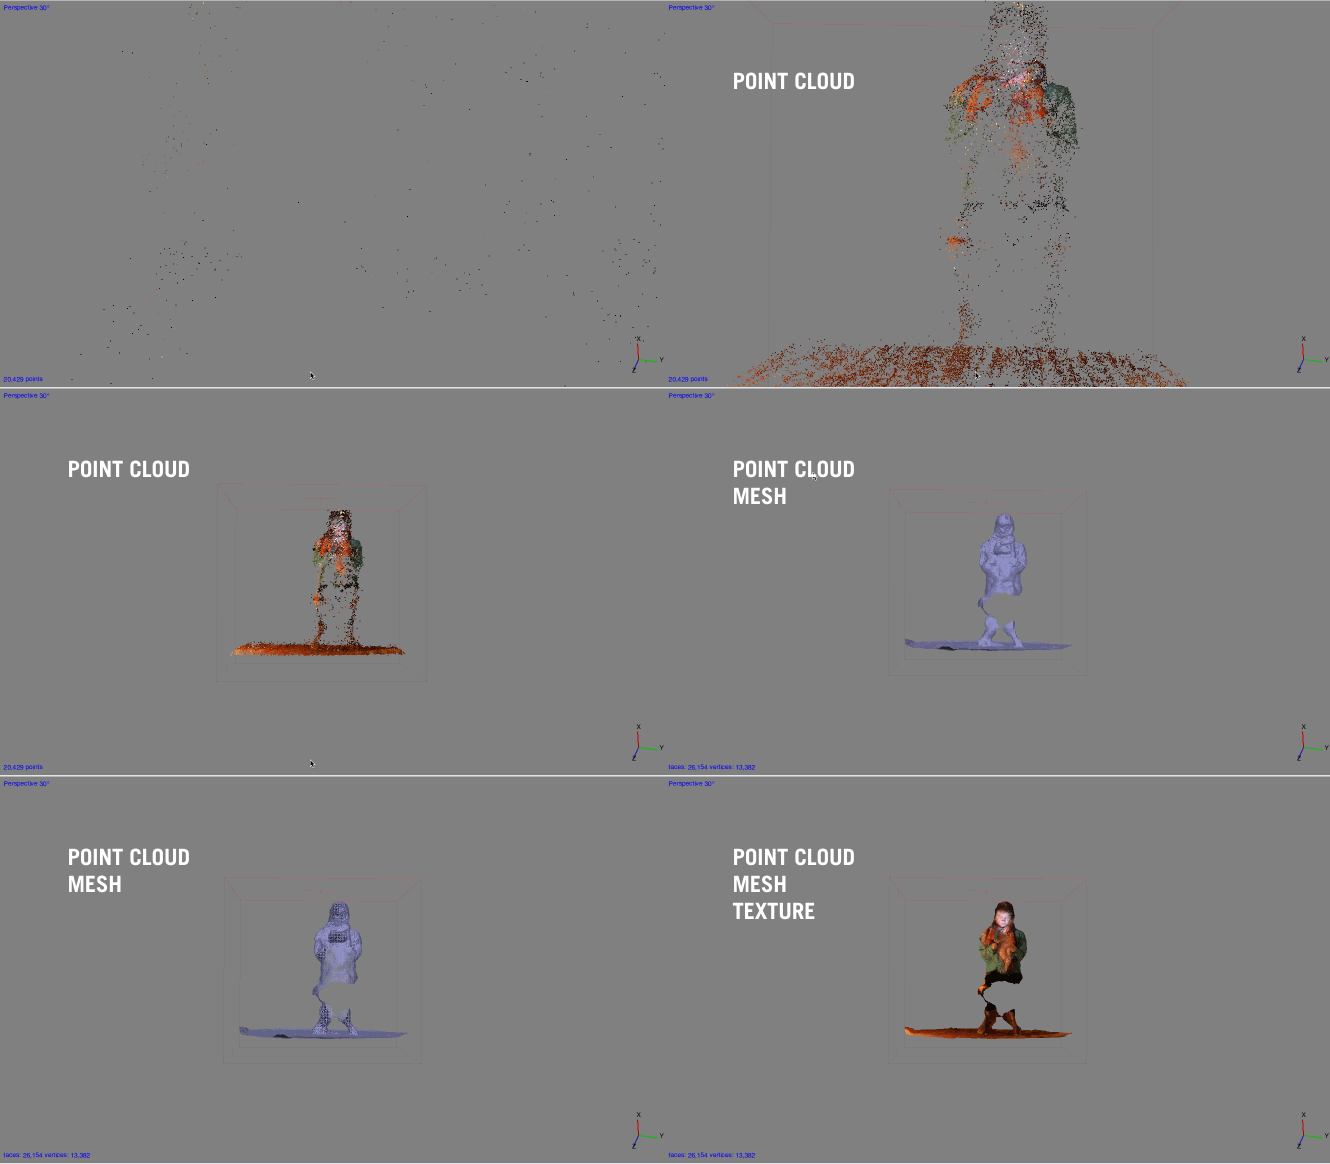
In the example above I scanned a teenage girl sitting on her bed, watching her screen, in which case was also a light.
My first step was to 3D scan the girl and her environment and this is what you're going to learn this tutorial.
Downloading "Photoscan"
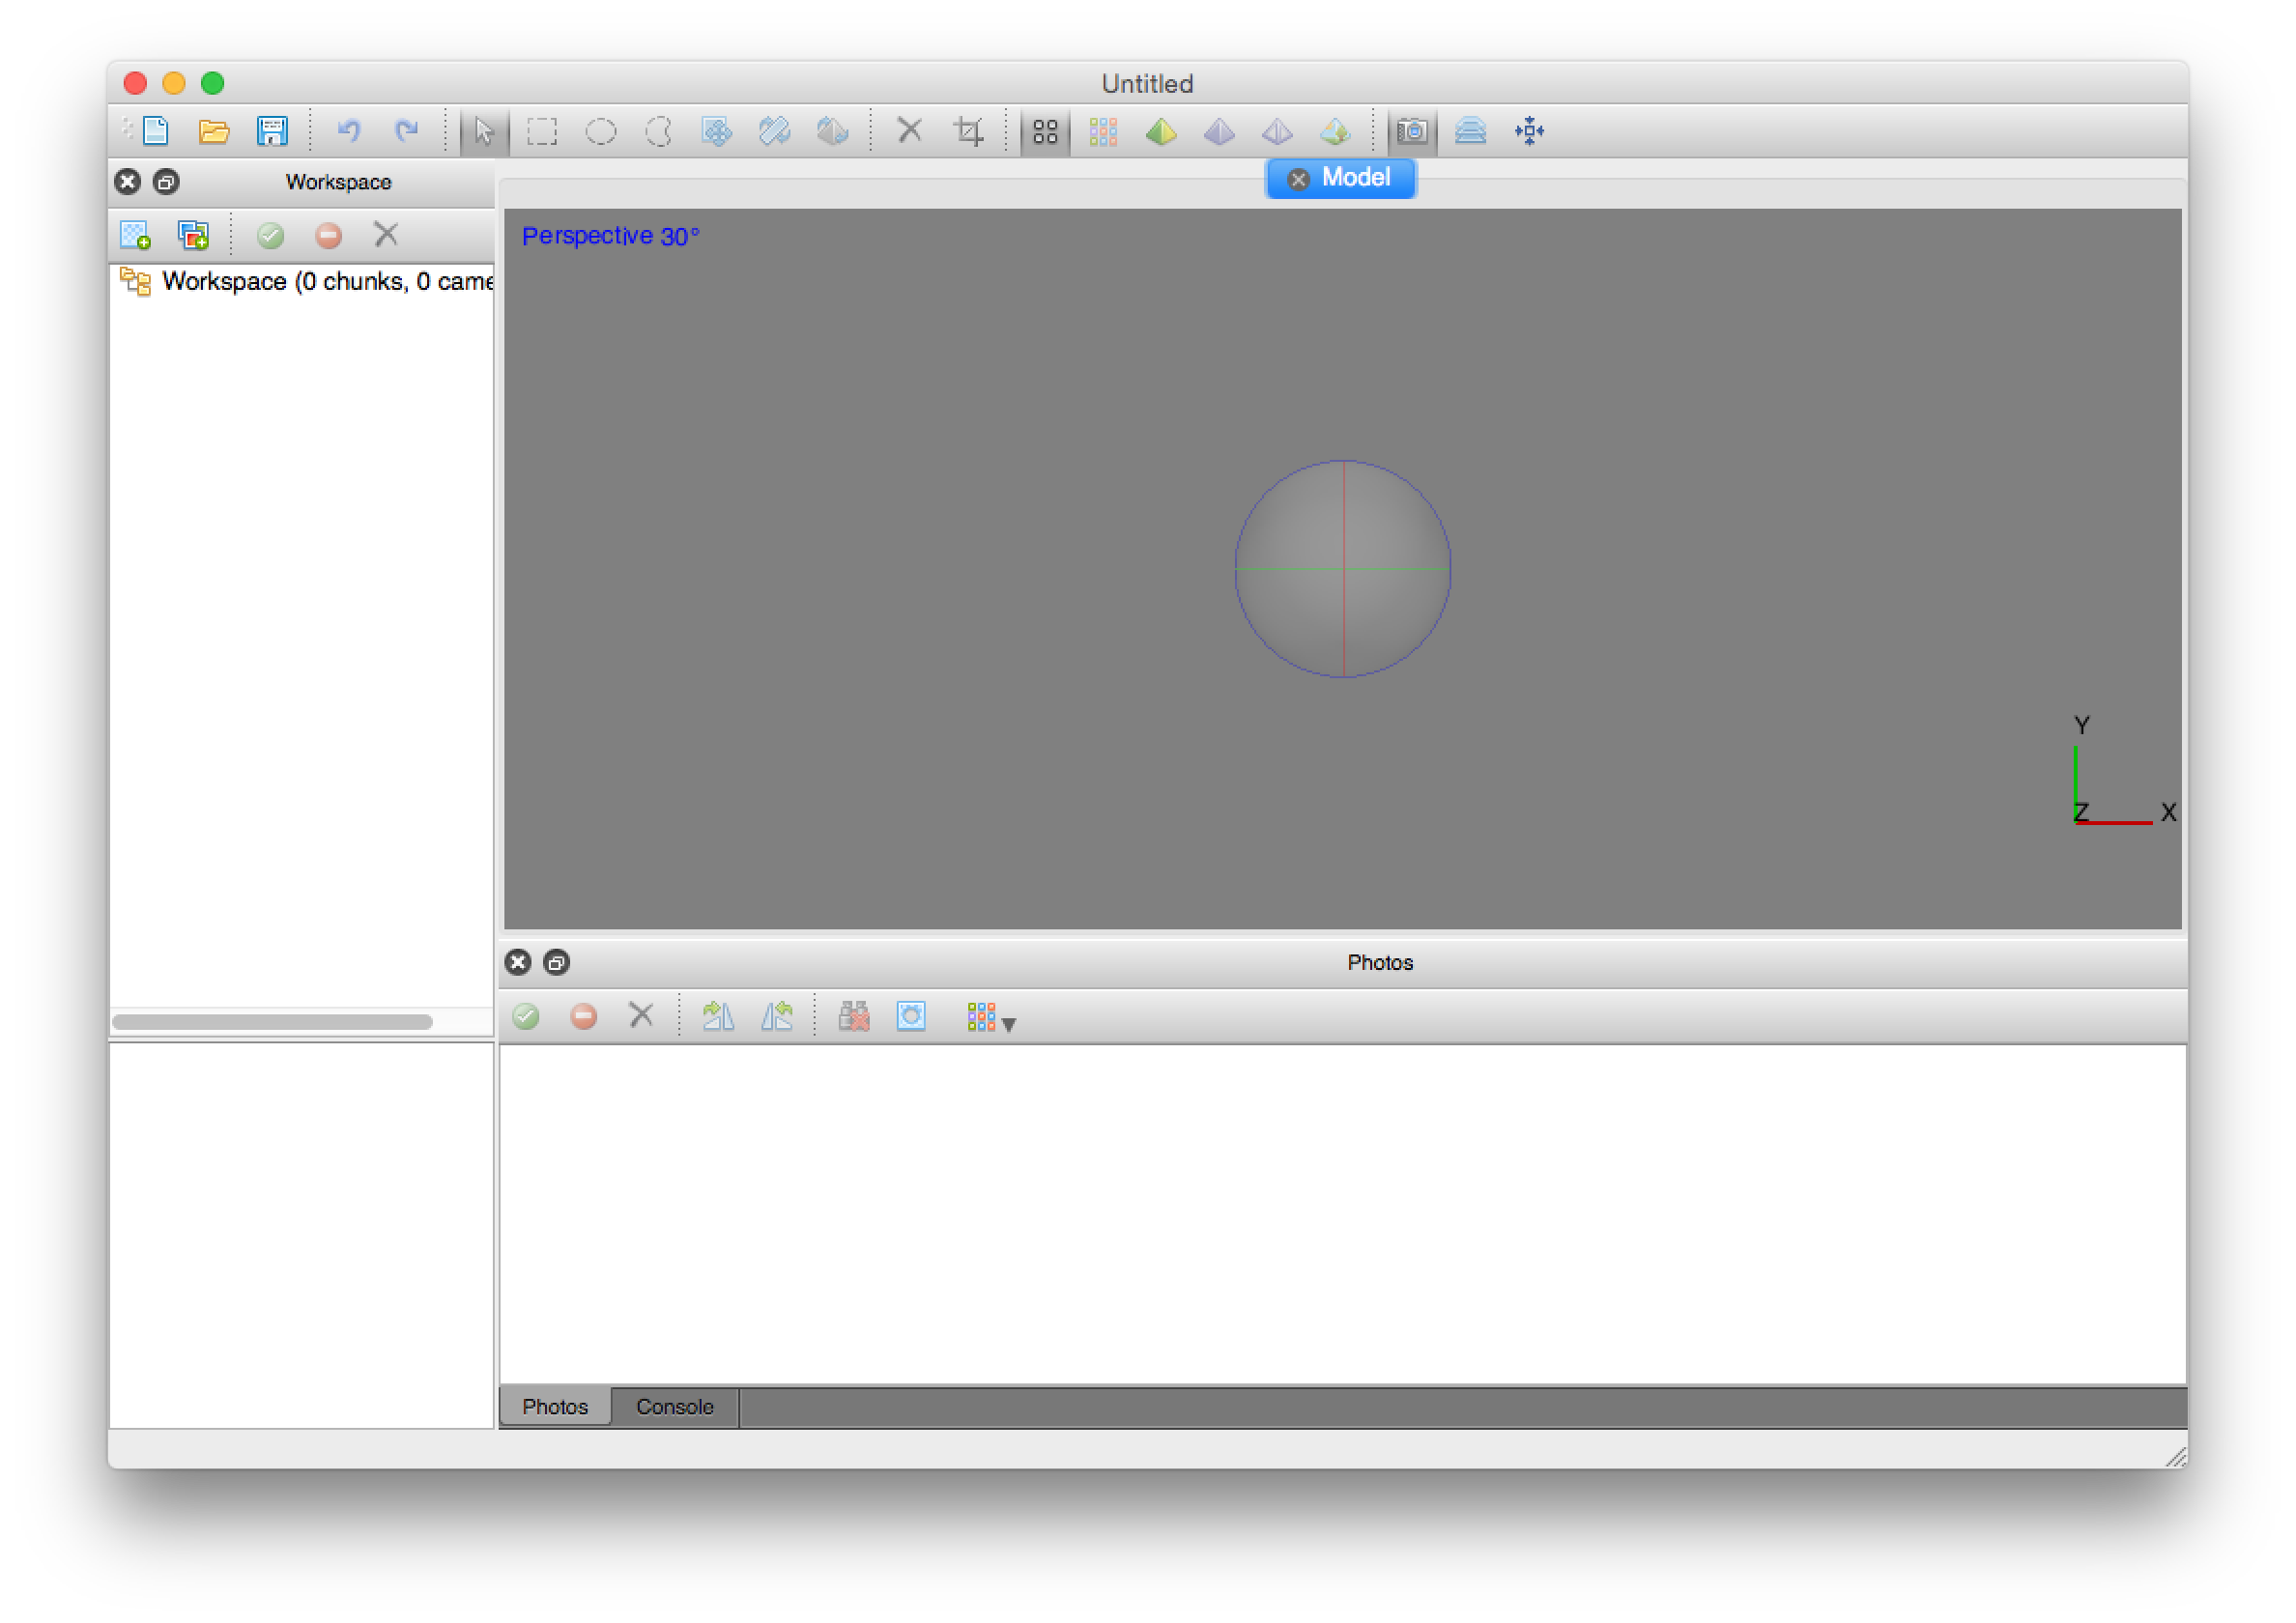
Photoscan is a powerful tool, and you can download it from "Agisoft" website, as a trial for 30 days.
Choose your operating system and download the software.
Taking Photos
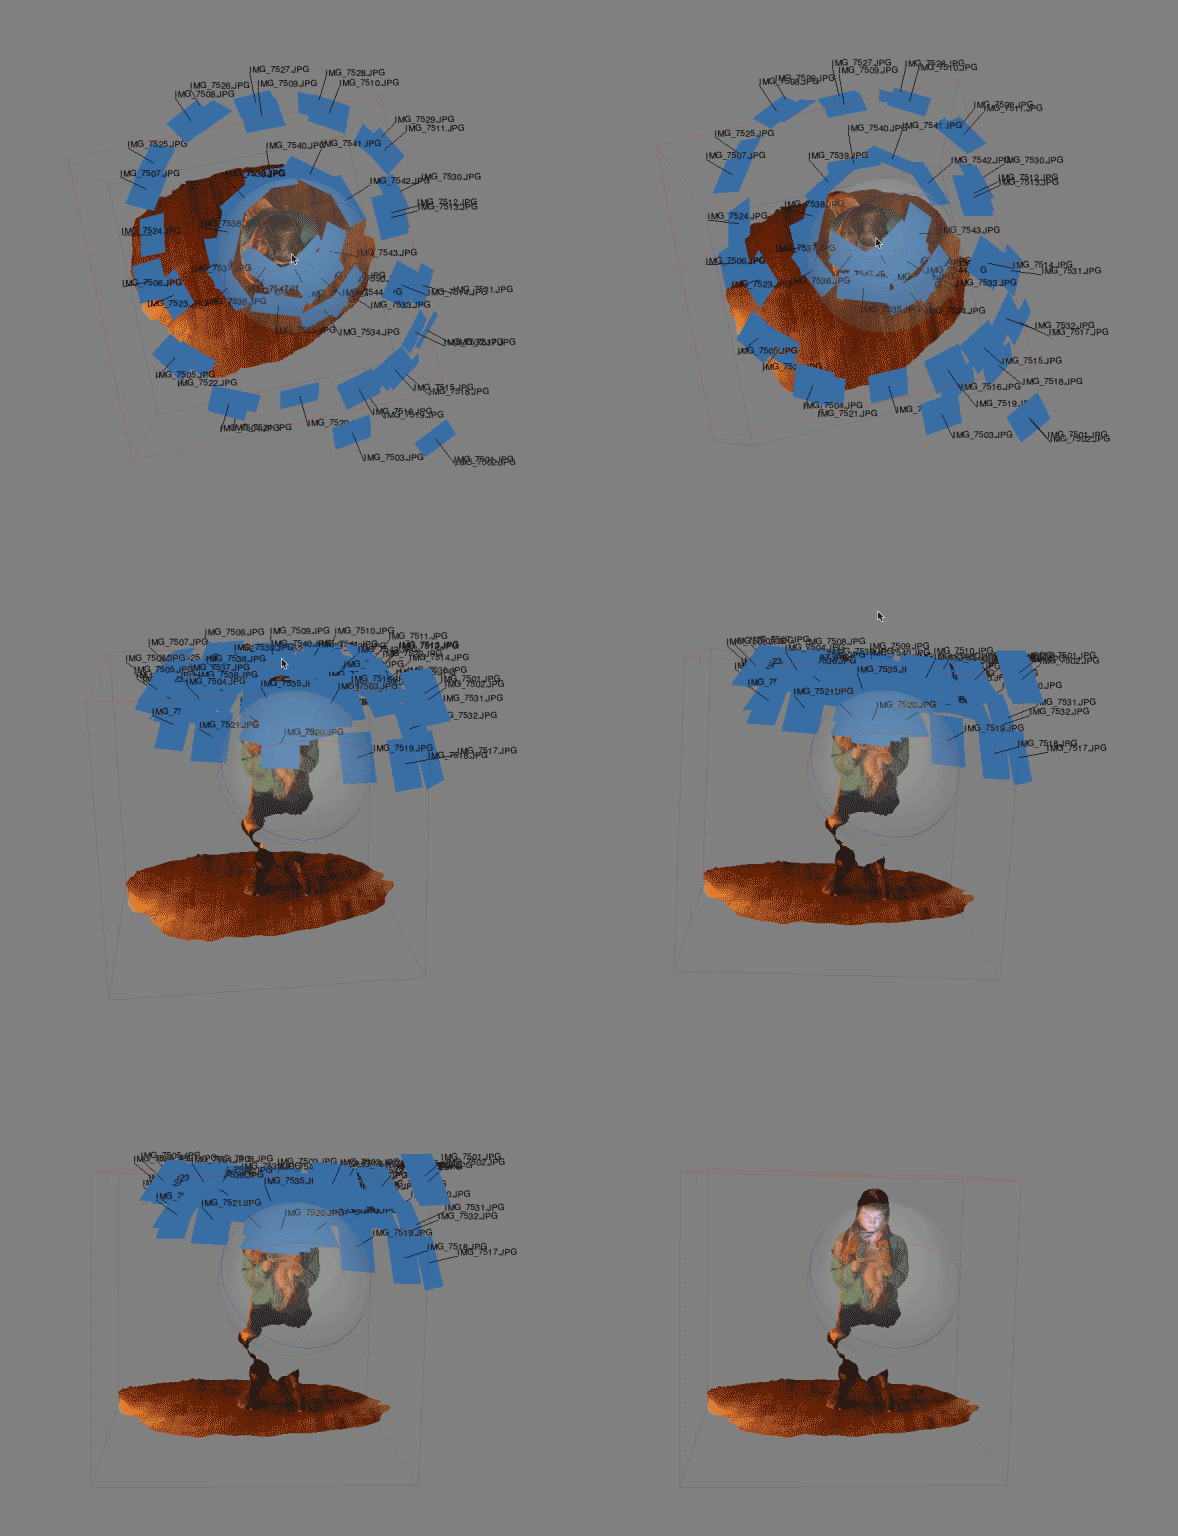
The best practice for this software is to take photos as if your building an "igloo" of photos around you're object.
Here you can see how it looks after the photos inside the software. Your'e footage should surround the object from all angles, you can get closer to for more details. The main thing is to keep the boundaries of your object at least in the first photos so the software won't mess up the stitching.
Step 3: Importing to Photoscan
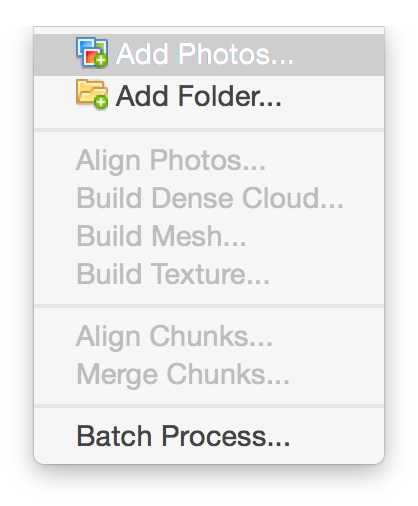
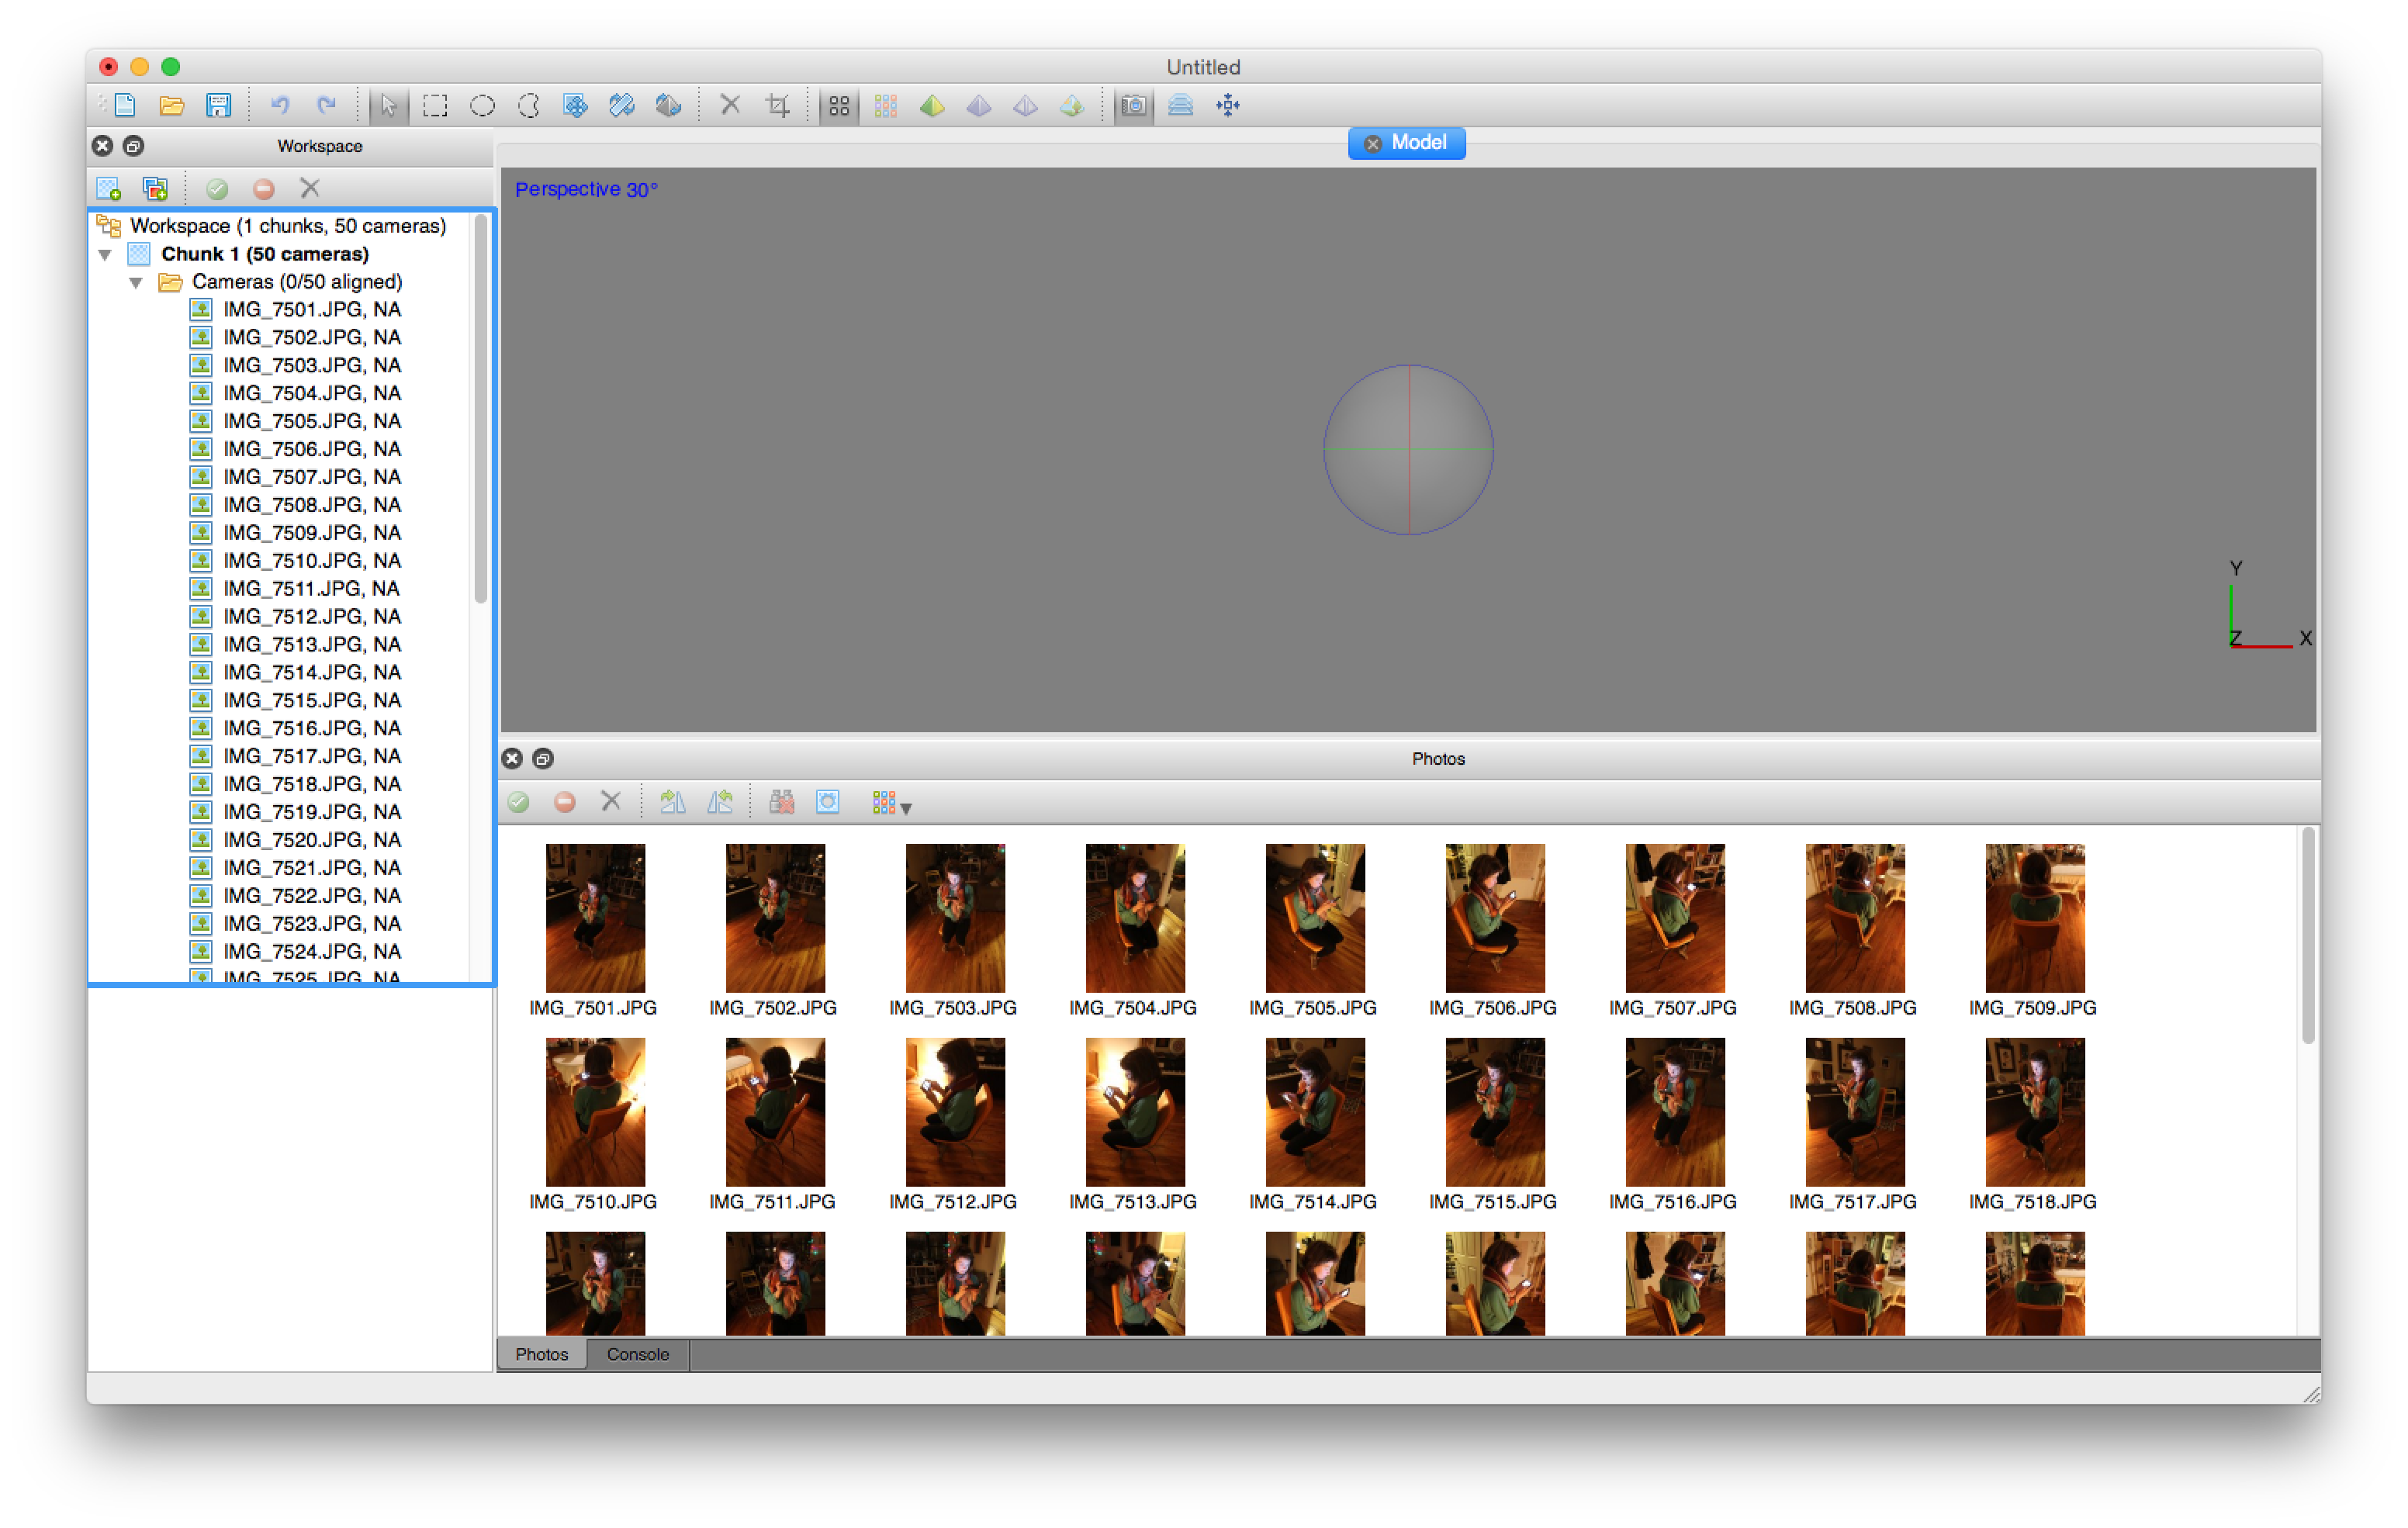
From the "Workflow" Menu, choose add photos. Photoscan will create a "Chunk" of photos, from your images, called cameras.
Align Photos
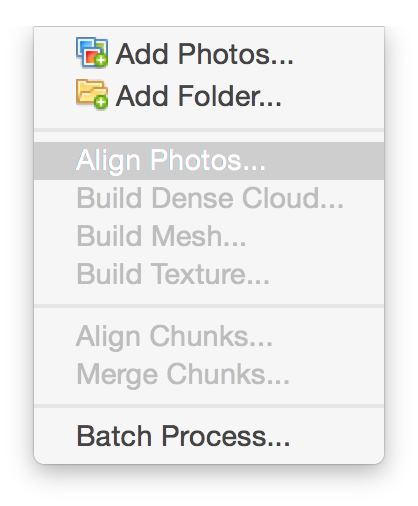
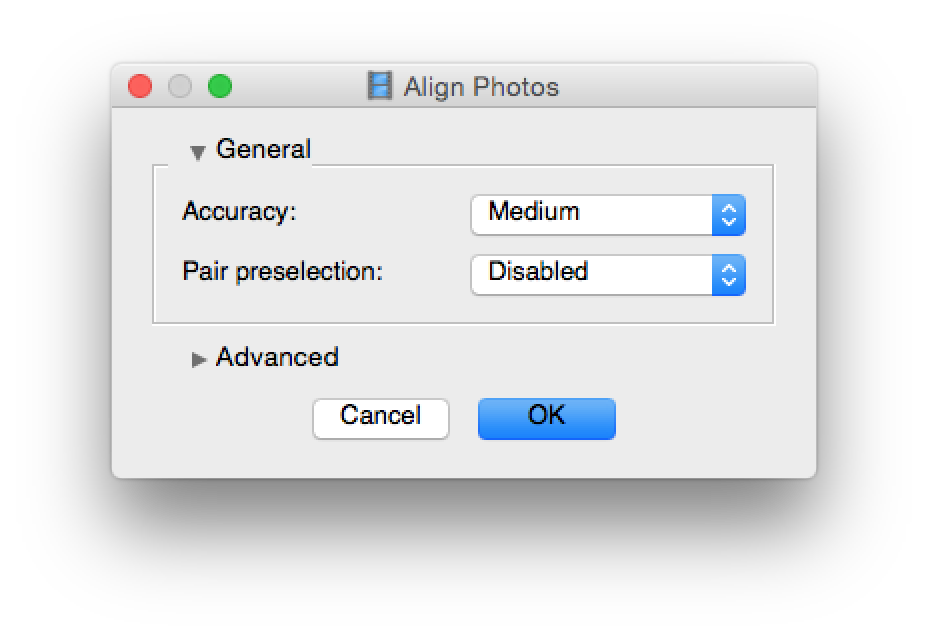
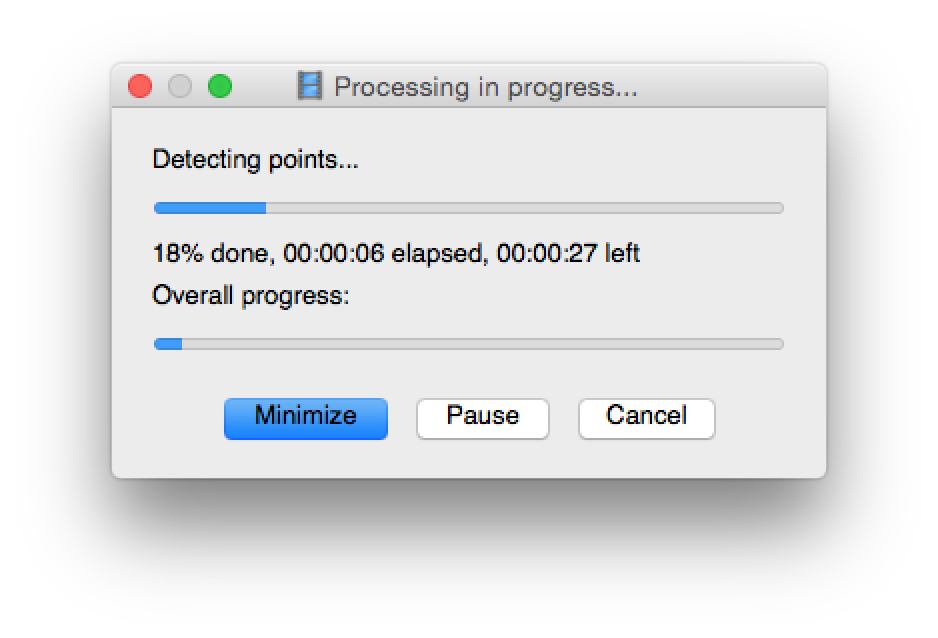
Click on Workflow > Align photos.
In the window that will show up, choose your priority of the outcome you want, low will be quicker, high will take longer time. Then the align should start a procession bar.
How to Move Around Your Model

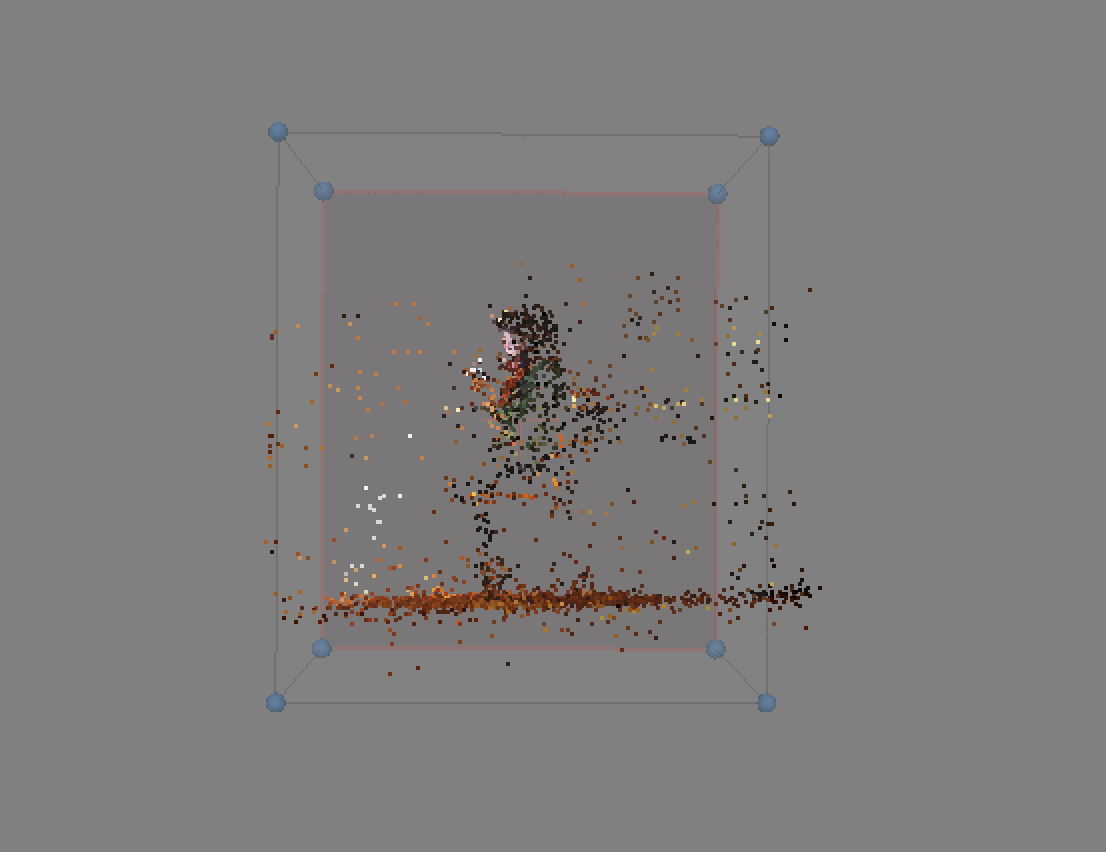
Use the menu to control the region of the model, and also the selectors in order to delete random points. Your goal is to make the software see only relevant points, in the most efficient way. Delete areas that got into your photos that you don't need, and random points that the software picked up. You can also delete surfaces like ceiling or ground.
Build Dense Cloud
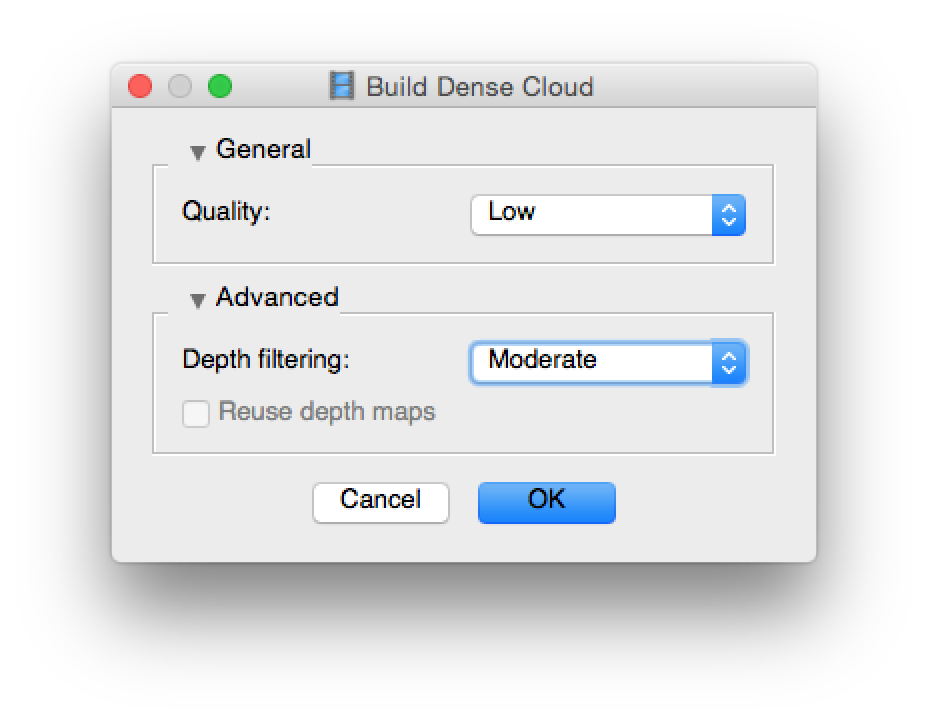
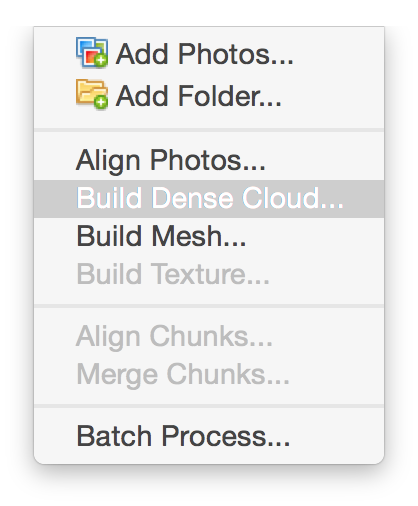
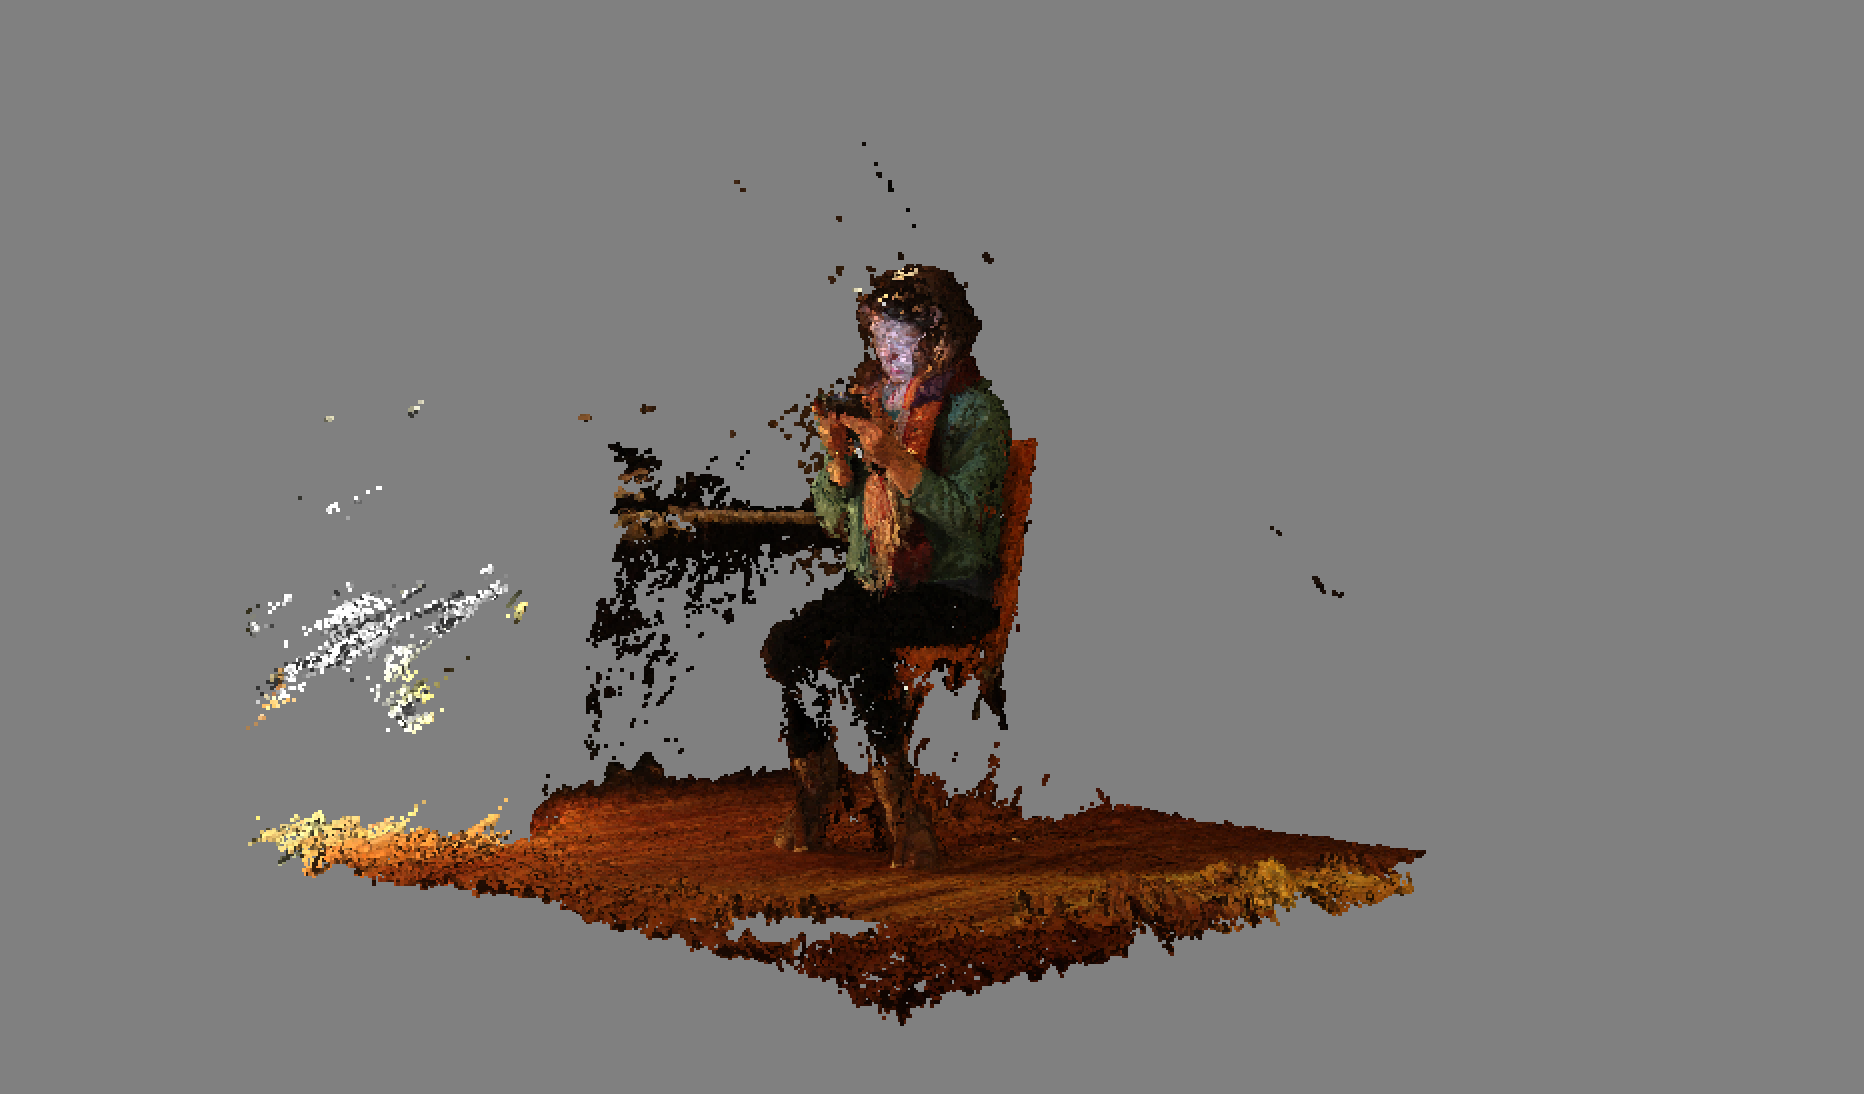
In the Workflow menu, choose "Build Dense cloud".
As you can see until now, we basically following the steps of the workflow menu. The next time that you'll work in this software, that's the only thing you'll need to remember, what makes this process to be simple.
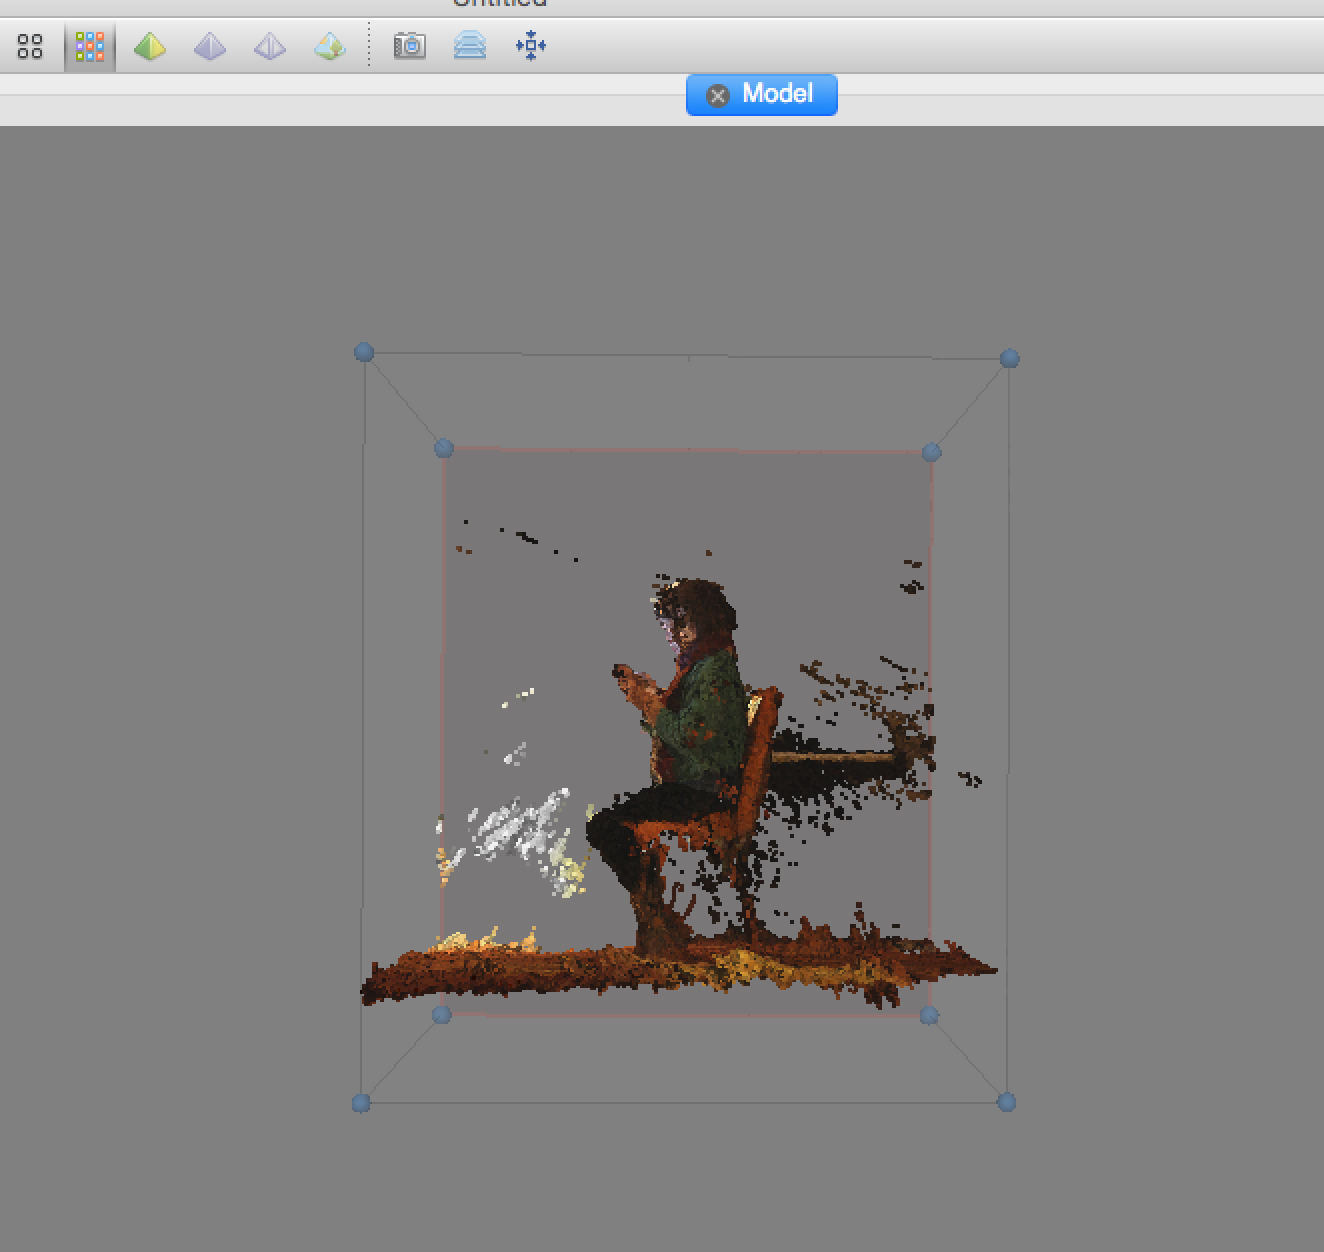
After the process complete, you can click on the colored grid in the tools menu, which represent this stage of dense cloud. Each one of the icons beside that grid, represent a stage that the model is in. You can go back and forth.
Build Mesh
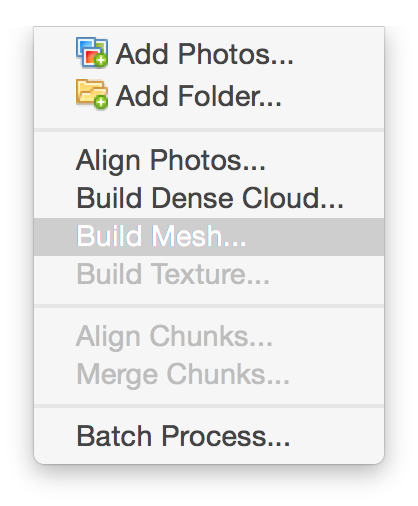
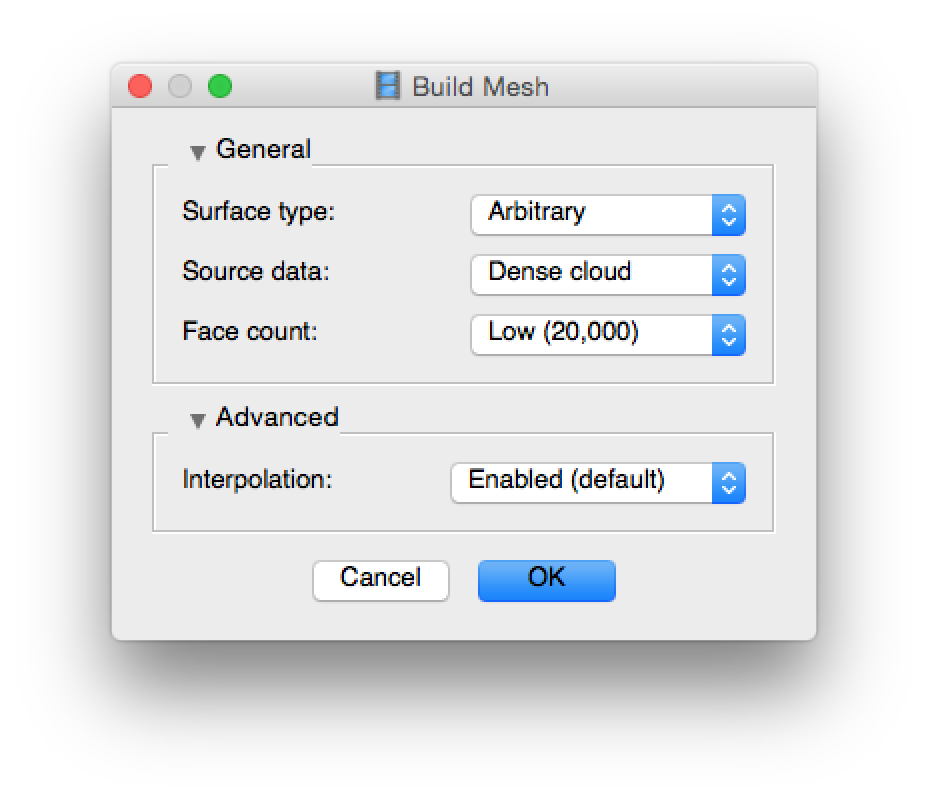
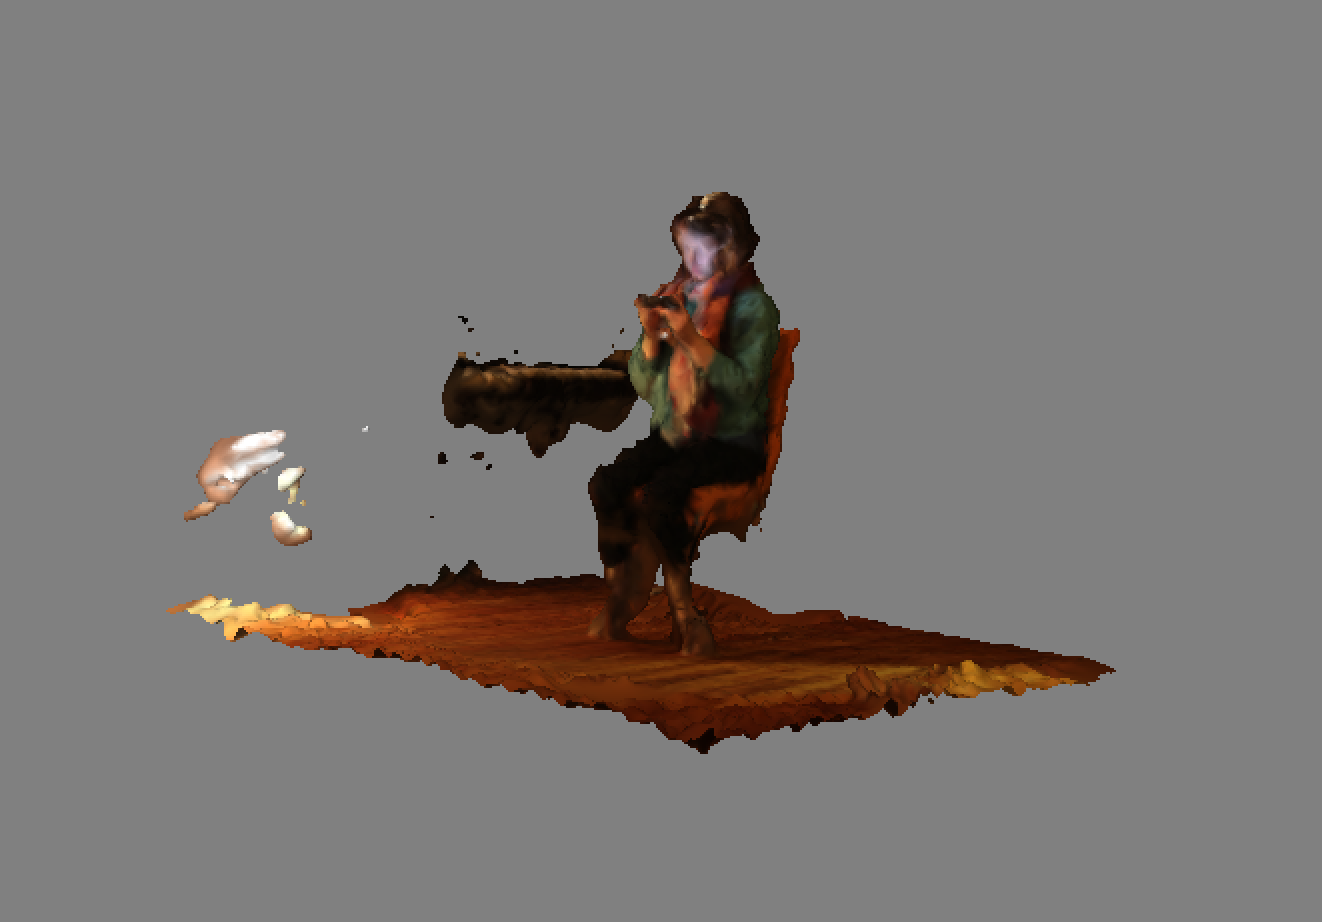
Go to Workflow > Build mesh.
Now the software can actually create the "Cover" for the model, and the next window that will open will determine how aggressive you want the software to fix holes in the texture called- mesh.
Building Texture
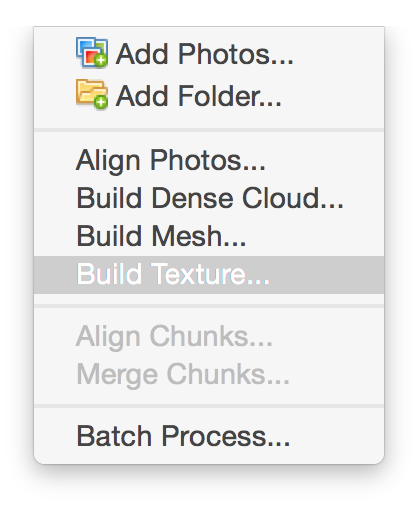
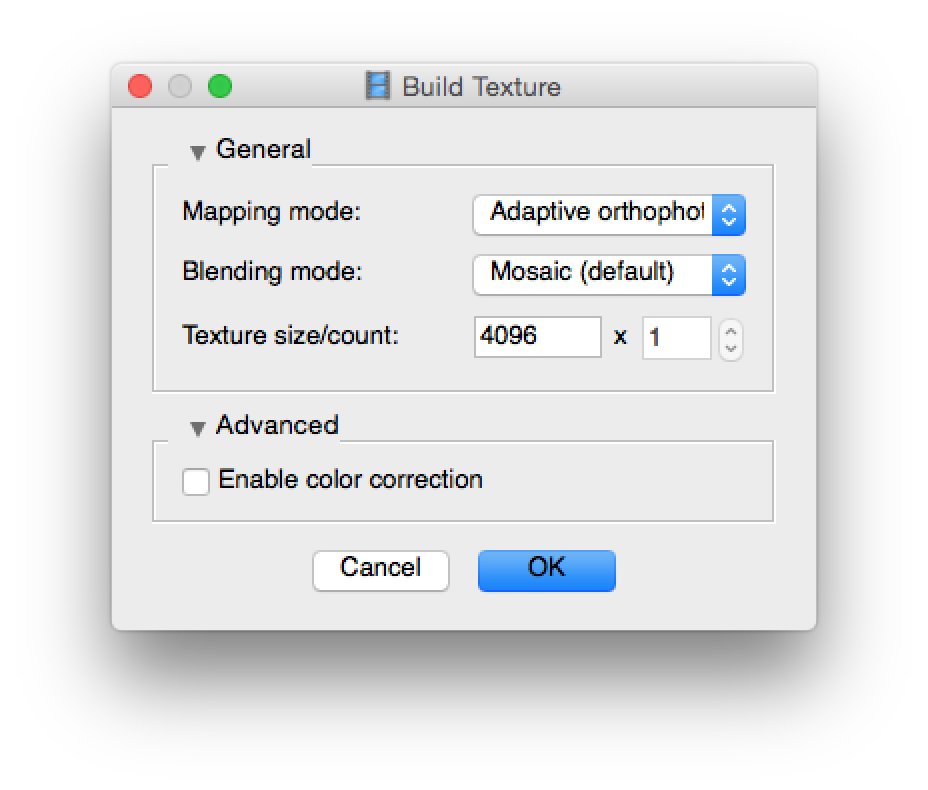
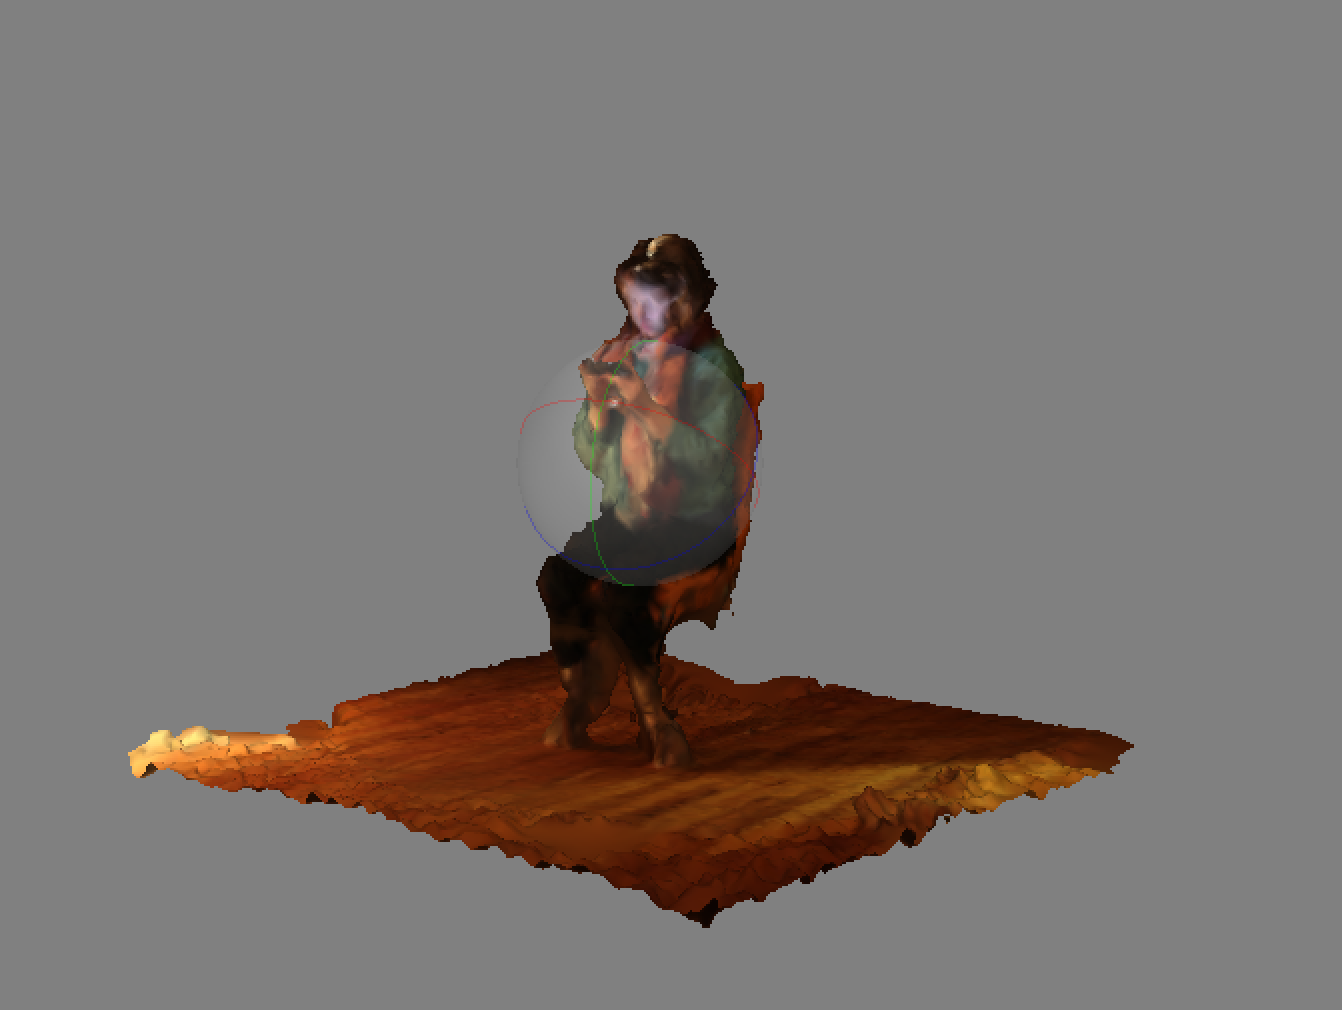
In the window that will open, choose Adaptive Orthophoto, which makes the projection from the photo the the object more efficiently. Blending mode "Mosaic" will make an average of the color of the images to create the blending mode of the texture.
Exporting Your Model
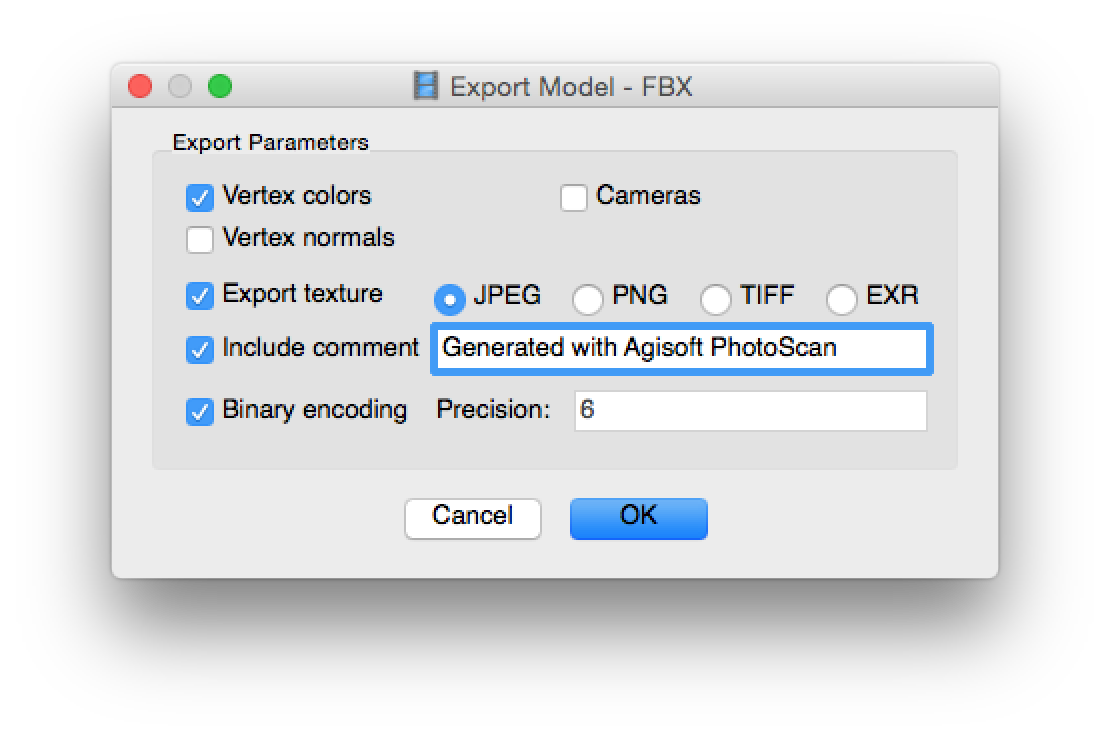
File > Export Model...
Choose .fbx file and make sure to uncheck cameras.
You can prepare your file now in Z brush, or import it to Unity for example.