3D Scan Anything Using a Camera (Photogrammetry With Autodesk Remake)
by jkdabrown in Workshop > 3D Printing
37486 Views, 586 Favorites, 0 Comments
3D Scan Anything Using a Camera (Photogrammetry With Autodesk Remake)
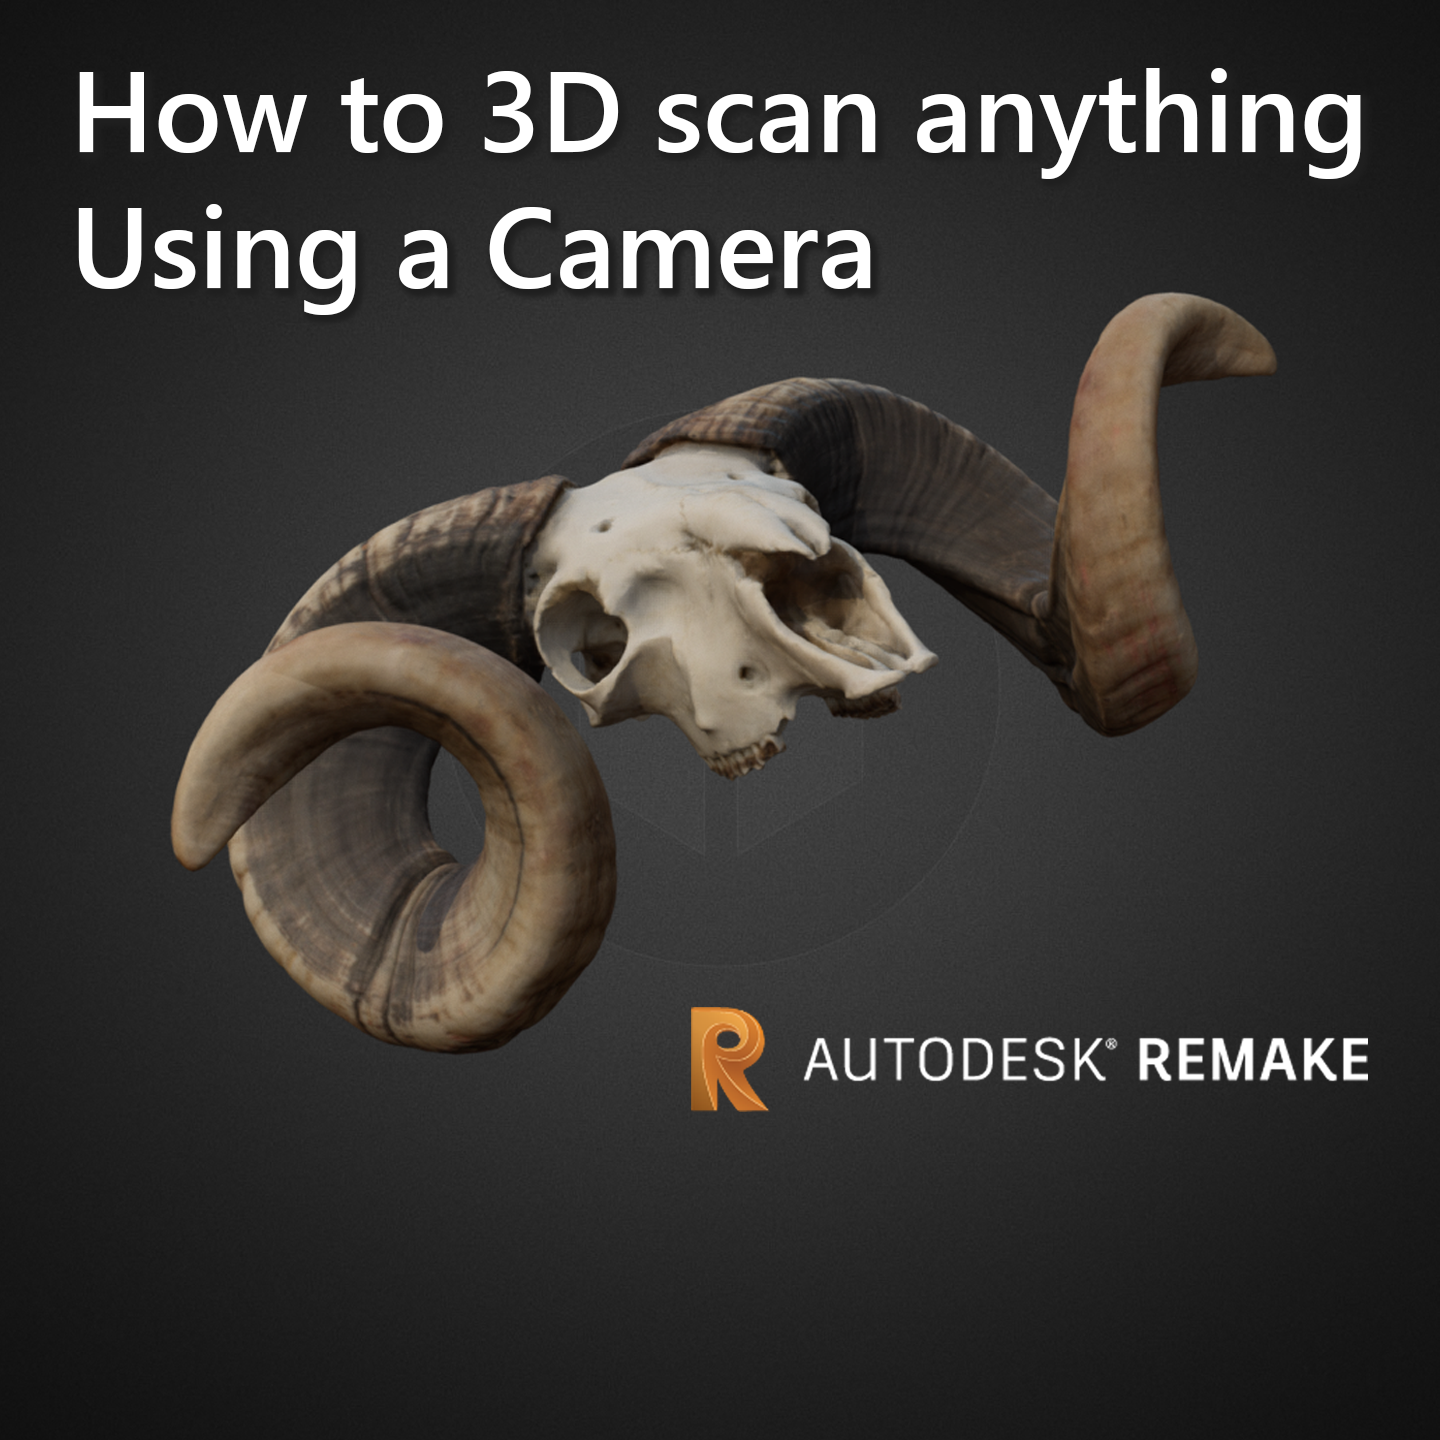
Photogrammetry is a lot more accessible to everyone these days due to the better technologies developed in software and the higher quality cameras available. This guide will teach you how to capture objects at home or when you’re out and about with photogrammetry using a camera and the photogrammetry software Autodesk® Remake. In this guide, I will explain the basic steps to follow to get you started.
Equipment
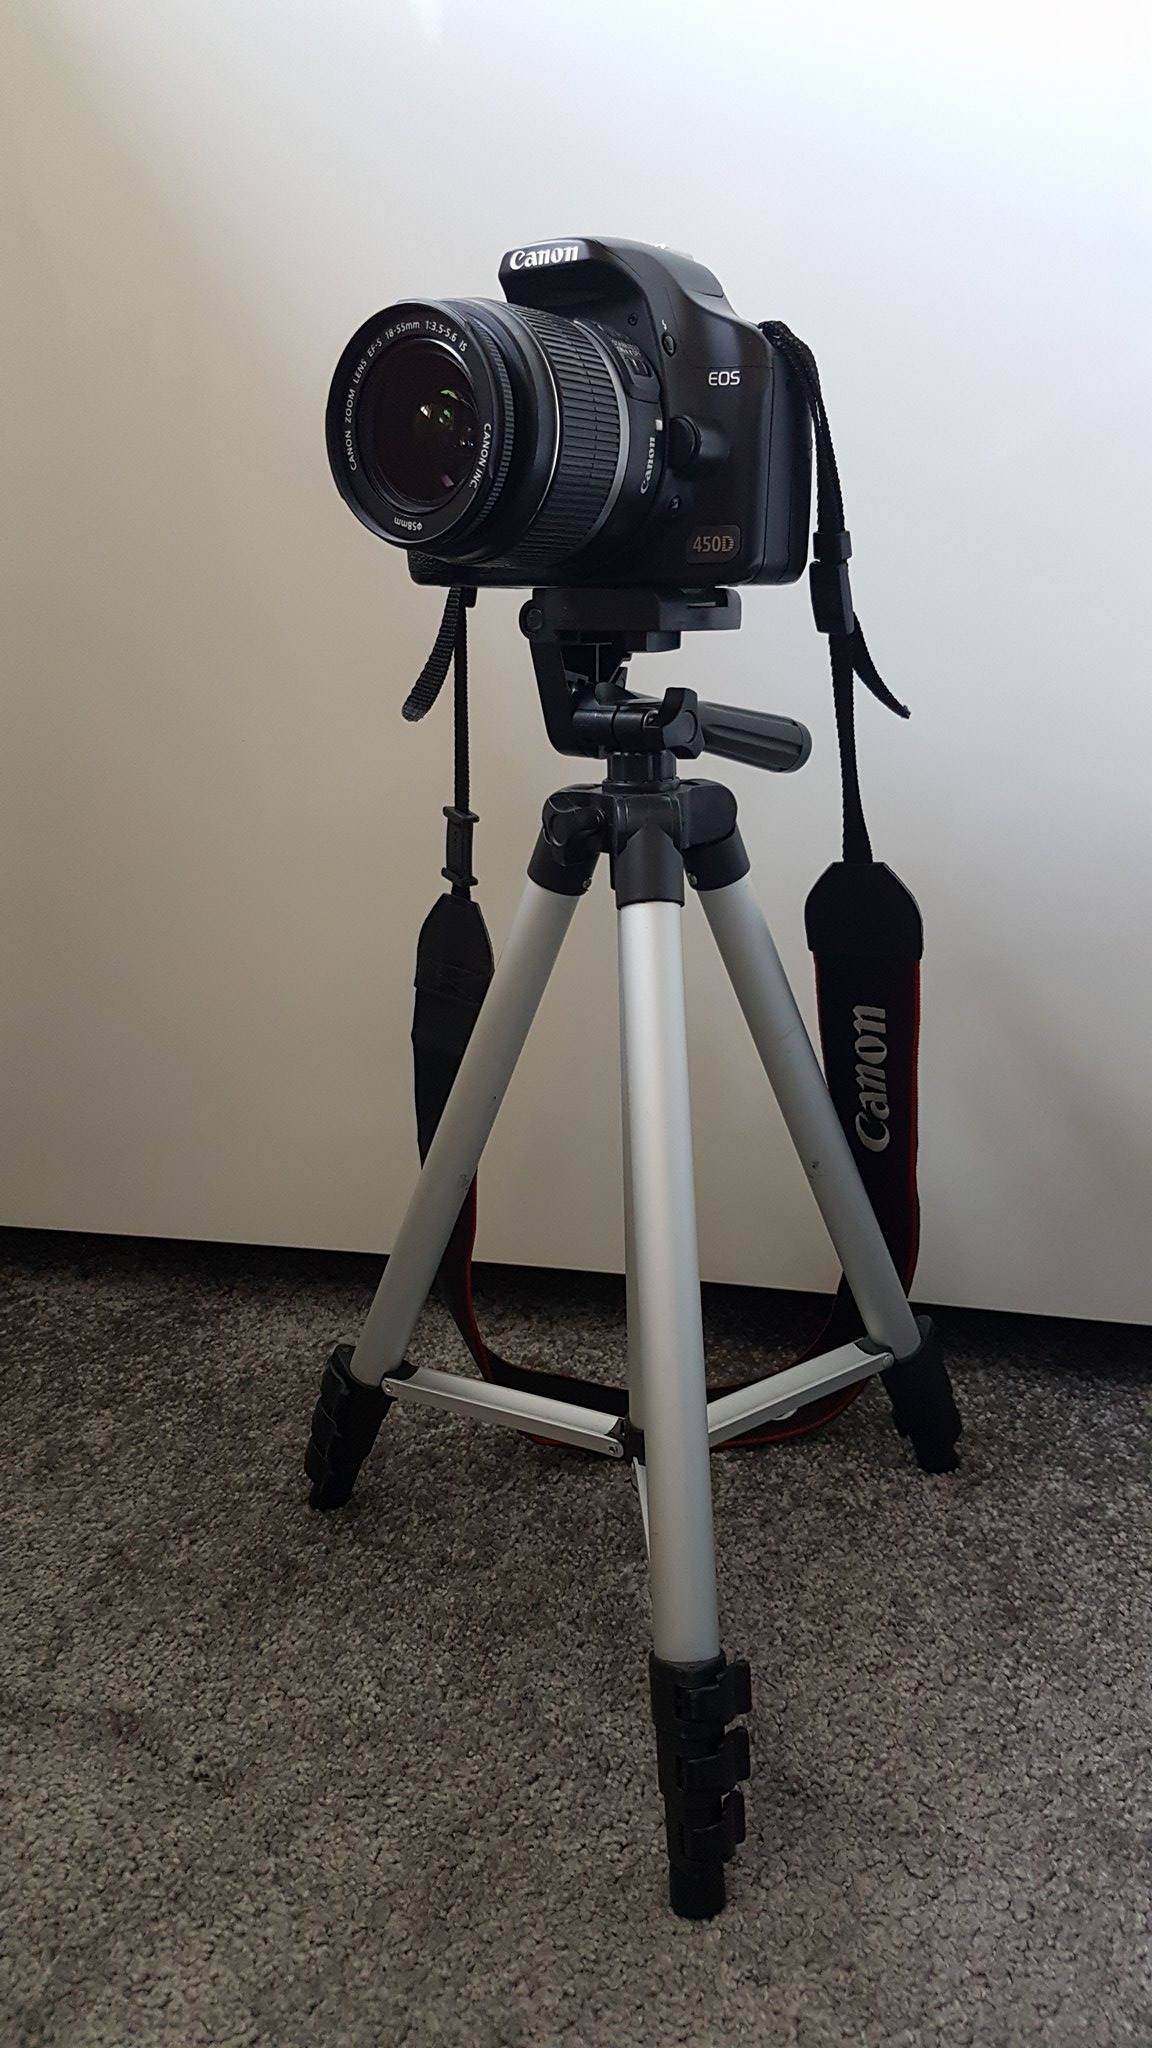
To start with most importantly you’ll need a good camera, you can create 3D models from many different cameras but the best being the highest quality. Something like an SLR or professional camera will give you the best results due to the high megapixels, variety of settings and the quality of the lens. Although if you don’t have an expensive camera the same technique can also be achieved with a lower end camera or a smartphone with a good camera. I would recommend at least 5 megapixels when using a camera for photogrammetry in order to catch as much detail as possible to be transferred to the final model.
Another two pieces of equipment that can help you take good photos but are not necessarily needed would be firstly a tripod, as using a tripod you will got more focused steady shots with the camera resulting in better overall quality which will help greatly in generated a better mesh. Secondly if you are using a tripod it can sometimes be useful to use a remote control for your camera so you do not disturb the tripod position mid shot. If your camera doesn’t support a remote control another option is to use the timer function available on most cameras so again you are not disturbing the camera position mid shot.
Choosing a Subject

The next step is to pick an object in which you want to capture, this can be anything from a small ornament, a person or even a building. Good subjects include solid objects with a textured, colourful and non-shiny surface. Photogrammetry software calculates the common points between photos so the simplest objects with a good vibrant texture usually gain better results.
Not all objects produce good results, things to avoid are objects which are:
- Moving or blowing around i.e. not stationary placed
- Have micro detail like leafy plants, hair and fur
- Anything that is very reflective as the camera will capture the environment reflected in the object rather than just the object itself.
- Transparent. translucent and untextured objects
Environment and Shooting Conditions

The best environment to practice photogrammetry is an overcast/cloudy day with no direct light causing hard shadows. When your outside capturing photos make sure to pay attention to the things around you as well as changing weather such as a gust of wind that can change or shift your subject and therefor won’t match up with the previously captured photos. If you can’t go outside or as more often is the case the weather conditions aren’t good then you can replicate this indoors by setting lights up round the object and diffusing the lights using cloth or paper in front of a light. The important thing to note with both set ups is if shadows are present on the object they will be on the end model too so should be eliminated as much as possible.
Camera Position and Shooting

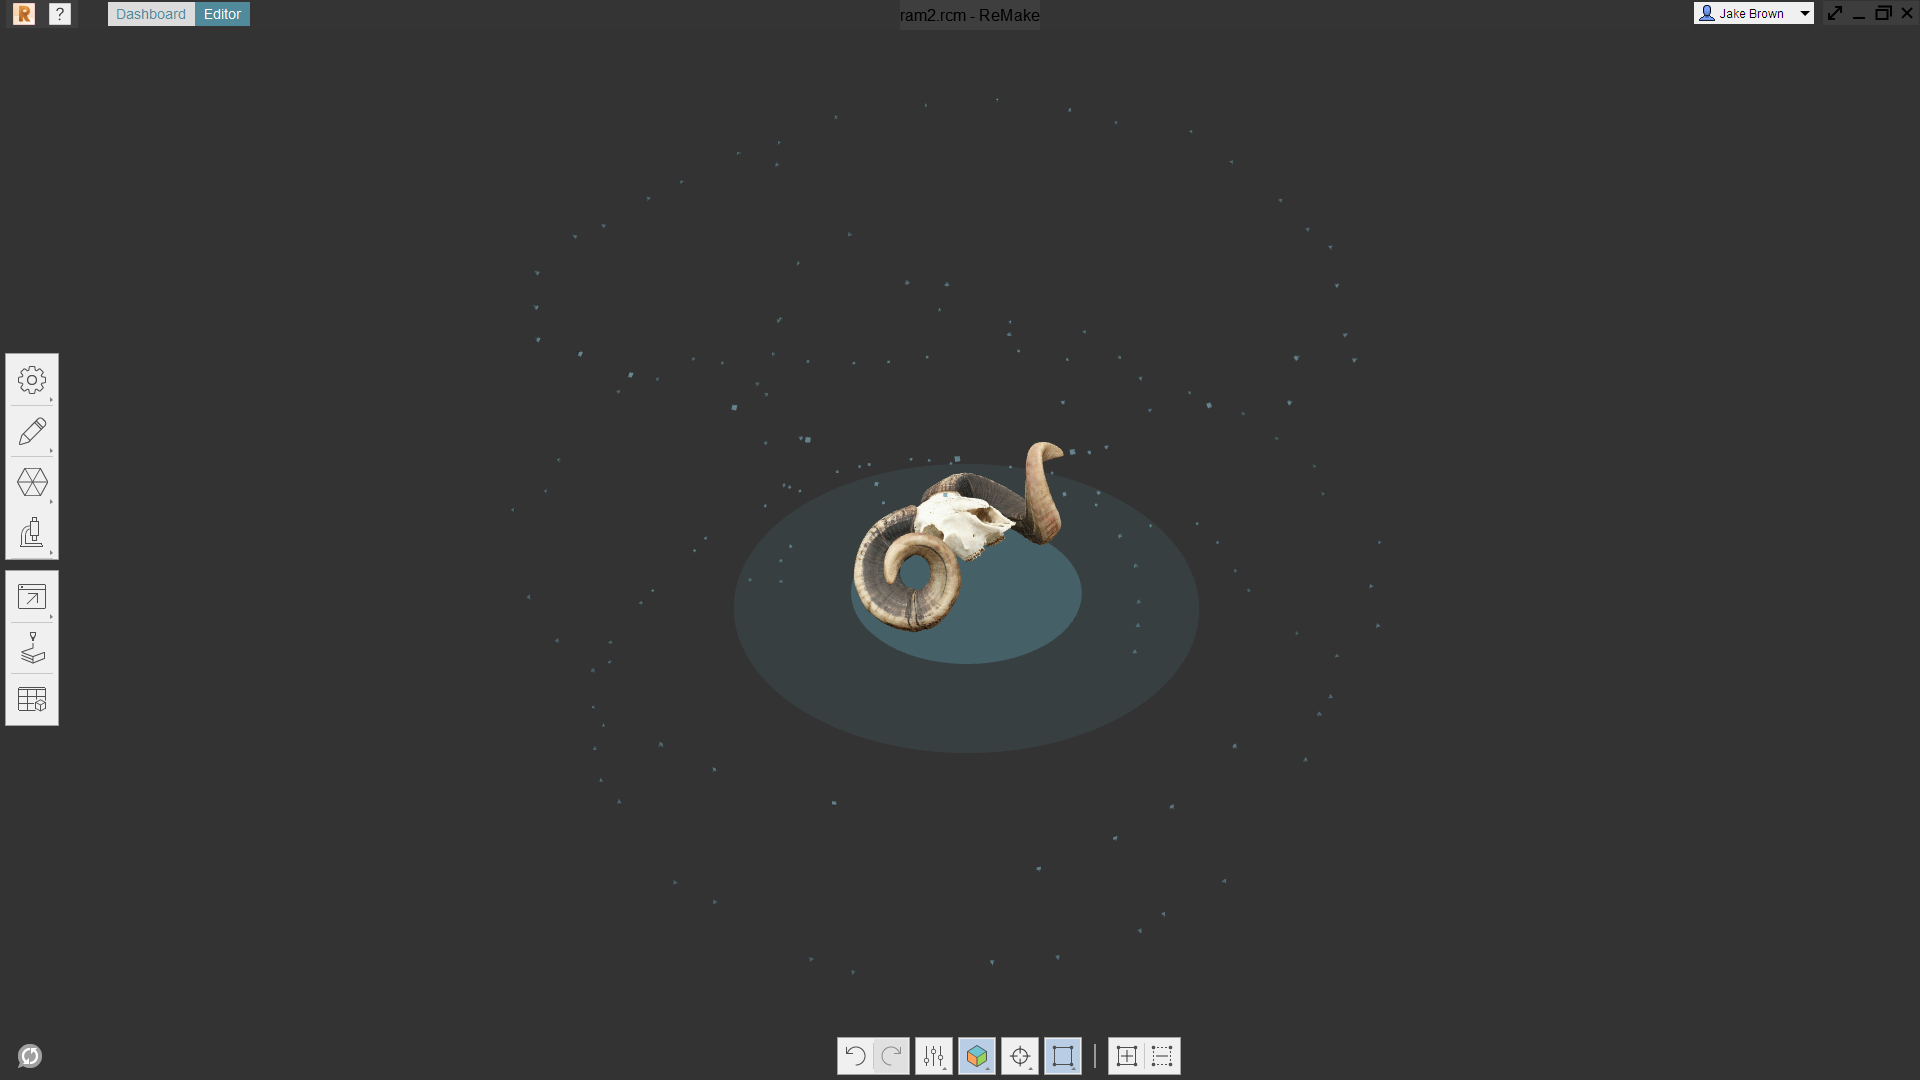
Taking photos is the most important part of this process to get right if you want to produce a string end model, a few key things that should always be in your mind when using photogrammetry are:
Photo overlap – For the software to calculate the position taken of each photo there must be overlap between the photos, try to aim for around 50% overlap so the software can identify common points between the photos. Make sure to take photos at a regular distance that captures the most surface detail.
Number of photos – The number of photos you take largely depends on the object you are capturing, if you are capturing a basic object then around 50 photos should be fine but for larger objects or more detailed objects the more photos you take the better.
You should start by walking around the object taking around 20-25 photos at about 15 degrees between each photo and continue walking around the object at different heights and angles. For a nicely detailed prop I aim for around 150 photos.
Another thing to keep in mind is you need to move around the object itself with a camera, using a turntable sometimes works but it is best if you don’t move the object around, you need to move around the object yourself
Using Remake
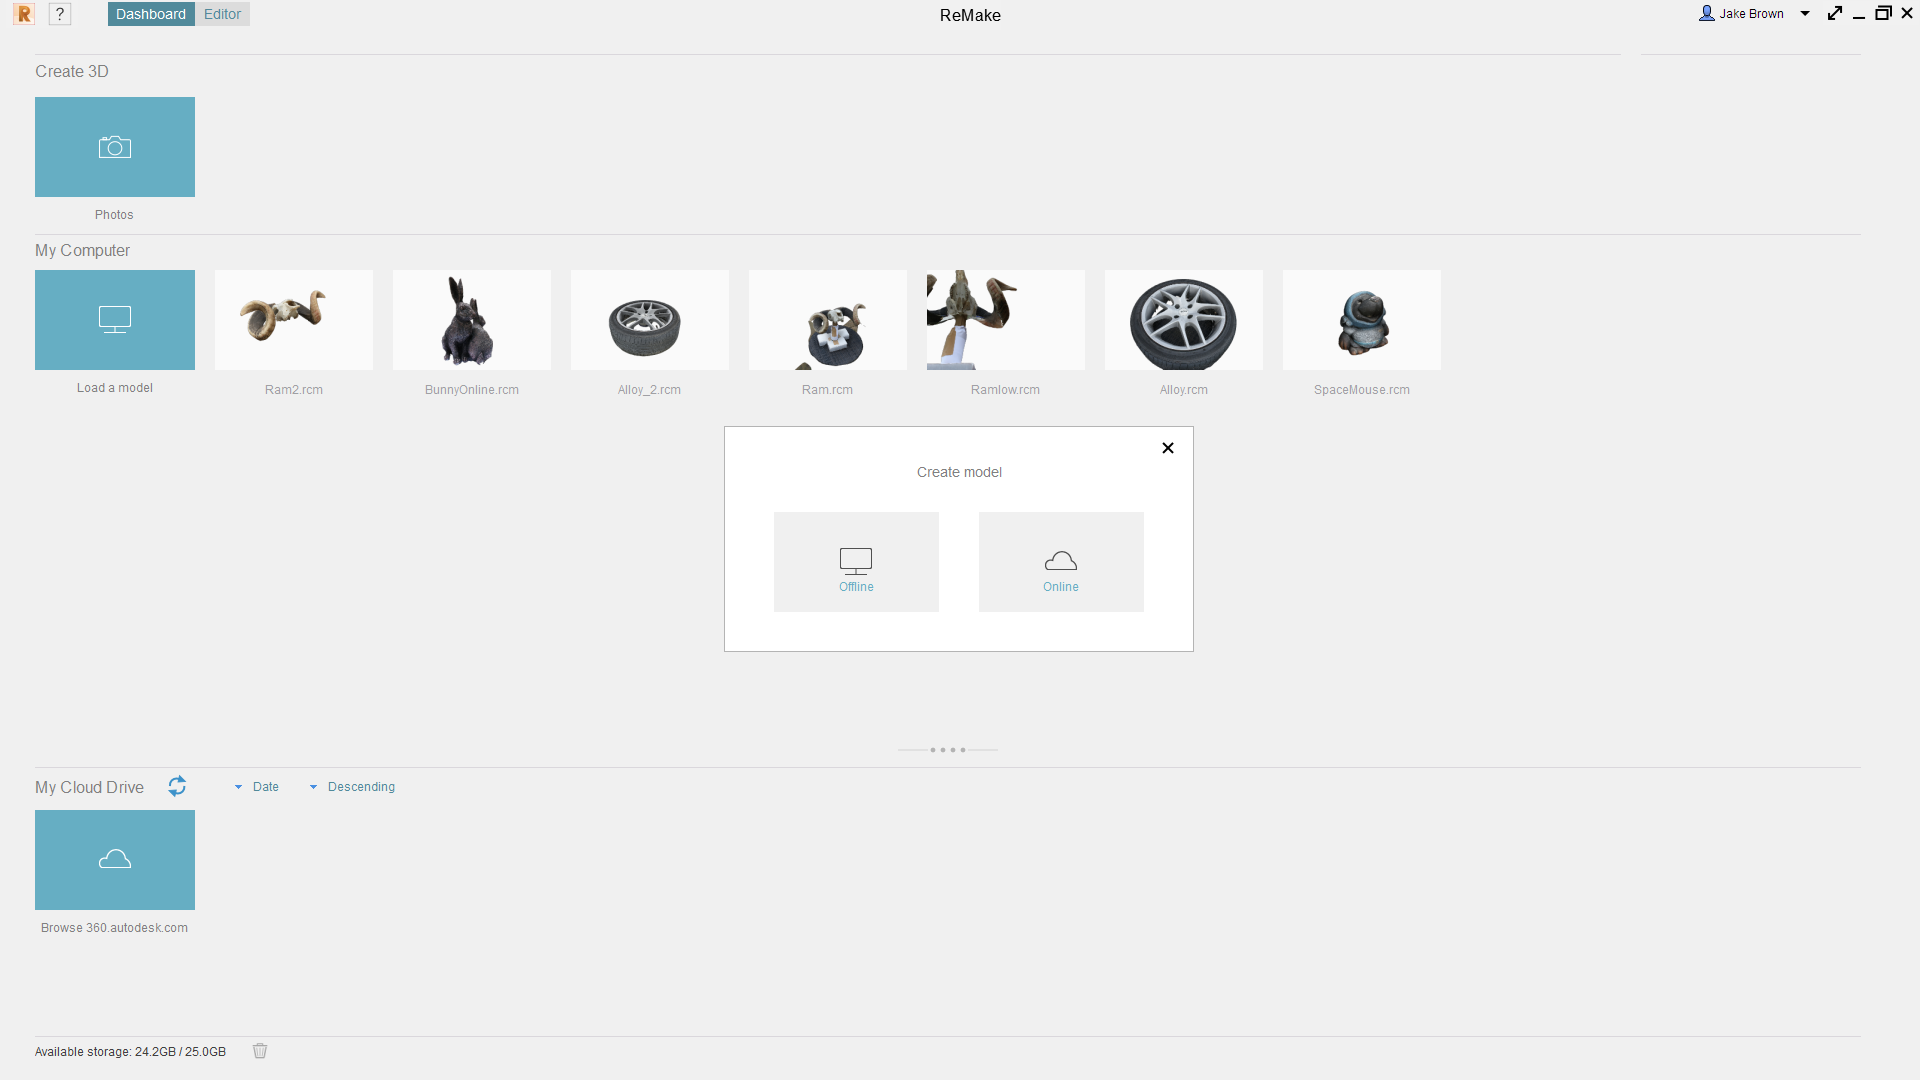
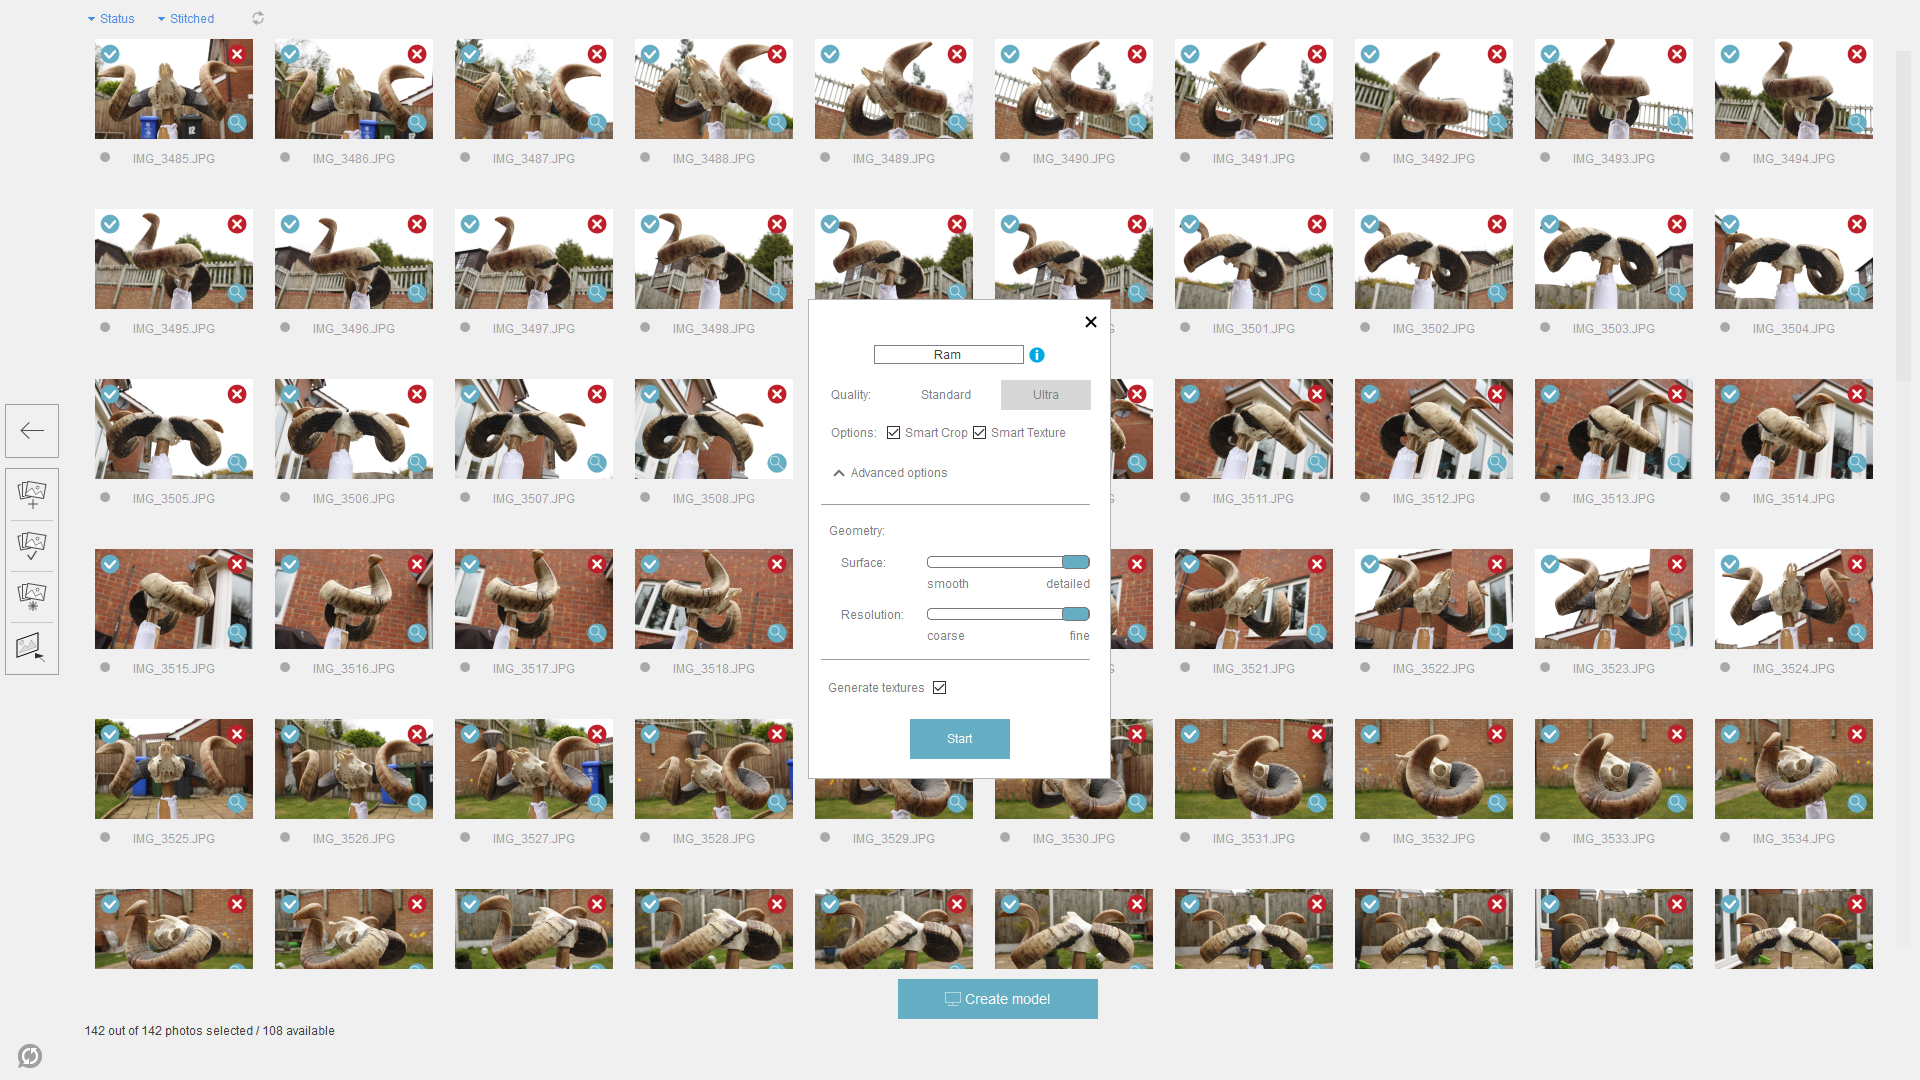
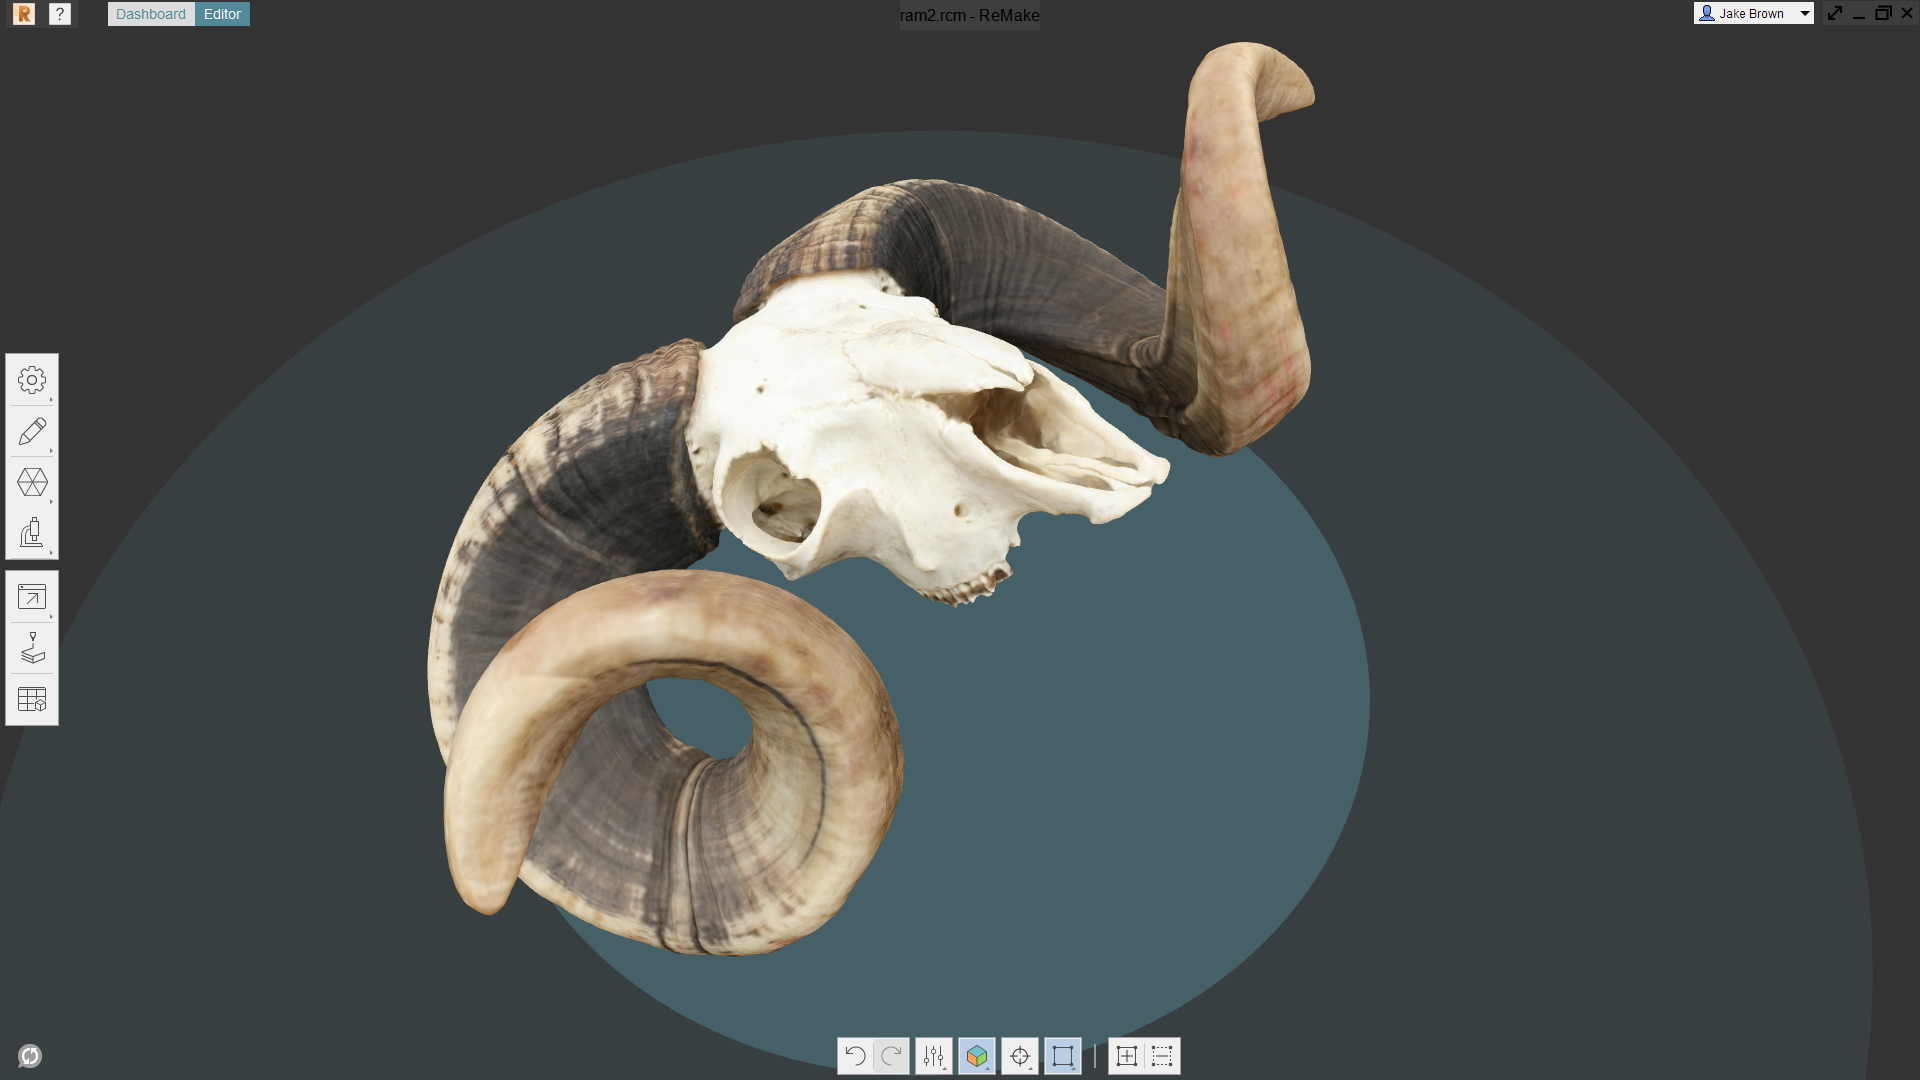
Next if you have gotten good useable photos the software will do the work for you, to start open Remake and click Create 3D from photos, here you will have the option to choose between offline or online model creation. I choose offline but if your computer doesn’t have good hardware then it is probably best to click online to get your project sent off to the cloud for creation (this can take some time if you have a slow network connection).
Next select all the photos you want to use to create the 3D model. Then press create model from here enter a model name, select use Ultra Quality for the best results, then tick the options Smart Crop and Smart Texture. In the geometry section change the surface option to detailed and the resolution option to fine and make sure the Generate Textures tick box is checked. Next click start and sit back as the program calculates your model or uploads it to the cloud to be calculated, either way the process can take quite a while dependent on the number of photos you have taken.
Geometry Clean Up
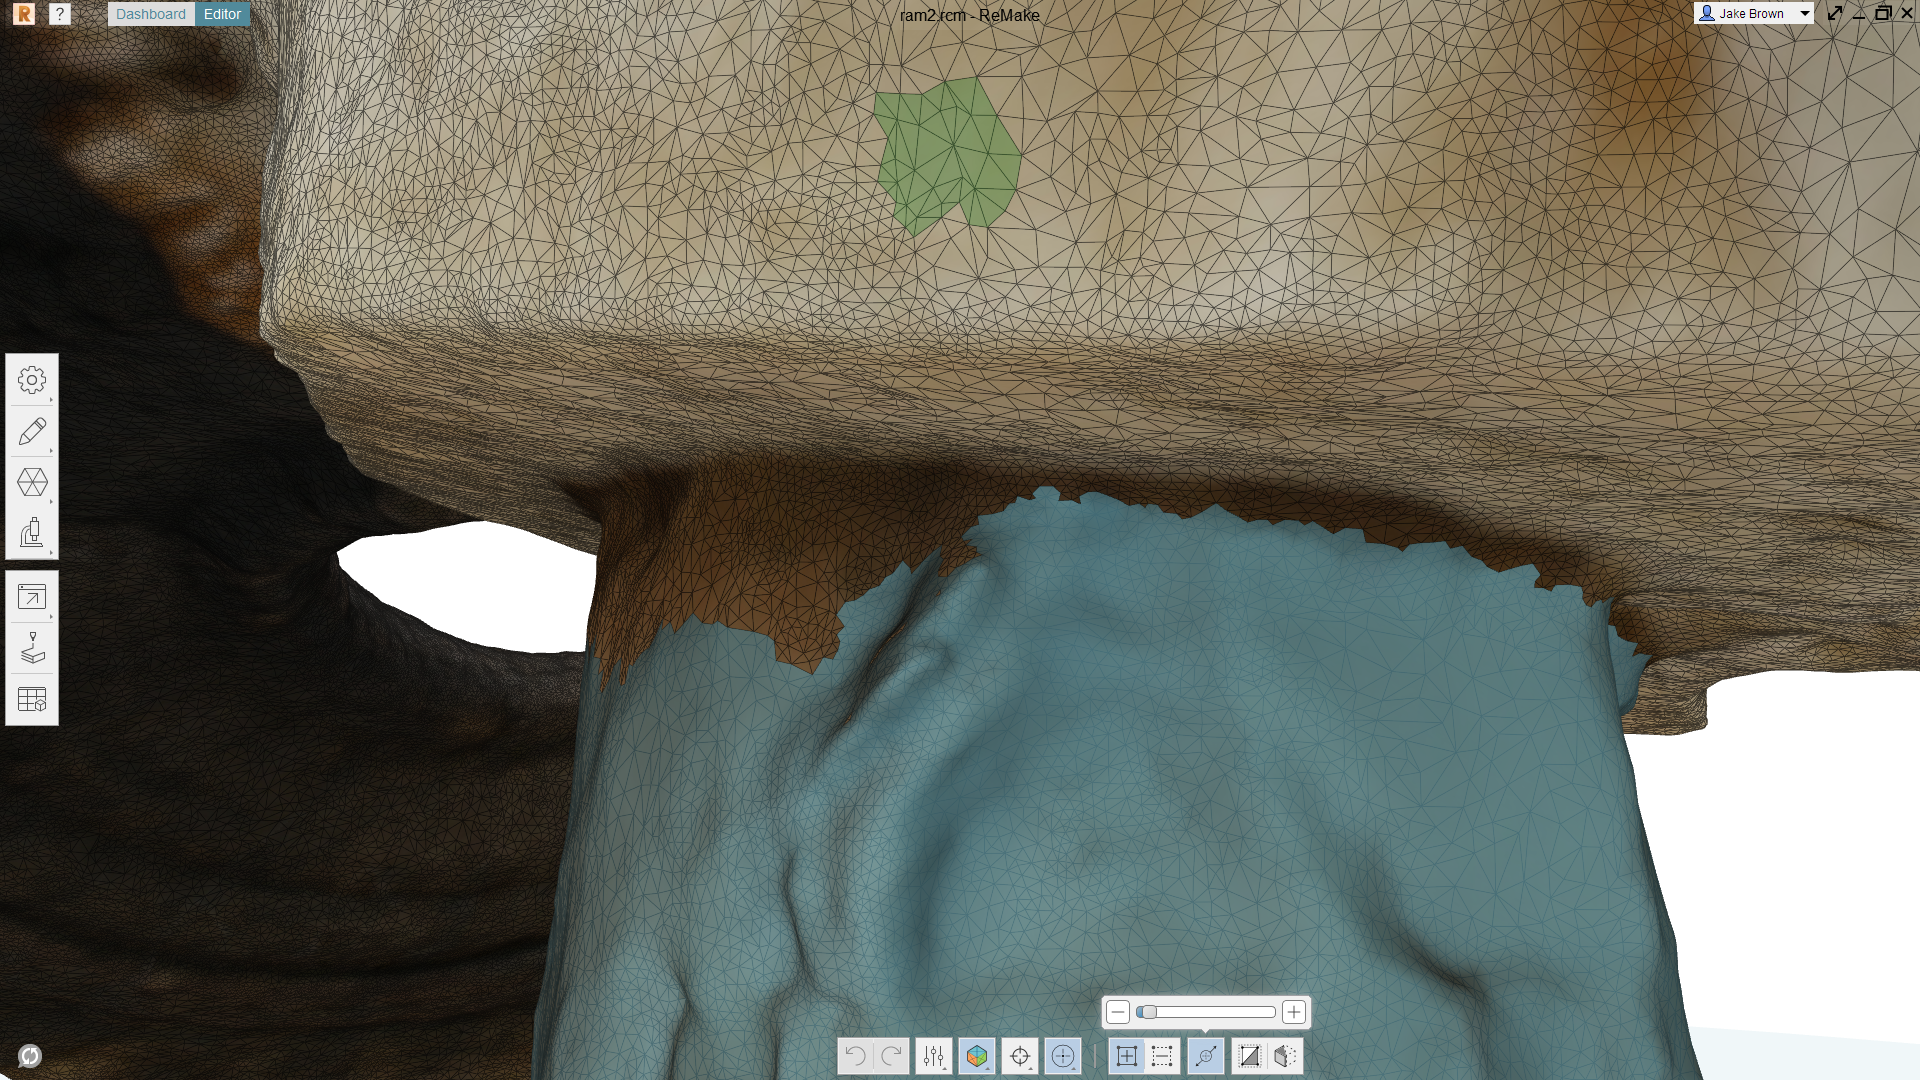
Once your model has been produced if you are happy with it the next step is to clean up the geometry or delete parts that don’t need to be included in the model. Remake has a lot of very useful and simple to use mesh clean up tools available on the toolbar on the left-hand side of the viewport. The most useful tools are the smooth surface tool to smooth out any hard geometry and the fill hole tool to fill any holes in the mesh although this tries to generate the best texture to fill the hole it is not always detailed. You can also delete any parts of the mesh you want using the selection tools at the bottom of the viewport, the brush selection tool is a very good way of painting a selection of the geometry you want to delete, you can do this by simply pressing the delete key. Once you are satisfied with the mesh you can retopologize the mesh which lowers the polygon account whilst keeping the original shape.
Exporting Your Model
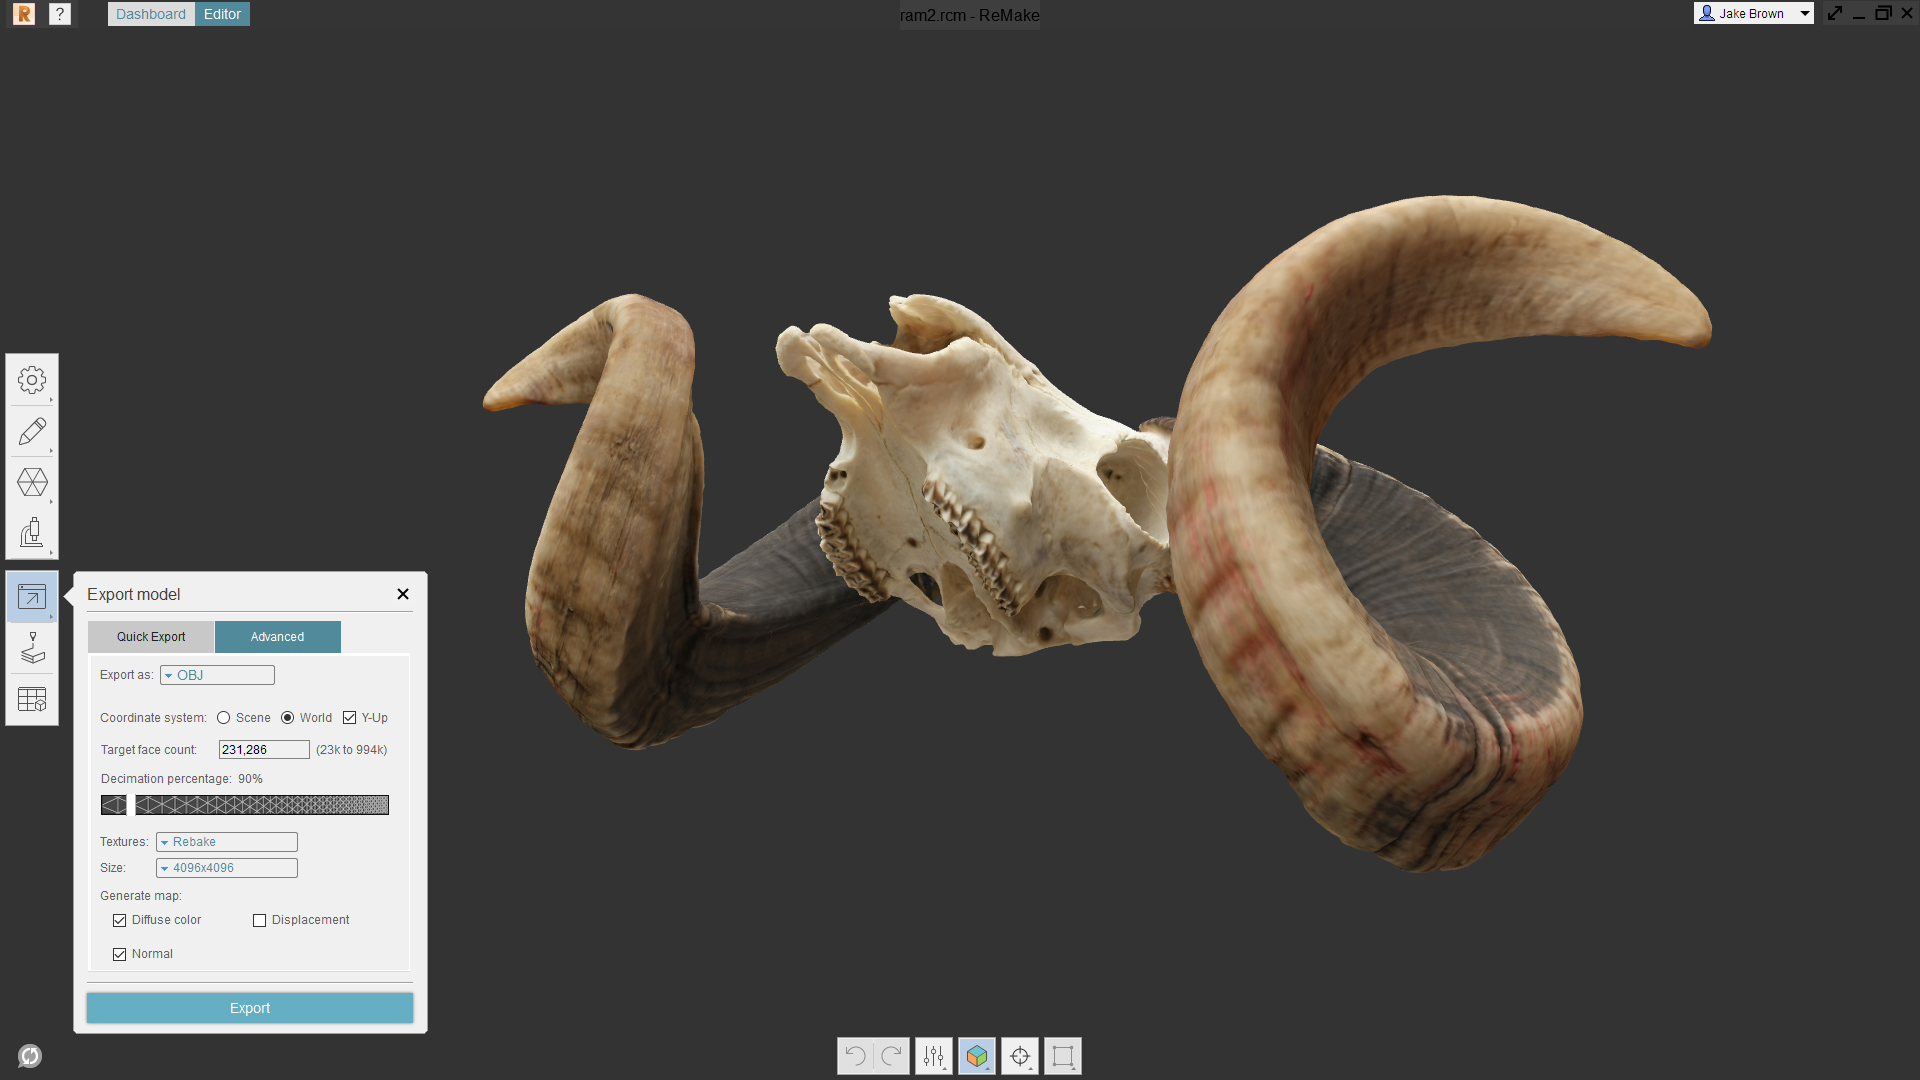
To export your finialised model out of Remake use the export icon in the toolbar on the left then press export model. From here you can export out as most 3D files and choose the outputted texture size. I found that an obj file with a 4K texture works just fine and you can also lower the quality in other programs if needed, I usually decimate further here if possible and have Rebake selected on the texture drop down box.
Sharing Your Model
To export your finialised model out of Remake use the export icon in the toolbar on the left then press export model. From here you can export out as most 3D files and choose the outputted texture size. I found that an obj file with a 4K texture works just fine and you can also lower the quality in other programs if needed, I usually decimate further here if possible and have Rebake selected on the texture drop down box.
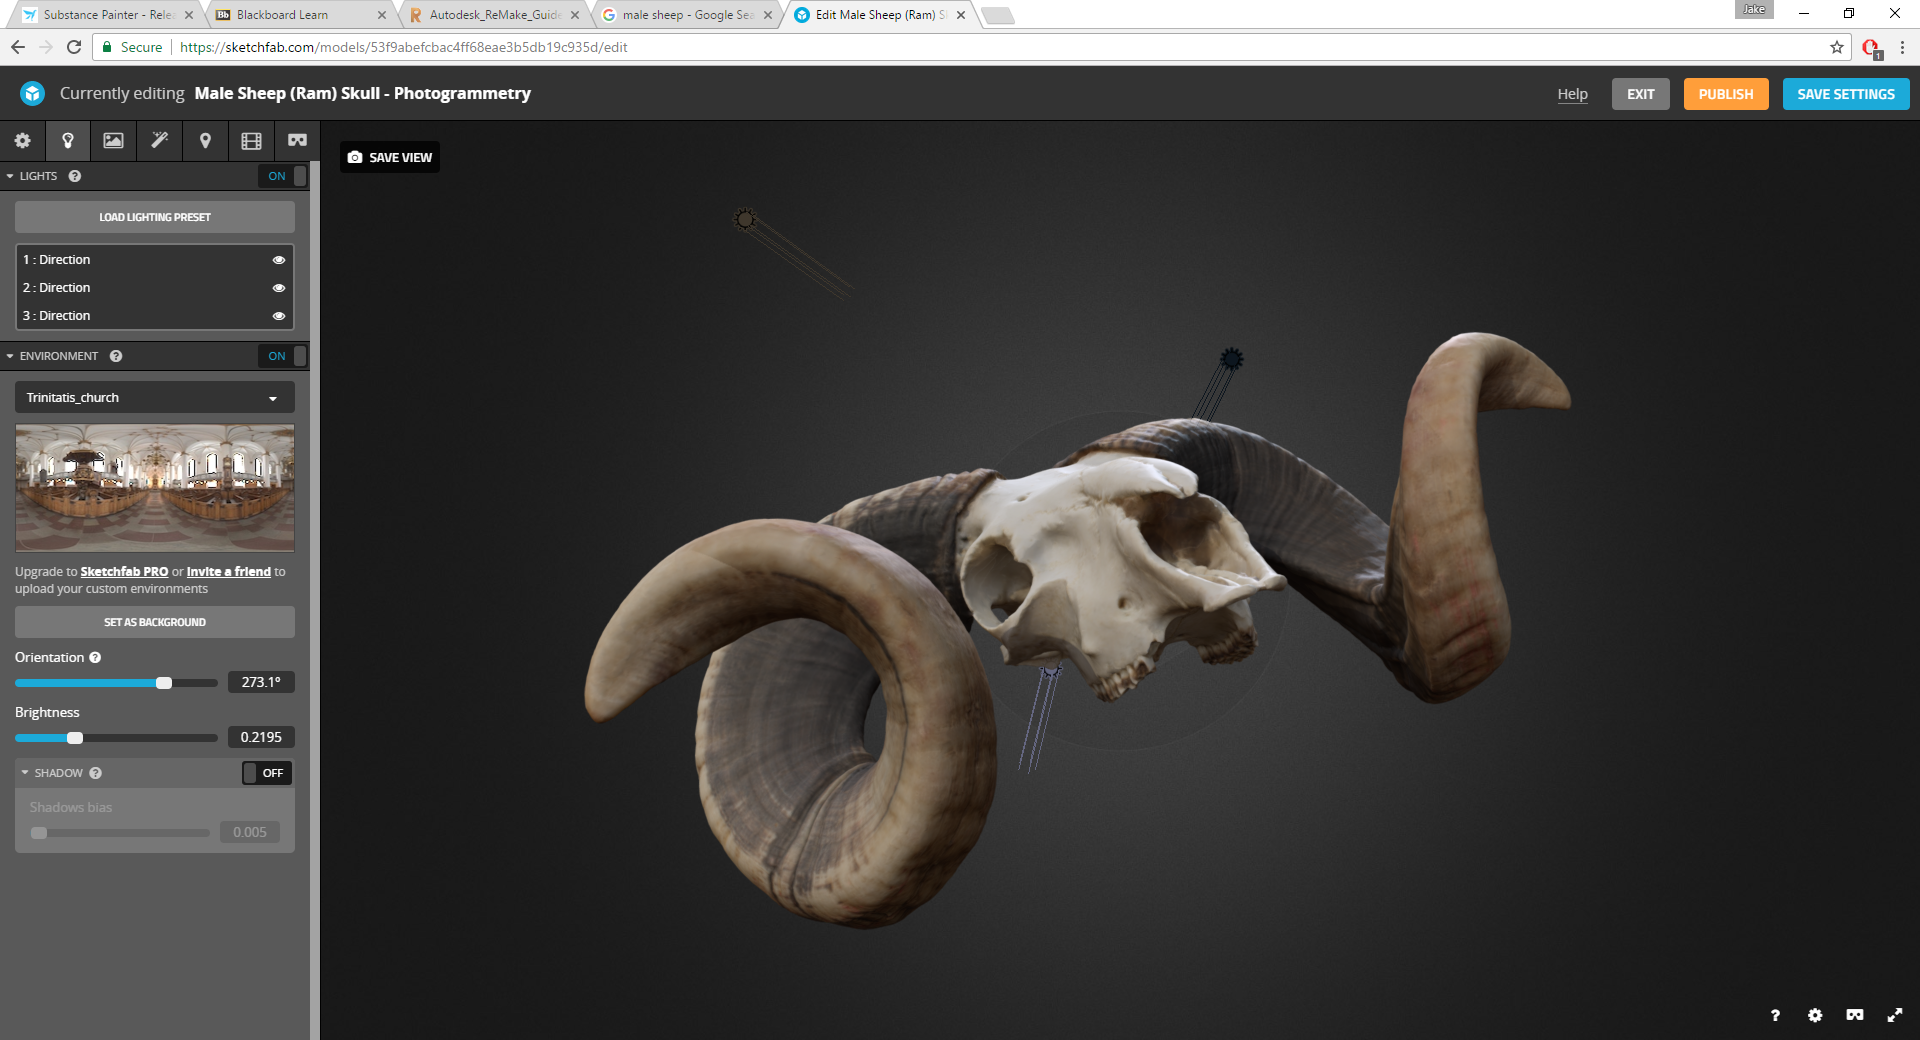
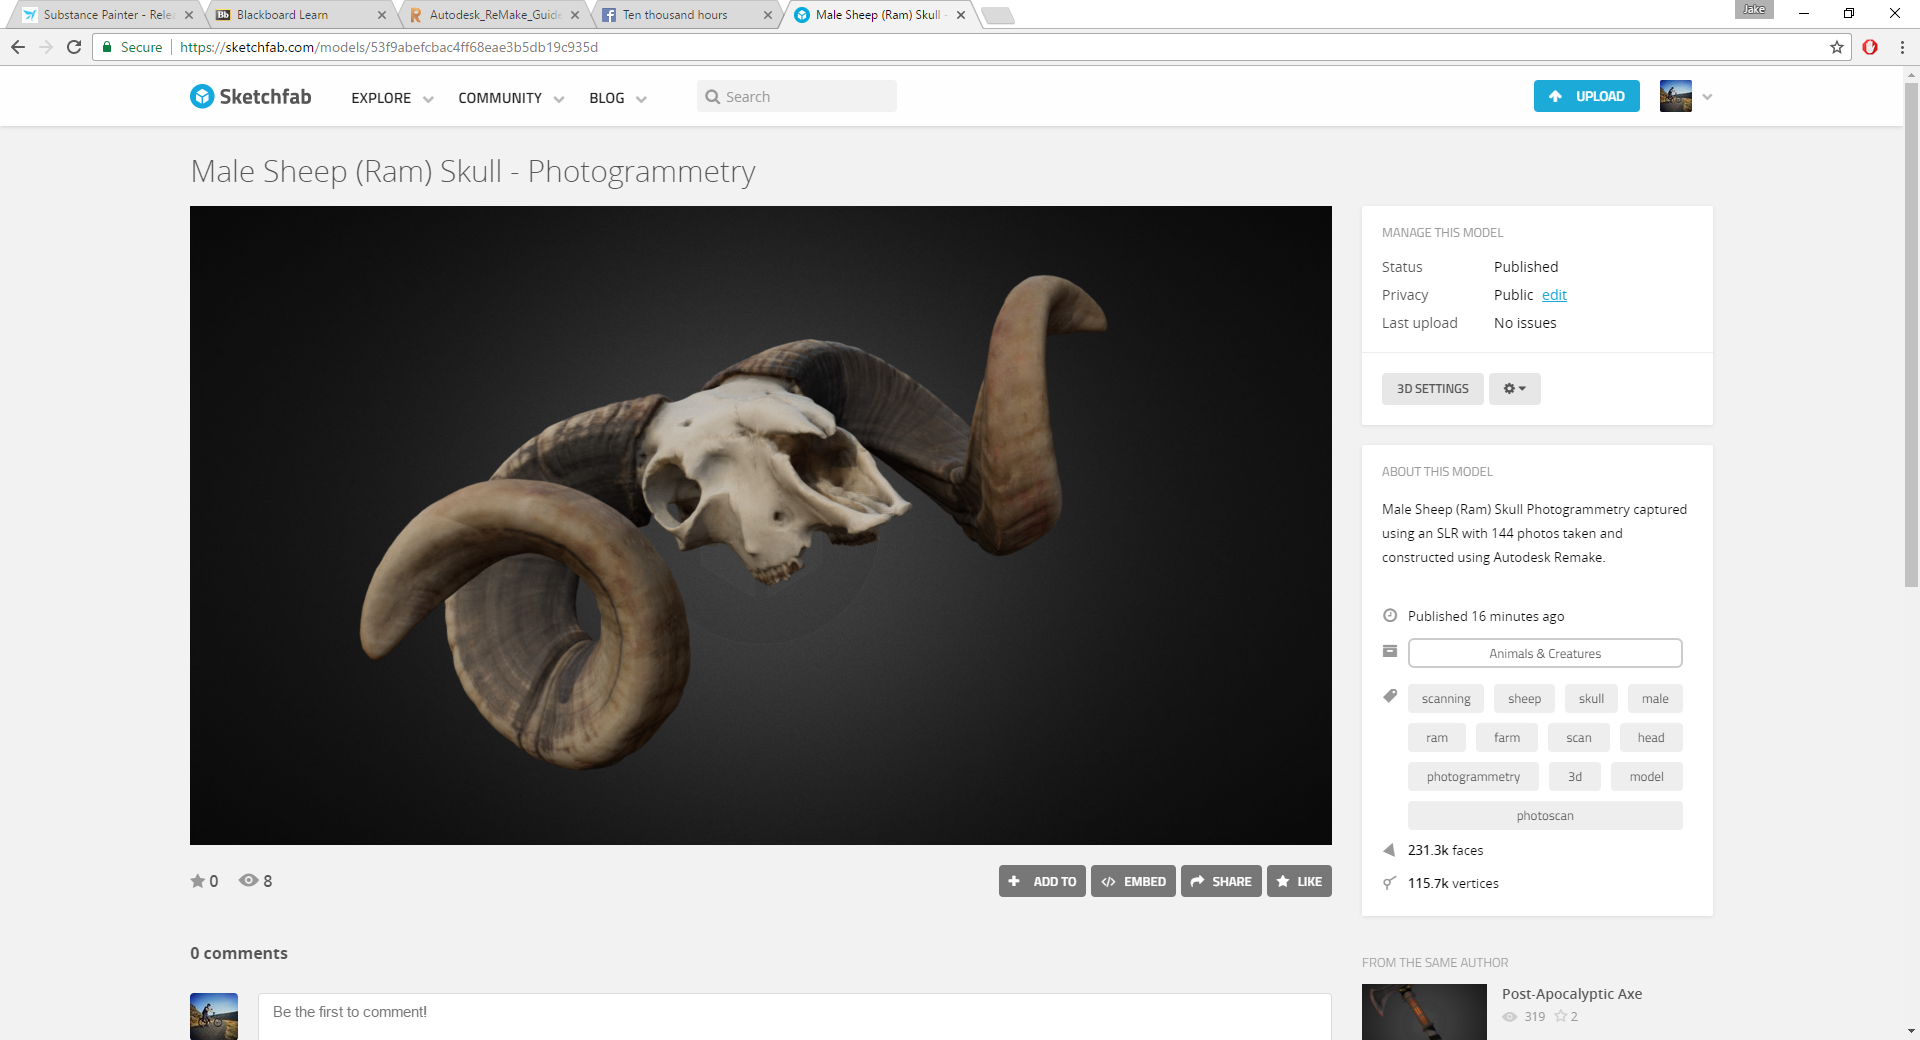
Below is my finished product in Sketchfab
Male Sheep (Ram) Skull - Photogrammetry by Jake Brown on Sketchfab