3D Printing a Casting Master (Mask)
by AcrimoniousMirth in Craft > Costumes & Cosplay
2723 Views, 6 Favorites, 0 Comments
3D Printing a Casting Master (Mask)
NOTE: This applies to way more than just masks but as that's a passion of mine that's what I'll be using as an example.
I enjoy mask making, always have. Some of my earliest papier mache projects have been masks. I even started making full head helmets a few years ago, but with a ruler and pen, not very easy work! Then I started exploring CAD mesh modelling.
The first attempt I made was done using Meshmixer, 123D Capture and 123D Make. All are free. you can watch a short video on it here.
As you can see it came out rather well. But I had very limited control and it was a very simple shape.
So in this Instructable I'm going to give a brief summary of my design process now I've got a 3D printer. If you enjoy the project or like the idea please give me a vote in the competition, it is greatly appreciated!
I'll be looking briefly at Blender.
Downloads
Basic Intro to CAD Modelling
Blender is a free open source Mesh modelling program.
There are two basic types of CAD;
1. Parametric. You define relationships between geometric shapes. This circle has a diameter of 2mm and is attached tangentially to this 5mm line. That sort of stuff. Its good for engineers and mechanics and so on so many have very good support for those areas such as force simulations, organised change history and more.
2. Mesh. Mesh modelling basically says "How close can we get to a smooth representation of this shape using simple polygons such as triangles and trapezoids"? Think of it as graphics rendering in video games, partly because that's a very big part of game design. Mesh modelling is very good for more organic, artistic forms but is VERY complex compared to Parametric.
Blender, as mentioned, is the CAD program that most of the work will be done in. It has a VERY steep learning curve. Seriously, I can master the basics of pretty much all Parametrics really quickly and Meshmixer was easy enough... But I keep looking back at tutorials. The nice thing is Blender pays off in its potential. But yeah, I can't teach you everything you need to know in one instructable. I'm still very much a beginner and I had to subscribe to an online course to learn the basics.
Making Your Mask's Minimal Clearance in Blender
So you're not scared off? I'm impressed!
Watch the Blenderella tutorials on youtube. They'll take you through how to take two pictures of your head and use them to make a 3D CAD model.
However don't go into that much detail!!!!
As you can see I used a very low resolution mesh, its very much easier to manipulate this further into the mask shape you want and add complexity from there. Its important to include basic ears, like in the picture. You'll see why!
Next step is to make sure that your model is of the right size. Carefully measure your head and scale the model to suit.
Now that's done, you want to duplicate the head, remove the ears and scale it up by about 10mm in each direction, check against the ears to make sure its scaled a decent way. Flatten your own ears and measure how close they are to your head. Use that in your scaling. You want to make sure that this new model will fit over your flattened ears. This is the minimal clearance model.
Your minimal clearance will ensure that there is room for your ears, hair, breathing space and more to make sure that its comfortable and you're not going to suffocate yourself (as easily).
The three photos attached include the original head with ears, the minimal clearance without ears and then both shown at the same time. If you look carefully at the eyes you'll see an air gap.
Modelling the Actual Mask
Now you need to add the fancy gubbins and stuff to make it awesome. For this guide I'll just be using my minimum clearance as the mask.
Scale your minimal clearance again by about 2-5mm out. This is because your model will become a master for the mould, hence the outside of your model will be the outside of the mask and you need a certain thickness between the outside and the minimal clearance.
Now add whatever it is you want to, so long as you're careful not to penetrate through the minimal clearance layer too much you should end up with a good fitting model. Use common sense here. Make sure you have air gaps to breathe through and think about the seams and joins that you'll use to take off the helmet/mask.
Slicing Up the Mask
So now you have the mask you want. You need to print it. To ensure that it fits on the bed, that there's as little waste as possible, you need to slice it up.
Personally I exported my mask as an STL to Meshmixer because I'm more familiar with the operations here.
I made the mask solid and used Plane slice and Mesh Separate to cut it into segments. Each segment now has a flat internal surface and the more complex outer mask shape.
Each slice should maximise the amount of outer surface included at the same time as ensuring some thickness and that when printing there will be little to no overhang. Also, if possible slice along the join lines that you'll use to take off the helmet.
Now you have slices you're happy with, export each individual slice as an STL.
Downloads
Printing Your Parts


For sake of the image etc I've scaled all the pieces down to 25% of the original.
I'm using MatterControl, because I'm familiar with it and it's awesome.
Lay each piece flat on the bed with the outer mask surface upwards. Now slice it for printing.
THERE ARE TWO OPTIONS HERE:
- You could 3D print the mask itself. This isn't recommended except as a statement because of loss of strength and detail. Make the bottom solid layers pretty minimal, the walls and top solid between 2-5mm depending on how thick you designed your mask to be. And infill should be about 10%, really minimal. You'll then break off all of the excess to leave behind your mask.
- You'll use the print to make a blank for casting a mask. This is recommended because you can cast multiple masks in much better, stronger materials. You have much more control over the situation. In this case you'll make all solid layers about 1-2mm thick with 10% infill. You'll end up with a very light, minimal material representation with gluable walls.
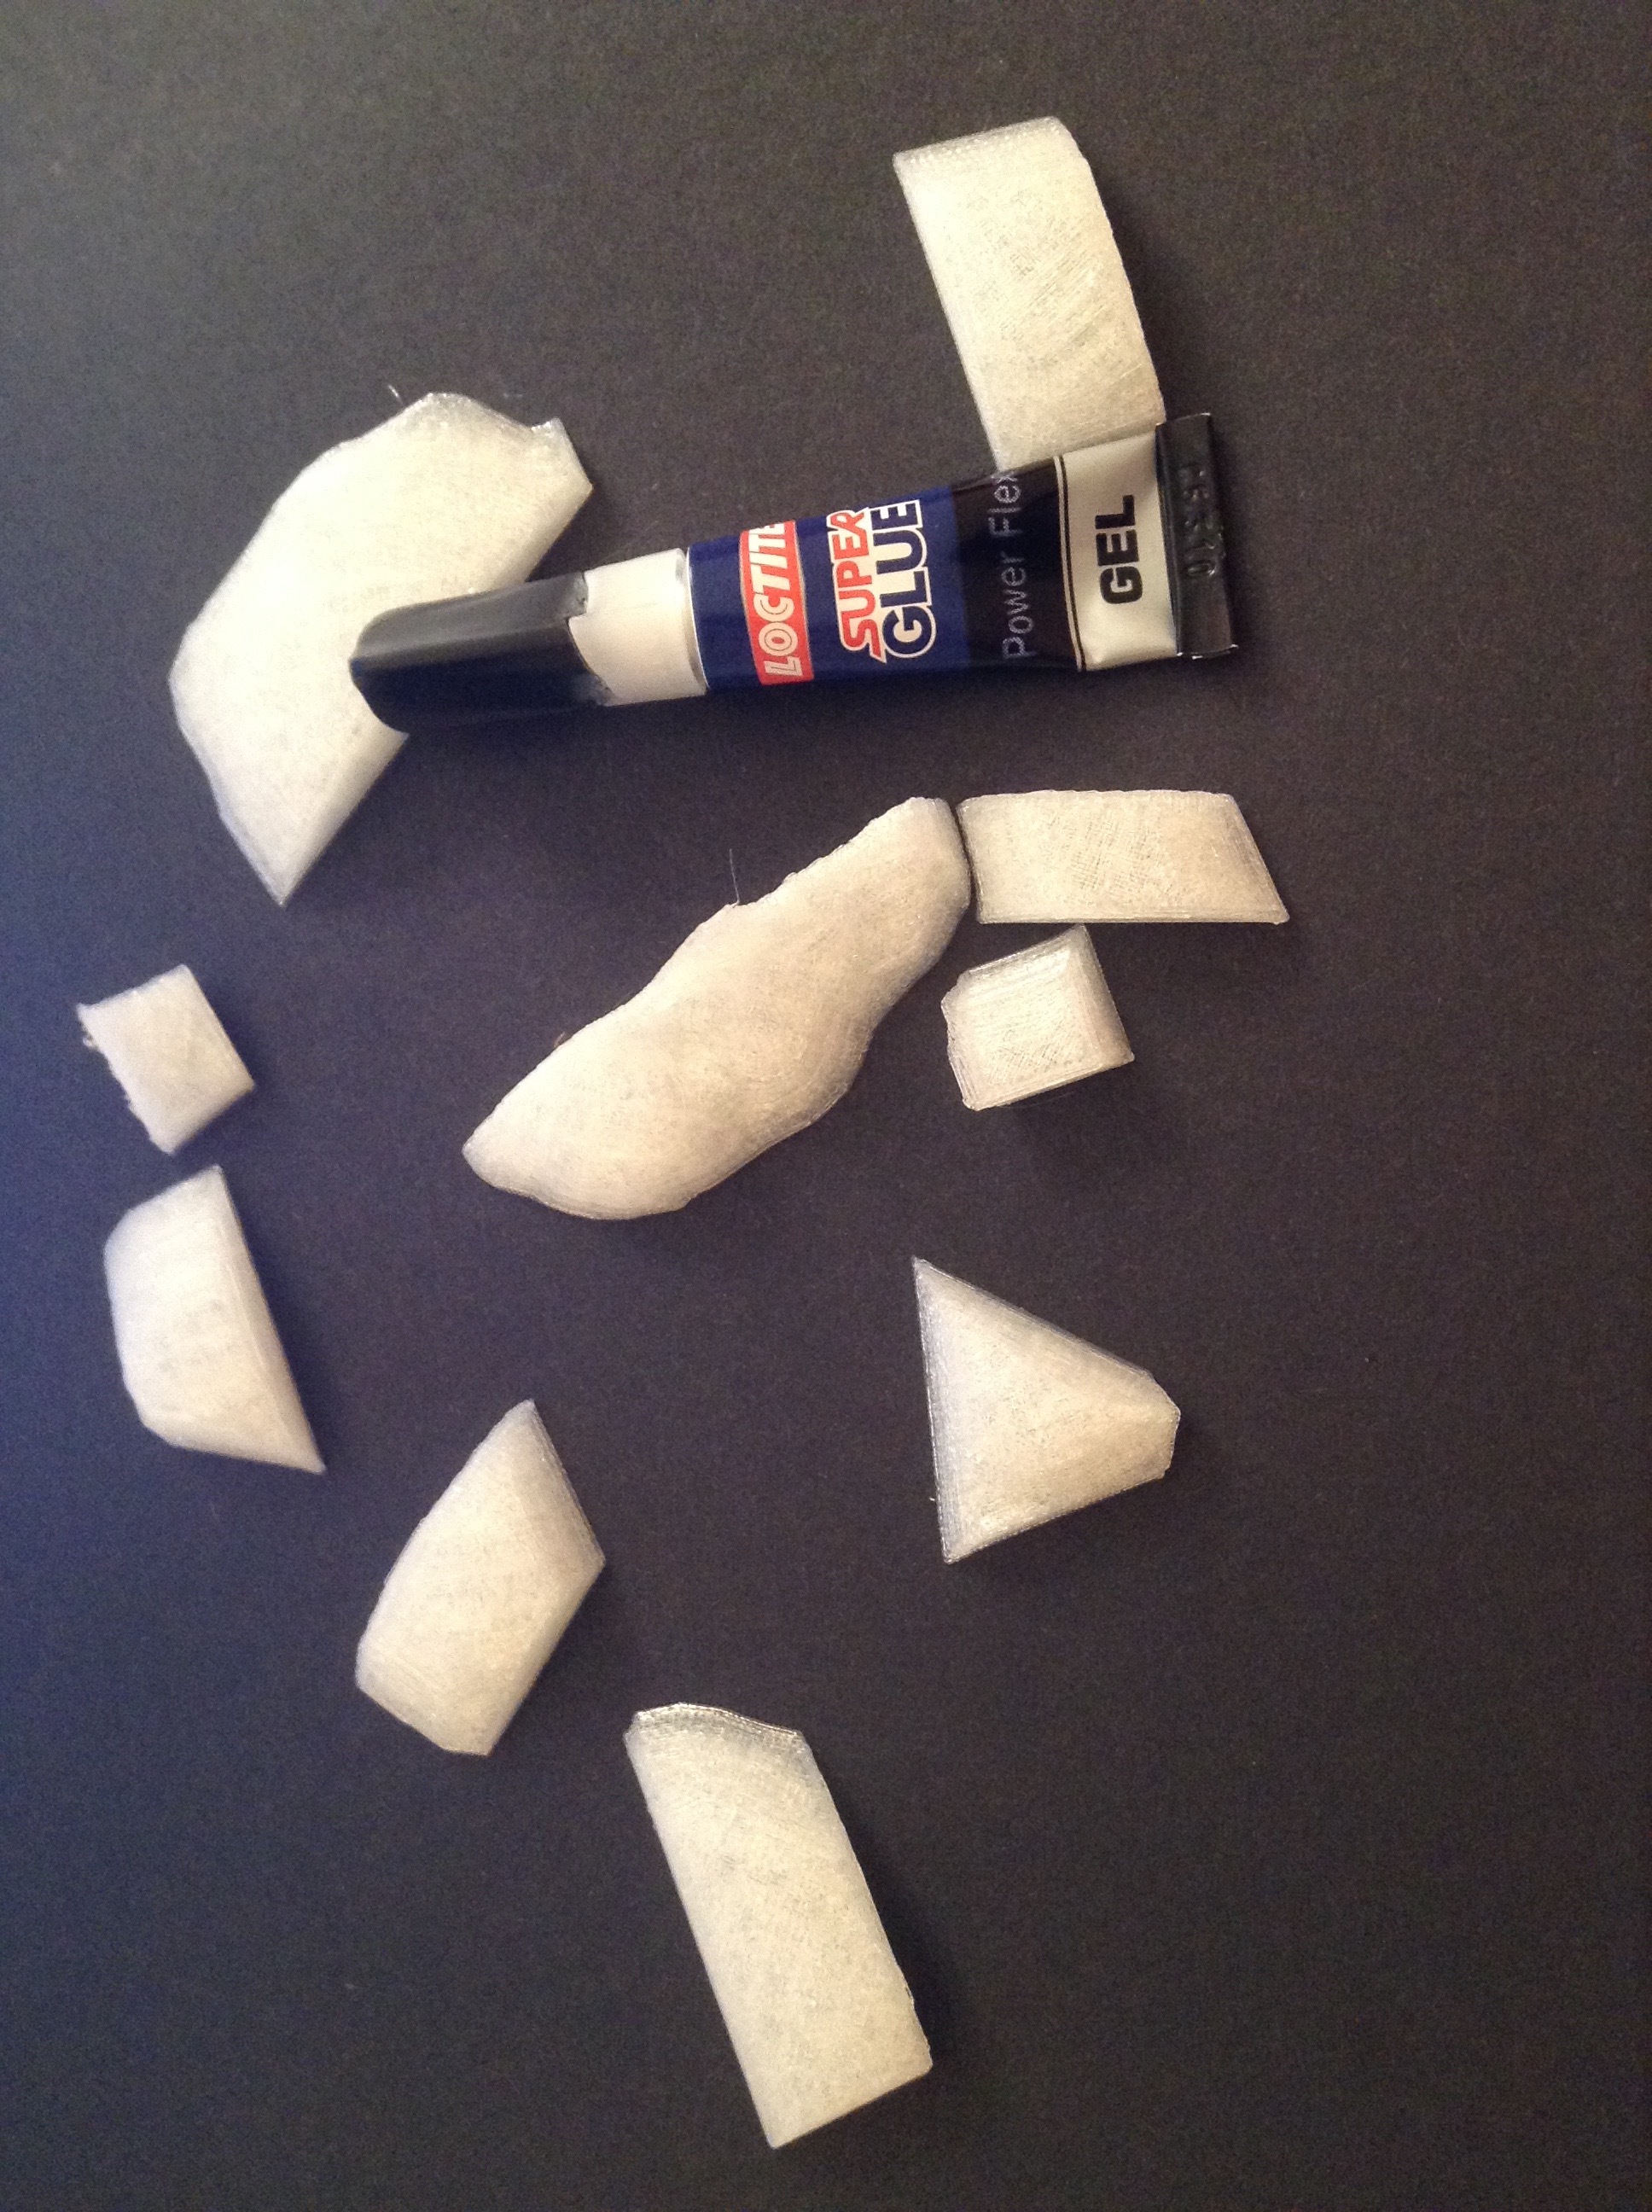
Now you can glue together the parts. If using PLA then superglue or contact glue such as Barge Cement will work well. You can solvent weld it with chloroform but... that's awkward to get a hold of...If using ABS solvent weld with acetone or glue again.
Make sure all pieces match nicely. If you've sliced along joint lines then don't glue these together. Not permanently, at least.
Downloads
Finalising the Master and Casting
Before casting you'll want to smooth out the mask as much as possible (if you're just using the print as the mask then its up to you, the layers could be part of the statement).
Using car body filler, or acetone smoothing if ABS, go over the entire master filling and smoothing until you have a nice, smooth surface. Once that's done you're about ready!
Now for casting...
You'll want to watch Bill Doran's wonderful series of videos for some more background in casting.
He's the expert here, so watch those and I'll basically summarise what you want to do...
- Make a silicone mould of the helmet parts. You'll want to put in registration marks and give it a hard casing to maintain its shape. Bill Doran shows this process (his videos are very informative).
- Roto-cast your parts. This basically involves pouring a bit of whatever resin you want into the mould and sloshing it around ensuring it gets in all the corners and ESPECIALLY up to the edges of any seam lines. Do this in layers and advice varies but I'd leave a layer tacky to highly viscous before adding another, this ensures better chemical bonding, which is important especially for thermoset resins. Always remember you can make composites using fibreglass or carbon fibre sheets. Using PolyCarbonate resin will increase impact resistance. DISCLAIMER: This is not free reign to make safety equipment, DO NOT attempt to make a safety helmet or bulletproof mask or anything silly like that (yes, I'm talking to the younger readers here). There is no guarantee that it will work and it may even be illegal to try. This is simply to increase the mask's durability and make it less likely to break.
- Remove your new mask pieces from the mould and clean them up.