3D Printing a 4,000 Year Old Pyramid Puzzle & a Twisted Bracelet
by SolidWorksMagi in Workshop > 3D Printing
9360 Views, 8 Favorites, 0 Comments
3D Printing a 4,000 Year Old Pyramid Puzzle & a Twisted Bracelet
I use SolidWorks to design robot parts 'n kits 'n many other things. I also use SolidWorks to teach SolidWorks!
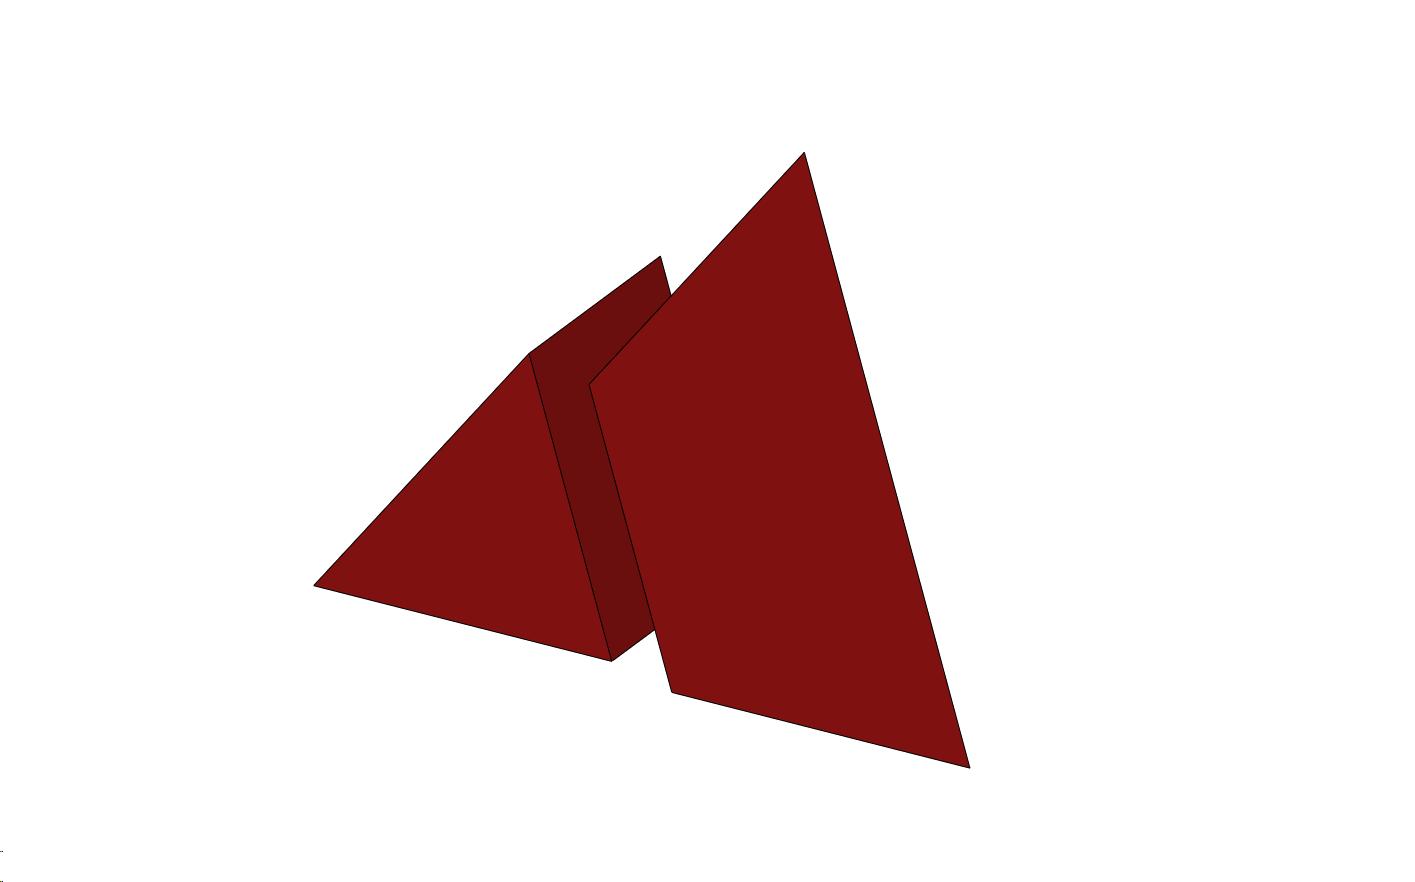
3D Printing a 4,000 year old Pyramid Puzzle ... this lesson will take you through the most basic starter lessons of SolidWorks to get you started designing your own neat stuff. The 2-Piece Pyramid Puzzle is as old as the pyramids themselves and as intriguing as the puzzle is when you first hand it to your friend learning how to make it opens a new world on investigation into 3D objects of all types.
The steps are all in the video for an A/V reference making learning SolidWorks extremely easy as well as how to design the pyramid part; http://www.youtube.com/watch?feature=player_embedded&v=naM6atlC-Ak For a higher resolution version; http://www.brainless.org/MultiMedia/Robotics/Video/Pyramid1Fixed1080p.wmv
Step1: Open SolidWorks ... Click on: File - New - Part - OK. This gets you into a blank slate for sketching your part.
Step 2. Click on the Front Plane in the left column, then Click on Sketch Tab, then Sketch. This gets you to the sketching mode in SolidWorks.
Step 3. Now select the Rectangle sketch tool. The moving the mouse to the center "origin" Left Click 'n Release and Drag the mouse out to open up a basic rectangle, then Click 'n Release again. The sketch tools are all those the top icons. After this lesson, just play with them to see how each works.
Smart Dimensions ...
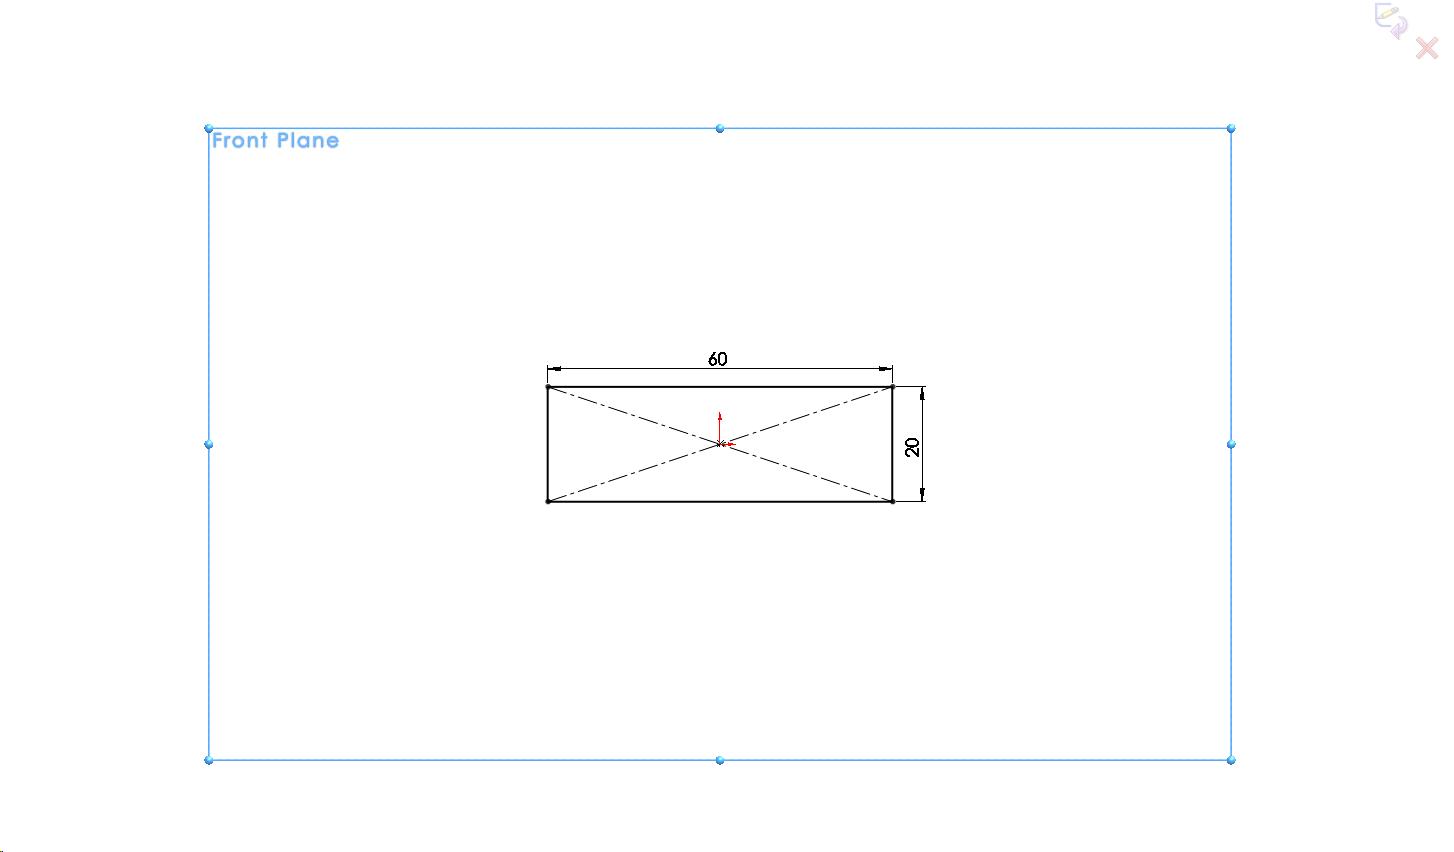
Step 4. Now we need to specify an exact dimension for our part so select the Smart Dimension tool. Then Click 'n Release on one side of the rectangle and pull the mouse straight away ... then Click 'n Release to get the dimension window. Type in the exact size ... e.g. 20mm x 60mm for the pyramid piece.
Extruded Boss/Base ...
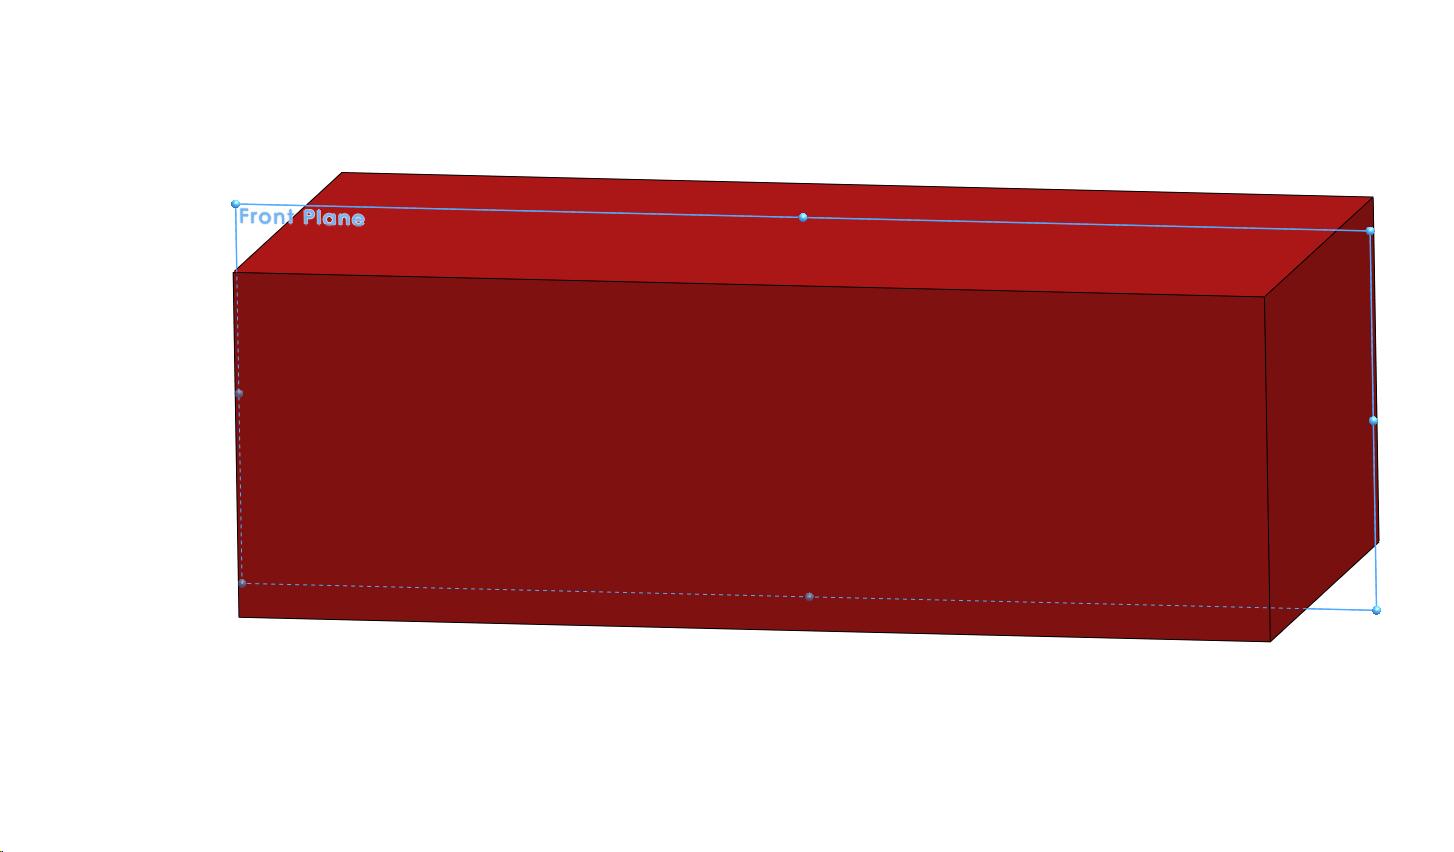
Step 5. Click the Green arrow in the top left of the left column ... that closes the Sketch Mode and then be sure the Sketch1 is highlighted in that column. Then Click on the Features Tab ... Select the Extrude Boss/Base tool and set that dimension to 30mm. Then Click the Green arrow in the top left of the left column to close the Extrude. Wow ... you have a real 3D part already!
Time to Shape the Part!
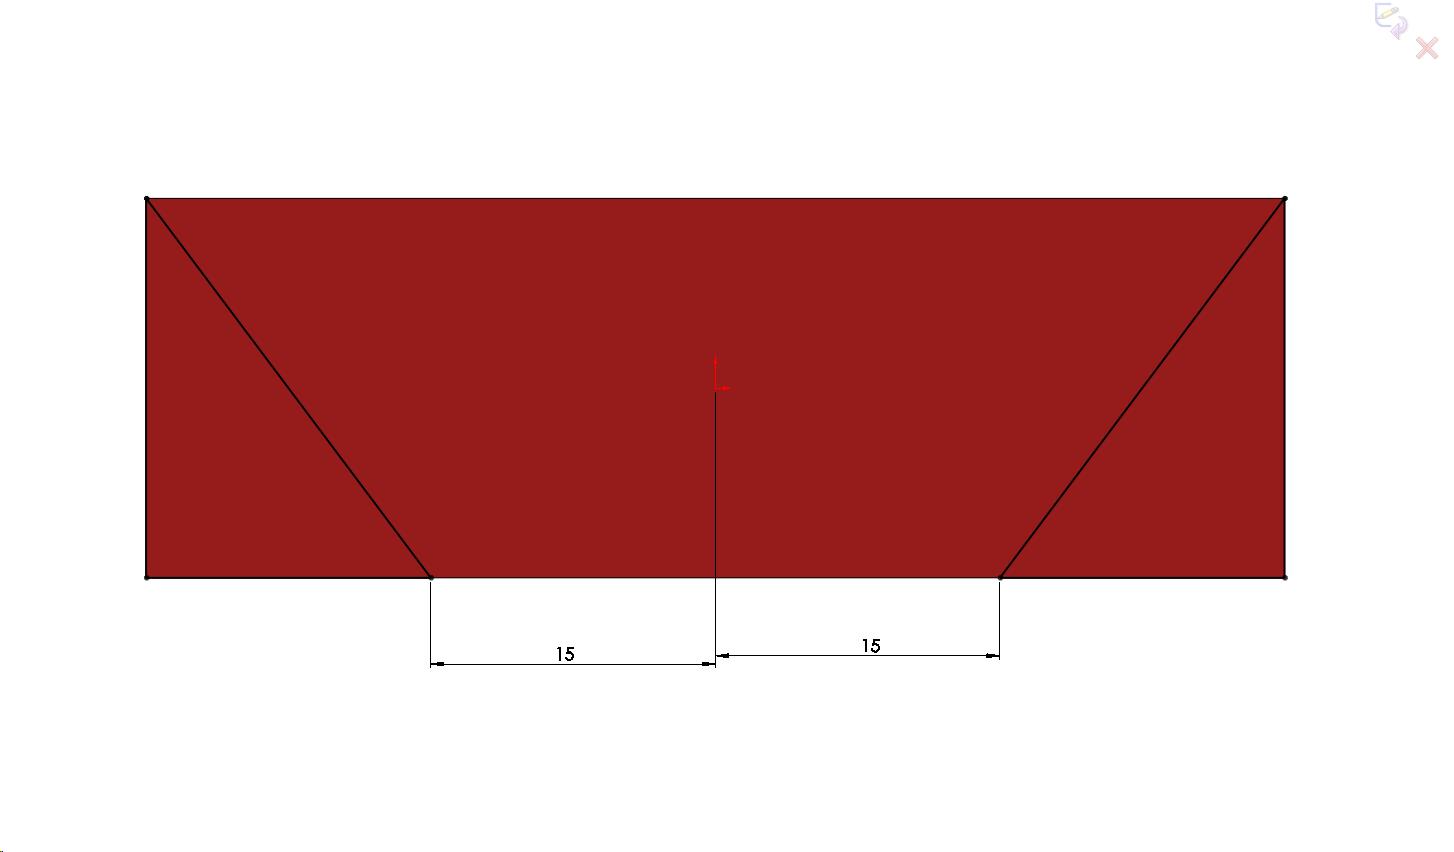
Step 6 Now we select the Front Plane again from the left column. This selects the sketch plane for our first cut.
Step 7 Now select the Sketch Tab, then Sketch to get us back into a sketching mode.
Step 8 Now select the Line tool and sketch a triangle on both the left and right sides of the existing part as in the video.
Step 9 Using the Smart Dimension tool we measure off the sketch dimensions as seen in the image.
Step 10 Now close the sketch by clicking on the Green Check in the top left column.
Step 11 Now be sure the sketch is highlighted again, then click on the Extruded Cut tool.
Step 12 Be sure to change from Blind to Mid Plane in the little pull-down window and see that the dimension is at least 30mm or larger to cut through the entire part.
Step 13 Using the middle button on your mouse you can rotate the part file in your screen to inspect it. You can also scroll/zoom in/out with the middle button too. To get back to a standard view use the little icons top center of the sketch screen.
Second Extruded Cut ...
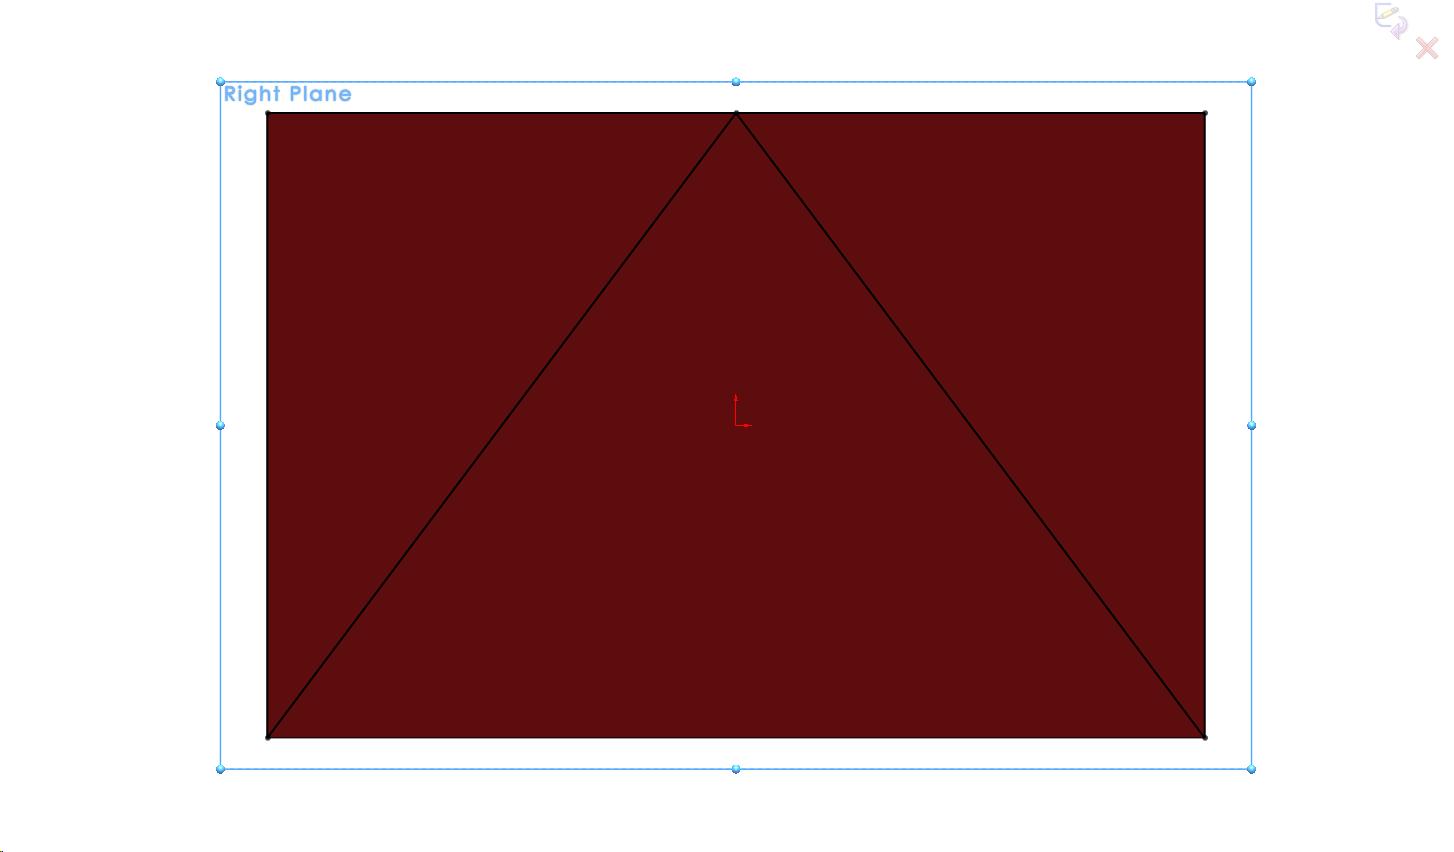
Step 14 Now select the Right Plane in the left column, then select the Sketch Tab, then Sketch so we can sketch the last cuts to the part.
Step 15 Starting with a bottom corner using the Line Tool Click 'n Release then got the vertical corner from your start and Click 'n Release on the orange dot that appears, then move across to the far corner and Click 'n Release on the orange dot there, then going straight down to the other bottom corner Click 'n Release and now move your mouse up to the top center and find the orange dot there and Click 'n Release and finally, move down to the starting point and Click 'n Release. This creates two triangles to be cut from the part as in the image.
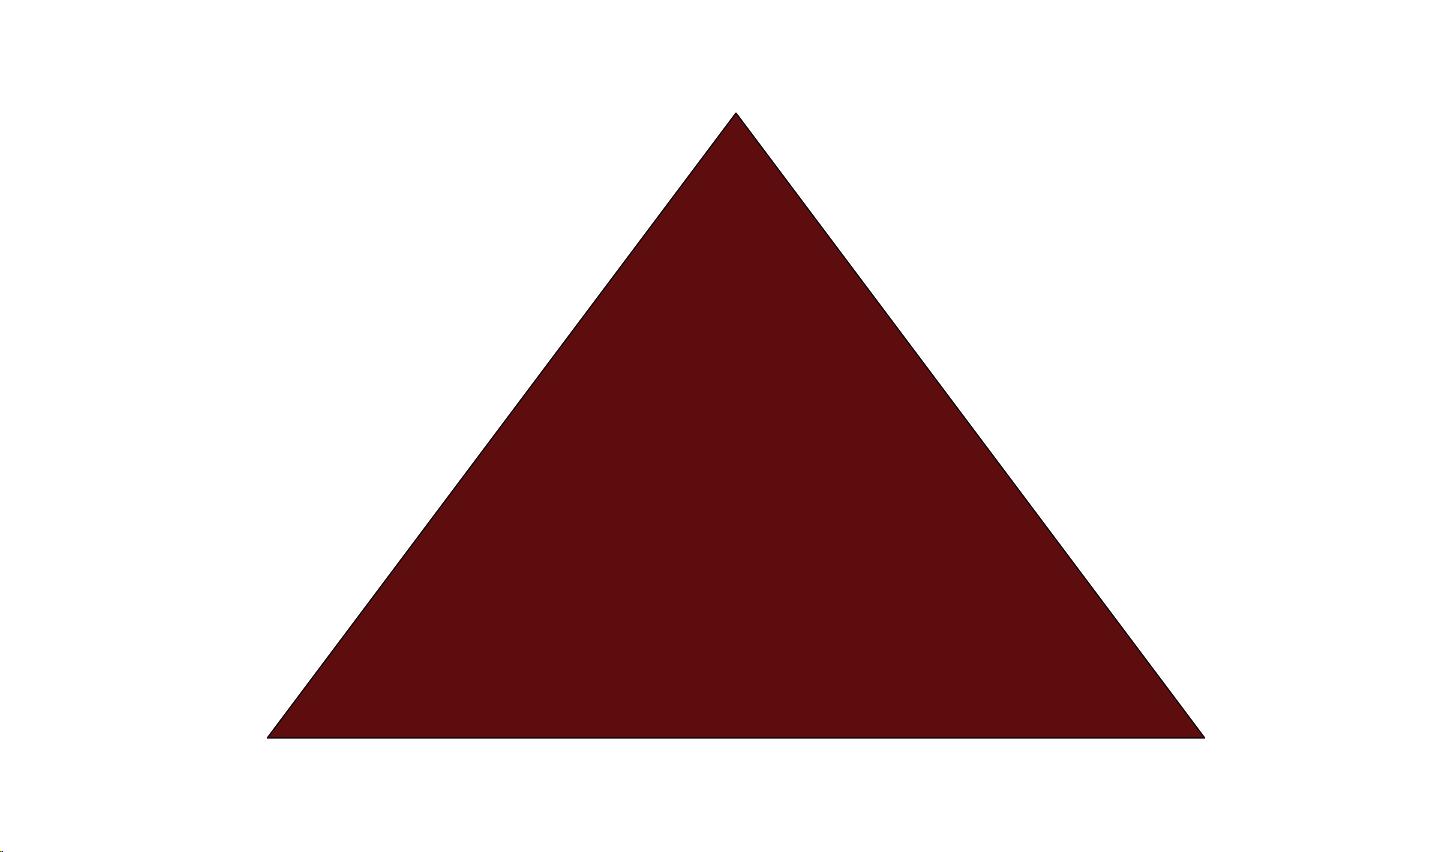
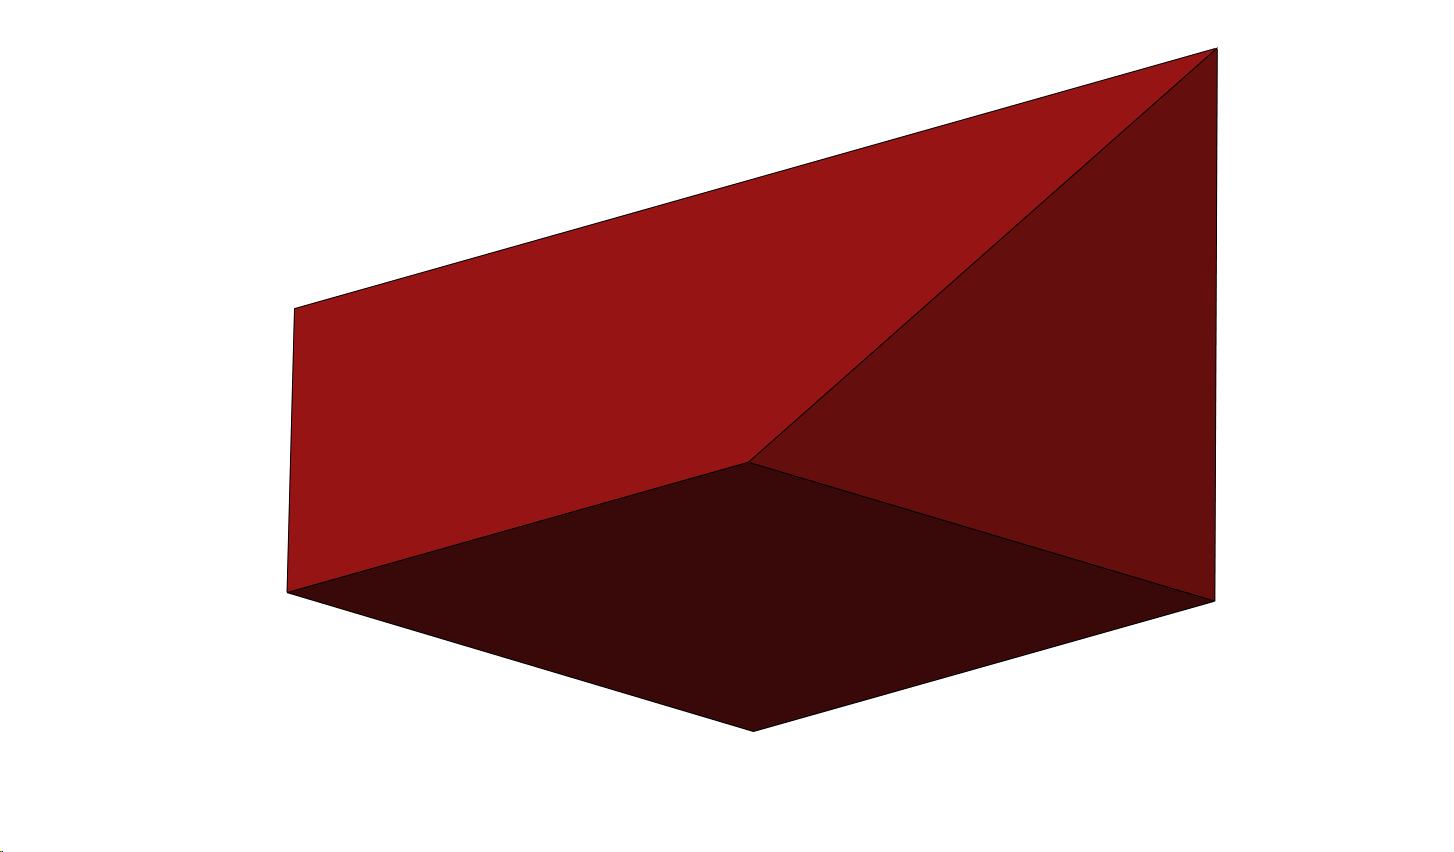
Step 16 With the Sketch highlighted goto the Features tab, then select Extrude Cut and again Mid Plane and be sure you go at least 60mm or more to cut through the entire part. Then Click on the Green Arrow in the left column to close and complete the cut. You should see a triangle shaped part like in the next two images.
Step 17 We better save this before we screw things up! Click on the little Floppy Icon or File - SaveAs and give your part a name like 2PiecePyramid.
Assemble the Parts in SolidWorks ...
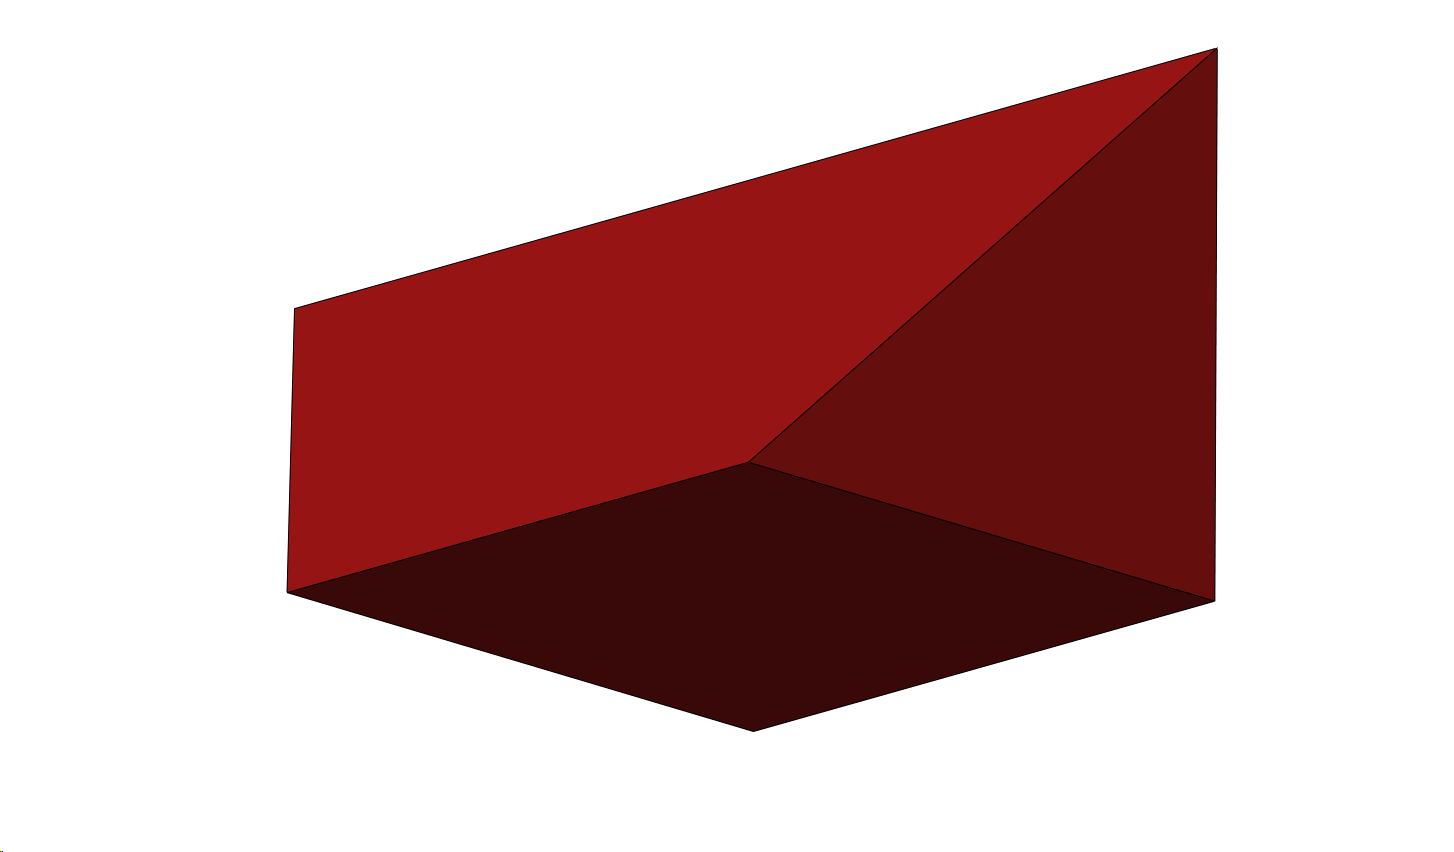
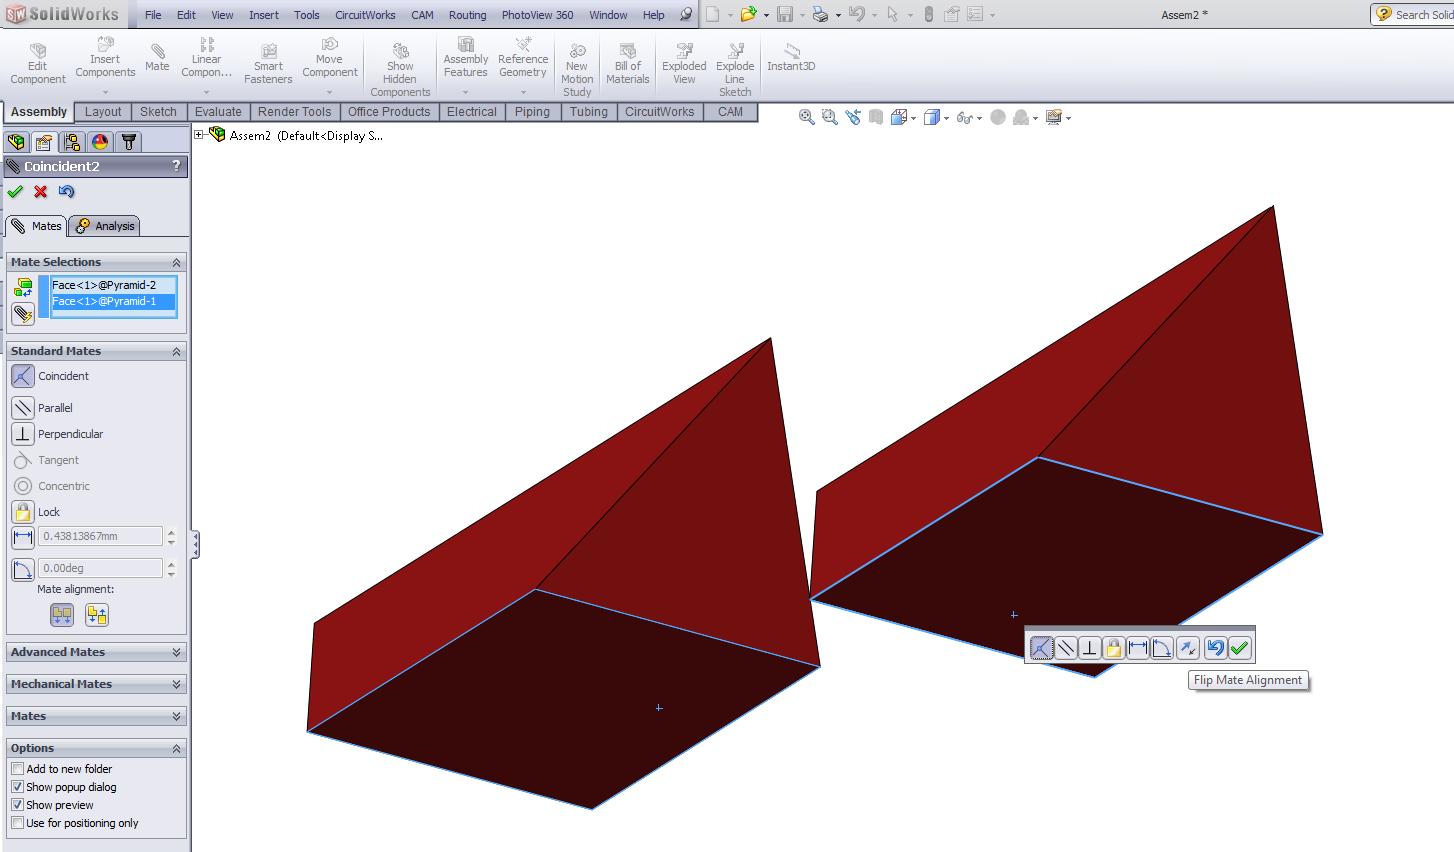
Step 18 Click on File - New and select Assembly and Okay. This puts us into the assemble a thing mode.
Step 19 Click on the Assembly tab and then click on the large Insert Components button along the top row (2nd button from left)
Step 20 In the little window that opened up just Click 'n Release on the 2PiecePyramid and move your mouse into the assembly area ... then Click 'n Release again. Now go get the same part a second time.
Step 21 Now we begin to stick/glue the parts together in SolidWorks. First select the "Mate" icon then Click 'n Release on the square surface of one part, then Click 'n Release on the other square surface to "mate" these surfaces to each other ... but you will have to flip the mate so BEFORE you click ok you must use the little flip icon see the Flip Mate image.
Finishing the Assembly in SolidWorks ...
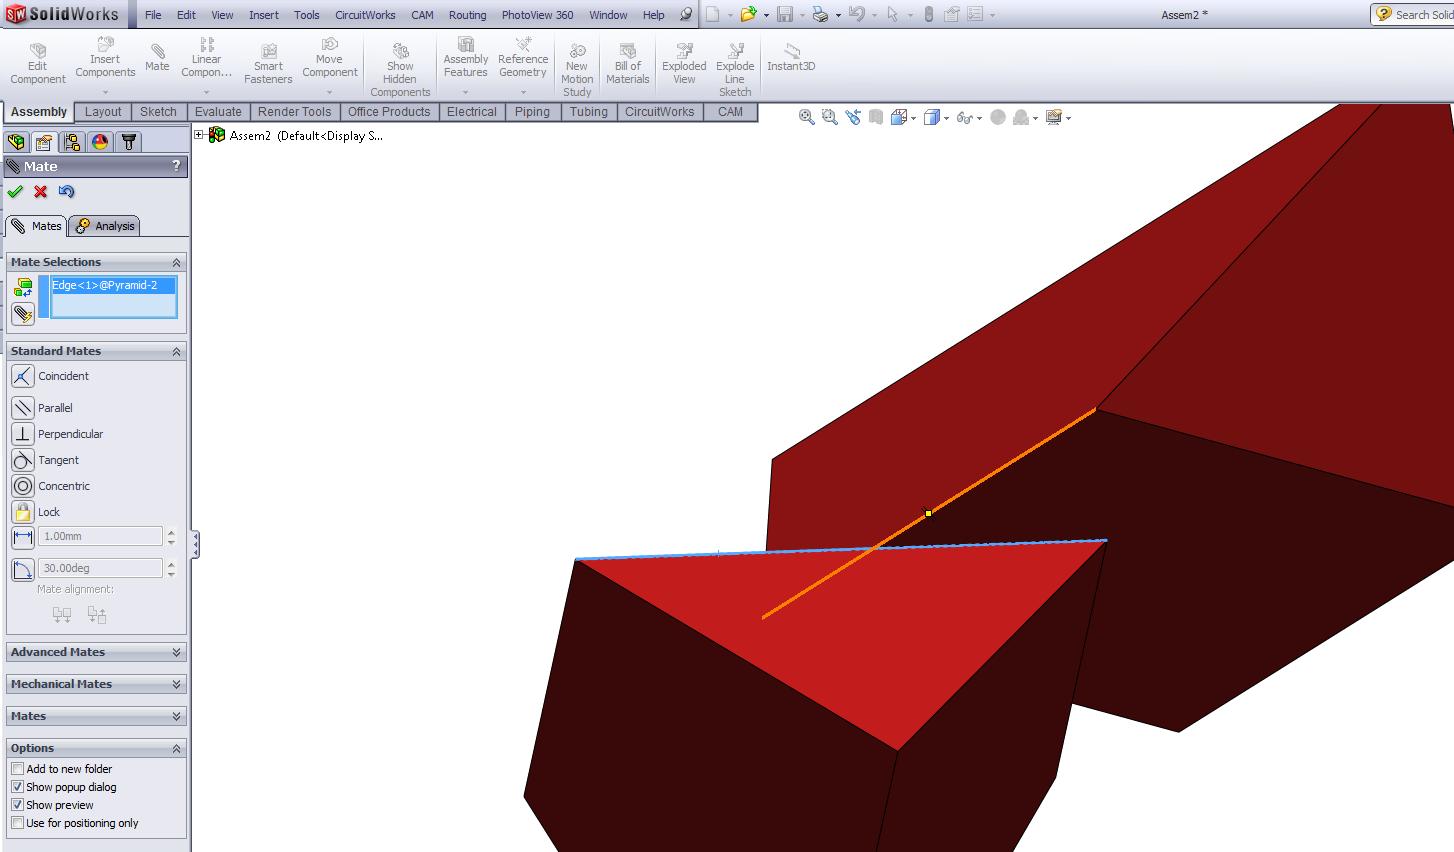
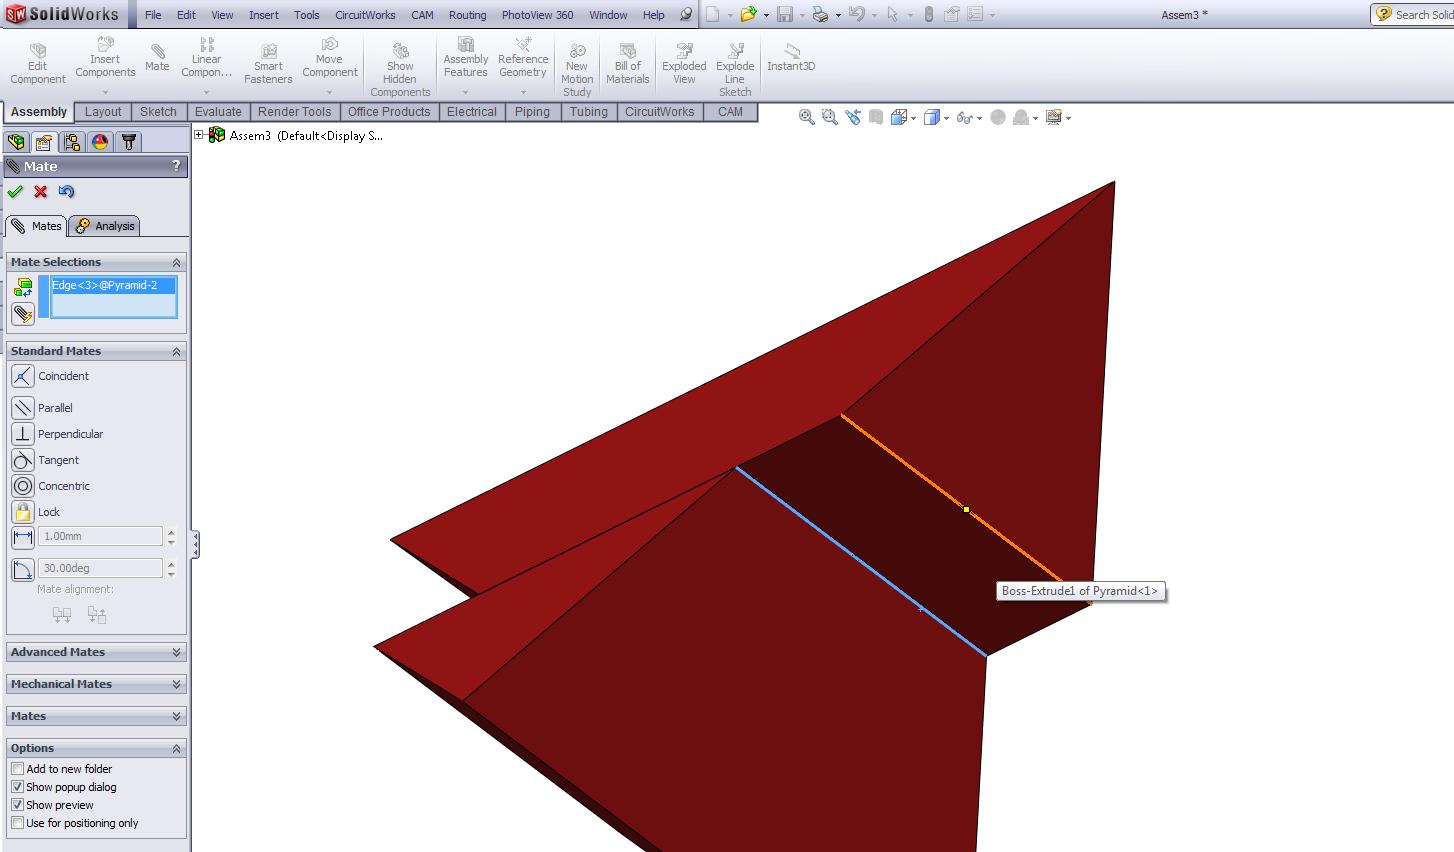
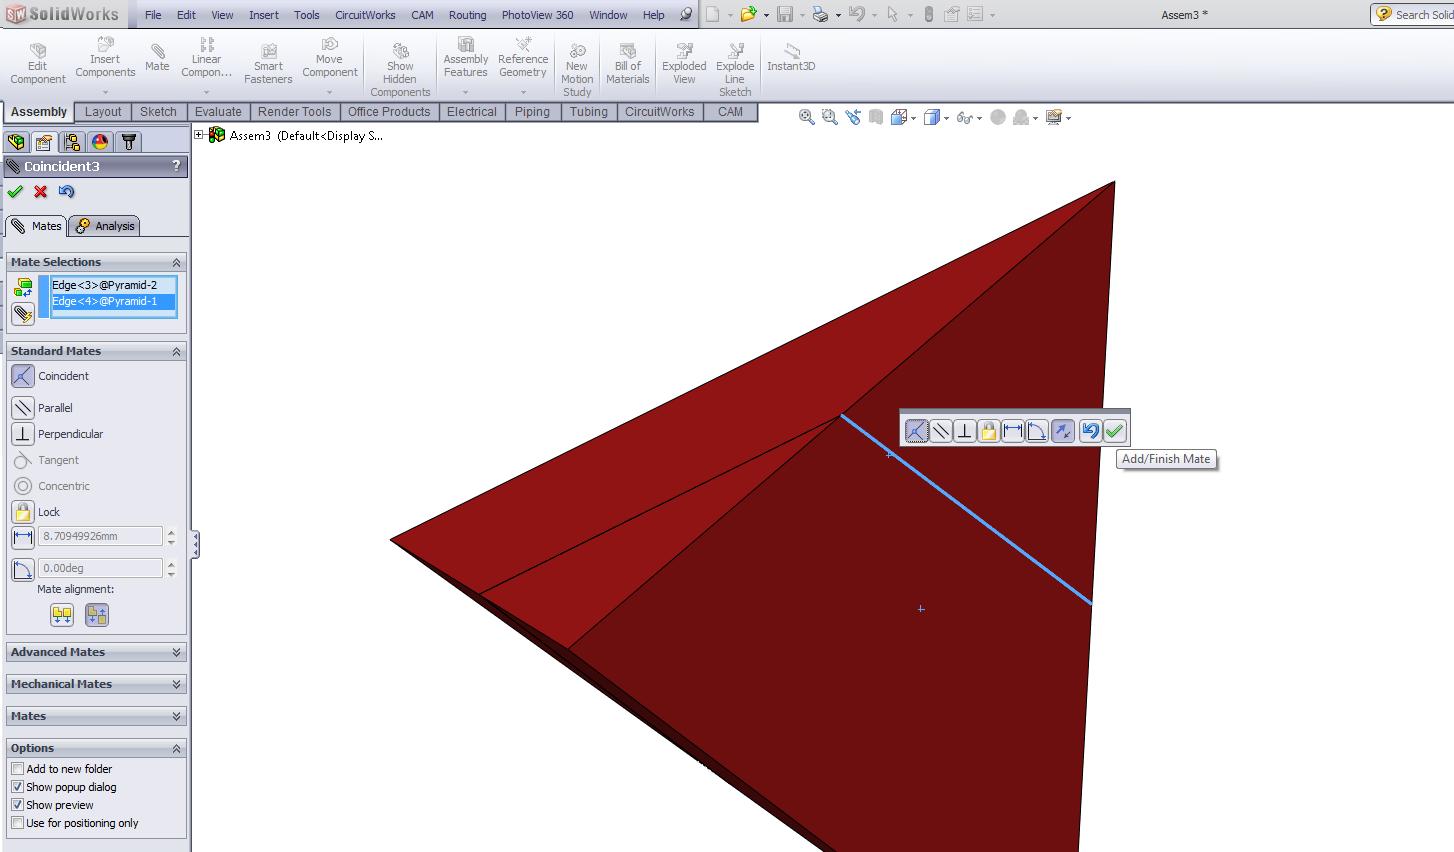
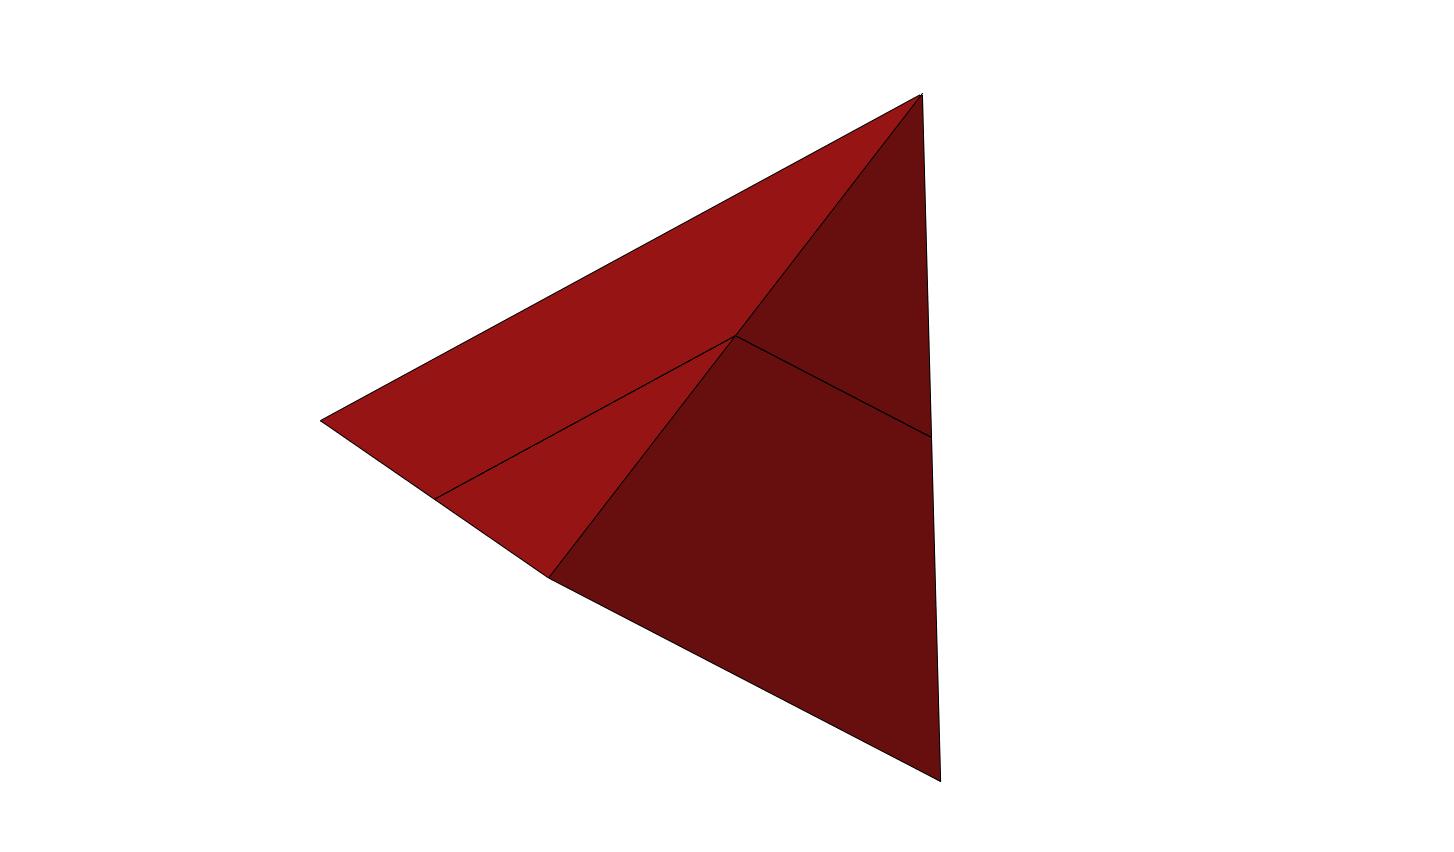
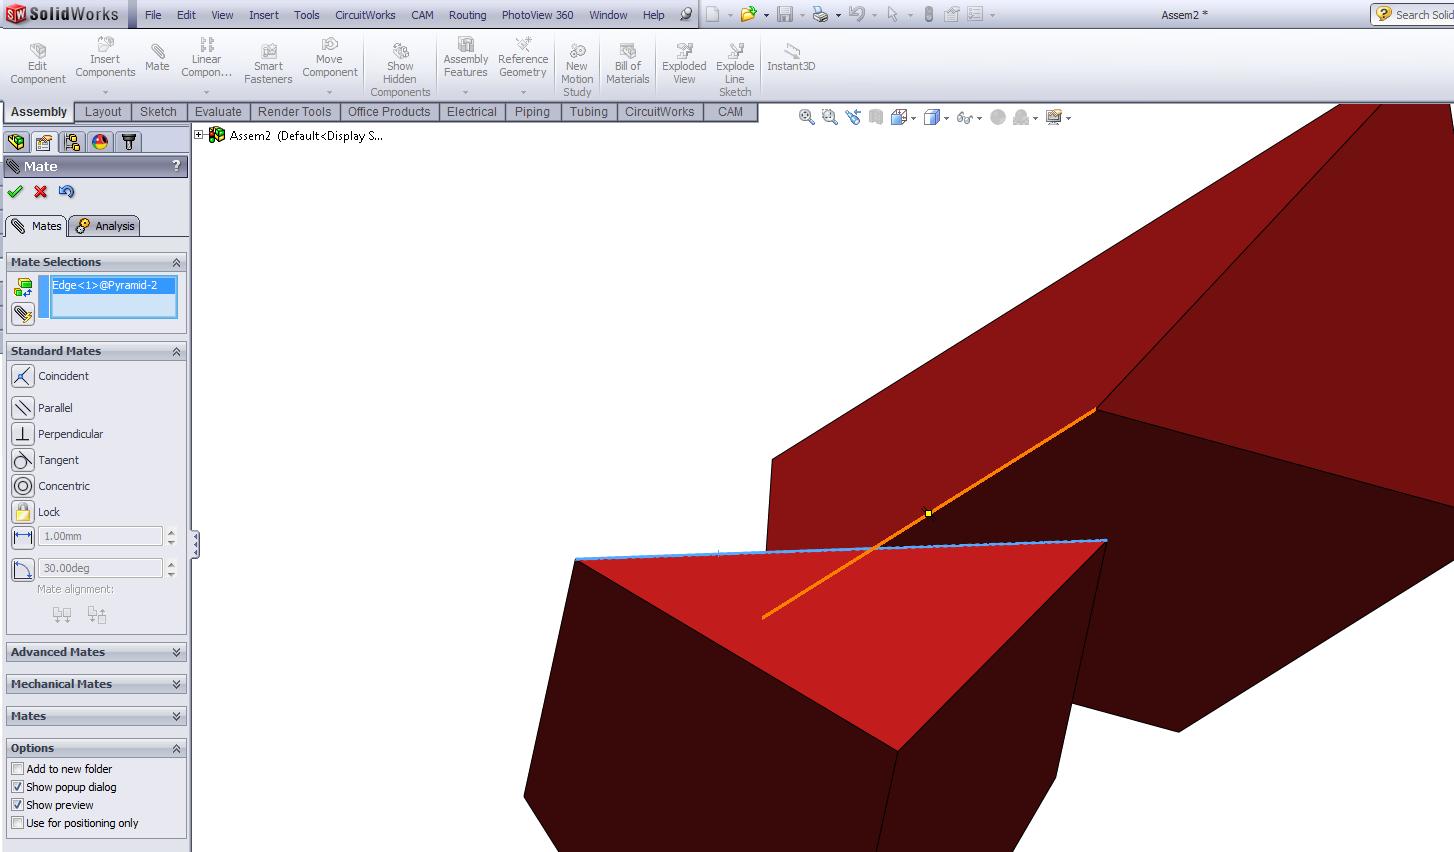
Step 22 Now select one end edge of one part and one side edge of the other part. You'll see the two edges in the End Side Mate image.
Step 23 Do it again with the other End and Side to get everything aligned properly.
Step 24 Holding down the middle button on your mouse you can rotate the assembly in your view for further inspections.
Wow ... neat little puzzle and so simple ... yet give it to somebody that's never seen how to put it together and watch their attempts to make a pyramid! Our brains are programmed to try things inline, parallel, symmetrical so that's what your friends will do as they put the parts together incorrectly ... but eventually anybody with an I.Q. above 50 gets it.
I've attached both the .SLDPRT SolidWorks part file and the .STL for those that just want to print the part ... two times for a puzzle!
Advancing in SolidWorks With Sweeps ...
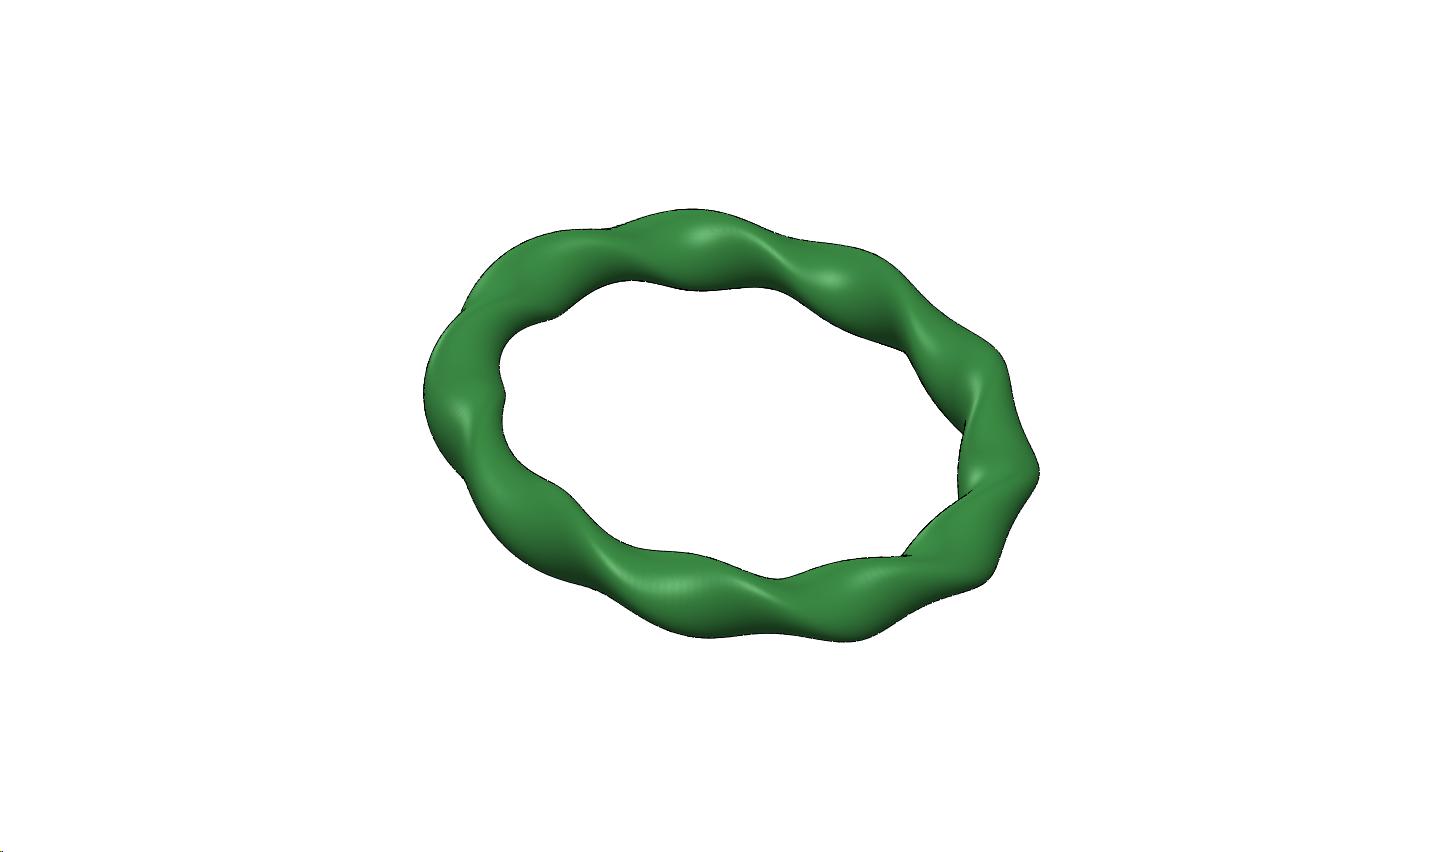
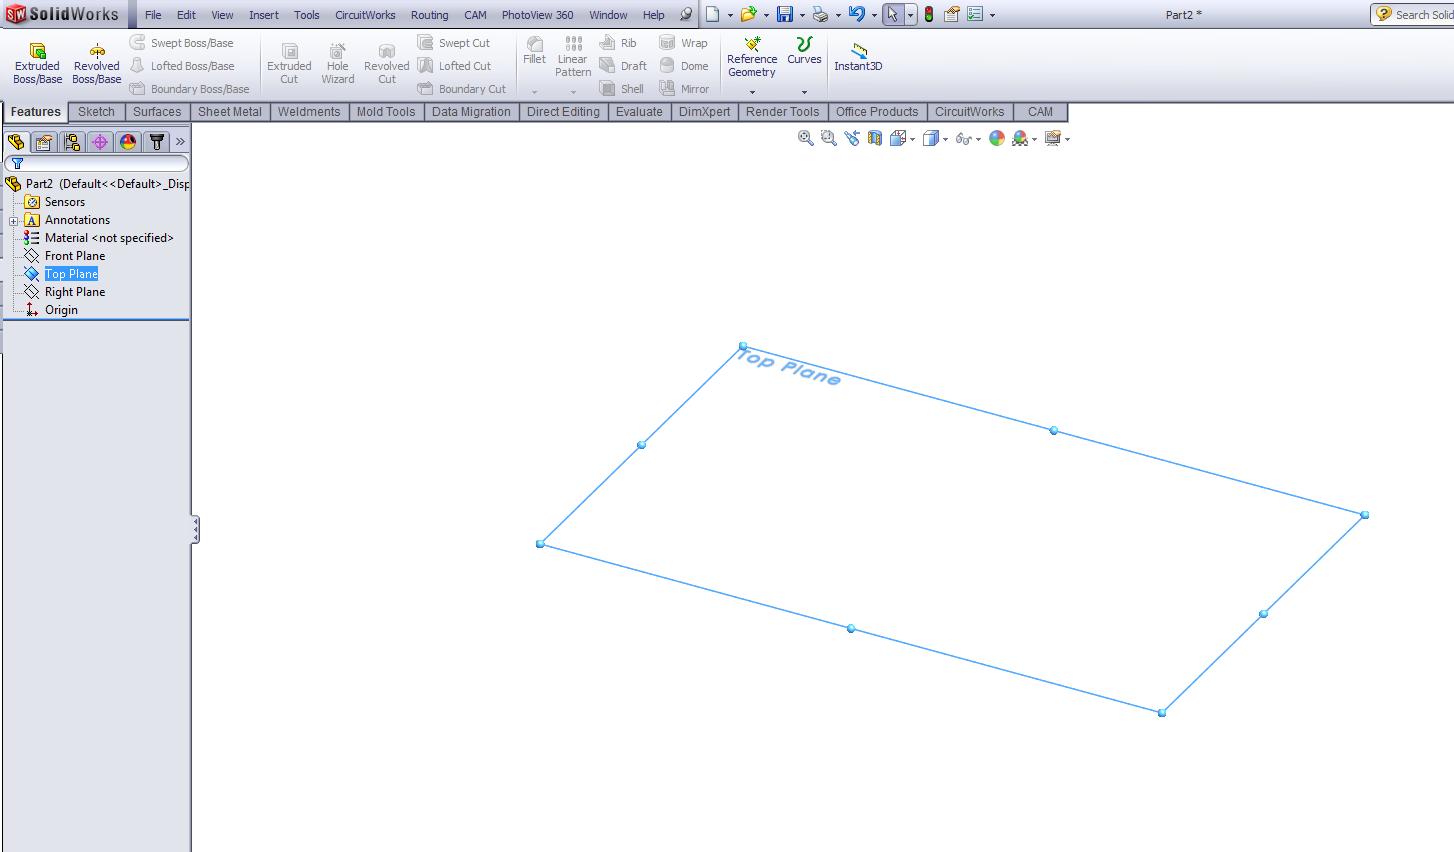
Okay, we can make a basic solid part in SolidWorks now ... but what about fancier designs? That requires Sweeps ... Extruded Sweeps and Extrude Cut Sweeps.
First you can review the process with the videos; http://www.youtube.com/watch?feature=player_embedded&v=ZcS-CU16al0
Higher resolution video; http://www.brainless.org/MultiMedia/Robotics/Video/Bracelet-01-1080p.avi
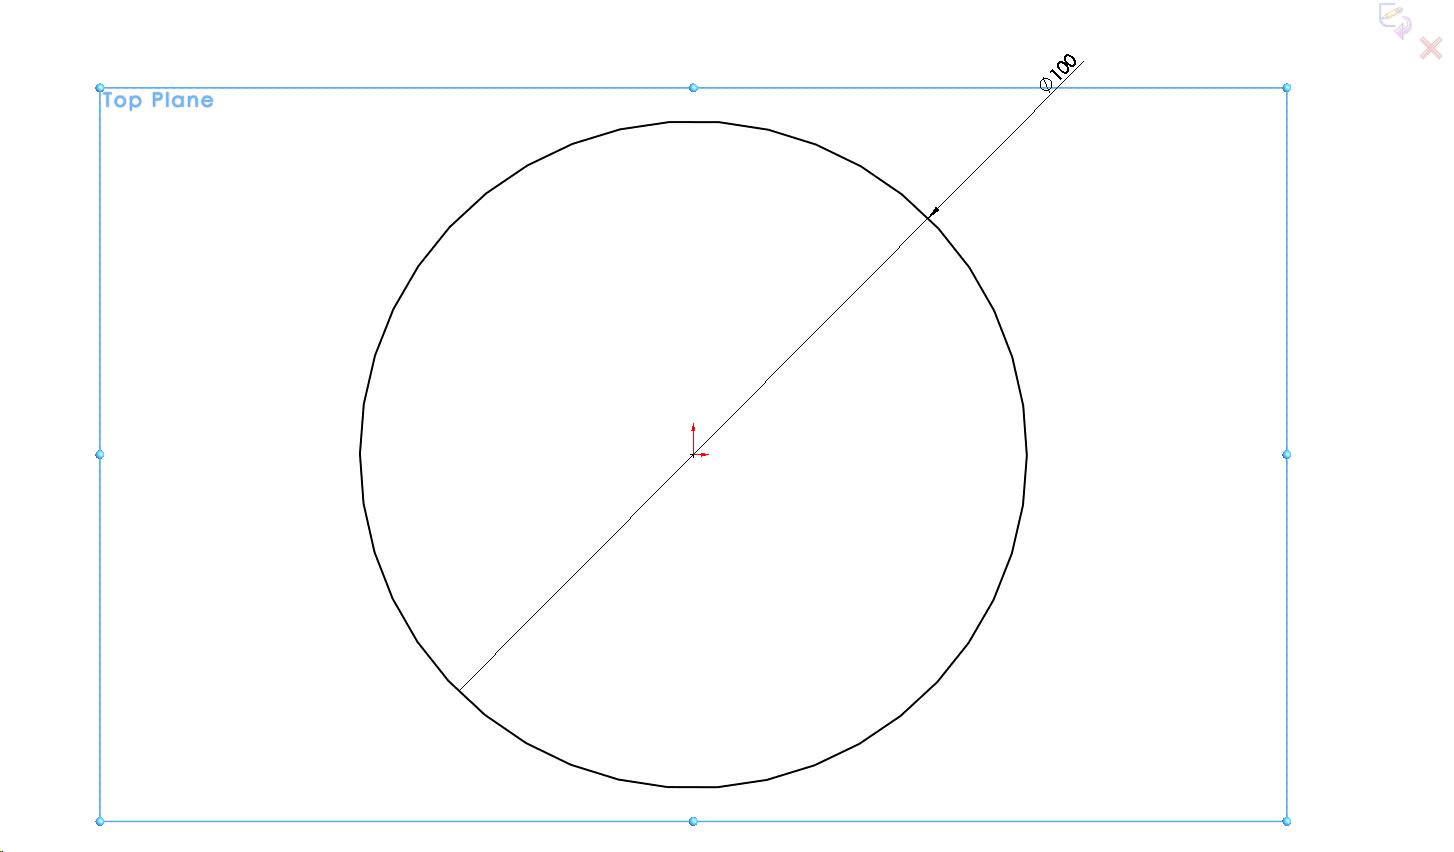
Step 1 Select a plane and get sketching a circle.
First you can review the process with the videos; http://www.youtube.com/watch?feature=player_embedded&v=ZcS-CU16al0
Higher resolution video; http://www.brainless.org/MultiMedia/Robotics/Video/Bracelet-01-1080p.avi
Step 1 Select a plane and get sketching a circle.
The Sweep Guide Curve ...
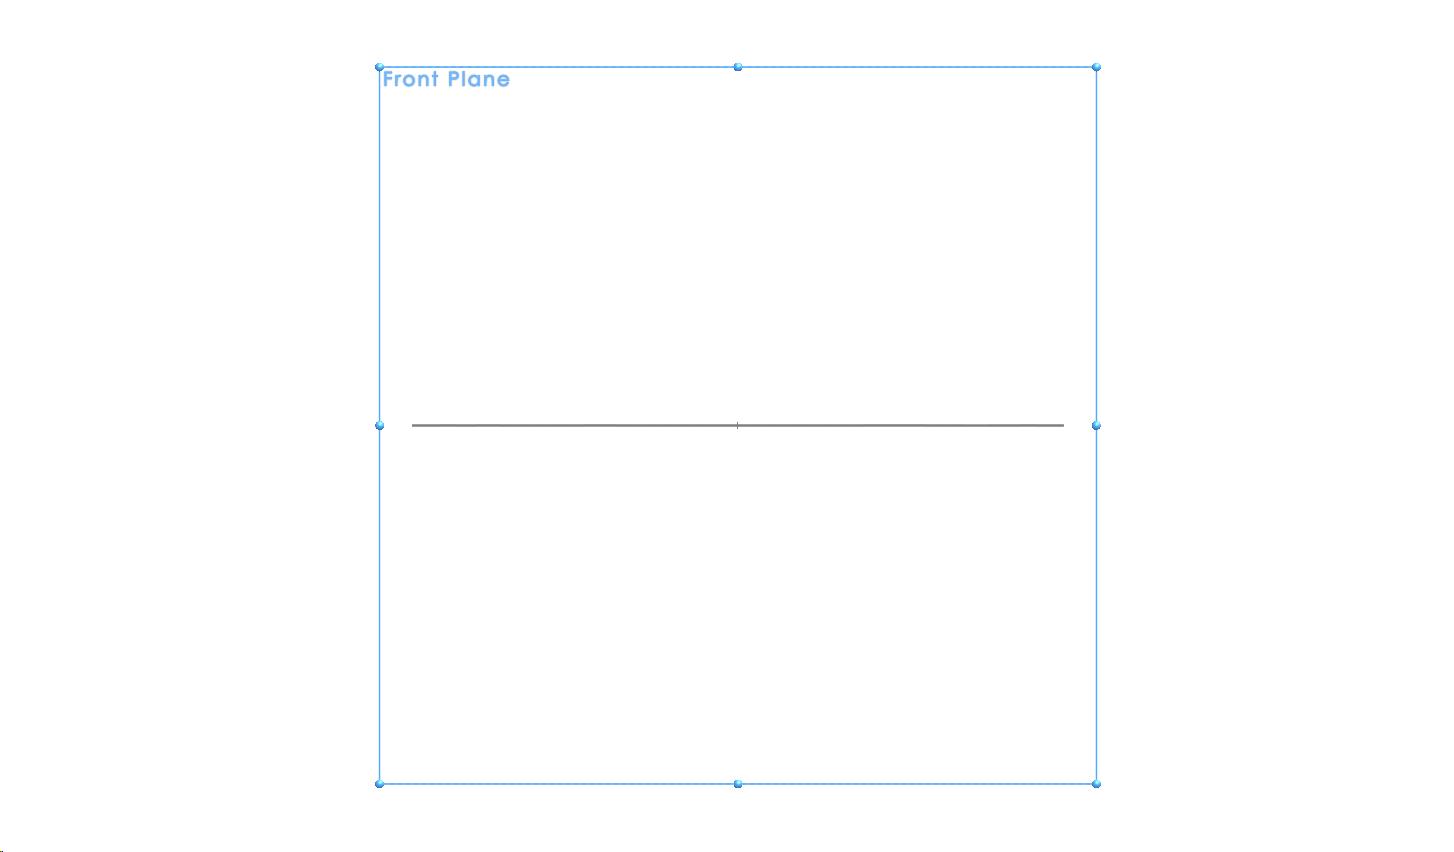
Yes, that circle is the Guide Curve for the sweep. Now we need to make the thing/shape we're going to sweep!
Step 2 Starting on the Front or Right Plane we sketch another smaller oval ... maybe 10mm x 8mm.
Step 2 Starting on the Front or Right Plane we sketch another smaller oval ... maybe 10mm x 8mm.
Sketch Relations ...
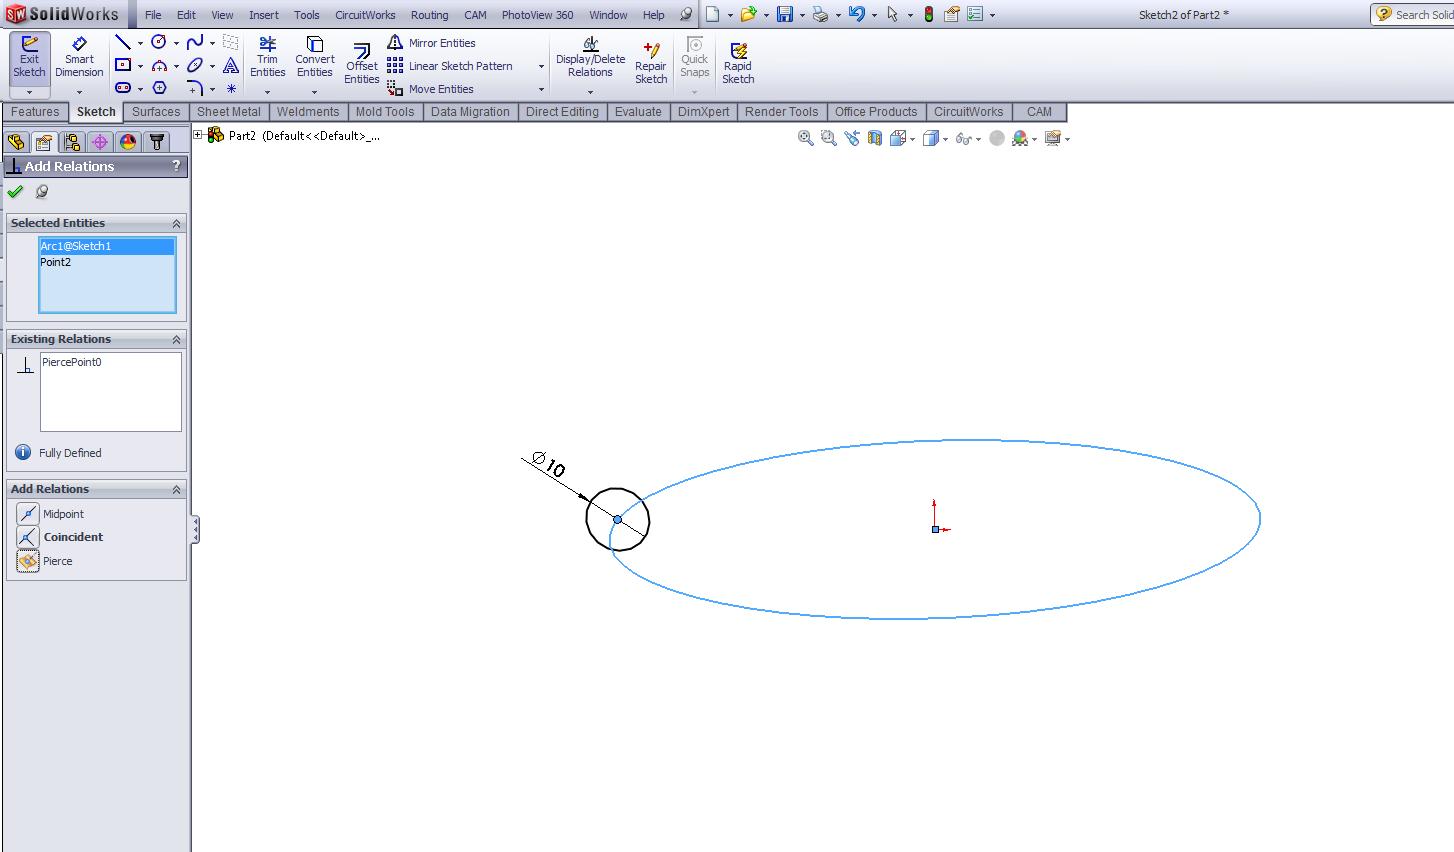
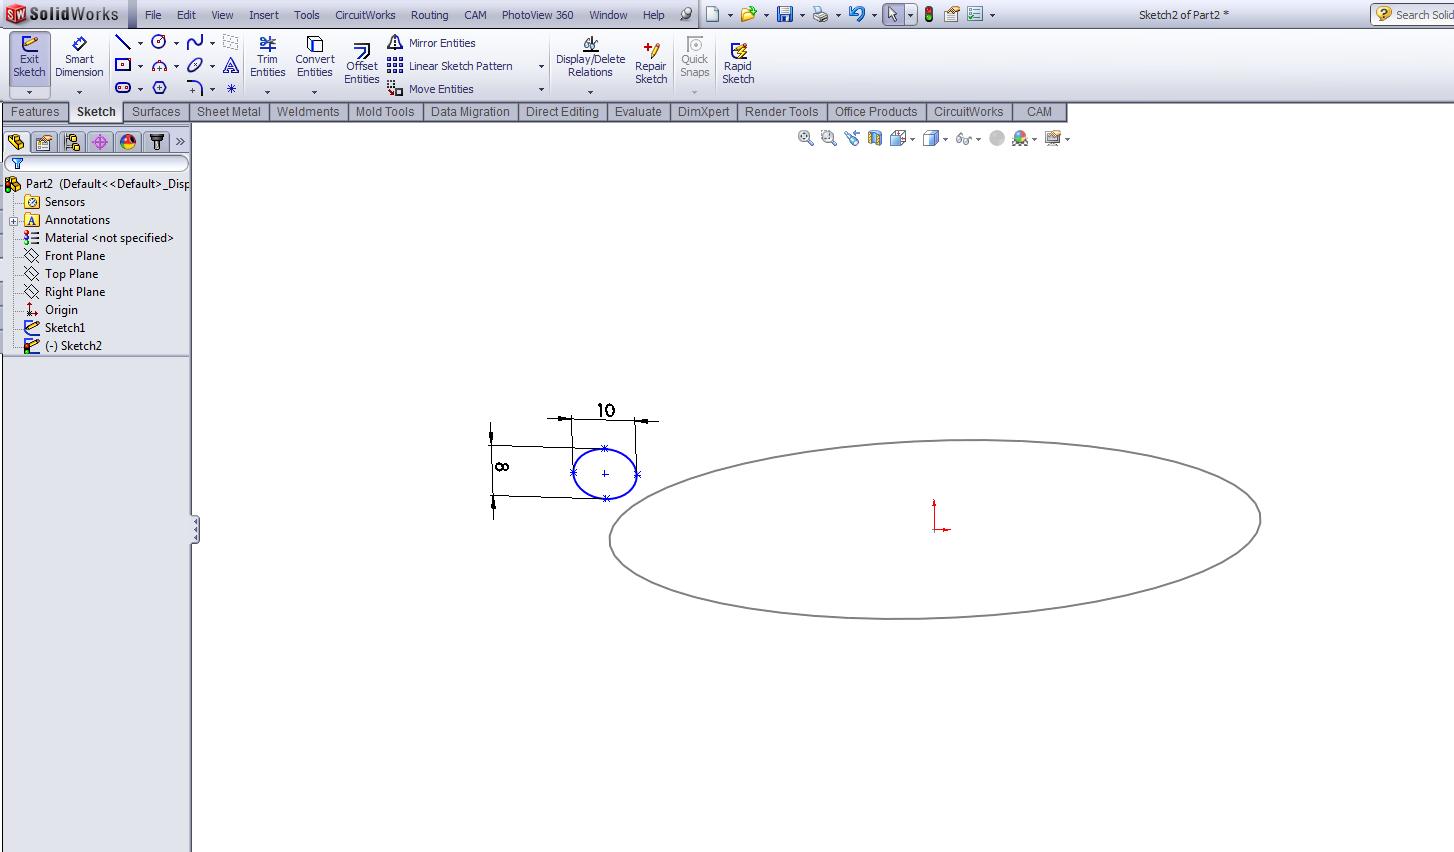
Step 3 Now we need to setup a relationship between the two sketches. Click on Display/Delete Relations button along the big button bar. Then click on Add Relation.
Pierce Relationship Between to Sketches in SolidWorks ...
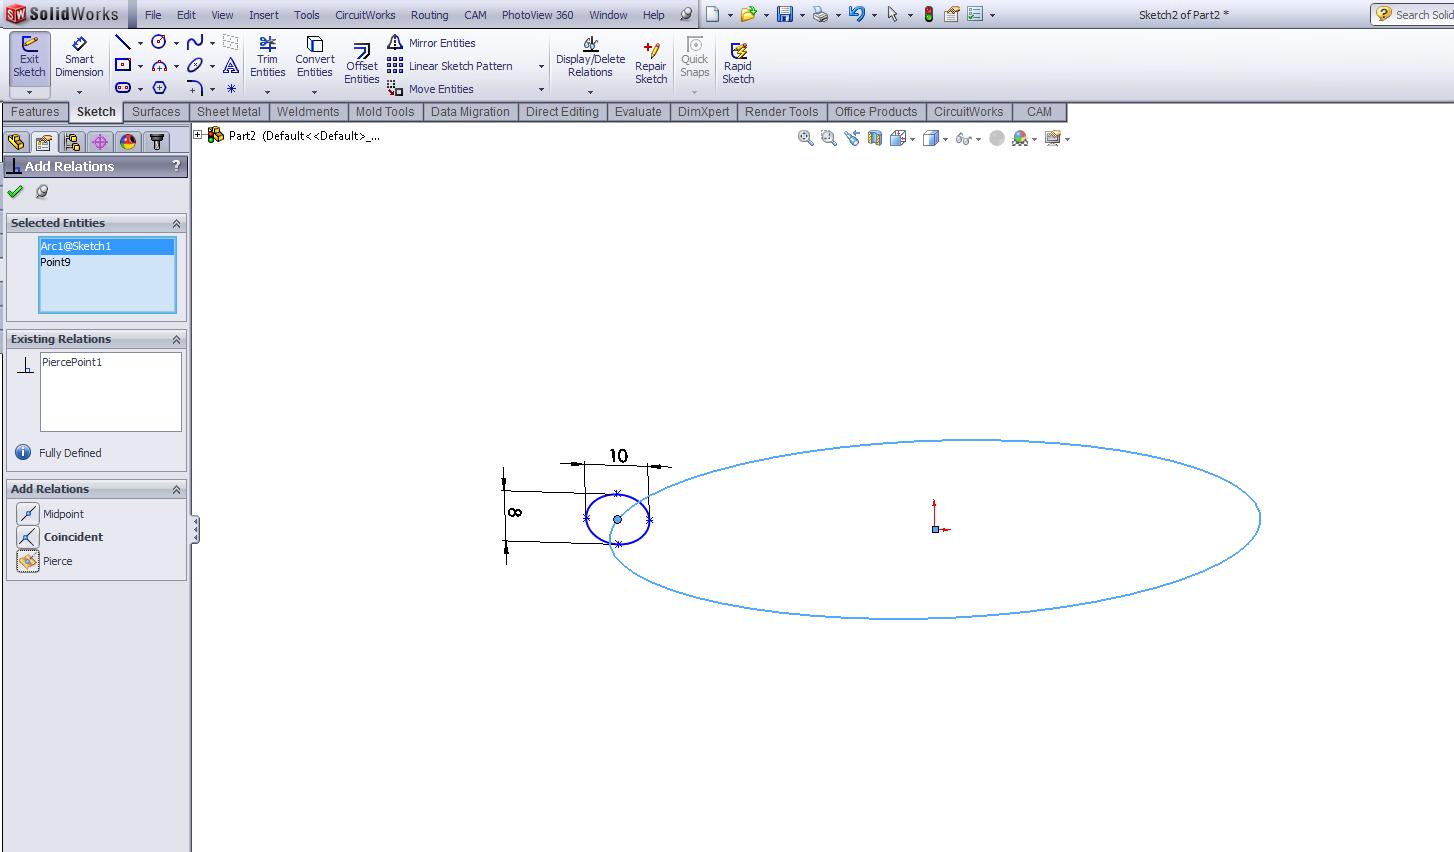
Step 4 Now click on the center of the little oval, then click on the edge of the big 100mm circle and select "Pierce"
Begin the Sweep Boss/Base ...
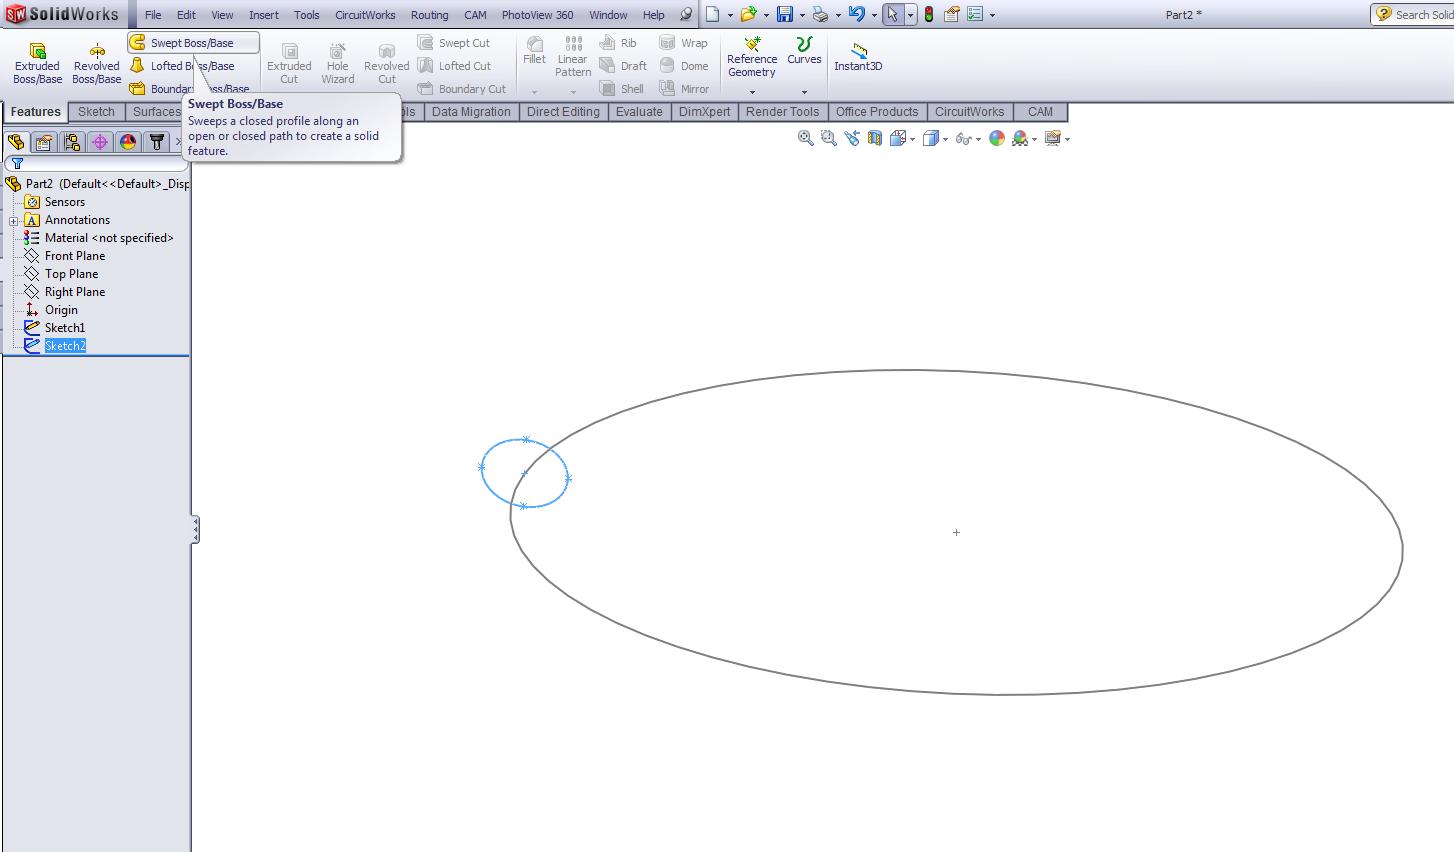
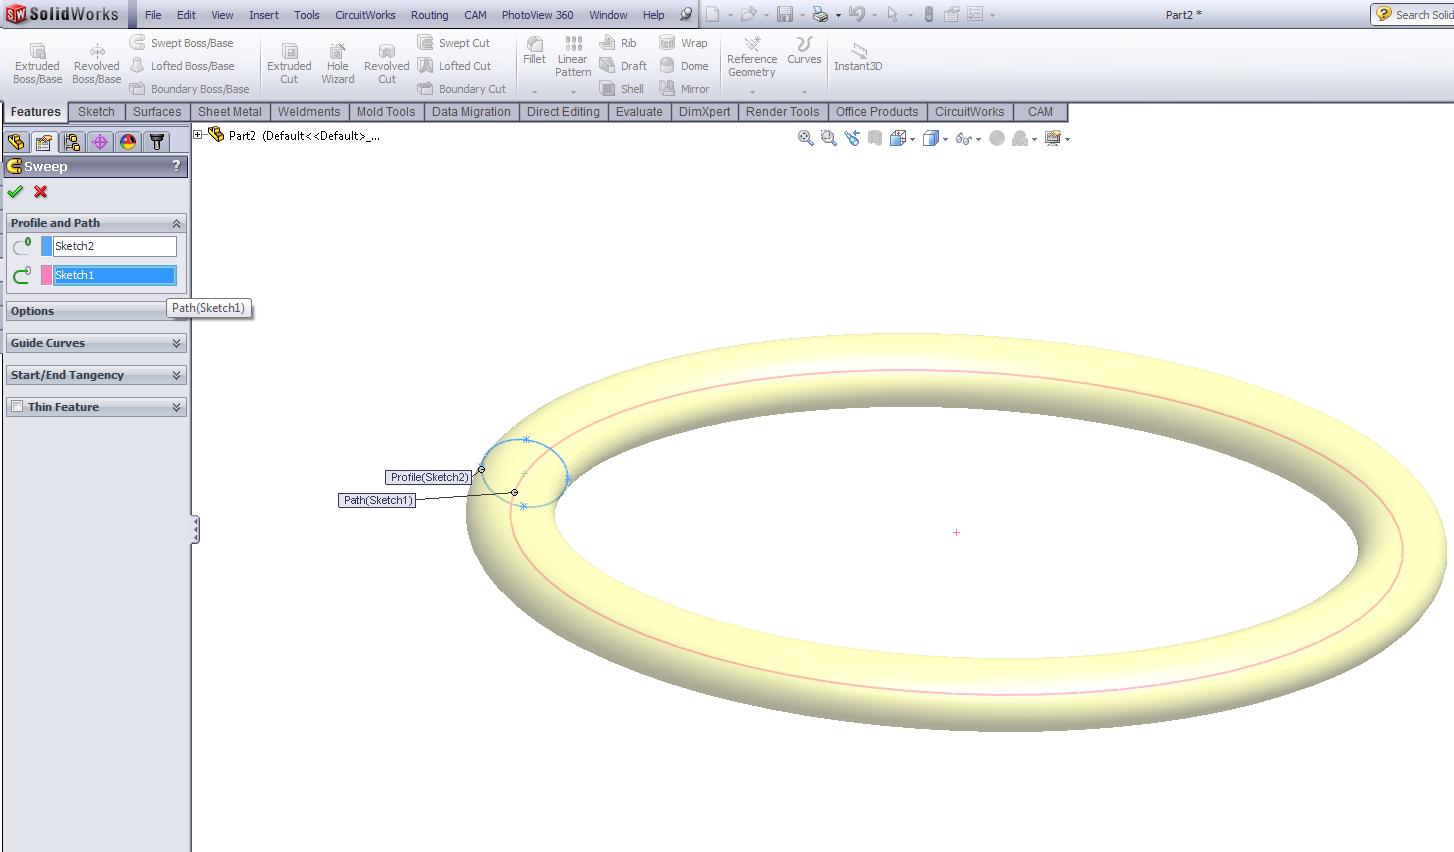
Step 5 Sweep the oval around the 100mm circle (Guide Curve)
Add the Twist ...
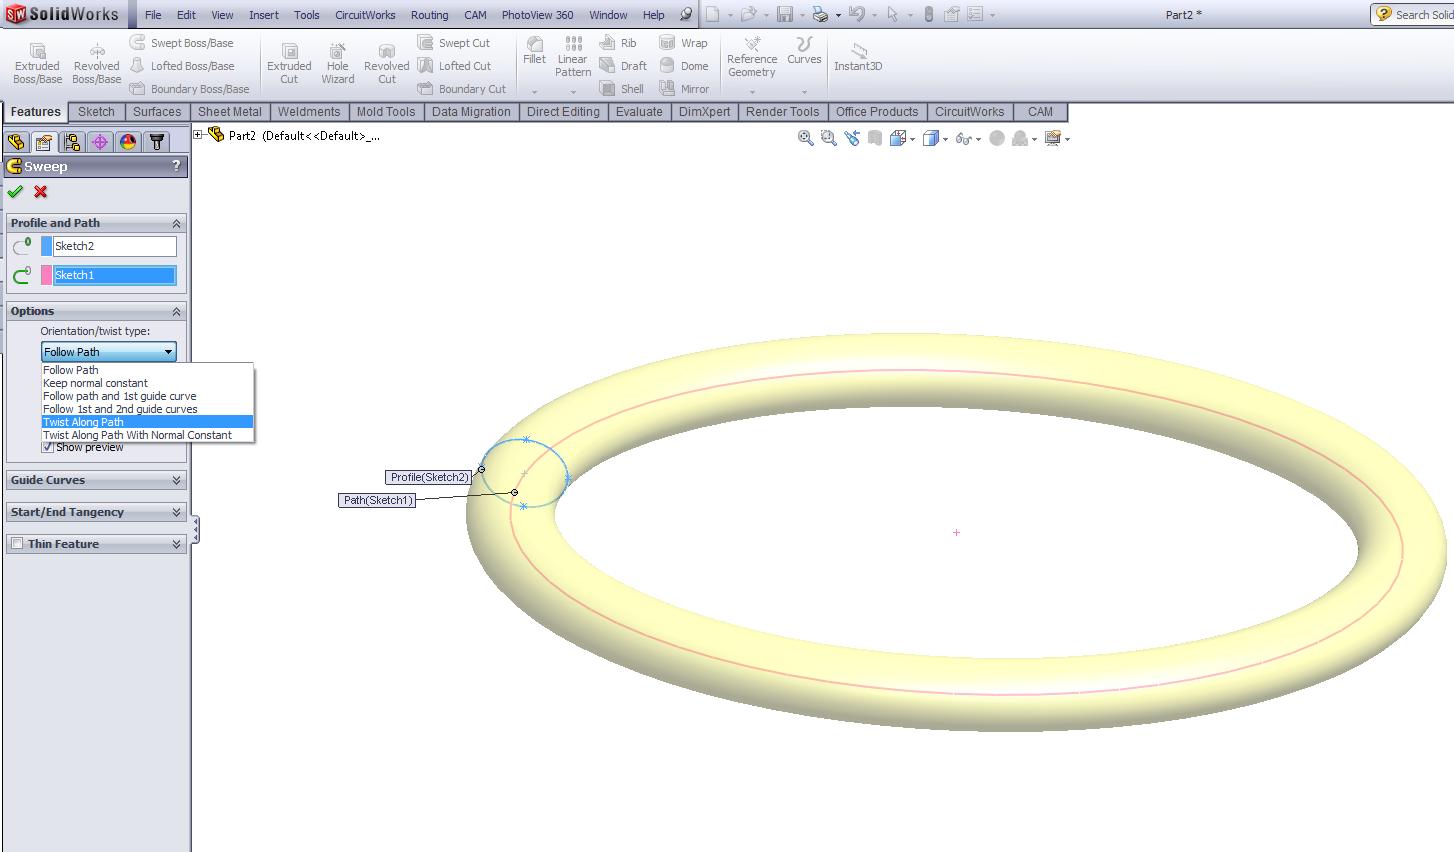
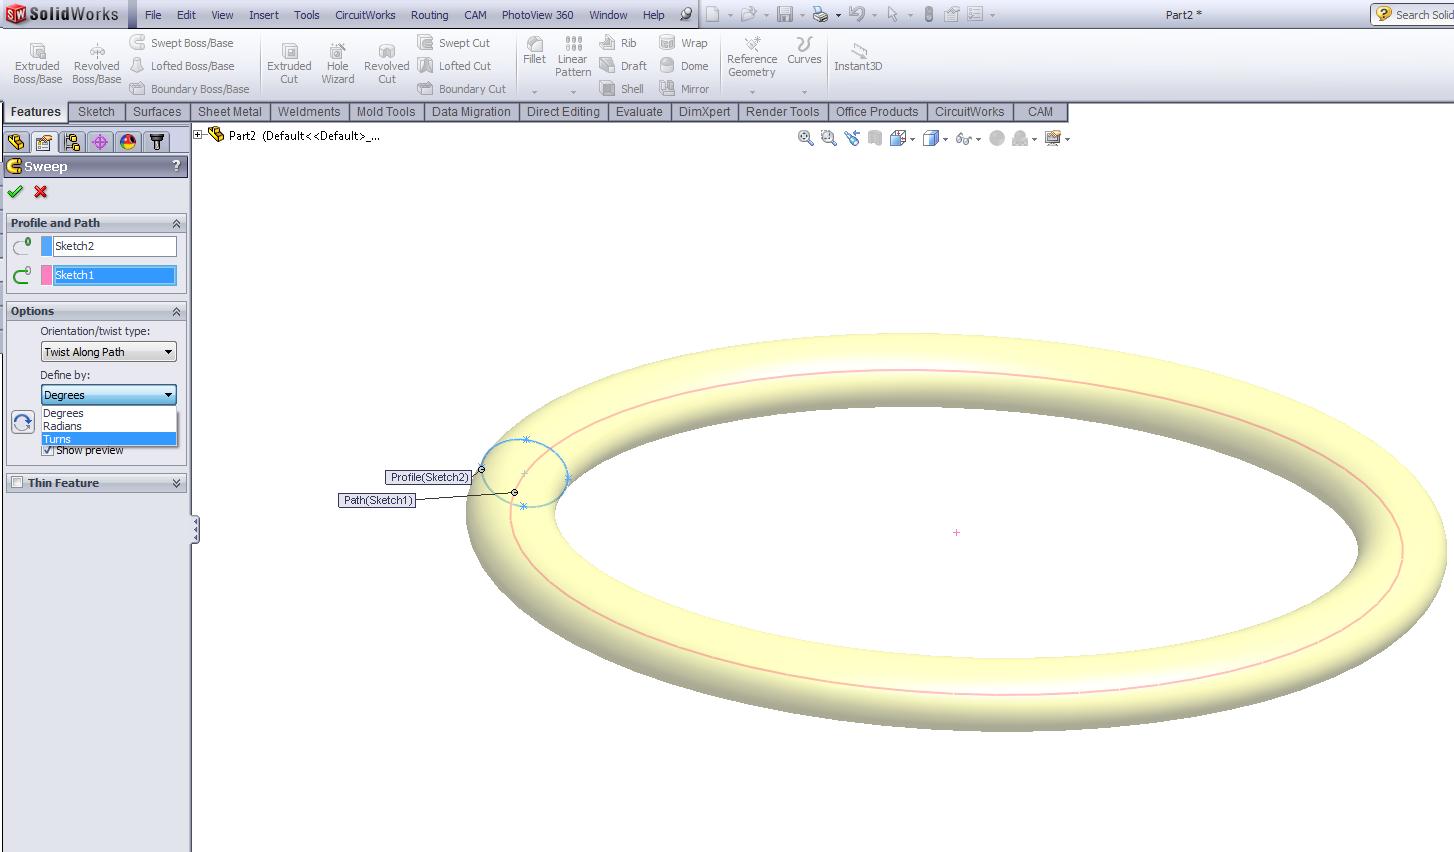
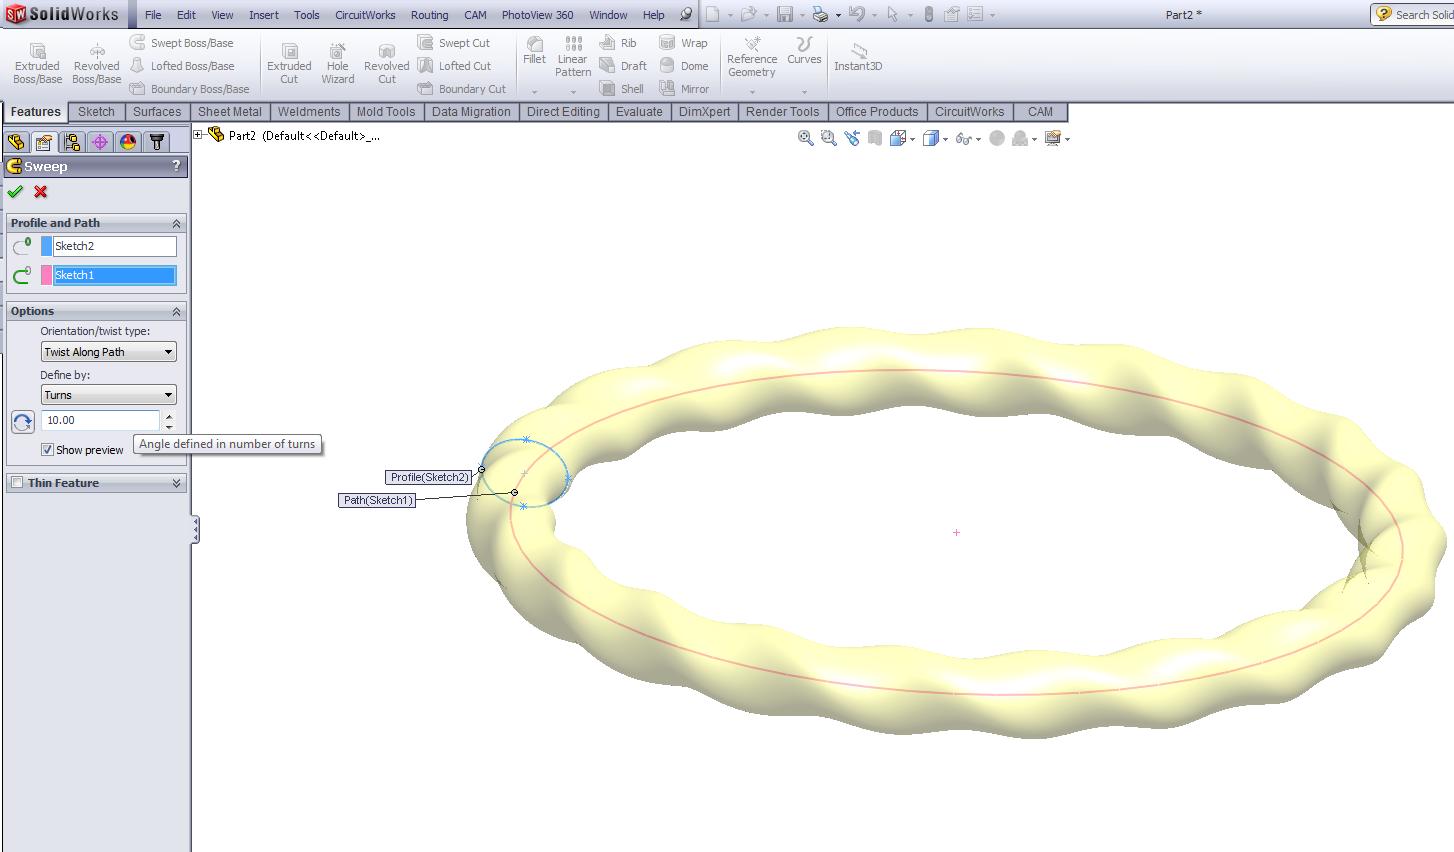
Step 6 Add the Twist to the sweep.
Step 7 How many twists to the sweep? Use the three images to see the steps to this point.
Step 7 How many twists to the sweep? Use the three images to see the steps to this point.
Color the Part on Screen ...
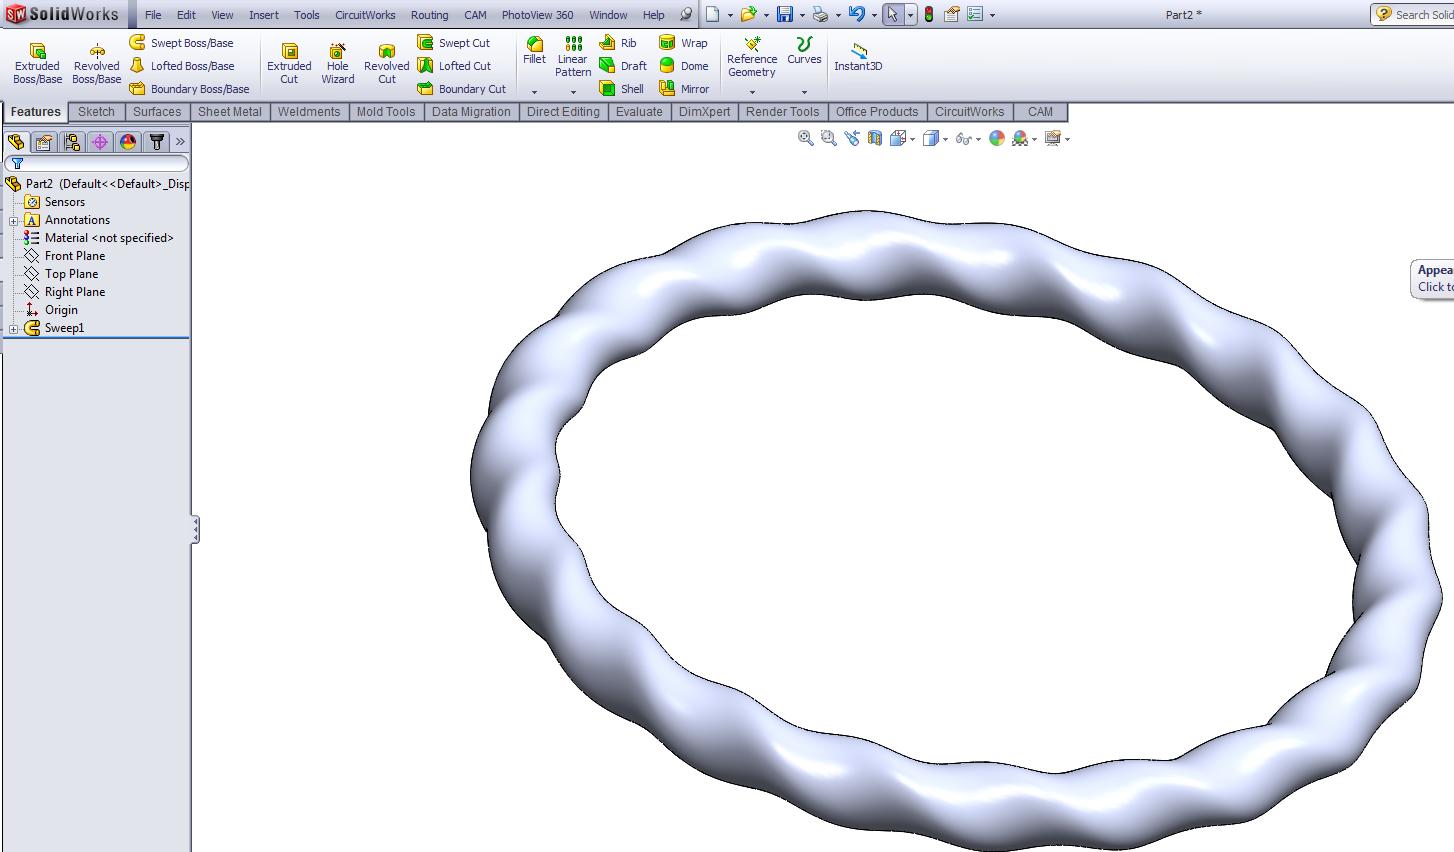
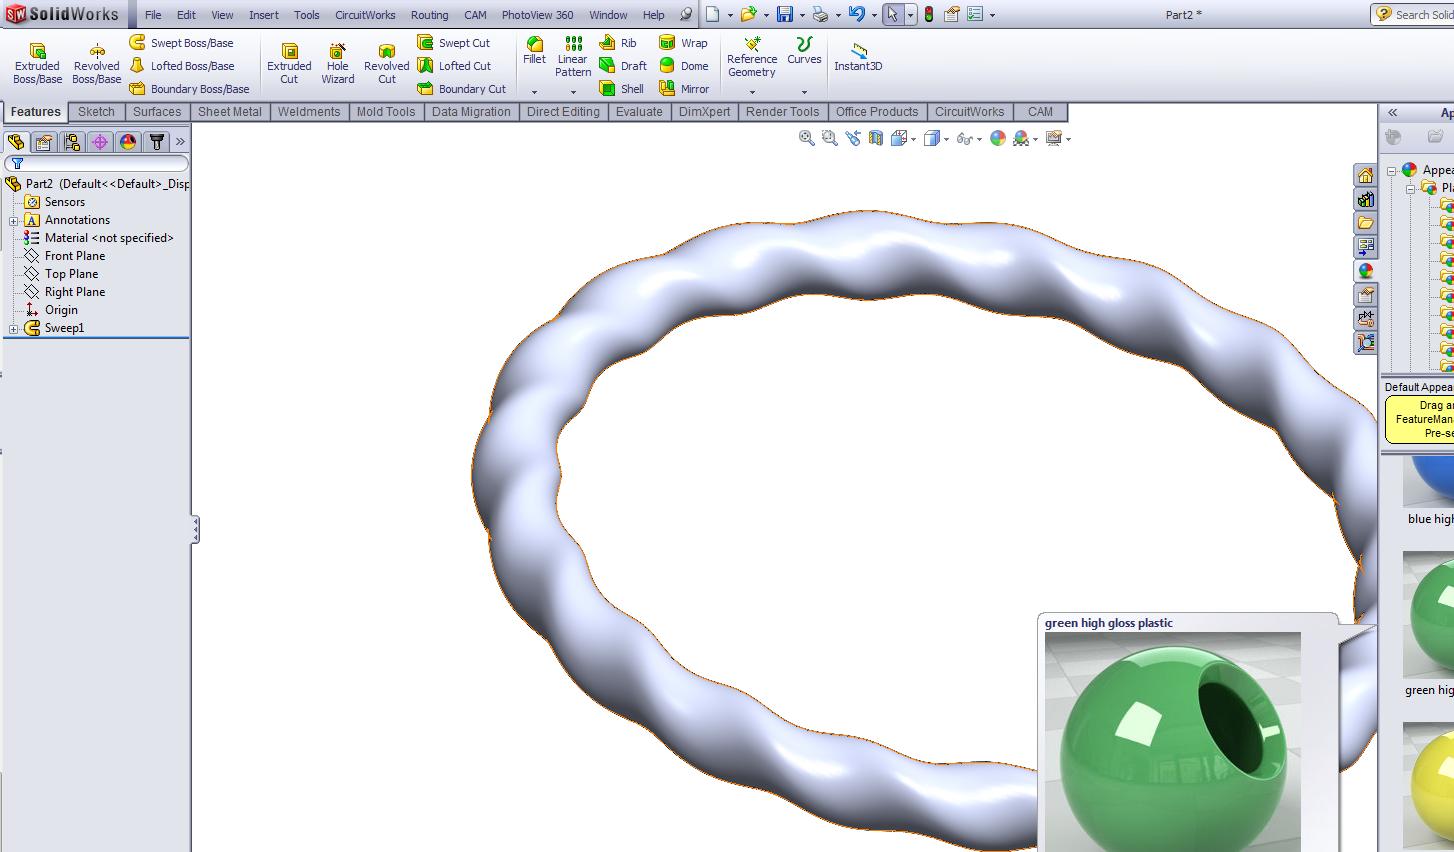
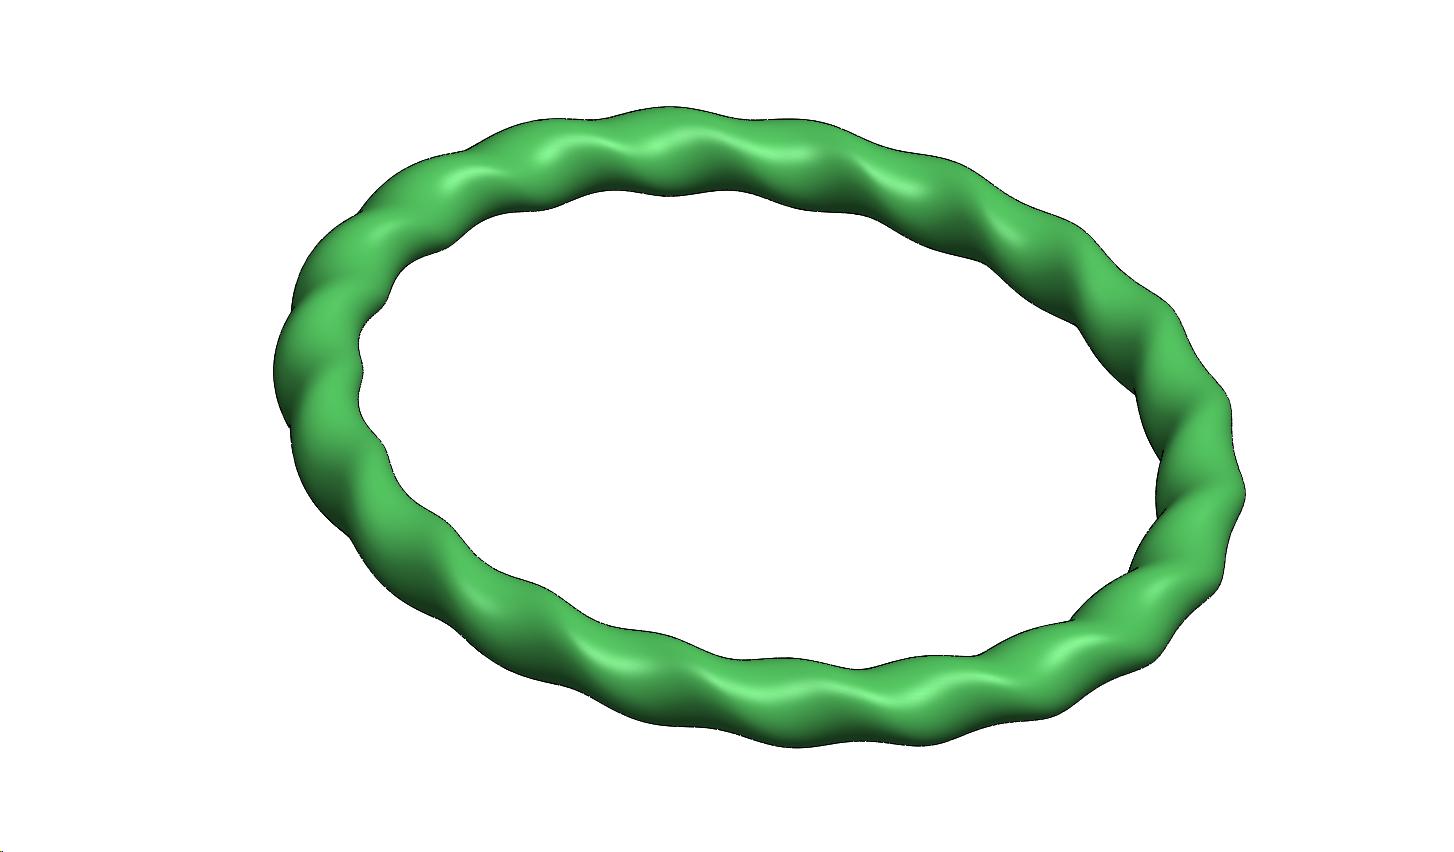
Step 8 Using the far right tools select the little colored ball, then Appearances, then Plastic or other material, then the color or texture you prefer for visualization.
Step 9 Now you experiment with other shapes and twists etc... to find the bracelet you like best.
Again, I've uploaded the Bracelet1.SLDPRT and Bracelet1.STL files ... 3D printing starts with the .STL file ...
Step 9 Now you experiment with other shapes and twists etc... to find the bracelet you like best.
Again, I've uploaded the Bracelet1.SLDPRT and Bracelet1.STL files ... 3D printing starts with the .STL file ...
Lets Get Ready for 3D Printing!
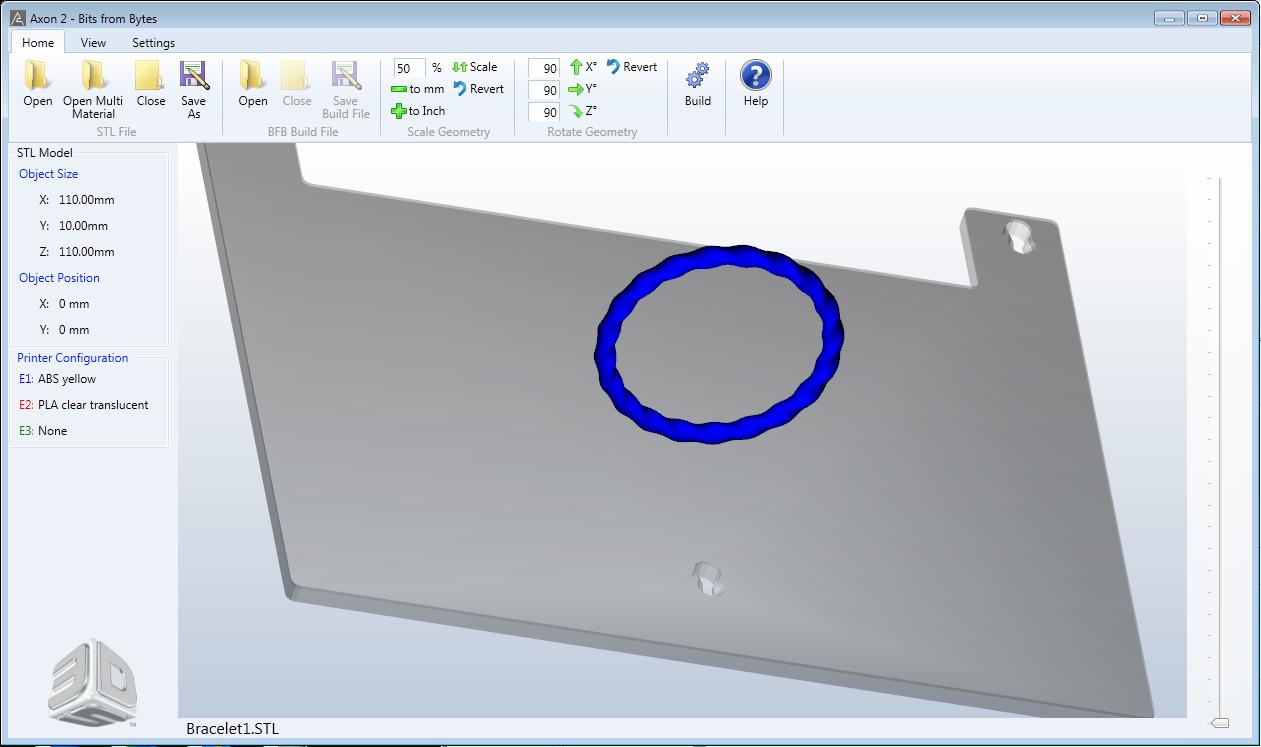
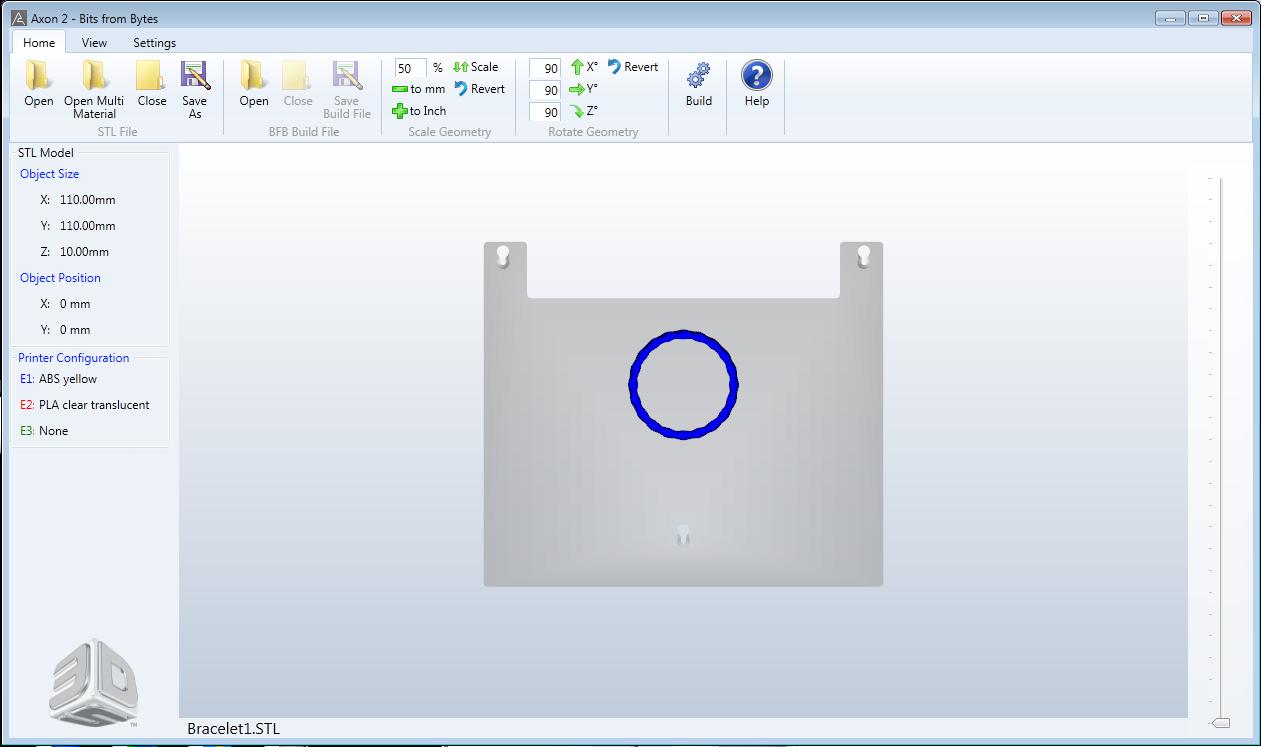
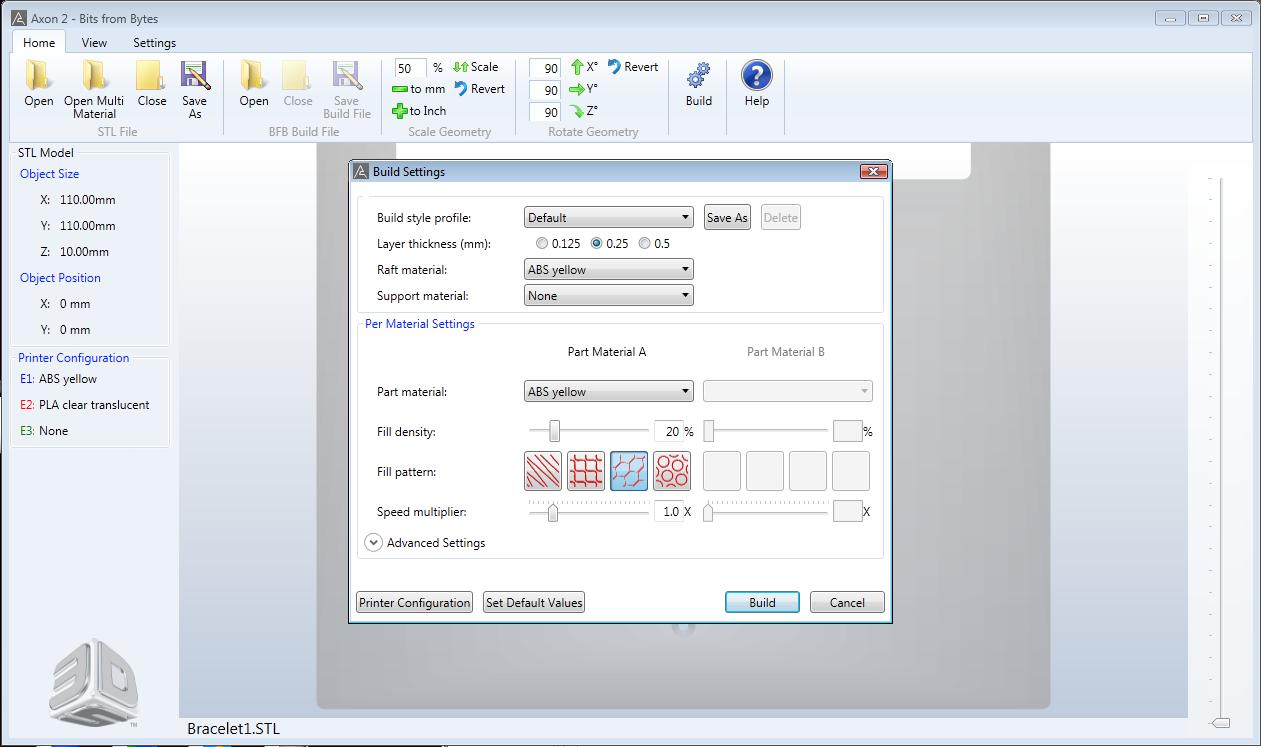
Step 10 The next step for 3D printing is to create the .STL ... that's easy, it's just a SaveAs function and select .STL format.
and now we need a tool path for the printer ... Usually the 3D printer software creates the tool path.
Open your 3D printer program, then import the .STL file ... then look at the part to begin setting it flat on the build table bed so it will optimally print. There is a tool(s) for moving the part around the print bed and changing how it lays down on the table. This is important to save material, increase the printing speed and getting a good print.
As you can see in the images the print size and location on the build platform.
Step 11 Now you select the print resolution ... e.g., Layer Thickness 0.125mm or 0.25 etc...
Step 12 Select the print head if you have a multi-head printer, select if you want a raft or not. then select Build the ToolPath/G-Code/Machine Code that tells the printer how to print the part.
Now send the file to the printer or save it on a thumb drive that plugs into the printer and select print.
The whole process is still a little more work than these quick steps, but this is the guide to get you on track and printing ... and best of all now you are almost a SolidWorks master!
You really need to look at your printers manual to get all the details of printing with your printer.
A Few Printing Images ...
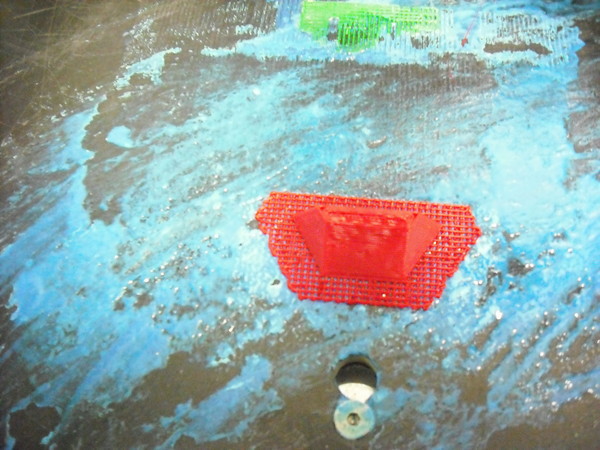
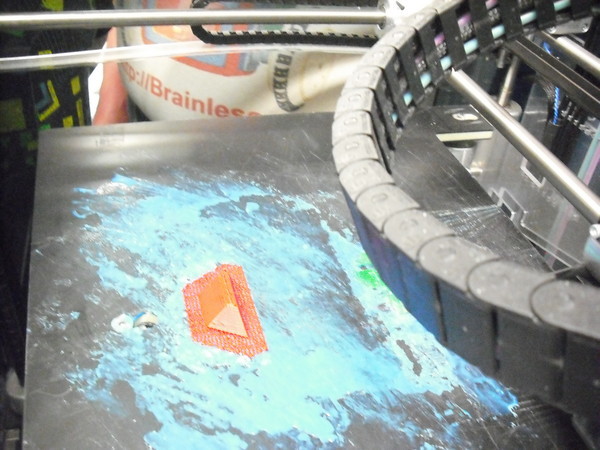
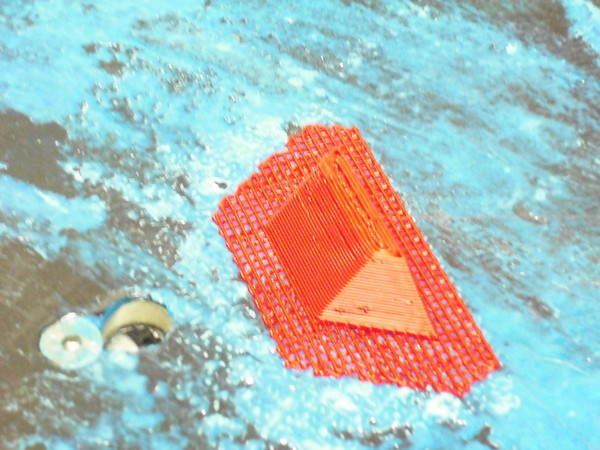

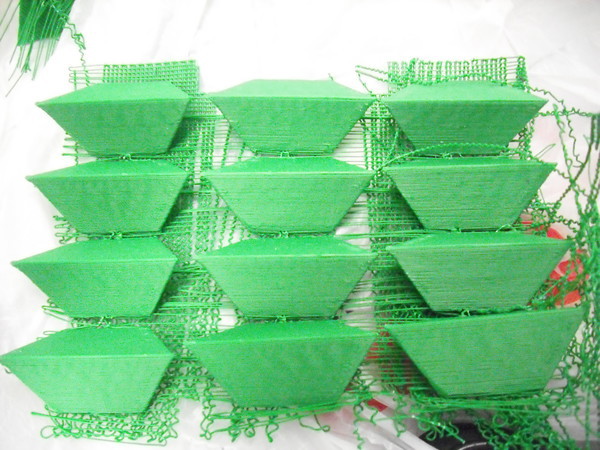
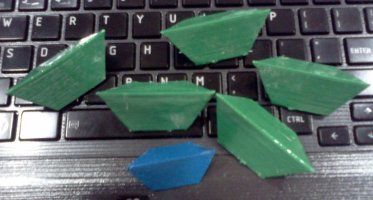
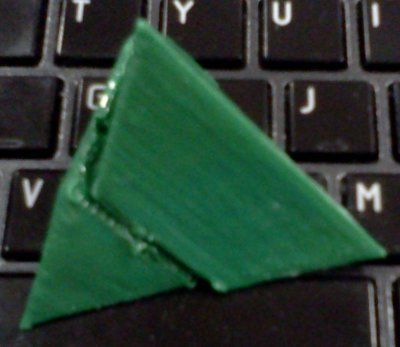
IF I only had a PP3DP UP! printer I could give more info about designing for printing for that printer.
Design 2 Print is easy in SolidWorks once you learn the process for the particular printer.
I hope you notice the mass production image ... yes, after designing one part, then I copied that part and made tiny thin connections between all the parts to create one large part that is made up of a bunch of the original parts to help speed up printing to make a bunch of these for gifts to friends 'n family.
Last Step ... Sanding the part to near perfection, then using finger nail polish remover (Acetone) on an ABS printed part you can either lightly brush on the acetone to better harden/strenghen the part or put it into a vapor chamber and warm up a pool of acetone.
I usually just brush the acetone on my parts ... it's quick 'n easy, but do it over a porcelain sink or inside a cheap HDPE container for easy clean up.
UP! Software ... My First Try ...
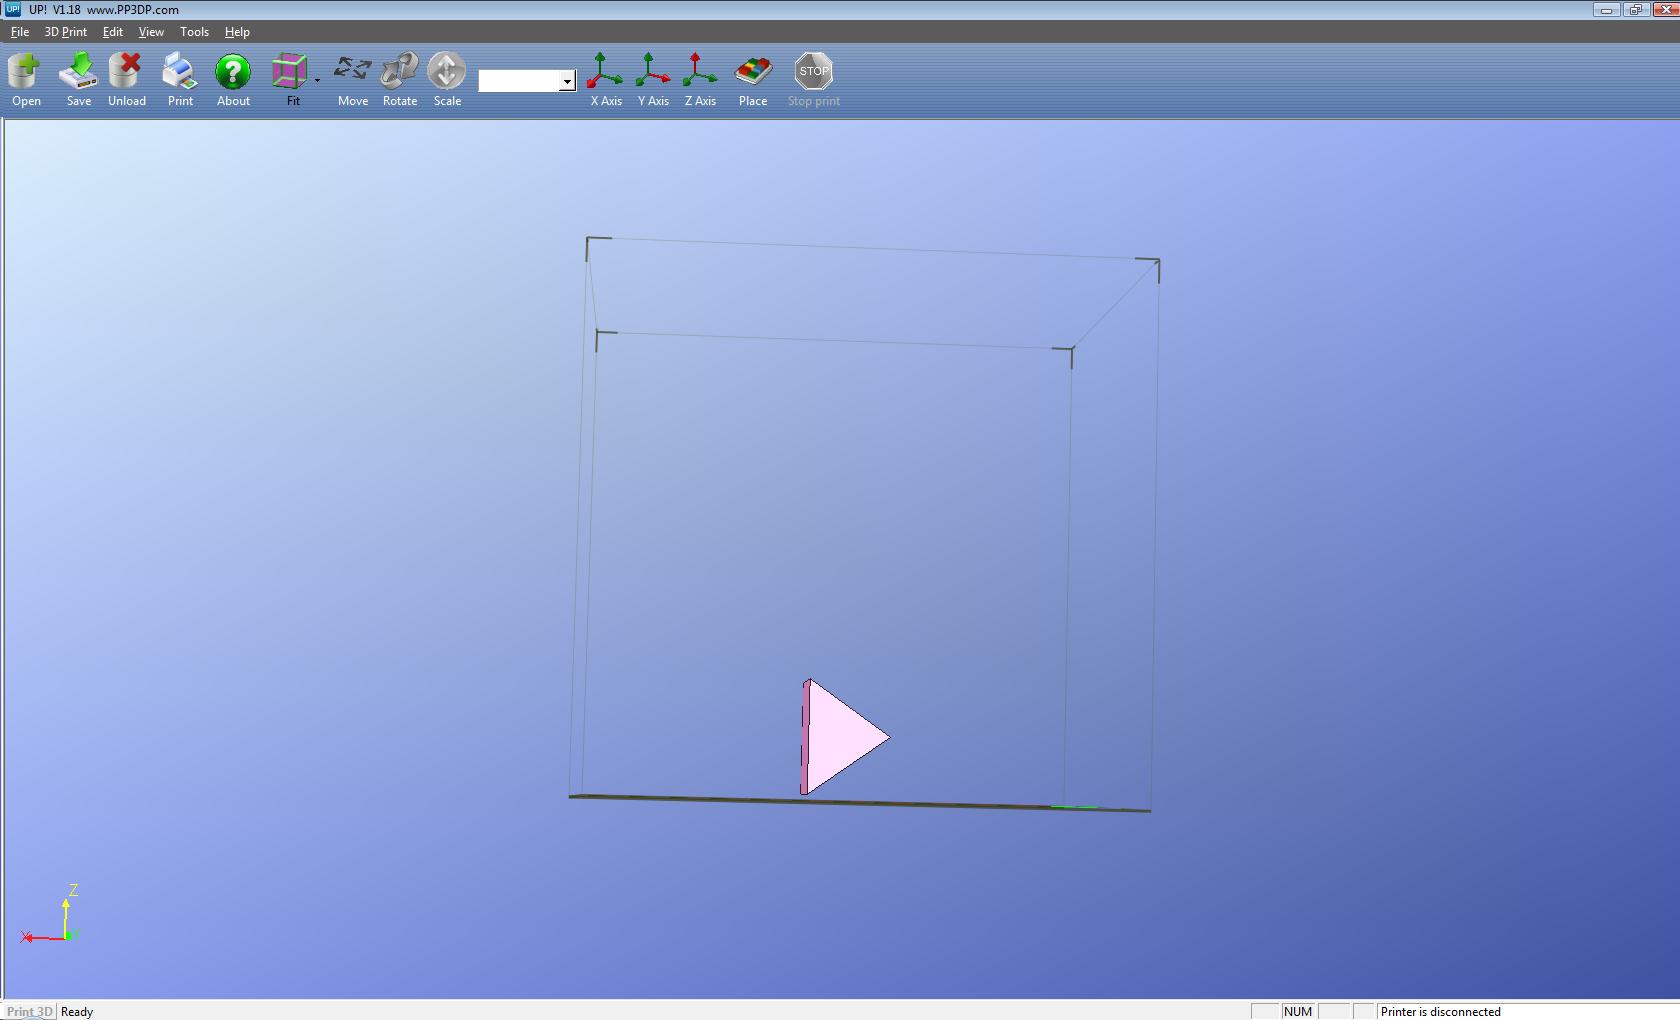
This is my first look at the Up! Software ... using the 2-Piece Pyramid part file I imported it.
Rotate 90° About Y-axis ...
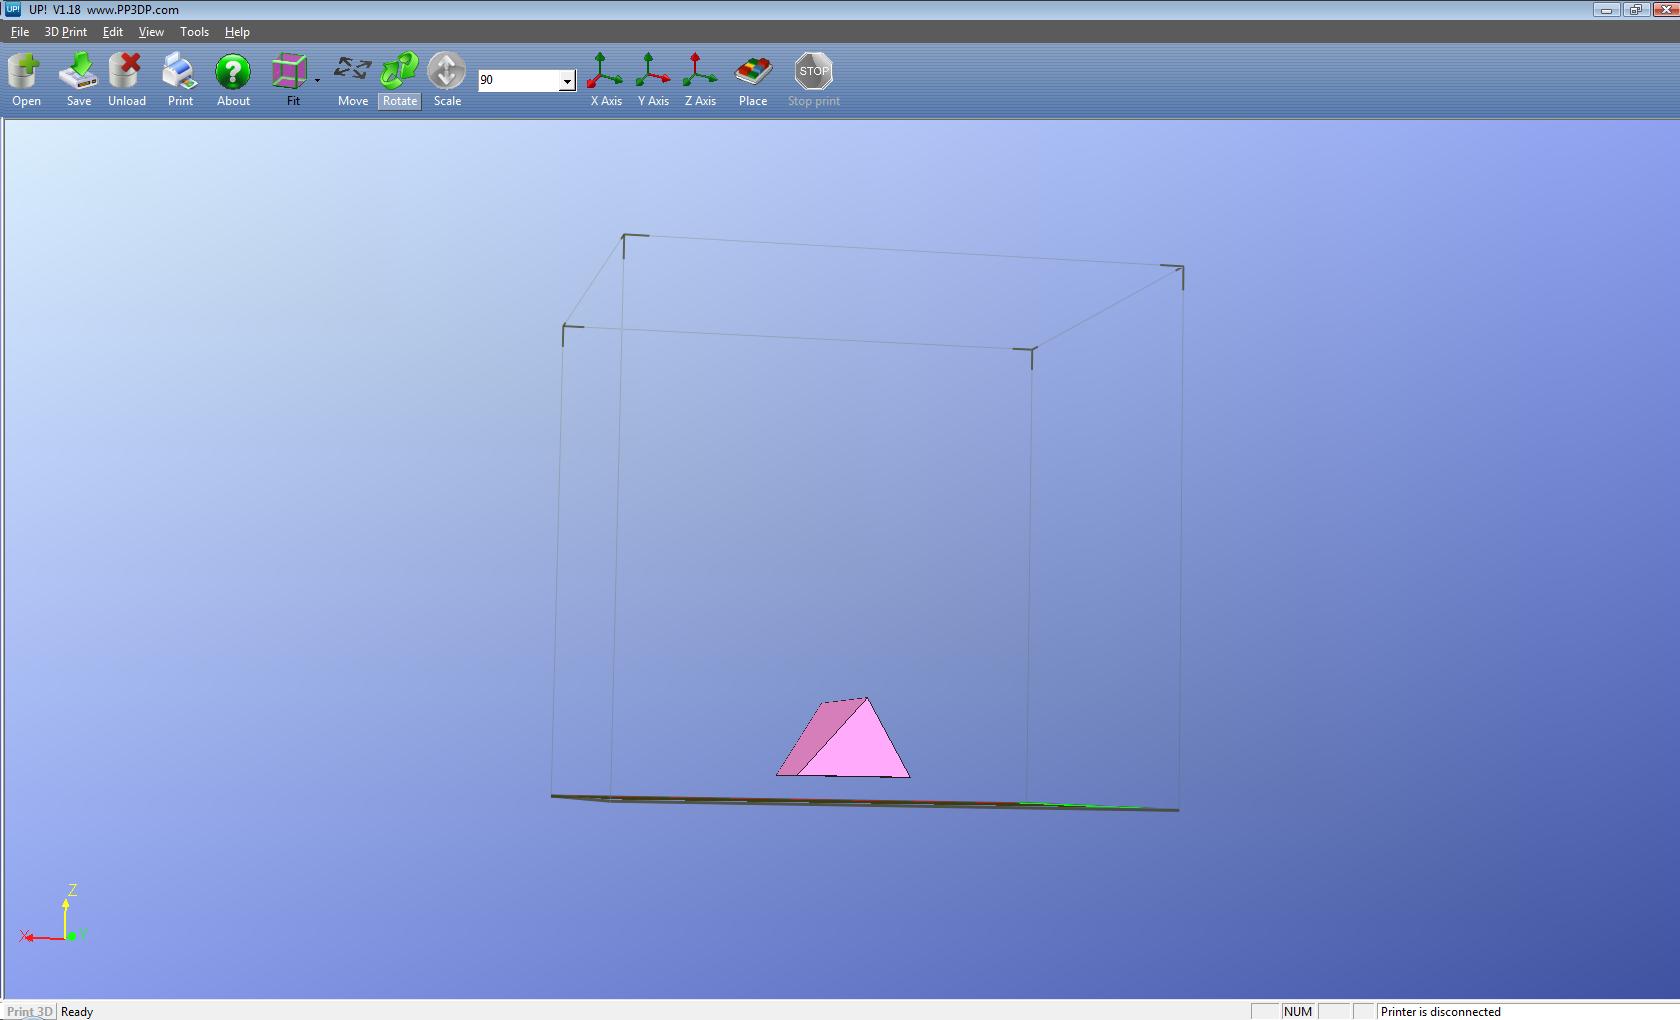
And so to do that I clicked on Rotate, then selected 90 in the little pull-down window and finally clicked on the Y-Axis button.
Lower the Part to the Build Bed ...
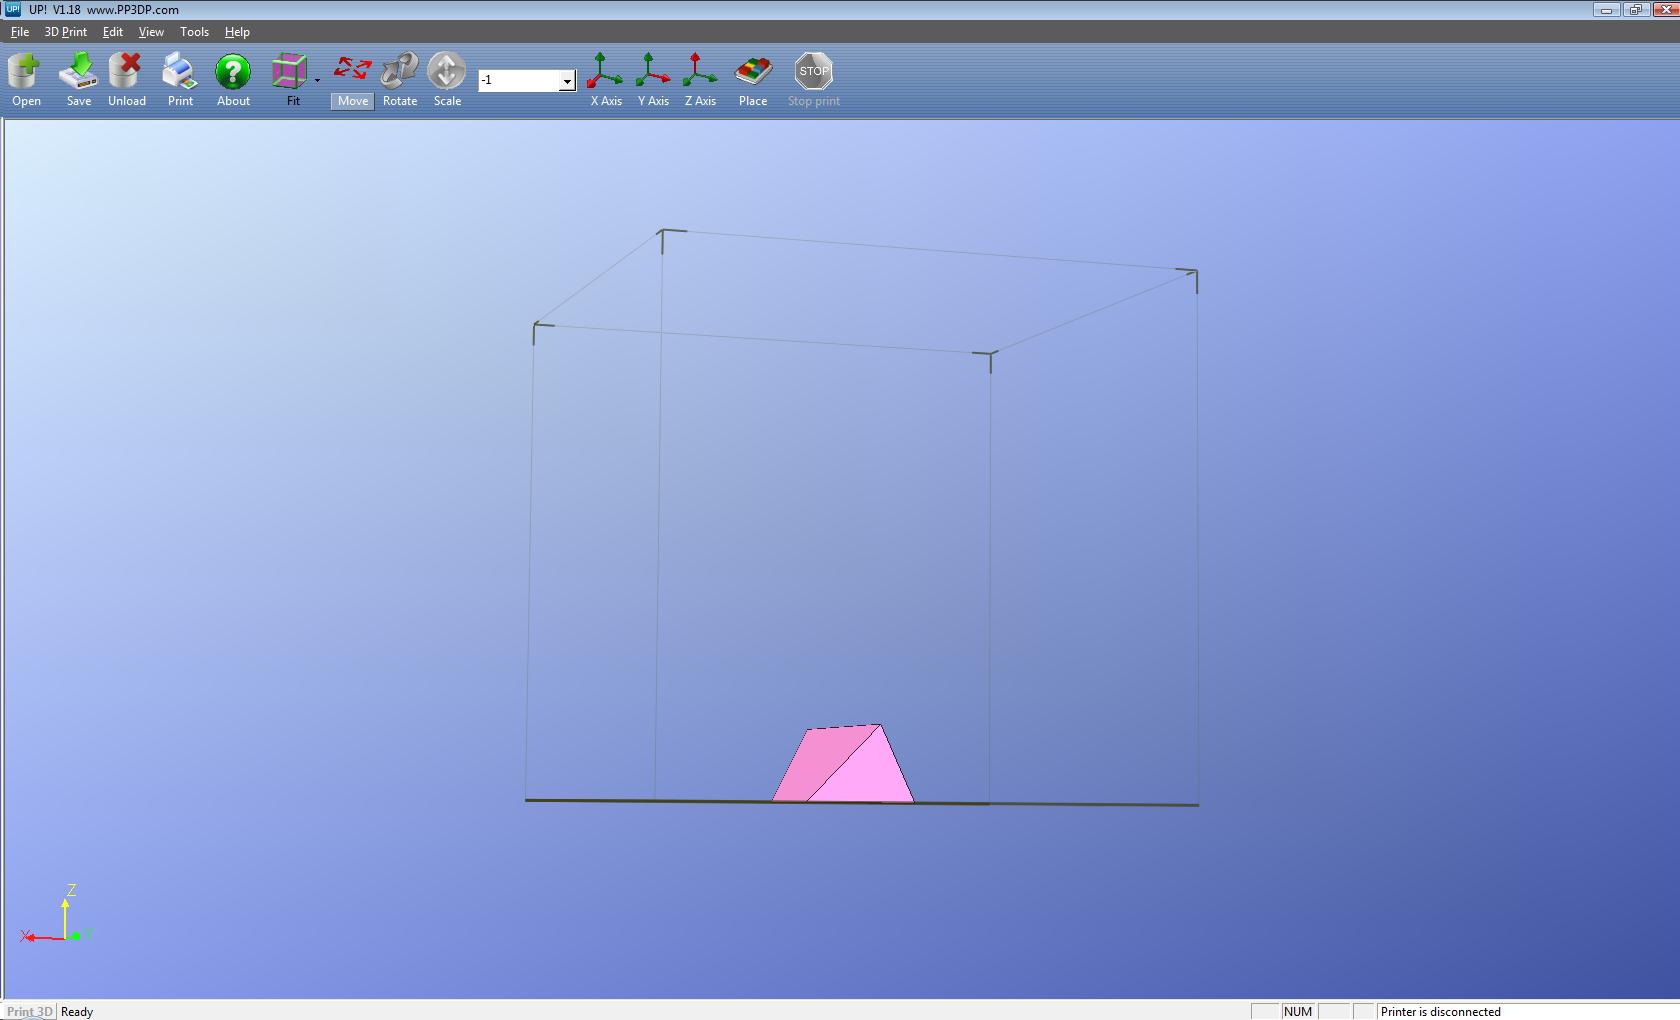
To do this I clicked on Move, then -1 in the pull-down window and finally clicked on the Z-Axis button.
I had to do this a few times to get the part seemingly onto the build bed.
I had to do this a few times to get the part seemingly onto the build bed.
Then I Clicked SAVE ...
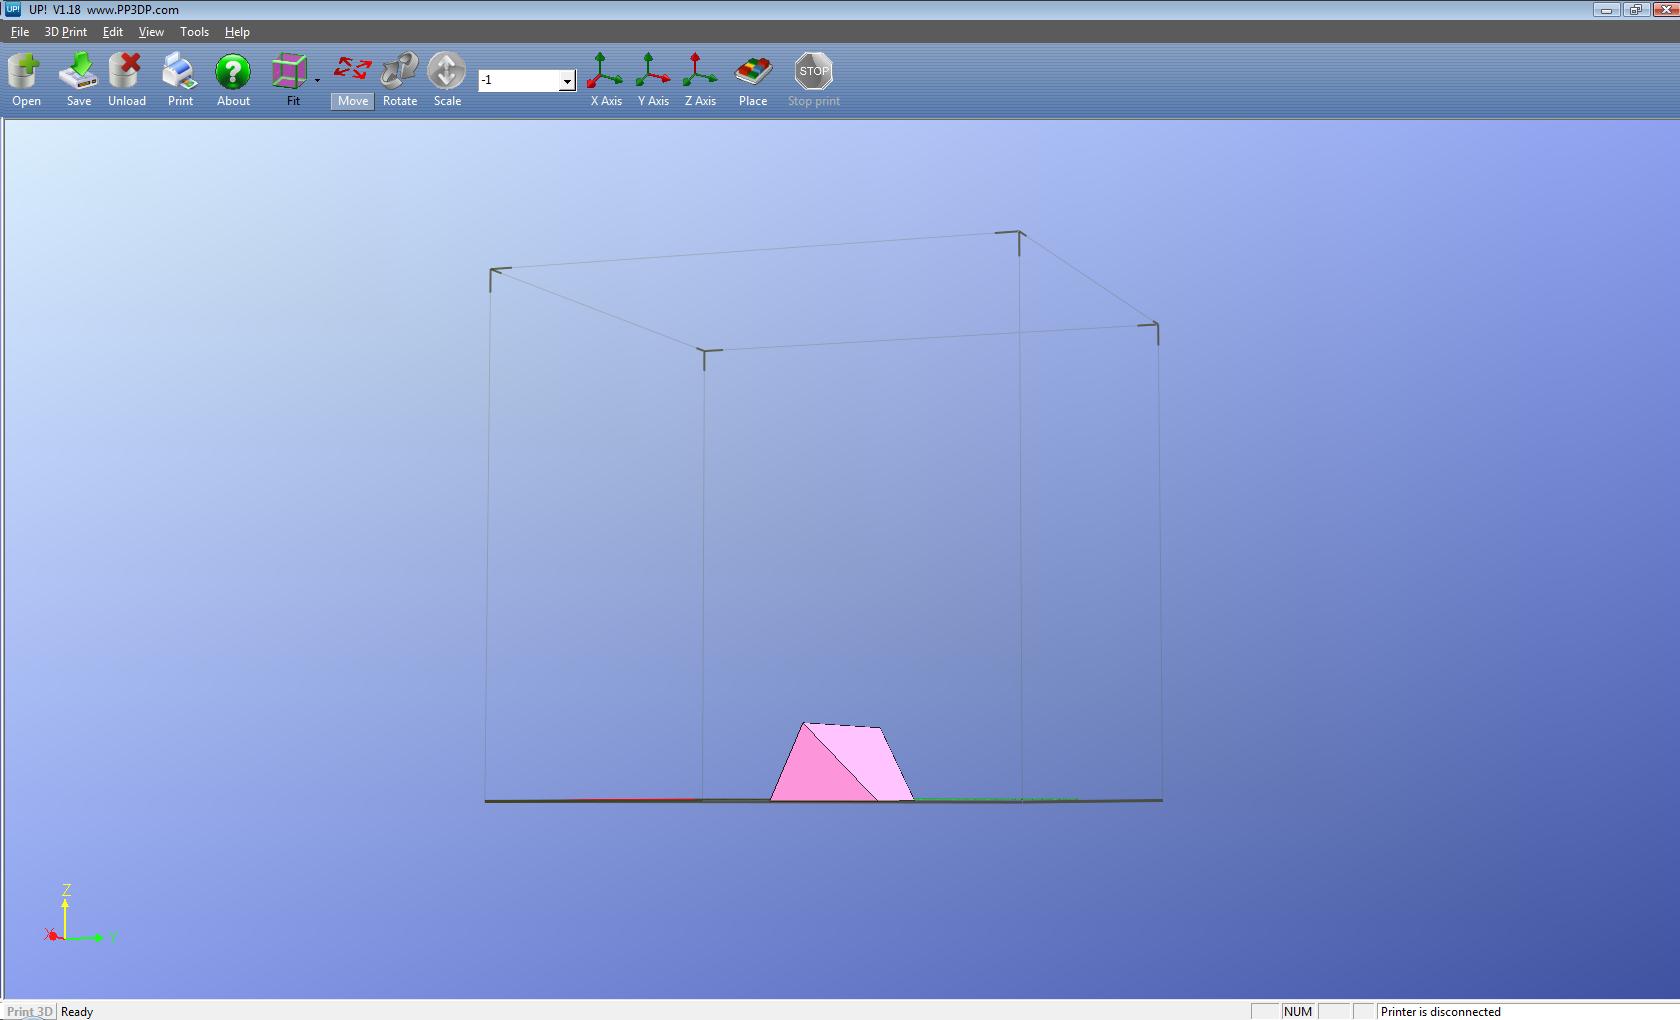
I don't know if this is all it takes or not ... I cannot click on the PRINT button since I do not have an UP! printer.
I tried to upload the saved file (2PiecePyramid.UP3) here so if somebody has an UP! printer they can give it a try ... or fix it ... but I can't seem to get it uploaded ???
I tried to upload the saved file (2PiecePyramid.UP3) here so if somebody has an UP! printer they can give it a try ... or fix it ... but I can't seem to get it uploaded ???