3D Printing Words for Necklace, Bracelet, Etc.
by Warthog Labs in Workshop > 3D Printing
485 Views, 1 Favorites, 0 Comments
3D Printing Words for Necklace, Bracelet, Etc.
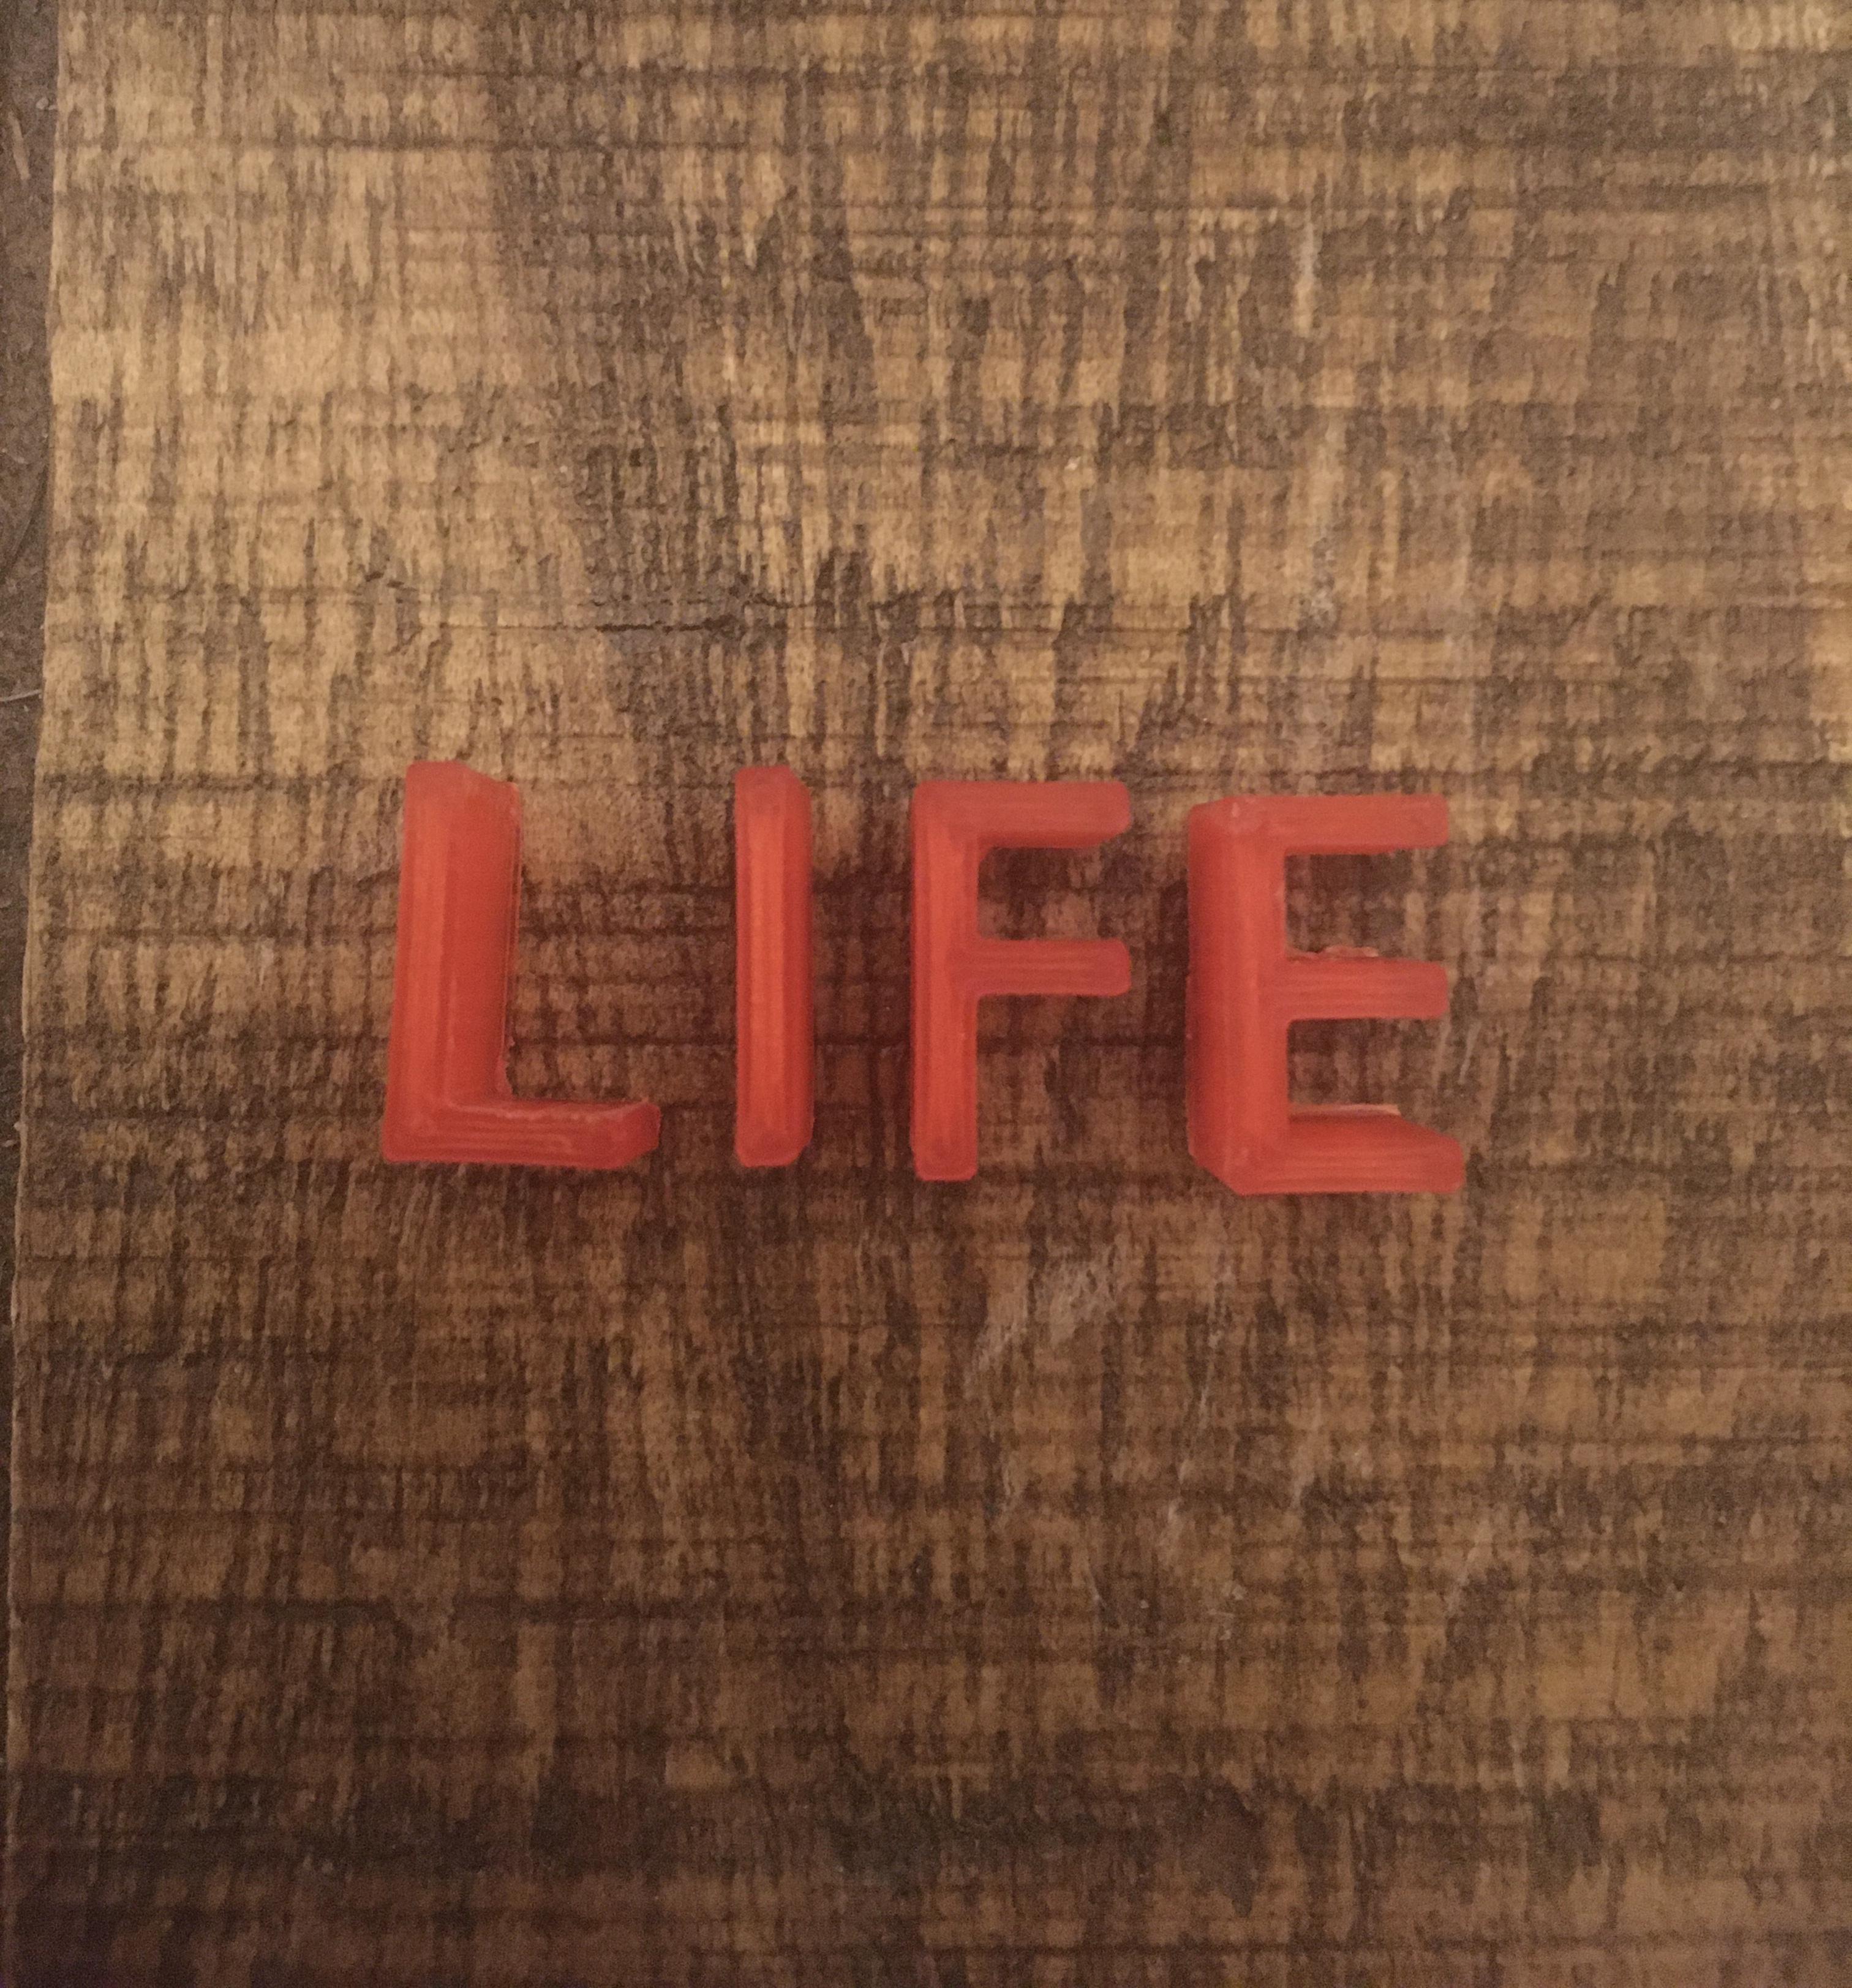
In this guide I will be showing you how to make 3D printable letters for necklaces, bracelets, or for whatever your purpose is!
Supplies
- Blender (3D software)
- Ultimaker Cura (or whatever software you use for 3D printing)
- 3D printer (I will be using the Voxelab Aquila)-
- 3D printer filament (I suggest PLA)
- Sandpaper
Open Blender
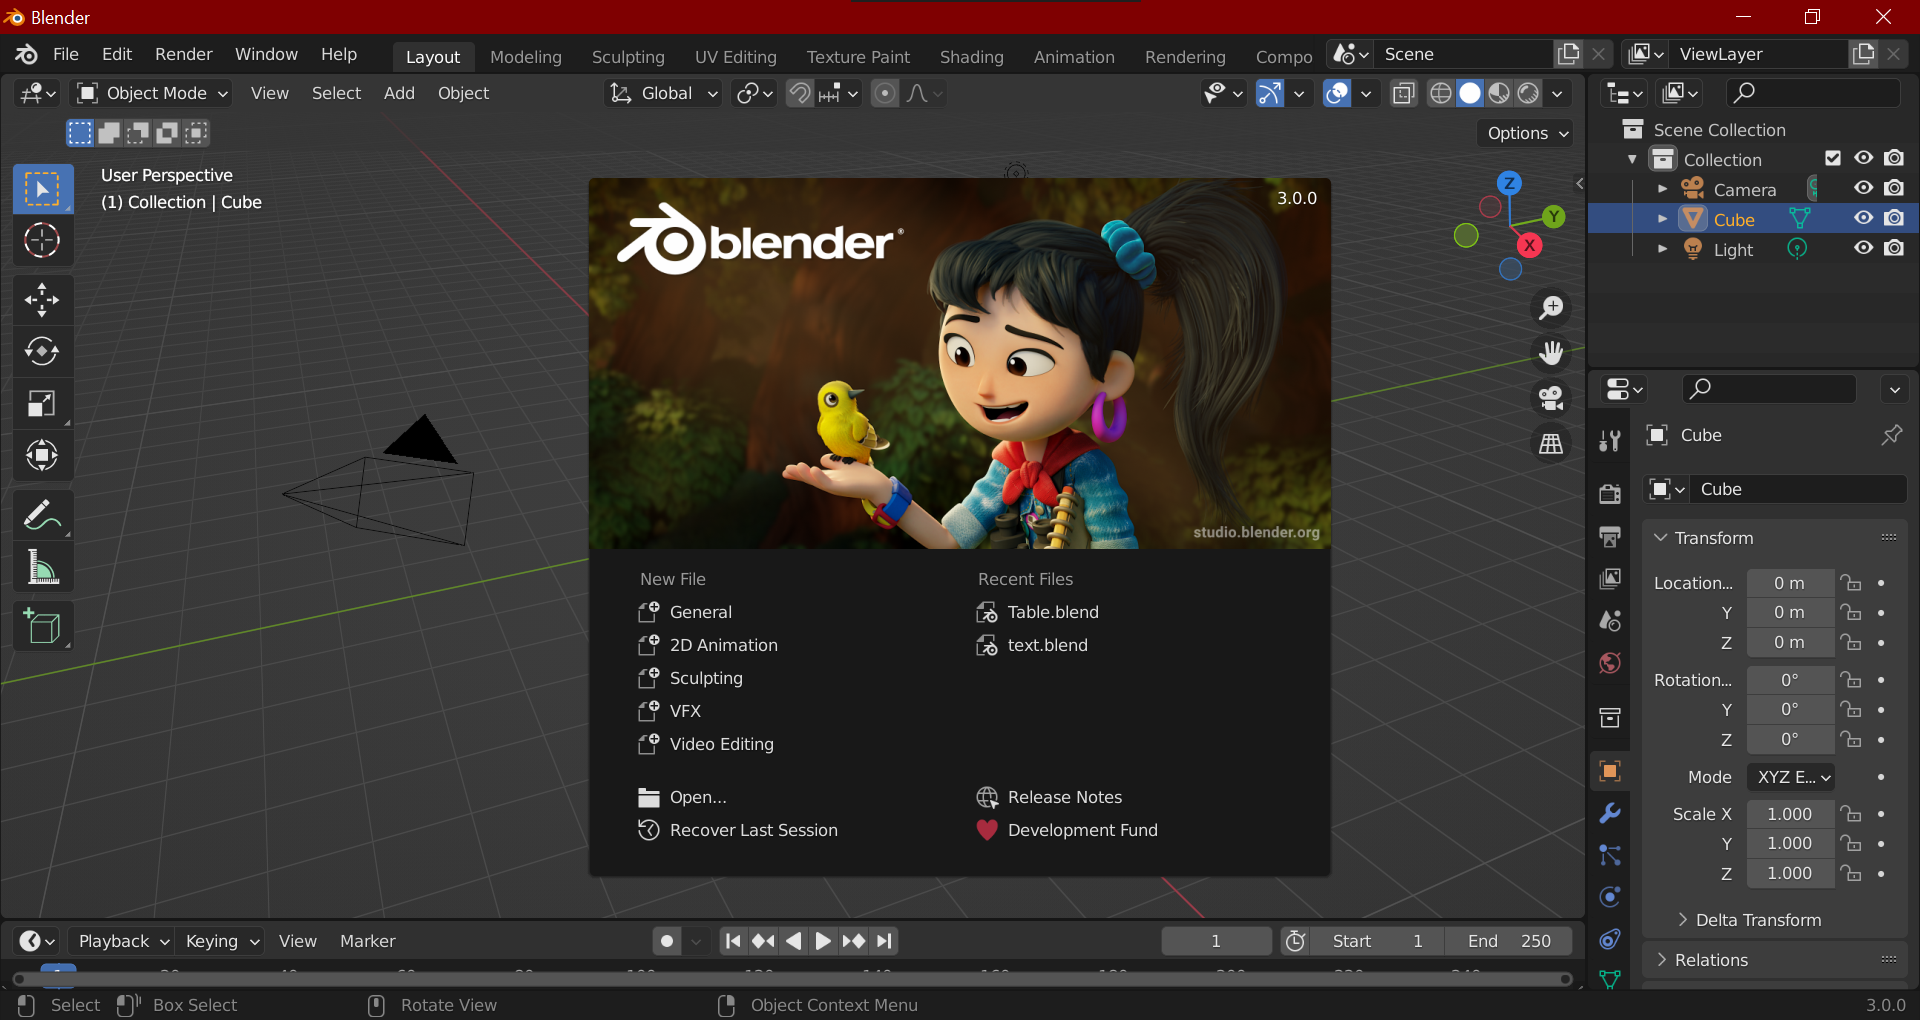
Once you have blender downloaded, open the application and lets get started!
Start a New Project
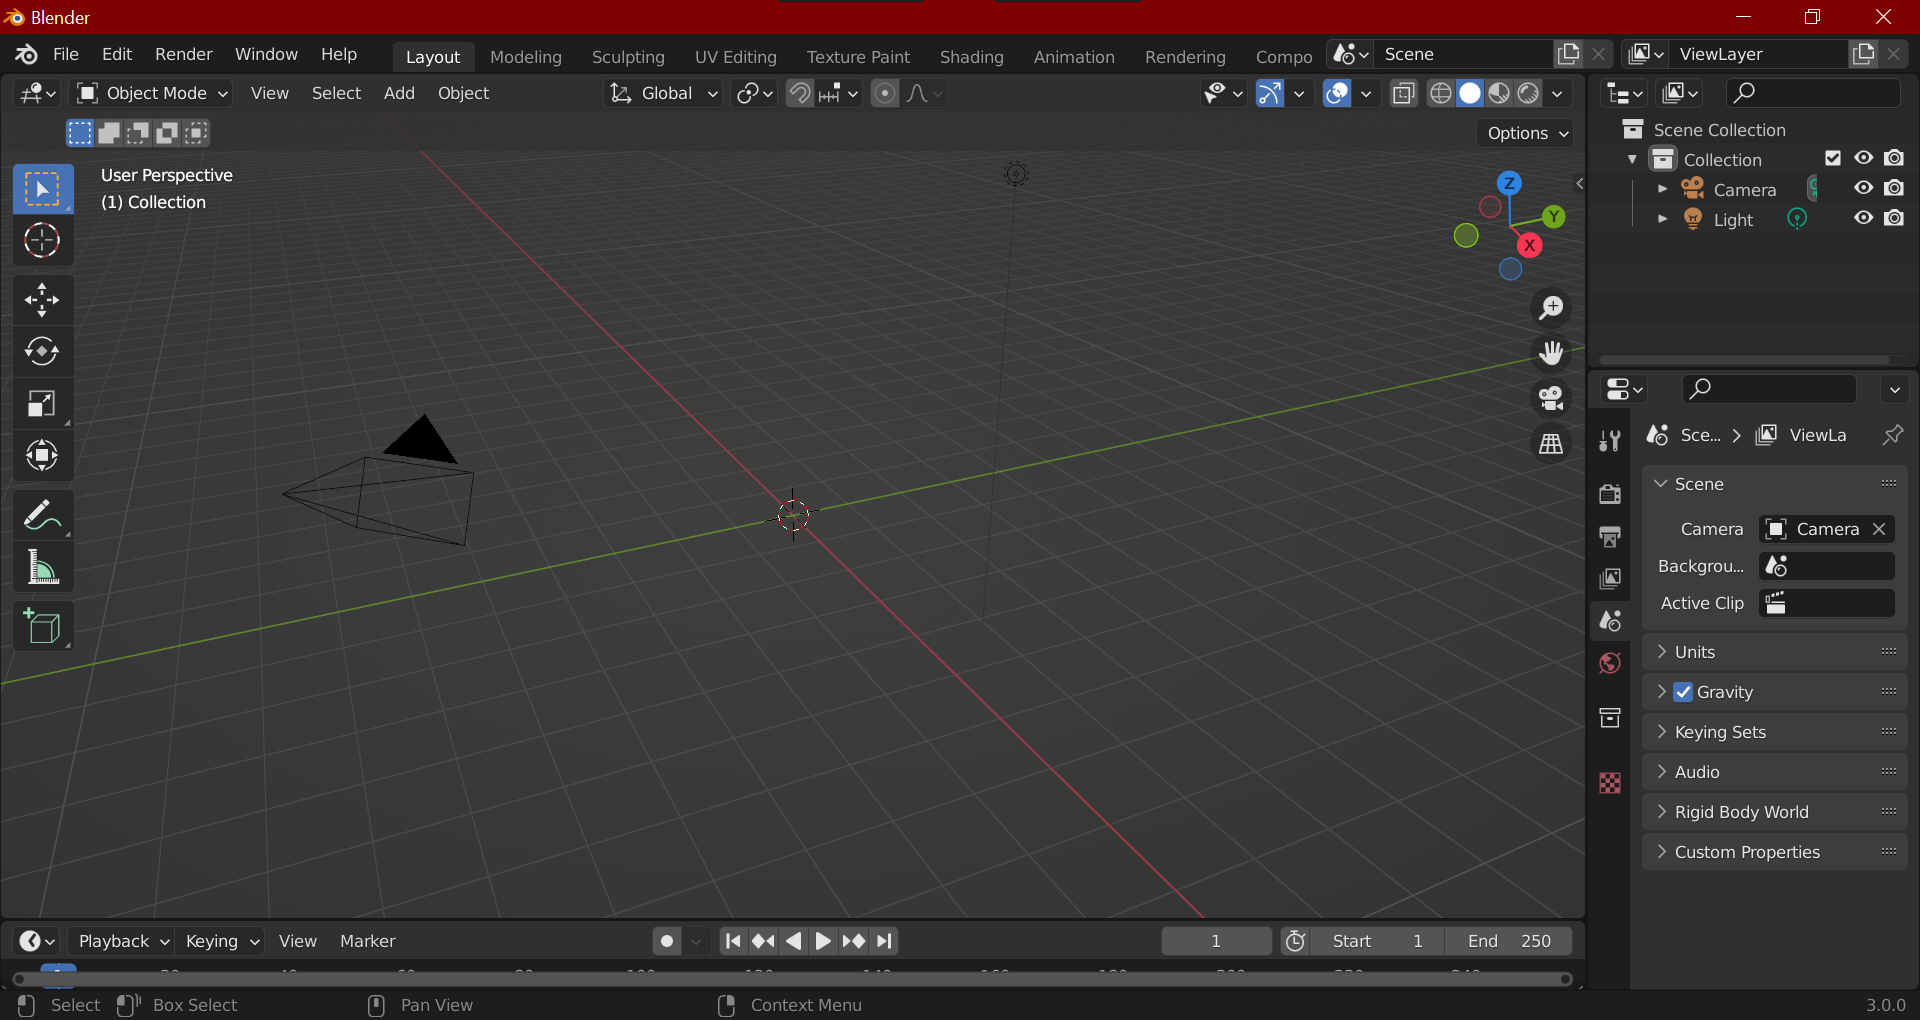
Click to the side of the menu and you should get a screen similar to this. If there is a cube in the middle of the screen, right click on it and and then click delete.
Adding the Text
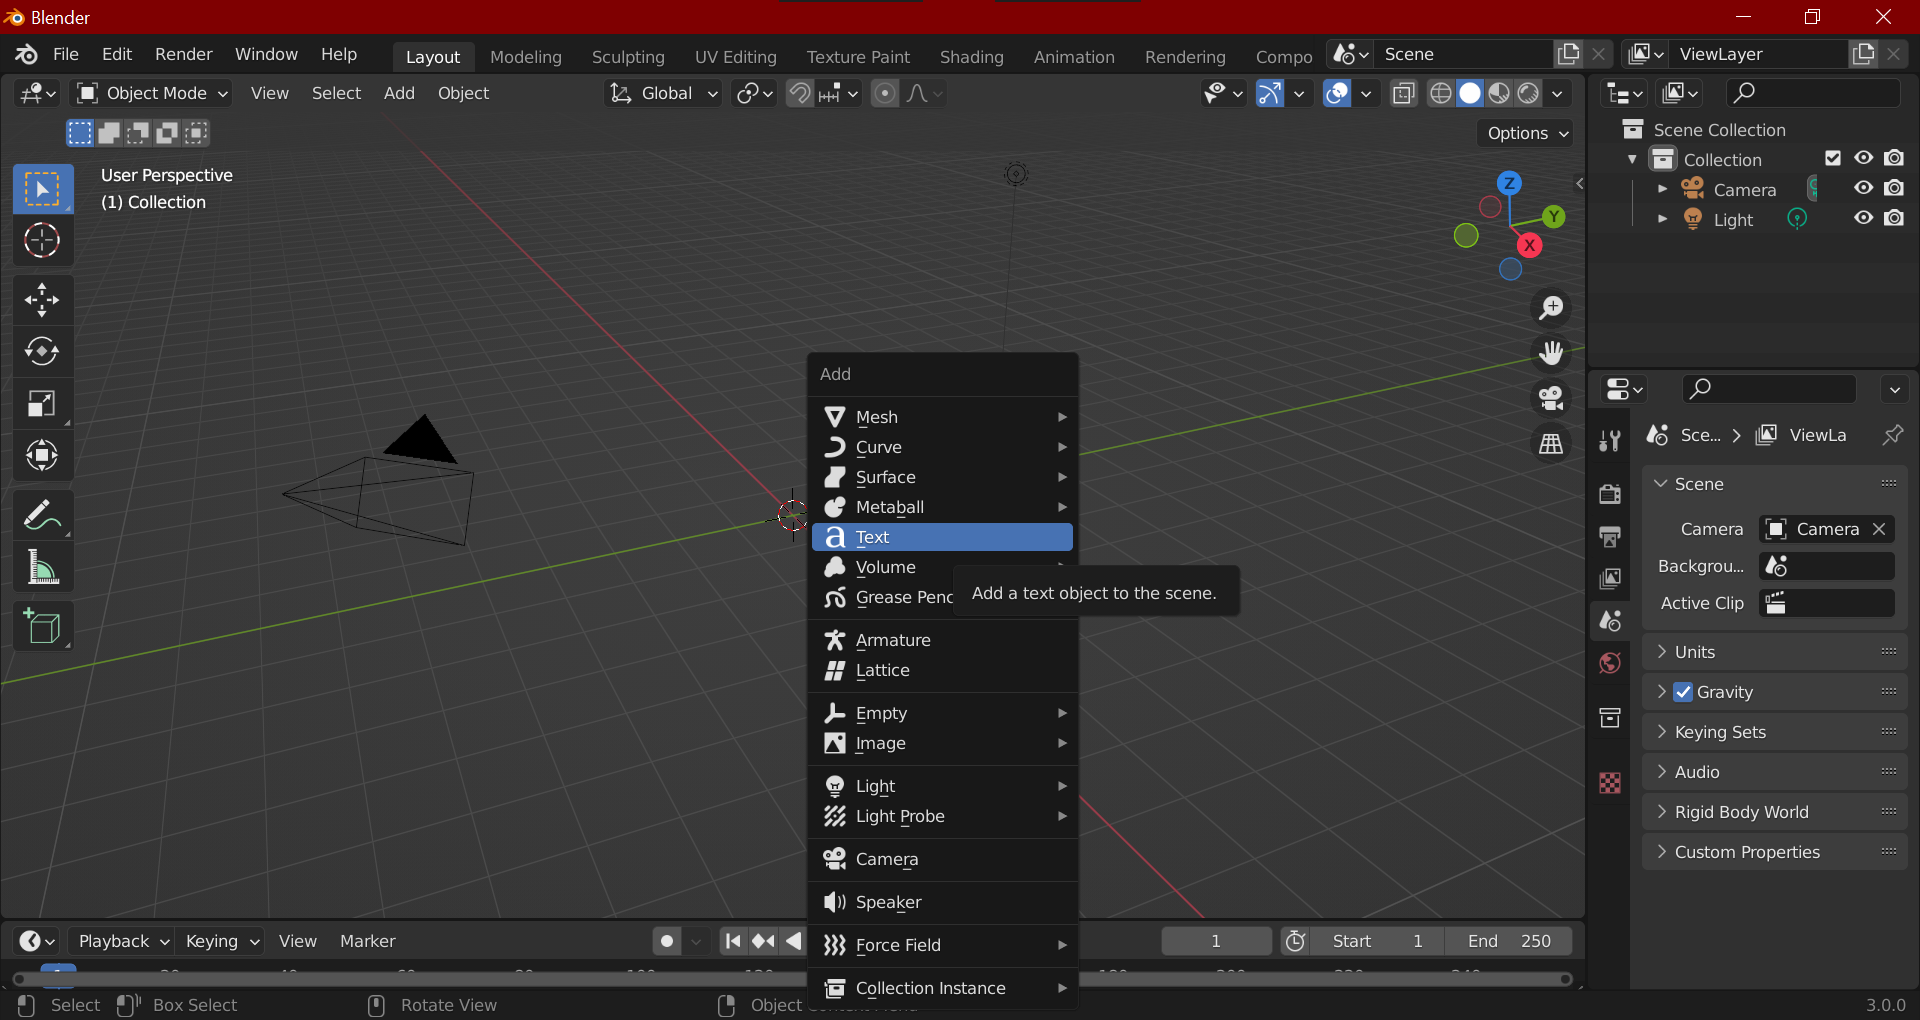
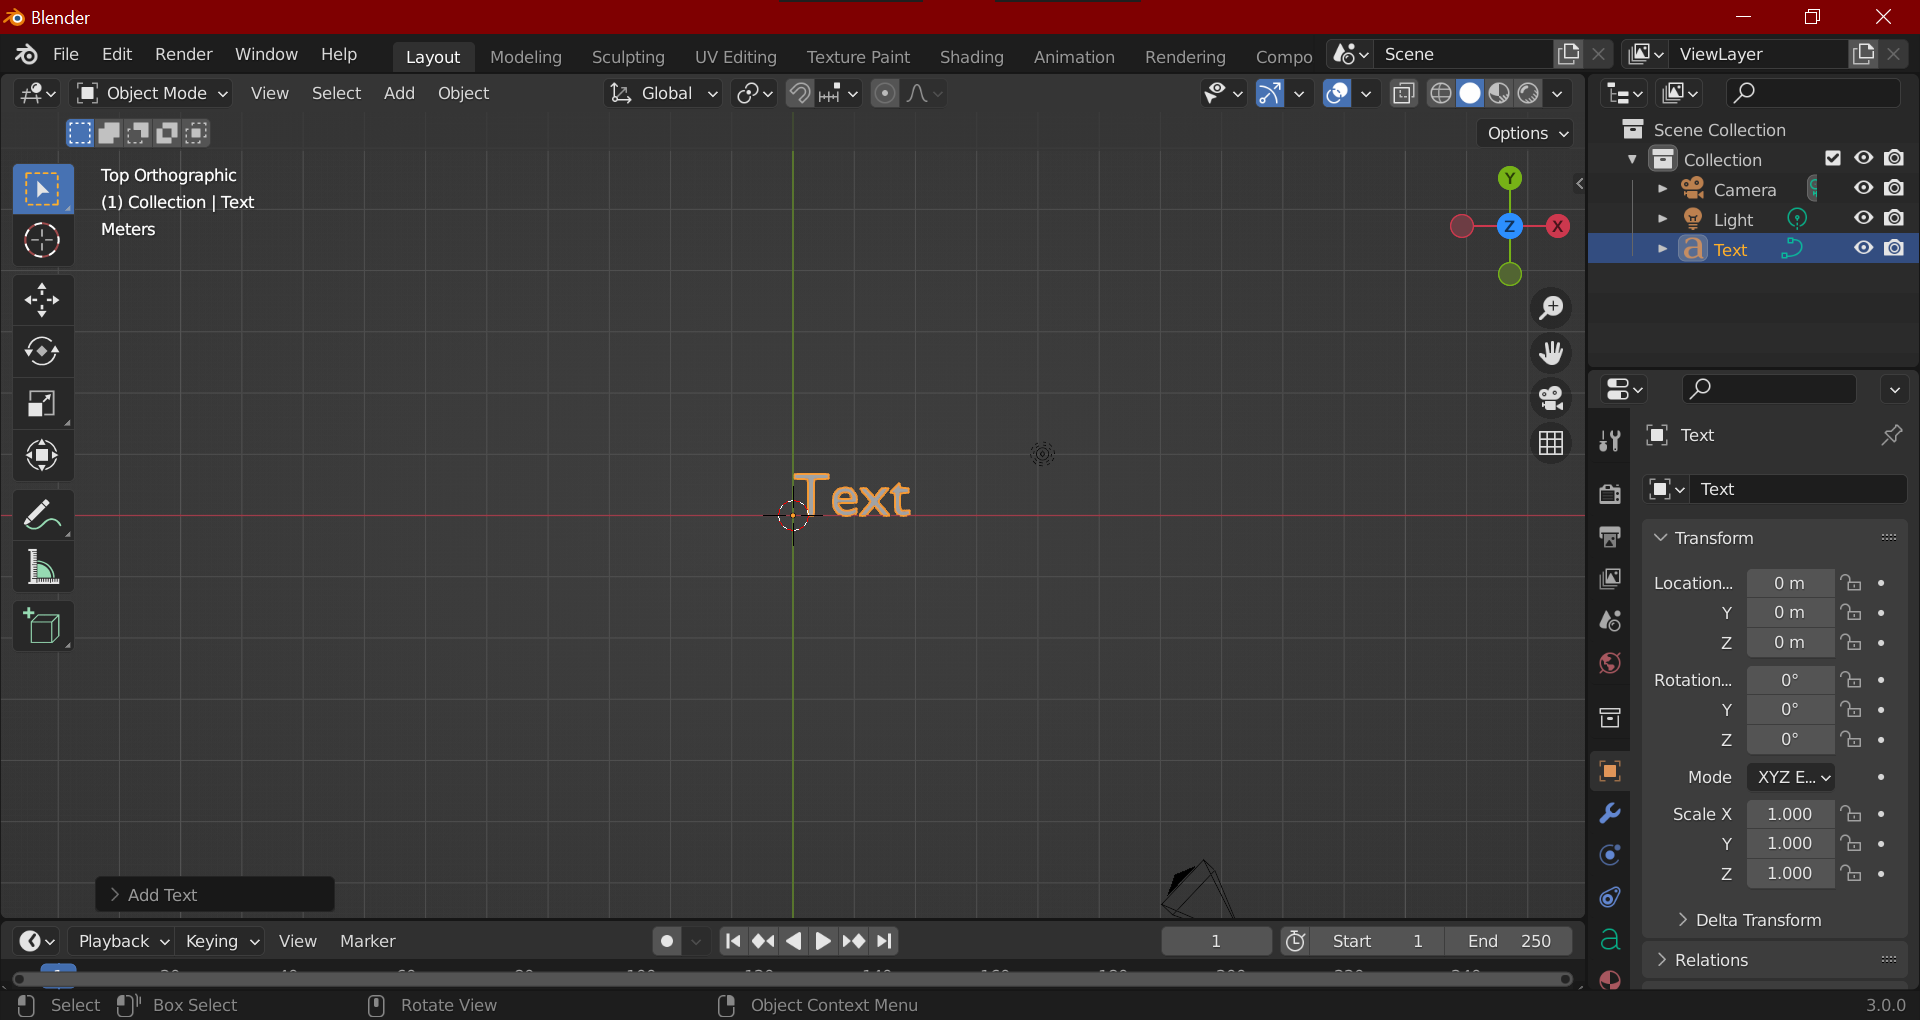
Press Shift+ A to open this popup and then click on the "Text" option. The word "Text" should be placed in the center of your screen, if it is not visible go to the top right corner with the gyroscope shape and click on the z axis.
Modify the Text
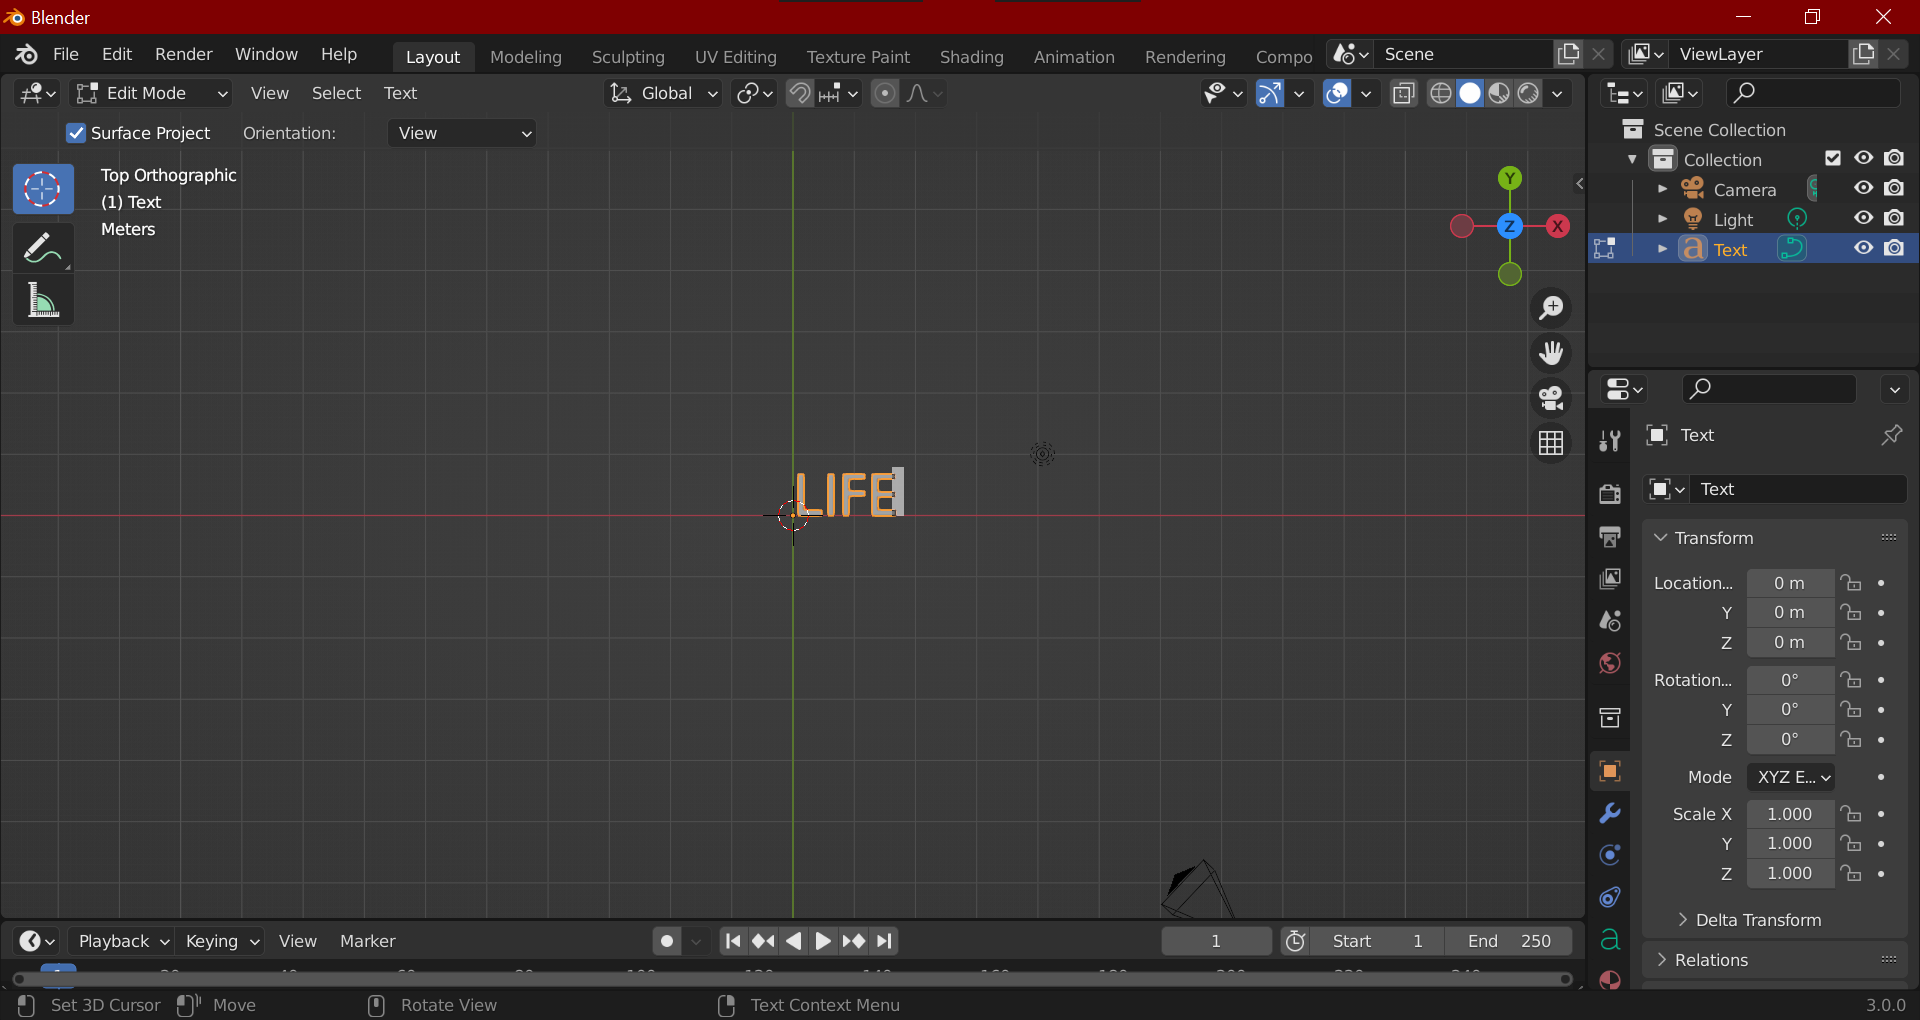
Click on the text and hit backspace until the word "Text" is gone, then type in the word you would like to print.
Make the Text 3D
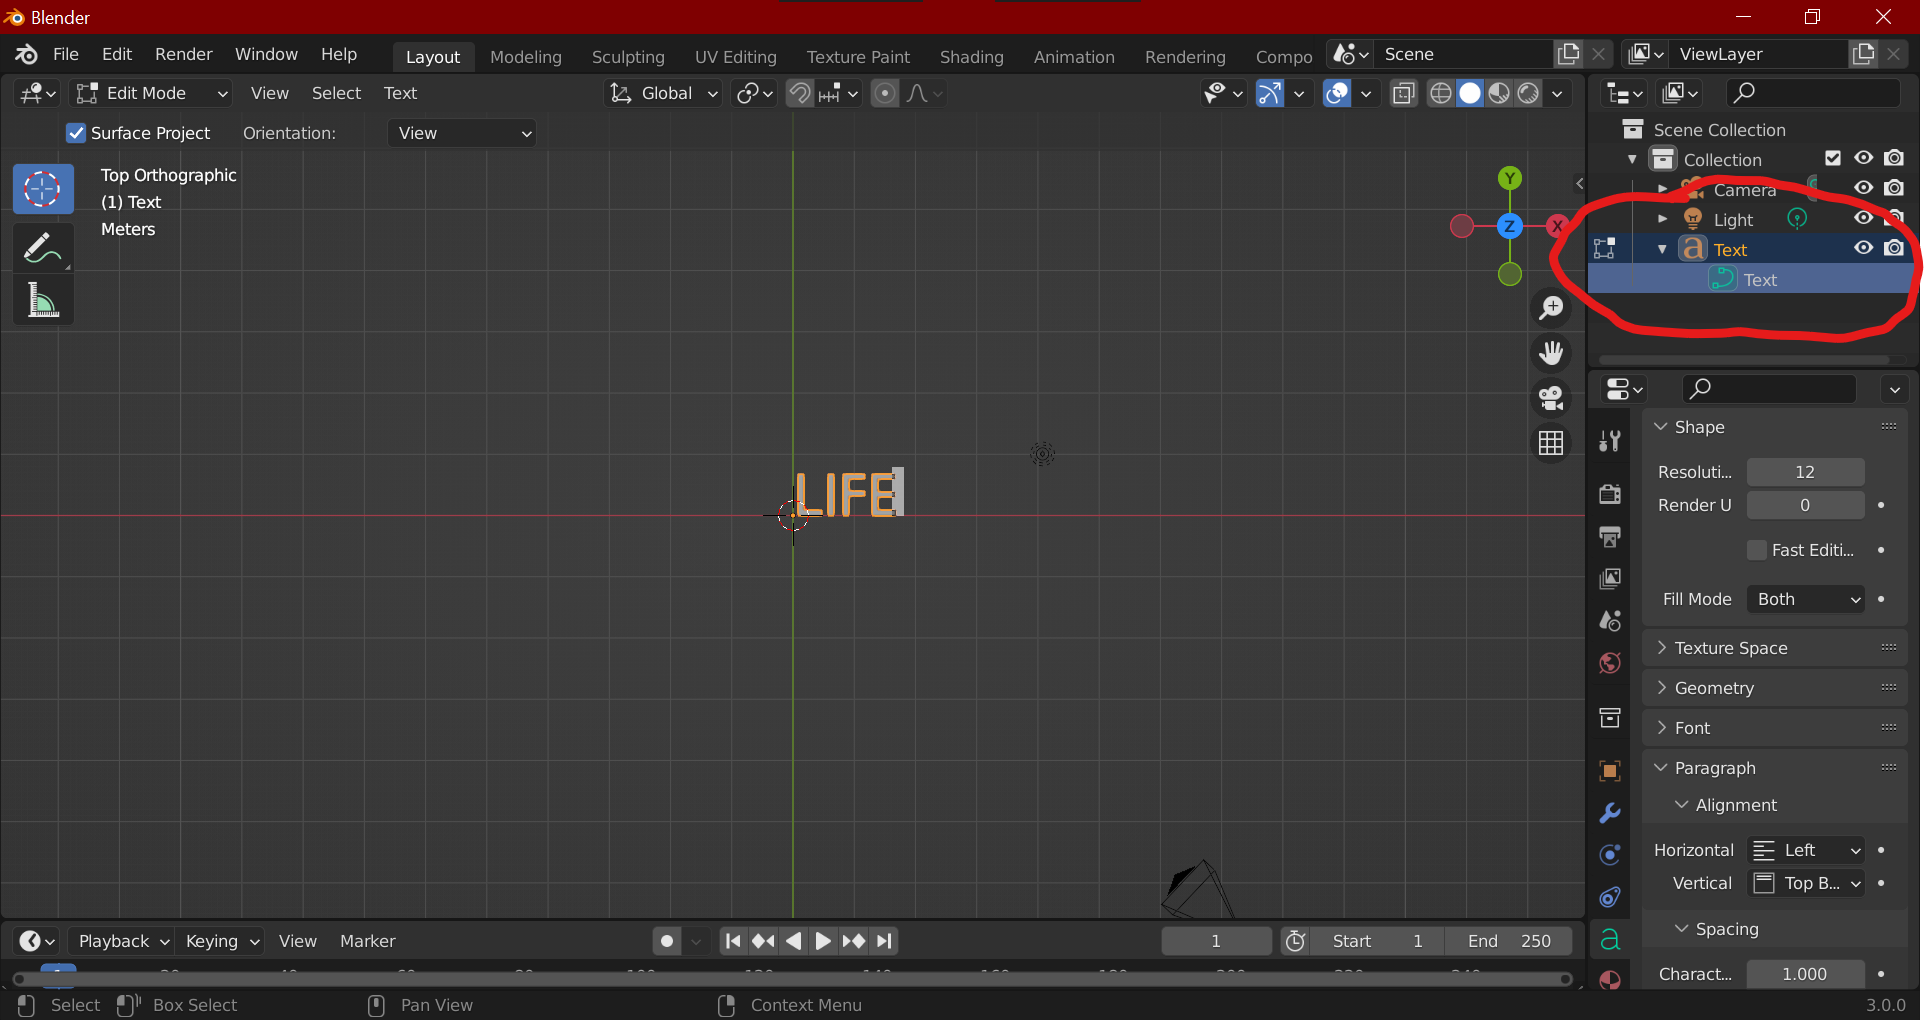
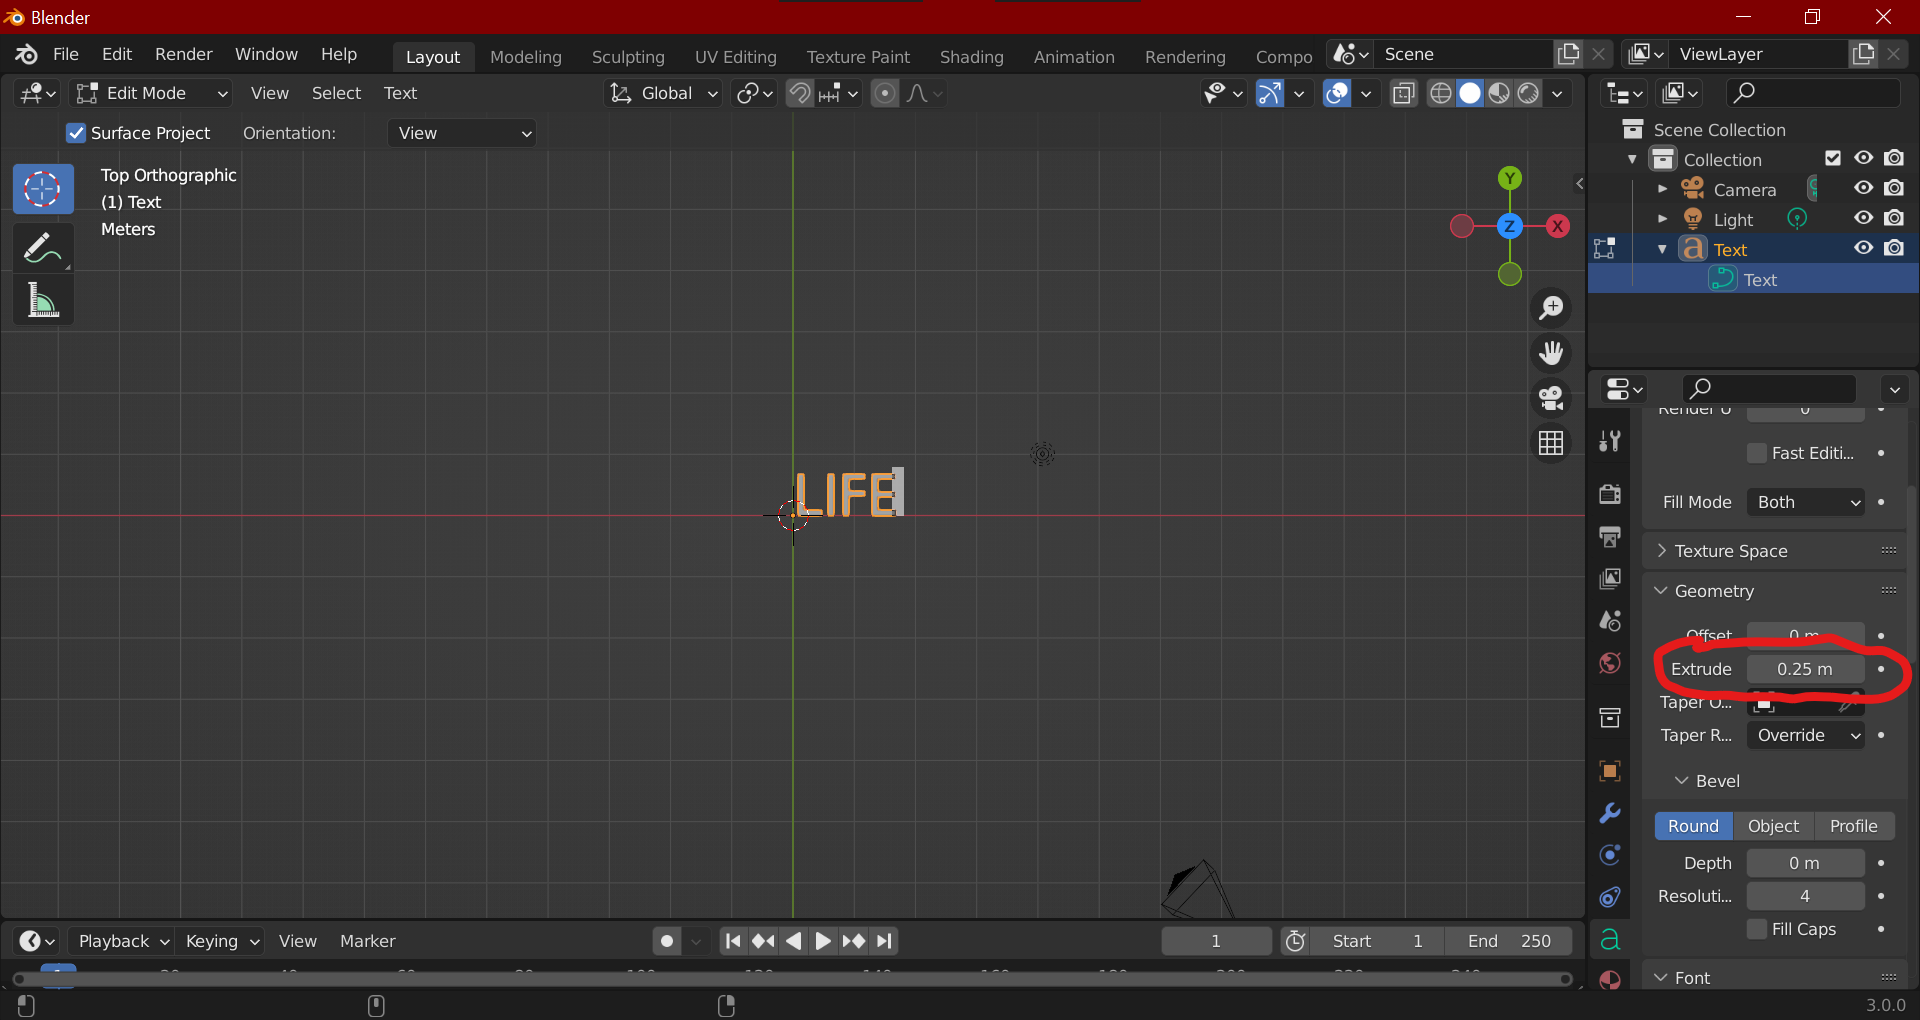
On the right side of the screen click the down arrow by Text and click the Text option. In the list below, scroll down until you find the extrude option. Click the box next to extrude and type in ".2 m".
Export the Text
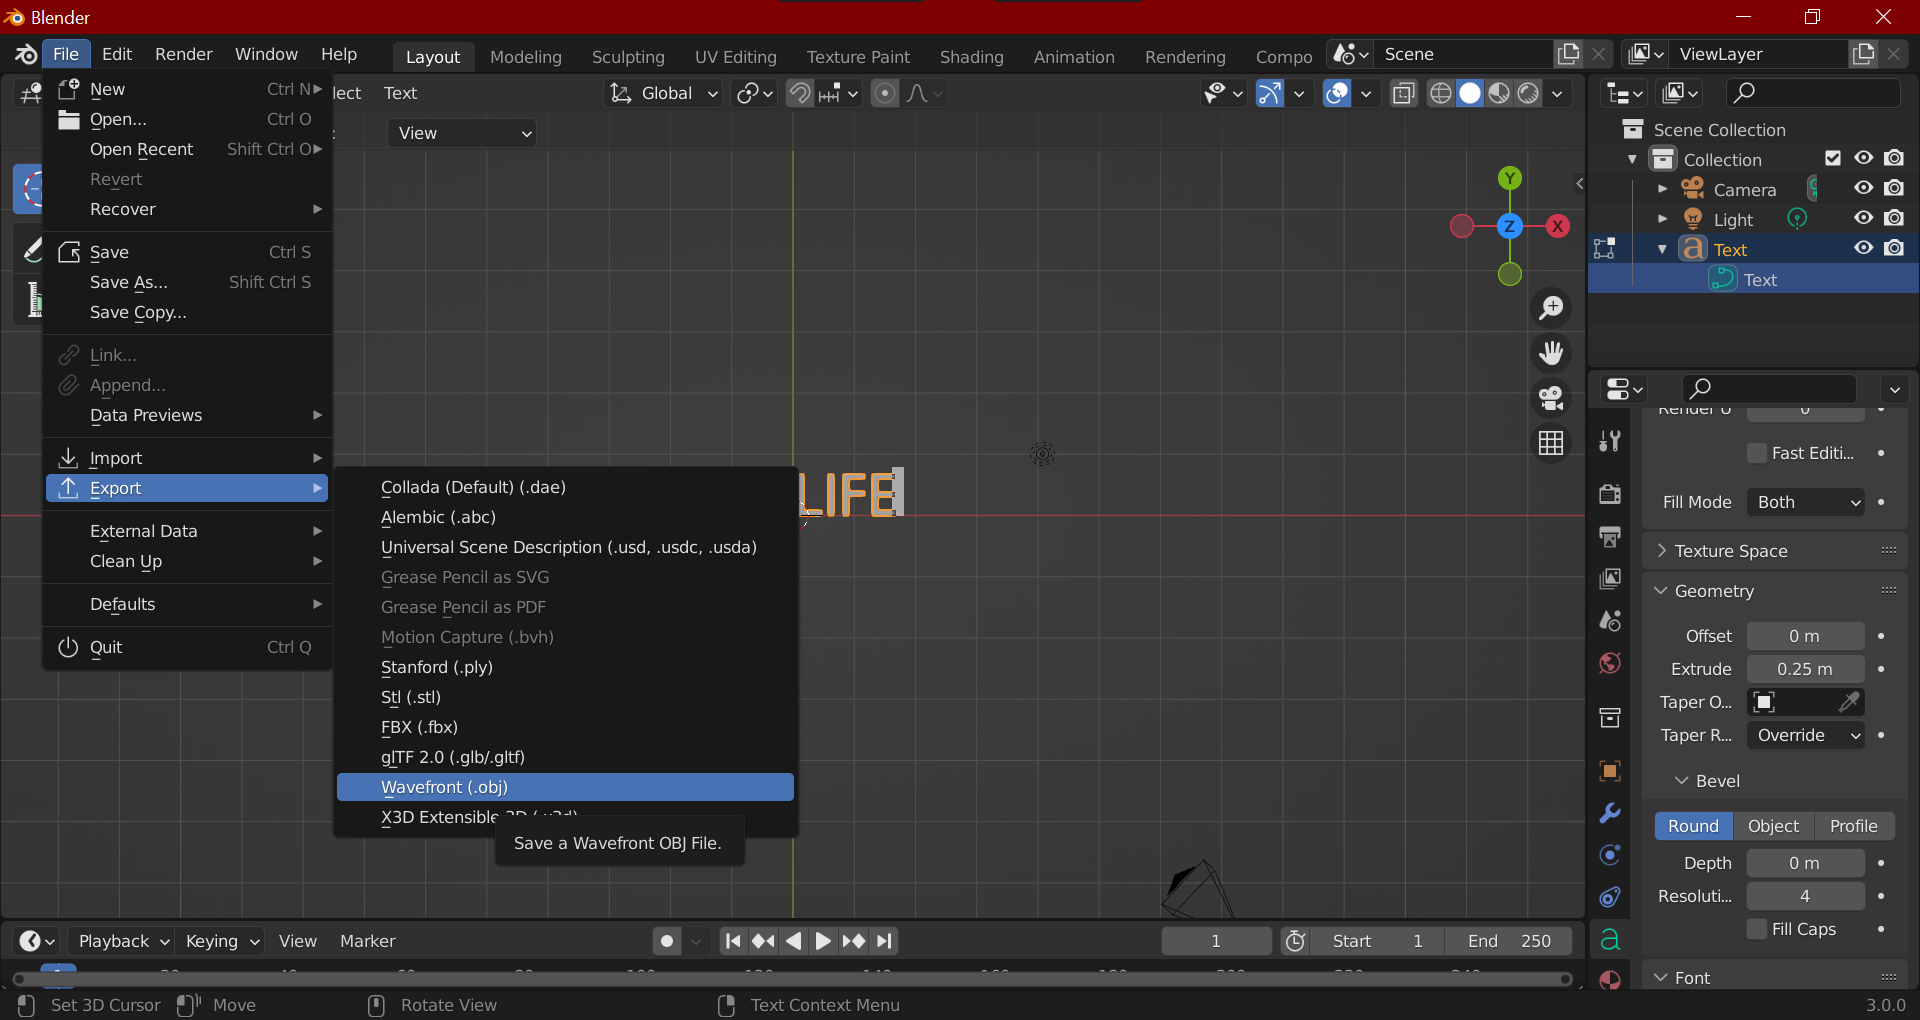
In the top left hand corner of the screen click on file, then go down to the "export" option and select a format that is supported by your printer.
Ultimaker Cura
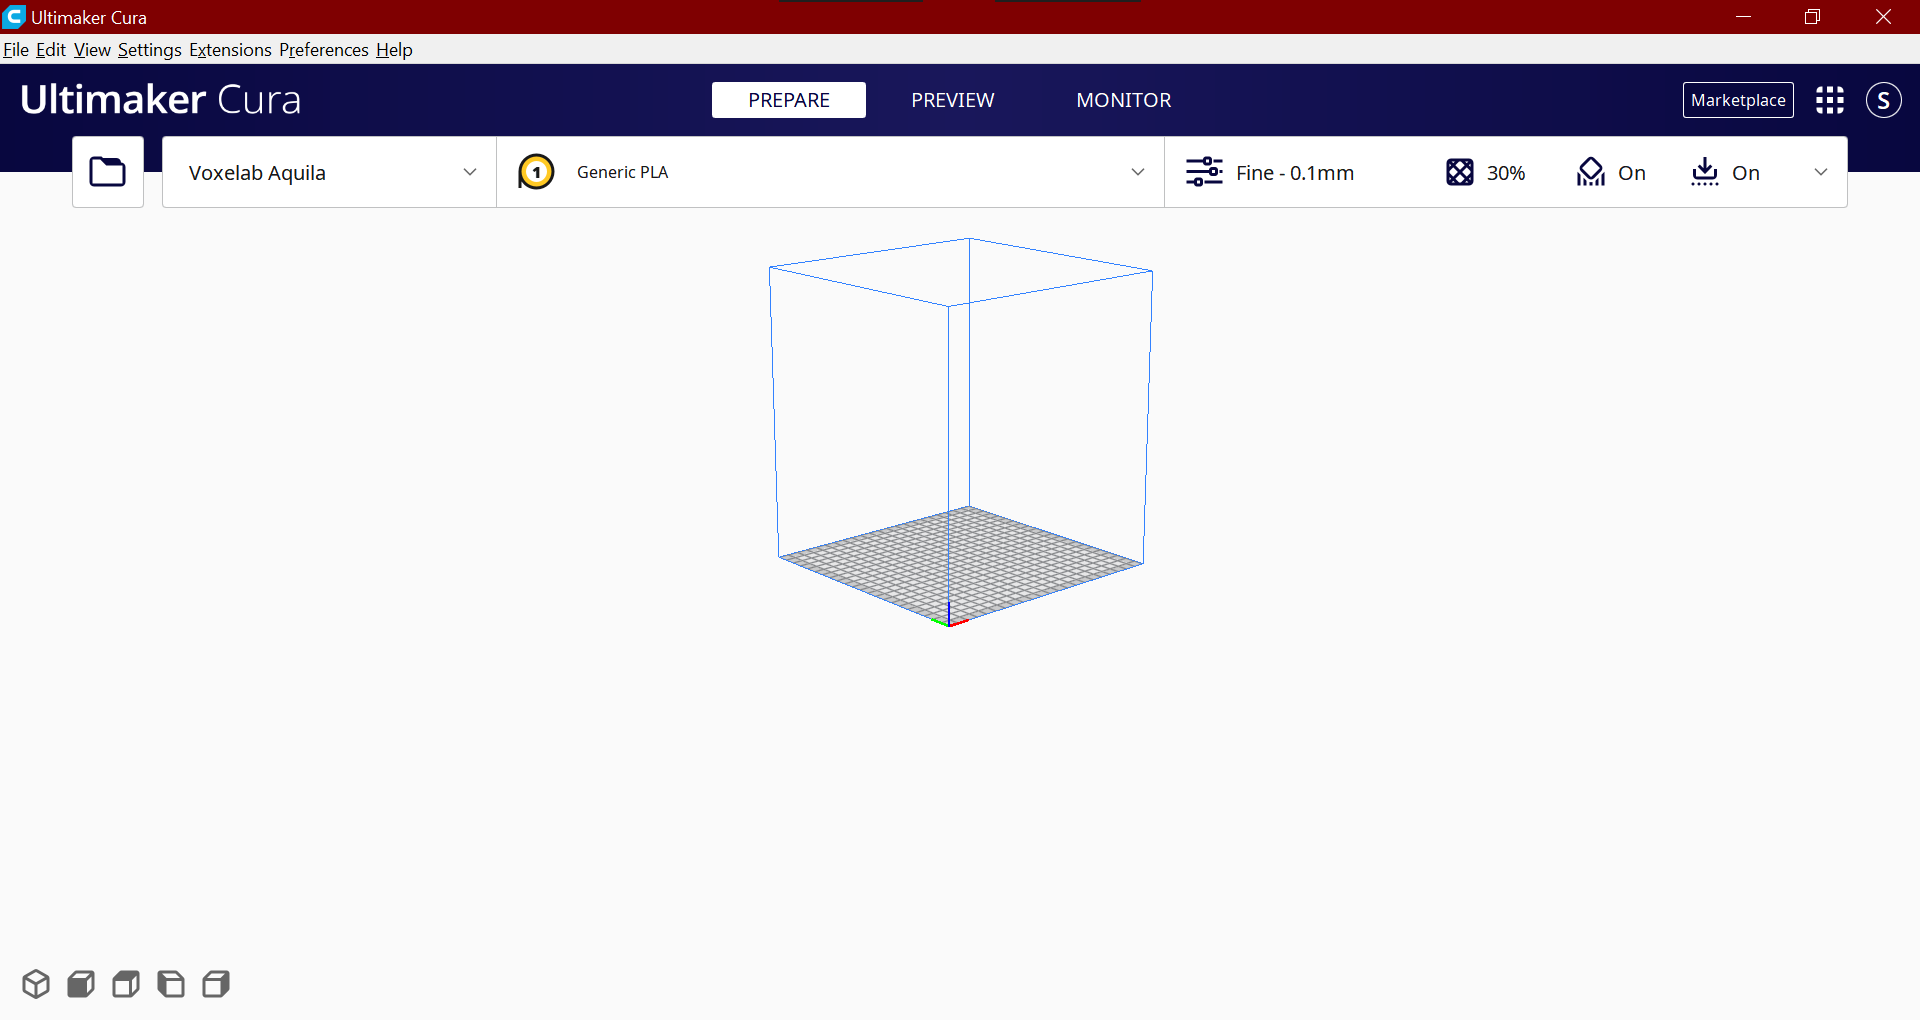
Open the 3D printing software and make sure you have all your printer's details in it correctly.
Printing Details
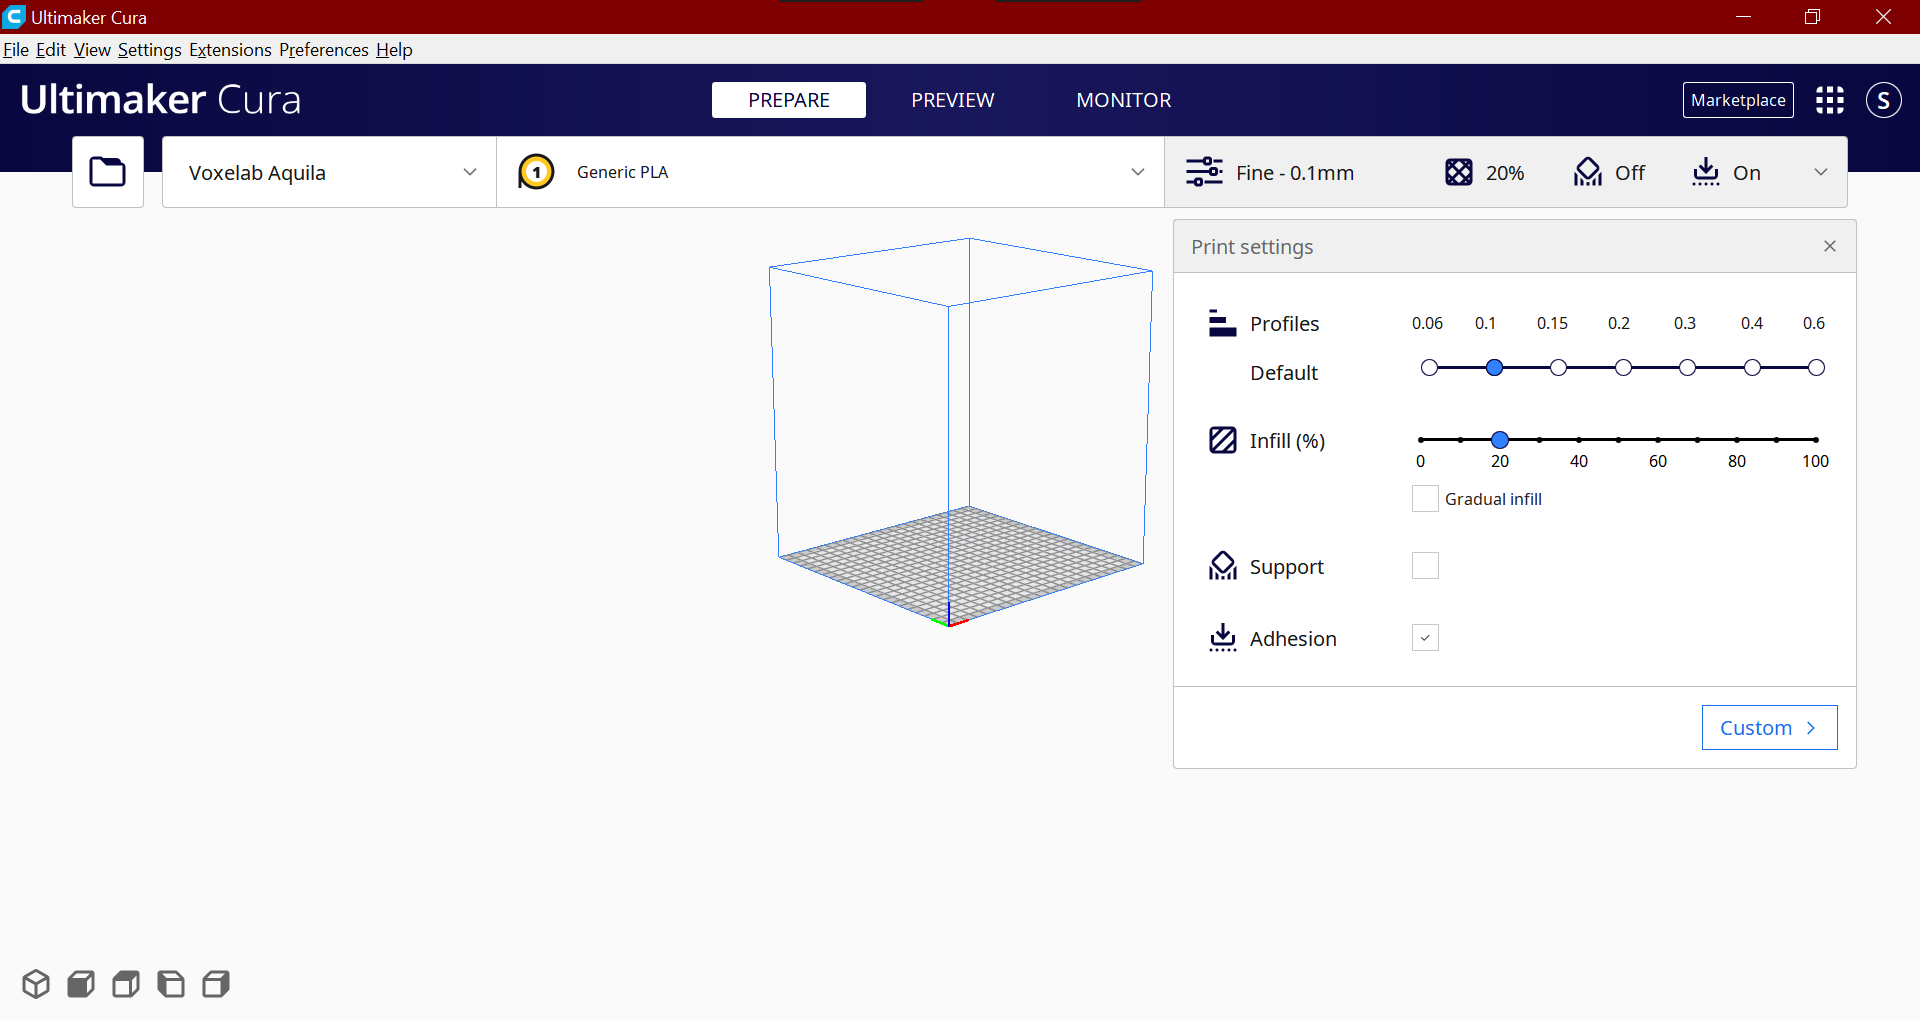
Click on the print settings and set the infill to 20% or 30% infill. It should not make much of a difference for this small of an object so I will set it to 20%. Also disable supports and enable adhesion.
Open the Text
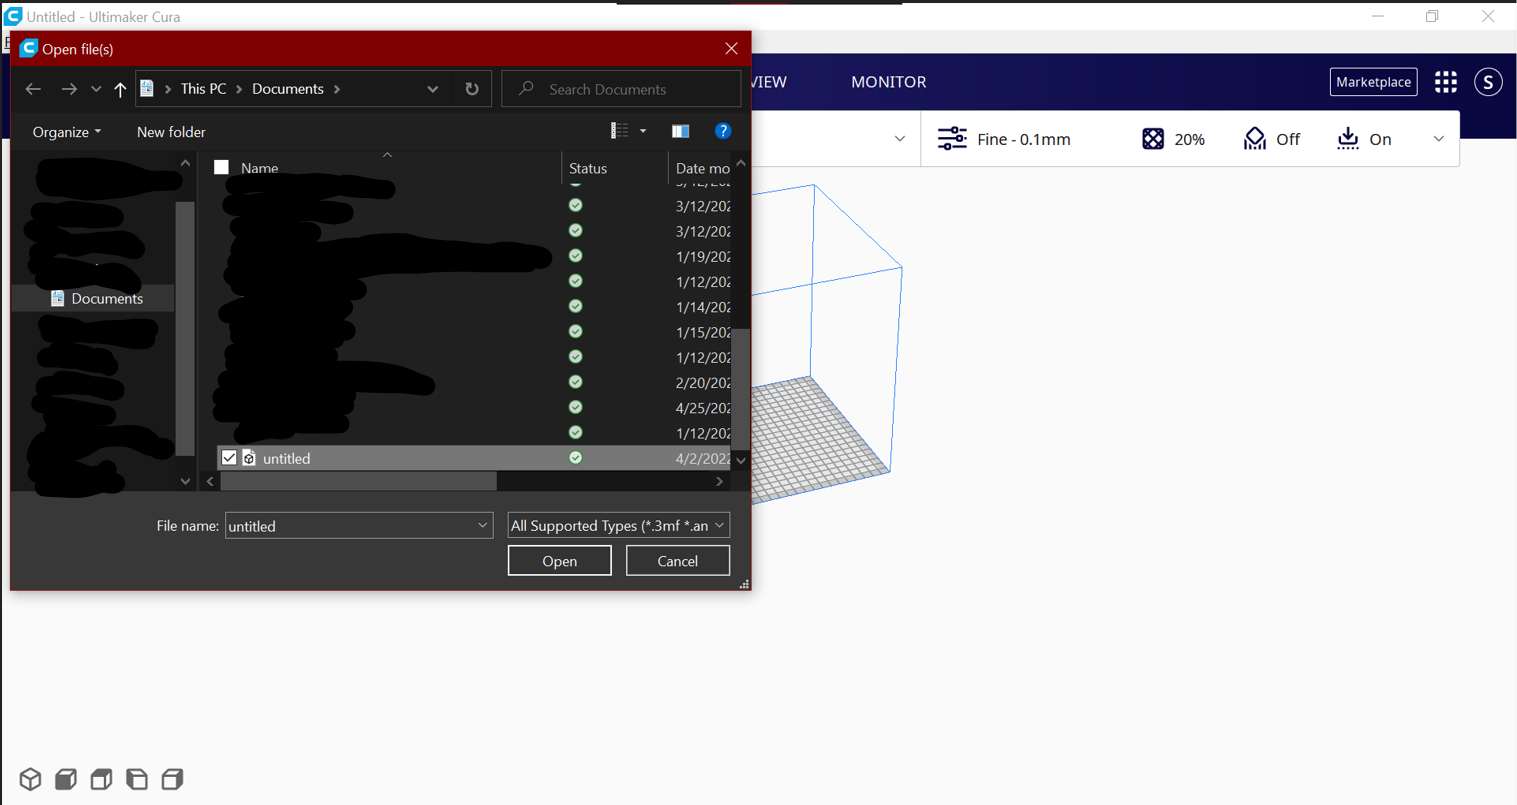
Click the file button at the top left hand corner of the screen and open the file that you saved in blender.
Scaling and Rotation
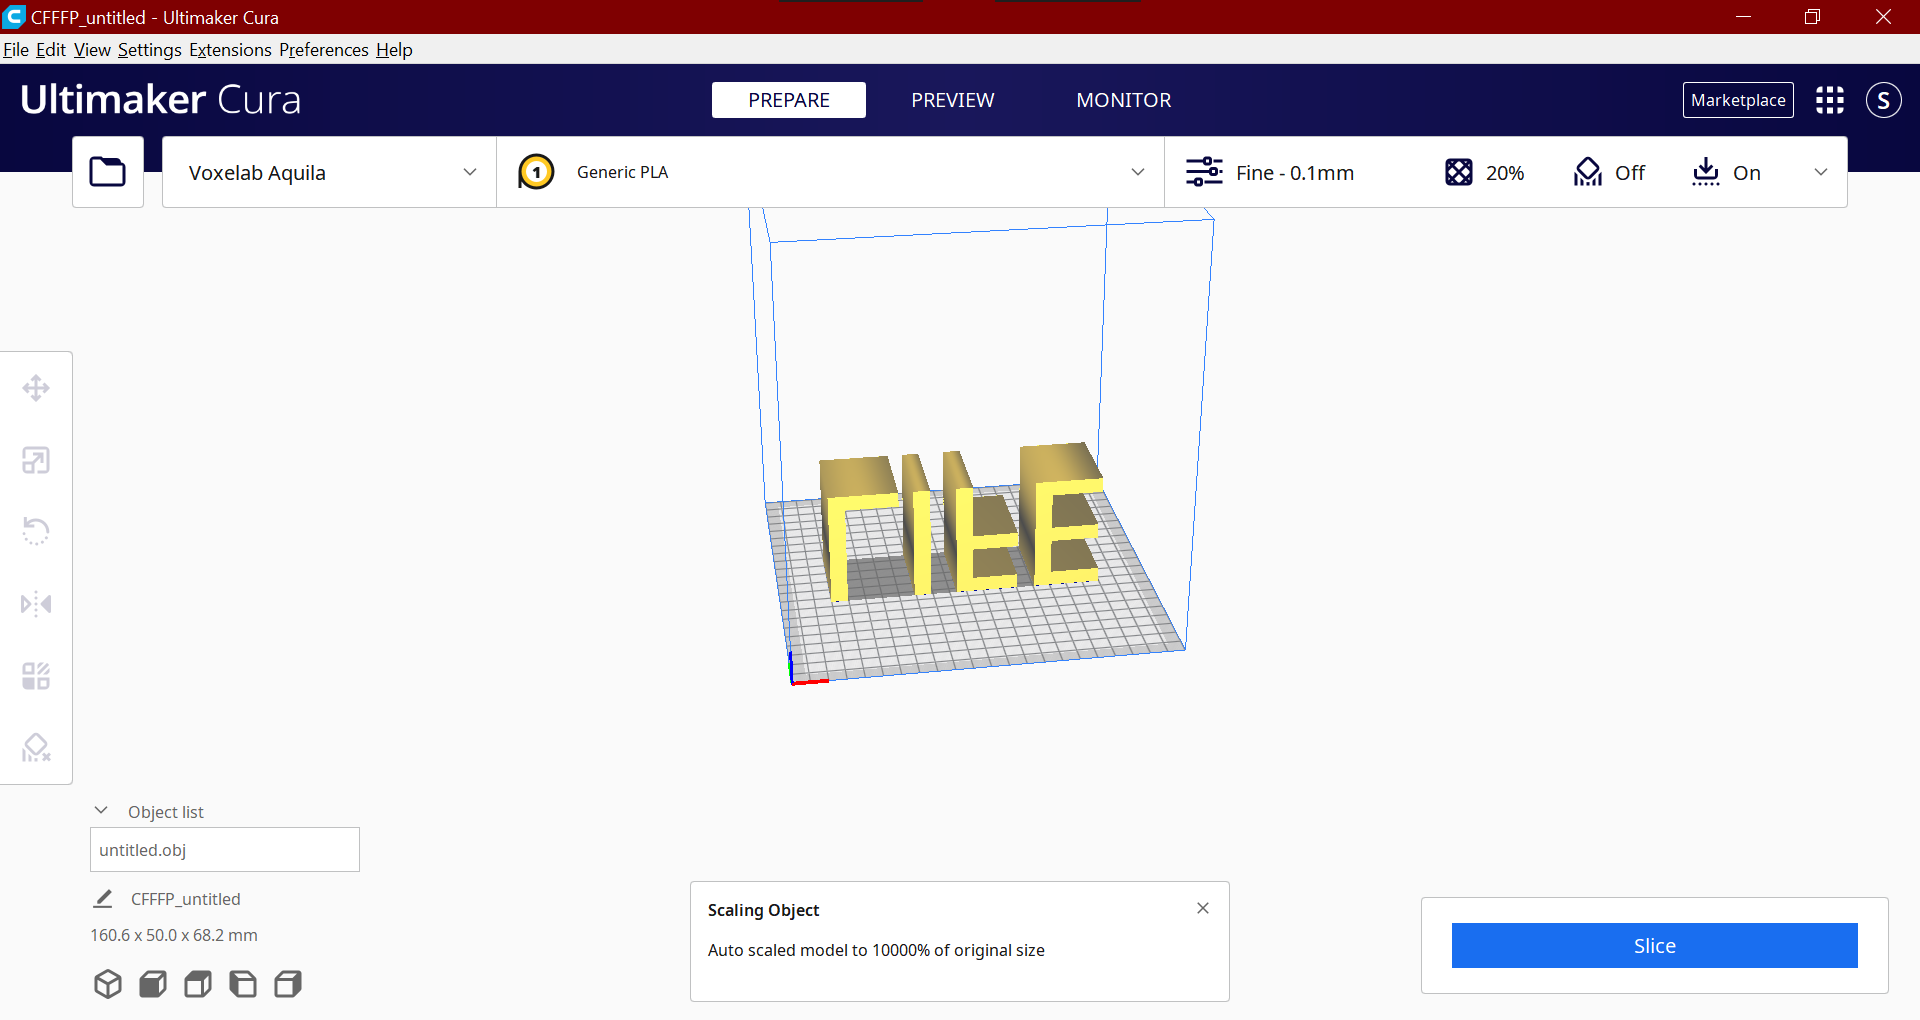
Your file may open and look something like this. Now this is obviously way too big and it needs to be laying flat on the back of the letters so it prints correctly.
Rotation
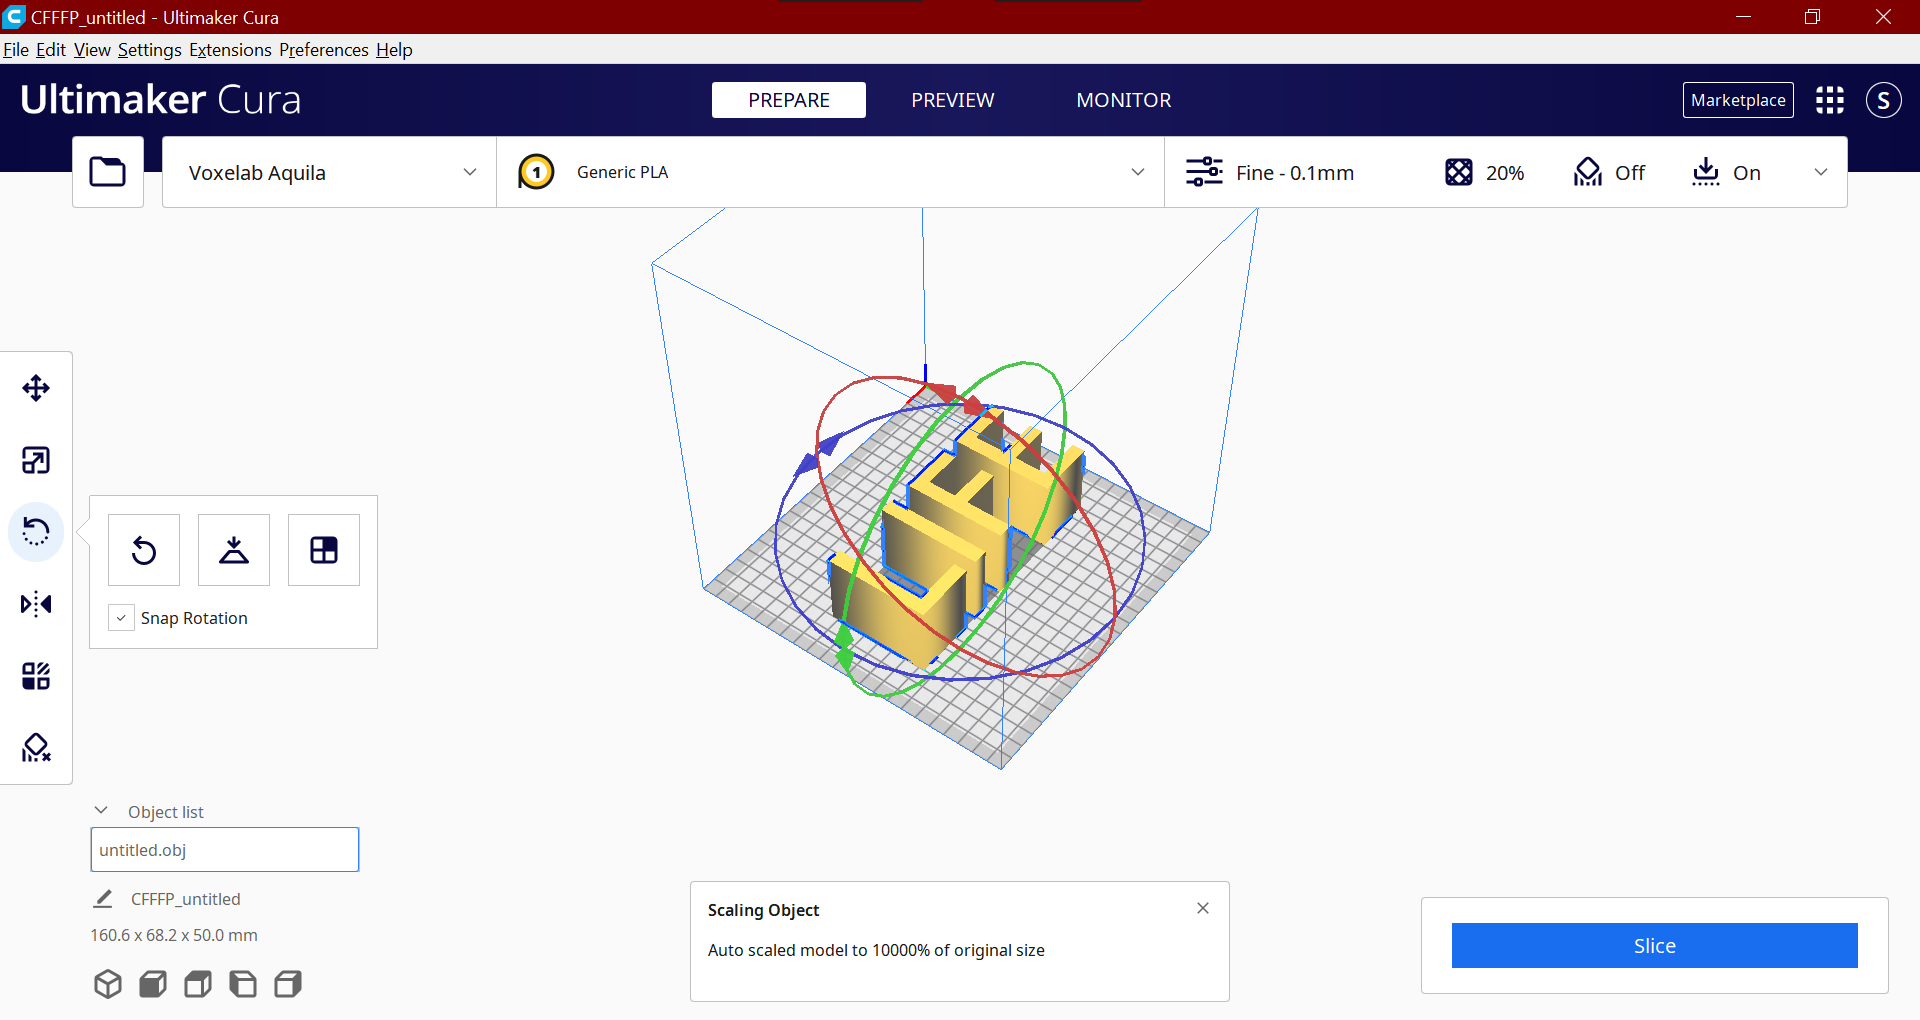
Click the circular arrow at the left hand side of the screen and use the colored arrows around the text to rotate it to look like this.
Scaling
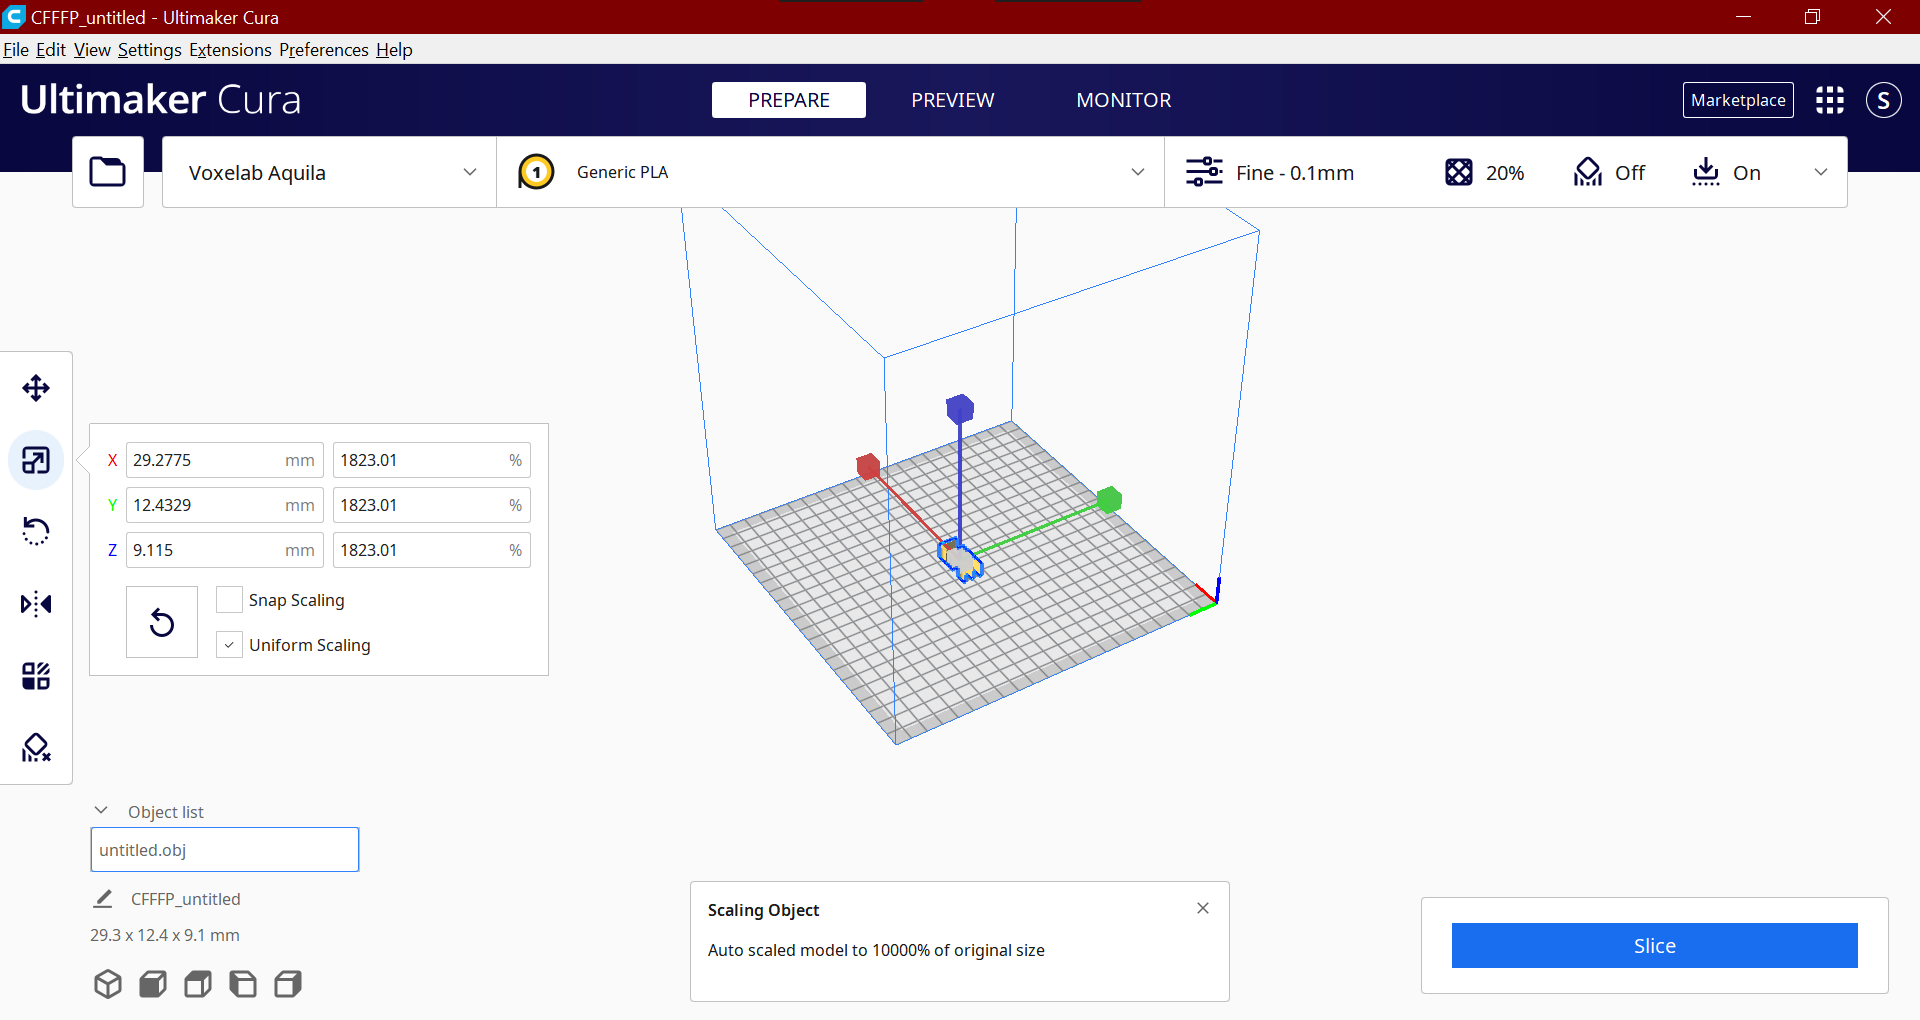
One of the final steps is scaling. To scale the object down, click on the button with an arrow inside of a square. Then click and hold on one of the colored lines to scale it down to the correct size.
Appearance
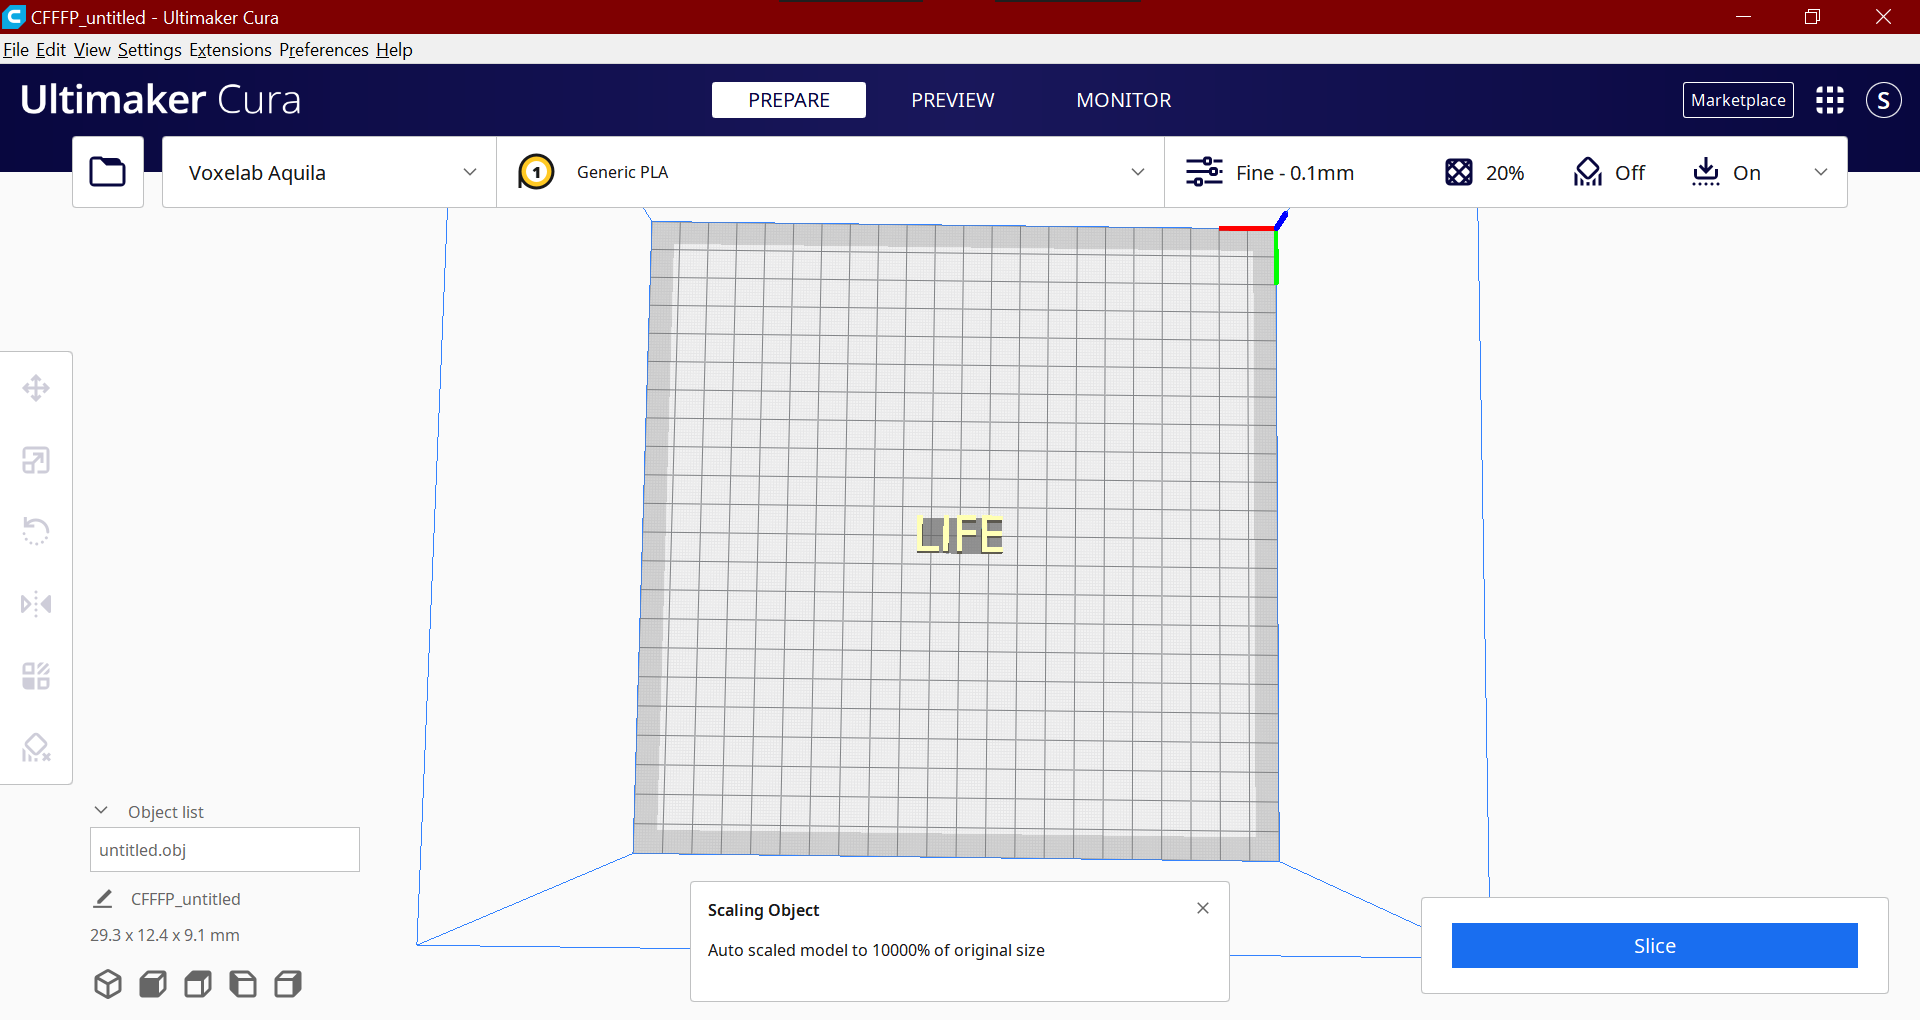
Your text should now look something like this.
Slice
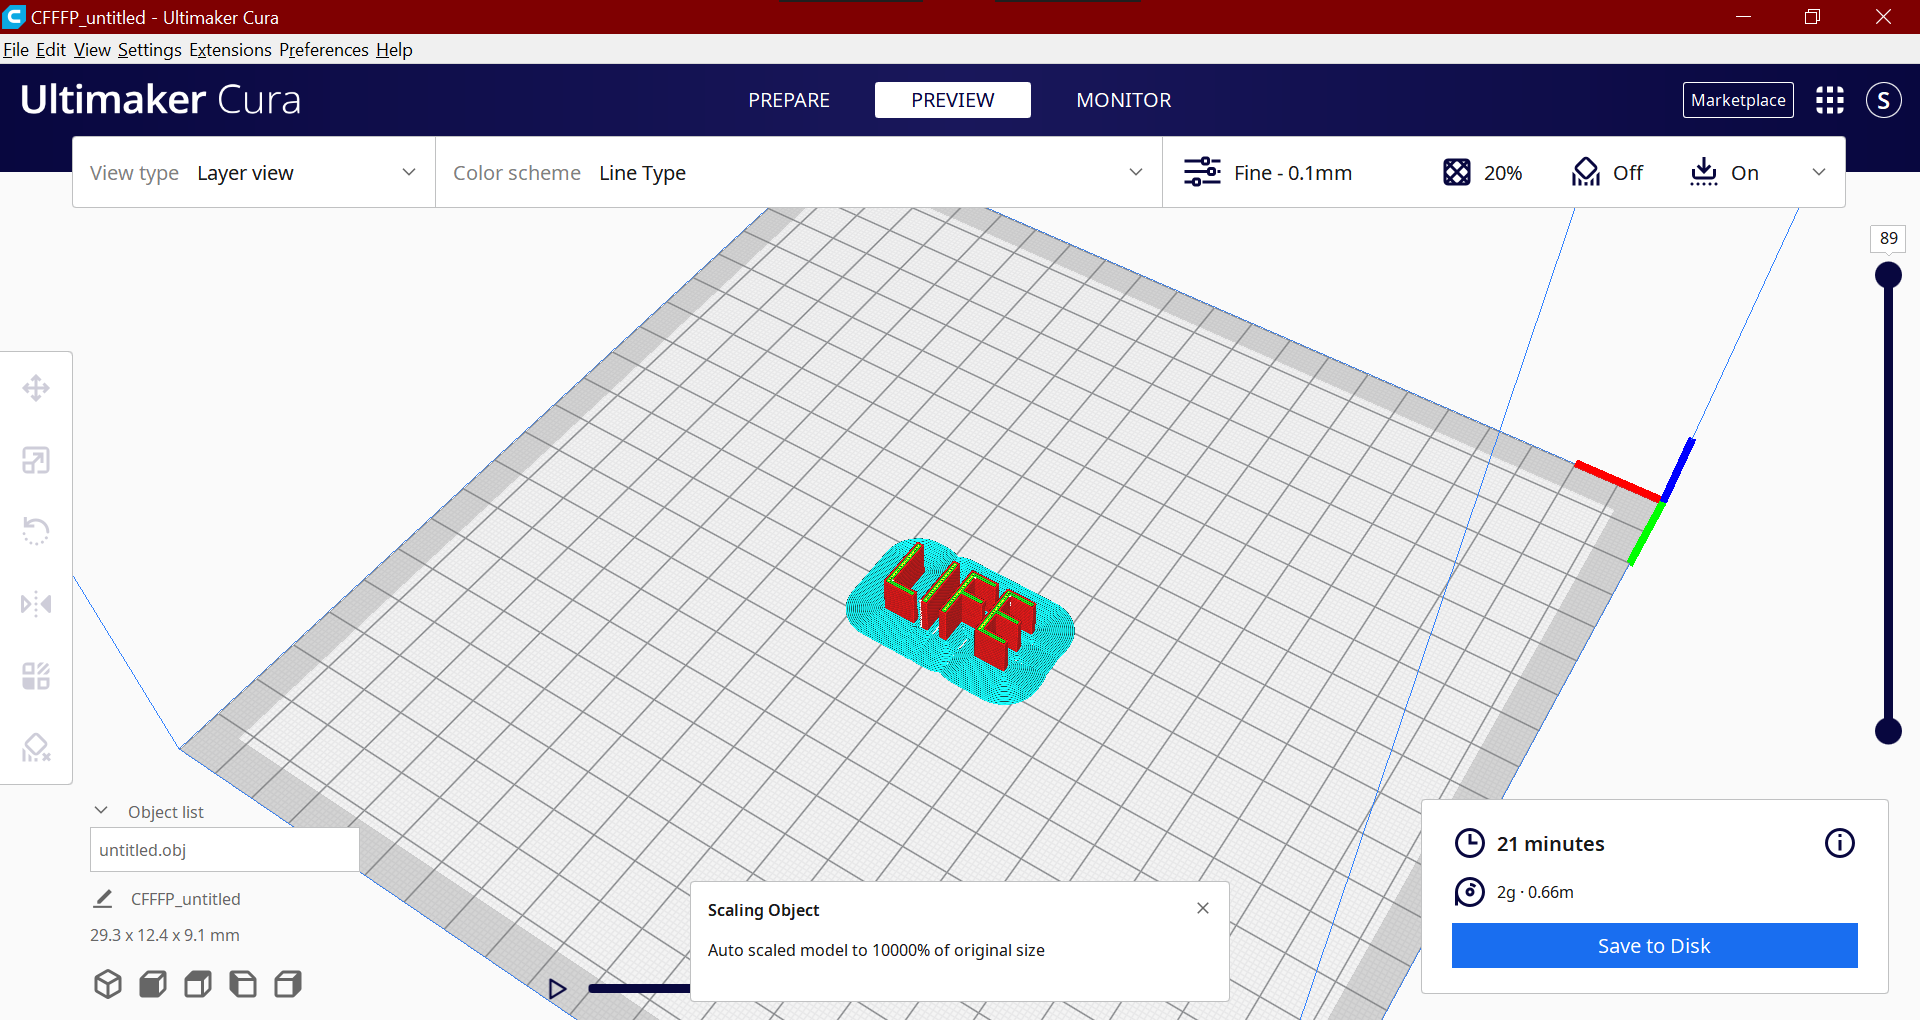
Click the slice button and then click preview. It will show an approximation of what it will look like when it is fully printed.
Save to a Micro SD Card
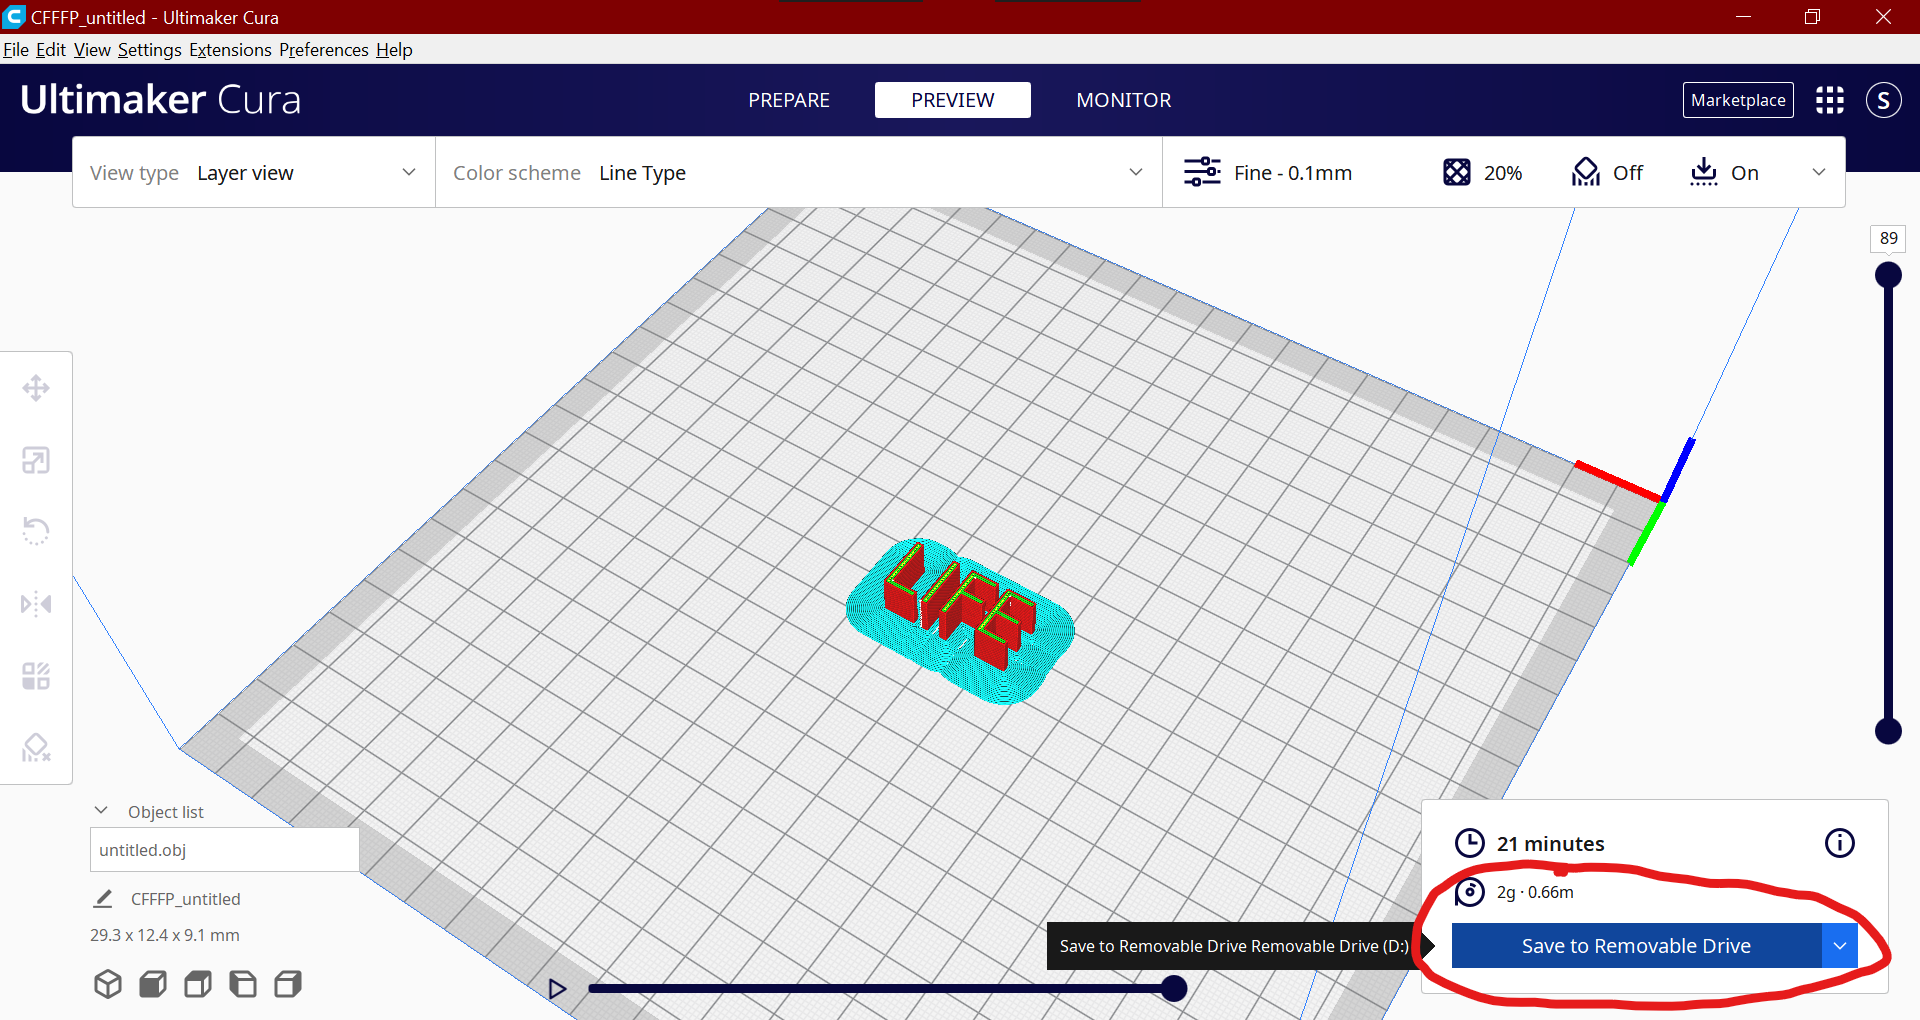
Insert the micro SD card from your printer into your computer and save the text to it.
Finished!
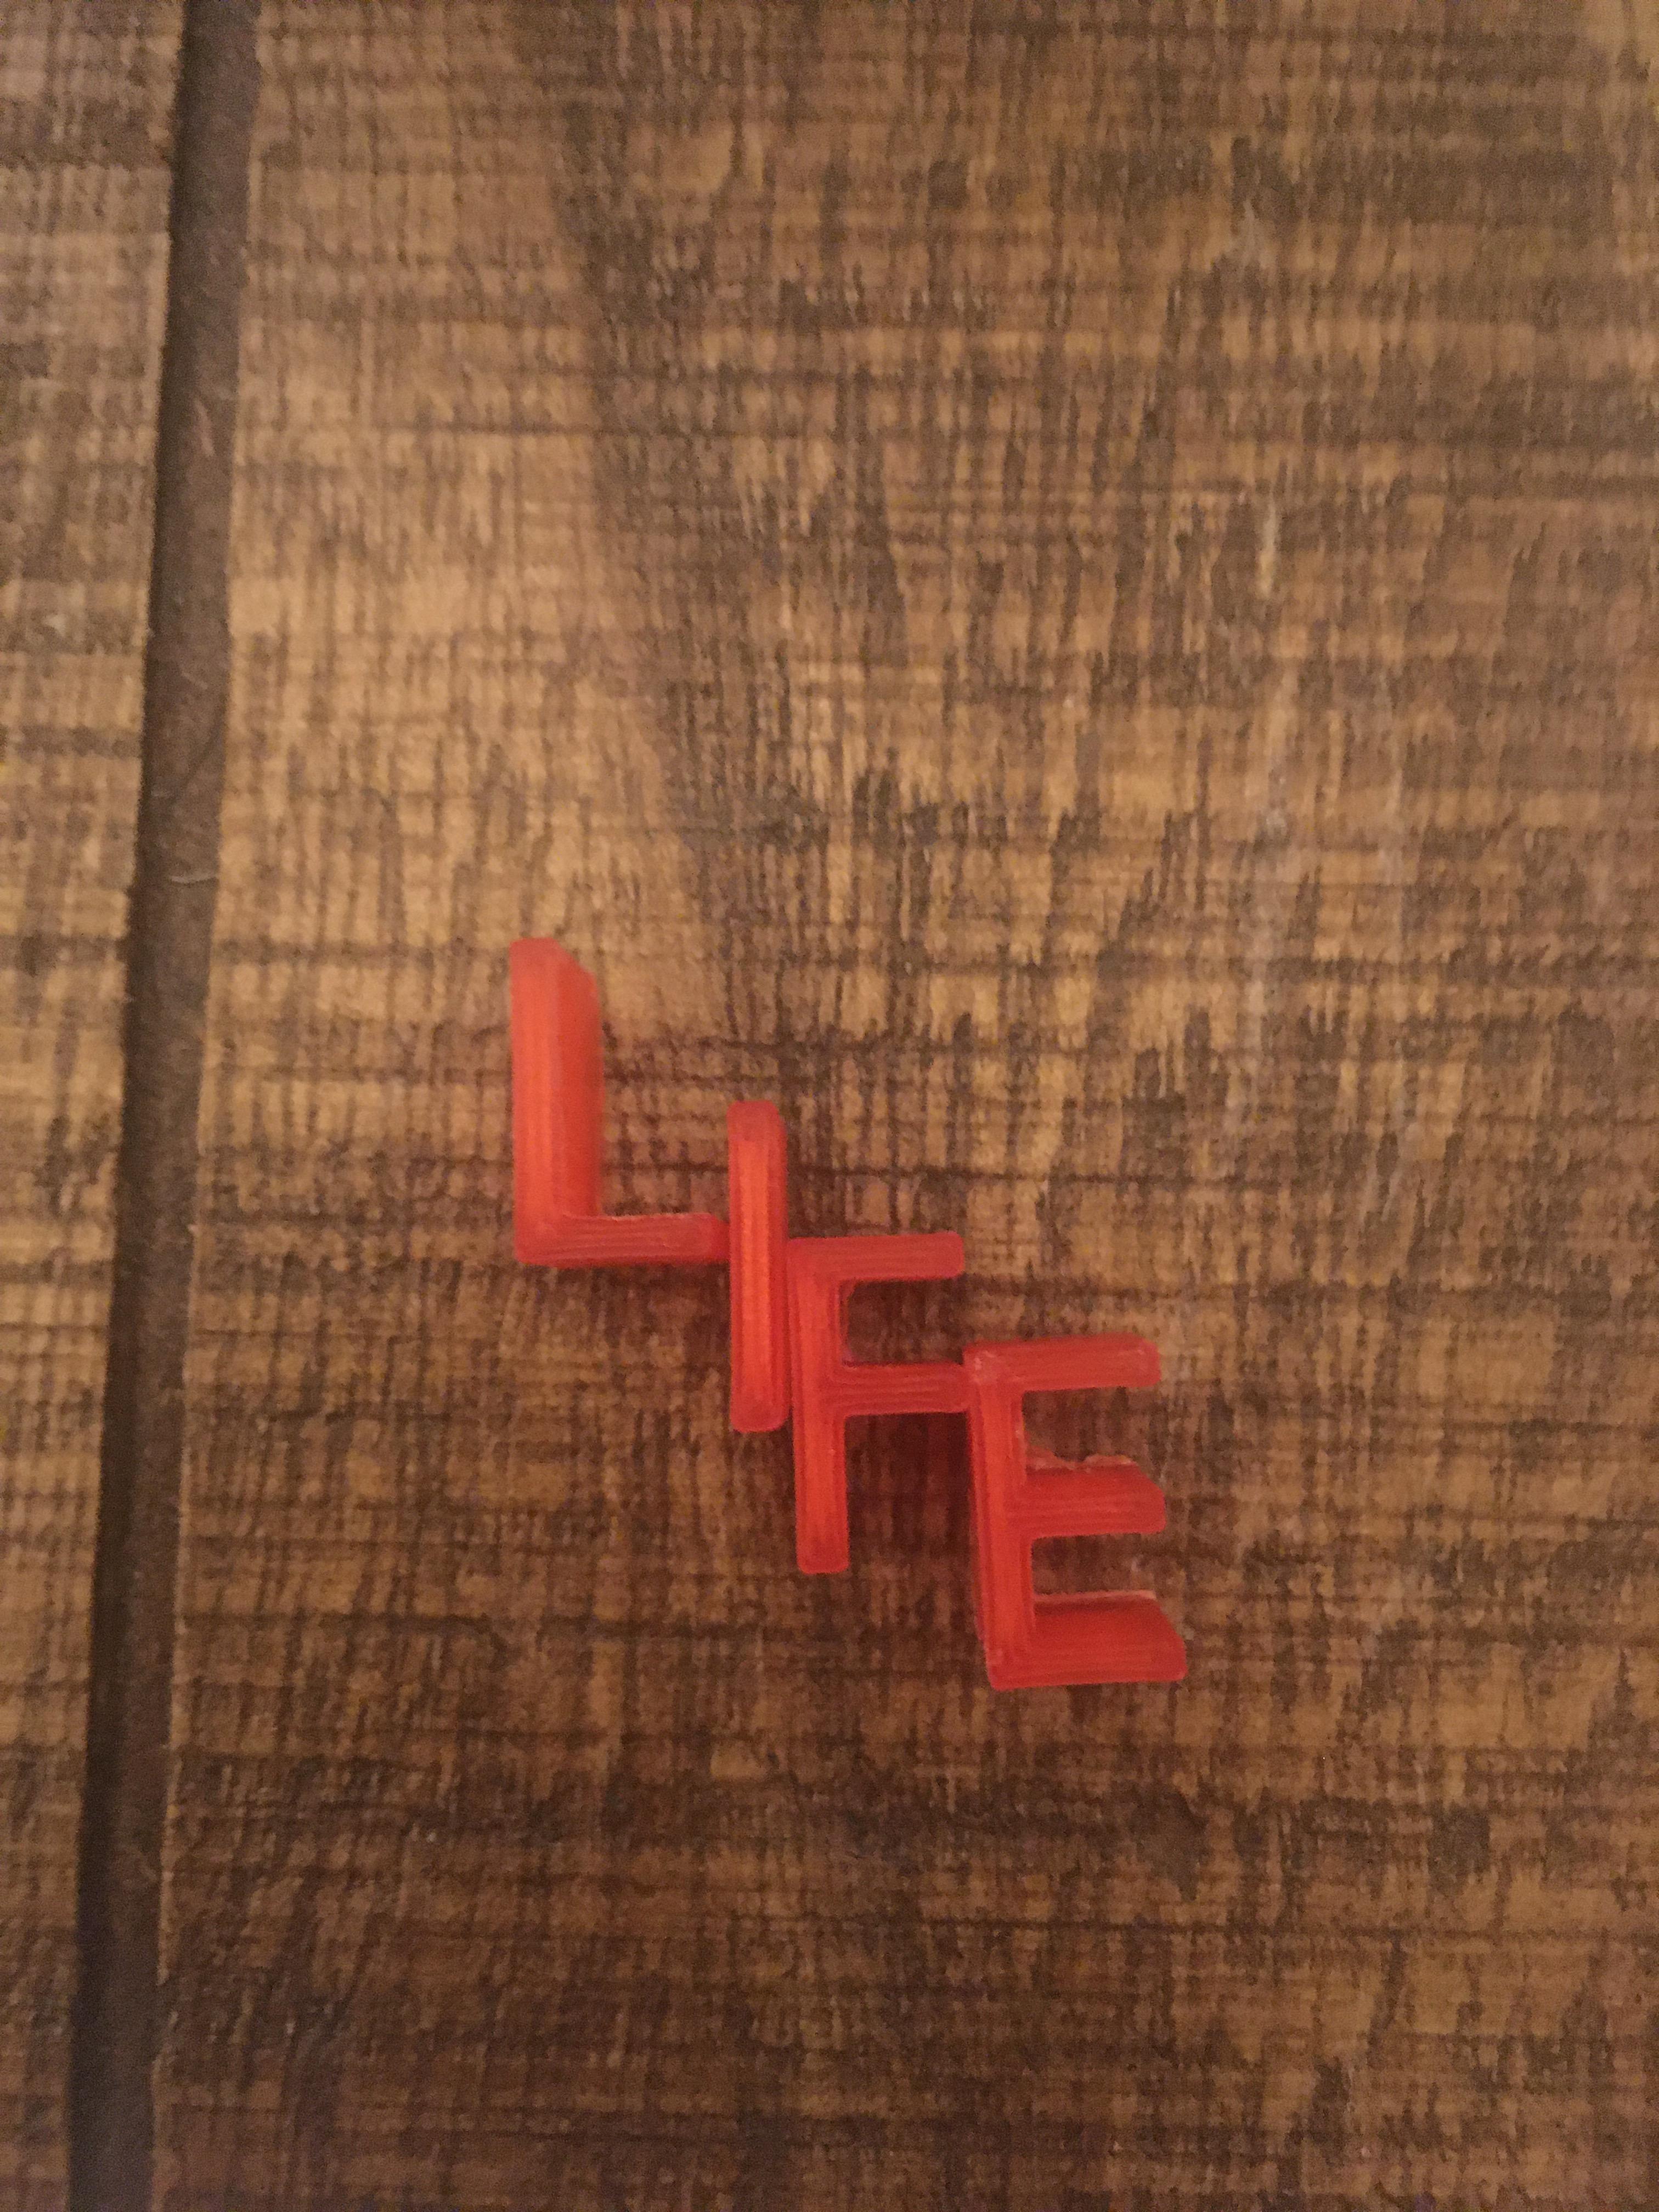
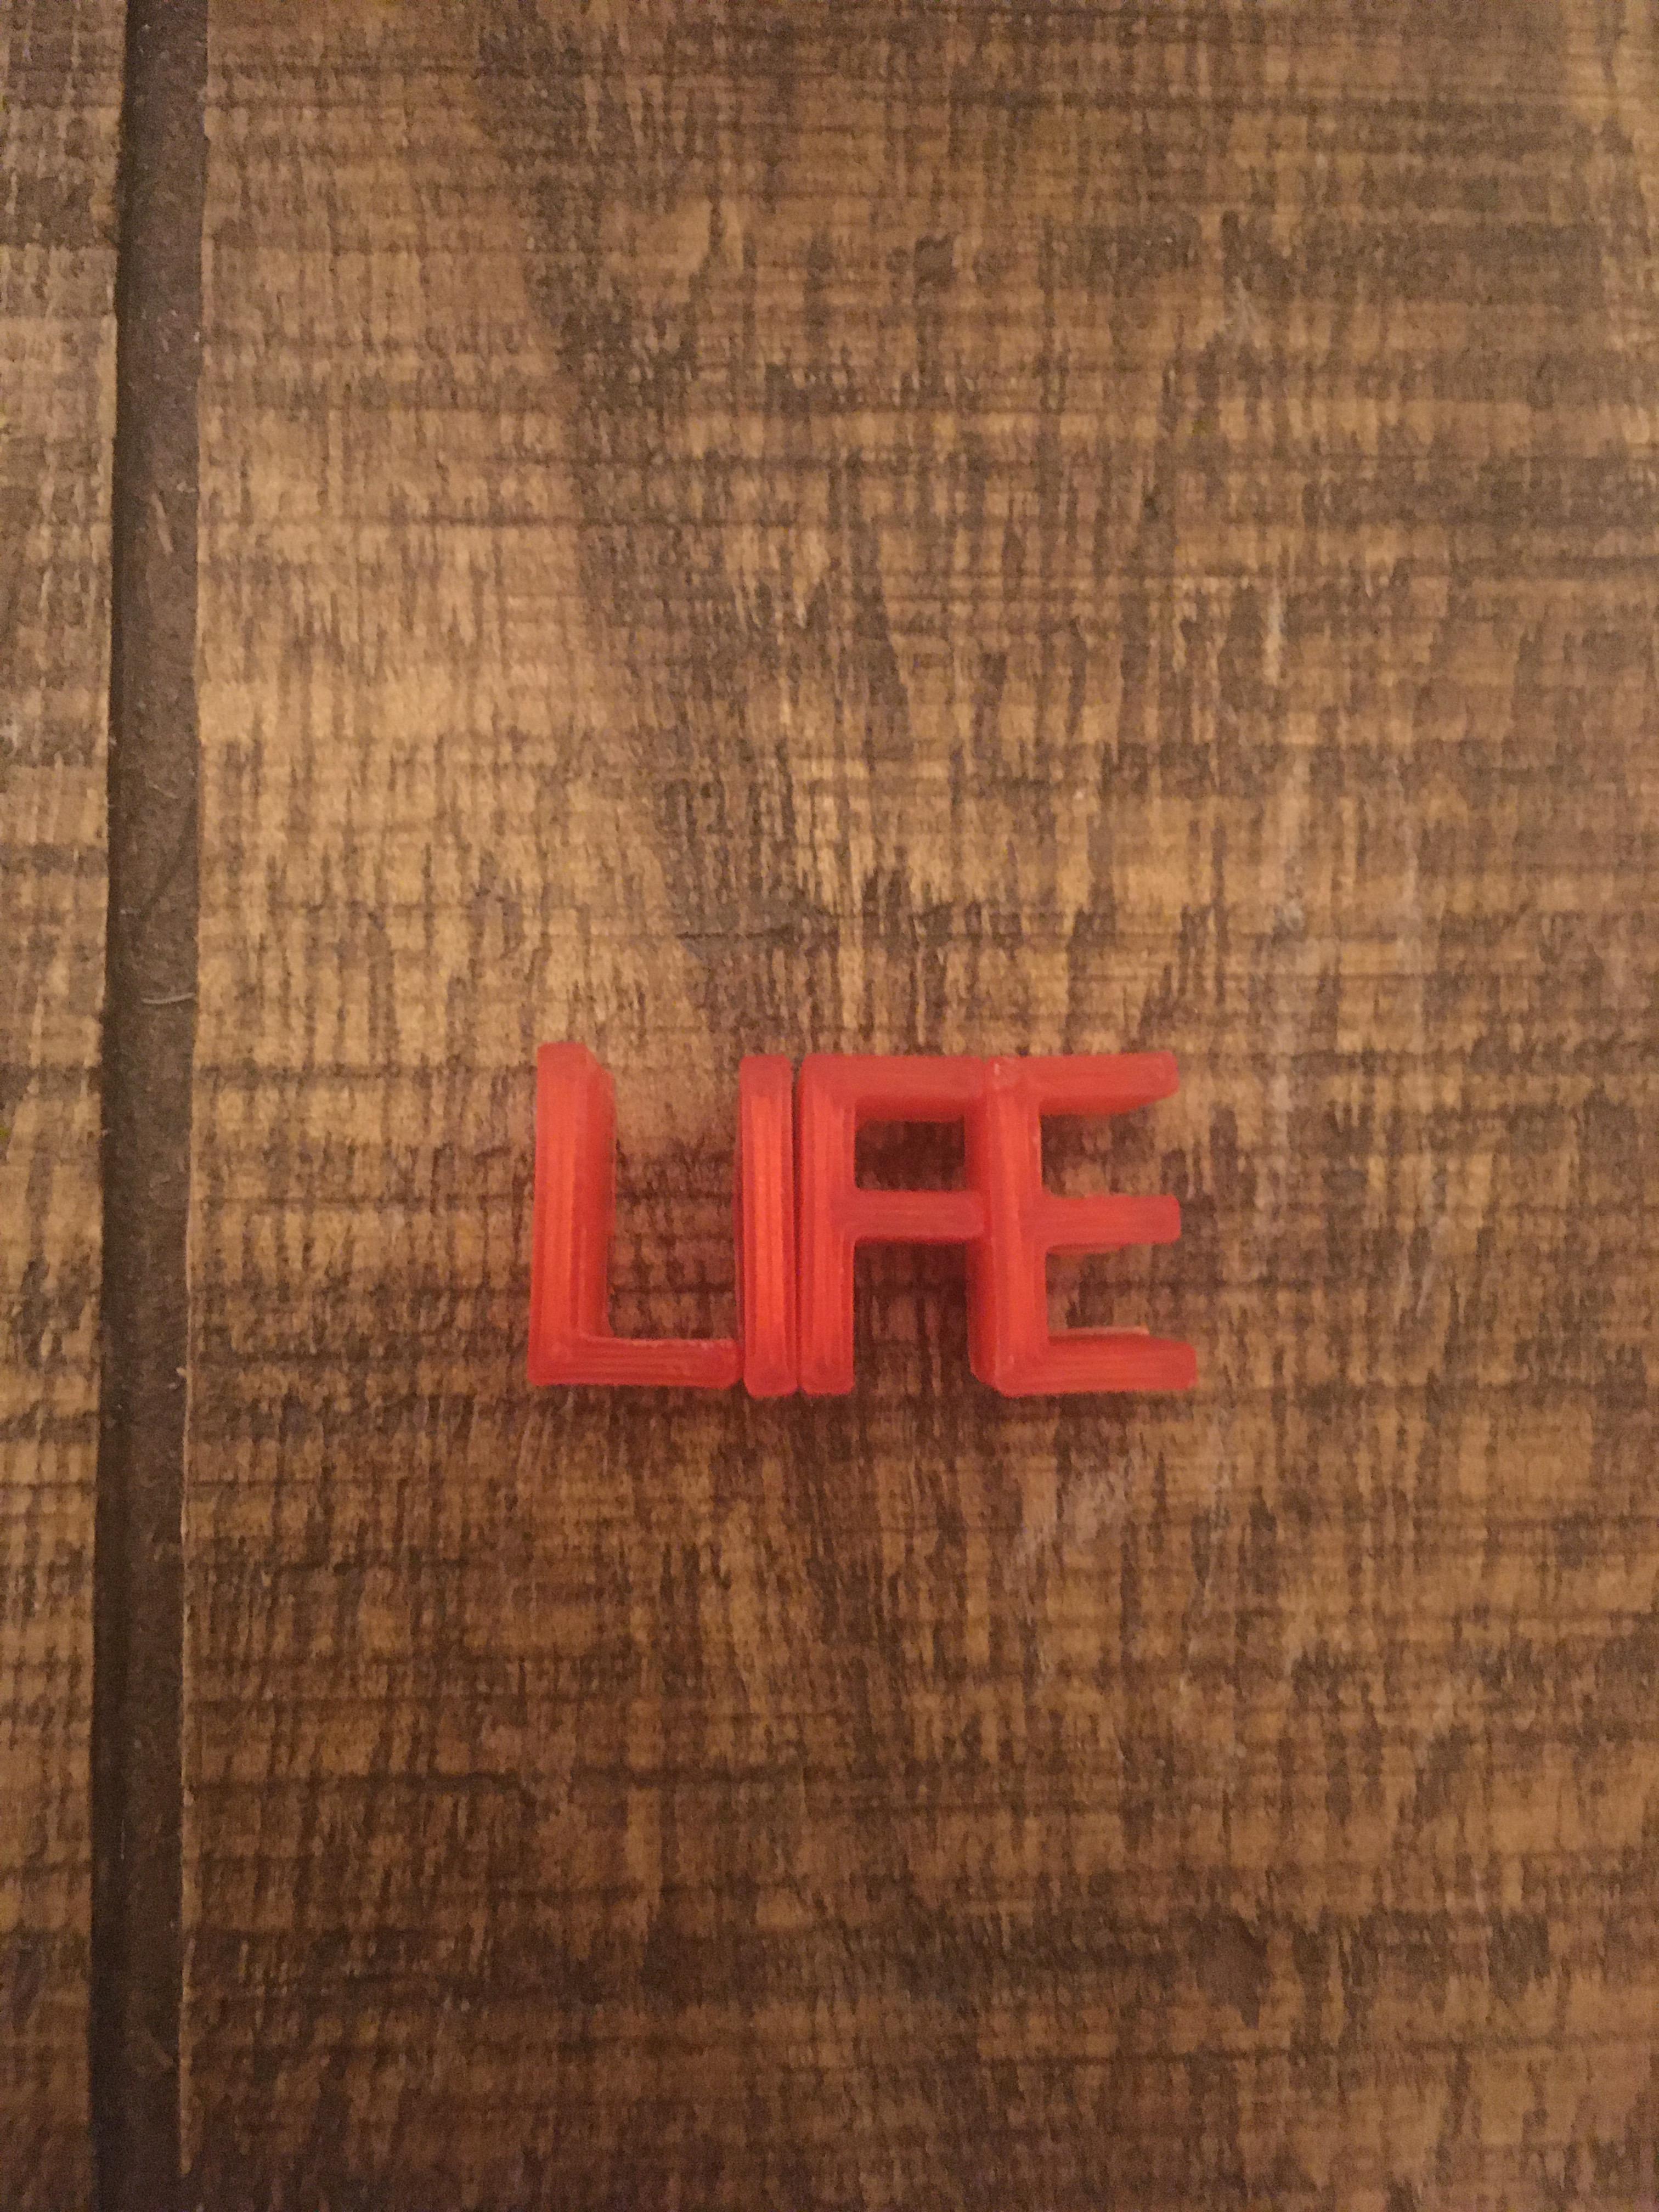
Lastly, put the SD card into your printer and start the print. Assuming the print comes out correctly you should have something that looks like this. You may need to use sandpaper to sand down any rough edges. You can arrange it in several different ways as shown above.
Extra
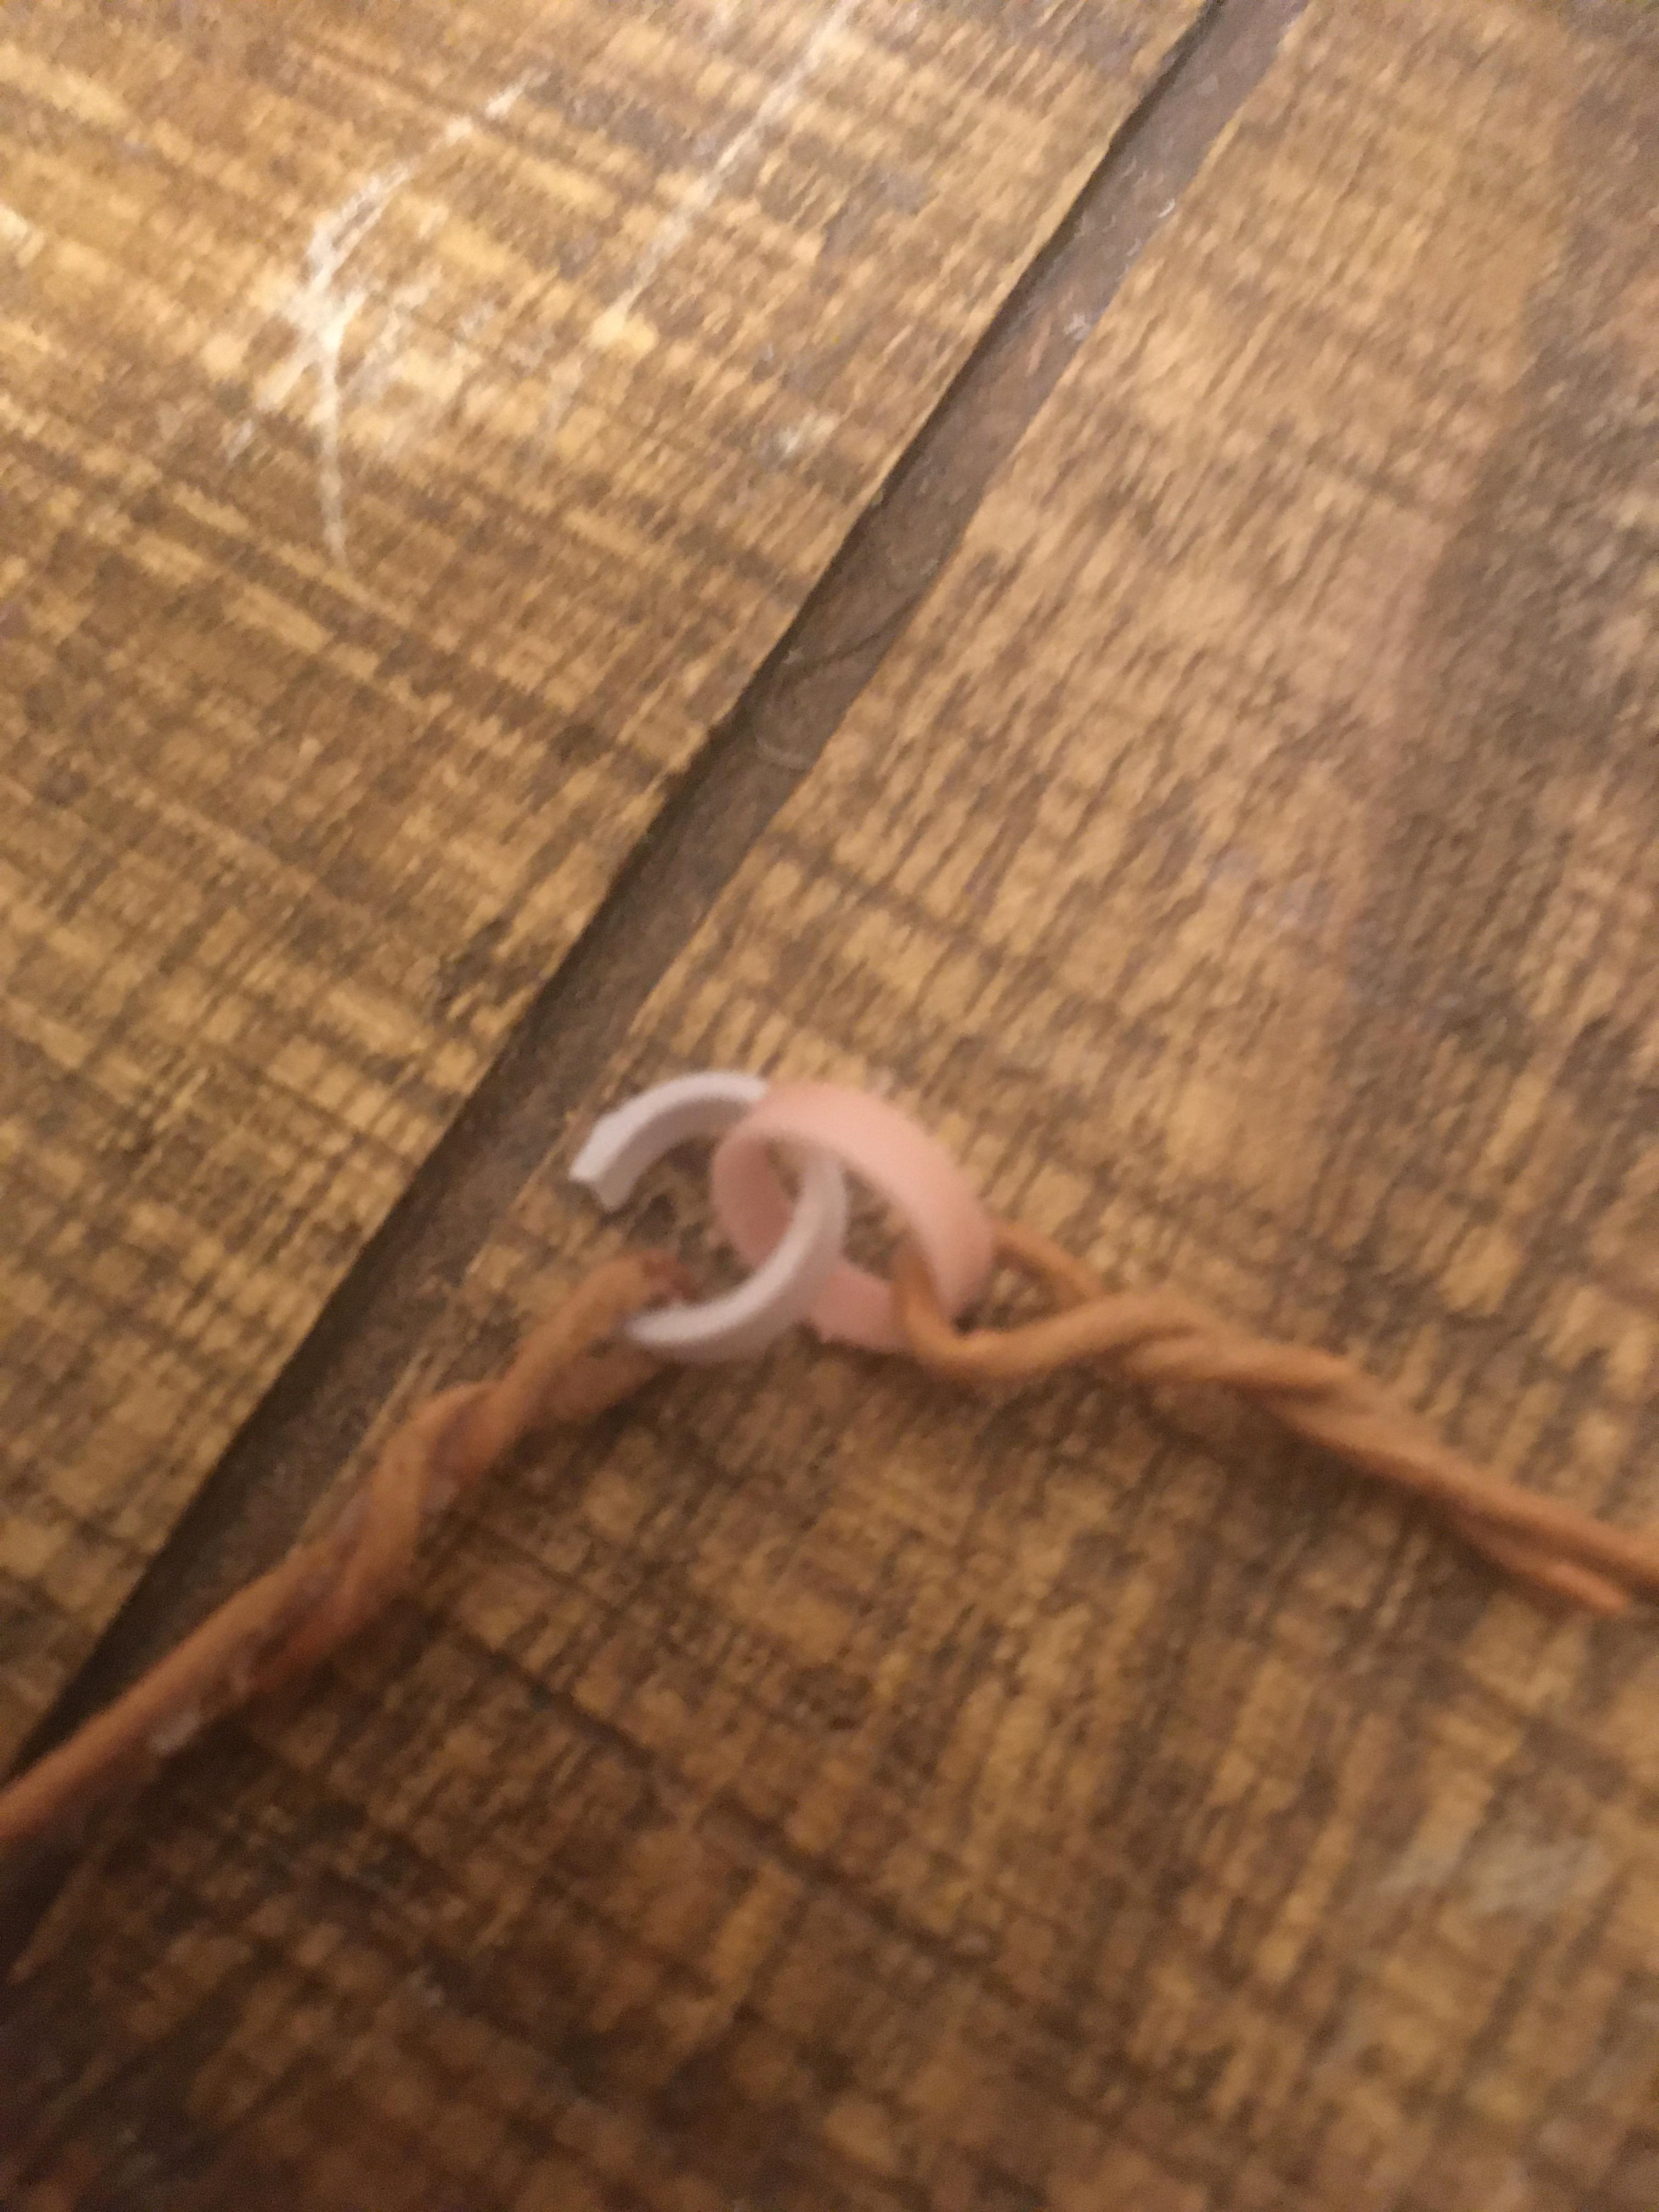
If you want to hang your word on something then I have found a way to make a hanger for it and even a necklace with a clasp, both are 3D printable. If you think I should make an instructable on how to make the clasp and hanger, then please leave a comment below and I will try to make instructions as soon as possible.