3D Printing Photographs - Using 3DS MAX
by alepalan in Workshop > 3D Printing
12915 Views, 163 Favorites, 0 Comments
3D Printing Photographs - Using 3DS MAX
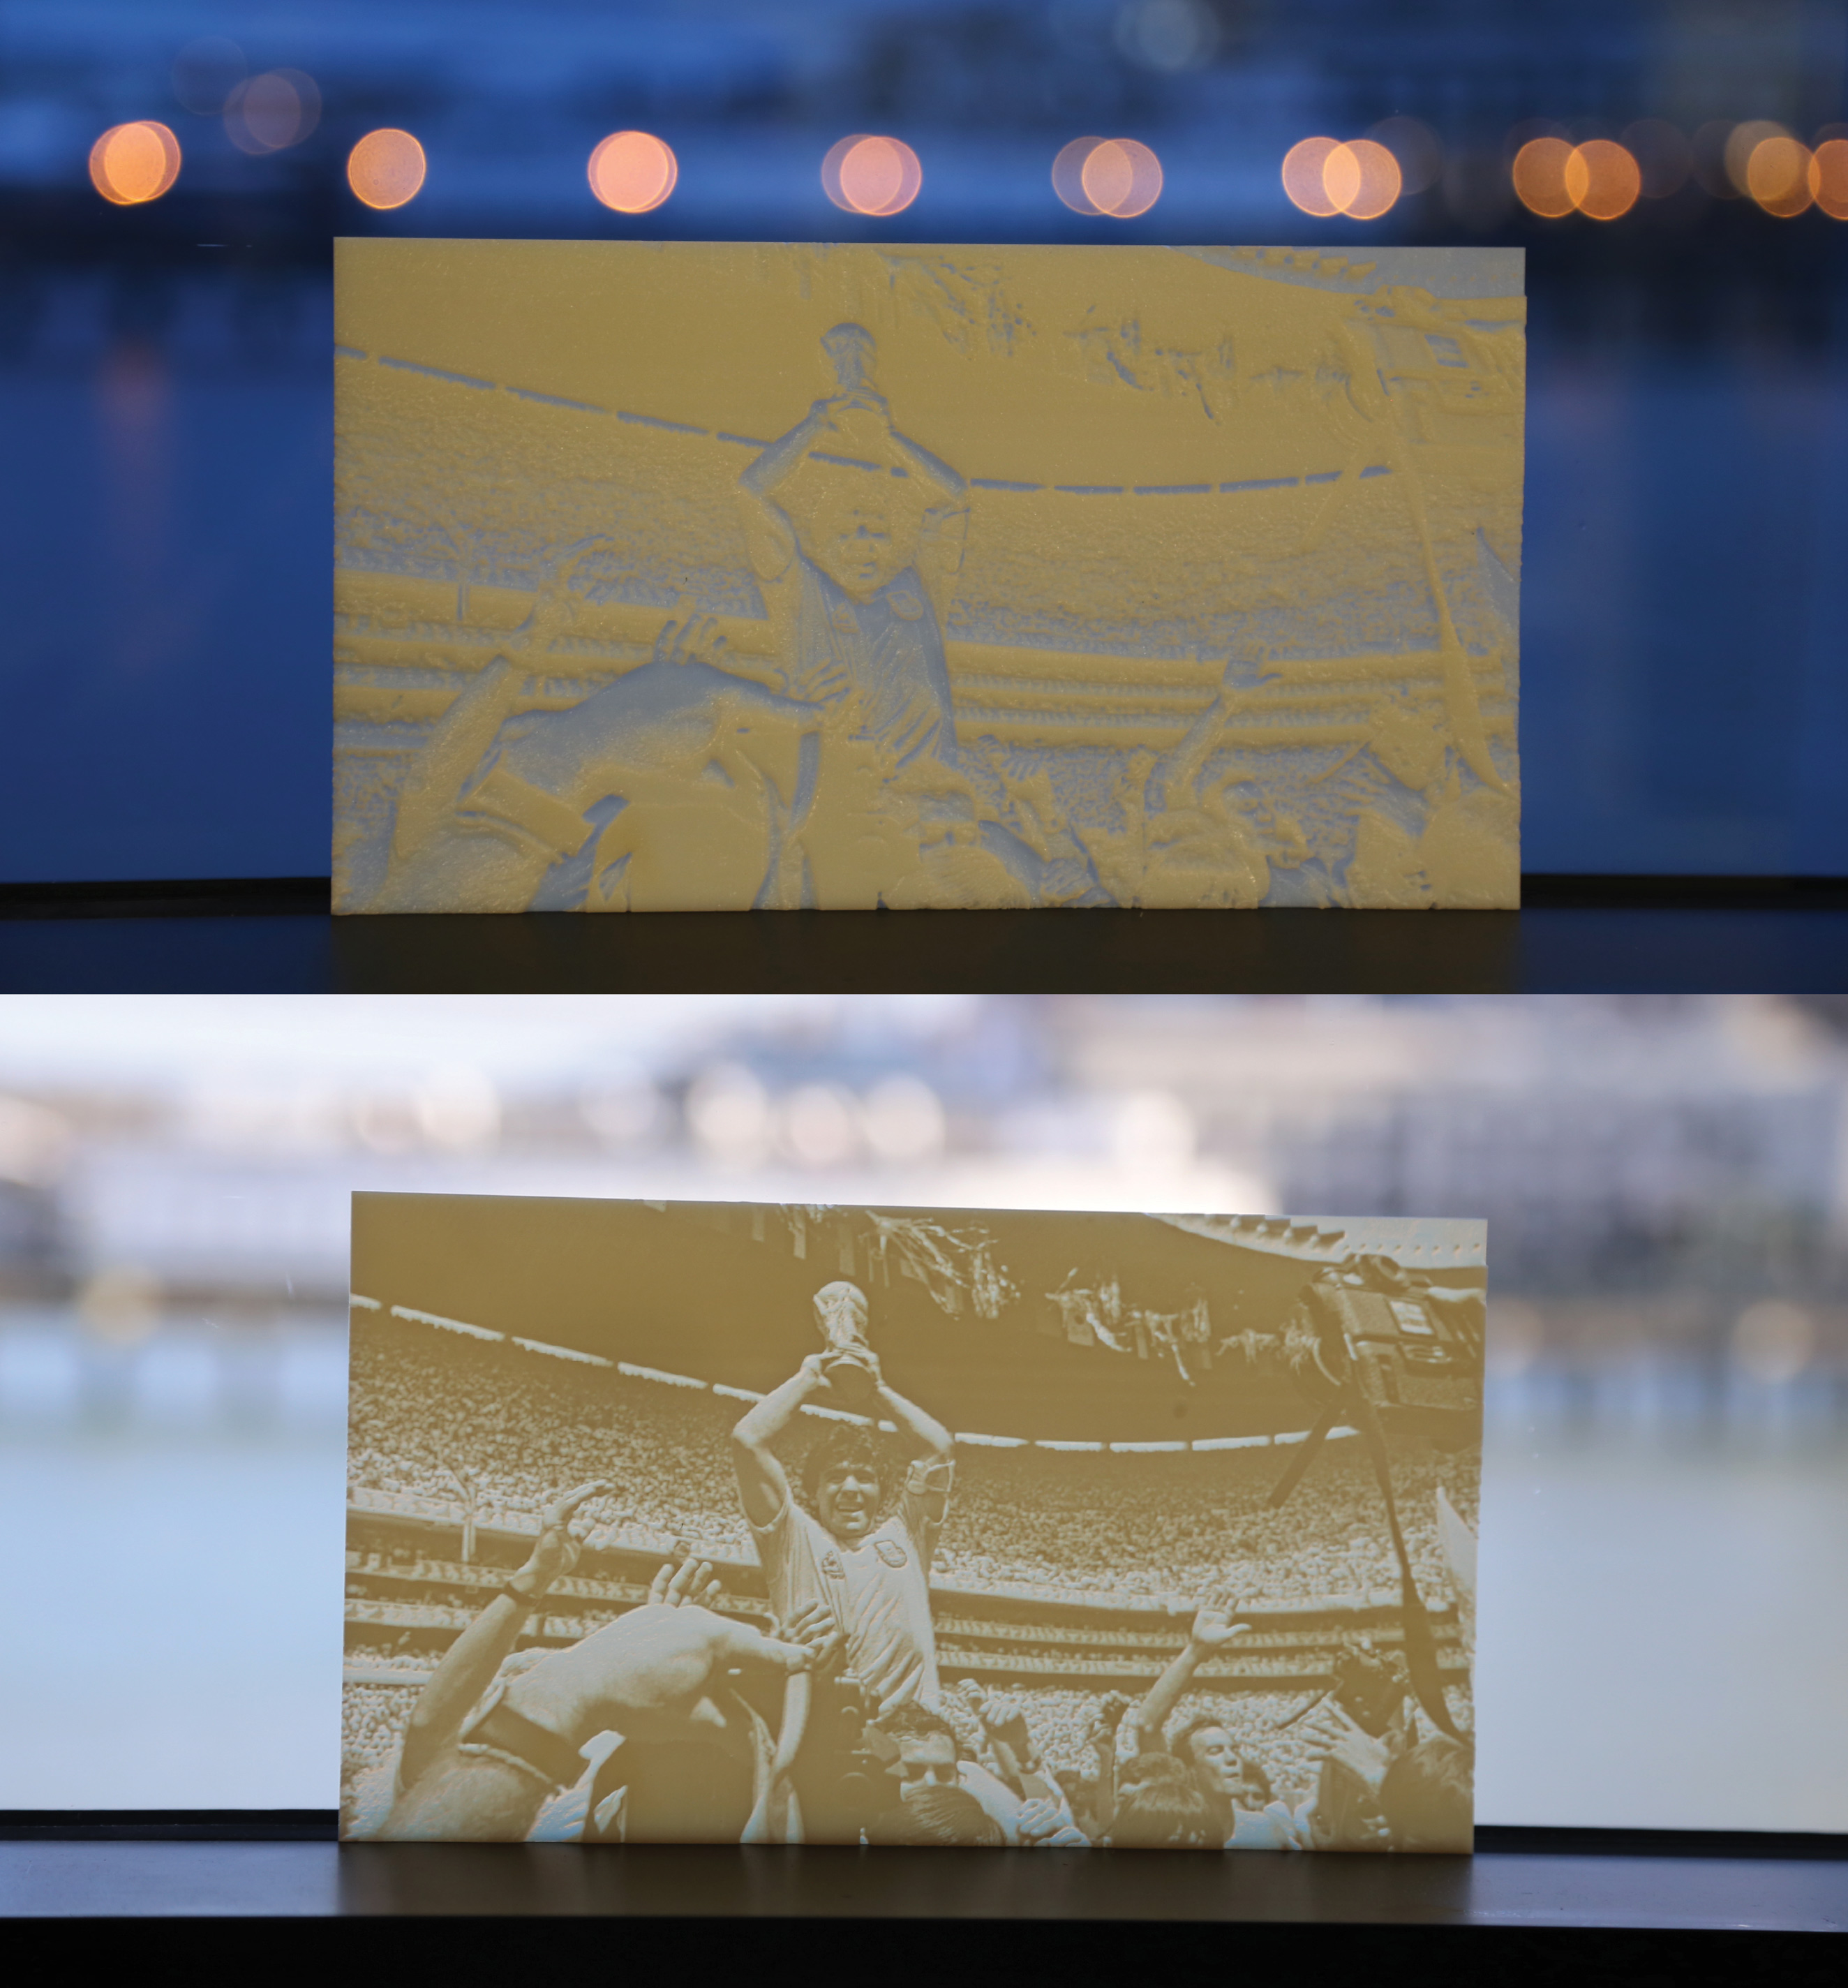
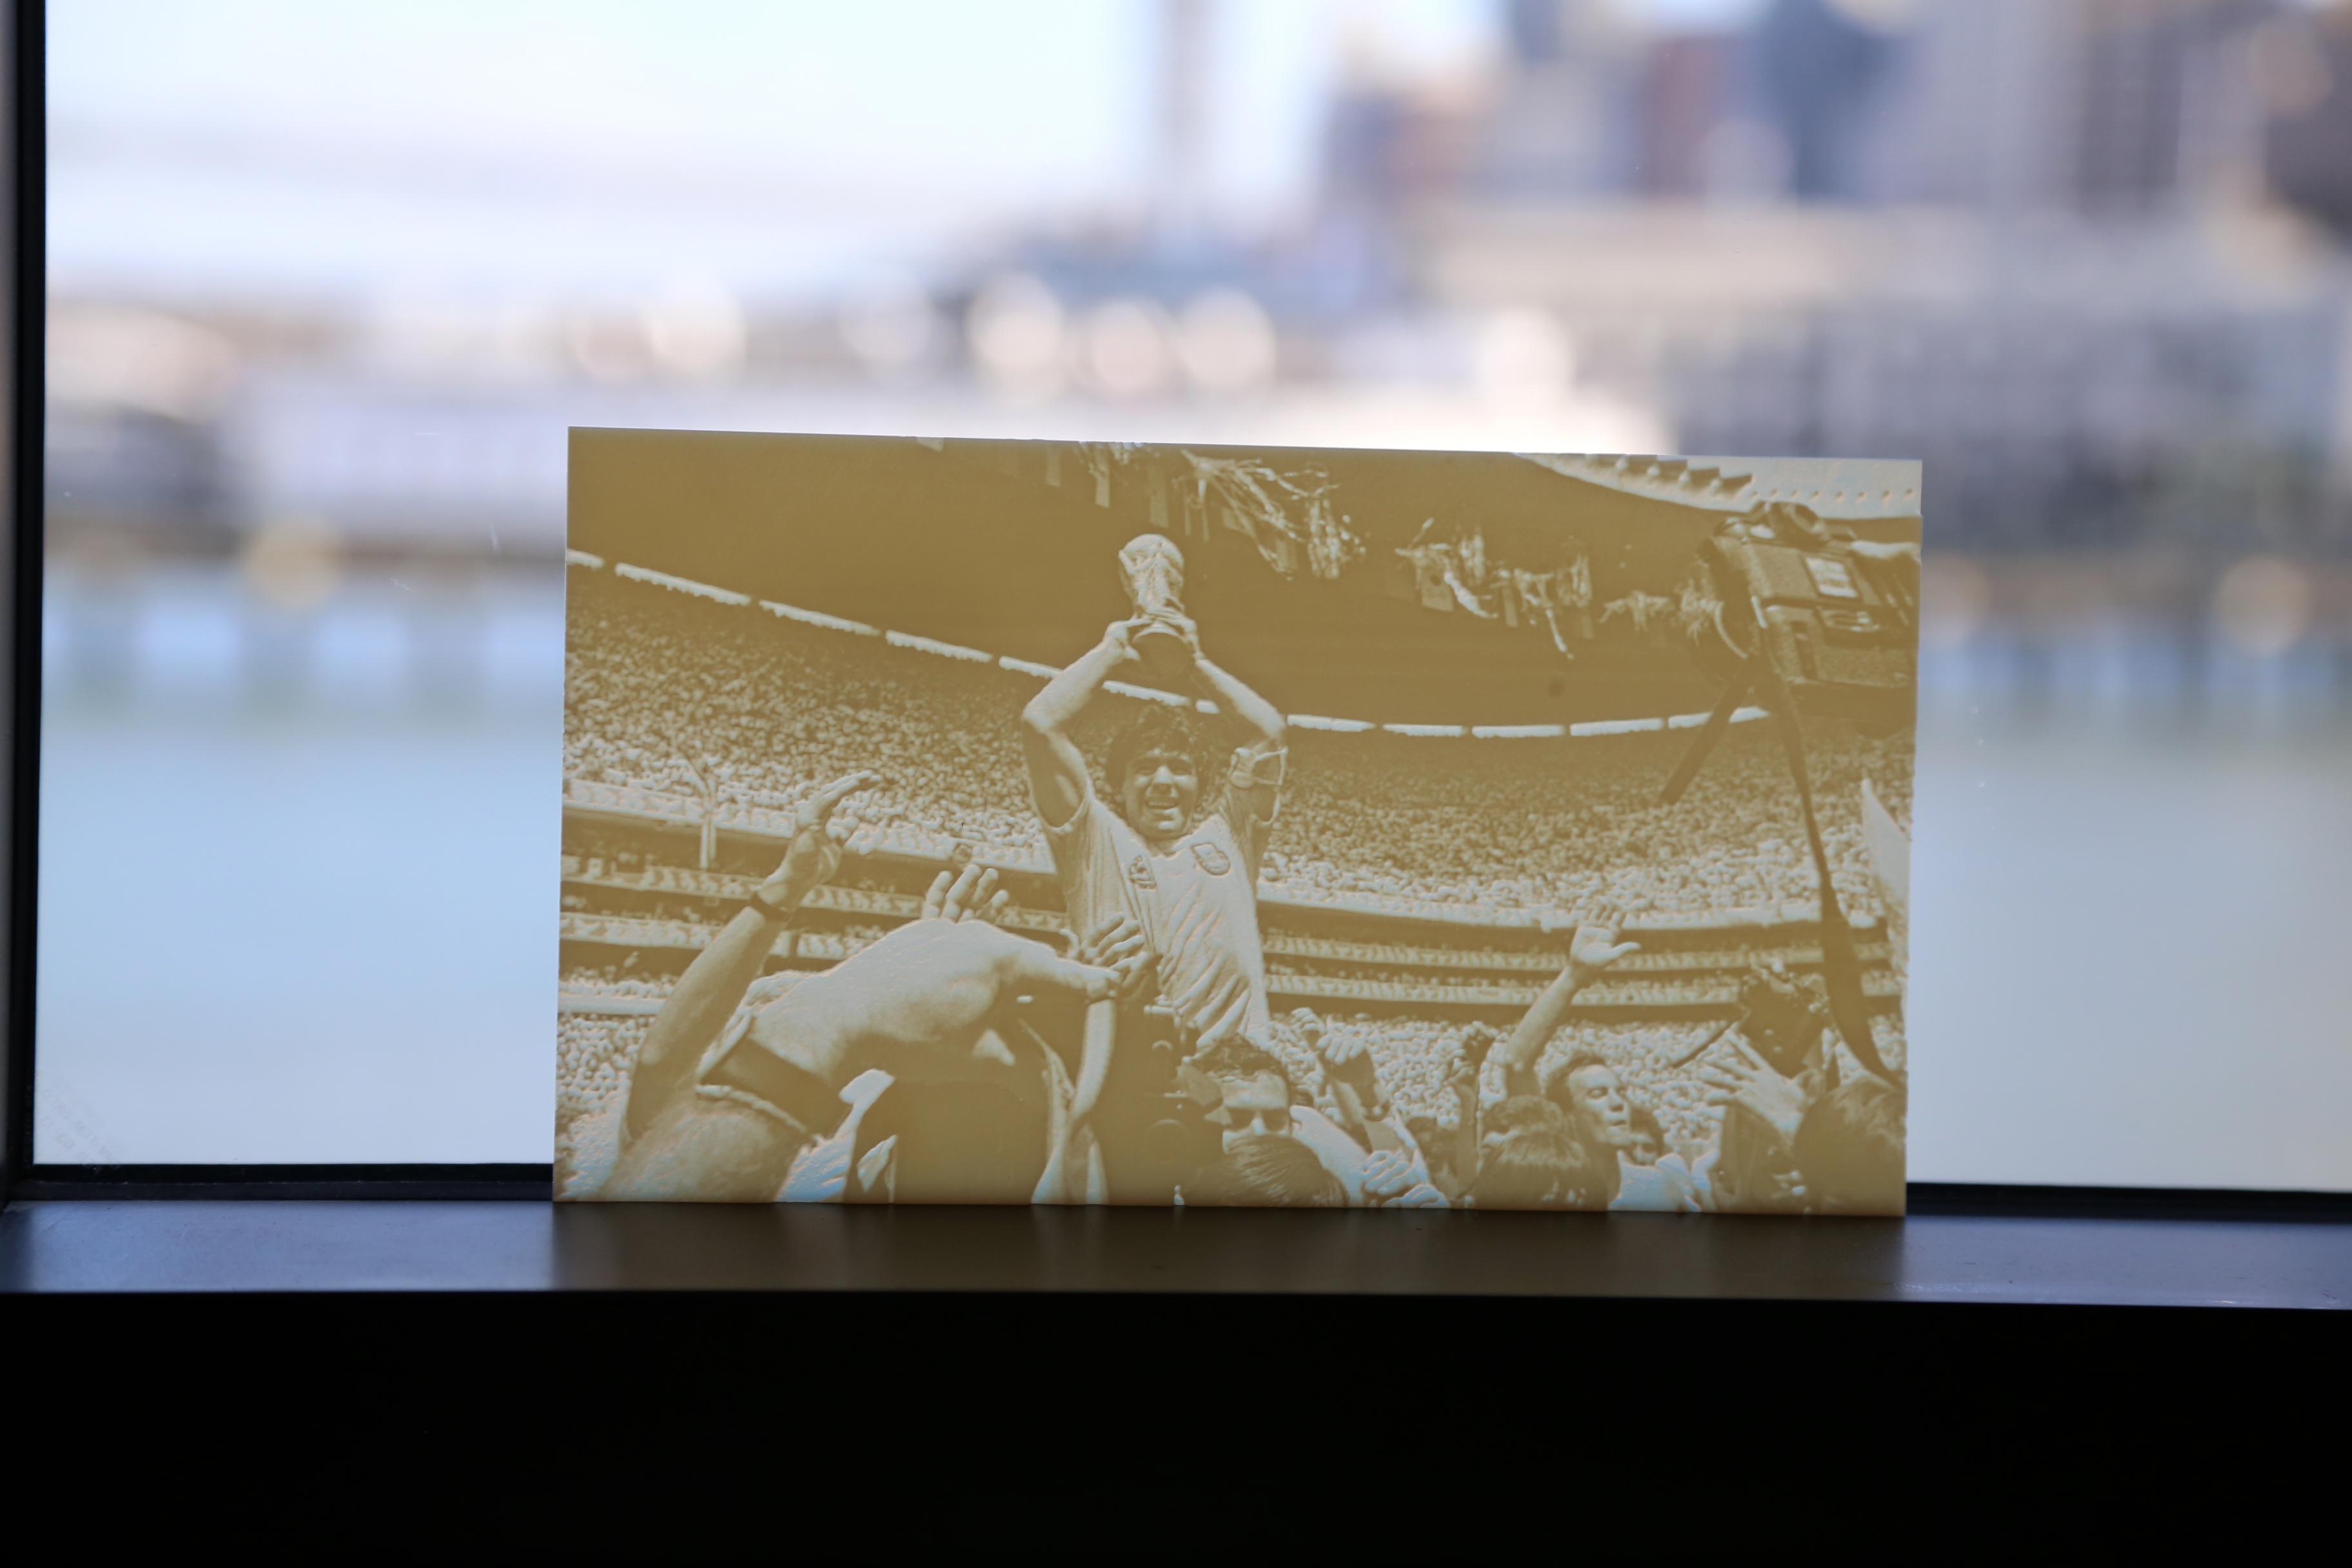
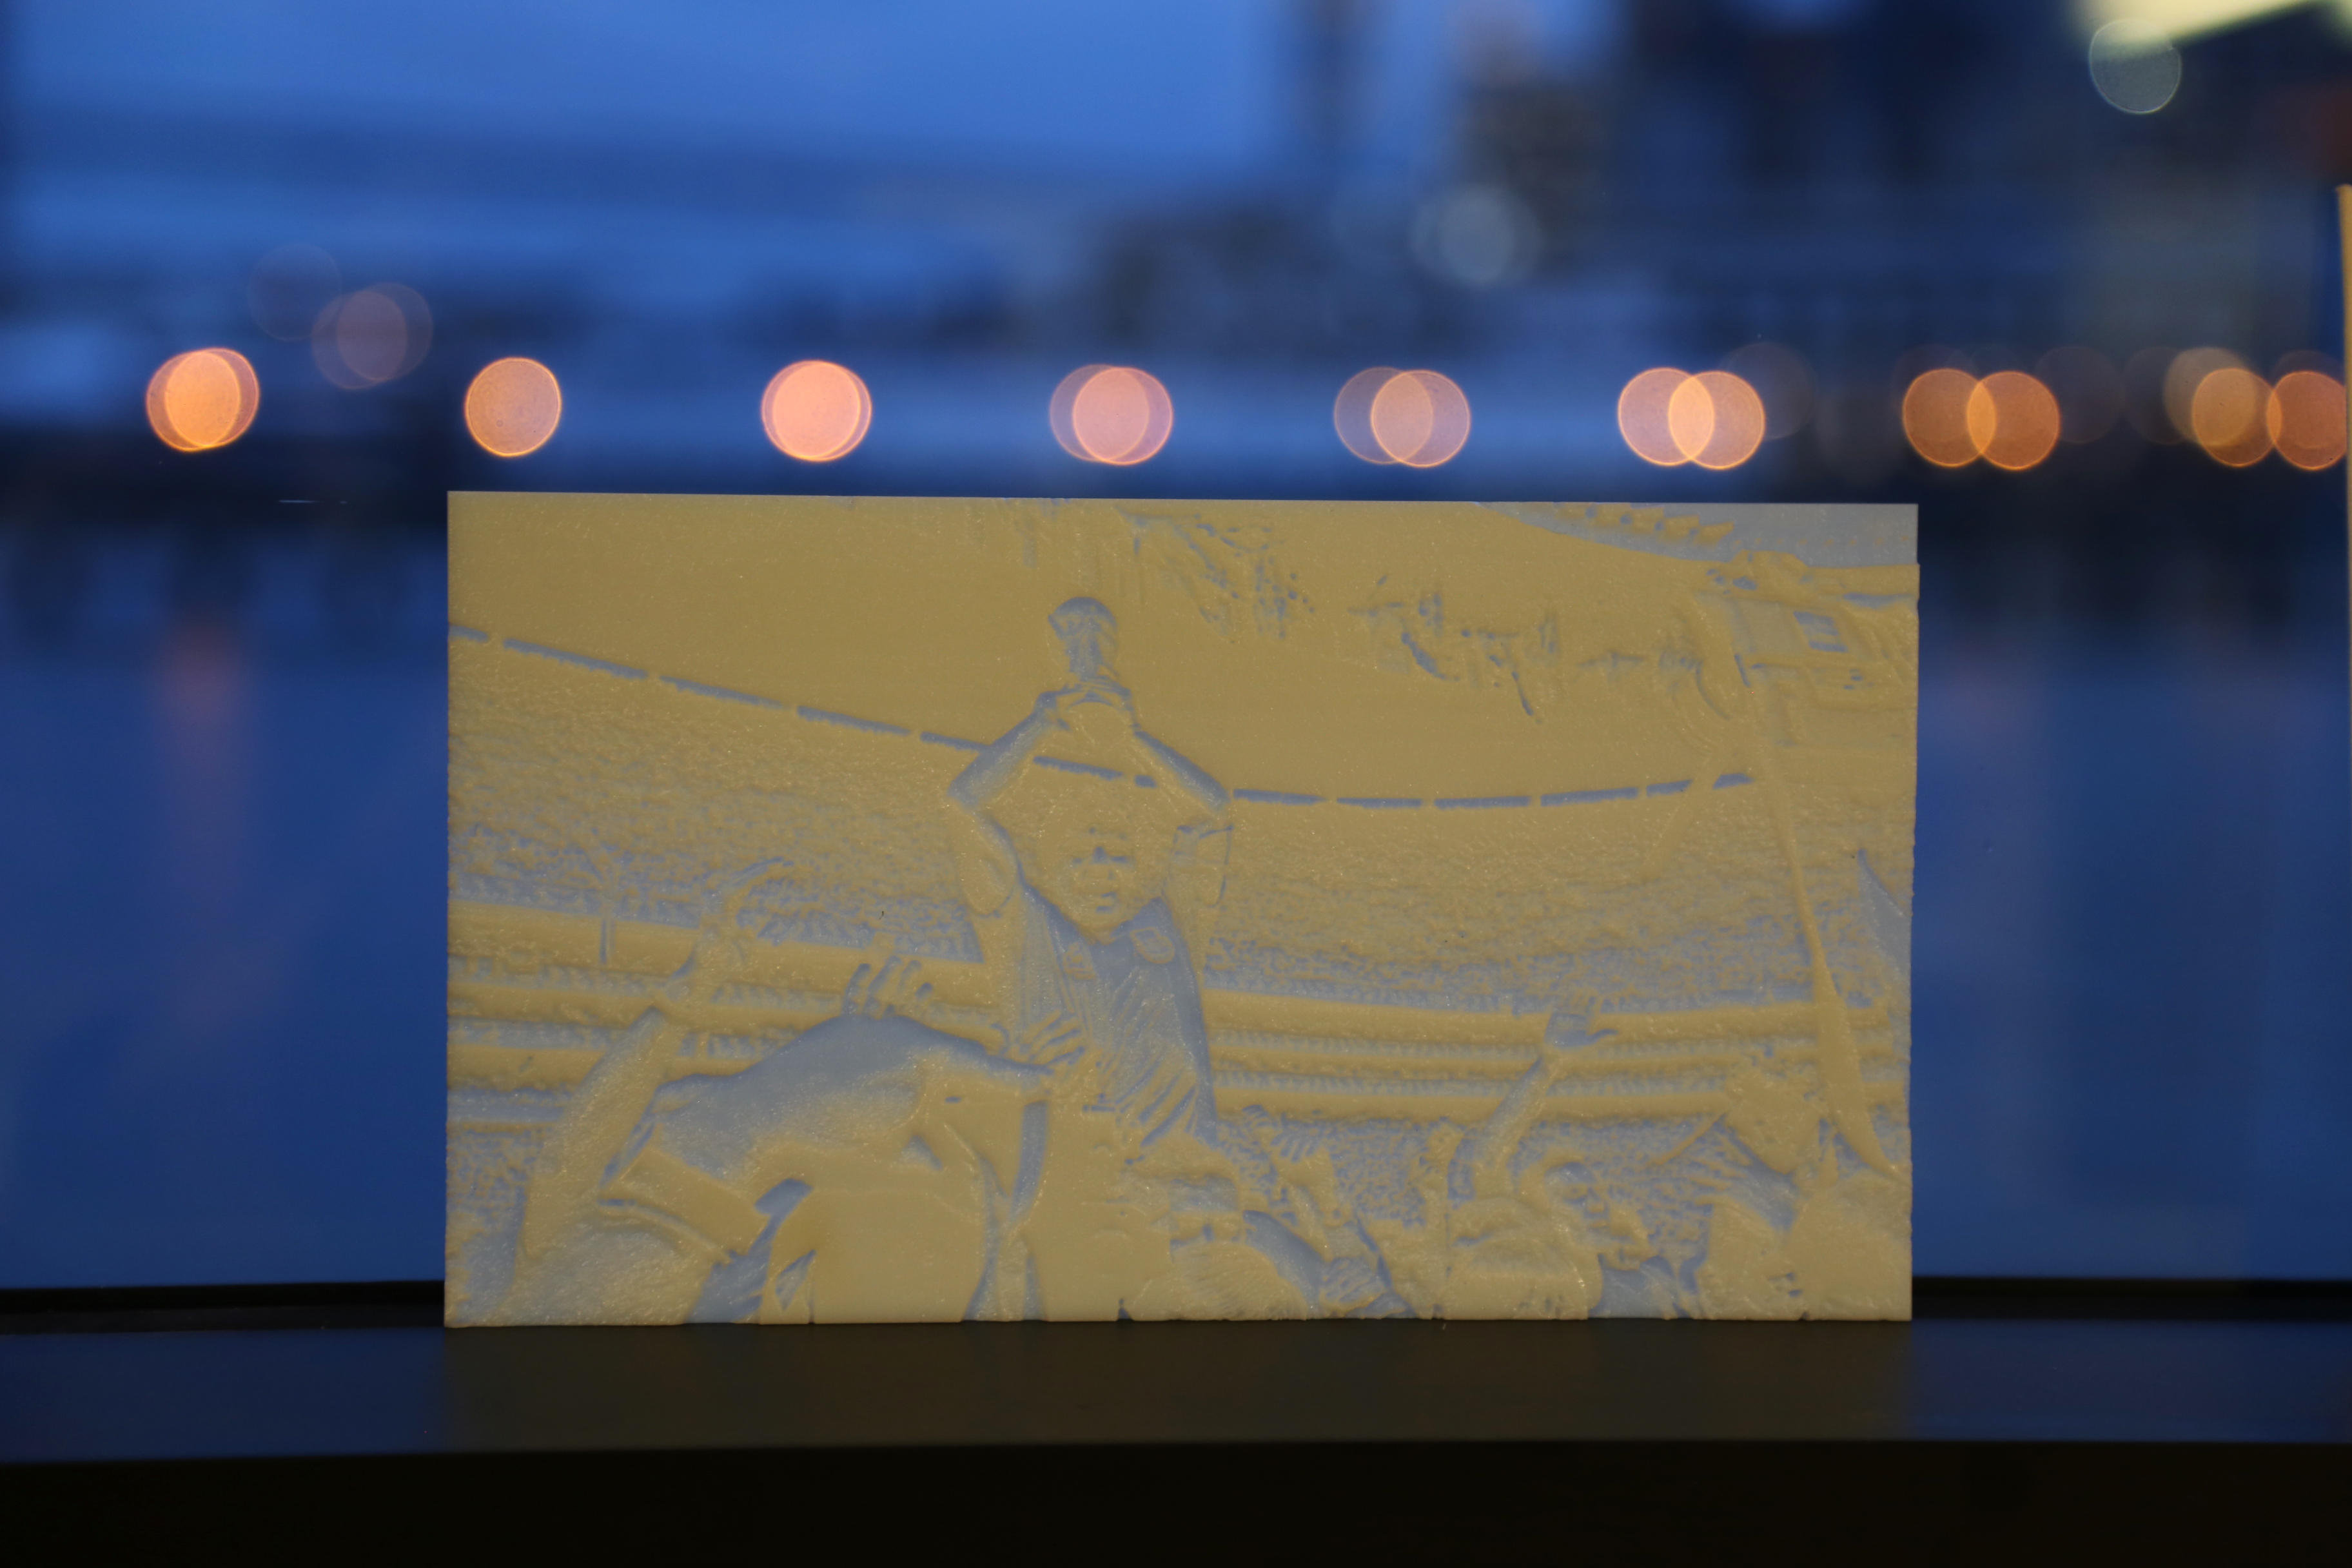
One of my favorite instructables of all time is the 3D Printing Photograph. I was fortunate to meet Amanda, while I was doing my Residency at Instructables and learned a few tricks to do my version. Amanda uses Processing to draw the 3D Models but I hardly code so I figured a way to do the same using Autodesk 3DS Max.
The 3D printer used is an Objet Connex500 and the material used is VeroWhite. Both the printer and the material are really nice because you can get a great quality finish which will reflect on your photo quality. As the thickness varies, the amount of light that is able to pass through changes giving more depth to the photograph. The thinner the material, the brighter it will be.
This year is the world cup so I printed one of the best football (soccer) players that lived on this planet Diego Maradona, holding the World Cup in Mexico 1986. Hopefully this year we will see Lionel Messi hold the world cup in the Estádio do Maracanã.
Photoshop Image


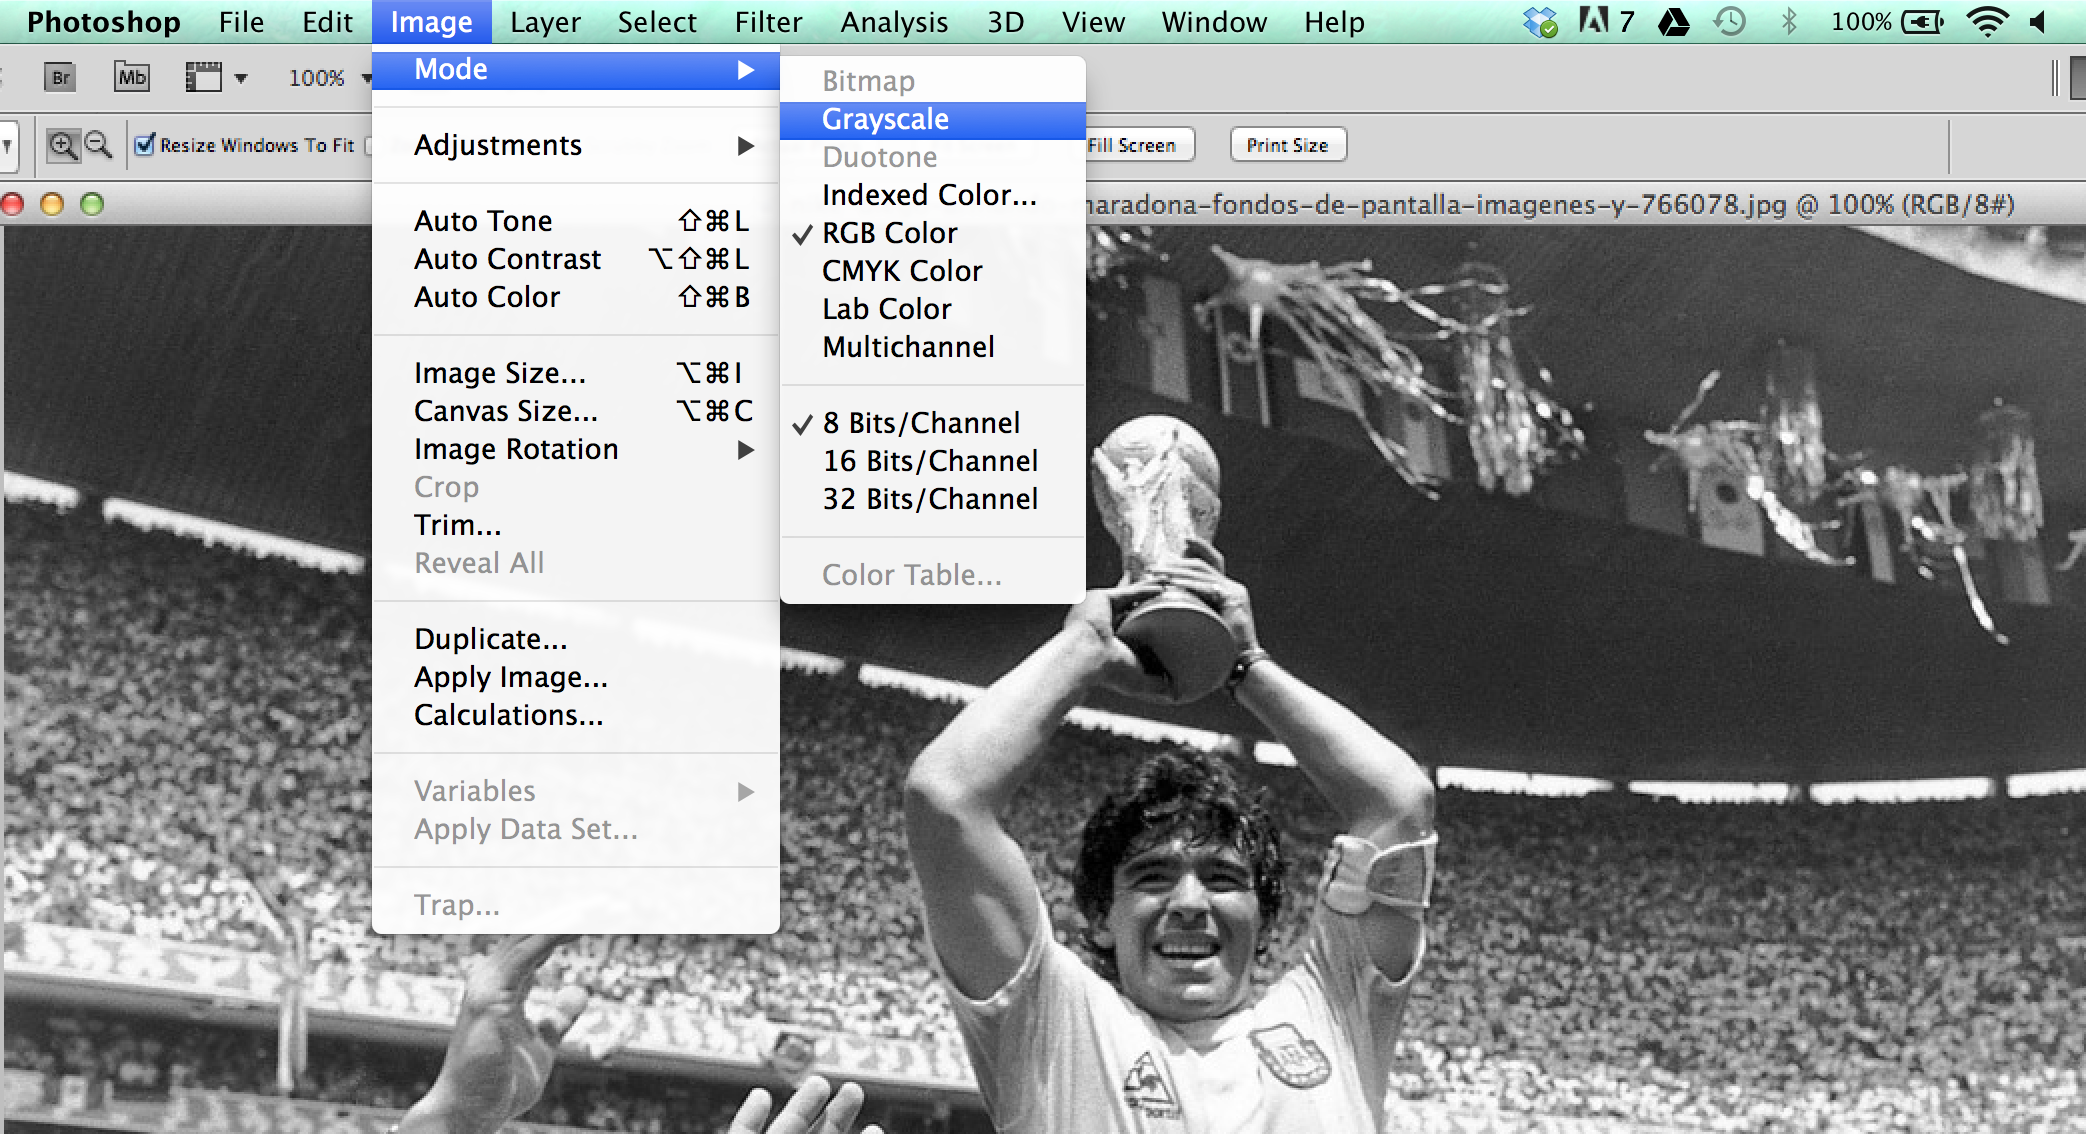
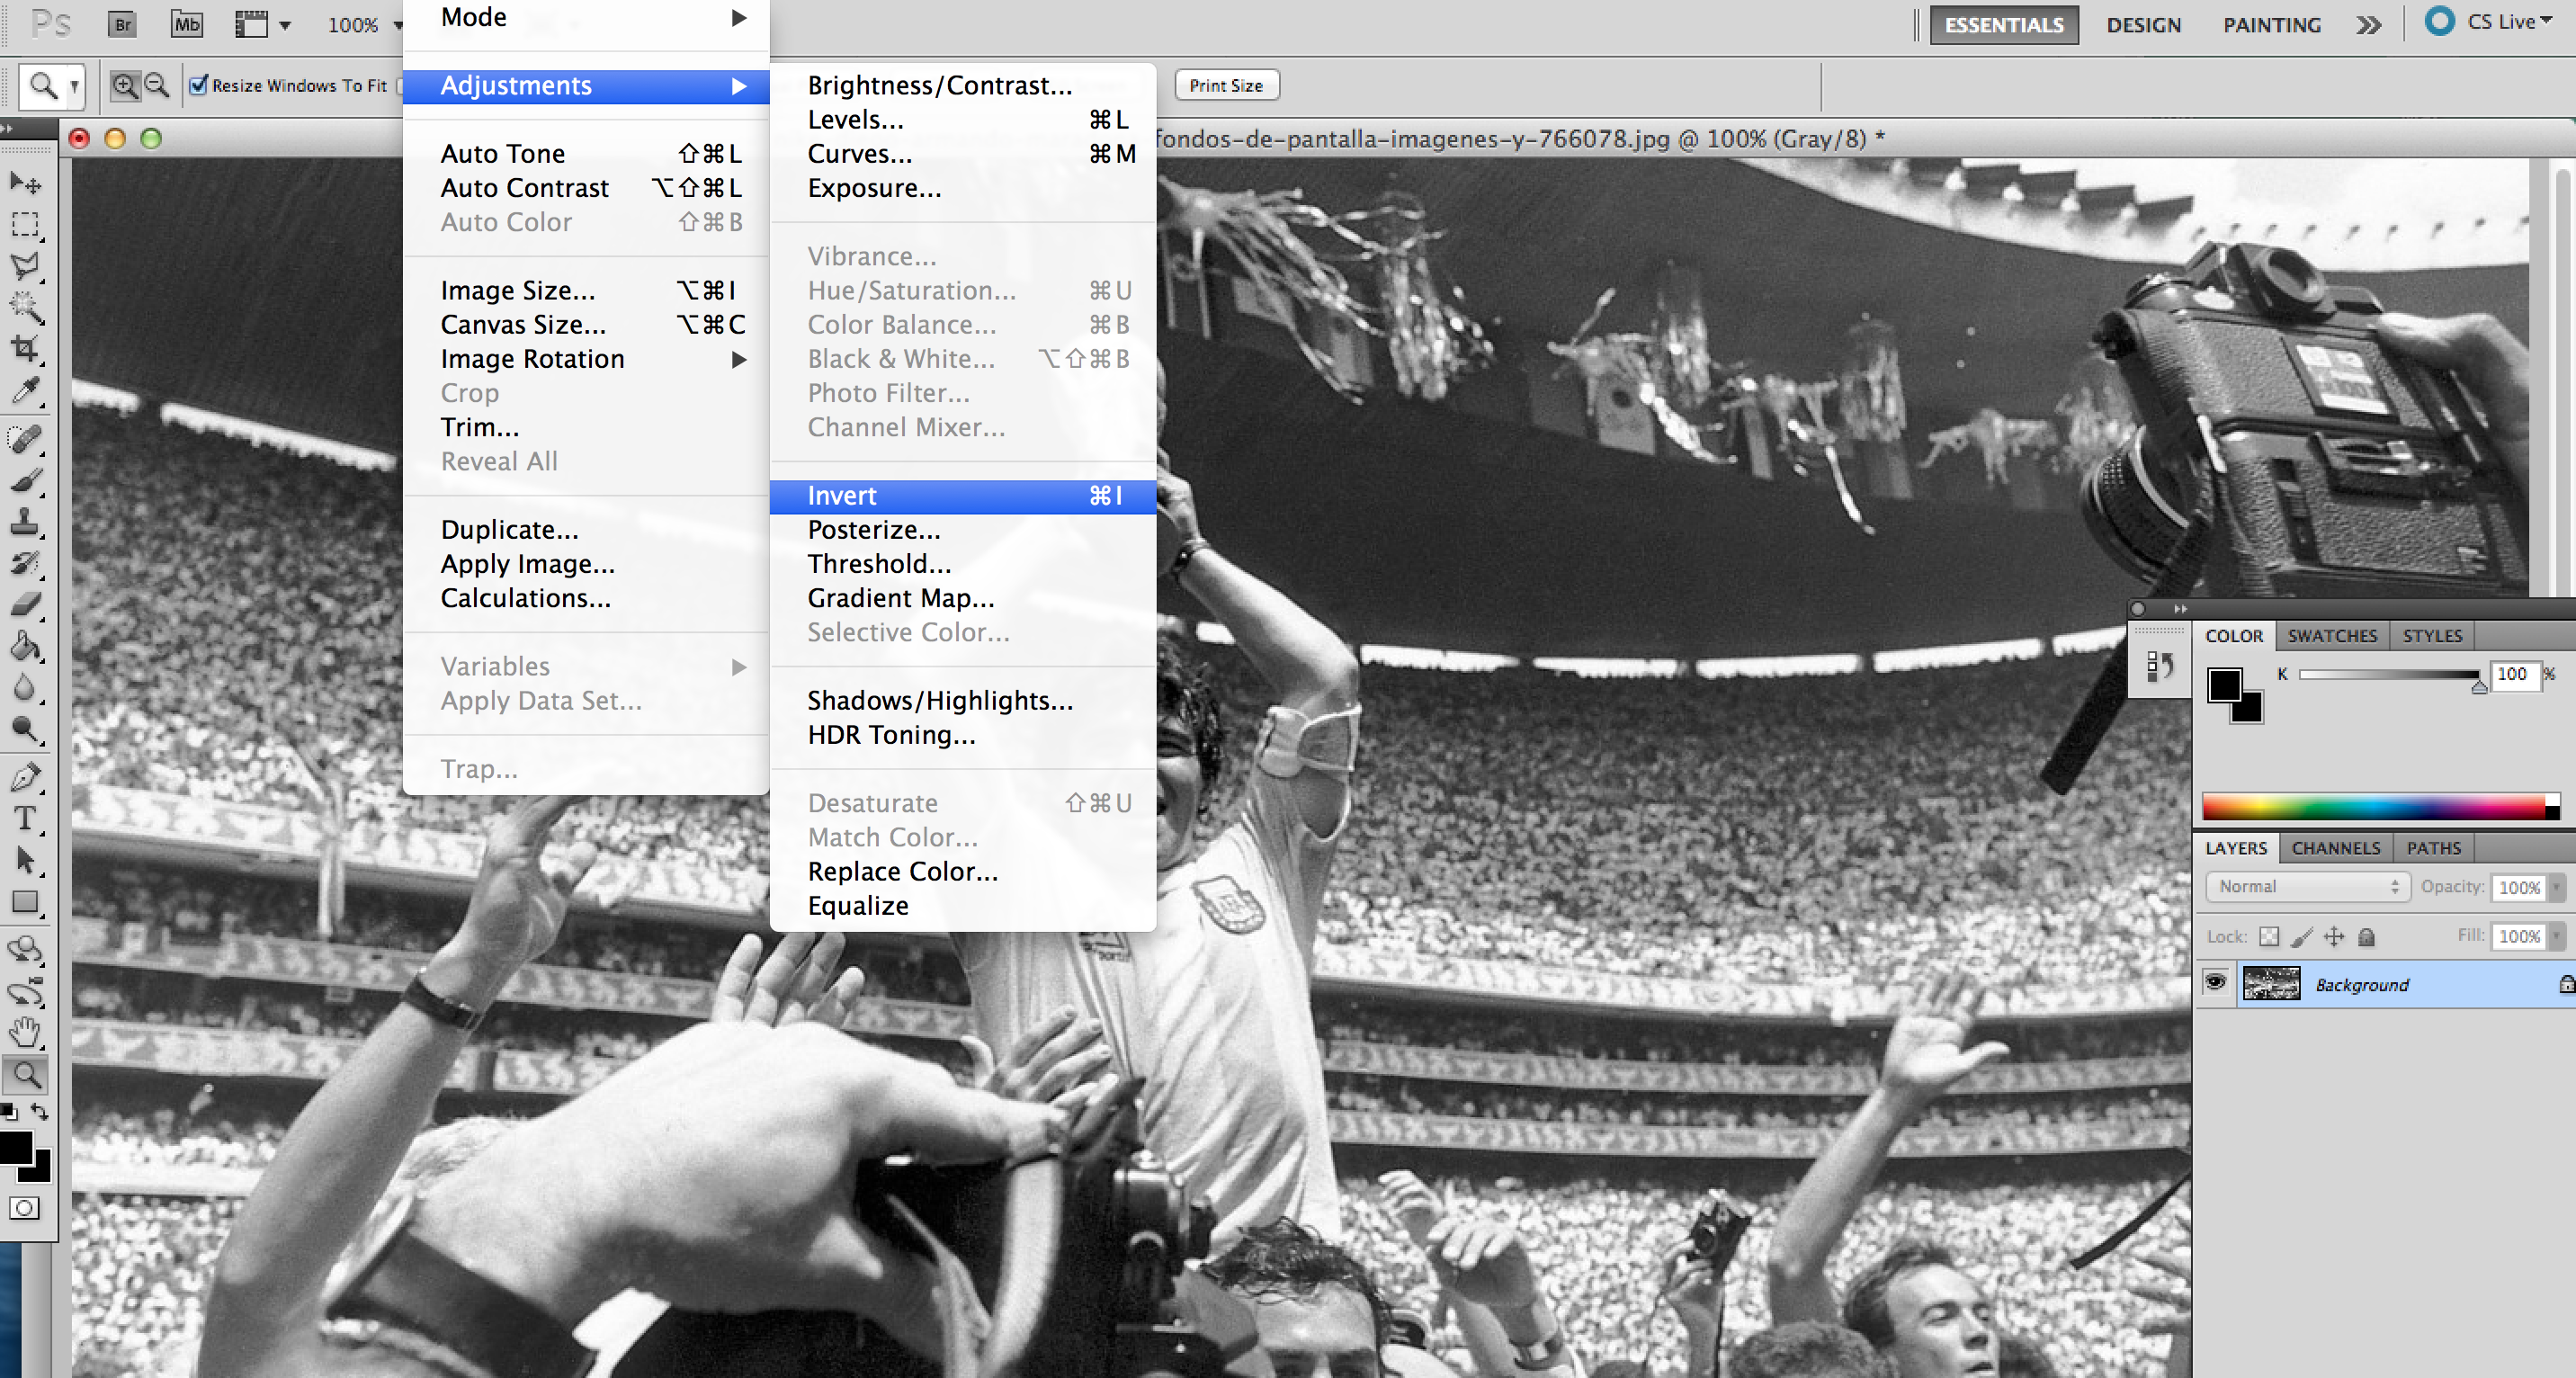
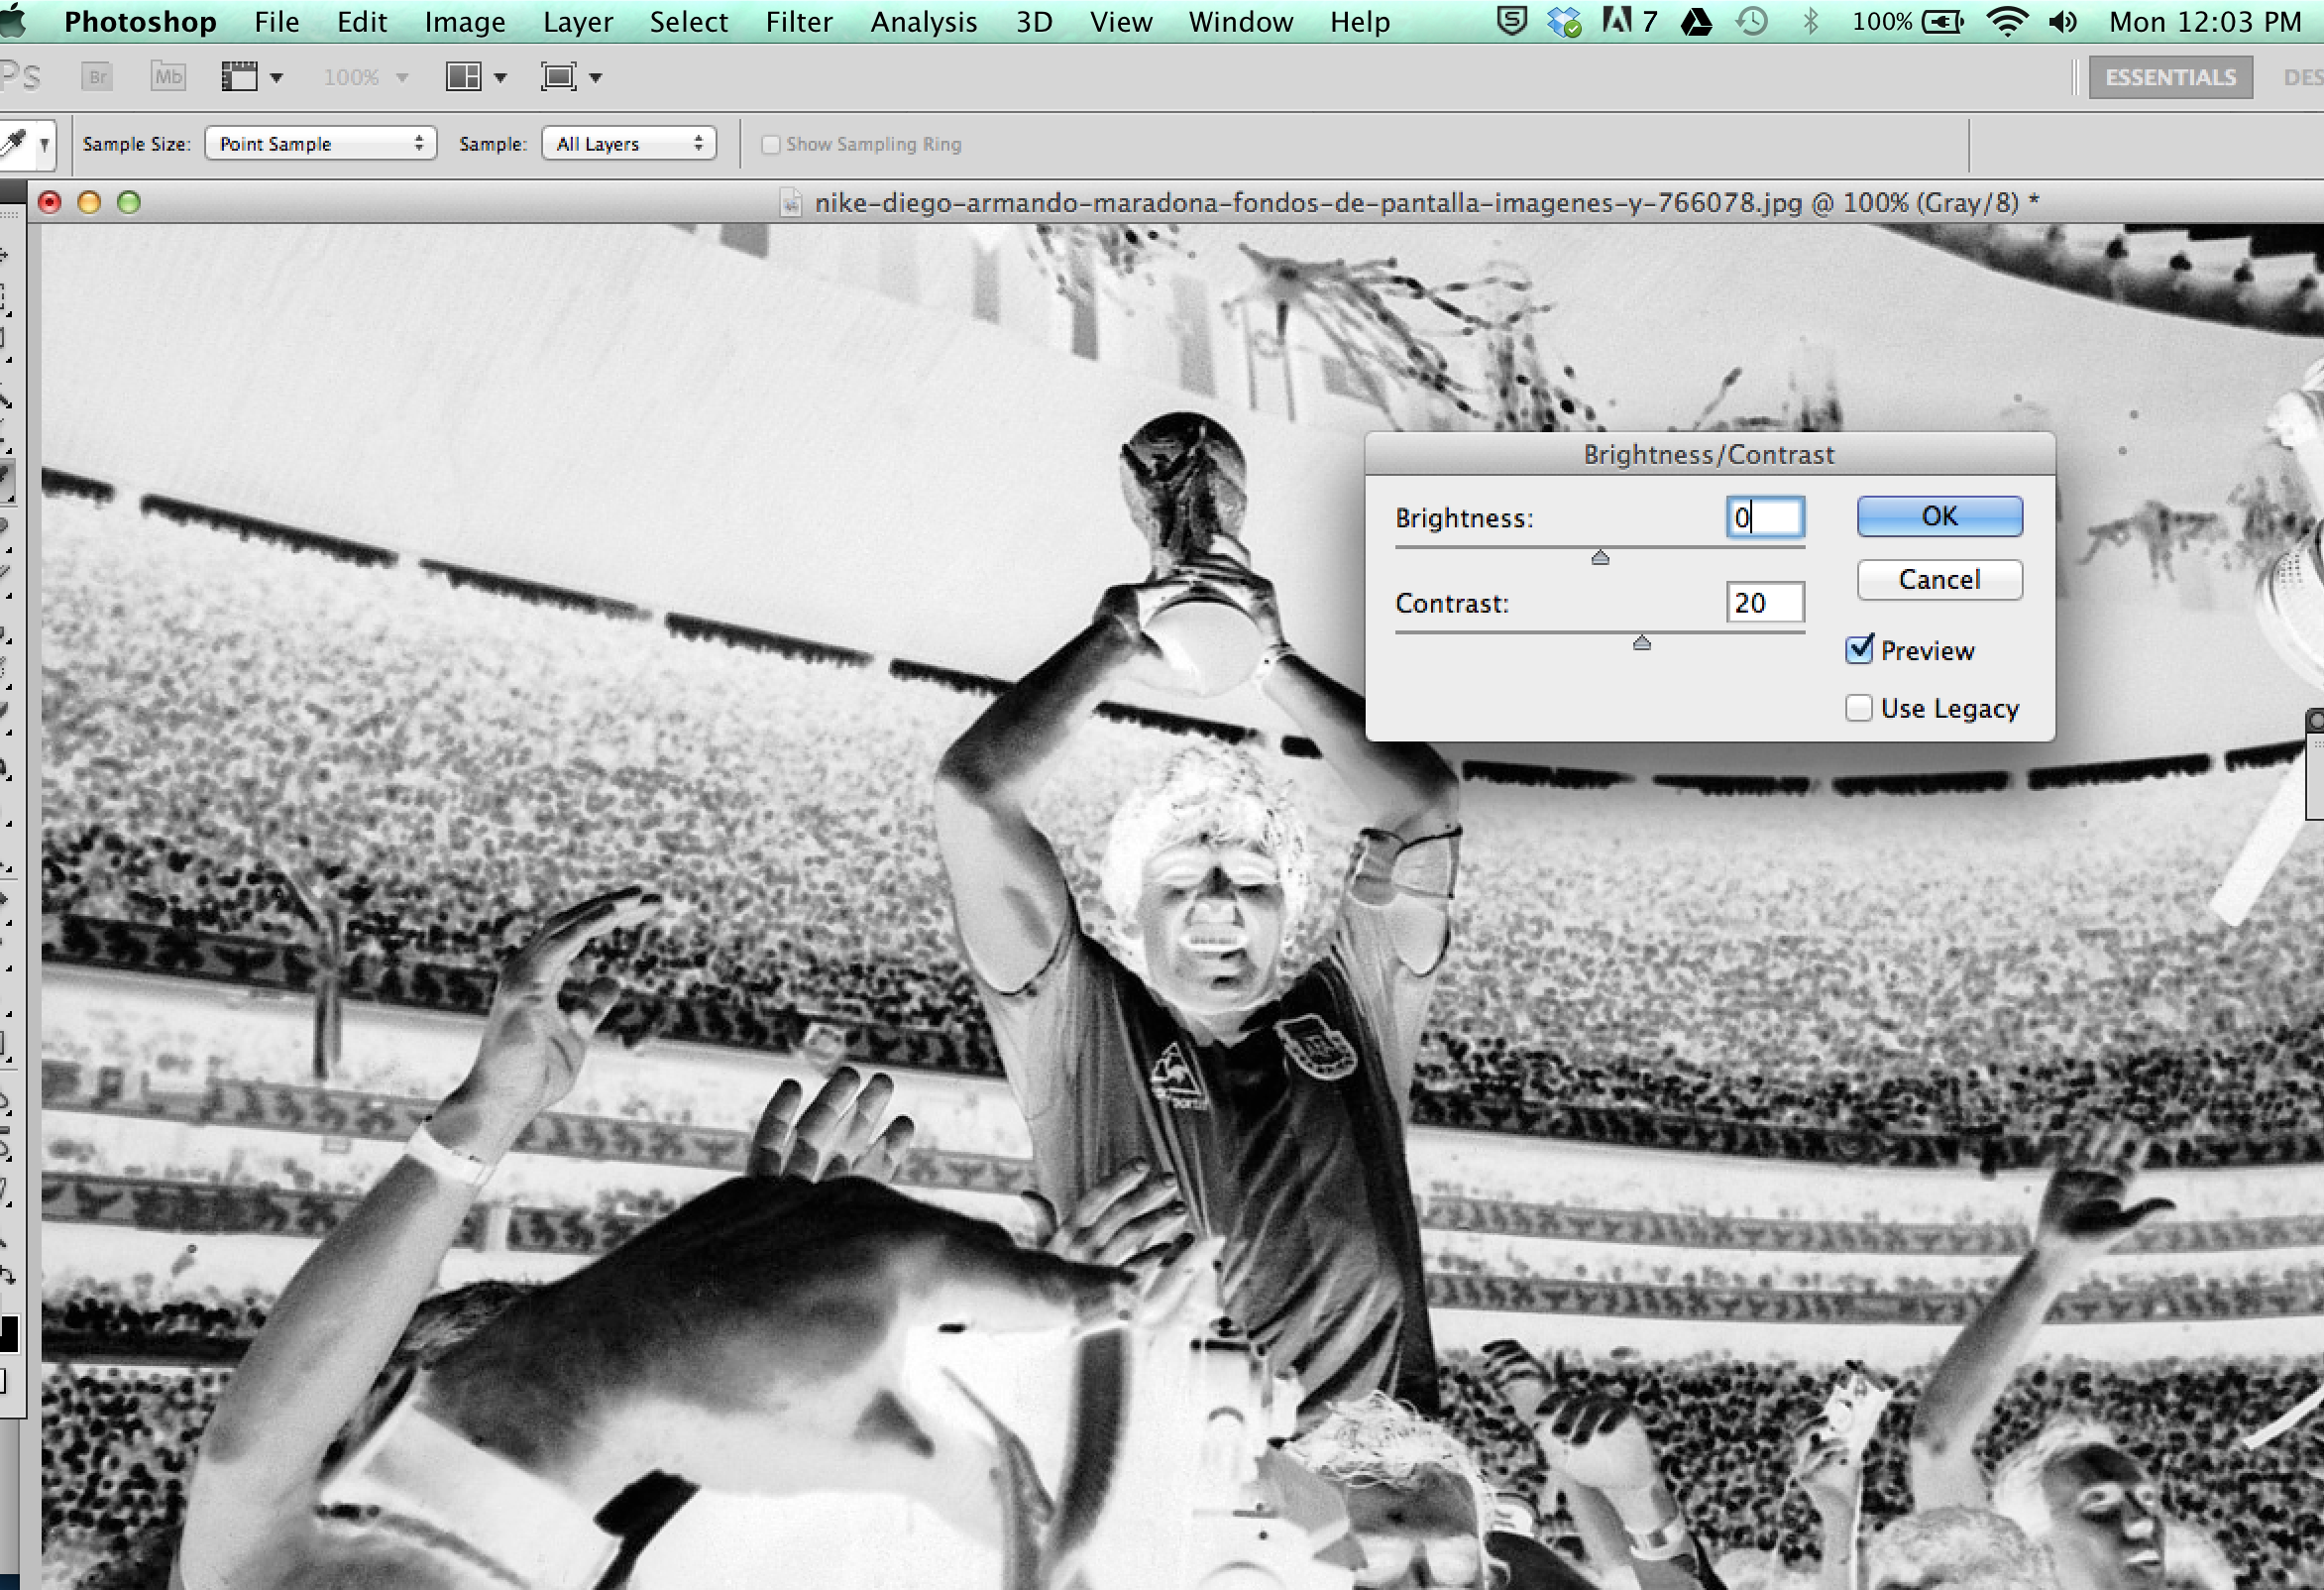
Grab any image you want to 3D print and open Adobe Photoshop. The first thing you need to take note is find out the proportions of the image (width and height ratio). In this case: 1366 x 768 pixels.
Now convert the image into Greyscale mode since color is not necessary for processing the texture of the photograph. We only need to know how dark/bright it is.
Now we will Invert the image greyscale as shown on the screenshot because 3DS Max will process a taller surface wherever there is a light shade and we actually want the inverse.
The final step on Photoshop is a bit optional but I decided to Increase Contrast so I have a bit more contrast on my peaks/valleys.
Draw a Plane and Increase Segments
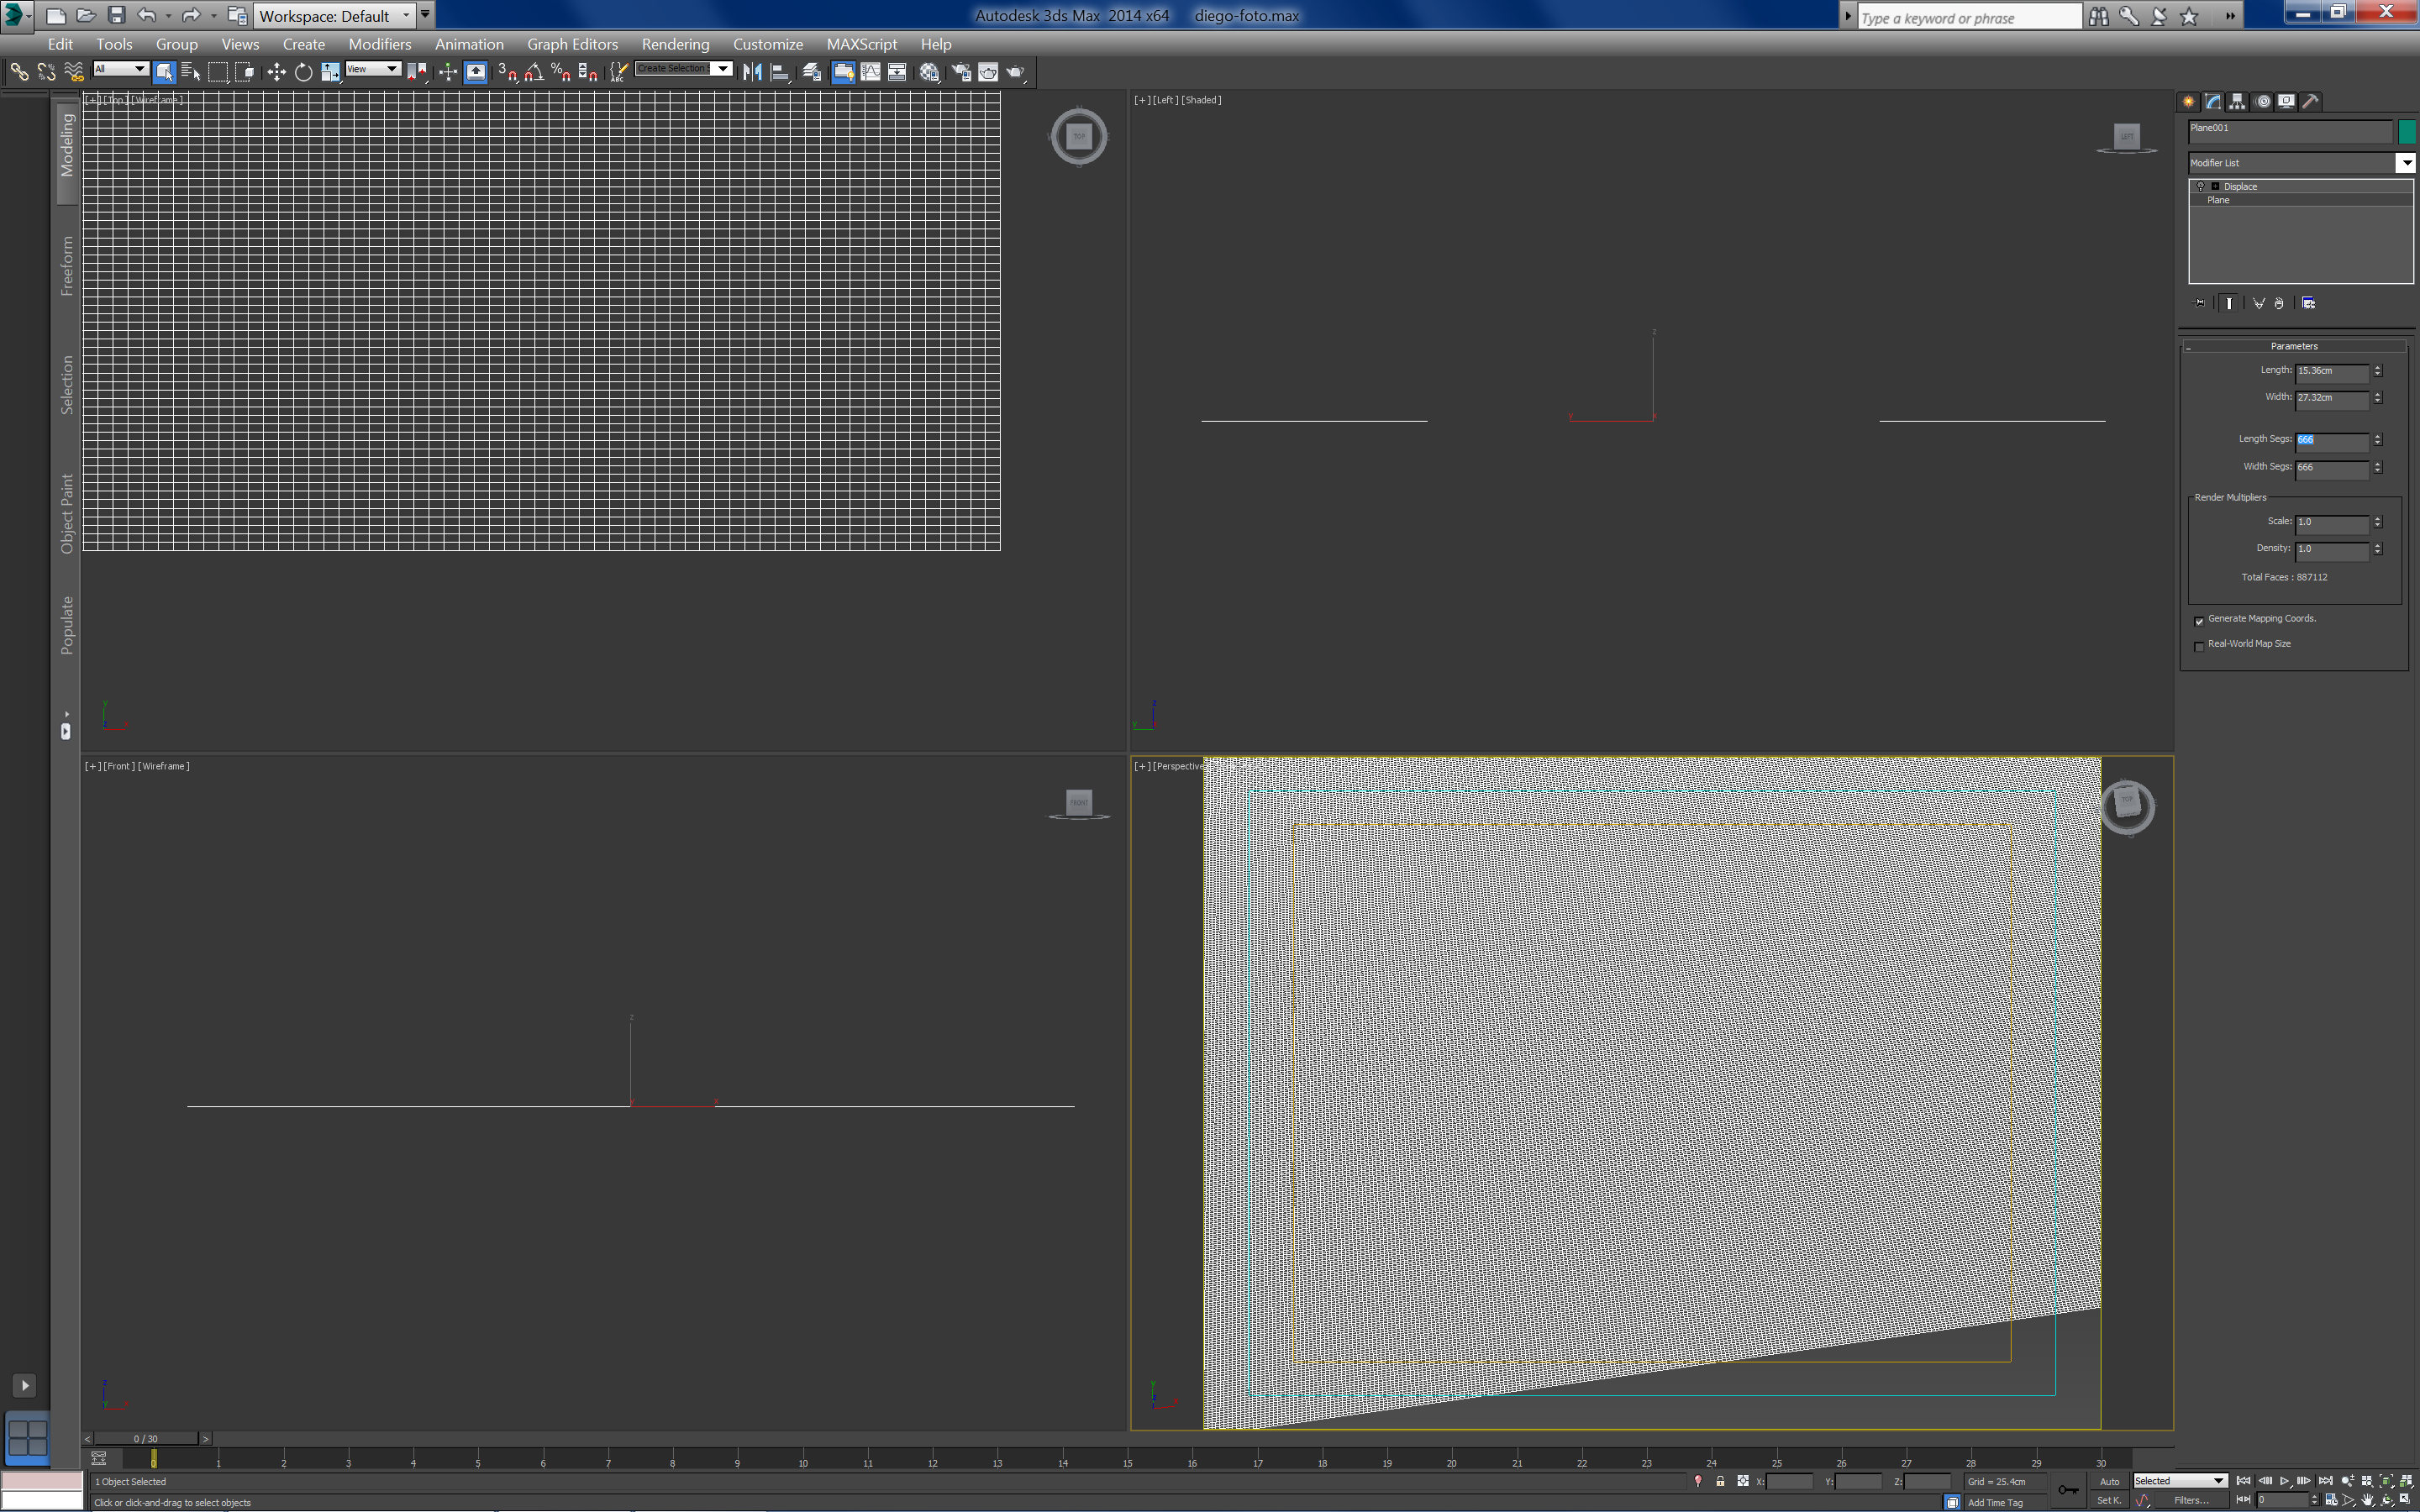
Now is the time to decide how big you want to print your photograph. Open Autodesk 3DS Max and make a Plane with the dimensions you would like to print. We need to keep the same ratio from the original image. My measurements in mm: 27.347 cm x 15.375 cm.
Next we need to increase the segments of the plane to have higher fidelity. I tried adding 900 or more segments for both Length and Width but my computer crashed. I chose an easy number to remember: 666. By pressing F4 you can see the amount of vertices/edges.
Go to the Modifier Parameters:
Length Segs: 666
Width Segs: 666
Displace Modifier
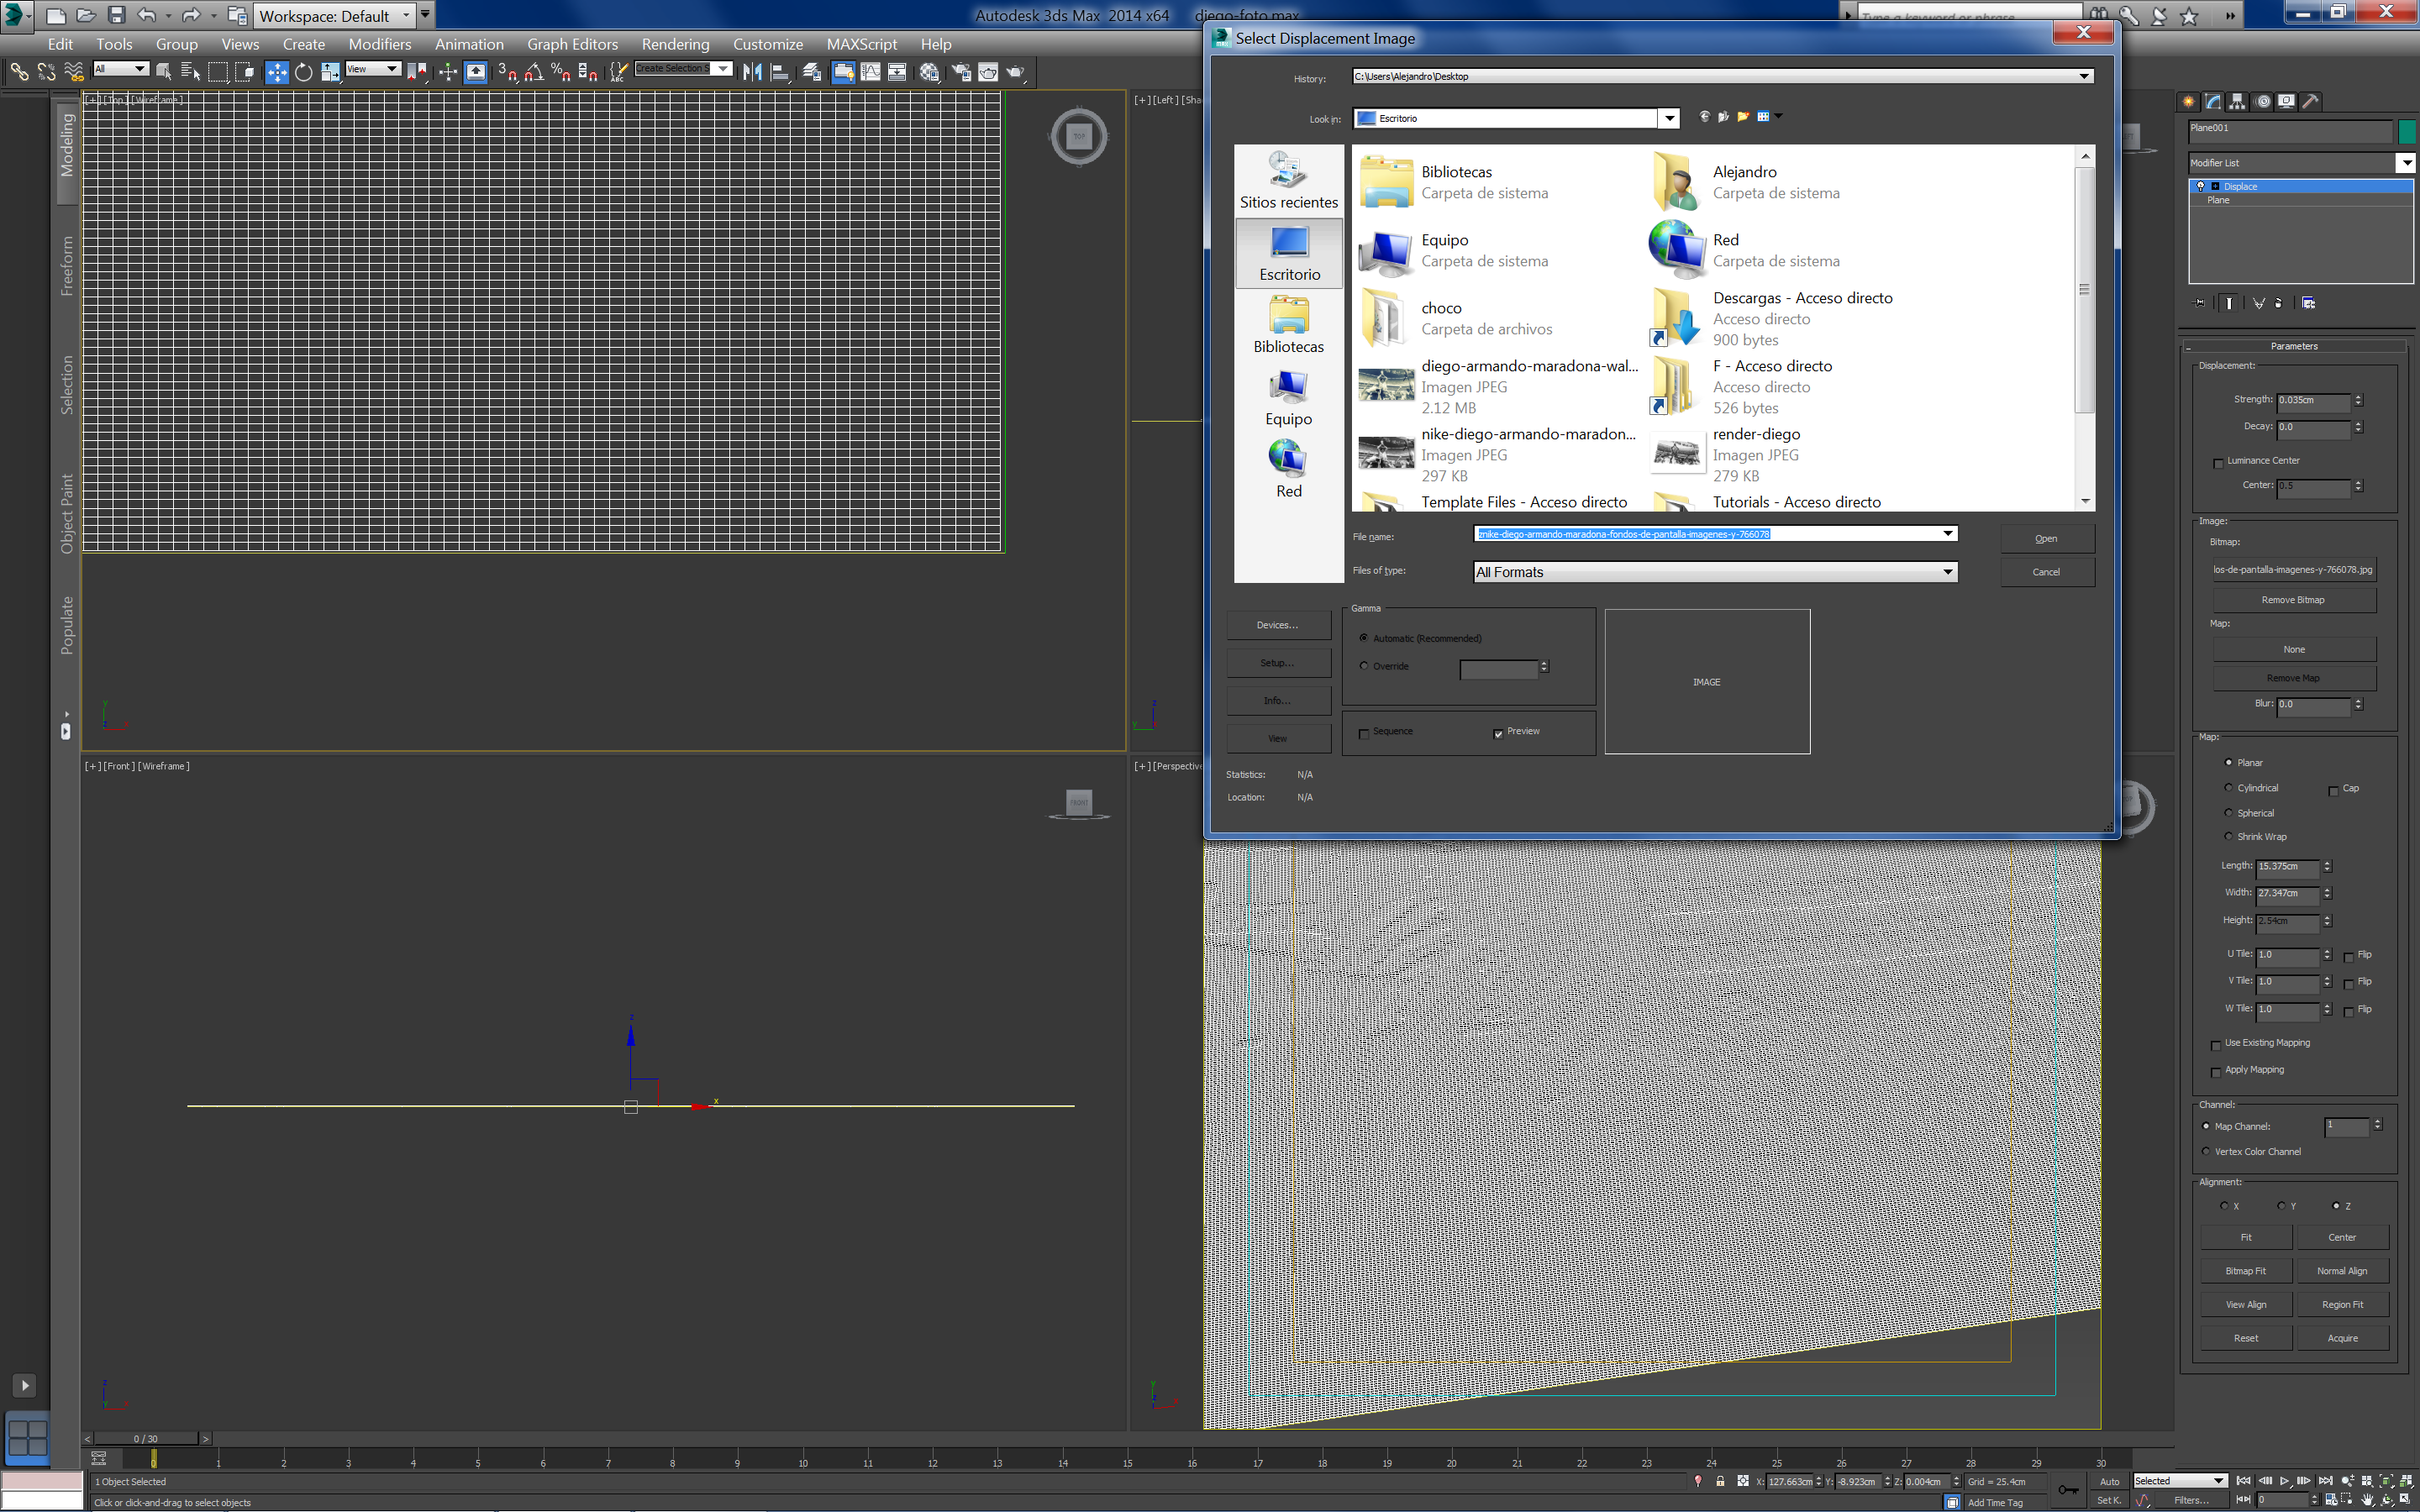
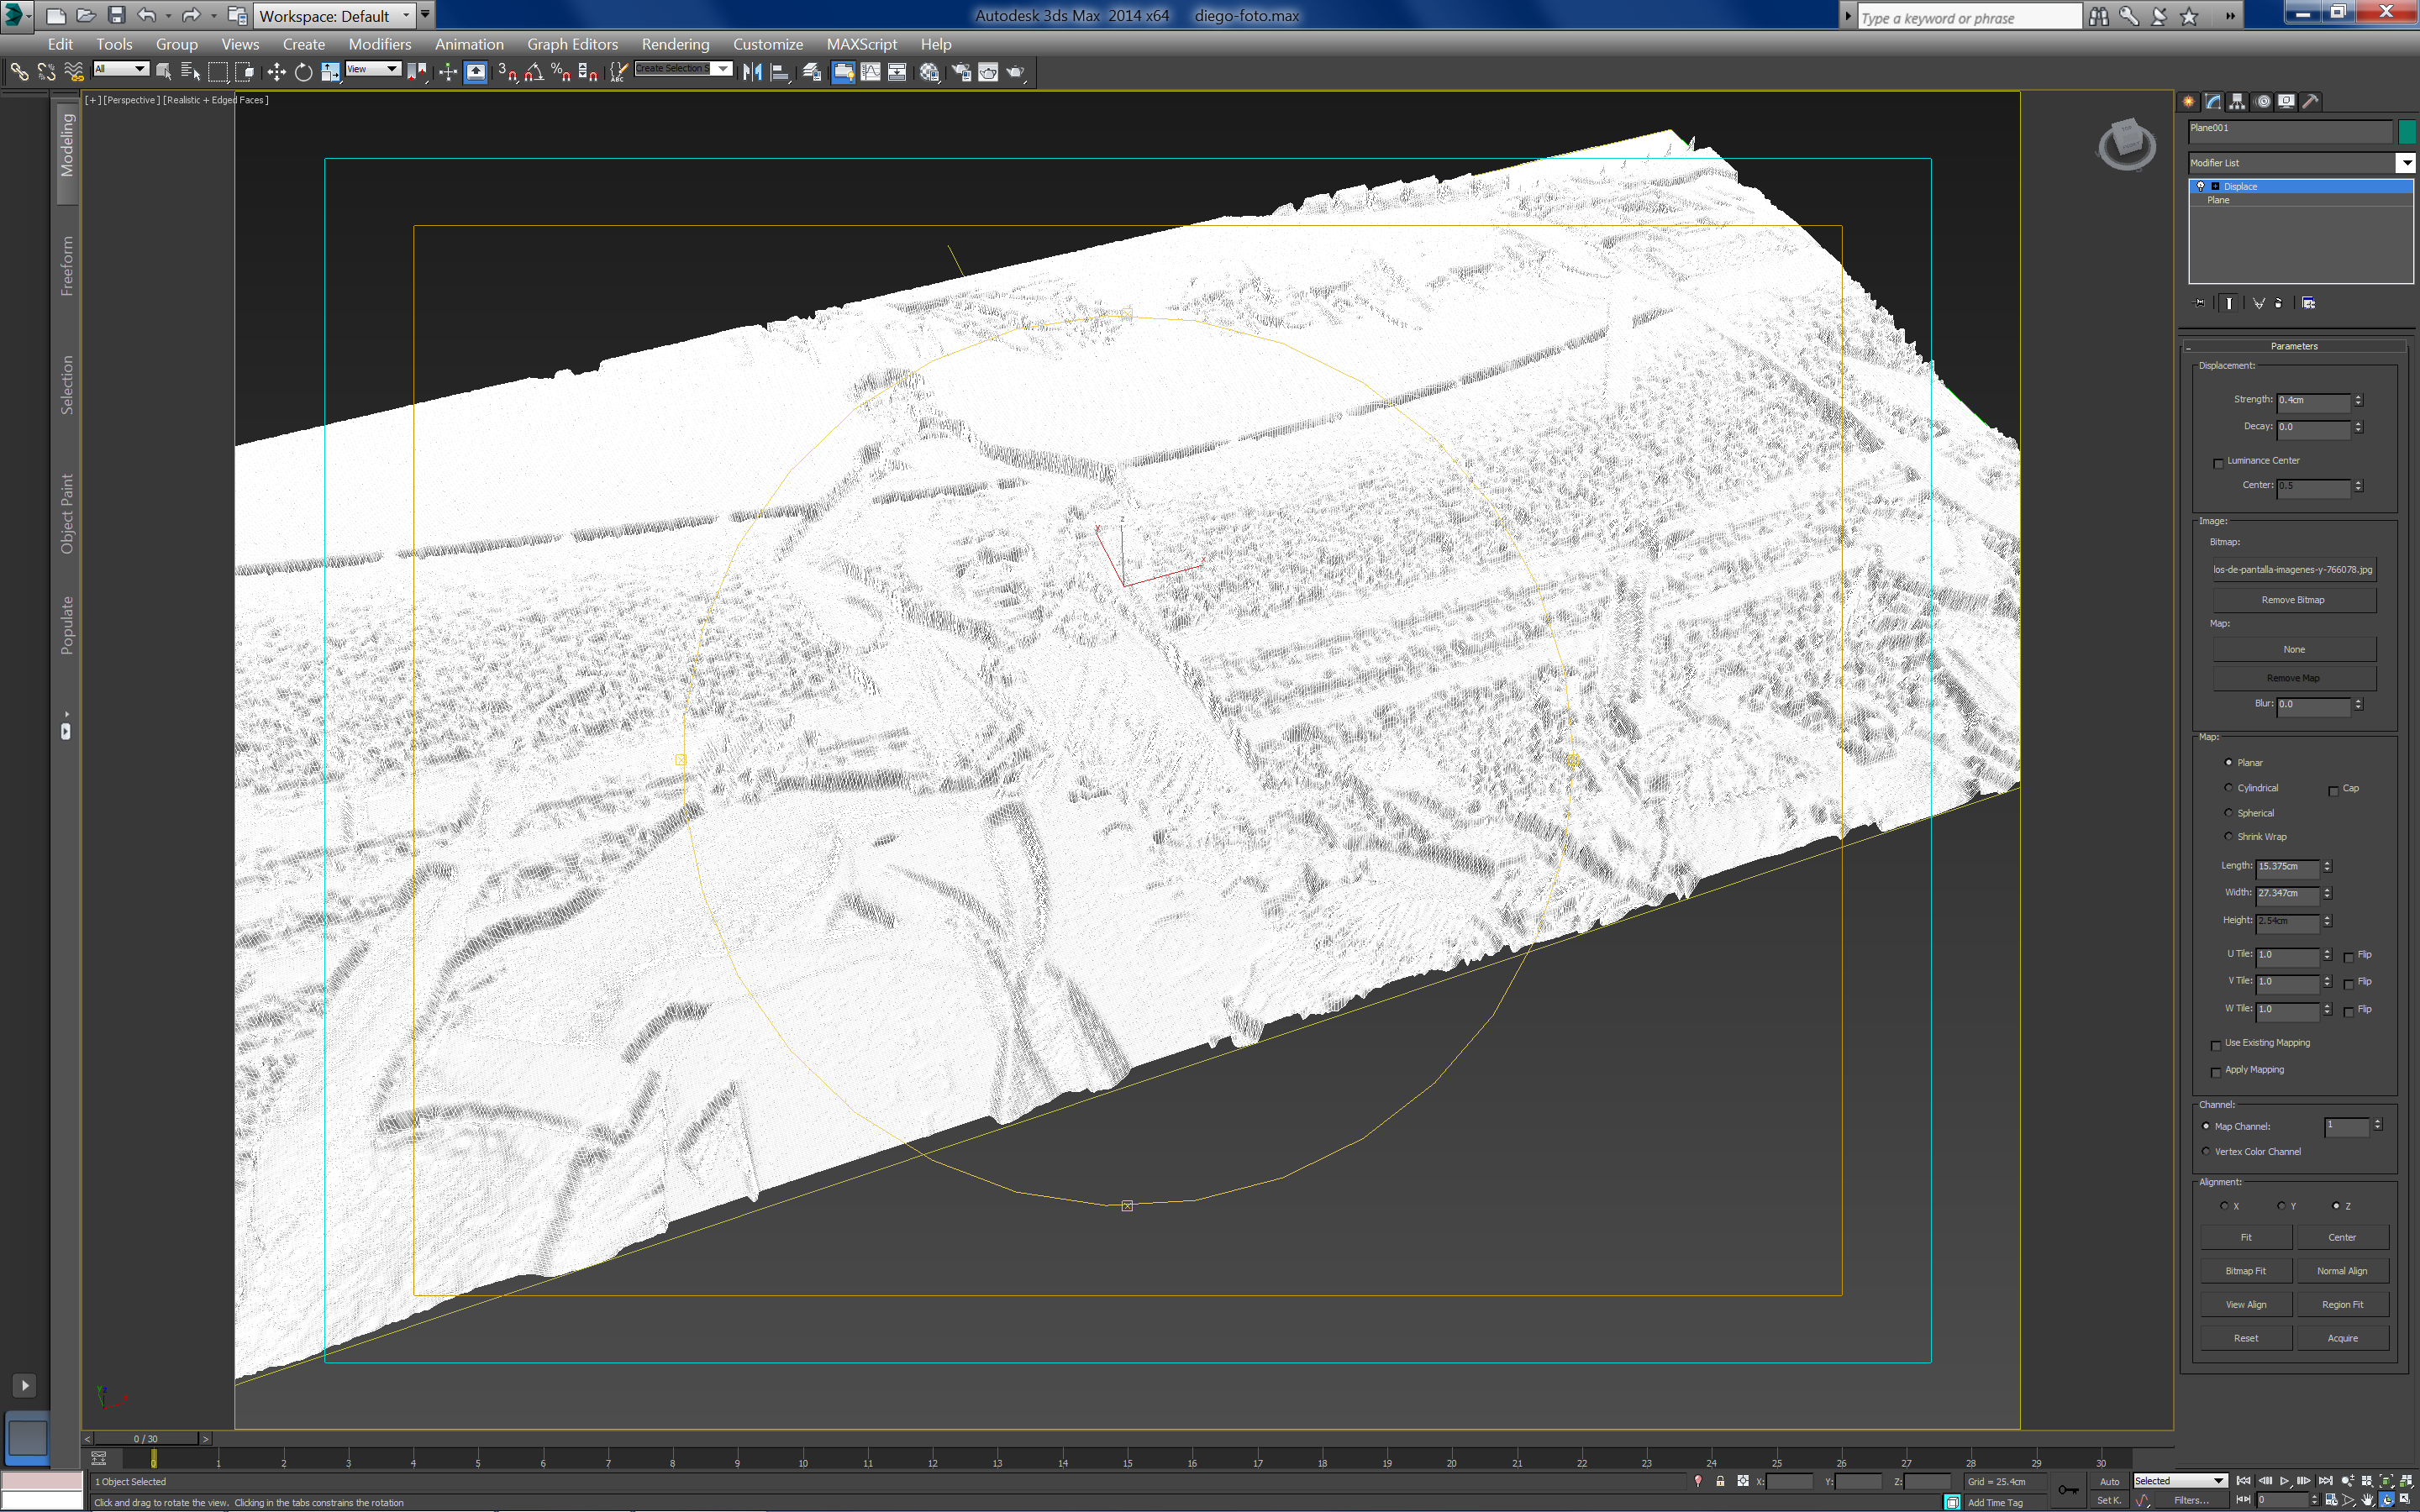
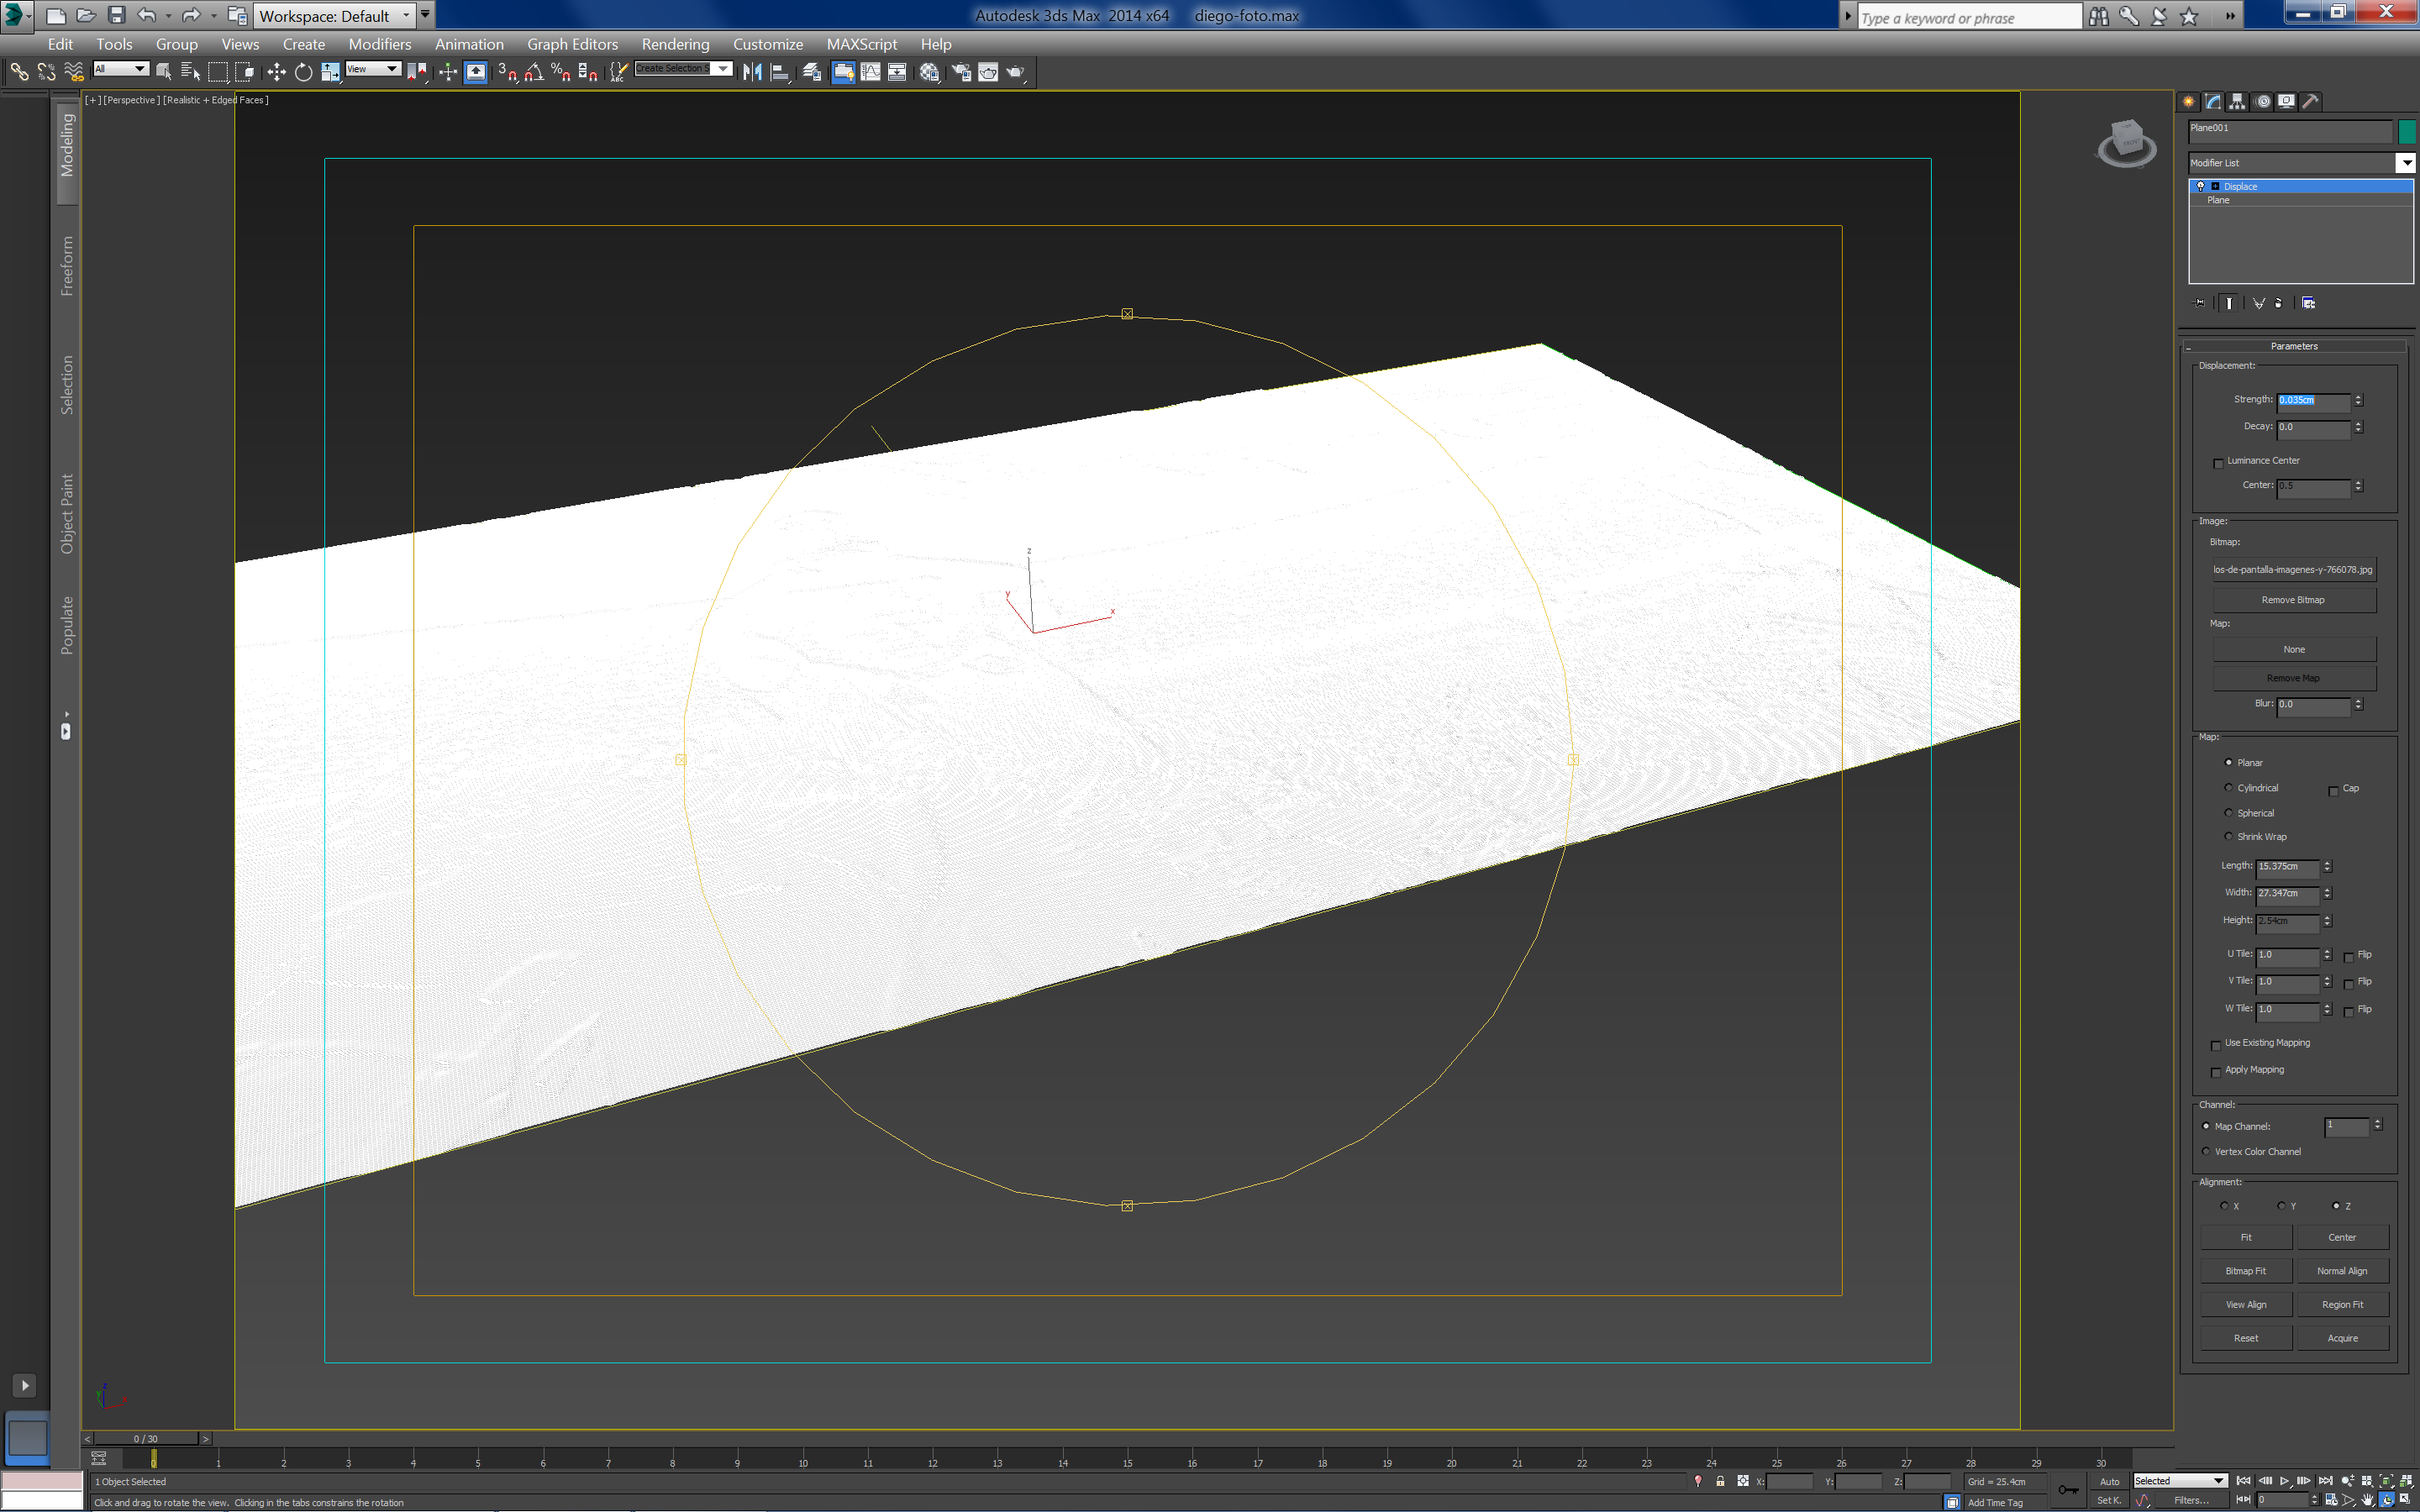
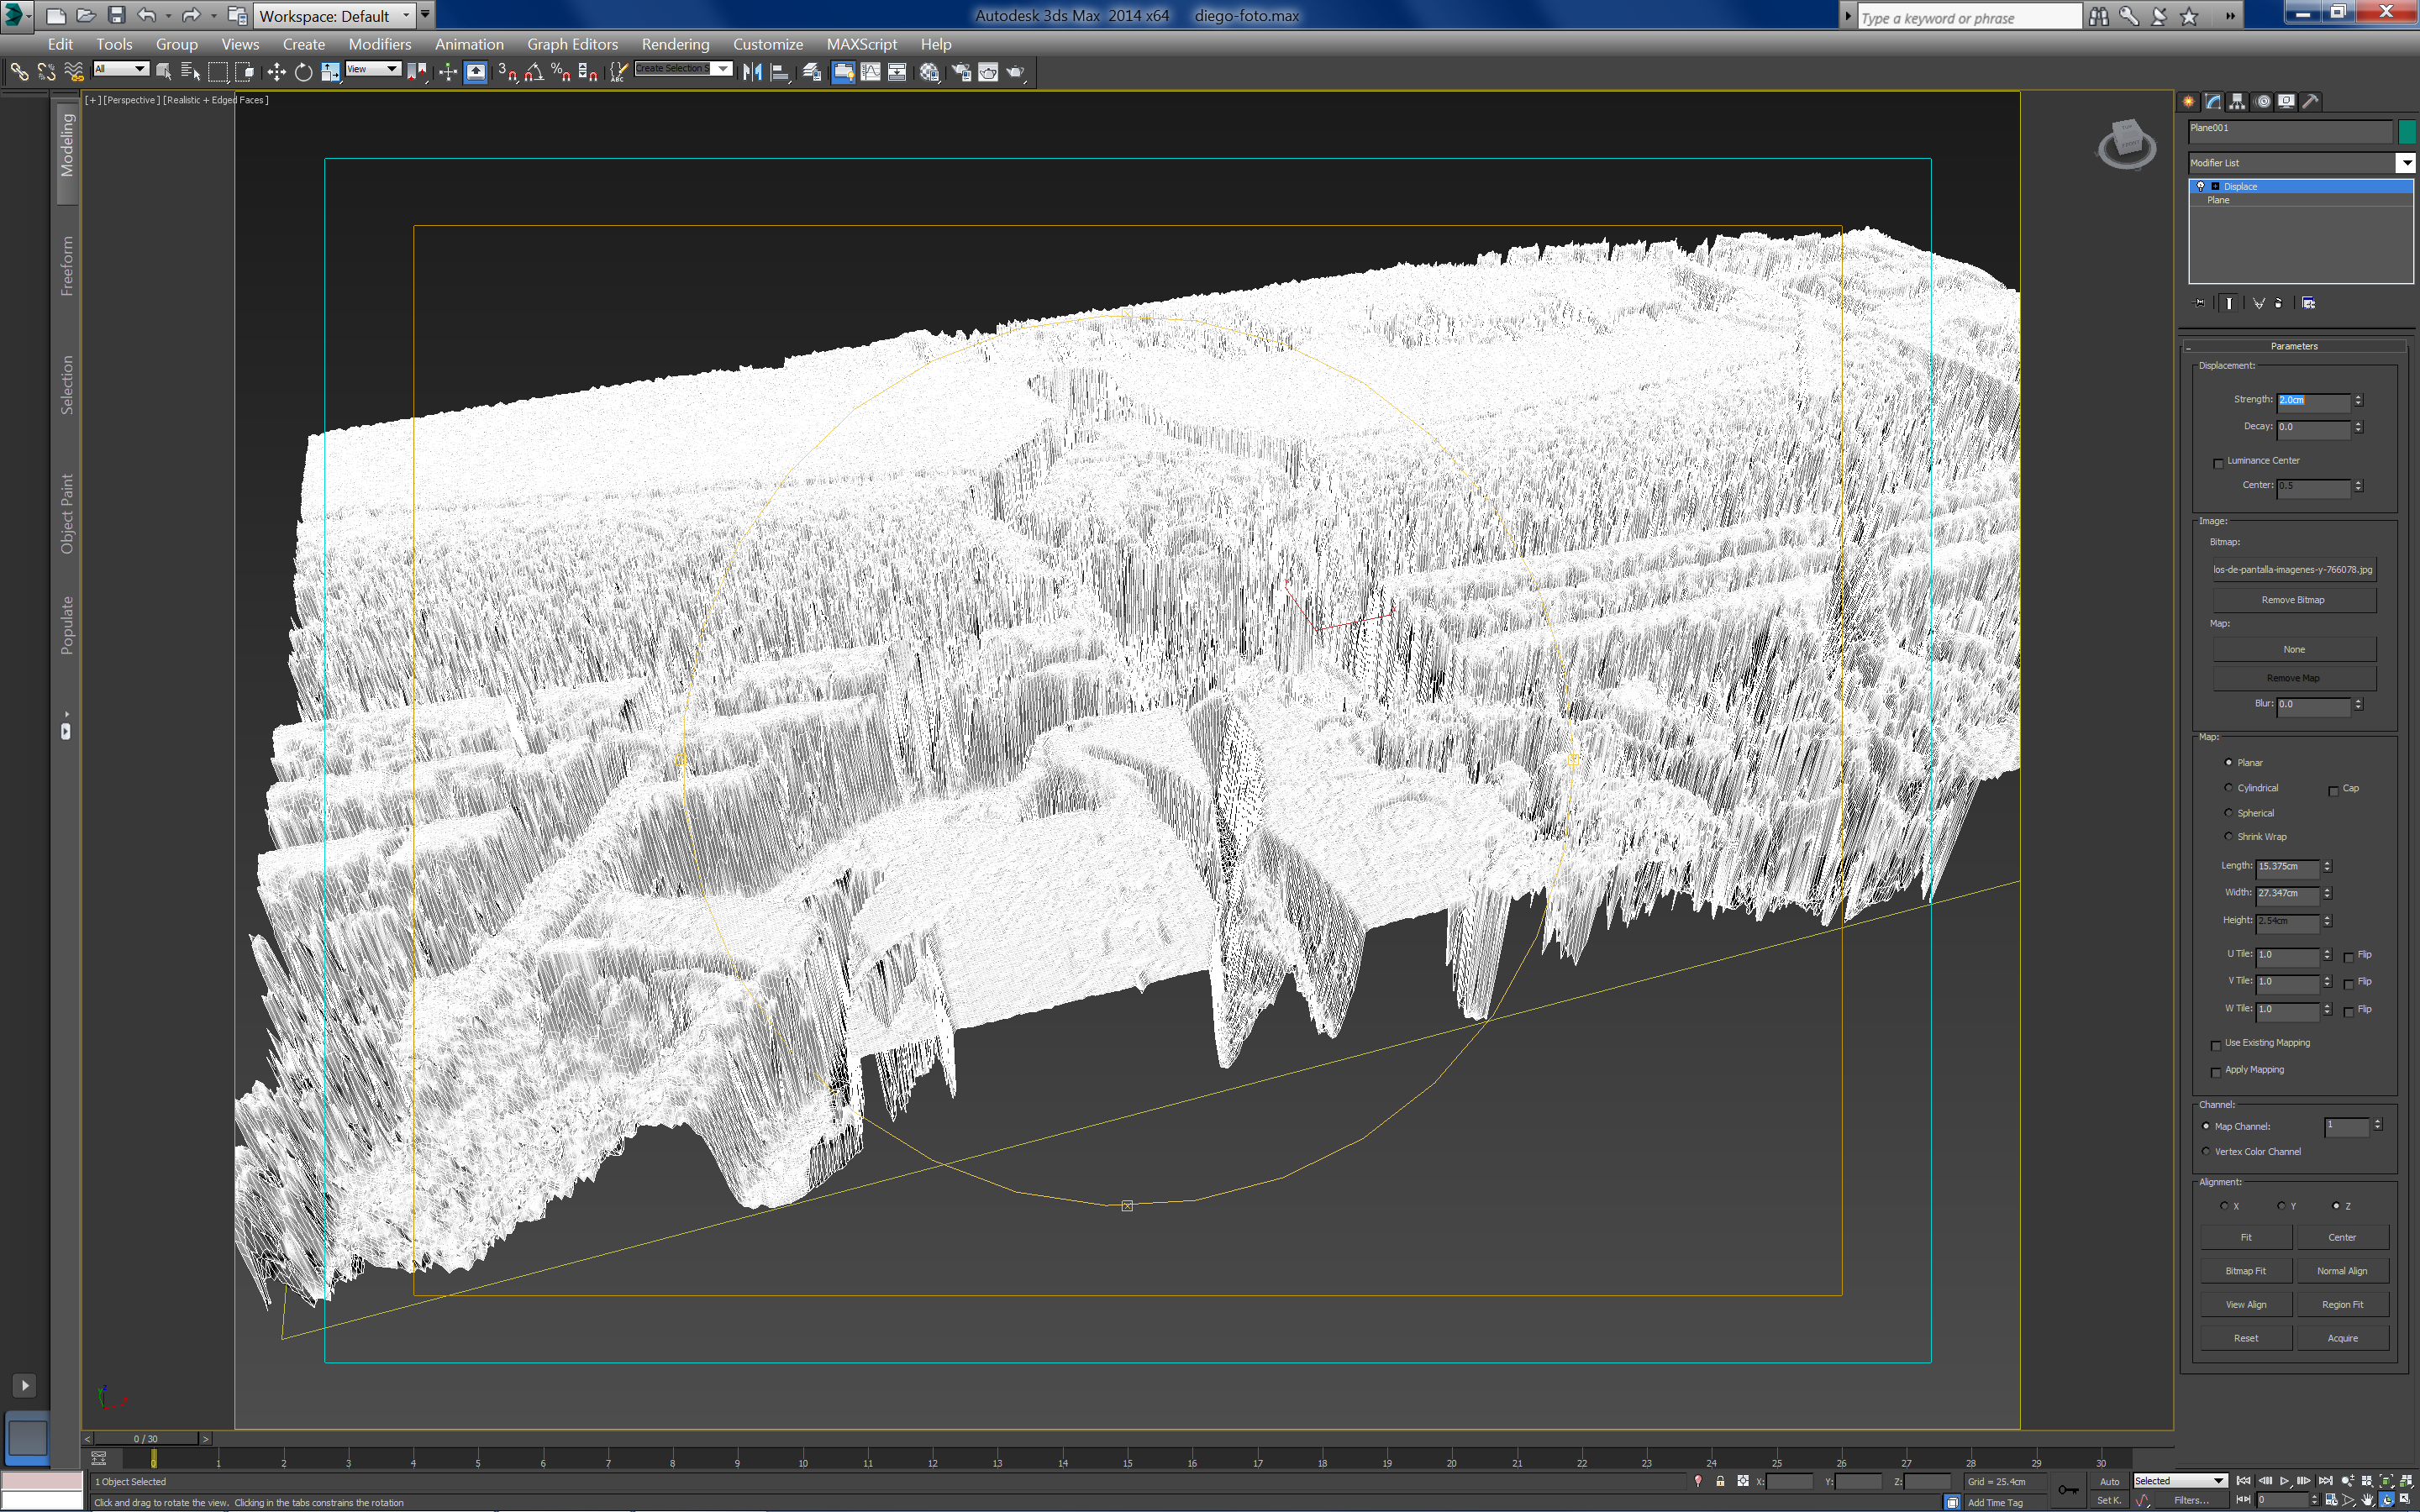
The Displace Modifier is often used to make terrains or to add finer texture to 3d models with out having to model in extra texture. We will use this easy technique to actually create the texture of our photograph.
Go down through the Modifier List and hit Displace. Now look for Bitmap and select your image.
You can now control the height of the image by changing the Strength parameters. It raises or lowers depending on the brightness/darkness of the photograph. You can play around and try different strengths. I'm attaching images that show how the mesh changes from 2 cm - 0,4 cm - 0,035 cm. I decided to choose 0,4 cm because I will be printing it and 4 mm seems quite thick enough.
We now have a mesh and need to convert it into a solid. You will need to export the STL so go and Export.
Downloads
Import to Rhino and Make a Solid
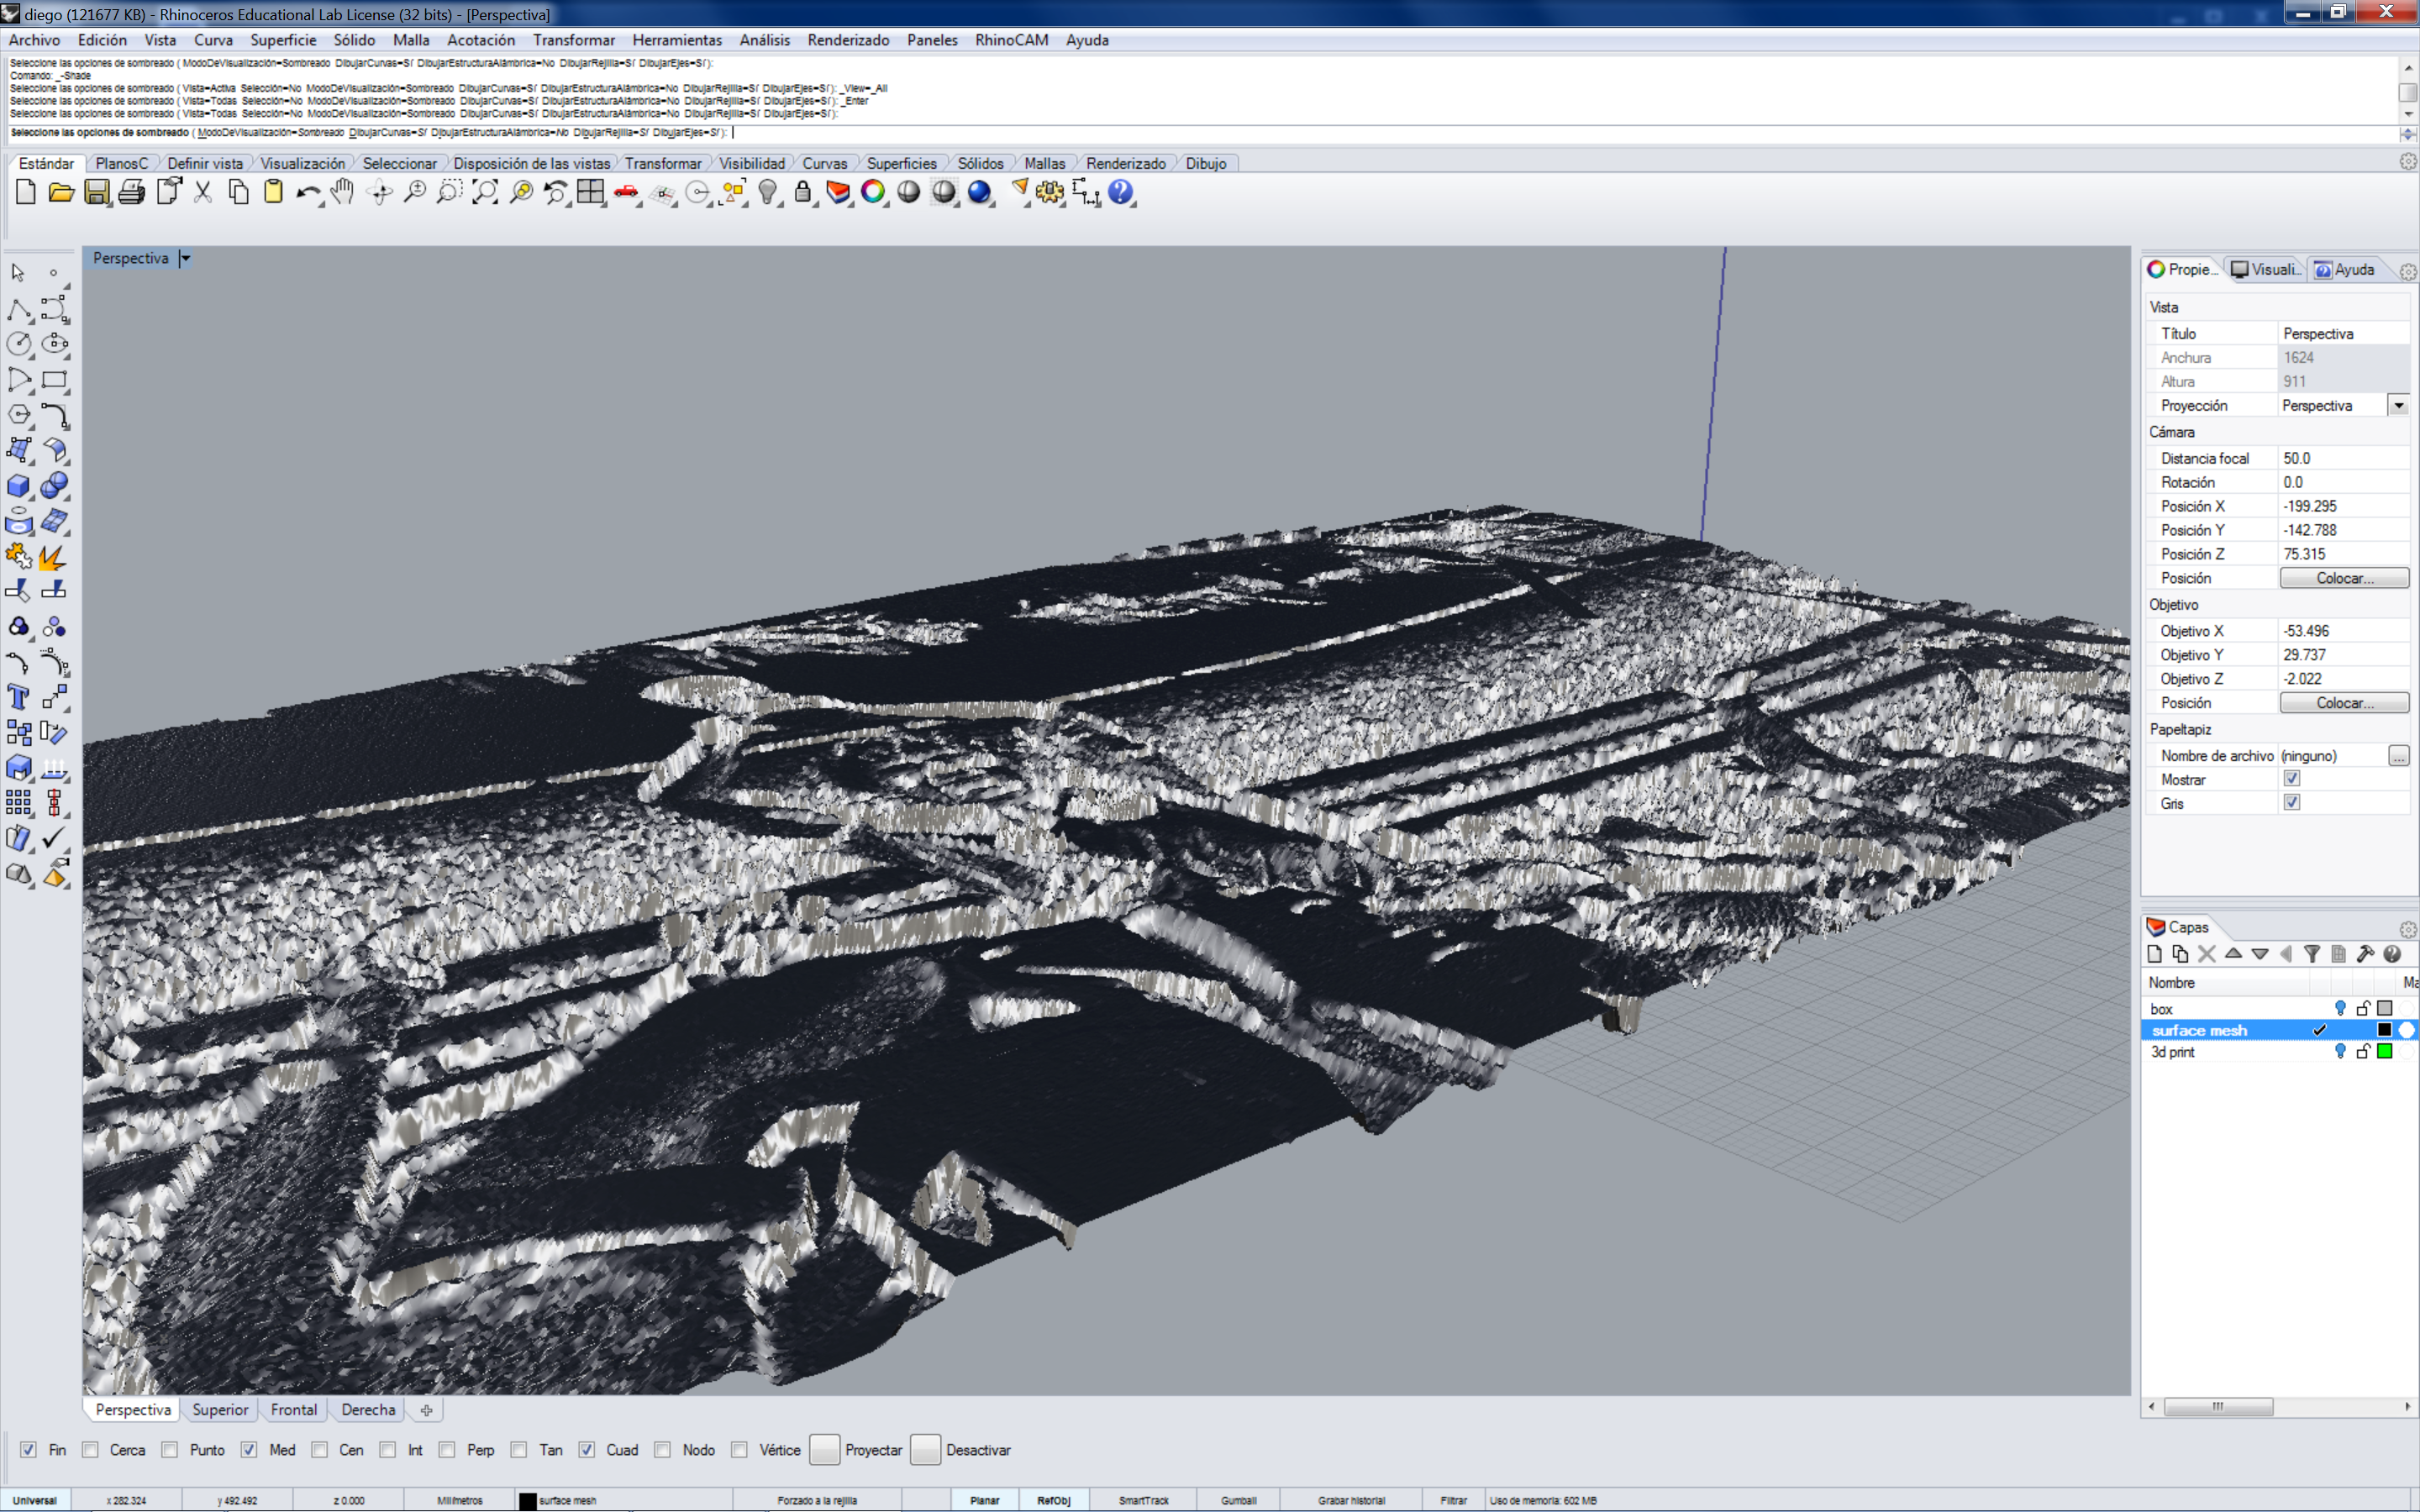
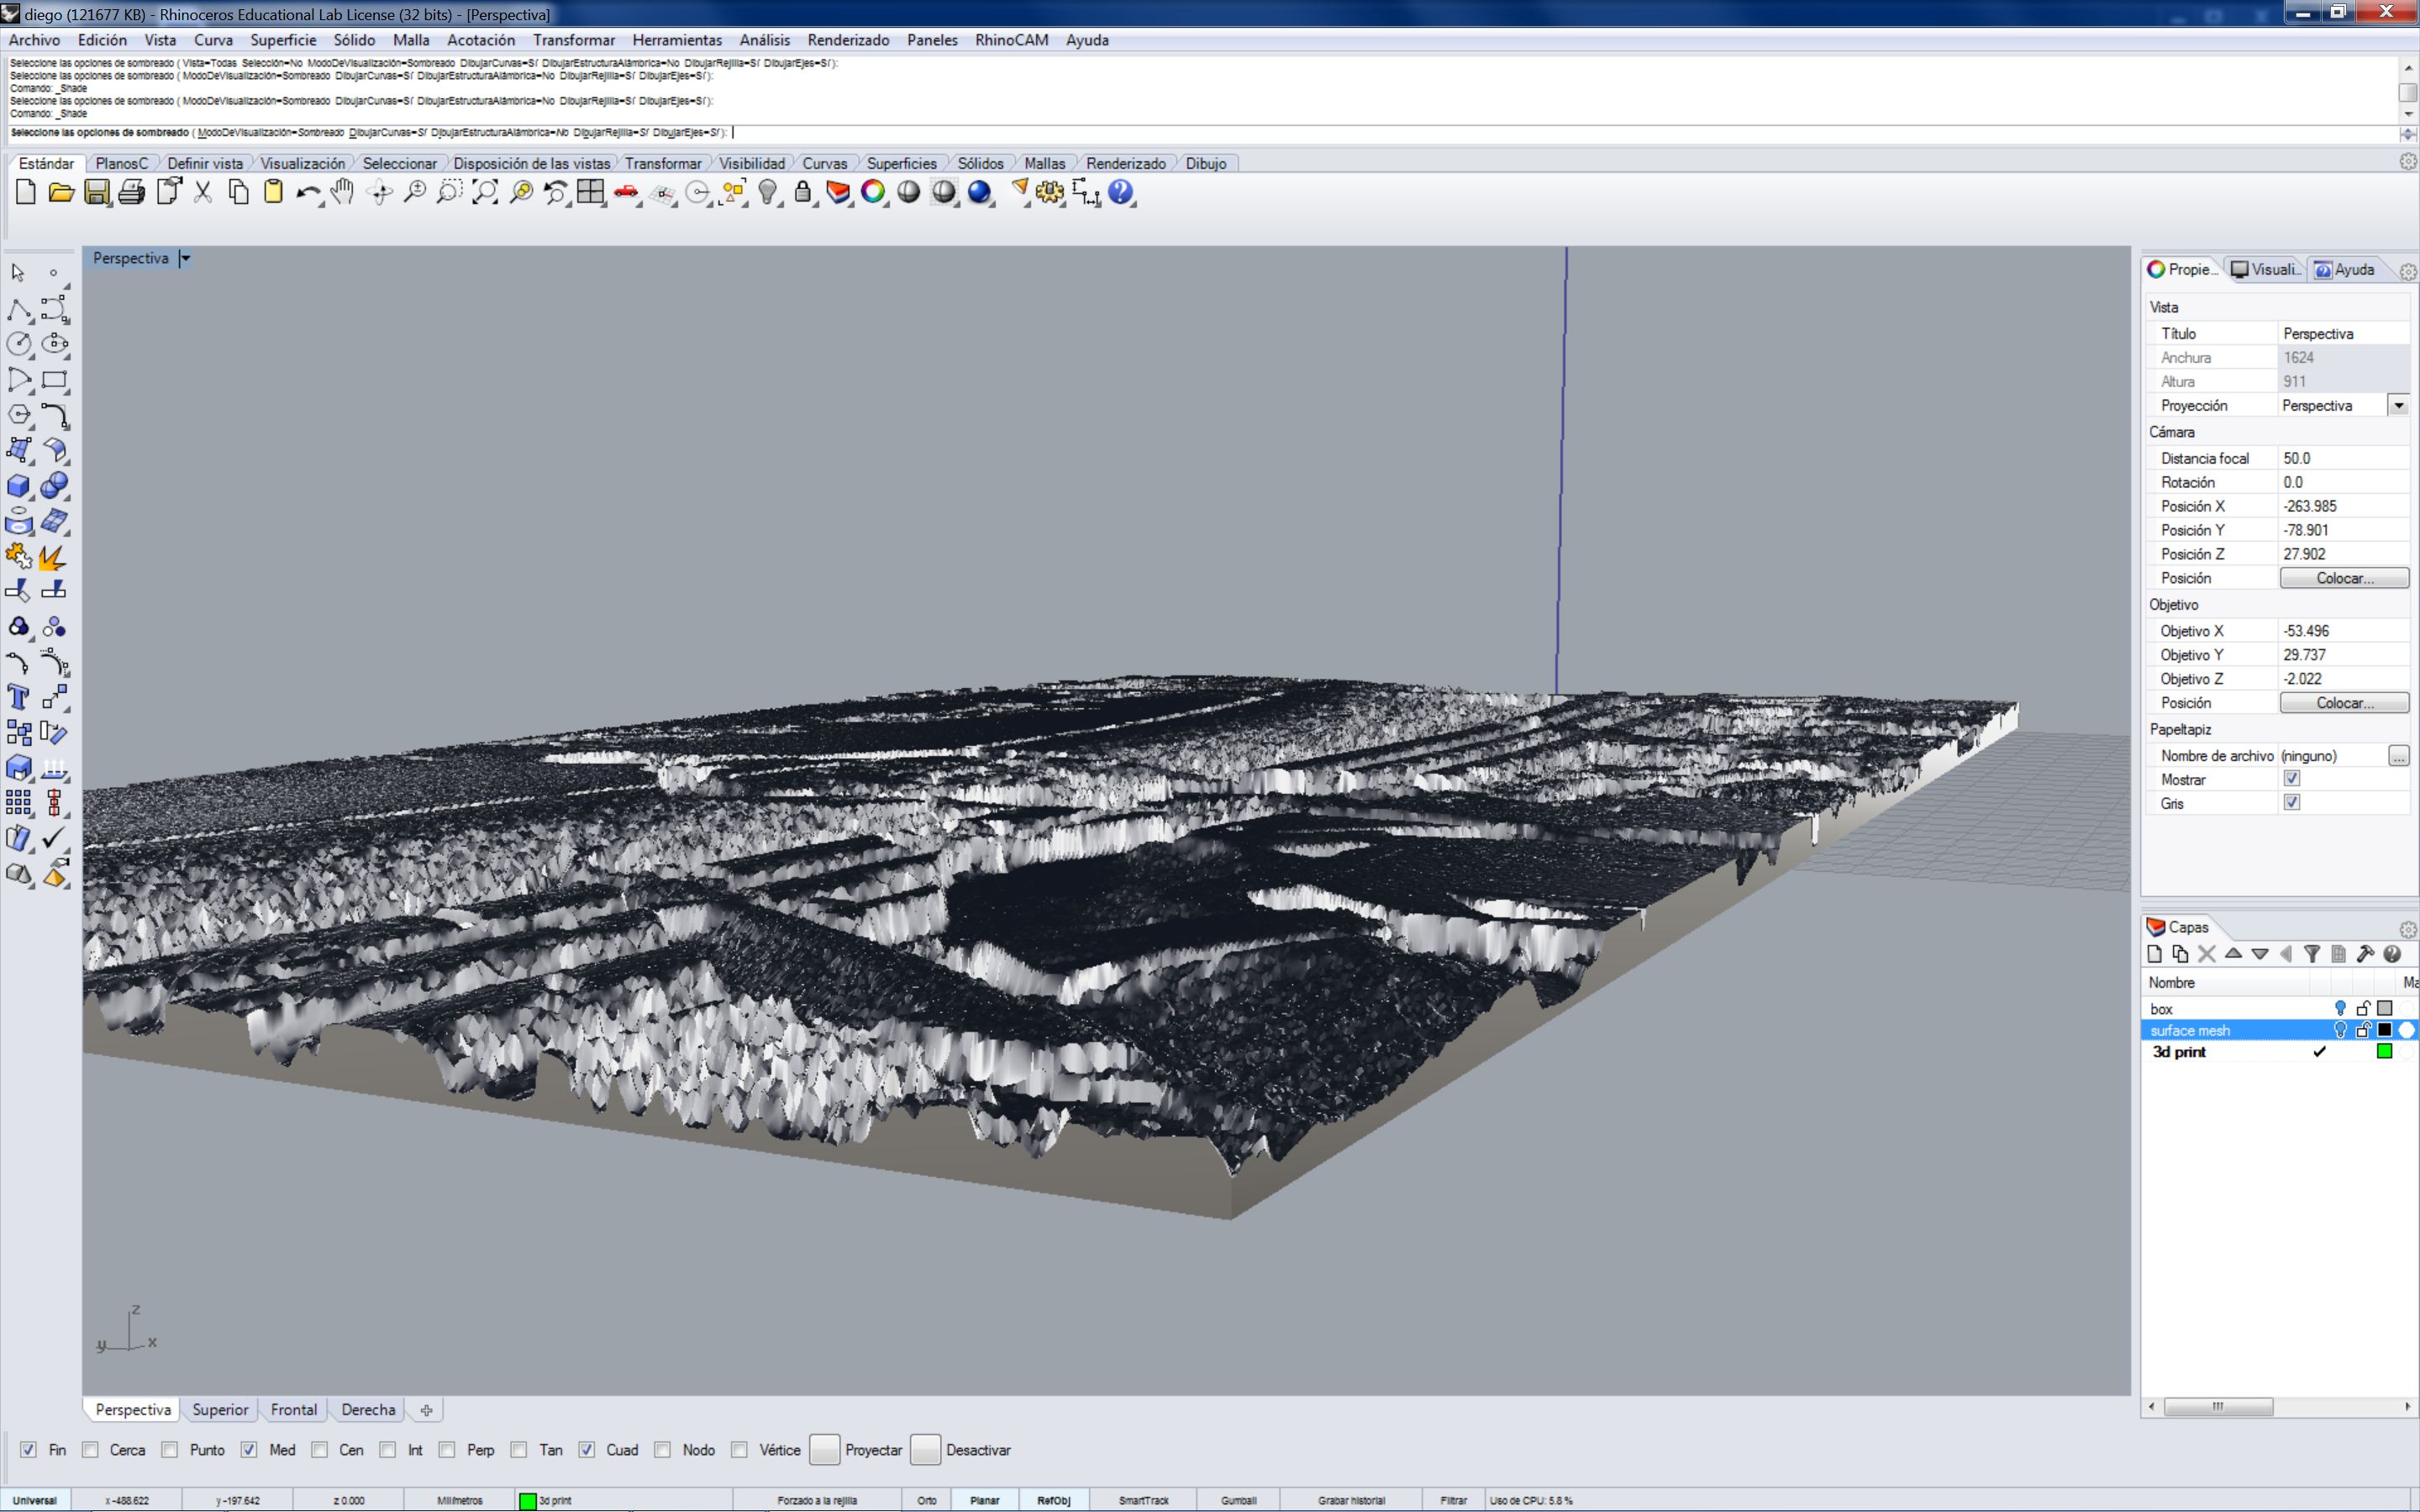
I will be using Rhino to make a solid out of the mesh but if someone knows how to make it directly from 3DS Max please let me know. I opened Rhino and imported the mesh. Made a box with the dimensions I wanted to print my photograph 258 x 144.6 x 4 millimeters. Since we are printing in height we will do the box 4 mm high which will be our highest printed surface.
4 mm will be the highest point = darkest
0.5 mm will the the thinnest = lightest
If you're not satisfied with the height you can stretch the image on the Height axis to make a more pronounced texture.
Working with meshes on Rhino was kind of slow. You will need to trim each side of the box using the top photograph mesh and then weld the sides. If you still have an "open naked edge" you can use Magics STL editor.
Once you have the solid ready, export as an STL.
Downloads
3D Print
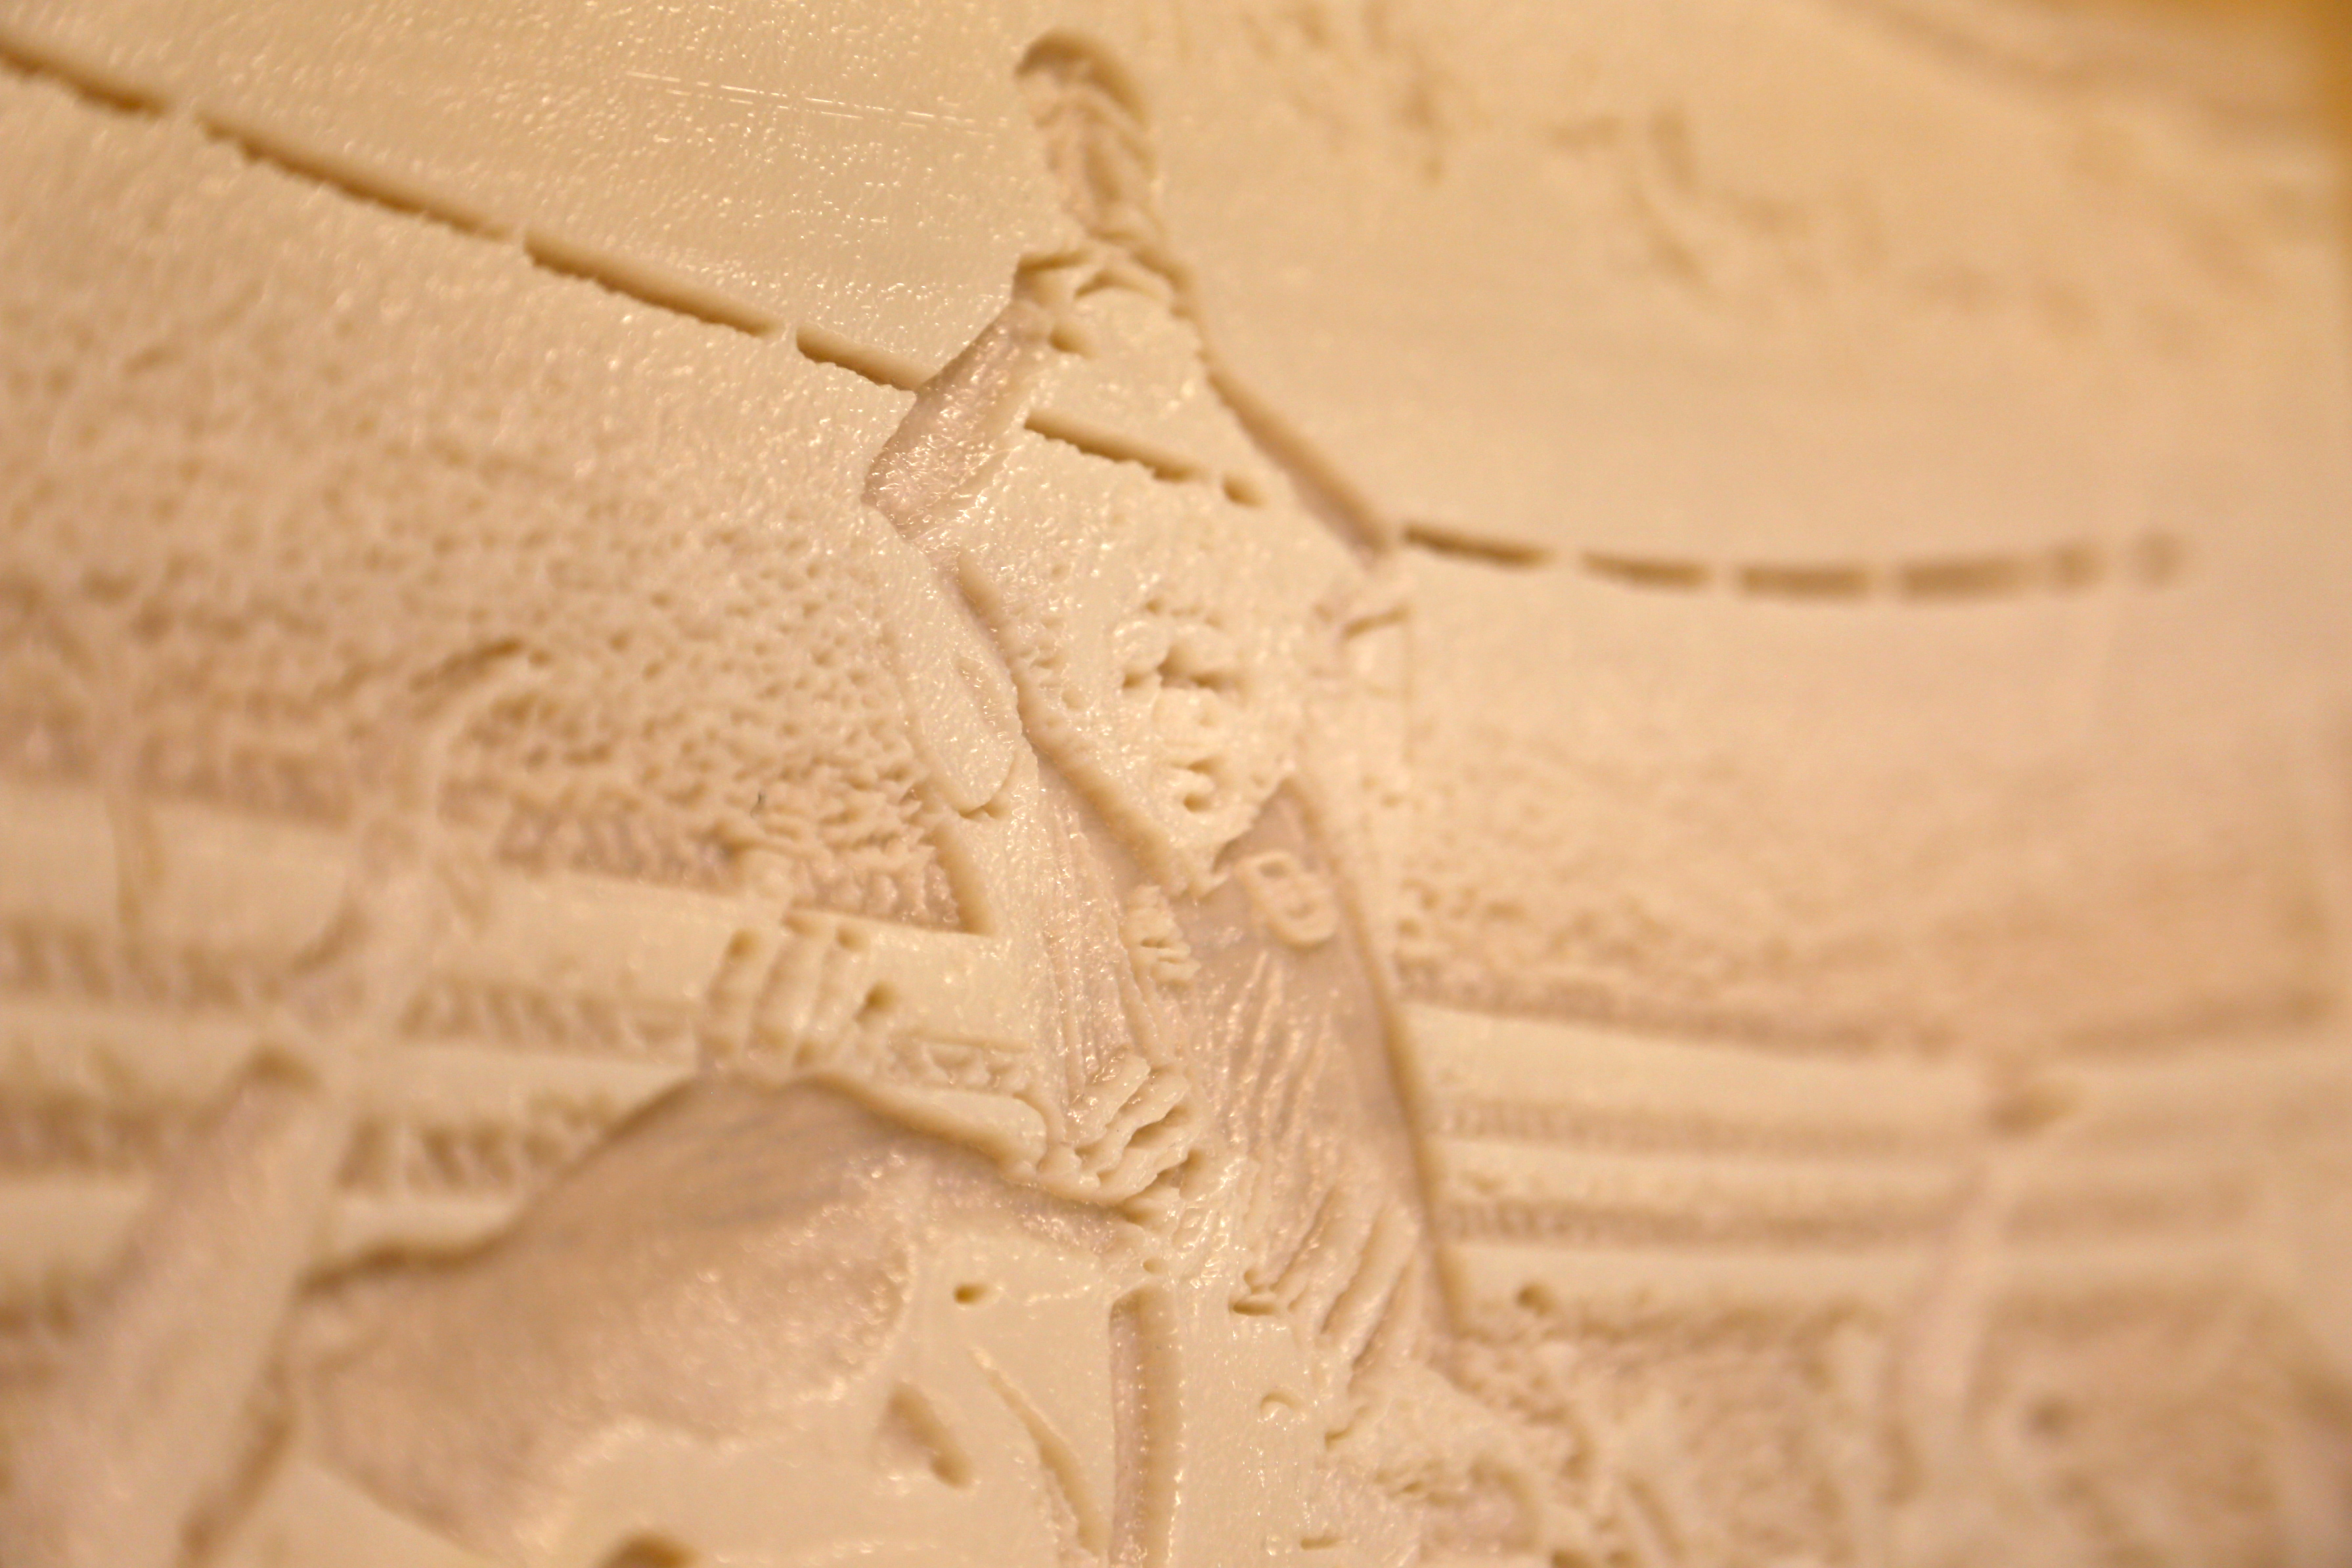
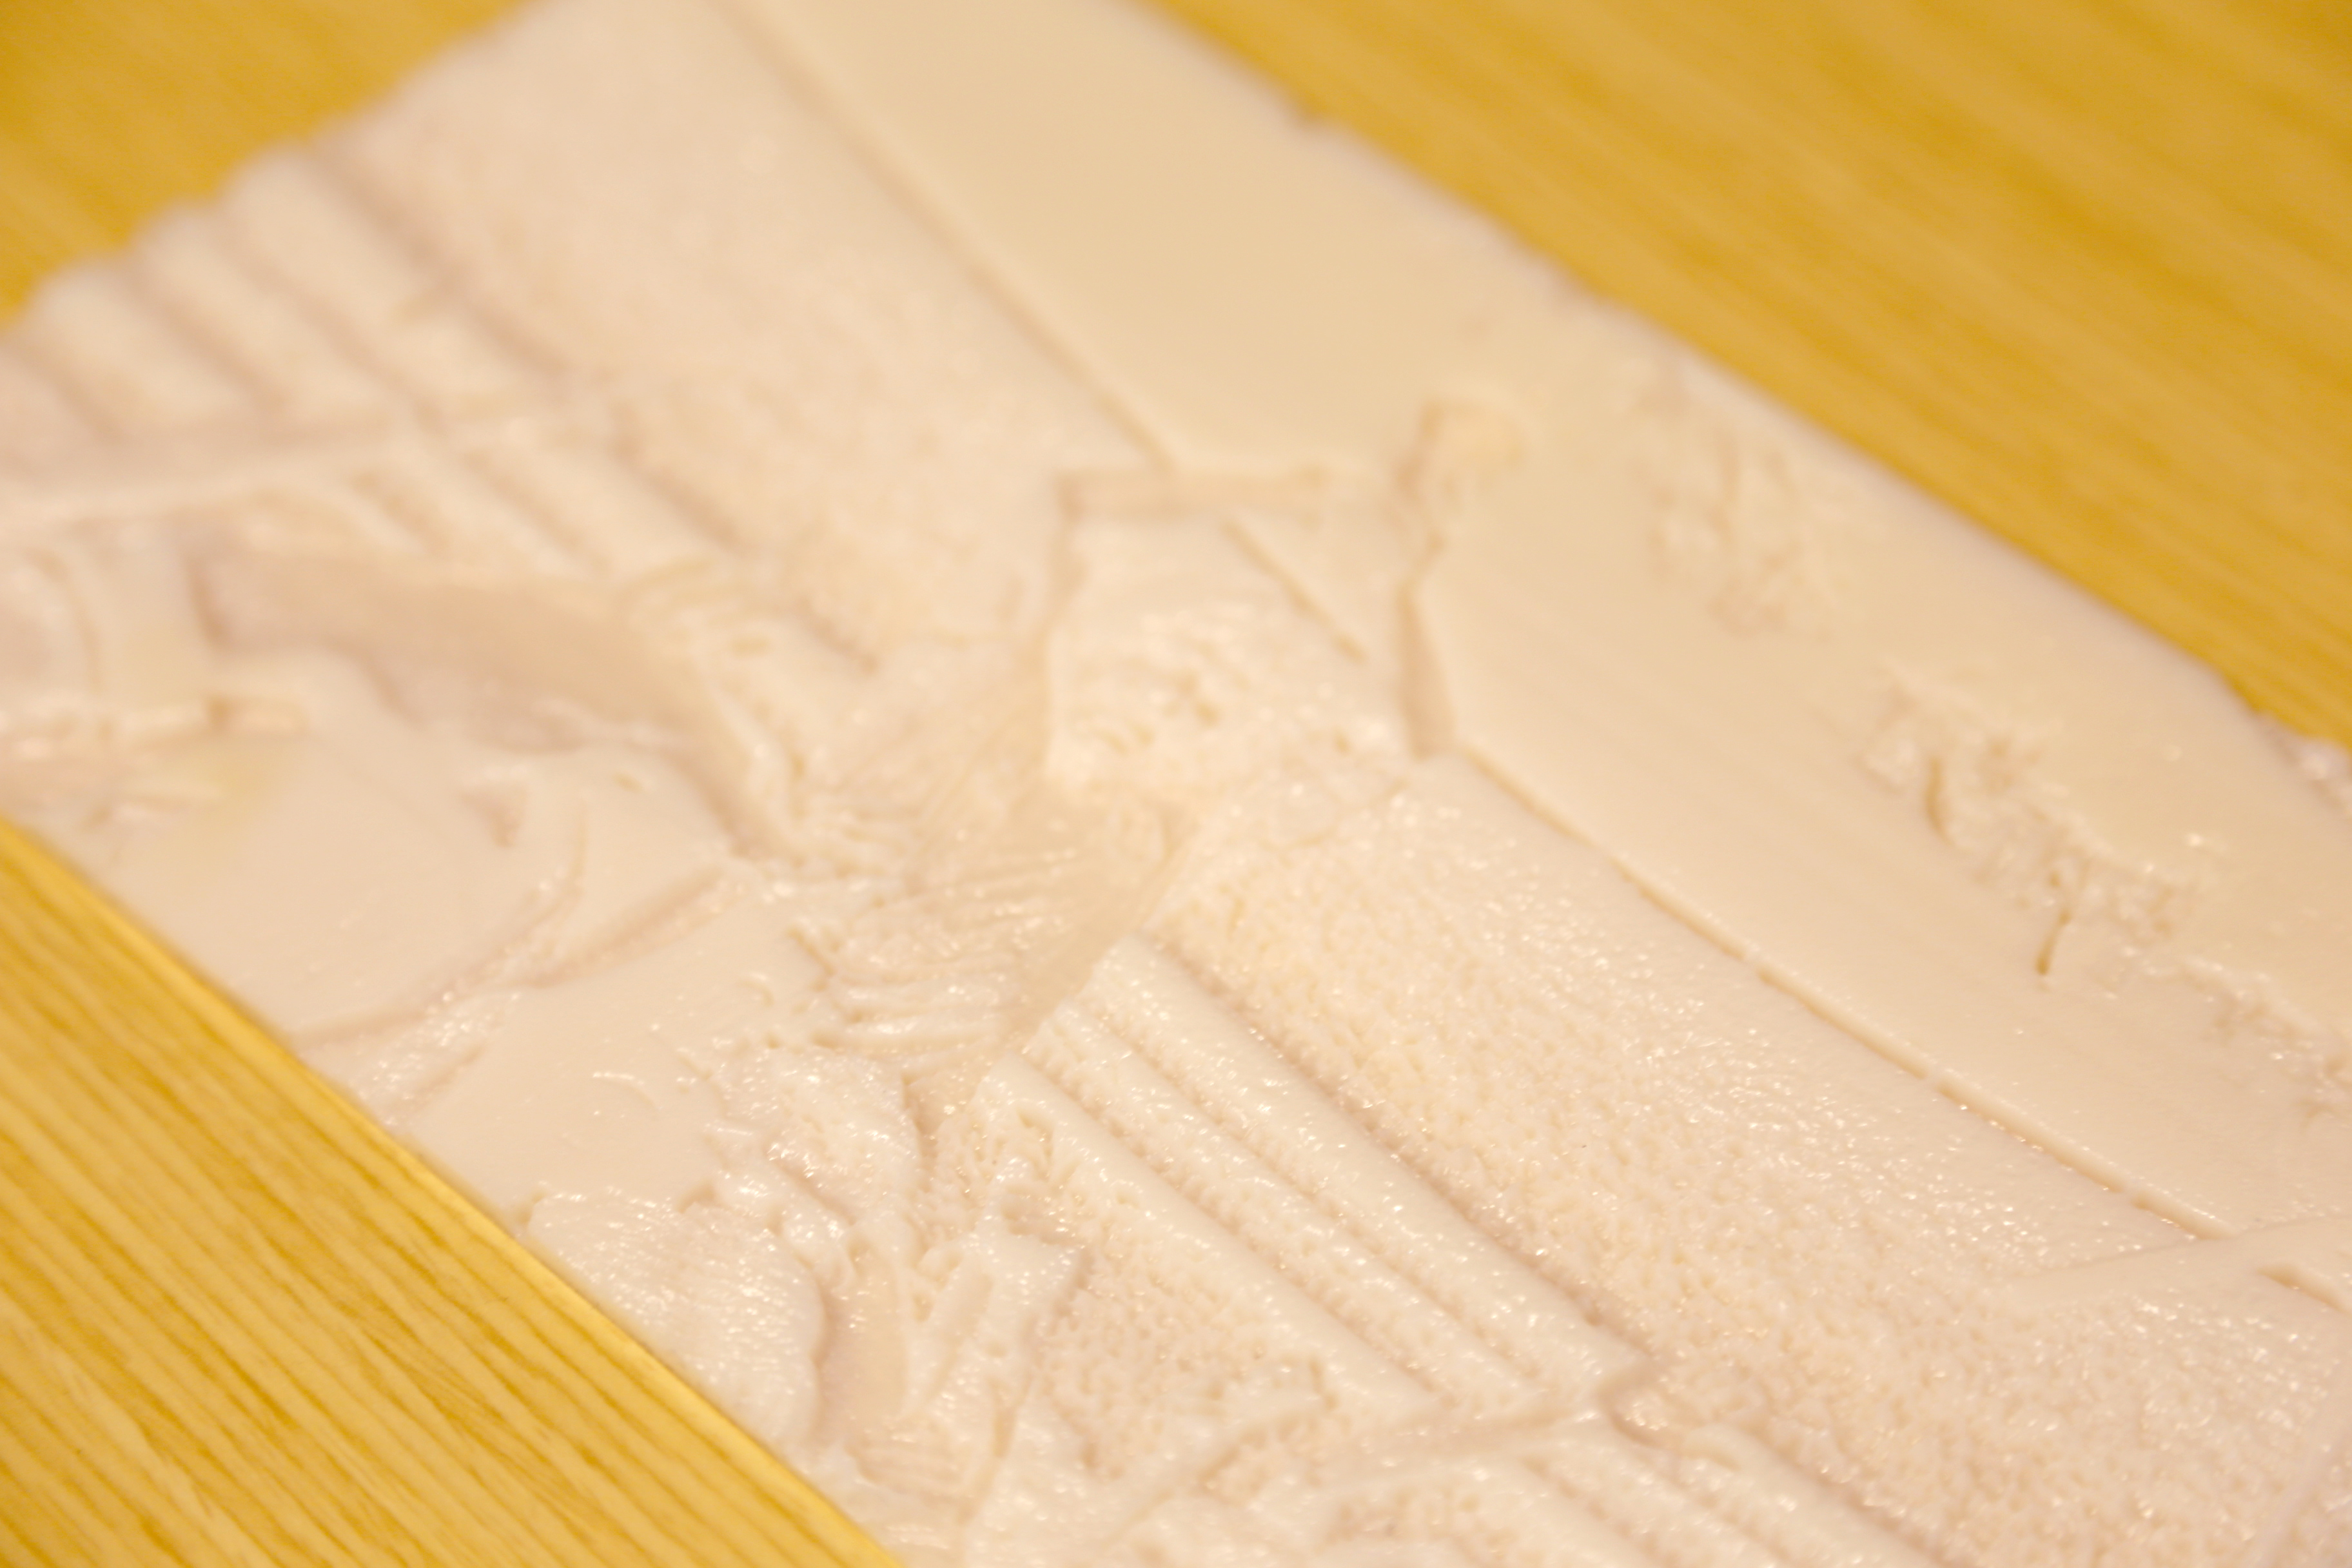
You are ready to print your photograph. If you have a Connex printer I would recommend to print it Glossy to save cleaning time. This way, once the print is done you only need to remove the support material from the base and you are done.
Enjoy!
Next Steps: Mapping Around Cylinders/spheres
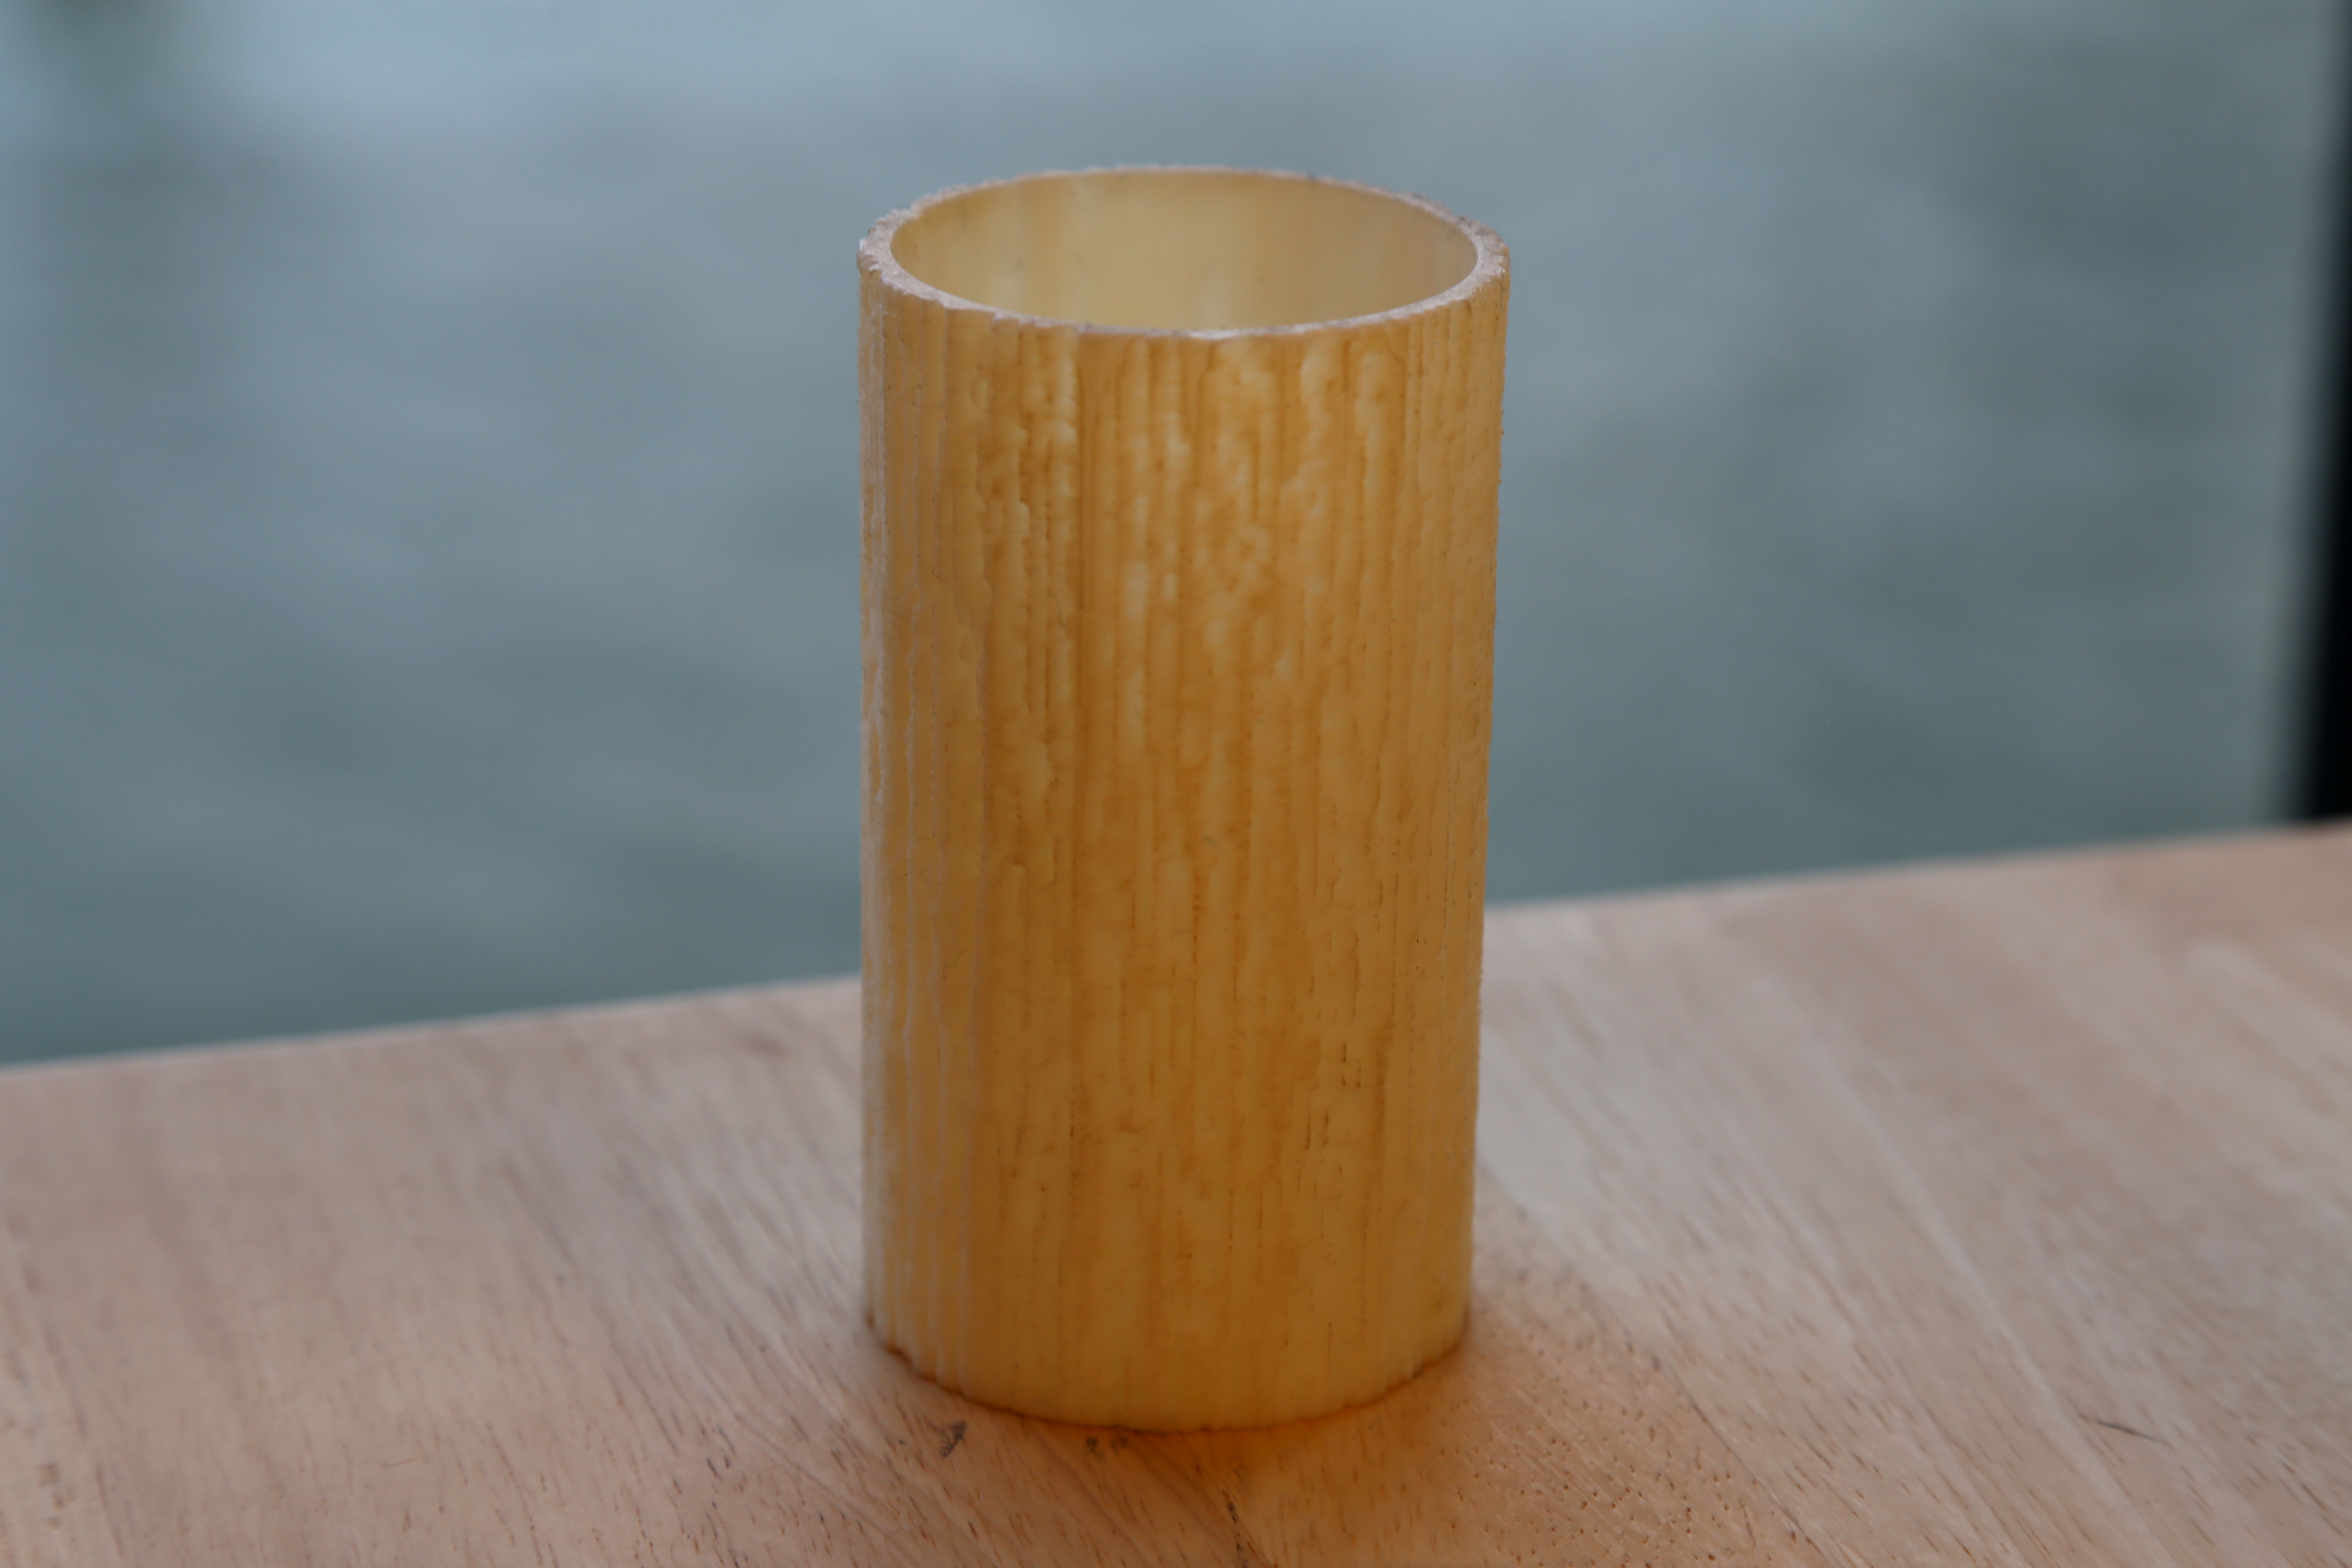
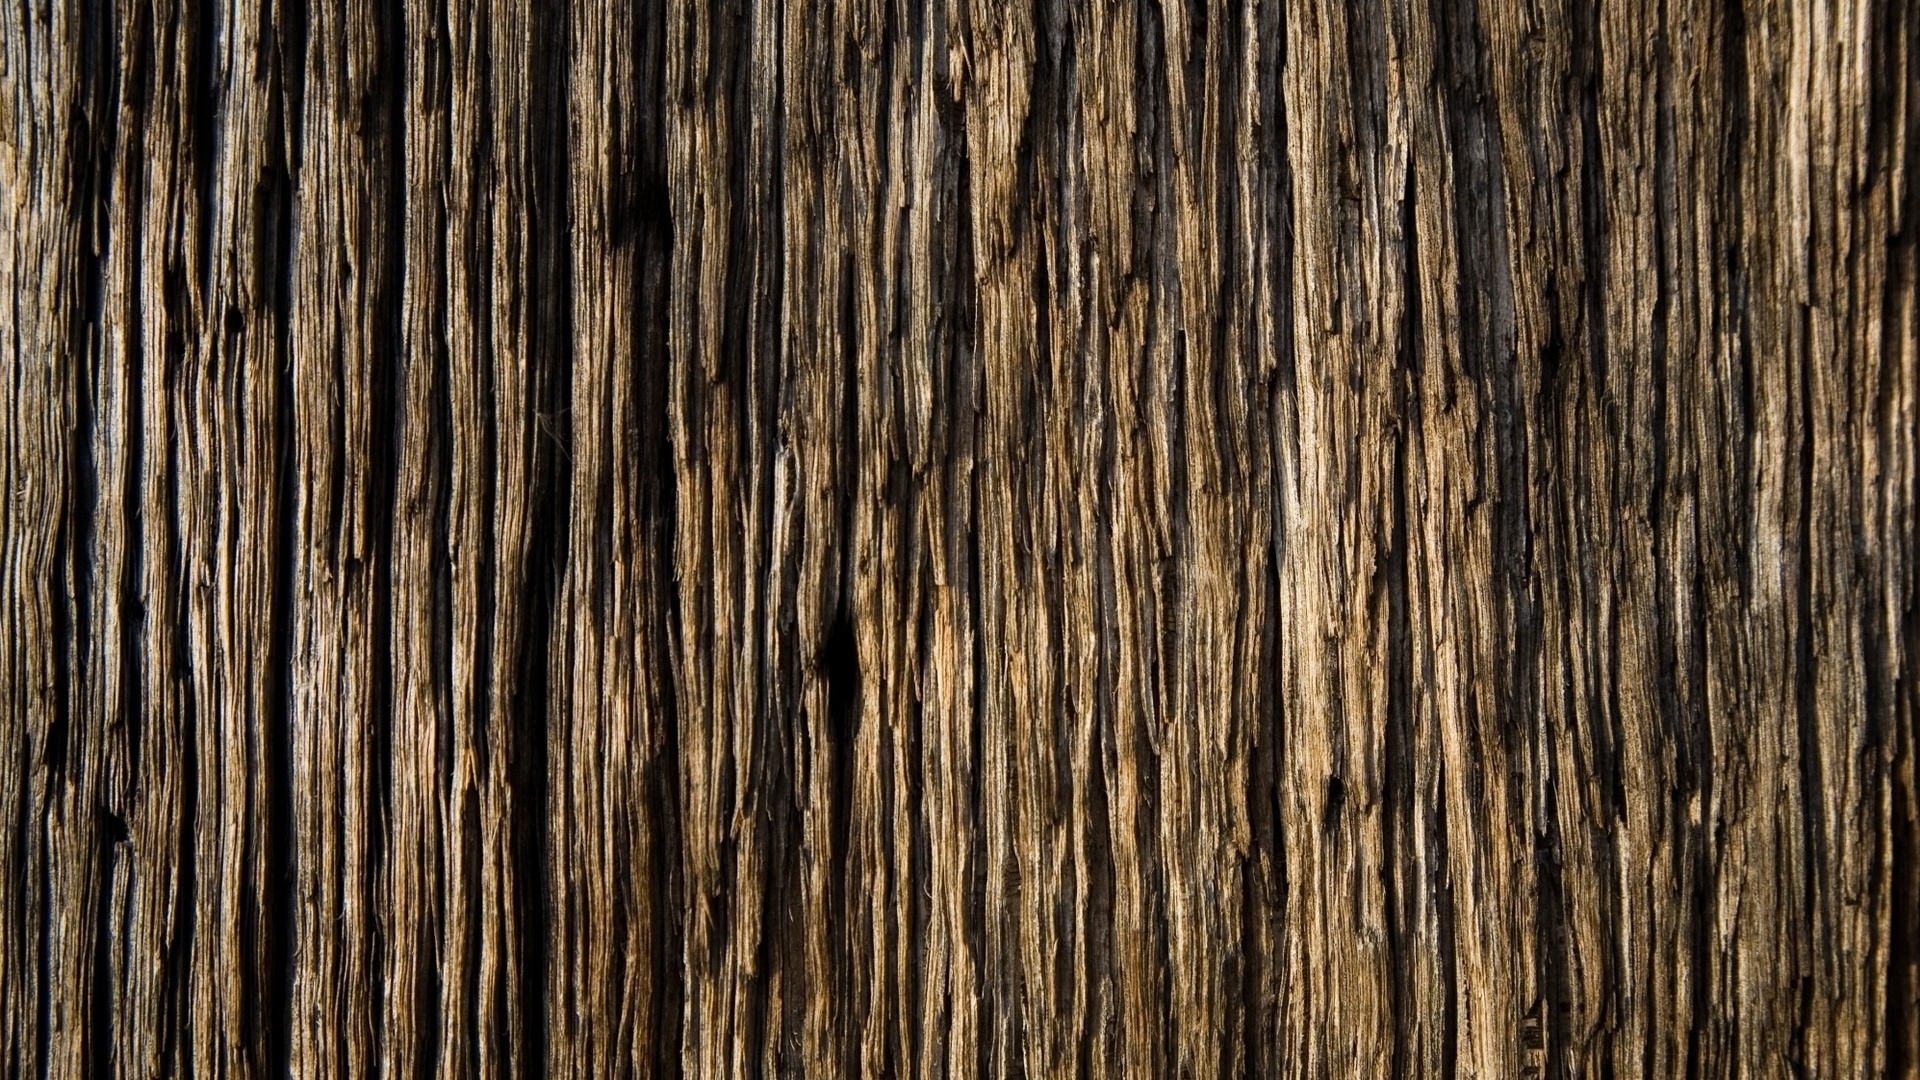
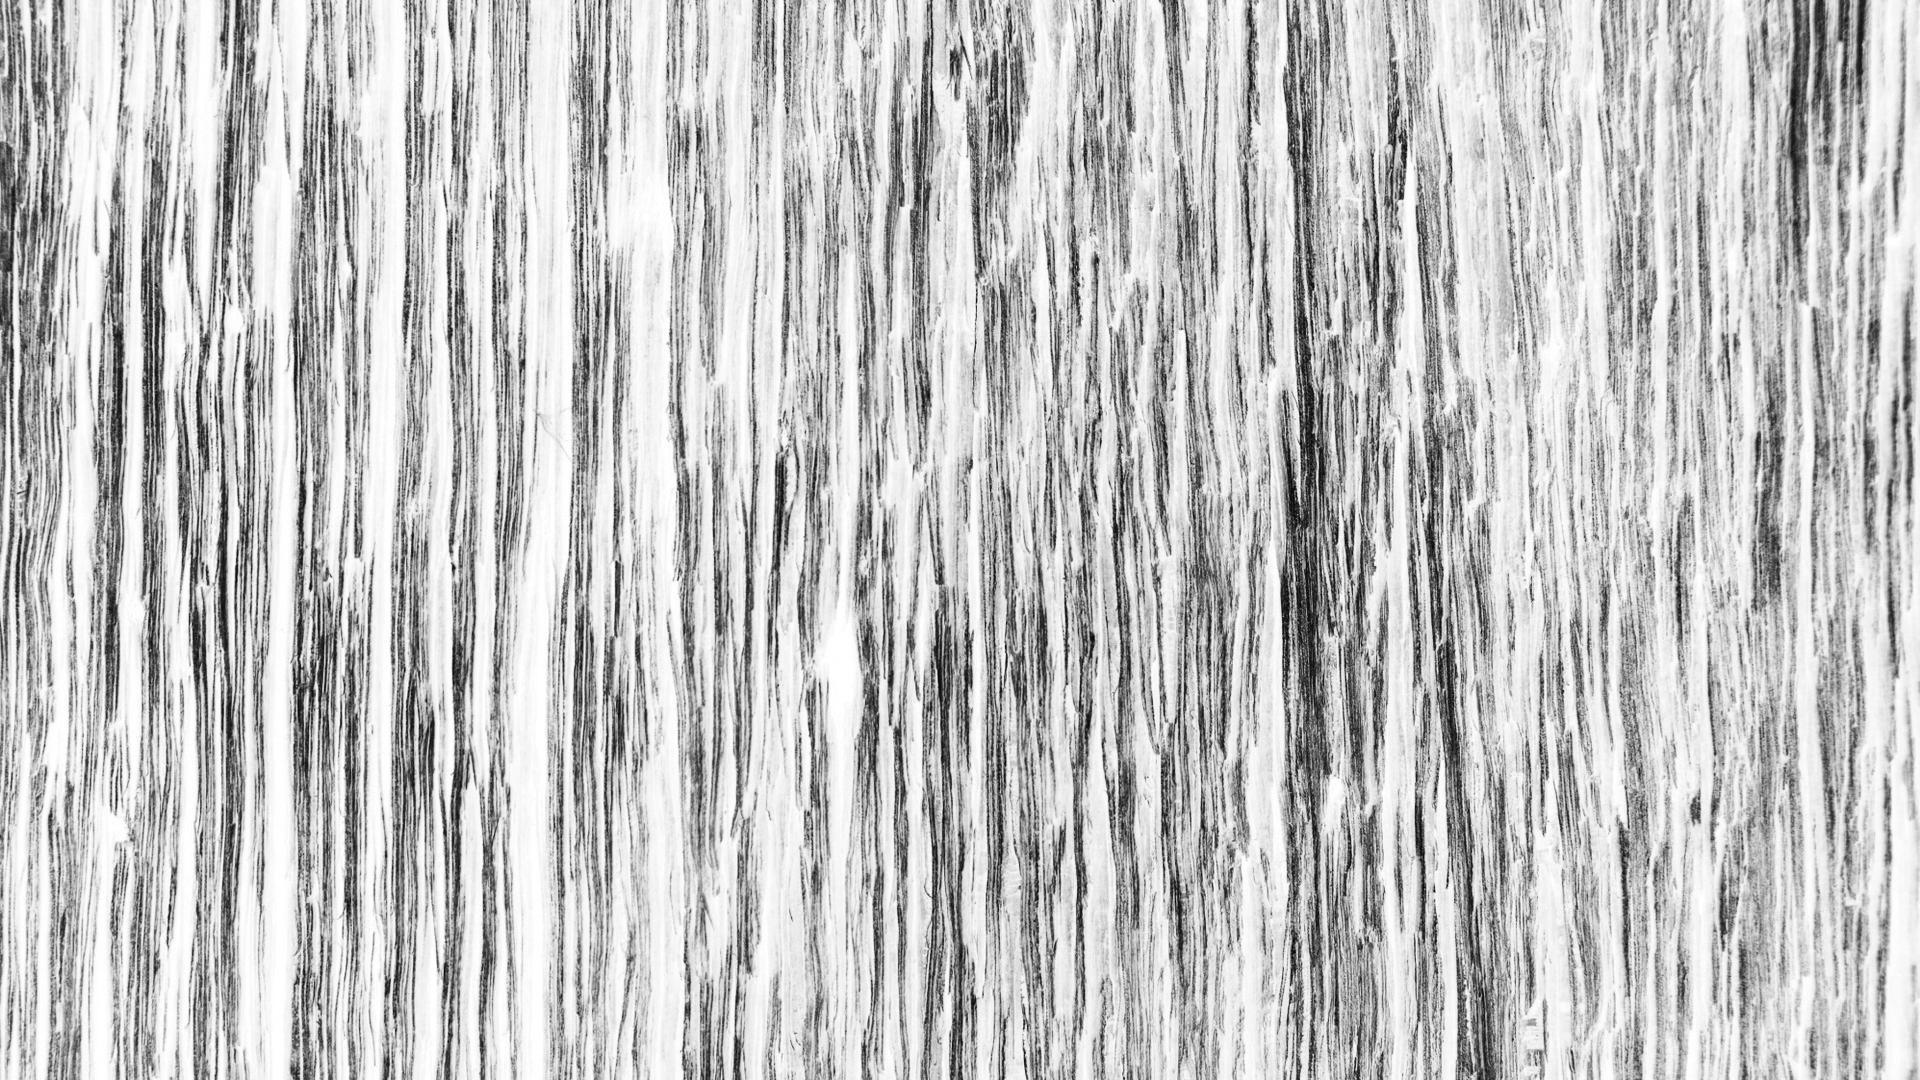
The Displace modifier is pretty cool because you can use it in different geometries such as cylinders or spheres. I tried out a small candle holder with a texture of a tree bark. Next step will be making a lamp shade and a soccer ball with photographs.