3D Printing : Matryoshka Doll
by reevamish in Workshop > 3D Printing
618 Views, 1 Favorites, 0 Comments
3D Printing : Matryoshka Doll
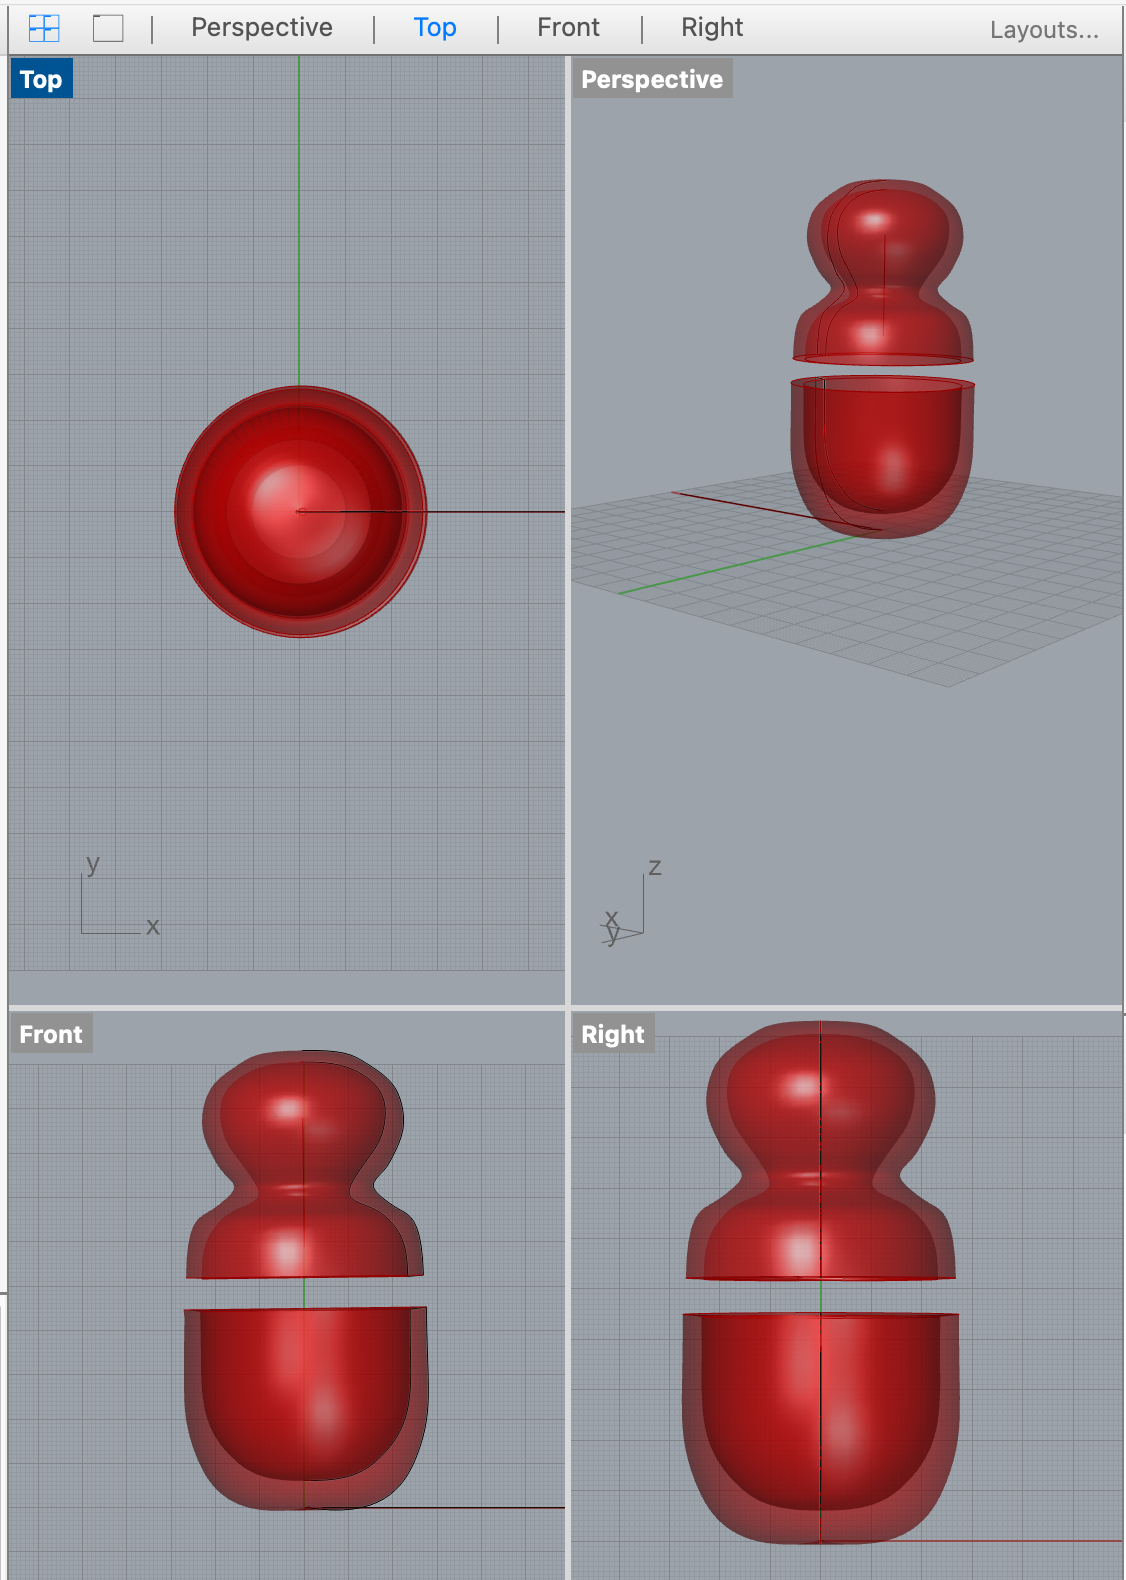
This tutorial is about how to make Matryoshka doll with Rhino6 and Grasshopper.
SOFTWARE USED:
1. Rhino6
2. Ultimaker CURA
Usage of Rhino to Build the Pattern
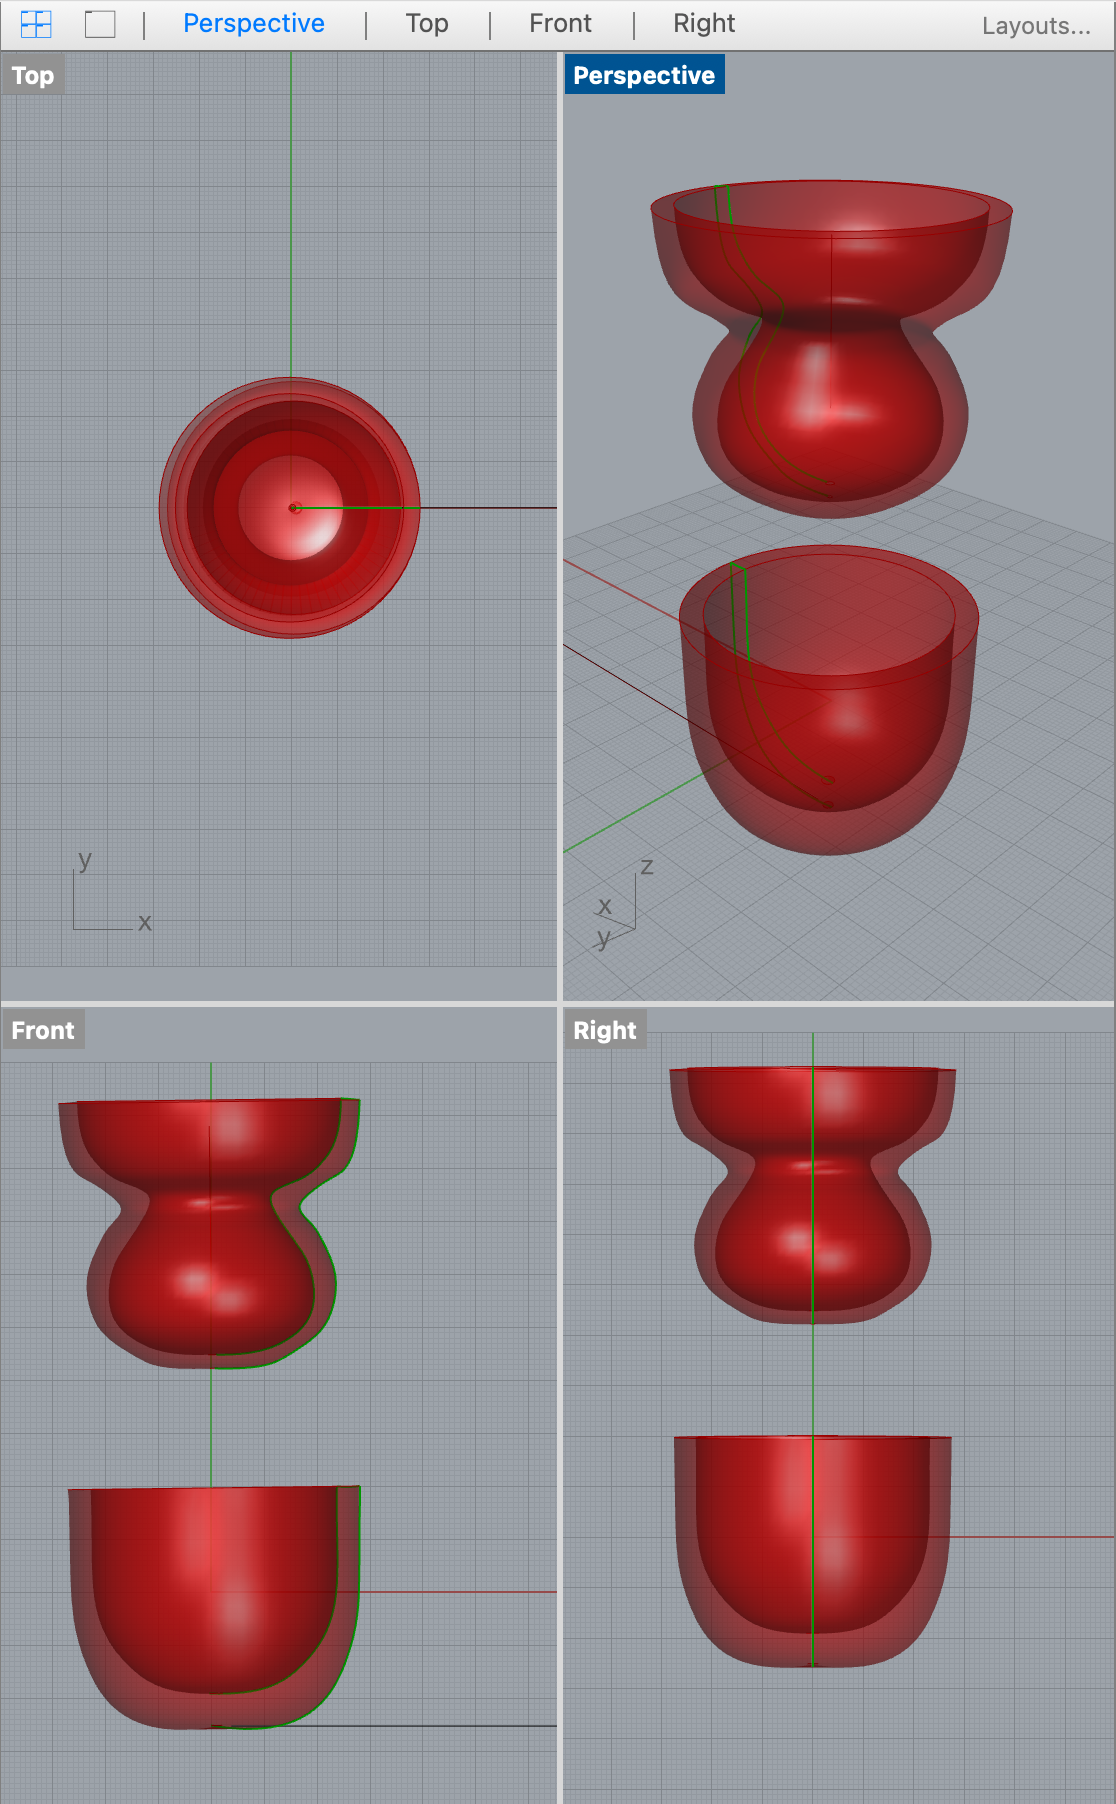
From Rhino6 command box, "Grasshopper" is opened.
The curve (shape of the required object) is drawn on Rhino and is fed as an input curve to the "RevSrf" function (as can be seen in the circuit drawn in the image below on Grasshopper) i.e. to revolve the drawn pattern in order to generate a 3D object.
Caution: Please take care to measure the thickness of both the curves (so that they match to rest on each other after 3D printing)
Stacking in Grasshopper Using Python
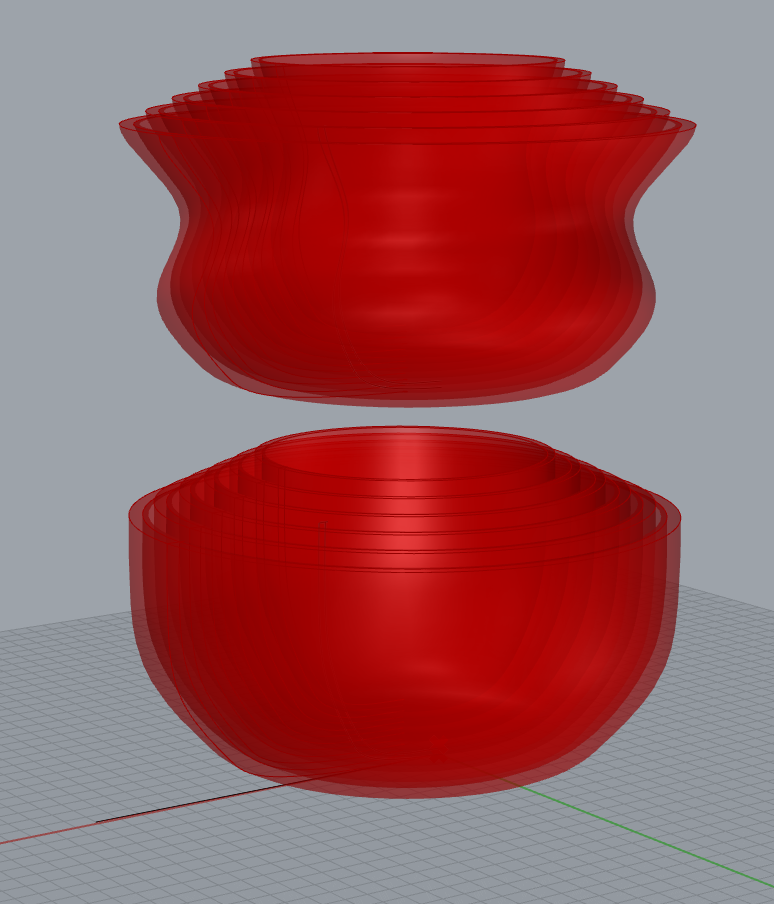
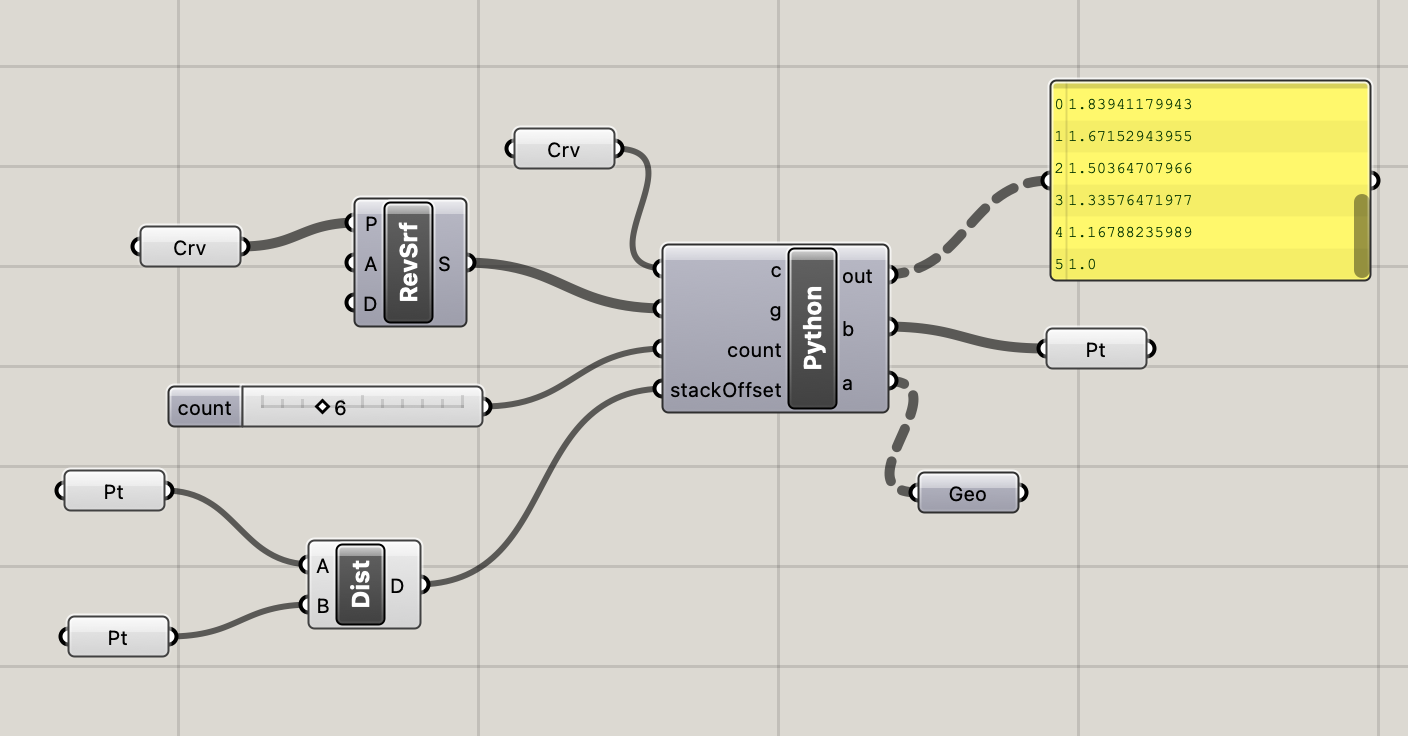
The resulting surface is further passed into python function to form identical objects in a gradually decreasing scale that stack one above the other.
The outer surfaces are adjusted to avoid the overlap between the object walls.
Edits in Rhino
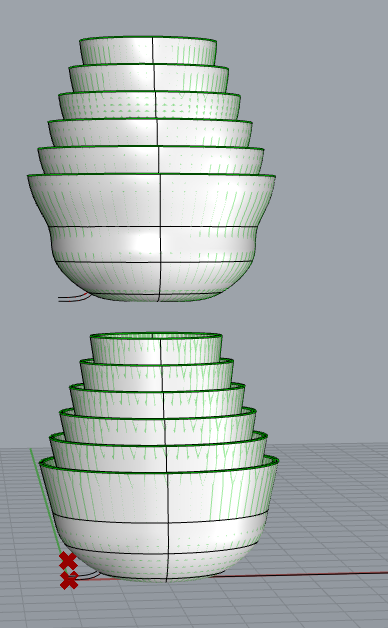
First, a boolean union is performed on the rhino 3D surfaces (as shown in the above image).
Separate the Objects
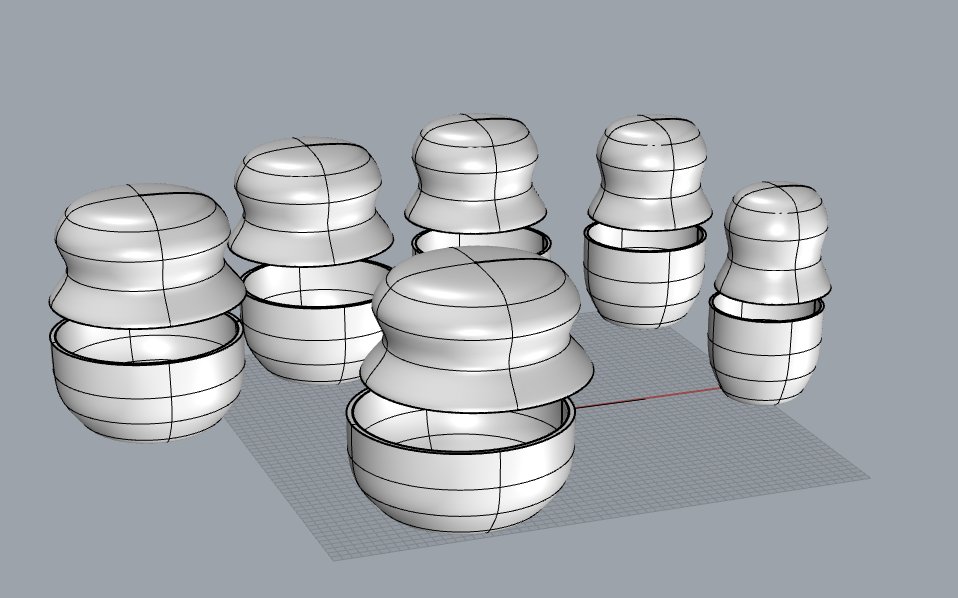
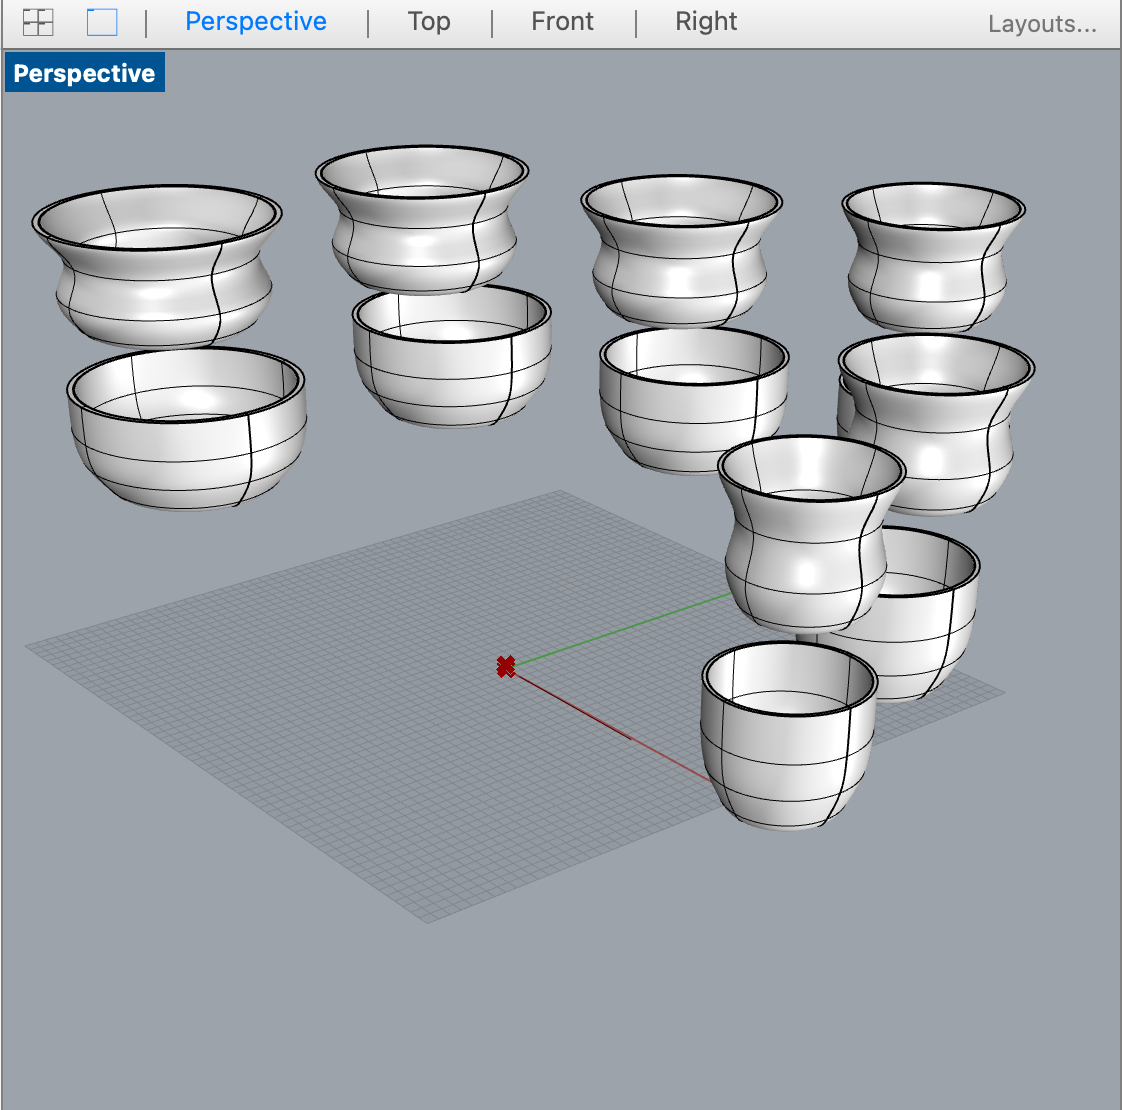
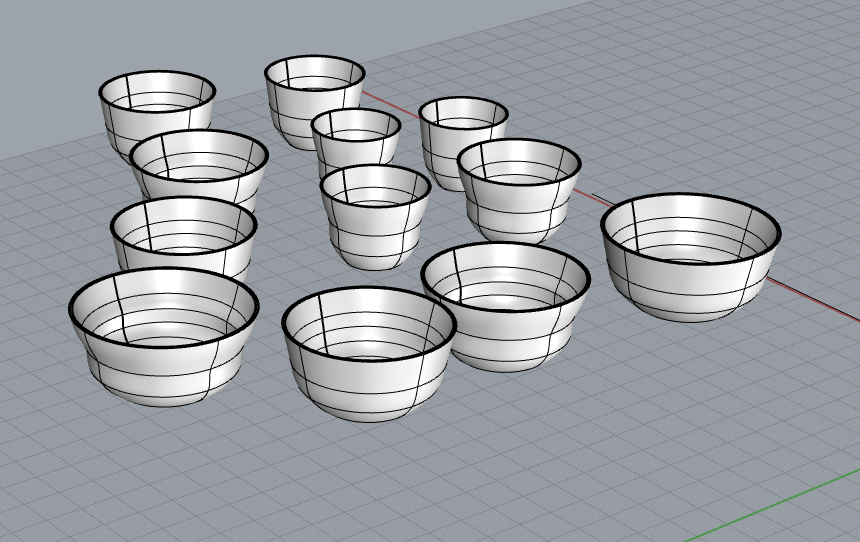
Then, all the individual objects are separated from each other to be well aligned for the 3D print and exported as .stl file (supported by CURA - a 3D printing software)
Export and 3D Print
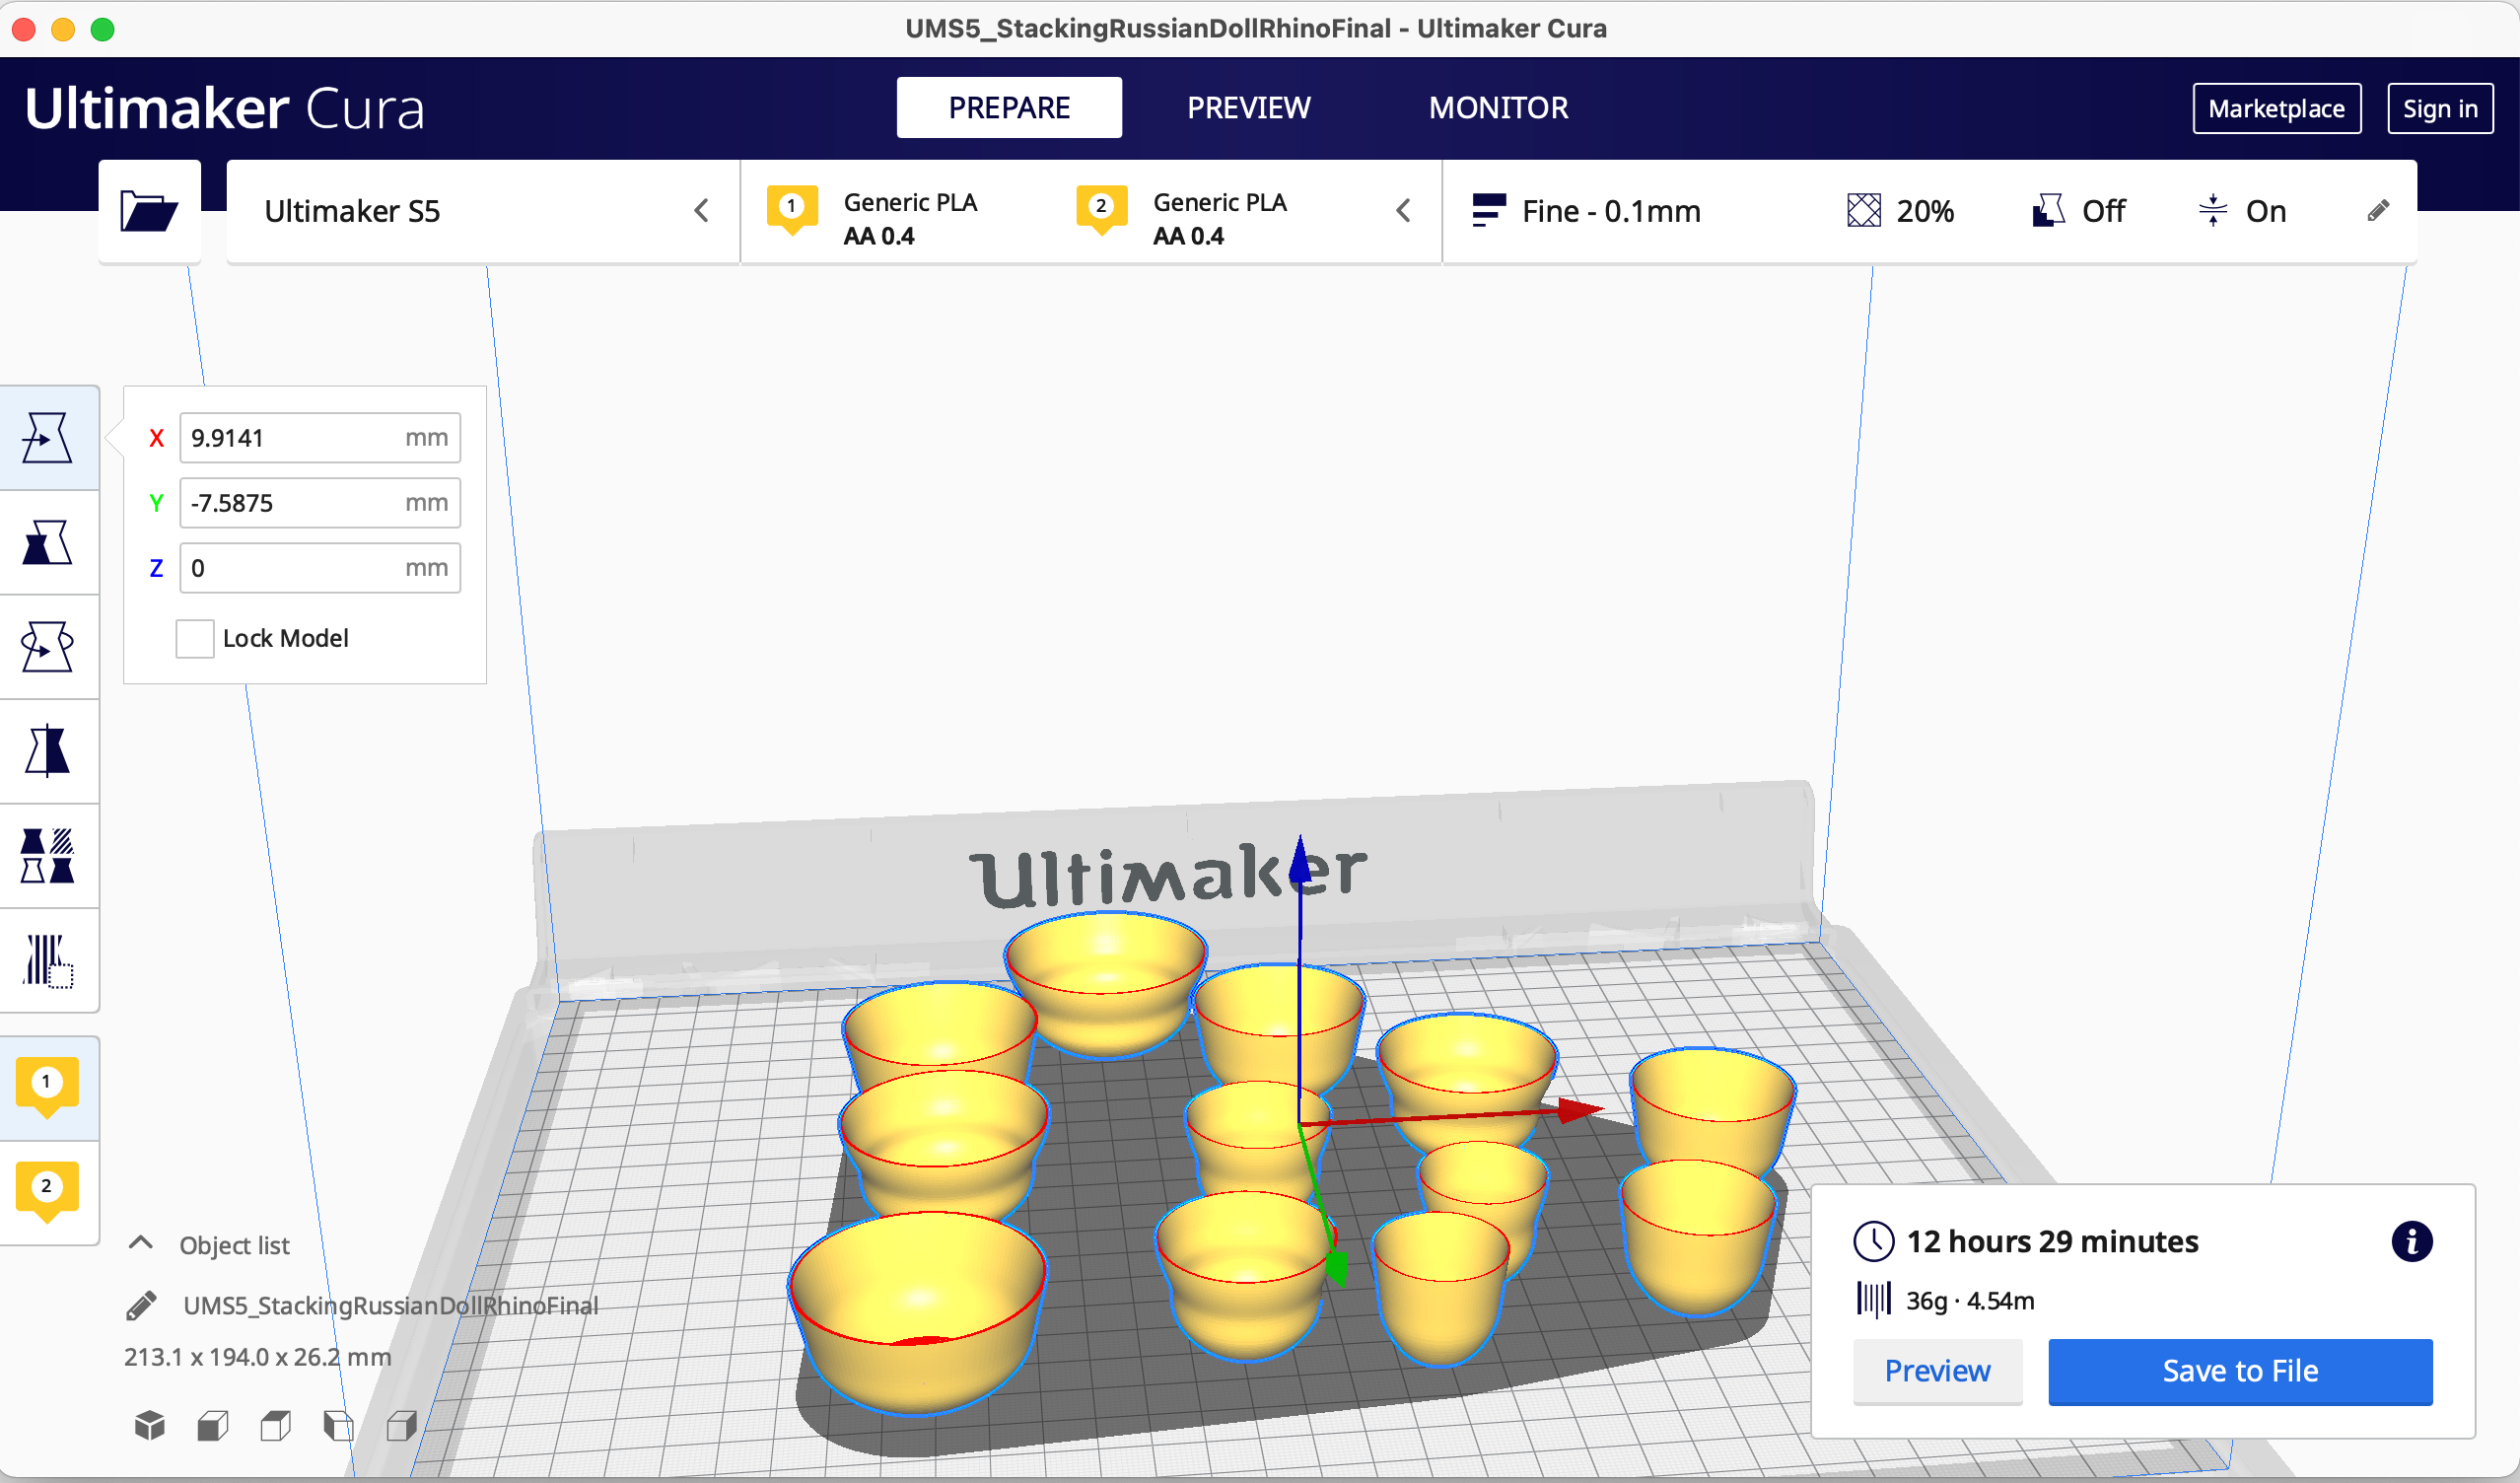
The stl file is opened in CURA software and sliced to know the time it would take to print on a 3d Printer. It is based on size and scale of our designed object. In this case, as can be seen in the above image, it will take around 12.5 hours. The size of the pattern could have been made smaller to achieve a much lesser time to print.