3D Printing Hacks
Entering the world of 3d printing can be a little intimidating for a non-engineer or young gun trying to earn his salt. This instructable will give you some tips and tricks from an engineer who has used an Ultimaker original for a little over 6 months. My goal is to take the issues I faced in 3d printing and guide you in solving them. With that introduction lets jump into some steps to get you printing your first part (which in my case was the Ultimaker Robot!).
Setup
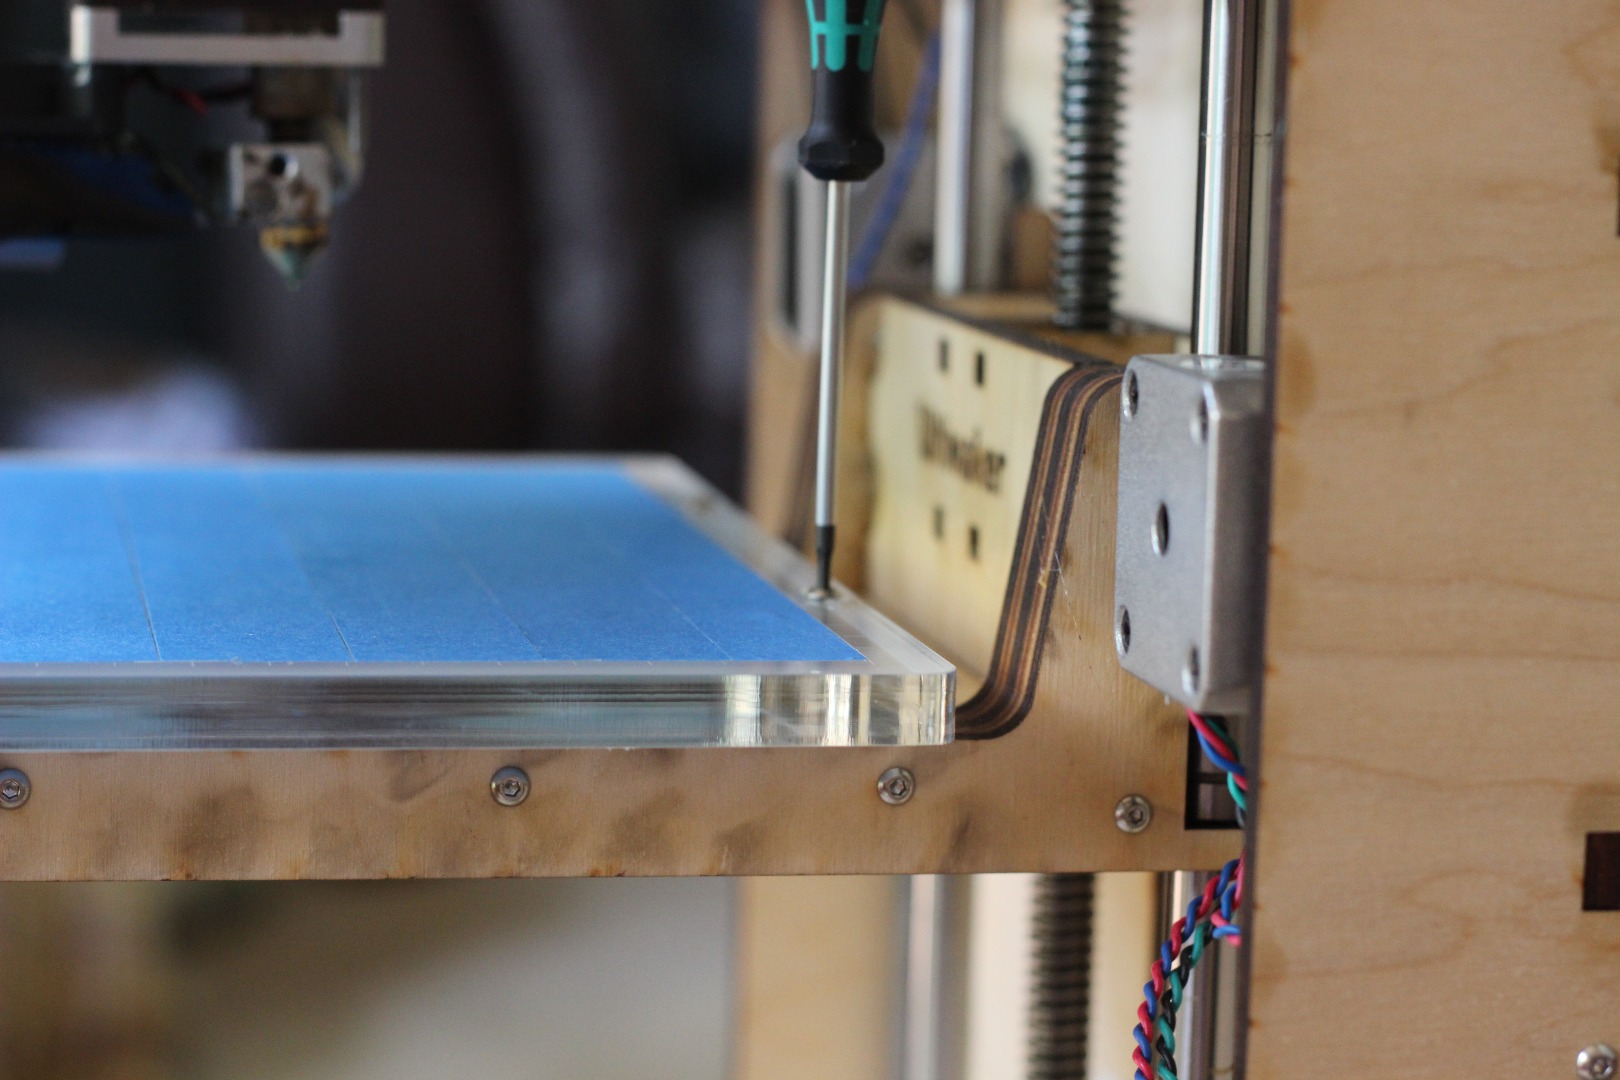
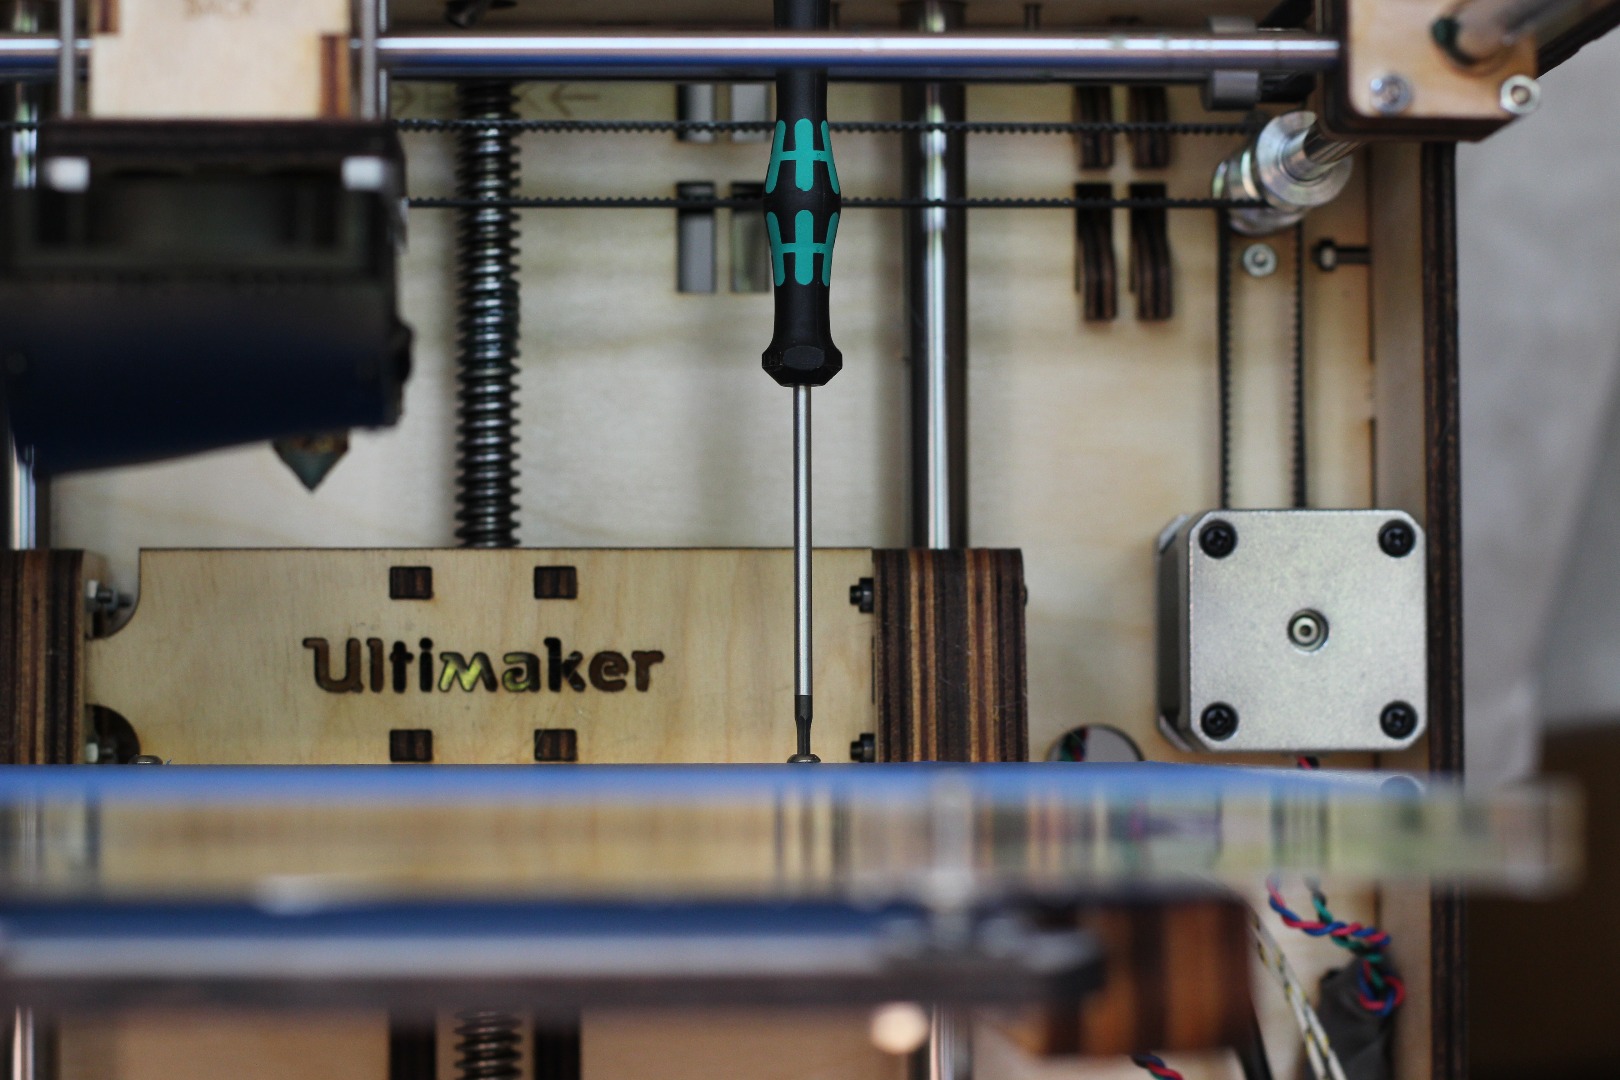
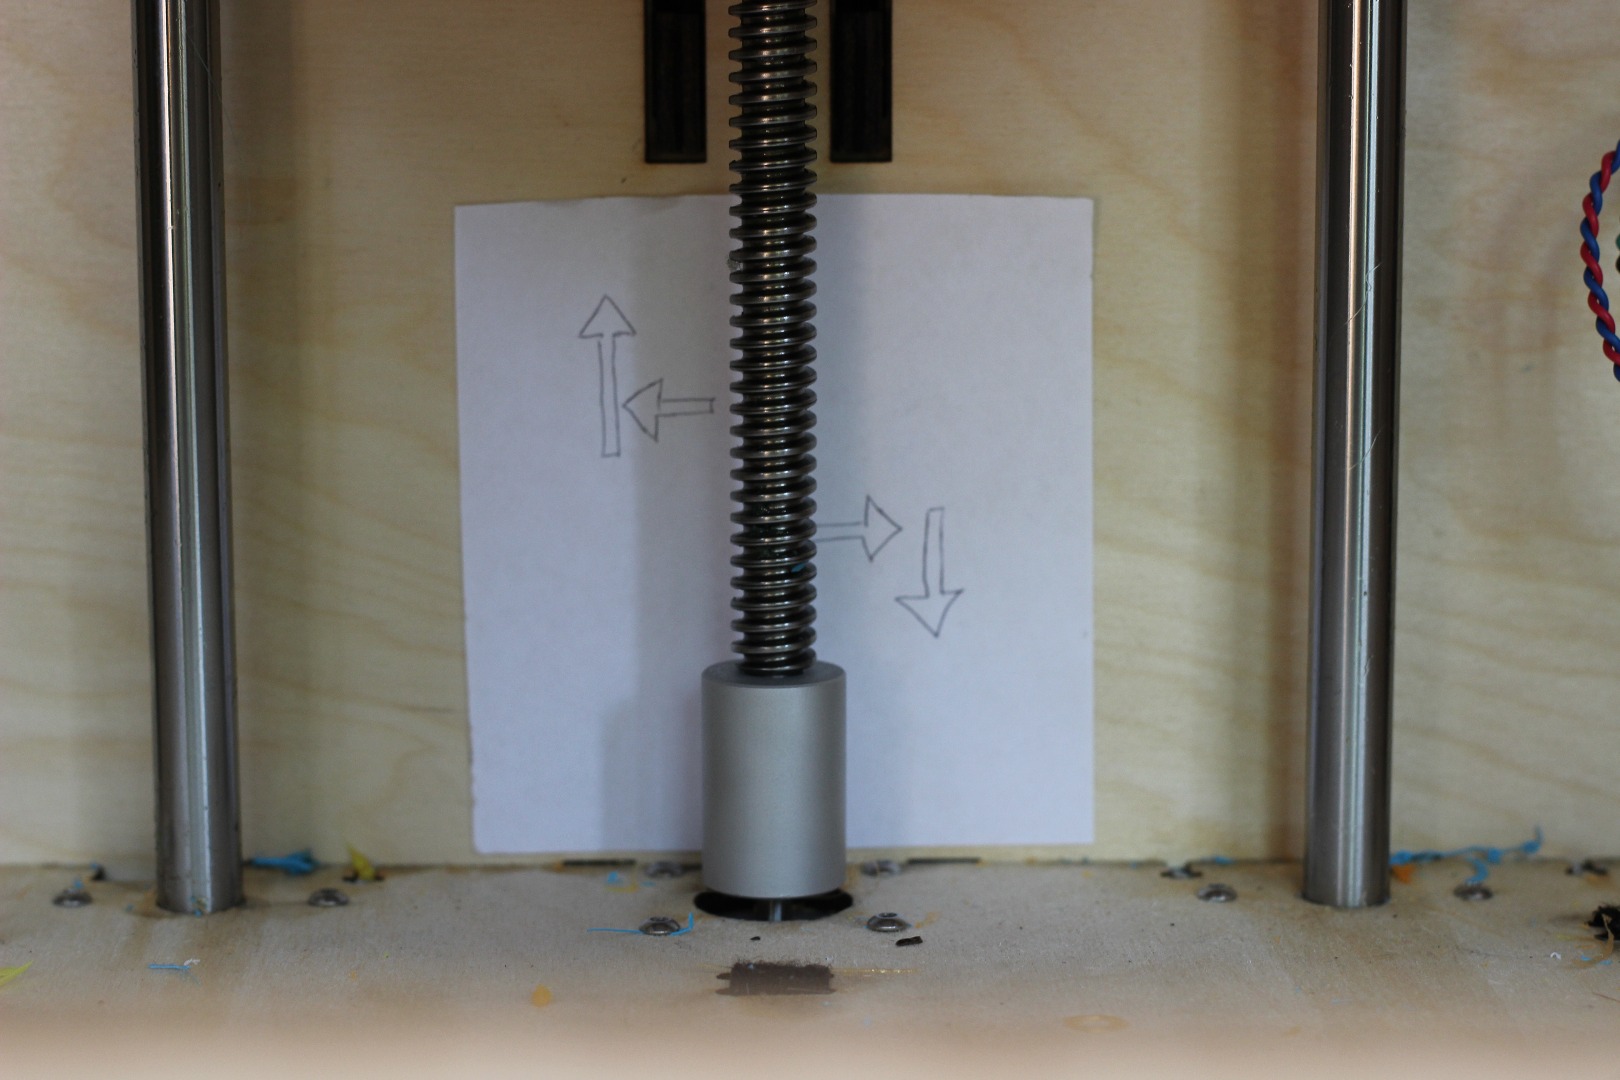
Every 3d printer has different quirks that make setup easy or difficult. The 2 most important things about any printers setup are leveling the bed, and setting the z-height. Since these are the most important things there are already a million guides out there on how to, when to, and what to do. Often the problem is after you "get it level" from one print to another you still see inconsistency. This inconsistency is inherent in any manufacturing process which requires the accuracy of 3d printing. The images show a guide of things to check when your bed is level, your z-height is set but your print still won't lay a solid first layer, or you just cant seem to get it perfect.
-manually adjust z-height while printer is printing if something seems slightly "off", I have added a sticky note with a guide so I don't accidentally go the wrong way and plug my extruder. The reason something is "off" is commonly due to a change in your Cura settings. Printing with a raft can change your initial z-height to compensate for larger layer height in the raft and this can screw your print up from the first line. If you notice this quickly adjust the z-height as seen in the images to save the day.
-manually adjust the springed screws (only very slightly, about 1/8 a turn at a time) while printing if you have noticed any digging into the print bed/tape or that your plastic won't stick to the print bed. The reason this adjustment is required comes from a bed which isn't truly level... ( I know I said I wouldn't do this) as your print gets higher up off of the bed it is much easier to see where your print bed isn't level. Use this technique to help level your bed even for taller prints.
After manually adjusting these things over a few prints you will find a "sweet spot" for your printer.
Extruder
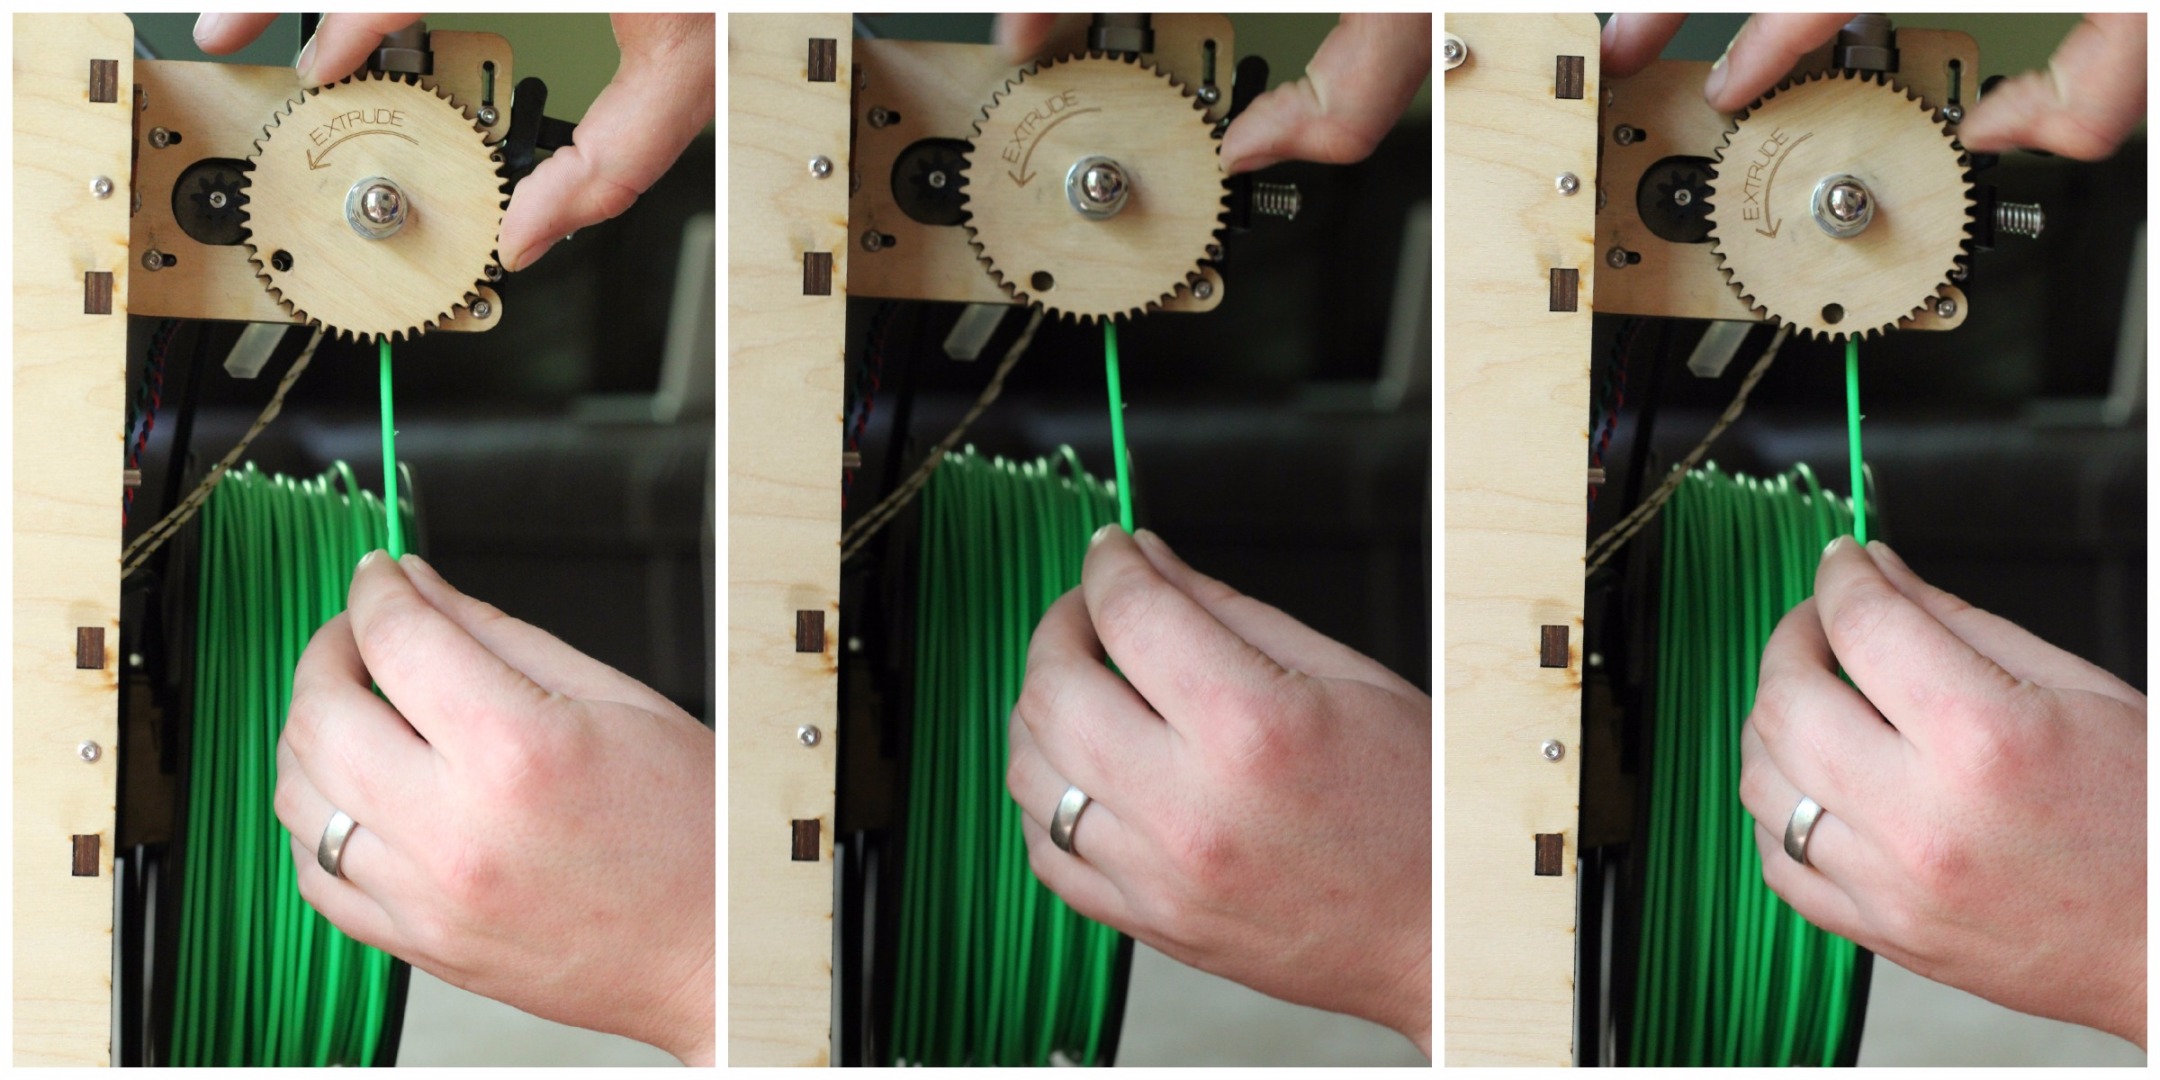

Now that you are printing on a flat surface it just fits that the plastic stops flowing. Well have no fear because these few hacks will help get your extruder back to tip top condition.
occasionally you will need to clean the debris out of the knurled face in the extruder to help it grab the plastic better
make sure your bowden clips are holding the plastic retainer tightly in place and download a print from Thingiverse if you feel your bowden isn't doing its job correctly and needs some help. (lots of resources on this fix when googled)
-manually push the plastic into the extruder in order to help the motor grab and move the plastic, instead of just grinding it down. Also during setup make sure the plastic is applying pressure by manually adjusting the motor until you feel some resistance, then allow time for this plastic to melt into the plastic pool in the nozzle end.
-stop the print and crank up the heat (if printing PLA I use ABS settings, if ABS add 30 degrees Celsius or so) if you noticed the print head is clogged and needs cleared. If the plastic still wont clear release the bowden clip and manually force the plastic through the nozzle at the heightened temperature (this may take quite a bit of force if its clogged badly, if not clogged badly you should be able to simply turn the extruder motor to push through). Also a needle or other small point may help clean the nozzle end out (you can tell if there is something in the nozzle because the plastic won't run straight down out of the nozzle when extruding).
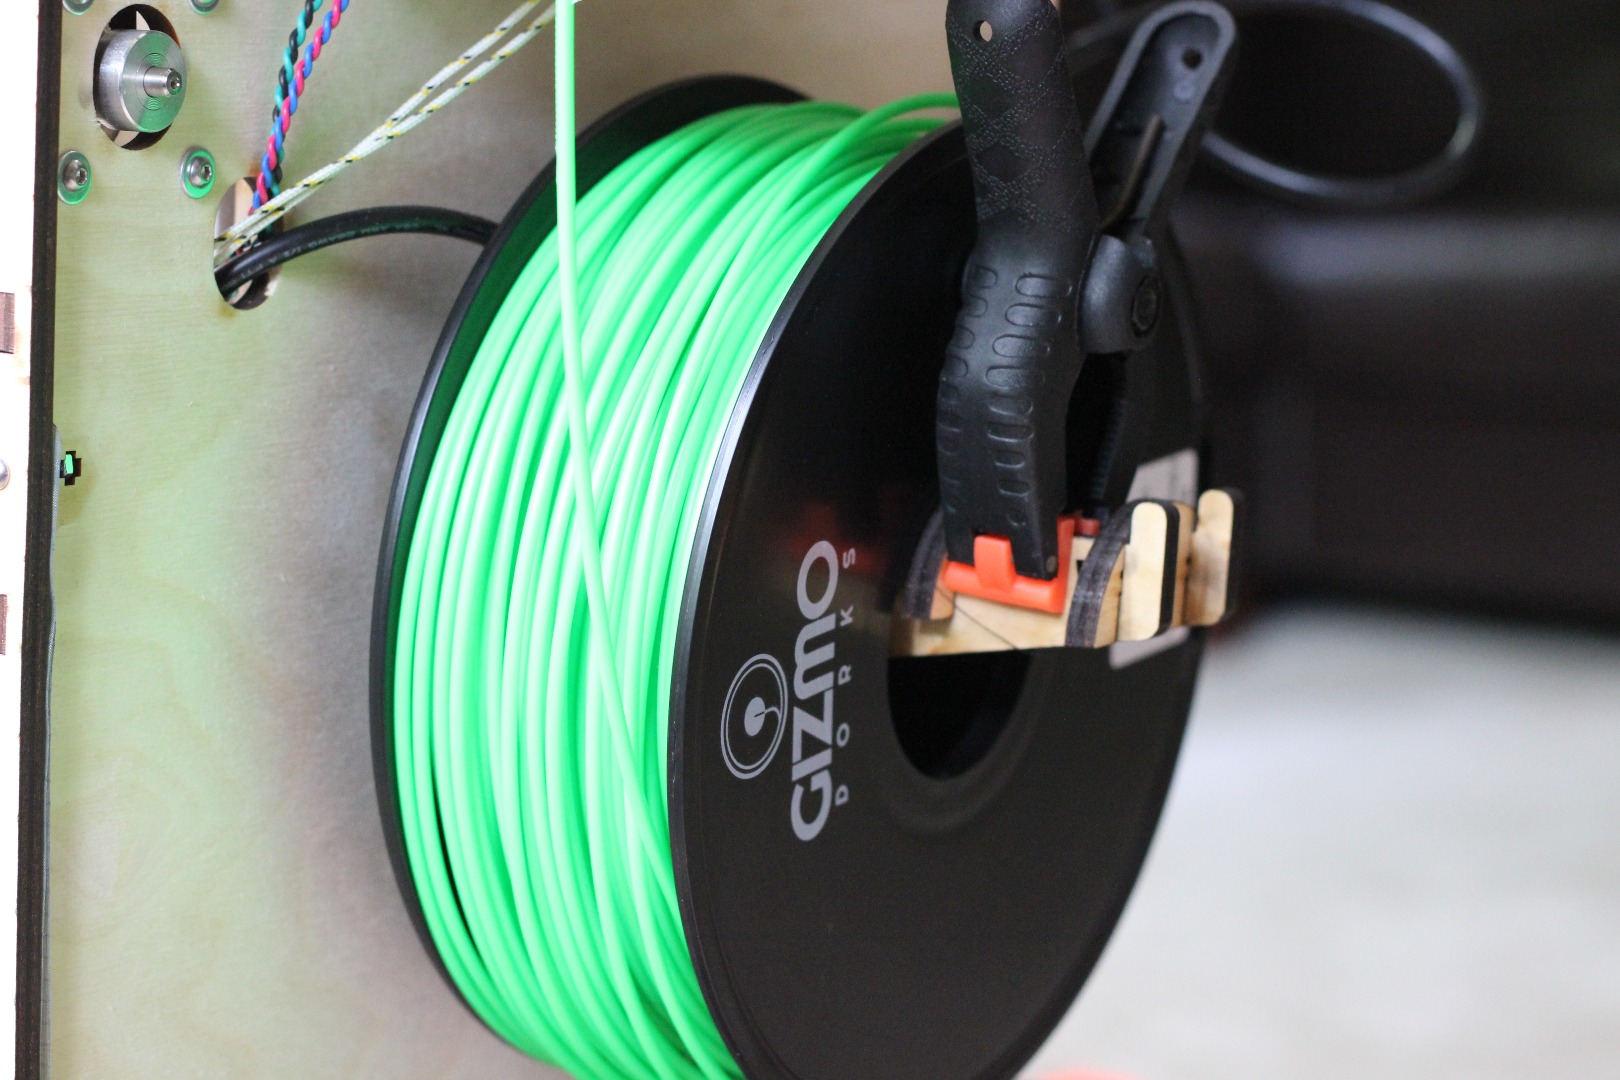
-check to make sure your plastic coil isn't stuck or knotted up, I usually turn the whole coil a few times so that the top few rounds of plastic are loose and will be pulled easily by the motor. If you just can't manage to keep your plastic turning while printing there are lots of prints on Thingiverse for "smoother" coil rotators.
-if plastic is leaking out of your threads along the nozzle take the whole nozzle apart (very carefully because it can break, I have done it, if you do break it amazon has replacements for relatively cheap). After it is taken apart apply some type of pipe thread sealer ( I got mine at the local hardware, make sure it isn't flammable and can handle the high temperature) and apply to the threaded portions, then reassemble (you may notice the sealer burning or blackening when running but this did not appear to cause a problem for me as my sealer was fine for high temperature).
Print Bed
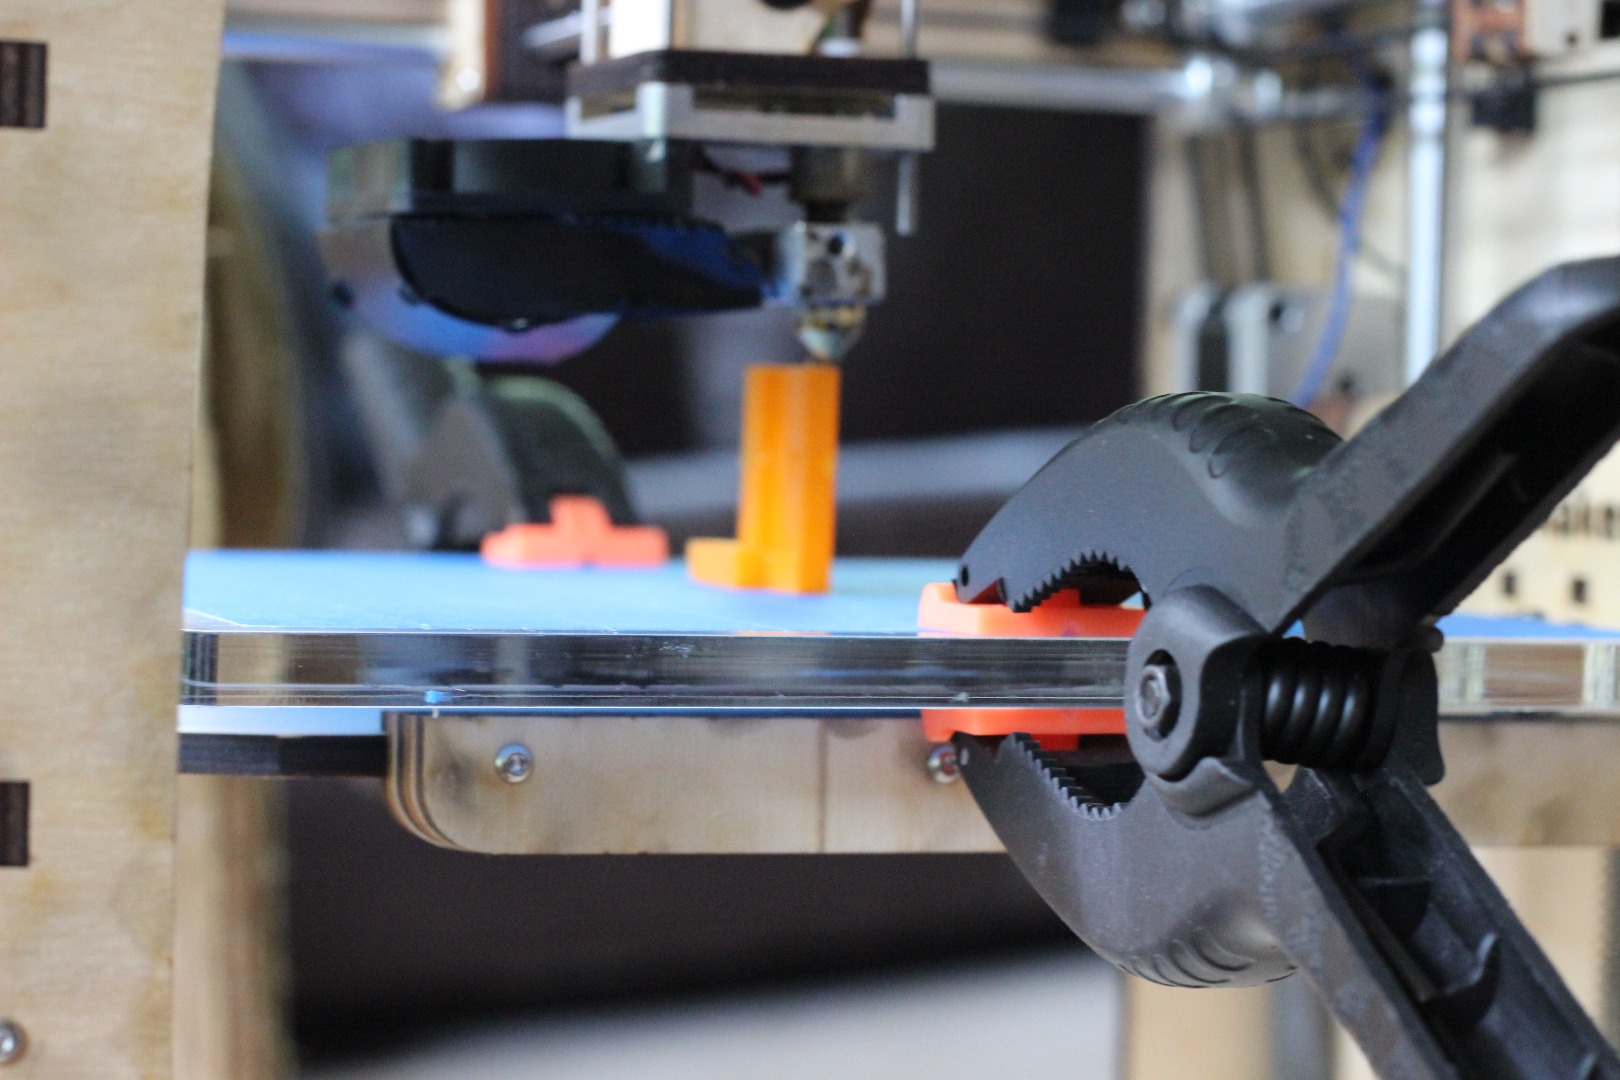
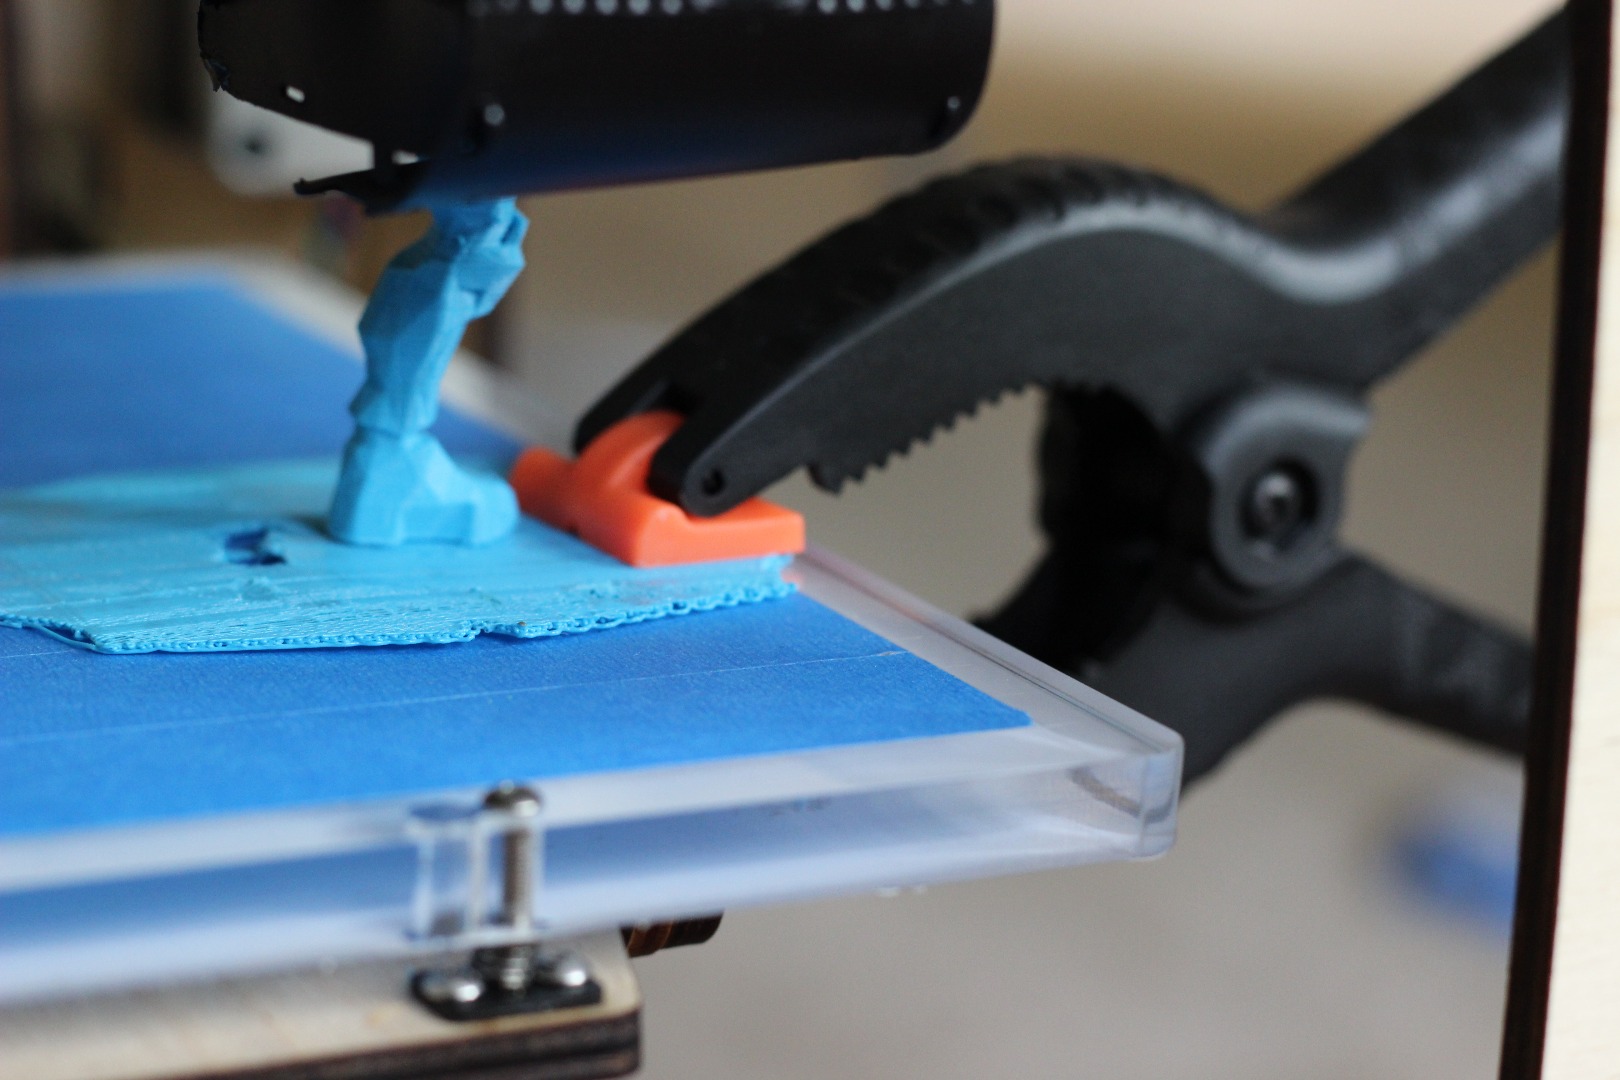
Great, we now have a flat bed and are printing plastic everything is awesome... until your print is finished and the ends have warped on you perfectly flat print. Well the reason this occurs is because plastic shrinks while cooling, but since this is an inherent property of plastic what do we do about it.
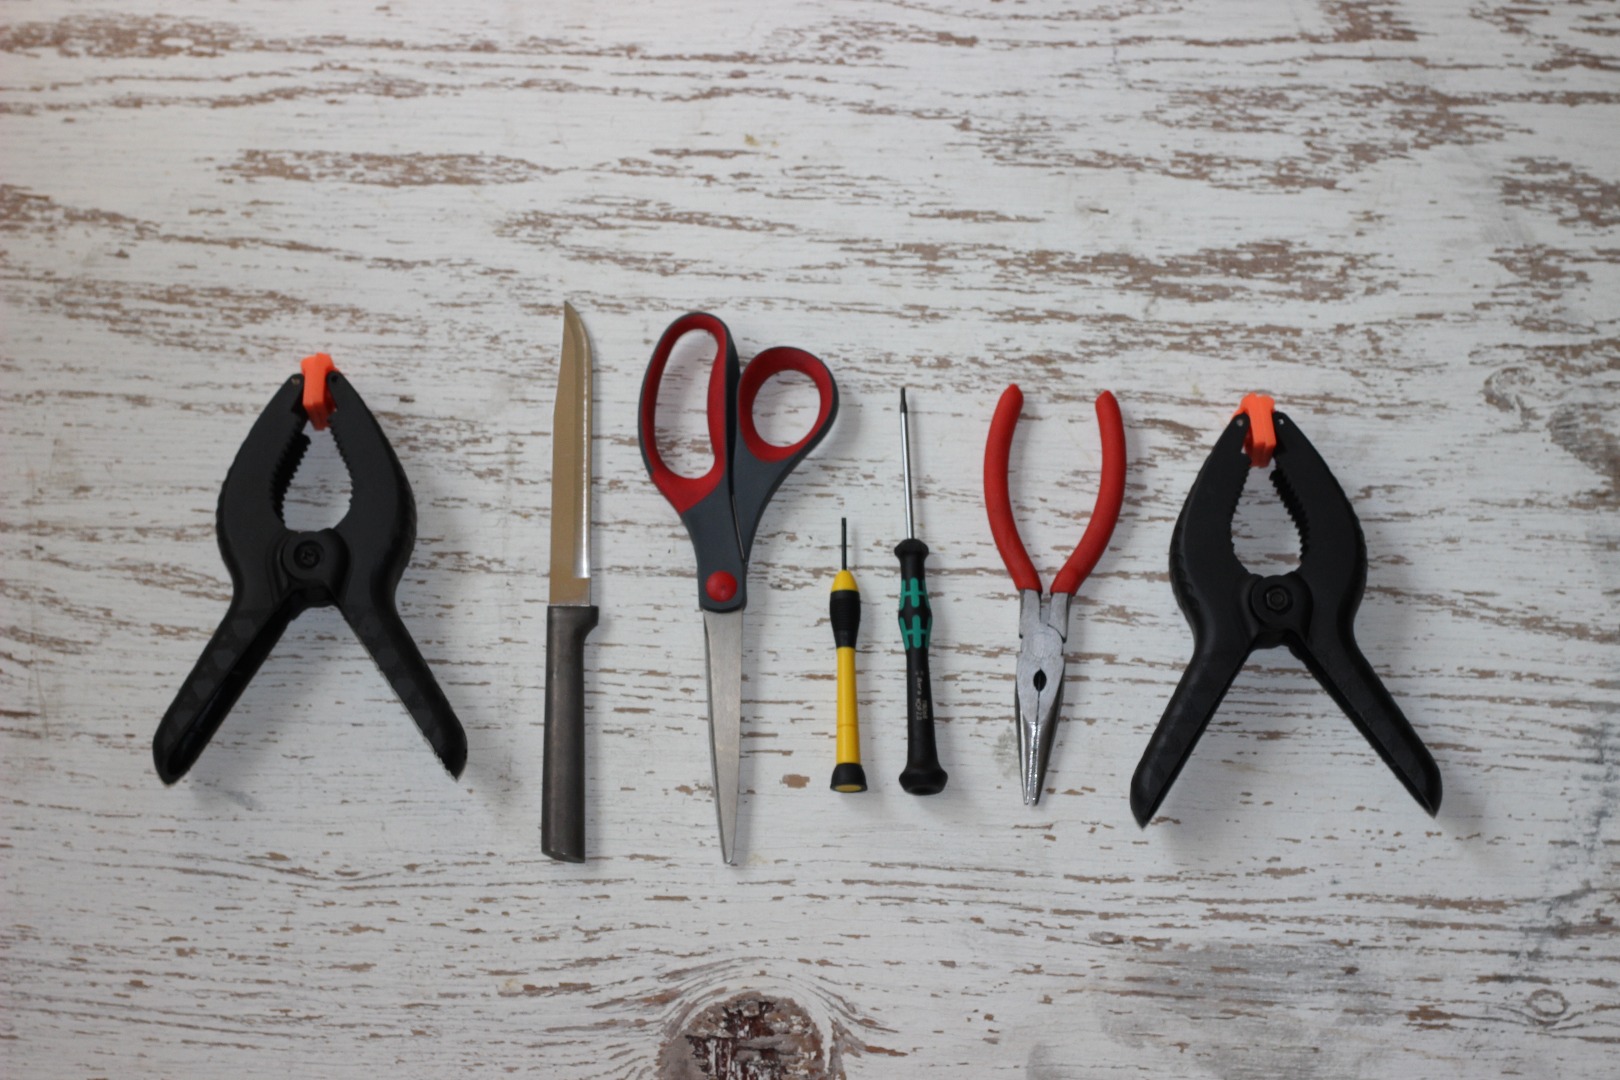
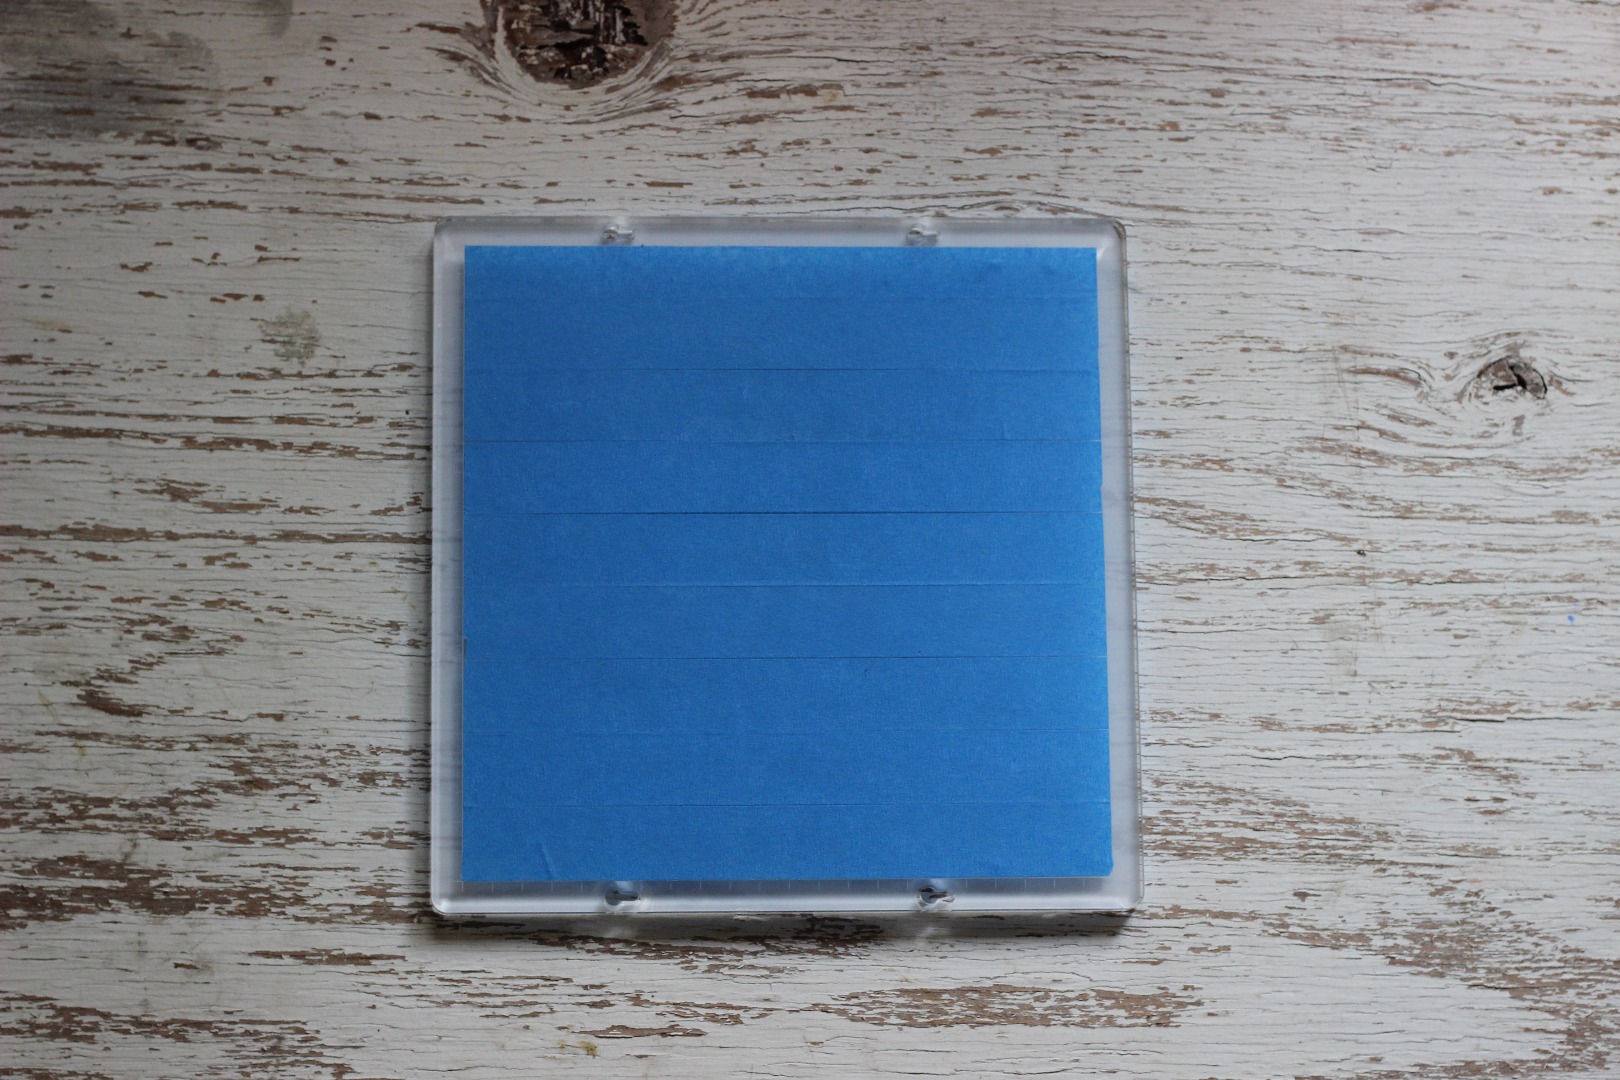
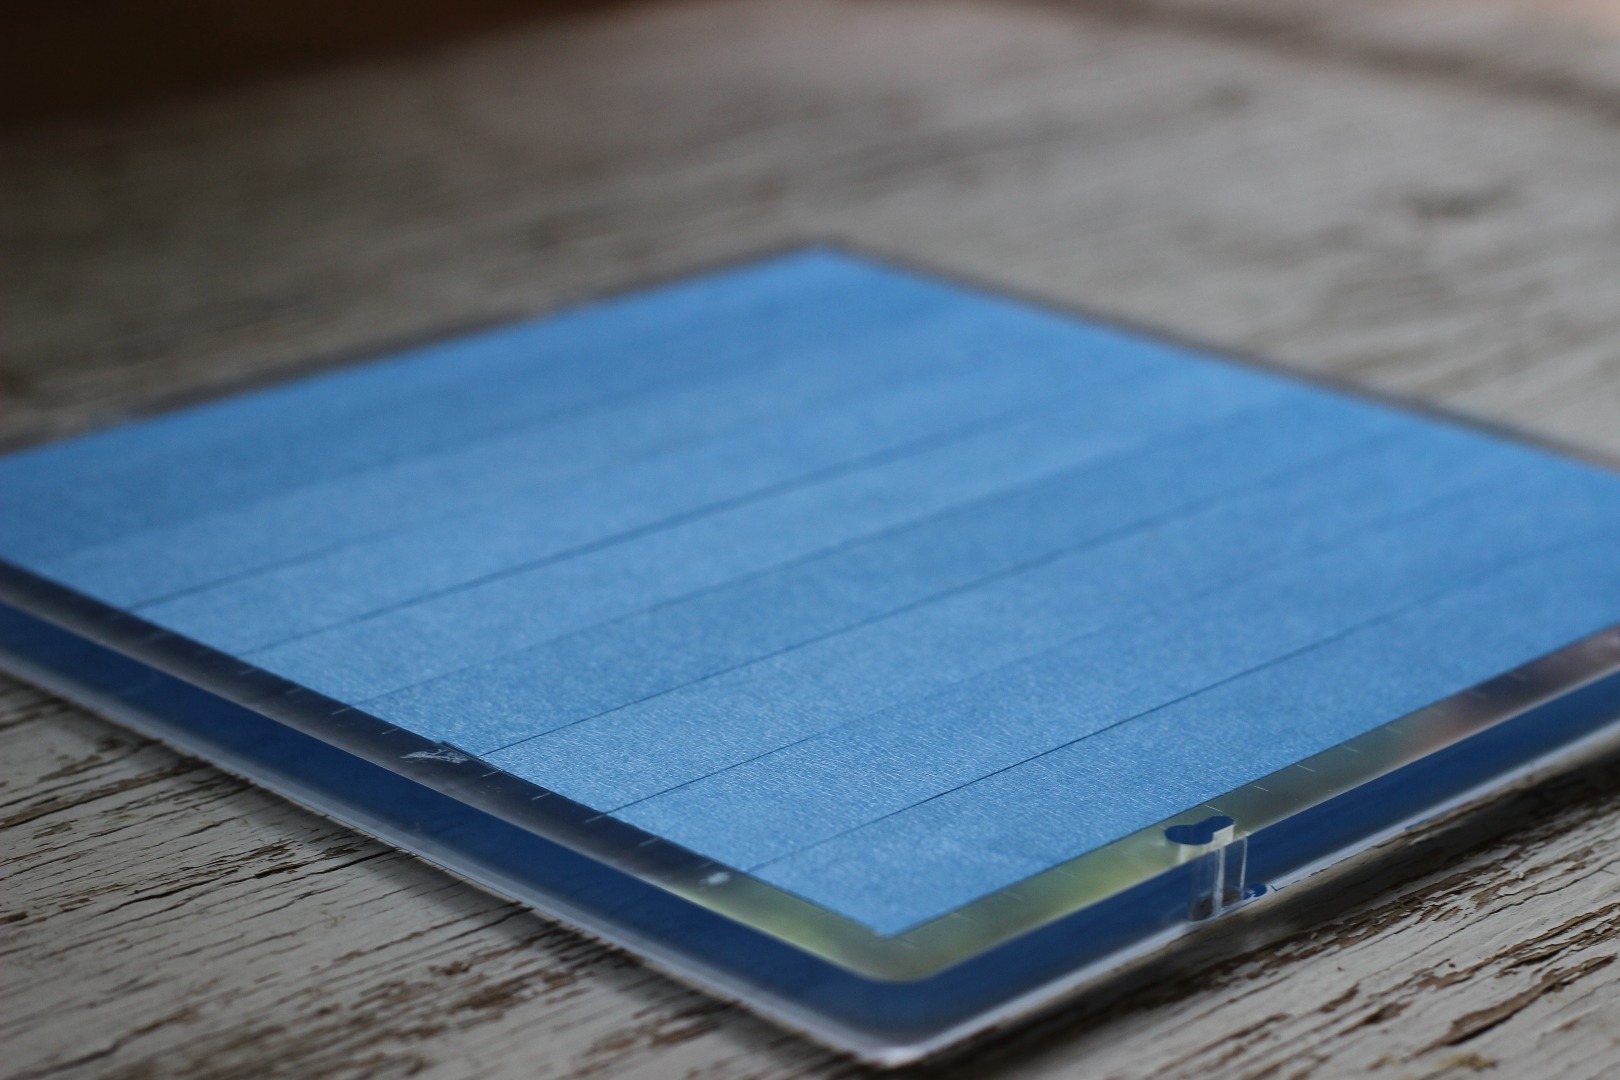
If your cheap like me all you have for print bed tape is what came with the printer, and this is rough because it leaves lines in your print at intersections of tape and makes pulling your part off the bed a hassle. But since you don't want to pay the 50$ for the 6" wide tape you live with it and this is where I use clamps to hack my print bed.
-manually attach clamps onto the plastic(attached brim or raft) to prevent it from pulling up from the tape and warping. If the brim isn't strong enough to hold the print down use a raft for extra strength. If the force pulling the plastic off is still to strong I have used a large raft and clamped directly onto it (this is an extreme case and will often not be necessary as the raft itself will prevent most warping)
-take time to put the tape down as accurately as possible as this will both help print quality and print removal
-apply clamps onto the end of the tape to prevent it from pulling up while printing, this will also help with tearing while removing your printed part
-use some type of razor tool to remove very stubborn prints, a razor blade turned sideways, or a very slender flathead screwdriver should do the job.
Cura
Finally we have everything ready. We did it, all our prints will hence forth be perfect... well sort of. Now that we have hacked the hardware into working order it is time to do the same for the programming side. We will start with Cura and move into some ideas for RAMPS (or the blue screen on the front of the printer). Cura has a lot of settings and can be ran in beginner mode and expert mode. I would suggest that you learn how to get to expert mode as quickly as possible and these ideas will help you do that.
My first hack ins't really a hack, it is more just a good idea, look up any question you have about Cura on google/reddit/anywhereelseyouwouldlike, and learn everything you can about what each box you can change does. Most of the default settings work well for prints, and thus it can be scary to try and alter them. DO NOT BE AFRAID, altering them is the intention of the programmers (that is why they gave you a box) and will ultimately greatly help your print.
-use your head! If a print is a solid box with little changing of print planes or sharp turns crank the print speed up! Your servo can handle printing at a high rate of speed and in fact wants to do it, so printing faster can both speed up the production of your awesome part, and still give just as good a finish.
-use your head again!!! If a print doesn't need to be super high quality, don't make it a super high quality. Increase the layer height up to a higher level in order to once again gain print speed, odds are you wont even notice the difference in quality because most prints don't require a small (.06-.1) layer height to be perfect.
-use your head one last time!!! If you are starting your print before you go to bed (or work) in hopes that it will be done 8 hours later it's ok if it takes a few extra minutes (or hours) for better quality in your print. It won't use extra material and will use approximately the same amount of electricity (not much) either way.
-printing temperature can be a tricky thing to master, as different coils of material will want a different temperature. Everything I read says the lower the temperature the better quality print and from what I can tell this is true, however from what I can also tell the lower the temperature the easier the print head clogs. I find a 220degree C for PLA prints with good quality and prevents print head clogging.
-support can be another tricky setting in Cura, because well, Cura doesn't do a great job adding support. I have found using a cad software to alter a model into adding support works well. This isn't possible for everyone but can help greatly for difficult high detail prints.
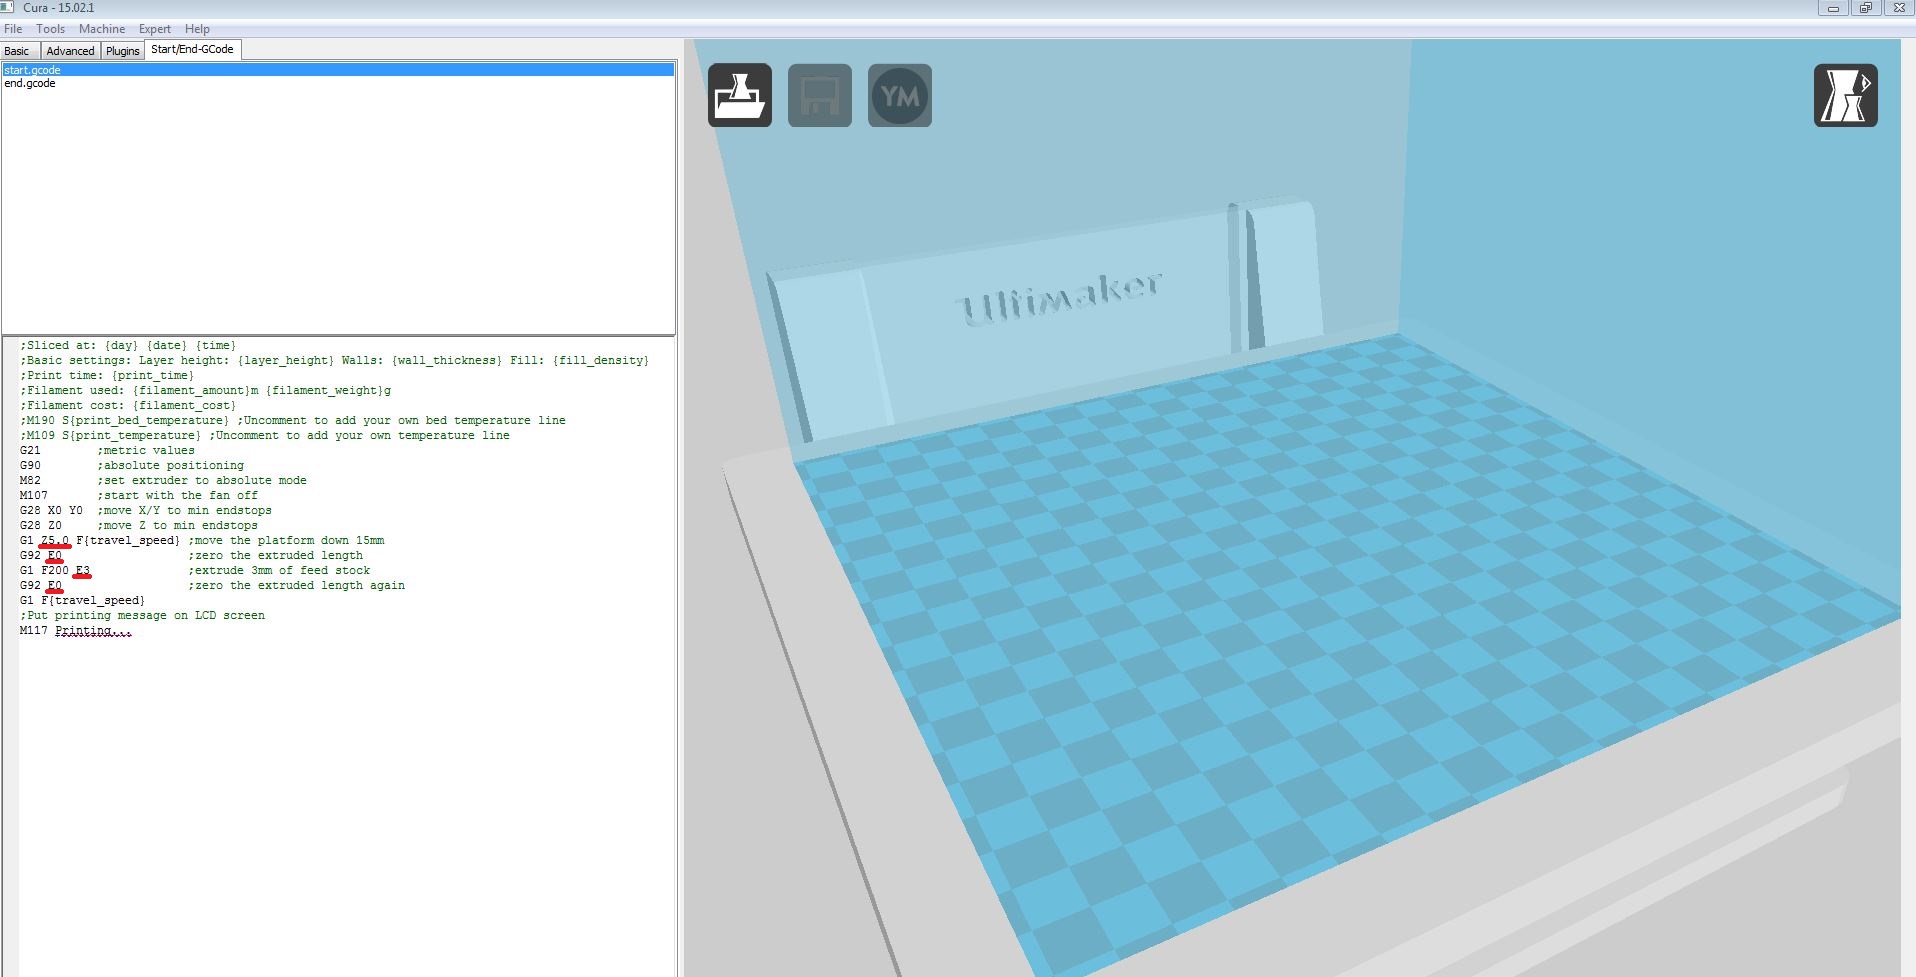
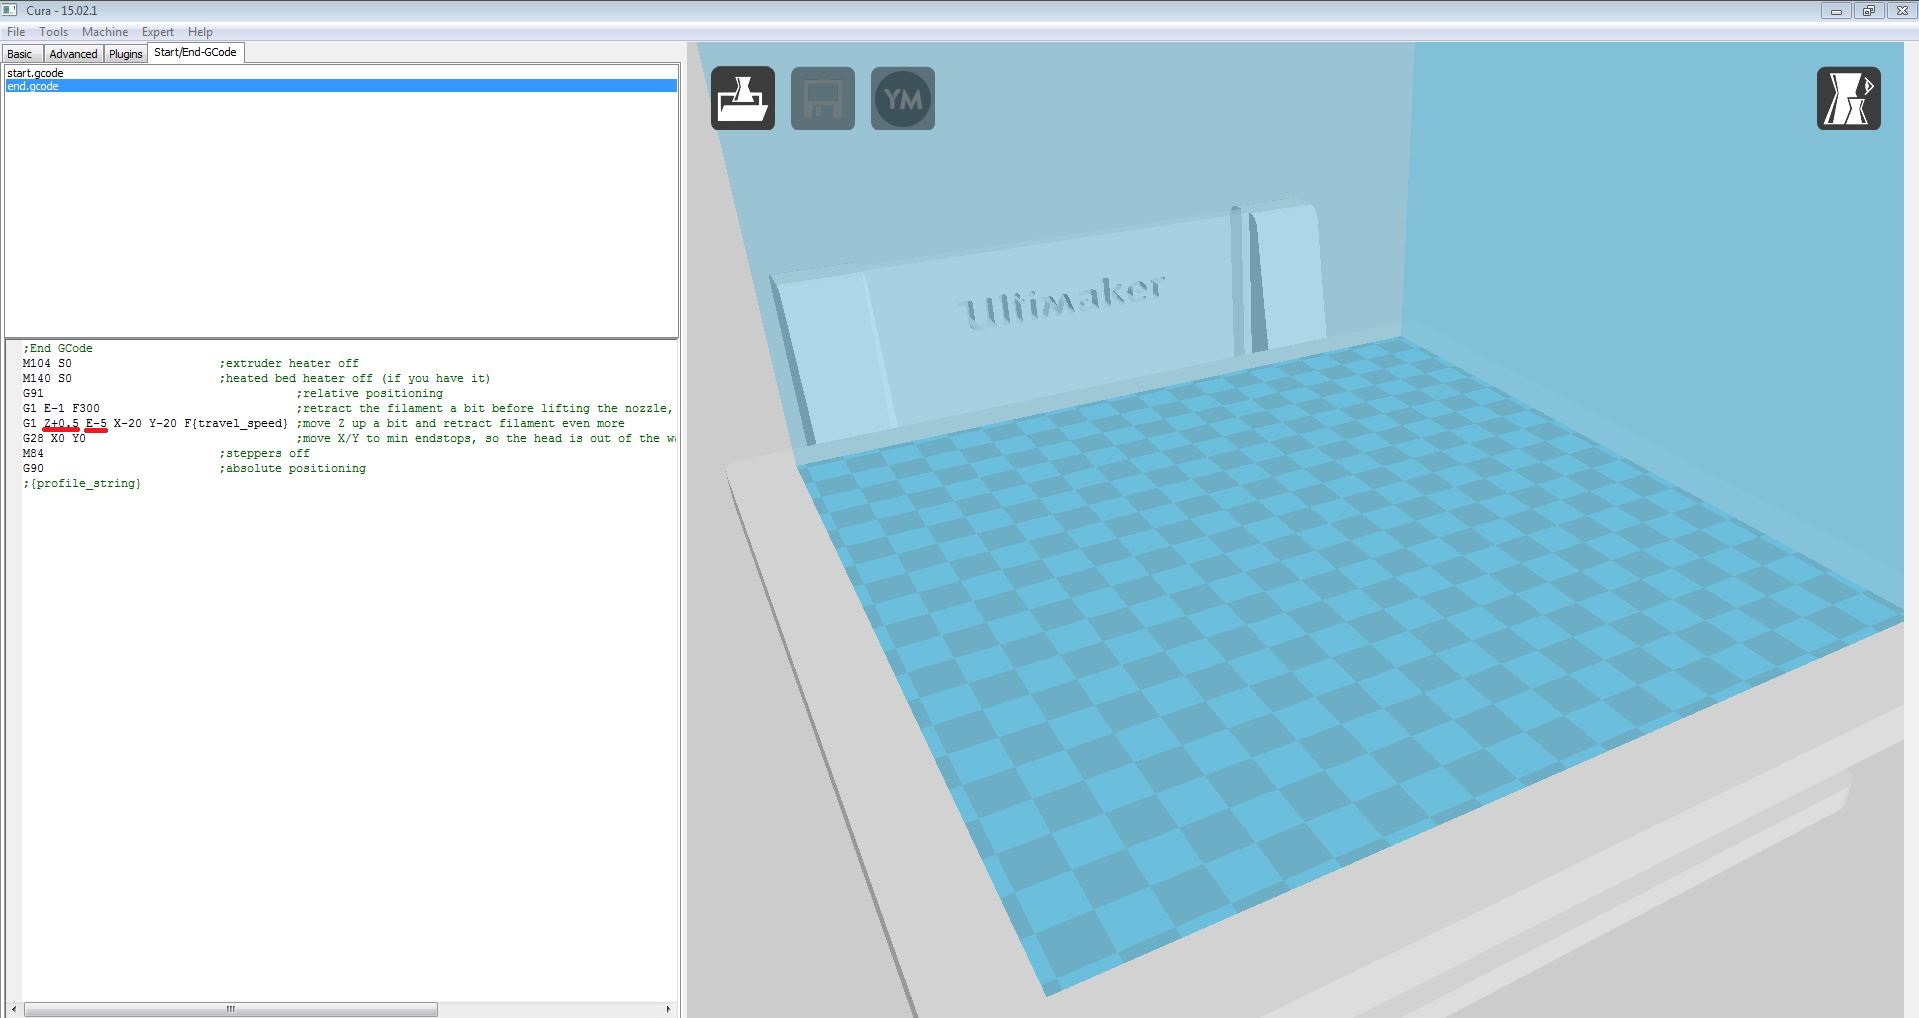
-the final hack for Cura is altering the Start/End G-code to match your needs. For the end G-code I suggest changing your z-height at end to drop the print table out of the way for easier print removal. Also retracting the extruder extra distances helps prevent plastic from leaking out due to melting the end of the filament.
for the start G-code I have found a few things that help the printing process go smoother. First I would change the "move platform down" line so that it is Z.2 or Z.1 (instead of Z5) depending on layer height, I have found this removes any error in the stepper motor for z-height. Next I would change the extruded length lines so that plastic is pushing out of the end in order to make sure your brim and print get adequate plastic on the first few lines. Finally instead of zeroing your extruder length out at the end I suggest setting it to E1 in order to keep pressure on the plastic. Do not worry if you screw something up you can always revert to default settings!
RAMPS
Well we made it, the RAMPS step is more suggestion and howto than anything else for the shear reason I haven't used it a ton to "Hack" my prints. It is something you will want to be familiar with while leveling the bed and most setup processes... but after that I have mostly used it for starting my print with an SD card, or preheating my print head. I strongly suggest preheating your print head as it will both make it quicker once you do start your print, and also break up any hardened plastic left in the nozzle from the last print (sometimes the amount of time it takes to heat up the extruder when starting a print doesn't fully melt the internal plastic).
-controlling the extruder motor can give you a good idea how far "1" is when adjusting G-code manually and can also help with unclogging the print head without touching the plastic (as long as the plastic is going through the extruder motor and not slipping).
You will find ways to push out more or less plastic, speed up or slow down your print head, and change how fast you accelerate when moving at travel speed. All of these things are important and necessary to the function of the printer but I have not needed to adjust them so I haven't. I assume changing acceleration could help prevent stringing plastic between two separate parts printed at the same time, but it also could drastically change your print time if changed to much.
PRINT ON
Well know that you have gone through this instructable I hope you take away some great ideas, and add them to your book of 3d printing knowledge. As a printer, for only 6 months, I hope to greatly increase my own knowledge and "hacks" of 3d printing as I continue to grow with the industry and watch as the Maker revolution continues to push the limits of "making" to its greatest extents!!!
If you live in North America and want something printed, check out my 3dHub at this URL.
You can also 'like' Jub's Hub on Facebook and stay updated on all my latest projects.
https://www.facebook.com/pages/Jubs-Hub/1469825636...
https://www.3dhubs.com/lansing/hubs/jub
Thanks
God Bless