3D Printed/Reclaimed Wood LED Sign
by austiwawa in Workshop > Woodworking
4212 Views, 35 Favorites, 0 Comments
3D Printed/Reclaimed Wood LED Sign
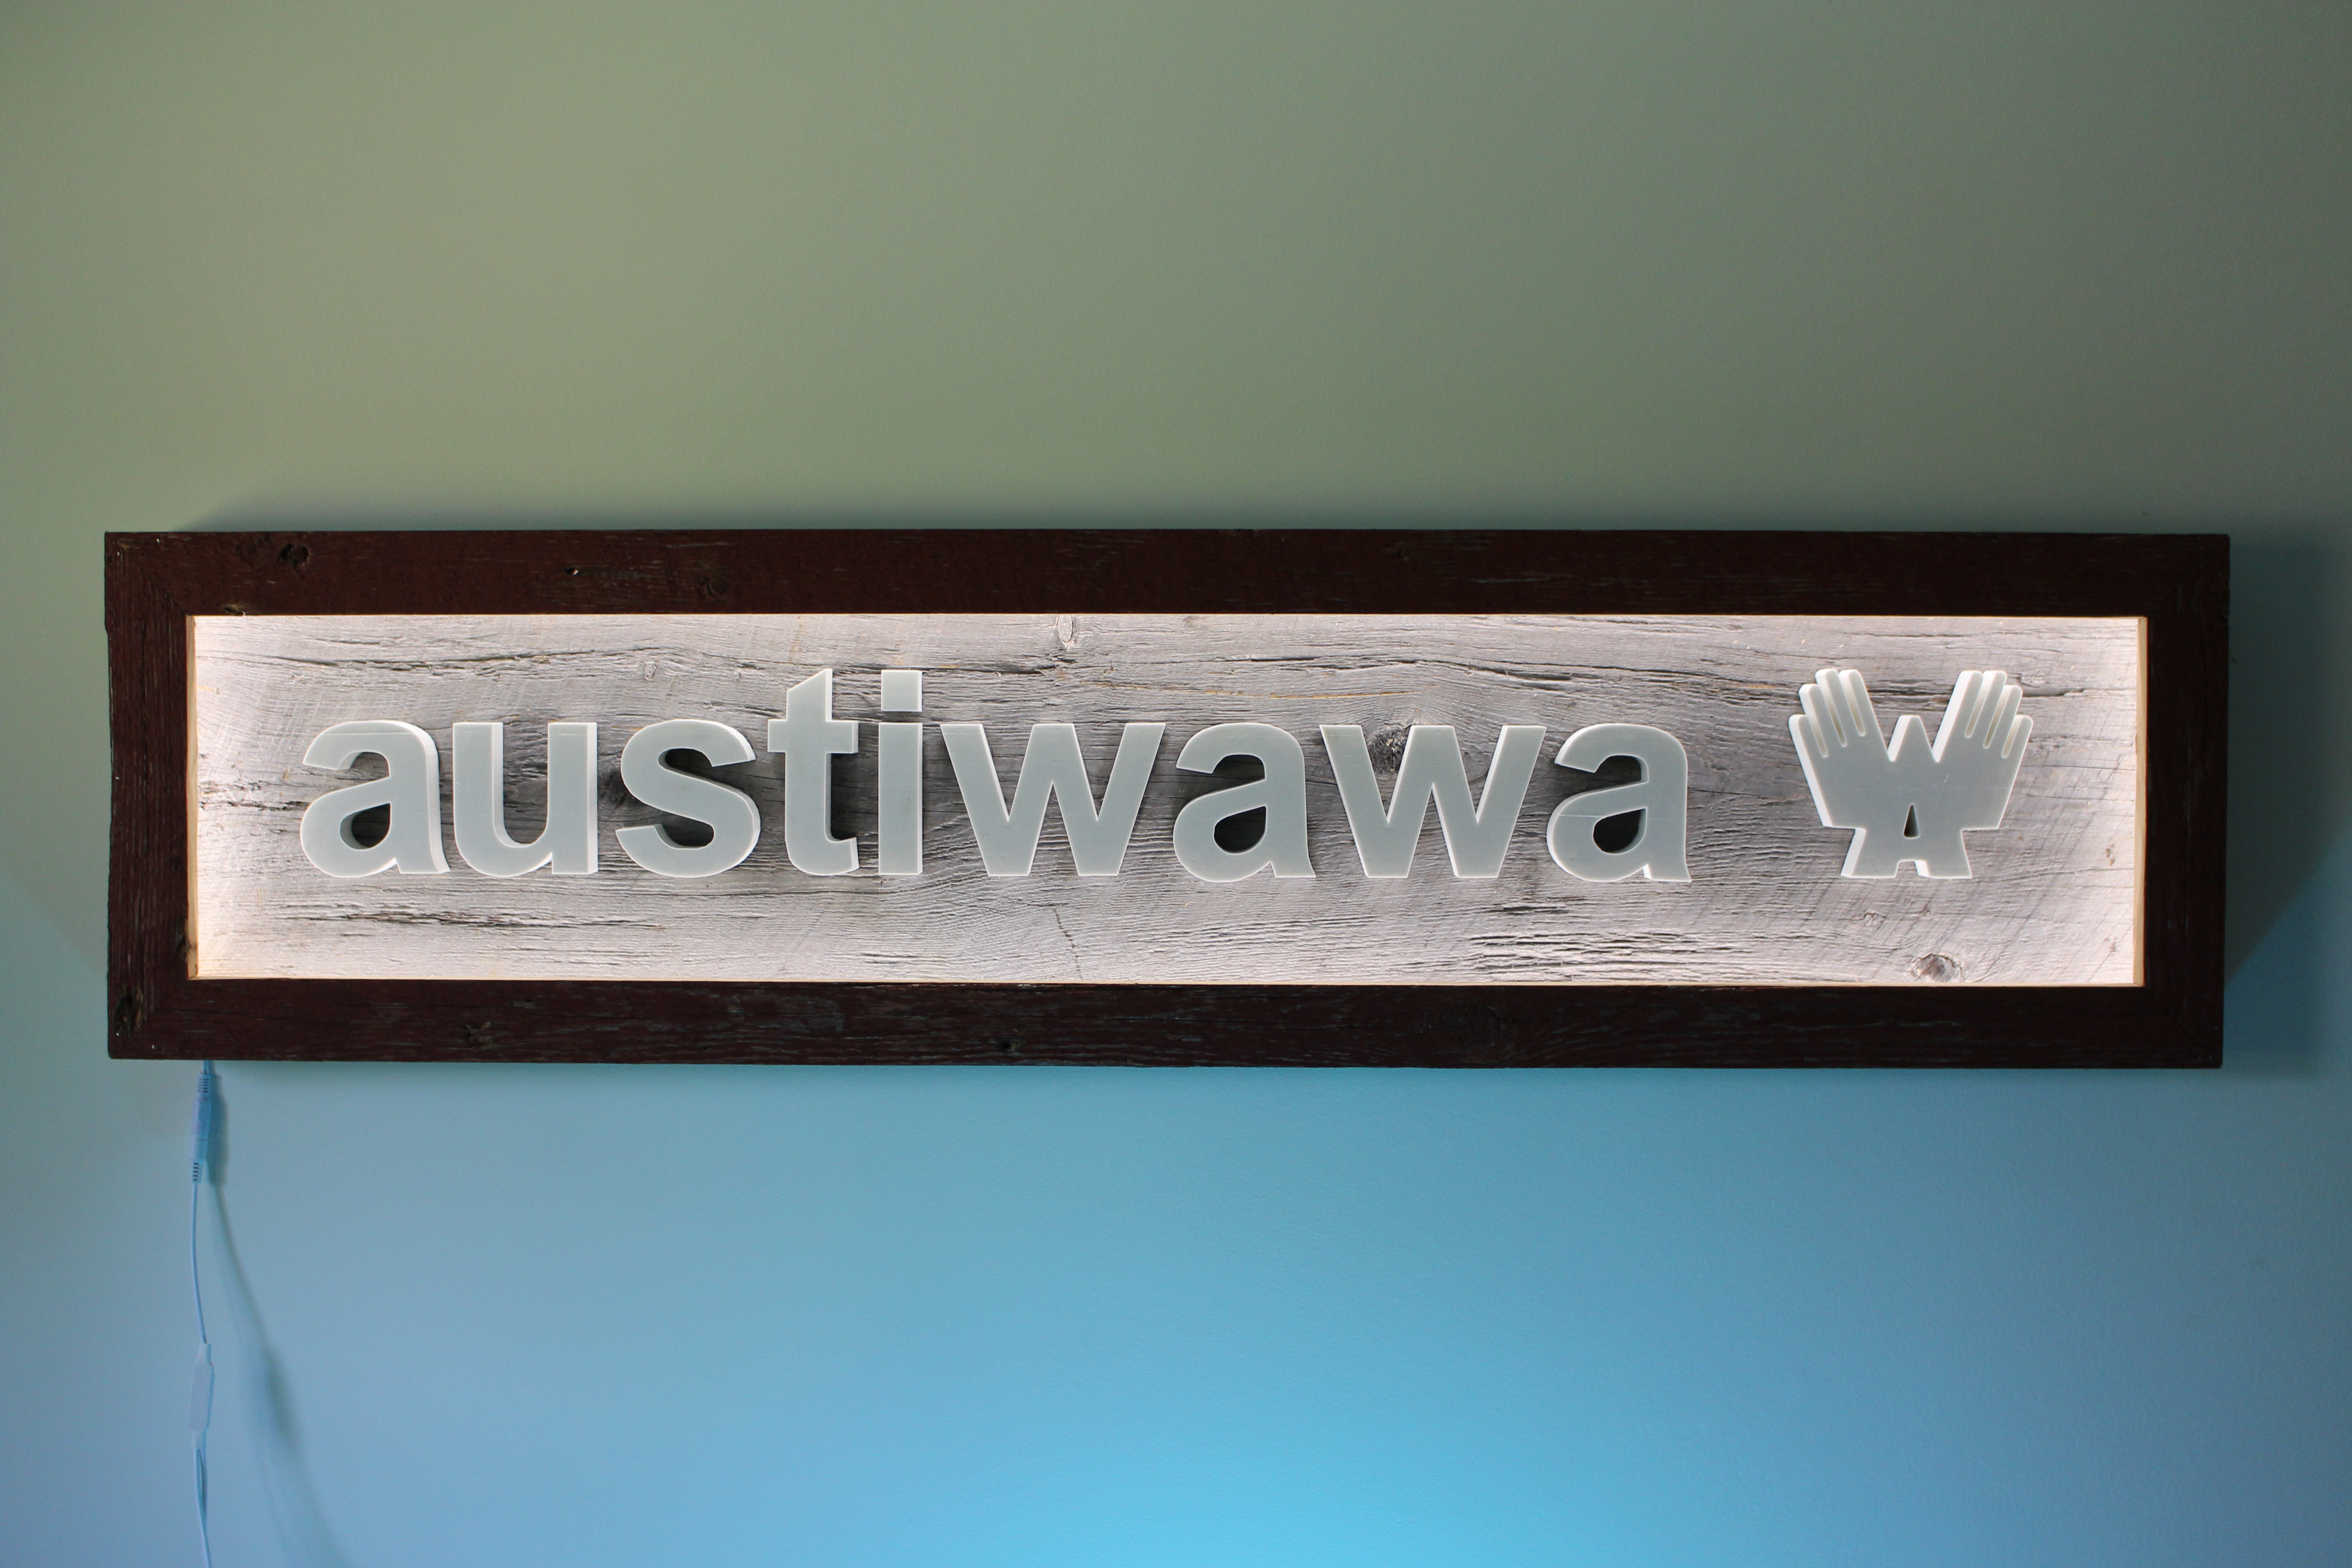
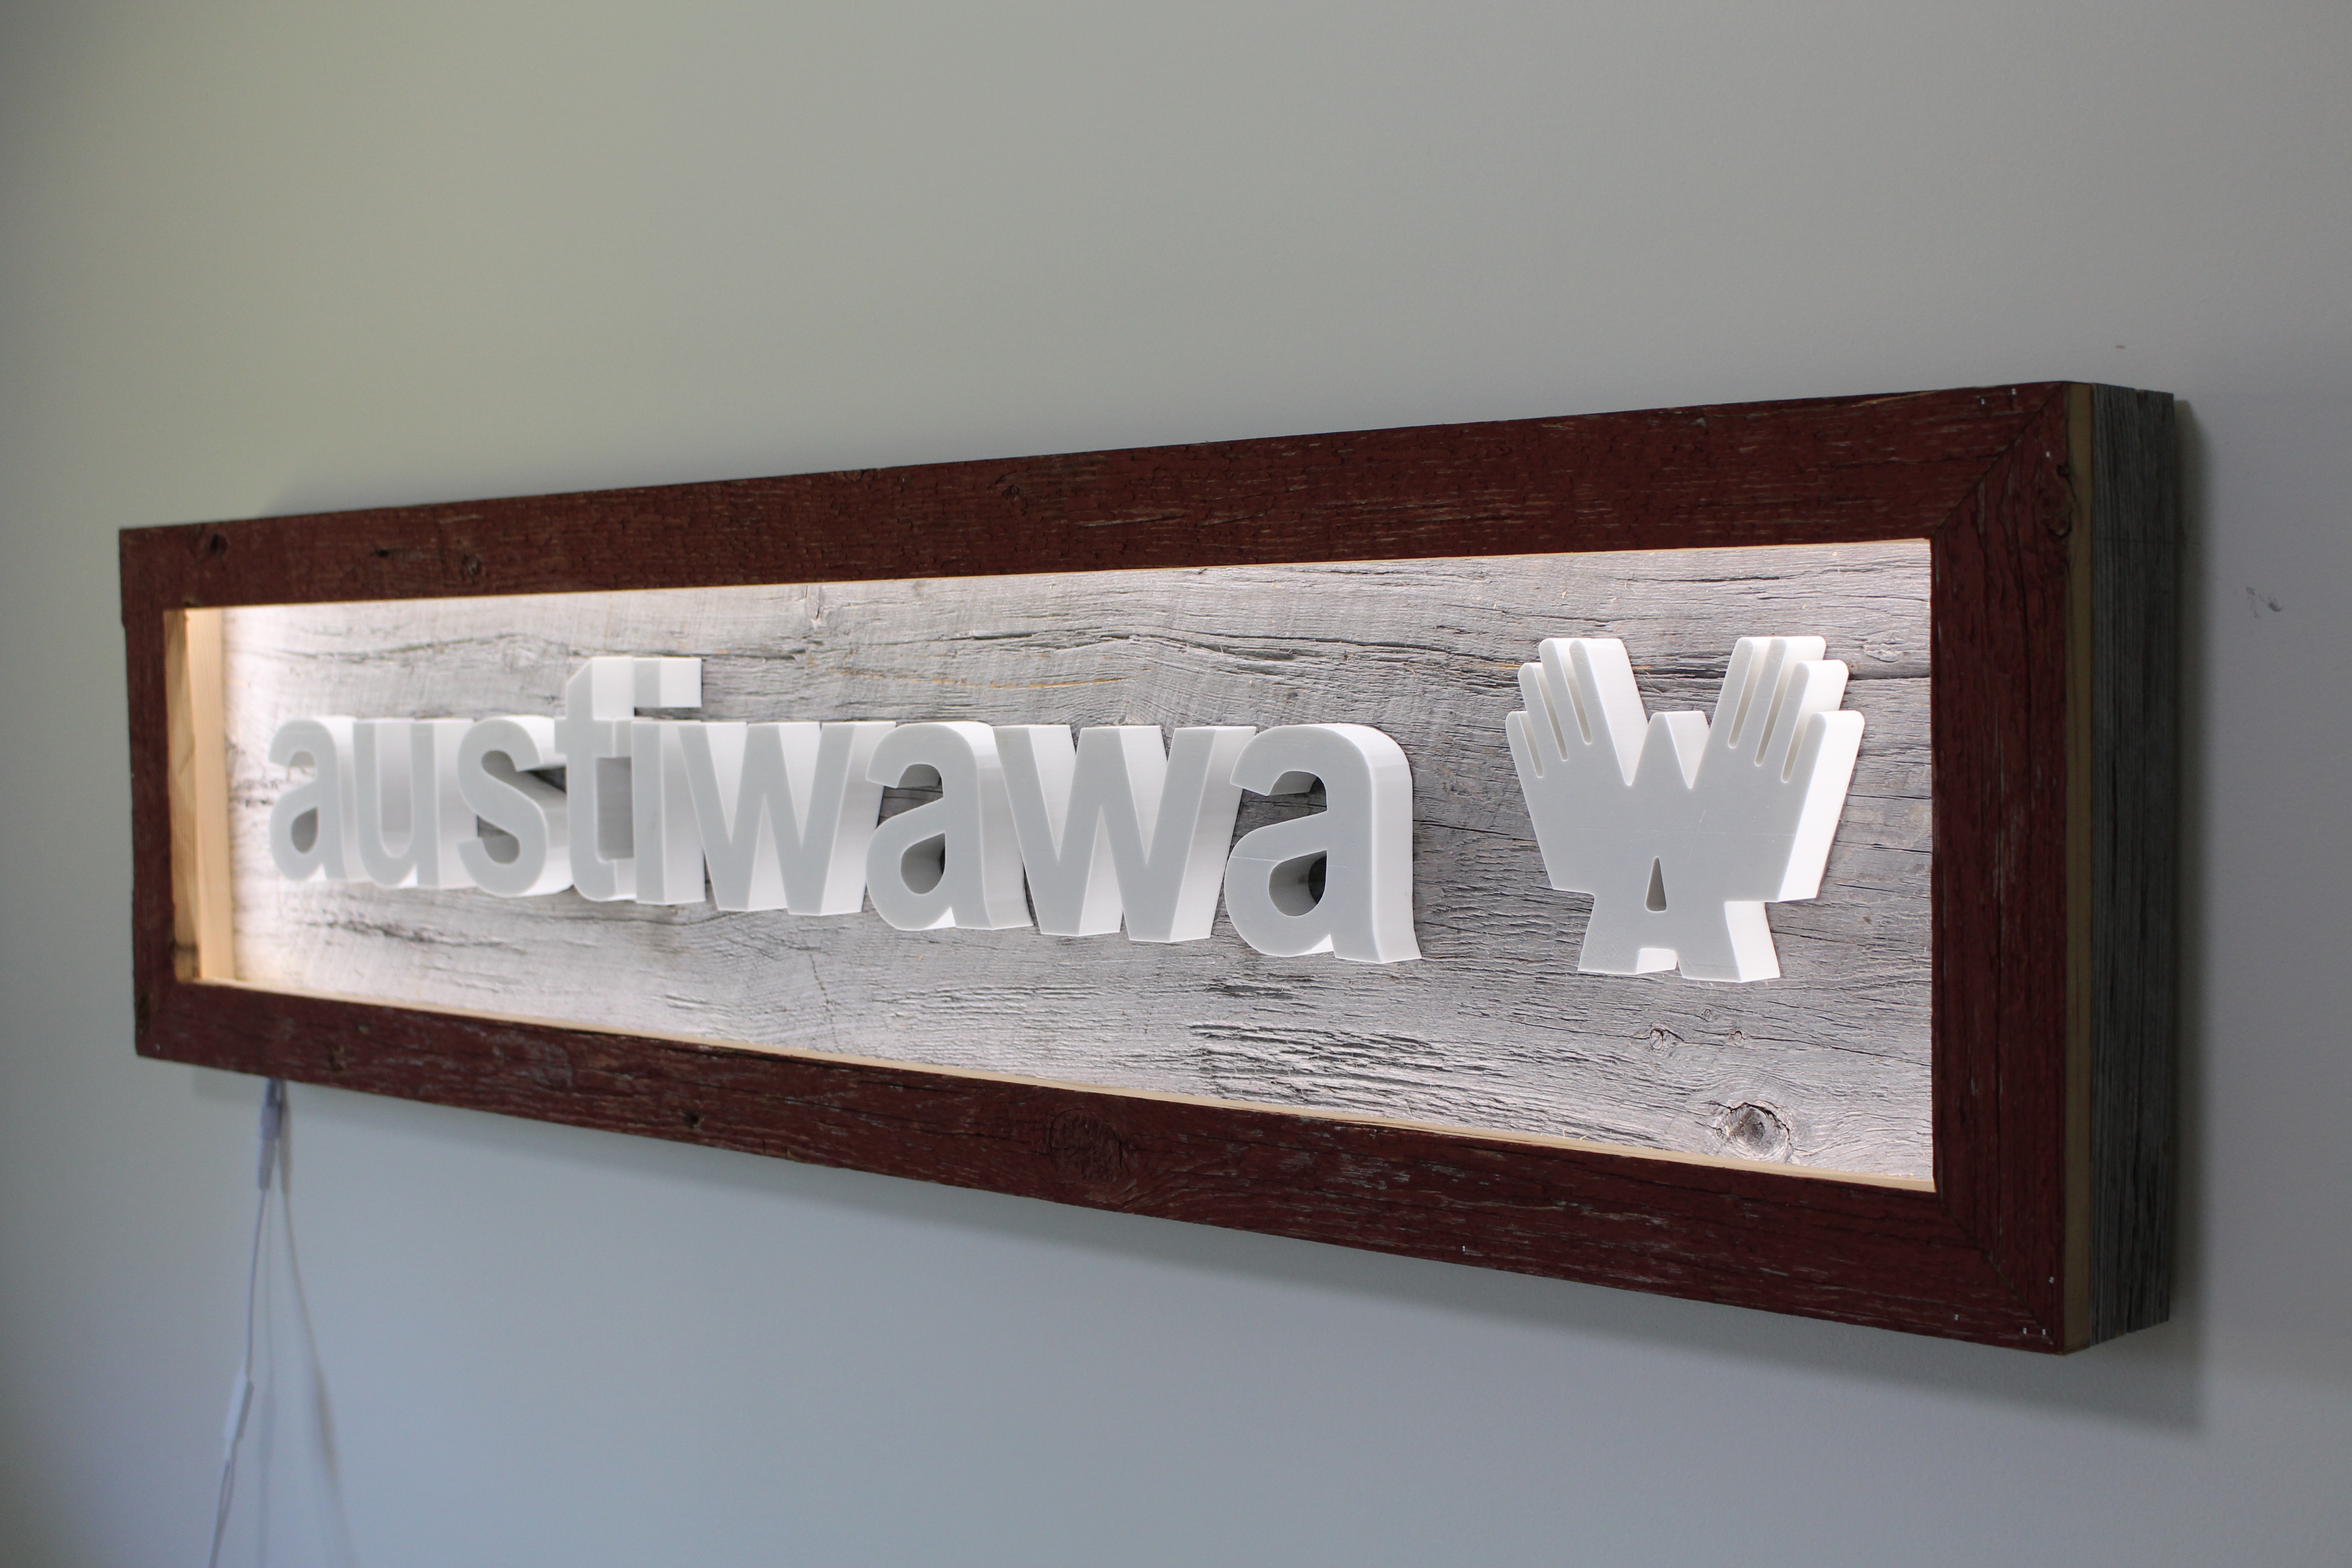
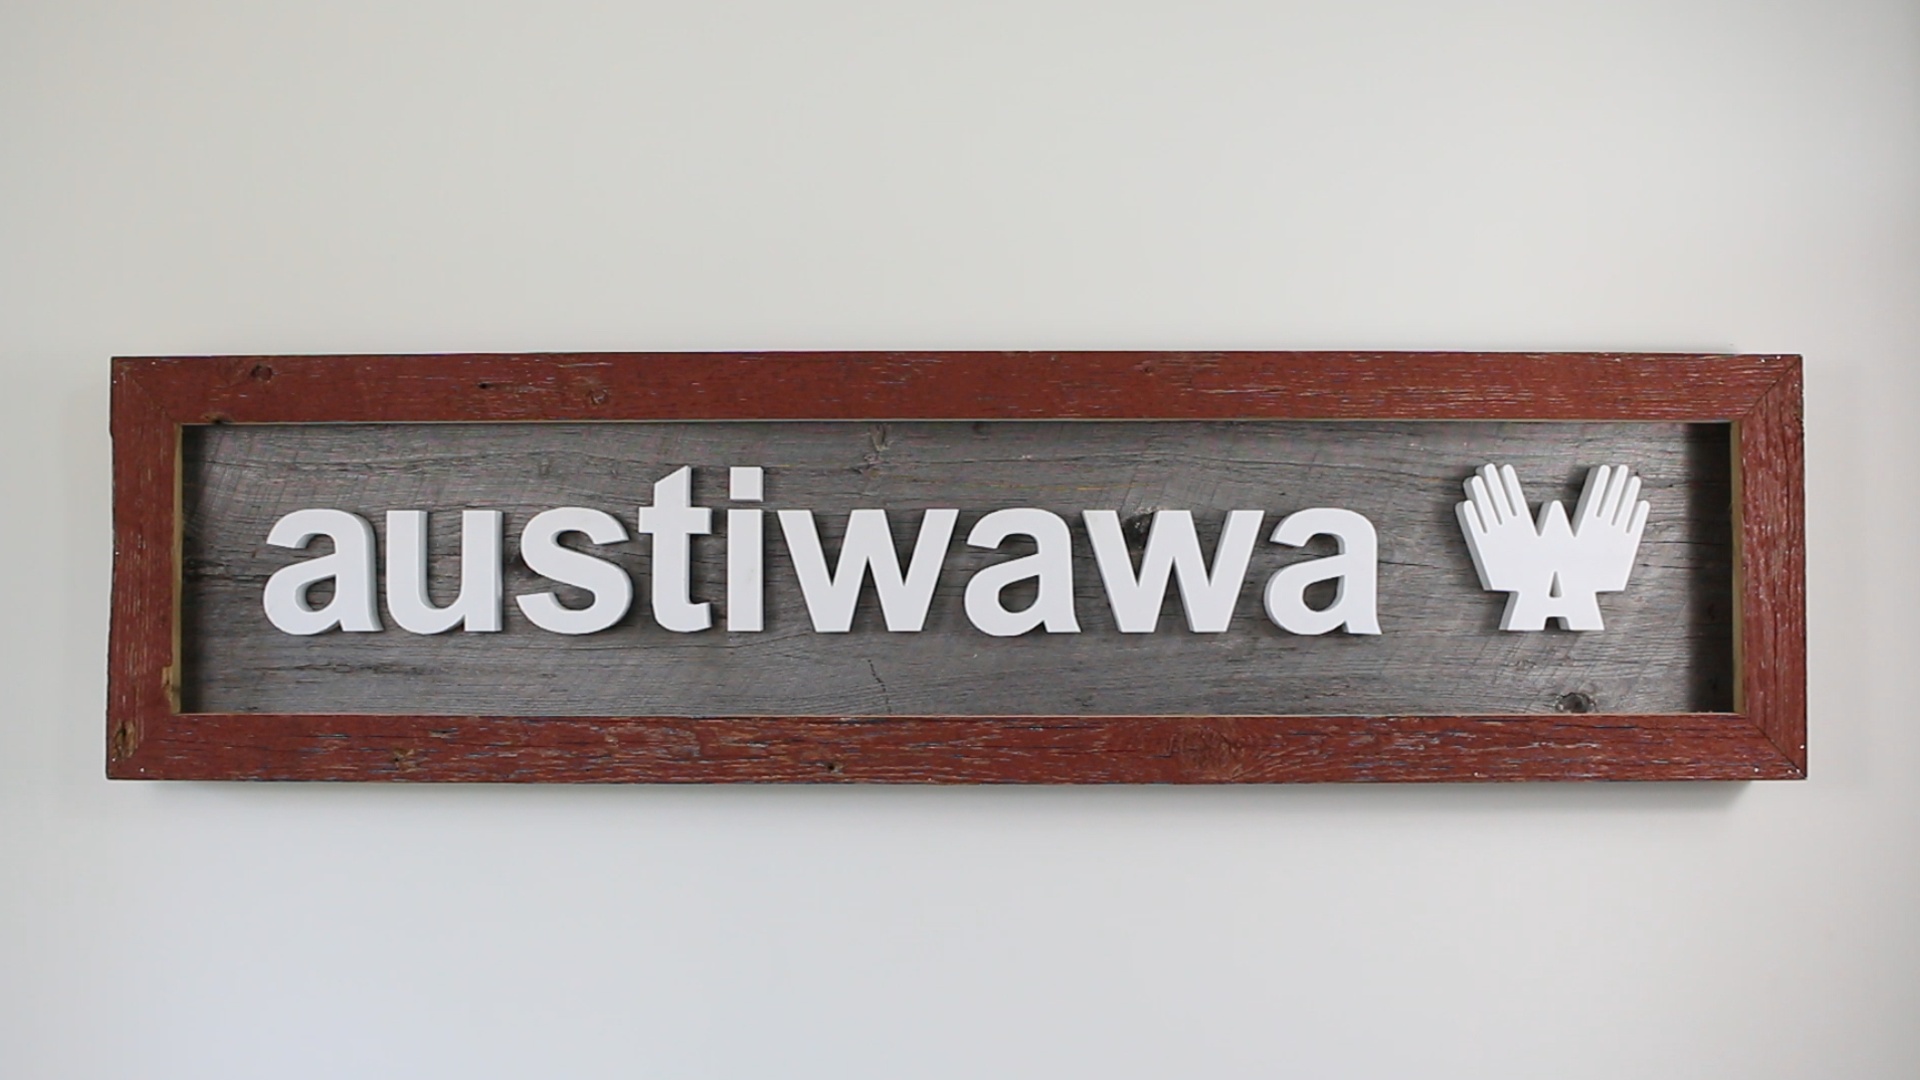
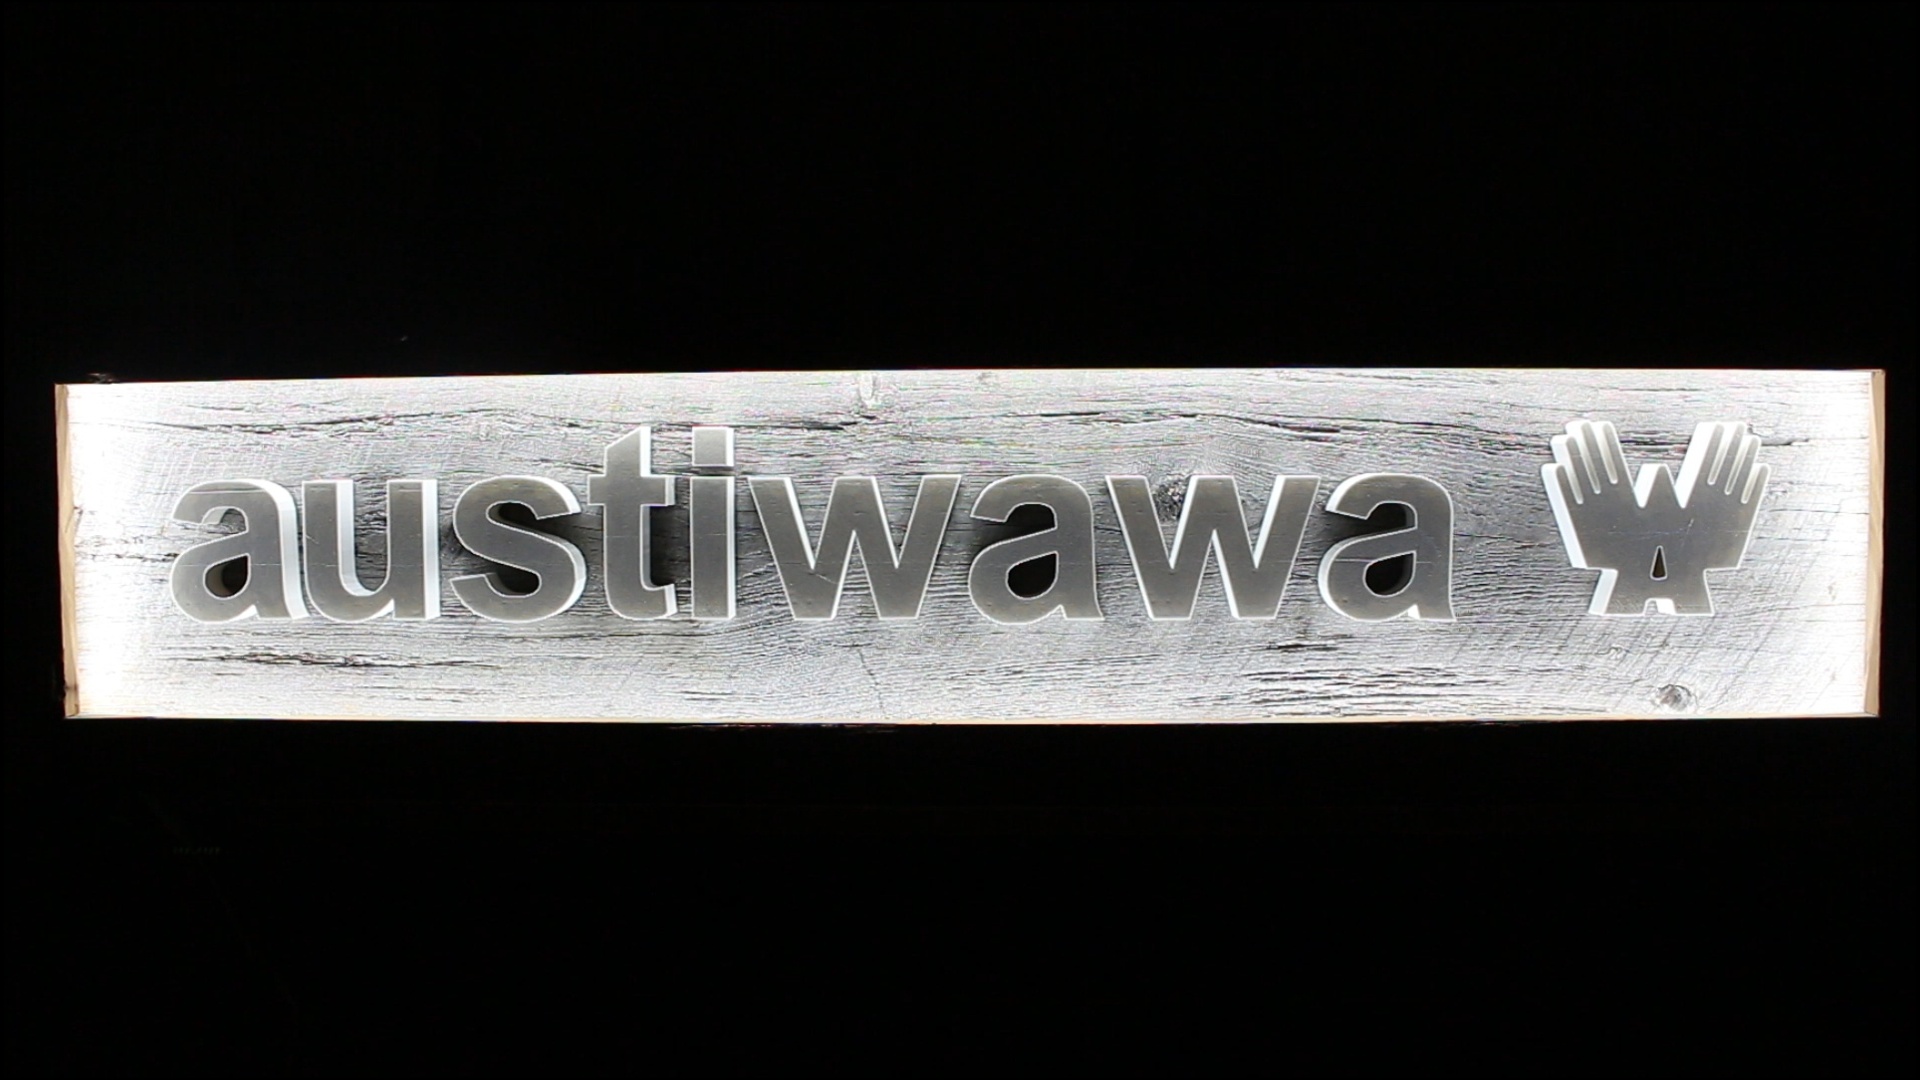
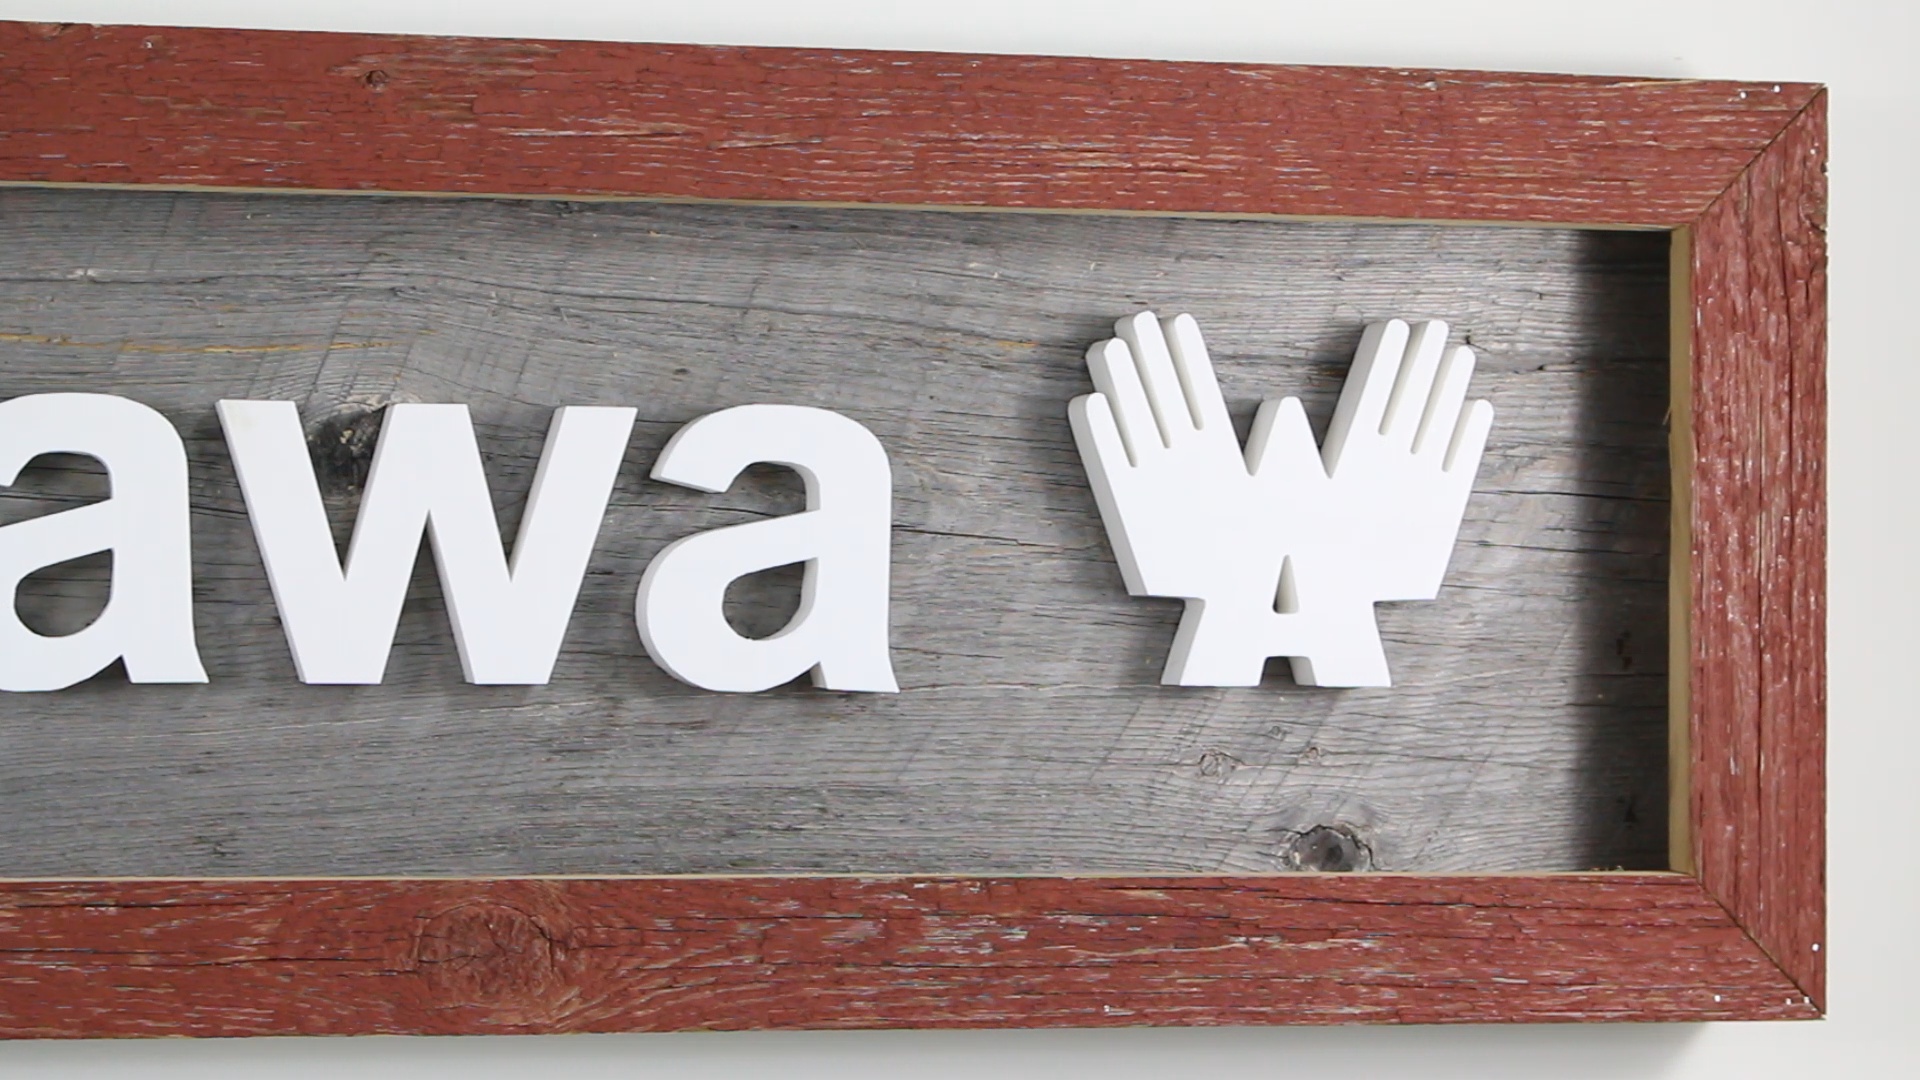

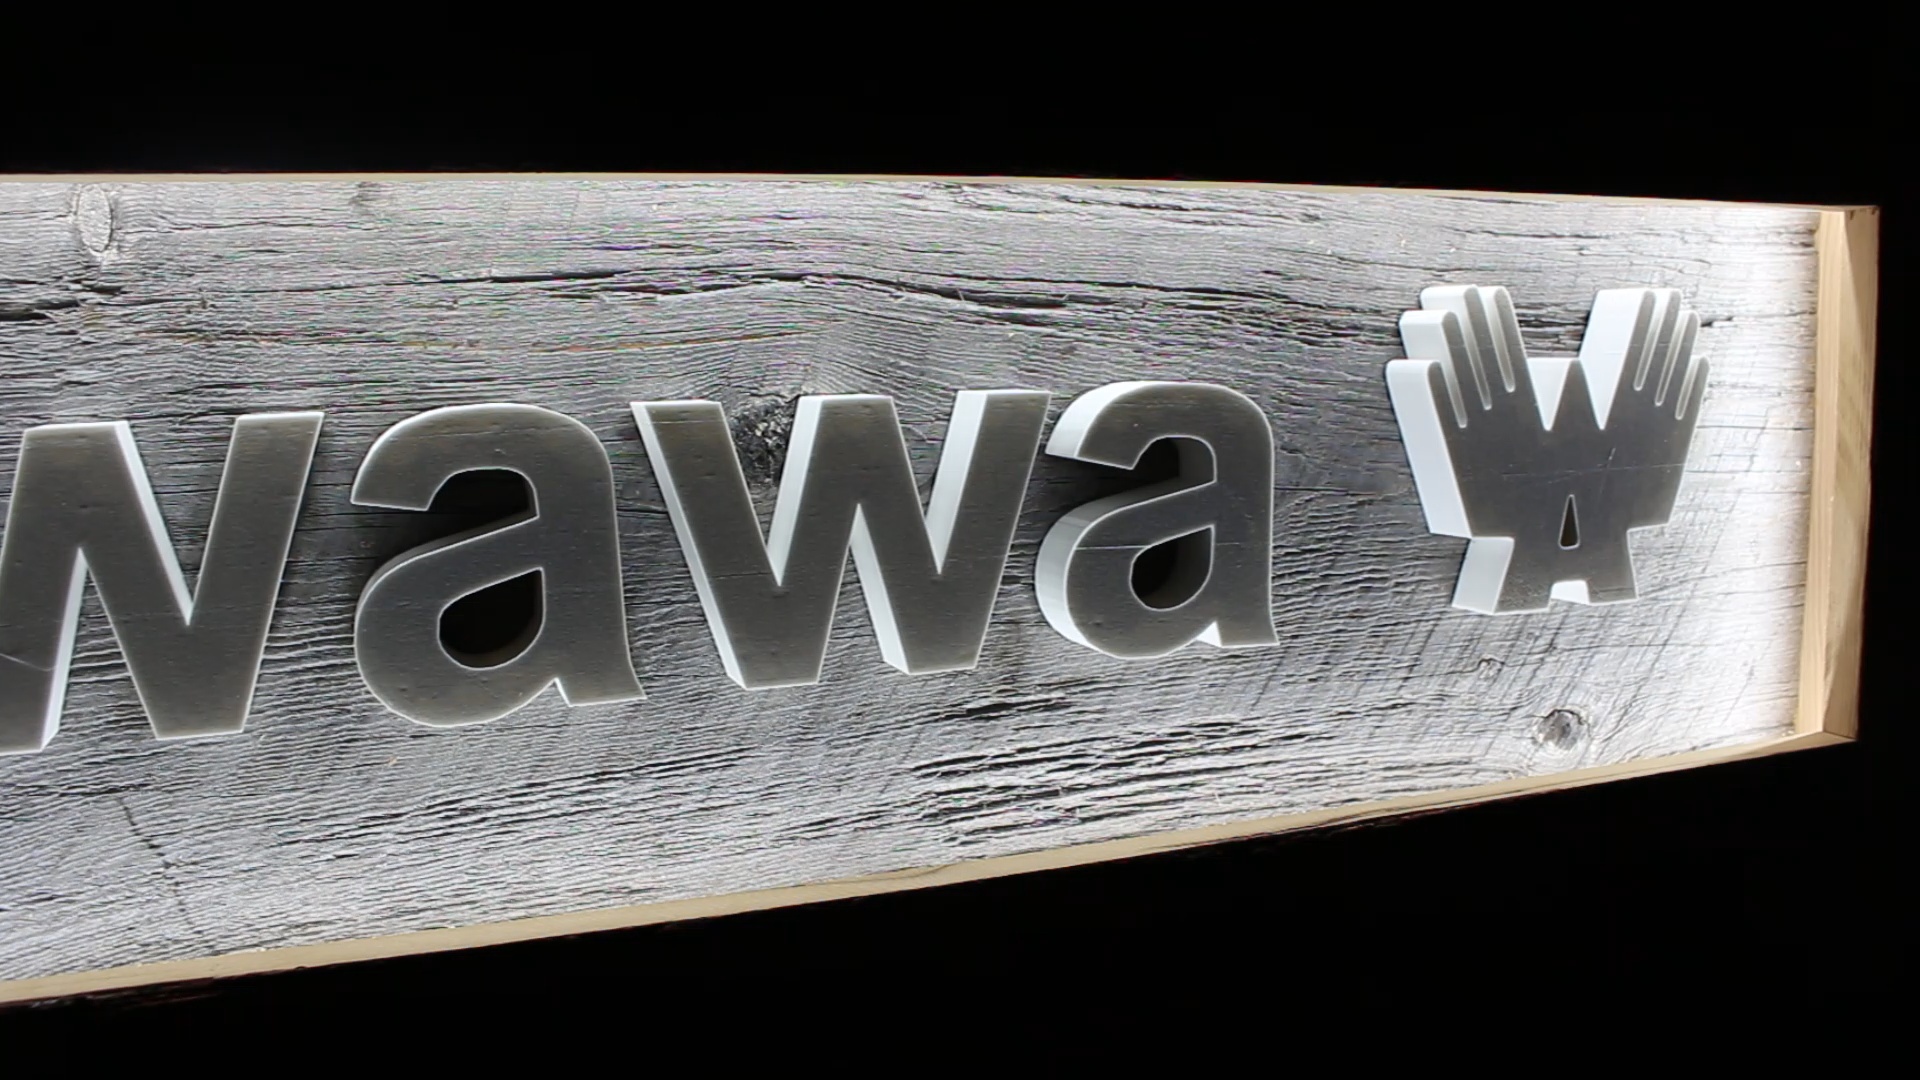
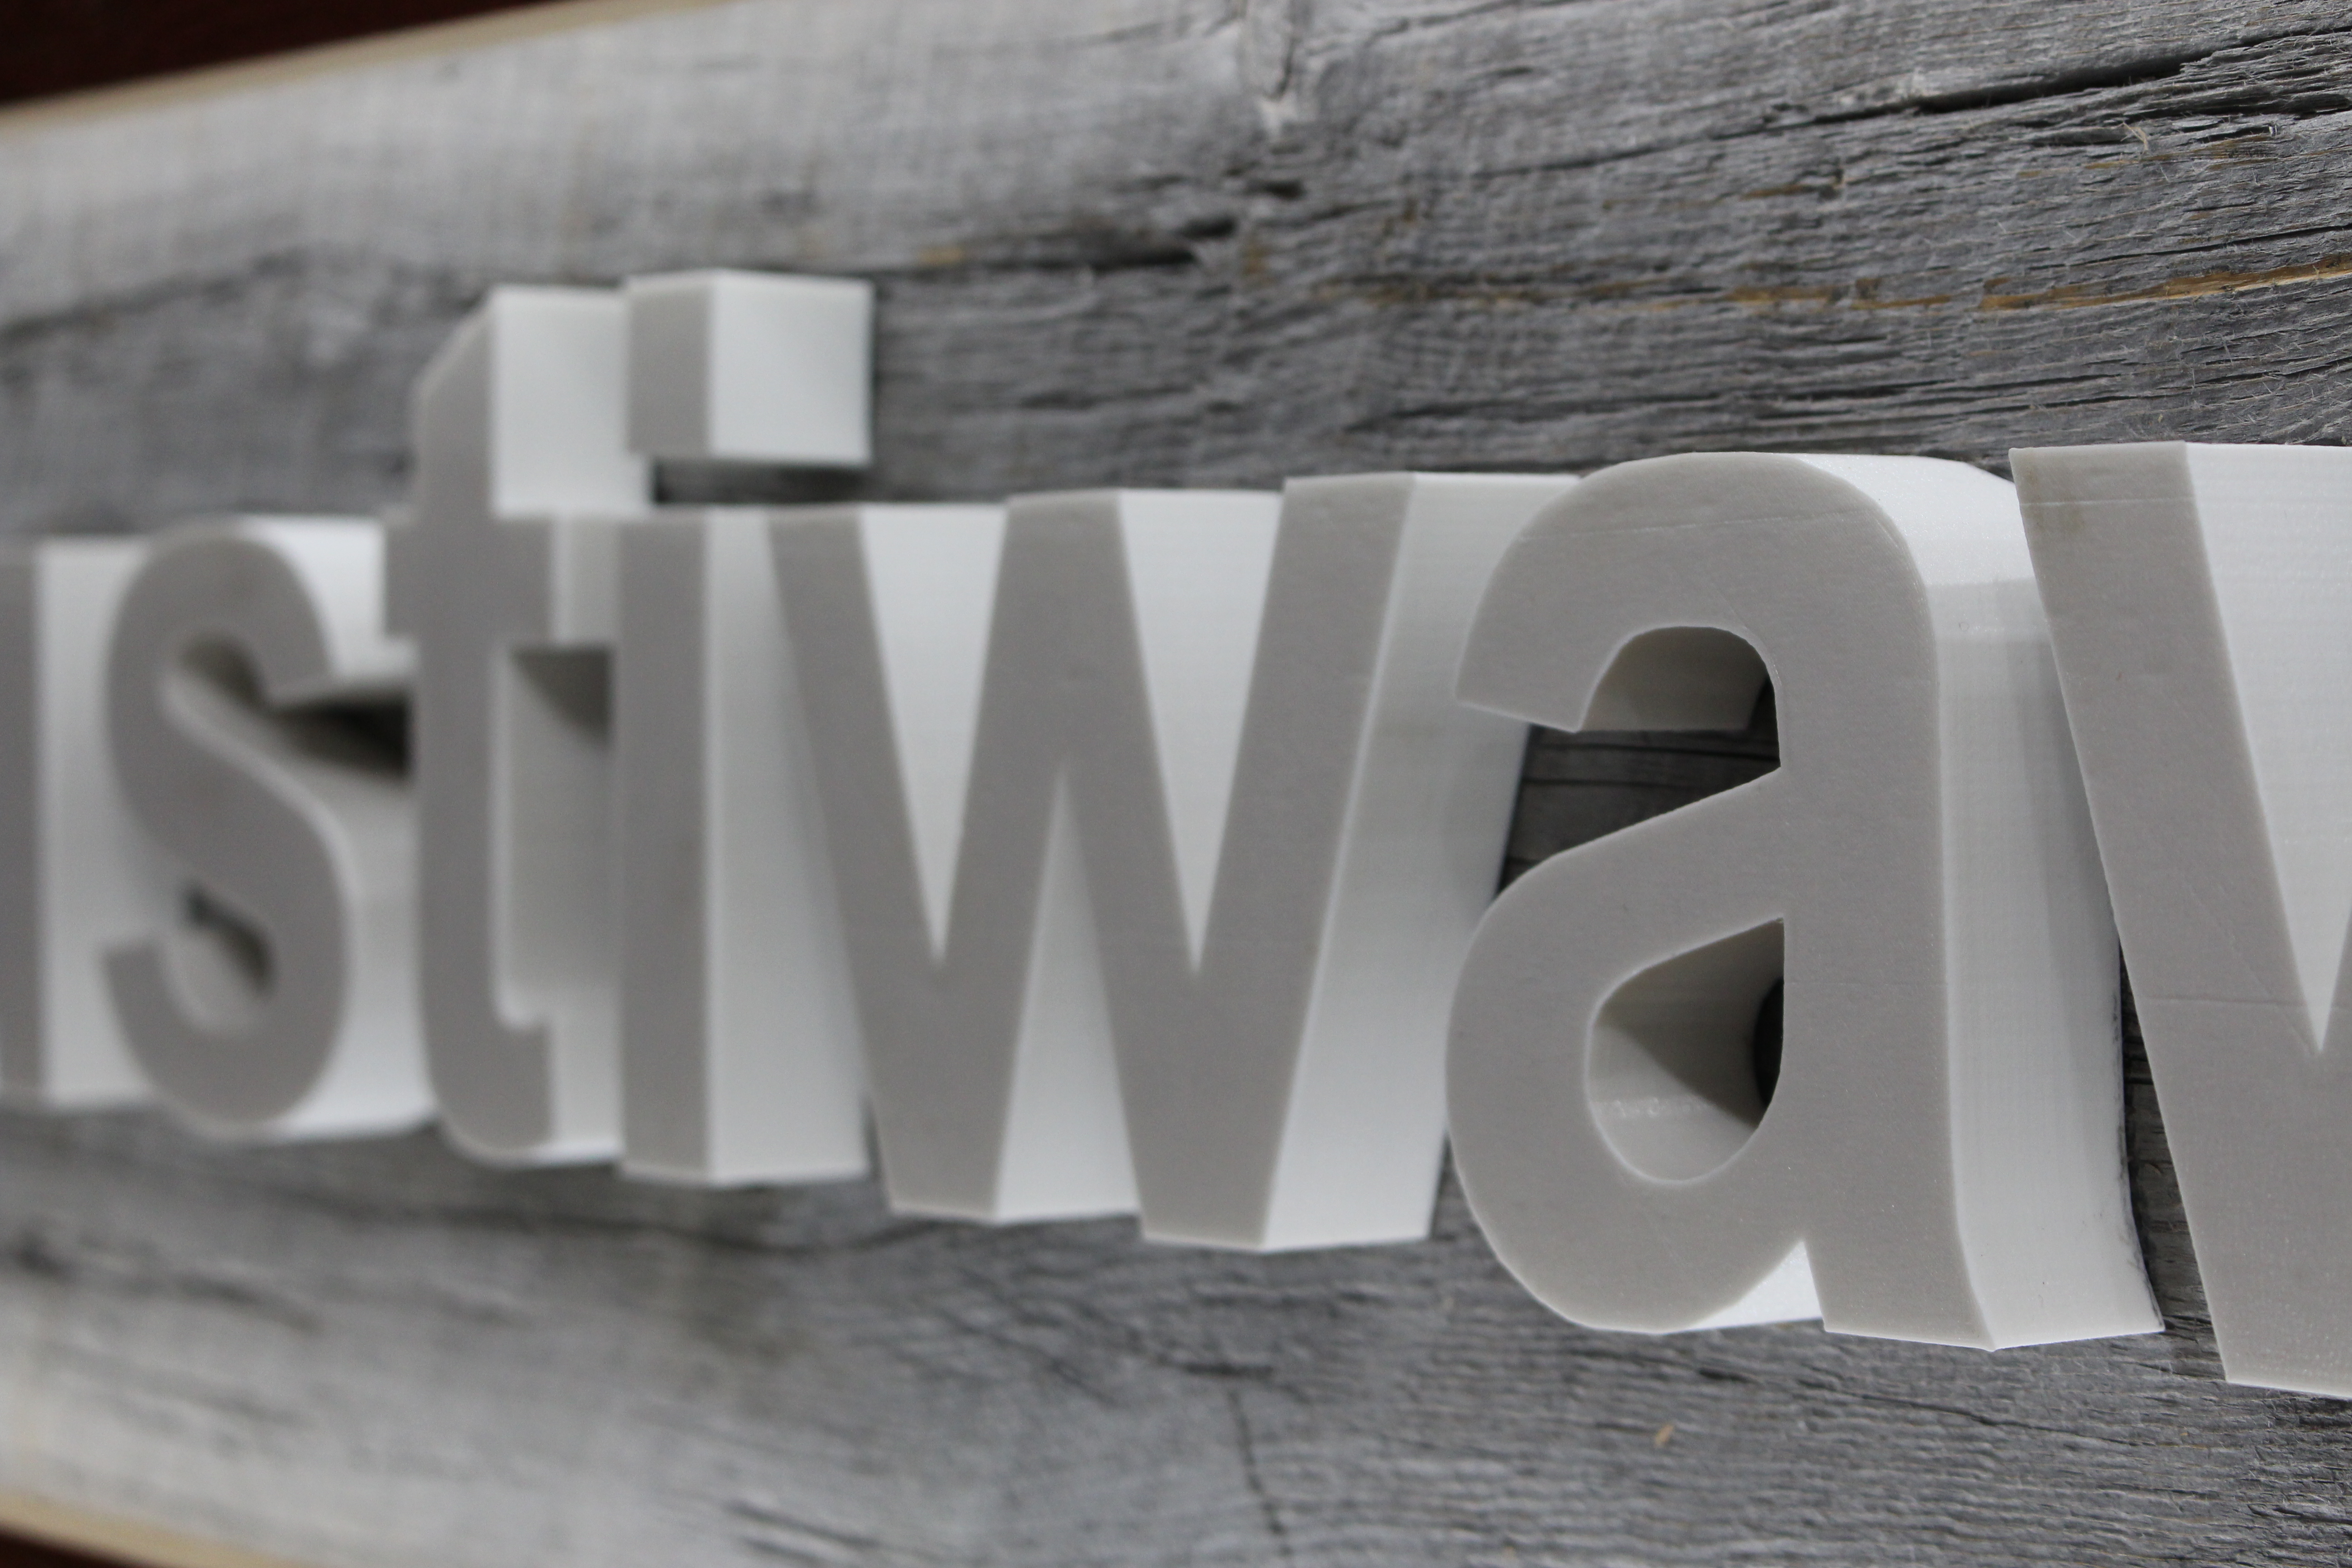
In this Instructable I will be using my 3D printer along with some old barn board and an LED strip to make a very professional looking sign. The cool thing about this project is that it is completely customizable and I will be showing you how to make it with any logo or text that you like!
Before you go through the rest of the steps for this project, you should definitely watch the video that I have posted below. The video will show you the entire process of how I made my sign and it is very easy to follow! Also, if you enjoy the video you should definitely hit the like button or even consider subscribing to my YouTube channel. Most importantly don't forget to follow me here on my Instructables page so that you can see all of my future projects! Let's get started with this project!
https://www.youtube.com/watch?v=e07Niui5pDg
Materials and Tools!
The materials needed for this project are:
- Wood (I will be using barn board)
- Two part epoxy or hot glue
- Wood glue
- PLA or ABS filament of your choice
- LED Strip
- Wireless IR dimmer (Optional)
The tools needed for this project are:
- 3D Printer
- Mitre saw
- Table saw
- Drill
- Clamps
- Brad nailer
Choosing an Image
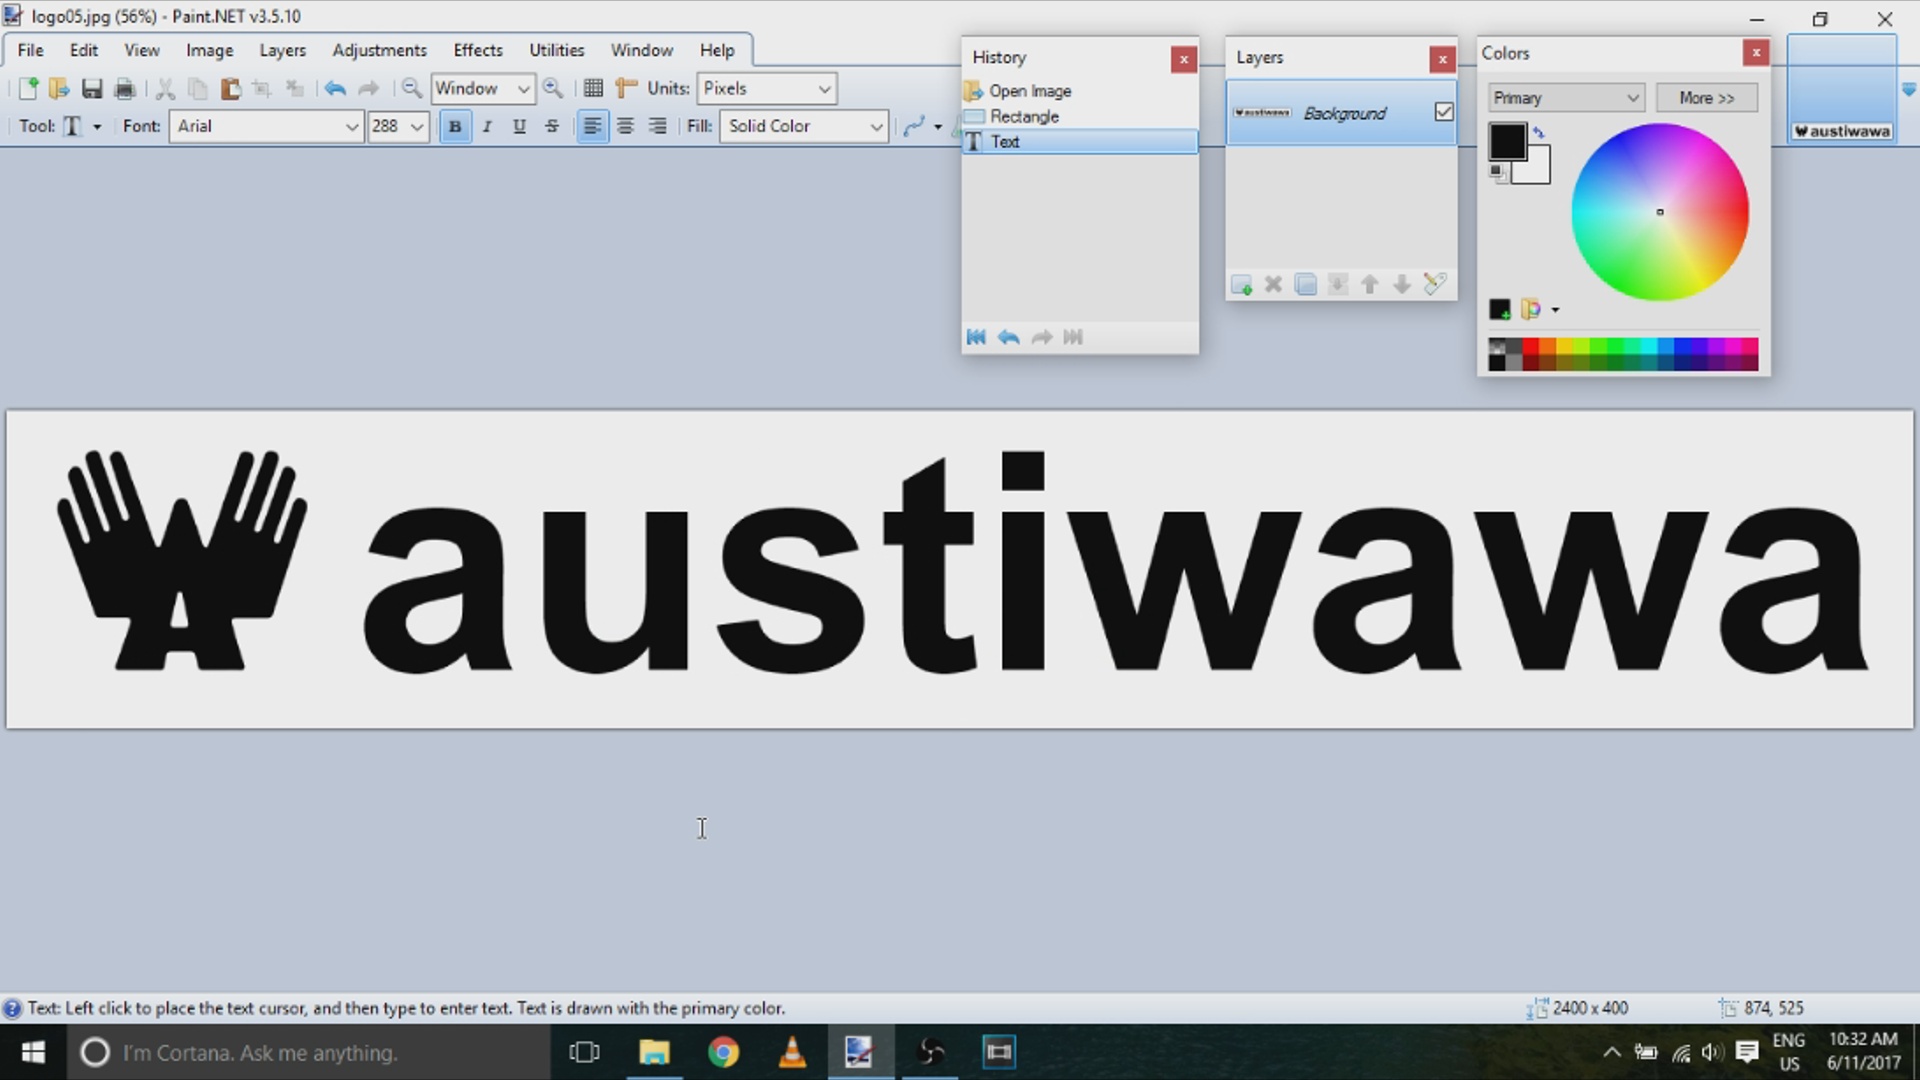
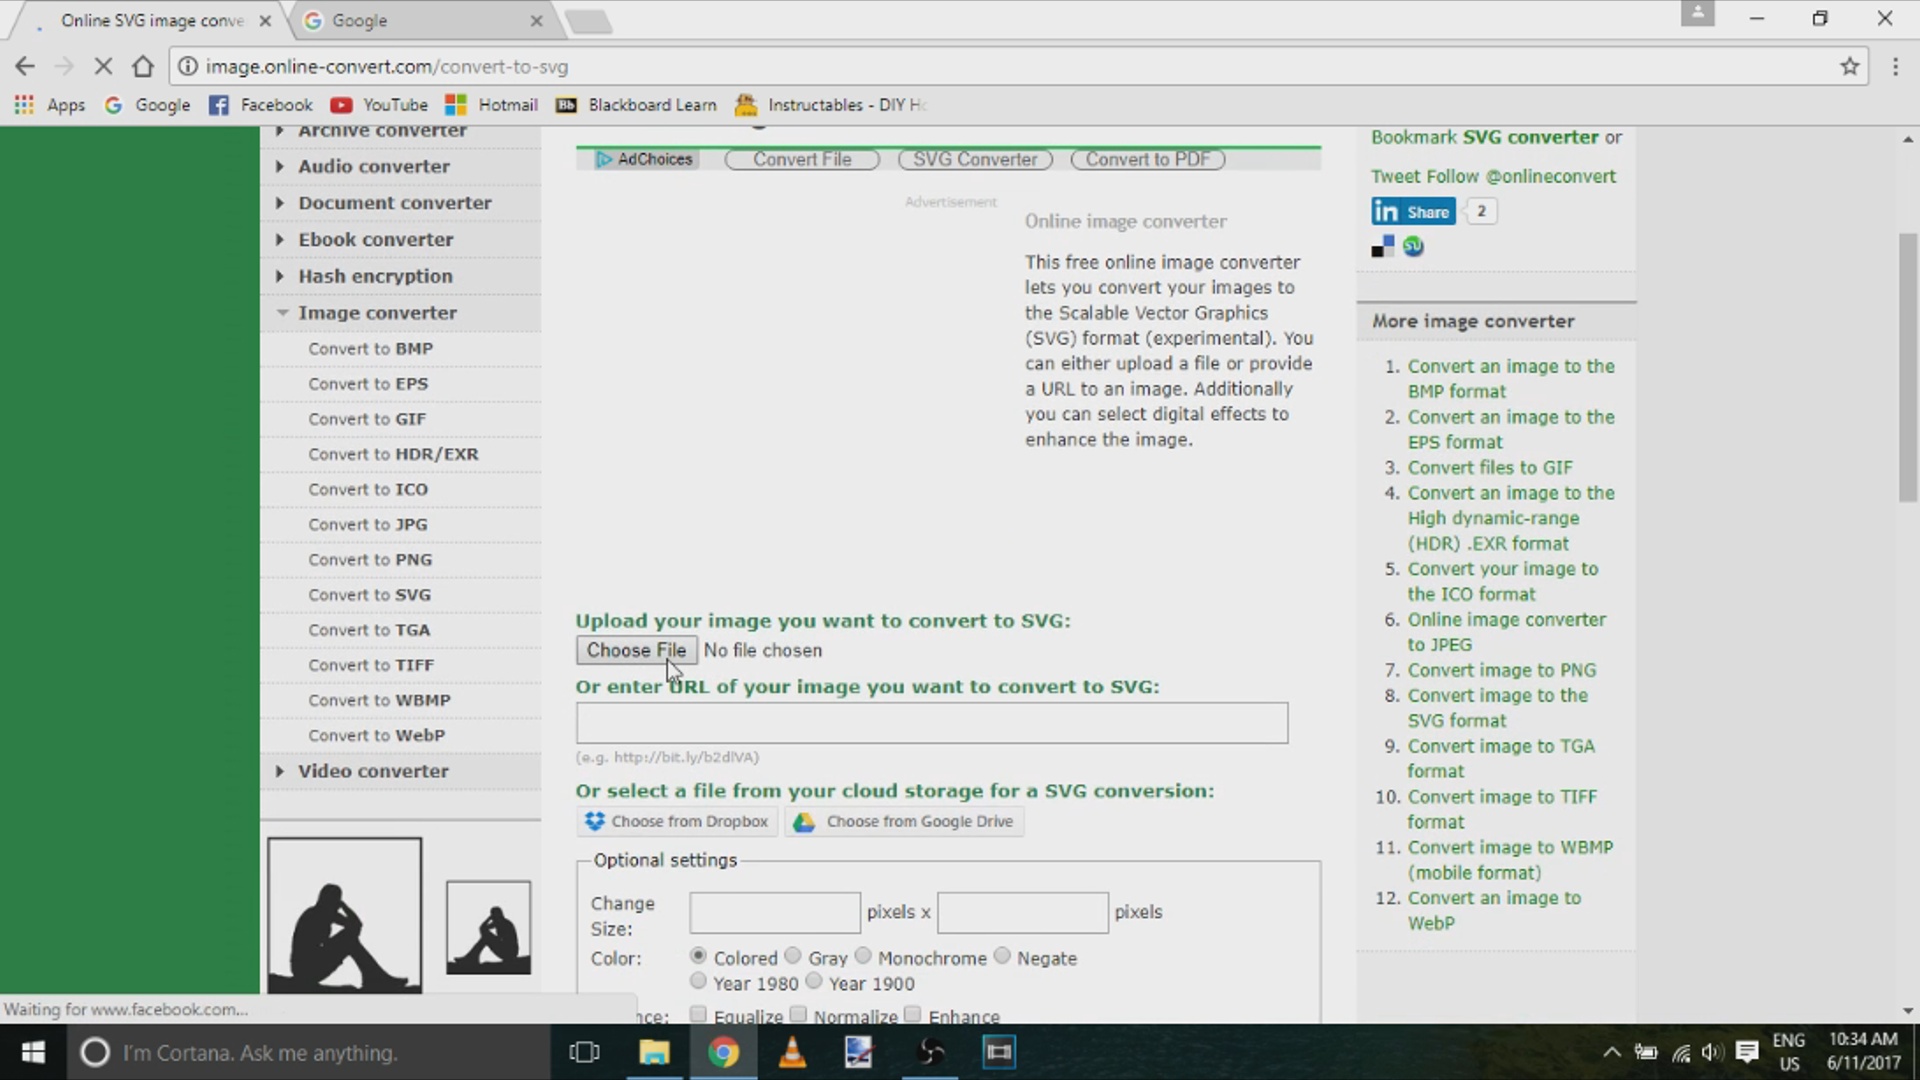
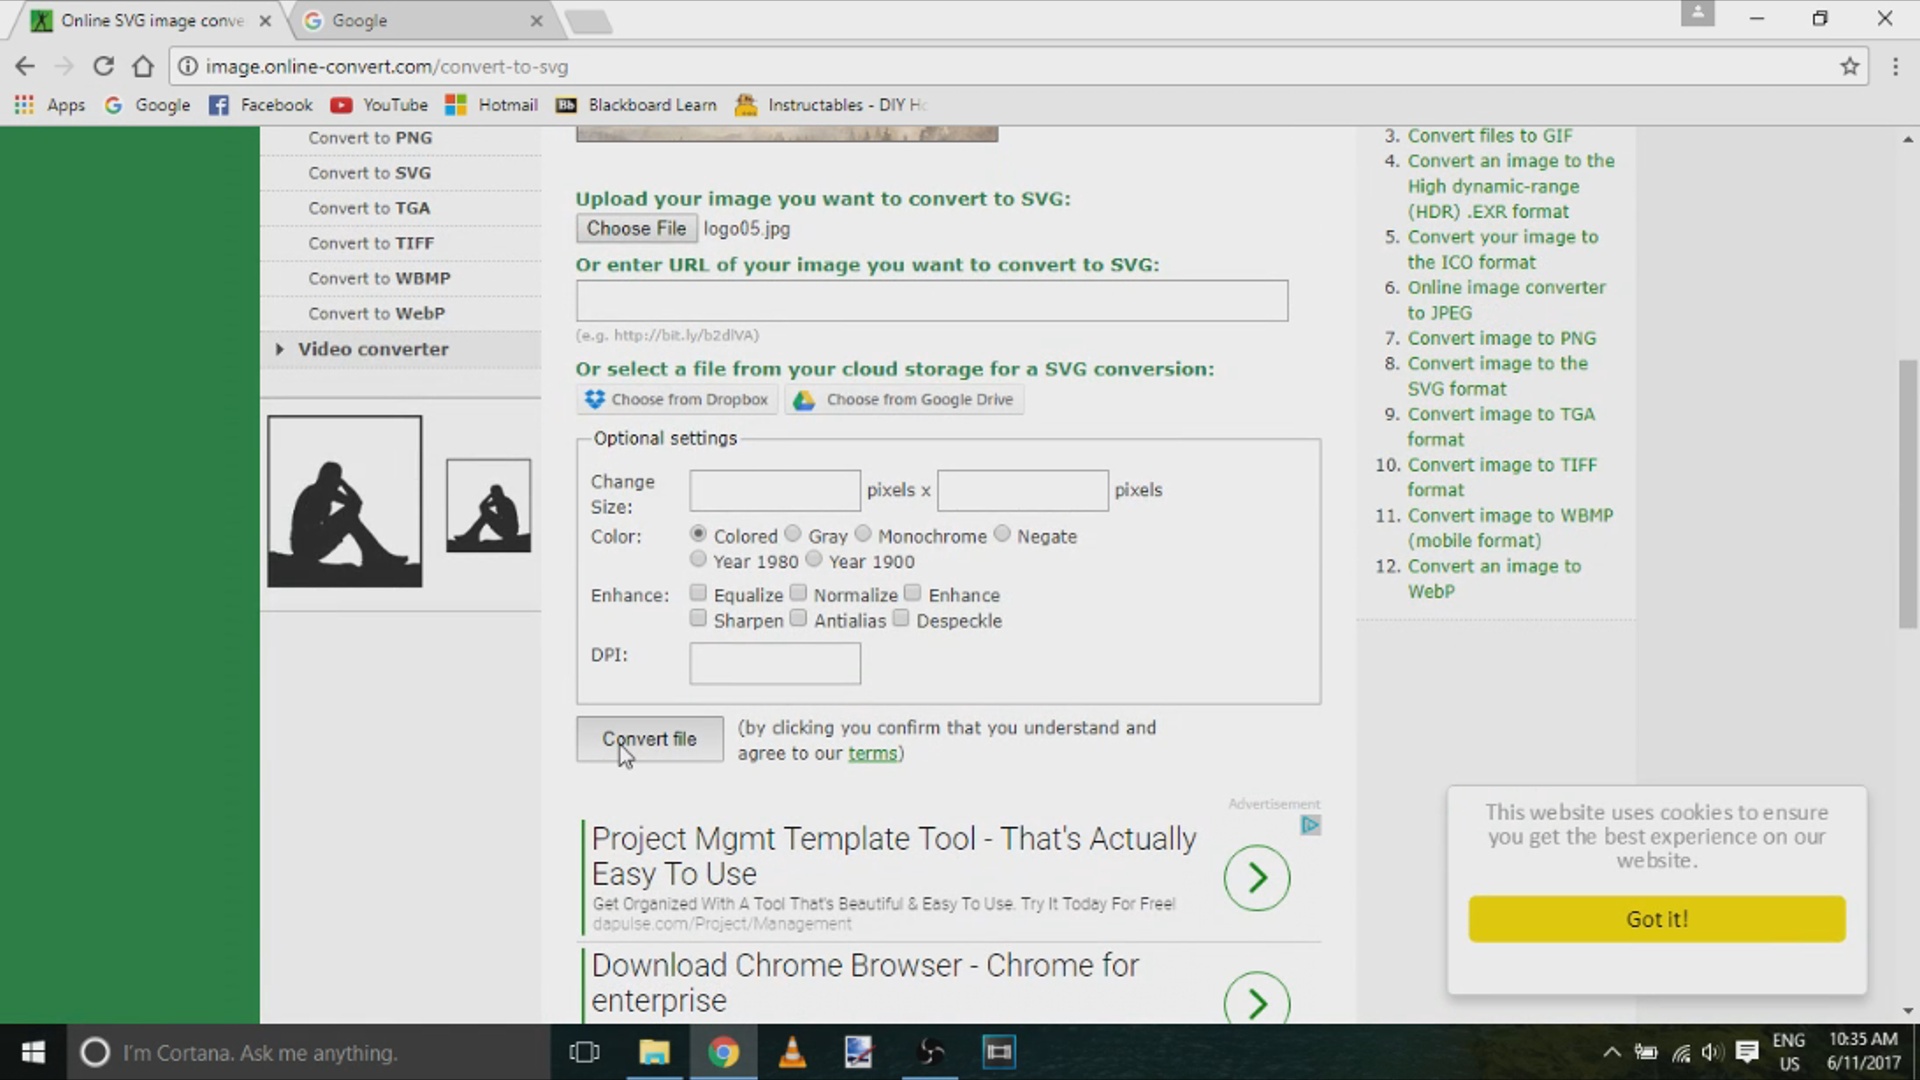
The first thing that you will need to do is download or design an image that you wish to have on your sign. Keep in mind that the larger the image the better it will turn out in the end. Once you have decided on your image you will need to convert it to an SVG file. To do this you will want to go to online-convert.com. Simply upload your file and then convert it. There are some optional settings, but I did not bother using them.
Making the 3D Model
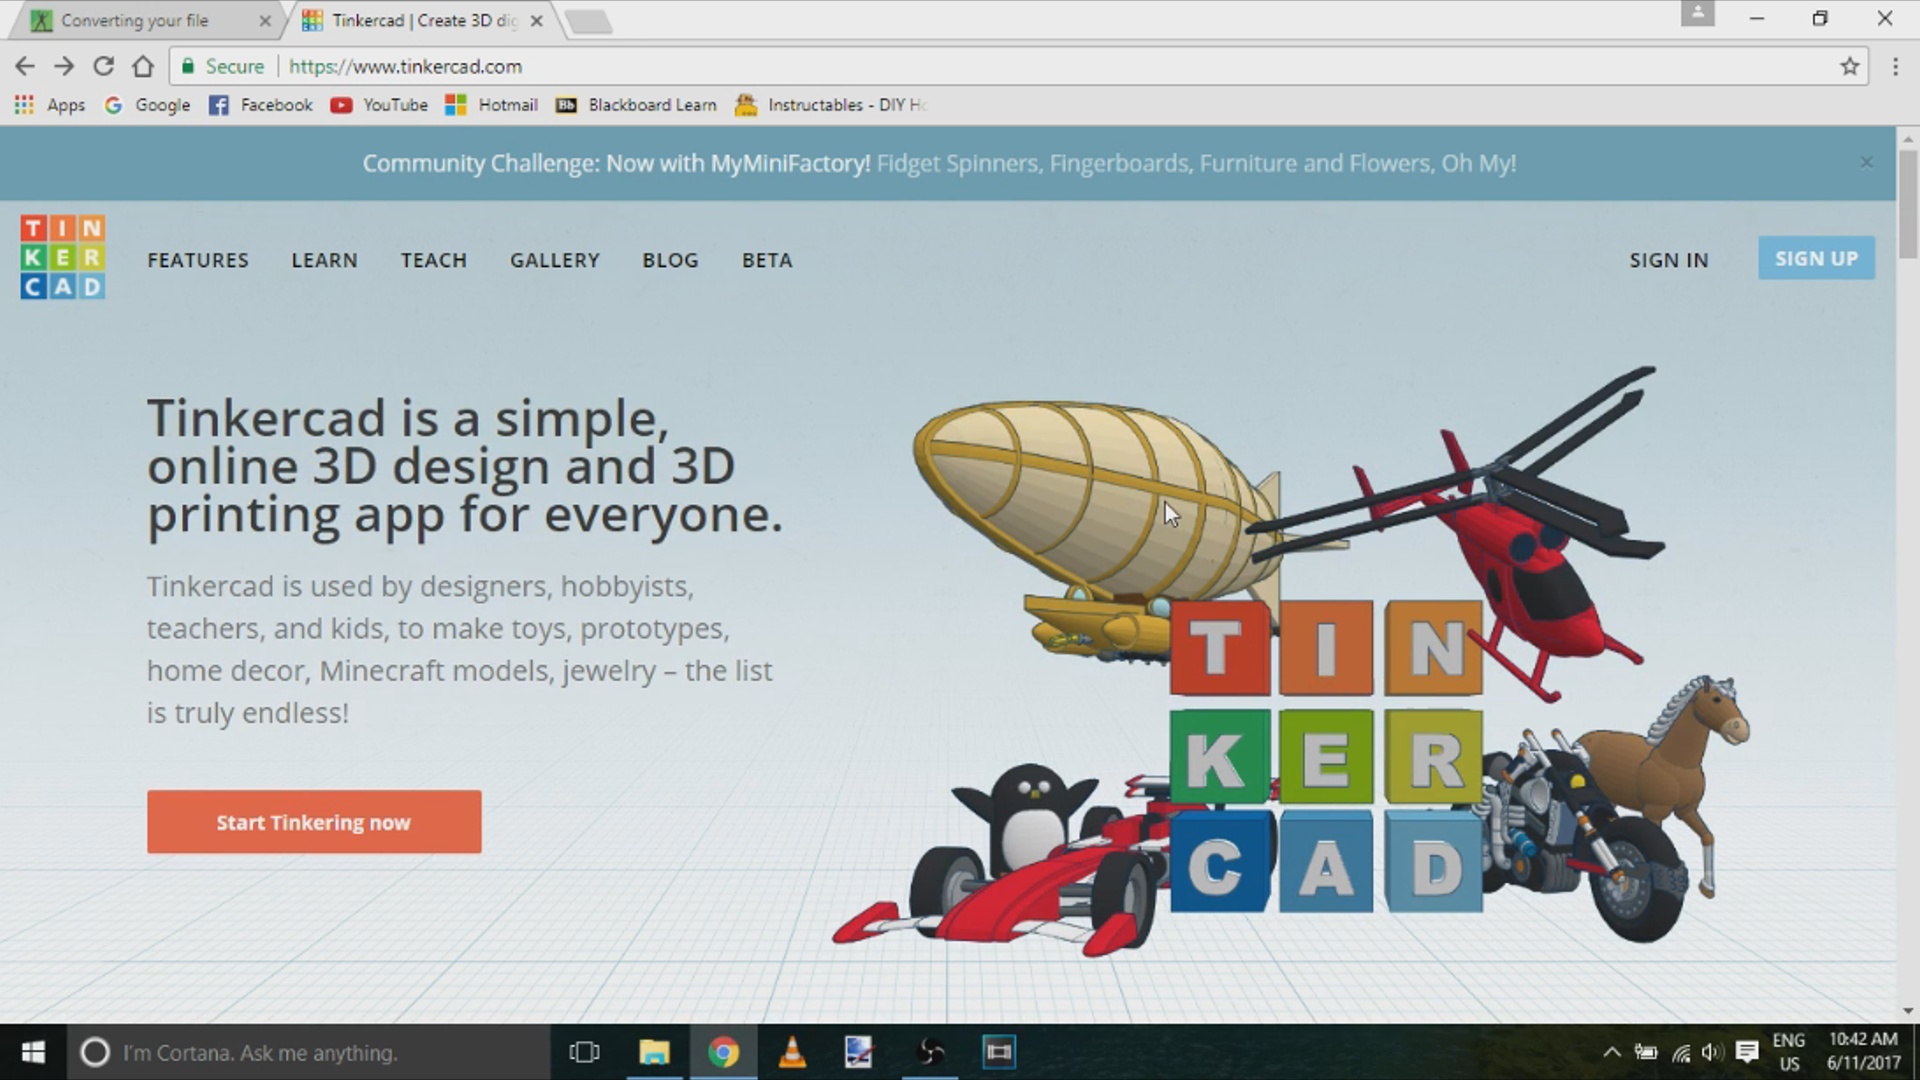
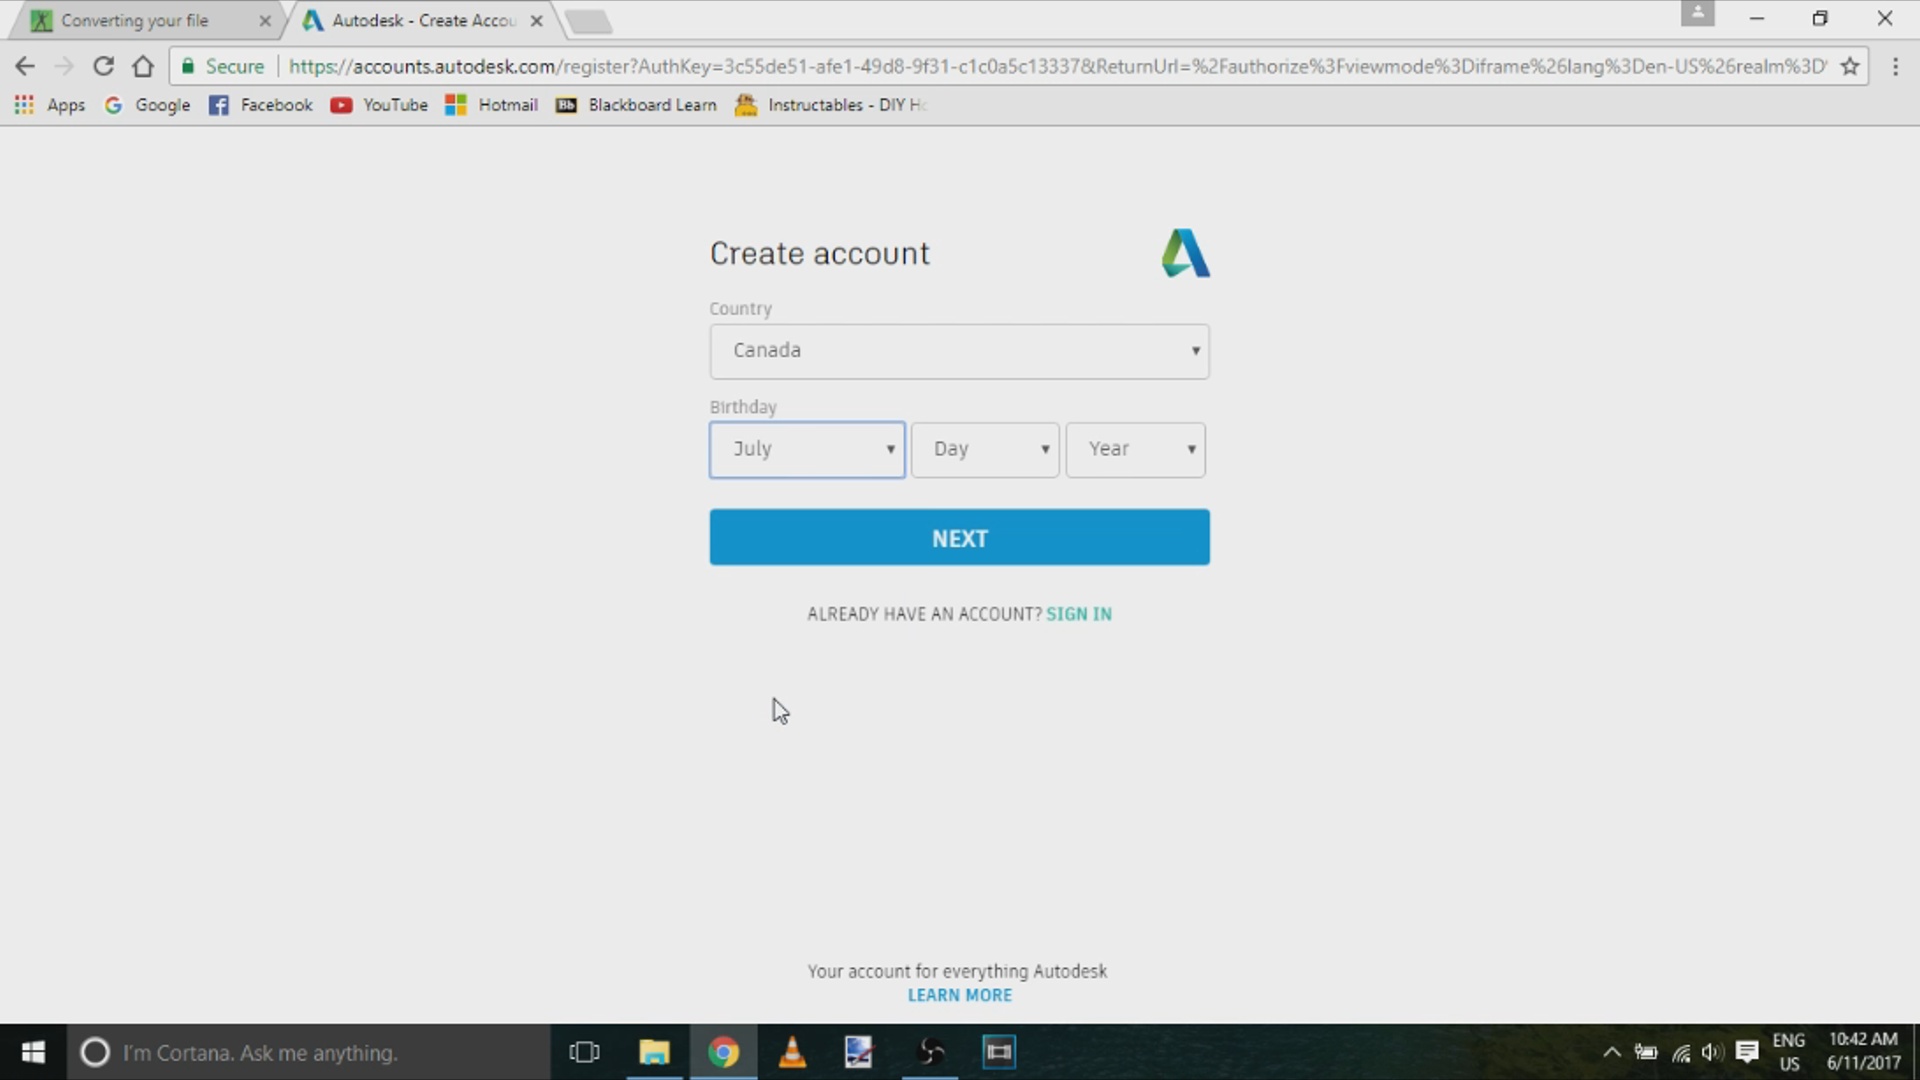
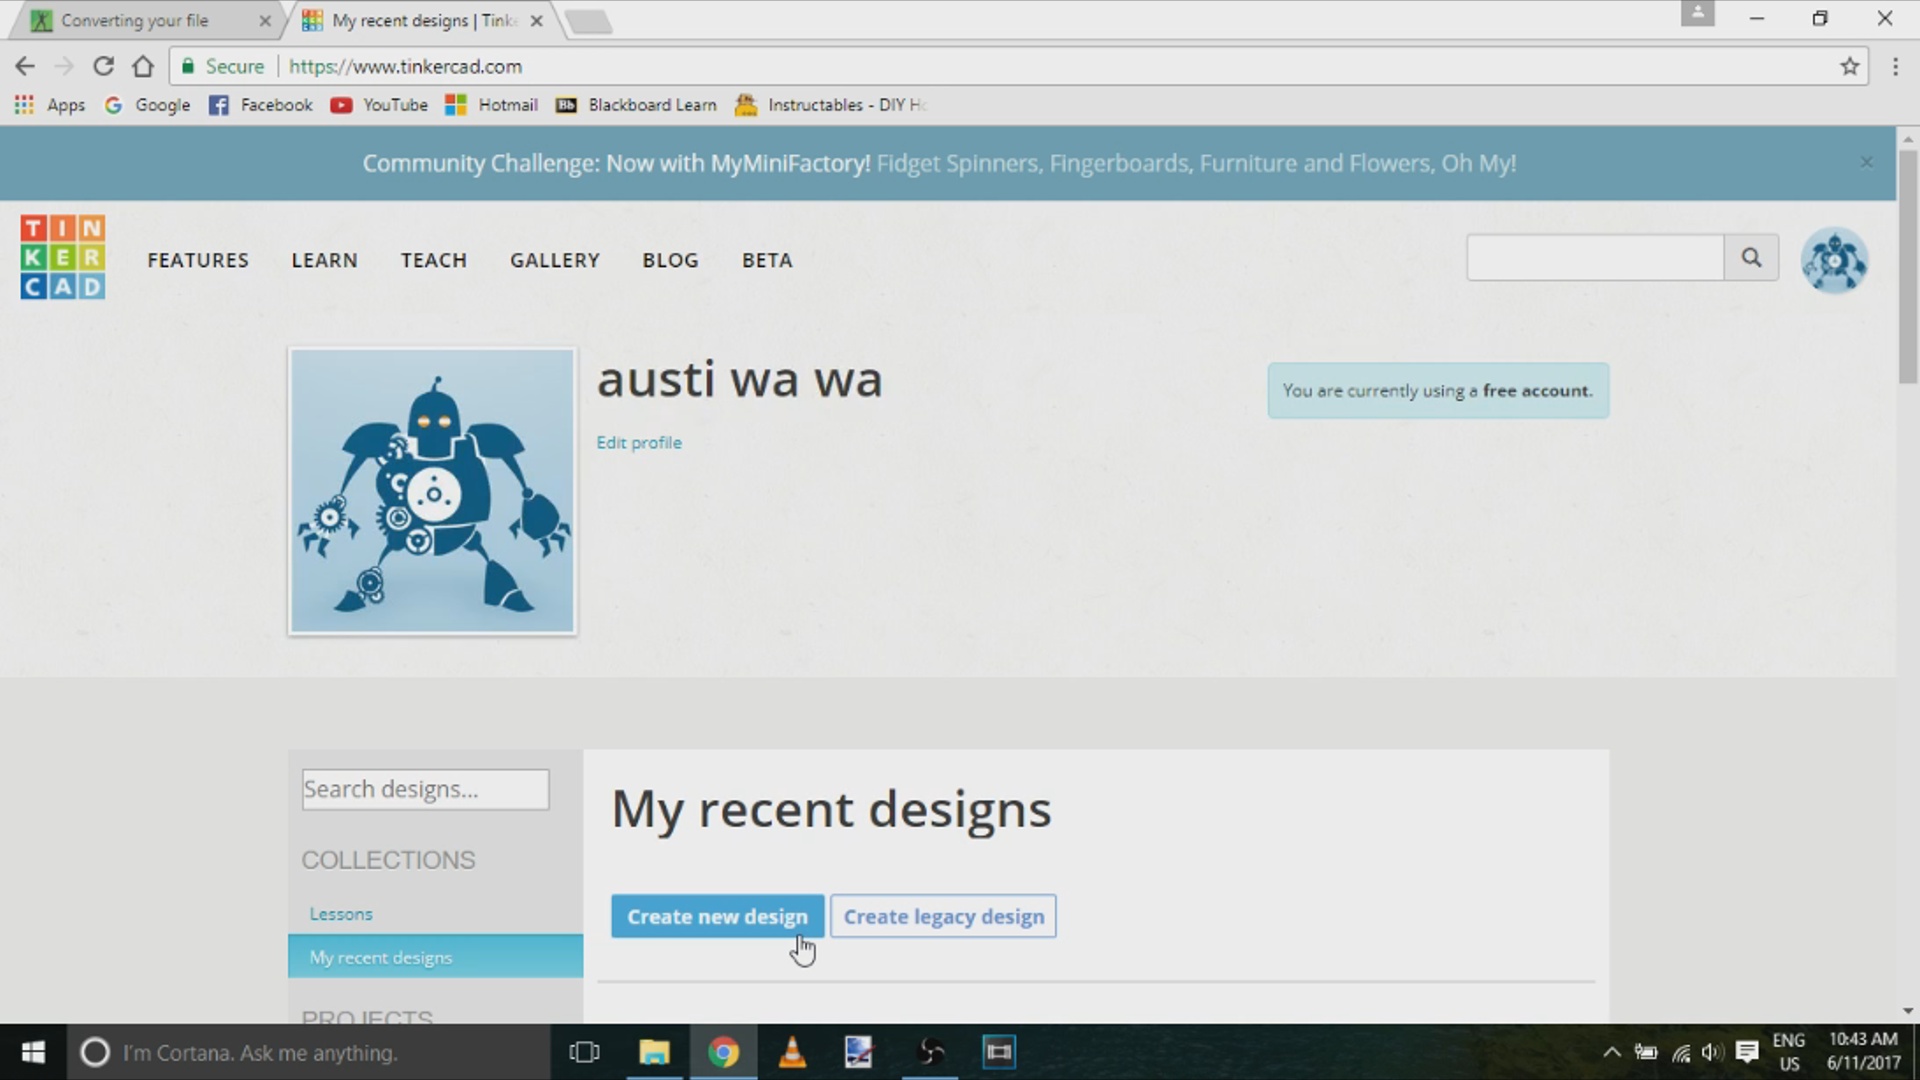
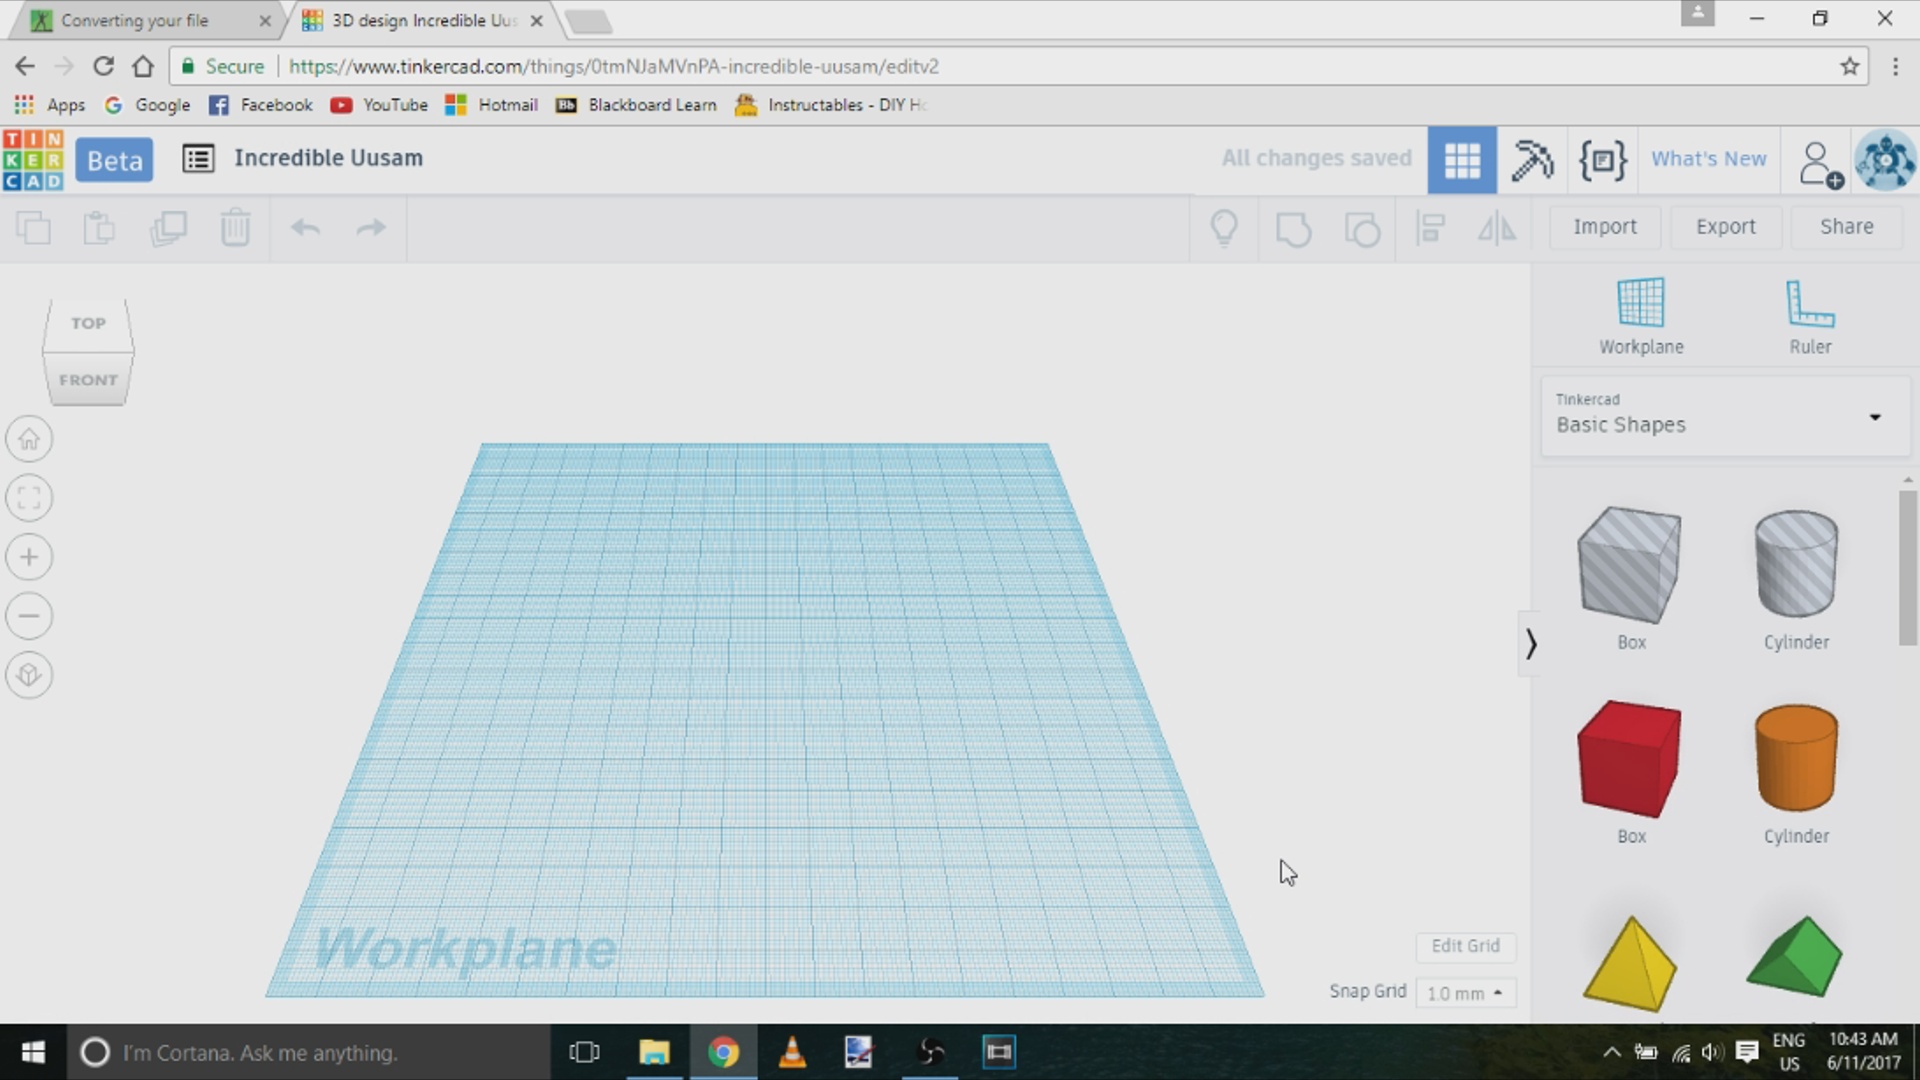
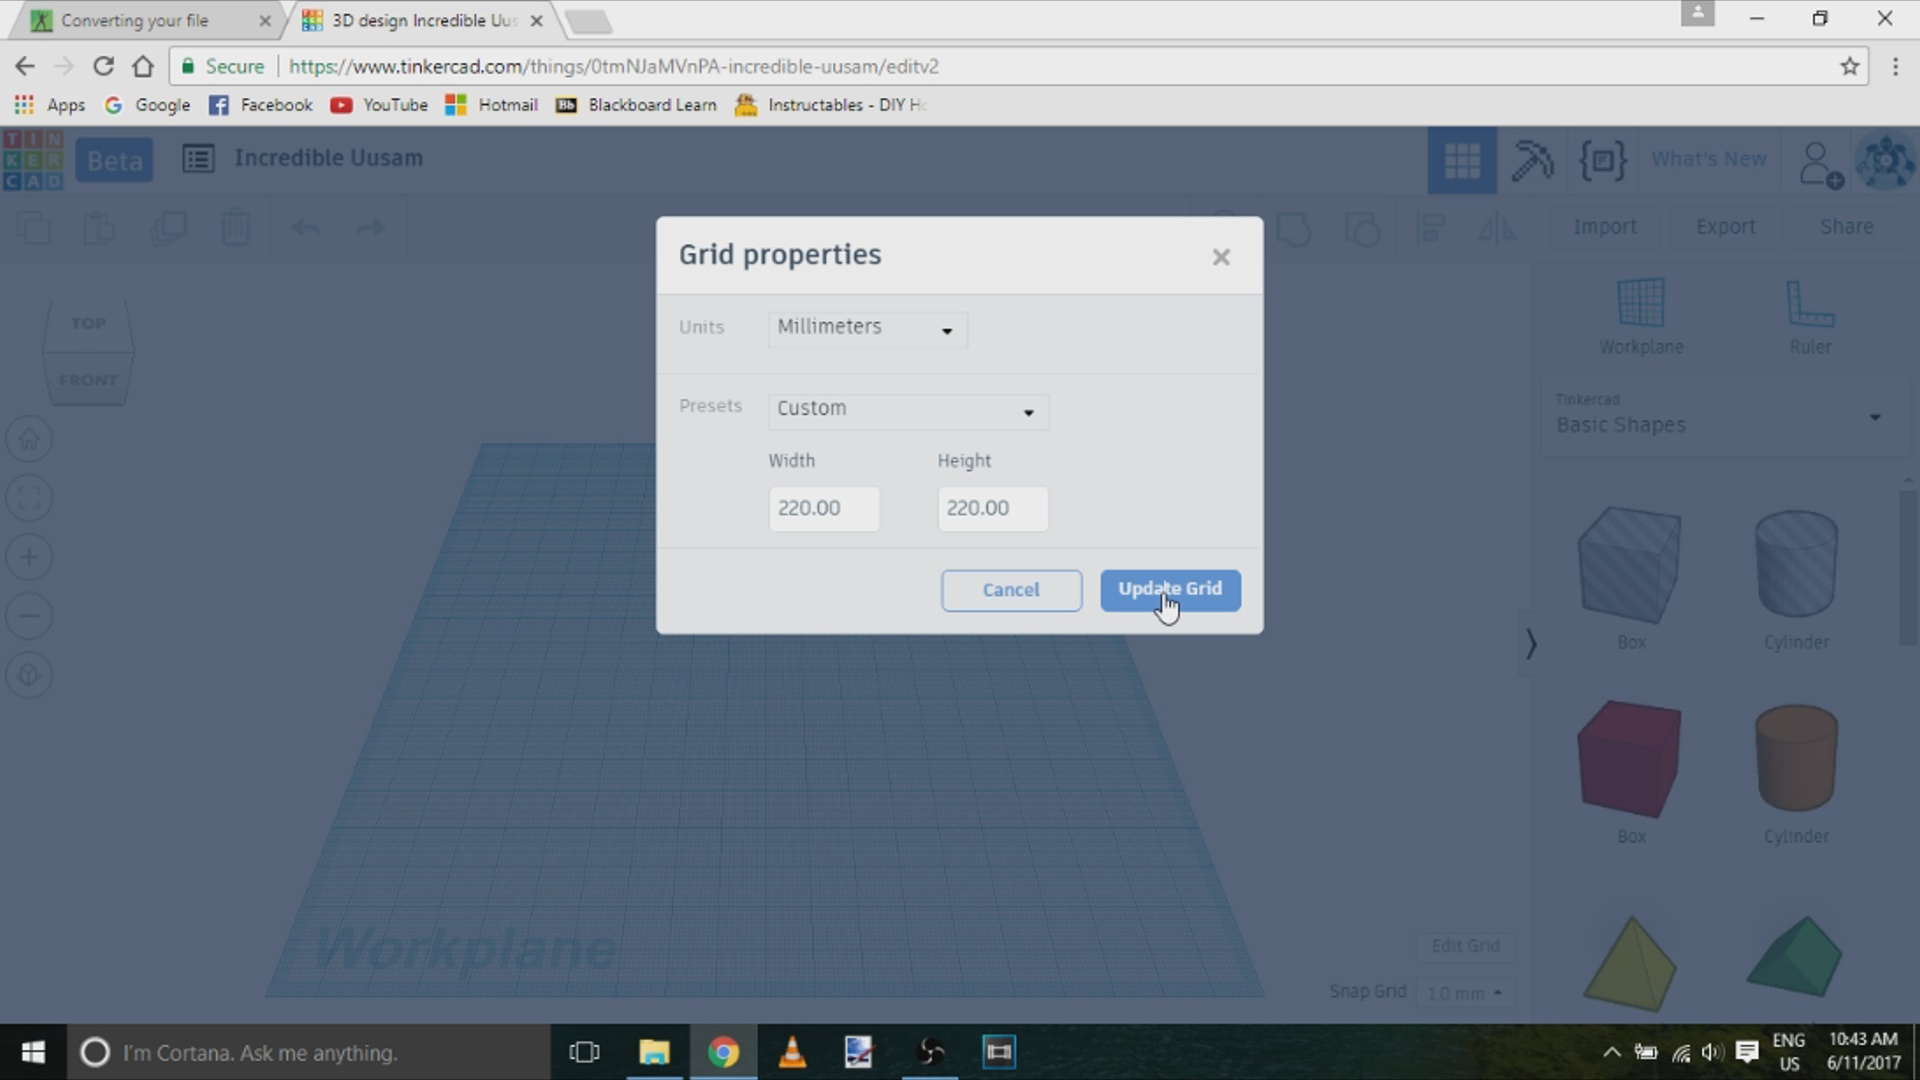
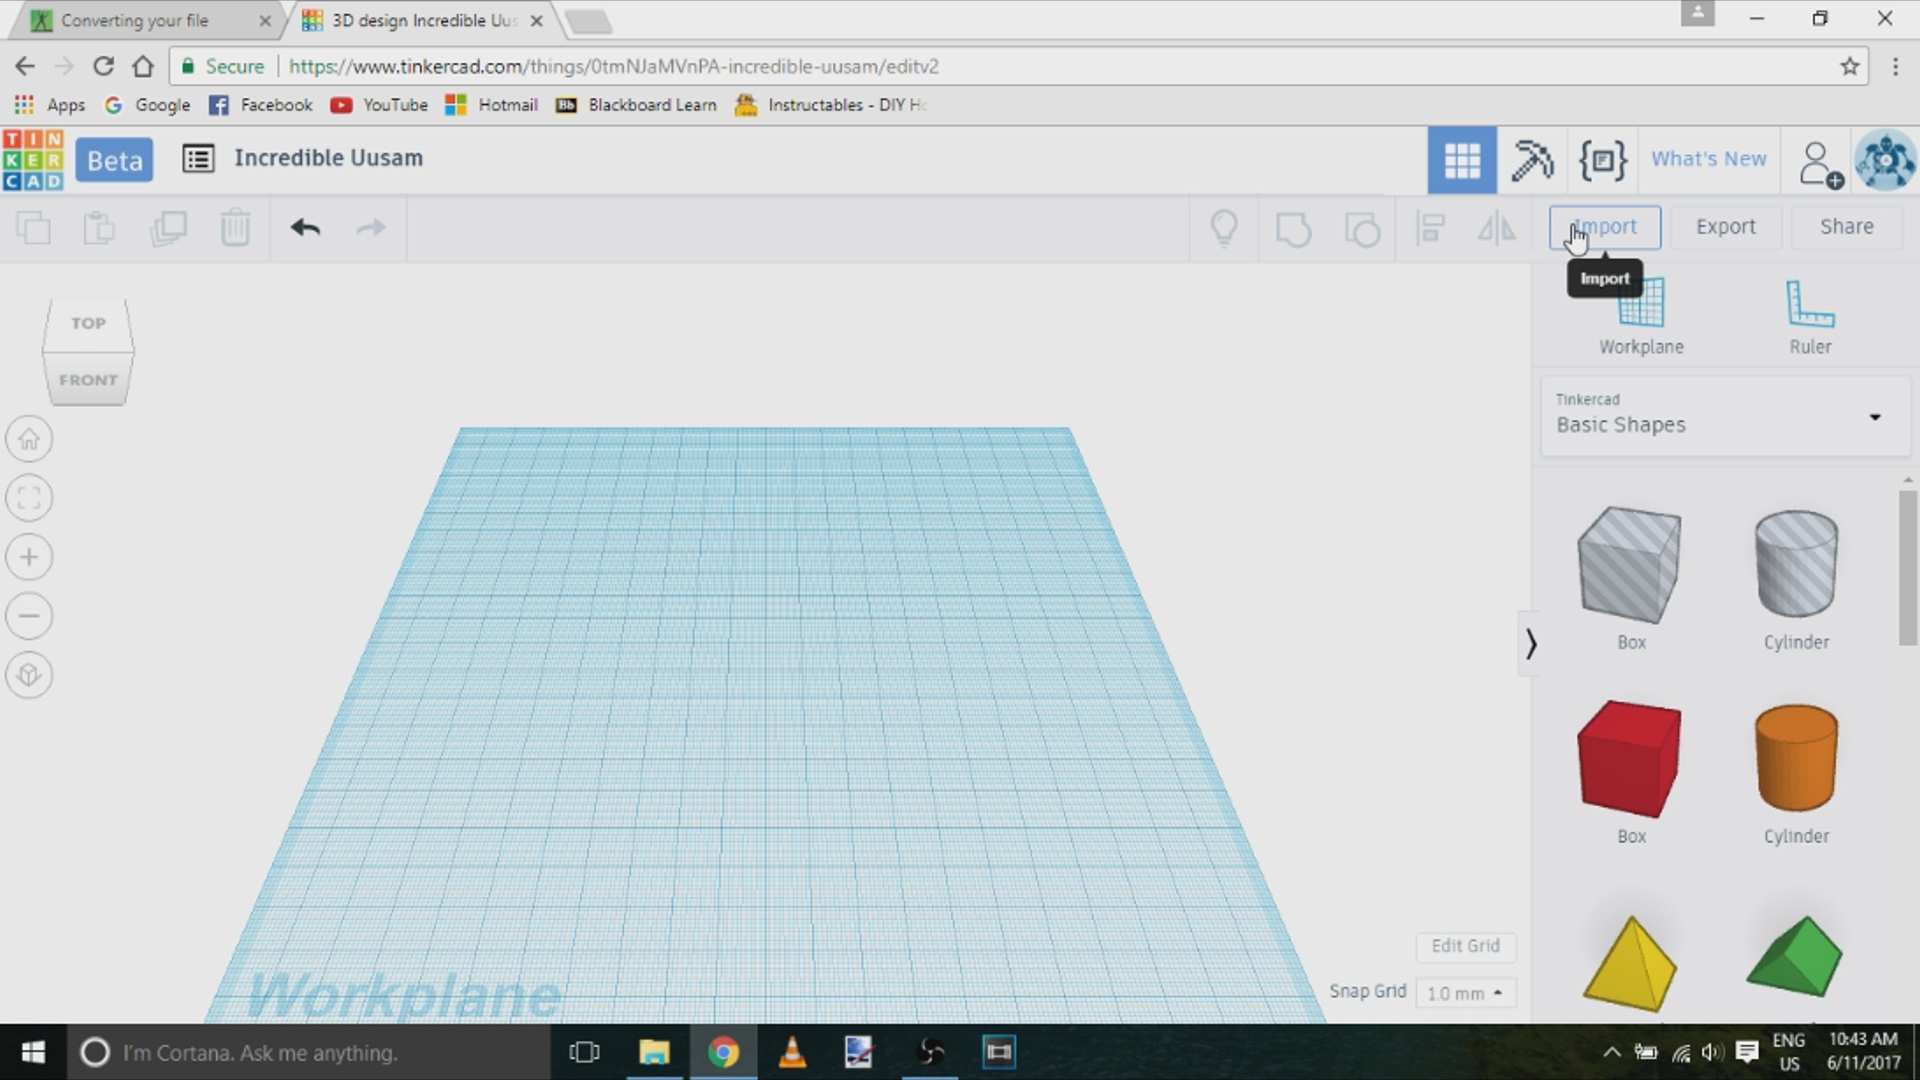
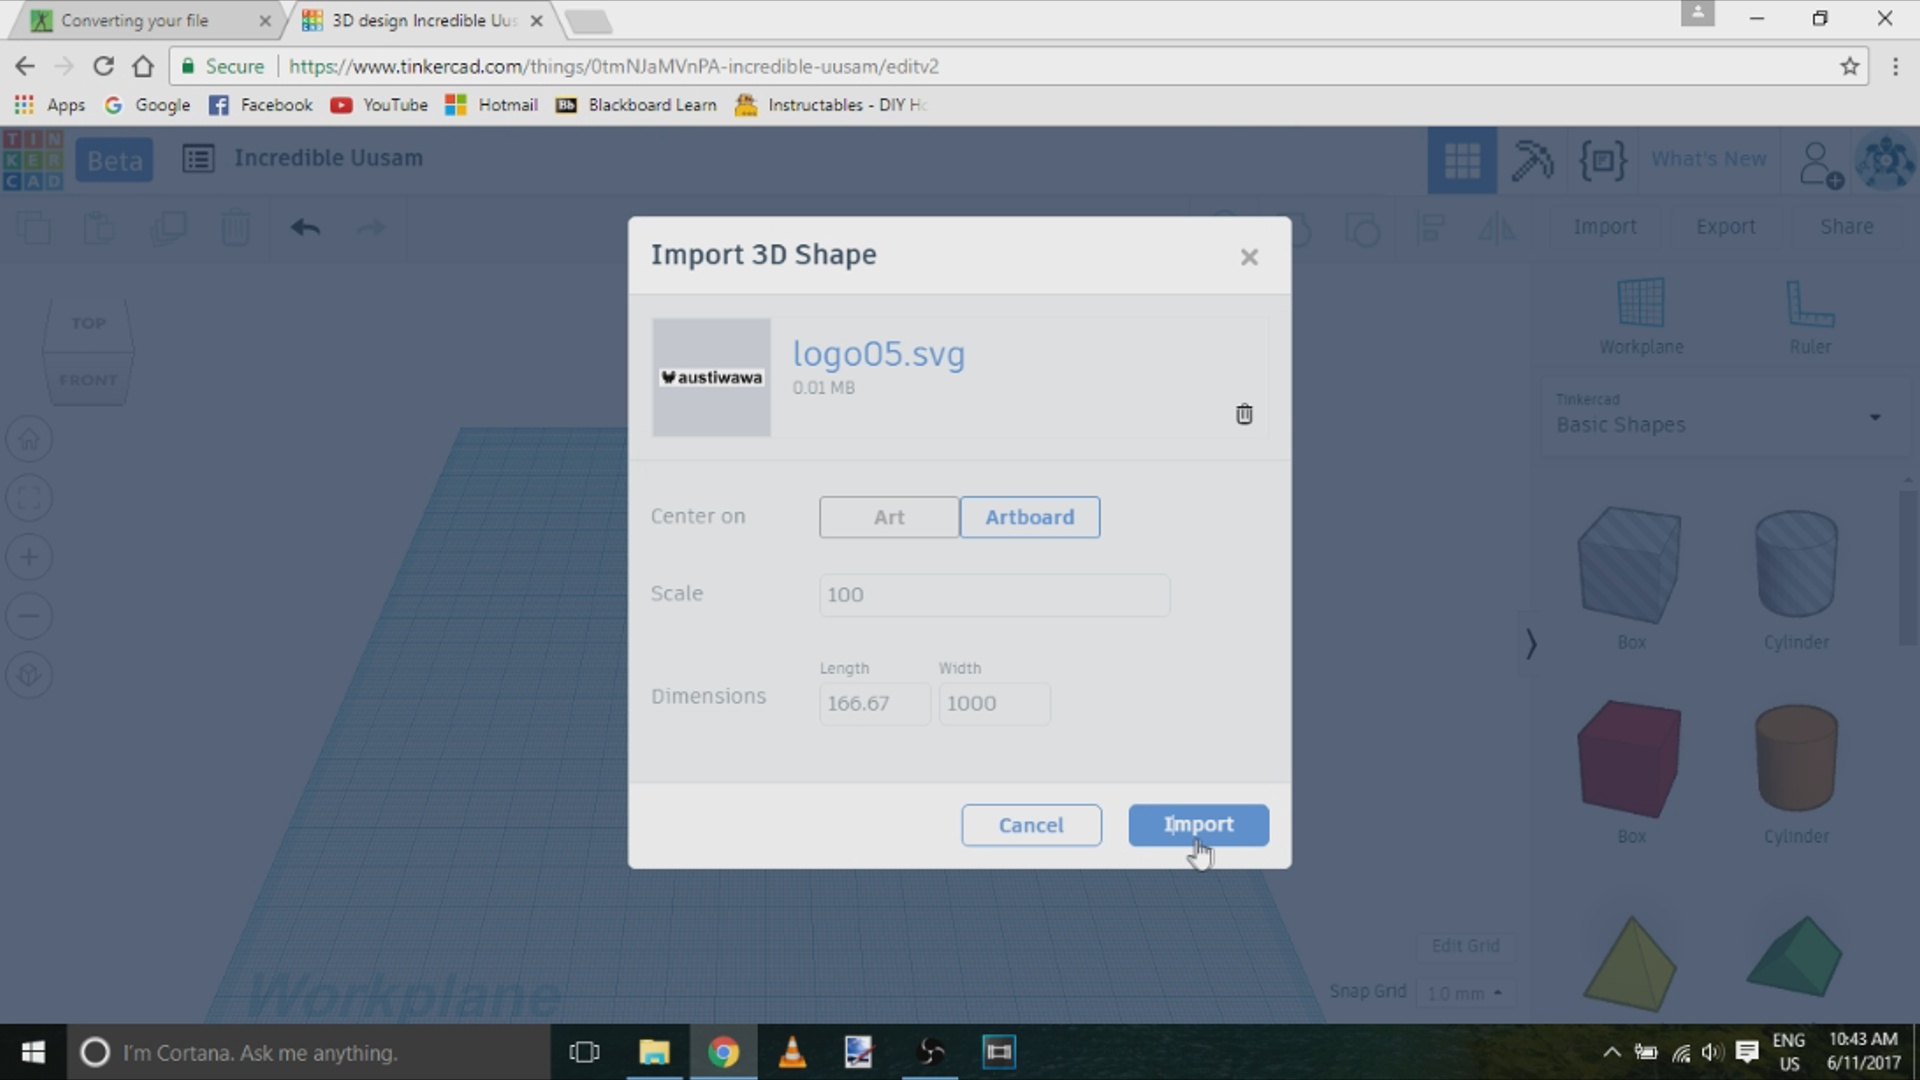
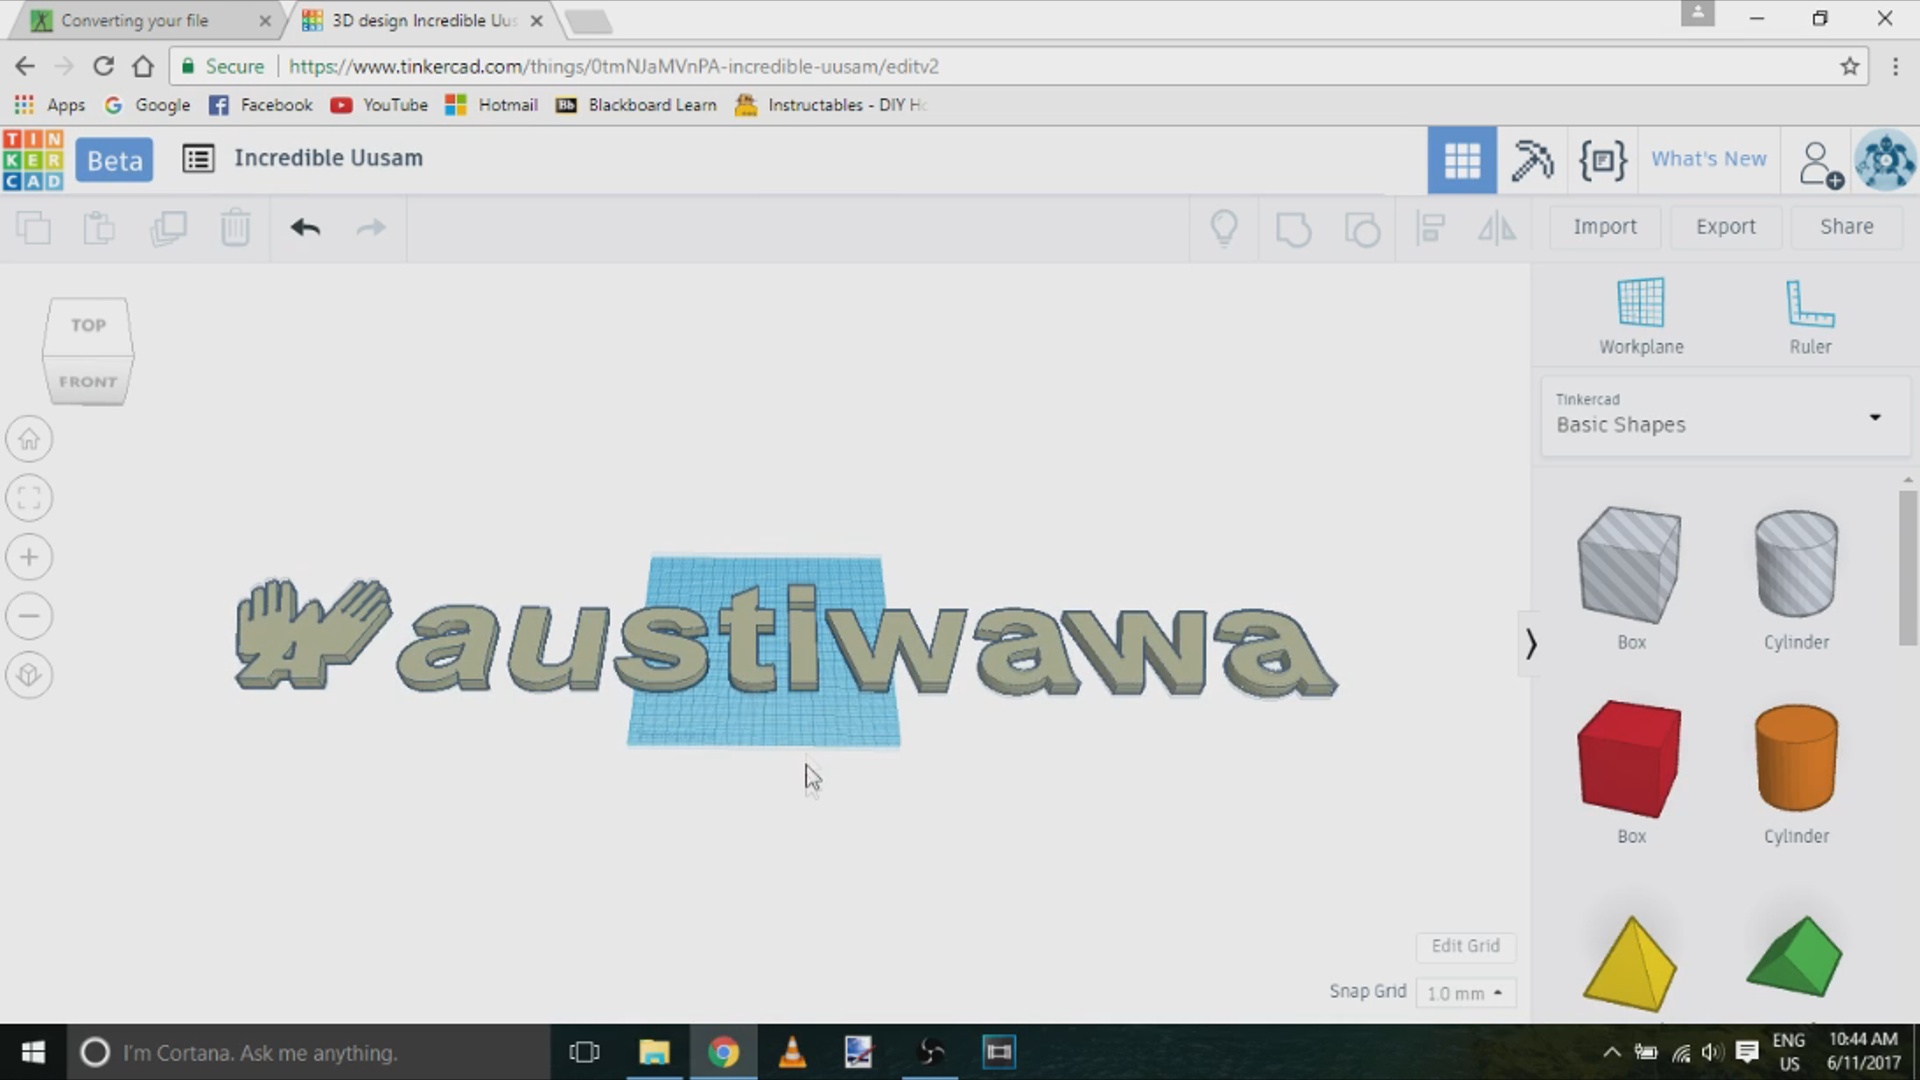
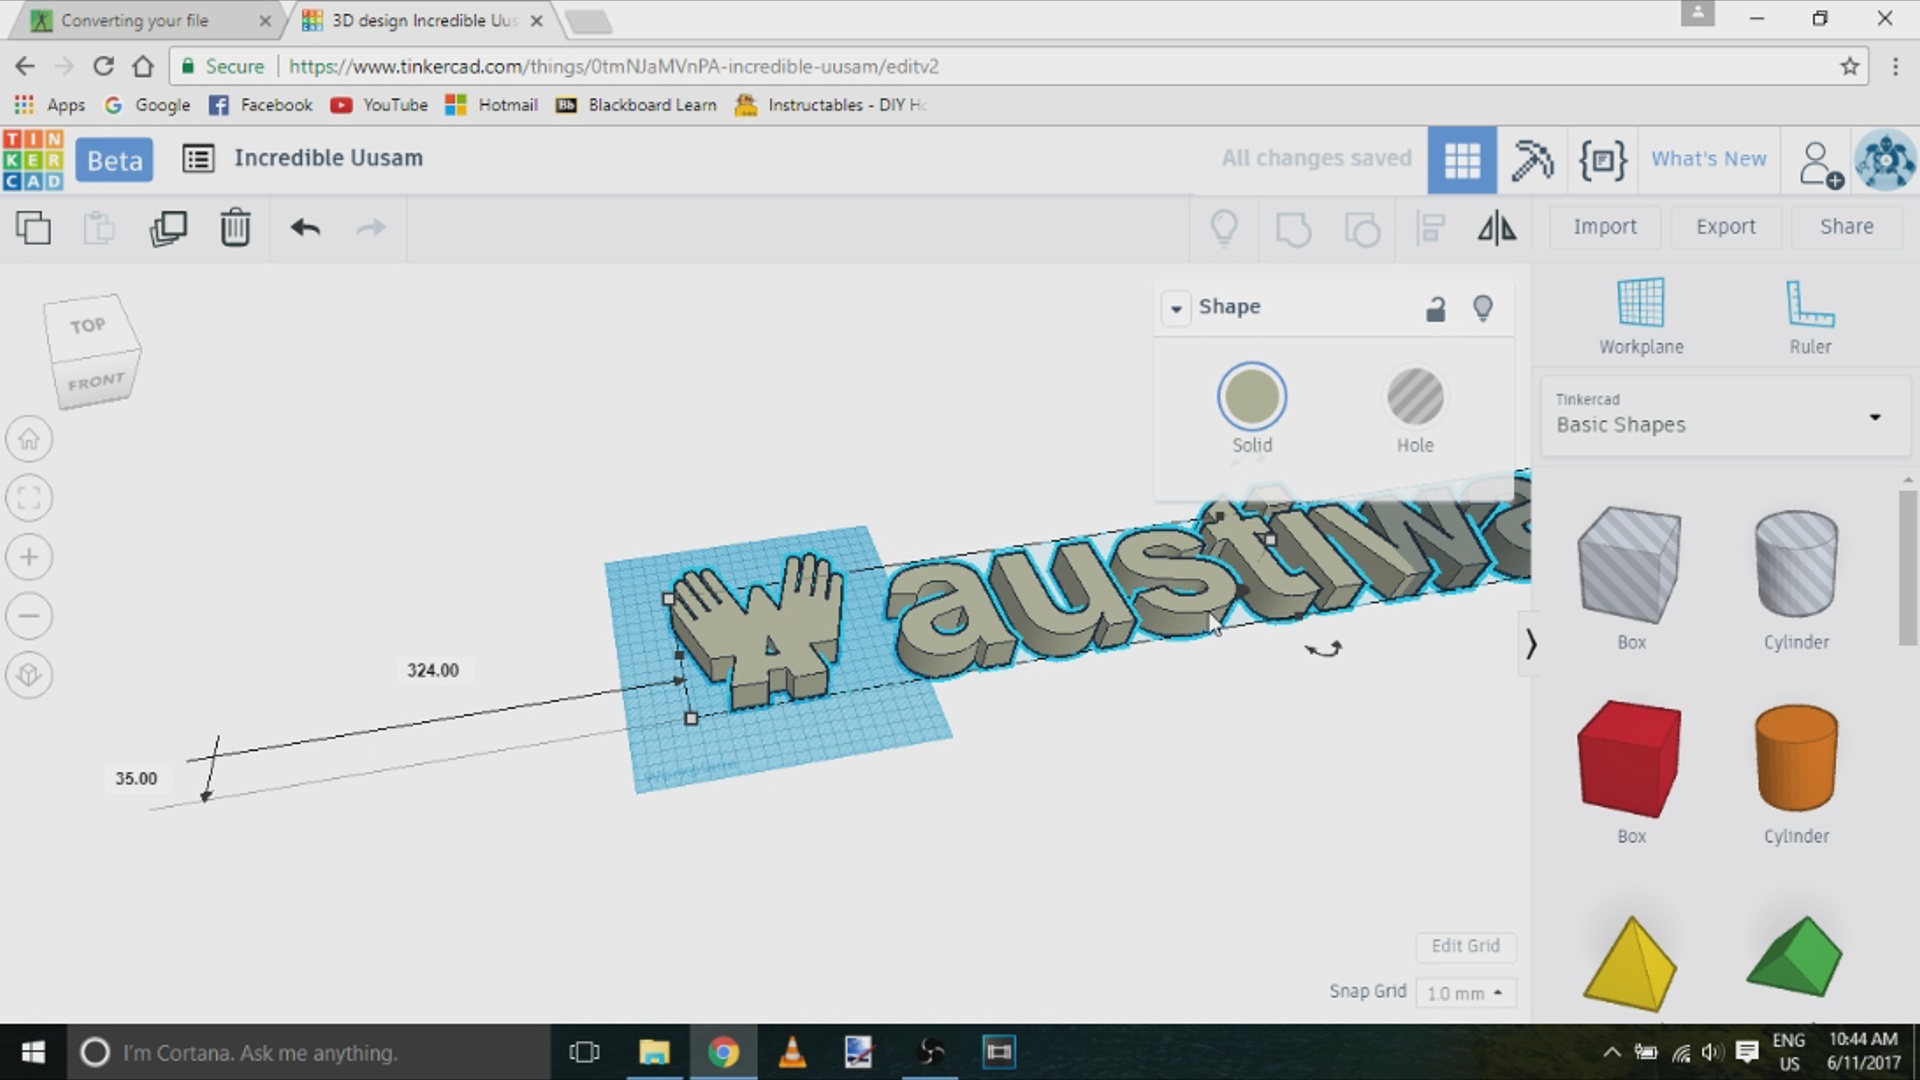
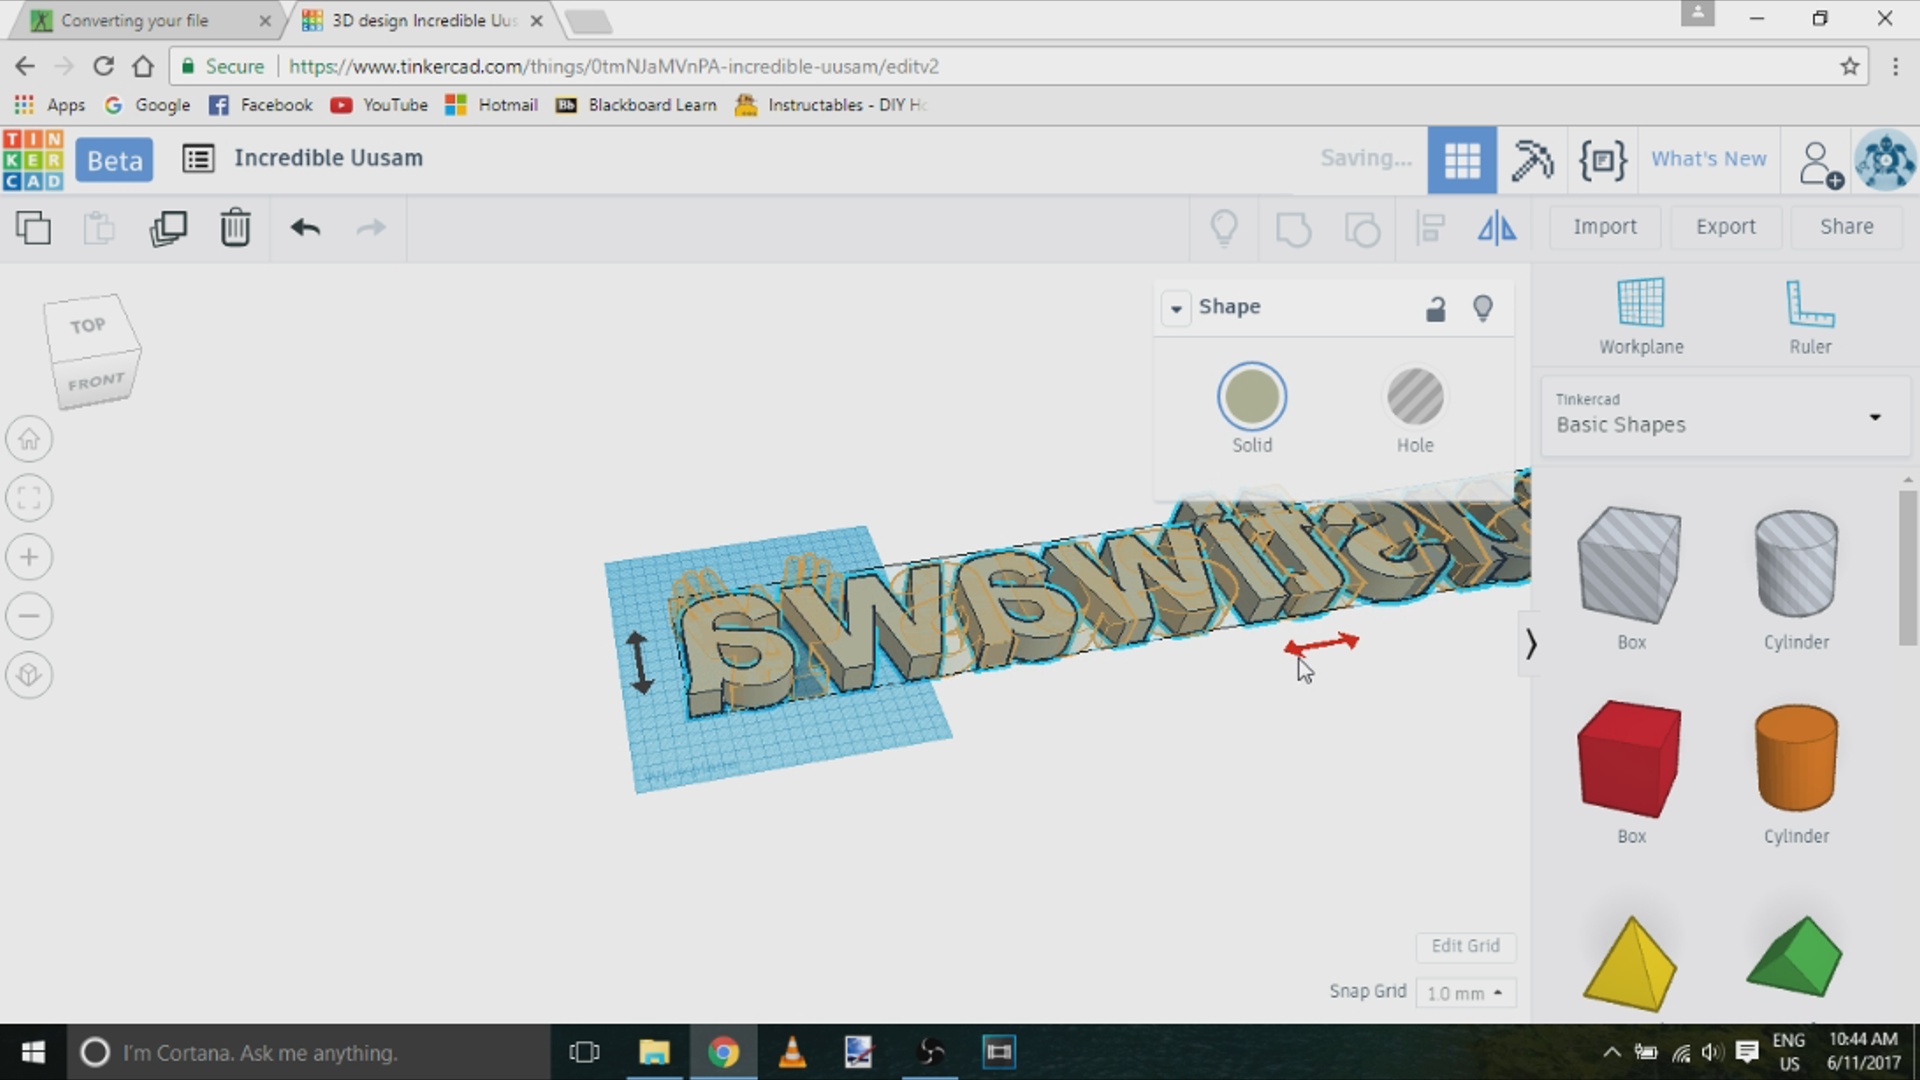
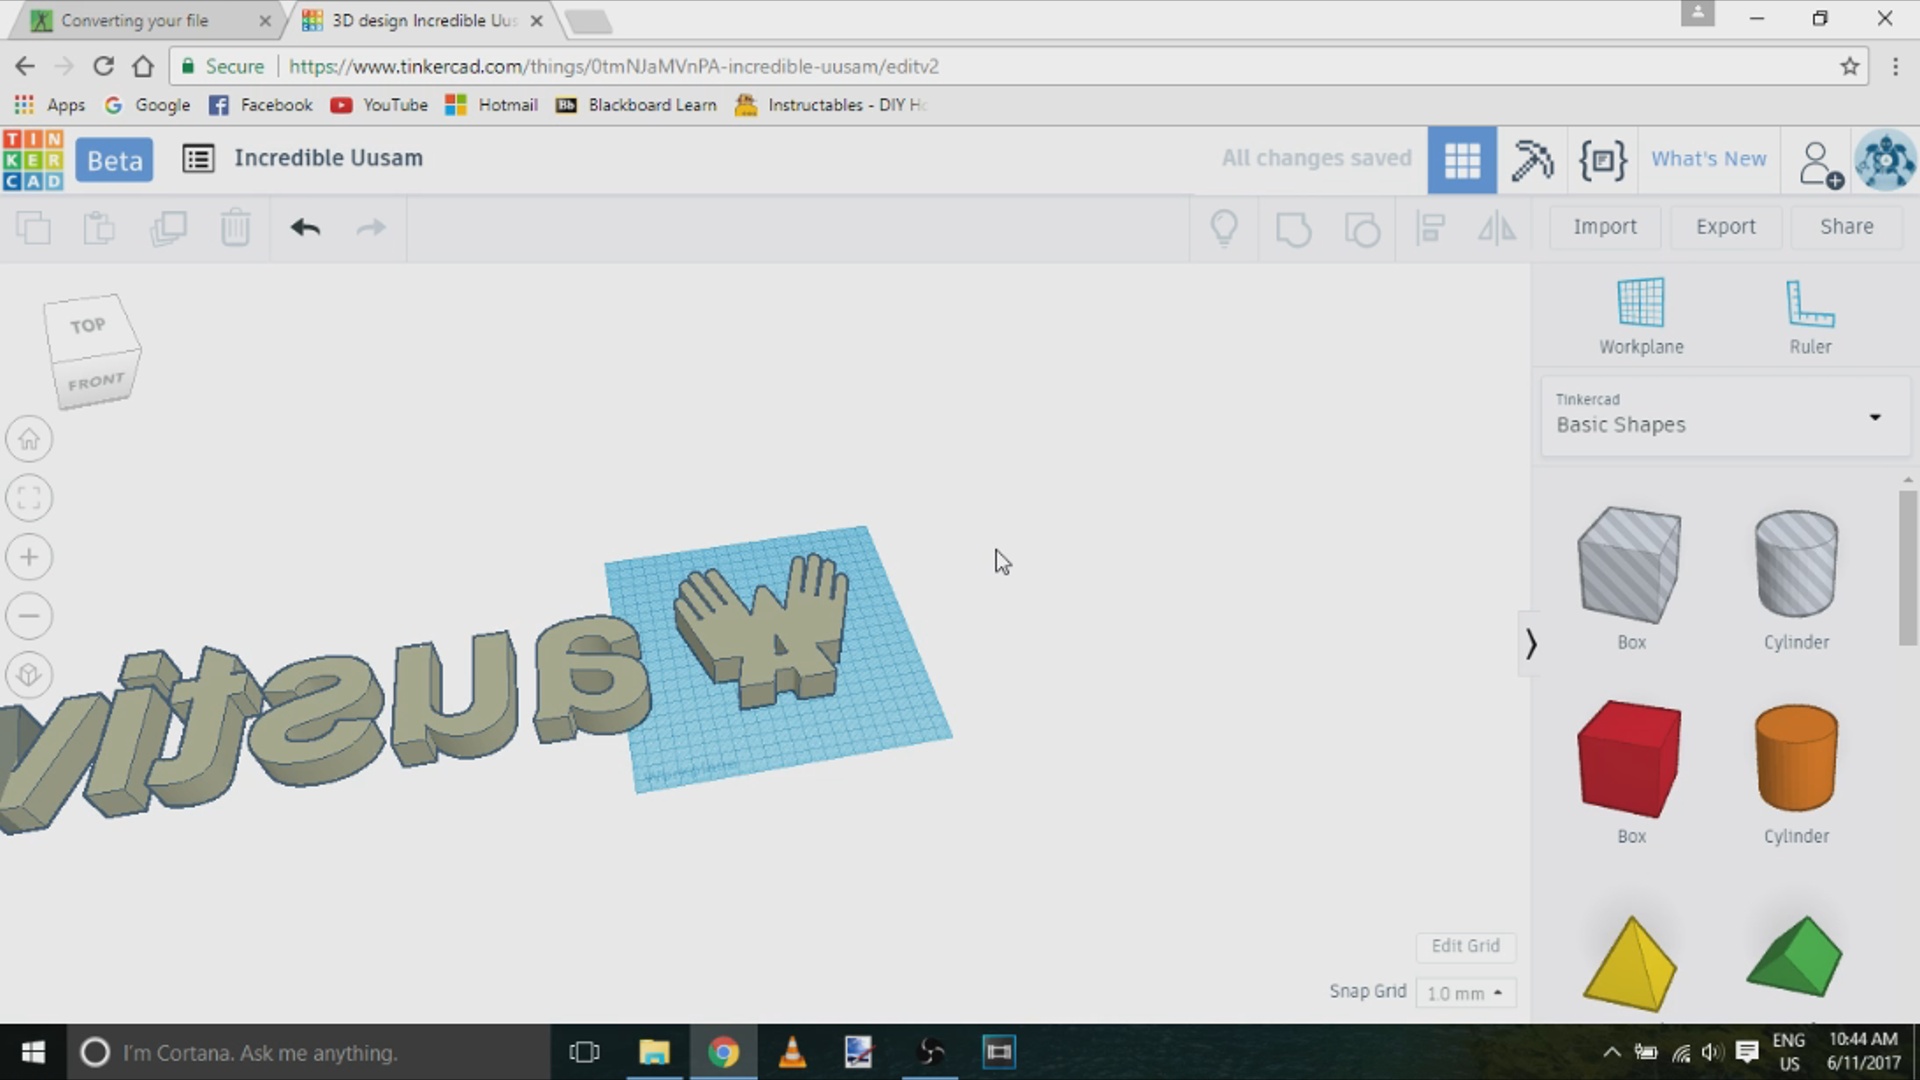
Once you have converted your image you will want to head over to tinkercad.com. You will have to make an account, but after that Tinkercad is completely free to use. We will be using Tinkercad to turn our 2D image into a 3D model. Simply start by clicking on “create new design”. At this point you will want to make sure that the grid matches the size of your printer’s bed, you can edit the grid size by clicking on "Edit Grid" in the bottom right corner of the screen. In the top right corner of the screen you will notice there is an “Import” button. Click on this button and import your SVG file. You should see your image appear on the workplane. Tinkercad is very user friendly and it is quite simple to scale your model to your preferred size. I decided to flip my model so that the good side was touching the print bed. I did this because I know the bottom layer of my prints will always turn out looking nice. The printer I will be using is the Anet A8.
Exporting Into Separate Models
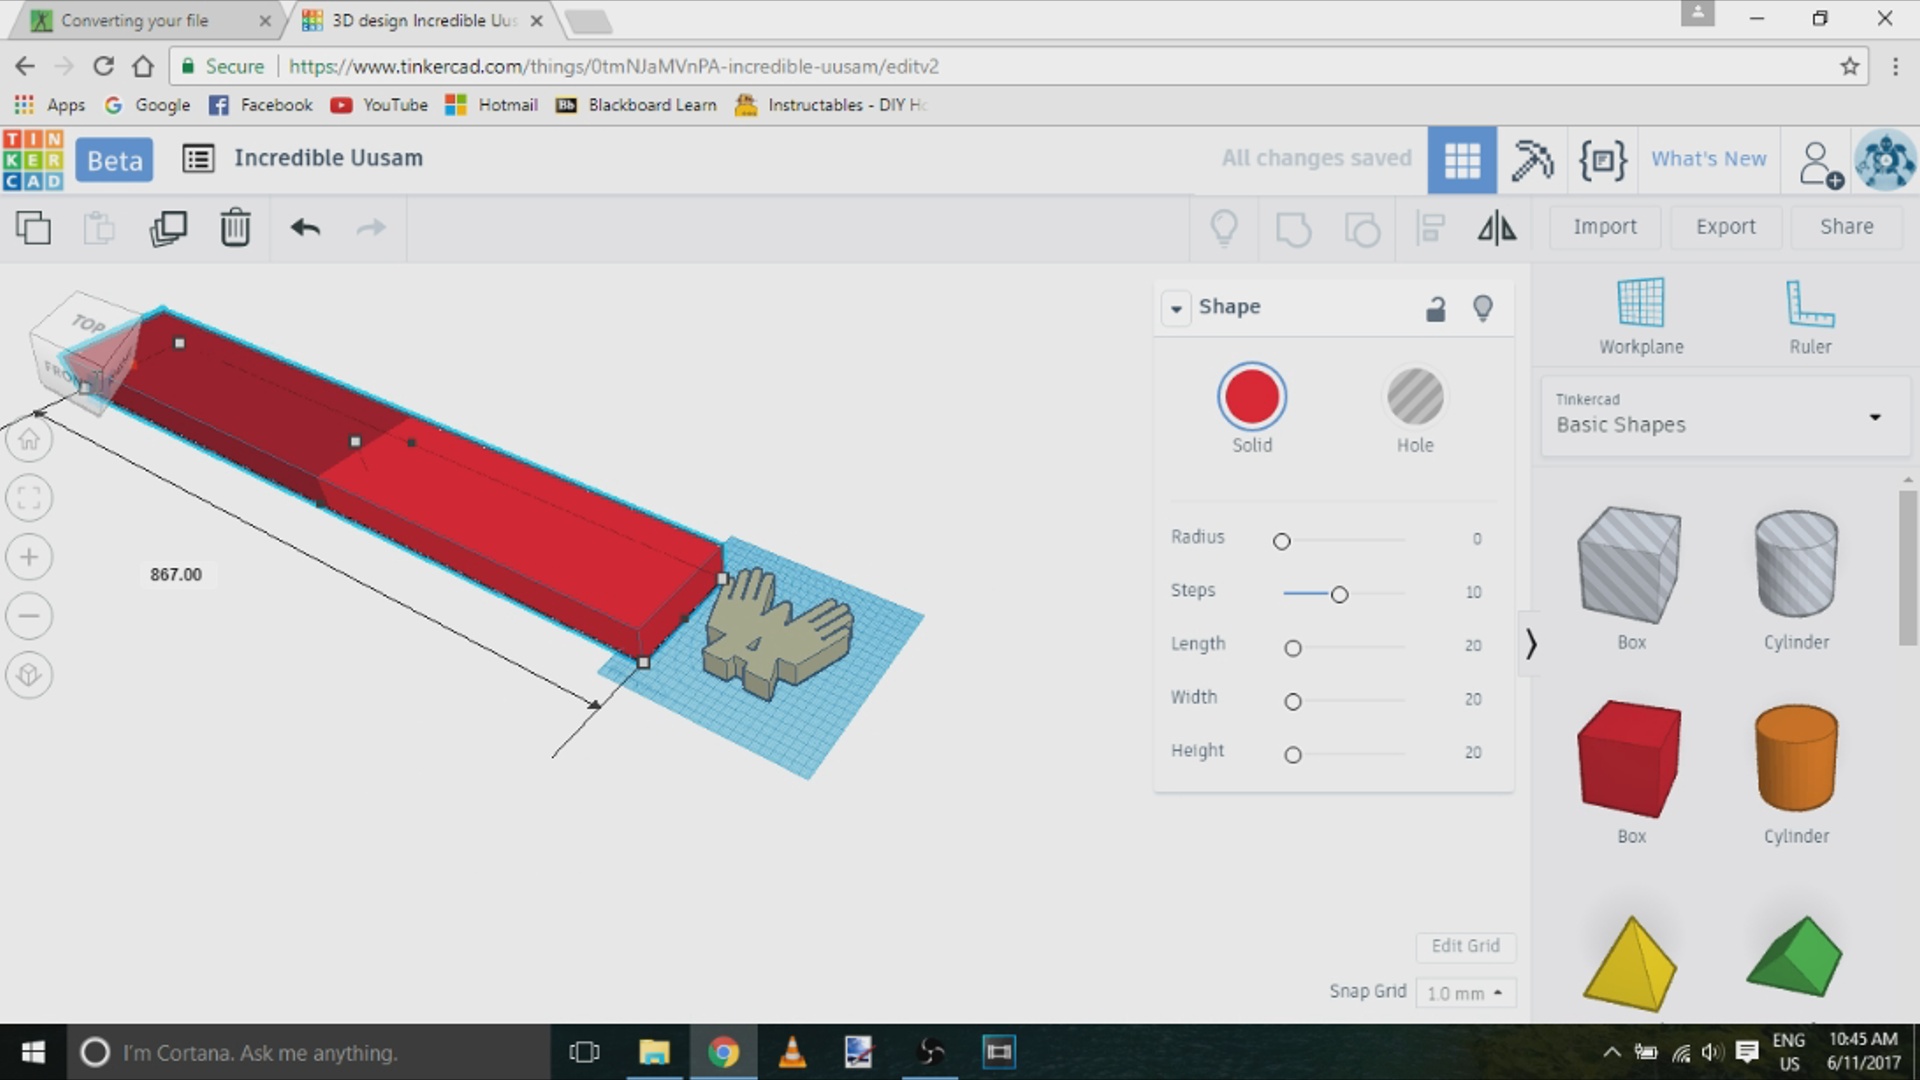
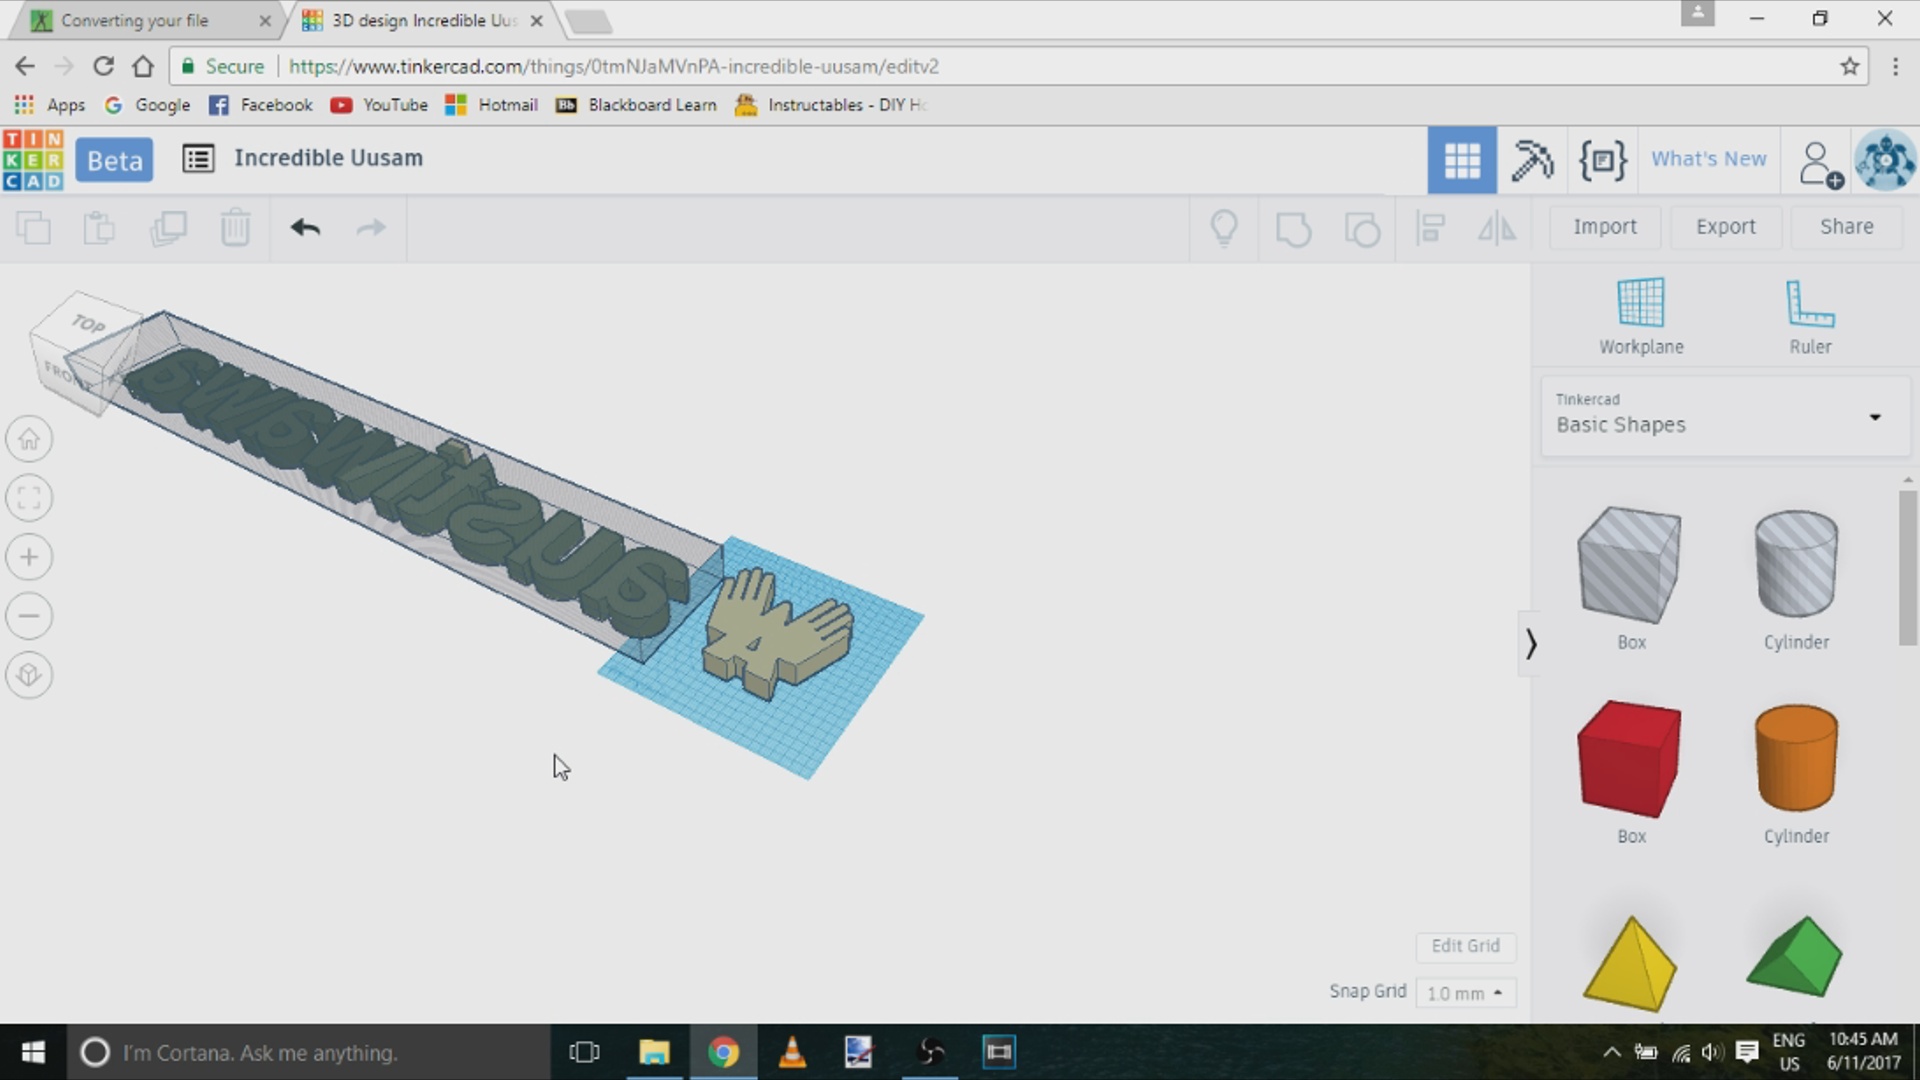
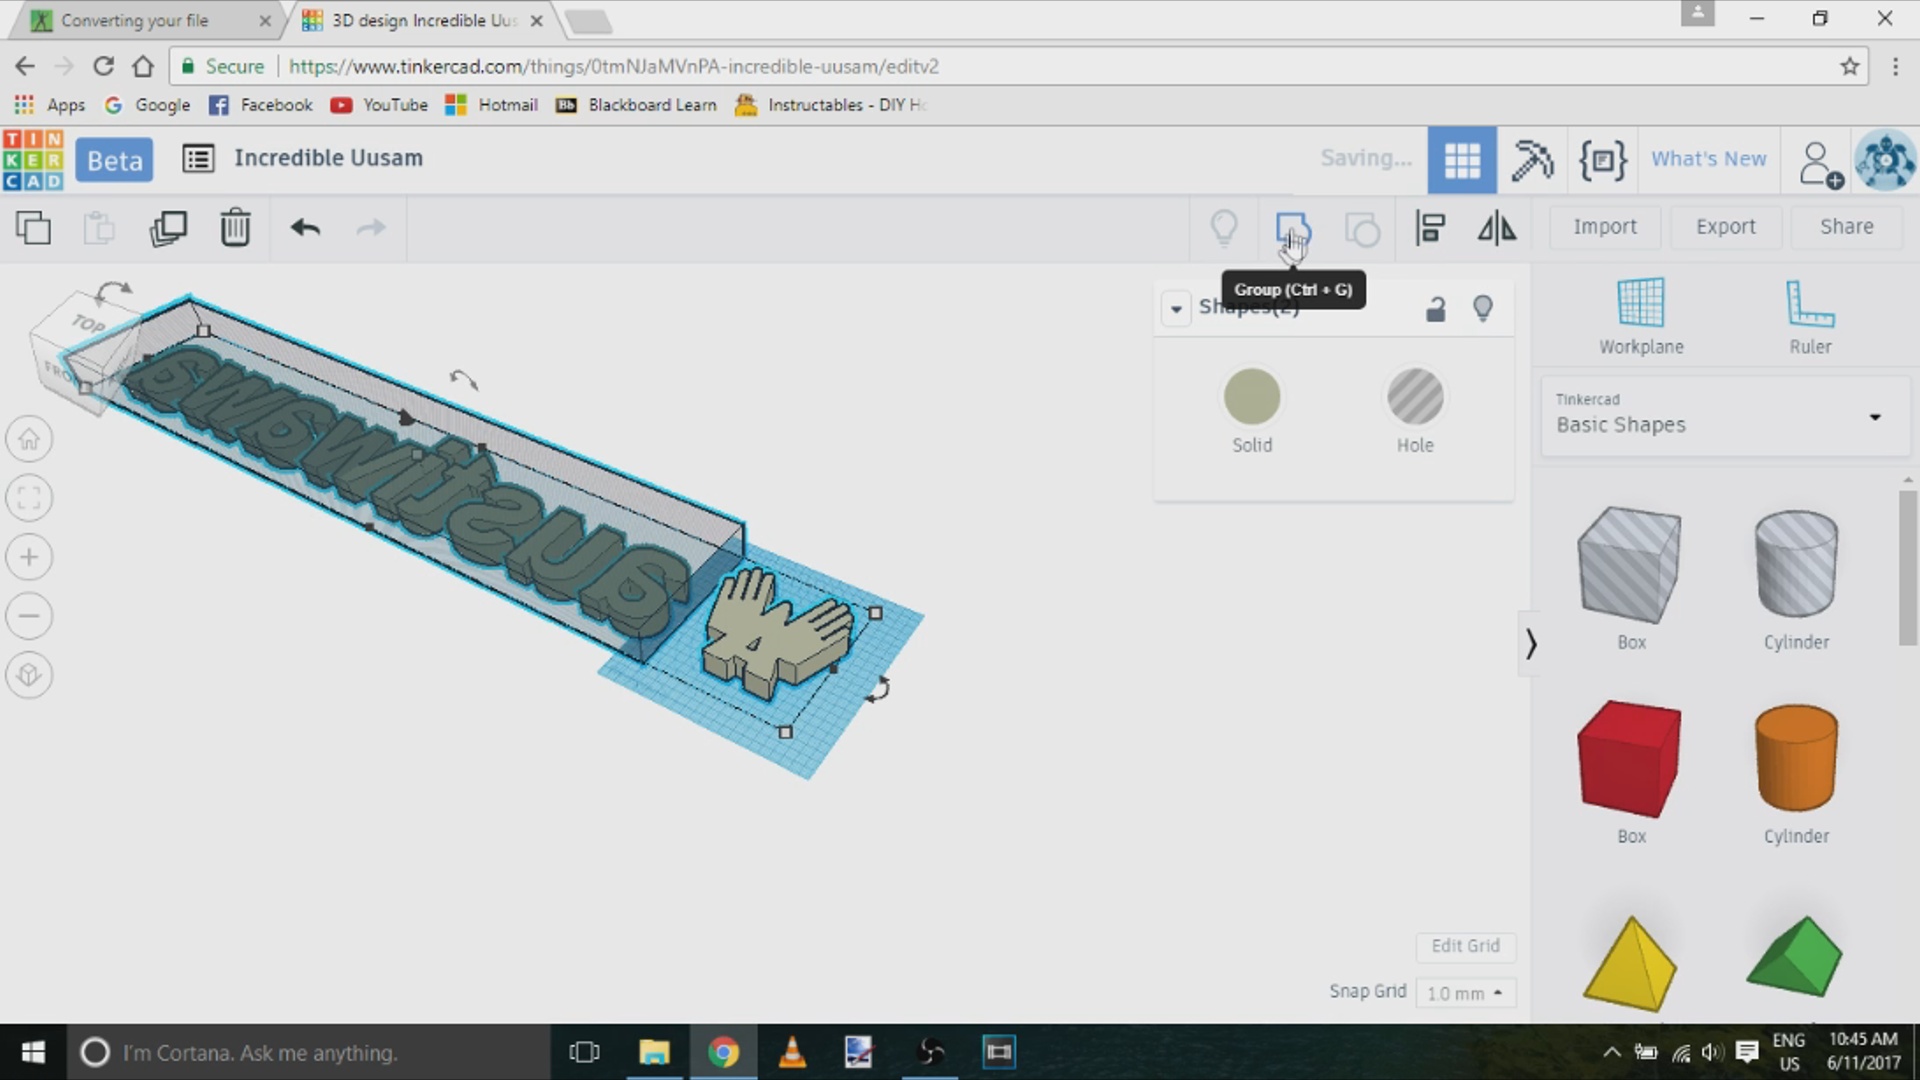
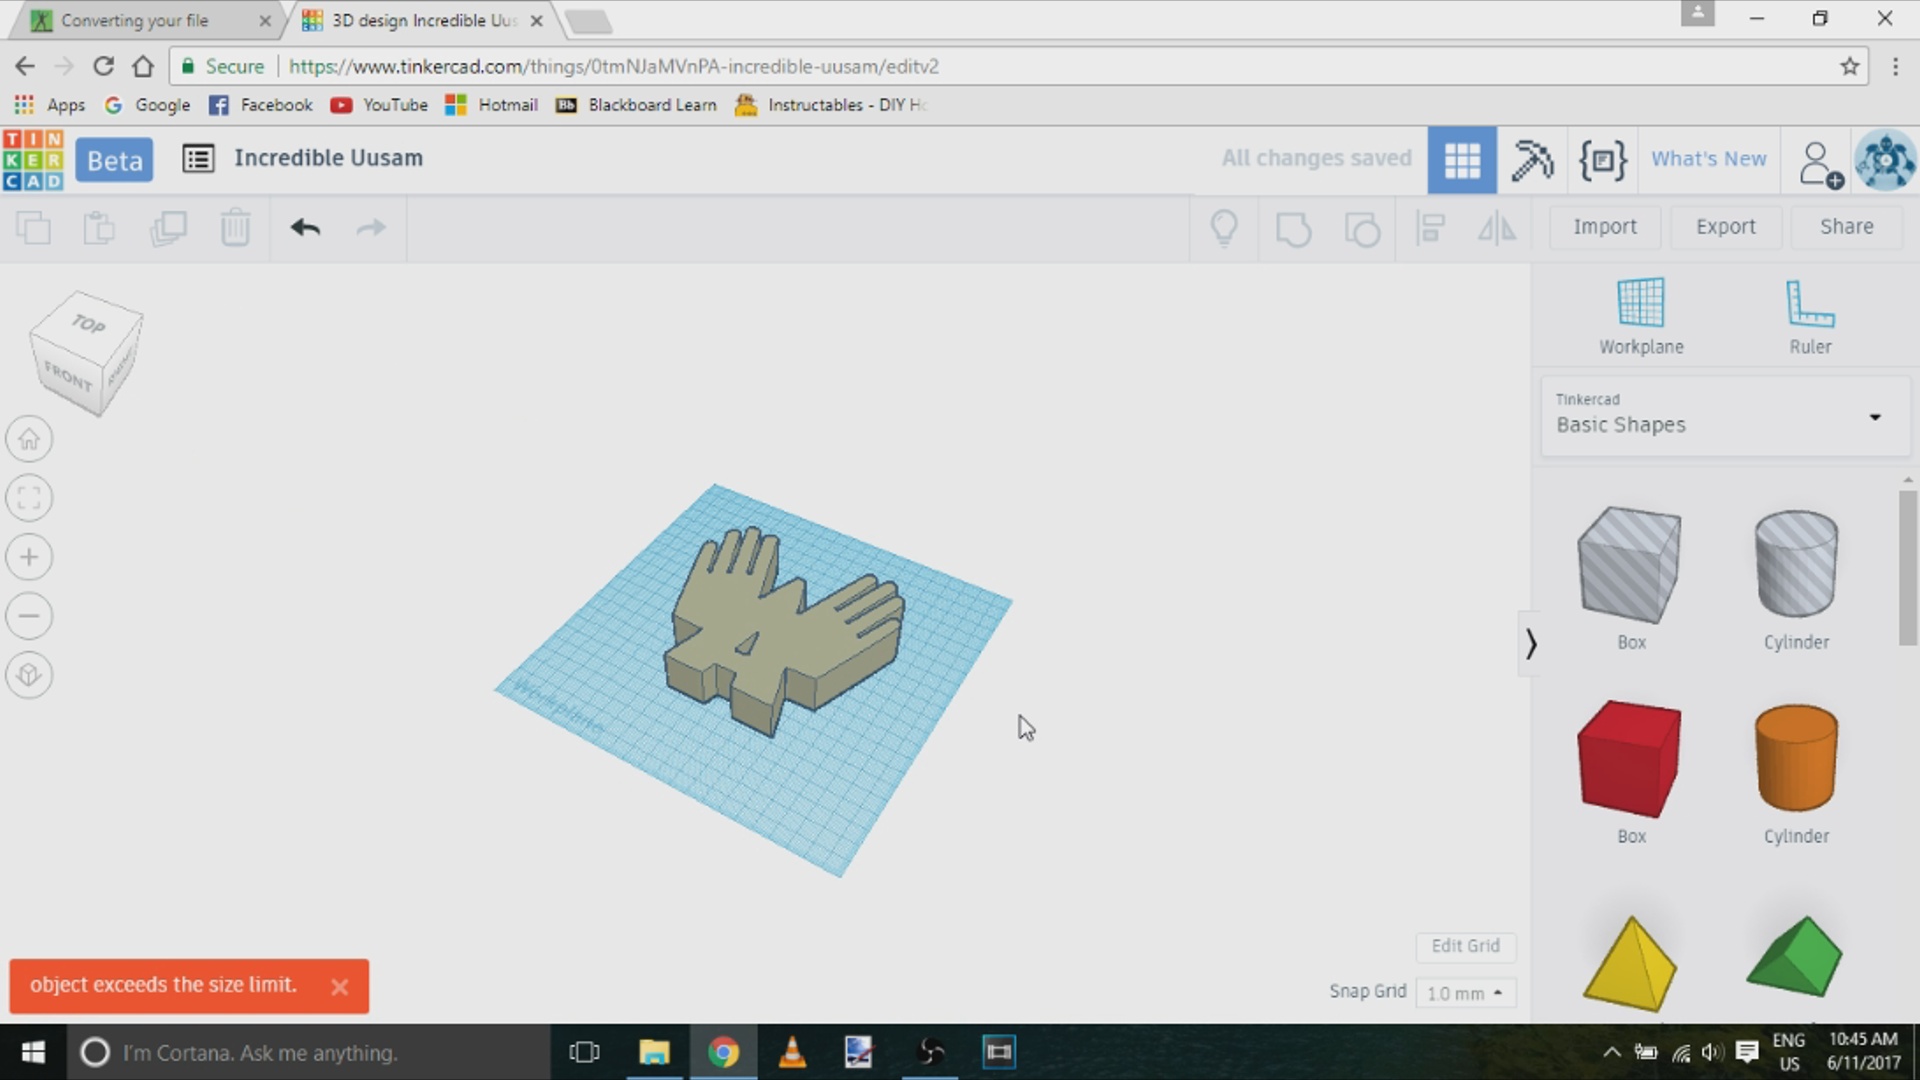
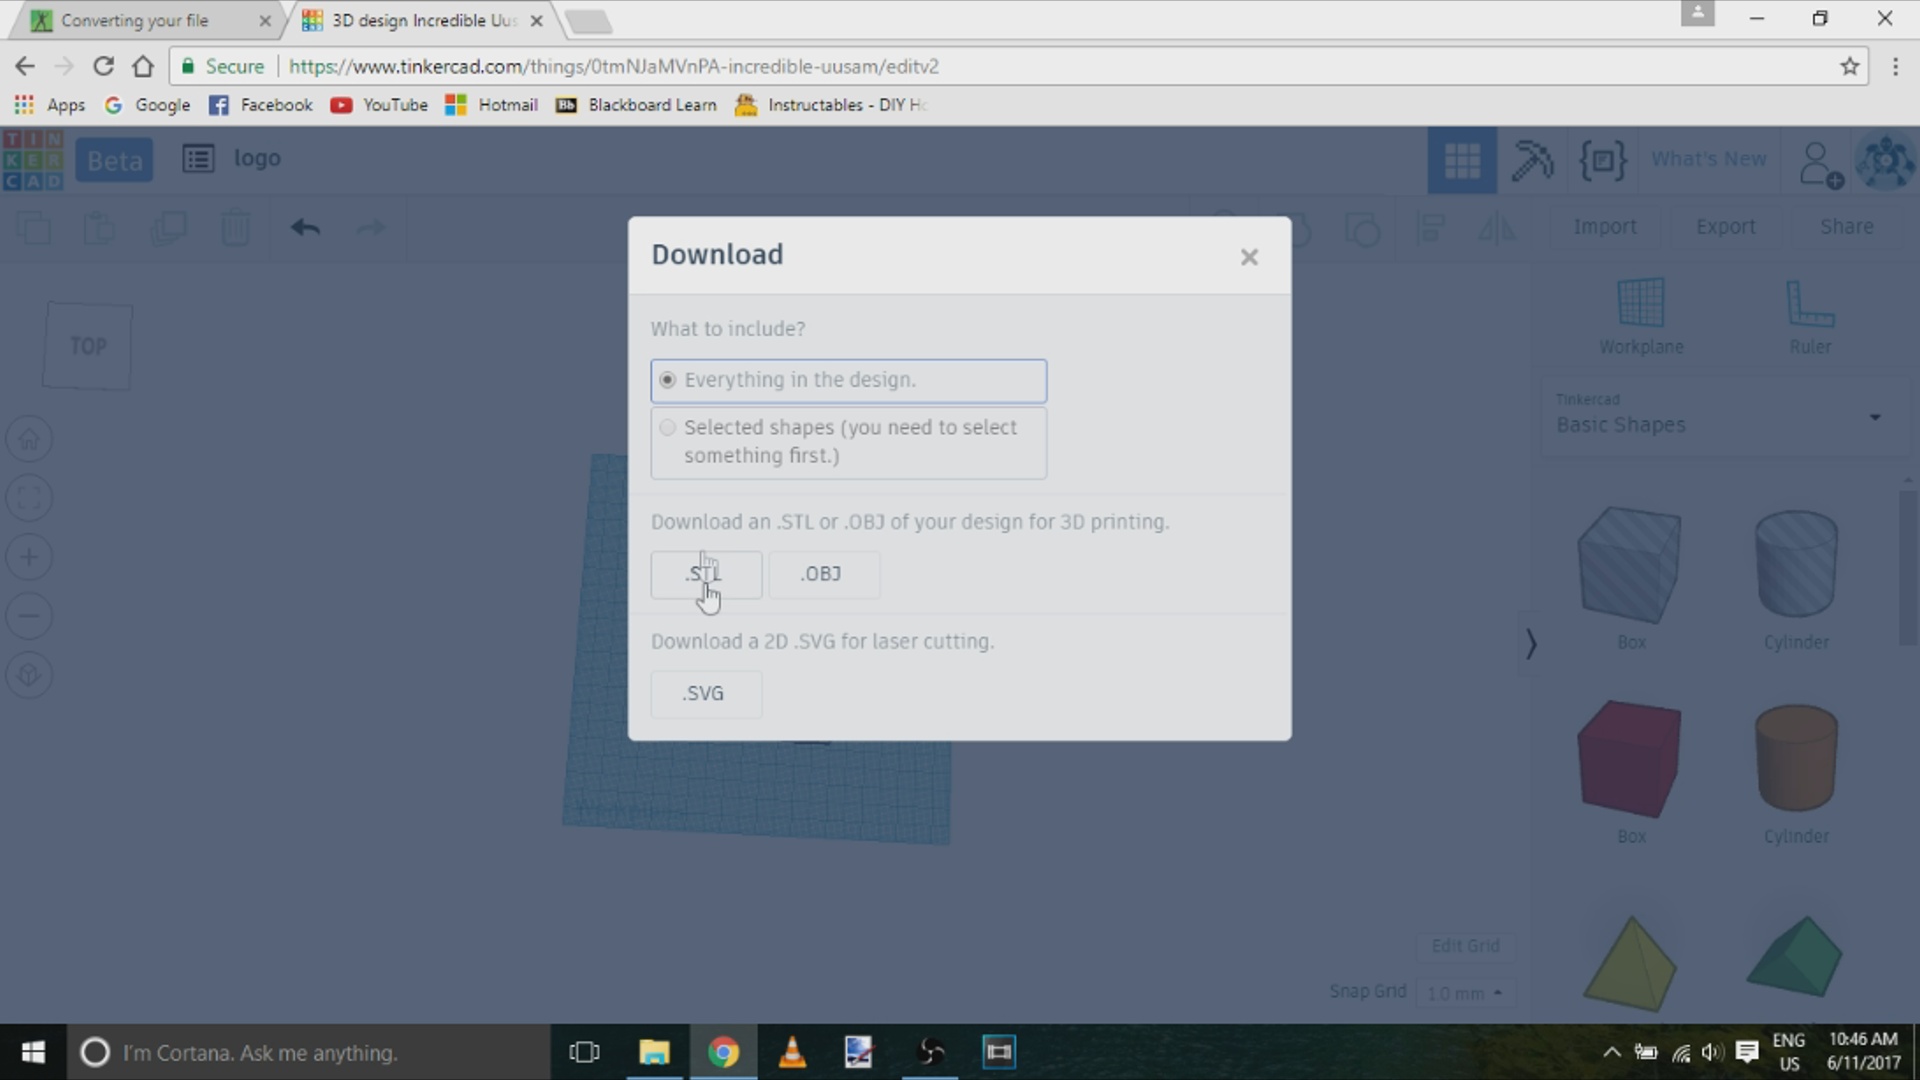
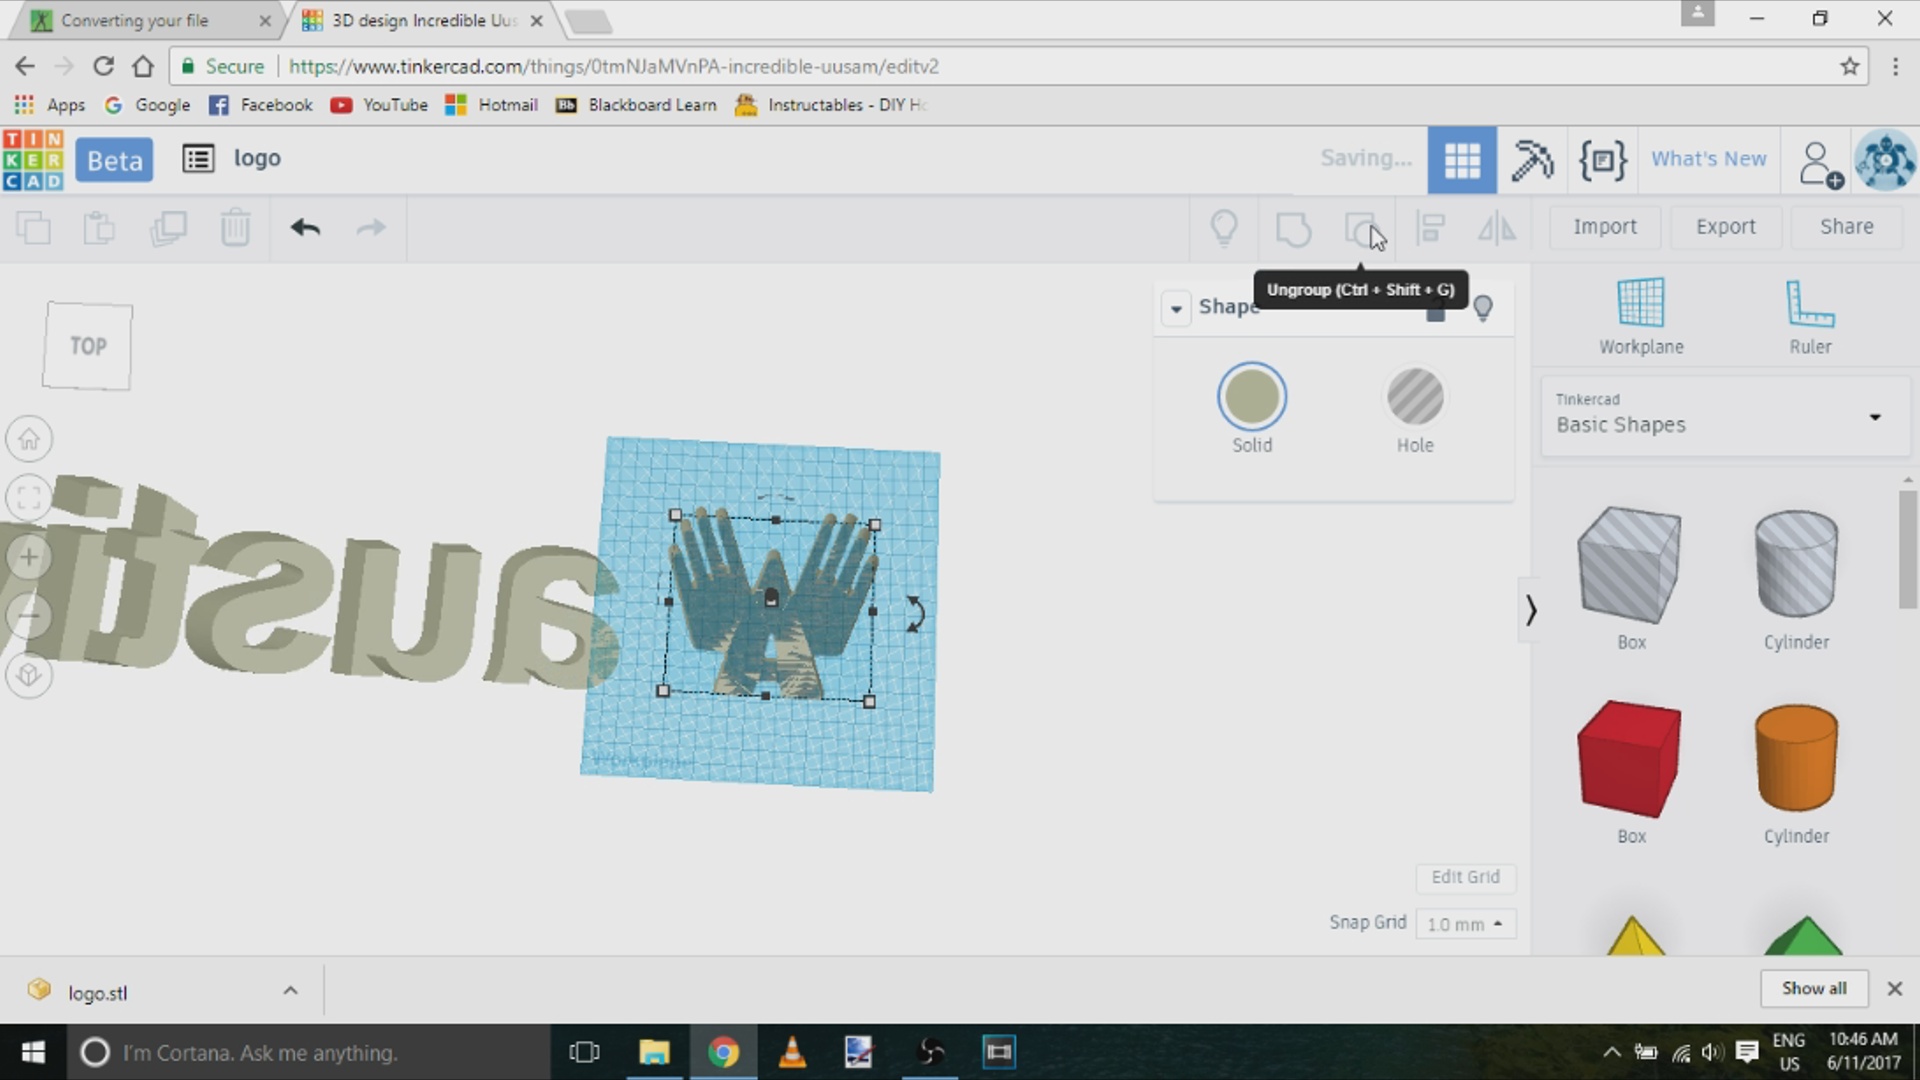
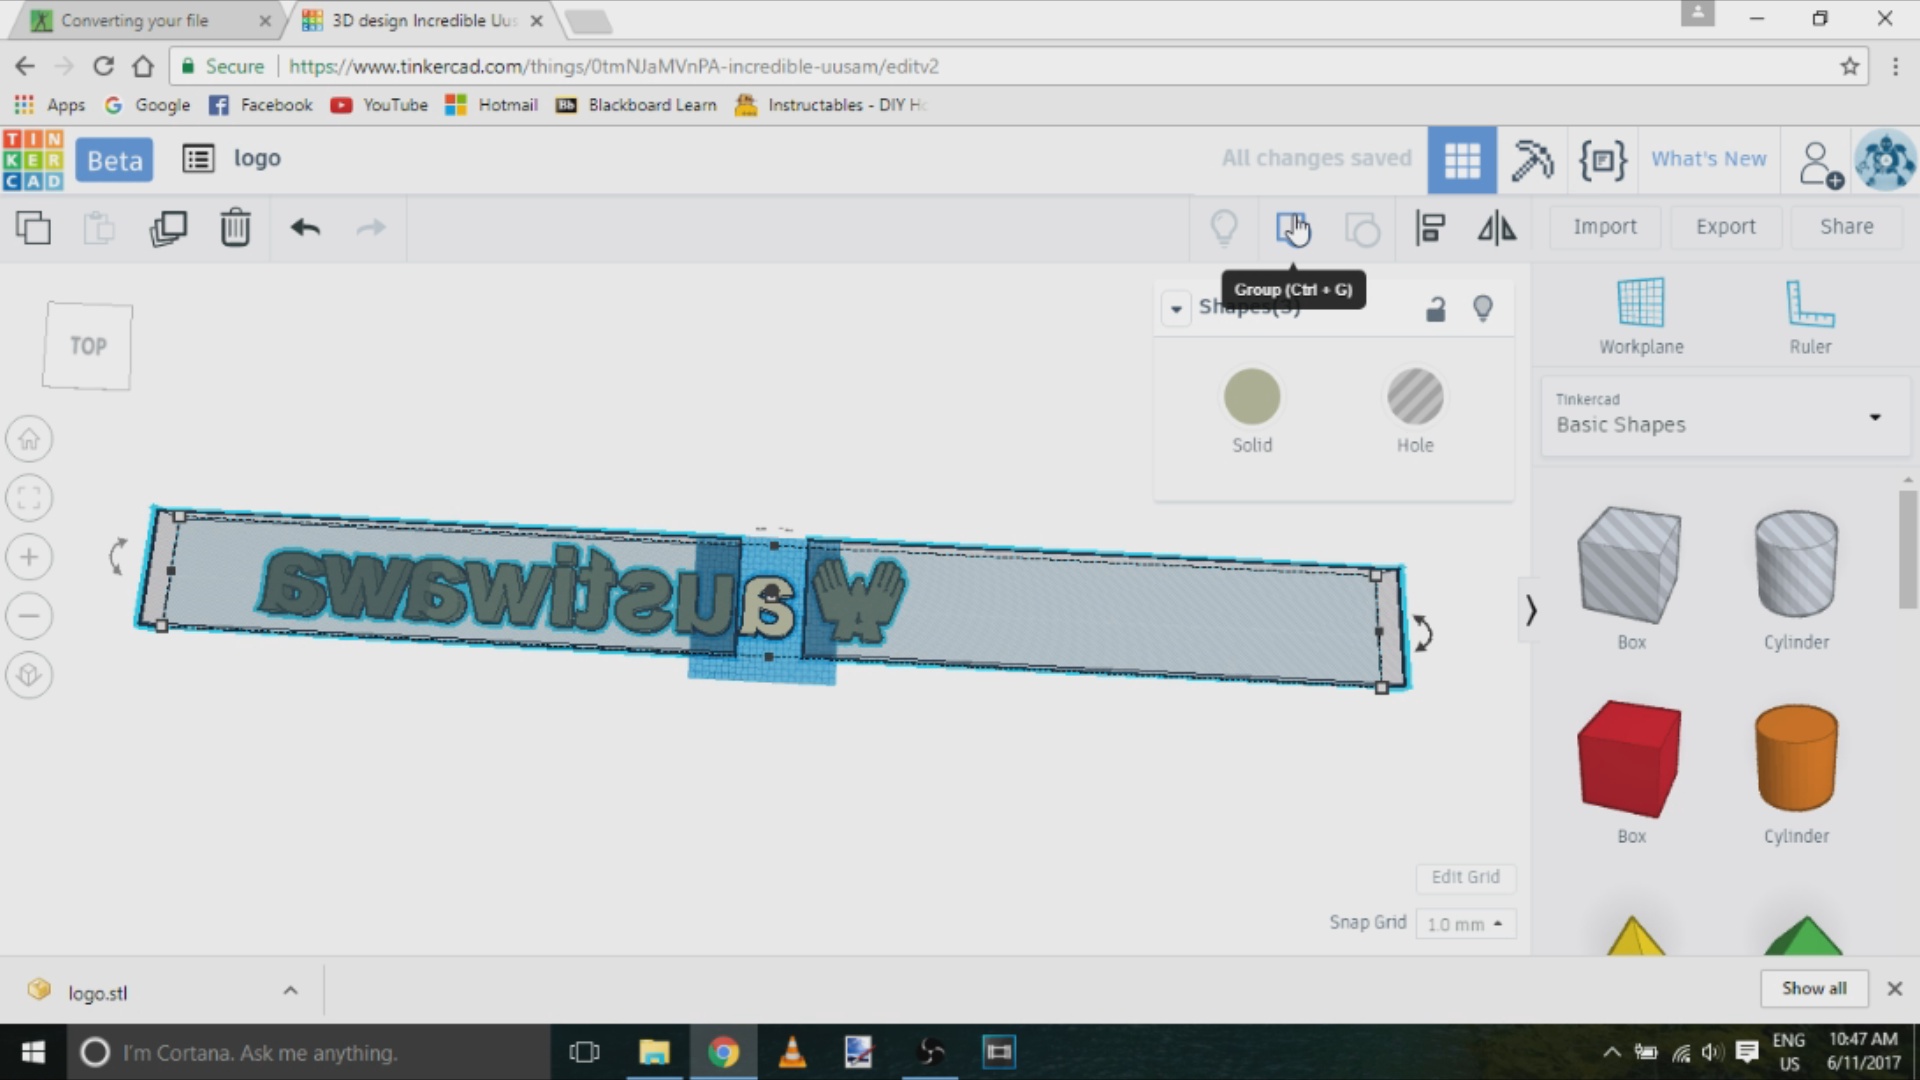
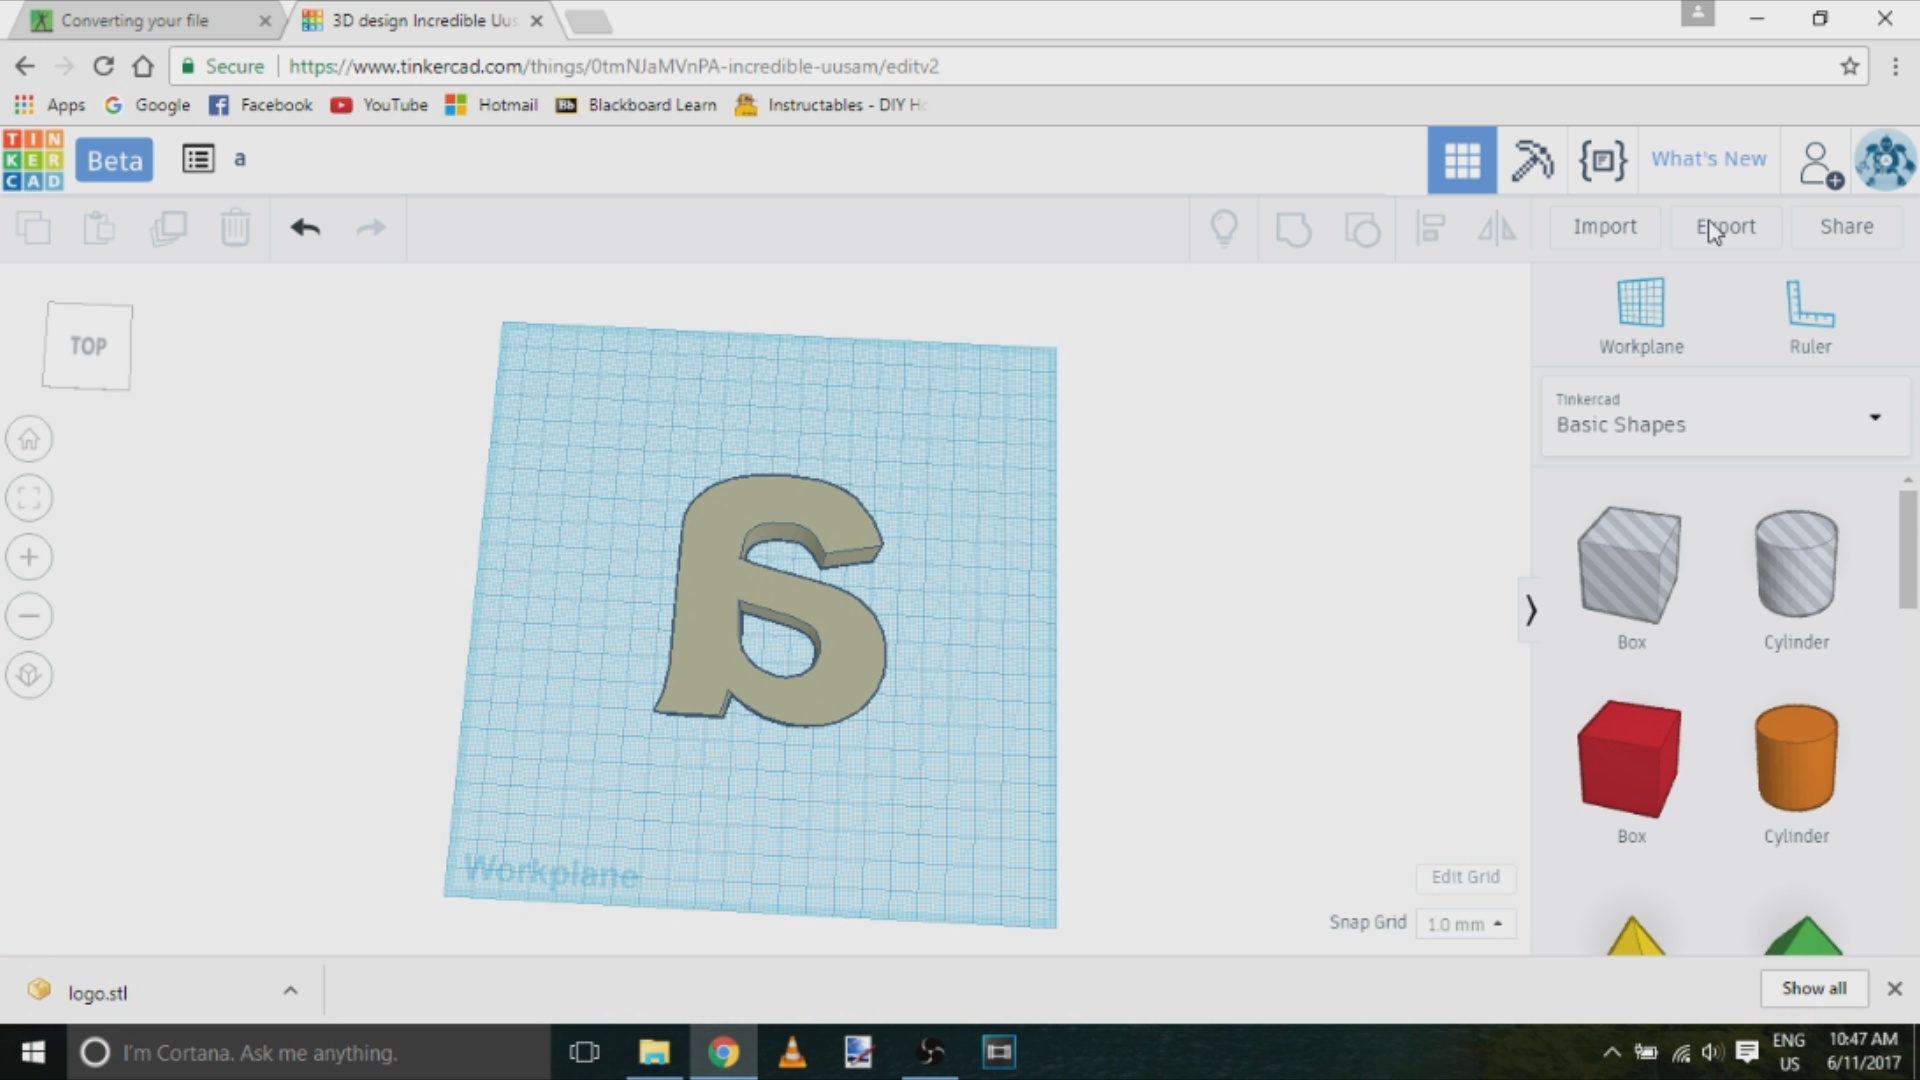
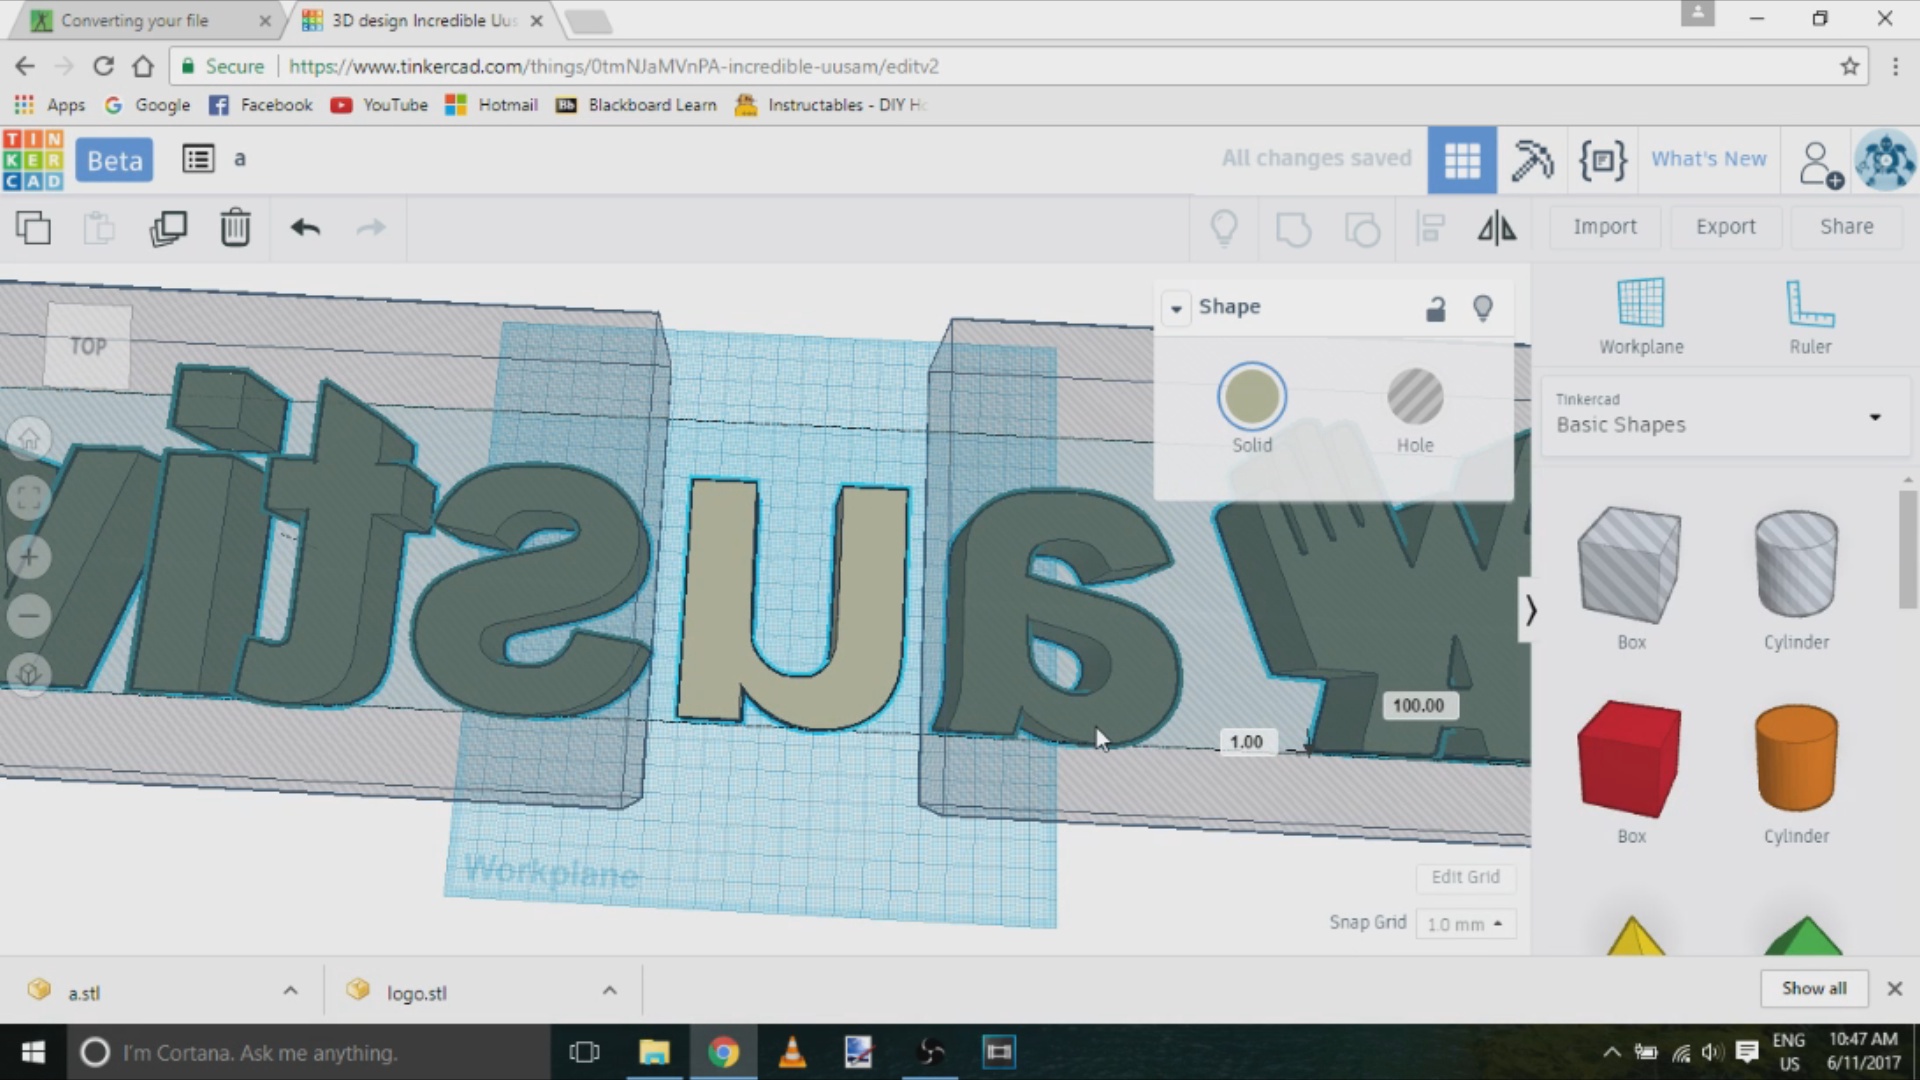
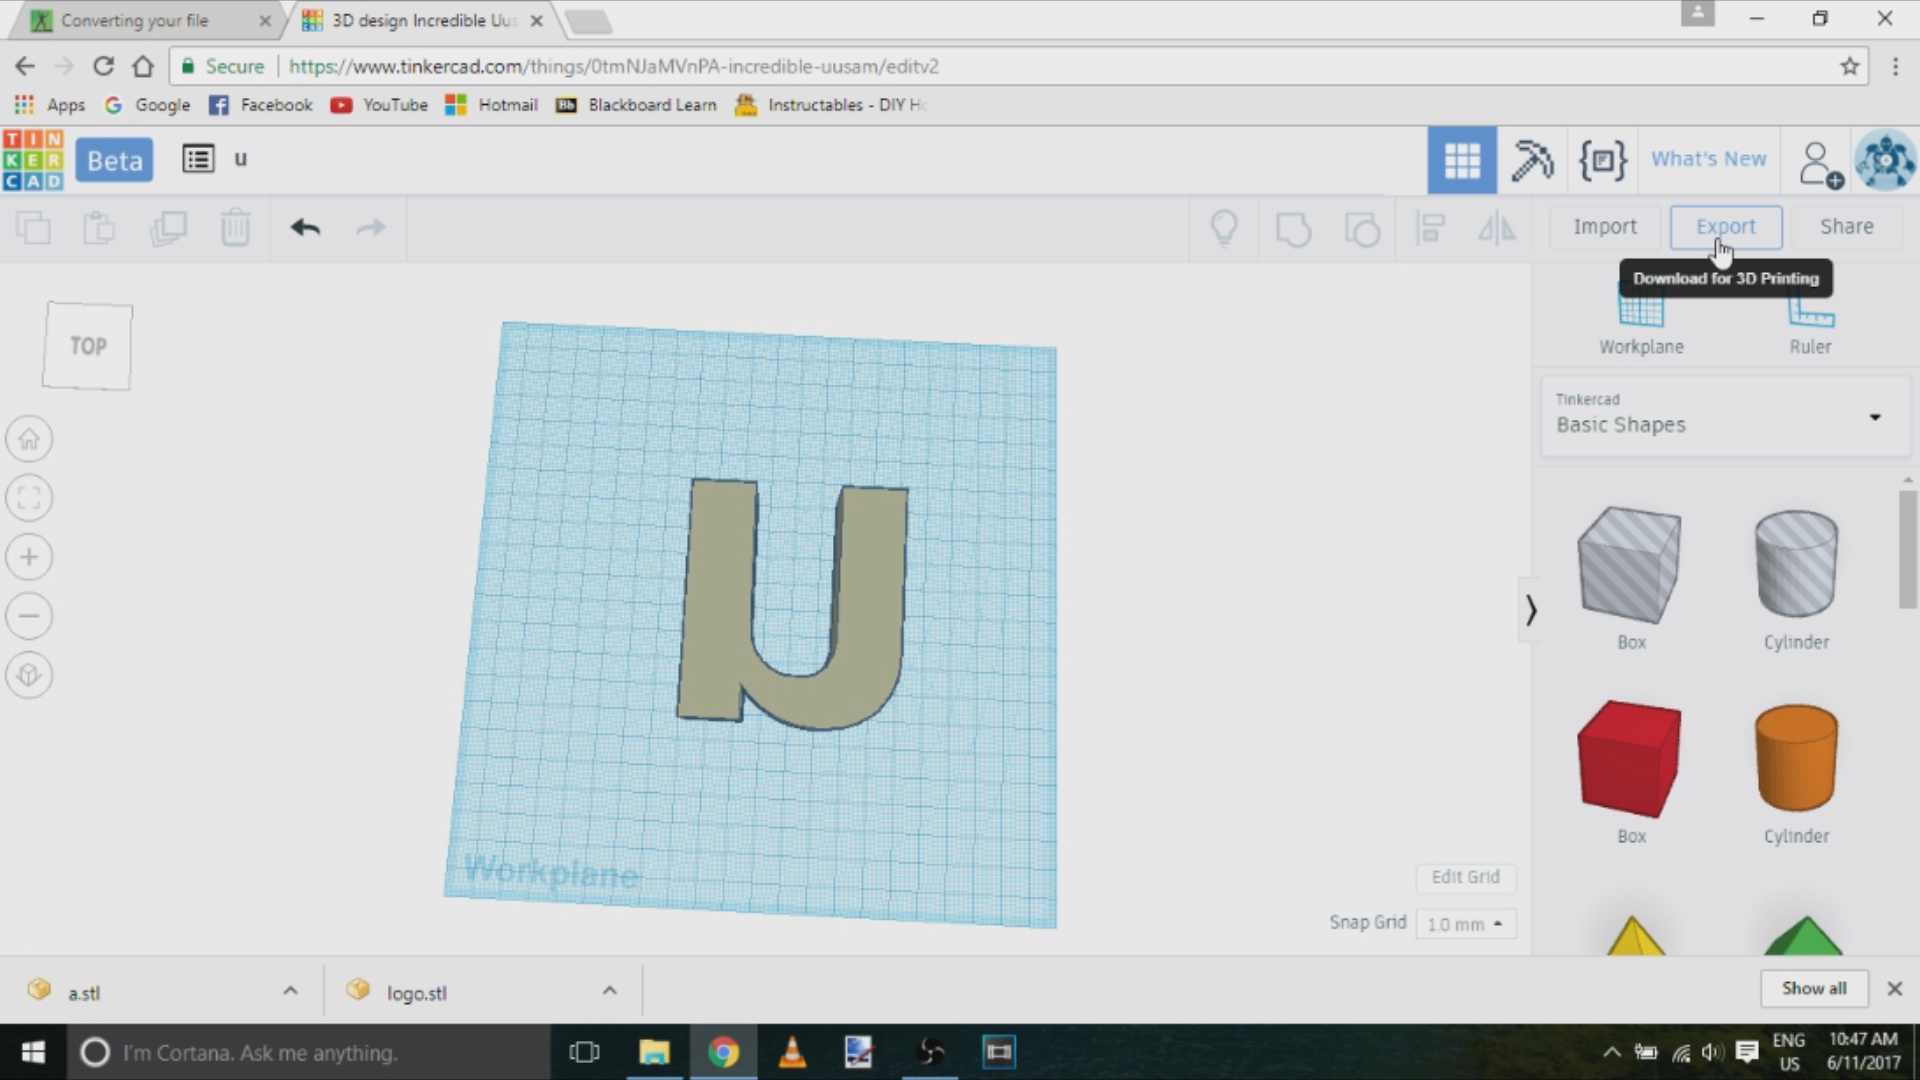
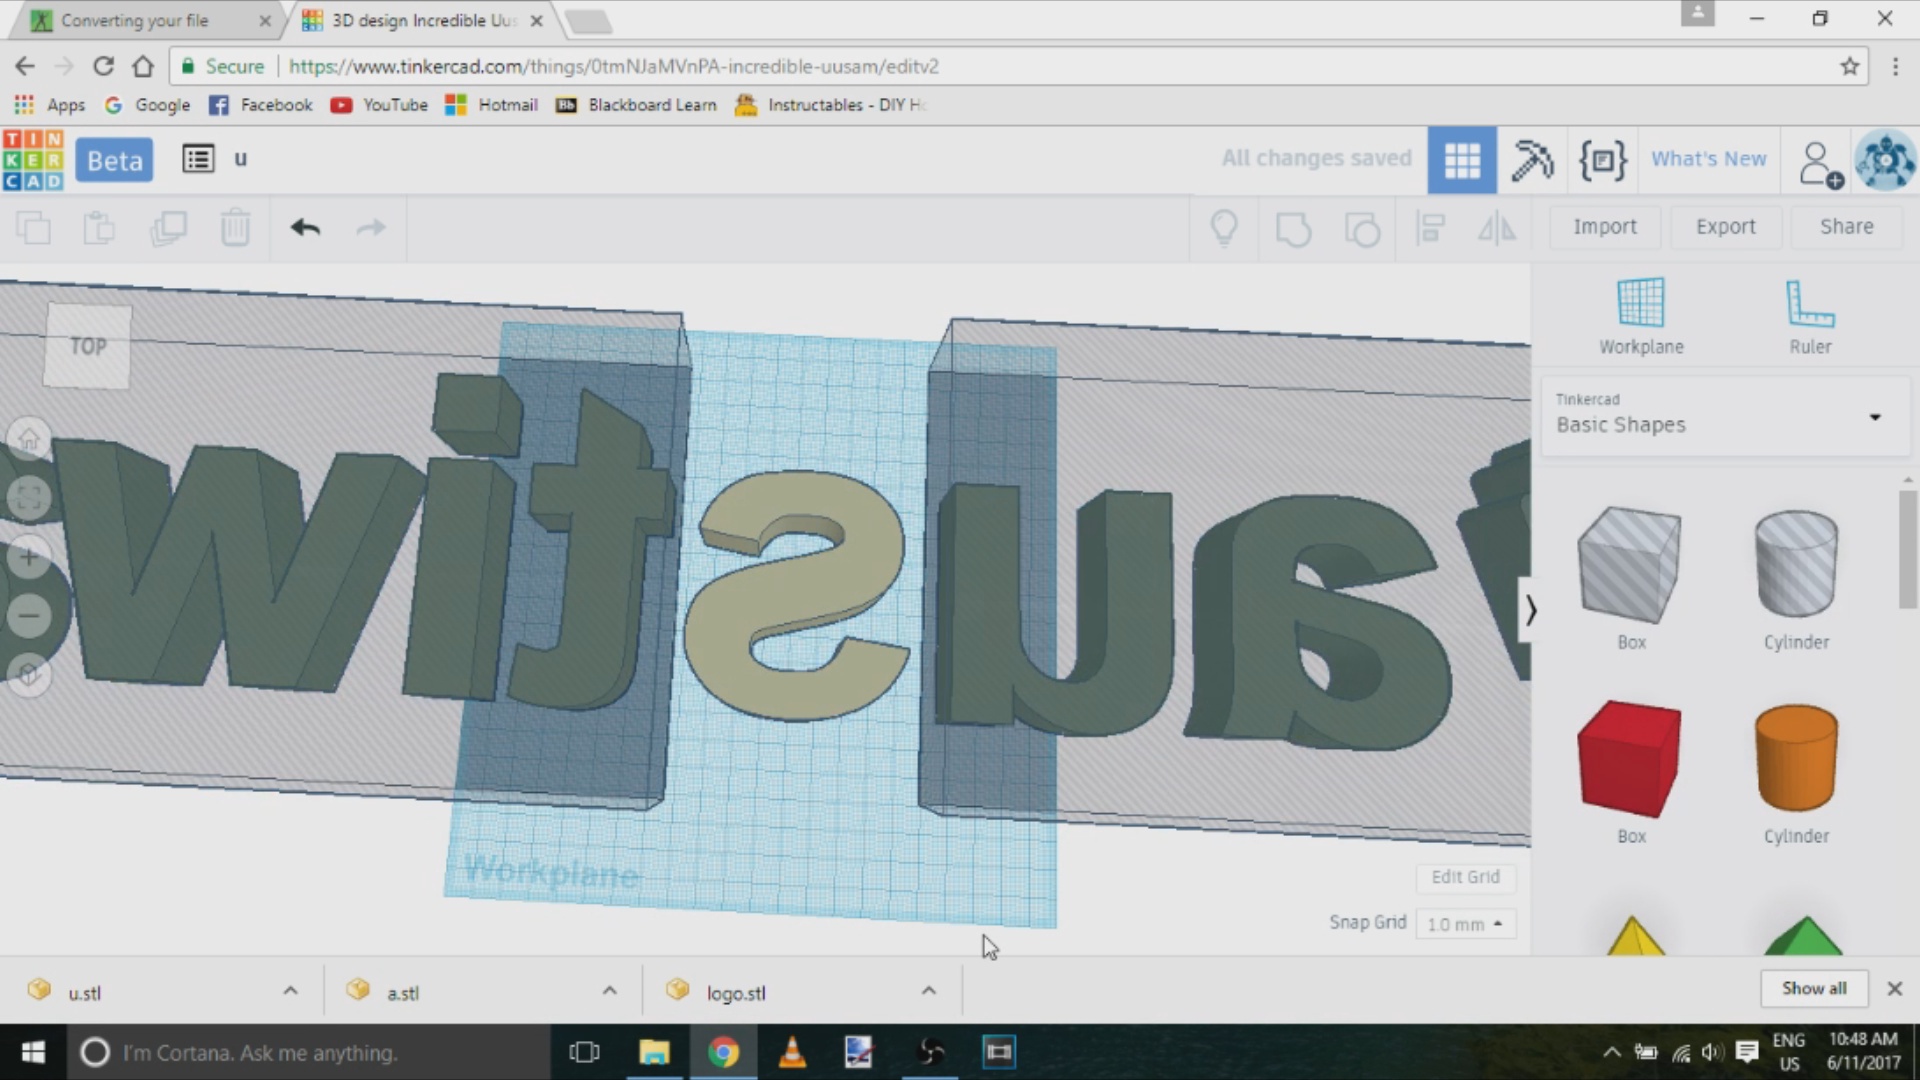
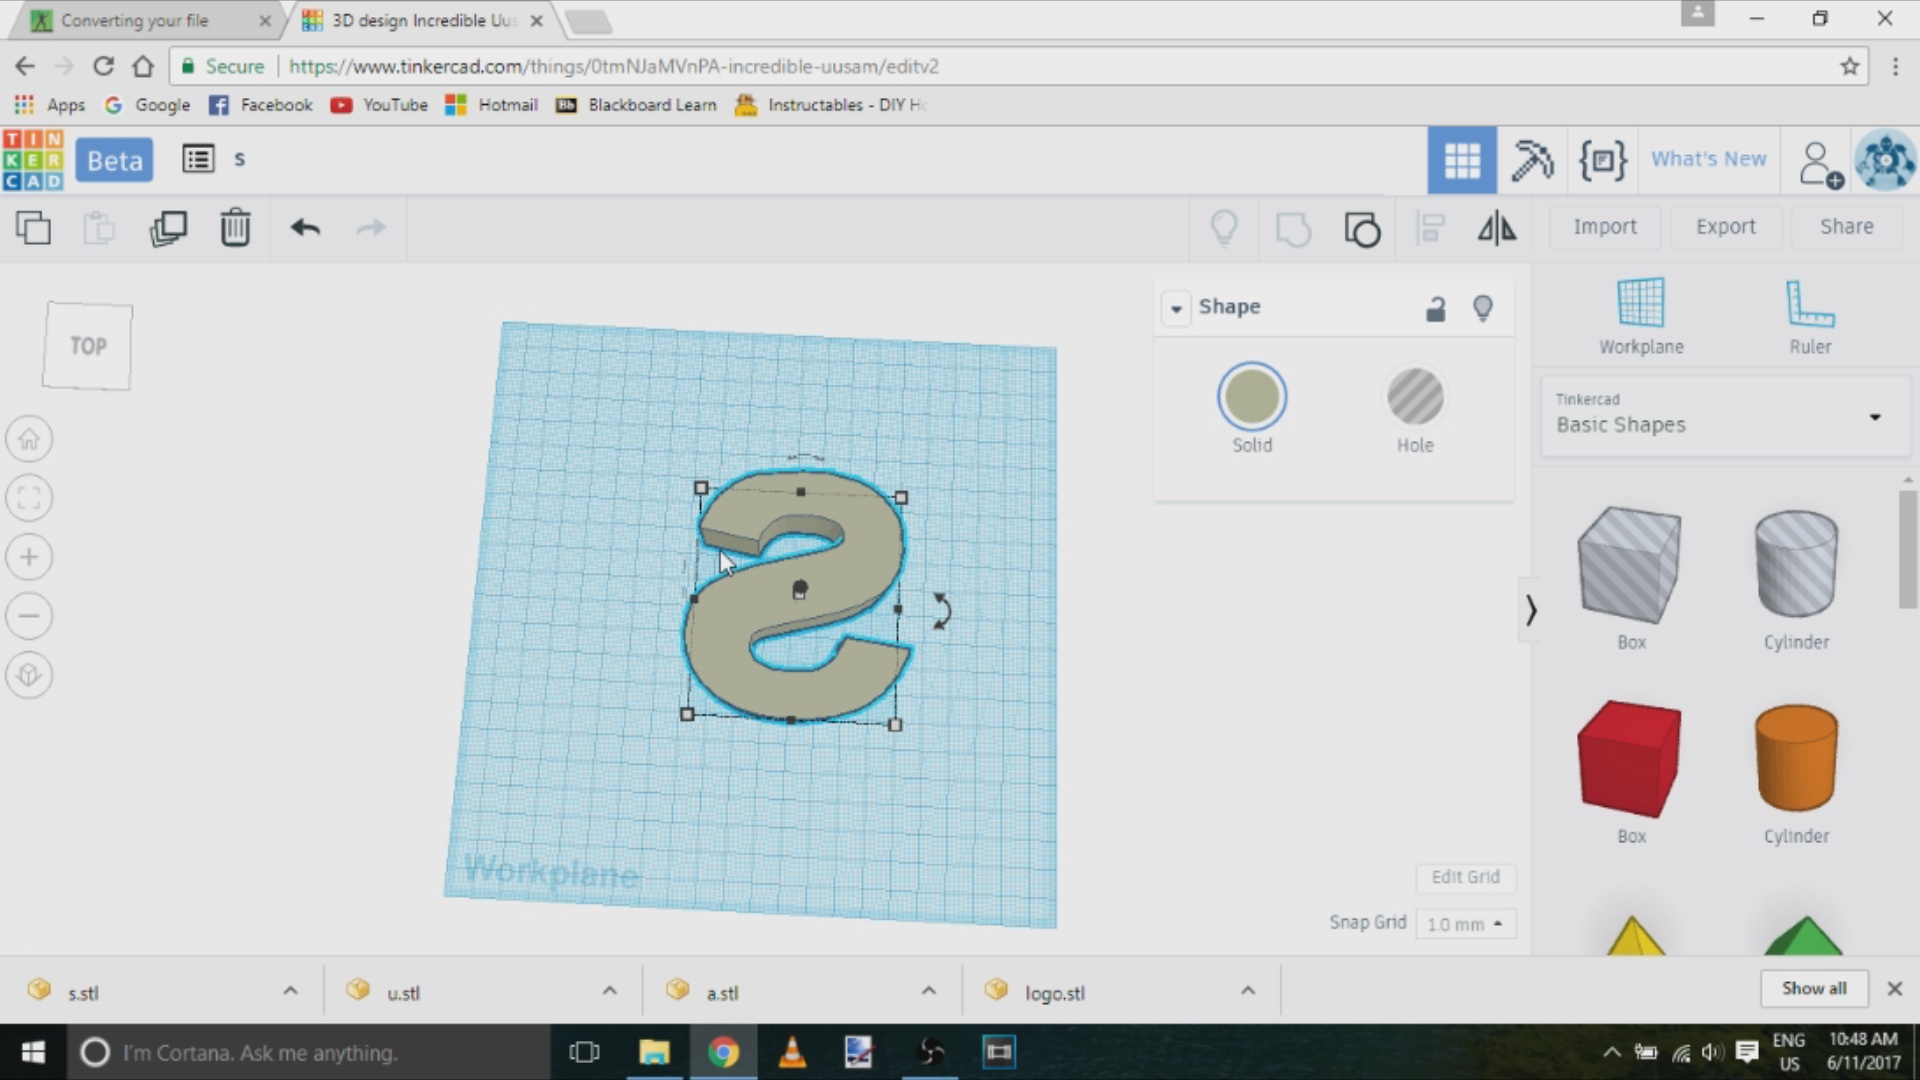
The sign that I will be making is going to be fairly large (12.5" x 49.5") so I will only be able to print one letter at a time. In order to do this the letters as well as the logo need to be saved as individual models. I started by covering all of the letters with a box and then made it a hole. I then grouped the hole with my model in order to erase the letters and exported the logo as an STL file.
After saving the logo I selected the model and clicked the “Ungroup button”. From there I repeated this same process for each letter. If you got a little lost during some of the previous steps you can use the video for further guidance.
Printing the Models!
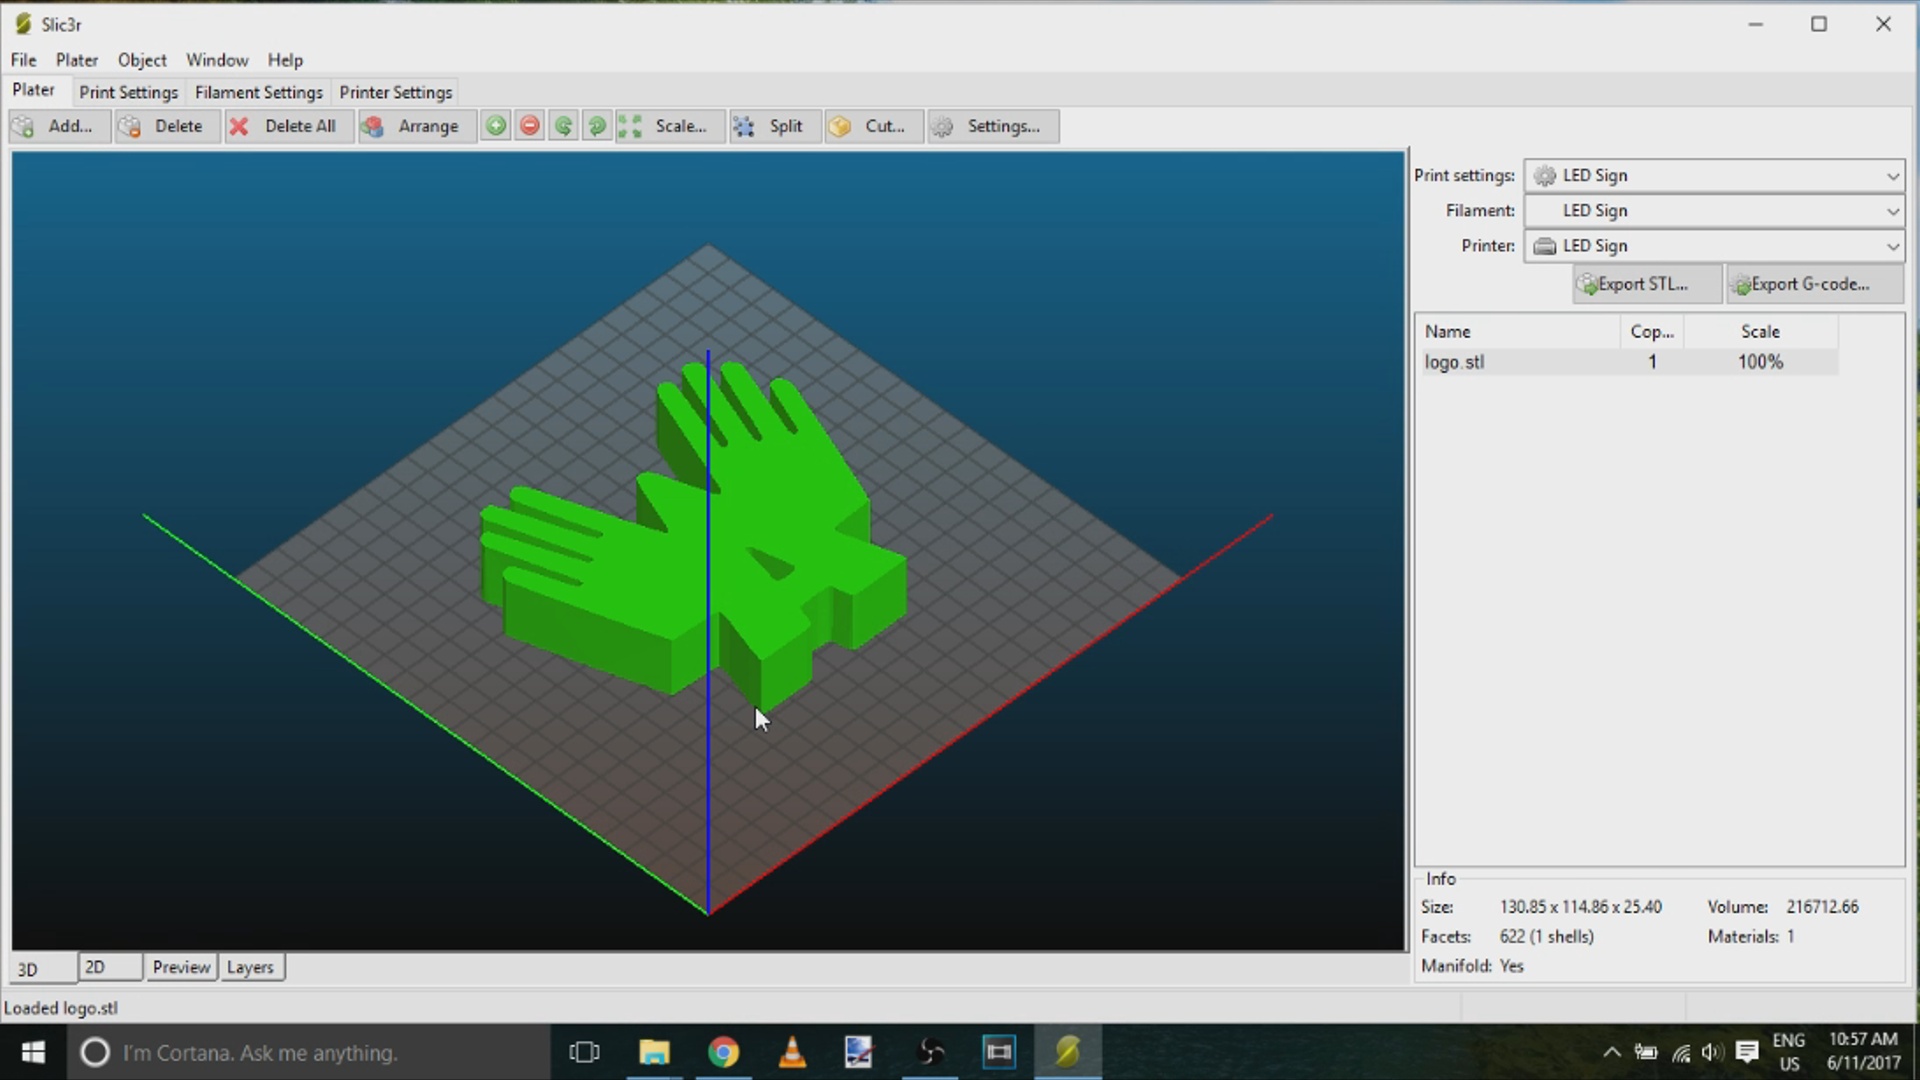
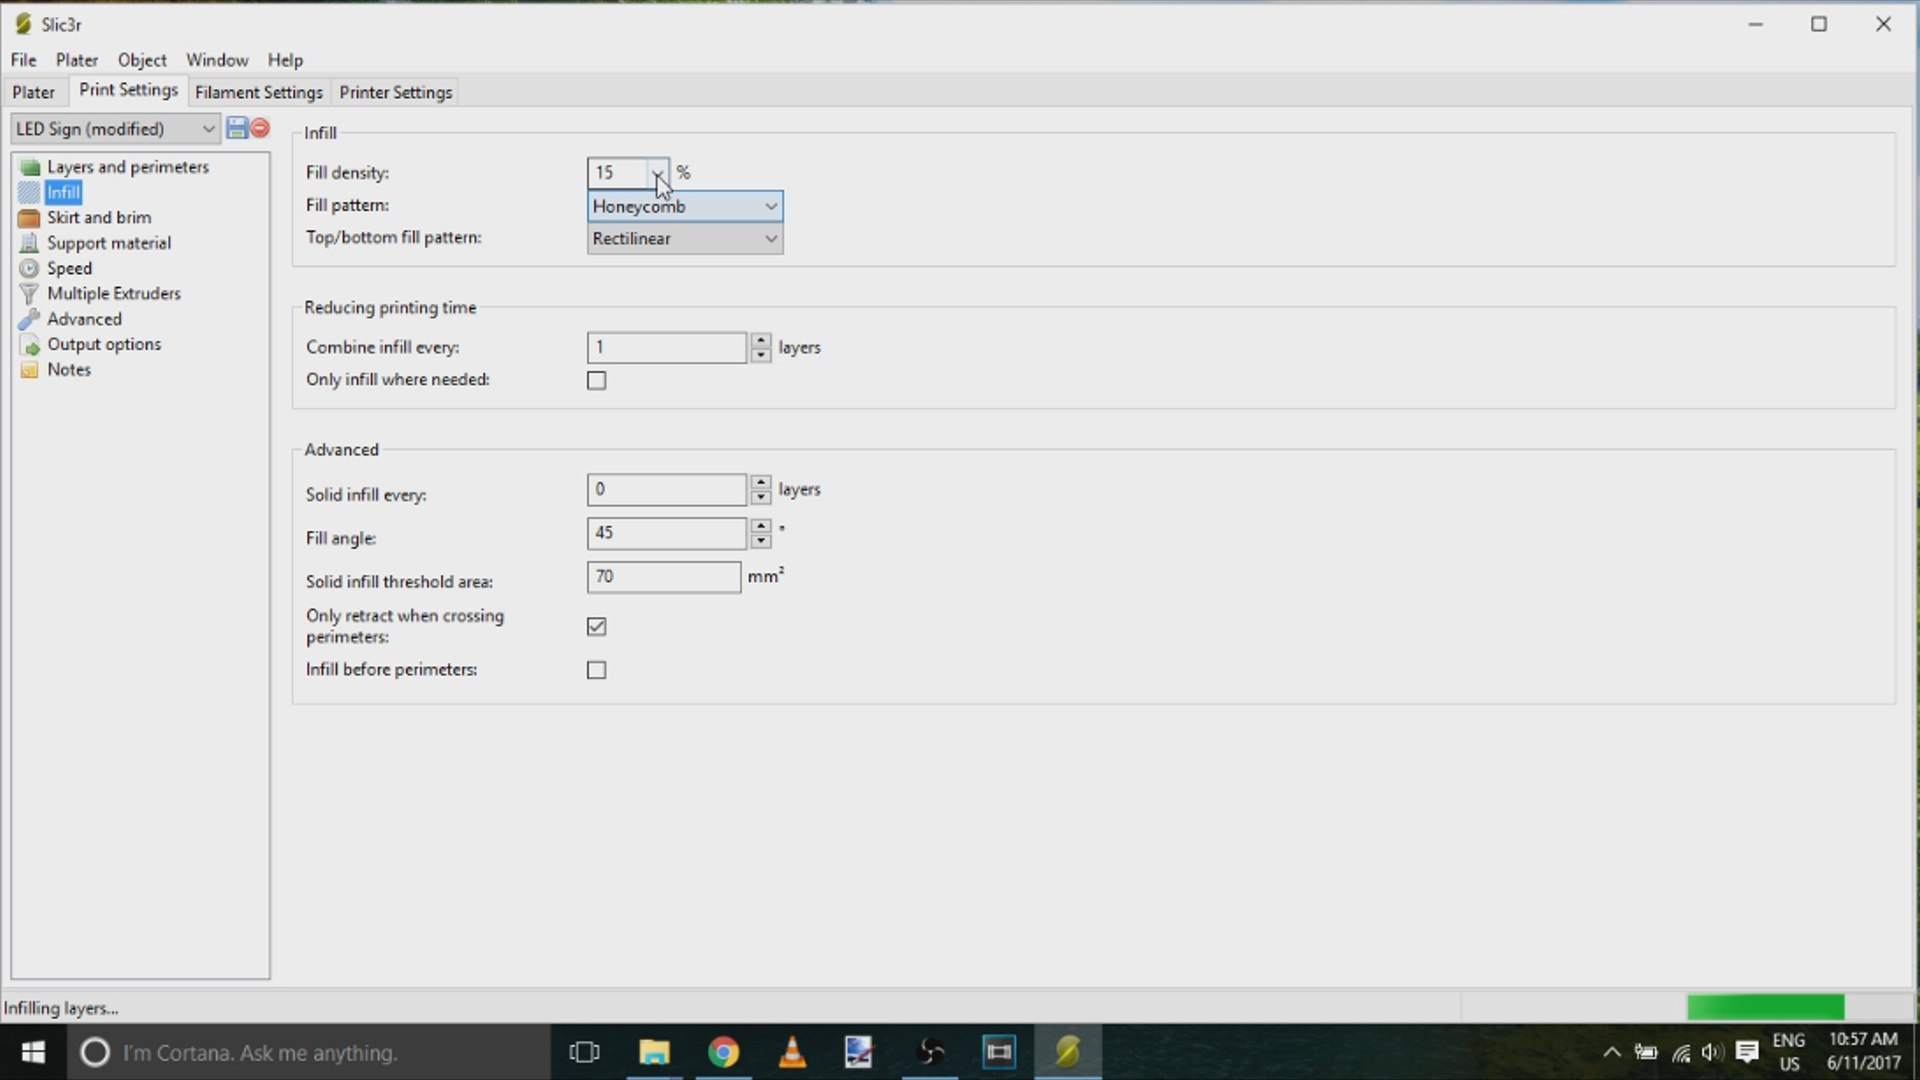
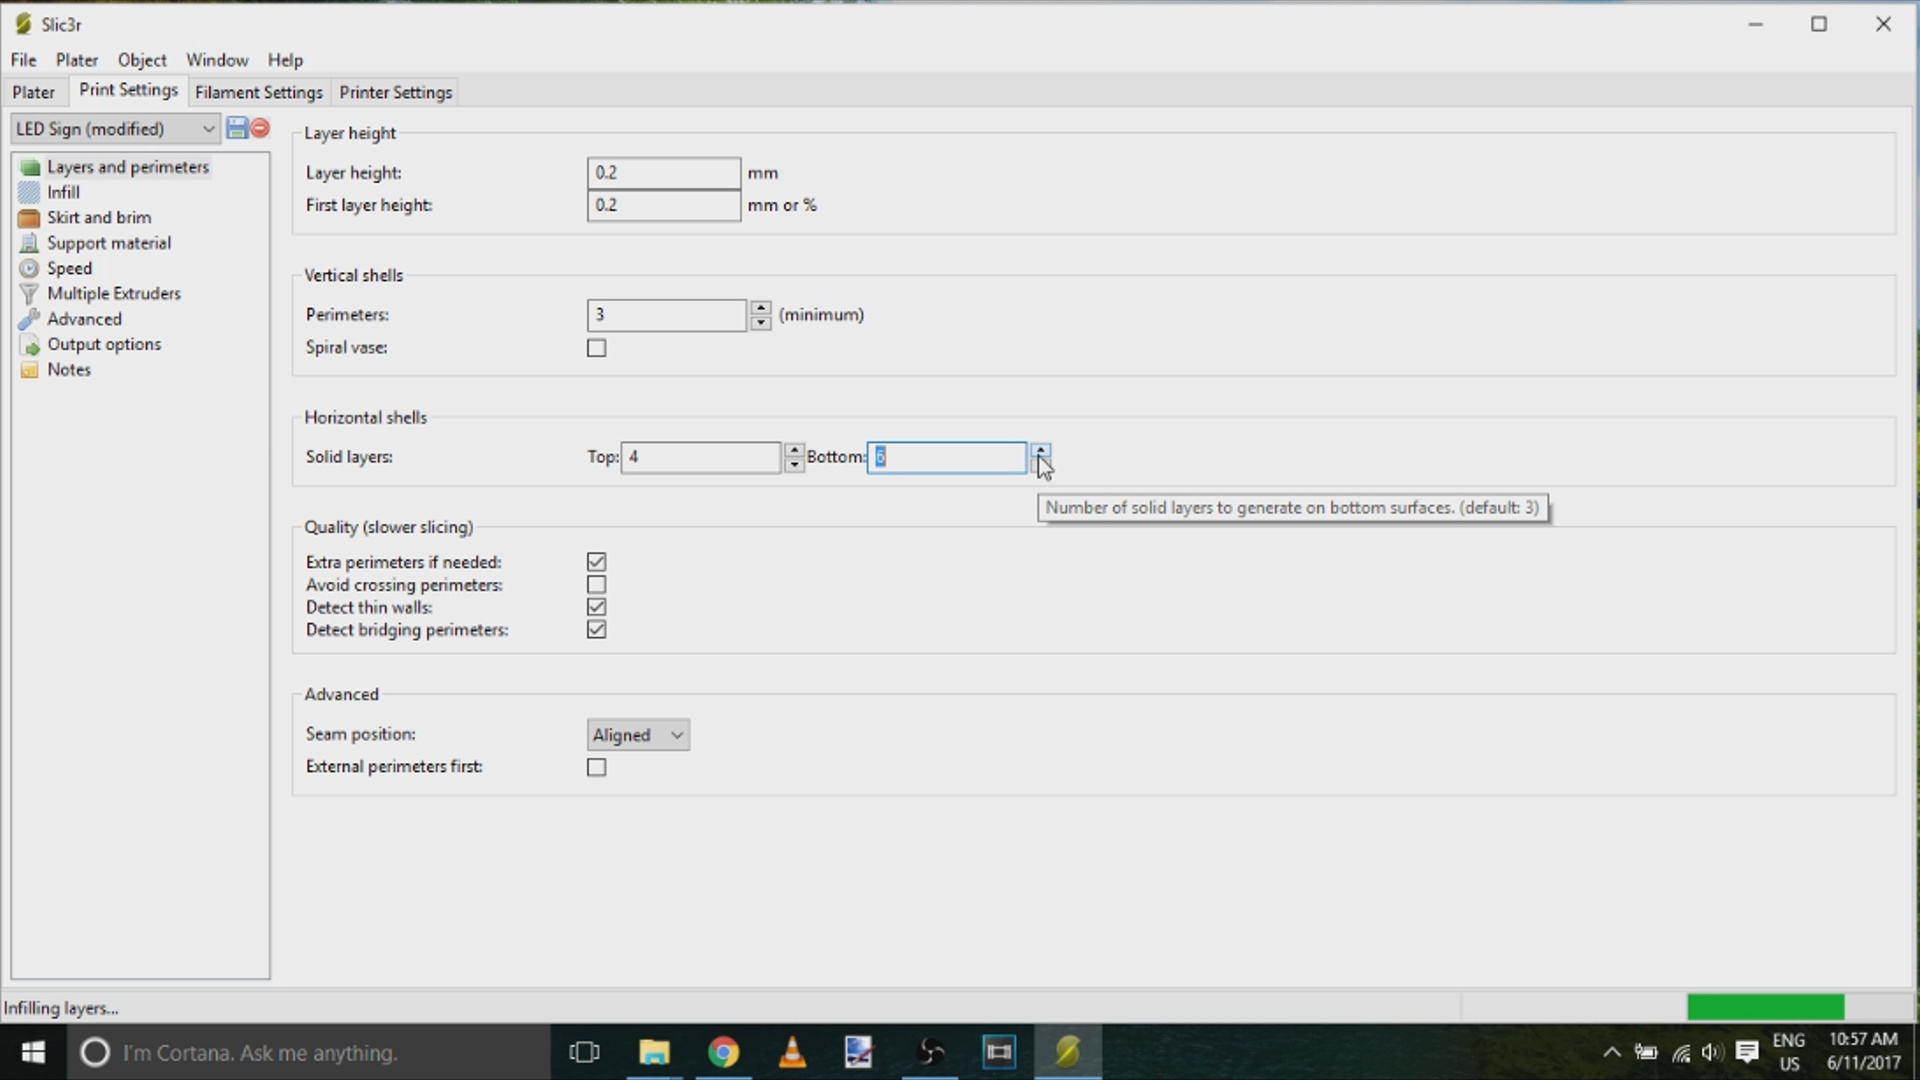
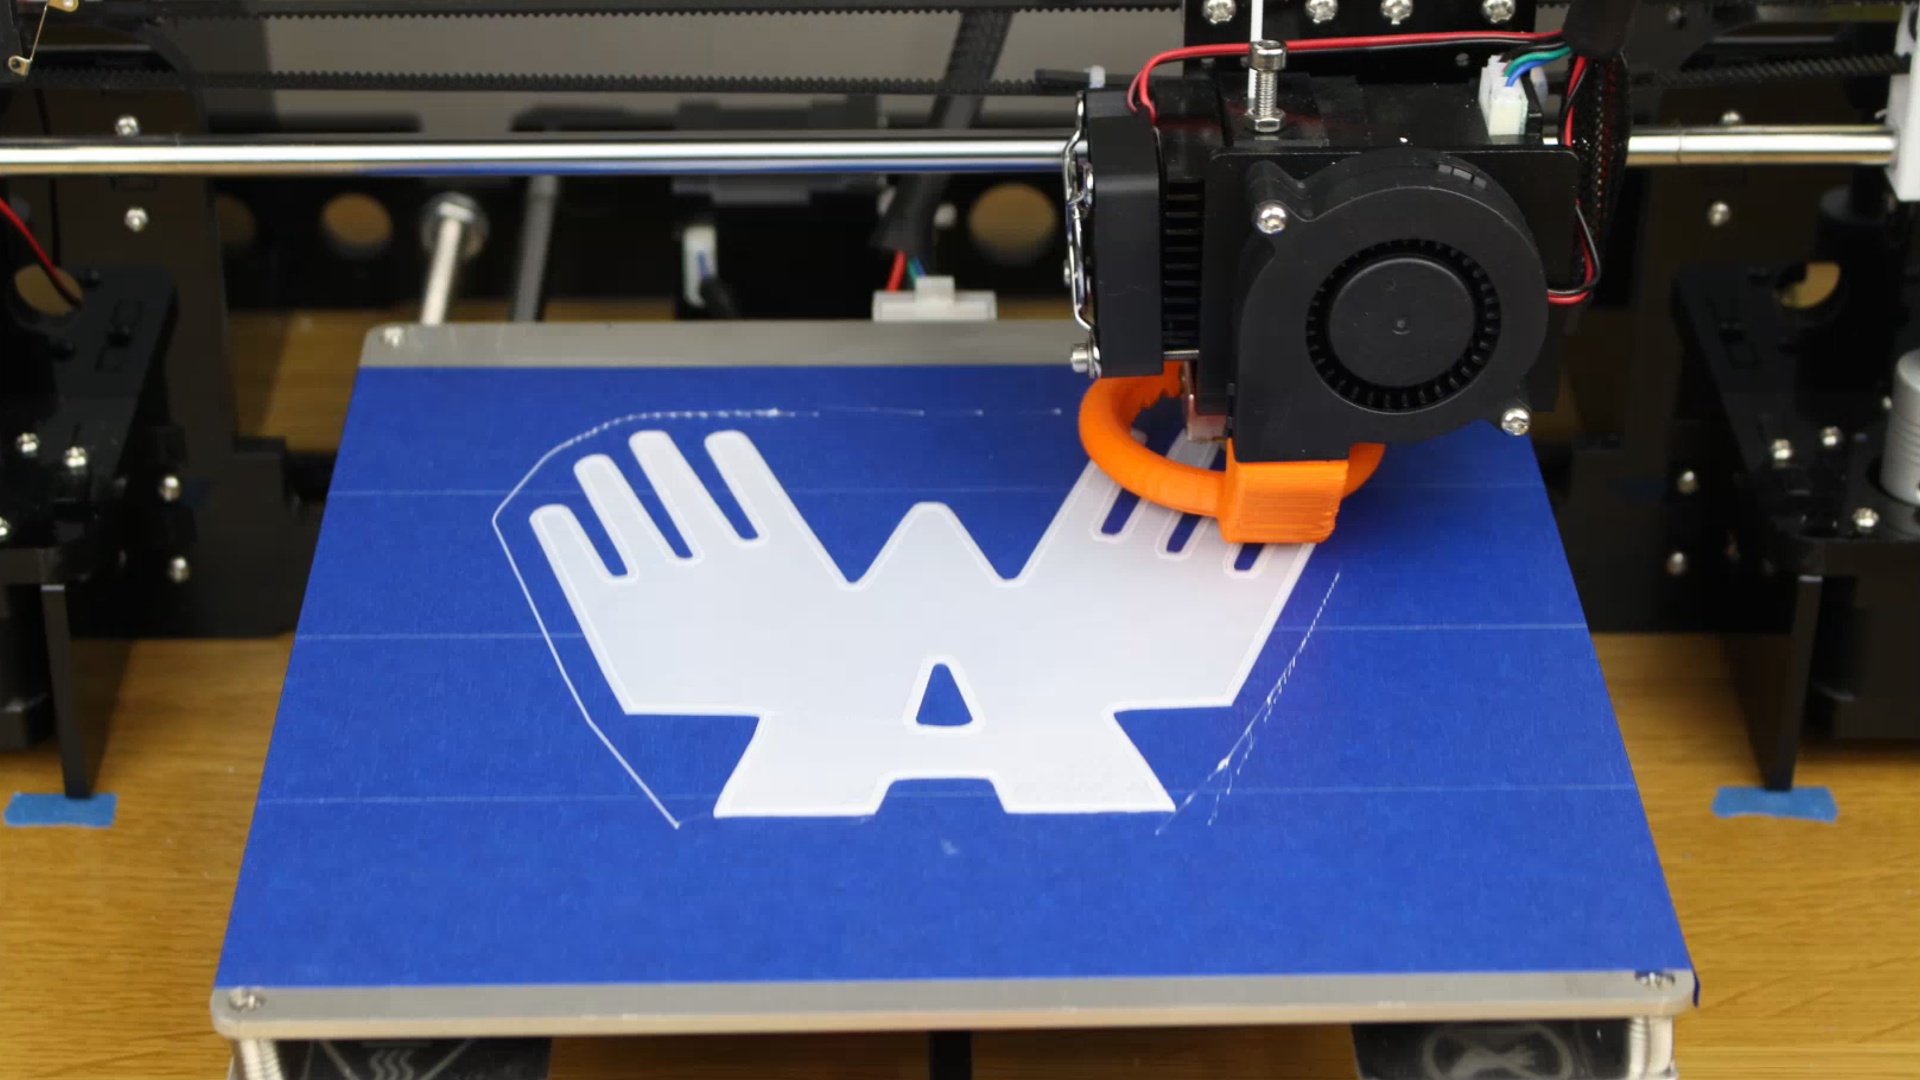
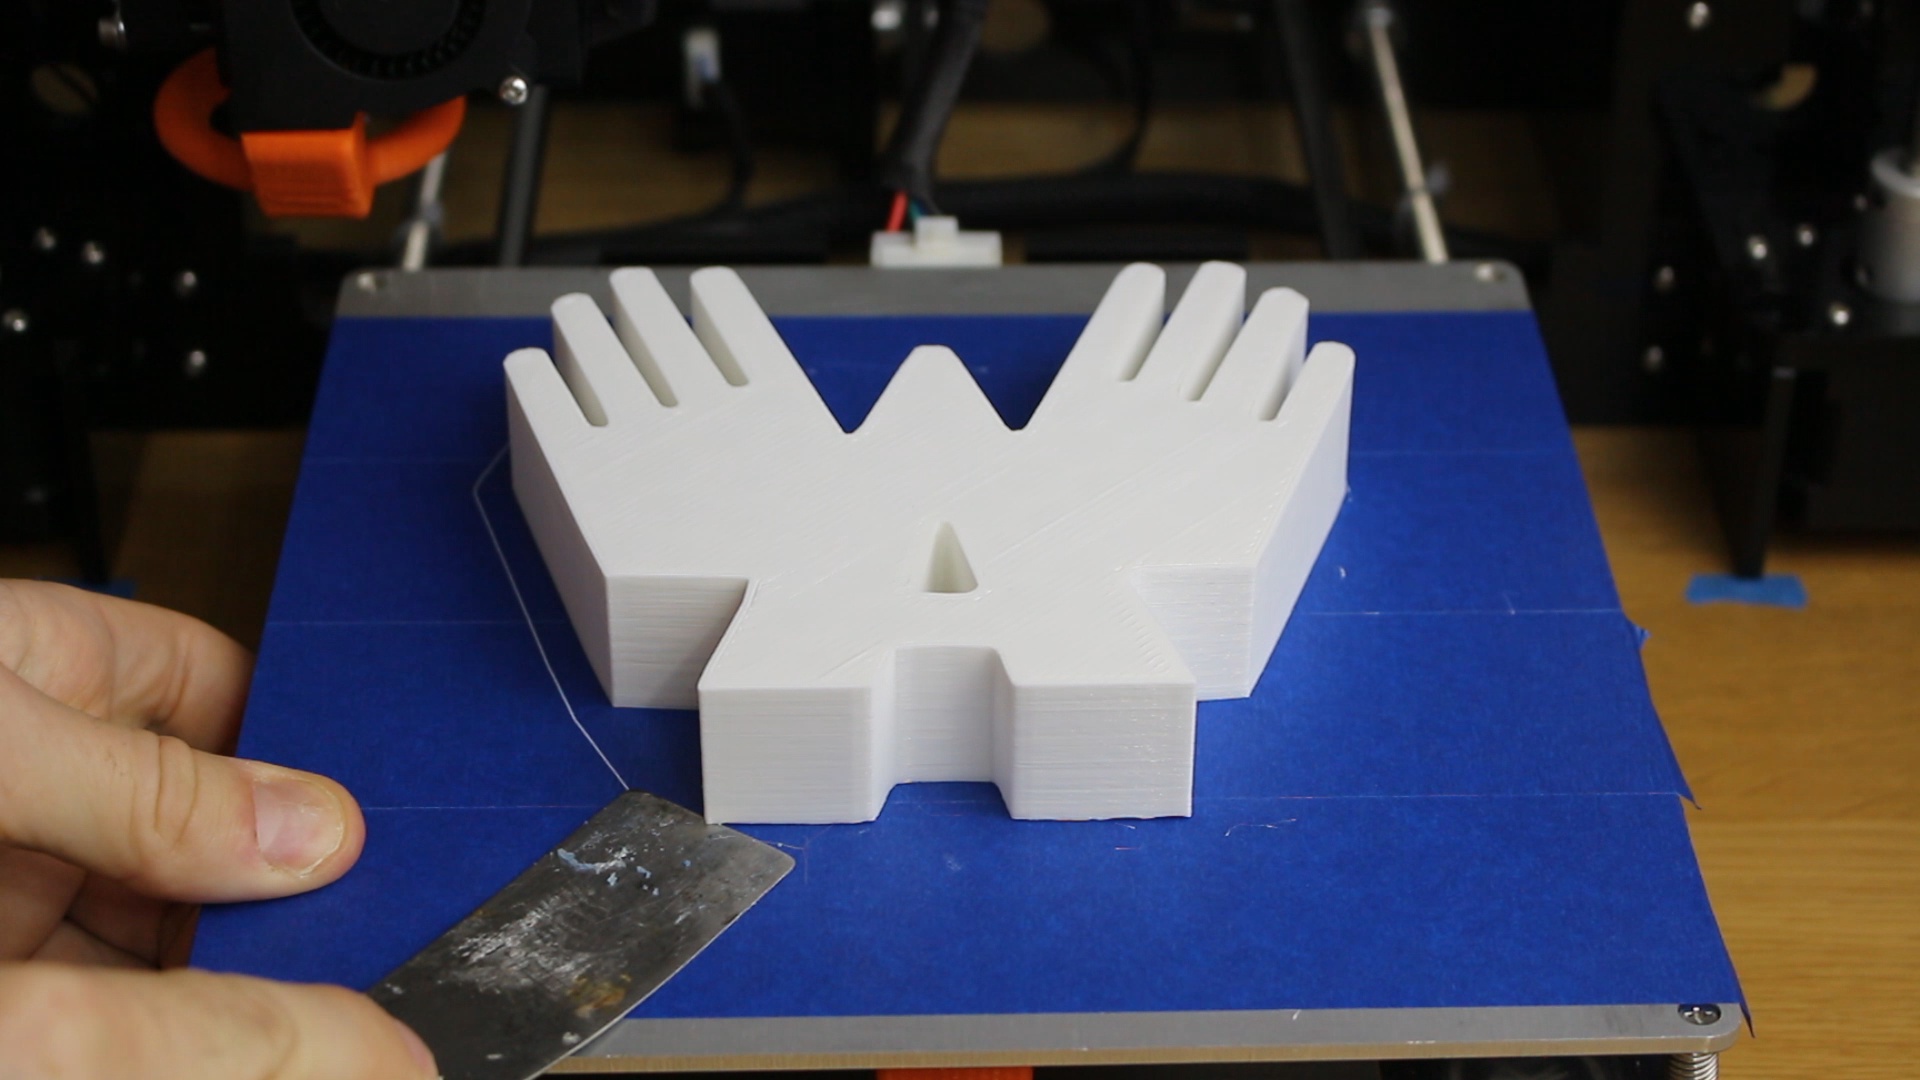
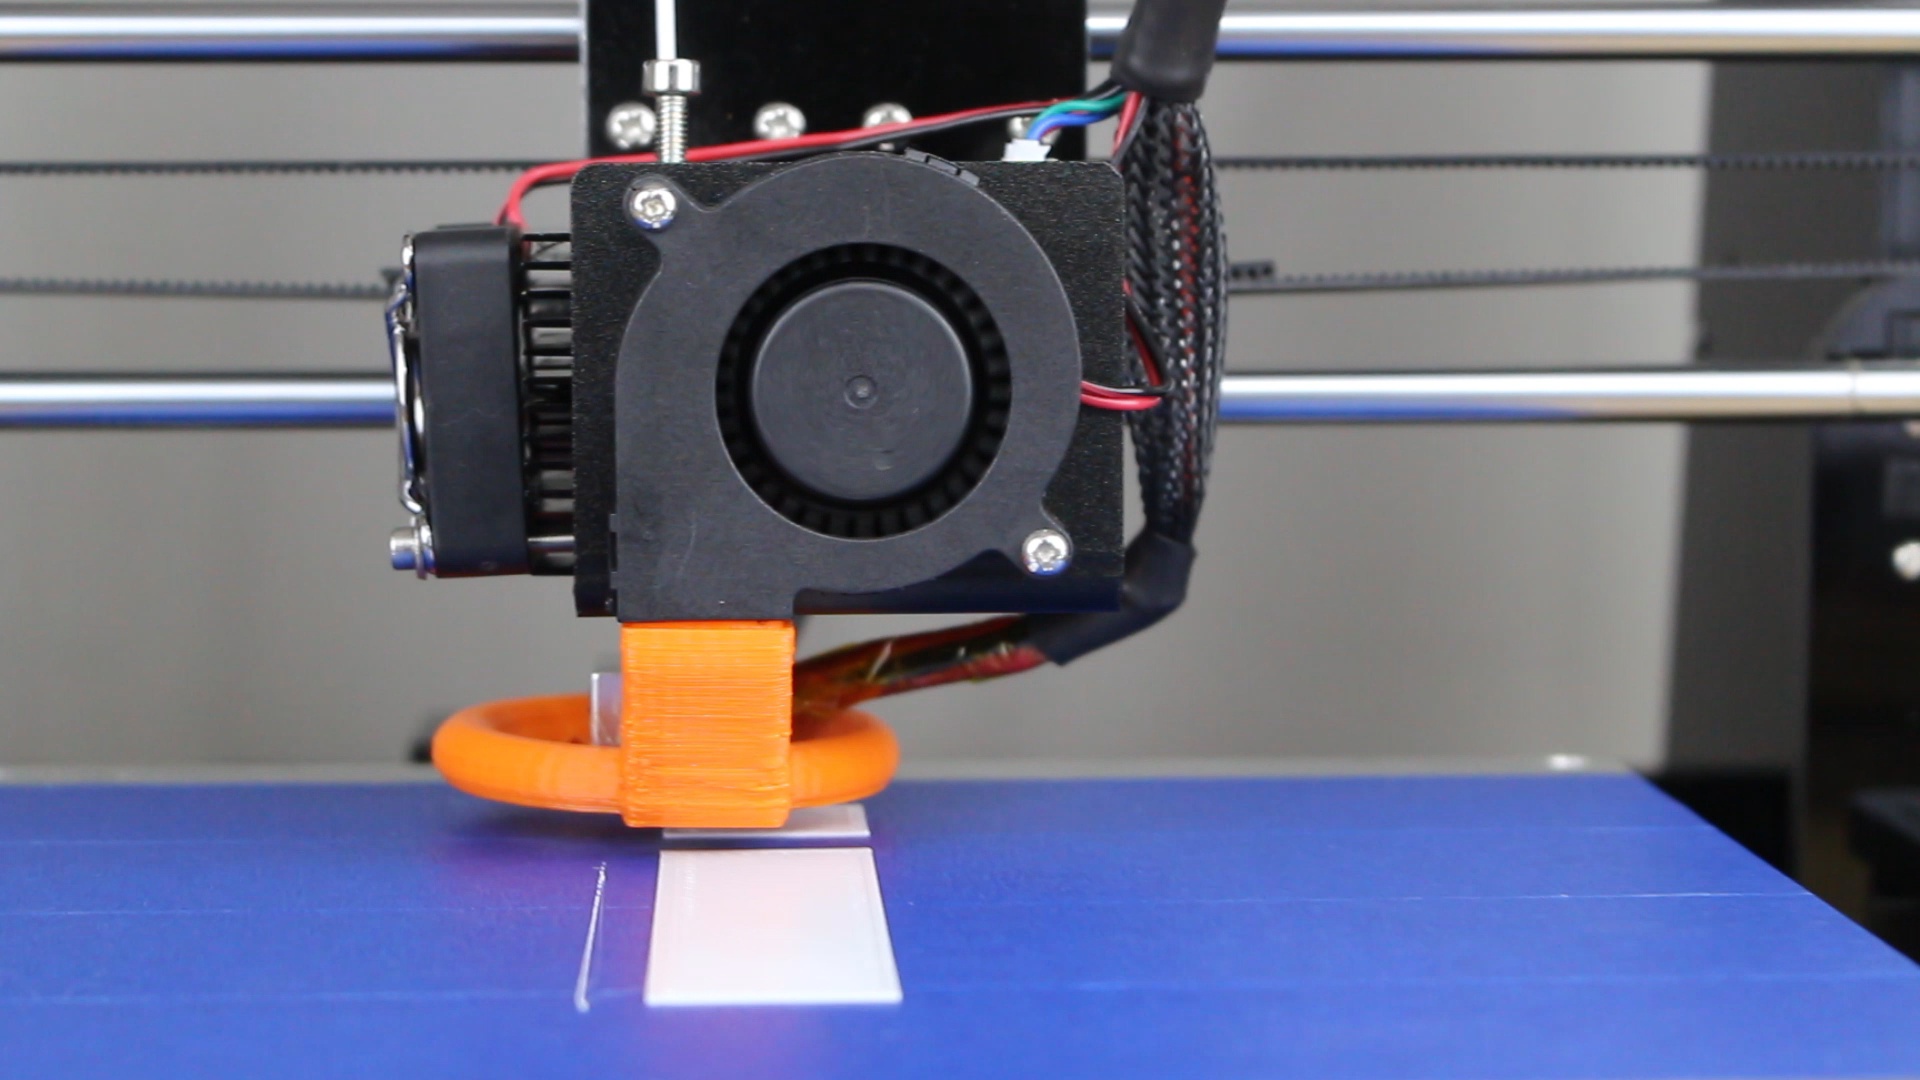
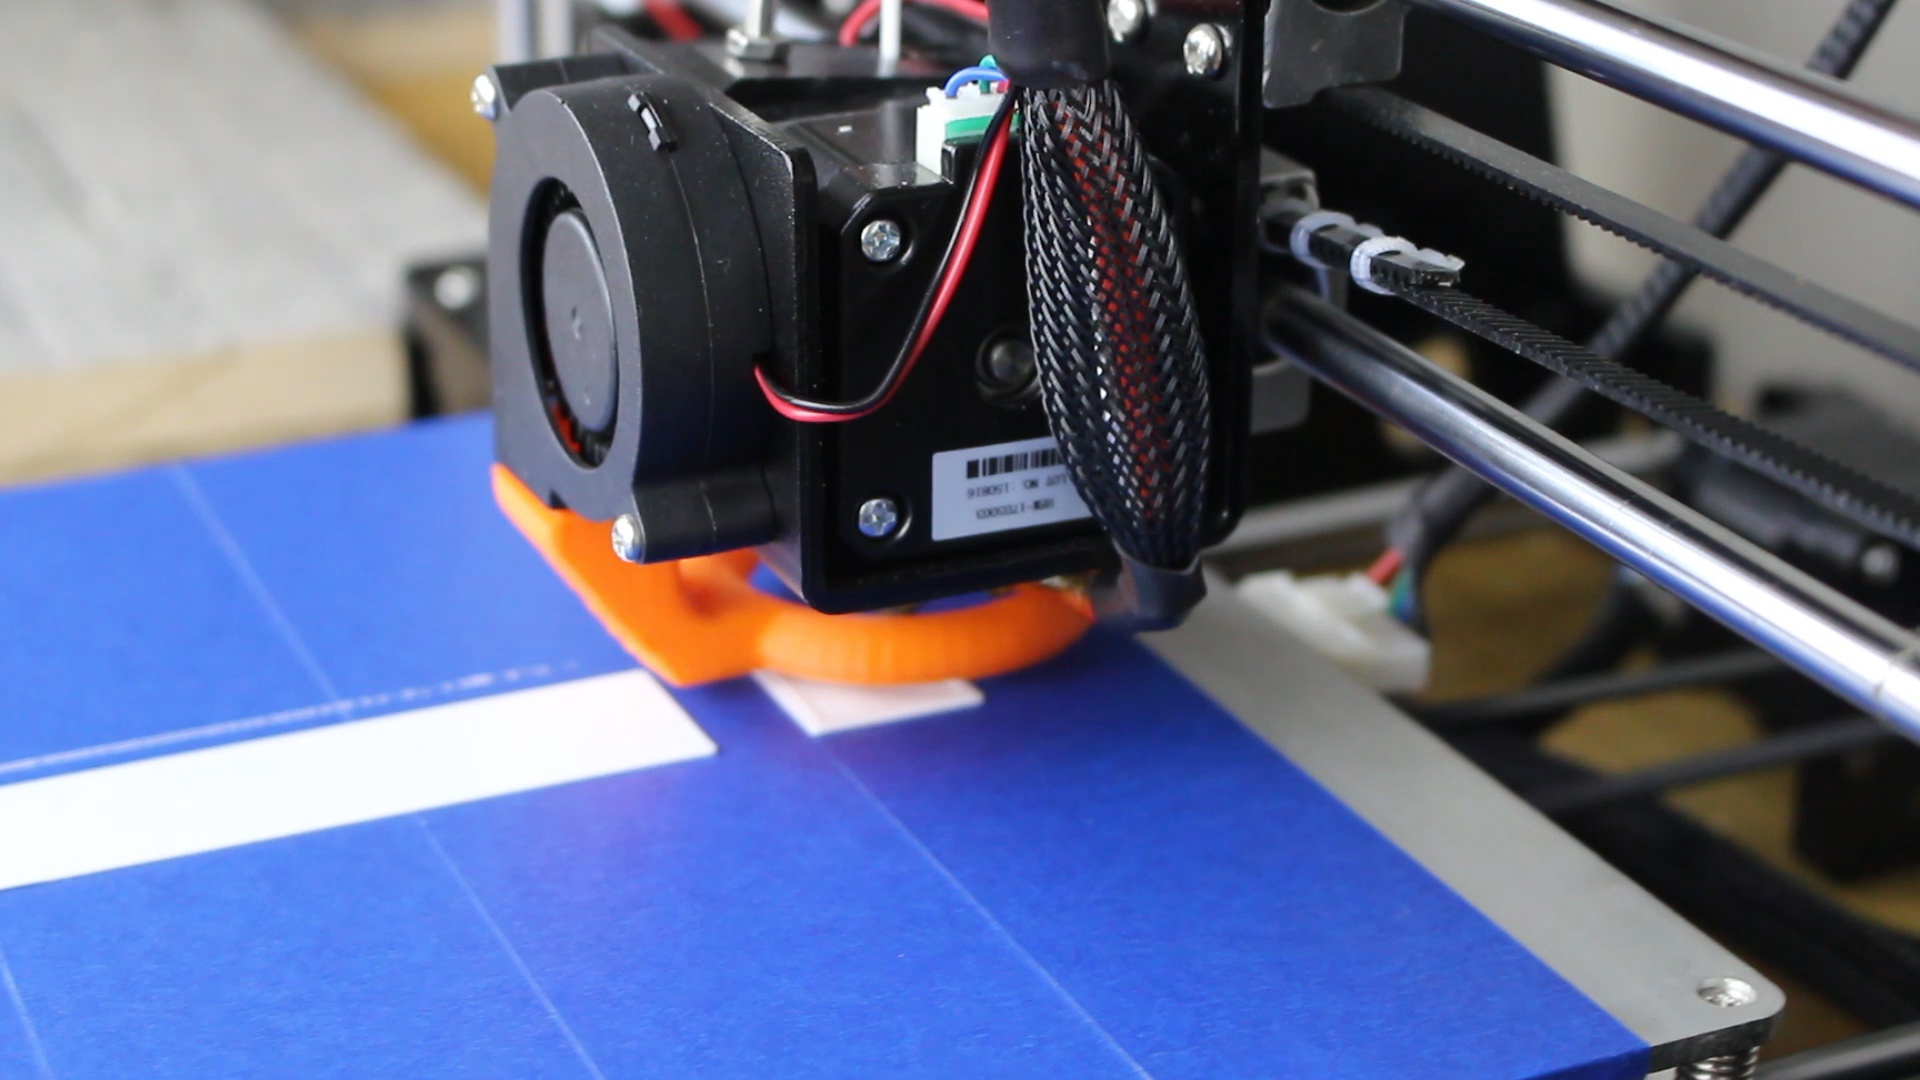
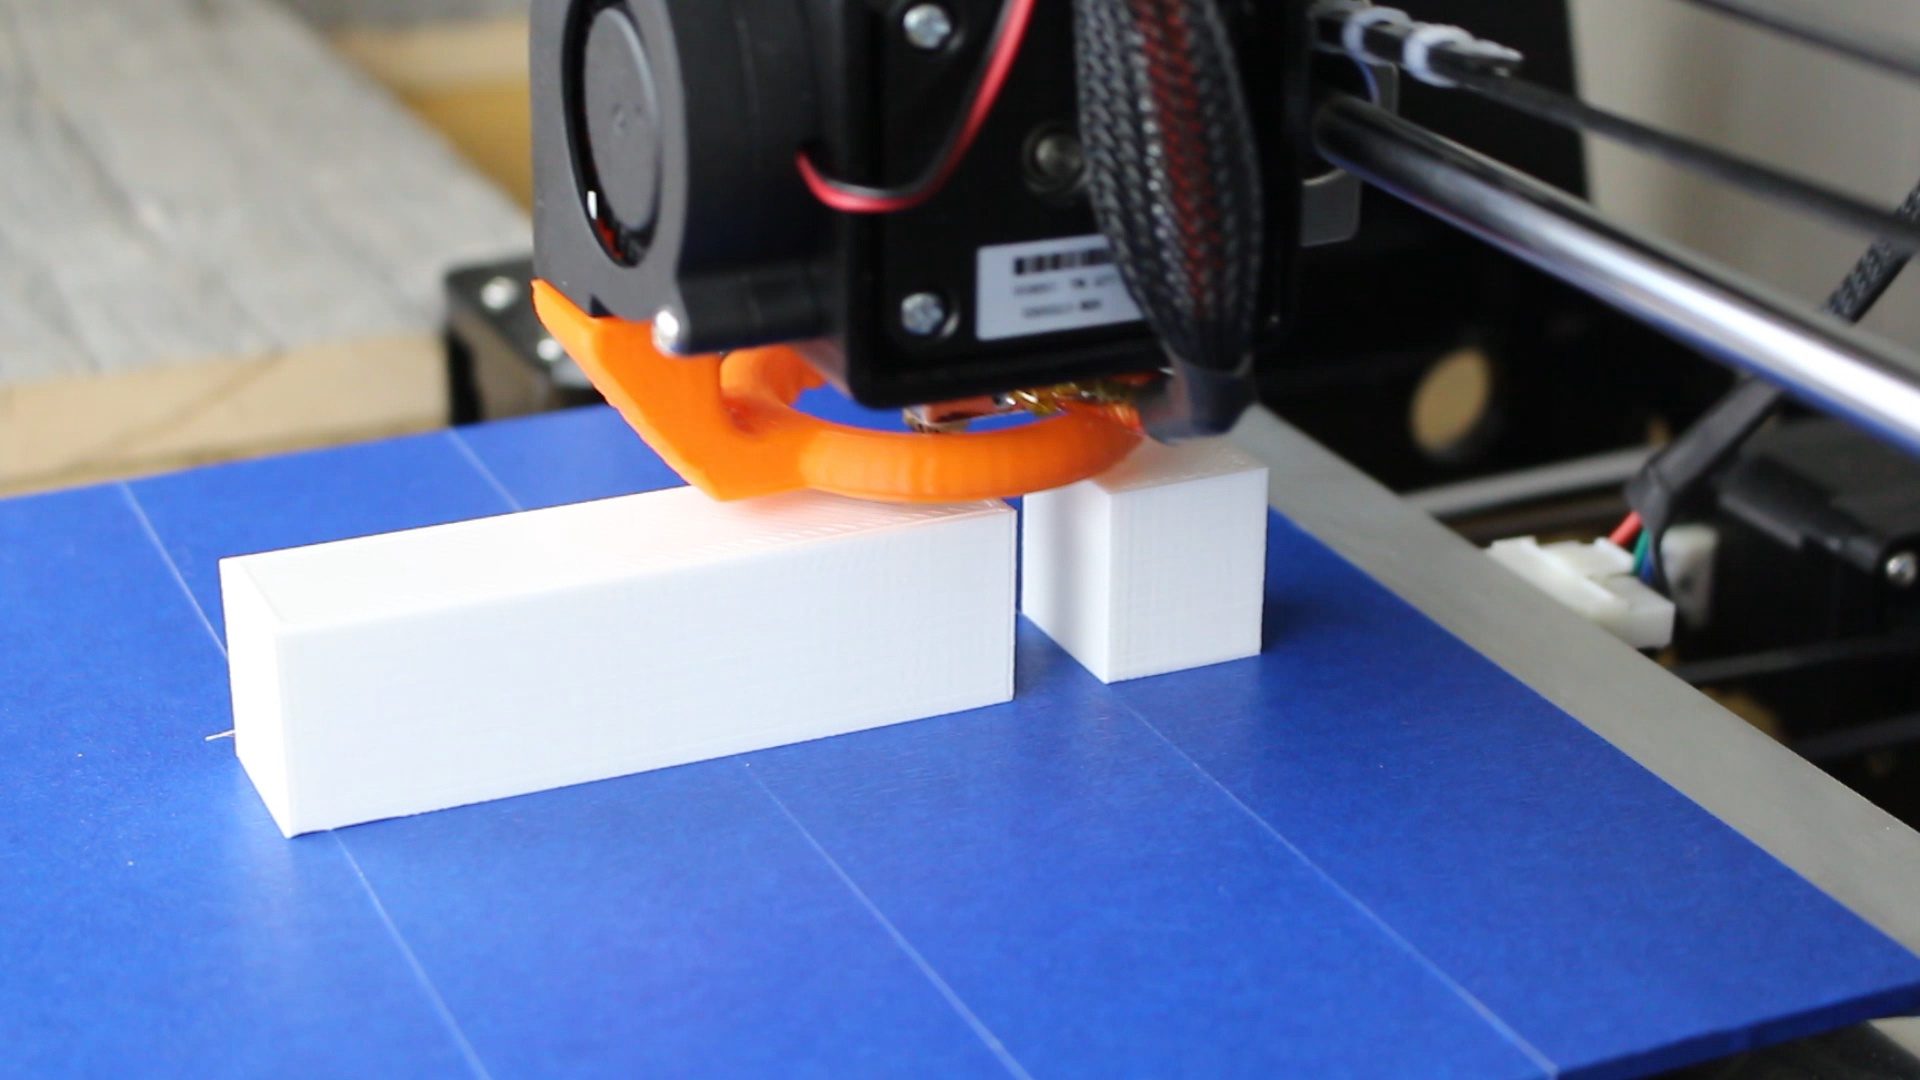
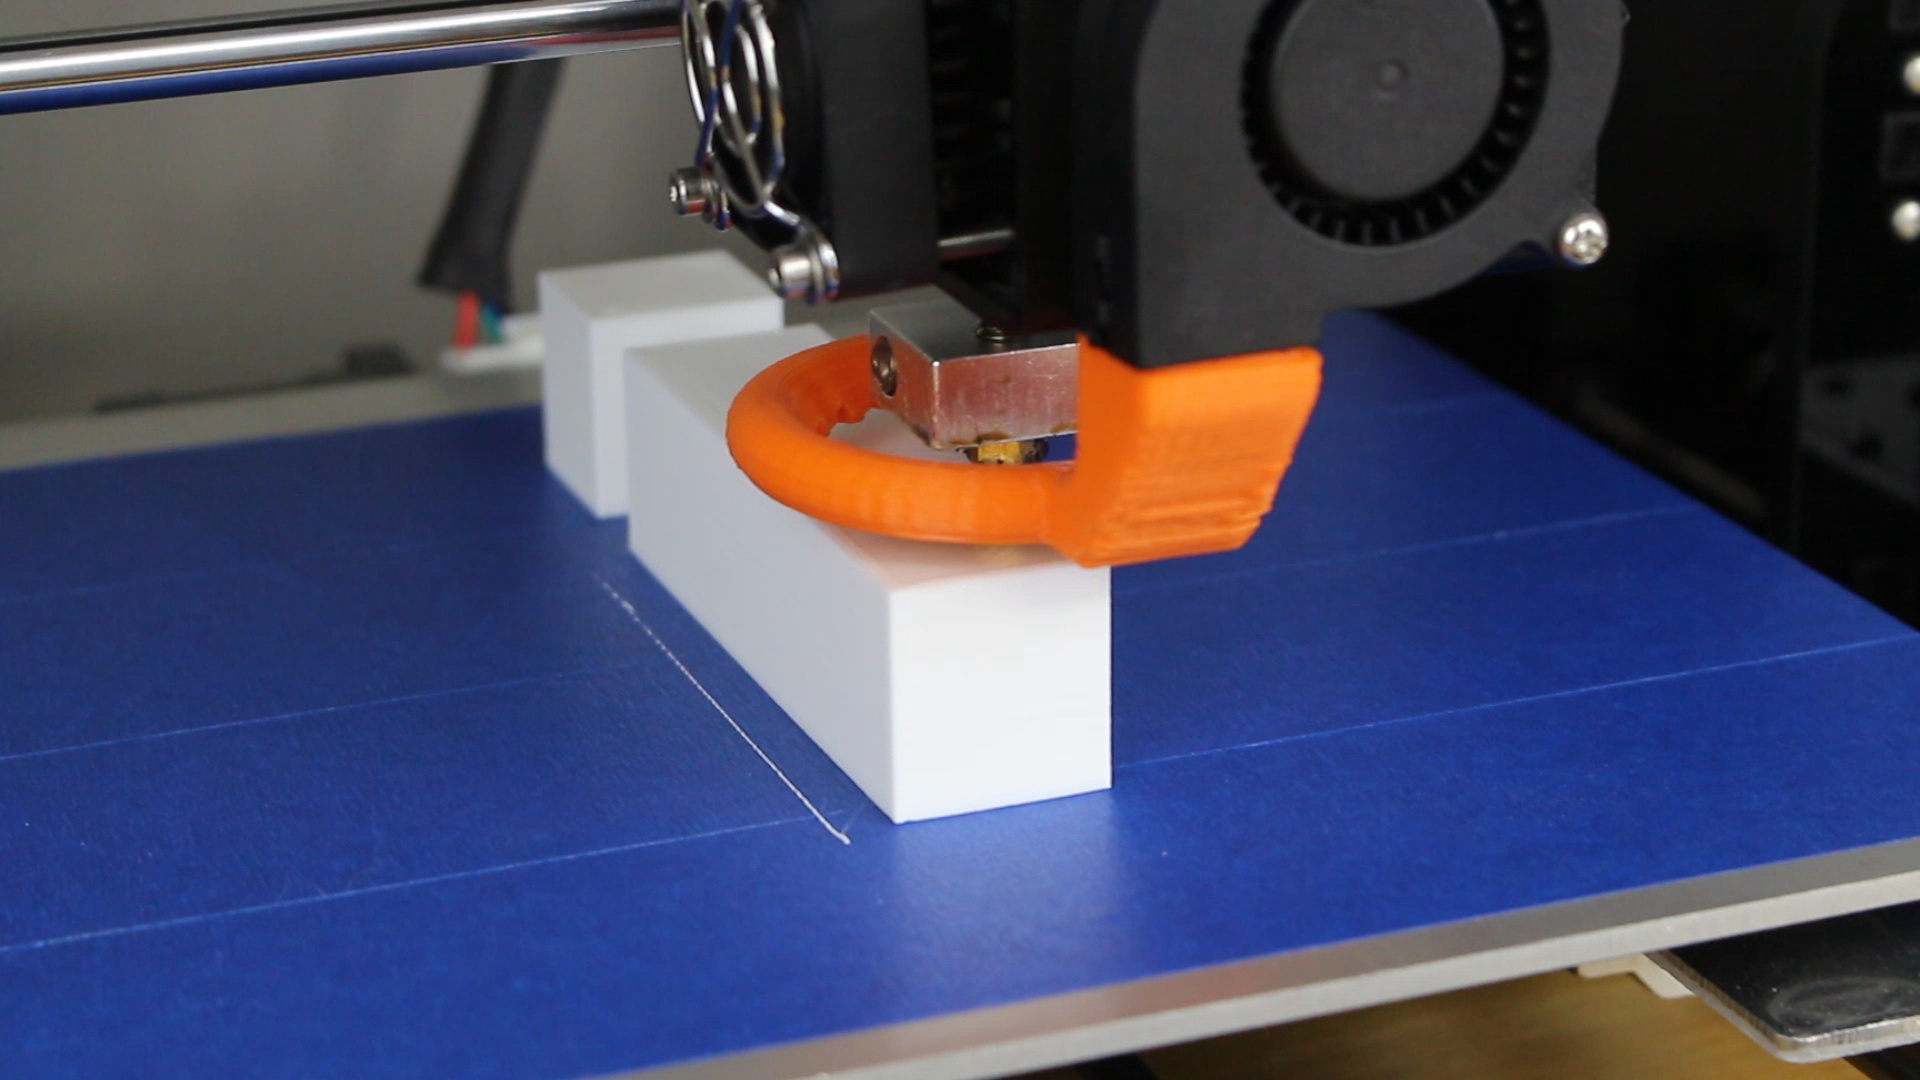
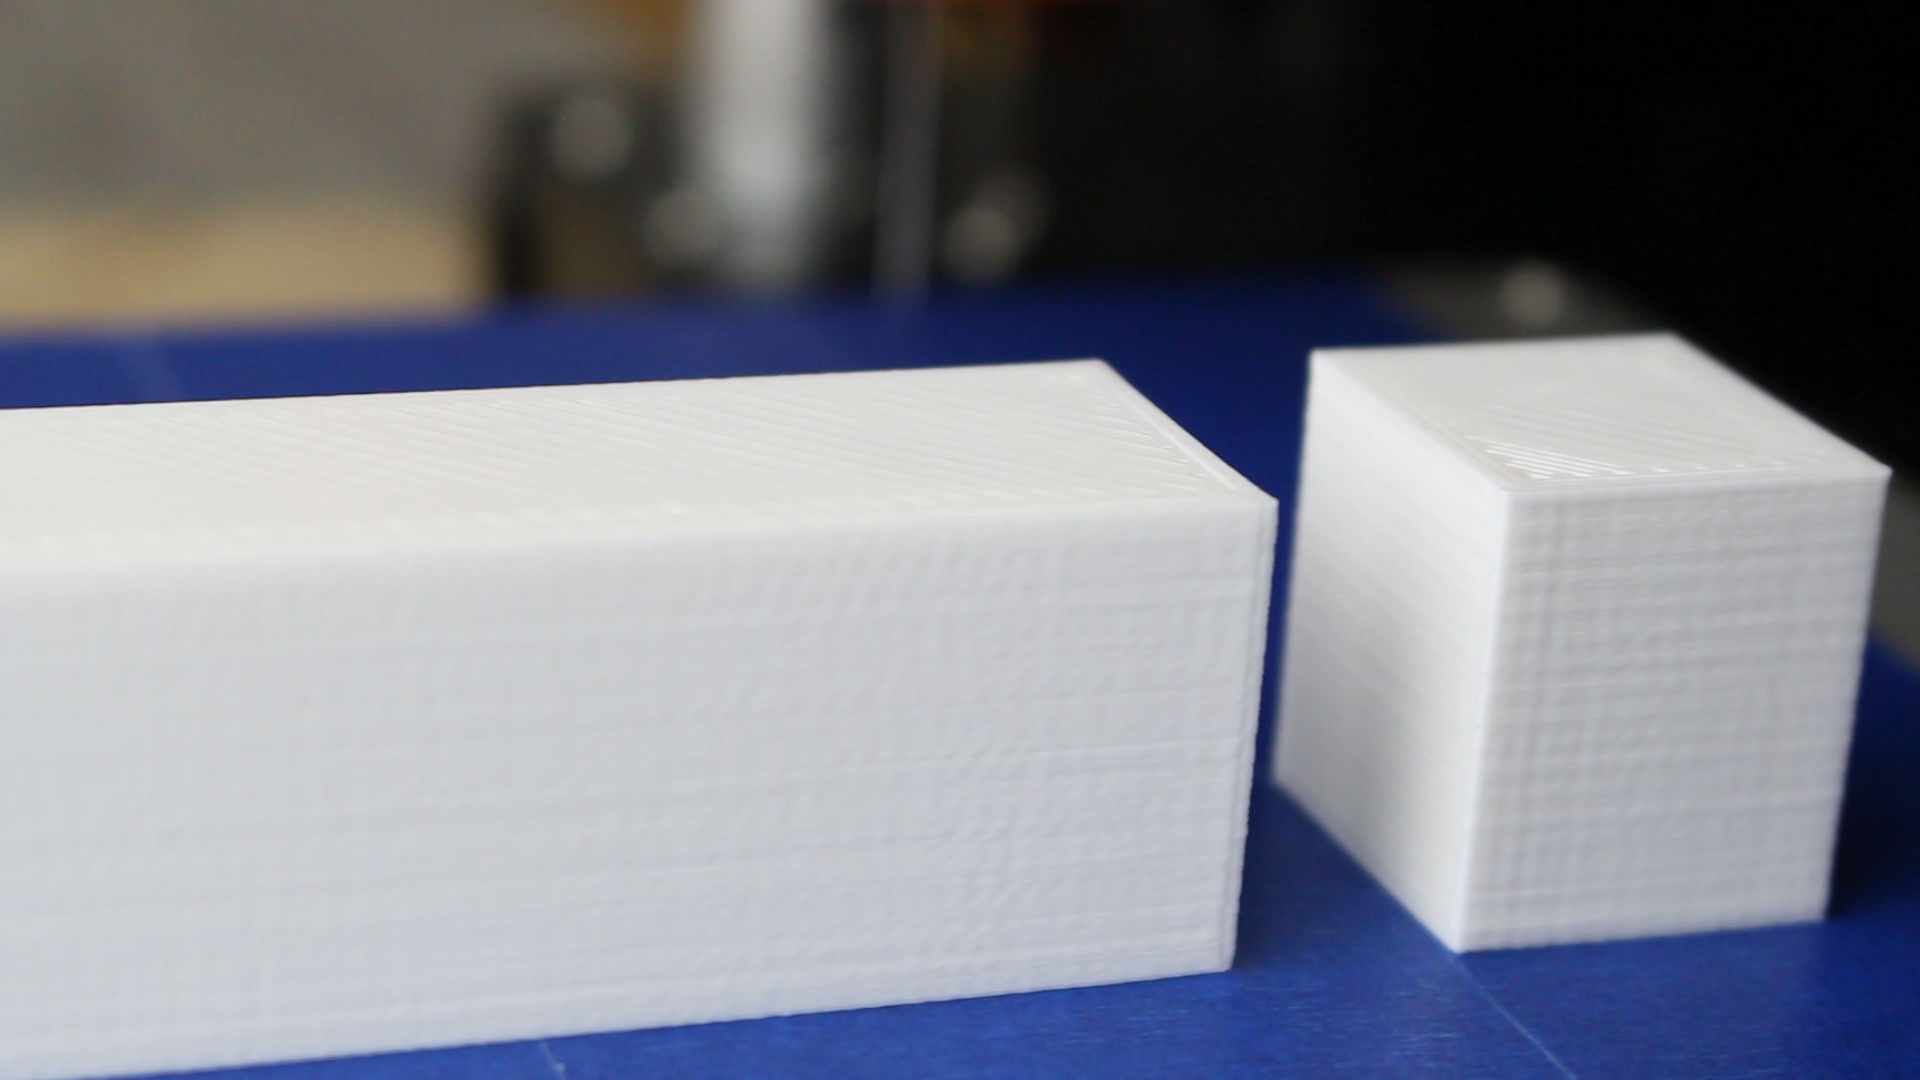
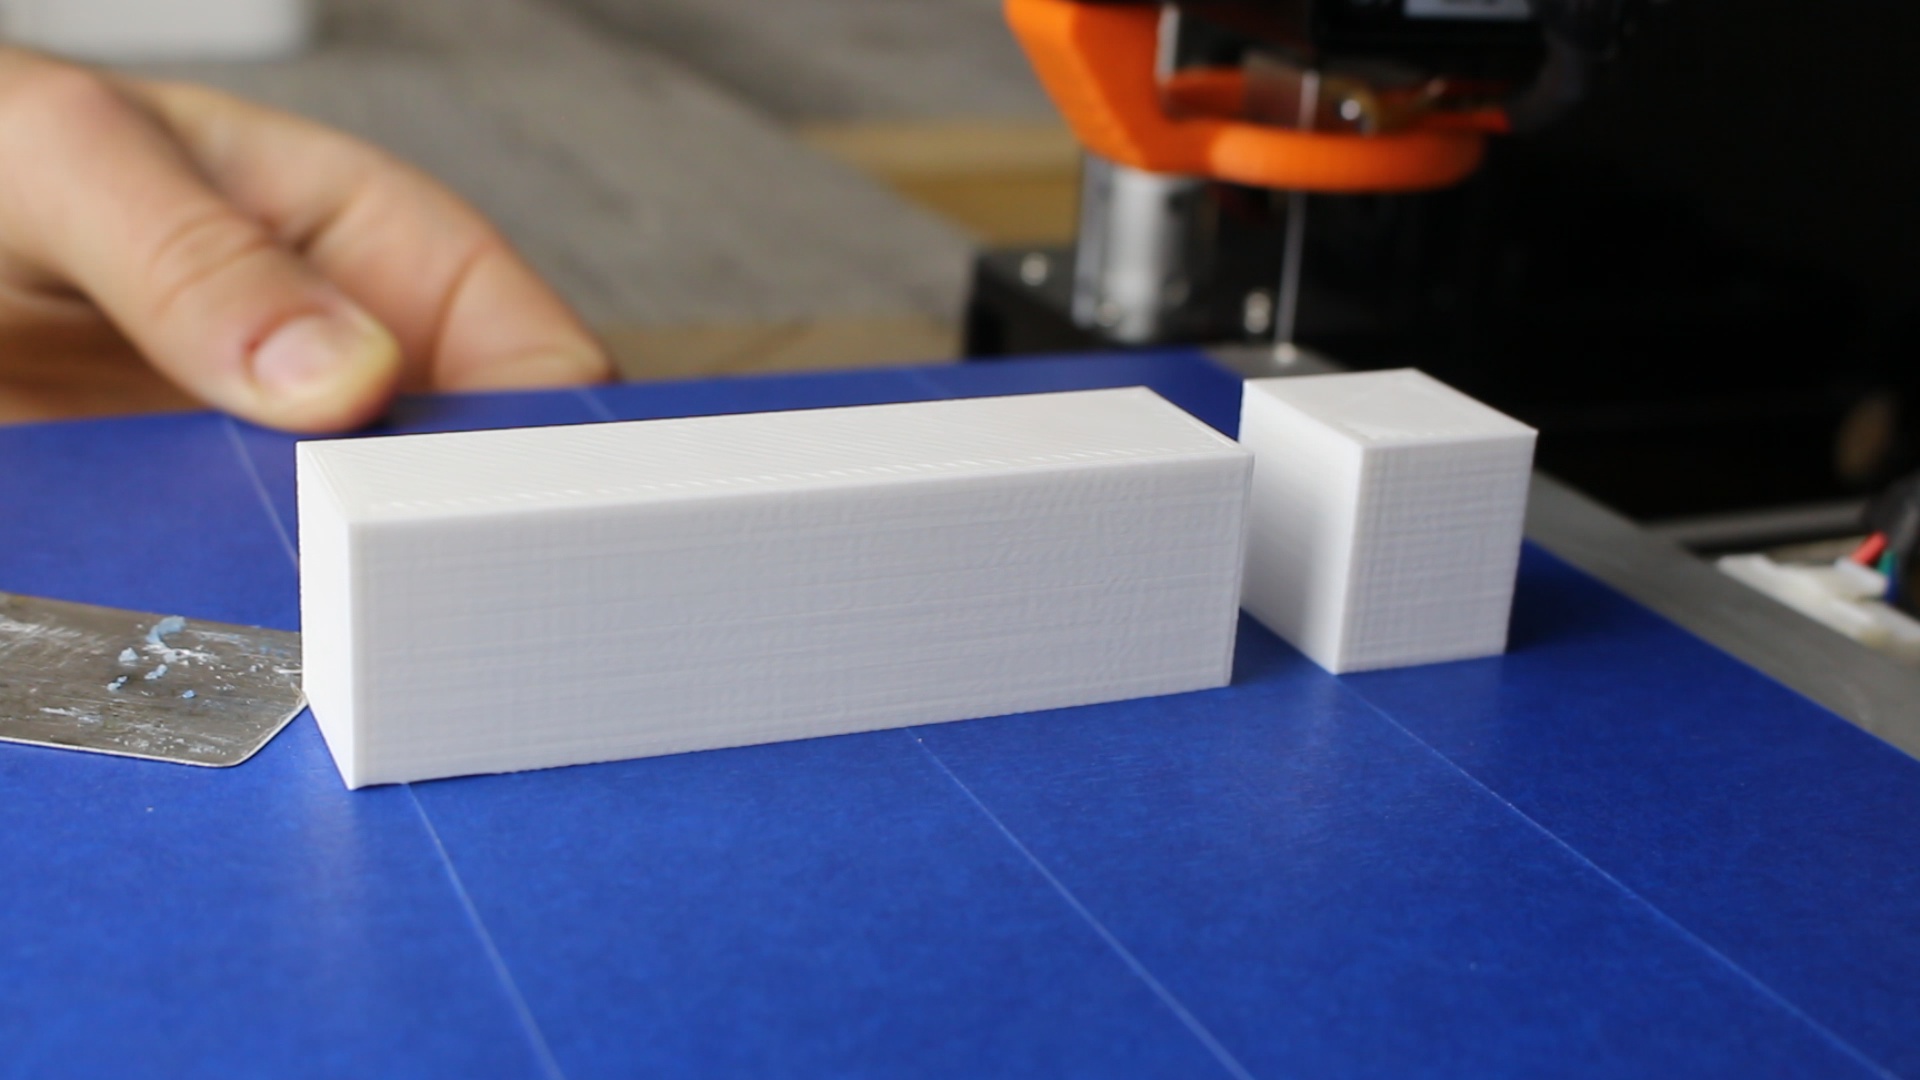
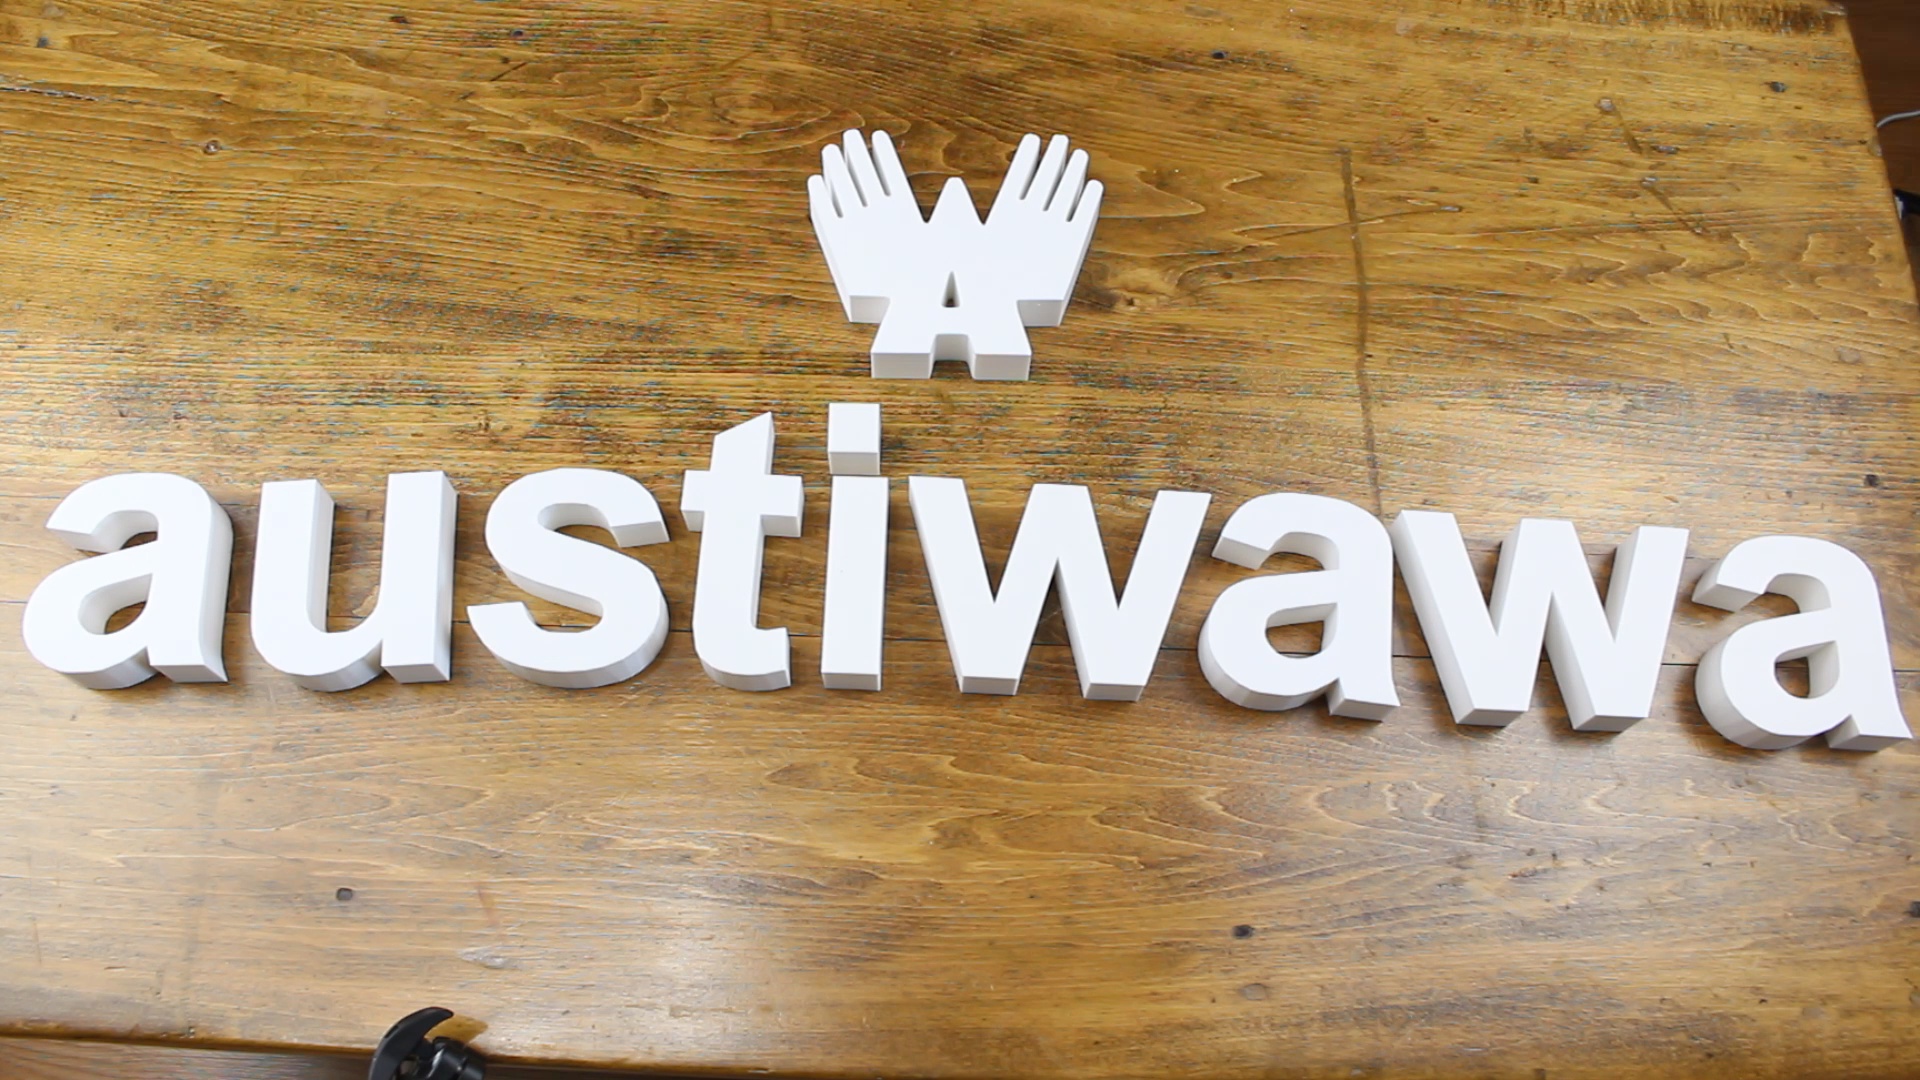
Once you have your model or models saved you can import them into your favorite slicer program and prepare them for printing.The program that I used was Slic3r. I only used 15% infill for each print and used 6 solid layers on the bottom. The filament I used was white PLA.
From this point it took me a few days to print off every single letter, but they all ended up looking great!
Building the Sign
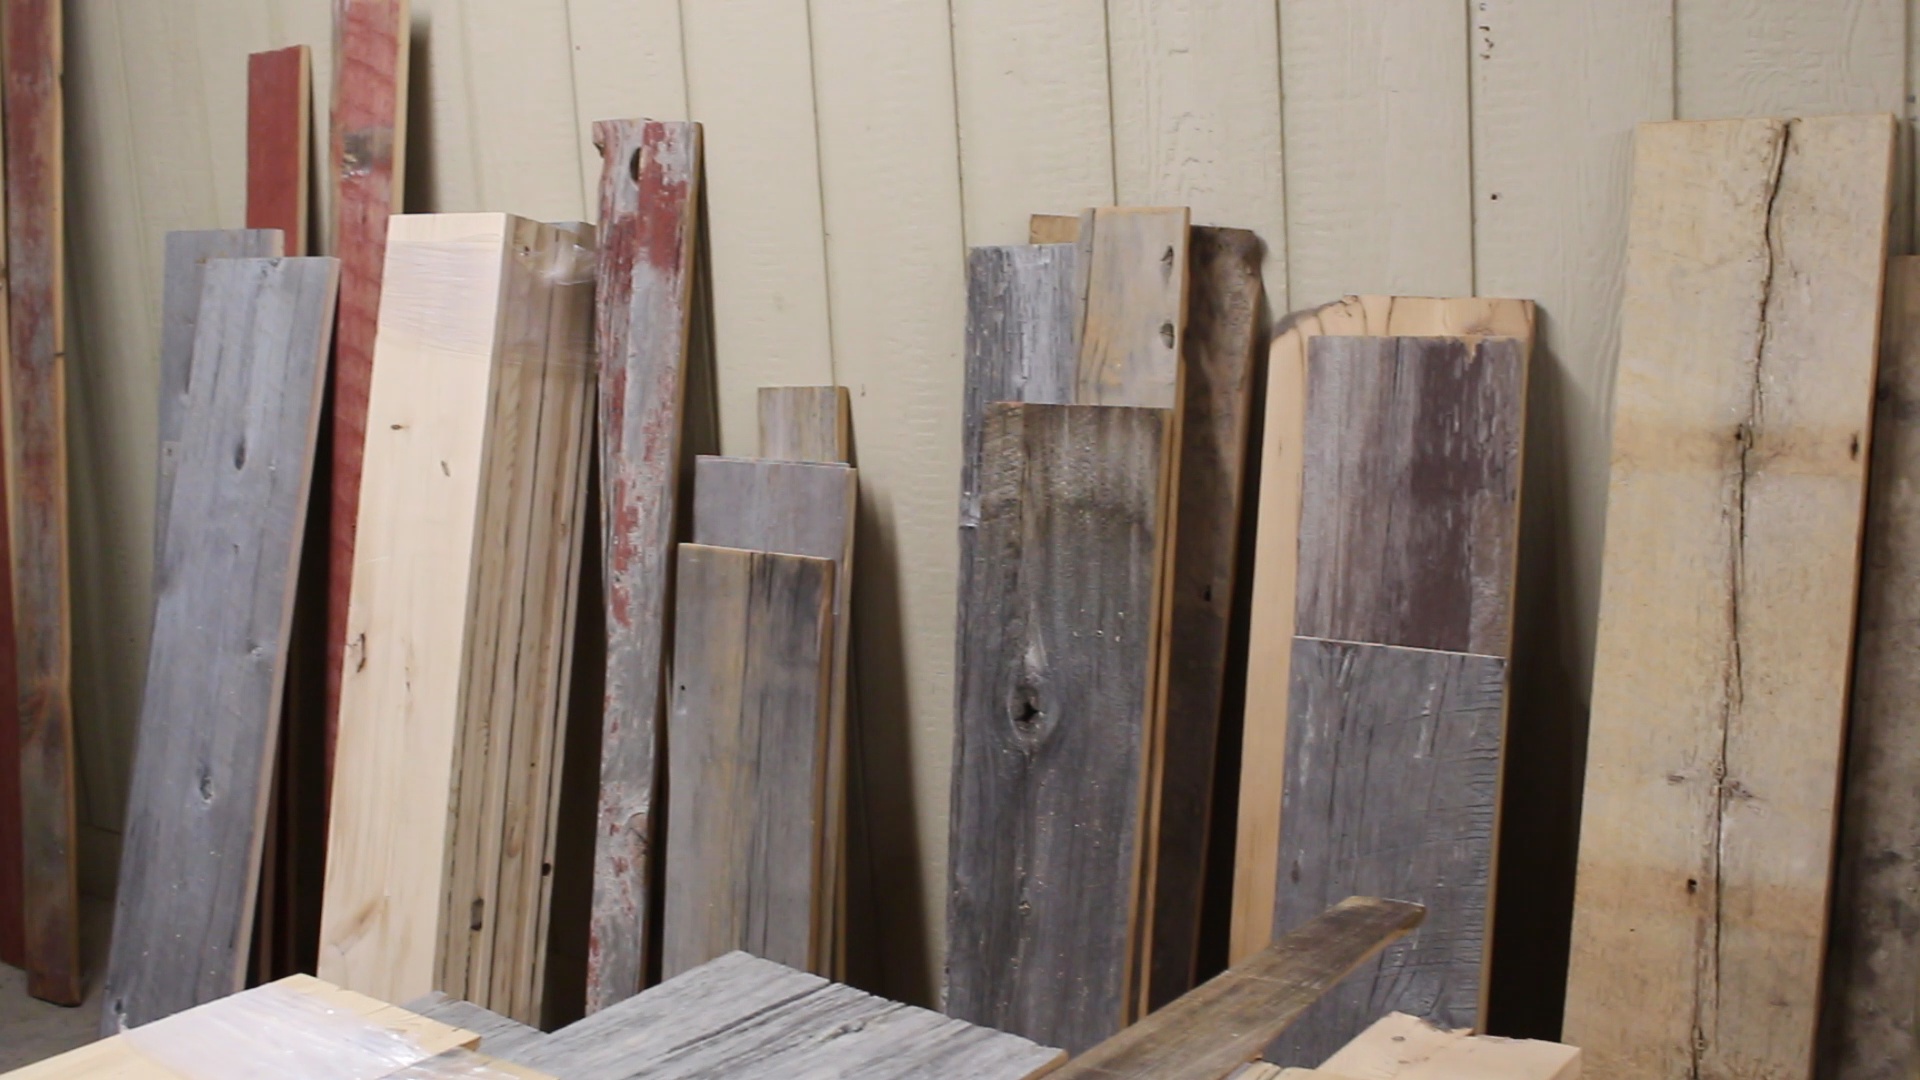
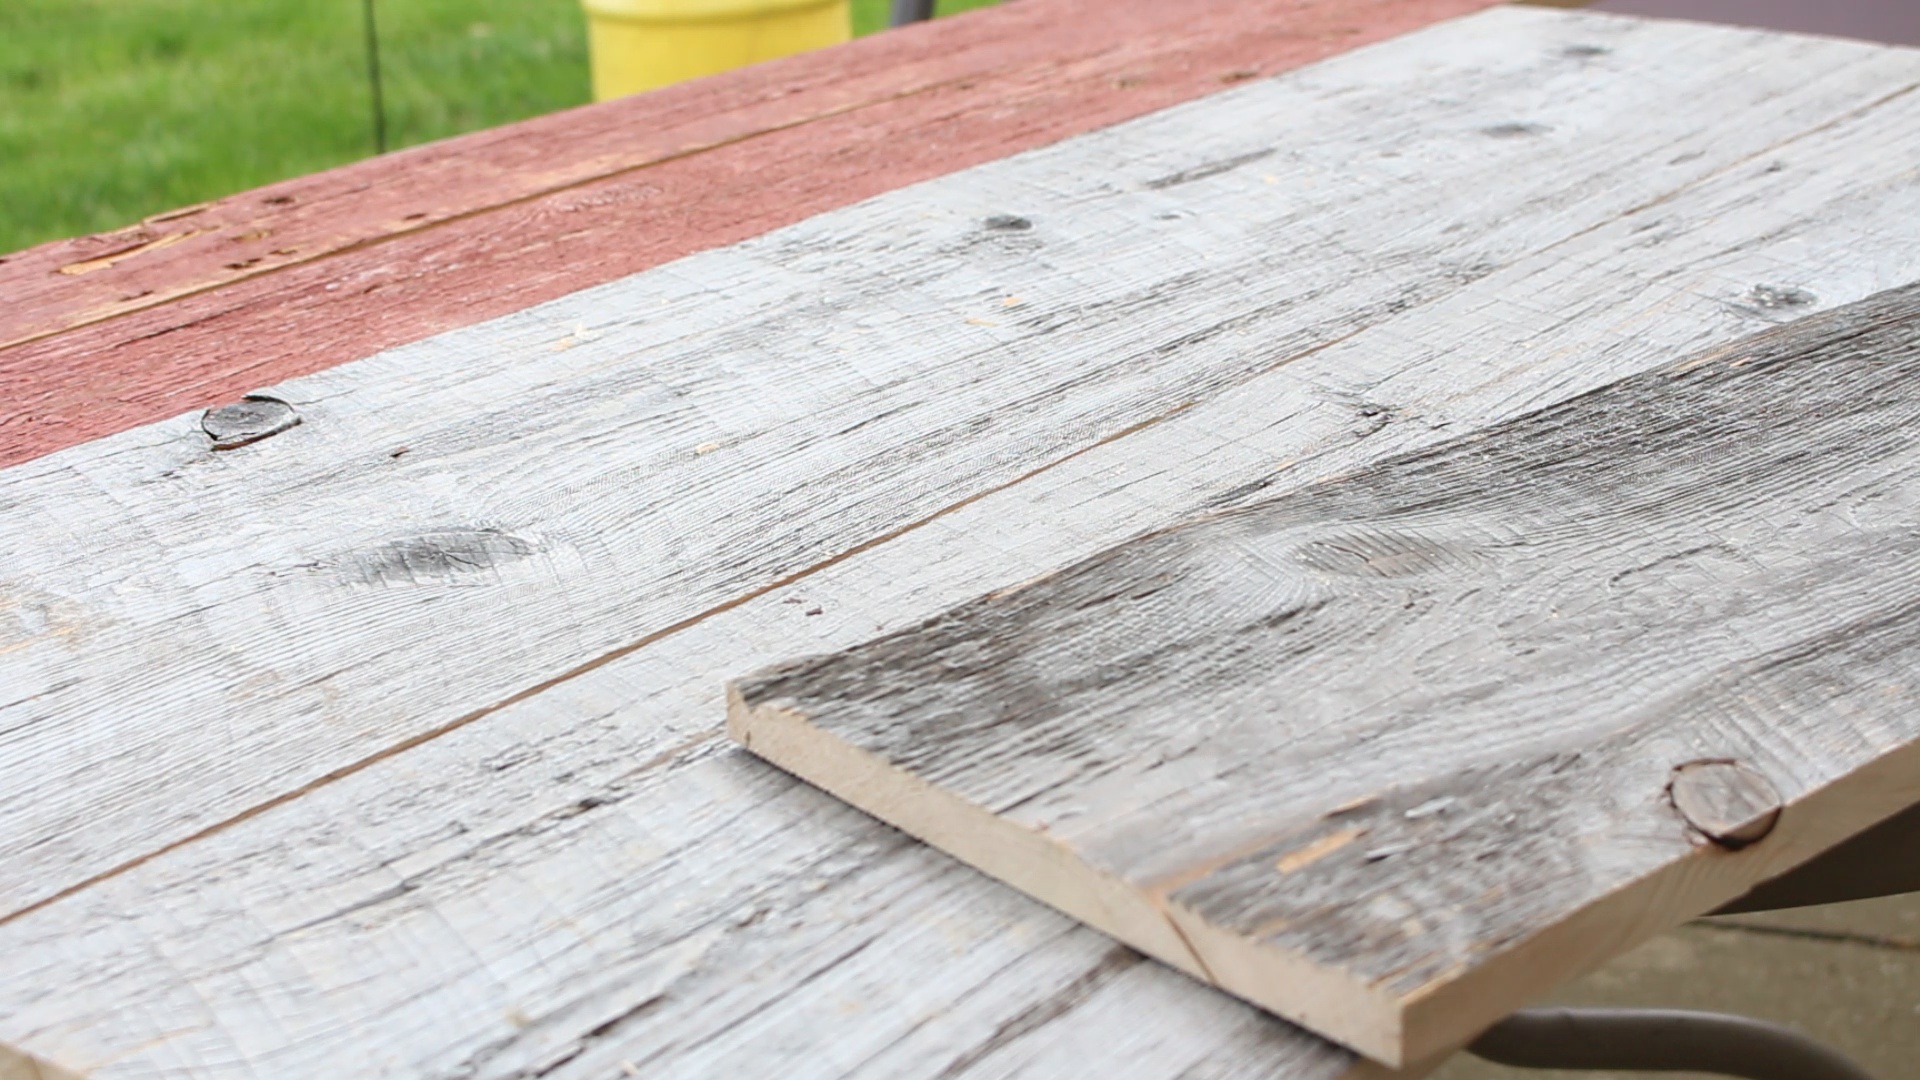
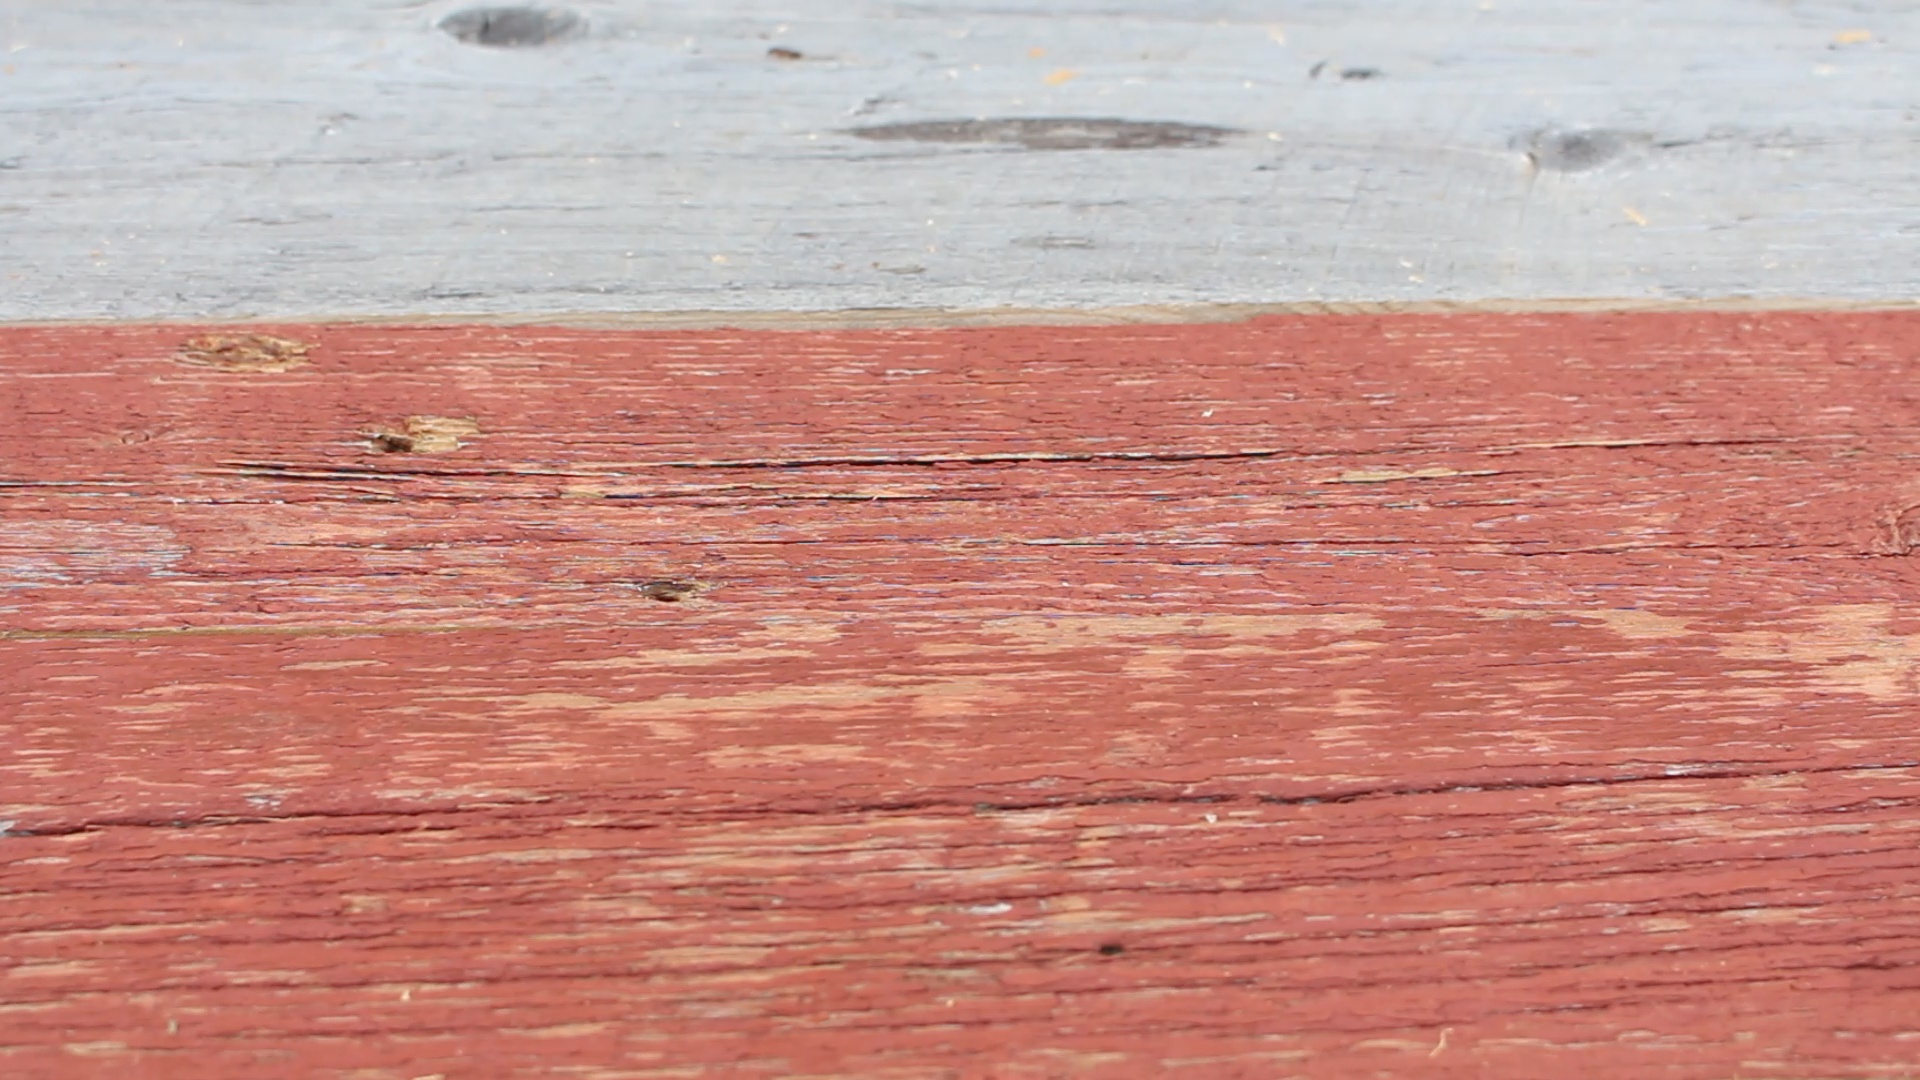
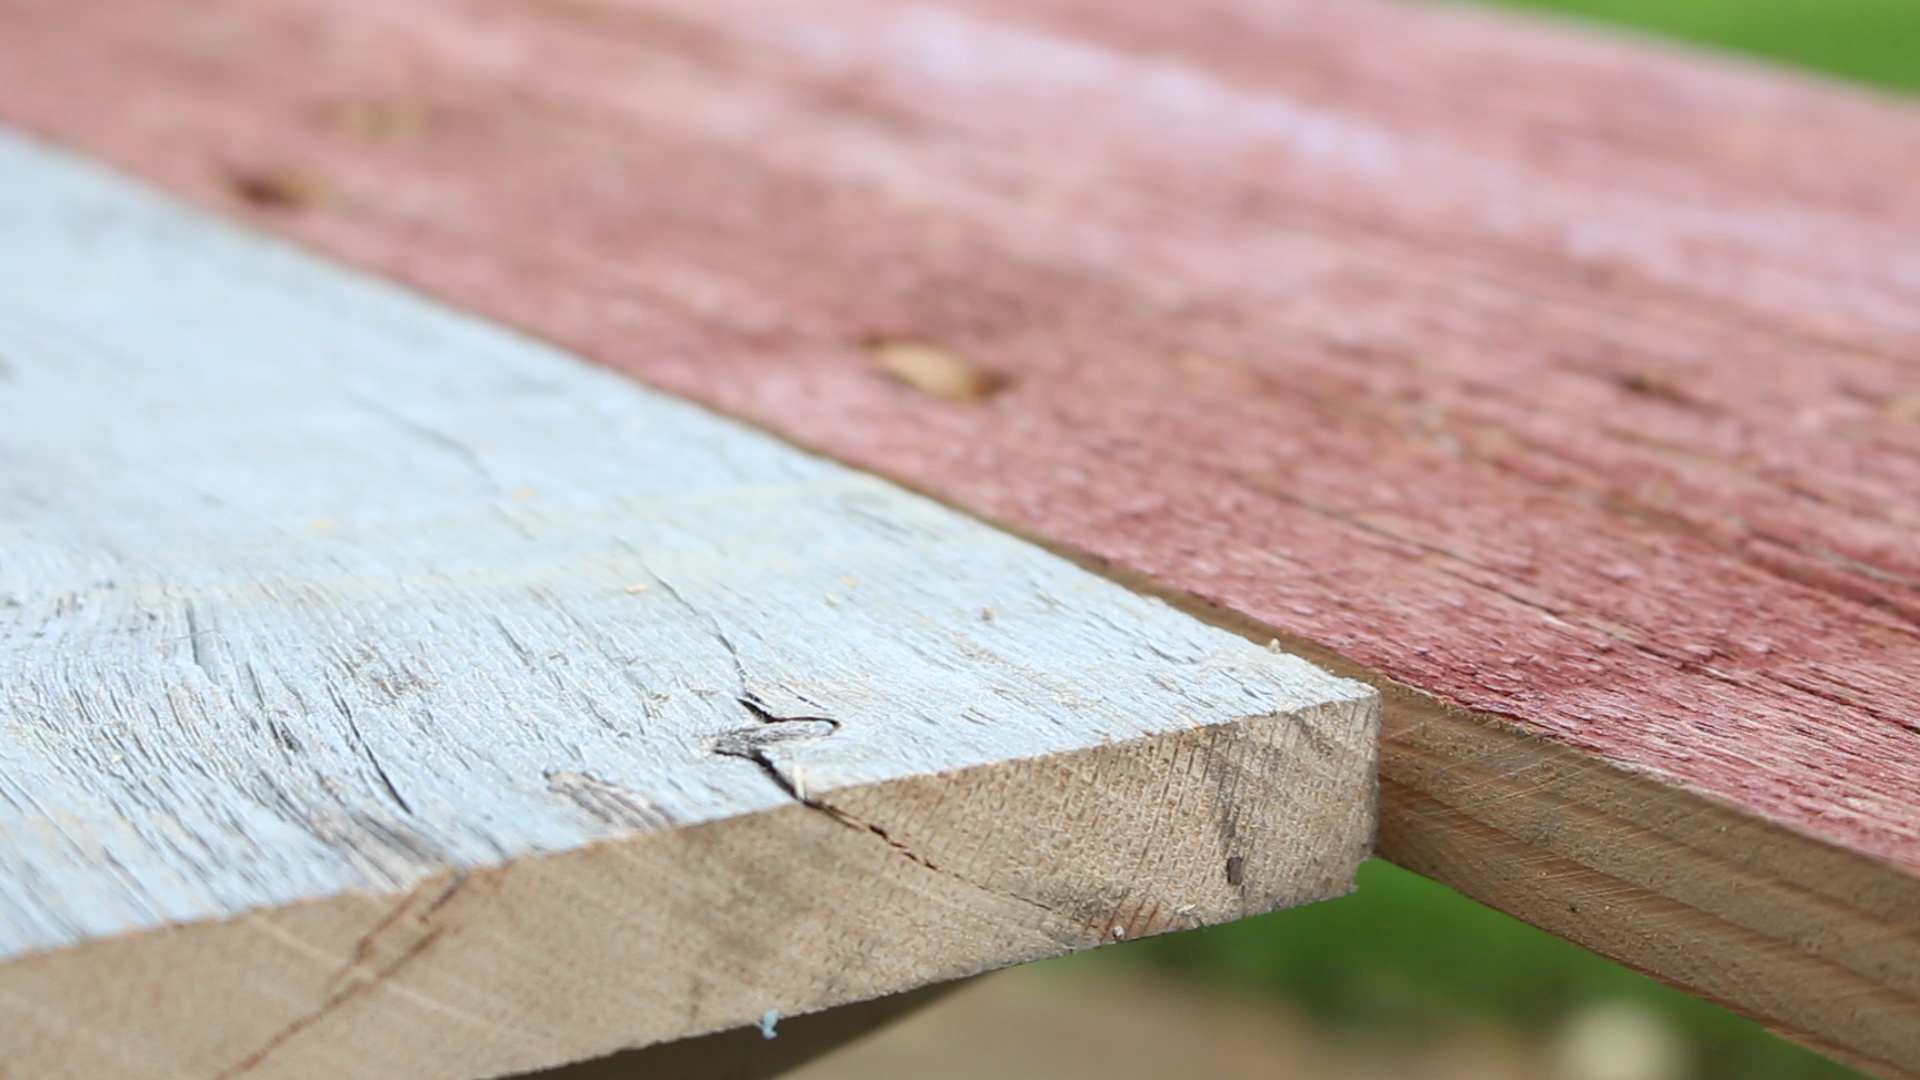
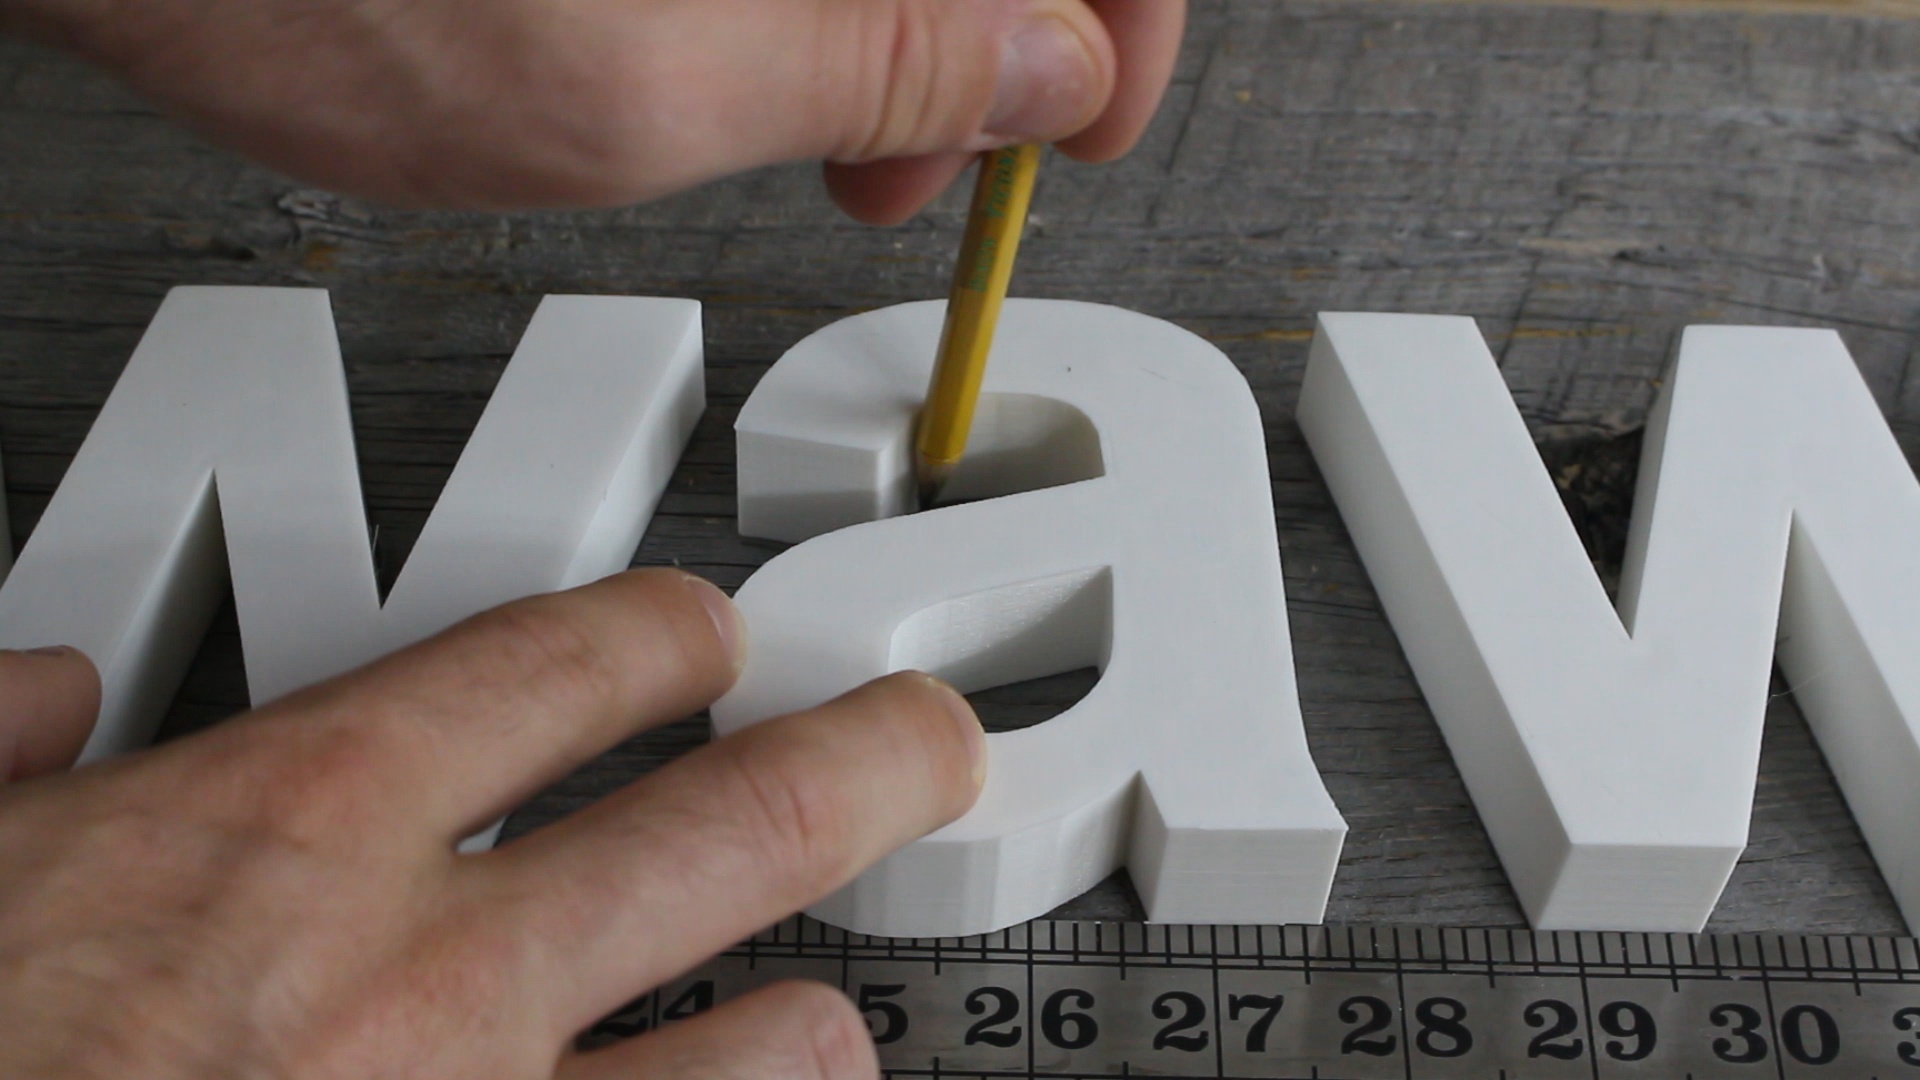
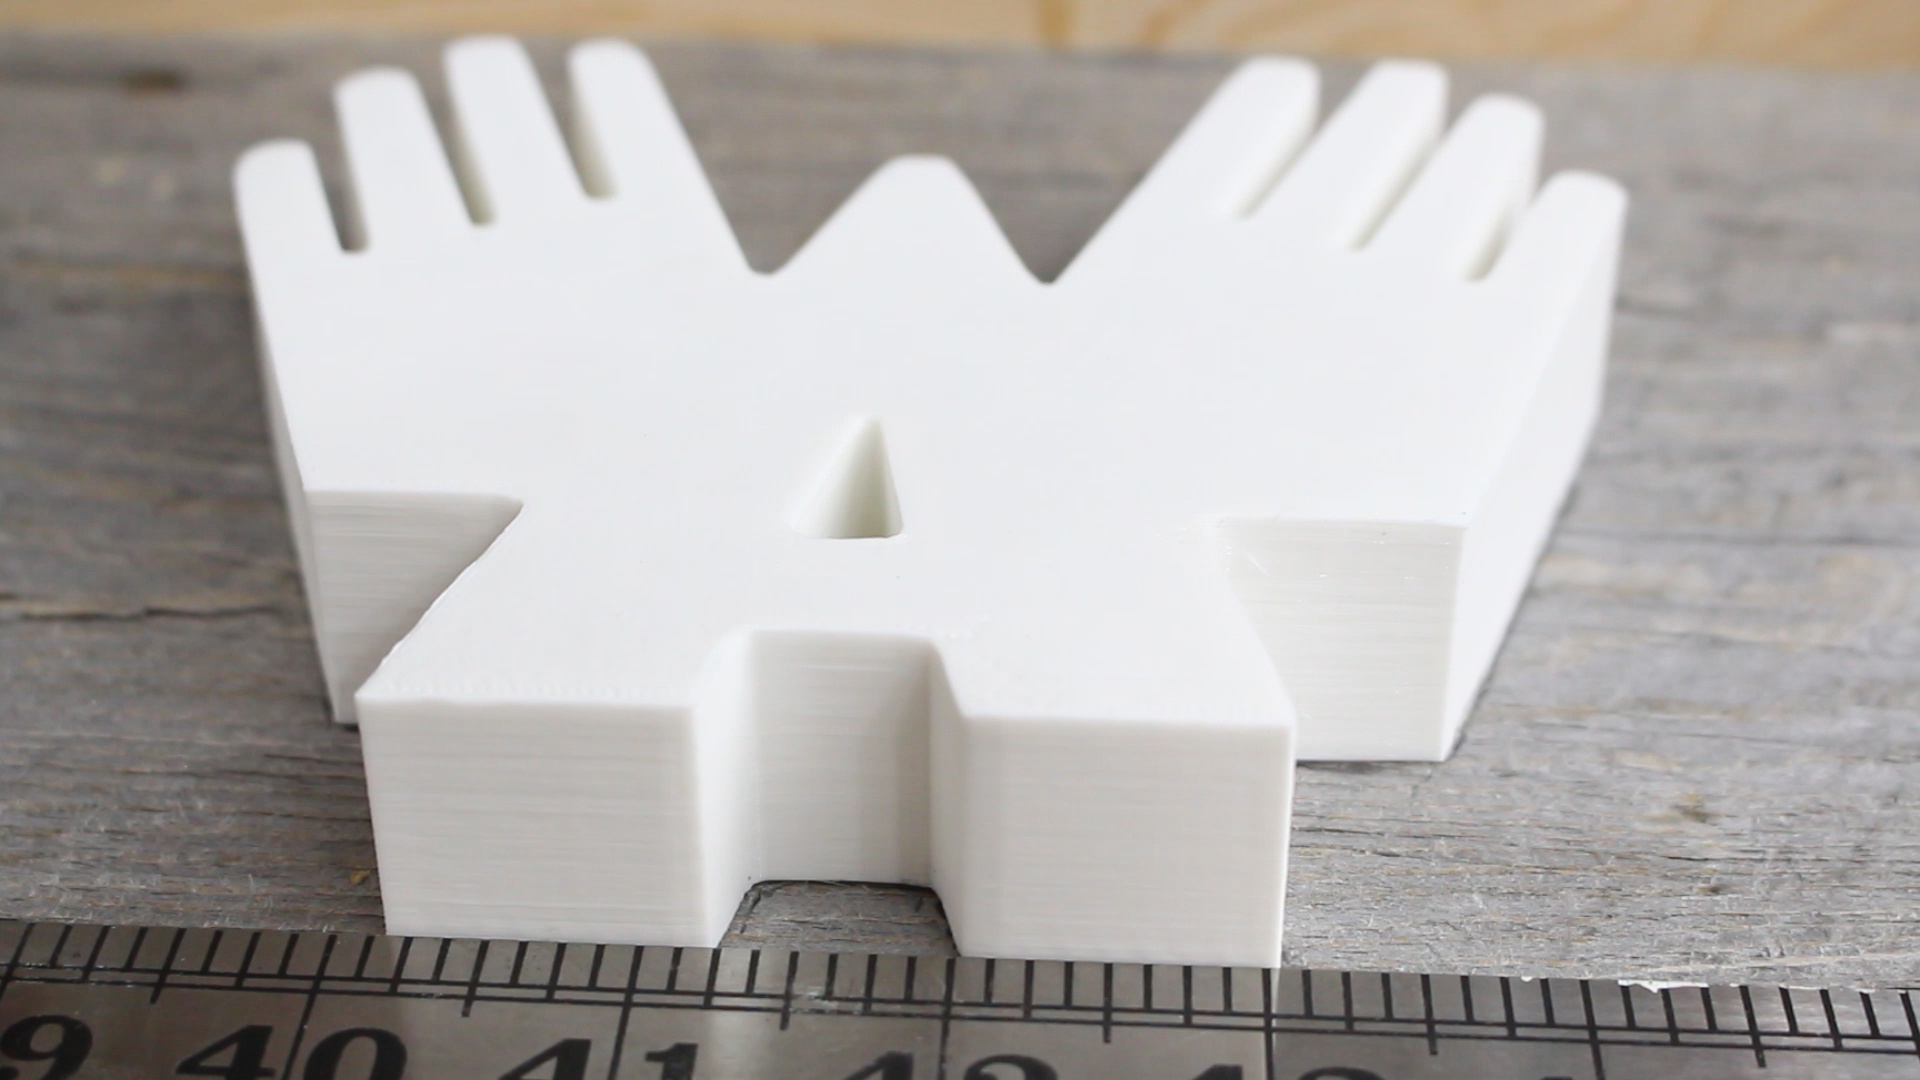
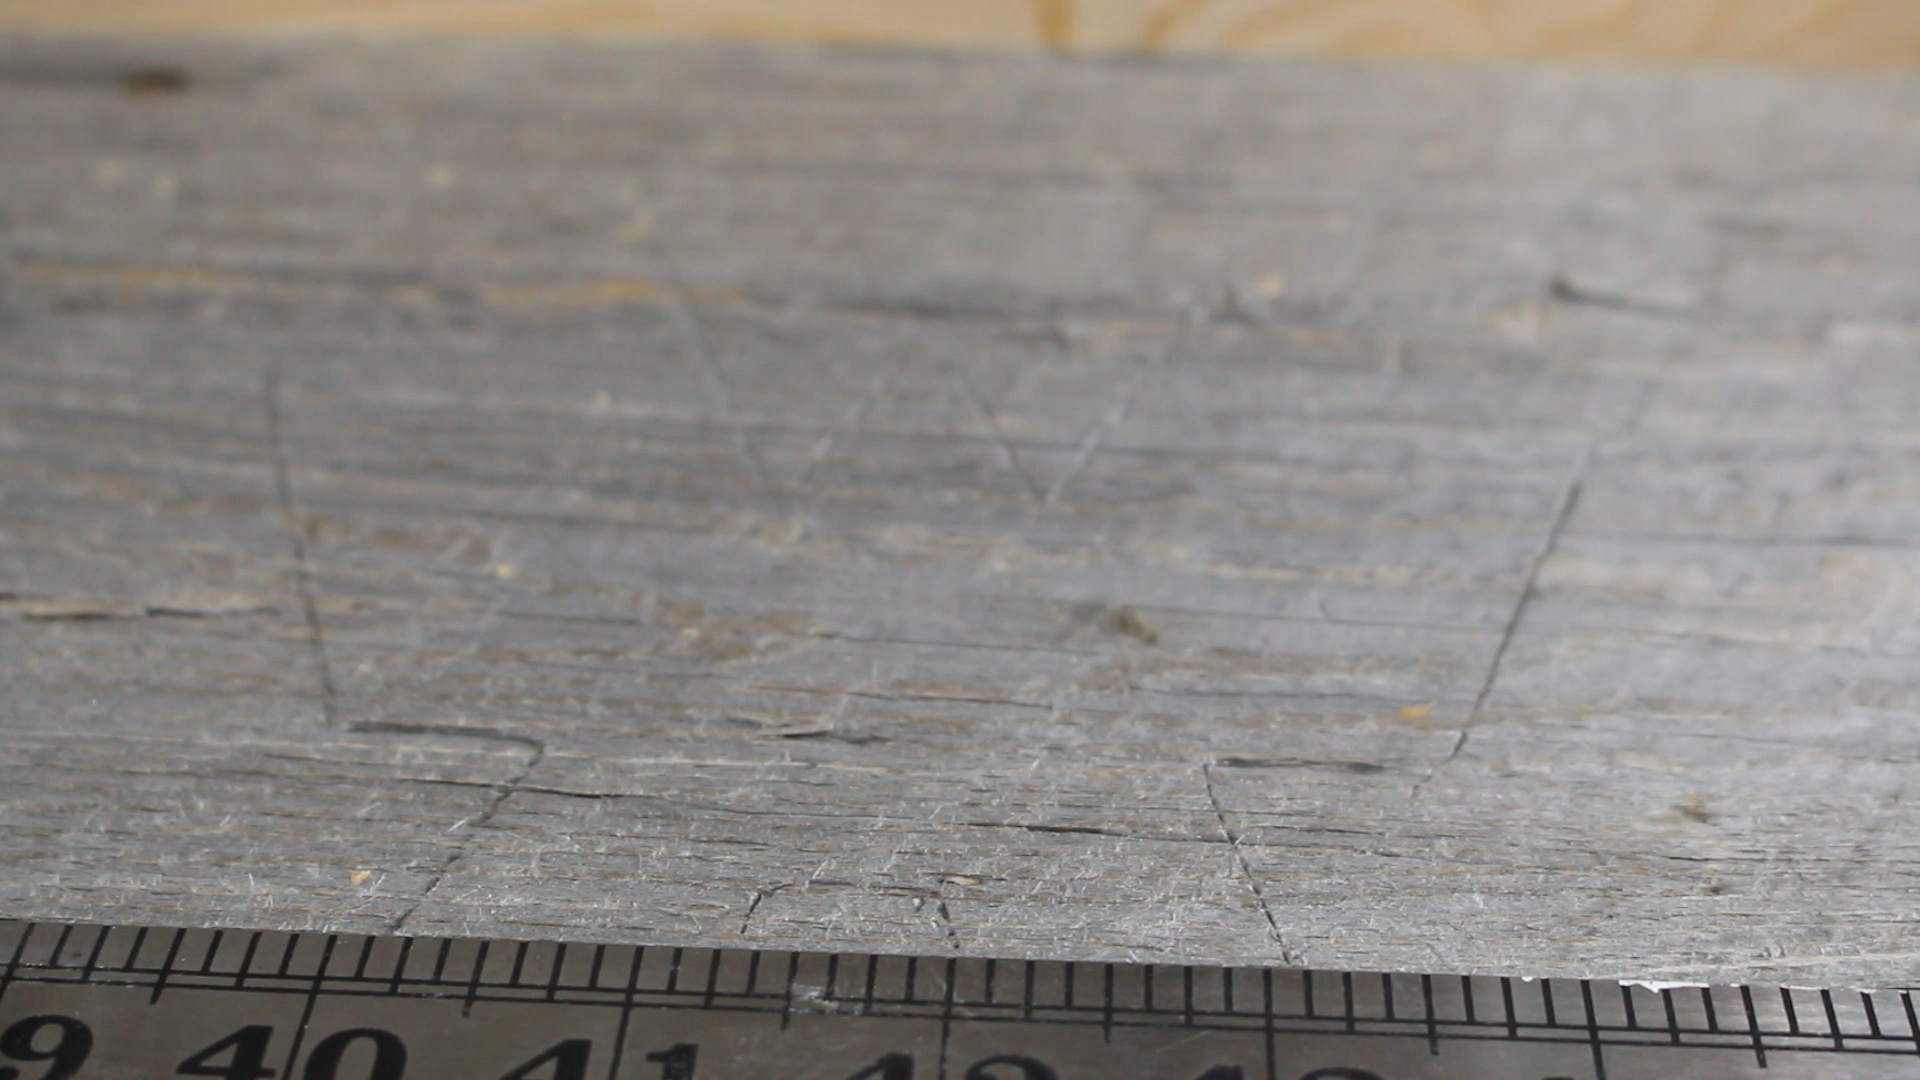
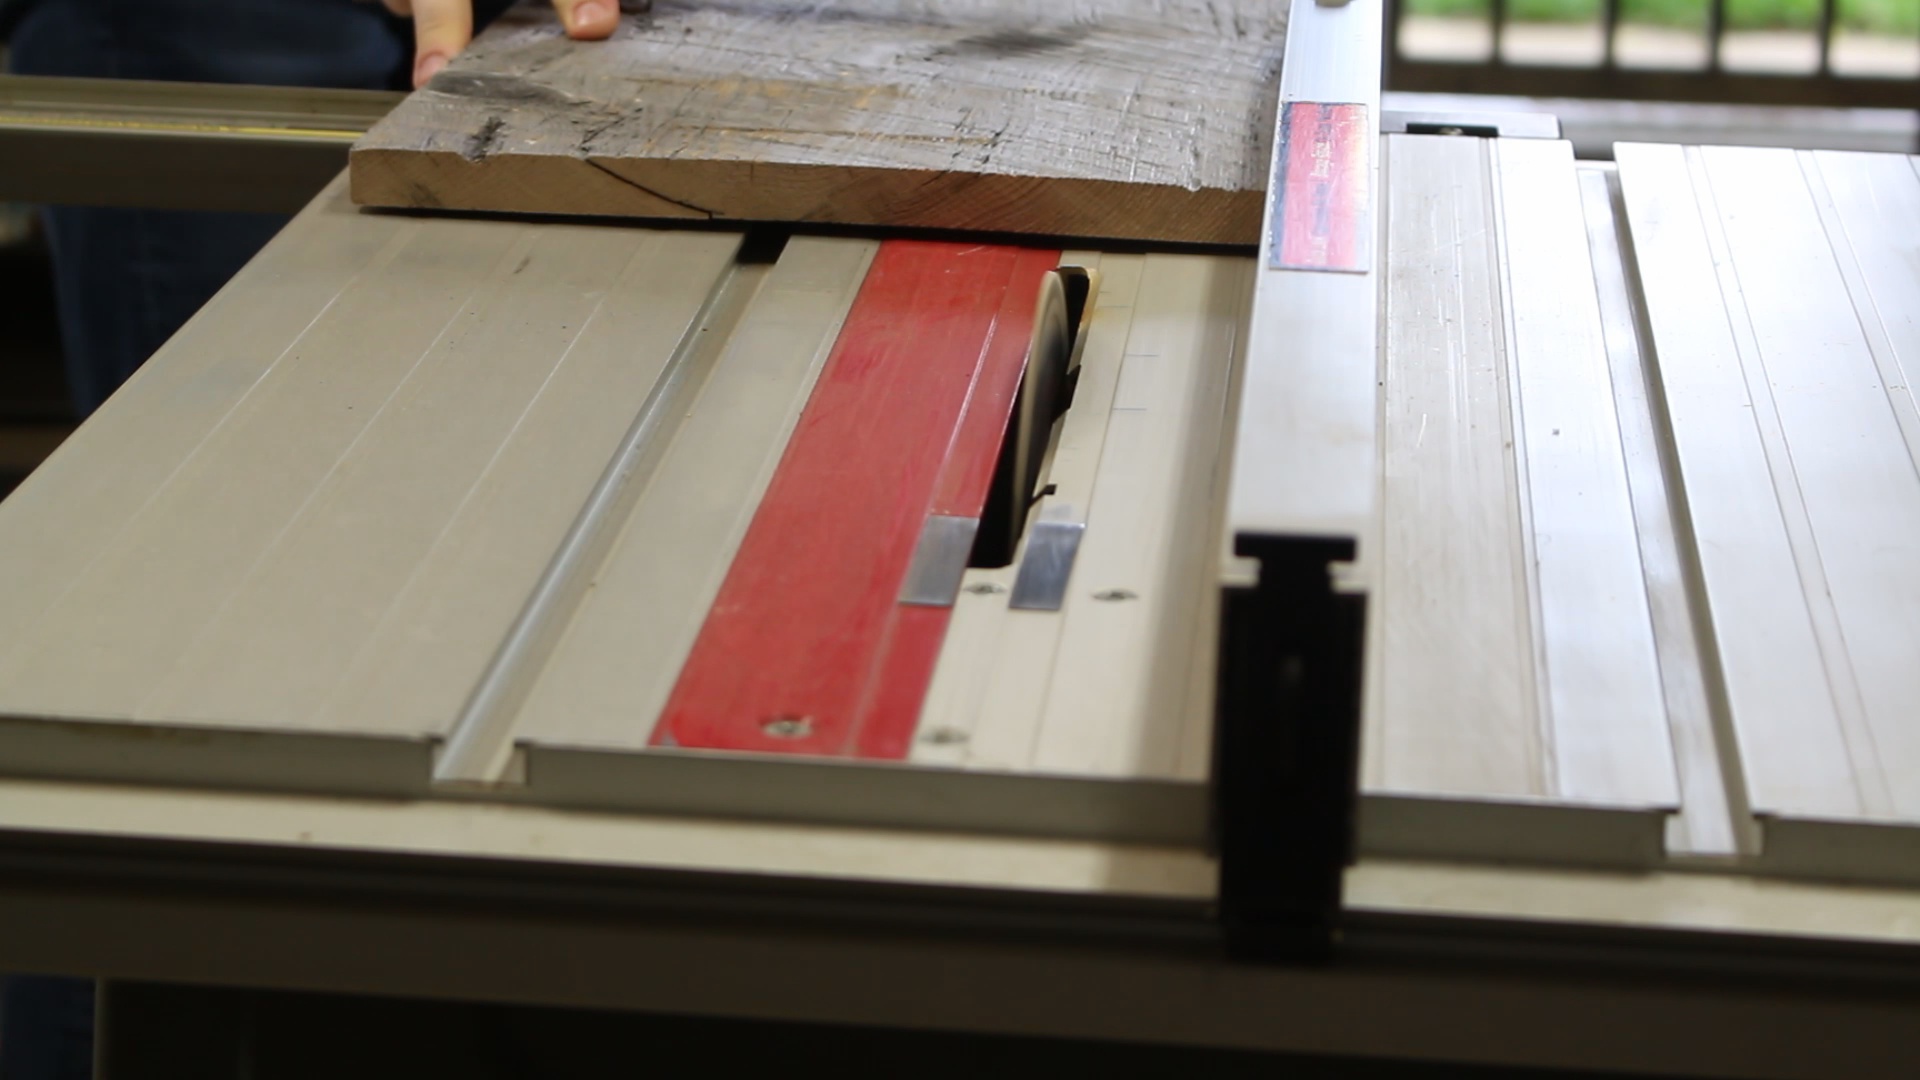
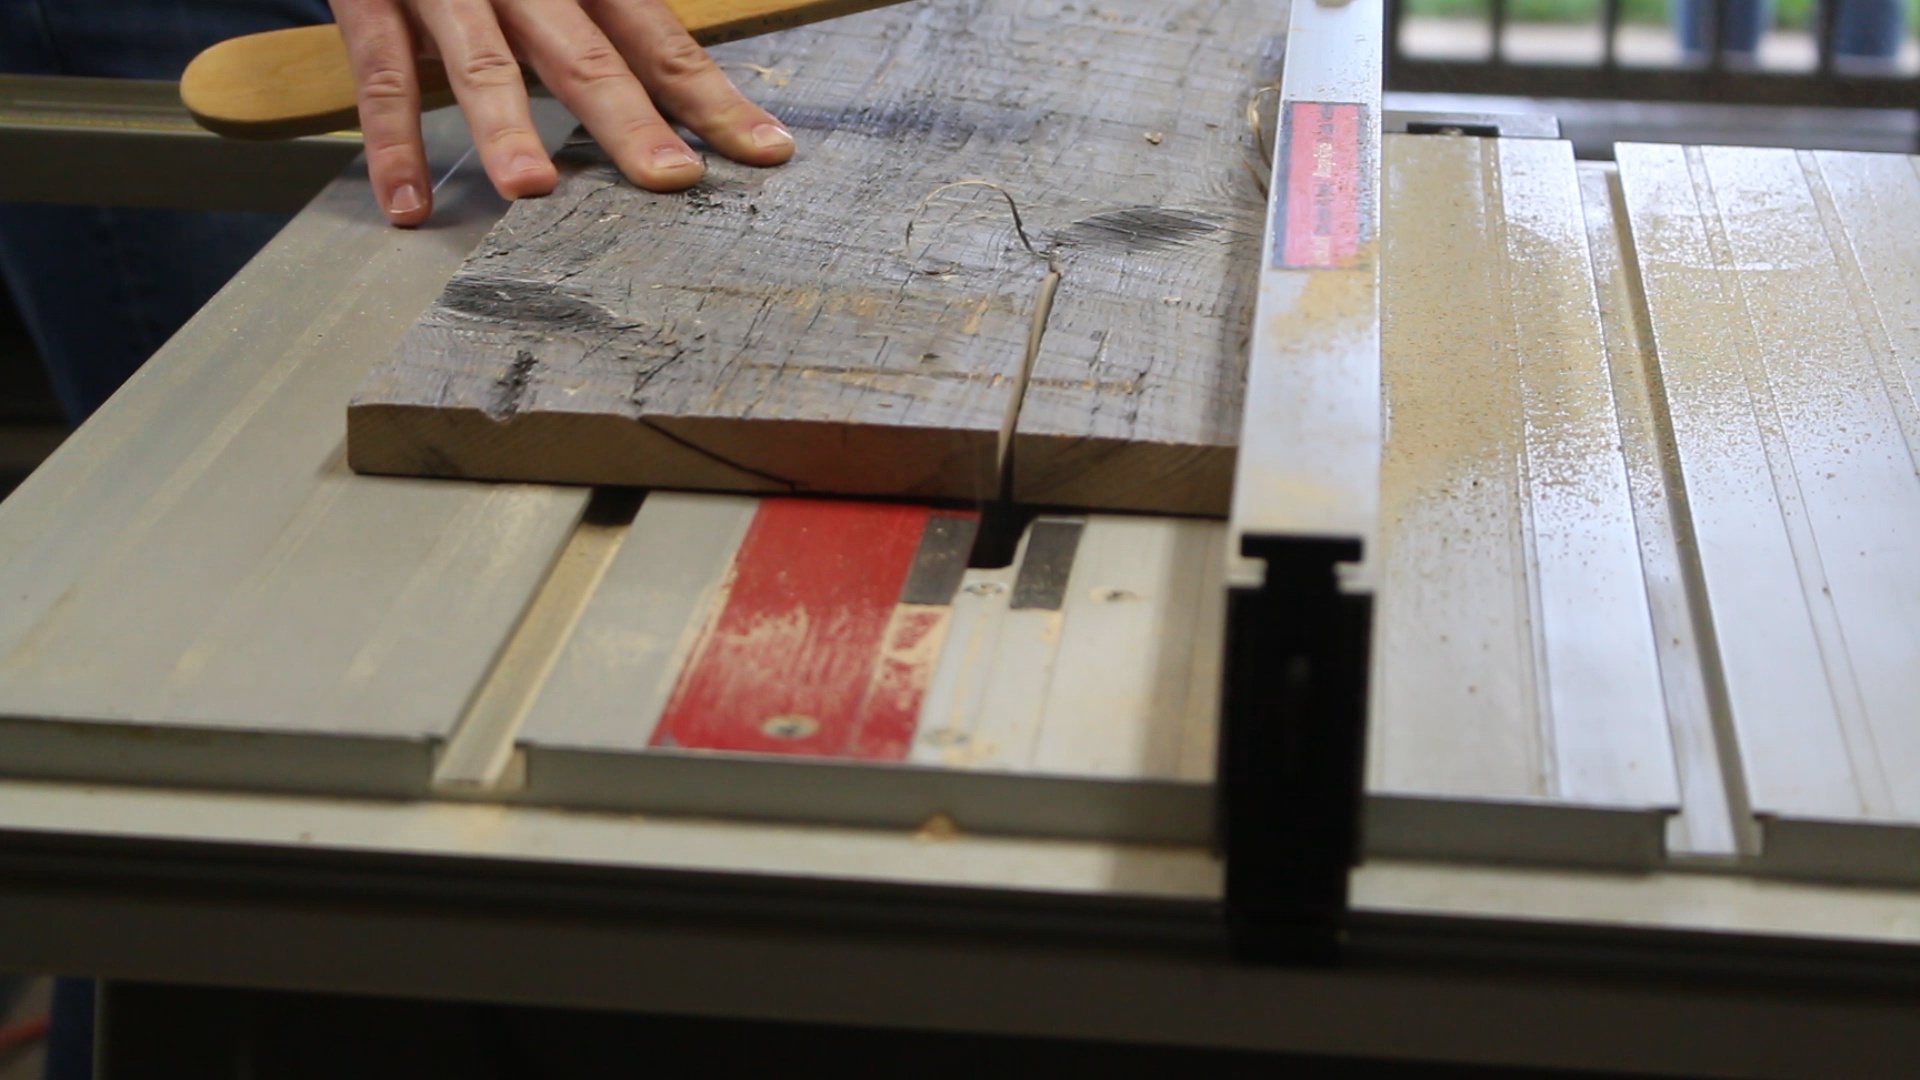
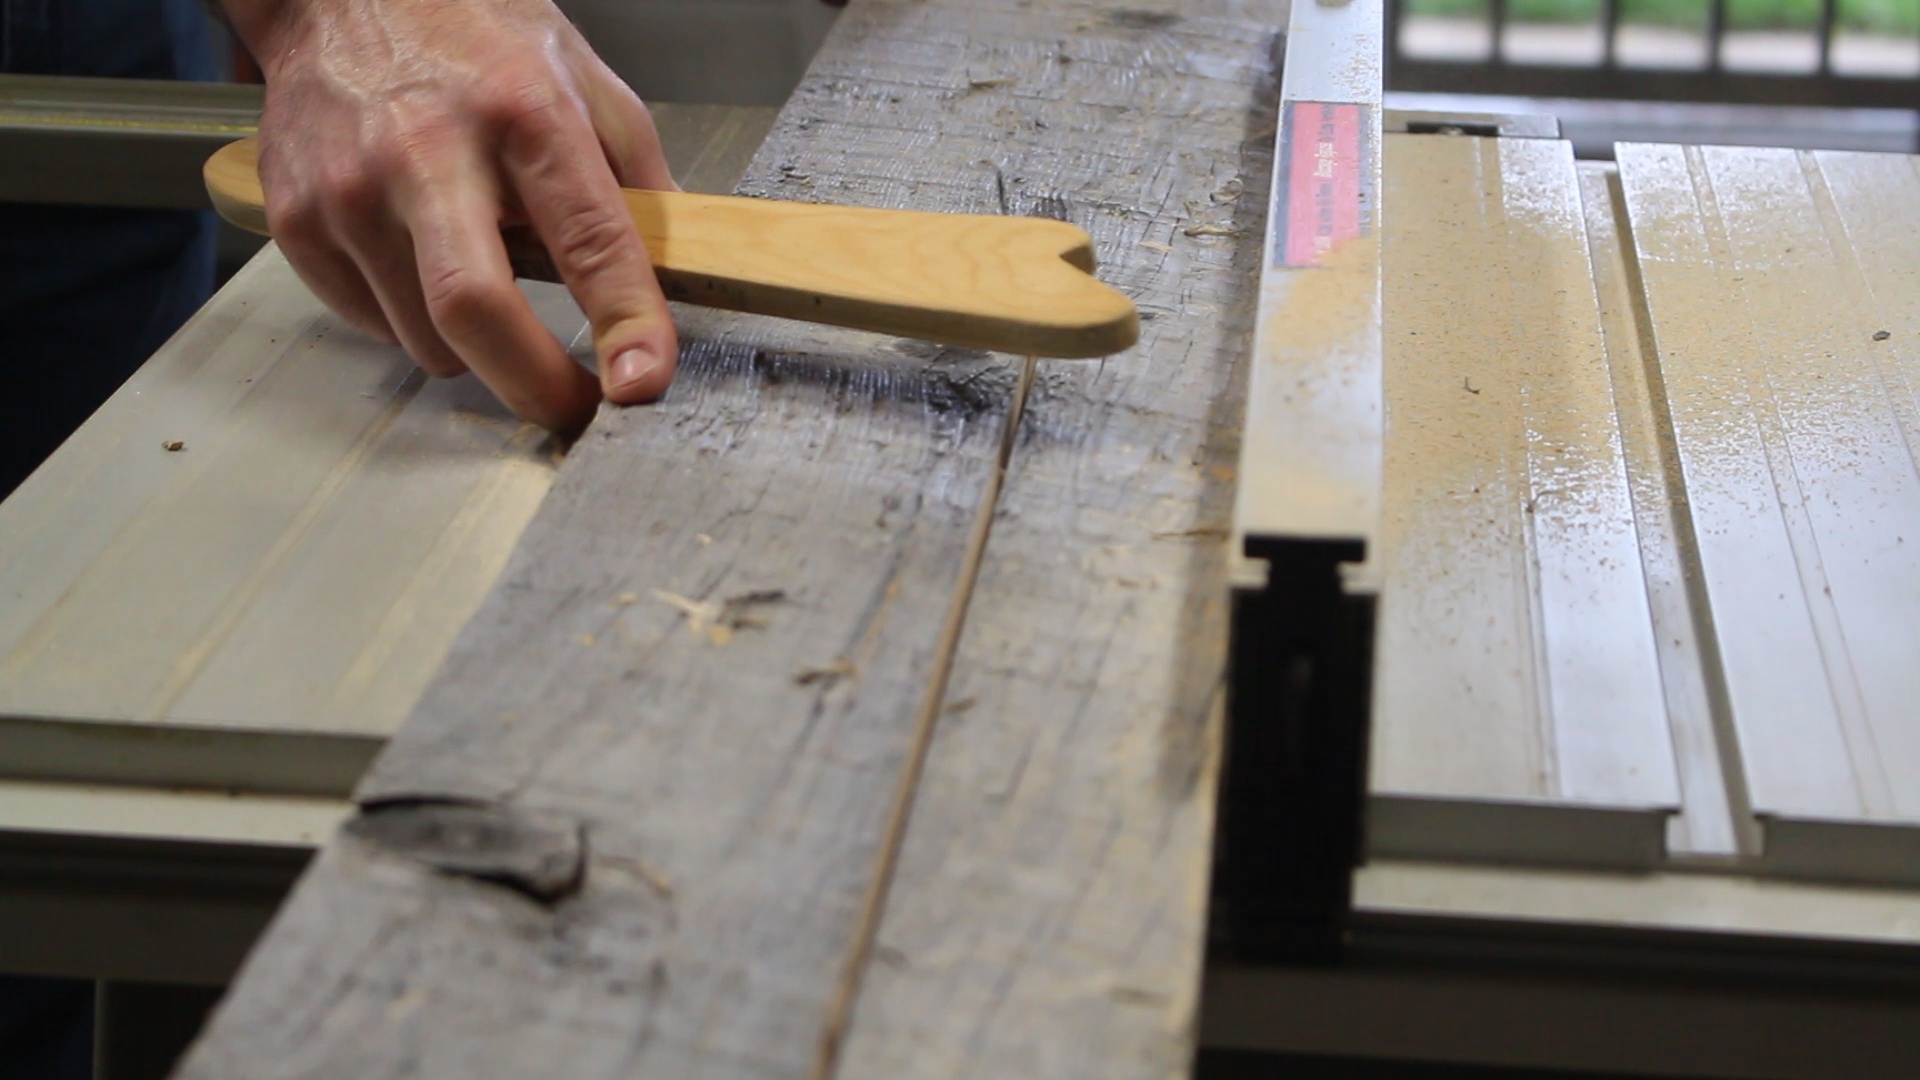
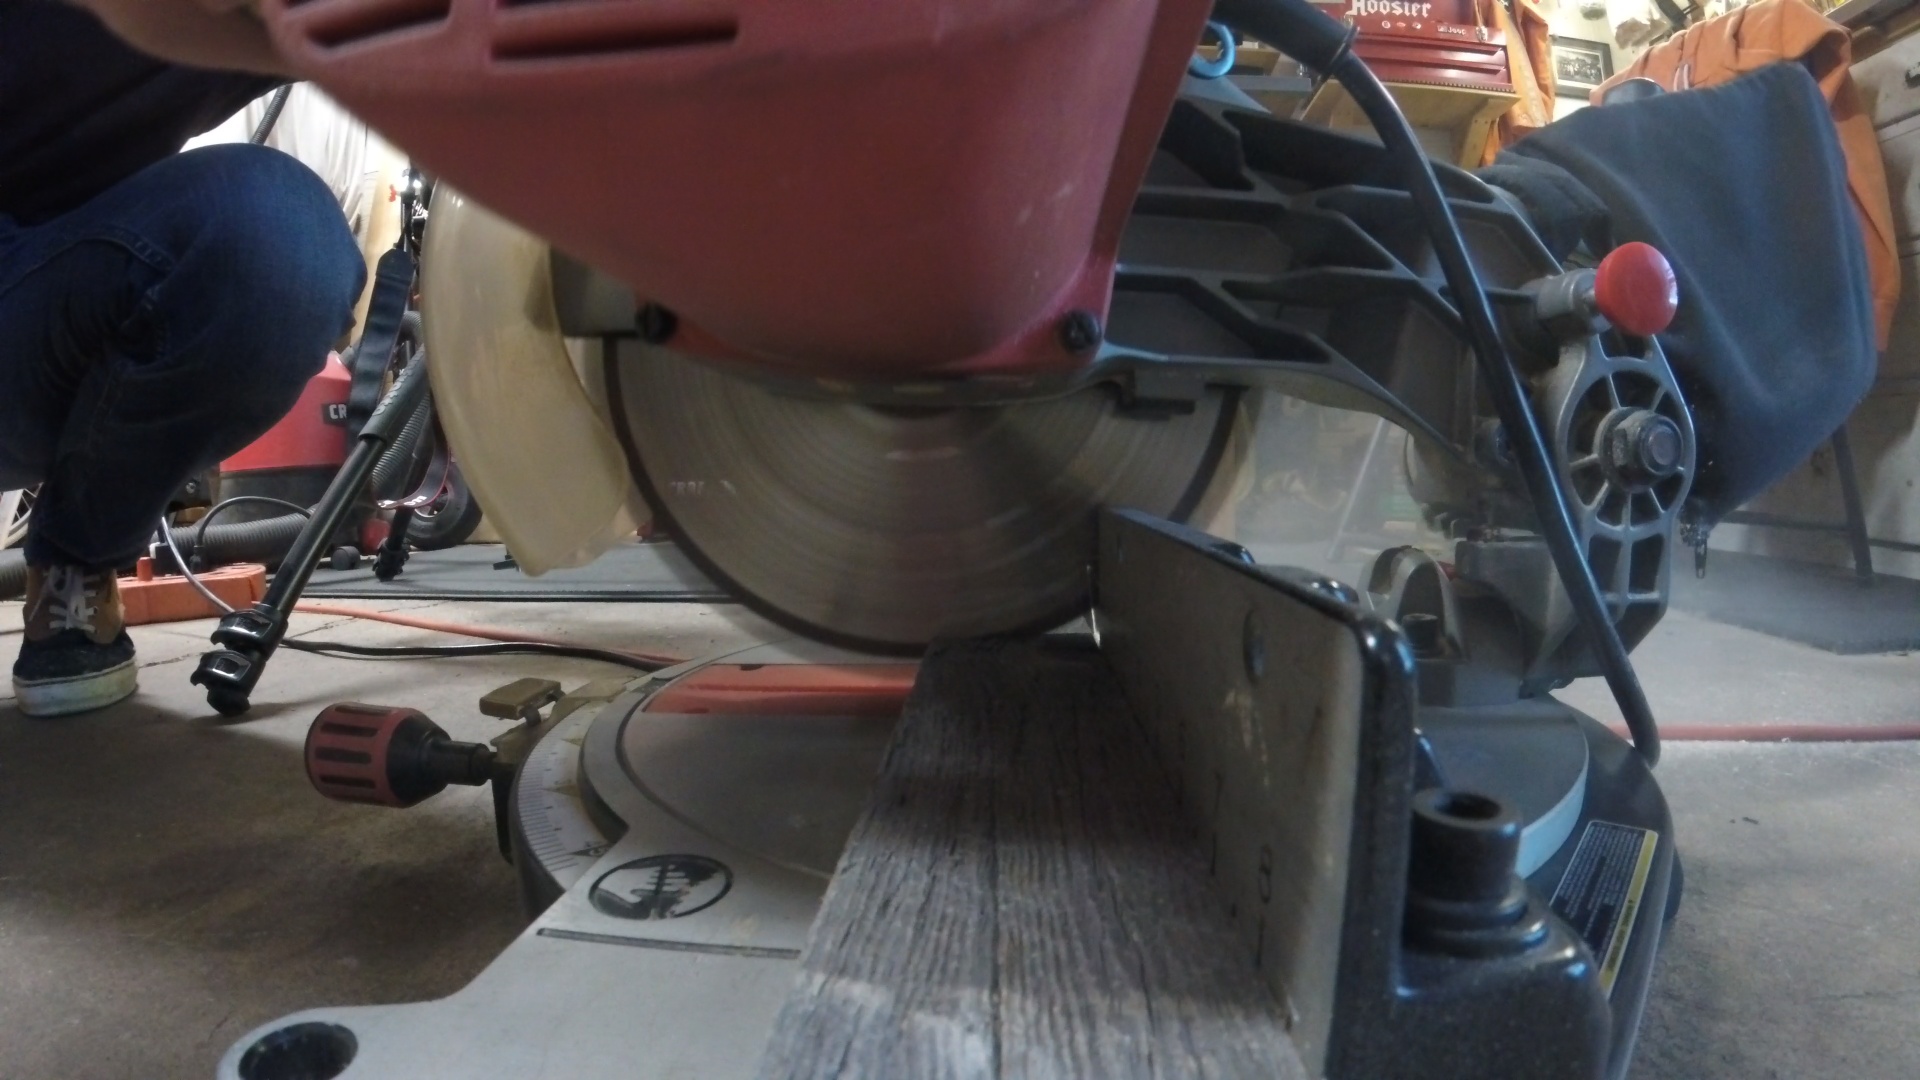
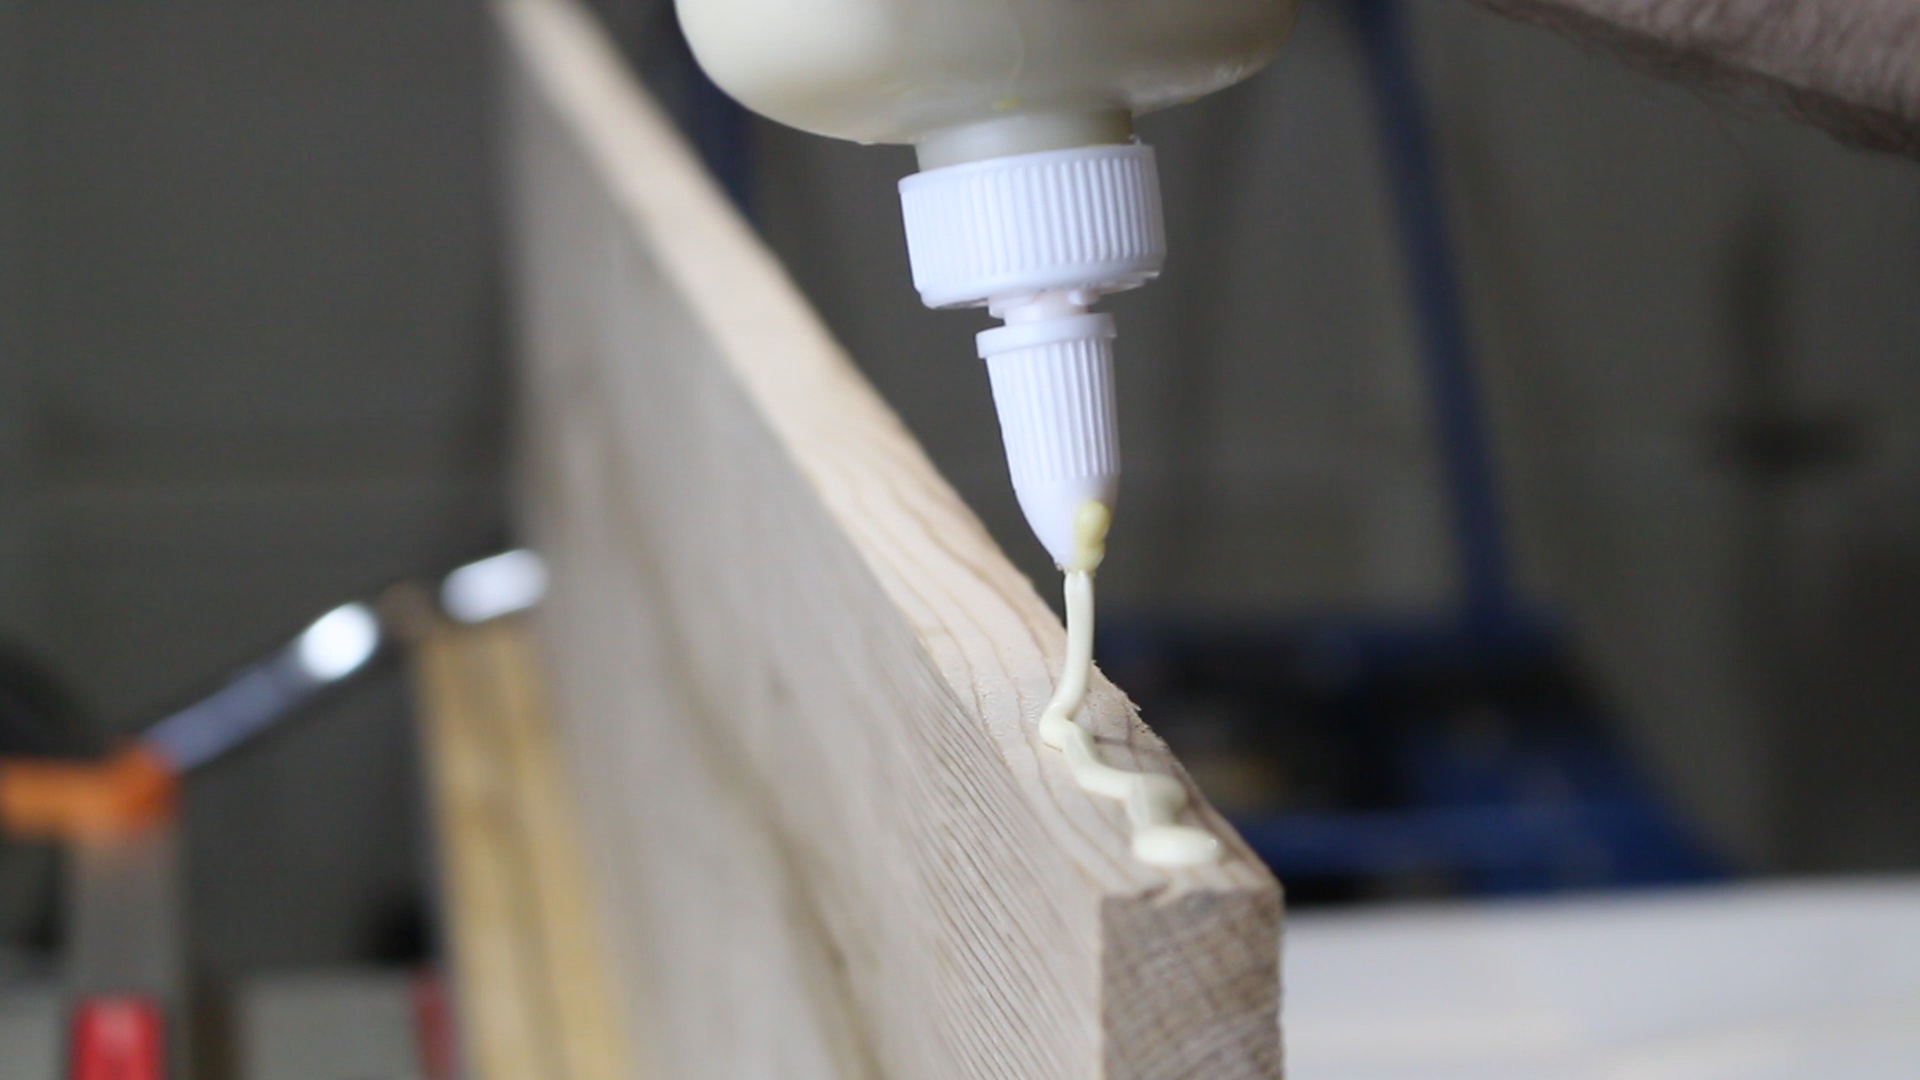
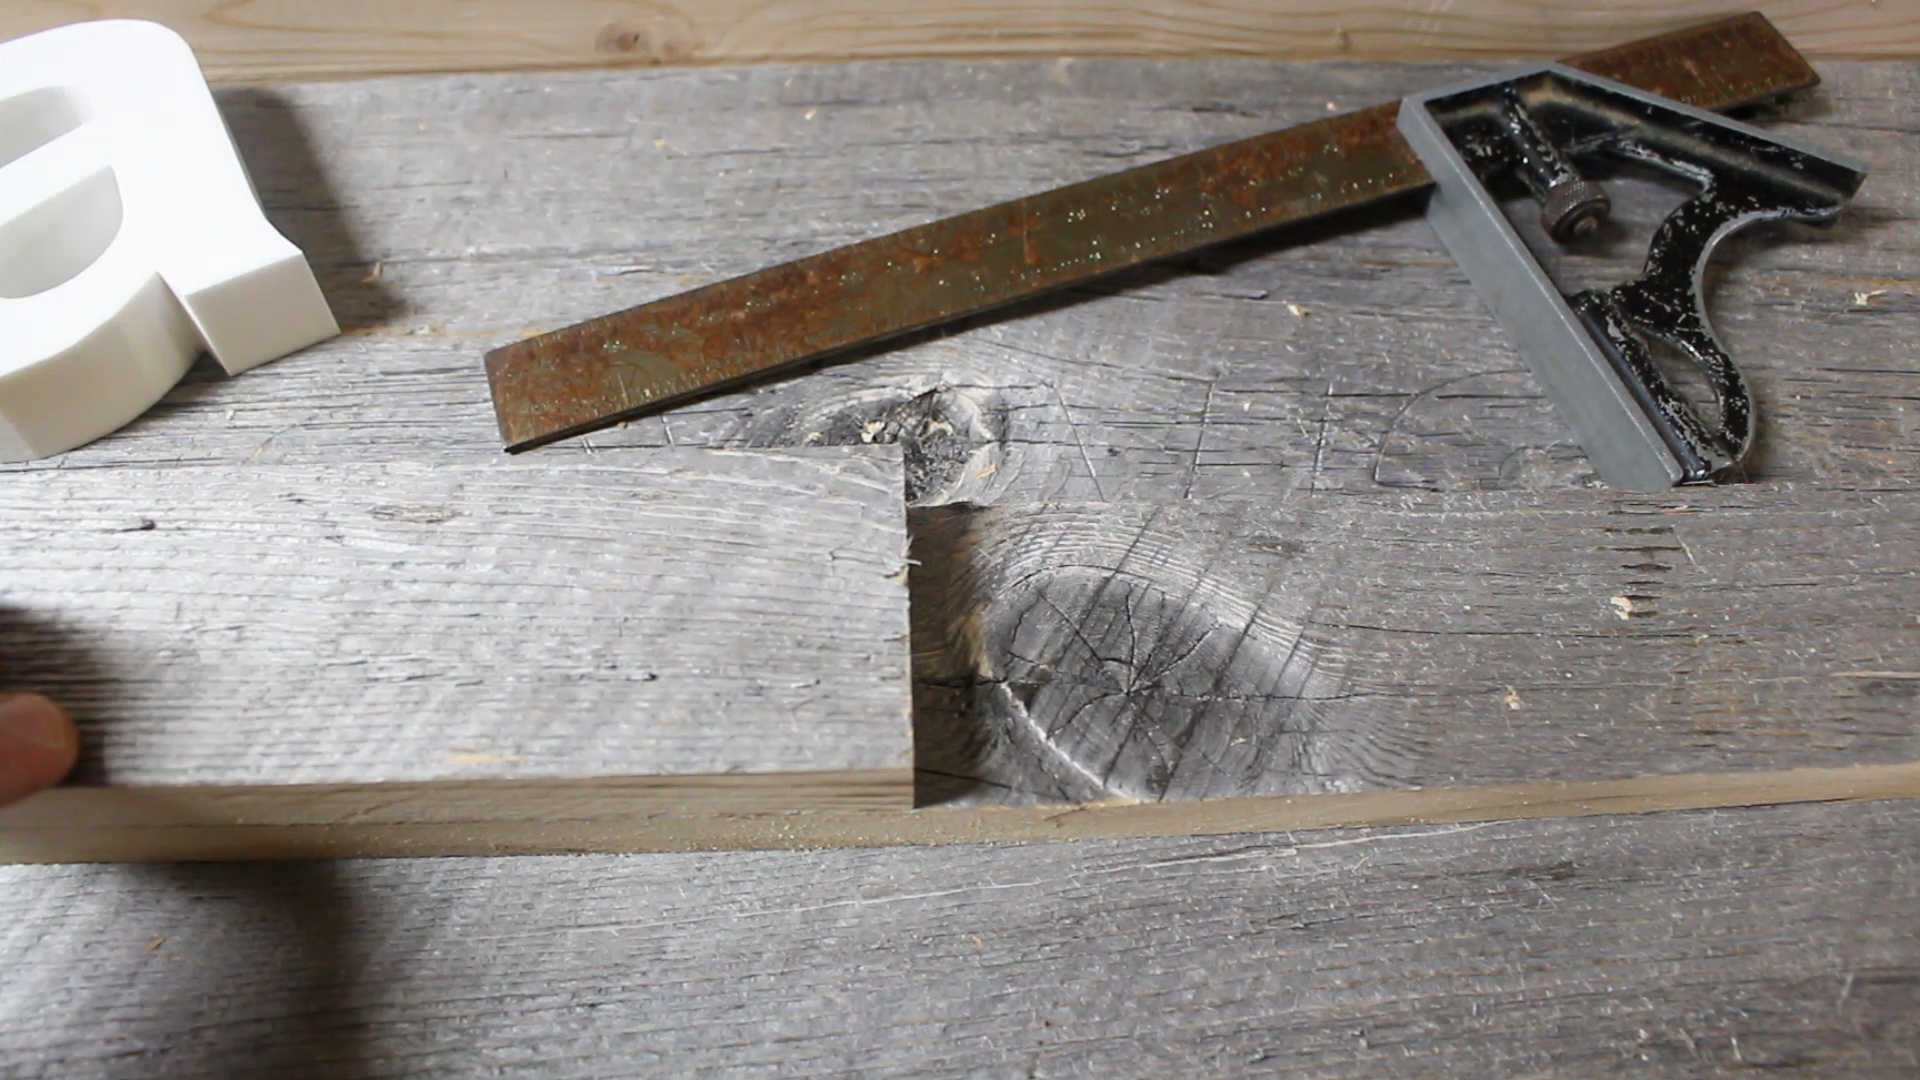
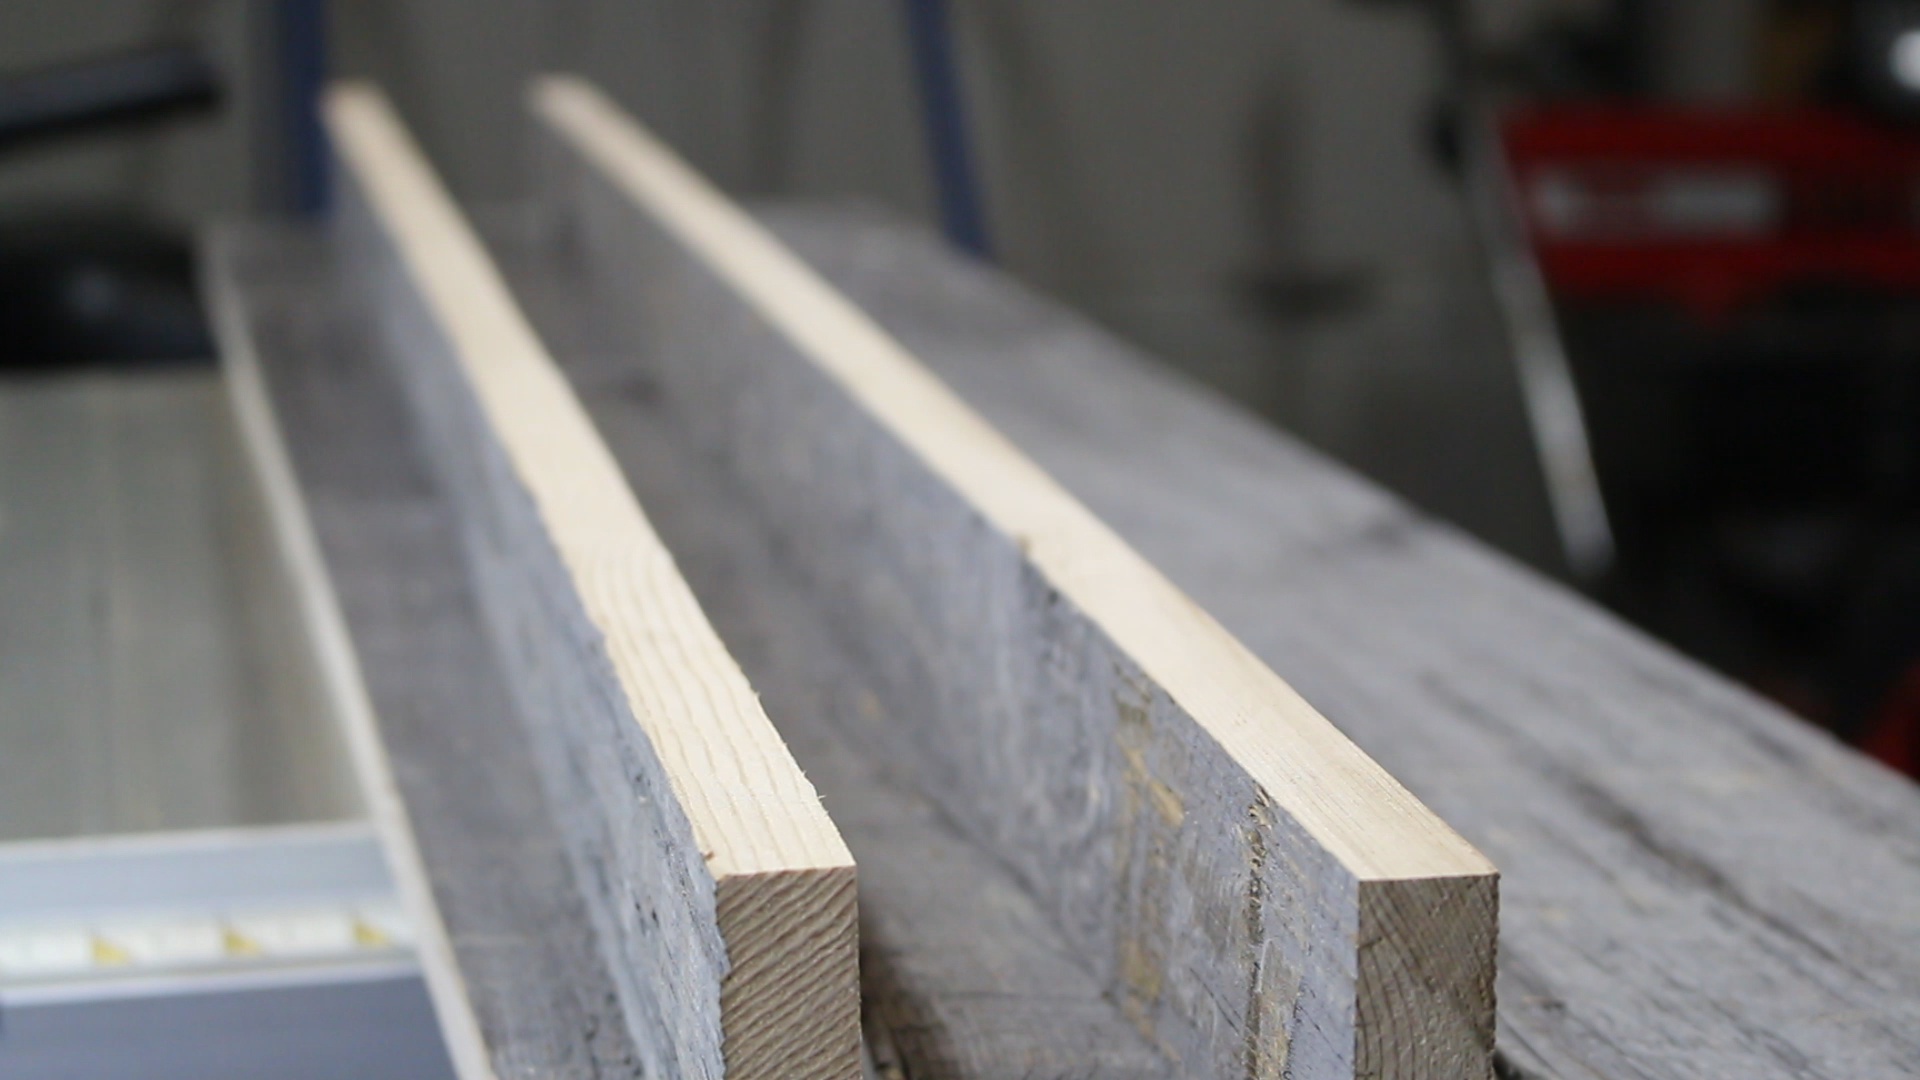
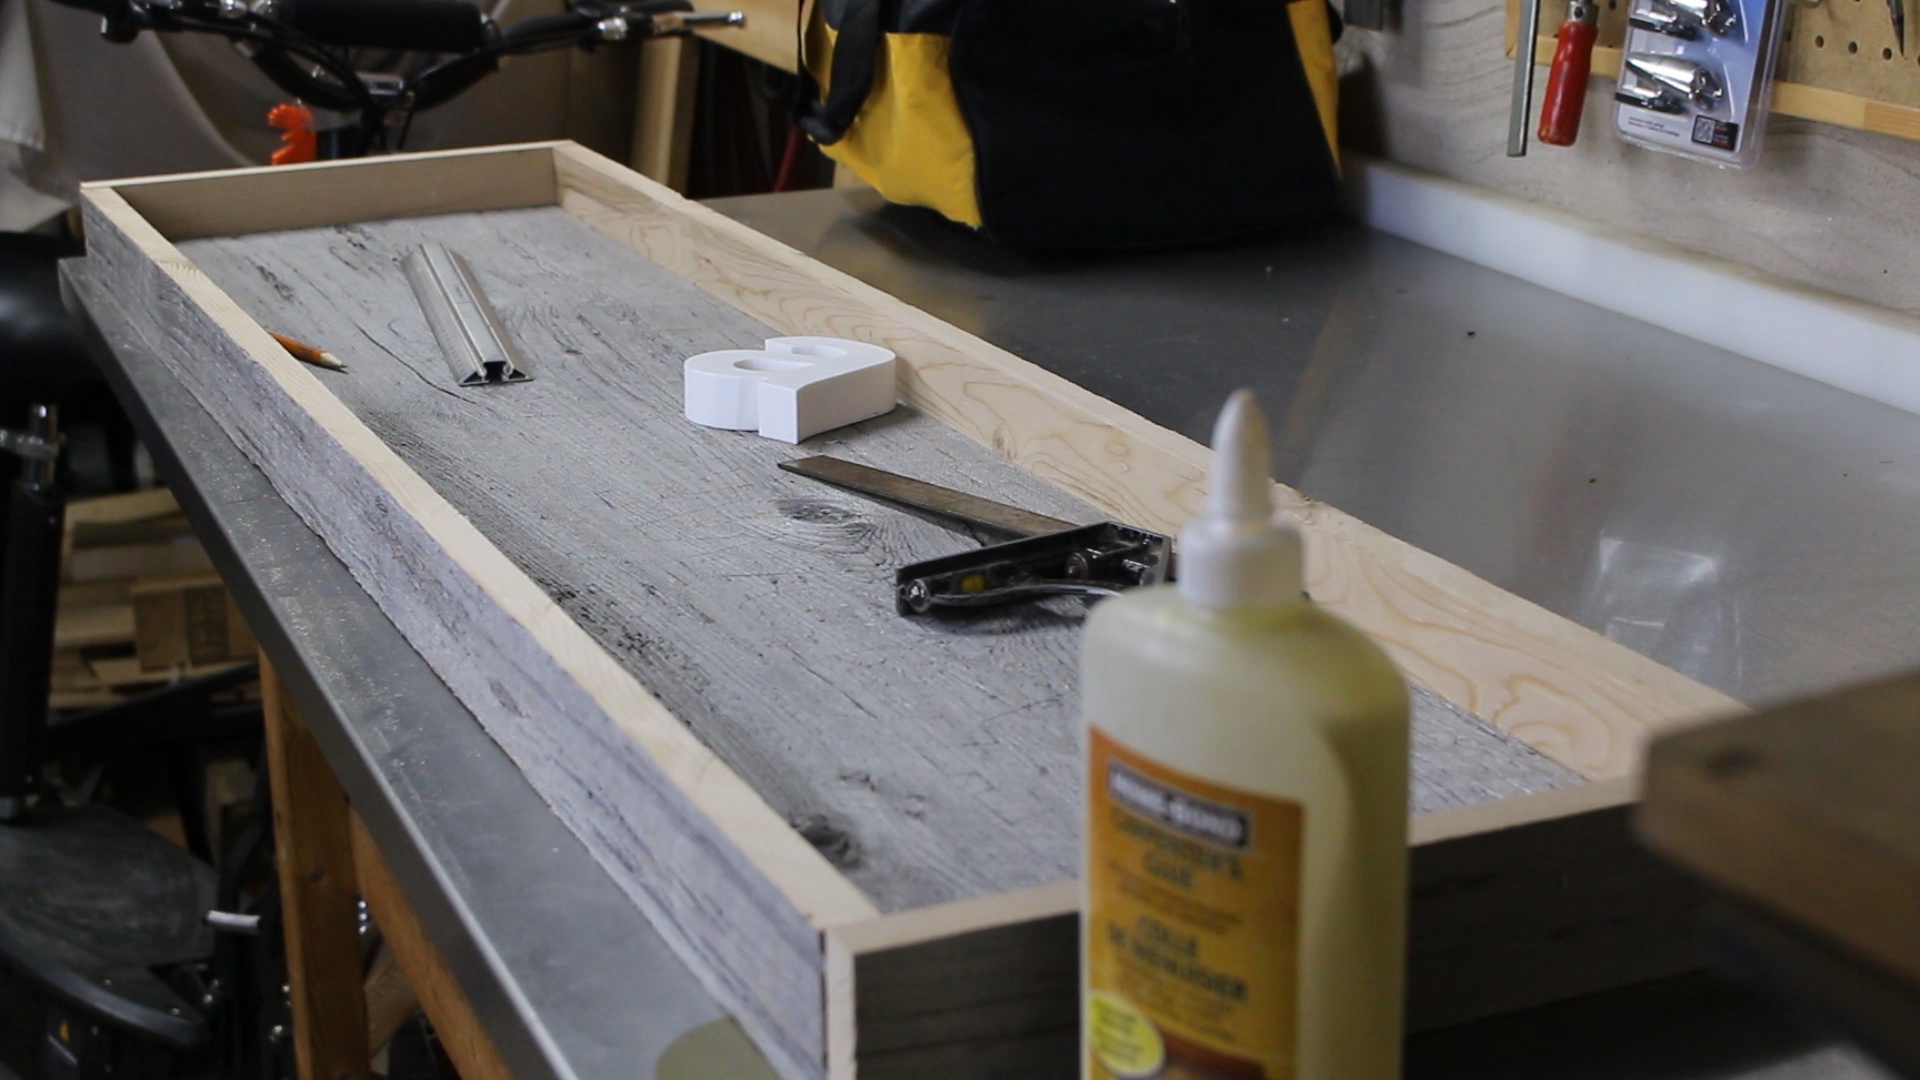
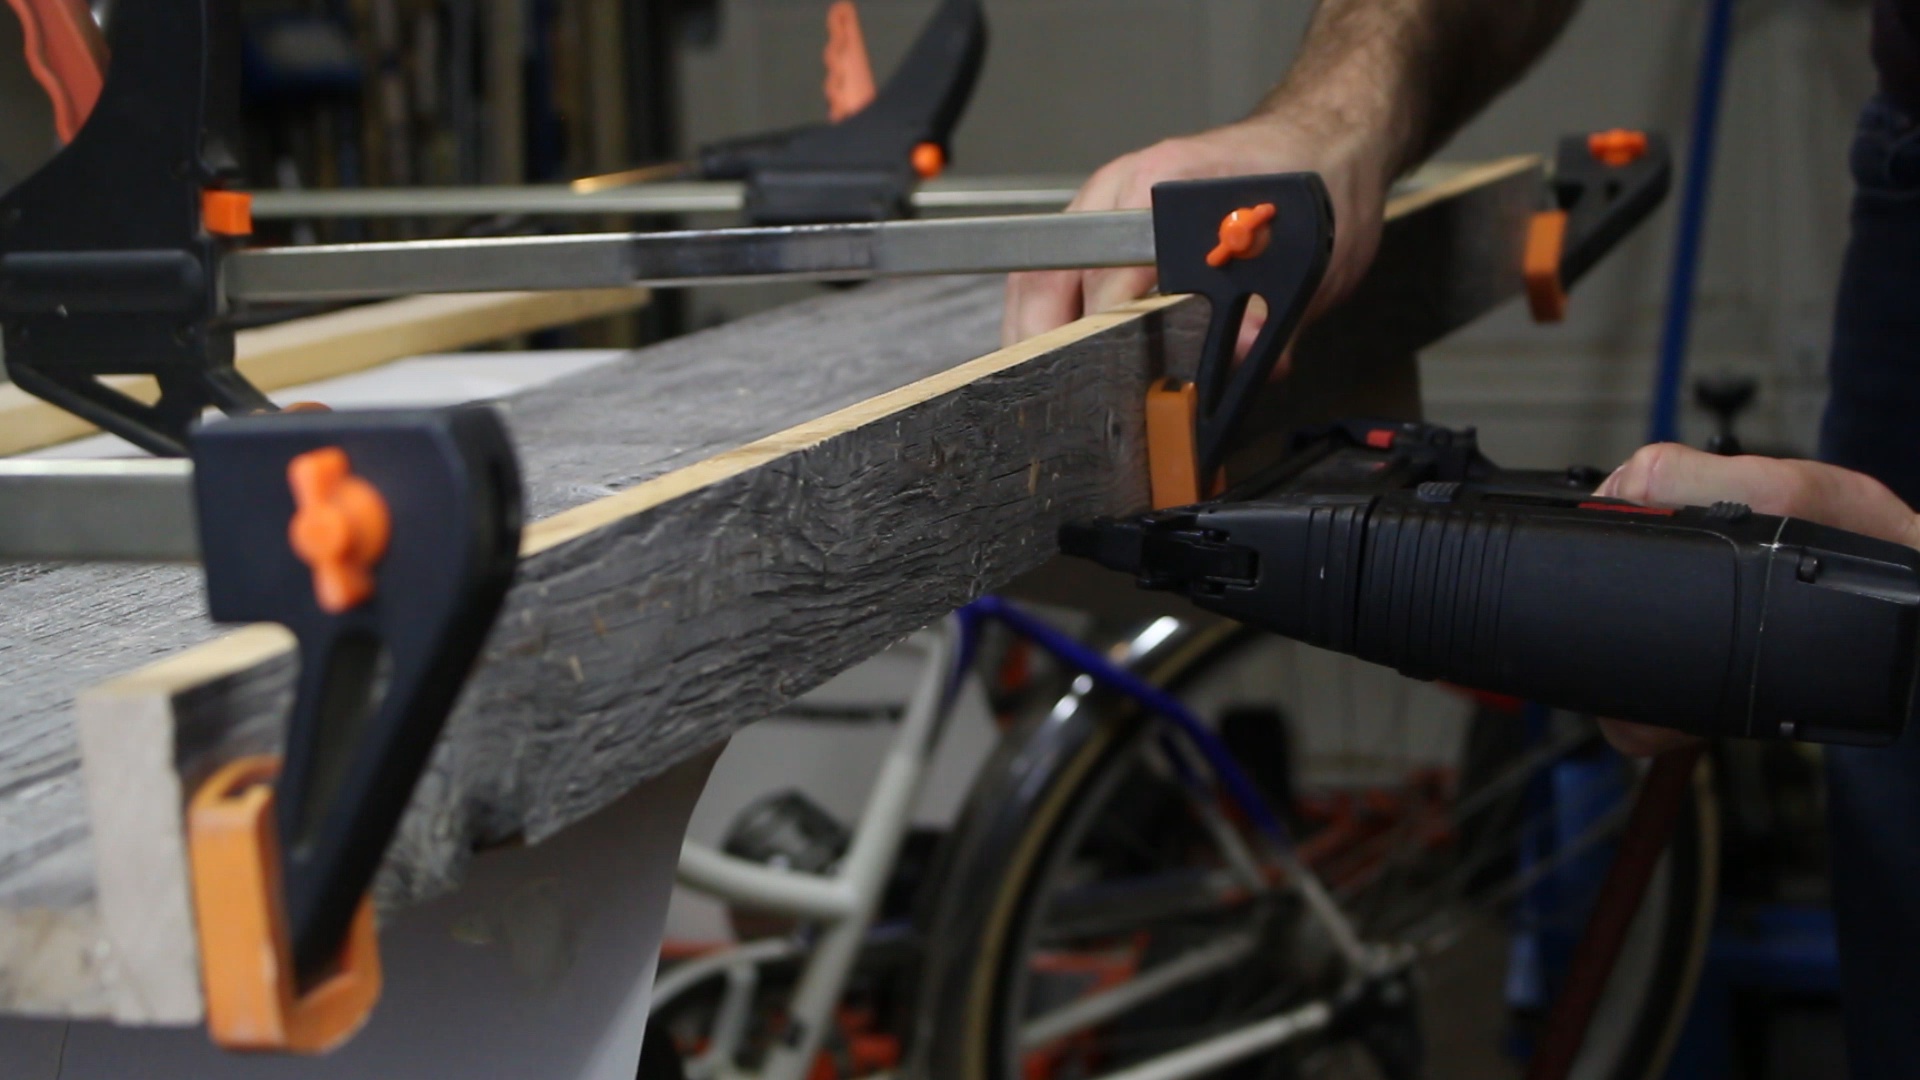
Originally I wasn’t sure what kind of wood I wanted to use for this project, but I ended up finding some old barn board at a local wood store. The nice thing about this barn board is that it came with the back side planed and the edges jointed, which saved me a lot of work.
Before I did any cutting I traced around the letters with pencil in order to get an idea on how big the sign would be. This will also make gluing the letters nice and easy later on.
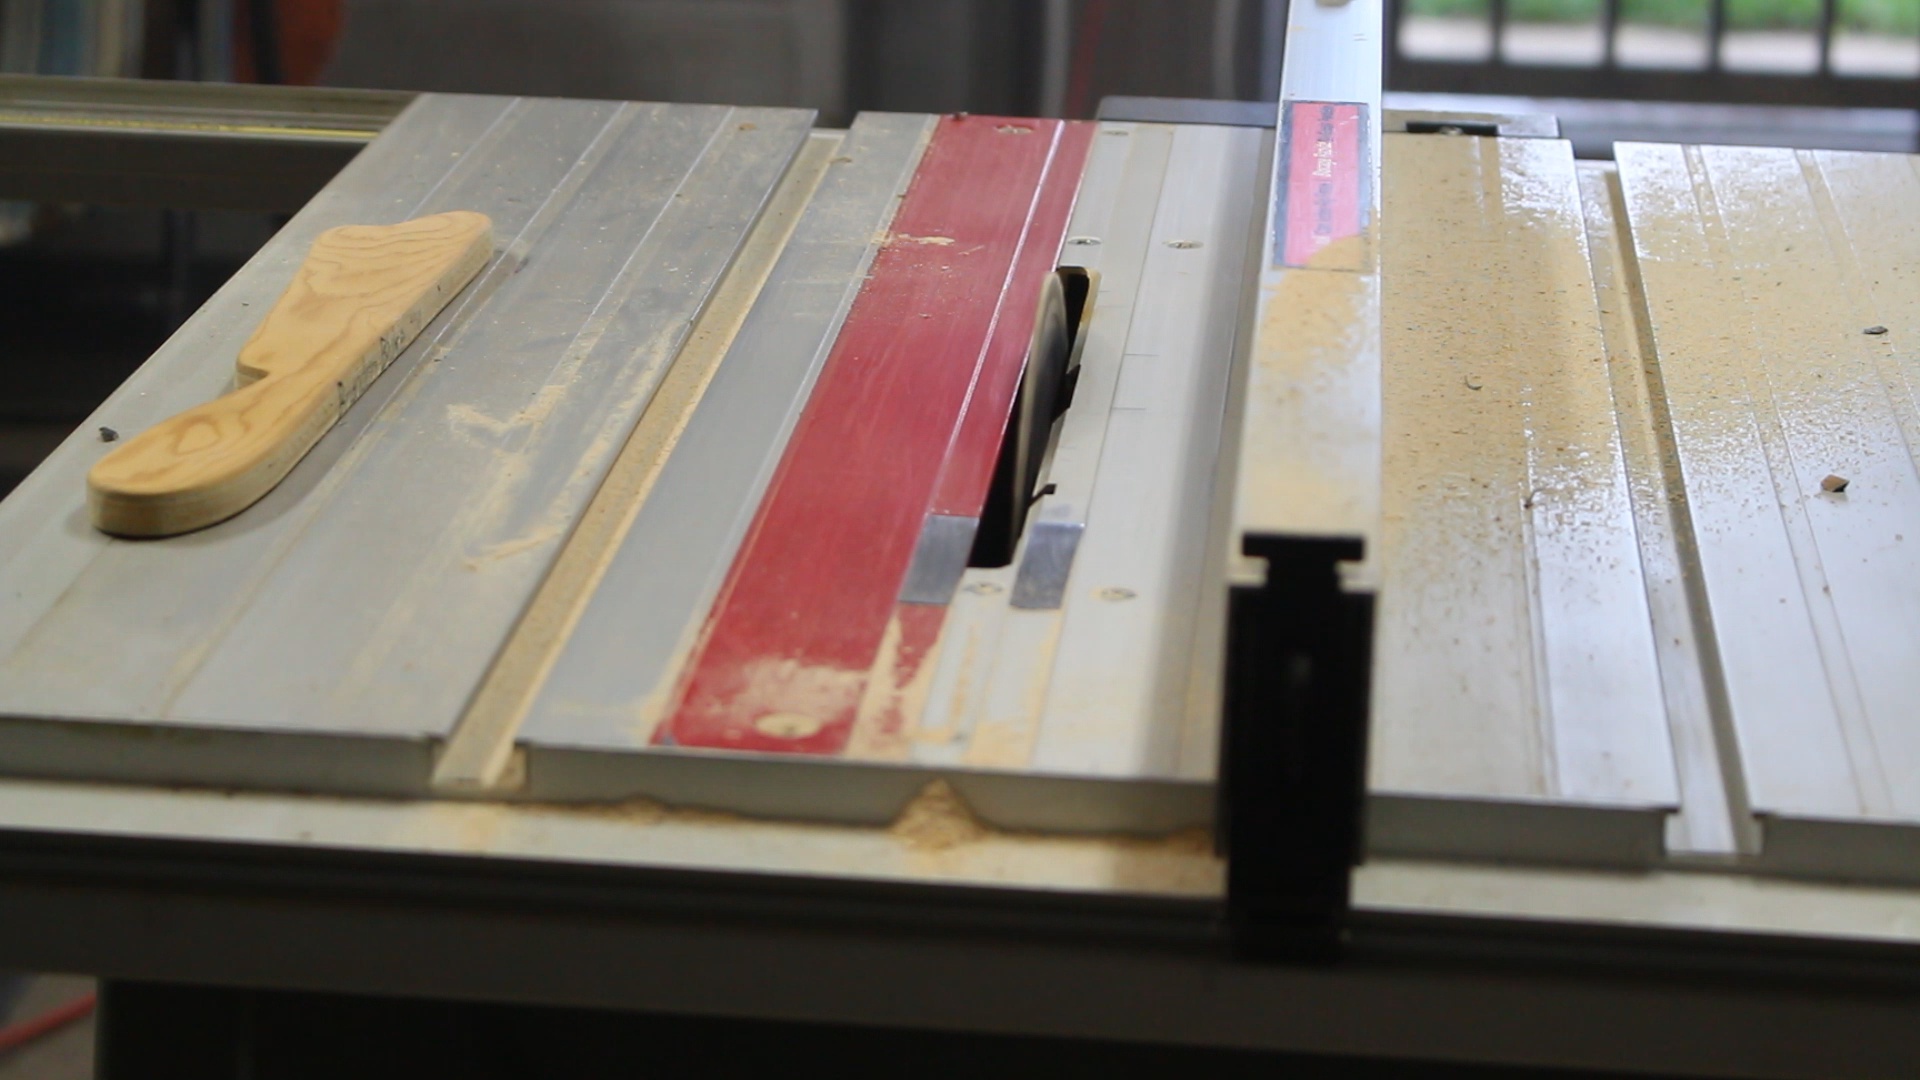
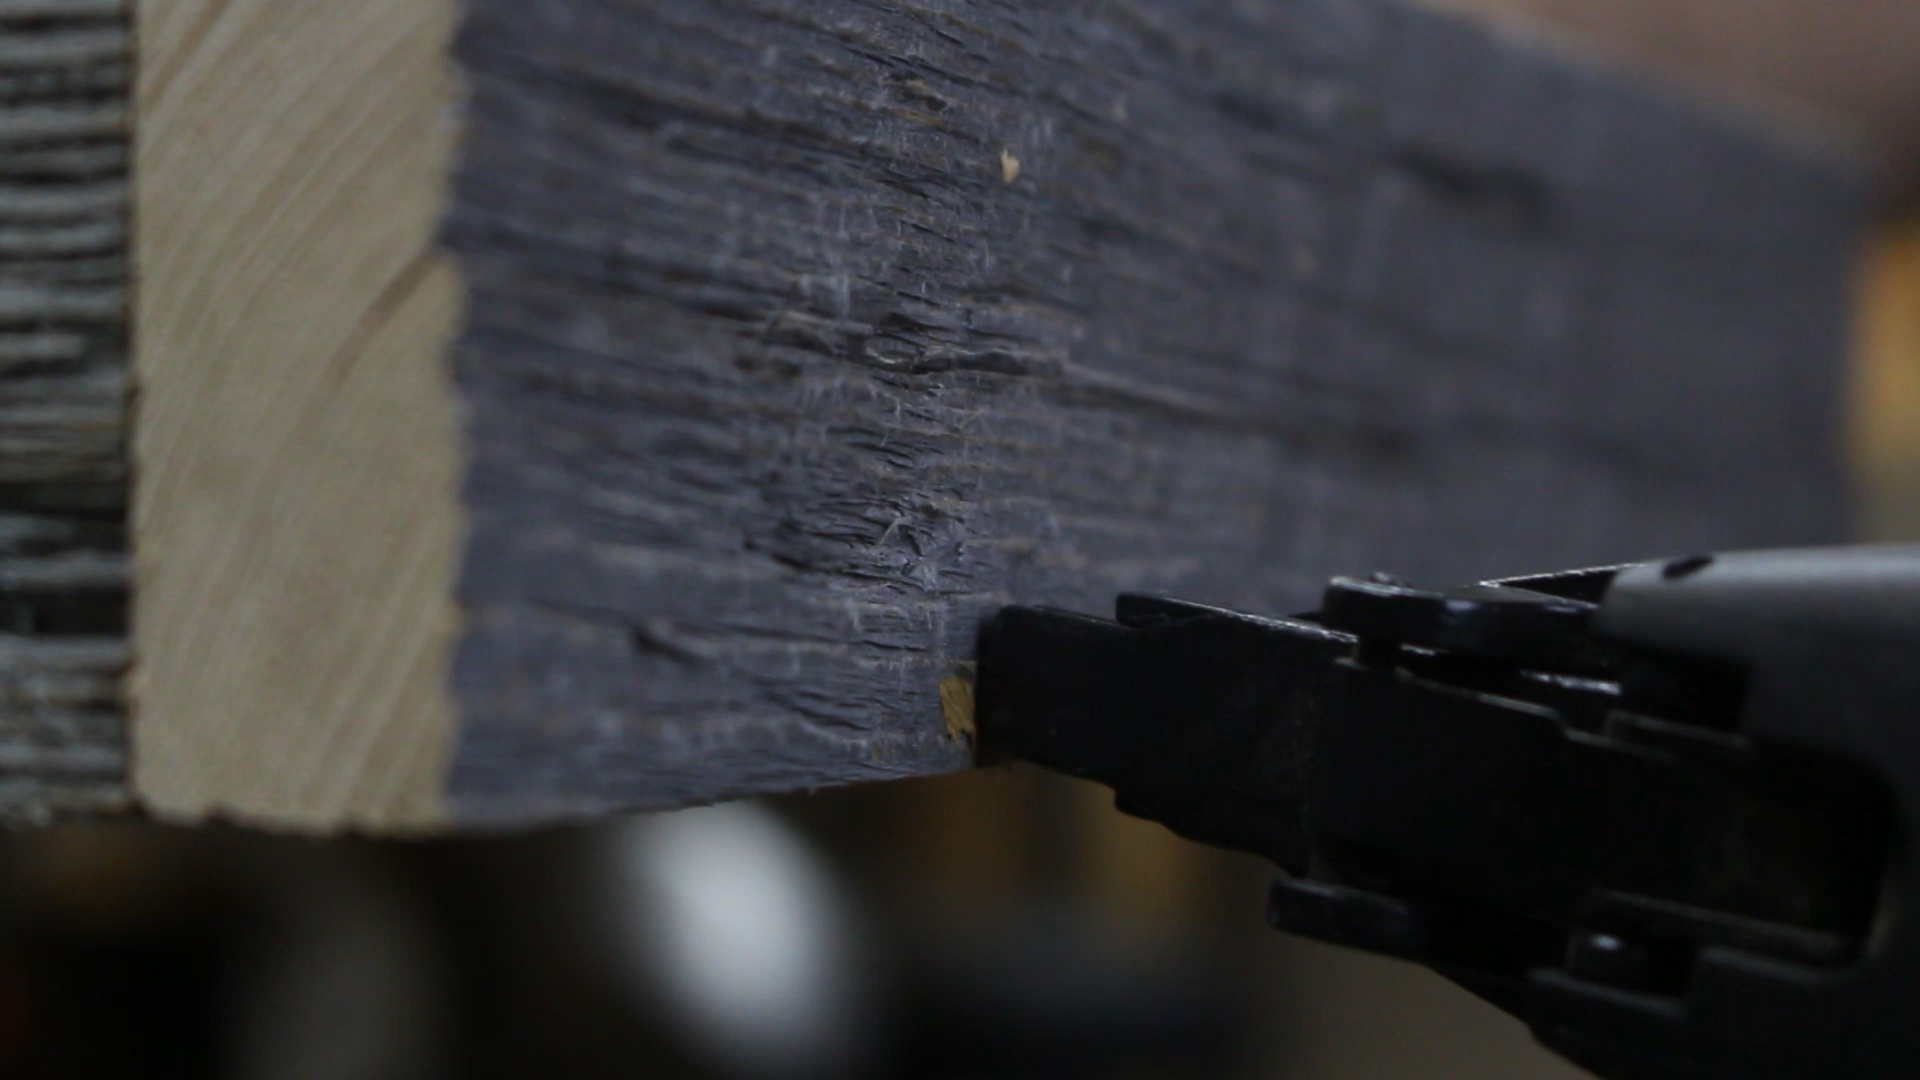
One of the pieces of barn board was actually the perfect size for my sign so I didn’t have to do any cutting to it. All I had to do was cut some pieces for the sides using my table saw. I cut some of the wood into strips about 2 1/4” wide. From there I cut them down to the proper lengths with my mitre saw. After that glued them around the edges of the back piece and fastened them securely with a brad nailer.
Gluing the Logo and Letters to the Sign
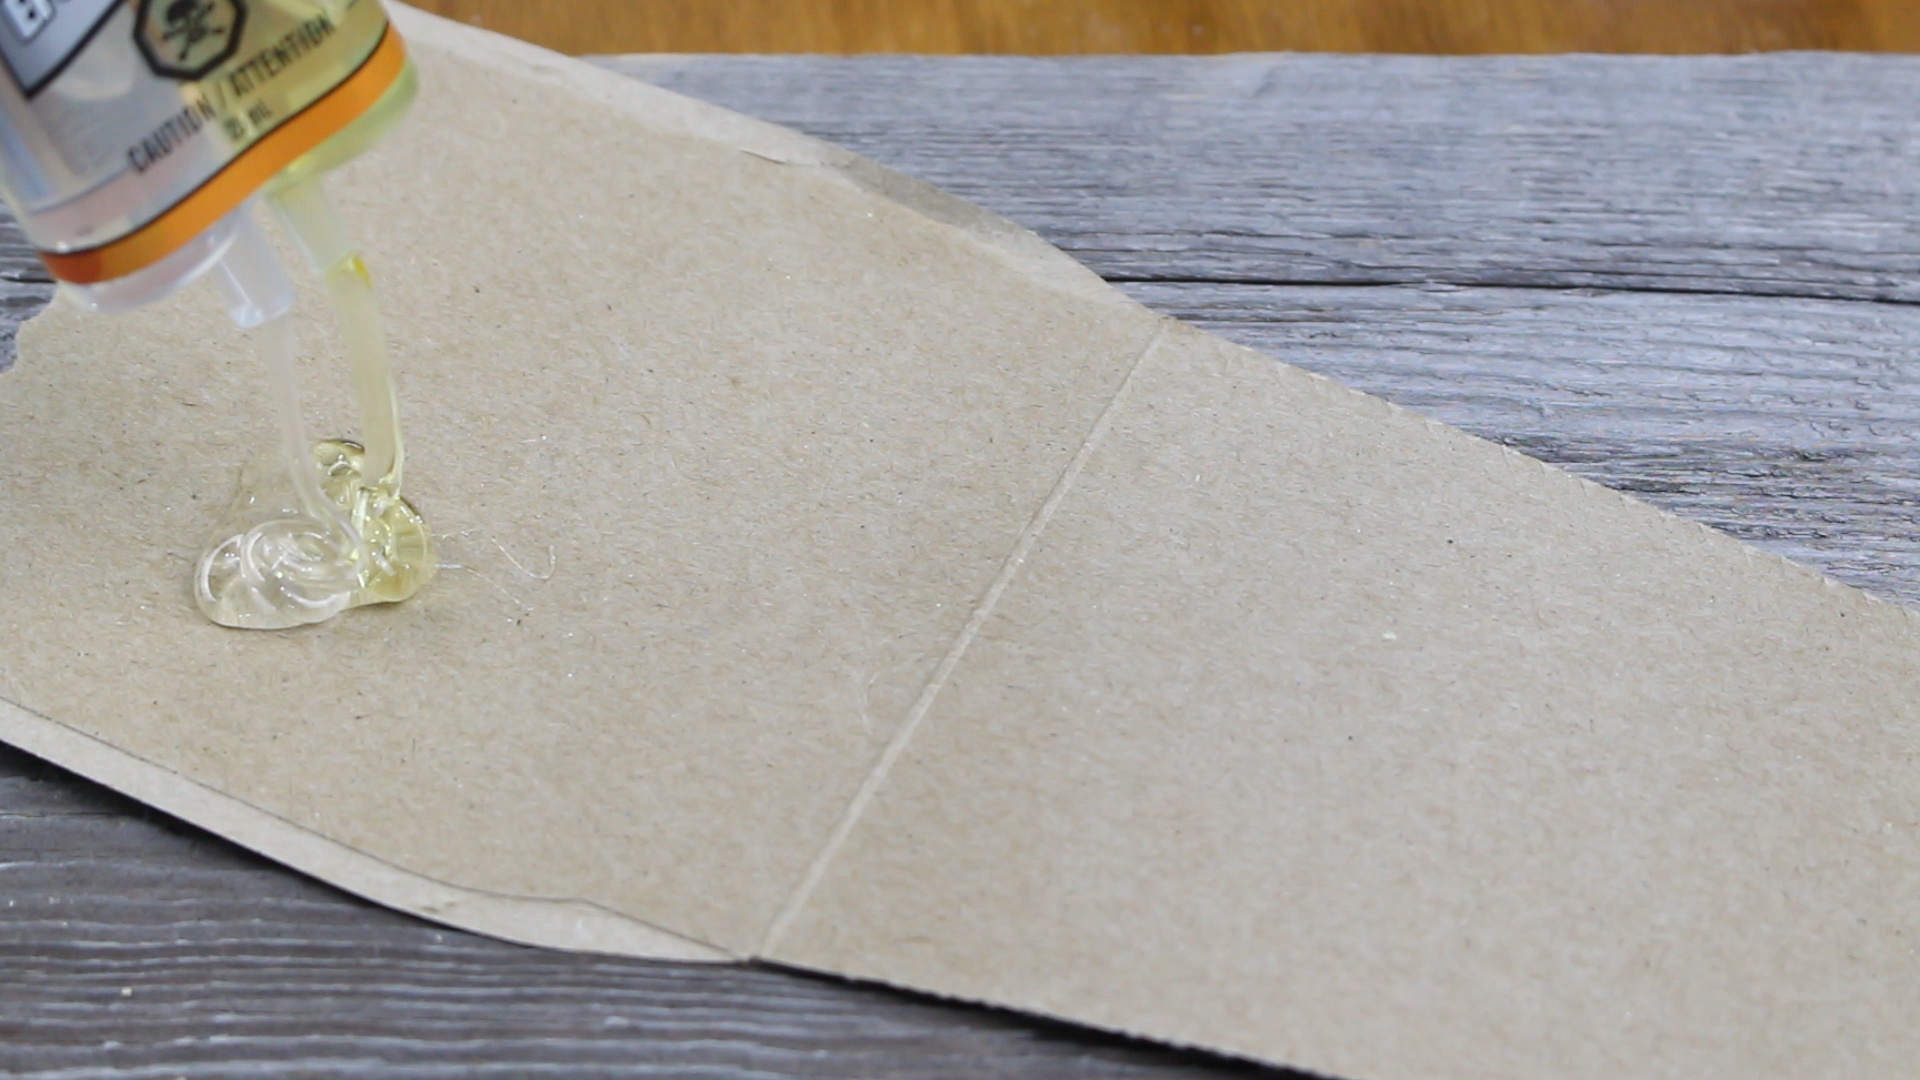
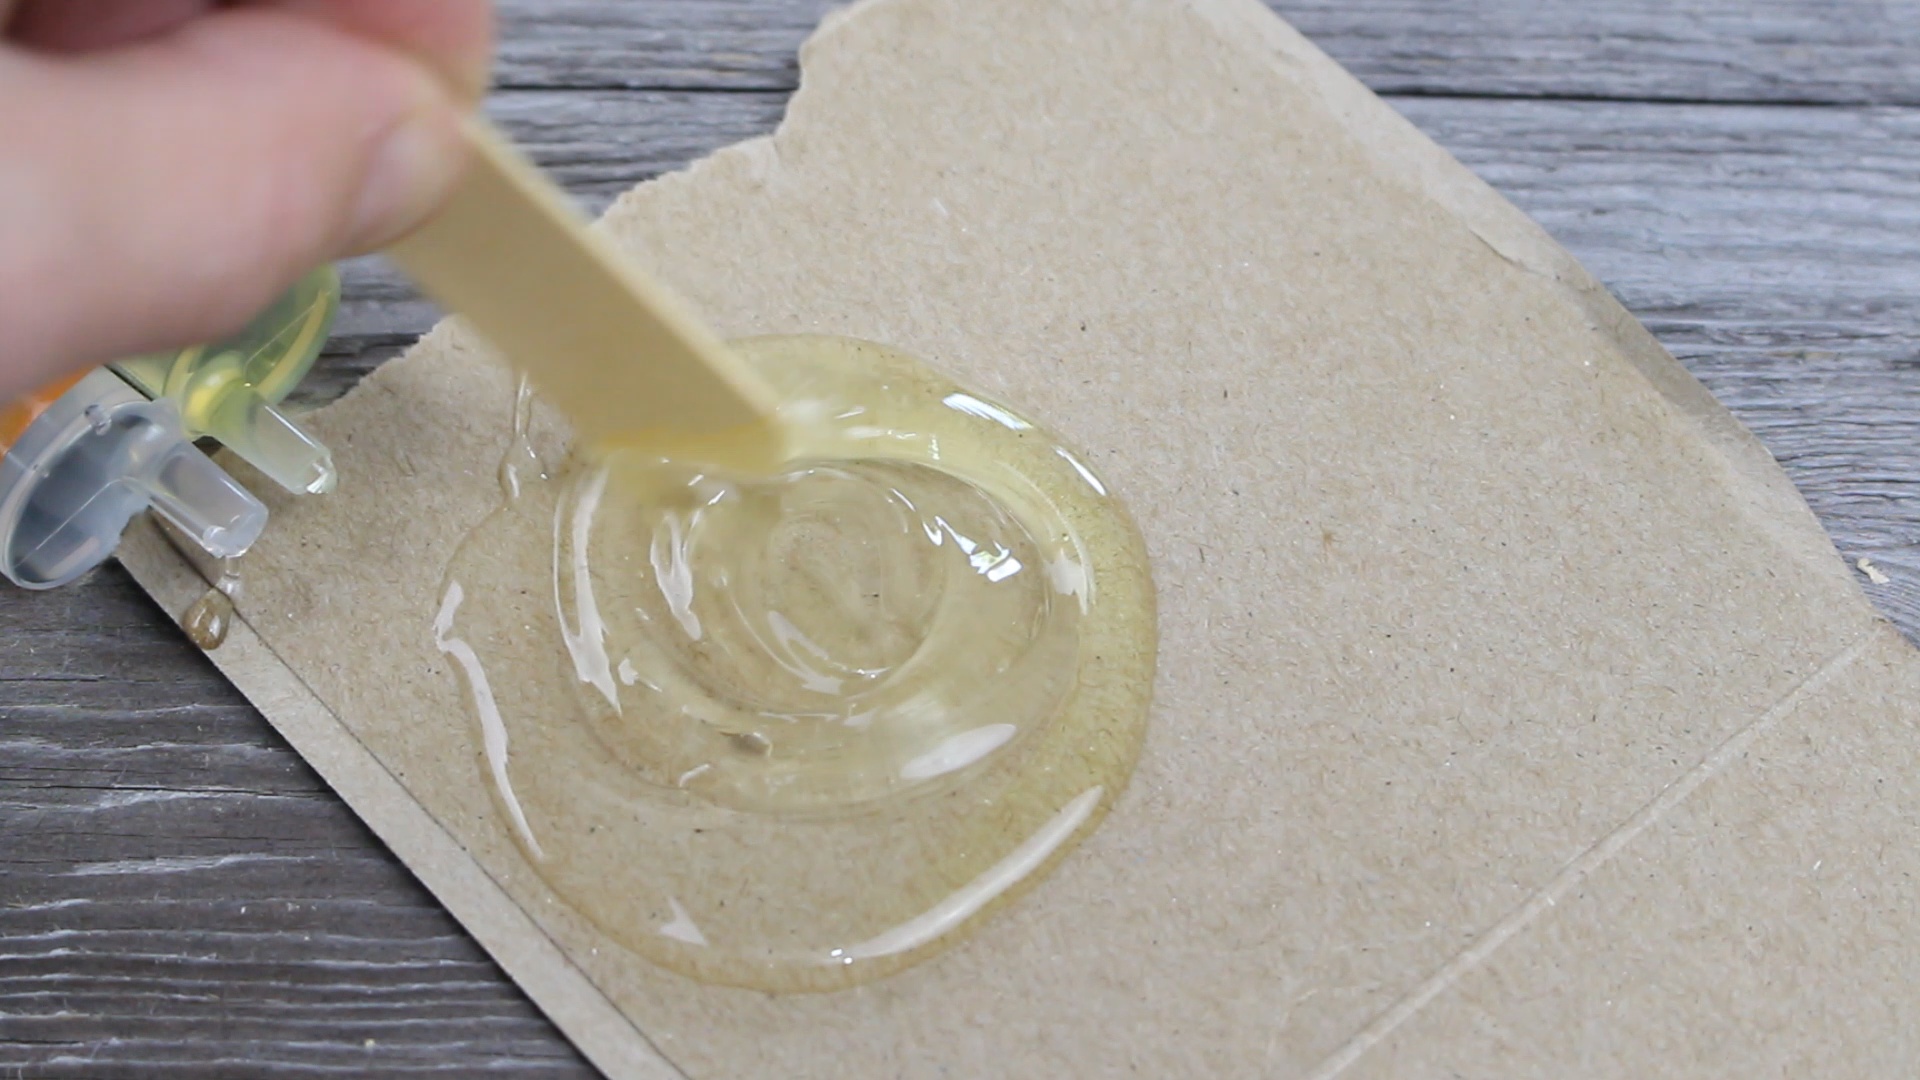
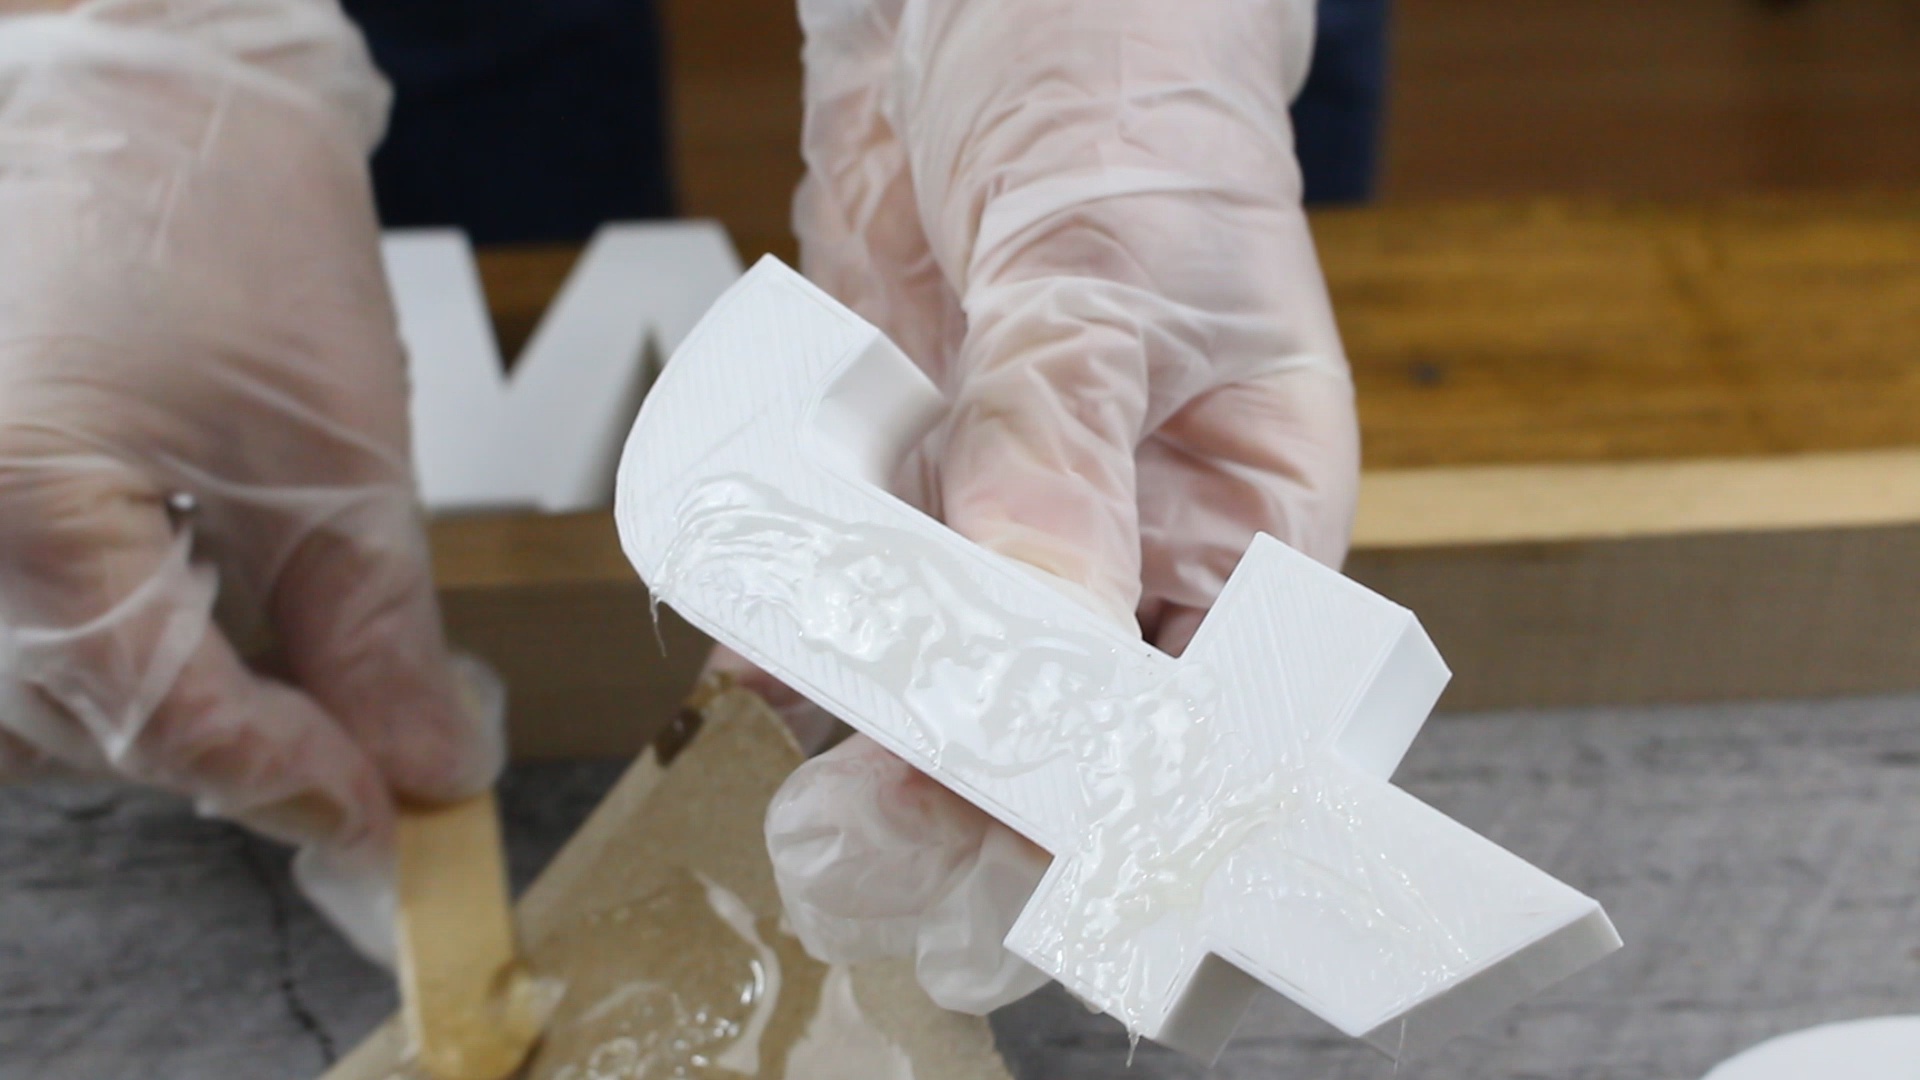
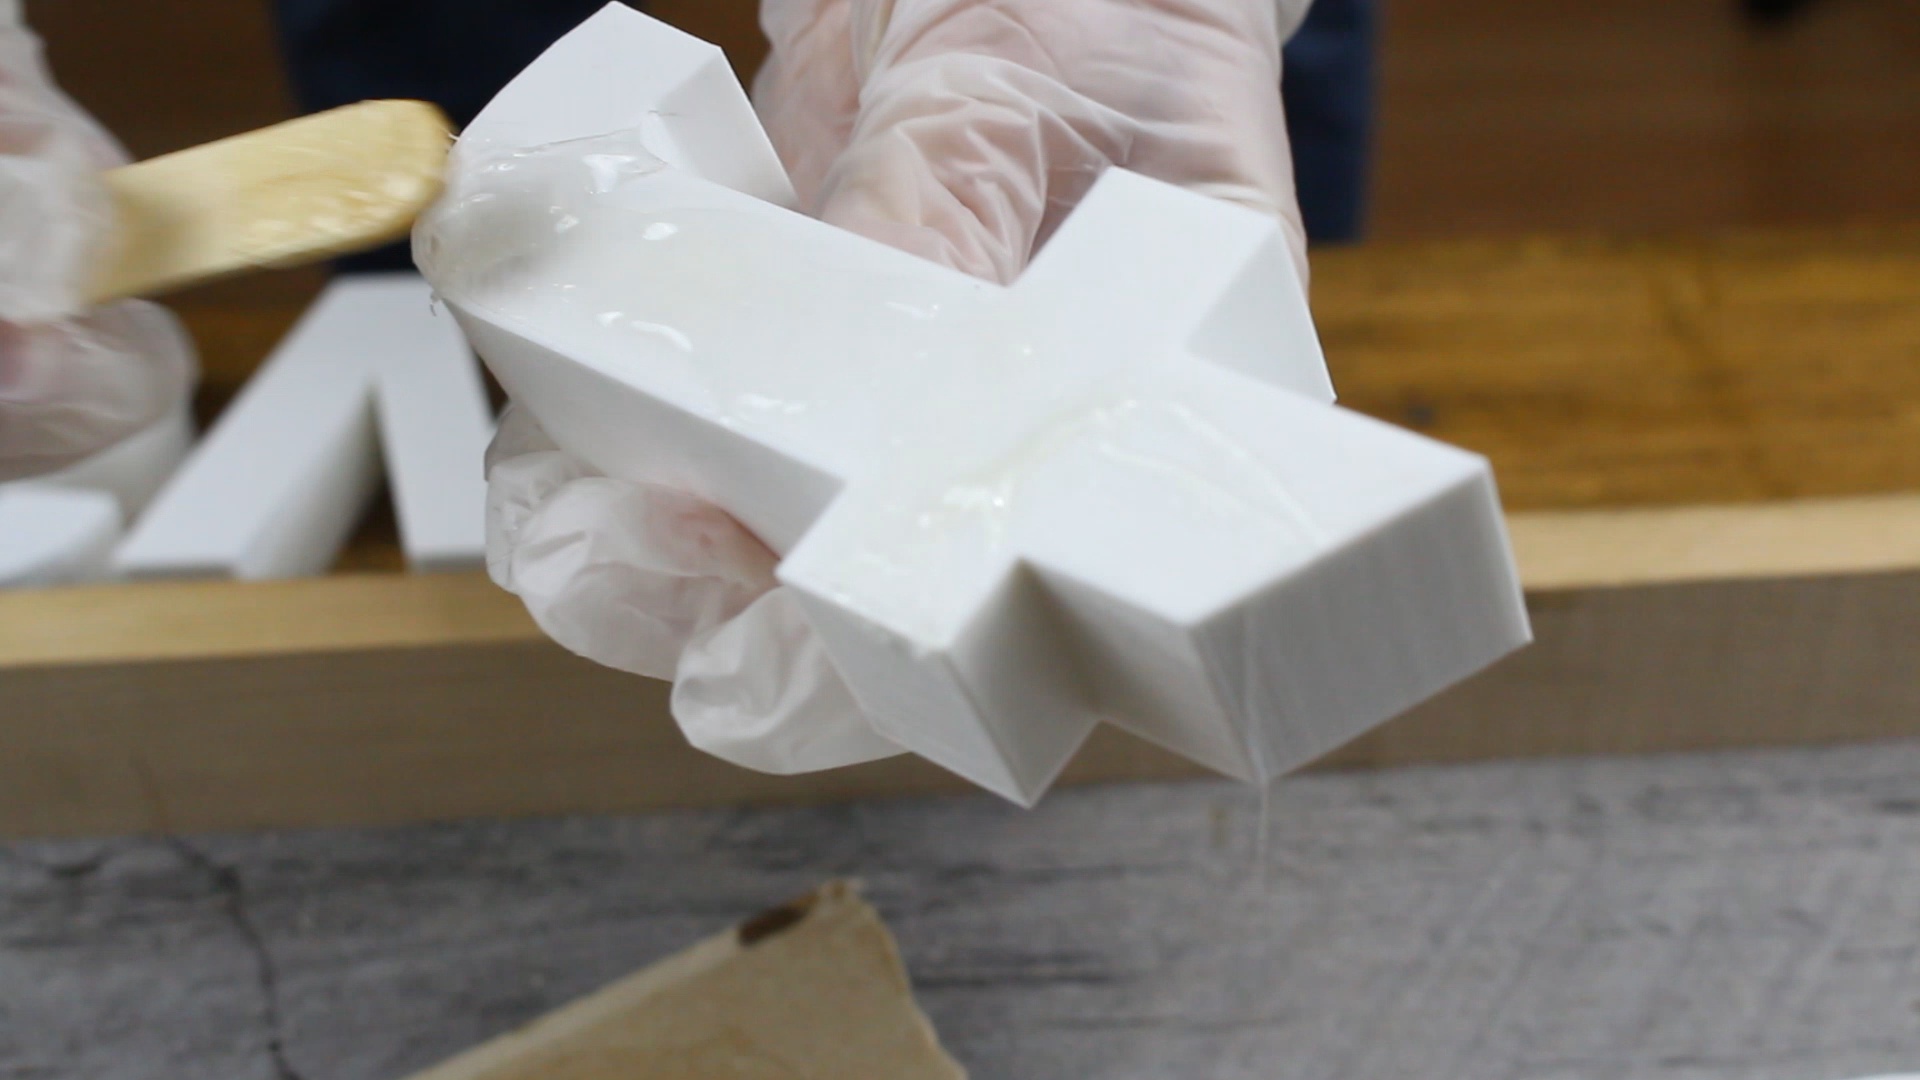
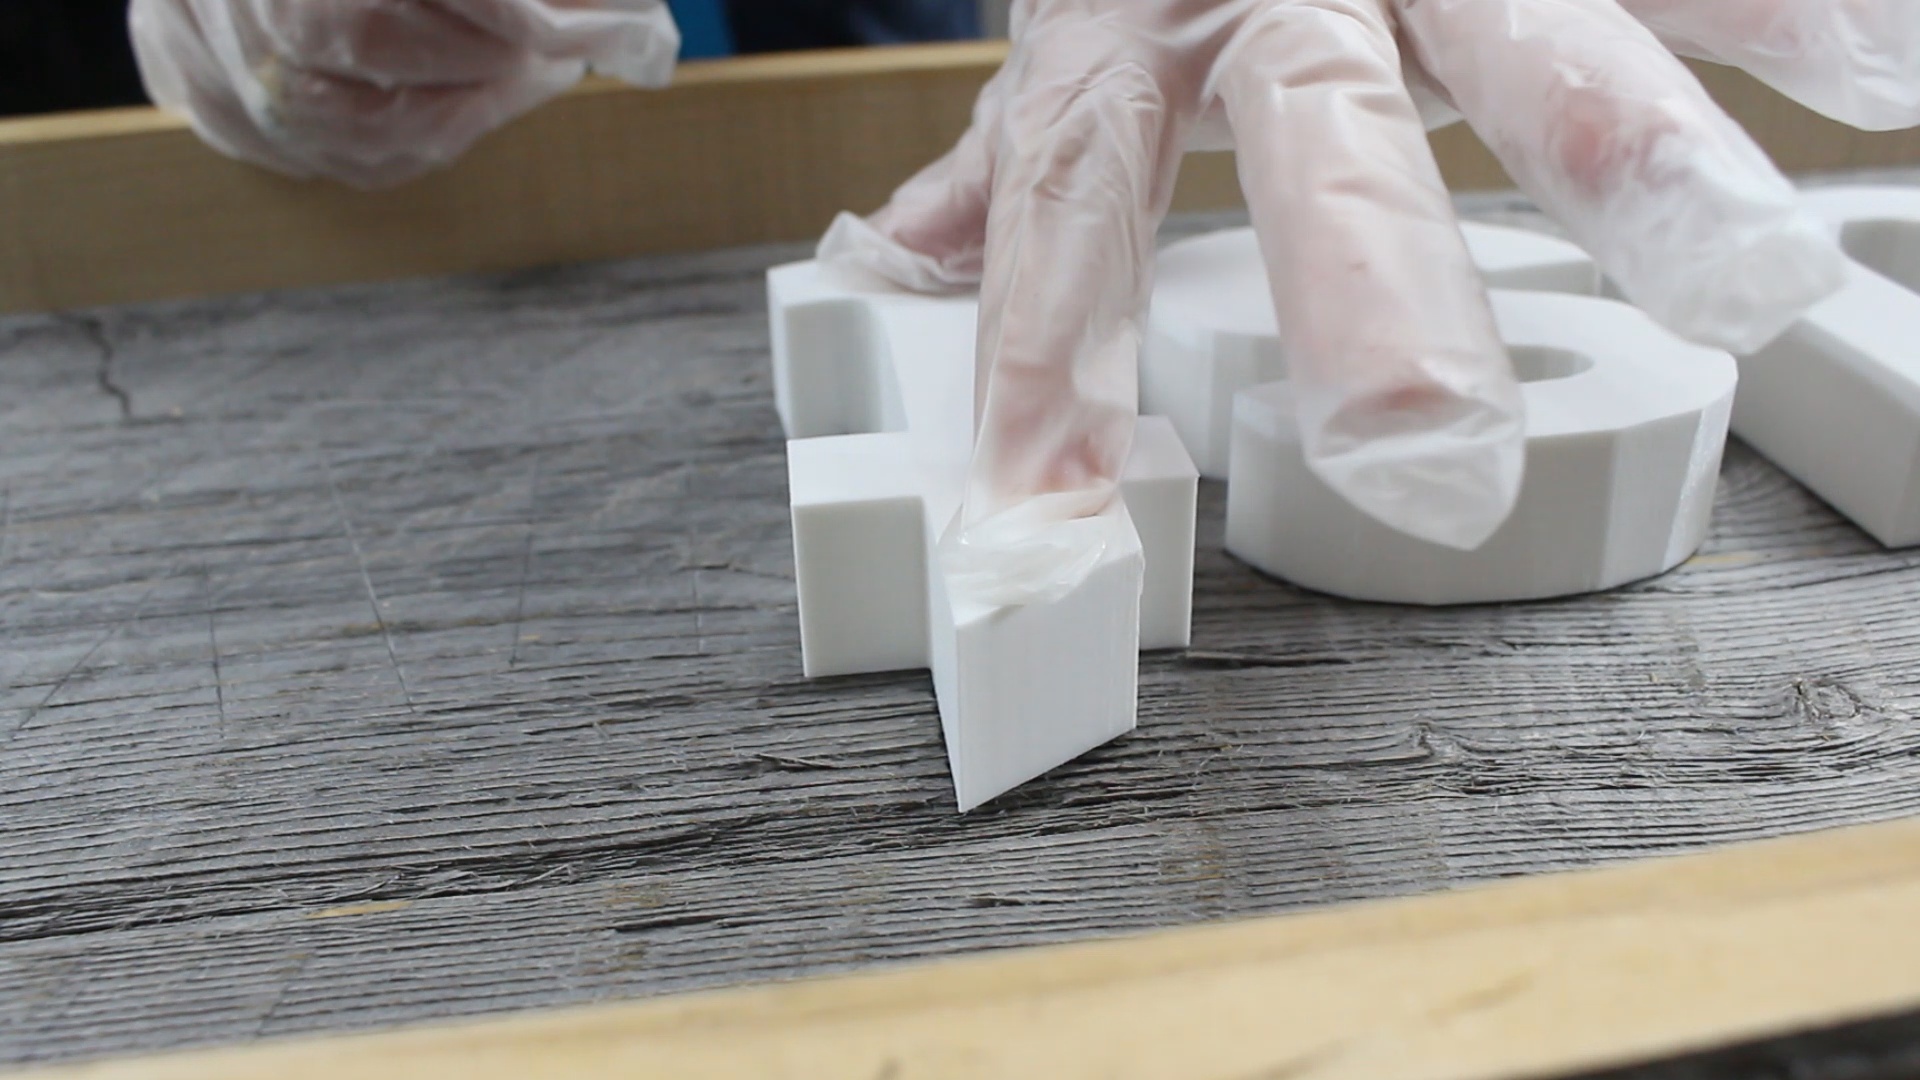
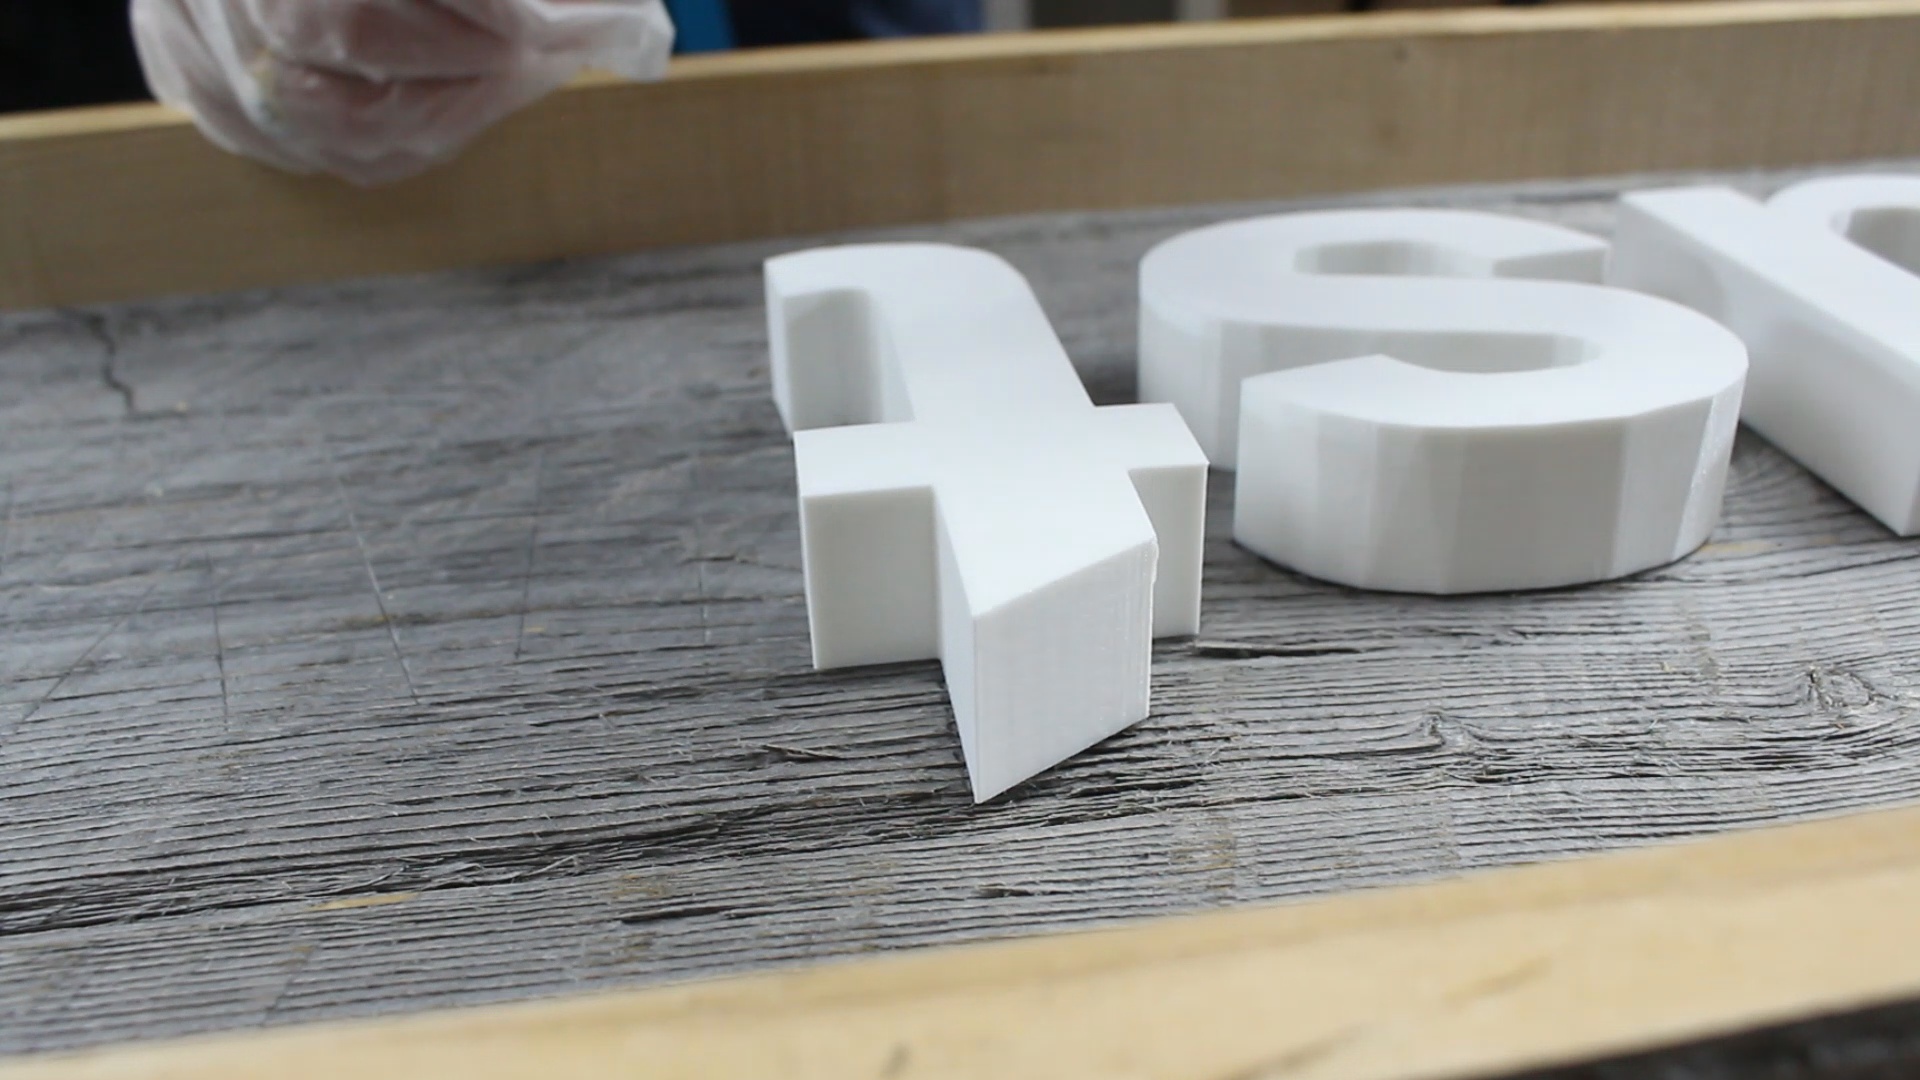
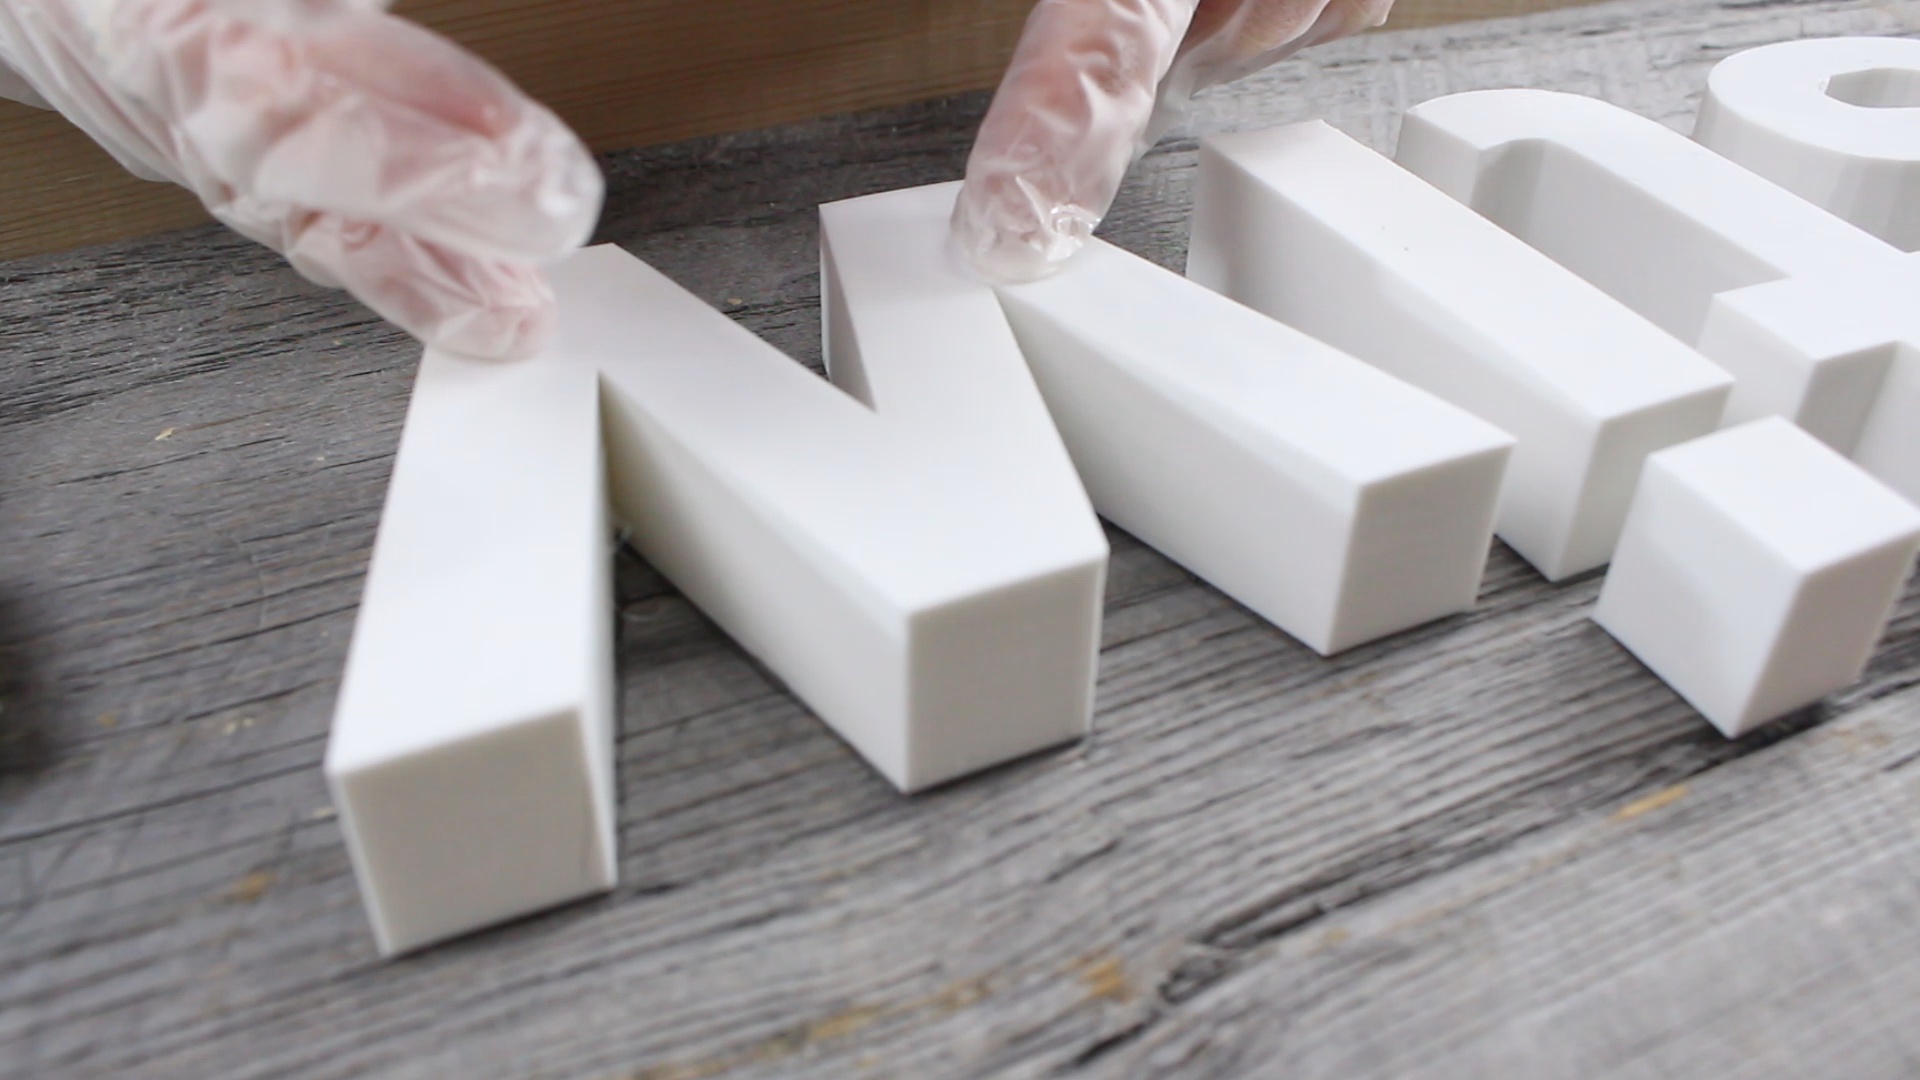
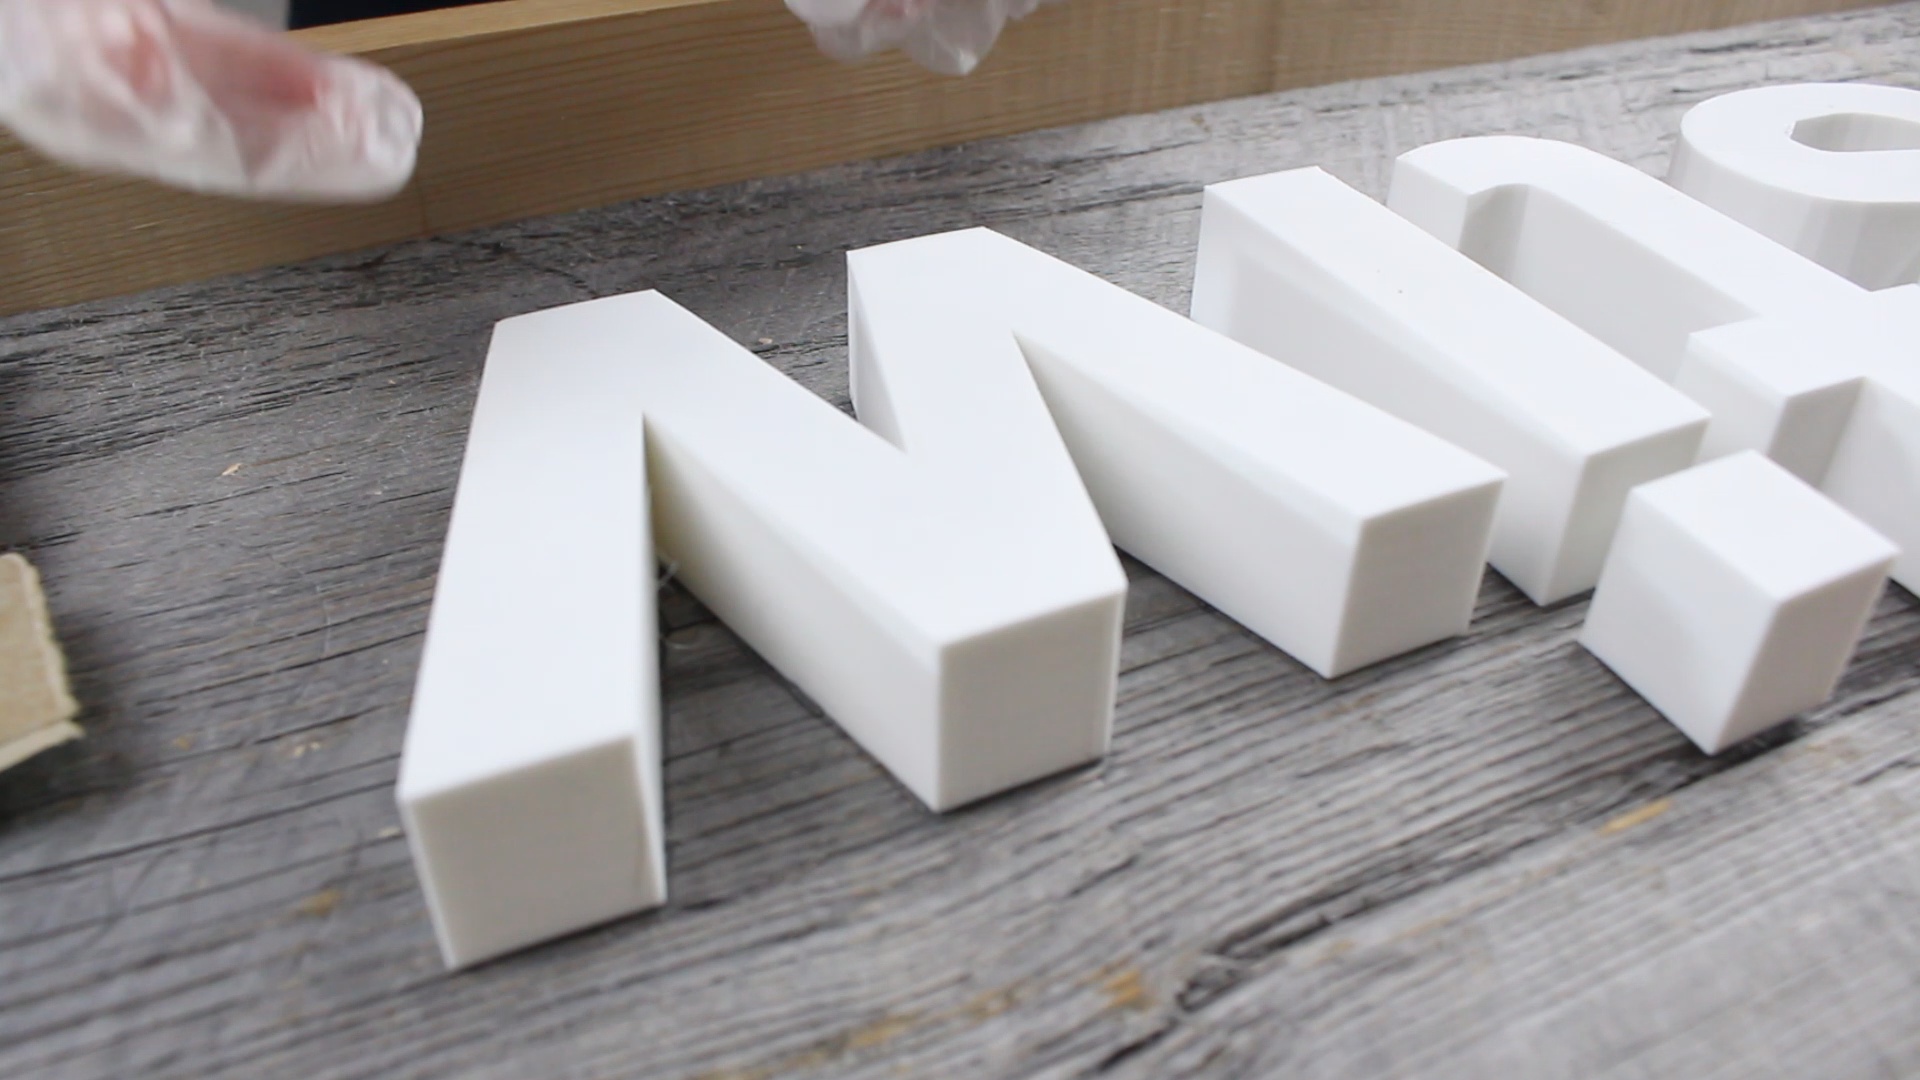
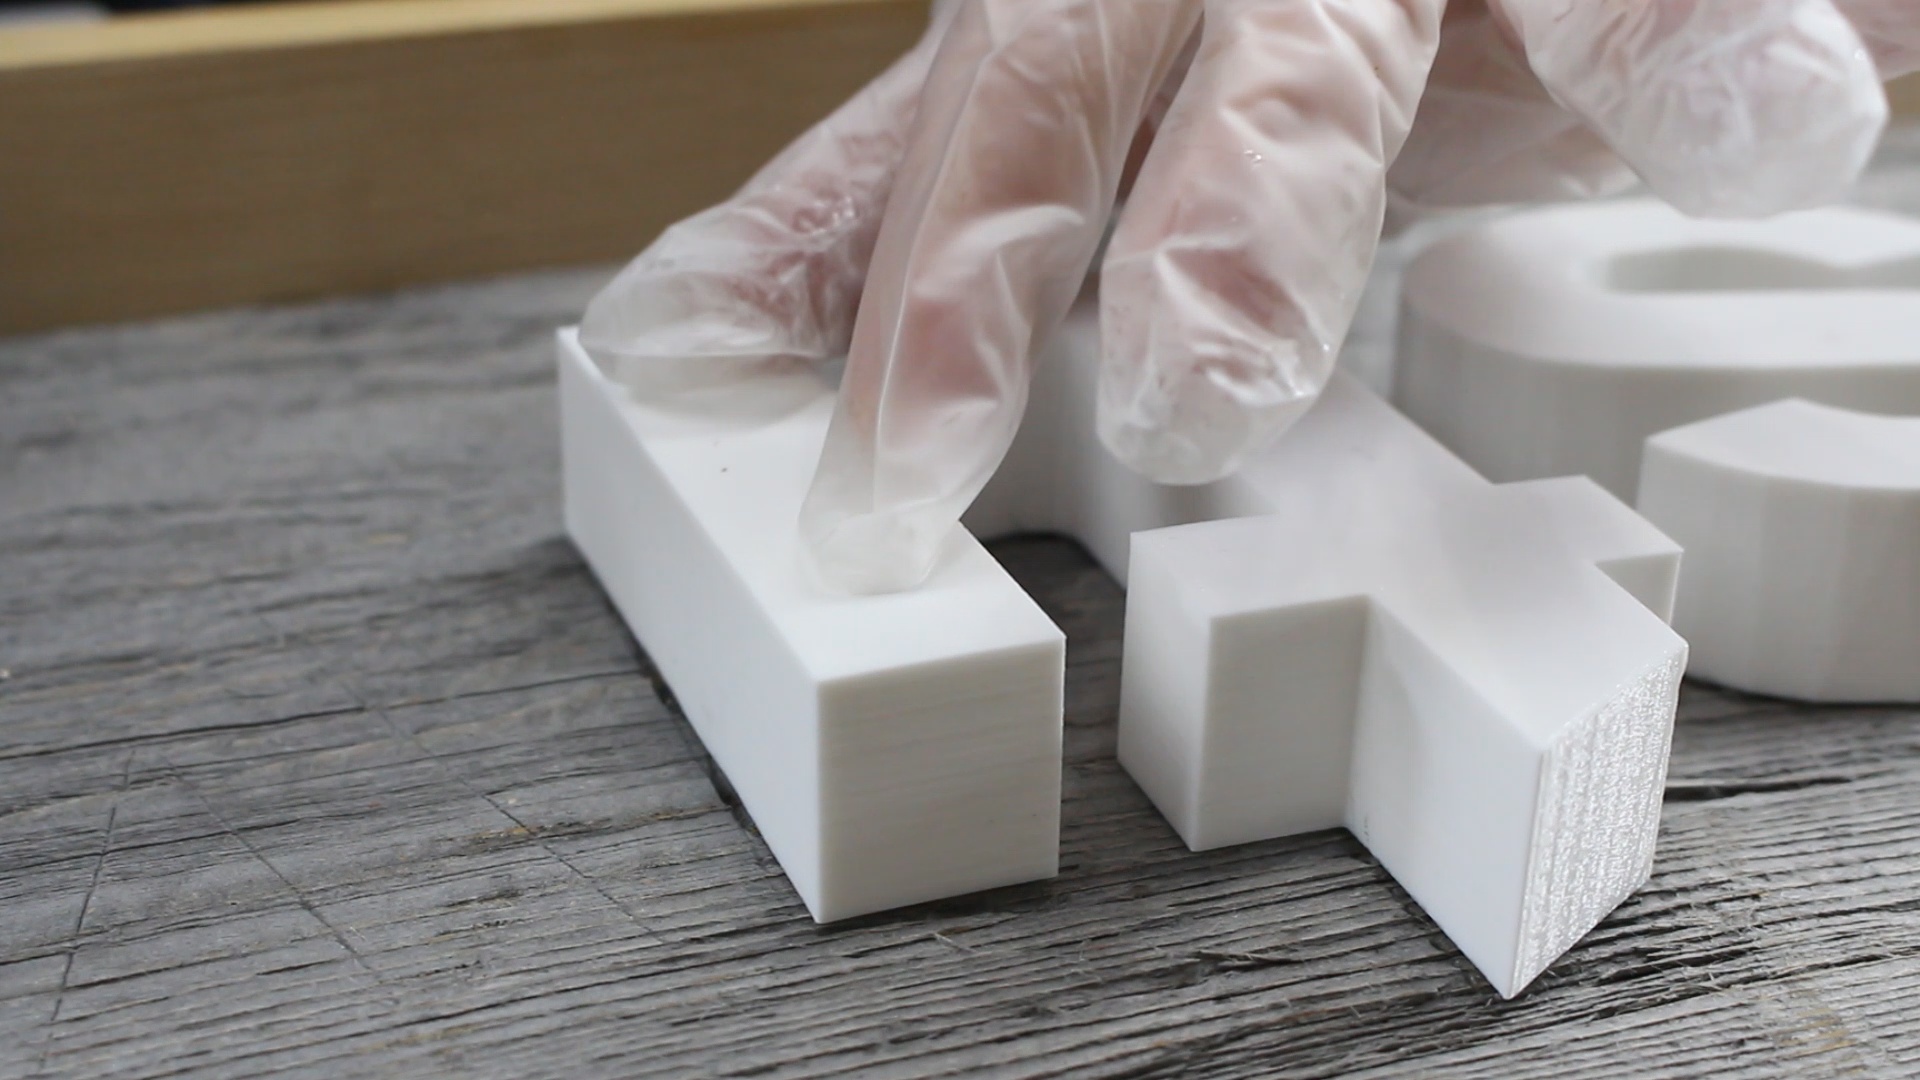
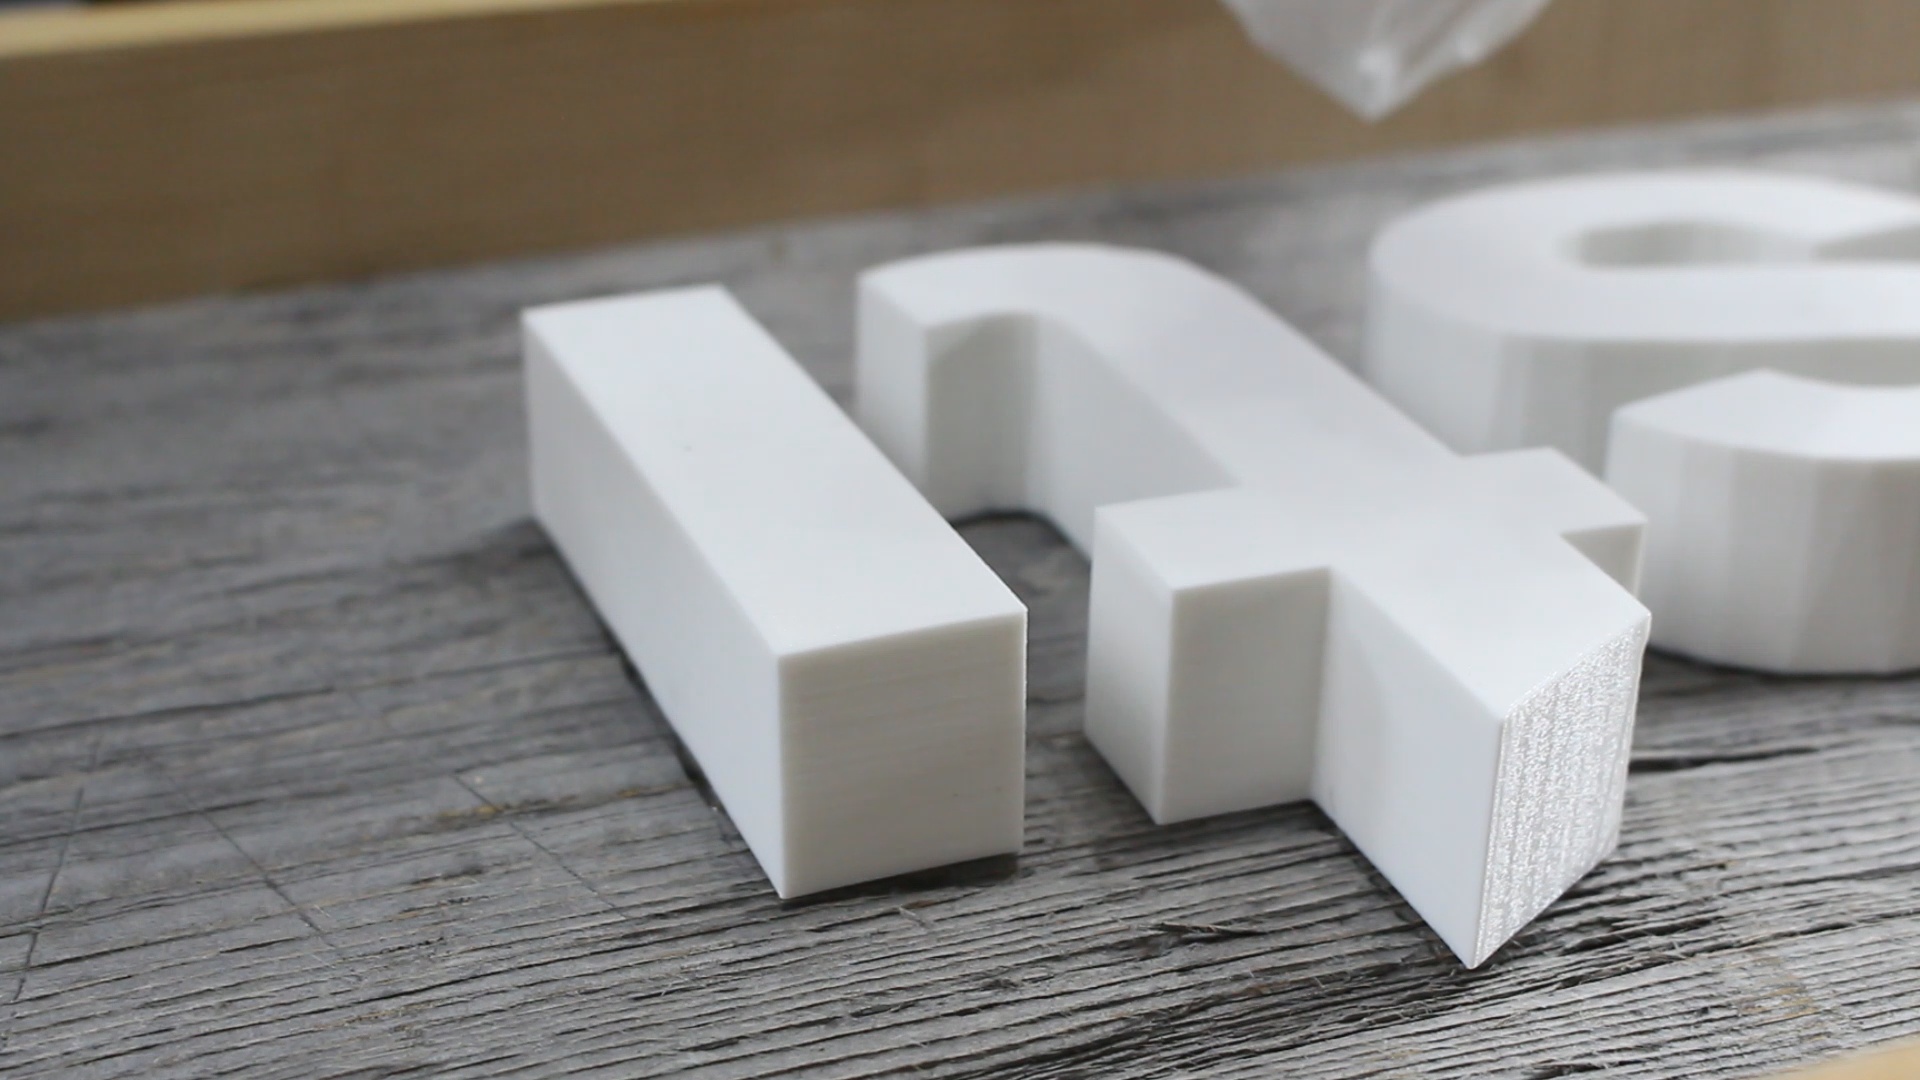
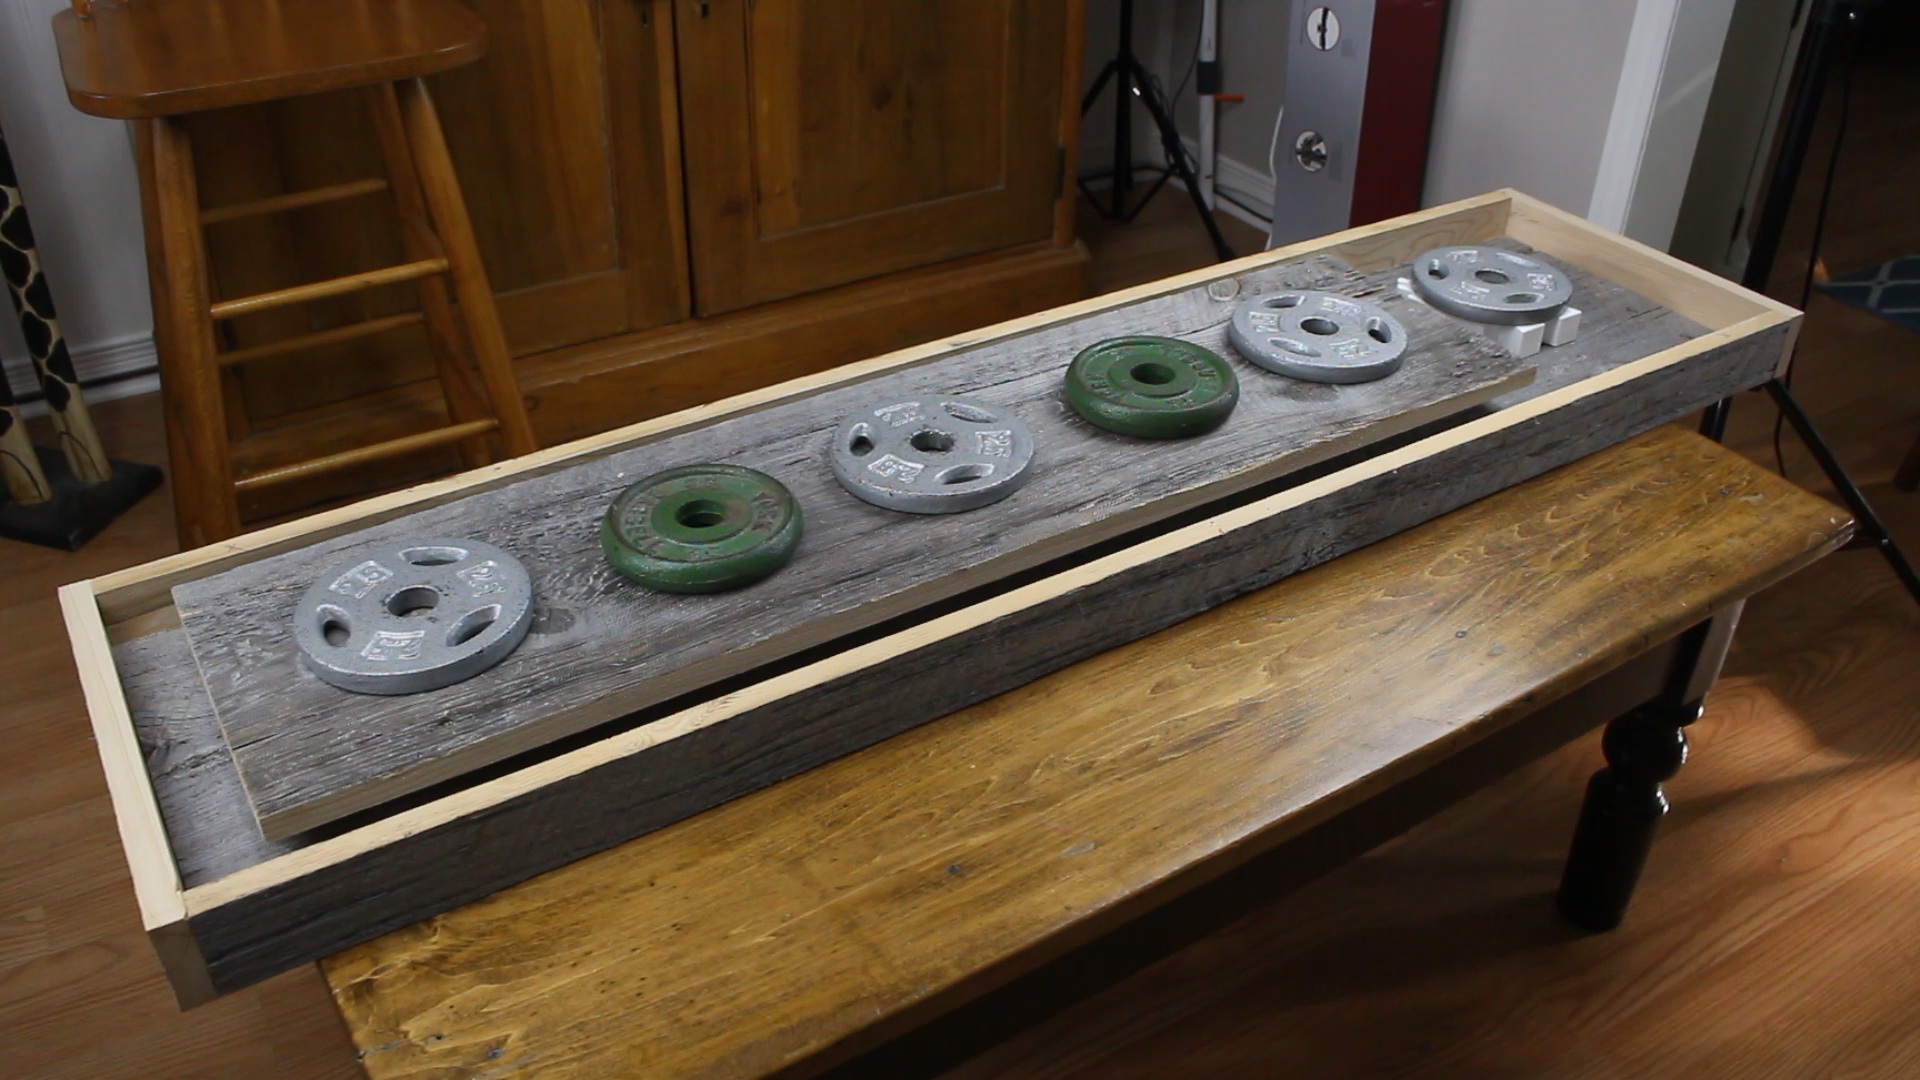
It was then time to glue the logo and all of the letters onto the sign. To do this I decided to use a two part epoxy but hot glue would work just as well. This part was easy because I outlined all of the letters earlier on. After I was finished with the gluing I placed a piece of wood and some weights over top the letters and left them to dry.
Adding the LEDS
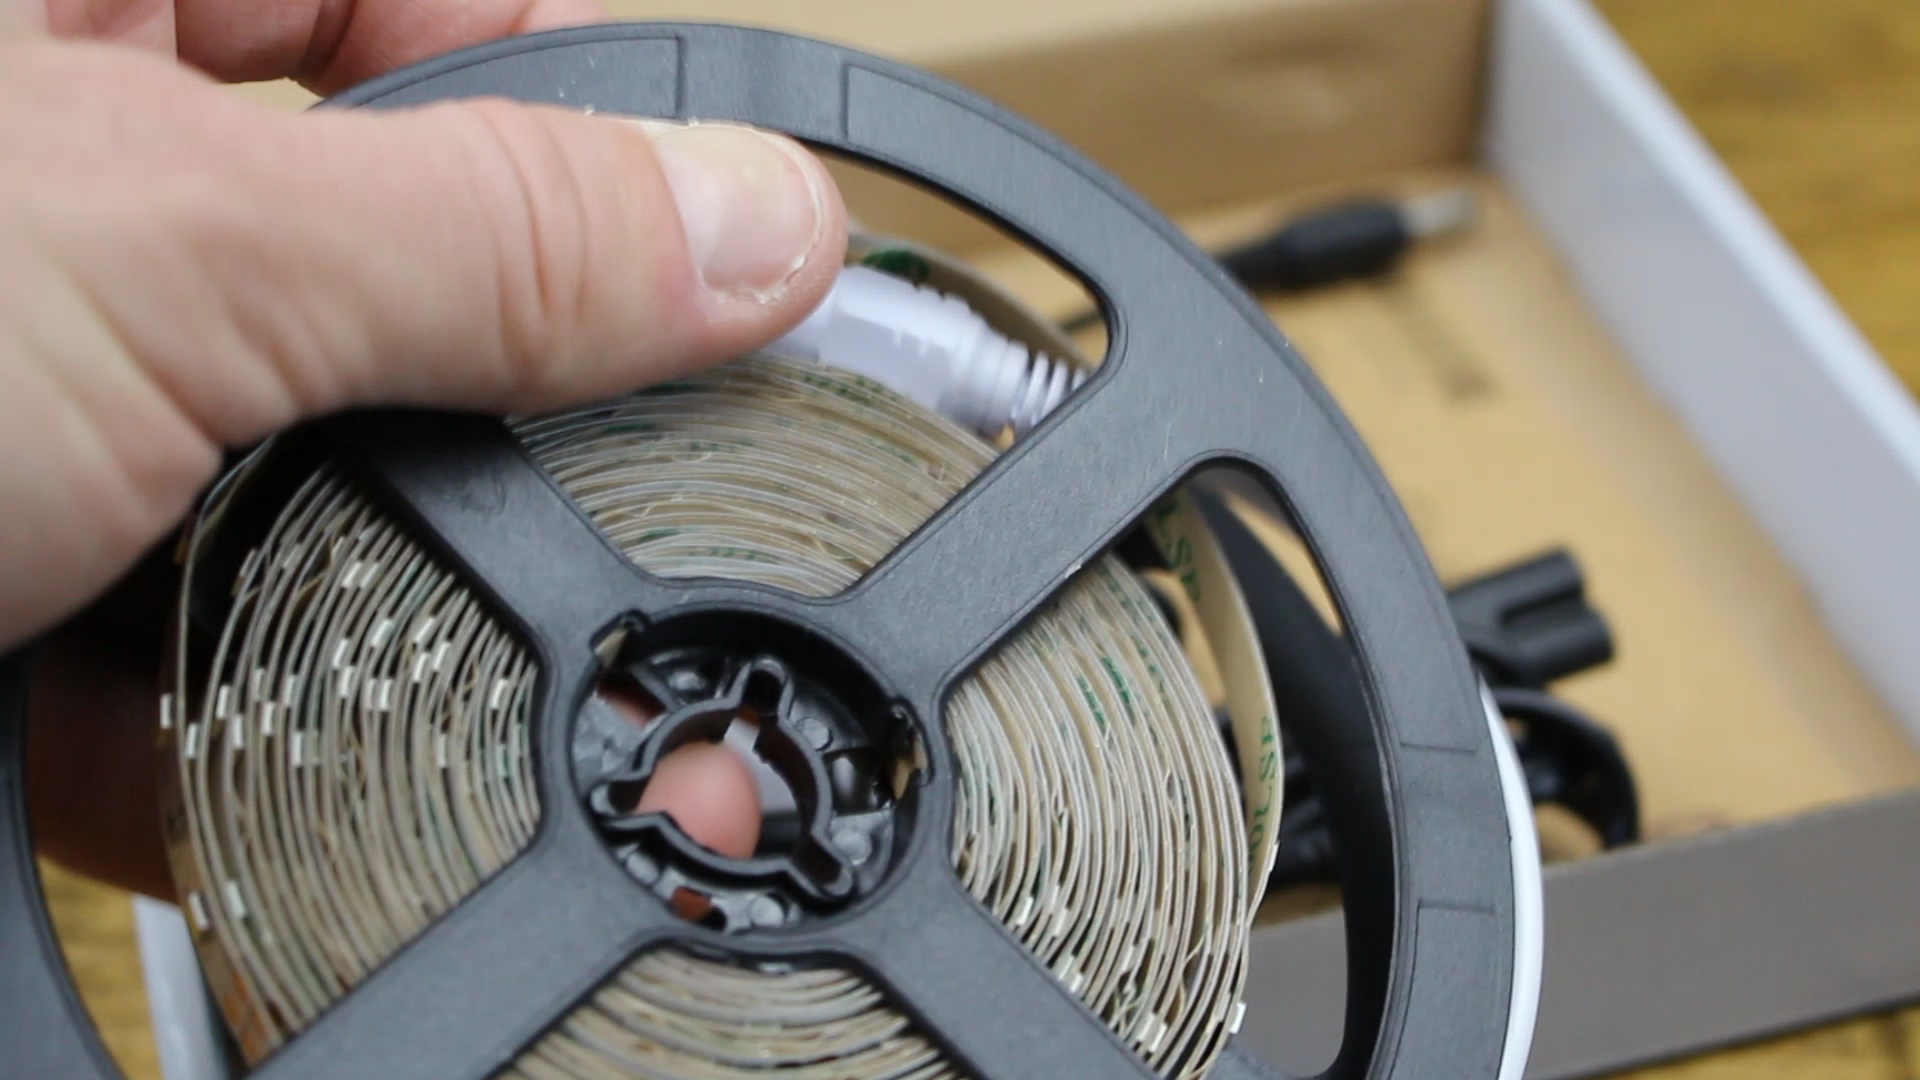
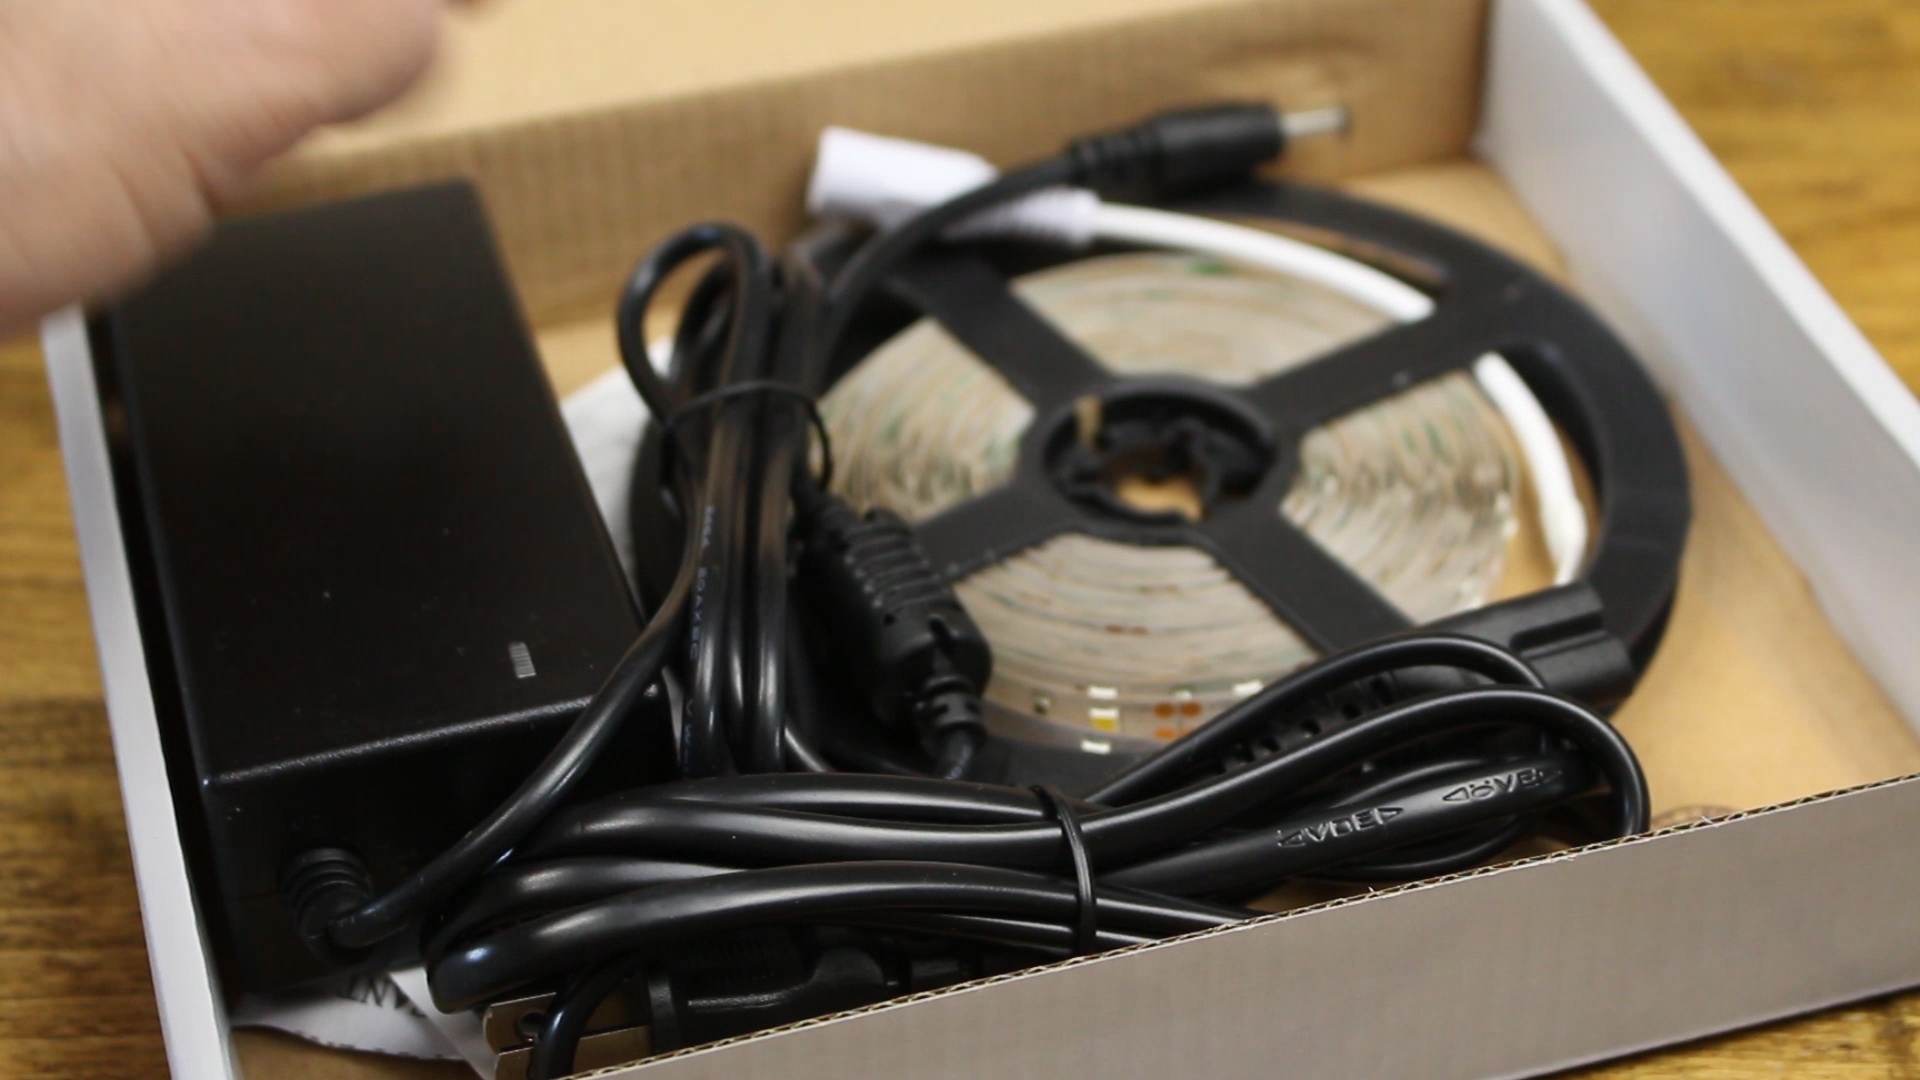
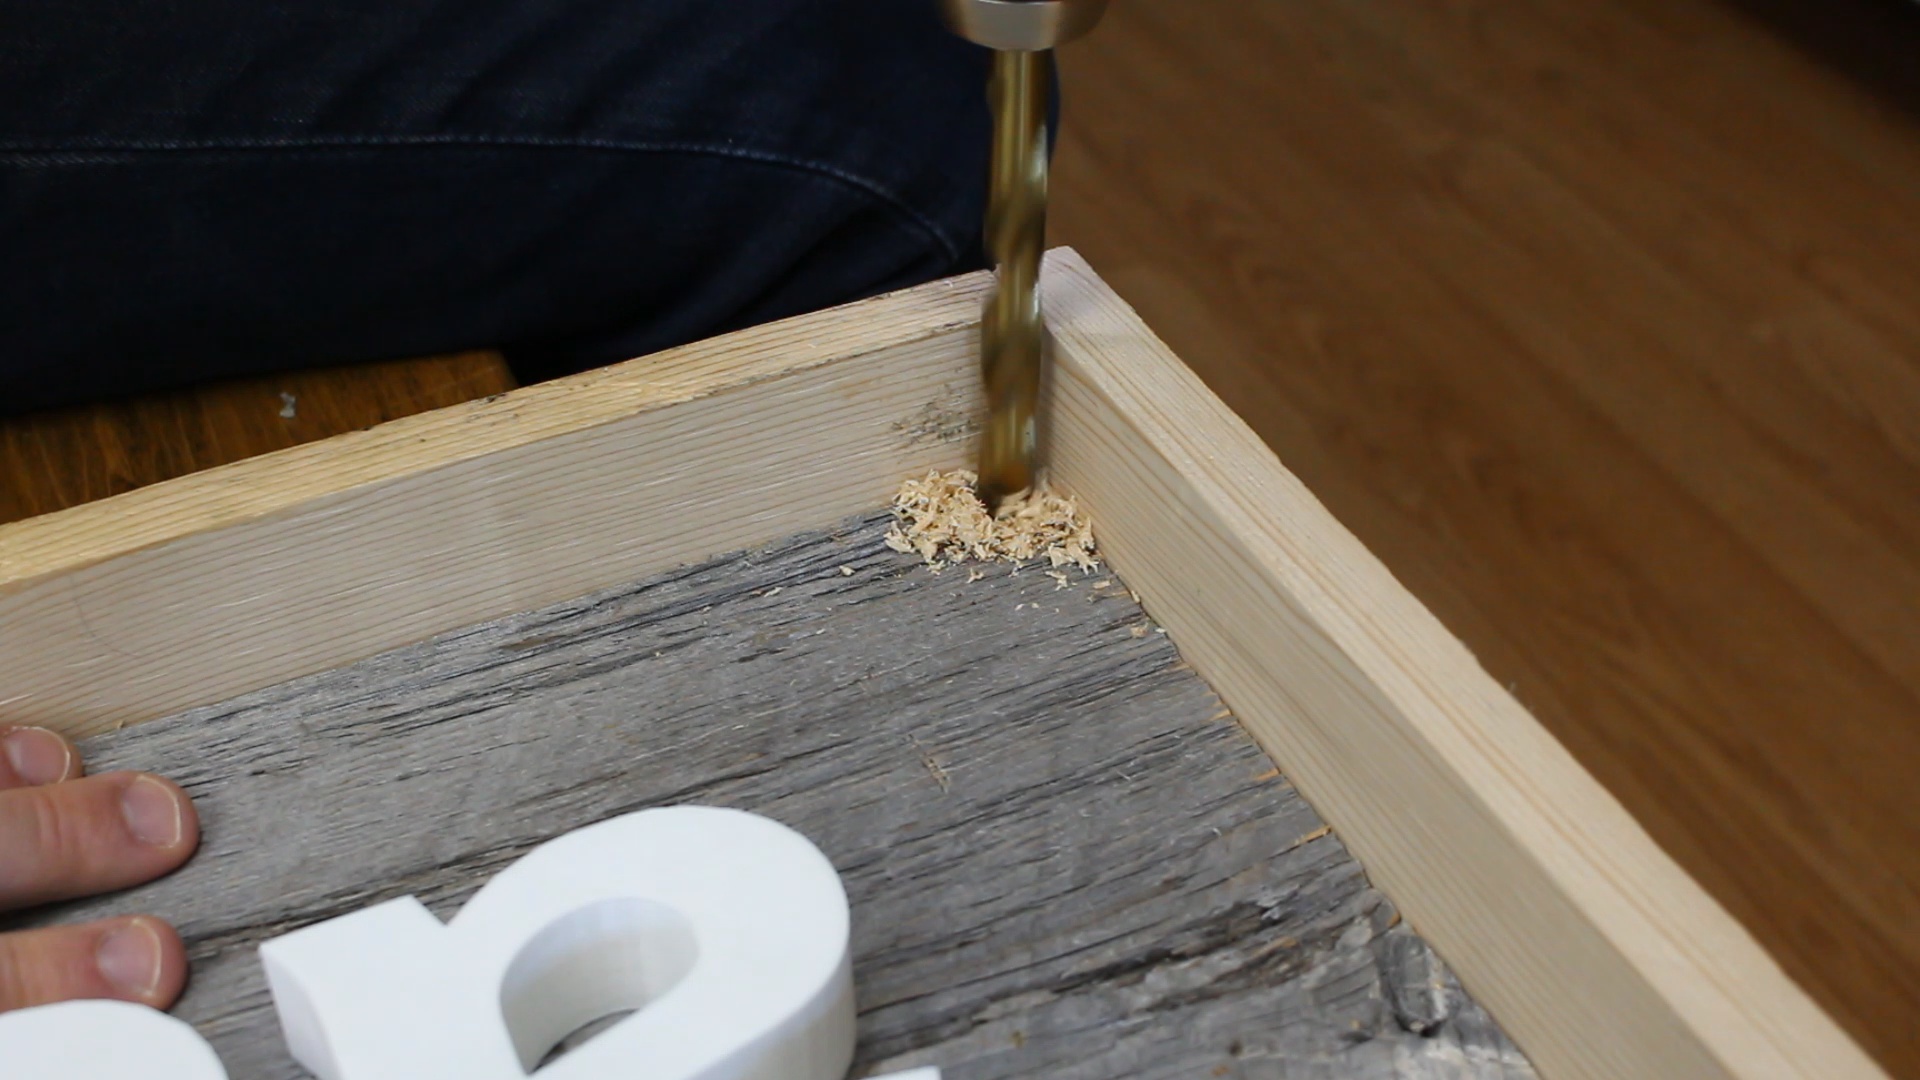
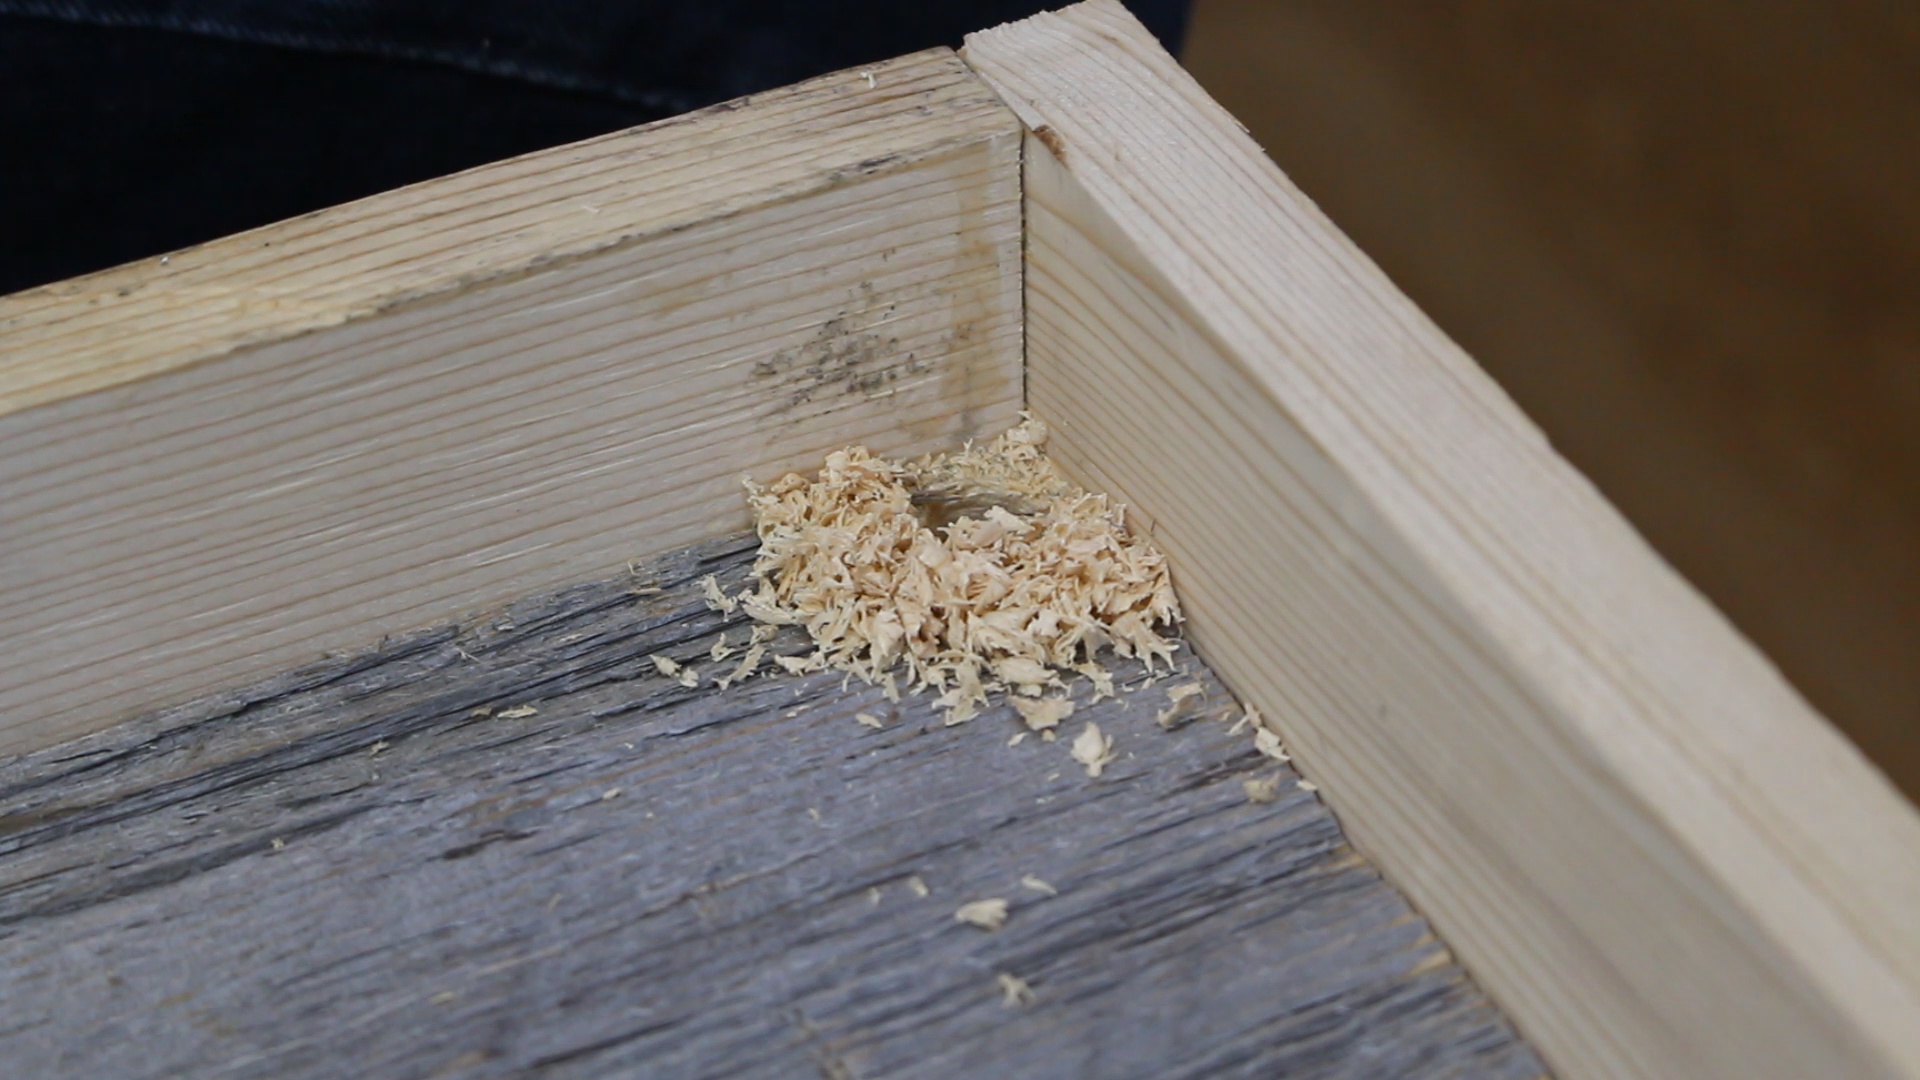
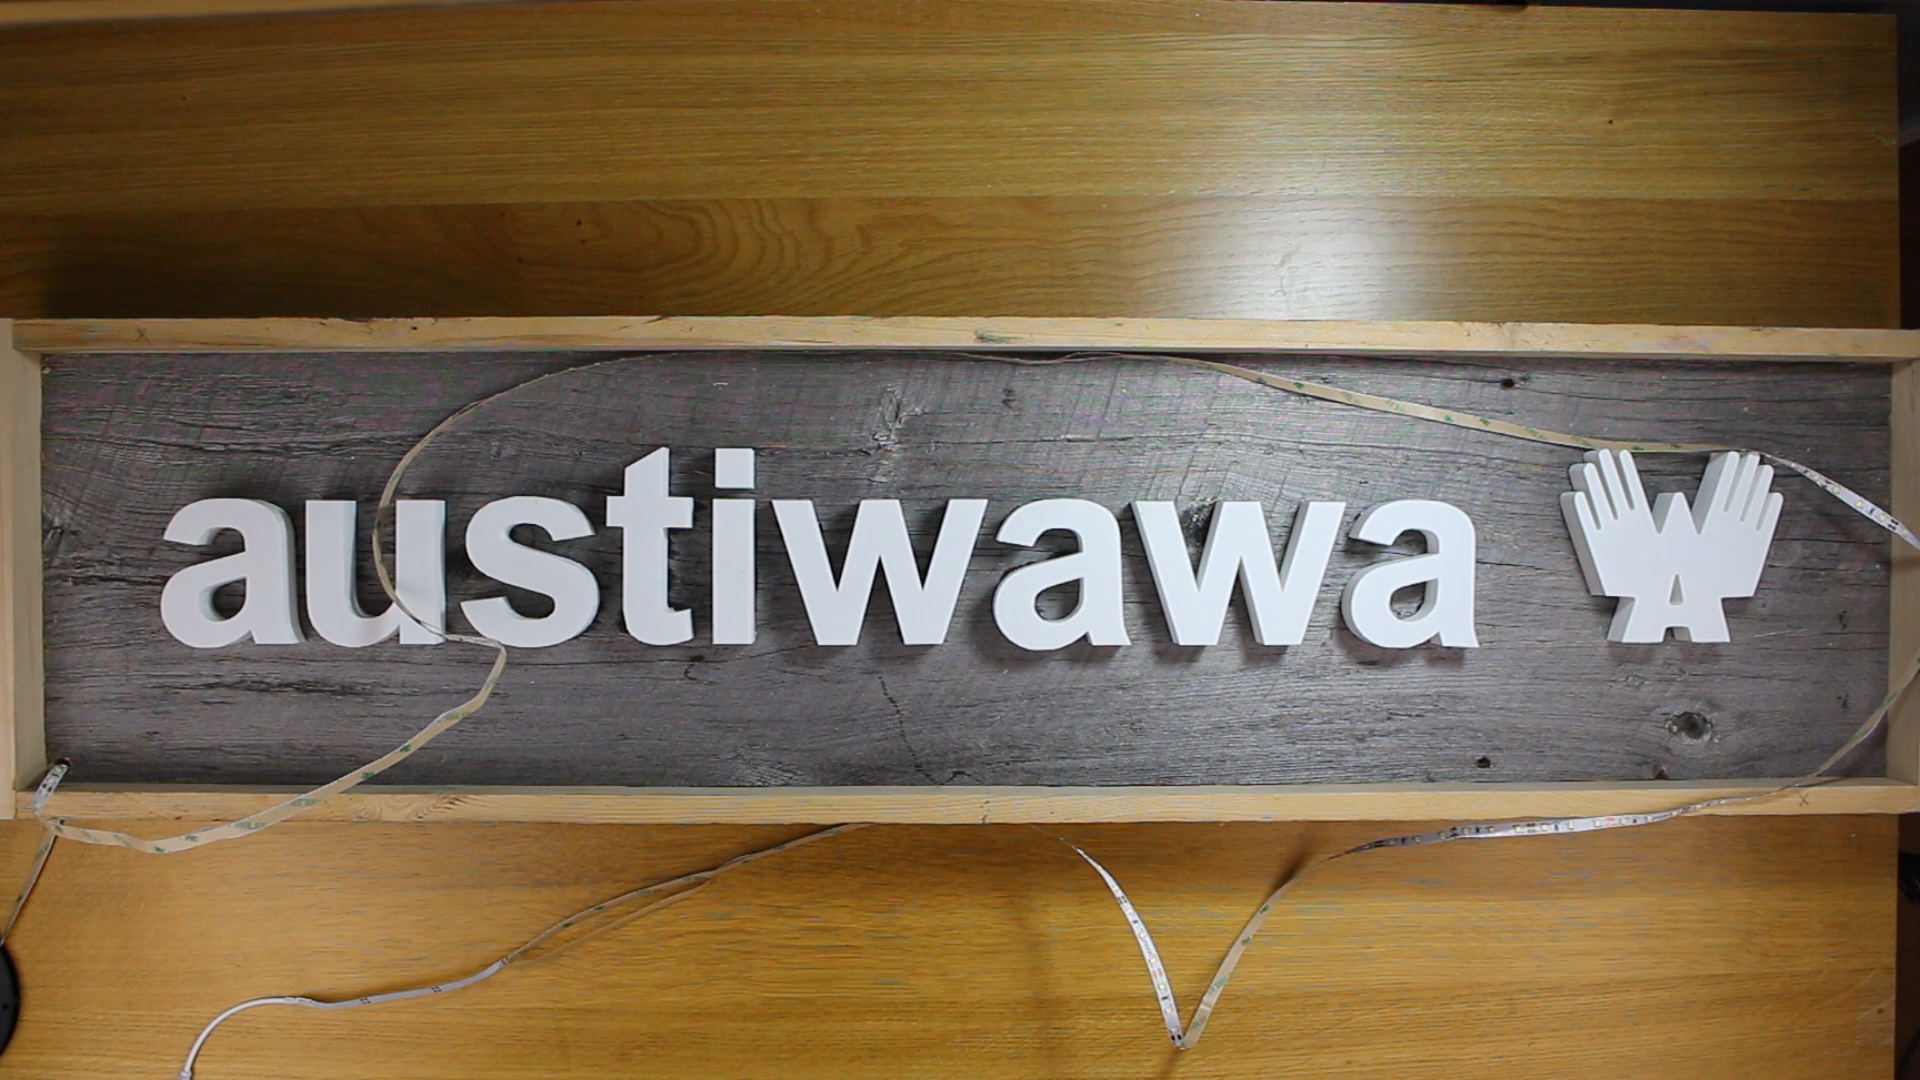
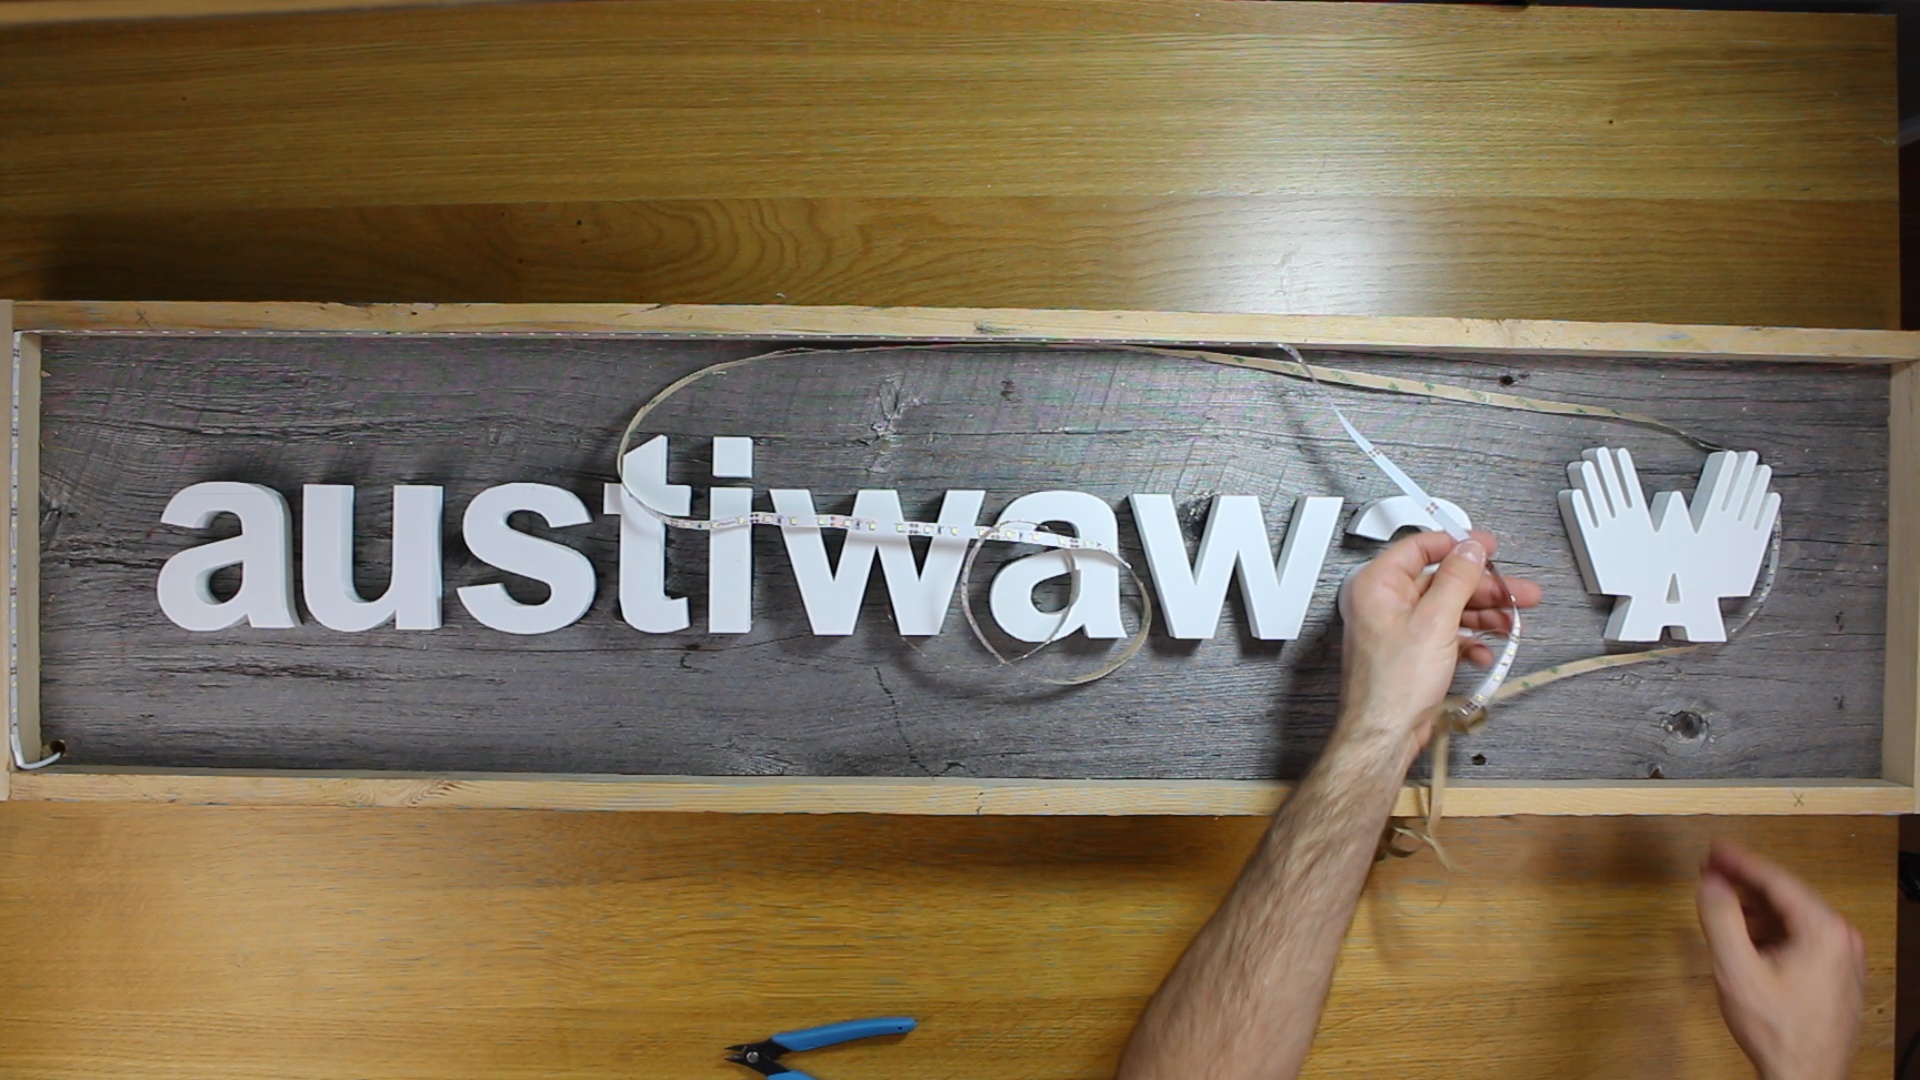
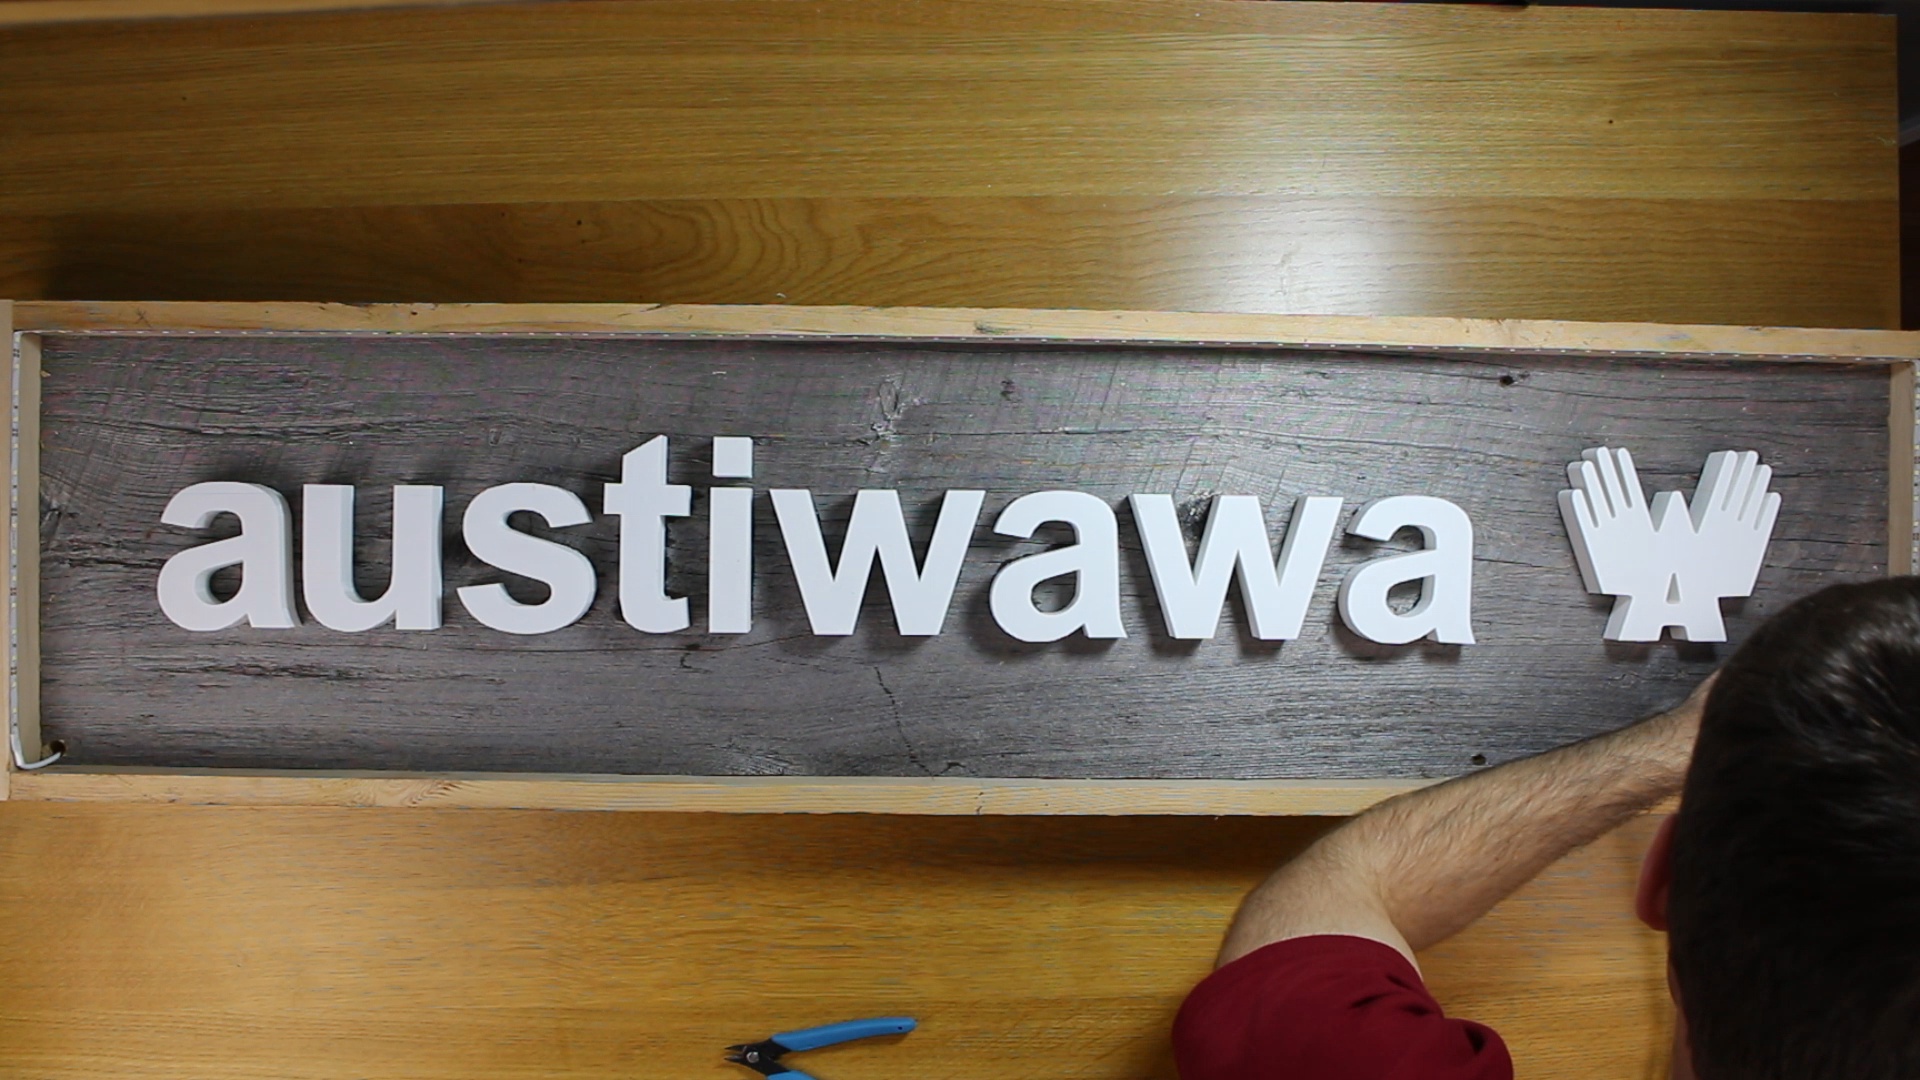
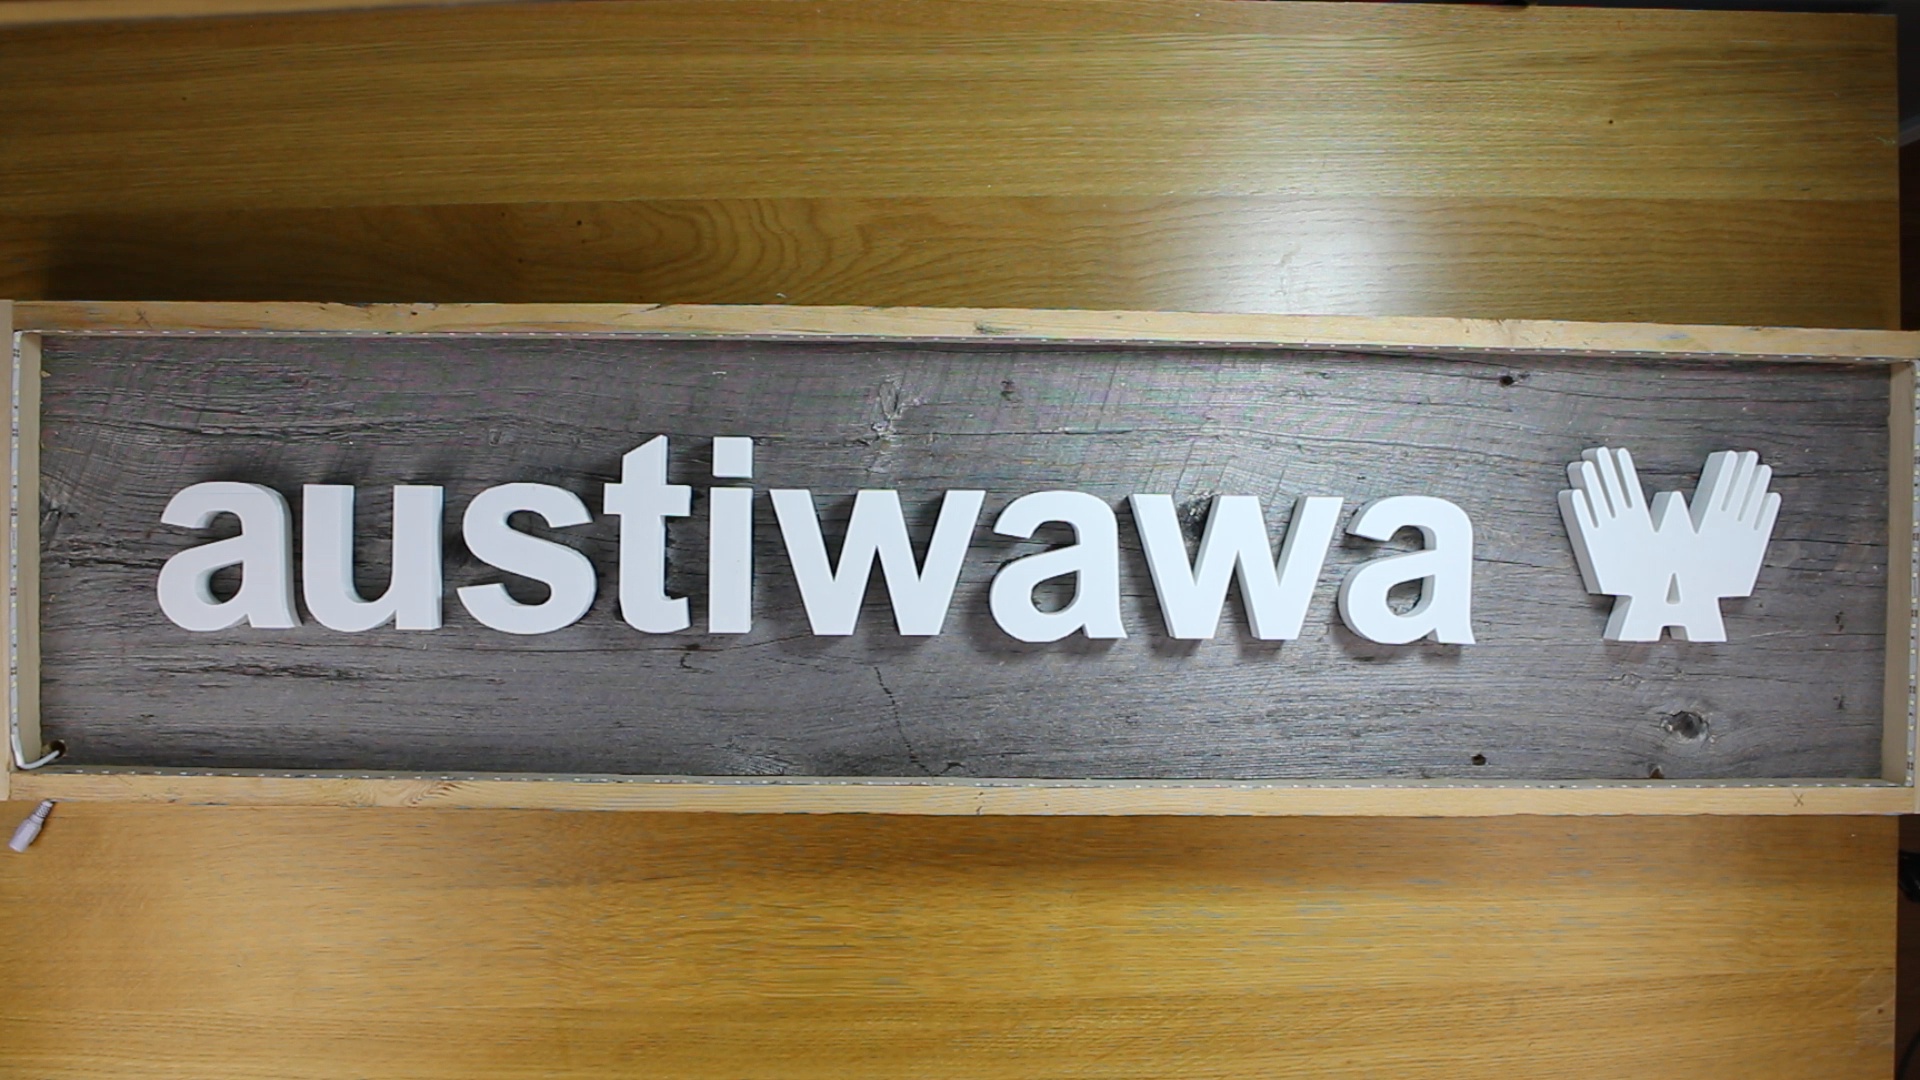
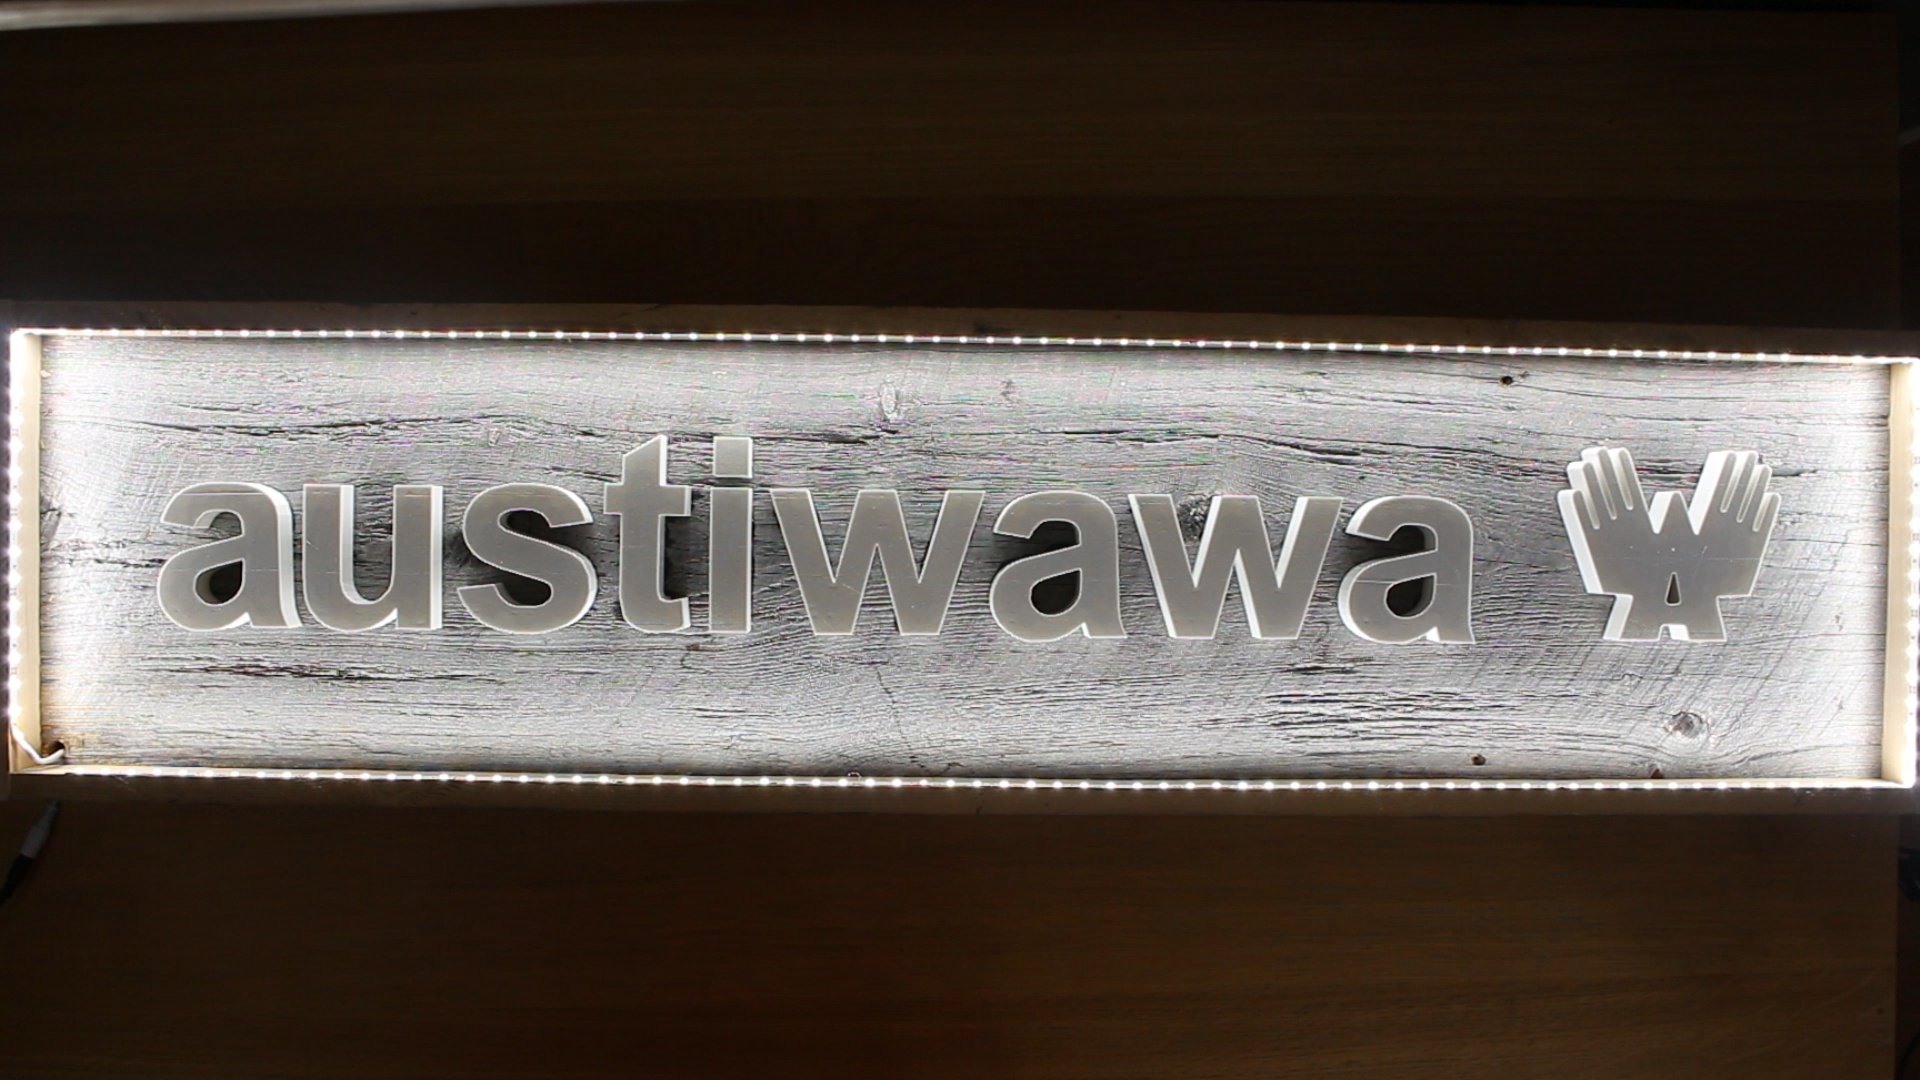
The next step was to add the LEDs. I drilled a hole in the corner of the sign just big enough for the LED strip to fit through. I then used the adhesive on the back side of the LED strip to stick them around the top edge. Some LED strips come with a low quality adhesive. If this is the case for you just use some super glue to help it stick better.
Finishing the Sign
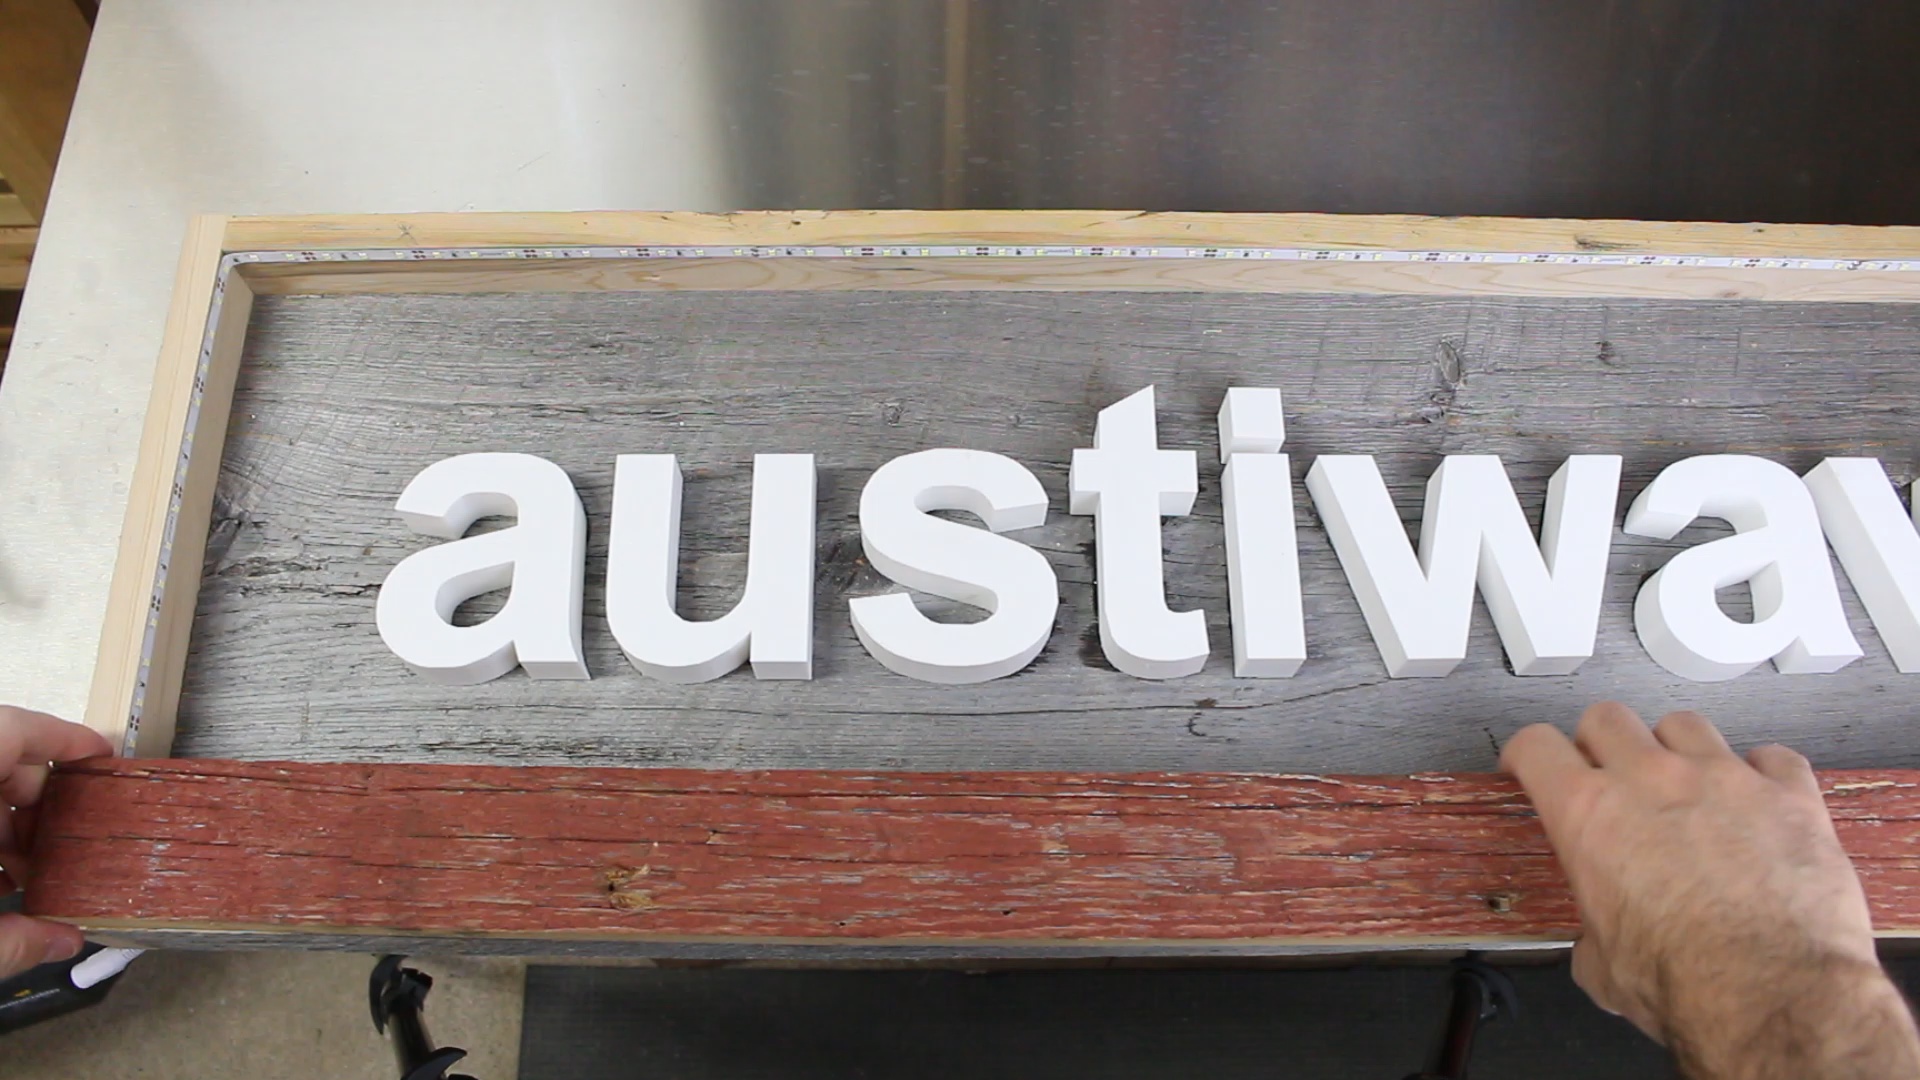
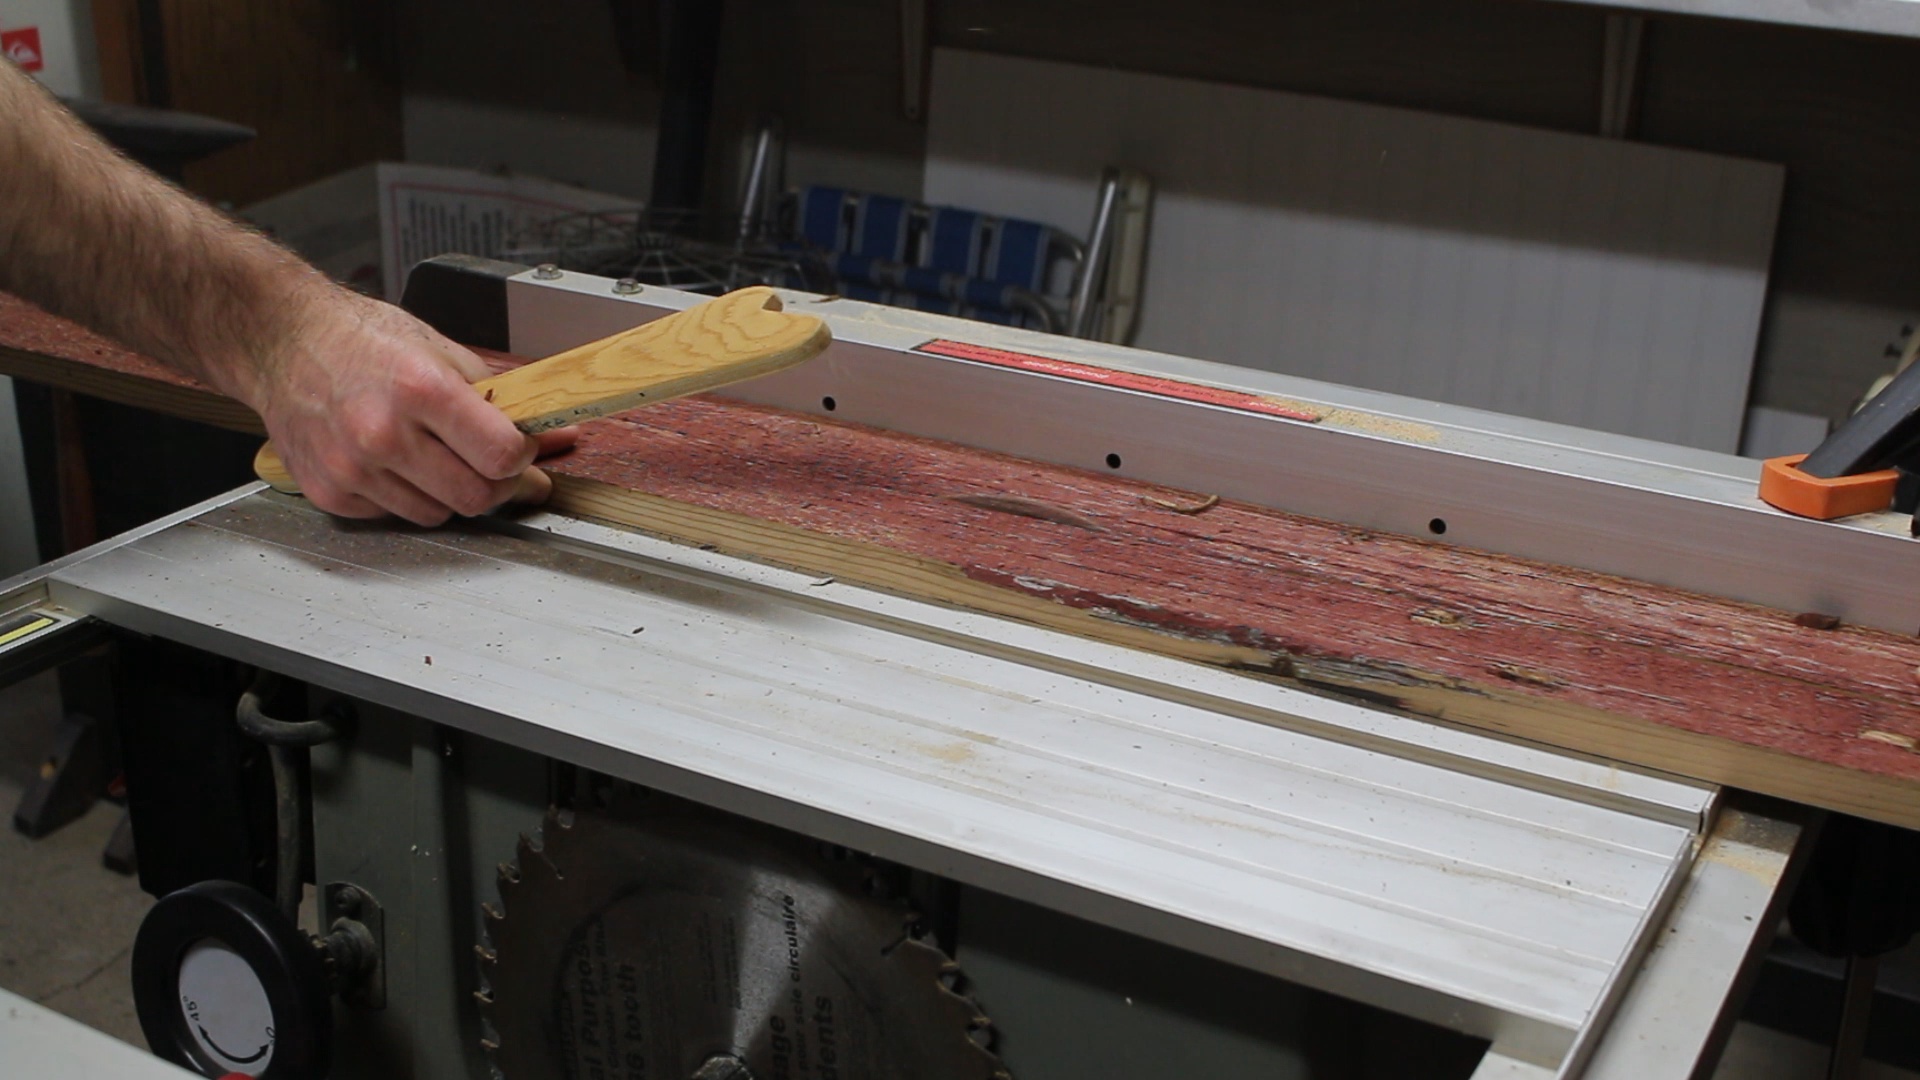
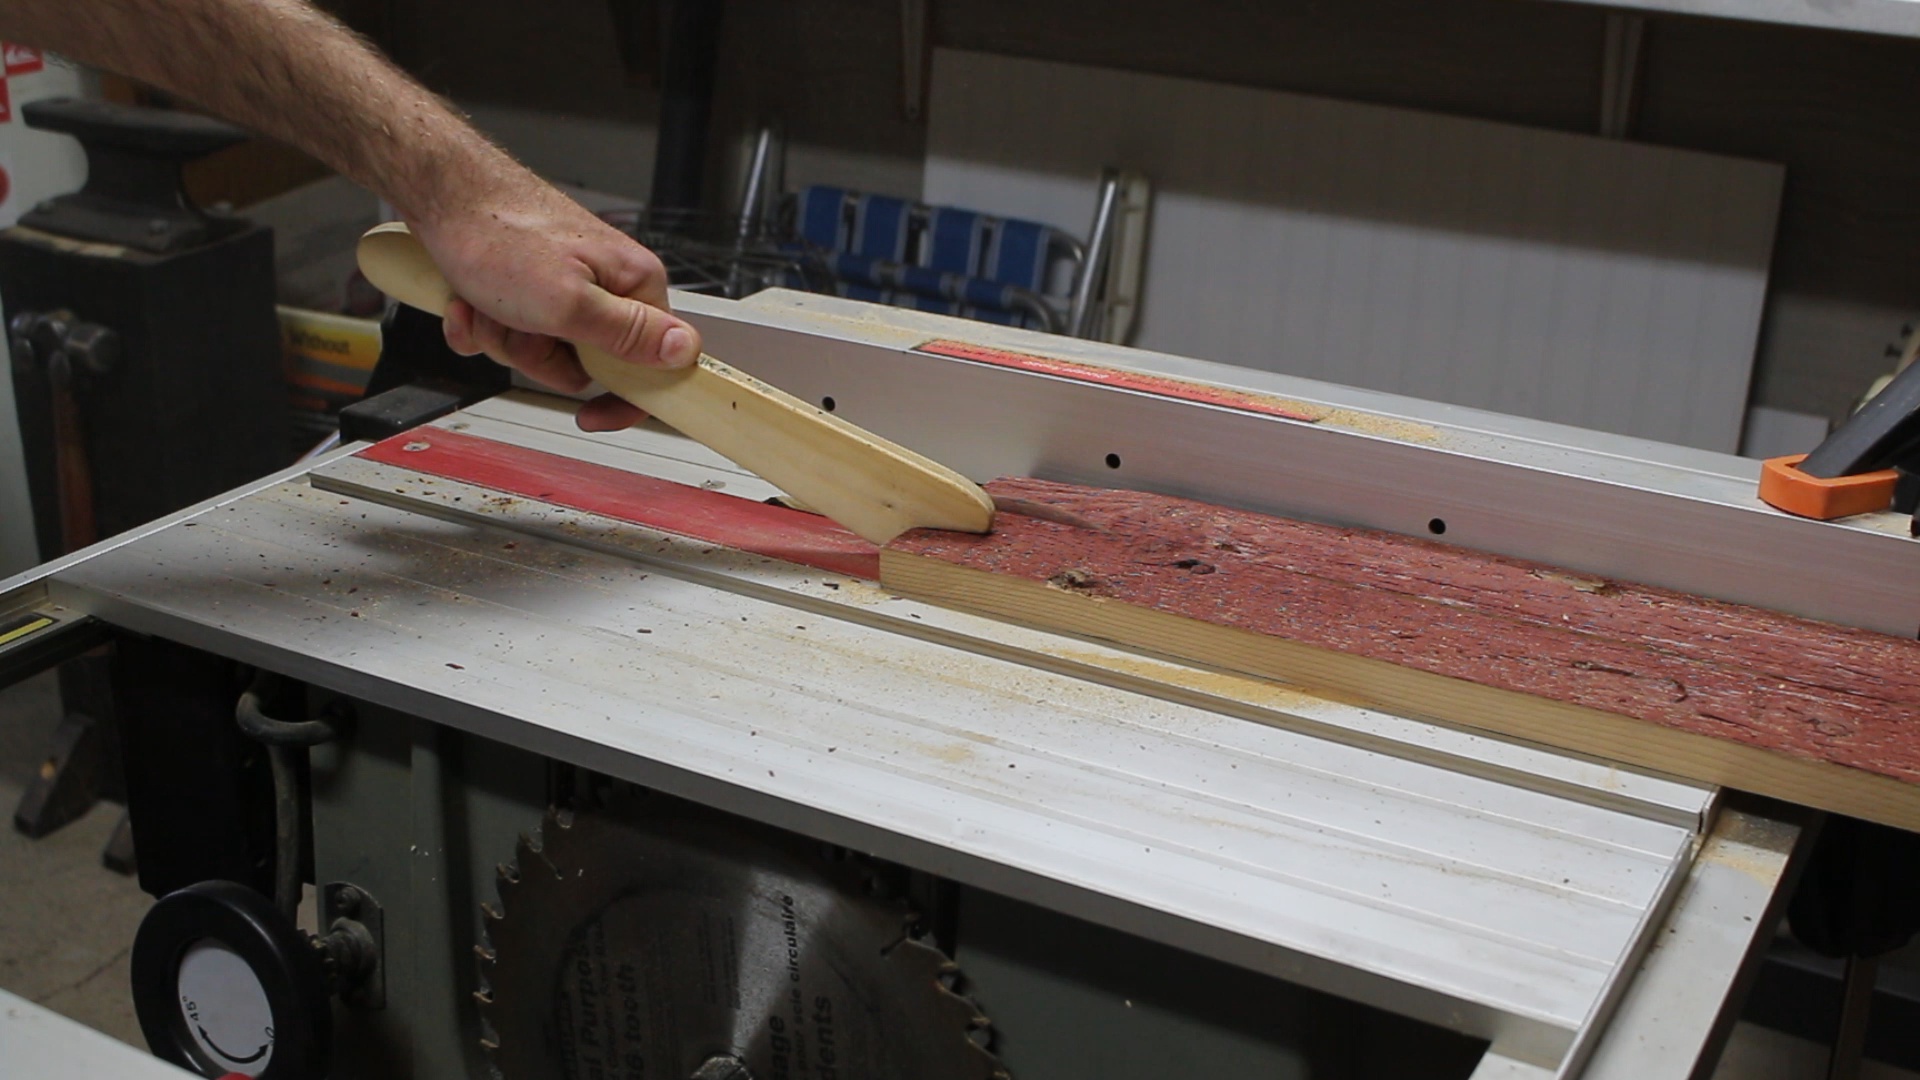
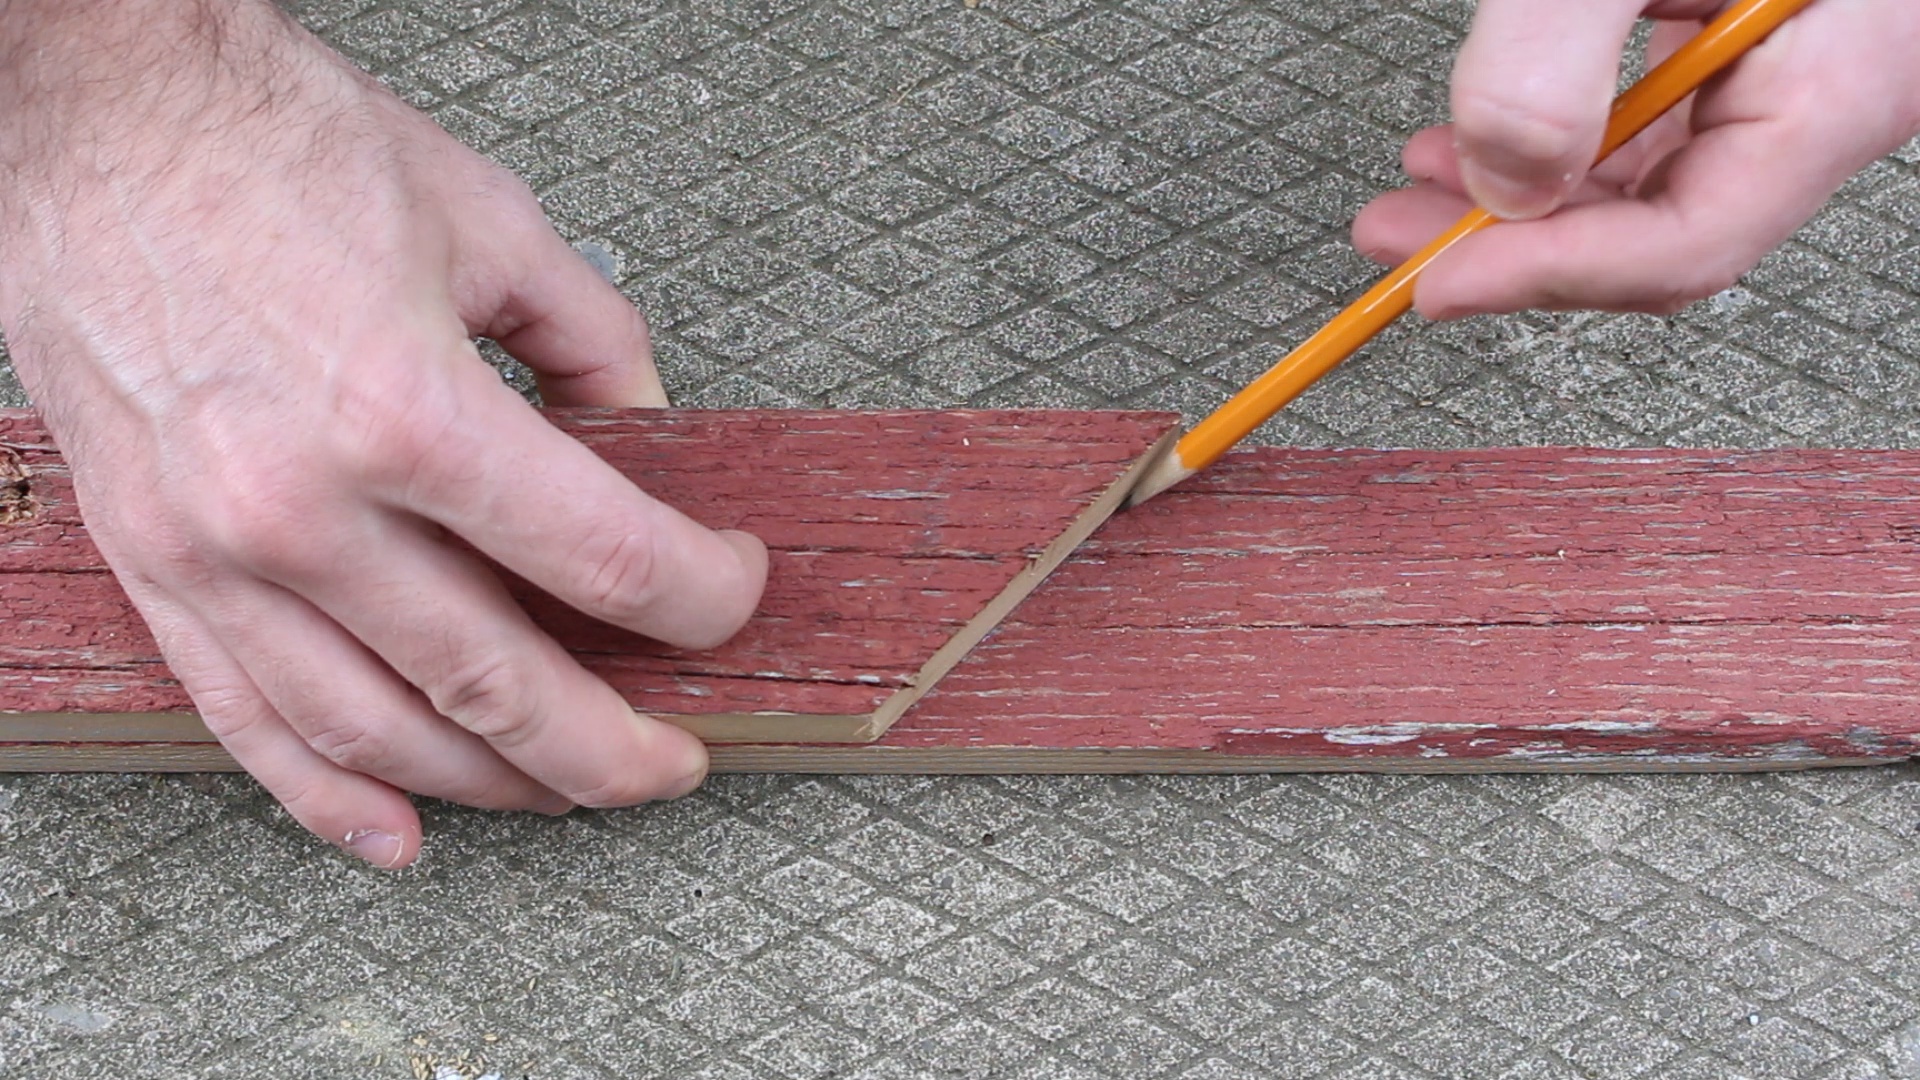
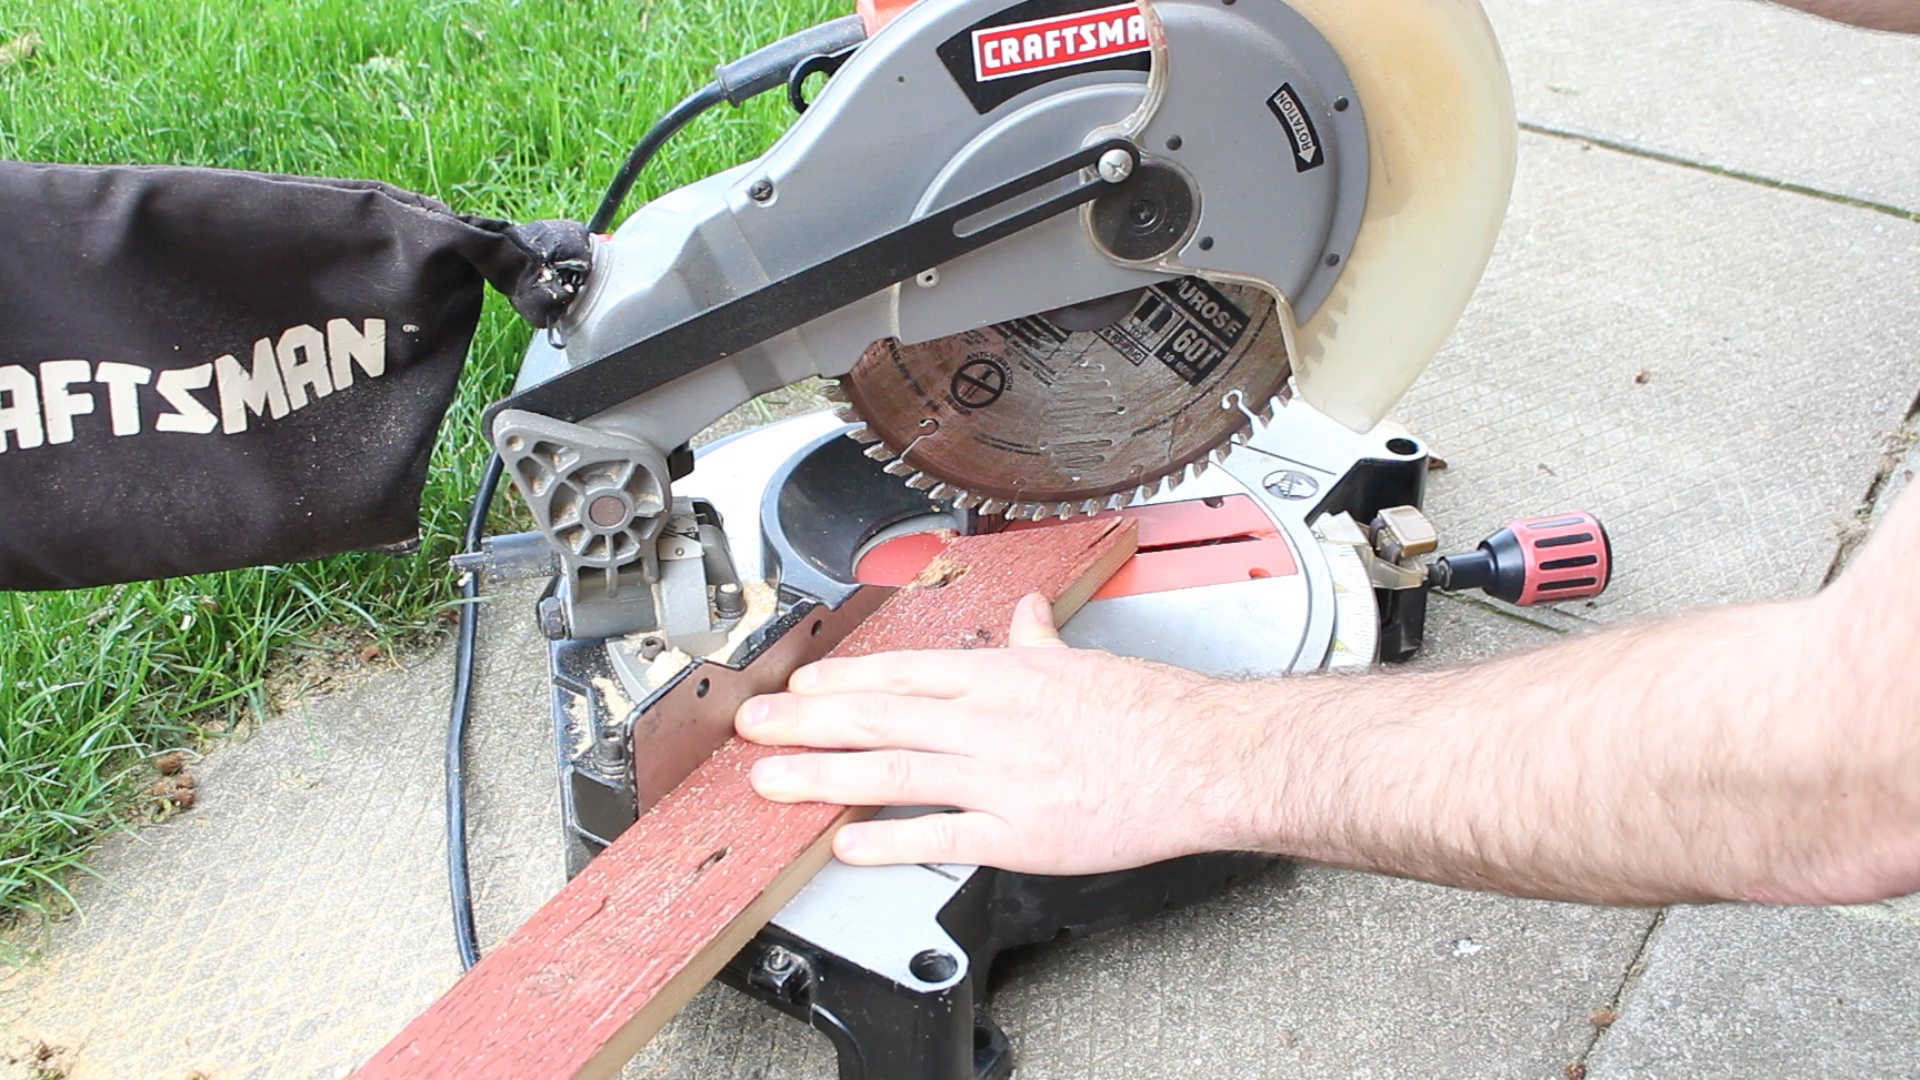
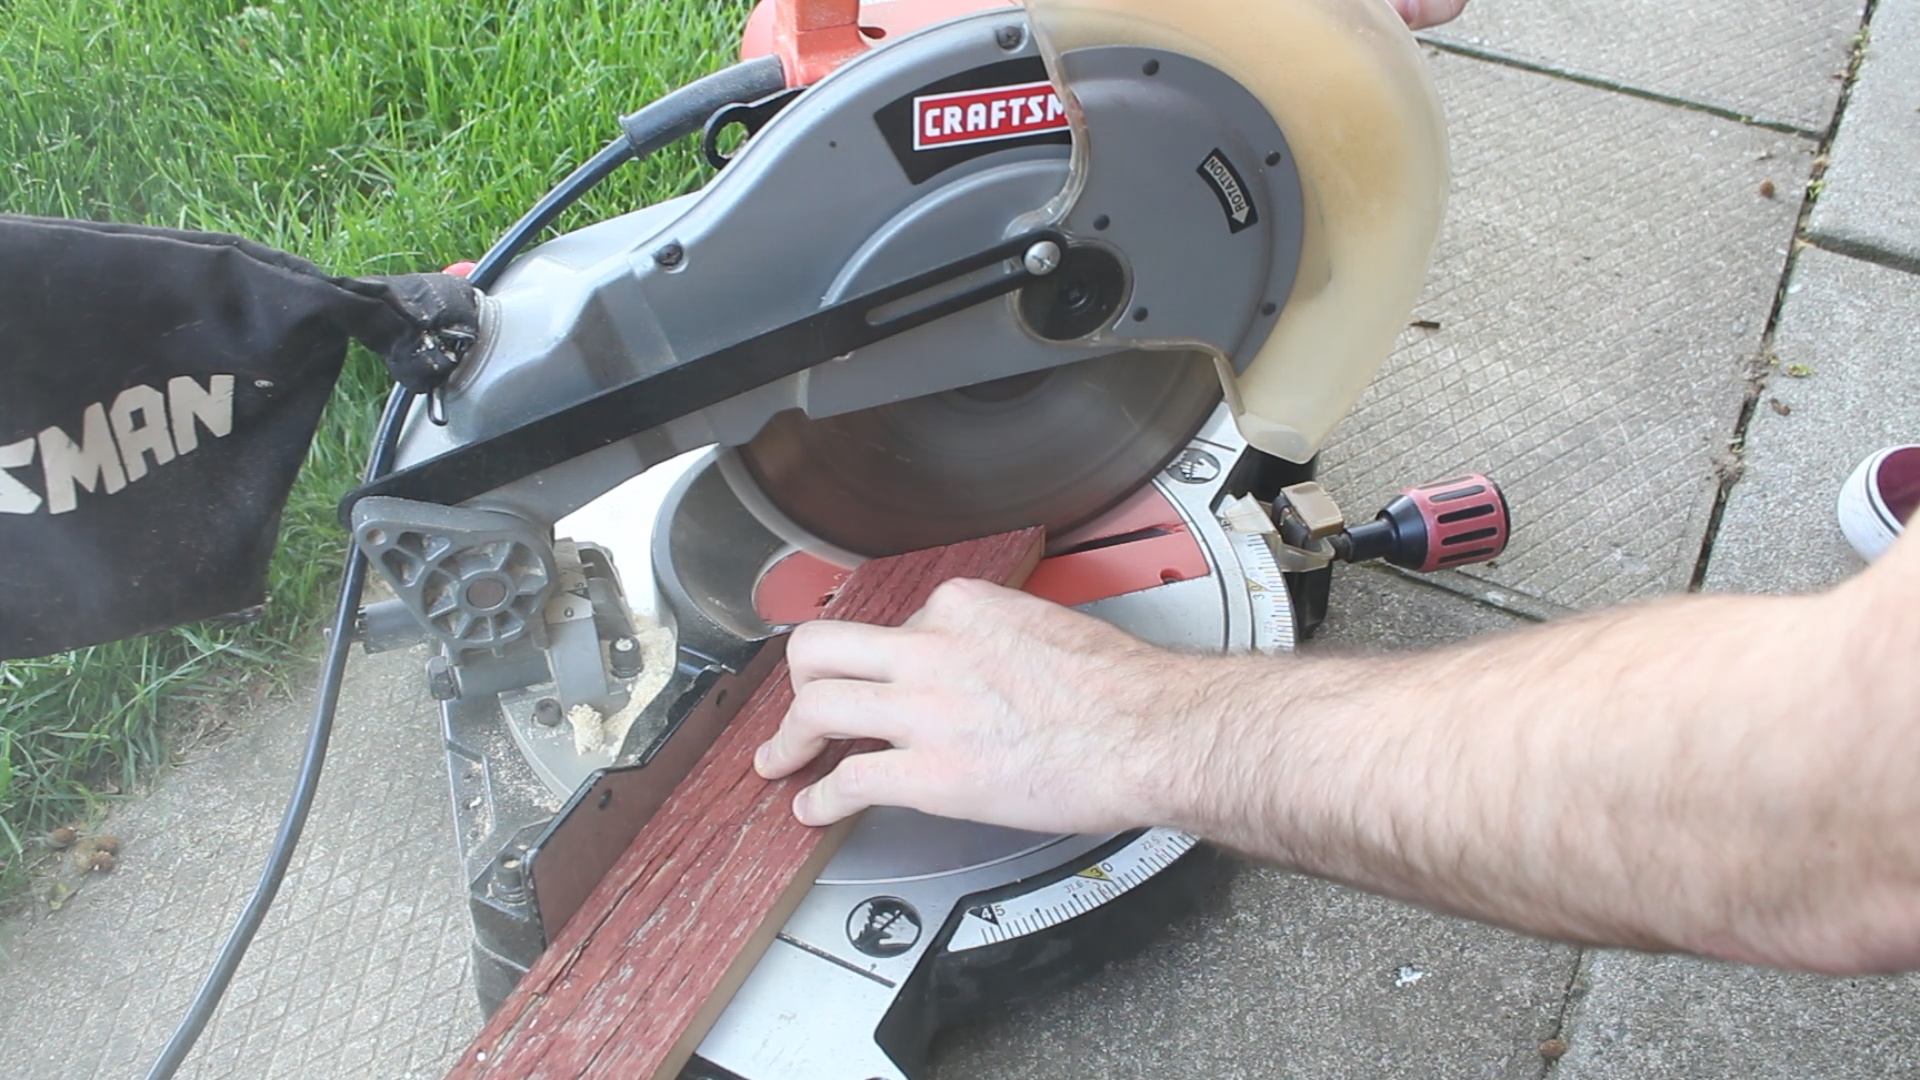
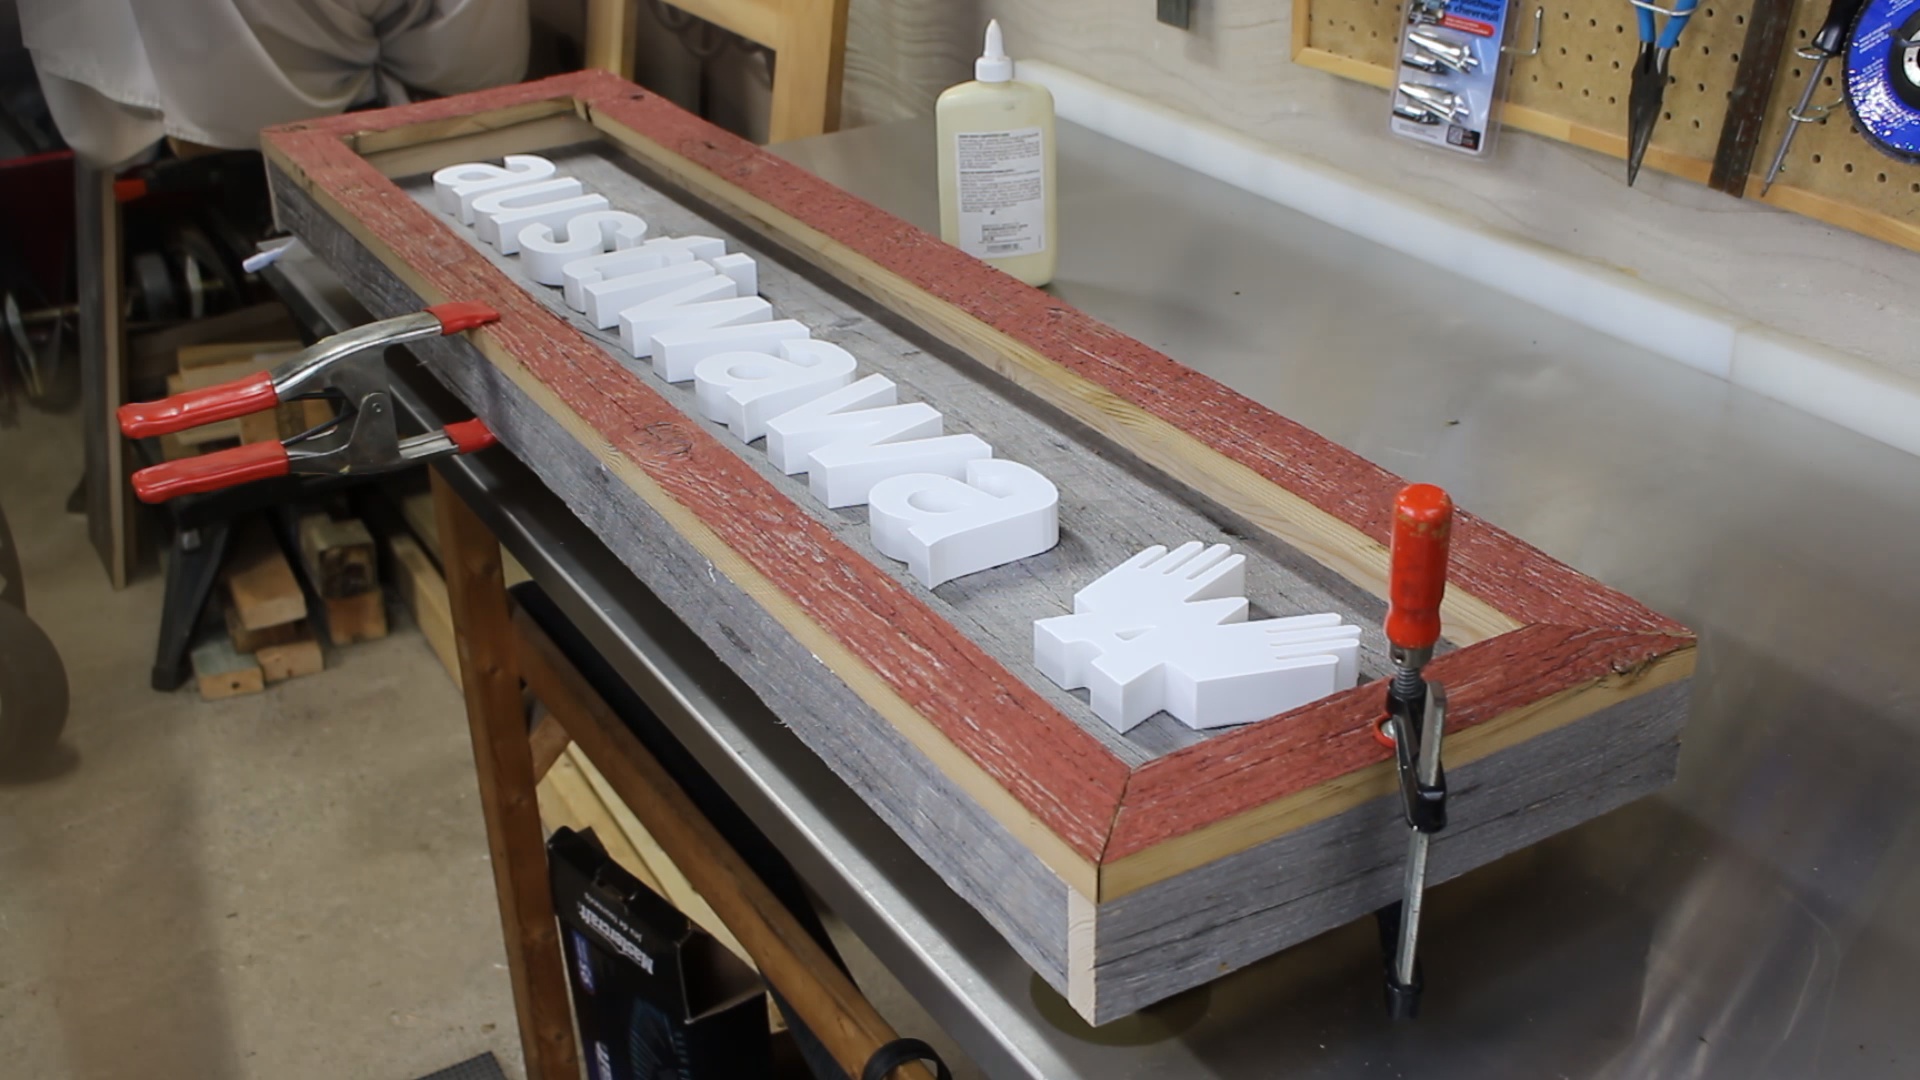
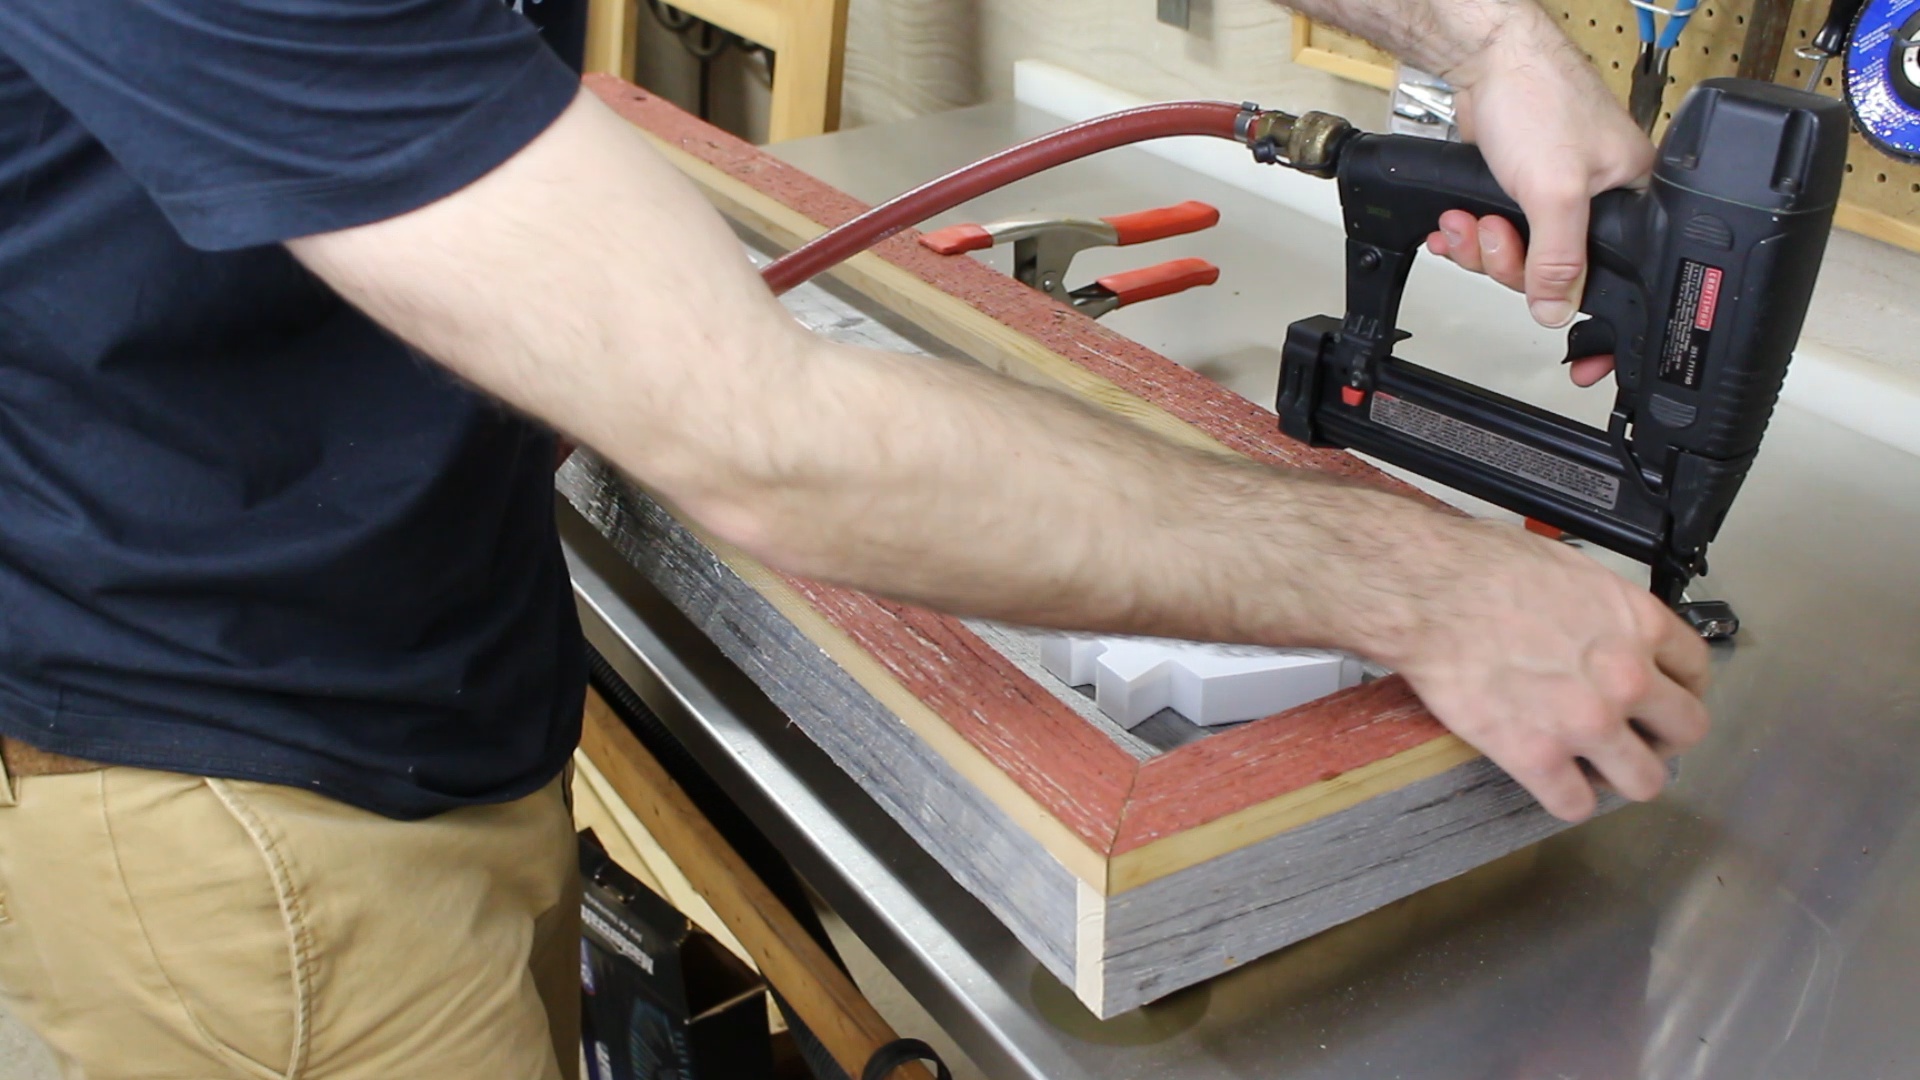
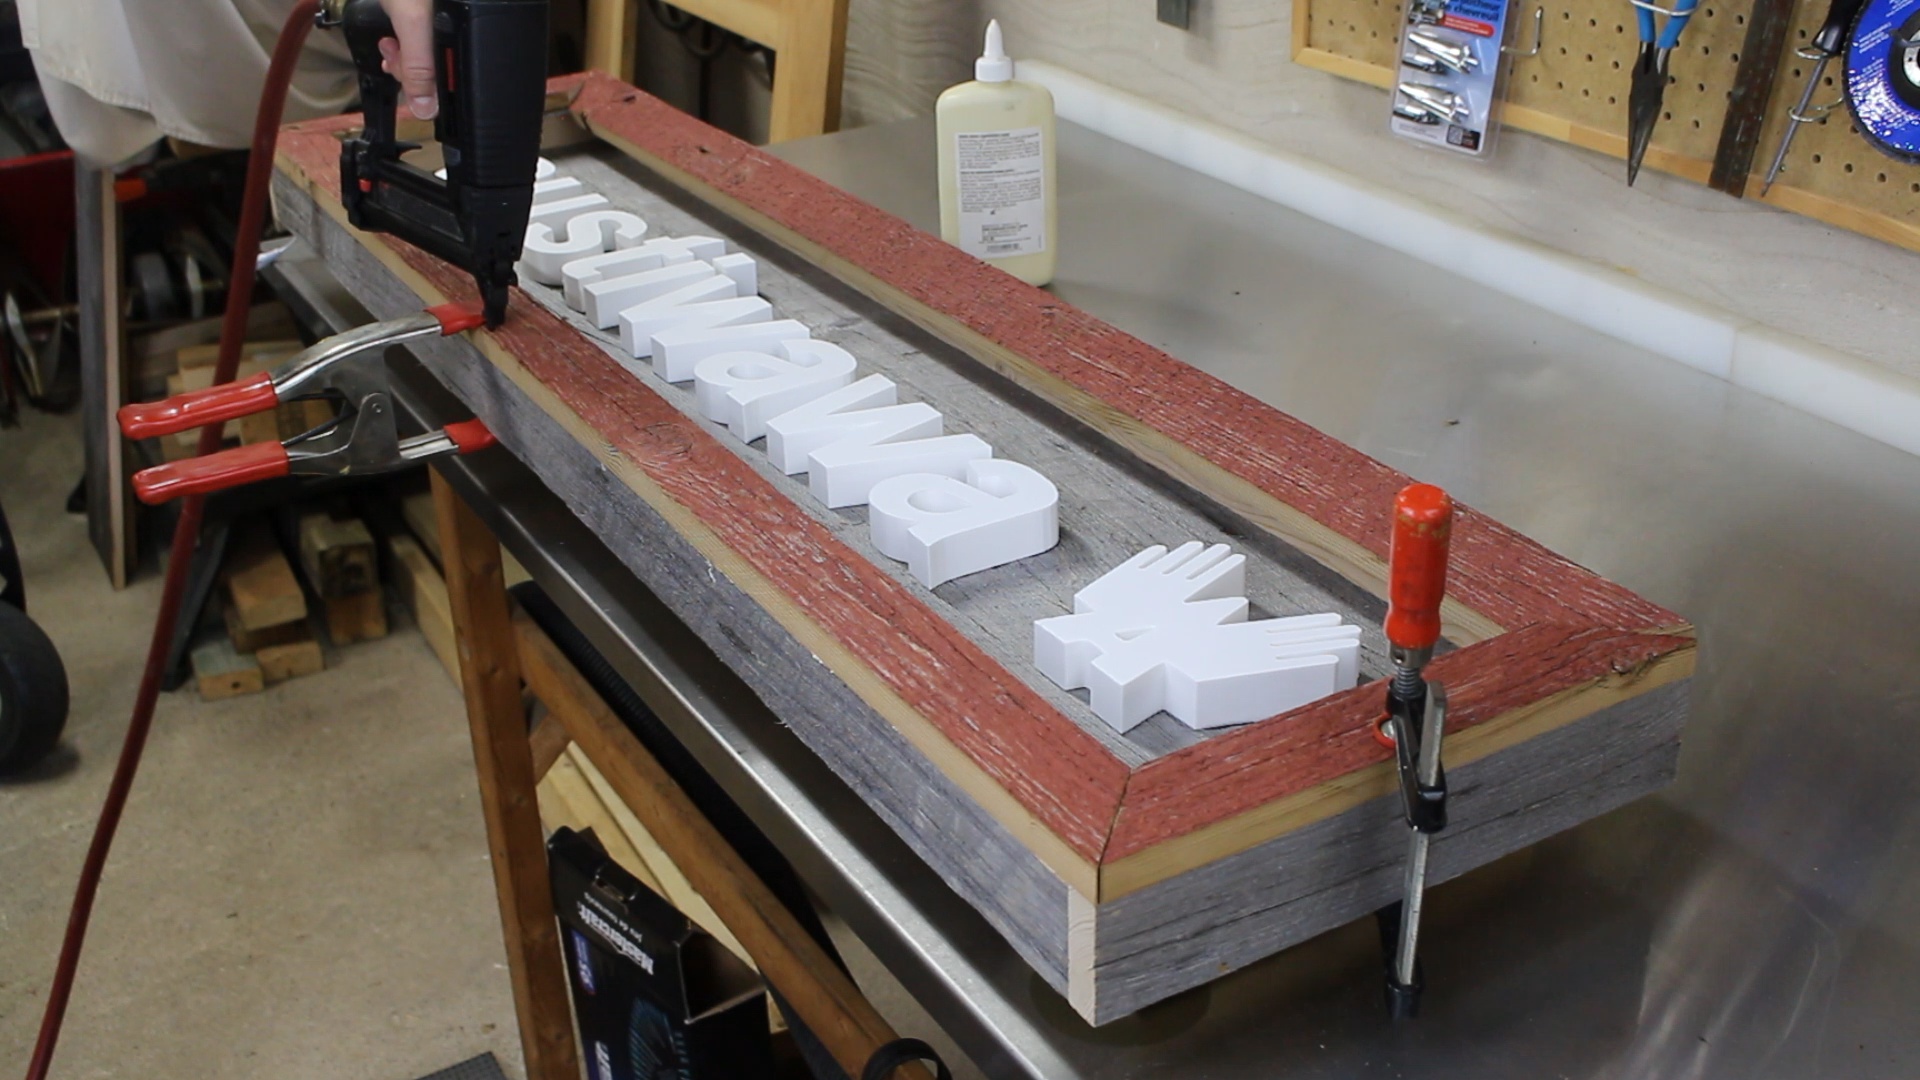
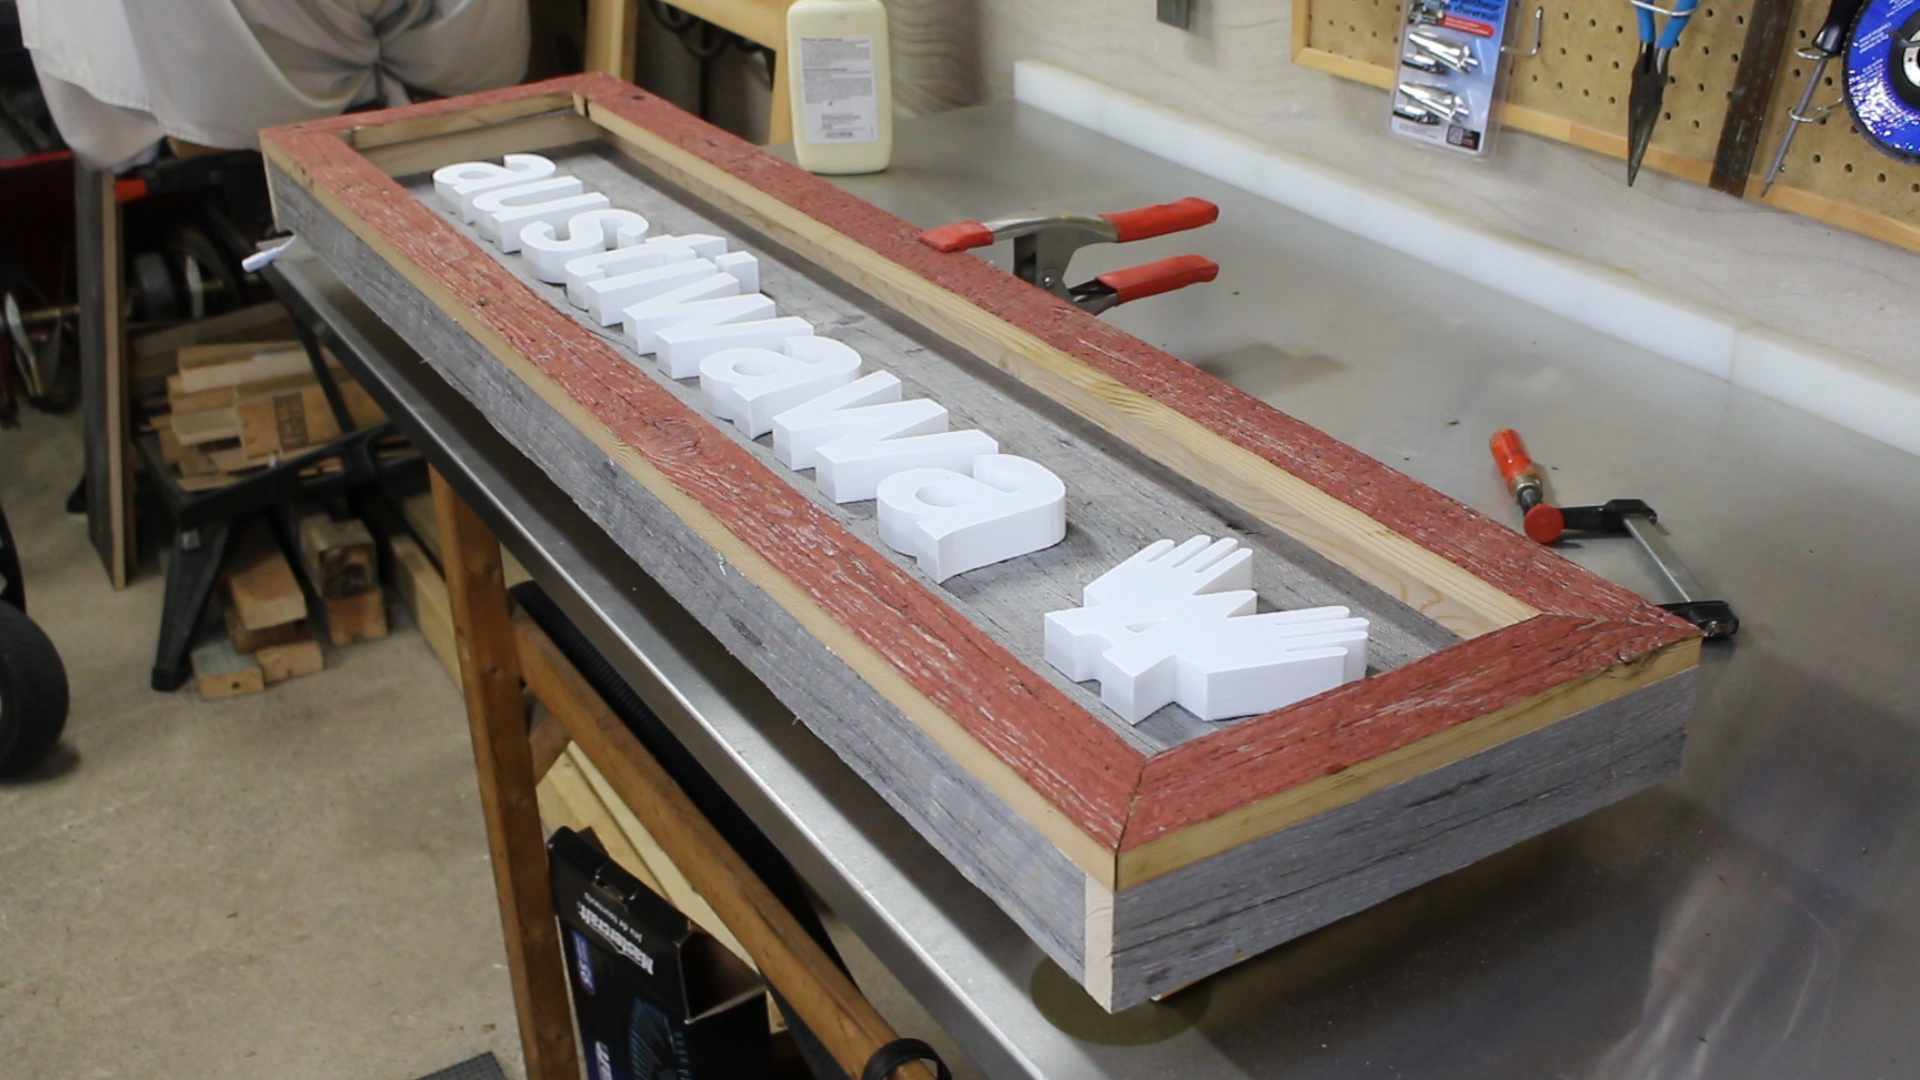
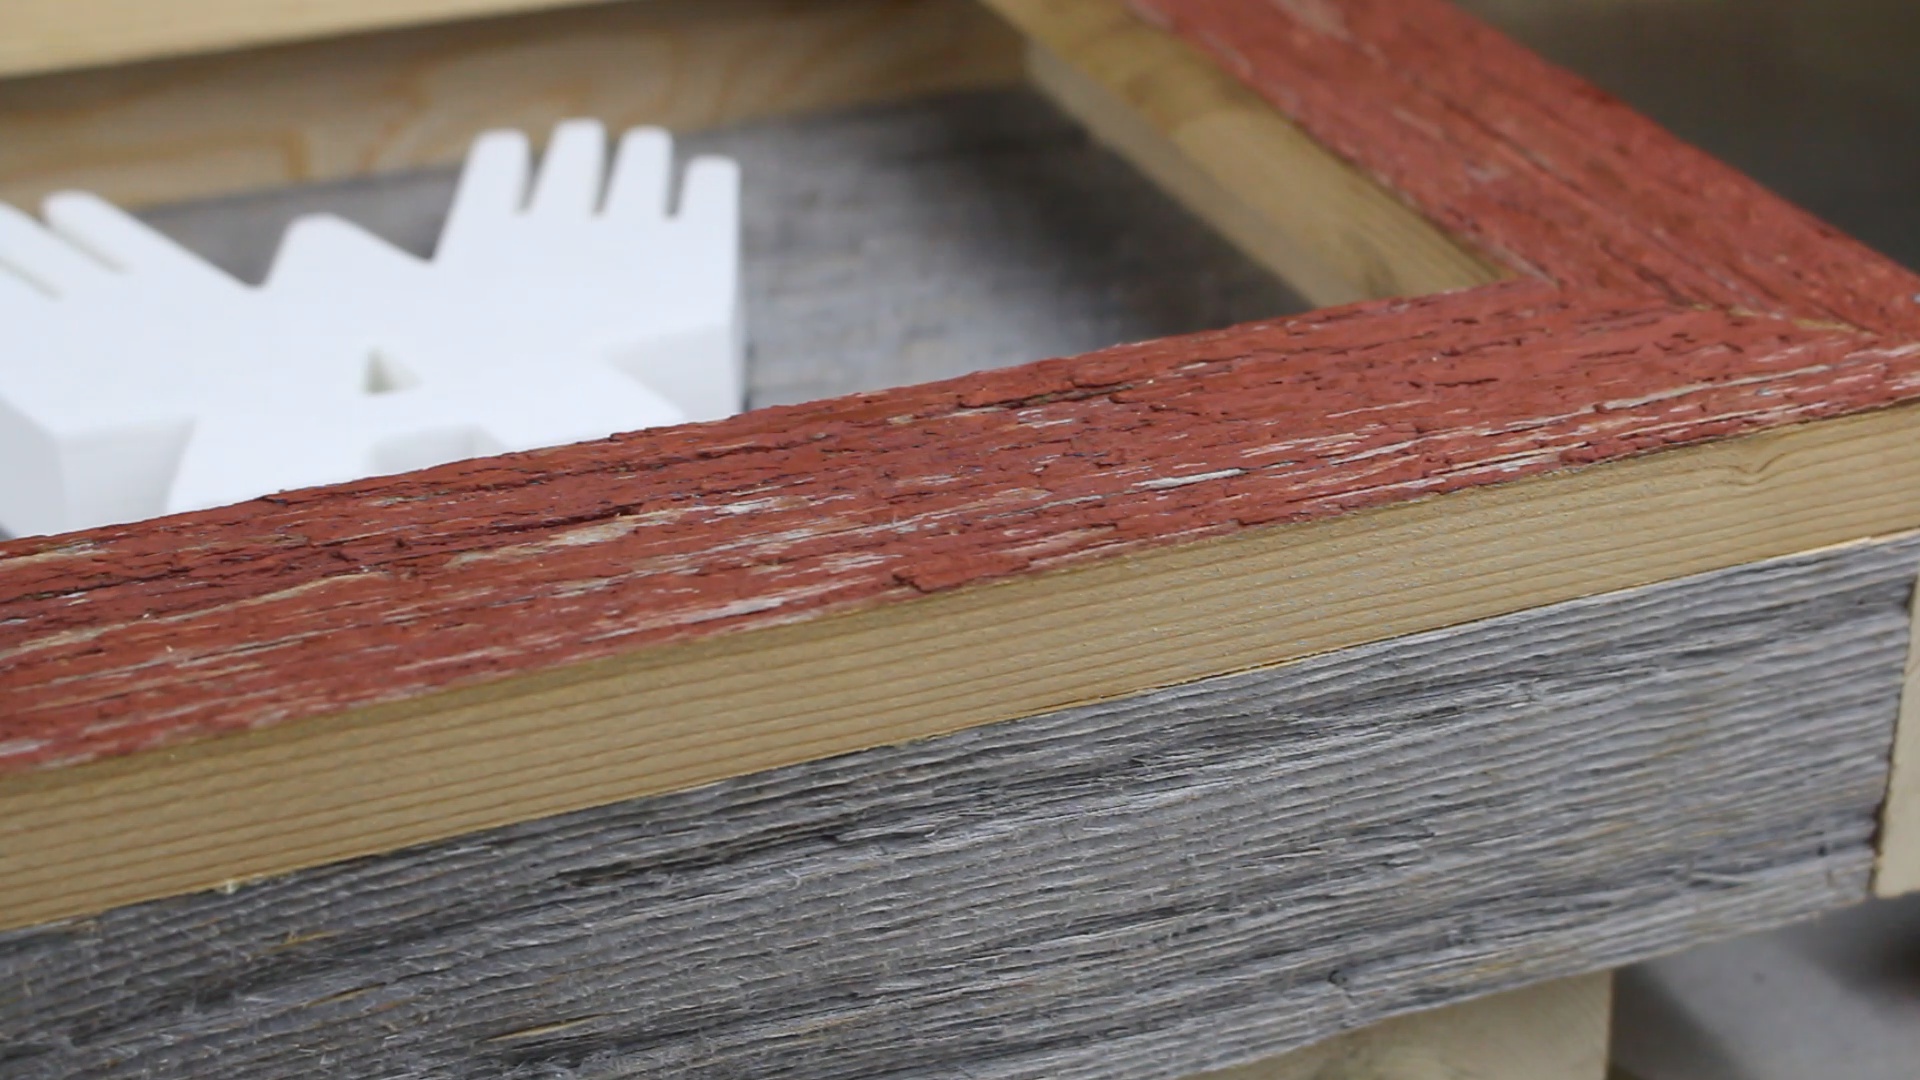
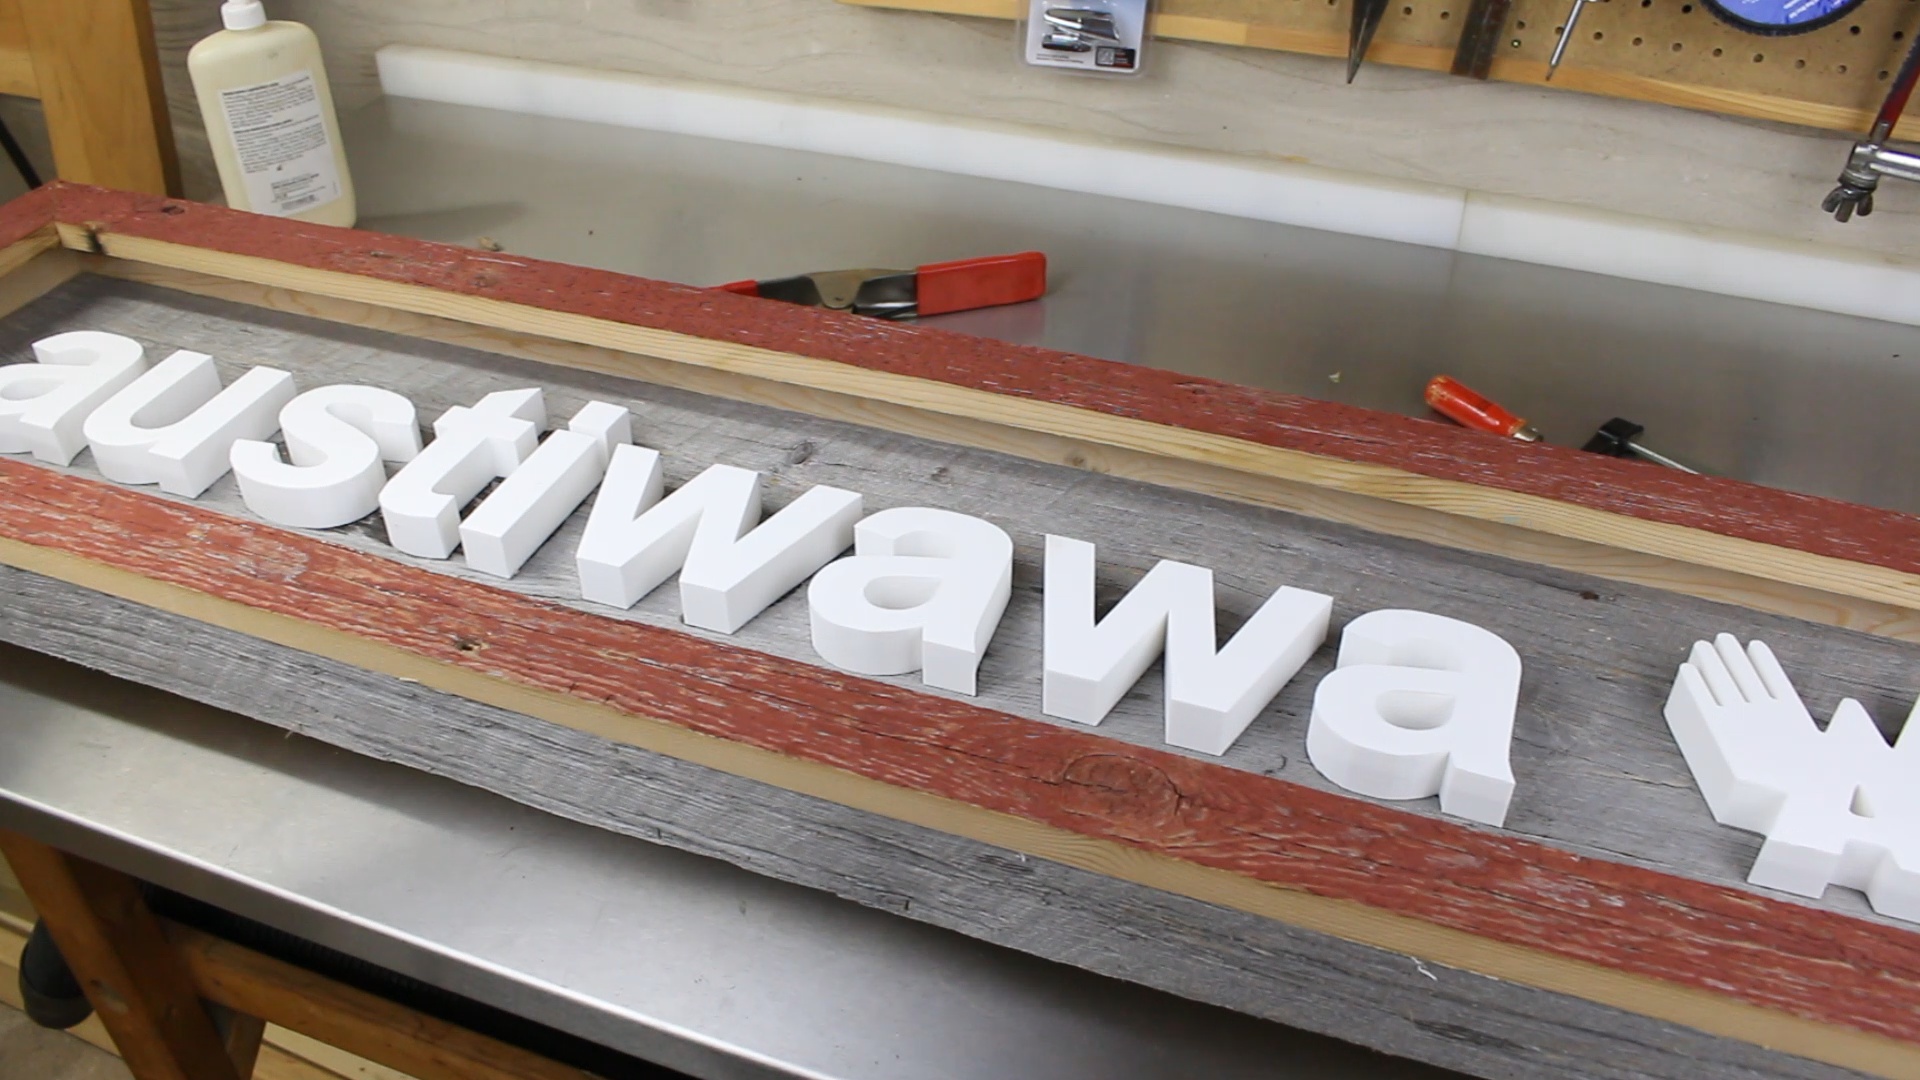
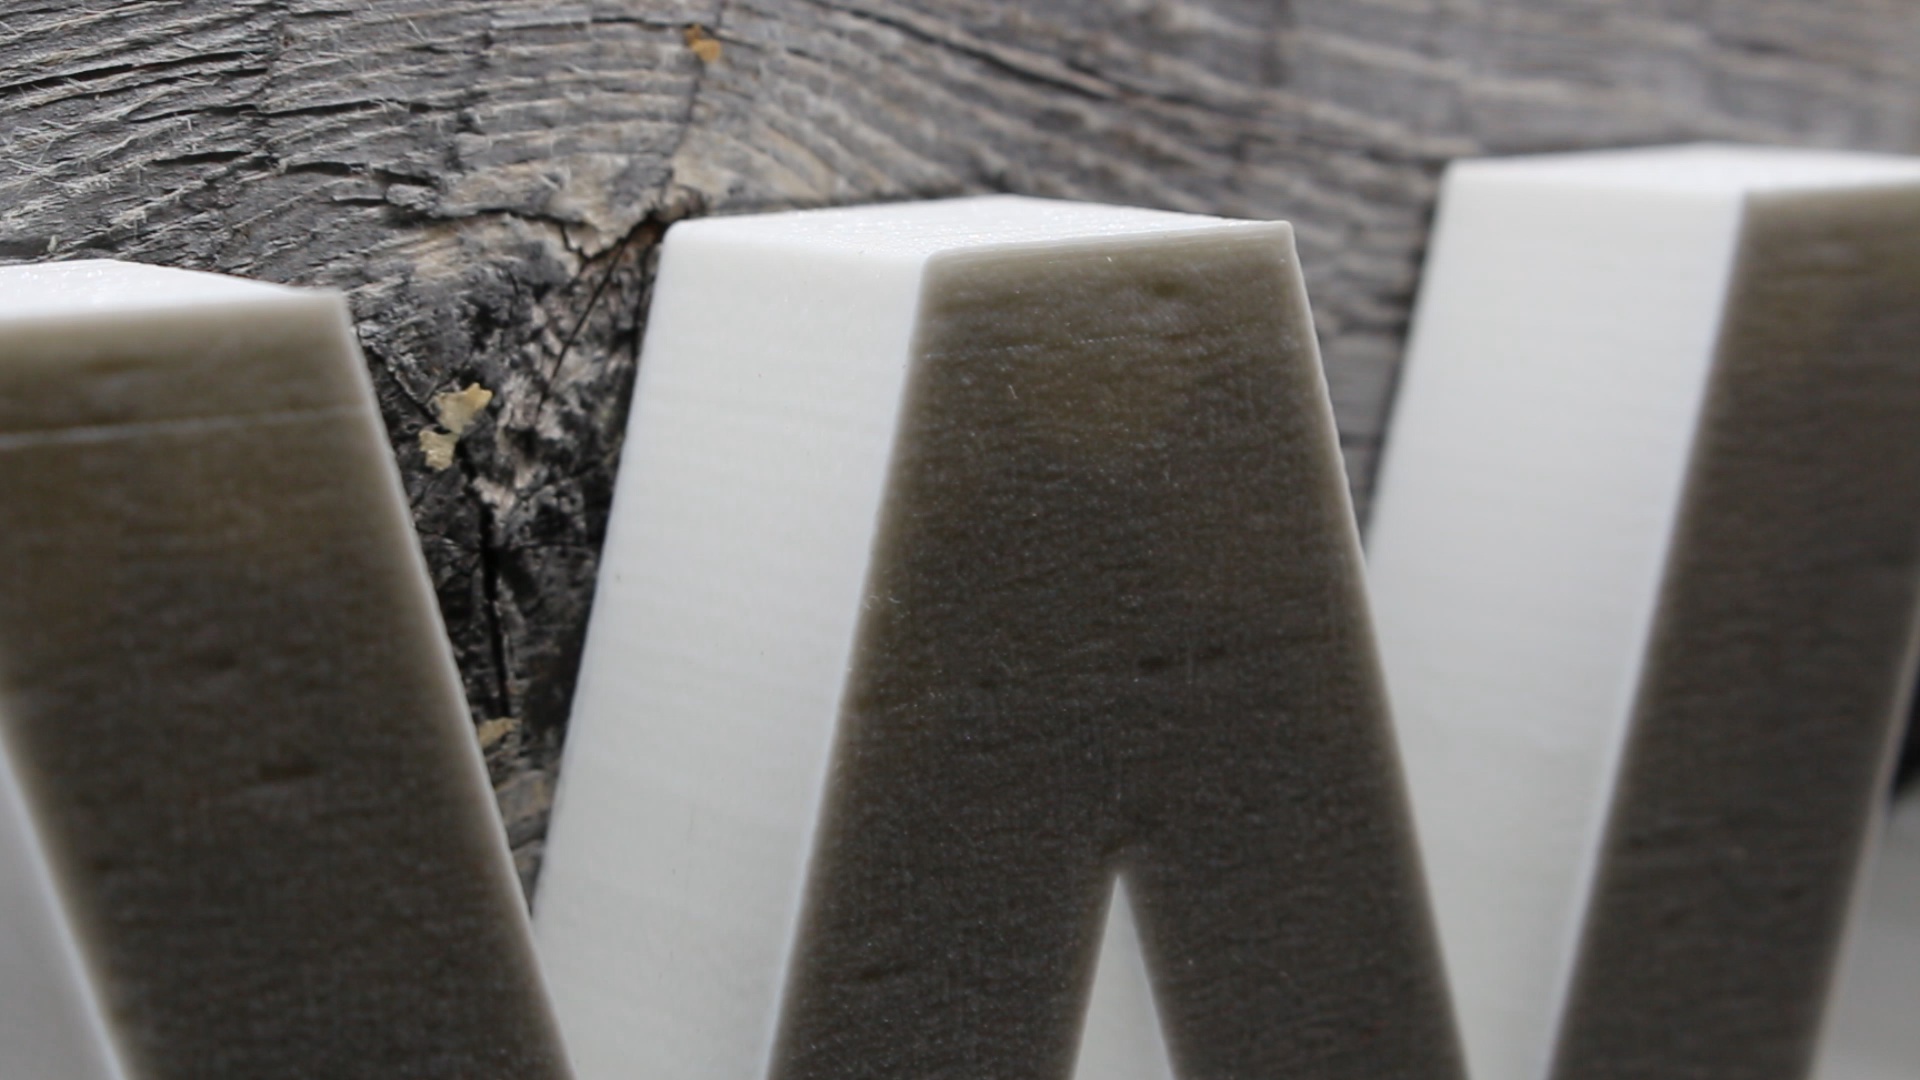
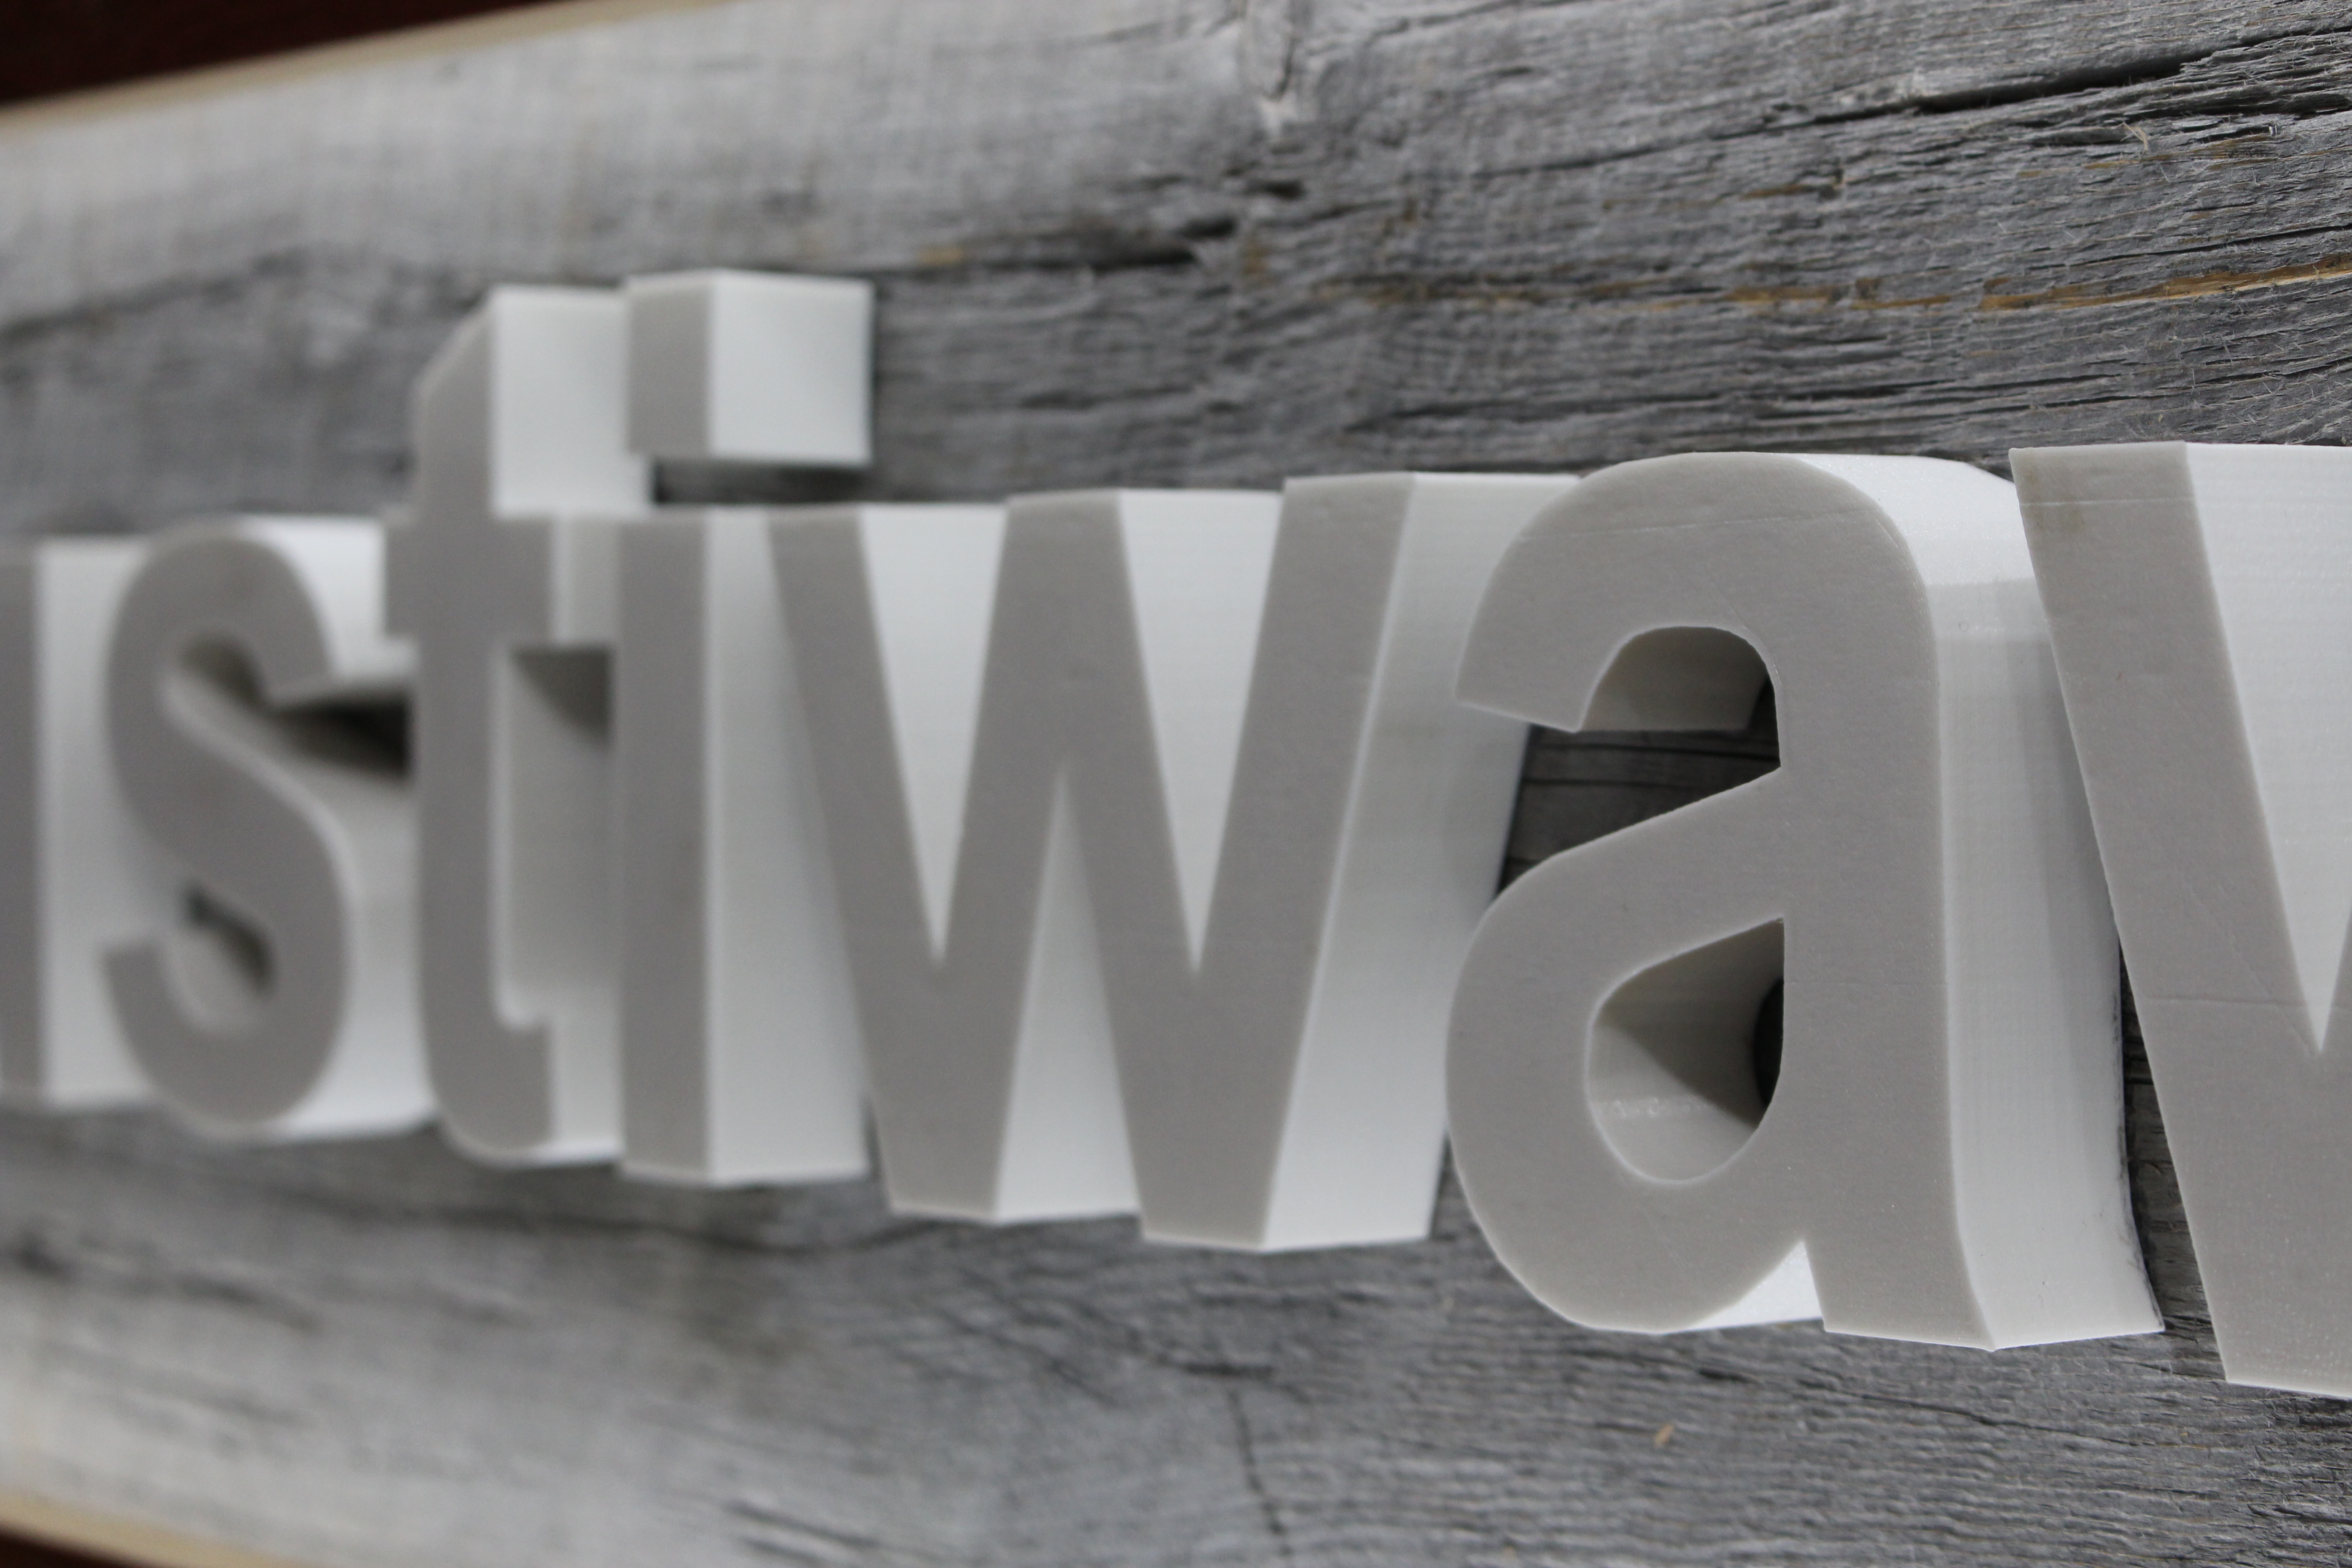
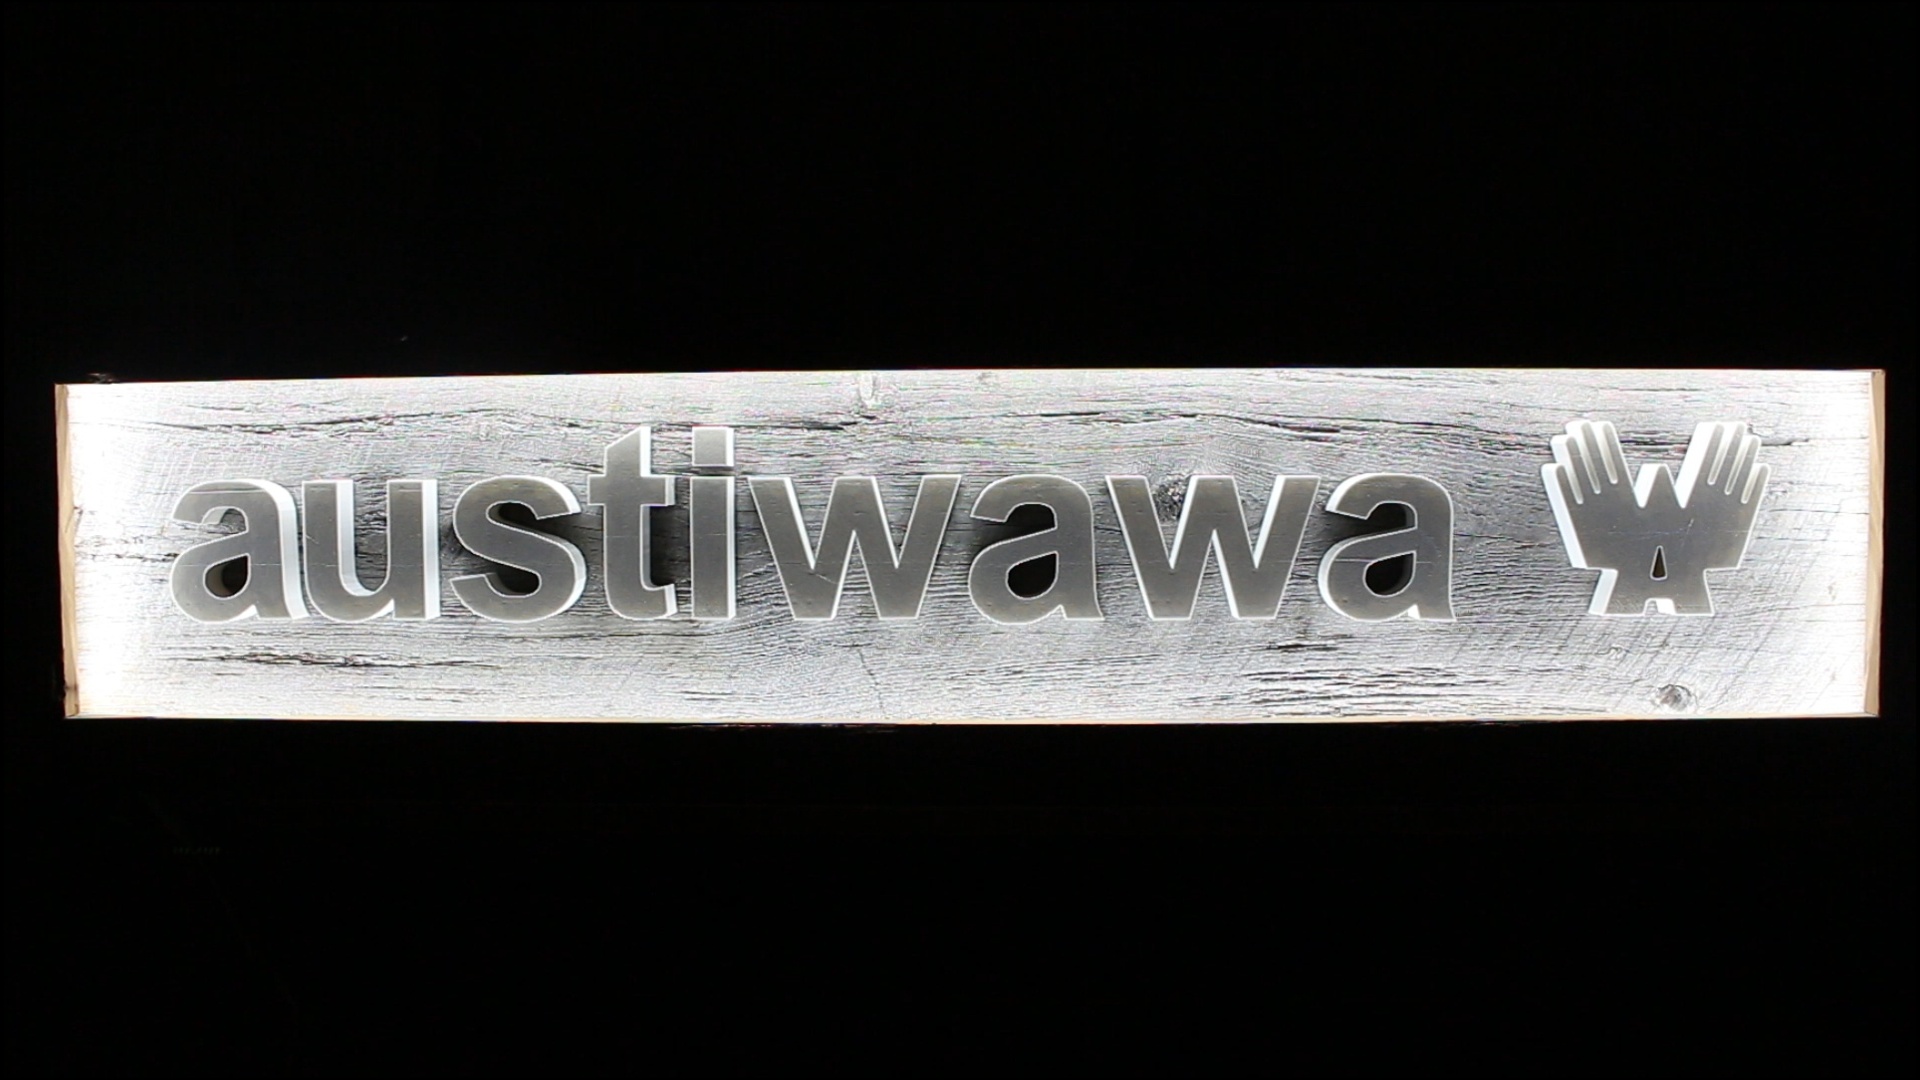
One of the only things left to do was add the trim around the front to hide the LEDs. I decided to go with red barn board for the trim in order to give the sign a unique look. Using my table saw I cut the wood into 2” wide strips. I then used my mitre saw to cut all of the edges to 45 degrees and then glued and nailed the trim onto the front of the sign.
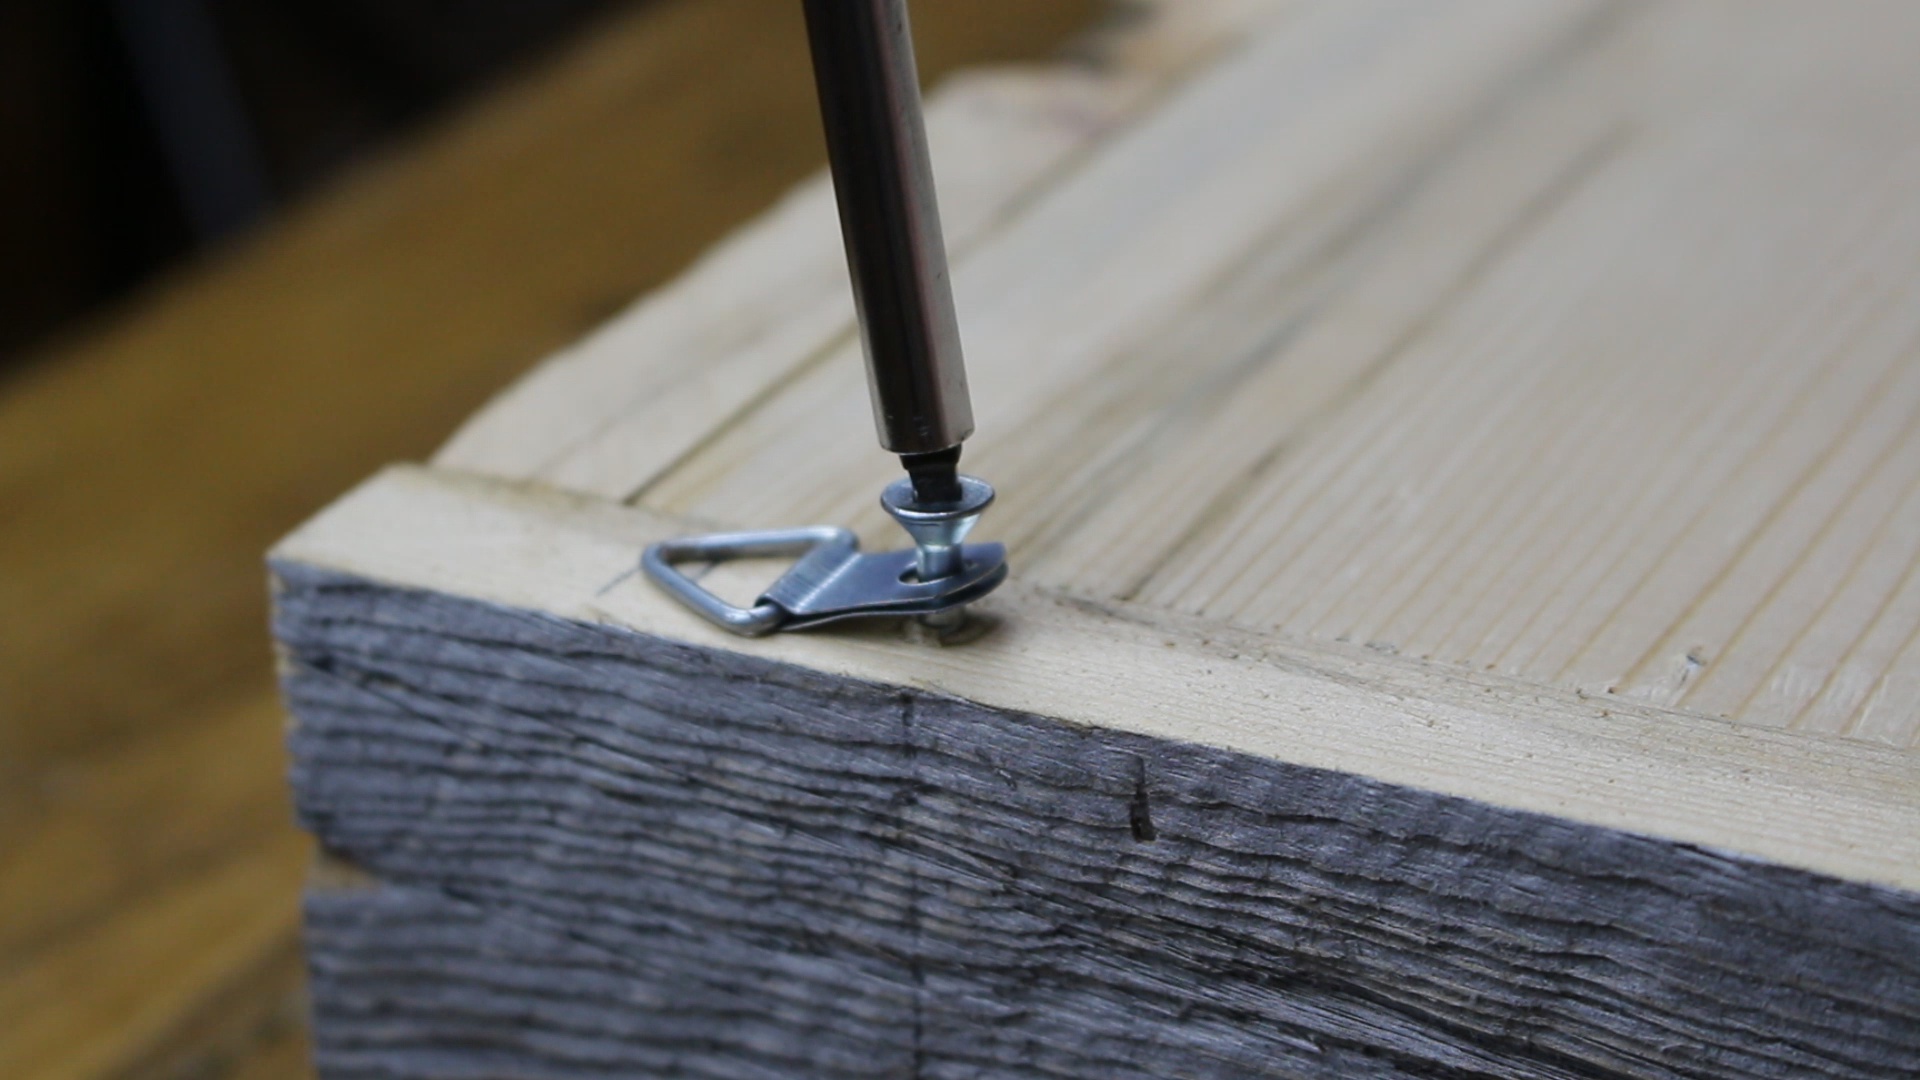
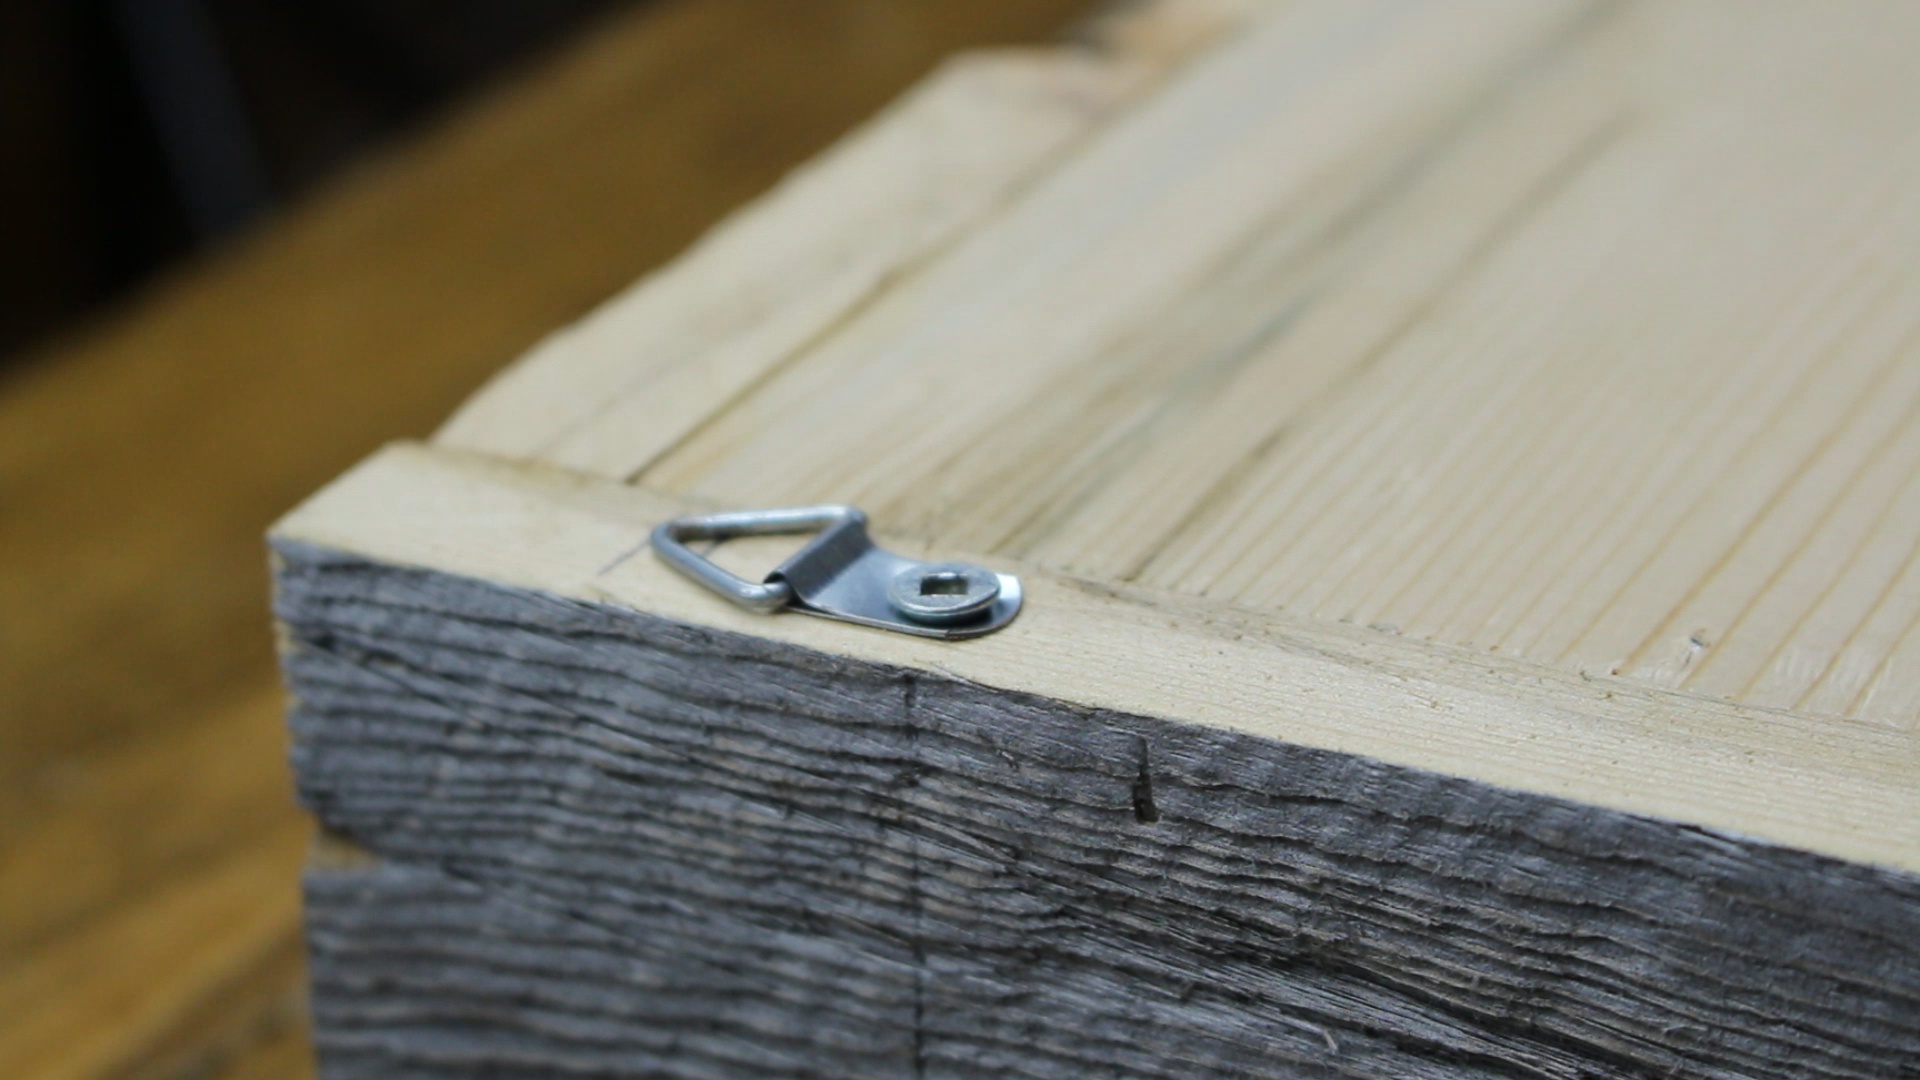
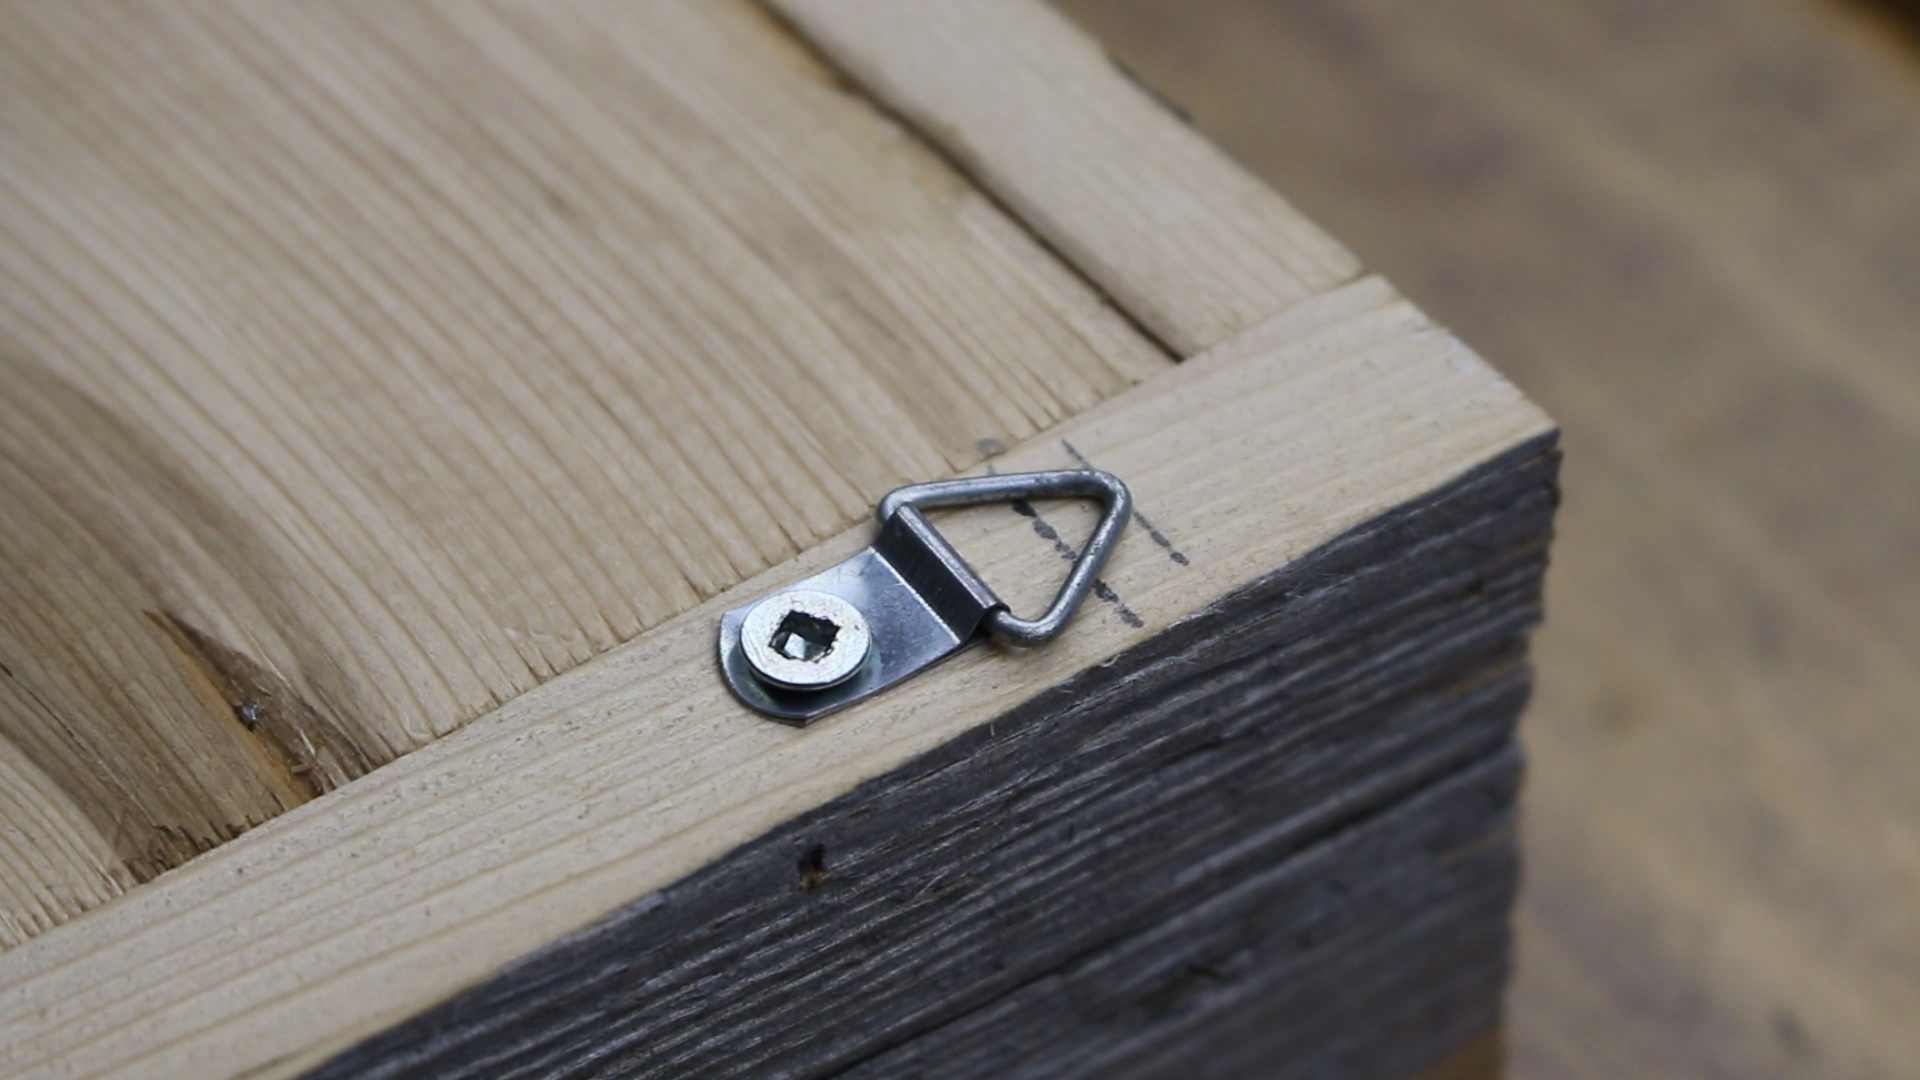
From there I added a couple hangers to the back and that was it. The sign was finished!
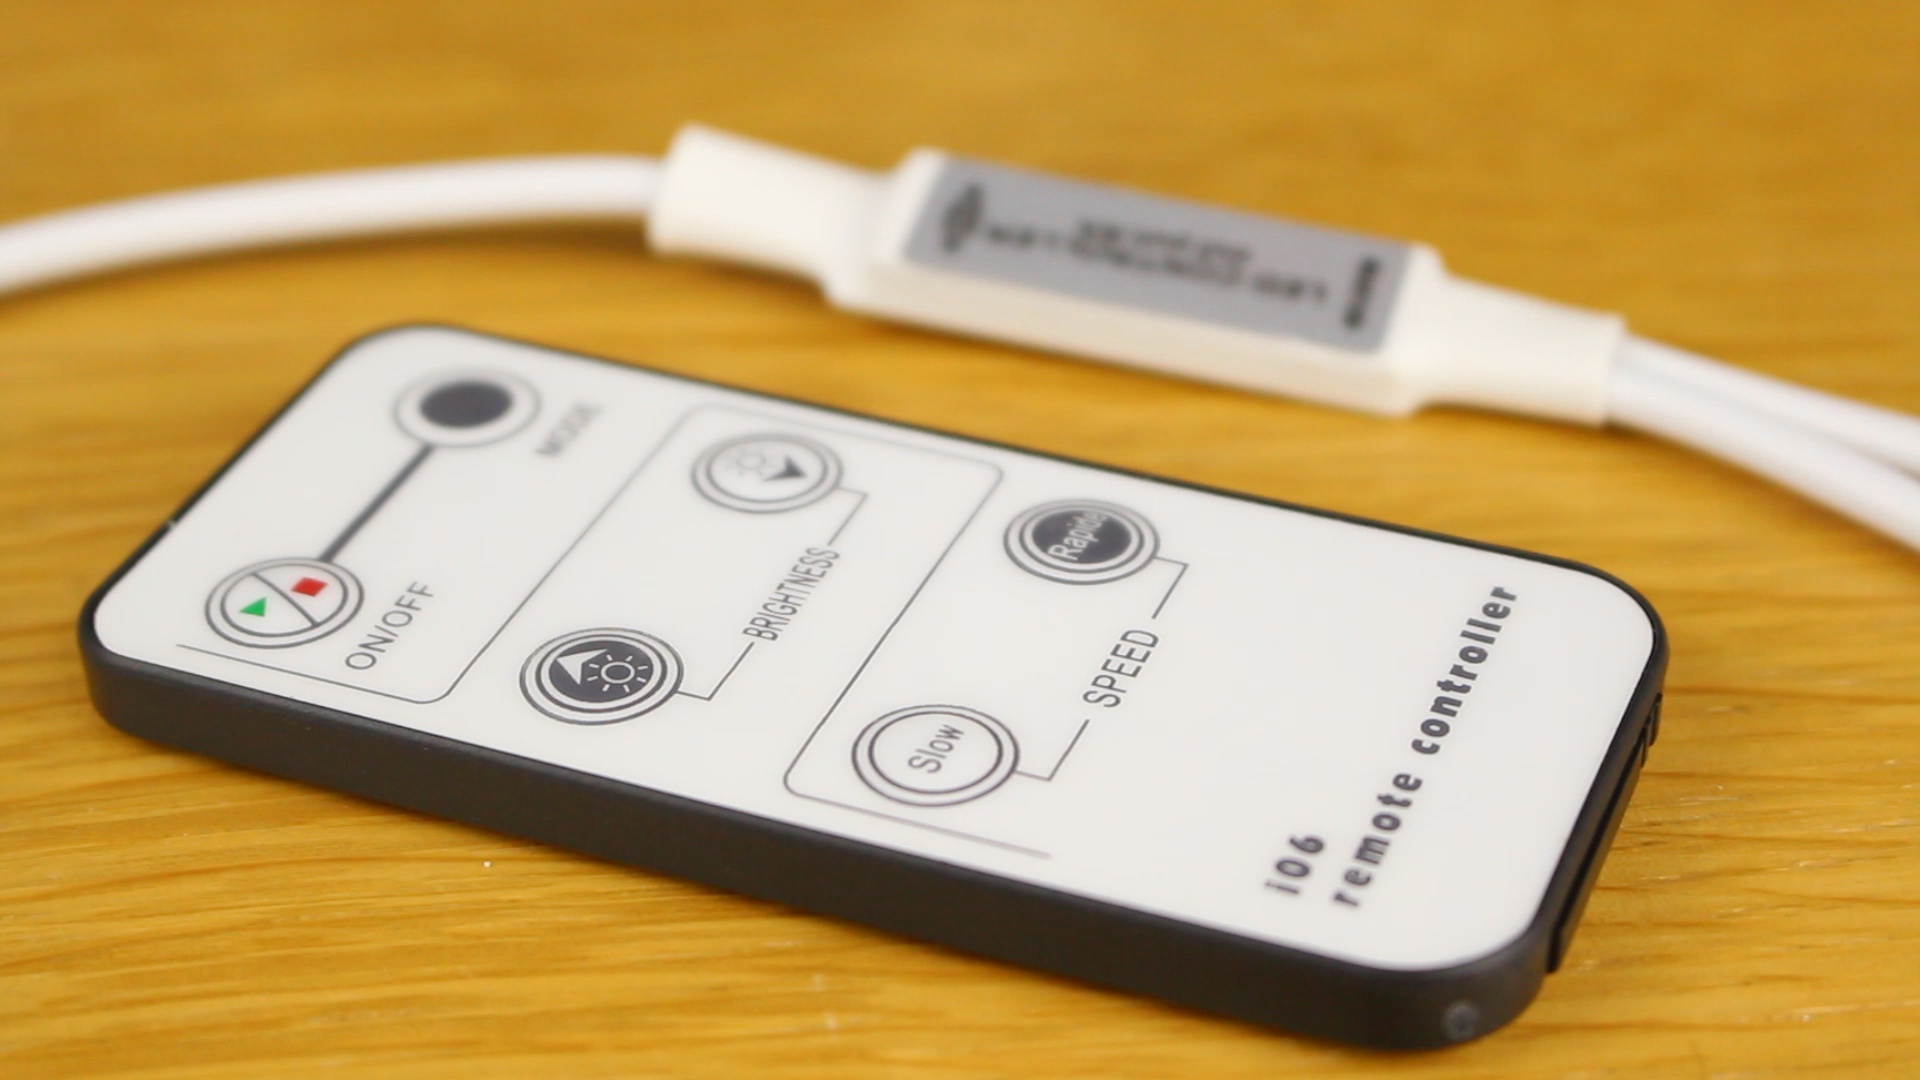
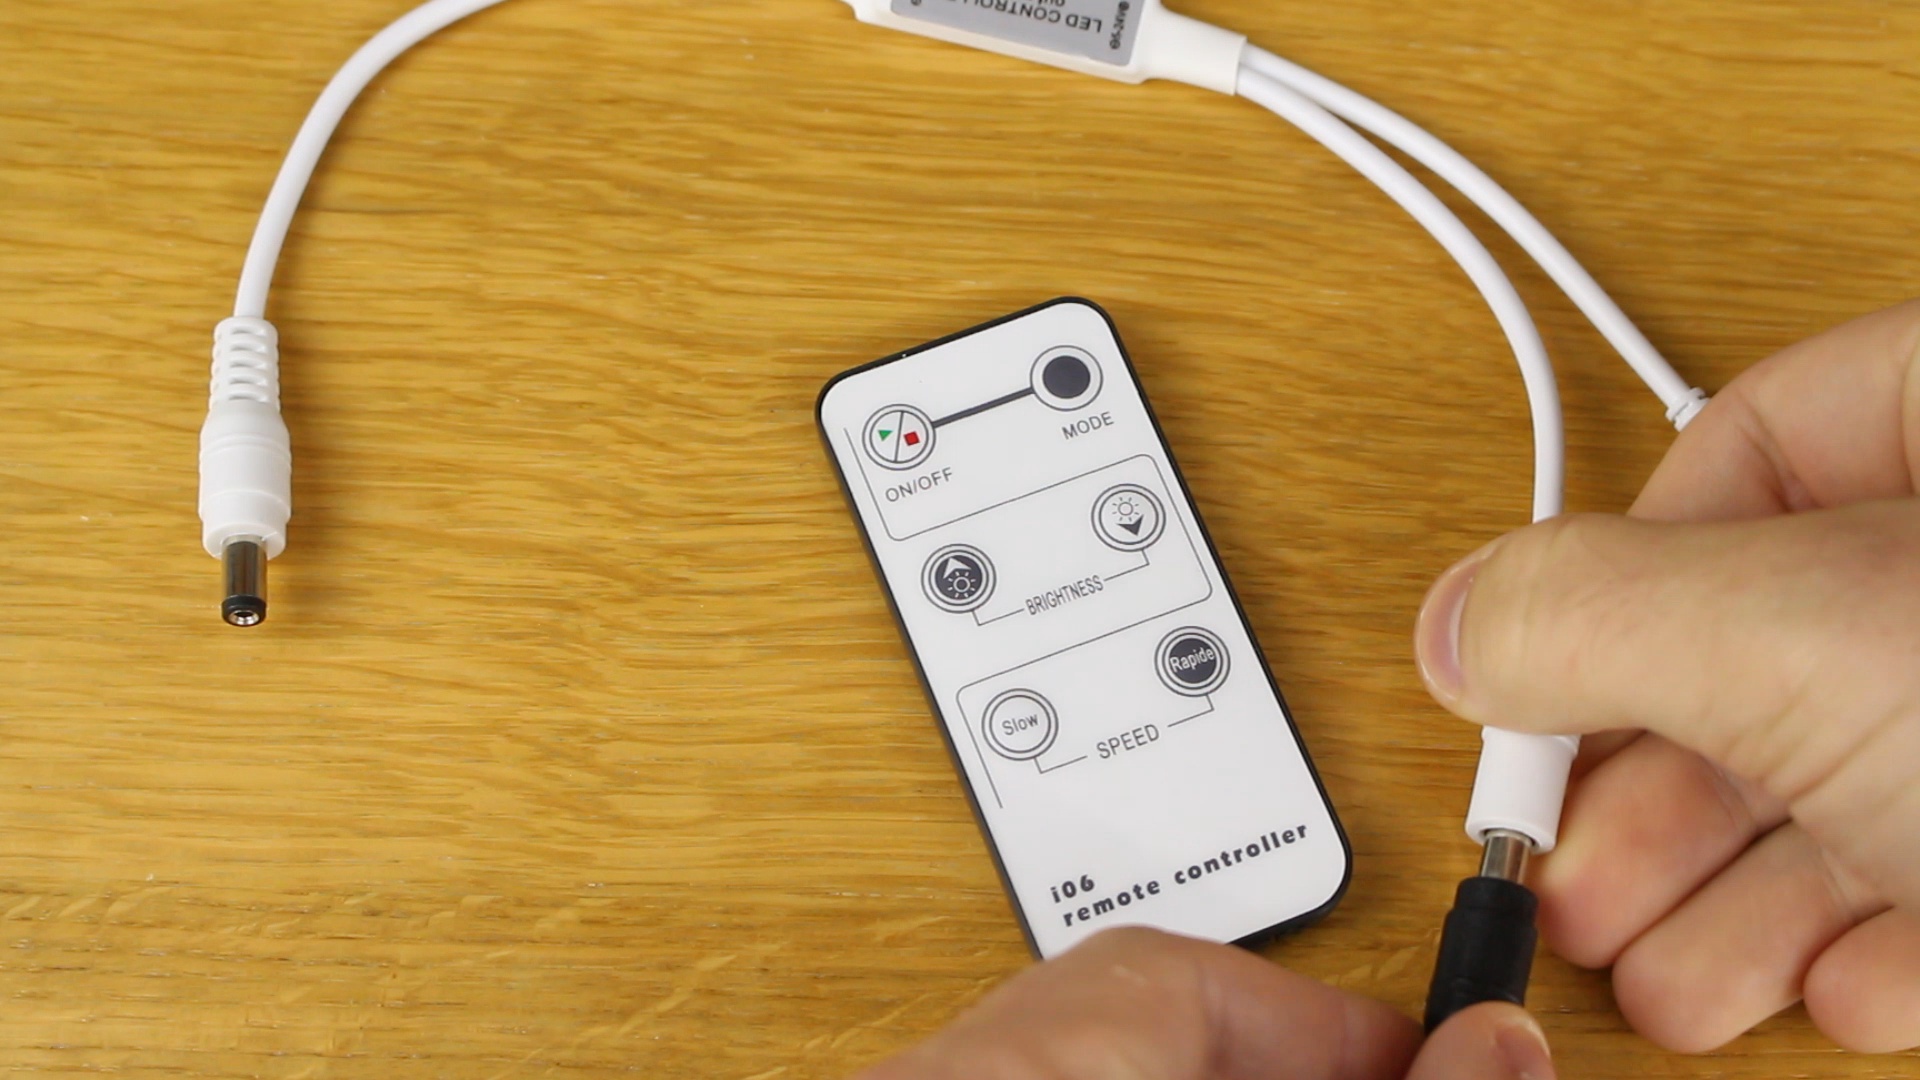
I think that the sign ended up looking great! An extra feature that I added was a dimmer because without it the LEDS were just a little too bright for my liking. Also, after finishing this project I realized that I could have improved its quality by using a glass bed with my printer. This would have made the faces of each letter look even smoother but I am still very happy with the results I got.
I hope that you all enjoyed this Instructable! If you did don't forget to follow me here on Instructables and consider even subscribing to my Youtube channel! Thanks for reading :)