3D Printed Whistle Necklace With Tinkercad
by JustSpring in Craft > Jewelry
5089 Views, 78 Favorites, 0 Comments
3D Printed Whistle Necklace With Tinkercad

In this instructable, you'll discover the process of crafting a personalized whistle in just a few minutes using Tinkercad. Imagine the joy of gifting a whistle shaped like a favorite animal, symbol, or anything to your loved ones! Unleash your creativity as I guide you through these short and simple steps, turning any SVG shape into a unique whistle, even if you don't have experience with Tinkercad.
Supplies
- 3D Printer
- Slicer Software
- Filament (PLA / PETG)
- Necklace chain
Design the Inner Whistle
Begin by creating the Inner structure of your whistle:
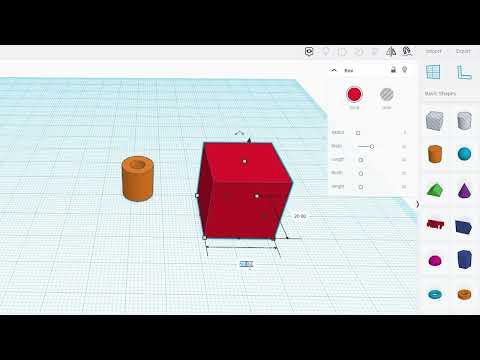
Cylinder Creation:
- Drag a cylinder shape with dimensions of 10mm diameter and 2.5mm height
- Add a cylinder hole with dimensions of 5mm diameter and 2.5mm height
- Use the Align Tool to center both cylinders and then group them.
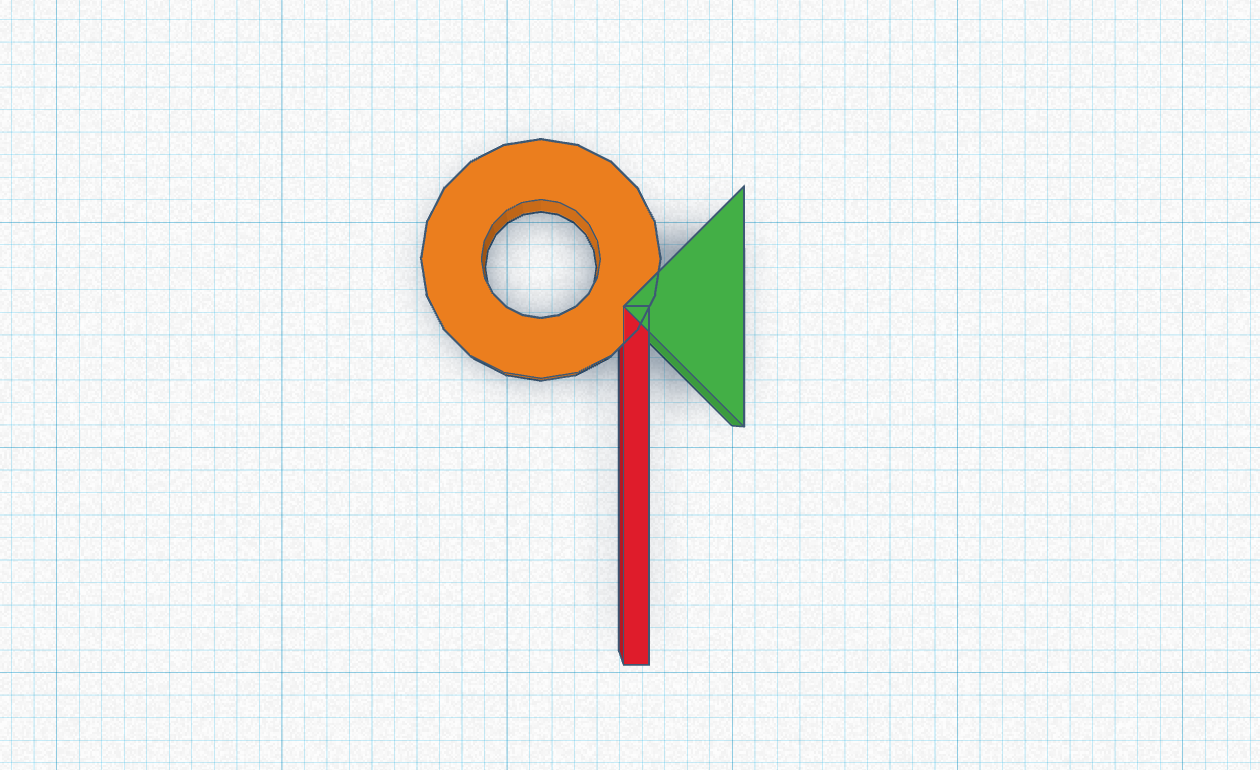
Roof and Box Integration:
- Drag a roof shape, rotate it 90 degrees, and size it to 10mm x 5mm x 2.5mm. Press D to make it snap back to the base height.
- Drag a box with dimensions of 1mm x 15mm x 2.5mm.
- Move and adjust the three components according to the provided illustrations, and finally group them together.
*Feel free to experiment with the box length to achieve different pitches! Shorter box lengths will result in higher pitches.
Tip: If you prefer a quicker start, download the provided STL file and continue to the next step.
Downloads
Design the Outer Whistle

This is the creative part, you can choose any outer shape you want!
Shape Selection:
- Choose the desired shape for your whistle. You will need it to be in a .svg file format. You can find SVG files for various shapes online by searching for your chosen shape + SVG. In my case, I chose an SVG of a dolphin at SVG Repo (free download).
SVG Import:
- Open Tinkercad and use the import button to insert the chosen SVG file.
- Insert the inner part created in Step 1 as a hole.
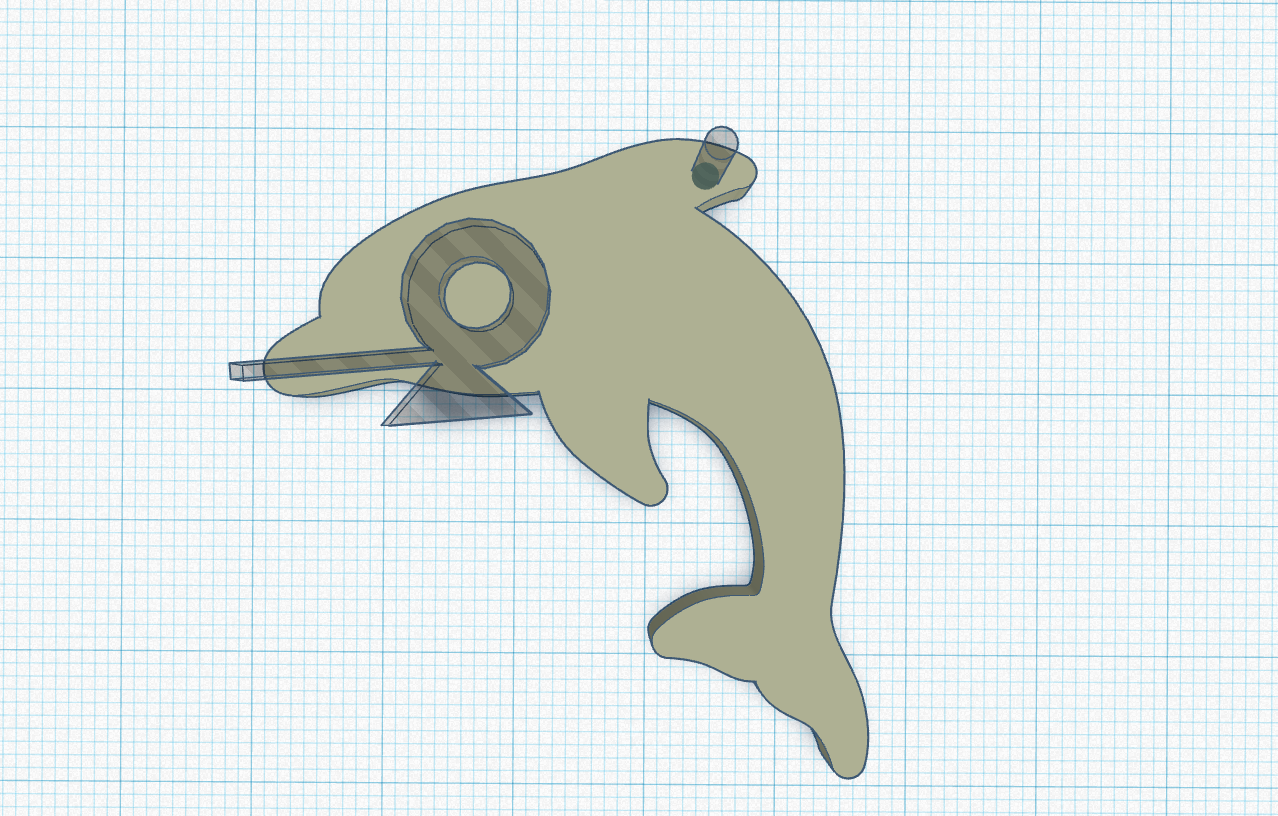
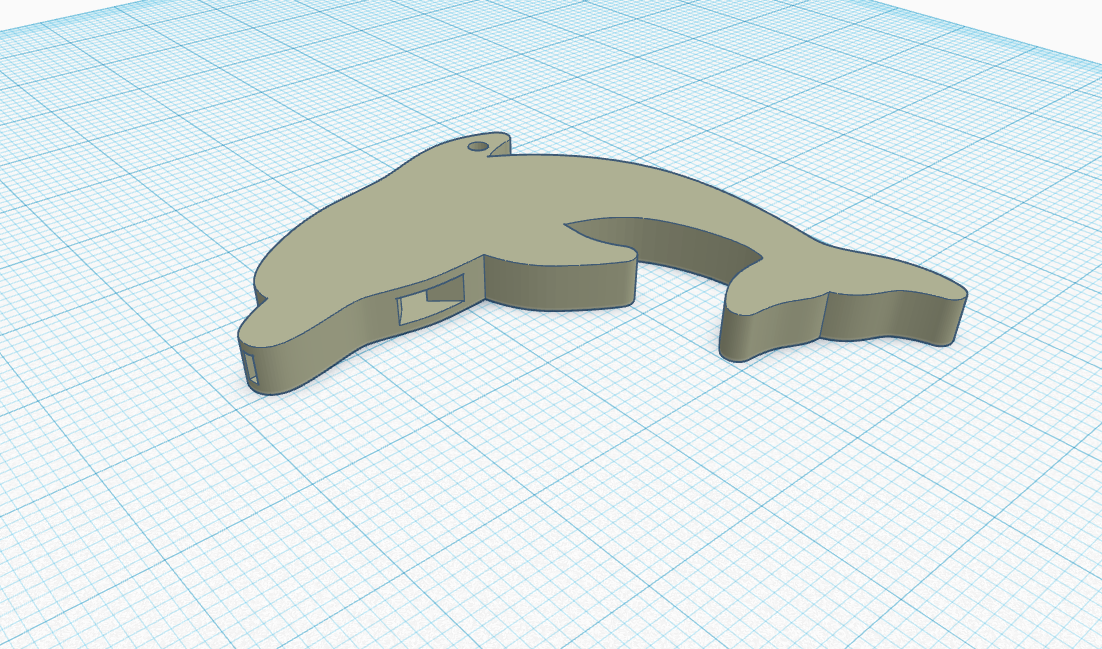
Adjustments and Arrangements:
- Adjust the height of the outer shape to 4mm and the inner shape to 2.5mm.
- Raise the inner shape by 0.75mm by dragging the black arrow above the object (appears when you click on the object)
- Arrange the shape to your liking, ensuring that only the edge of the inner whistle is visible, as shown in the provided images.
Grouping:
- Select both parts (the inner whistle and the imported shape) and group them together.
Necklace Addition:
- To transform it into a necklace, add a hole cylinder with dimensions of 2mm x 2mm to one of the edges.
Downloads
Printing & Assembling

Now, let's bring your whistle to life with 3D printing.
Slicing
- Download the whistle as an STL from Tinkercad.
- Import the STL file into your preferred slicer app (Cura is an excellent choice for beginners).
- Use the following settings for optimal results:
- Layer height: 0.2mm
- Supports: None
- Infill: 20%
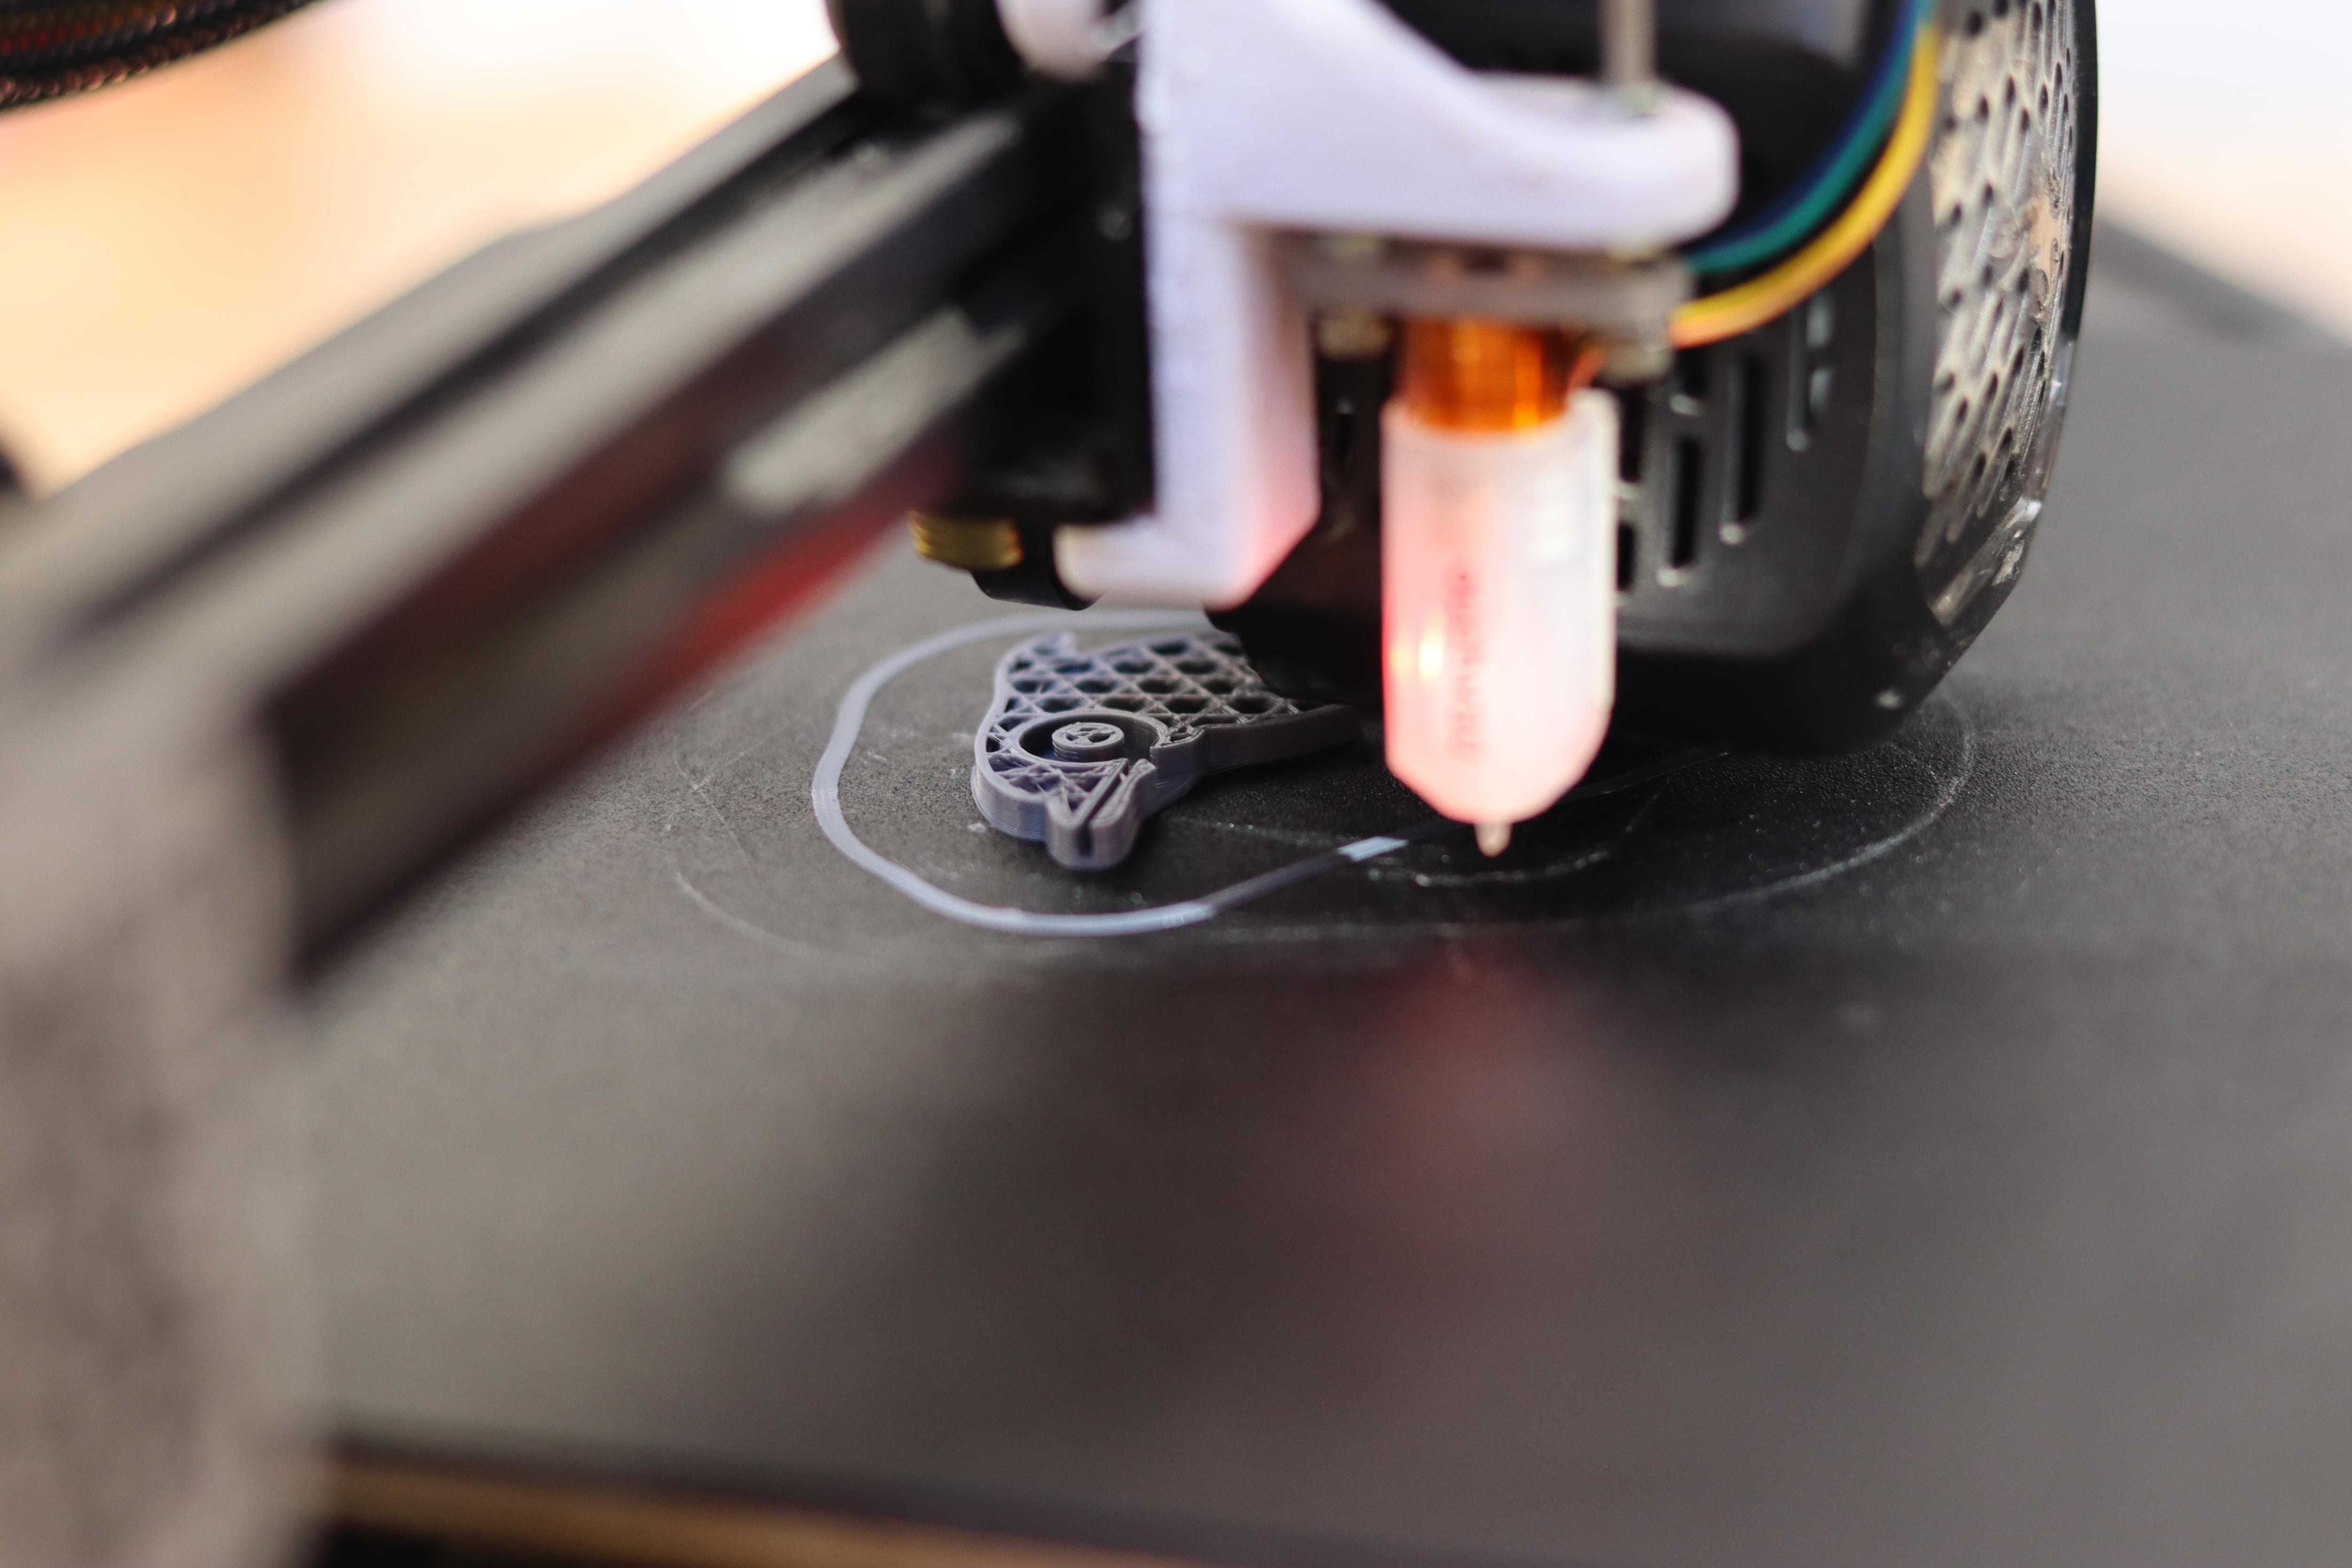
3D Print
- Transfer the sliced files to your 3D printer.
- Start the printing process. On my Ender 3 v2, it took approximately 24 minutes to complete.
Assemble
- Once the 3D printing is done, carefully remove the printed whistle from the printer bed.
- Insert the necklace chain through the designated hole in the whistle.
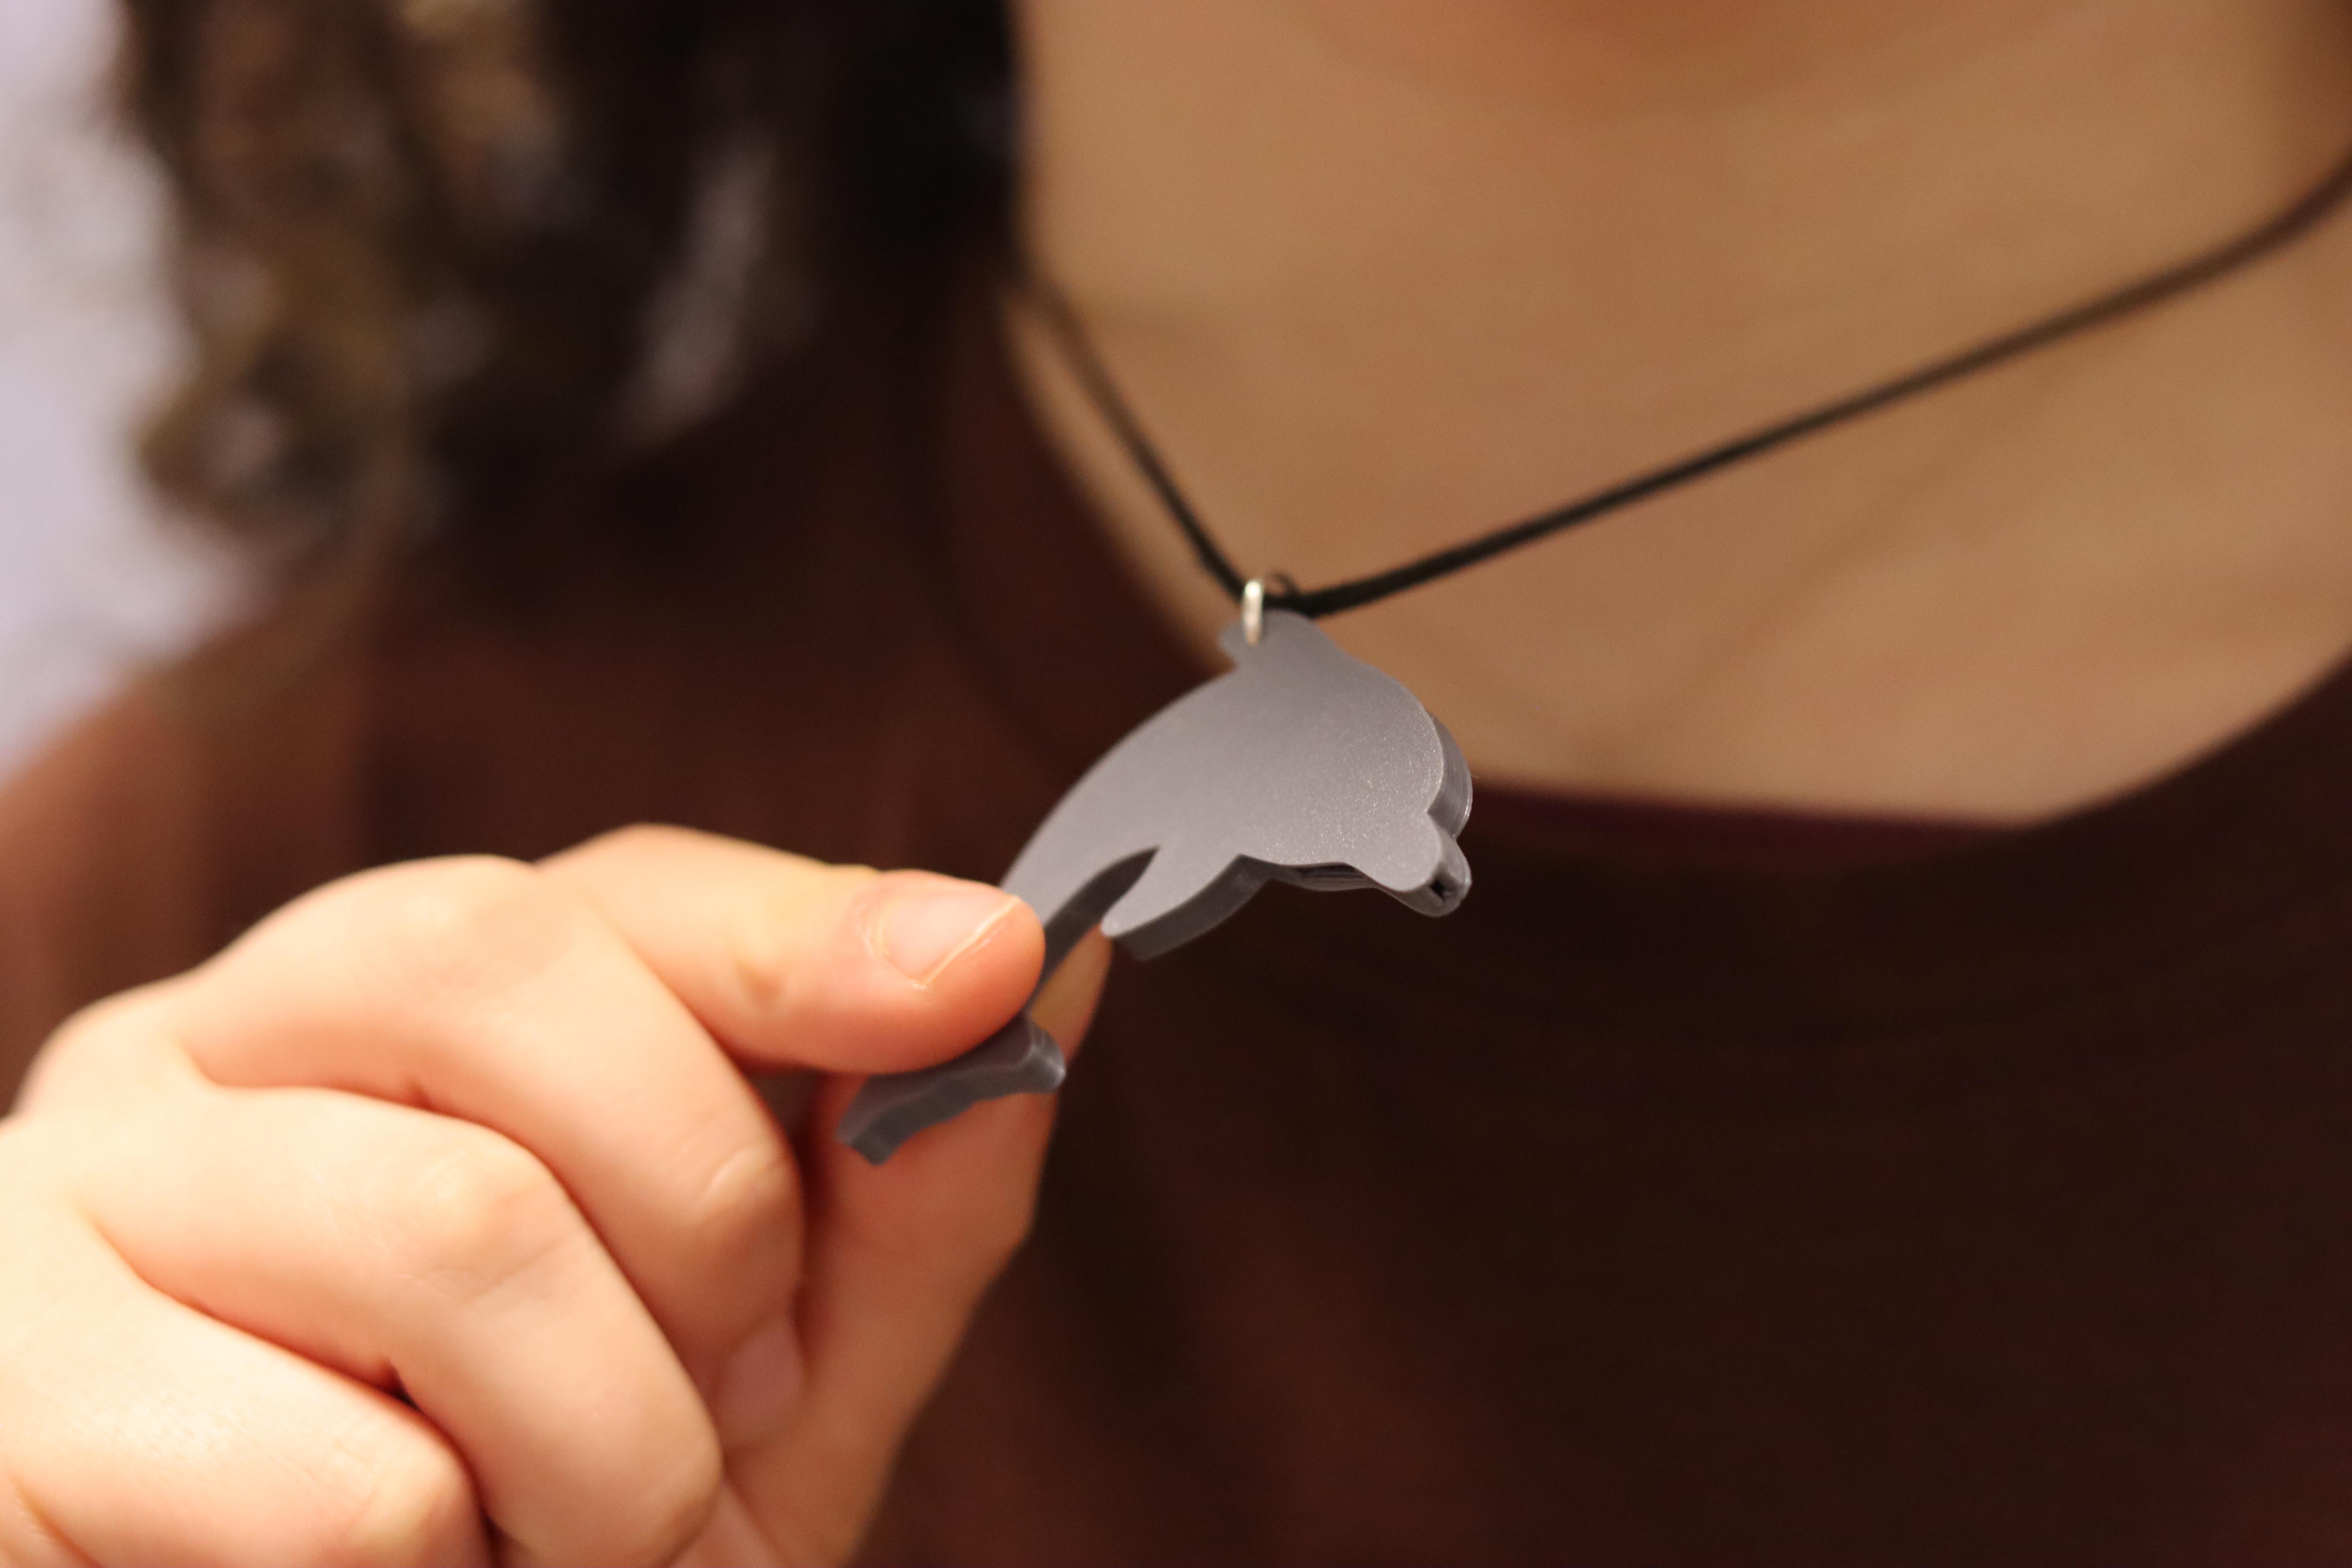
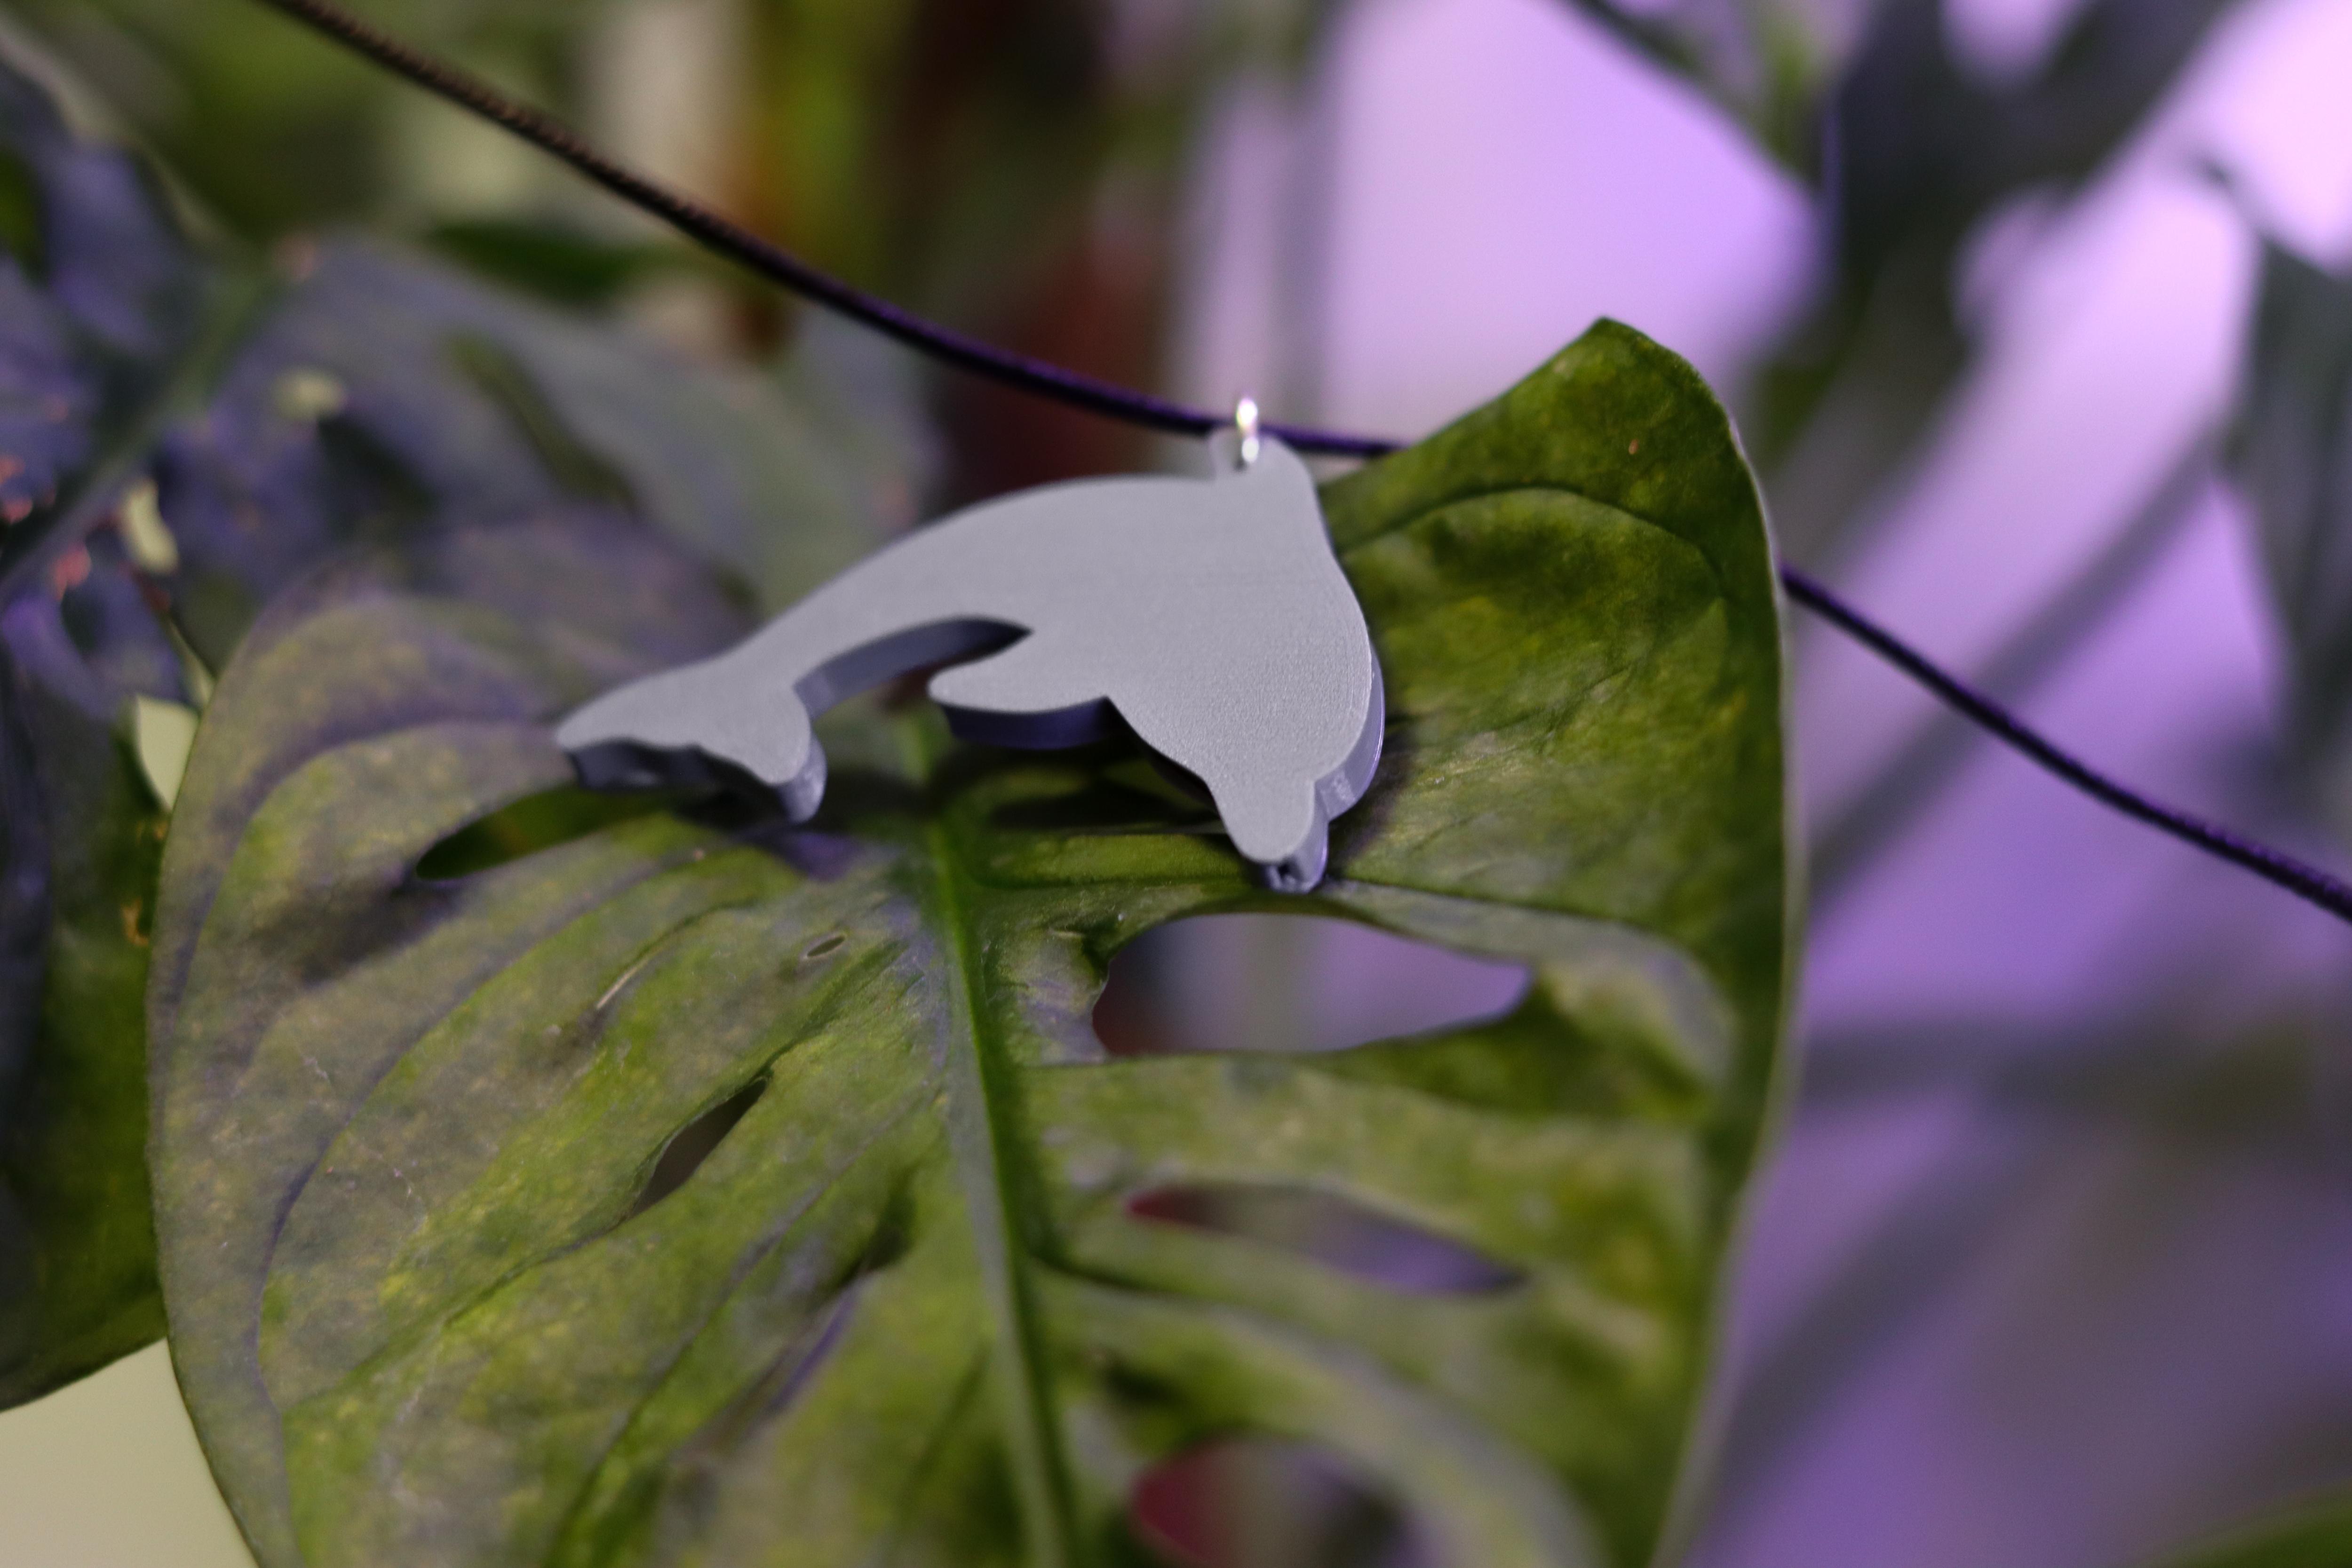
Finished Whistle

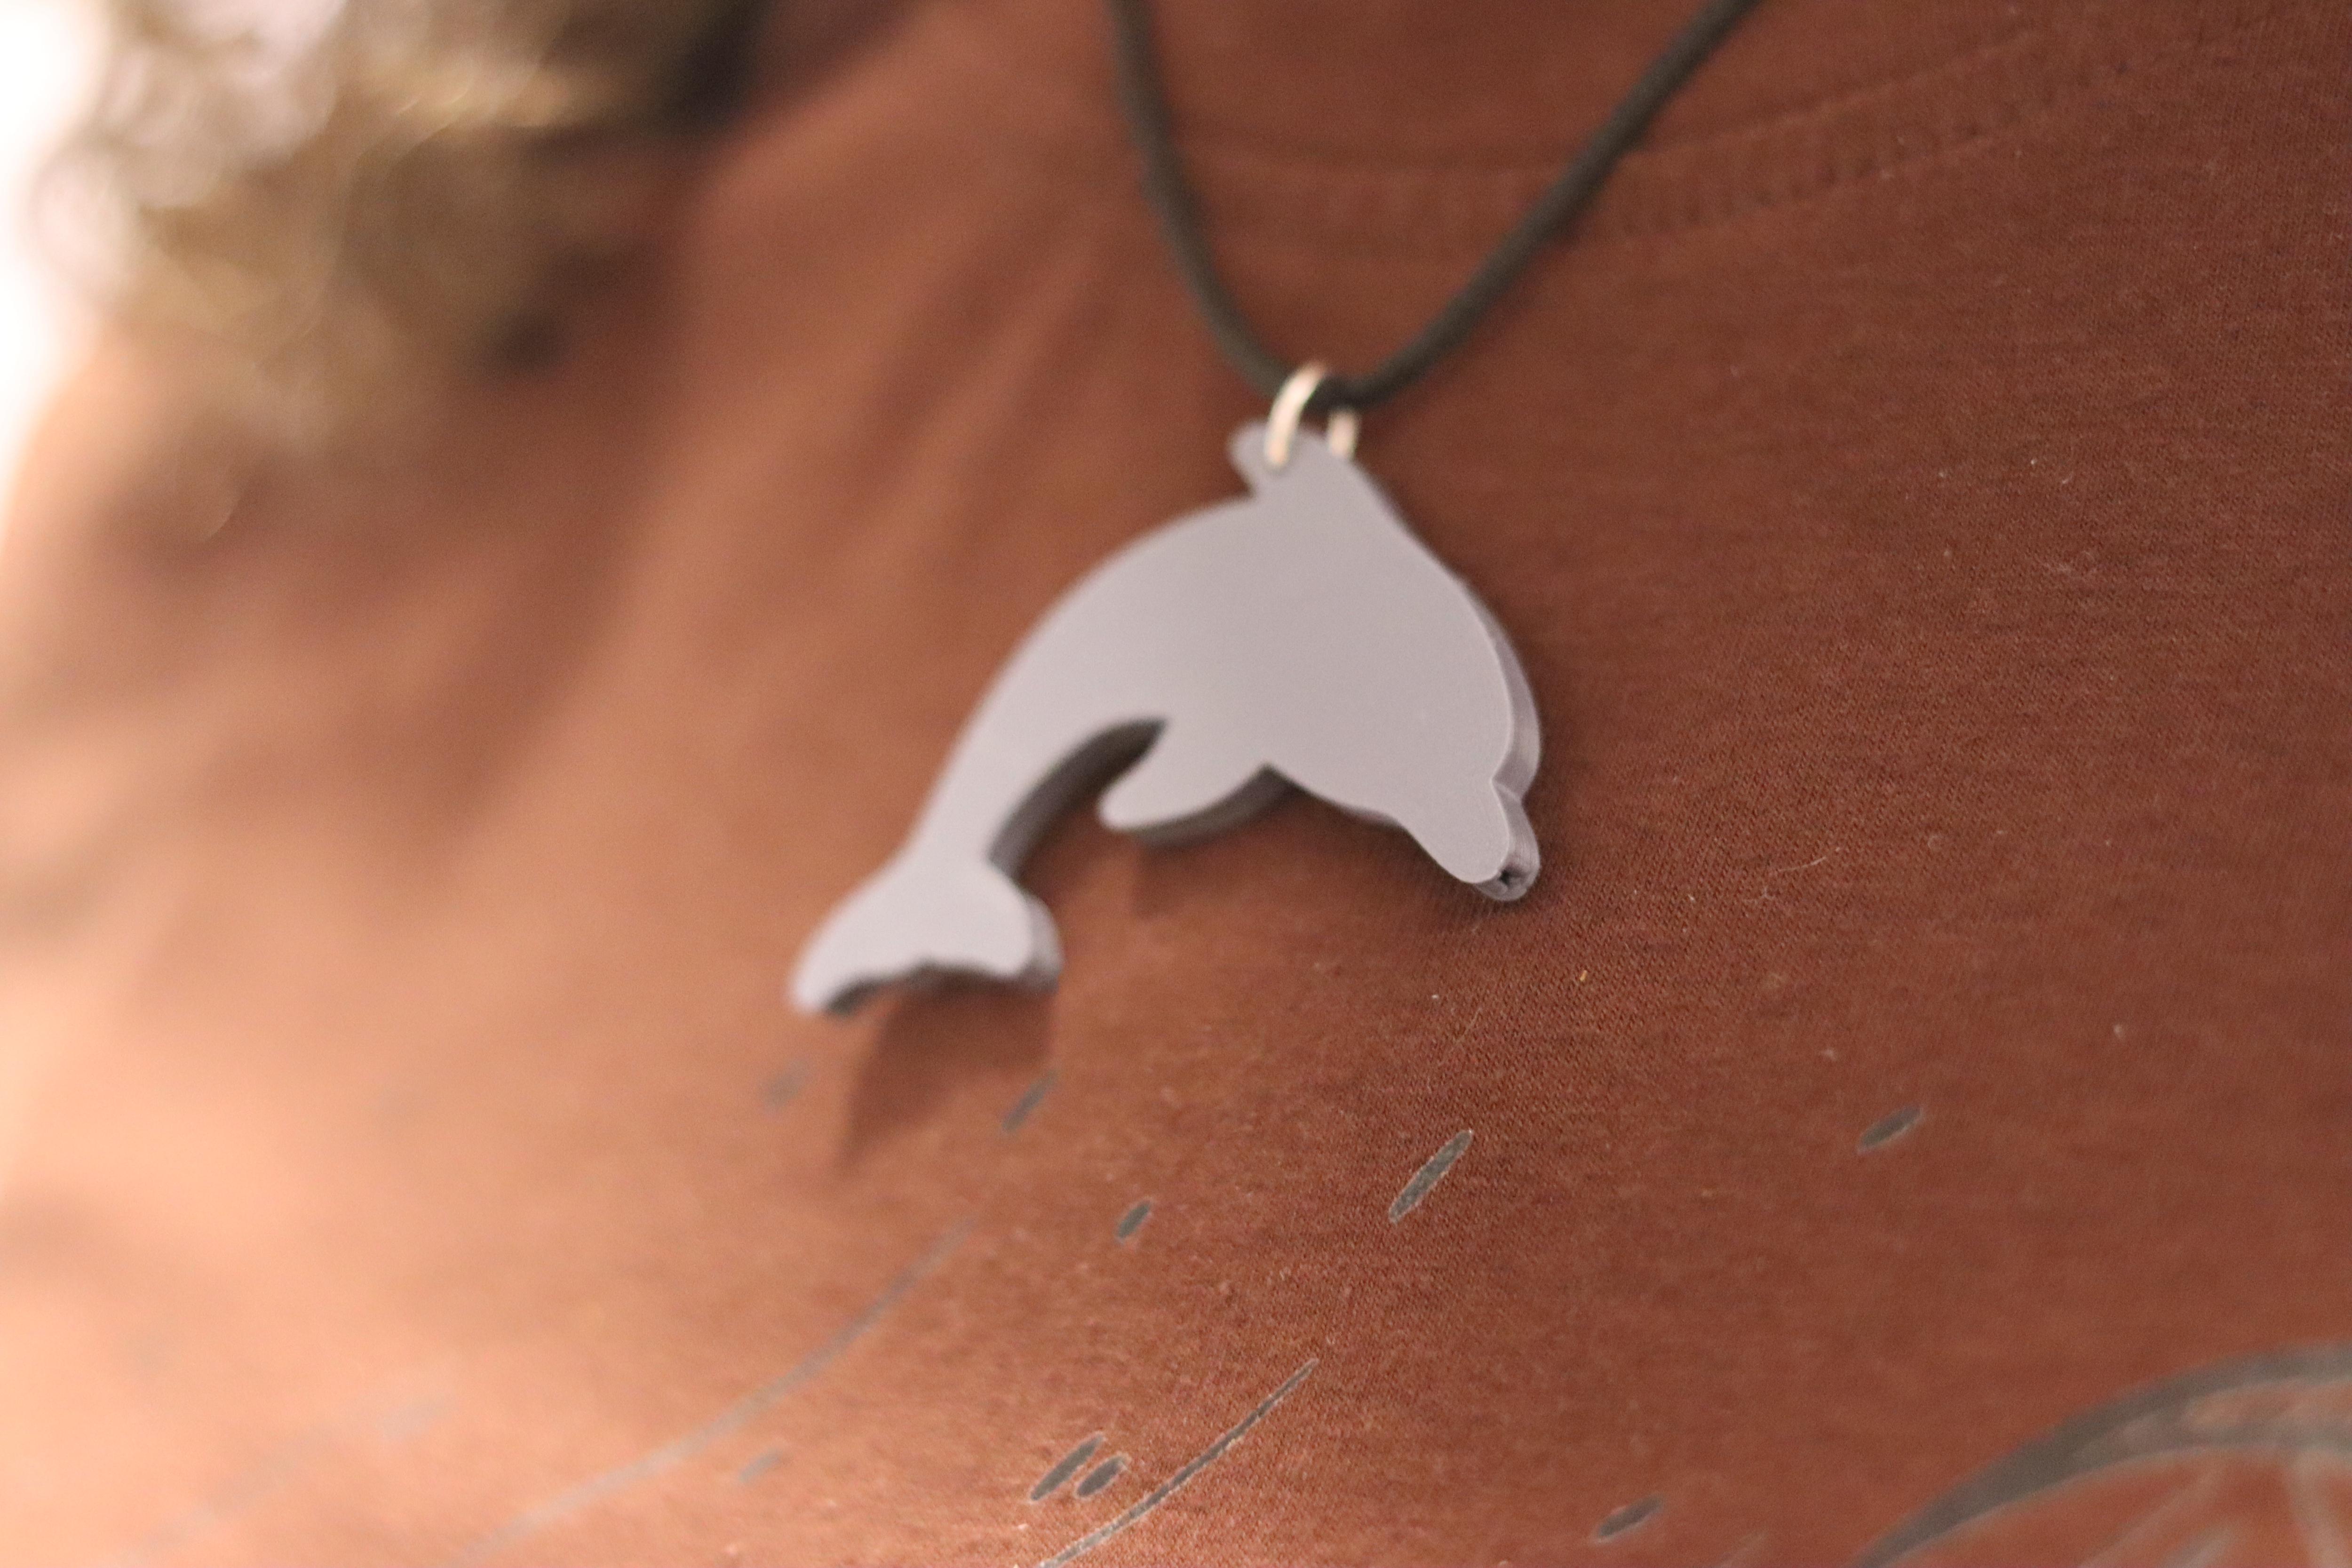


And there you have it – your personalized whistle is ready! Gift it to your loved ones, or wear it with pride :)
Have fun creating and sharing your unique 3D-printed masterpiece!