3D Printed Wheel (Press Fit) for Jameco Motor
by MikeTheMaker in Workshop > 3D Printing
10627 Views, 16 Favorites, 0 Comments
3D Printed Wheel (Press Fit) for Jameco Motor
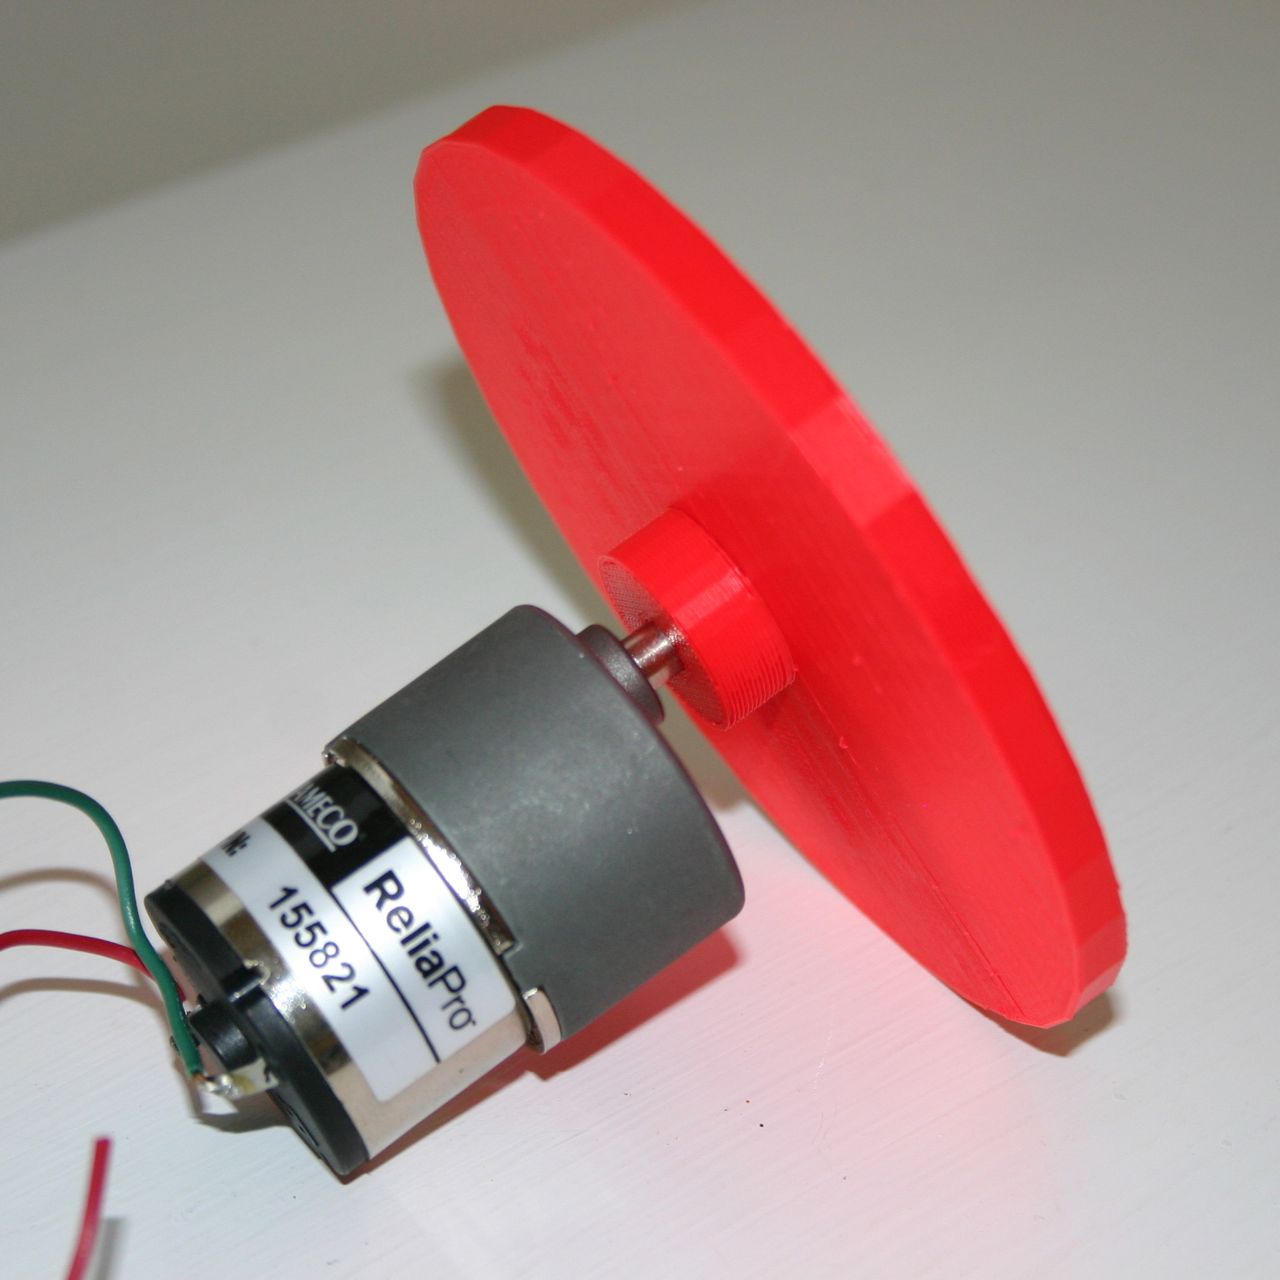
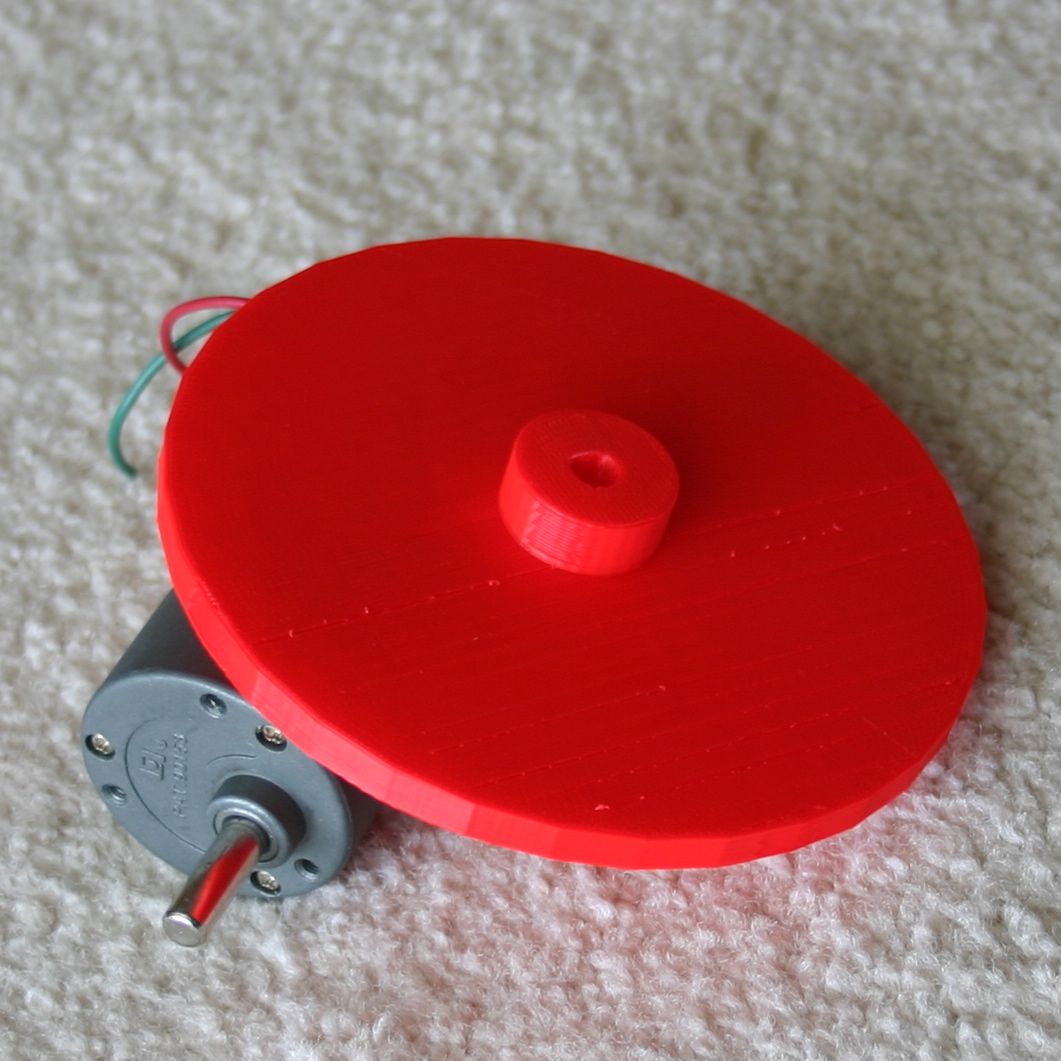
I love using the Jameco gear motors for various projects, but have always had challenges connecting the shaft to whatever I was making. Using a 3d printer (MakerBot Replicator) and TinkerCad software, I have come up with a press fit wheel that pushes on to the Jameco motor shaft. In this instructable, I'll show you how I designed the wheel.
The print file is at Thingiverse.com:
http://www.thingiverse.com/thing:23022
The design file is at:
http://tinkercad.com/things/0kw42vpDGU8
The print file is at Thingiverse.com:
http://www.thingiverse.com/thing:23022
The design file is at:
http://tinkercad.com/things/0kw42vpDGU8
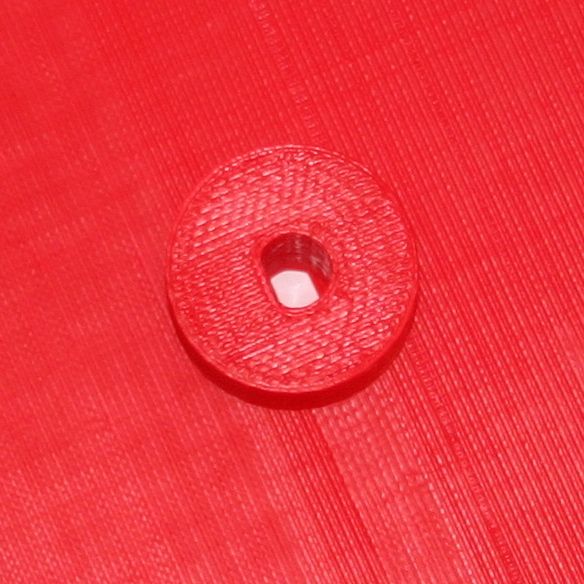
Notice the flat spot inside the hole--that's what makes this wheel fit well.
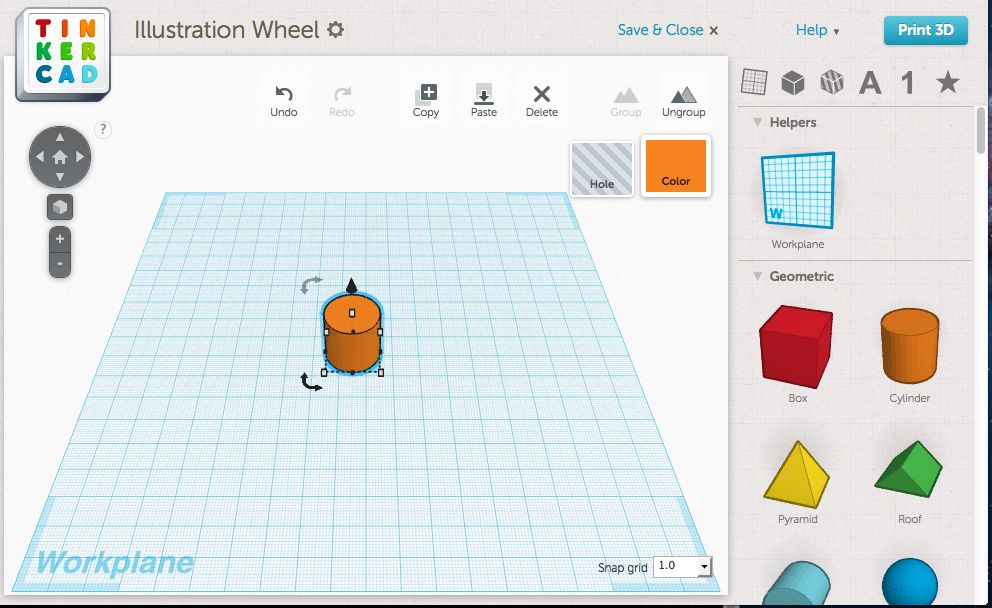
In TinkerCad, drag a cylinder onto the workspace.
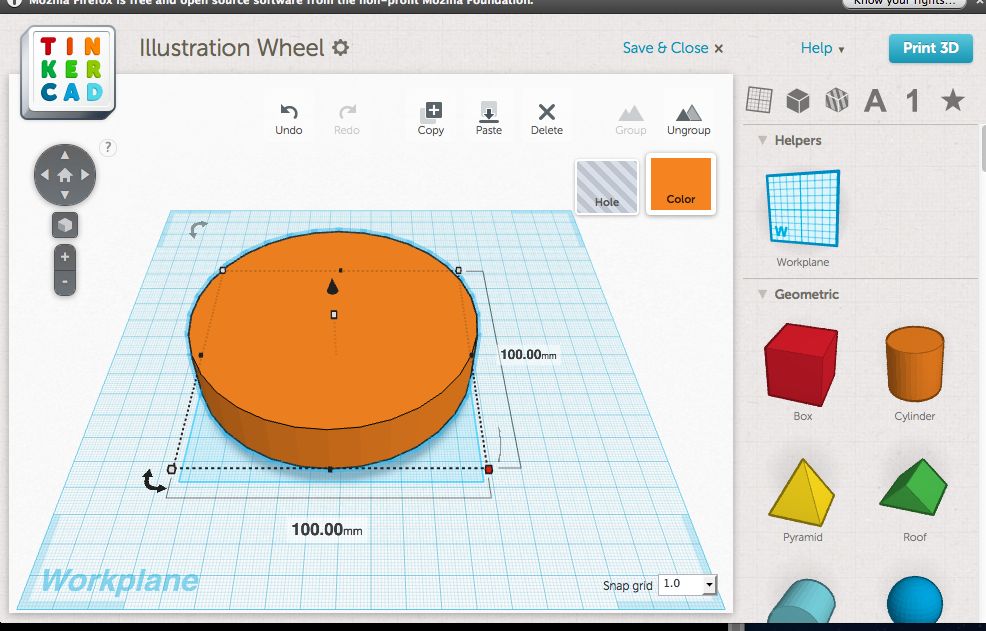
I made my wheel 100 mm by 100 mm by grabbing the dot to the lower right cylinder area.
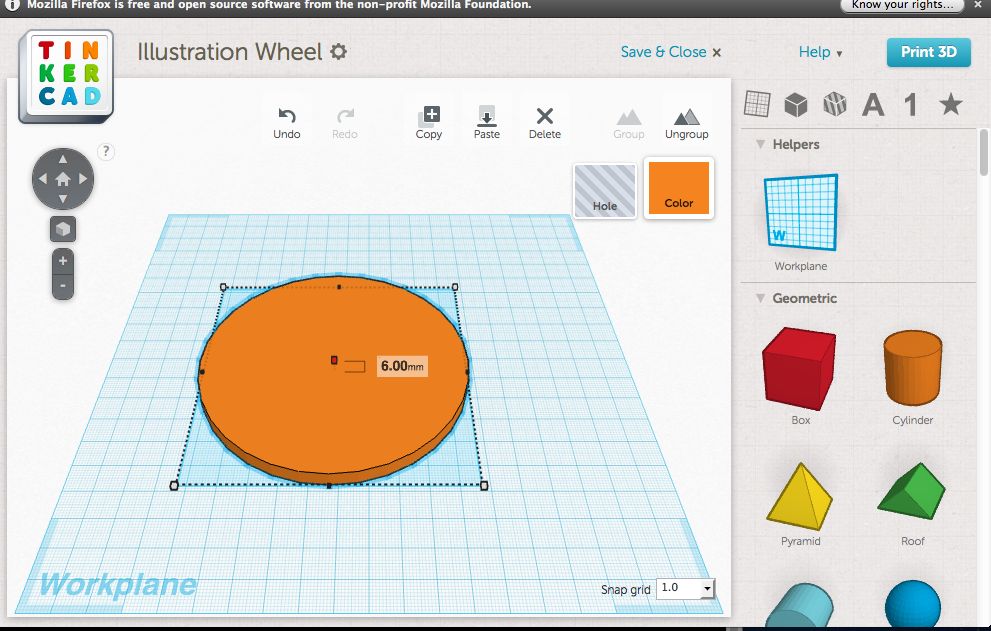
In the center of the cylinder, you can pull the cylinder down to 6 mm.
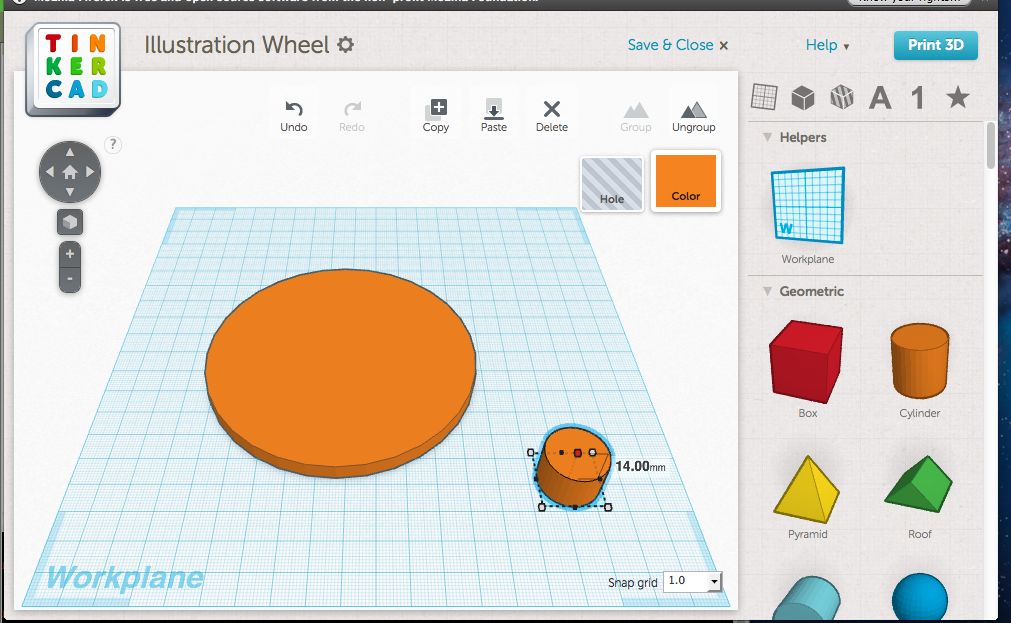
Add another cylinder to the workspace. It comes as 20 mm by 20 mm, so I left that. I changed the height to 14 mm (length of the Jameco shaft).
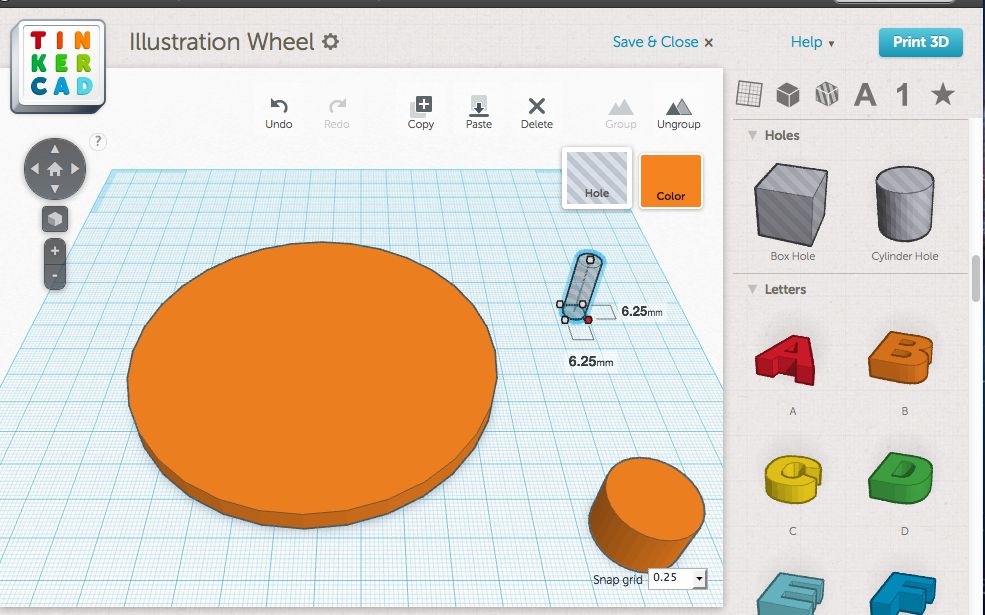
Add a cylinder hole to the workspace--make it 6.25 mm by 6.25 mm. The default 20 mm height is fine.
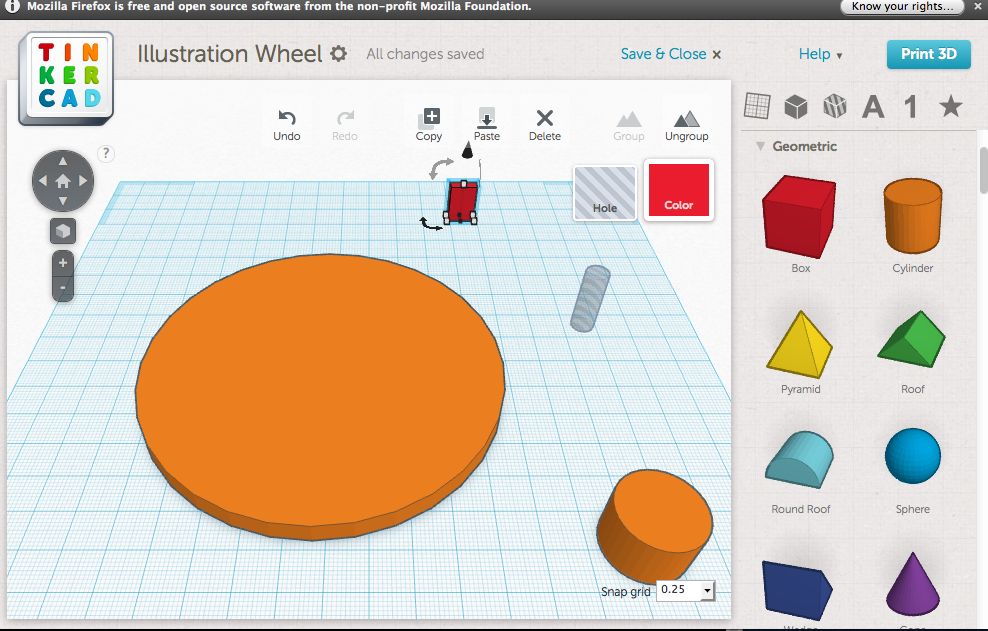
Bring a box onto the workspace. Make it 9 mm by 3 mm by 14 mm high.
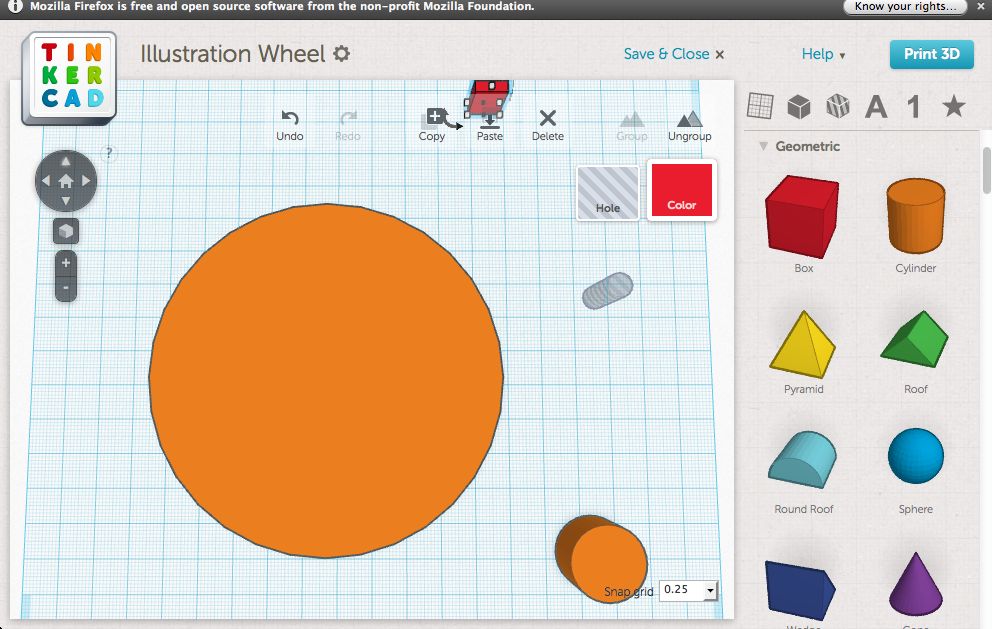
Rotate the workspace (little arrows in upper left) until you are looking at the top of the wheel.
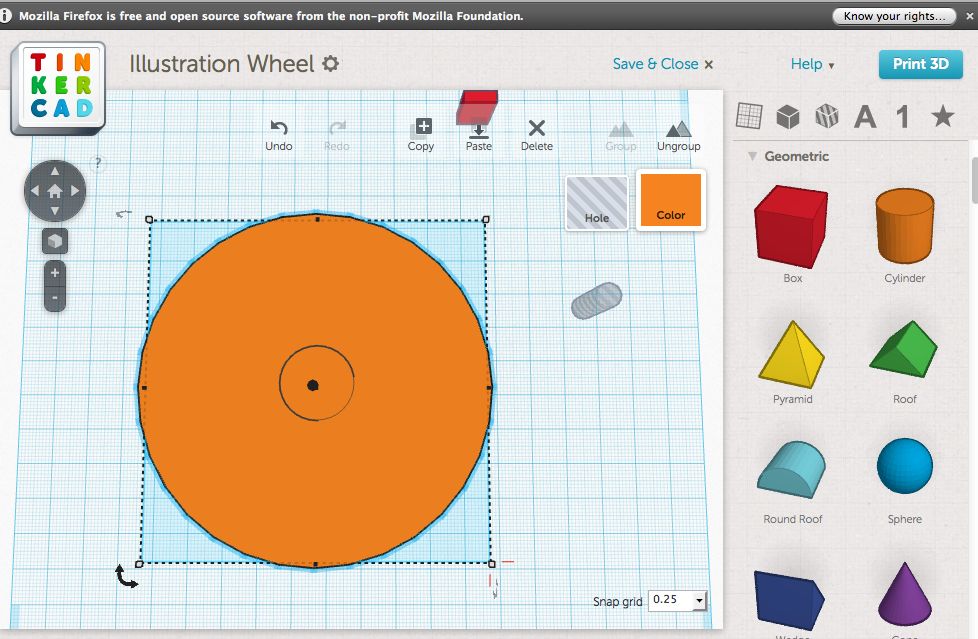
Bring the smaller cylinder to the approximate center of the larger diameter cylinder. The black dot represents the center of the selected cylinder (in this case the larger diameter circle).
I have not at this point got the smaller cylinder properly aligned.
I have not at this point got the smaller cylinder properly aligned.
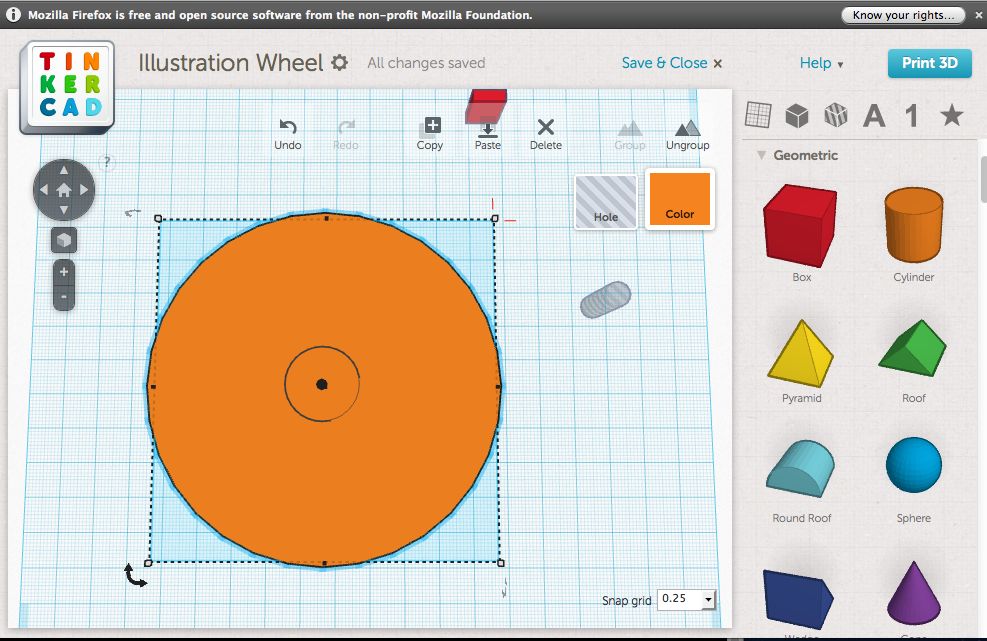
Click on the smaller cylinder and move it slightly. Click on the larger cylinder to see if the dot is centered on the smaller cylinder. When the dot is in the center, proceed to the next step.
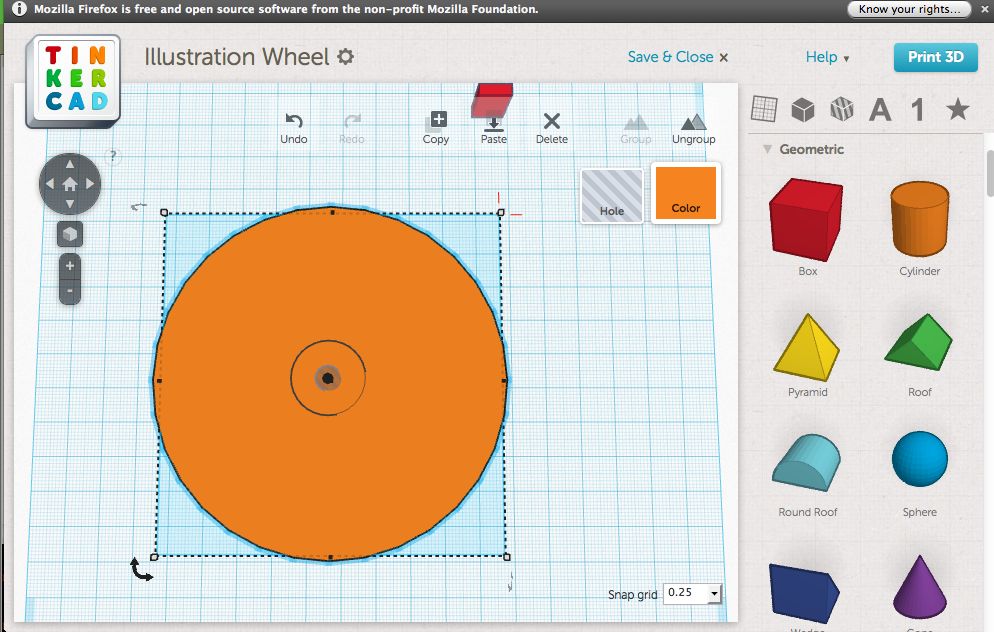
Move the hole to the center of the assembly and get it centered on the dot.
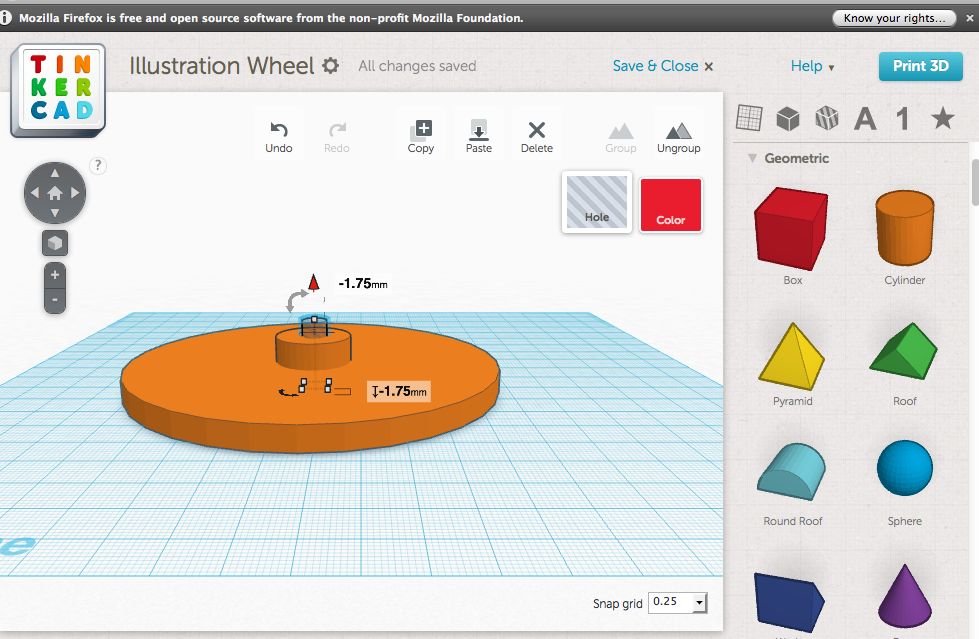
Rotate the assembly (arrows in upper left) then (using the red arrow above the hole), pull the hole down slightly--so that the hole extends through all the material.
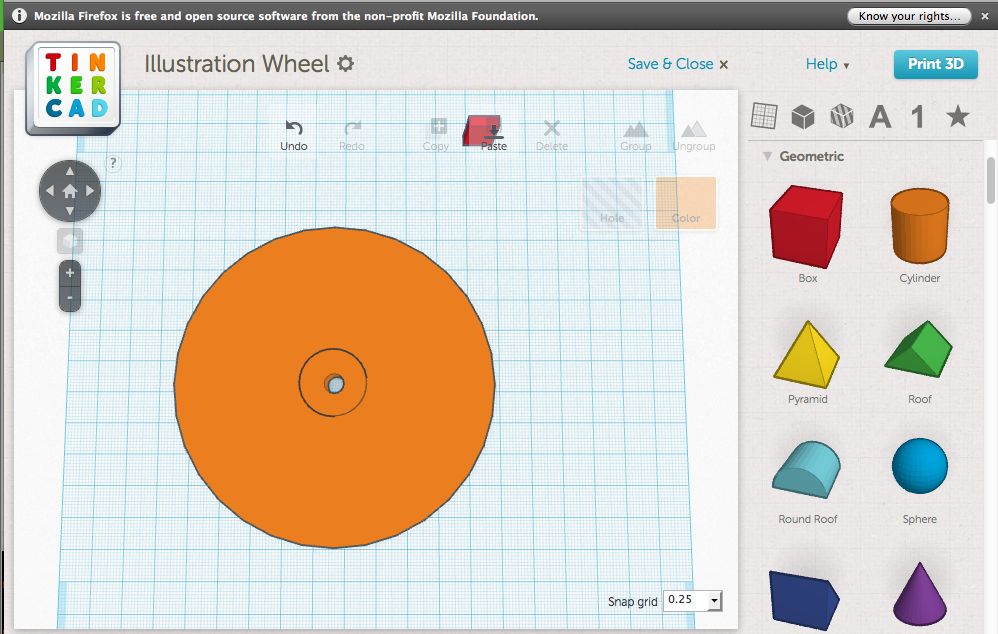
Select the large cylinder, small cylinder and hole and choose "group" (upper right in workspace).
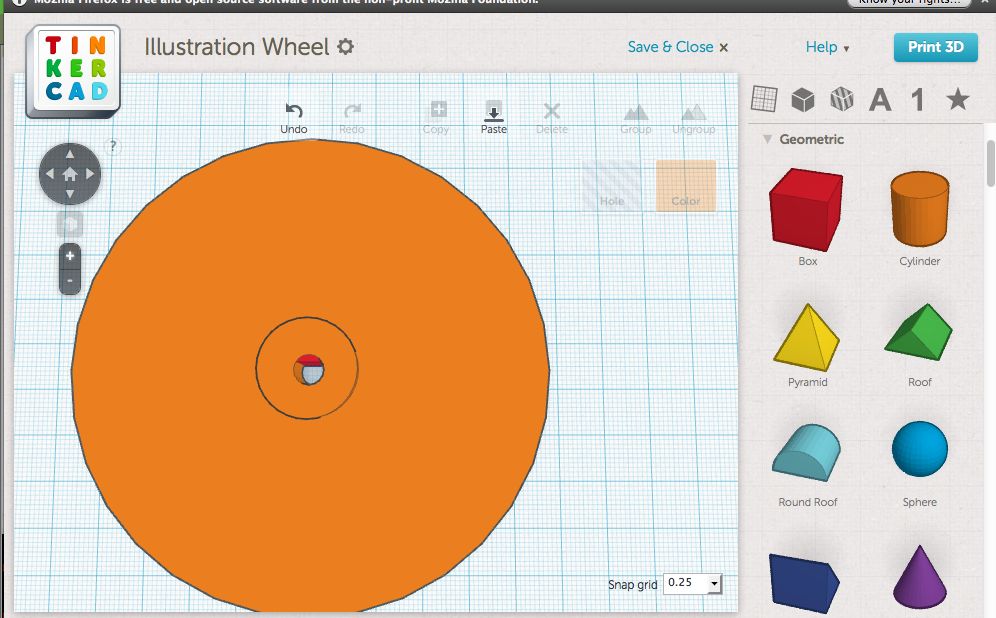
Pull the box down into the hole (eyeball the position--no, I haven't figured out how to do precision control in this software).
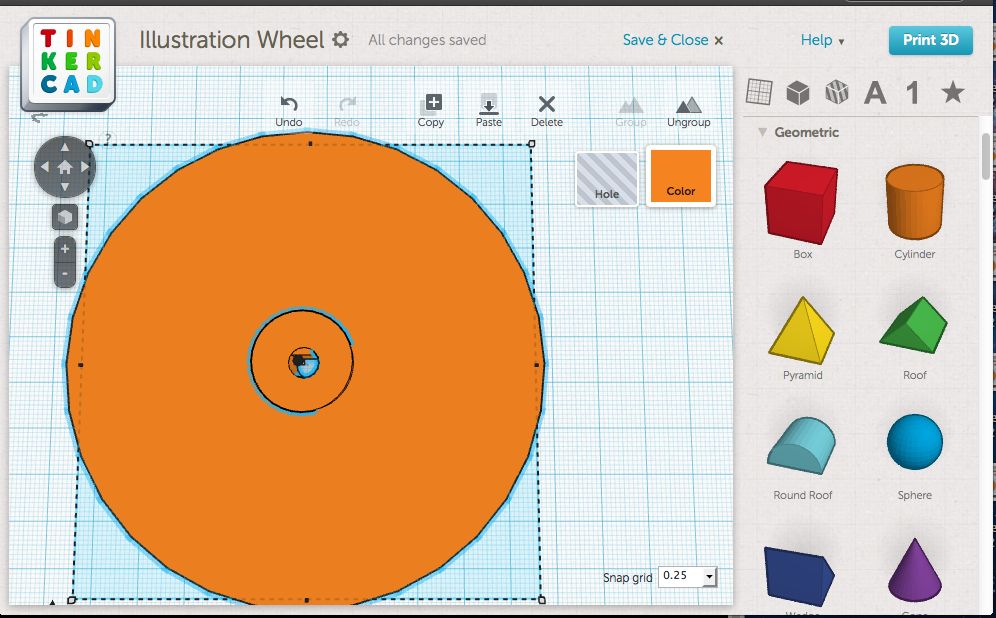
Select the box and the rest of the assembly and group them. Your design is complete.
If--after you print--you see that the box is in the wrong place; you can come back, ungroup, move the box, regroup and try again.
If--after you print--you see that the box is in the wrong place; you can come back, ungroup, move the box, regroup and try again.
I'm reading the Autocad 123d tutorials and I hope to produce more precise parts in the future.
However, if you need to quickly design a geometrically simple part, TinkerCad and a 3d printer will do the job.
However, if you need to quickly design a geometrically simple part, TinkerCad and a 3d printer will do the job.