3D Printed Tennis Dampener
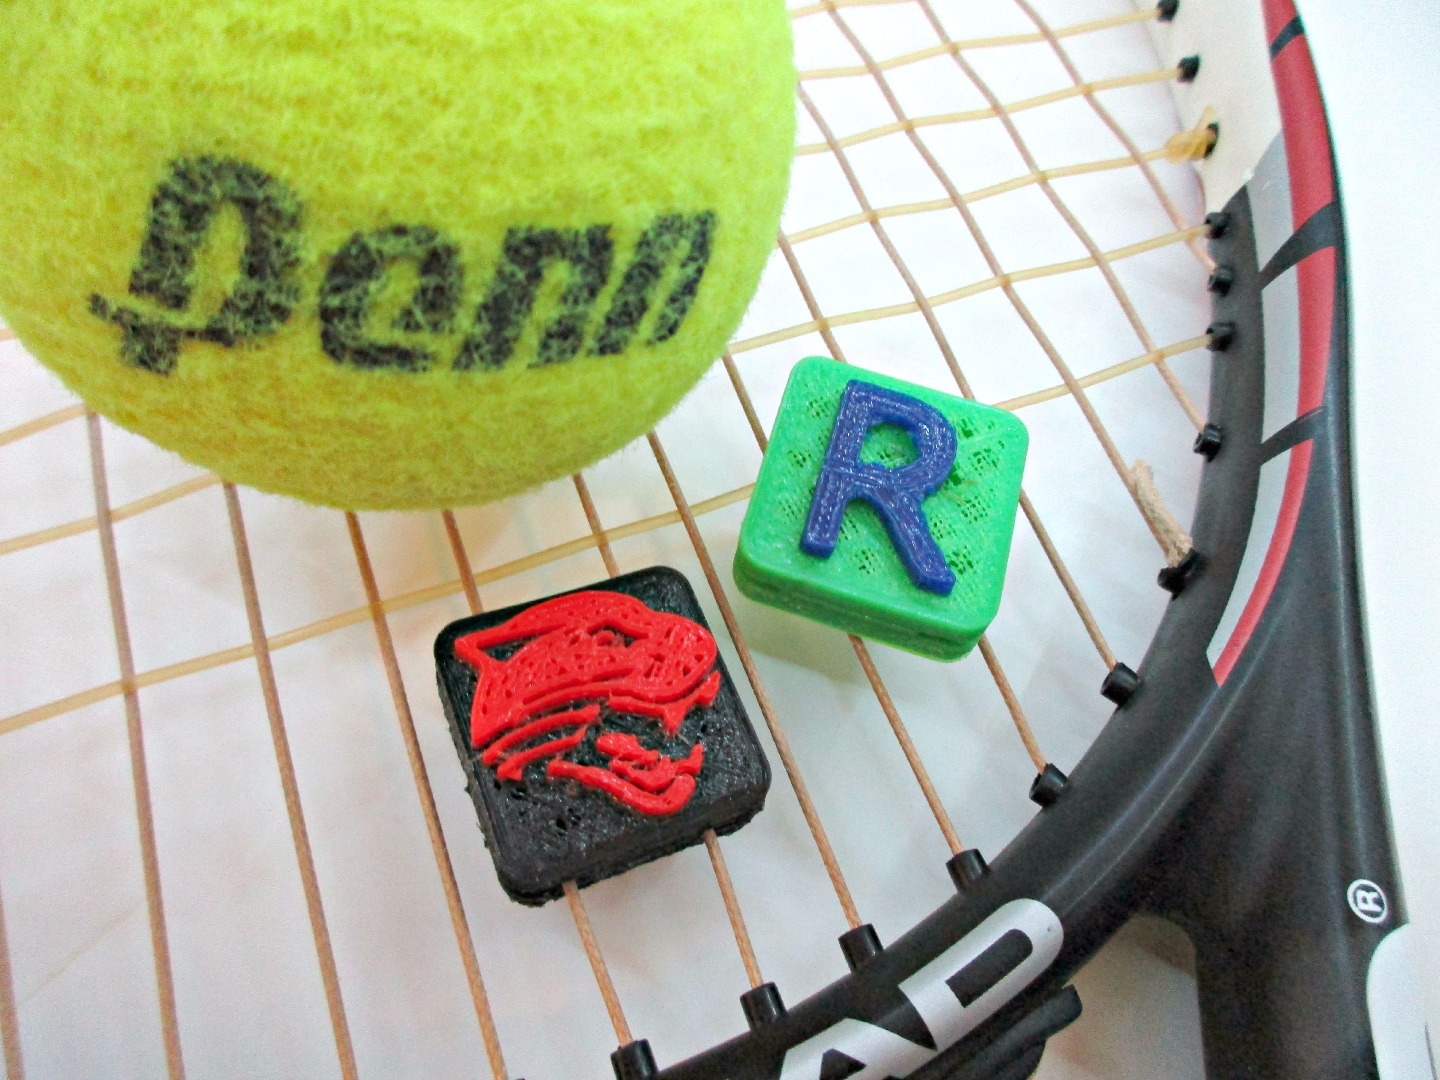
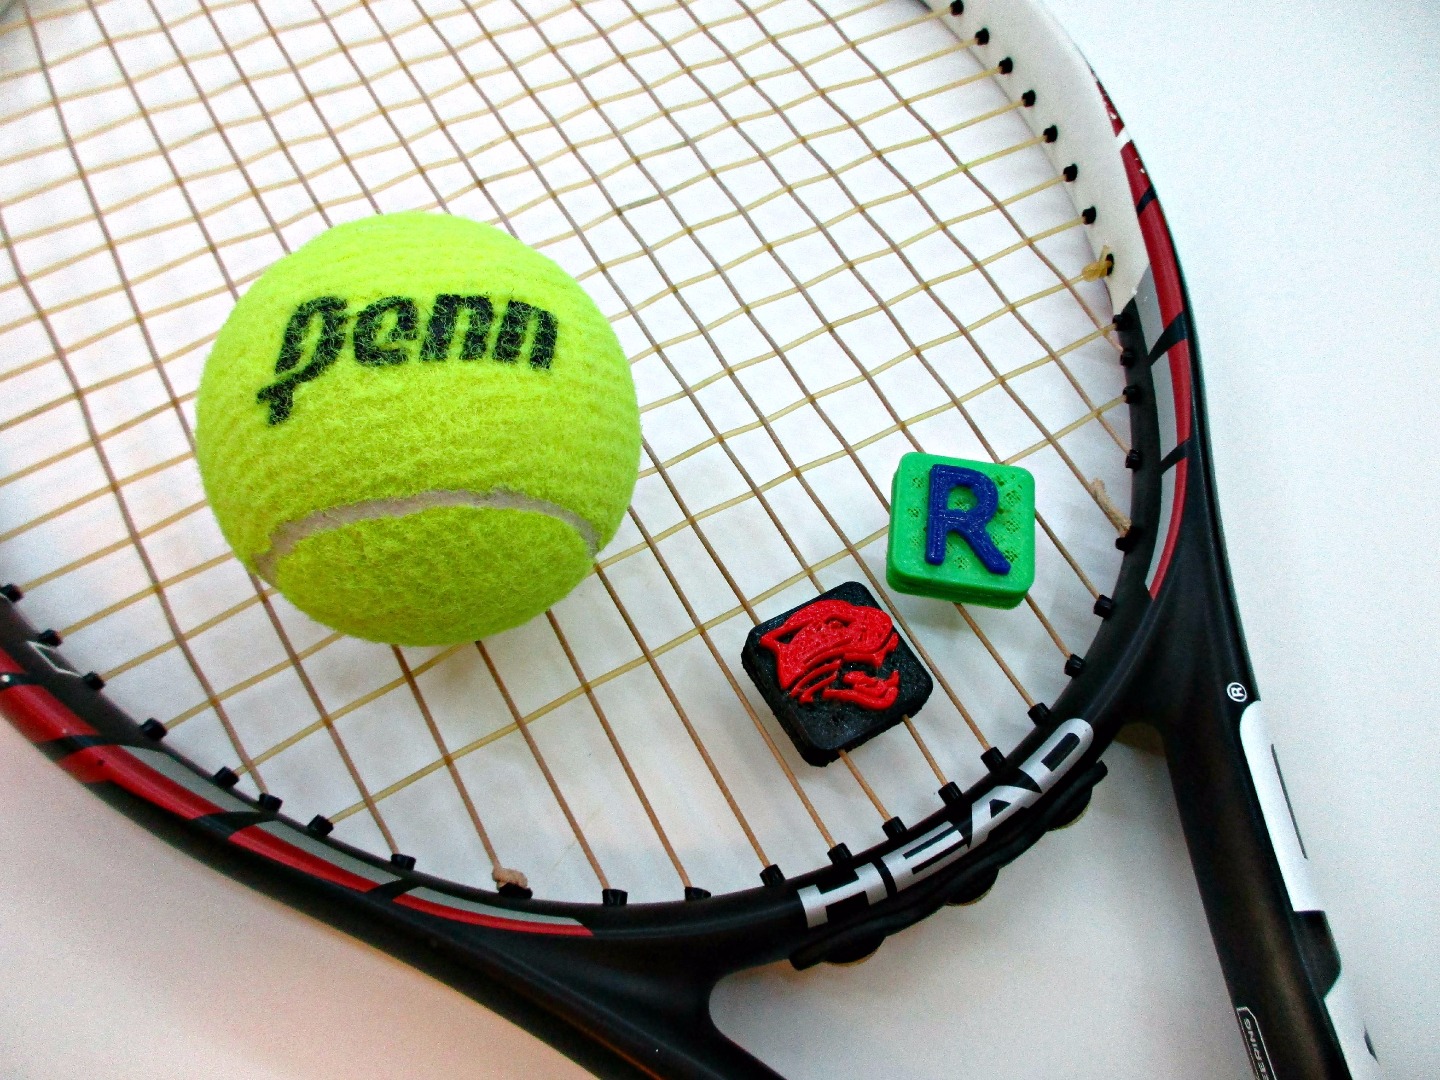
Tennis players are easily annoyed. One of the things that will bother just about any seasoned player is the twang of a ball hitting the undampened strings of a racquet. Some players also complain about feeling the string vibration as it travels up their arm following a stroke. There are an abundance of dampeners available in many different styles and shapes. Even Angry Birds have their own tennis racquet dampener.
With the power of a 3D printer and basic CAD skills, you can create a custom tennis dampener of your own. It could have your initial, name, or favorite team emblazoned on it. We will use flexible 3D printer filament which will give the dampener its vibration stopping effect.
This Instructable will attempt to show a process for designing 3D objects while creating a useful item. Hopefully you can walk away with basic CAD skills and a personalized tennis racquet dampener.
Lets get started...
If you like this Instructable, please don't forget to vote!
Materials and Tools
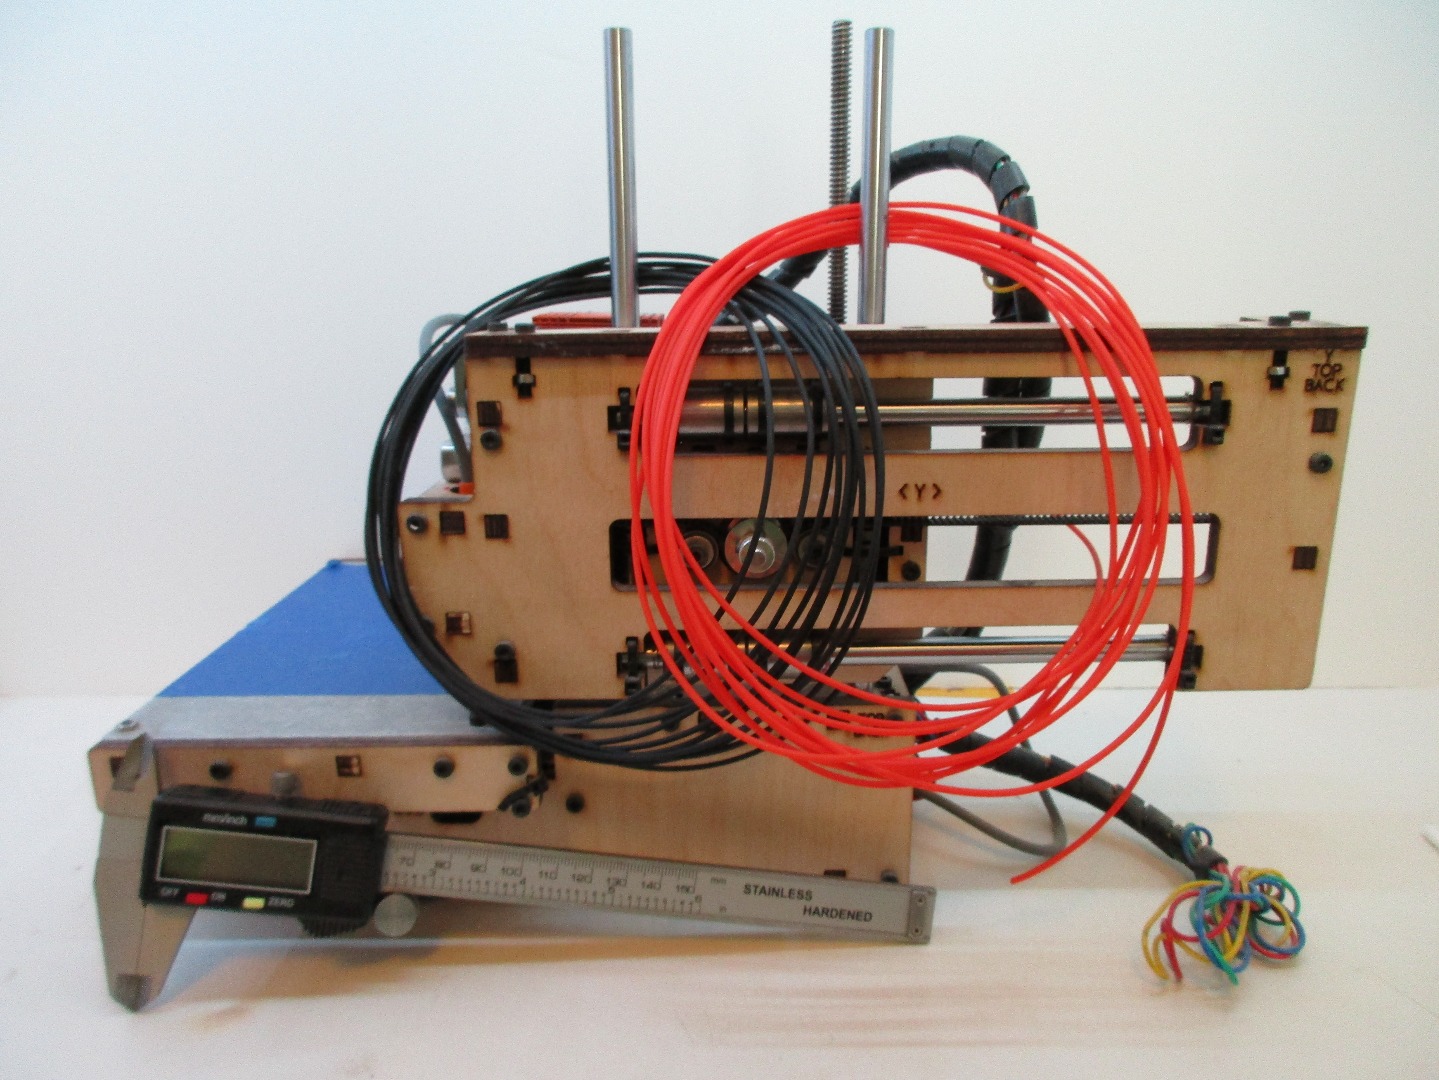
You will need some materials and tools before you begin:
- flexible filament (Ninjaflex, I bought a sample pack which includes a variety of colors)
- 3D modeling software. I will be using Autodesk Inventor Student, but there are many other options available such as Sketchup or Tinkercad.
- *** 3D printer capable of printing flexible filament. I printed off an add-on to allow my Printrbot Simple to use flexible materials. The extruder needs to be enclosed in all areas so the (extremely flexible) filament doesn't fold up.
- calipers (suggested but not necessary)
- a tennis player with racquet
***- If you do not own a 3D printer, no worries. You could visit a local makerspace, or use an online service like 3D Hubs or Shapeways.
Measure and Basic Sketch
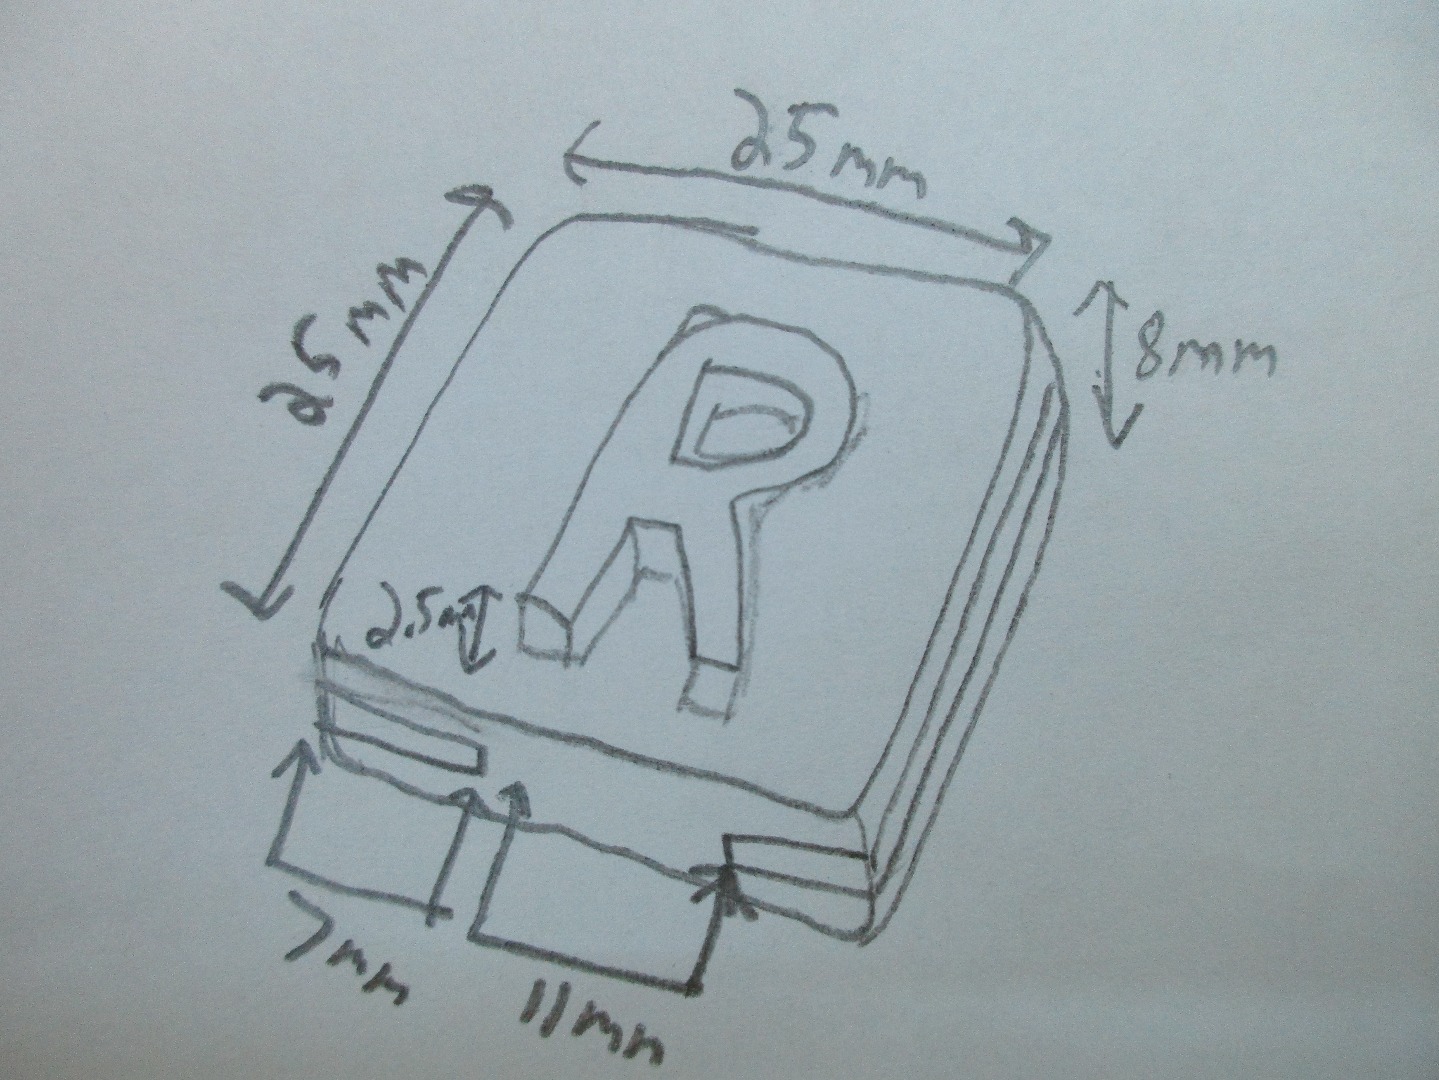
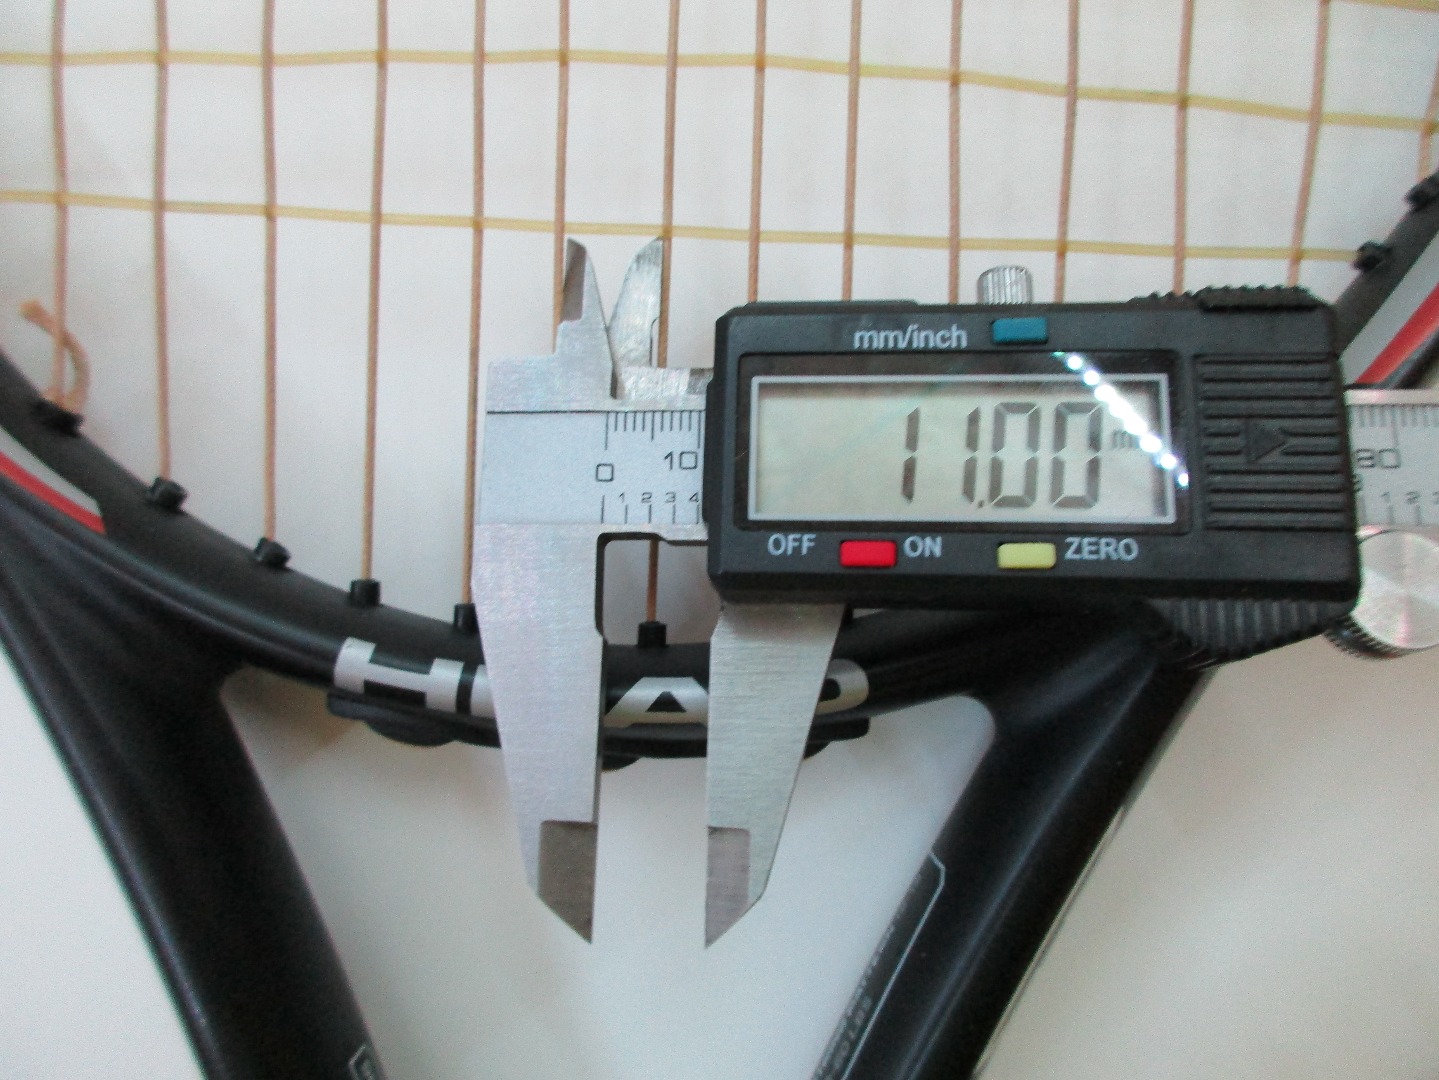
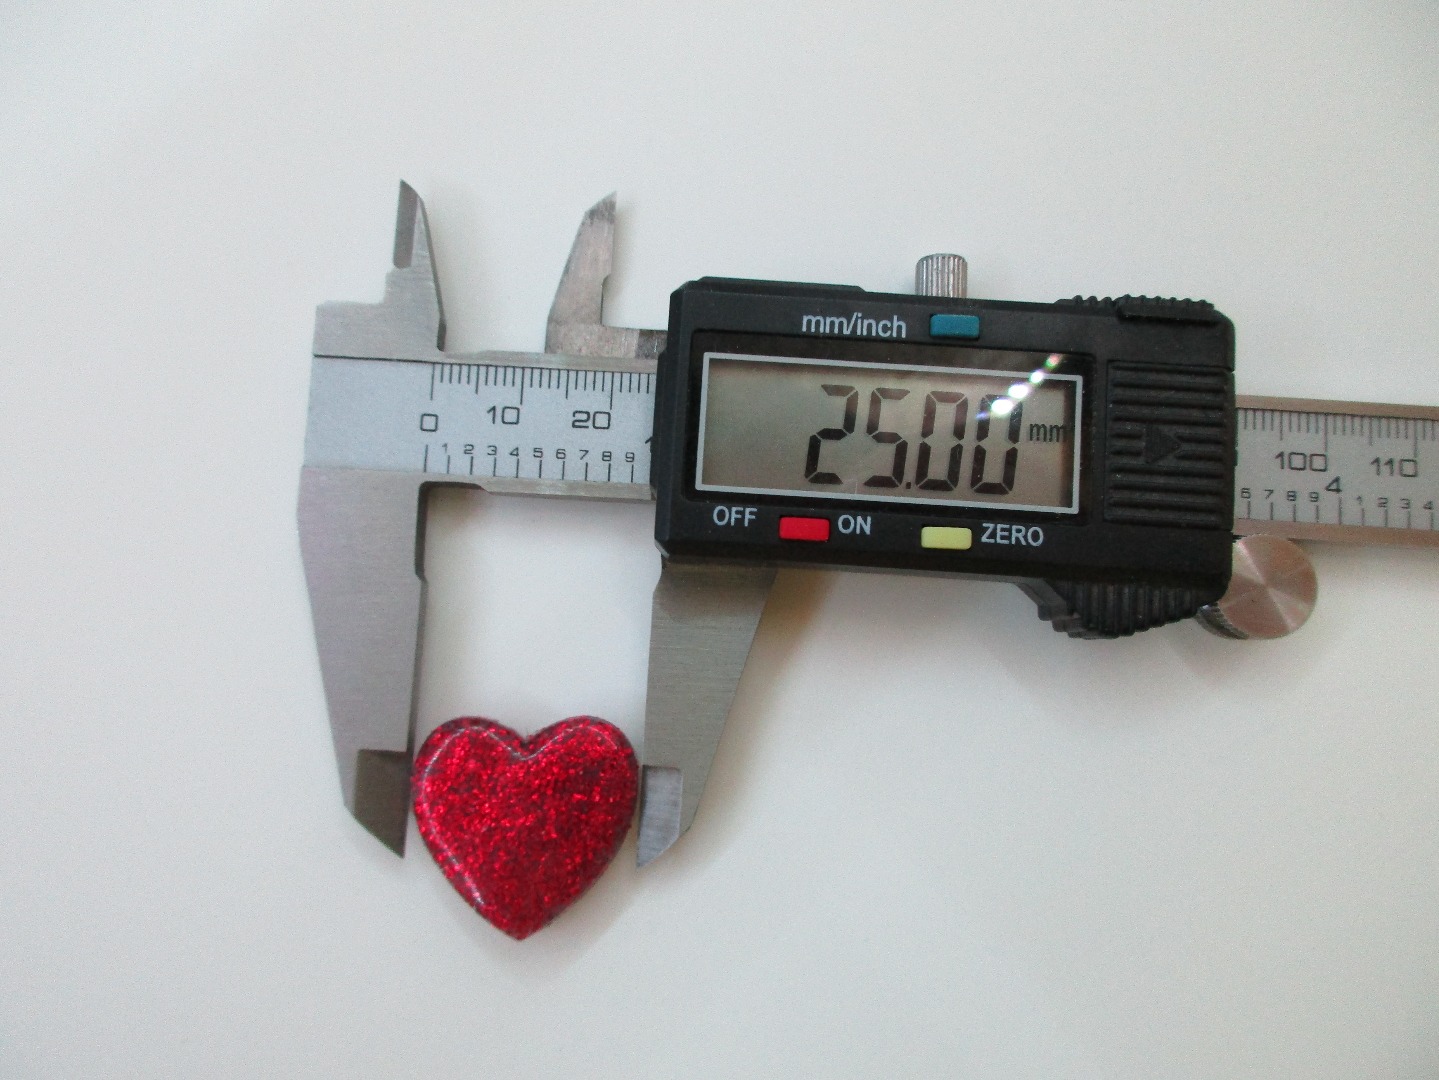
Before modeling on a computer, I like to sketch out a basic design with dimensions on paper. I had a snazzy heart dampener available which I was able to get basic measurements from. I also measured between the strings of my racquet during this step.
If you don't have a dampener, you can use my measurements, find product dimensions online, or just invent your own dimensions based on your racquet.
Basic 3D Shape
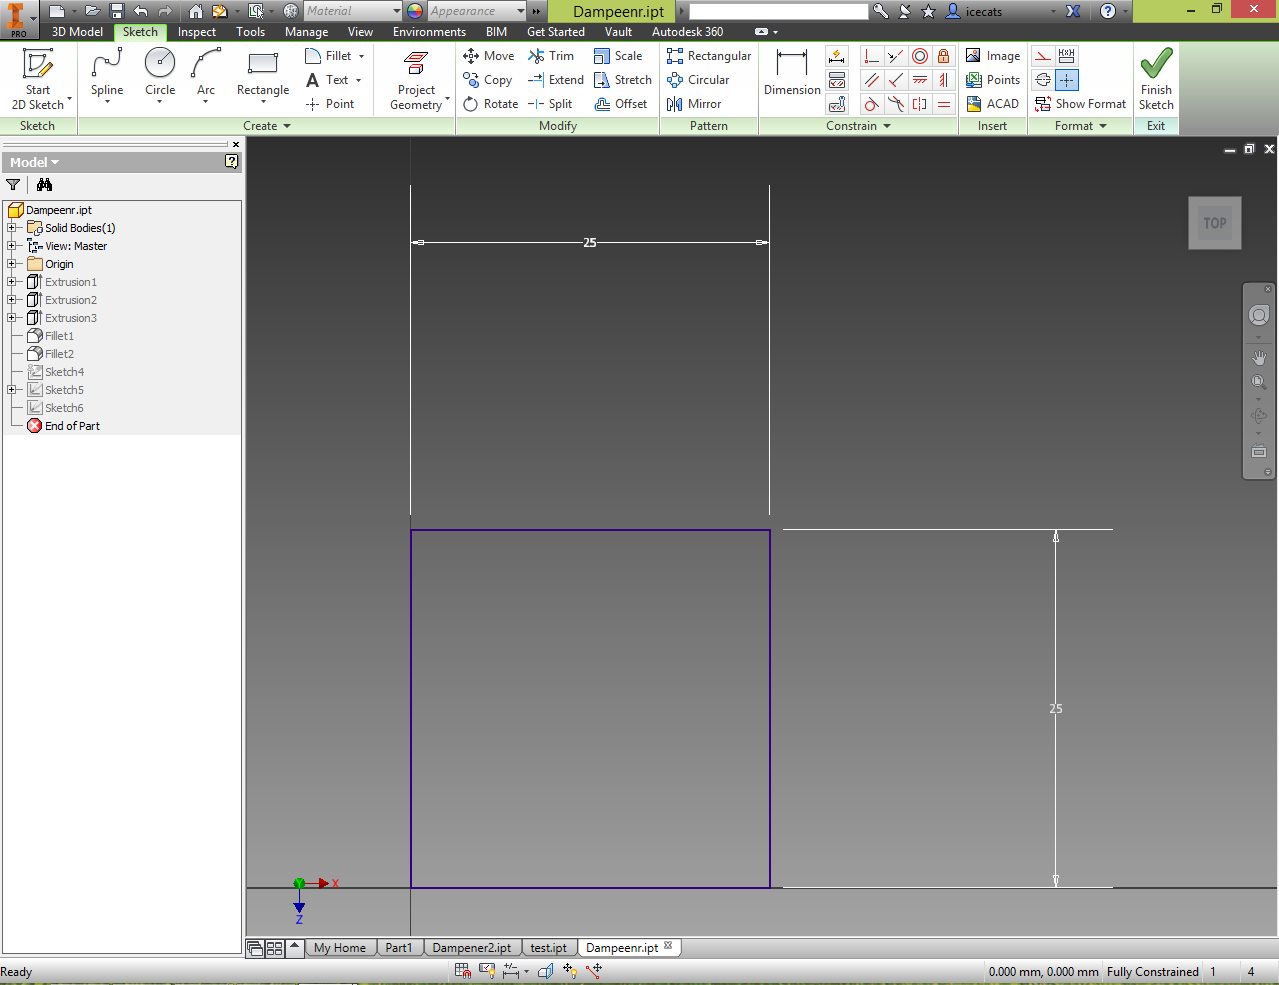
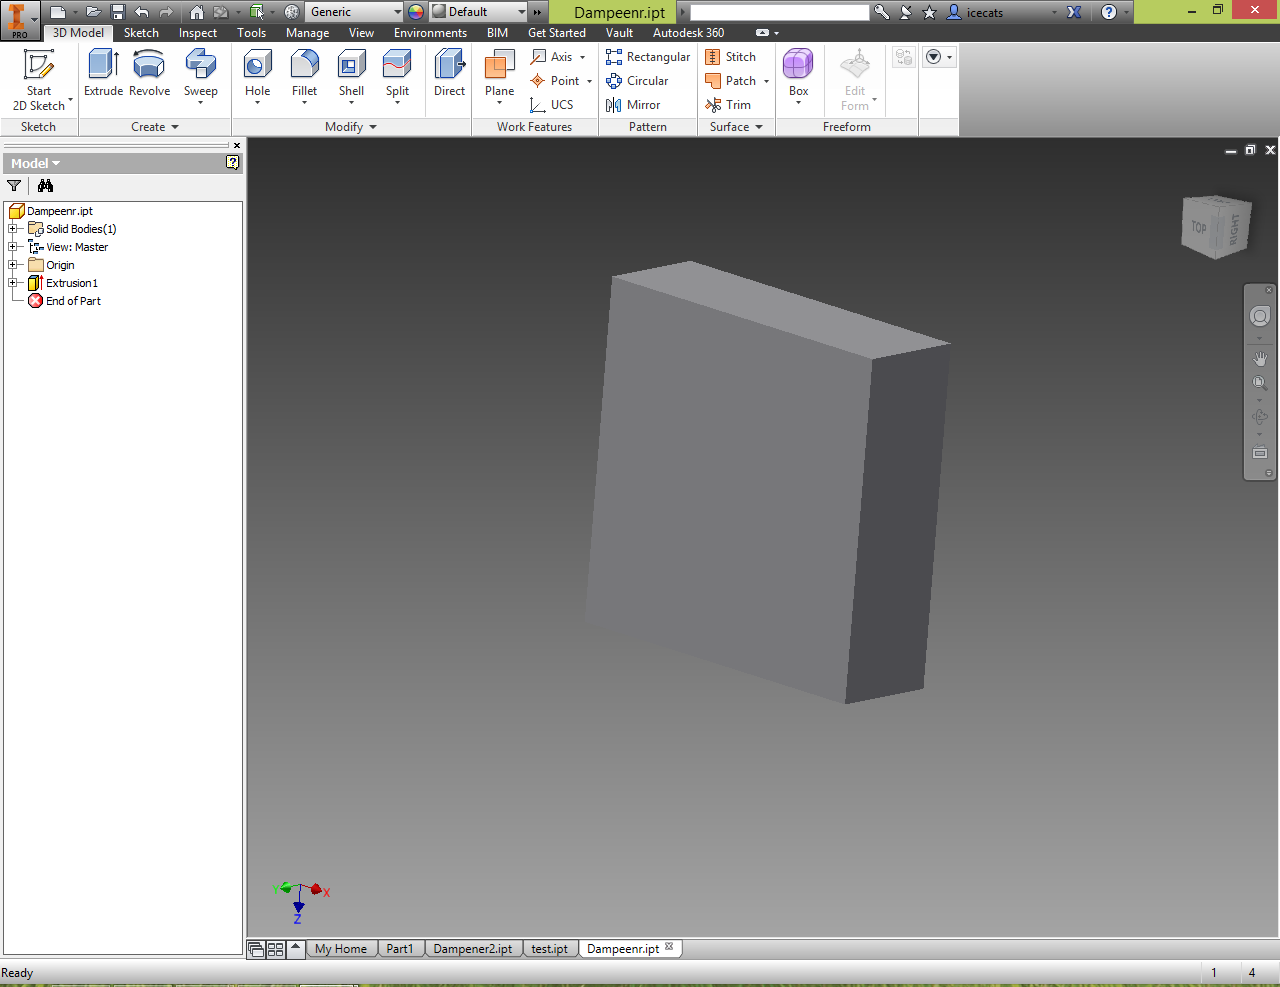
3D modeling time. Start up your CAD program of choice and create a new part. Remember that all 3D models begin with 2D shapes. Create a 2D sketch and draw a base shape for your dampener. Based on my measurements, I created a 25mm square as a starting shape. Finish the sketch and choose the "extrude" tool. This will make our 2D sketch into a 3 dimensional object. Extrude the shape 8mm.
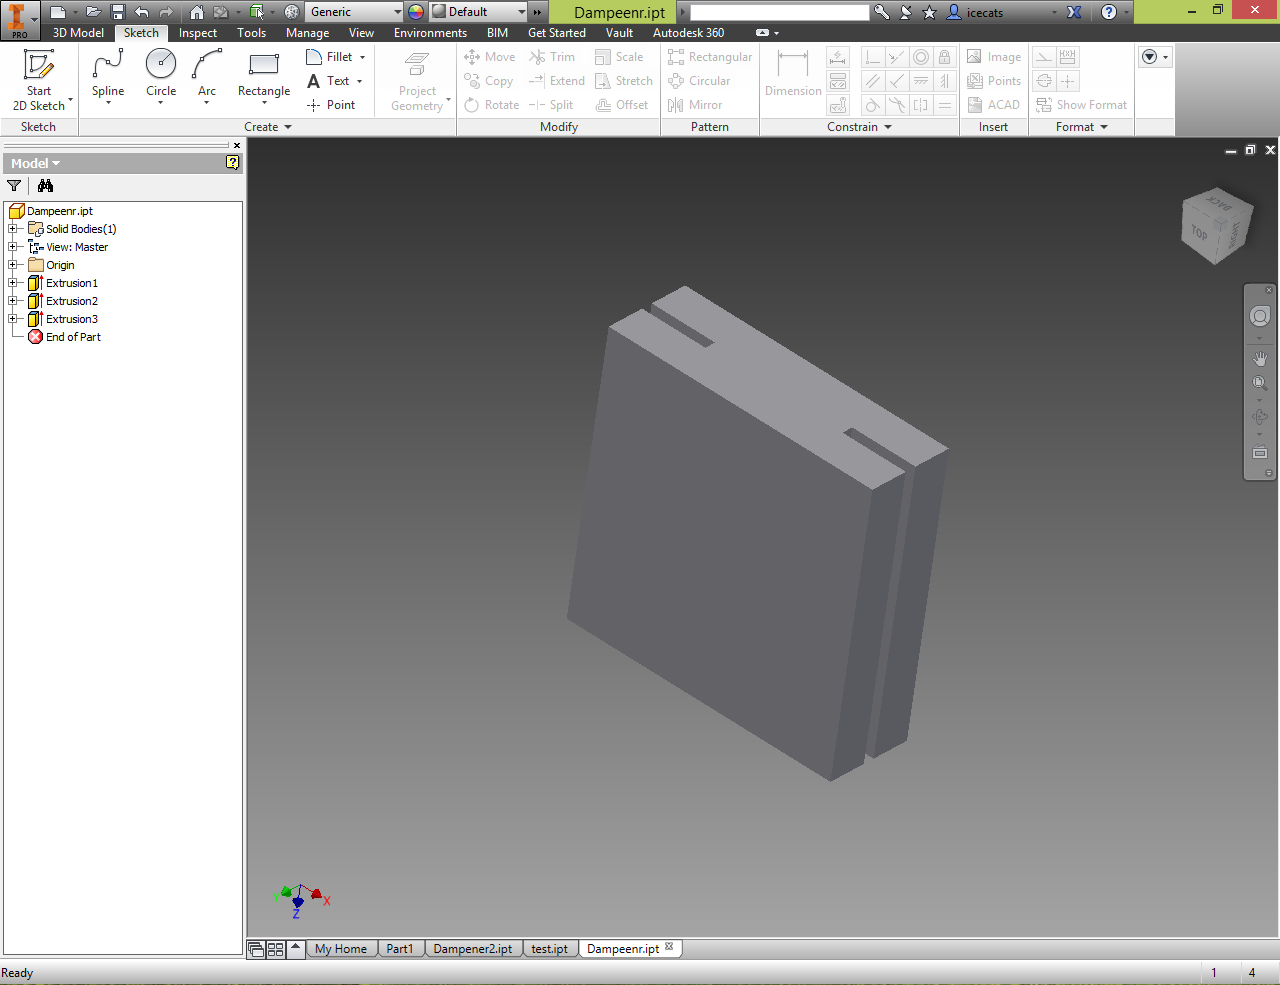
Now lets make the gap for the racquet strings. This aspect is key because it will keep the dampener from falling off. Draw a rectangle on one side of the model. Mine was 1mm wide to match a racquet string. Extrude the rectangle 7mm and repeat this step on the opposite side of the model. In the end, there should be a gap of about 11 mm between the two extrusions.
Embellish and Fillet
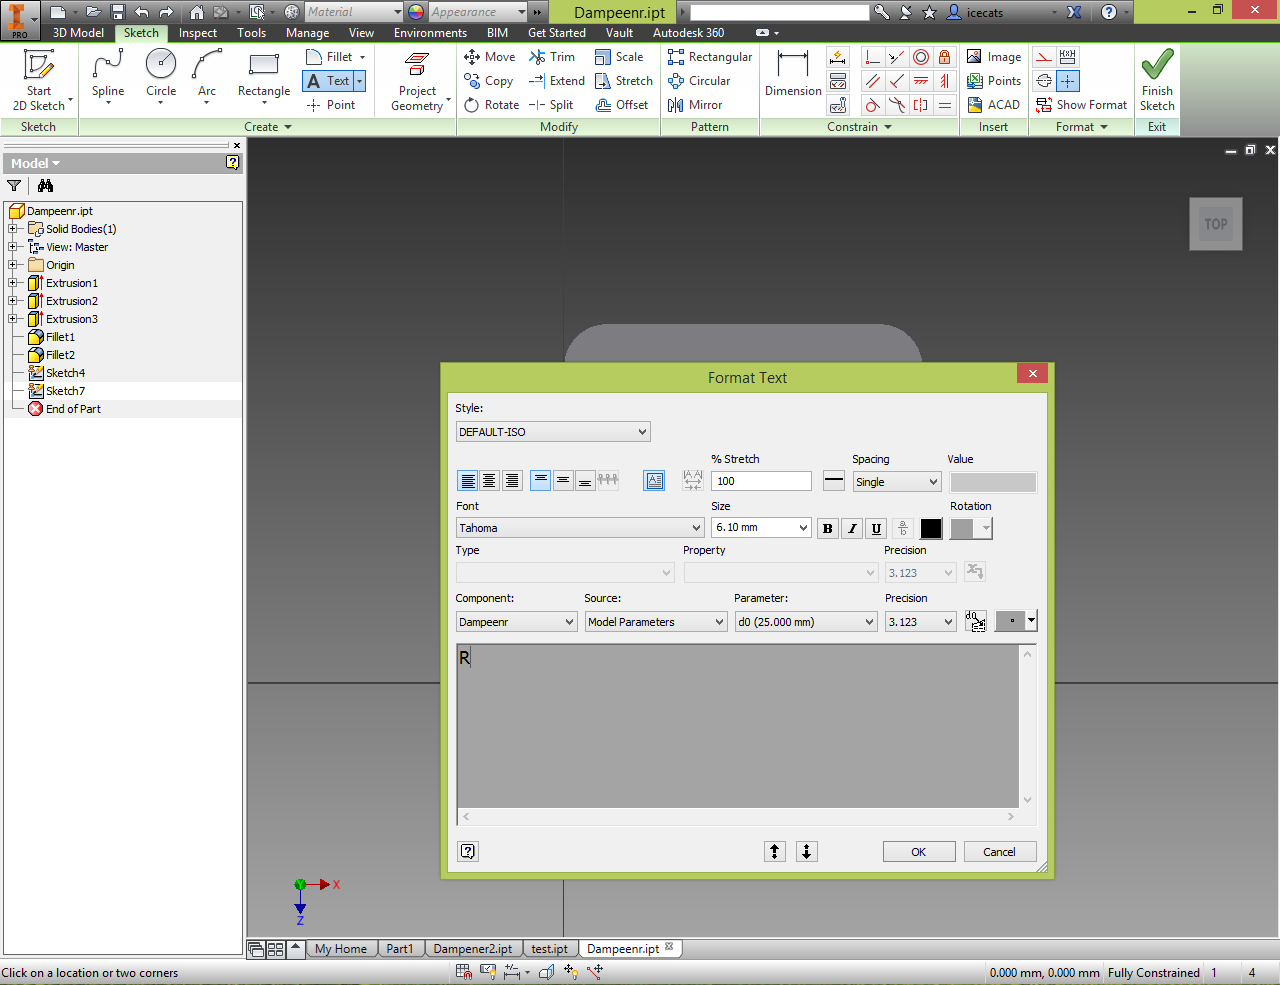
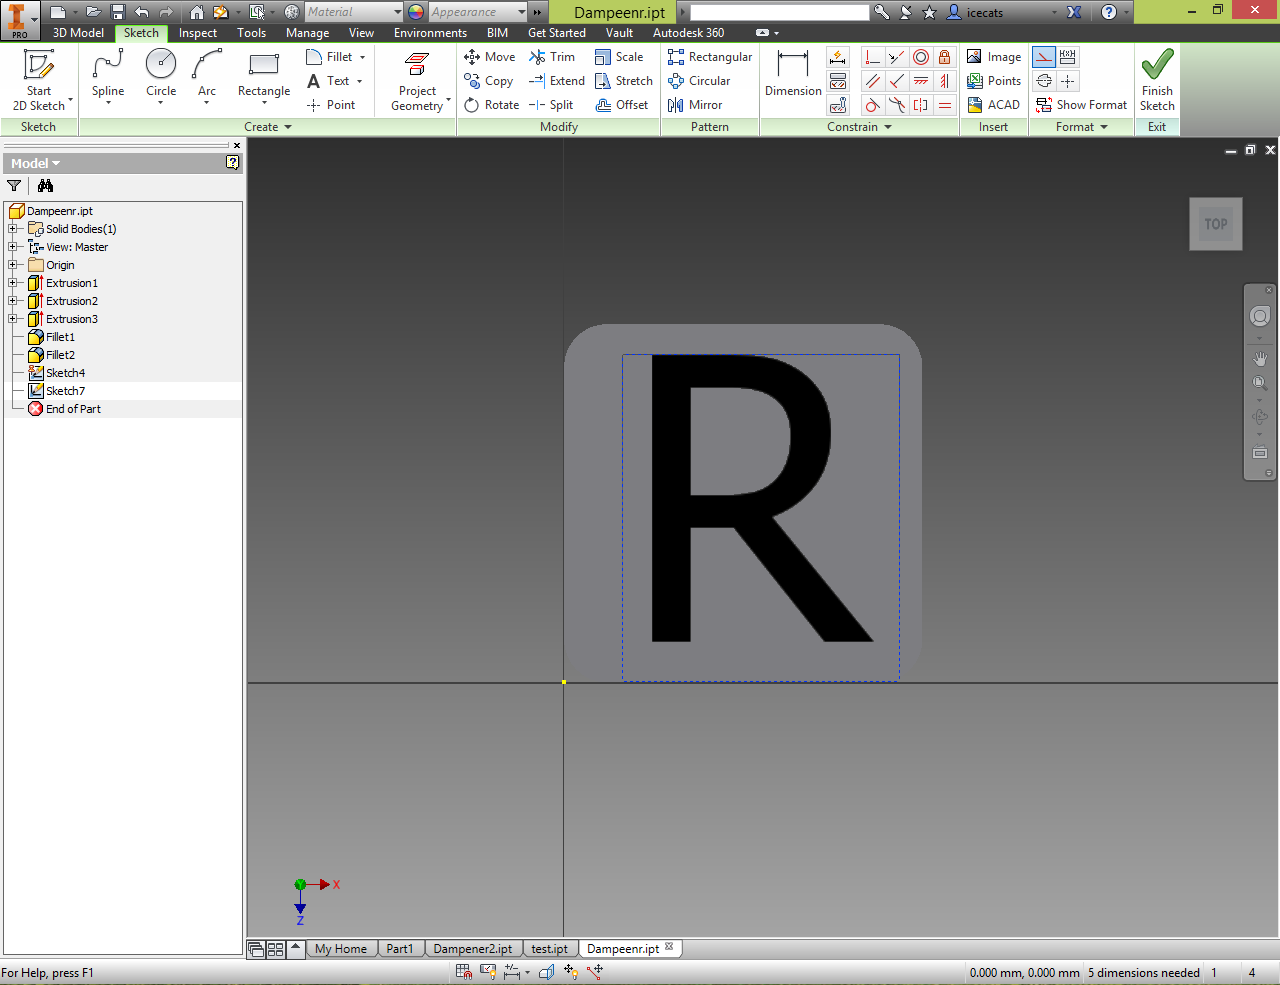
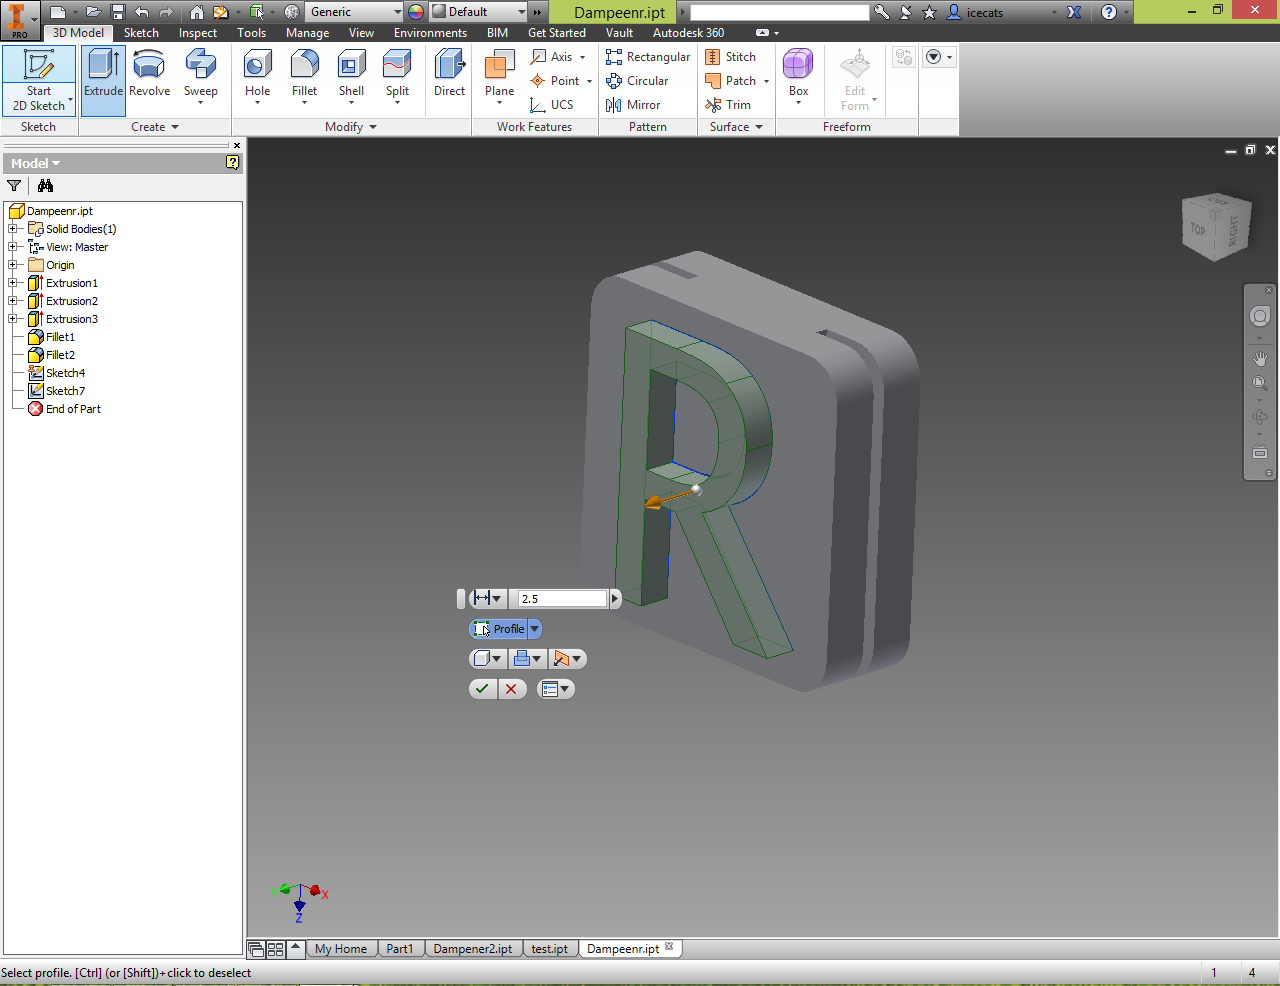
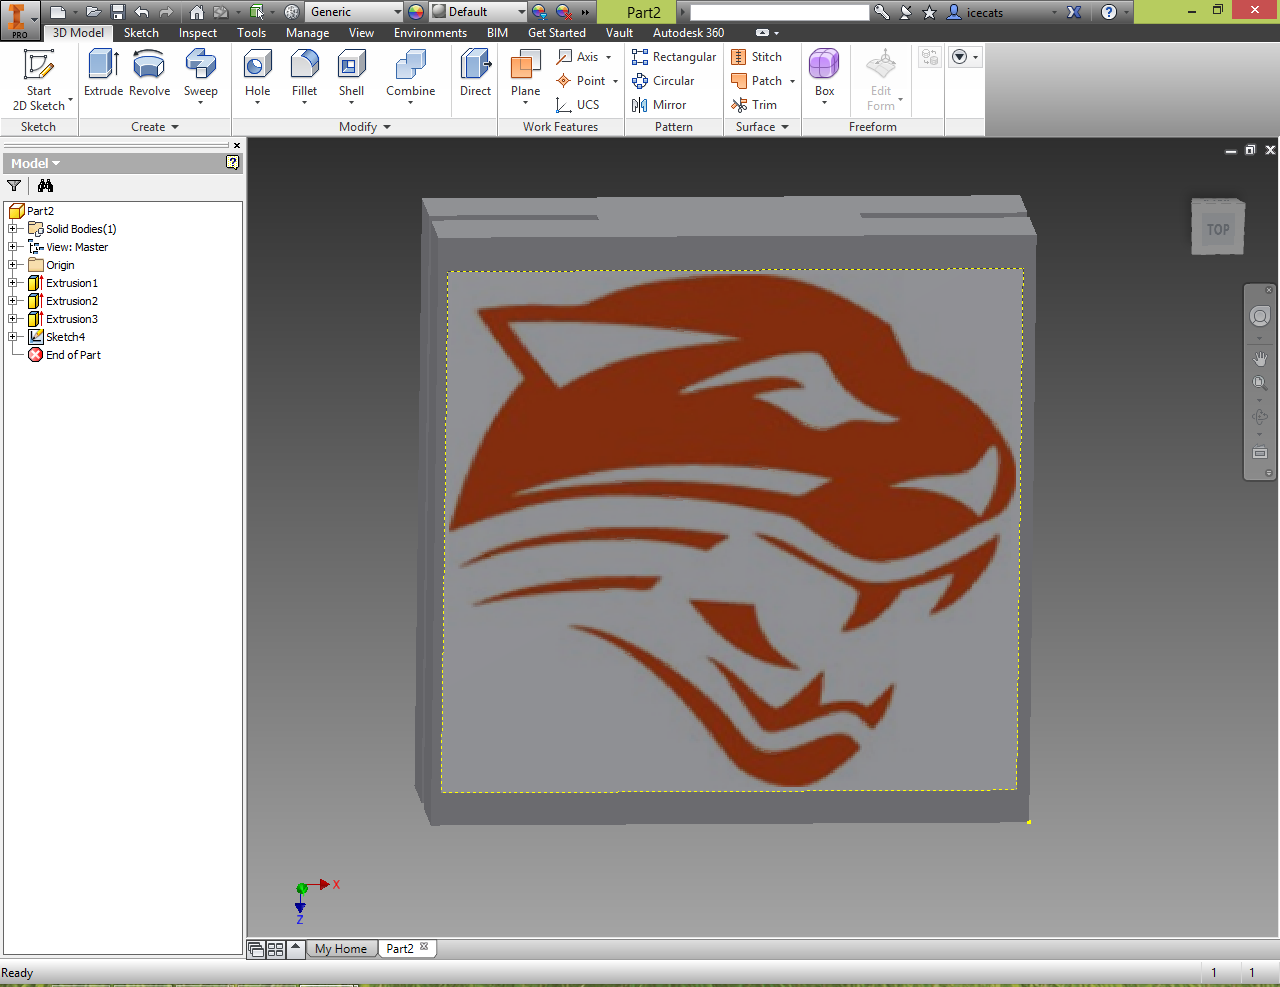
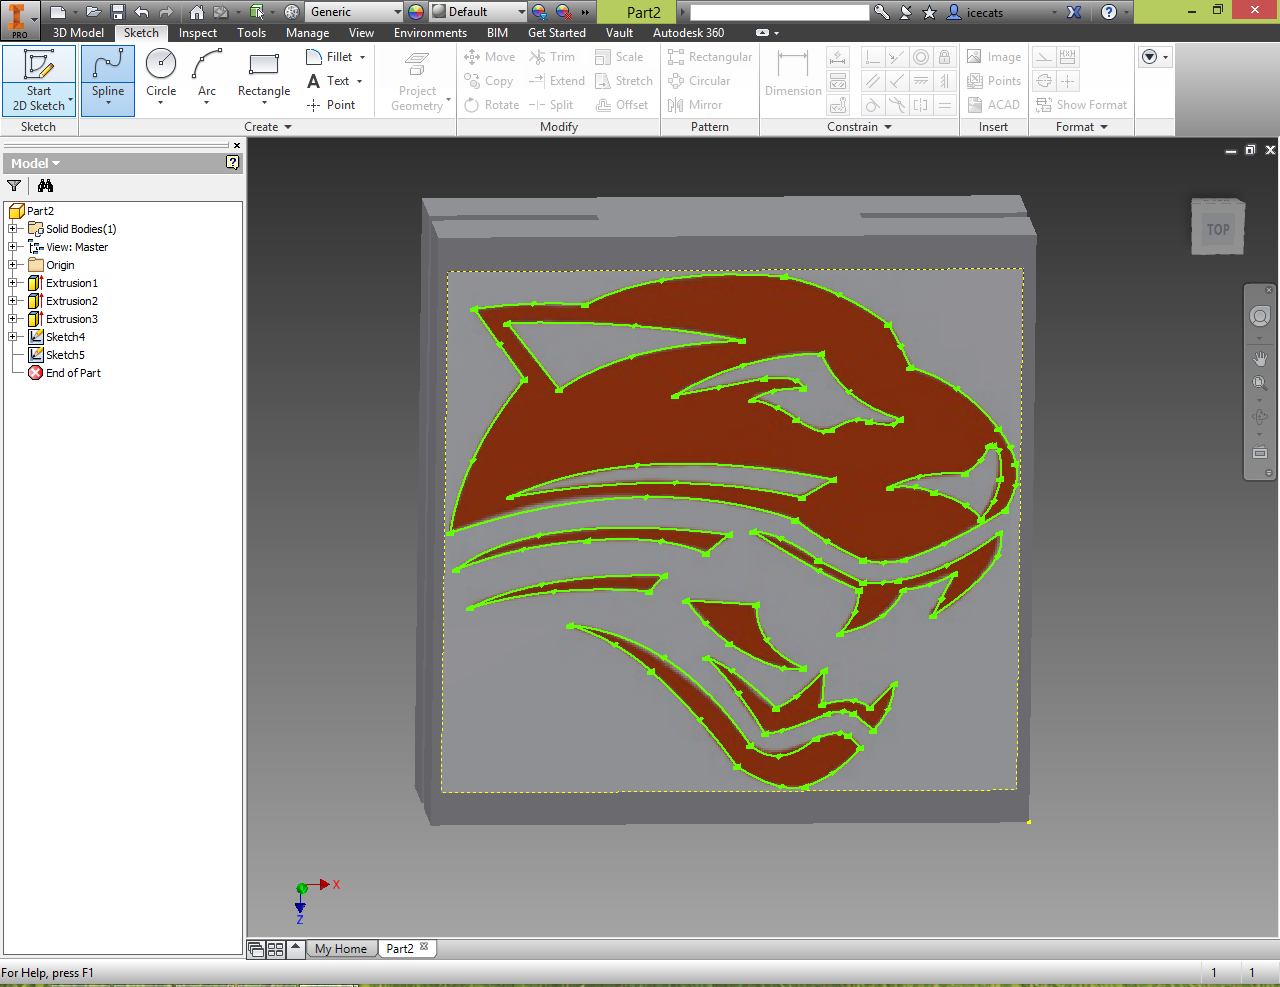
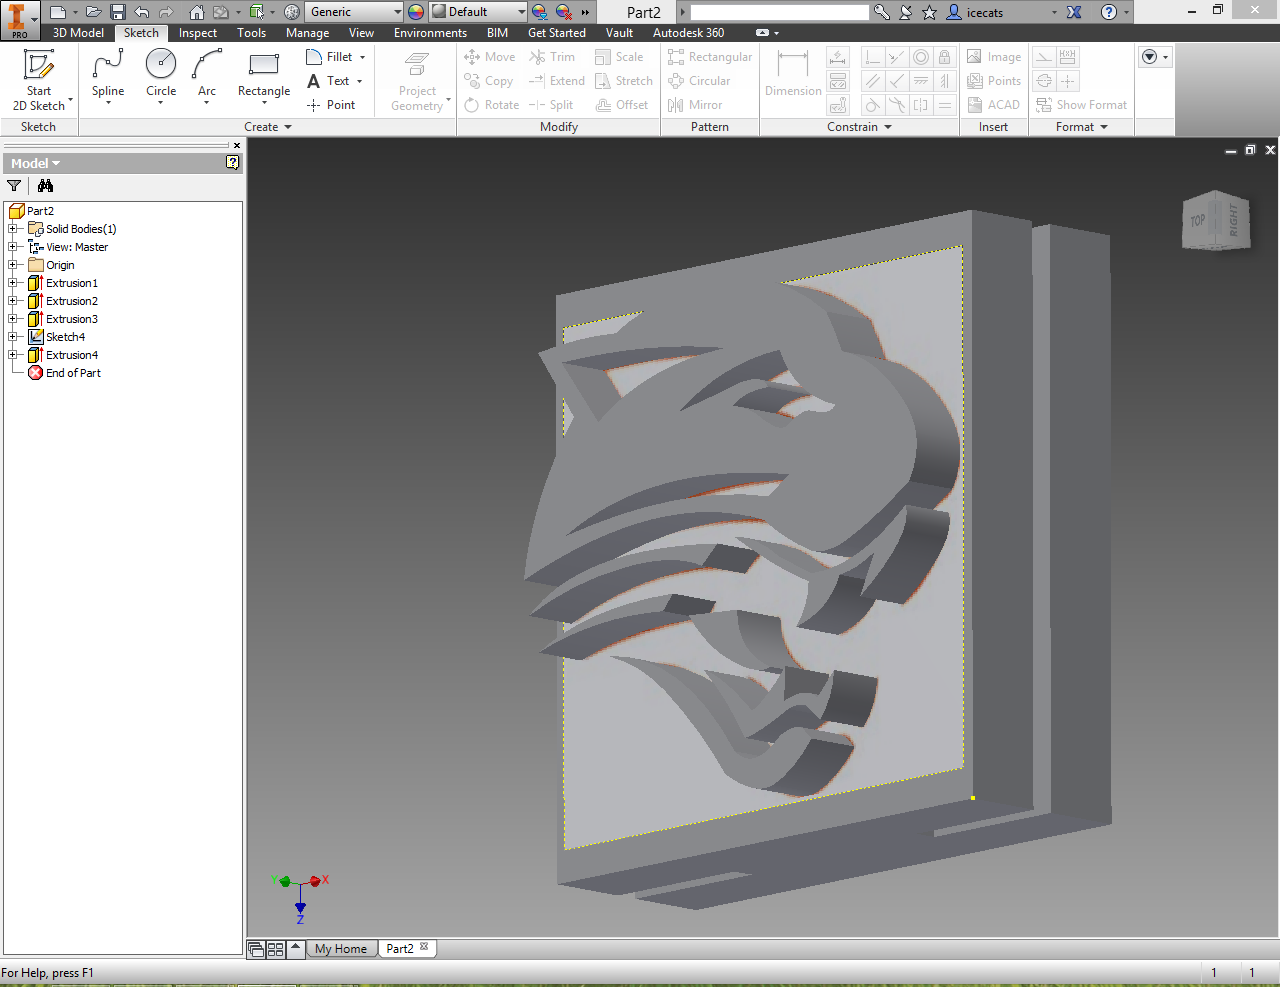
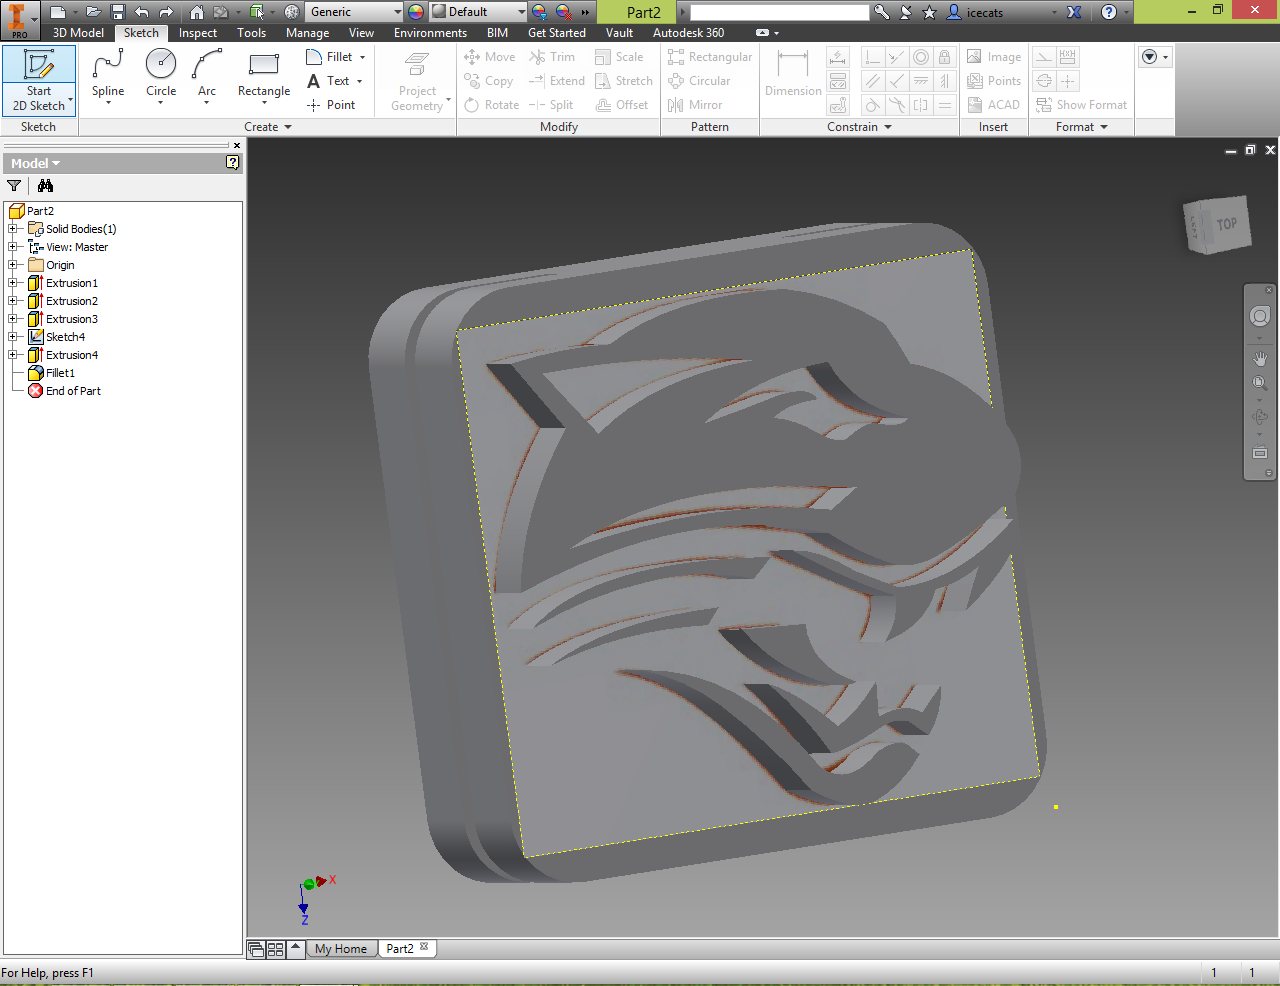
Now it's time to make the model look good! You could choose to emboss something simple such as a single letter, or you could attempt a more complex design or word. I have tried both with success.
Text- If you want to create raised text on your dampener, start a 2D sketch on the top of the dampener and choose the text option. Type in your text and select the size and font that you desire; finish your 2D sketch. Finally, extrude the text. I extruded my letter 2.5mm.
Picture or Logo- If you want to create a pattern or logo on your dampener you will first need to locate and download an image. Two-color images with minimal detail will work best. I chose my school's panther logo. Start a 2D sketch and navigate to the insert tab. Choose the picture tool and open your desired file. Resize the picture to size. Next, start a new 2D sketch and use the spline tool to trace around the imported picture, connecting each spline to form a closed shape. Finally, extrude your shape 2.5mm.
Fillet- You may choose to fillet your 3D model. This tool will round off the corners and give your dampener a more streamlined finish. Select the desired edges and then fillet them 3mm.
Finally, export a .stl file or other 3D printable file type.
Congratulations, you have finished designing your personalized tennis racquet dampener!
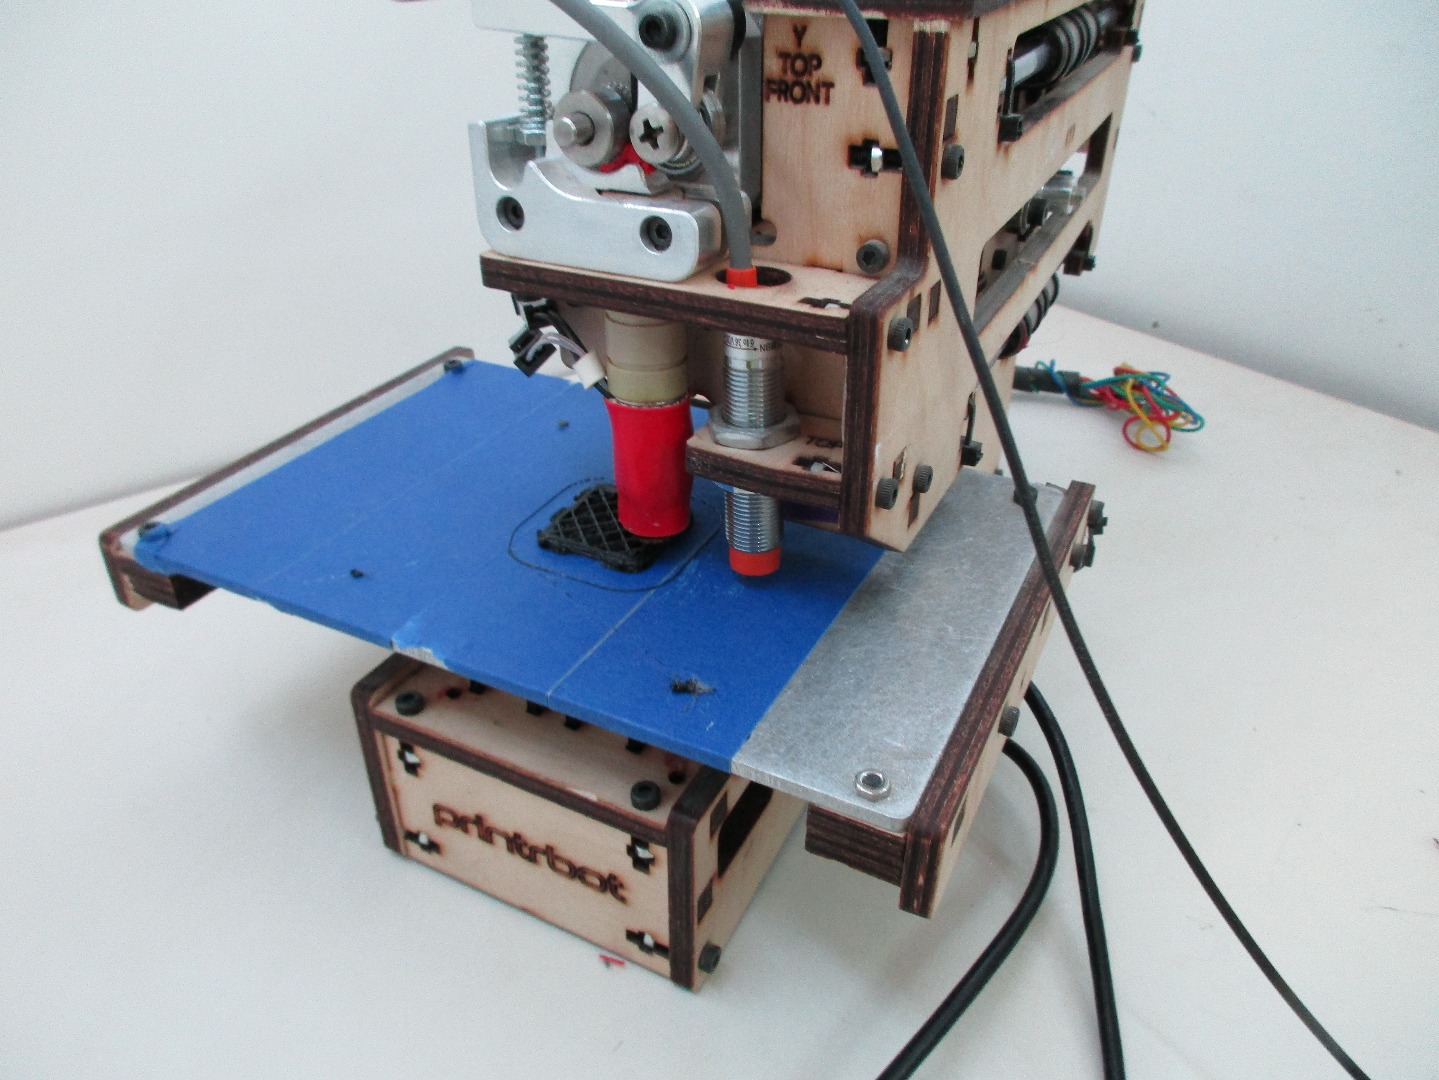
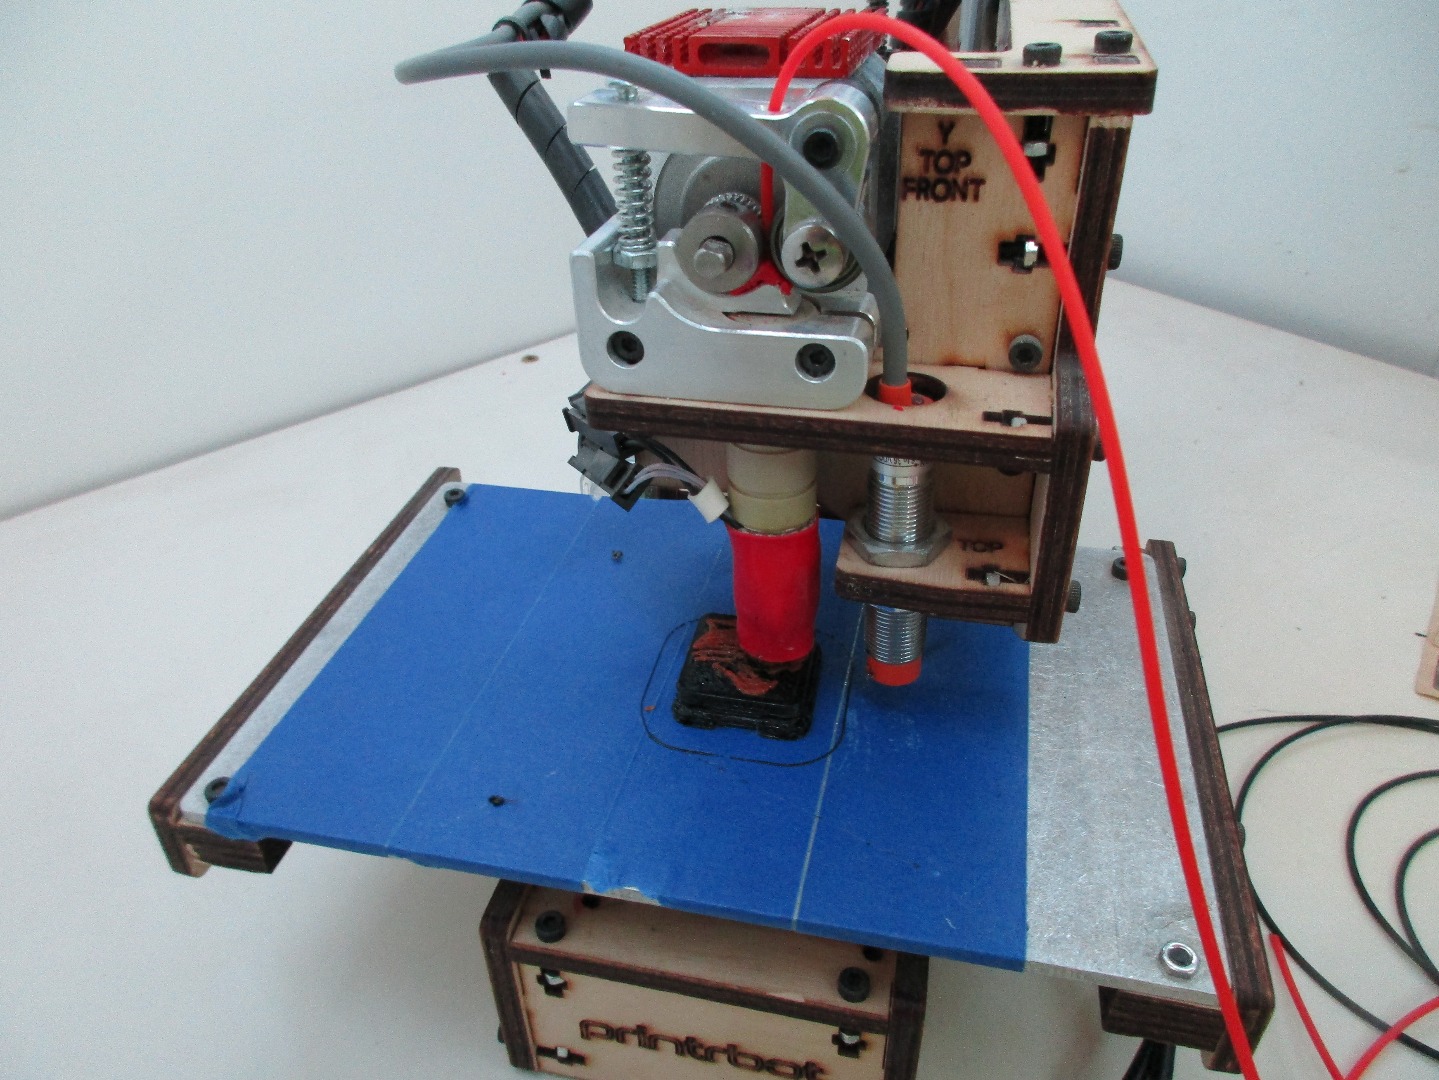
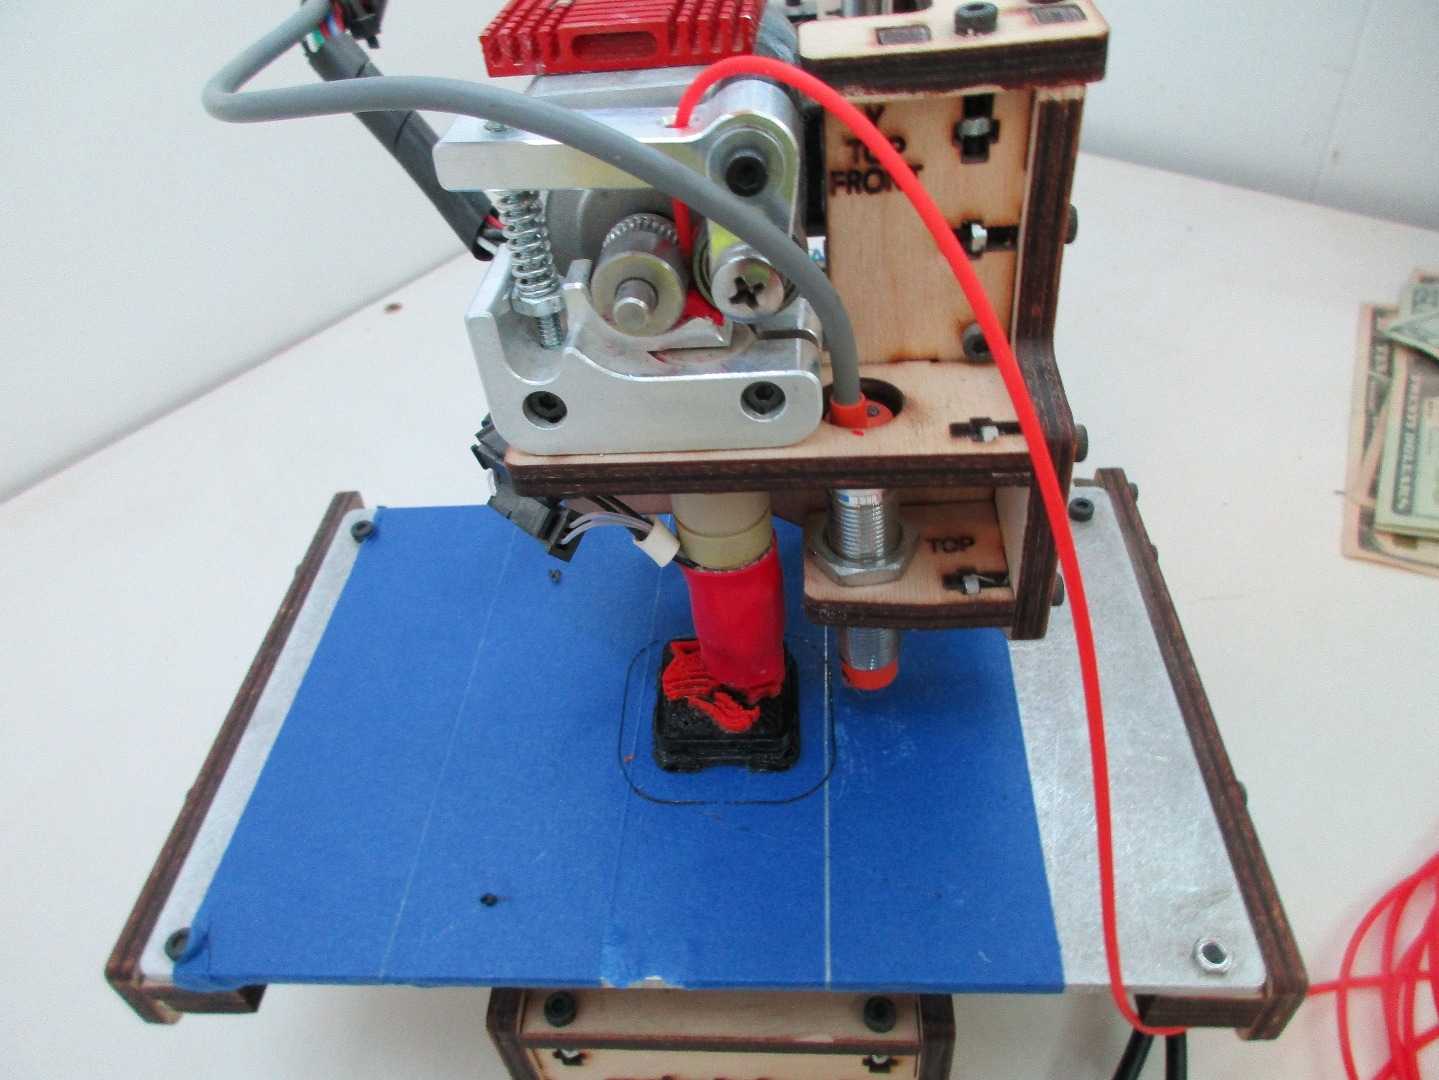
Off to the 3D printer. Here are the settings that I used for my print:
- 230c hotend
- blue painter's tape covered printbed
- .1mm layer height
- 30% infill
- support material (easy to peel off when the print has finished)
- 30 mm/second print speeds (slow but necessary for detailed NinjaFlex prints)
In order to achieve a multicolor finish, I started out with a base color to created the main body of the dampener. When the design (text, panther) started to print, I paused the printer and switched colors. This allowed me to create a nice contrasting print with only one extruder.
Play!
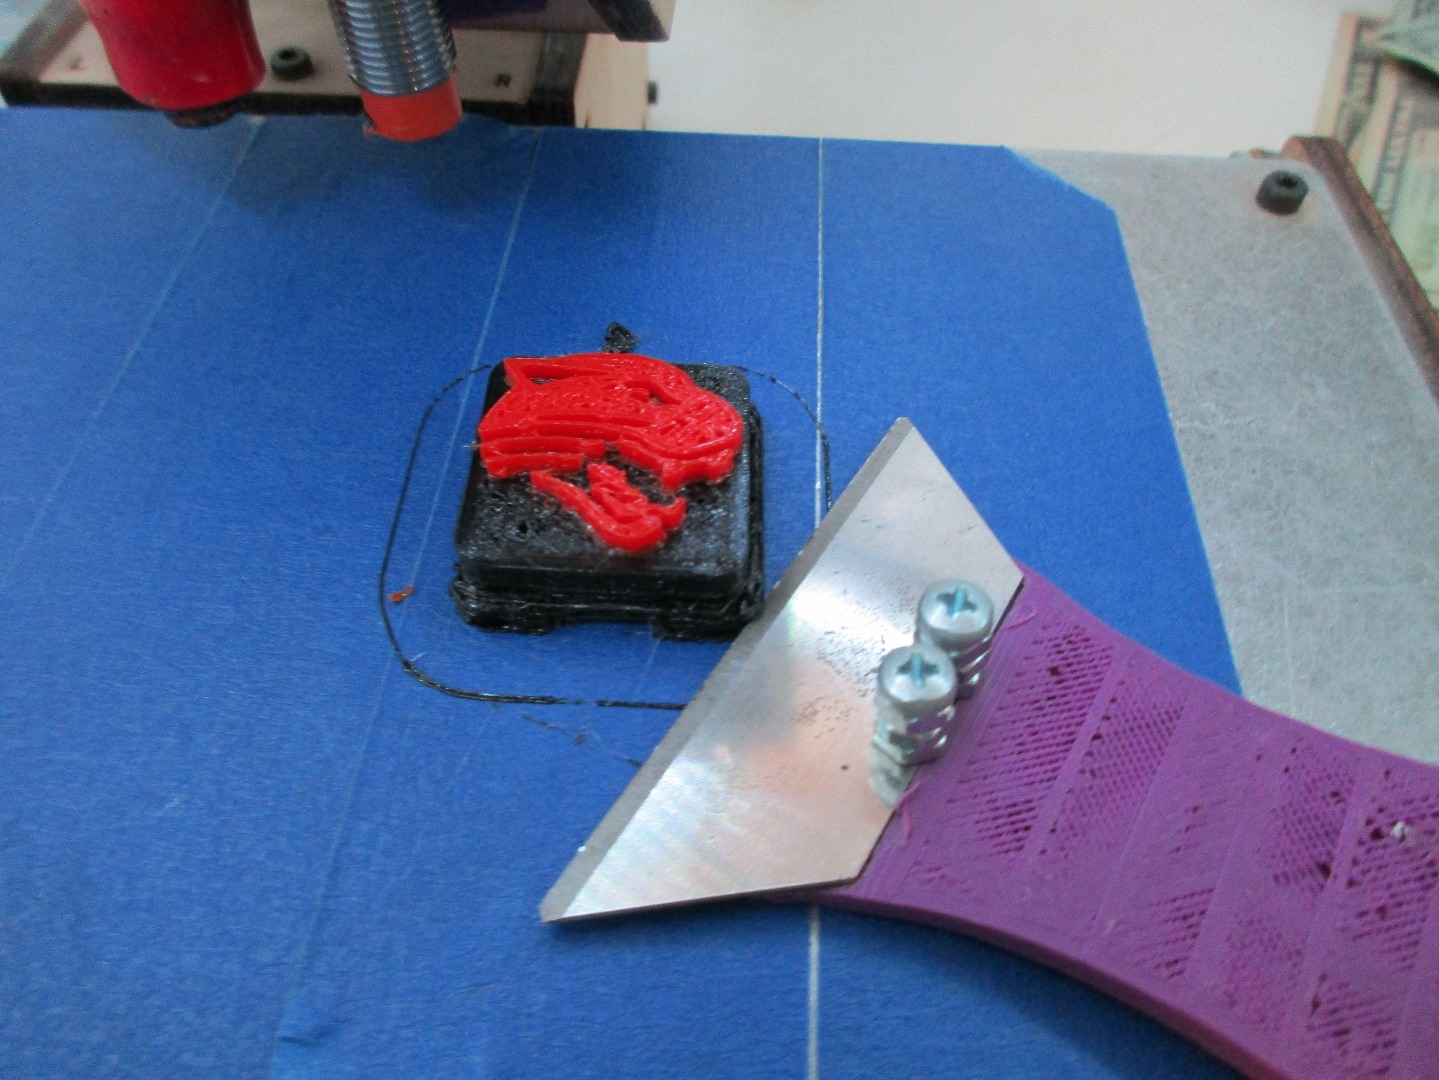
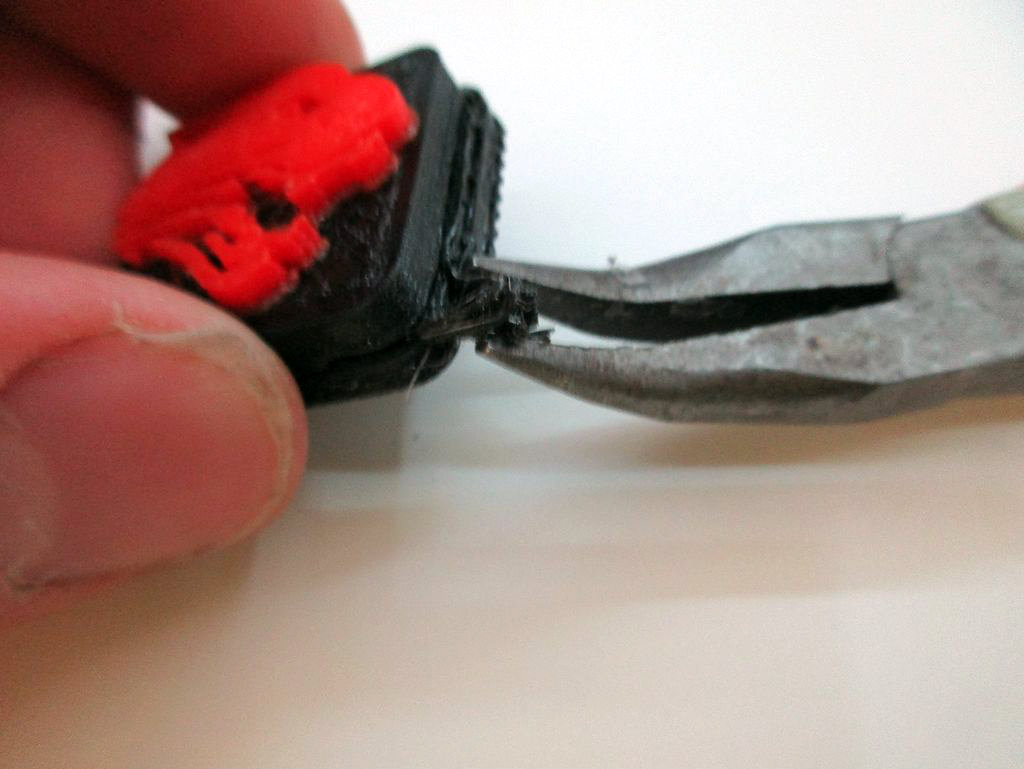
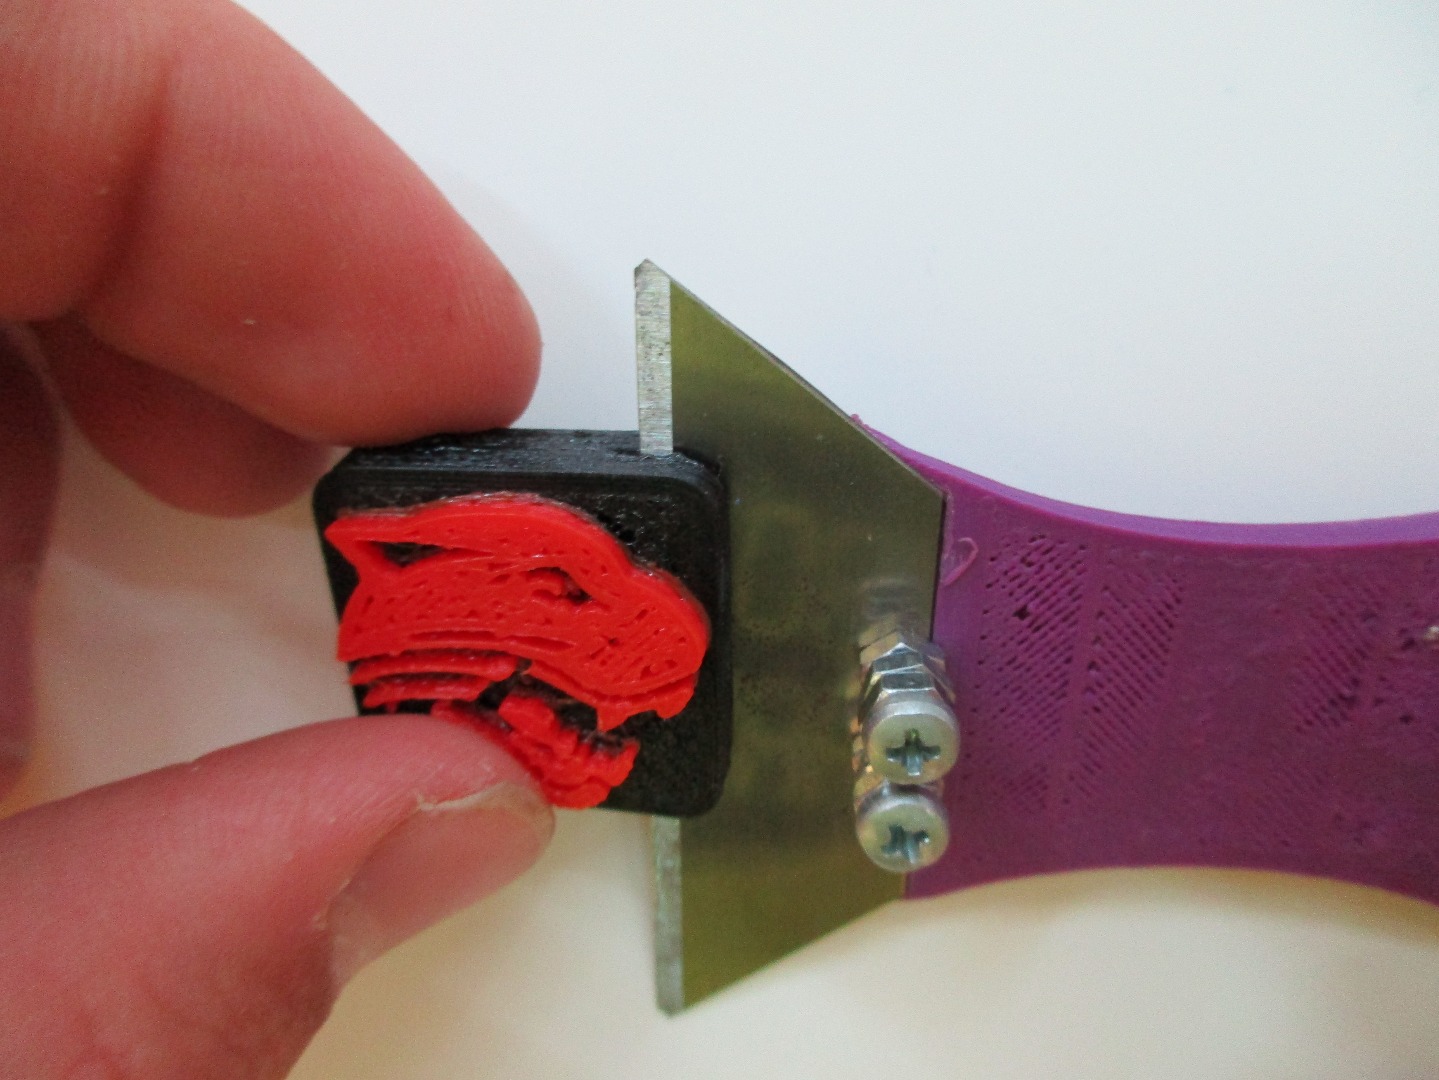
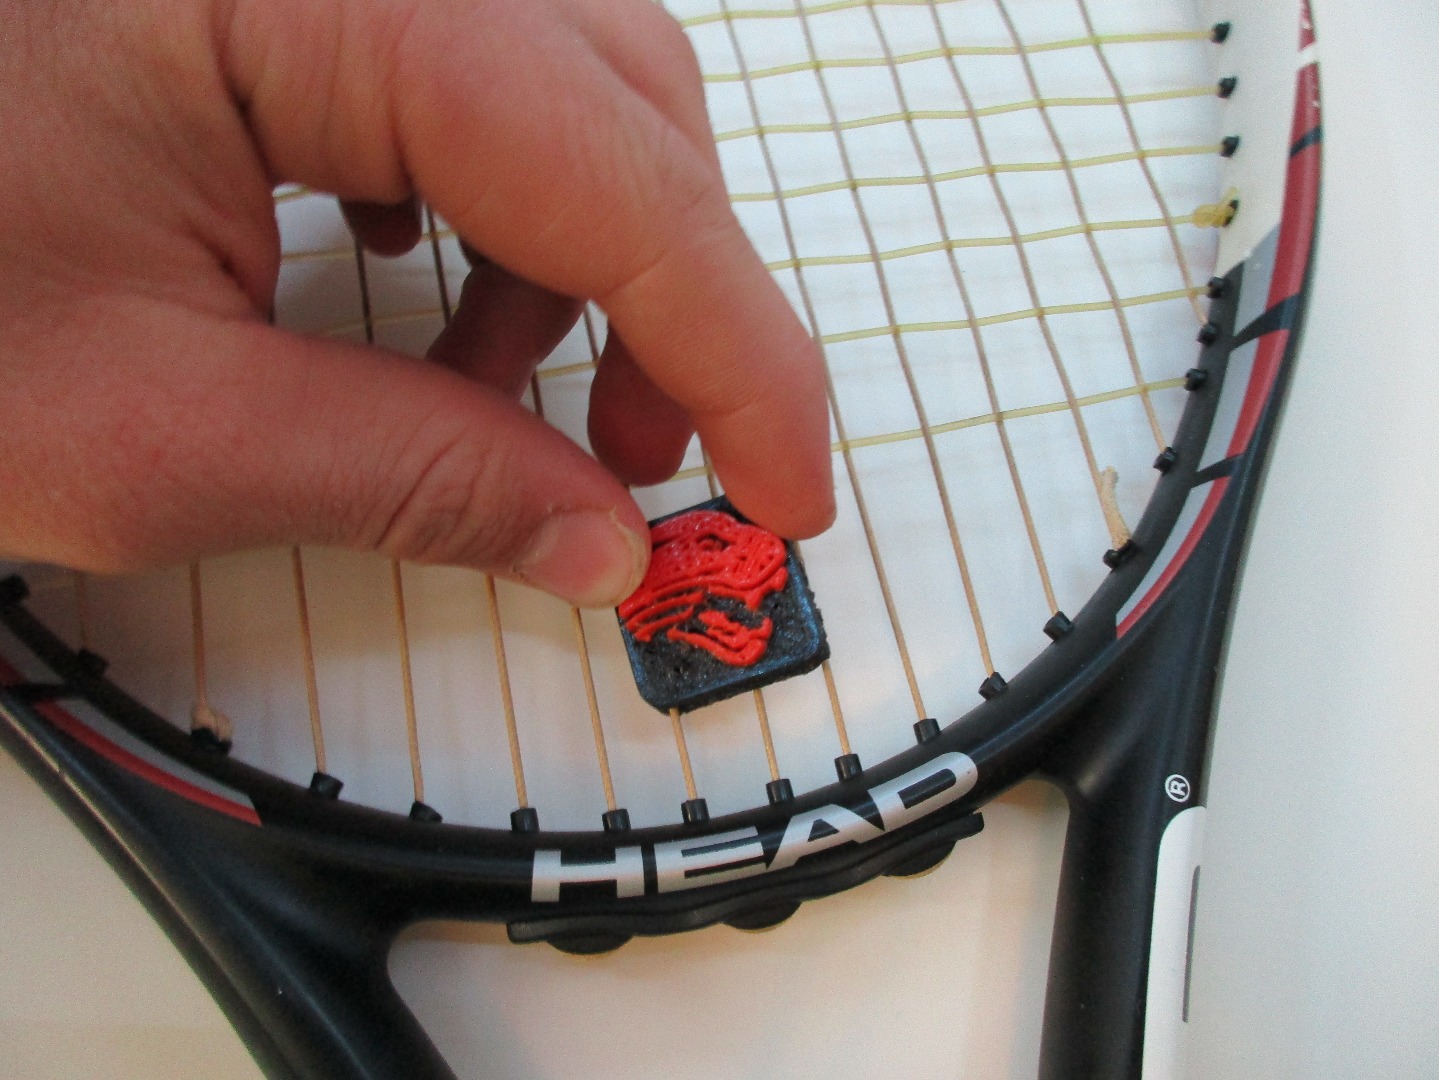
Finally, the dampener is completed. Pop it off the print bed and remove the support material with needle nose pliers. It should just pull off. To remove the support material from the string extrusions, carefully slide a razor blade into the cavity. Push the dampener between the two middle strings at the bottom of the racquet and VOILA!
Enjoy vibration free strokes with your own personalized tennis racquet dampener! Please share your creations below and let me know if you have any questions or suggestions.