3D Printed Stackable Rings
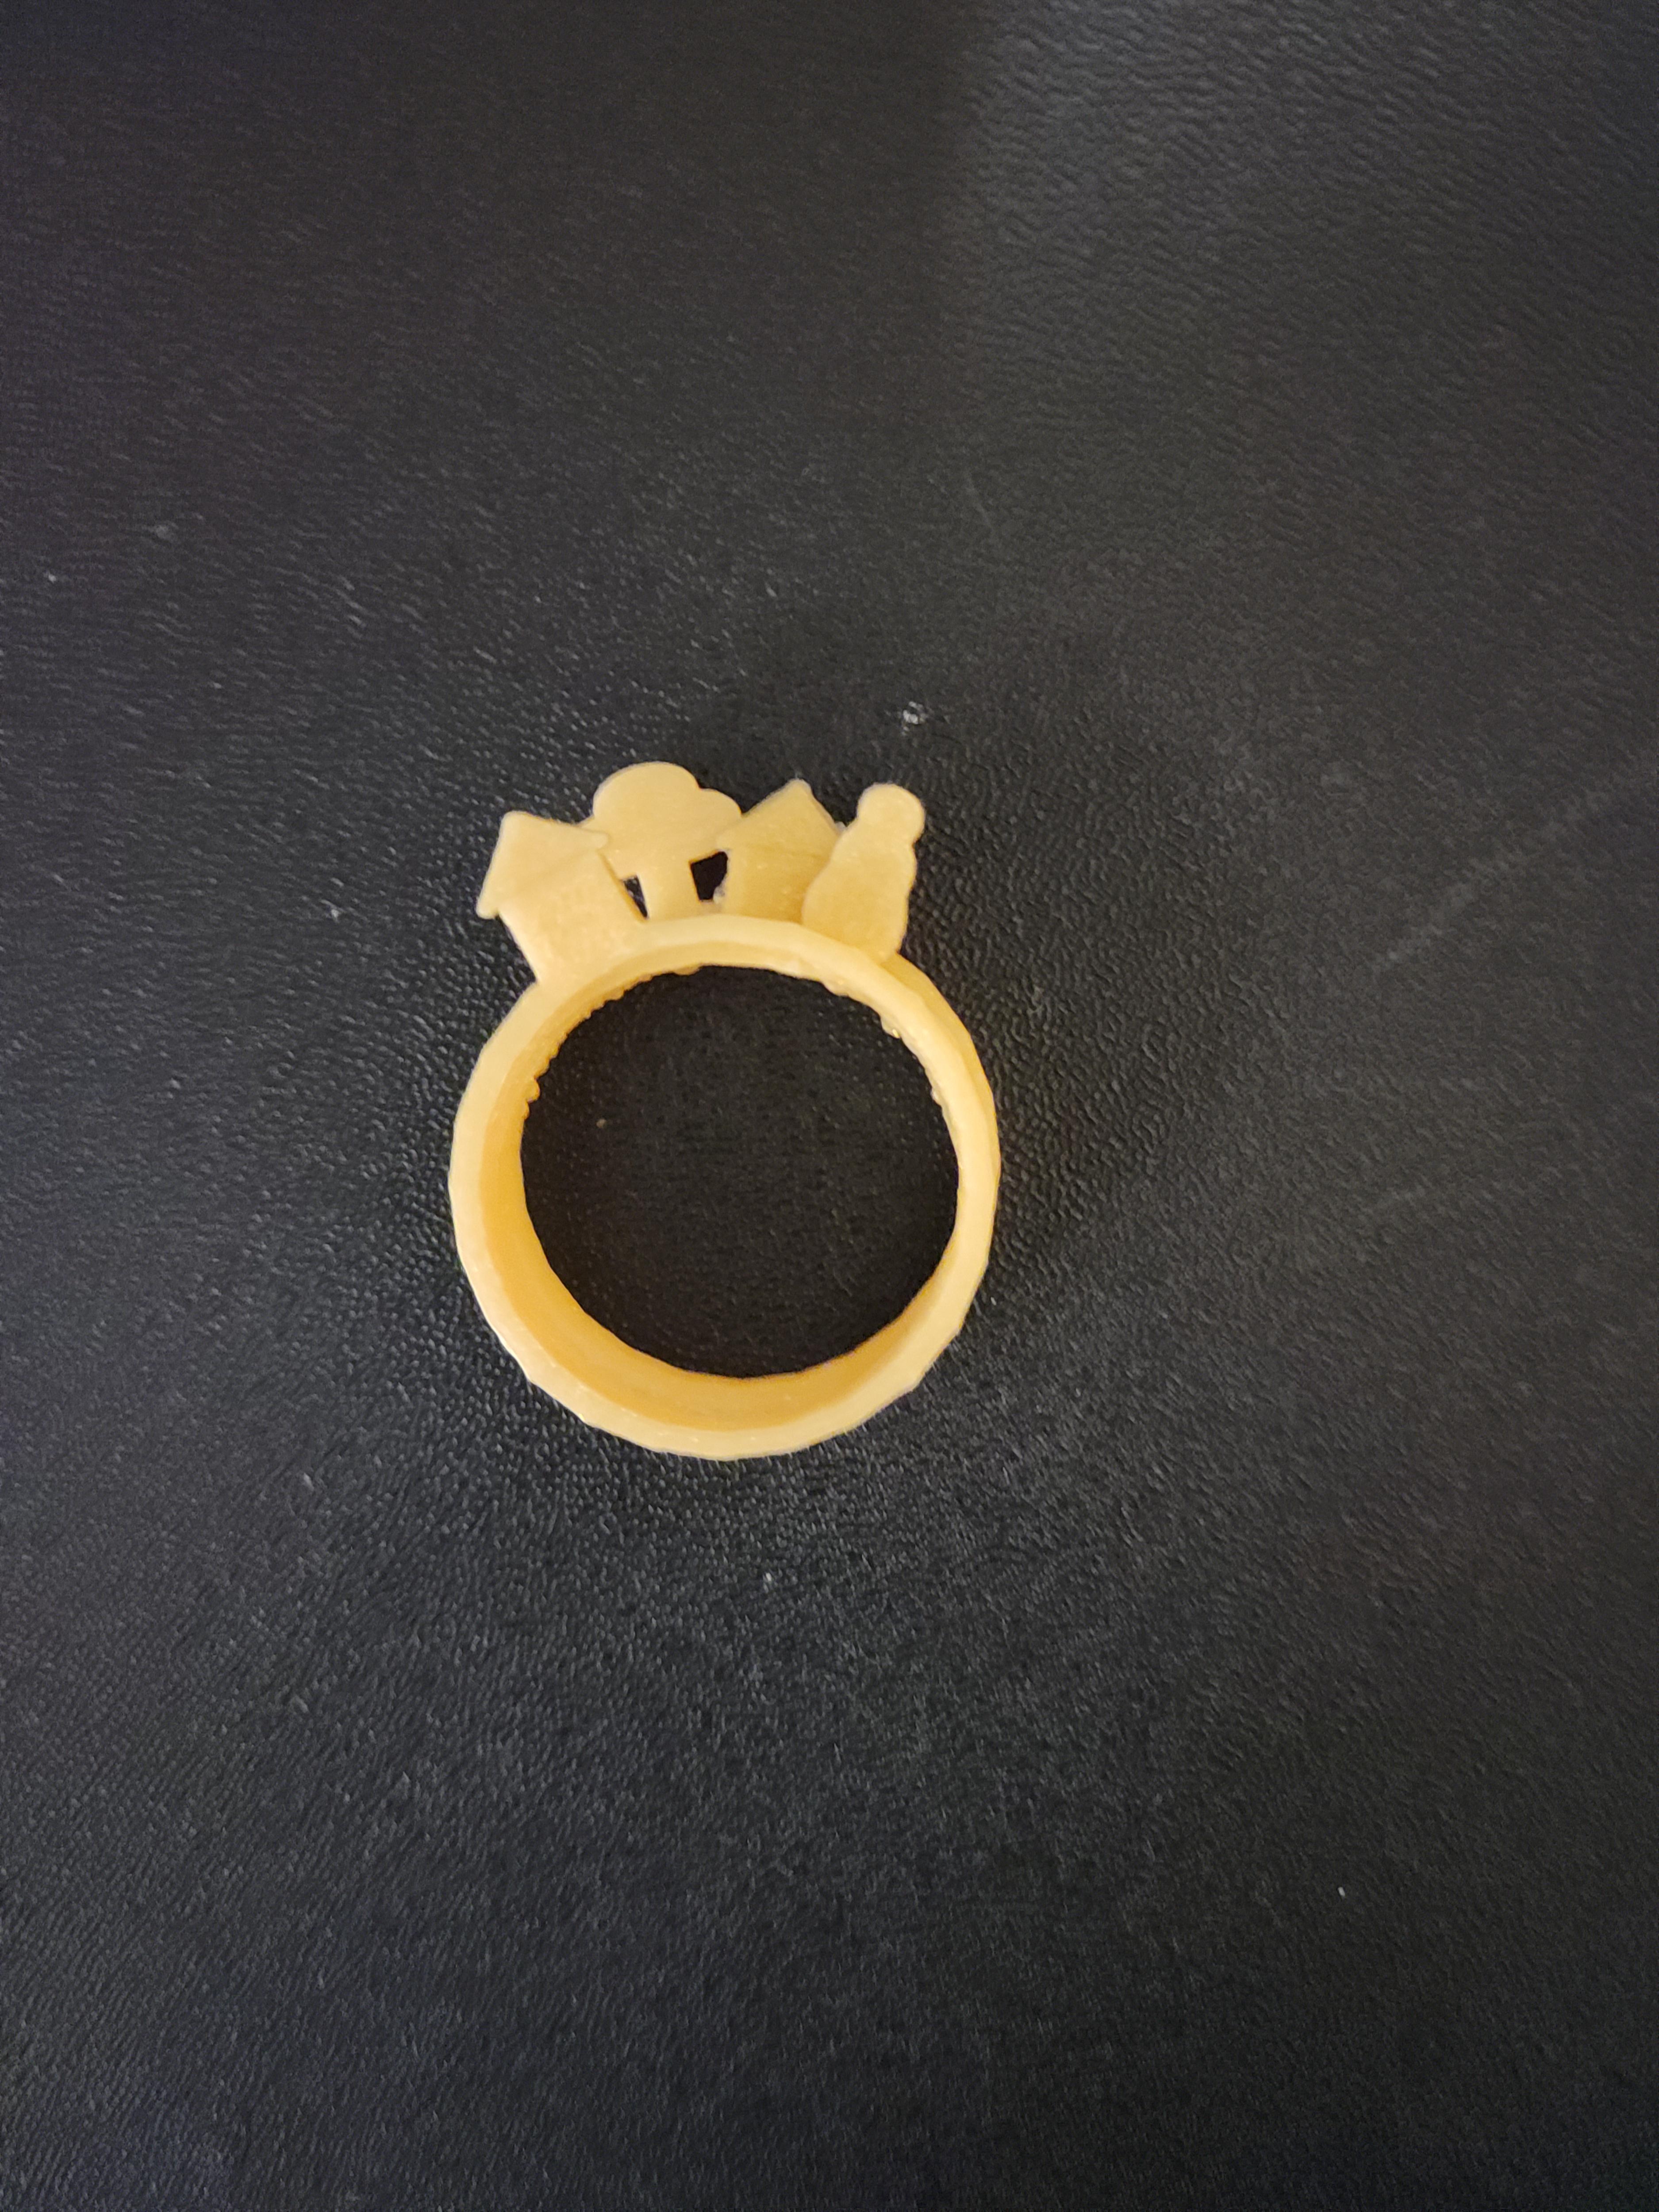
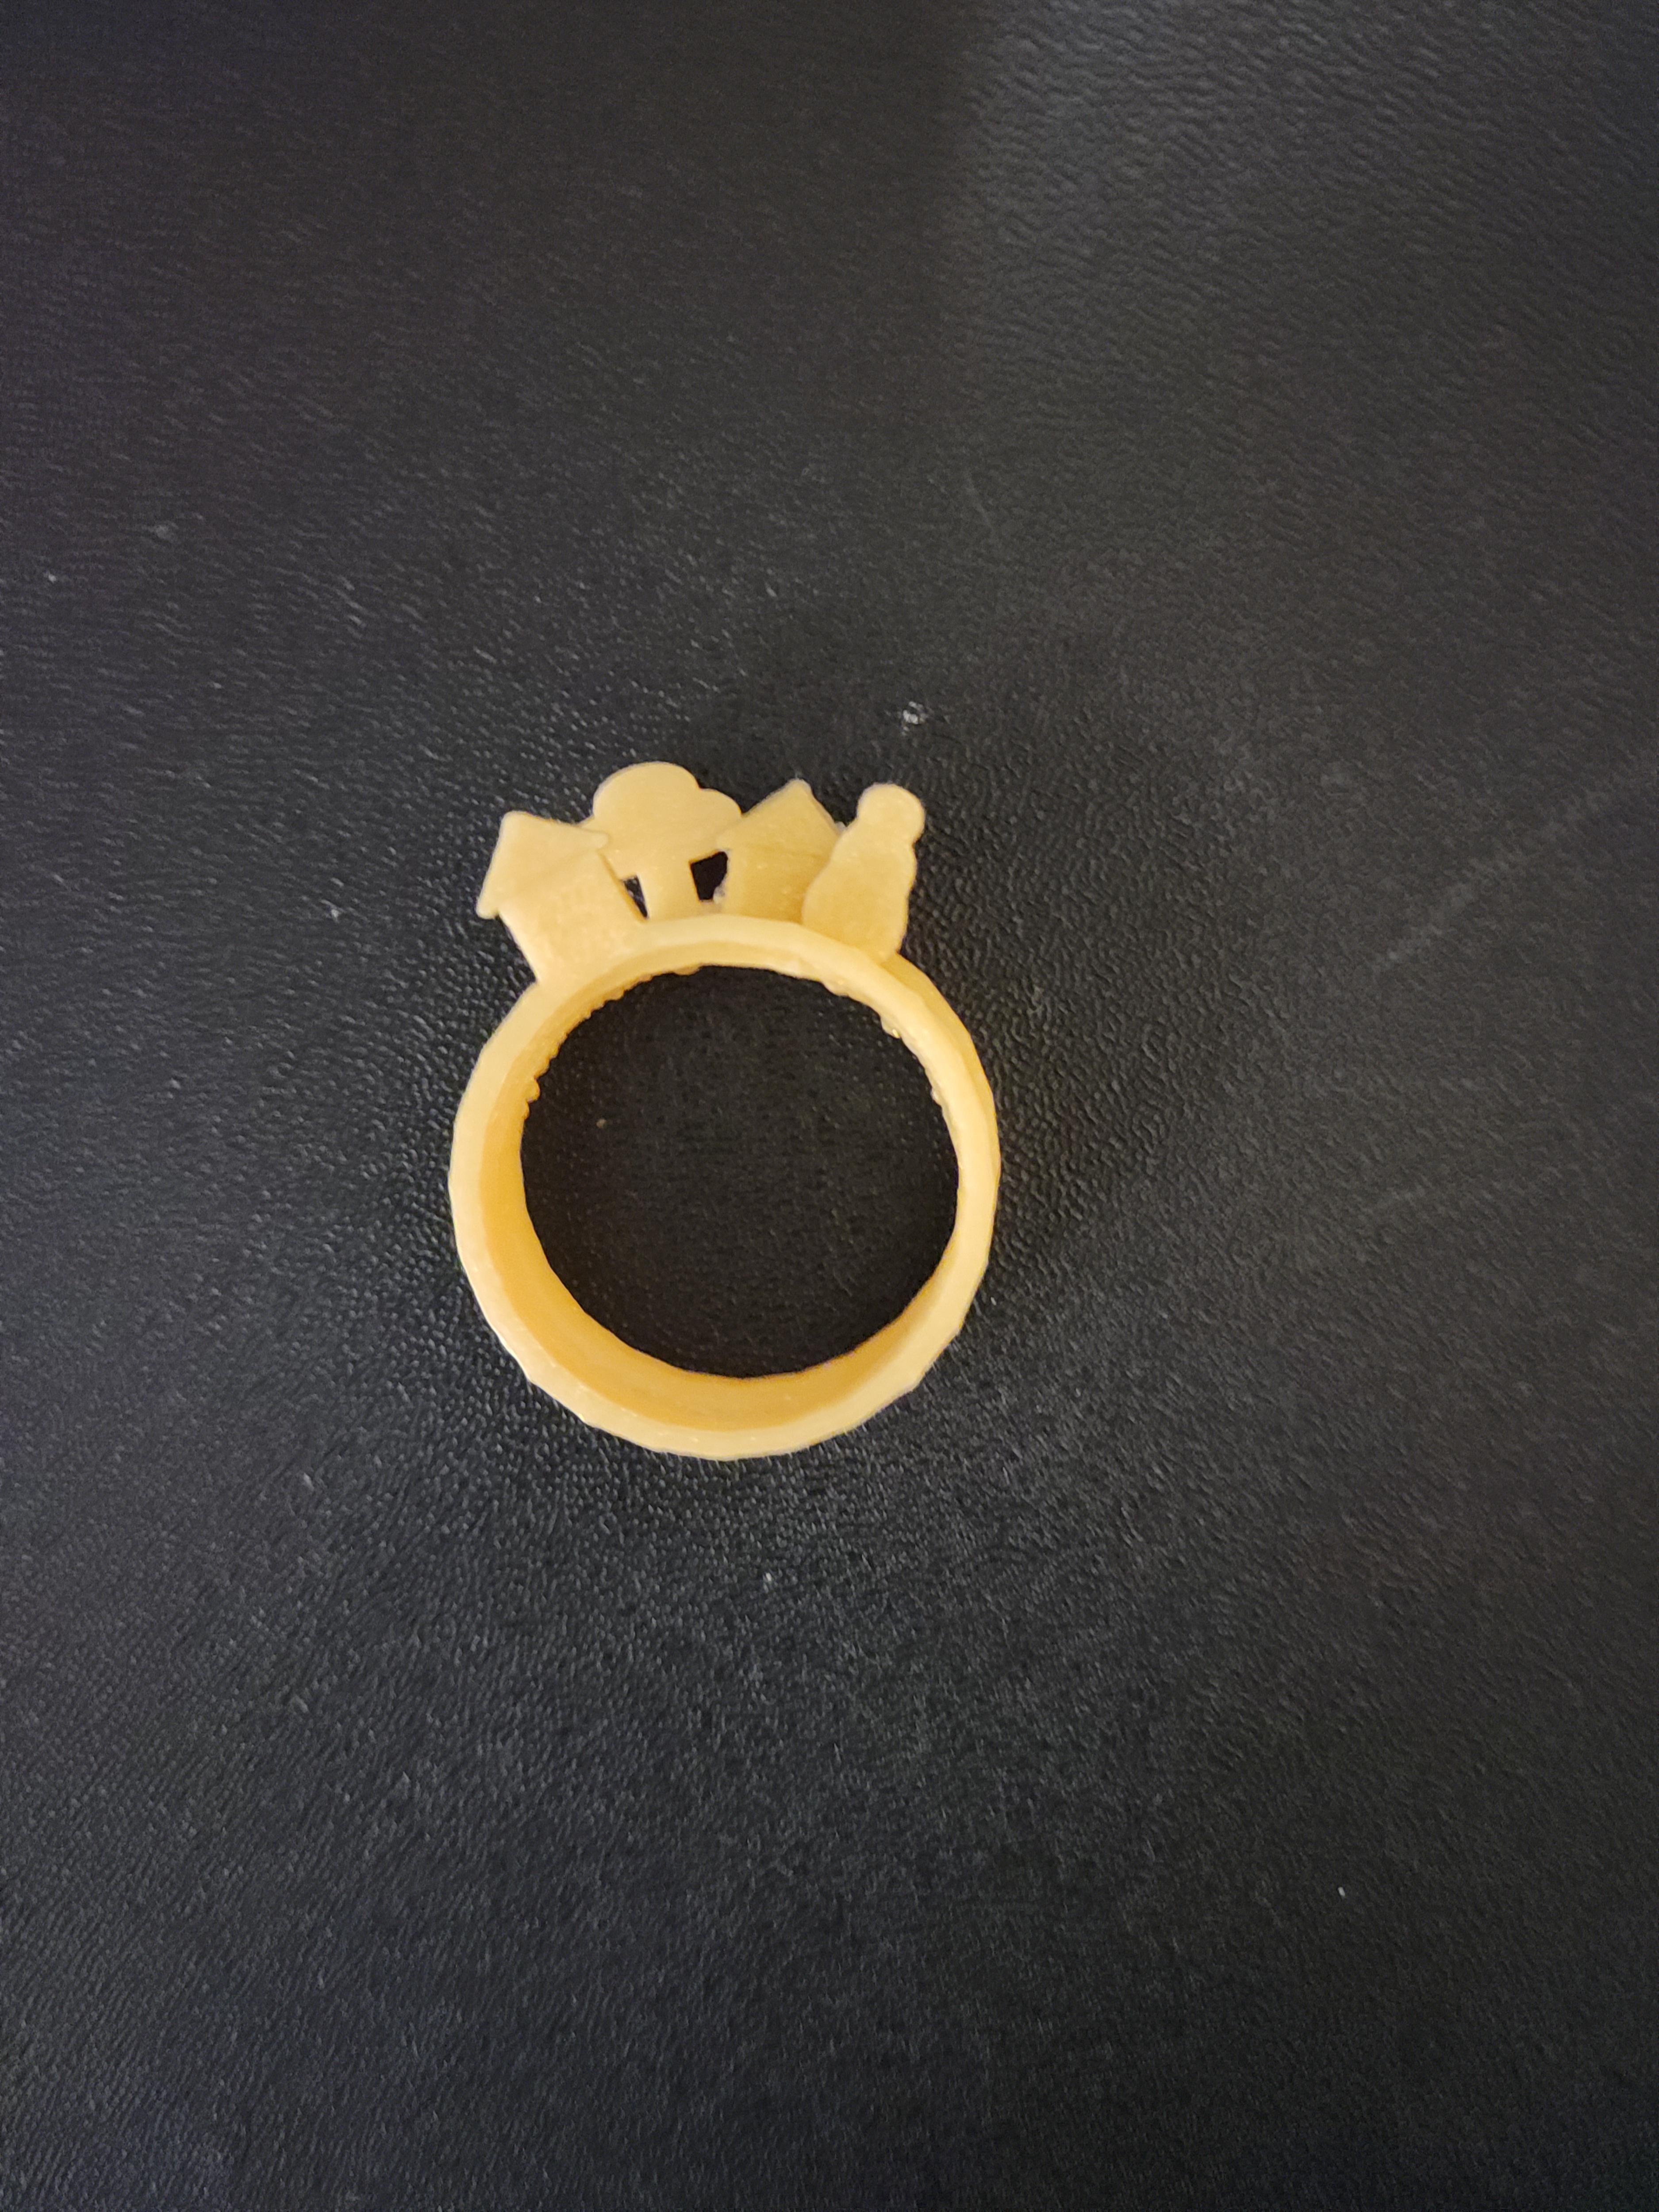
This project is meant for elementary/ young students and designed to address the following:
- How smaller shapes create bigger and more complex shapes
- How we measure in three dimensions length, width, depth
- How we measure circumference and diameter/ radius
- How to 3D print and create for 3D printers for beginners
- For this, we use Tinkercad since it easily integrates with student accounts
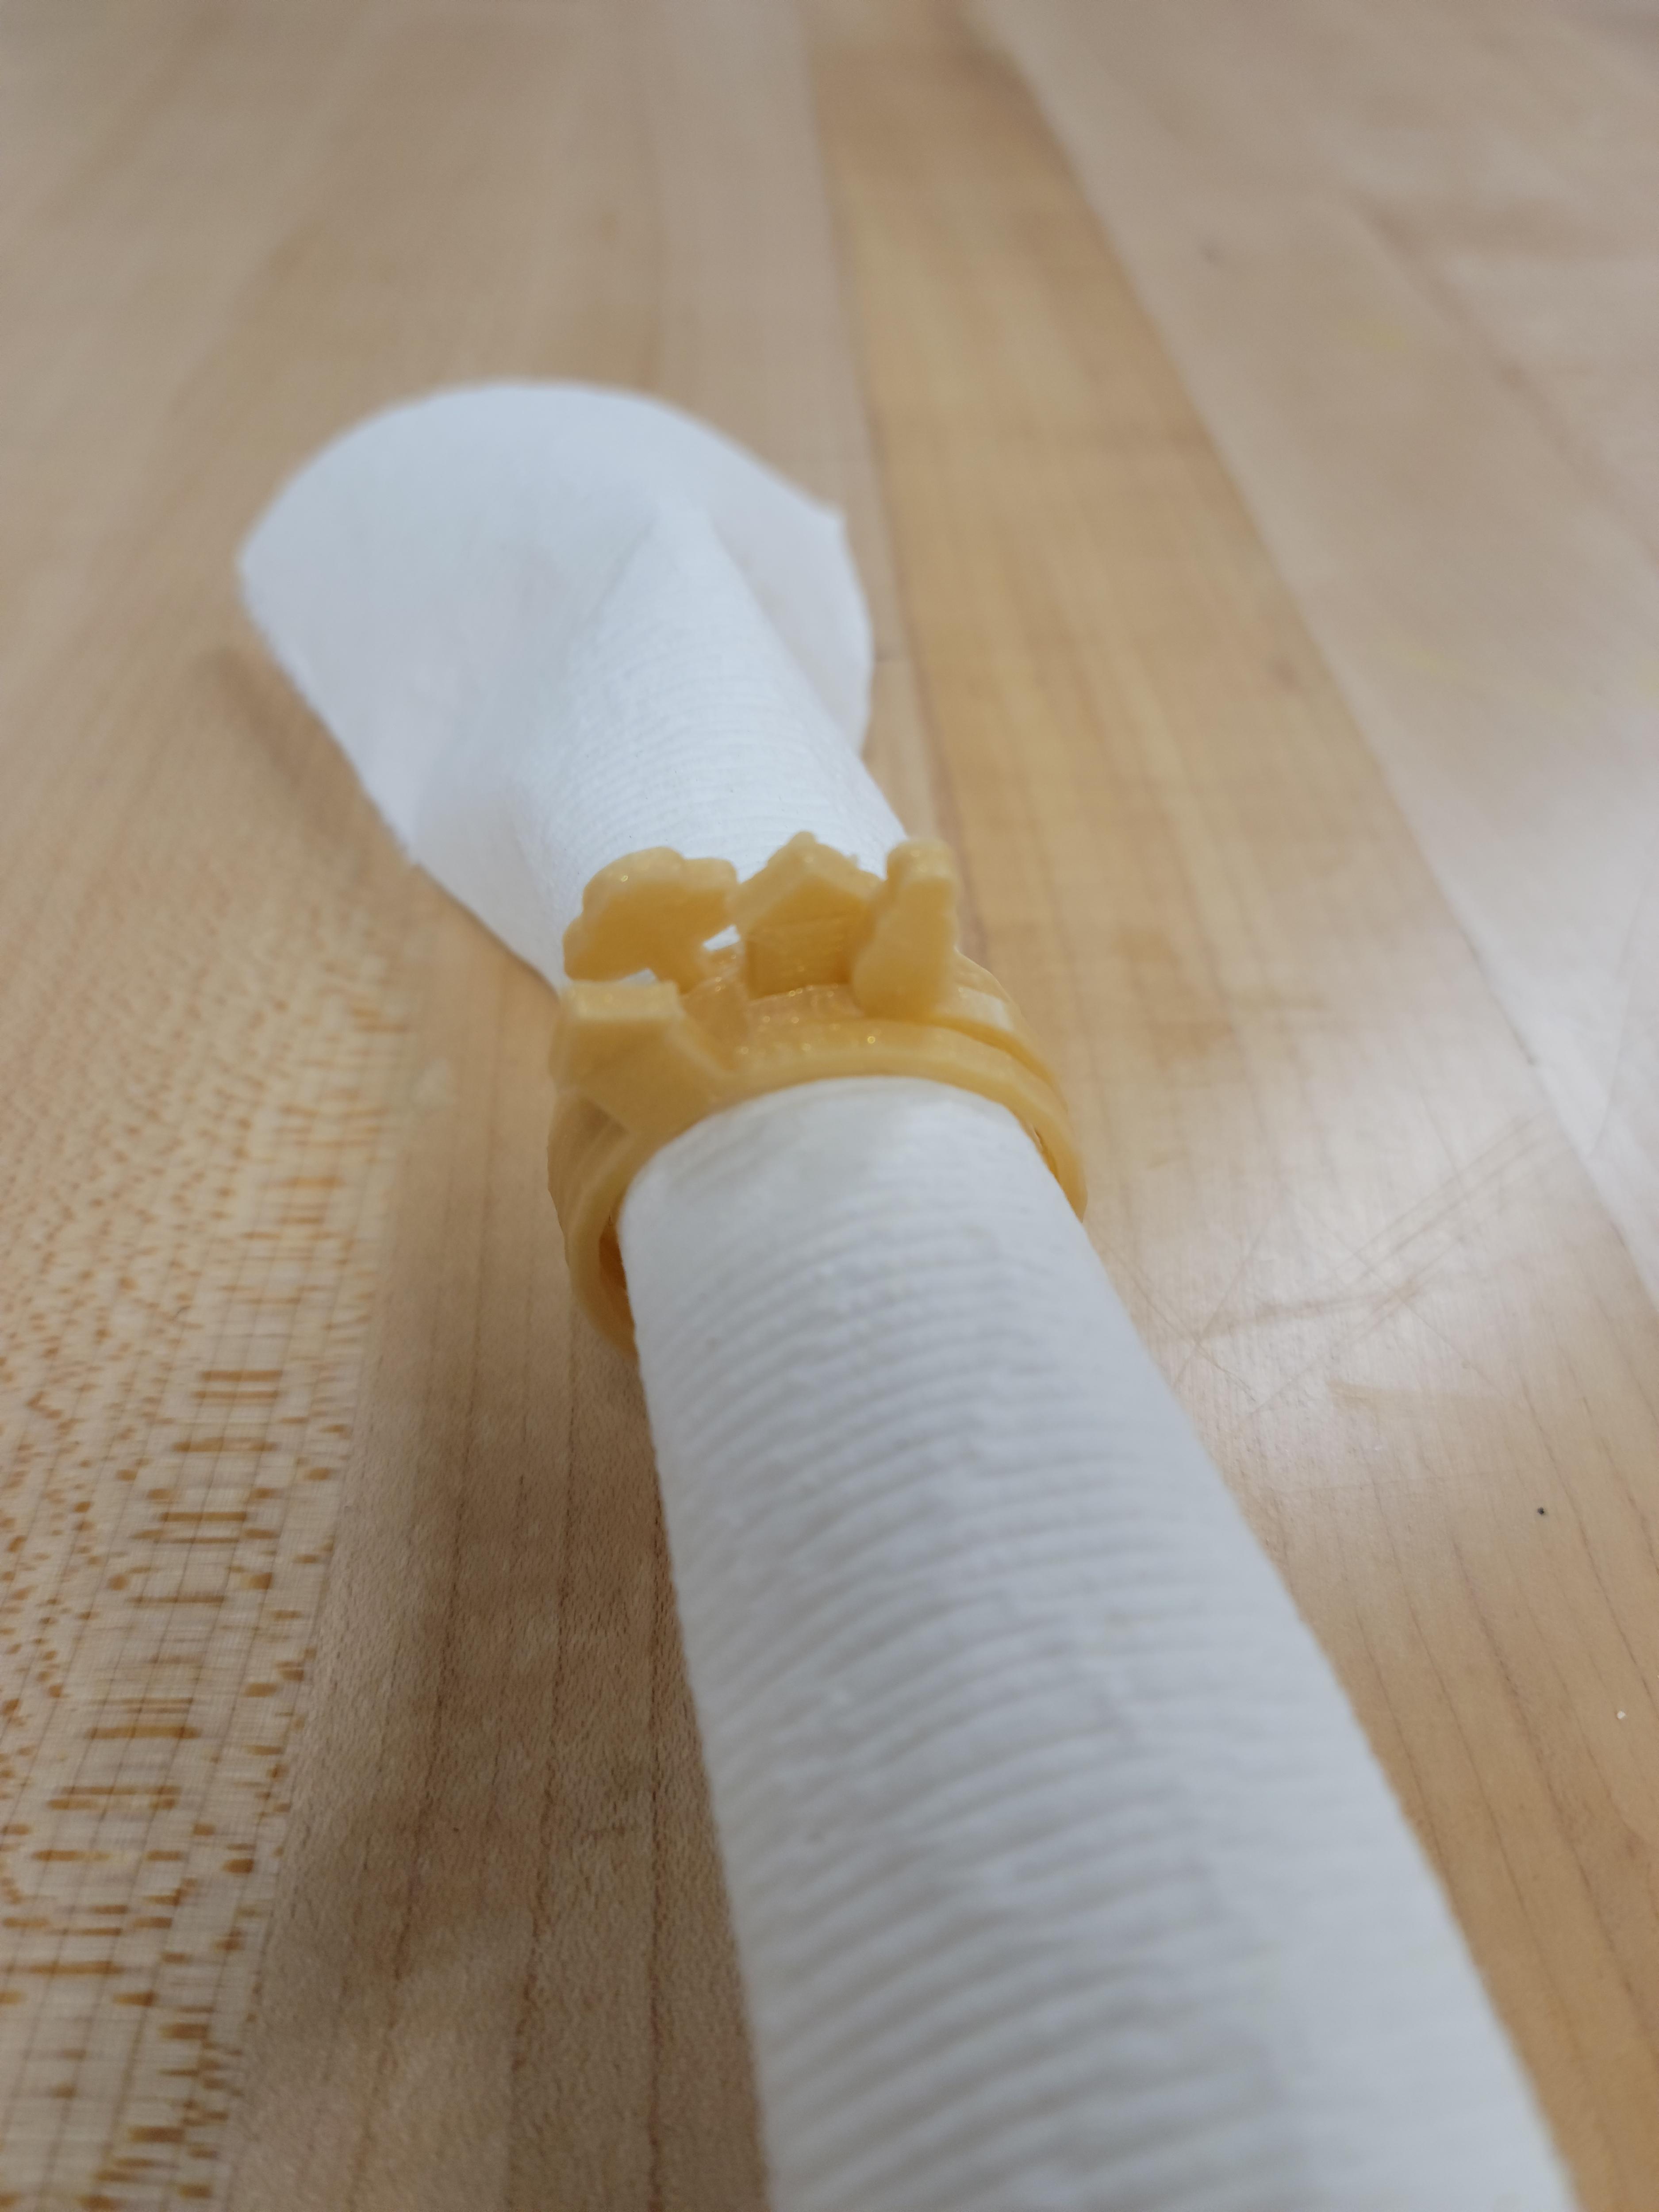
Note: This project makes some cute stackable napkin rings as well.
Supplies
For this project we used the following:
- Ring
- For the purposes of determining the internal diameter
- Optionally, you can use a strip of paper, and I will go over how to do this.
- Ruler
- a piece of scrap paper and writing utensil for notes and math
- Calculator
- Chromebook
- Can be any internet-connected device
- Tinkercad
- A 3D printer (I have a Dremel 3D40)
- Colored filament, I used gold
- Optional: files
Alternatively, you can also just download my files and modify them to your needs.
Determine Your Needed Diameter
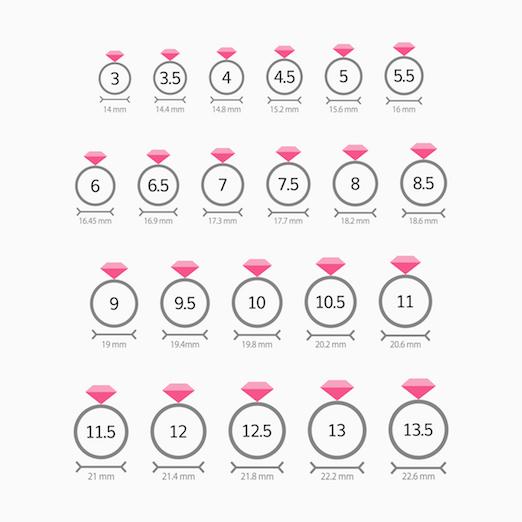
There are a few ways for us to do this.
Here is what you need:
- Your ring and the size chart to look up your internal diameter
OR
- A ring and ruler to measure the internal diameter
OR
- A stip of paper, ruler, and calculator for a bit of math
Here are the steps:
- Know your ring size
- If you know your ring size consult the size chart for the internal diameter of your ring
- Divide by 2 to get the radius
- Note this for use later
- Have a ring and measure the internal diameter in mm
- Measure from one inner edge to the other at the center of your ring.
- Hint. If you align the ruler's starting point with one inner edge and wiggle the other side of the ruler, the longest measurement will be your center
- Divide by 2 to get the radius
- Note this for use later
- Use a piece of paper to measure your finger and do a bit of math
- Wrap a small, thin strip of paper around the base of your finger.
- Mark the point where the ends meet with a pen or pencil.
- Measure the string or paper with a ruler (mm).
- This will give you the circumference of your finger. While you could form this into a circle and measure, it is more reliable to convert from circumference to diameter.
- Since circumference is equal to pi times diameter, we can determine our diameter by dividing our circumference by pi (or ~ 3.14)
- Divide by 2 to get the radius
- Here is an example: If my circumference is 60mm, and I divide by 3.14 I get ~19.1. Rounding down, is 19, so my ring size is a 9. Since I know my ring size to be a 9, I know that my math checks out even if it is only an approximation. Then I just divide by 2 for ~9.5 mm for the radius.
- Note this for use later
- Optional lessons: Instead of just walking through the math steps, explain the relationships.
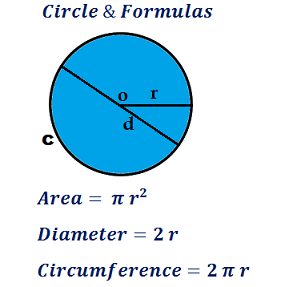
- As illustrated in the image, there is a relationship between circumference (distance around a circle), diameter (distance across a circle) and the radius (distance from the center of a circle to the outside)
- Circumference= 2 x pi x radius OR circumference=diameter x radius
- Diameter= circumference / pi OR diameter= 2 x radius
- Radius = diameter / 2
Optional steps:
- Determine the depth of your ring by measuring an existing ring.
- For my example, I used 1.5 mm since I wanted it to be fairly sturdy (2.5 for stackable napkin rings)
- Remember to add your heights together and think about how many would be comfortable at one time.
Make the Ring Bases
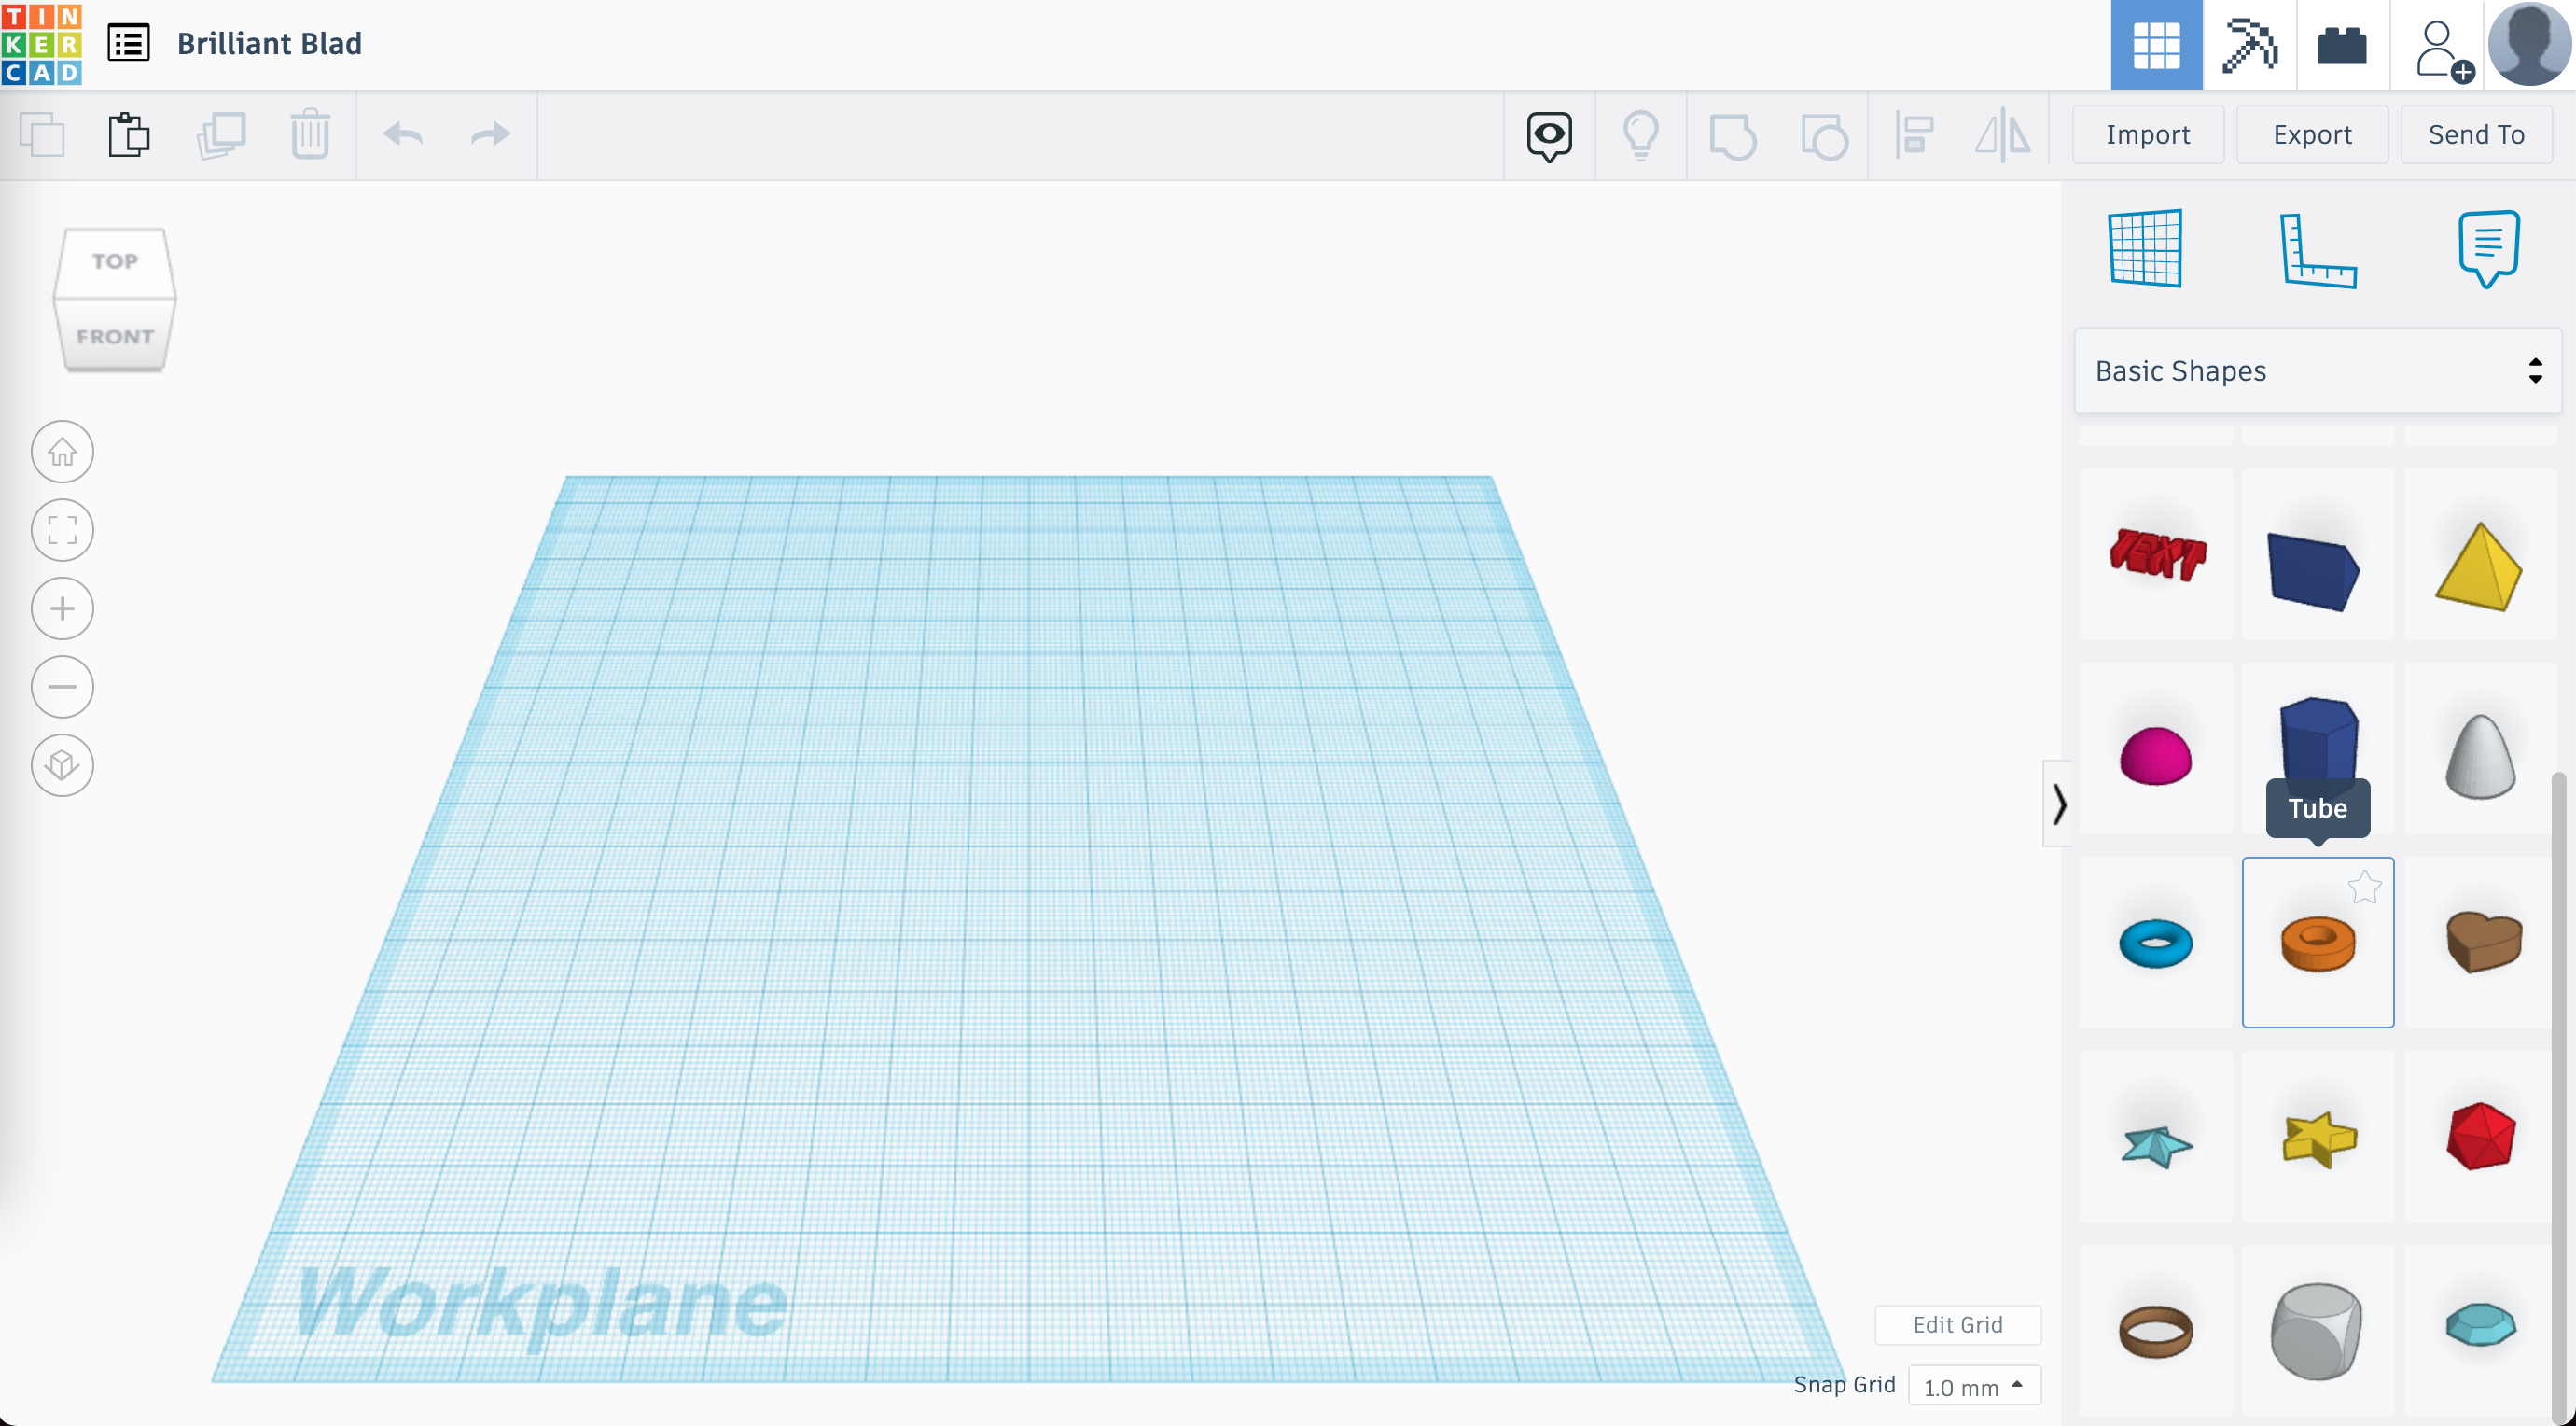
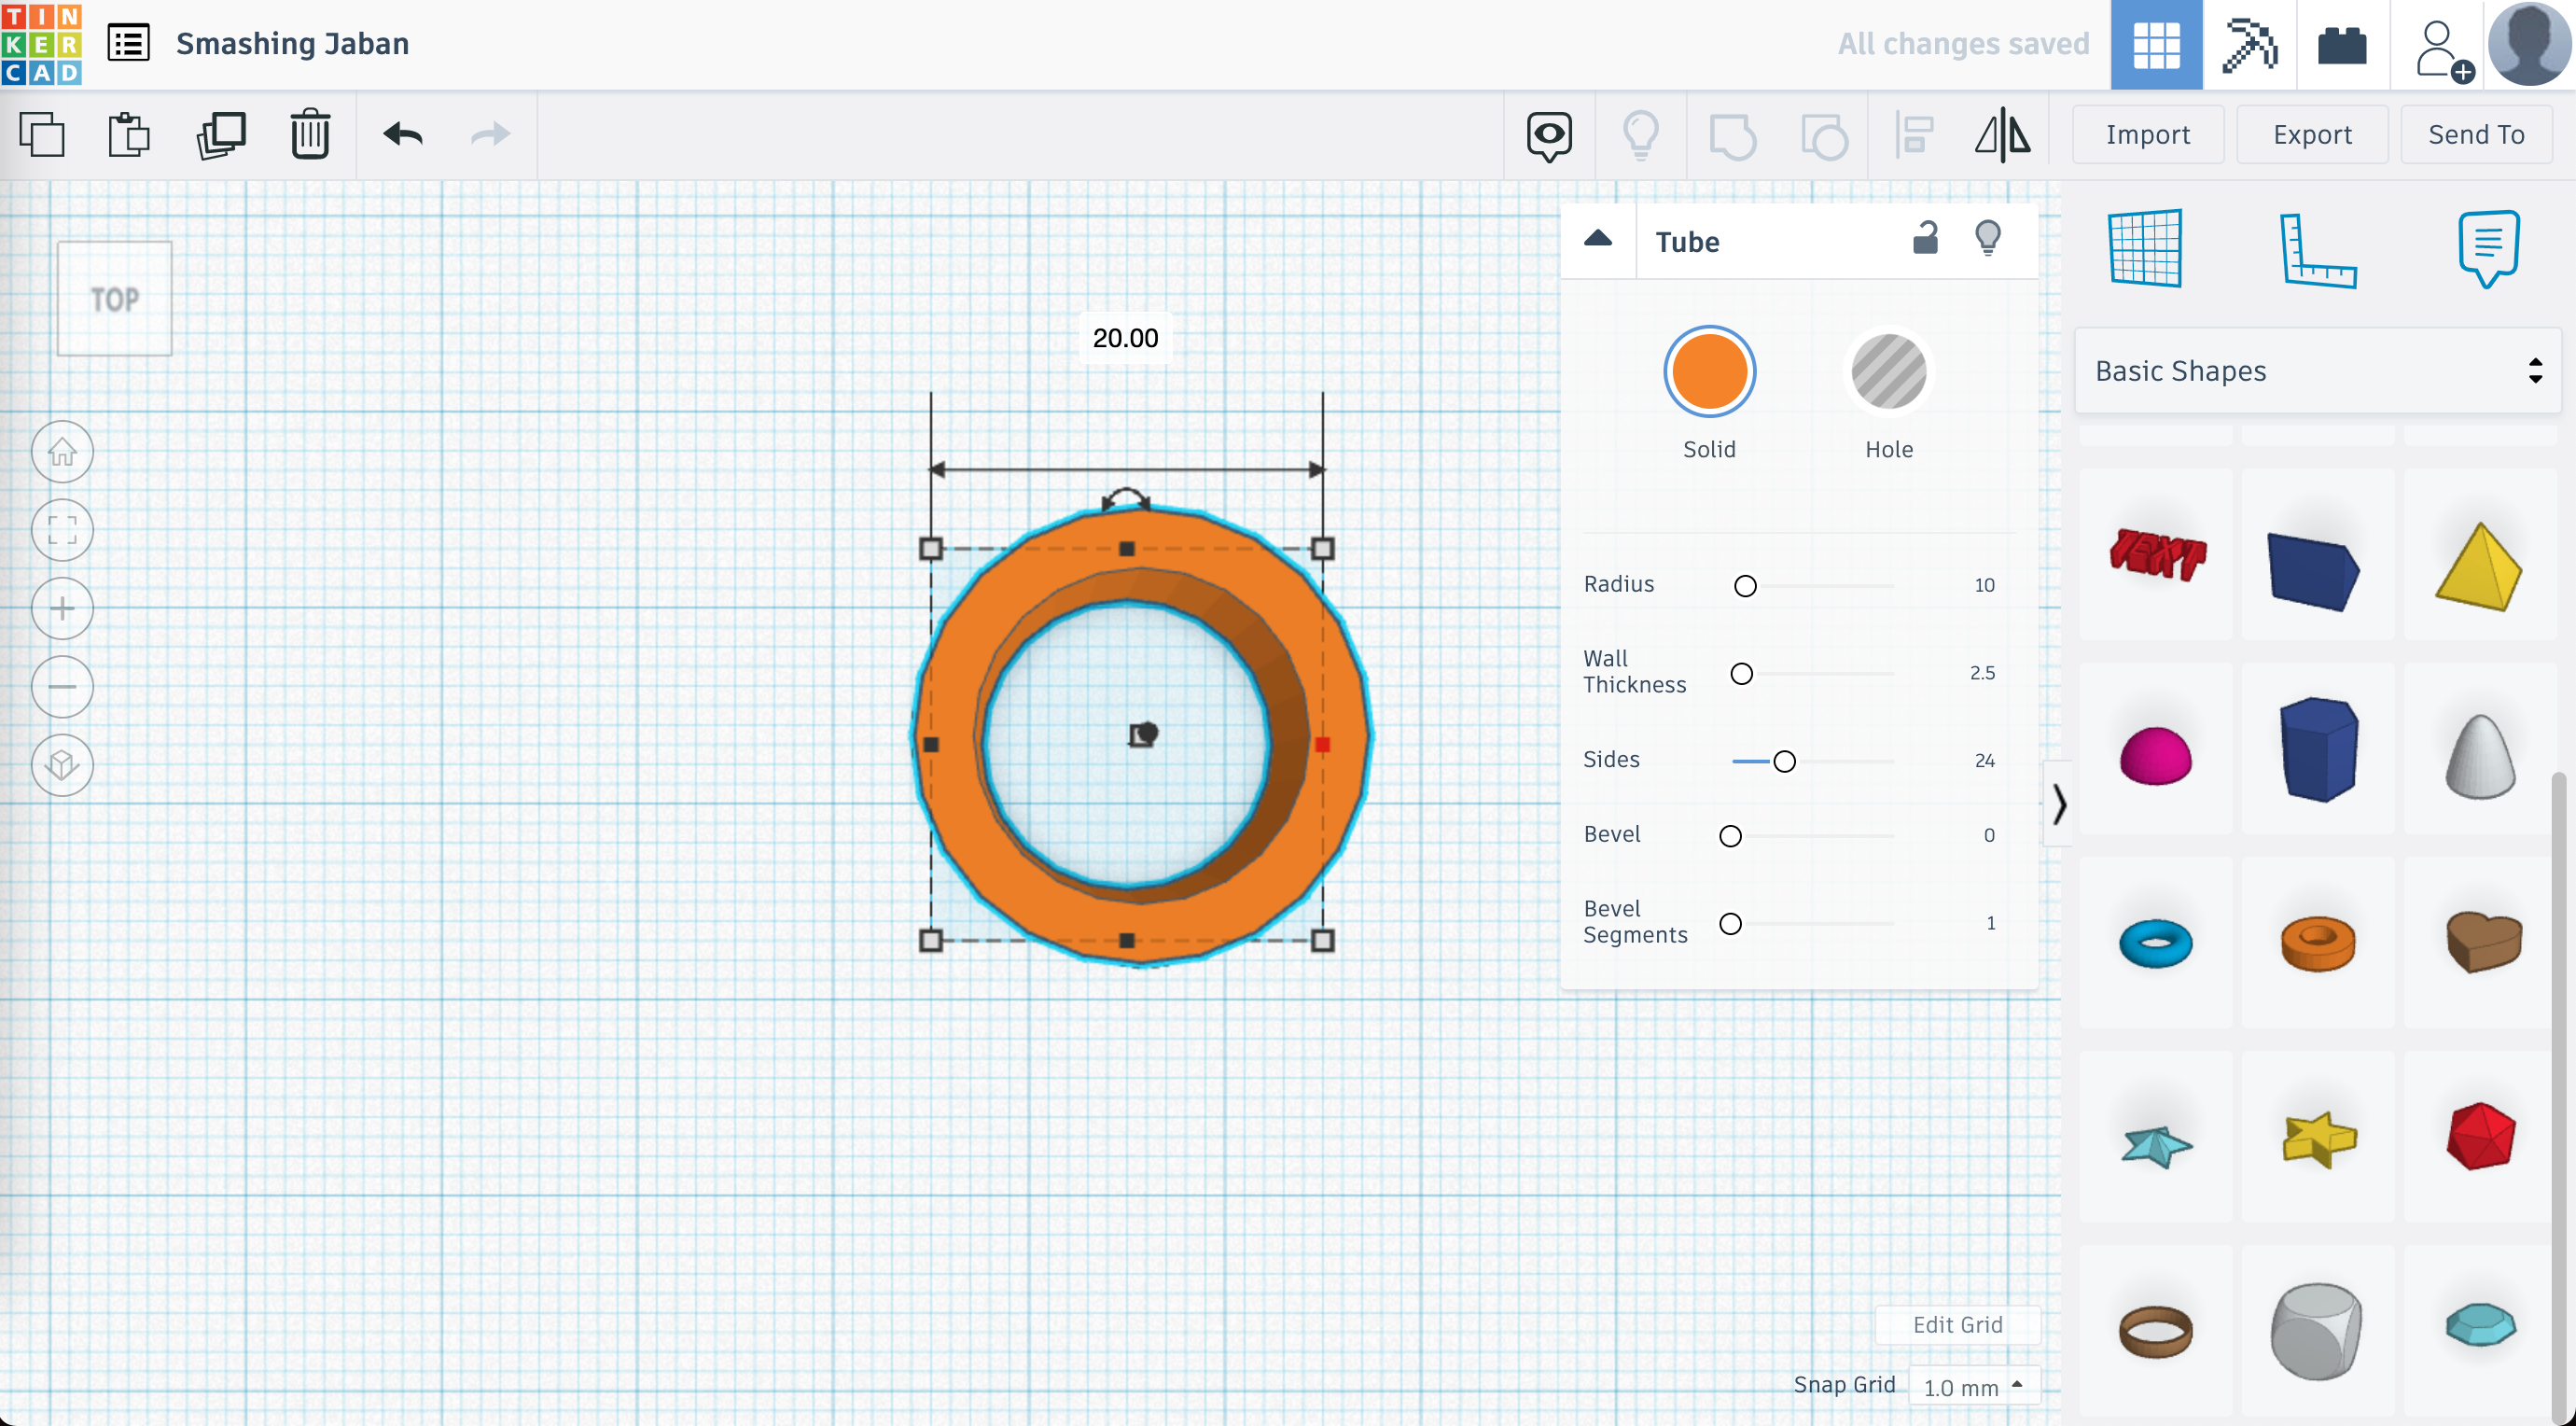
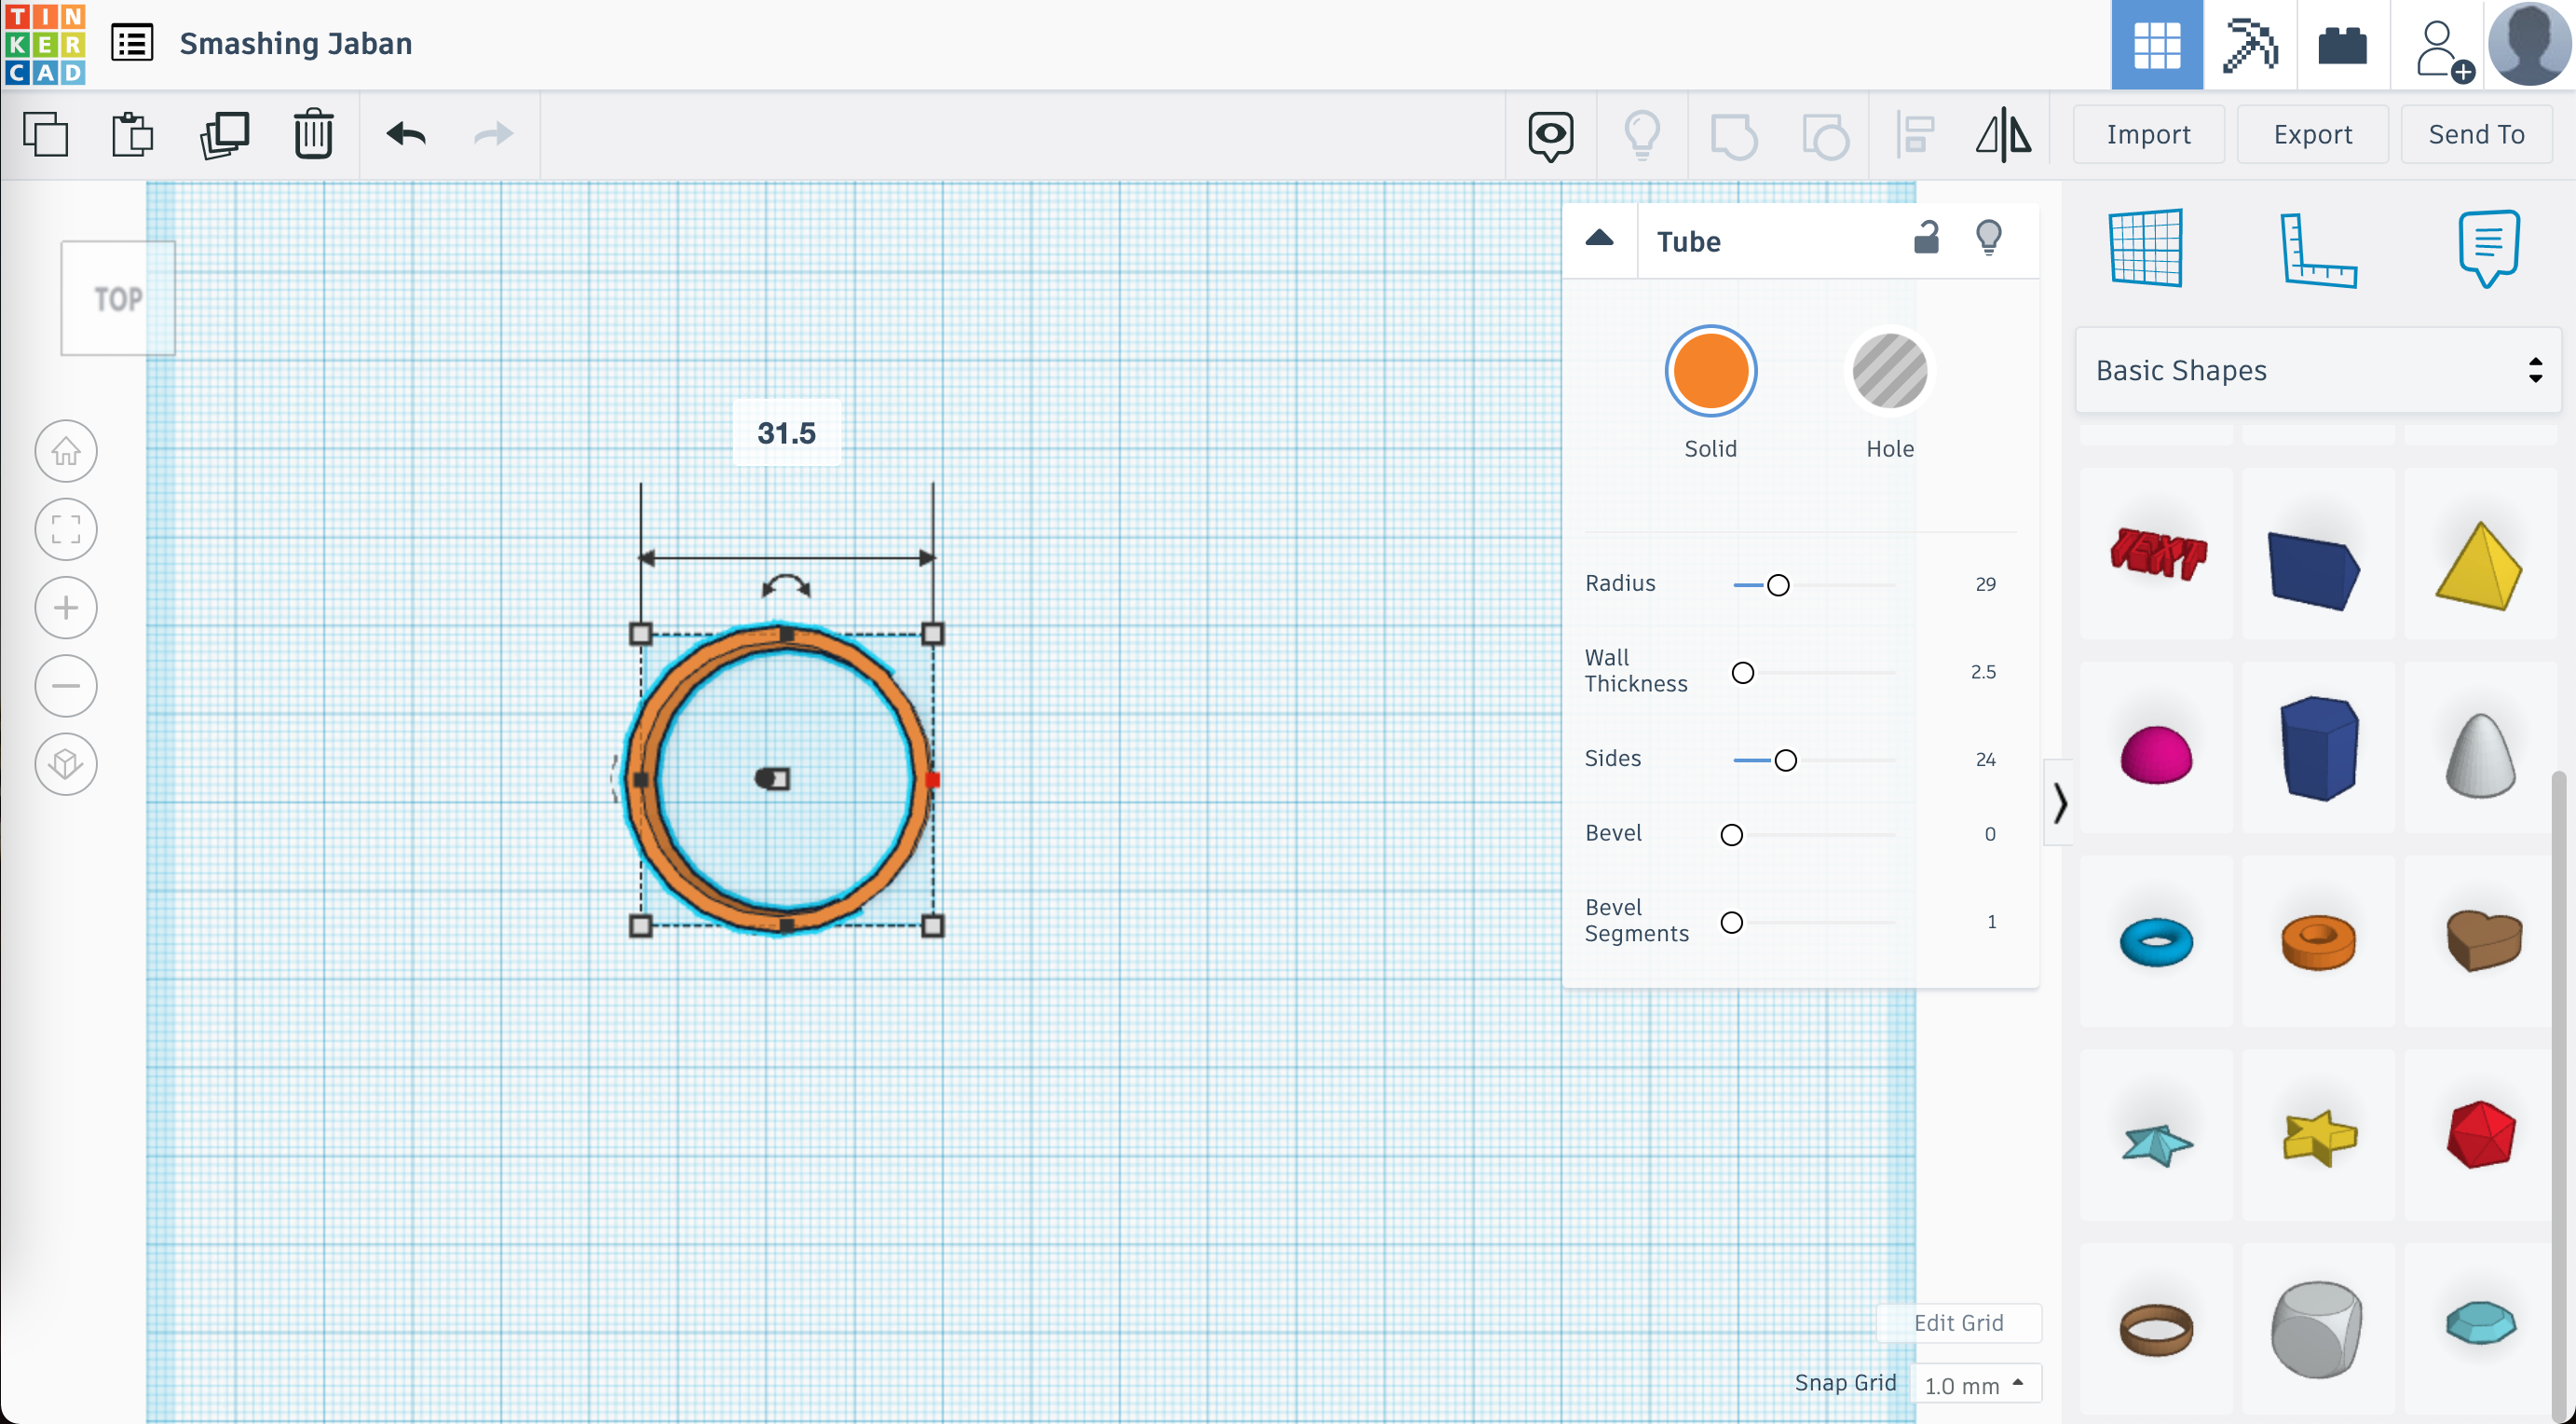
These steps are going to use an internet browser on your computer.
- Open Tinkercad
- Sign in if you have an account, or create an account if you do not already have one. We just use the sign in with Google feature to sign in and create accounts using our school accounts.
- Click on Create New Design
- On the right side of the screen, under basic shapes, scroll down until you find the "tube". This will form our basic ring shape.
- Click on your shape, and let's do some dimension setting and math. And some nuance noticing...
- Radius: this is half your diameter, and we noted it in the previous step
- Mine was 9.5
- When I set my radius to value 9.5, I was able to see that my ring was only going to be around a centimeter in diameter based on the grid, so it can be determined that going by the "radius" setting we actually want to use our DIAMETER!
- In the box for your shape size, enter your ring size diameter into the radius box.
- Wall thickness: 1.5 (I went 2.5 for some thin napkin rings, I would increase to 3-3.5 for sturdy ones)
Copy Your Ring Bases

My motto is always "Work smart, not hard!"
- Click on your ring base, then click on the two overlapping squares in the top left to copy (or do a Command/Control + C depending on your device).
- Click on the clipboard and square icon in the top left (or do a Command/Control + V) to paste. Make sure that your items do not overlap.
- Continue until you have enough unique ring bases.
- My design is going to be a scene of two identical houses, a tree and a snowman, therefore I need three unique bases.
Determine the Shapes Needed for Your Individual Rings
This step is great to get young minds thinking about the basic shapes of more complex objects. Naturally, the objects I selected were chosen because of the shapes they included: circles, rectangles/ tubes squares and triangles. The easy classroom discussion is what shapes can you use to make the following complex shapes:
- A house
- A triangle roof
- A square house
- A tree
- A tube or rectangle trunk depending on what shapes you are learning
- Overlapping circles for the leaves (or in my case, the clover shape pre-selected worked wonderfully)
- A snowman
- Three overlapping circles
- For students with good fine motor skill and a lot of patience, you can also sink some tiny circles into the different snowman parts to illustrate the face and buttons or even add arms & hands. This is something I did not do because I was going for simple and sturdy objects.
Let's Make the House
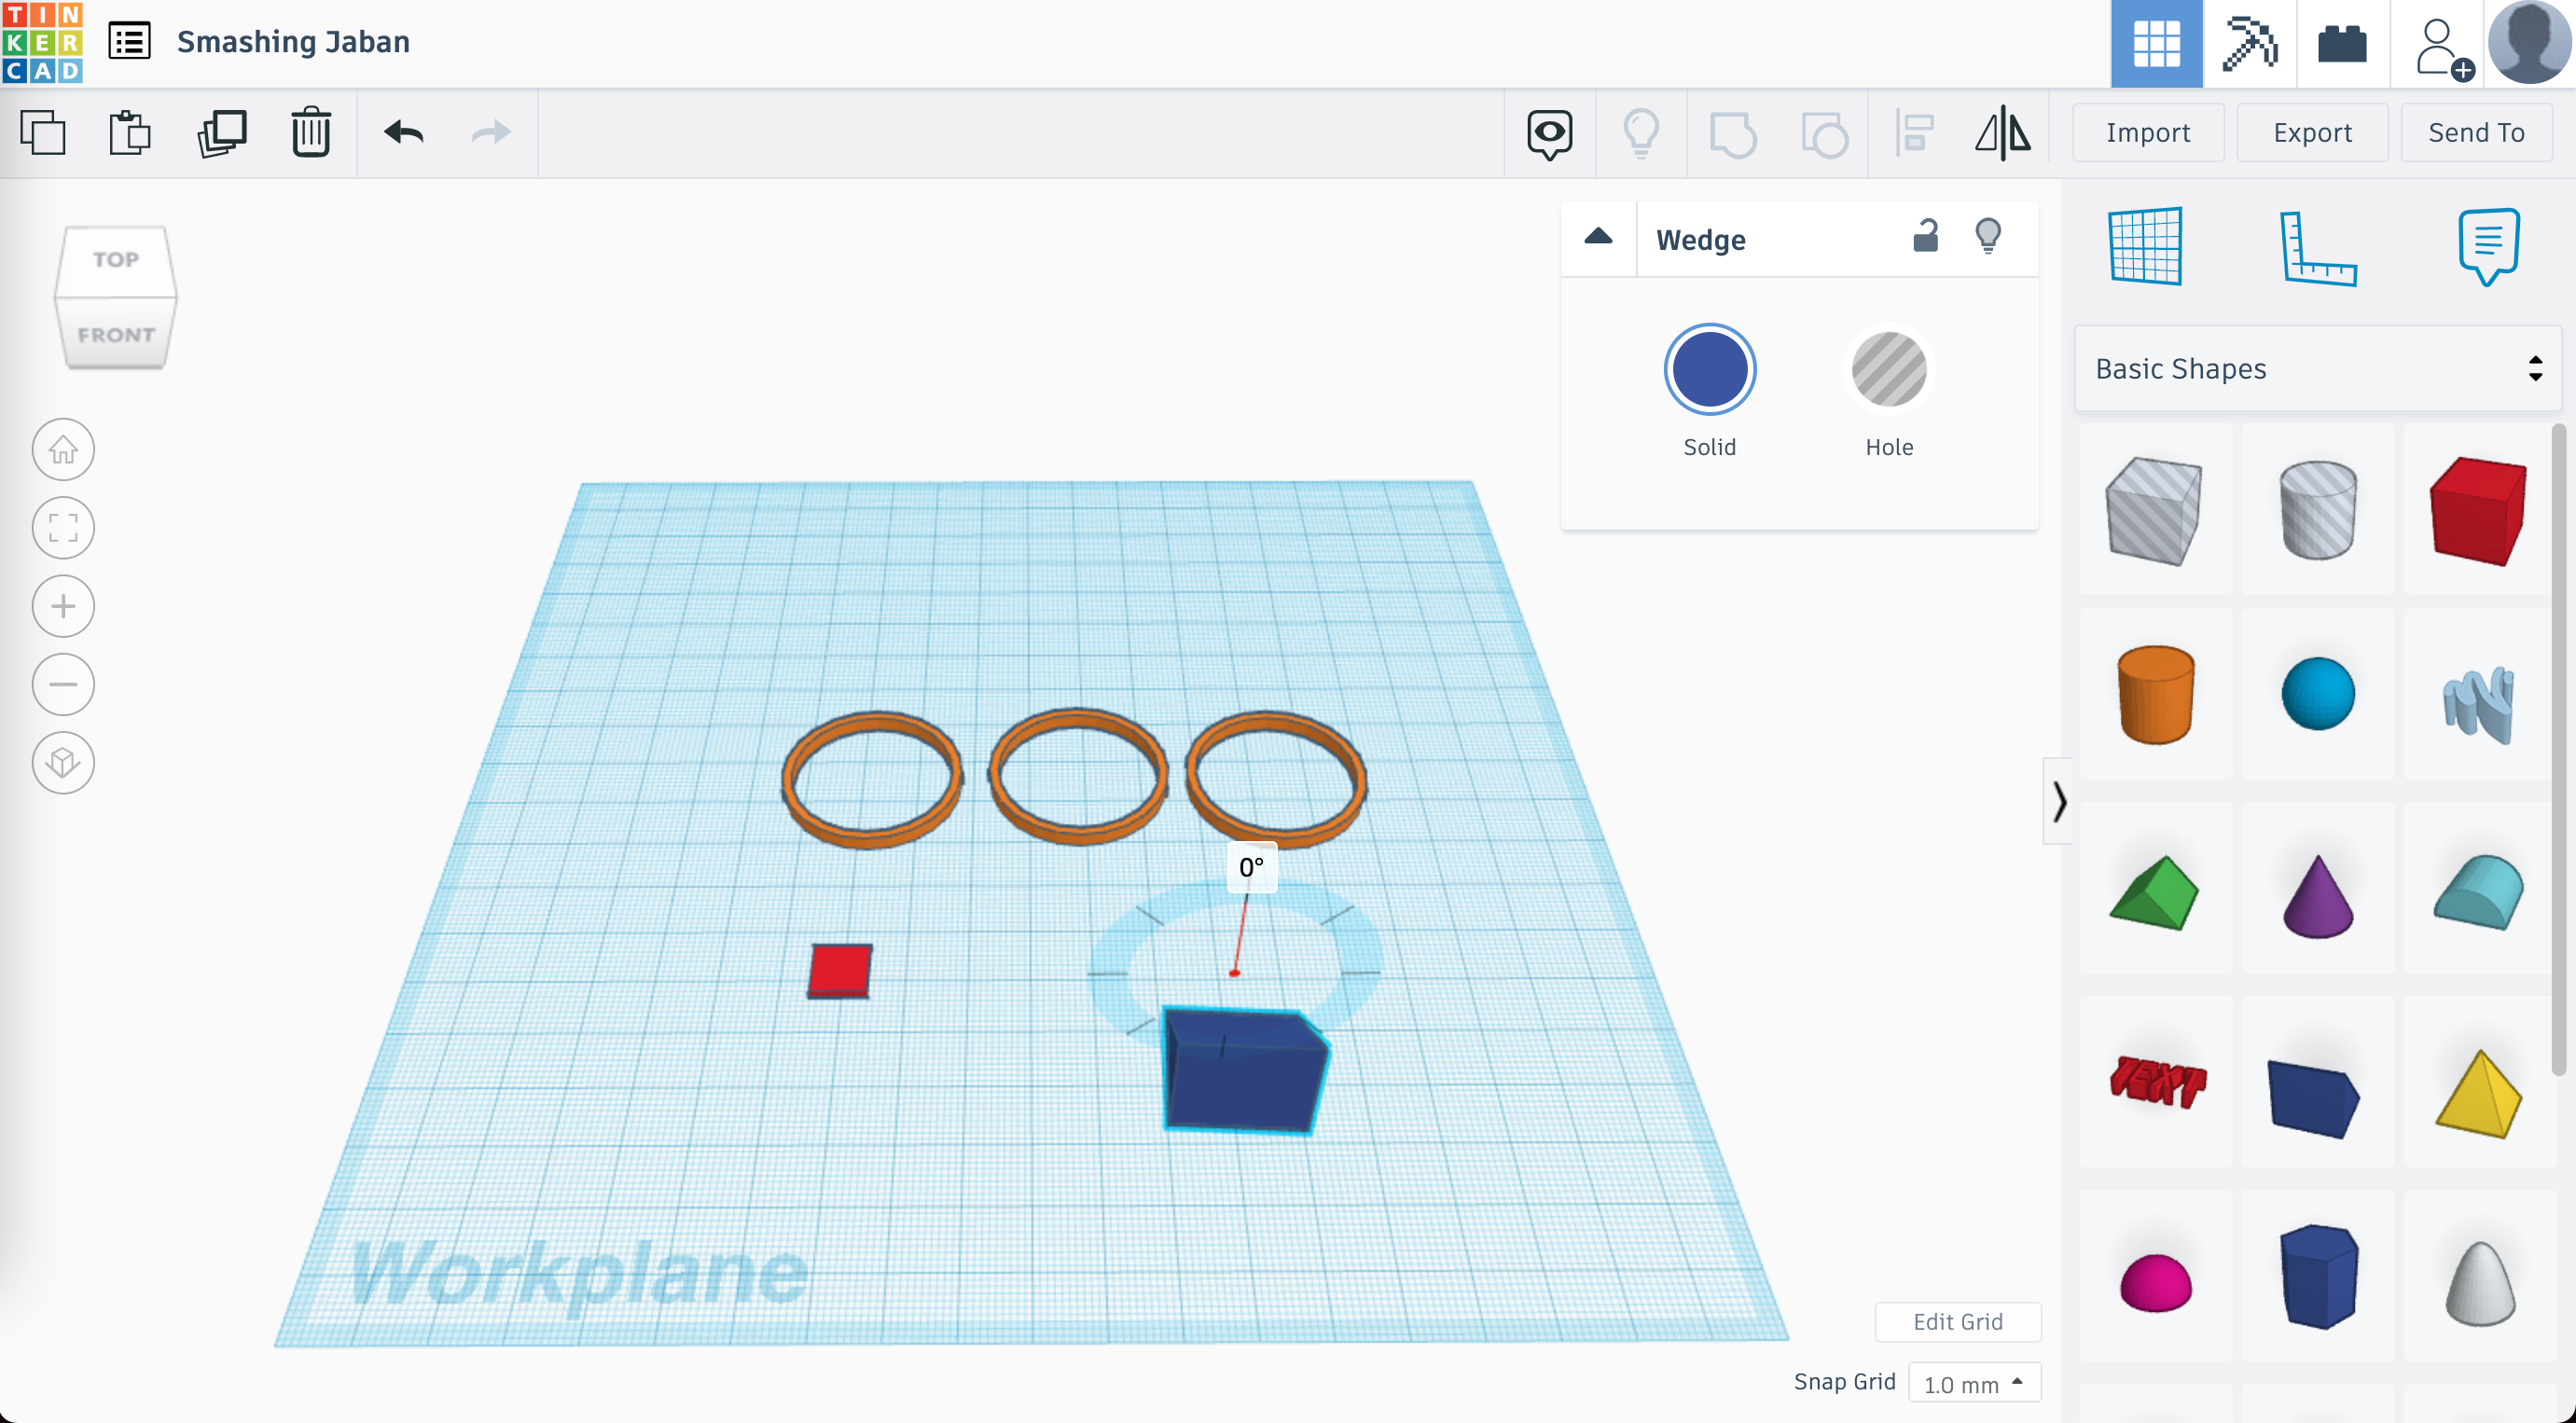
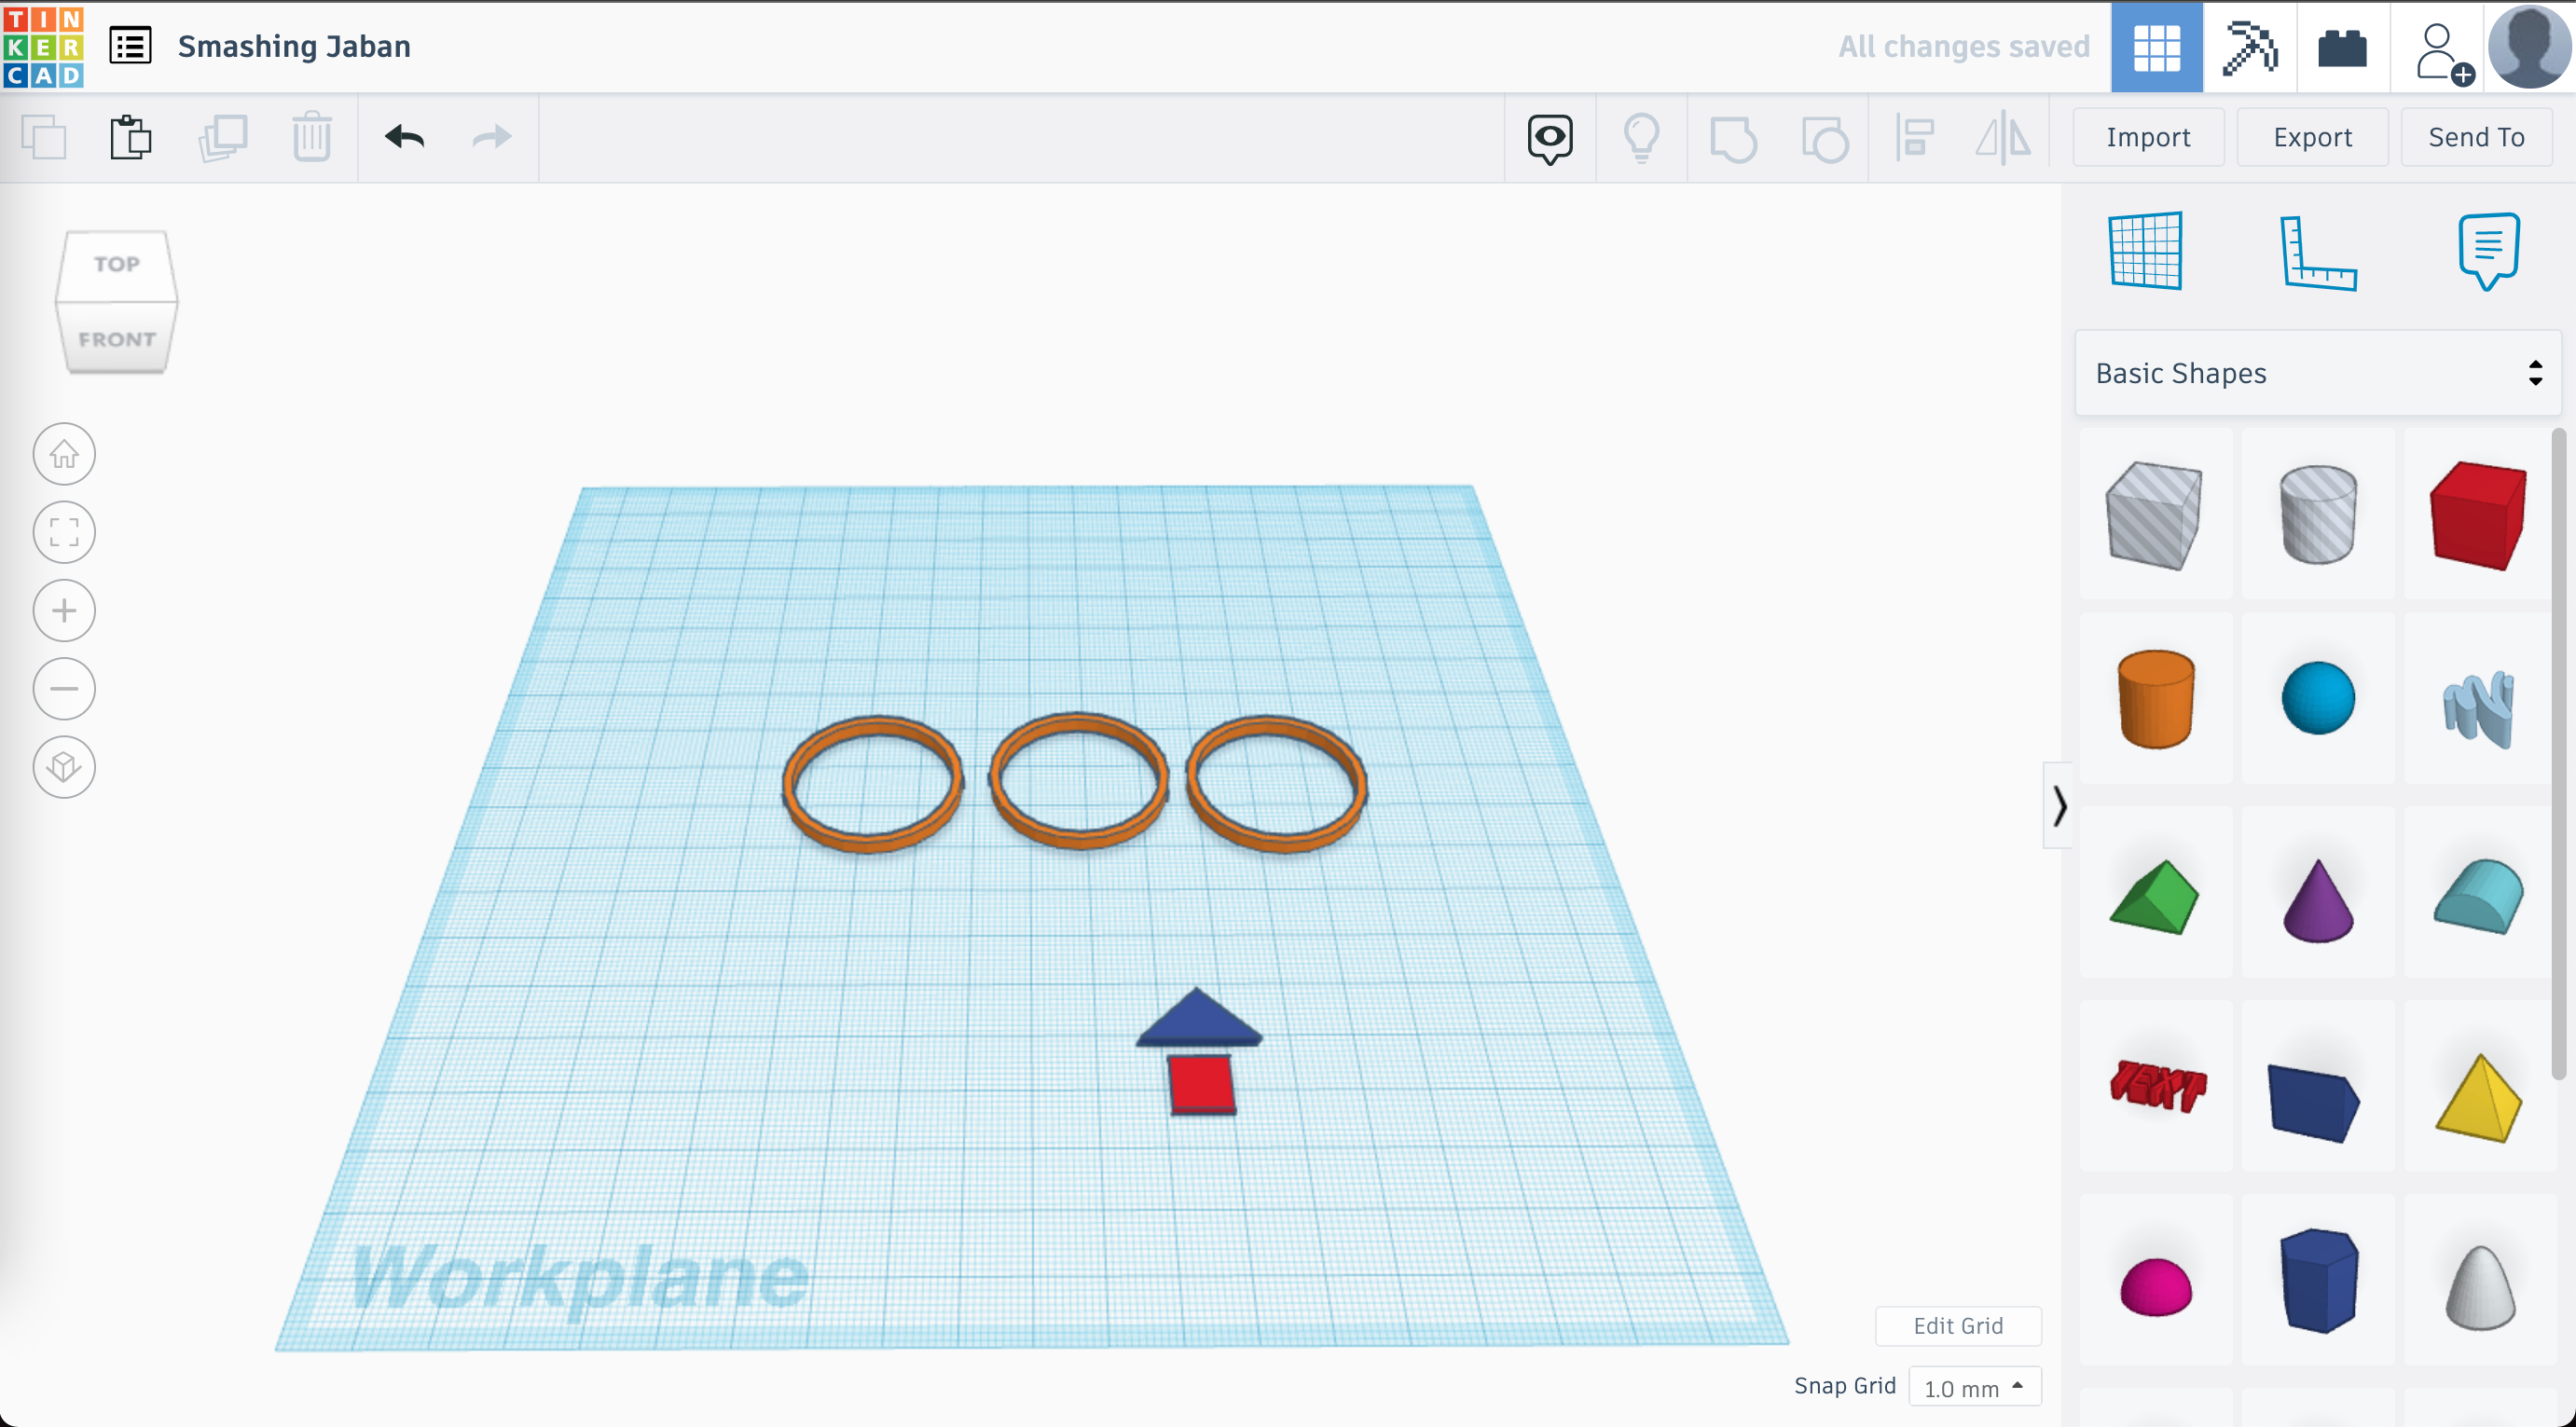
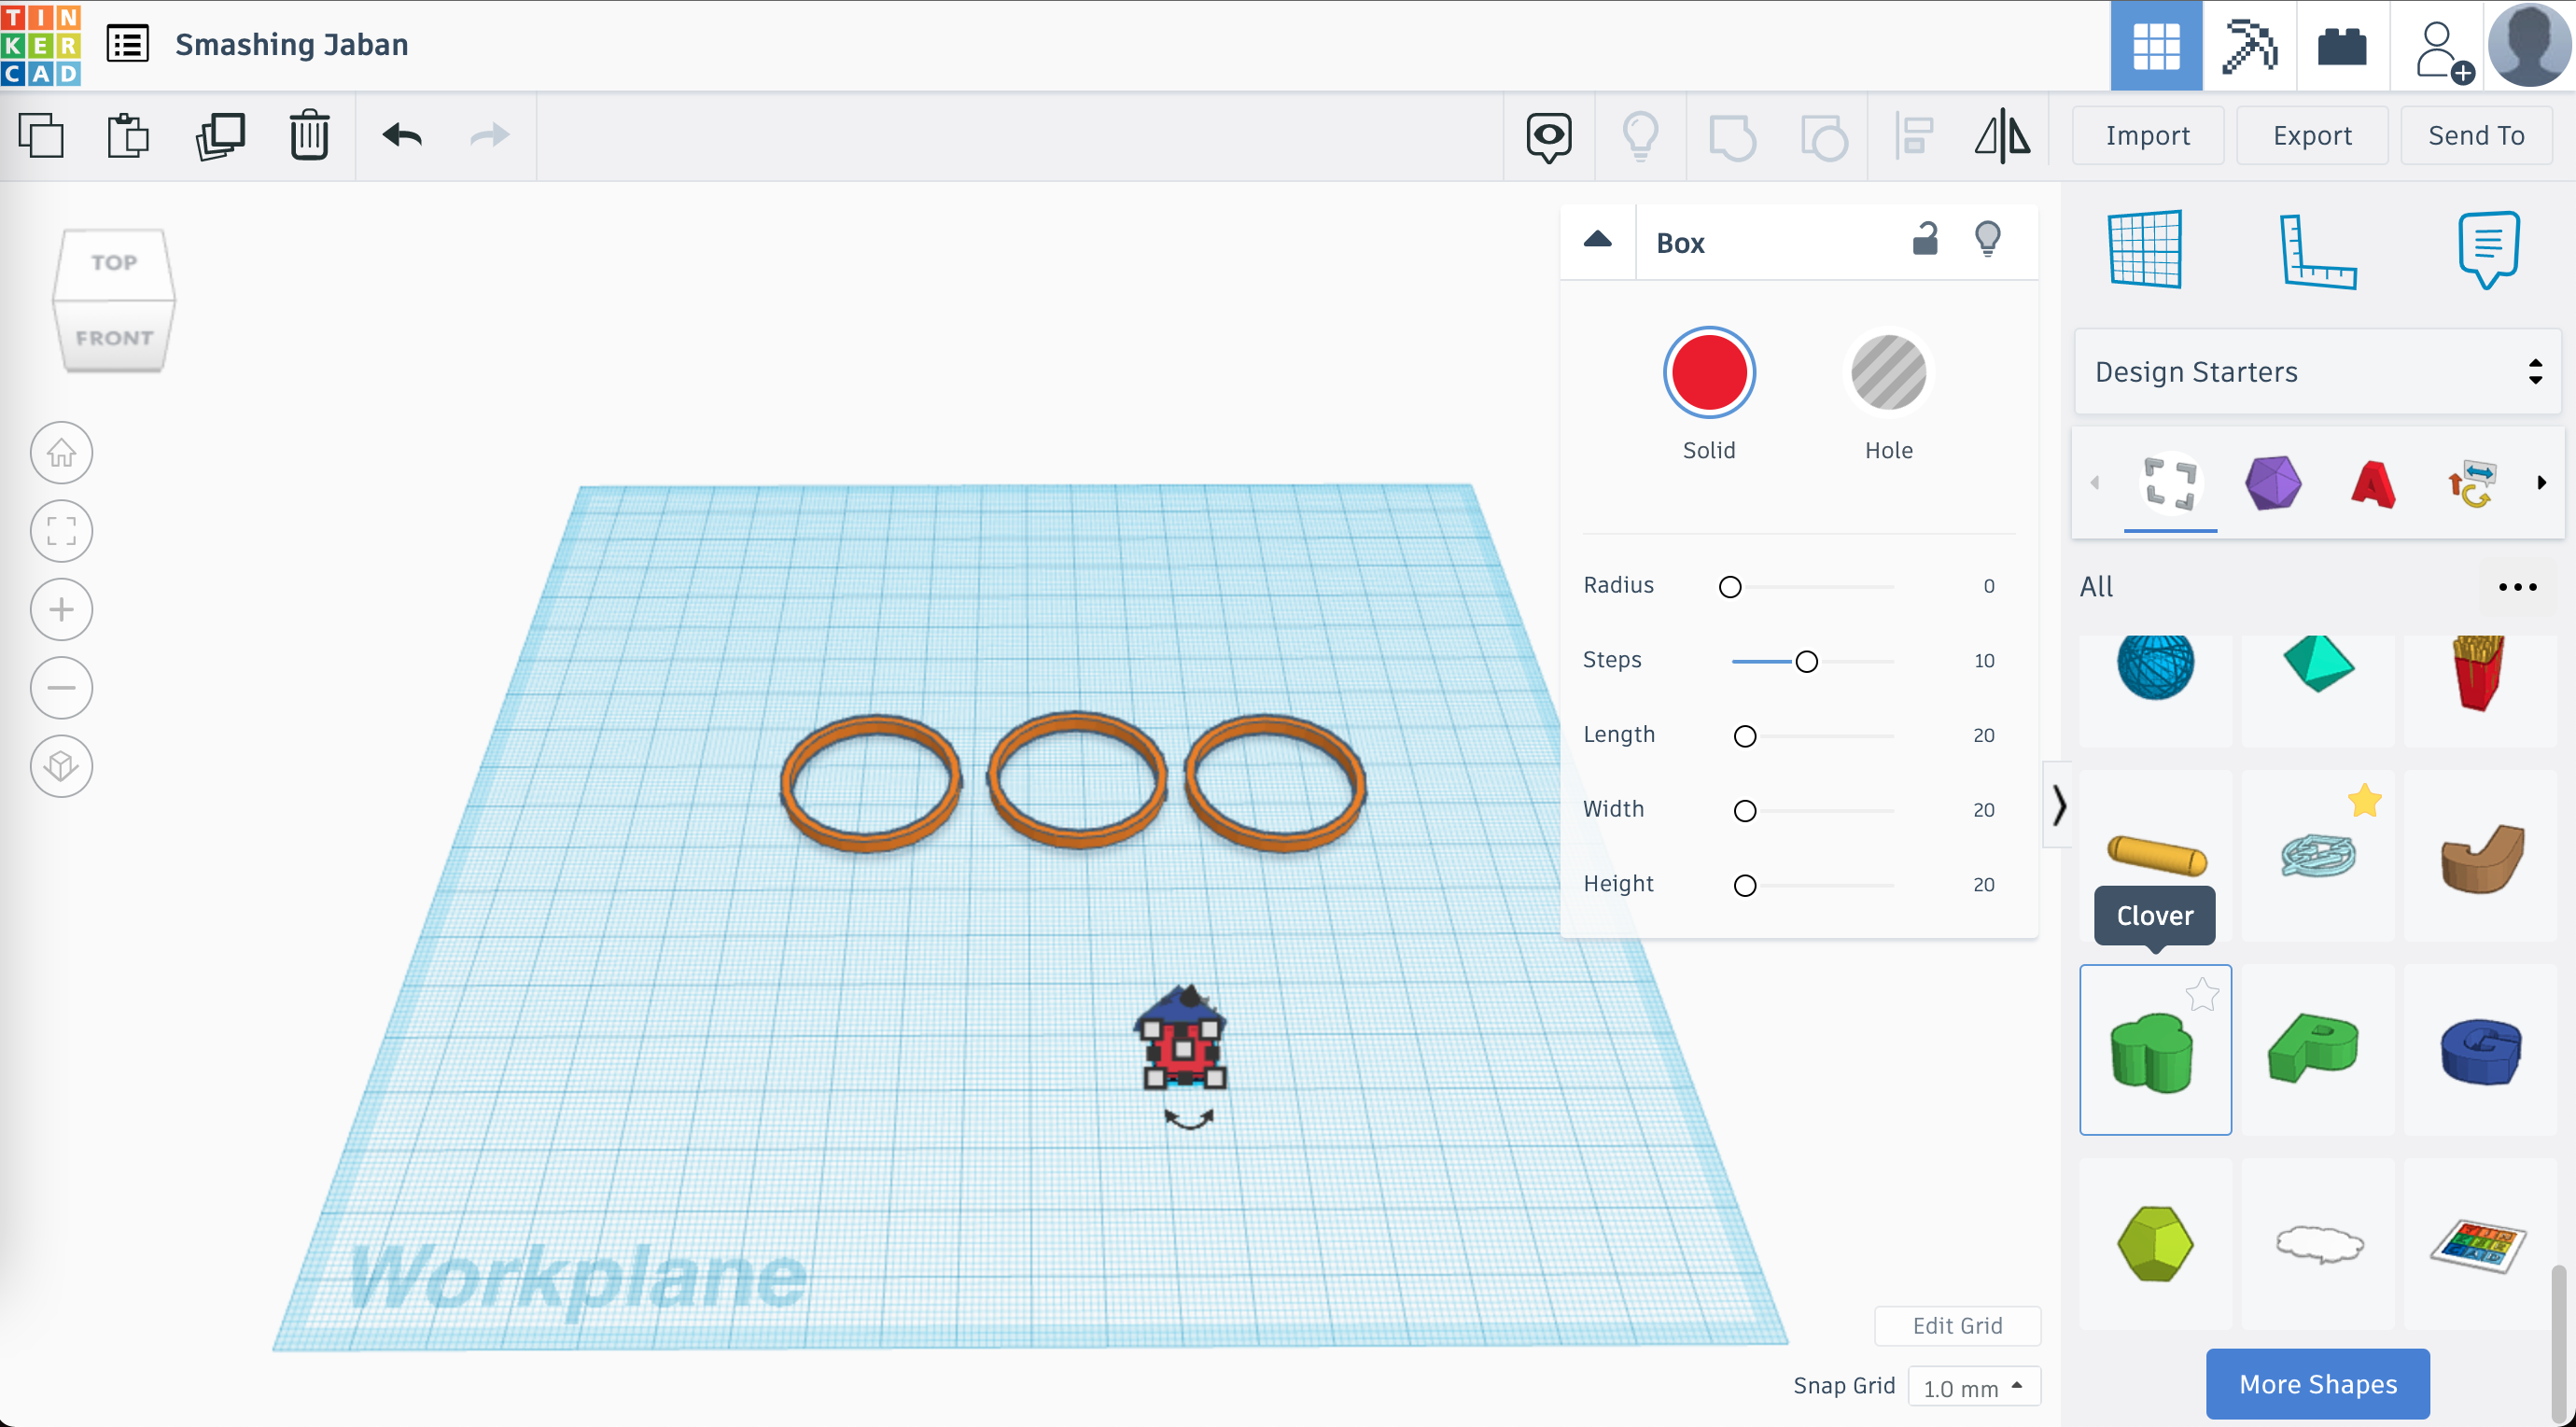
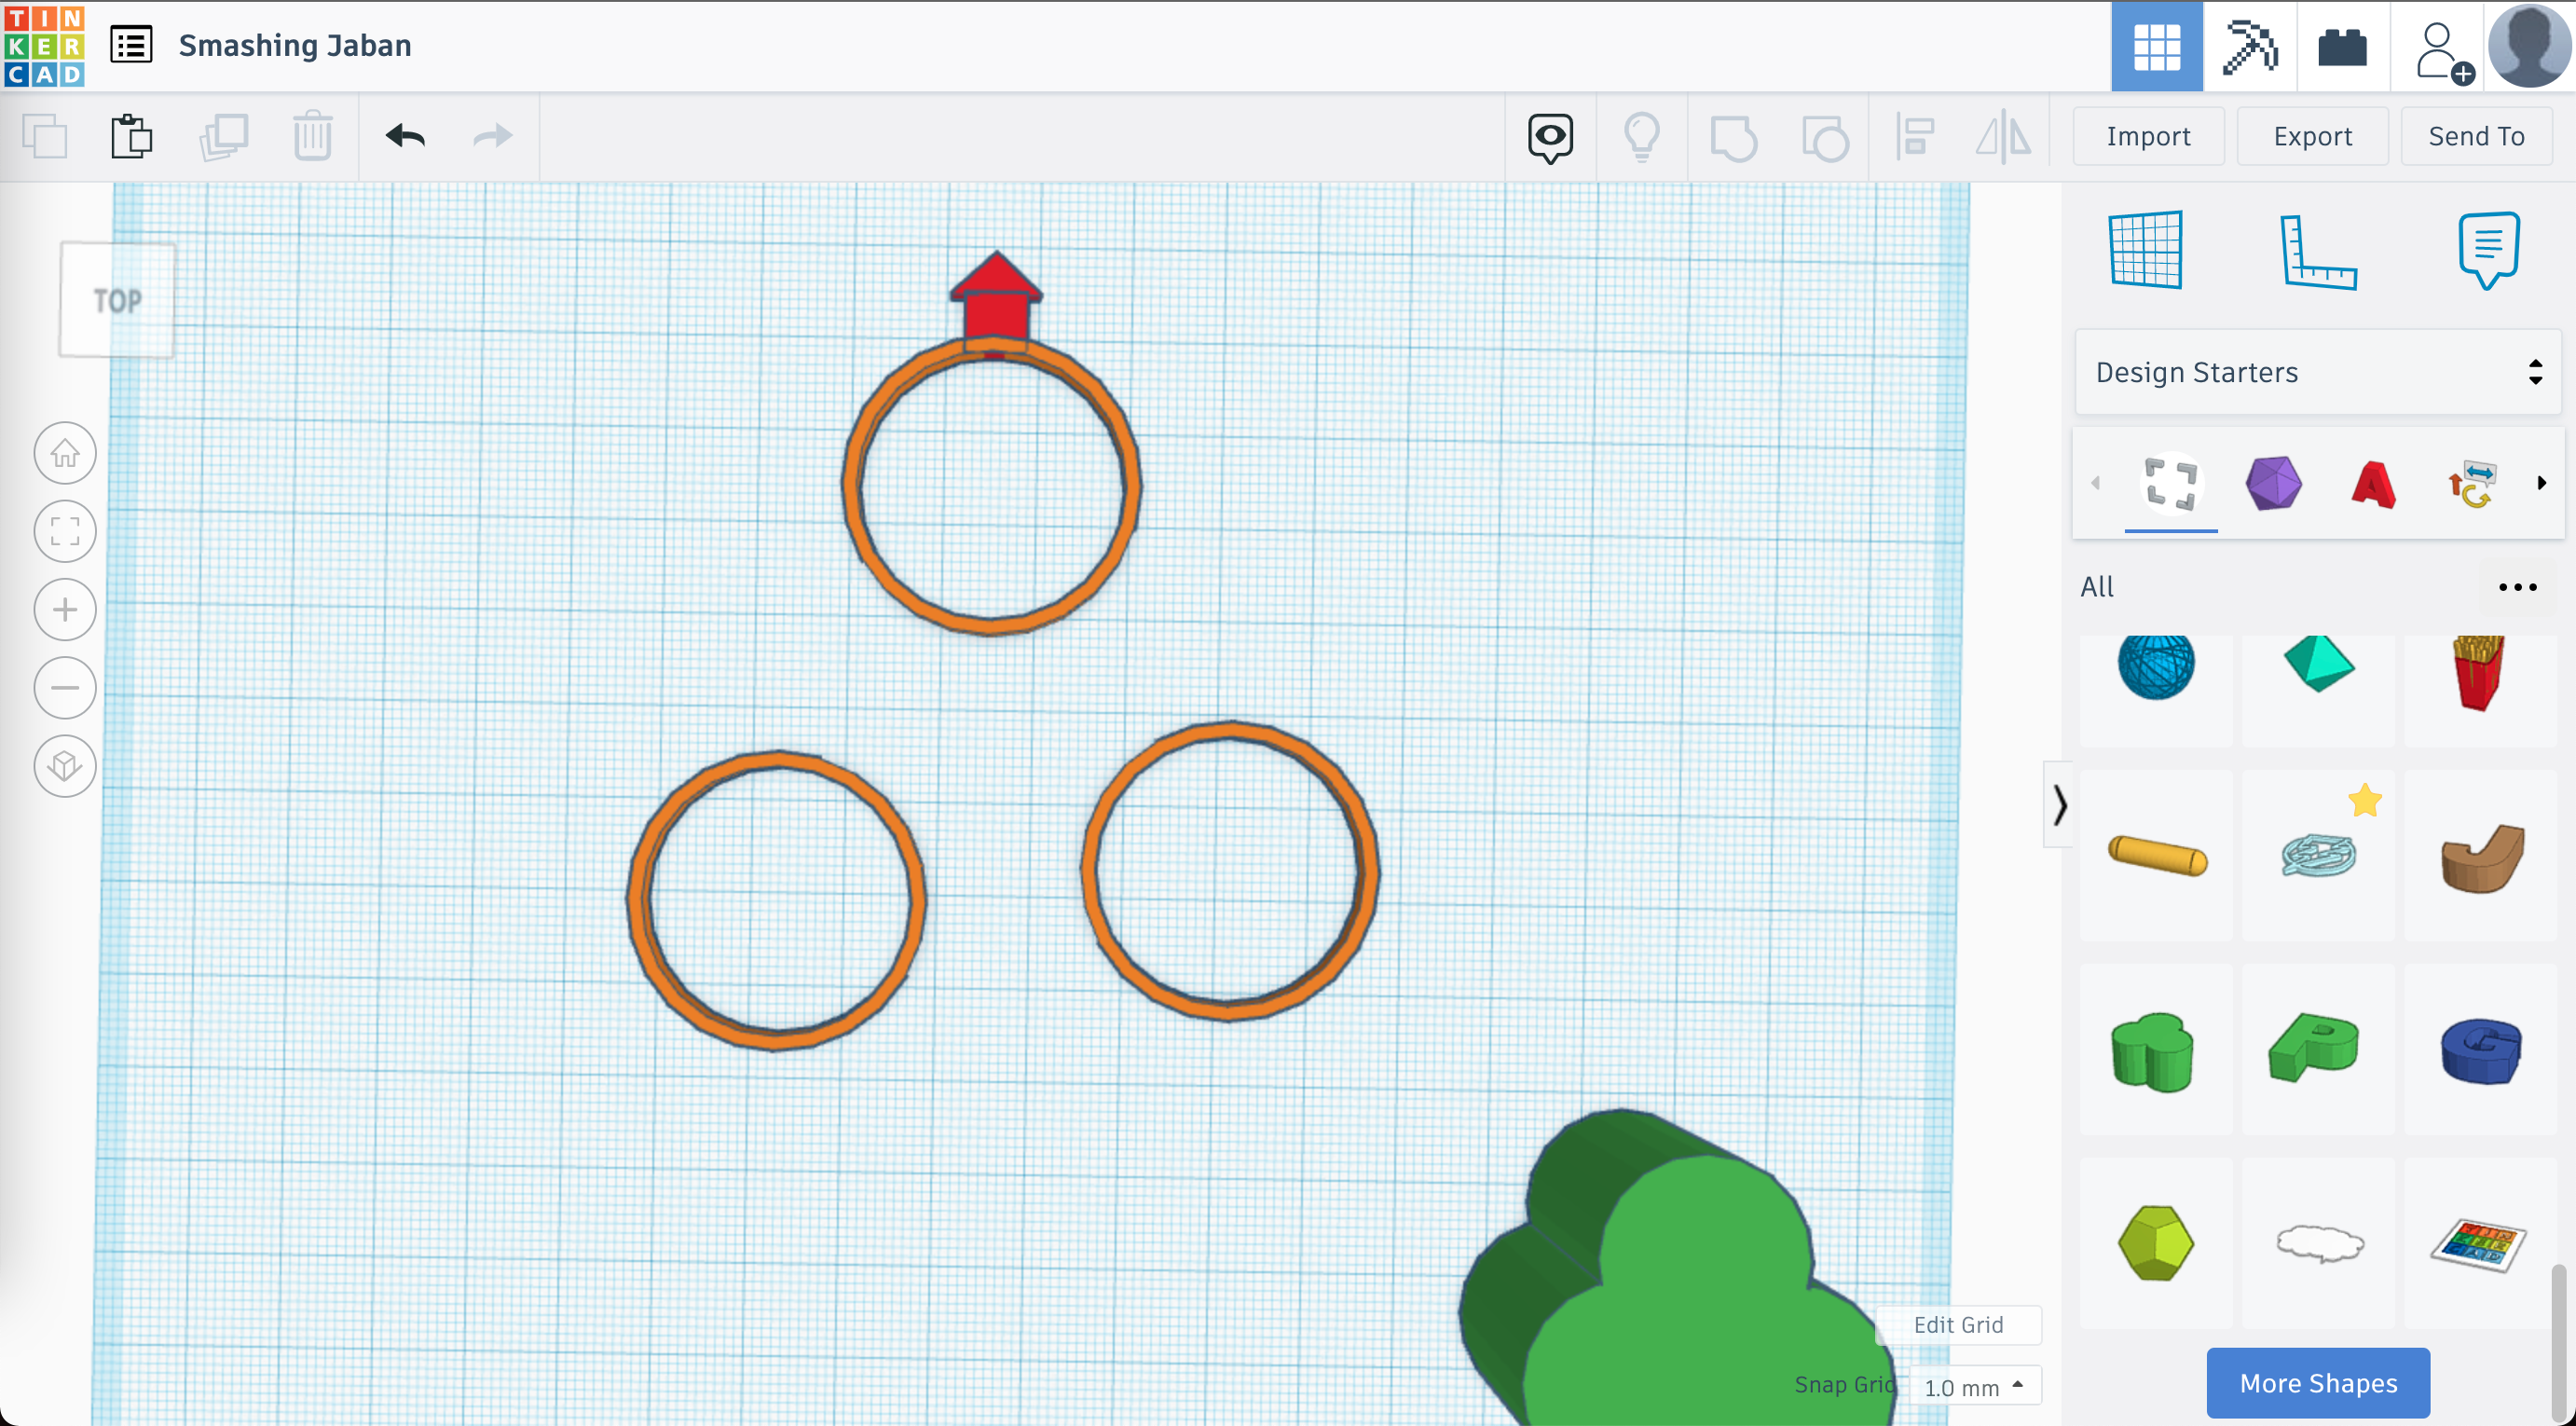
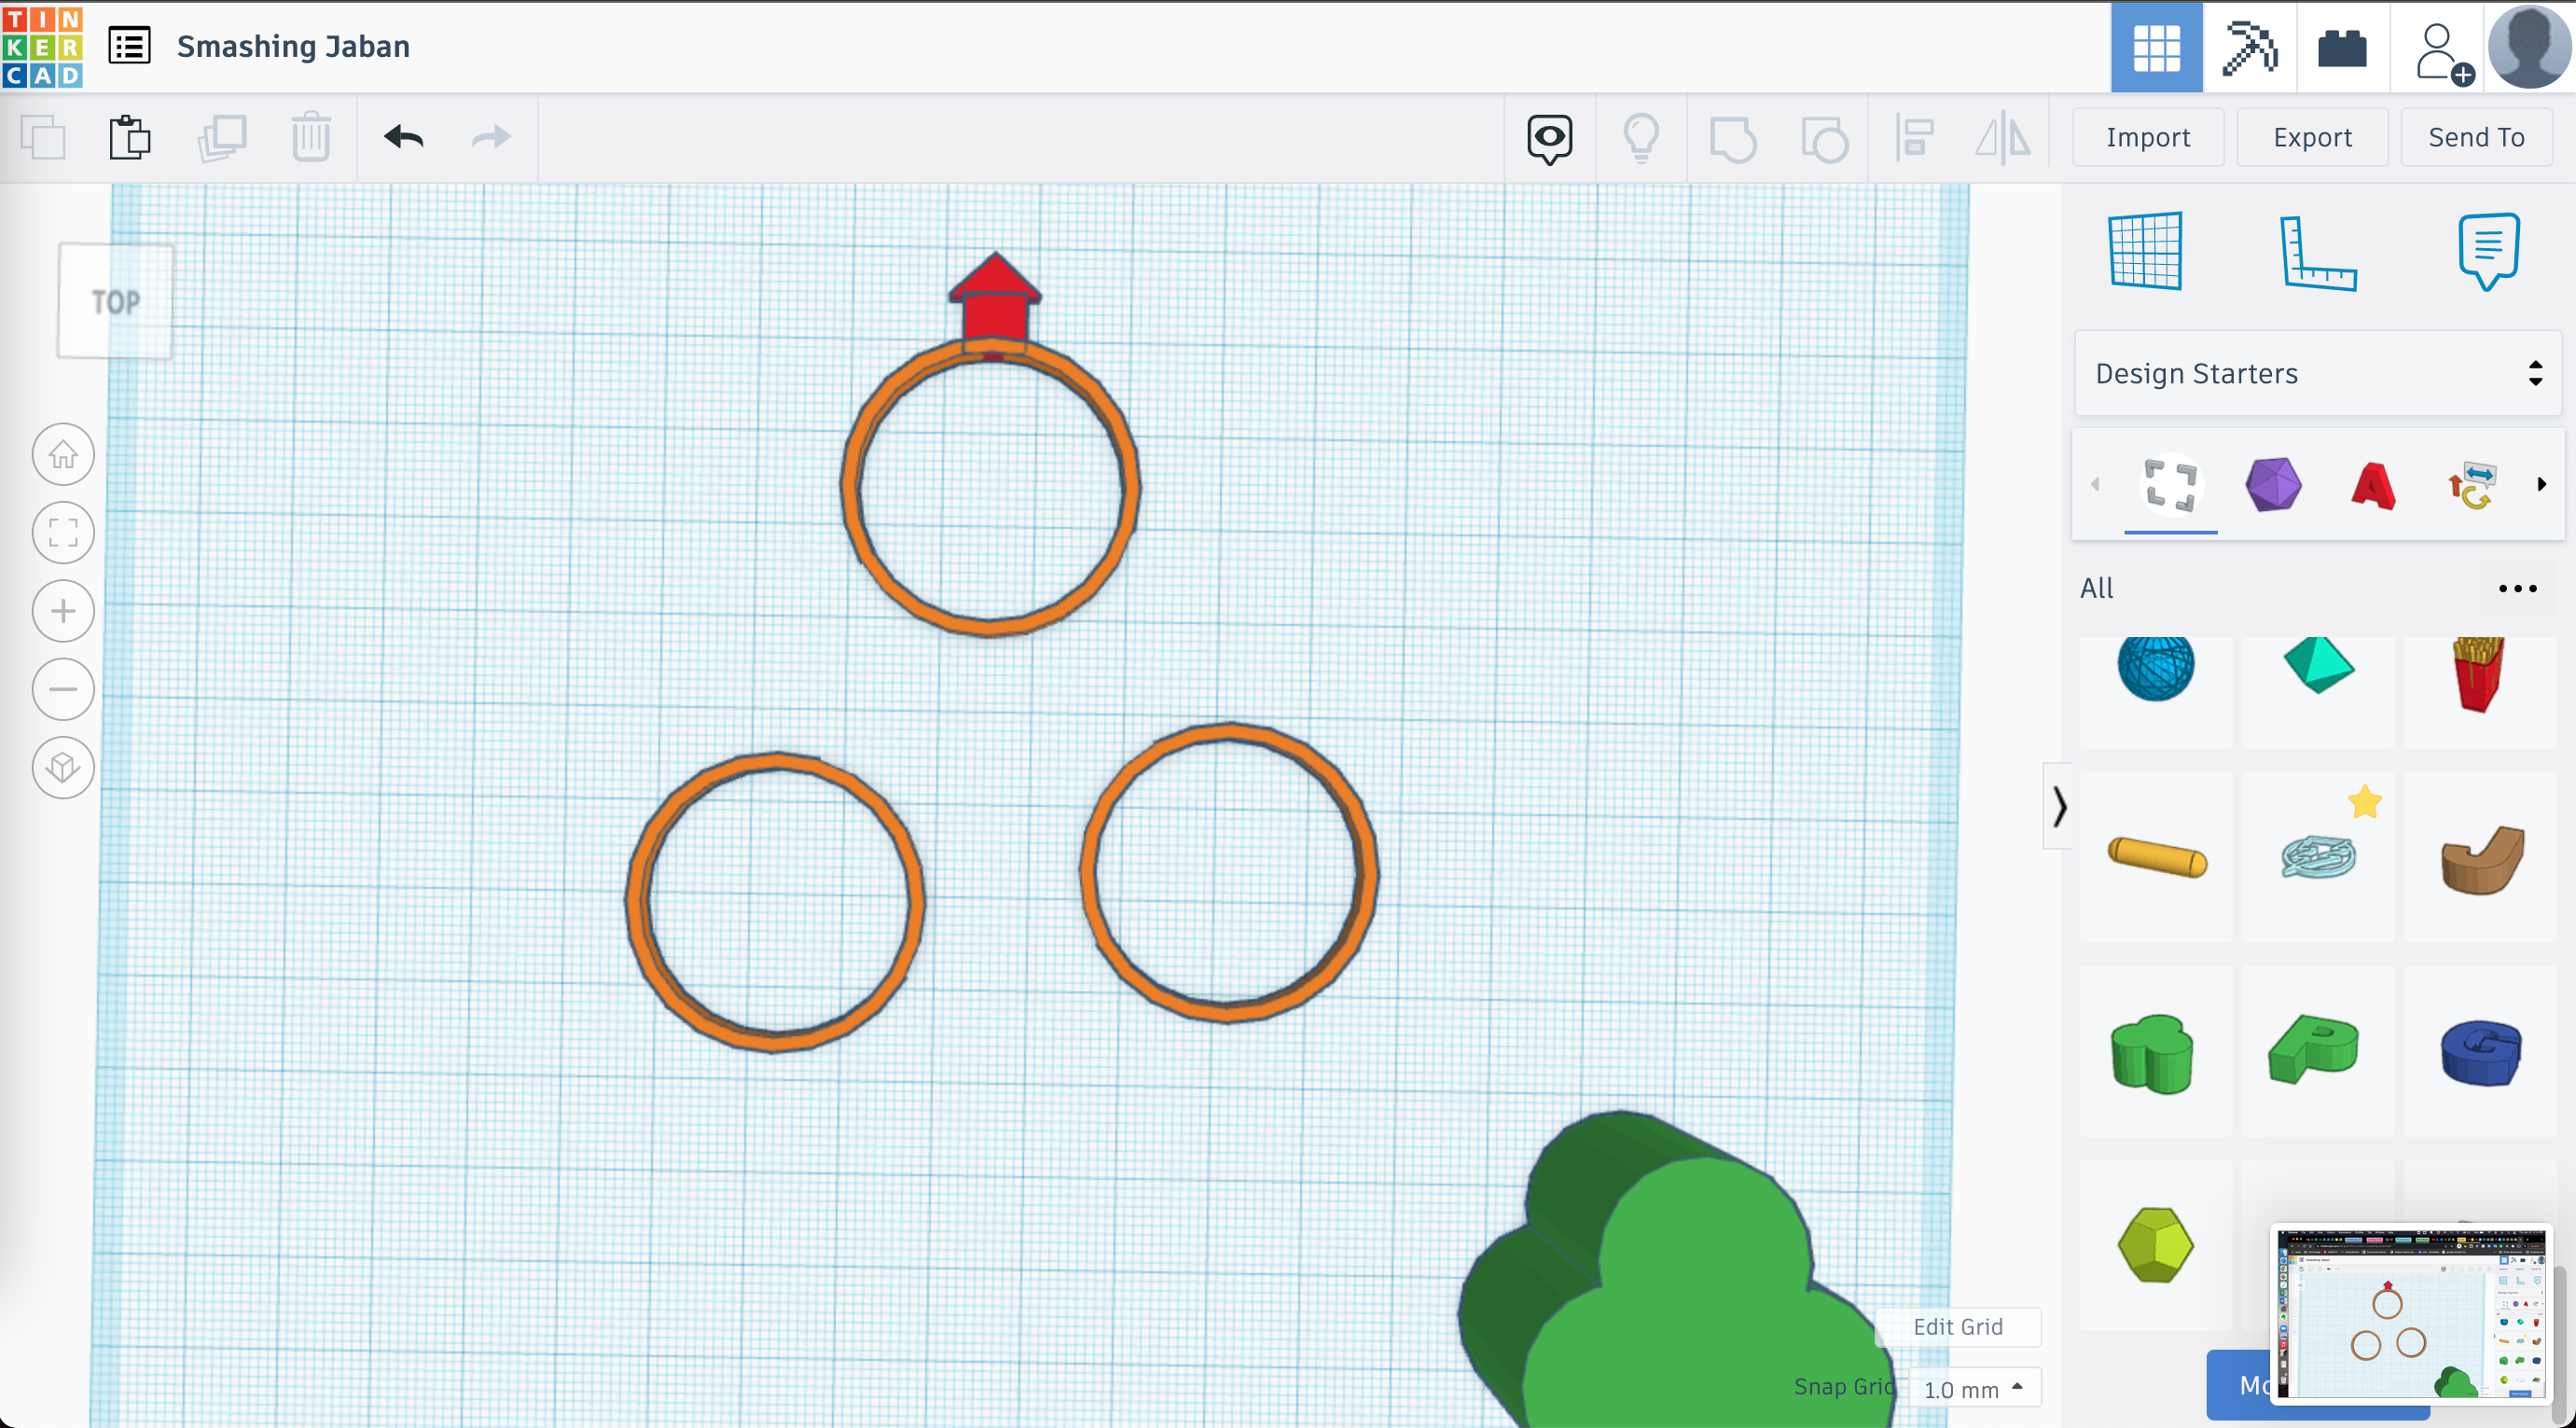
- Using the basic shapes selector, drag over a square and a wedge.
- Resize both down to a size you like for the house - totally not an exact science!
- For a large object like napkin rings, I would go 20mm, for something small like rings, 10mm or less for the base.
- Use the rotation tool to align the wedge like it was the roof, then bring the two objects together.
- Click on the grid near your objects, hold and then drag around the house and roof to select your house. Click on the circle/square overlapped (group) icon toward the top right to join the objects together. Do not worry if they do not flatten (turn one color with no individuality of shape)... it's the wedge's fault and a non-issue after(you can also use the "squiggle" shape to free-hand draw your roof).
Let's Make the Tree
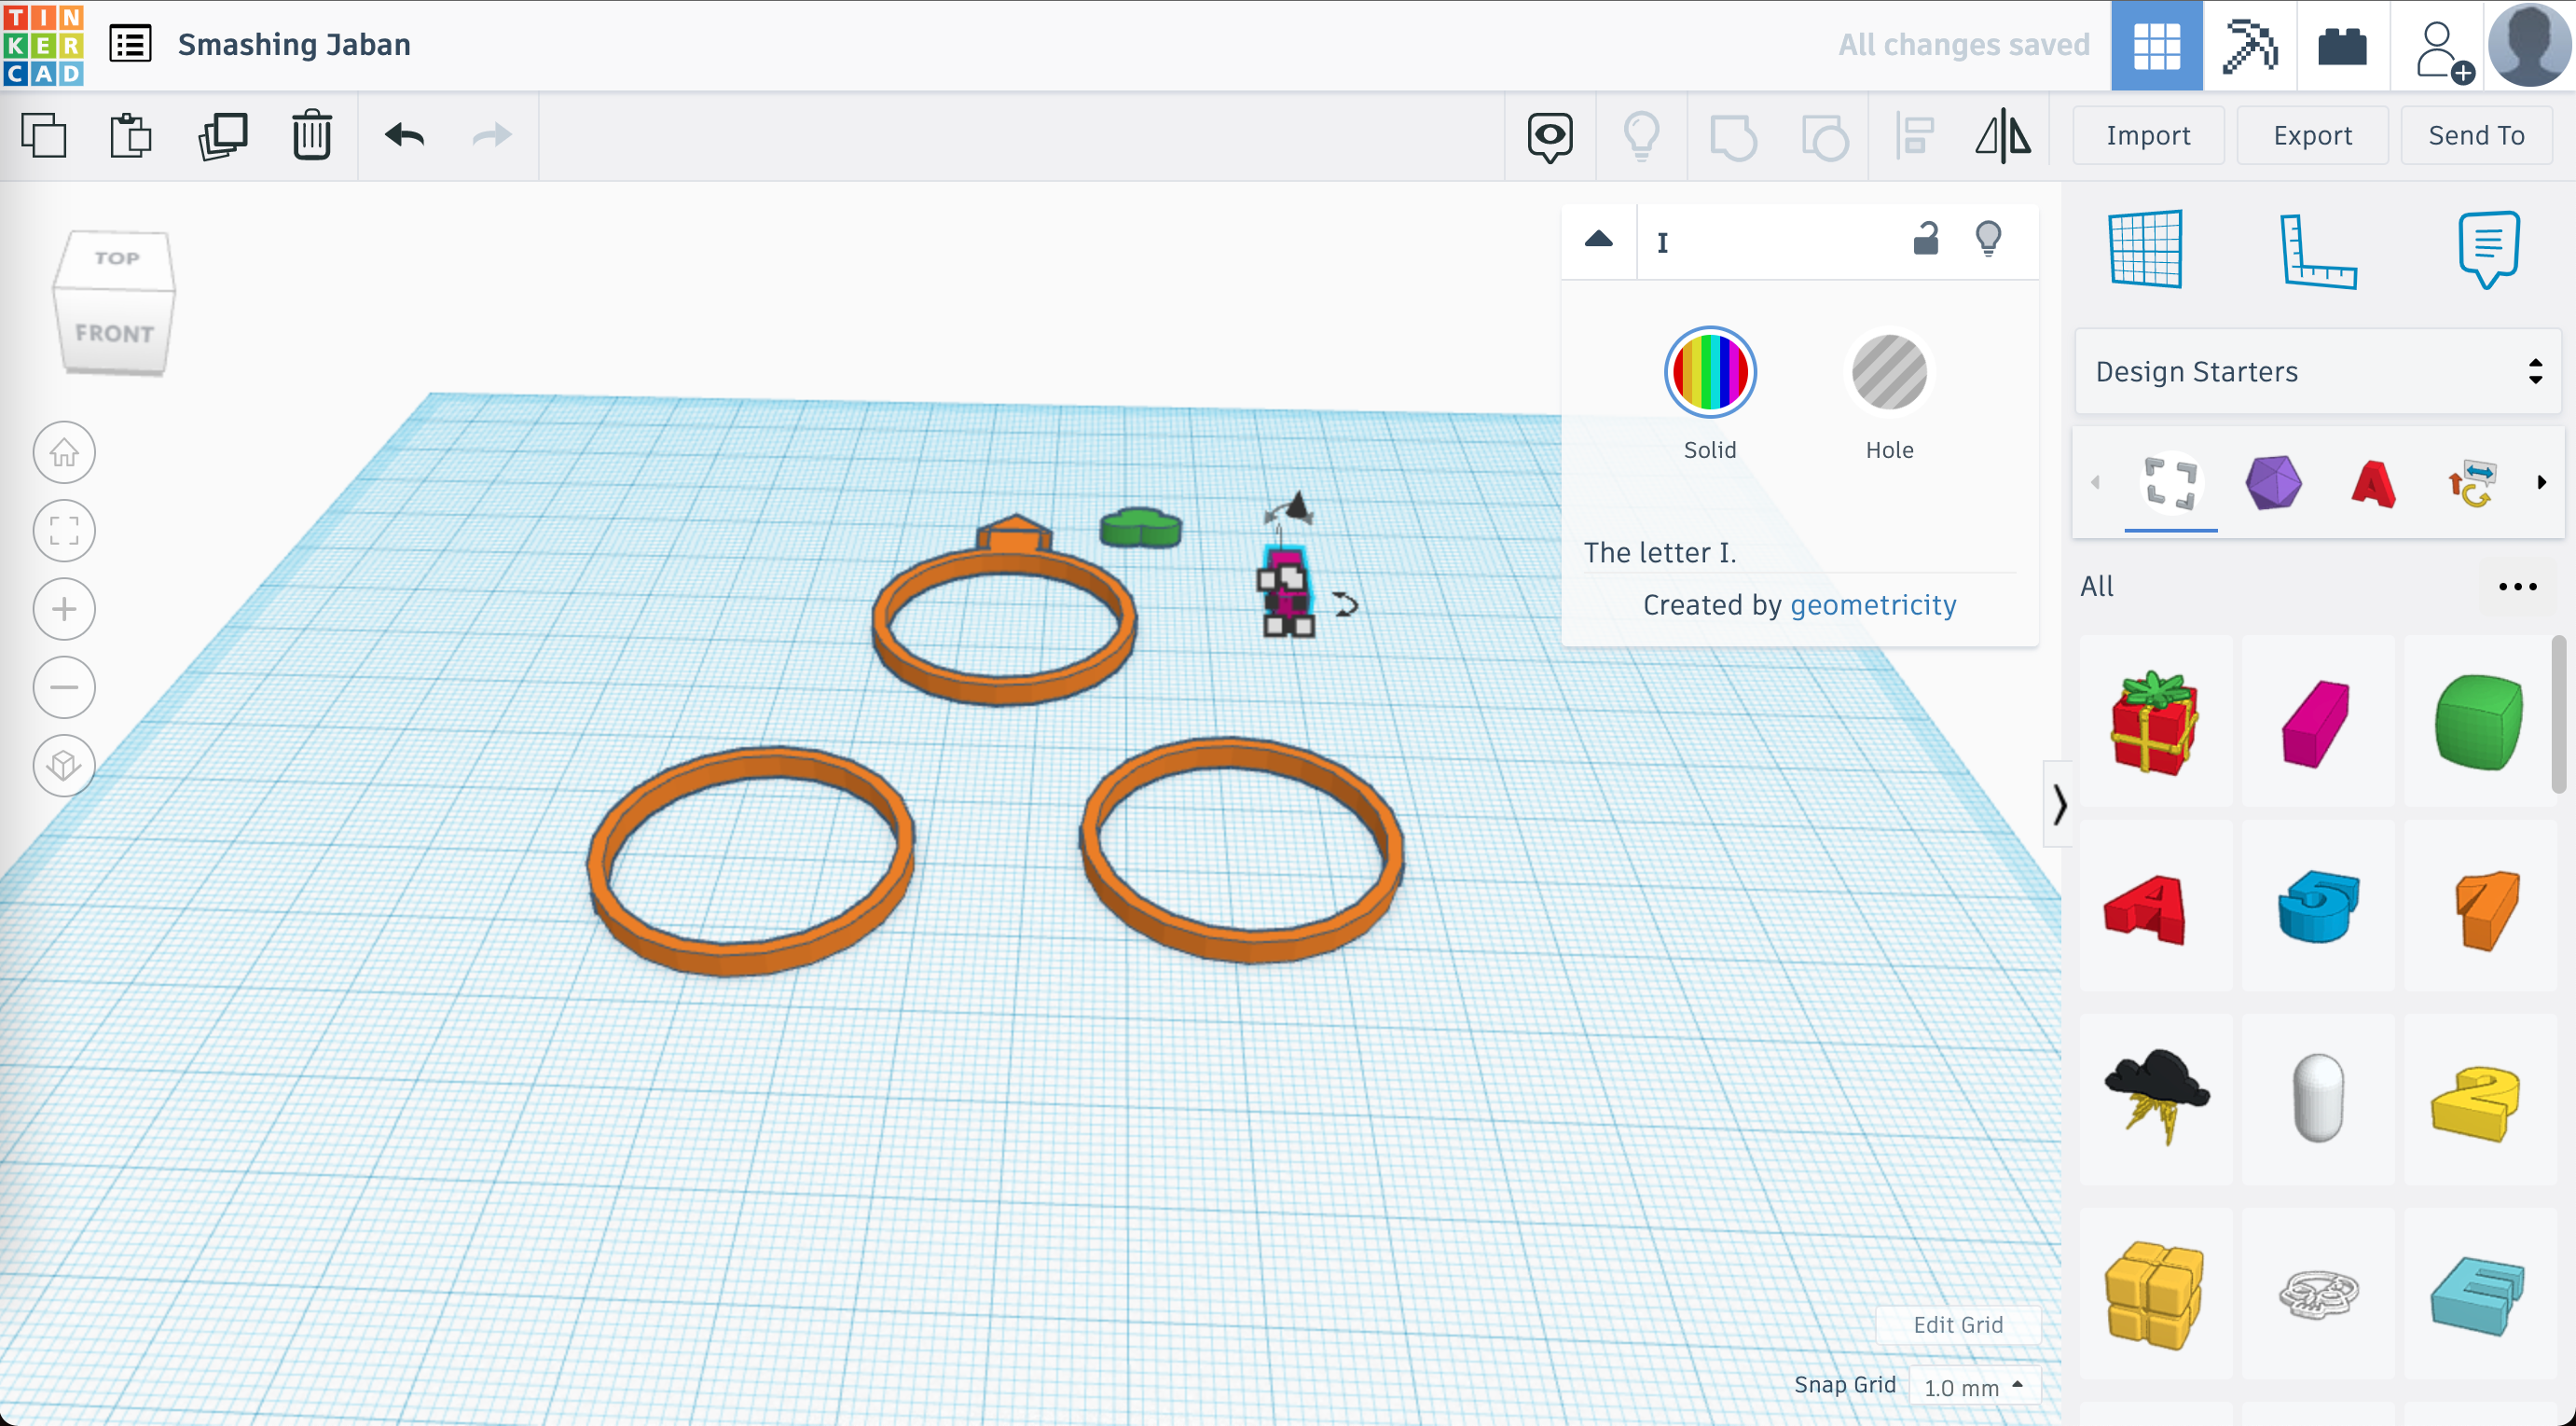
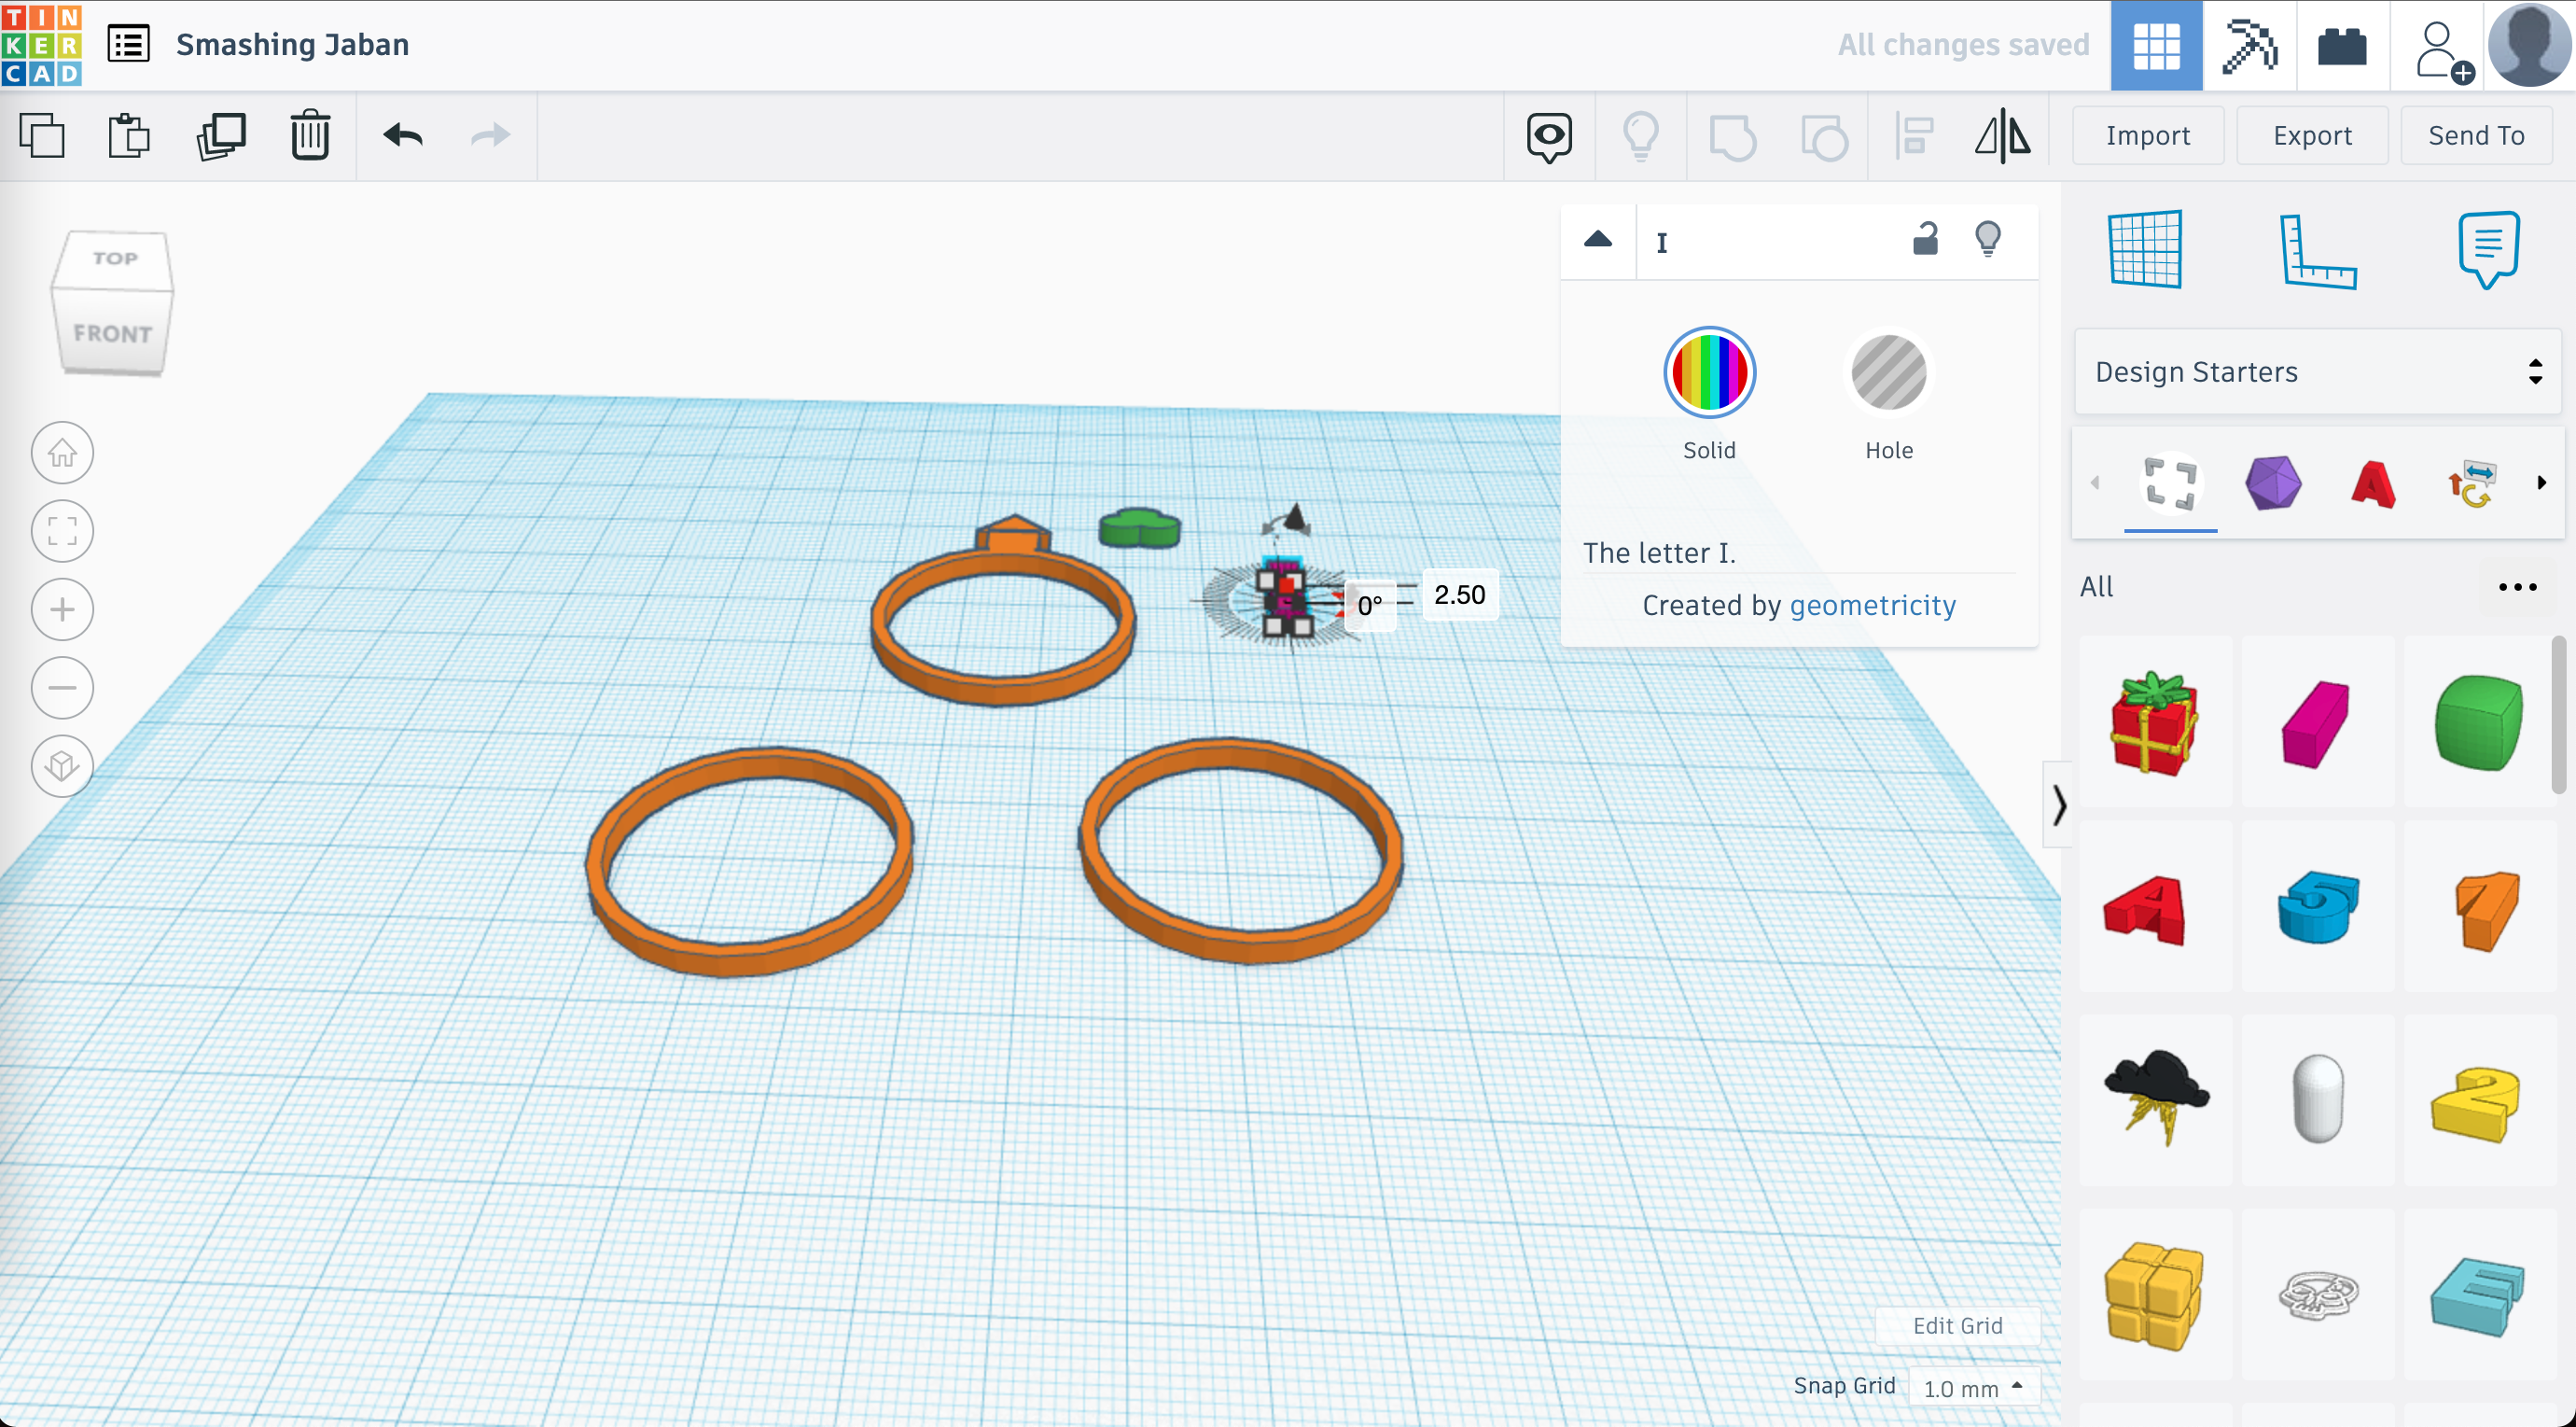
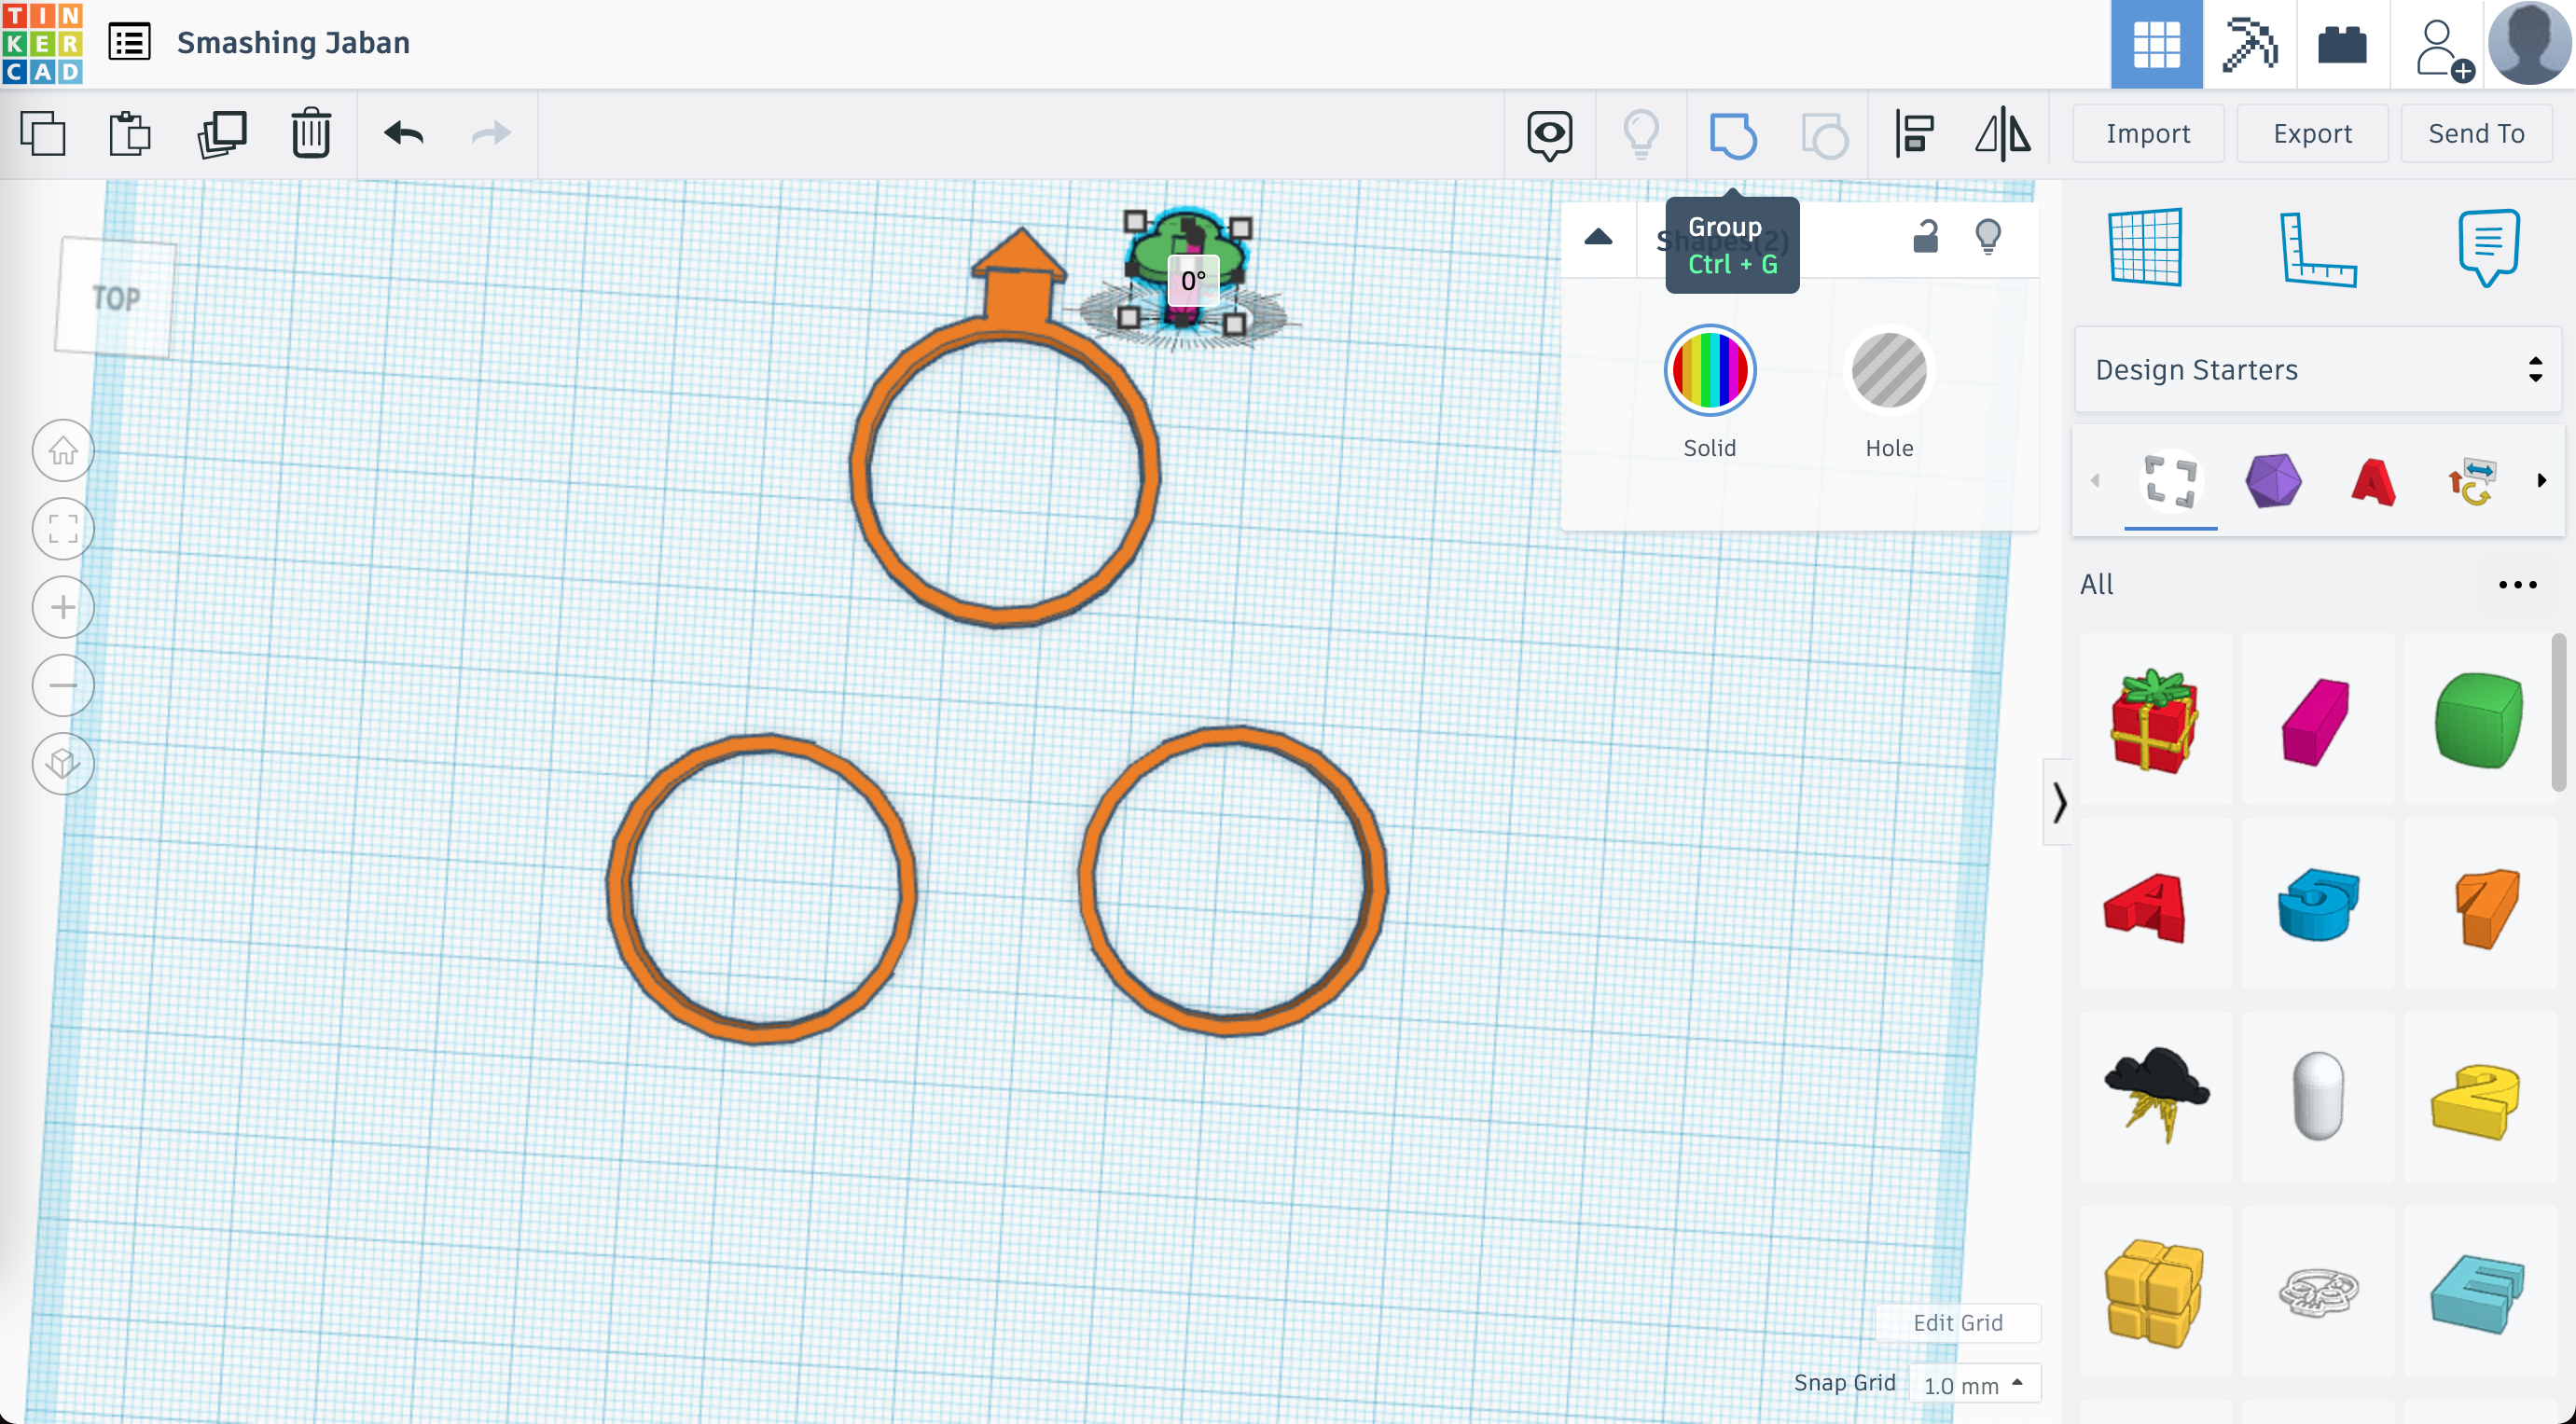
- Using the basic shapes selector, drag over a rectangle (or tube) and a clover or a series of circles:
- If a clover: you are all set
- If a series of circles, overlap the circles to create, then merge using the "group" tool
- Resize both down to a size you like for the tree - again, not an exact science!
- For a large object like napkin rings, I would go 2.5mm for the trunk, for something small like rings, 1.5mm or less for the base.
- Use the rotation tool to align the leaves like it was the roof, then bring the two objects together.
- Select your tree objects, then group them together.
Finally, Let's Make the Snowman
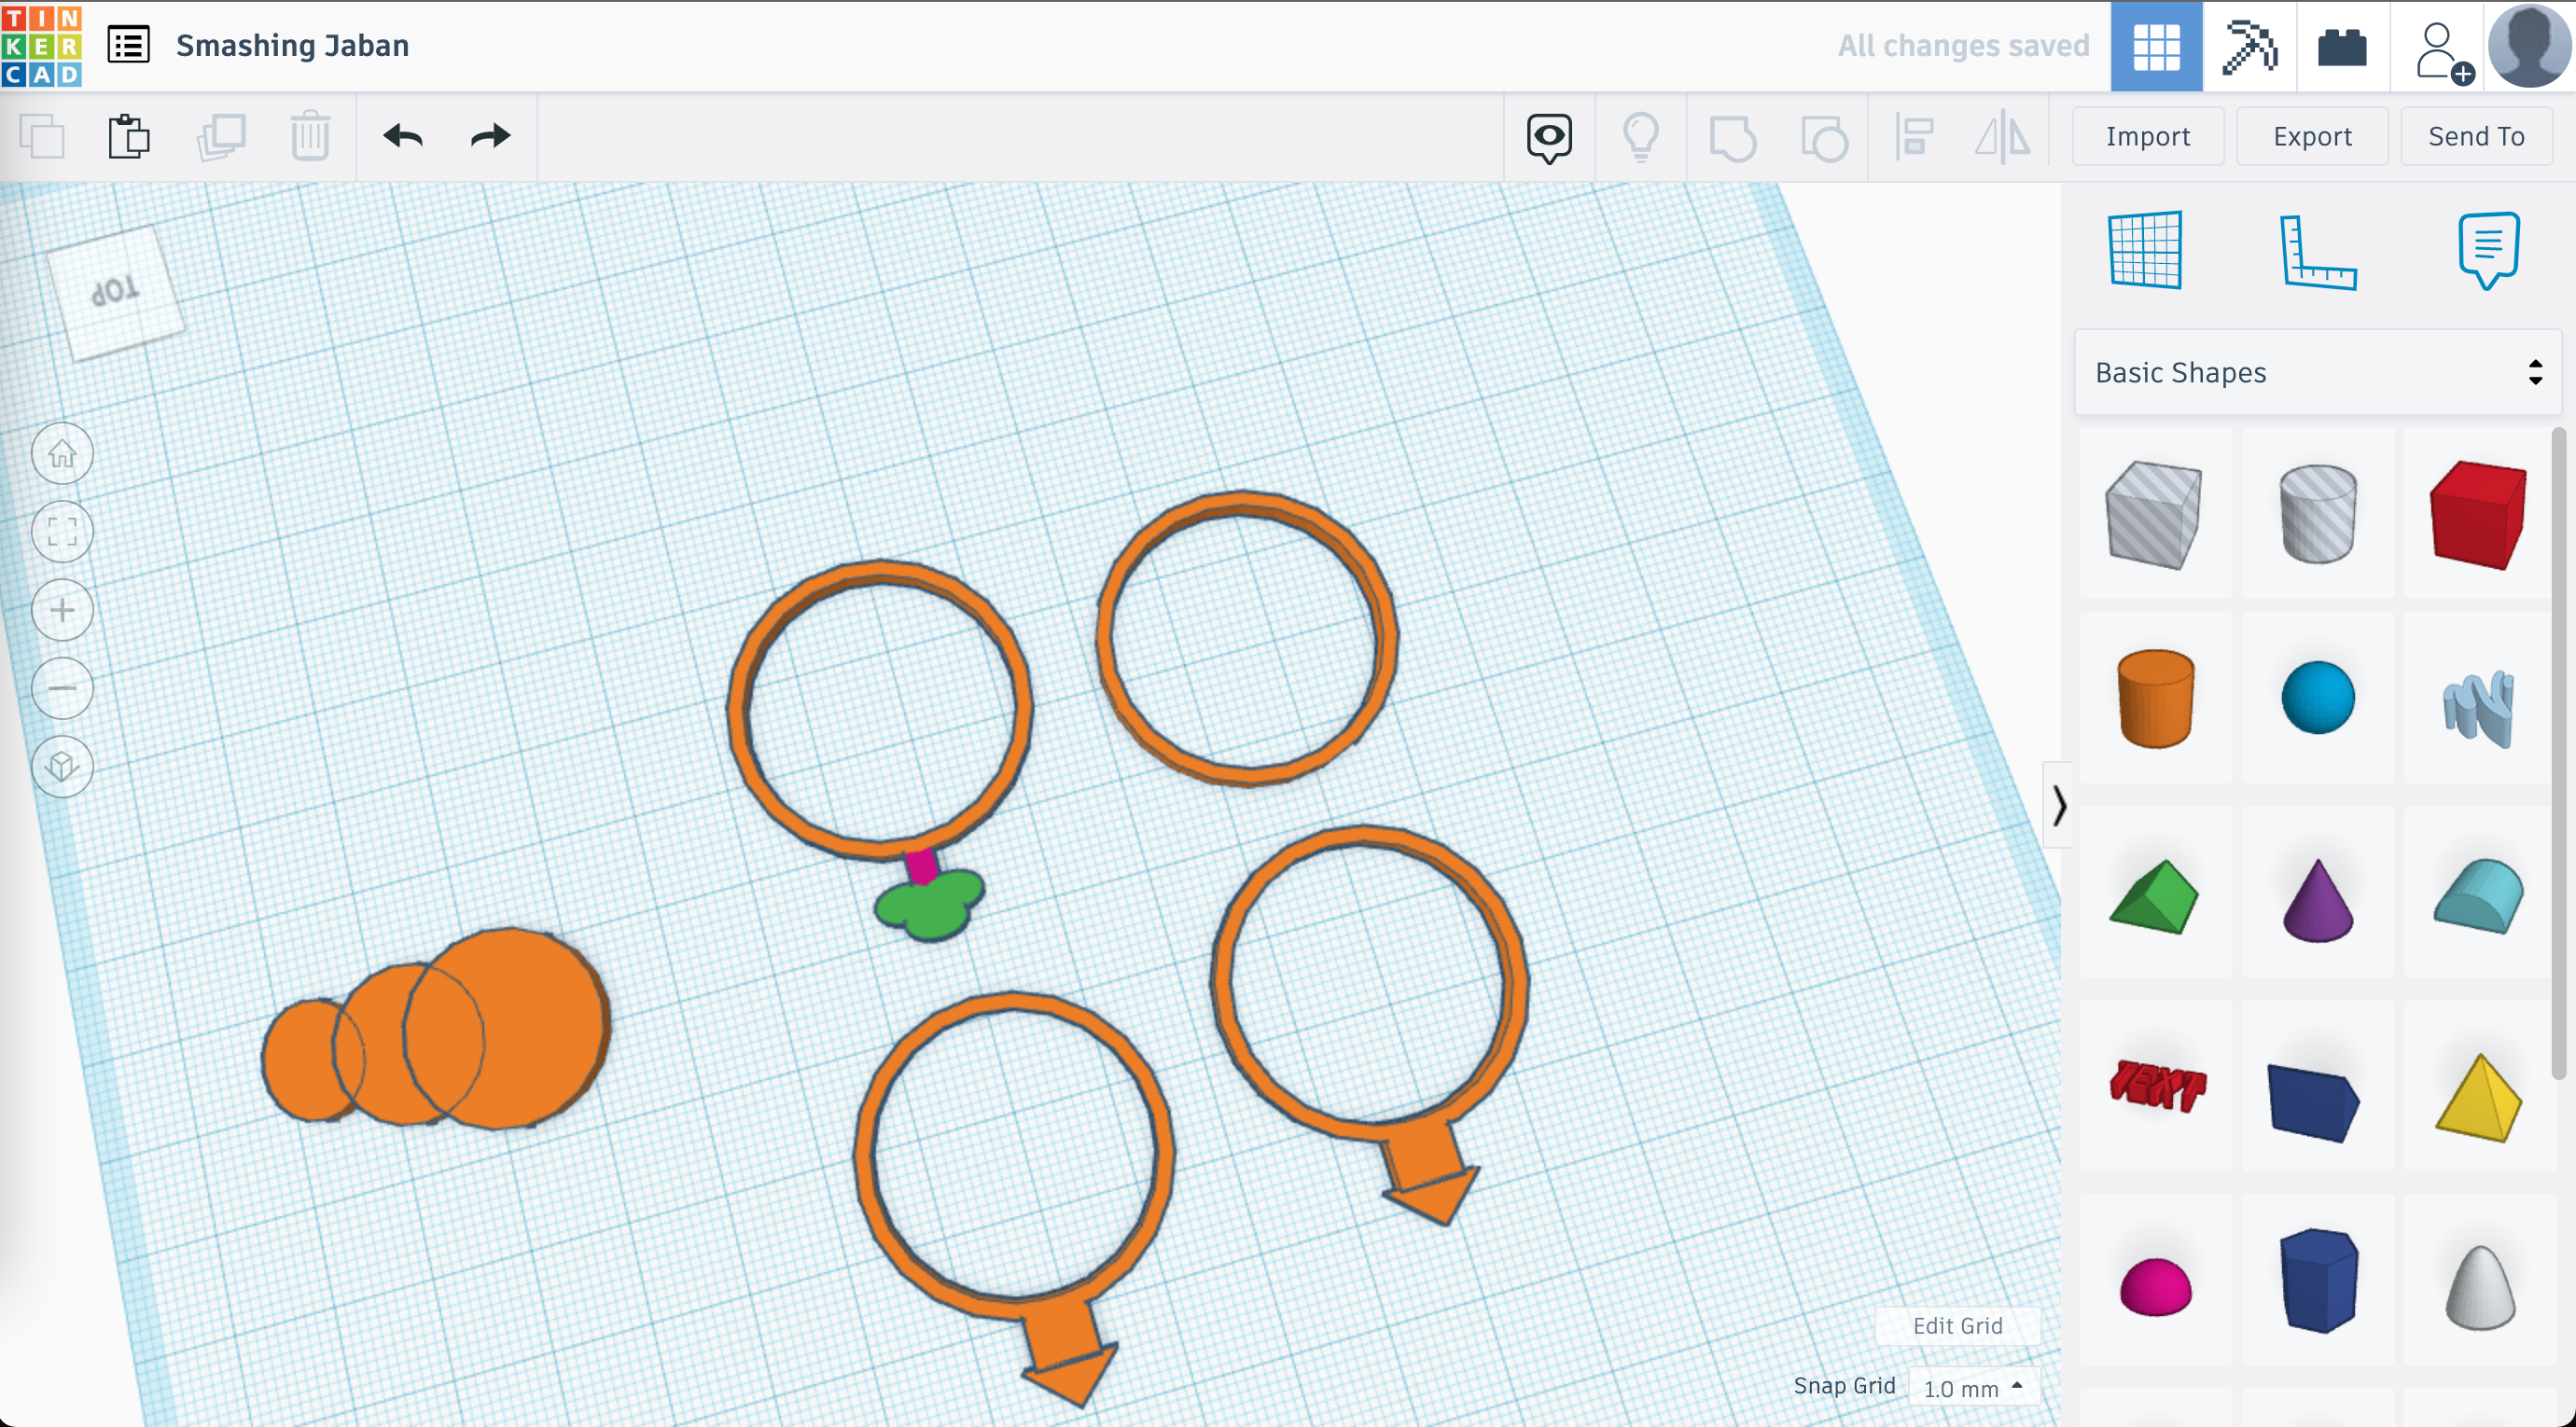
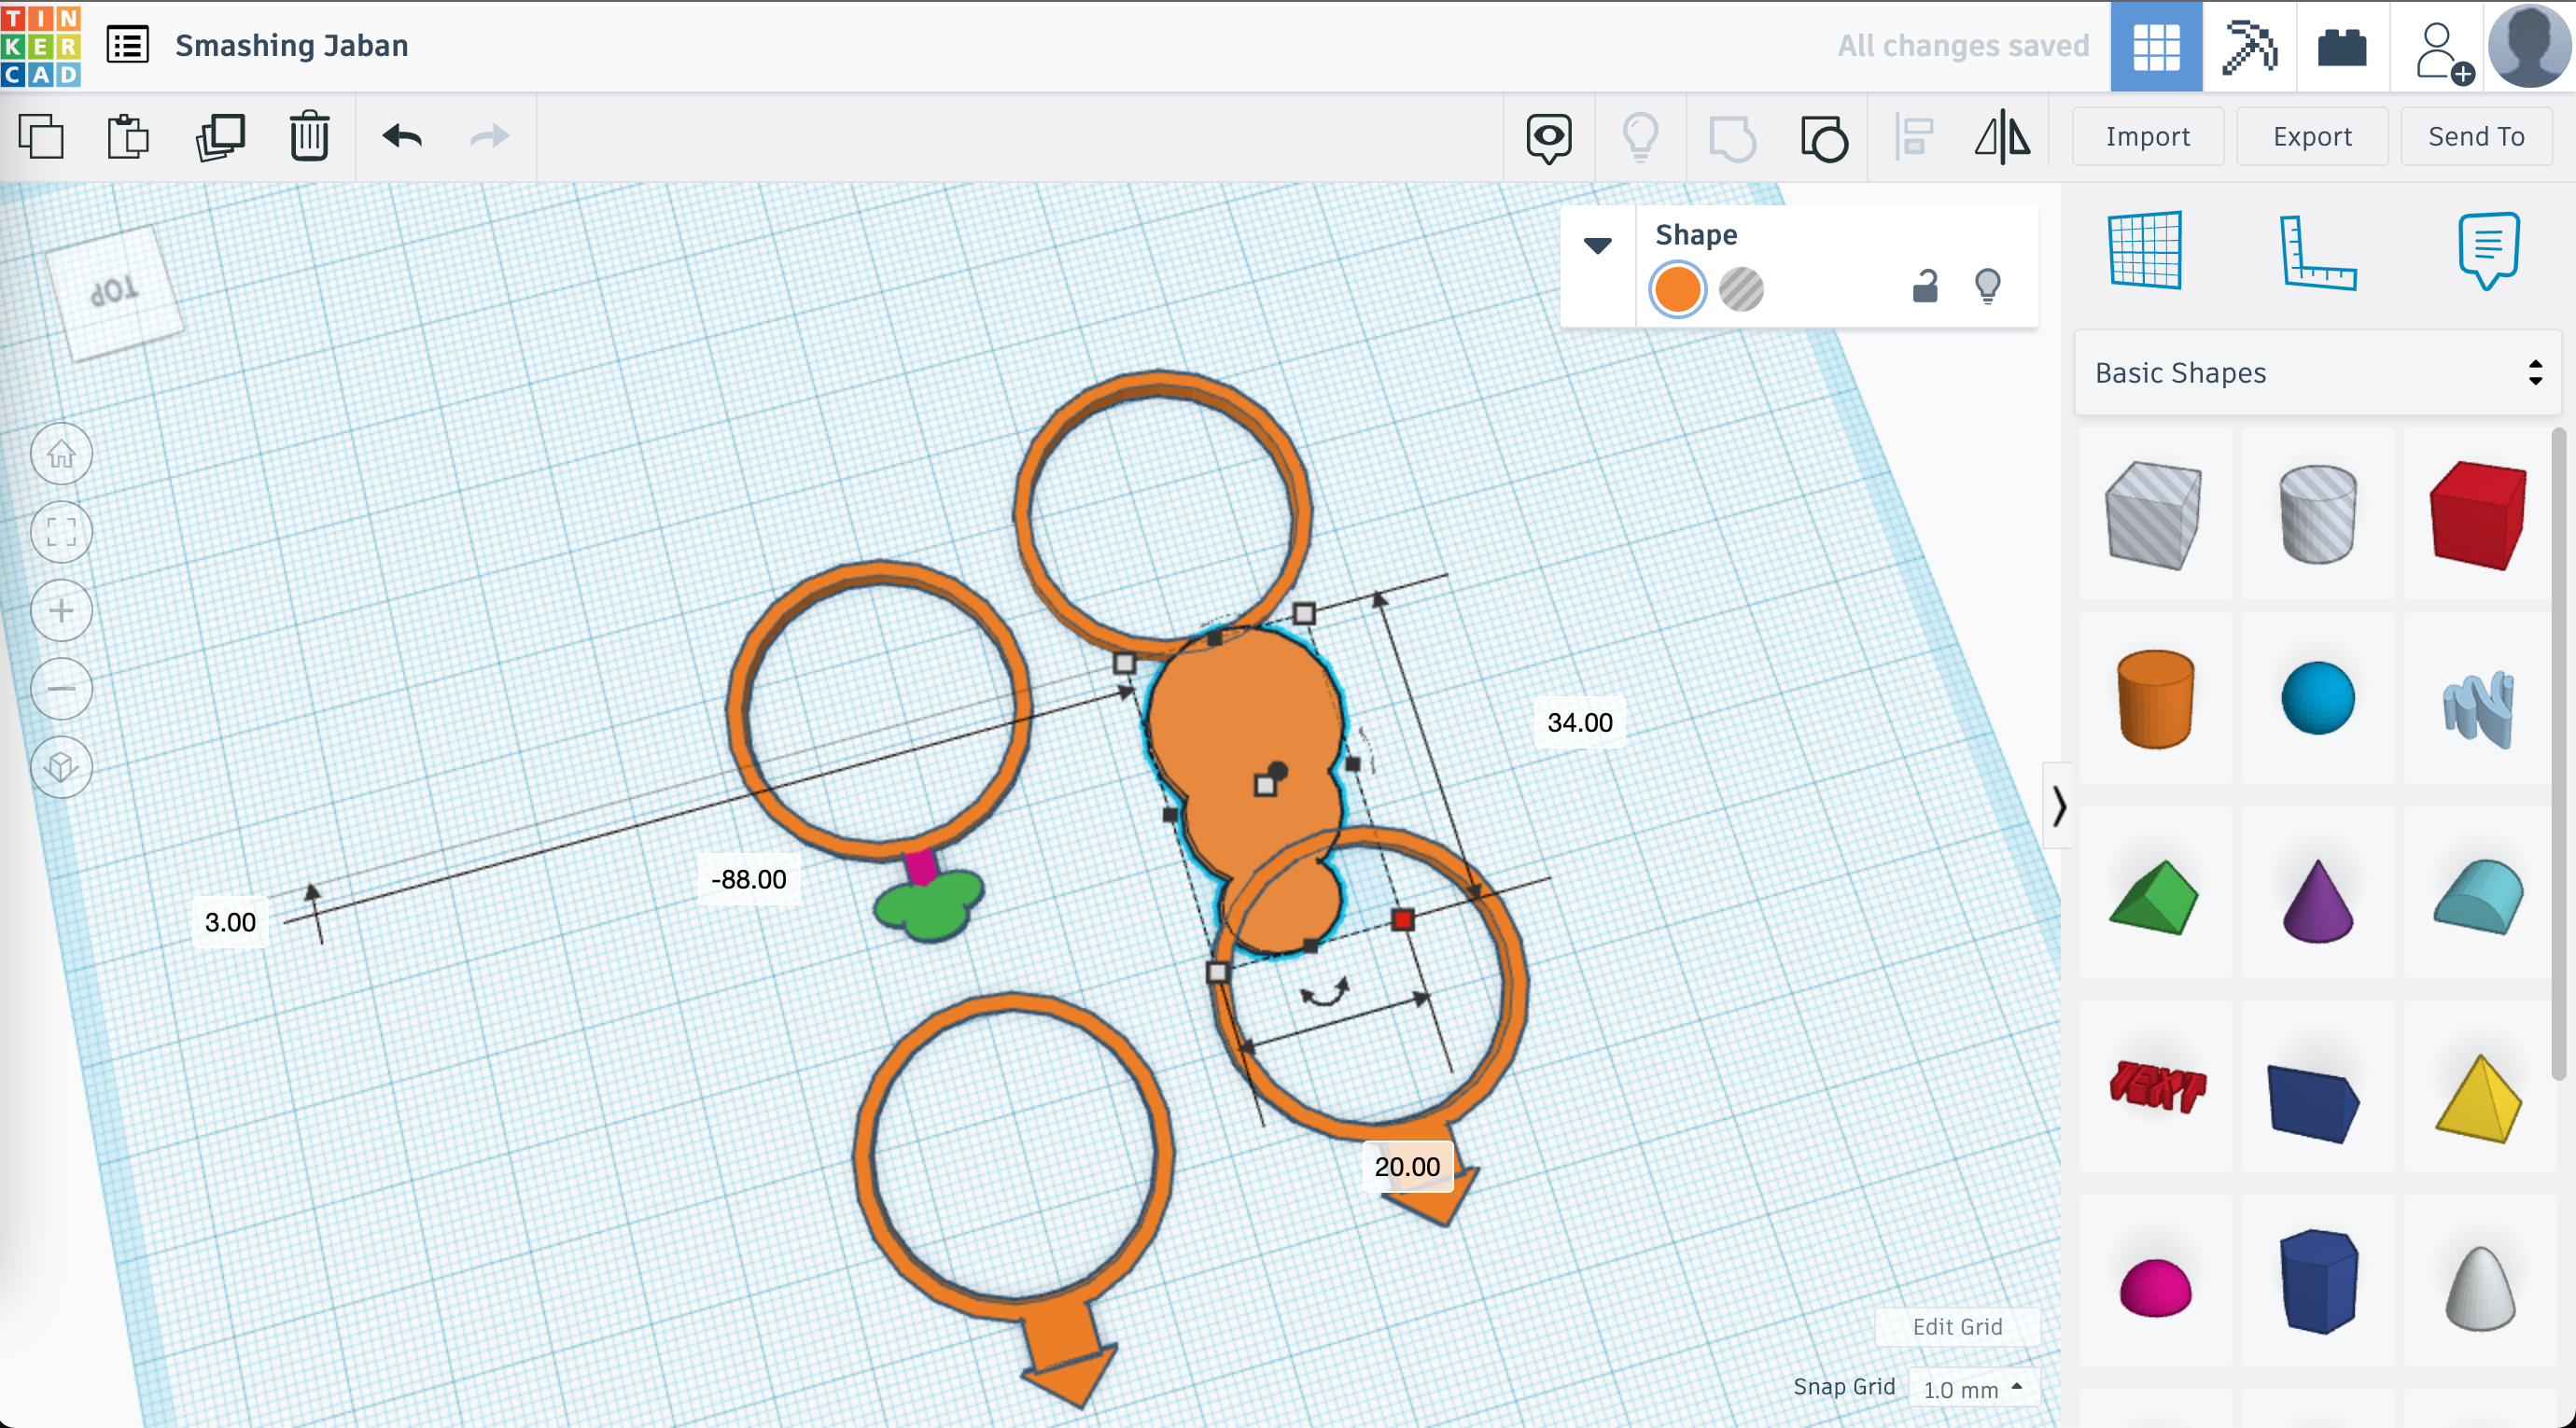
- Using the basic shapes selector, drag over three circles
- Resize the circles to create a series of circles, not a science (I seriously just eyeballed it), but here are my measurements
- Small - 1.78mm
- Medium - 2.55mm
- Large - 3.15mm
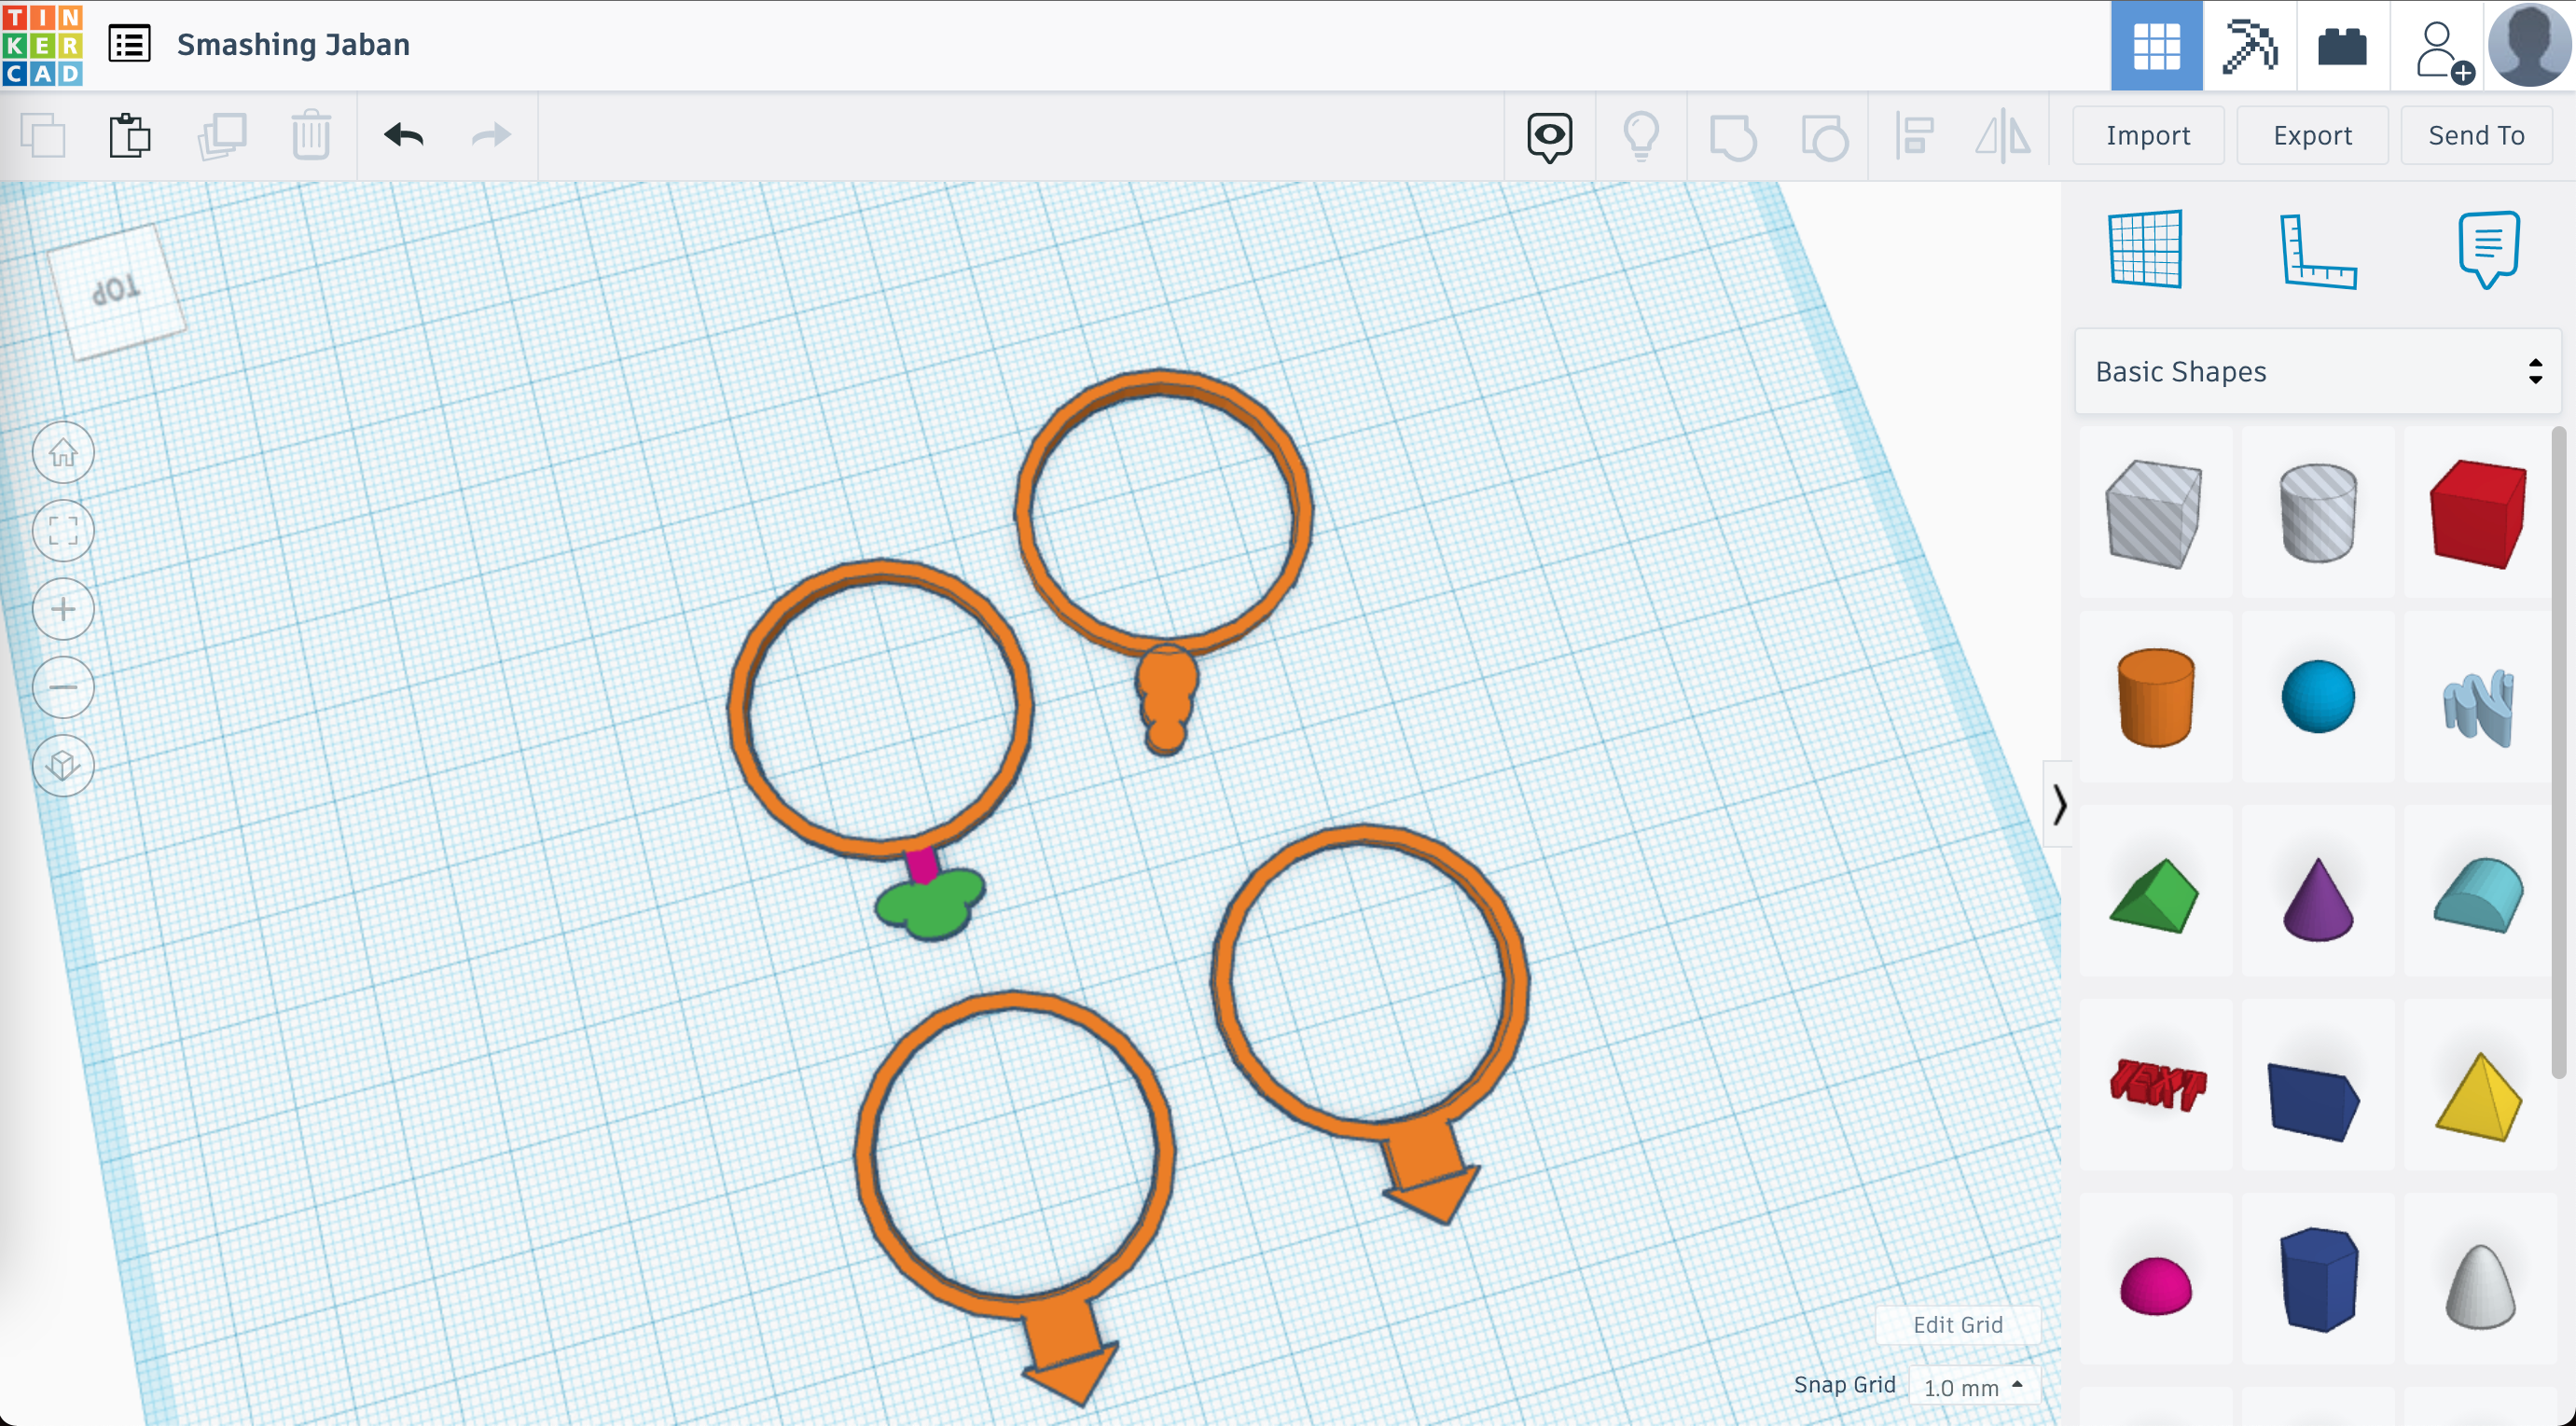
- Select your snowman objects, then group them together.
Arrange Your Objects With Your Rings & Duplicate the House Ring
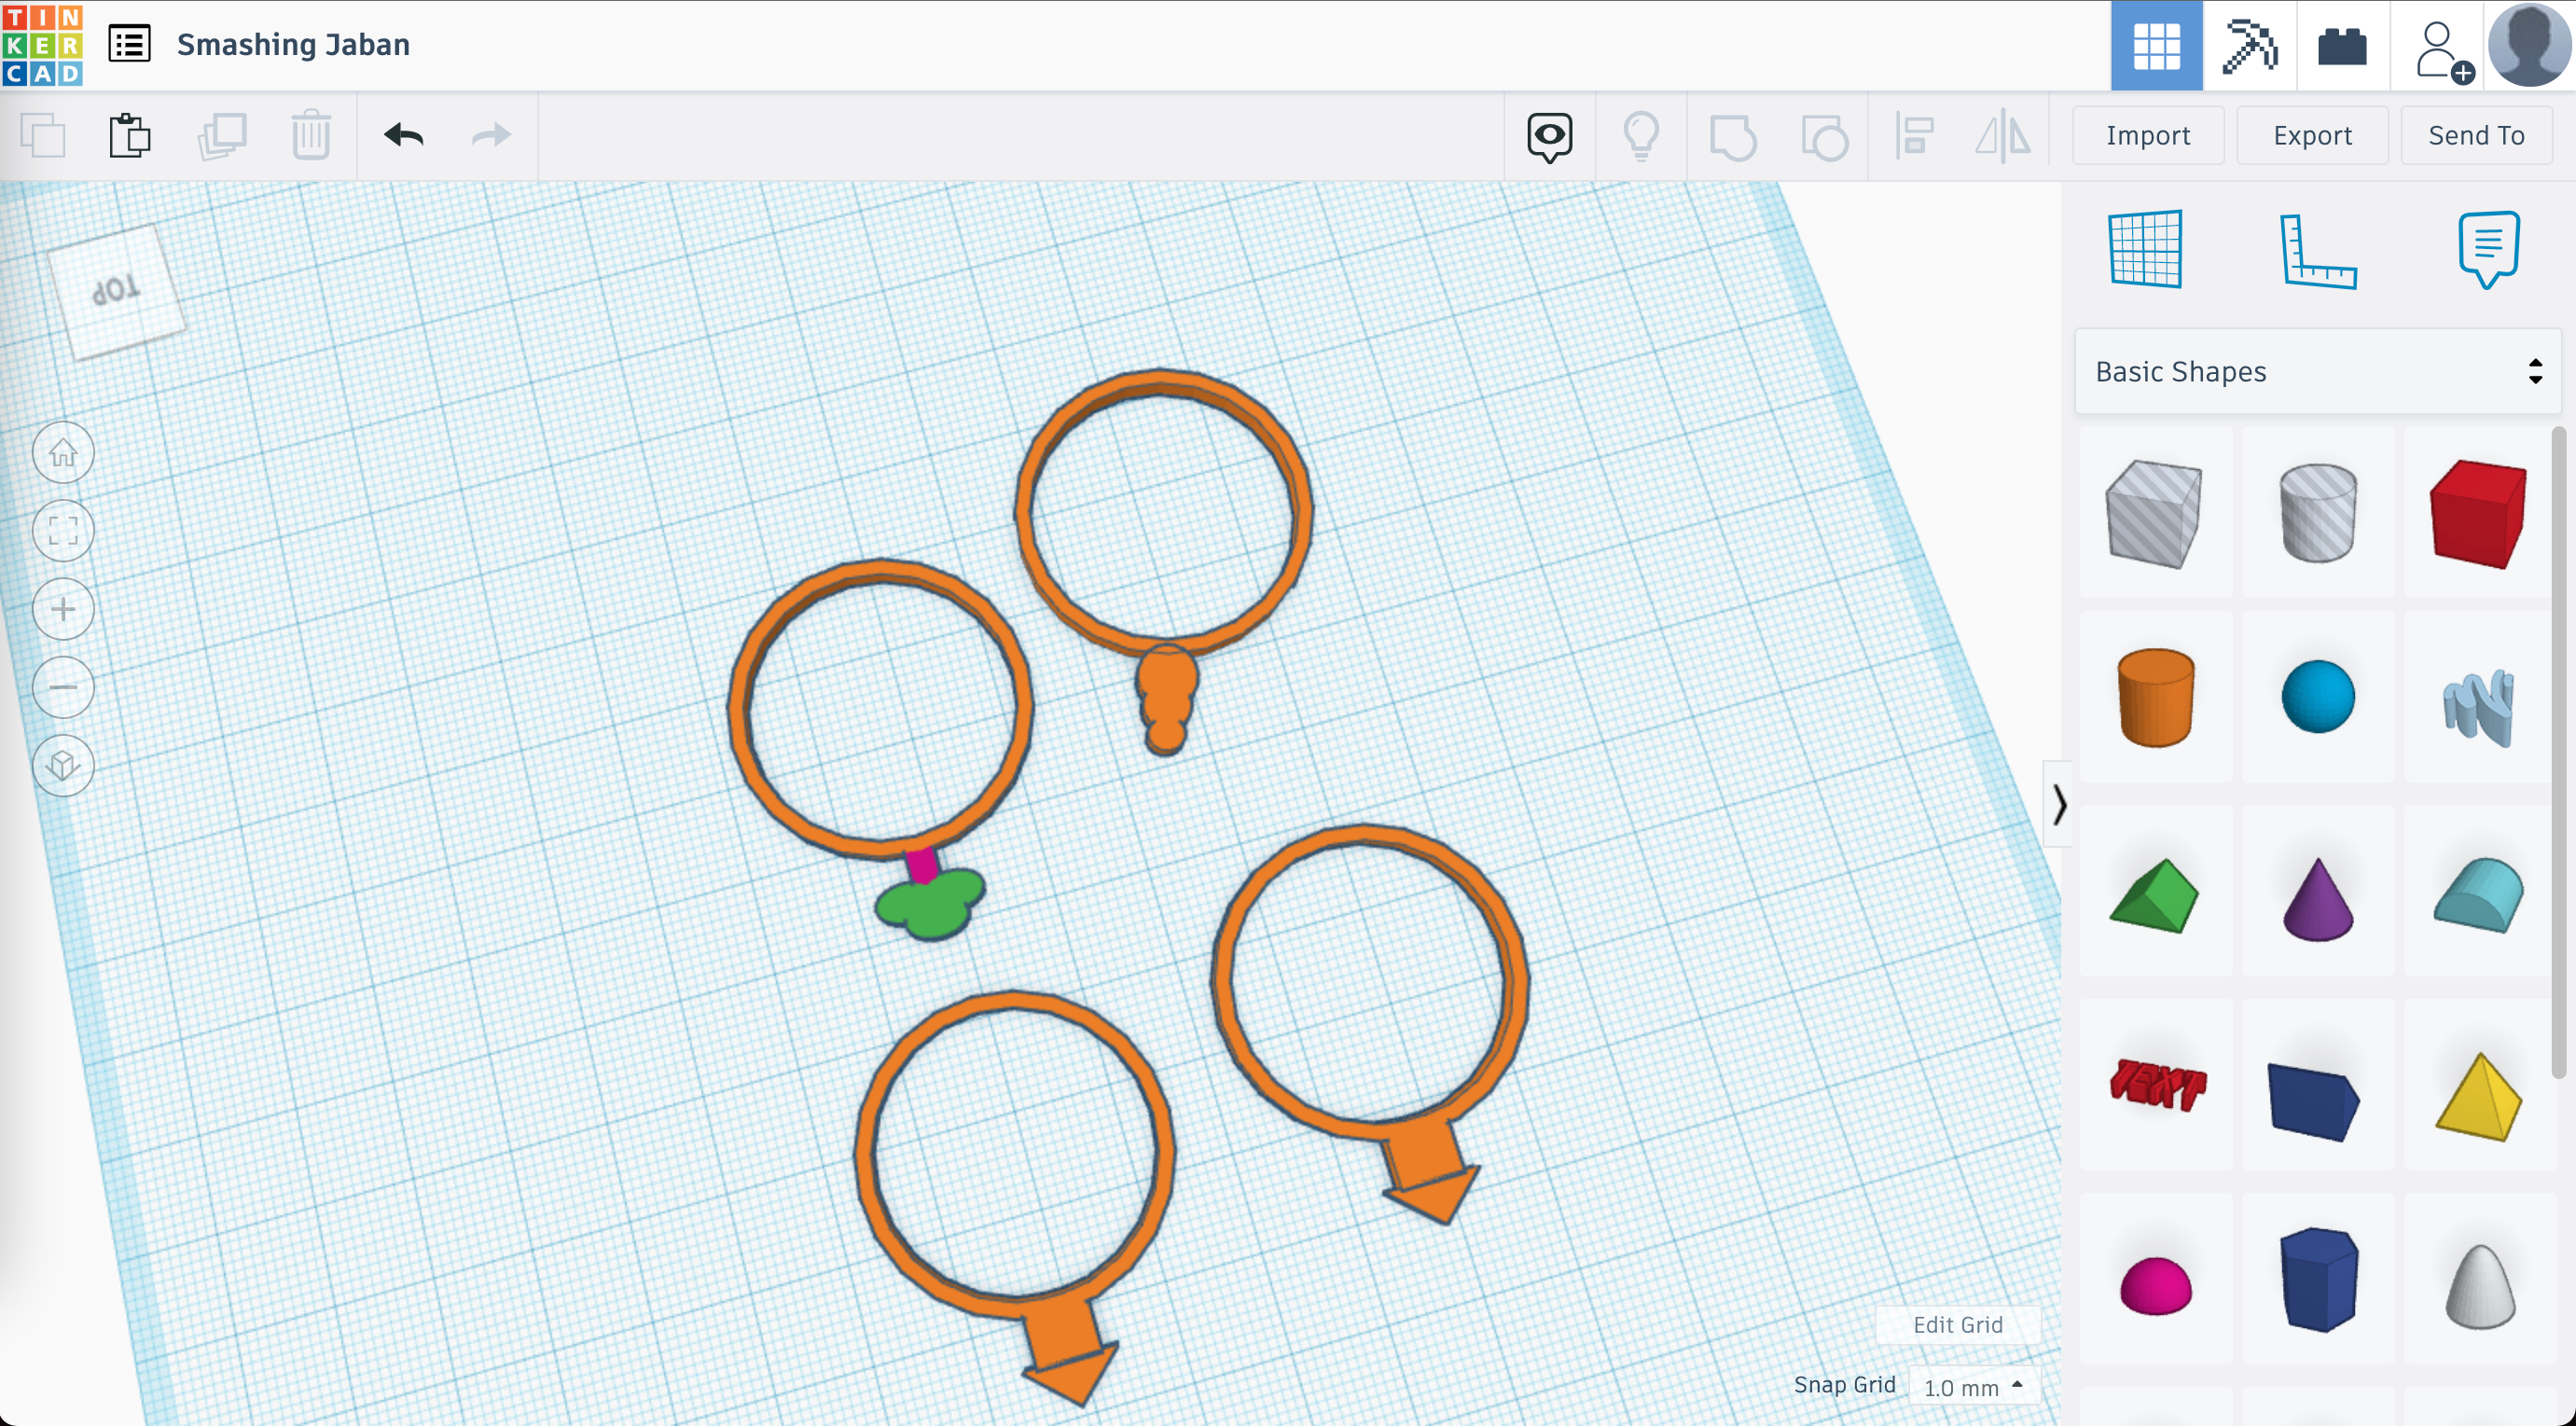
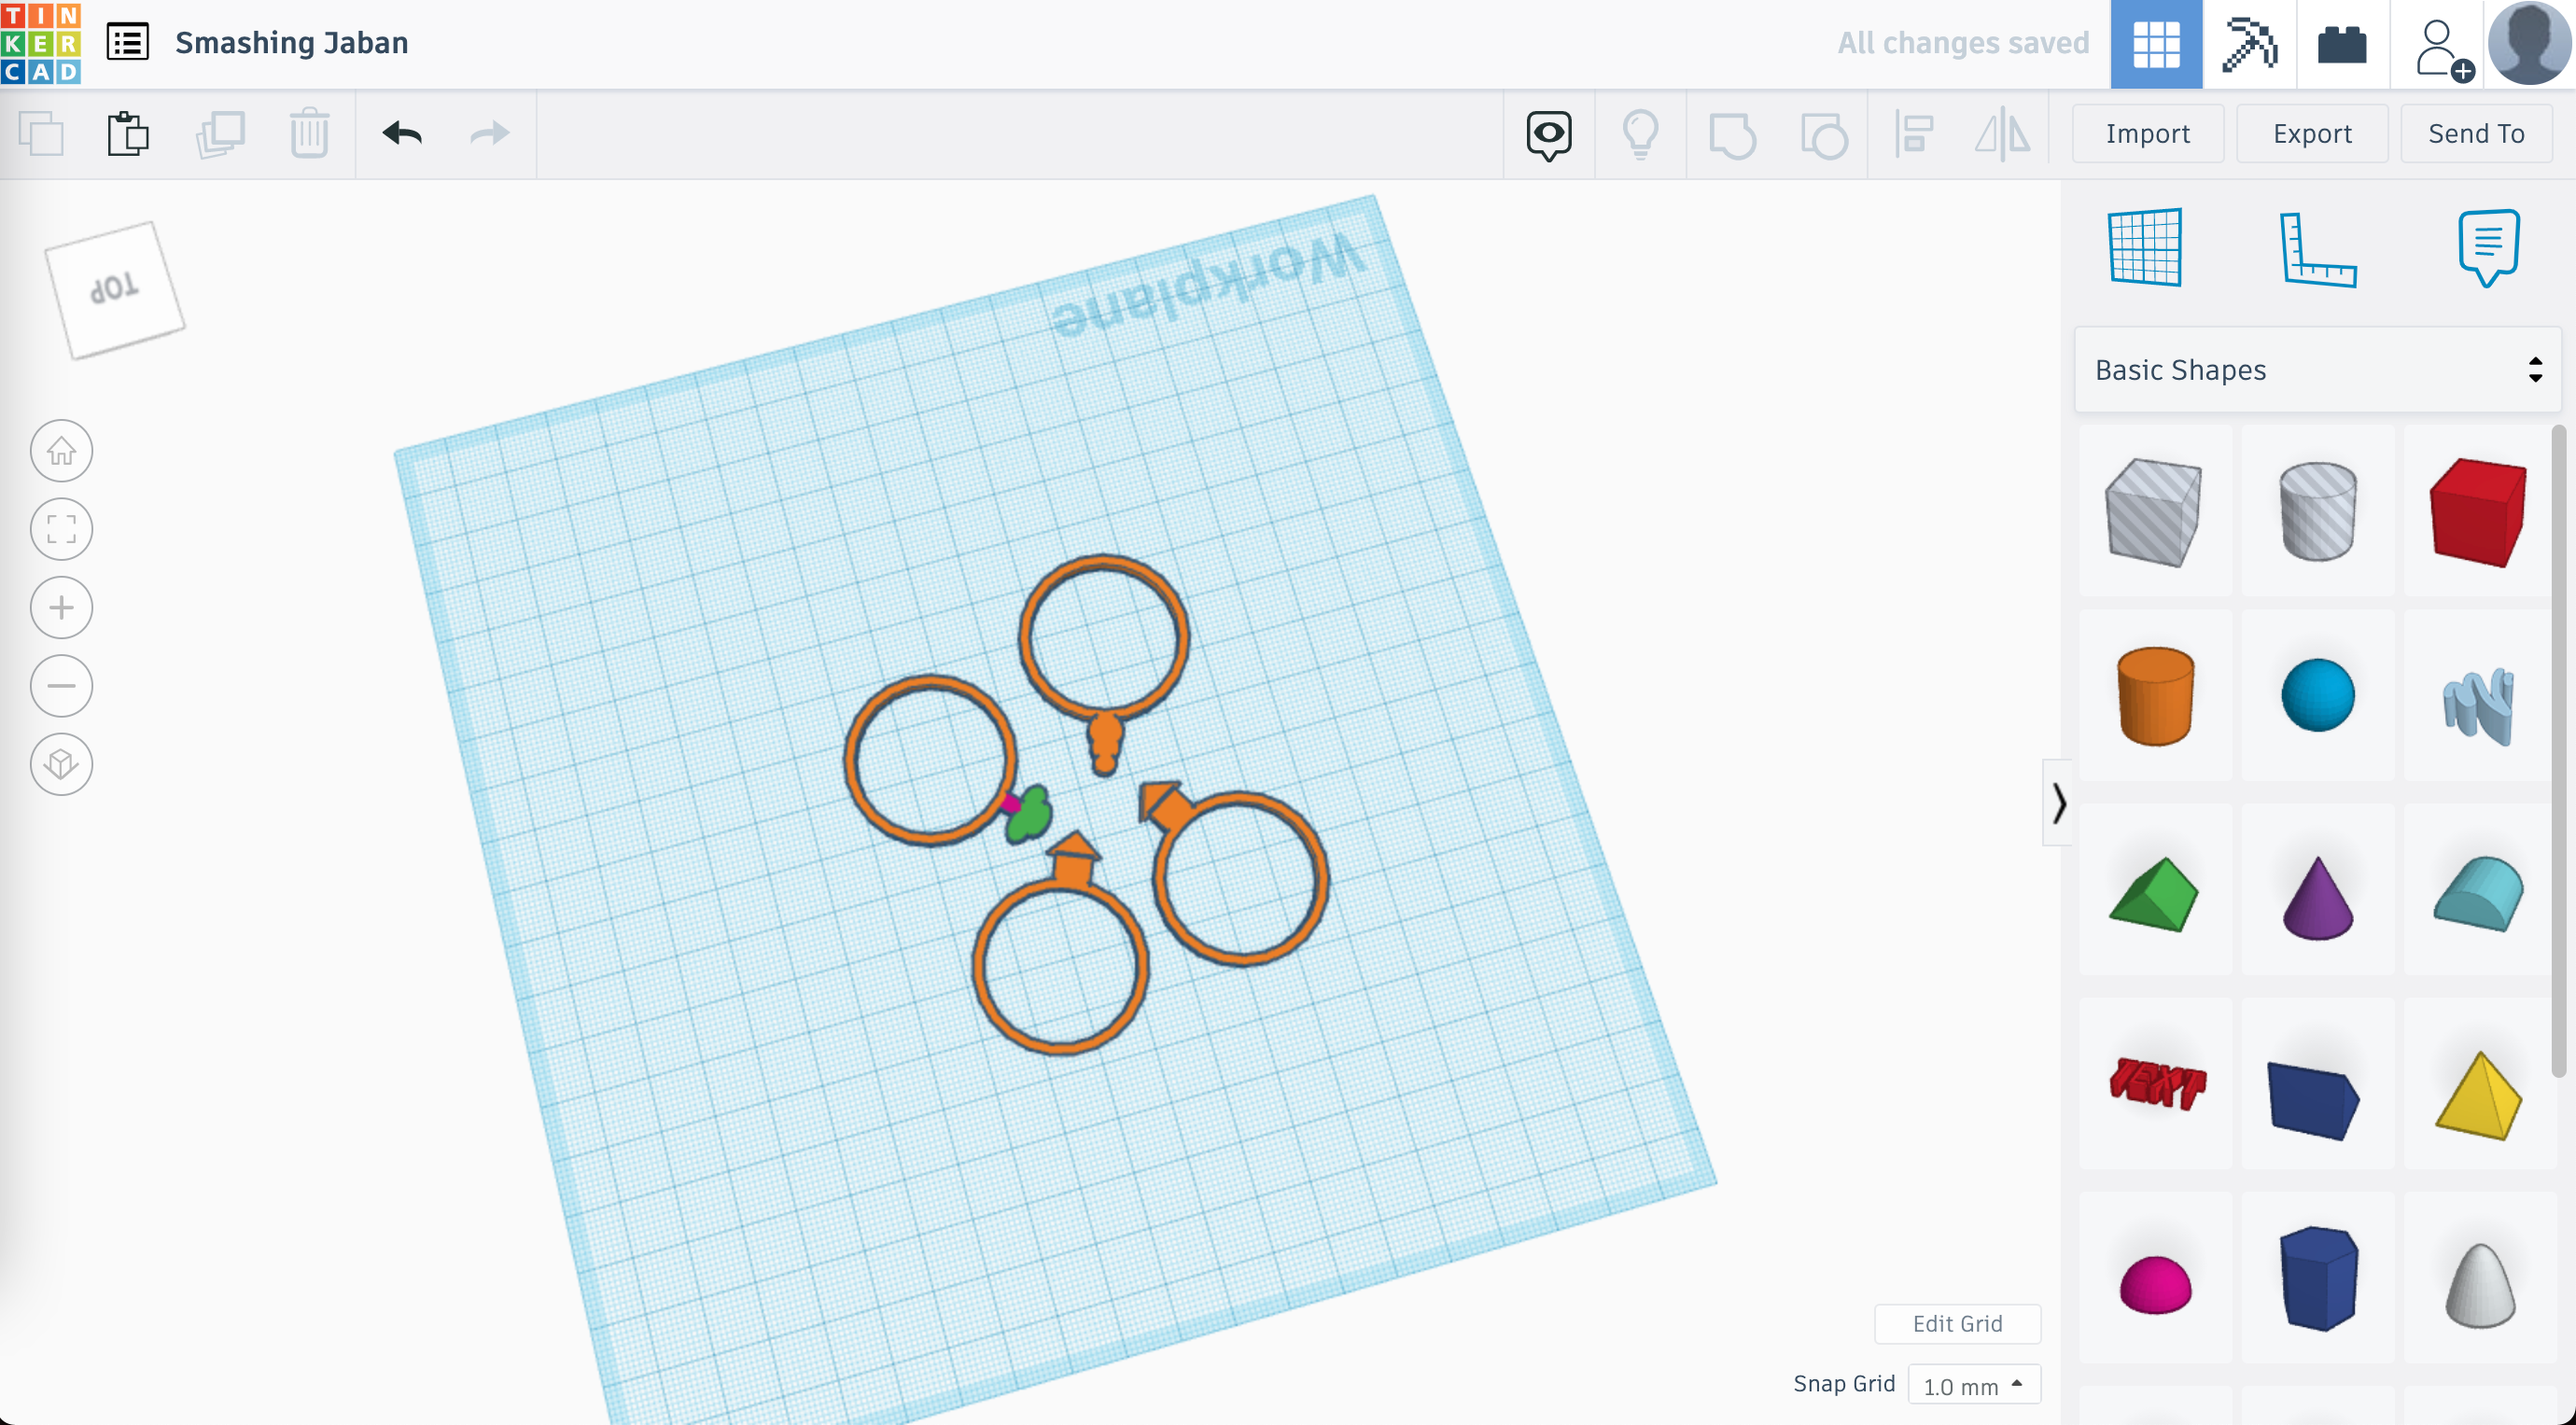
- One by one, select (the drag method)
- A shape
- A Ring
- Group the shapes together into one ring.
- You will know you are on the right track if they are all a solid color. If not, just double-check a few things, if those all check out, you are on the right track.
- That your shapes are all on the same plane/z axis level, if not, move the raised or lowered shape to be at 0 z-axis.
- Talking with kids? Here's an explainer to help...
- X axis is your horizontal (base)
- Y axis is your vertical (length)
- If this is a rectangle the sides are your x and y
- Z is the height, but the base can be on the build plane or above, so you want to make sure that it is flat to the grid as the z axis also where it is physically in height
- That your shapes have right angle edges, if not, they may not group perfectly
- That your shapes actually overlap, if not, move them until they do
- Once you have a house ring, tree ring and snowman ring, select the house ring and duplicate it (that's the easy way to make two house rings, but you can always have made them individually or even with different dimensions).
- Optionally: Select the rings one-by-one and rotate them so that the object is at center, which is just my personal preference.
Optionally, You Can Make Word Rings
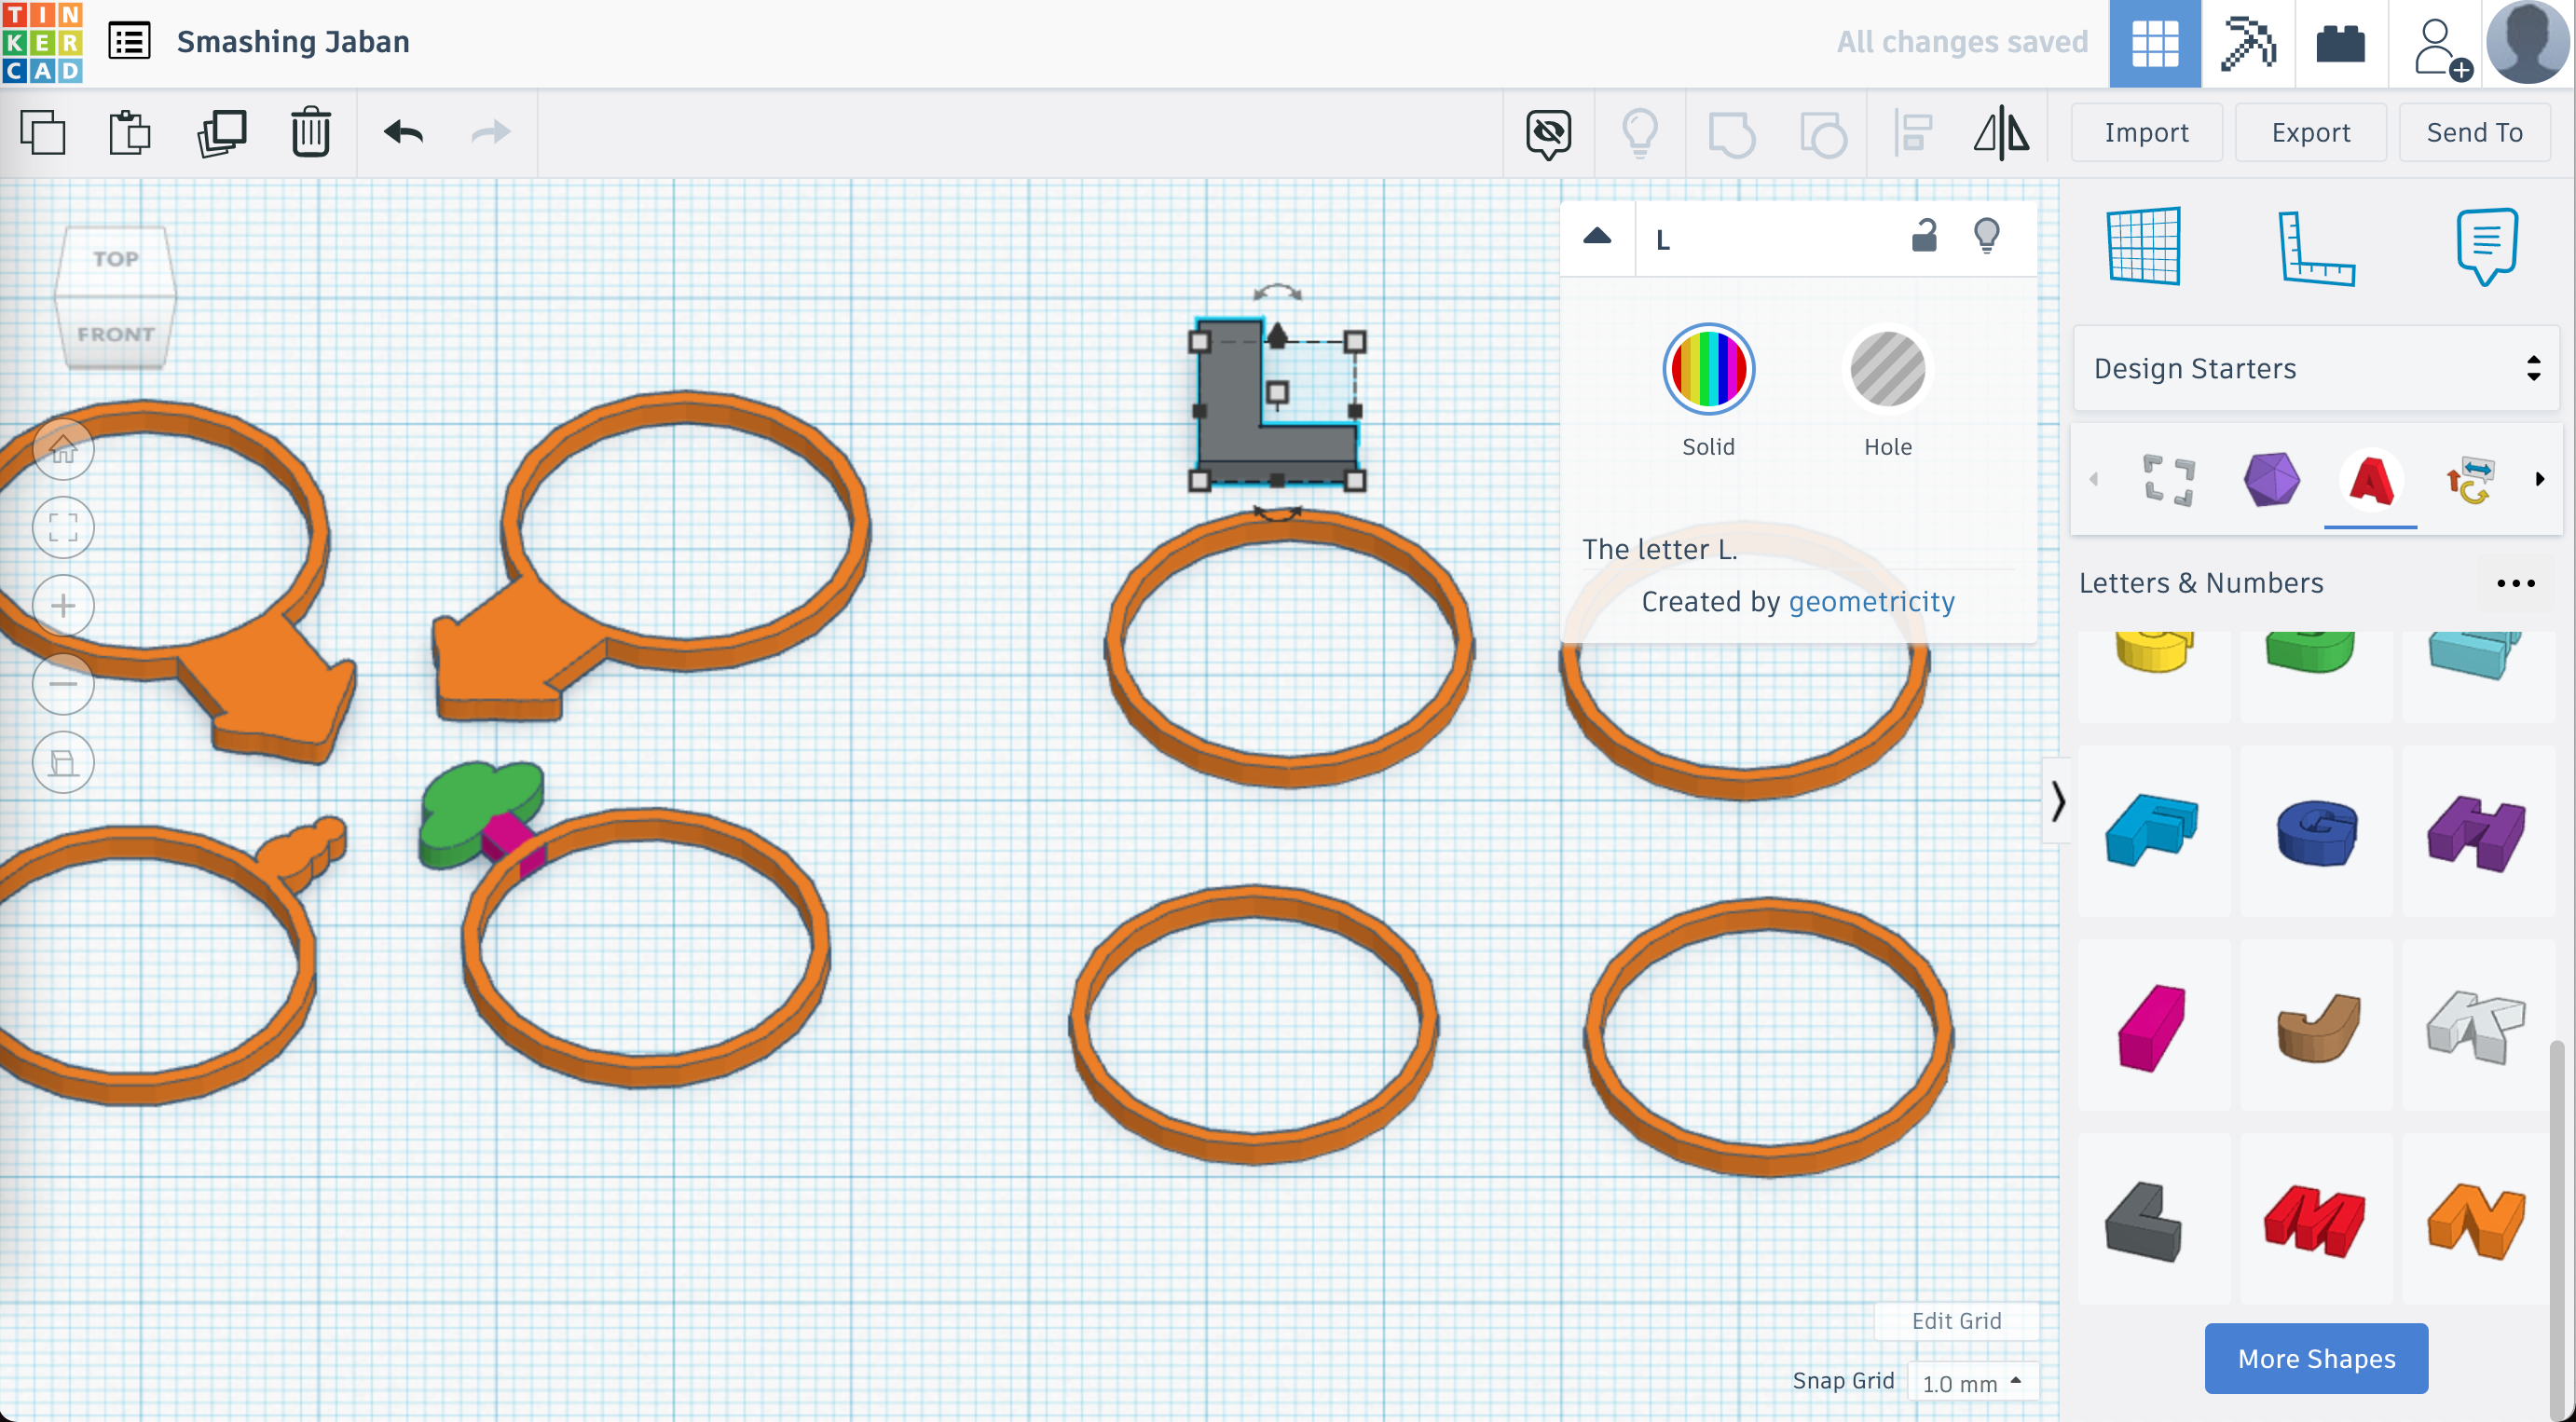
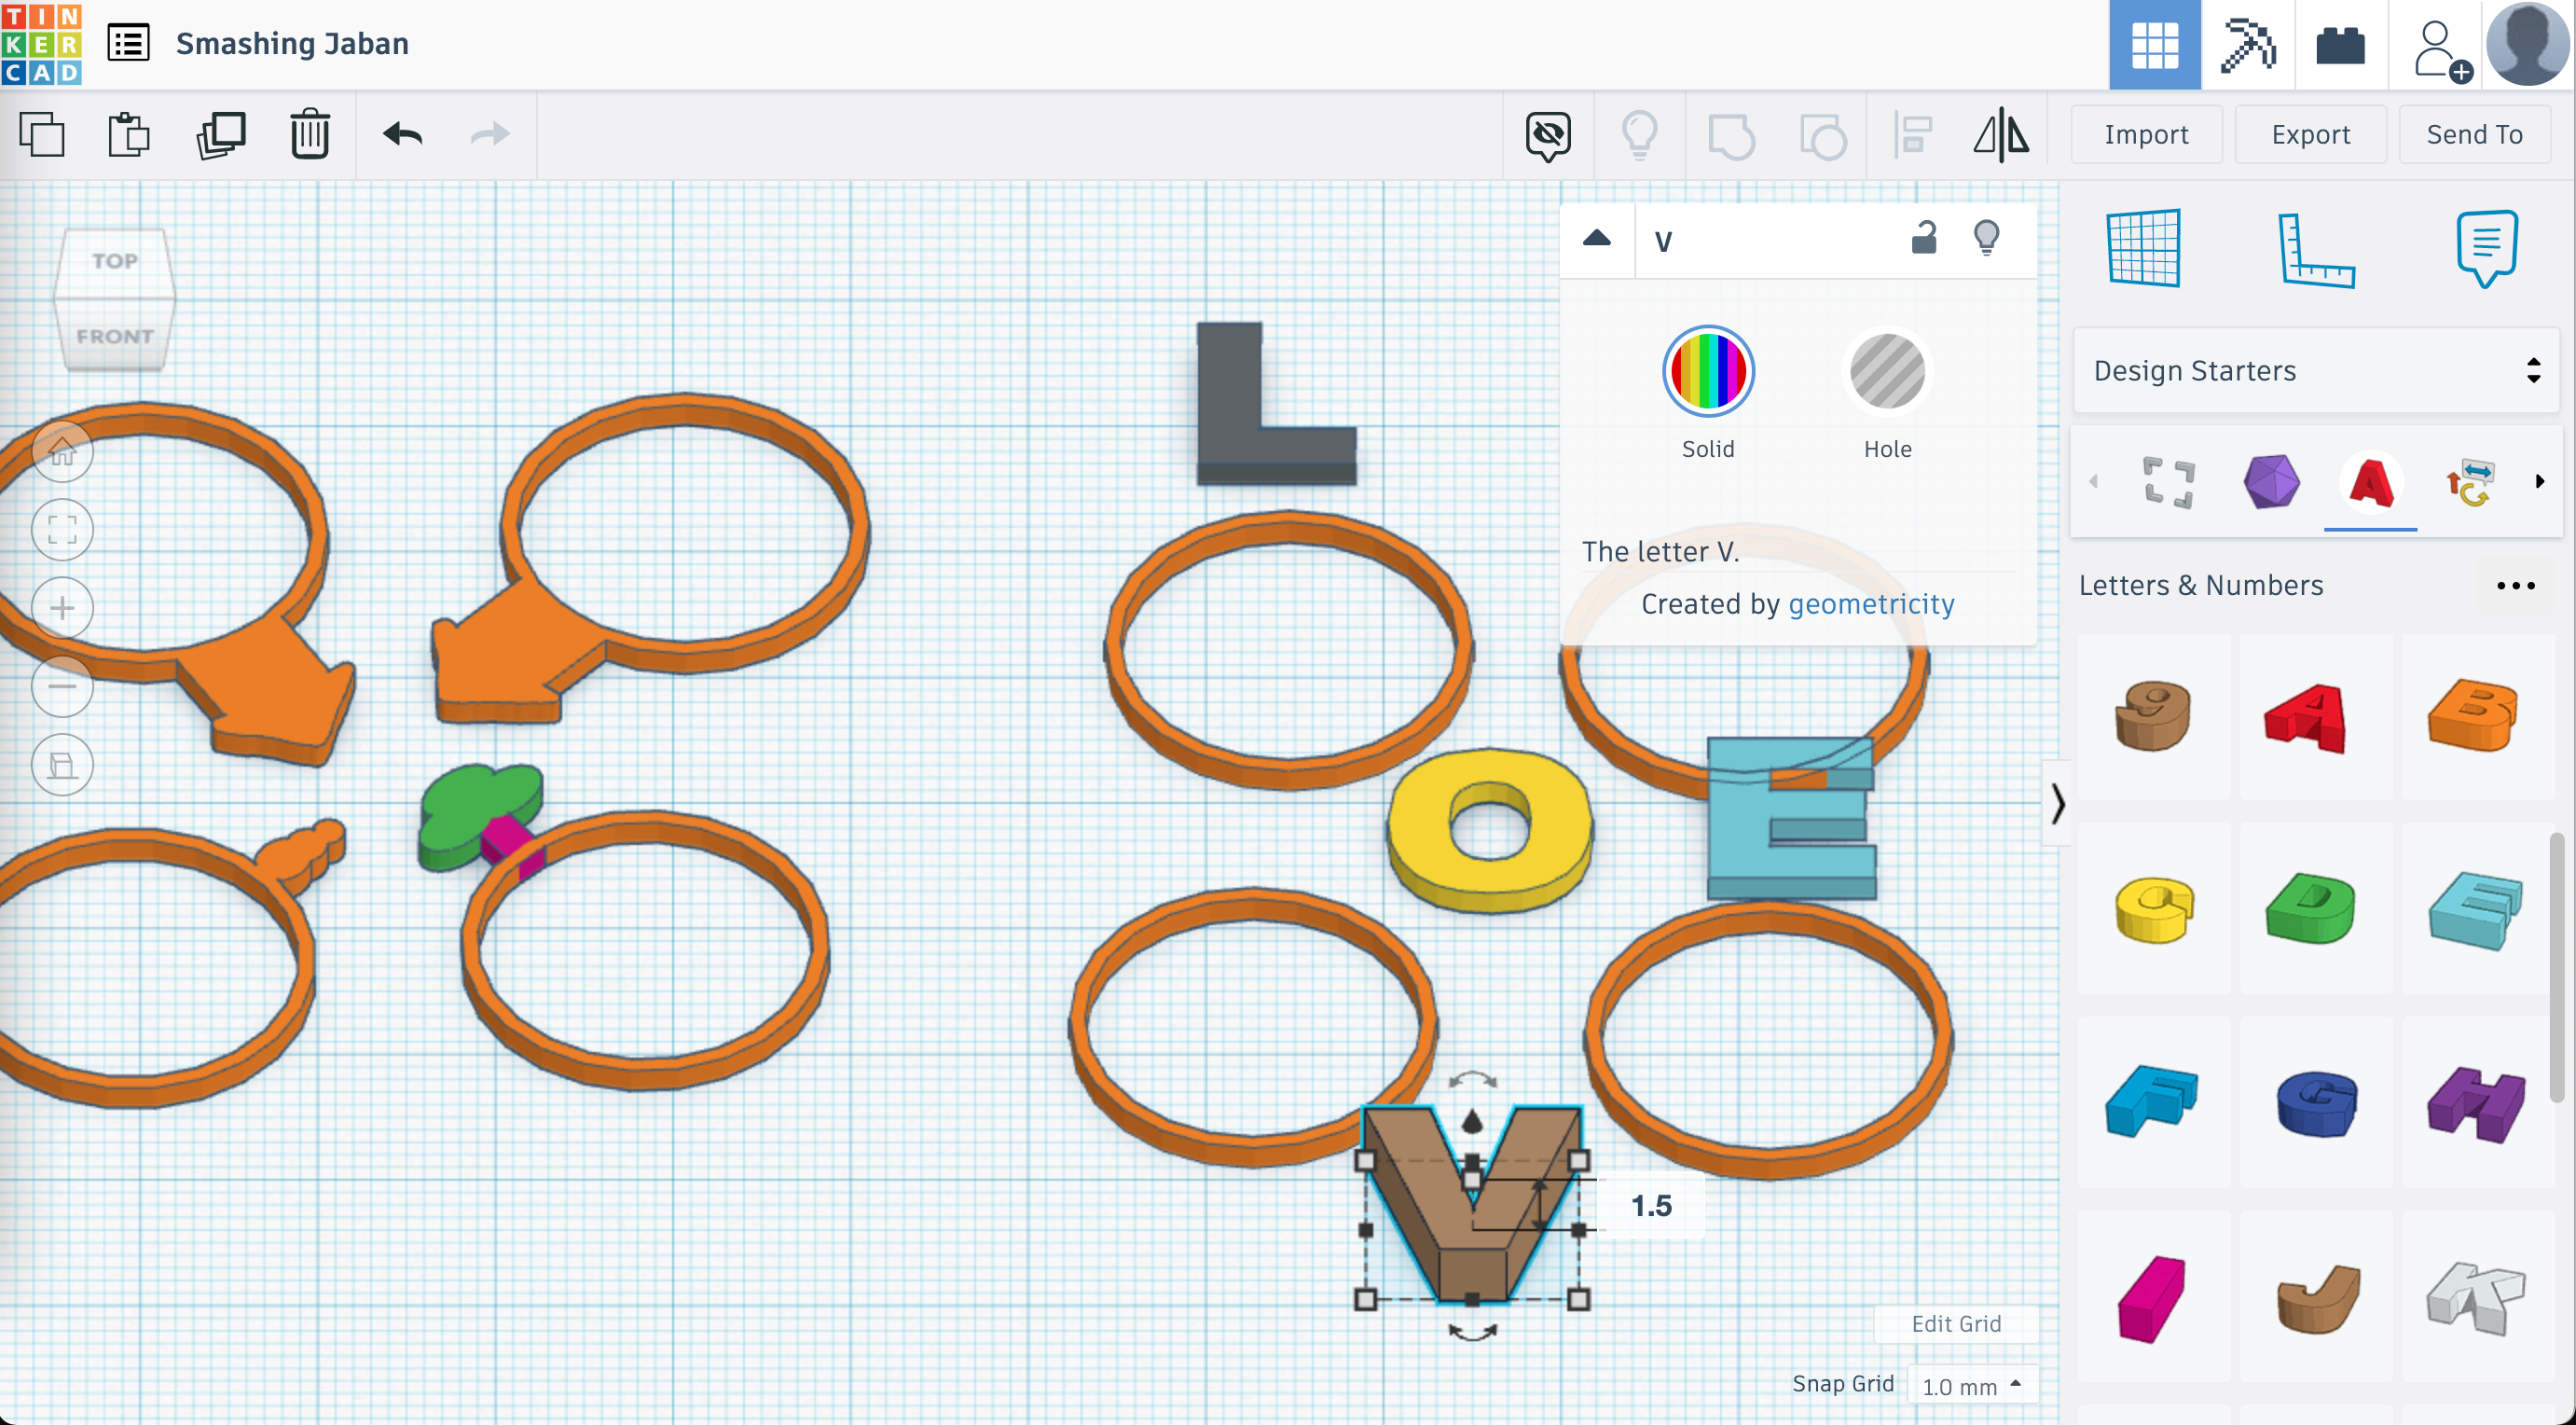
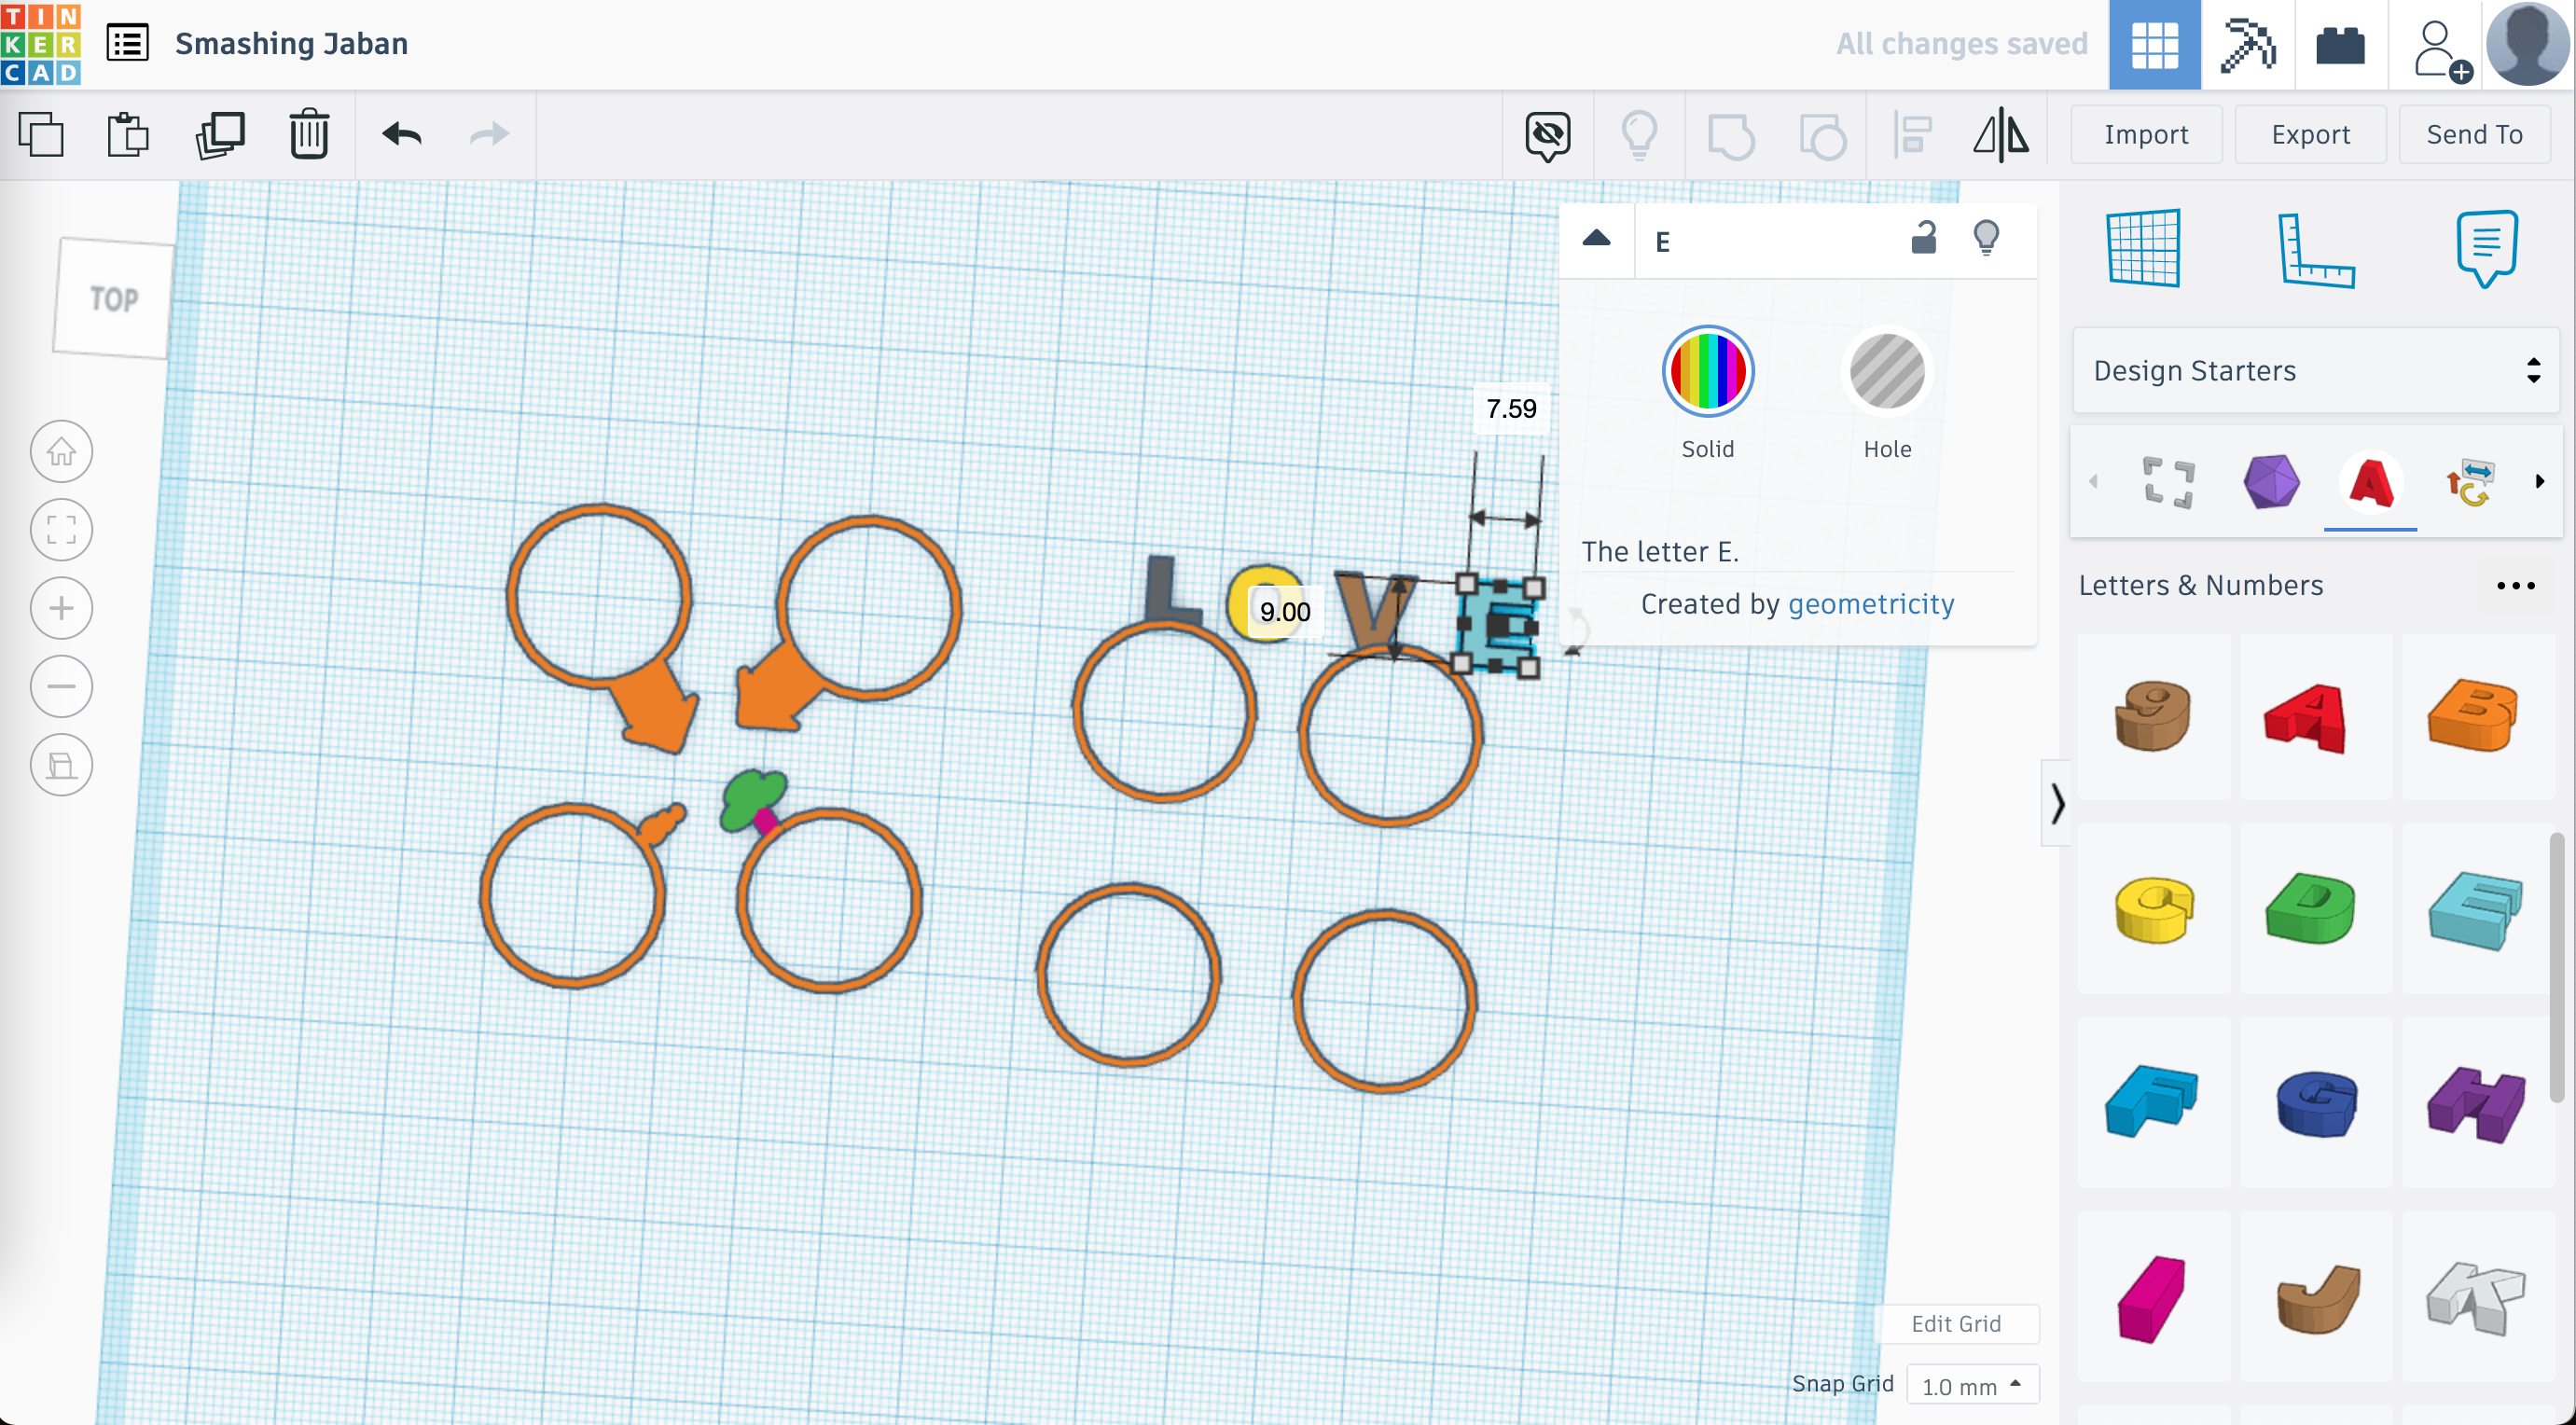
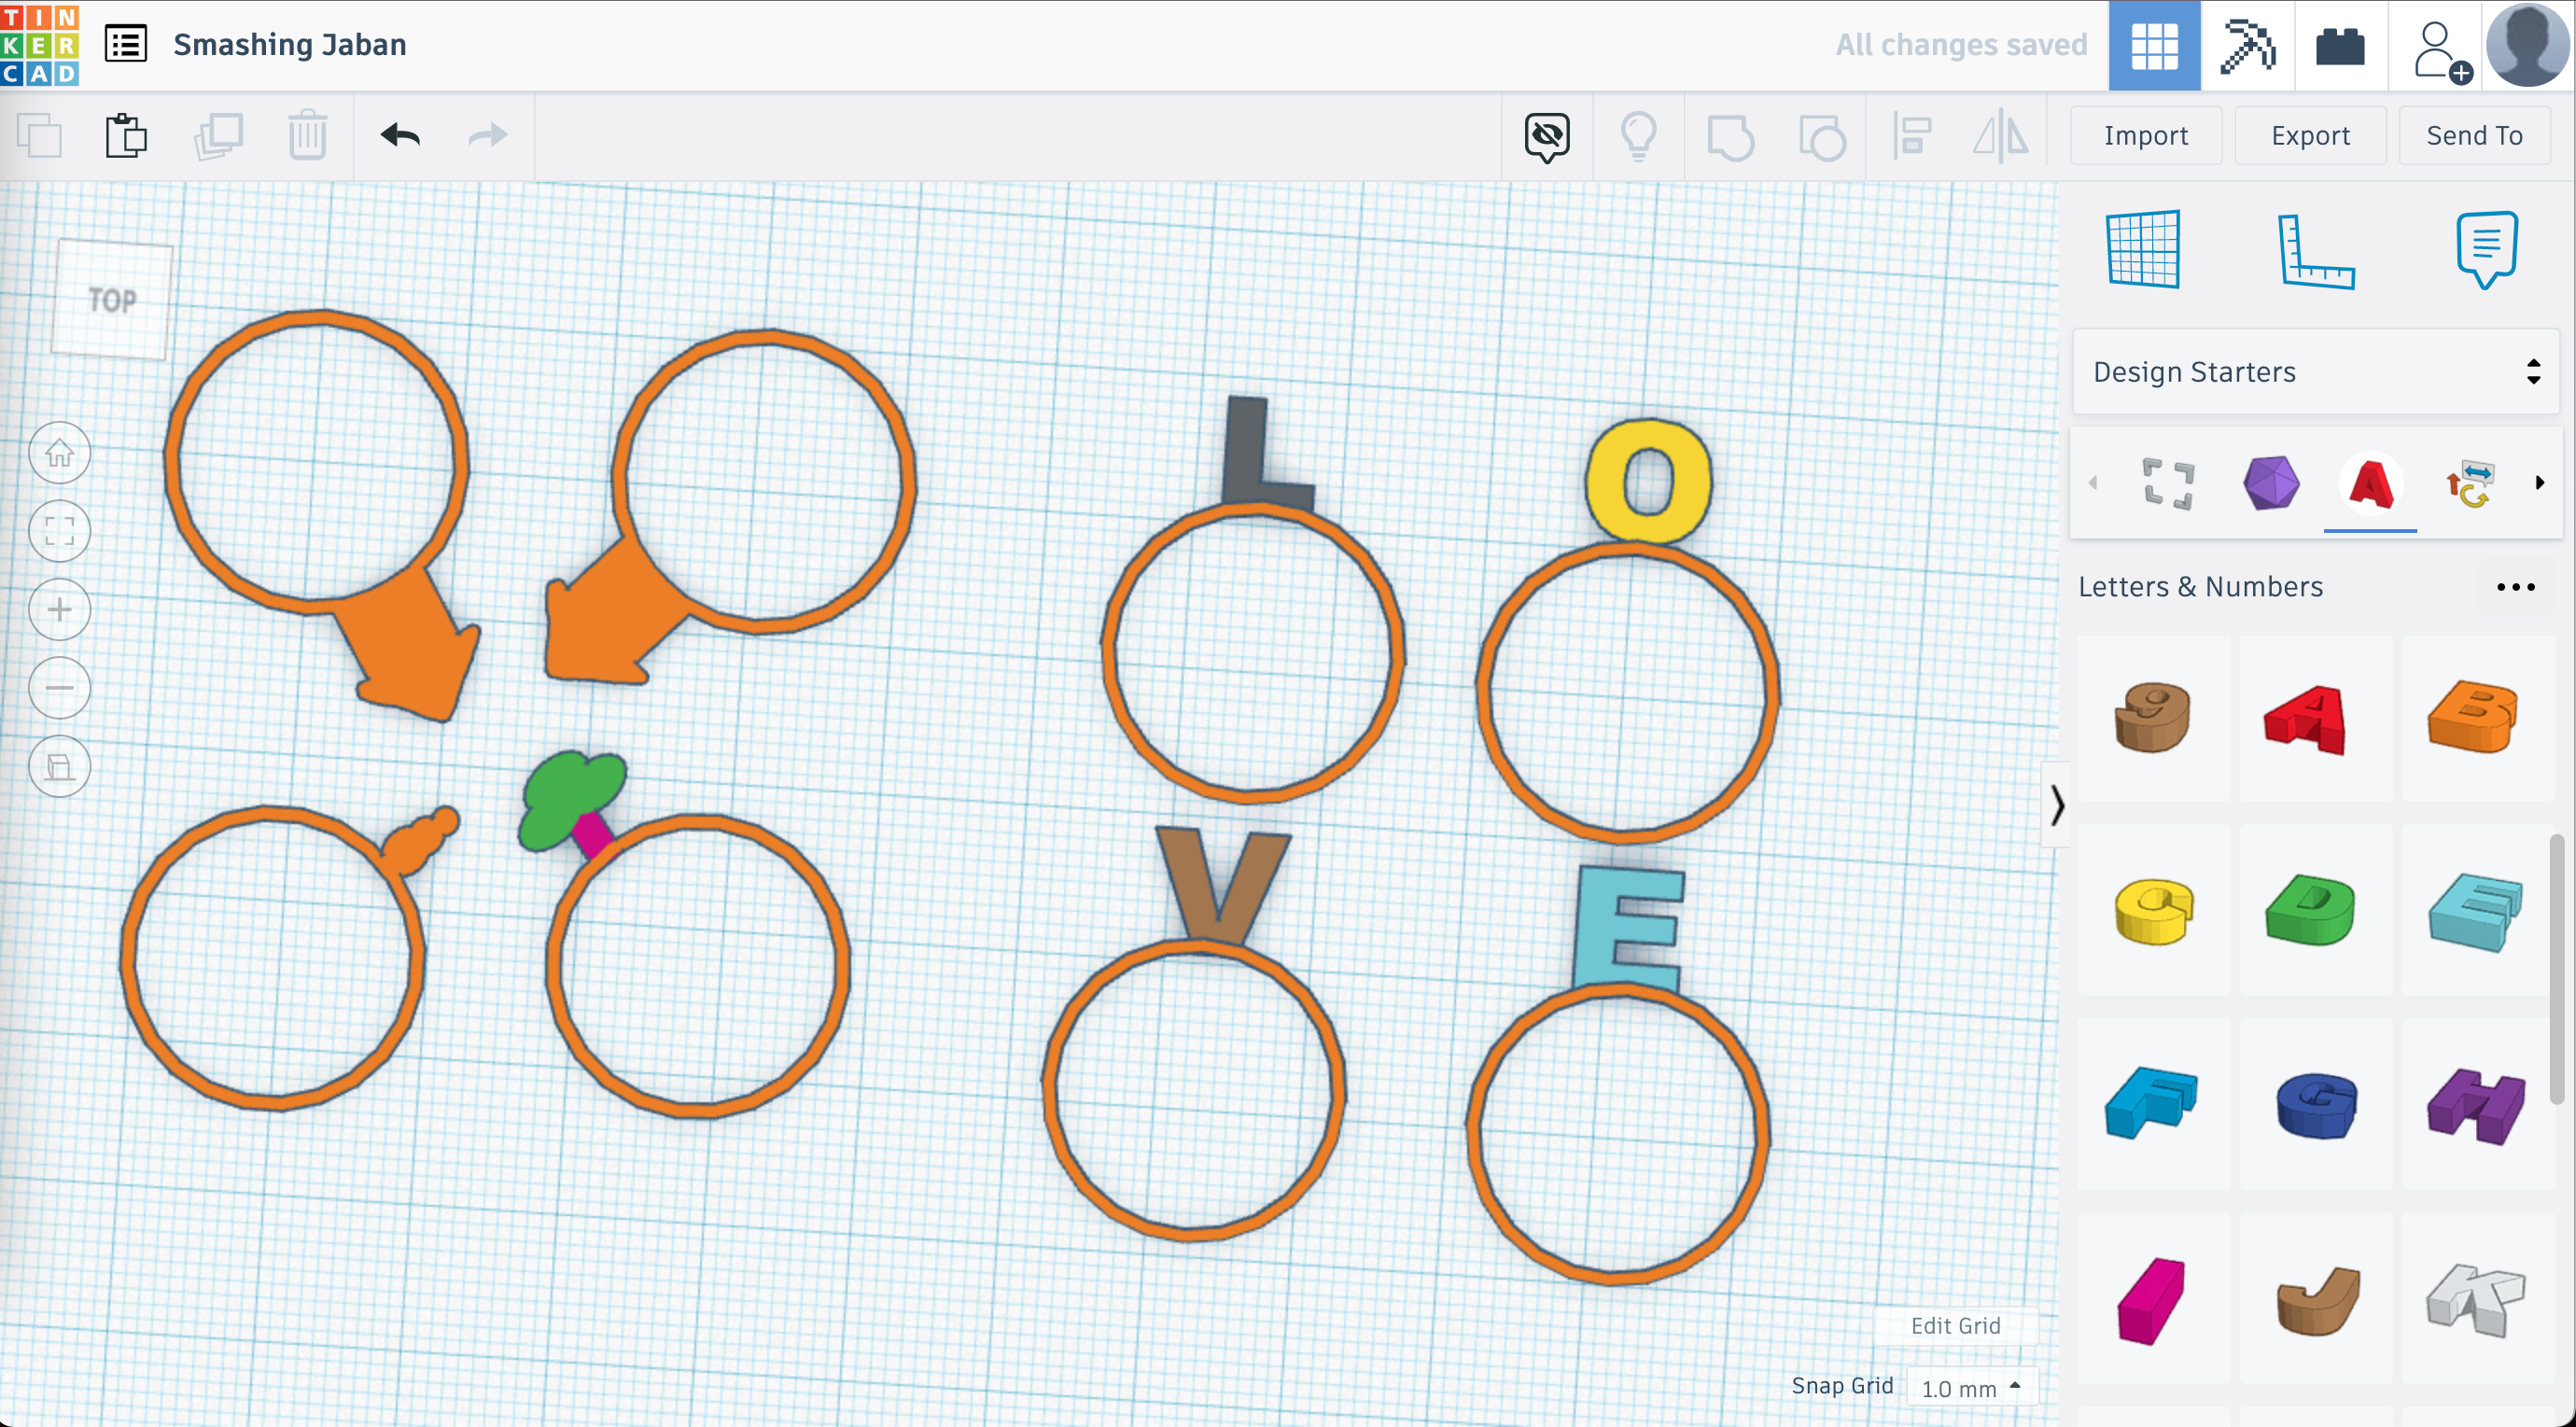
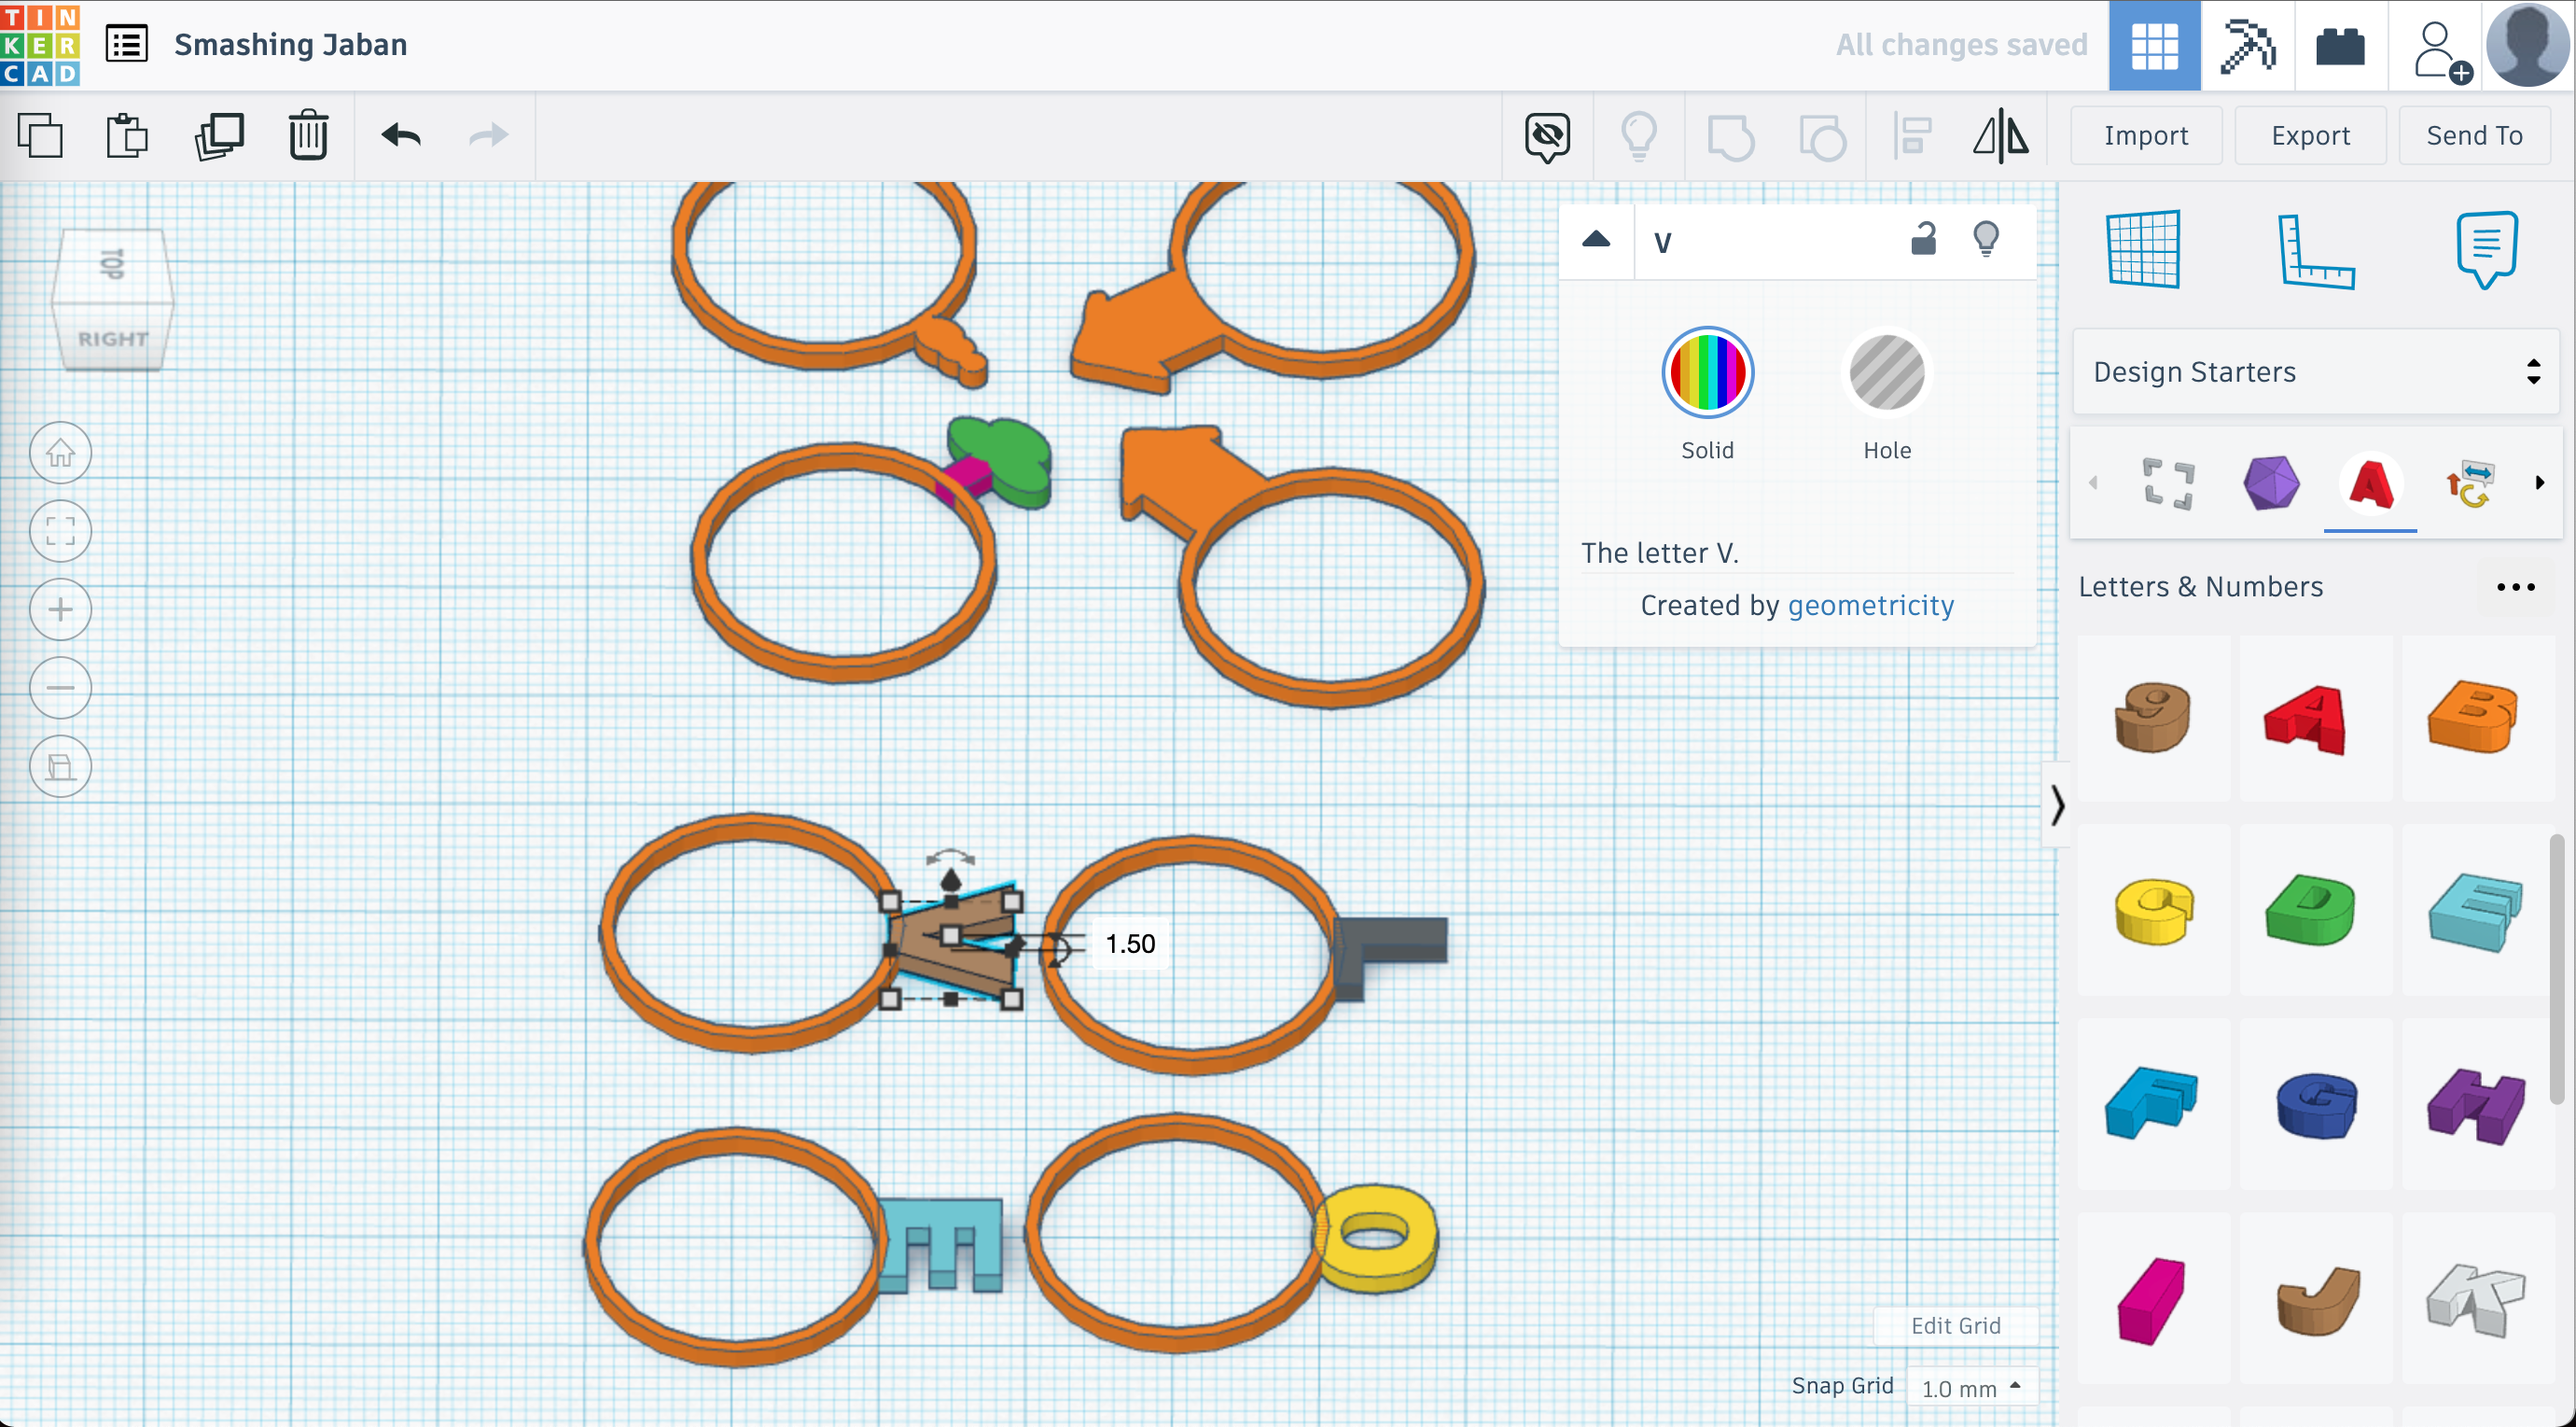
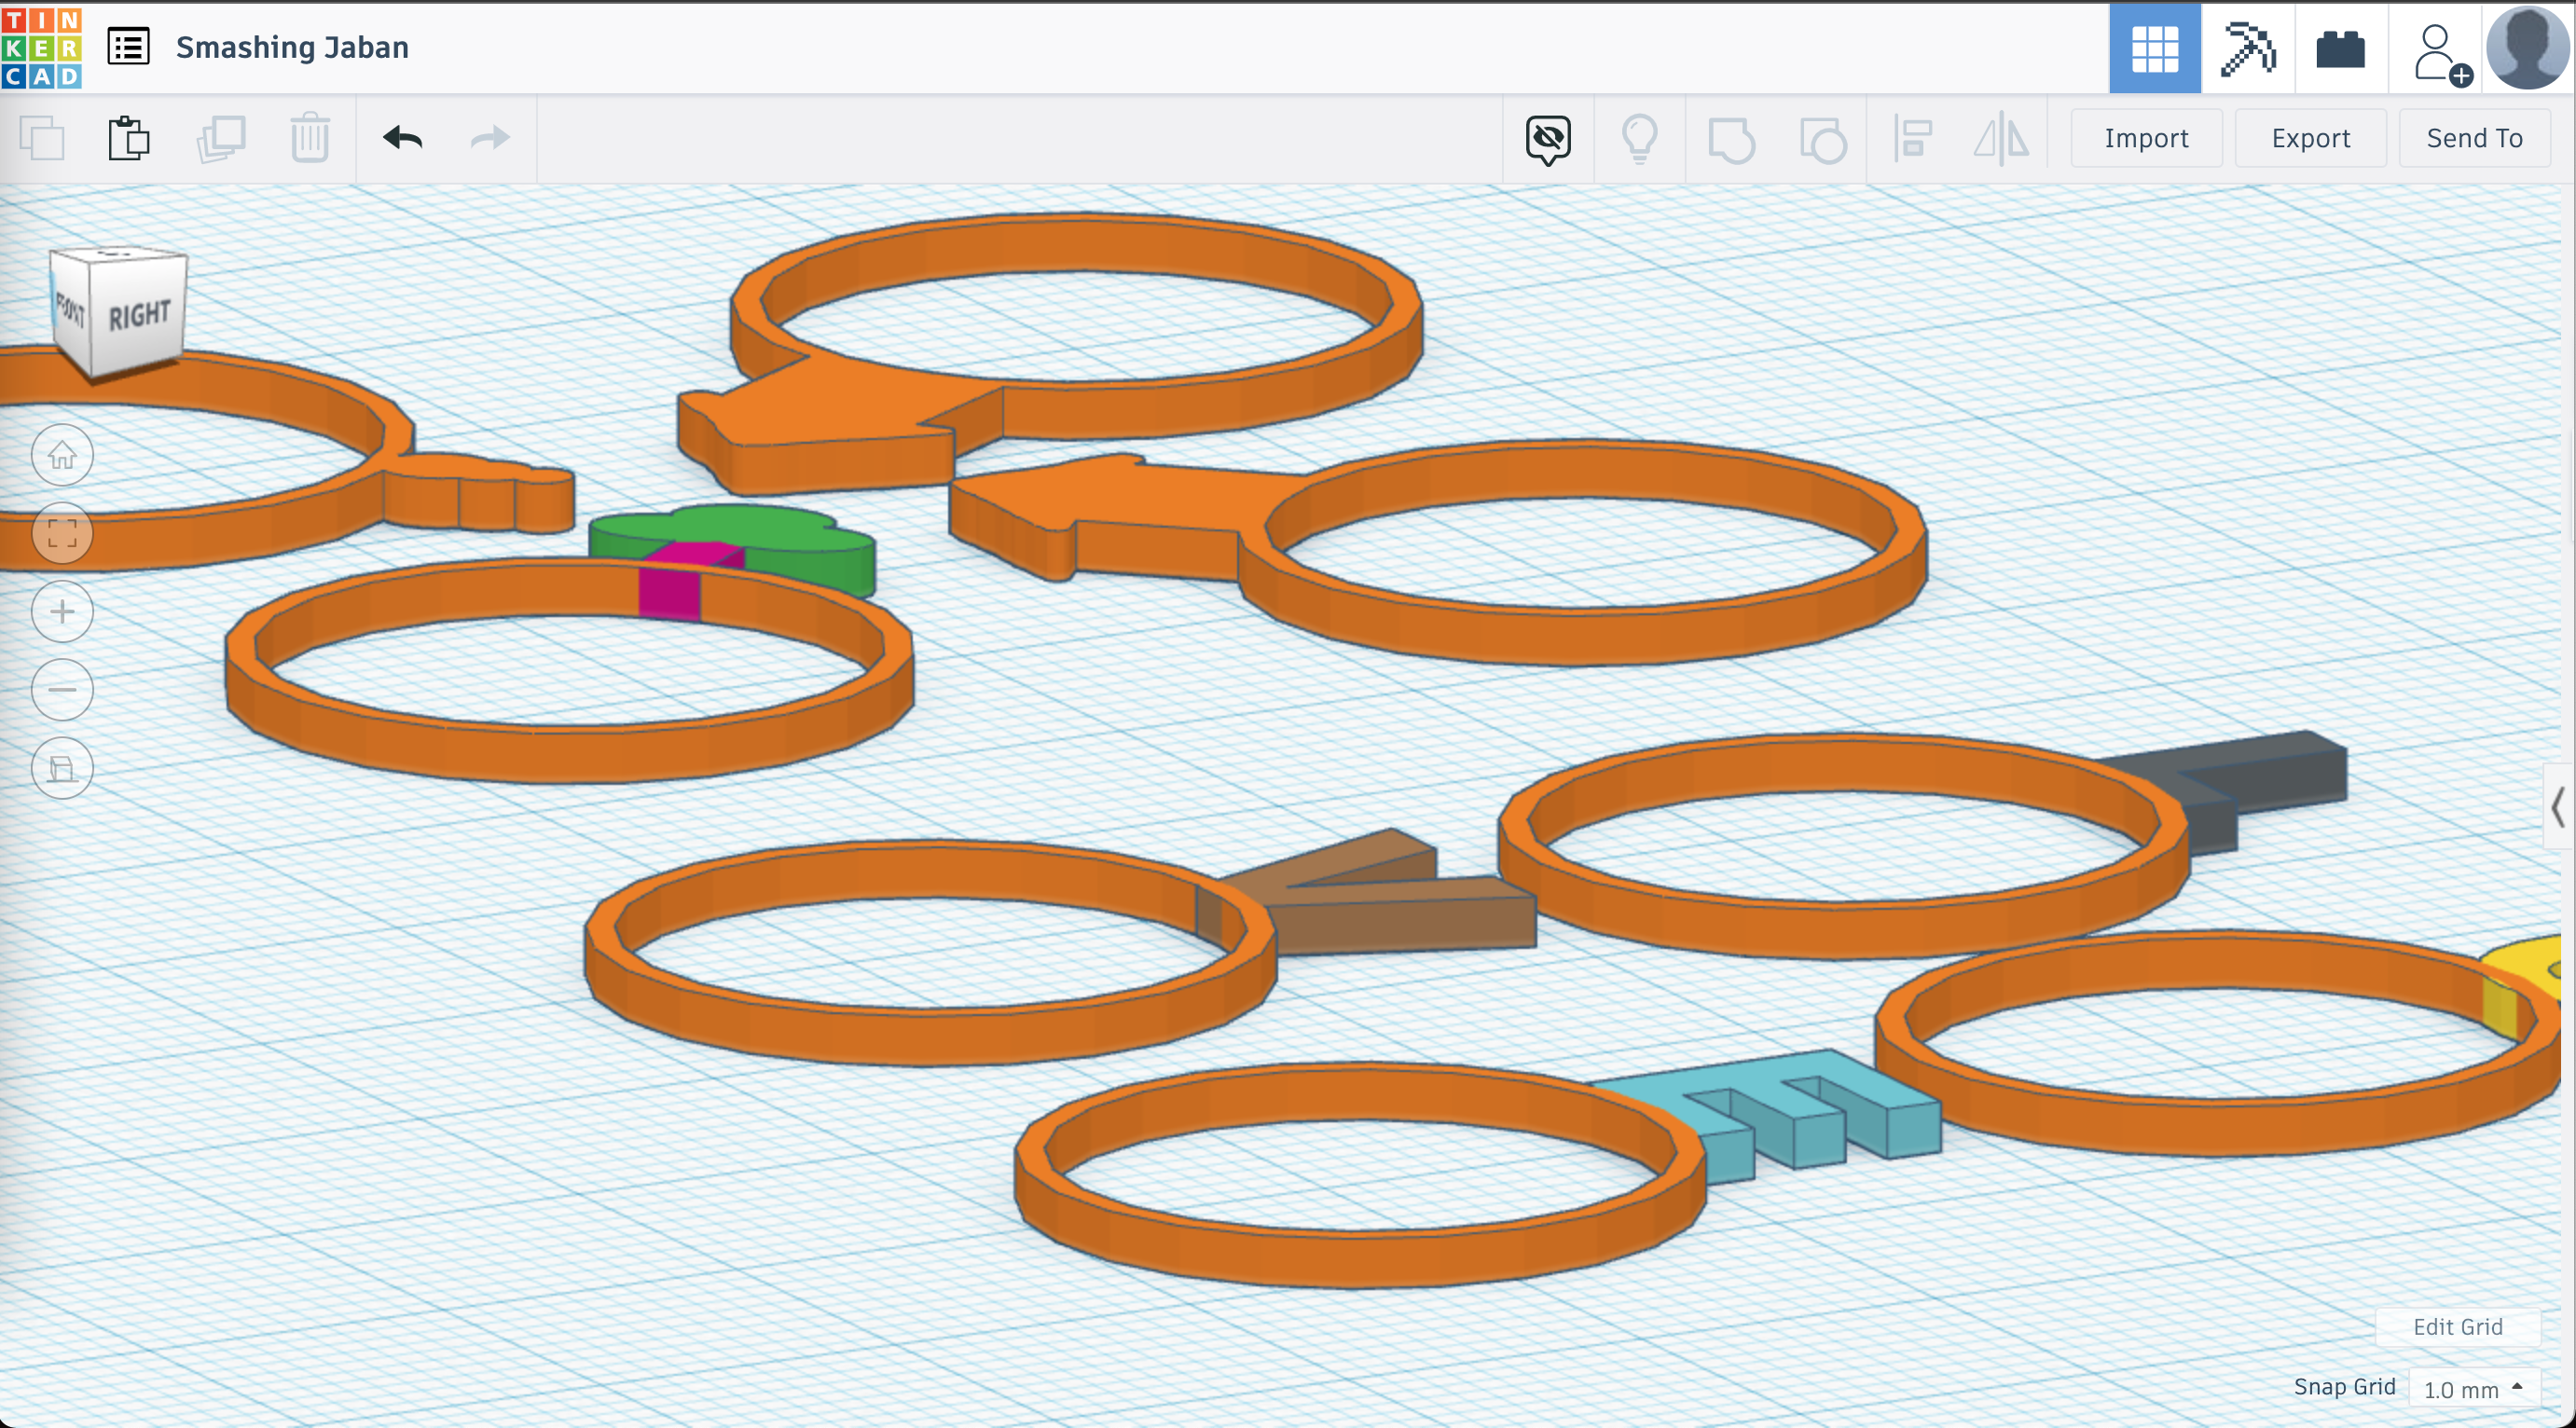
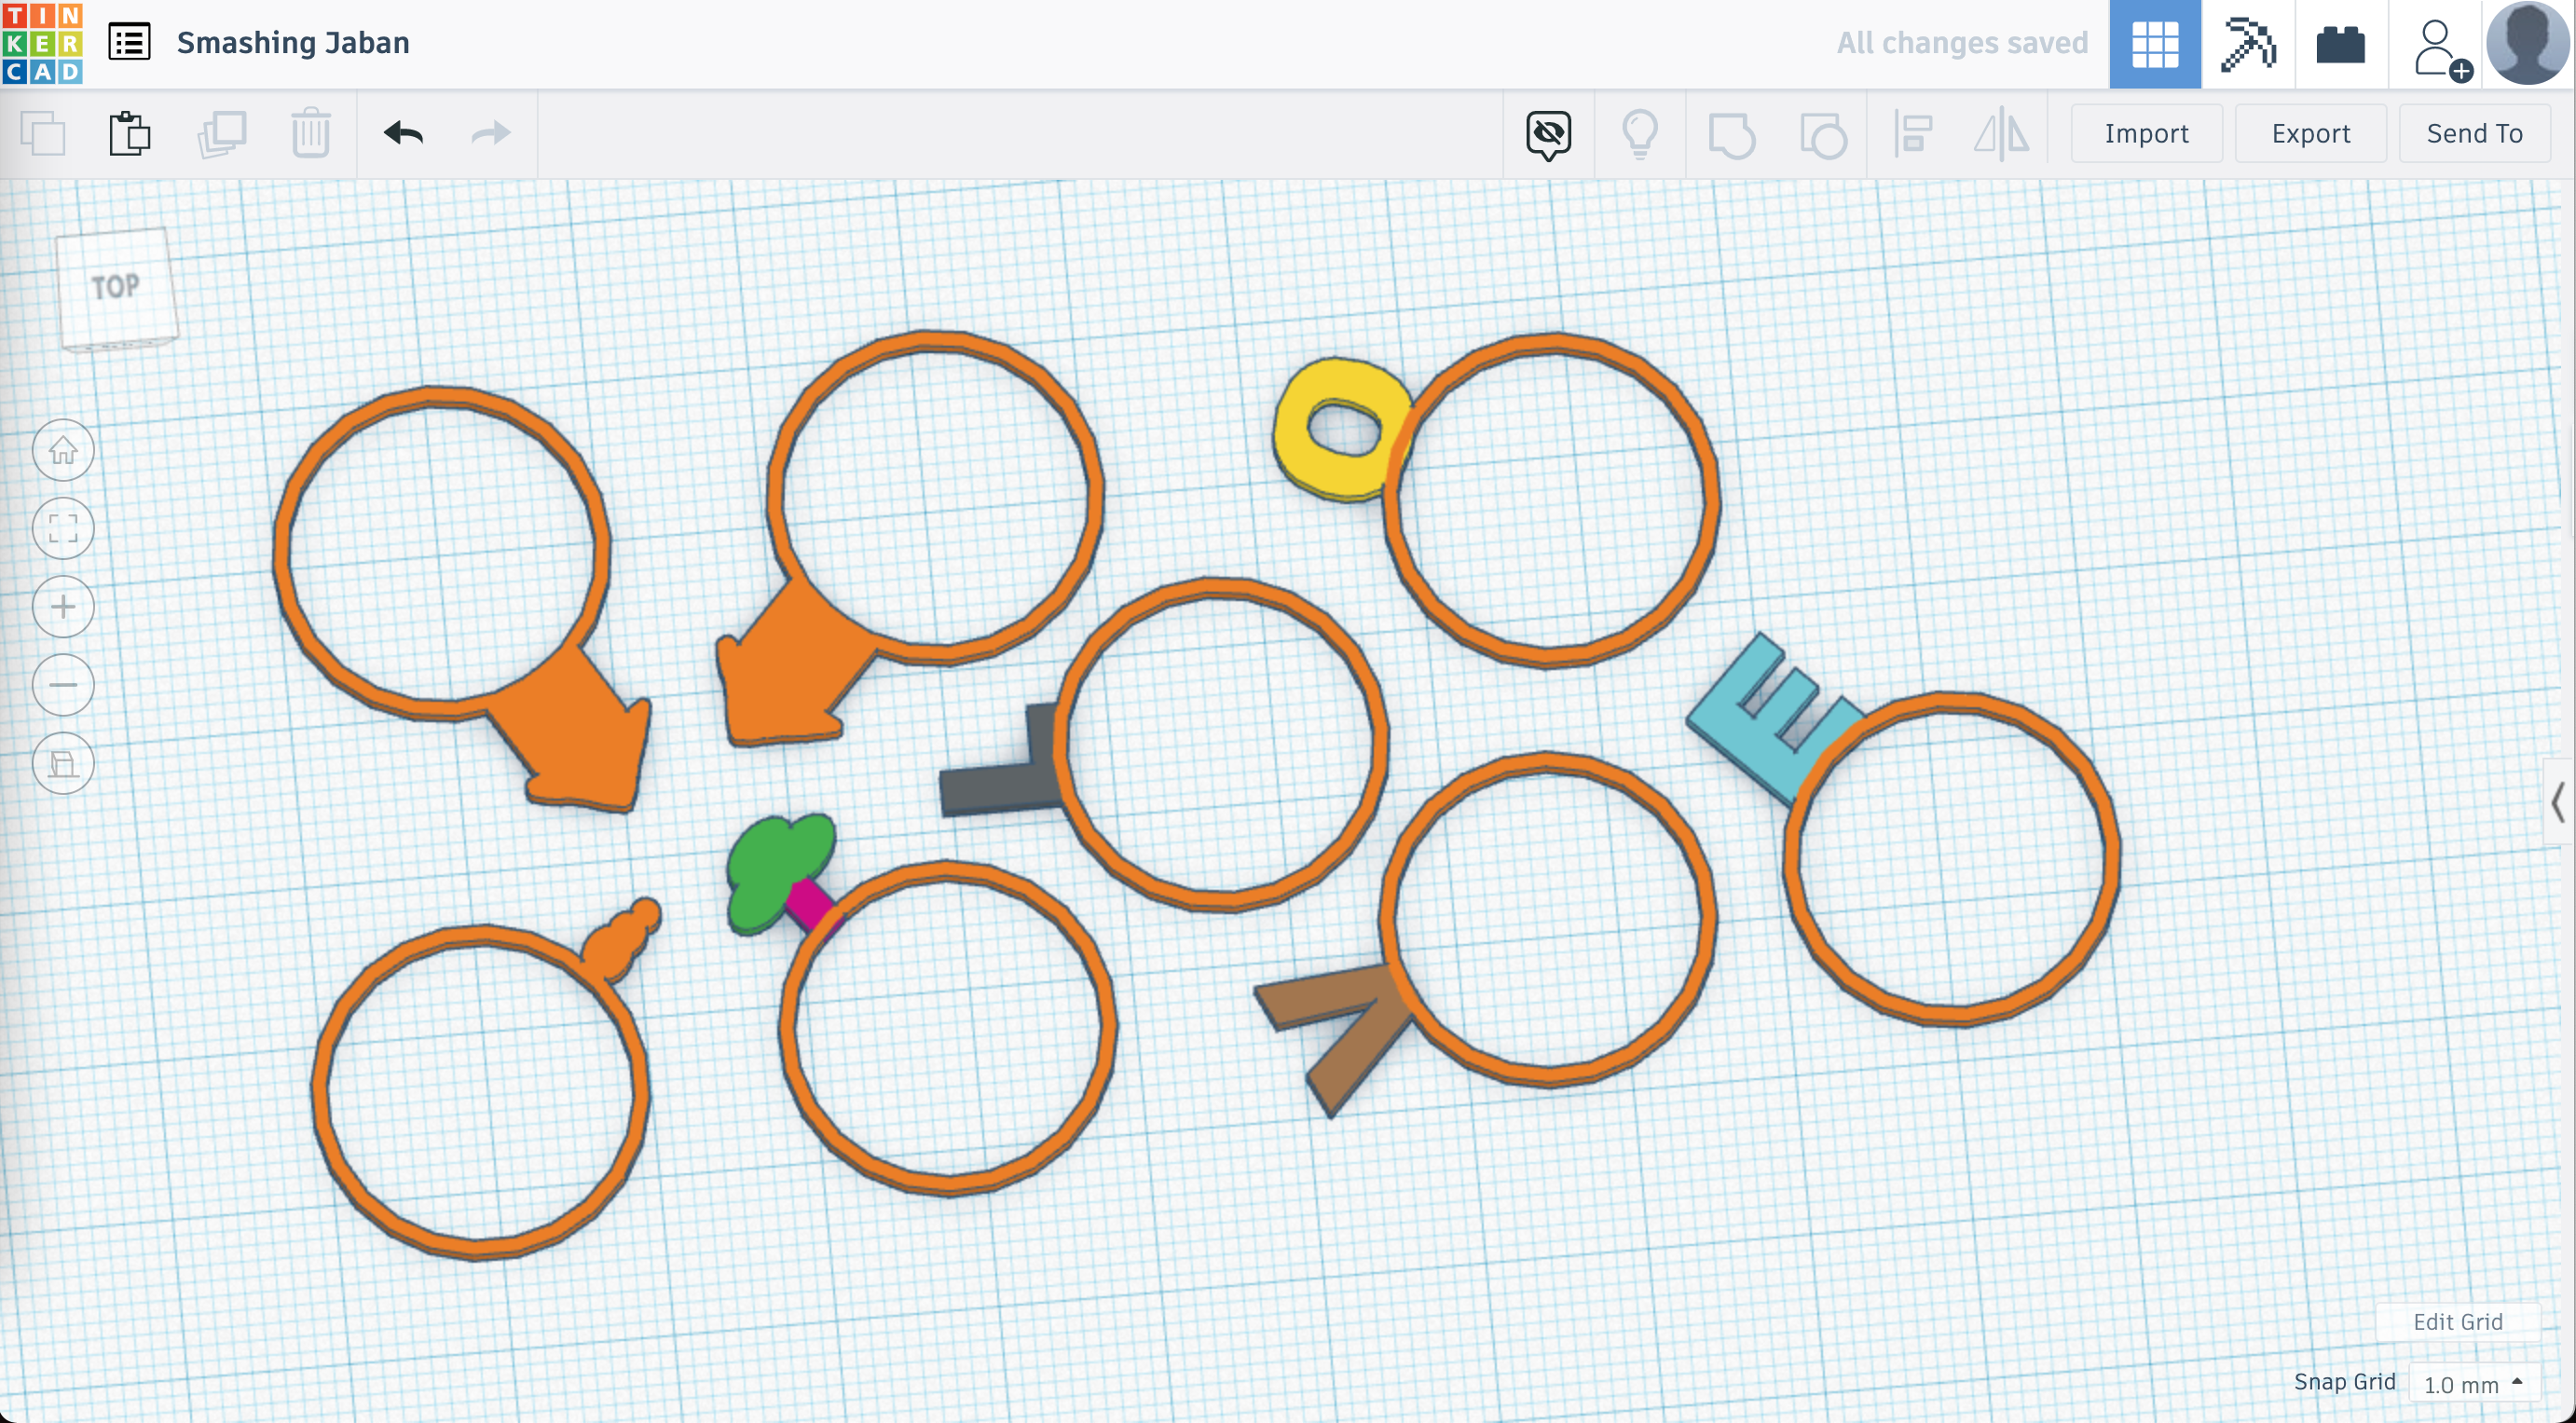
While I did not make these physically, the concept is similar to the above, here are the basic steps.
- Make the ring bases to your dimensions.
- Select the letters for your short word from the letter shapes.
- I chose LOVE since it is a nice, short word.
- Resize the letters to match your rings in size.
- Arrange your letters to slightly overlap your ring base, and then group.
- Repeat until you have all of your letter rings grouped.
- Optionally, rotate the letters to the center. I like the four-circle arrangement, but it is simply preference for just the four rings. If I were to print all of them, I would try to intertwine them to the smallest footprint possible with space between to avoid any complications.
Export Your File
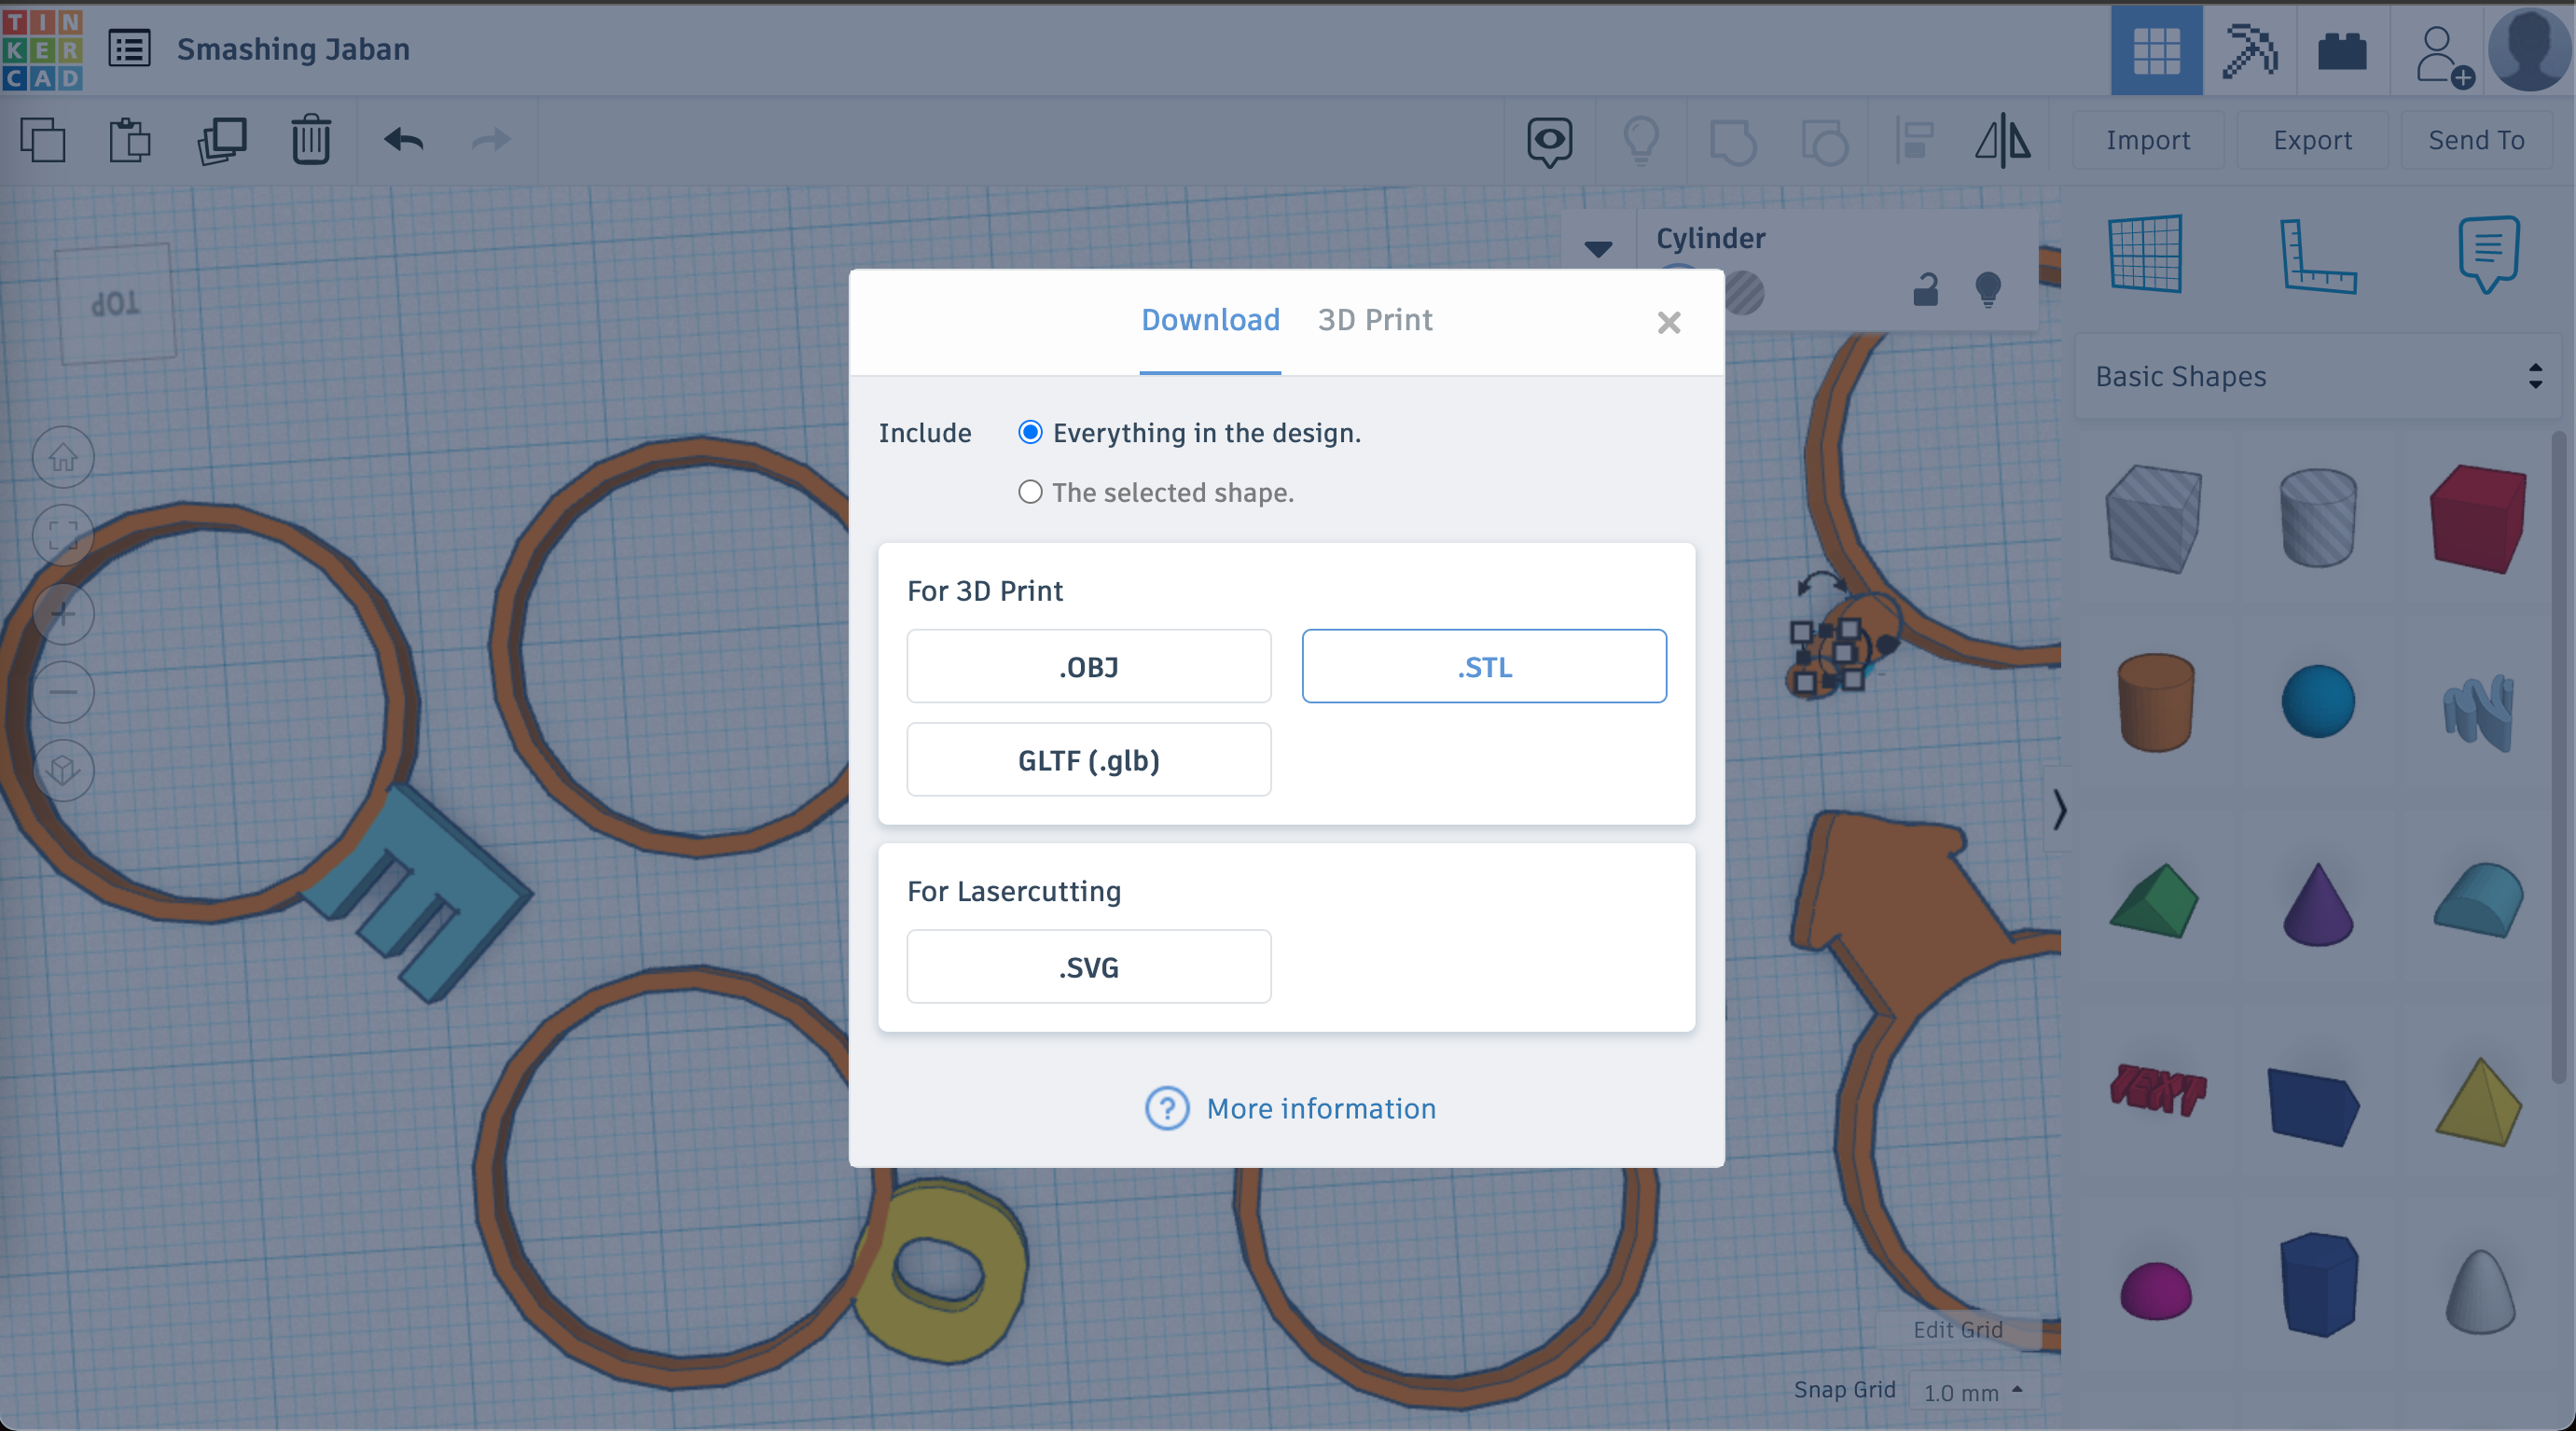
Click on Export in the top right, for everything in your design, and export as a .stl file.
Setup Your Print - Dremel Cloud Print Method
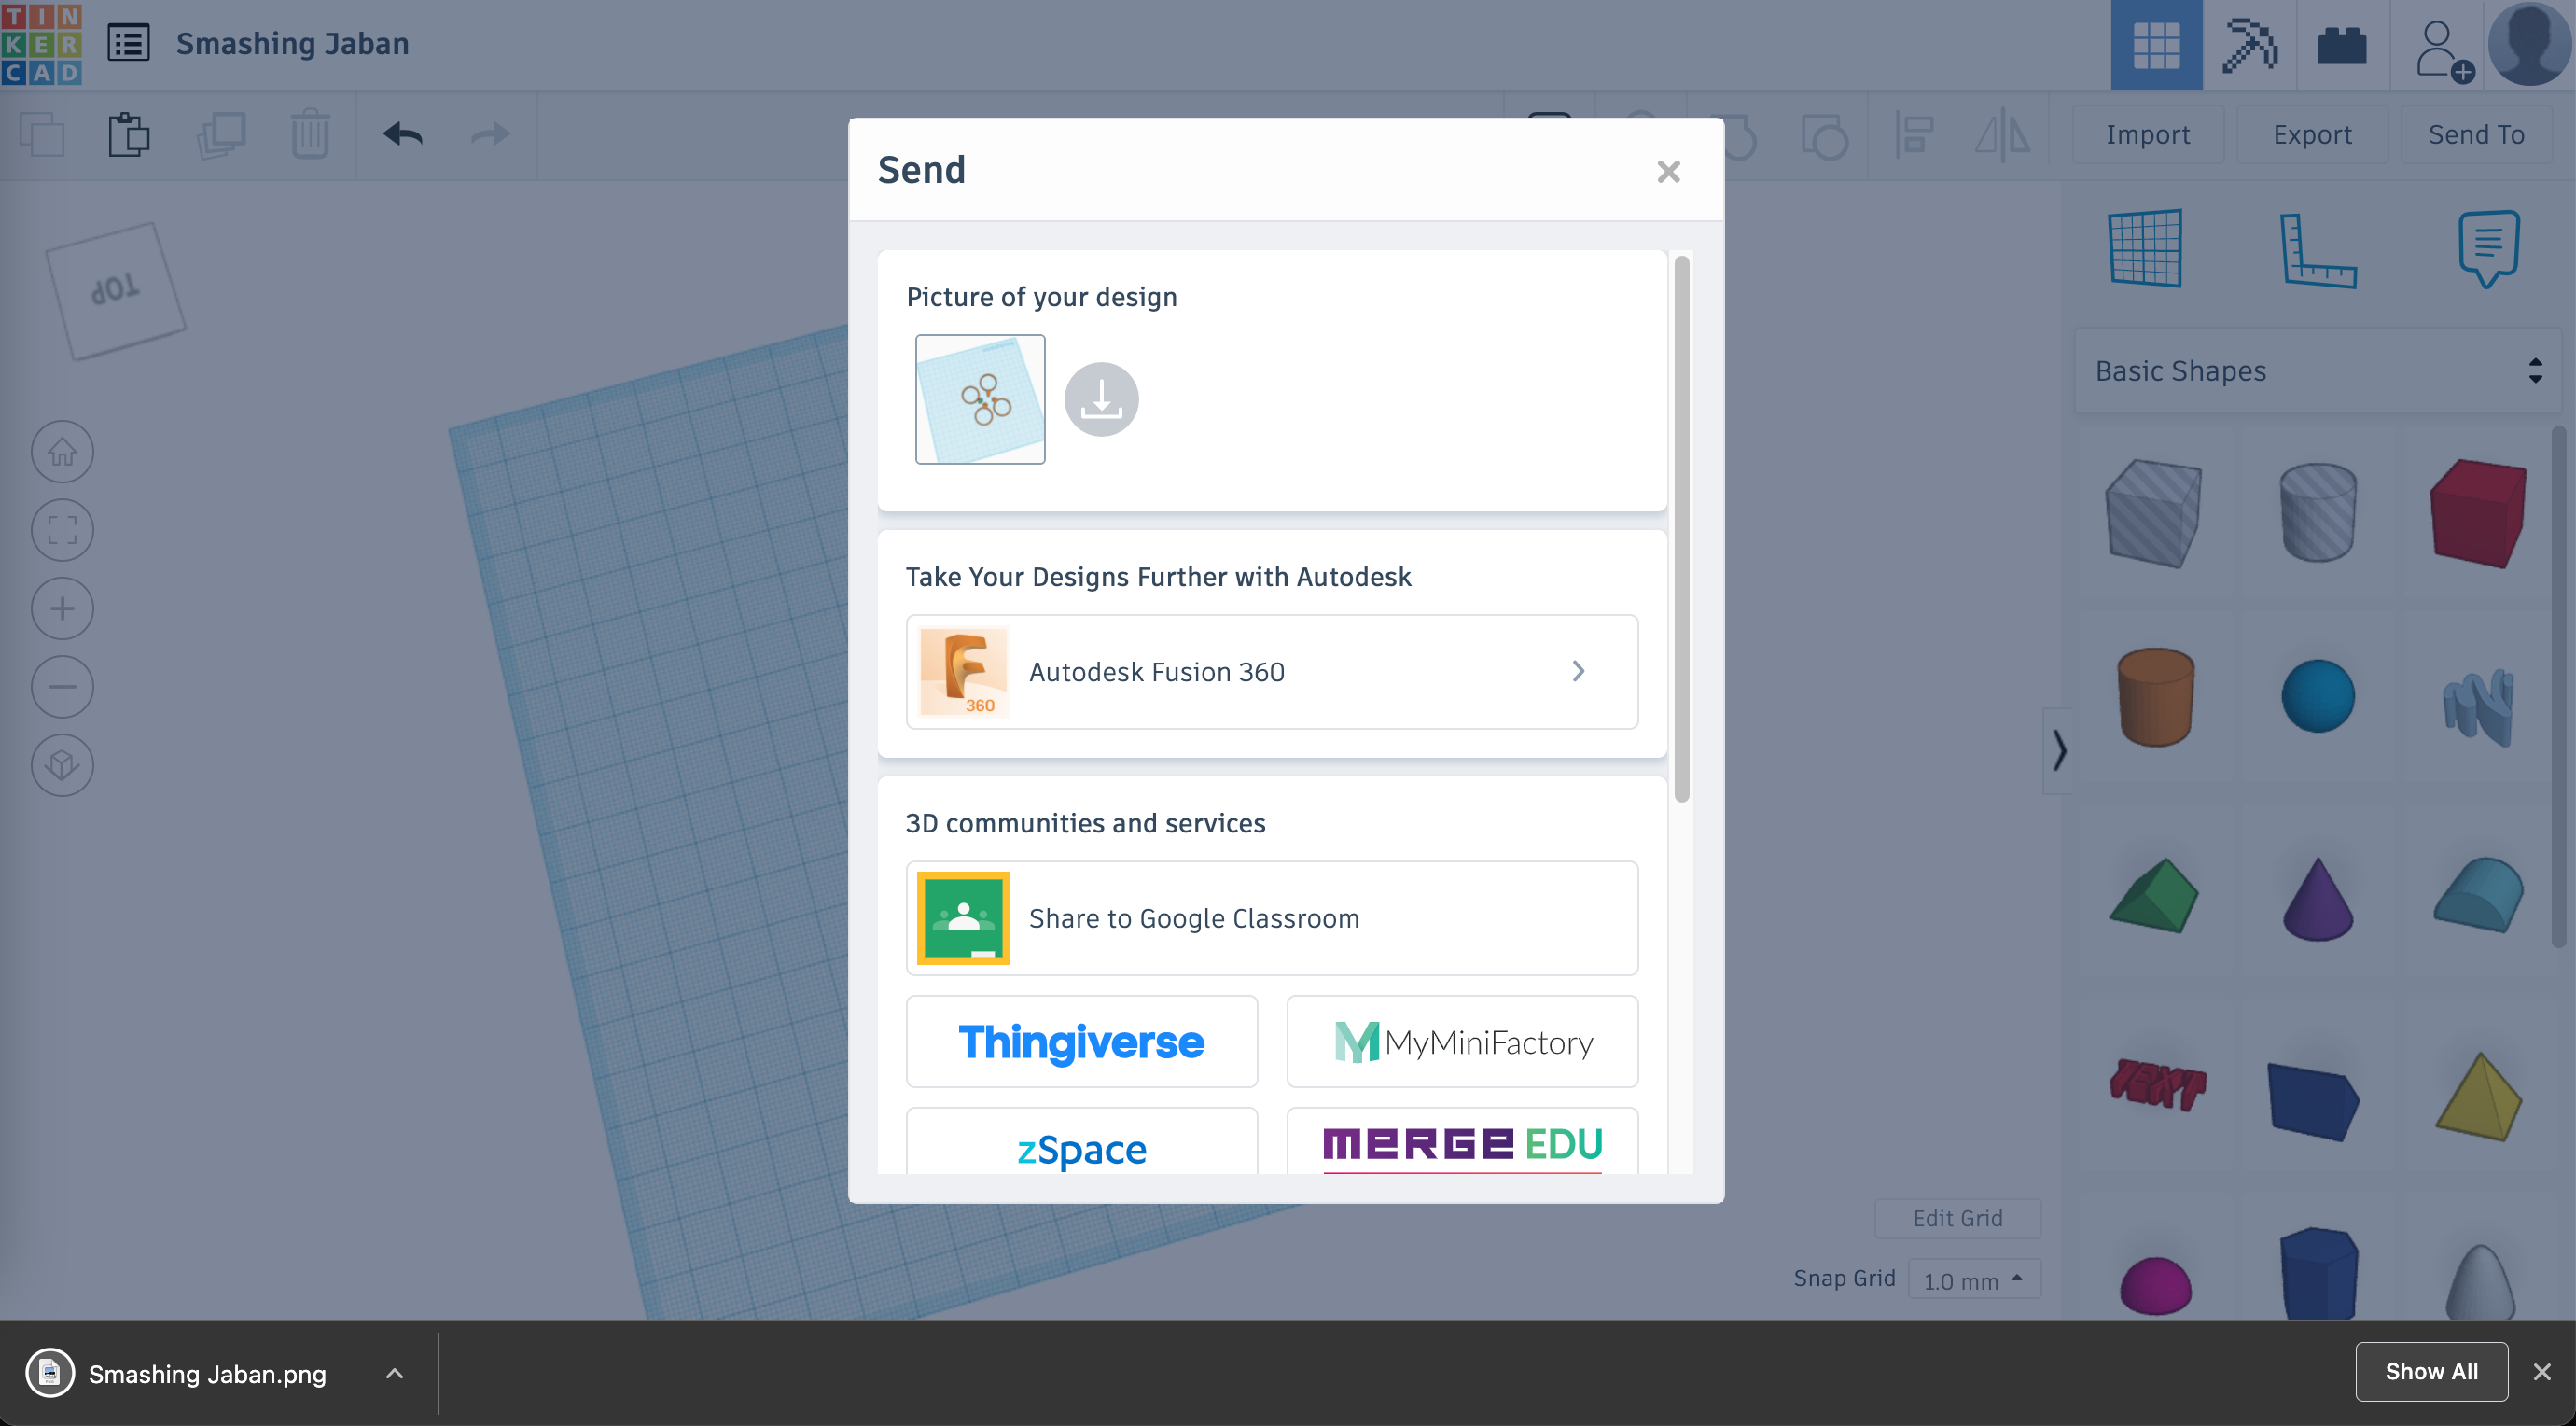
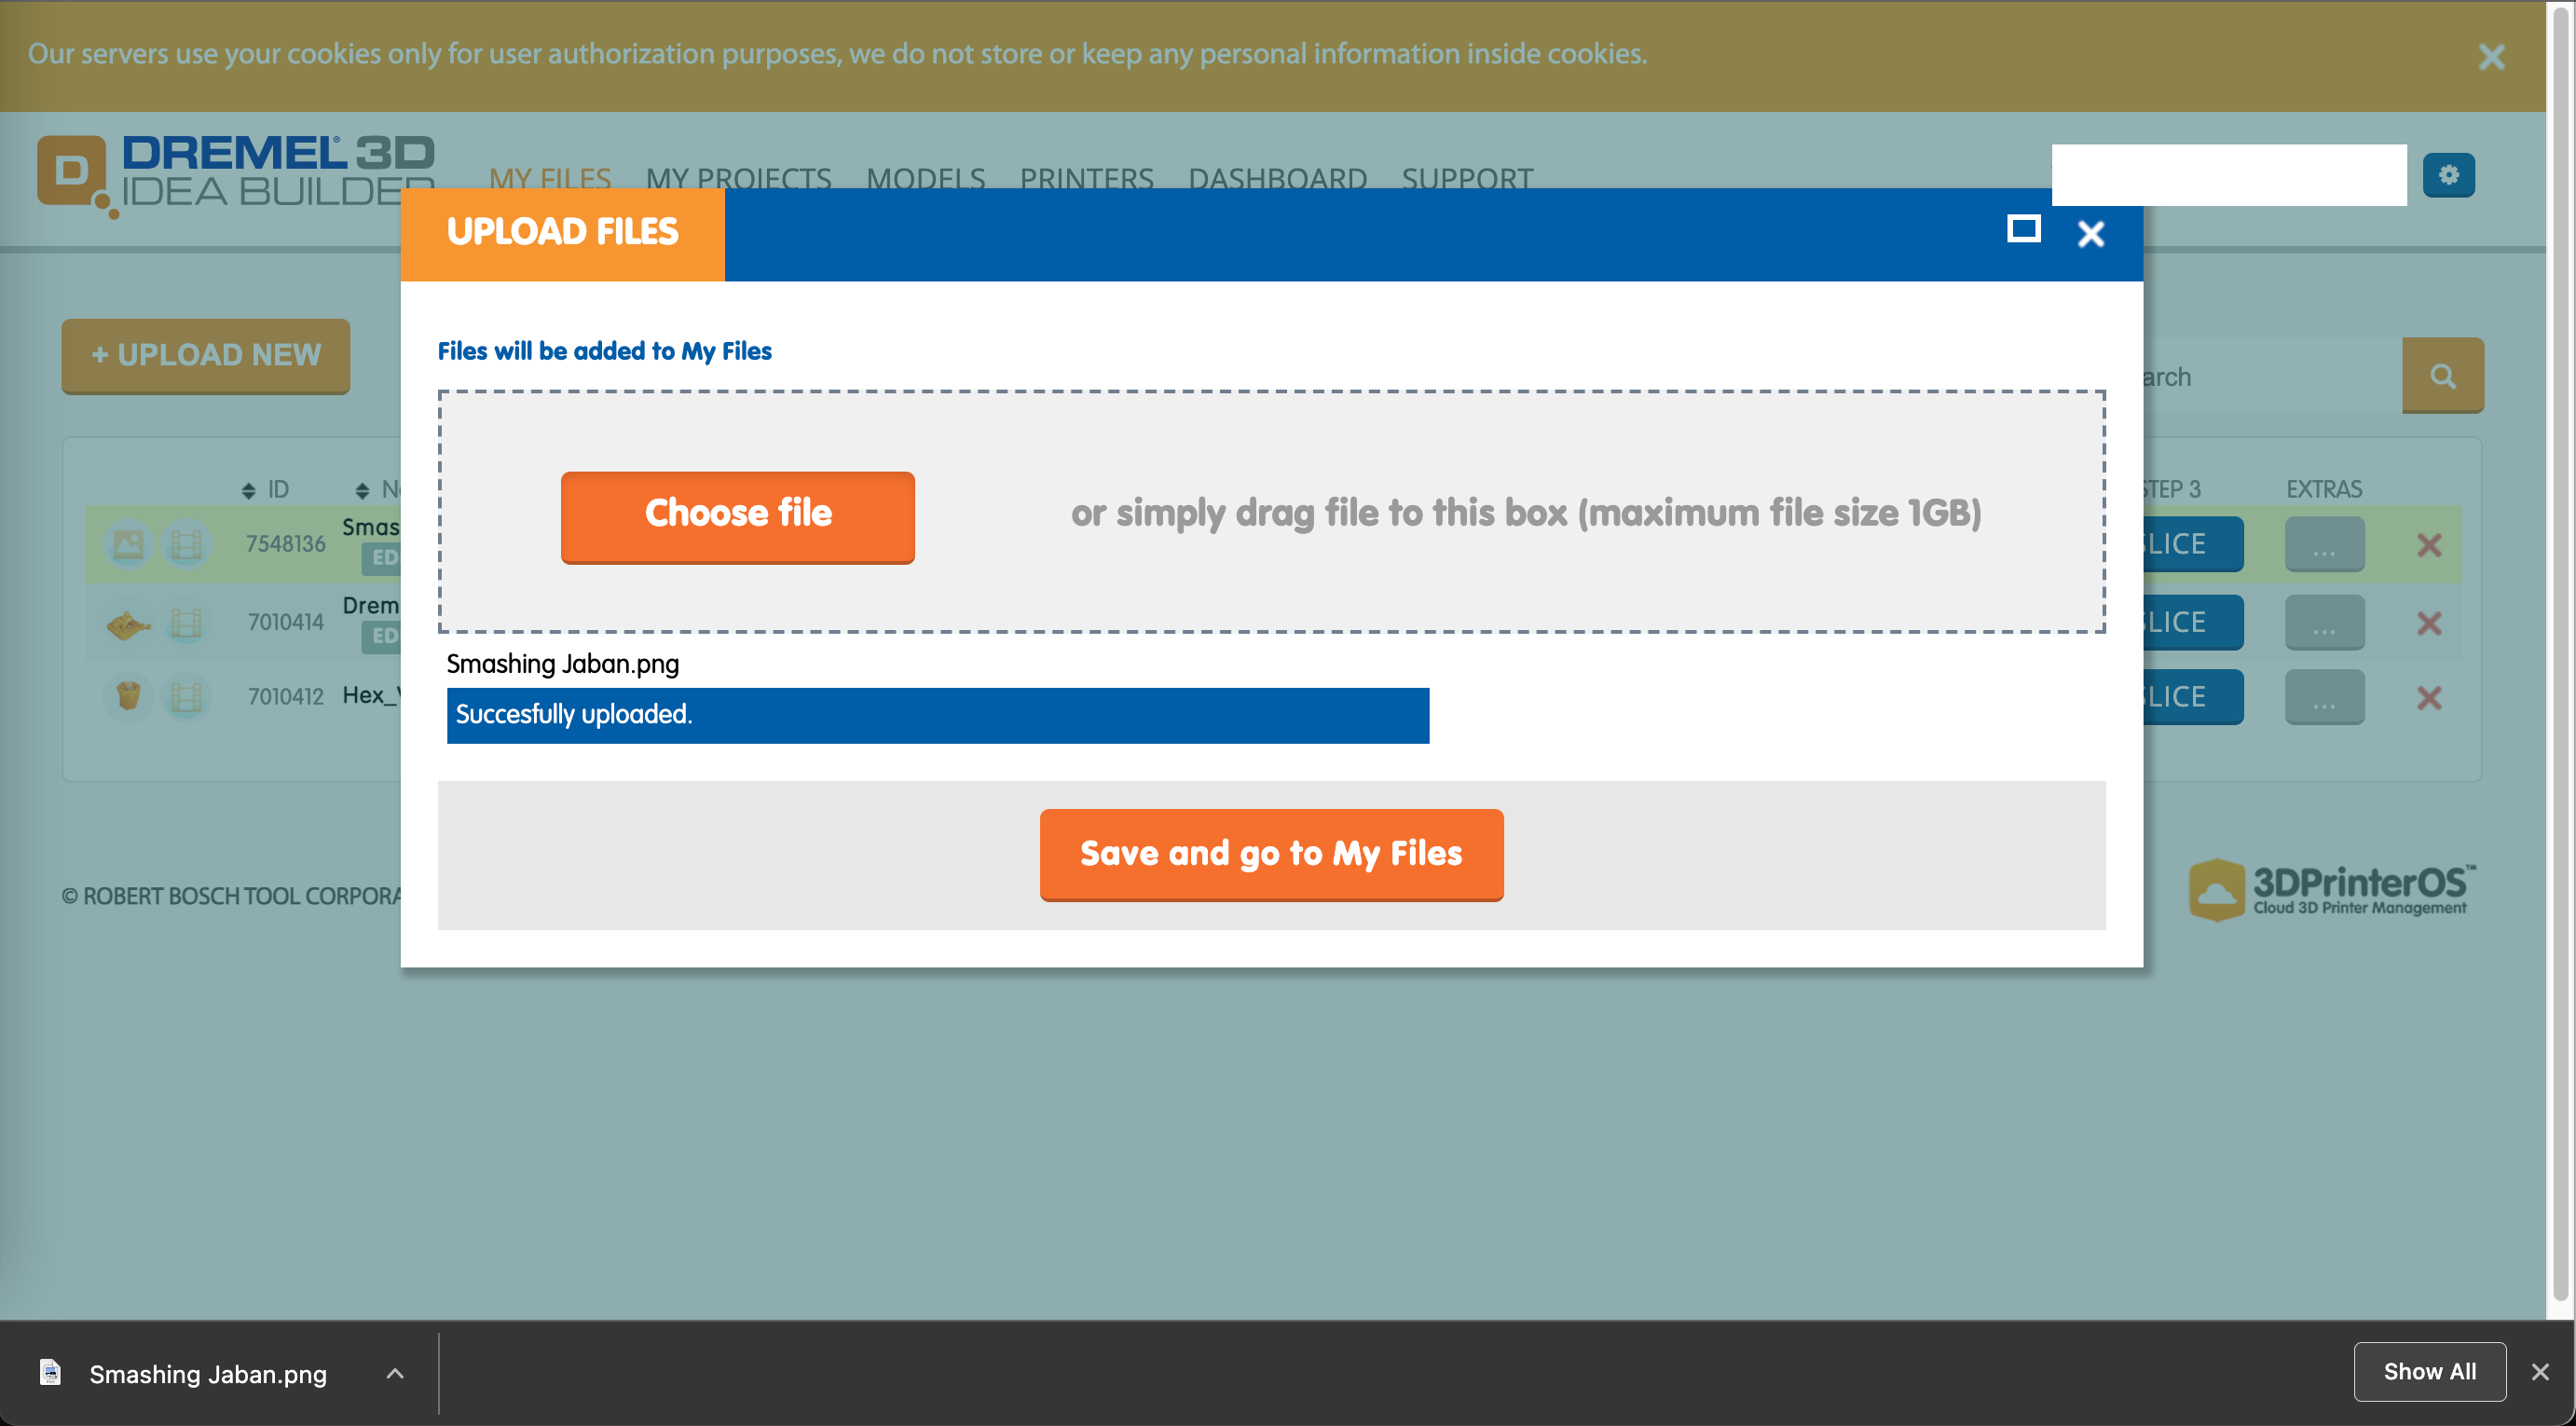
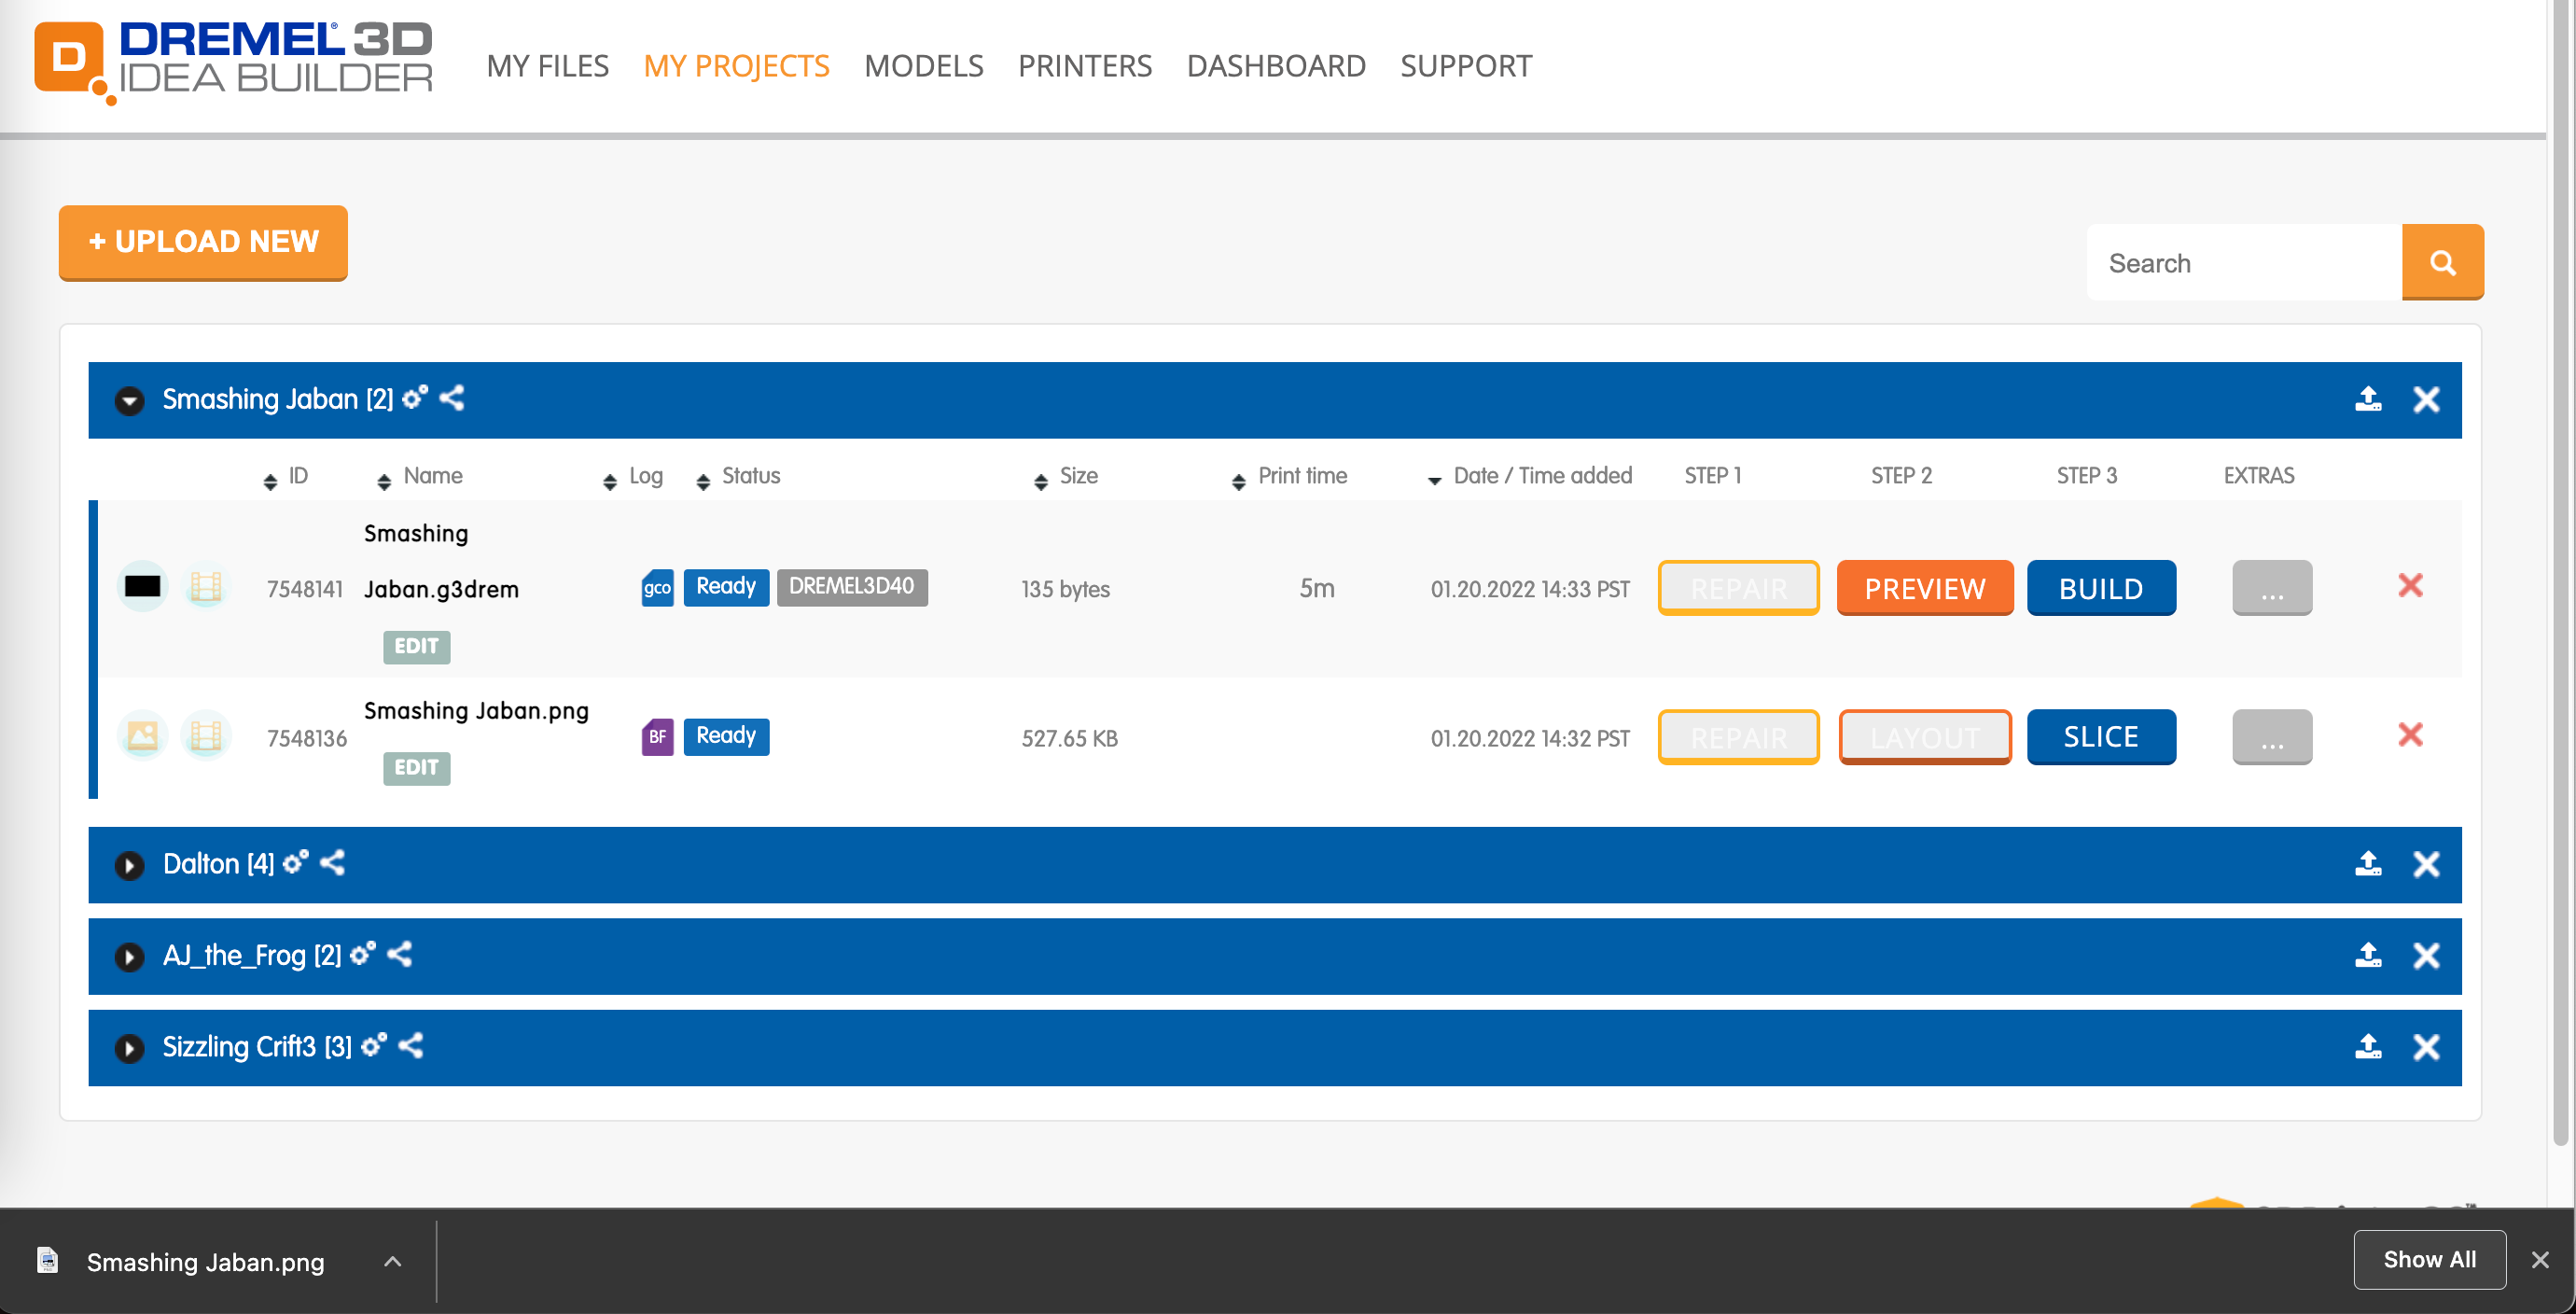
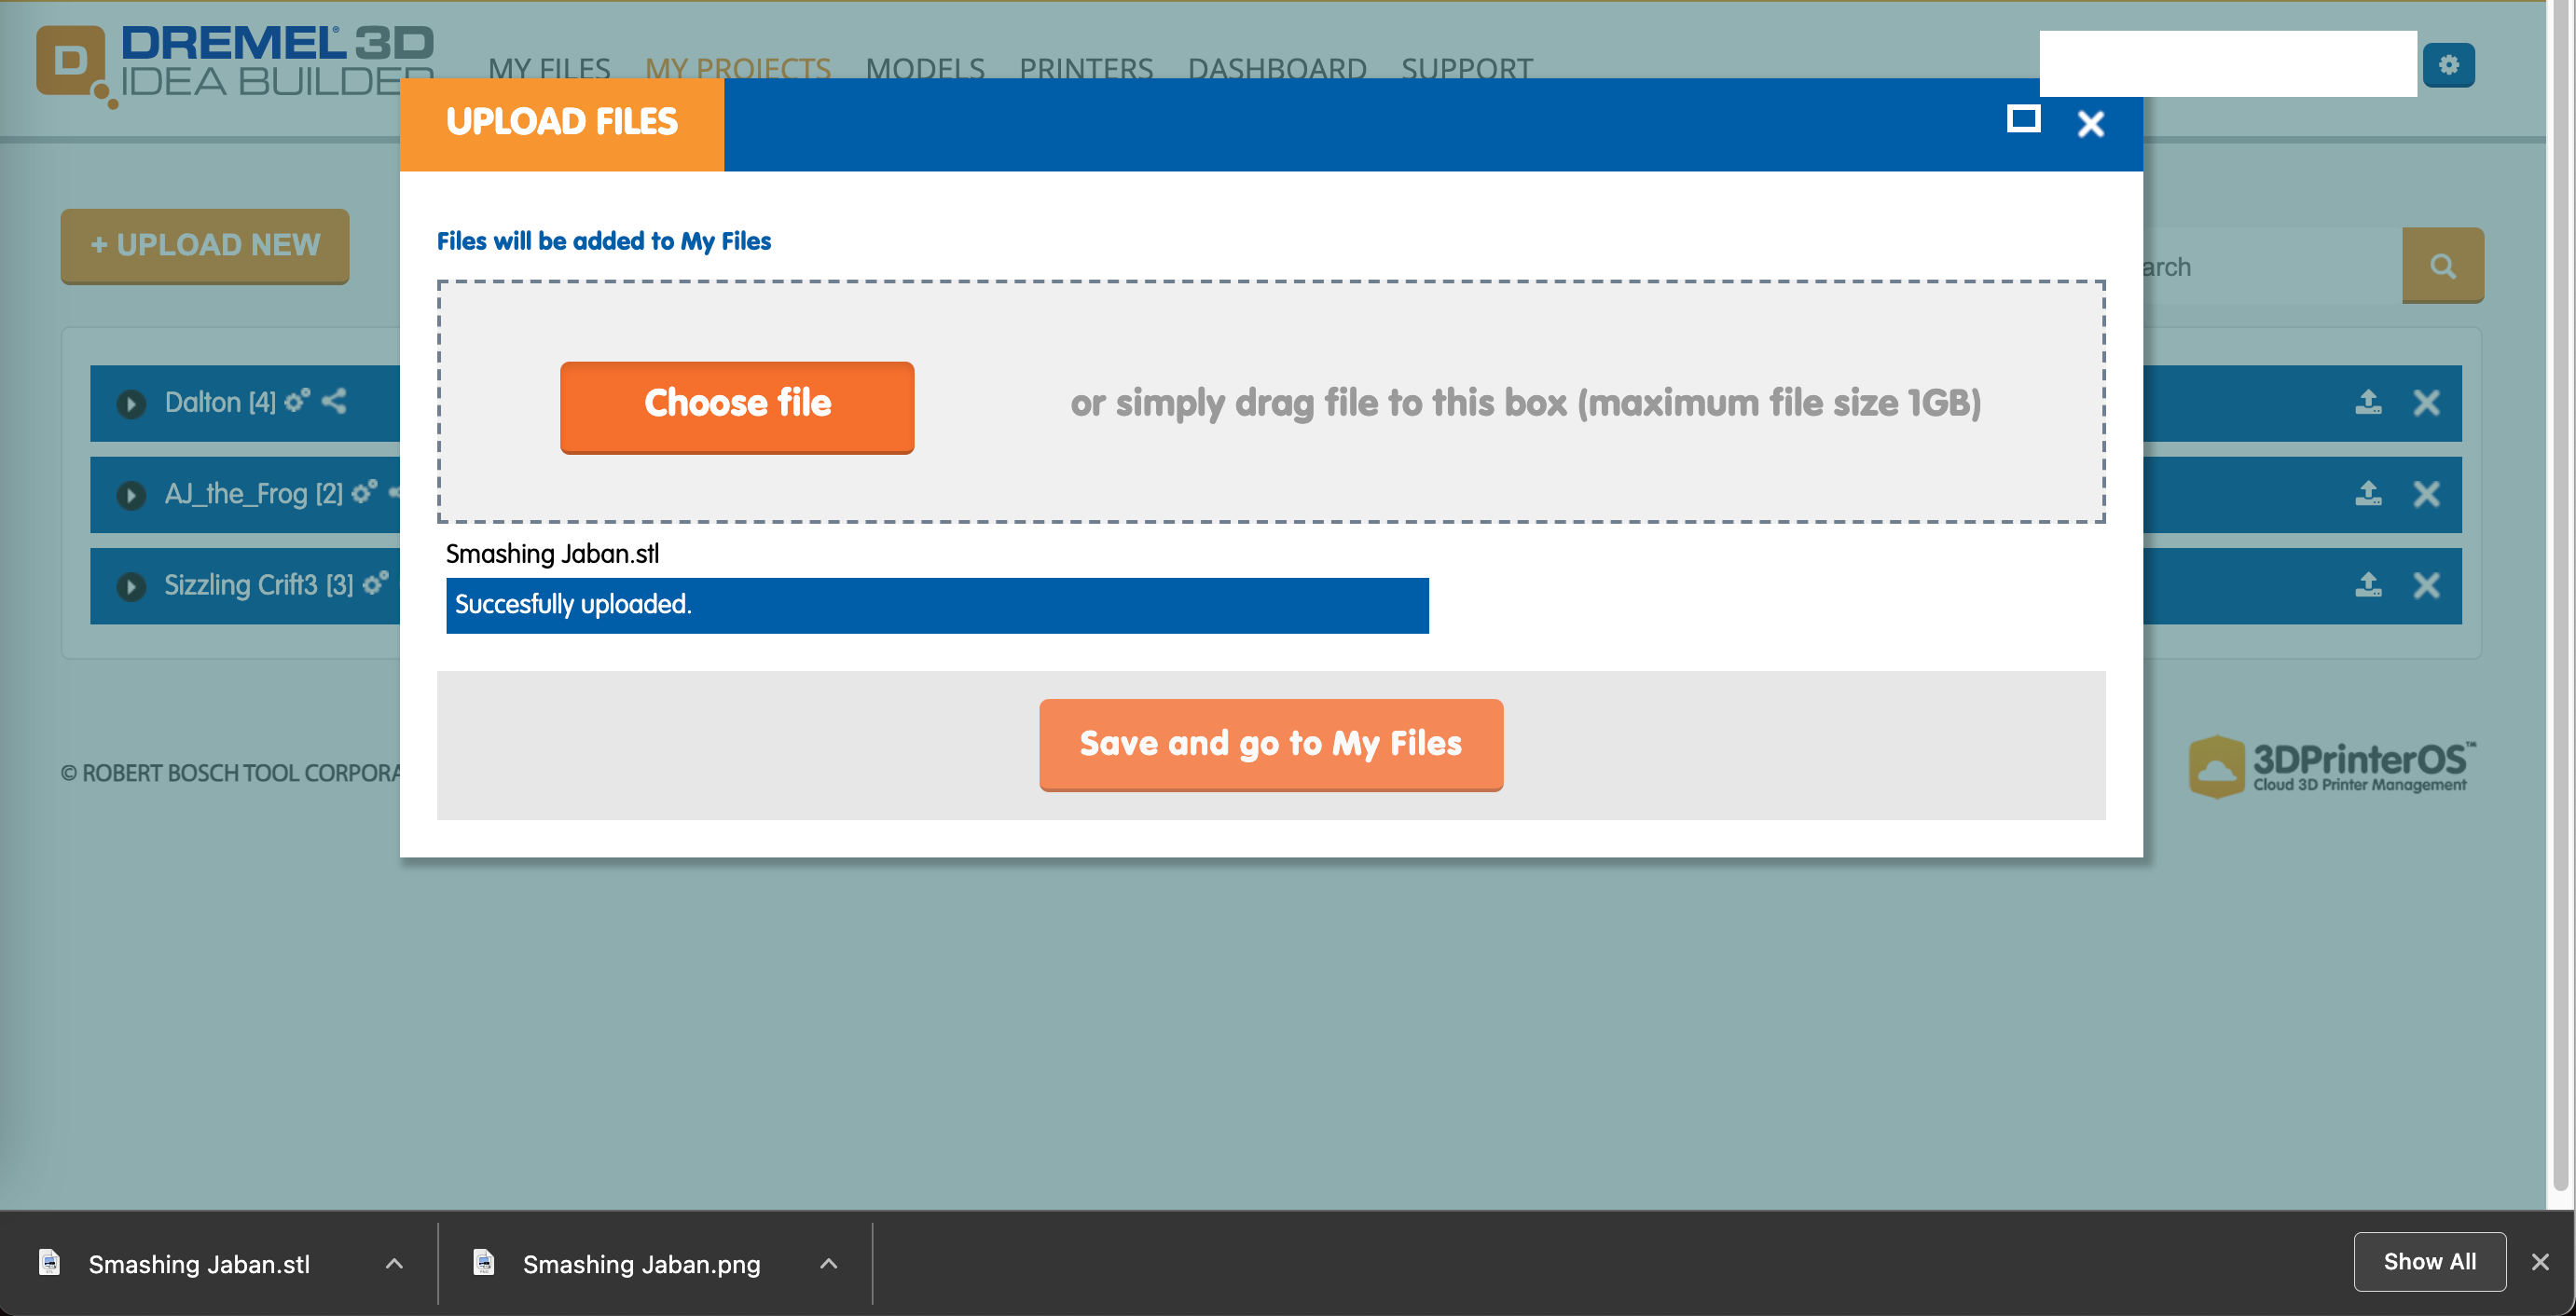
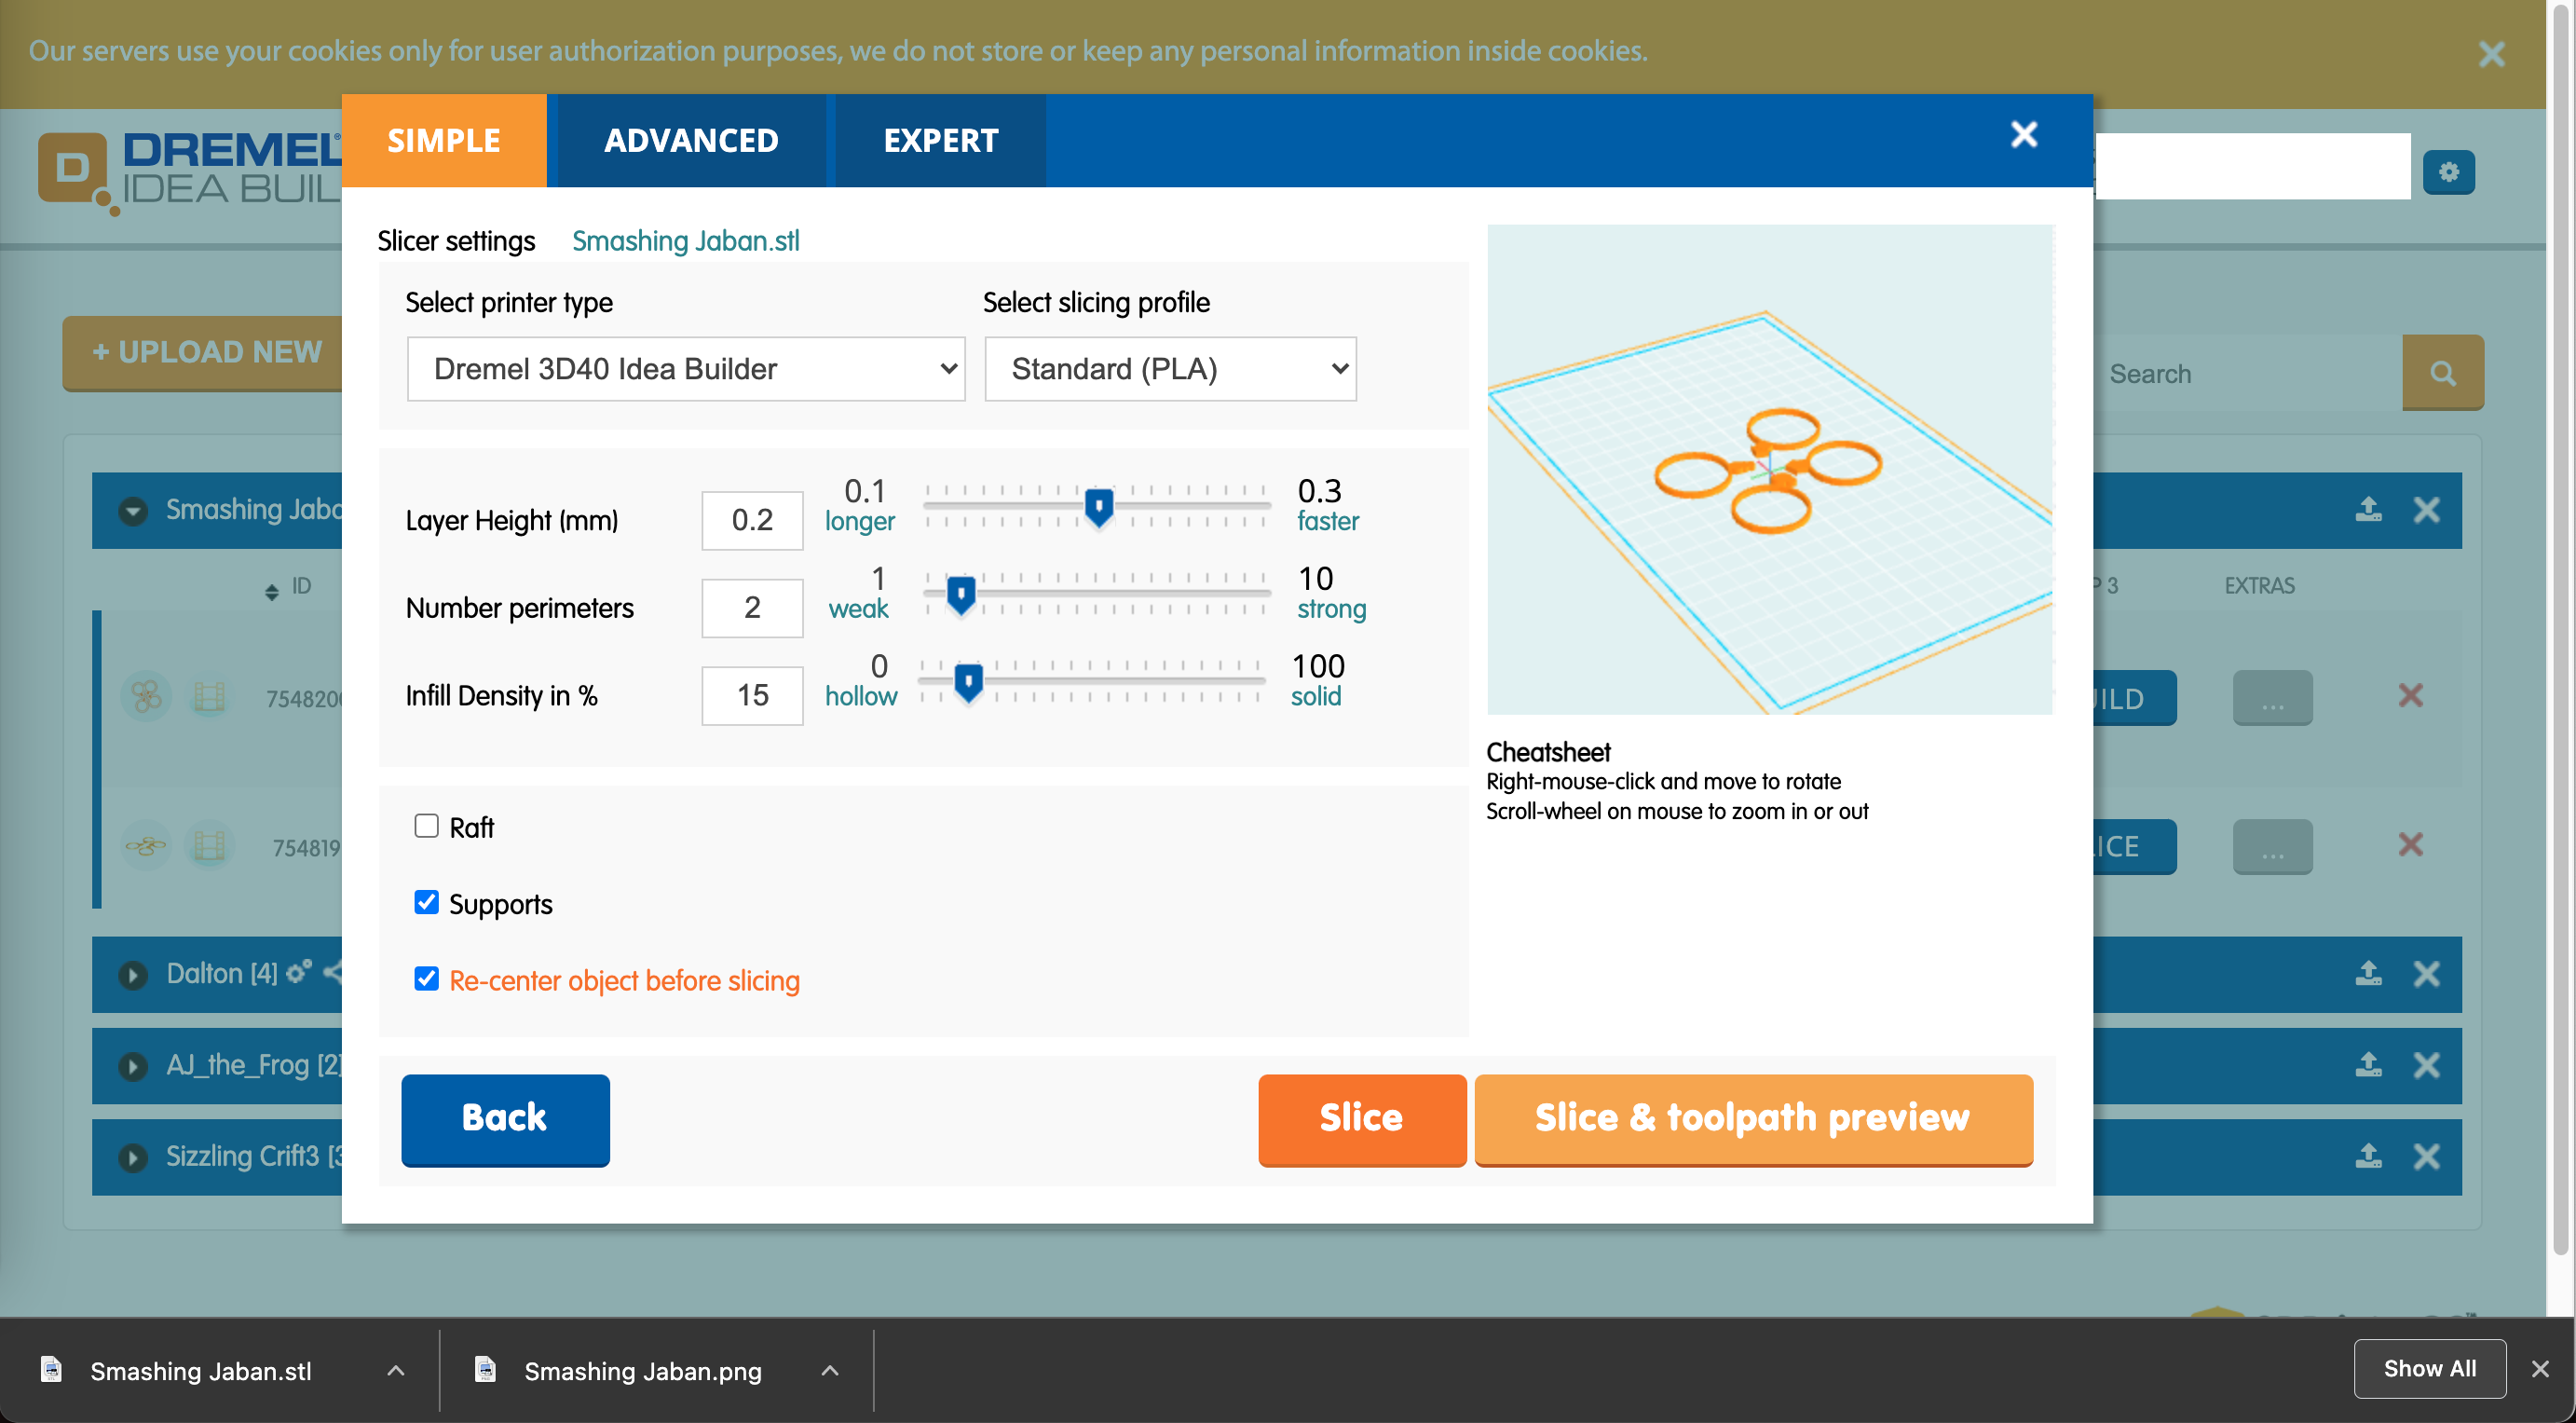
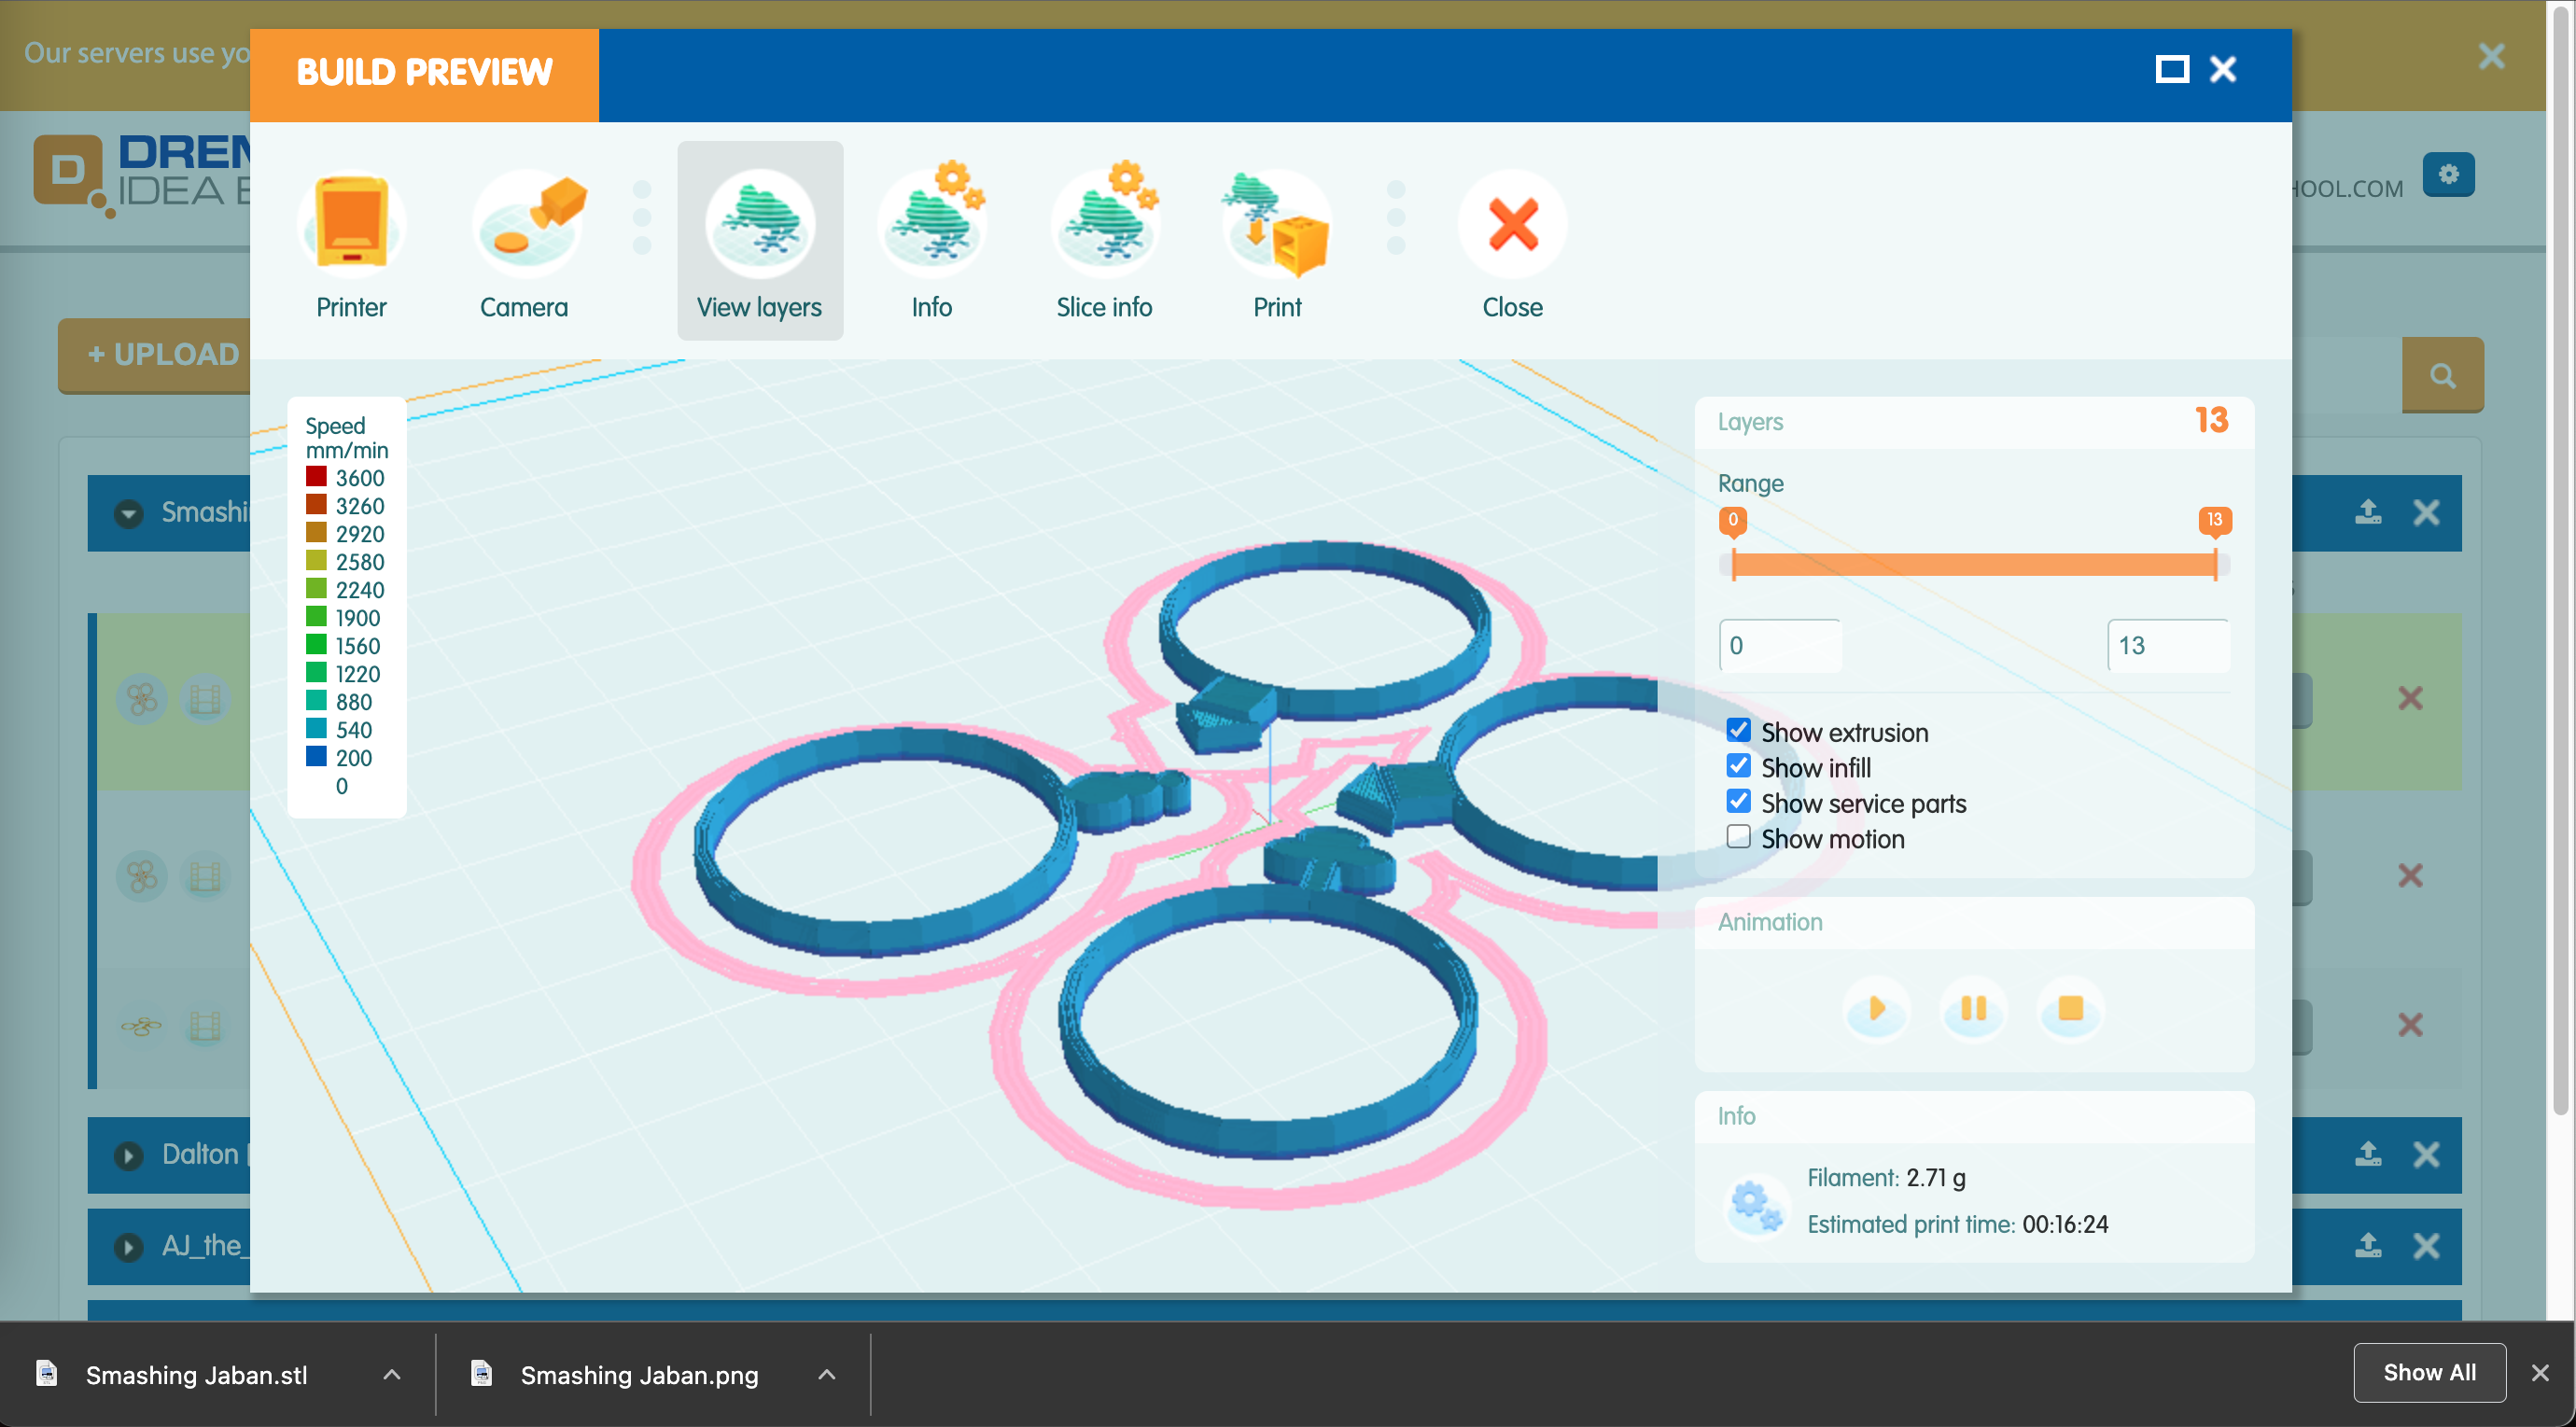
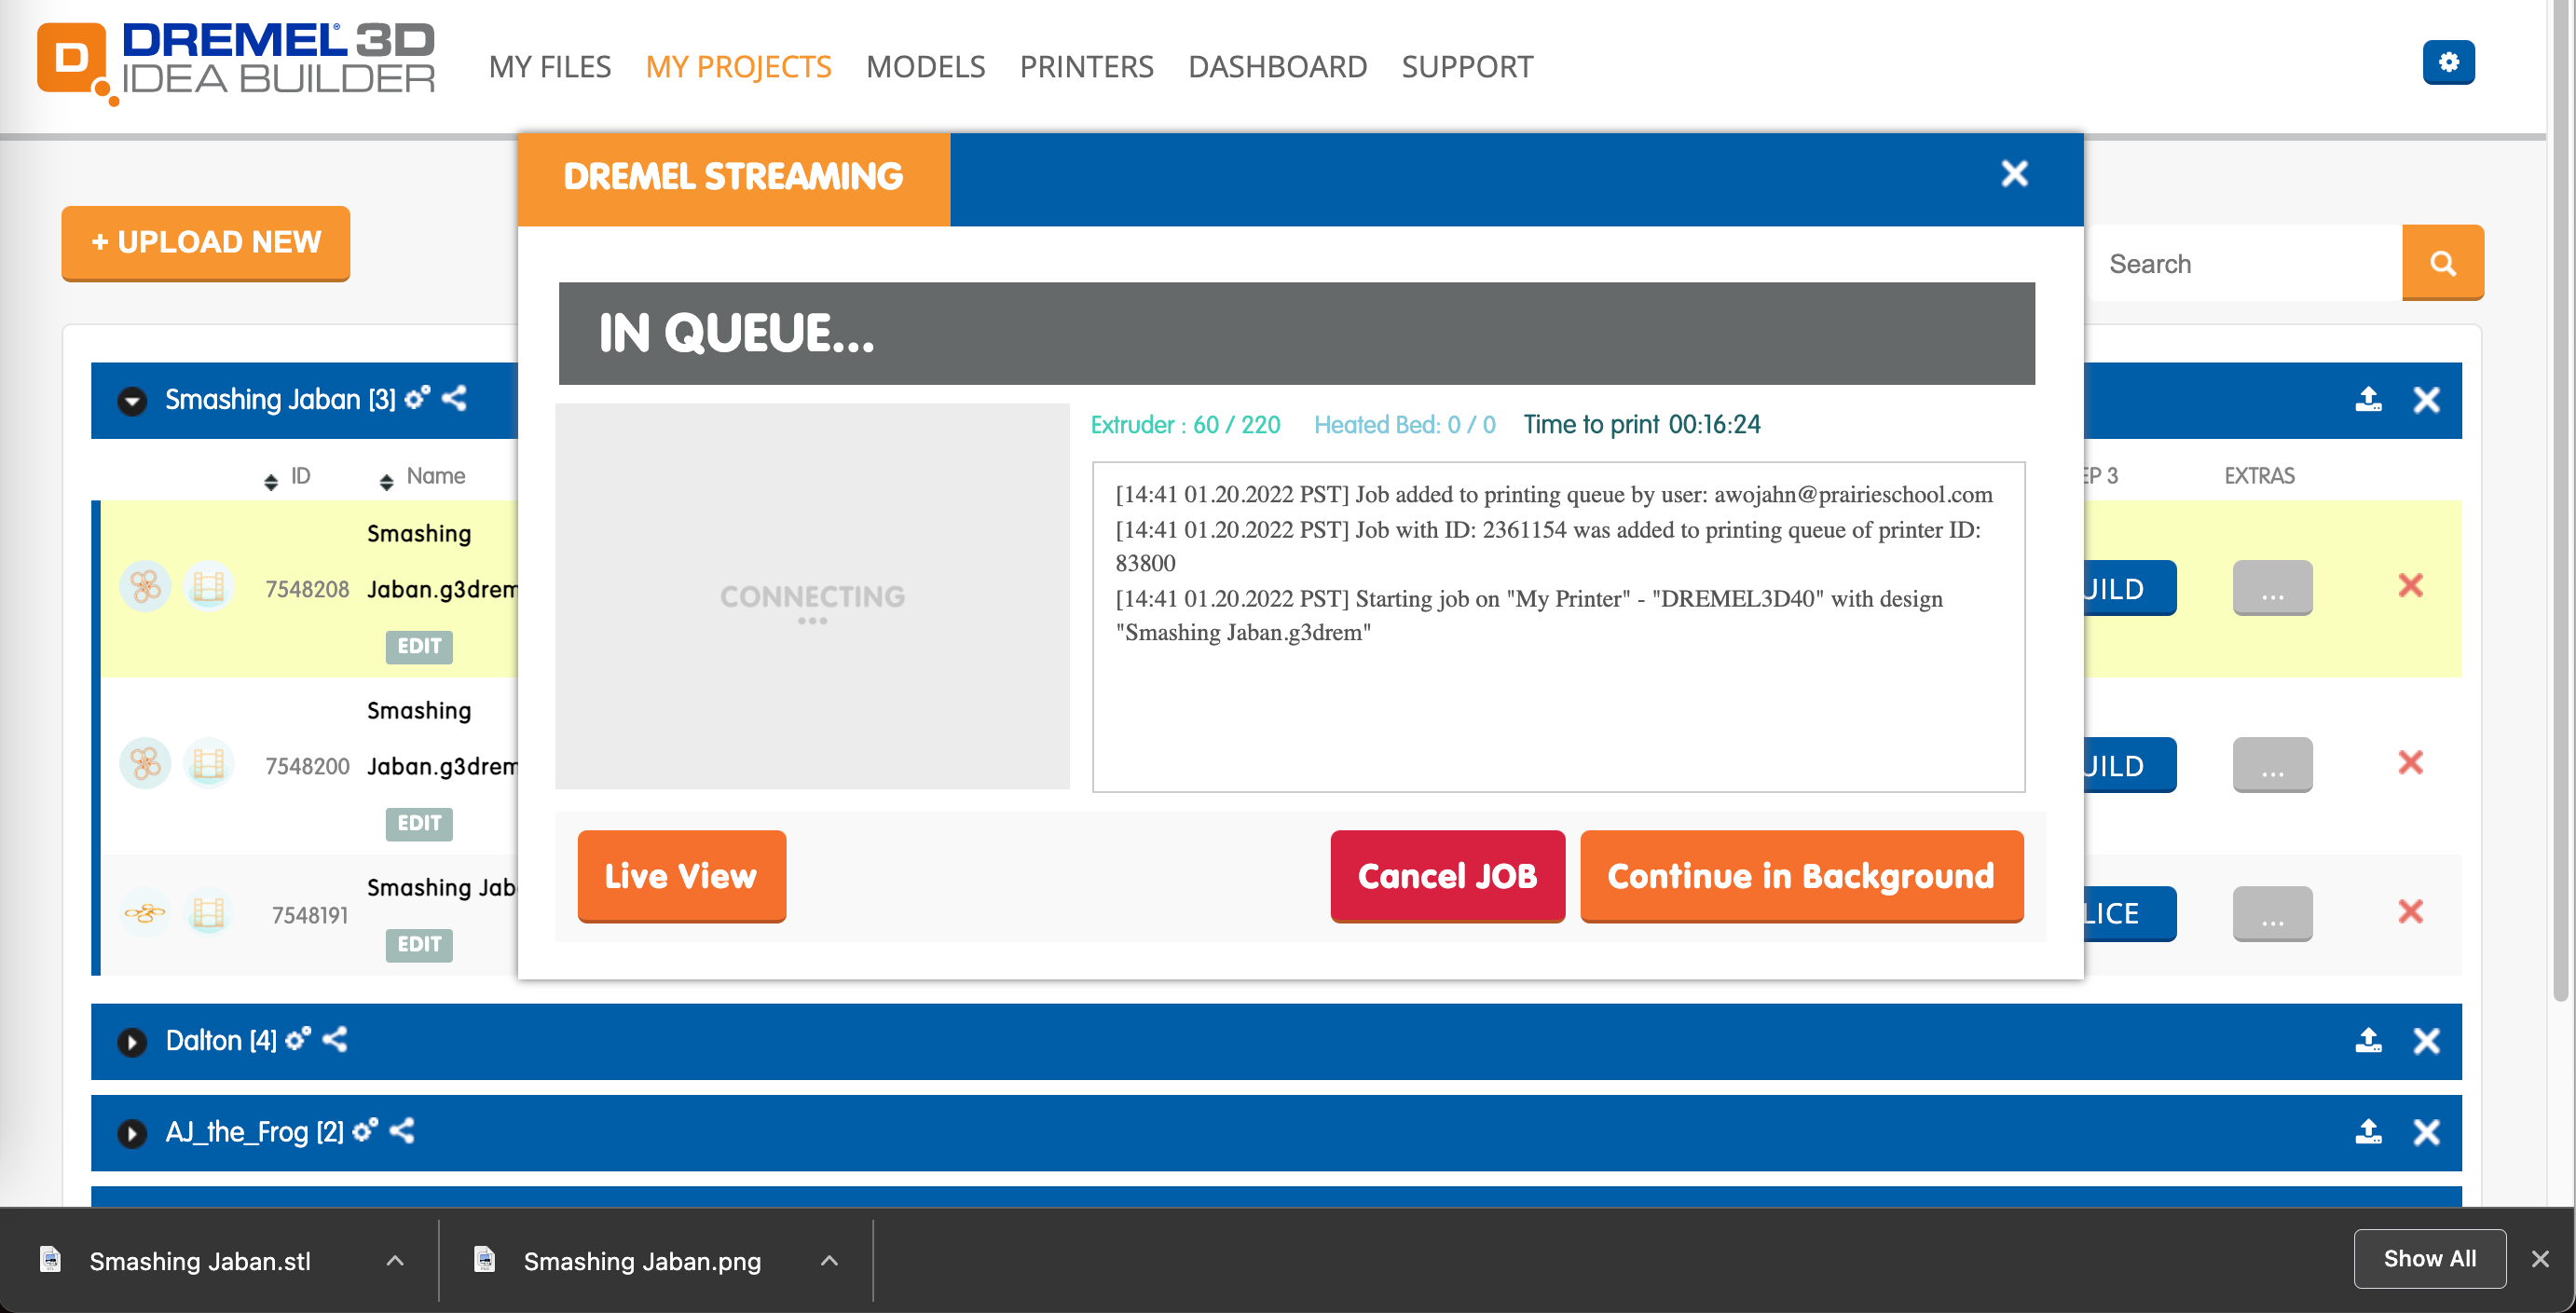
In this step I would say print using your 3D printer software. Fortunately, I have access to a Dremel 3D printer that is setup to print wirelessly. If you do not have a Dremel 3D printer, just follow your steps as normal and skip ahead.
- Log in to your free account on https://printcloud.dremel.com/
- I use my school email account through Gmail as do the students.
- Click on Upload new in the top left, and select the .stl file you downloaded and upload it to the Dremel Cloud Print.
- These are not overly complex objects, so select your file and click preview.
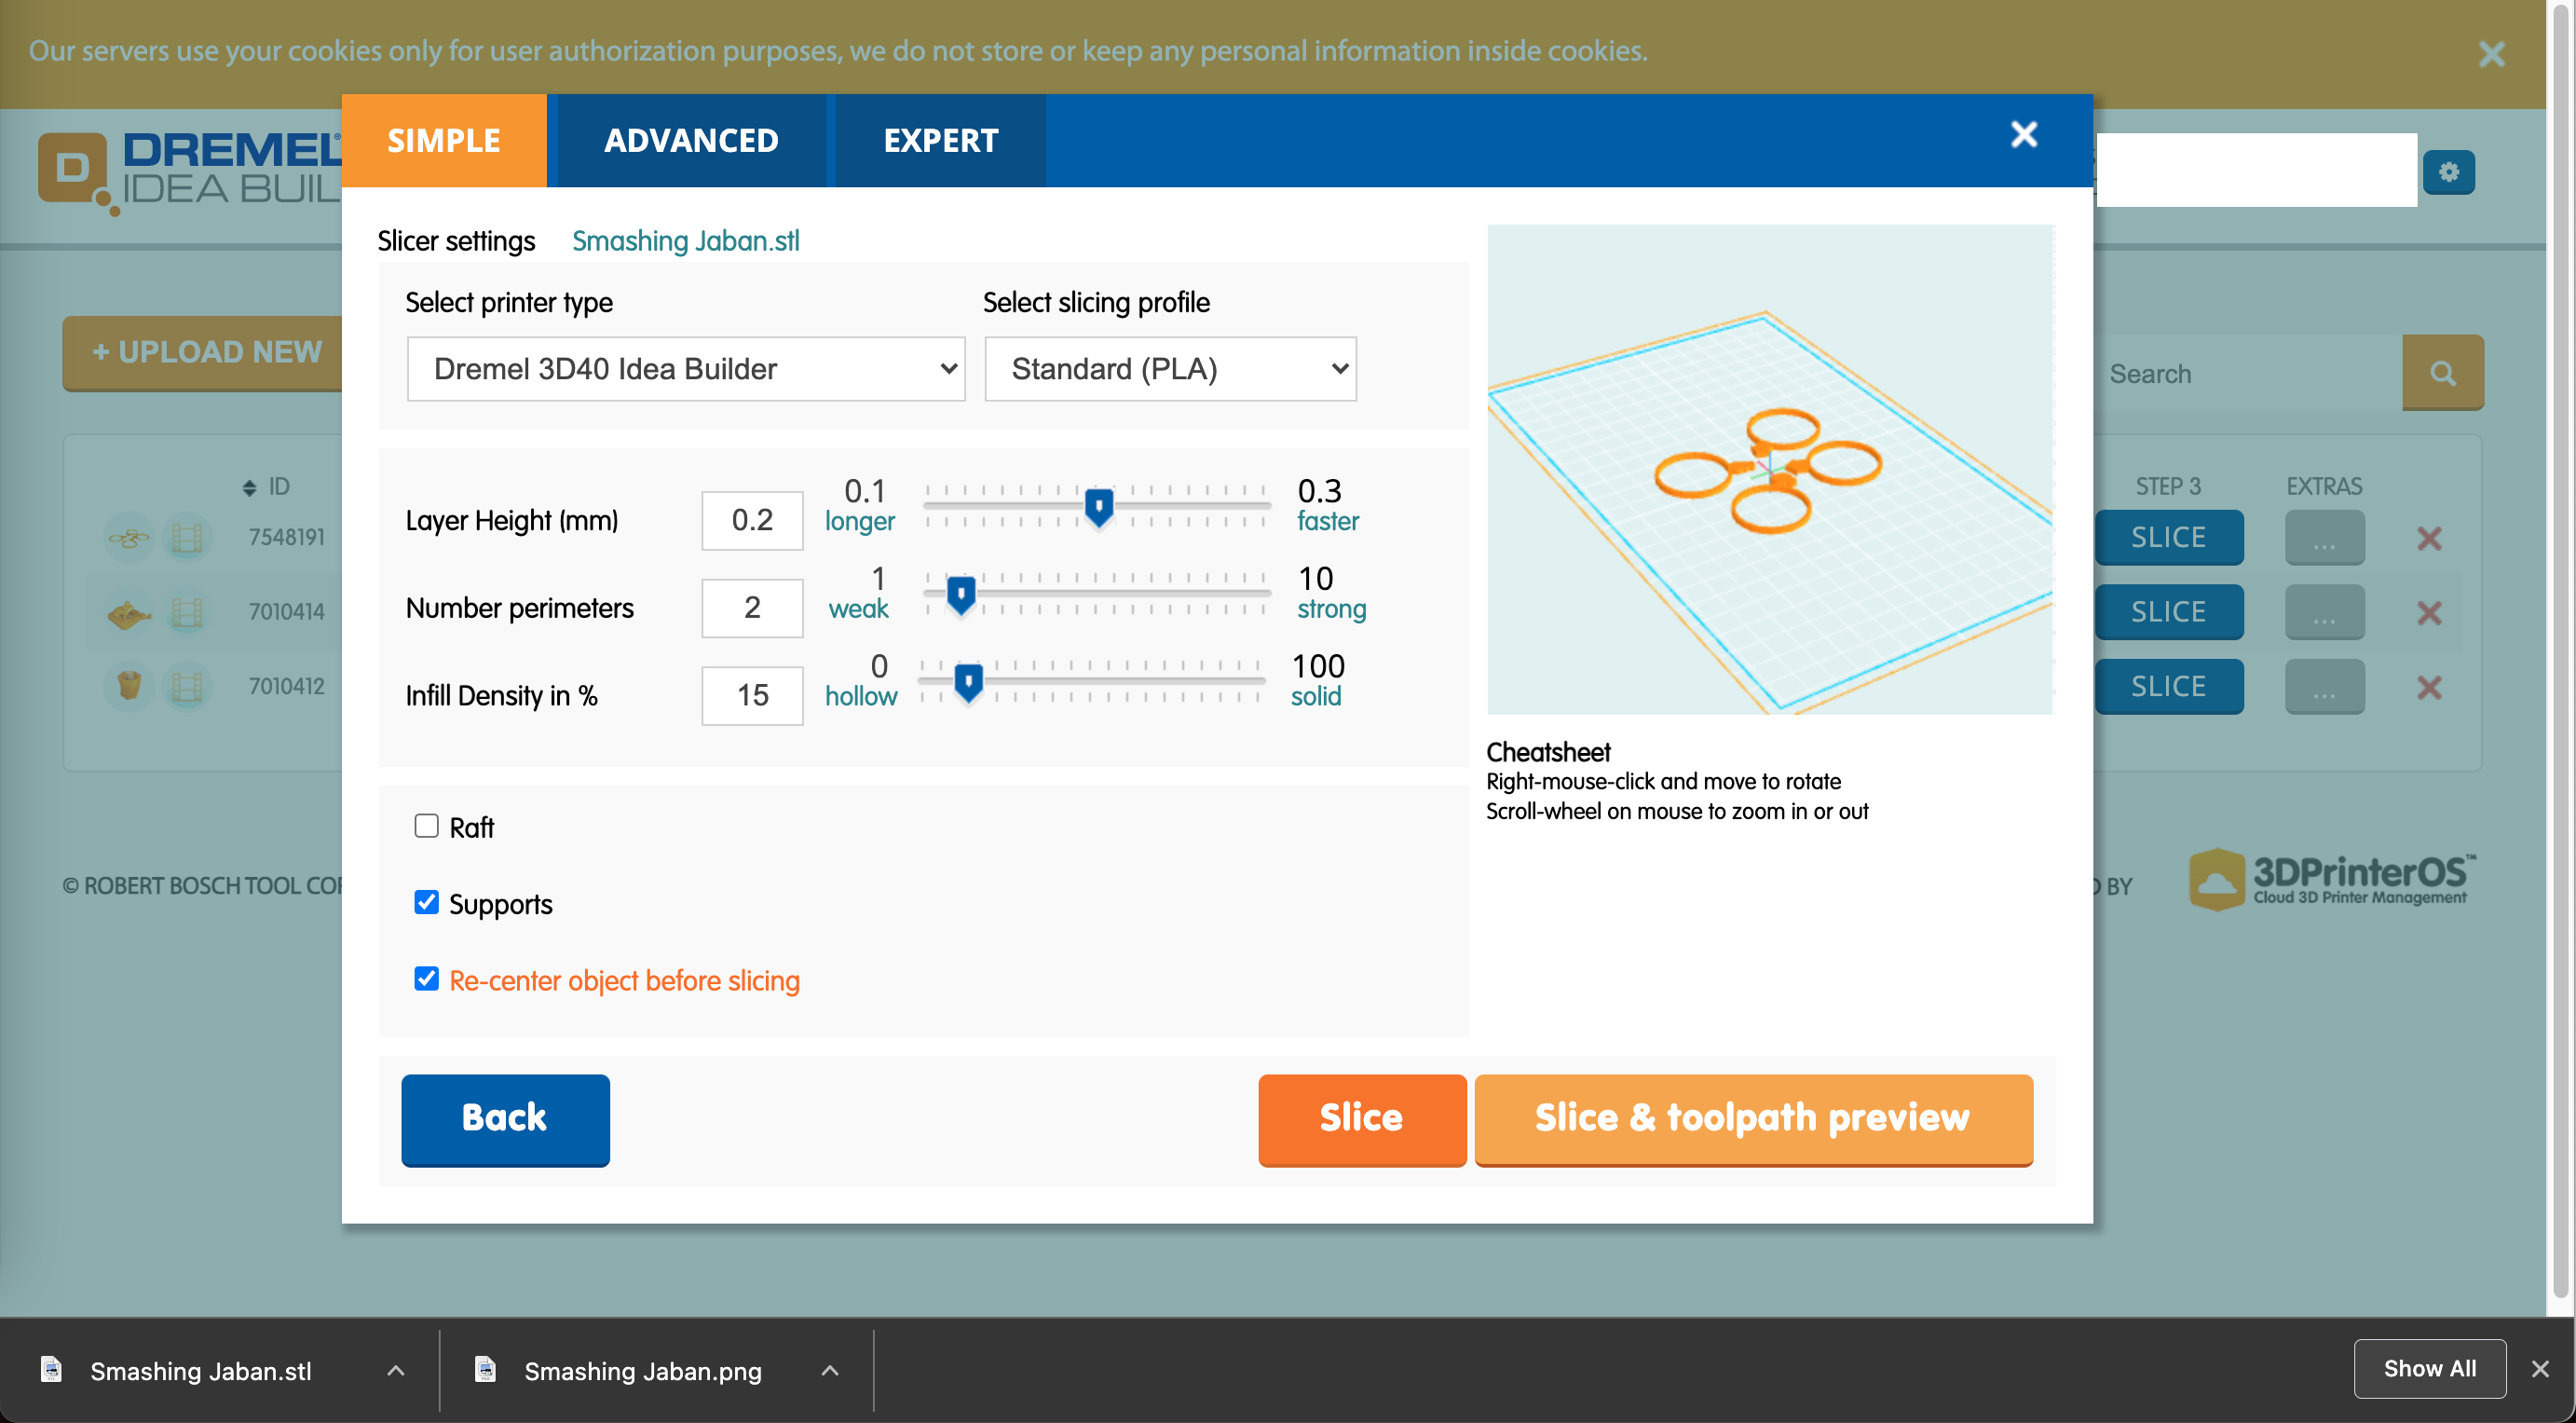
- Setup your Slice
- Select your printer: Mine was a Dremel 3D40
- Standard PLA
- Layer height: .2
- Number perimeters: 2
- Infill density %: 15
- [no] Rafts
- [√] Supports
- [√] Re-center object before slicing
- Click Slice
- Observe the Build Preview!
- Click Build, and send the file to be built via cloud in the background.
Watch the Magic Happen
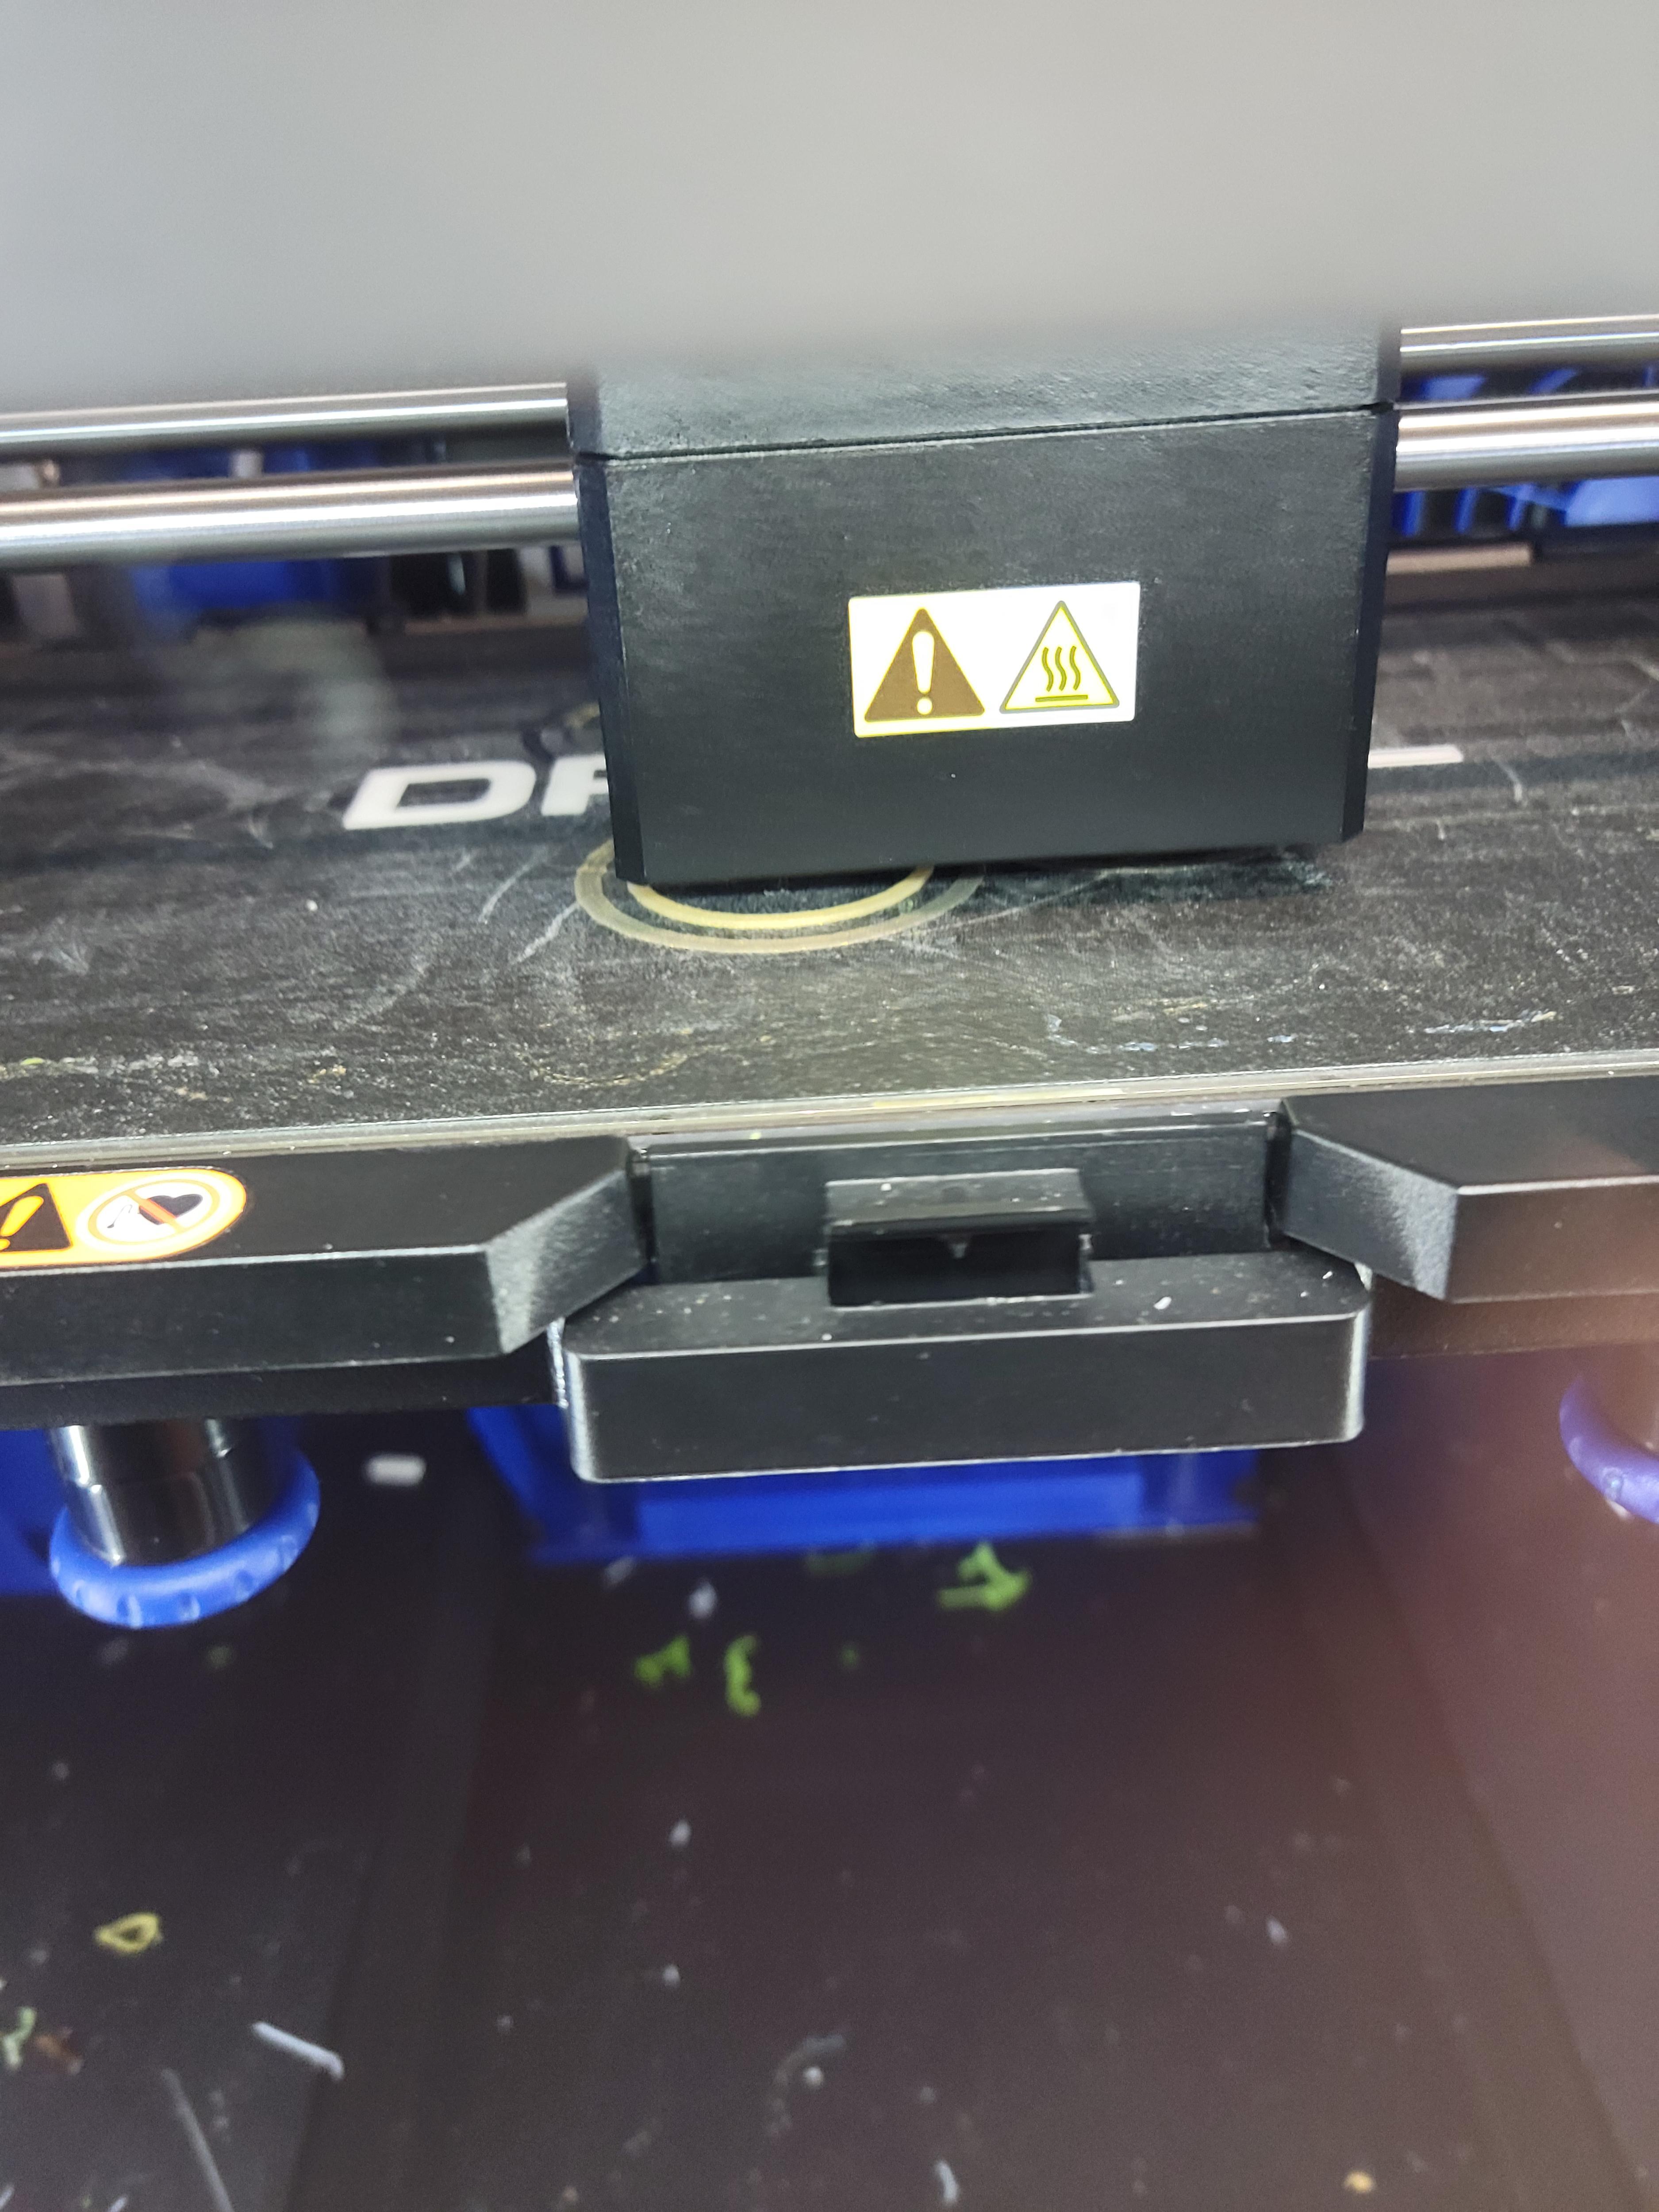
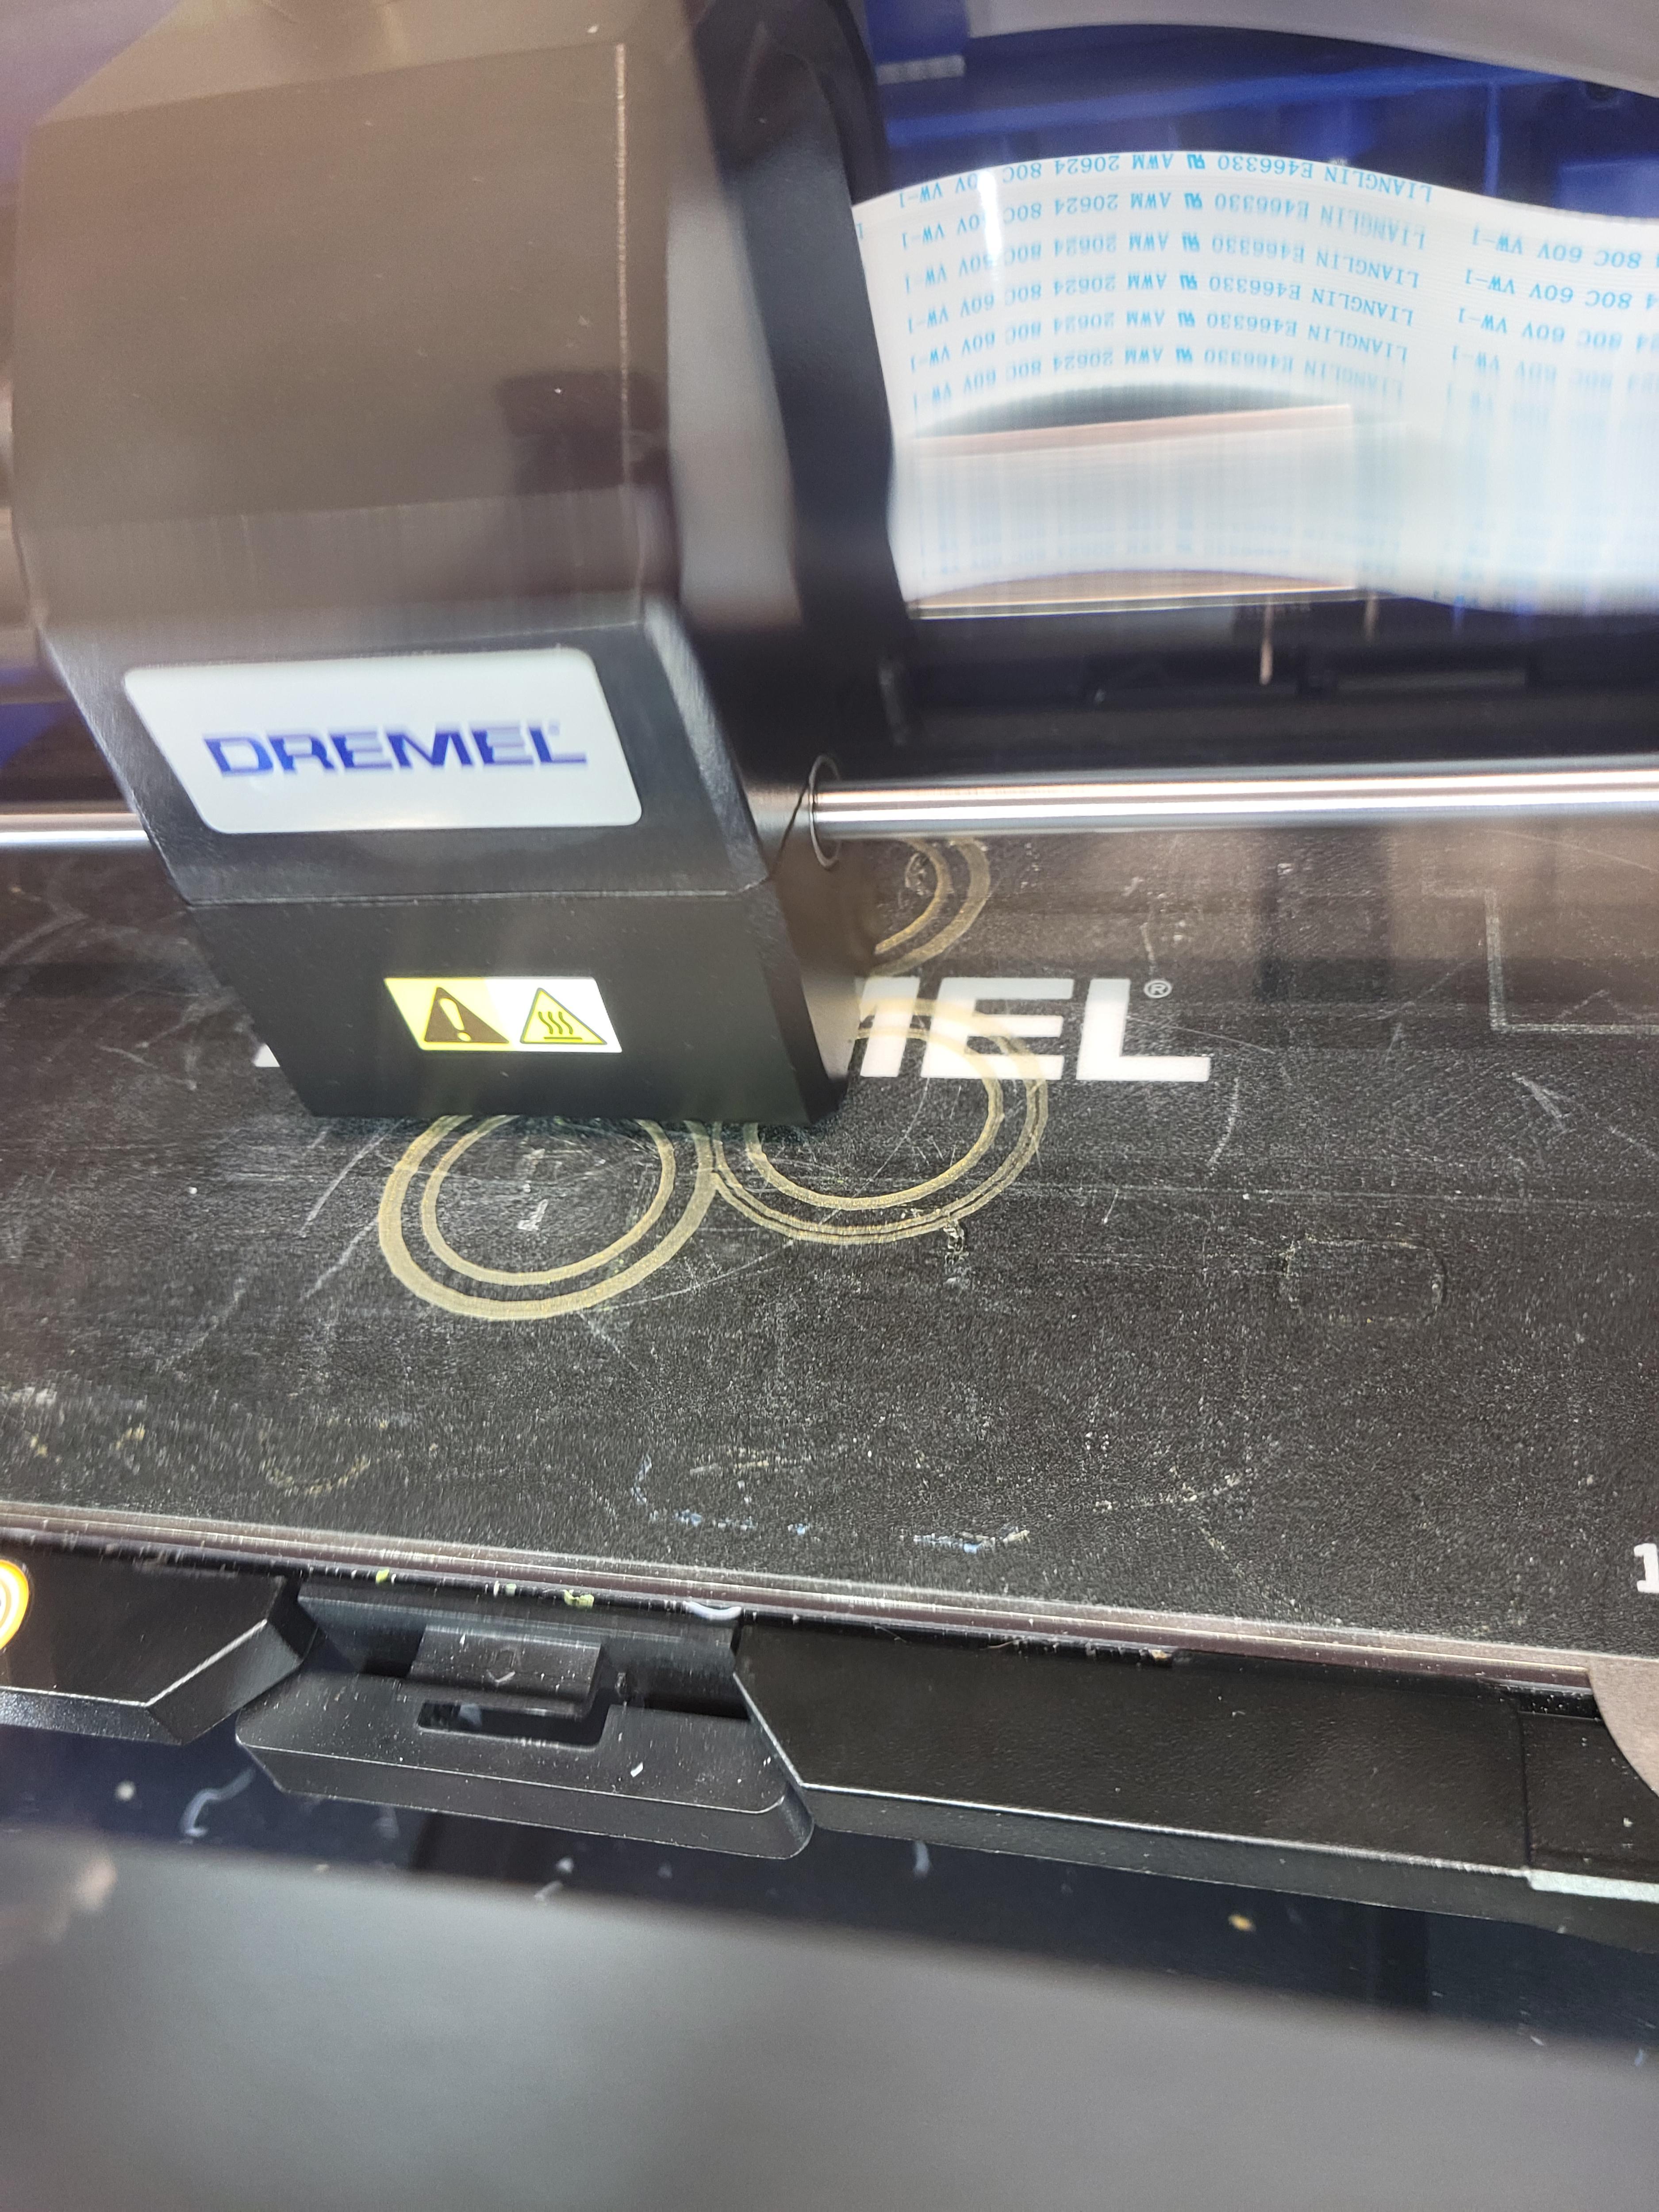
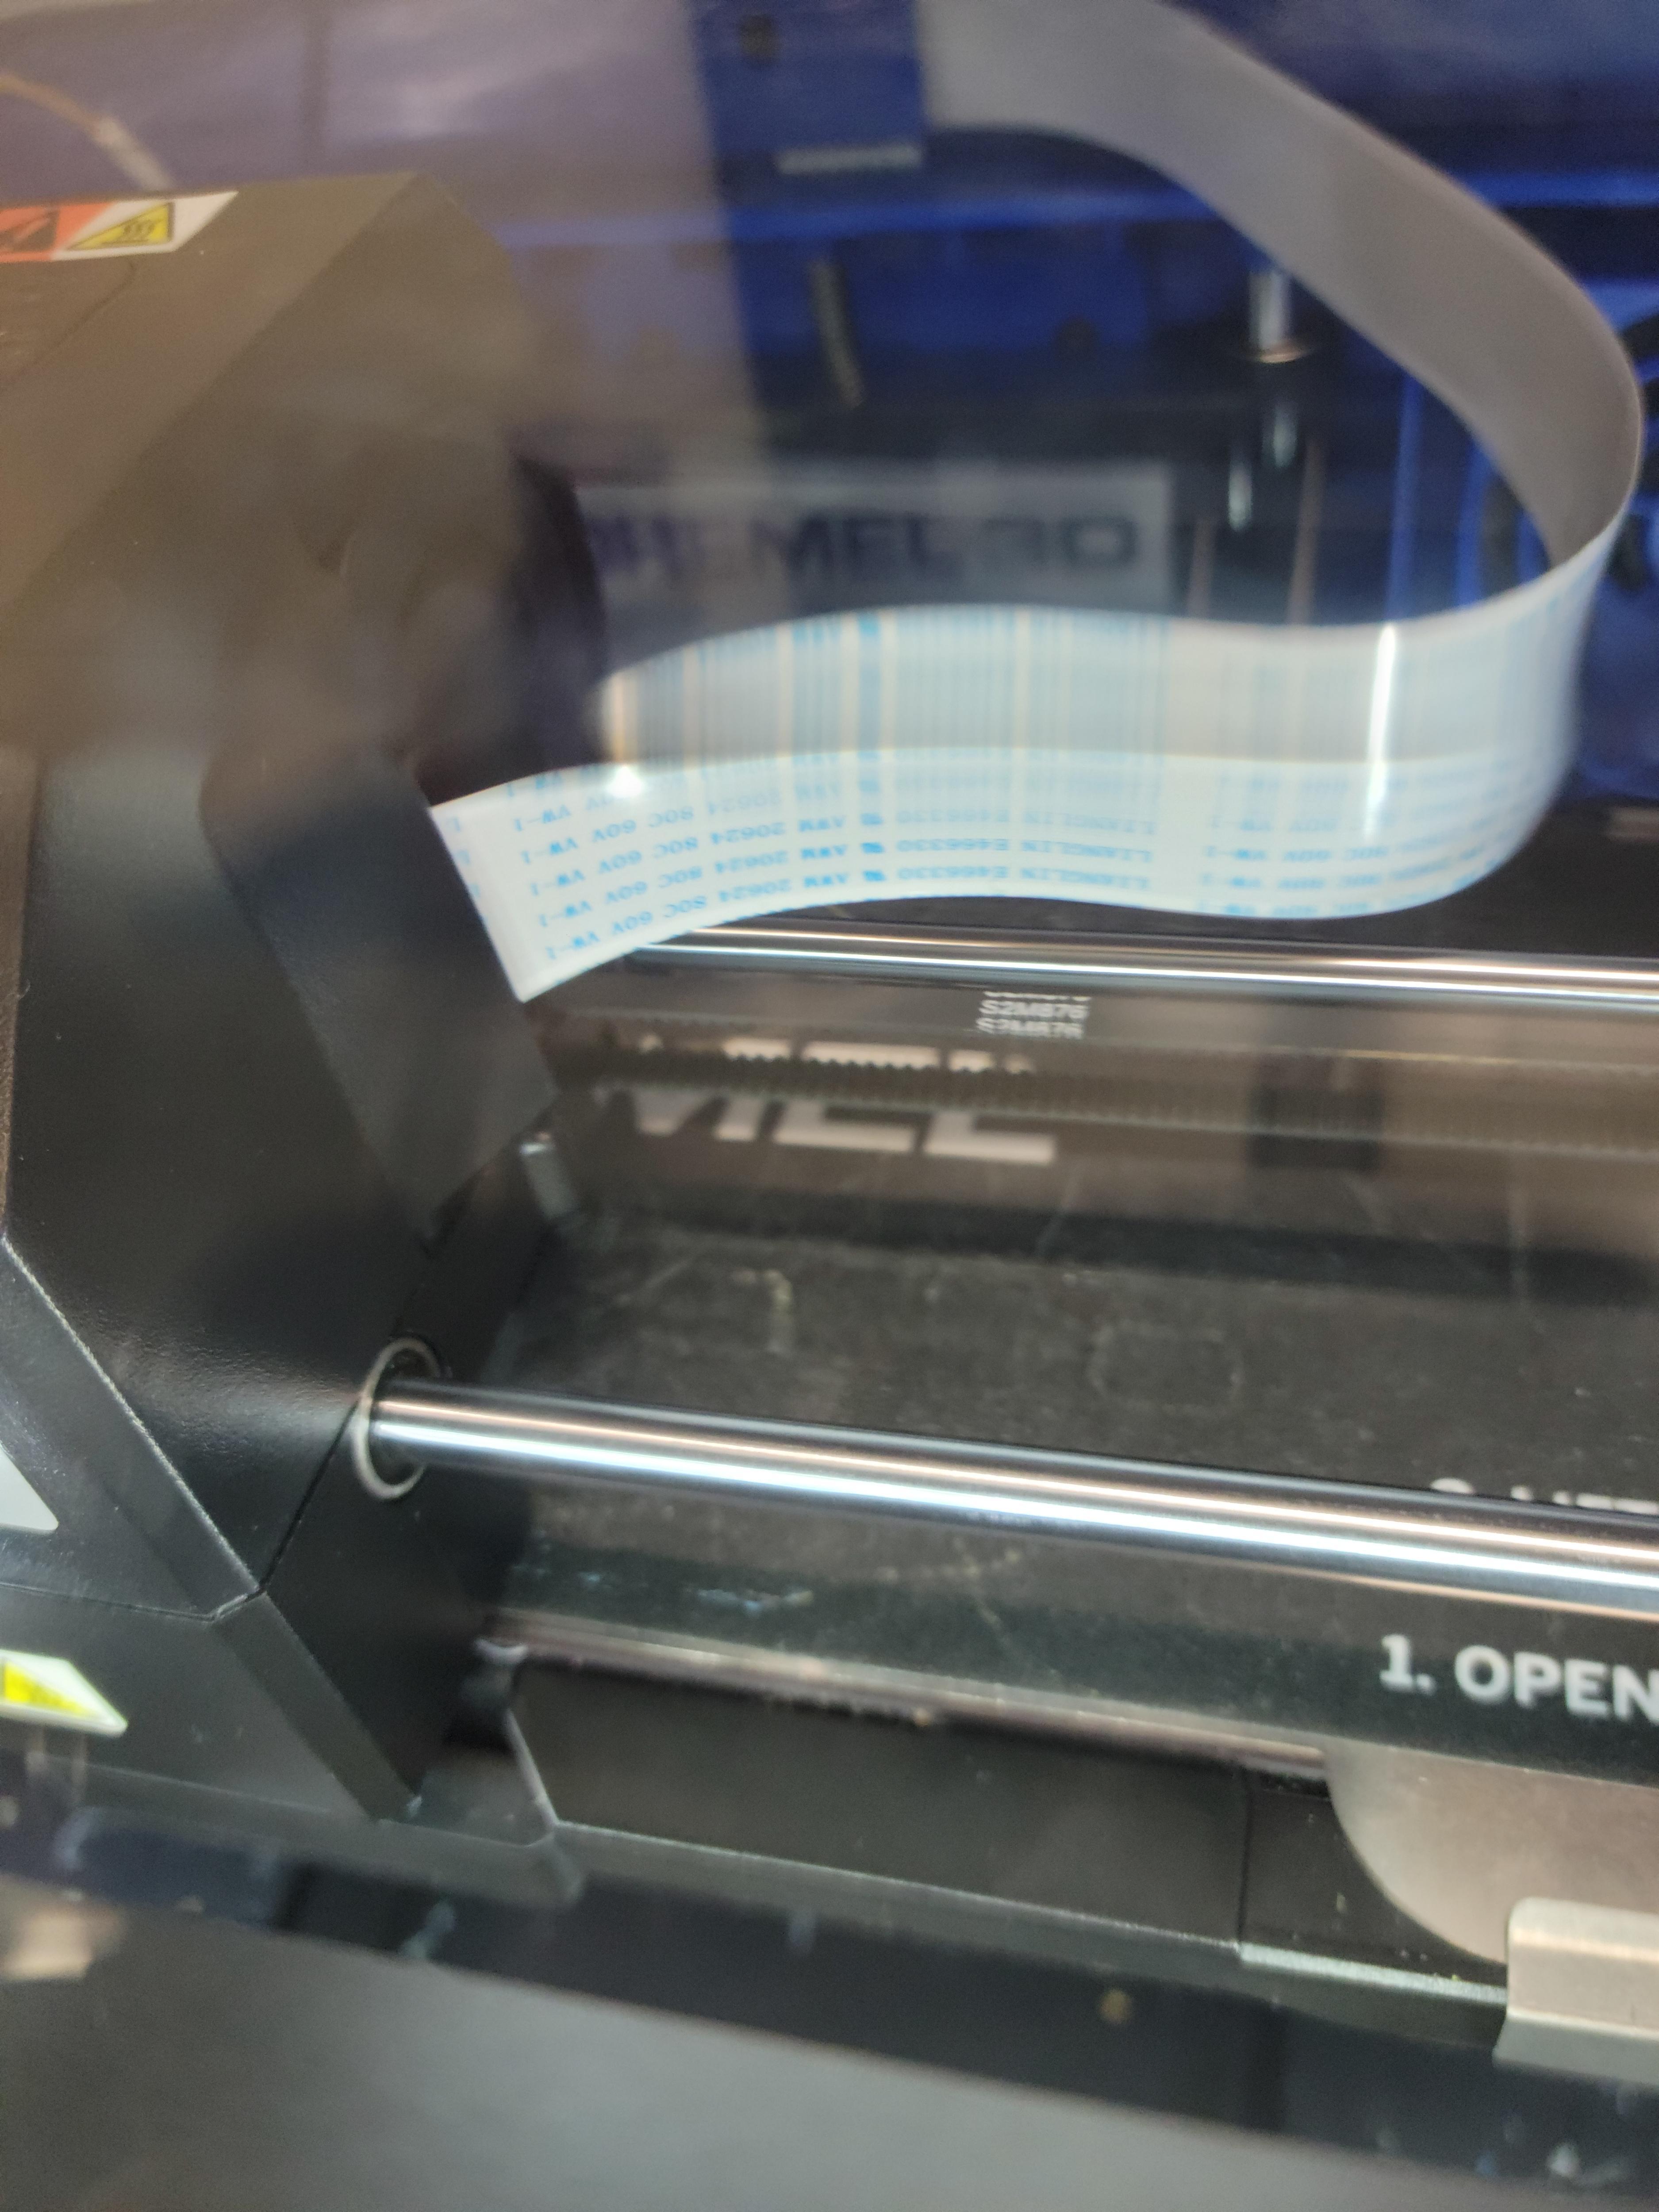
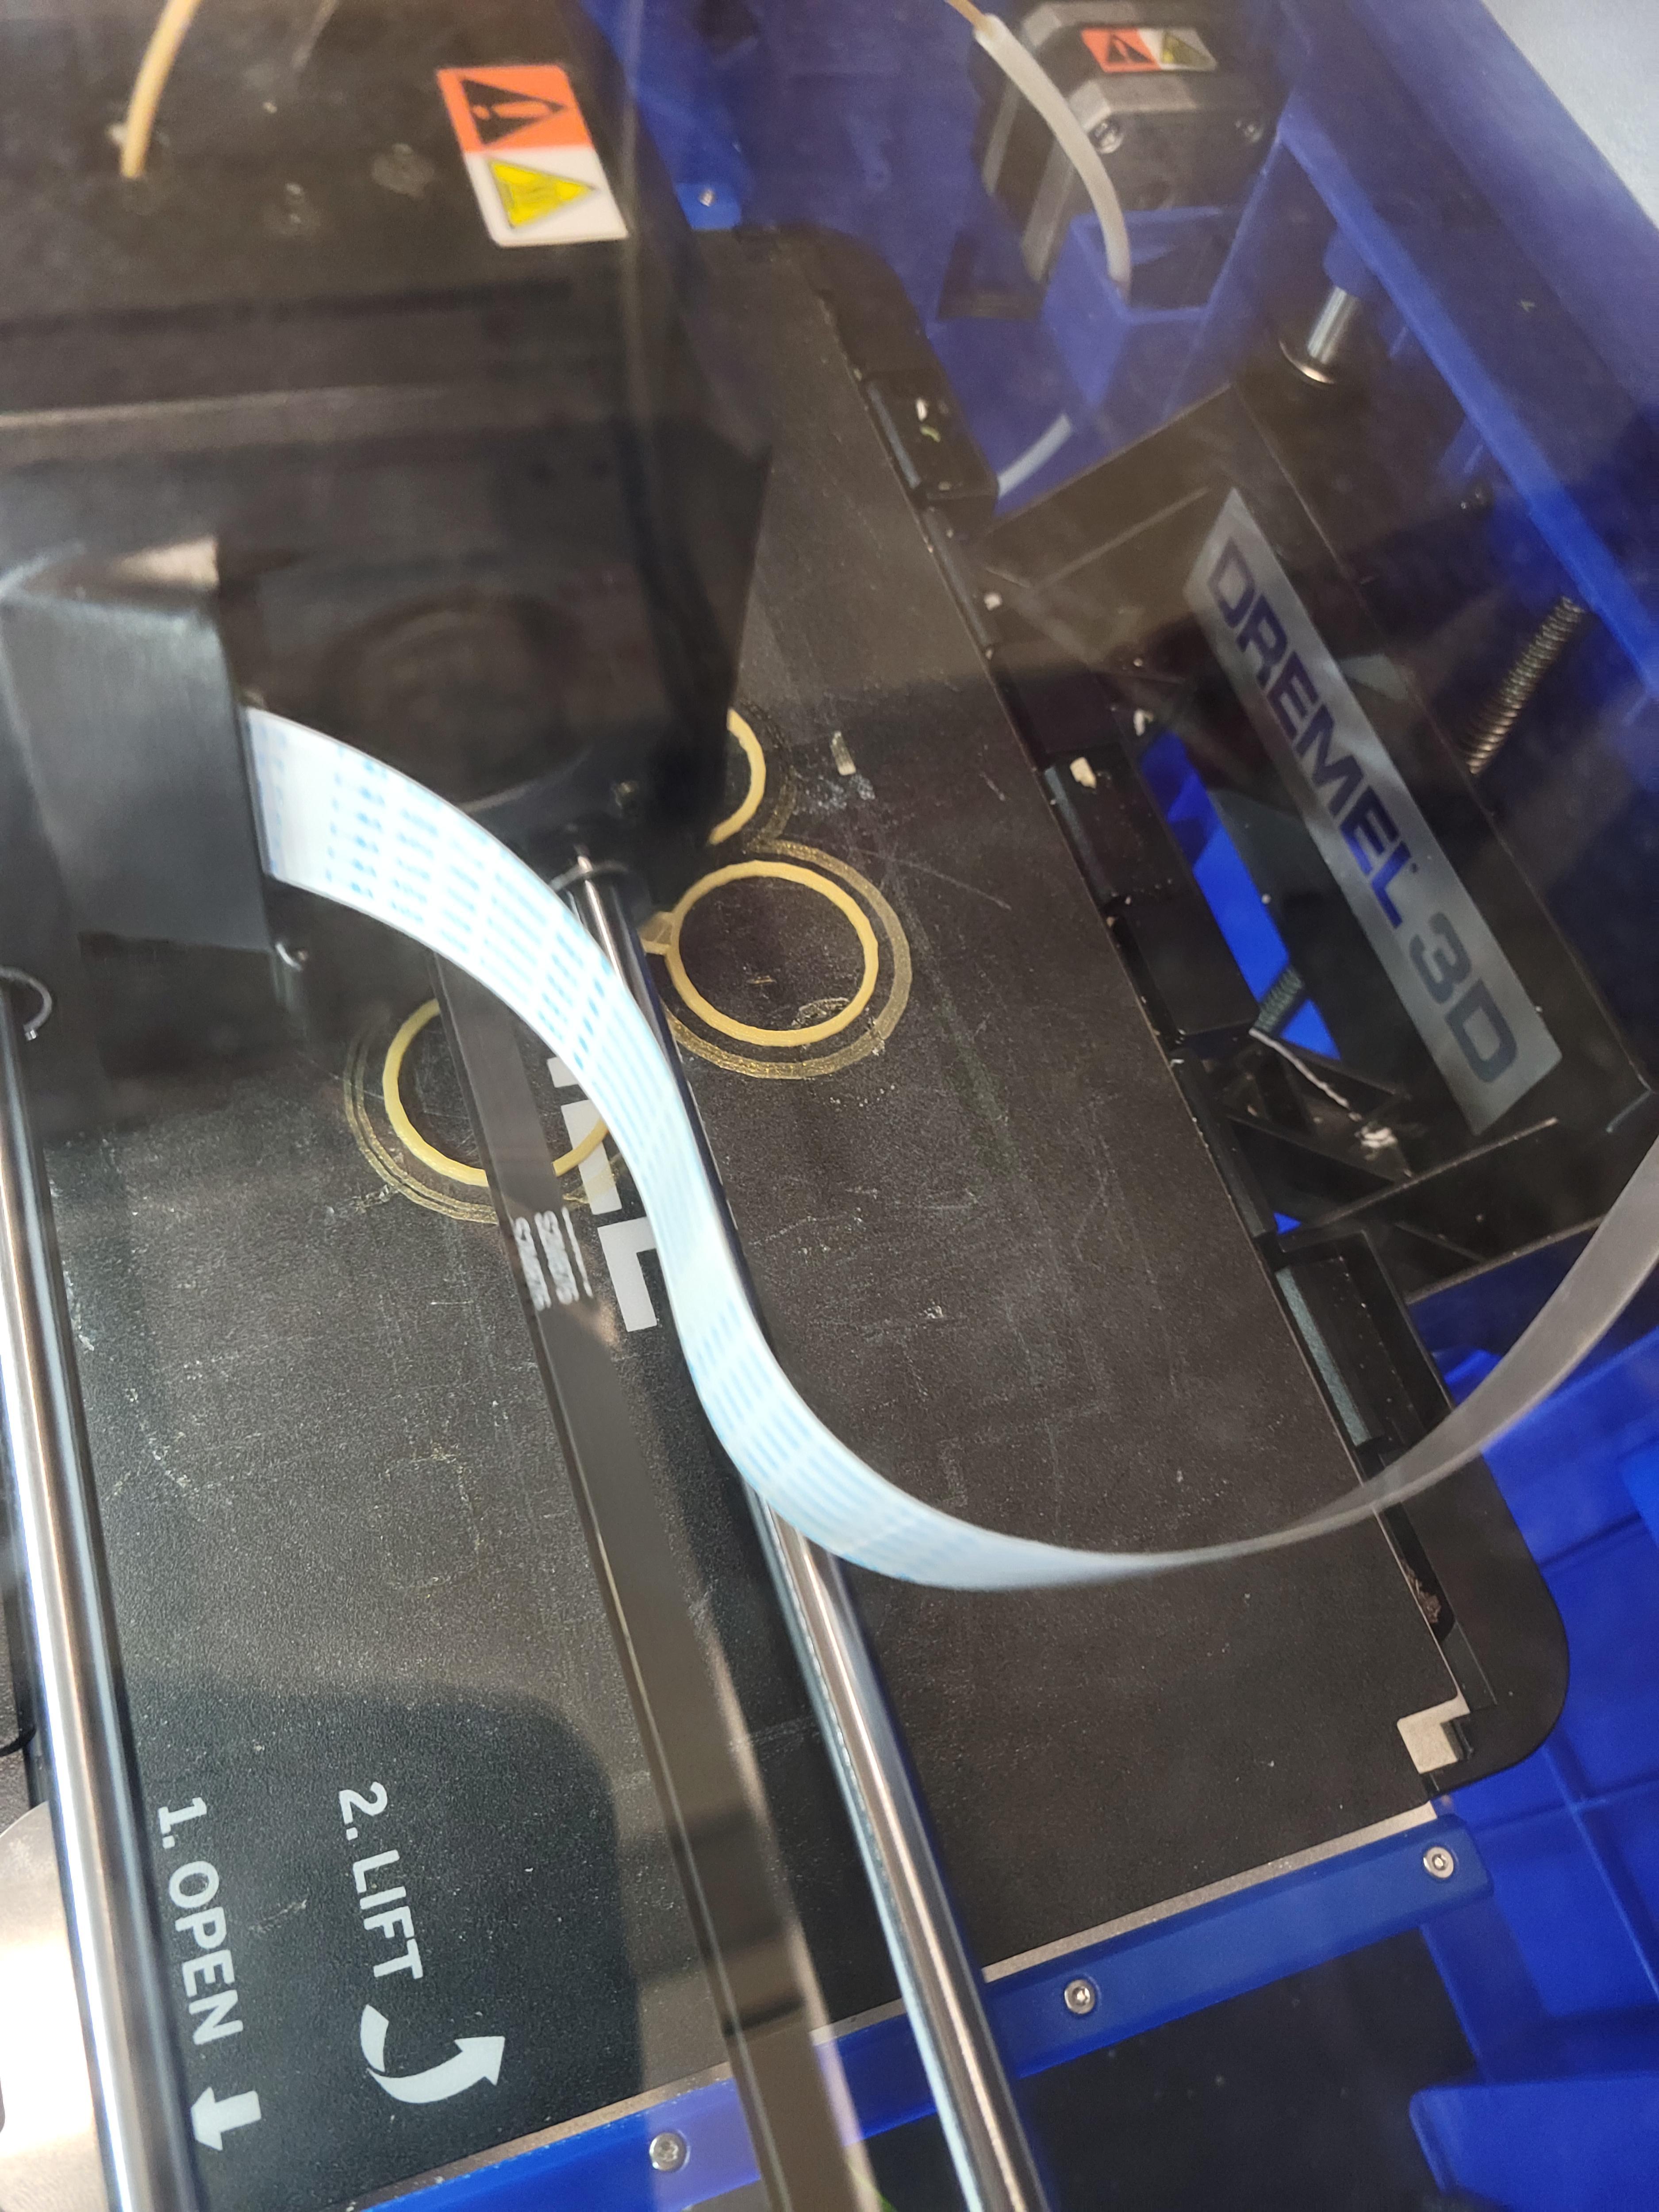
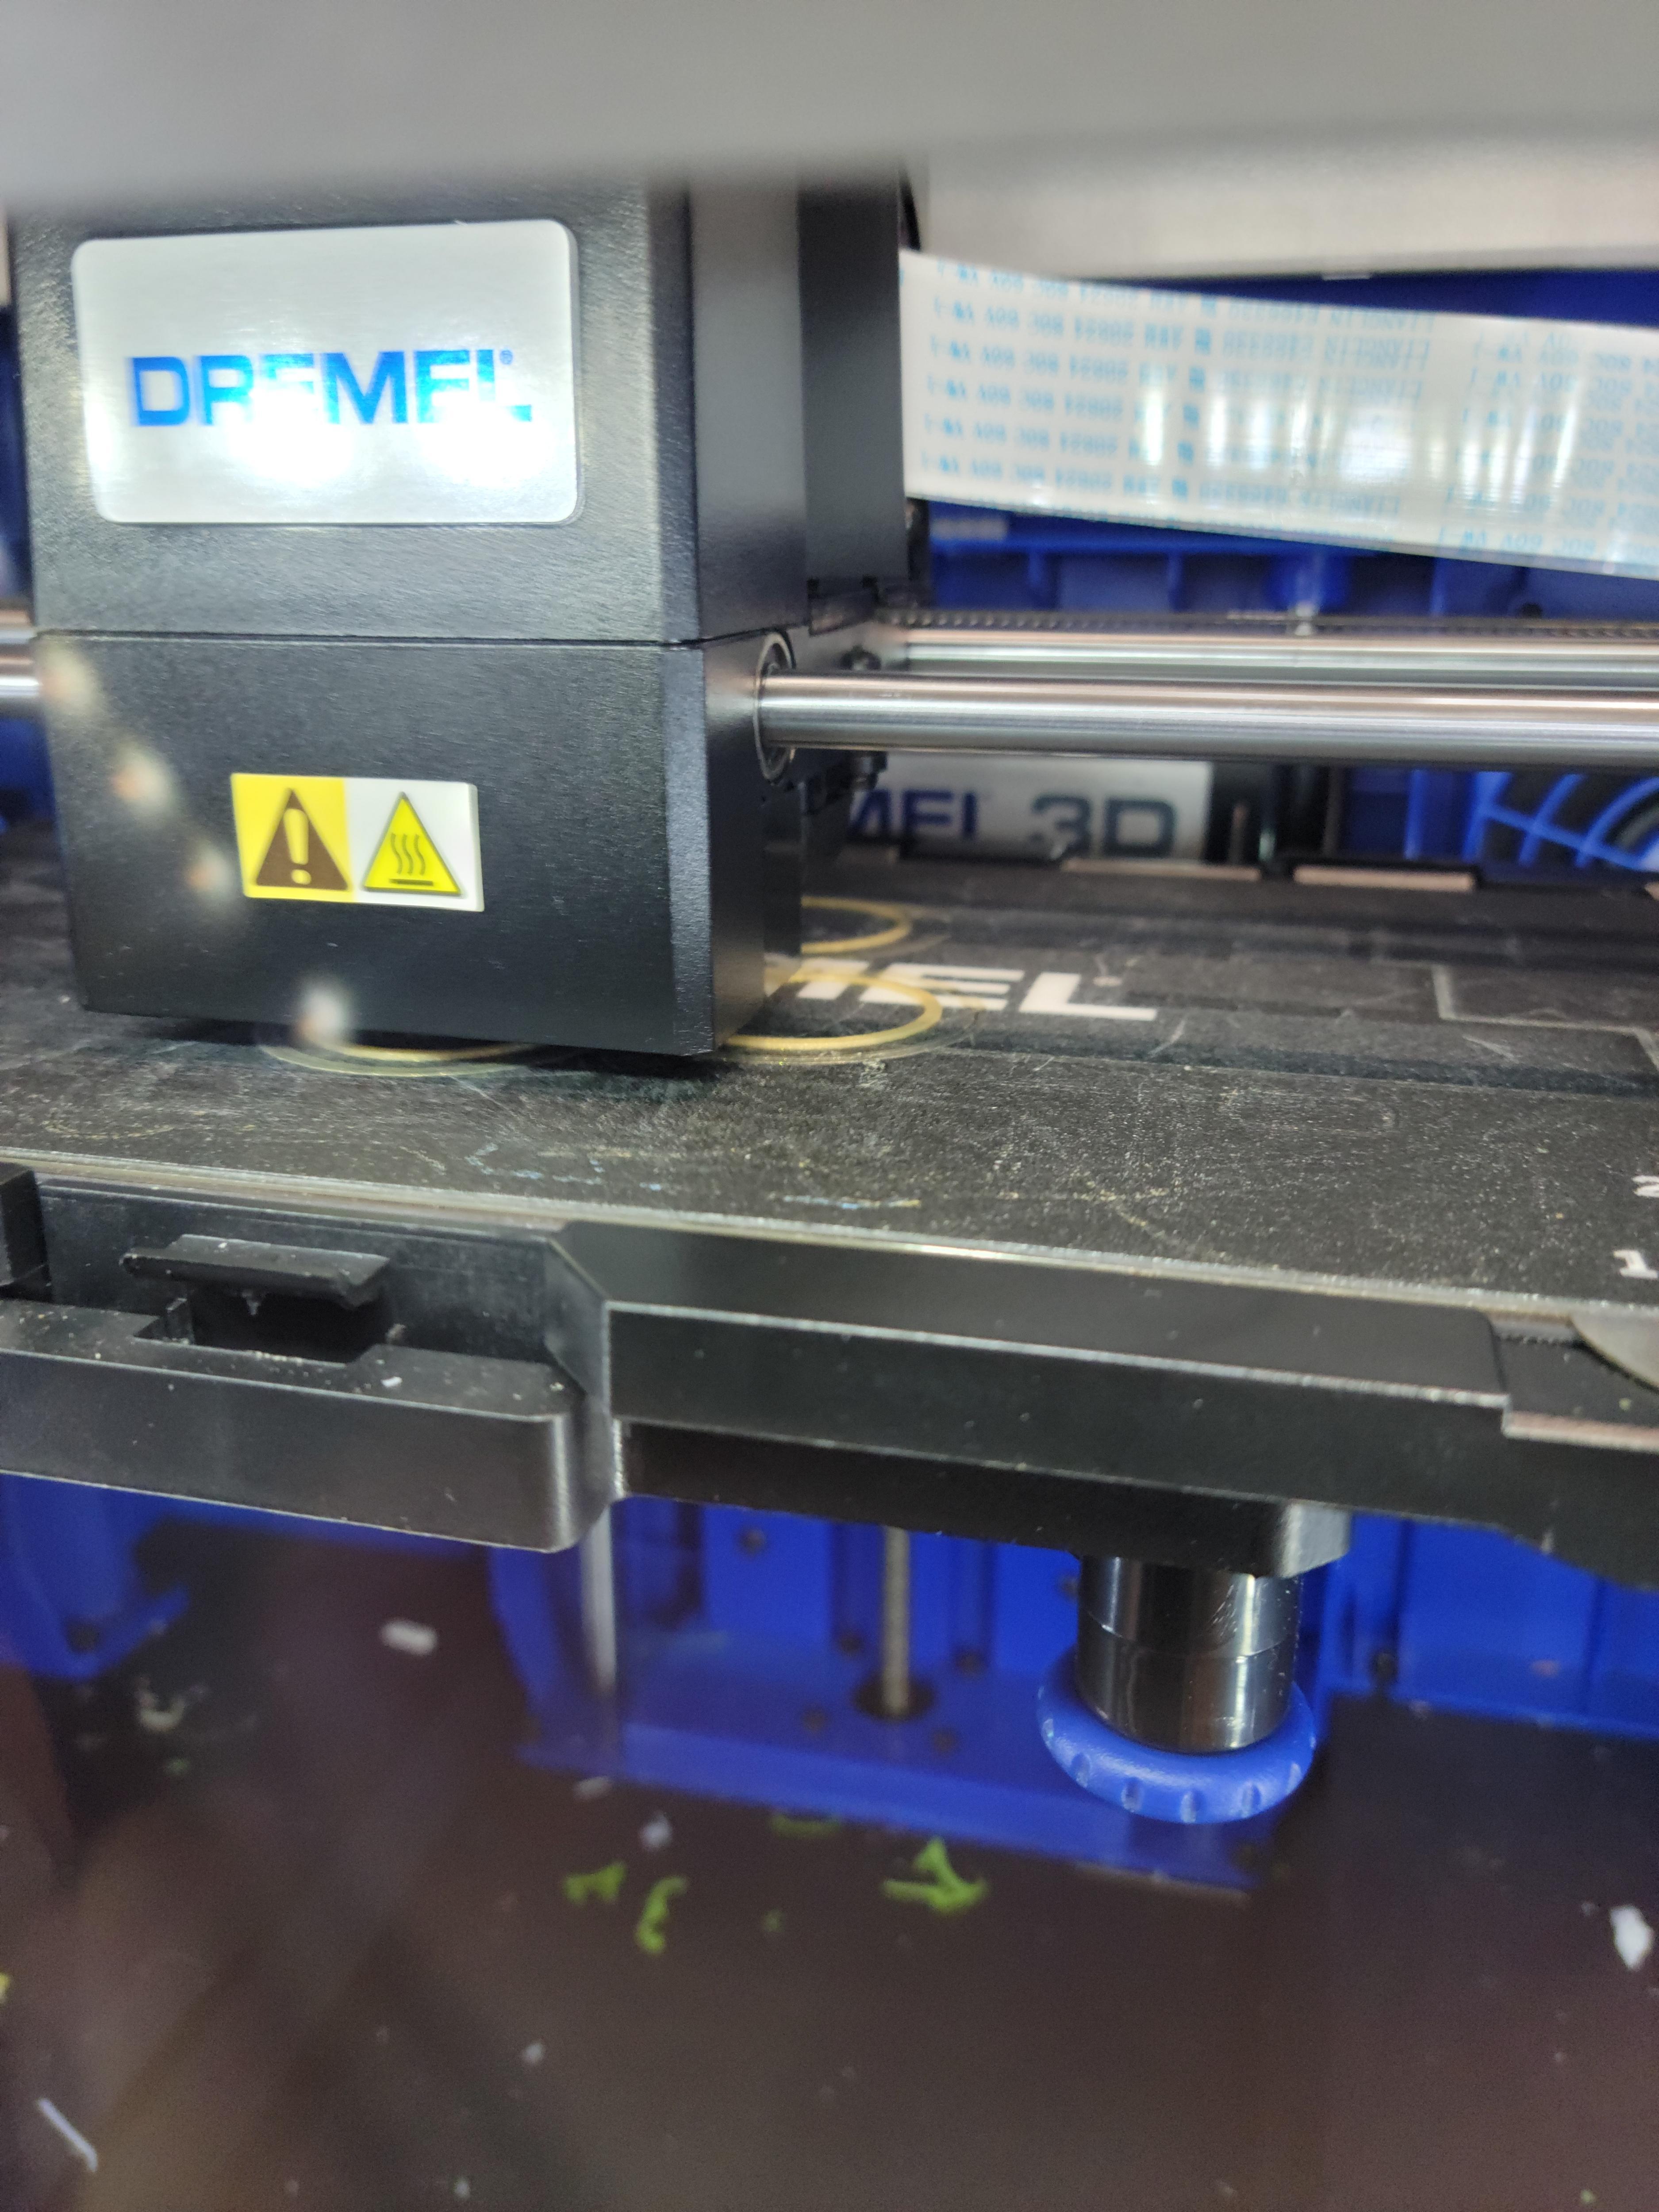
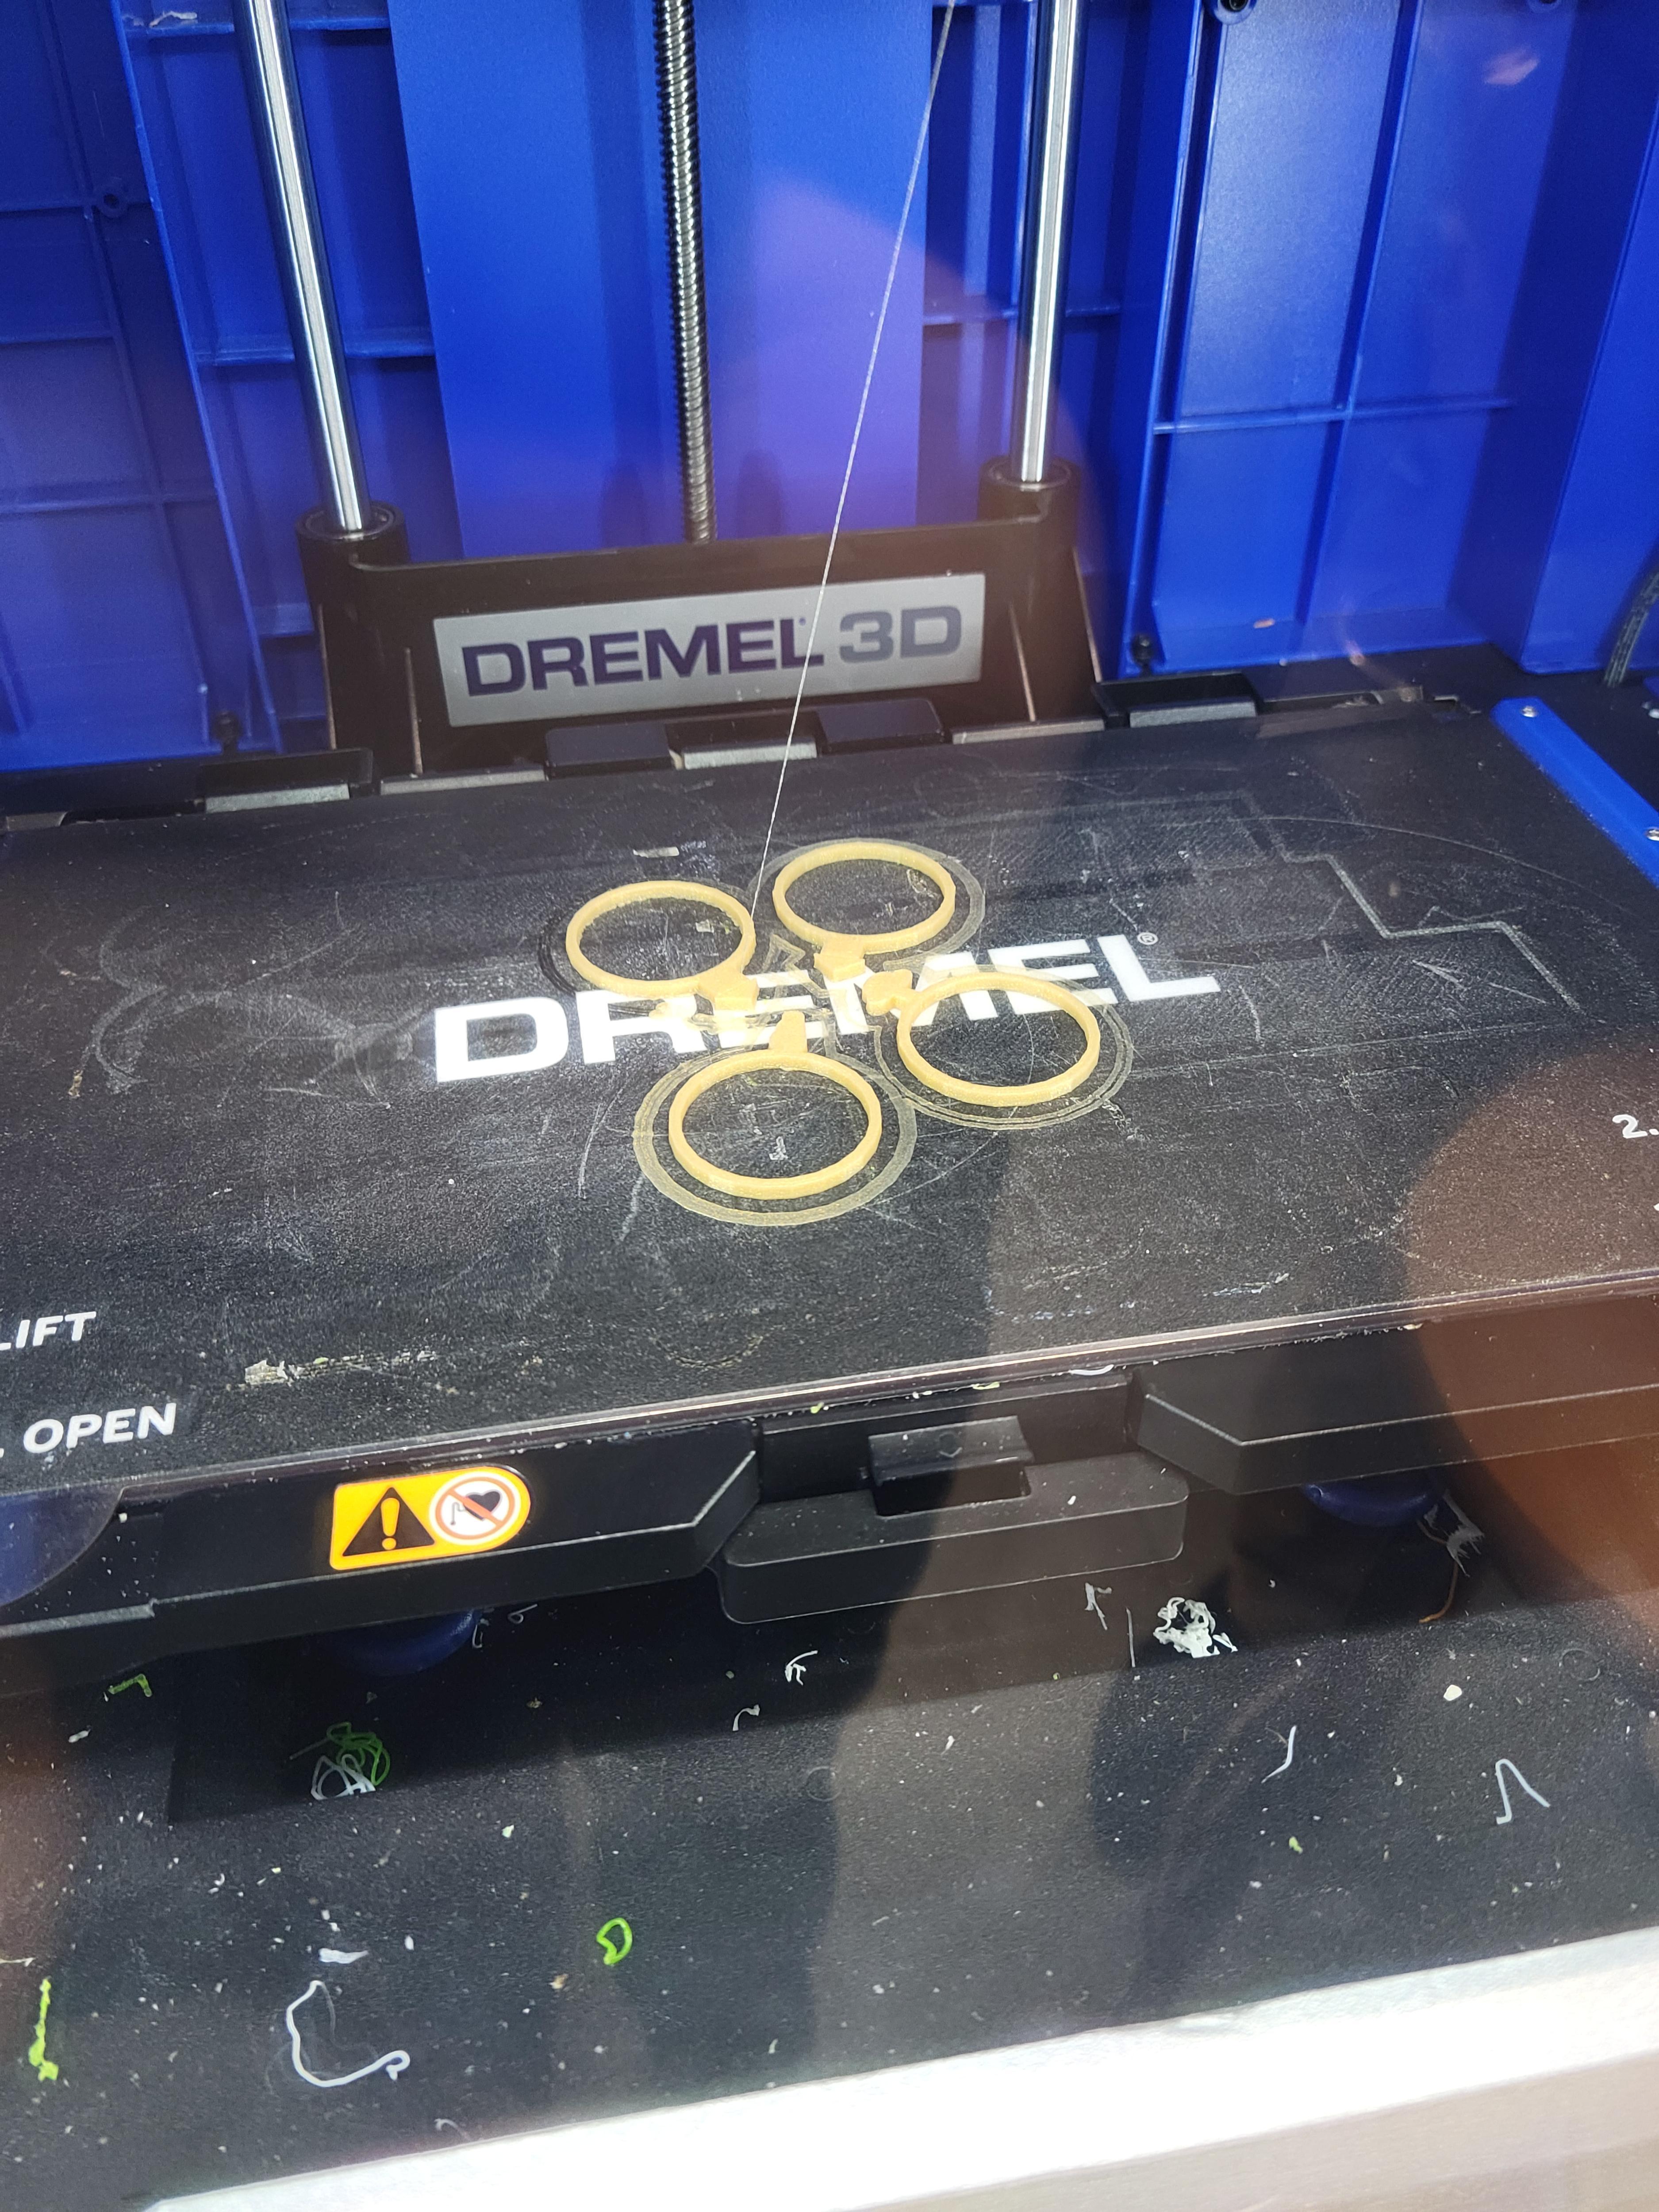
This is a really quick build, so I like to watch. I can also see if anything is about to go wrong and pause to intervene. Students can observe how the layer height of .2 builds up and how many passes that takes.
Observe the Amazing-Ness!
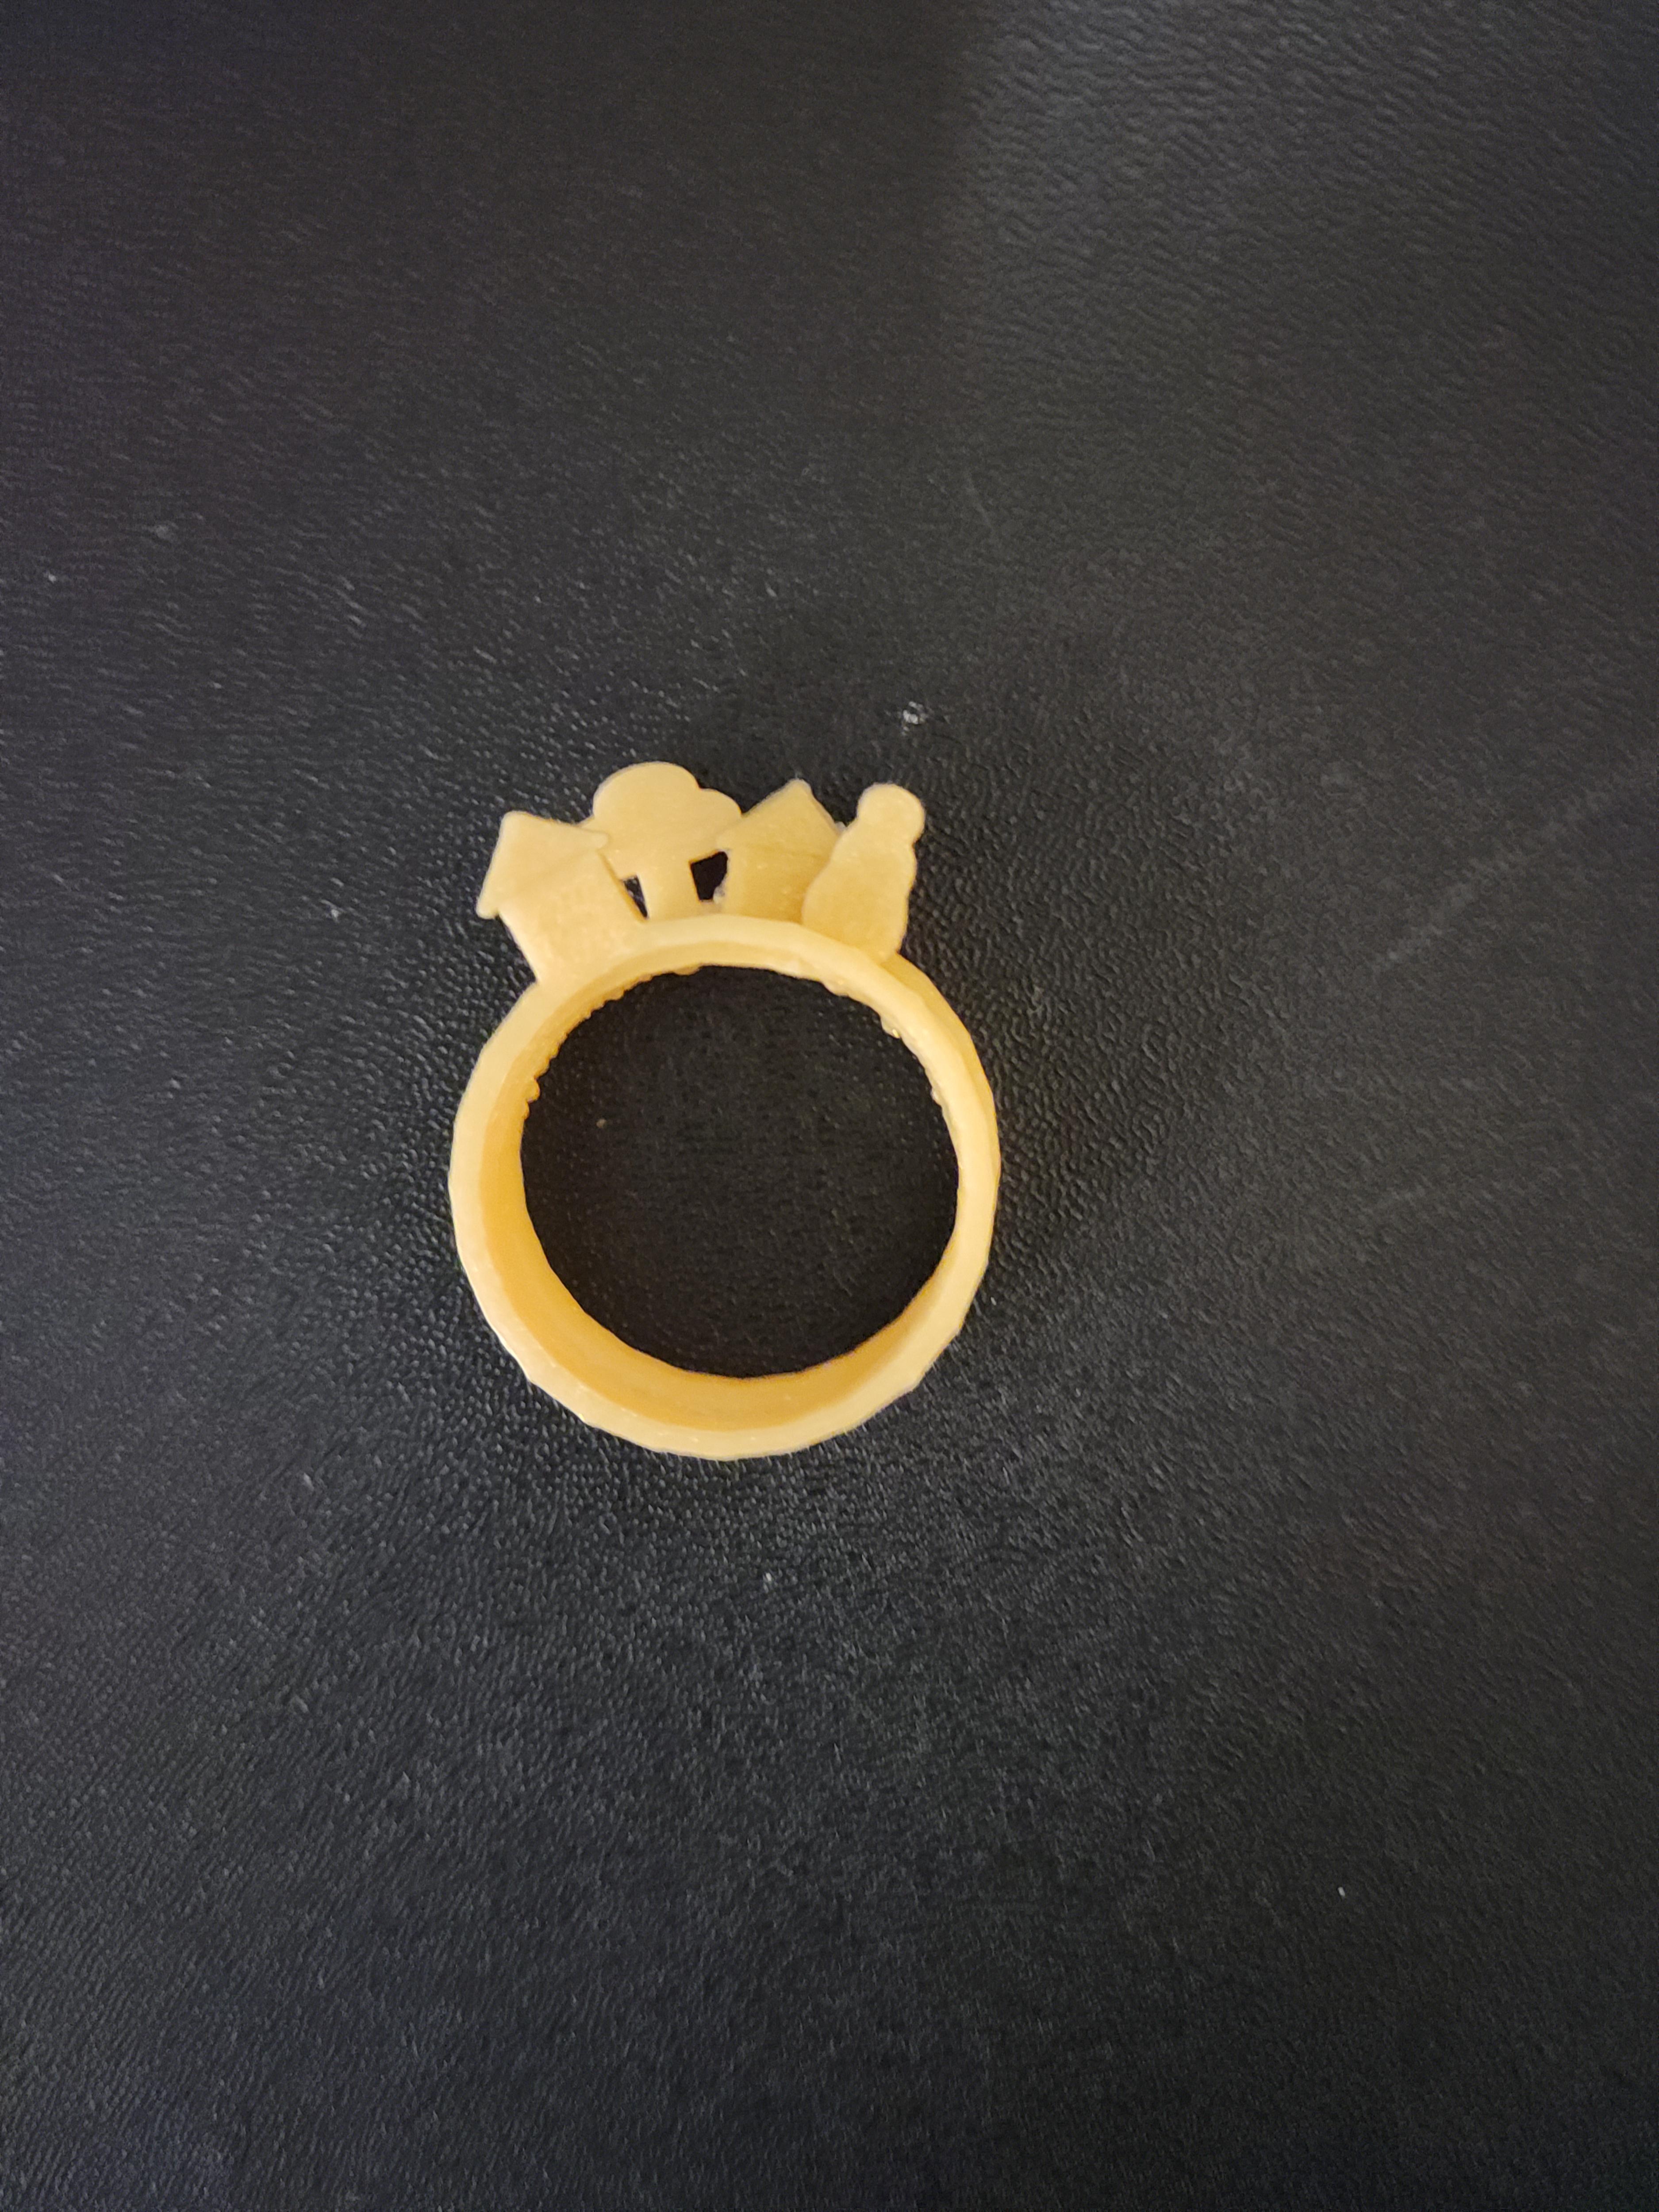
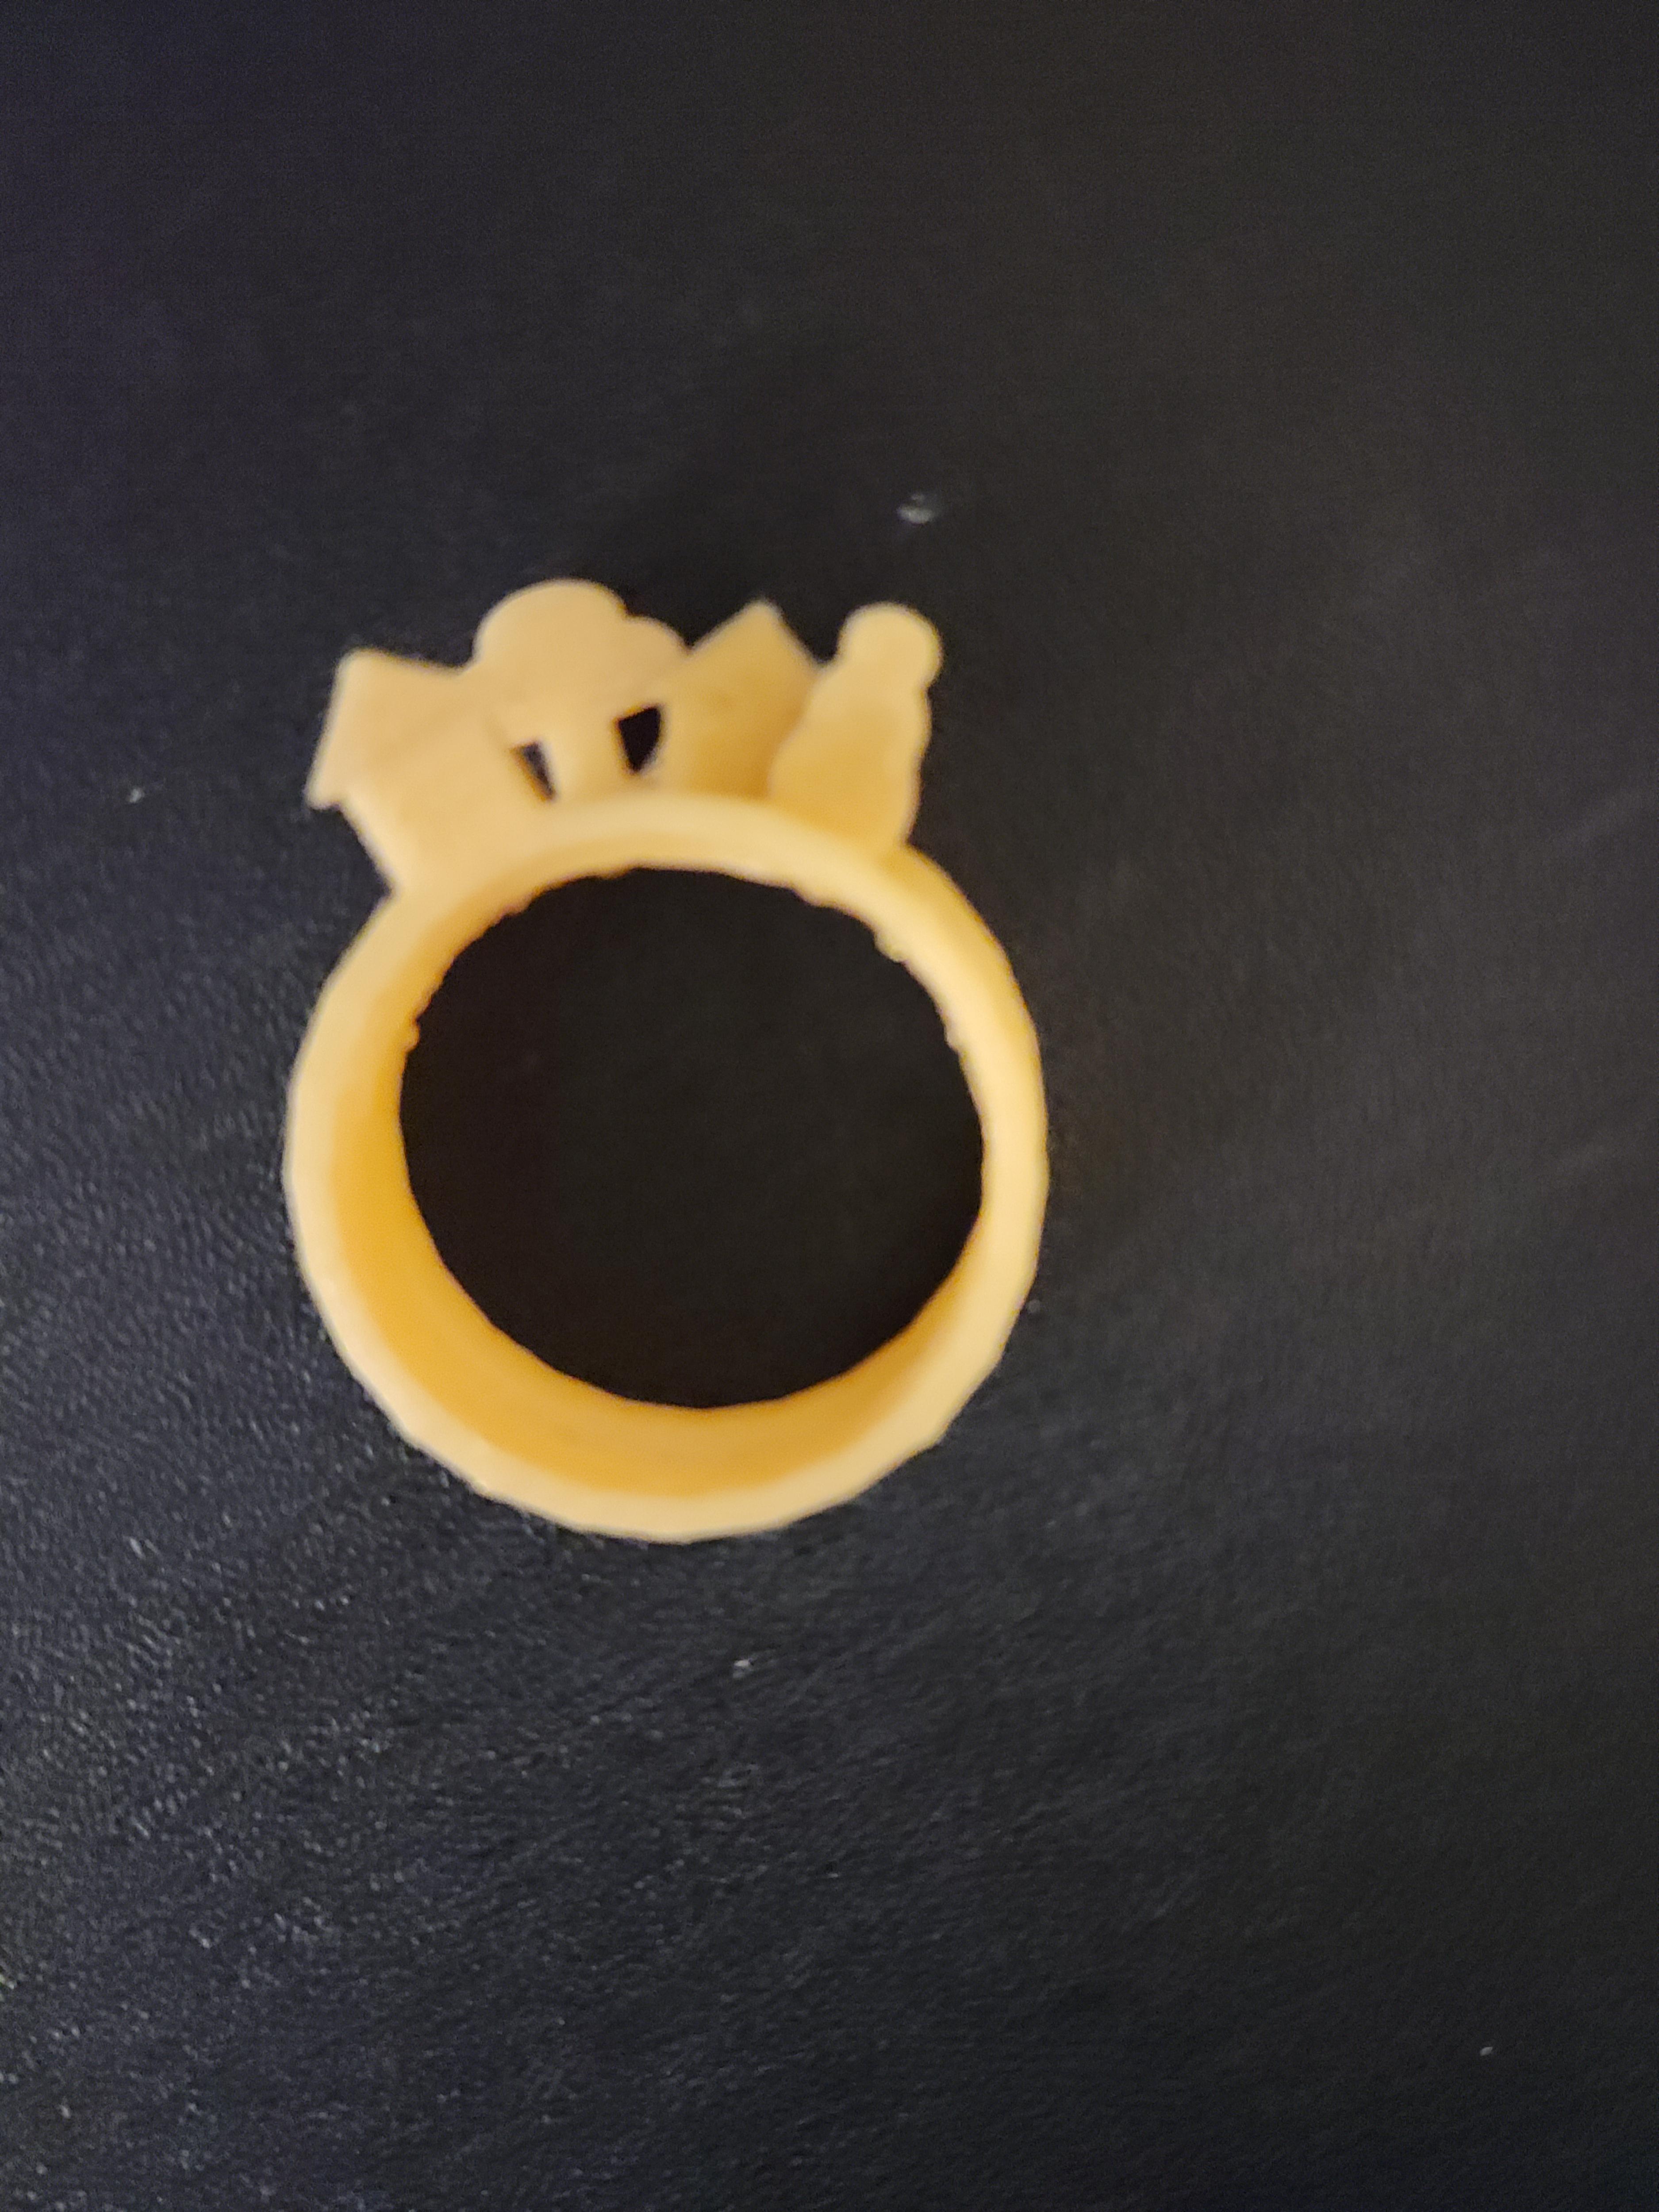
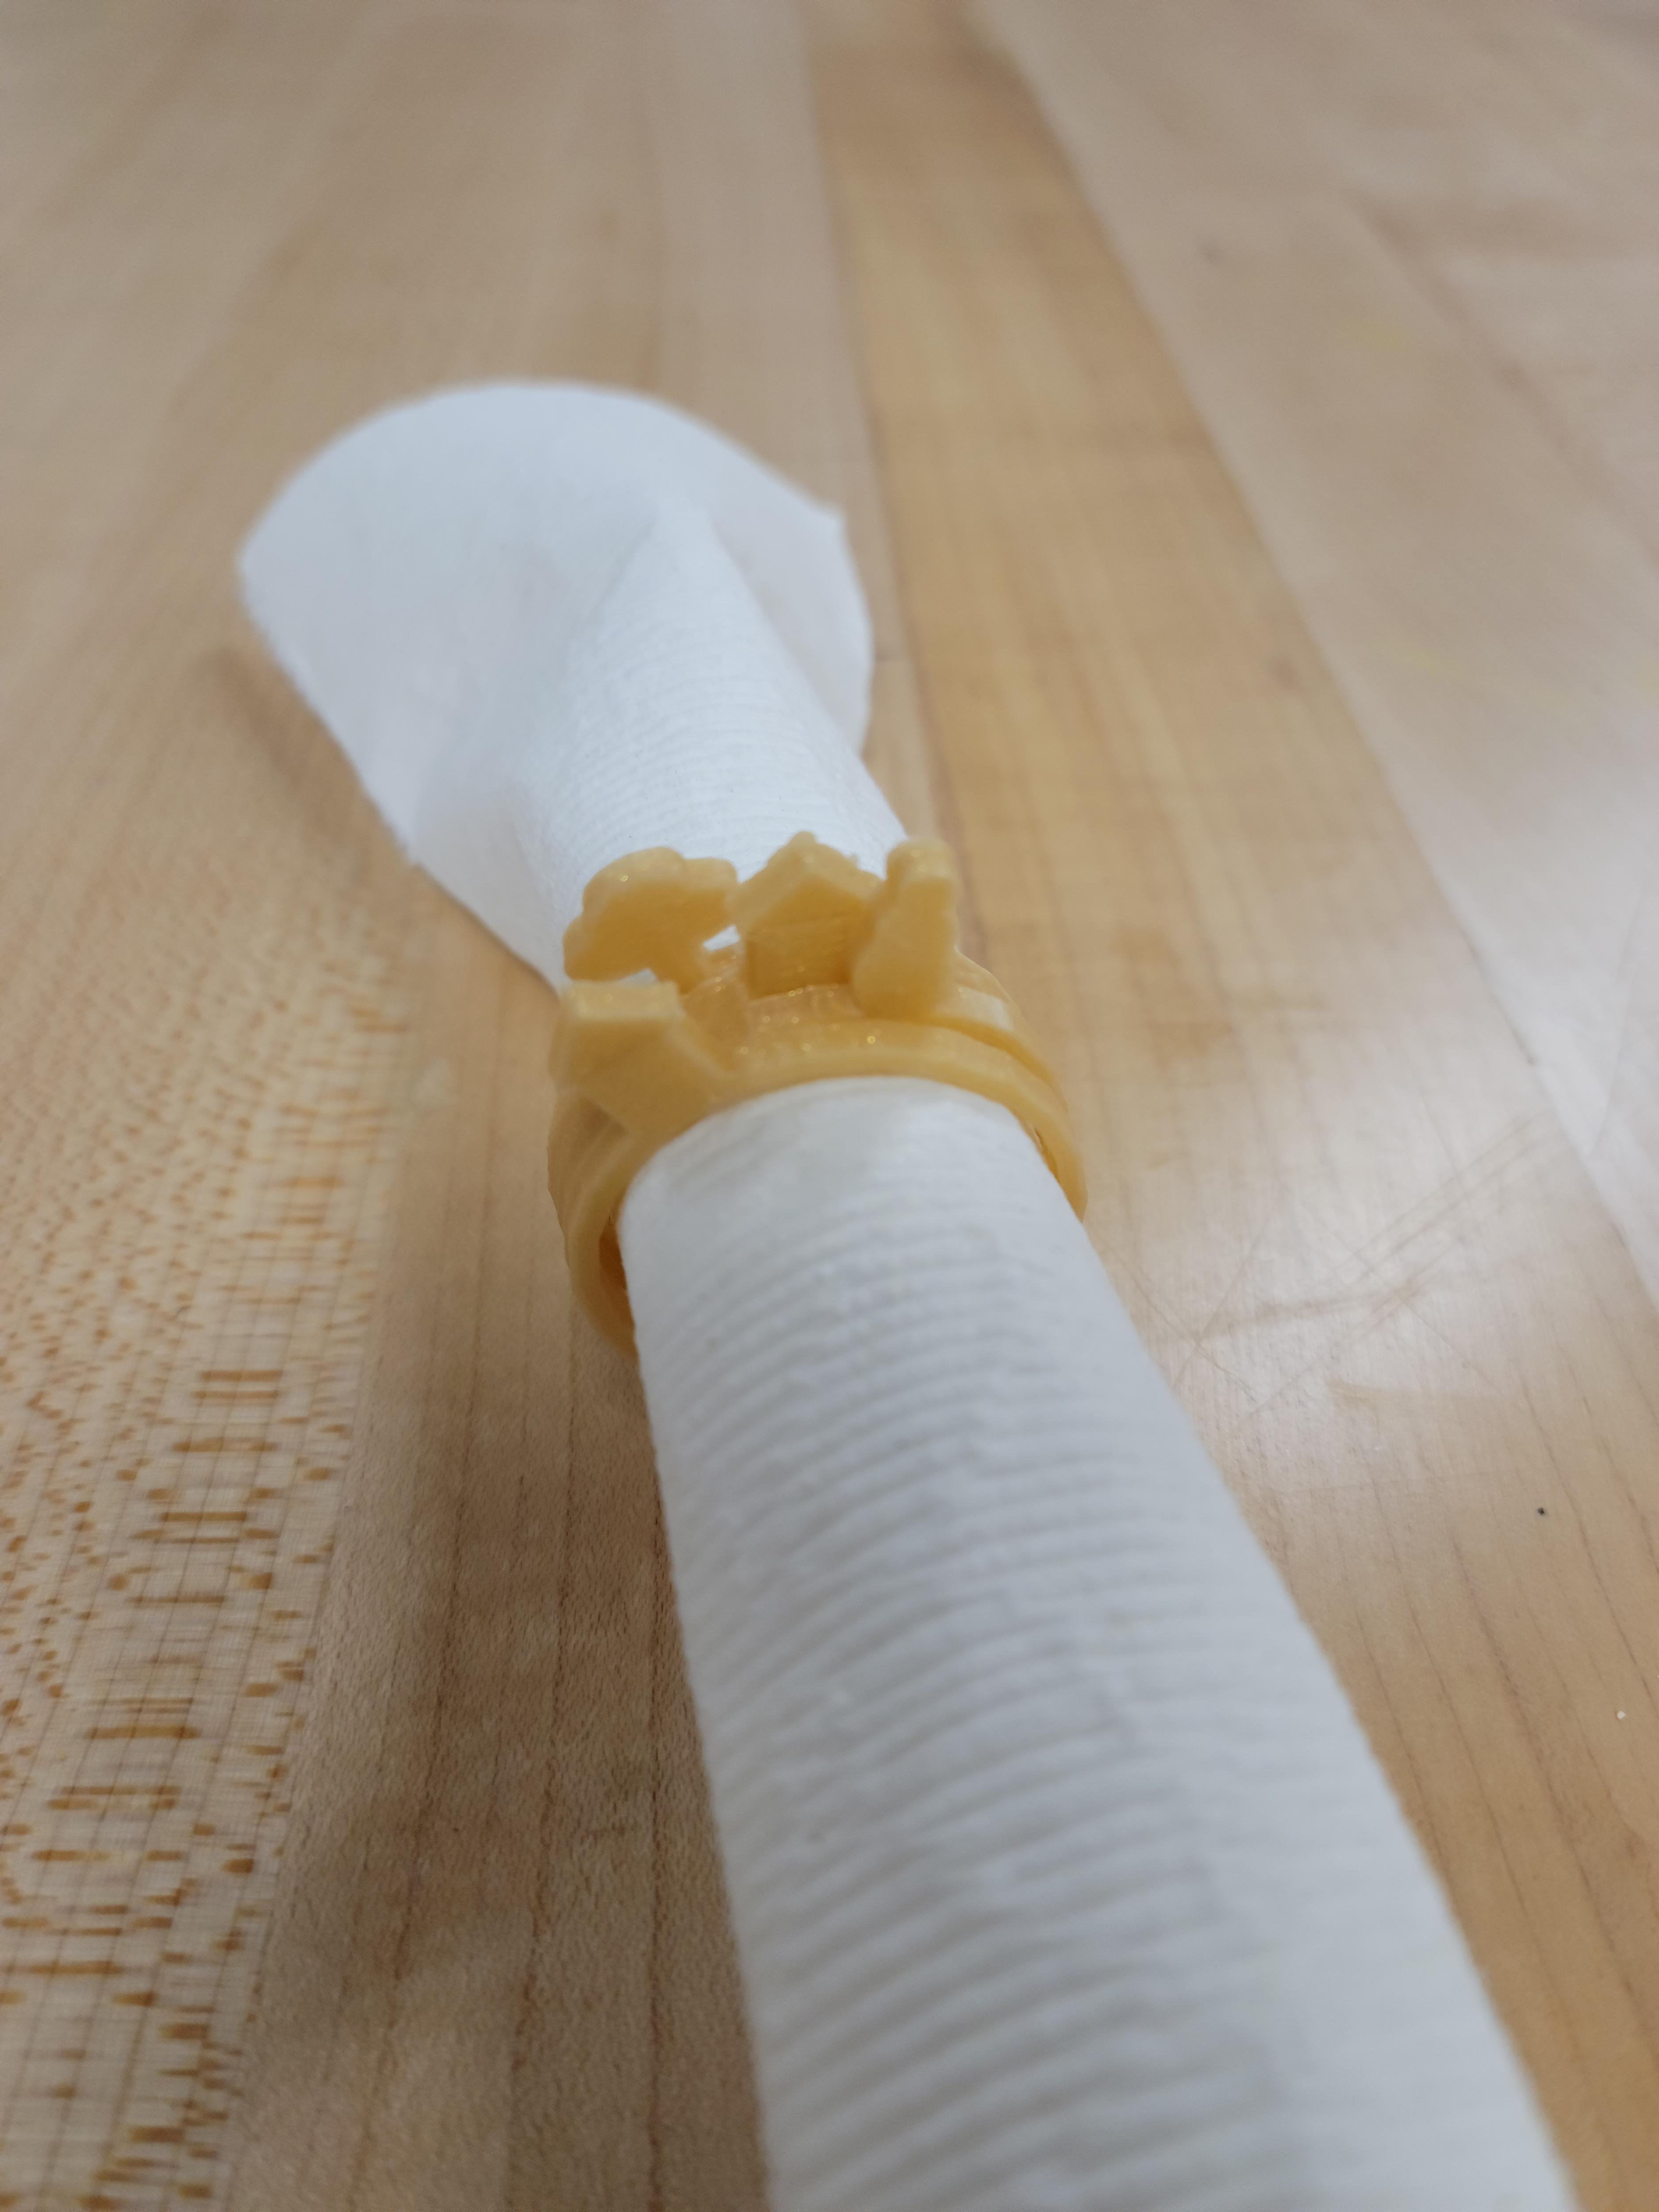
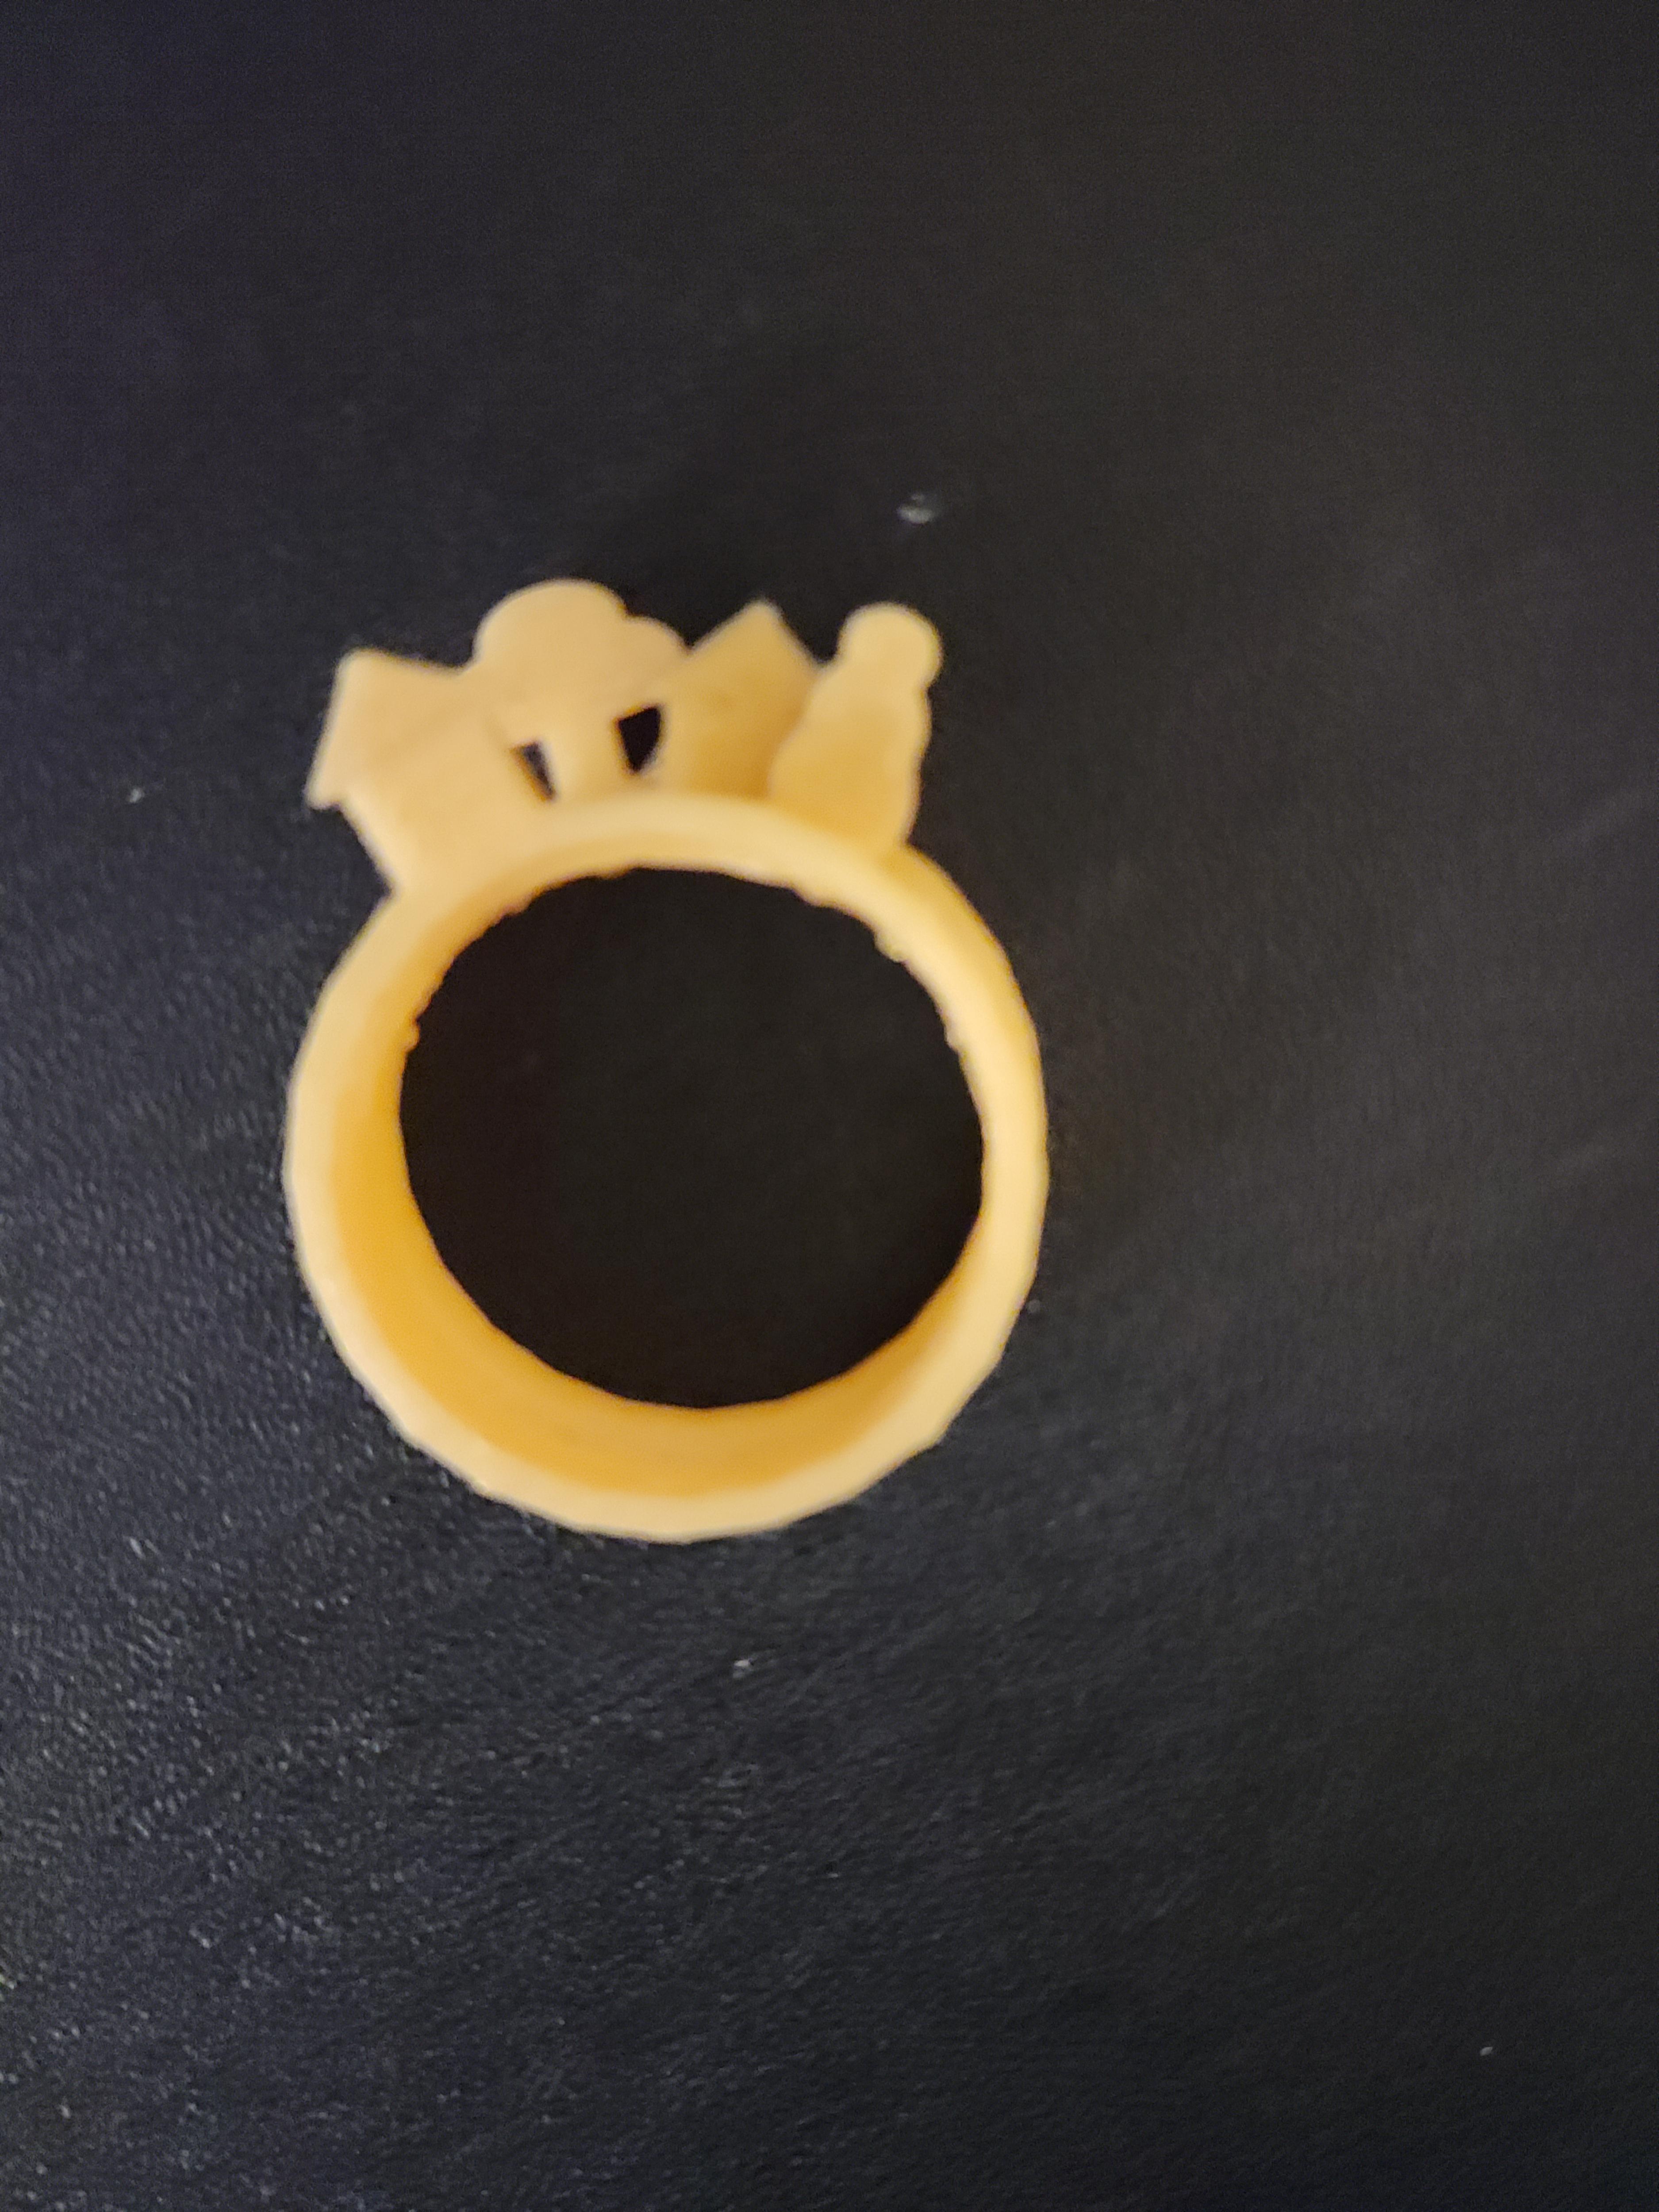
This is the final step. Observe your awesome build. As you can see in the close-up image there are a few jagged edges, so I would just file those down a bit. As you can see in the third image, a larger dimension print can make some fun napkin rings. Students (and adults!) can think of how this can be applied to other applications, or even specialized for different holiday place settings.