3D Printed Spheroid Fun Toy
by daxpatel in Workshop > 3D Printing
1207 Views, 17 Favorites, 0 Comments
3D Printed Spheroid Fun Toy

Hello makers.
This Instructables project is fun for kids as well as adults.
the shape of this object is strange at first time and uniform.
I use Fusion360 to design this project and use Ender-3 for 3d printing.
Enjoy the project and have fun.
I was inspired by the Makermuse video on sphericons. checkout his video on youtube.
Check out my full tutorial on youtube.
Let start making.
Supplies
1> Laptop or computer
2> Fusion360 design software
3> 3d printer access
4> super glue
Sketch With Fusion360
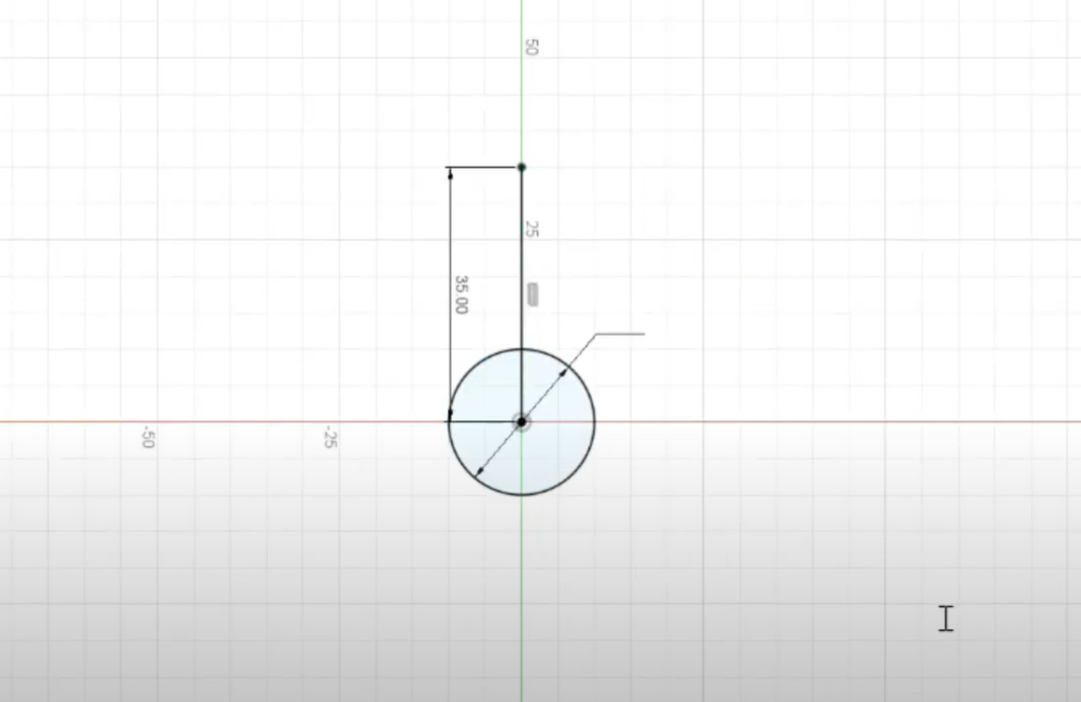
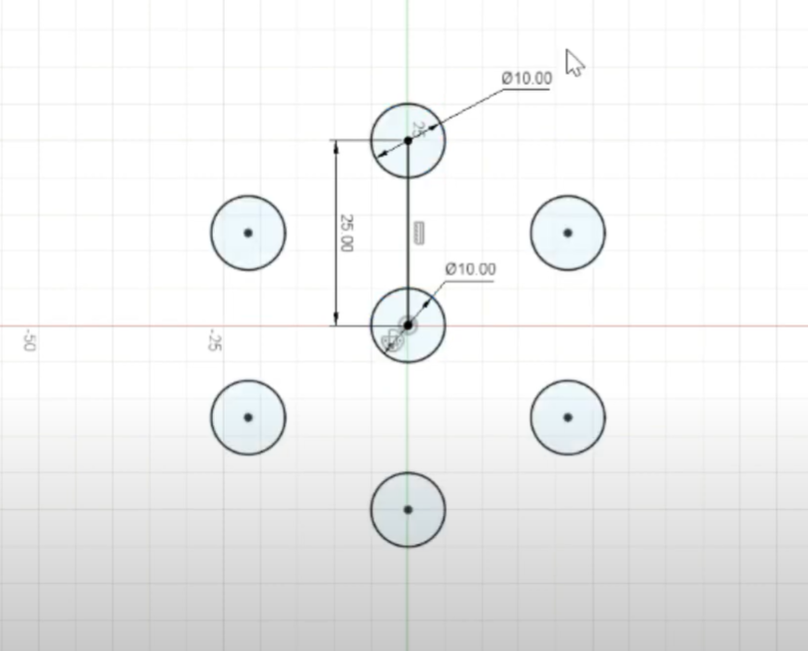
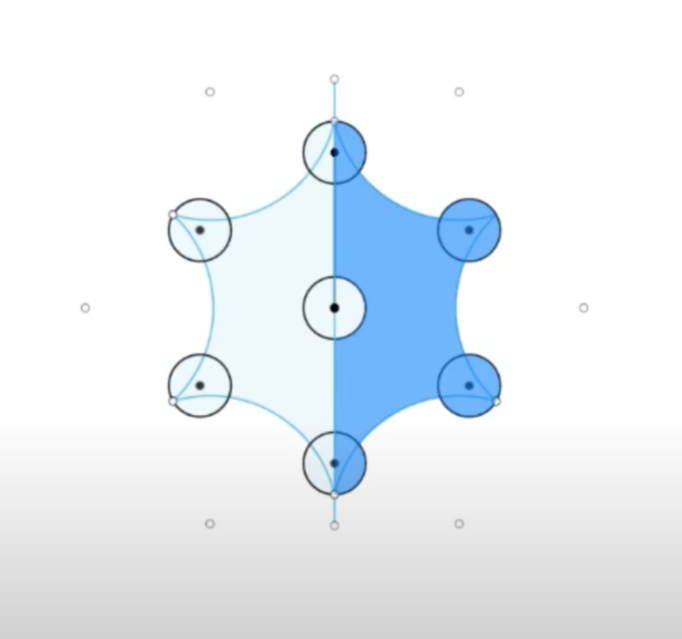
1> start sketch on ant YZ plane.
2> draw the circle of 10mm for the center.
3> draw a centerline of 35 mm from the center of the first circle.
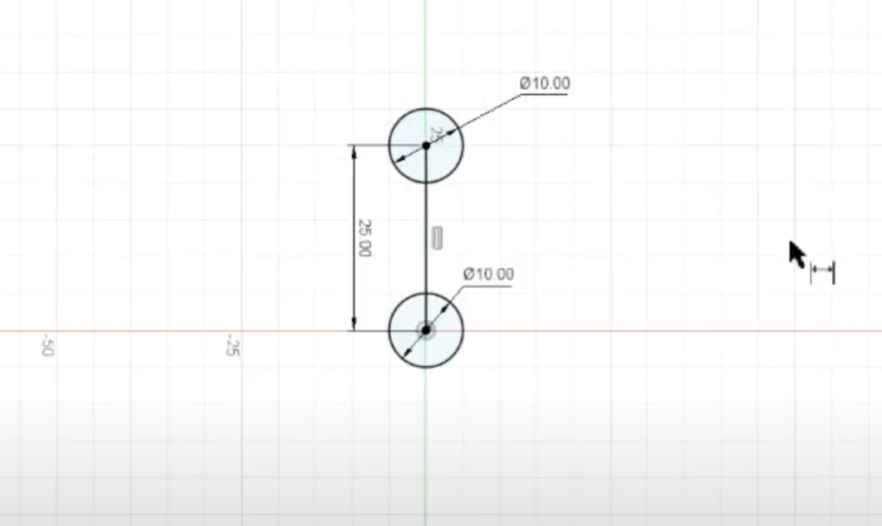
4> Draw another corcle on another end of the line with a 10mm diameter.
5> select the circular pattern command and select the 2nd circle for the pattern.
6> select center circle for rotating axis.
7>select 6 numbers of pattern quantity.
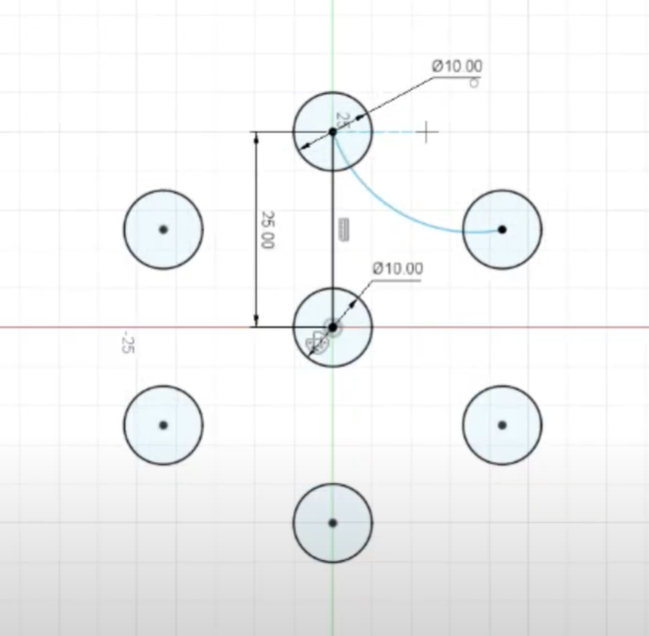
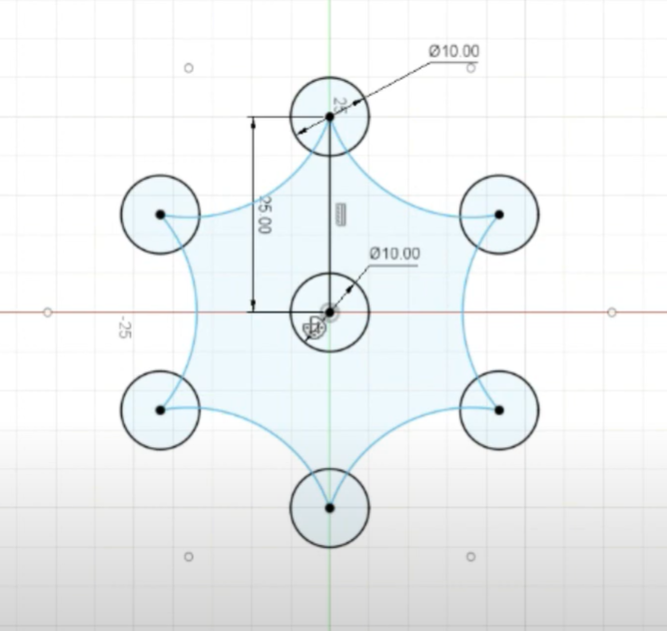
8> connect the nearest circle by using the arc command and use a circular pattern for the same.
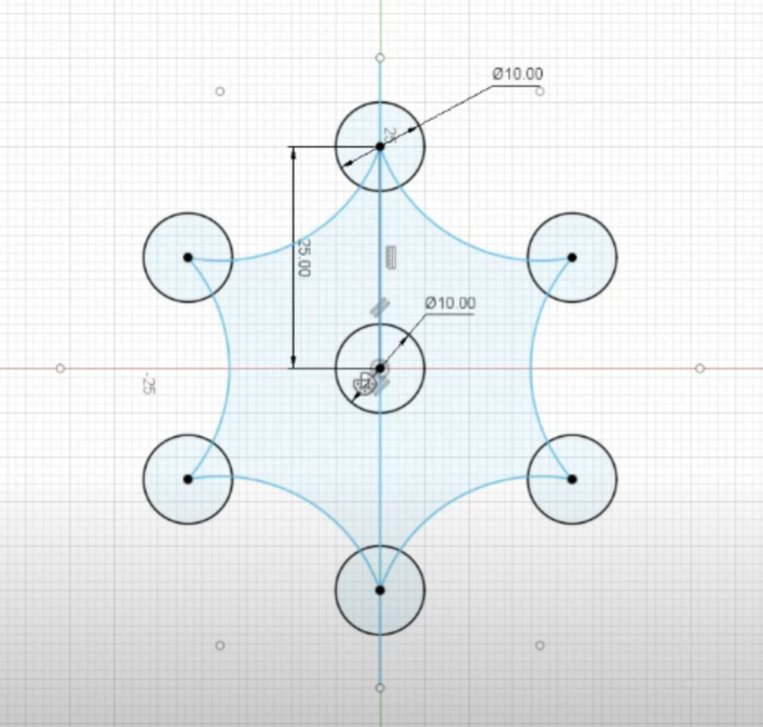
9> make a center verticle line to make two halves for the sketch.
Revolve Sketch Profile
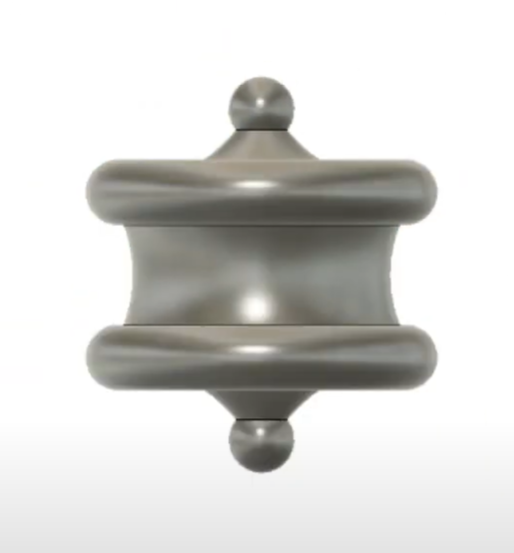
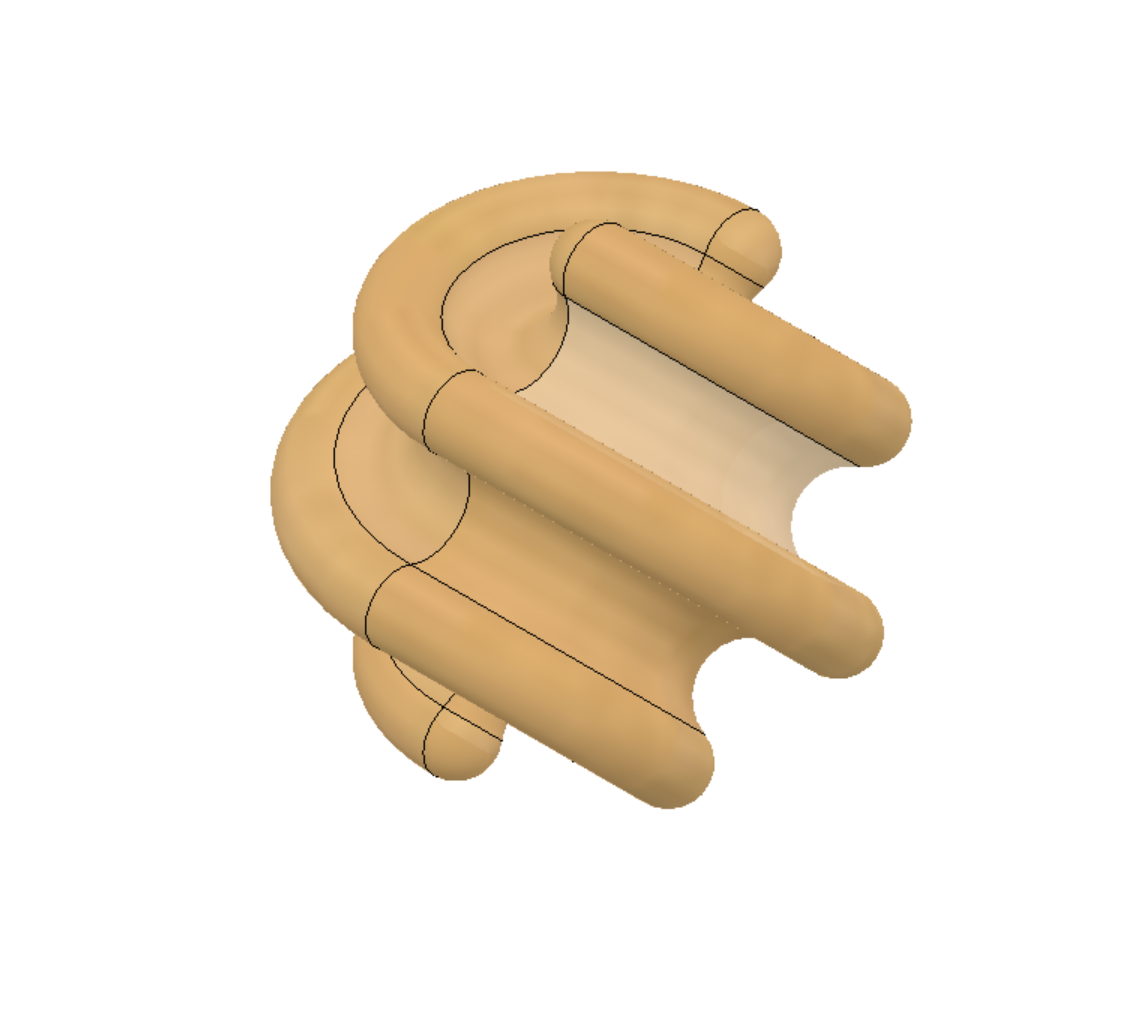
Use revolve command and select half of the sketch and select the center axis for revolve sketch.
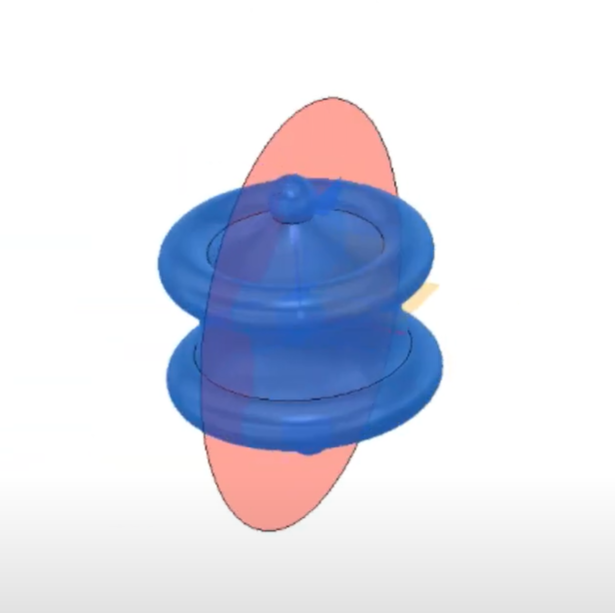
Cut Through and Rotate Body
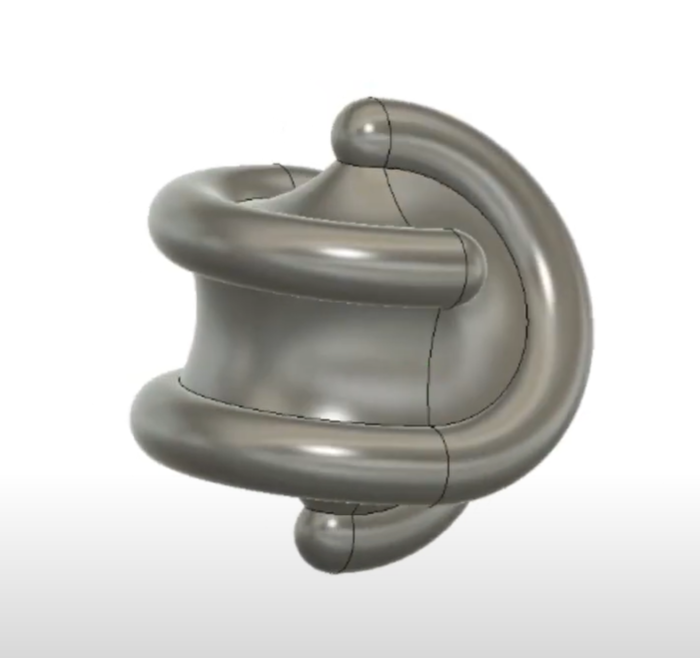
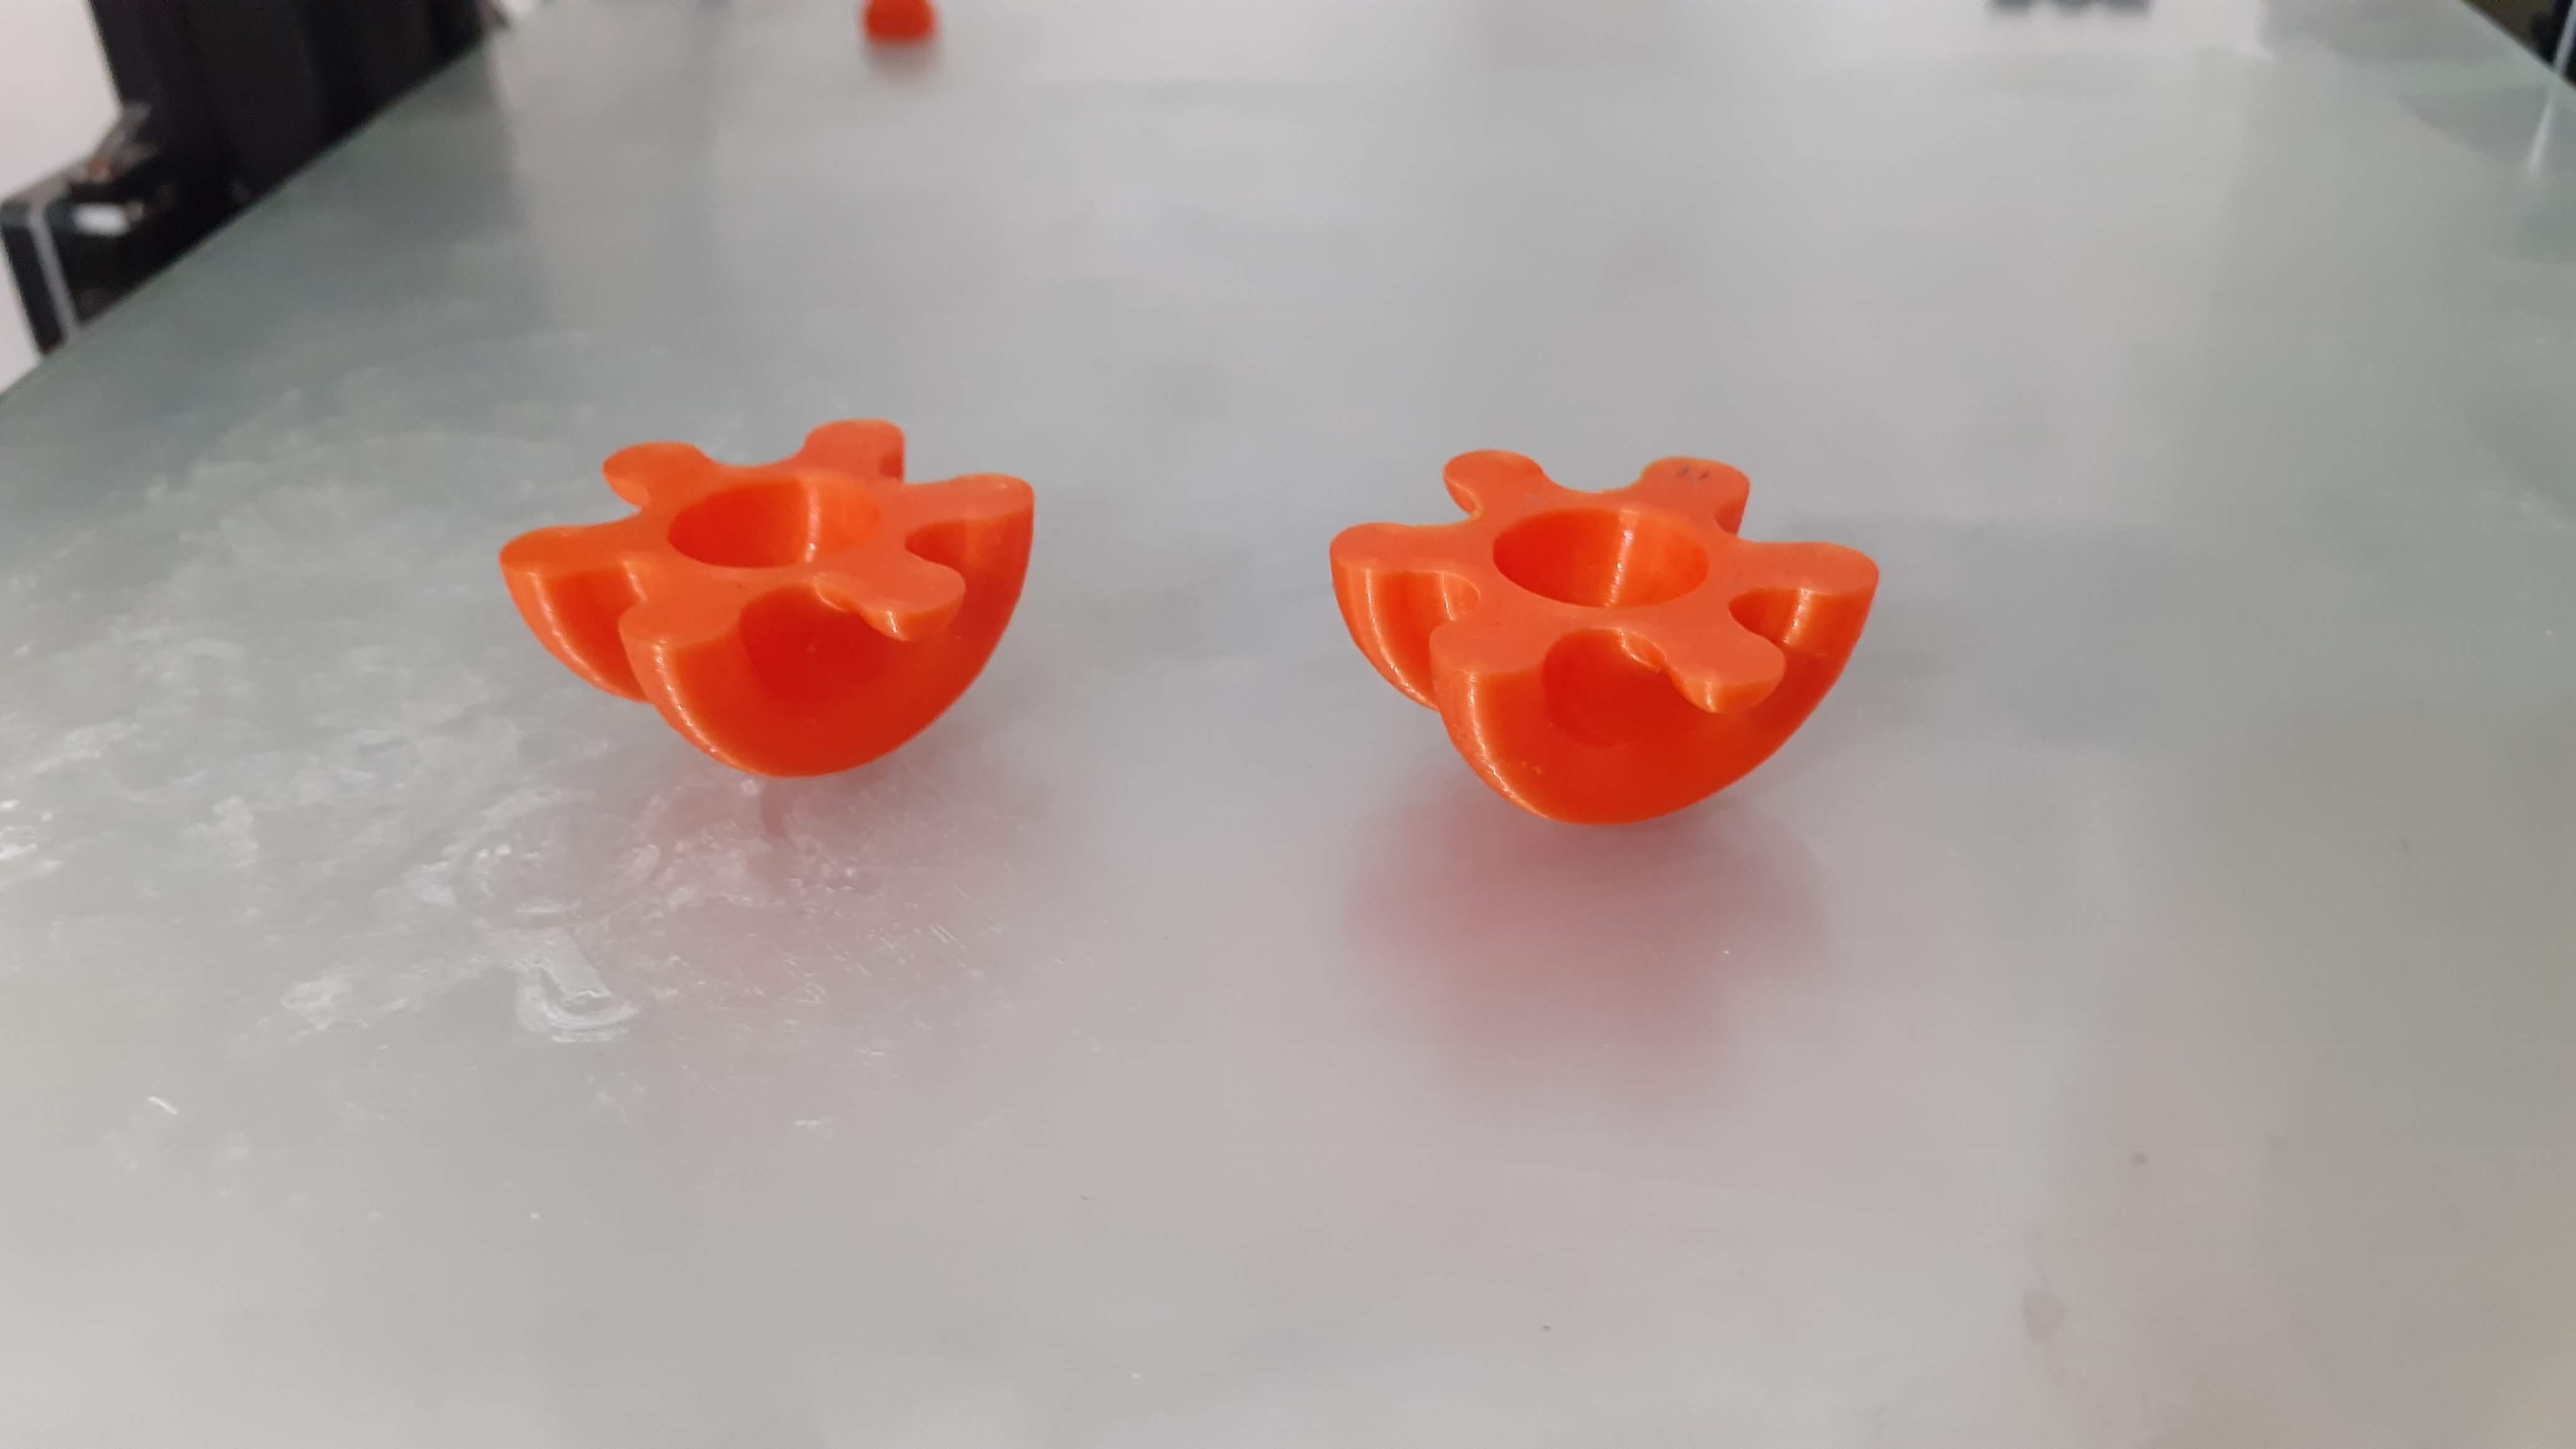
After revolving the sketch profile you see objects like 1st images.
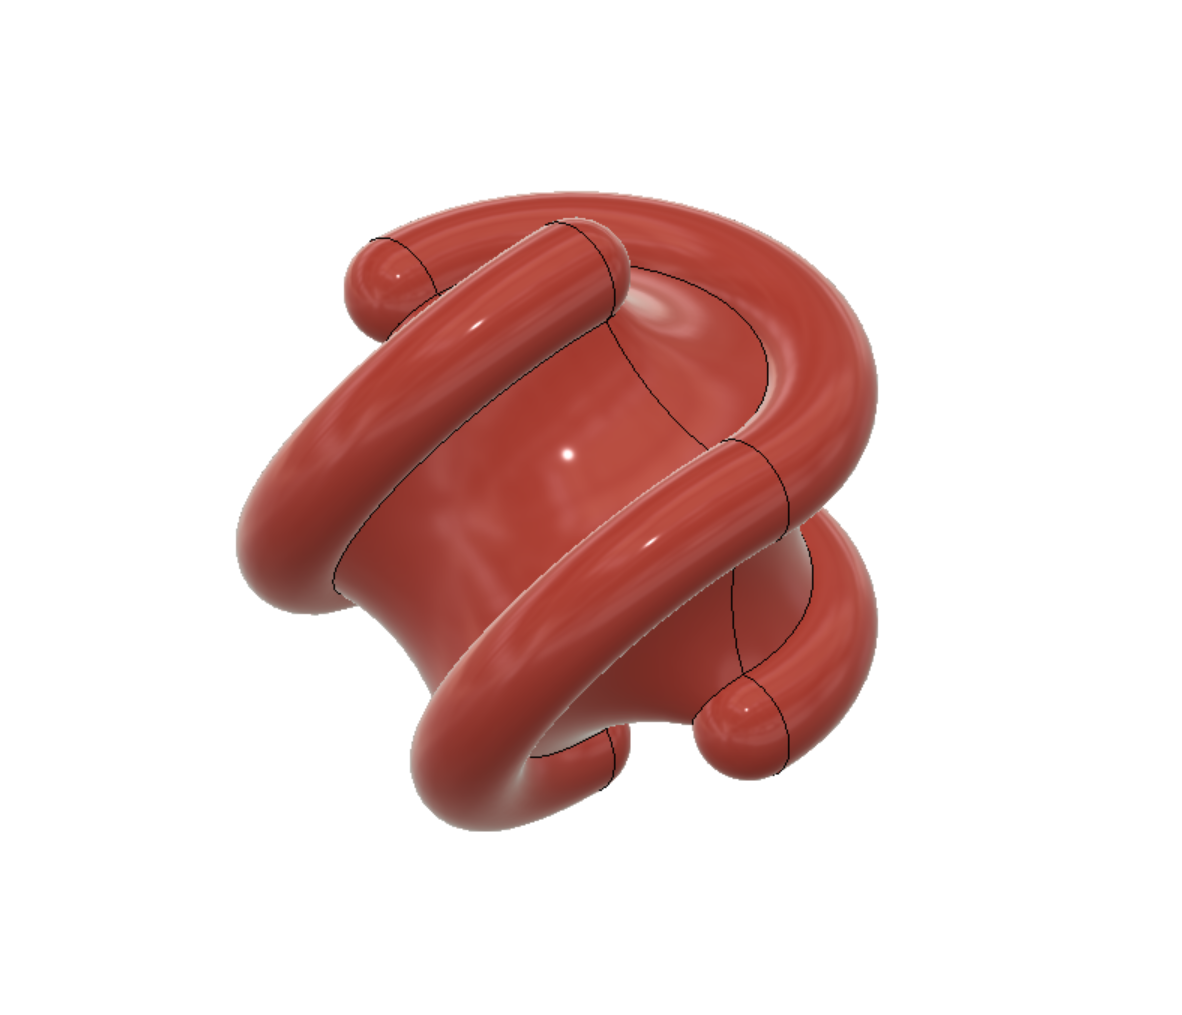
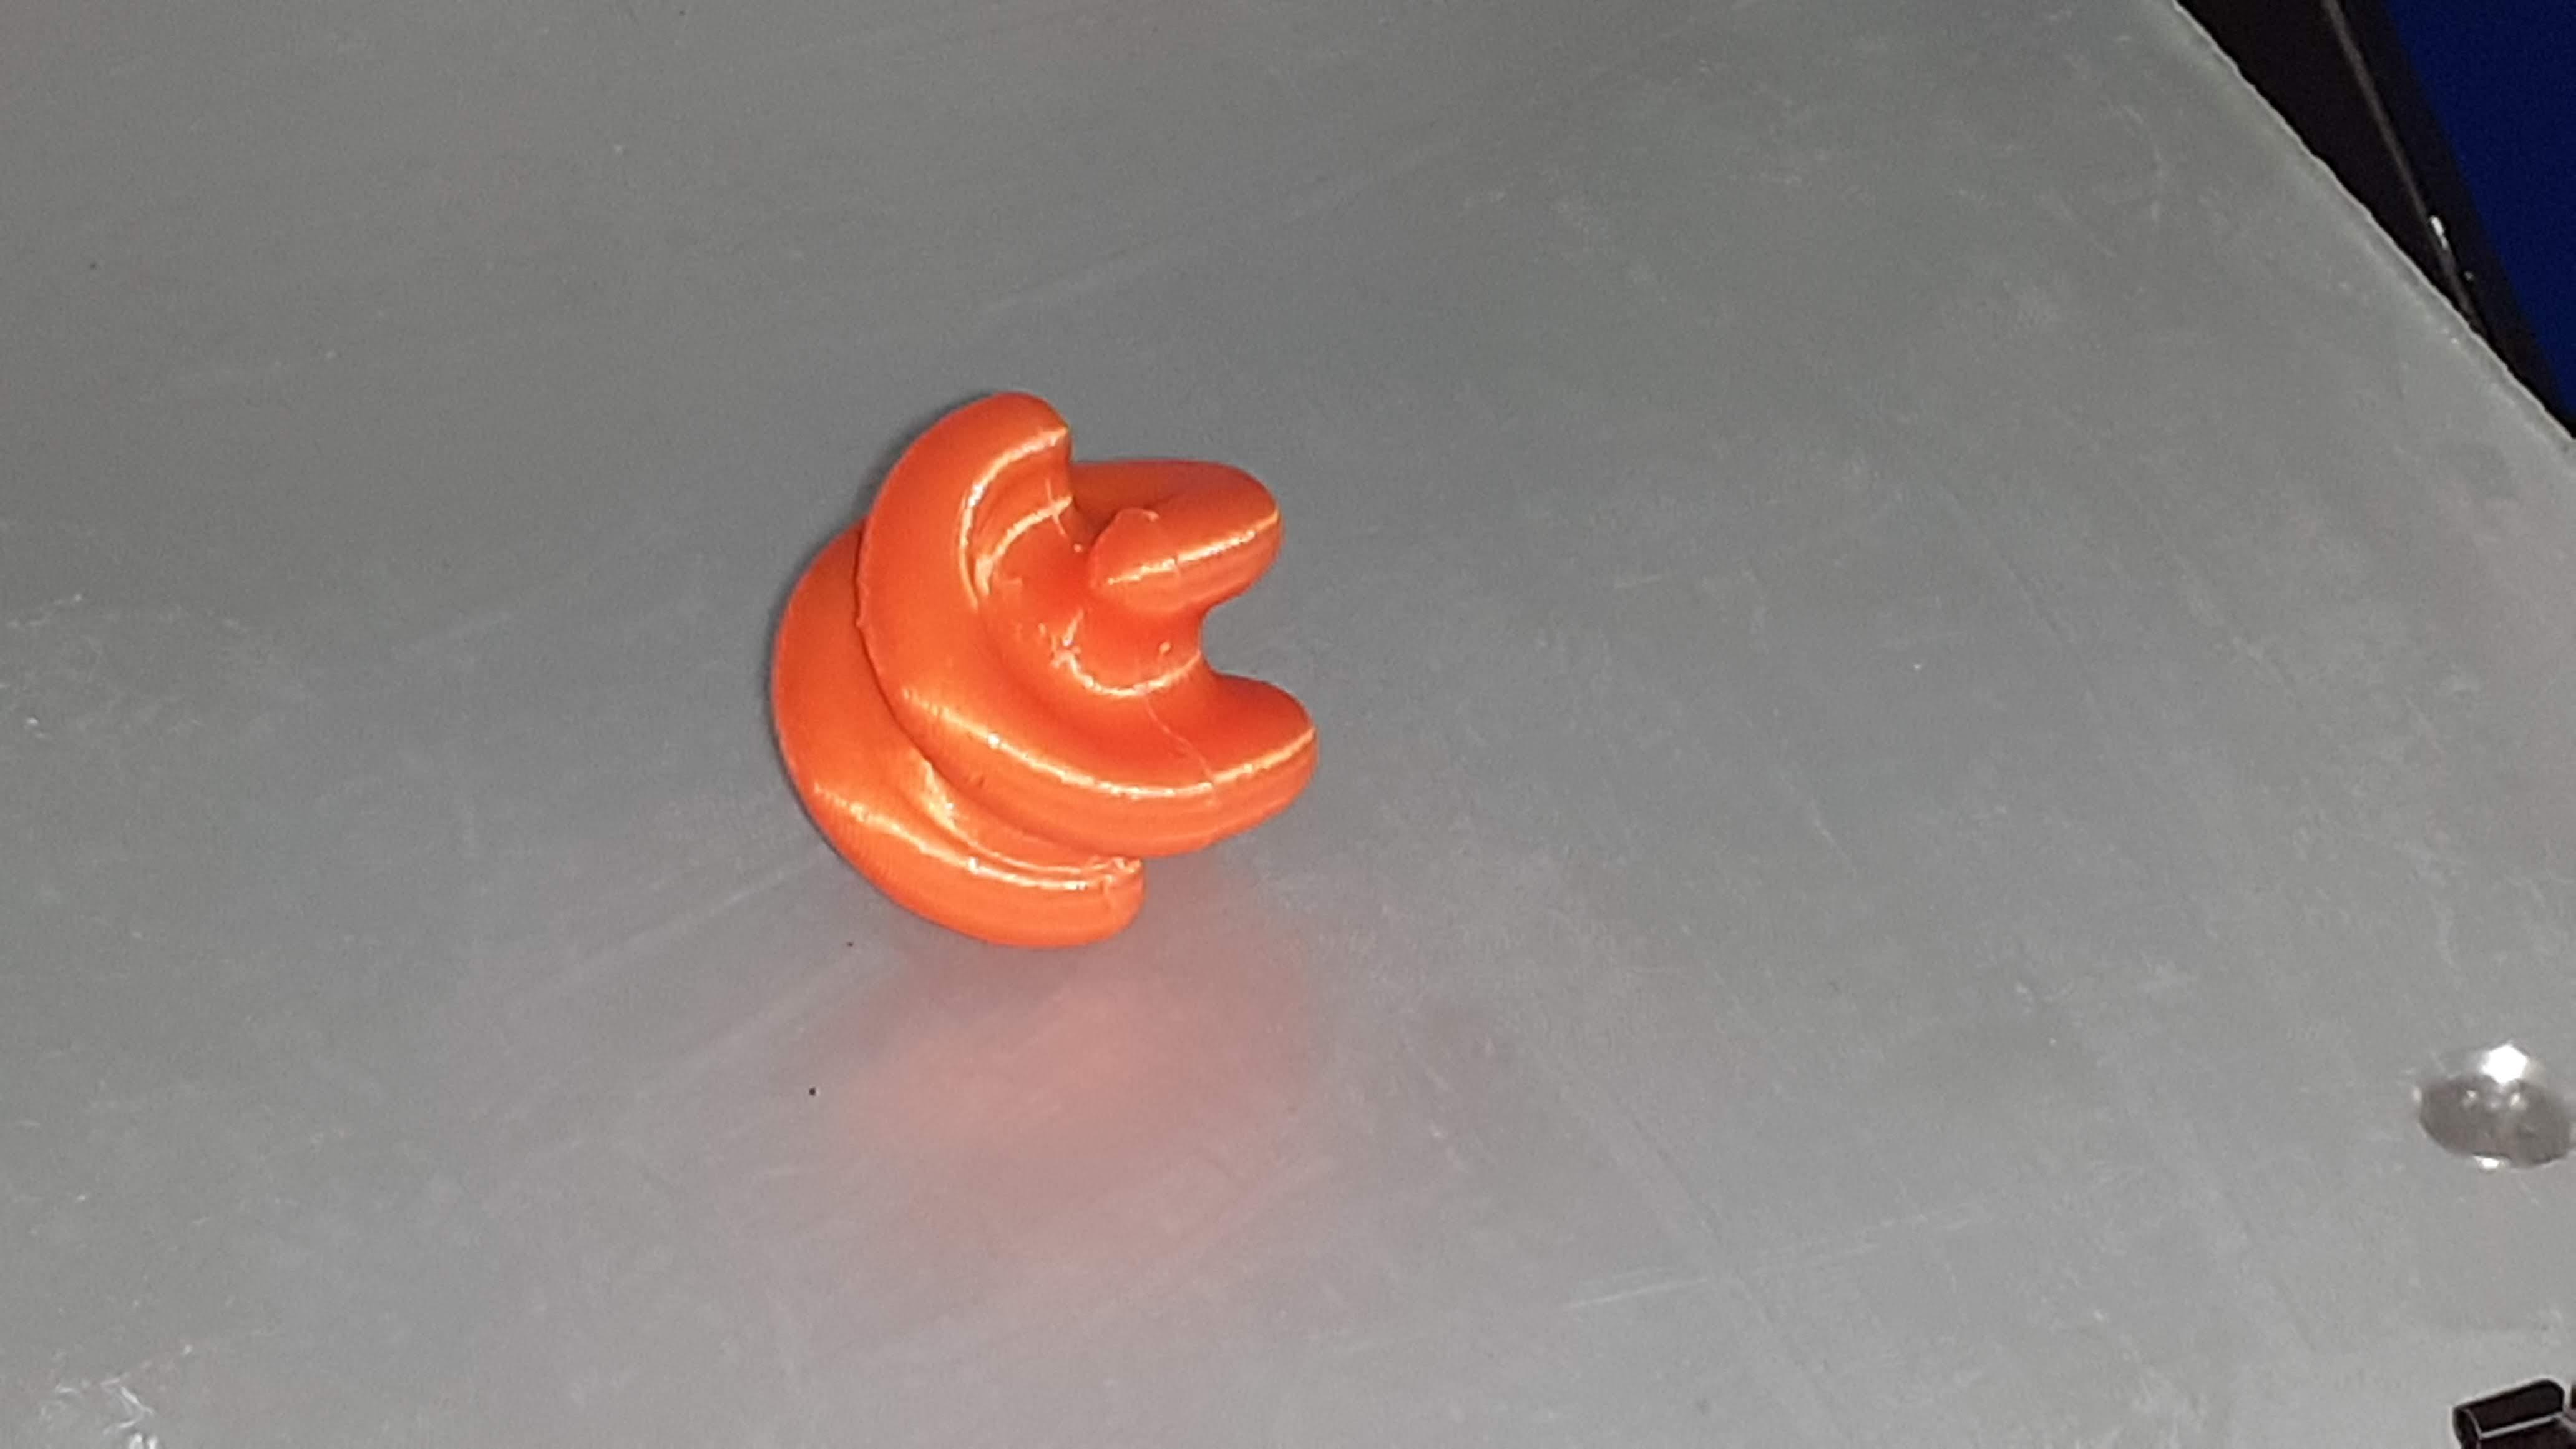
To make it half, we use the split body command to make 2 equal halves for 3d printing.
After making 2 separate bodies, select any of body and rotate them at 60 degrees (360/6 side).
Export Design
Export bodies into.STL files for 3d printing.
print this .stl file two times to complete the object.
Downloads
3d Printing
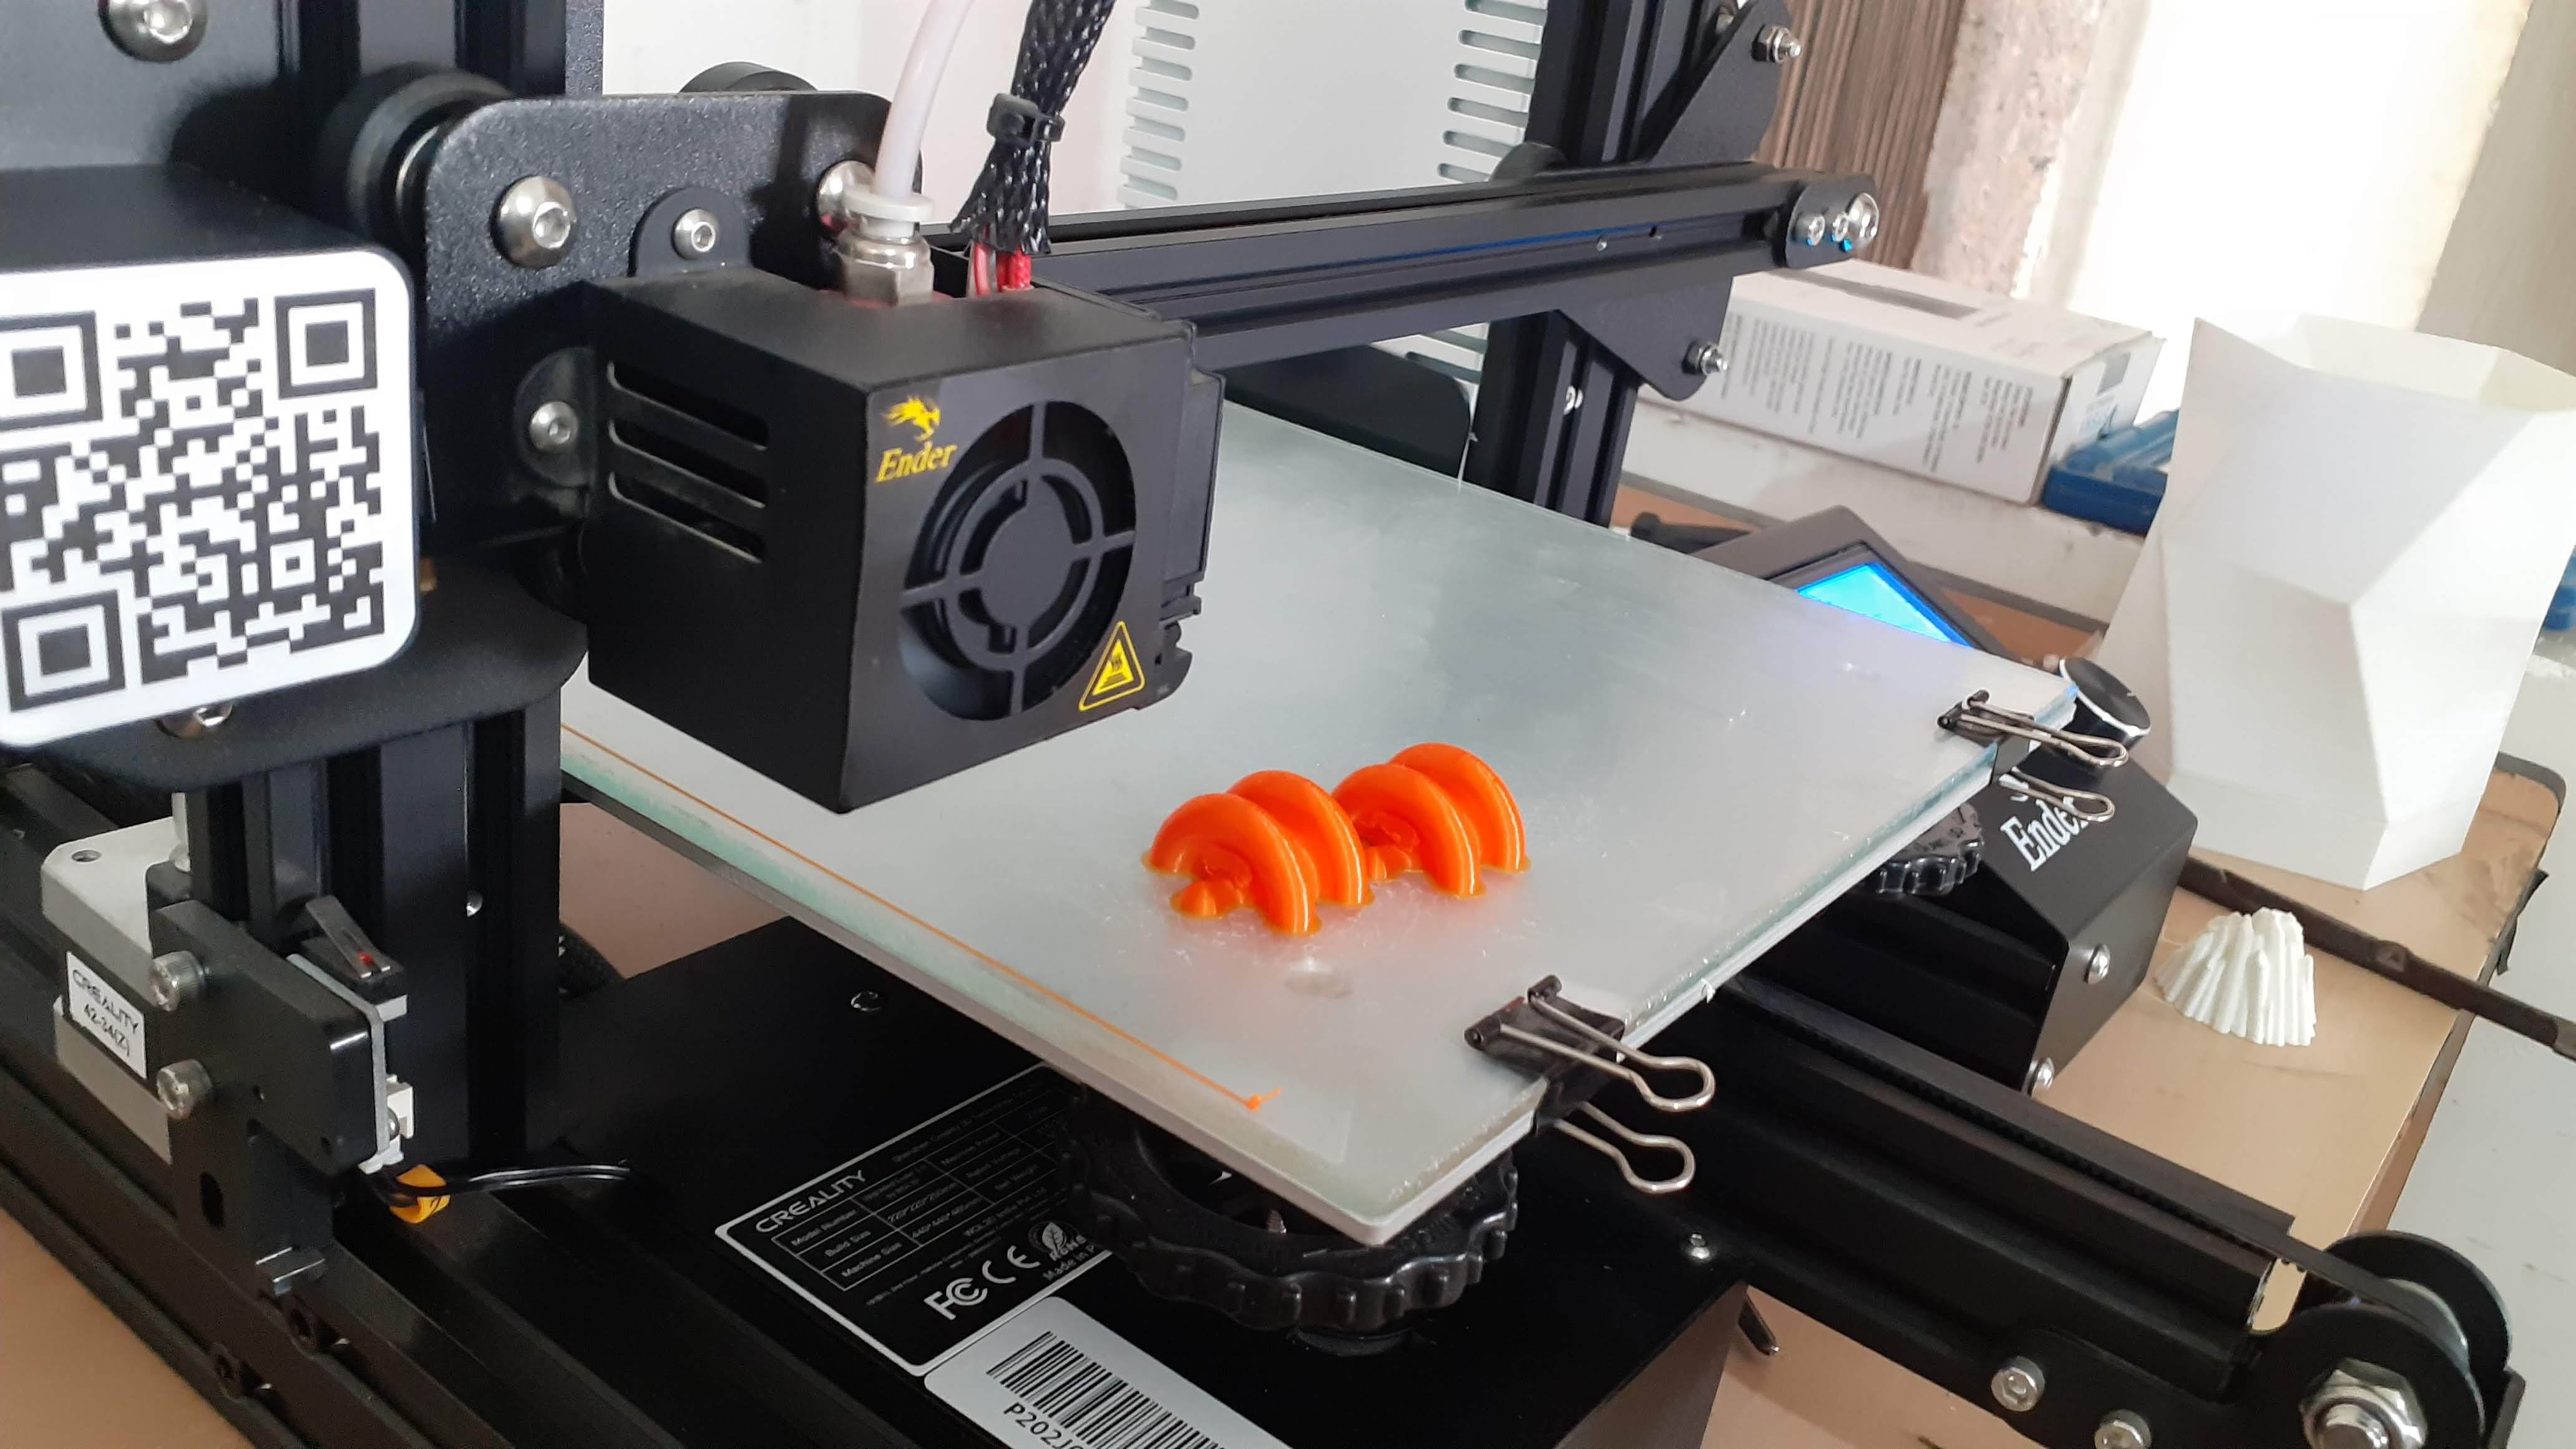
I use Ender-3 to 3d print this design.
Use the Blow parameter for a good print.
I use CURA software for Slicing.
Wall thickness = 2
Layer height = 0.2mm
Infill=20%
Adhesion = brim or skirt
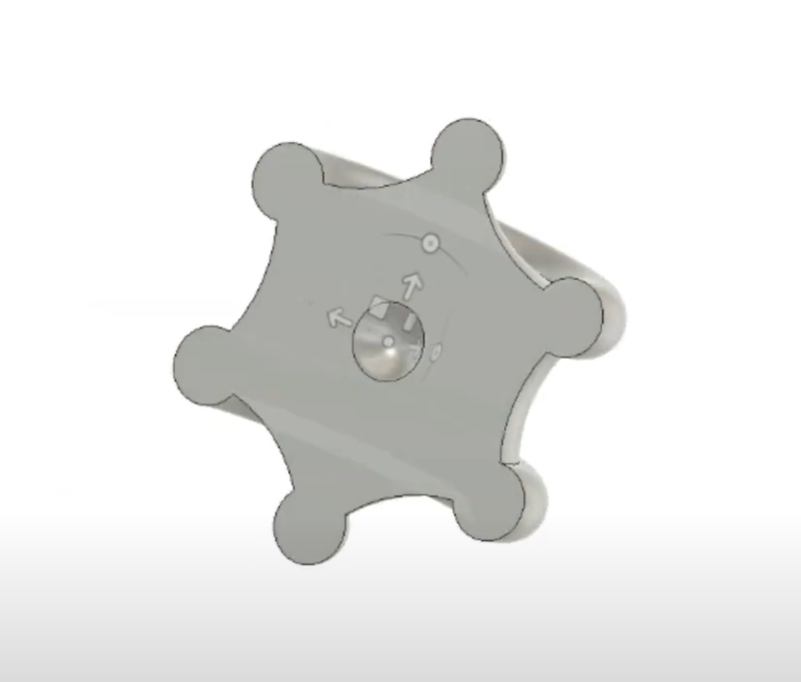
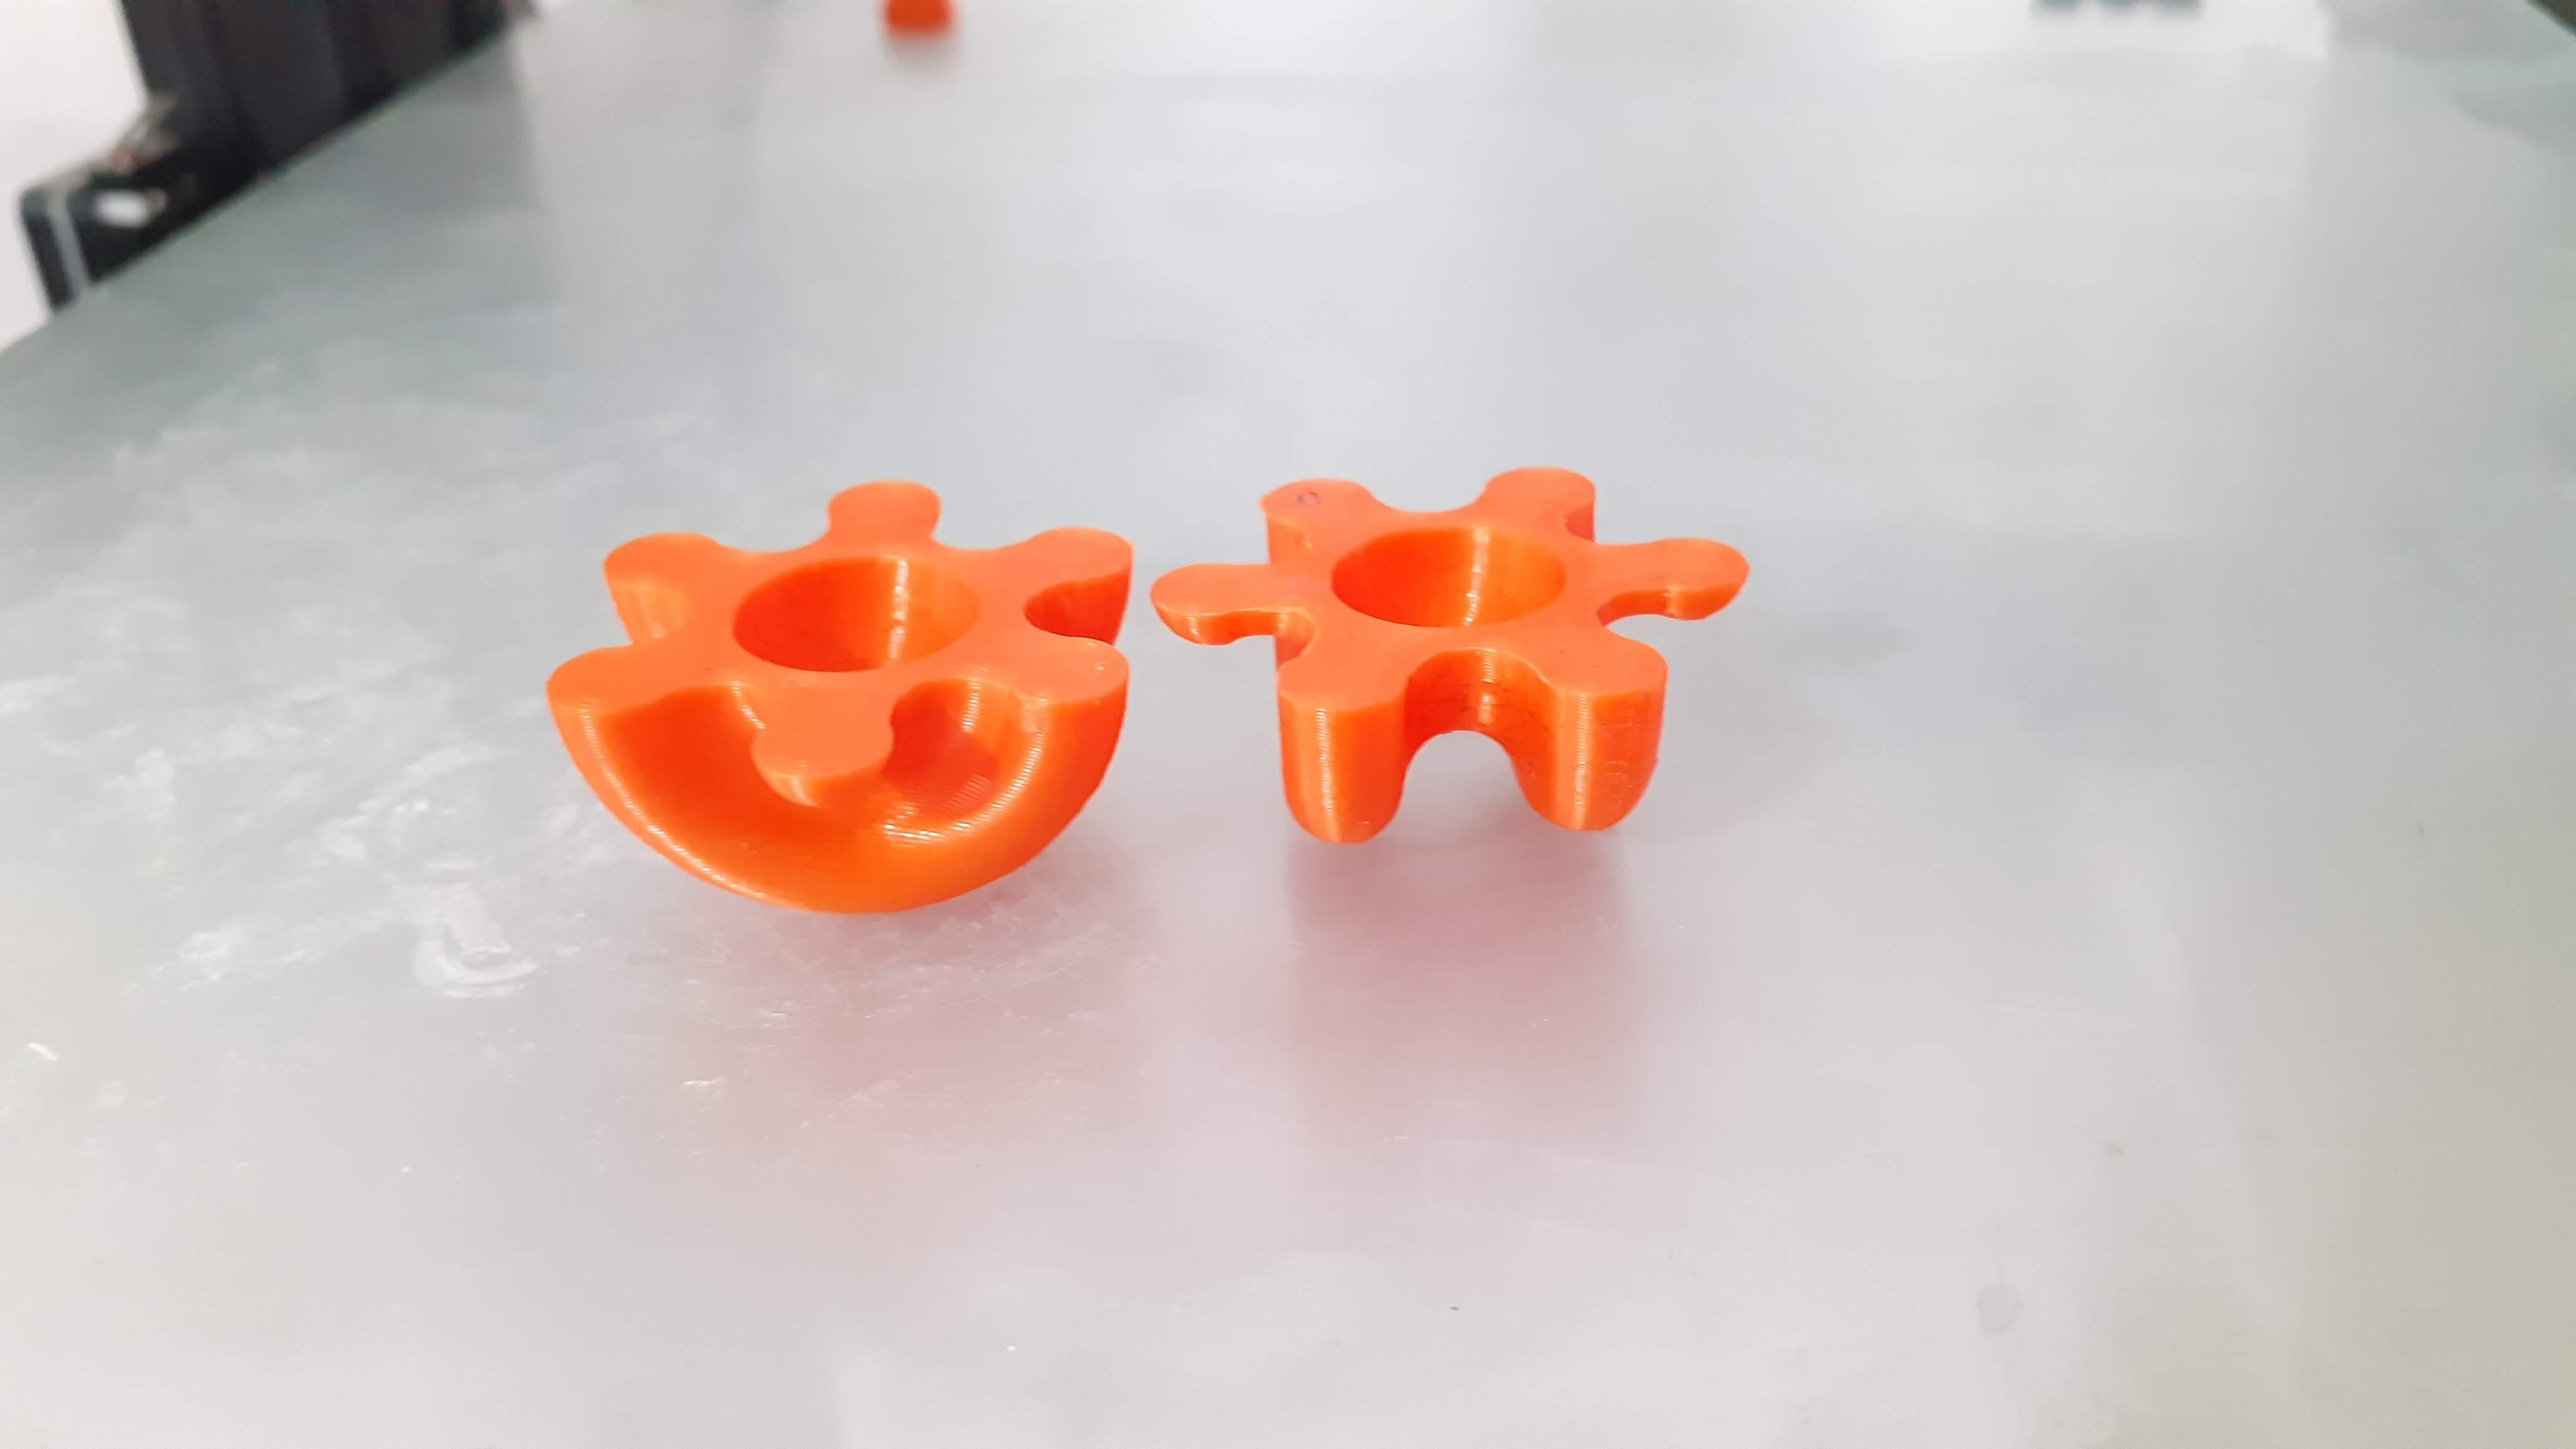
Connect 3dprinted Parts
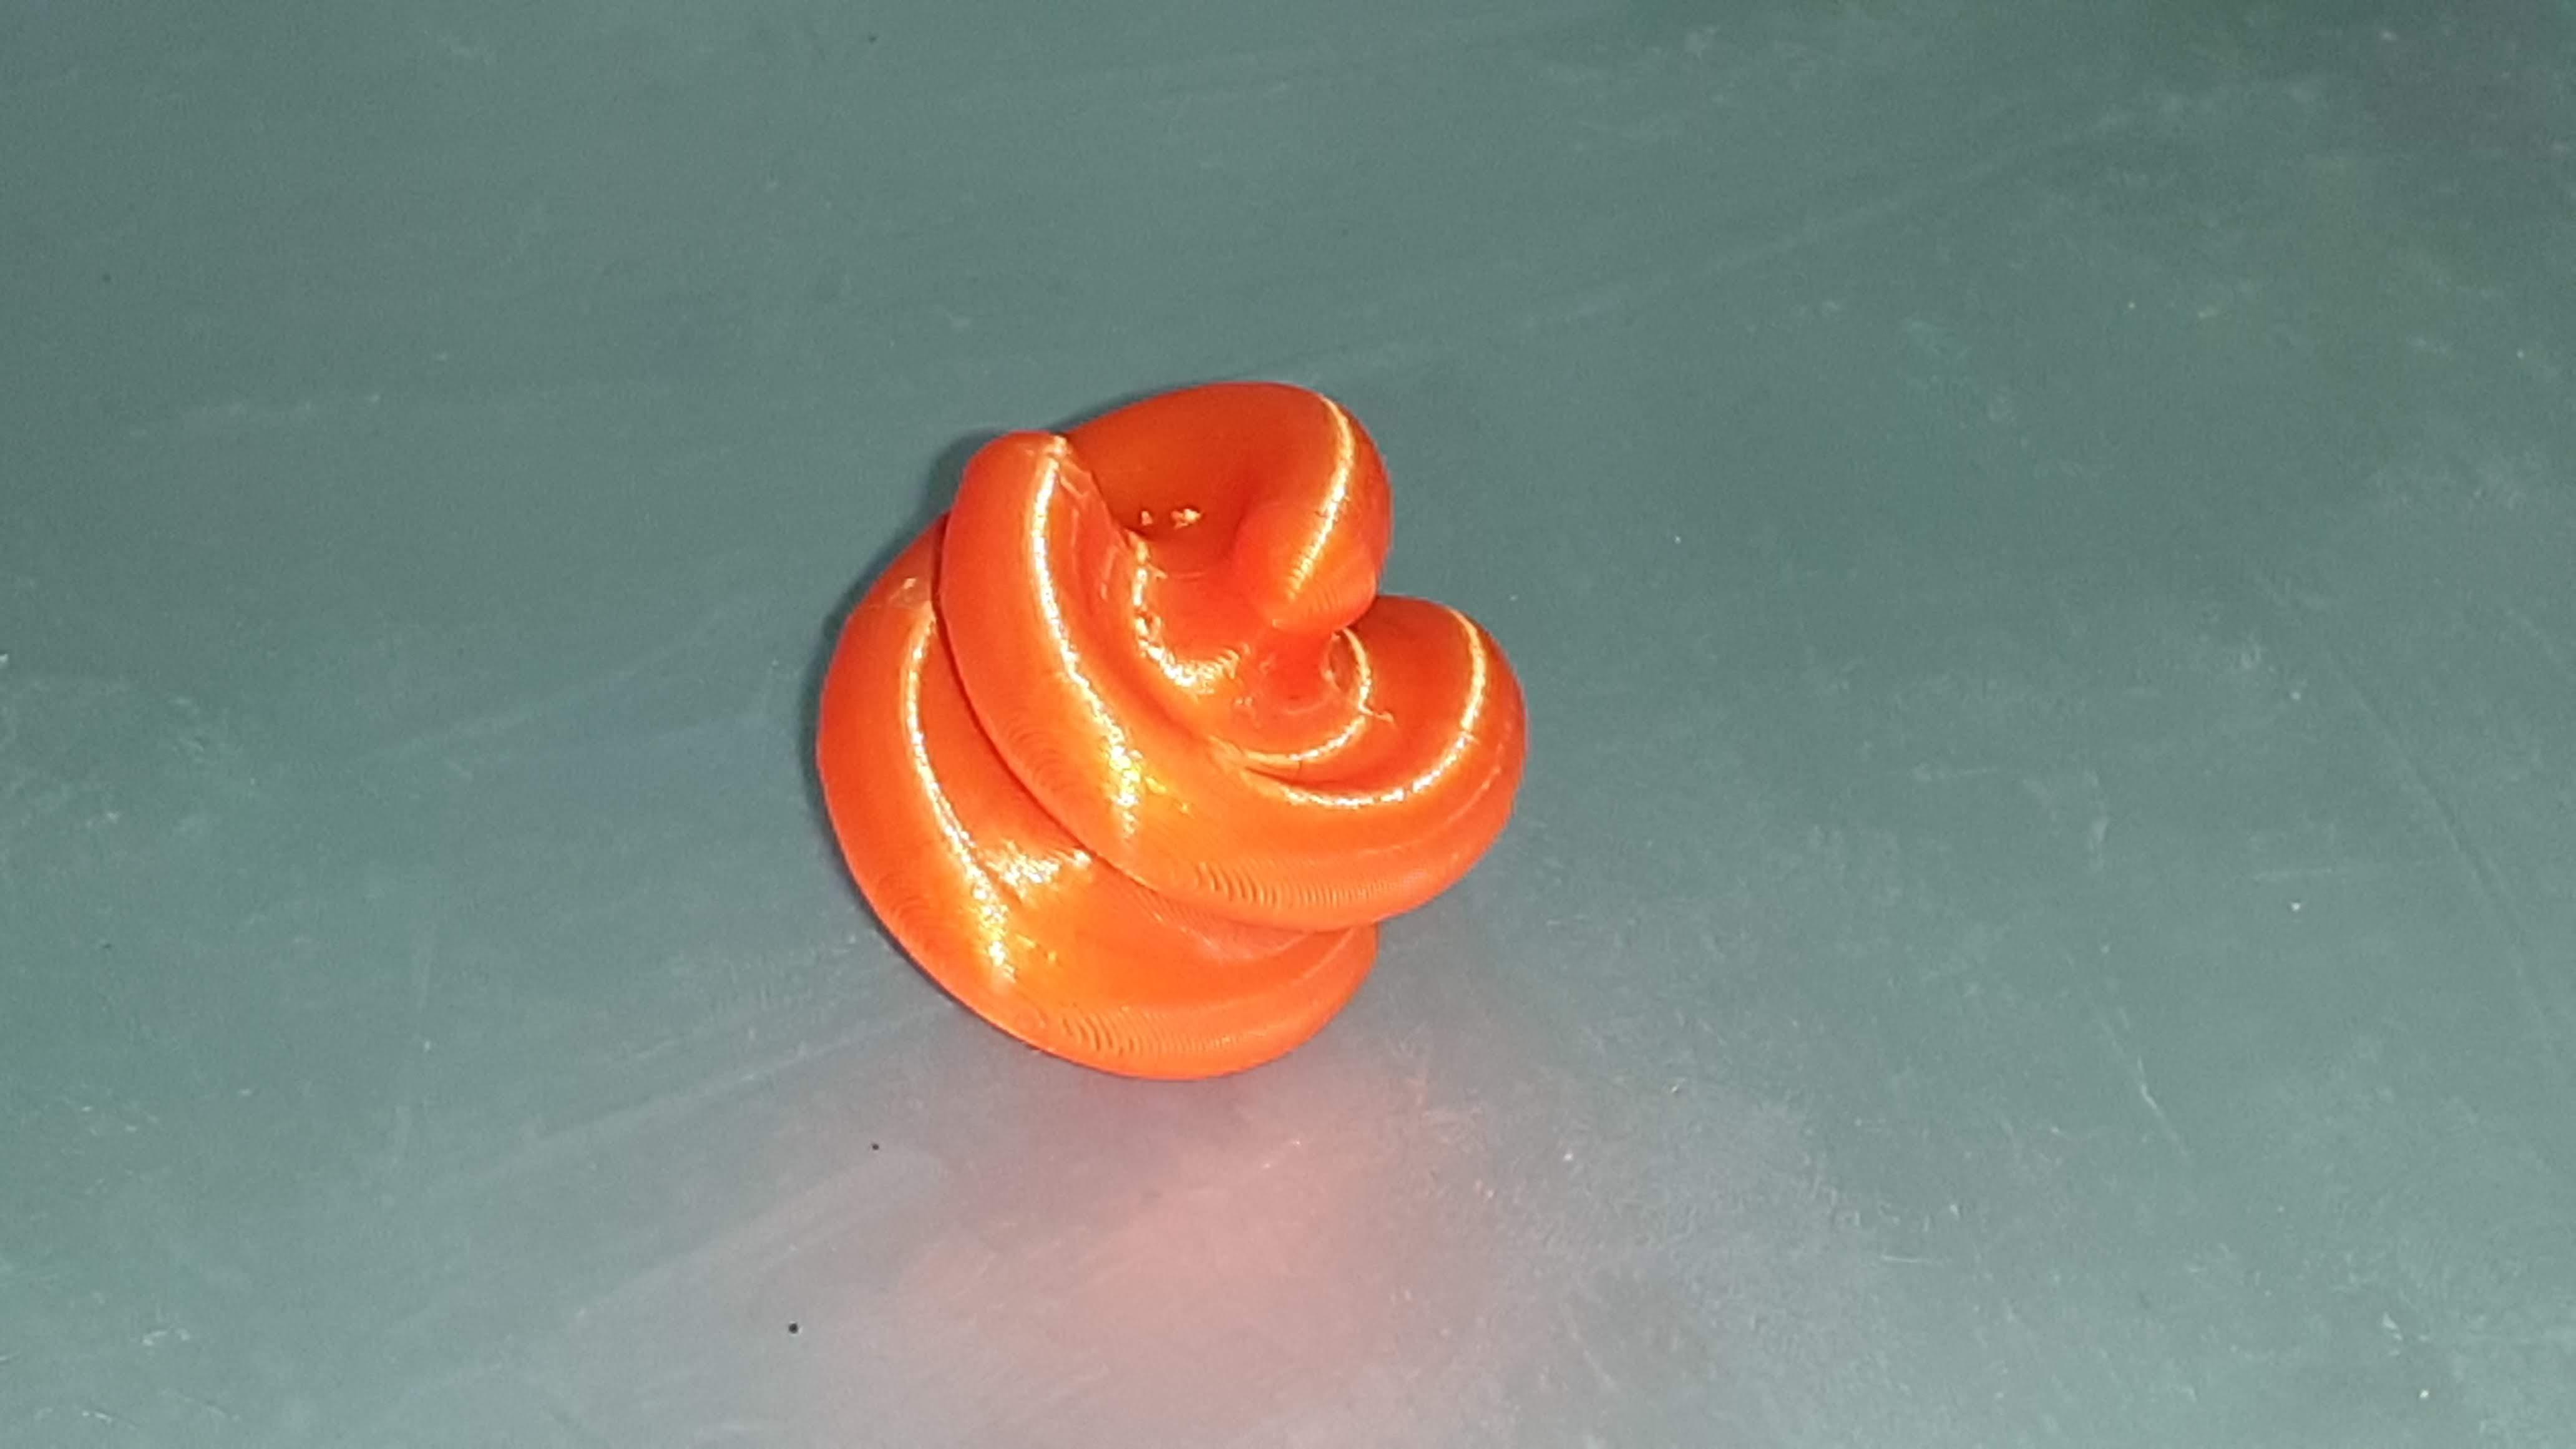
I use Superglue for joining both parts.
Rotate any part at 60 degrees to make a spheroid. (check the images attached)
Note: while joining please check the direction of joining 2 parts is the same as rotation does in Design(60 degrees).
Customize Toy
After designing and making this project, you can make a custom design by yourself.
you will make 3 sided.8 sided,10 sided spheroid design.
Enjoy the project.