3D Printed Speaker Enclosures (With Lights!)
by Evan Atherton in Workshop > 3D Printing
101248 Views, 740 Favorites, 0 Comments
3D Printed Speaker Enclosures (With Lights!)
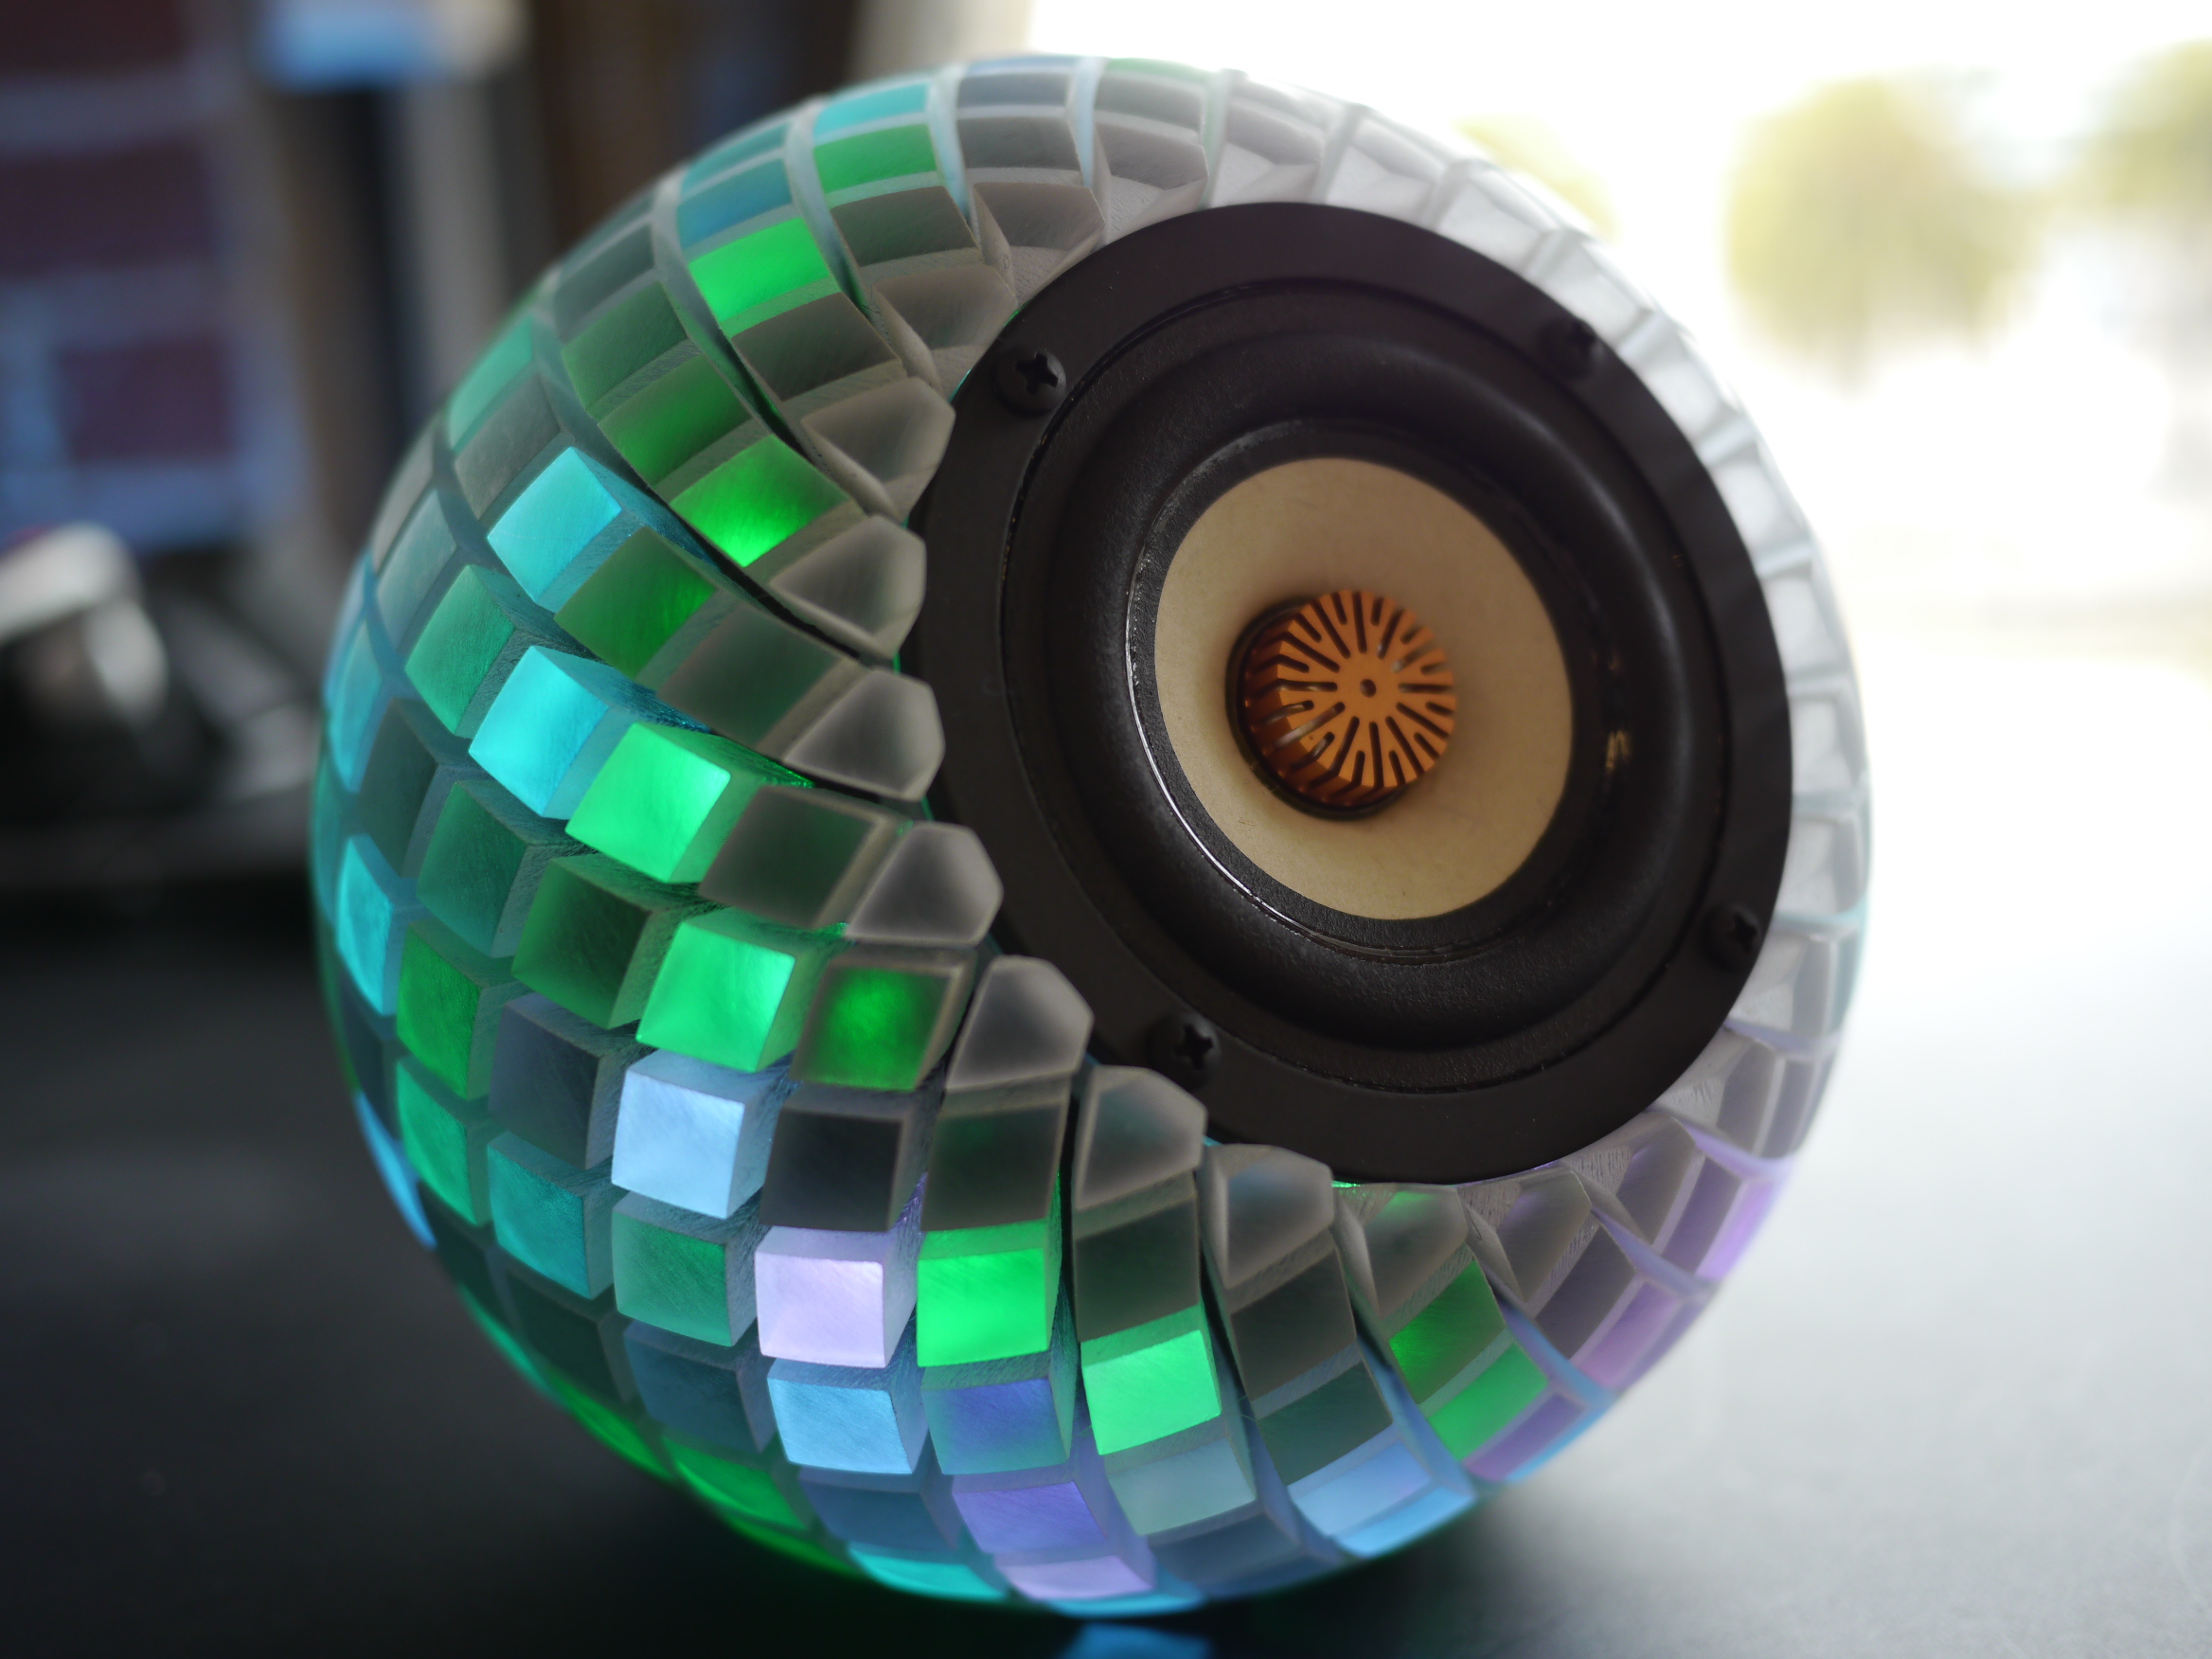
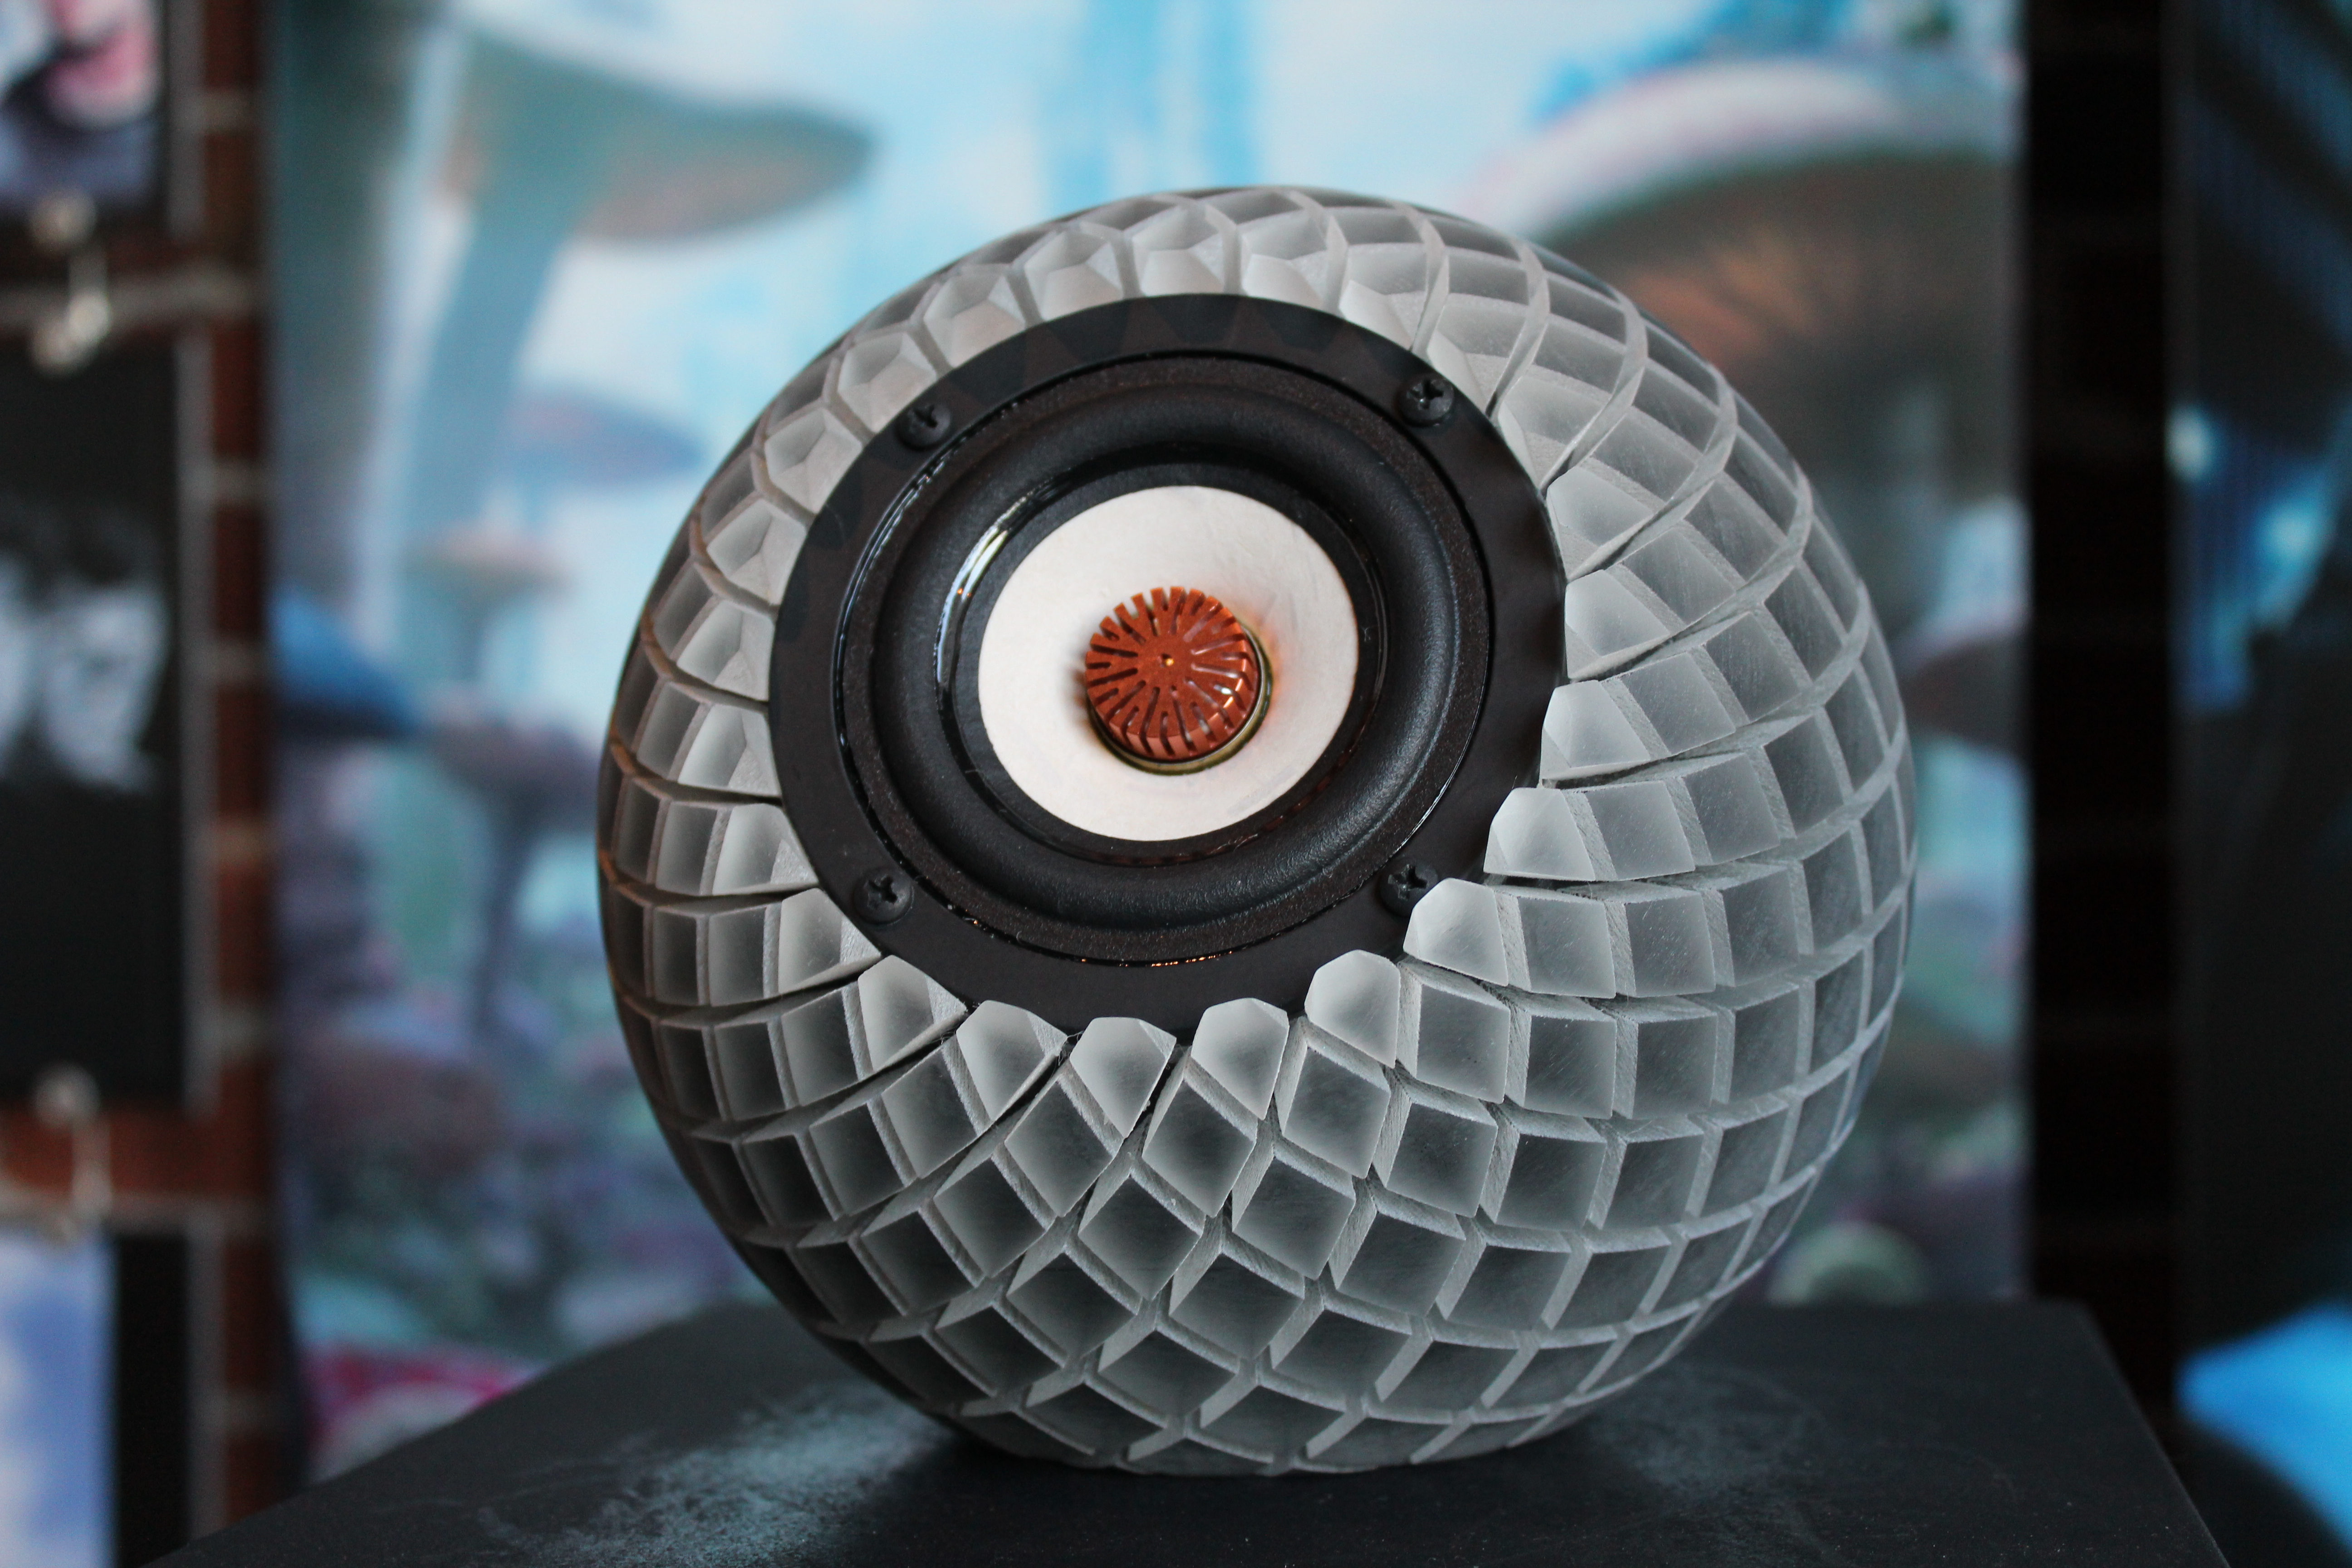
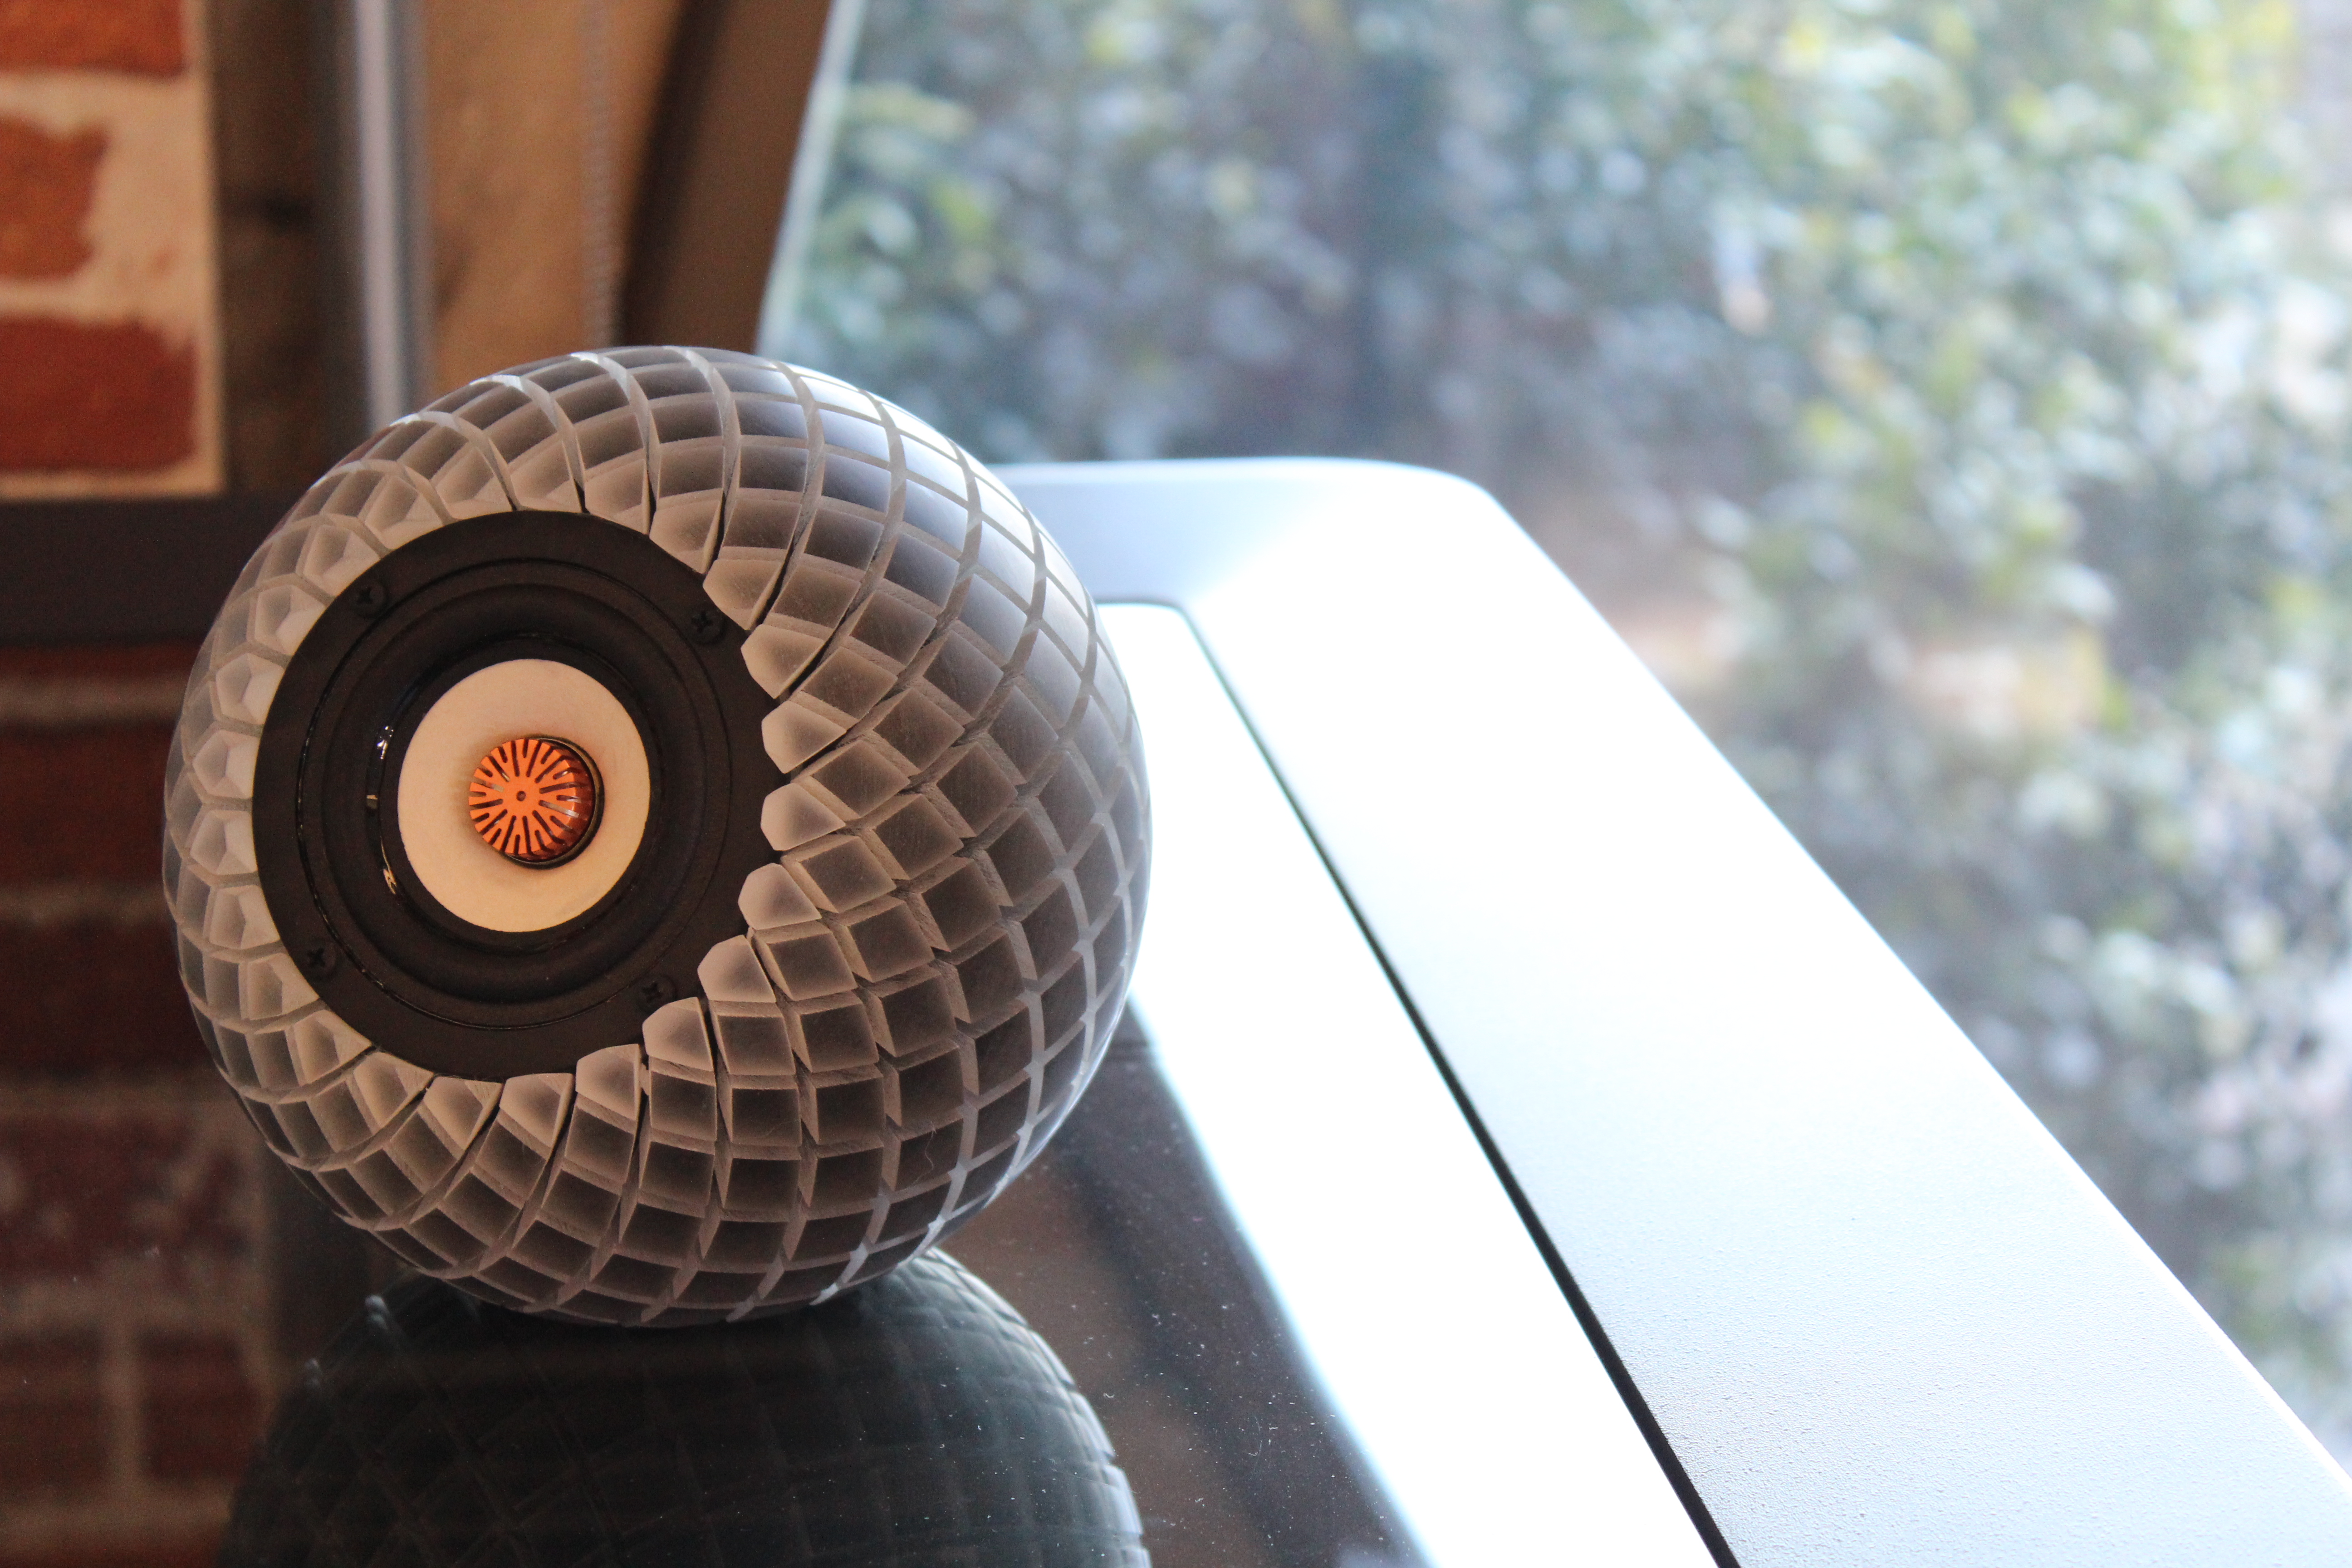
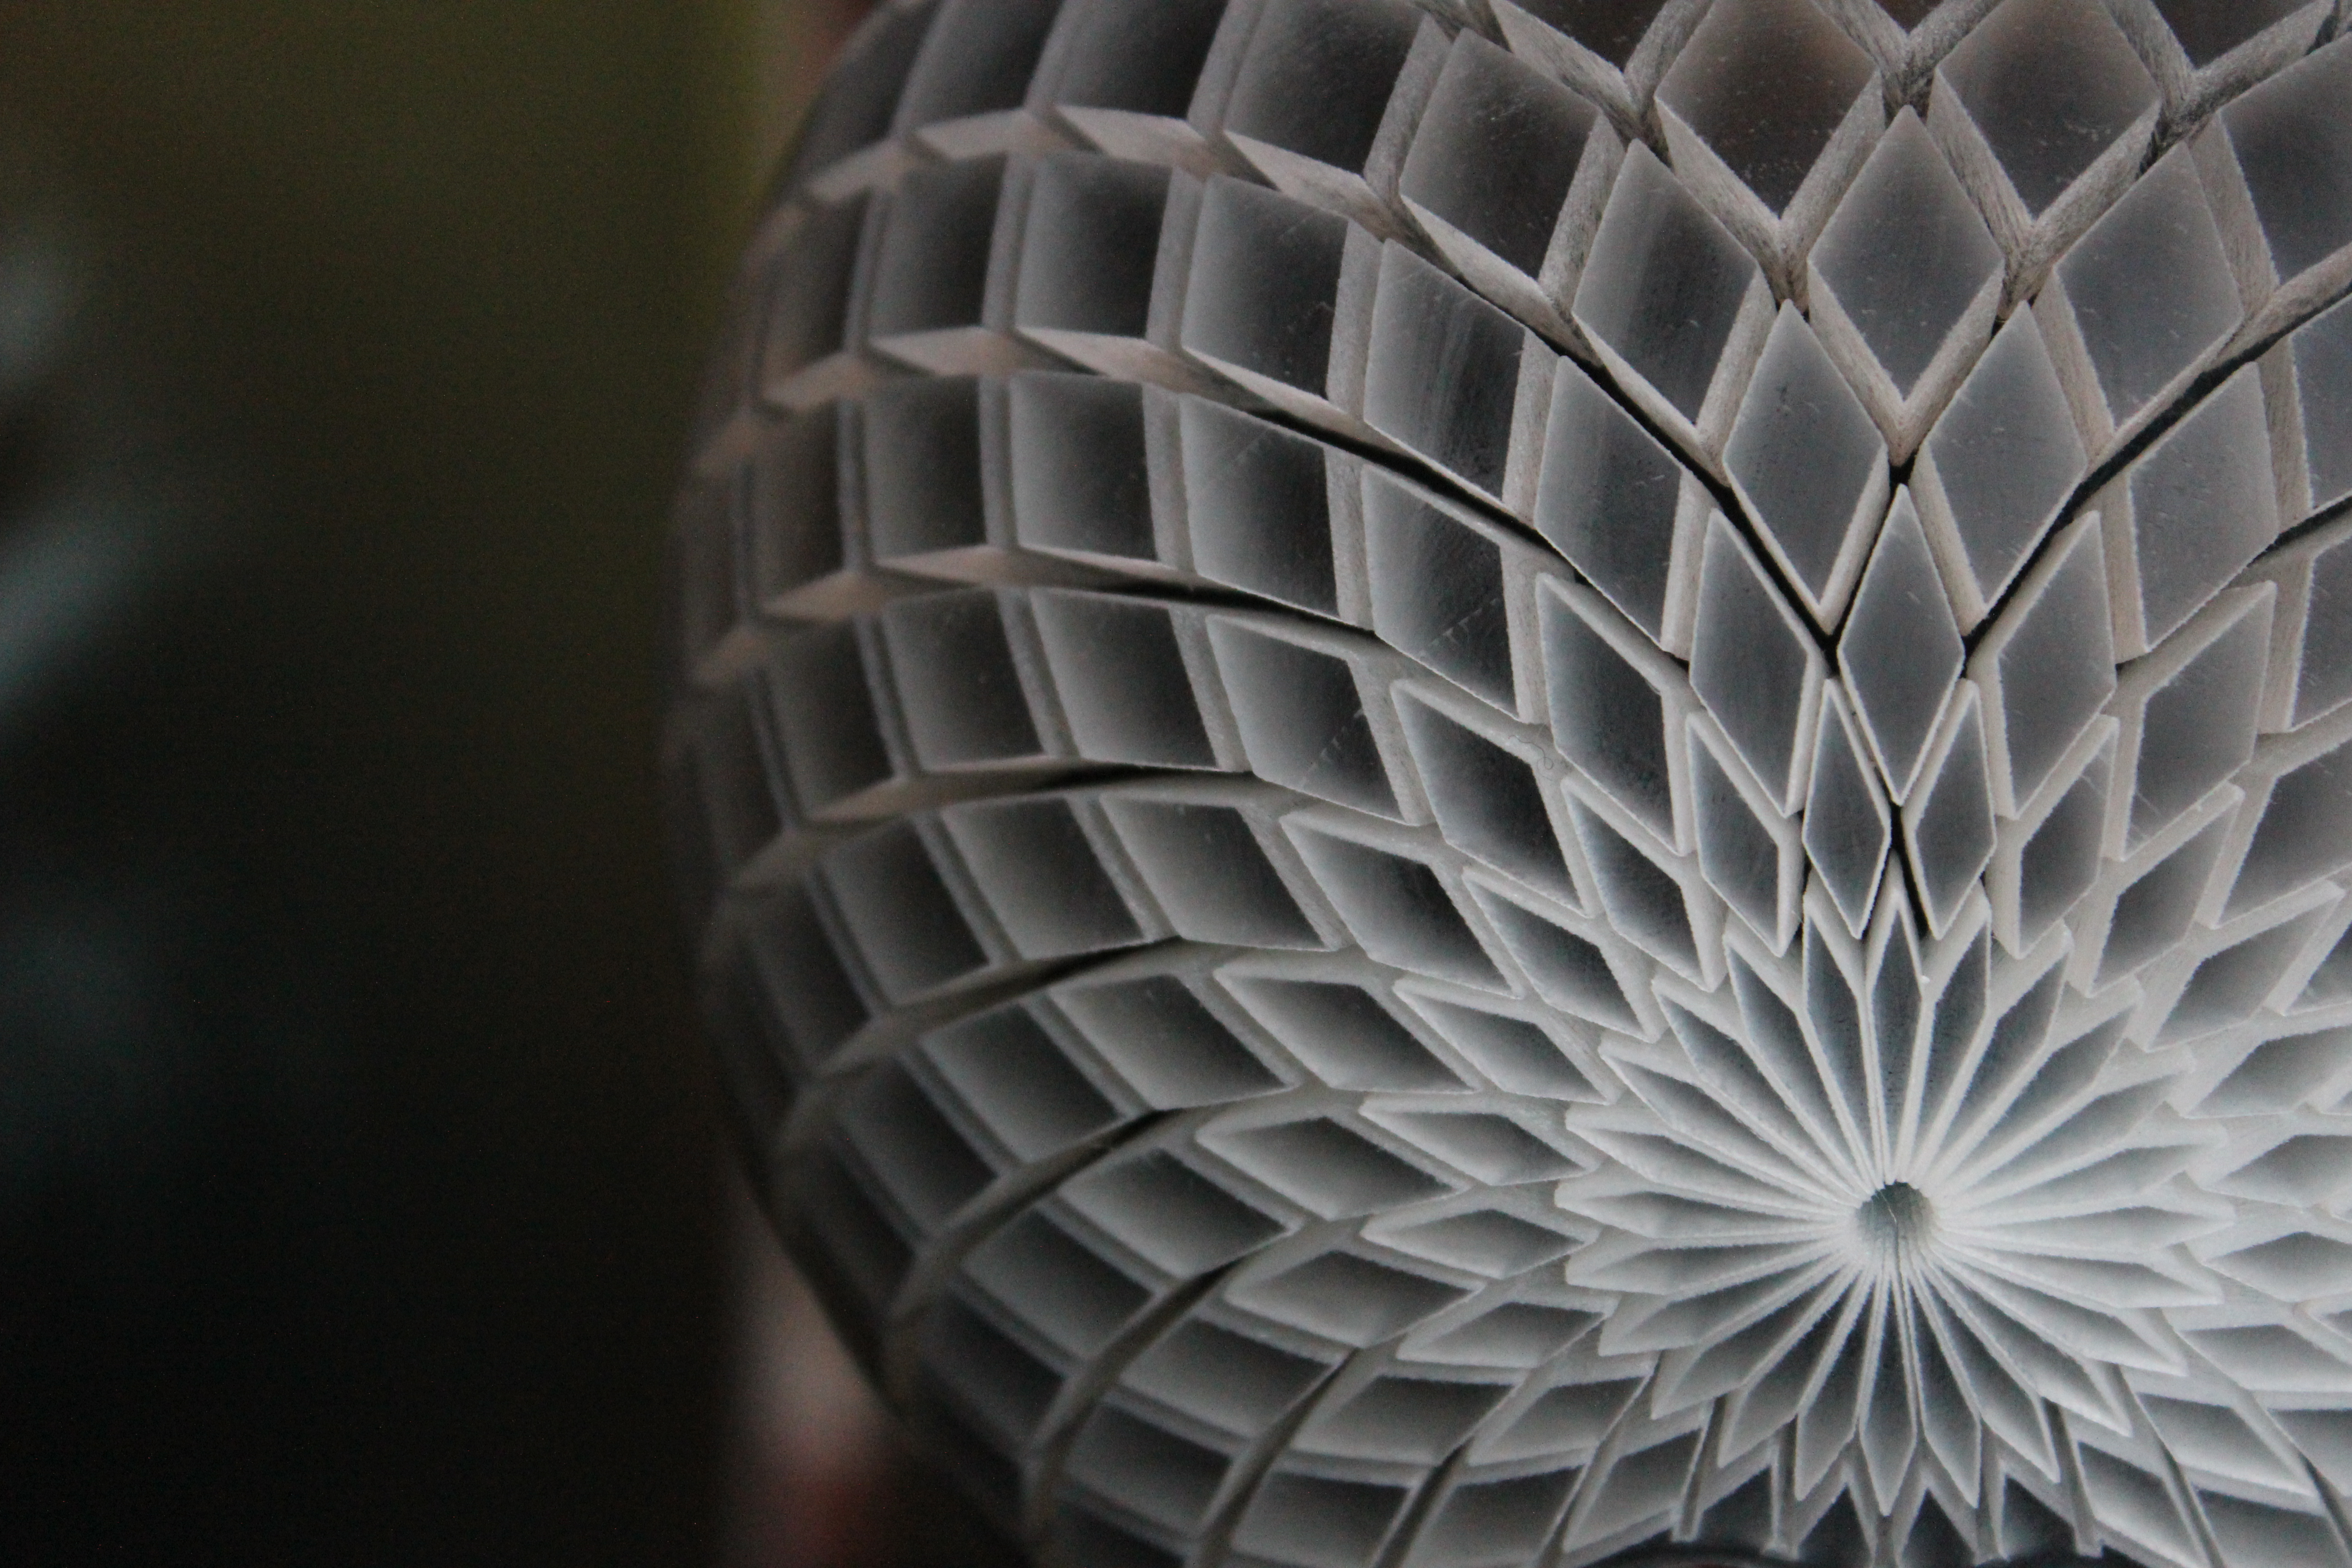
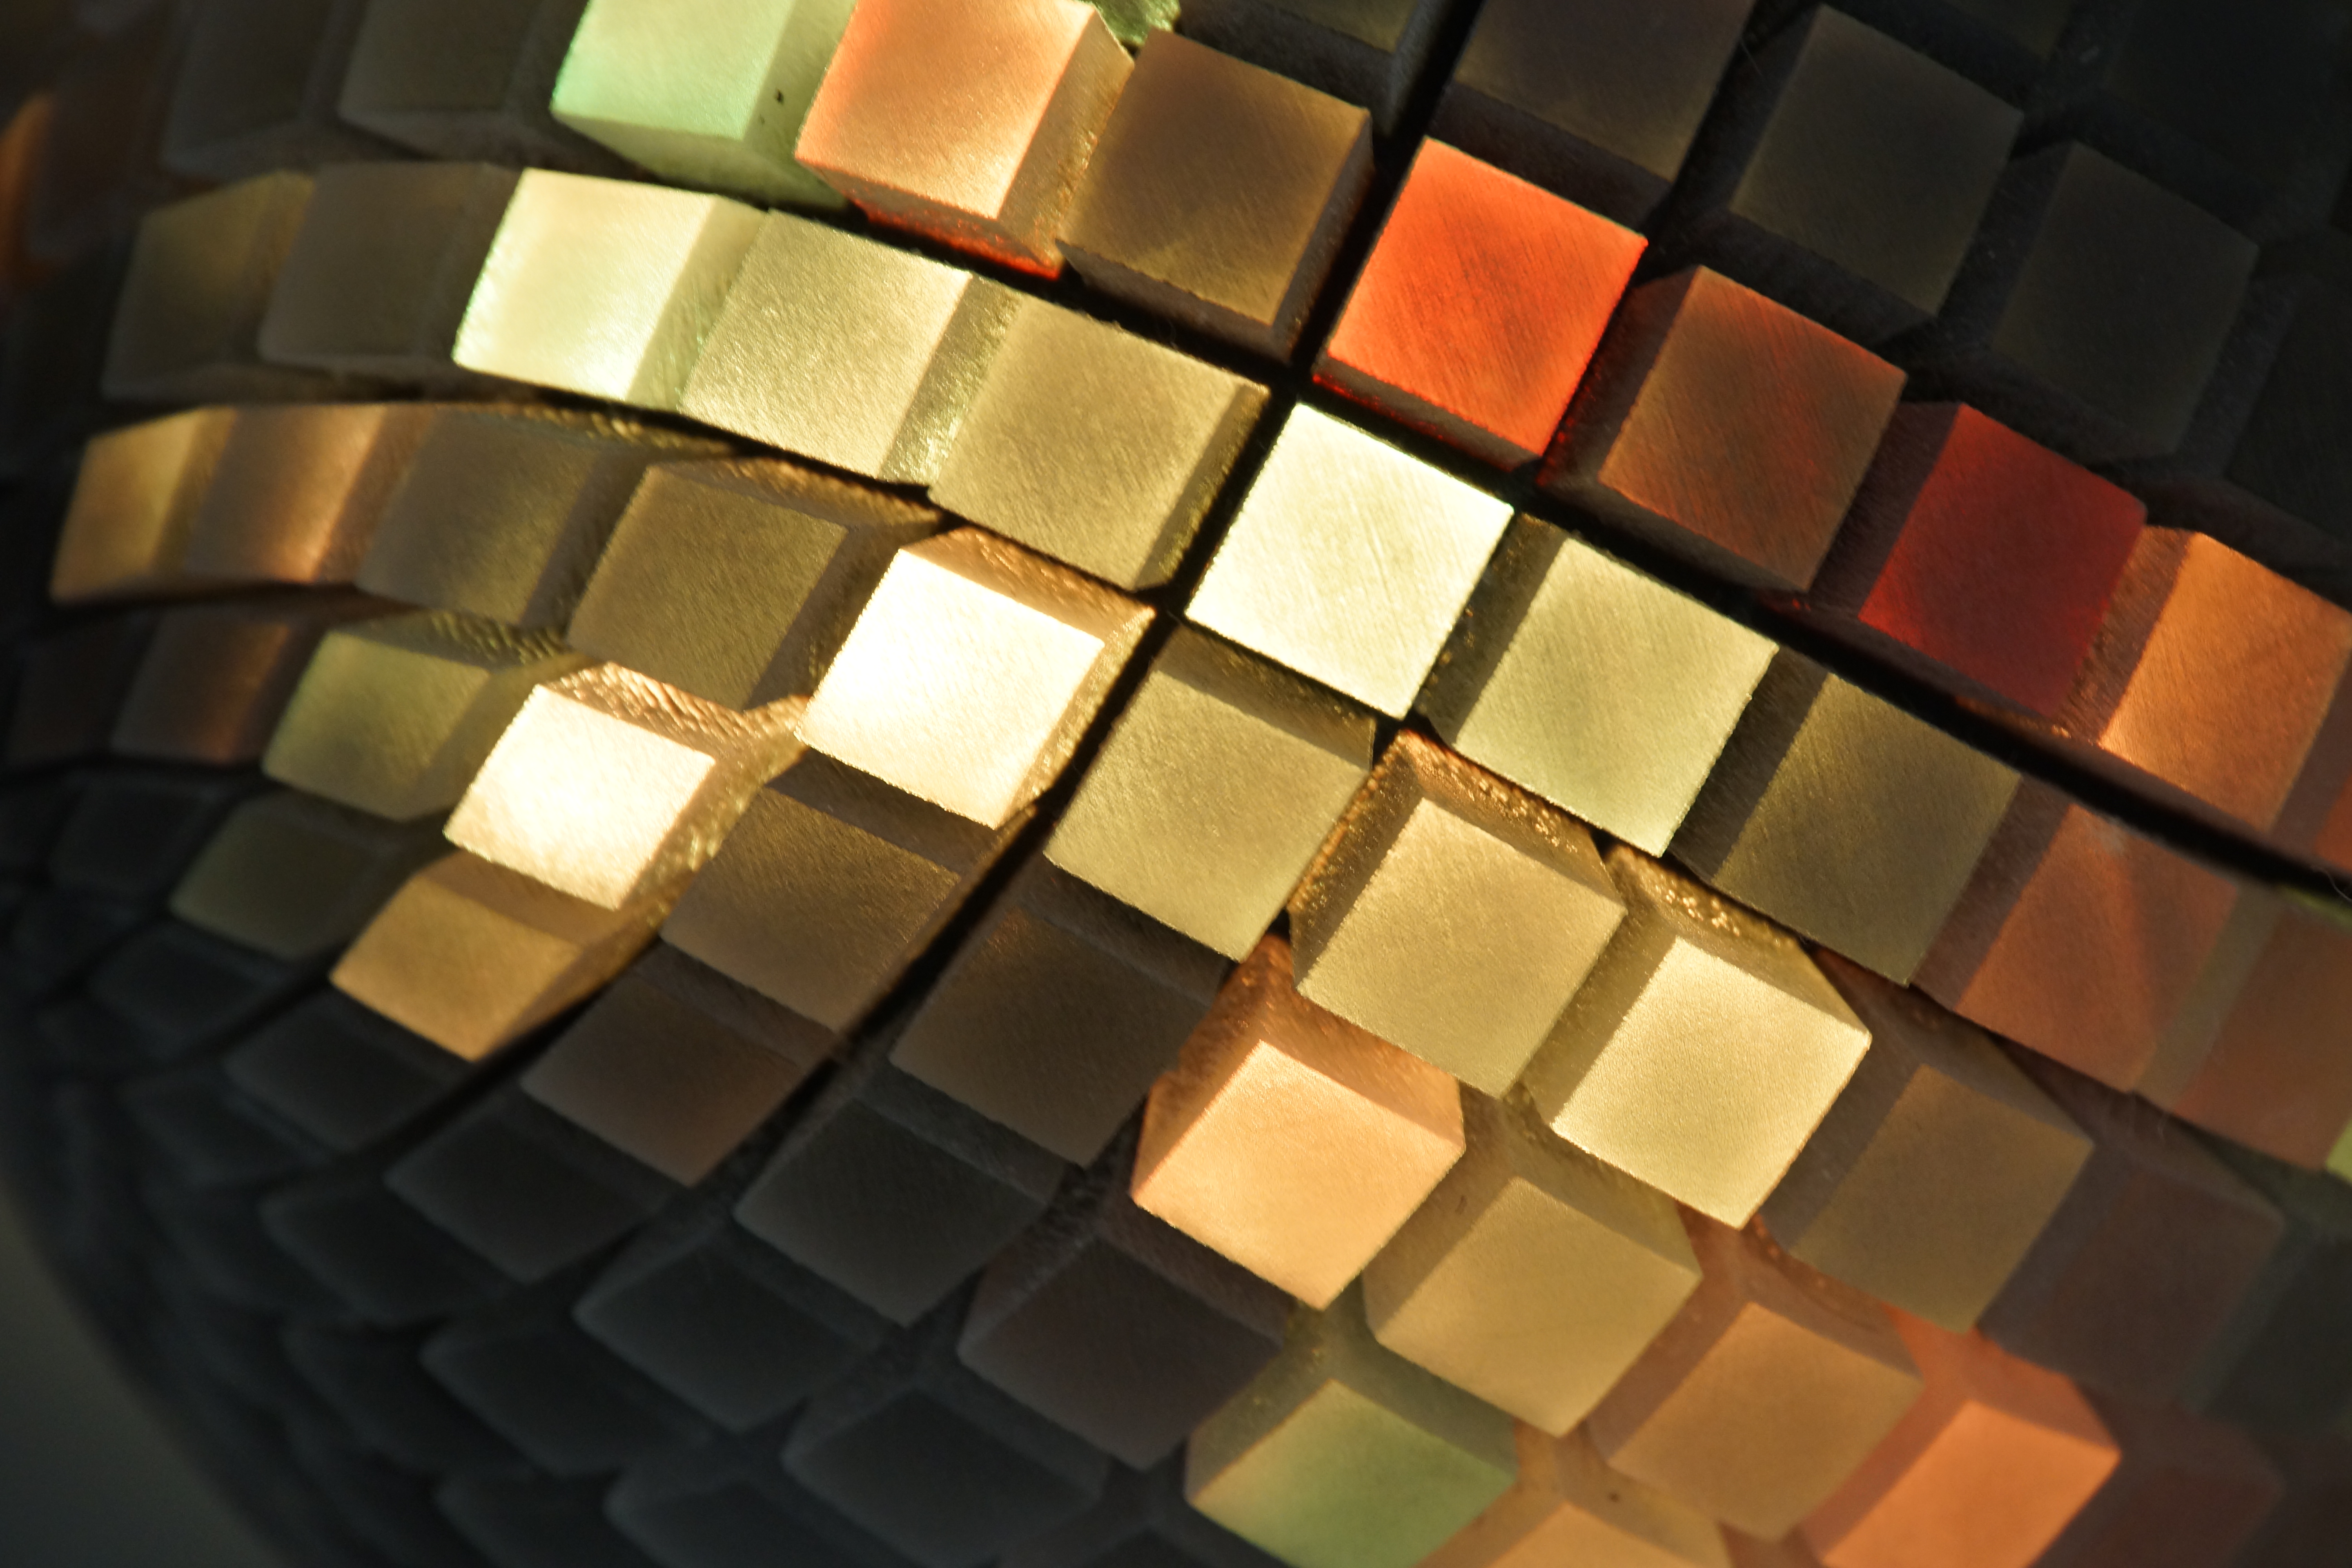
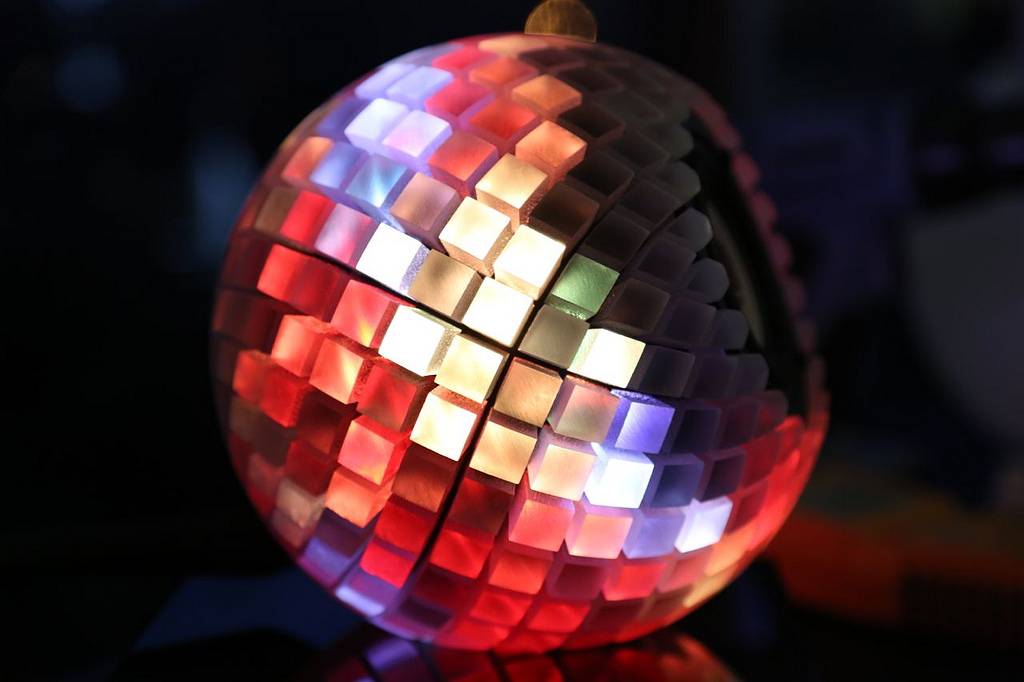
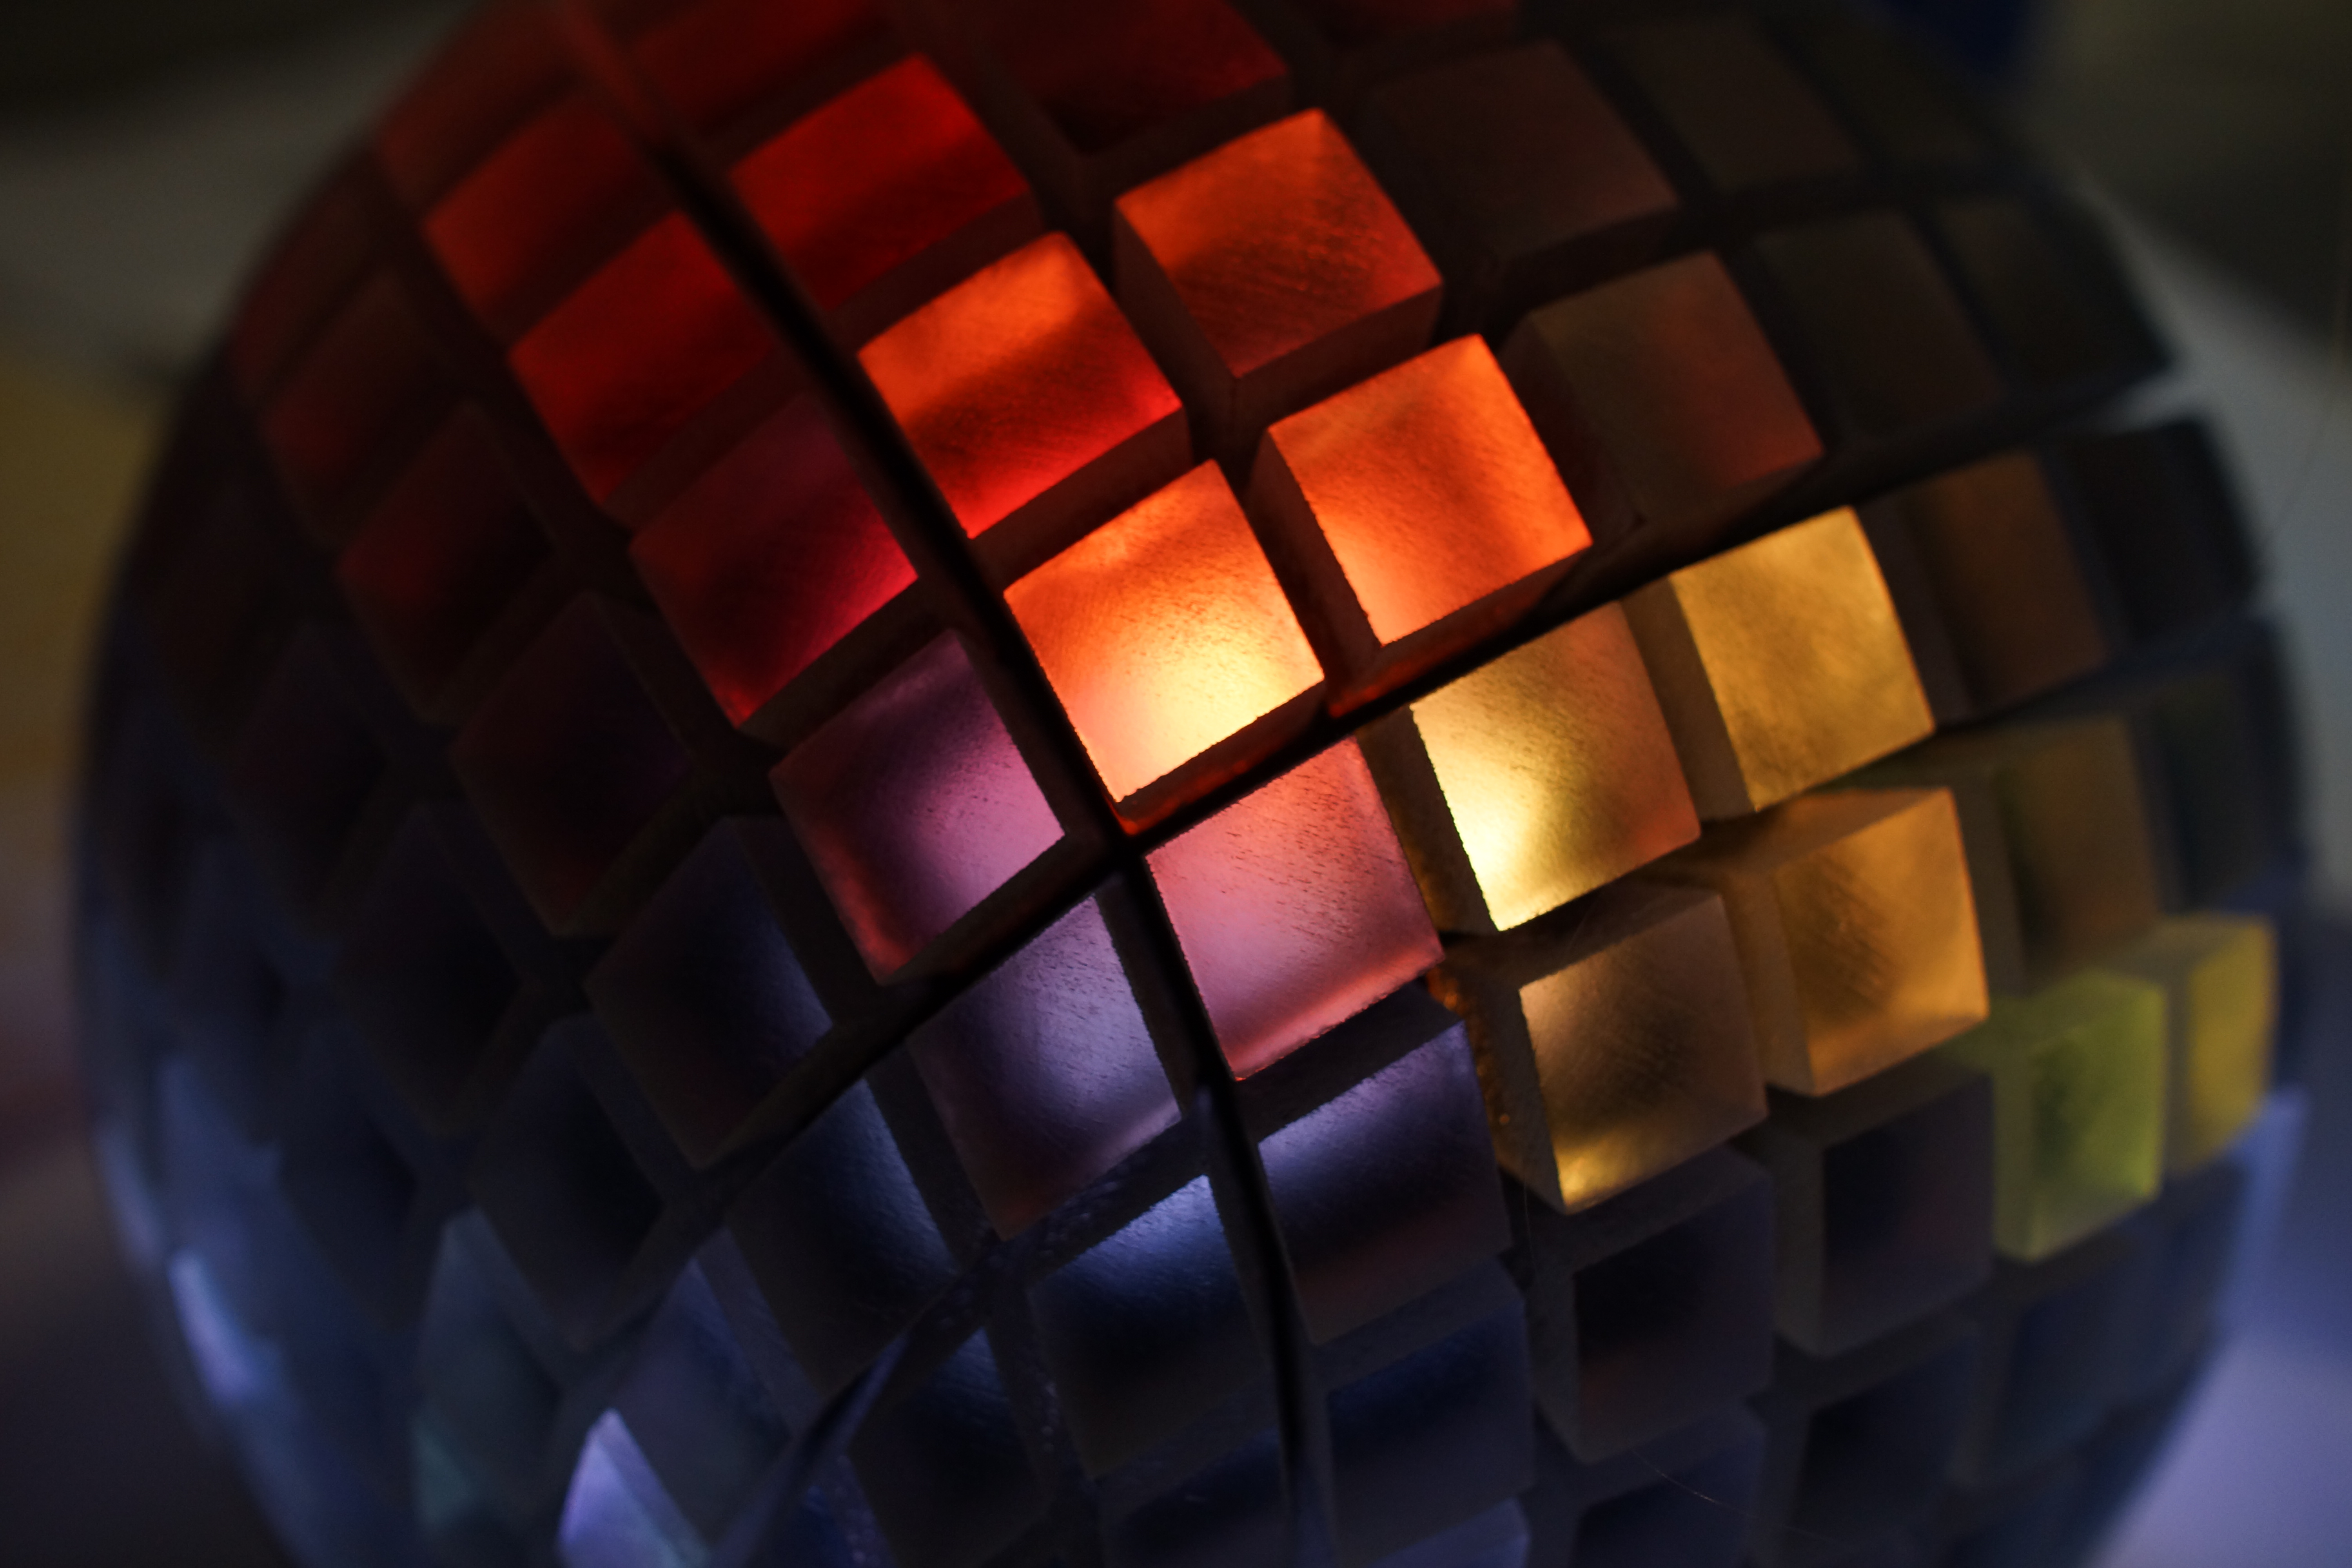
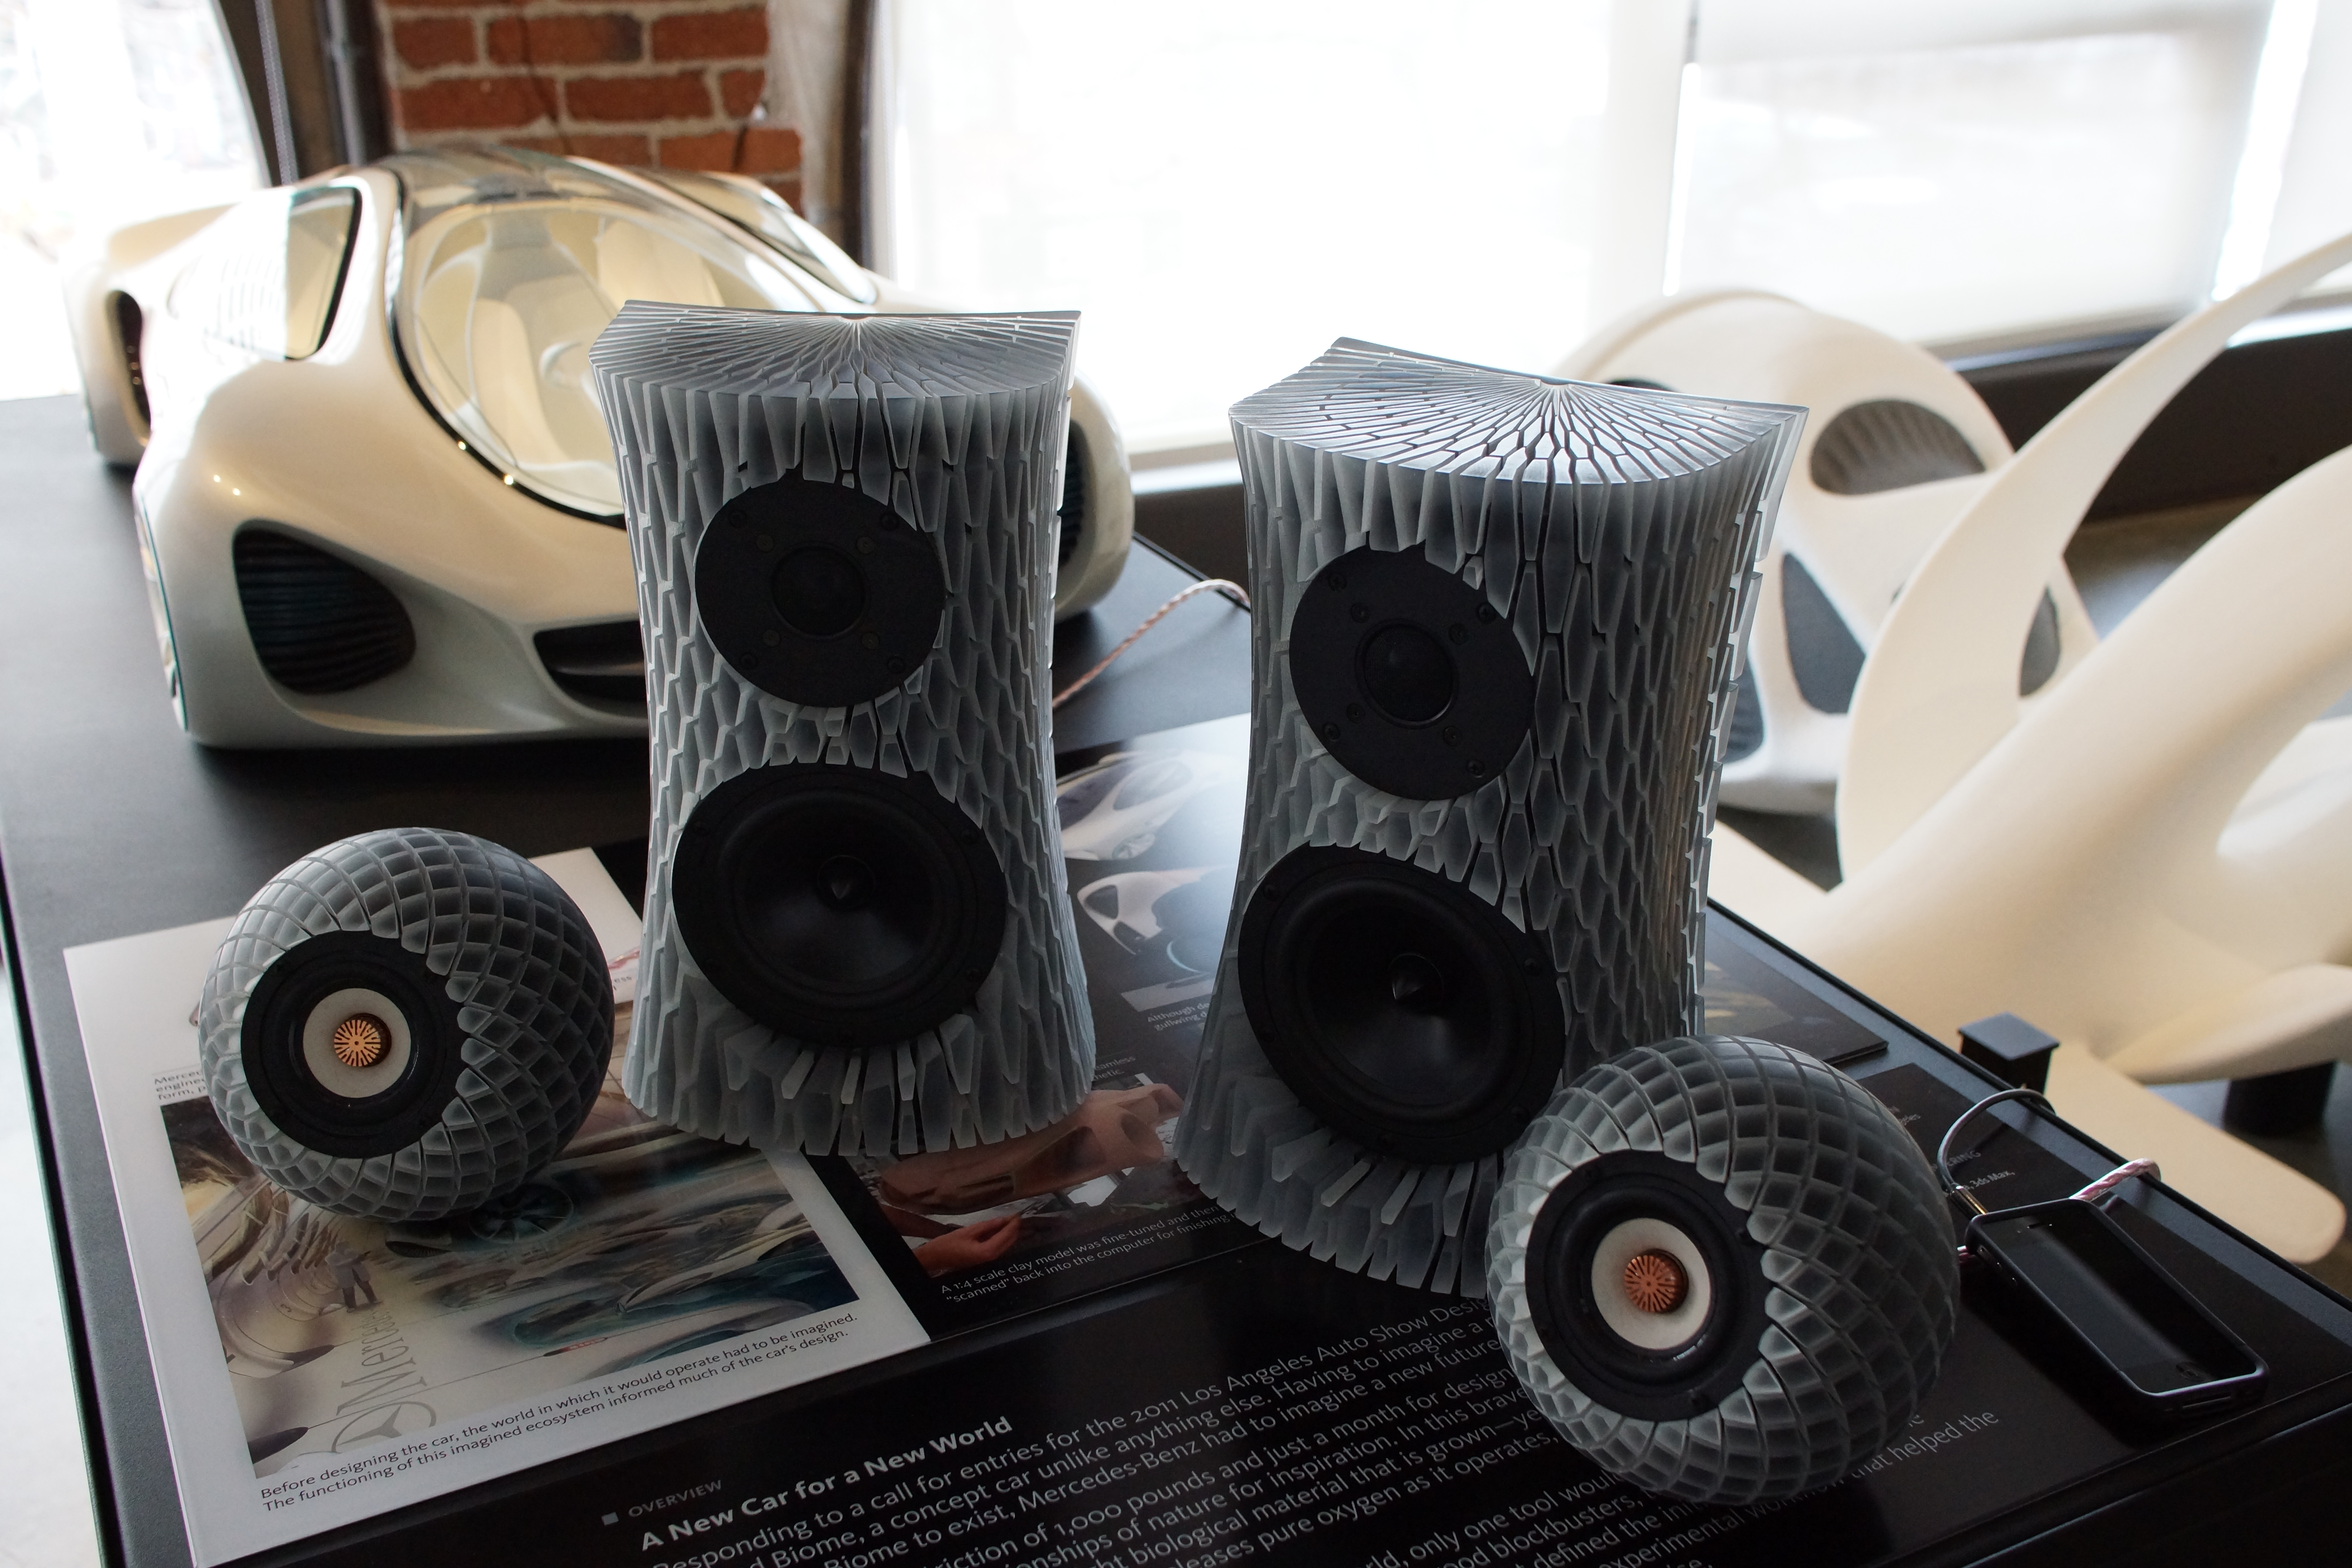
This project was a demonstration of the potential of 3D printers to create high-fidelity, finished products. We wanted to create something that could only be created by means of additive manufacturing. The ultimate goal was to create a functional, consumer-ready piece that took advantage of the strengths of 3D printing. This project was also an exploration in the role of digital design tools in the 3D printing world, and how we could combine digital tools in new ways to create unique objects.
Here is a quick video that captures our motivations for doing this project:
The project was recently featured by Wired.com
Check out the full article:
Design Team:
Maurice Conti - Concept and Design
Evan Atherton - Design and Engineering
Arthur Harsuvanakit - Technical Consultant
In this Instructable, I will try to share the process of making these one-of-a-kind speakers.
*Note: for this project, we used an off-the-shelf speaker driver. The exact speaker can be found here:
http://www.parts-express.com/pe/showdetl.cfm?partnumber=264-902
Creating the Model
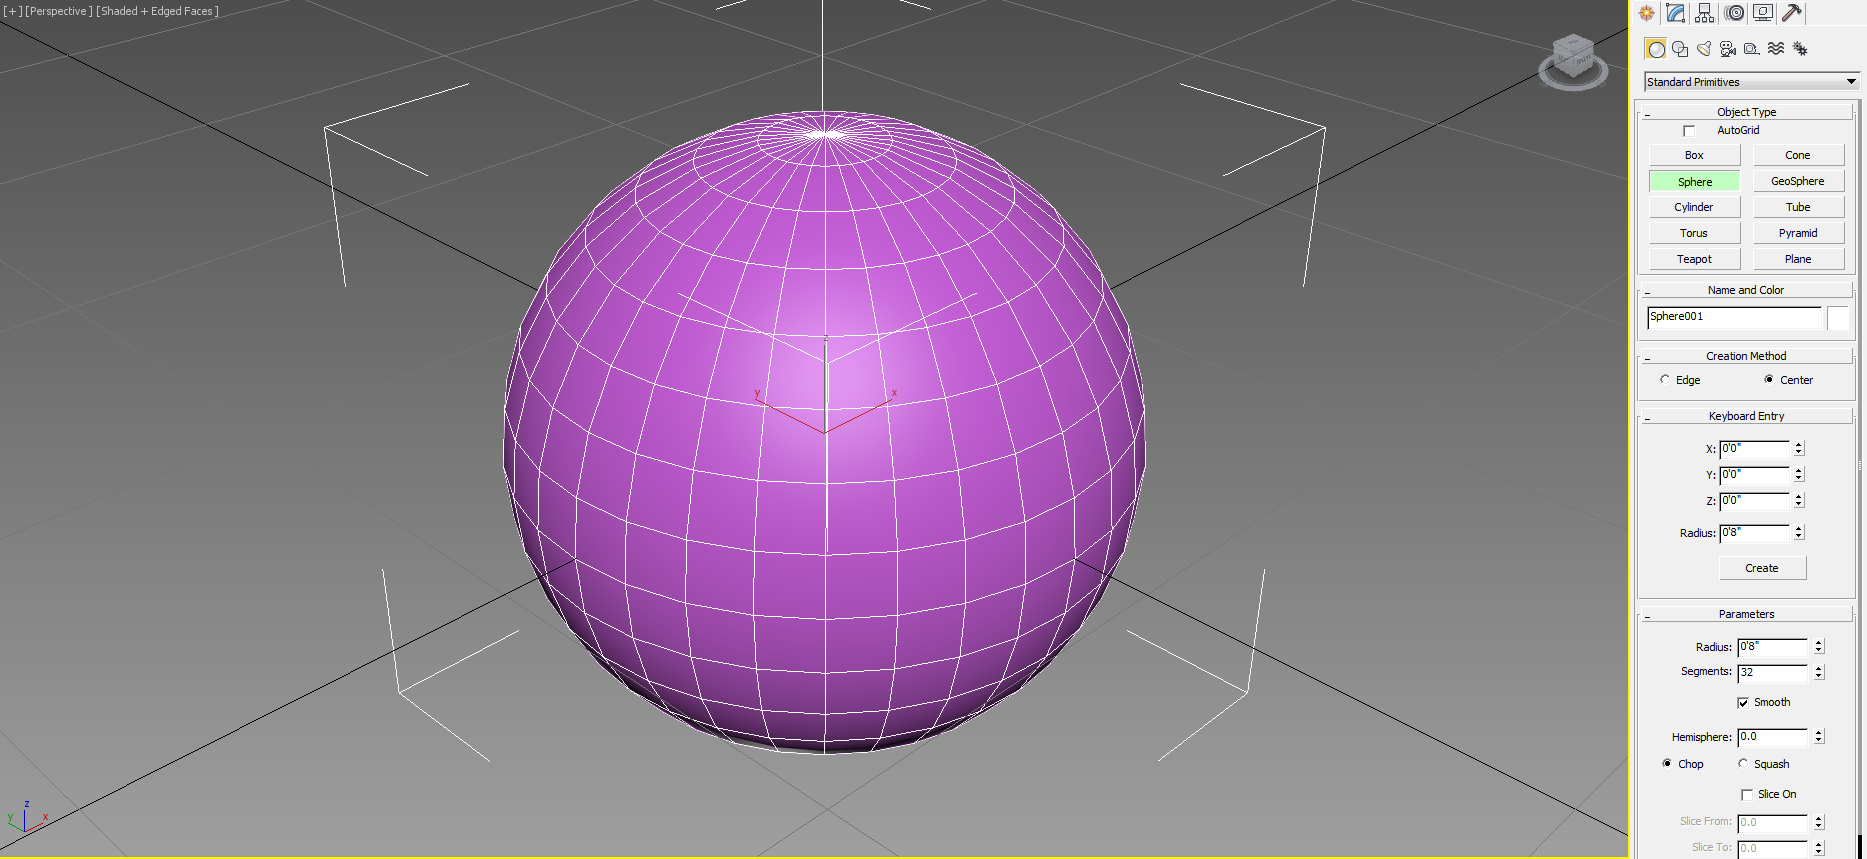

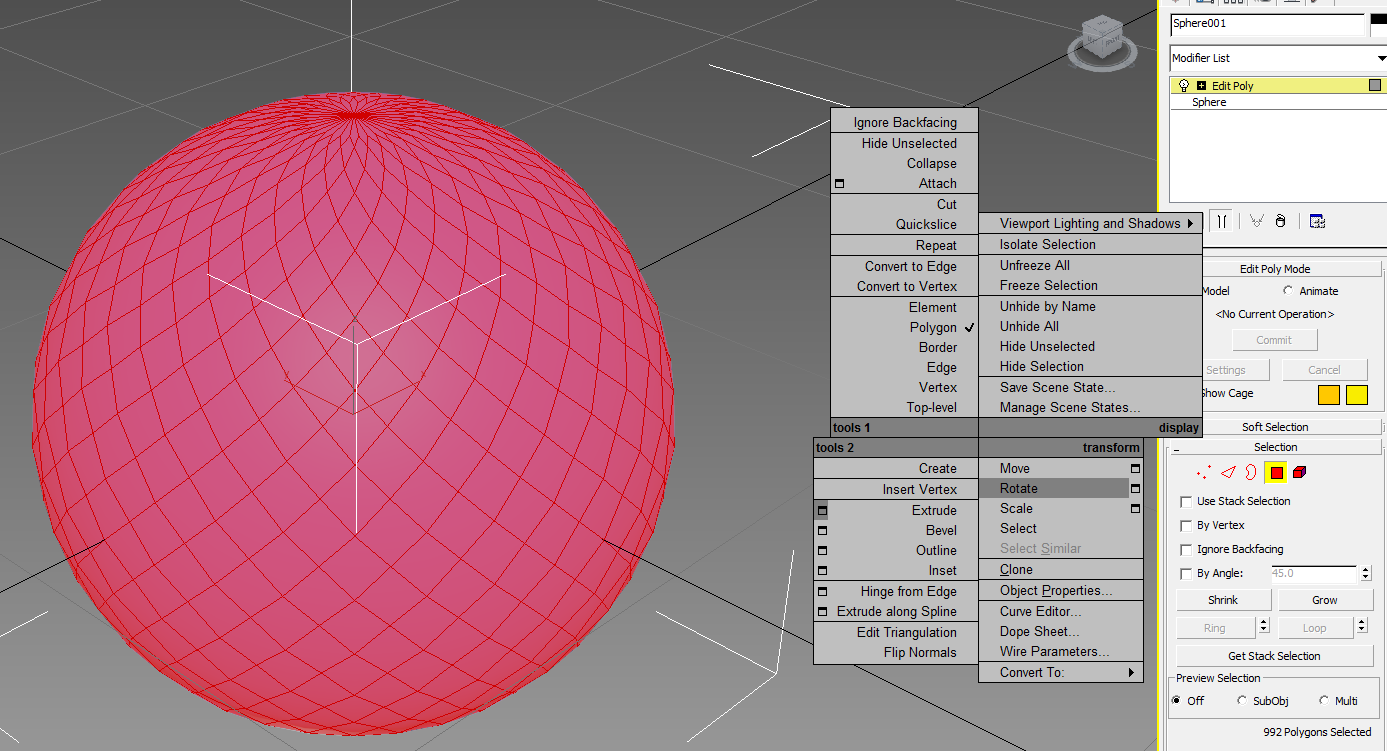
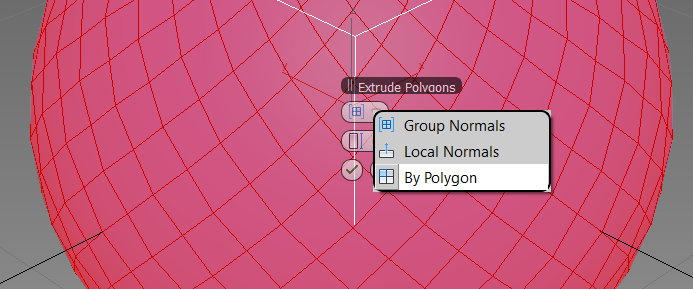
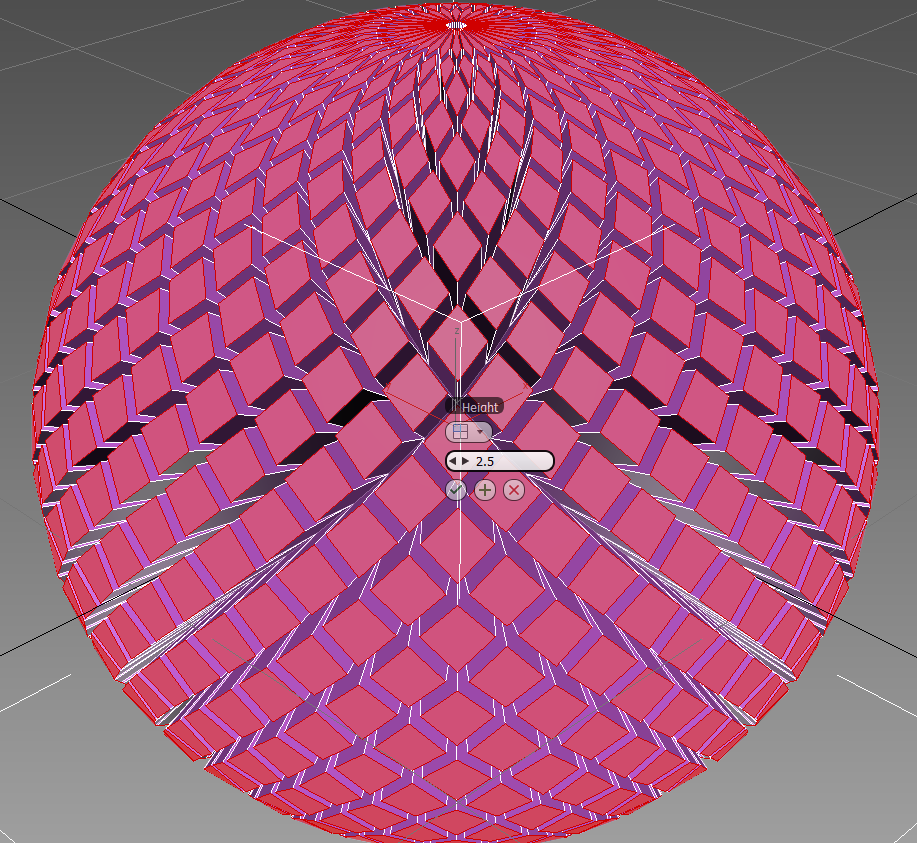
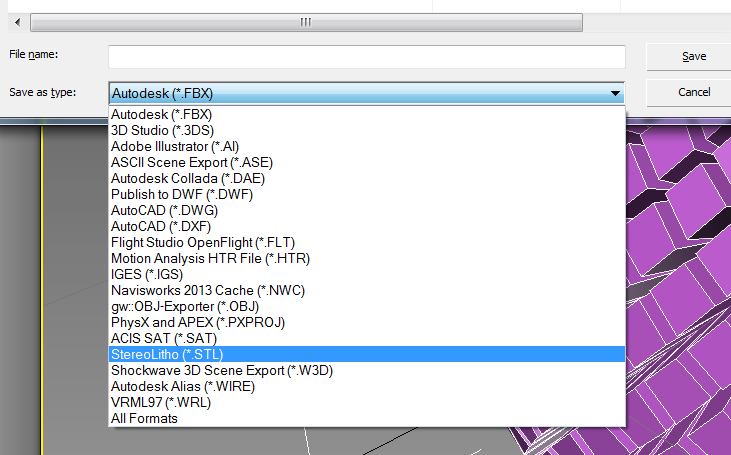
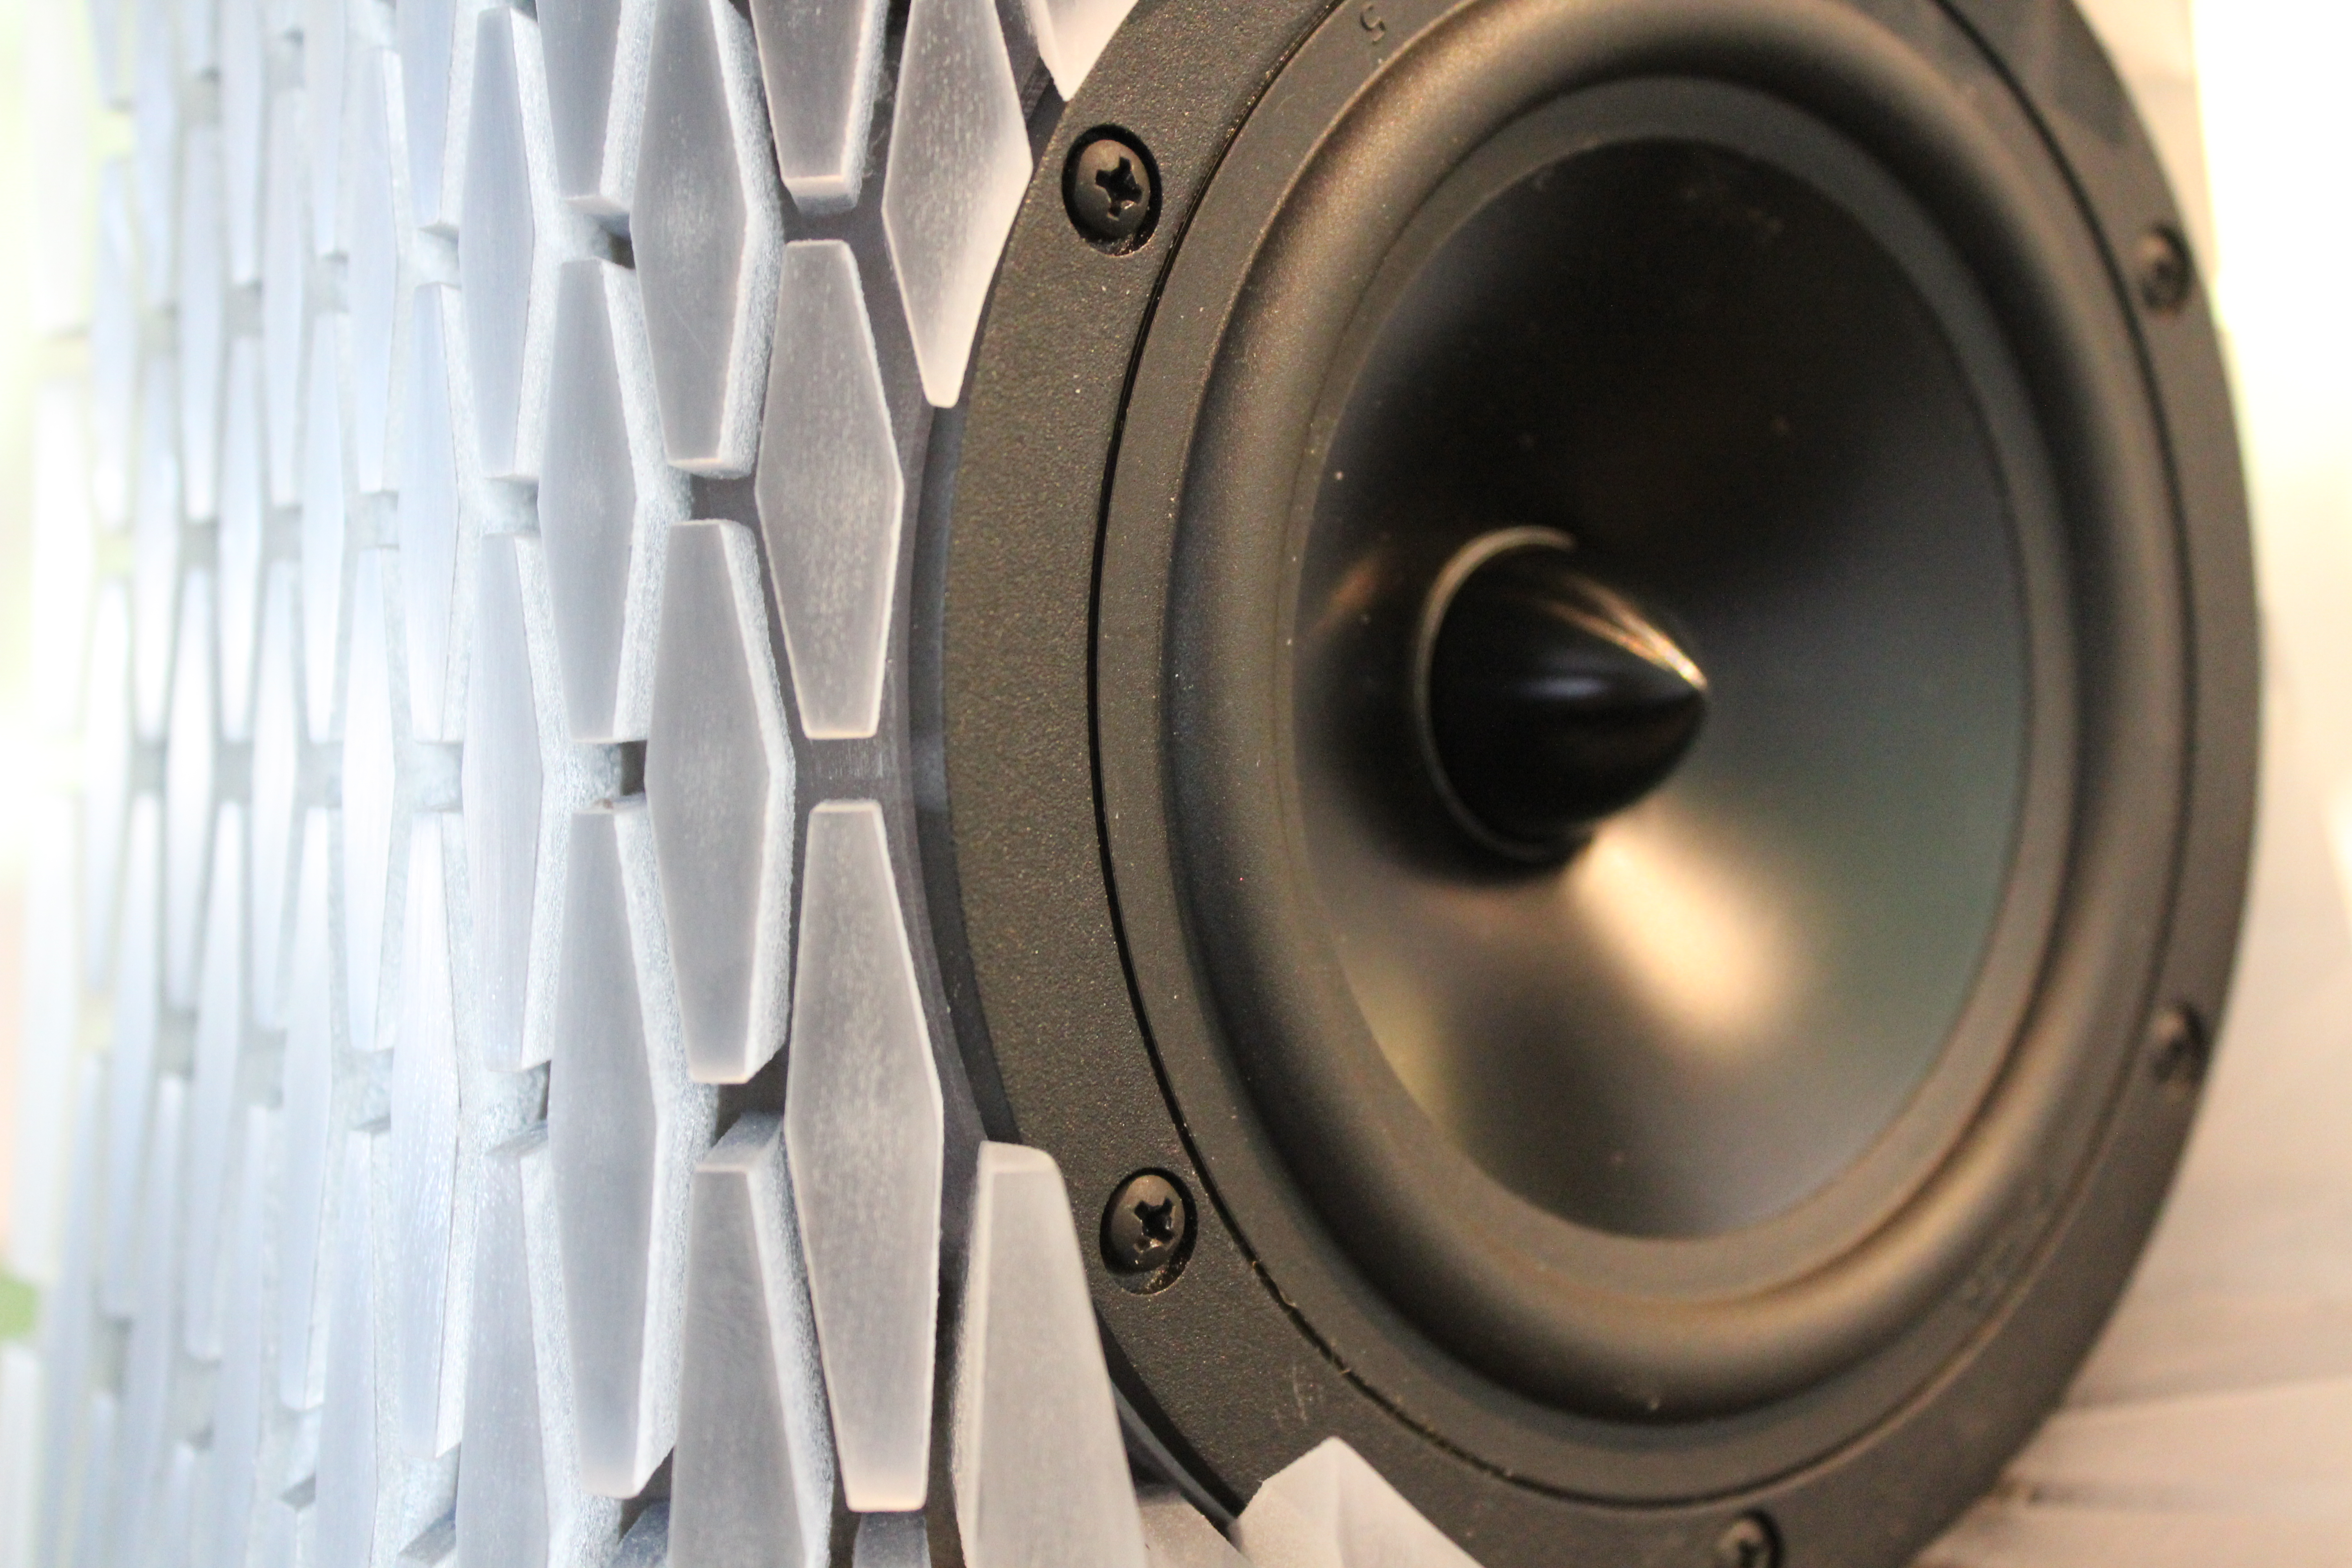
These speakers are composed of two components that are 3D printed simultaneously:
1. Flexible rubber base (Objet TangoBlackPlus)
2. Clear crystal-like protrusions (Objet VeroClear)
The clear crystals are held in place by the black rubber base, which gives the lights that cool pixelated effect.
To create the crystal form, I used Autodesk 3ds Max Design 2013, and its powerful Topology toolbox. The steps in 3ds Max are as follows:
1. Create a polygonal sphere from the standard primitives box. Use a sufficient number of segments, but not too many
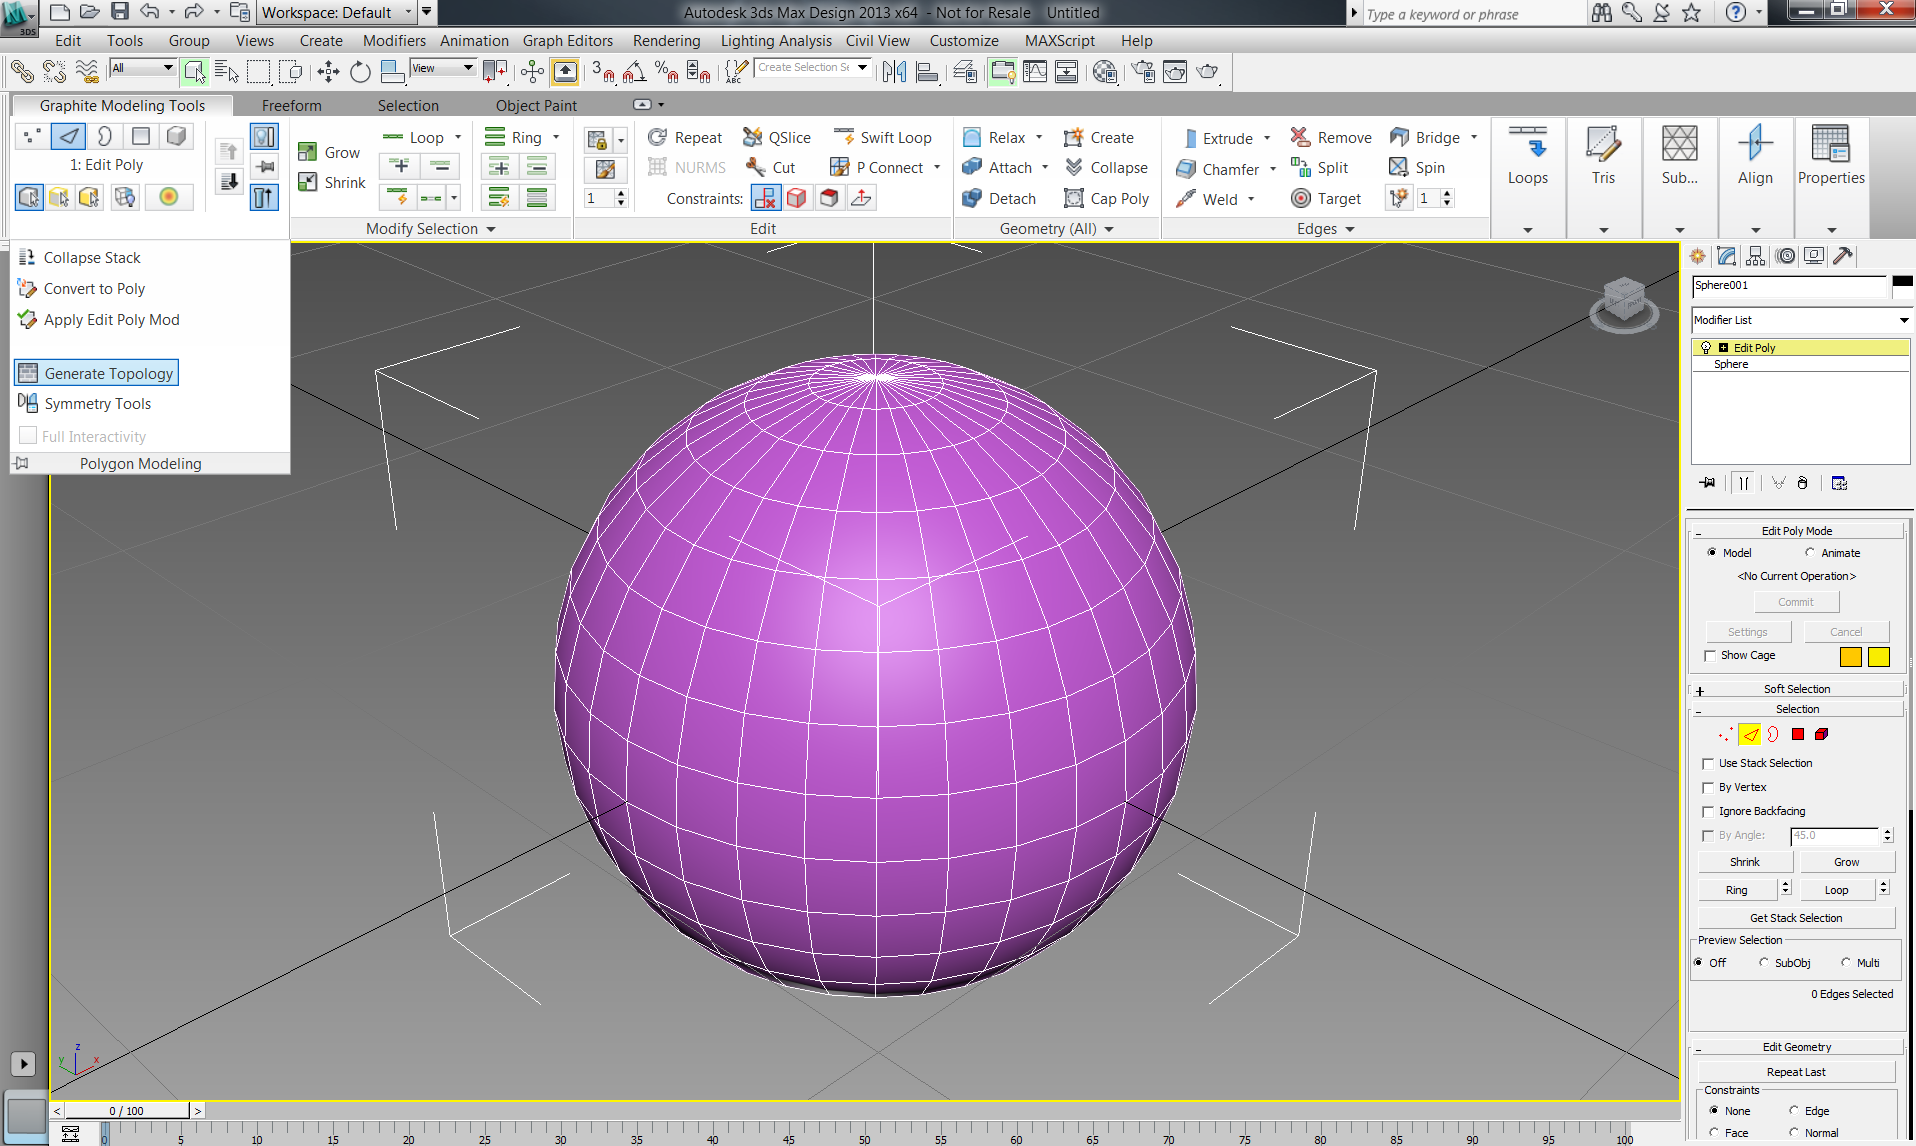
2. Convert the sphere to an editable polygon with the Edit Poly modifier
3. Ensure that you have edges selected in the Edit Poly Mode box on the right hand side
4. In the Polygon Modeling drop-down of the Graphite Modeling Tools, select "Generate Topology"
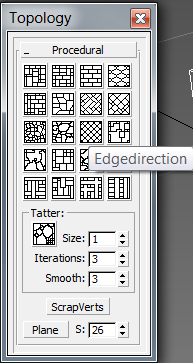
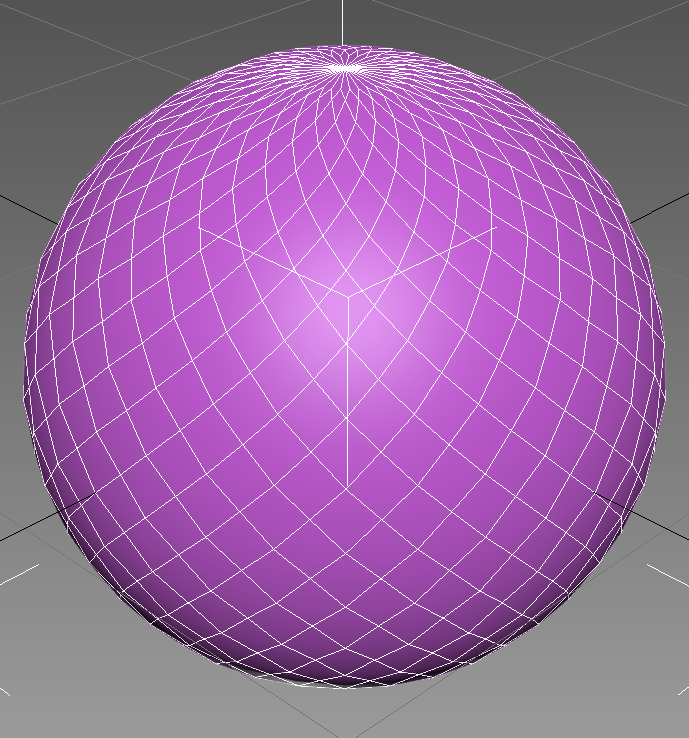
5. In the pop-out menu, select "Edge Direction" (or whicheverpattern you happen to like!)
6. In the Edit Poly Mode box, select polygons. Right click in the workspace and select the box next to "Extrude"
7. In the pop-out menu, change the extrude mode to "By Polygon"
8. Extrude all of the faces a sufficient distance.
9. Export your creation as a .STL (StereoLitho) file
Finishing the Model
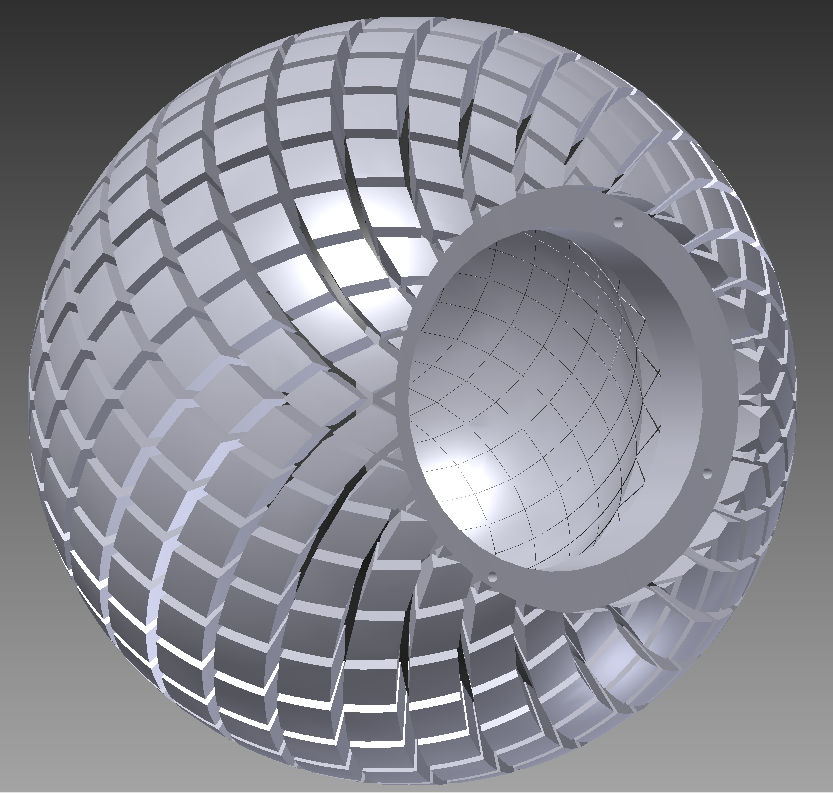
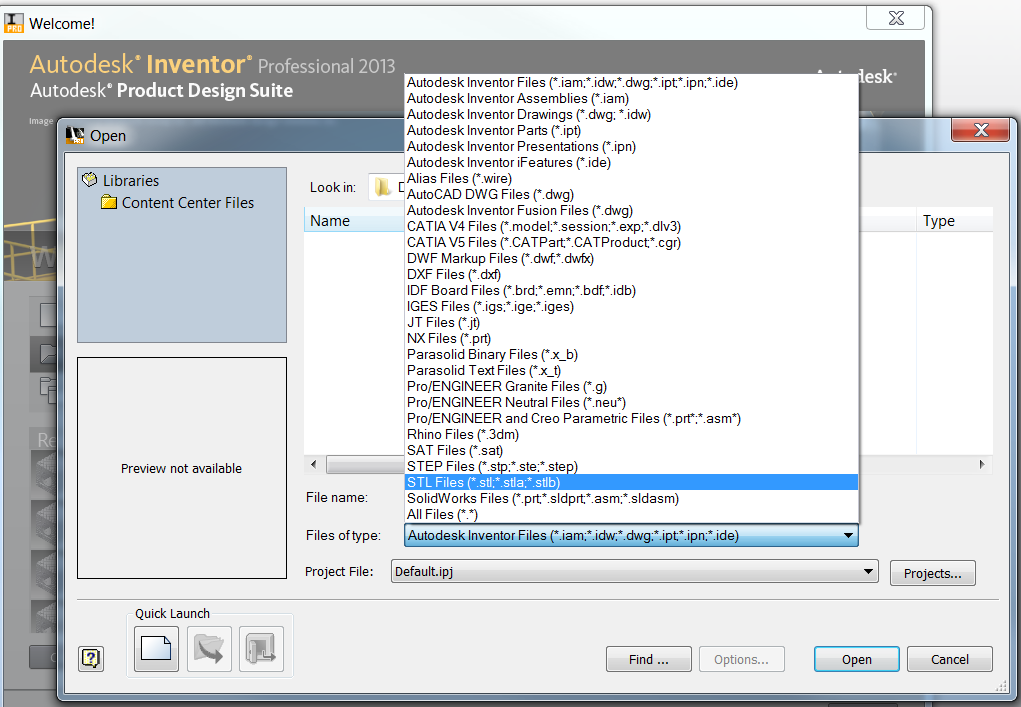
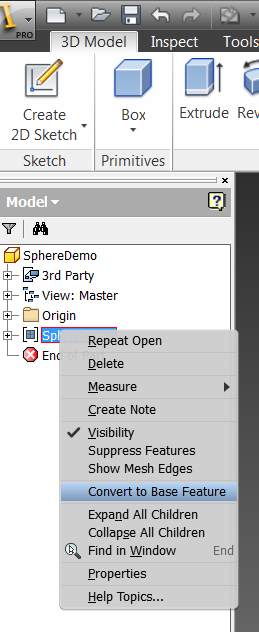
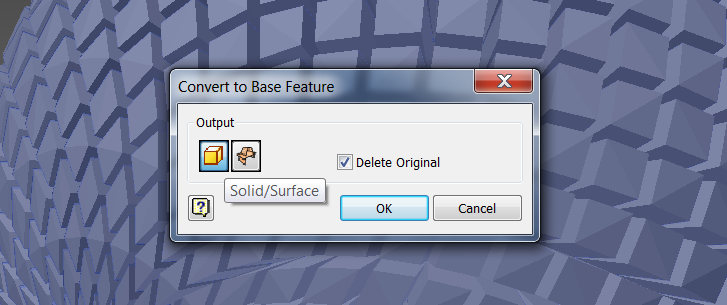
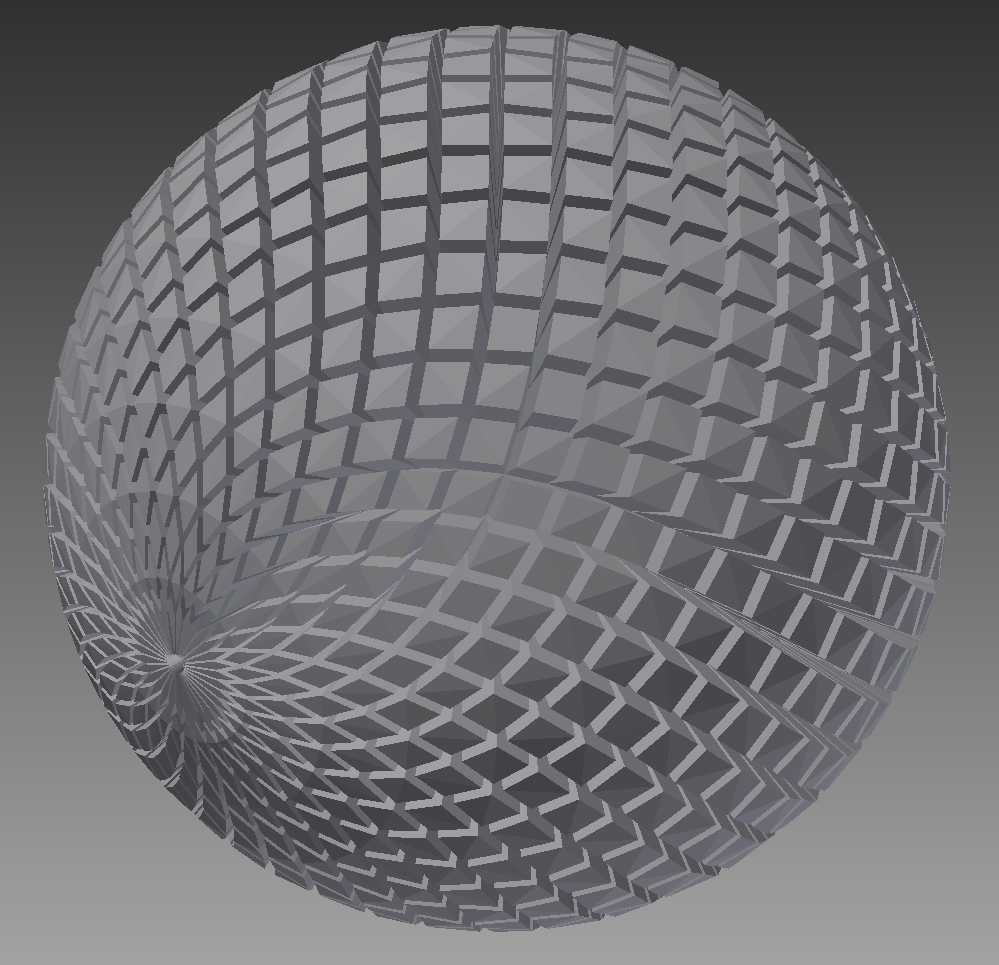
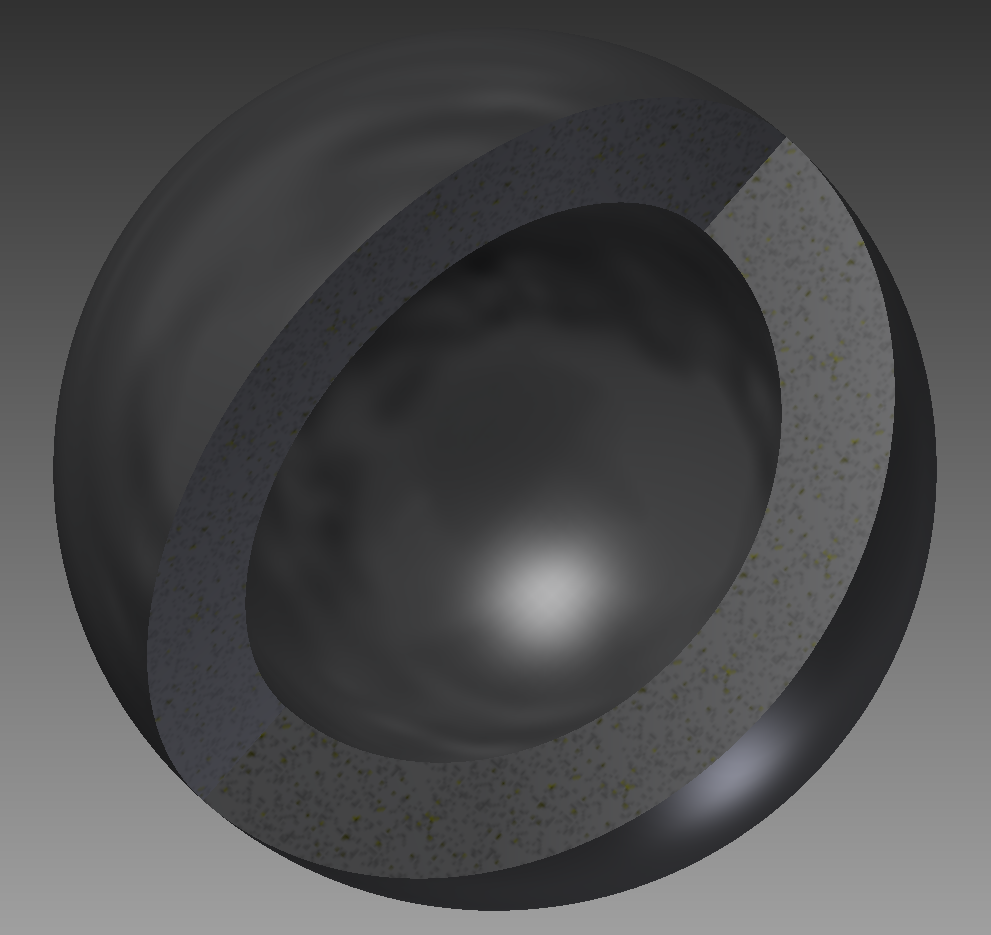
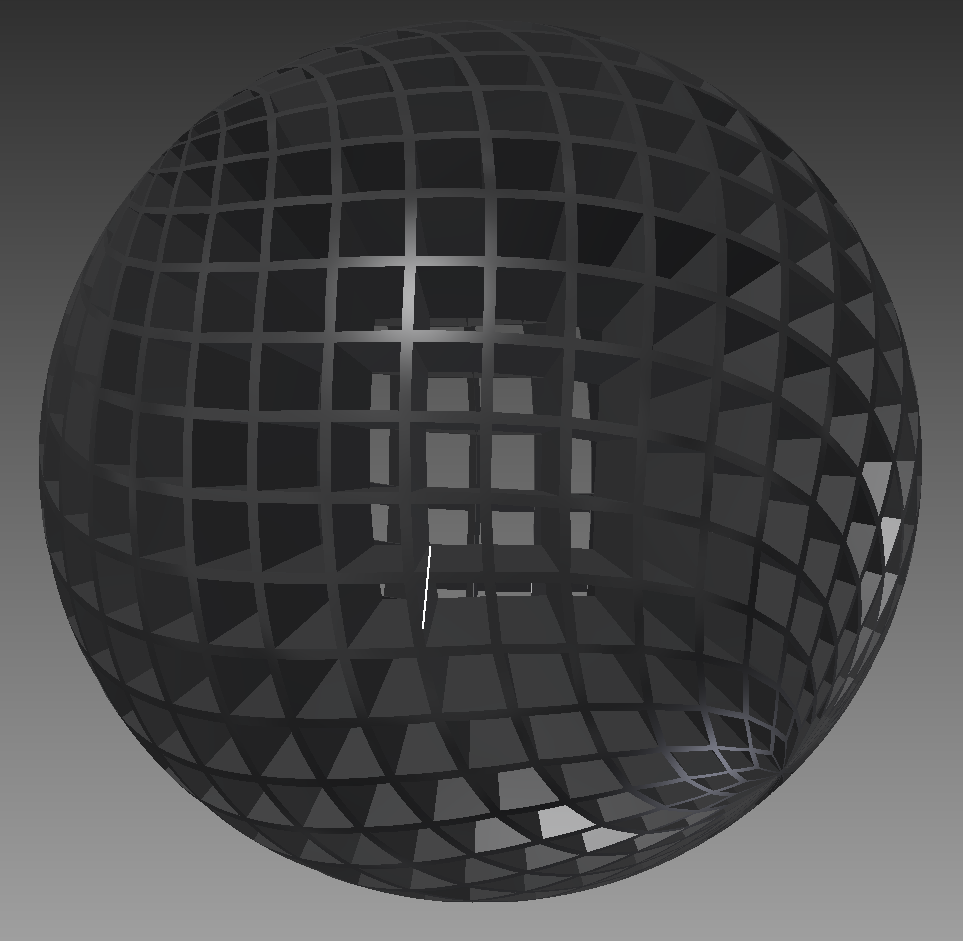
In order to create a printable speaker with two separate bodies (one for the base and one for the crystals), I moved the model into Autodesk Inventor. This let me convert the mesh to a solid model in order to add geometry for the speaker holes and fasteners more precisely. It also allowed me to create the rubber base model quickly, and to smooth out the outer surface.
To convert the .STL mesh into a solid body in Inventor, you'll need to install the free Autodesk Labs plug in: Mesh Enabler, which can be found here:
http://labs.autodesk.com/utilities/inventor_mesh/
To complete the model in Inventor, follow these steps:
1. Import the .STL file you created by selecting "Open" and changing the file type to ".STL"
2. Right click on your model name in the model tree on the left and select "Convert to Base Feature"
3. Change the selection to "Solid/Surface" and click OK
4. Create a hollow sphere for the base using the Revolve tool. (Make sure to create a new solid body in the tool options)
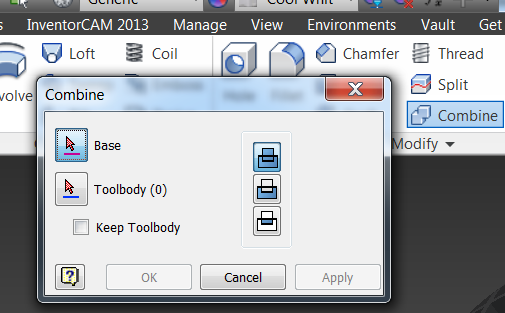
5. Use the Combine tool to create holes in the base where the crystals pass through
6. Perform a Revolve cut on the outer surface to smooth out the sphere
7. Using the standard Inventor modeling tools, add all the features you need to mount the speakers and allow the wires to pass through
8. Export each body as an .STL file individually by hiding the other bodies. This will allow you to apply different materials to each body
3D Print the Speaker Enclosure
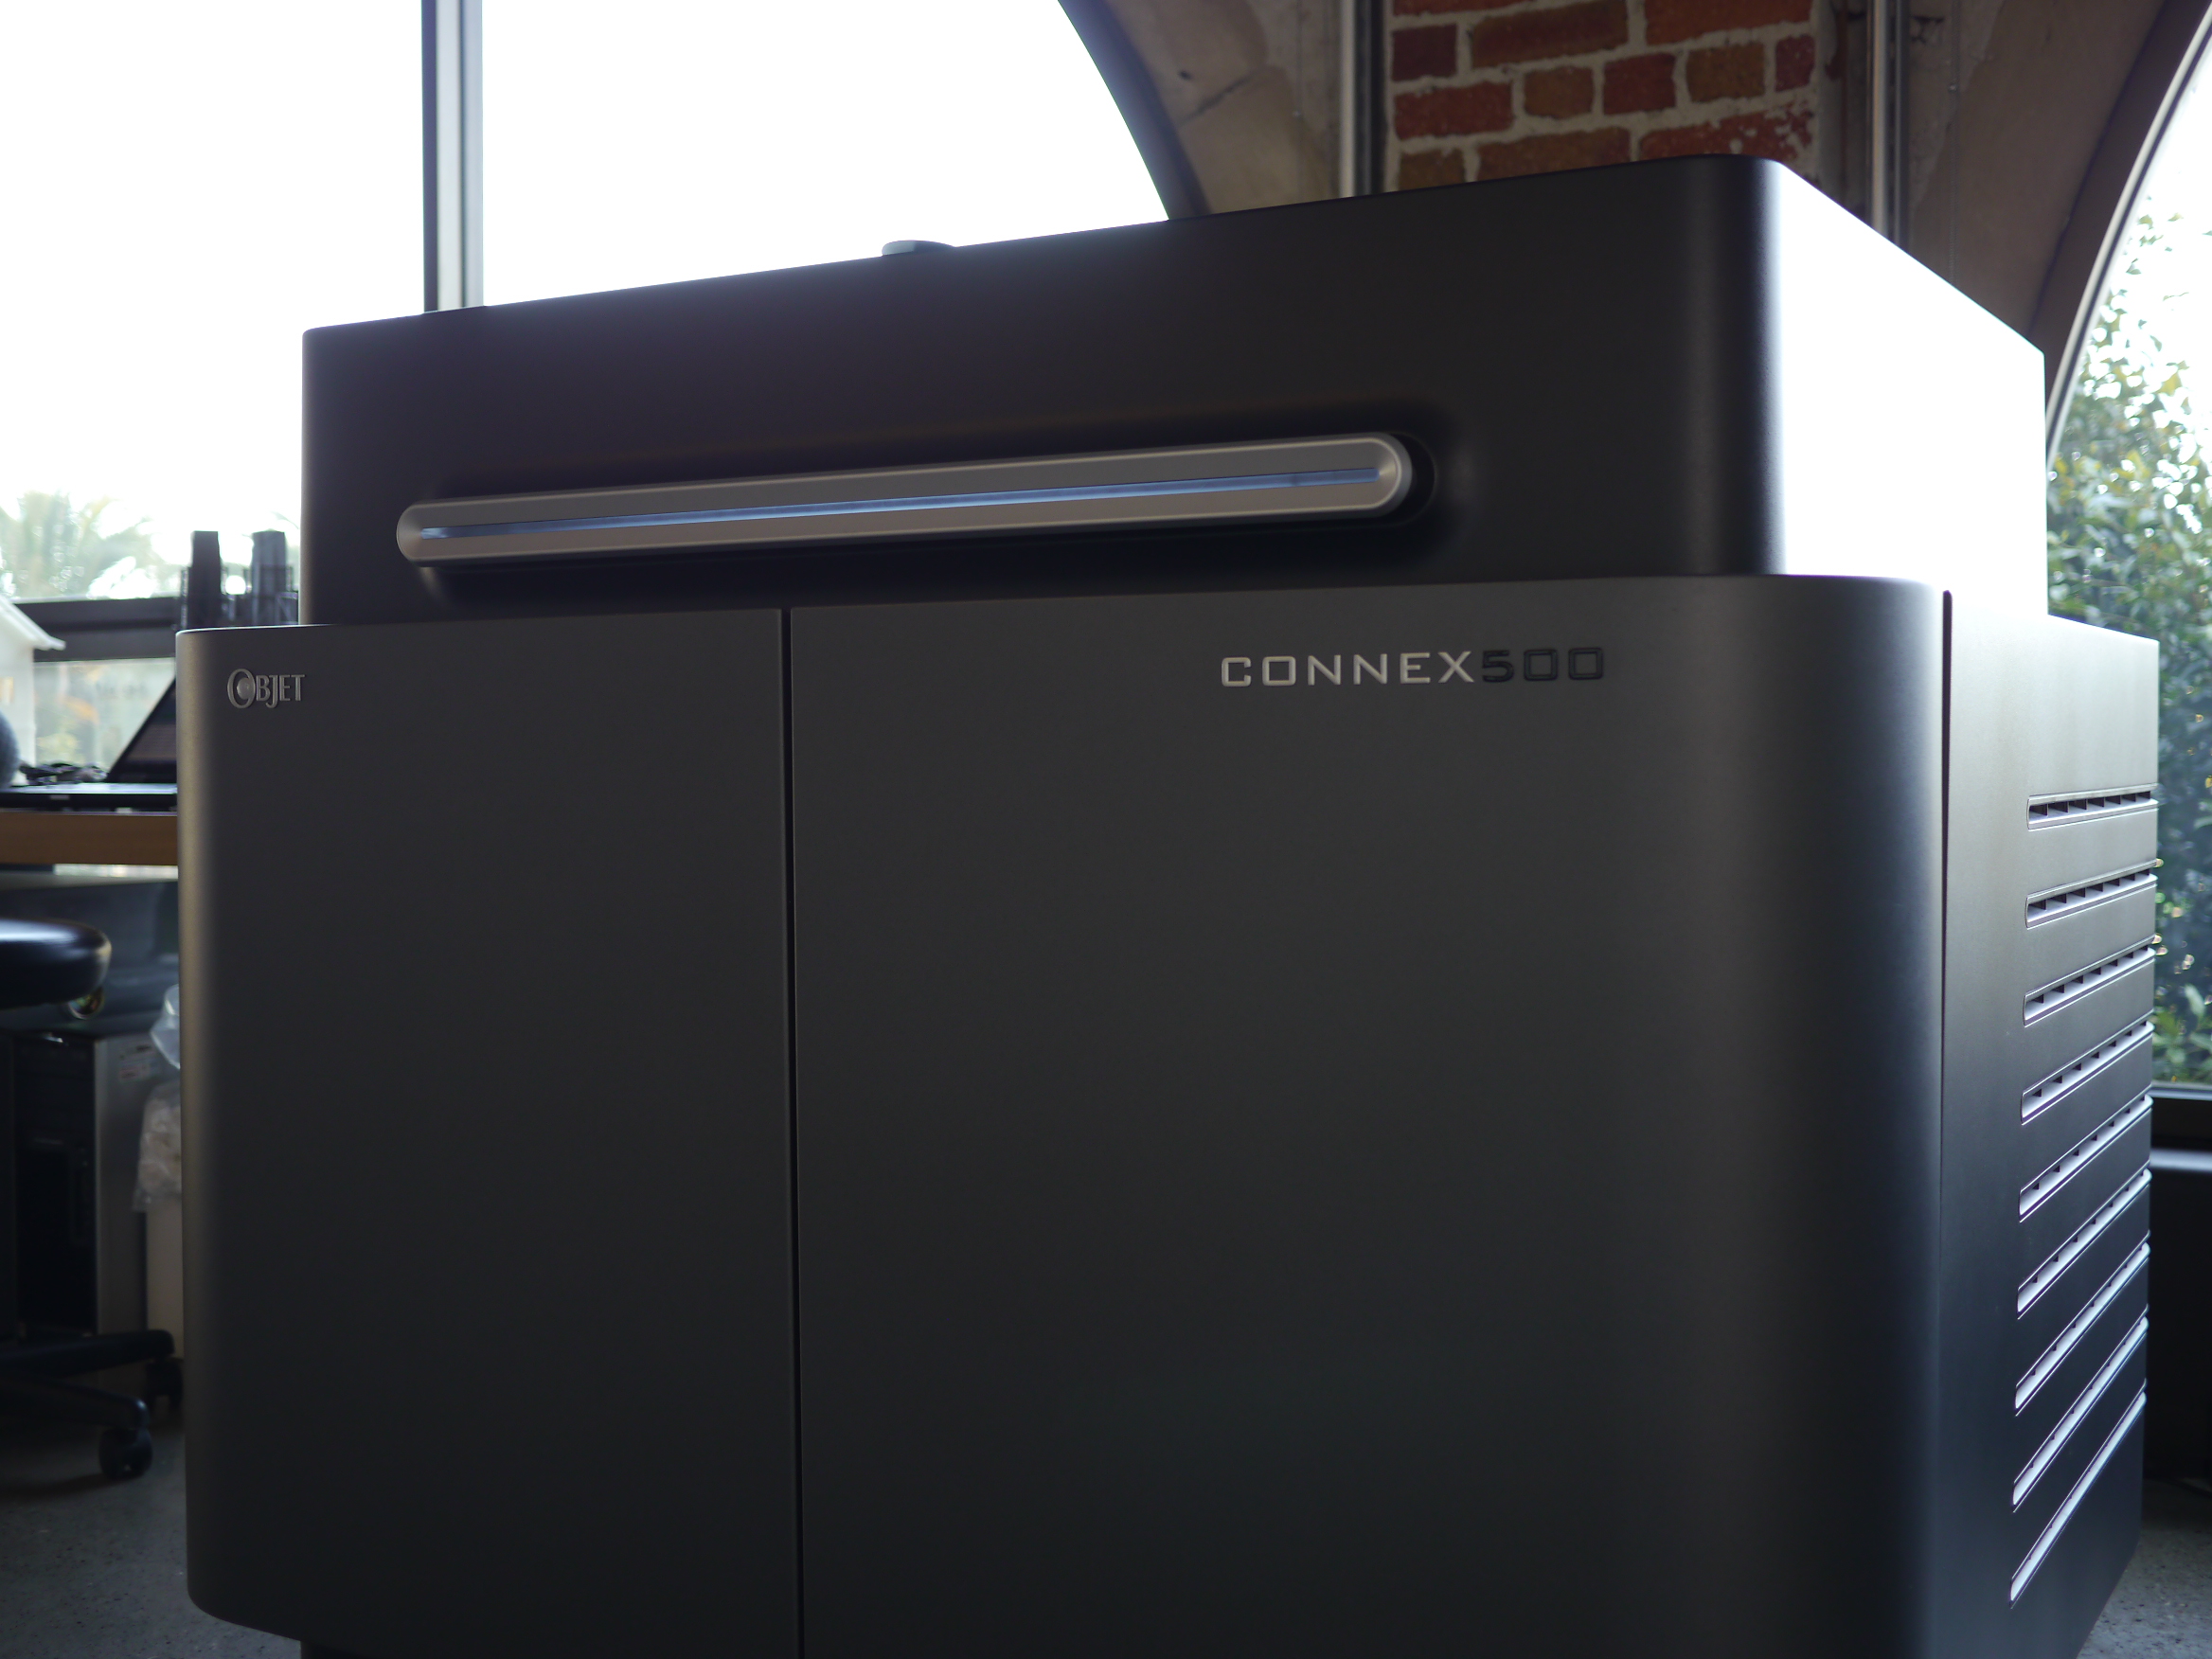
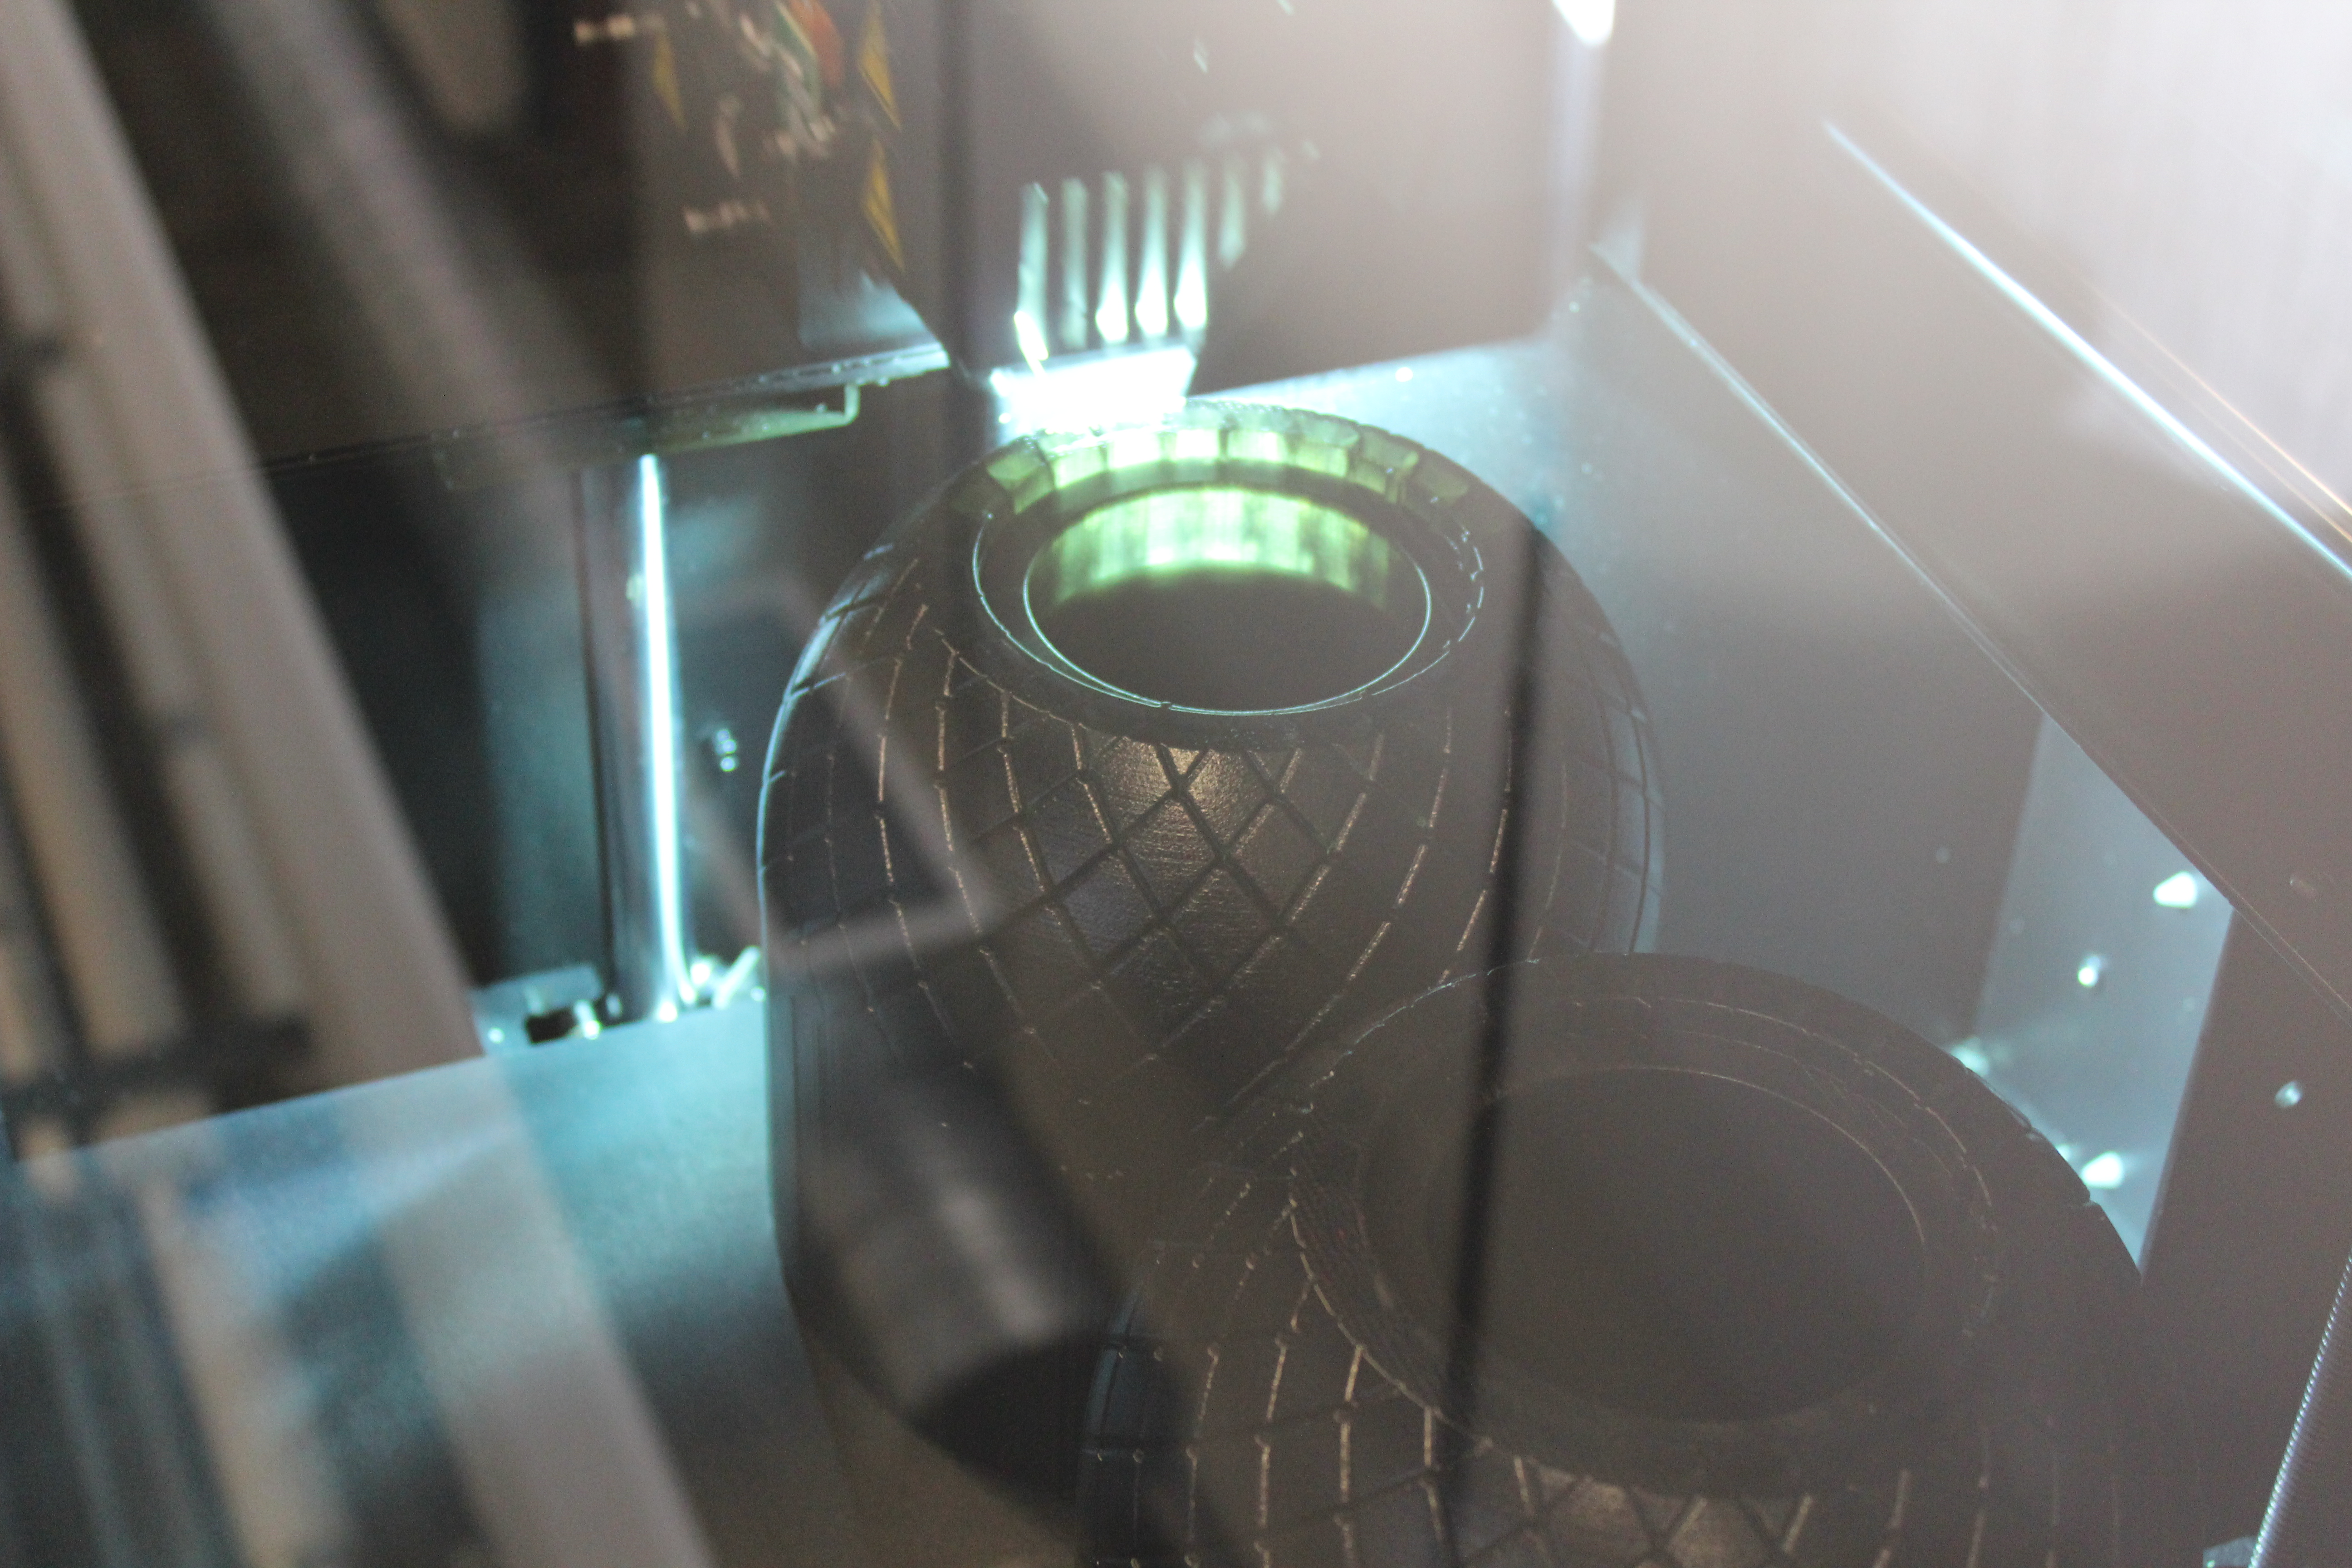
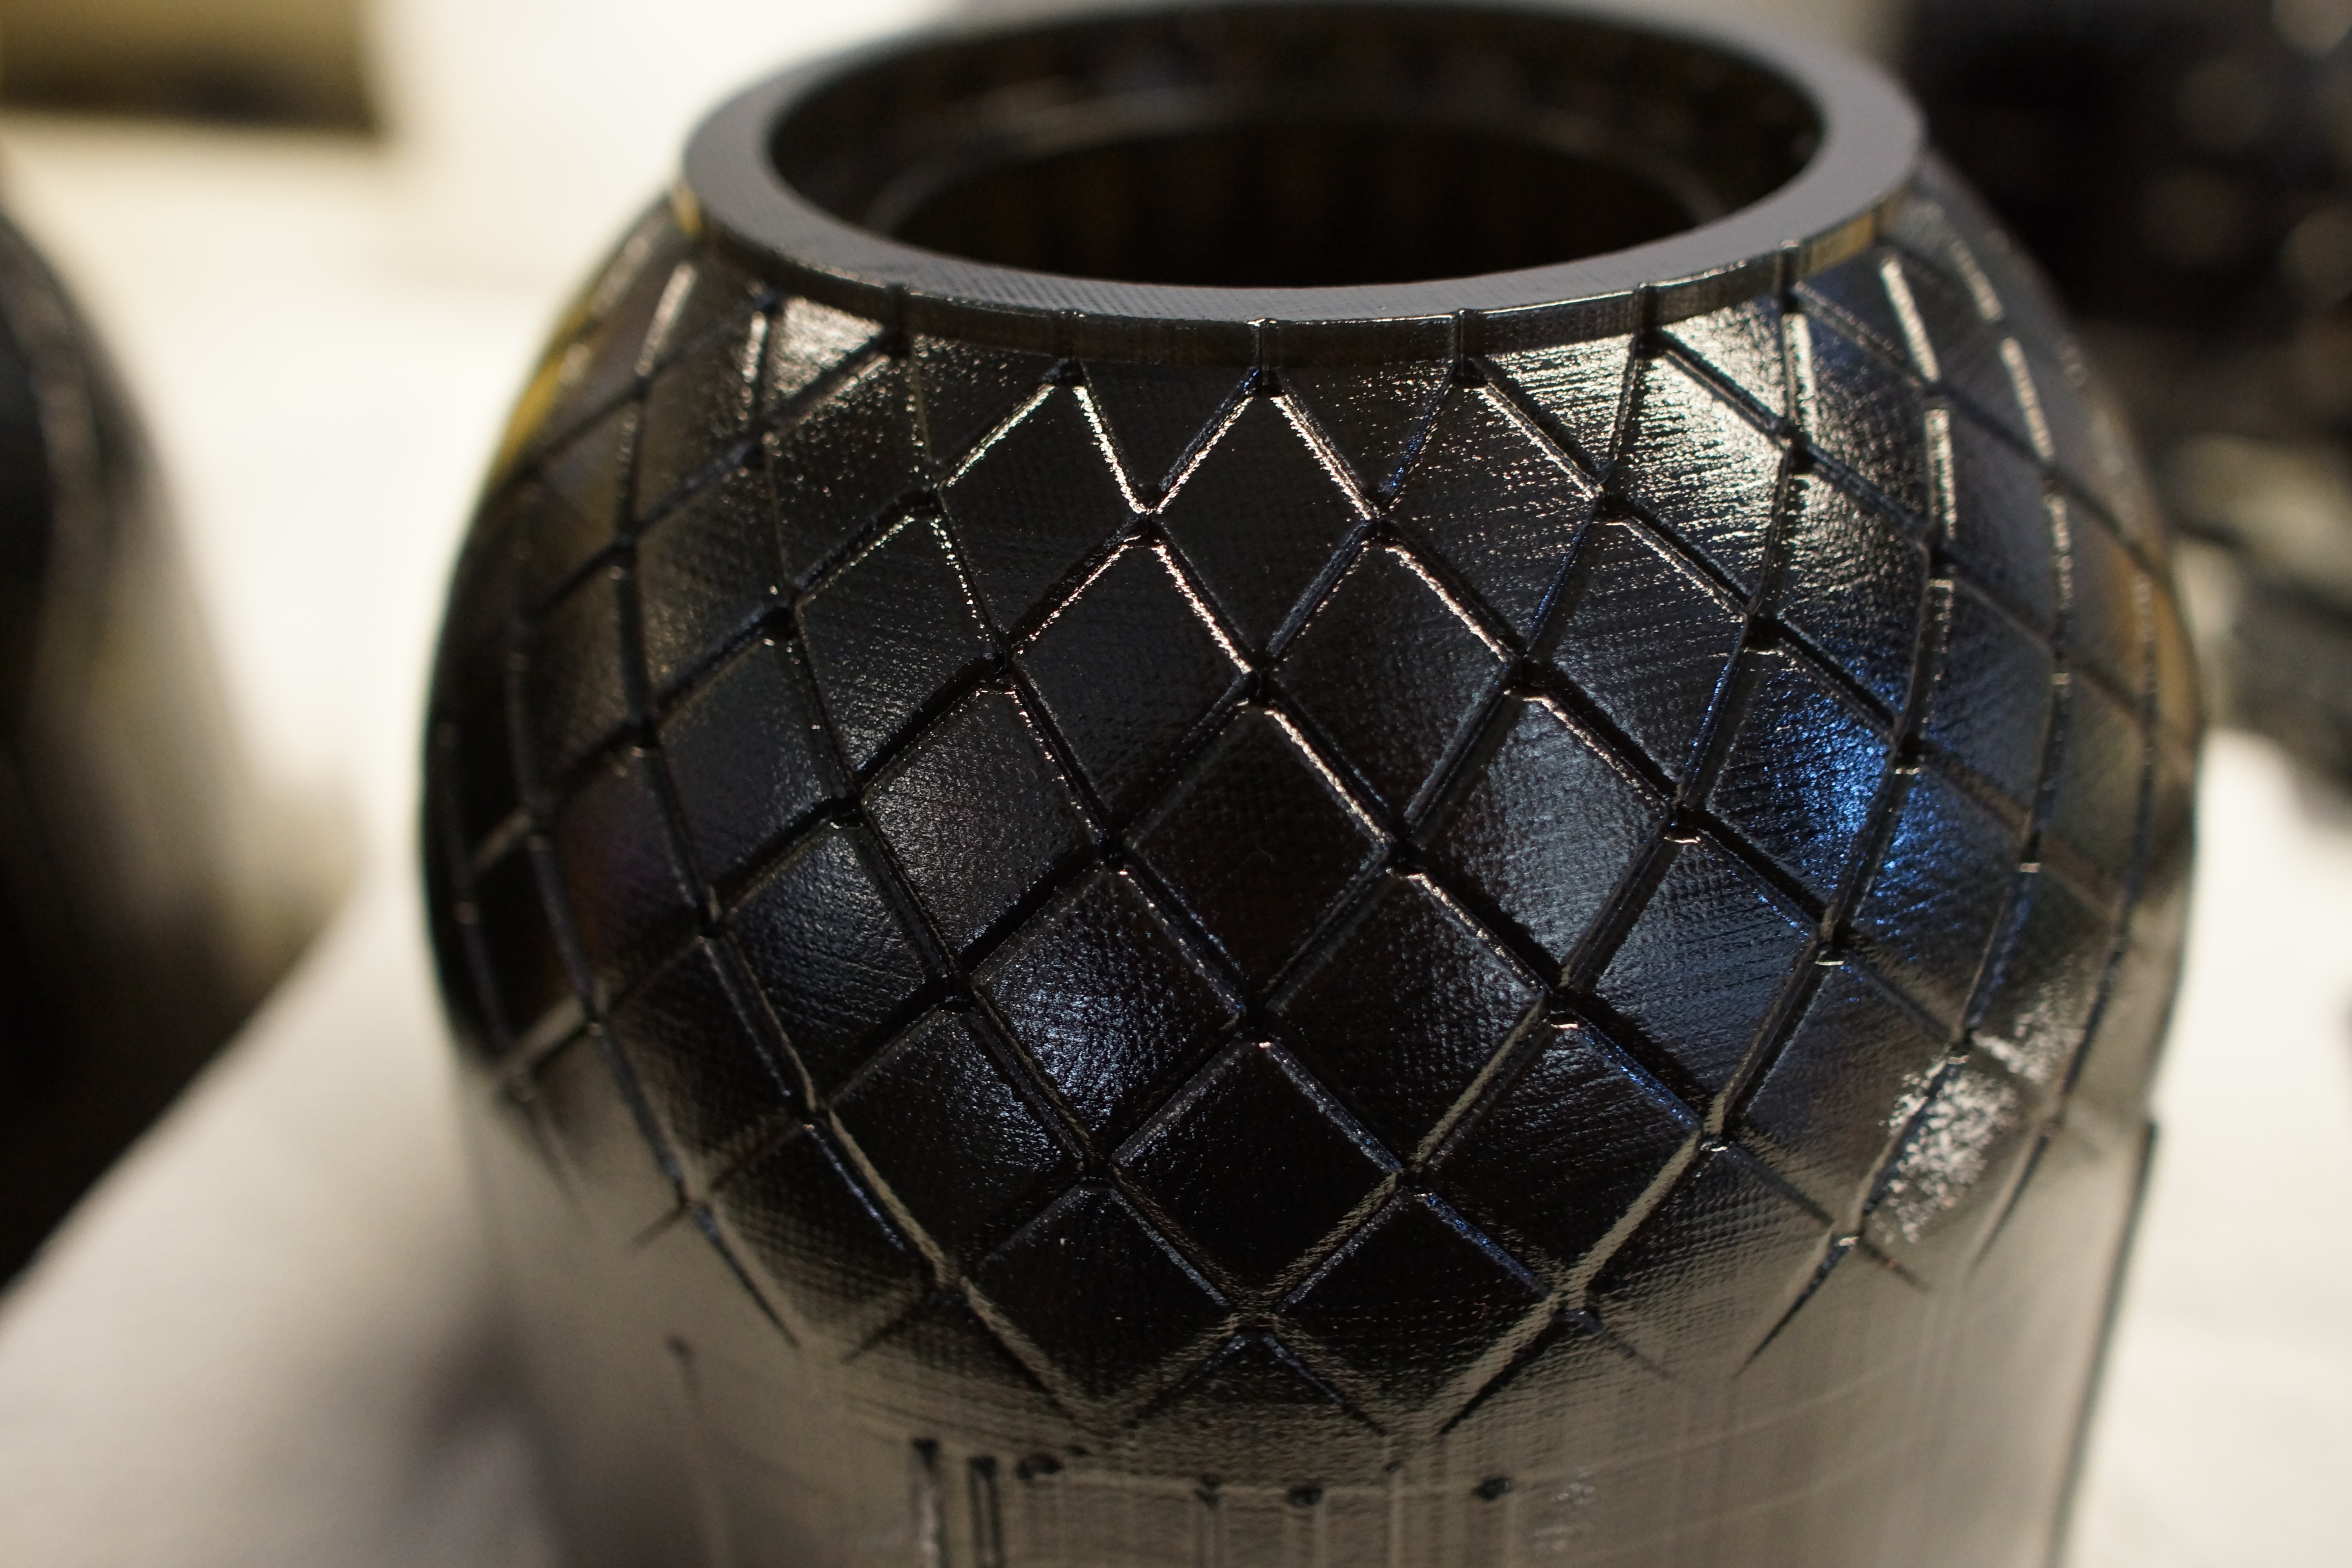
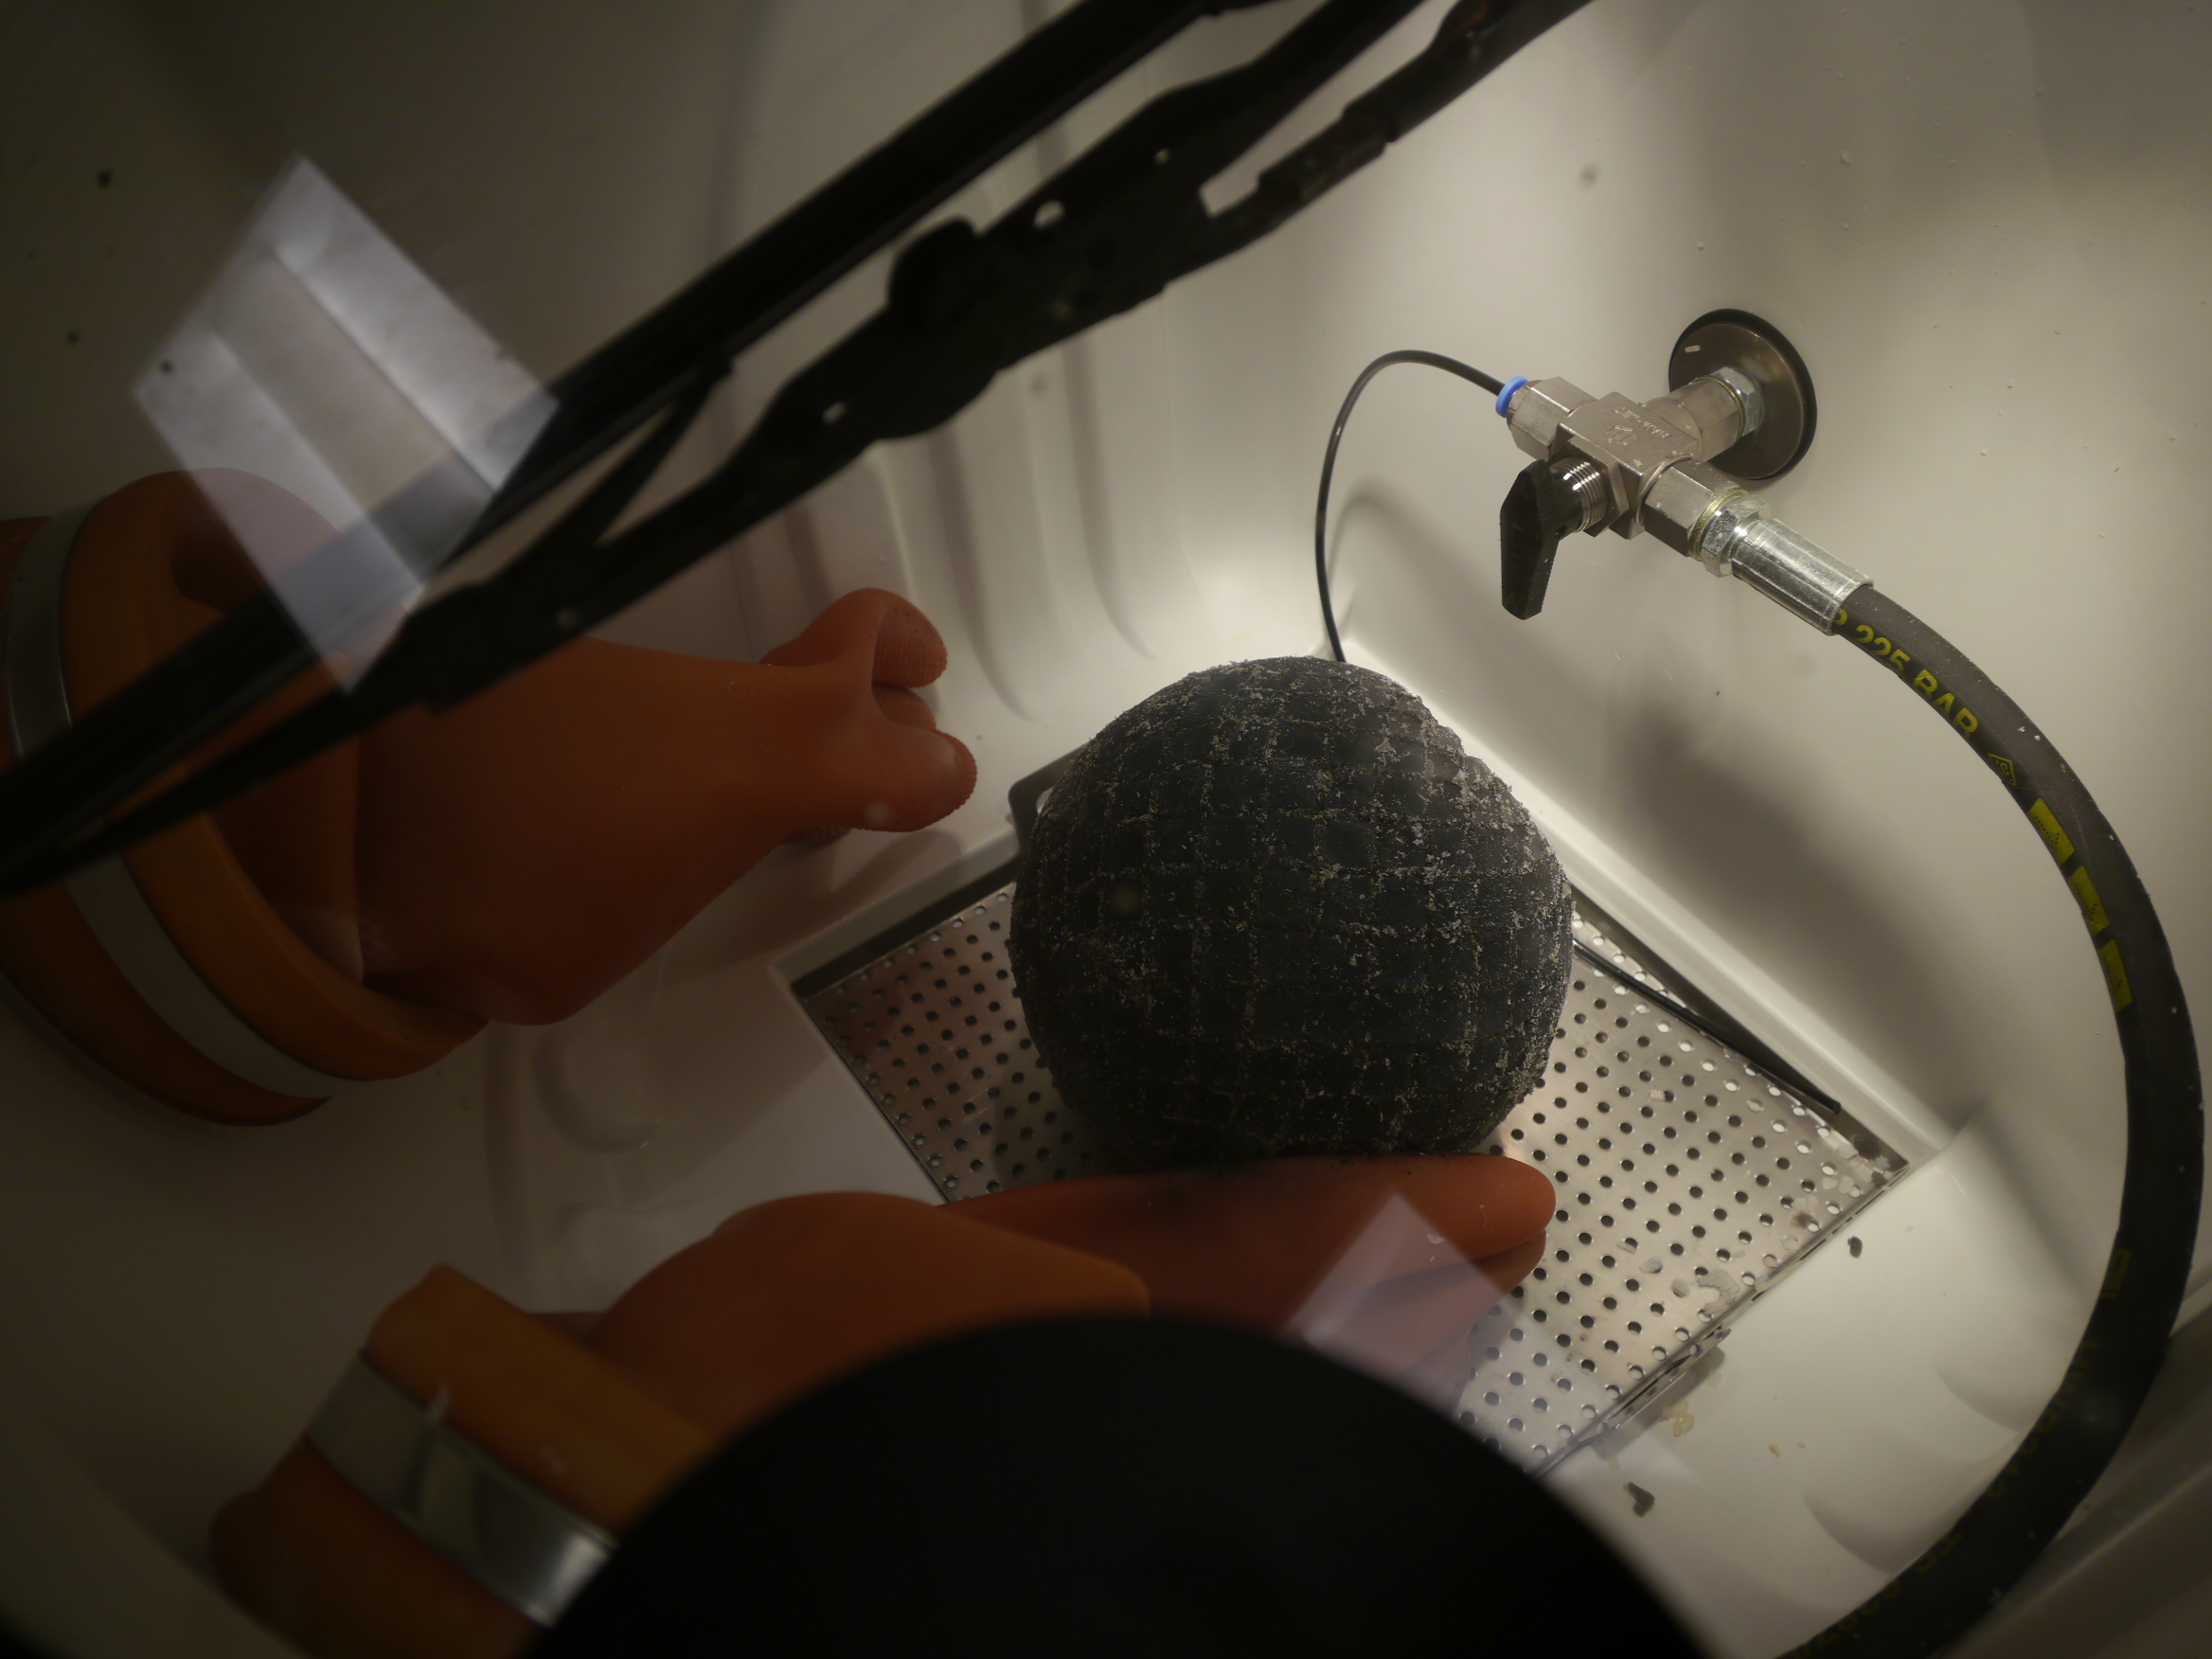
For this project, we used an Objet Connex 500 3D printer by Stratasys. The rubber base was made in TangoBlack Plus and the crystals were made out of Vero Clear. I took around 40 hours to print the pair.
Once they are printed, you have to clean them up with a pressure washer and wet sand them to the desired finish.
Once they are printed, you have to clean them up with a pressure washer and wet sand them to the desired finish.
Add Lights
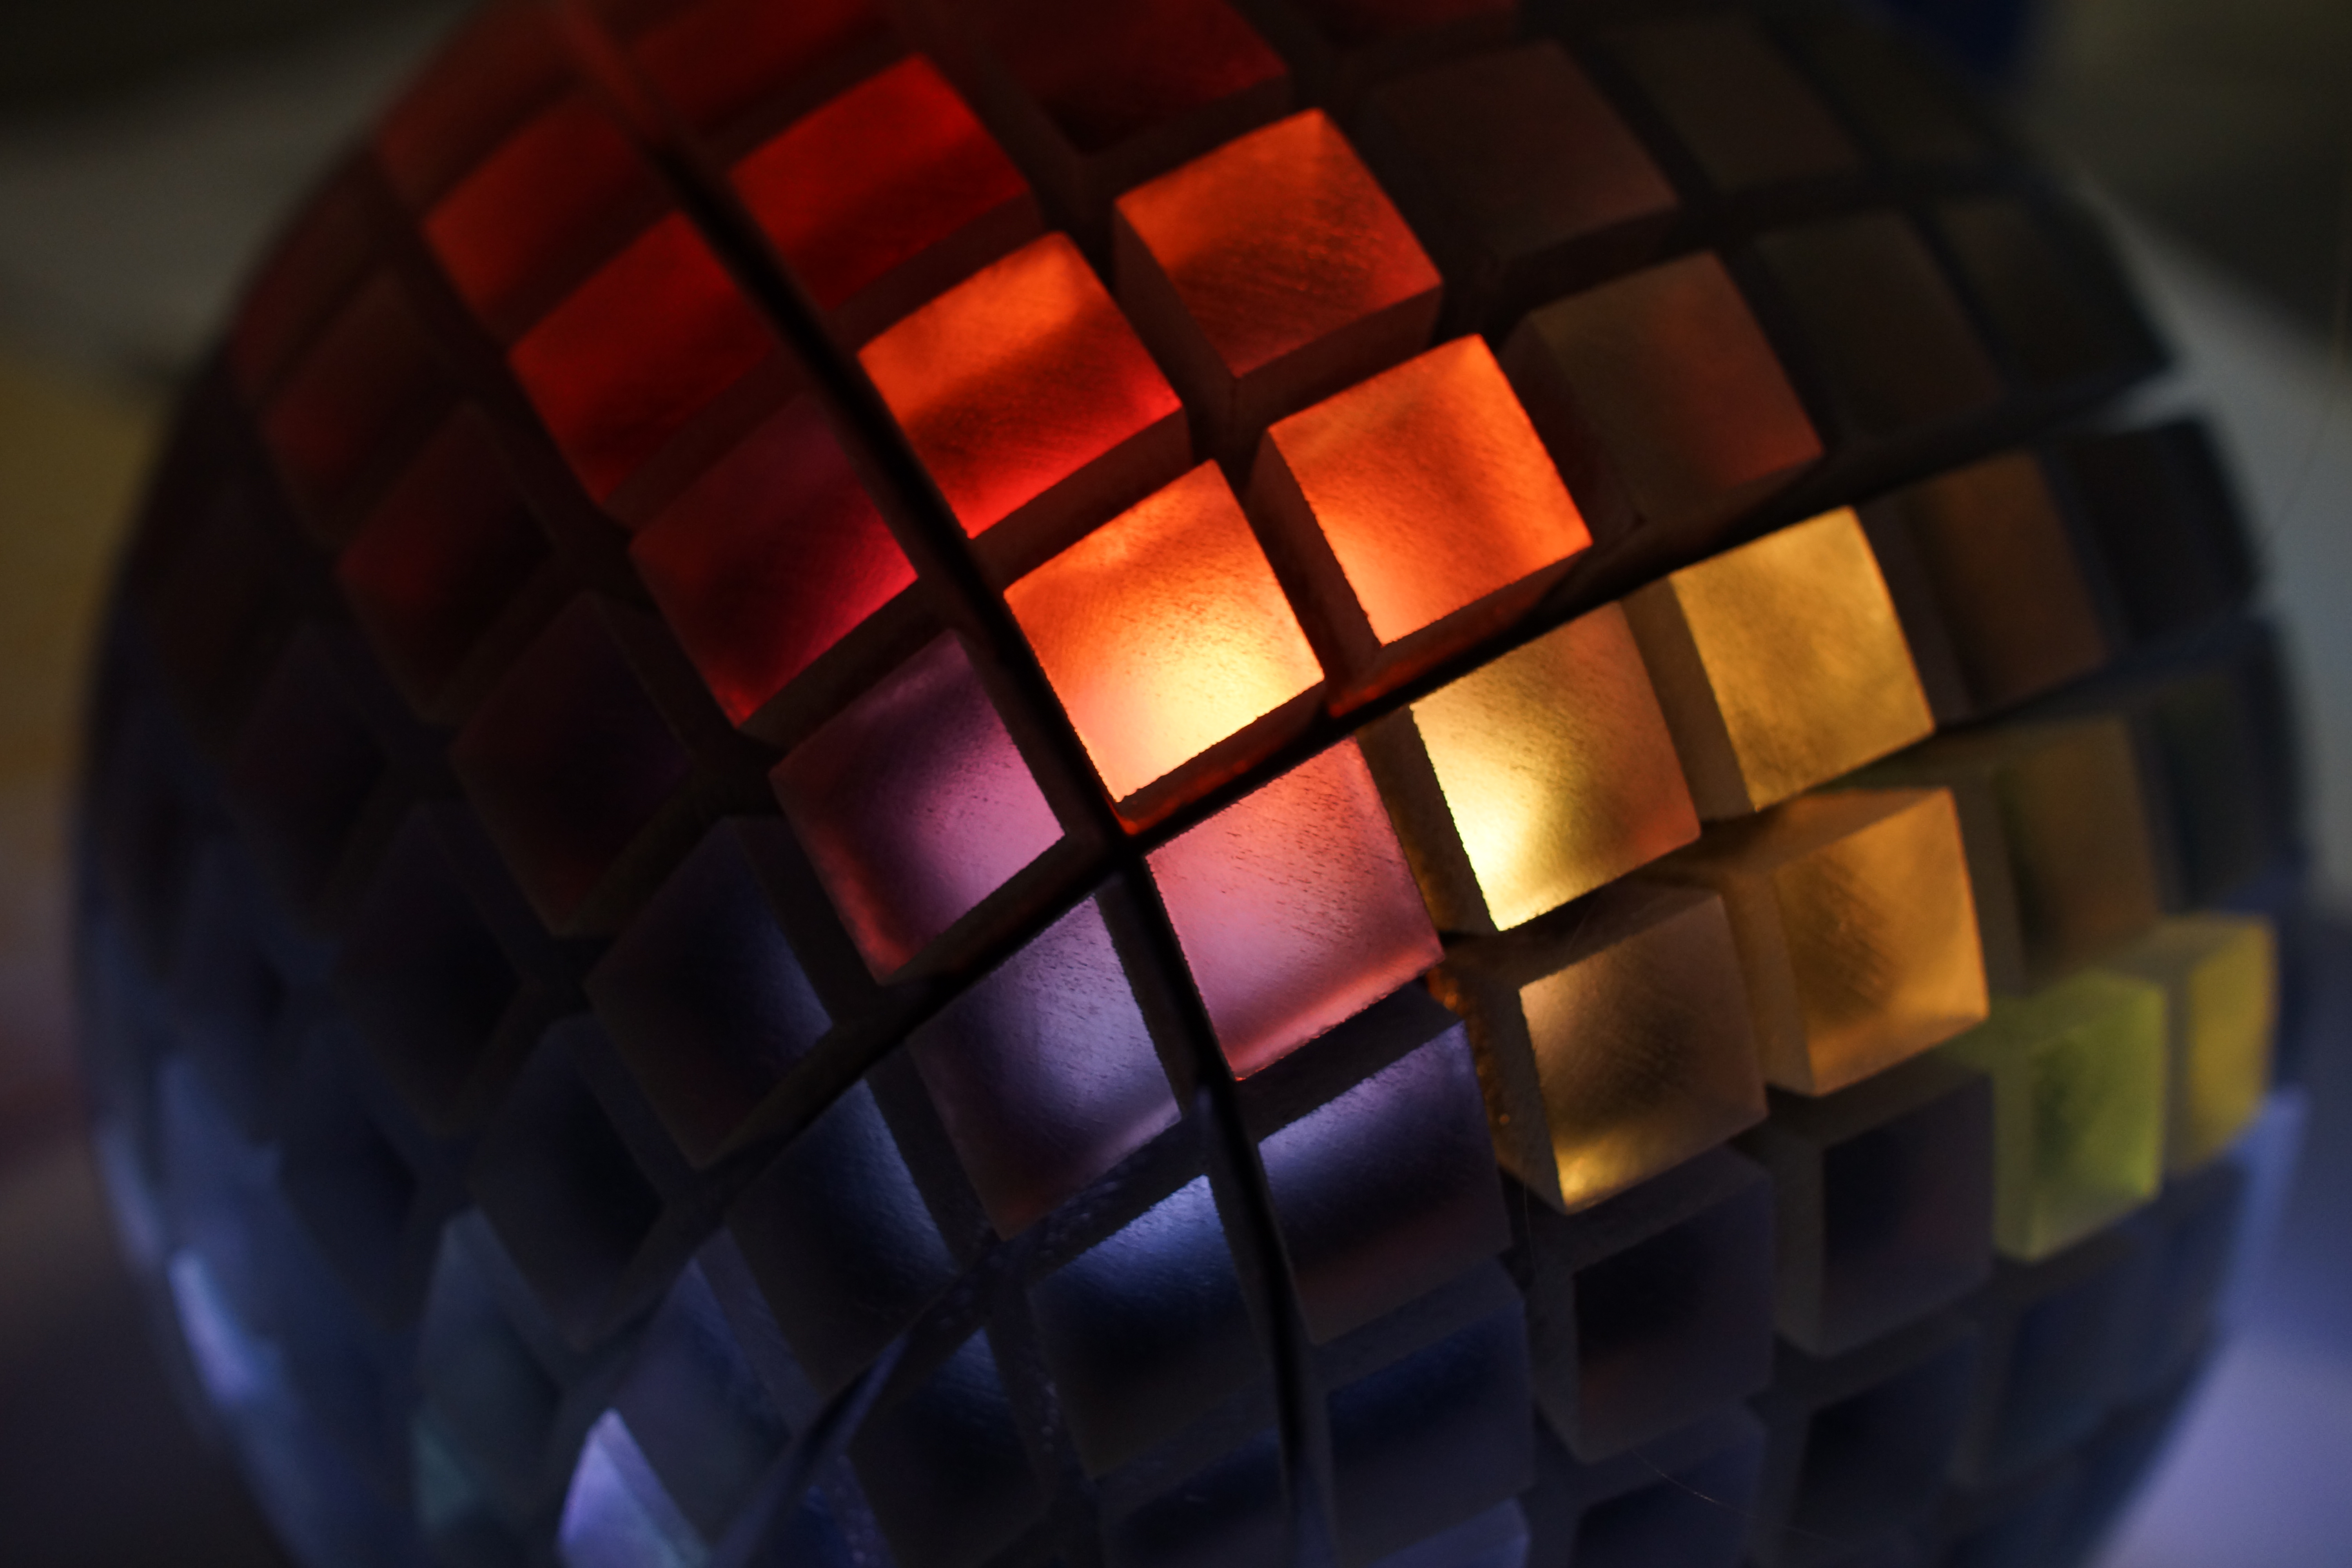
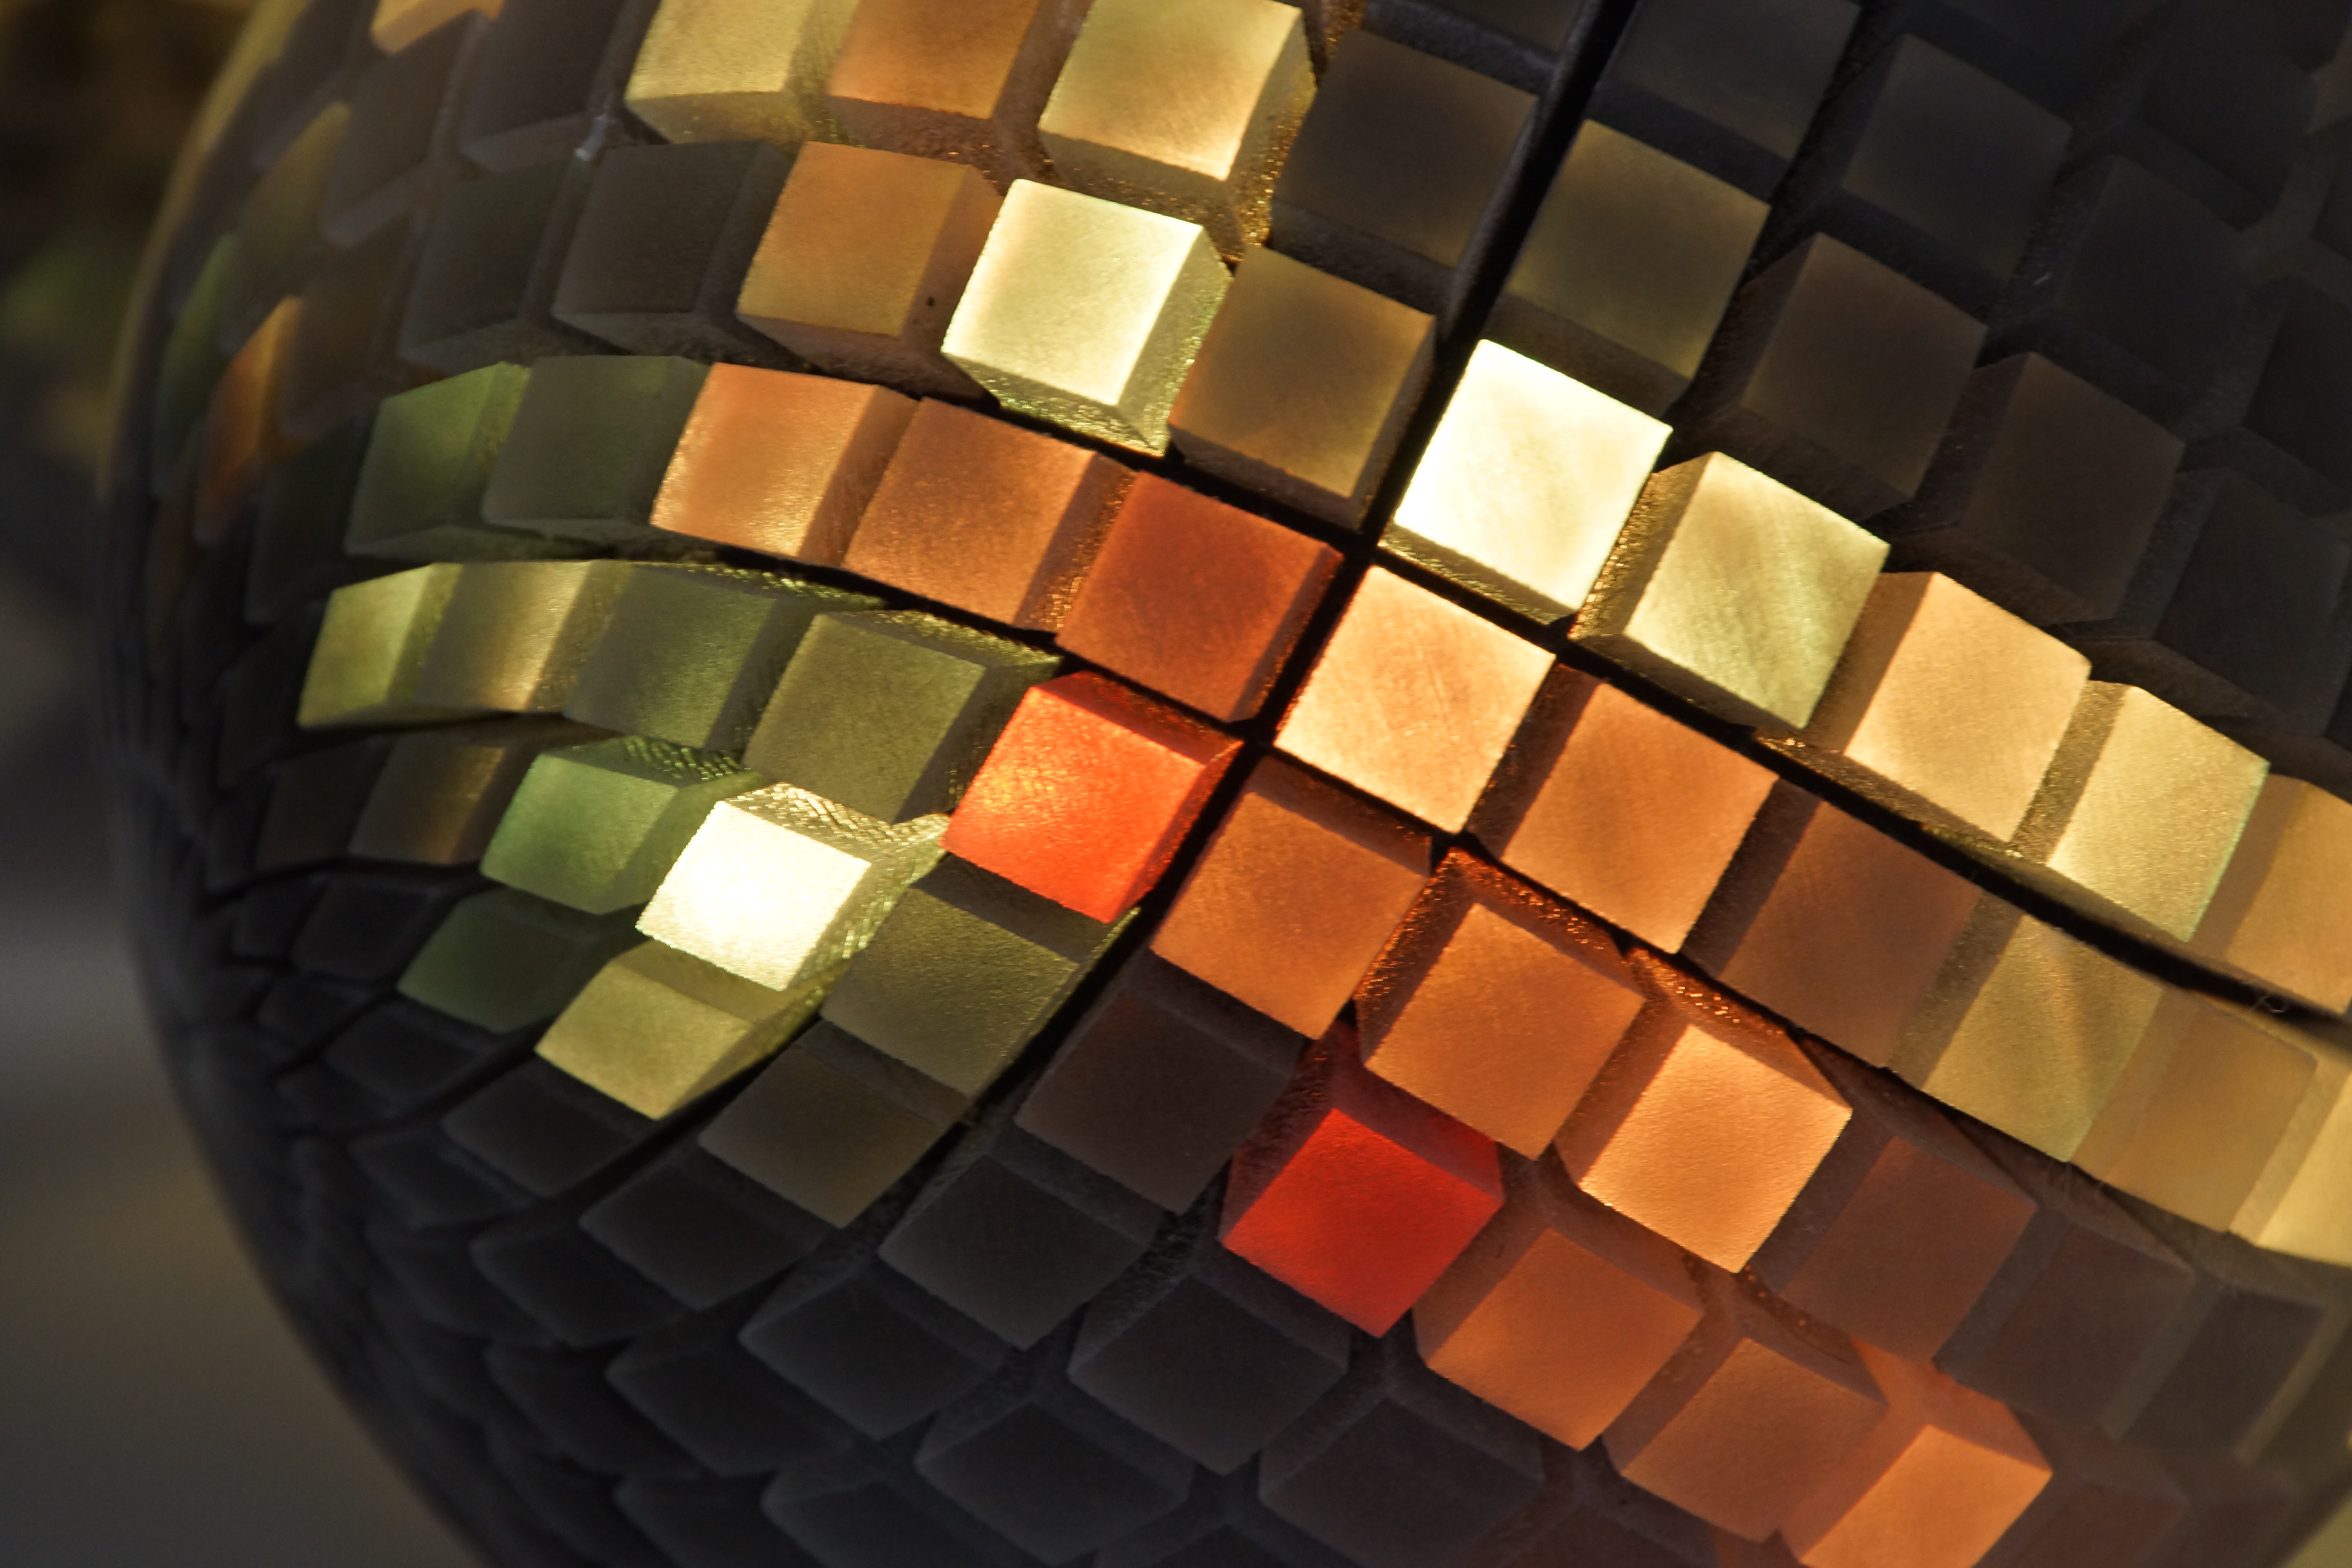
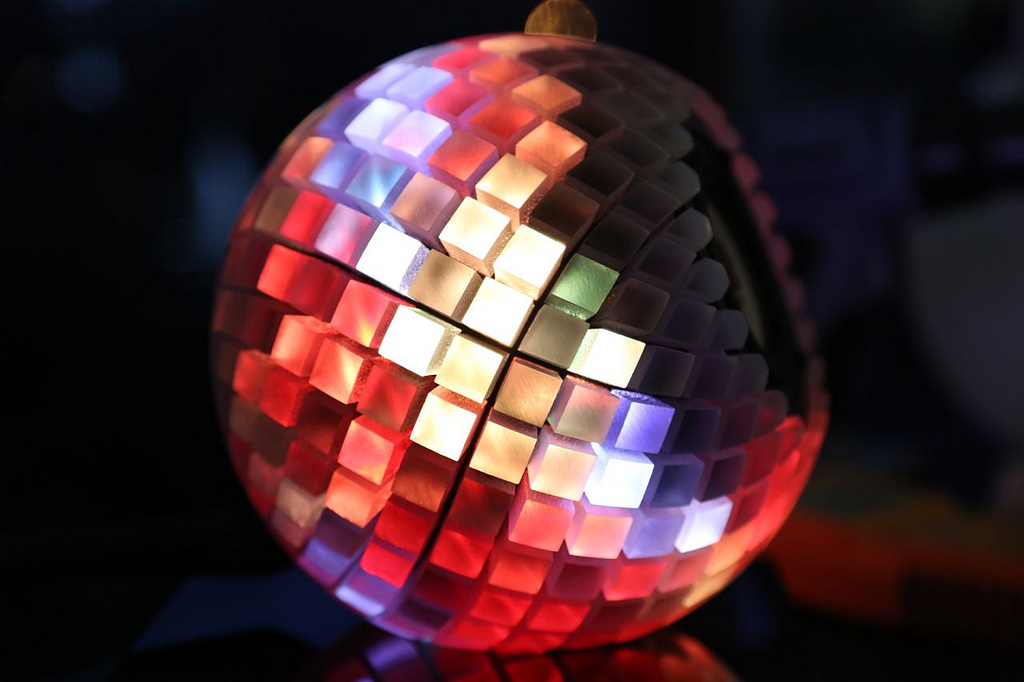
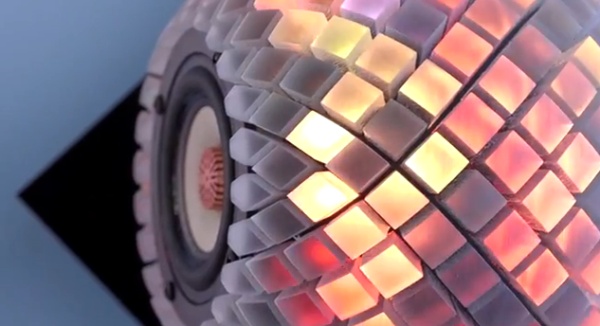
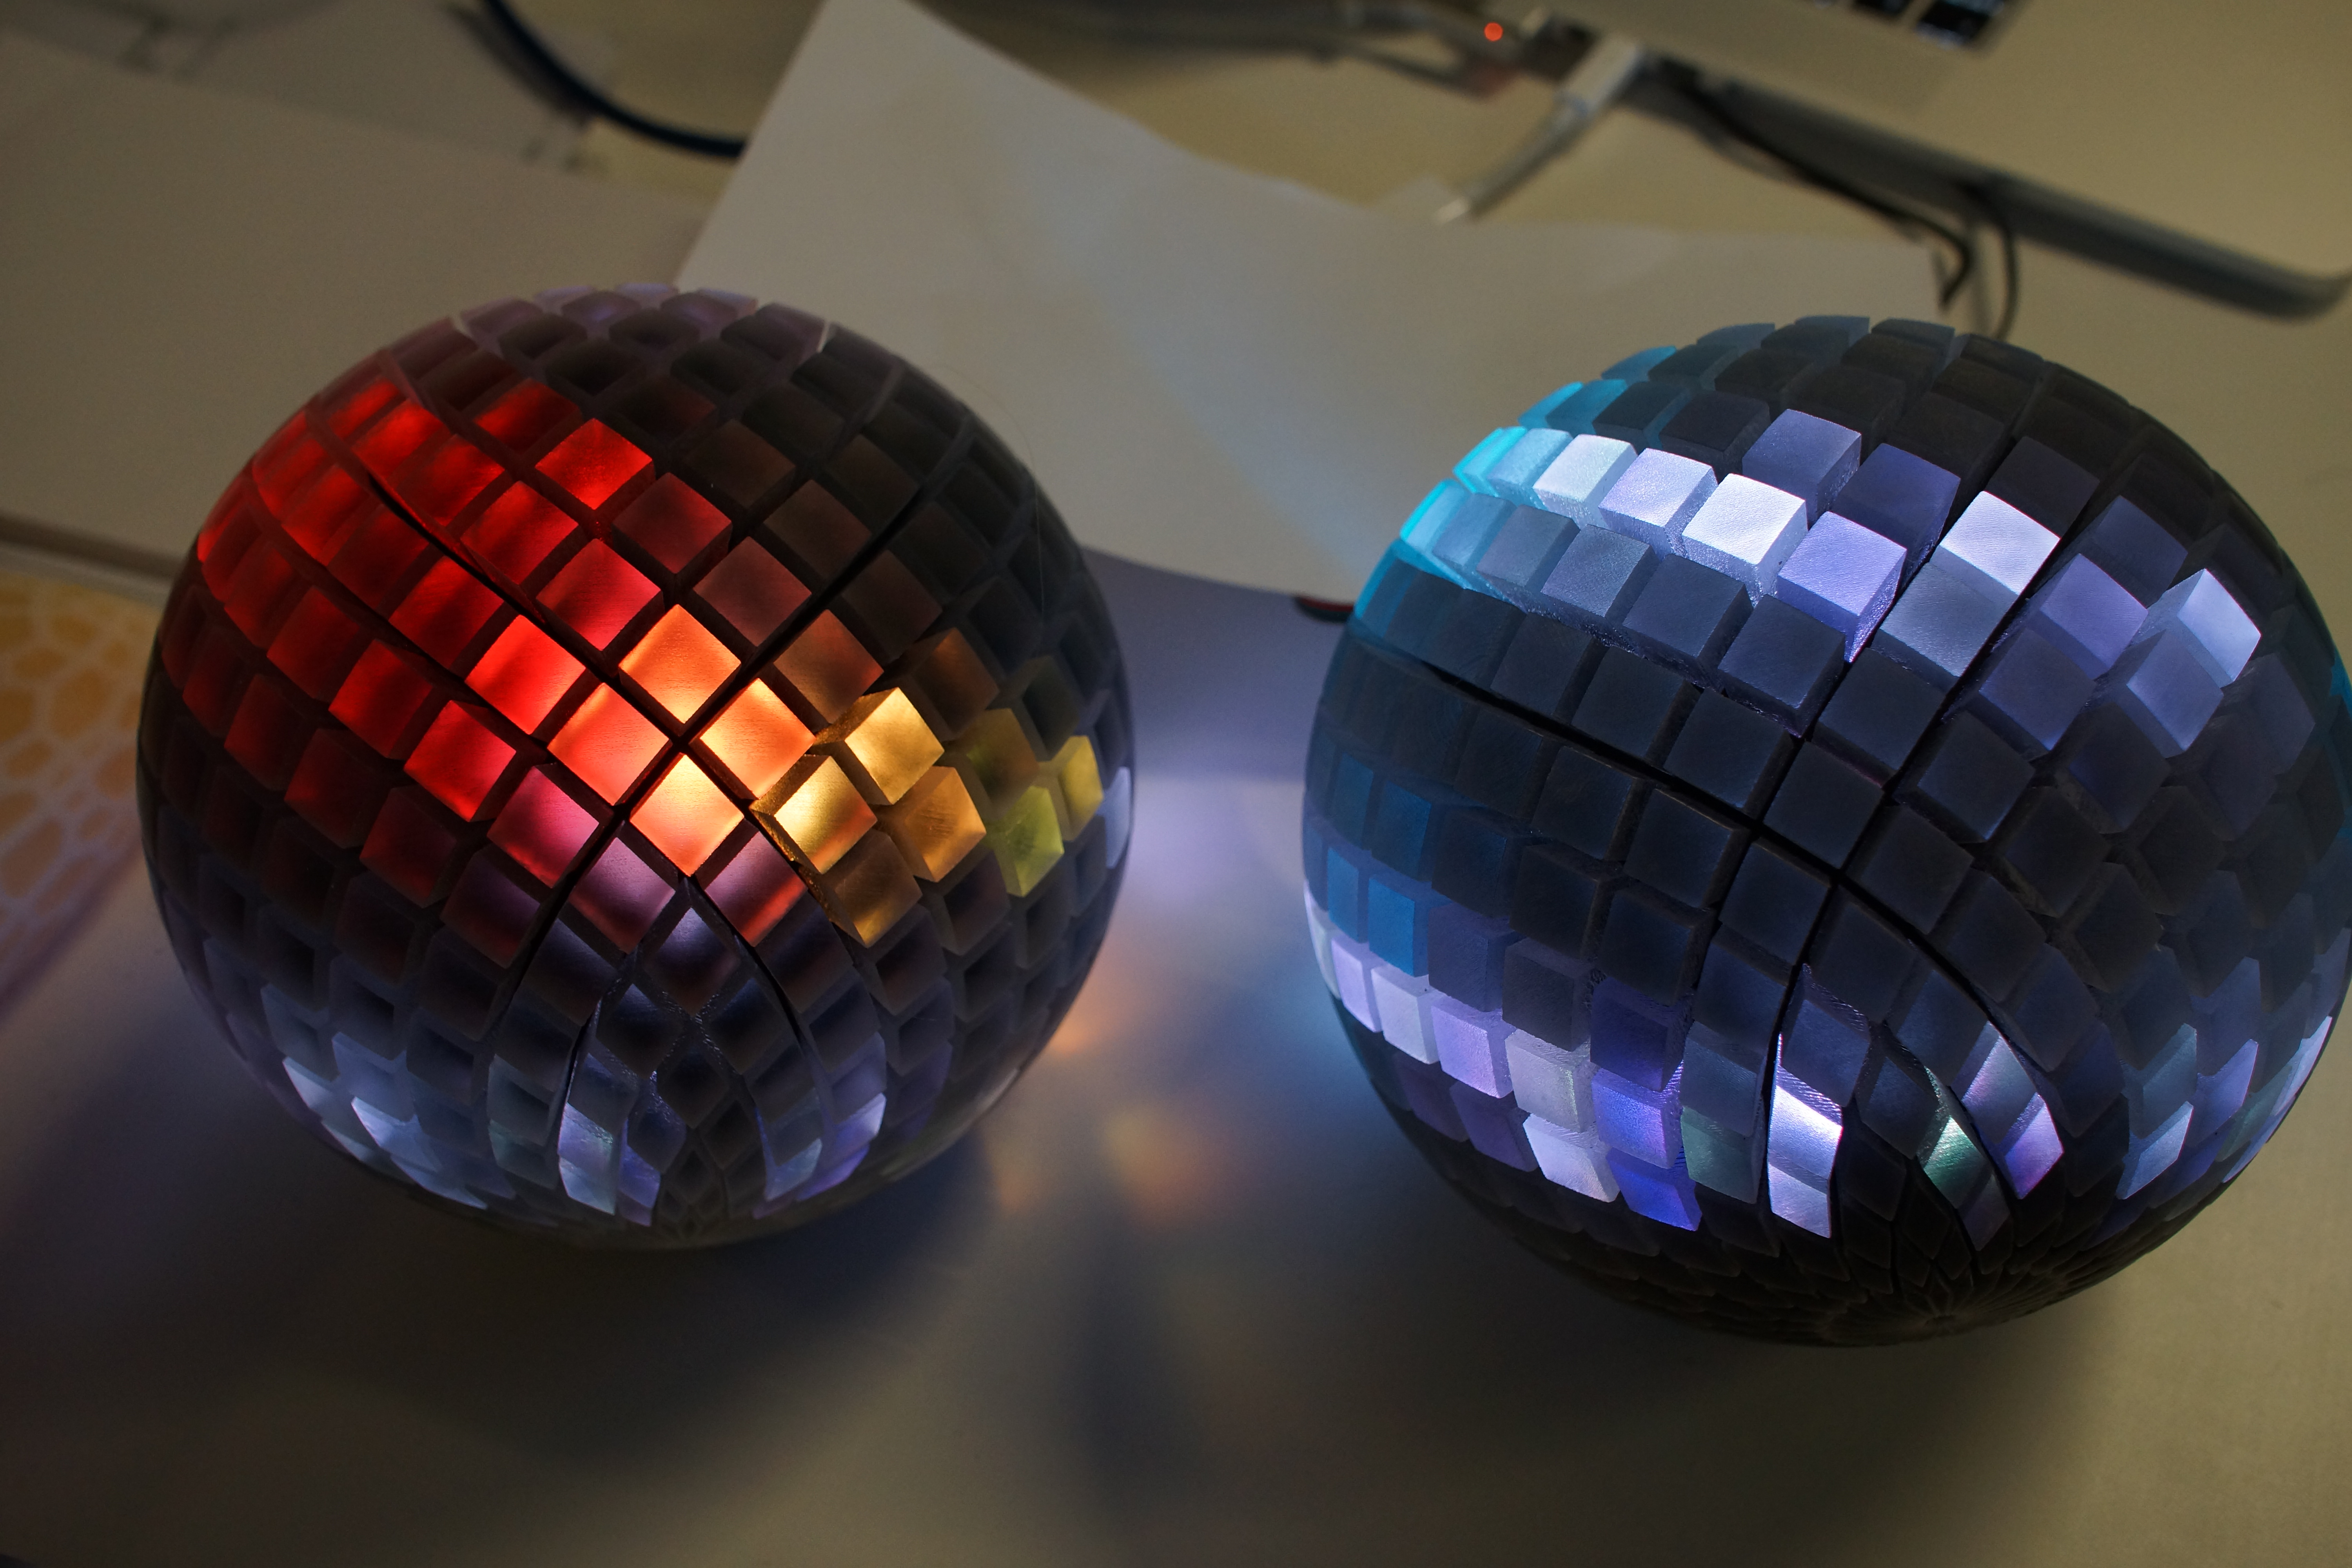
Because we were dealing with a clear material. it was only natural that we added lights. We worked with a new startup called LumiGeek to control individually addressable LED strips inside each speaker. They are controllable through an iPad app, and are audio responsive. You can check them out in action here:
If you want to make your own lights, head over to LumiGeek's site to sign-up for more info:
http://www.lumigeek.com/
If you want to make your own lights, head over to LumiGeek's site to sign-up for more info:
http://www.lumigeek.com/
Variations
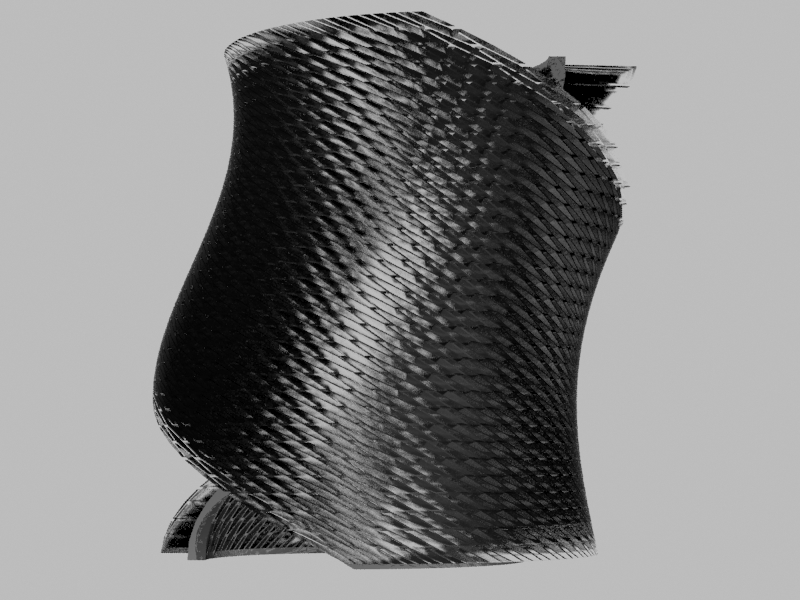
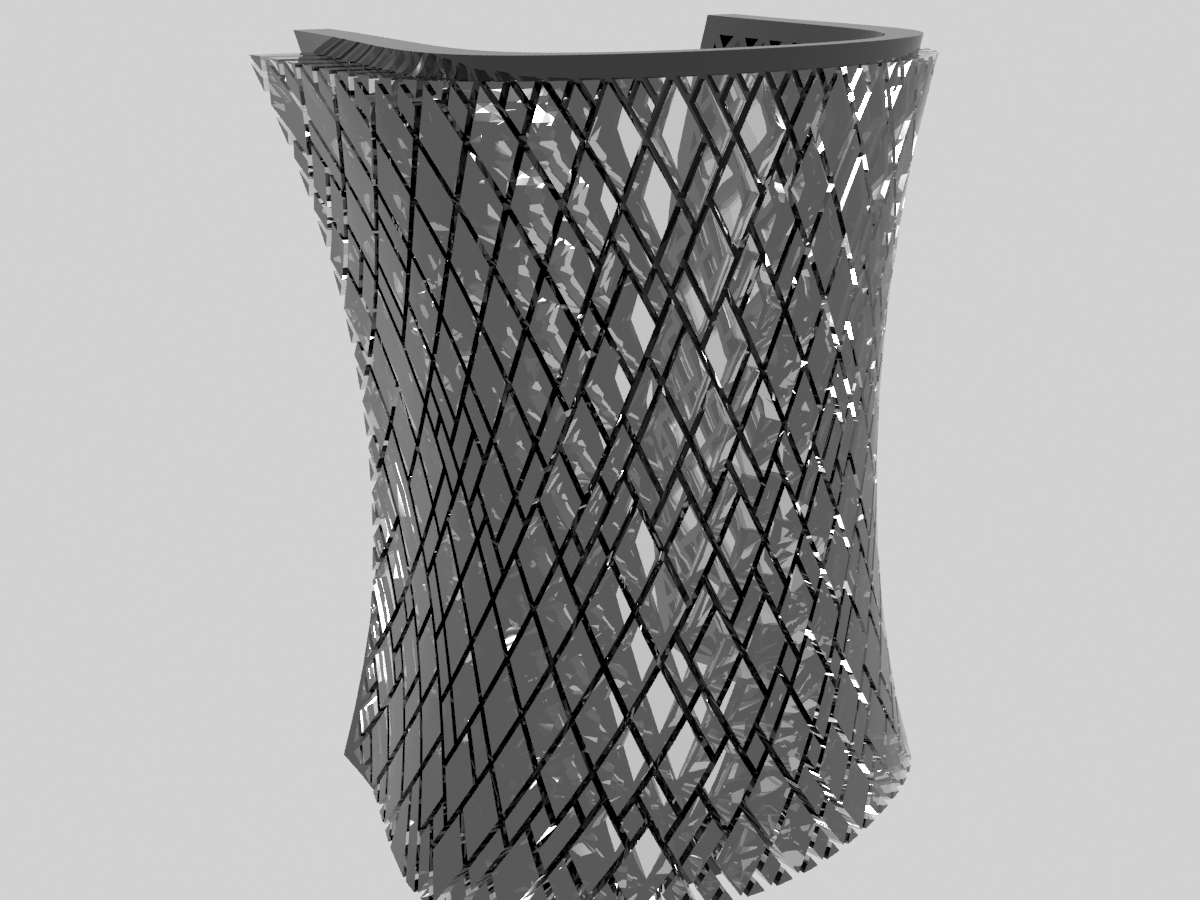
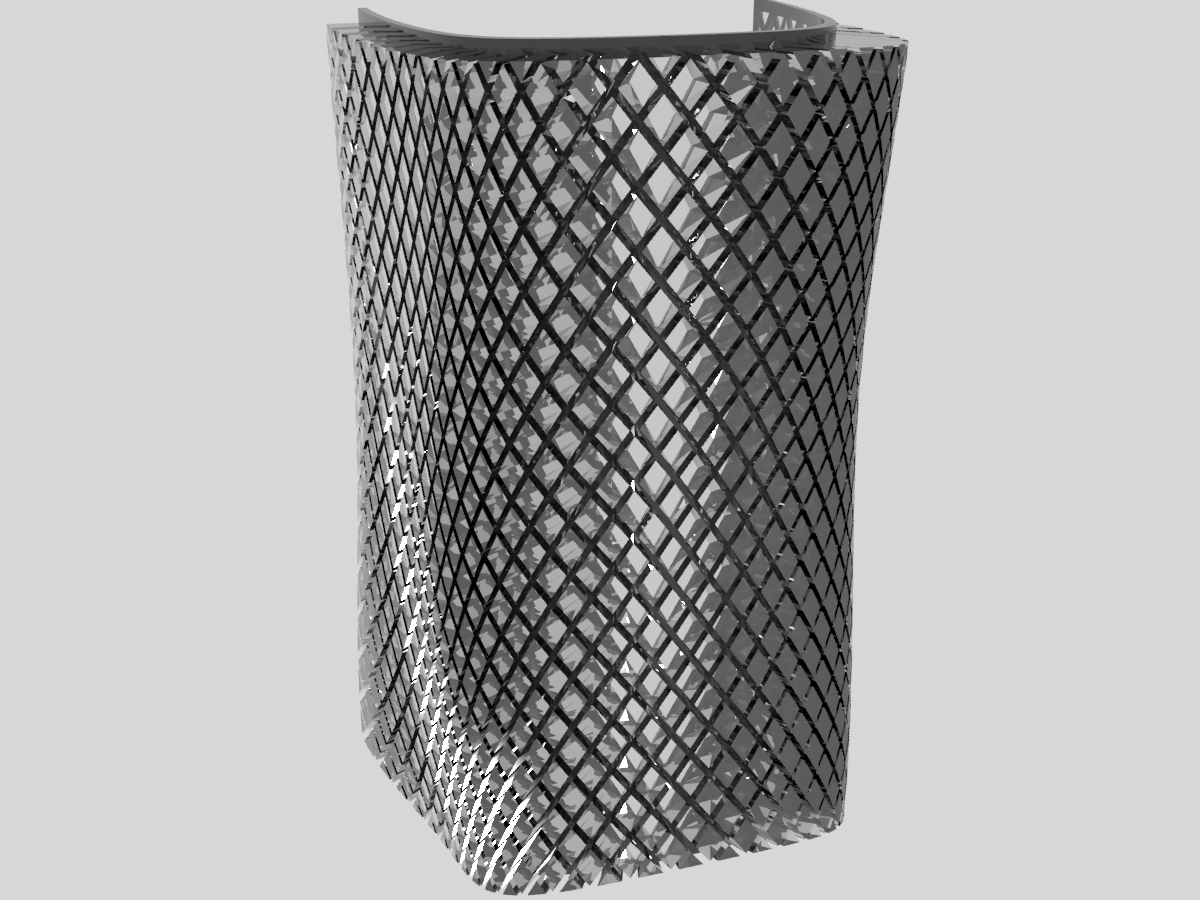
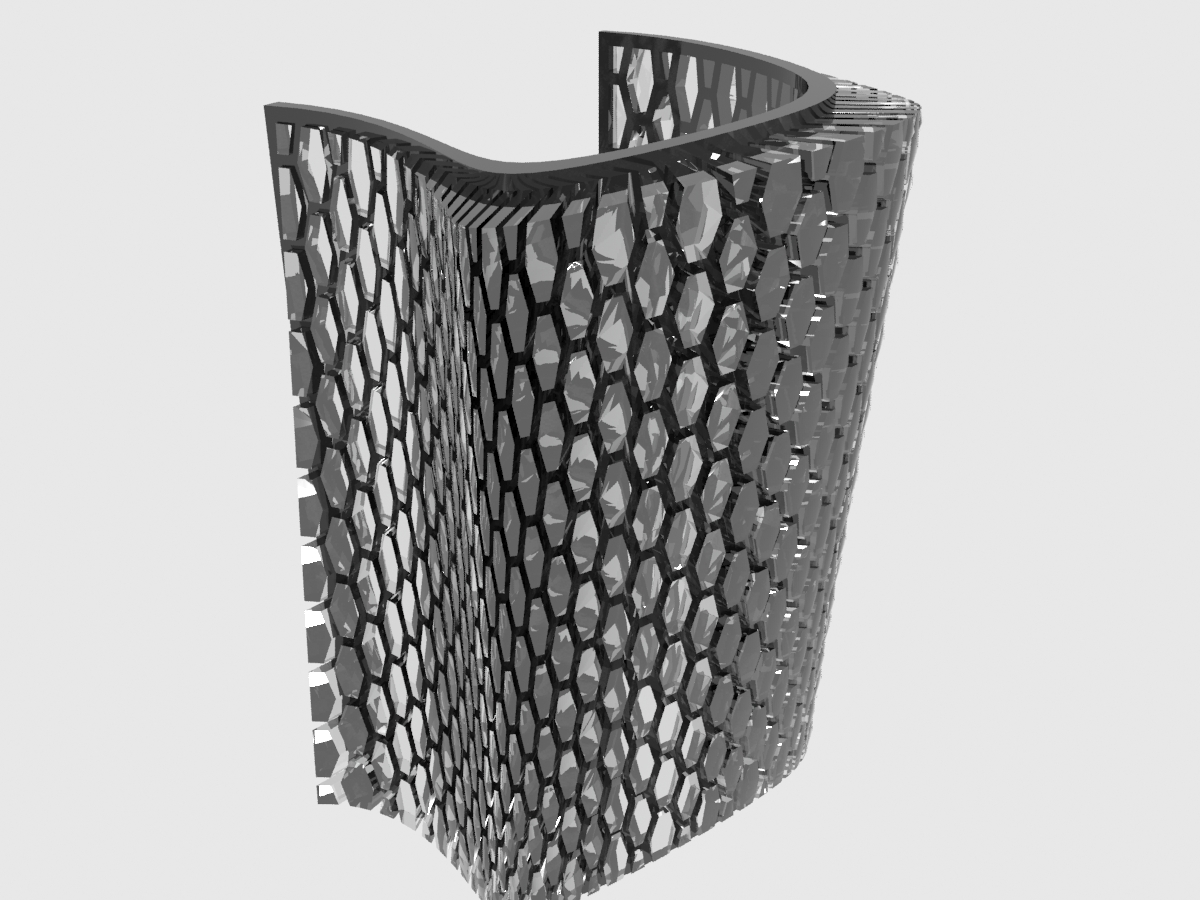
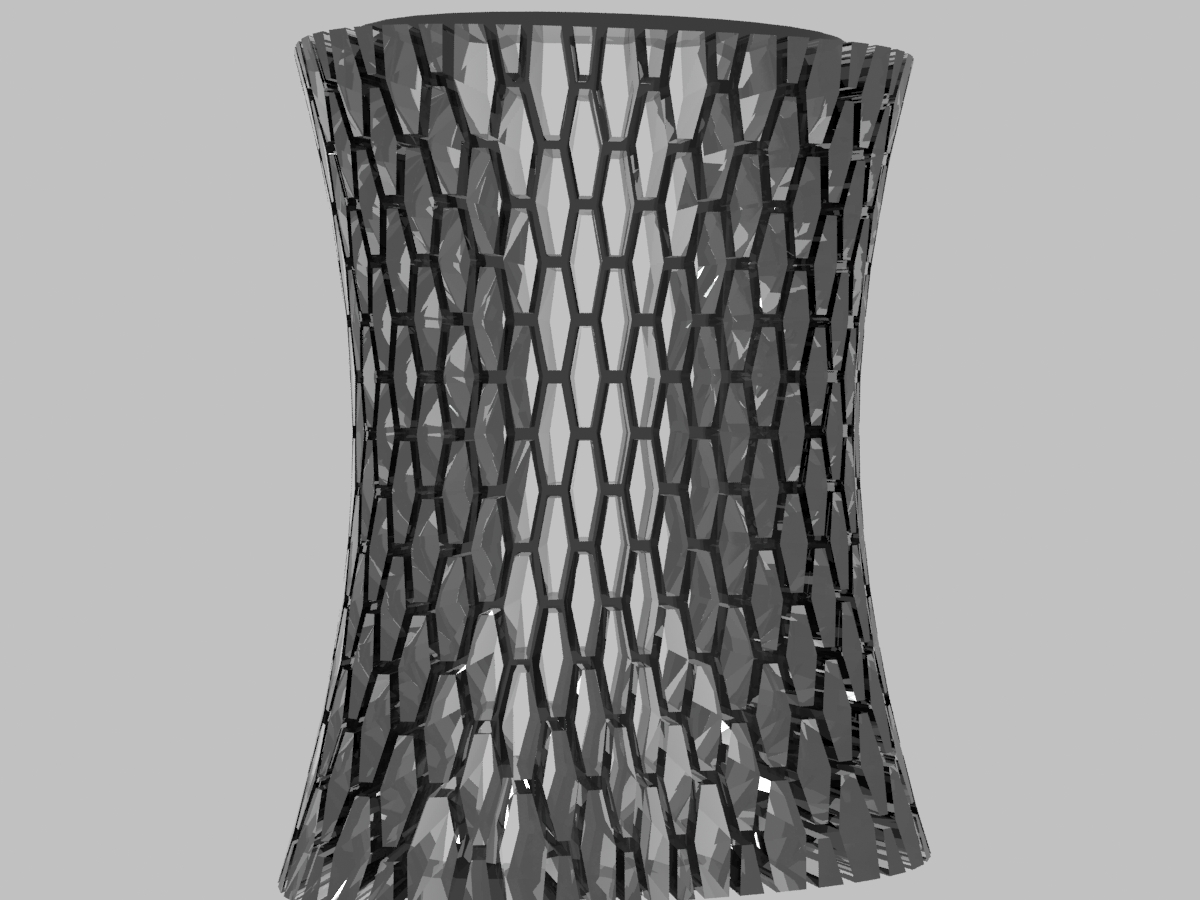
Using the Topology tool in 3ds Max, you can make a ton of cool patterns and shapes. If you start with a simple plane, you can use an FFD box in 3ds Max to manipulate it into whatever shape you want. You don't have to stick to a sphere.
Final Speakers

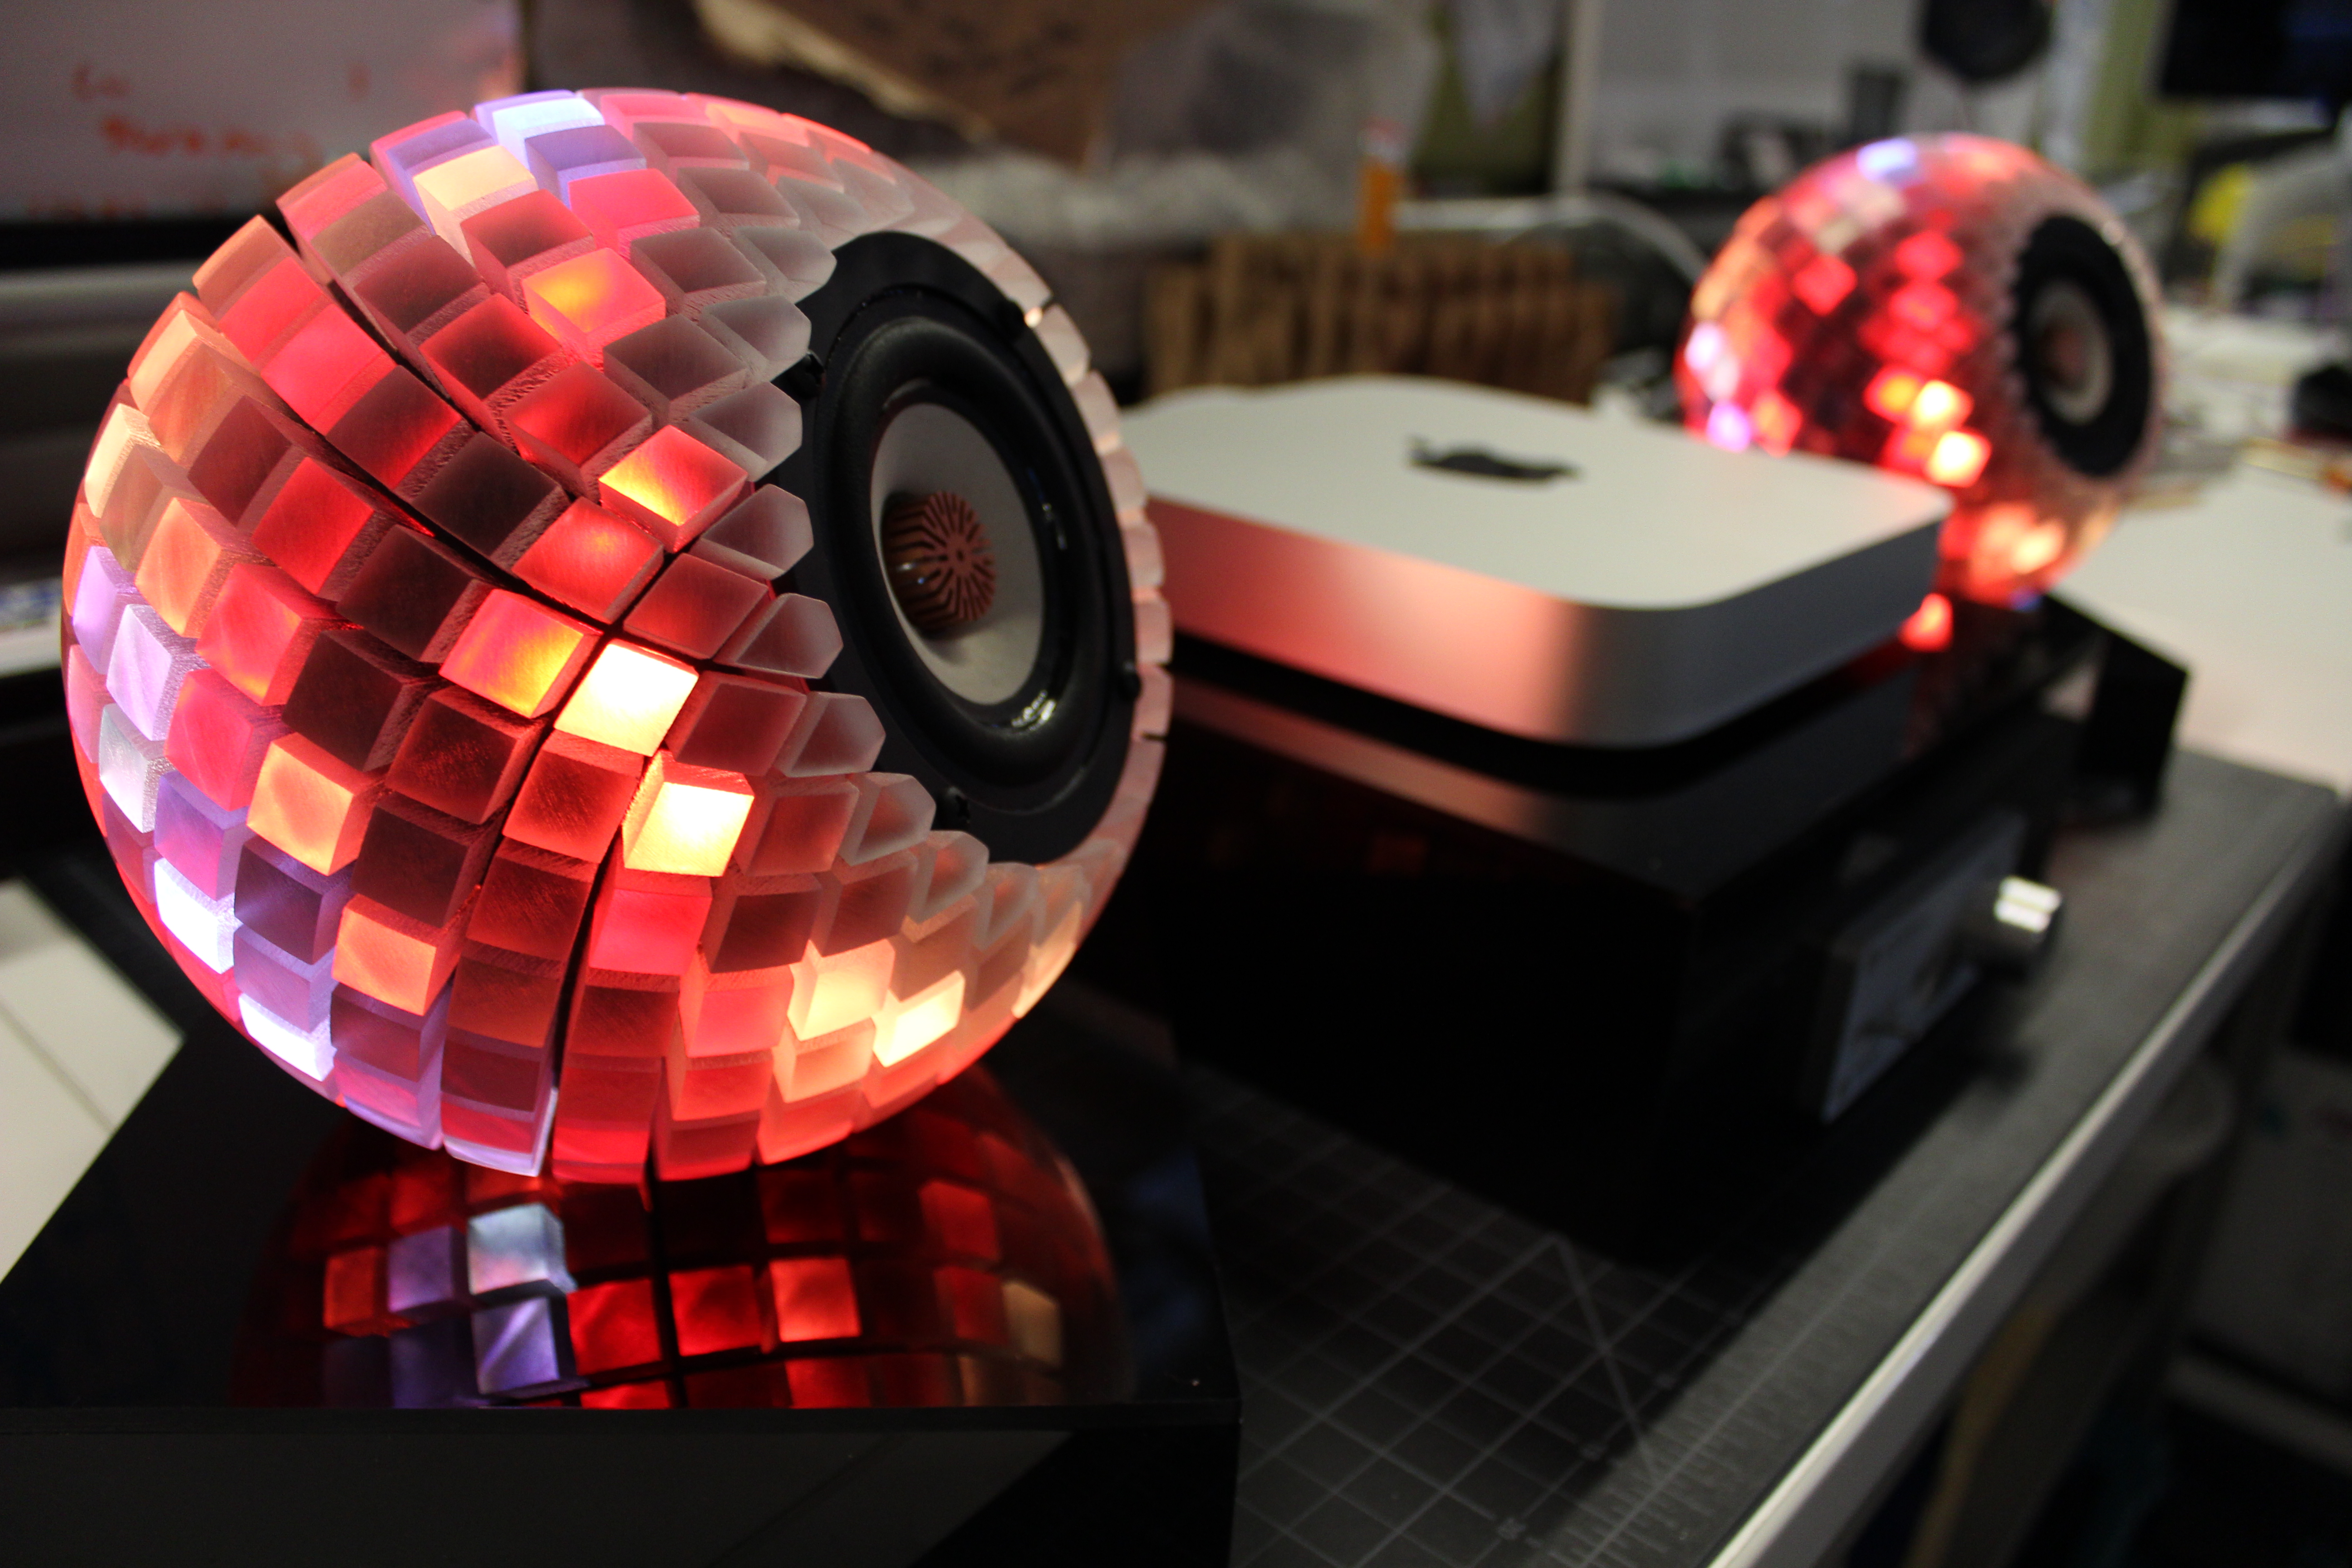
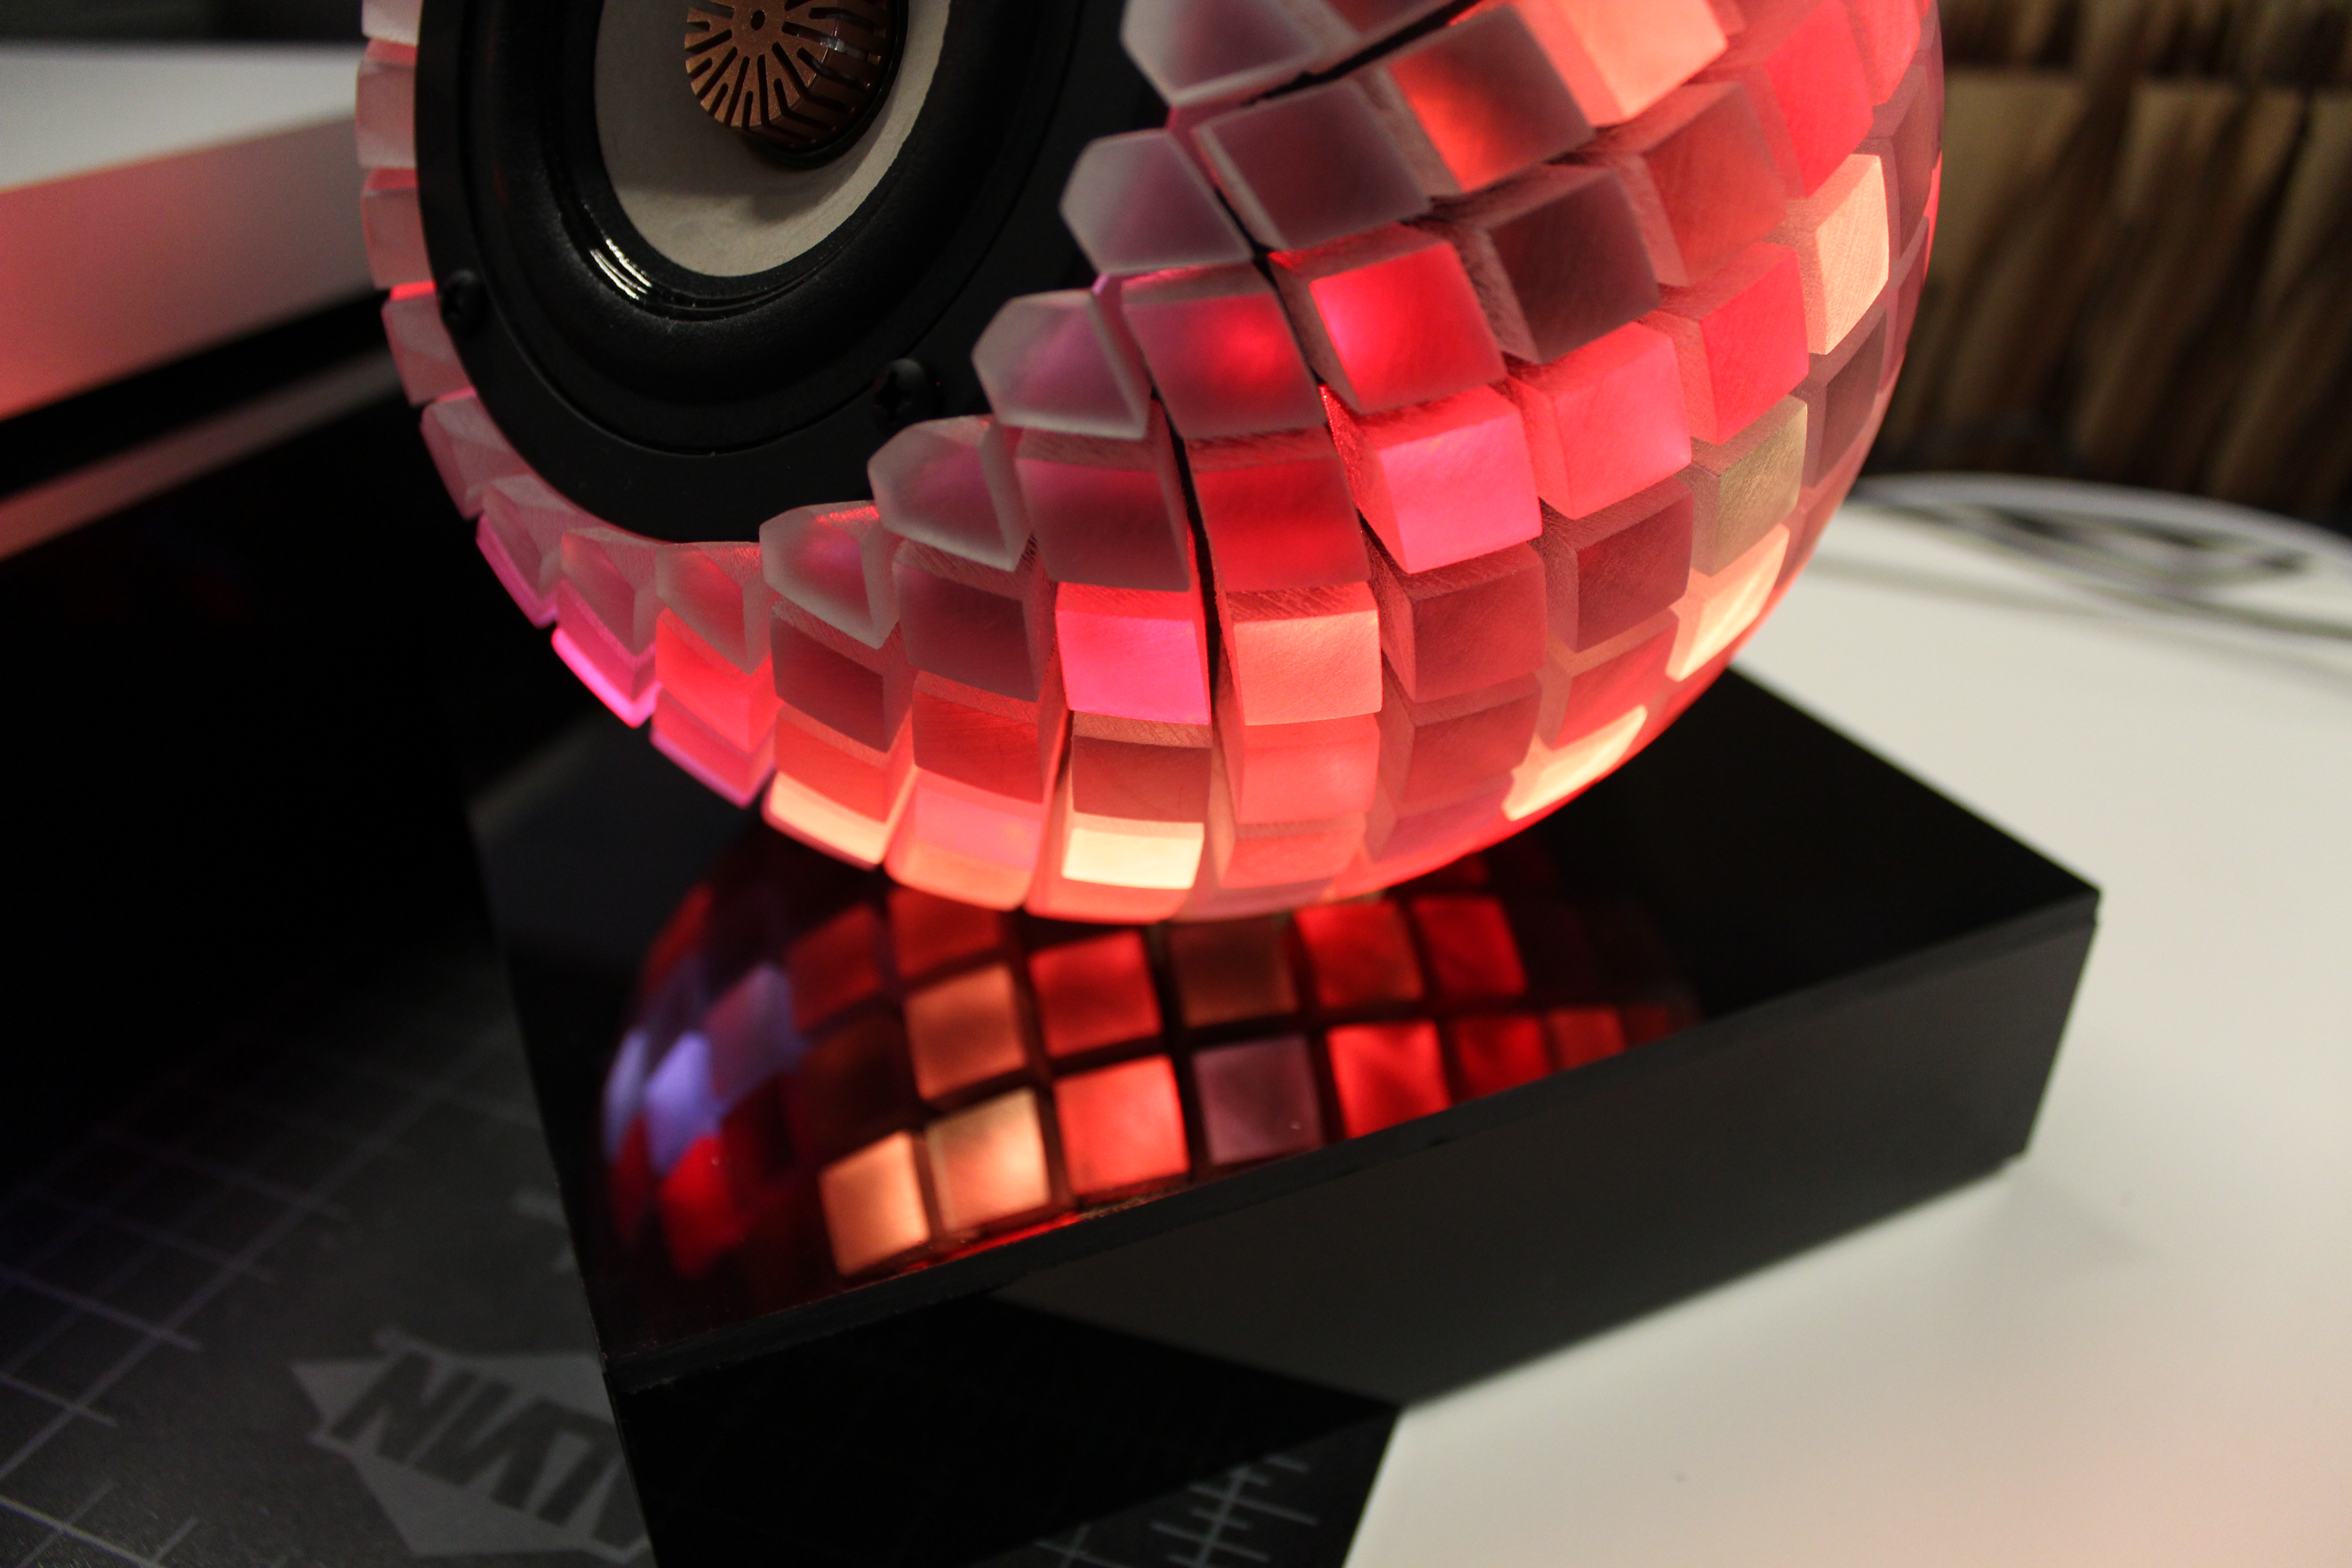

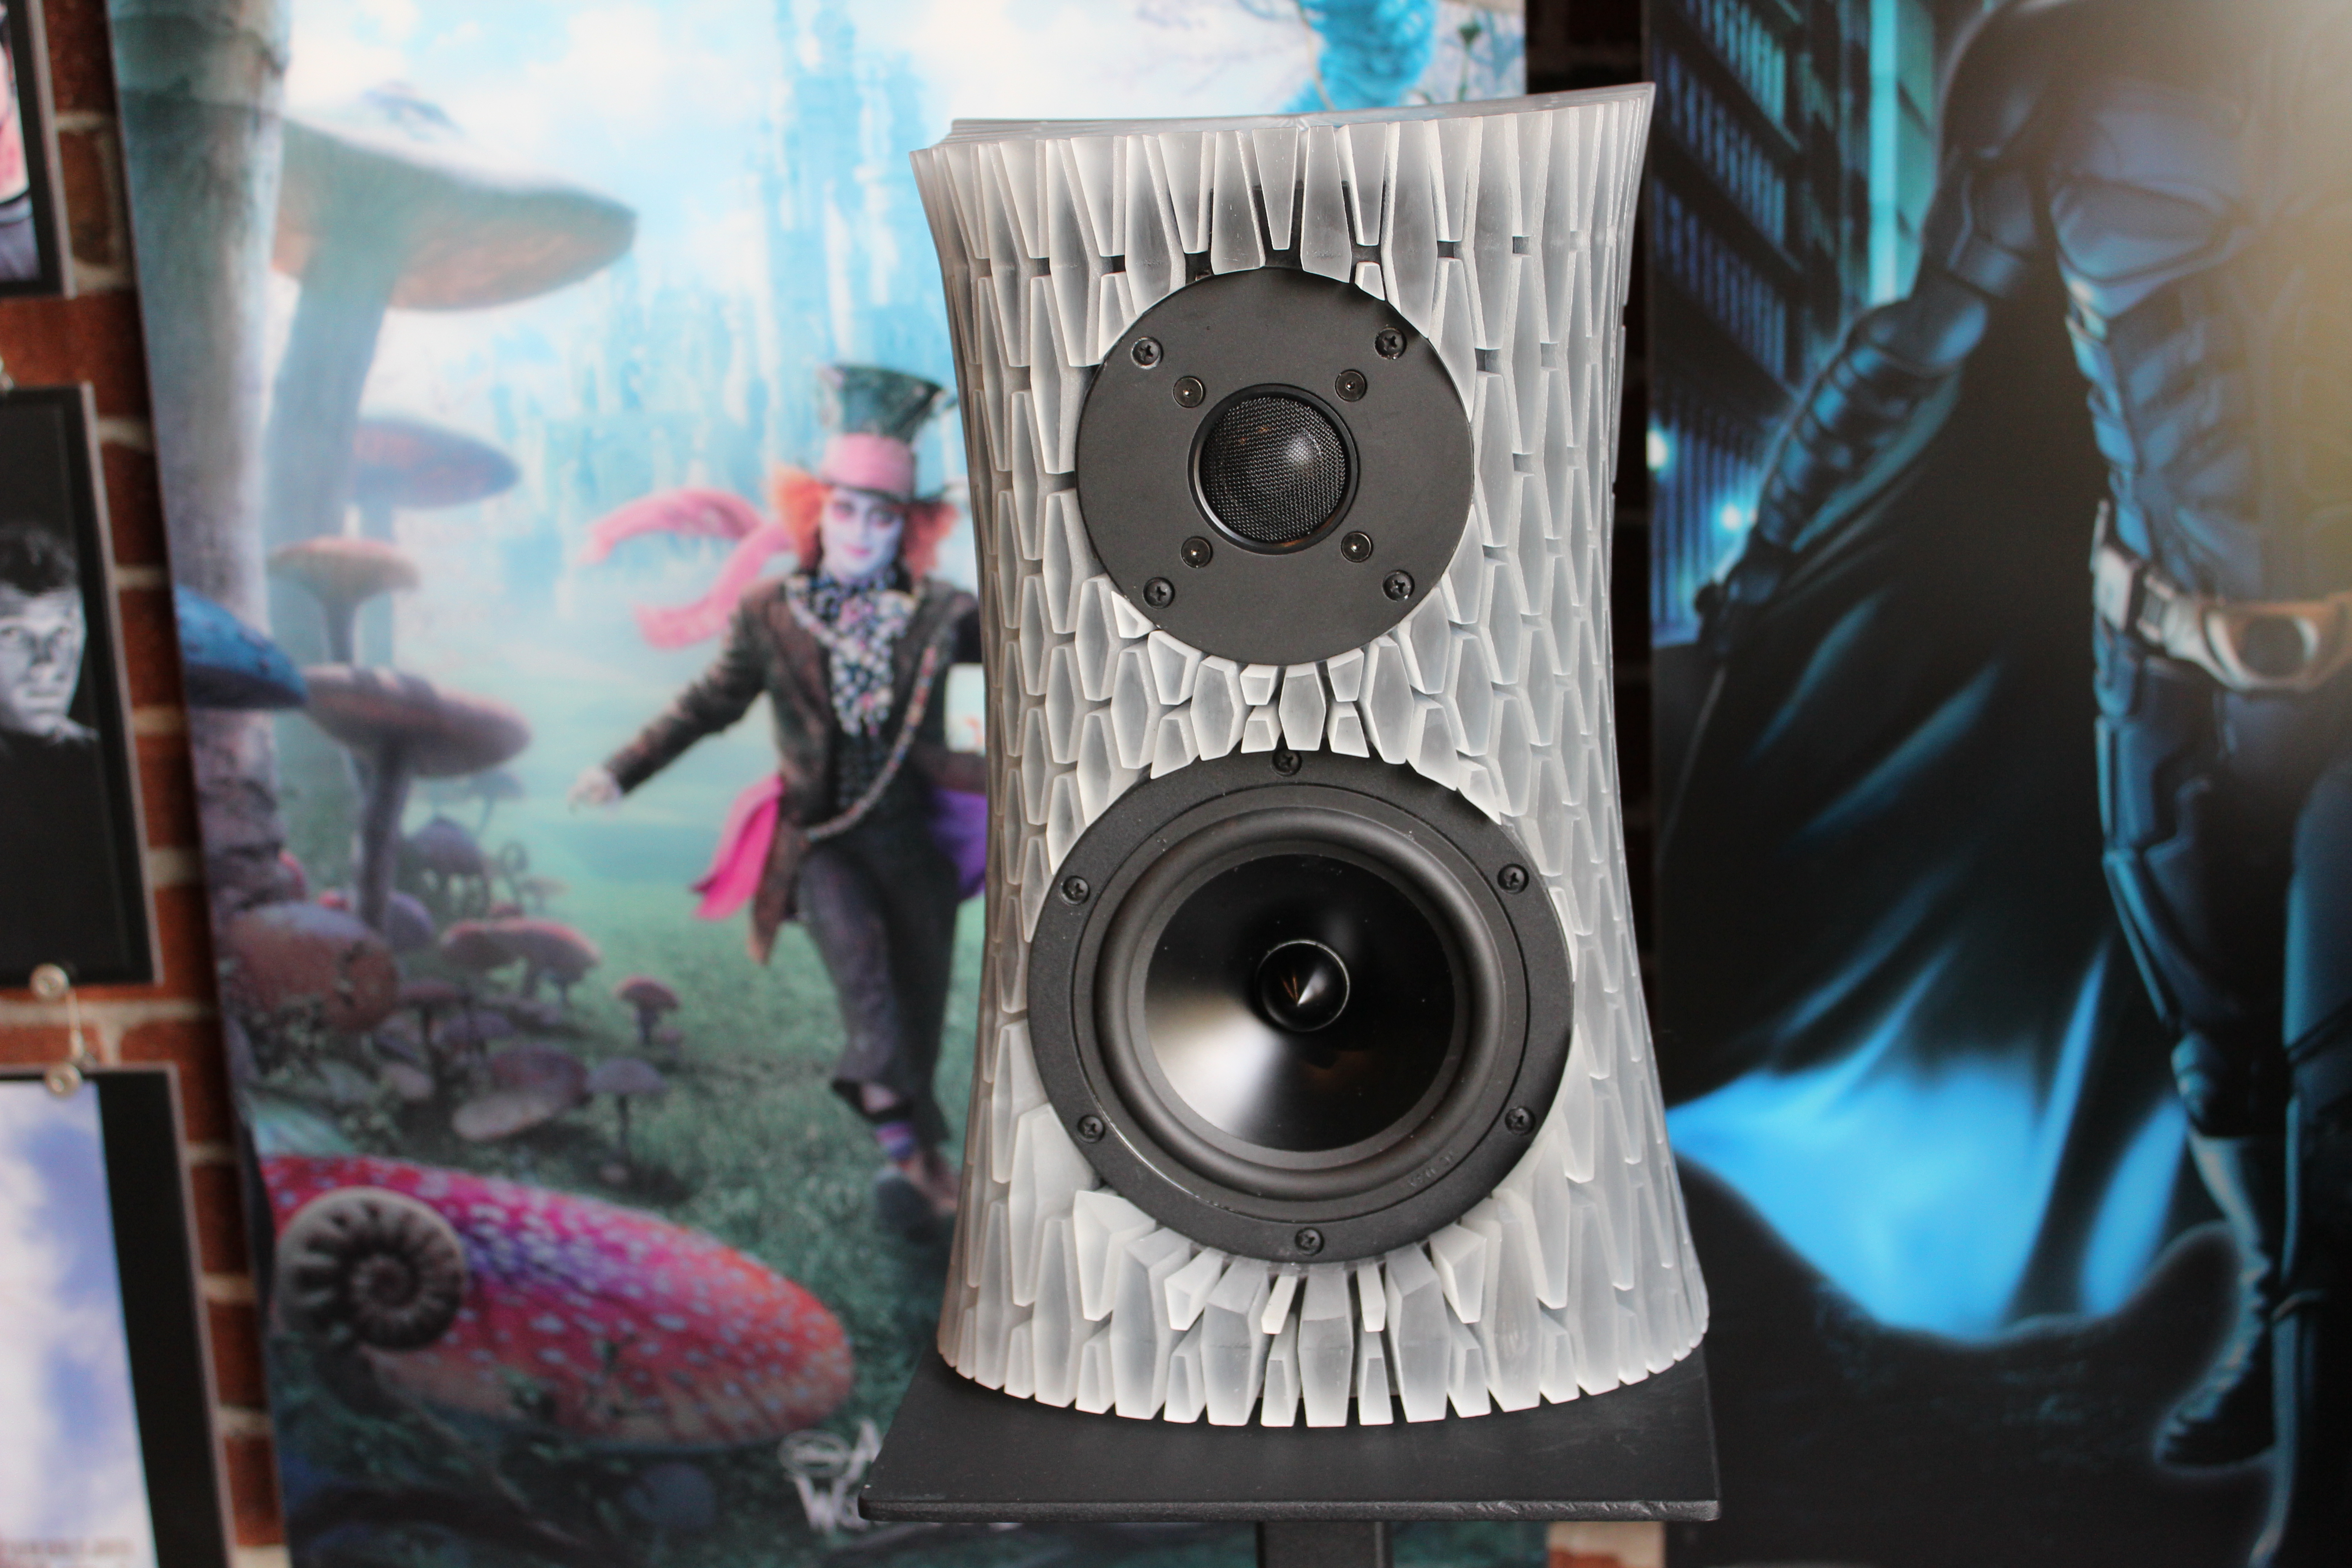
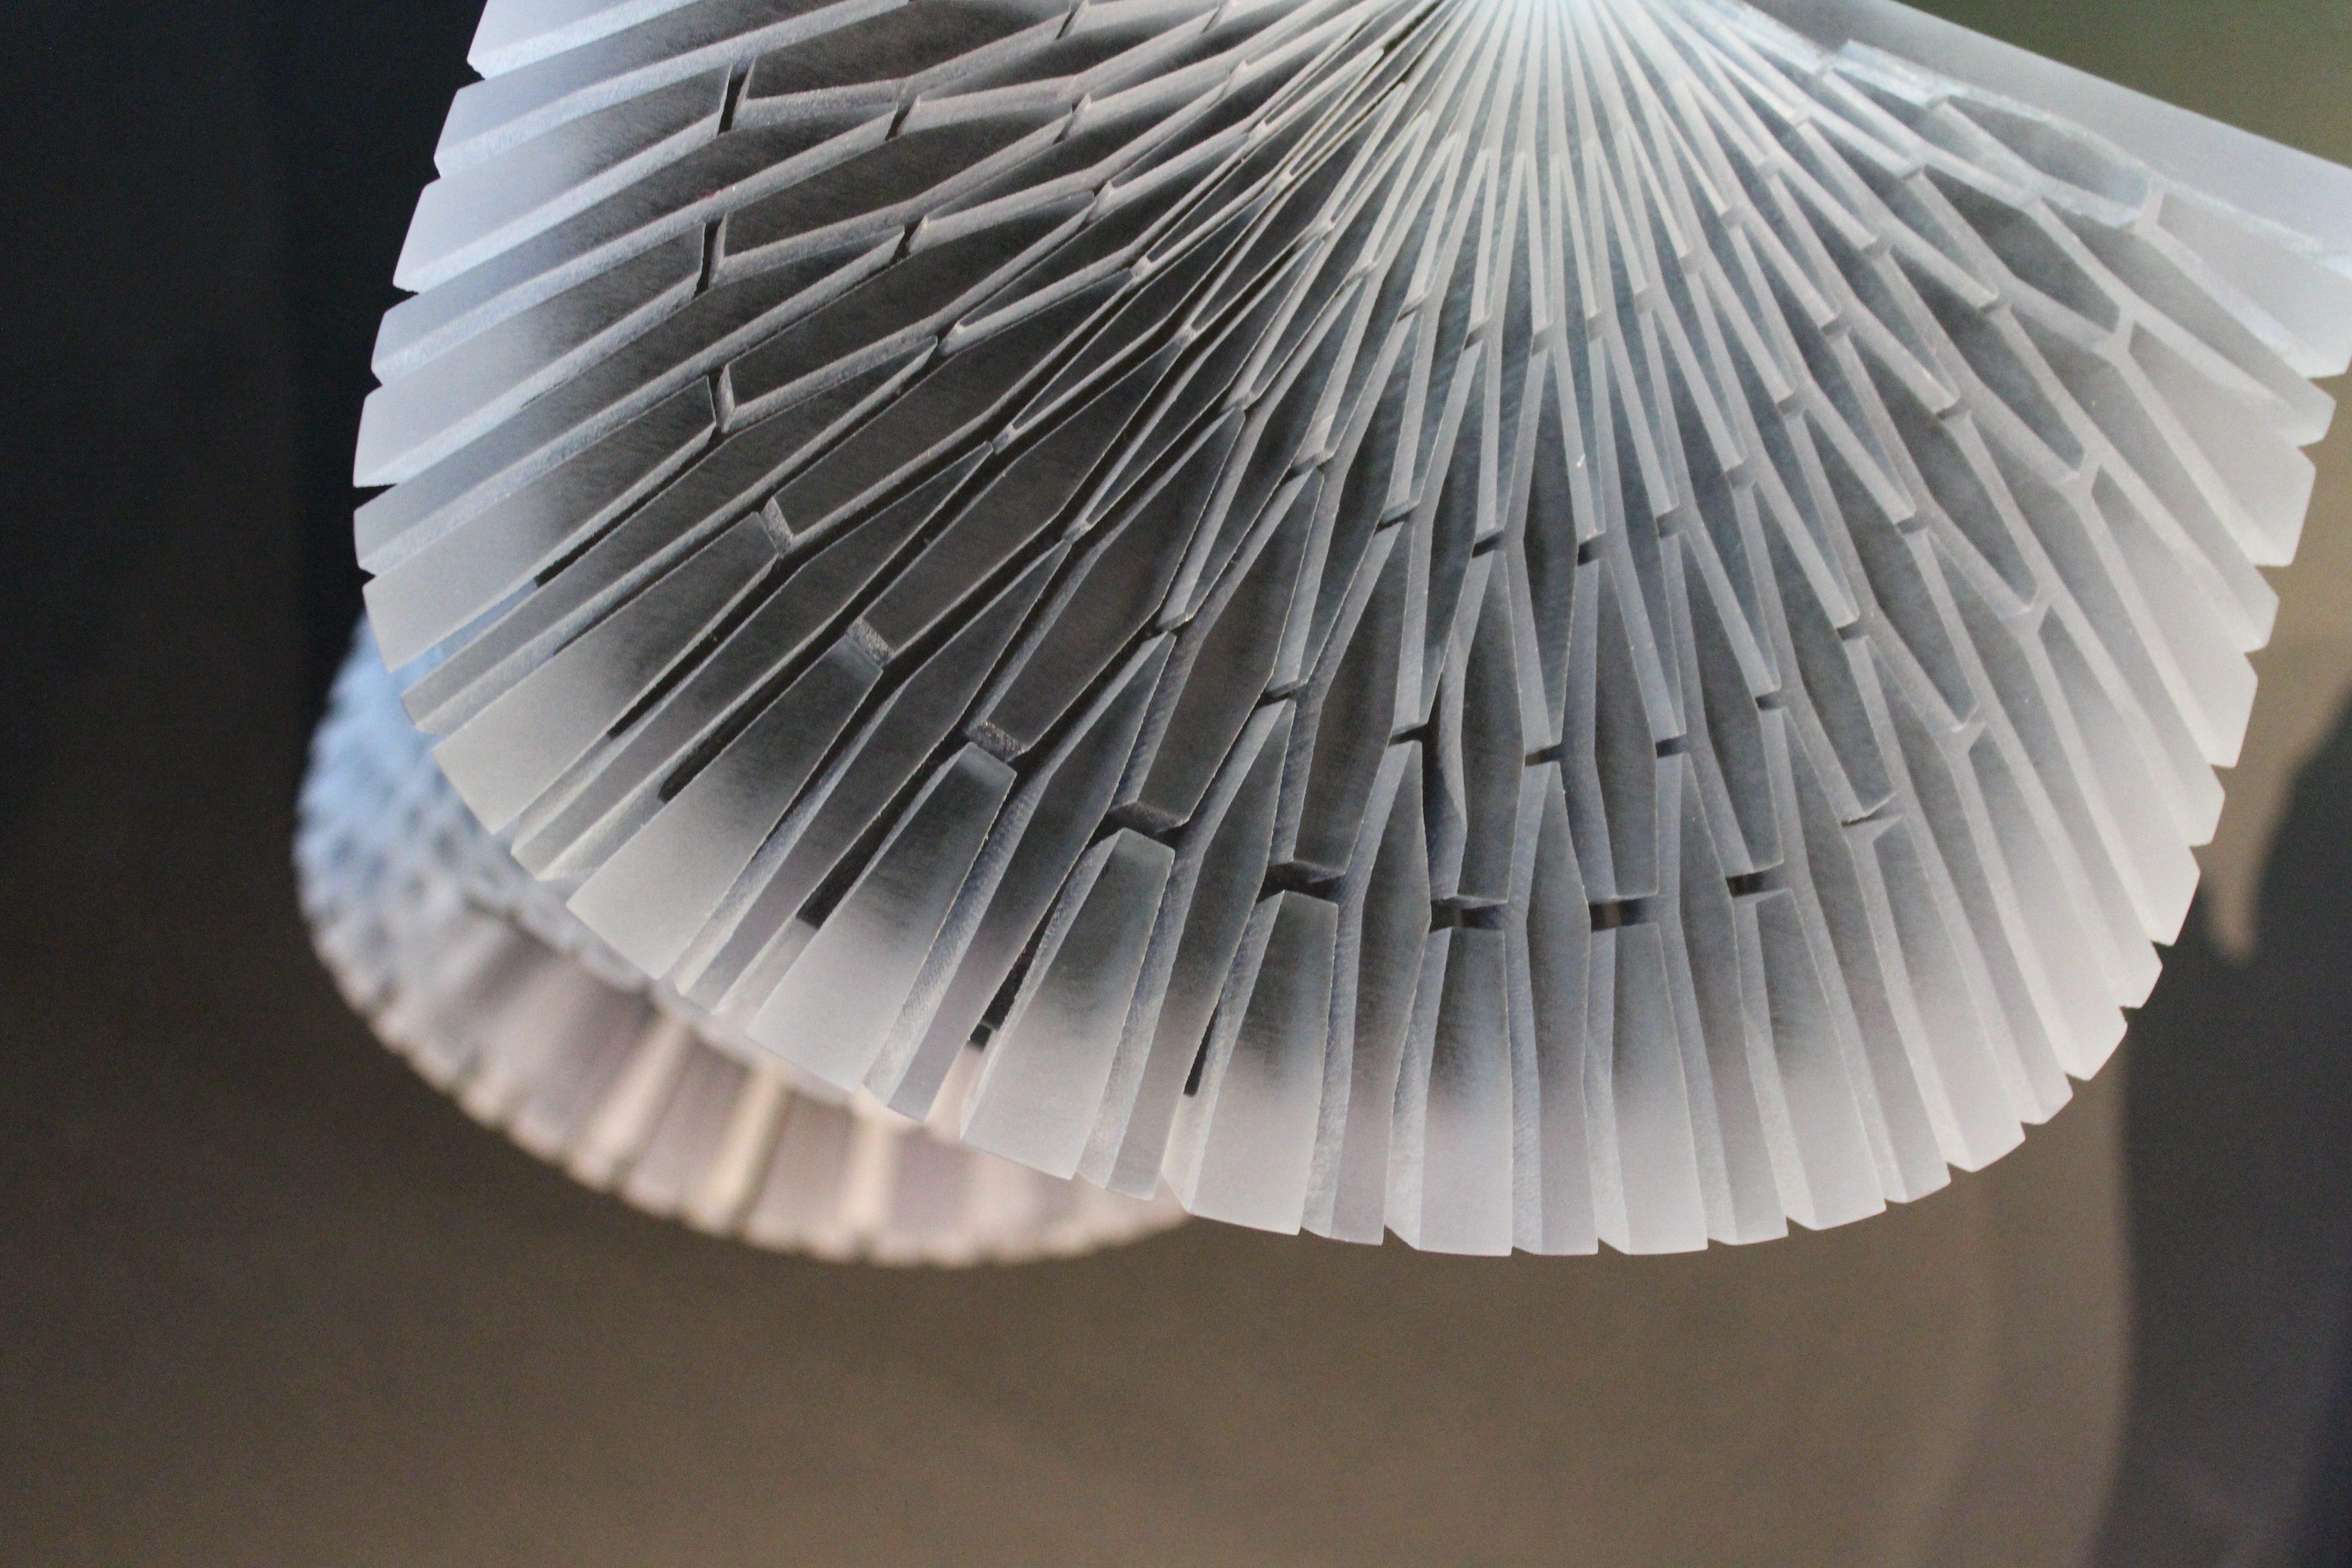
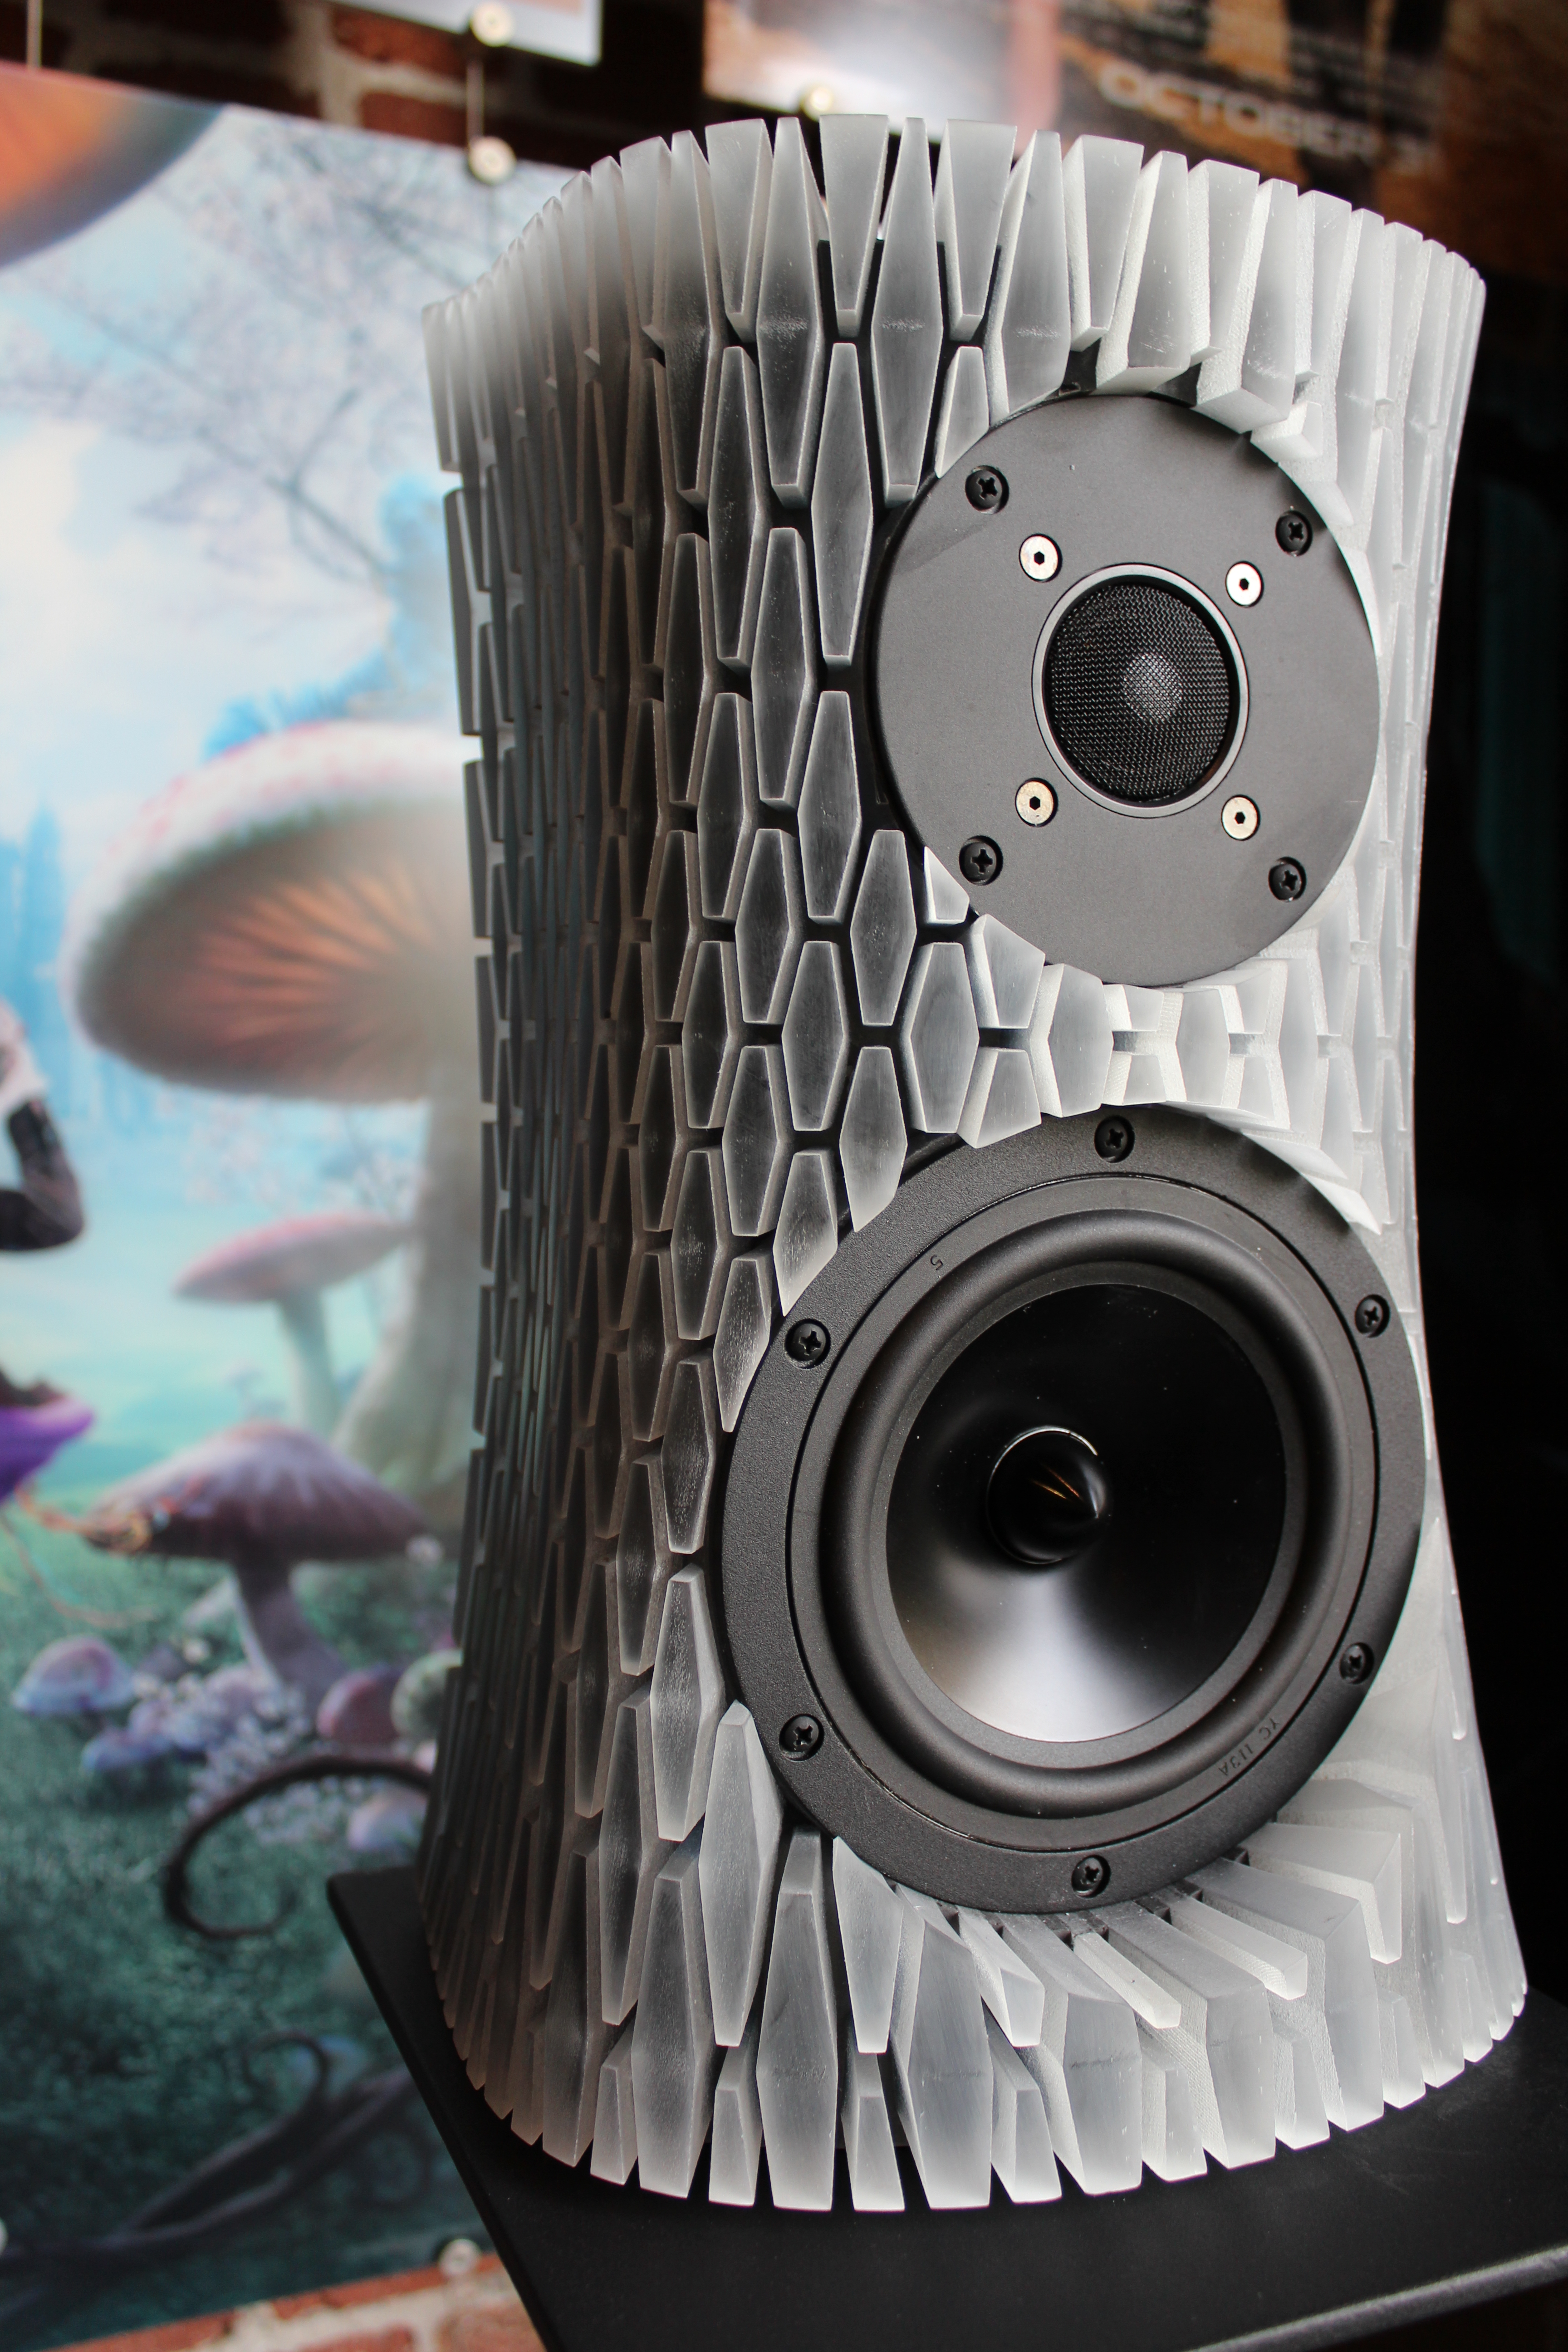
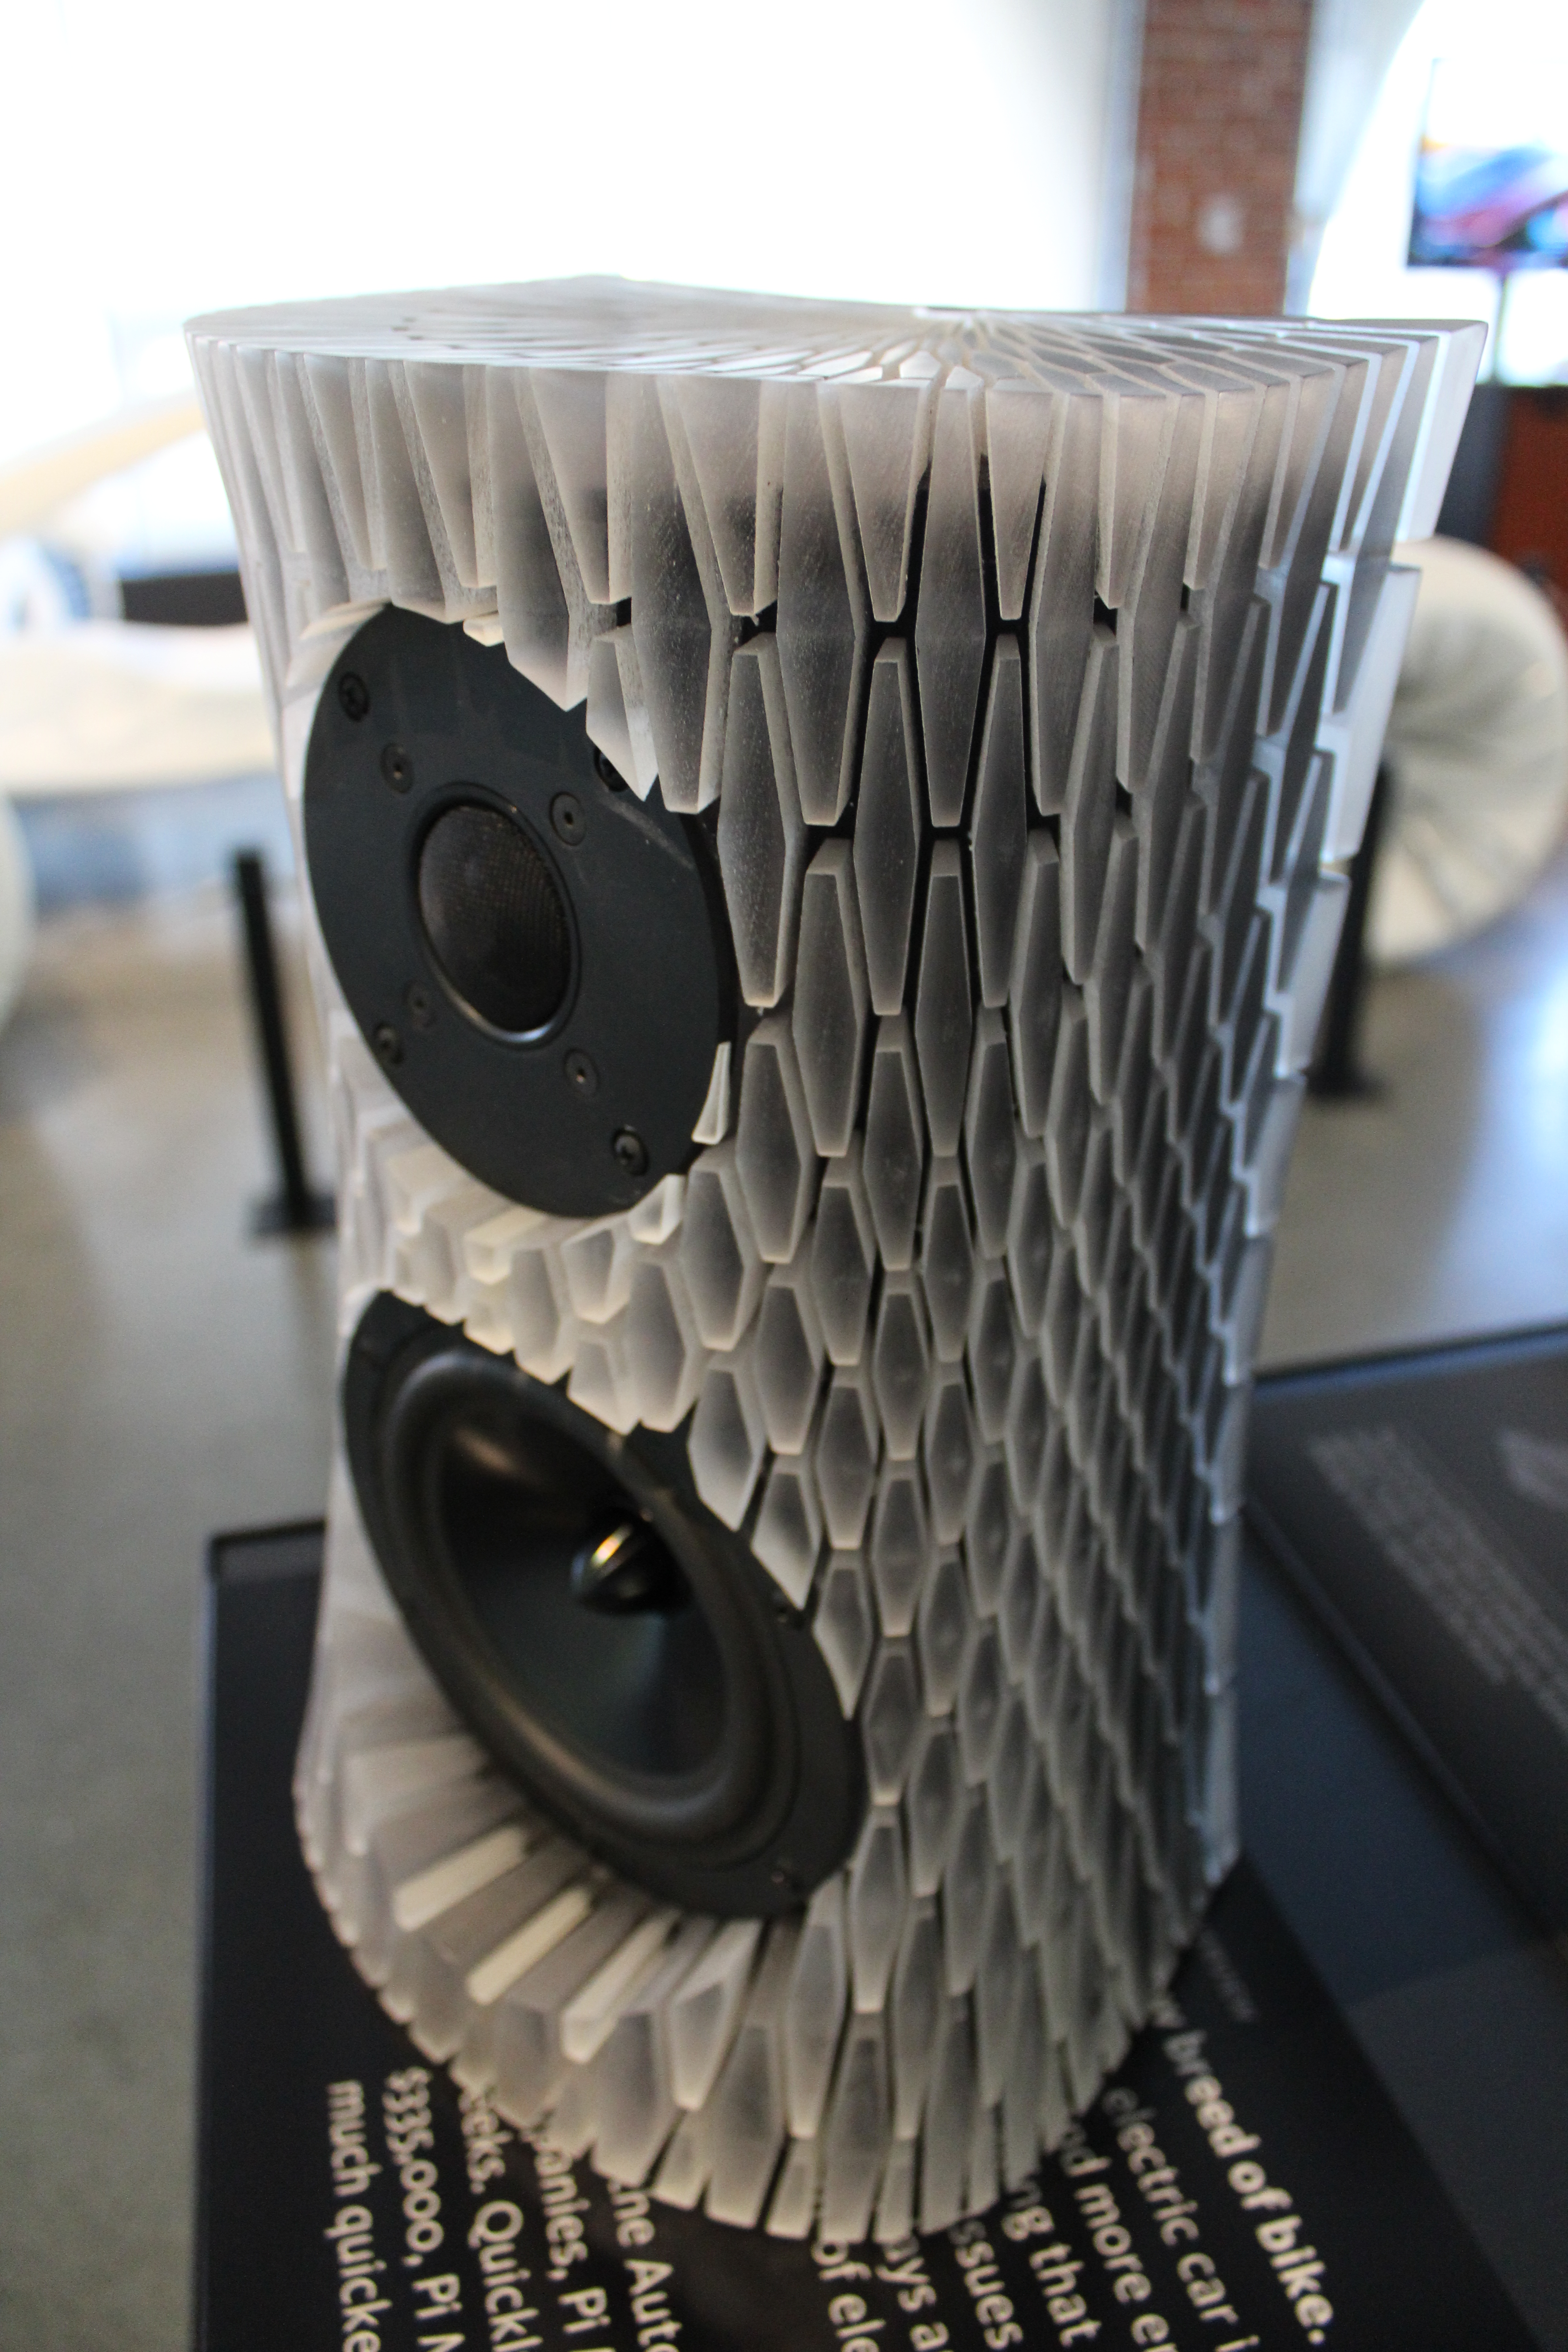
The possibilities are endless...