3D Printed Sound Bites
by amandaghassaei in Workshop > 3D Printing
22665 Views, 165 Favorites, 0 Comments
3D Printed Sound Bites
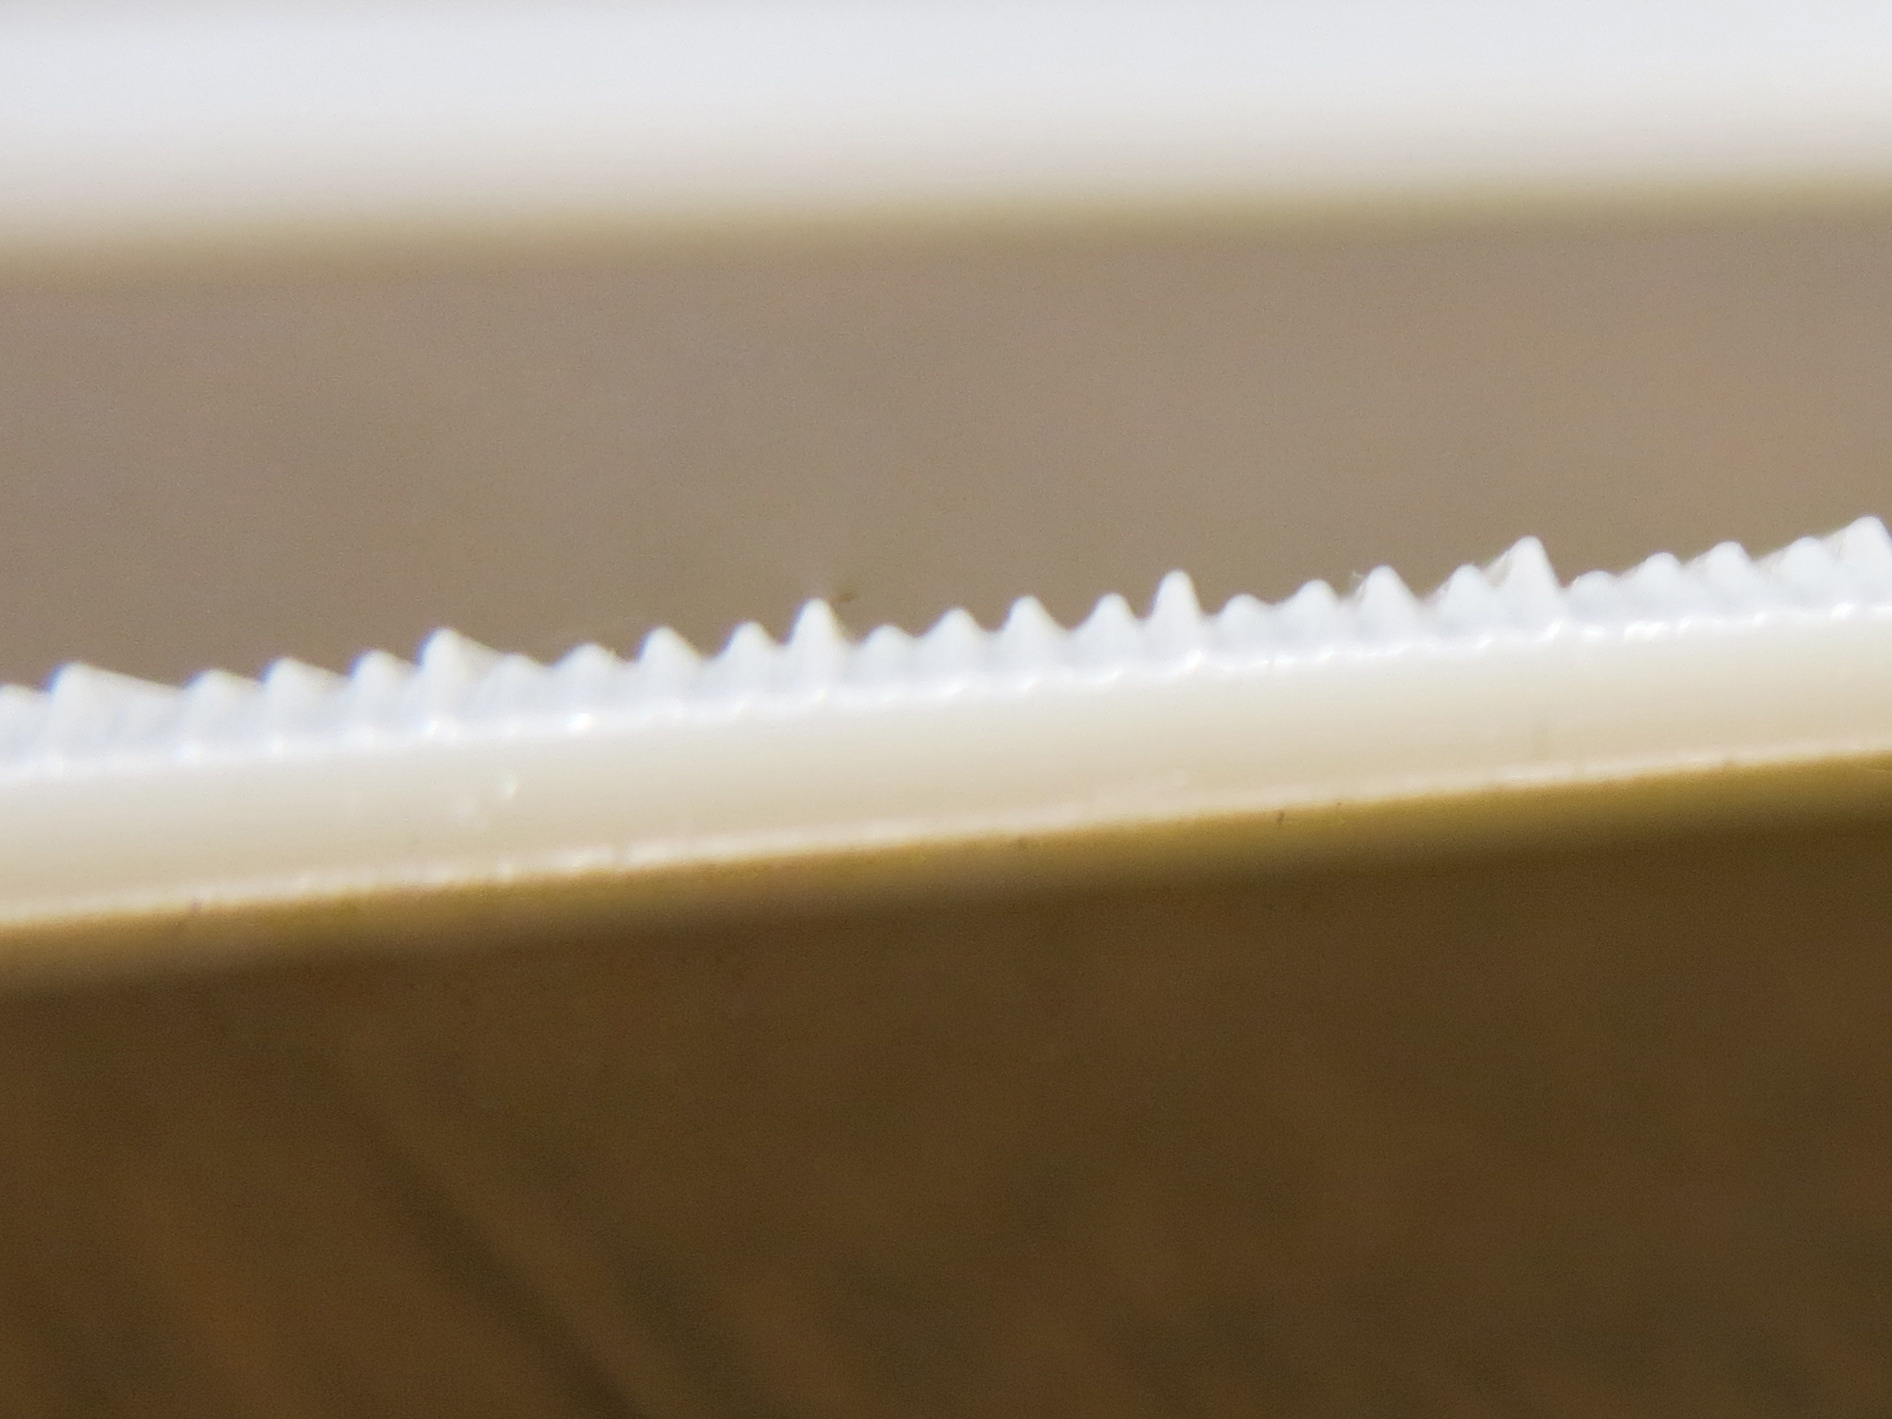
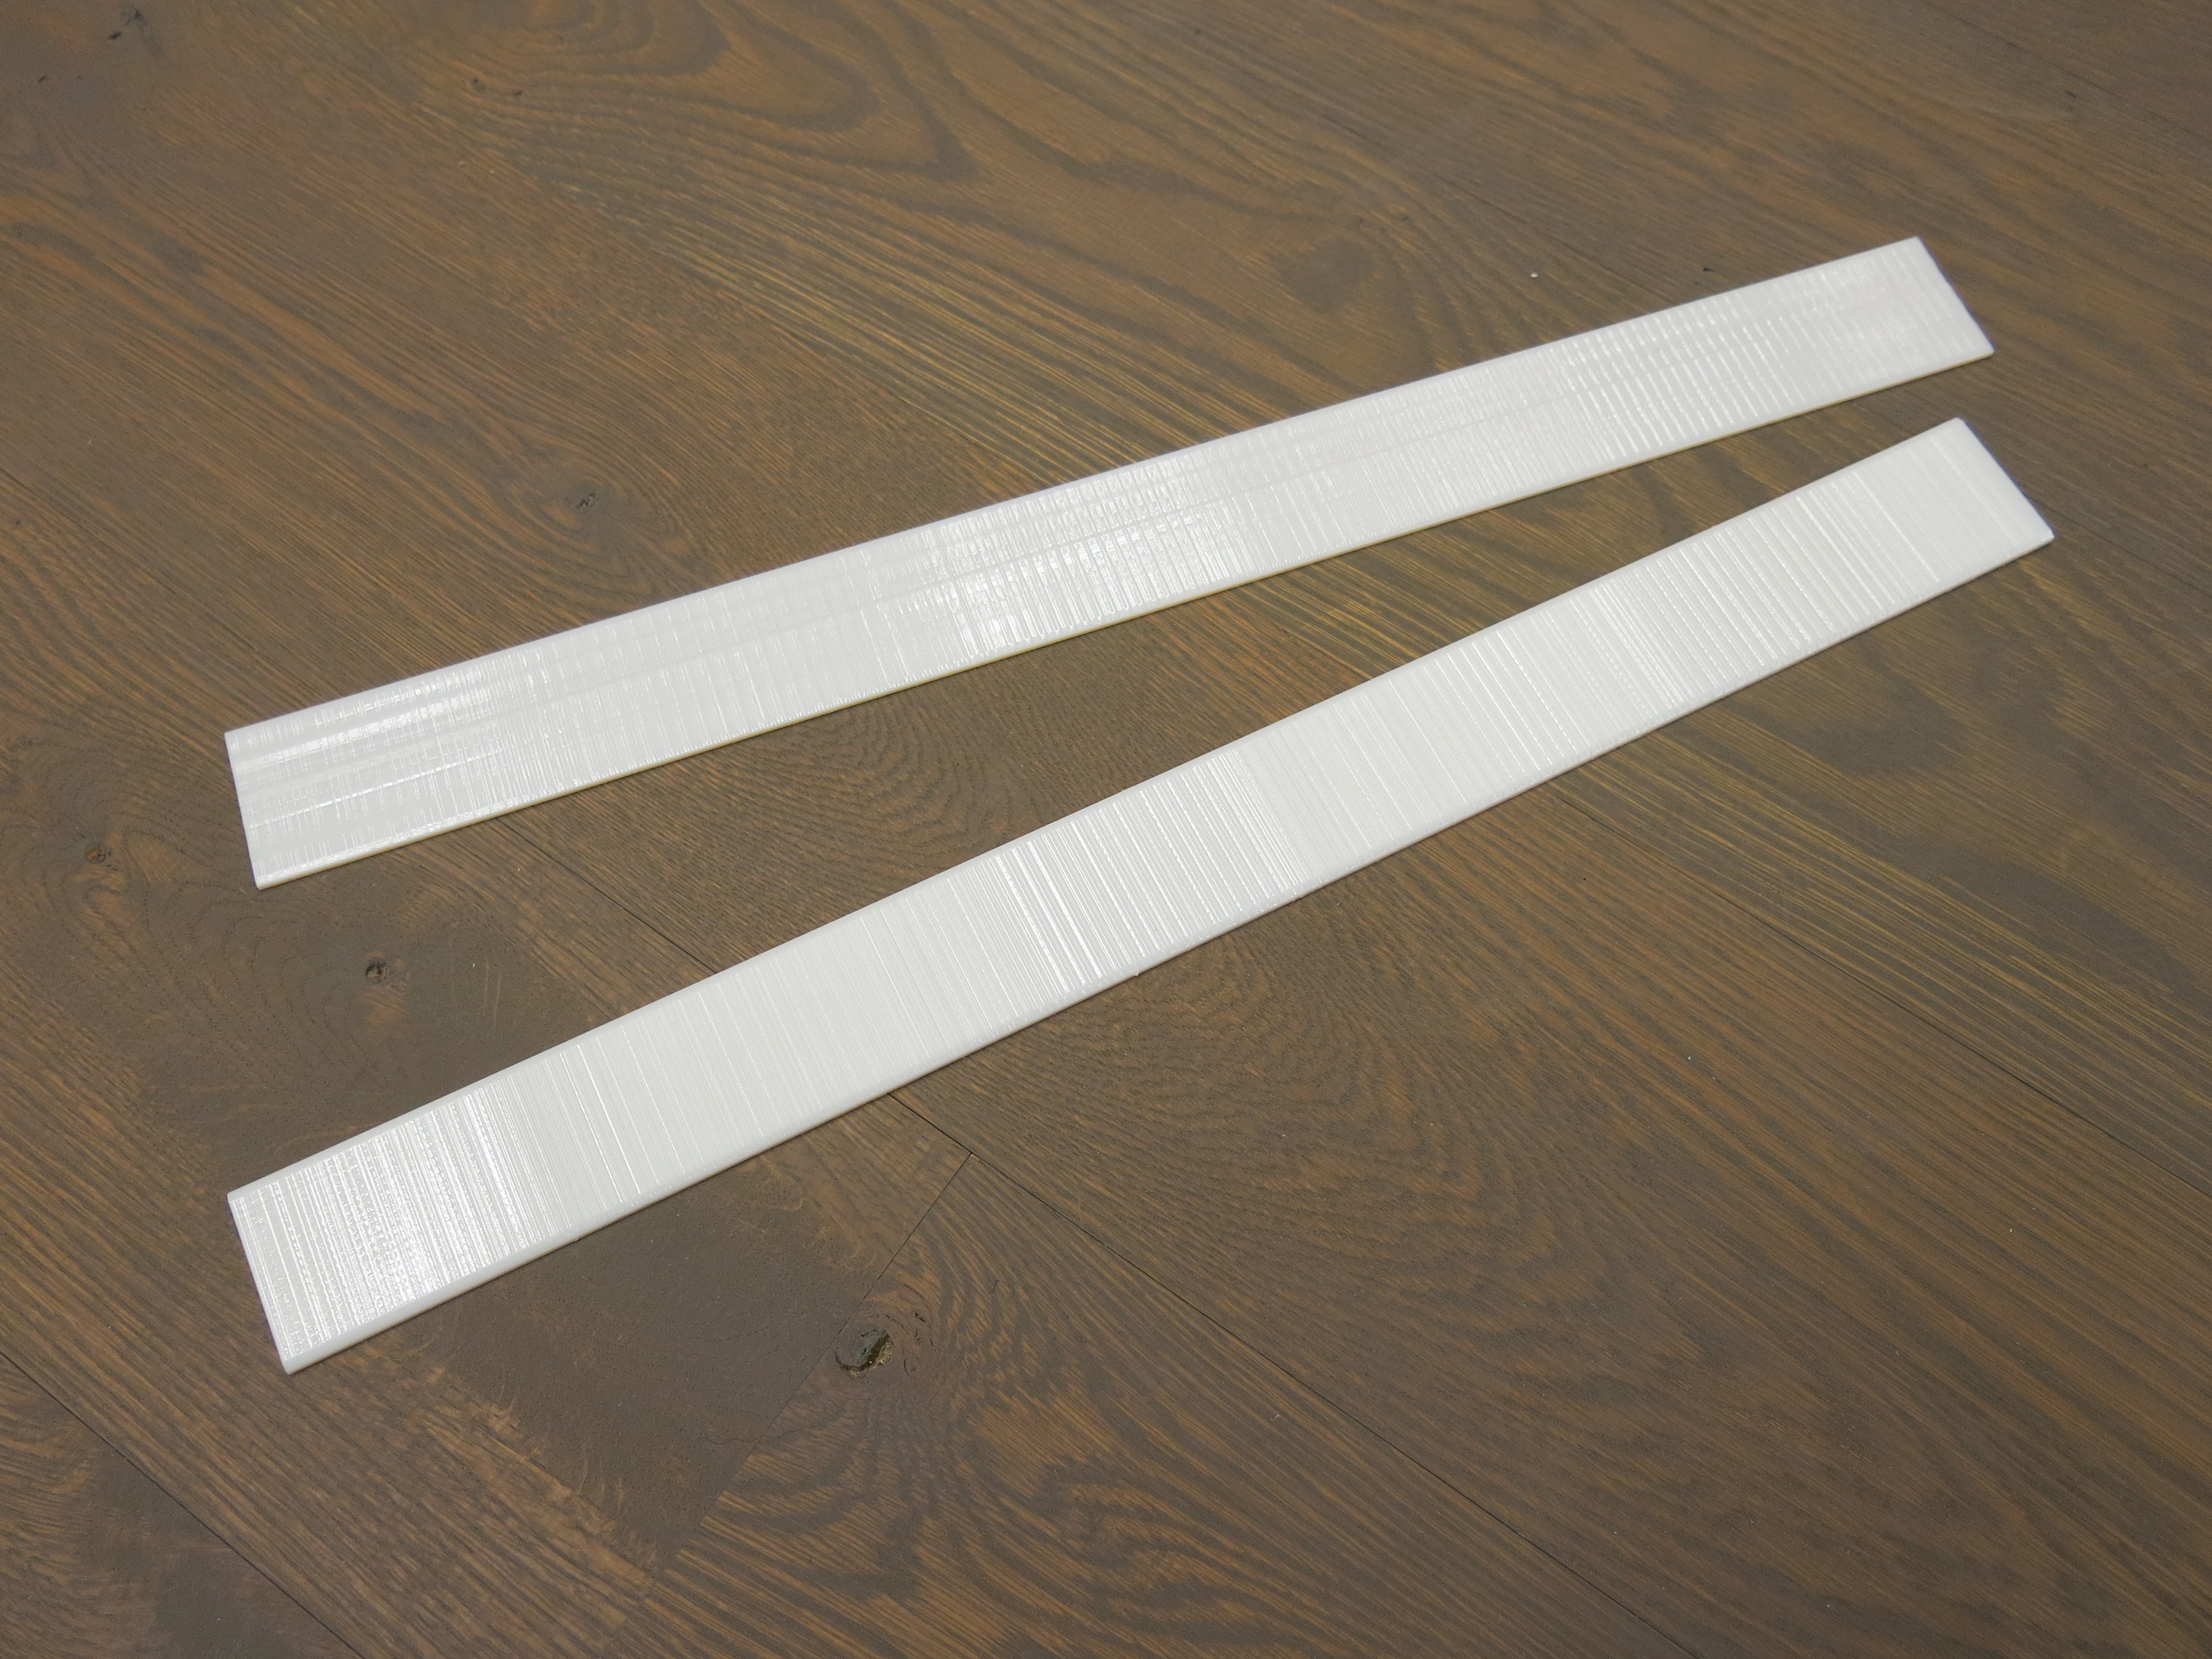
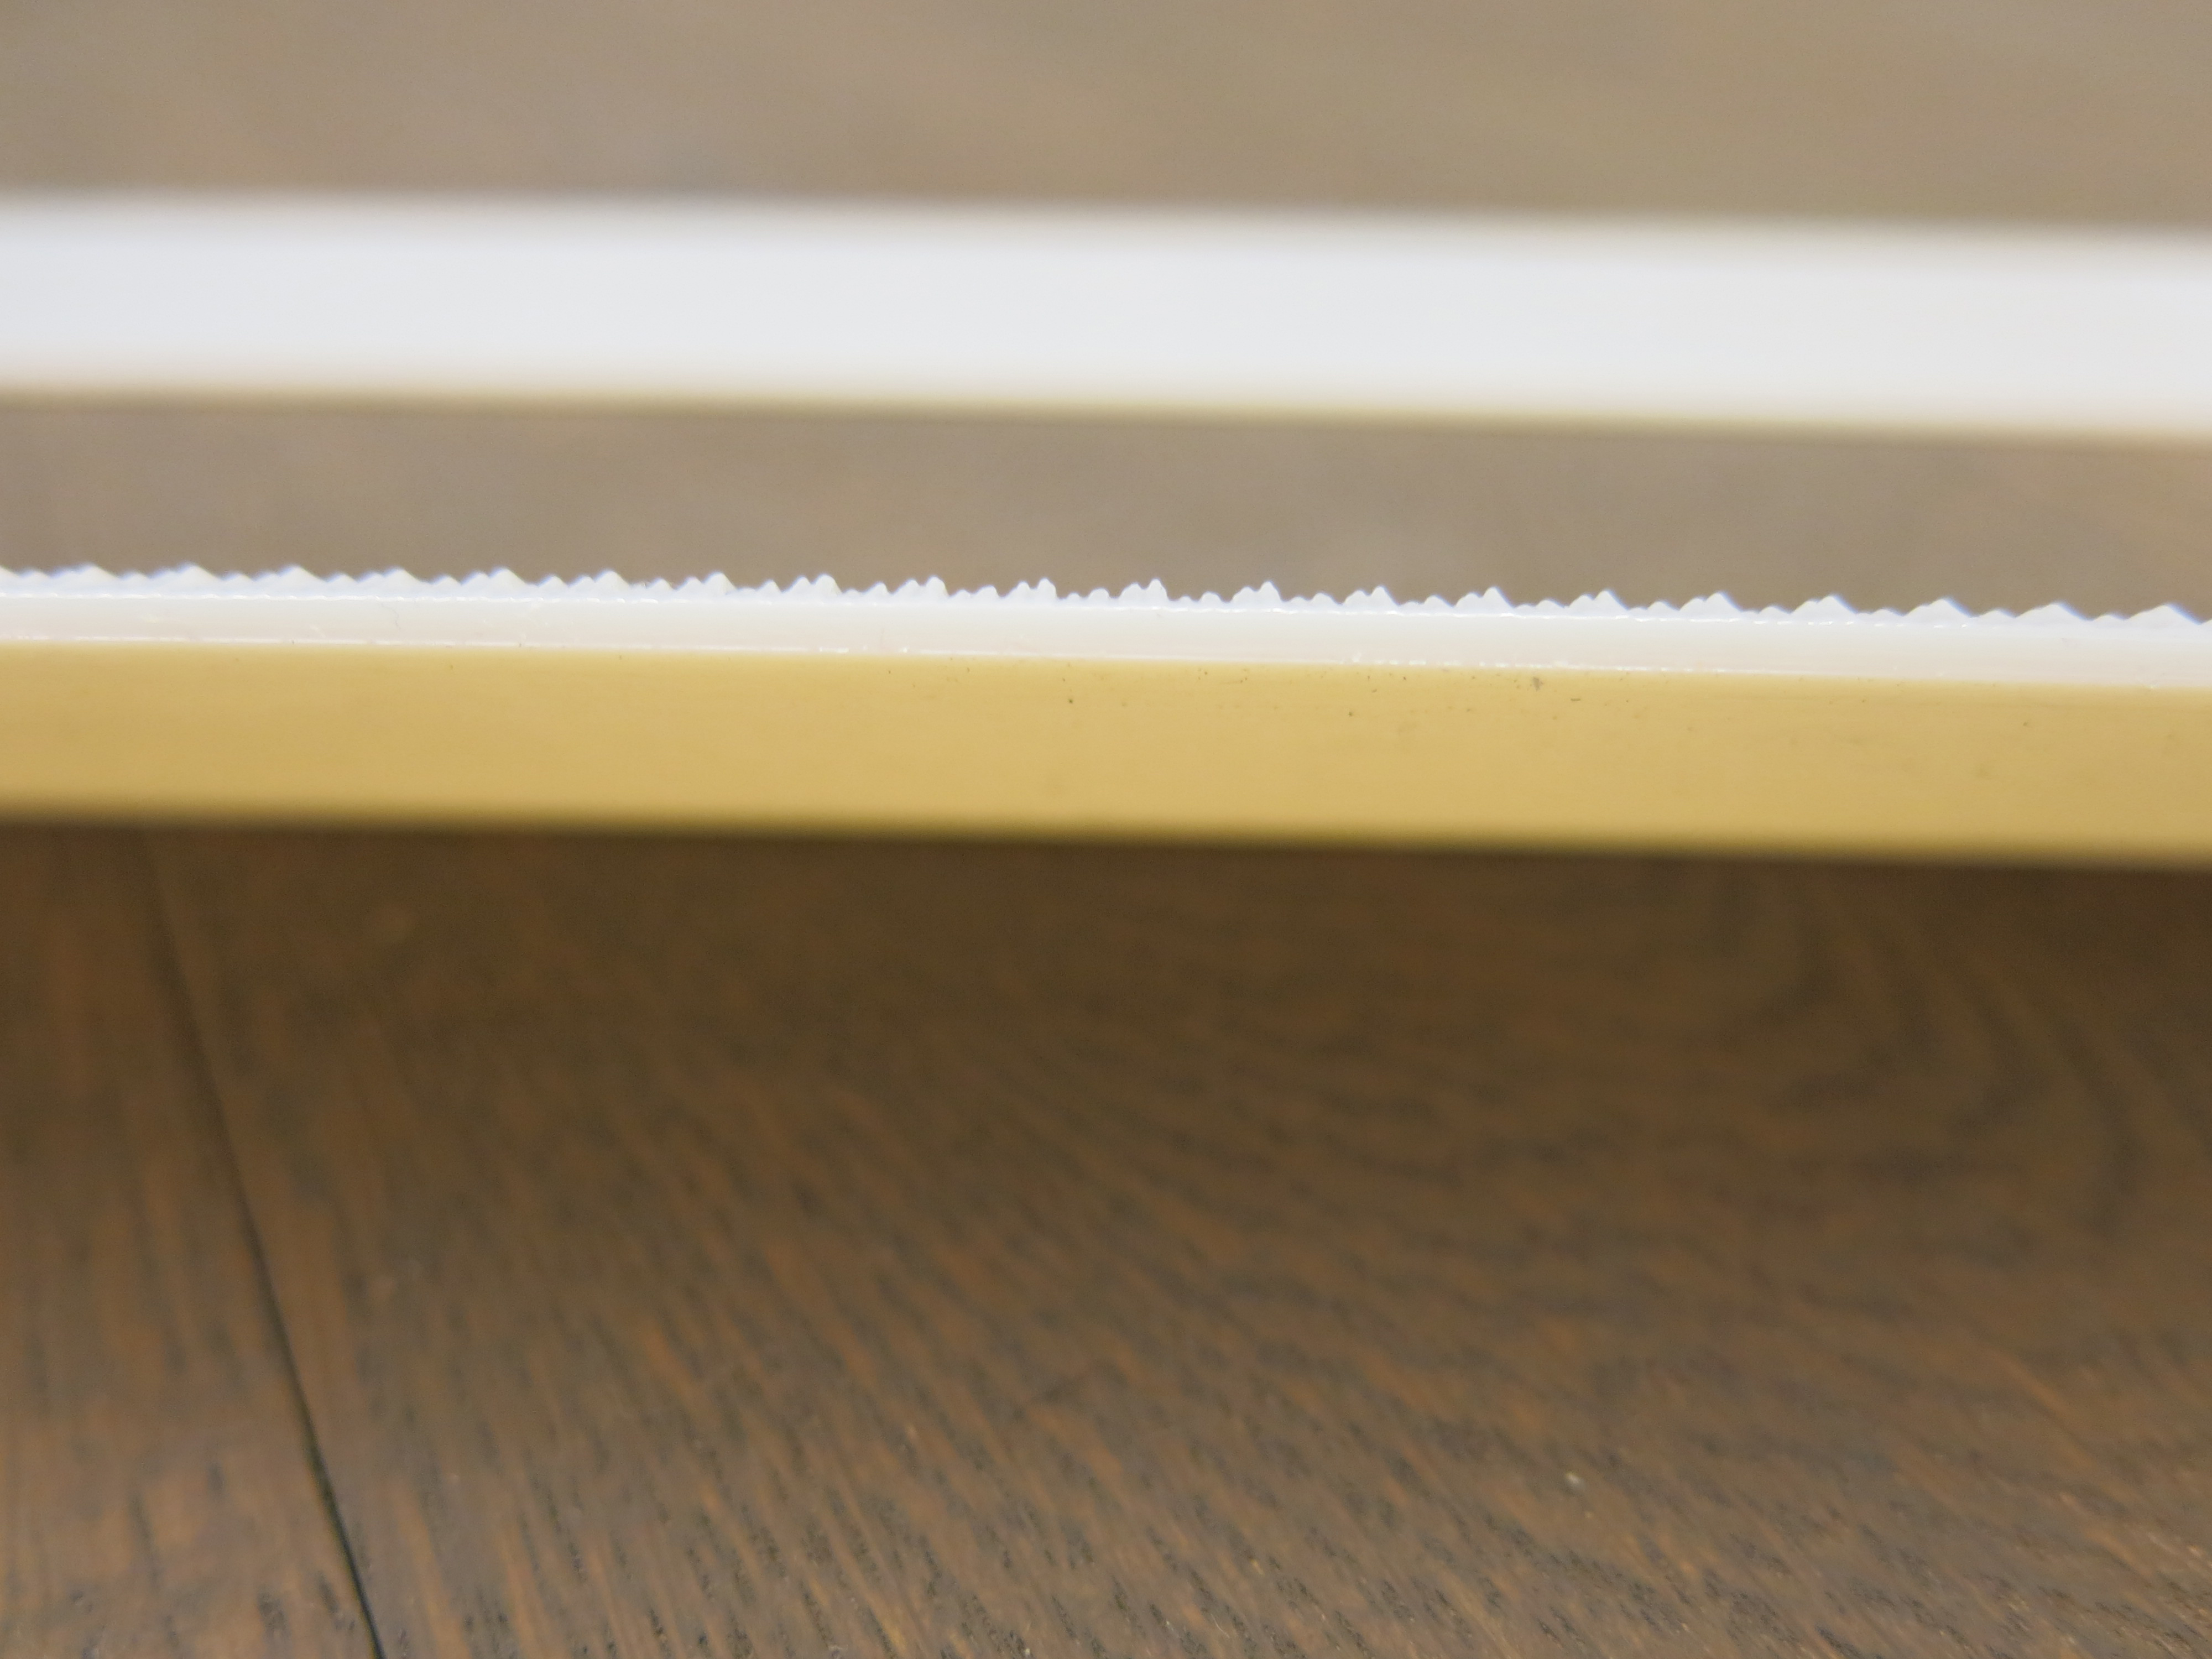
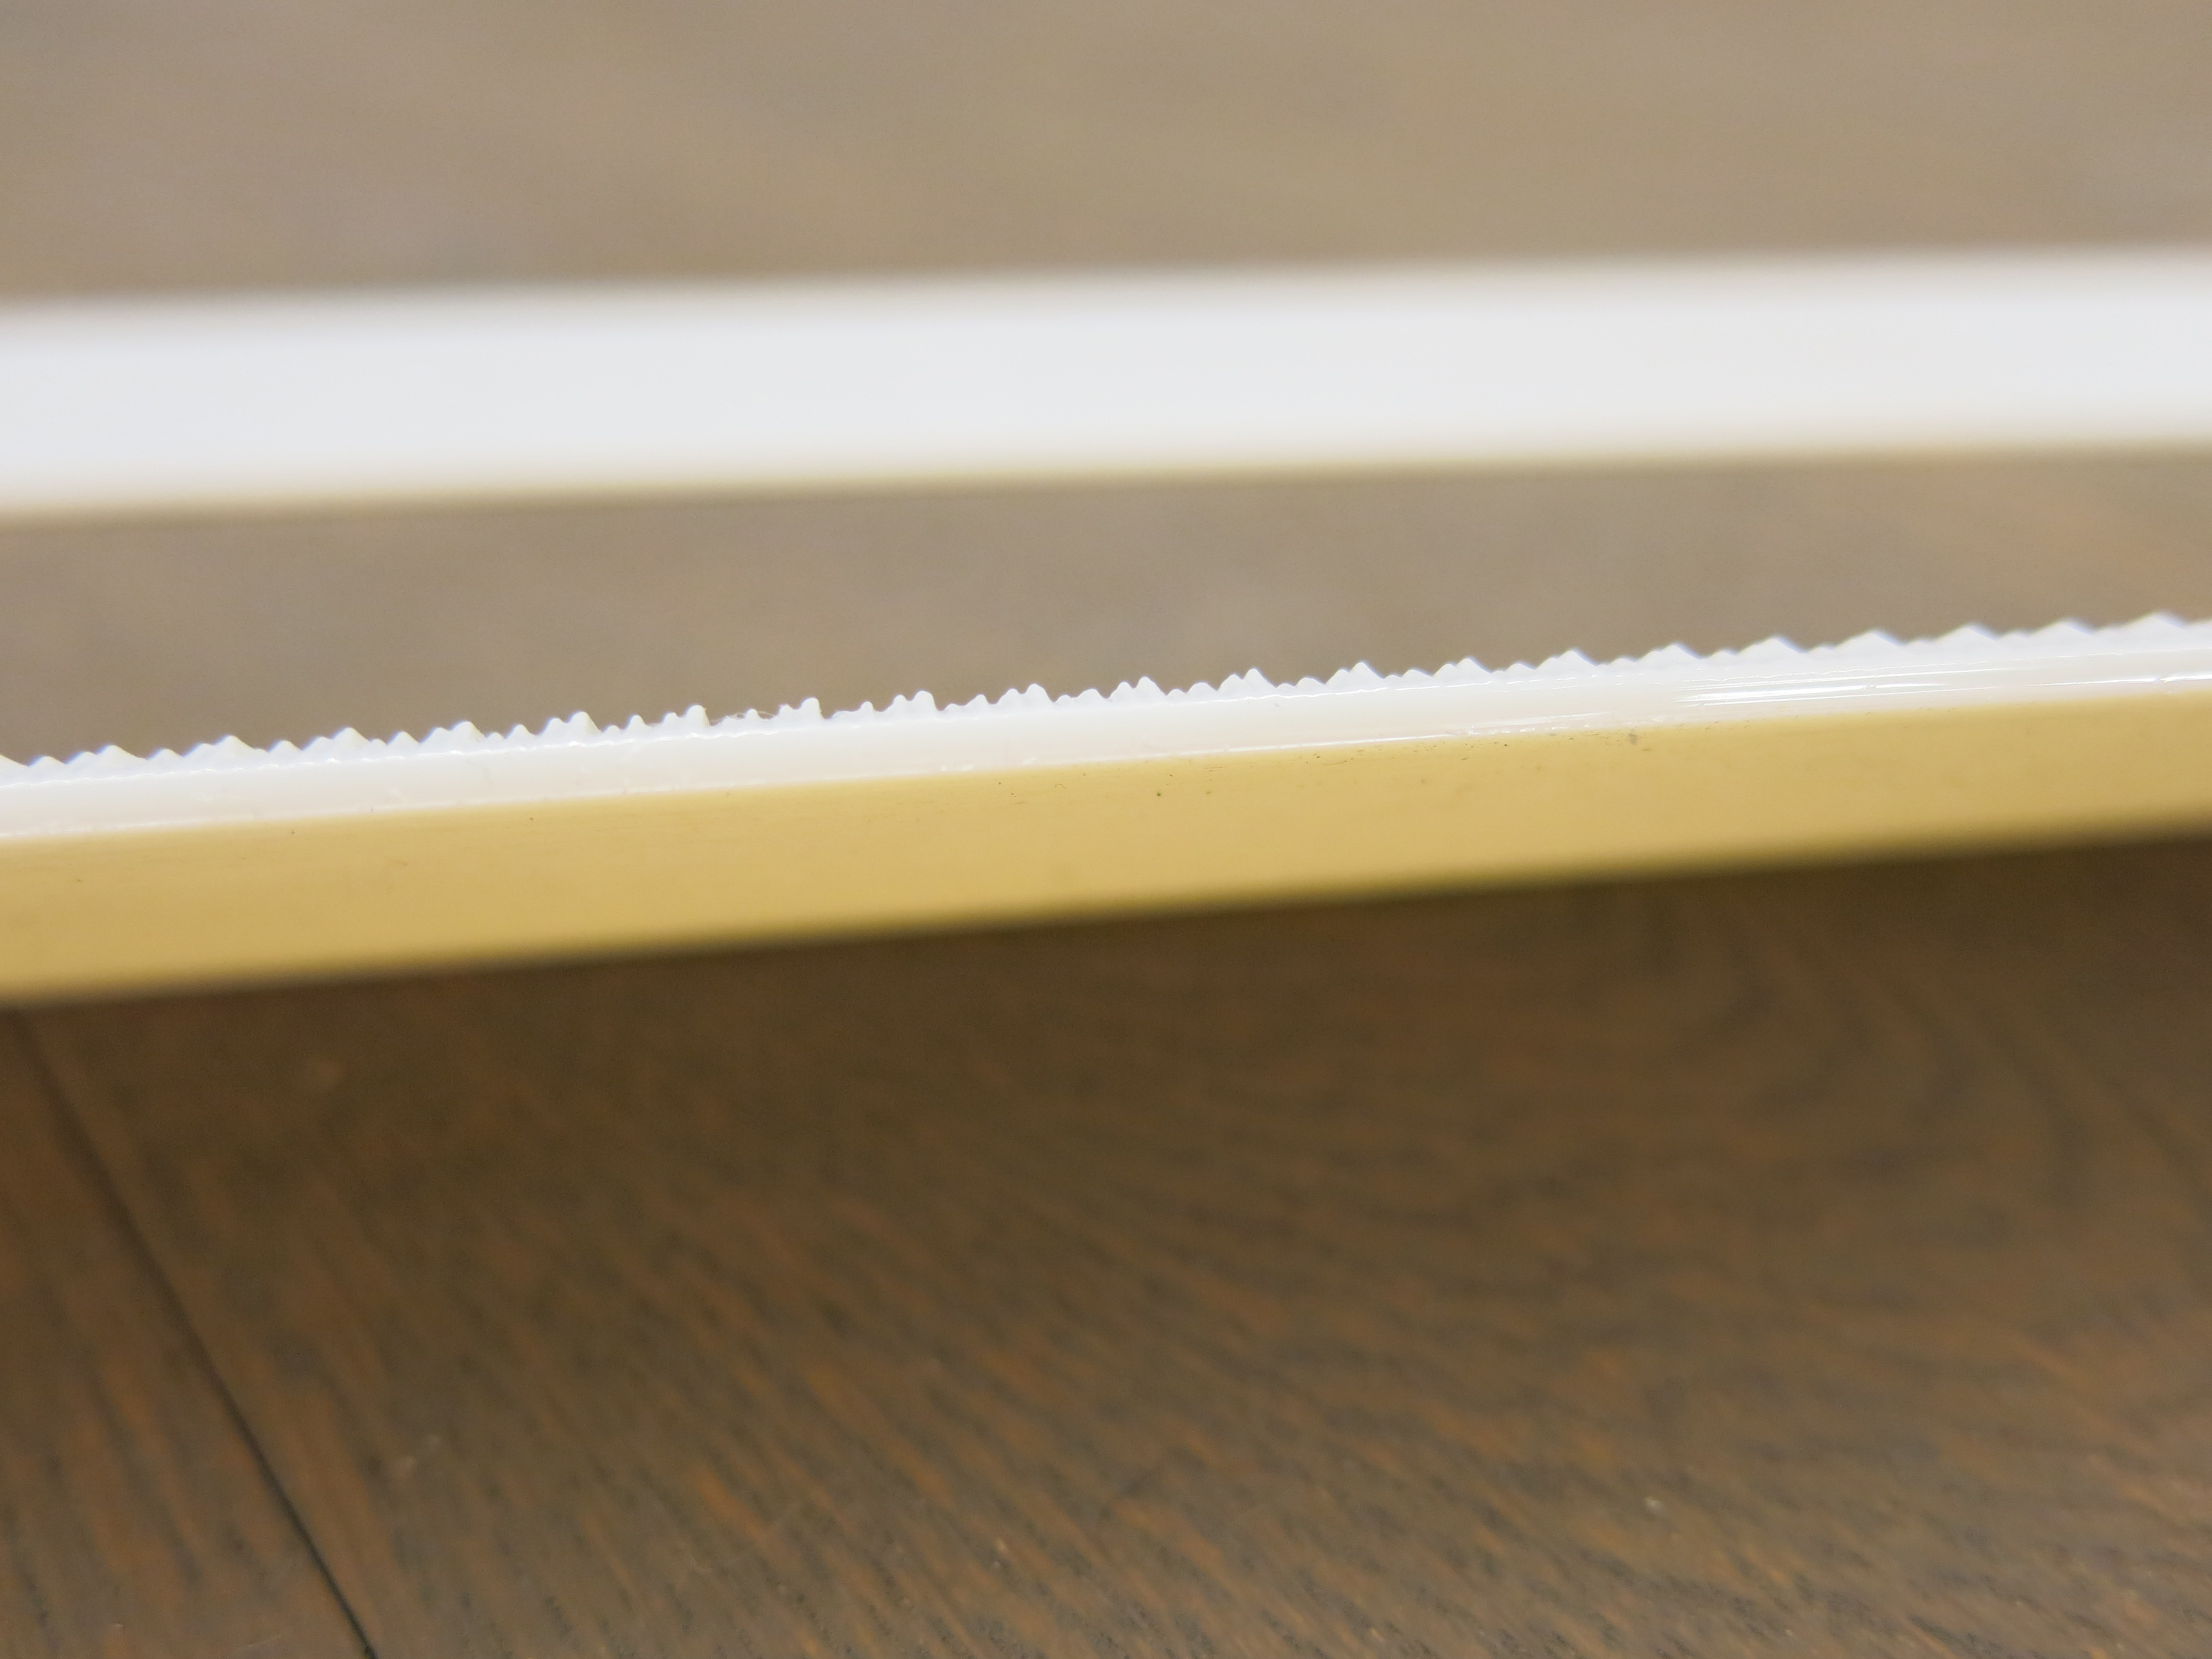
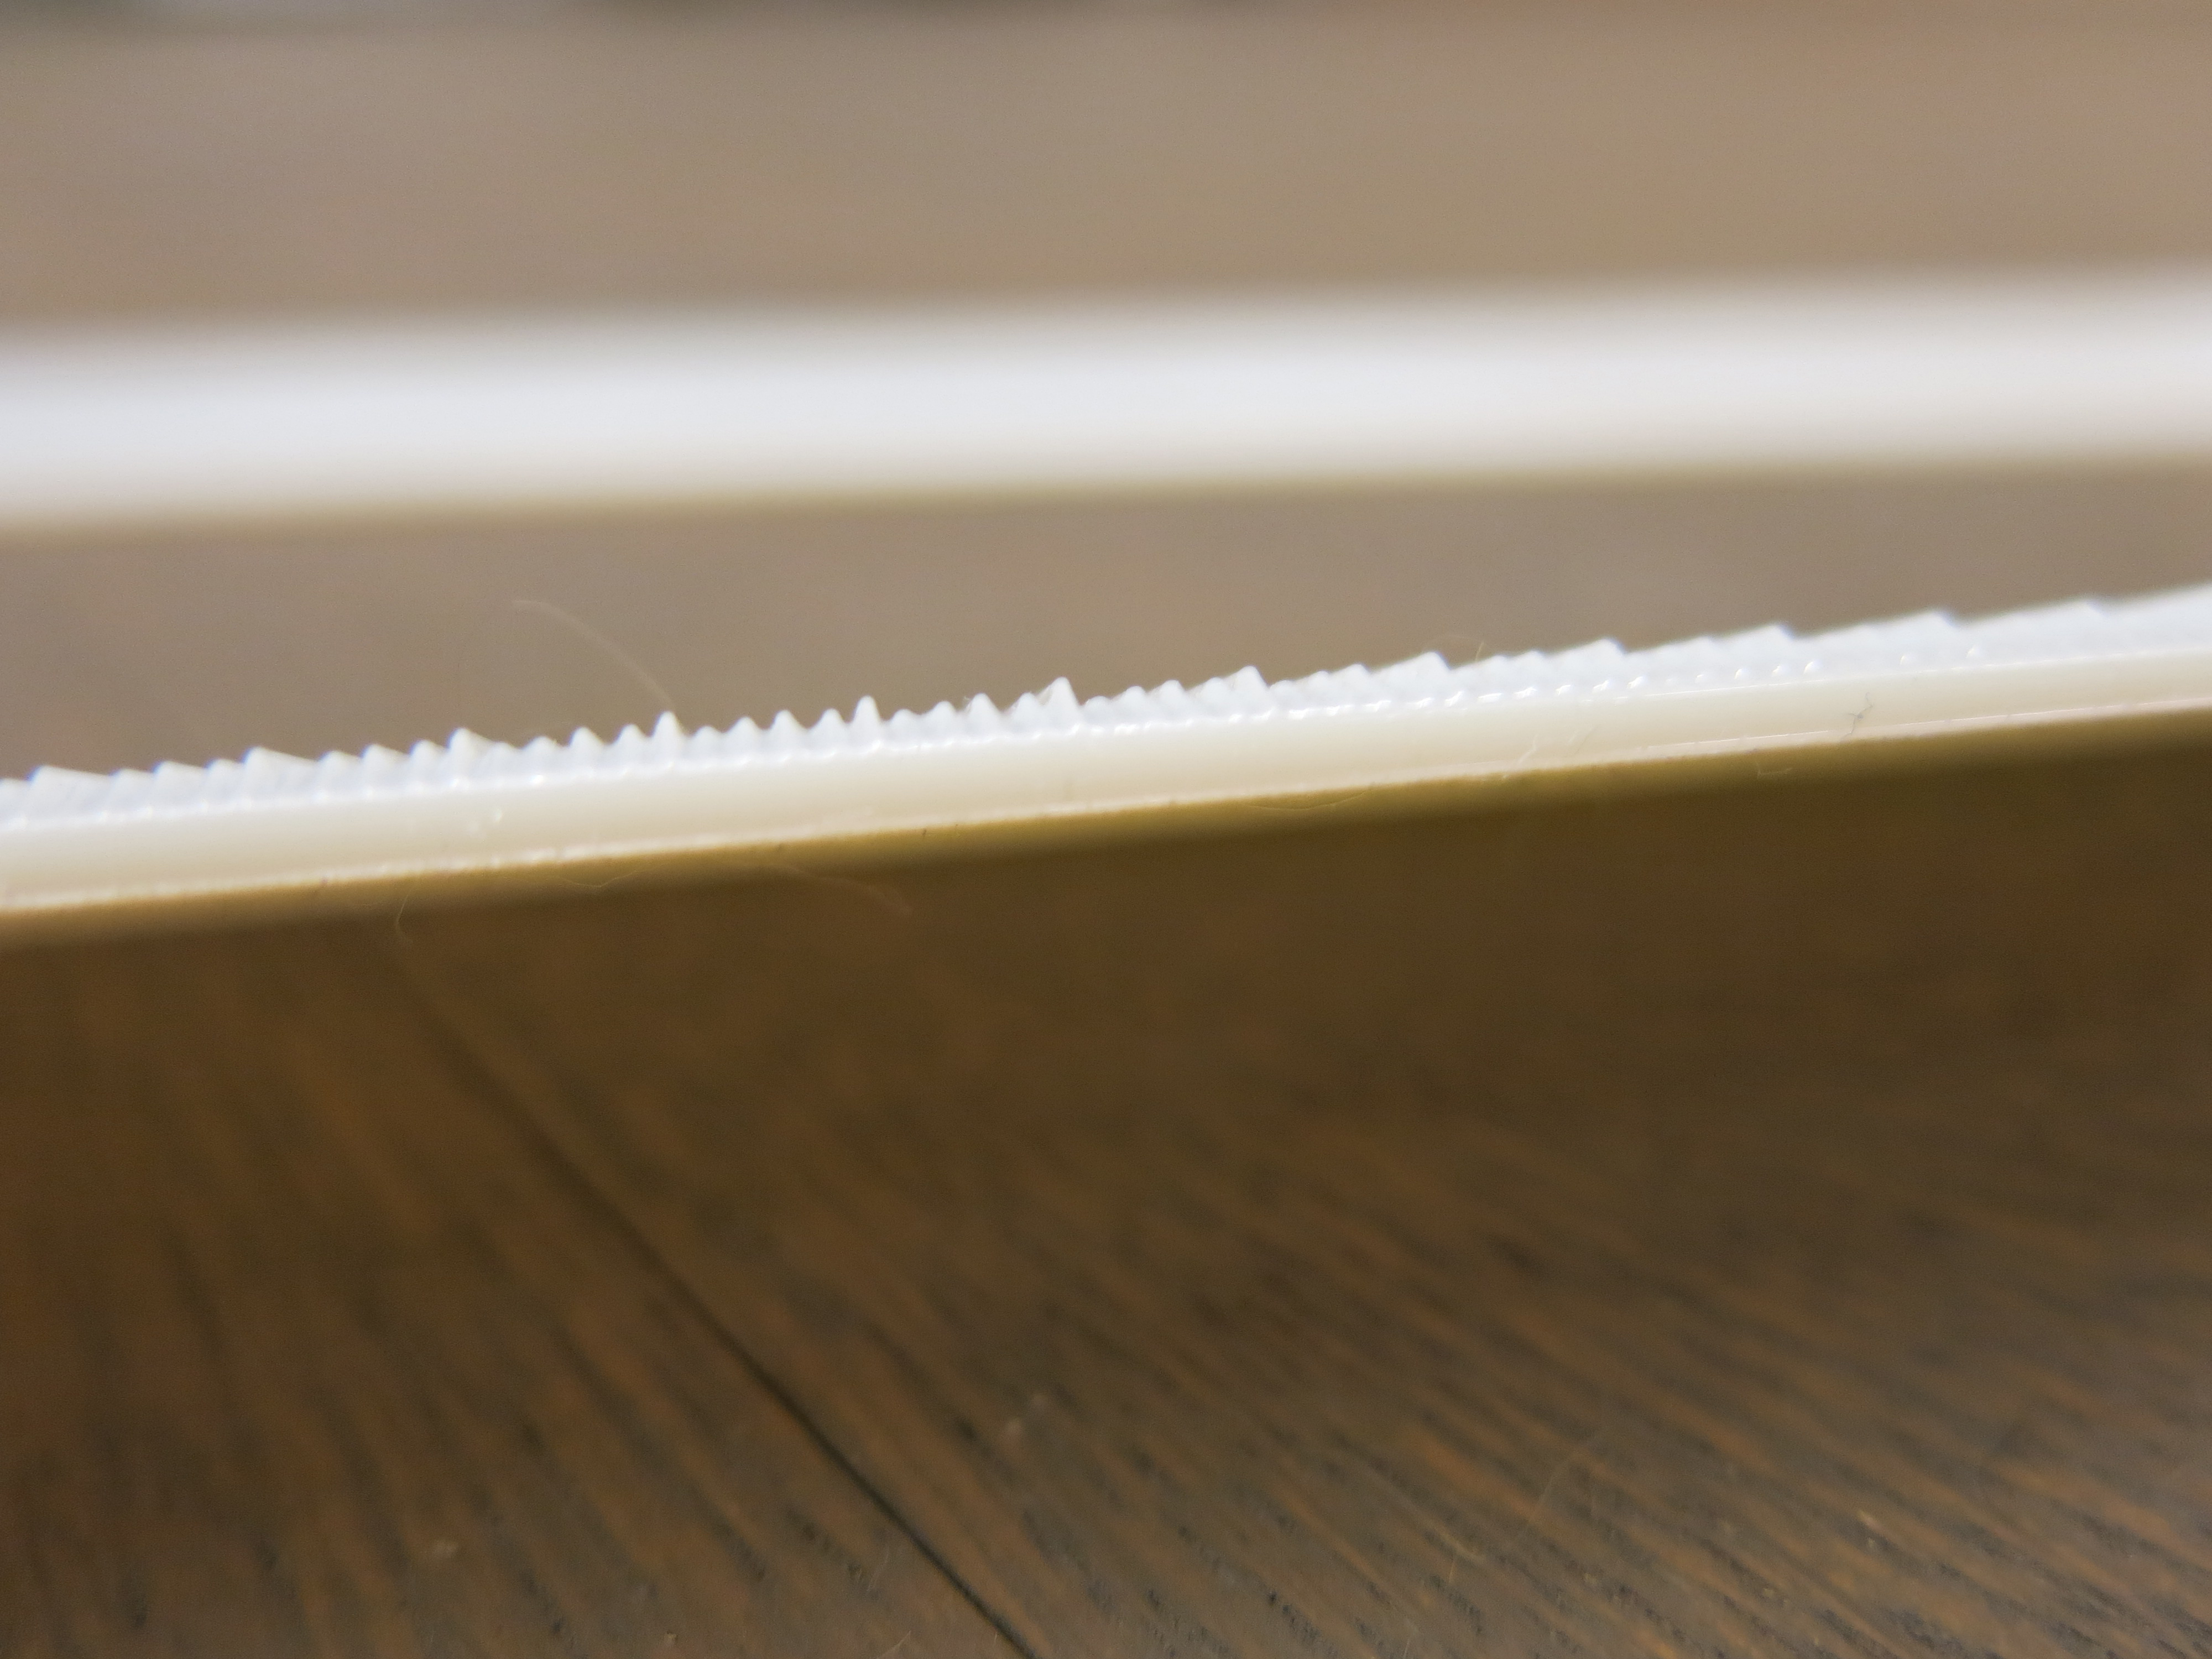
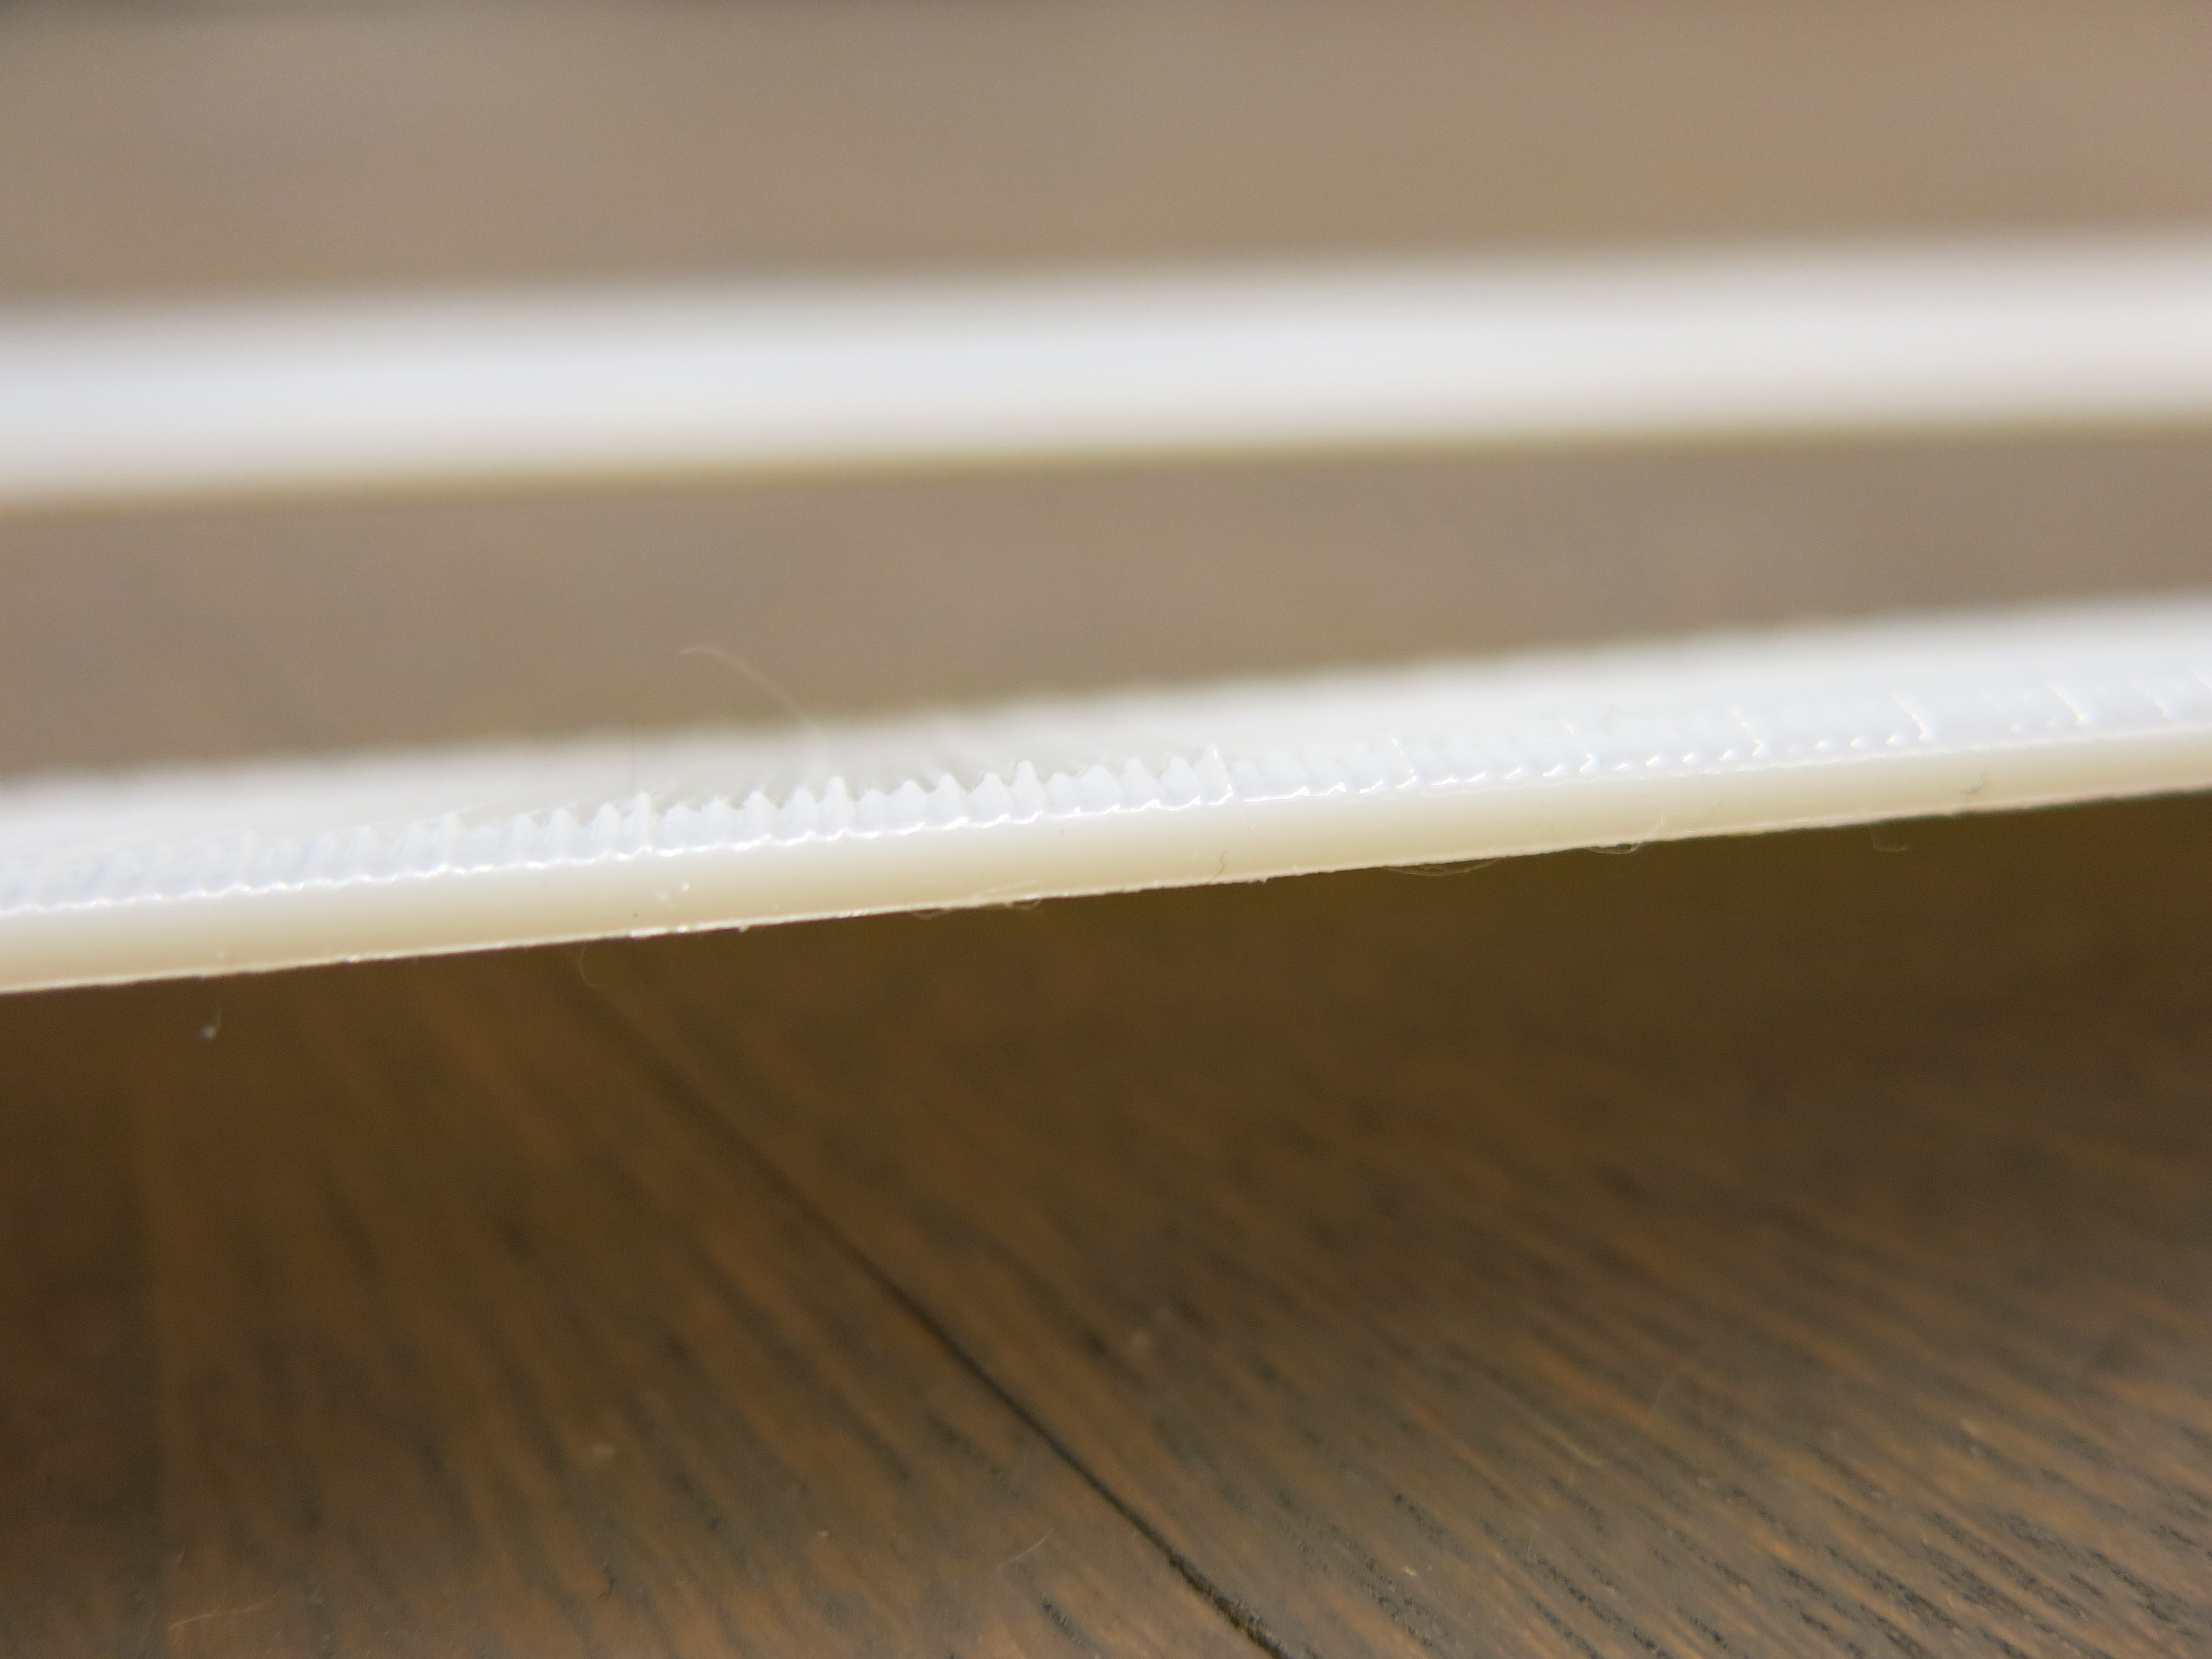
After I posted my 3D printed record project, I received an interesting comment from Instructables author rimar2000. He described an idea he's had for a while about a strip of material that has audio information encoded on it so that it can be played back by quickly sliding a fingernail, credit card, or piece of paper along its surface. This same basic idea has been implemented in various ways already, here are a few:
talking strip birthday card:
It's even possible to tune rumble strips on a road so that your car turns into a musical instrument as it drives over. Here is a musical road near MT Fuji, Japan:
another musical road - Lancaster, CA:
talking strip birthday card:
It's even possible to tune rumble strips on a road so that your car turns into a musical instrument as it drives over. Here is a musical road near MT Fuji, Japan:
another musical road - Lancaster, CA:
The Code
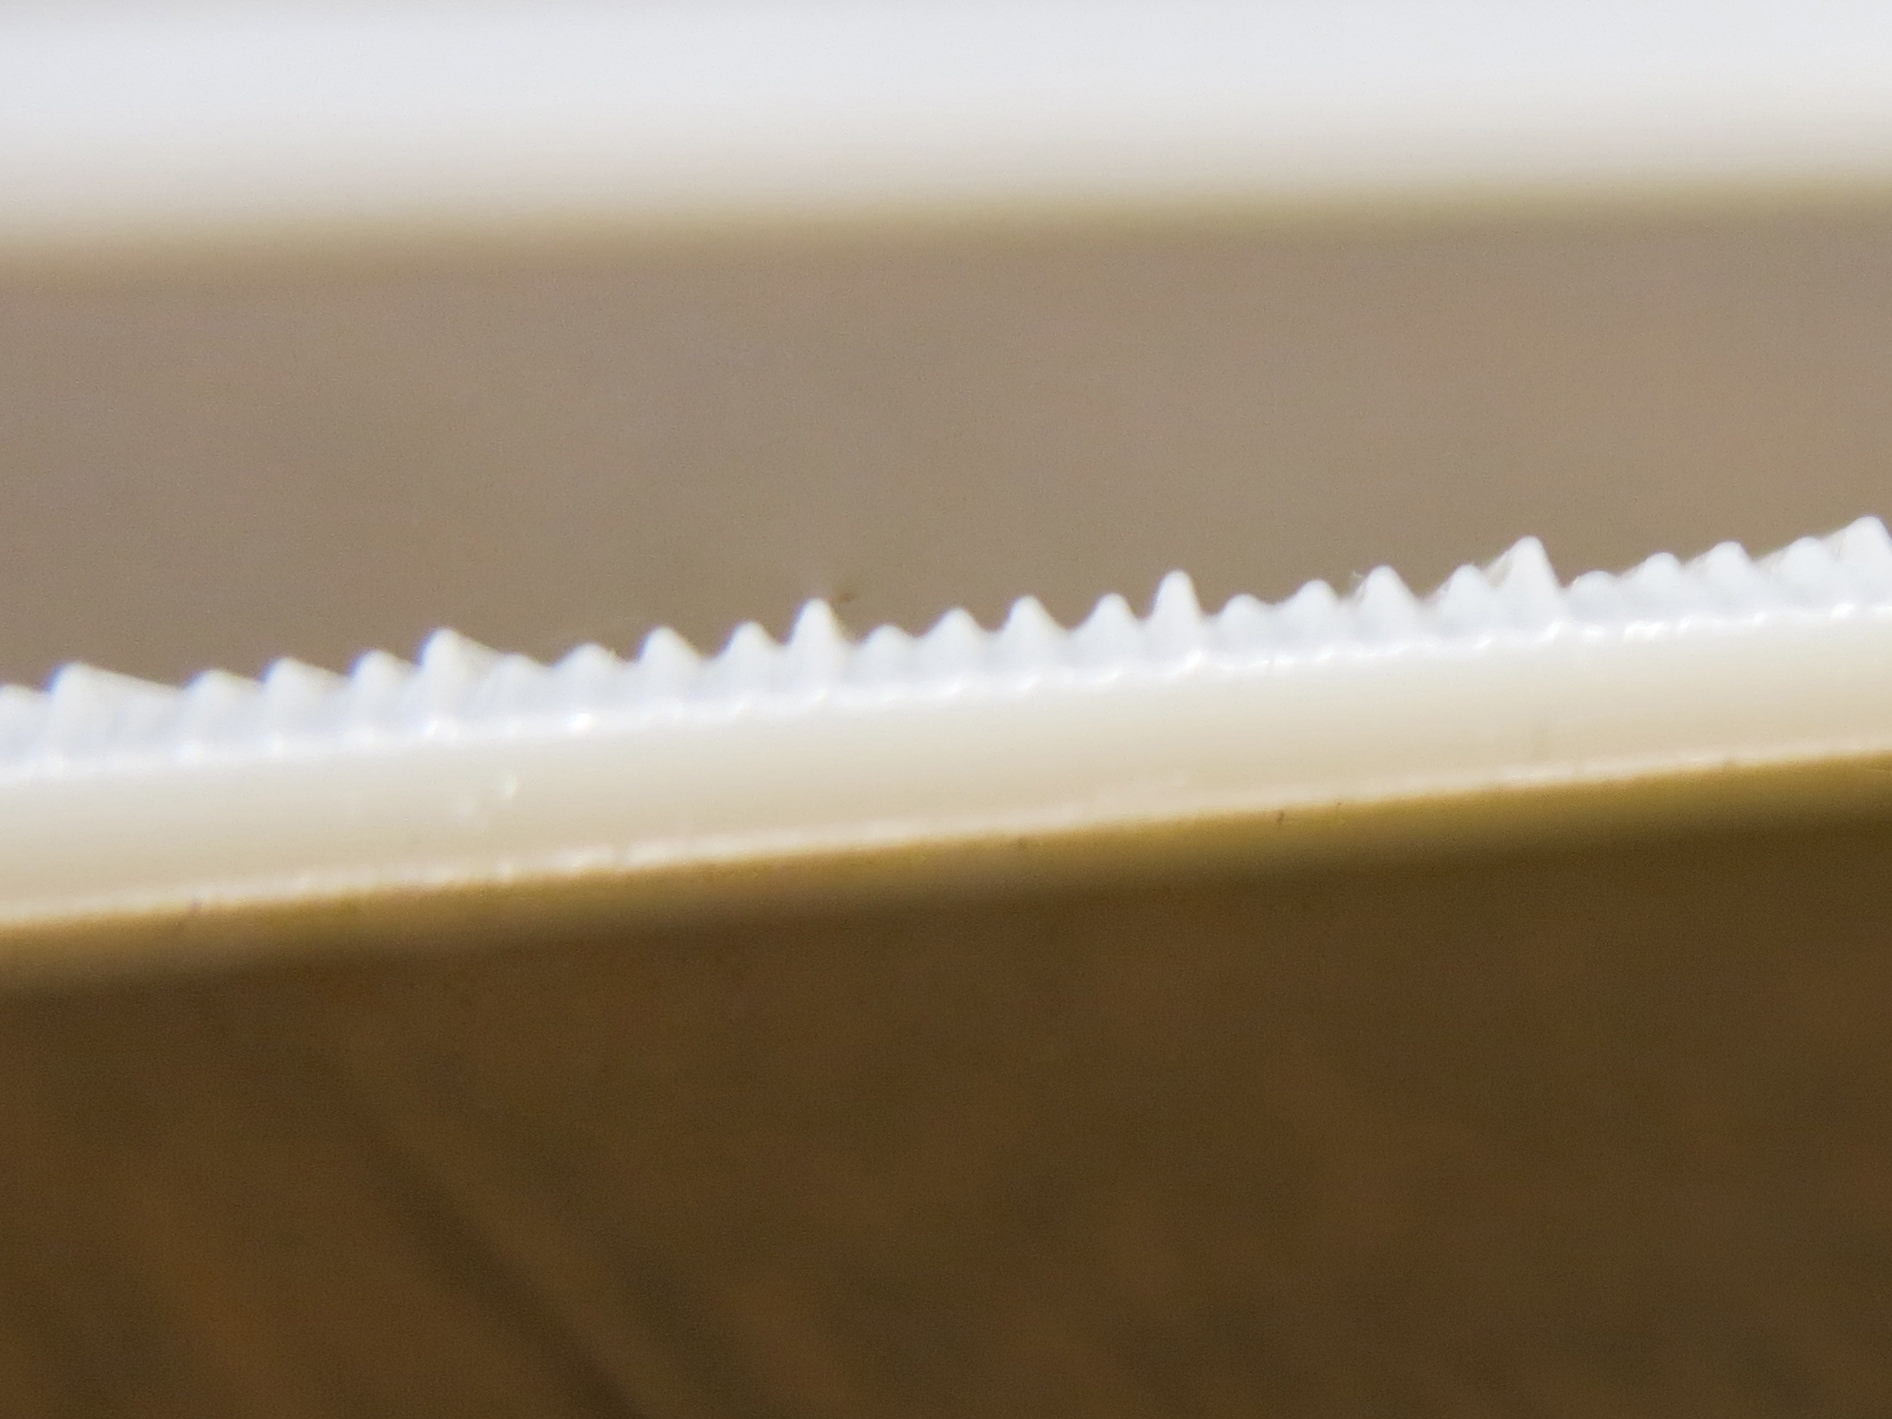
The main idea behind this project is to take an audio waveform and use it to modulate the height of the surface of a linear strip. this way, any object passing across the surface will vibrate up and down in the hills and valley of the wave, these vibrations will cause vibrations in the air, which cause us to hear sound. You will find comments in my code that talk about the specifics of how it works, follow these steps to create your own 3d models:
1. Download Audacity.
2. Open an audio file of your choice with Audacity. Use Effect>Normalize to amplify the signal as much as you can without clipping. Trim any excess blank space off the beginning an end of the clip, you will want to keep the audio as short as possible. File>Export this file and save it as a WAV in a folder called "soundBites".
3. Download Python 2.5.4.
4. Copy the Python code below and save it in the soundBites folder, this code converts the information stored in a wav file (audio) into a series of numbers inside a text file (txt).
fileName = "your_file_name_here.wav"
Hit Run>RunModule, after a minute or two you will have a .txt file saved in the soundBites folder.
5. Download Processing.
6. To export STL from Processing, I used the ModelBuilder Library by Marius Watz. Download the ModelBuilder library here, I used version 0007a03.
7. Unzip the Modelbuilder library .zip and copy the folder inside called "modelbuilder". Unzip the processing .zip and go to Processing>modes>java>libraries and paste the "modelbuilder" folder in the "libraries" folder.
8. Copy the processing sketch below and save it as "soundBites.pde" in the soundBites folder. You can adjust many parameters in this code: the x/y/z resolution of the printer, the speed that you want to playback, the amplitude of the waves, the thickness of the strip, and more... you can even invert the wave to make it recessed within the strip.
String filename = "your_file_name_here.txt";
10. Hit "Run" in Processing, you should see a file appear in the soundBites folder called "your_file_name.stl", you are now ready for 3d printing.
1. Download Audacity.
2. Open an audio file of your choice with Audacity. Use Effect>Normalize to amplify the signal as much as you can without clipping. Trim any excess blank space off the beginning an end of the clip, you will want to keep the audio as short as possible. File>Export this file and save it as a WAV in a folder called "soundBites".
3. Download Python 2.5.4.
4. Copy the Python code below and save it in the soundBites folder, this code converts the information stored in a wav file (audio) into a series of numbers inside a text file (txt).
Copy the file name of the audio file you just saved and paste it into the following line in Python:
fileName = "your_file_name_here.wav"
Hit Run>RunModule, after a minute or two you will have a .txt file saved in the soundBites folder.
5. Download Processing.
6. To export STL from Processing, I used the ModelBuilder Library by Marius Watz. Download the ModelBuilder library here, I used version 0007a03.
7. Unzip the Modelbuilder library .zip and copy the folder inside called "modelbuilder". Unzip the processing .zip and go to Processing>modes>java>libraries and paste the "modelbuilder" folder in the "libraries" folder.
8. Copy the processing sketch below and save it as "soundBites.pde" in the soundBites folder. You can adjust many parameters in this code: the x/y/z resolution of the printer, the speed that you want to playback, the amplitude of the waves, the thickness of the strip, and more... you can even invert the wave to make it recessed within the strip.
9. Change the name of the import file in the Processing sketch to match your txt file name:
String filename = "your_file_name_here.txt";
10. Hit "Run" in Processing, you should see a file appear in the soundBites folder called "your_file_name.stl", you are now ready for 3d printing.